Category Archives: Pipe Refurbishing Essays

Essays and pictorial essays on the art of refurbishing

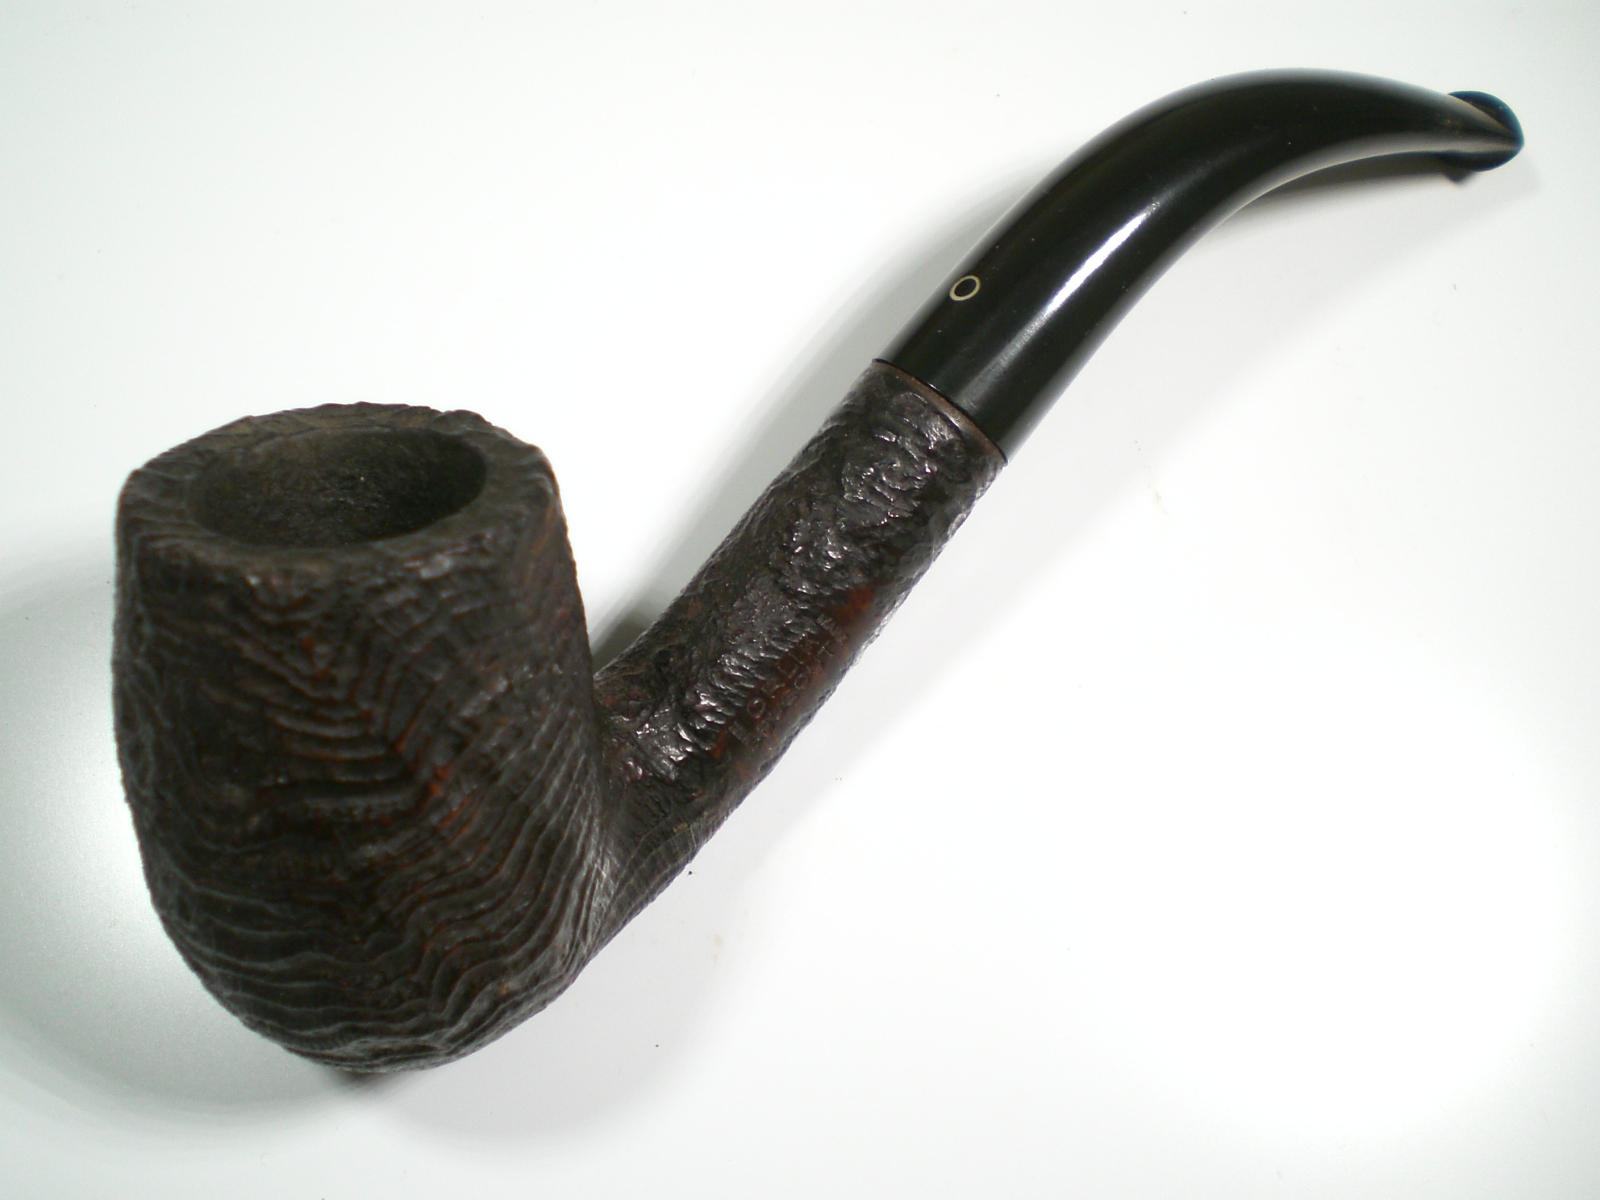
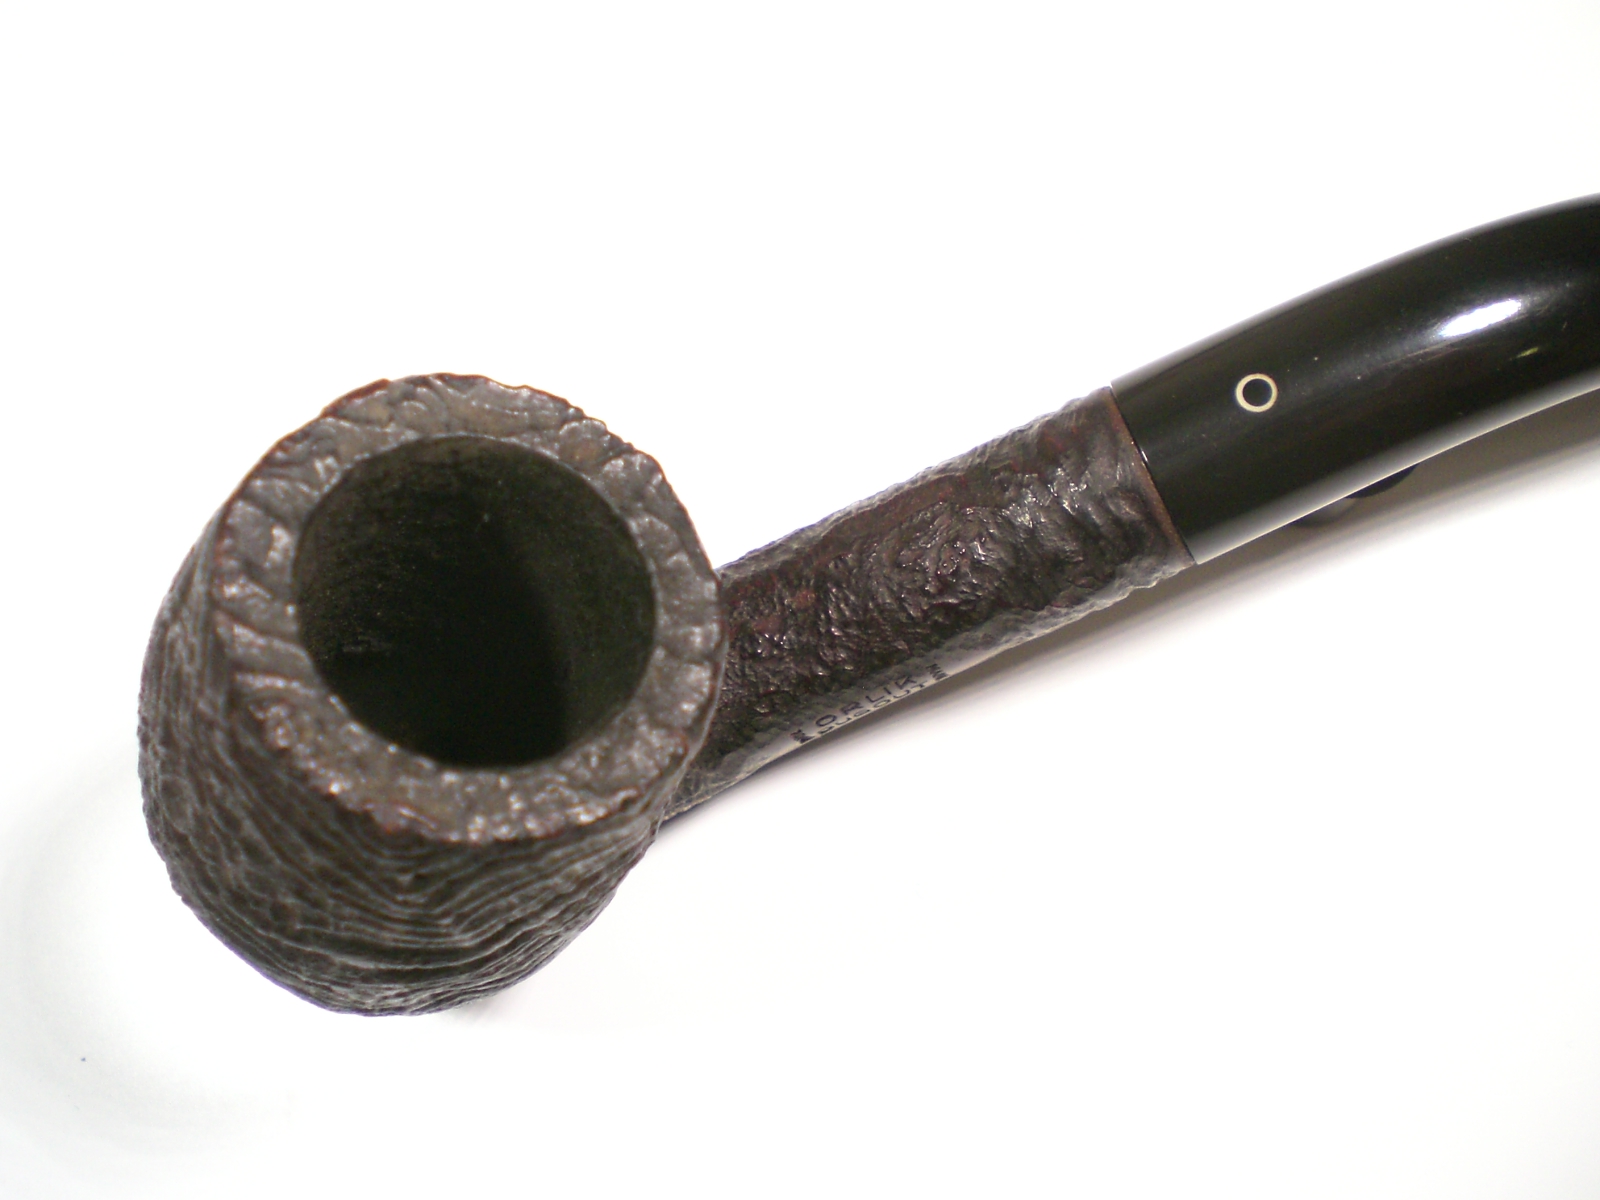
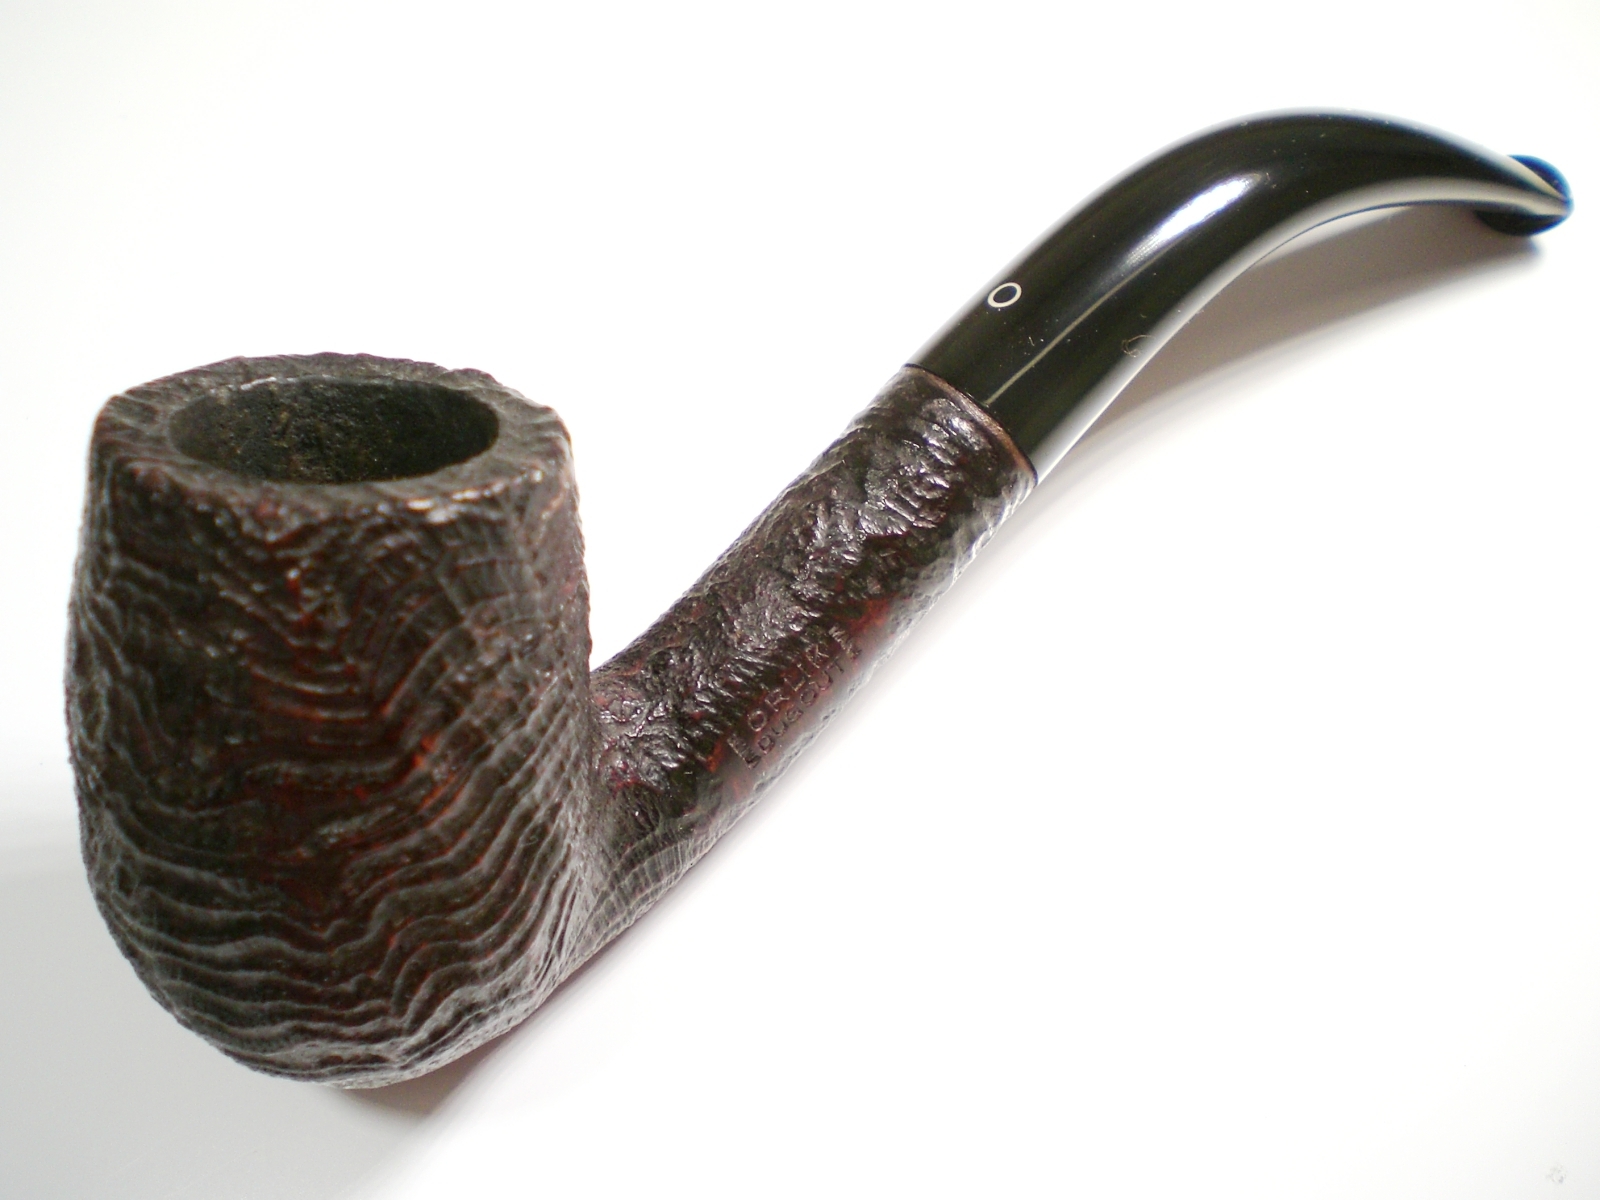
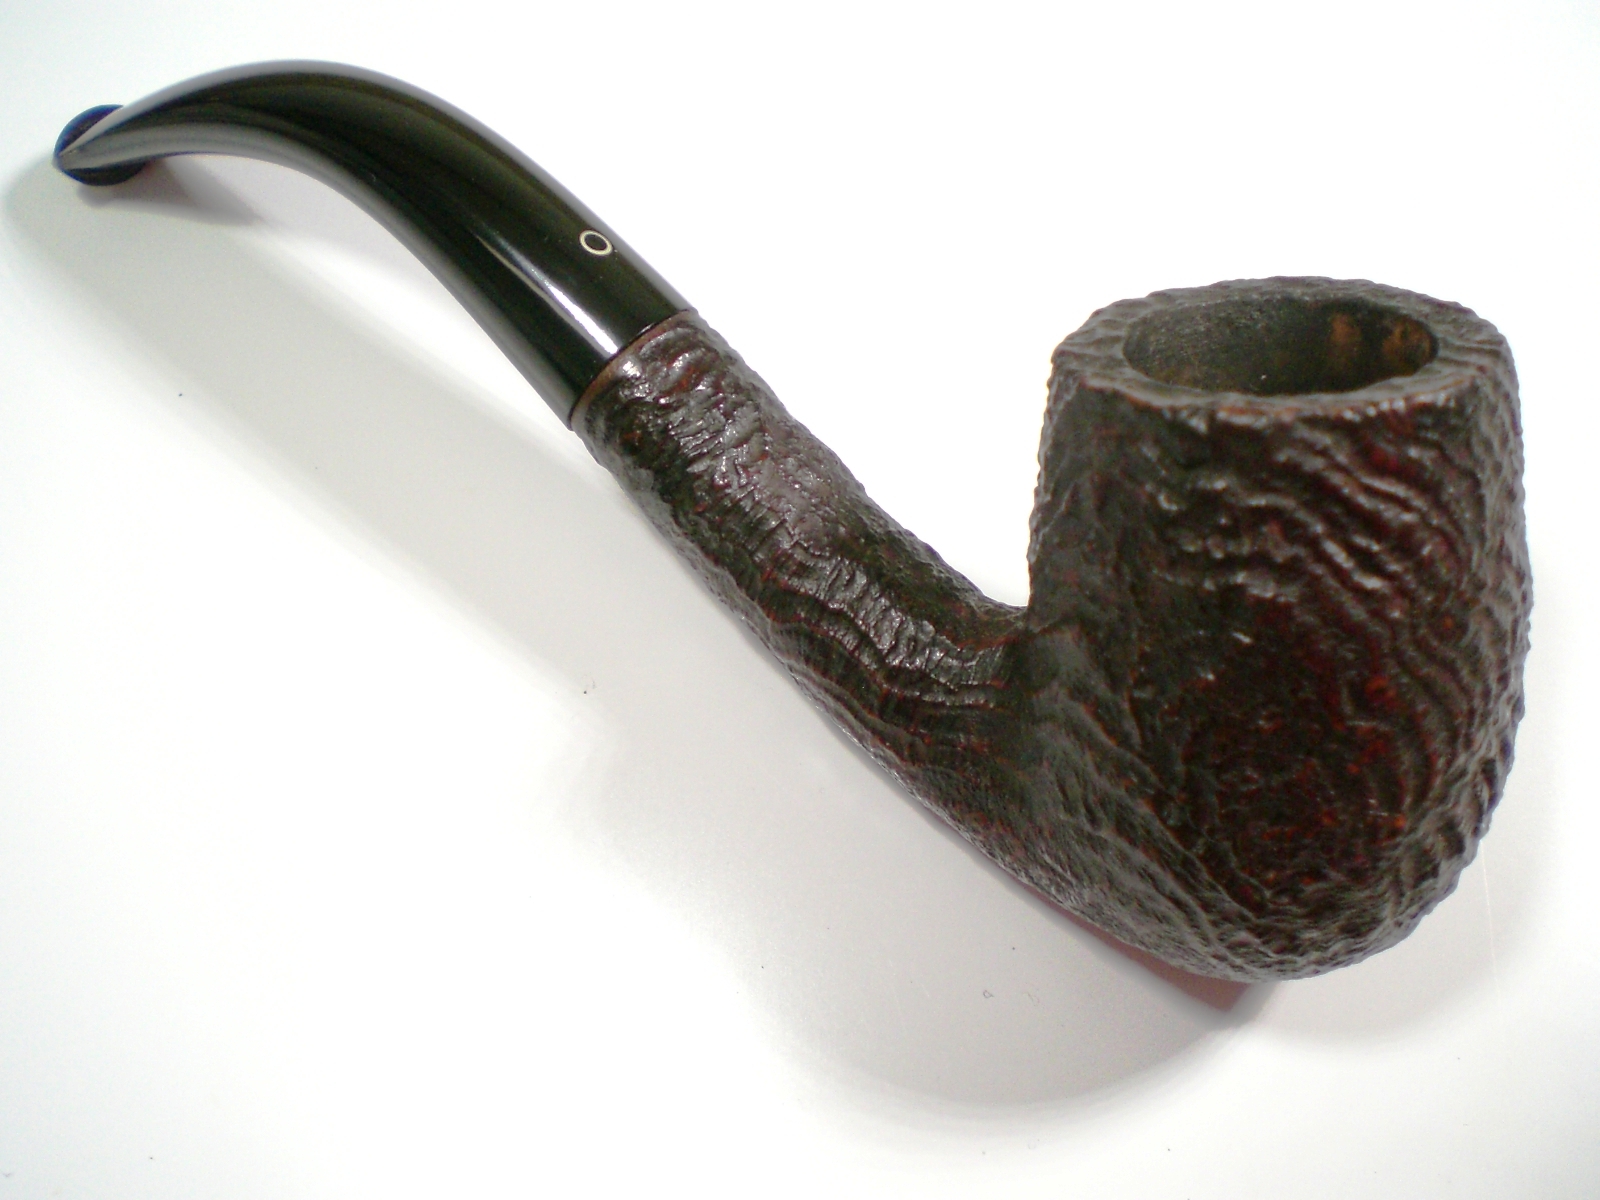
A Restored Orlik Dugout Billiard


Blog by Steve Laug

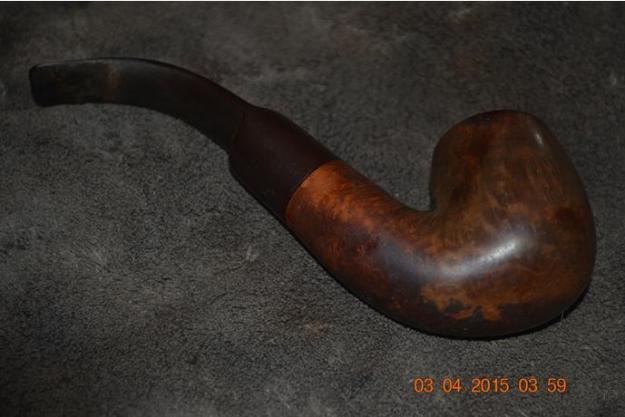
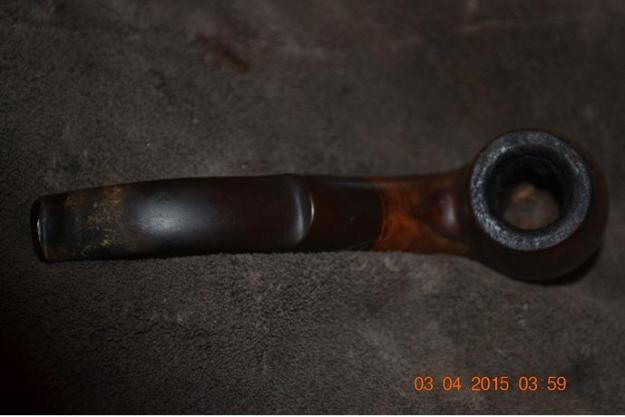
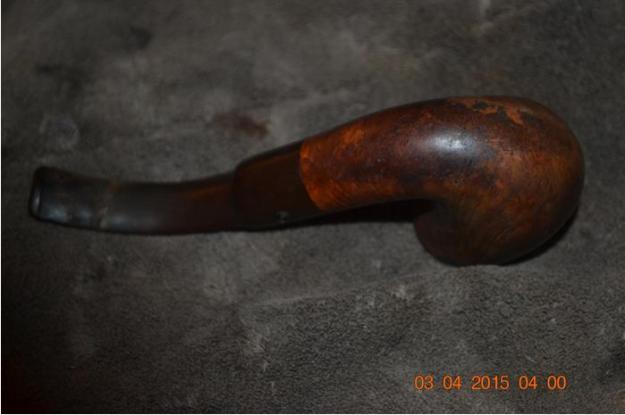
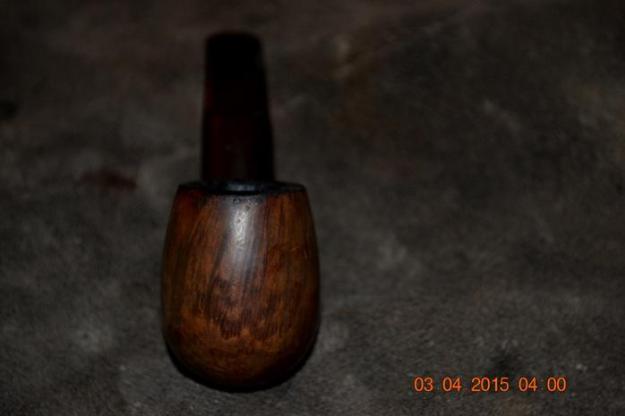
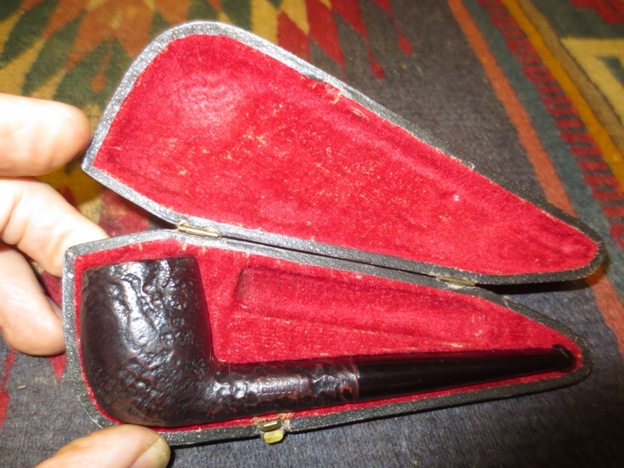
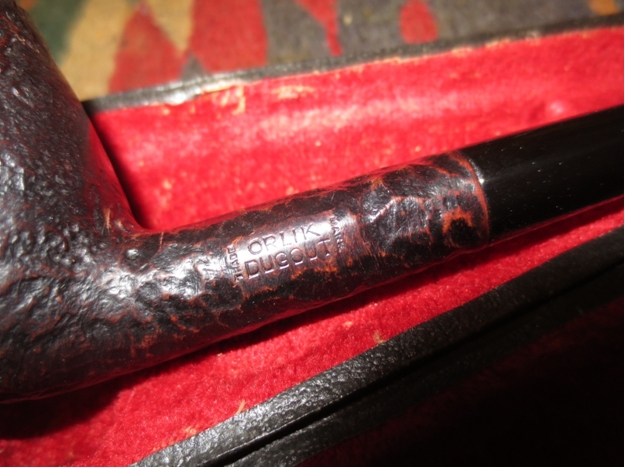
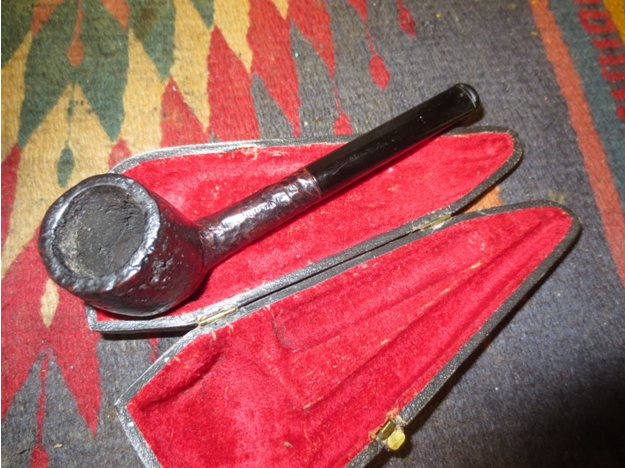
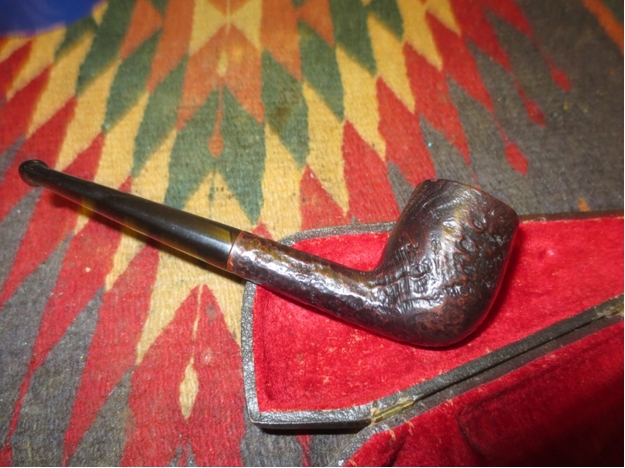
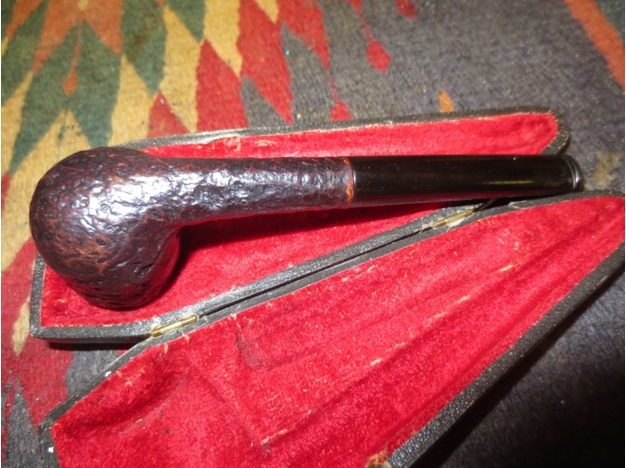
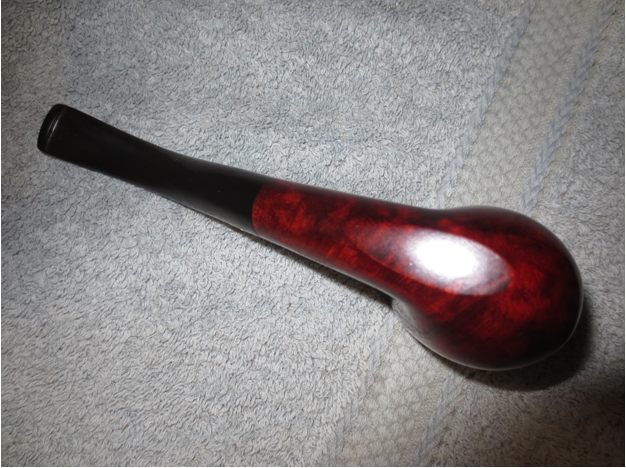
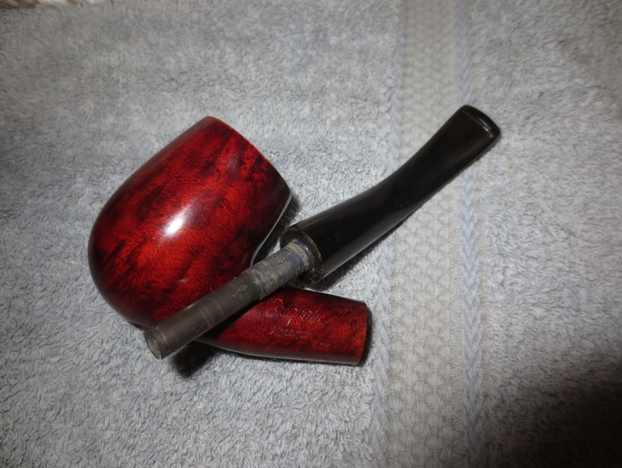
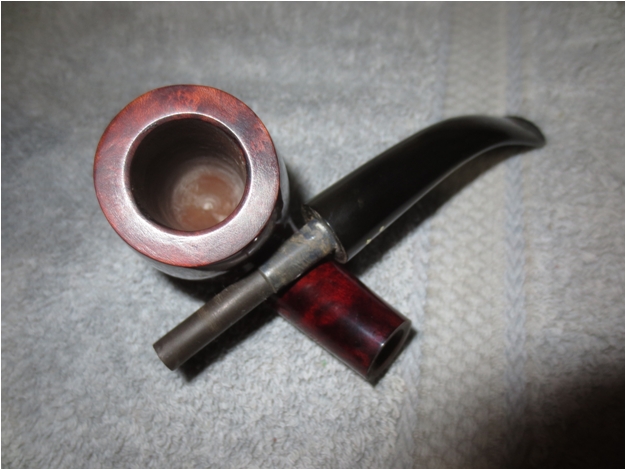
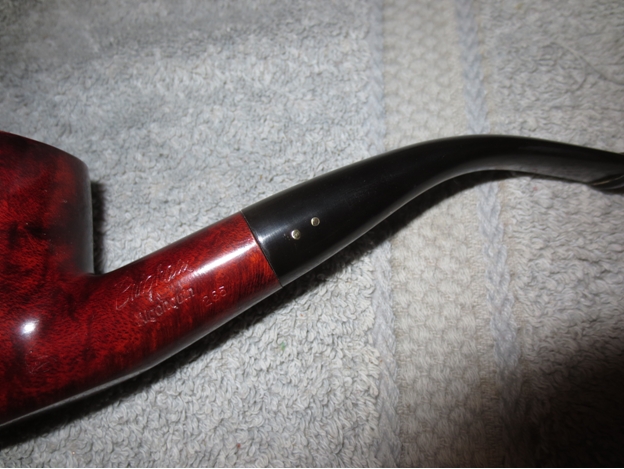
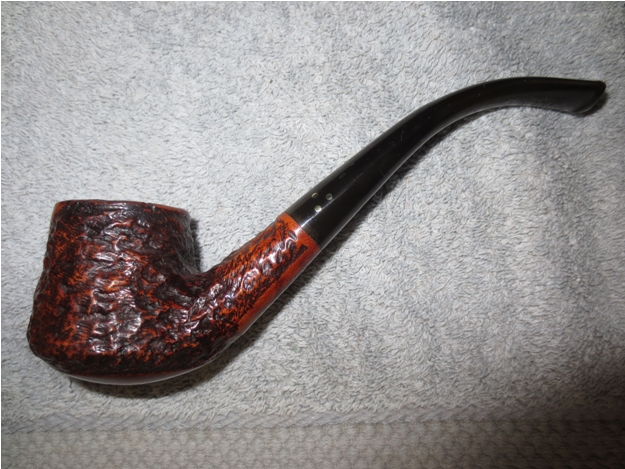
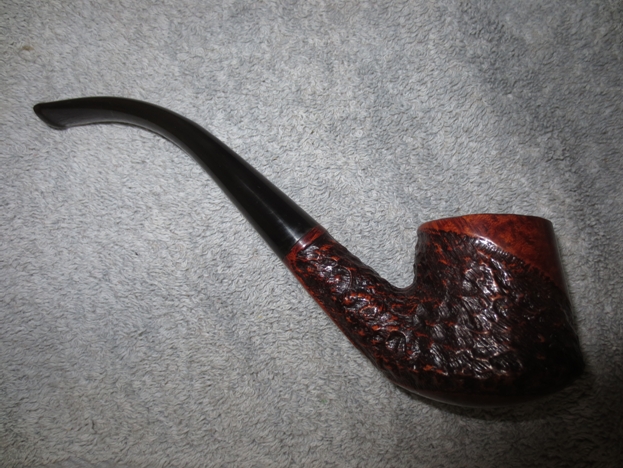
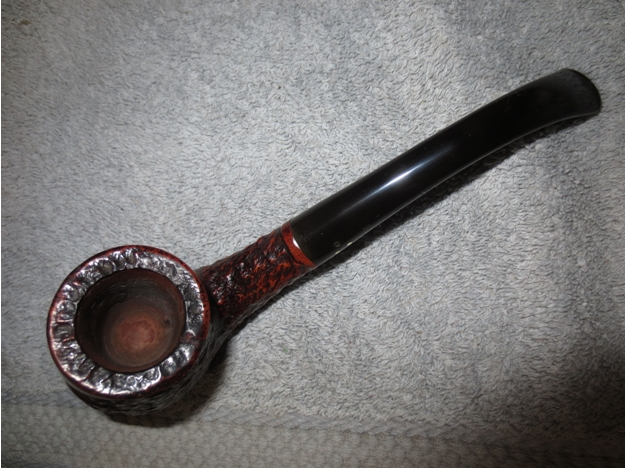
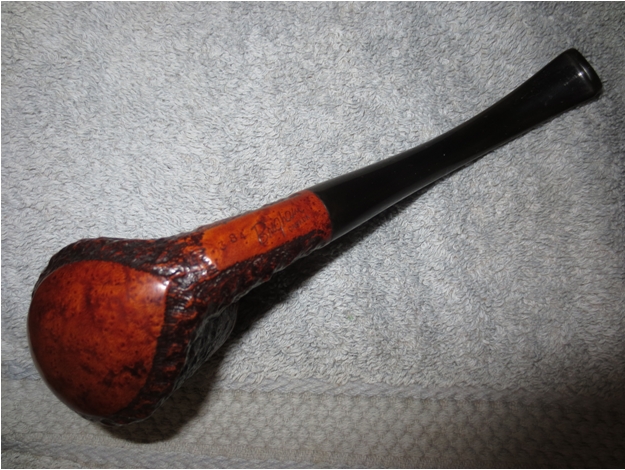
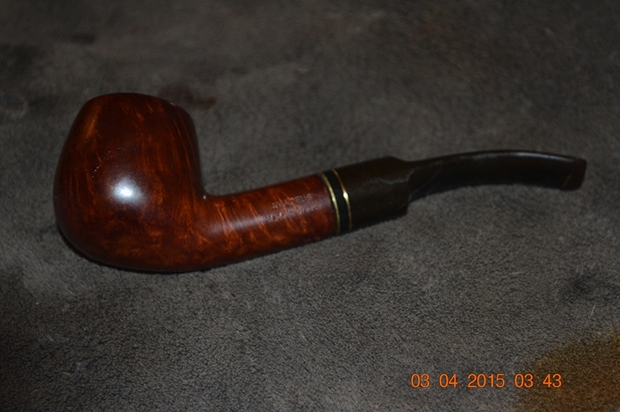
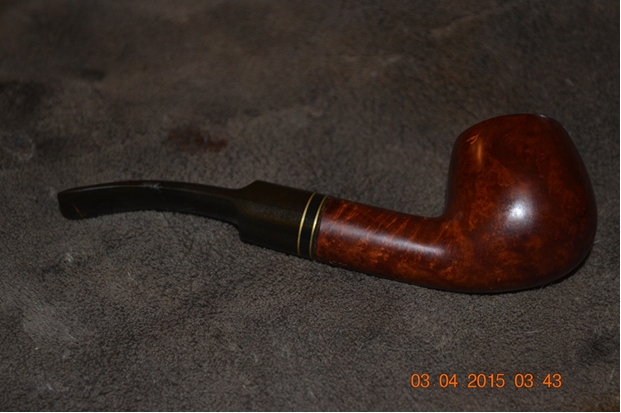
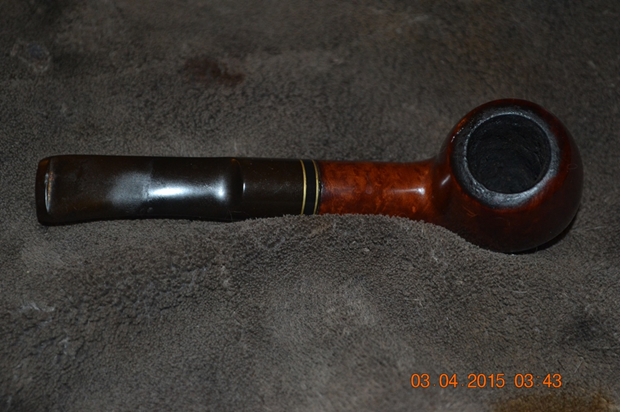
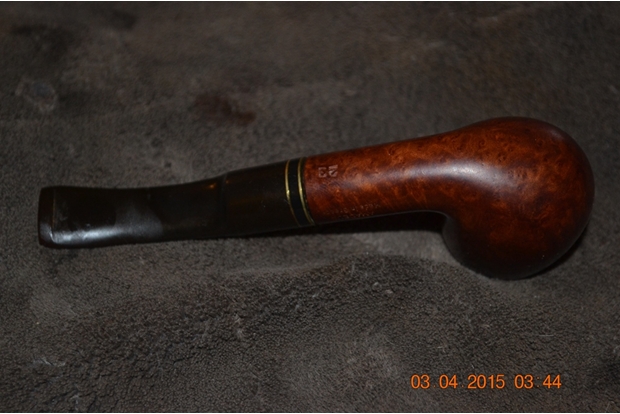
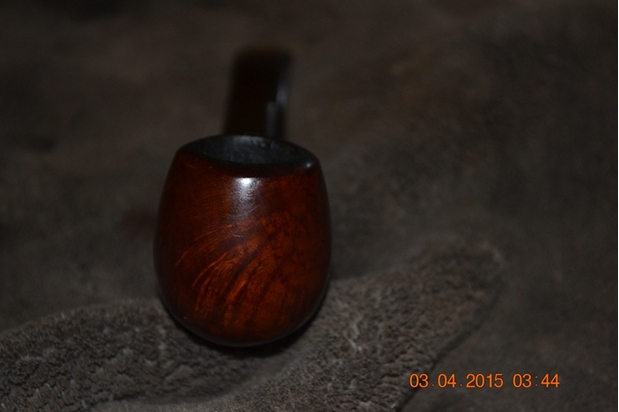
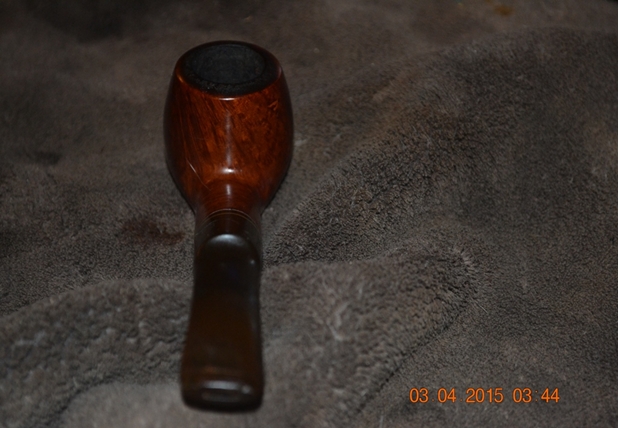
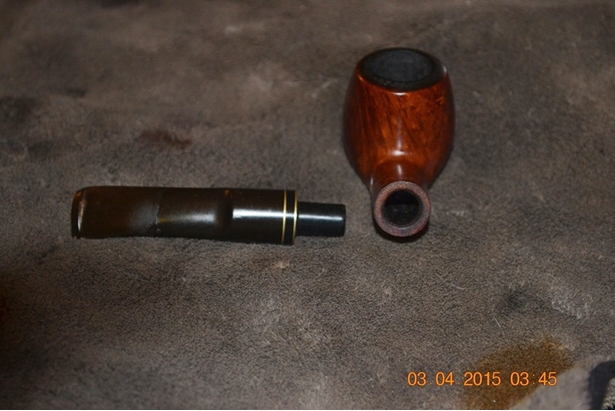
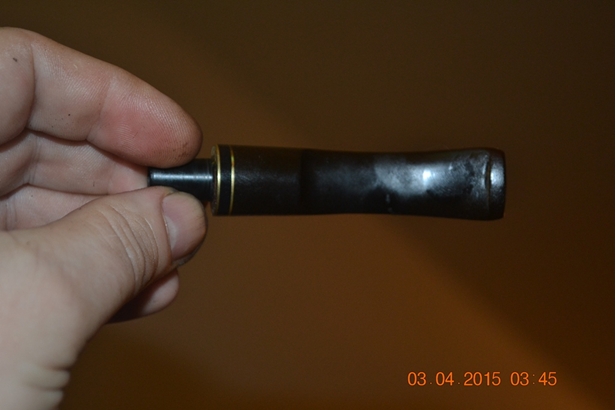
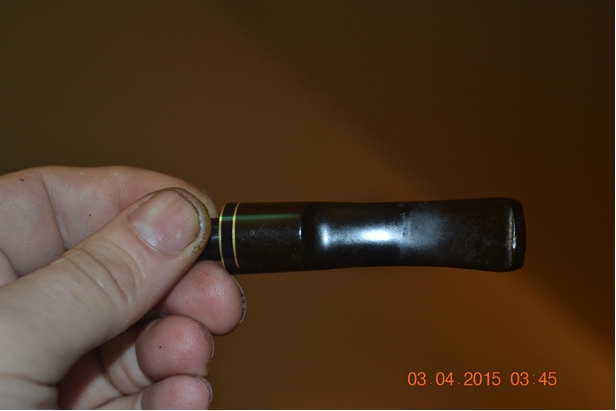
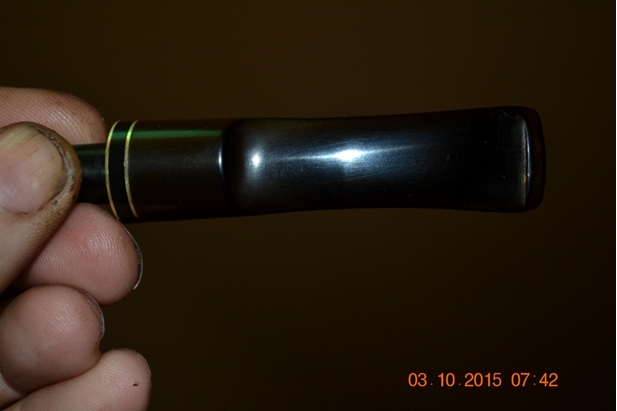
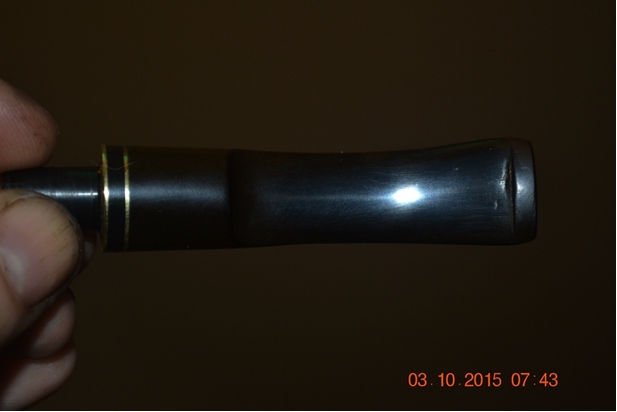
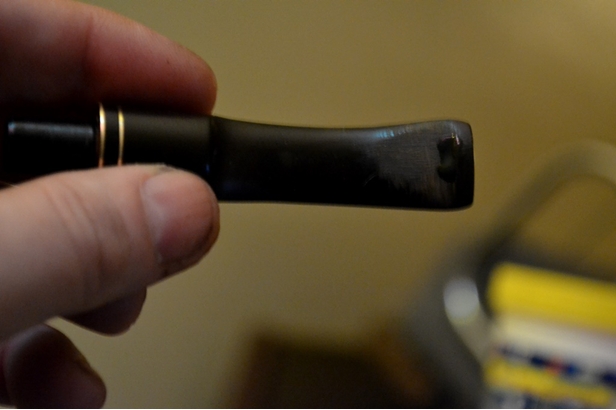
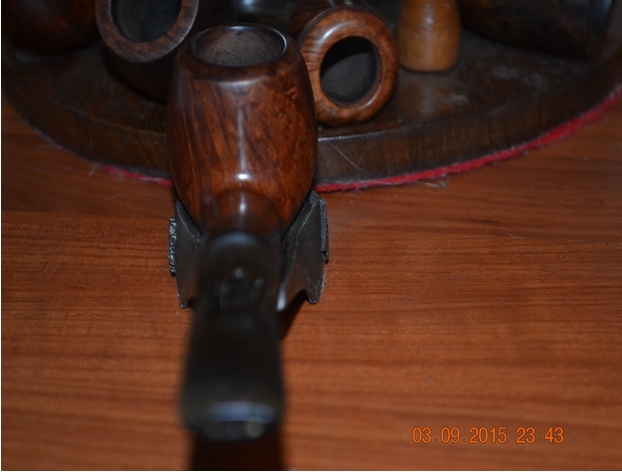
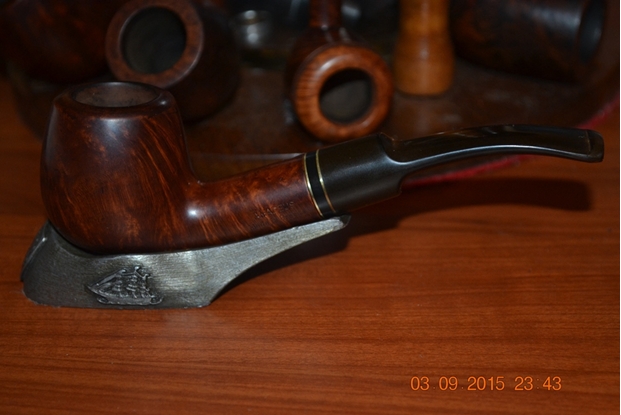
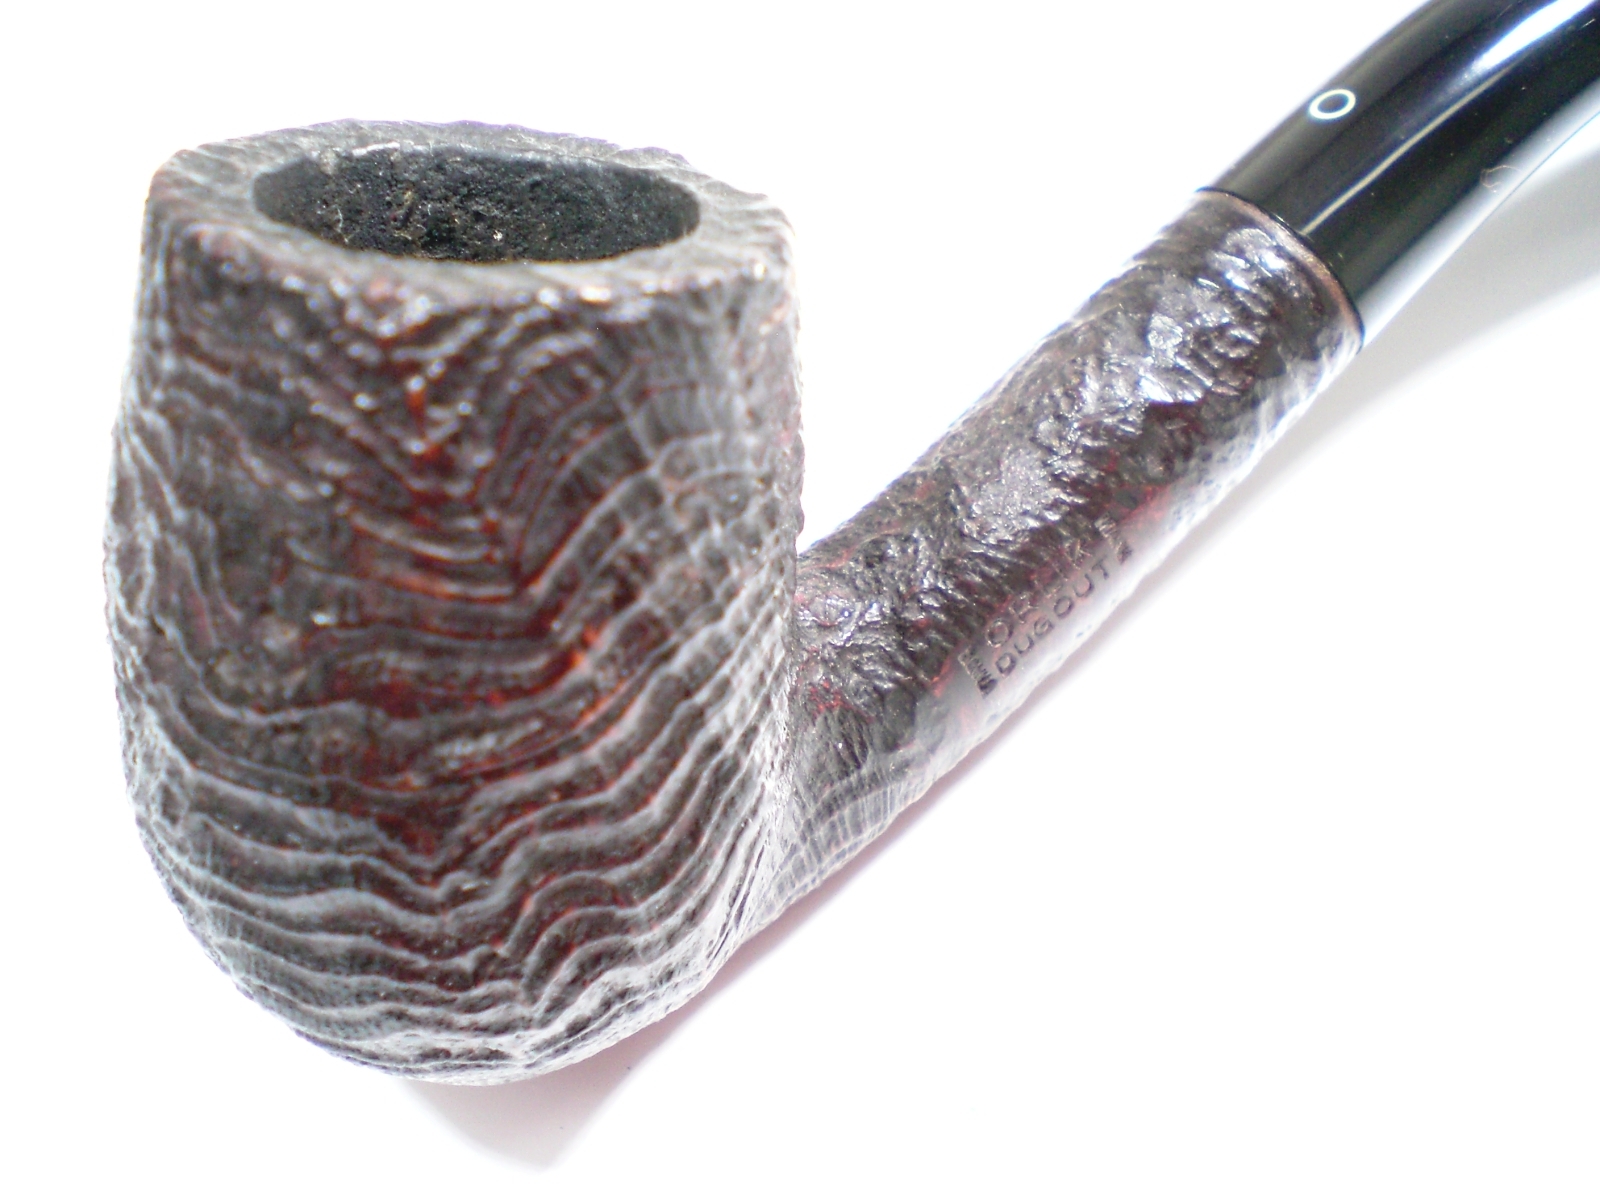
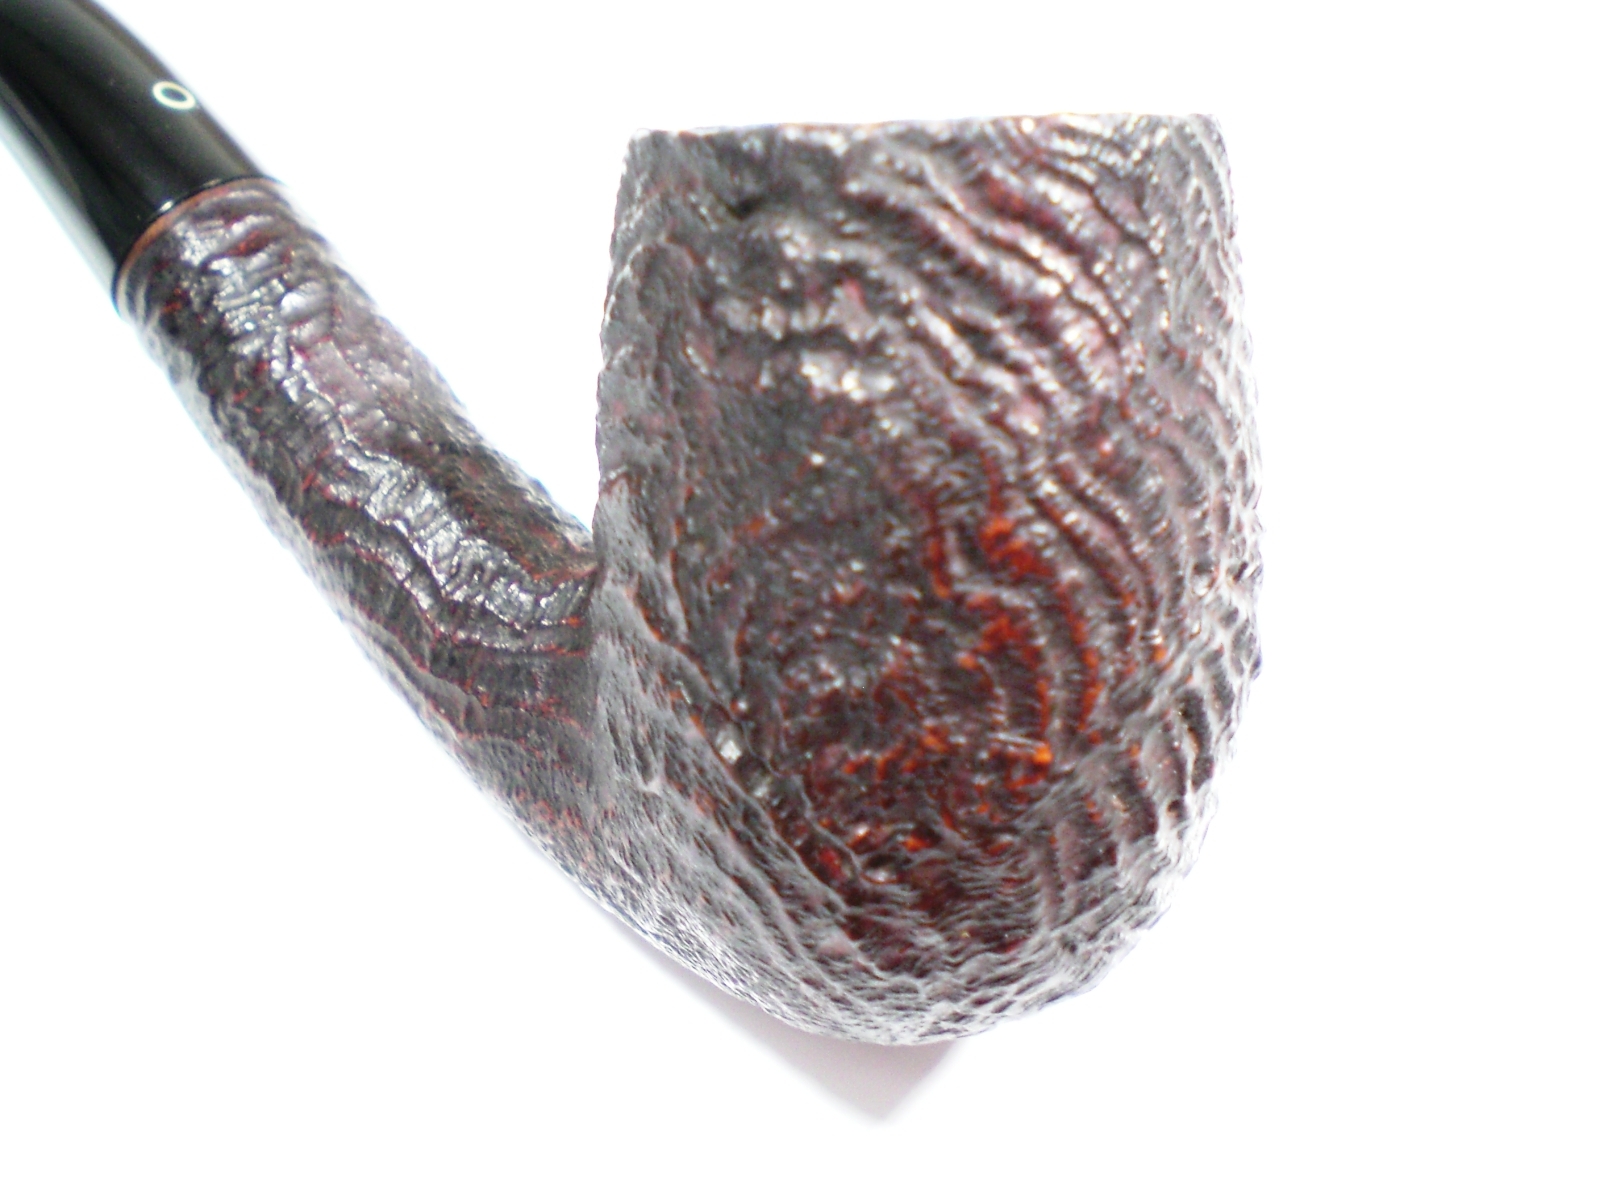
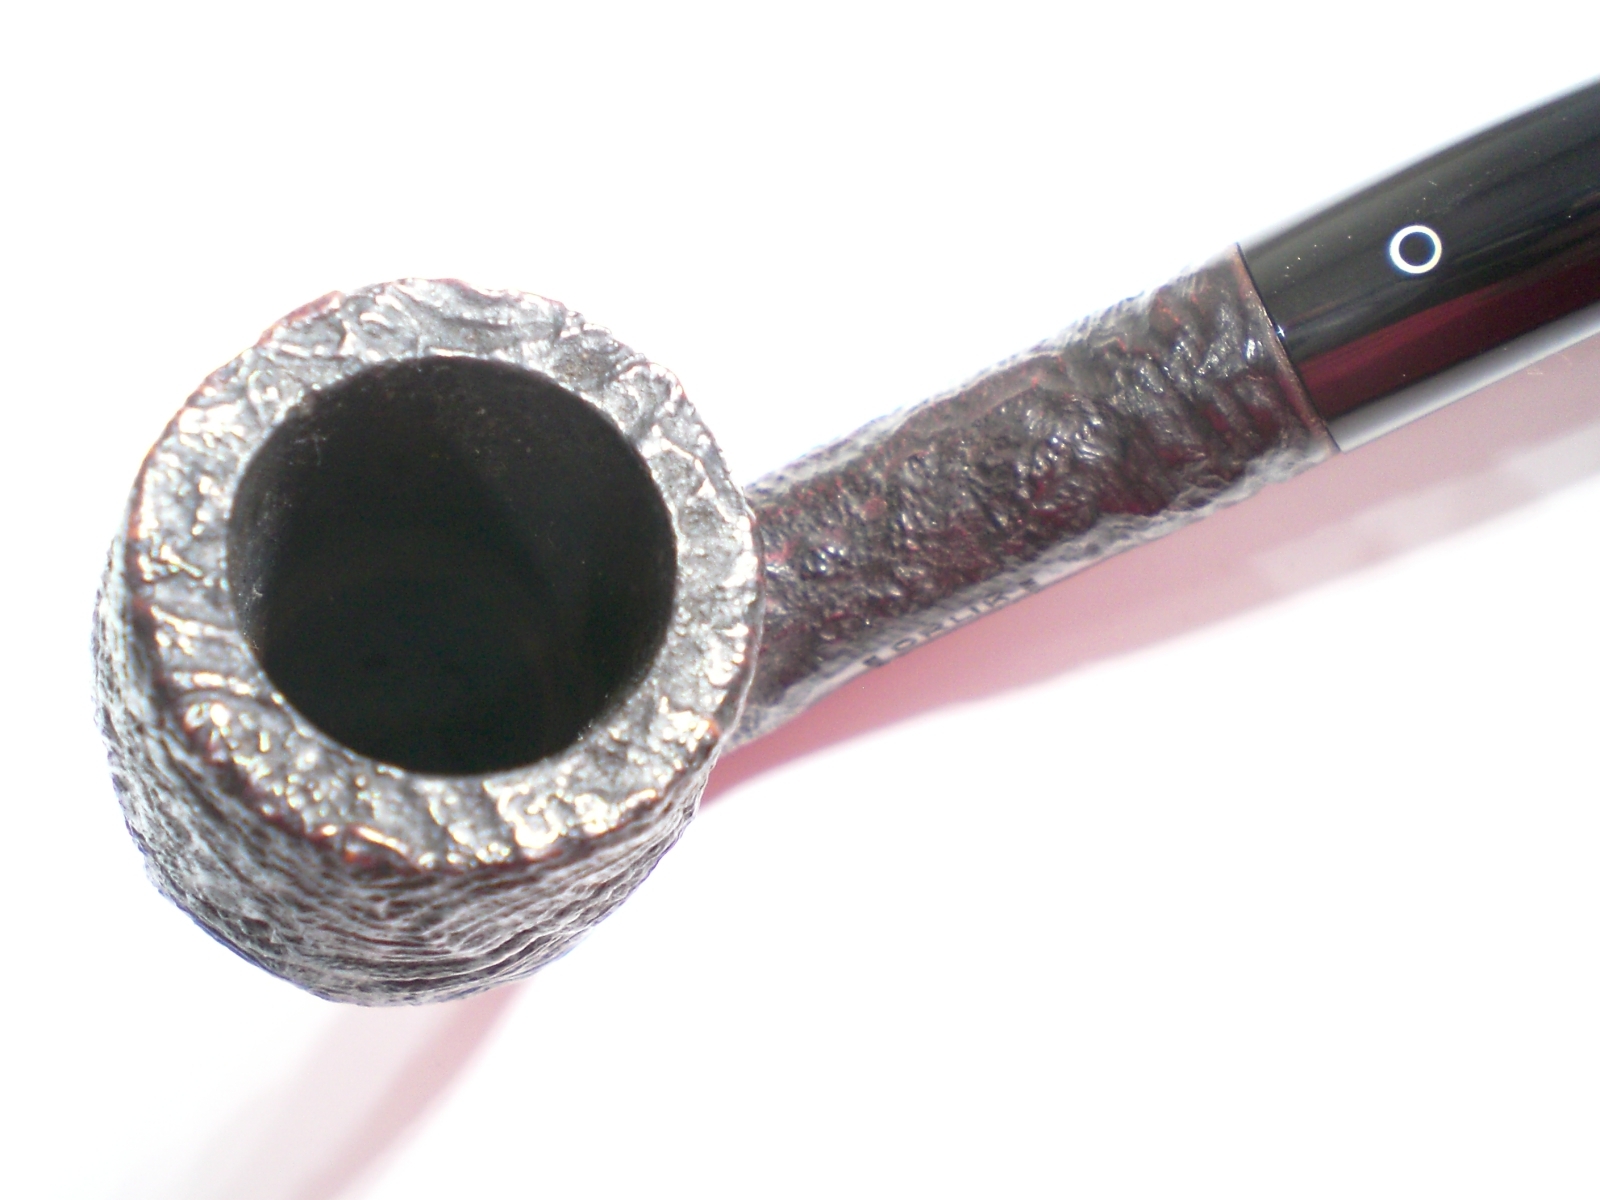
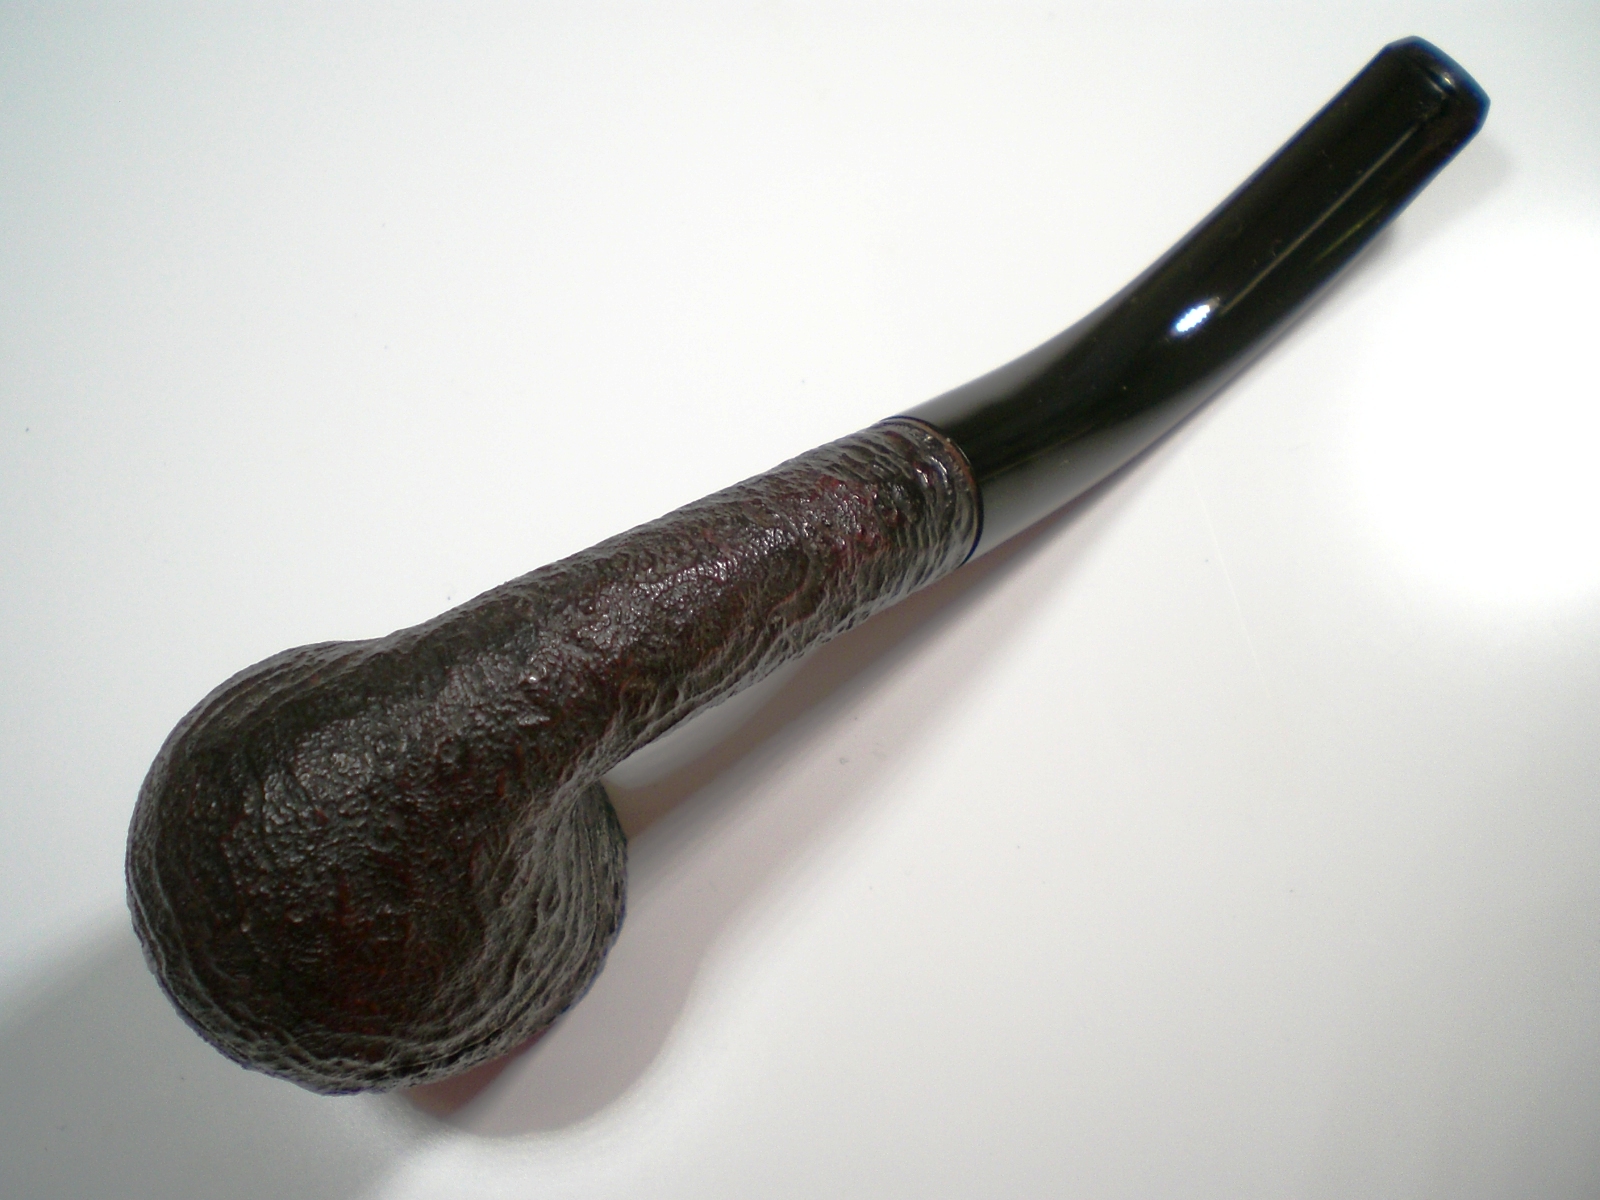
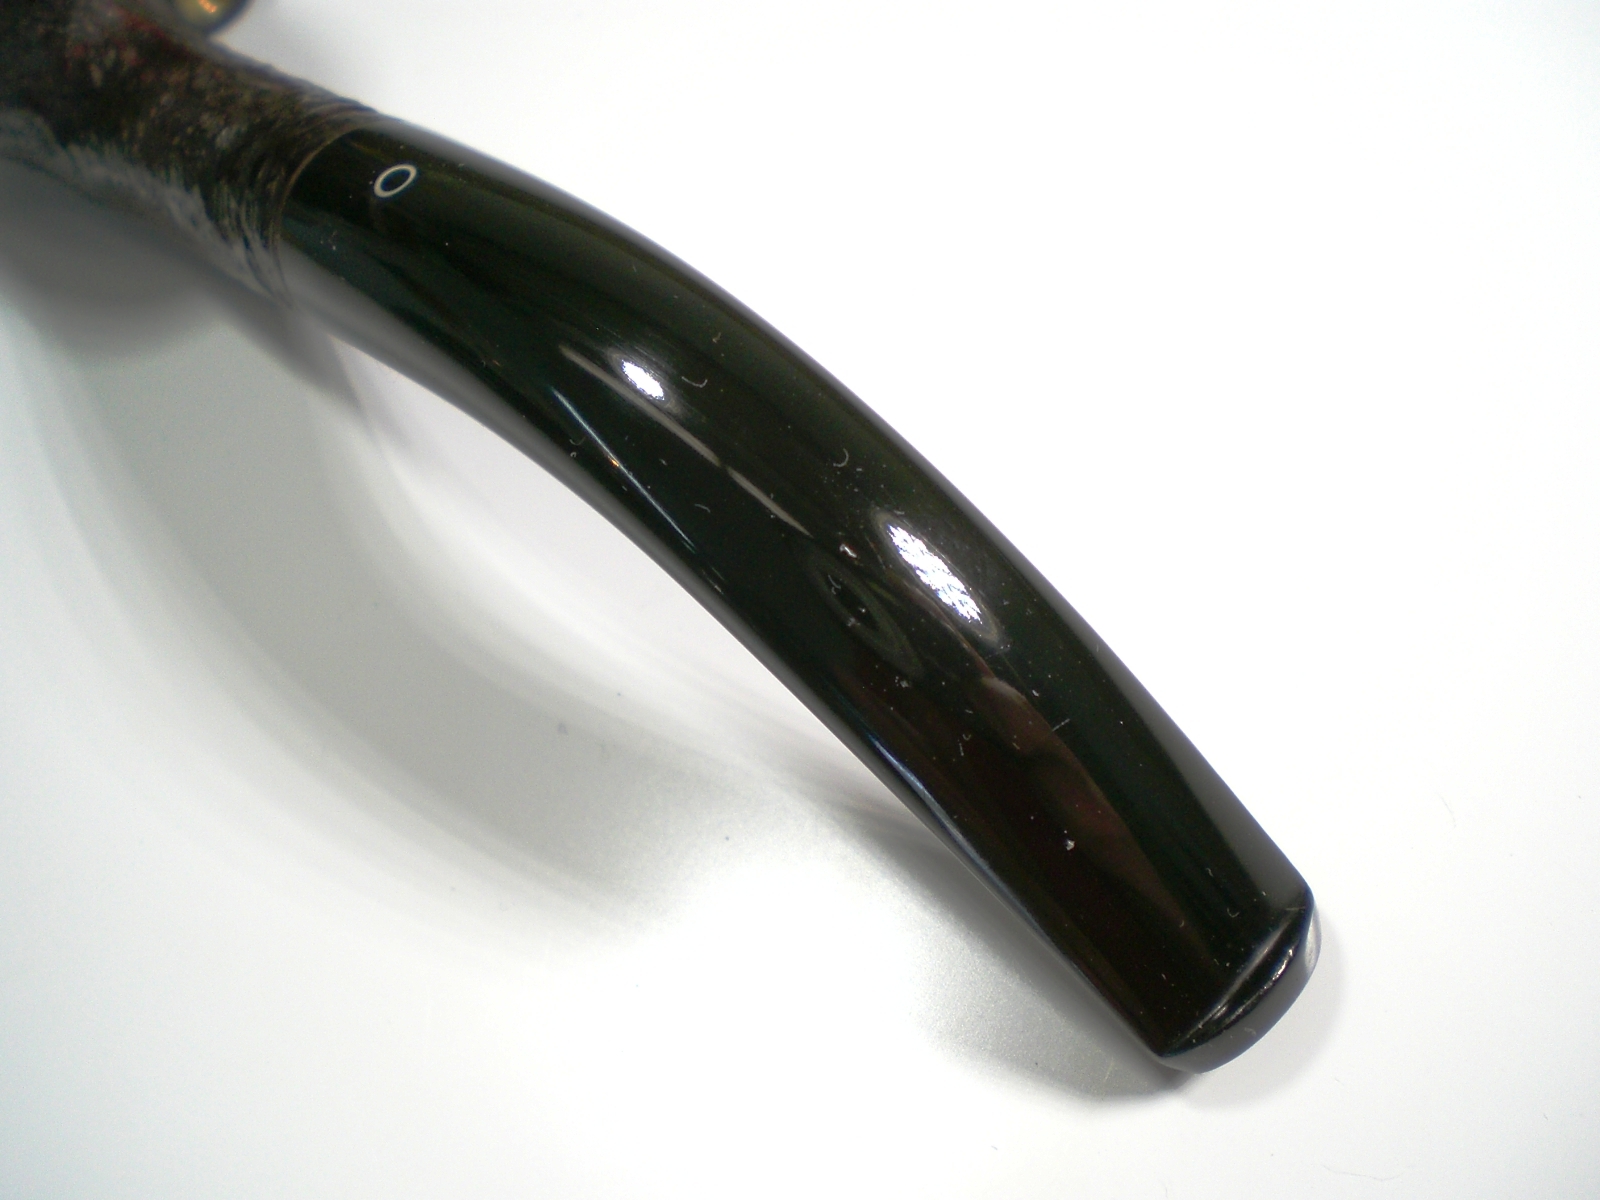
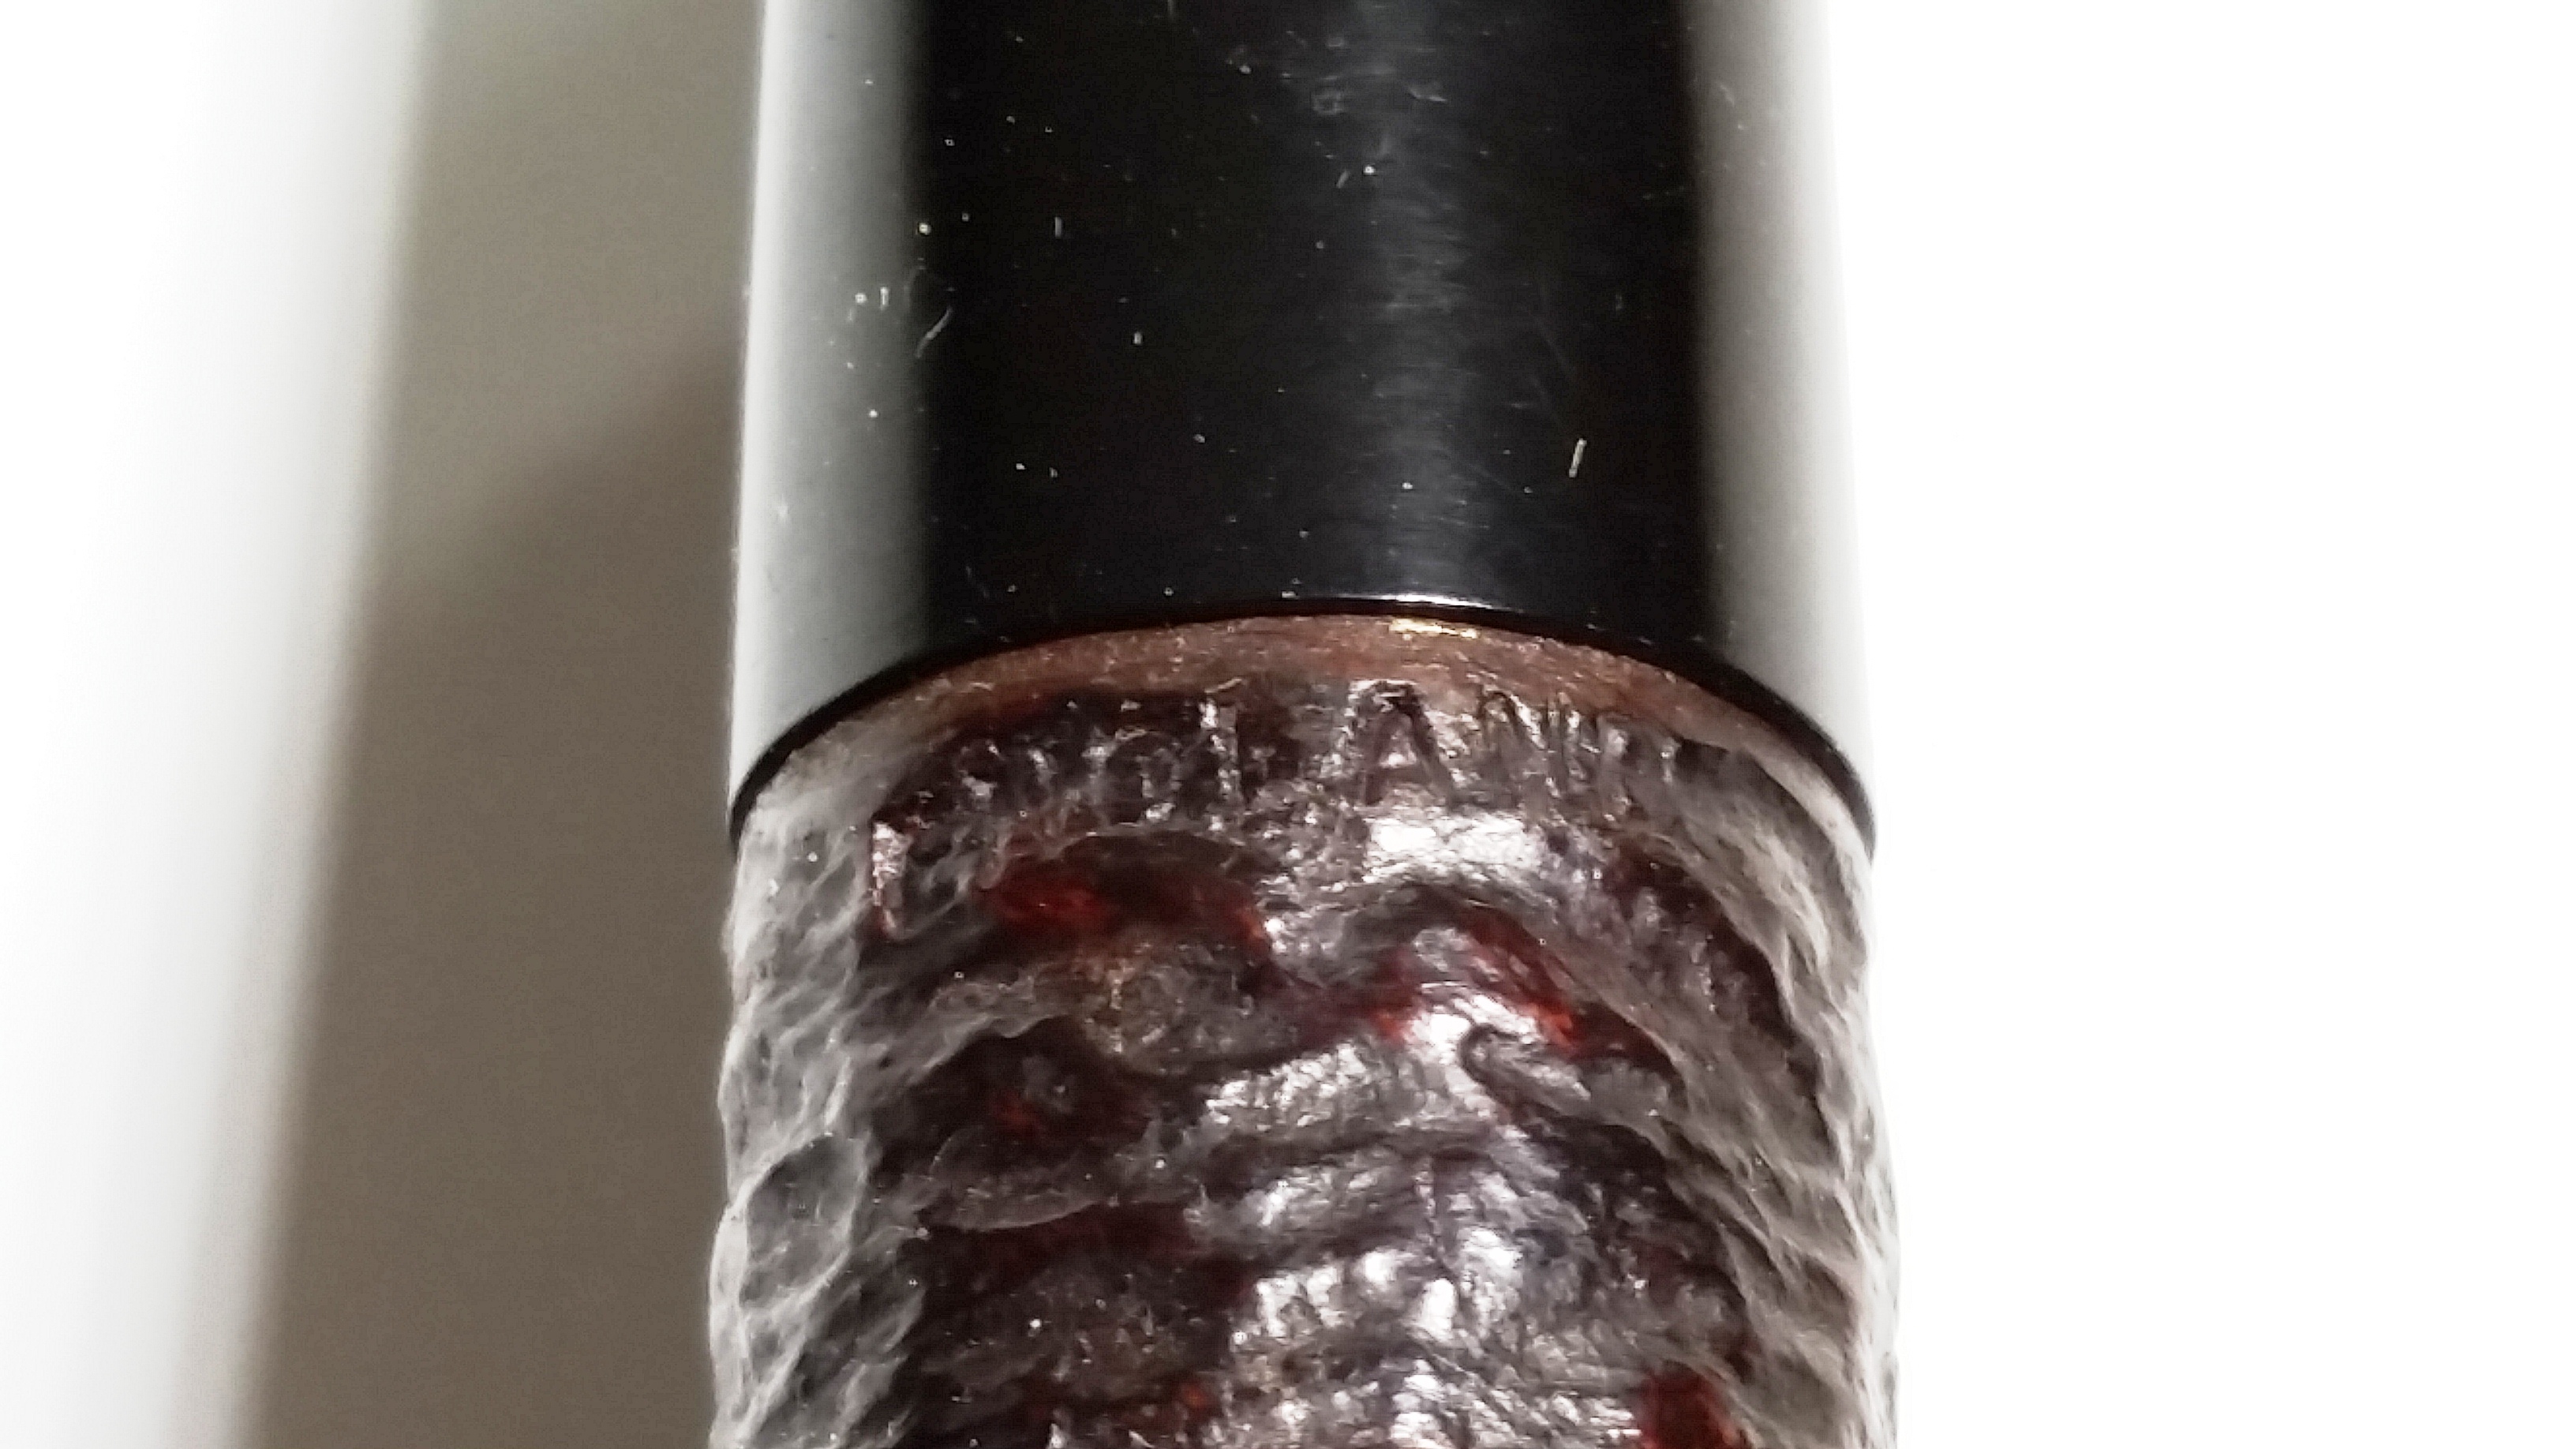
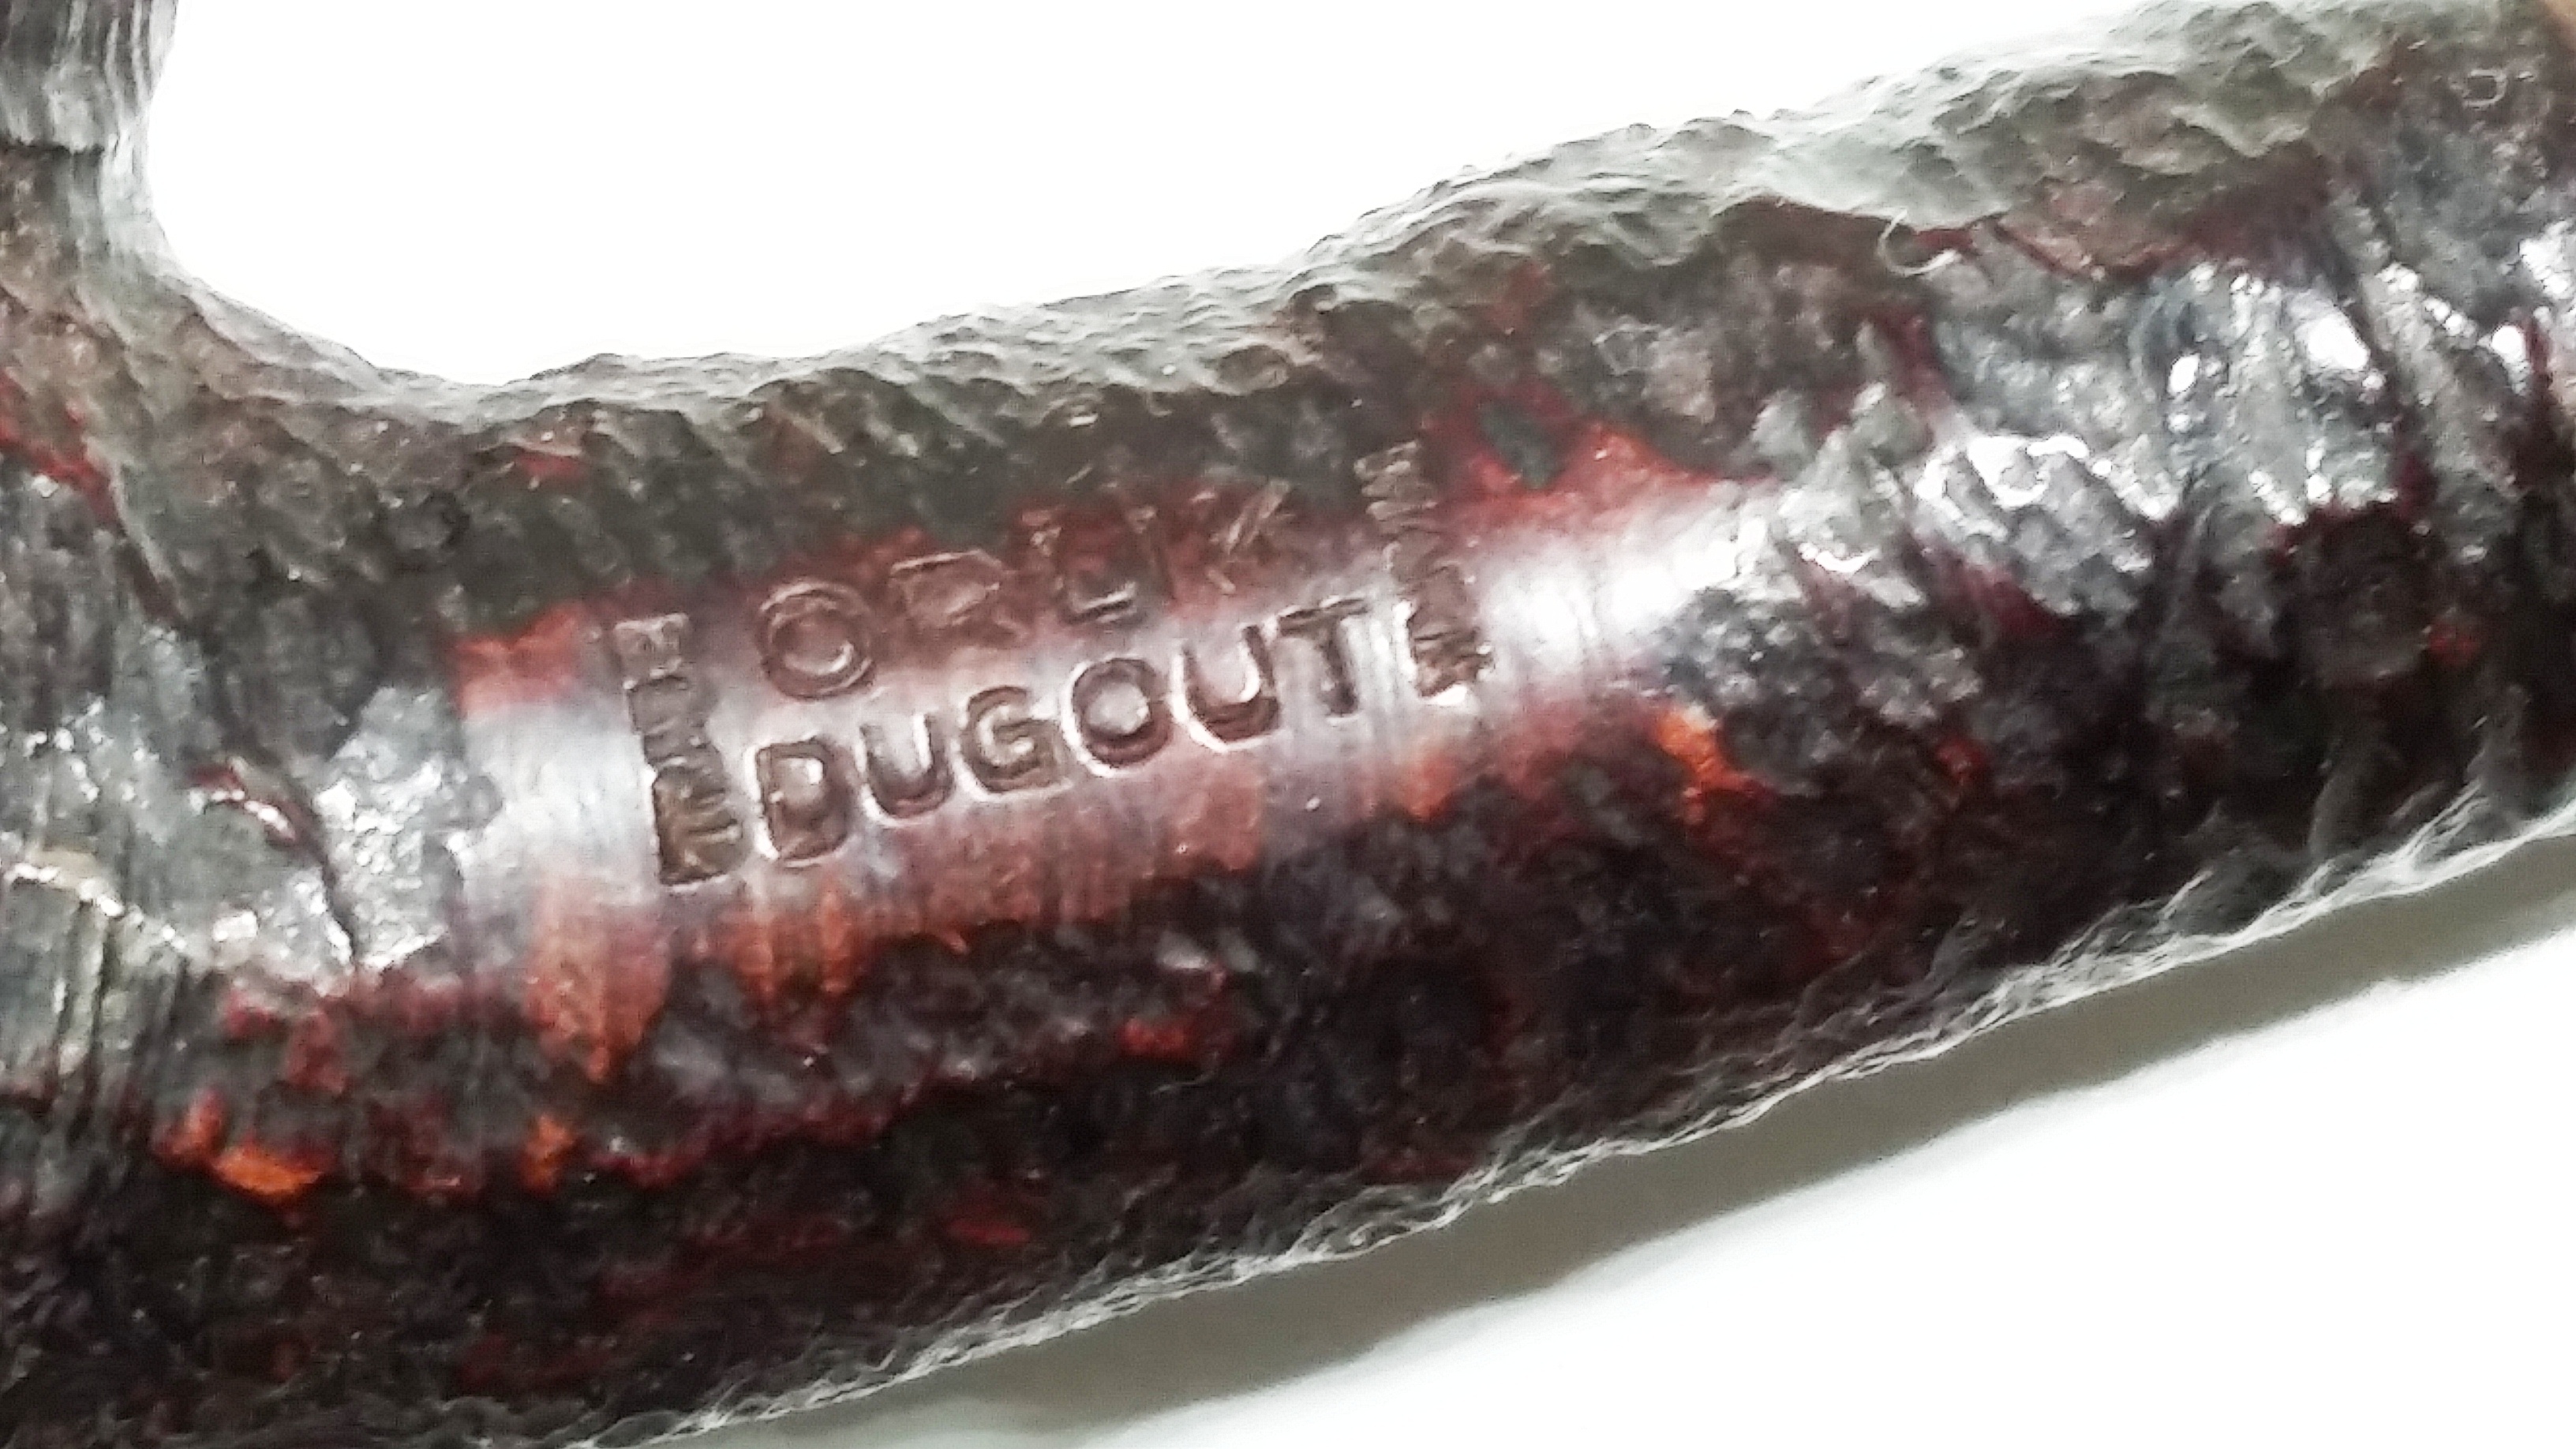
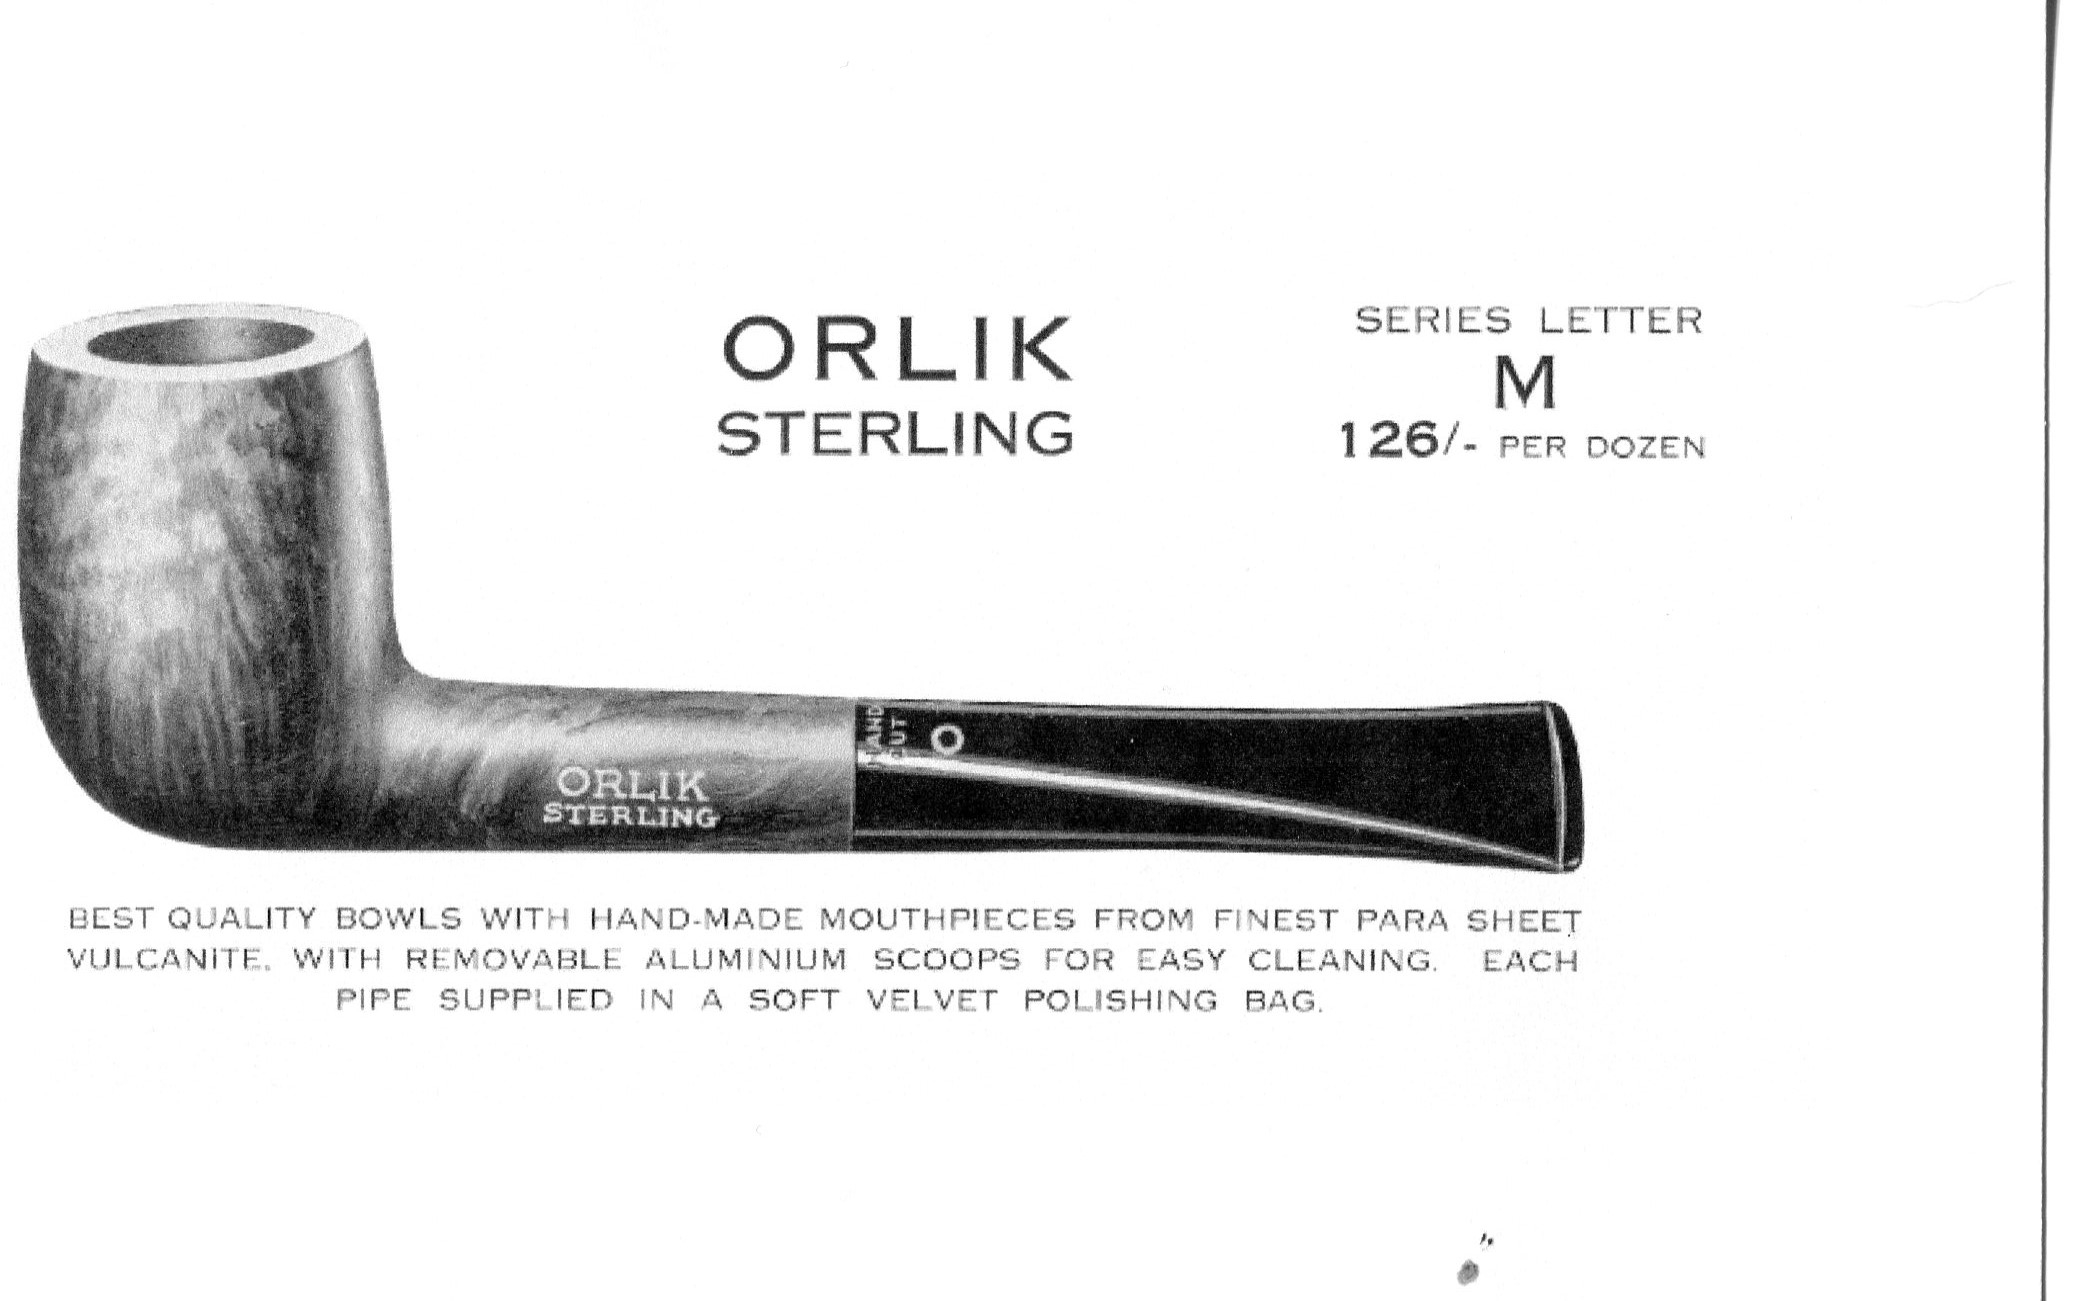
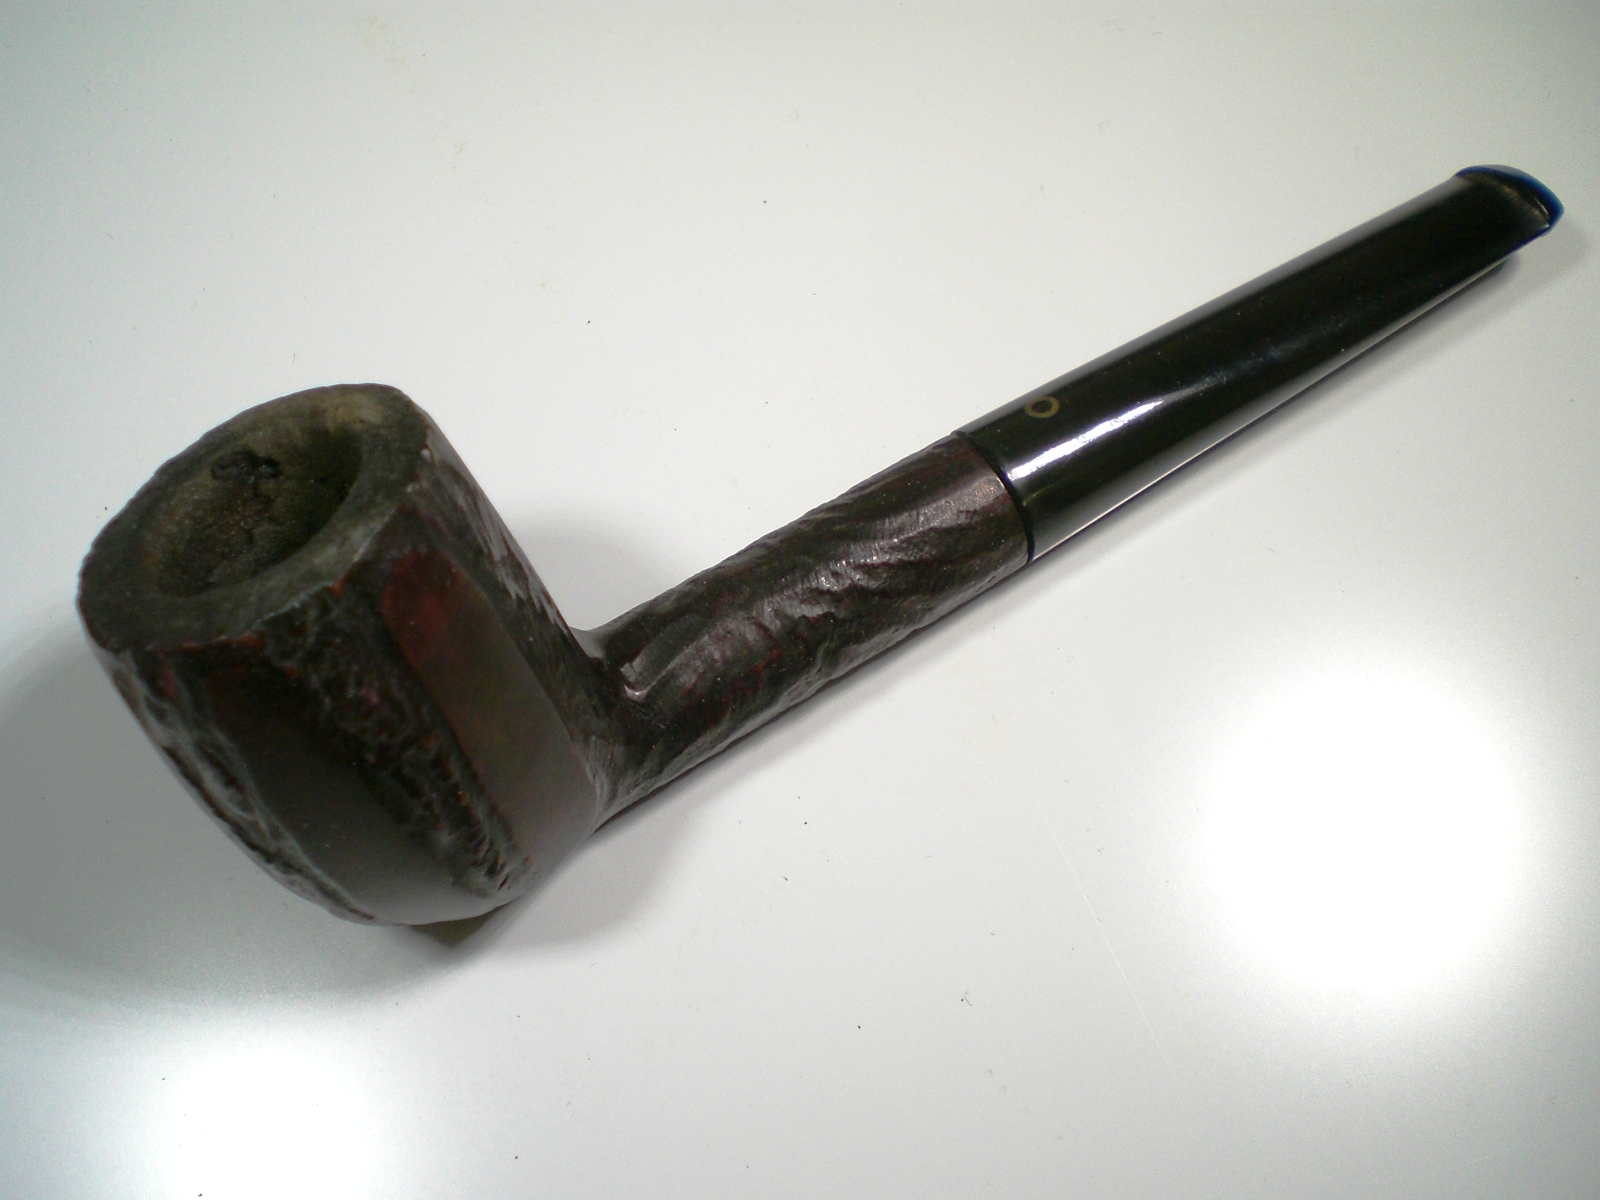
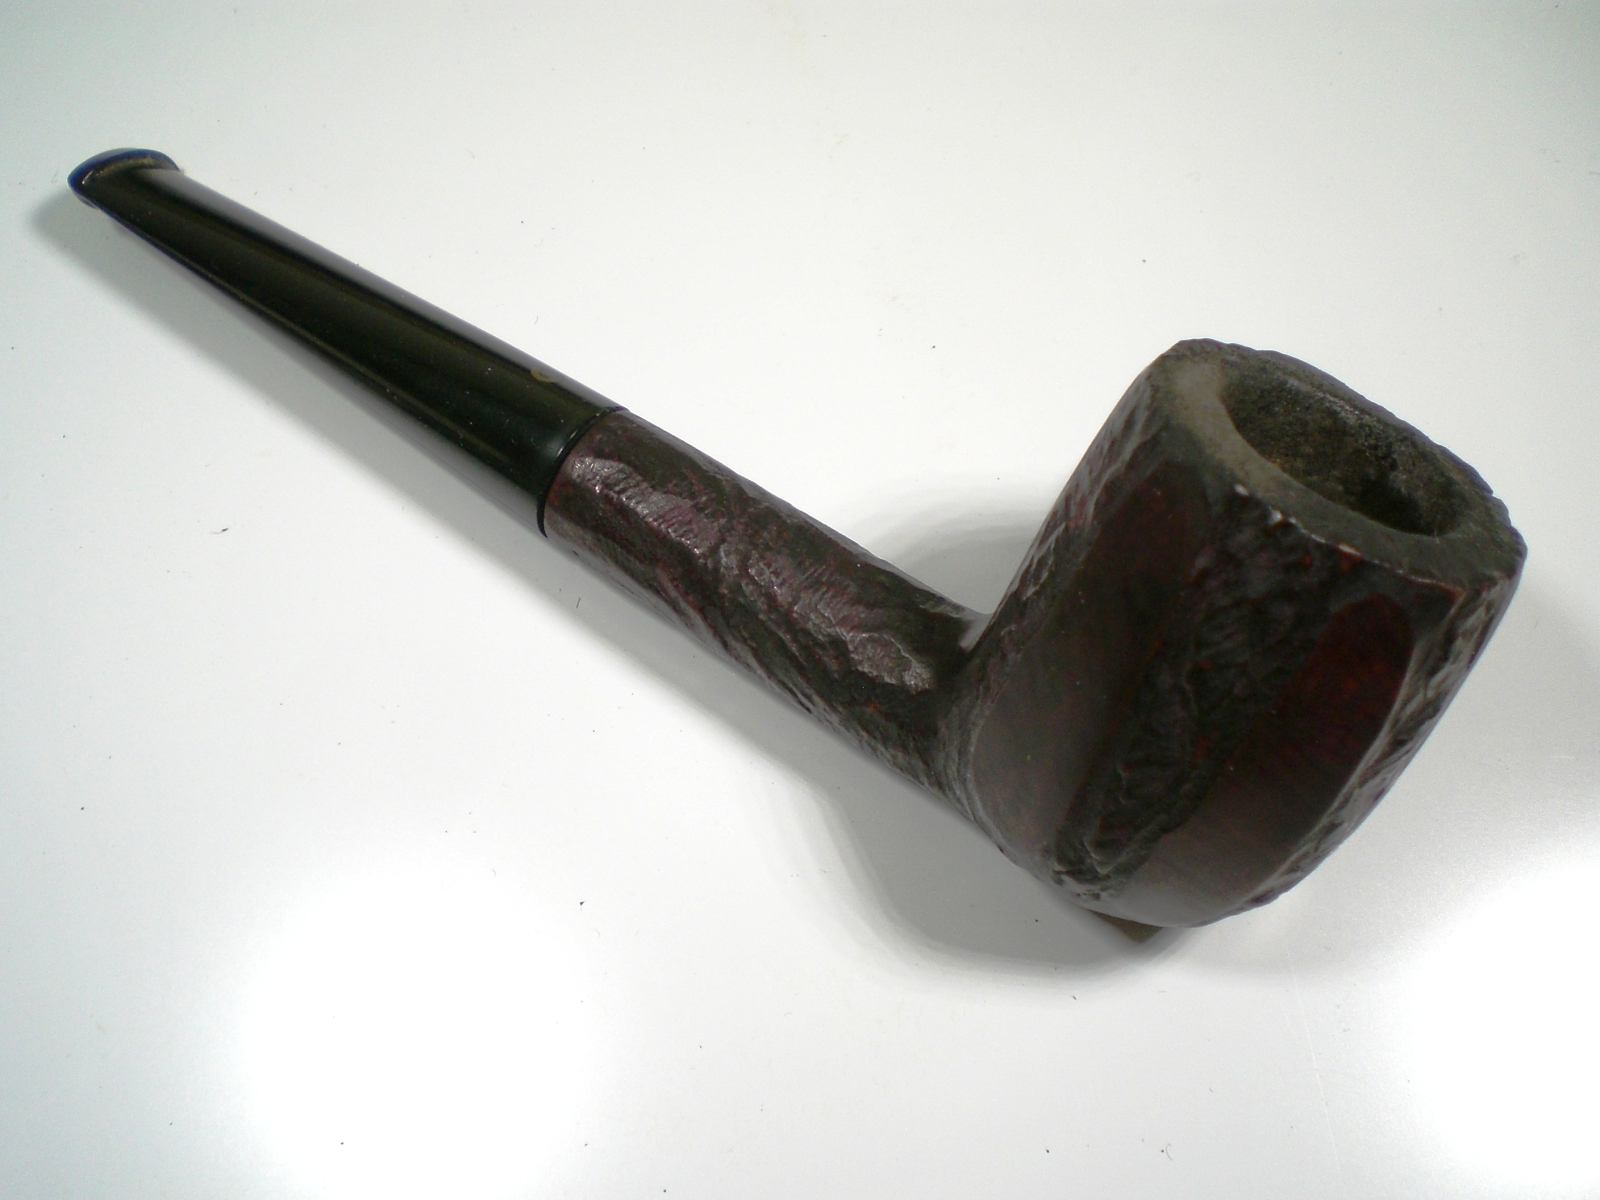
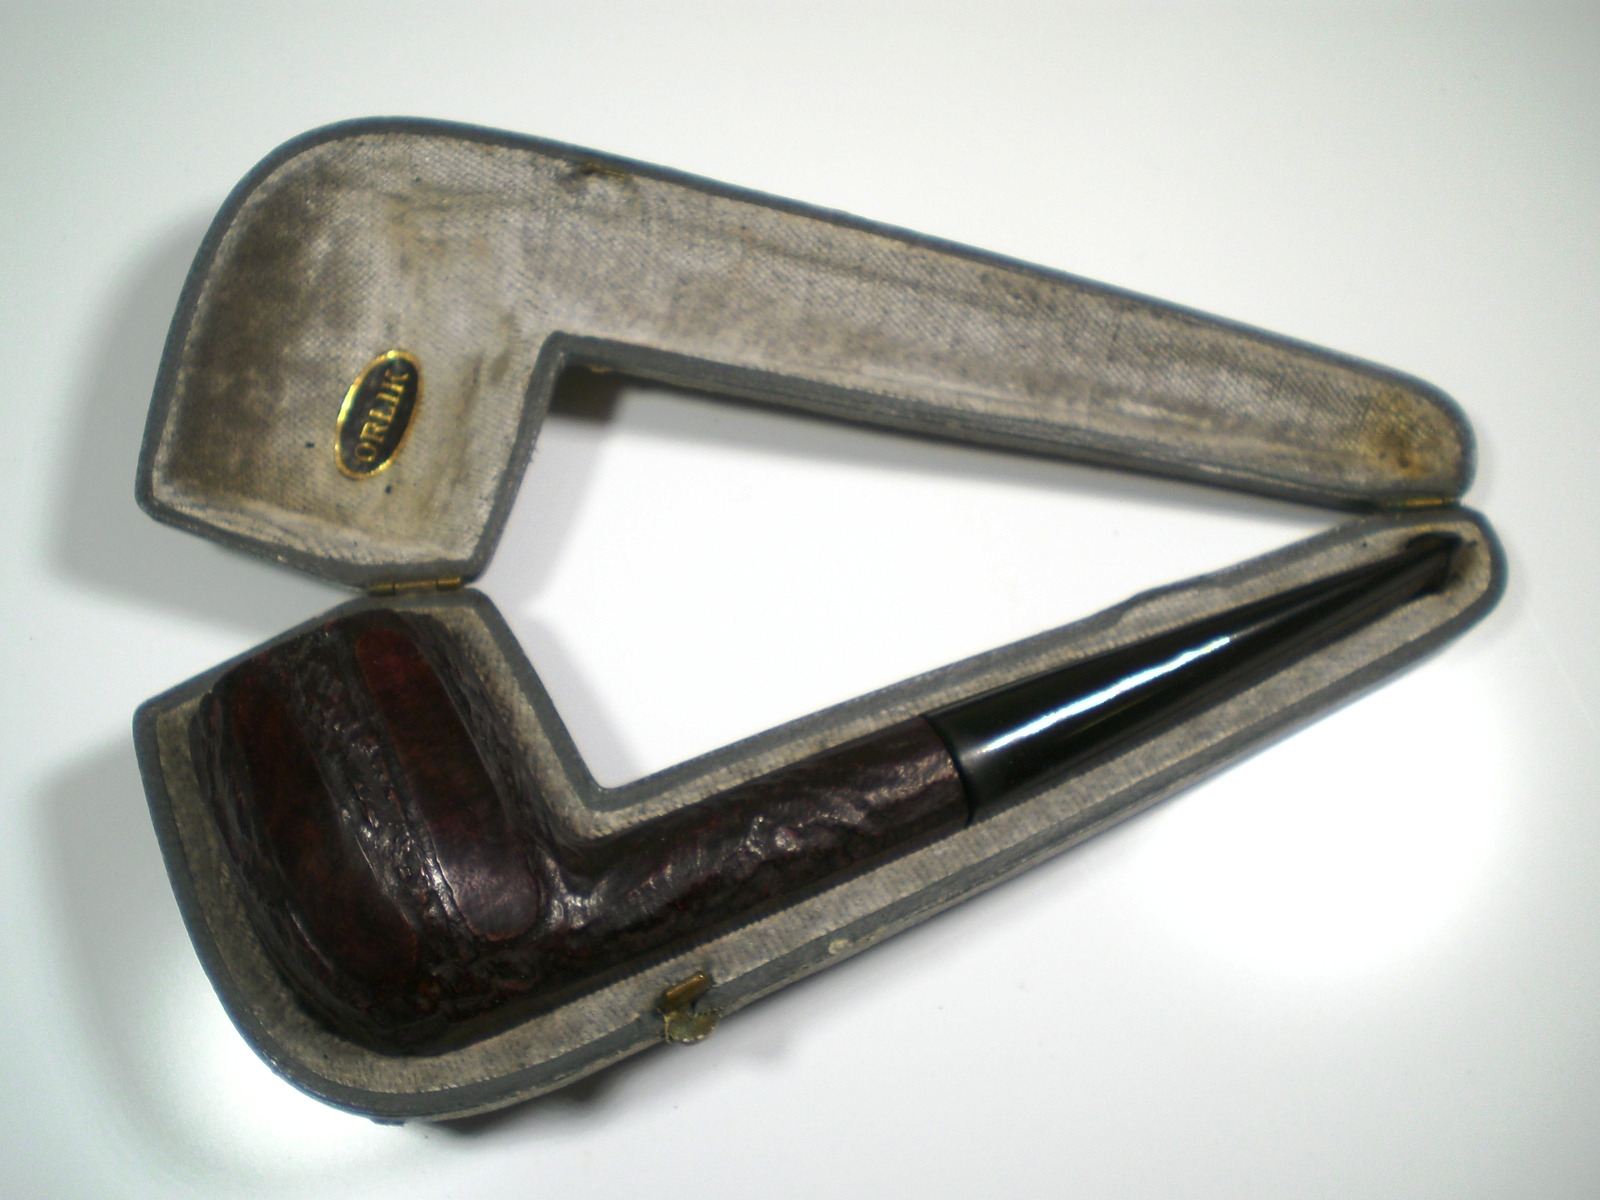
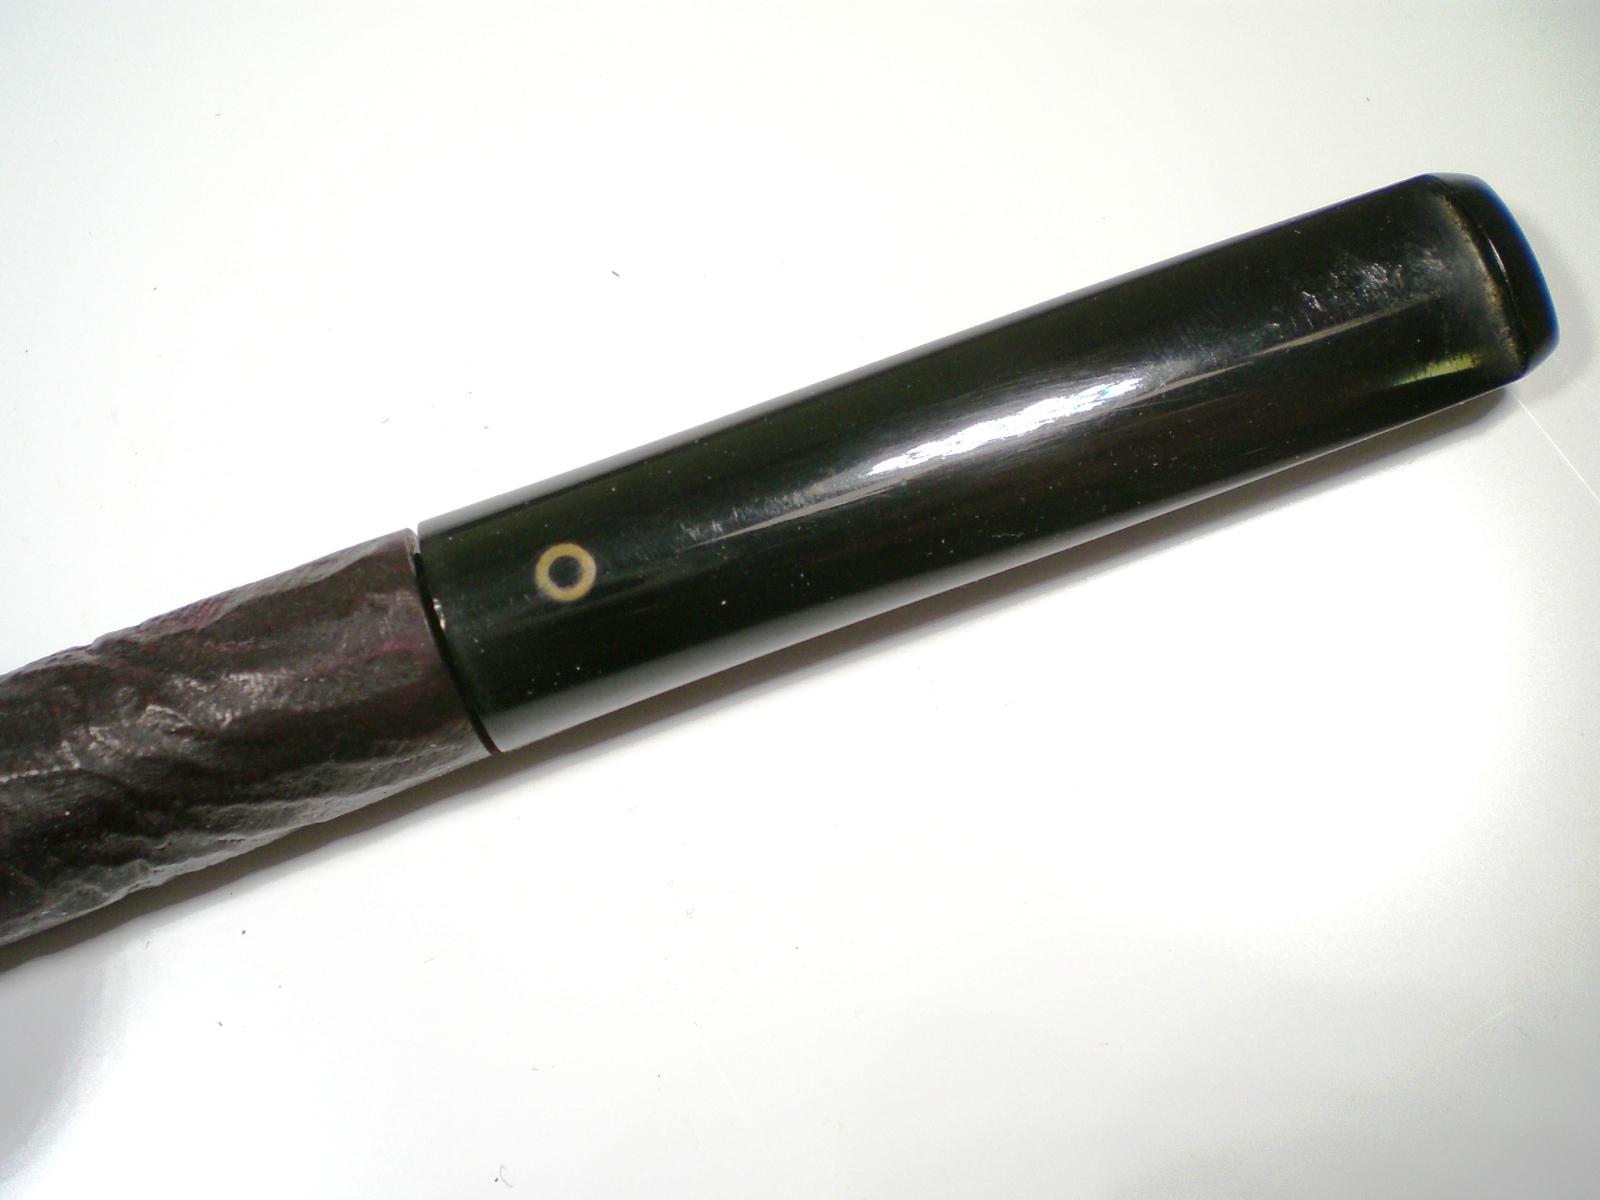
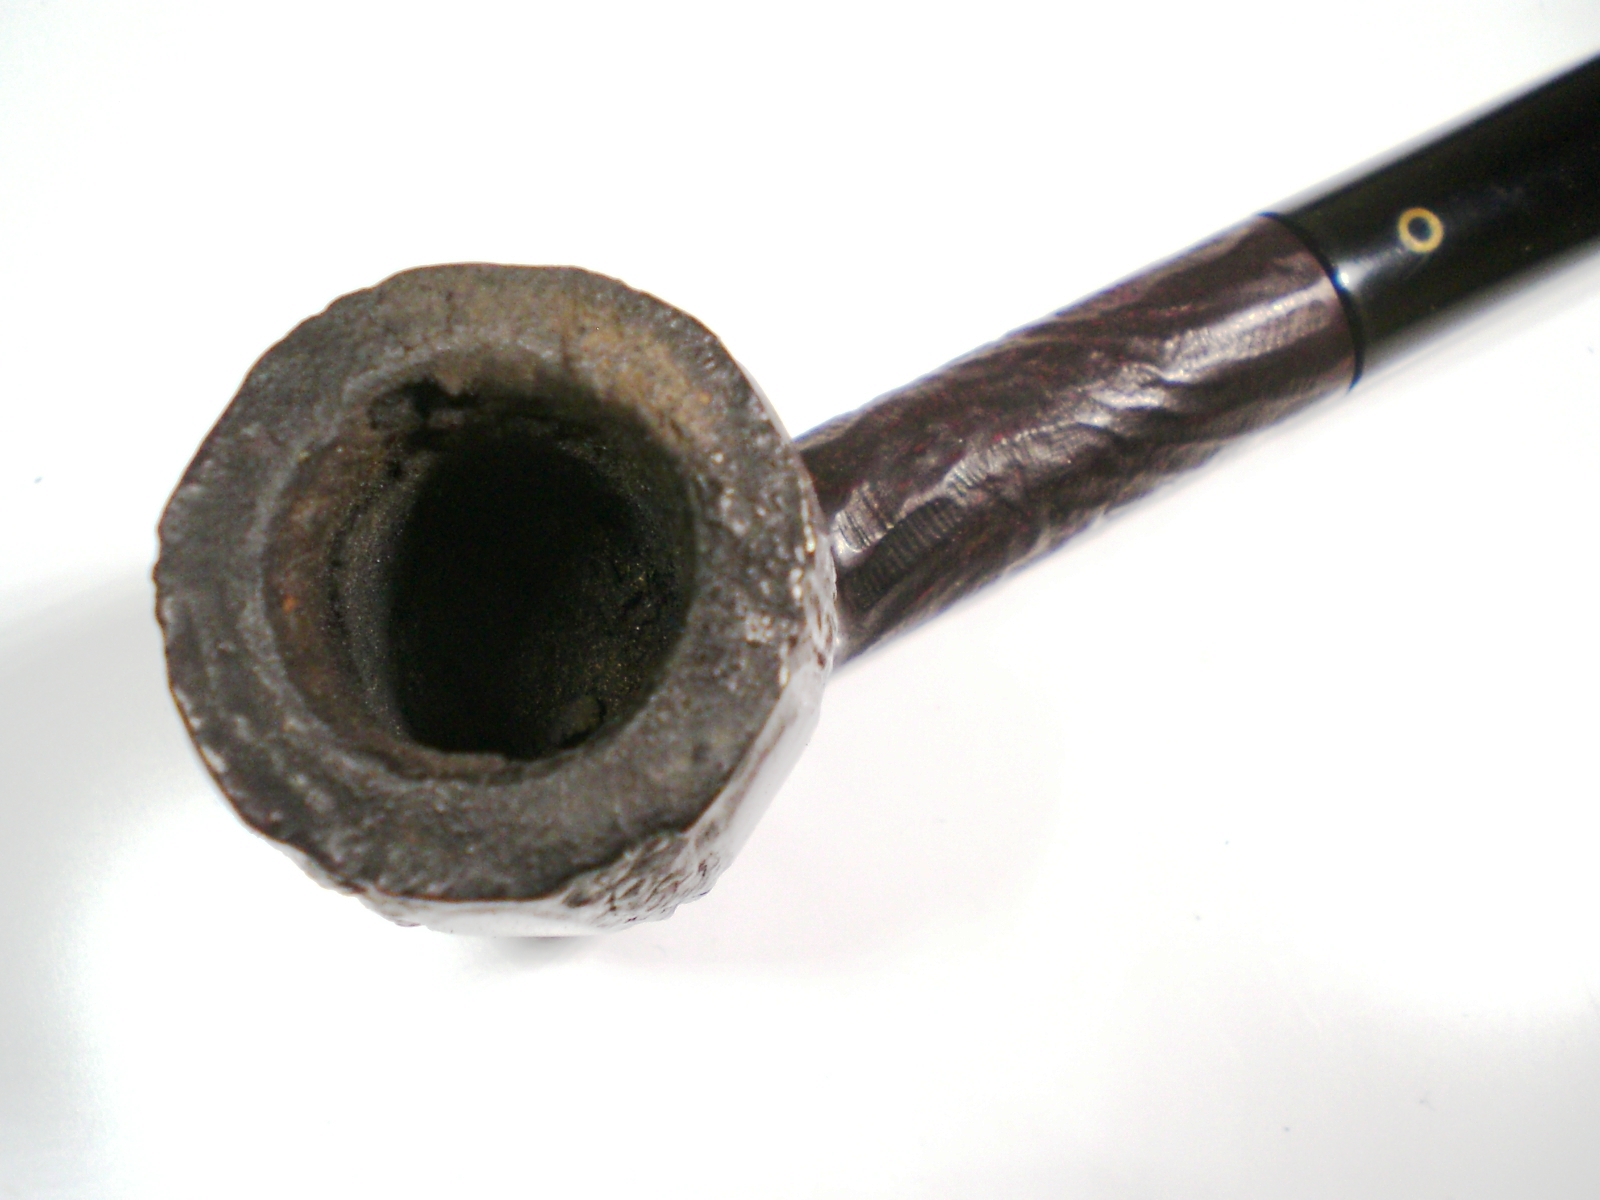
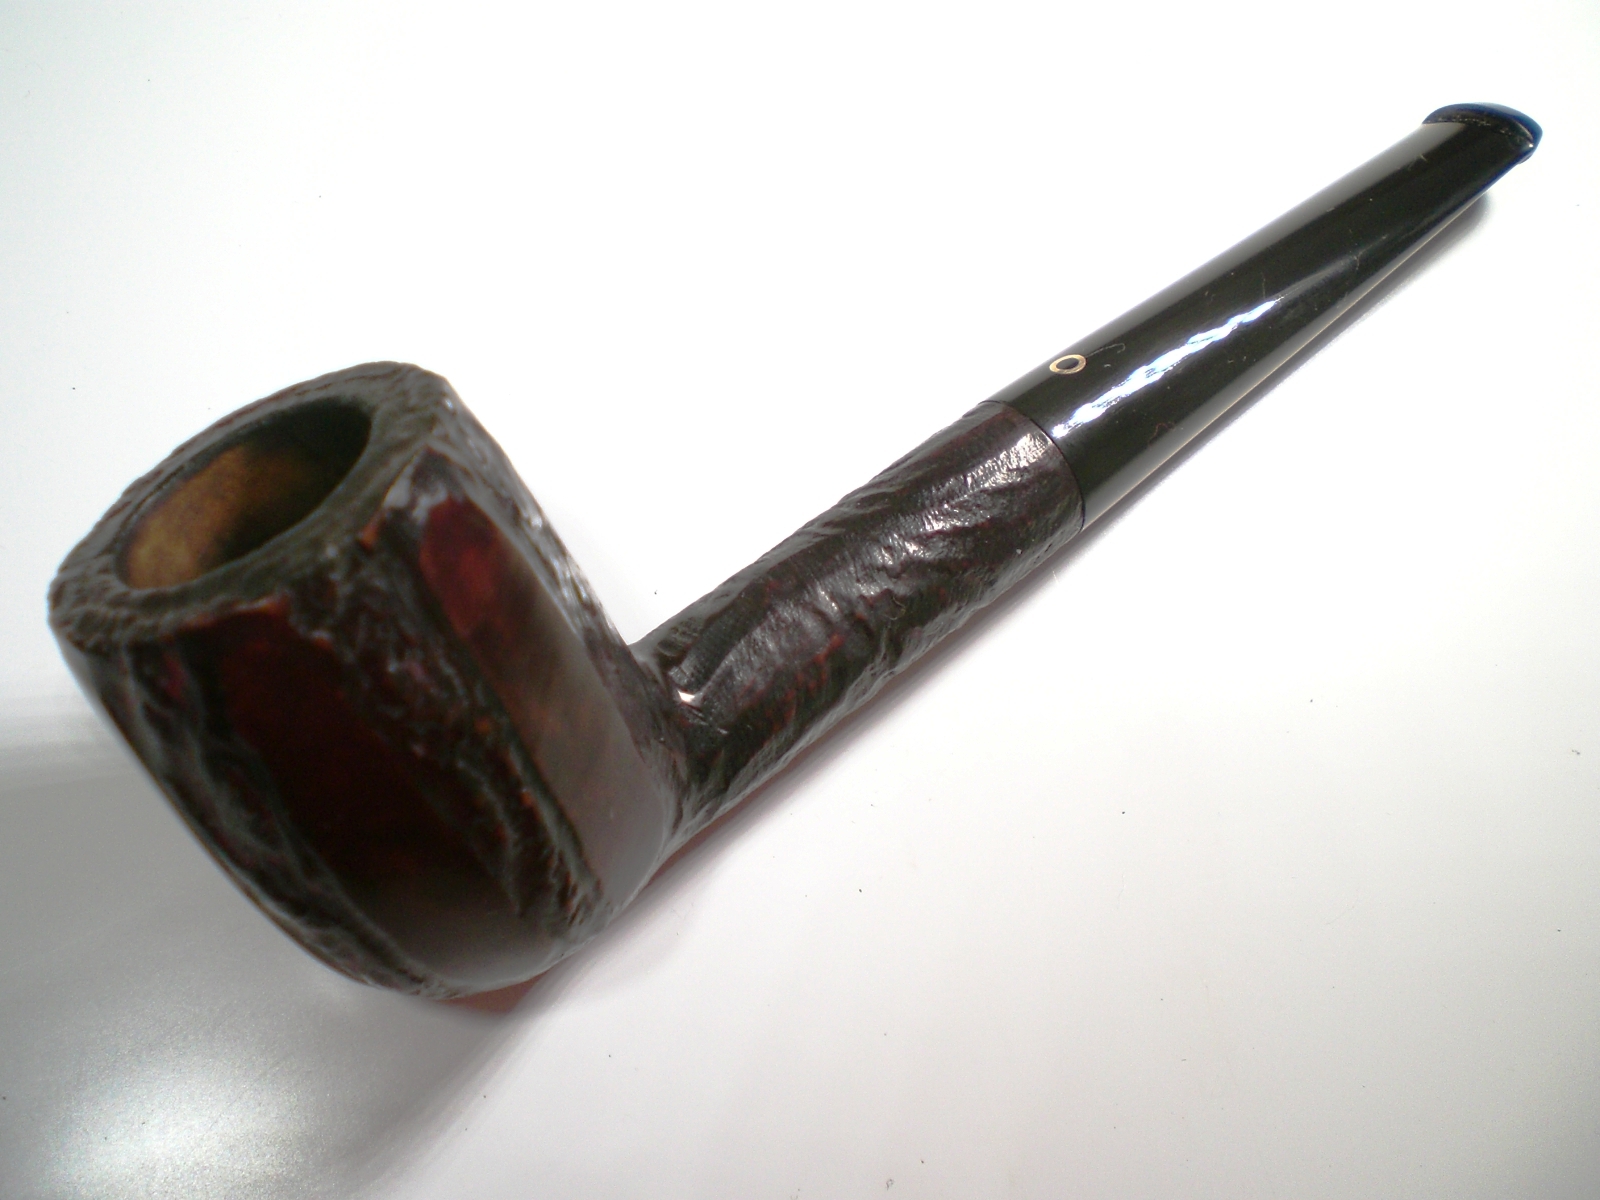
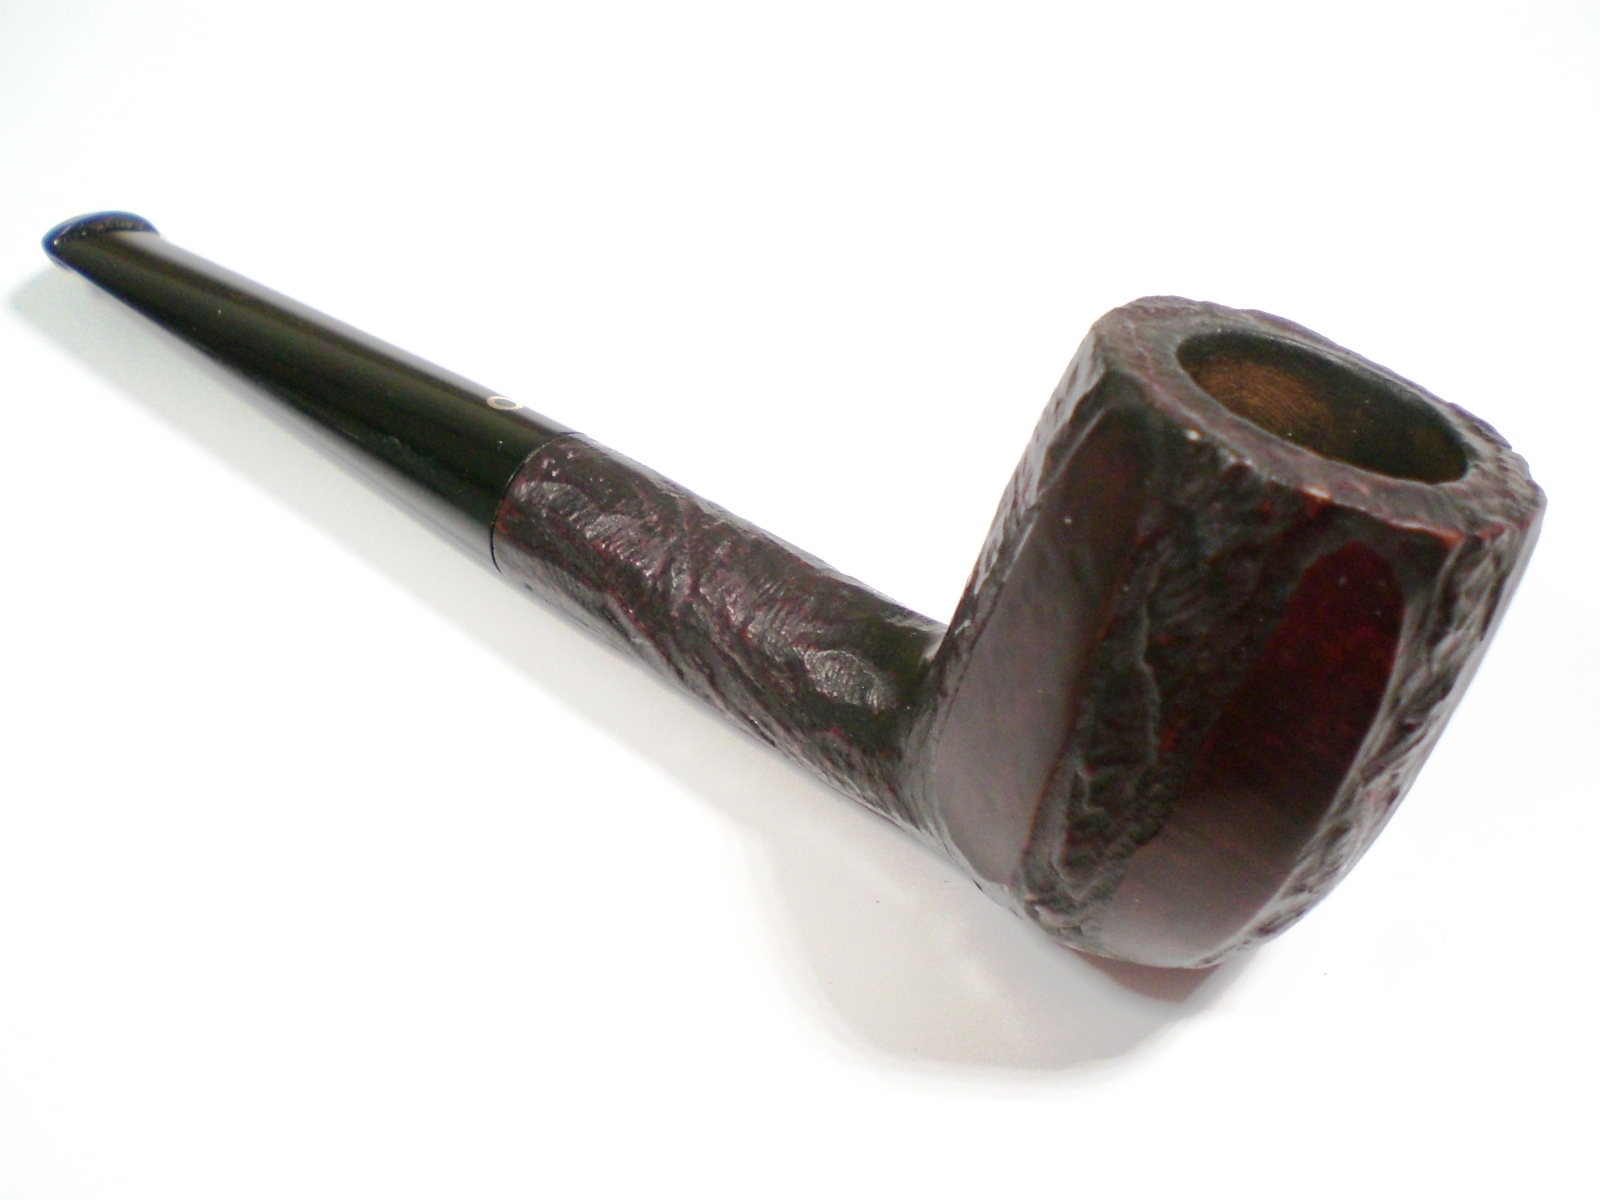
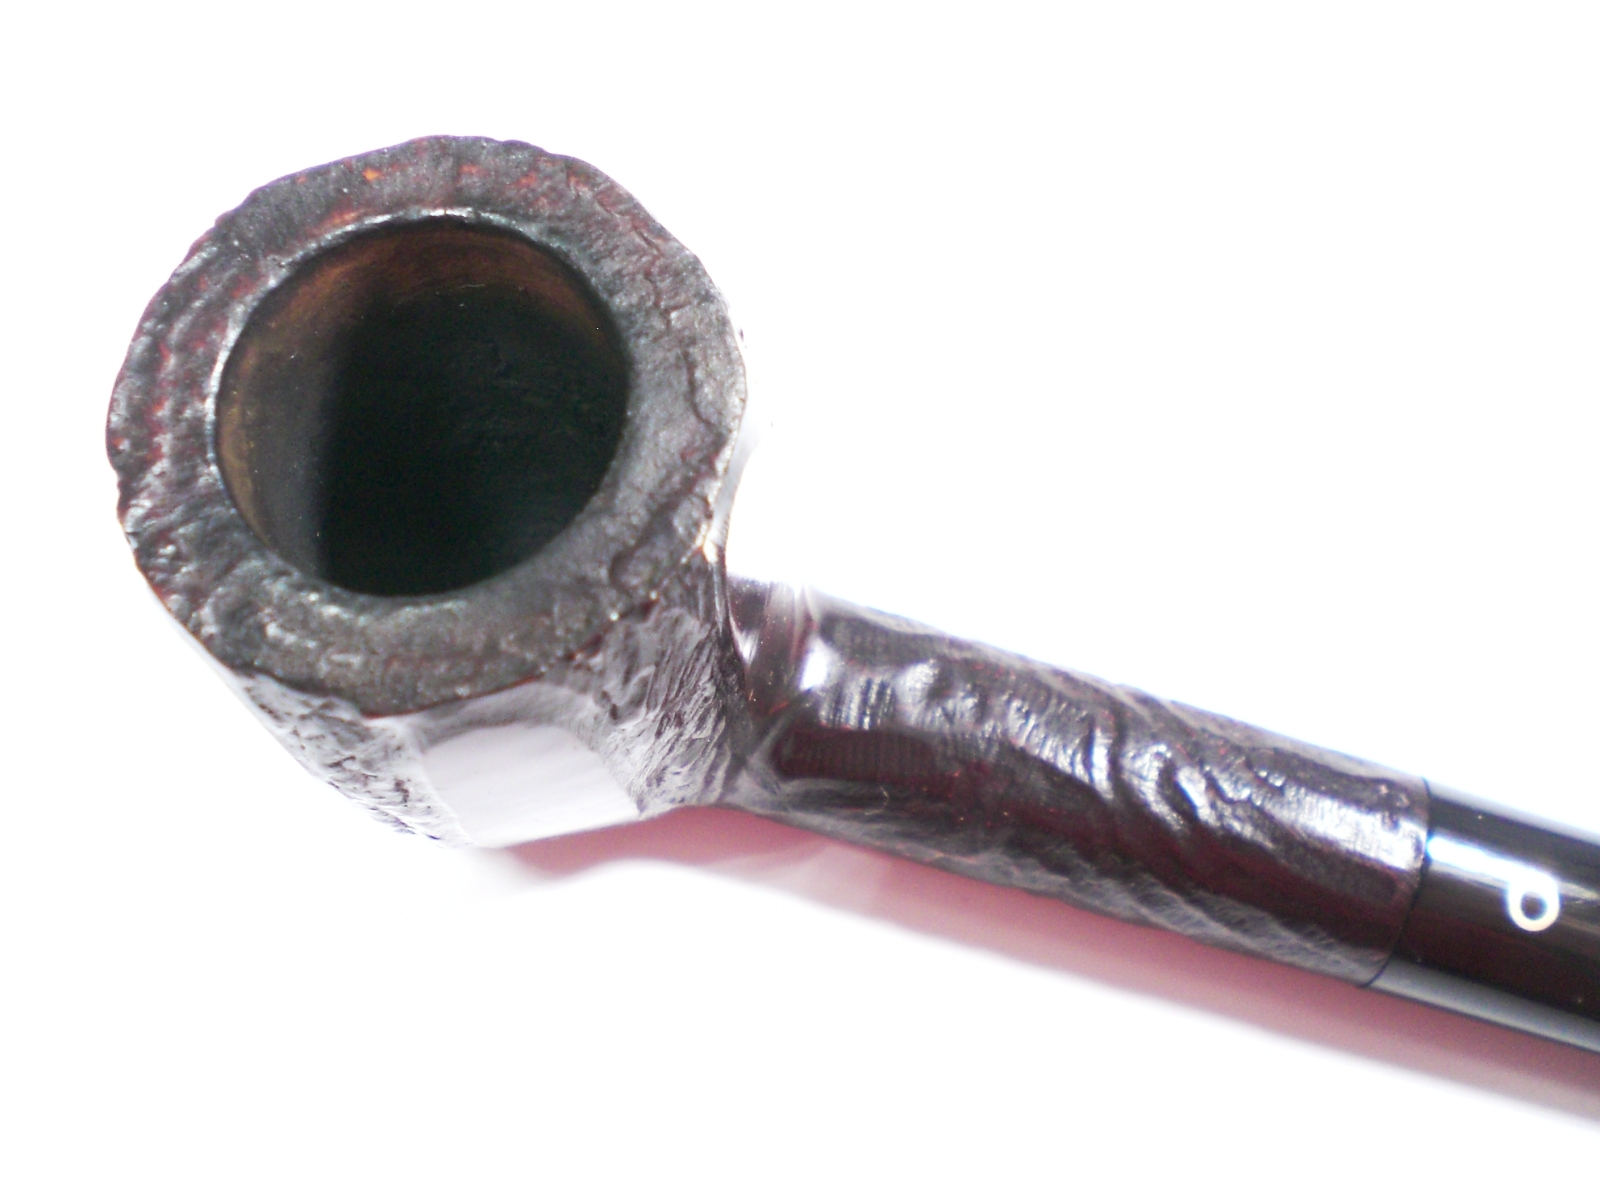
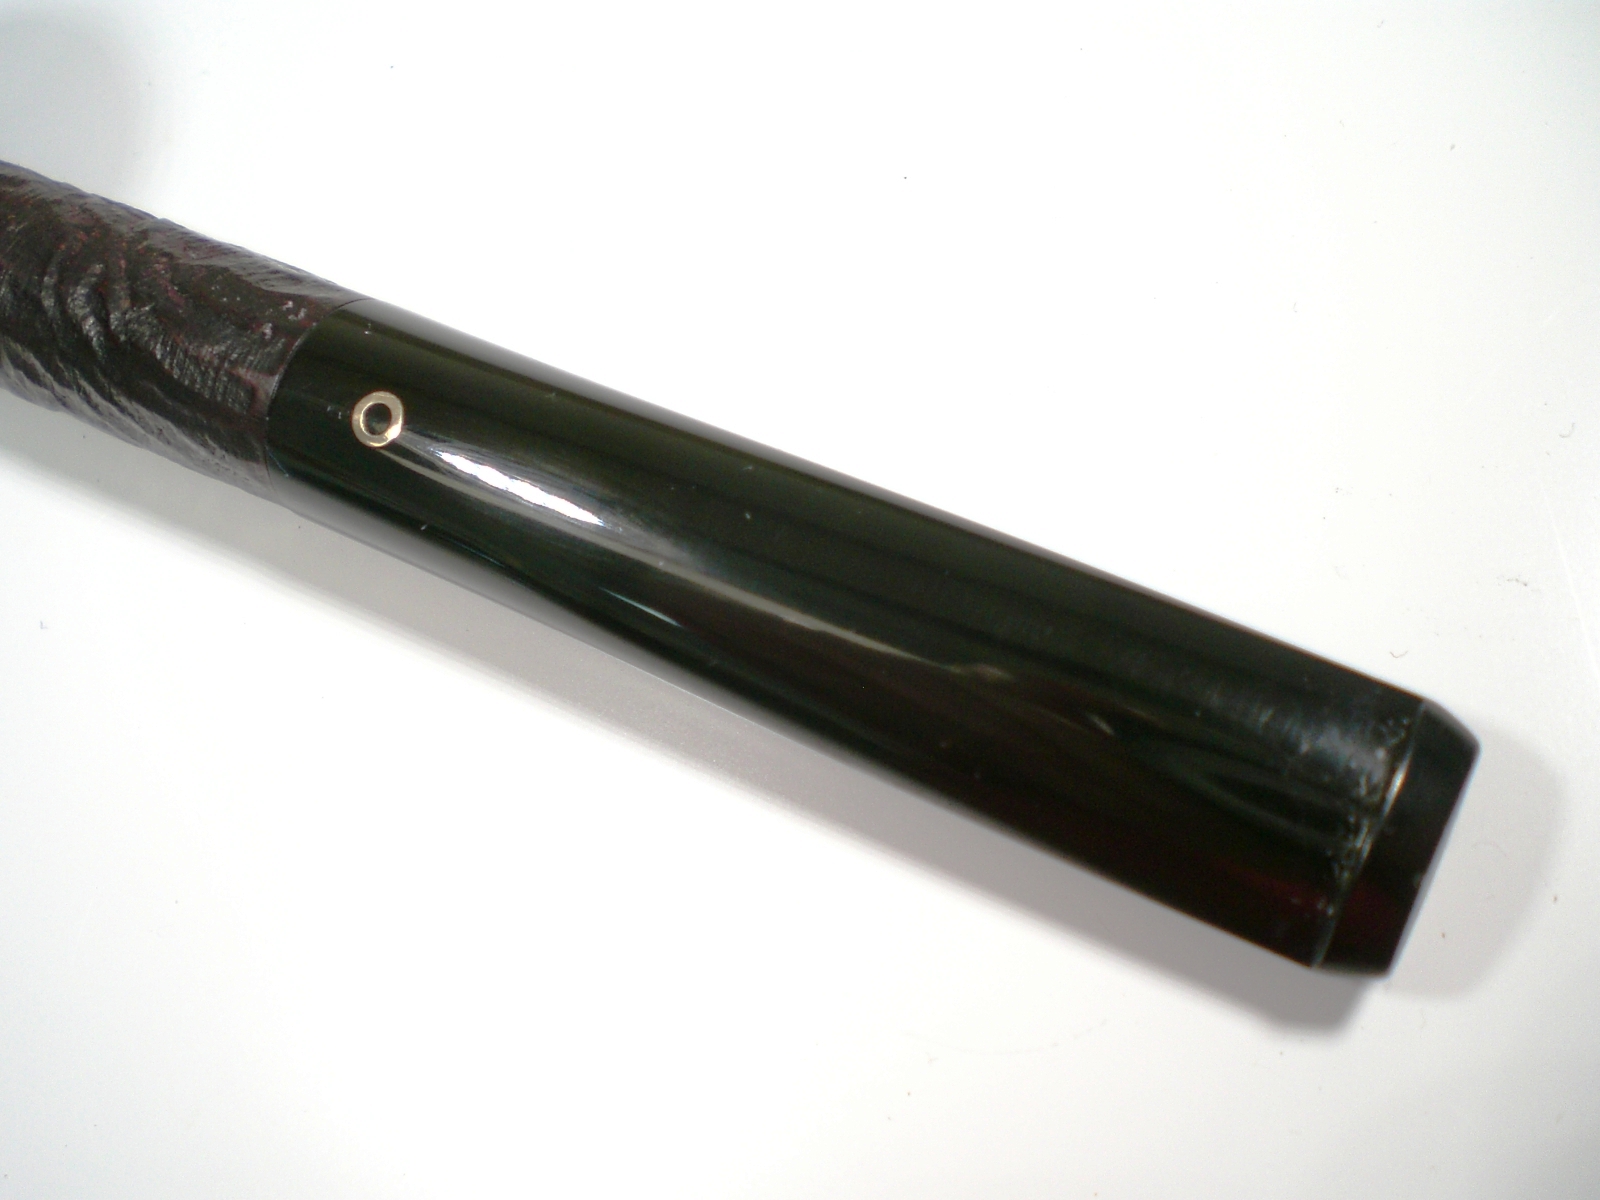
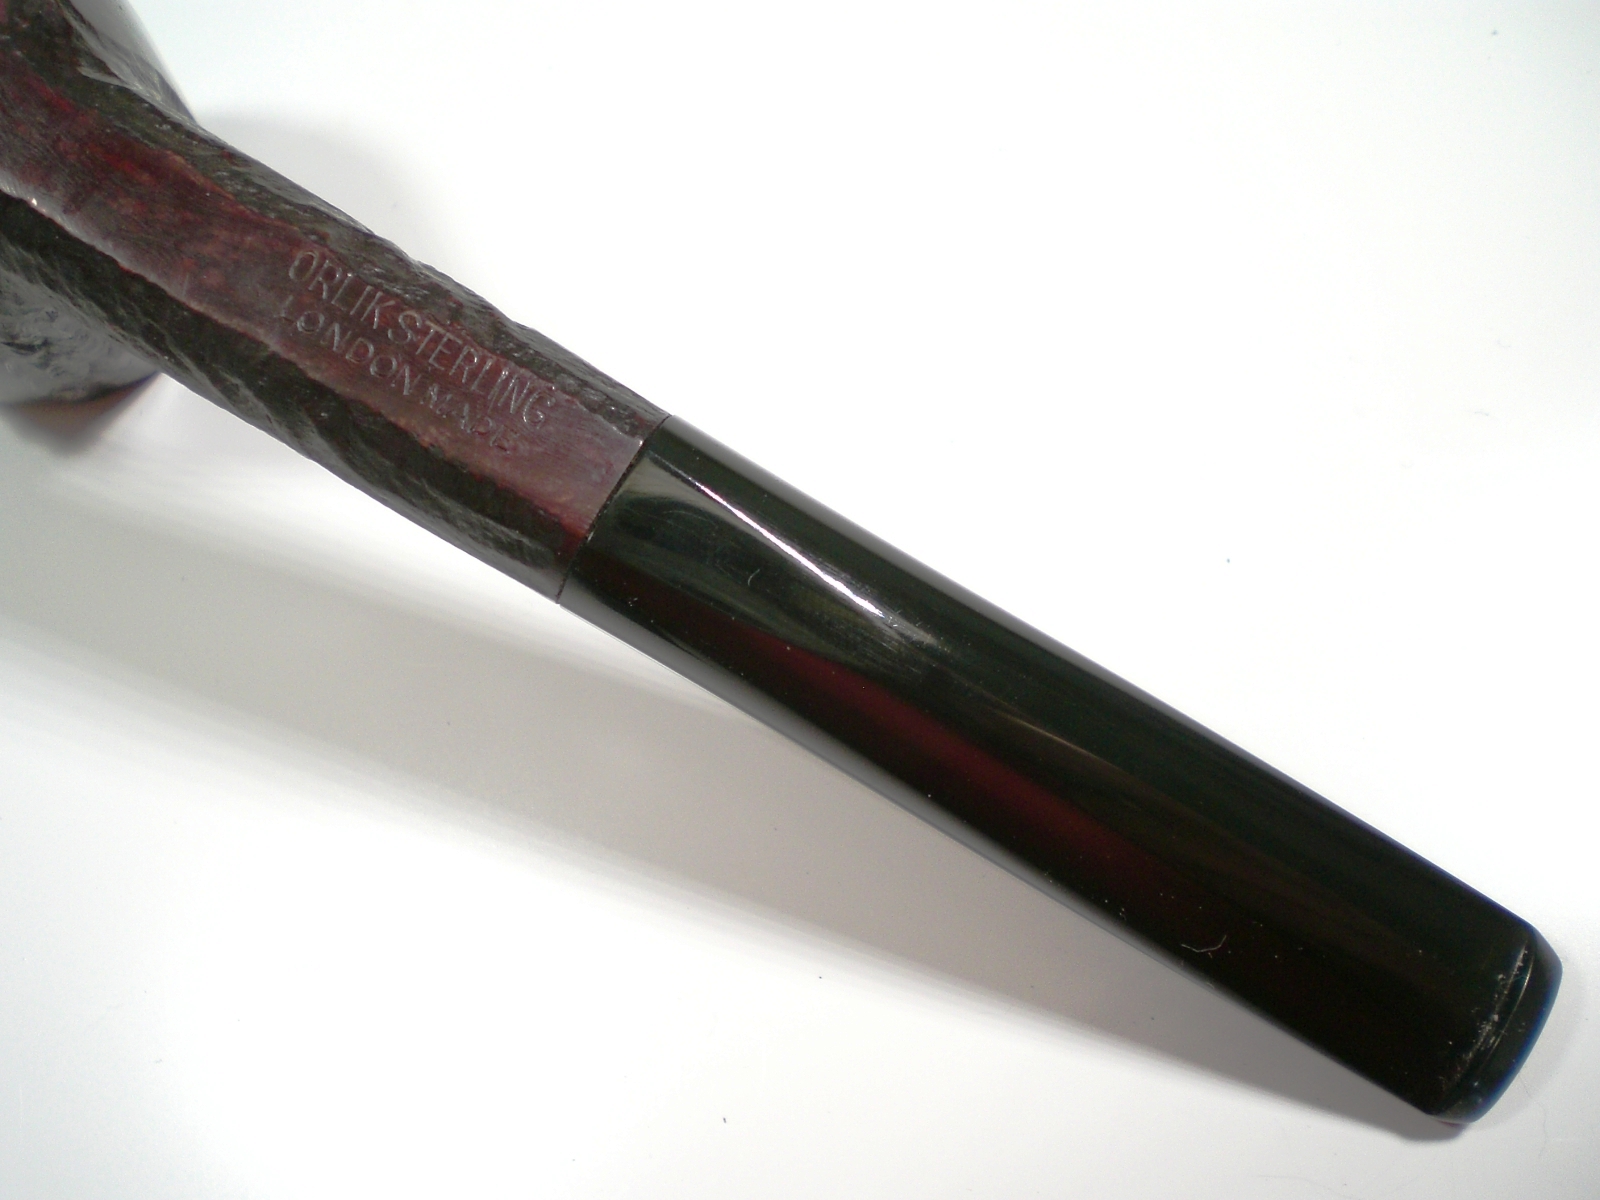
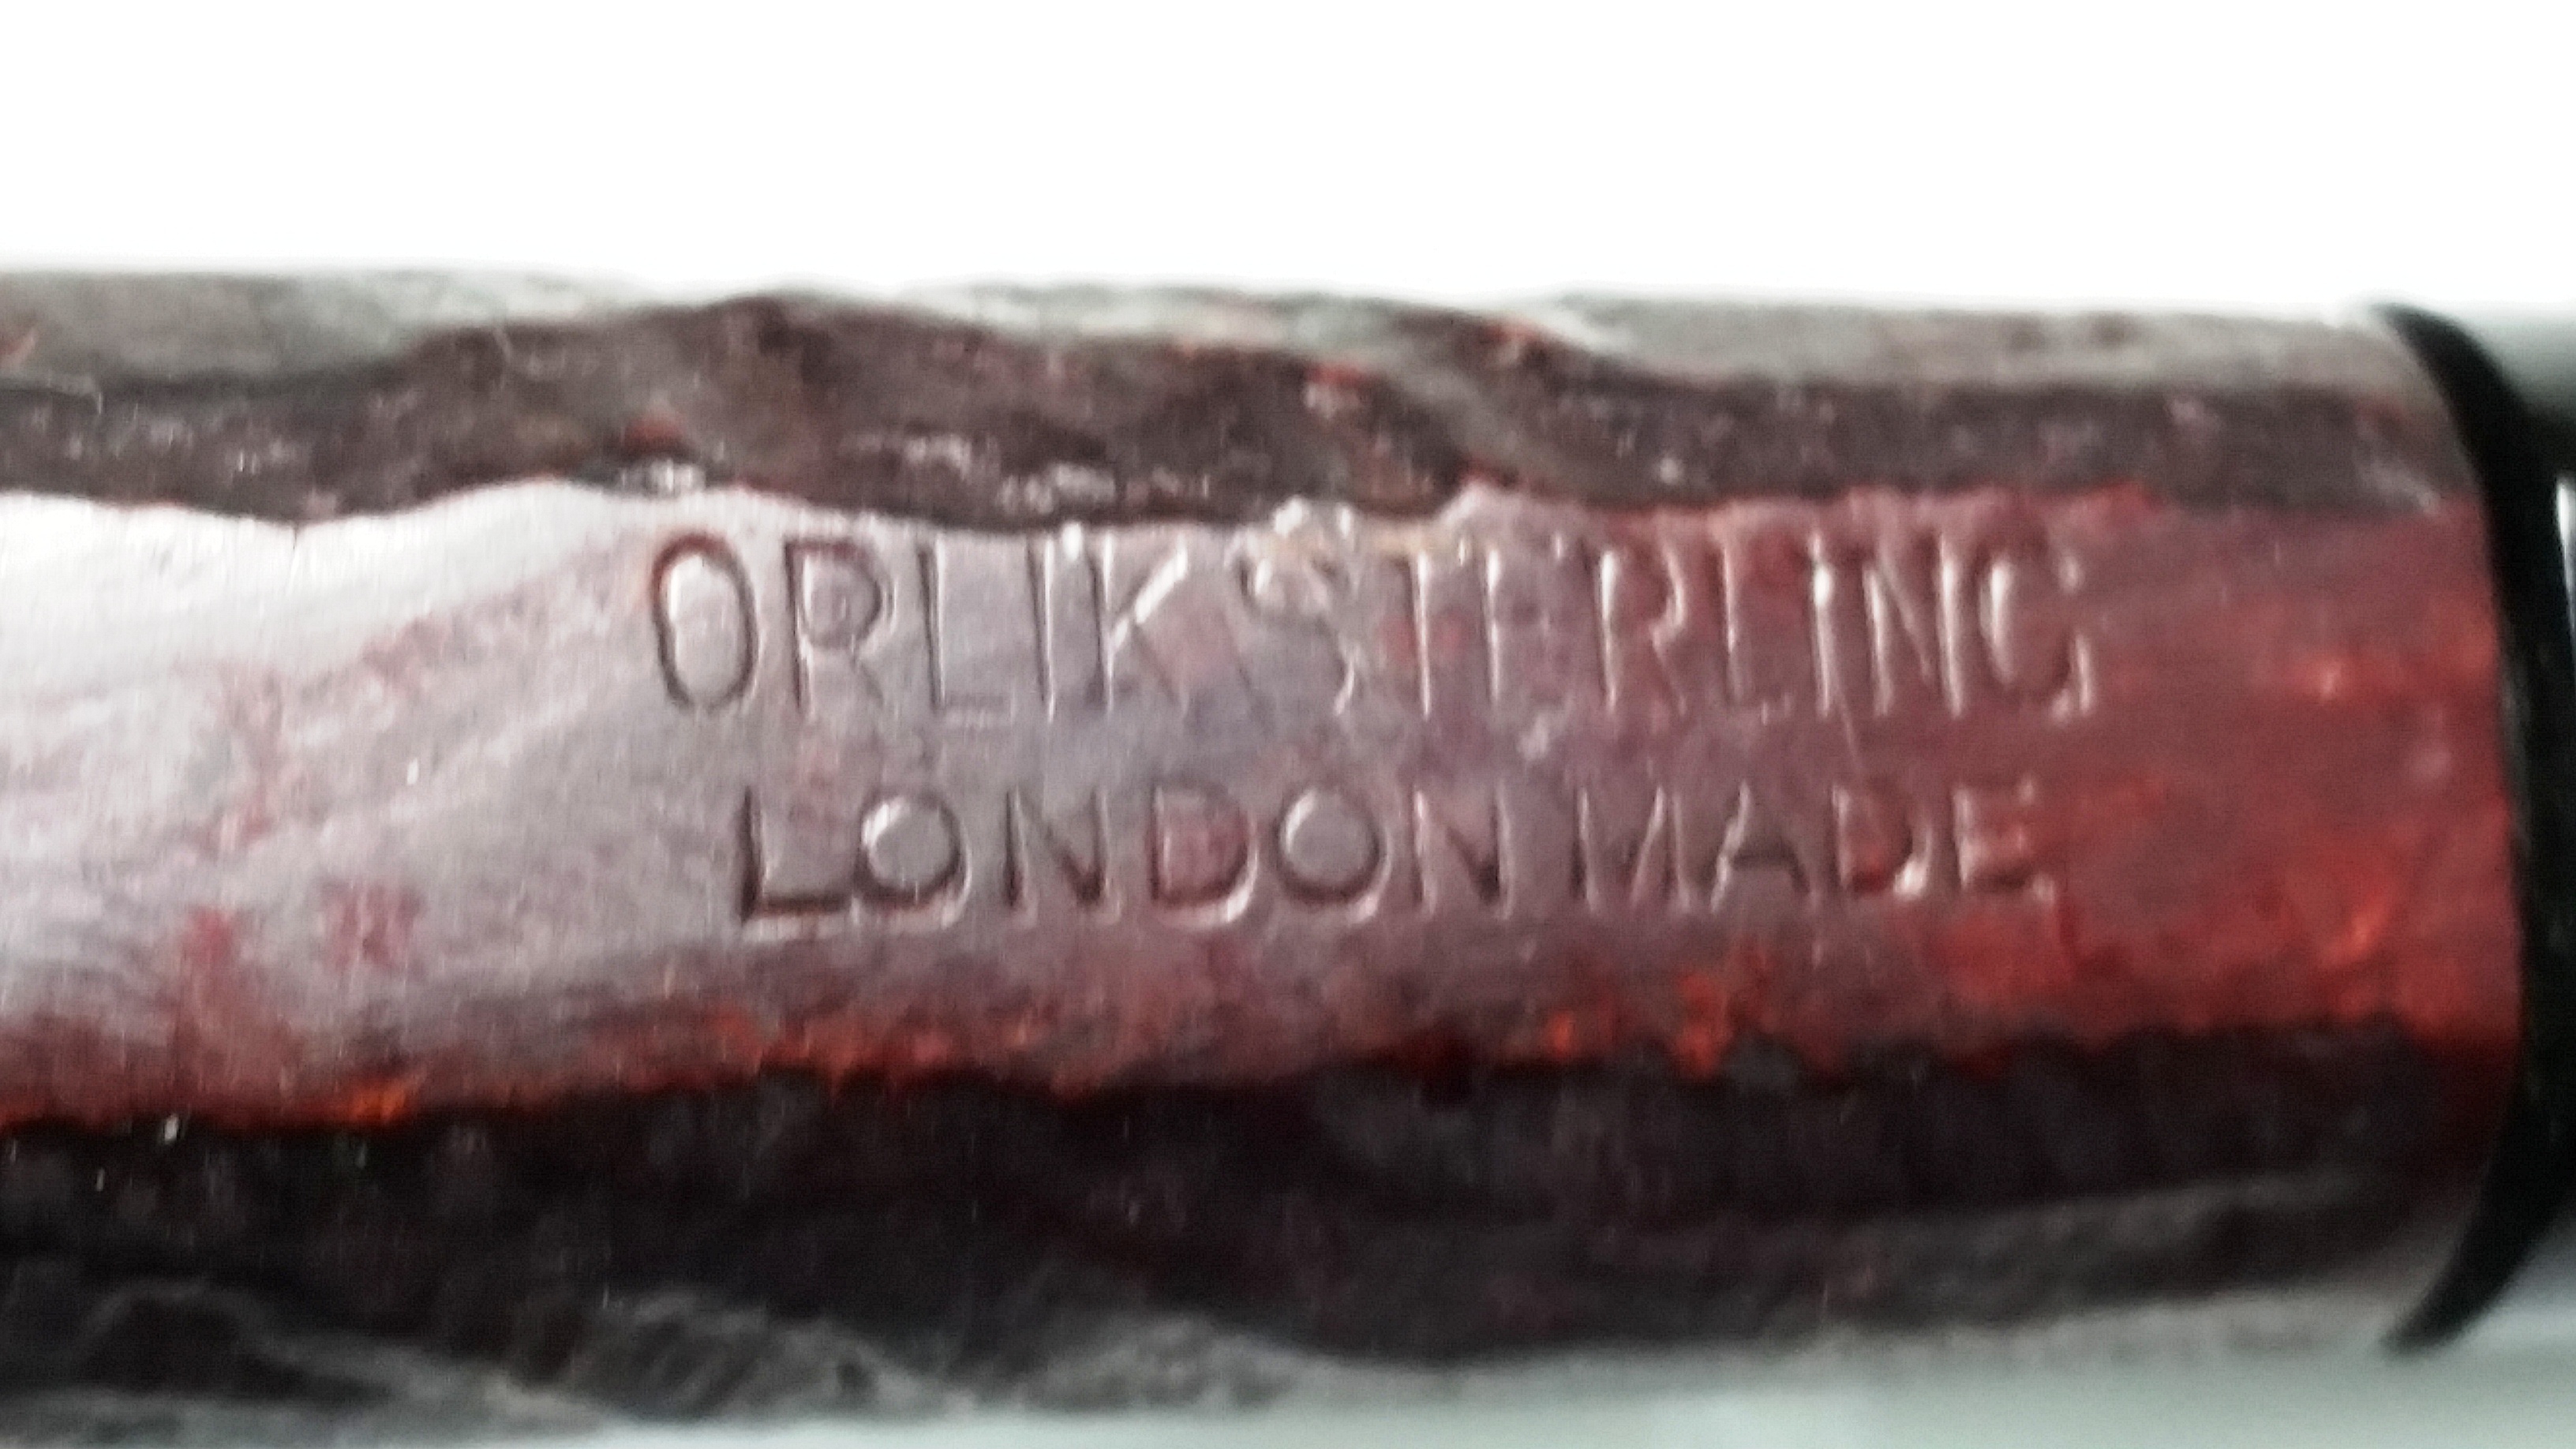
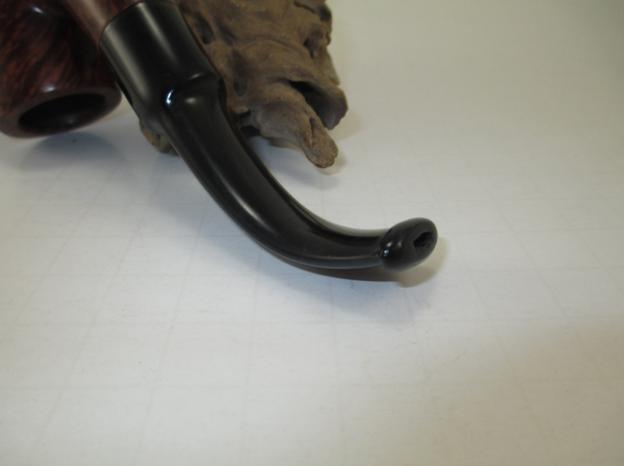
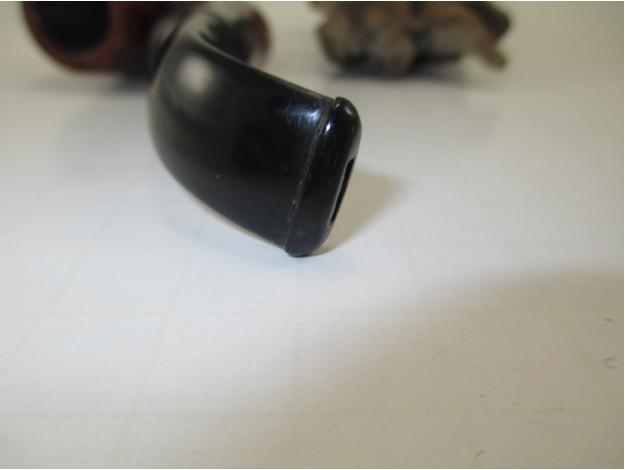
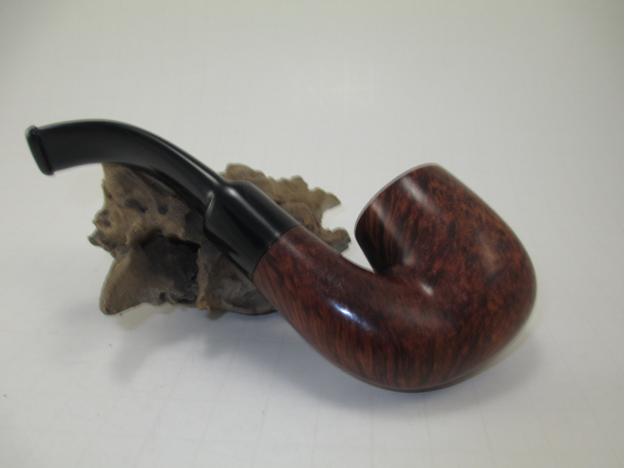
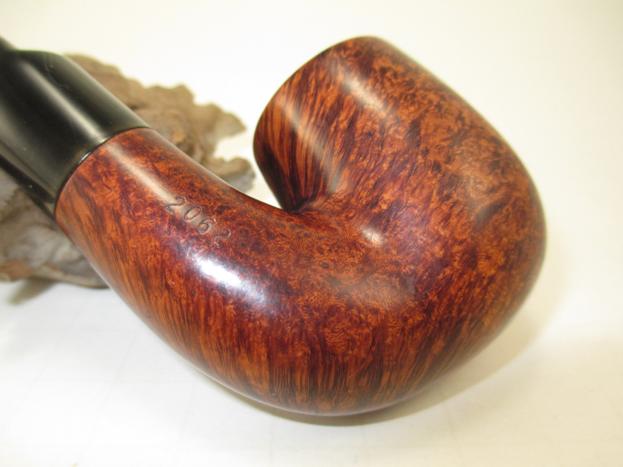
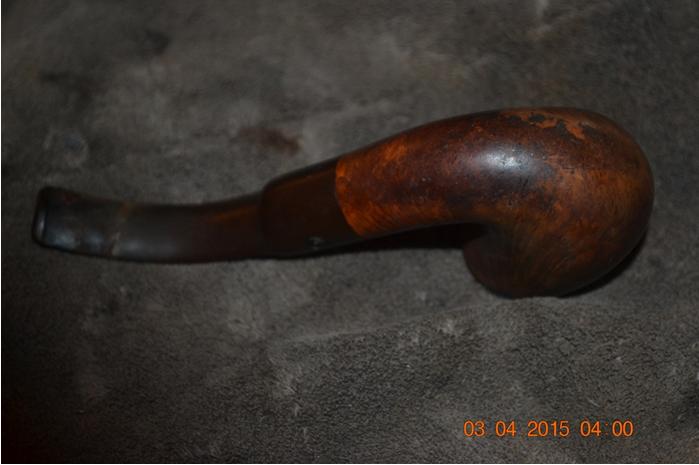
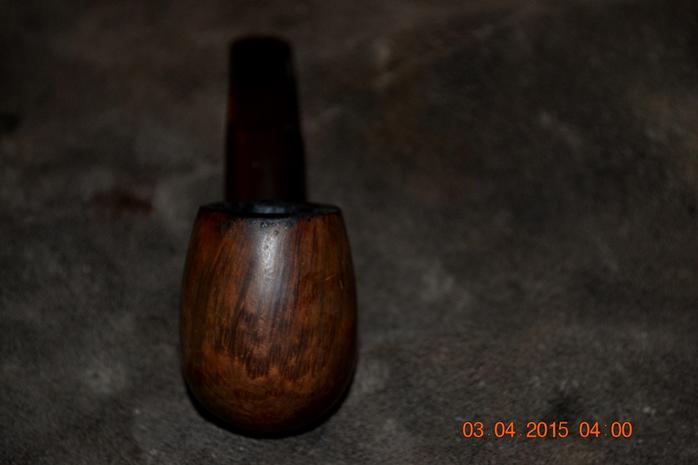
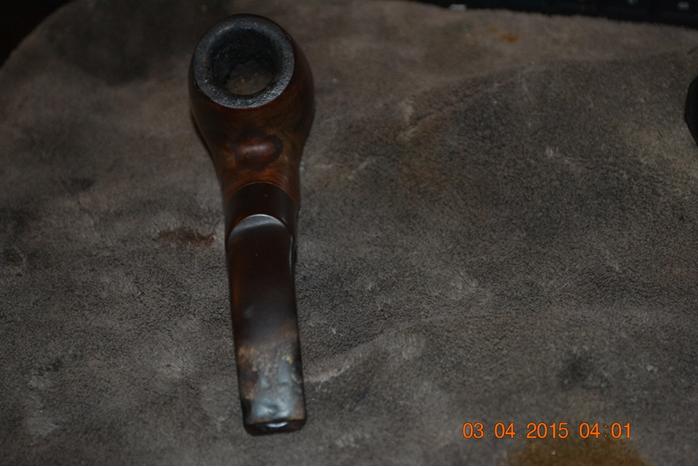
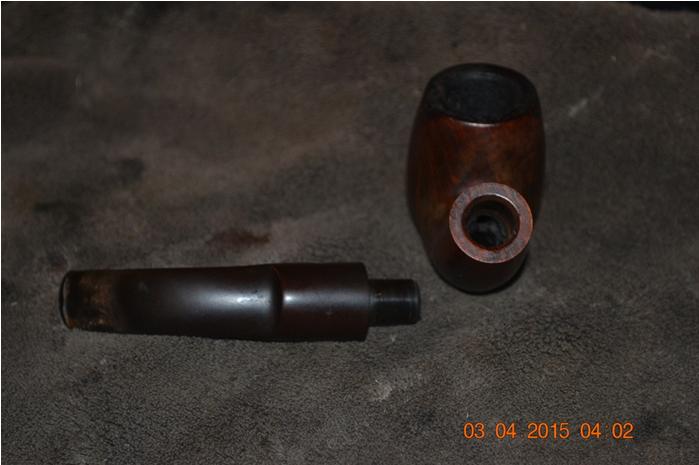
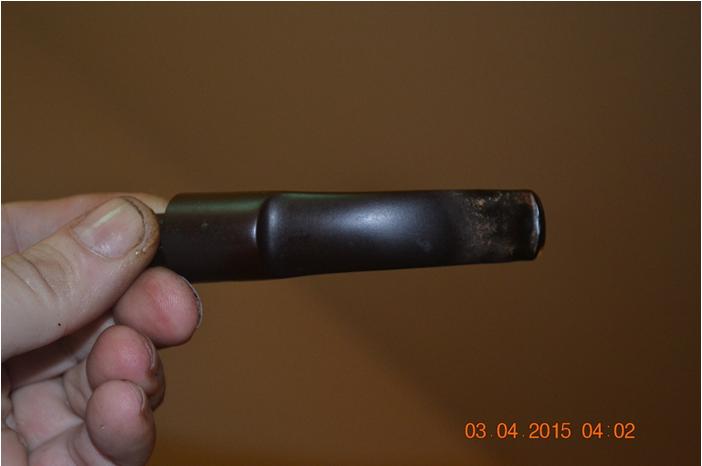
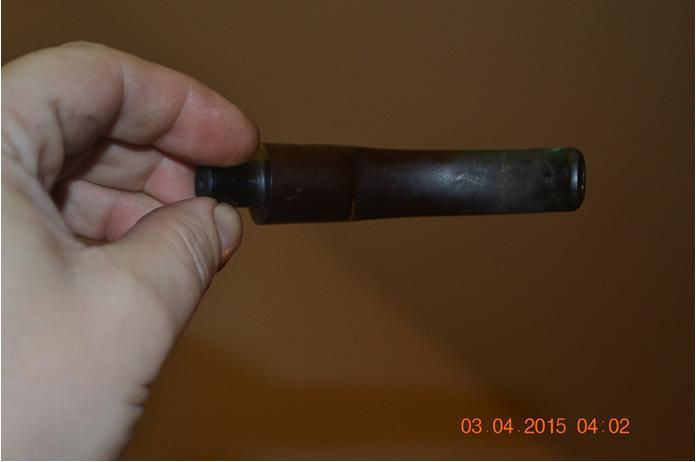
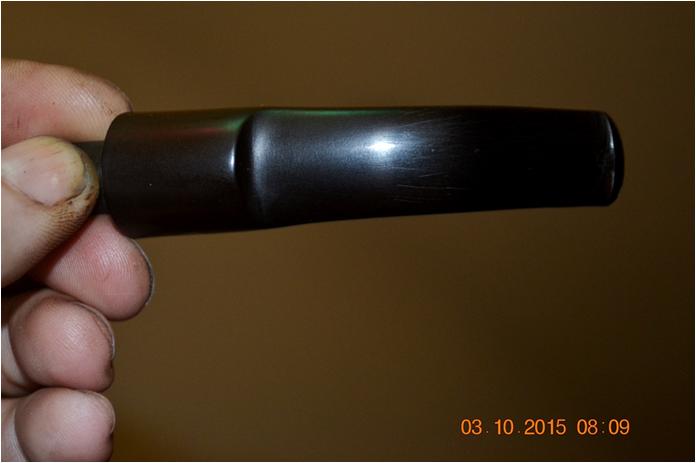
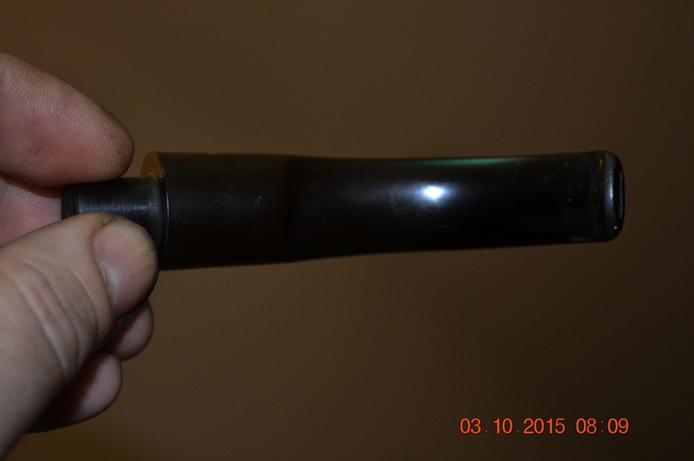
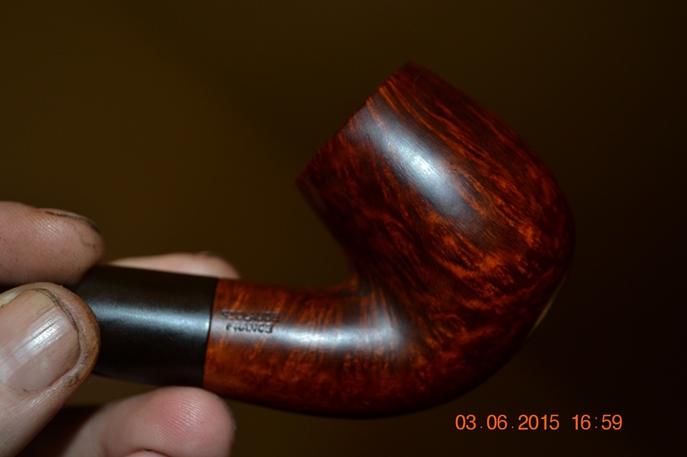
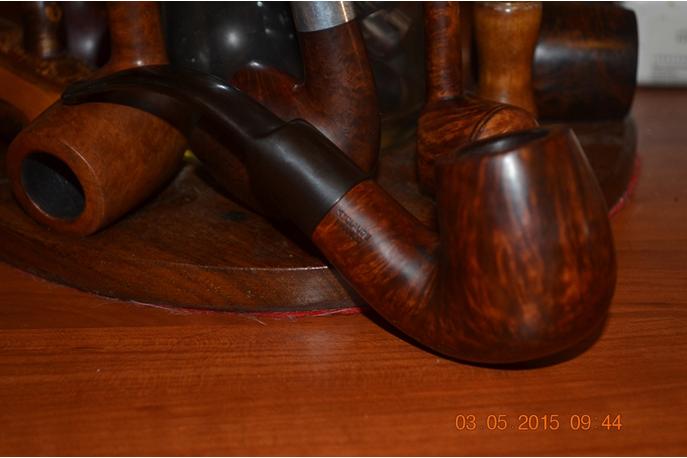
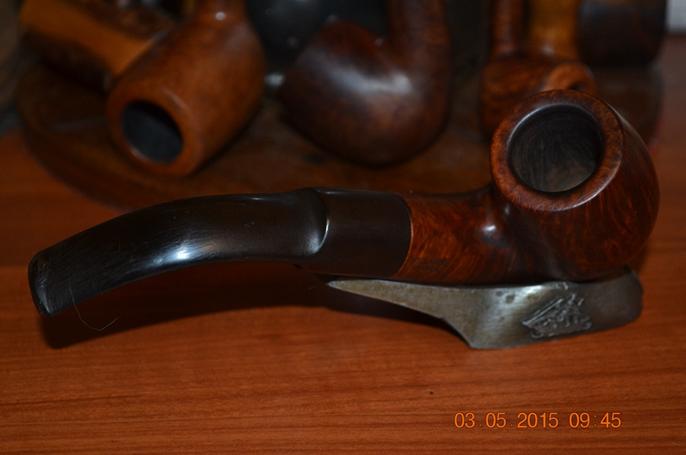
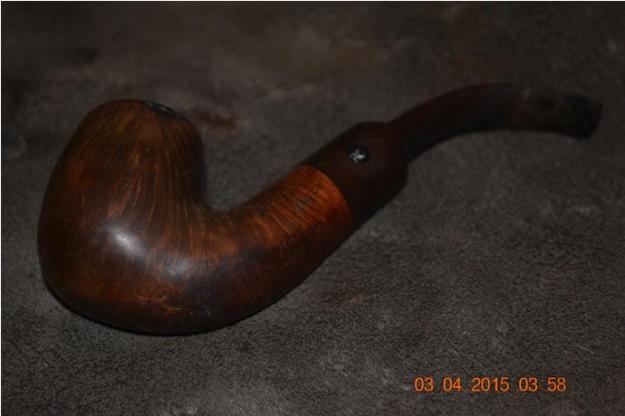
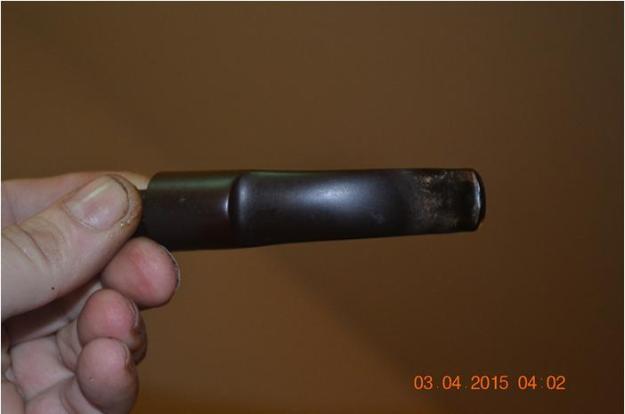
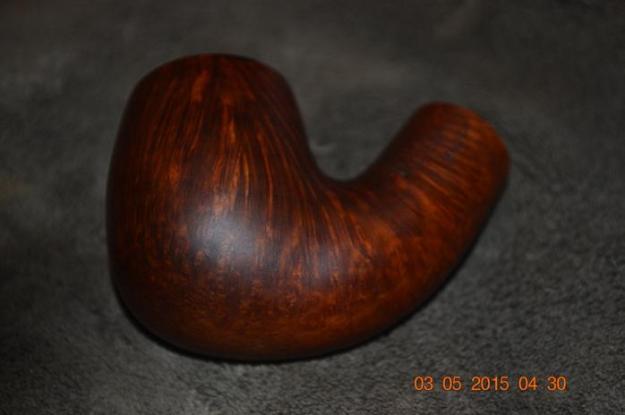
Al Jones’ recent posts on his restorations of two Orlik pipes – one a Sterling and one a Dugout – for John Guss prompted me to take this old Orlik Dugout out of my pipe cabinet and take a few photos. I restored it many years ago now and have smoked it many times since that restoration. The pipe originally came to me via an eBay auction. When it arrived I cleaned up the bowl and the stem. I remember that the bowl was caked and in need of a reaming and cleaning. The shank was dirty and the stem was oxidized. I cleaned both up and waxed and polished the pipe. It came in a worn black leather covered case with a red velvet lining. The pipe fit the case perfectly. There was an indentation for a second stem or a cigarette holder that no longer was present. Some of these older cased pipes came with a vulcanite and an amber stem – this may have been the case here. The blast was originally deep but had been worn over the years.Orlik1 The stamping on the pipe is very clear. It reads ORLIK over DUGOUT with TRADE to the left of the stamping and MARK to the right. The finish appears to almost be a rustication with a sandblast afterwards. It has both a black understain and a brown overstain. The combination of the rustication and blast is what I think gives it the name dugout.Orlik2 The stem is similar to the one that Al cleaned up for John on his Dugout. It has the same shape and look to the button. It has an orific airway in the end of the rounded button on the stem.Orlik3

Orlik4

Orlik5 While the walls are thin on the bowl the pipe smokes cool nonetheless. It is one of my favourite old collectible pipes.

Repaired a couple of Brighams for a friend


Blog by Steve Laug

The pipe at the top of the photo is a Brigham Algonquin shape 265. It is a newer Brigham and has the nylon tenon and system. The second pipe is a Brigham 384 volcano. The stem of that one is shown in the photo below. A friend and reader of the blog, Joe Iacobellis sent me a note to see if I could help him out on these two. He had restored the bowls on both pipes but the stems were giving him fits. The Algonquin was completely restored and he put the stem on the finished pipe to have a look. When he took the stem off the tenon and system apparatus remained in the bowl. It was stuck and would not come out. The two brass dots or pins had come loose from the tenon and though the stem fit well the tenon would not come out of the shank or stay in the stem. The stem on the Volcano was a mess. There seemed to have been a coating of varnish or something on the stem and when he worked on it the surface came off pitted and scarred. He wanted me to help on these two issues so I had him send them to me.Brig1 When I came home from a recent trip for work the pipes were waiting for me. The issues that Joe had mentioned in his email were right on. The tenon on the Algonquin was torn where the pins had come free from the nylon. The tenon was stuck in the shank and would not move. I put the bowl in the freezer over night and let it sit. When I took it out in the morning I used a pair of needle nose pliers to carefully twist the tenon out of the shank. I cleaned out the shank with pipe cleaners and cotton swabs and isopropyl alcohol to make sure that shank was not the issue. I put the tenon back in place on the stem and it was fairly tight. I twisted it back into the shank and it fit well. When I removed the stem the tenon was once again stuck in the shank. I used the needle nose to twist it out again. I used an ice pick to push the pins further out of the inside of the stem so that the surface was smooth. I used some clear super glue and coated the end of the tenon and pressed it into place in the stem.

After the glue set I used the ice pick and a small furniture hammer to tap the pins back into the tenon. I tapped lightly so as not to damage the tenon or the stem. I pushed the stem into the shank and twisted it out several times to make sure that the fit was good and the tenon would remain in the stem instead of the shank. It worked! I then cleaned up the tenon and the stem with micromesh sanding pads to polish it. I buffed it on the buffer with Blue Diamond and then carnauba wax. I gave the rim of the bowl a light coat of cherry stain to bring it closer to a match on the bowl. I buffed the rim and gave it a coat of carnauba. The finished pipe is shown below.Brig2

Brig3

Brig4

Brig5

Brig6

Brig7

Brig8 The stem on the volcano took some work. The surface of the vulcanite was rough and somewhat ridged from the varnish or clear coat on it. I used some 220 grit sandpaper to clean up the surface of the stem and remove the oxidation around the shank/stem junction. I sanded it with a medium and a fine grit sanding sponges. I then wet sanded it with 1500-2400 grit micromesh sanding pads. I buffed it with Tripoli before dry sanding it with 3200-12,000 grit sanding pads to finish polishing the stem. Once completed I gave it a light buff with Blue Diamond and then gave it several coats of carnauba wax.Brig9

Brig10

Brig11

Brig12 Joe, the pipes are finished. I will get them wrapped up and in the mail as soon as possible. I think they came out great and hope you will get a lot of use out of them. Enjoy! Thanks for sending them to me to work on, I enjoyed it.

For the Love of an Amadeus Half-Bent Brandy


Guest Blog by Robert M. Boughton
Member, North American Society of Pipe Collectors
http://www.naspc.org
http://www.roadrunnerpipes.com
http://about.me/boughtonrobert
Photos © the Author

“According to Diotima, Love is not a god at all, but is rather a spirit that mediates between people and the objects of their desire. Love is neither wise nor beautiful, but is rather the desire for wisdom and beauty.”
― Plato (429?–347 BCE), Athenian philosopher, in “Symposium,” 360 BCE

INTRODUCTION
Amadeus may be known best as the 1984 feature film that won eight Academy Awards and was titled after the fourth given (or in this case, chosen) name of the latter 18th century Austrian composer, more often shortened to Mozart. Christened Johannes Chrystosomus Wolfgangus Theophilis Mozart, the often inebriated genius preferred the Latin translation of Theophilis – Greek for “lover of God” – which is Amadeus, derived from amare, to love, and Deus, God. The name also happens to be a Greek pipe brand founded in 1975 by eight artisans.

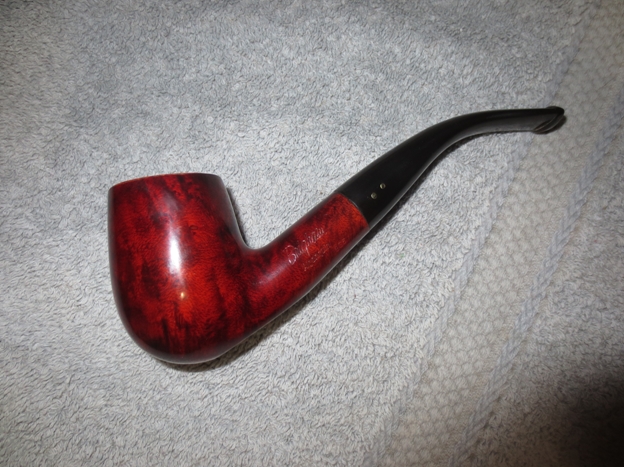
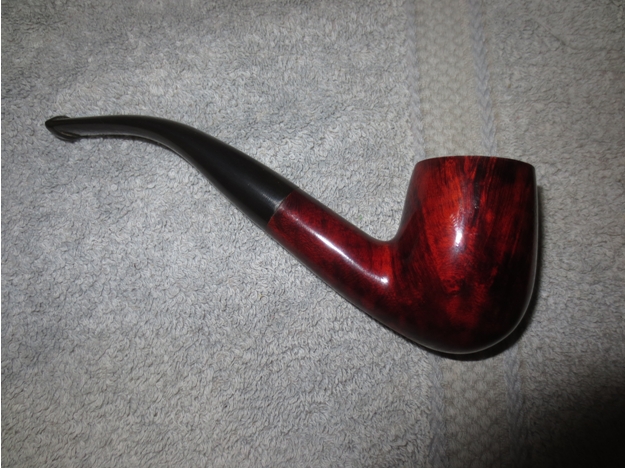
The half-bent brandy I obtained as part of a multi-pipe estate lot last year is a mid-level example of an Achaki-Amadeus S.A. briar. The company’s products range in price new from $50 on sale to $320 at the regular rate. They are all made of high quality Mediterranean briar, and the Greek company is among the primary suppliers of that variety of wood to other makers including Stanwell, Vauen, Tsuge and the late Bjarne Nielsen of Denmark.

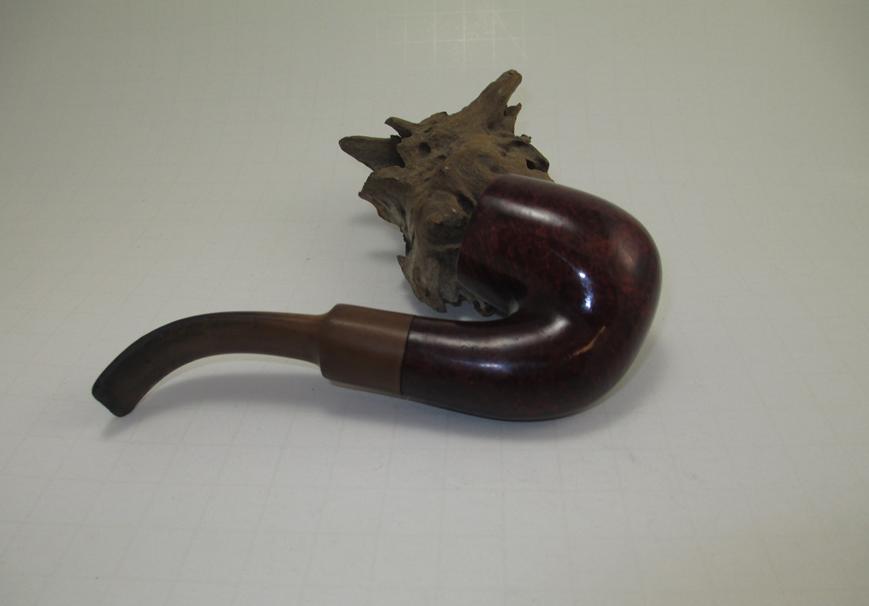
This Amadeus arrived in much better than usual shape except for the chamber and rim and some minor wear of the stem.AM1

Am2

AM3

Am4

Am5

Am6

AM7 THE RESTORATION
I was eager to start a OxiClean bath on the stem. Knowing the stem hole as well as the outer area would benefit from a good soak for about a half-hour, I suspected that some of the chatter I could see in line with the lower lip would require more than that and even some sanding before micro-meshing.Am8

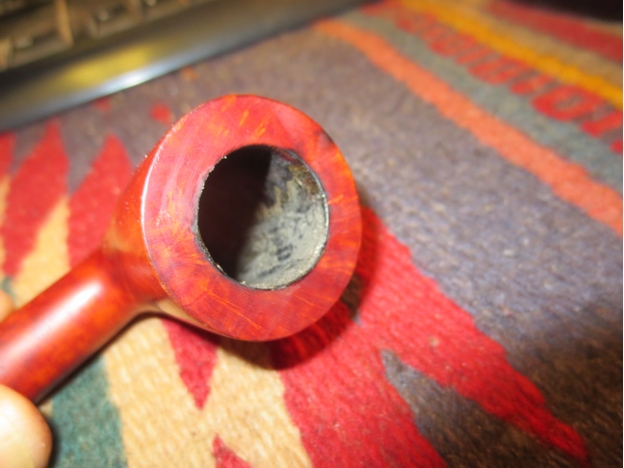
Am9 In the meantime, I had no trouble removing the little bit of blackening of the rim with easy rubbing using super fine steel wool, and the mild buildup of carbon in the chamber with a 19mm reamer followed by 150-grit paper and finished to silky smoothness with 320-grit.

Although the top of the stem was good after the soak, rinse and a wet micromesh work-over – building a grade at a time from 1500-4000 – the bottom, after the same treatment, indeed needed more work.AM10

Am11 And so I removed a little more of the chatter with 200-grit paper and applied some Black Super Glue.Am12

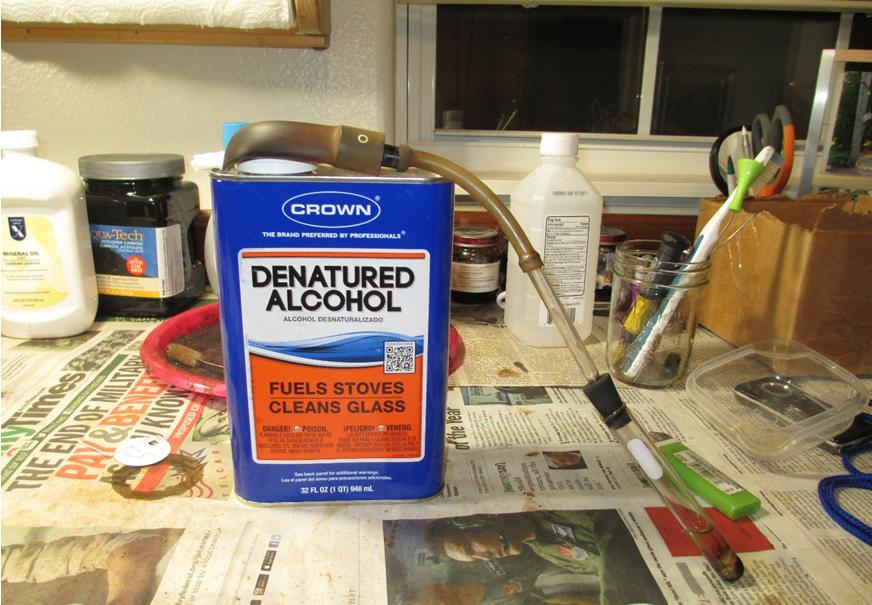
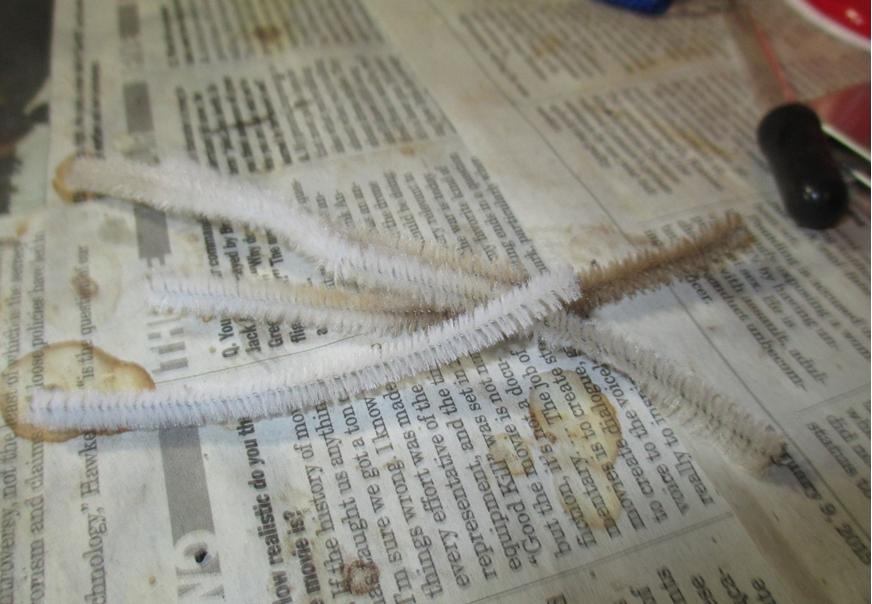
Am13 My work so far was easy, but being the glass-half-empty sort I was prepared to discover serious accreted grime when I commended the stage of clearing the mortise and shank with a wire-handled cleaner dipped in Everclear. But my luck continued. After a few passes that met no resistance and resulted in minor darkness of the cleaner, I decided with a rare sense of admiration that the previous owner had enjoyed the Amadeus brandy for some time and taken appropriate care of it. Reattaching the stem, I retorted the pipe with a mere two Pyrex test tubes of boiled alcohol.

As has been the case in many of my restorations so far, I was curious with the shade of the stain that I considered to be over-dark. To my way of thinking, as long as a careful visual analysis reveals no hidden reason for the extra obscuring, the clearer the grain, the better. And so, again with the utmost gentleness, I used a small piece of steel wool to lighten the briar and worked my way up the micromesh scale.Am14

Am15

Am16

Am17

Am18

AM19 For those of you with more discerning eyes, the pieces of crud visible with enlargement of the last photo, showing the shank opening, resulted from a final impulsive sanding of the chamber. Rest assured none of it remained after I noticed and gave it a good blow.

The two pieces of the pipe were ready for buffing. I used red and white Tripoli and White Diamond on the stem (big surprise) and white Tripoli, White Diamond and three coats of carnauba on the wood.Am20

Am21

Am22

Am23

Am24

Am25

Am26 CONCLUSION
There were no big problems with this restoration; no special problems to report or whine about; no particular distinction of the Amadeus itself, except for its very fine craftsmanship and, to me, less common country of manufacture. Still, it is a real beauty, an opinion I expressed in an email to Achaki-Amadeus to date the crafting of the pipe. Excepting the general pleasure of the simple but effective restoration, in fact, the most exciting aspect of the process came after the fact, when I received a response from one of the brand’s owners:

This is a line we used to make some good ten years ago. If you are in the USA it was imported in the country four years ago.

I hope I helped.

Thank you for your kind words.

Best regards

Makis Minetos

Please visit my blog:

http://www.acutabovebriar4.blogspot.com

Orlik “Dugout” Restoration


Blog entry by Al Jones

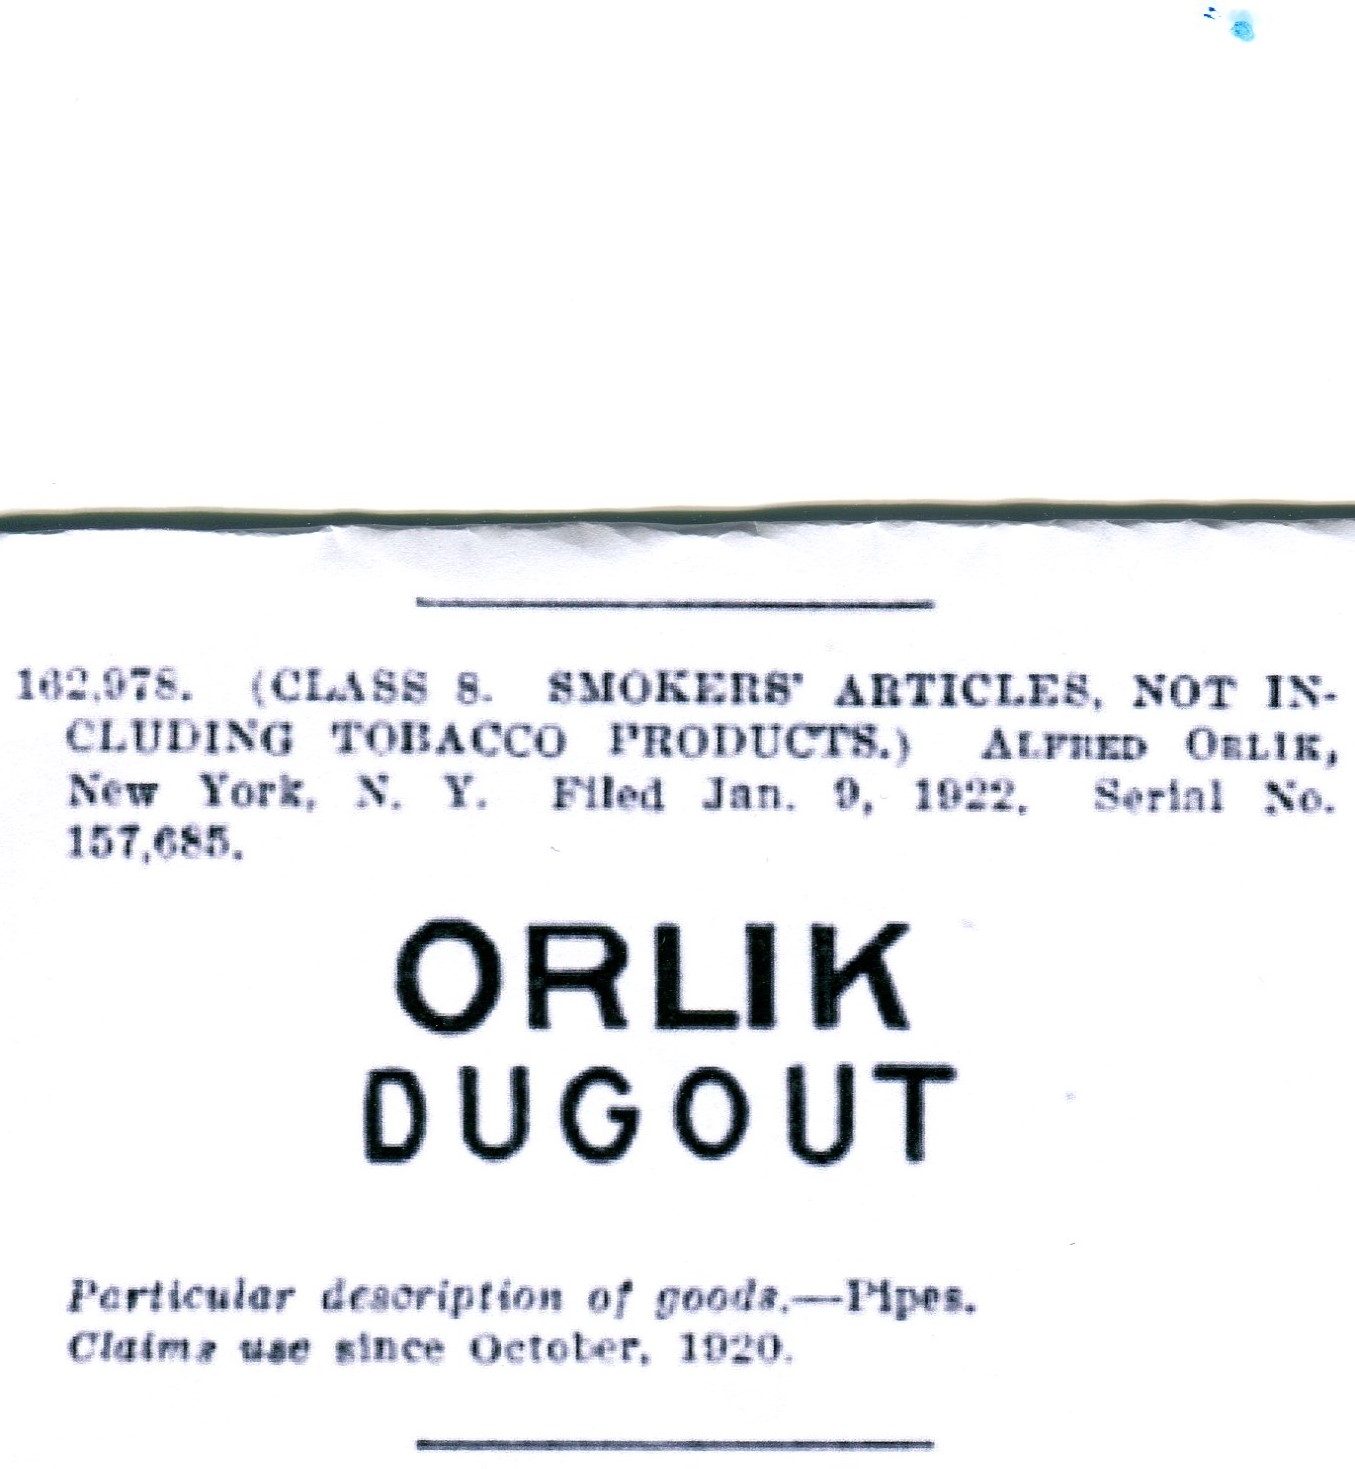
This beautiful Orlik “Dugout” belongs to Jon Guss.   I didn’t find a lot of information online about Orlik pipes.  I did find a trade magazine ad using the name “Dugout”, dated to 1922.  The blast on this pipe is outstanding.  The pipe was in very good condition, particularly the stem.   A beautiful fitted case holds the pipe, which usually indicated a premium pipe grade.

Jon sent me this about the Orlik Dugout line:

Dugout: Introduced about 1921 (see attached trademark registration for U.S. market); their earliest known sandblast, presumably a response to Dunhill; advertised to be “light as a feather”; priced at the top of Orlik’s line, along with the Bruyere Antique; in production through about 1941 (although it was briefly revived much later)

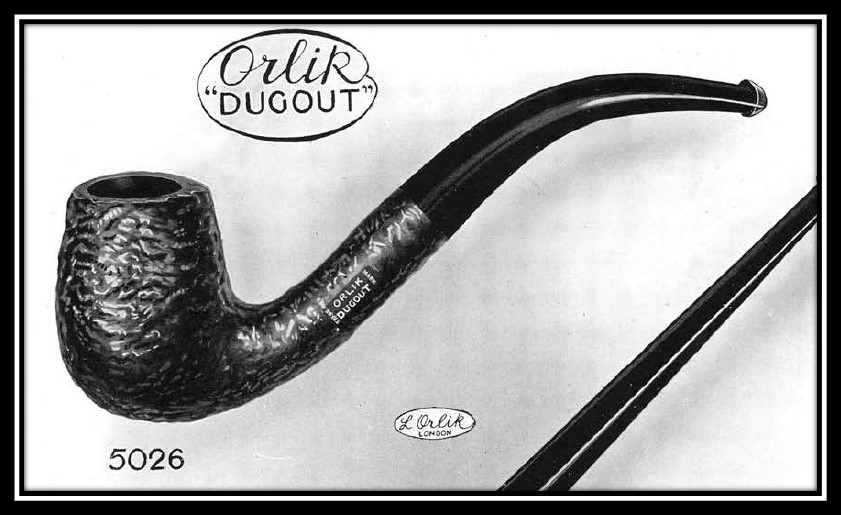
We can’t be certain this is Jon’s pipe, as his has no shape number (not uncommon in early Orliks).  As you can see from his early catalog page, there is a very strong resemblance.  Additionally, the Orlik script on the case is identical to what is shown in this catalog.  This pipe would have also has the metal “Scraper” apparatus (as shown on the previous Sterling pipe).

Catalog_Ad Orlik_5026_Dugout_Catalog

Below is the unrestored pipe, which was in really excellent condition.

Orlik_Dugout_Before (1) Orlik_Dugout_Before (3) Orlik_Dugout_Before Orlik_Dugout_Before (2) Orlik_Dugout_Before (4)

I reamed the slight cake from the bowl, then soaked it with alcohol and sea salt.  The shank was cleaned with a soft bristle brush and alcohol.  I used a cloth and a mild Oxy-clean solution to remove the build-up on the bowl top.

The stem was in such good shape, I started with 1500 grade paper to bring up the shine, followed by 2000 grade and then 8000 and 1200 grade Micromesh sheets.  The stem was then buffed lightly with White Diamond rouge and Meguiars Plastic Polish.

I polished the briar by hand with a cloth and some Halycon wax.

Despite the deep bend, the pipe easily passes a cleaner.

Below is the finished pipe.

Orlik_Dugout_Finished Orlik_Dugout_Finished (6) Orlik_Dugout_Finished (4) Orlik_Dugout_Finished (7) Orlik_Dugout_Finished (5) Orlik_Dugout_Finished (8) Orlik_Dugout_Finished (9) Orlik_Dugout_Finished (3) Orlik_Dugout_Nomenclature (1) Orlik_Dugout_Nomenclature


Orlik “Sterling” Restoration


Blog entry by Al Jones

This is the last pipe in the group sent to me by Jon Guss.  This Orlik is stamped “Sterling”, which is known to be a high grade Orlik.  Jon supplied this information and catalog picture.

Sterling: Introduced about 1933; second highest in price after the Bruyere Antique and Dugout; in production through about 1941

Sterling_Catalog

This pipe also came with a beautiful fitted case.  The pipe was in very good condition, particularly the stem, which only had some minor teeth marks.  The briar had a very heavy cake and significant build-up on the bowl top.   The pipe is blasted with polished panel inserts.

Orlik_Sterling_Before (1) Orlik_Sterling_Before (4) Orlik_Sterling_Before Orlik_Sterling_Before (2) Orlik_Sterling_Before (3)

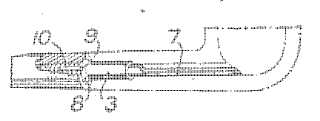
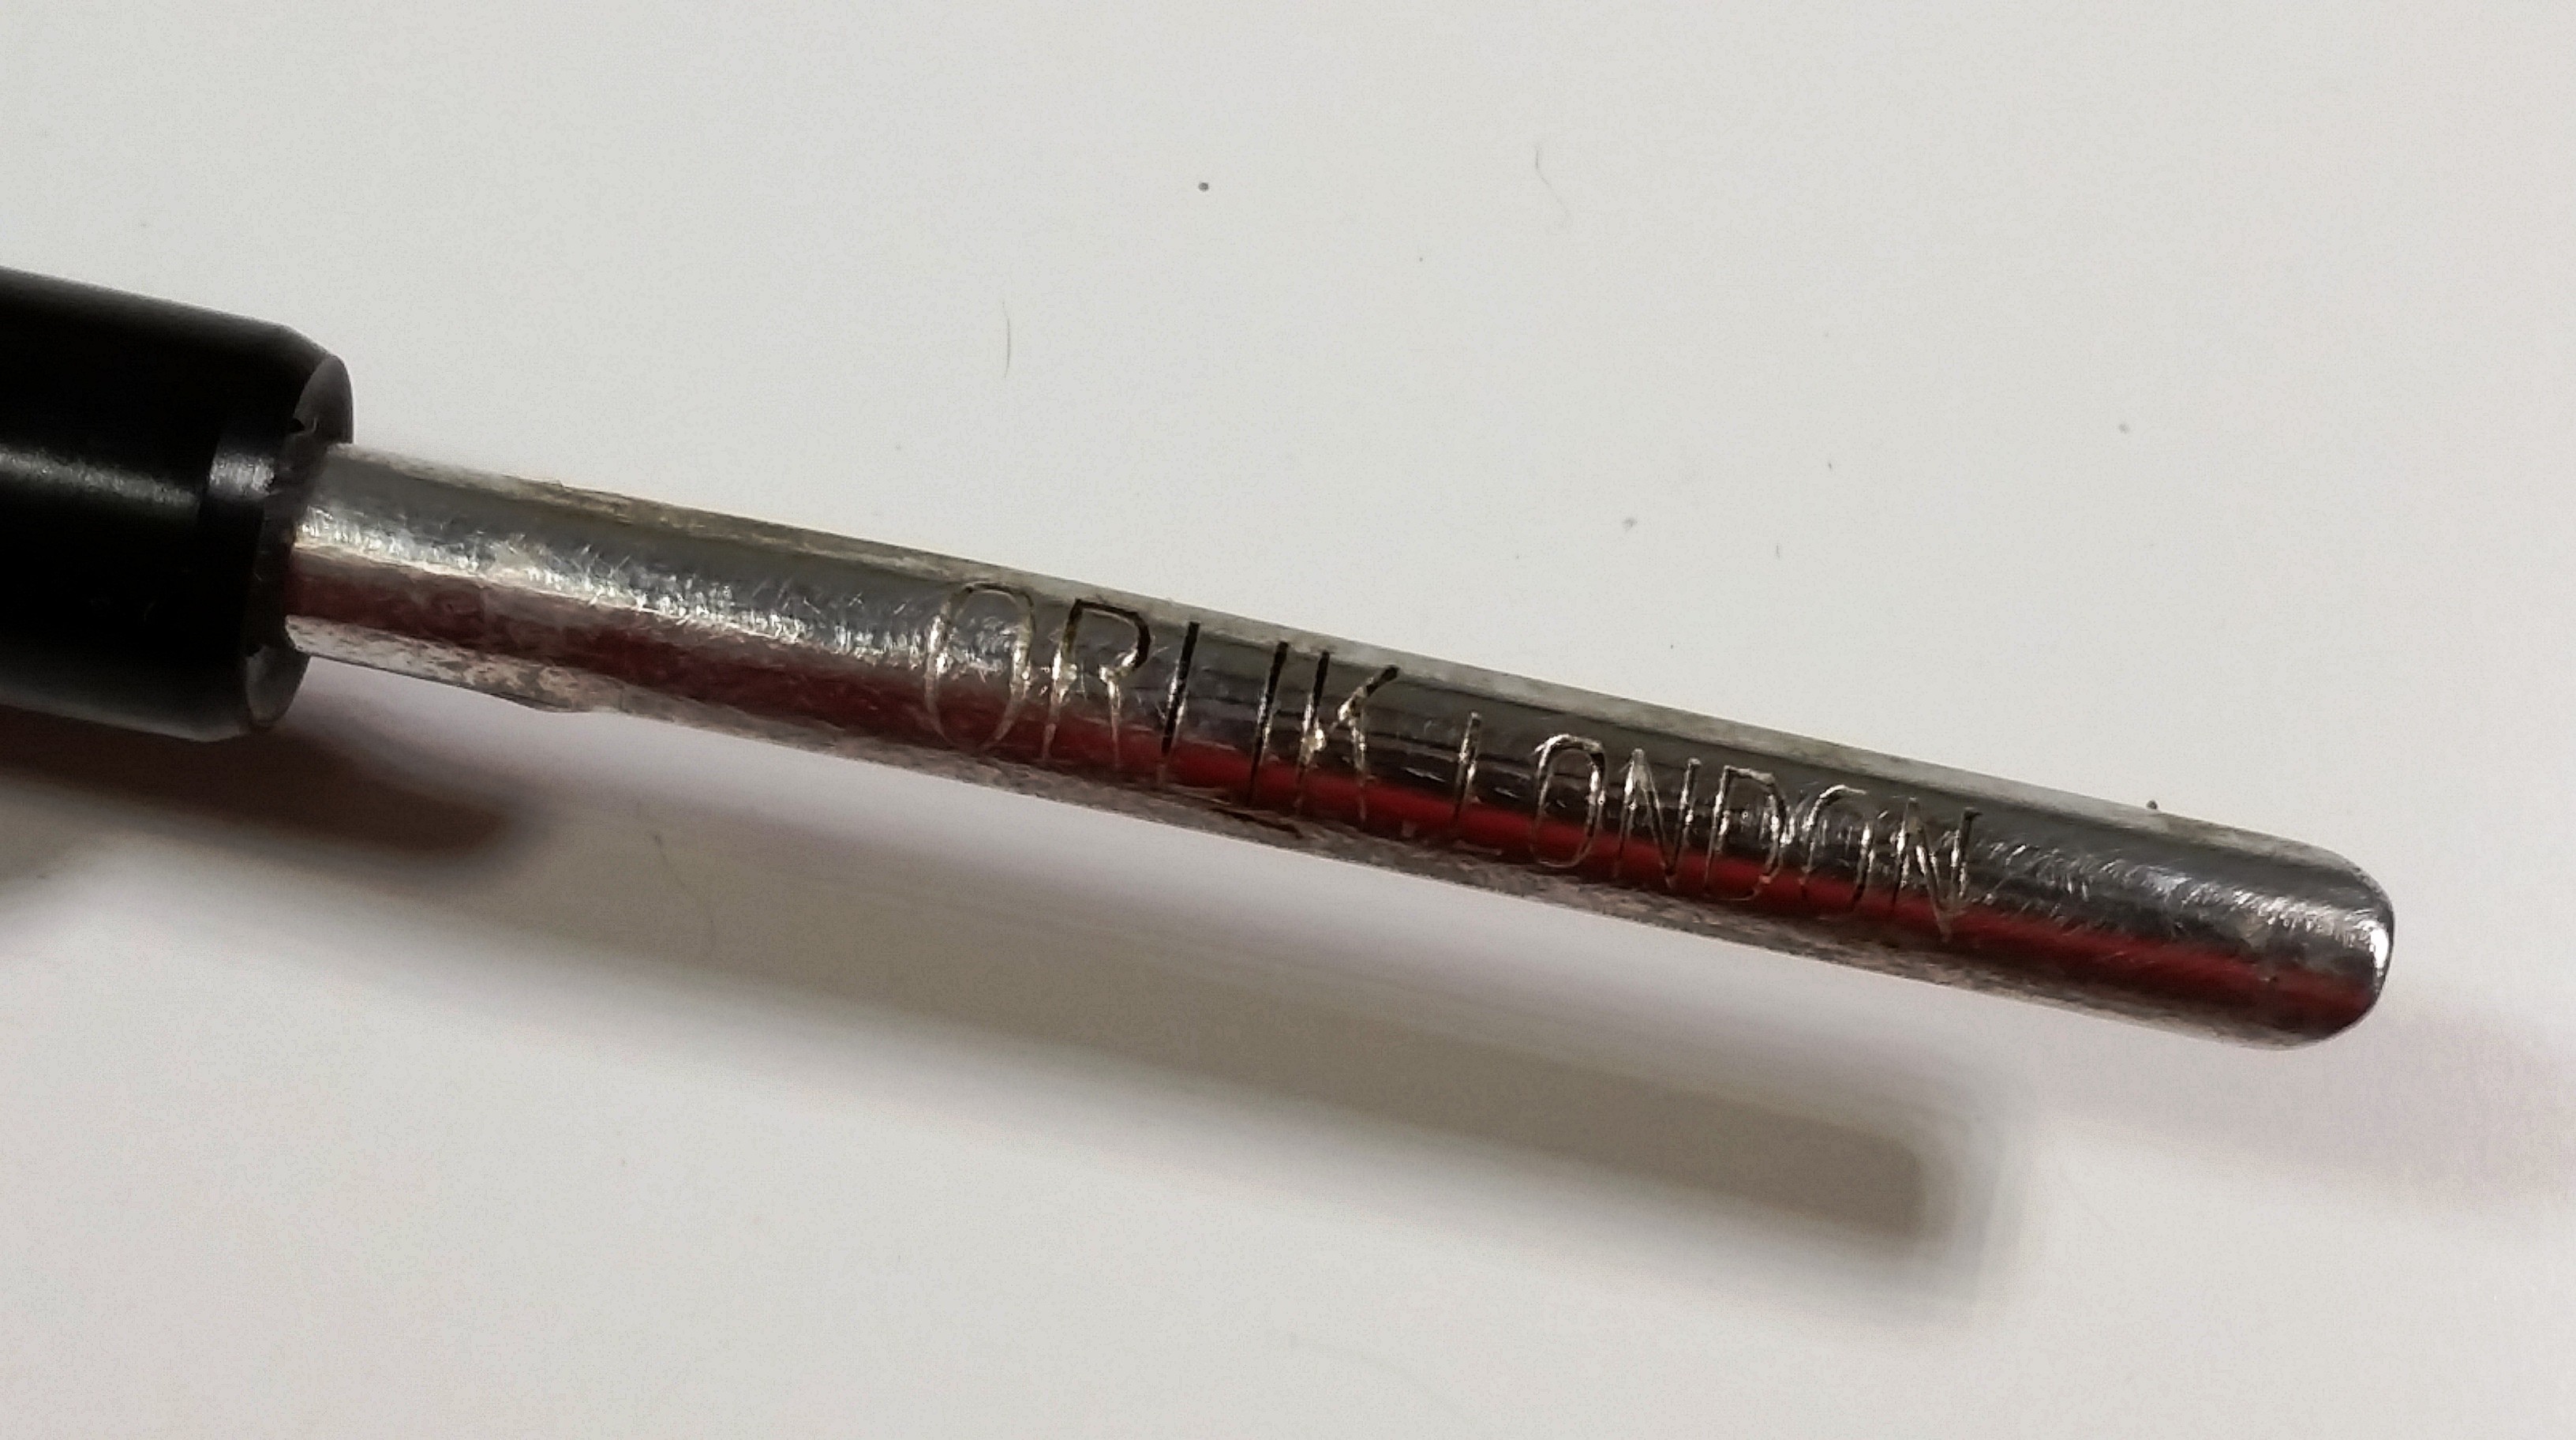
The stem fitment was not flush and I wasn’t certain if that was due to build-up of tars in the shank or the metal stinger apparatus.  Jon send me the patent information on the metal apparatus, which was patented by Orlik.  In the Patent document, it is referred to as a “scraper”.  Jon  told me that Orlik collectors also refer to the piece as a “scoop”.  The insert is engraved “Orlik London”.  From the Patent information:

195,291. Orlik, L. May 4, 1922. Tobacco pipes. – In tobacco pipes of the kind having a scraper connected to the mouthpiece, the scraper 7 is of part-circular section and has a tubular end slipjointed into a flanged metal spigot 3 screwed into the mouthpiece. The metal spigot is prevented from rotating by a pin 10 driven into the mouthpiece and engaging a recess in the flange 8. The Provisional Specification states that a tube receiving an absorbent cartridge may be provided instead of the scraper.

Orlik_Scoop_Patent Info Orlik_Sterling_Finished (7)

I heated the scraper and it was easily removed from the stem.  I reamed the bowl and soaked it with alcohol and sea salt.  The shank was cleaned with a soft bristle brush and alcohol.  After this step, and the scraper removed, the stem fit properly into the shank.

The stem was in such good shape I started with 1500 grade wet sandpaper, then moved to 2000.  This was followed with 8000 and 12000 grade Micromesh paper.  The stem was lightly buffed with White Diamond and Meguiars Plastic polish.

The bowl top was cleaned with a soft cloth and a mild Oxy-clean and water solution.  I polished the briar by hand using Halycon wax.

Below is the finished pipe.

Orlik_Sterling_Finished Orlik_Sterling_Finished (4) Orlik_Sterling_Finished (6) Orlik_Sterling_Finished (3) Orlik_Sterling_Finished (2) Orlik_Sterling_Finished (1) Orlik_Sterling_Finished (5) Orlik_Sterling_Nomenclature

Hardcastle “Straight Grain” Restoration


Blog entry by Al Jones

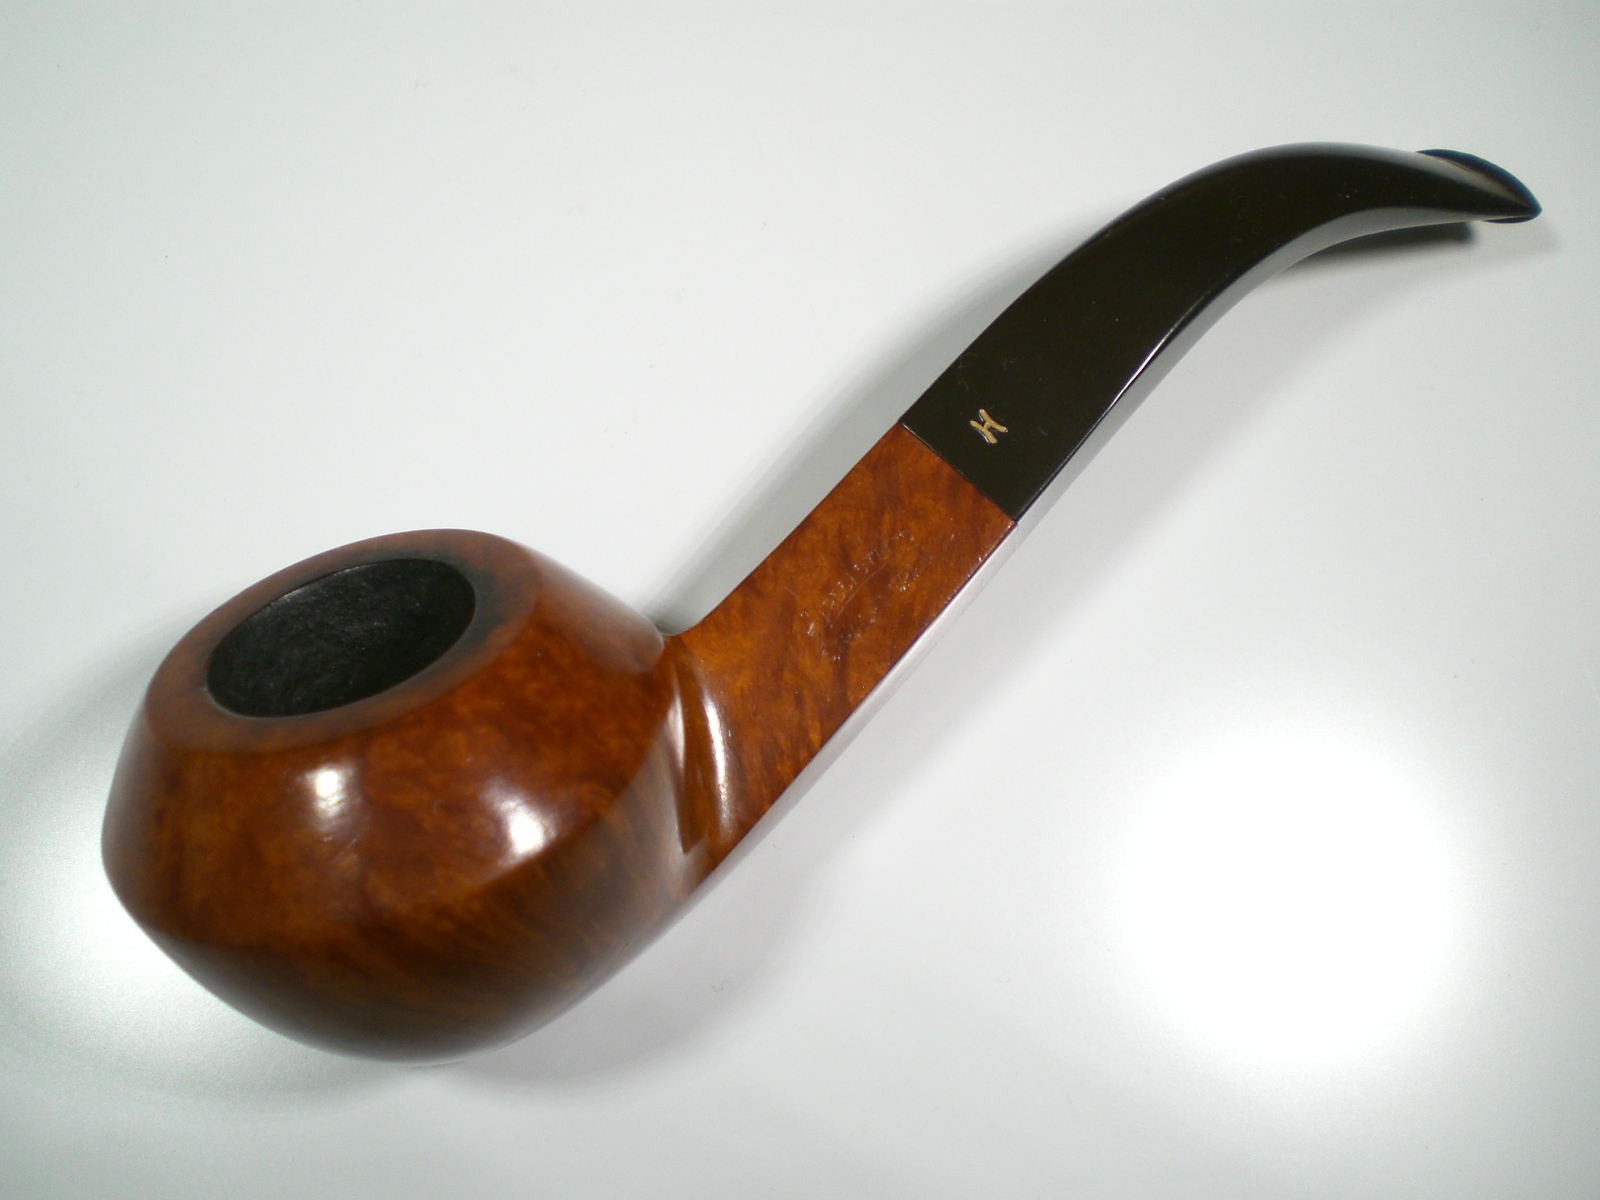
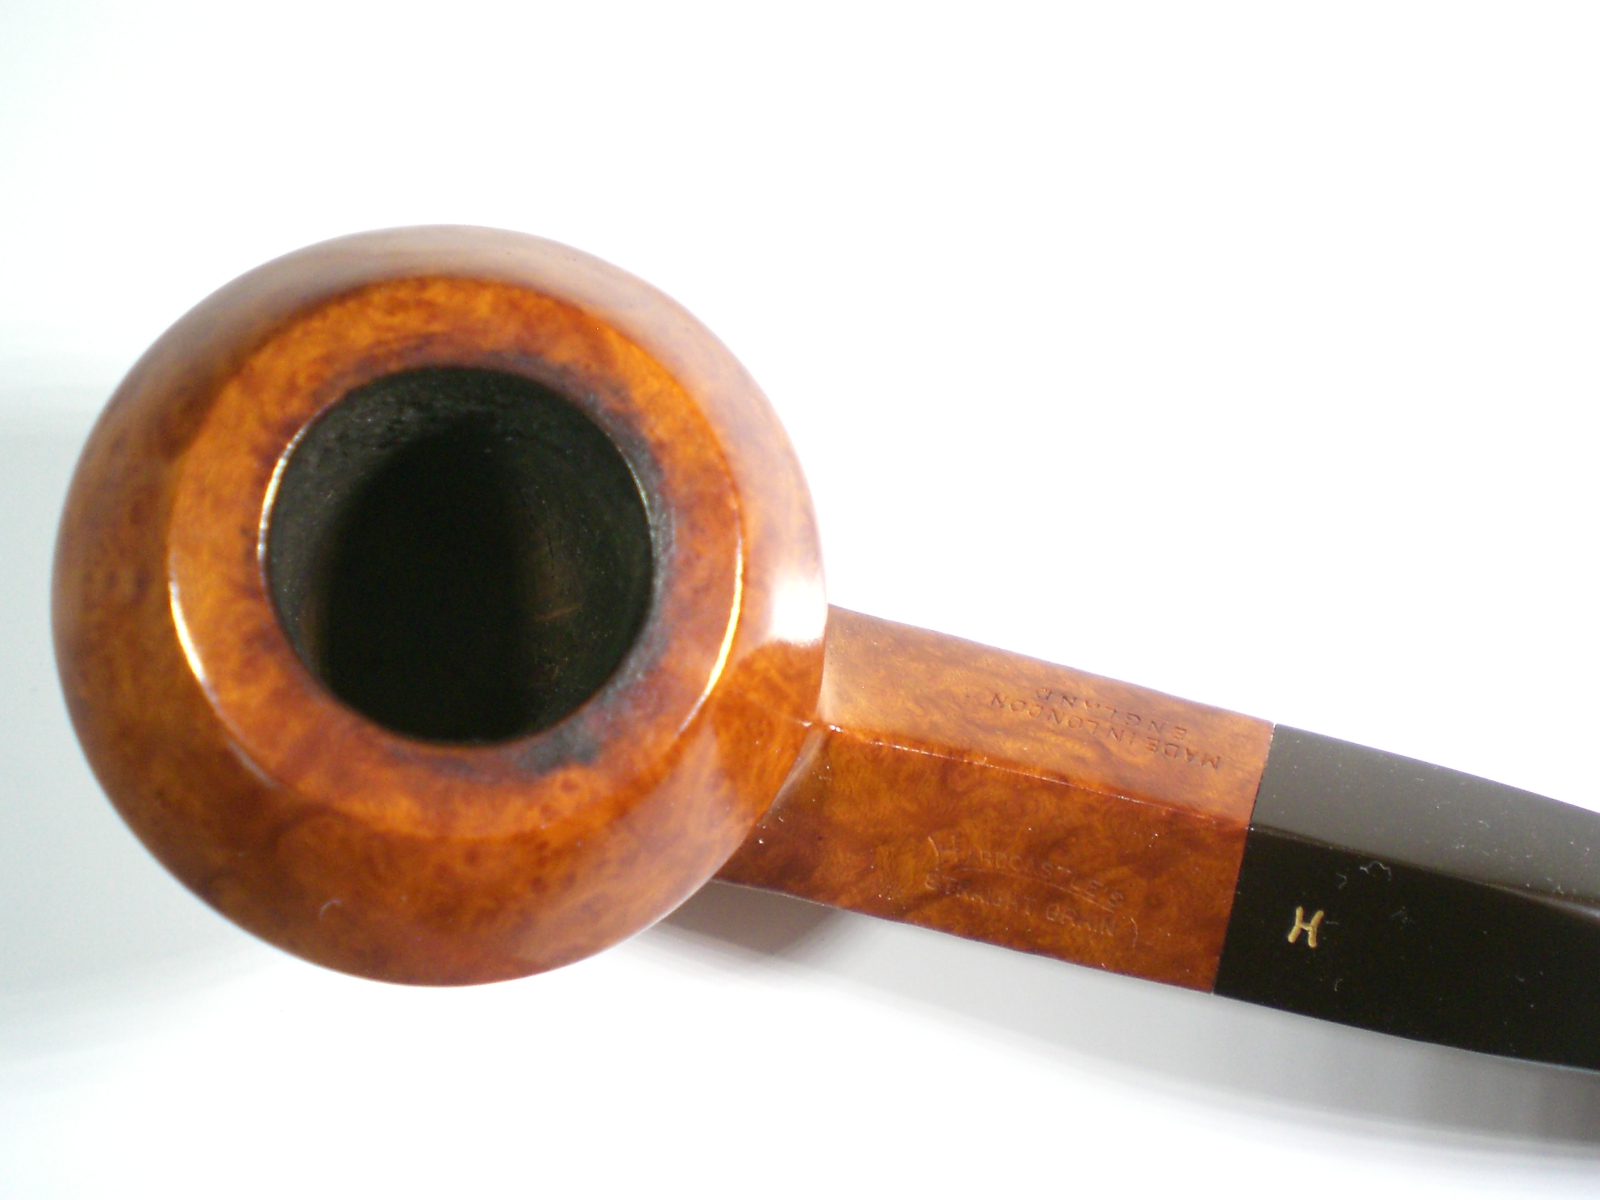
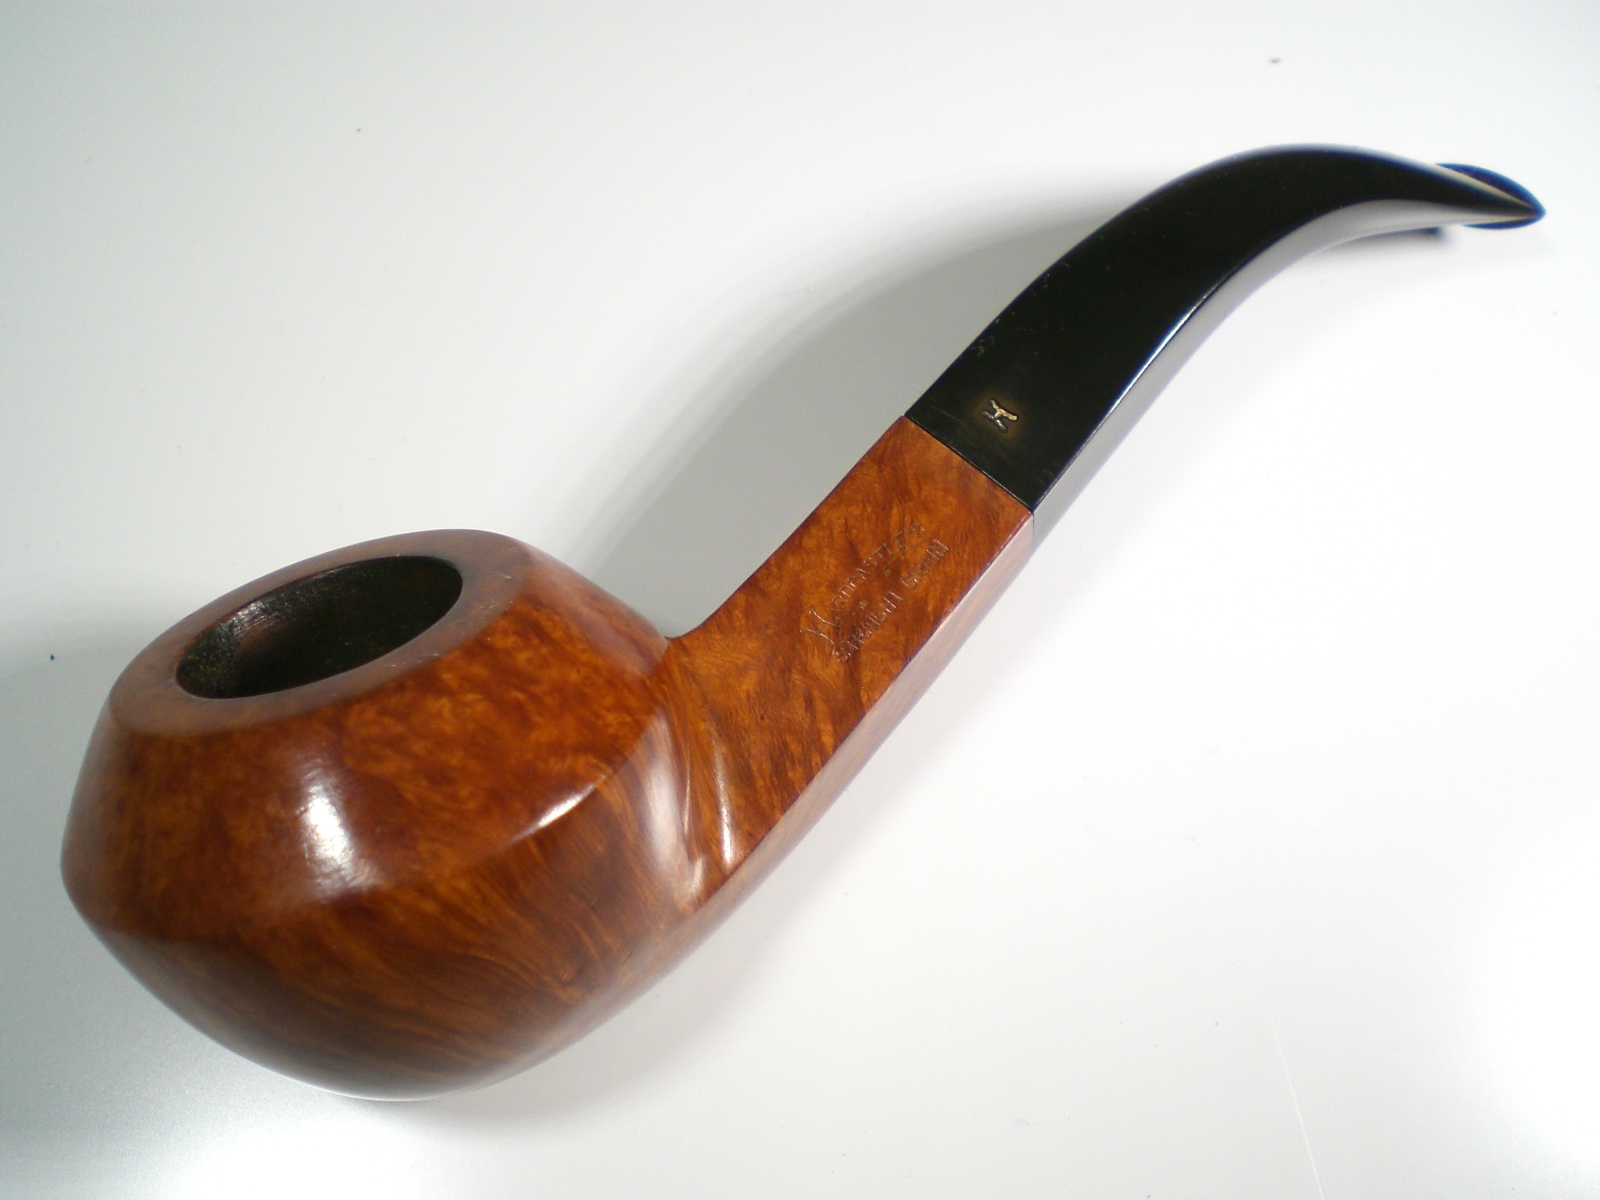
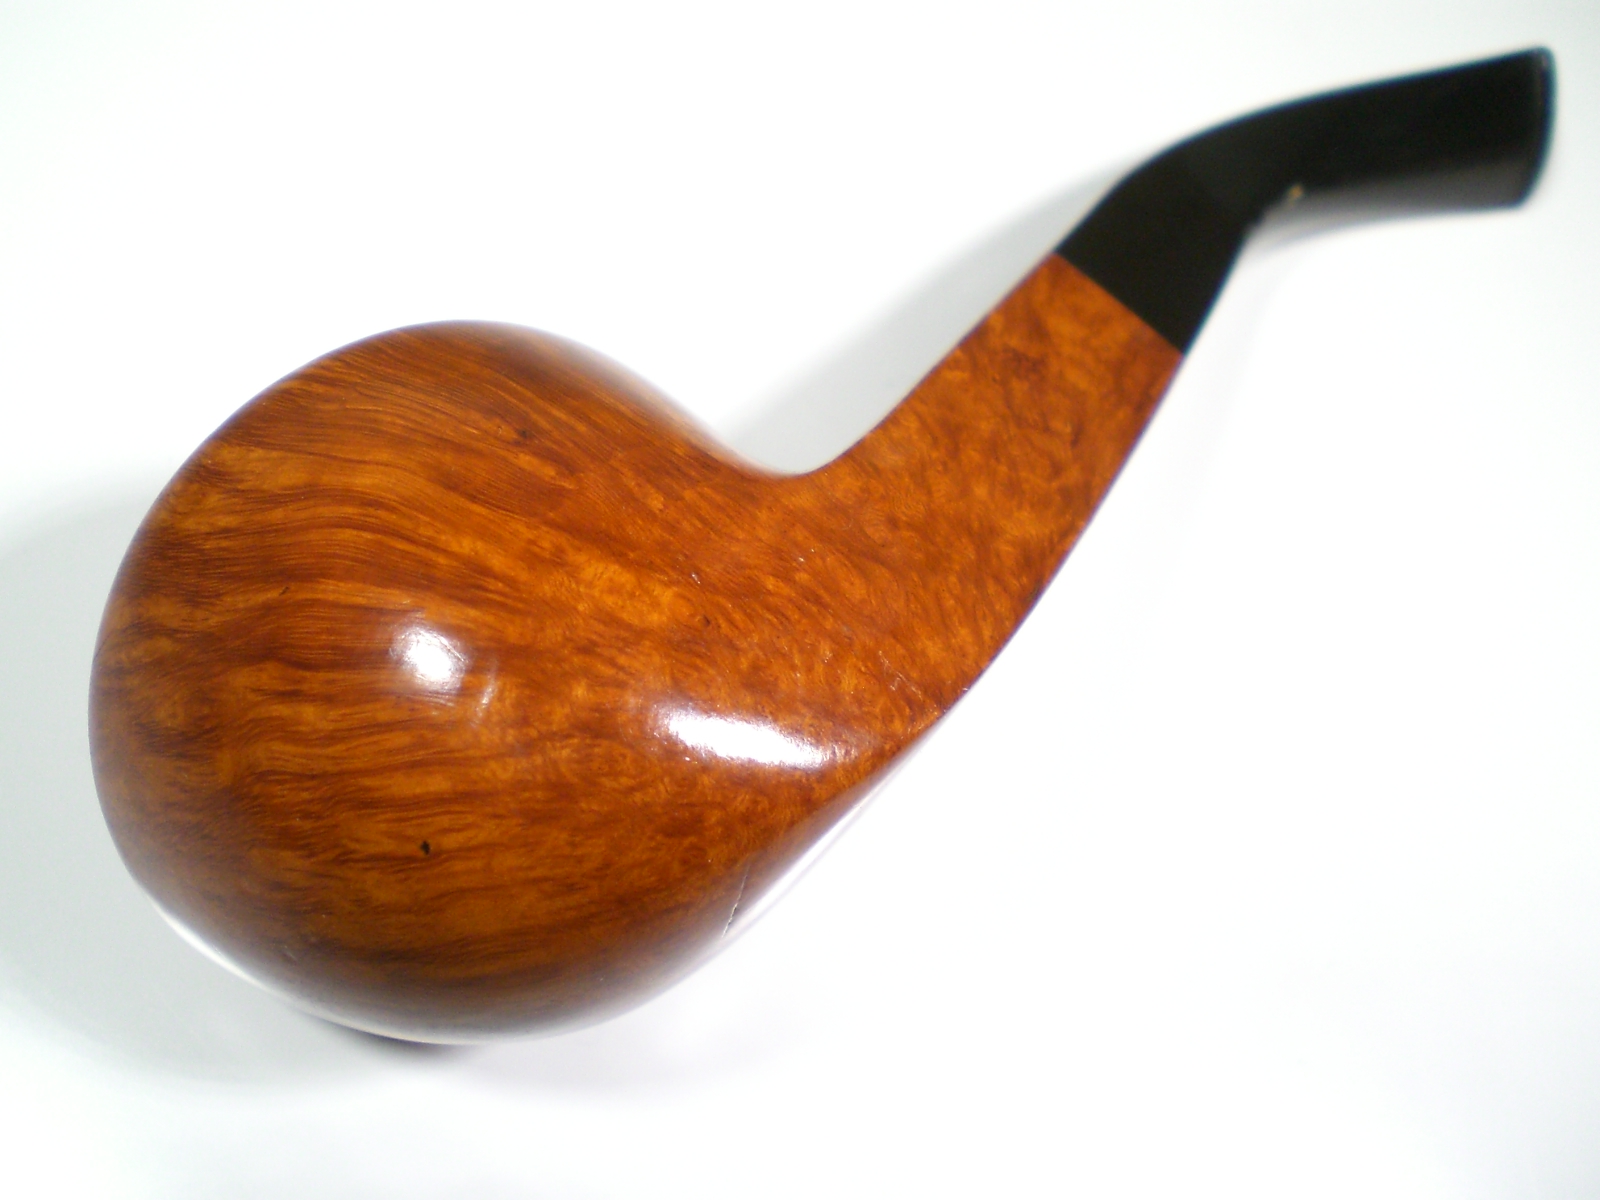
This is the second of four pipes belonging to Jon Guss.  This one is a Hardcastle marked “Straight Grain”.  The pipe was in overall excellent condition with just some slight scorching of the rim and some light oxidation and teeth marks on the stem.

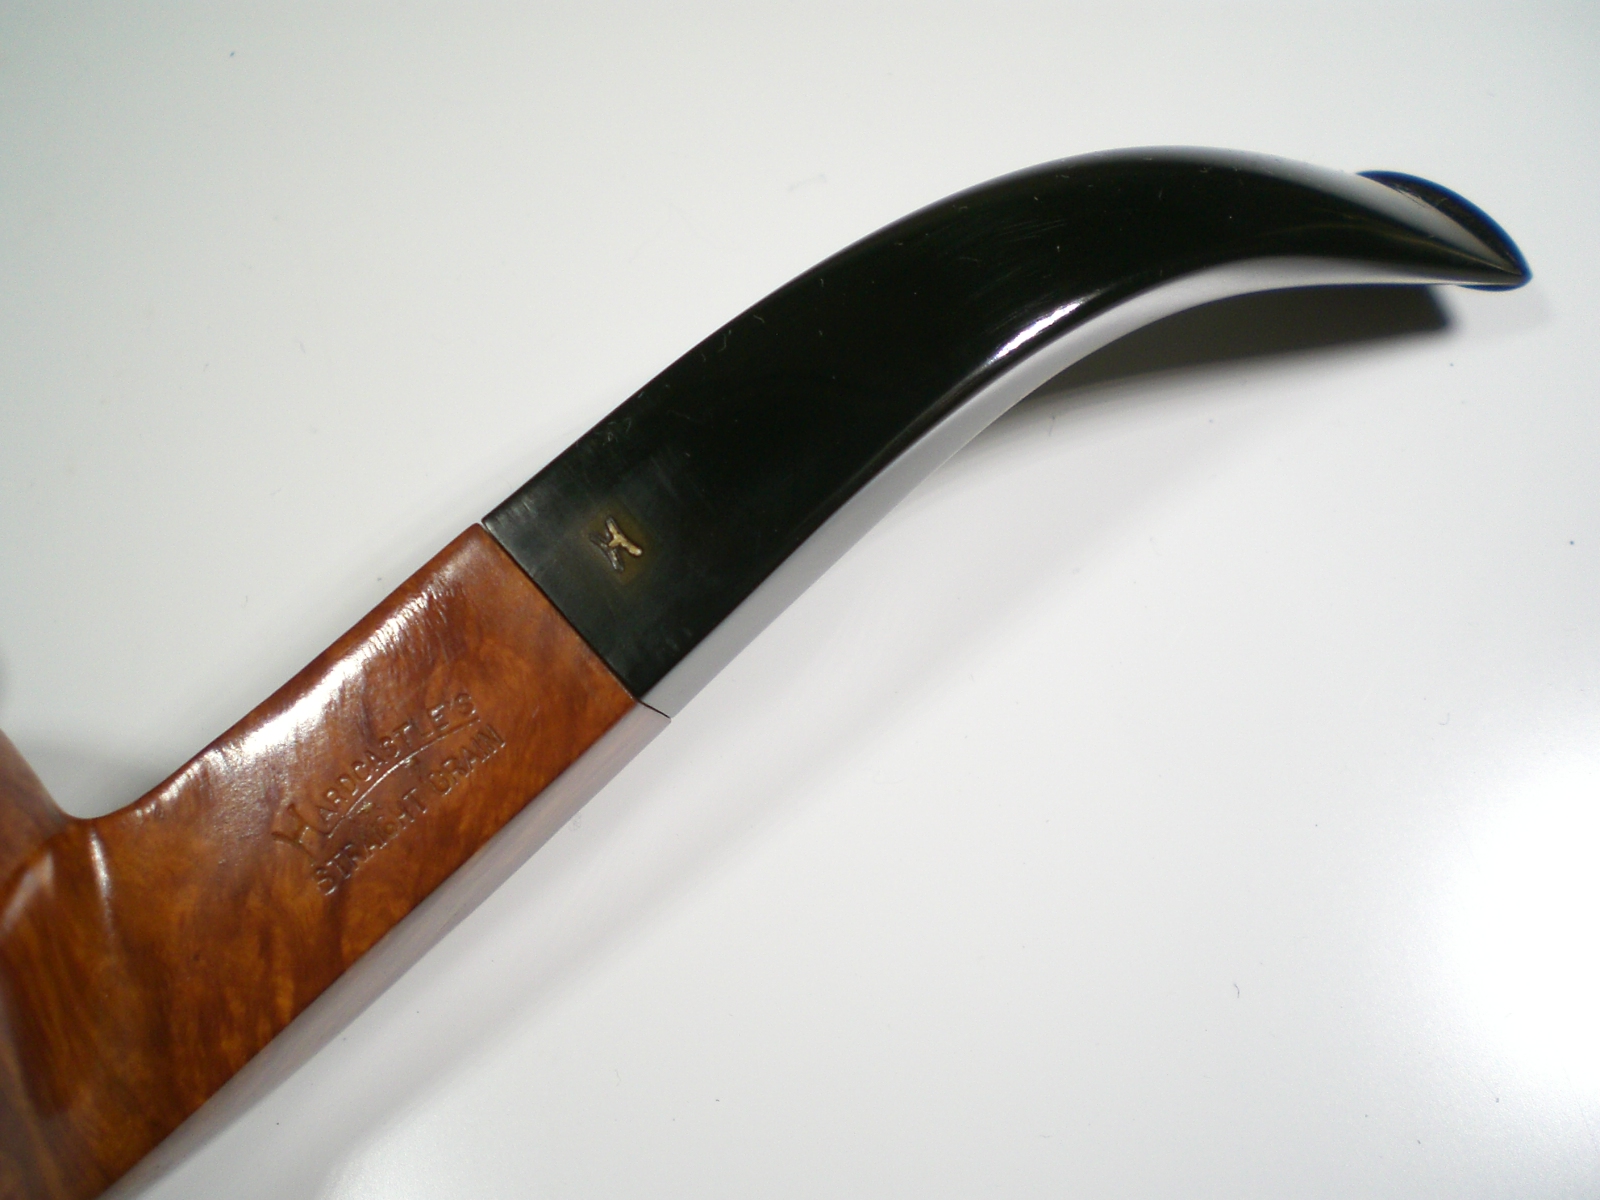
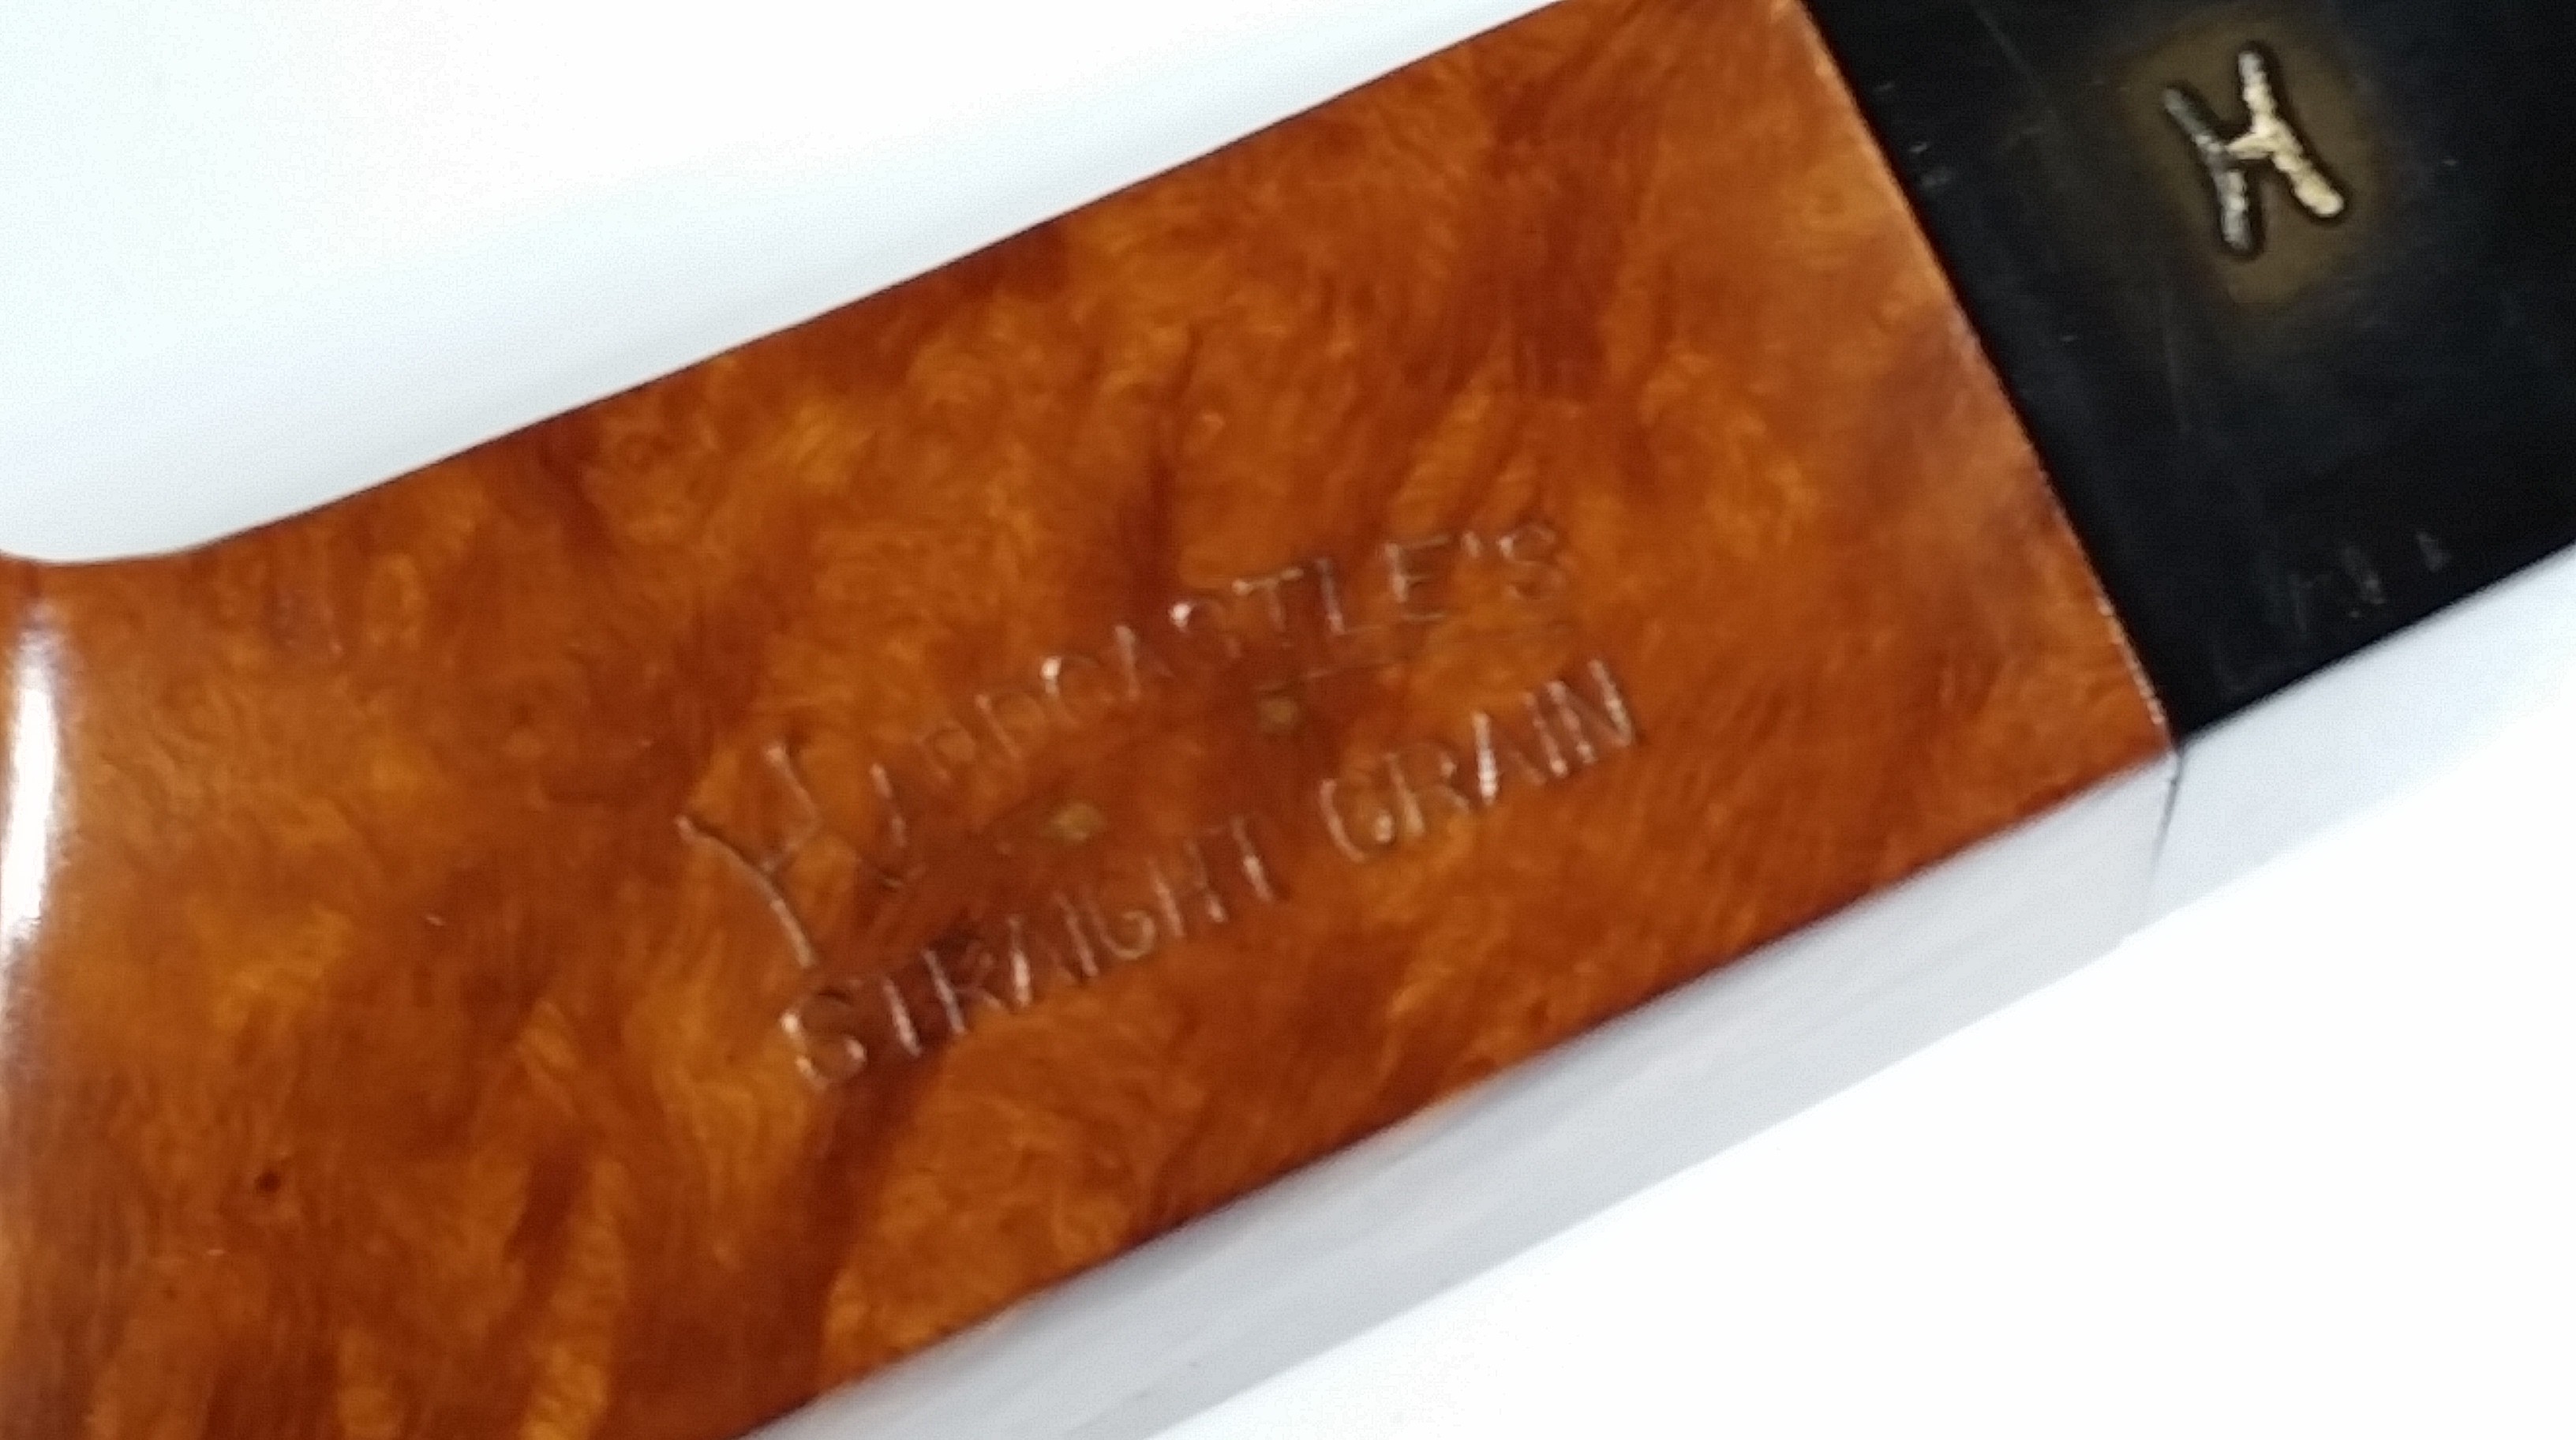
This is the first Hardcastle that I’ve had on my workbench and I found little online about this maker.  According to John Loring, Hardcastle was an independent brand begun in 1908, and was bought by Dunhill’s in 1946. In 1967, Hardcastle was merged with Parker, to become Parker-Hardcastle, Ltd.  Loring suspects that after 1967, Dunhill and Parker “seconds” were marketed with the Hardcastle brand.  Loring states that, in the absence of sales receipts, or other items of provenance, Hardcastles cannot be accurately dated.  From the Pipepedia page, the “Straight Grain” model is listed being from the Family Era.

Jon was able to supply me with this additional information about his Hardcastle Straight Grain pipe:

I believe it was produced by the company starting about 1935 (when the business was still called “Lewis & Hardcastle”; that stopped the next year), and continued to appear in price lists through 1950. Based on the details of the listings, however, I suspect it was actually only produced until early in WWII. For the first two years of production (1935-1936) the Straight Grain, along with the Leward model, were Hardcastle’s top of the line; after that they both were superseded by the Supergrain.

Below are pictures of the unrestored pipe.

Hardcastle_Straight_Grain_Before Hardcastle_Straight_Grain_Before (2) Hardcastle_Straight_Grain_Before (1)

I reamed the pipe and soaked the bowl with alcohol and sea salt.   I used a worn piece of 8000 grit Micromesh paper to remove the scorch marks on the bowl top, without lifting the stain.  The bowl was then buffed lightly with White Diamond and several coats of carnuba wax

I used 800 grit wet sandpaper on the stem to remove the oxidation and teeth marks.  I worked around the “H” stem logo.   That was followed with 1500 and 2000 grit wet paper, then the 8000 and 12000 grade Micromesh sheets.  The stem was then buffed lightly with White Diamond and Meguiars plastic polish.

Below is the finished pipe.

Hardcastle_Straightgrain_Finished Hardcastle_Straightgrain_Finished (4) Hardcastle_Straightgrain_Finished (2) Hardcastle_Straightgrain_Finished (6) Hardcastle_Straightgrain_Finished (3) Hardcastle_Straightgrain_Finished (5) Hardcastle_Straightgrain_Nomenclature Hardcastle_Straightgrain_Nomenclature (1)


Surbrug’s Special Restoration


Blog entry by Al Jones

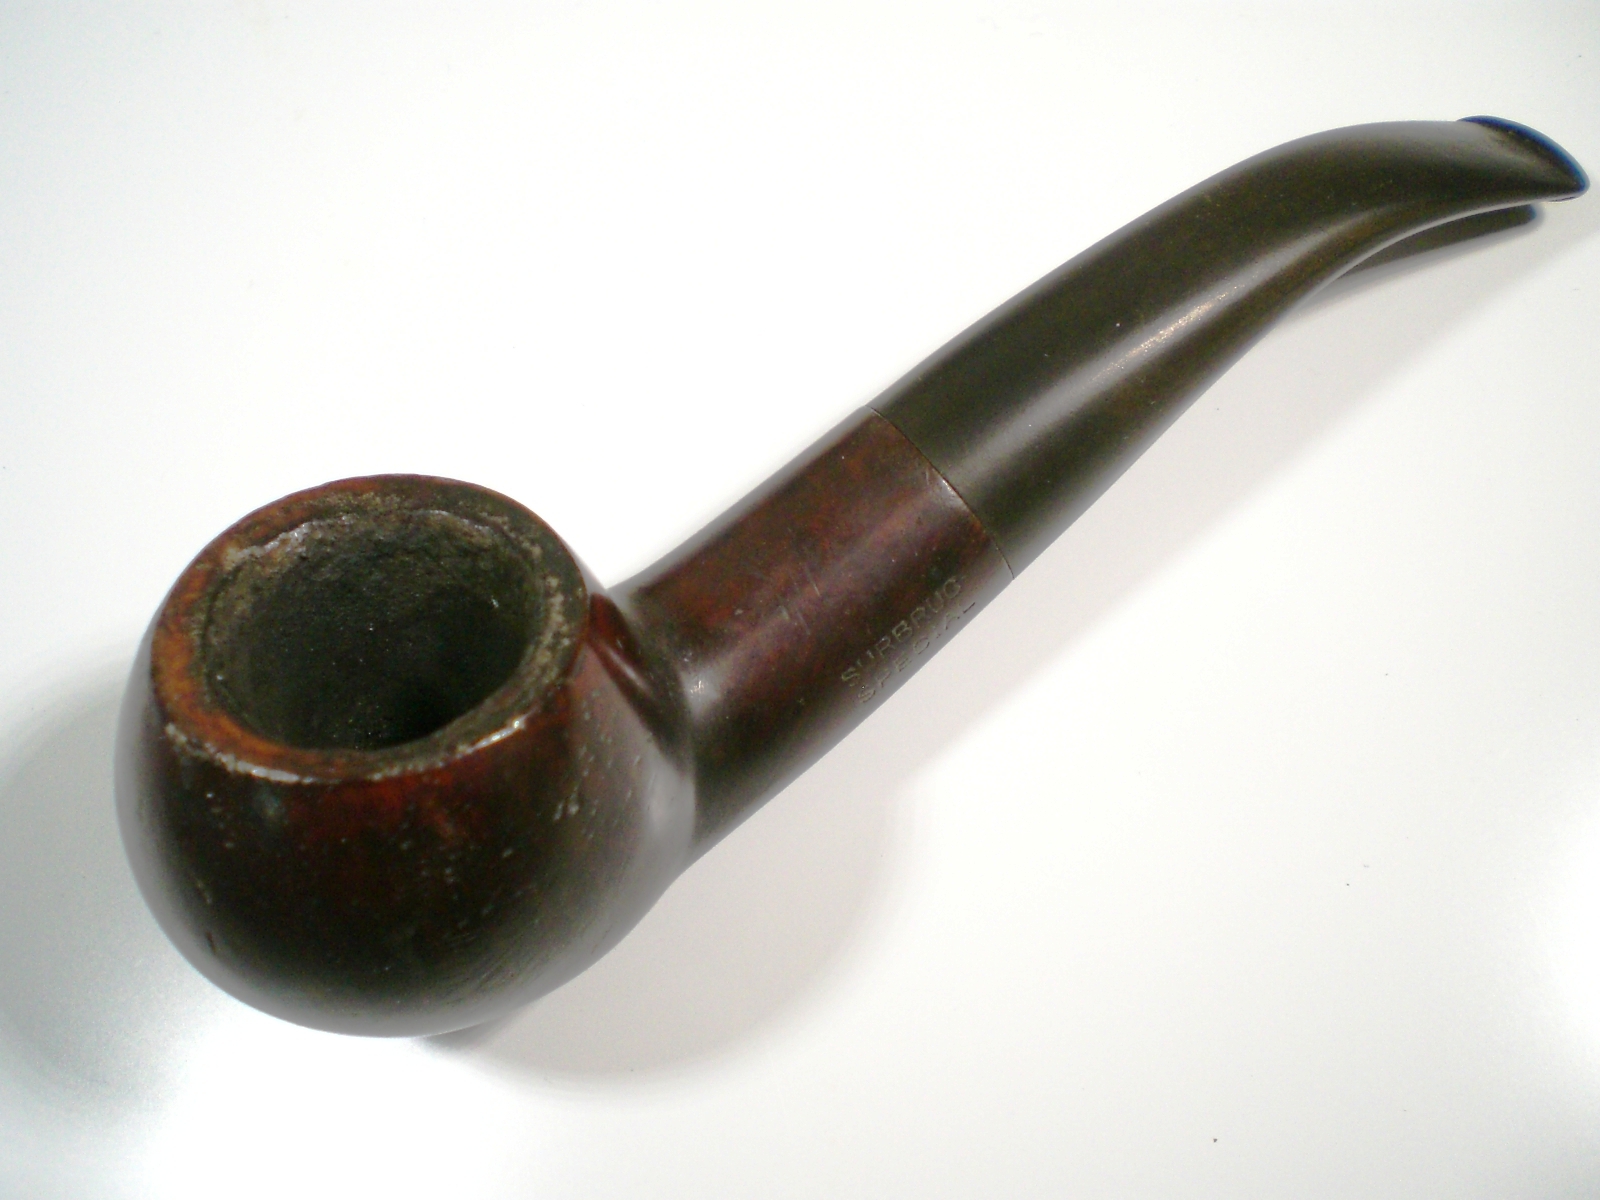
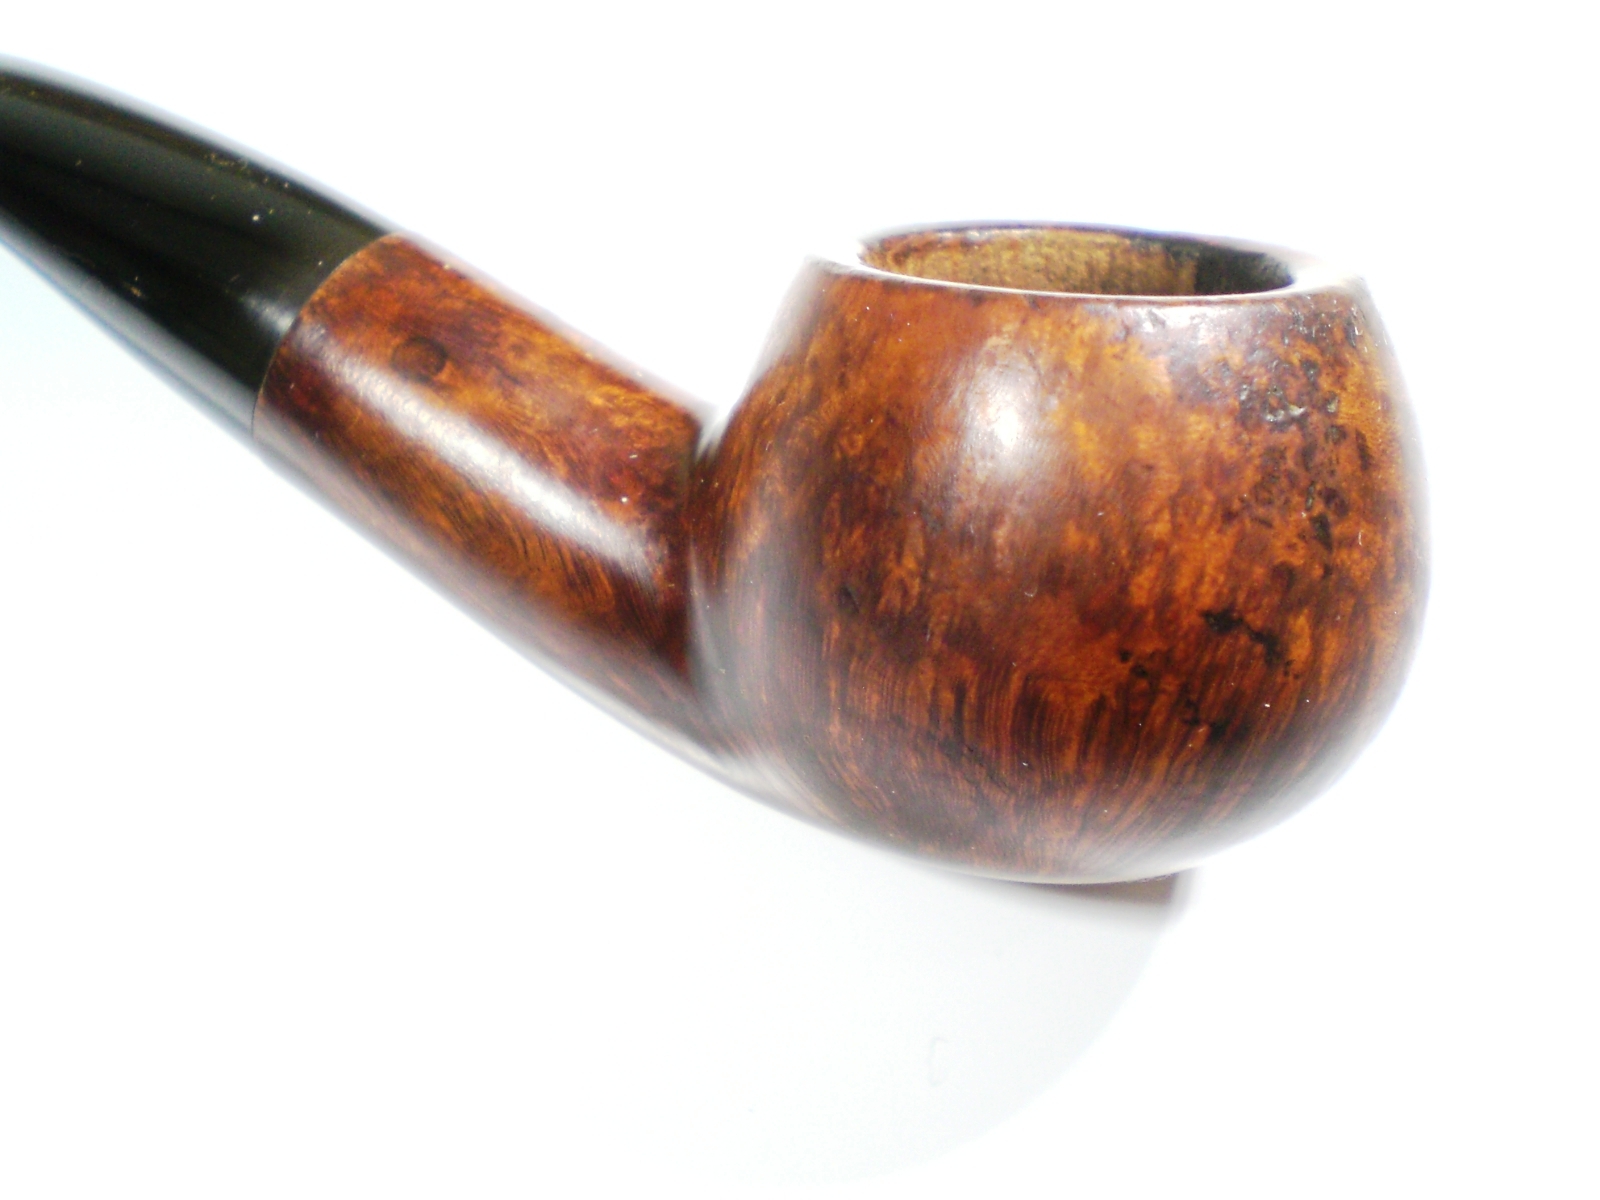
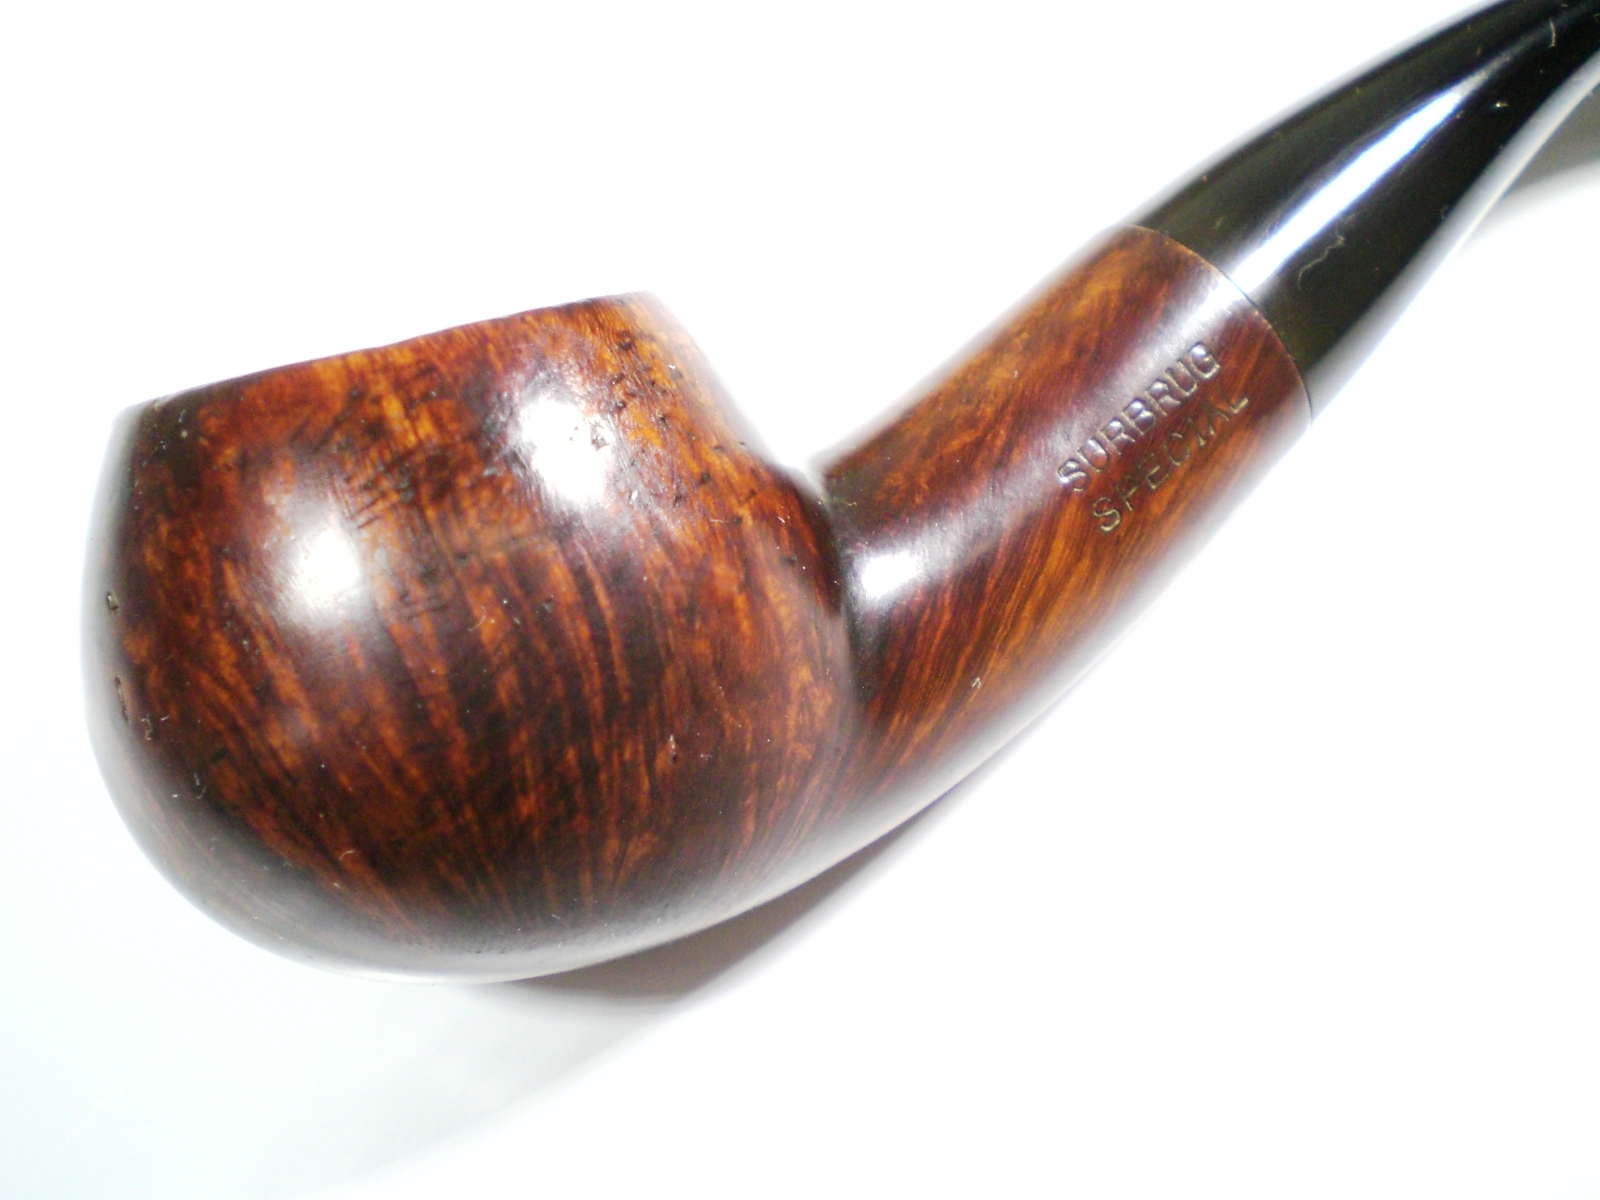
This Surburg’s Special came from a group of four pipes sent to me to from Jon Guss.  You may be familiar with Jon’s work in the “Barlings” section of Pipepedia or in the Vintage portion of Neill Archers Roan’s “A Passion for PIpes” blog.    Jon always has a lot of historical information to contribute to threads on the PIpesMagazine.com forum, so I was honored to work on his personal pipes.  Jon found this pipe at the recent NYC PIpe show.  It was in a bin of pipes from famed Delware collector, Bob Herbert.

I only knew that Surbrug’s was a New York City tobacco shop and I’ve seen their shop pipes pop up occasionally.  Jon sent me this about the shop:

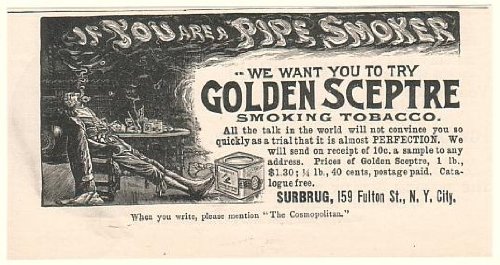
John R Surbrug, born in Switzerland of a Swiss father and Ohio mother, had a small tobacco shop in New York City. After his death in the 1880s, his young son John Willard Surbrug (born in NYC in 1859) took over the store. Incorporating the business in 1895, John W. expanded into the cigarette market and prospered greatly. After buying a cigarette competitor name Khedivial, Surbrug’s business in turn was acquired by the Tobacco Products Company (TBC) in 1912. TBC was what we would now call a roll-up play, created by George and William Butler as a vehicle to compete with the American Tobacco Company. Surbrug’s business was acquired for stock, which meant John was left with an active role in the combined business. The later part of his career (and his son’s career), though interesting, is irrelevant here; what matters is that the Surbrug Company, while primarily engaged in the manufacture and sale of cigarettes, continued to be true to its roots offering well known tobacco blends and pipes. In regard to the former, the company was especially famous for its Golden Sceptre, Best Make, and Arcadia Mixture tobaccos. In regard to the latter, it appears that Surbrug was not a manufacturer, but rather a reseller of pipes that were stamped with their name by a variety of third party suppliers. Some at least of these were major players in the world famous London pipe industry. Surviving early hallmarked examples make it clear that BBB/Frankau, Barling, and Delacour Brothers were three of Surbrug’s vendors.

Here is an old advertisement for one of their famed tobacco blends.

Surbrug_Tobacco_Ad

The pipe had seen some hard use and was in general very grimy.

Surbrug_Special_Before Surbrug_Special_Before (6) Surbrug_Special_Before (1) Surbrug_Special_Before (2)

The bowl was reamed and soaked with alcohol and sea salt.  I cleaned the shank with alcohol and a soft bristle brush.

The rim had a build up of carbon. I used a worn piece of 8000 grit Micromesh paper to remove most of it.  The rim has some nicks and bruises, but Jon and I agreed that the patina was part of the pipes charm.  The rest of the briar was stained with grime from use.  Again, the 8000 grit micromesh paper revealed some interesting grain.  That also removed some of the scratch marks seen in the earlier photo.  I then buffed the pipe lightly with white diamond rouge and several coats of carnuba wax.

The stem had some mild oxidation but was in pretty good shape.  I soaked the stem in a mild Oxy-Clean solution and started using 800 grit wet paper.  This was followed by 1500 and 2000 grit paper.  Next the 8000 and 12000 grade micromesh sheets were used.  The stem was then buffed on the pipe with White Diamond and Meguiars Plastic Polish.

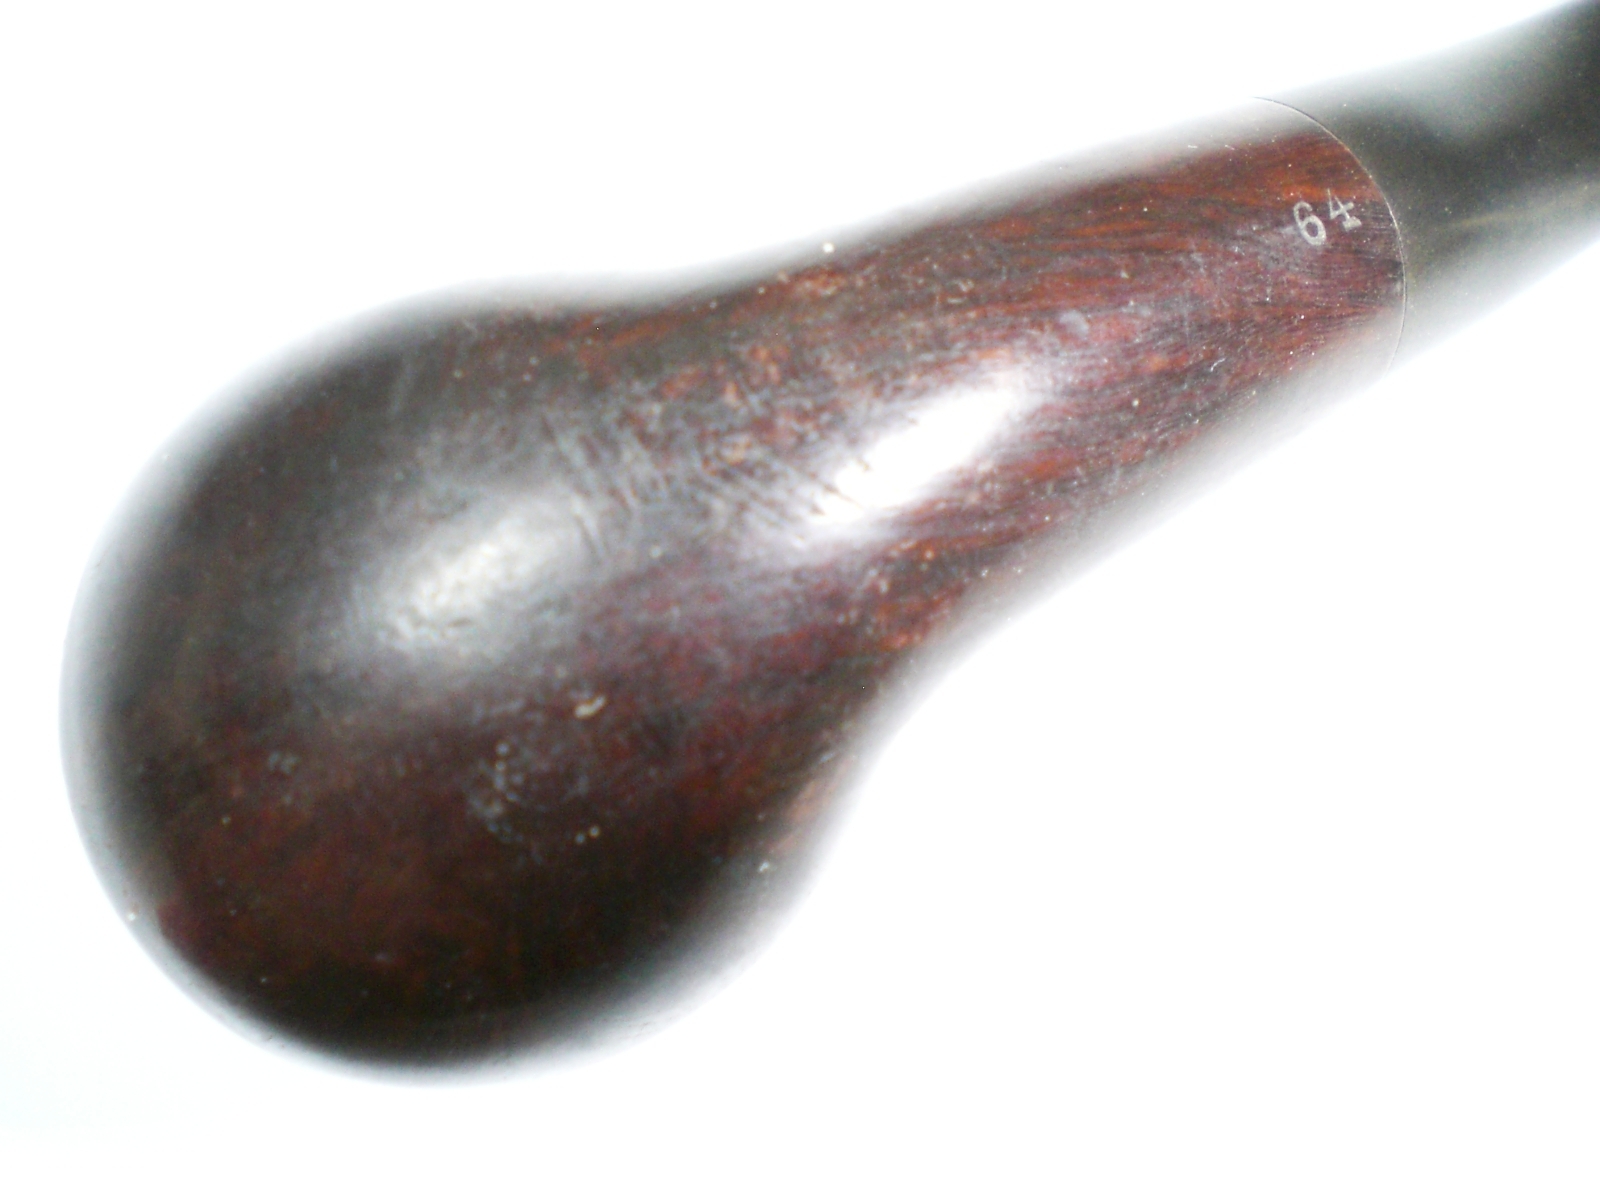
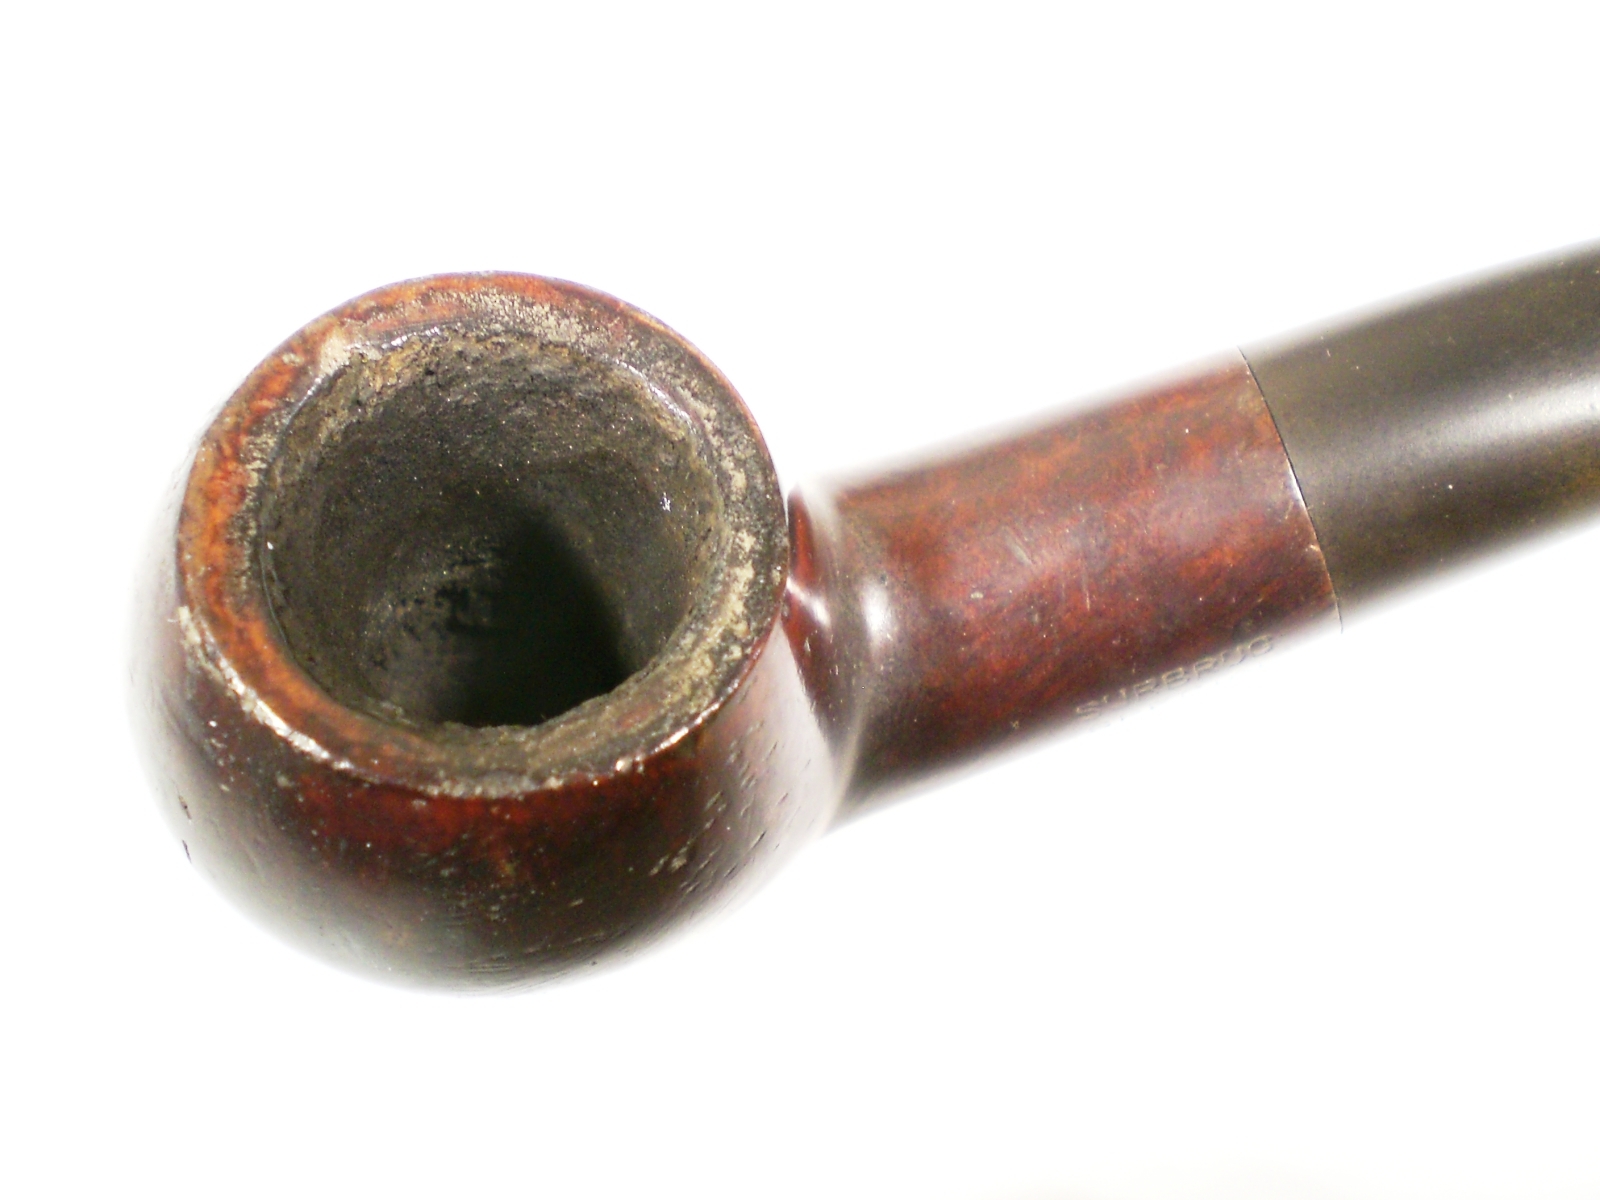
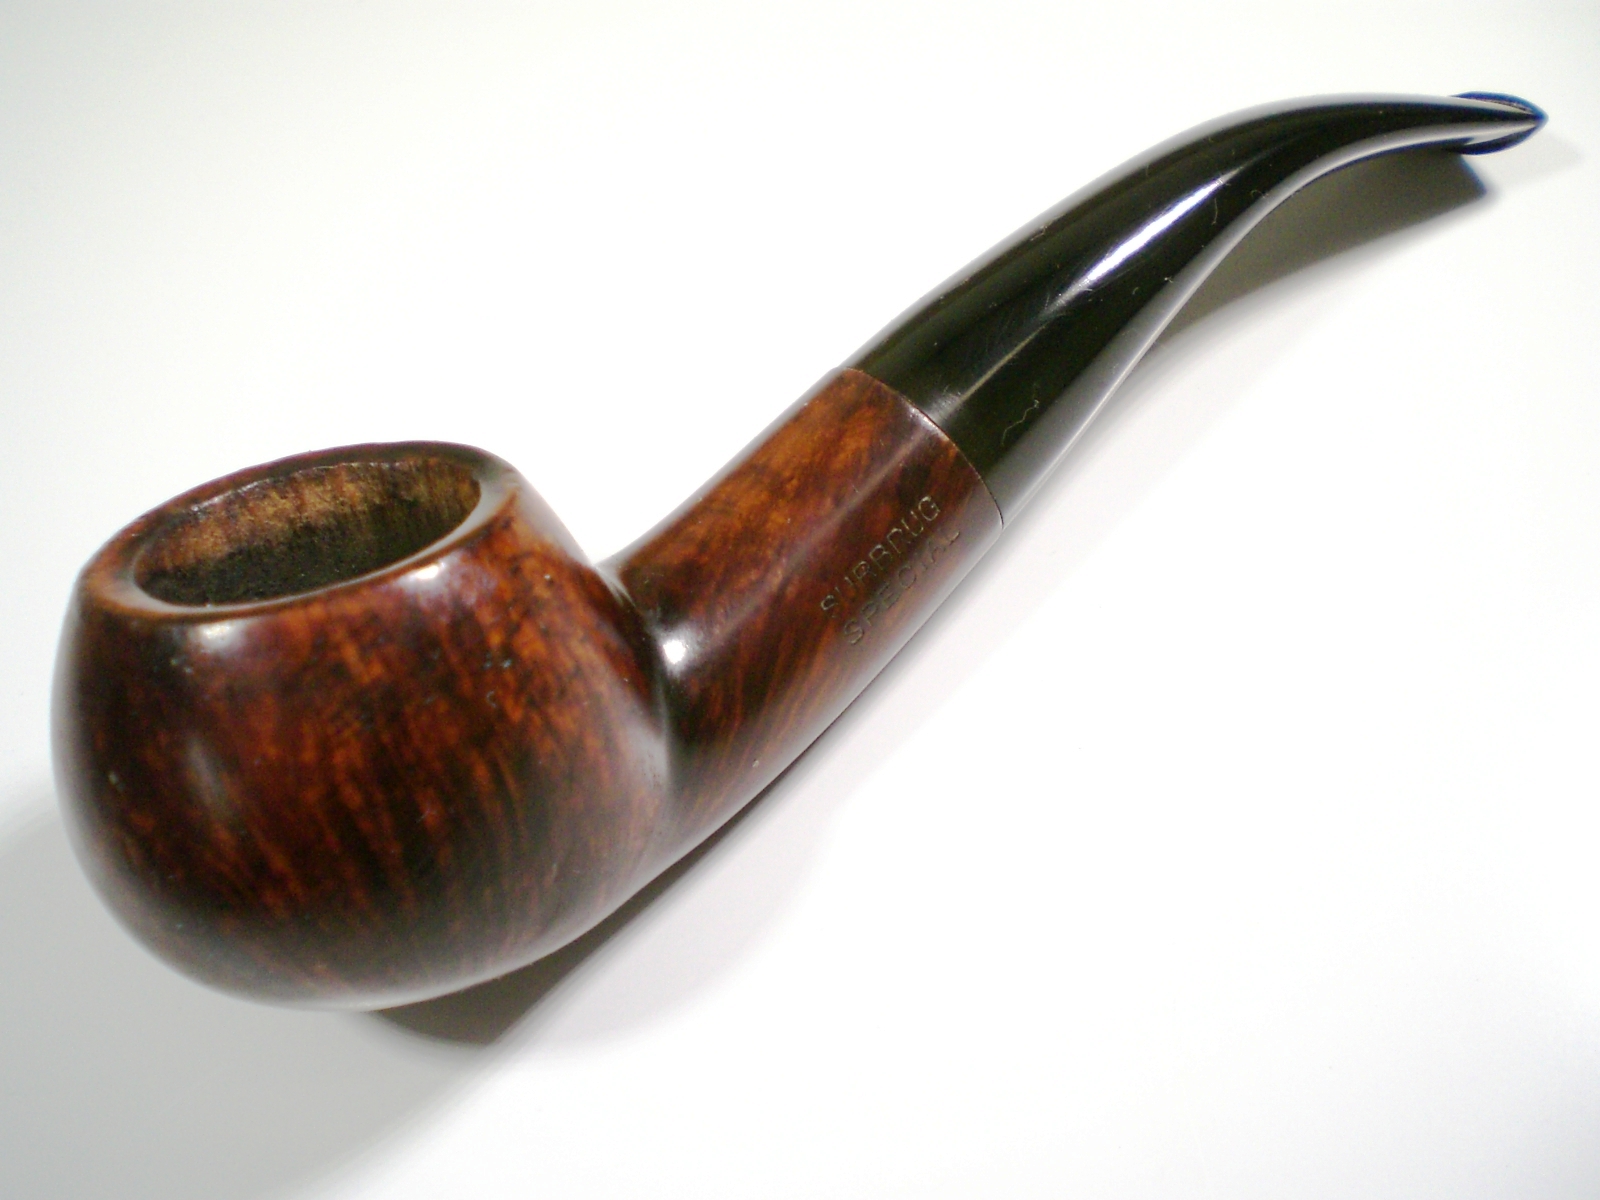
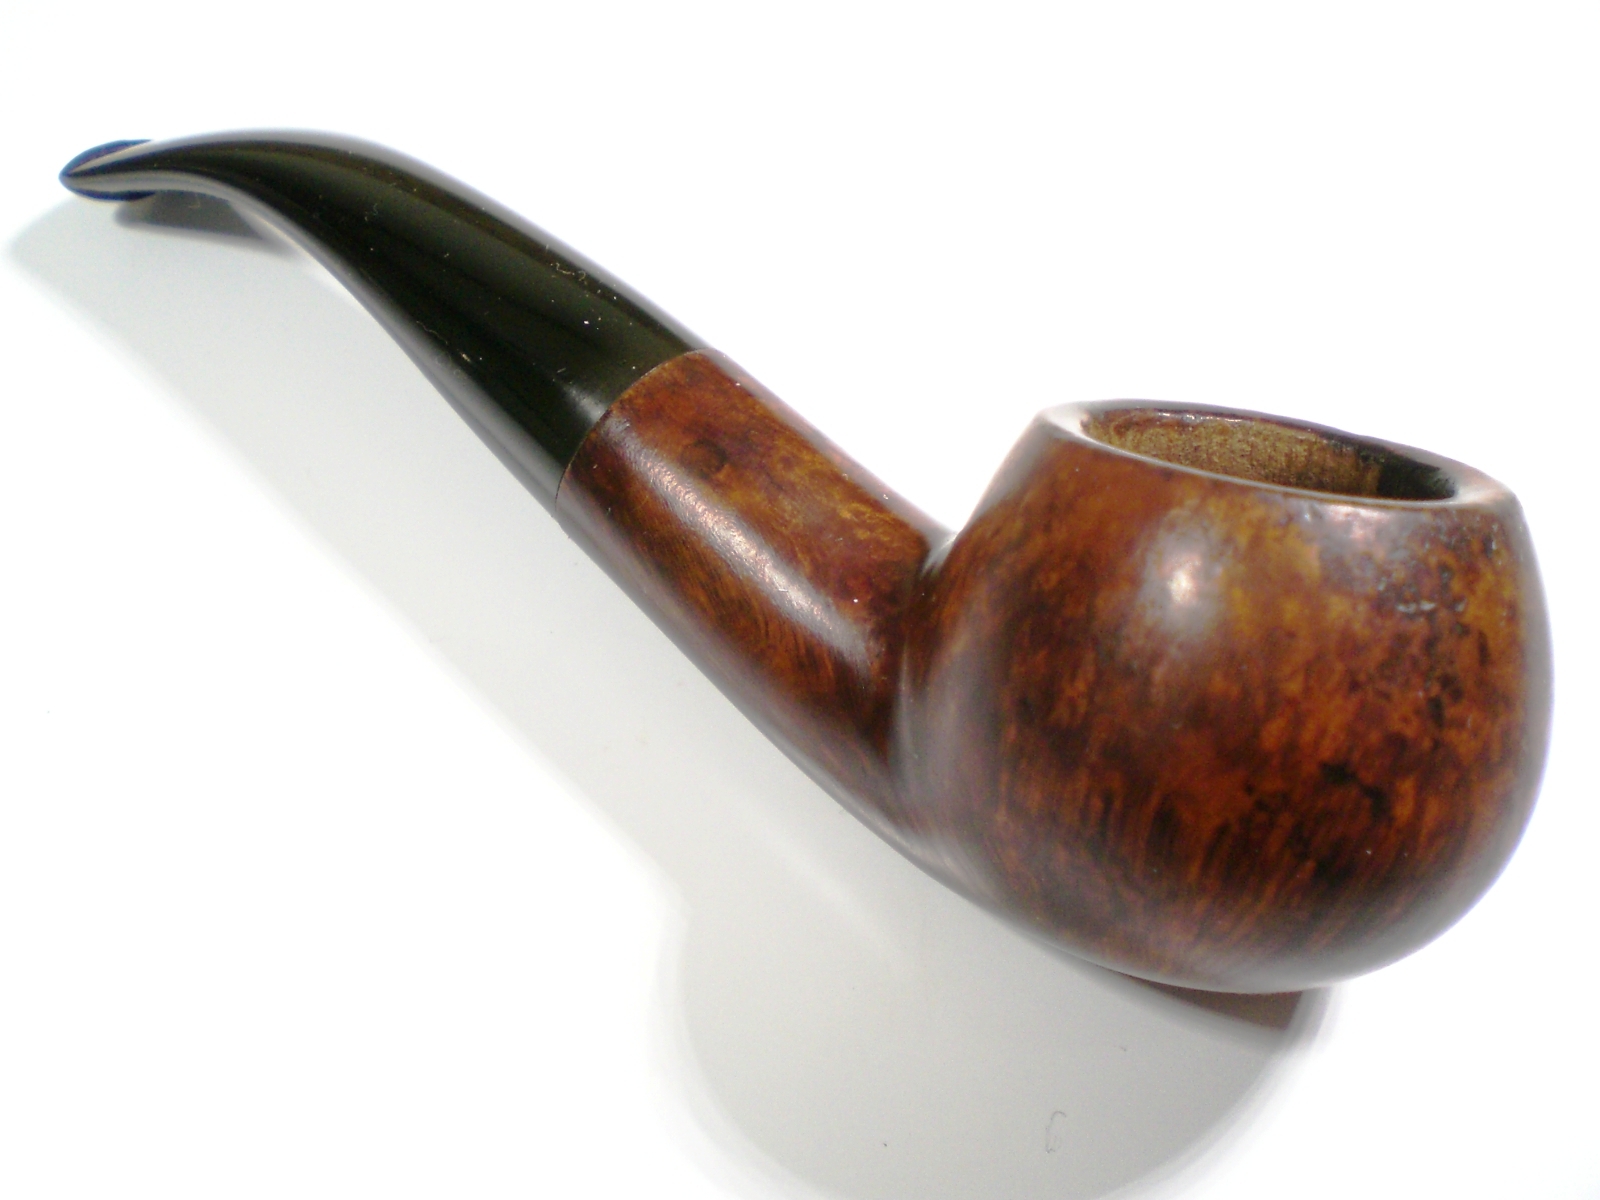
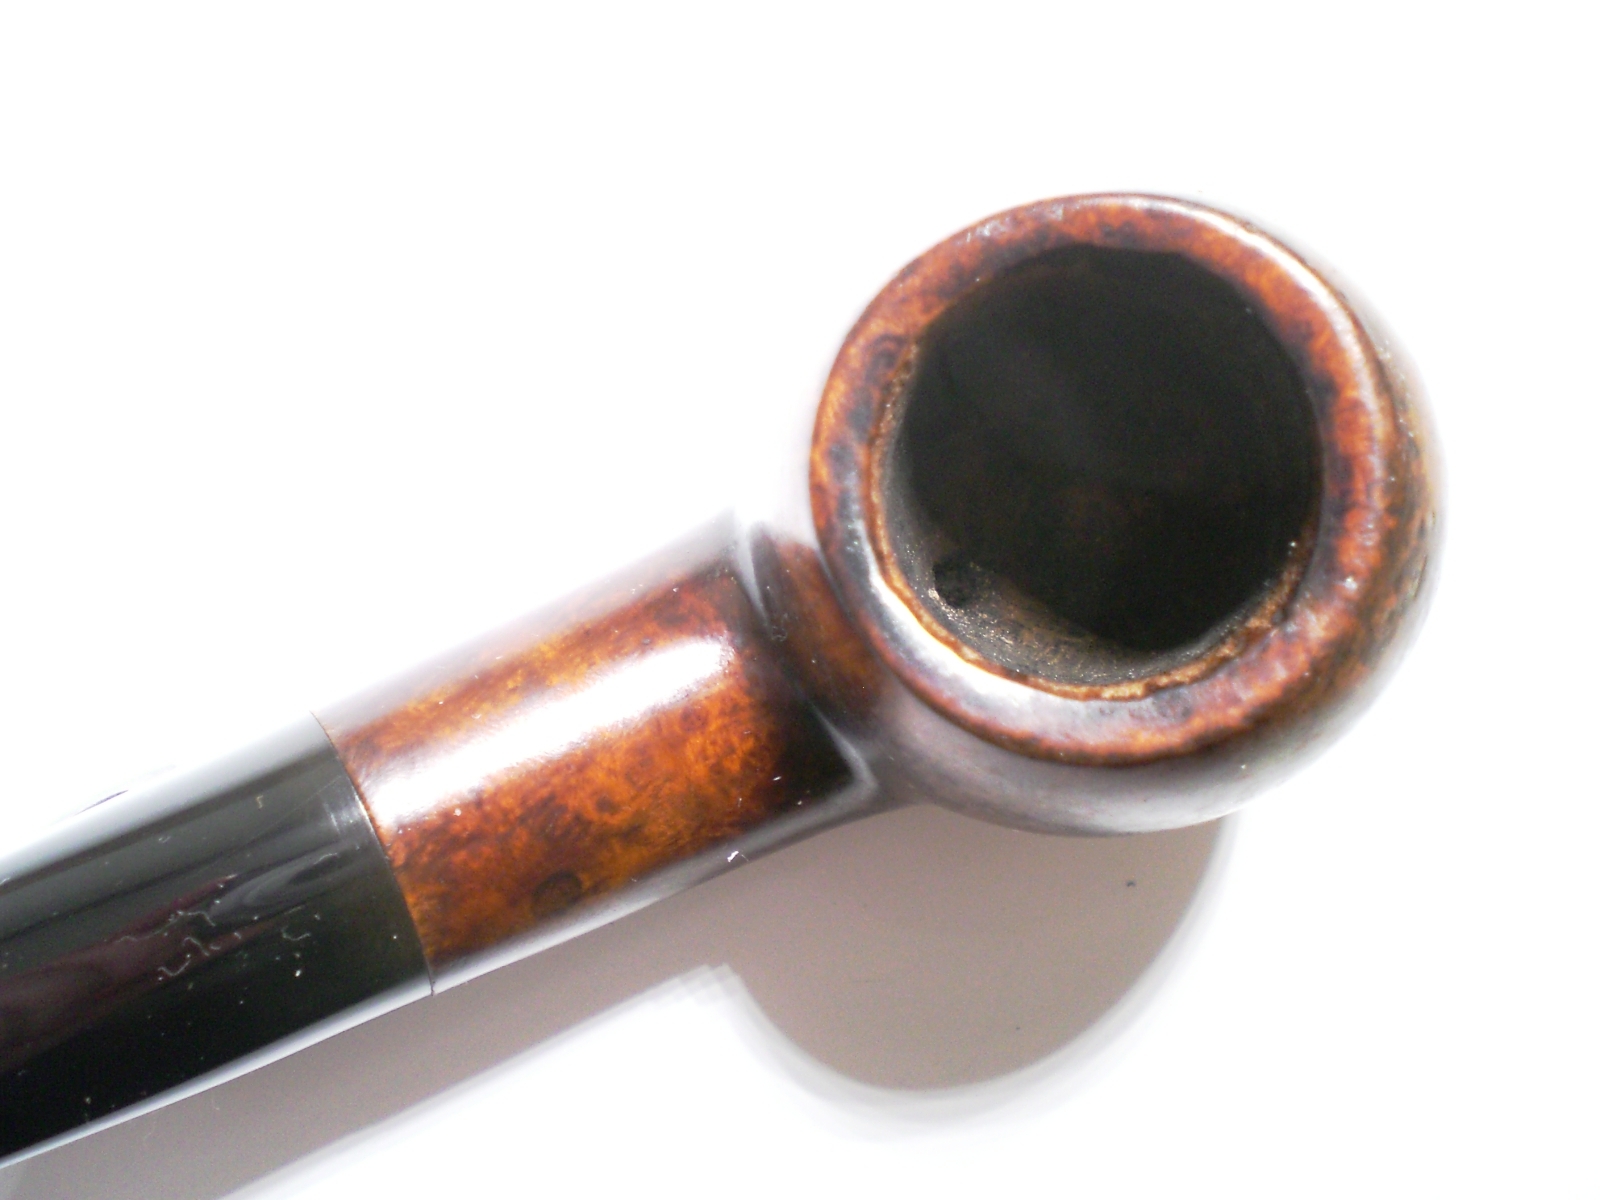
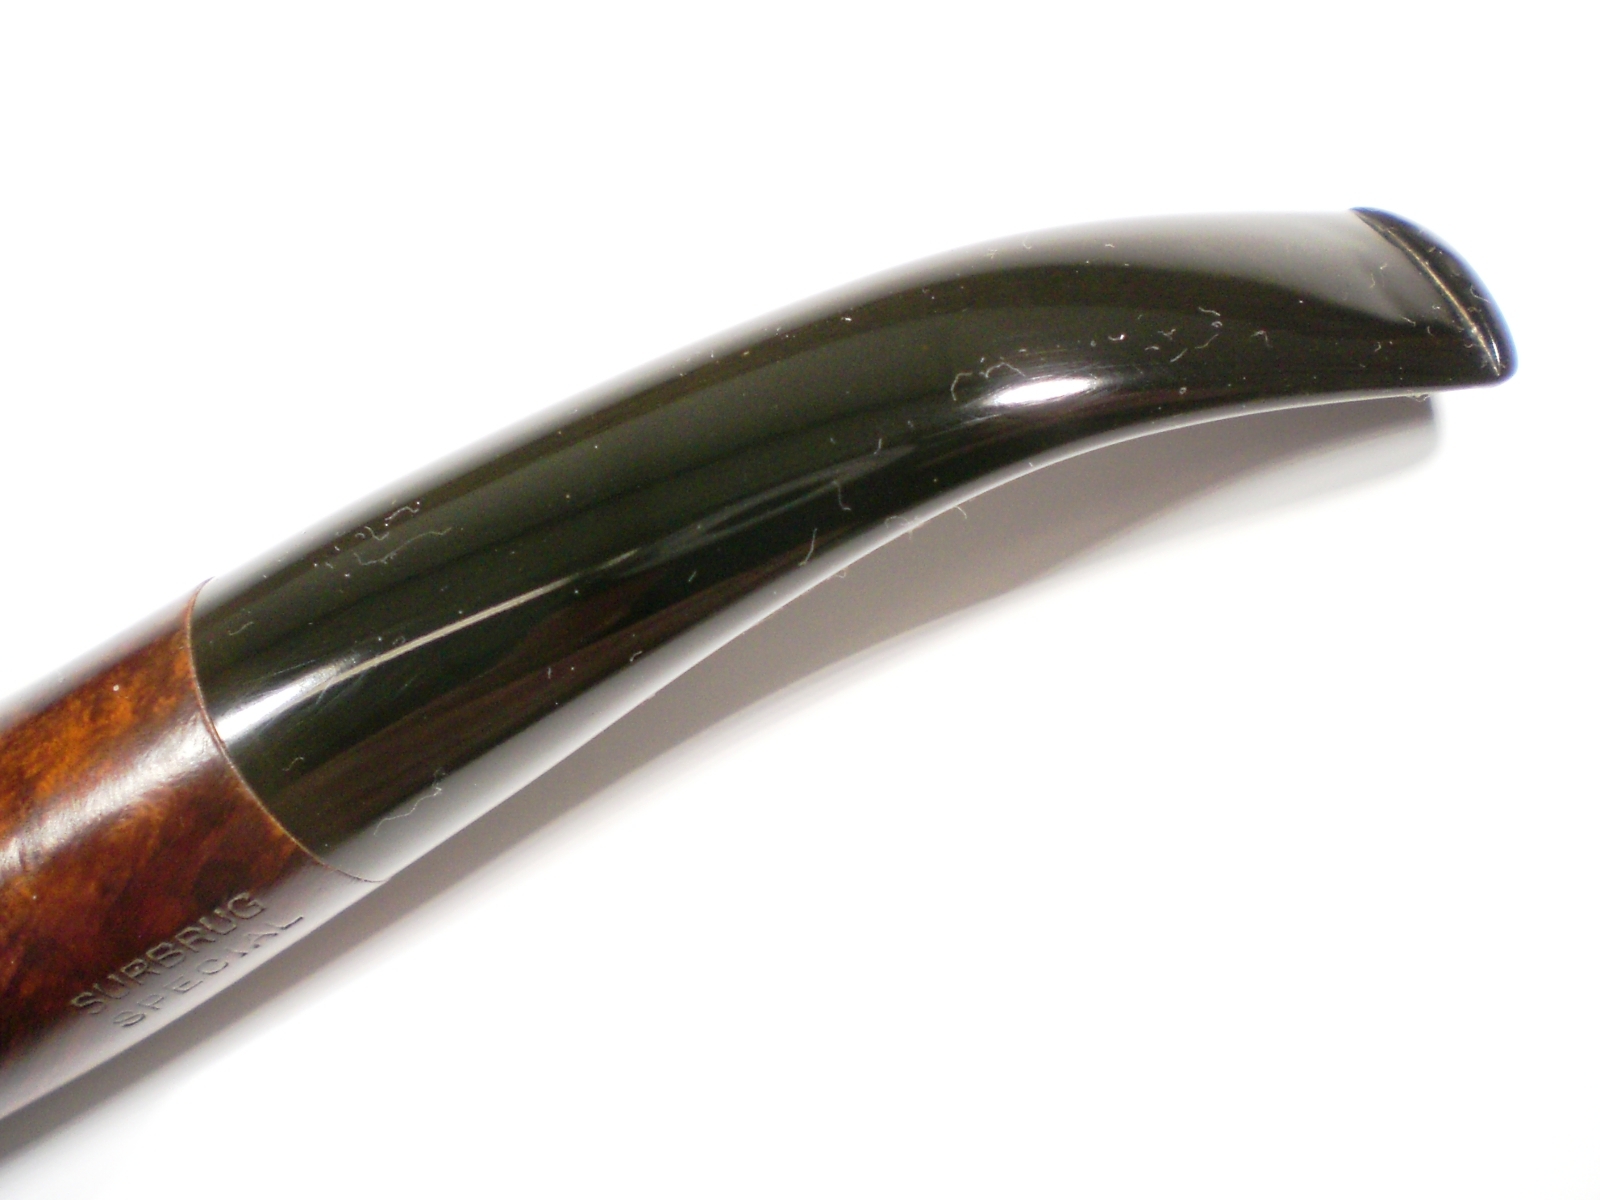
Surbrug_Special_Finished Surbrug_Special_Finished (3) Surbrug_Special_Finished (4) Surbrug_Special_Finished (1) Surbrug_Special_Finished (5) Surbrug_Special_Finished (2)


Mixing and using a batch of pipe mud


Blog by Steve Laug

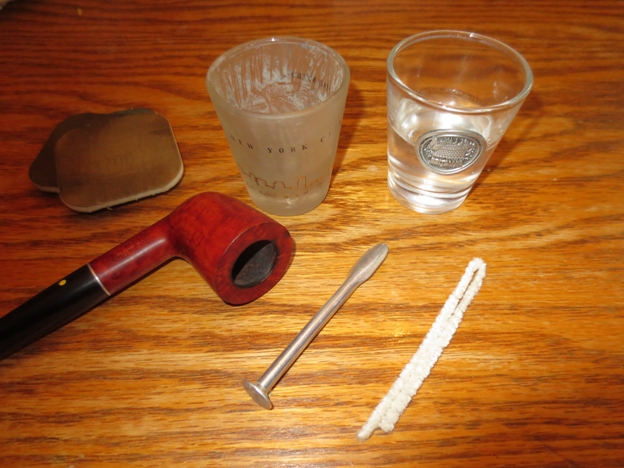
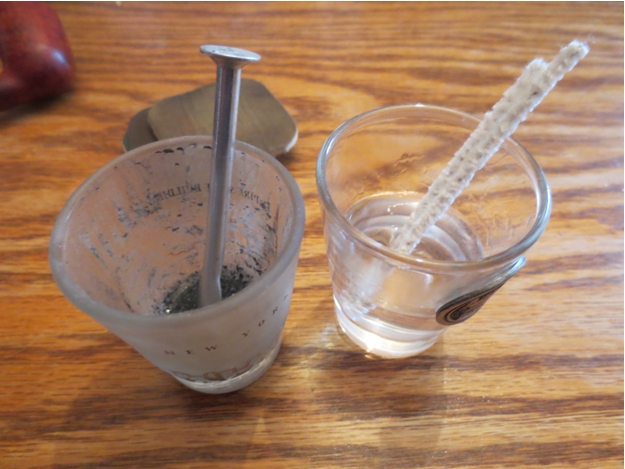
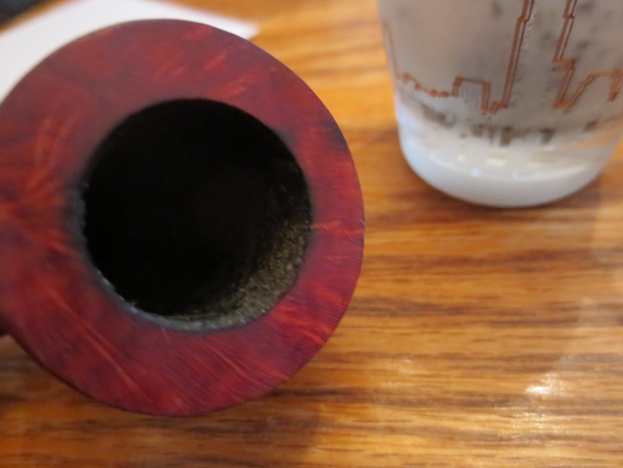
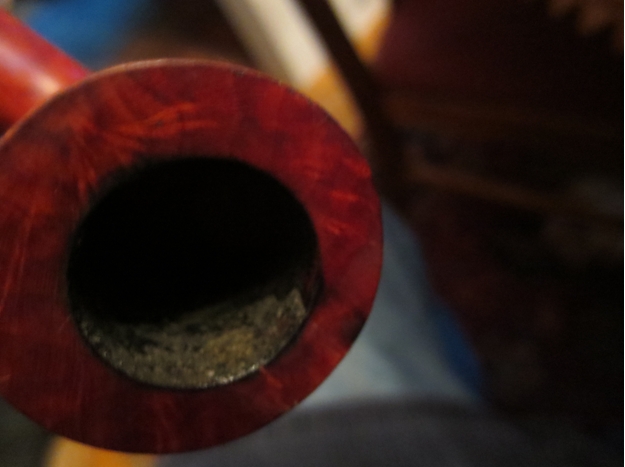
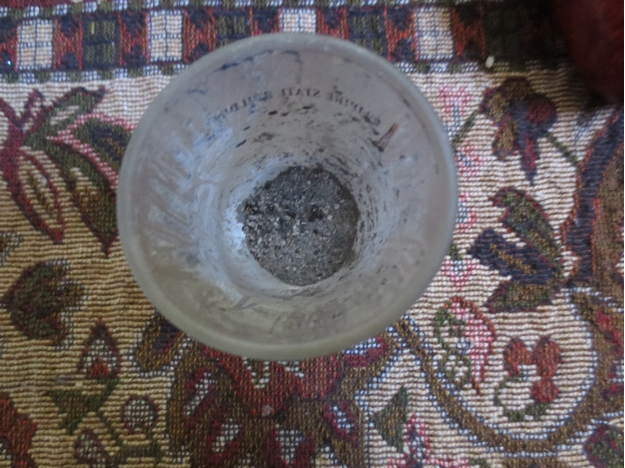
Over the years I have used a lot of pipe mud to build up the bottom of a bowl on an over reamed pipe or an airway that entered the bowl too high. I have also used it to protect a briar plug on repaired bowl and on the sides of a bowl where there was damage. It hardens and provides a protective coat until a cake is built up. In the case of a recent bowl that I restored I noticed that the side of the bowl had a deep gouge in it. I picked and probed it with a dental pick to determine if it was a burn out in the making and decided that the briar was stable and not charred in the damaged area. It looked to have been gouged with a knife of with an overzealous reaming that hit a flaw in the briar and expanded it. I reamed out the bowl to take the cake back to bare wood and then cleaned the surface of the briar with a pipe cleaner and isopropyl alcohol. Once it was clean and the surface of the damaged area was free of debris I set the pipe aside to dry. I took a cigar out of my humidor and retired to the porch to smoke it and collect the ash for the repair that I had in mind.Willard13 I collect the cigar ash in a shot glass that I picked up somewhere along the way. I find that it is perfect for mixing a batch of pipe mud. I crush the ash with the flat end of a pipe nail to make sure that there are no chunks of unburned tobacco in it and that I have a fine grey dust.Willard14 I fill a second shot glass half full of water to mix with the ash. I have used an ear syringe and even a teaspoon to put the water in the second glass. The tools for the project are very minimal and are shown in the next photo. I use a pipe nail both the flat end and the spoon end for mixing the mud and also for packing or tamping it in place in the bowl. I use a folded pipe cleaner to paint the surface of the bowl with the mud.Willard15 In this case I dribbled the water slowly into the shot glass with the ash and mixed it with the pipe nail. I added extra water with the pipe cleaner.Willard16 When I had the ash and water mixed to the consistency of a thick paste I paint it on the wall of the bowl and work it into the gouge in the side of the bowl. It takes multiple applications to build it up. I paint it on with the pipe cleaner and then tamp it in place with the spoon end of the pipe nail. I repeat the process until the side of the bowl is smooth and the gouge is even with the bowl sides.Willard17

Willard18 I let the initial application of pipe mud dry for thirty minutes and periodically checked the bowl to see if the mud is showing signs of shrinkage. If it had shrunken at all (which in this case it had) I refilled the area with more pipe mud using the pipe cleaner and then tamped it into place again. I repeated this process as often as necessary until the surface dried smooth. When it dries the repair is grey in colour and quite hard.Willard19 The repair works very well. It provides a base for the cake to build on. I am careful when wiping out the bowl and don’t ream until there is a solid cake formed over the repair. I have smoked pipes repaired like this for several years and never had the mud fall out of the repaired area before the cake builds over it. With initial care this bowl will smoke well for many years to come. Anyone else experimented with pipe mud for this type of repair? Let us know.

Building a Better Button on a 1930’s Yello Bole Oom Paul


Blog by Andrew Selking

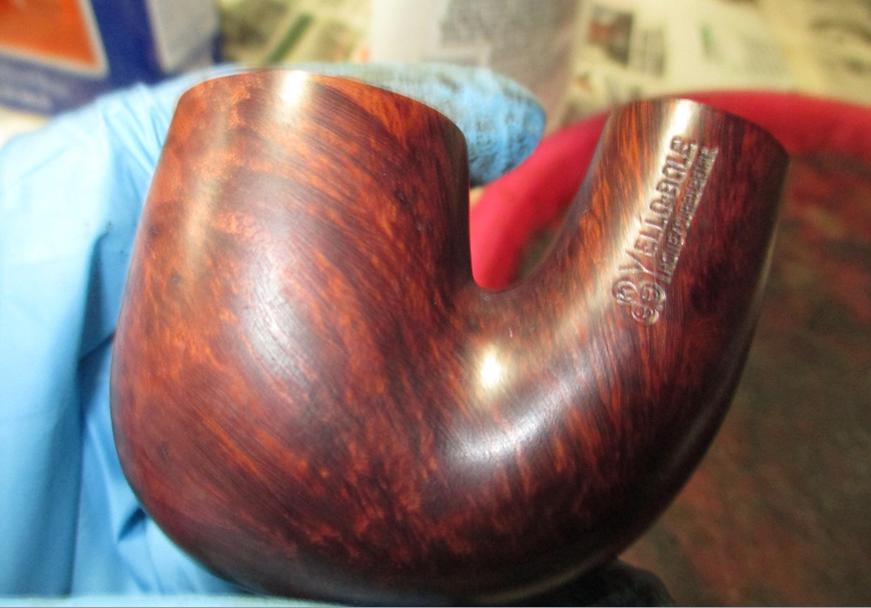
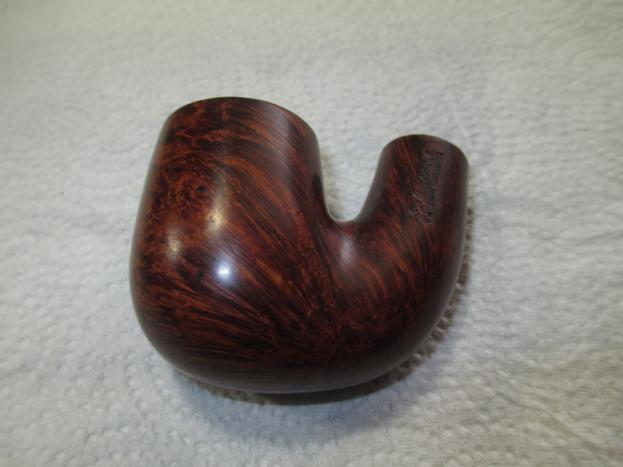
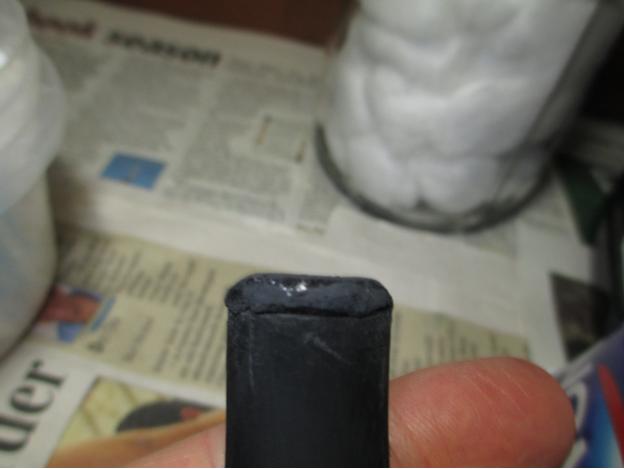
Have you ever found that Holy Grail pipe only to realize that it has a major flaw? For me, this pipe ticked all the boxes, a KB&B pipe made between 1933 and 1936, it was a less common shape and looked to be in decent condition. The only problem I could see was that a previous owner had filed off the button.Andrew1

Andrew2

Andrew3

Andrew4 I’ve been experimenting with super glue and ground charcoal for stem repair and I had an idea how I might use that to re-create the button. Now just a quick disclaimer. I am not a medical professional and I do not pretend to know any potential health hazards to the use of super glue on something you put in your mouth. On the other hand, I am aware that the state of California has found that pipe smoking is not healthy for pregnant women or their unborn children. As an adult, I accept these risks as the relaxation benefit outweighs the health risks.

Before tackling the button I needed to clean up the pipe. I started the process by giving the bowl an alcohol bath.Andrew5 While the bowl marinated, I dropped the stem into a solution of Oxyclean. After a good long soak, I reamed the bowl.Andrew6 After reaming the bowl, I retorted the stem and bowl. I forgot to take pictures of the bowl during this process.Andrew7 The stem was pretty clean, which I expected based on the minimal amount of chatter and the lack of cake build up in the bowl. A couple of fuzzy sticks dipped in alcohol did the trick.Andrew8 The alcohol bath serves two purposes, it loosens up the internal gunk and it helps remove the old finish. On this particular pipe, I noticed that the bowl was stained a purplish read and had a heavy varnish on it. That’s usually a sign of inferior briar and lots of fills. With great trepidation, I used acetone and 0000 steel wool to see what was under the old finish.Andrew9 I was pleasantly surprised to find beautiful grain and not a single fill.Andrew10

Andrew12

Andrew11

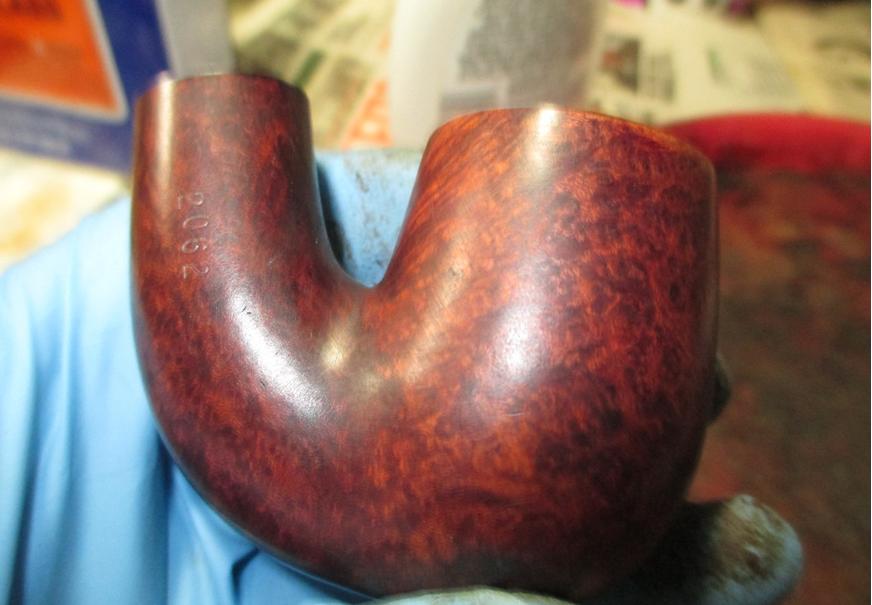
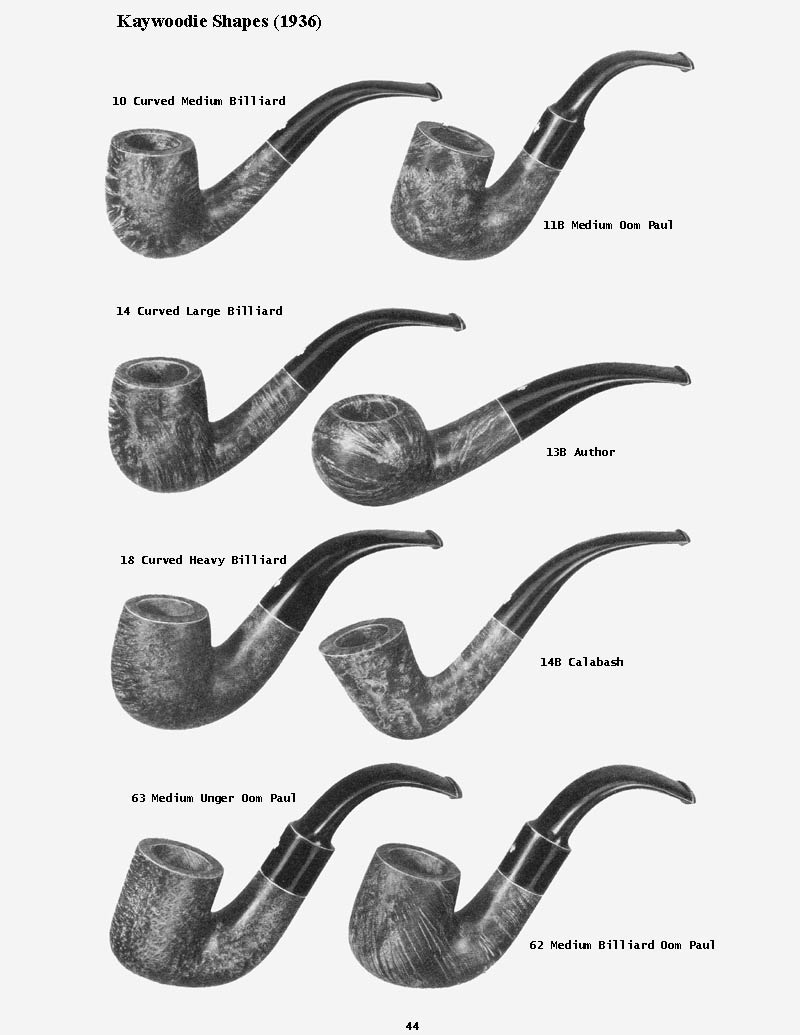
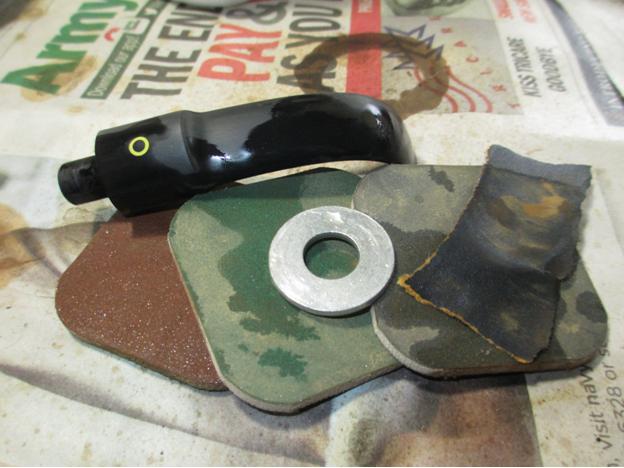
Andrew13 I was not happy with the purple tint of the wood though, I mean who does that? My guess is, this pipe could have made the cut as a Kaywoodie, maybe they were short on the Yello Bole line so they put a Yello Bole stem on it and that hideous varnish. Interestingly enough, this pipe has the identical shape number as the Kaywoodie medium billiard Oom Paul. Just to give you an idea how many pipes Kaywoodie used to make, they had three models of the Oom Paul shape.Andrew14 I decided the best way to take care of the purple stain was with some judicious sanding. Since the bowl didn’t have any scratches or dents, I didn’t have to go too heavy. I started out with 1500 grit micro mesh and worked my way up to 12,000 grit. You will notice the washer between the stem and shank. I’ve learned that the best way to get a sharp shoulder on the shank and the stem is by using the washer to prevent the sanding medium from rounding it off.Andrew15 This is what the bowl looked like after the micro mesh pads.Andrew16

Andrew17 I decided to keep the stain light, so I diluted some Pimo Pipe Supply mahogany and used a single coat. Unfortunately I didn’t take a picture of that process, I was kind of excited about fixing the stem.

I removed the oxidation on the stem with a progression of 1500-2400 grit micro mesh pads with water. I didn’t have the bowl attached, so I just held the washer over the tenon to prevent rounding.Andrew18 With the oxidation addressed, it was time to start building the new button. I’m not the best when it comes to carving the bottom side of the button so I decided to use clear tape to create definition.Andrew19

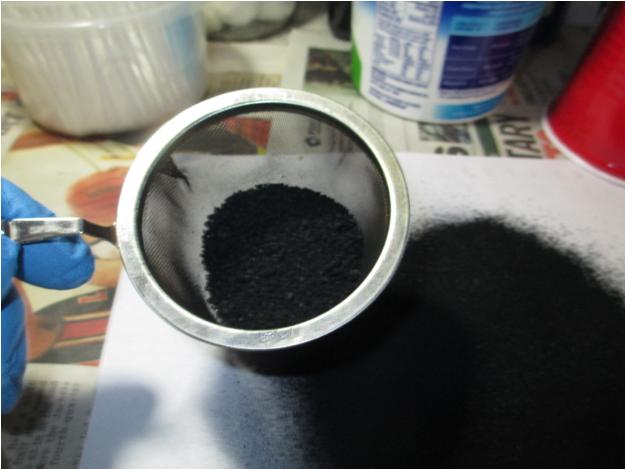
Andrew20 I built up layers of tape until it was the thickness that I wanted for the underside of the button. Next, I mixed some ground charcoal and super glue and started applying it. After each application I put a drop of accelerator on the end and applied another layer. It was not looking the way I wanted it to look.Andrew21 I remember Steve said that when he used activated charcoal it was very fine. So I sanded off the mess and started over. To get a finer charcoal I used our coffee grinder, which did a pretty good job, but still left some larger chunks.Andrew22 To solve that problem, I used a tea strainer. The result was very finely ground charcoal.Andrew23 I mixed the super glue and charcoal and applied it as before.Andrew24 I sanded between applications and filled in any remaining divots.Andrew25 Once I had the button shaped to my liking, I used a progression of micro mesh pads from 3200-12,000. Then I used my rotary tool with white diamond and carnauba wax to bring out the shine.Andrew26 I gave the bowl a quick spin on the buffing wheel with white diamond and carnauba wax. Here is the result.Andrew27

Andrew28

Andrew29

Andrew30

Andrew31

Andrew32

Andrew33

Andrew34

Andrew35

Andrew36

Andrew37 I am happy to say that this pipe smokes as well as it looks. It is a system pipe. I couldn’t be happier with the button. The thing I like about using the charcoal and super glue is, it polishes and shines just like the vulcanite. This pipe is a keeper. Thanks for looking.

The French Girl with the Fuzzy Identity


Guest Blog by Robert M. Boughton
Member, North American Society of Pipe Collectors
http://www.naspc.org
http://www.roadrunnerpipes.com
http://about.me/boughtonrobert
Photos © the Author

“The problem with putting two and two together is that sometimes you get four, and sometimes you get twenty-two.”
― Dashiell Hammett (1894-1961), U.S. author who re-invented and popularized the hard-boiled private investigator genre, in “The Thin Man” (1934)

INTRODUCTION
I take great solace from life’s frequent misadventures through activities that nevertheless focus on the same causes of grief: reading a good book, realistic or fantastic; writing news articles, blogs, letters to the editor and my own versions of literature; photographing street life, landscapes, nature and the occasional spot news event; drafting, filing and arguing civil actions in courts of law when I too frequently encounter those who would do me harm through ignorance or the misperception that I lack understanding of that study of knowledge, and researching and at times investigating anything and everything. But when I need to retreat all the way into the pleasure centers of my brain, I have only my local tobacconist and pipe acquisition disorder on which to fall back, and on the great majority of my P.A.D. attacks for almost a year now I can at least blame my small but expanding online business of refurbishing or restoring estate pipes for sale. Yet even that endeavor involves research and background checks.

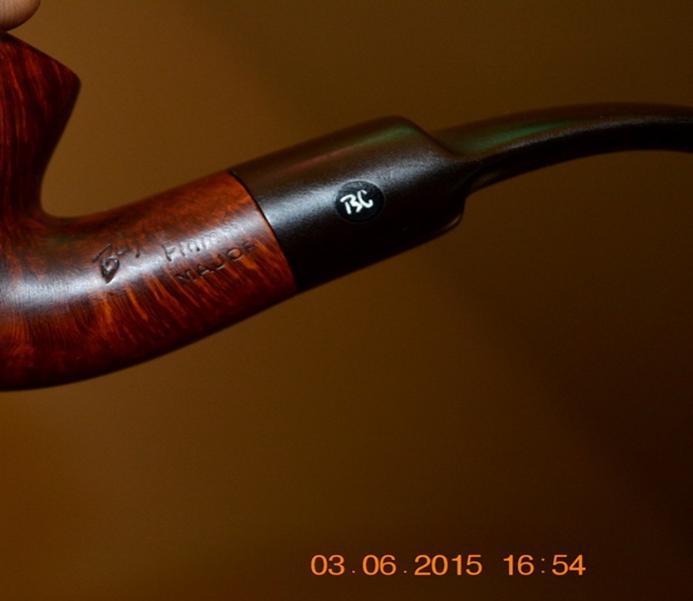
Other than the classic but elegant shape and crafting of the Butz-Choquin bent billiard I scored a few months ago in an estate lot with several lesser gems – including a unique red Kaywoodie lumberman that was, for the most part, sandblasted, but with two natural rings around the billiard bowl and matching sitter bottom and ferrule – the obvious challenge of restoring the shapely French pipe to her original fine condition was a definite attraction. Except for the BC logo clear on the left side of the stem and the overall haggard appearance, I had no idea what I was getting. When the lot arrived, I searched for the BC, but when I found her the nomenclature was so fuzzy I could make out little more of the brand stamp on the left shank than the distinctive cursive B. Of the name itself, I saw two lines, the top beginning with a definite F and the bottom a clear word: MAJOR.

This may sound like plenty to go by, but my browser search suggested multiple possibilities for Butz-Choquin matches starting with F. There was the Formula, Formula Noir, Fait Main and filter, all of which I ruled out. And so I added an L and found Flamme, Flamme Extra, Flamme Standard, Flash and Fleuron. Then I tried Flamme Major and, seeing no suggestions, just Major. That excavated a site with images for BC Major Pipes, among which I saw a similar although straight stem specimen.Butz1 Therefore I returned to the full Butz-Choquin Flamme Major search and completed it, confirming that indeed was what I had.
THE RESTORATION
Butz2

Butz3

Butz4

Butz5

Butz6

Butz7

Butz8 I recently started making several basic changes in my pattern of restoration S.O.P. First, I now begin with an OxiClean stem wash as it can go on in the background, so to speak, while I do other tasks. I’ve also found it really works, although not with the comprehensive results sworn to in the site I found for its basic instructions, including the consistent lack of need for additional work such as sanding and on occasion using Black Super Glue for deep fills. Sometimes after washing with OxiClean and warm water, rubbing out the excess discoloration with a cloth and micro-meshing, the result is a perfect stem ready for the wheel. More often than not, however, I need to sand out scratches that are exposed. Such was the case with this stem. But the practice serves its purpose, to clean the stem inside and out and make the job of producing a shinier end product far easier.

Before
Butz9

Butz10
Ready for buffing:Butz11

Butz12 The second new habit is working on the rim and chamber and scraping out the major buildup of old tobacco and its related substances from the shank with a wire cleaner rinsed over and over in Everclear. All of these can be completed during the OxiClean wash. Third, I now retort every pipe at this stage.

All of these stages of the process completed, I turned to the bowl and shank, which showed the wear and tear of age. Tell me about it! After washing the briar with purified water, I used a piece of super fine steel wool to lighten the all-too-often over-dark original finish, shine the wood and make the grain show with more clarity. The wood was in very good condition with no pits, dings or scratches worth mentioning, and the slight appearance of discoloring in areas disappeared. I did a full micromesh workup with 1500, 1800, 2400, 3200, 3600 and 4000.

By the end of the restoration, the nomenclature somehow was much clearer.Butz13
Butz14

Butz15

Butz16

Butz17The time was right for the final buffing, and so I repaired from the comfort of the living room for the prep work to the workroom for finishing. The stem, as usual, I gave a nice shine with red Tripoli and White Diamond. The briar I buffed with white Tripoli, White Diamond, and a few coats of carnauba.Butz18

Butz19

Butz20

Butz21

Butz22

Butz23

Butz24

Butz25CONCLUSION
I think the most notable achievement of this restoration is that for the first time I was able to sand the chamber until it was baby smooth and like-new. I accomplished this by reaming and then sanding with 150-grit paper as usual but followed those steps with a second sanding using 320-grit paper.
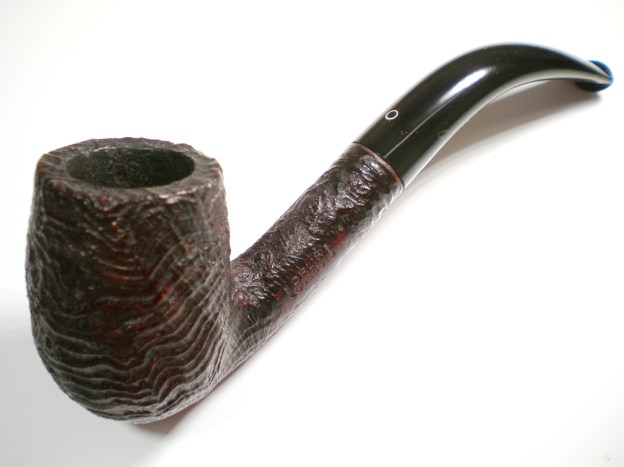
All in all, I am happy with the outcome and will, of course, be sorry to let this one get away from me.