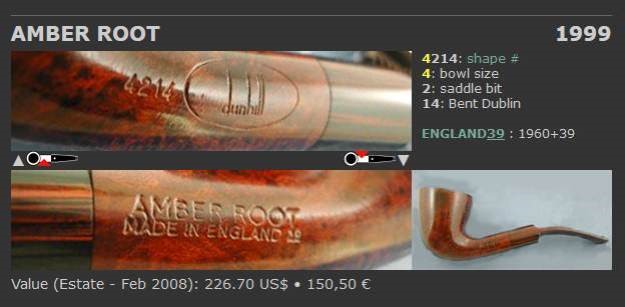
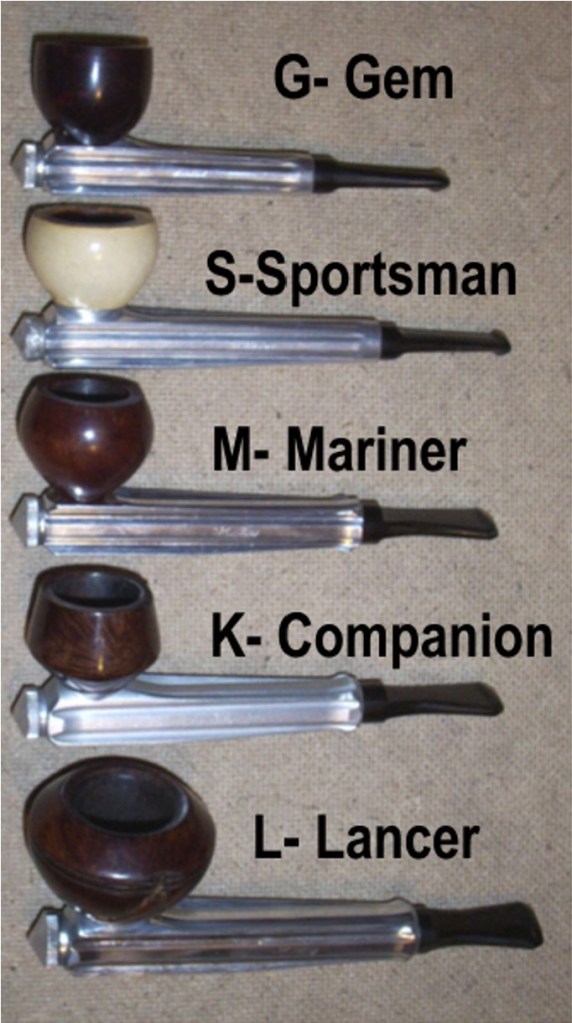
by Steve Laug
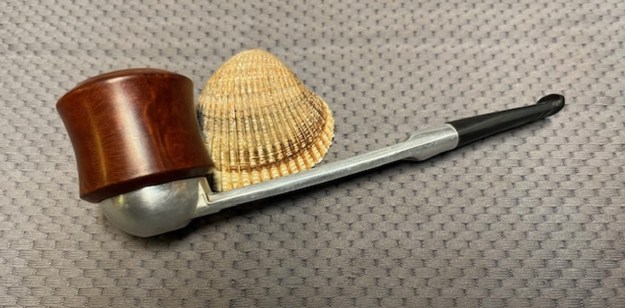
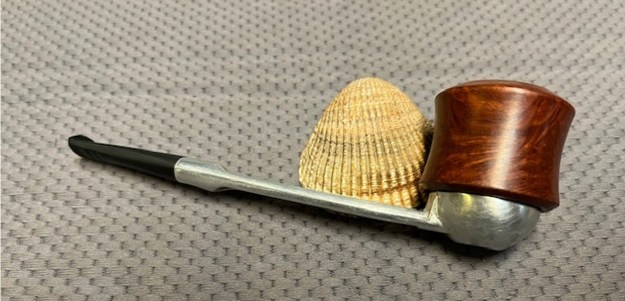
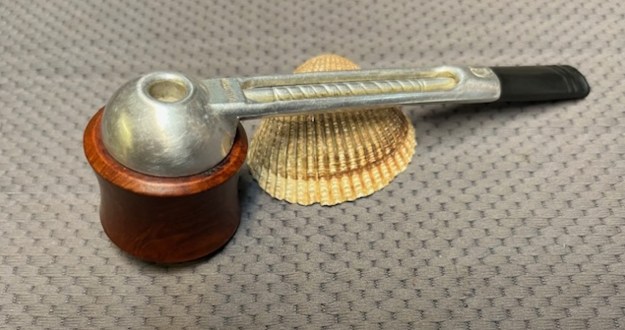
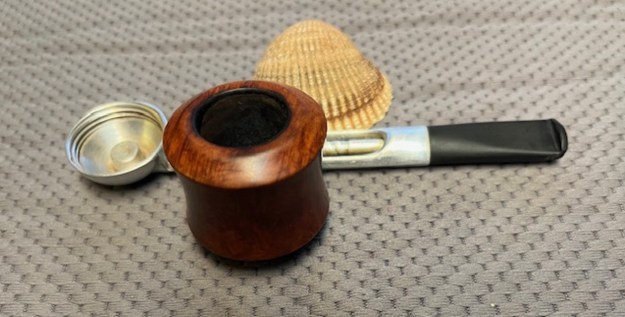
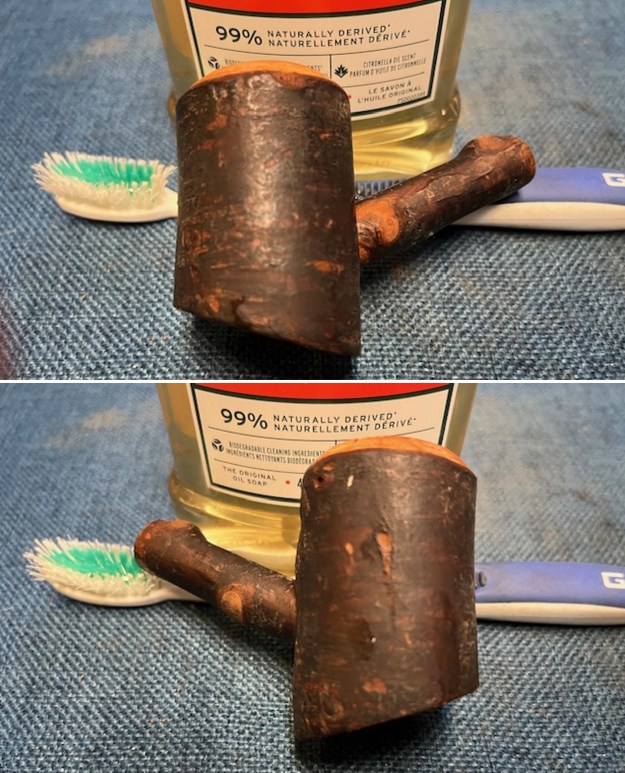
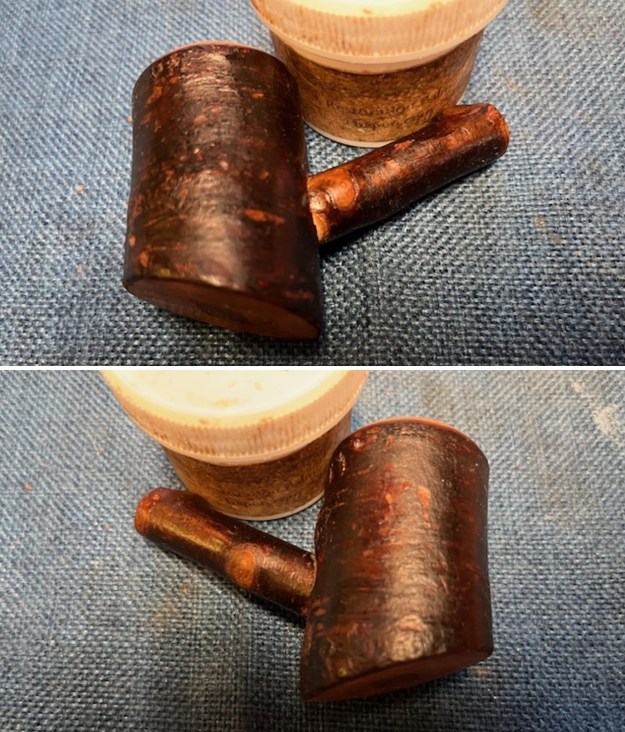
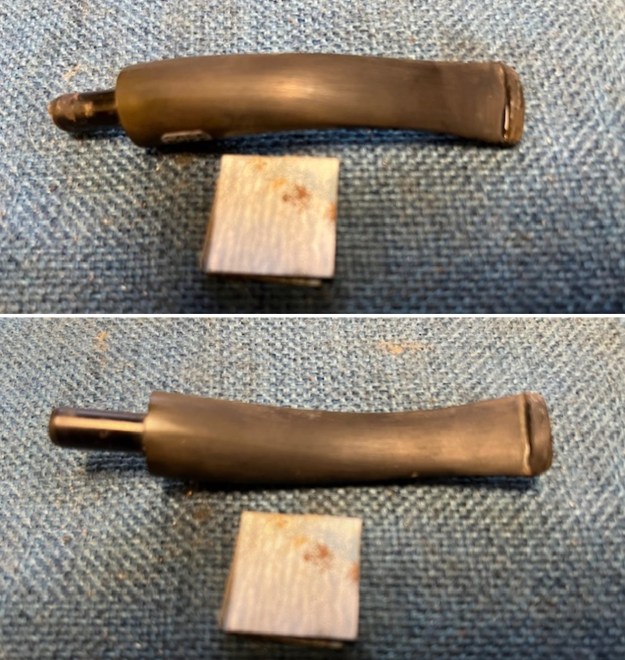
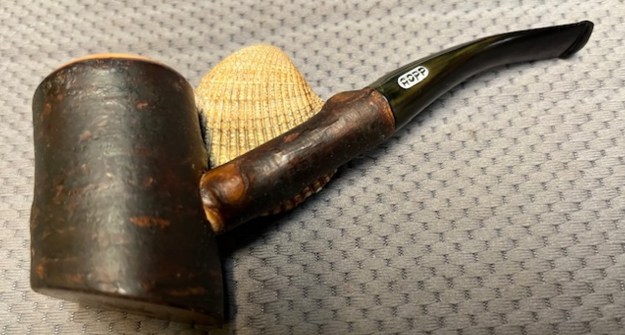
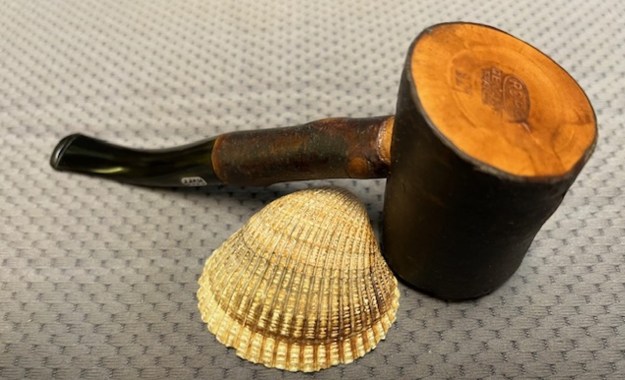
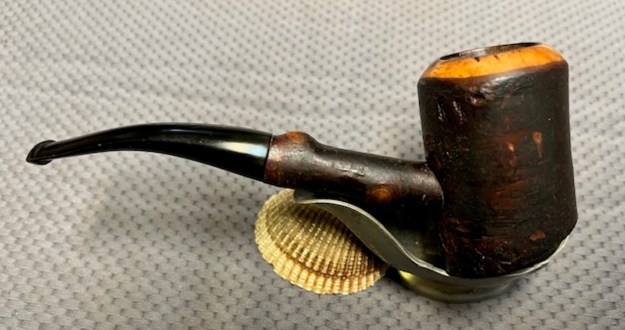
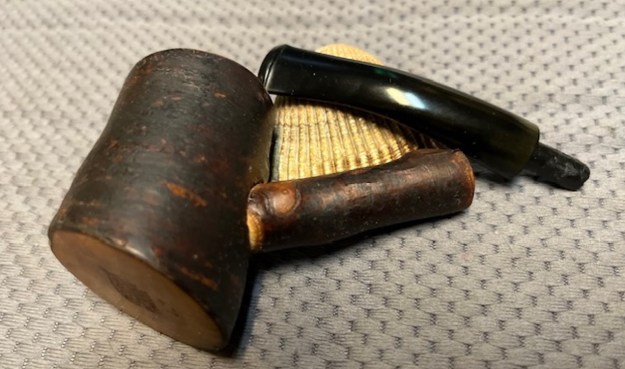
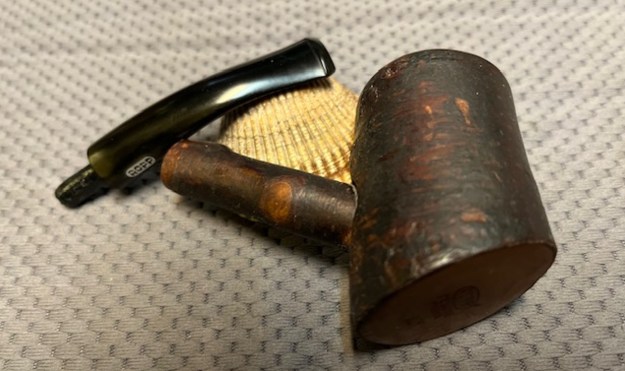
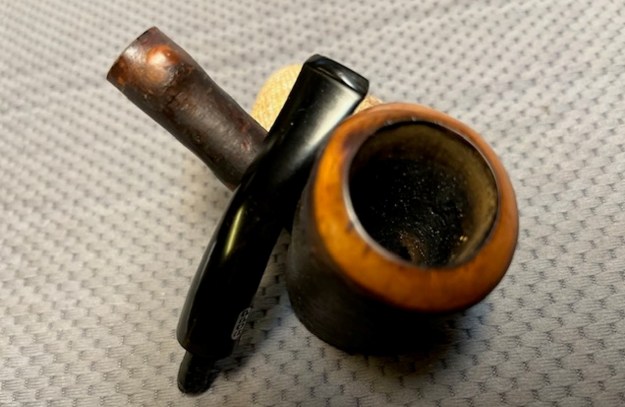
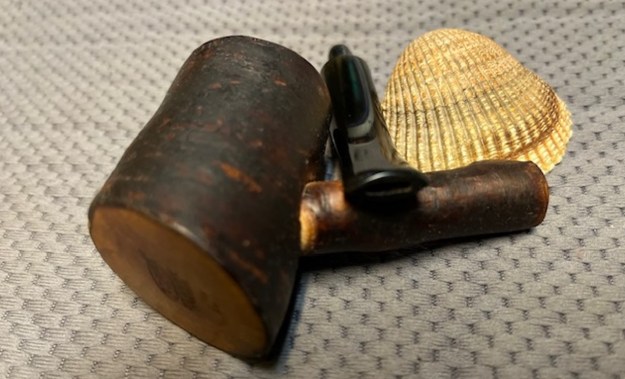
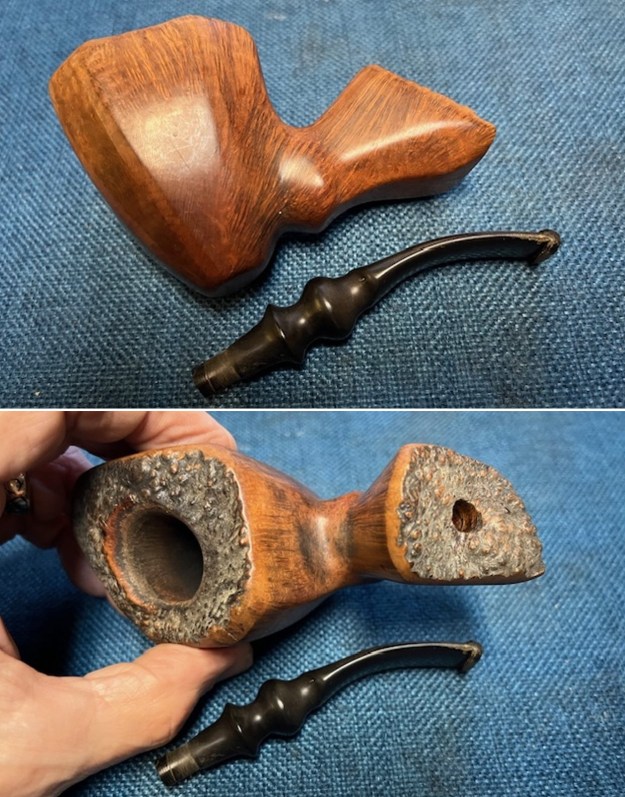
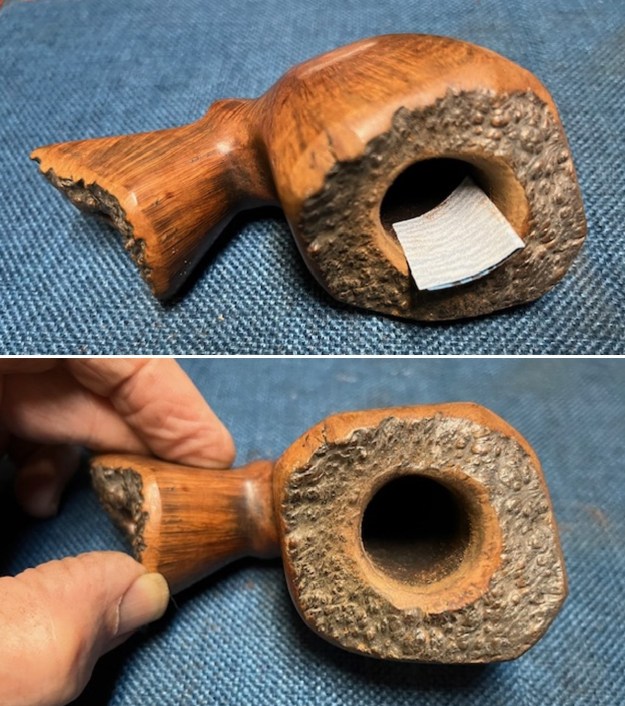
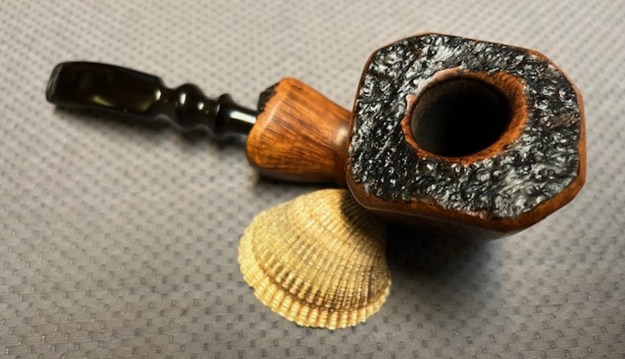
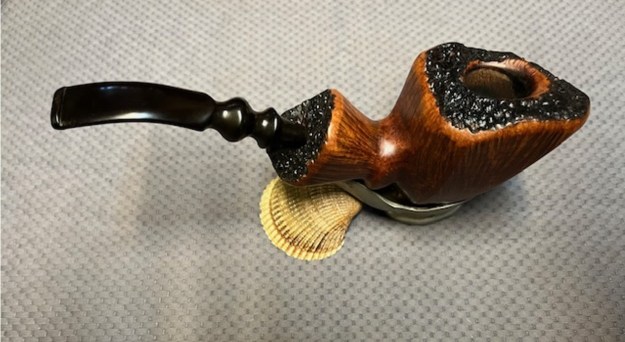
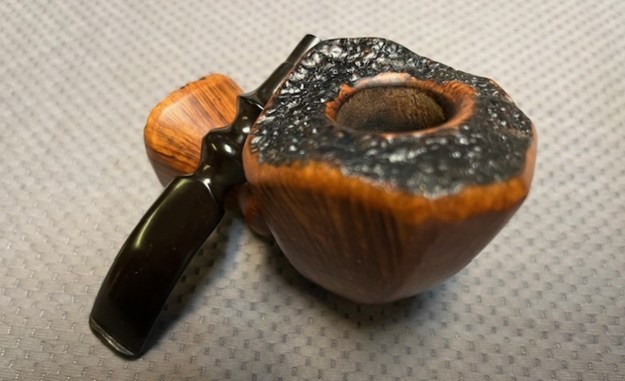
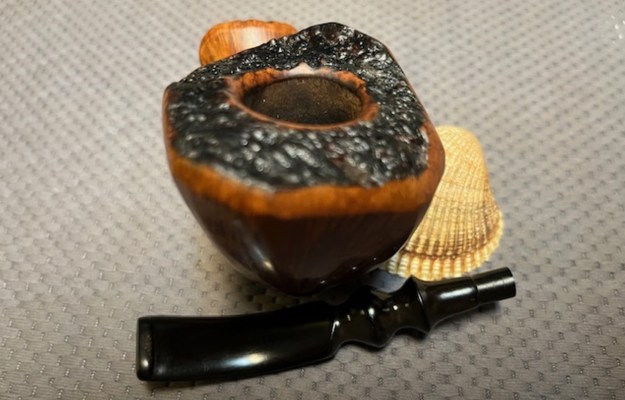
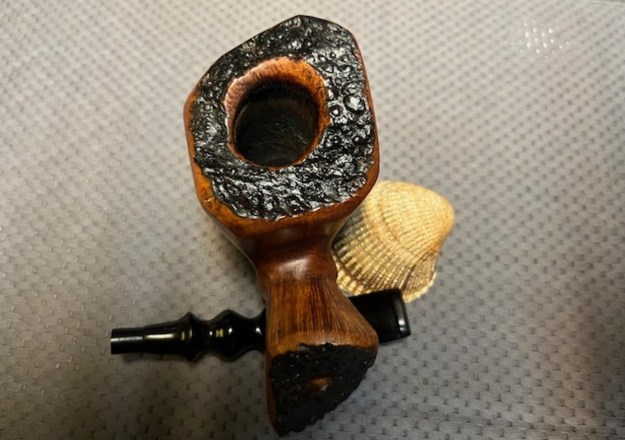
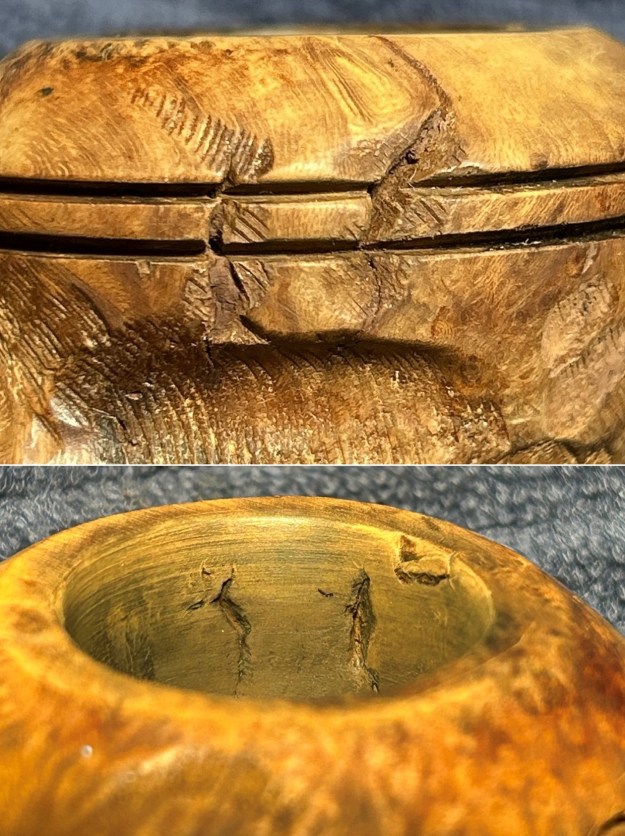
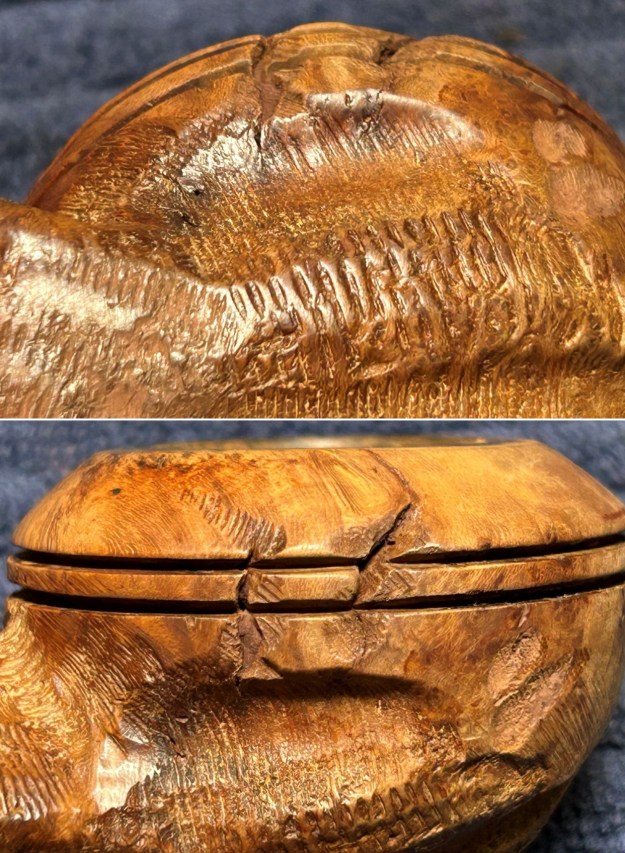
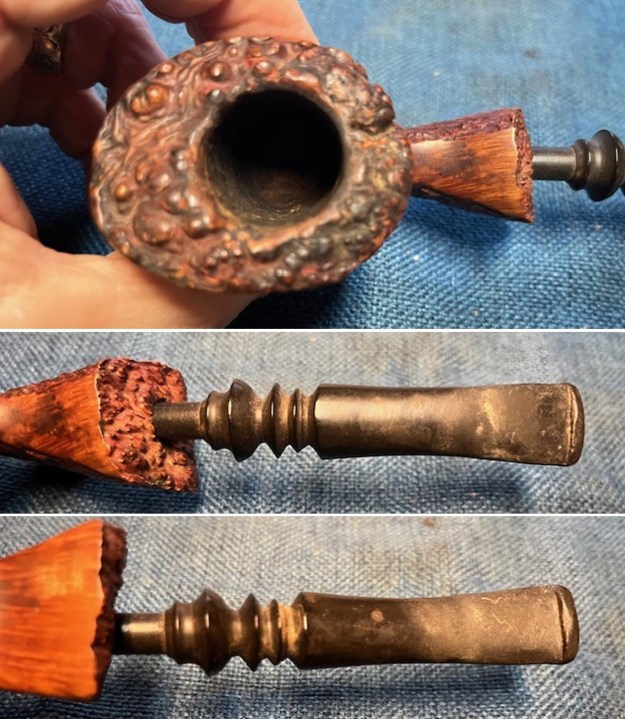
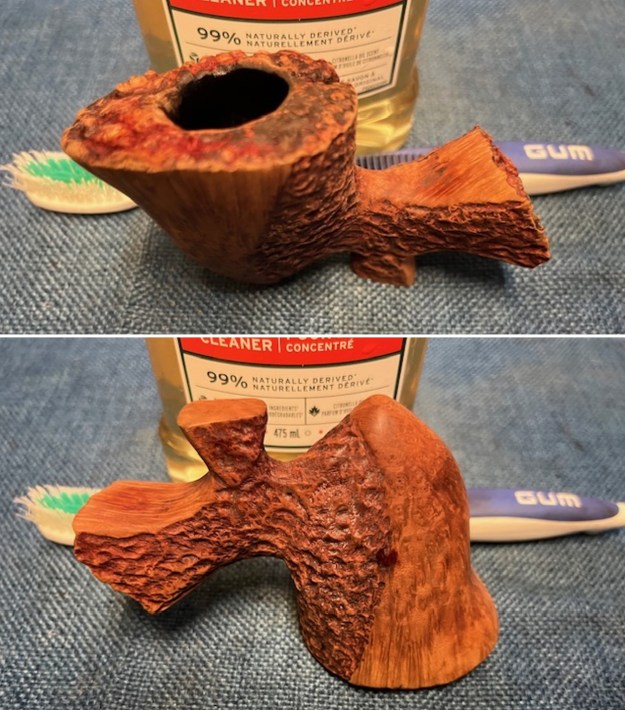
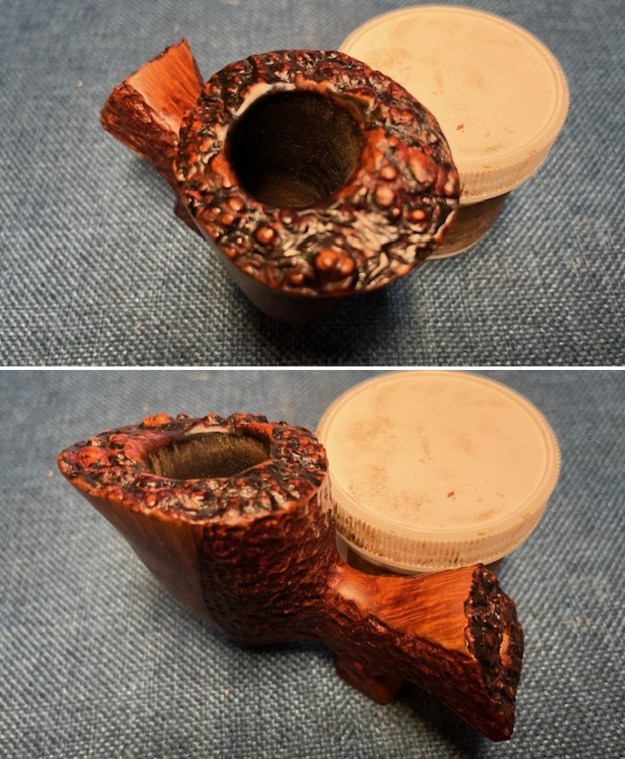
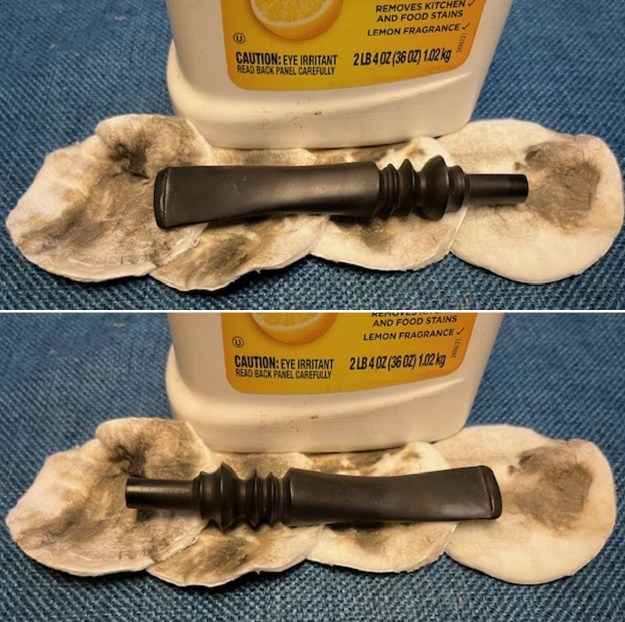
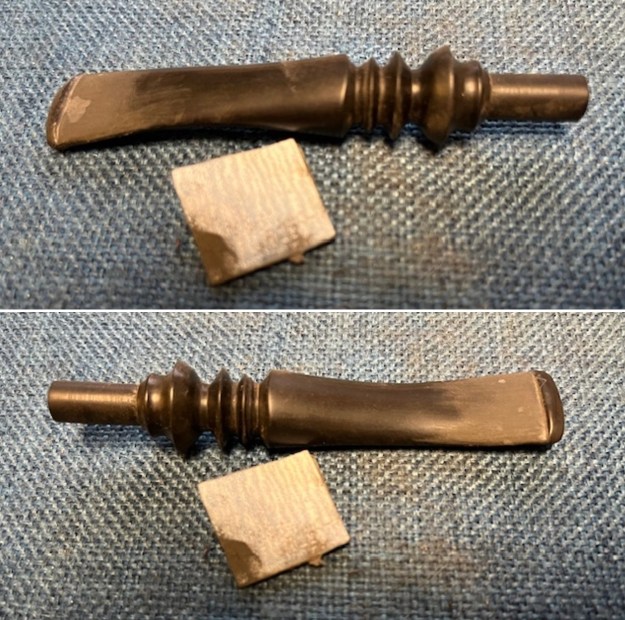
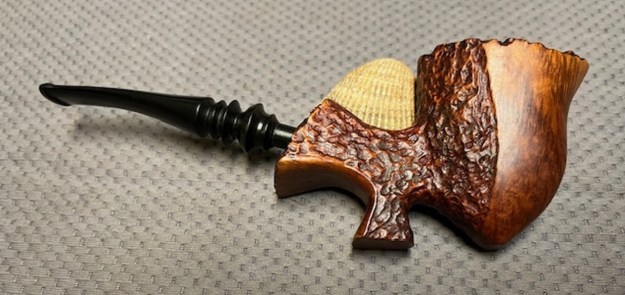
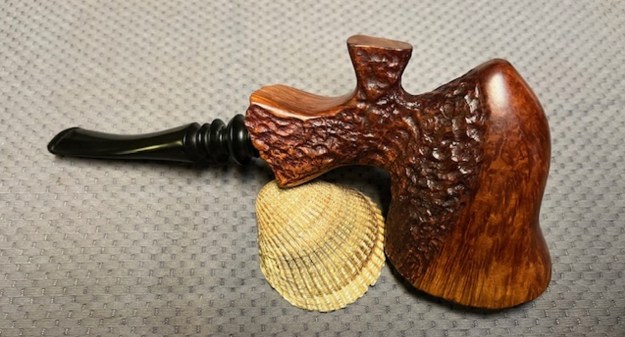
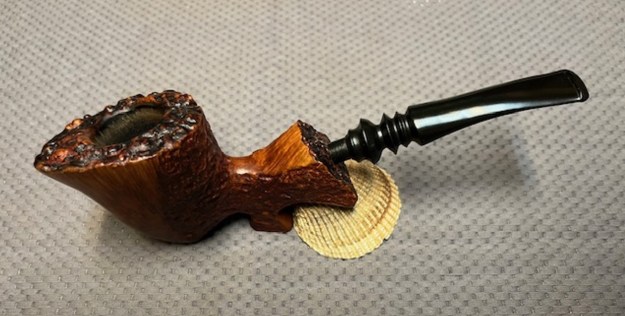
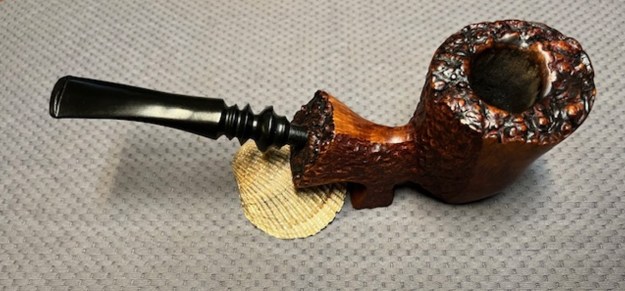
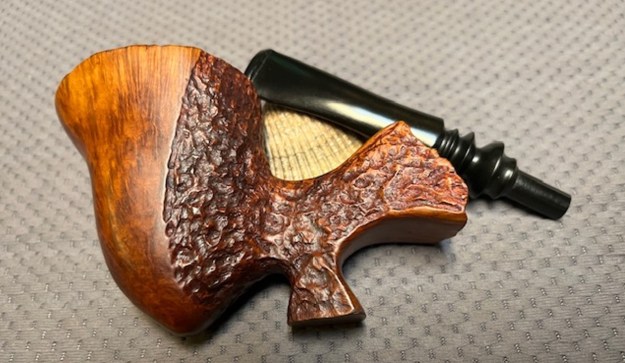
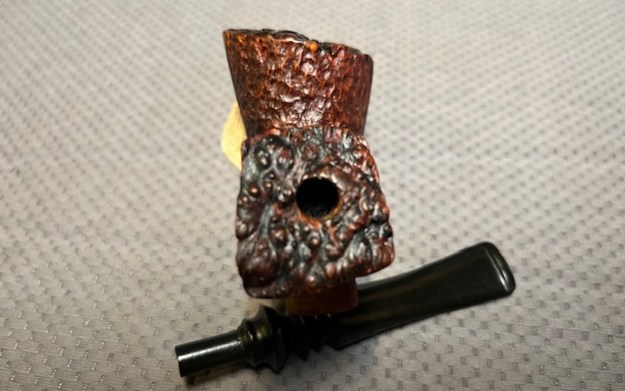
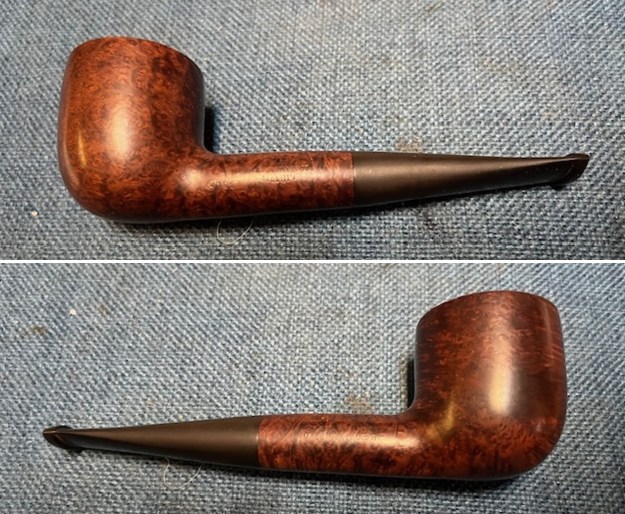
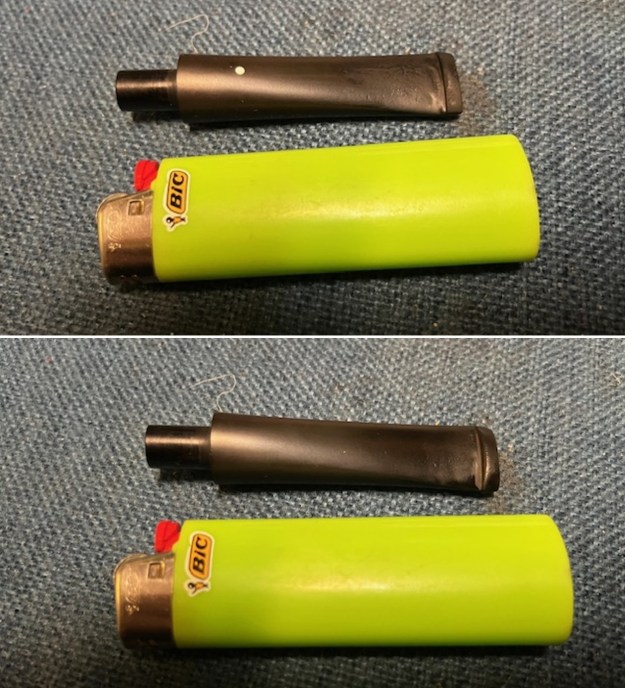
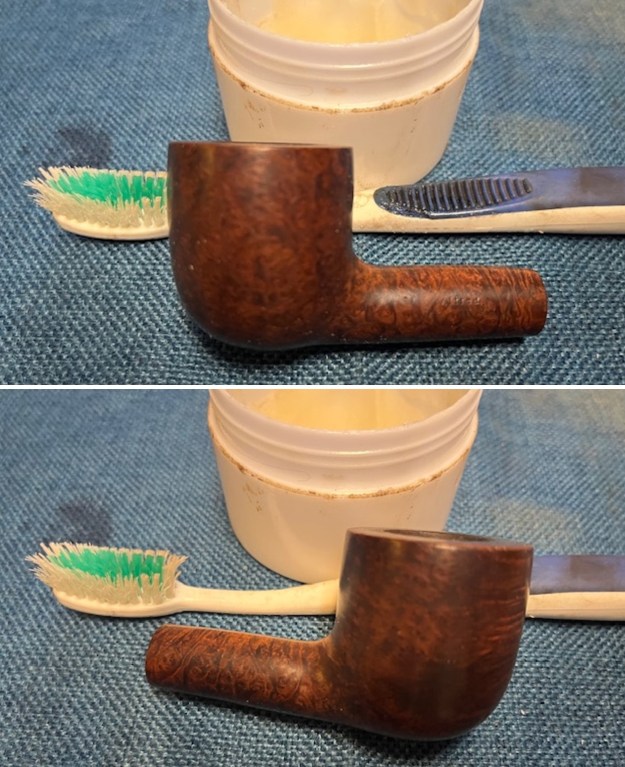
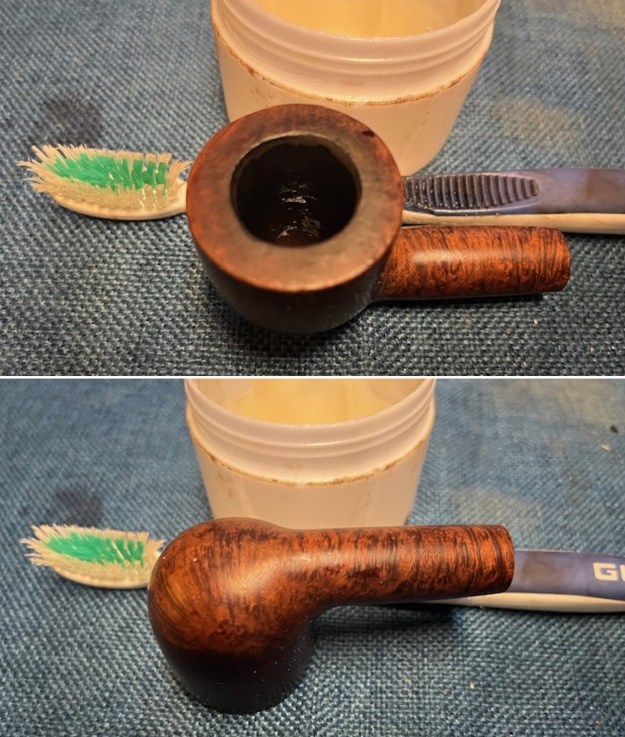
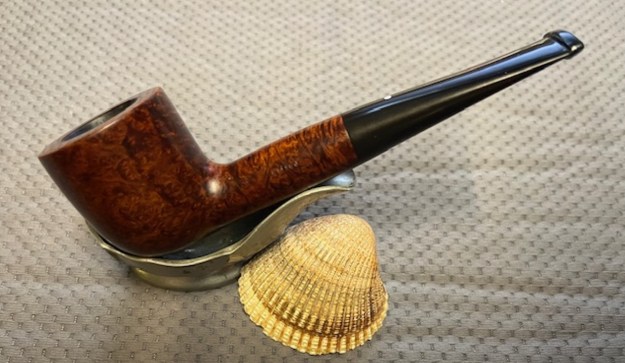
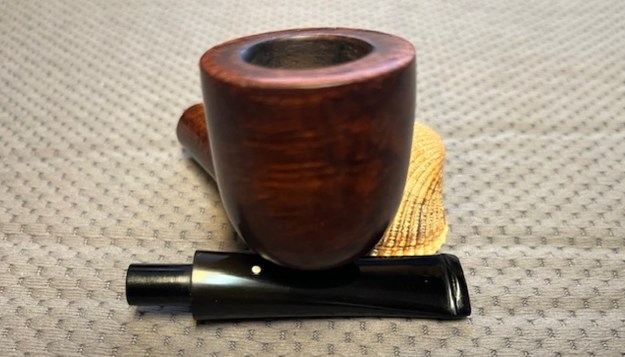
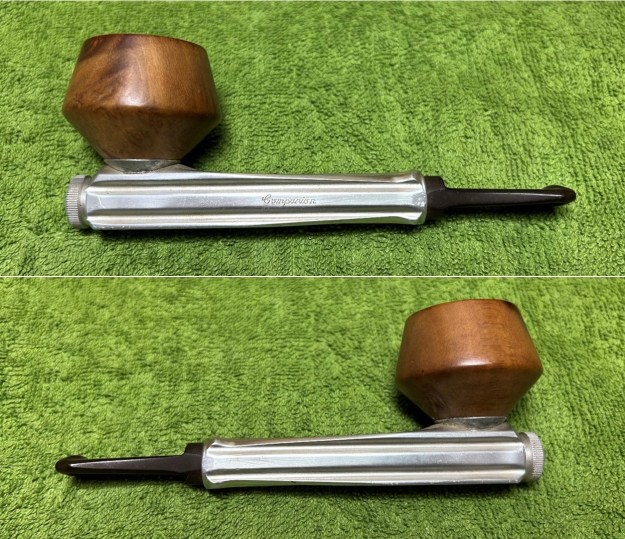
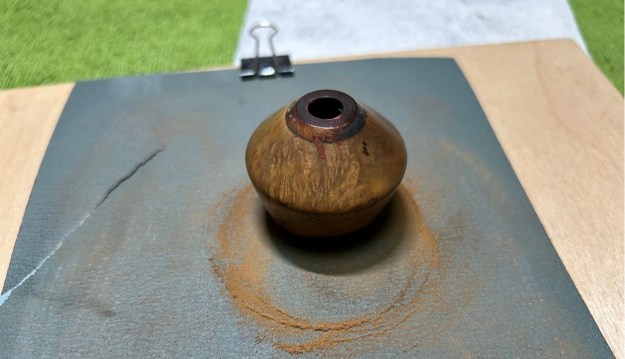
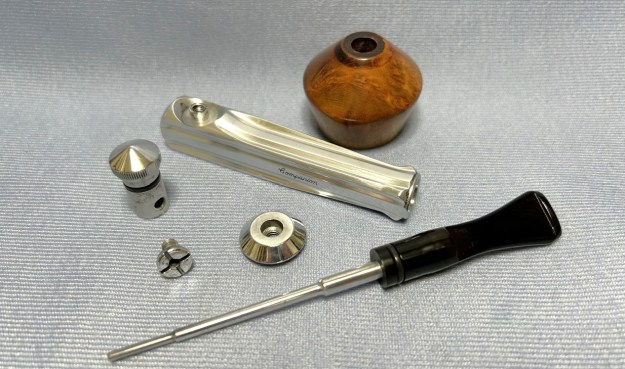
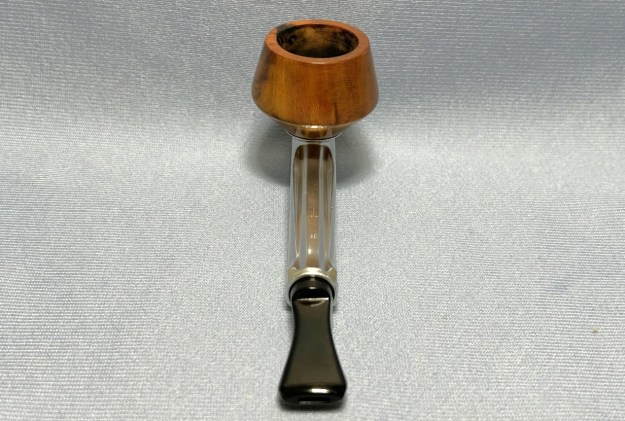
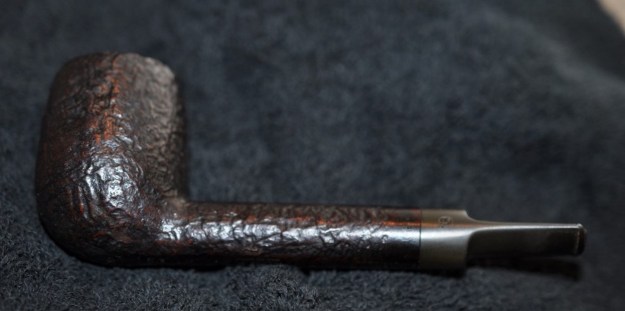
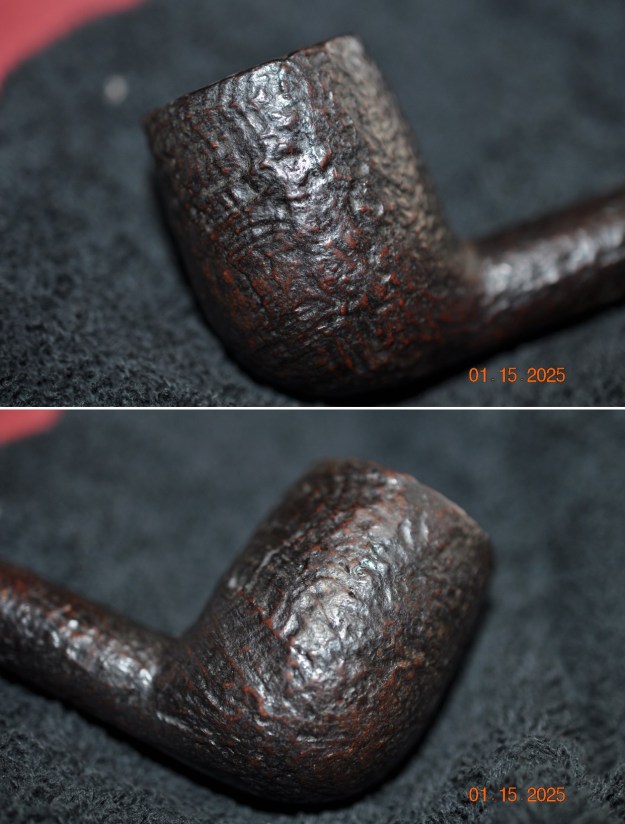
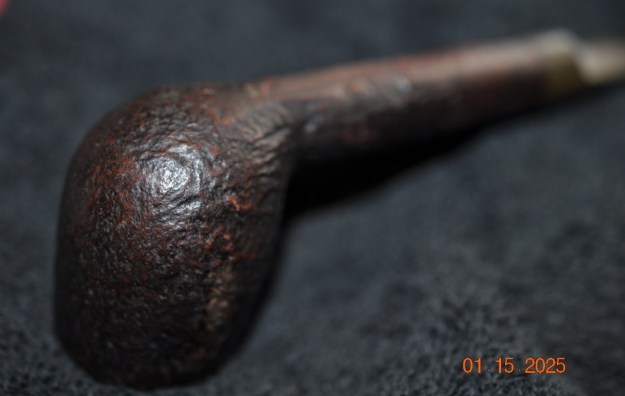
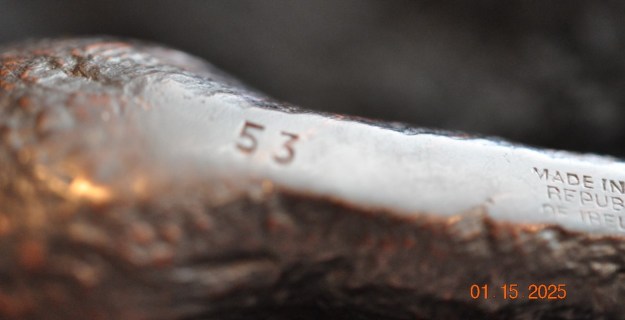
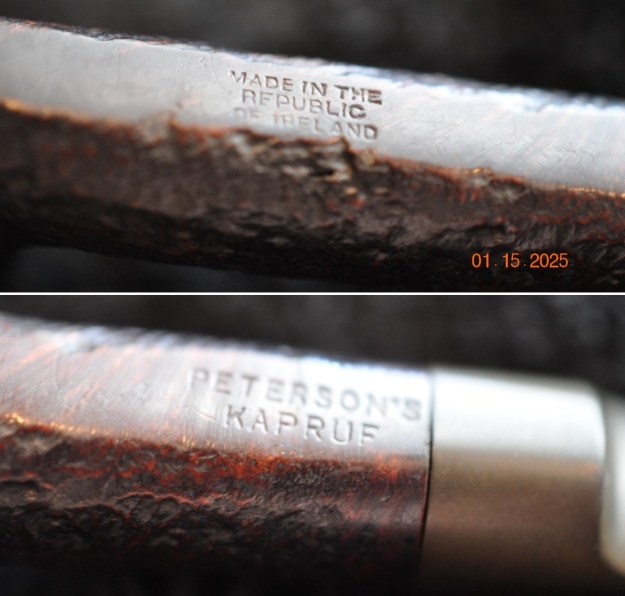
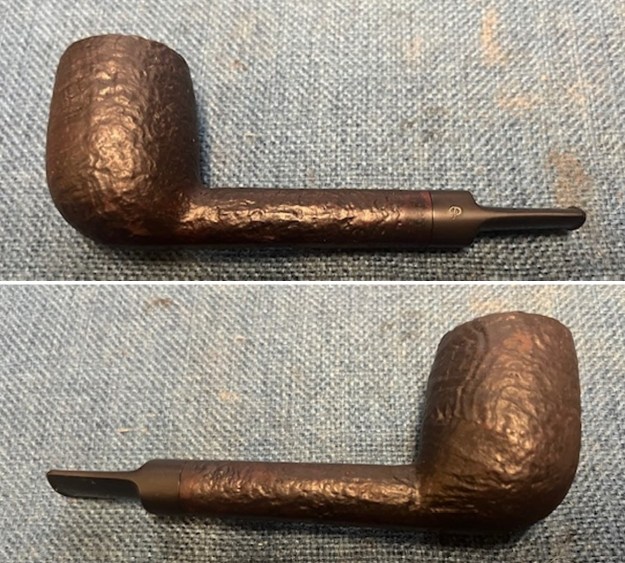
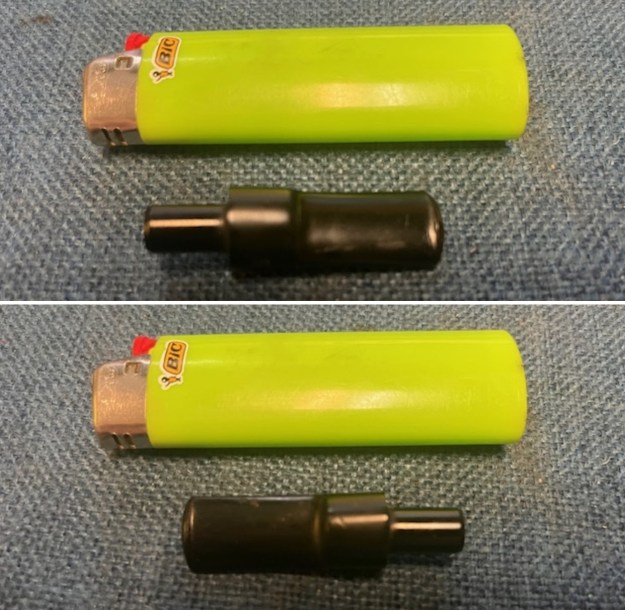
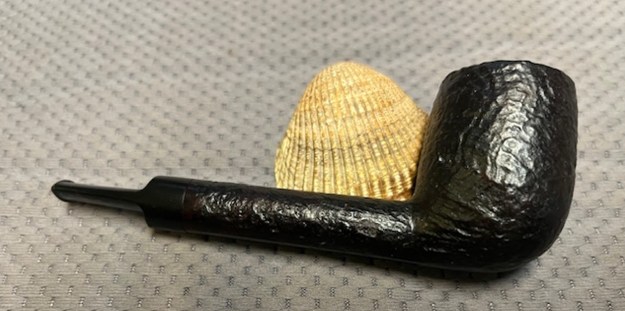
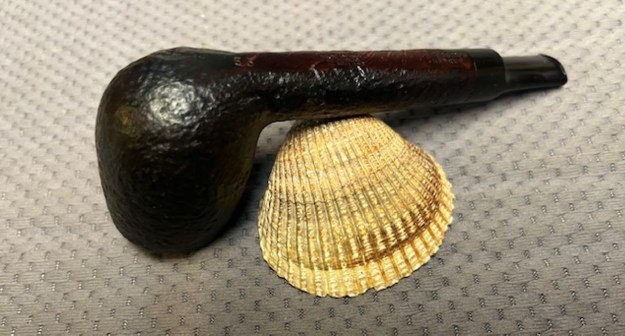
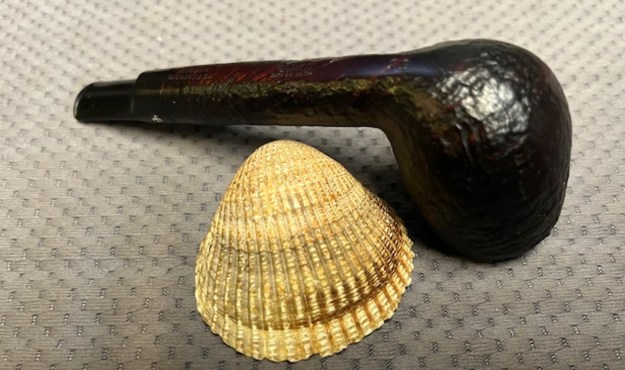
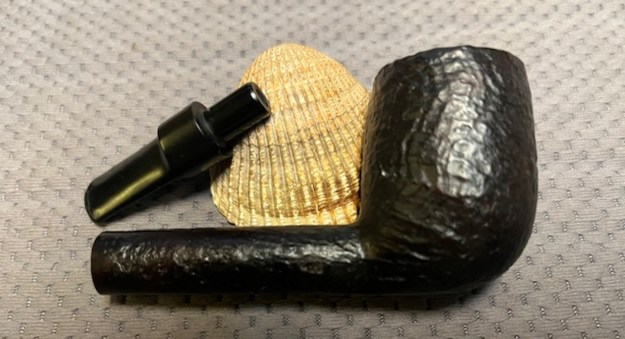
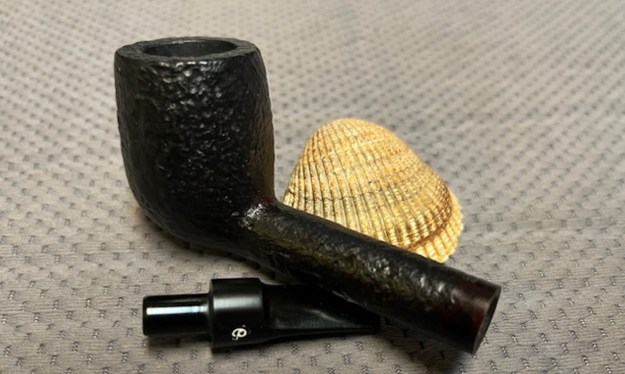
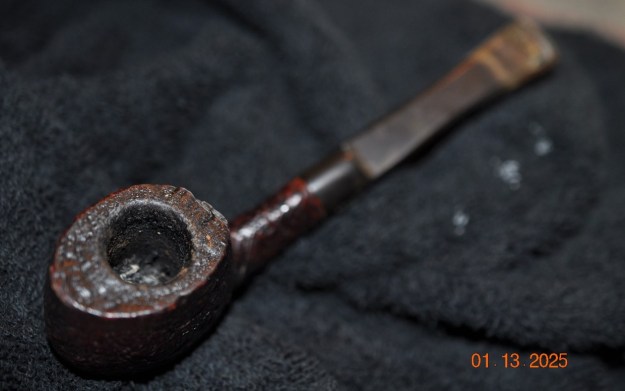
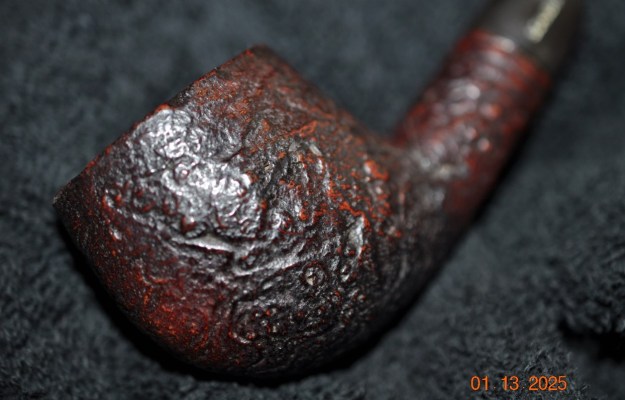
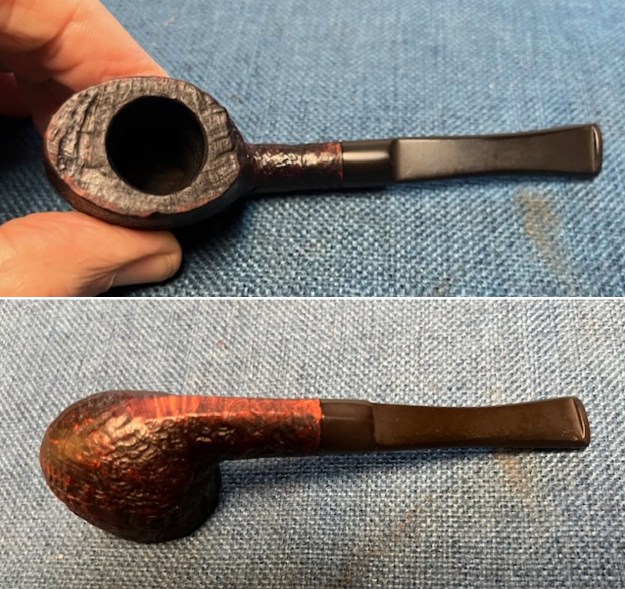
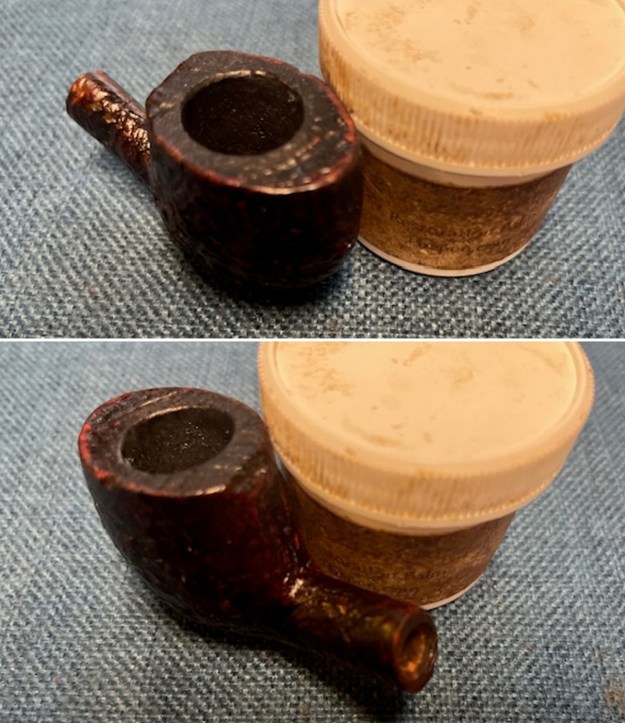
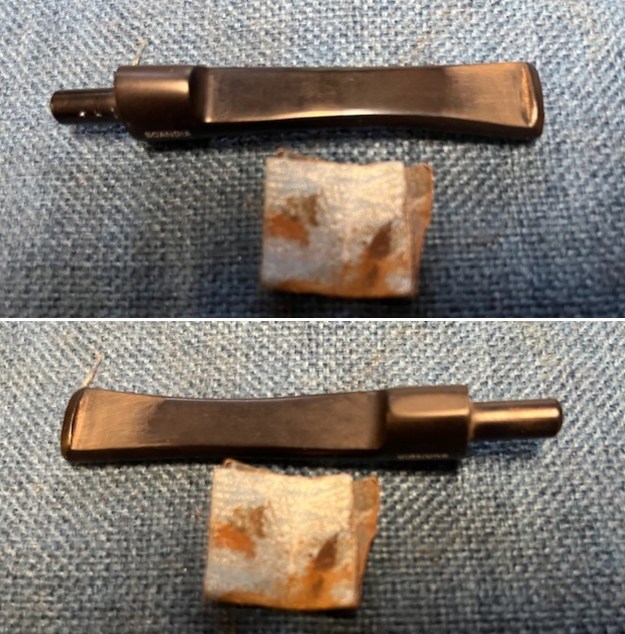
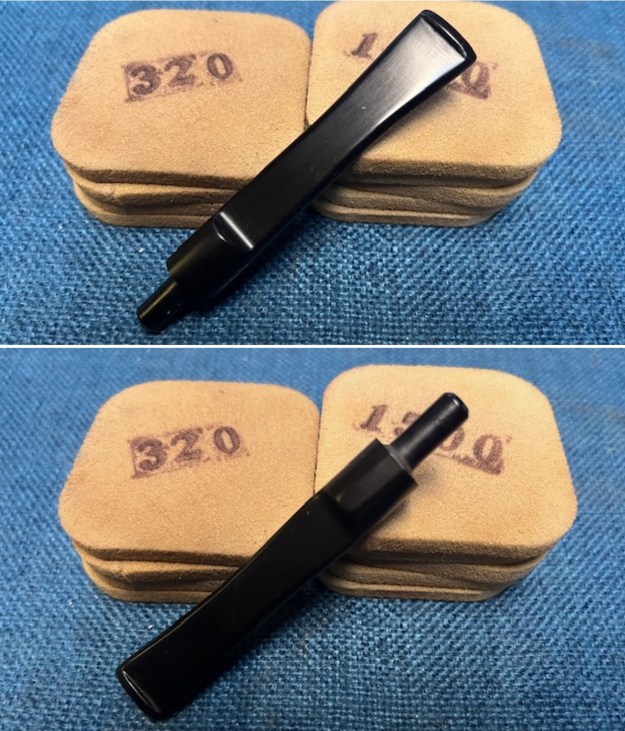
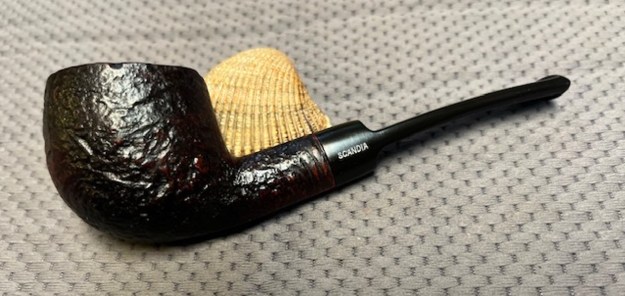
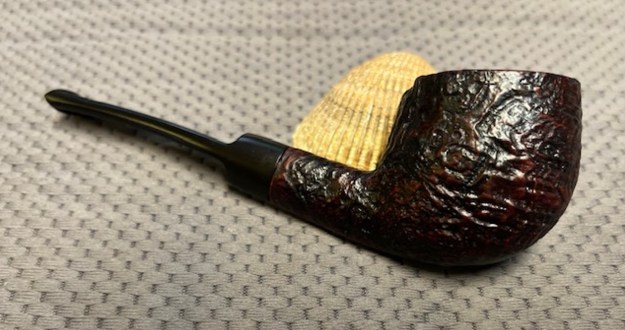
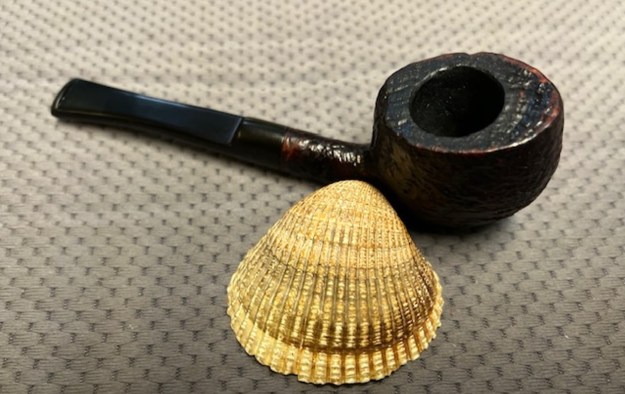
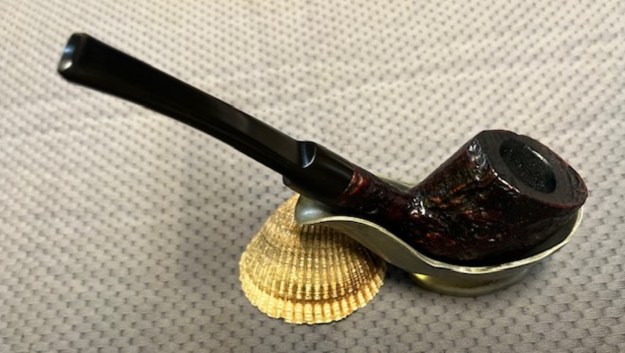
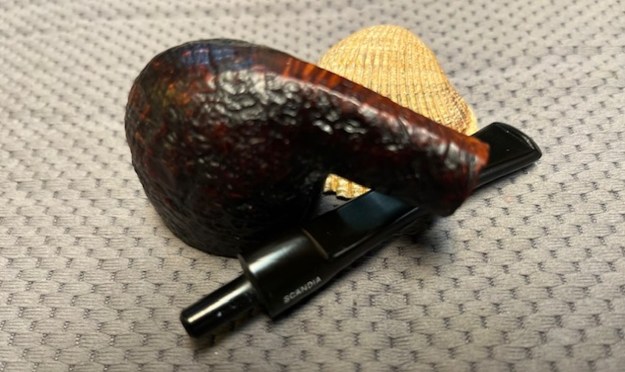
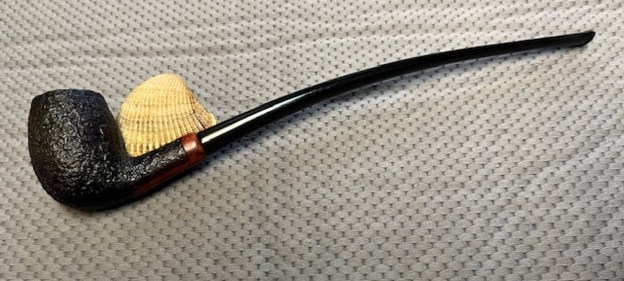
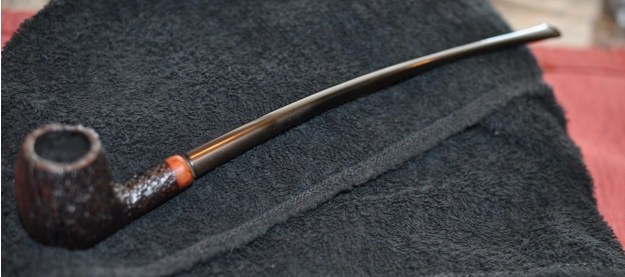
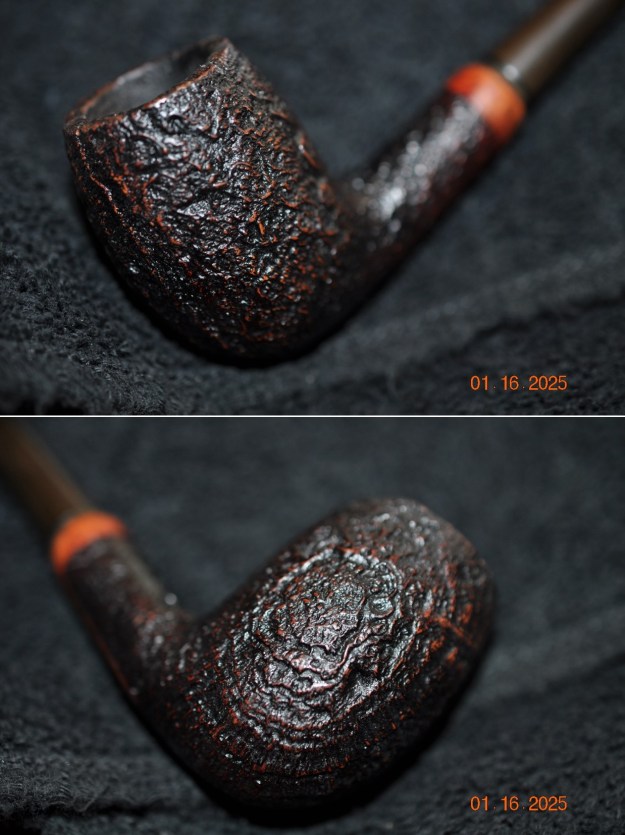
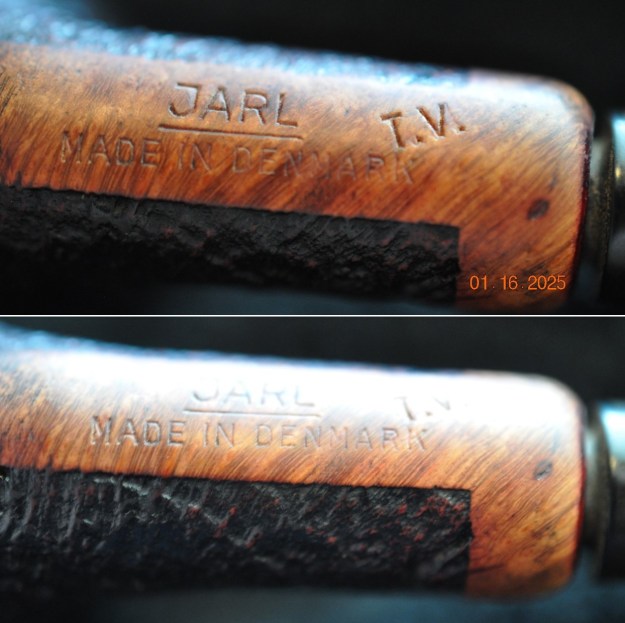
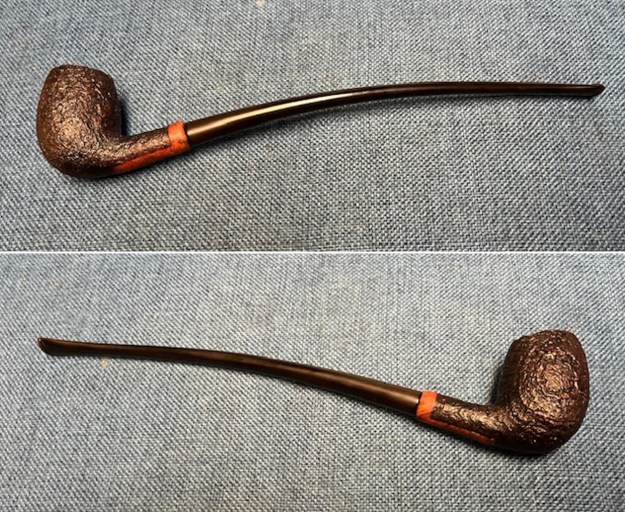
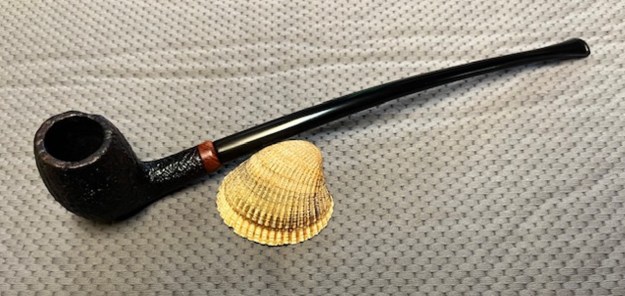
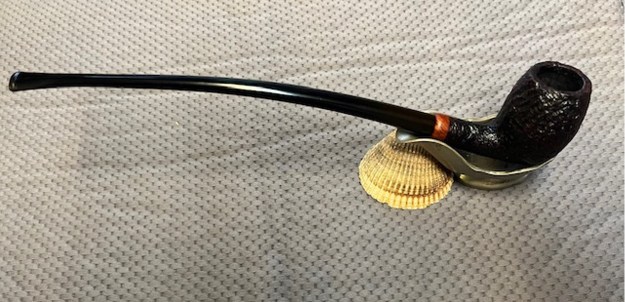
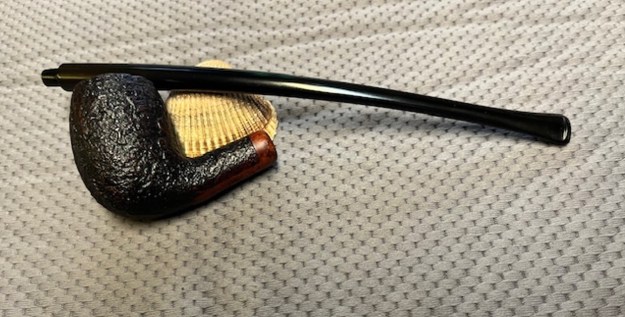
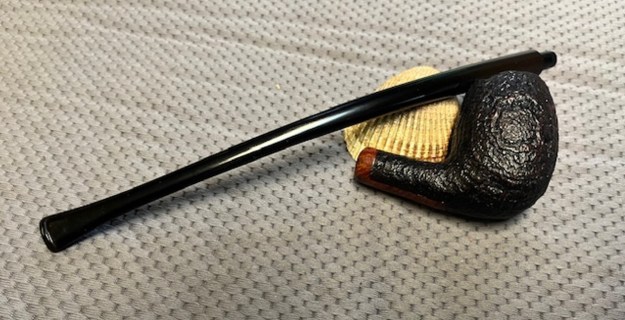
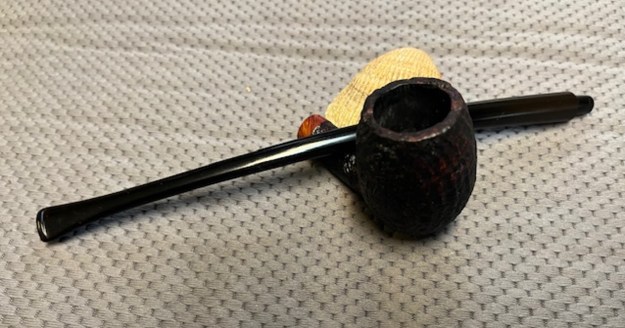
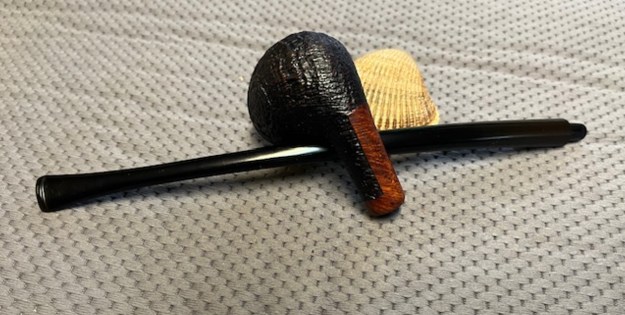
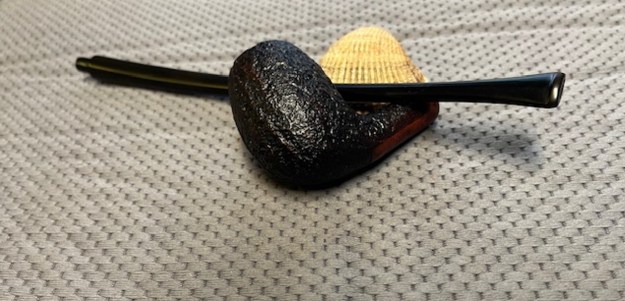
Back in January I received an email from Robert with a group 12 pipes that needed to be restored in various ways from cleanup to restemming. I chose to work on Falcon pipe next. It is a nice looking straight Falcon with a standard bowl. It was a smooth bowl with no rustication. The rim top and the base of the bowl were both very dirty. The bowl had been reamed at some time so there was no cake in it. The rim top had an overflow of lava on it and some darkening around the inner edge. The underside of the bowl was dirty and there were nicks in the threads. It still worked well but they were present. The underside of the metal base was stamped with a 1 in the inset on the heel. That is followed by FALCON where the base and shank come together. There is also a large D stamped at the shank/stem junction that I believe signifies that it has a dental bit on the shank. The stem was oxidized and dirty. It had calcification and light tooth marks and chatter on the top and underside ahead of the button. The button was a classic dental bit with a raised top edge and a series of ridges on the underside. I took some photos of the pipe to show its condition before I started my work on it.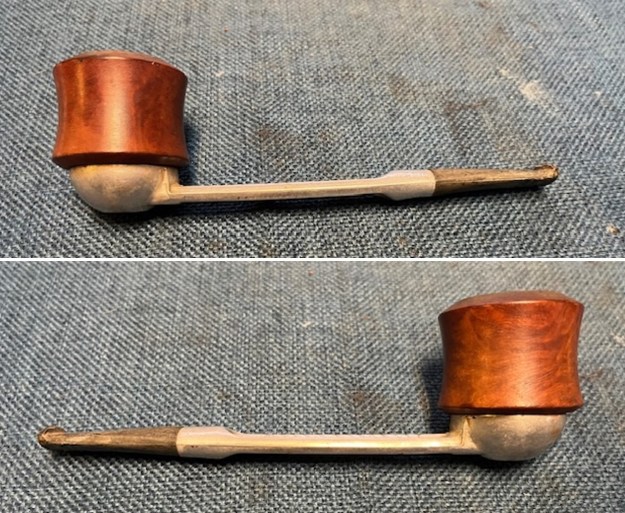
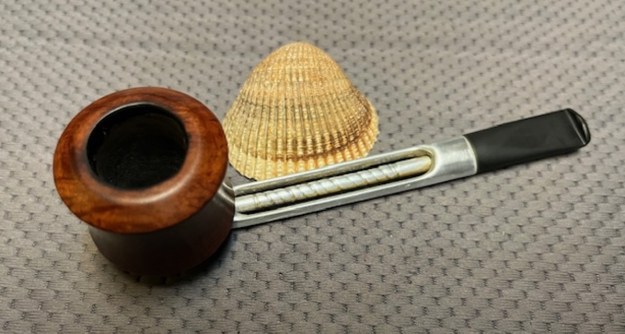
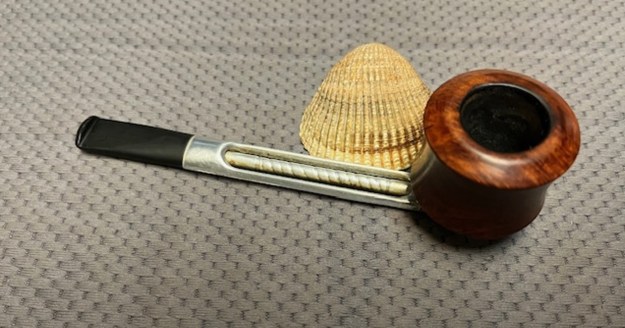
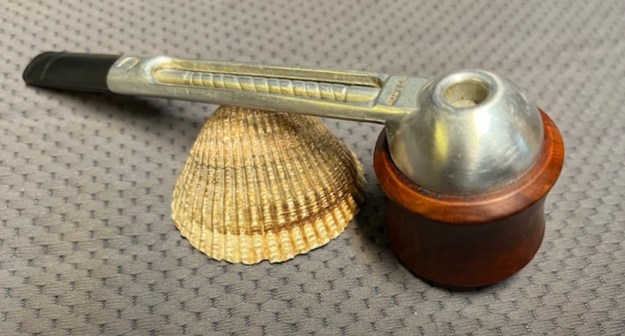
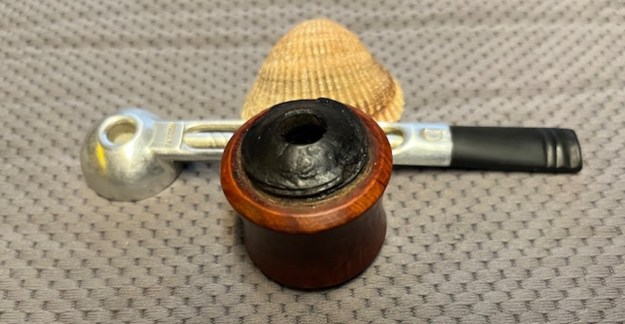
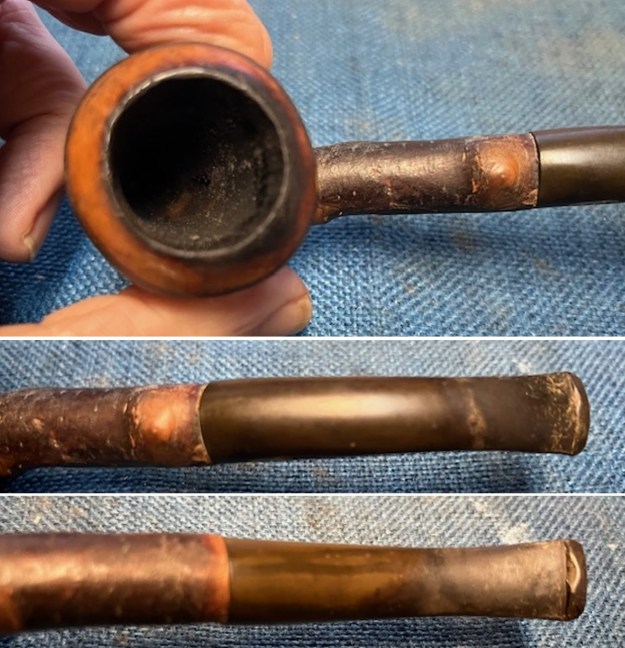
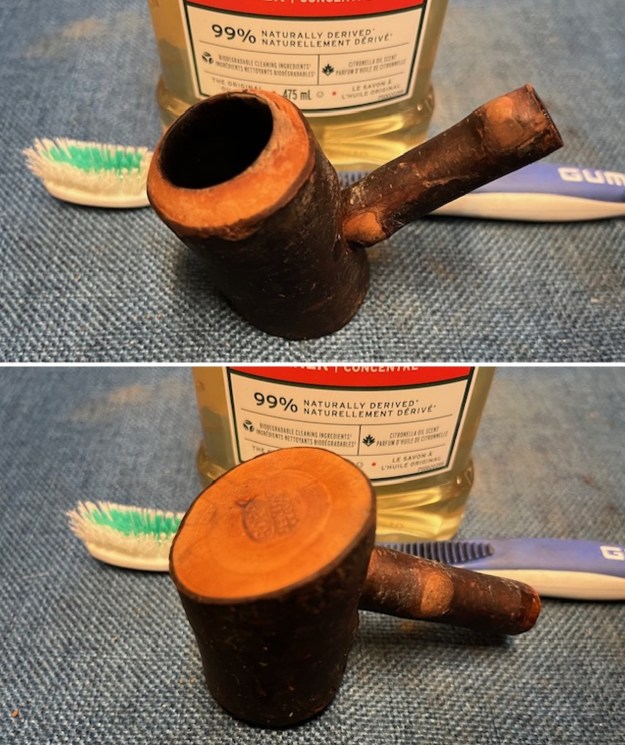
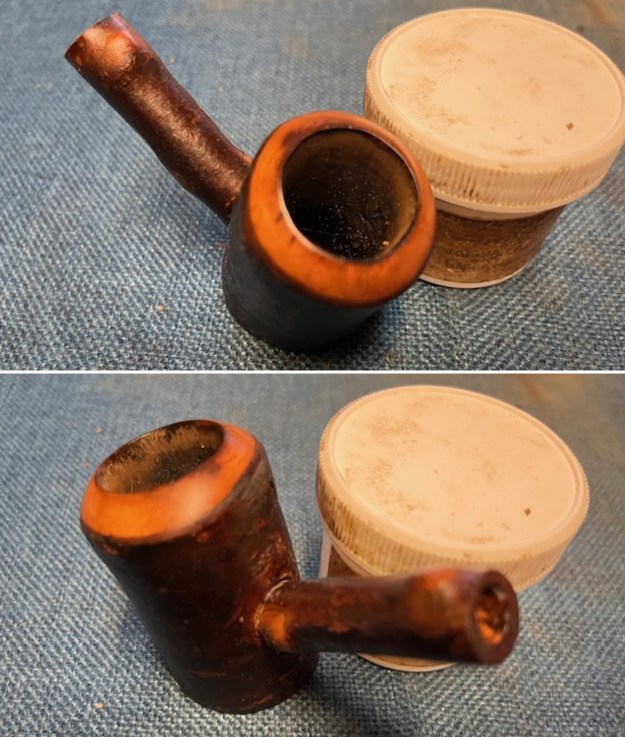
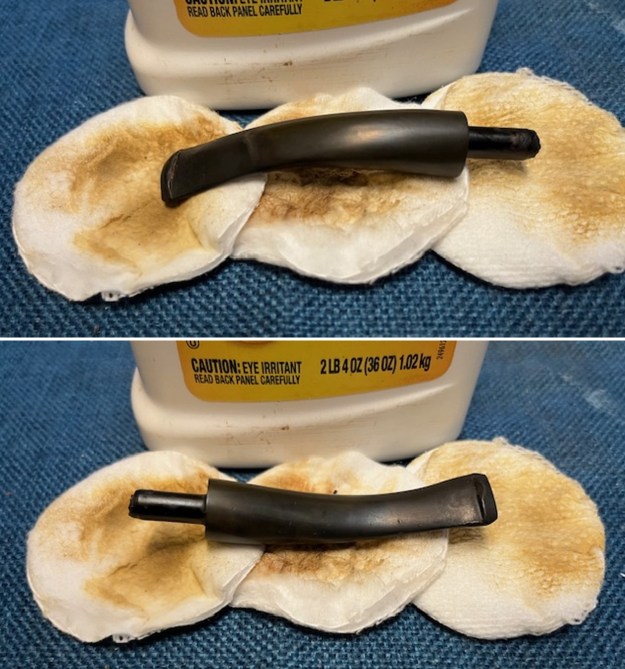
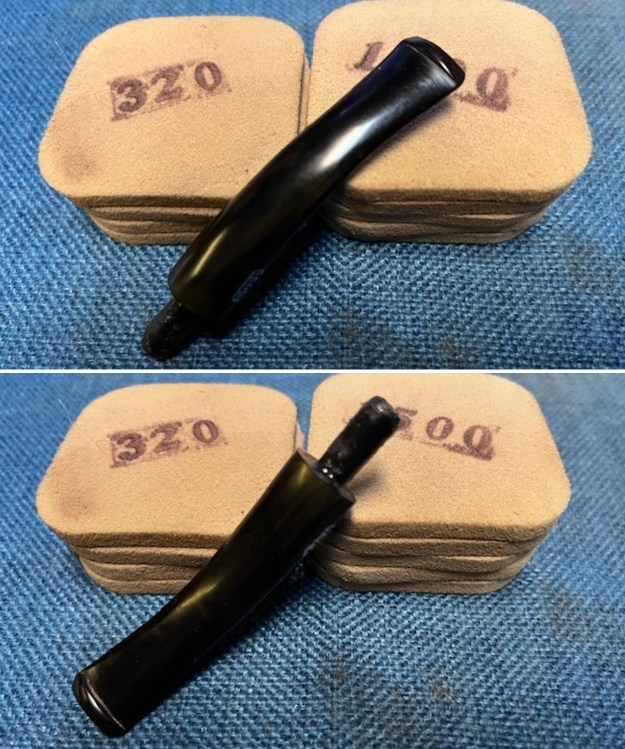
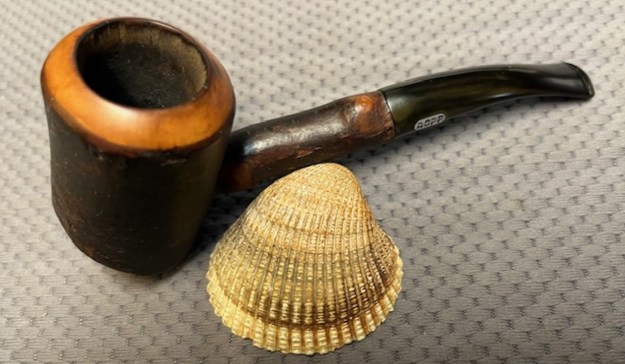
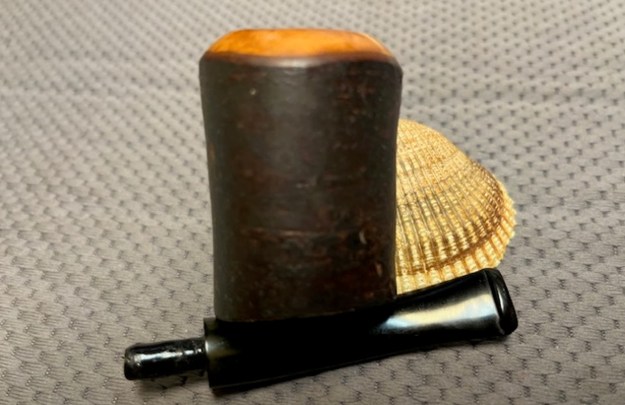
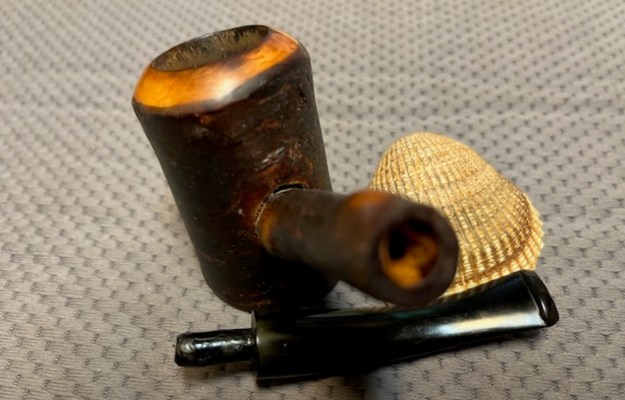
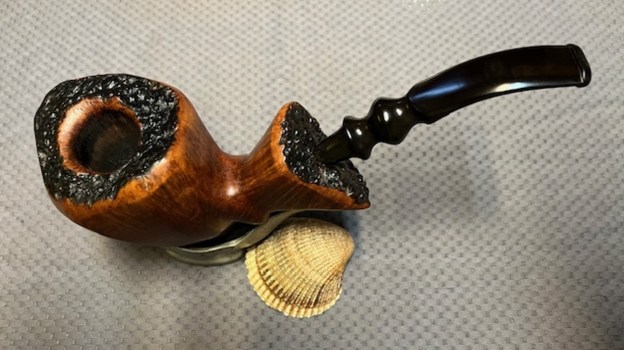
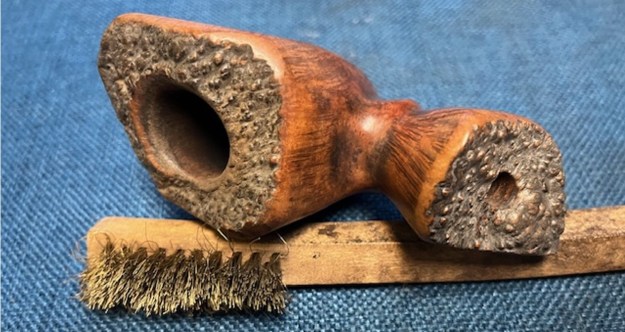
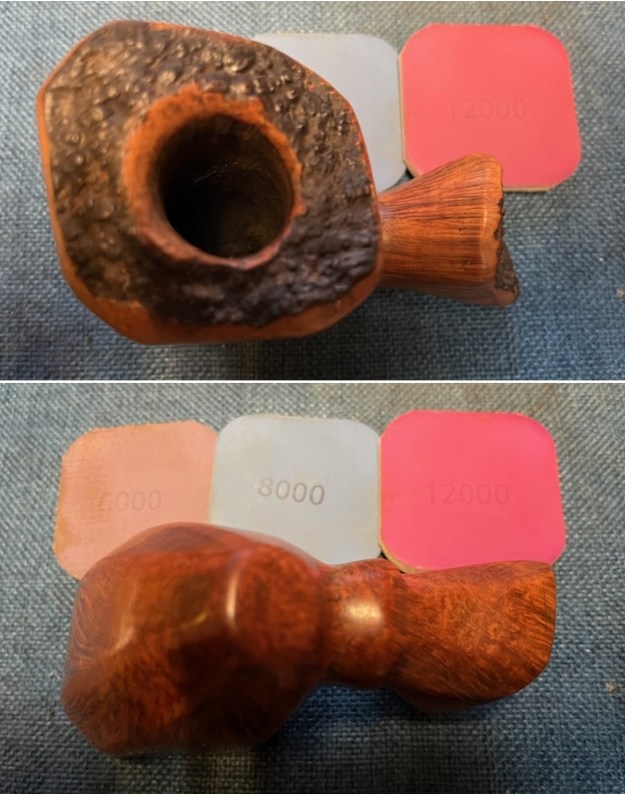
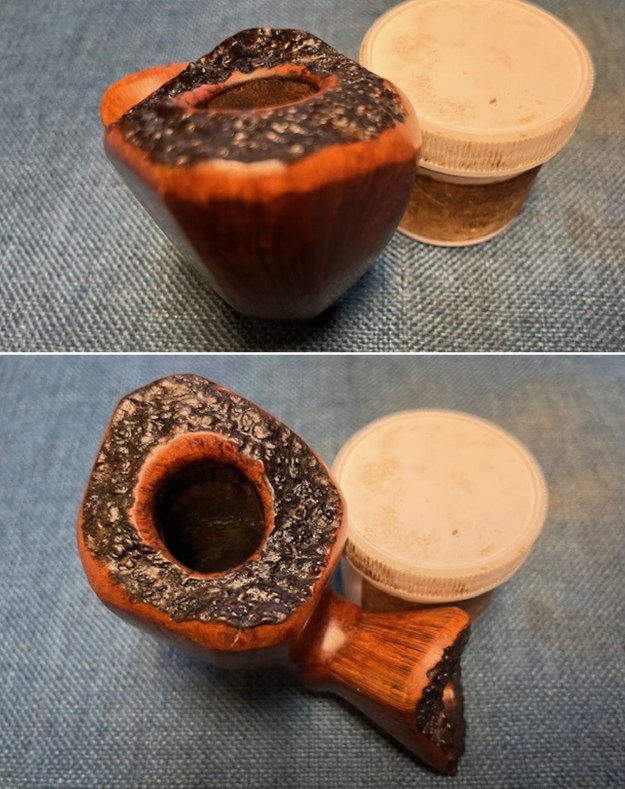
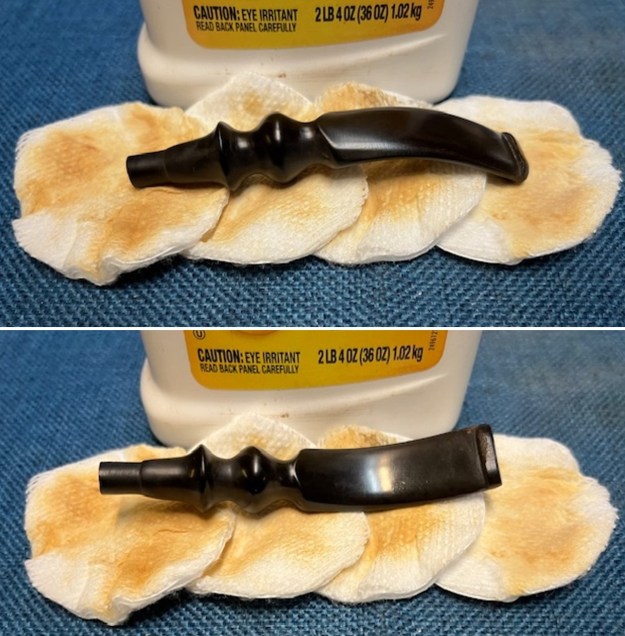
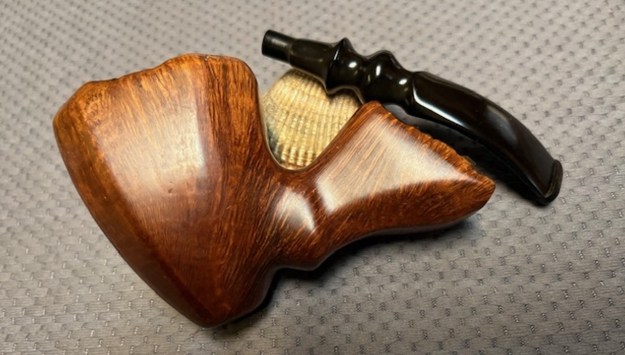
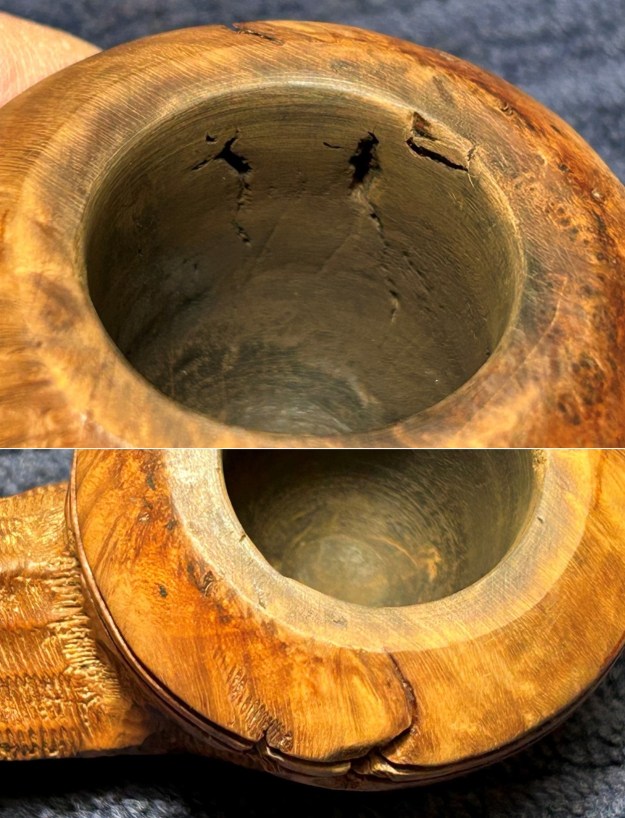
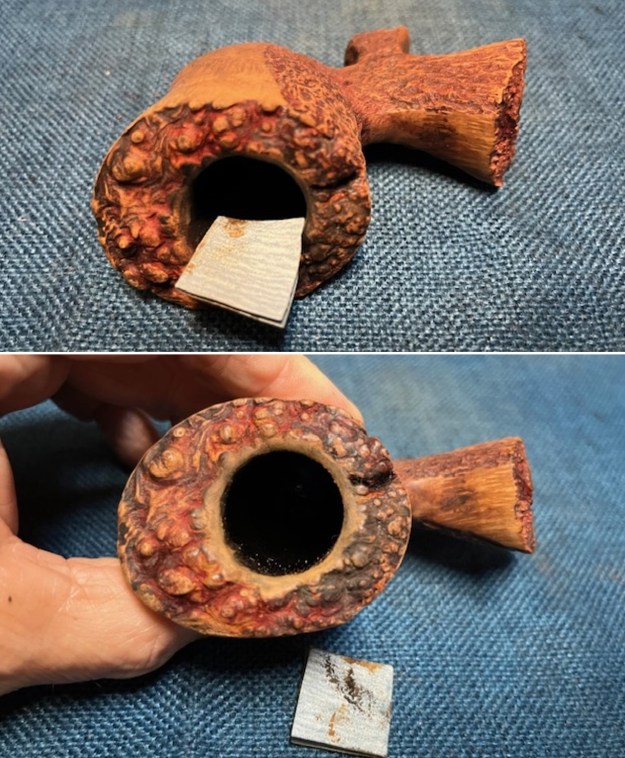
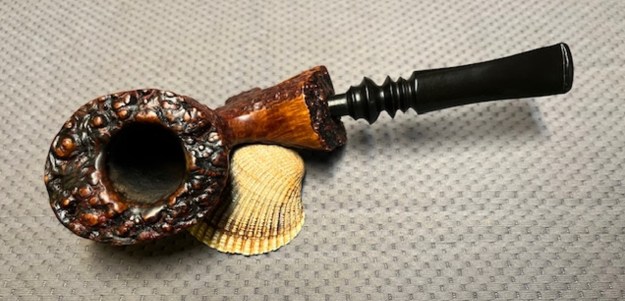
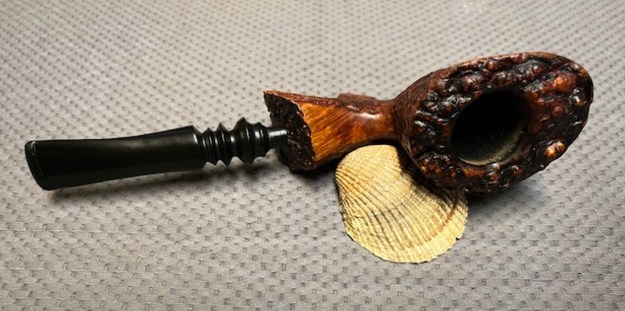
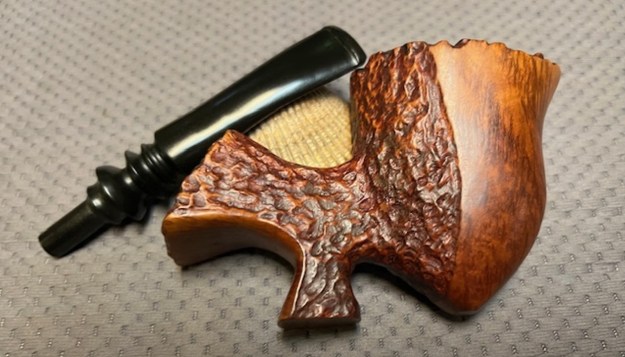
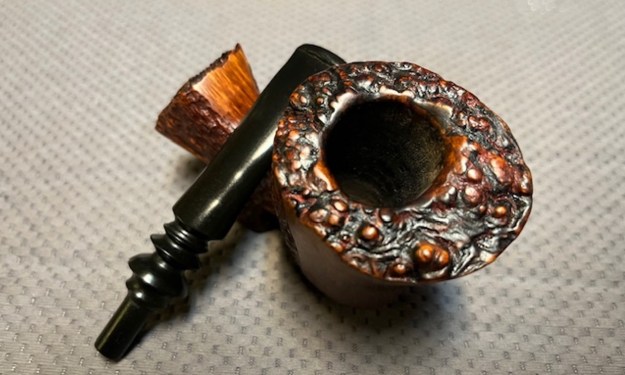
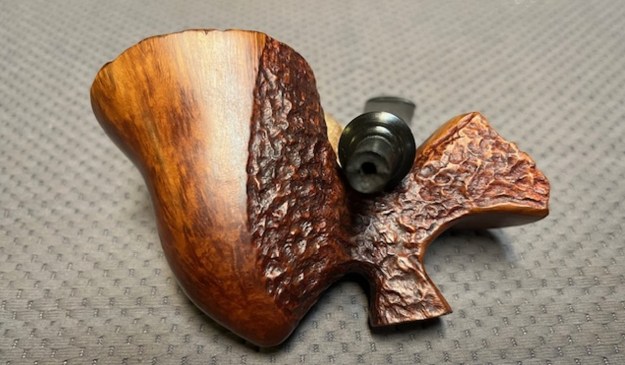
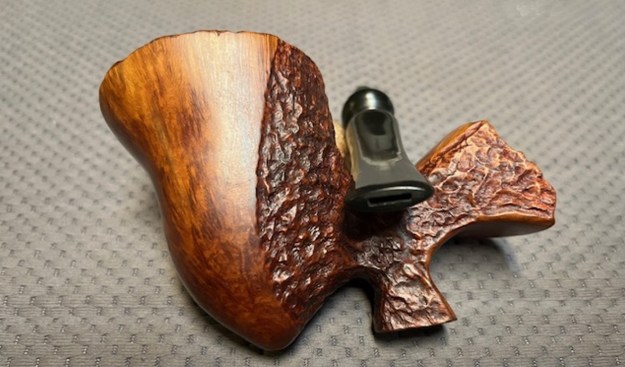
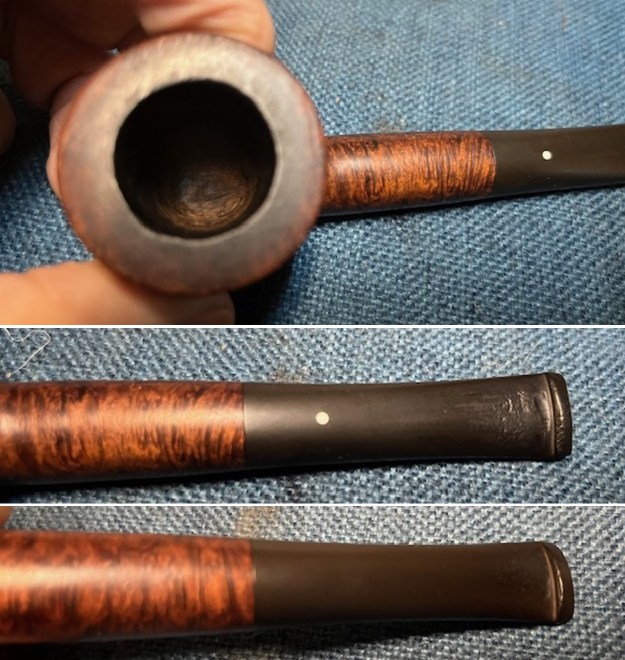
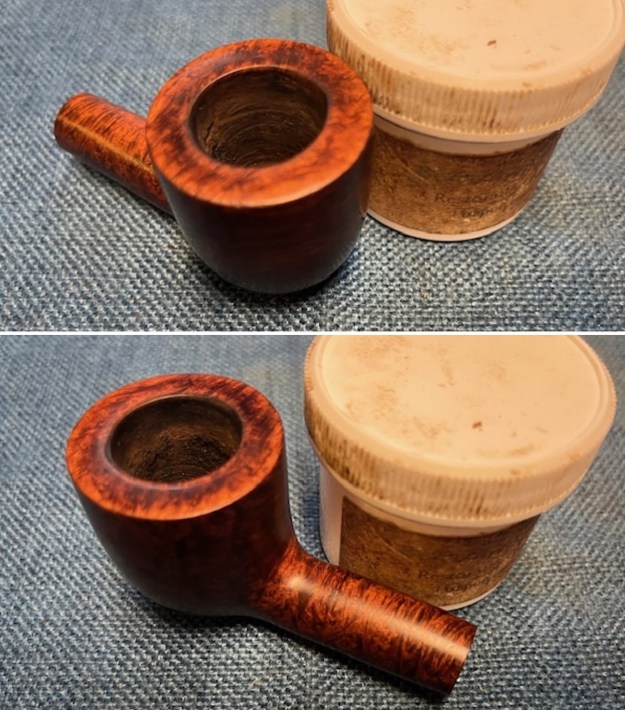
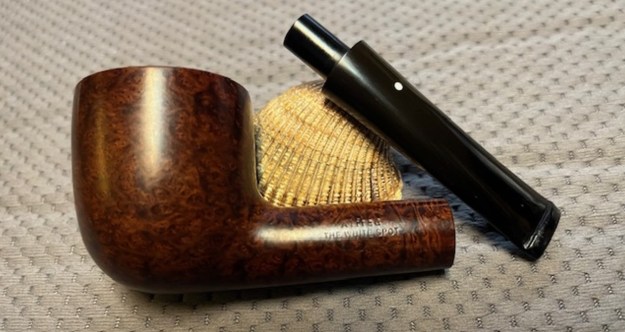
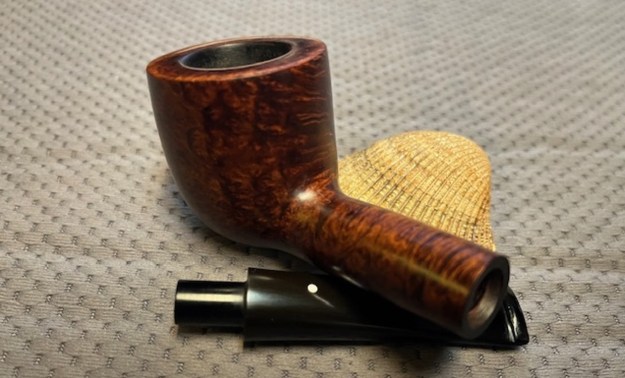
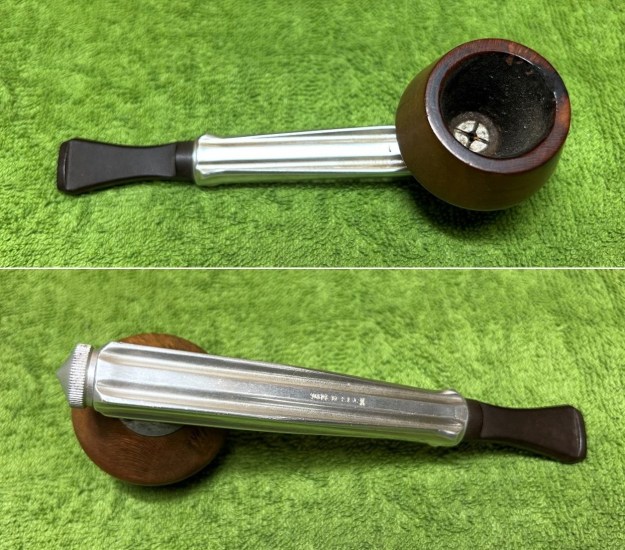
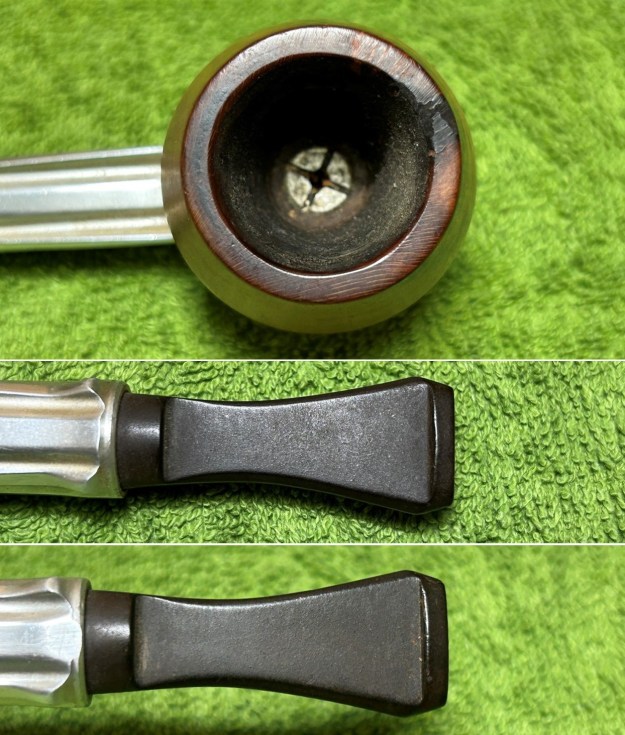
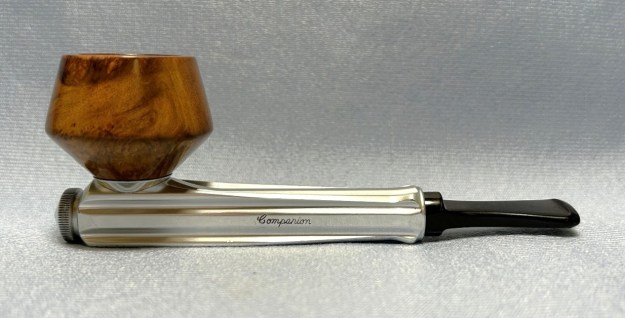
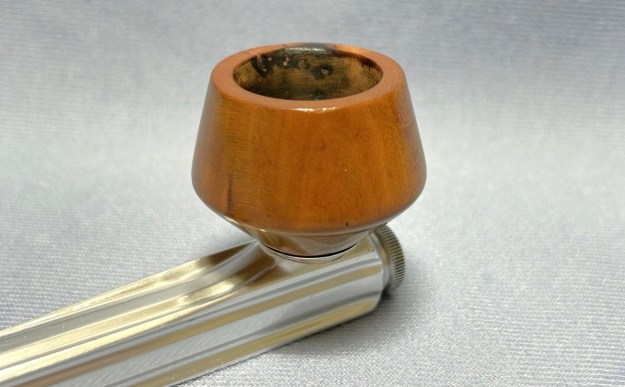
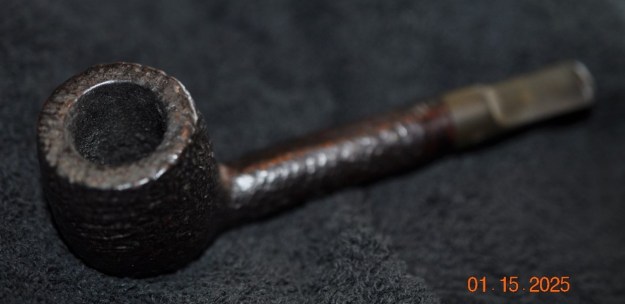
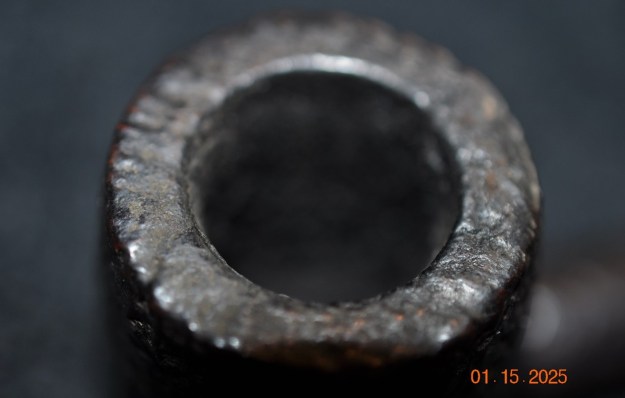
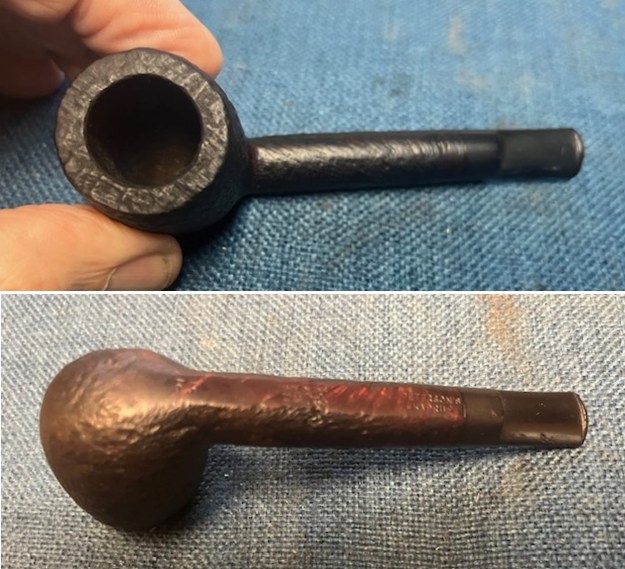
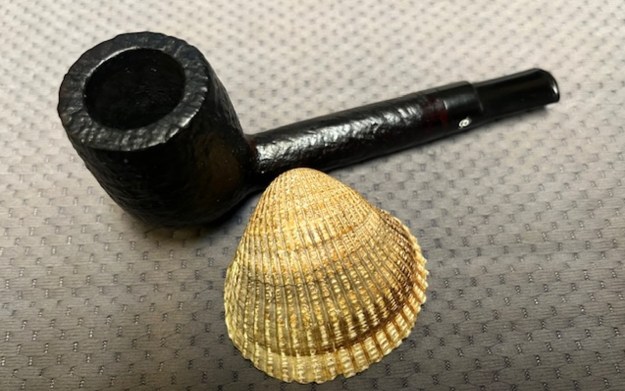
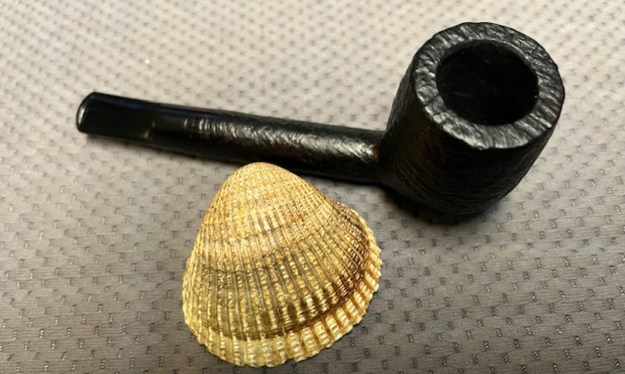
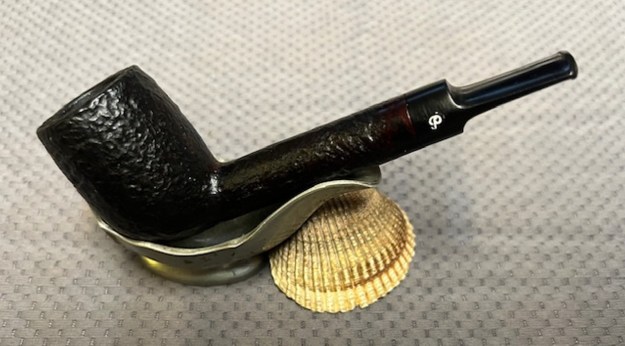
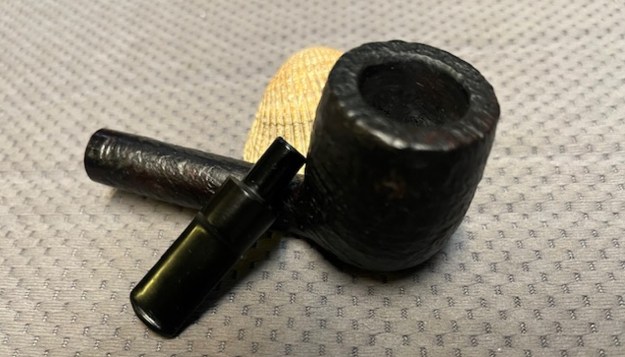
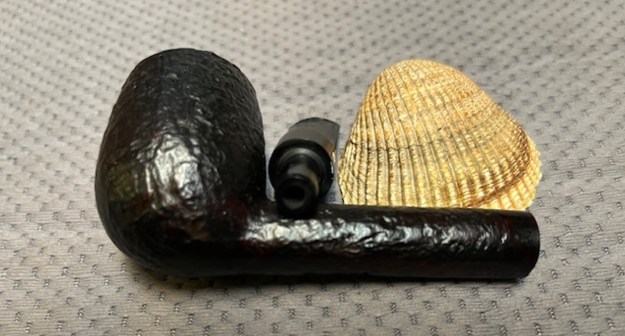
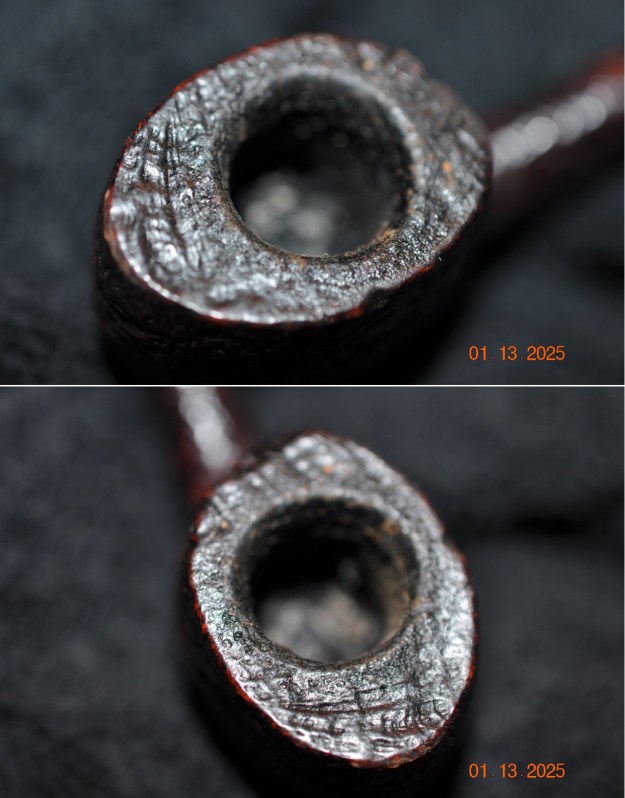
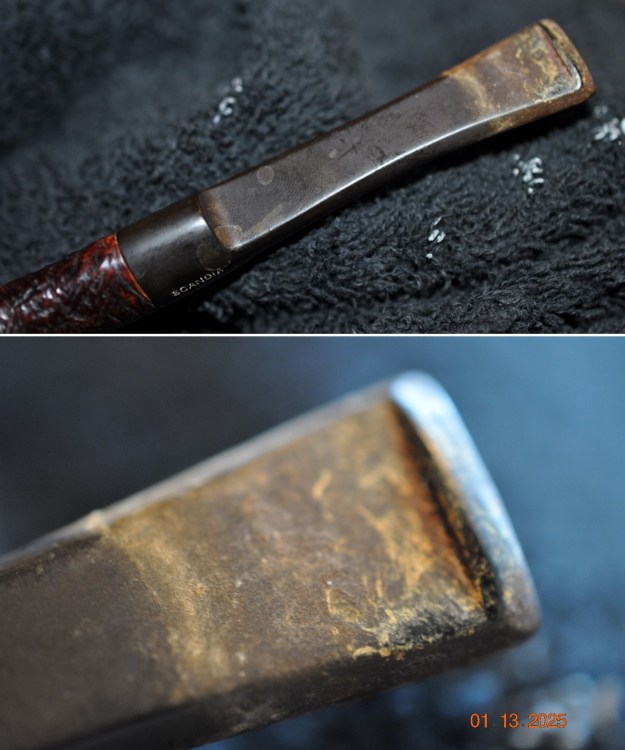
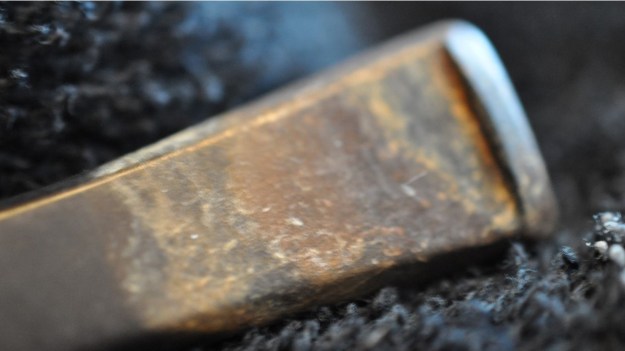
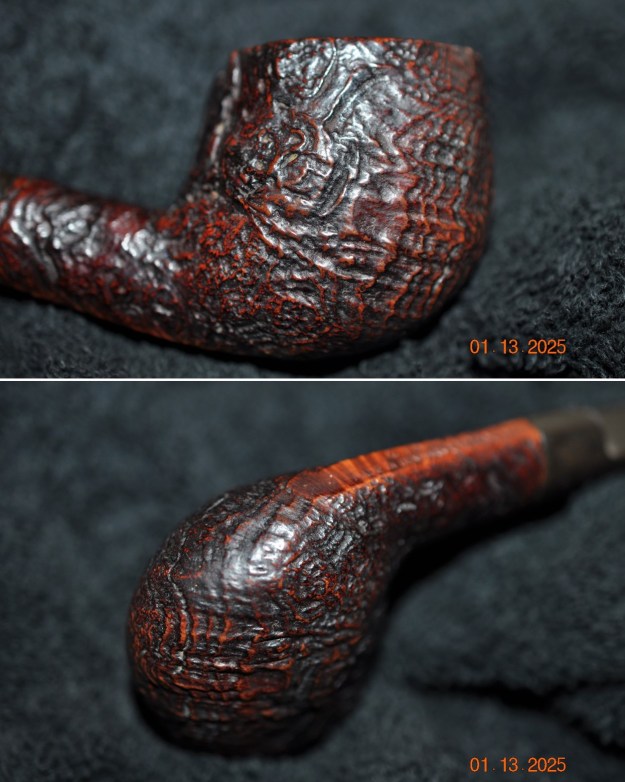
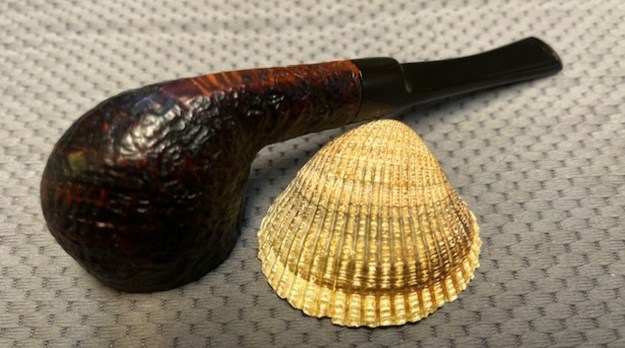
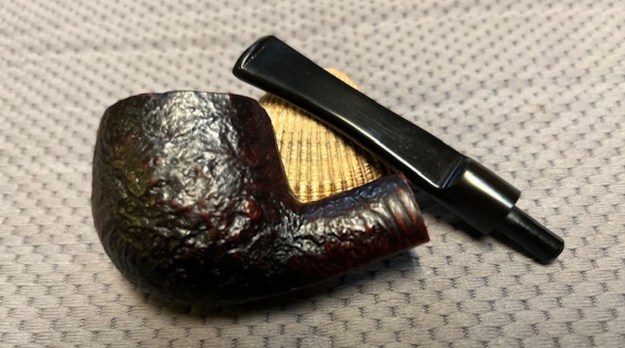
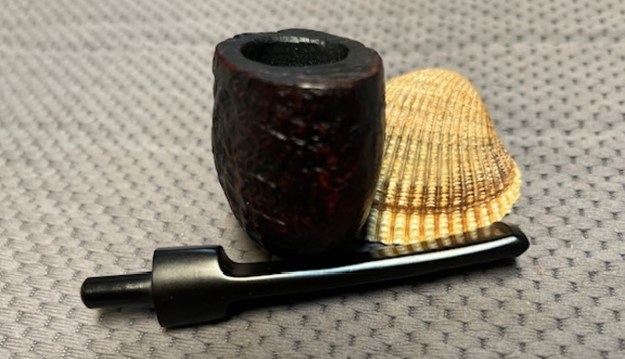
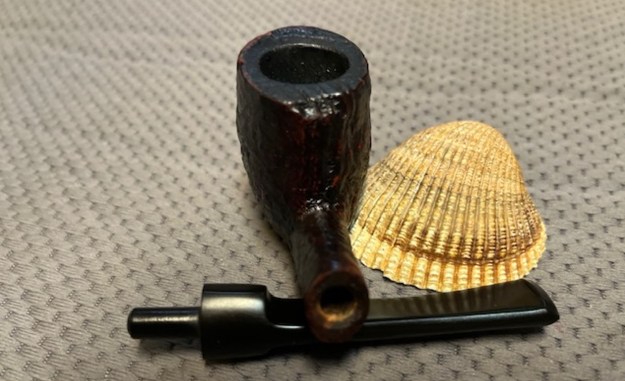
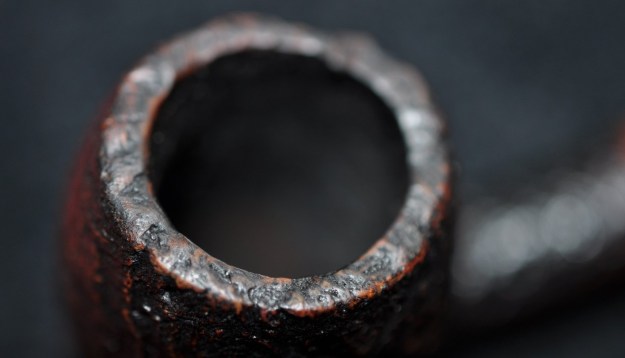
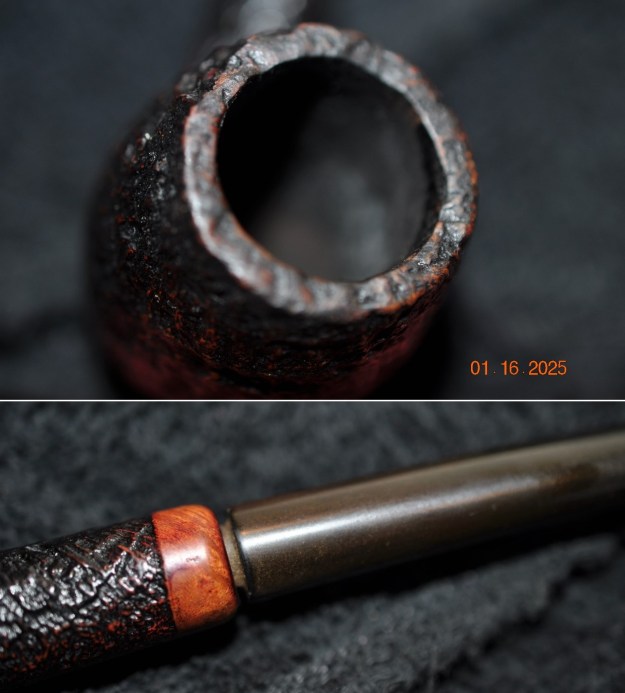
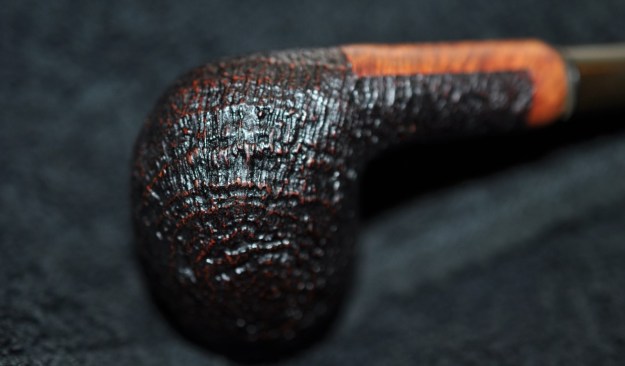
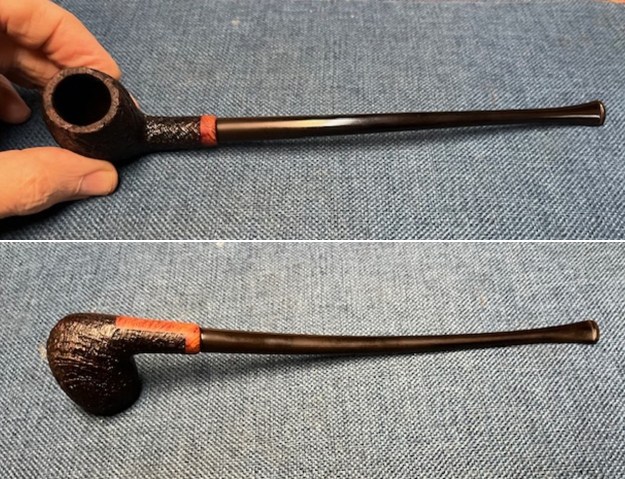
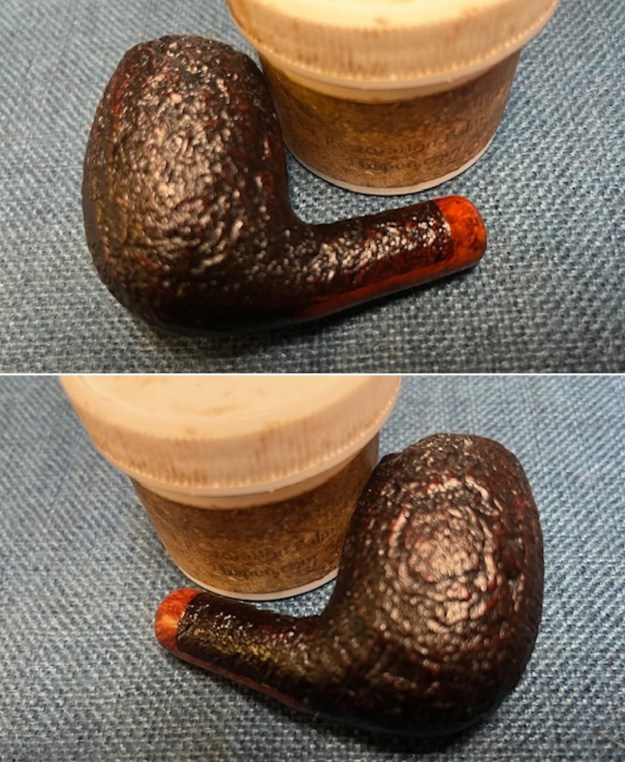
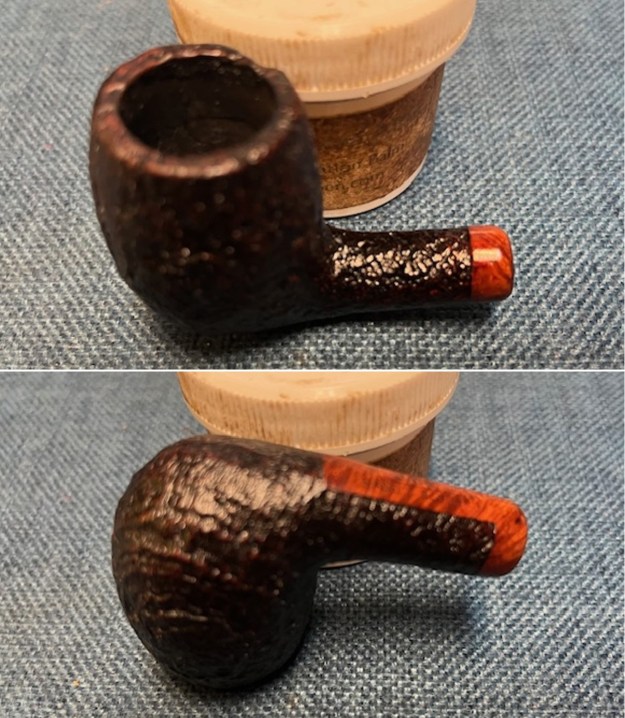
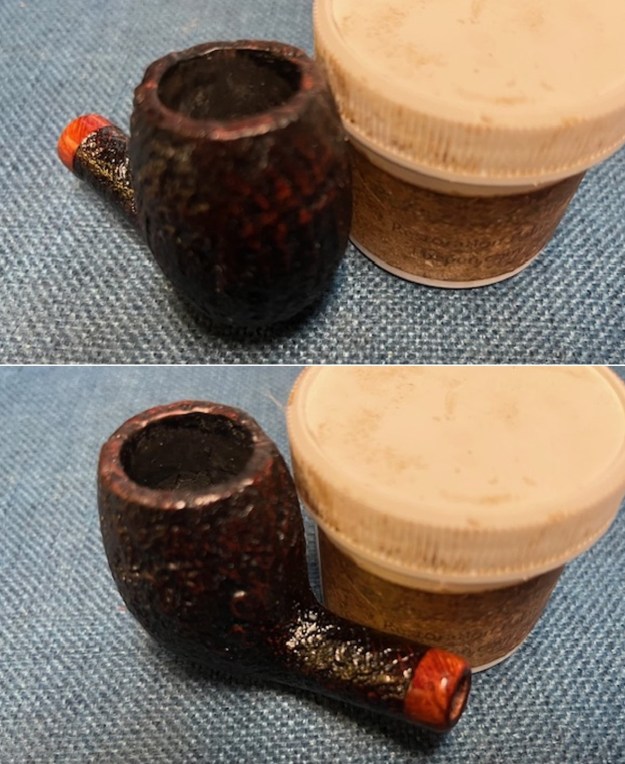
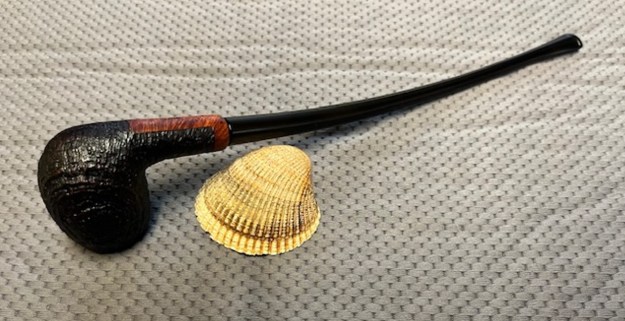
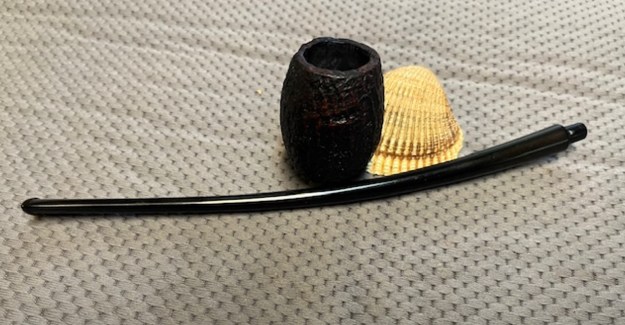
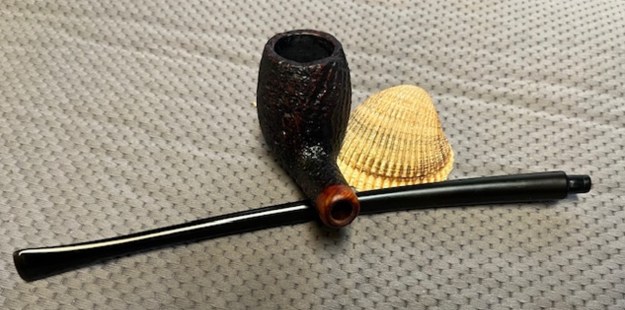
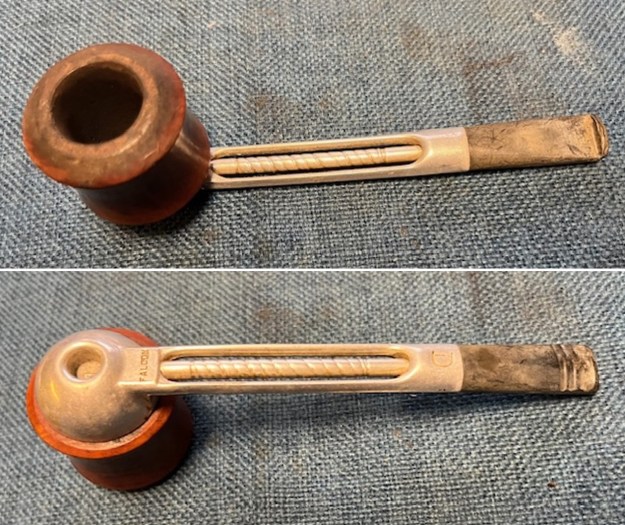 The relatively clean bowl looks quite good. There was some thick lava on the rim top and some lava build up on the inner edge of the bowl. It looked to be in good condition other than the lava and darkening. The dental bit stem was calcified, dirty, lightly oxidized and has tooth chatter and marks on both sides. I took photos of the bowl, rim top and the stem to show the condition of both.
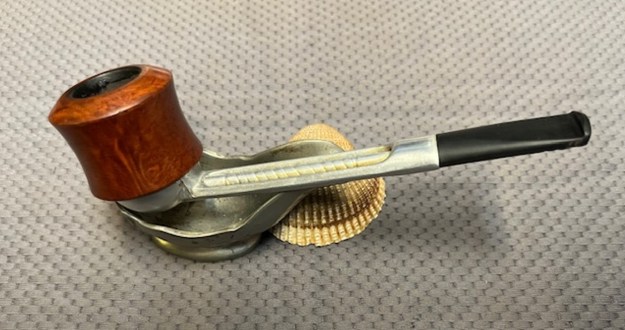
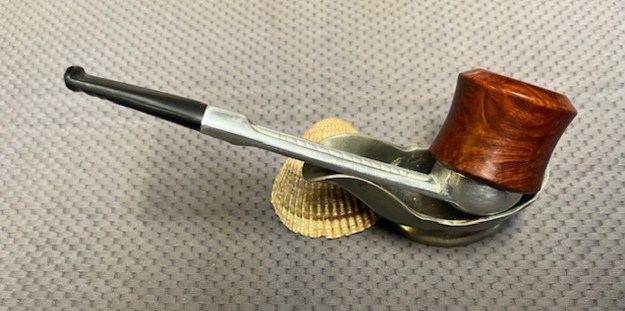
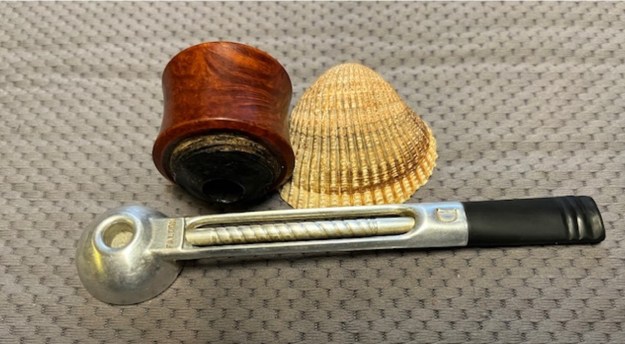
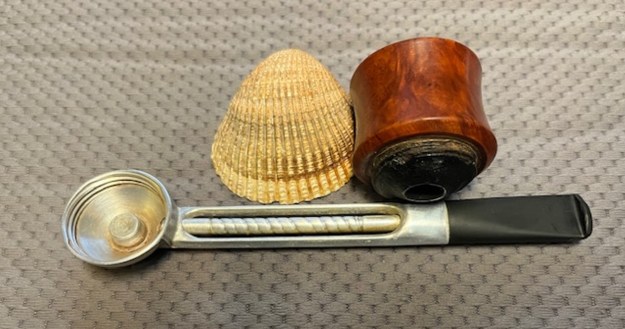
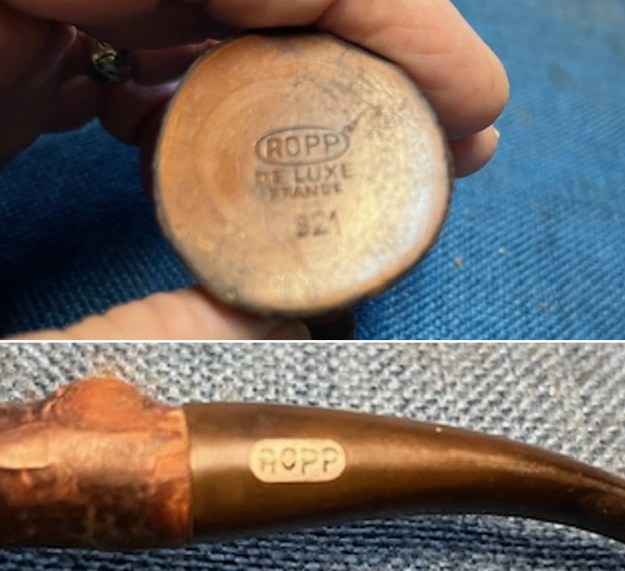
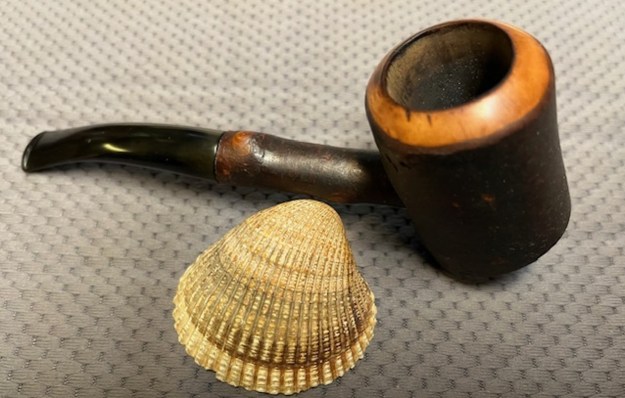
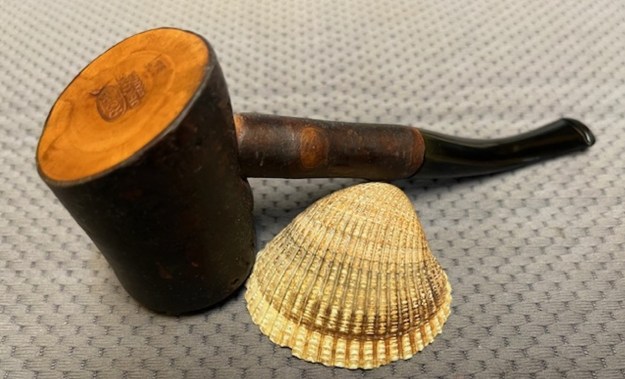
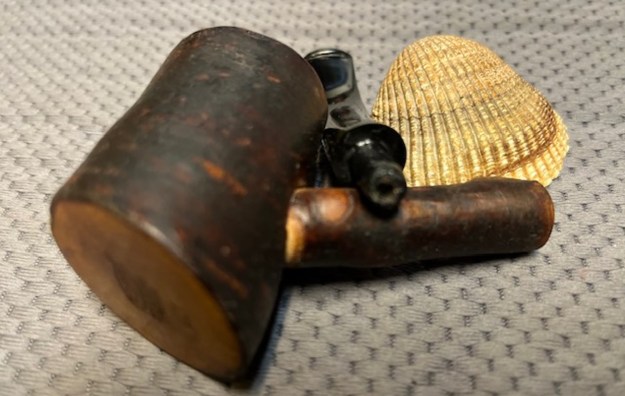
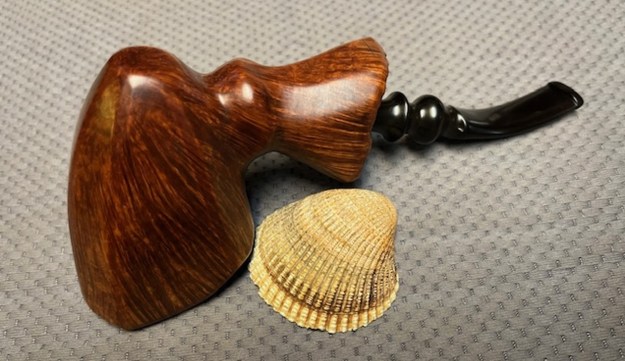
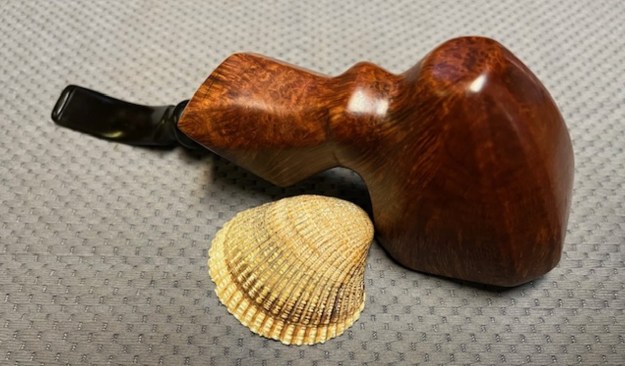
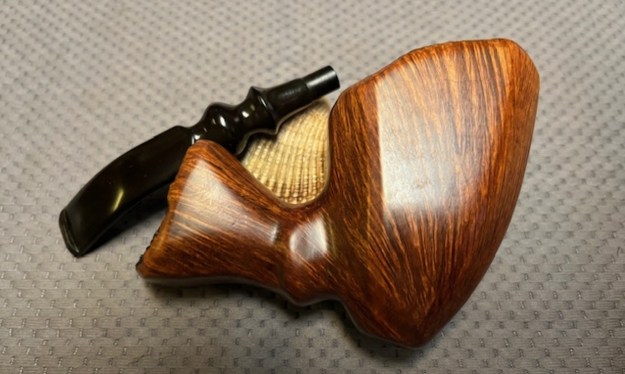
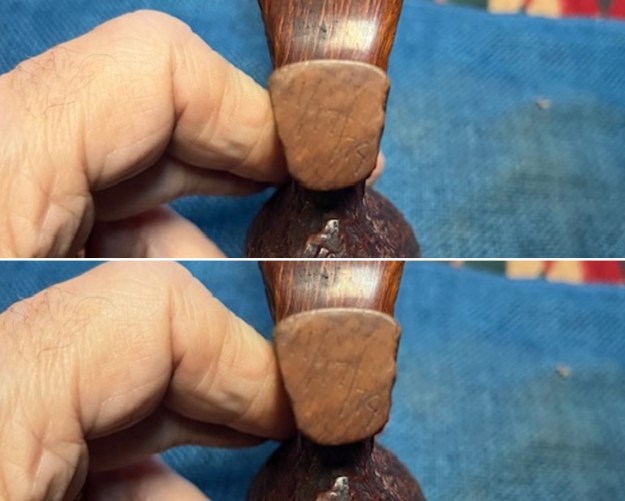
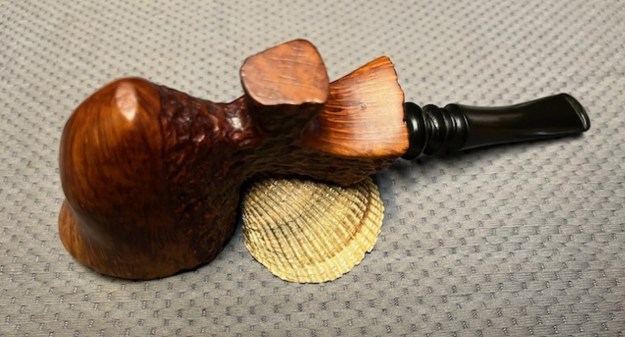
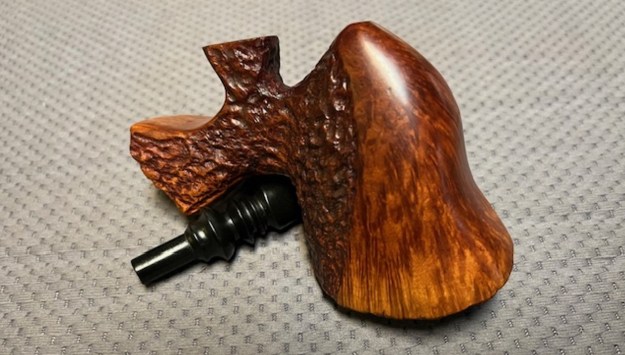
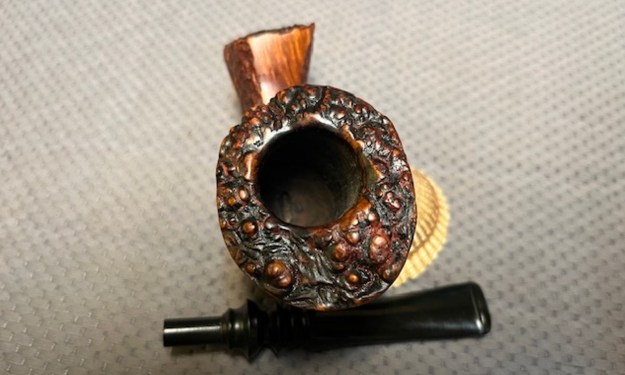
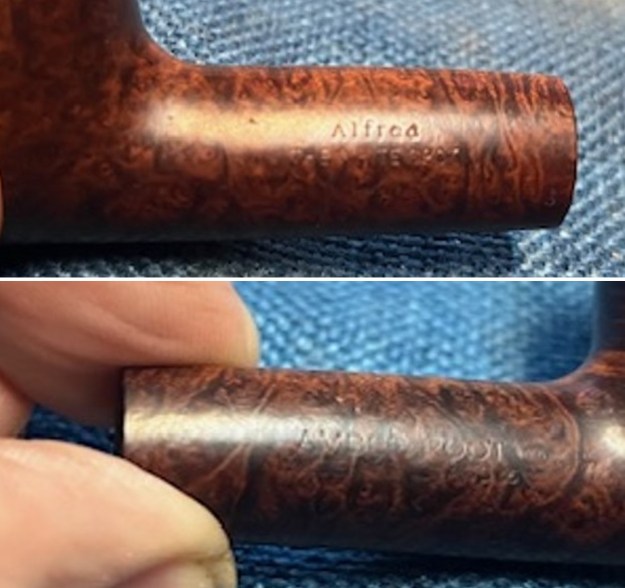
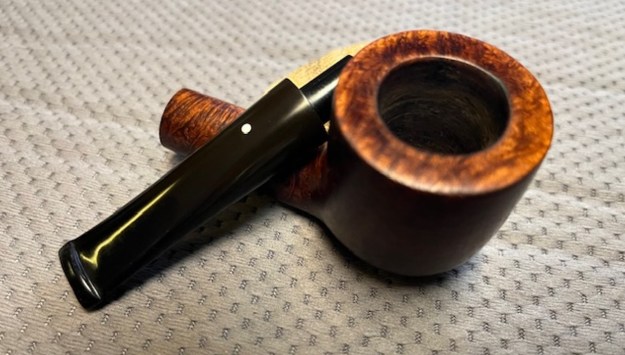
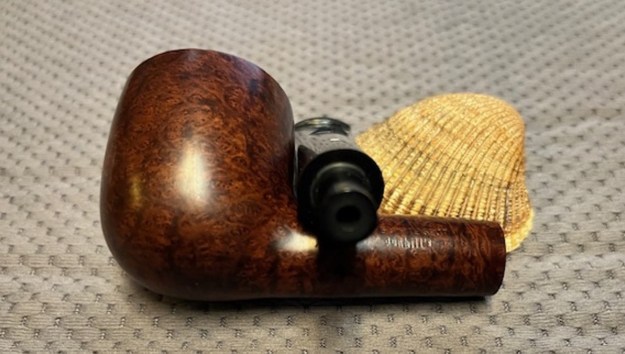
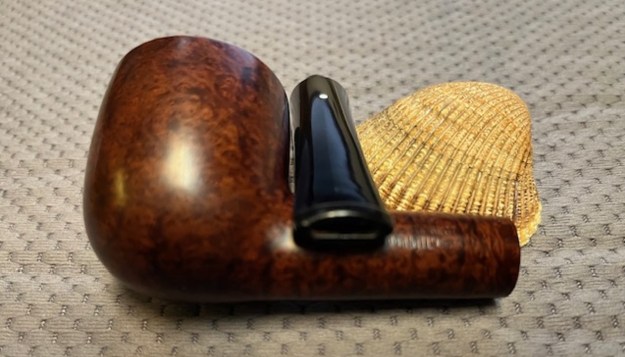
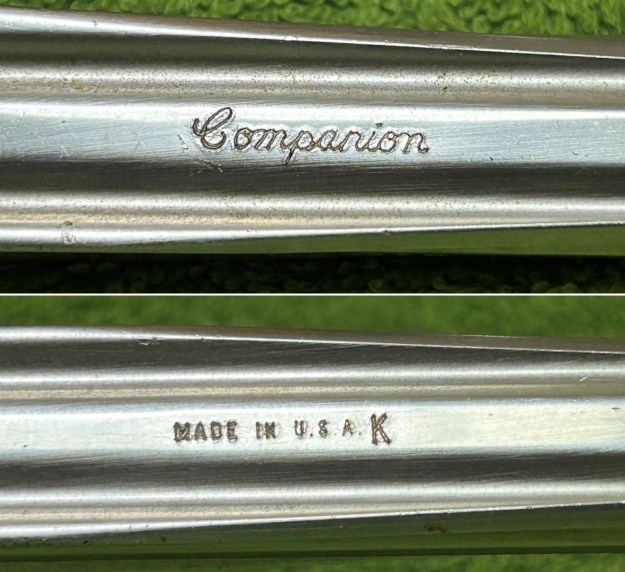
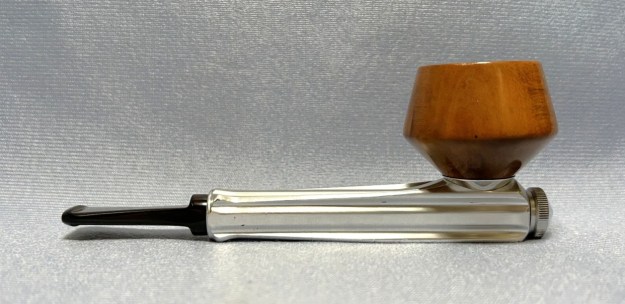
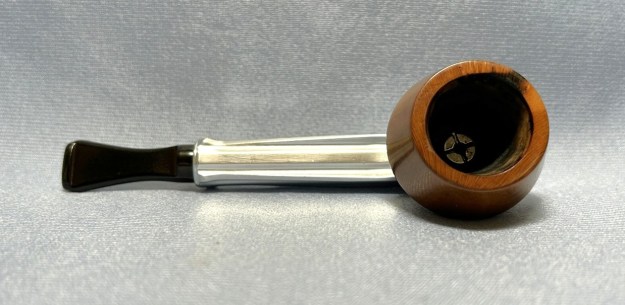
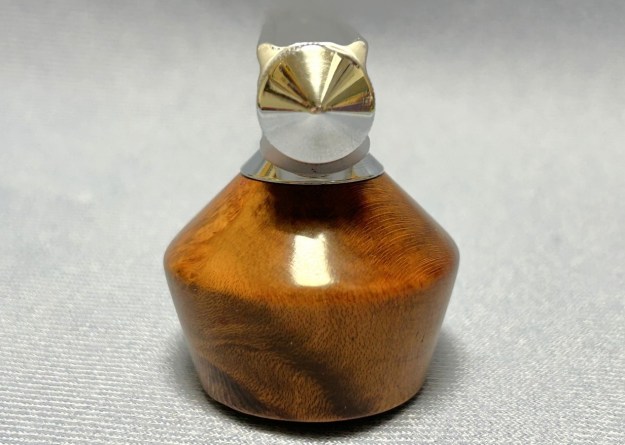
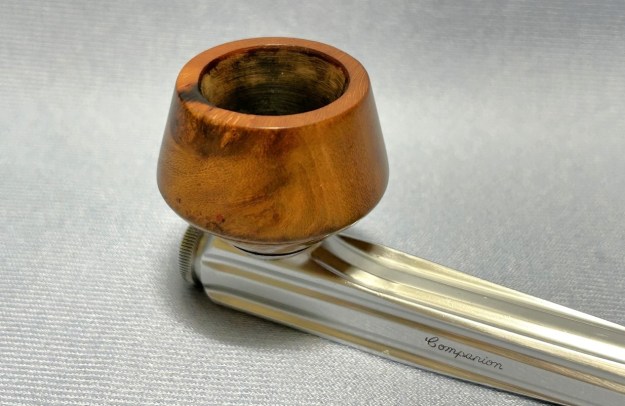
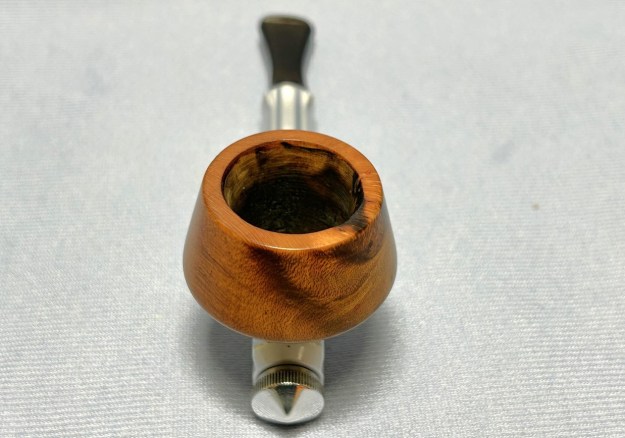
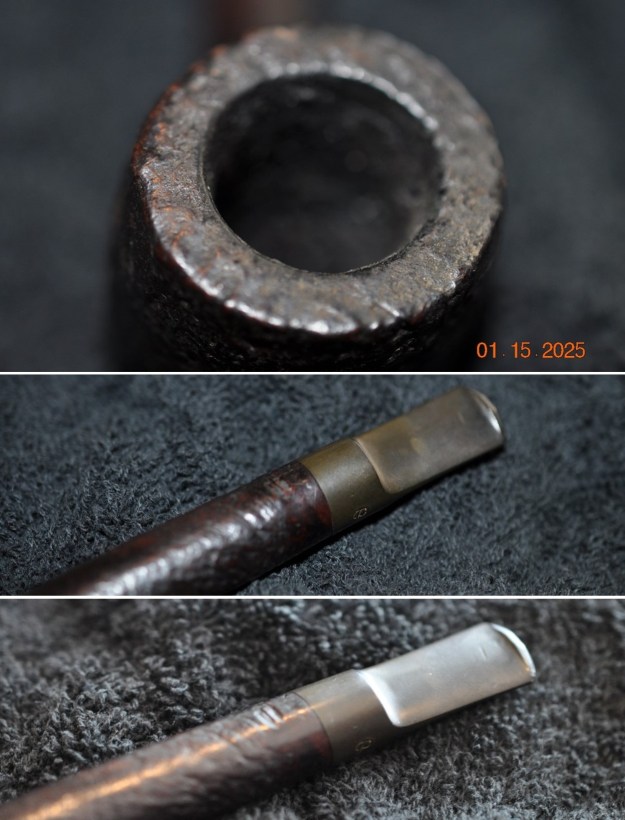
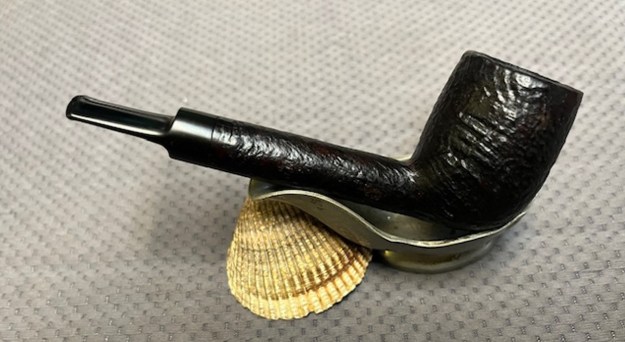
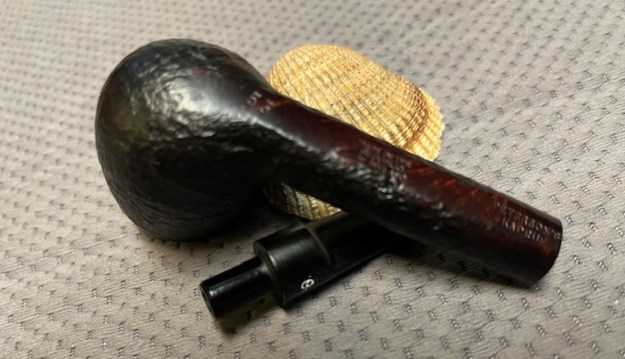
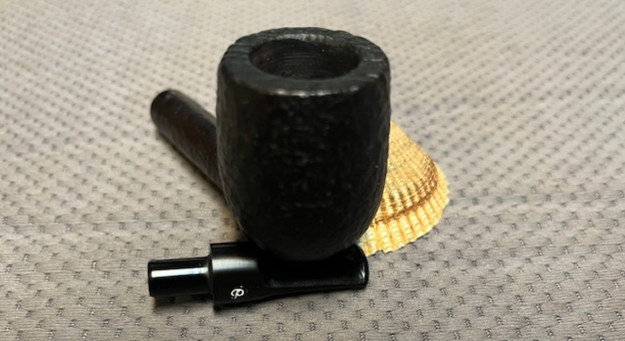
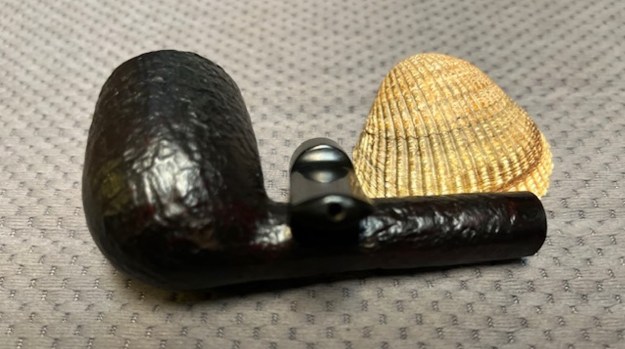
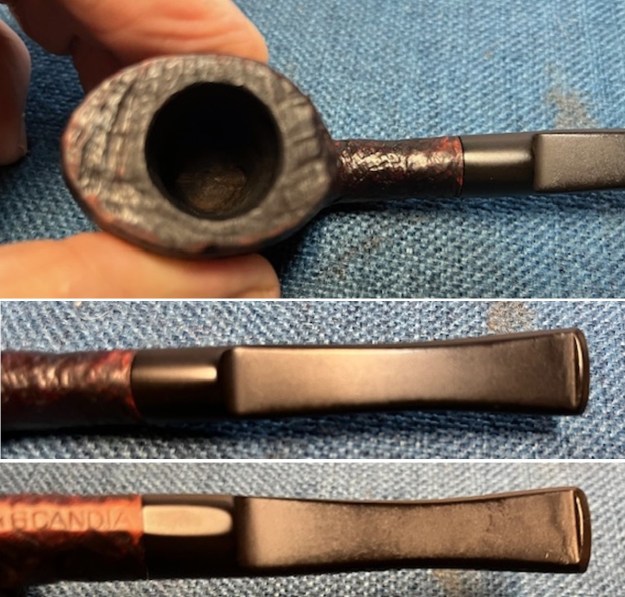
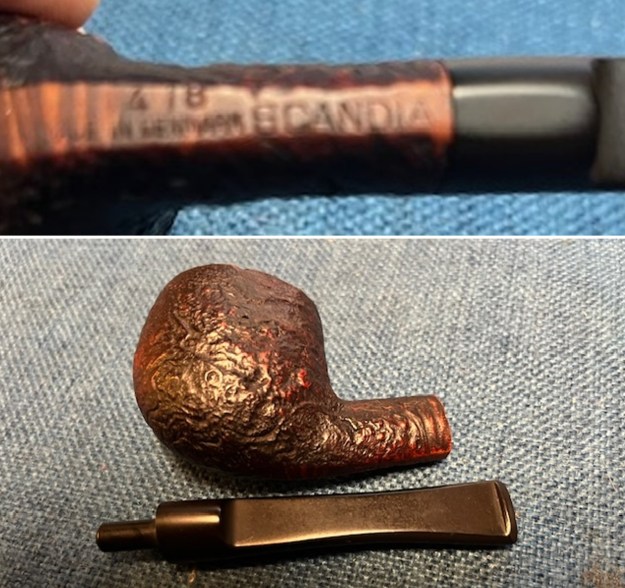
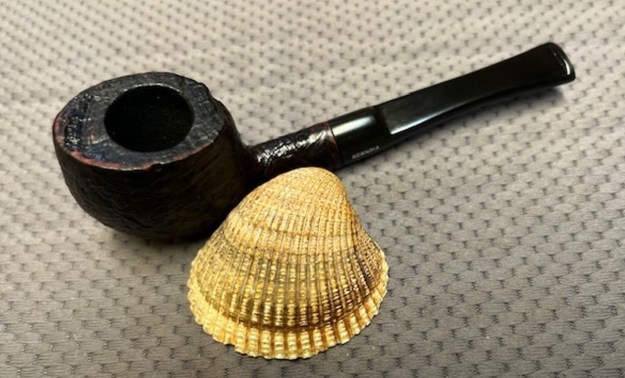
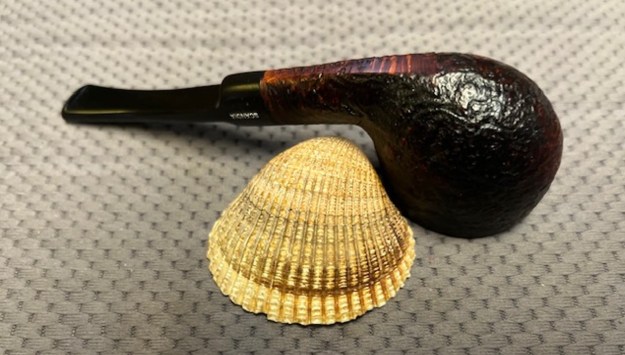
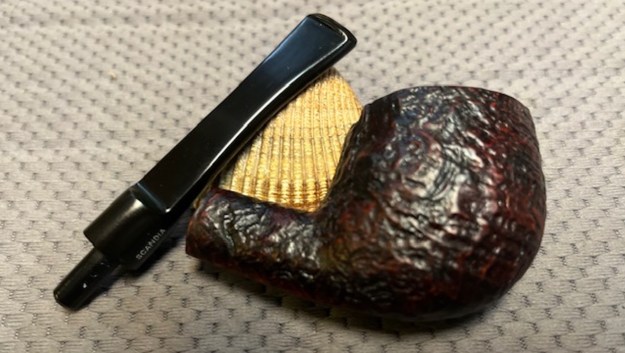
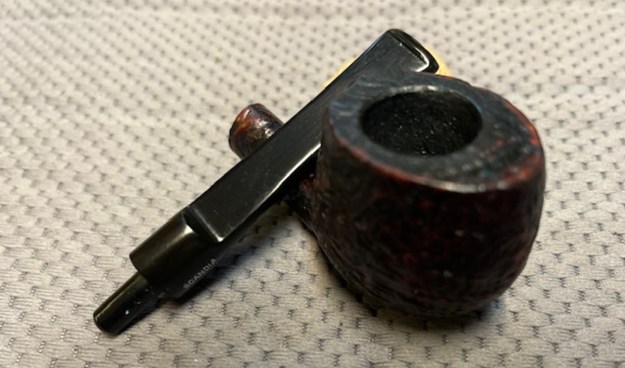
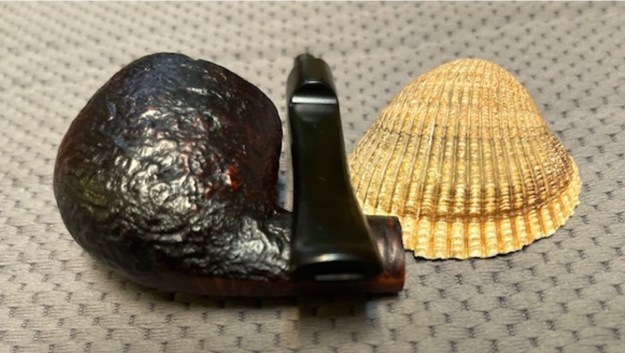
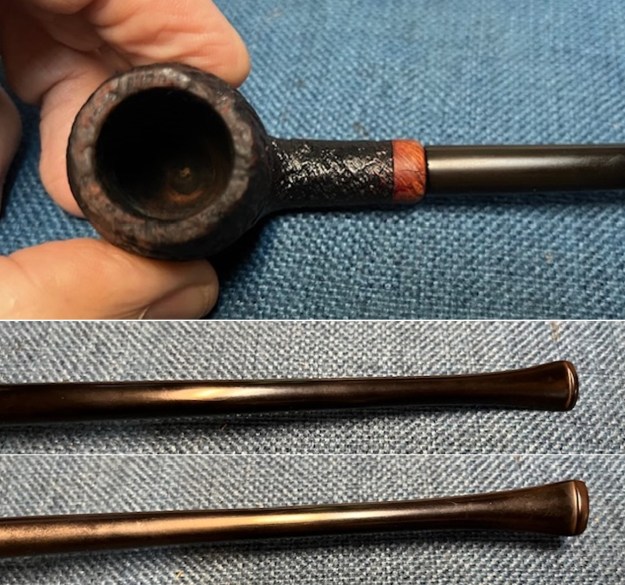
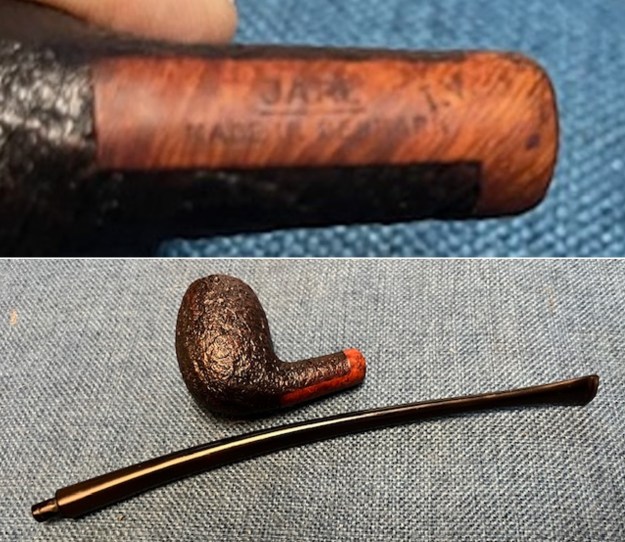
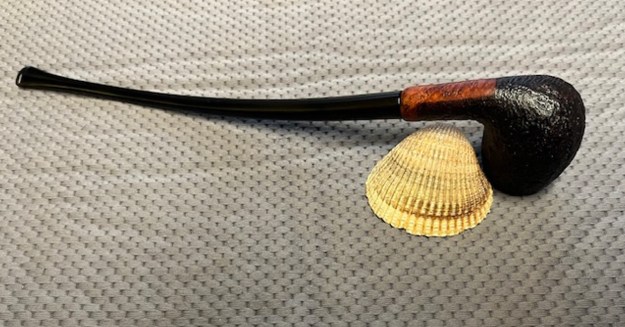
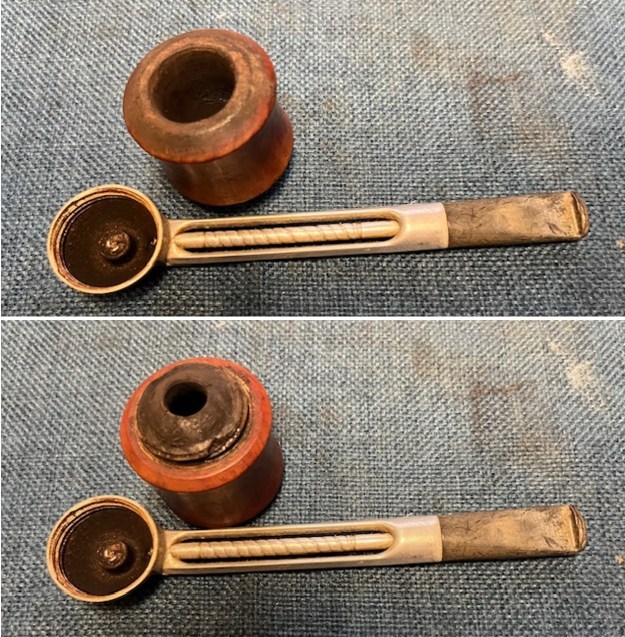
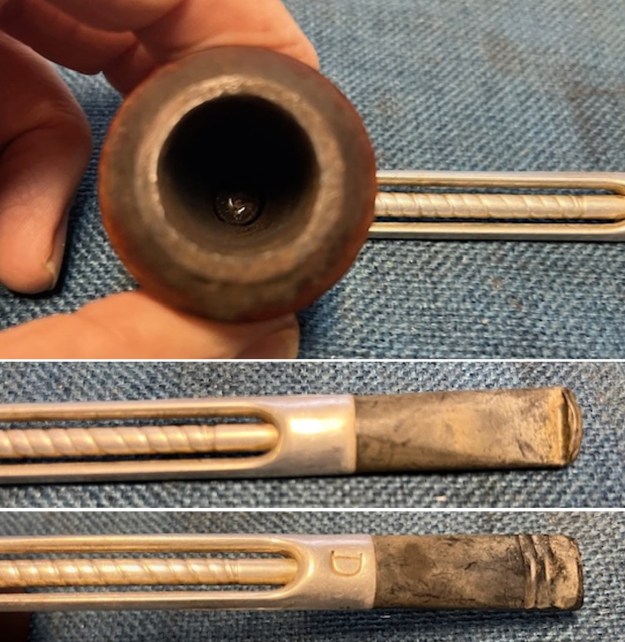 There was stamping on the heel of the bowl and shank junction that was clear and readable. The D stamp on the shank at the stem junction is also clear. It read as noted above. I also took a photo of the inlaid silver logo on the left side of the taper stem. I took a photo of the pipe with the bowl removed to show the proportion of this pipe. It is a classic Falcon.
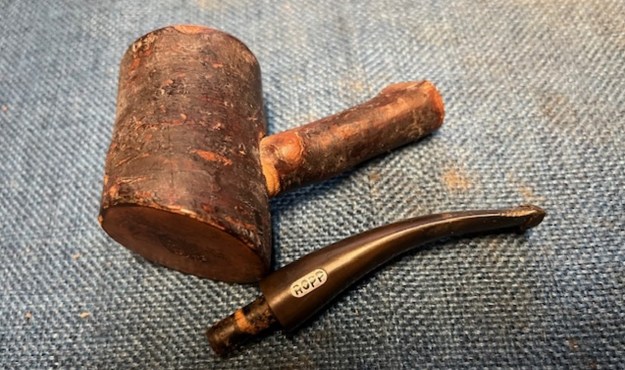
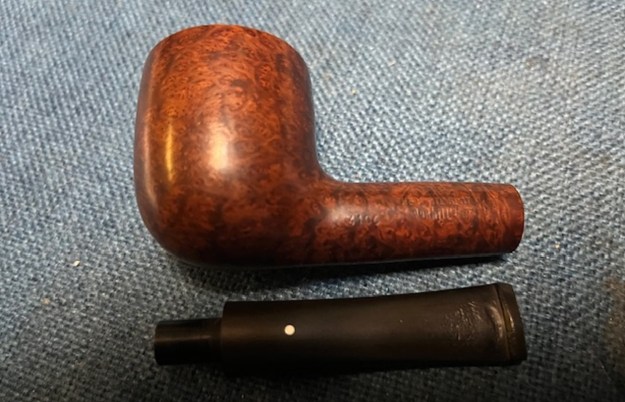
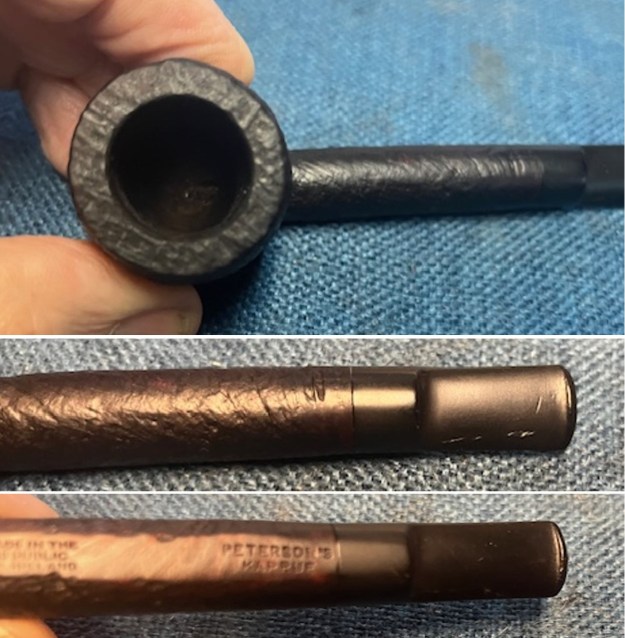
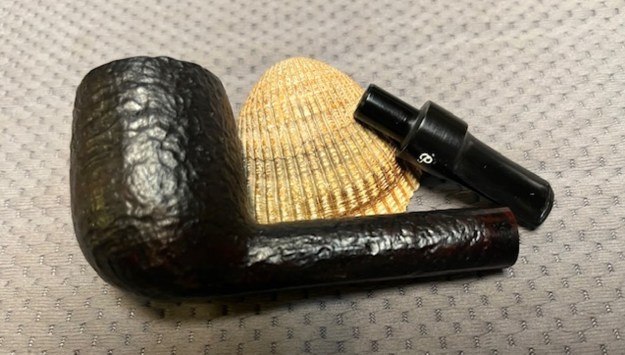
 I turned to Pipephil (http://www.pipephil.eu/logos/en/logo-f1.html) to see what I could learn about the brand. I have included a screen capture of the information on the site below.
 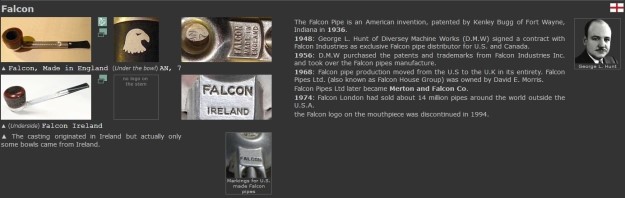 Below; I also include the brief sidebar history from the site:
The Falcon Pipe is an American invention, patented by Kenley Bugg of Fort Wayne, Indiana in 1936.
1948: George L. Hunt of Diversey Machine Works (D.M.W) signed a contract with Falcon Industries as exclusive Falcon pipe distributor for U.S. and Canada.
1956: D.M.W purchased the patents and trademarks from Falcon Industries Inc. and took over the Falcon pipes manufacture.
1968: Falcon pipe production moved from the U.S to the U.K in its entirety. Falcon Pipes Ltd. (also known as Falcon House Group) was owned by David E. Morris.
Falcon Pipes Ltd later became Merton and Falcon Co.
1974: Falcon London had sold about 14 million pipes around the world outside the U.S.A.
The Falcon logo on the mouthpiece was discontinued in 1994.
There was also interesting information the particular stamping on the base of this pipe. It has the stamping that identifies it as an American made Falcon. Now I had the basic background information on the pipe. I also knew that the pipe was made after 1948 and prior to the move of production to the UK in 1968.
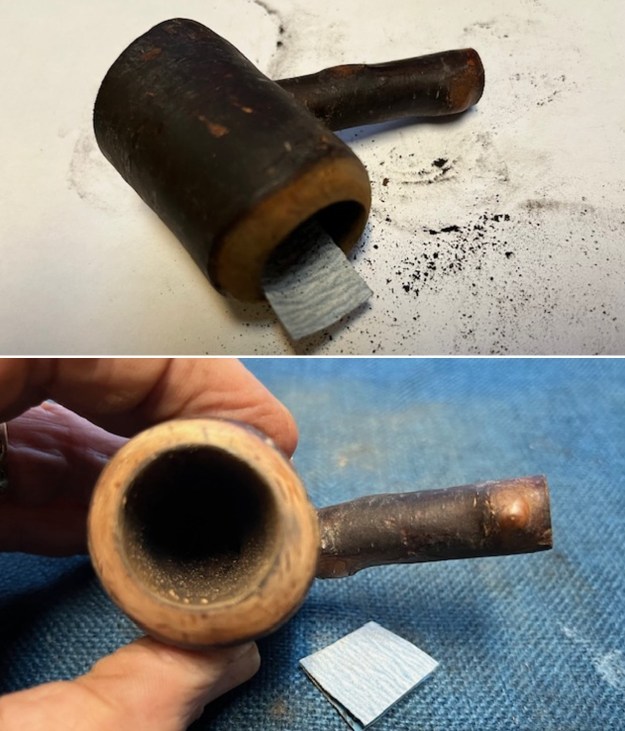
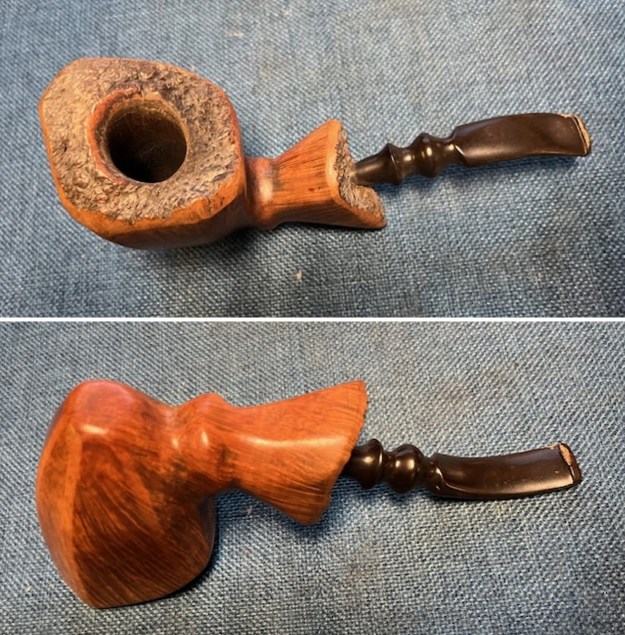
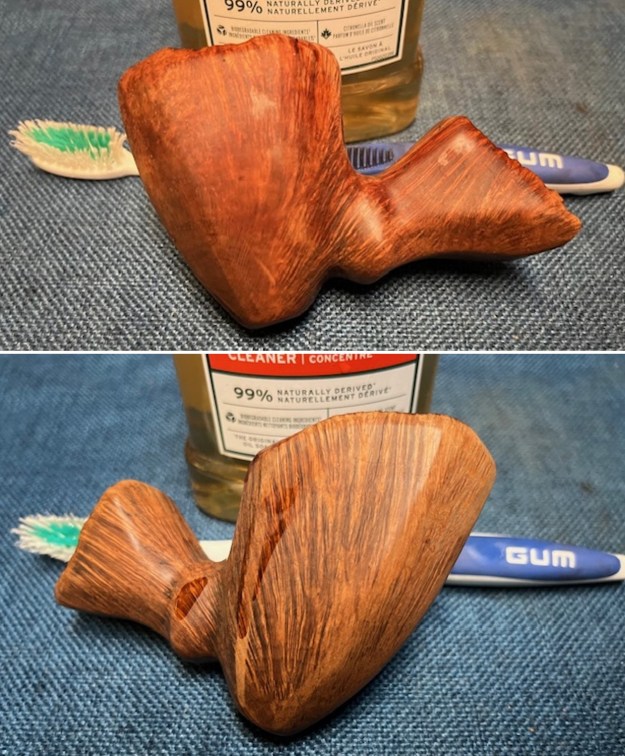
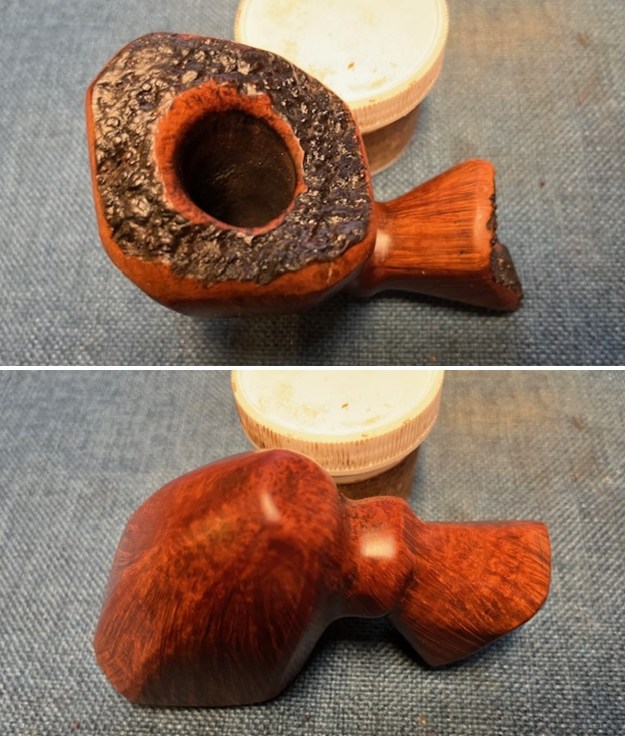
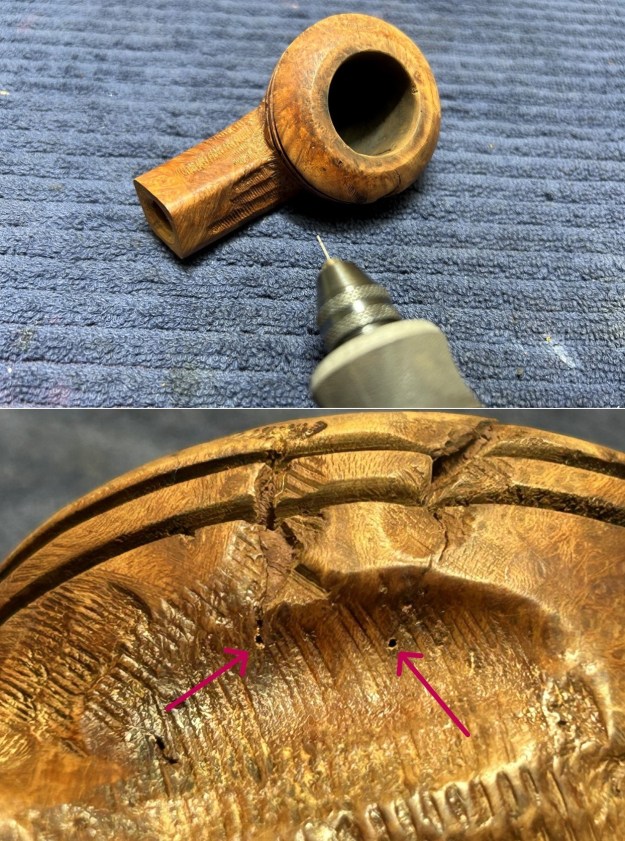
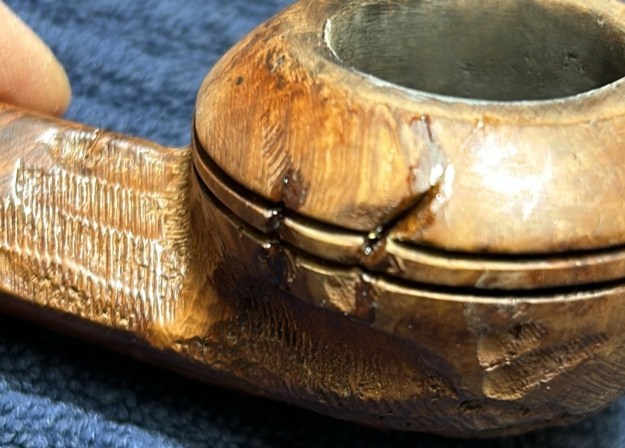
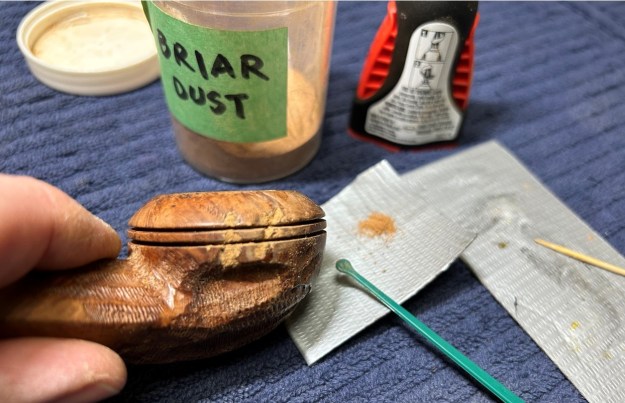
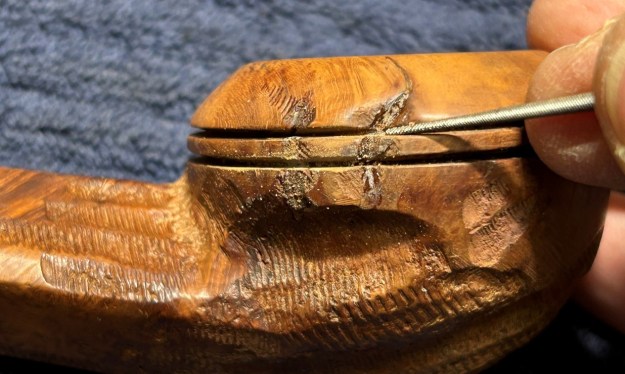
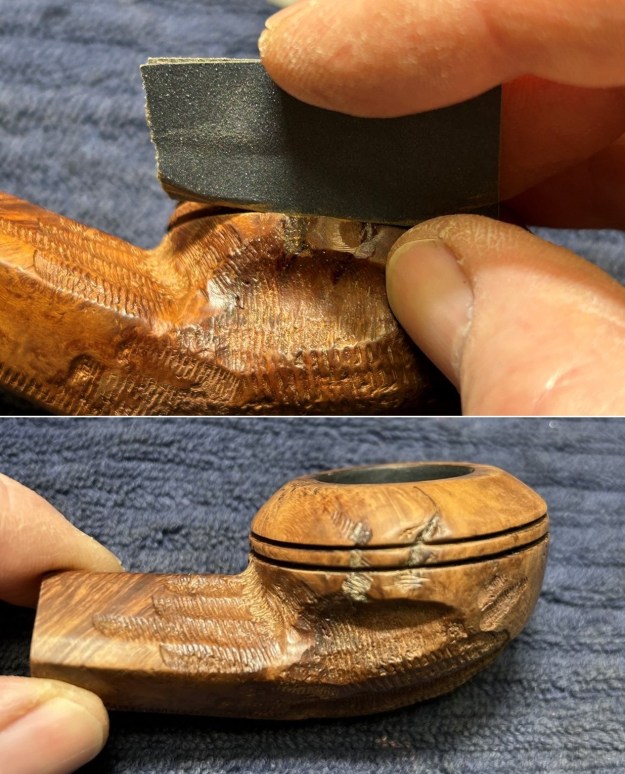
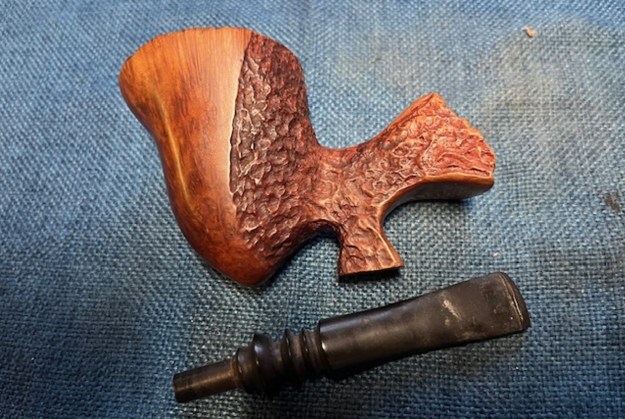
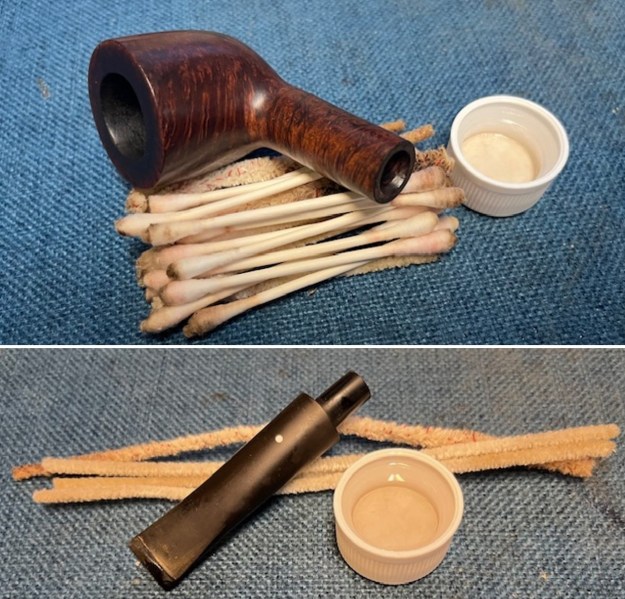
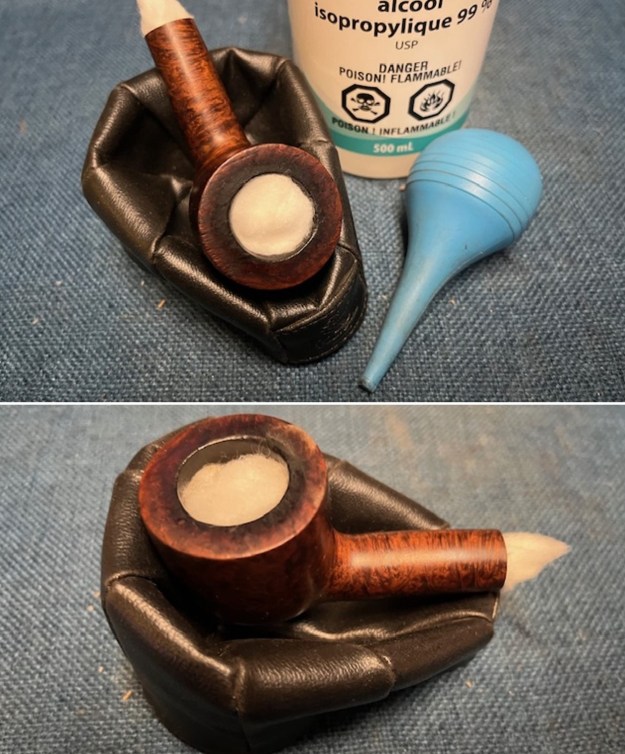
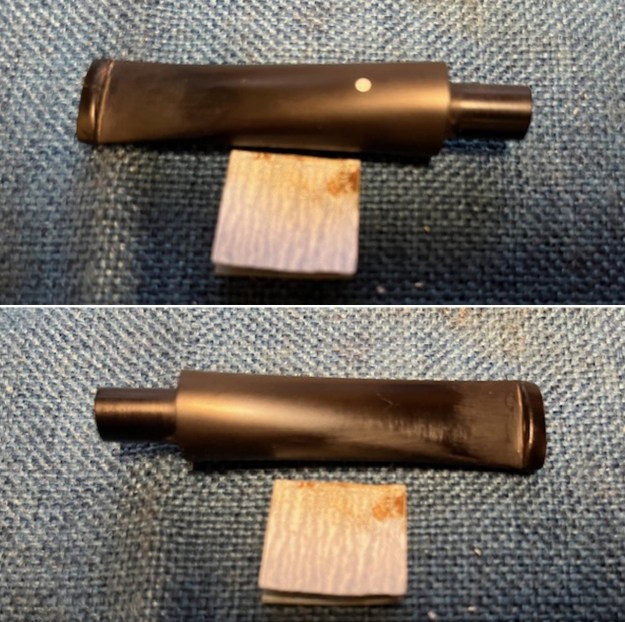
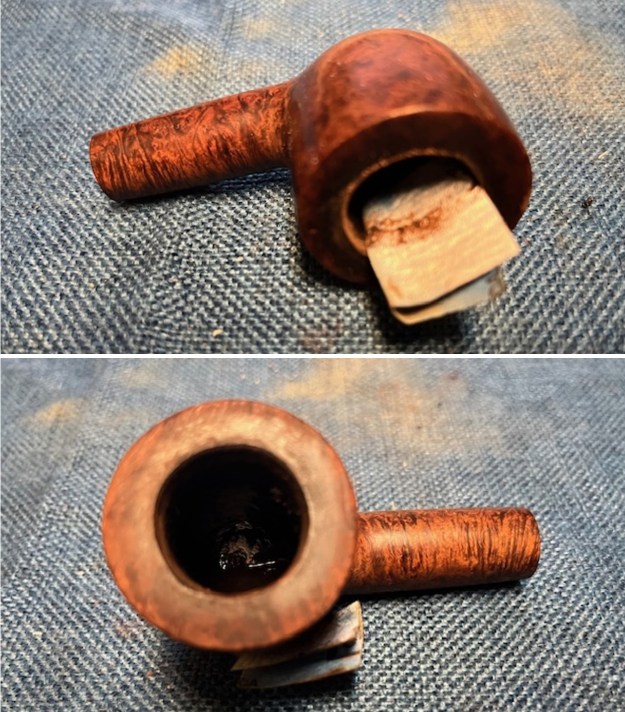
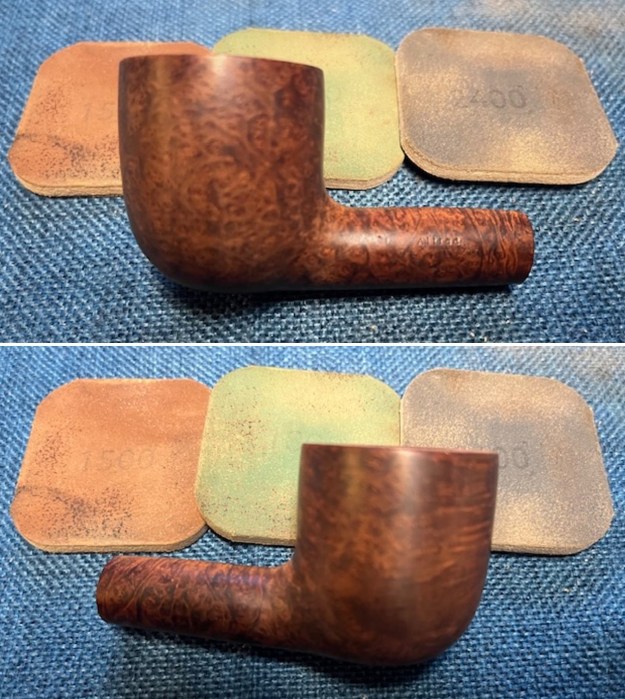
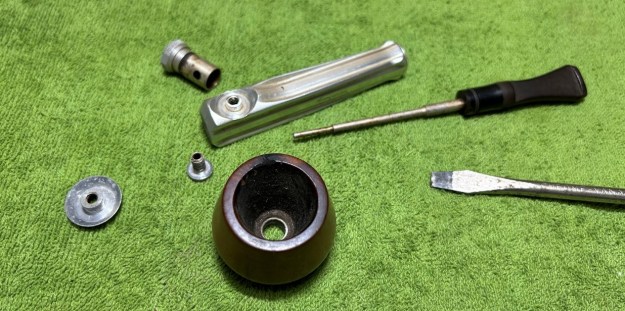
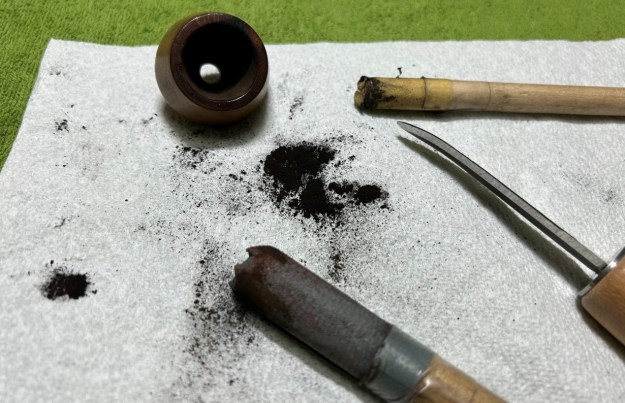
I turned to work on the pipe itself. I removed the bowl from the base and worked over rim top and inner edge of the bowl. I used a folded piece of 220 grit sandpaper to smooth out the damage and darkening on the smooth rim top and inner edge of the bowl. It looked much better once the debris was removed.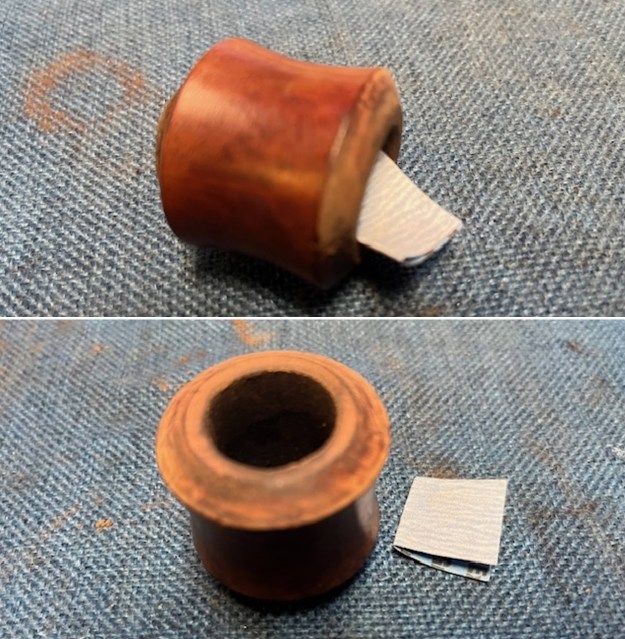 I scrubbed the bowl interior exterior with a tooth brush and undiluted Murphy’s Oil Soap to clean the debris and oils and tars in the briar. I rinsed it with clean warm water and dried it off with a soft cotton cloth.
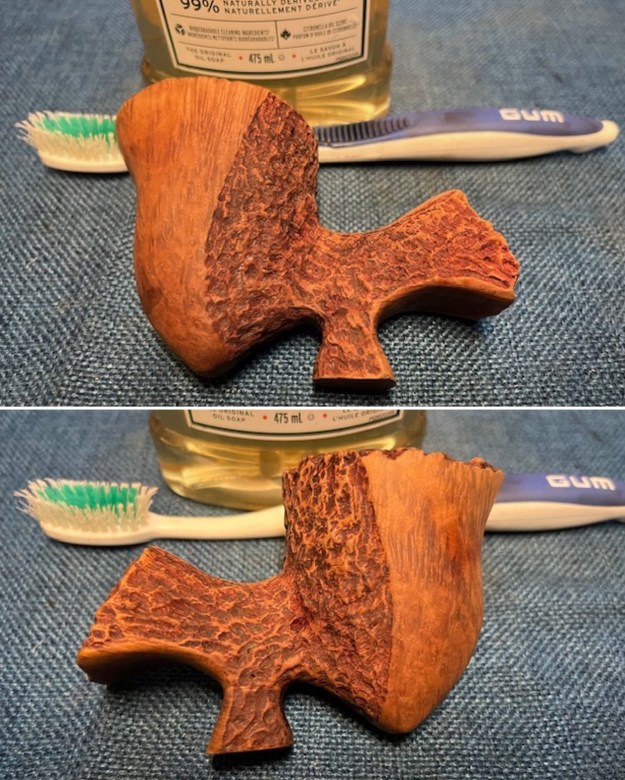
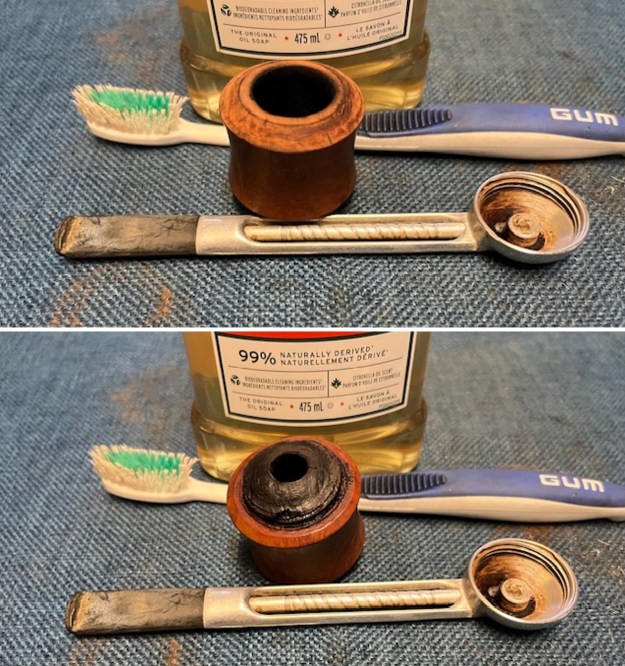
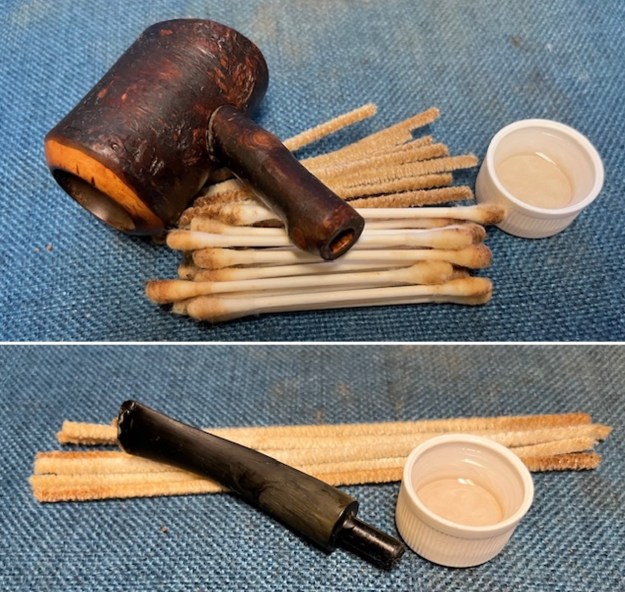
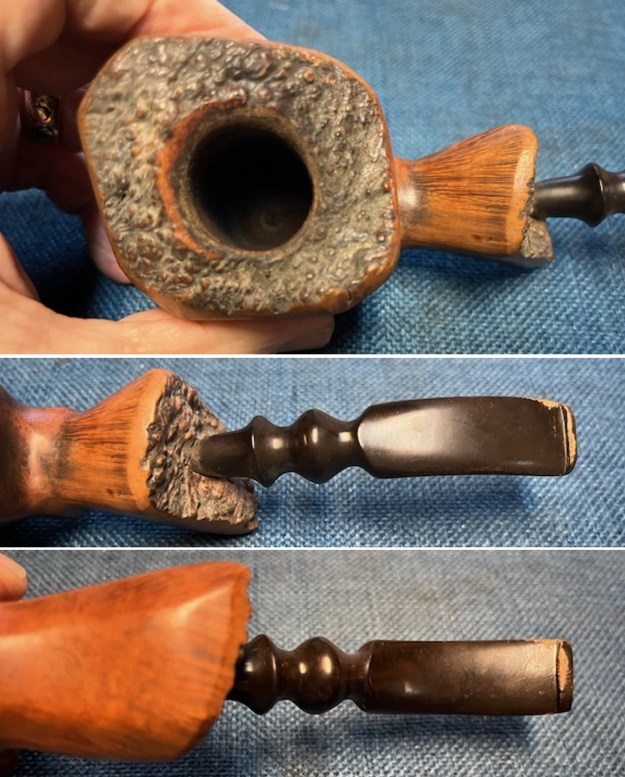
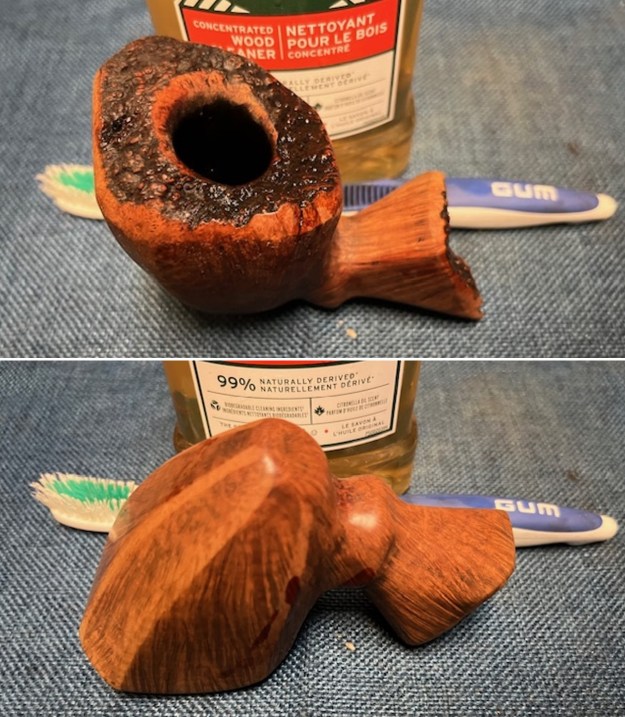
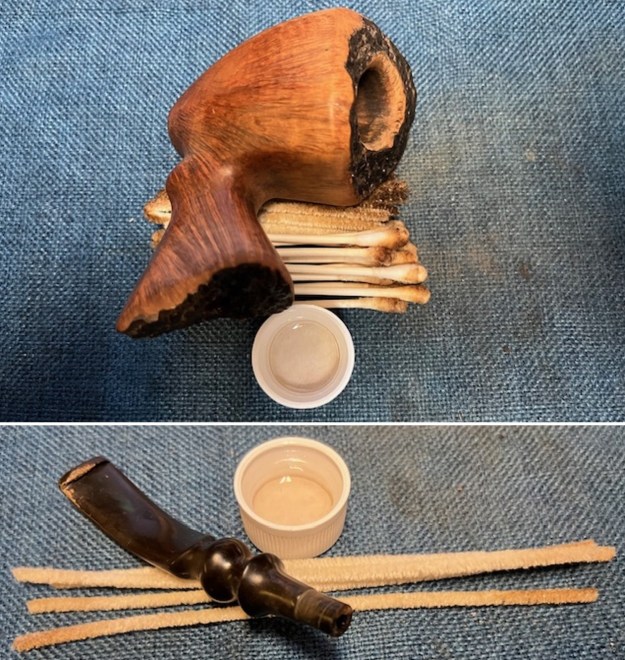
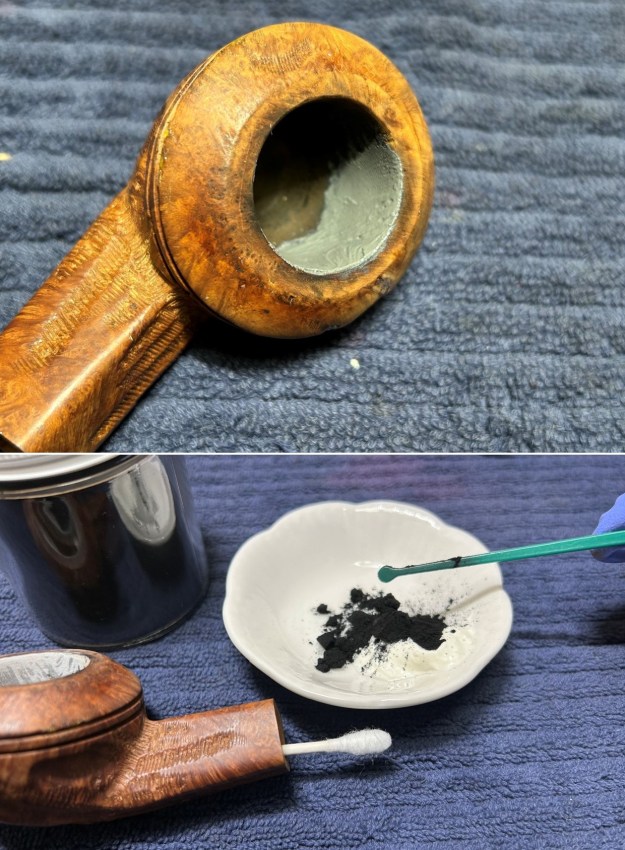
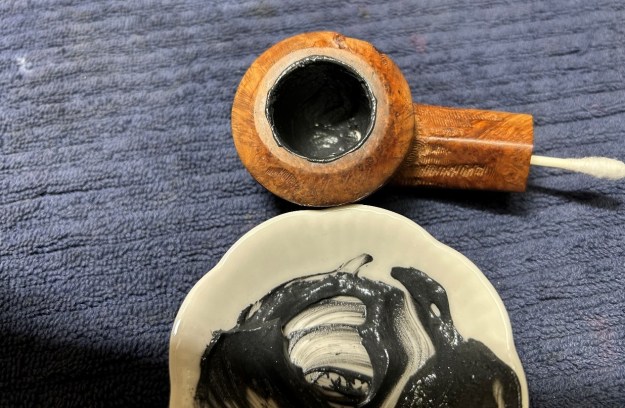
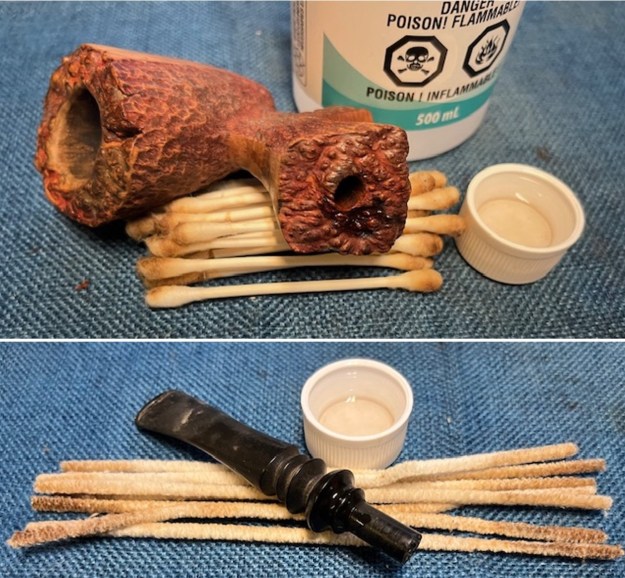
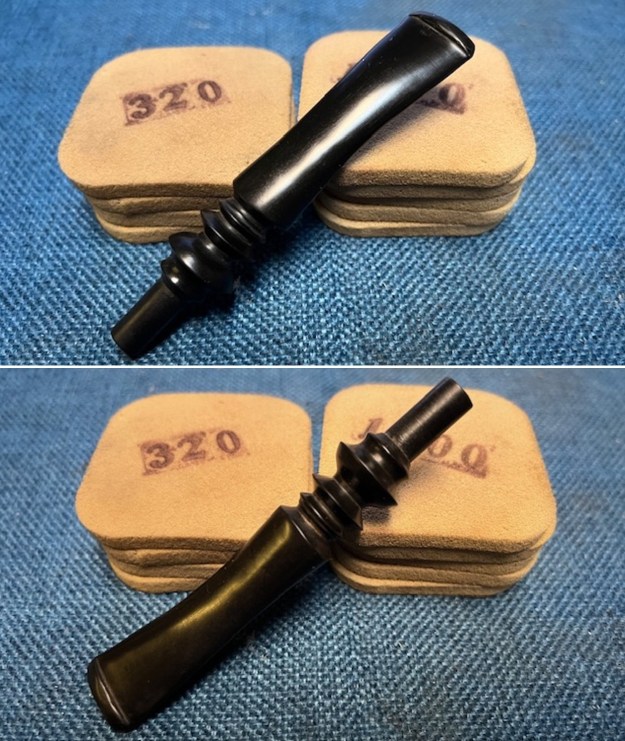
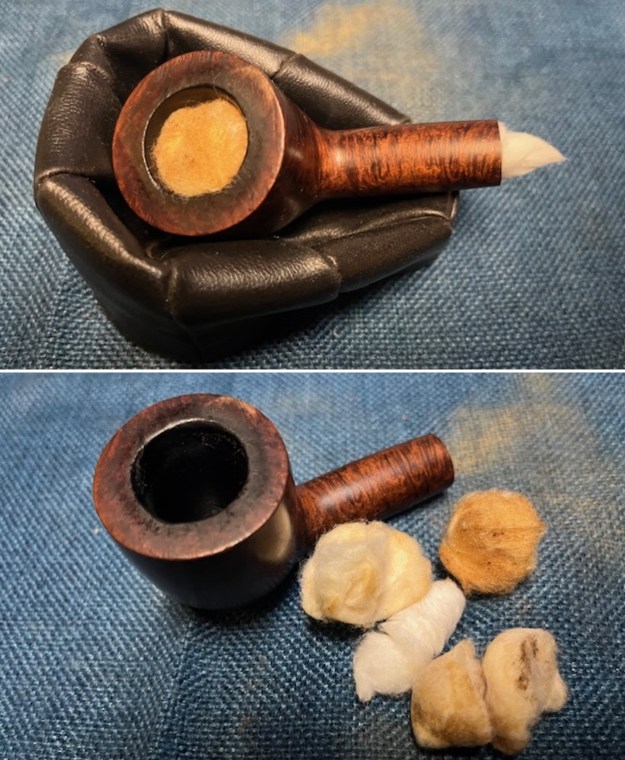
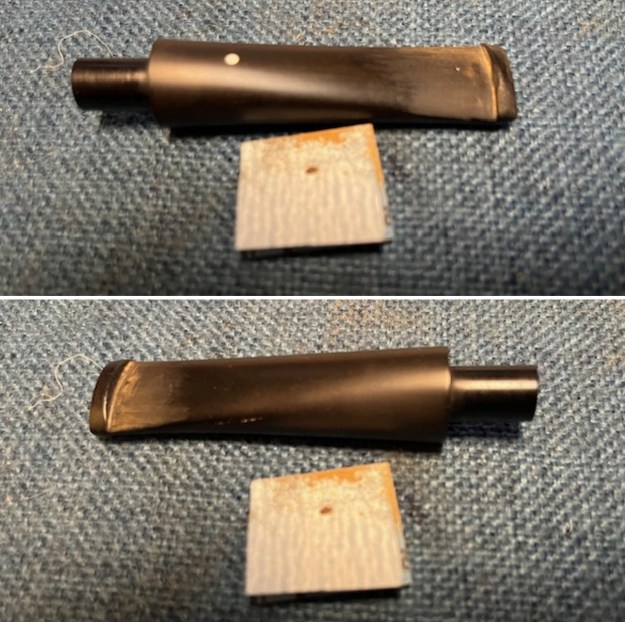
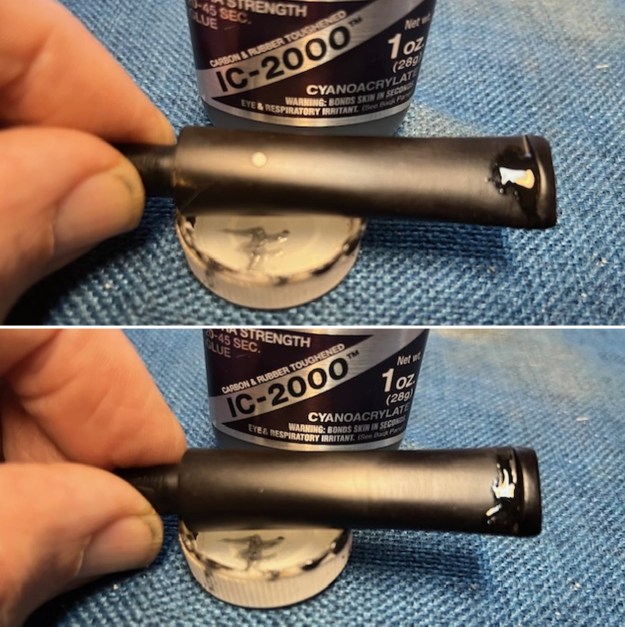
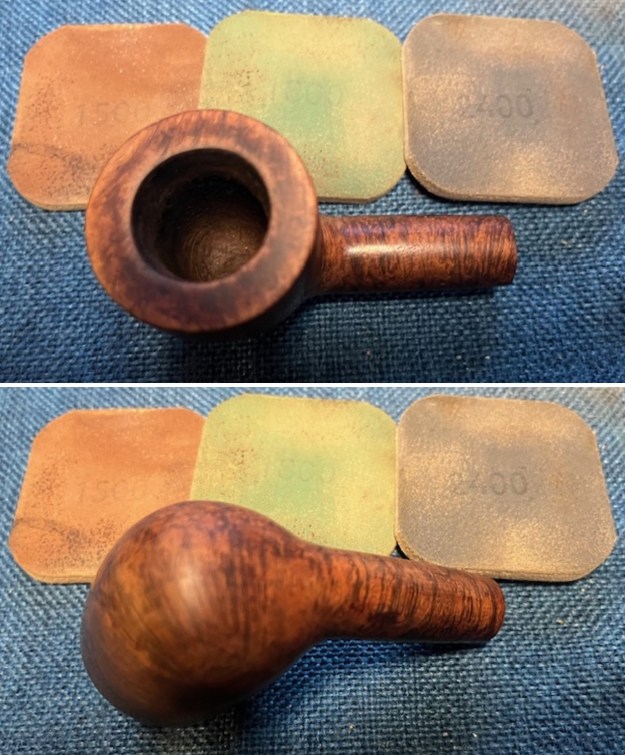
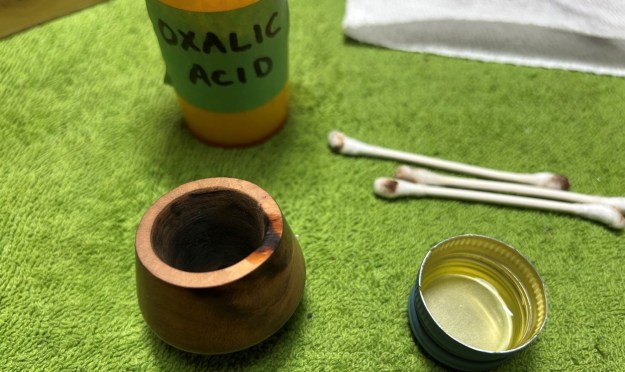
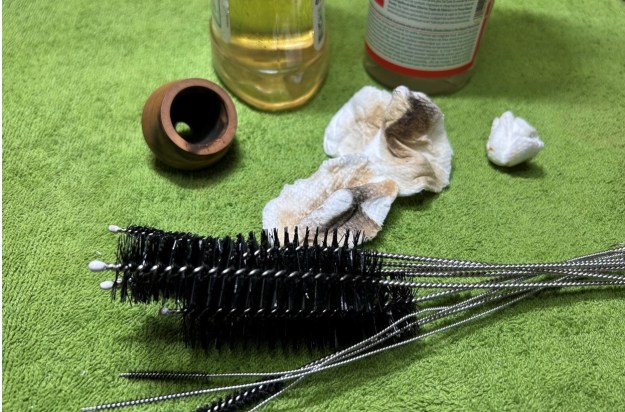
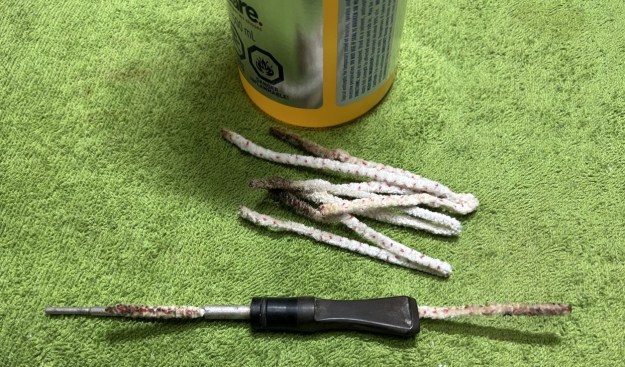
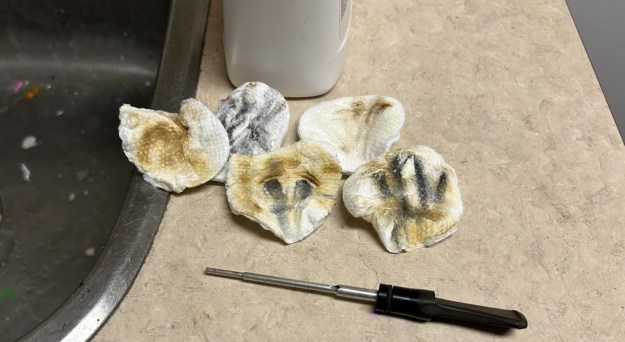
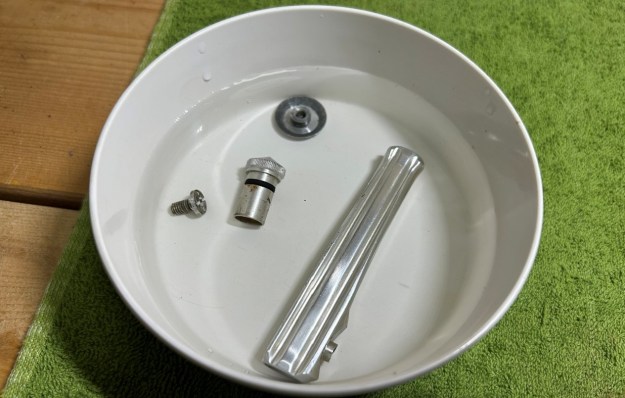
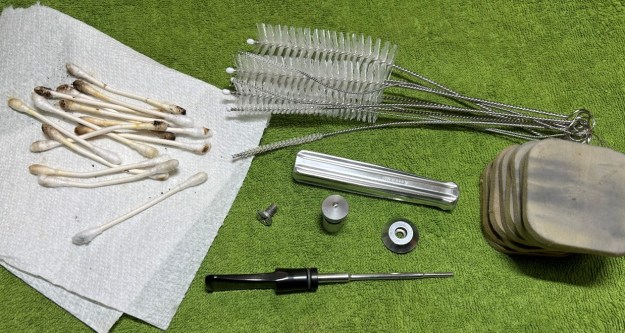
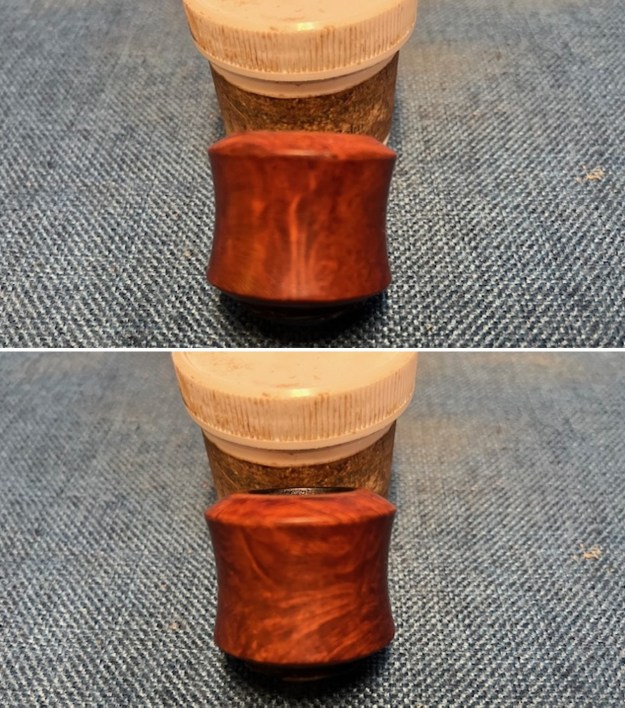
 I worked on cleaning up the base further after the first scrub with Murphy’s Oil Soap using alcohol, cotton swabs and pipe cleaners. I was able to significantly clean up the majority of the tars and oils in the base. I followed that up with a wash of acetone to further remove the darkening and the base looks and smells clean. I cleaned out the mortise and airway in the shank and the stem with alcohol, cotton swabs and pipe cleaners. I was able to remove the grime and oils in the shank and the airway in the stem.
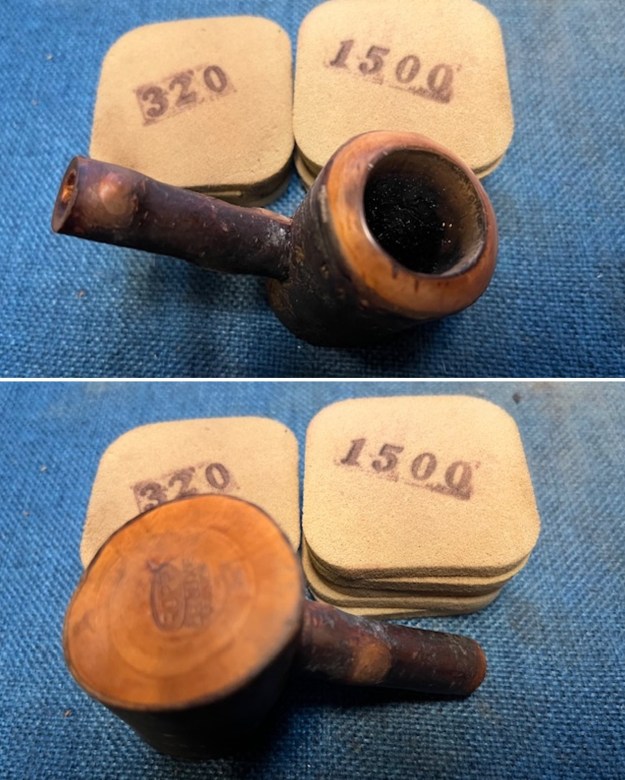
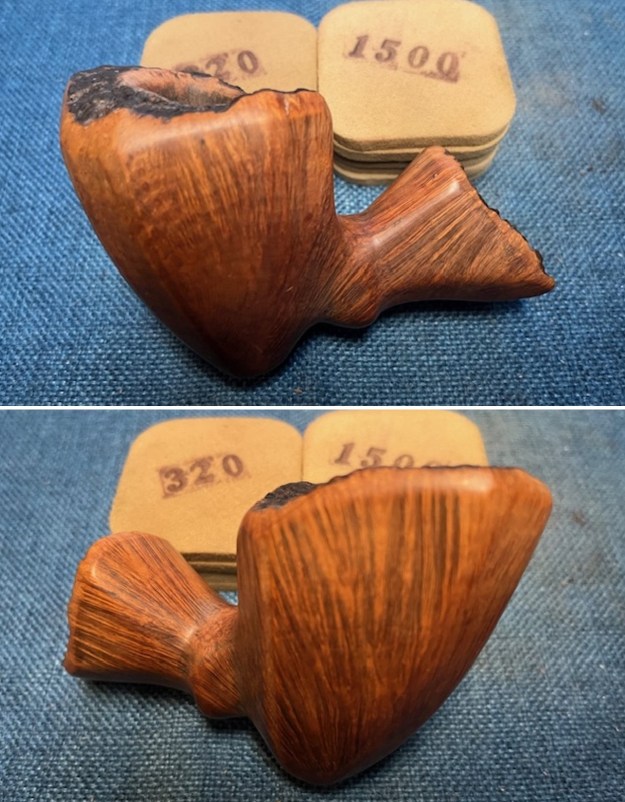
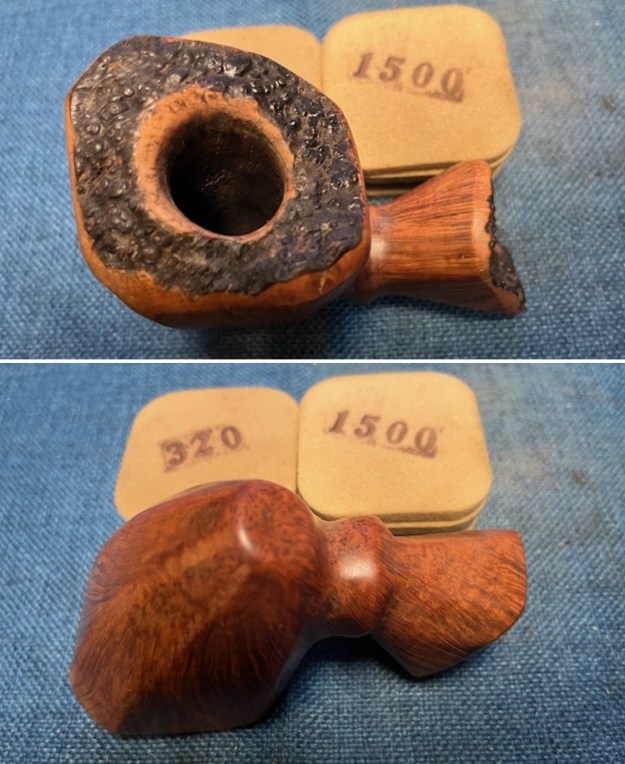
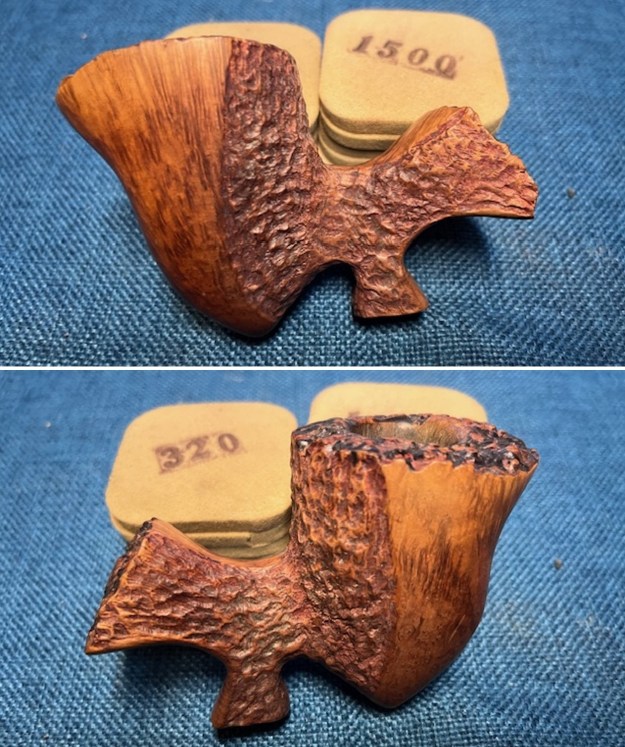
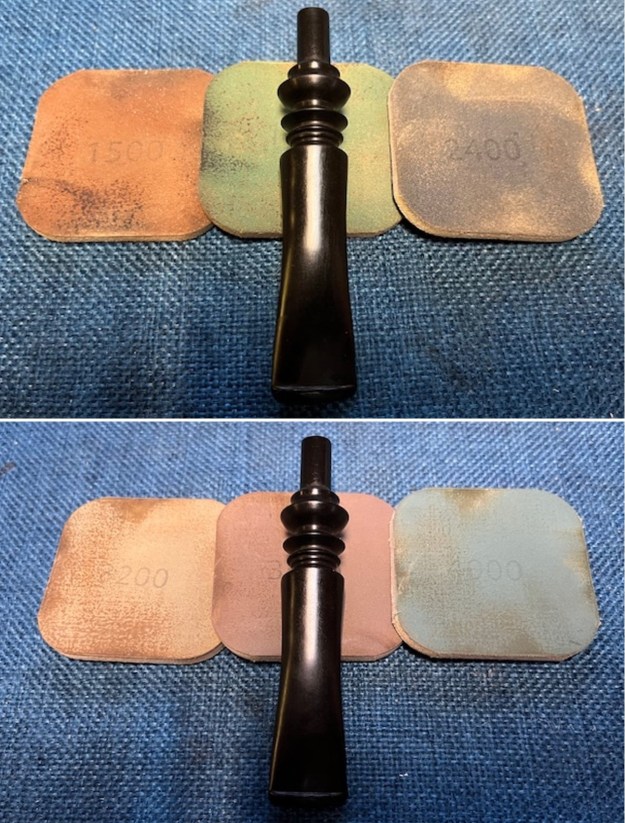
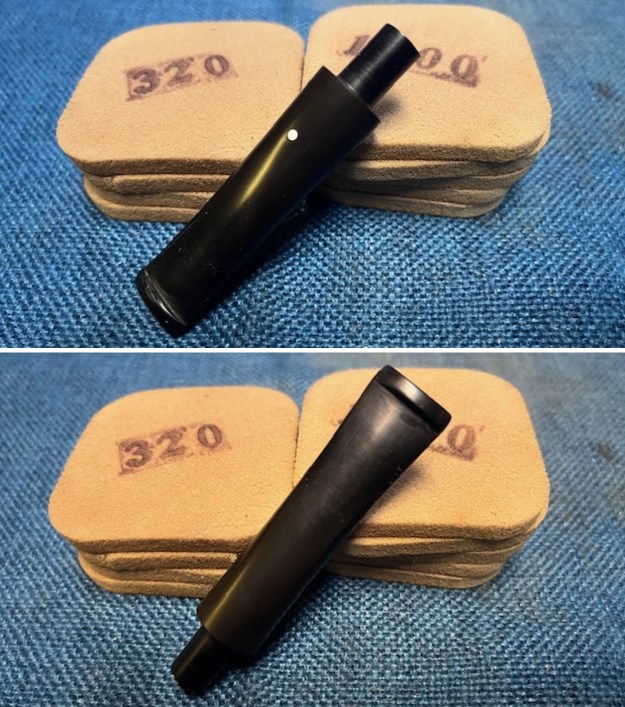
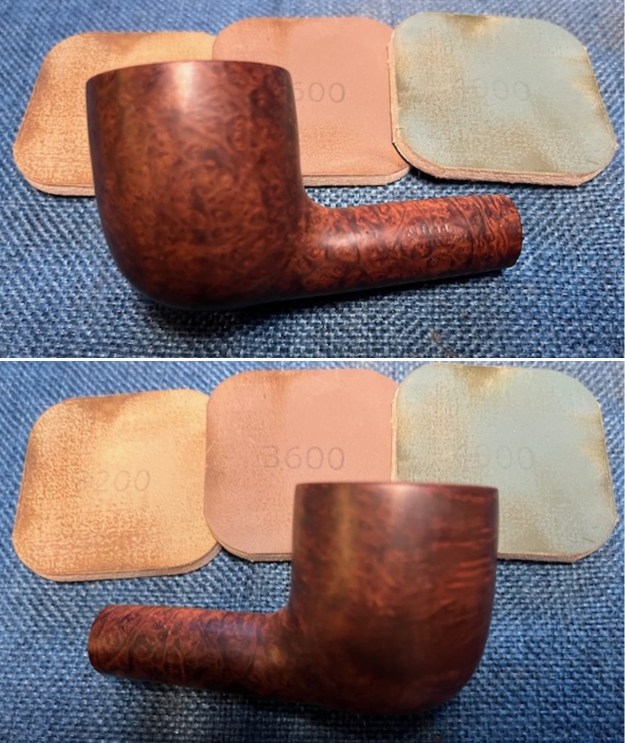
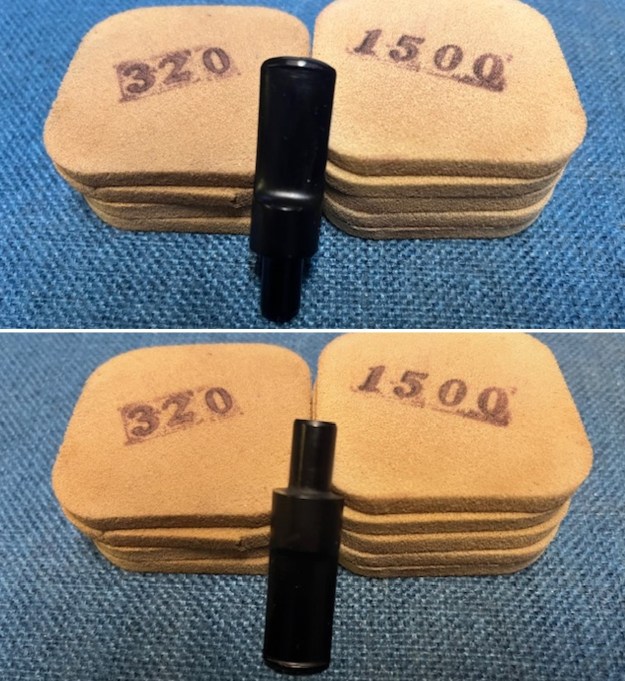
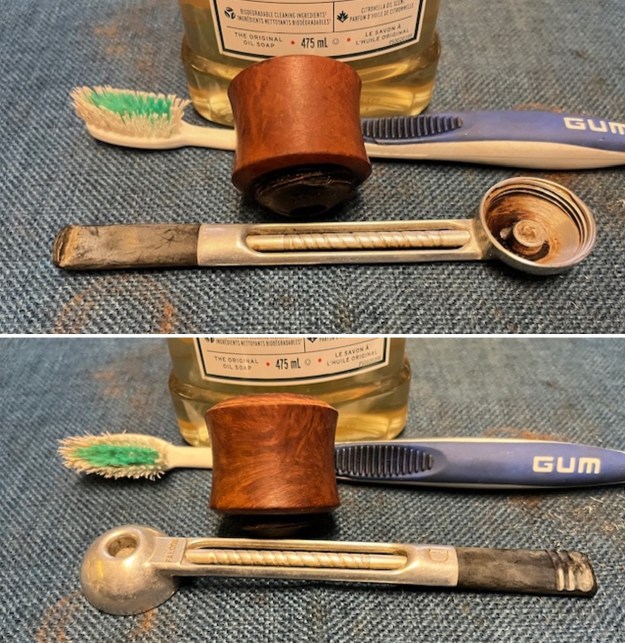
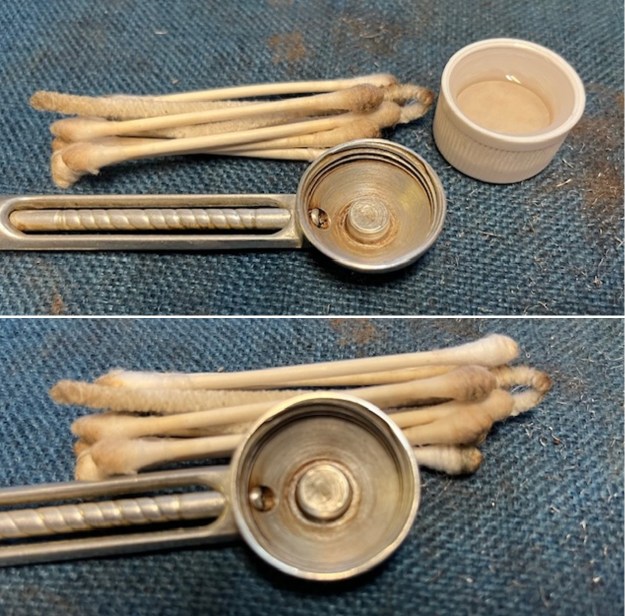 I sanded the bowl with 320-3500 grit sanding pads. It smoothed out the finish very well and removed much of the damage on the rim top and the scratching around the stamping on the shank.
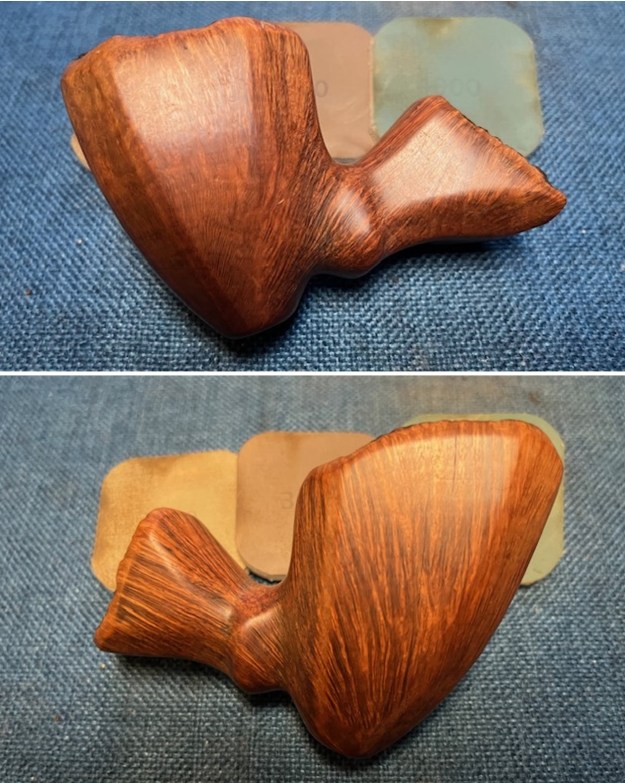
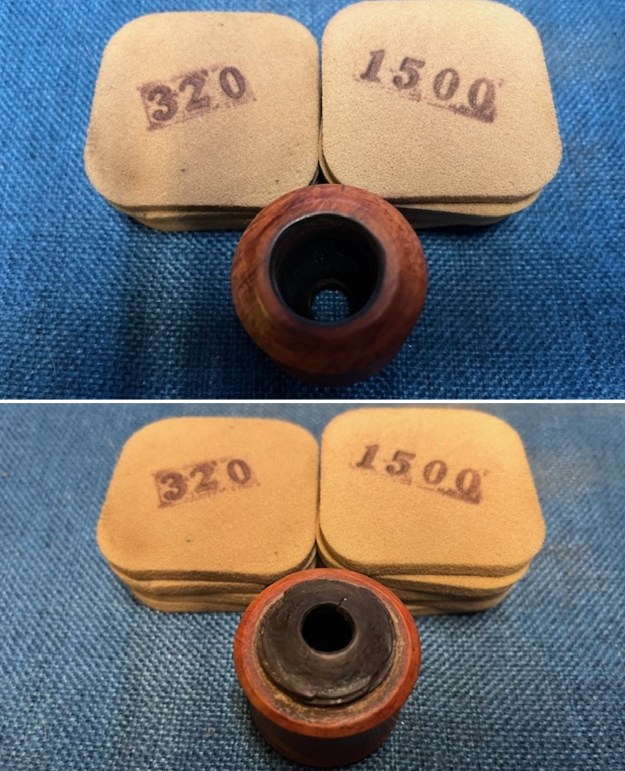
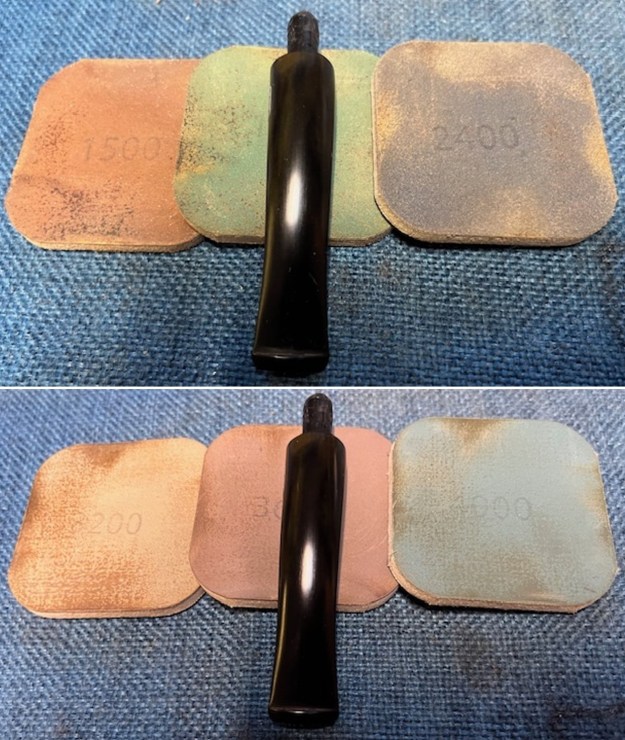
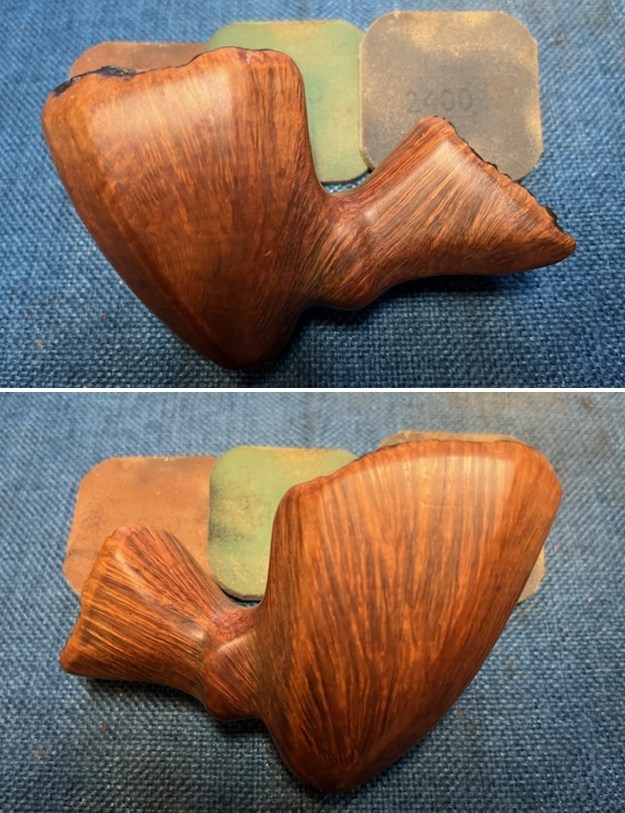
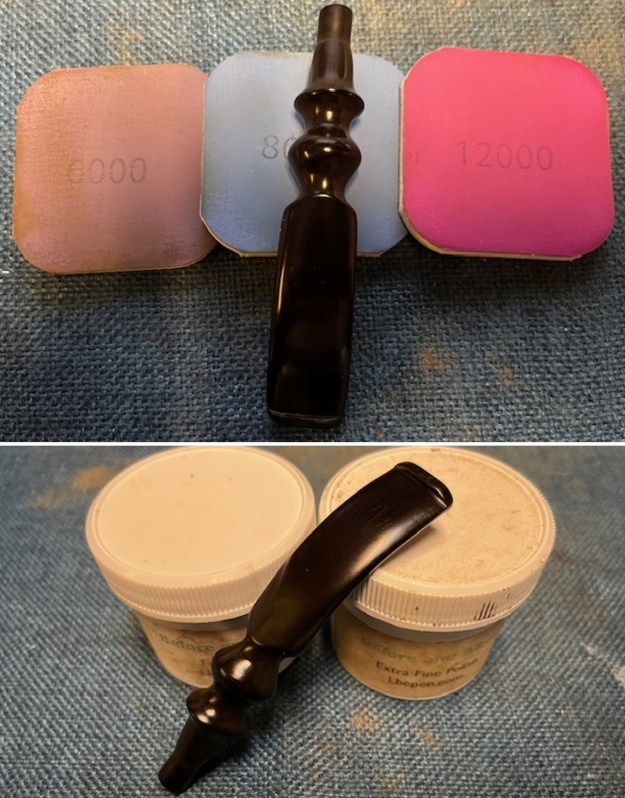
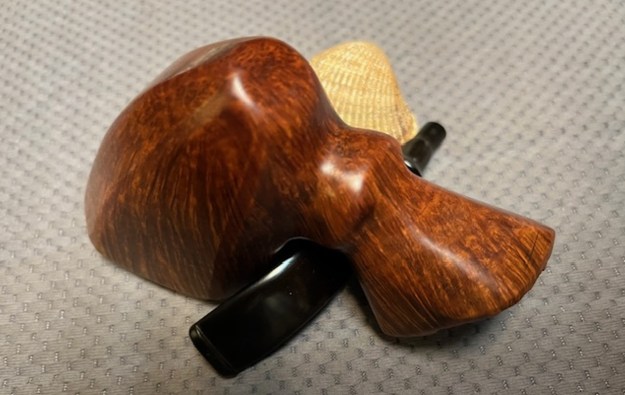
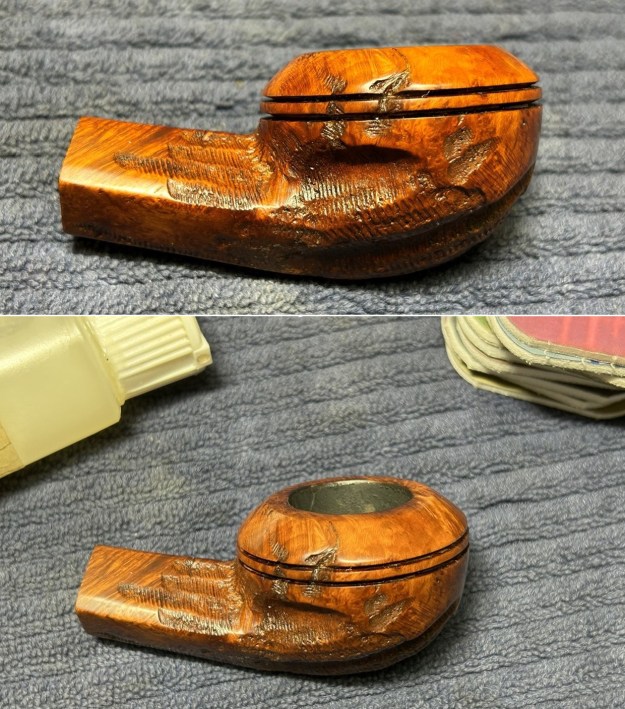
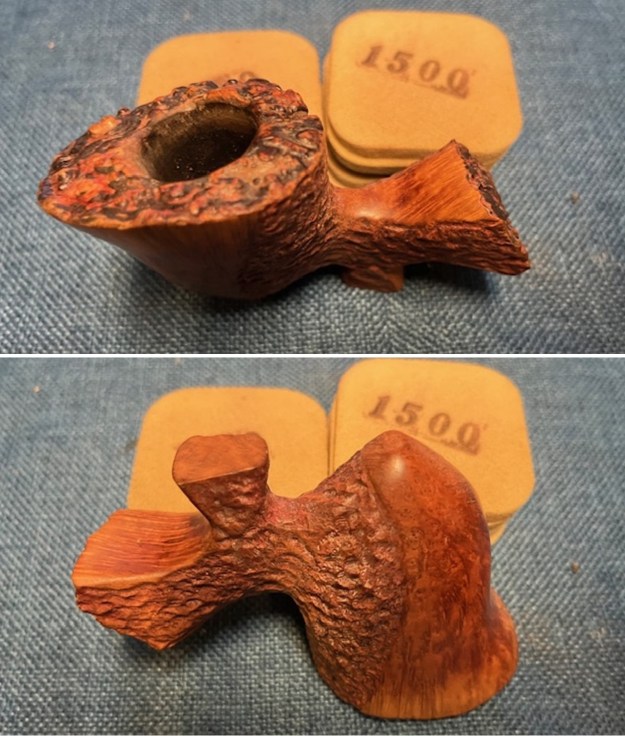
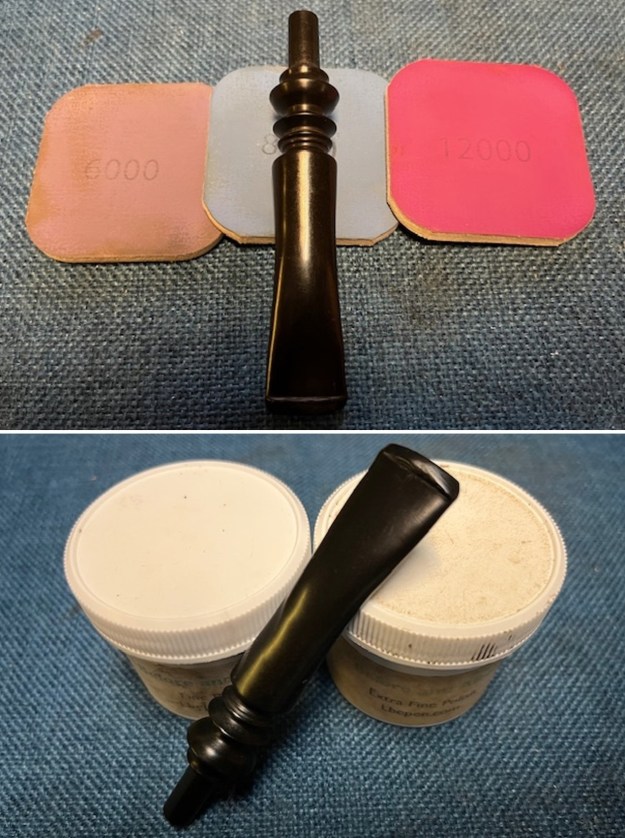
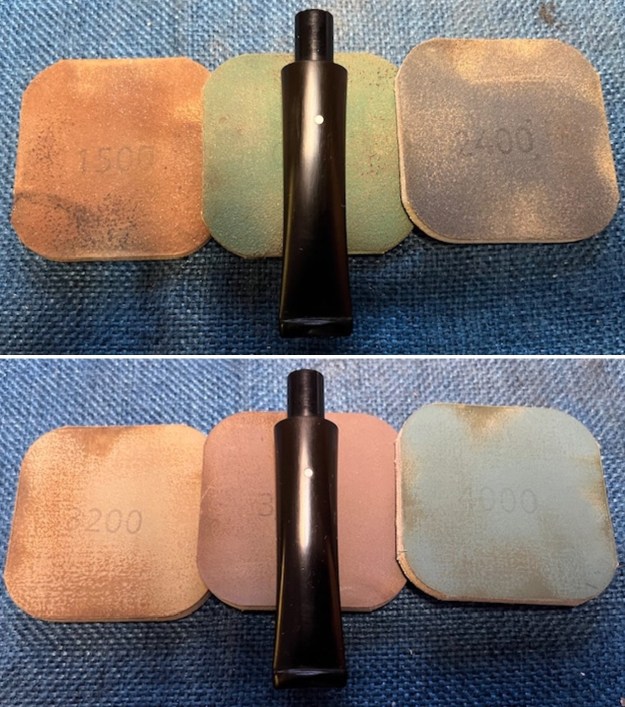
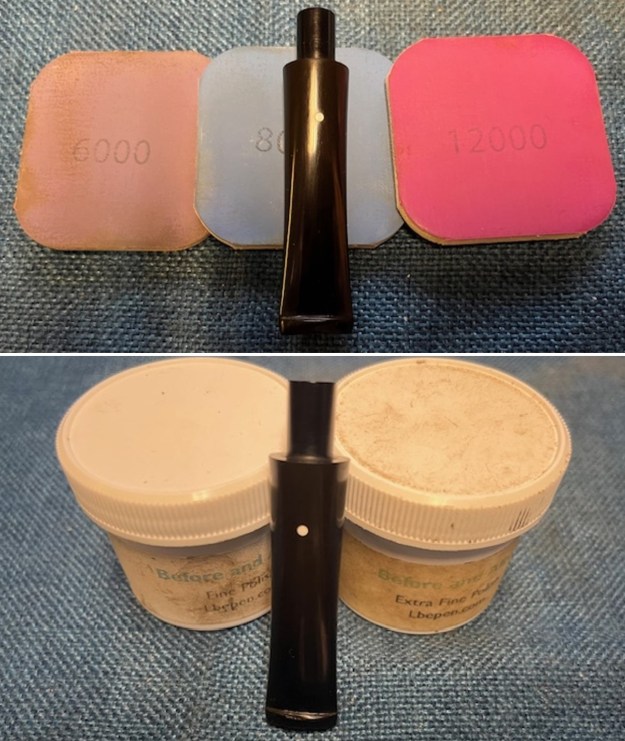
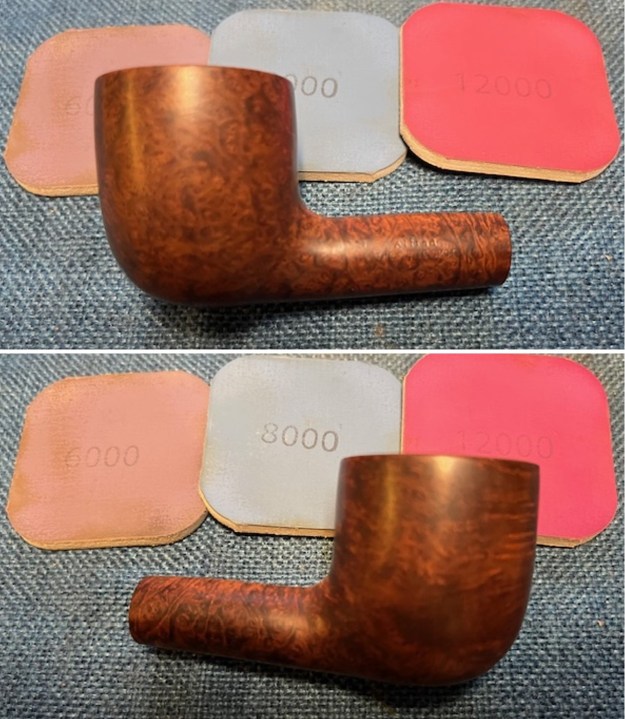
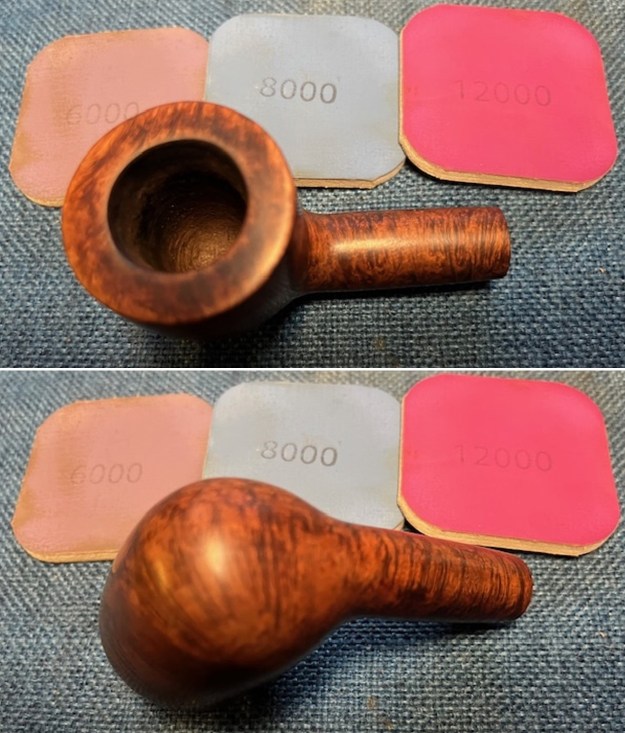
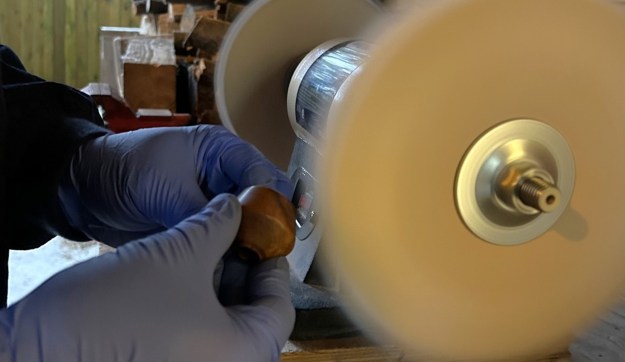
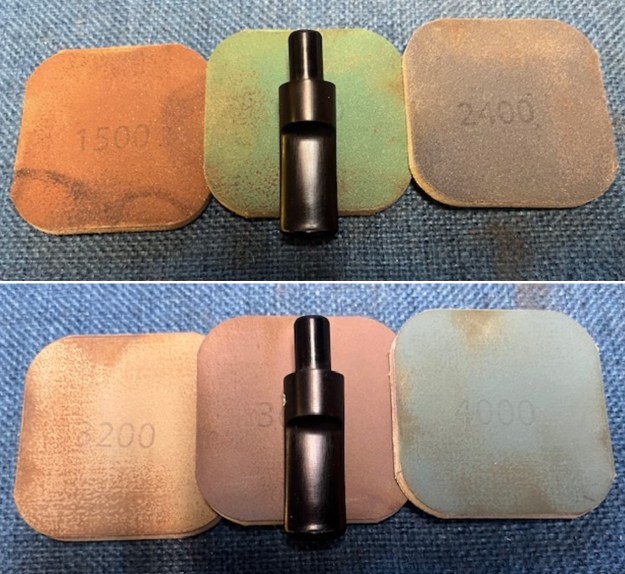
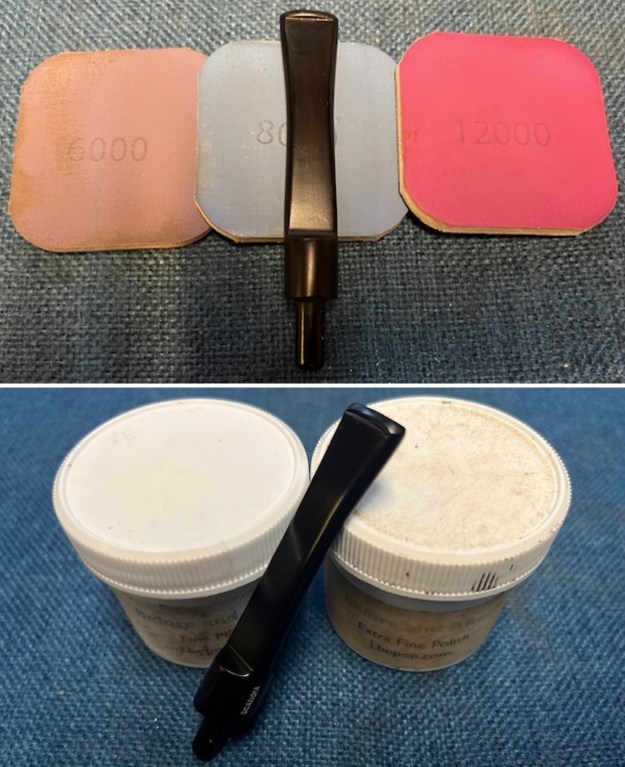
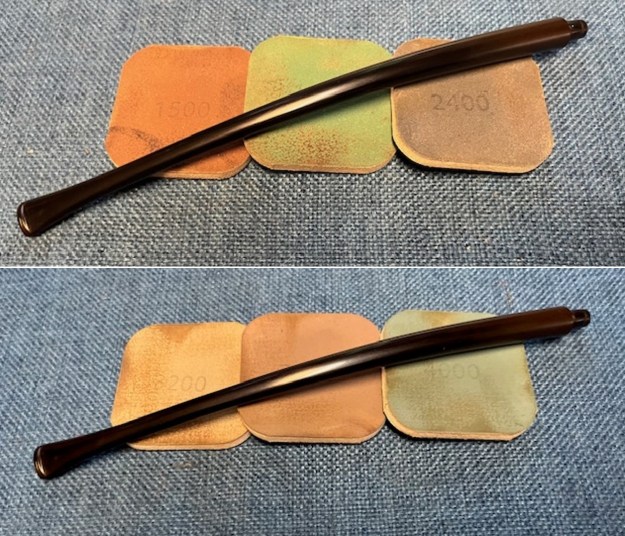
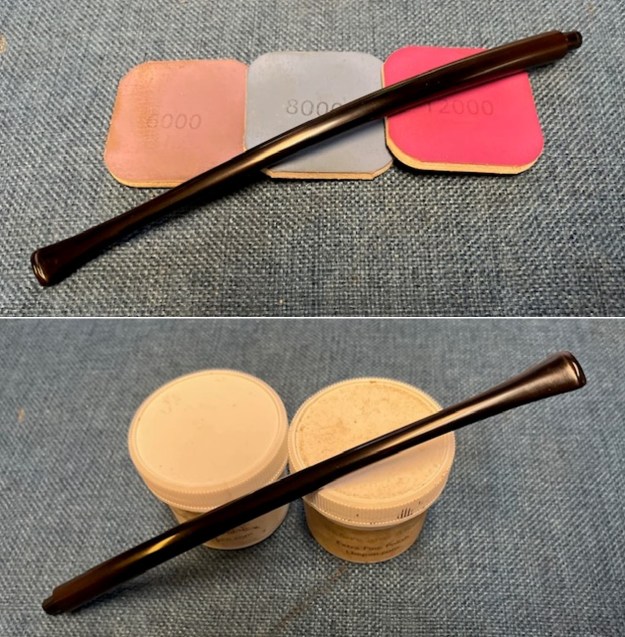
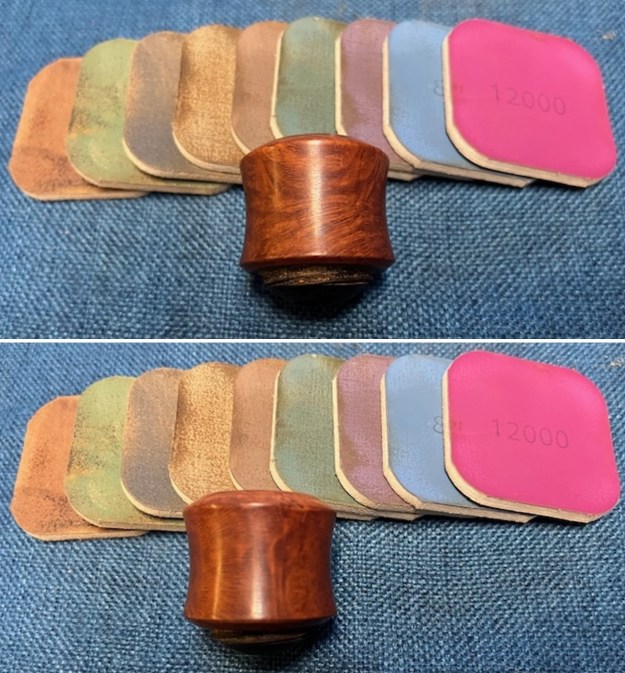
 I polished the briar with micromesh sanding pads – dry sanding with 1500-12000 grit pads. I wiped the bowl down after each sanding pad with a damp cloth. The briar is quite beautiful.
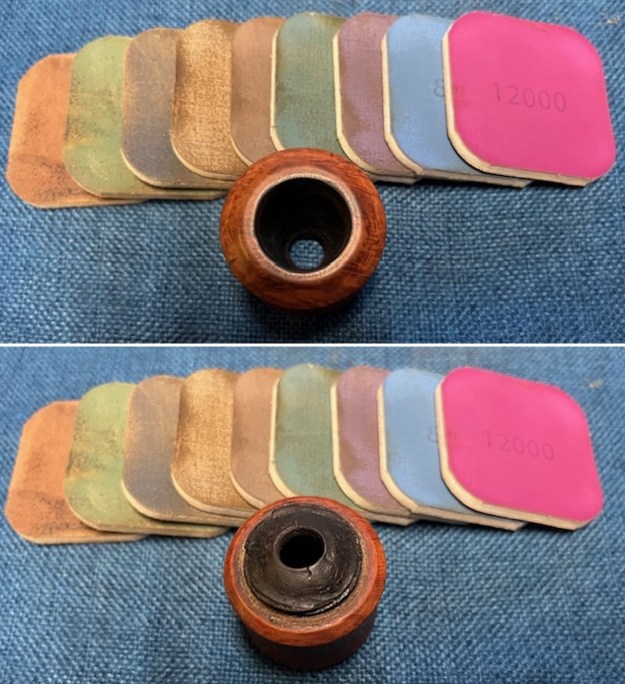
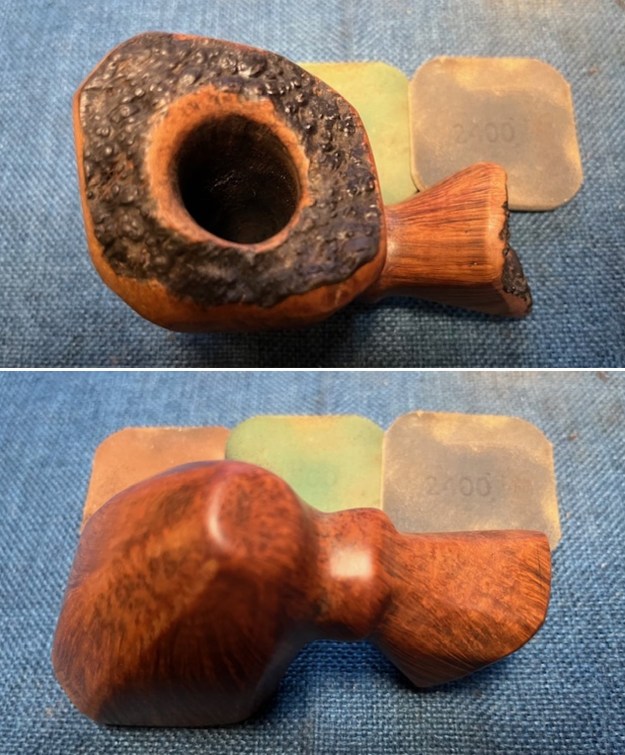
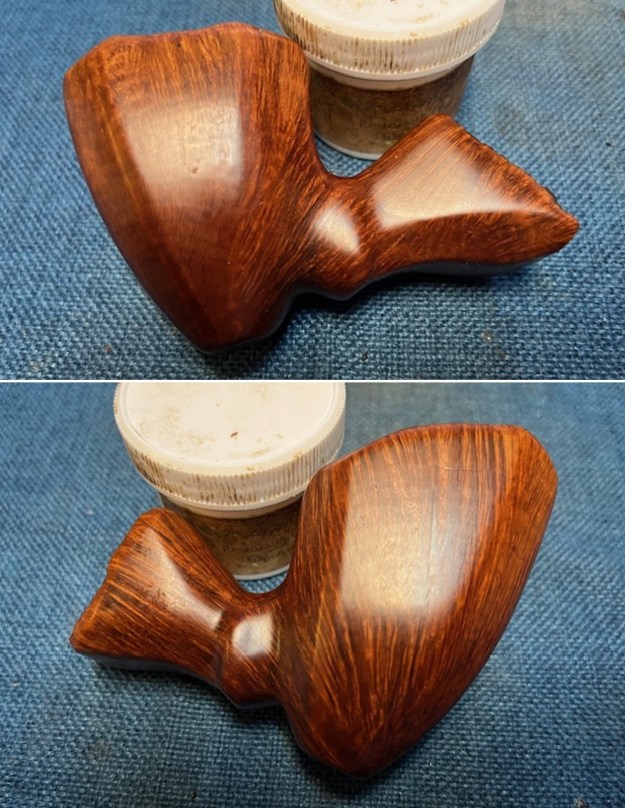
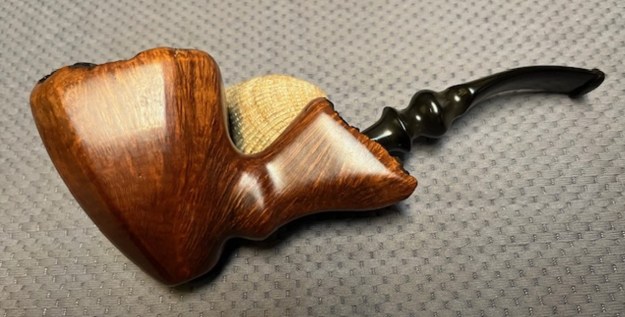
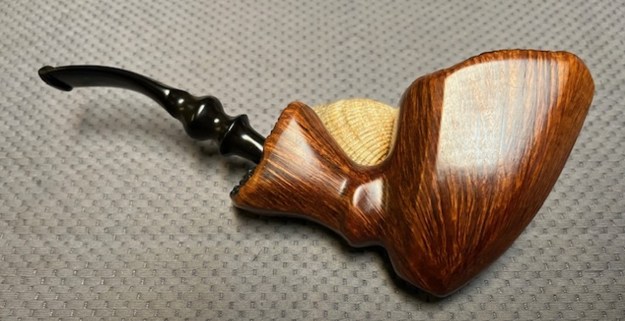
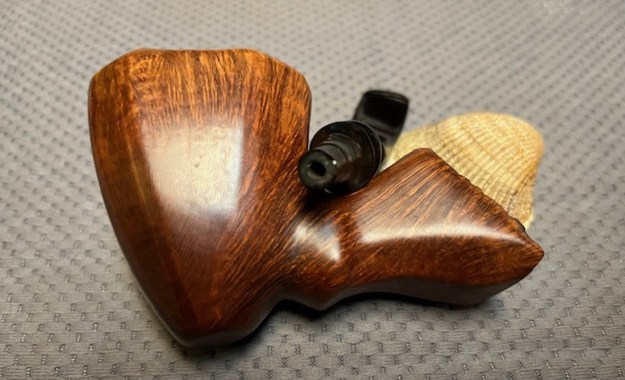
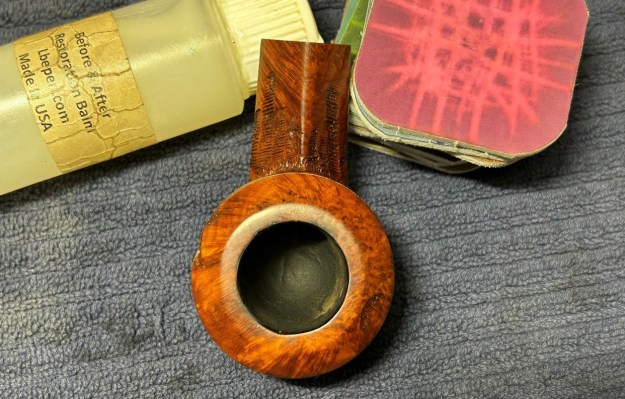
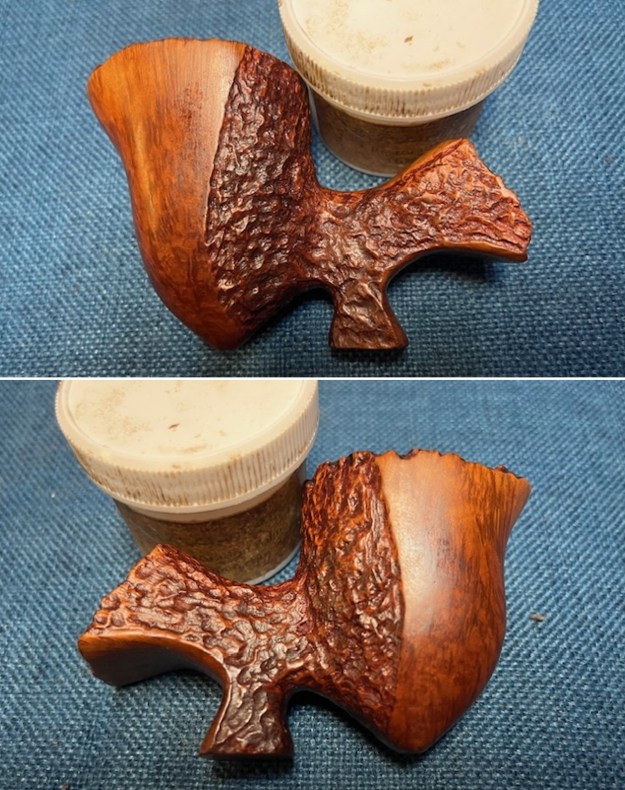
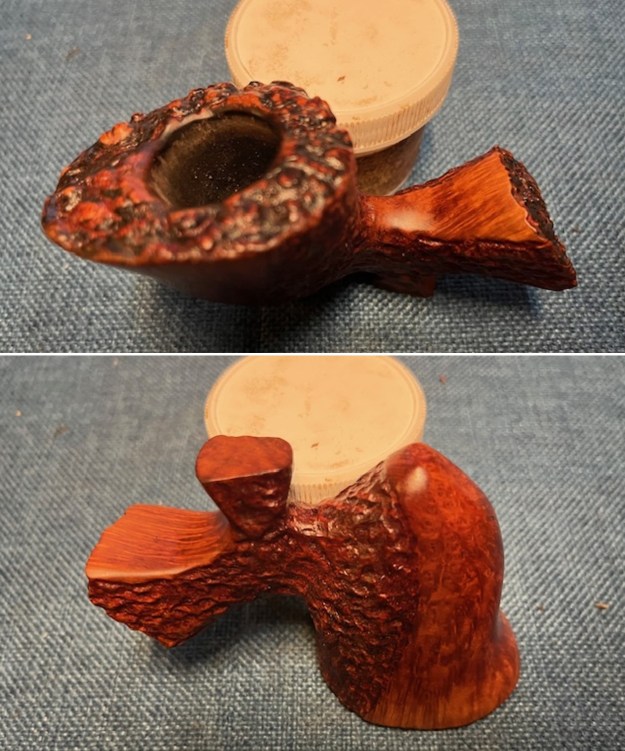
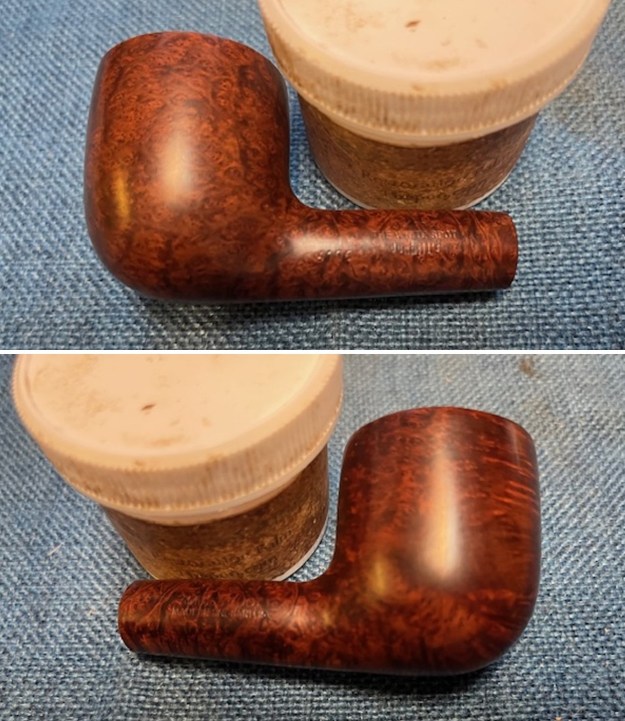
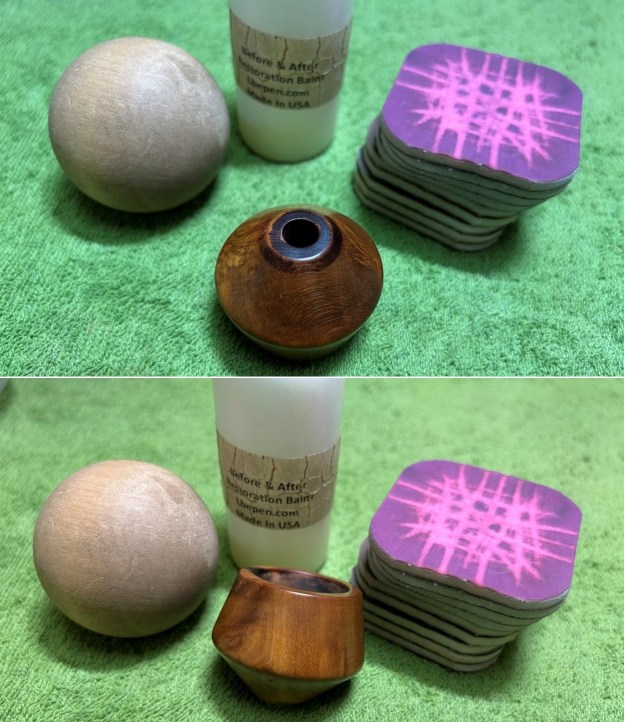
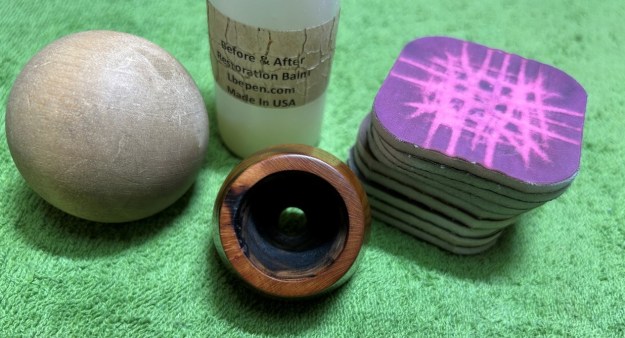
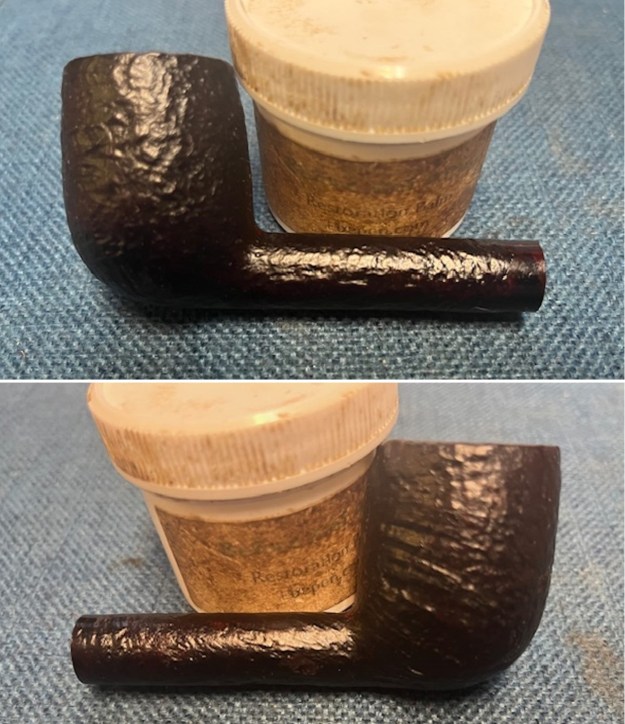
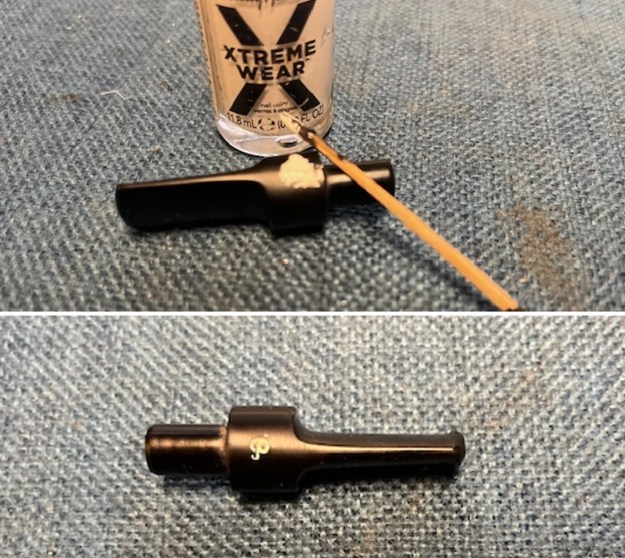
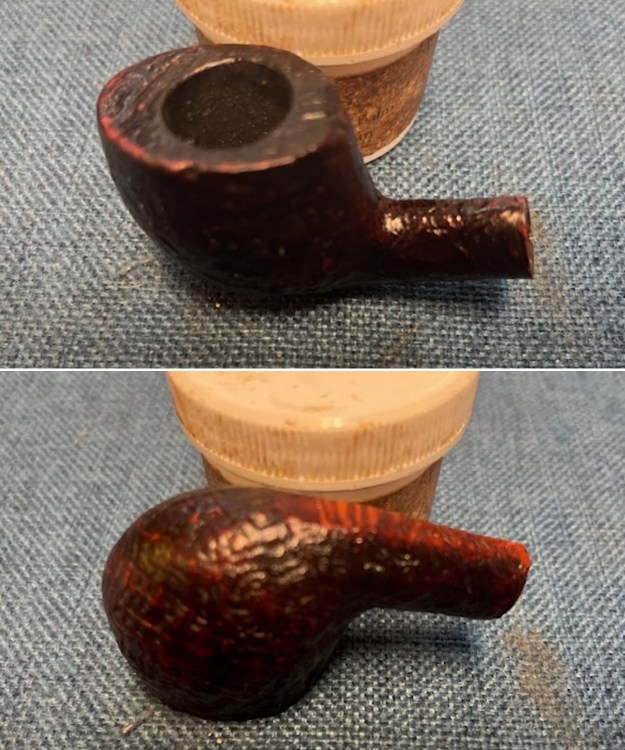
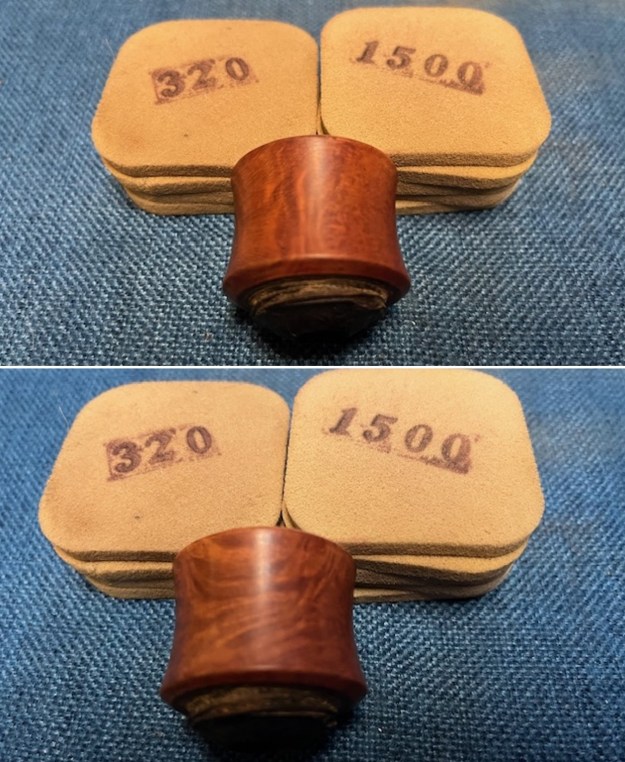
 I worked some Before & After Restoration Balm into the surface of the bowl and shank with my fingertips to clean, enliven and protect the wood. I let the balm sit for 15 minutes and then buffed it off with a cotton cloth to raise the shine. The photos show the bowl at this point in the restoration process.
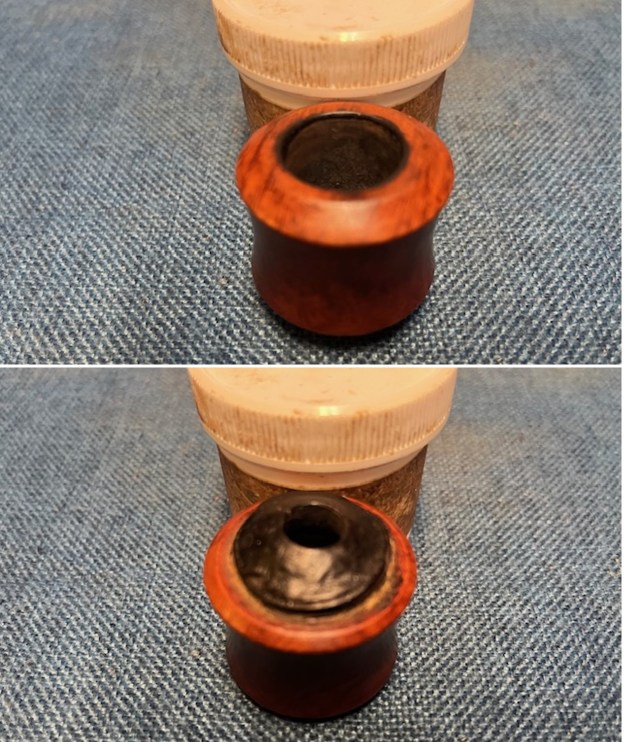
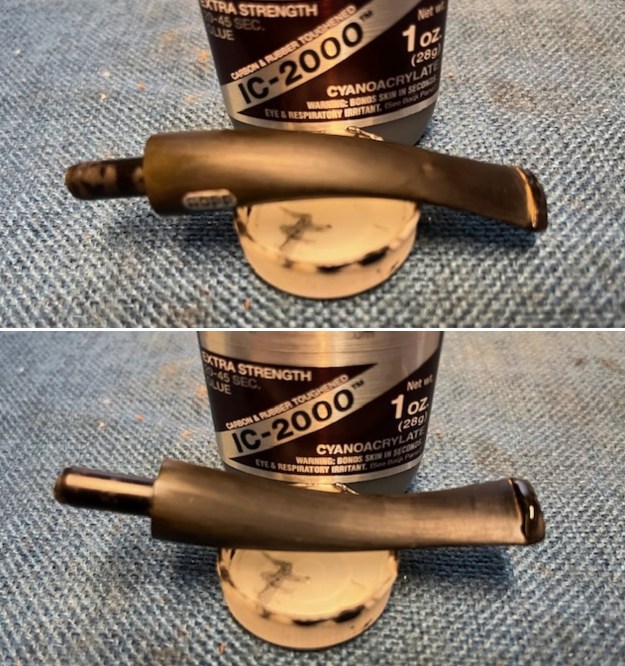
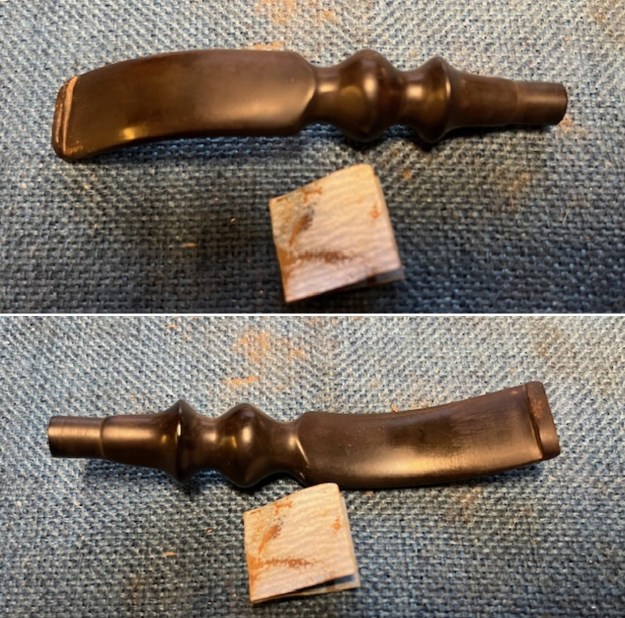
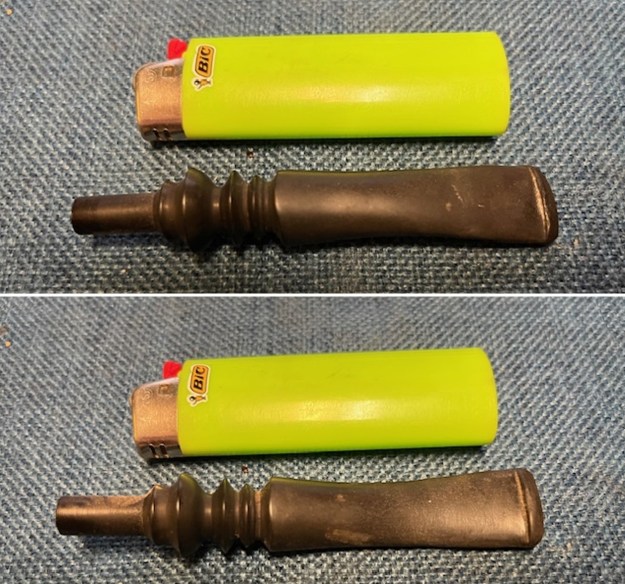
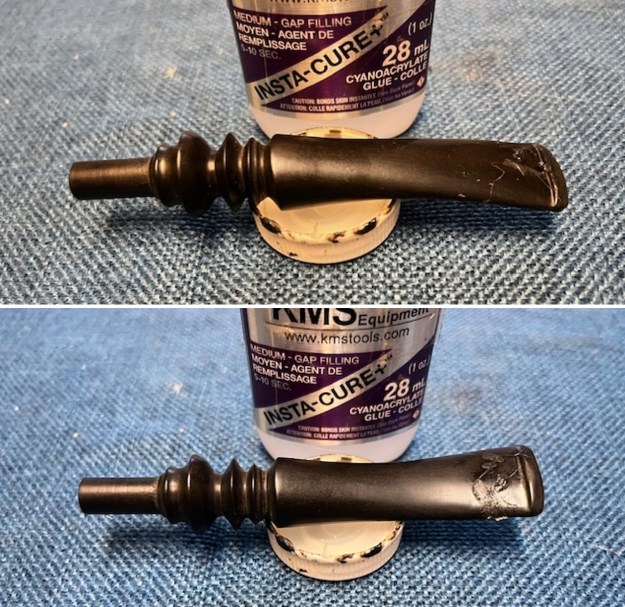
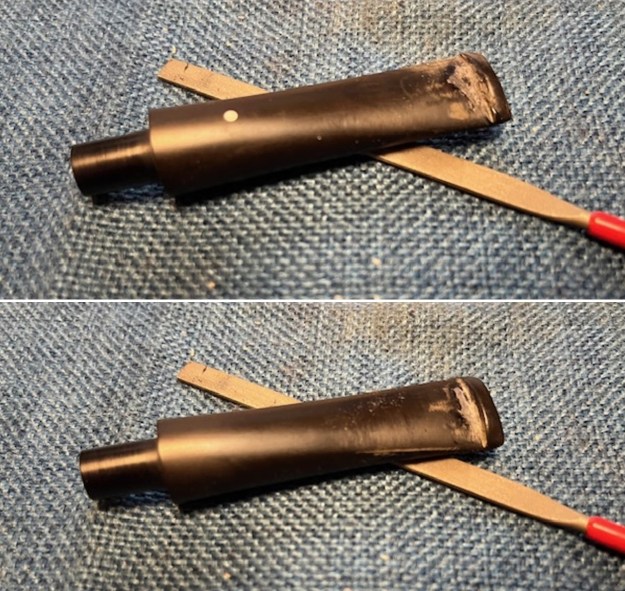
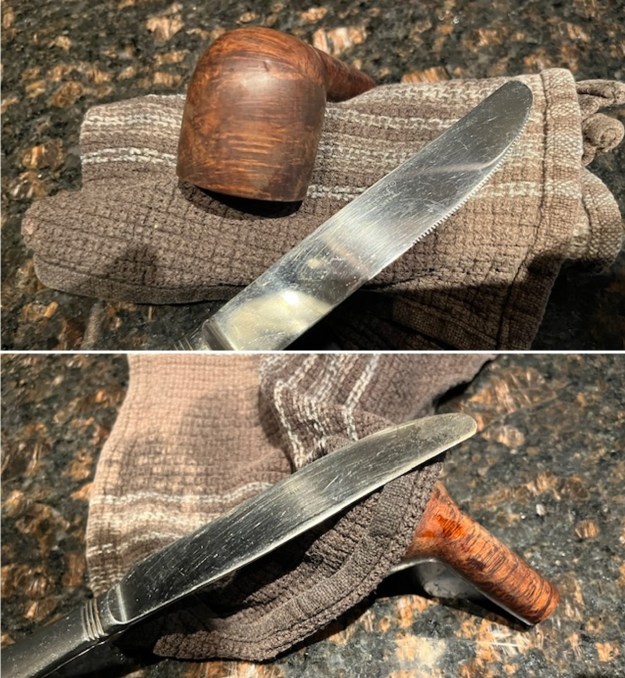
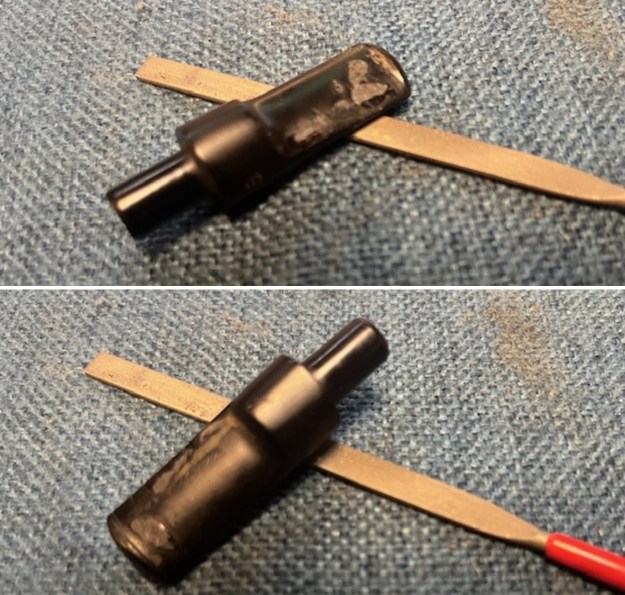
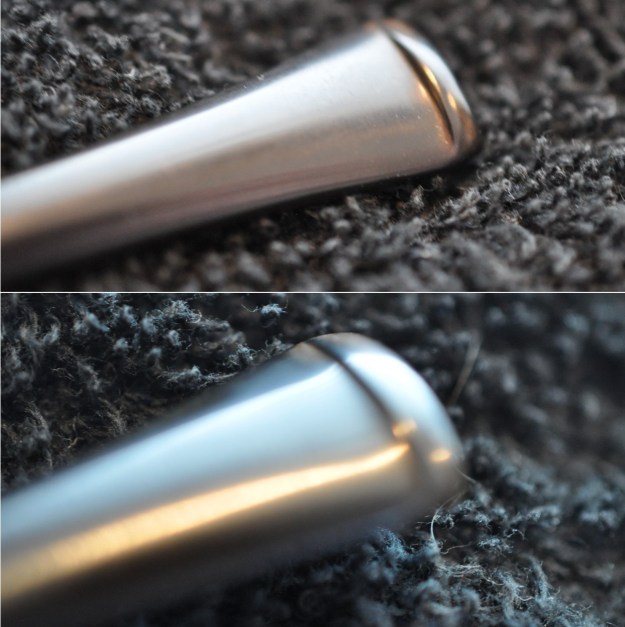
 I set the bowl aside and turned my attention to the stem. I sanded the stem with 320-3500 grit sanding pads to further blend in the remnants of the tooth marks and chatter on the stem and to remove the residual light oxidation. I am happy with the way that it looked at this point.
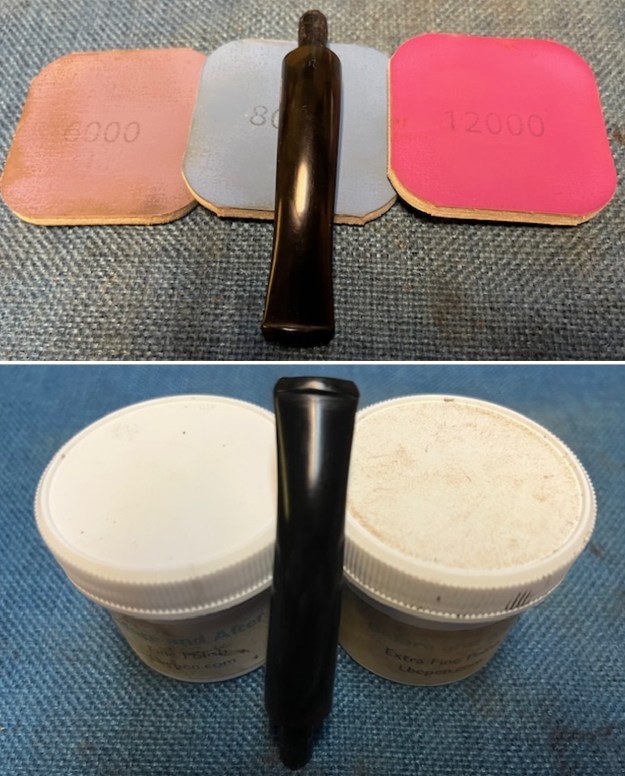
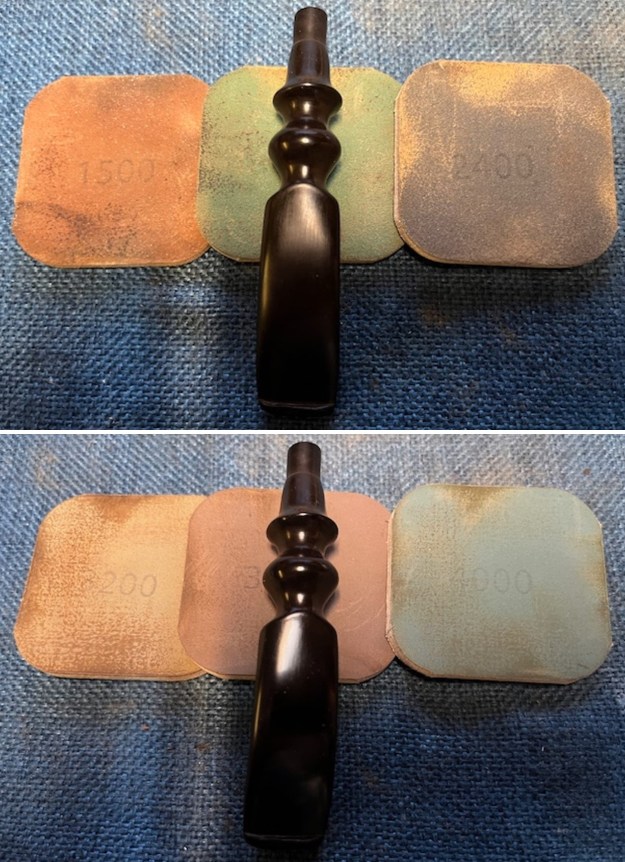
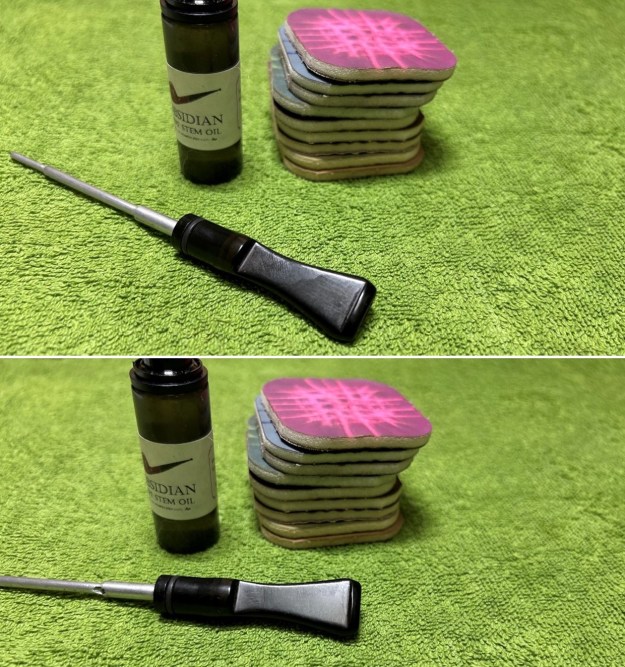
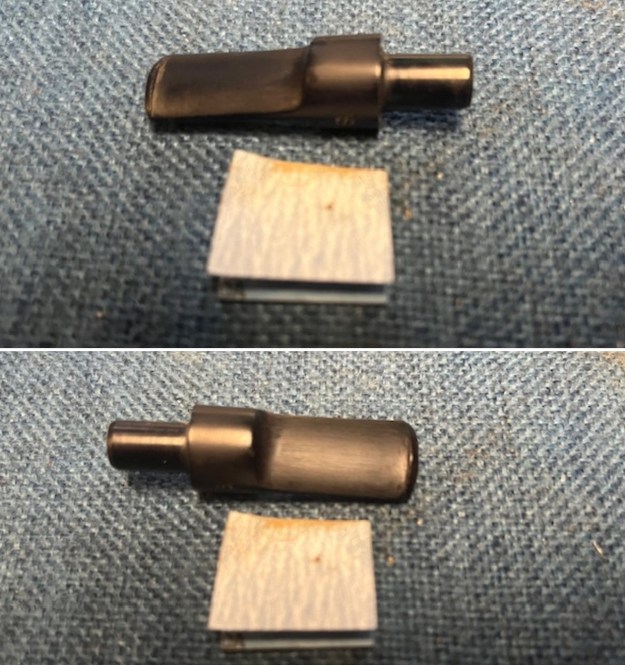
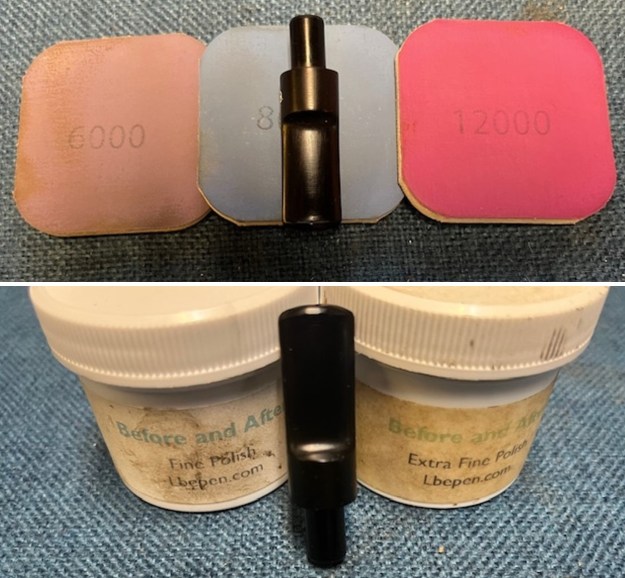
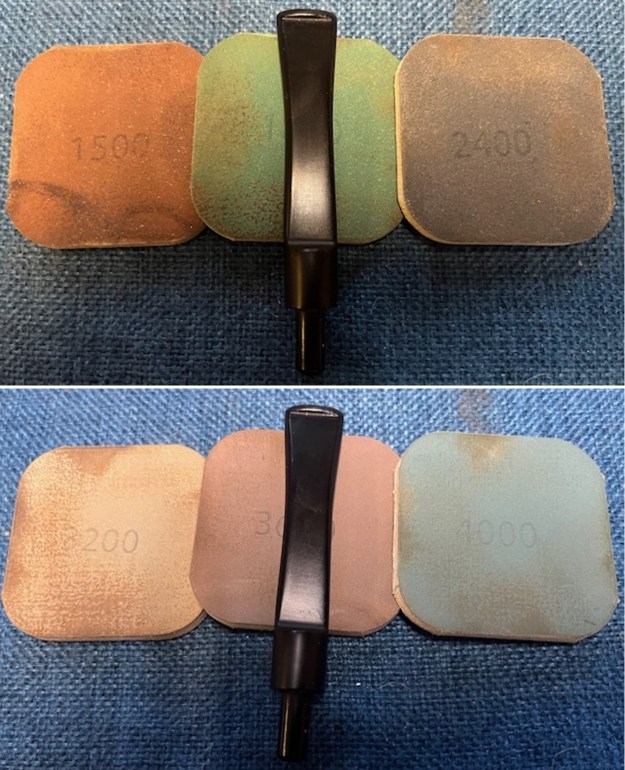
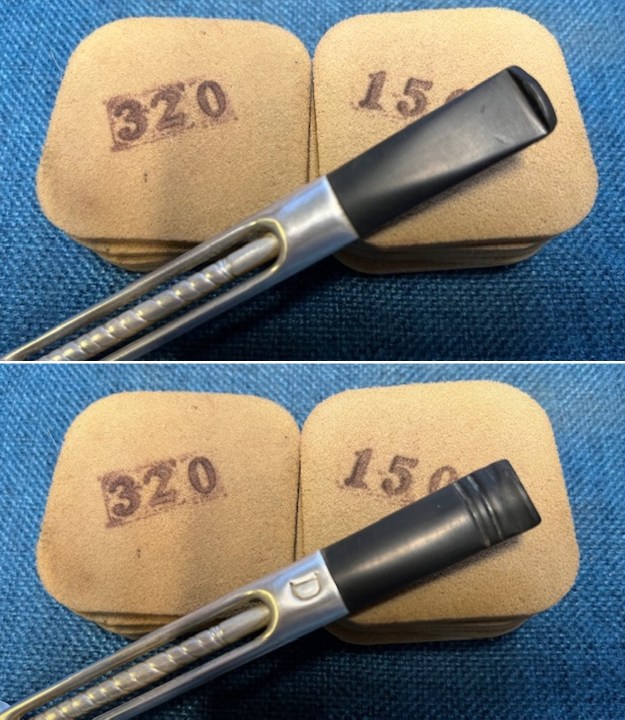 I polished the vulcanite with micromesh sanding pads – 1500-12000 grit pads. I wiped it down with Obsidian Oil after each sanding pad. I used Before & After Pipe Polish – both Fine and Extra Fine to further polish the stem.
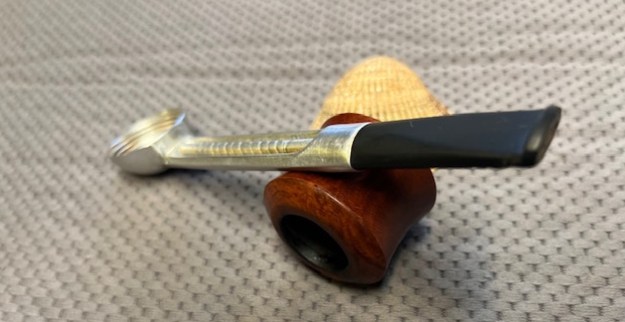
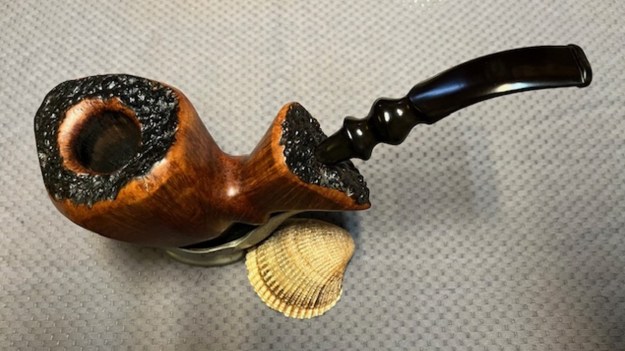
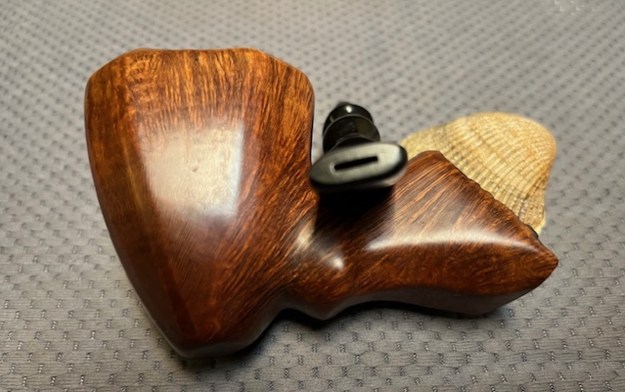
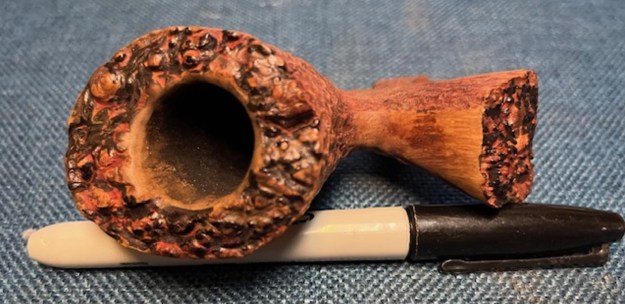
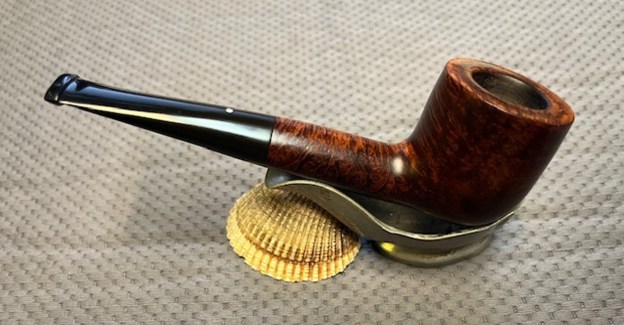
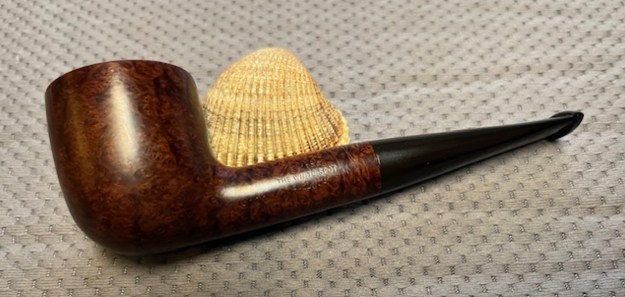
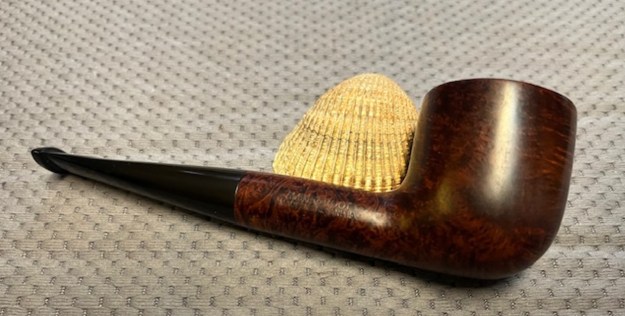
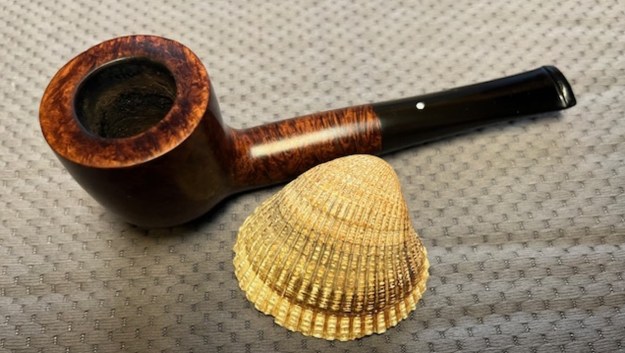
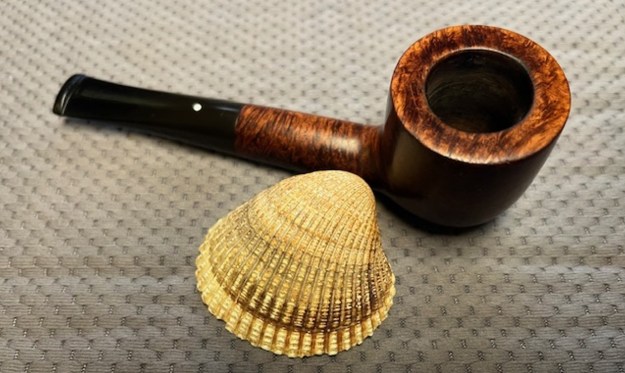
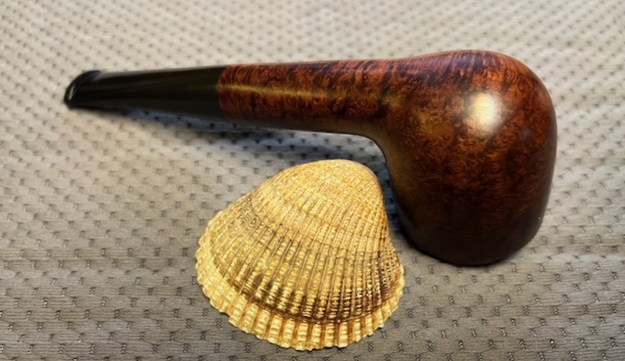
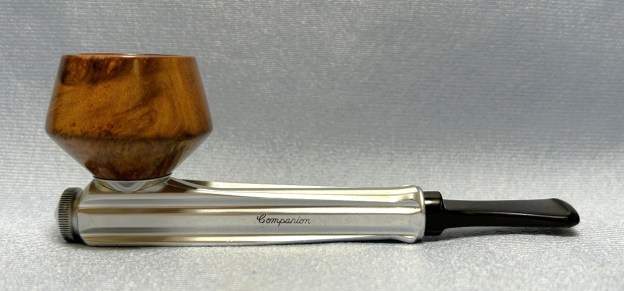
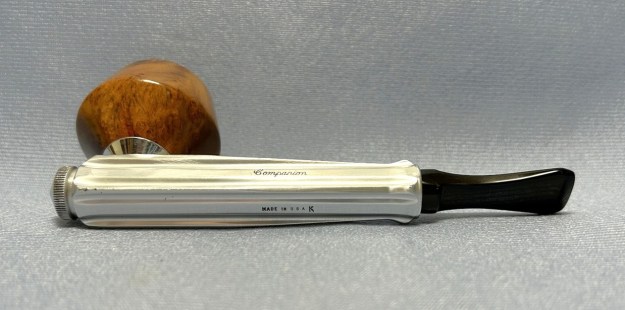
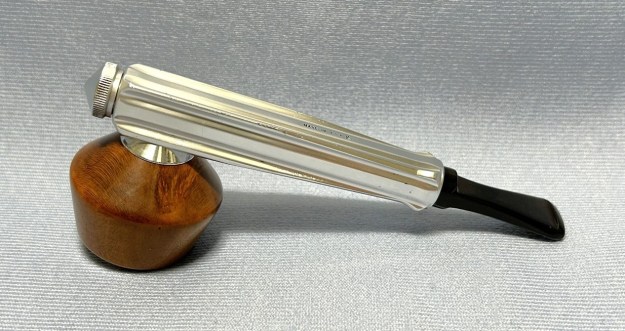
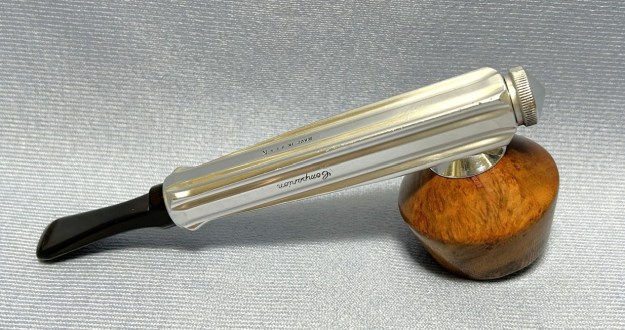
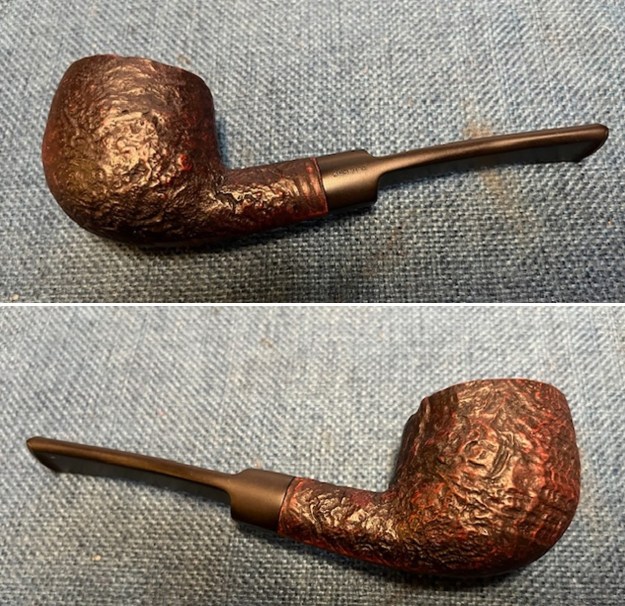
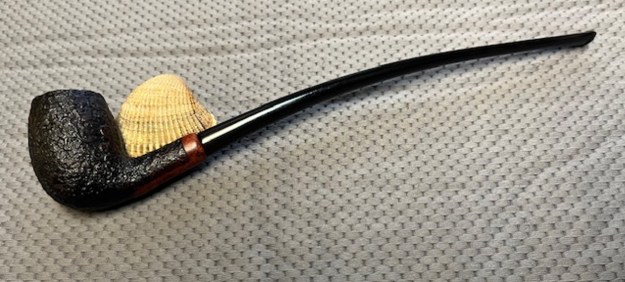
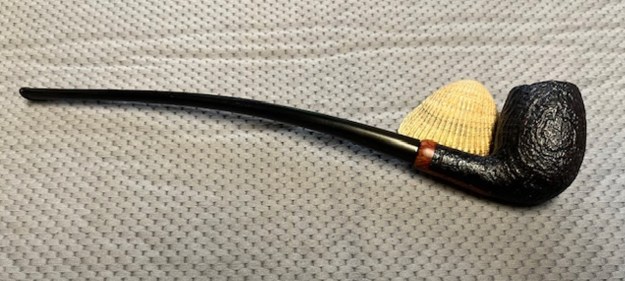
 This Falcon 1 Straight Billiard with a dental bit stem is a great looking pipe with the polished metal and briar set off by the black stem. I buffed the pipe with Blue Diamond on the buffing wheel being careful to not buff the stamping. I gave the bowl and the stem multiple coats of carnauba wax on the buffing wheel and followed that by buffing it with a clean buffing pad. I hand buffed the pipe with a microfiber cloth to deepen the shine. The finished Straight Falcon 1 is quite nice and feels great in the hand. Give the finished pipe a look in the photos below. The dimensions of the pipe are Length: 5 ½ inches, Height: 1 ½ inches, Outside diameter of the bowl: 1 ½ inches, Chamber diameter: ¾ of a inch. The weight of the pipe is 1.16 ounces/33 grams. Thanks for walking through the restoration with me as I worked over another beautiful pipe. Four pipes finished so far. I will be sending them back to Robert once I finish the other 8 pipes he sent me to restore. I look forward to hearing what he thinks of this beauty. Thanks for your time.