Blog by Steve Laug
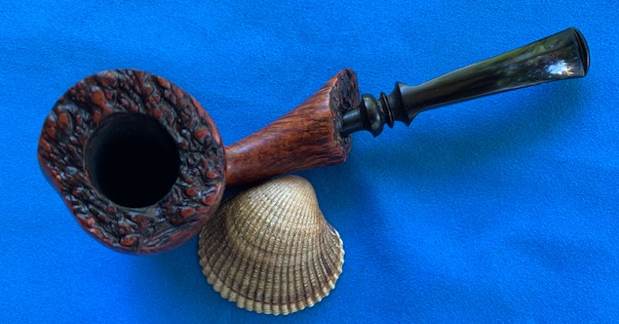
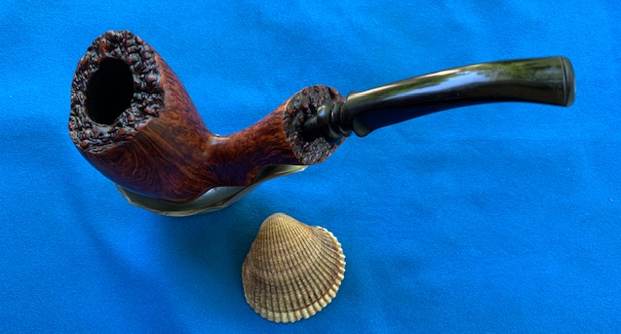
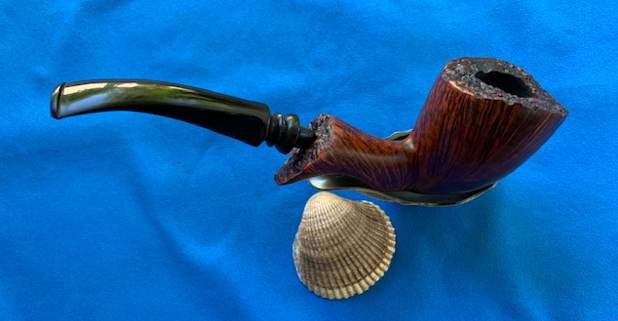
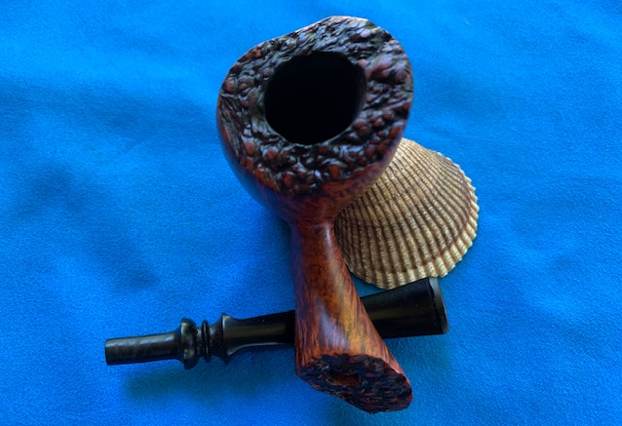
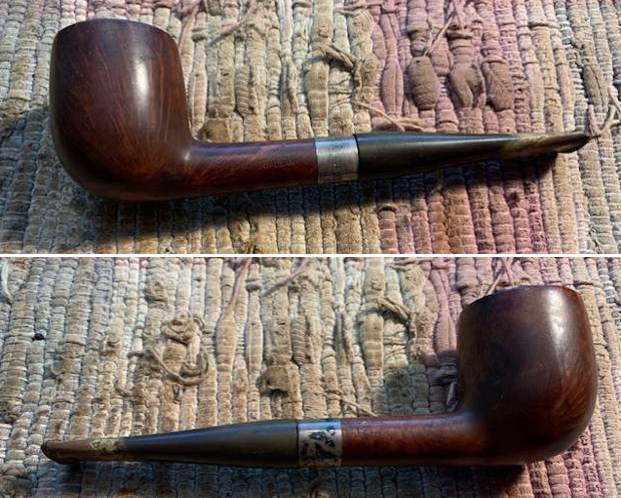
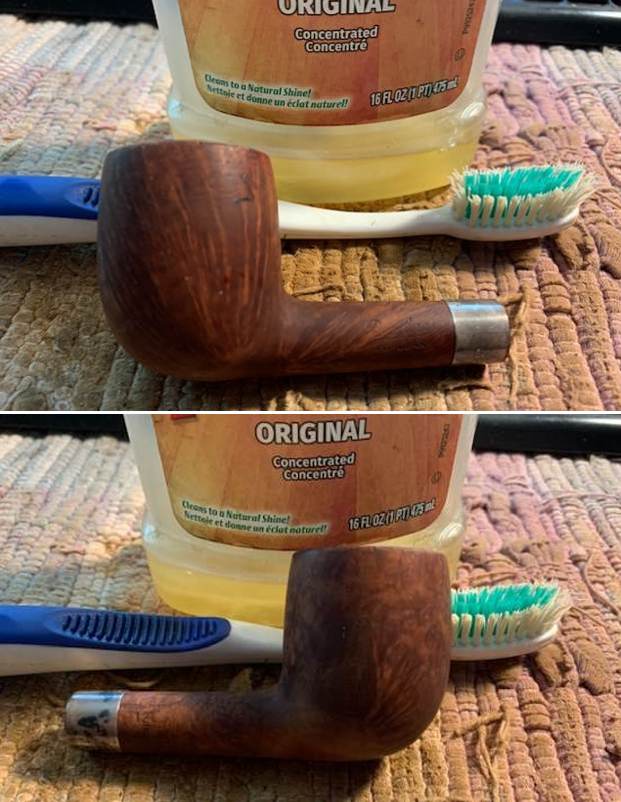
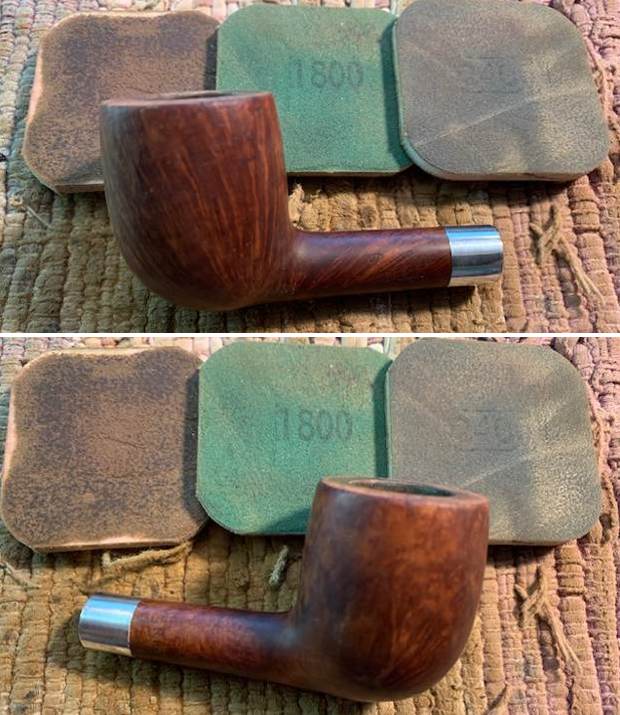
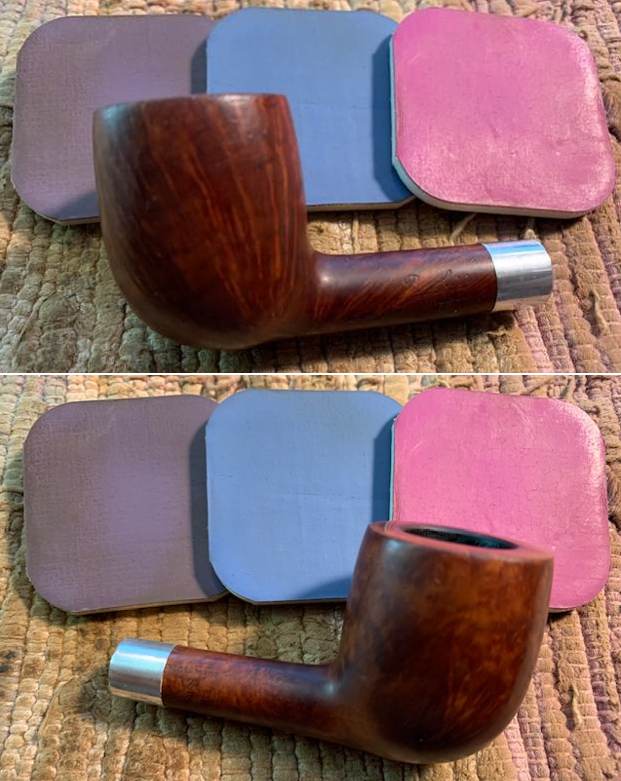
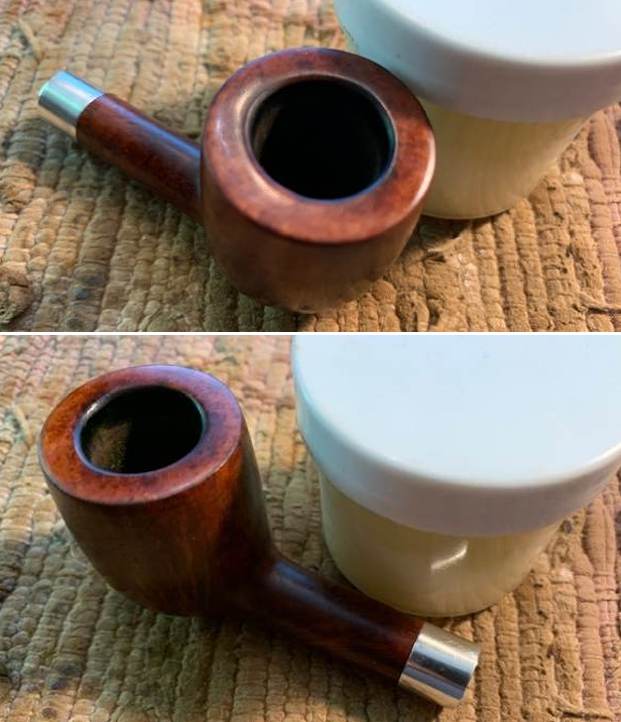
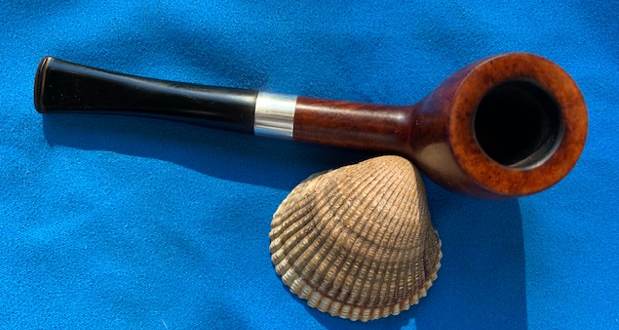
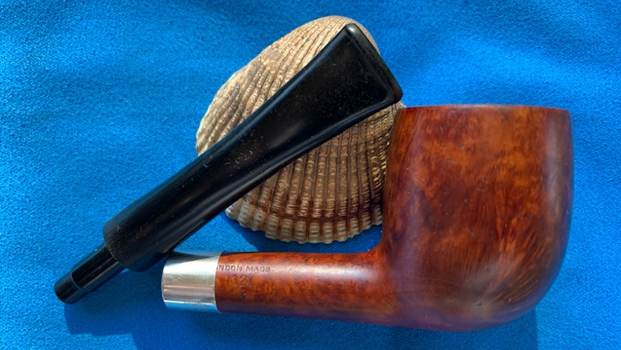
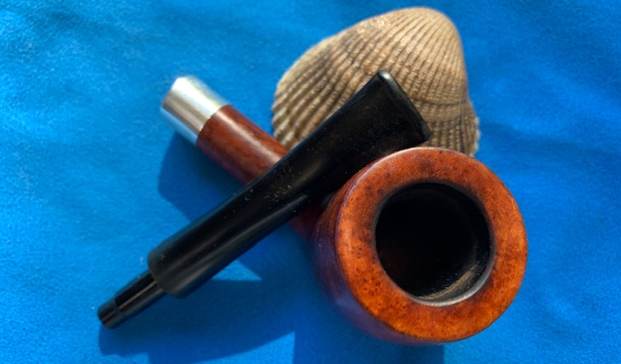
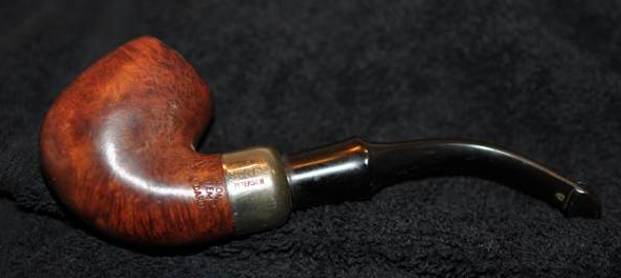
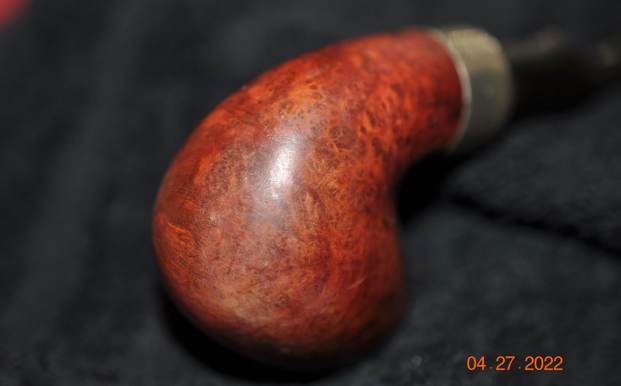
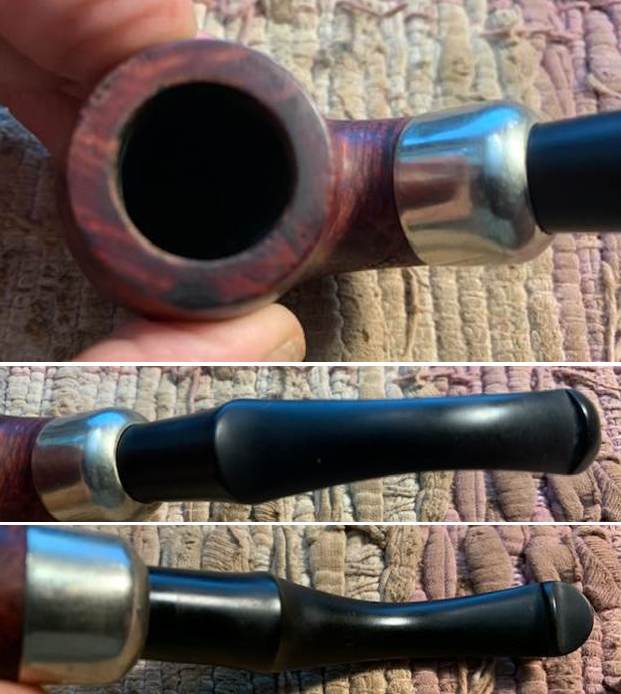
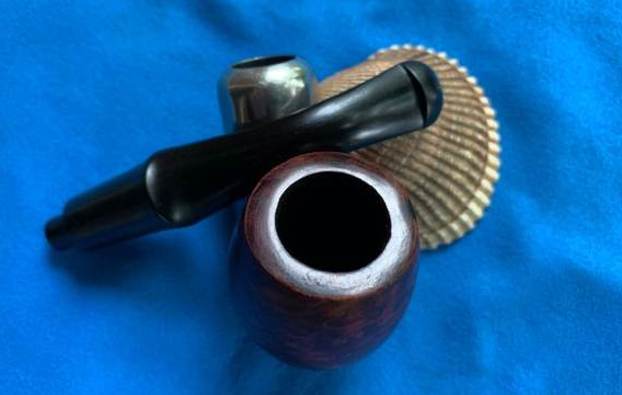
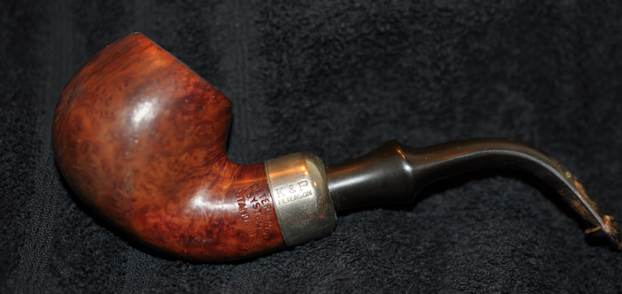
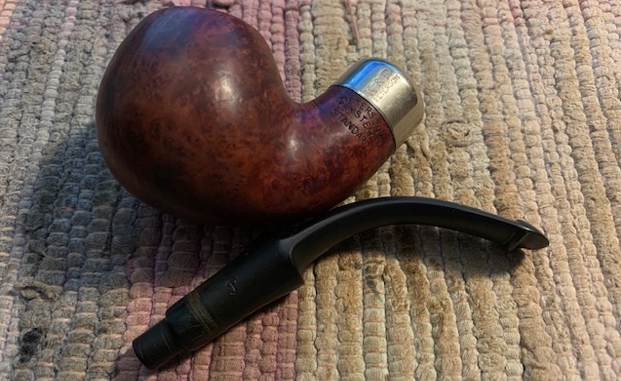
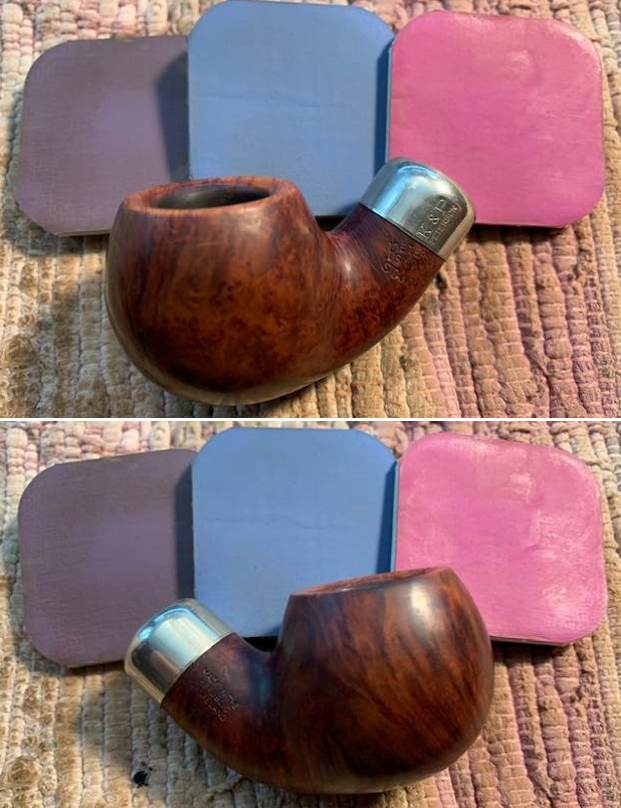
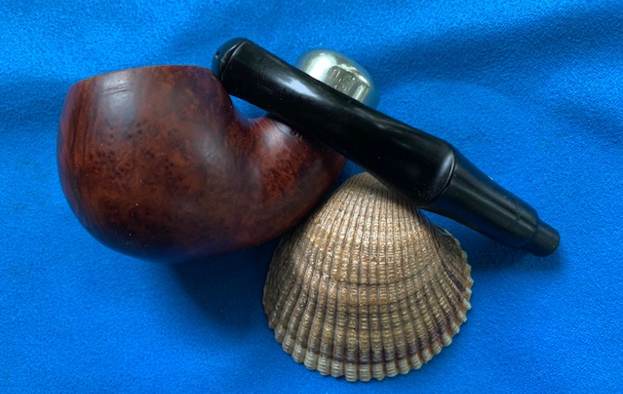
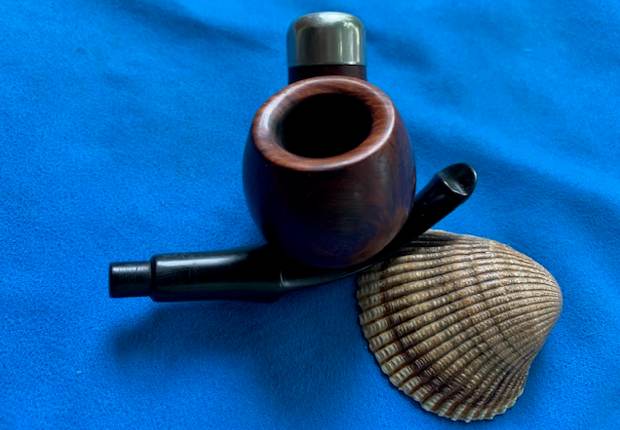
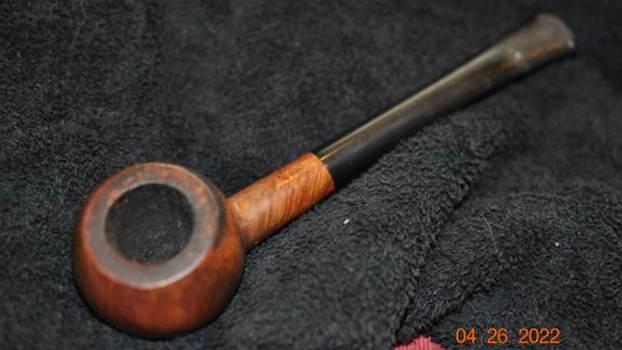
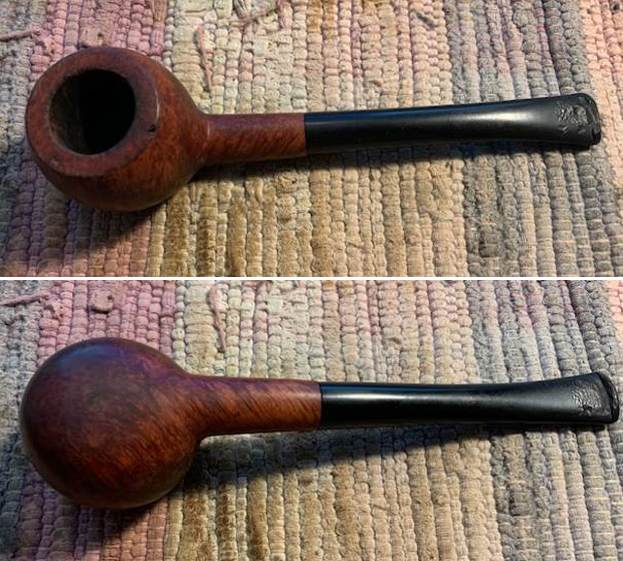
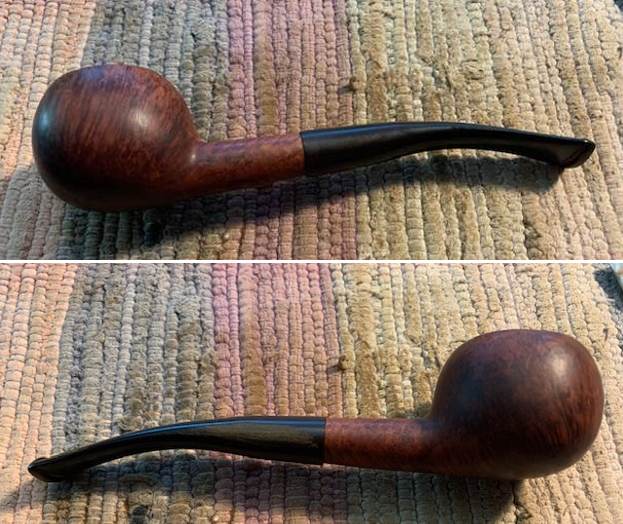
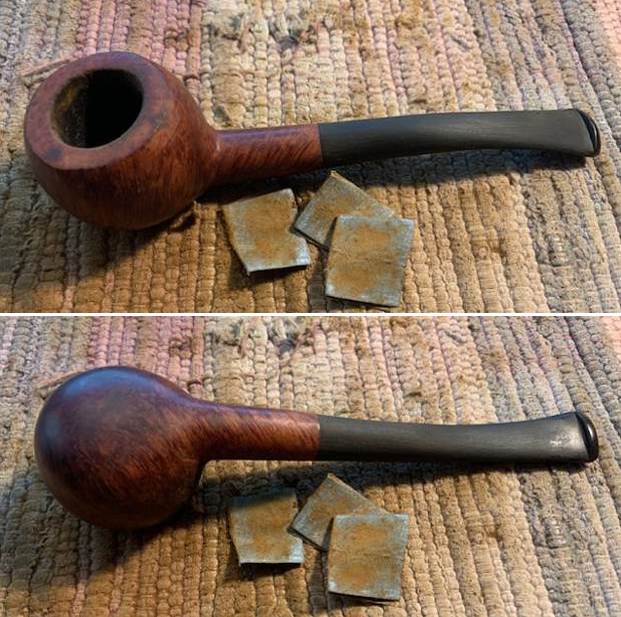
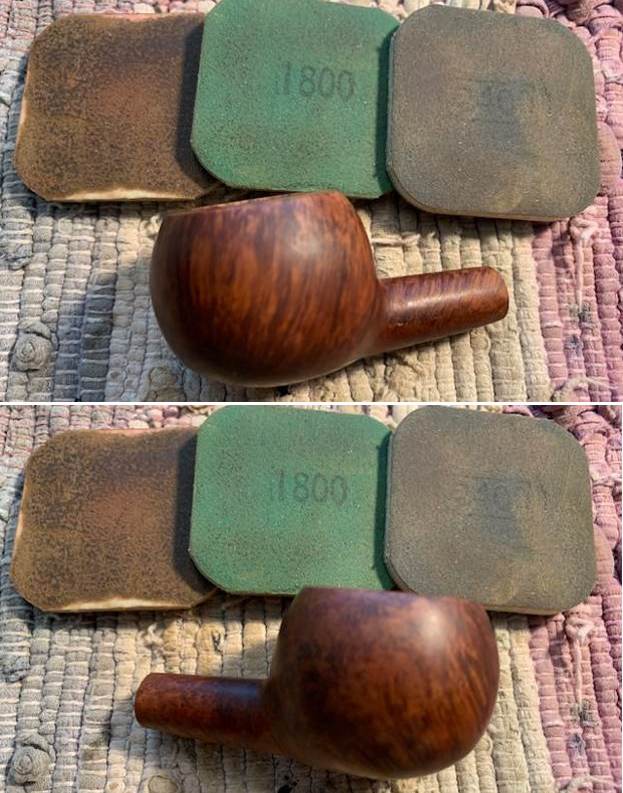
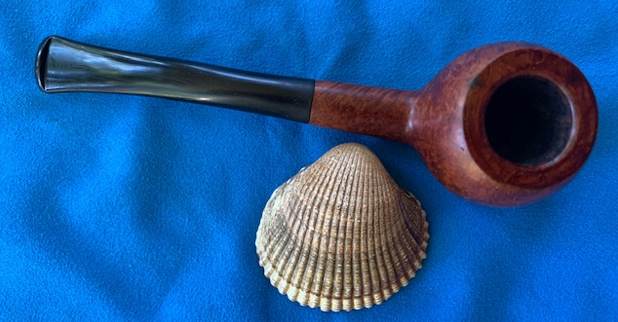
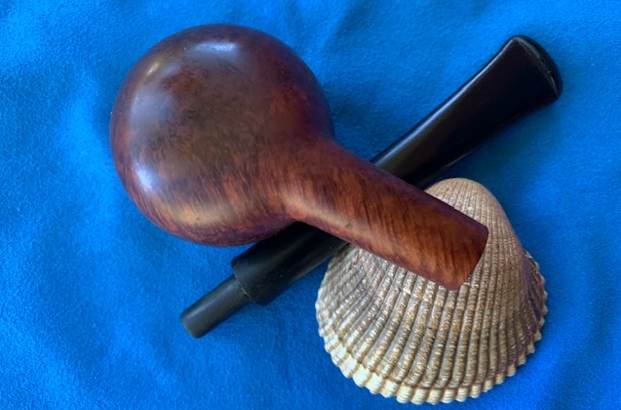
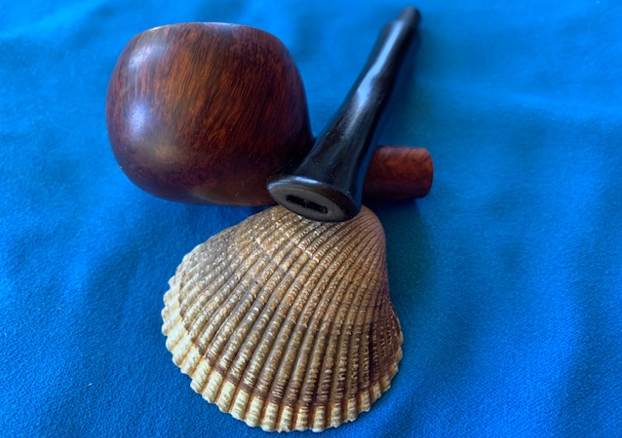
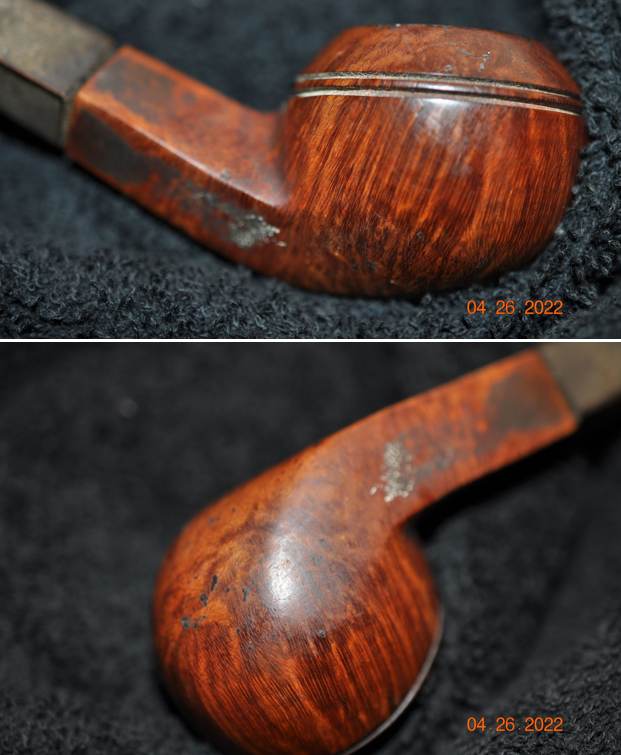
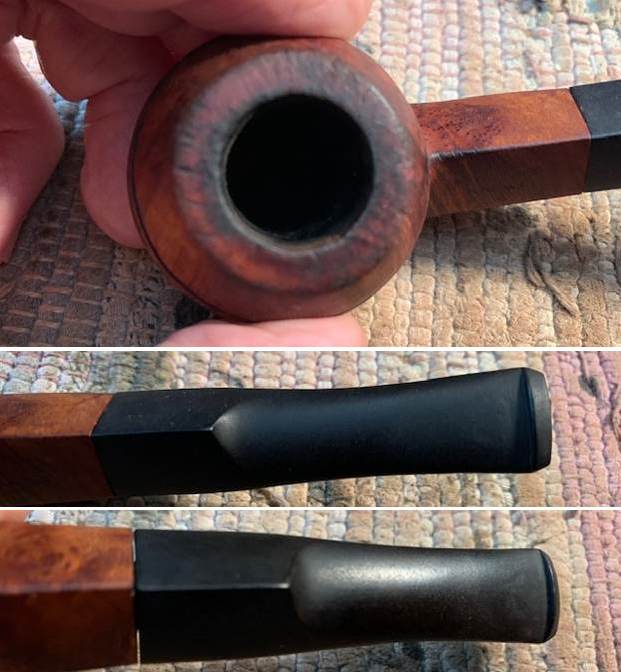
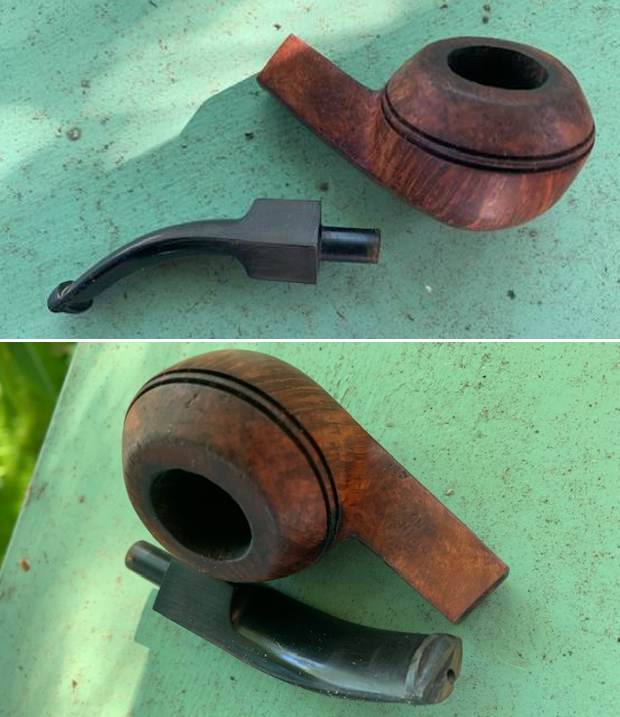
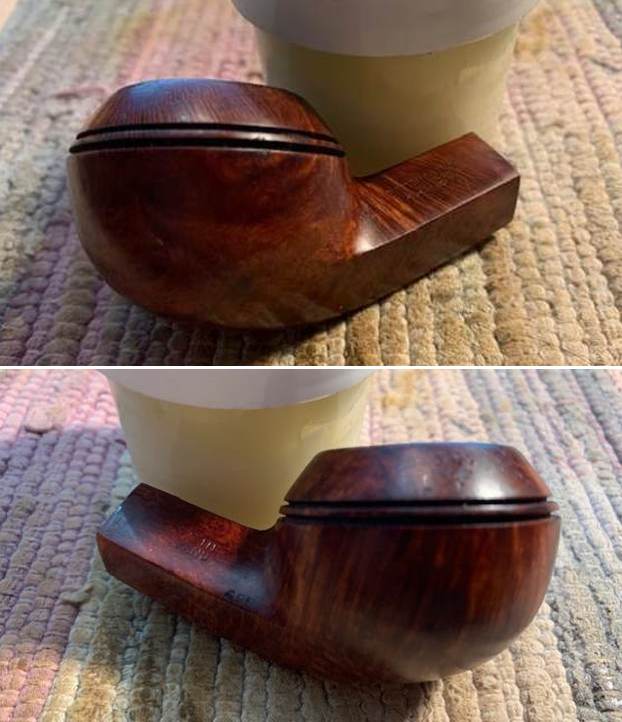
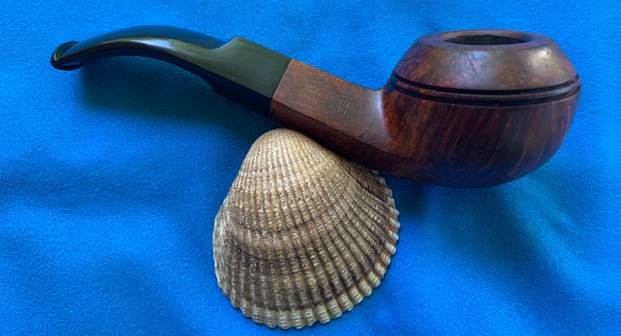
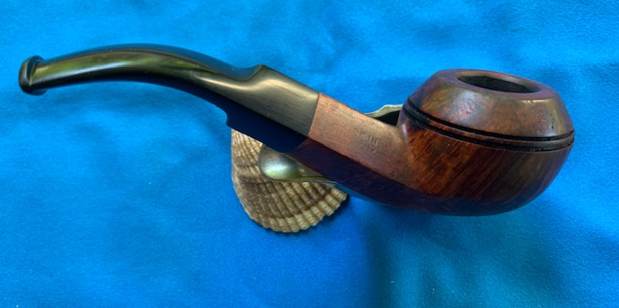
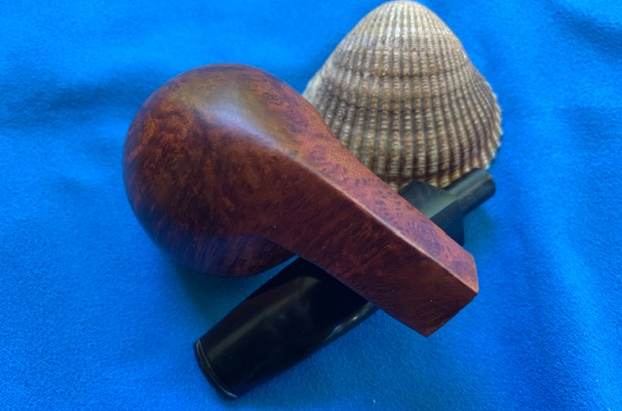
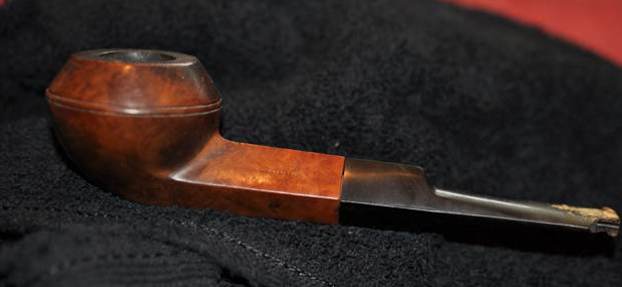
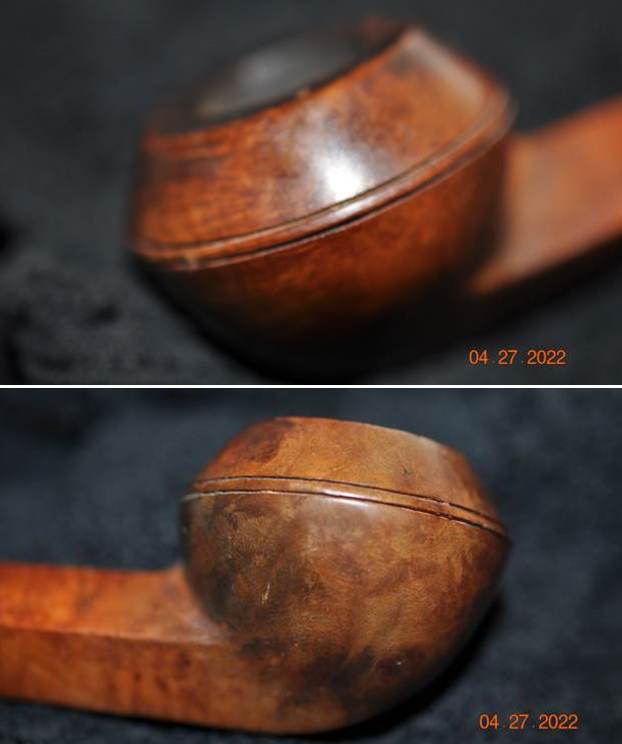
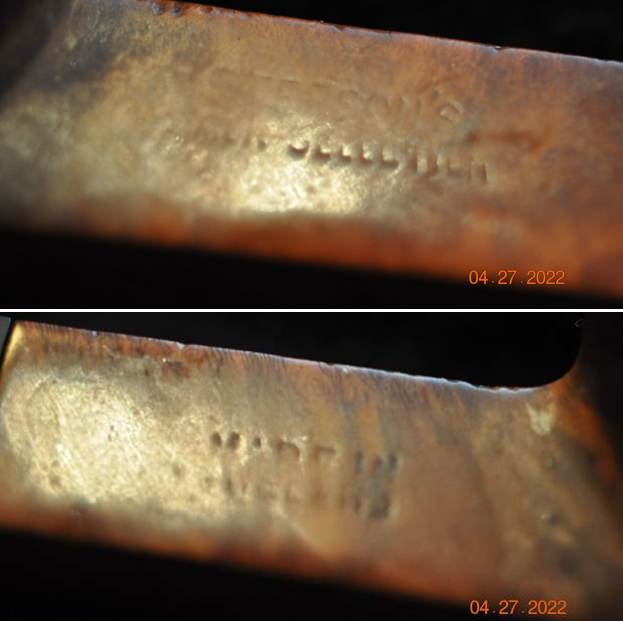
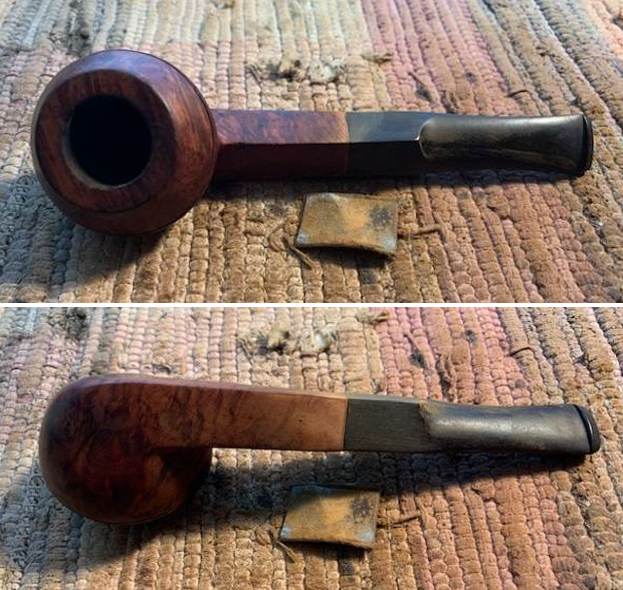
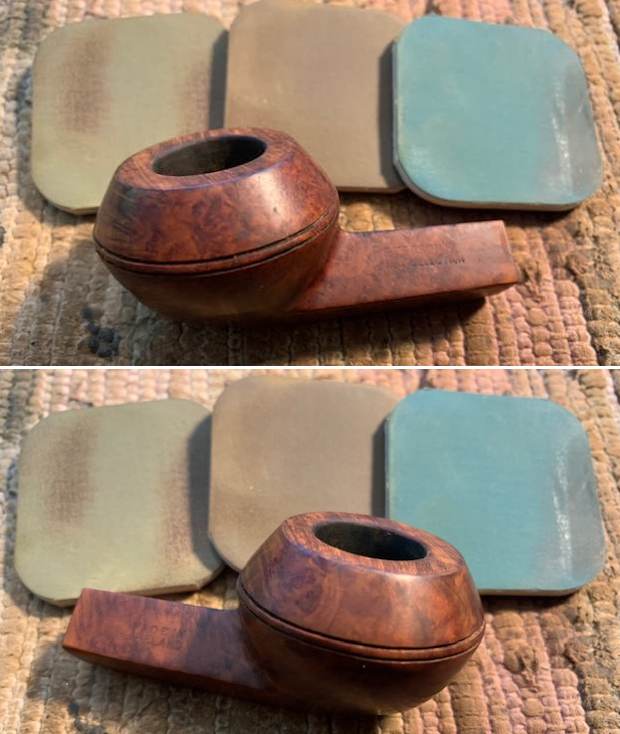
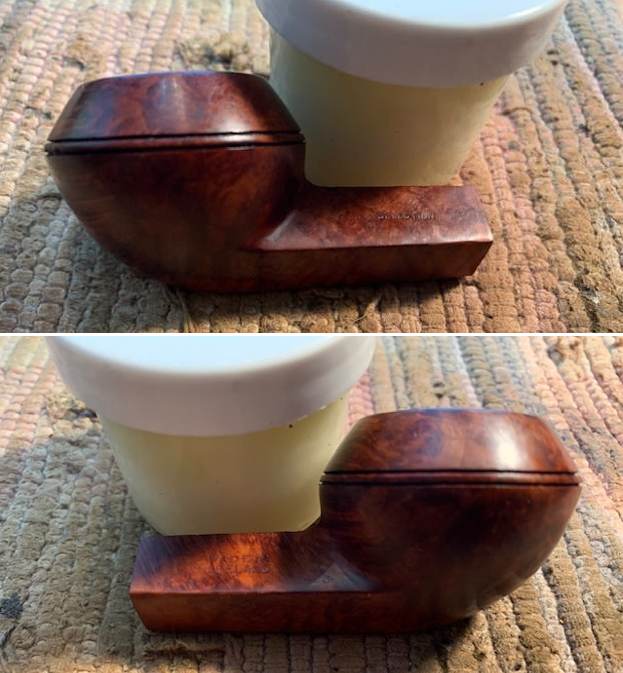
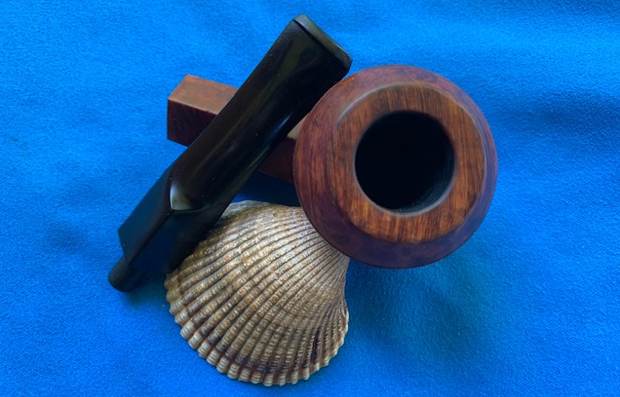
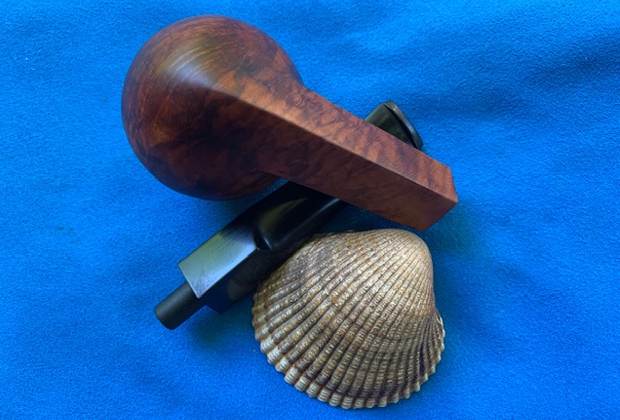
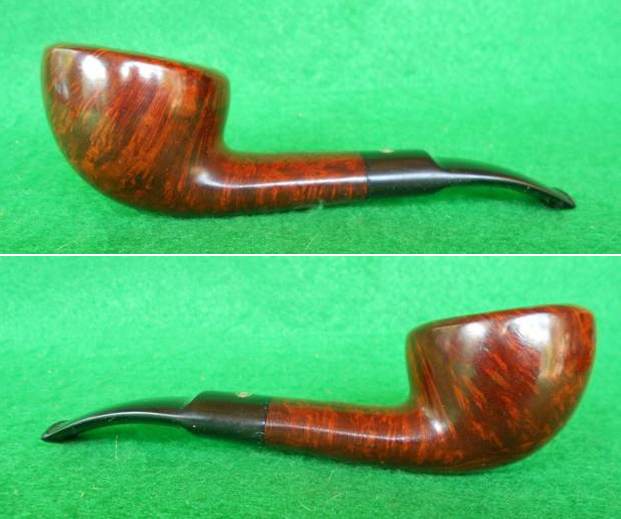
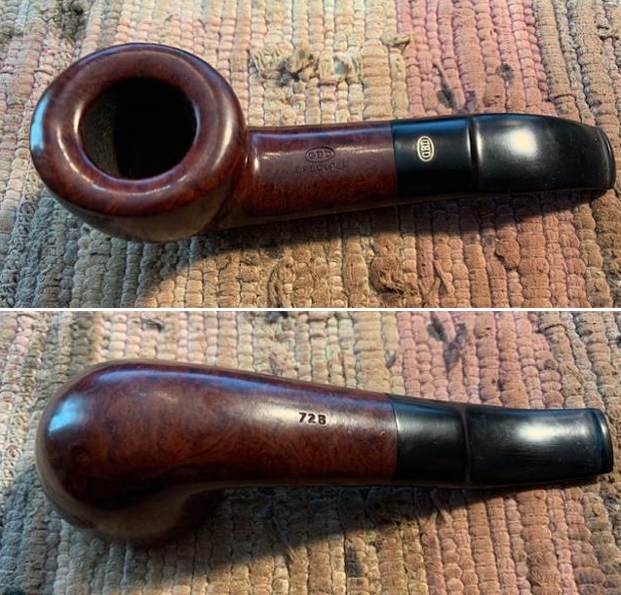
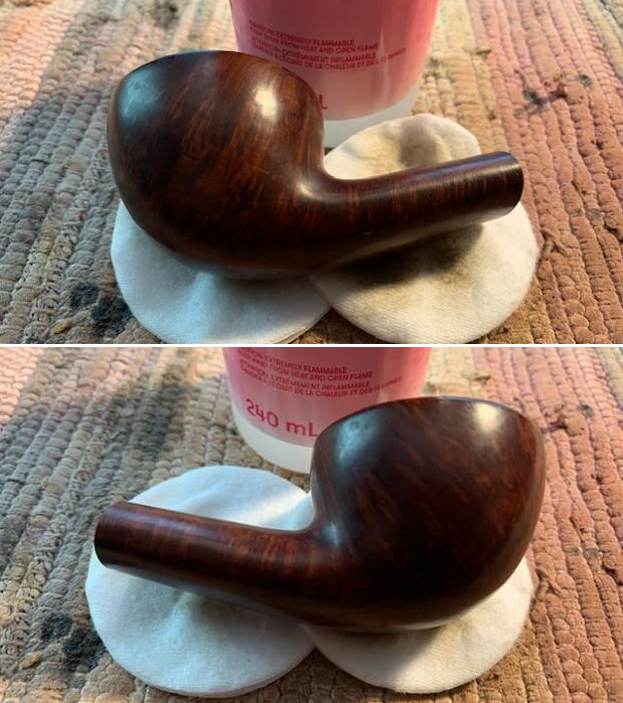
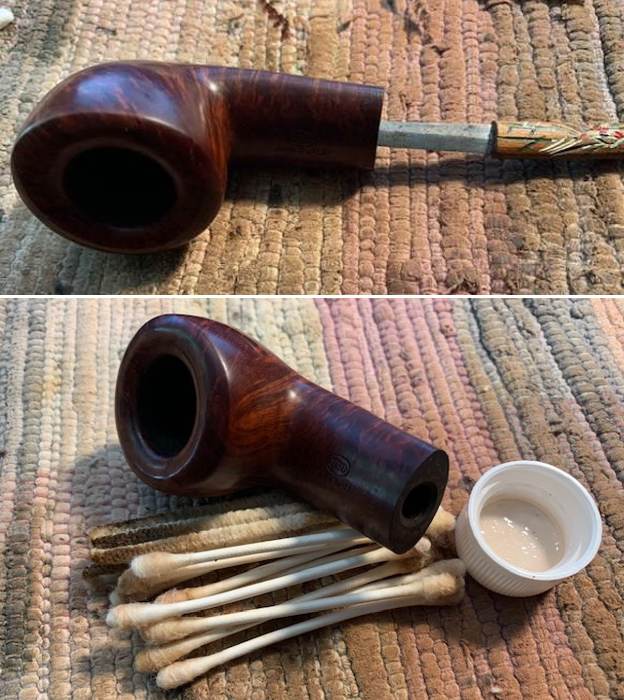
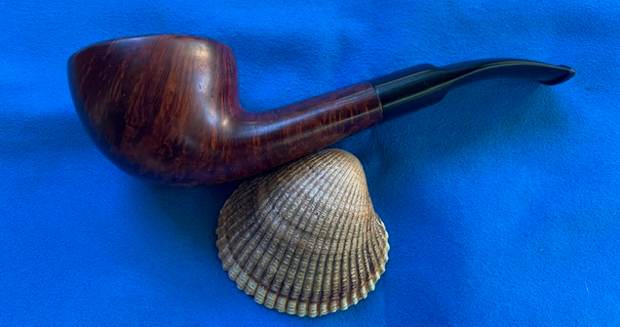
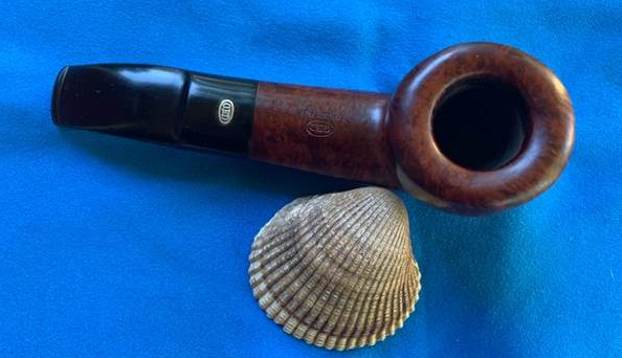
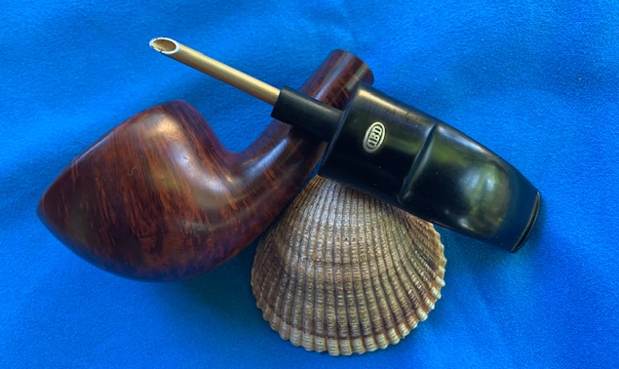
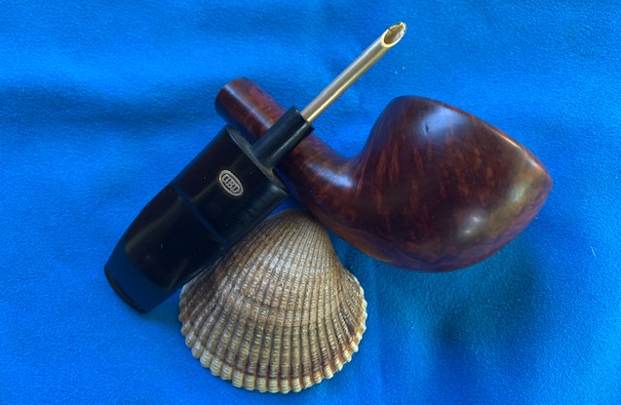
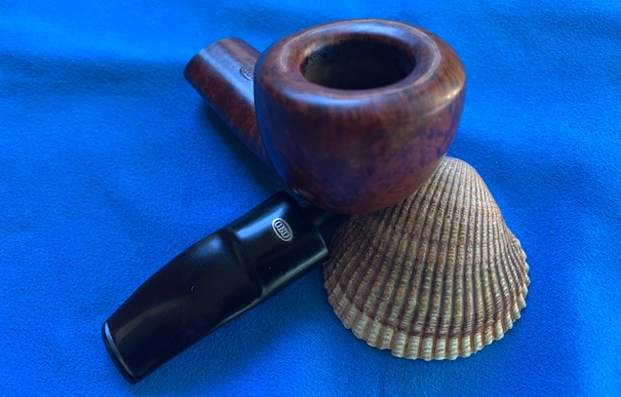
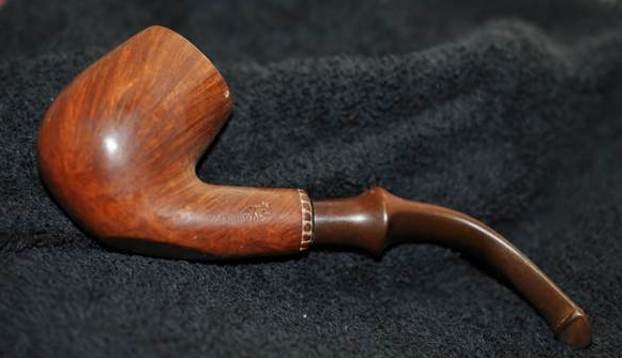
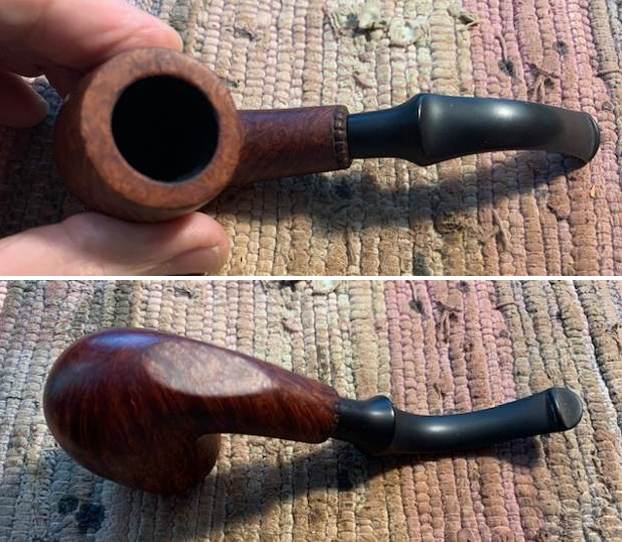
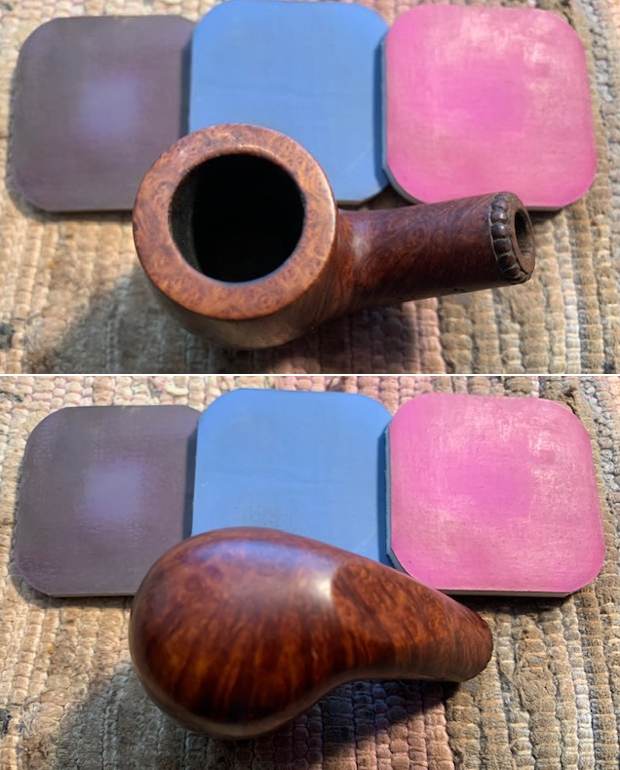
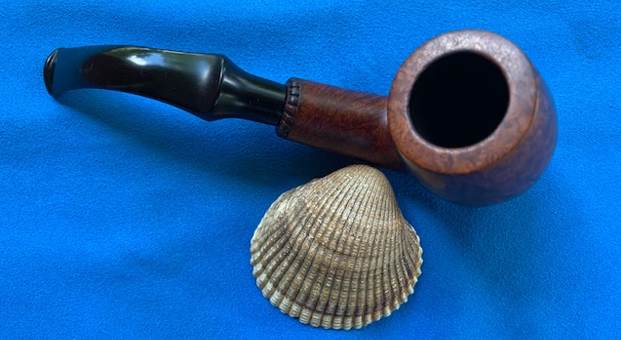
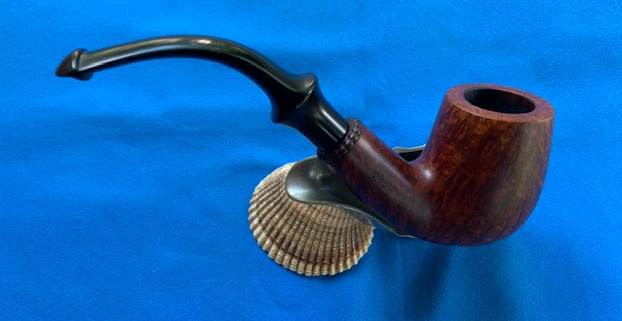
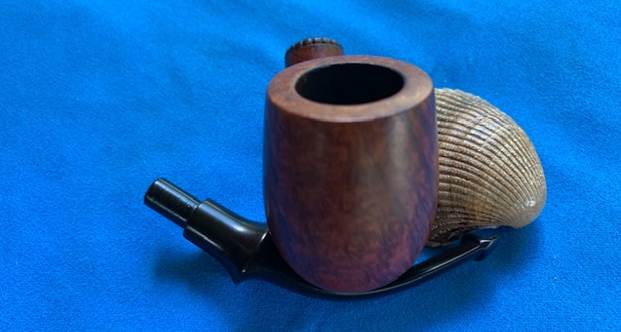
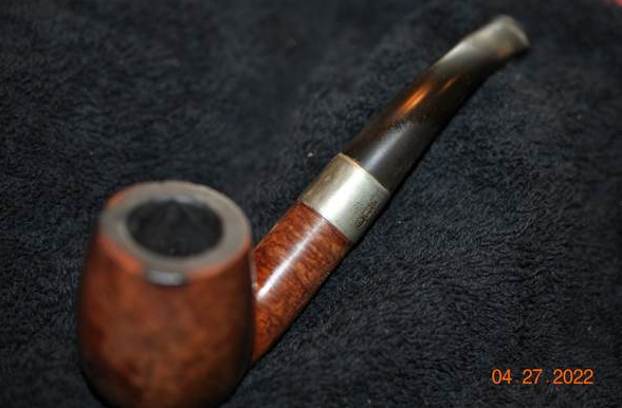
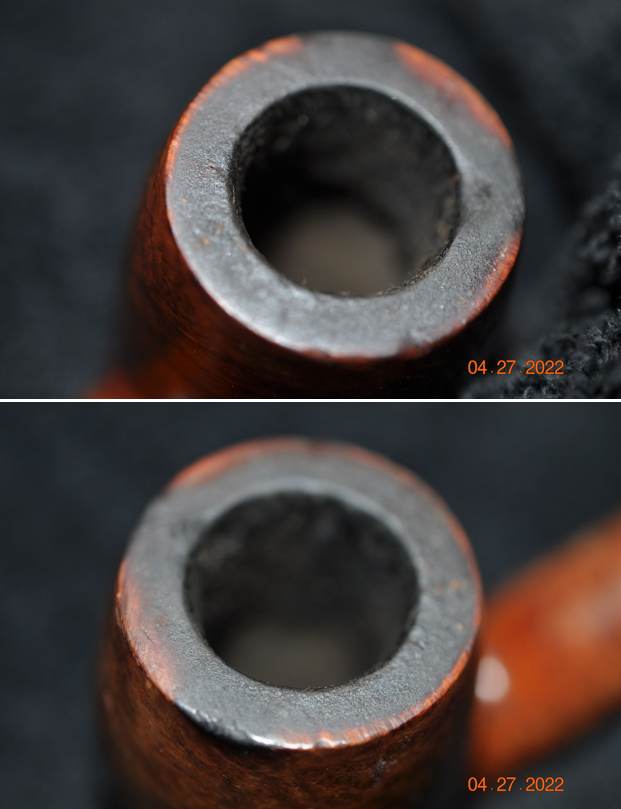
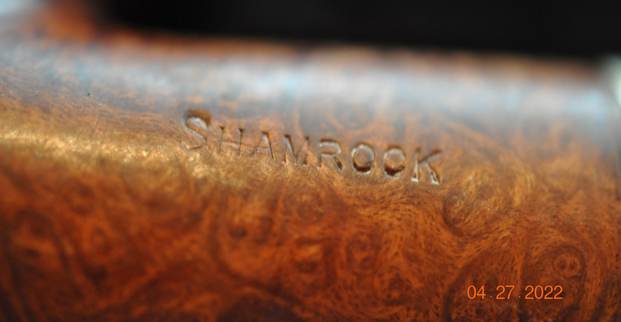
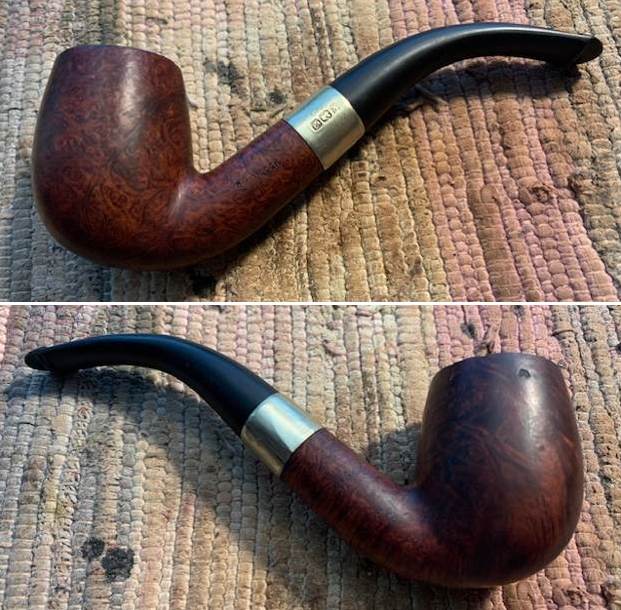
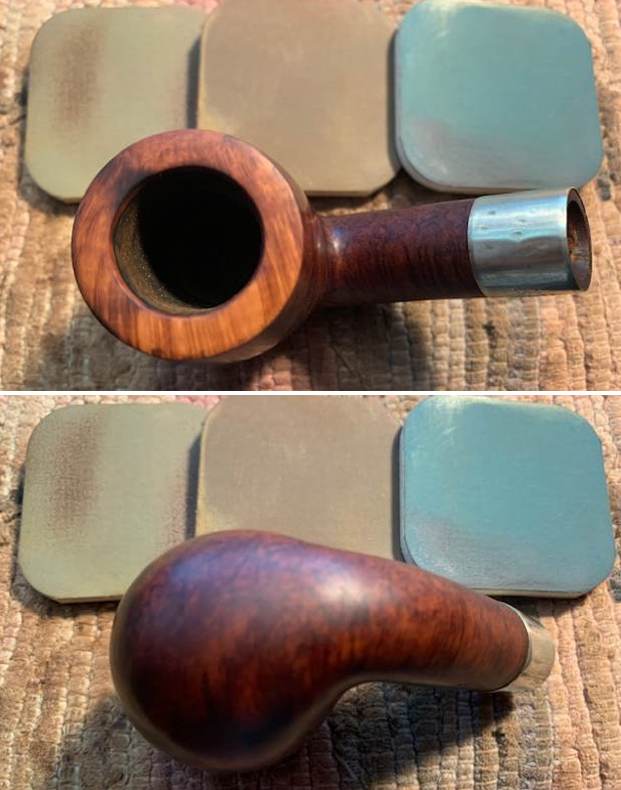
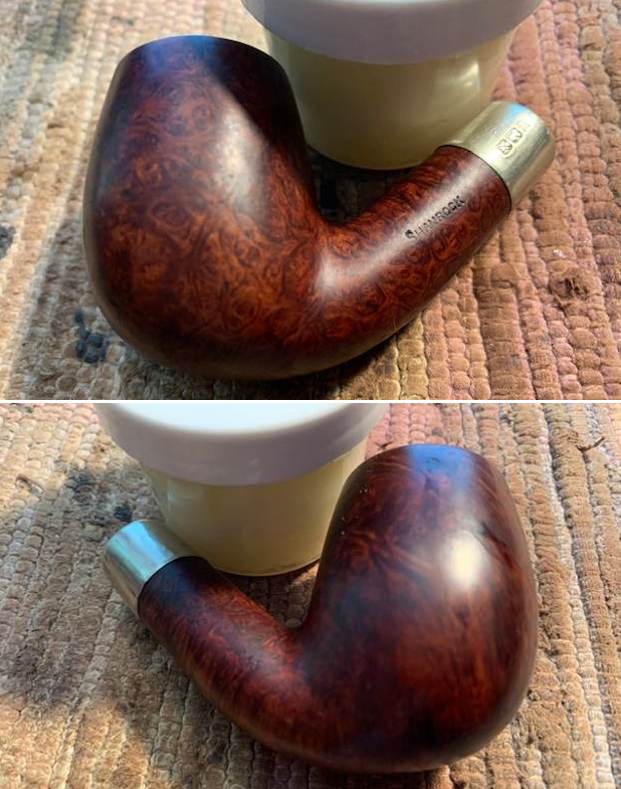
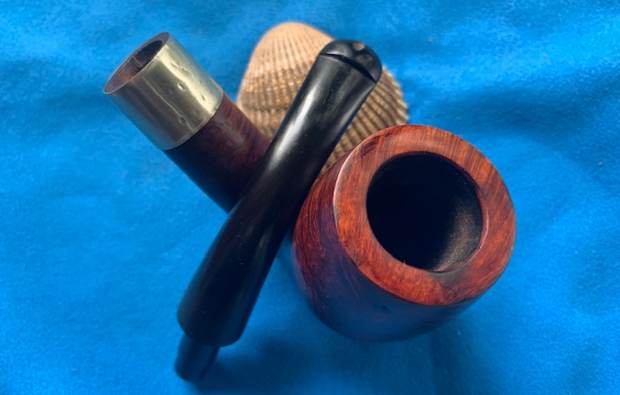
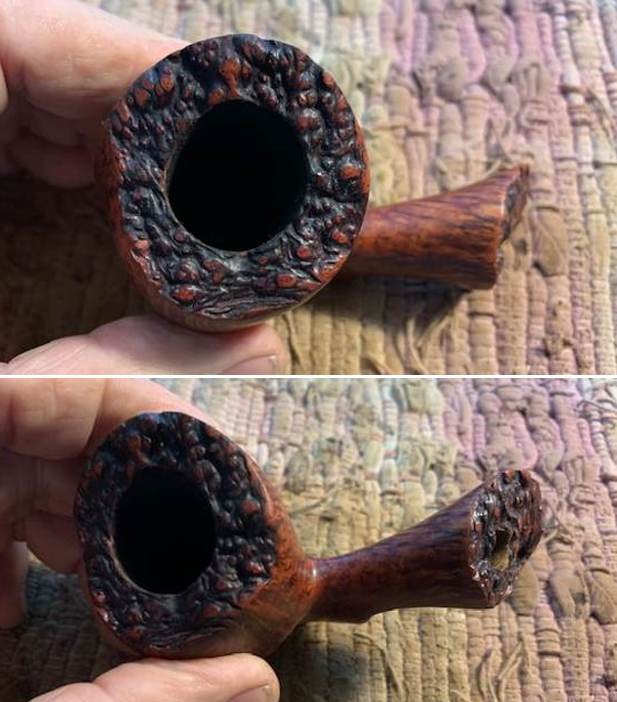
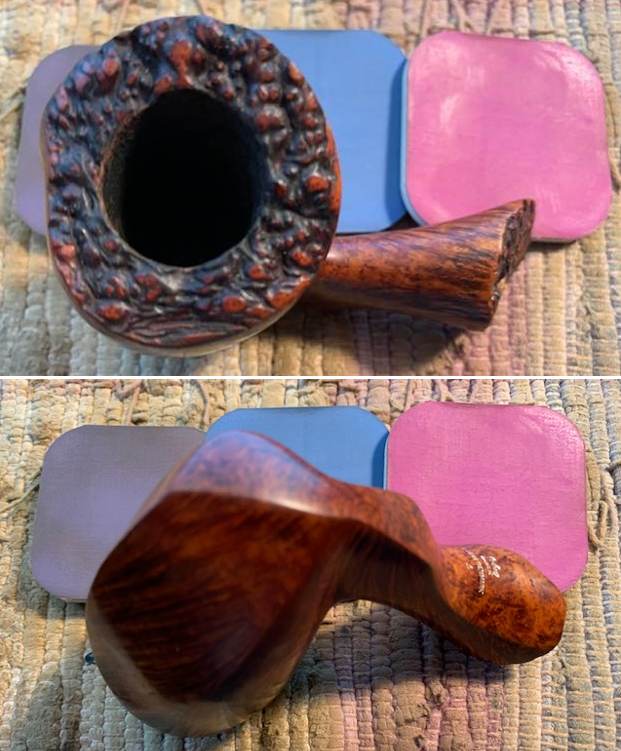
Jeff and I purchased an estate last December from a fellow in Longview, Washington, USA. It included this Jobey Dansk 4 freehand bowl. It had really nice grain and plateau on the top of the rim and on the end of the shank. It was stamped on the underside of the shank and read Jobey in script [over] Dansk. Underneath it read Made in Denmark [over] 4. The carving followed the flow of the grain very well and really served to showcase it. There was something familiar about the style of carving that reminded me of other Danish Freehand pipes I have worked on. I seemed to remember that Jobey Dansk pipes were carved by Karl Erik. There was thick dust in the rustication around the bowl and shank as well as the plateau on the shank end. The bowl was lined with a thin cake. The smooth finish was also dirty and dull looking. The stem had long before been lost so it did not come with the bowl. Jeff took photos of the pipe to show the overall condition of the bowl and stem. 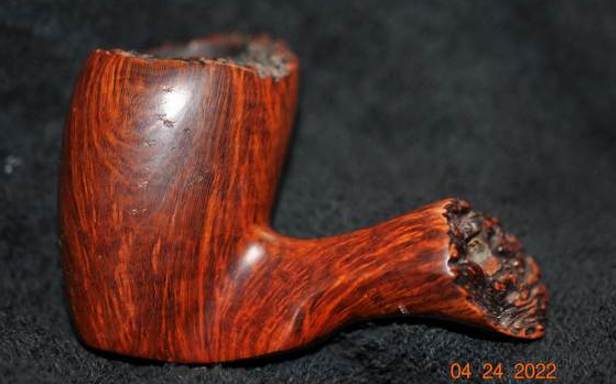
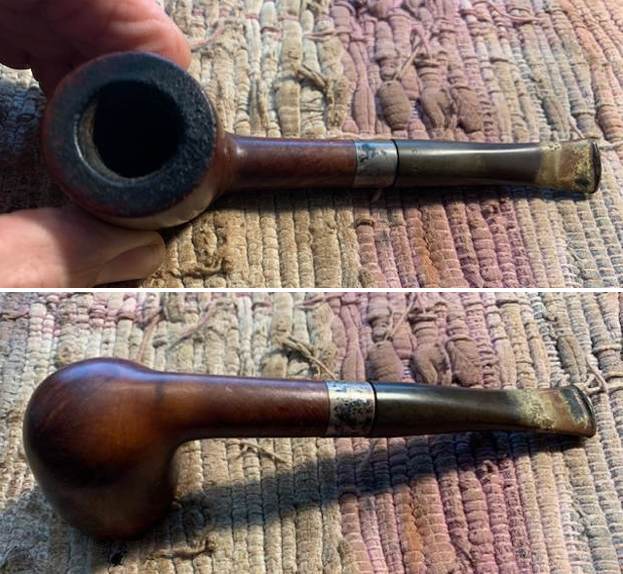
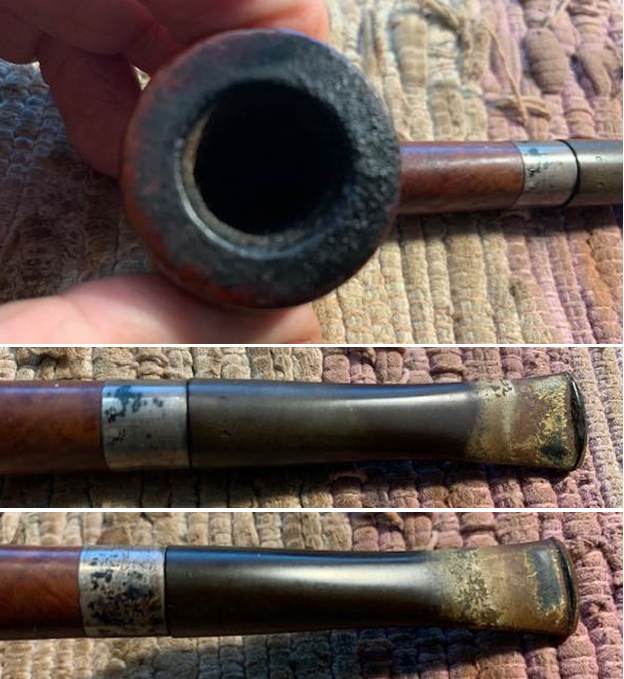
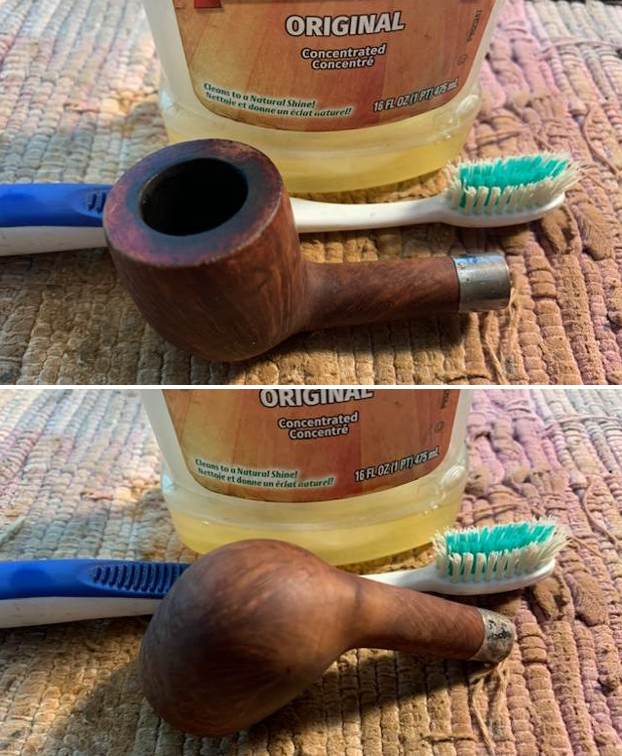
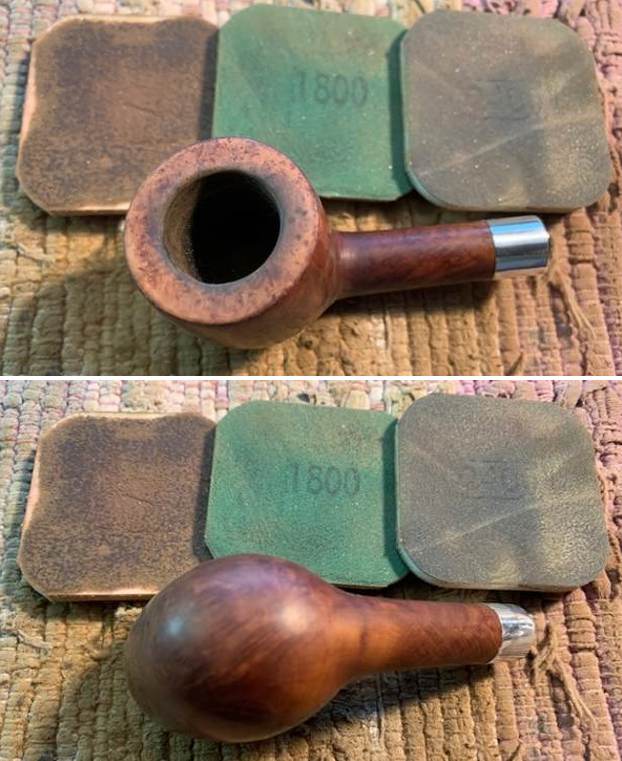
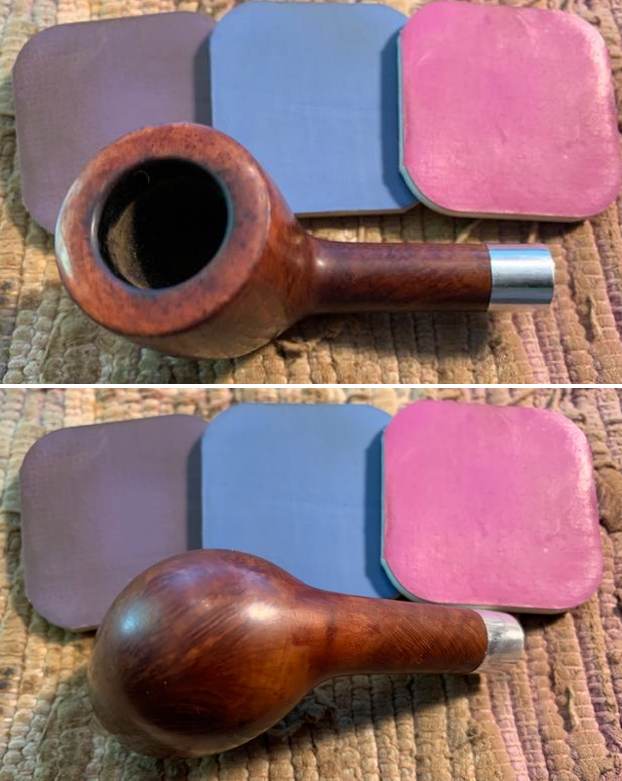
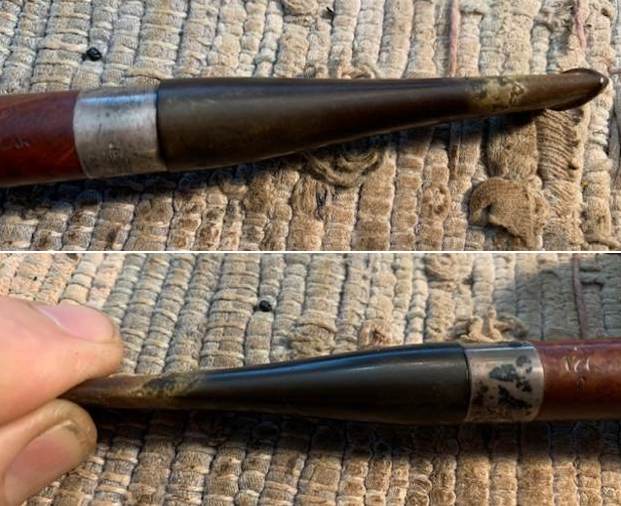
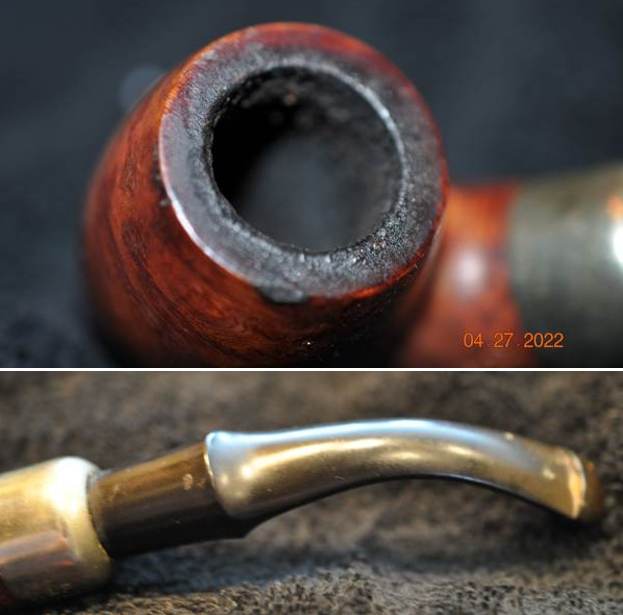
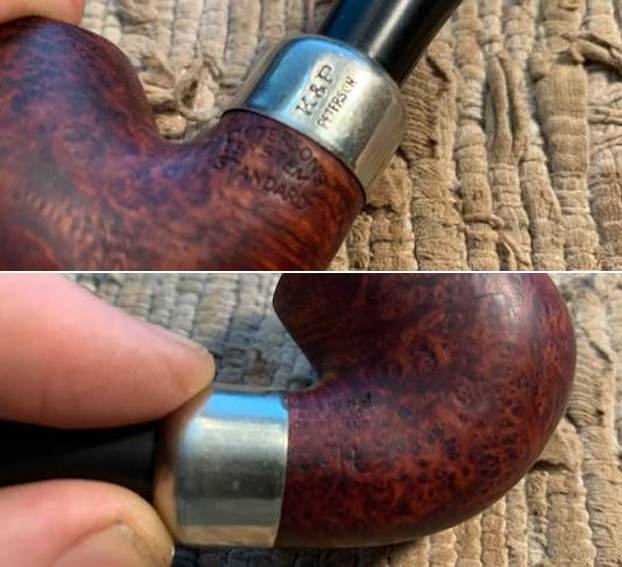
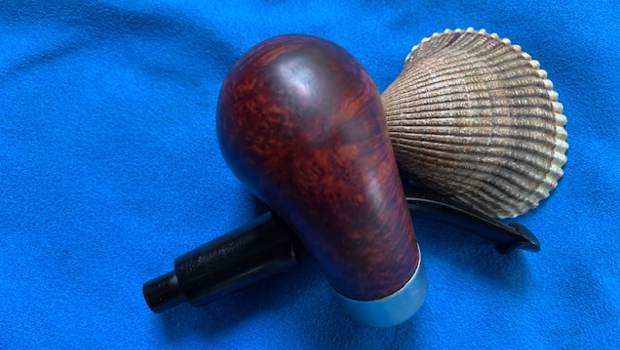
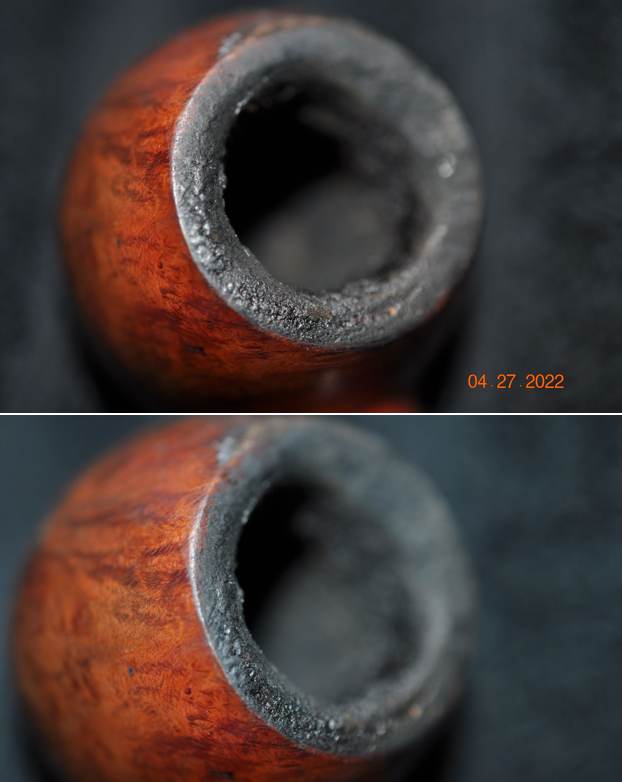
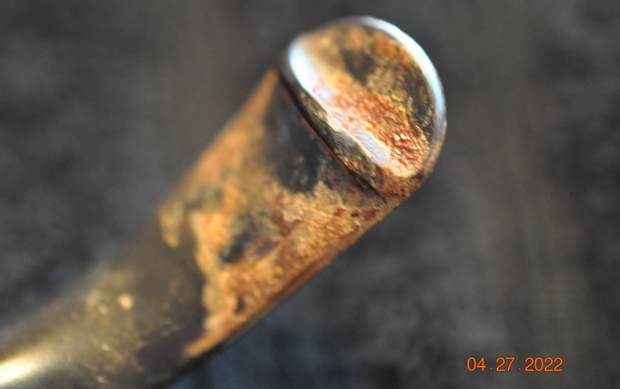
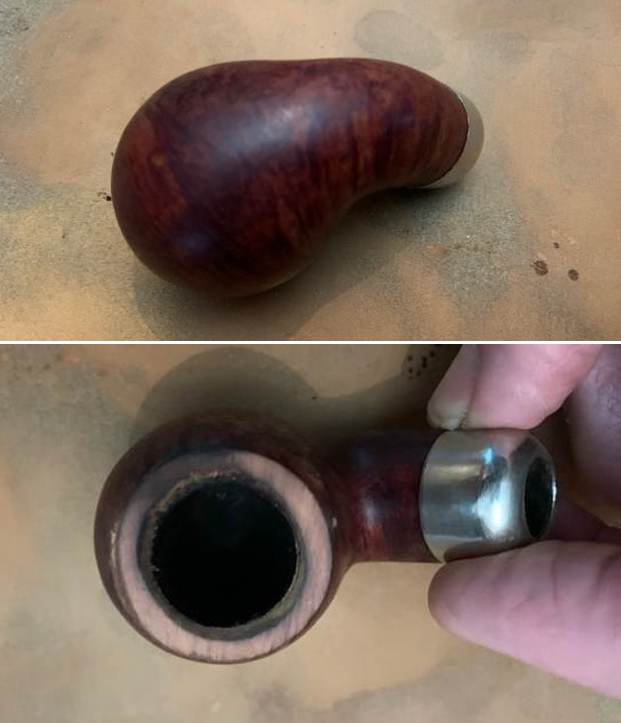
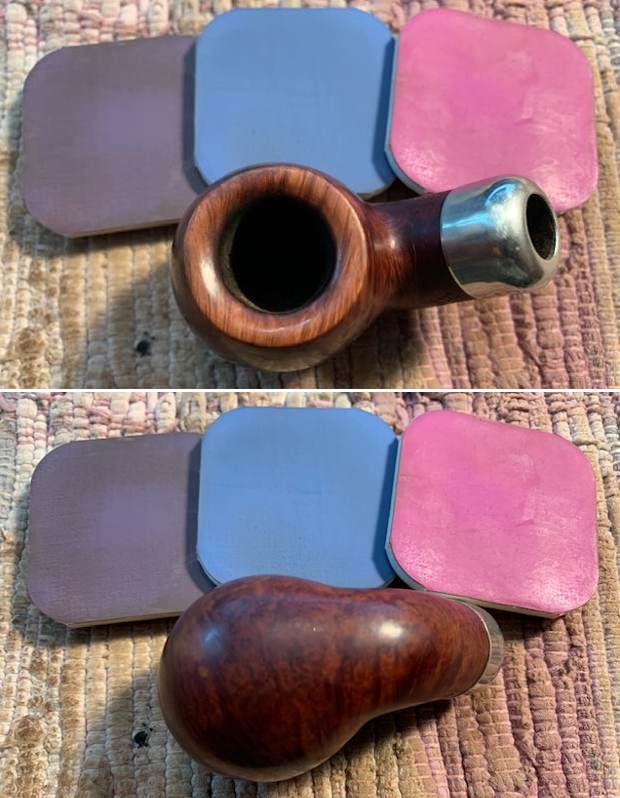
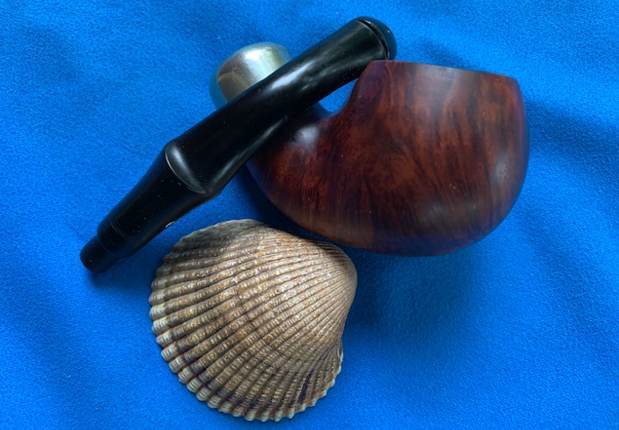
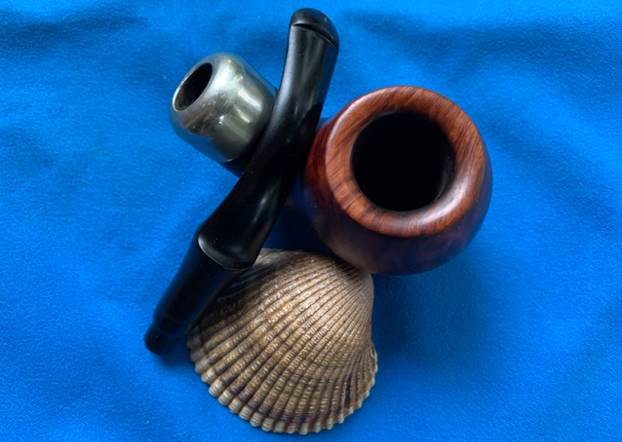
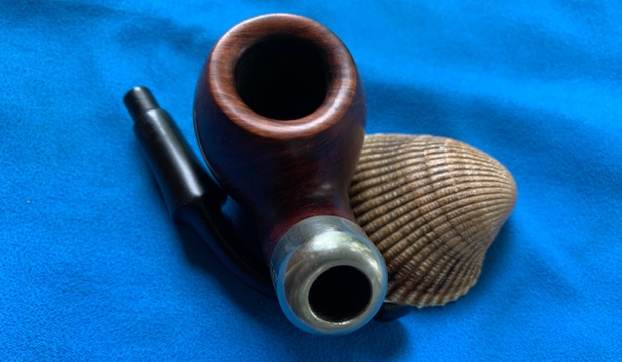
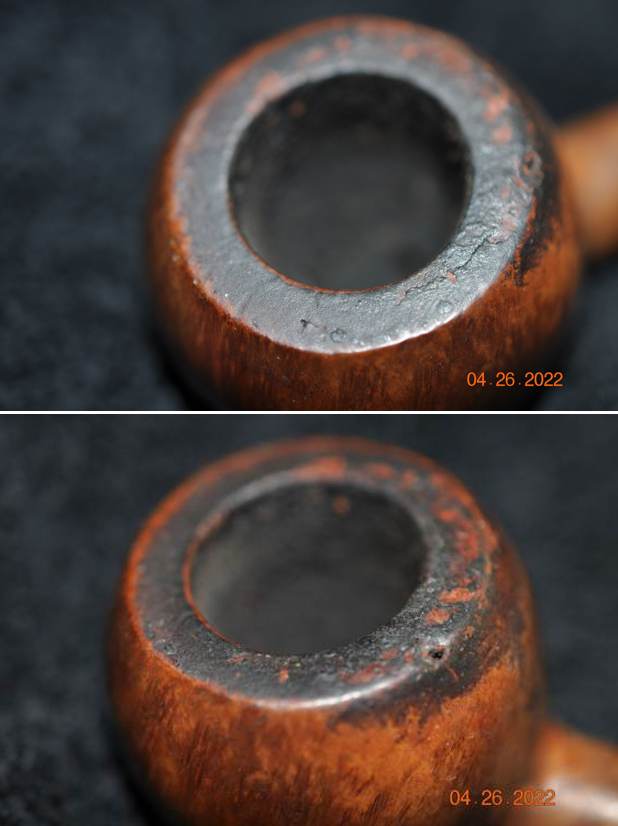
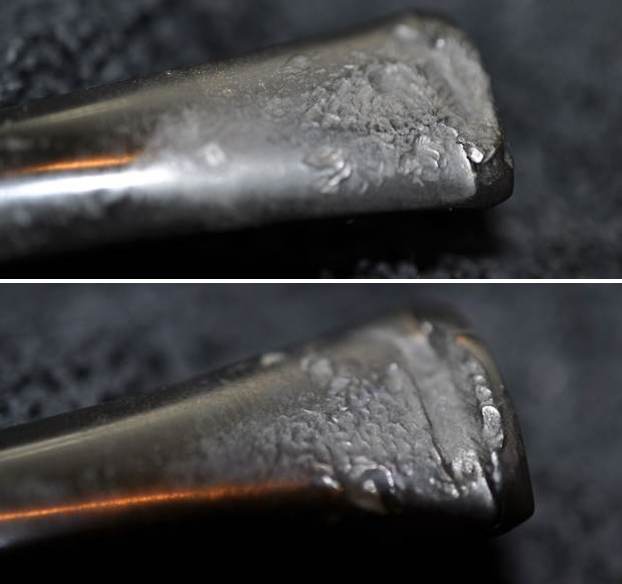
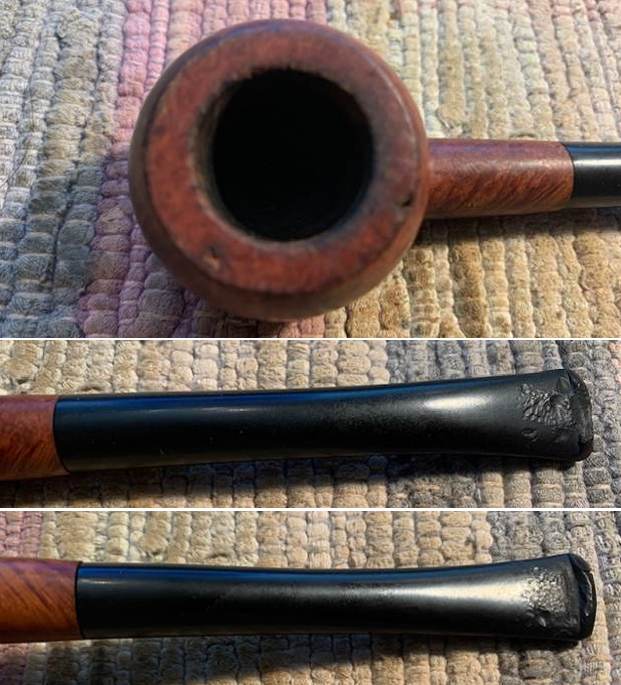
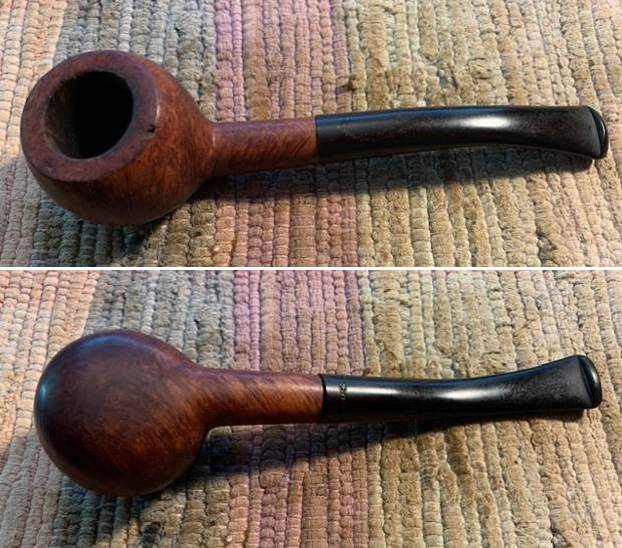
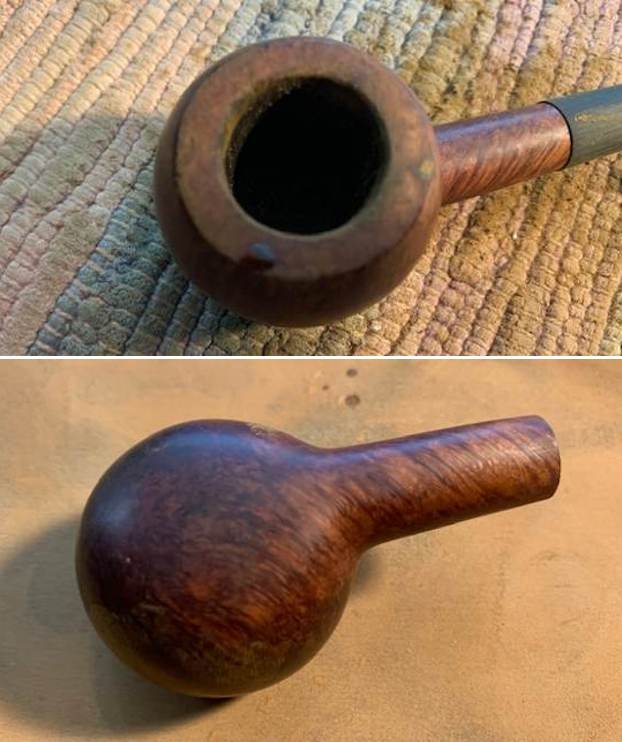
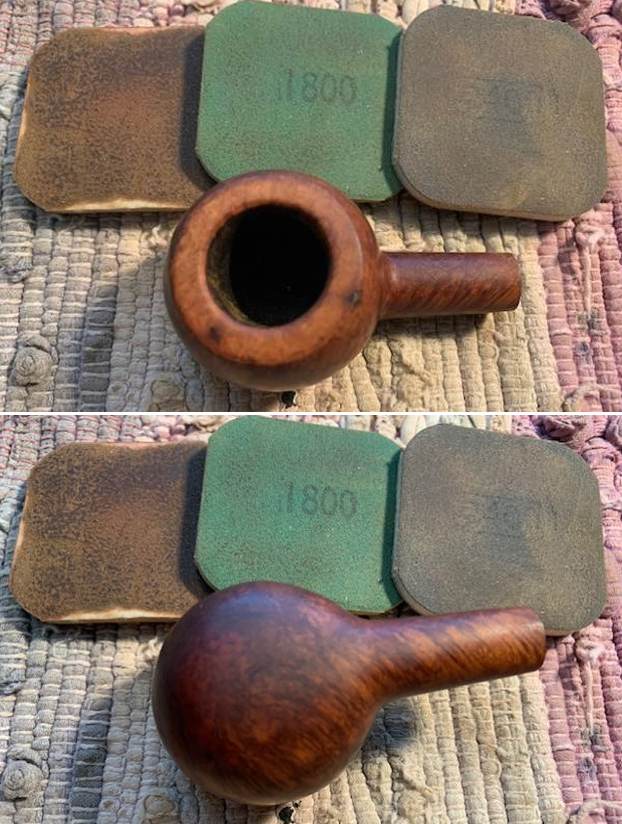
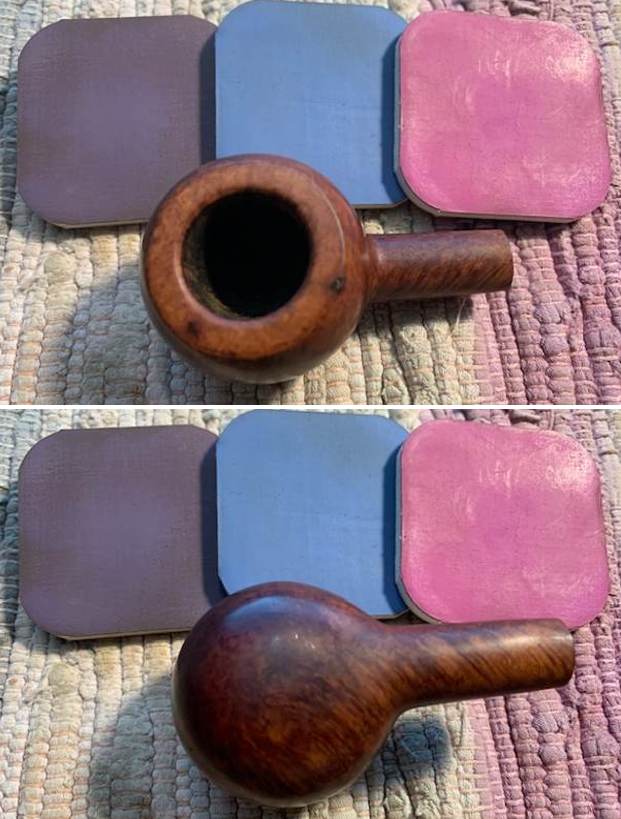
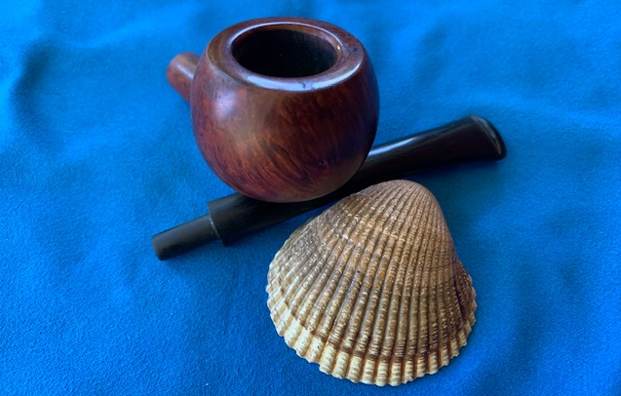
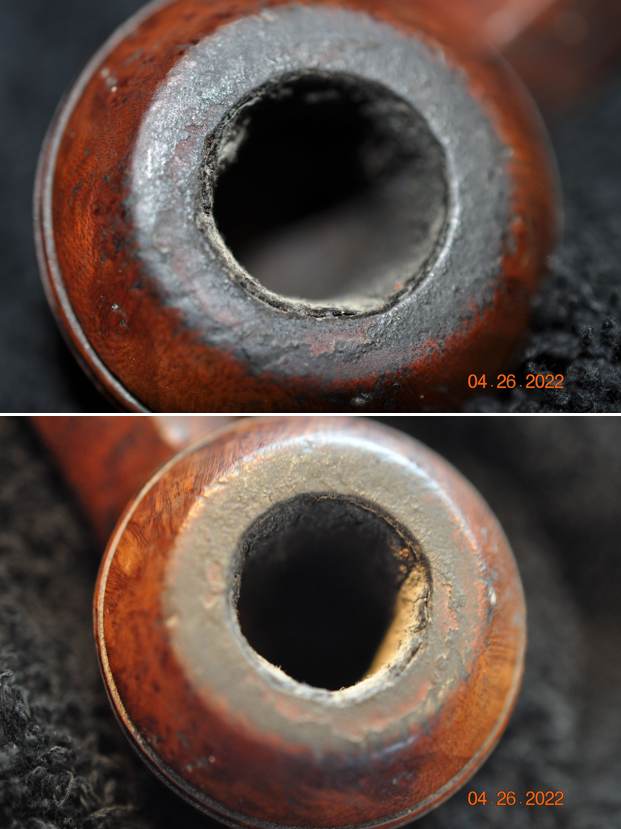
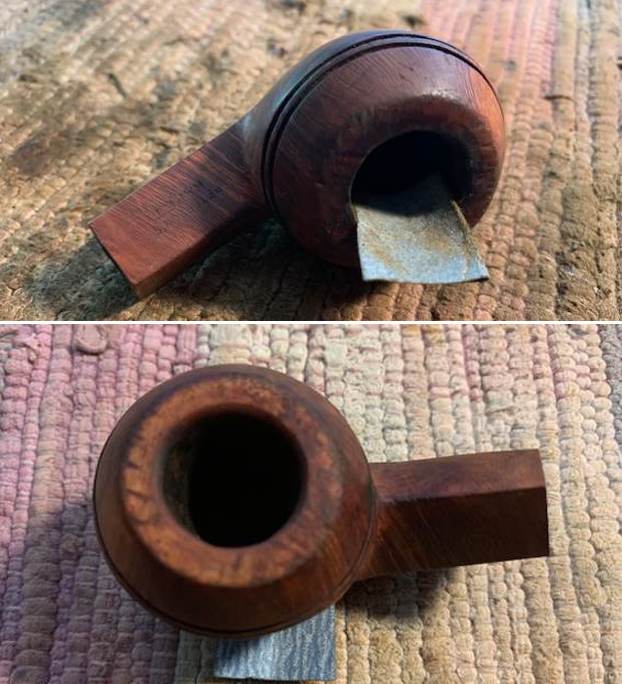
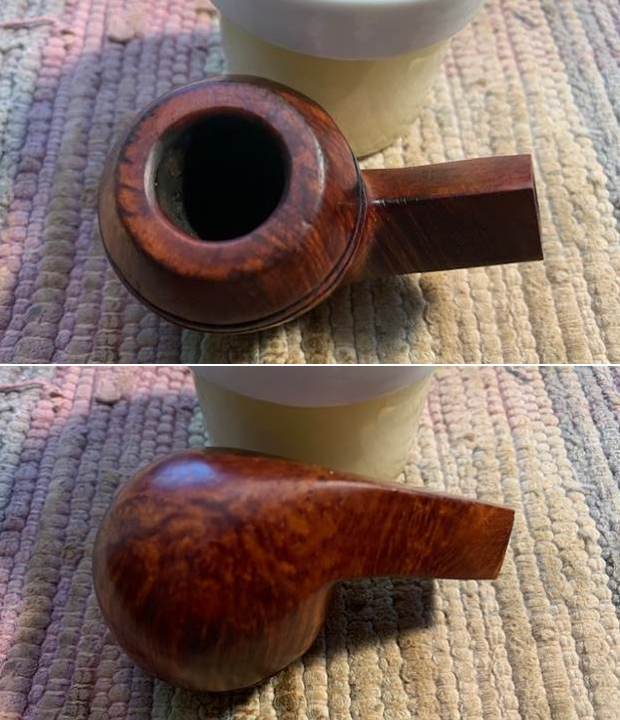
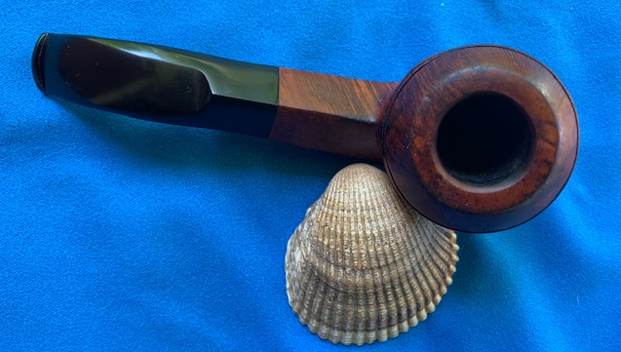
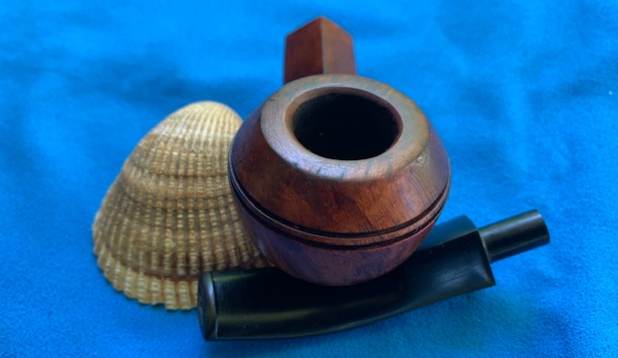
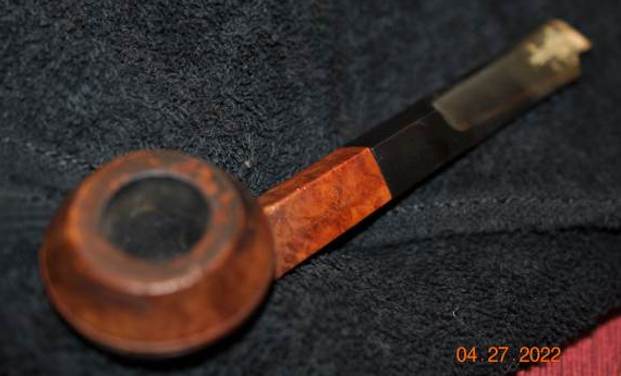
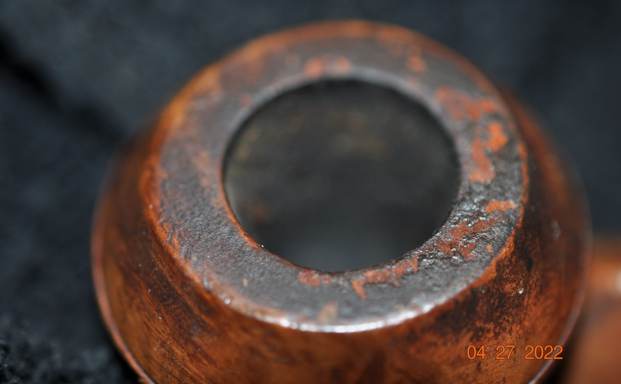
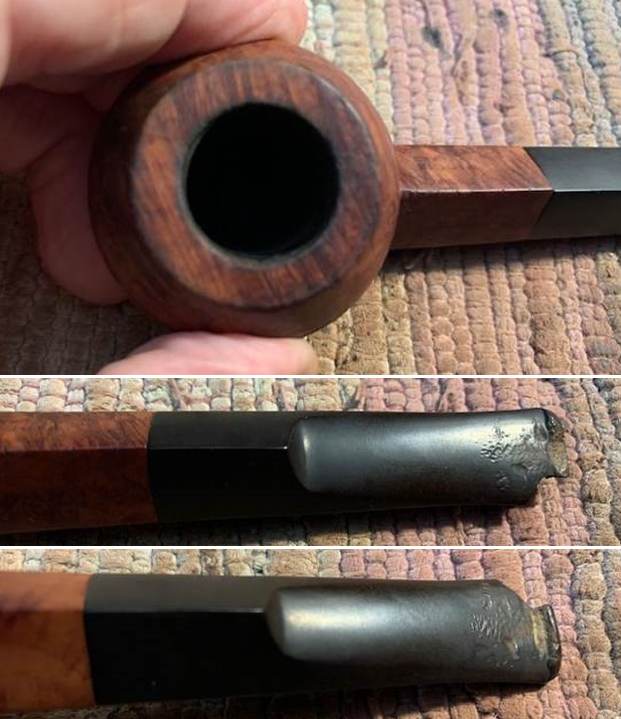
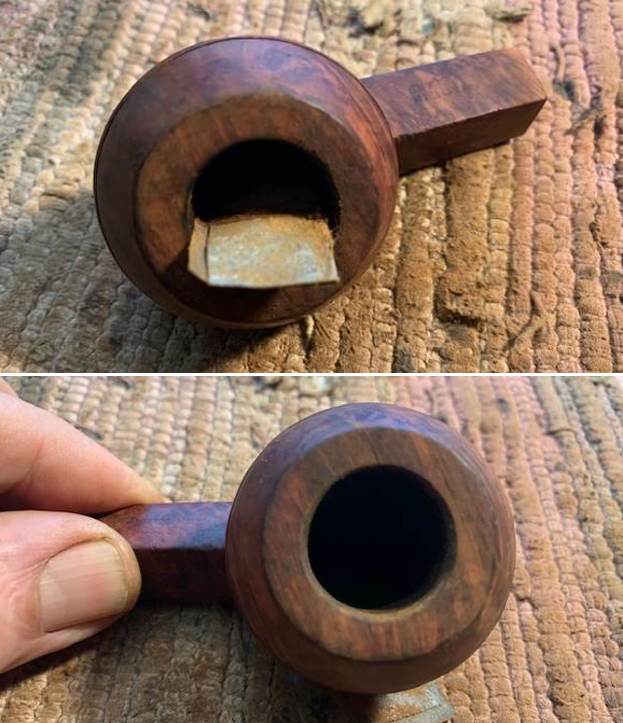
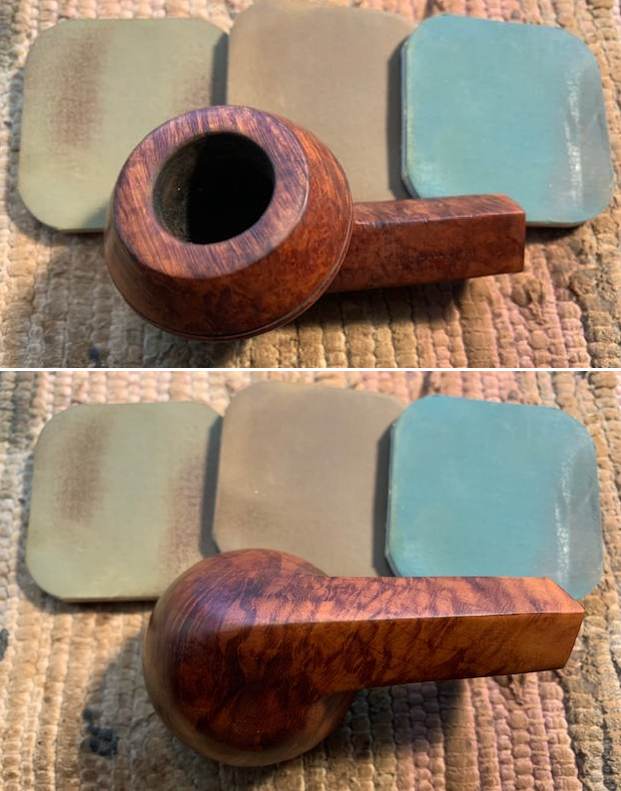
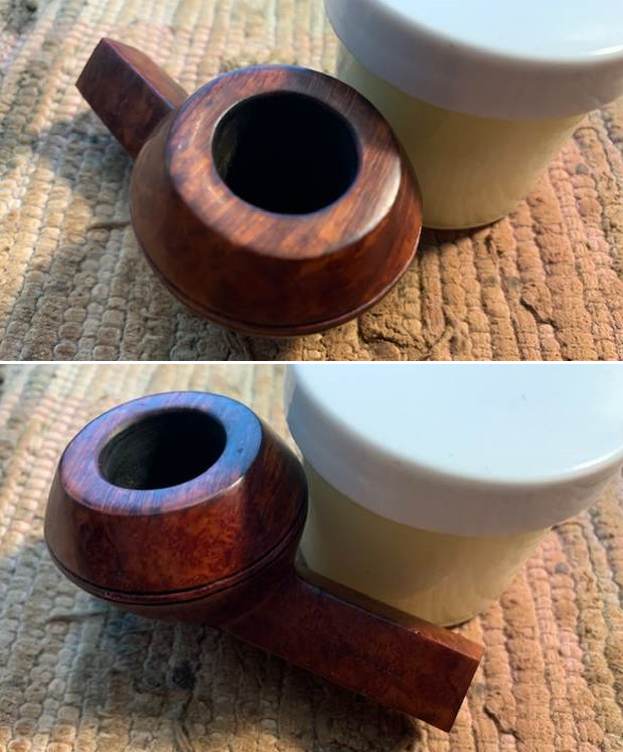
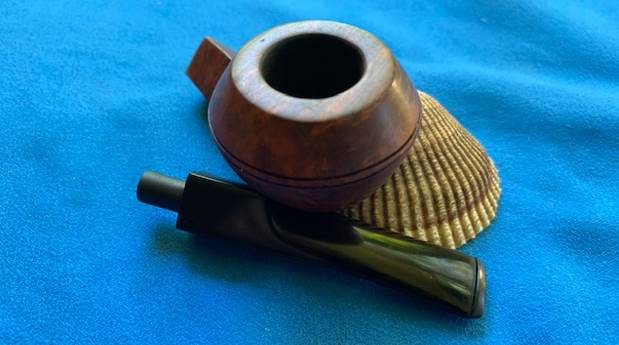
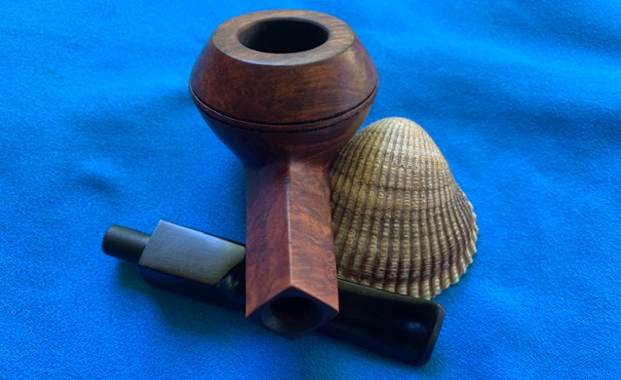
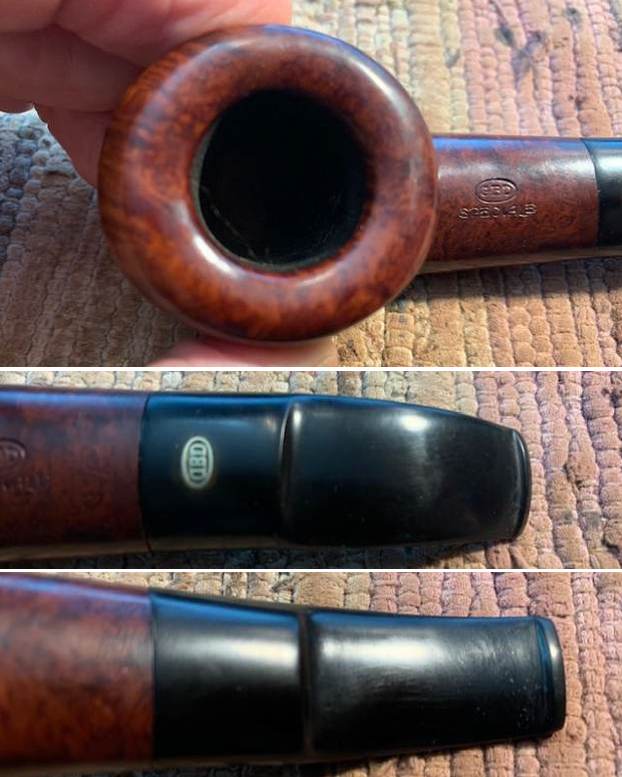
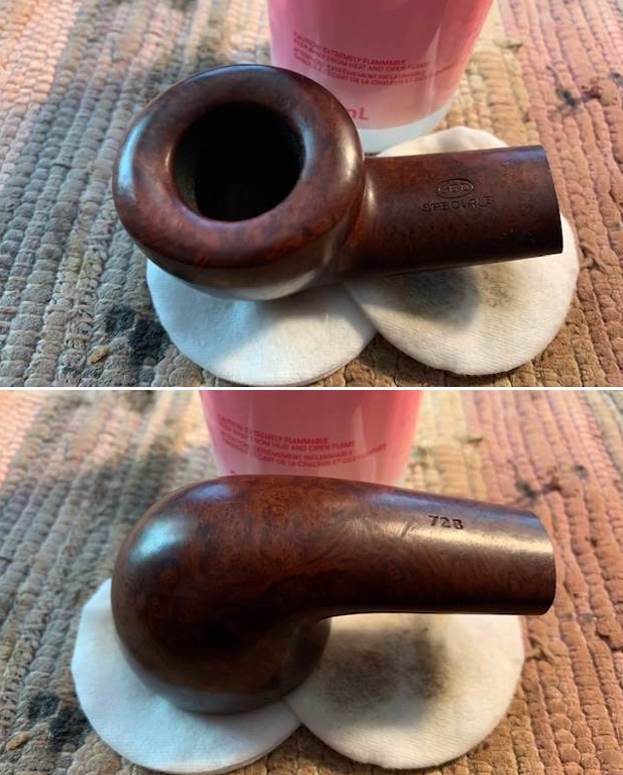
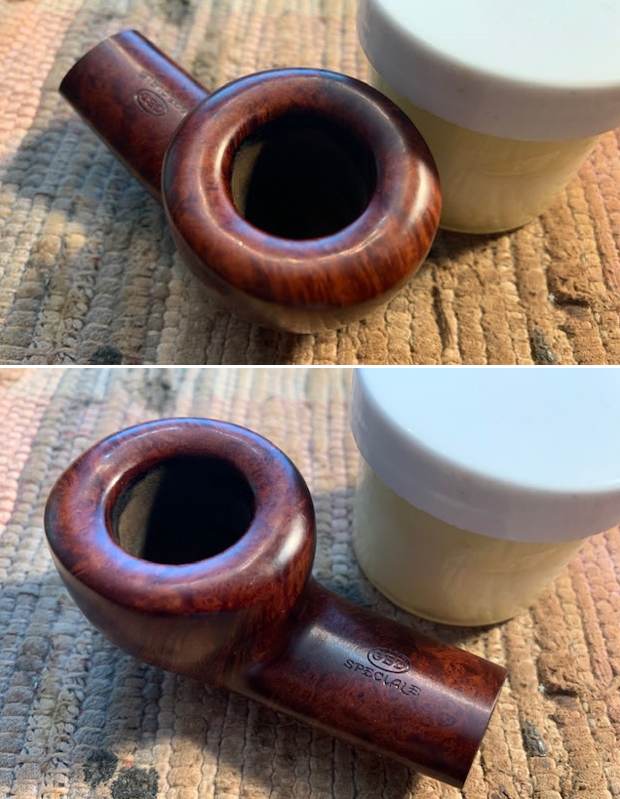
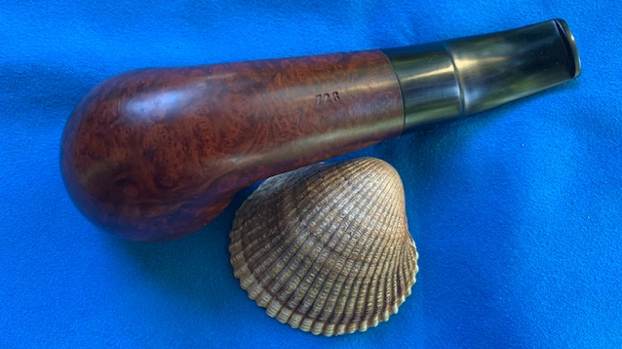
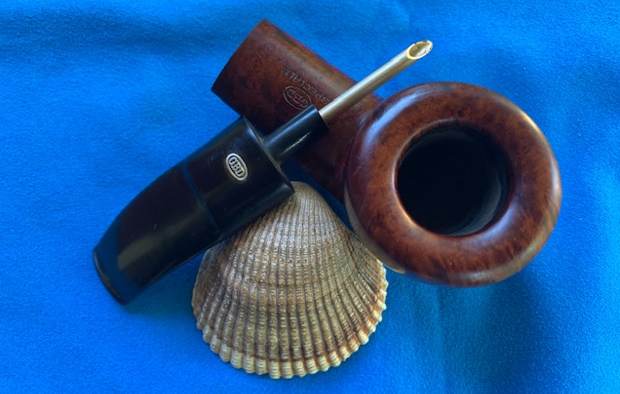
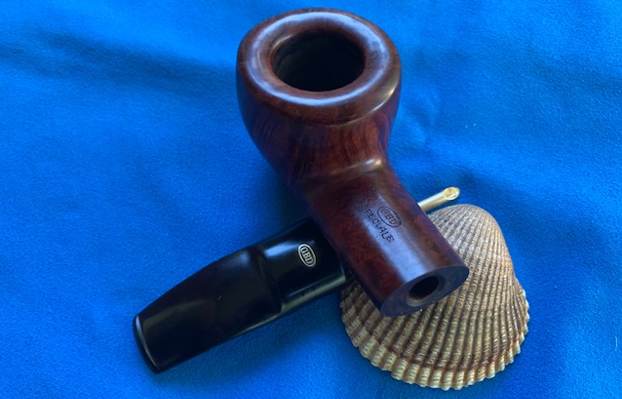
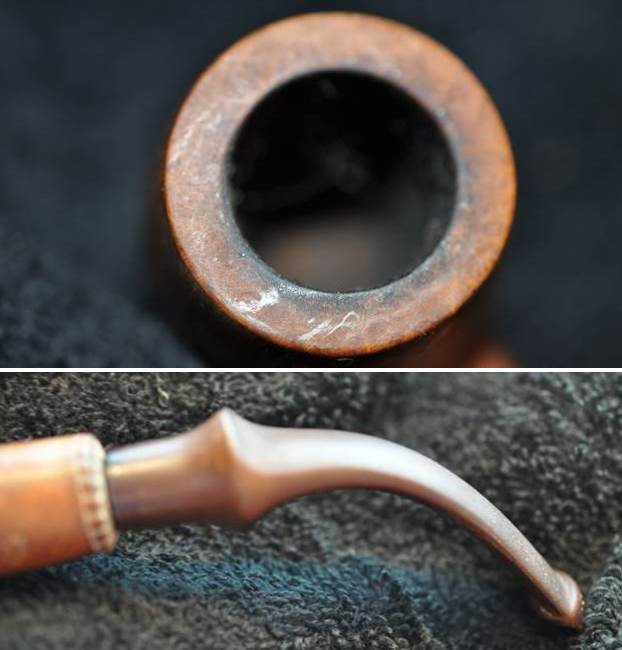
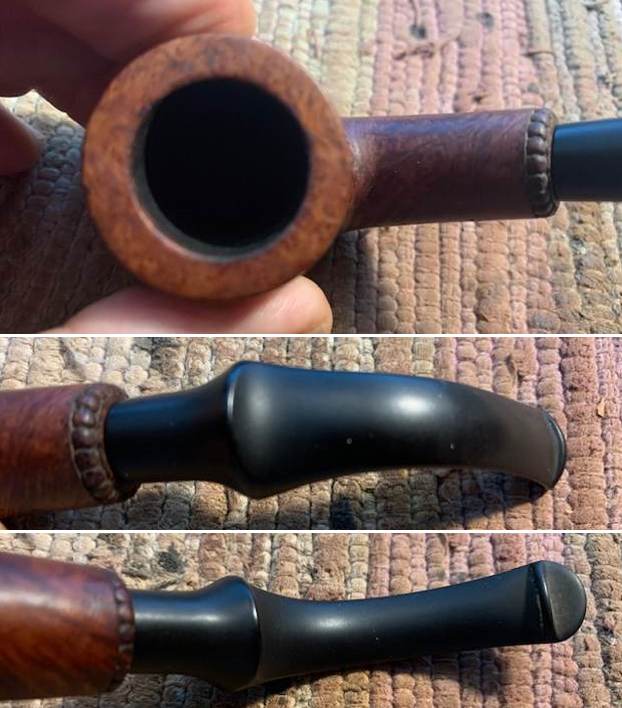
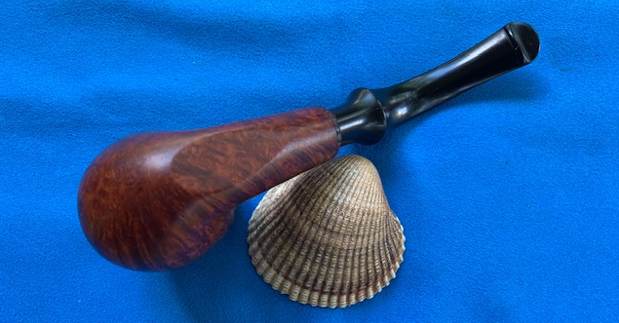
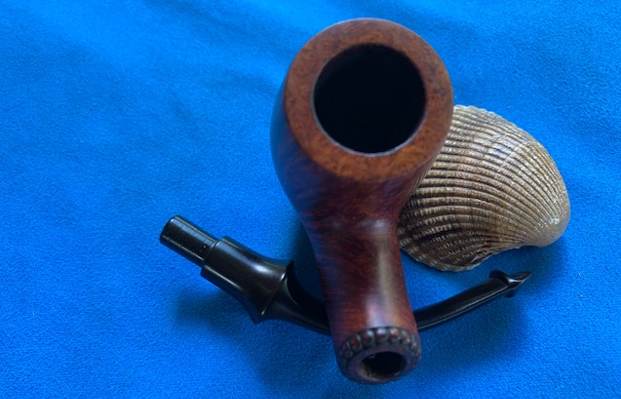
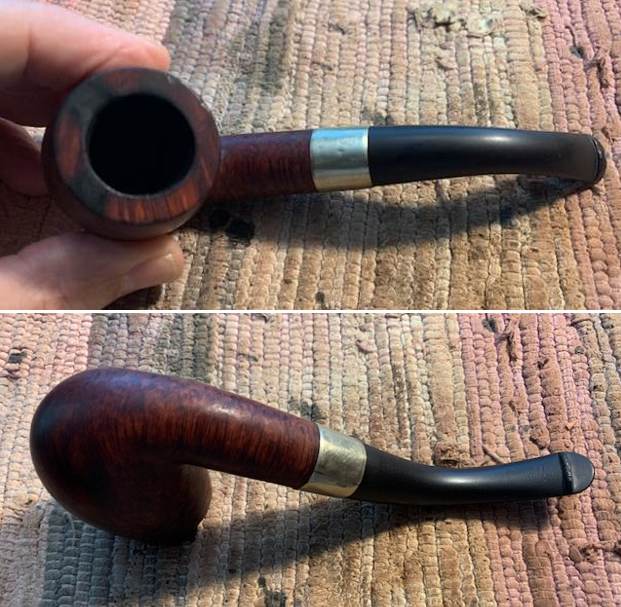
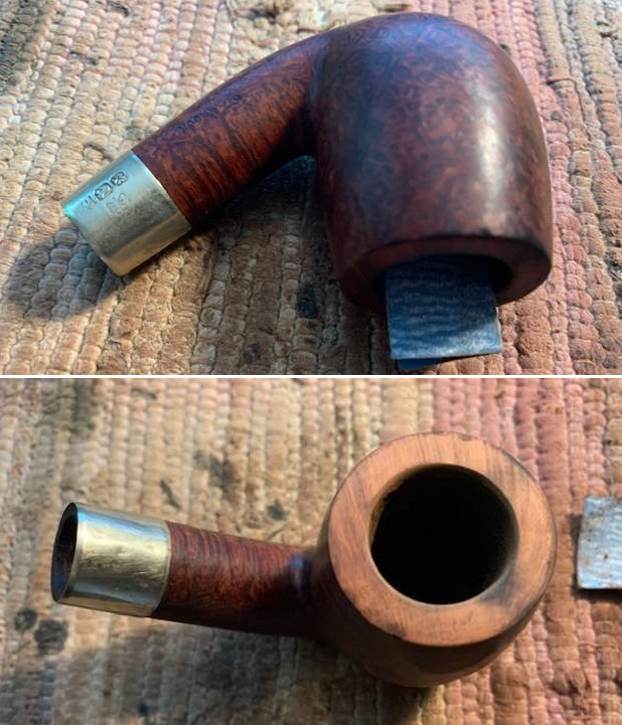
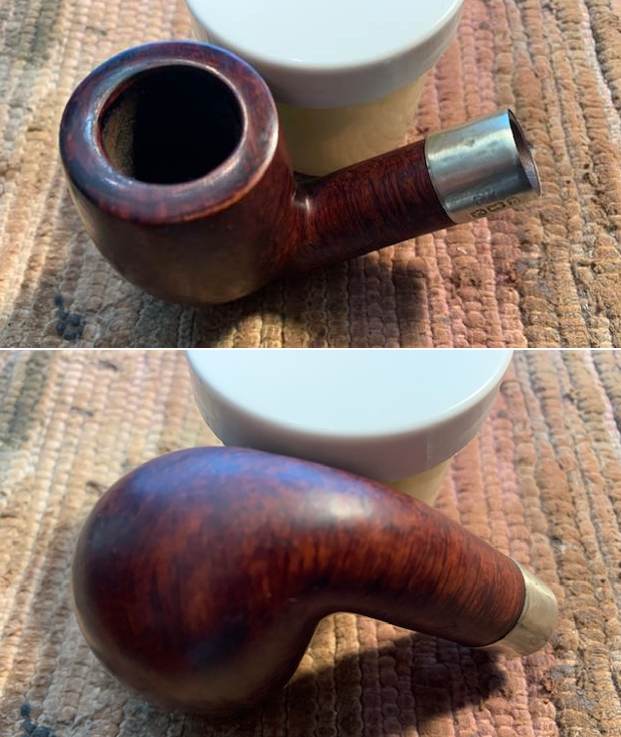
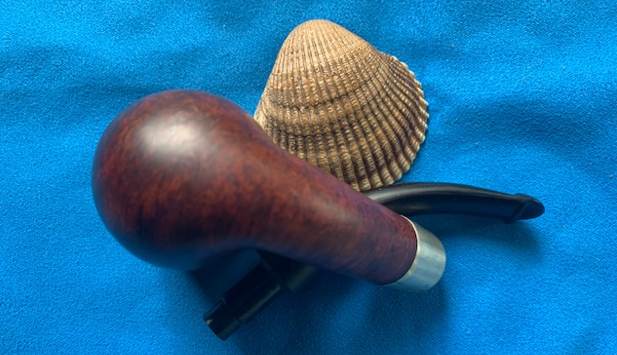
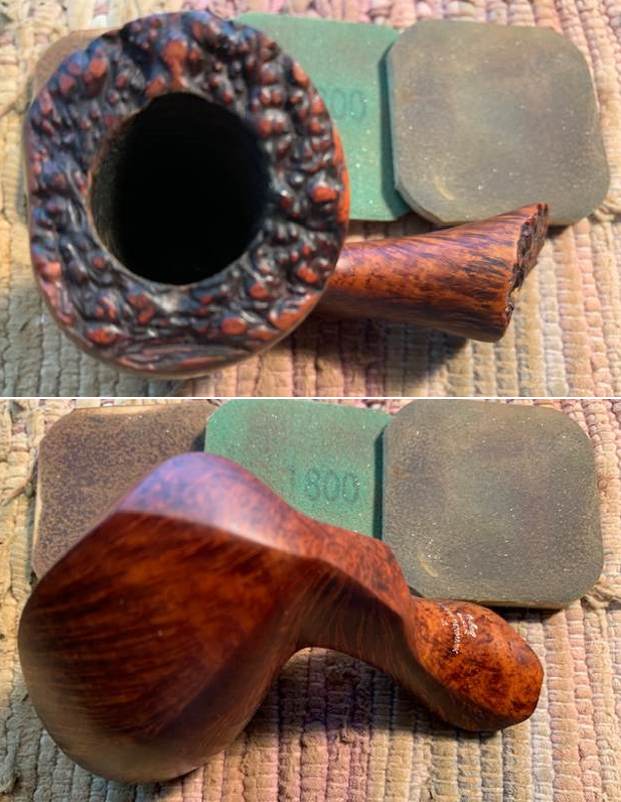
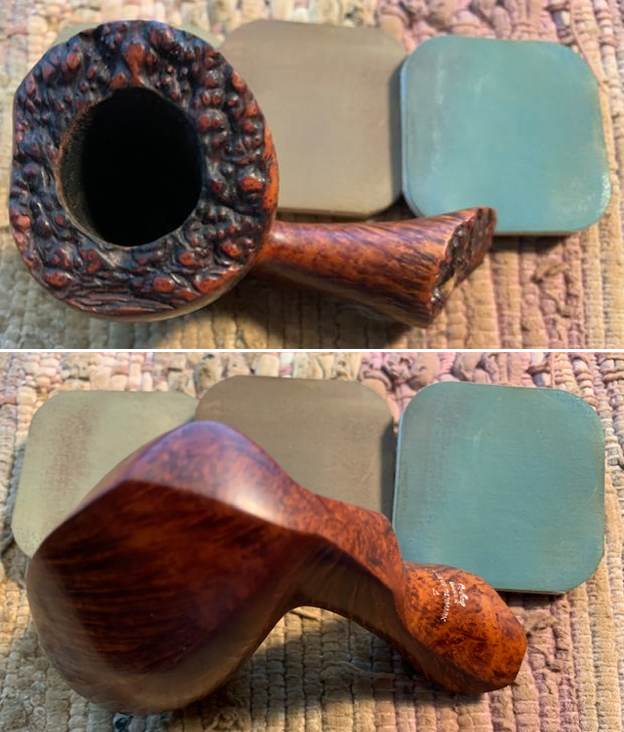
 He took a close up photo of the bowl and rim top to show the condition of the plateau finish. You can see the light lava and dust in the crevices of the plateau. The bowl has a light coat of lava on the walls. The inner edge of the bowl is in excellent condition.
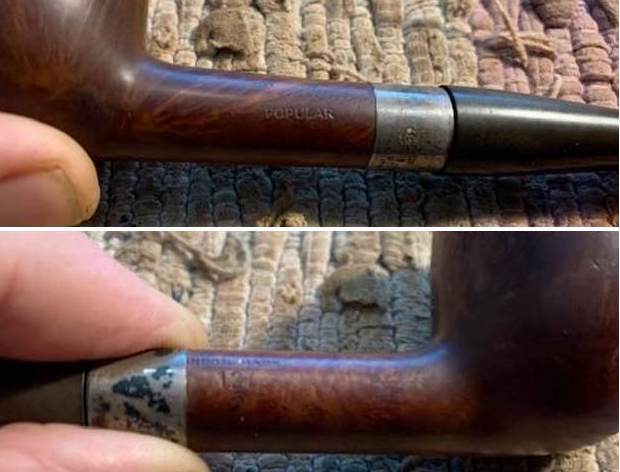
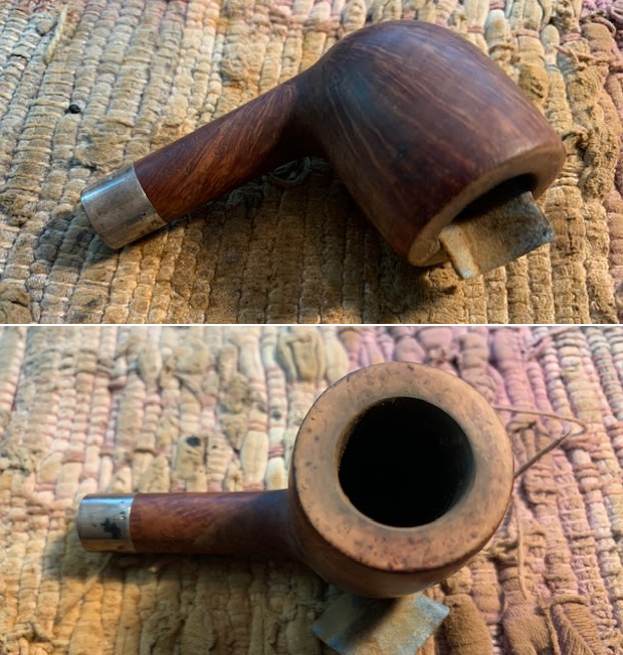
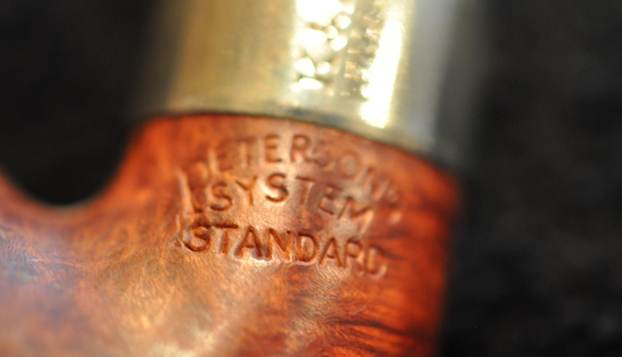
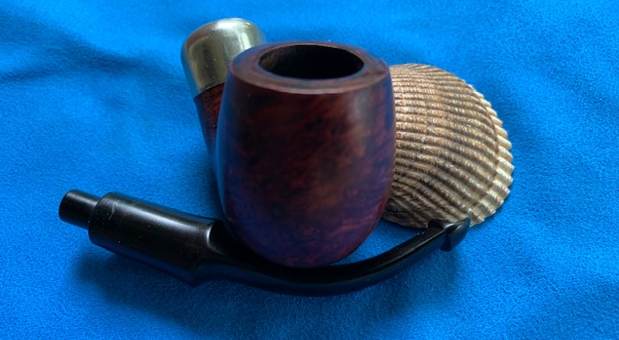
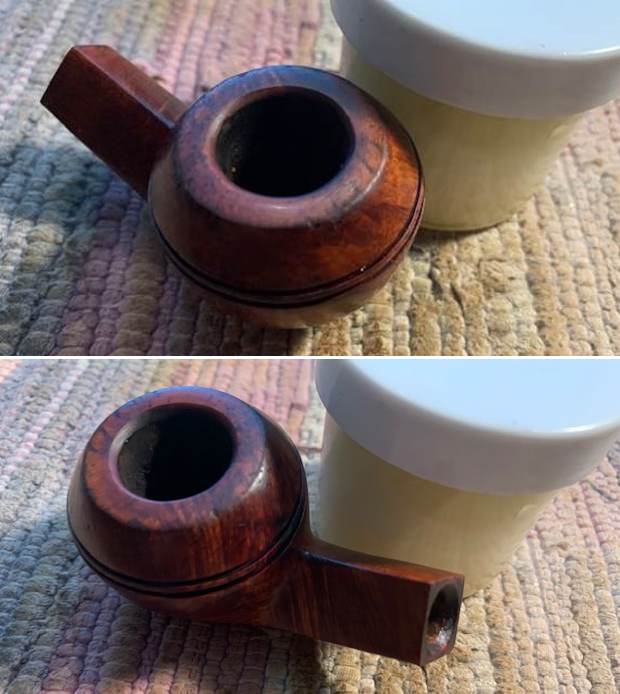
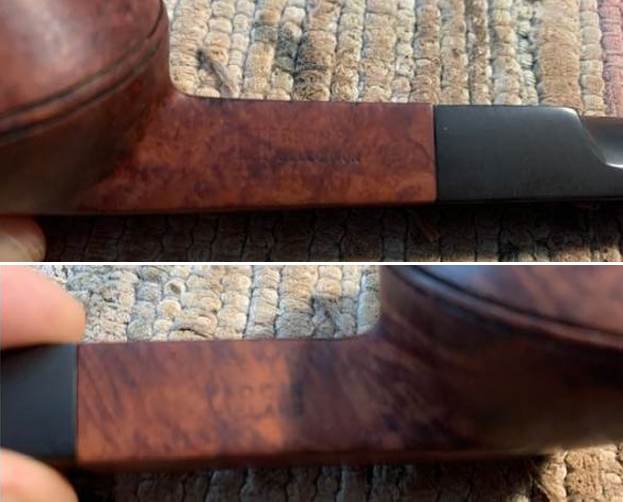
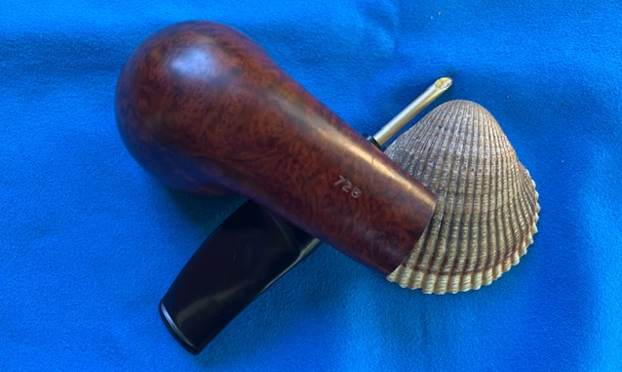
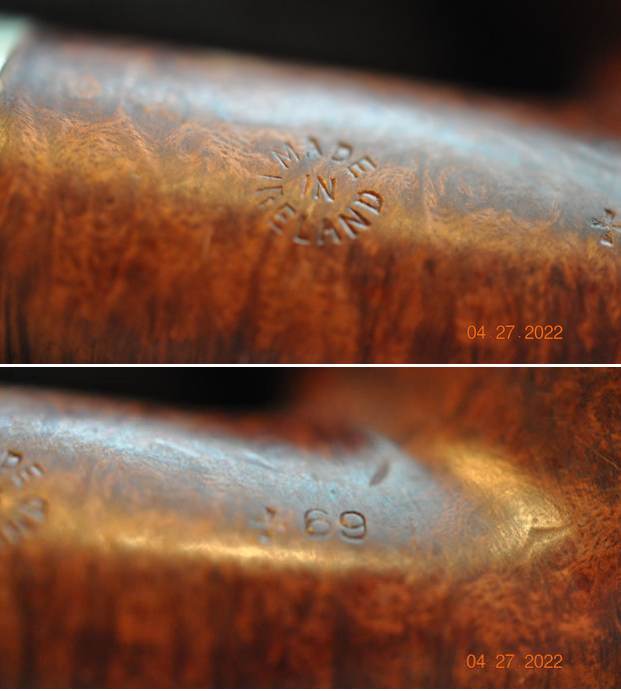
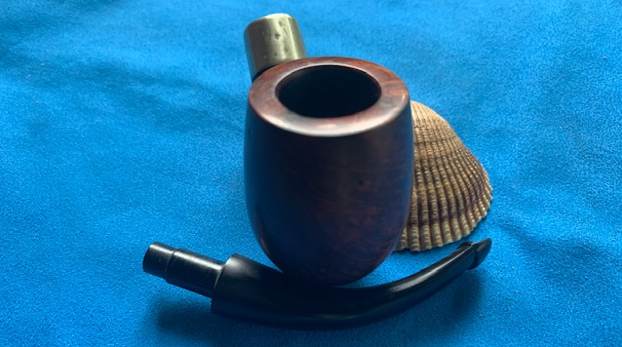
 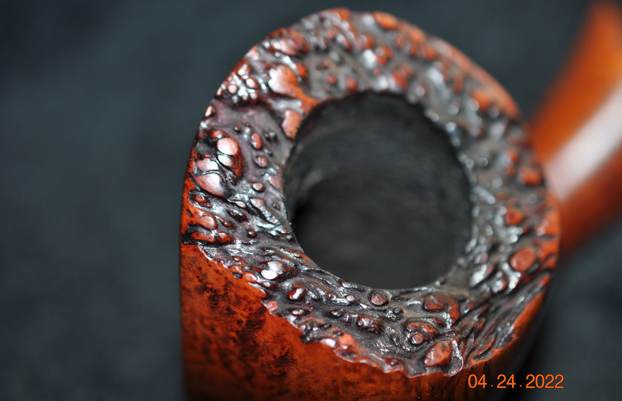 Jeff took a photo of the stamping on the underside of the shank to capture it. It was clear and as noted above.
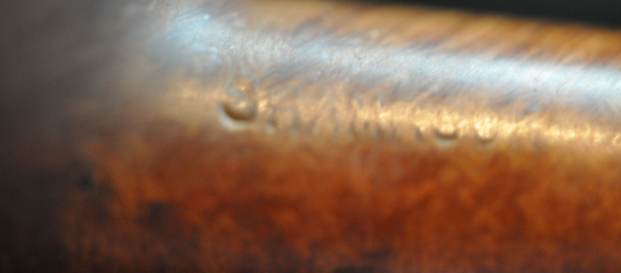
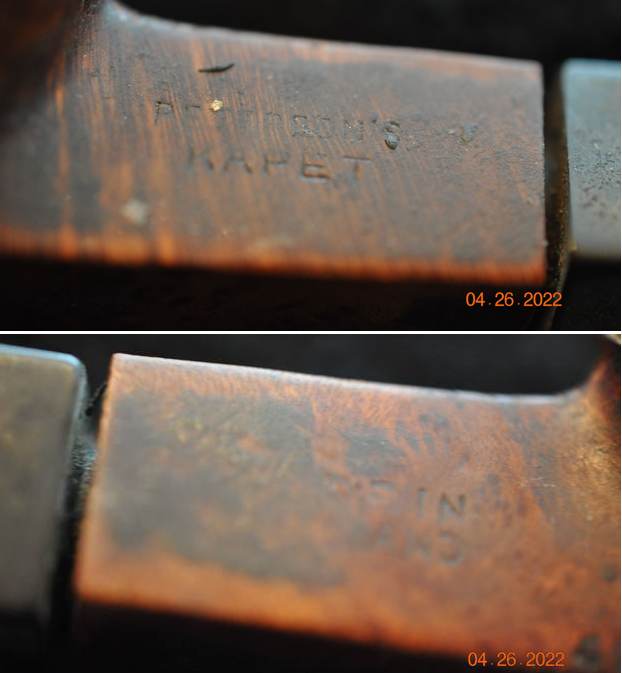
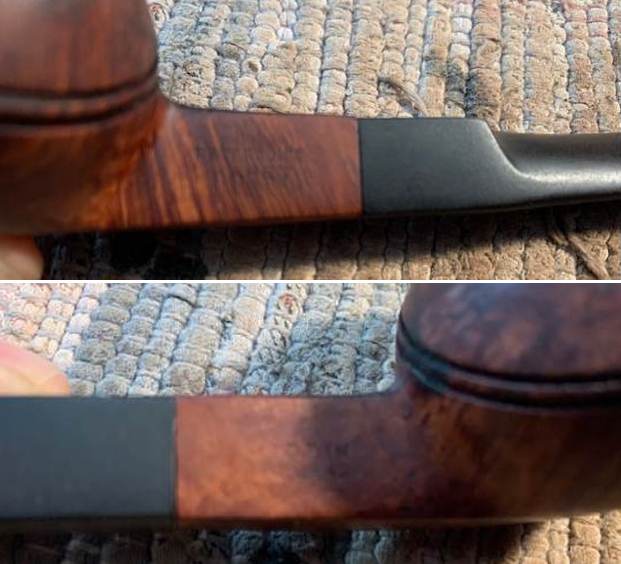
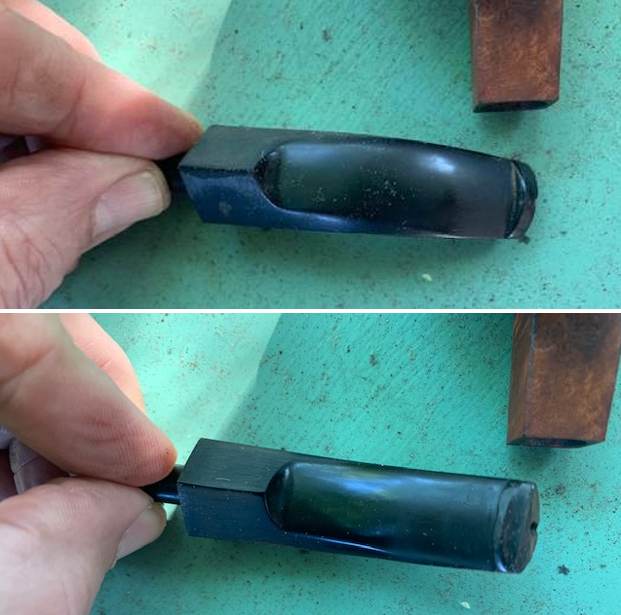
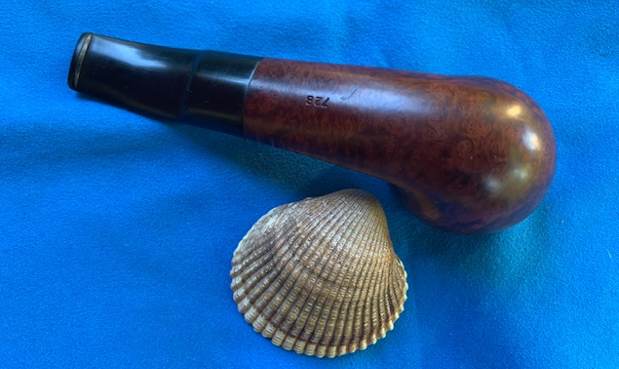
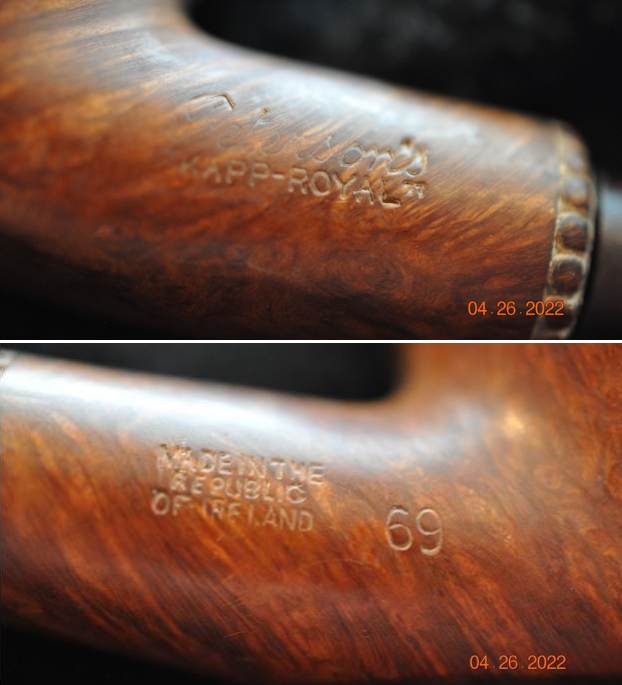
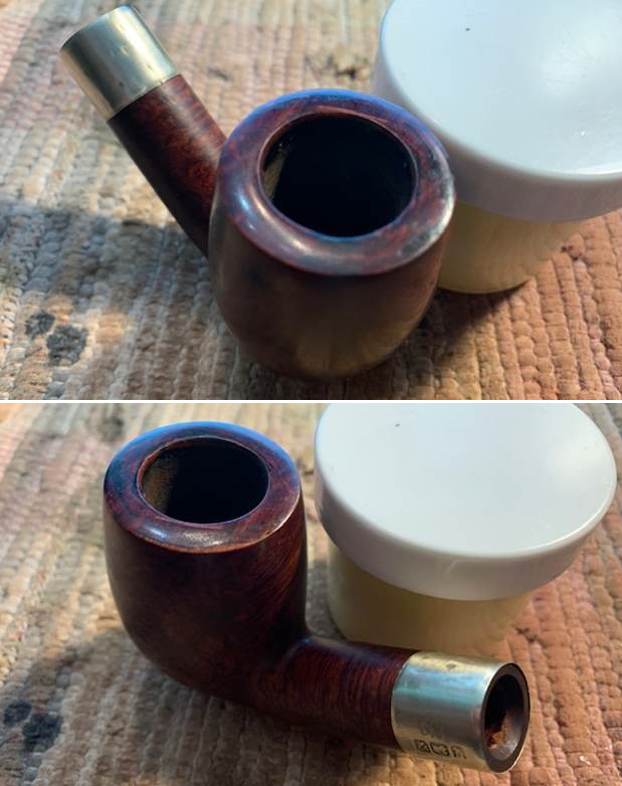
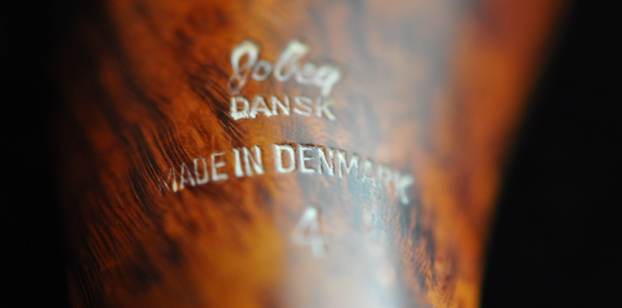
 I wanted to look at who had carved the Jobey Dansk line to confirm my suspicions I had about it. I had a feeling that the pipes were carved by a Danish carver known as Karl Erik. I looked up the Jobey listing on Pipedia (https://pipedia.org/wiki/Jobey) and found the following information. I quote a portion of the article that is pertinent as follows.
English – American – Danish – French… Information about the brand Jobey are only to be found in form of smithereens… Probably established in England around 1920(?) the brand hiked into the USA later. In the course of time owner, distributor and manufacturer changed repeatedly. As far as known:
George Yale Pipes & Tobacco, New York (1942)
Norwalk Pipe Co., New York (1949)
Arlington Briar Pipes Corp., Brooklyn (when?)
Hollco International, New York (1969).
Weber Pipe Co., Jersey City, NJ (1970’s)
The Tinder Box, (1970’s – 80’s).
Throughout decades Jobey pipes were mainly sold in the USA, Canada and England but remained almost unknown in continental Europe. The bulk of Jobeys was predominantly made according to classical patterns and mainly in the lower to middle price range. The predominant judgment of the pipe smokers reads: “A well-made pipe for the price.” So there is hardly anything very special or exciting about Jobey pipes although a flyer from ca. 1970 assures: “The briar root Jobey insists upon for its peer of pipes is left untouched to grow, harden and sweeten for 100 years. […]Jobey uses only the heart of this century old briar and only one out of 500 bowls turned measures up to the rigid Jobey specifications.” 99.80% of cull… that makes the layman marveling!
Yet then there are partially really exciting Freehands mainly in the seventies, that Jobey – Weber owned back then – bought from Danish pipe genius Karl Erik Ottendahl. These pipes were offered as Jobey Dansk – ’70’s pure! (BTW waning sales caused Ottendahl to discontinue exports to the United States in 1987.)
From that information, my suspicions were confirmed. The pipe that I was working on was carved by Karl Erik Ottendahl. There were some similarities to the Karl Erik pipes that I have worked on in the past. The dating of the pipe line in the 70s fits well with the pipe I have in hand.
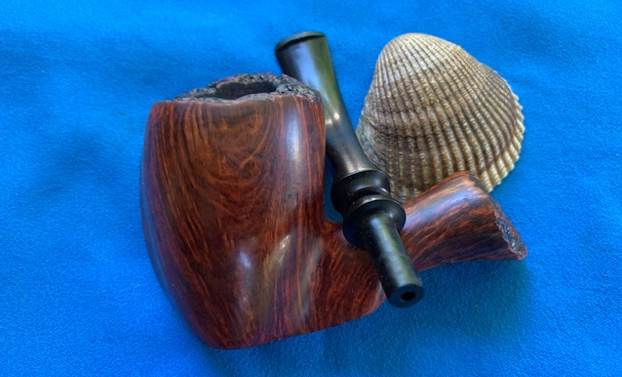
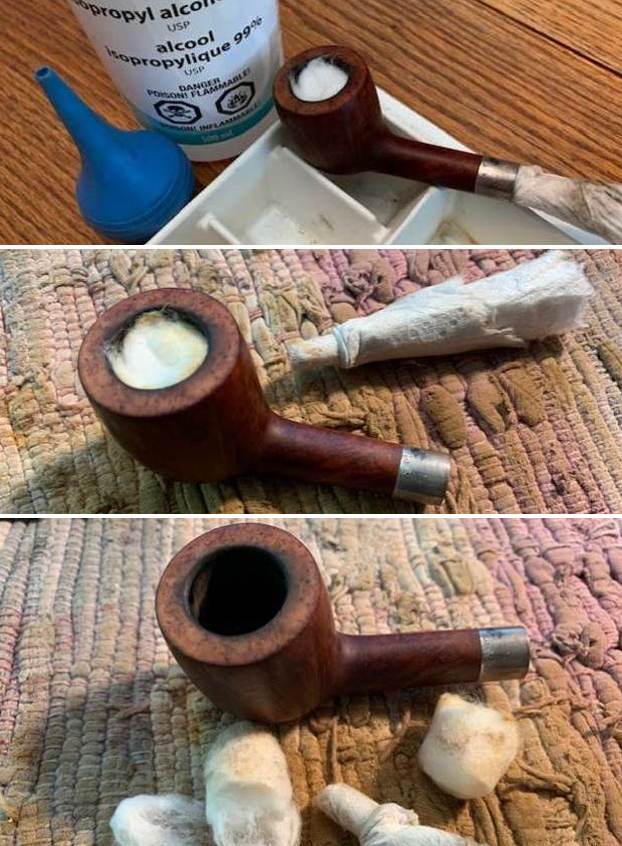
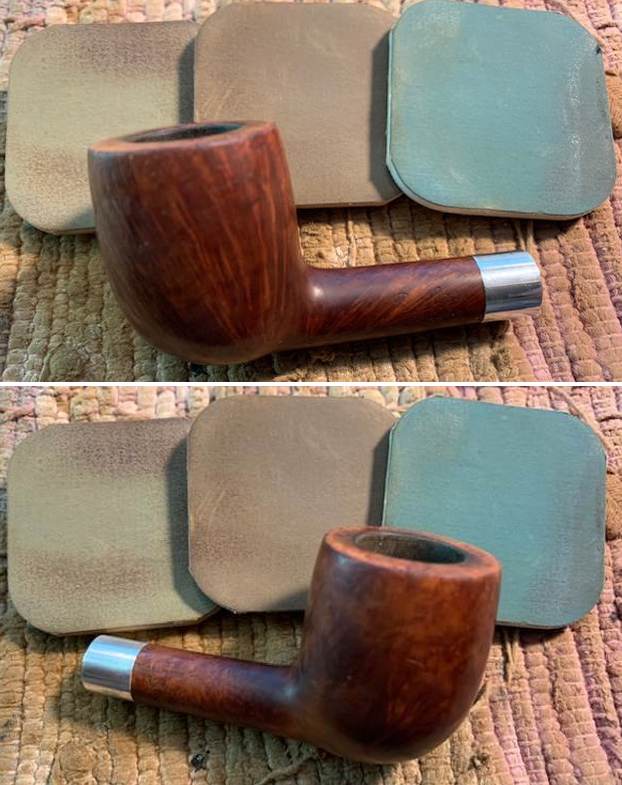
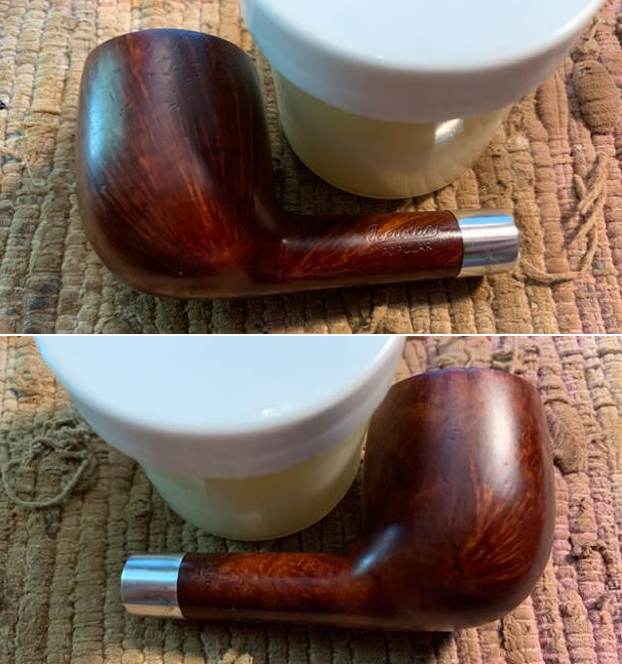
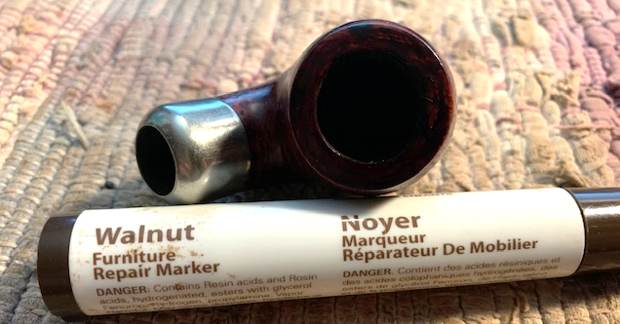
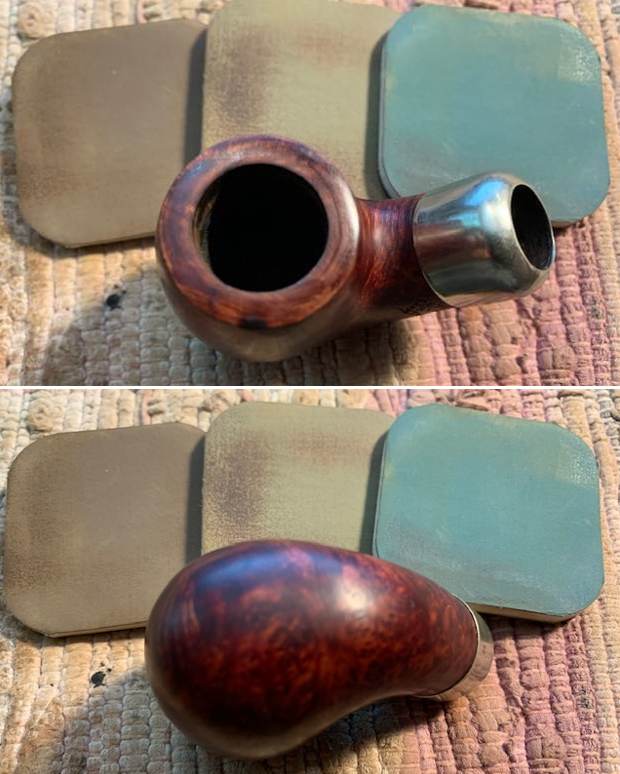
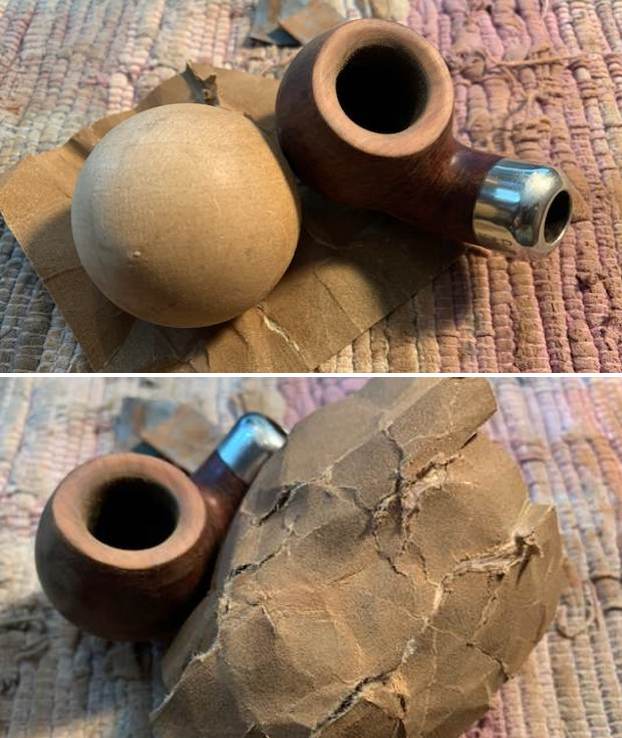
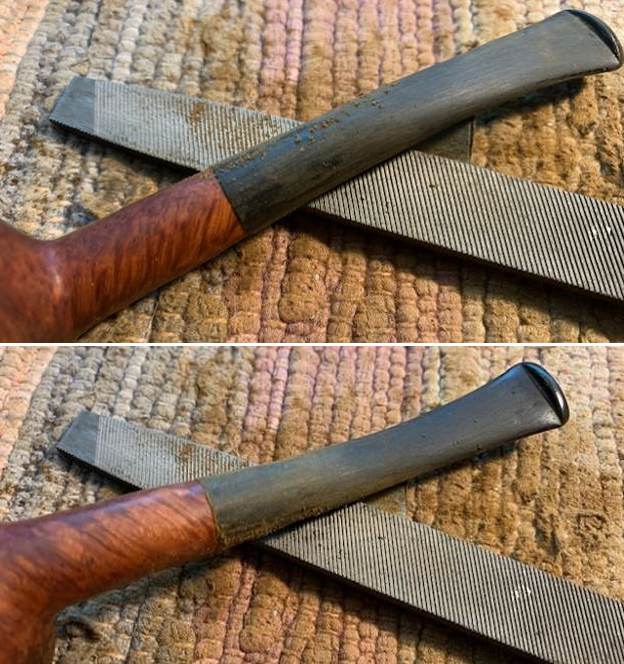
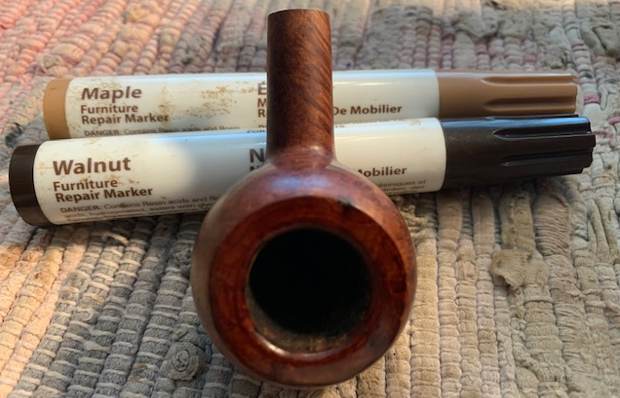
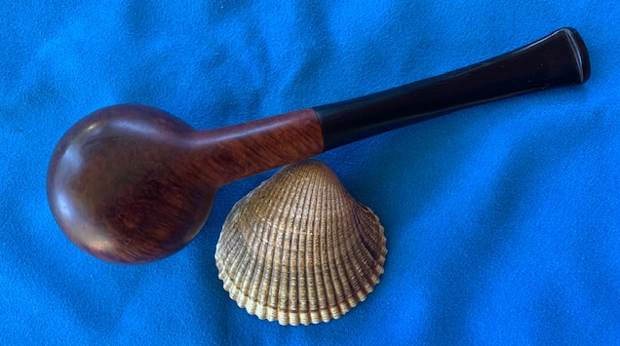
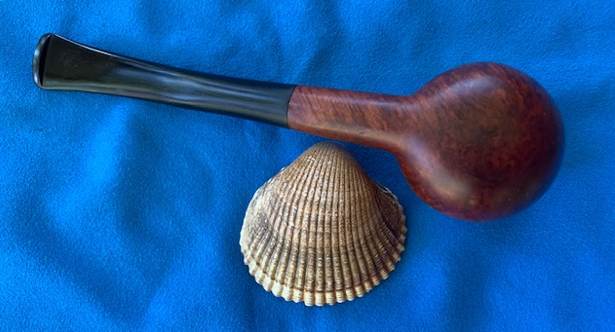
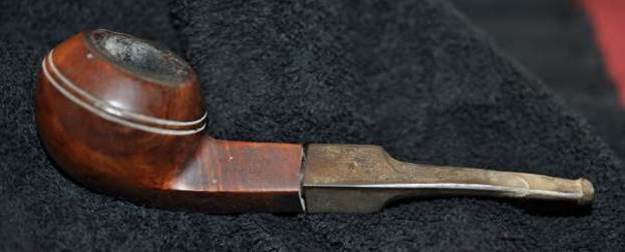
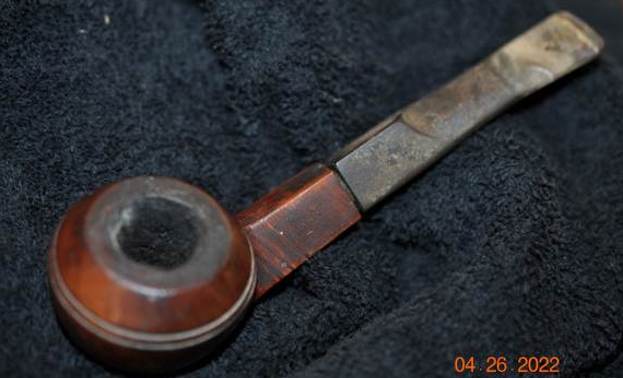
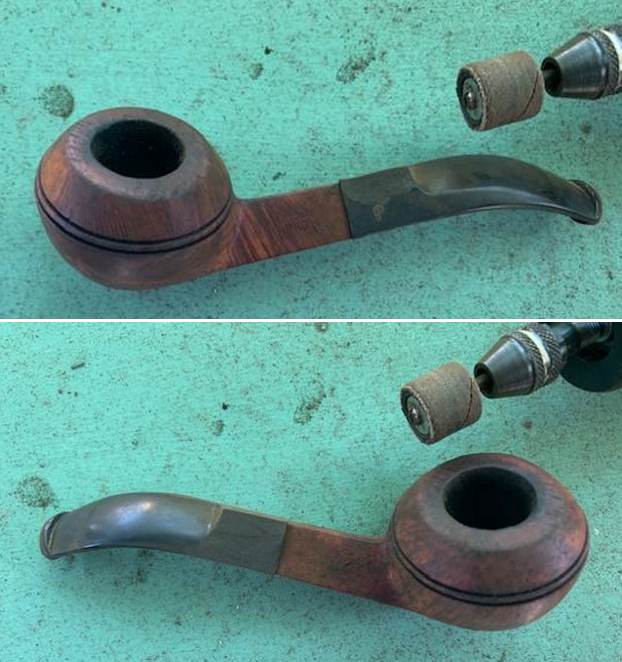
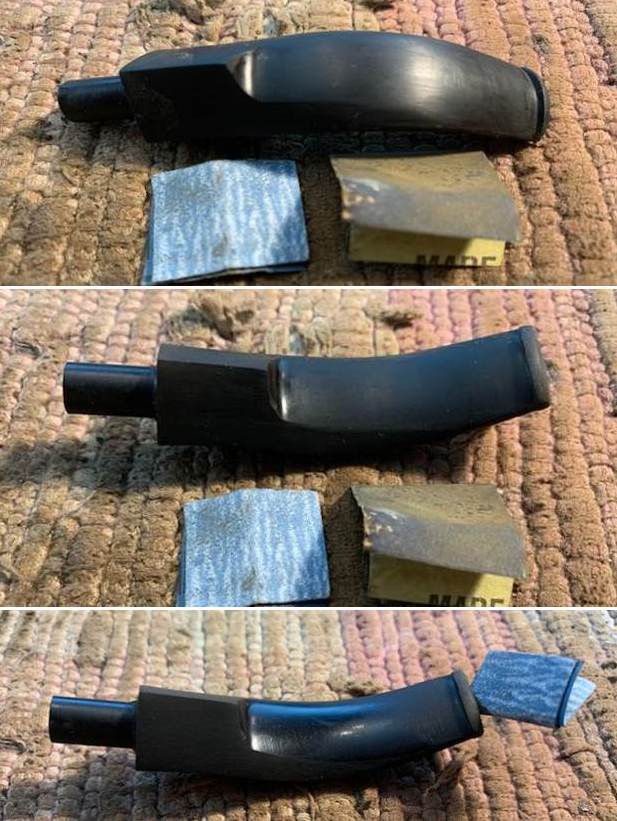
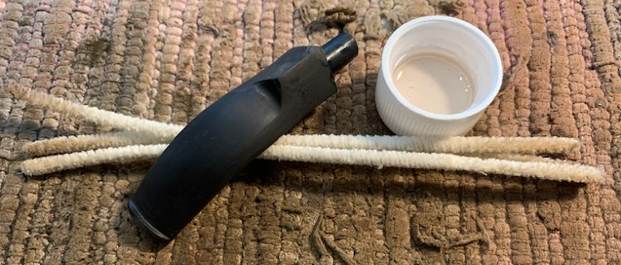
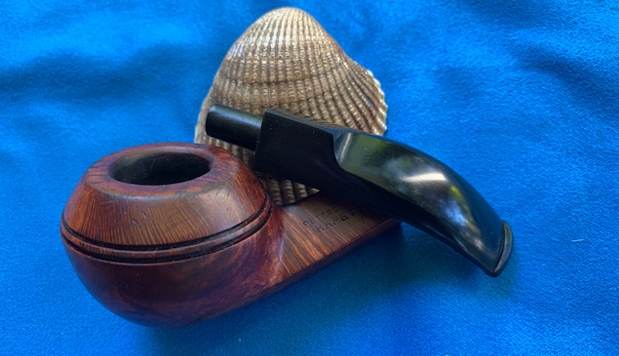
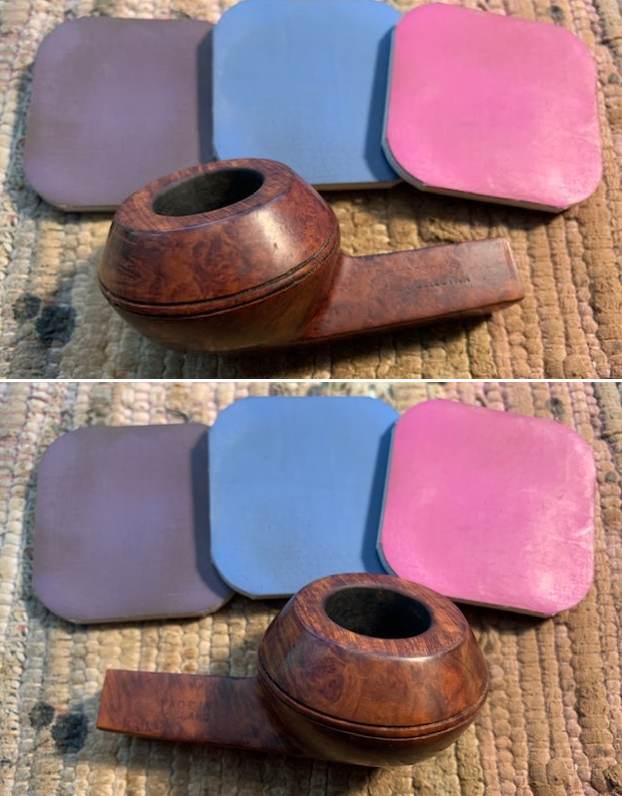
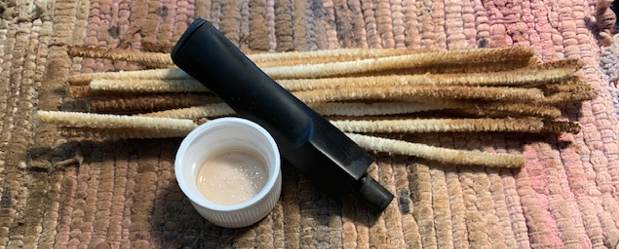
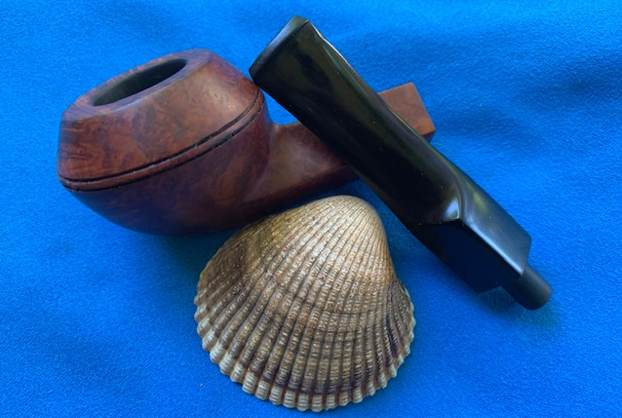
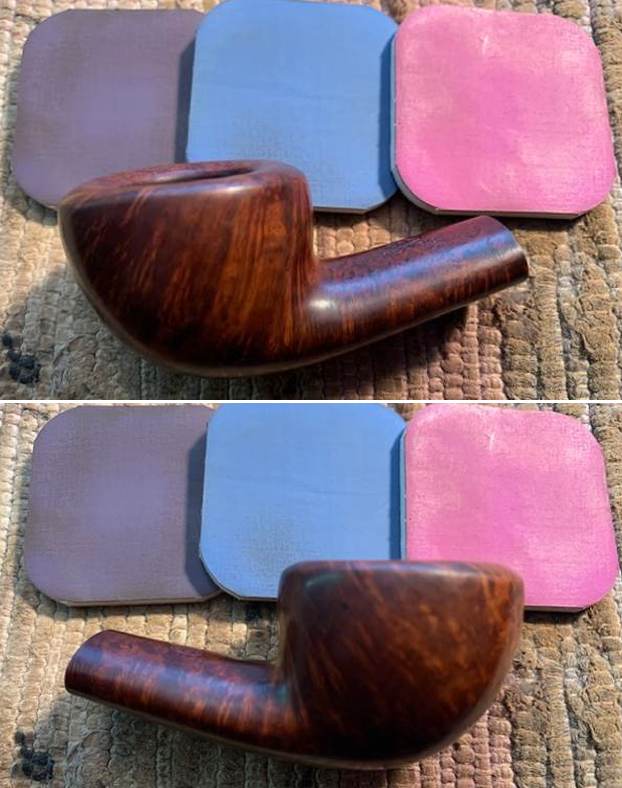
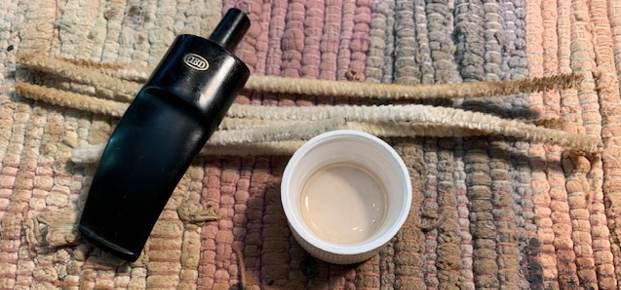
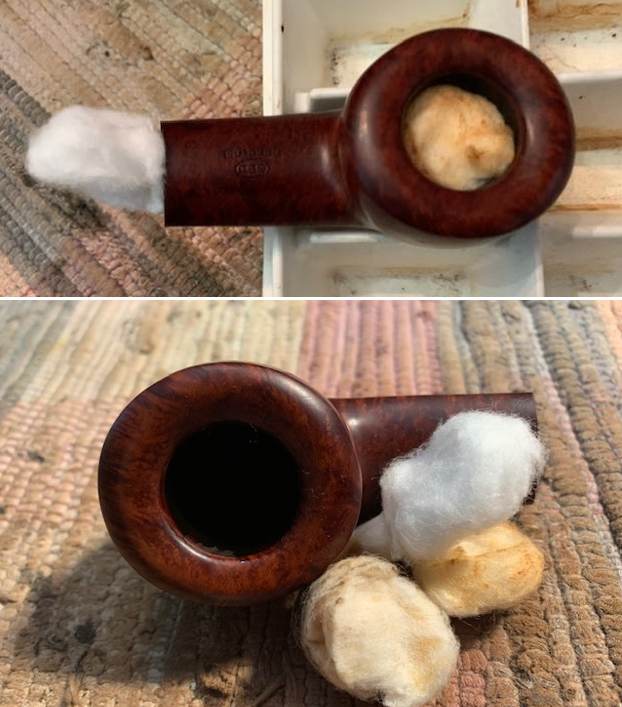
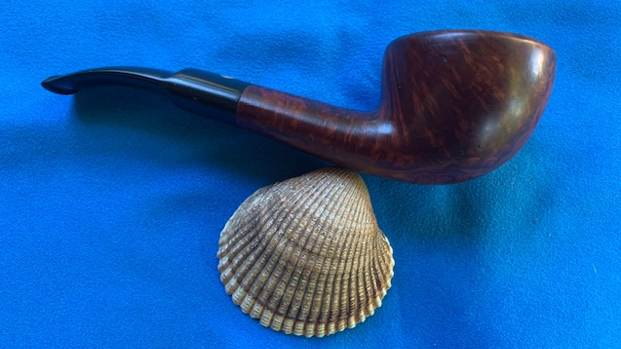
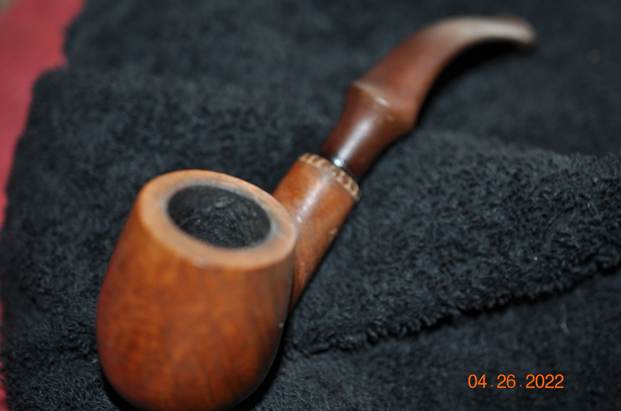
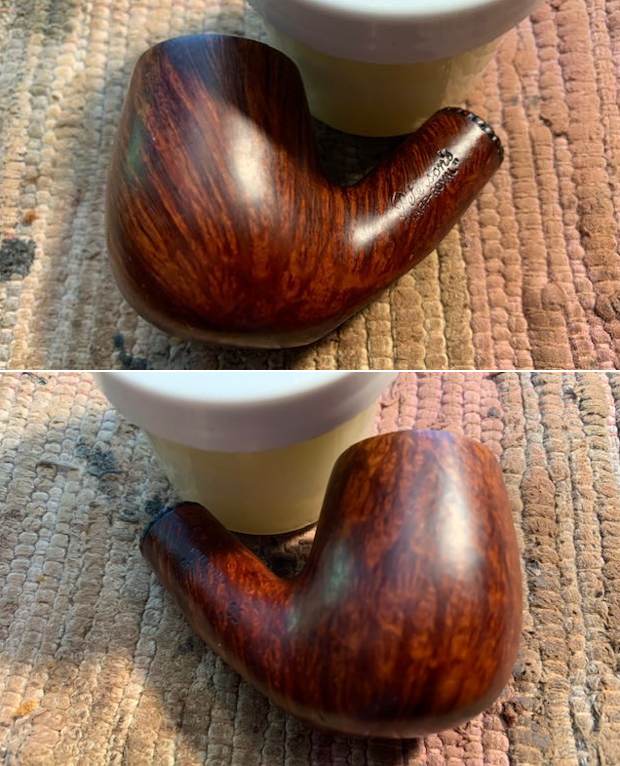
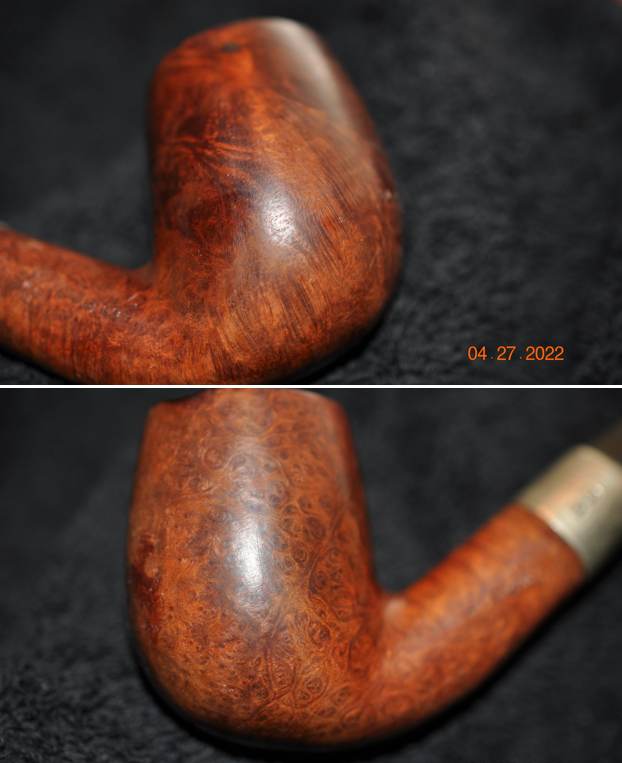
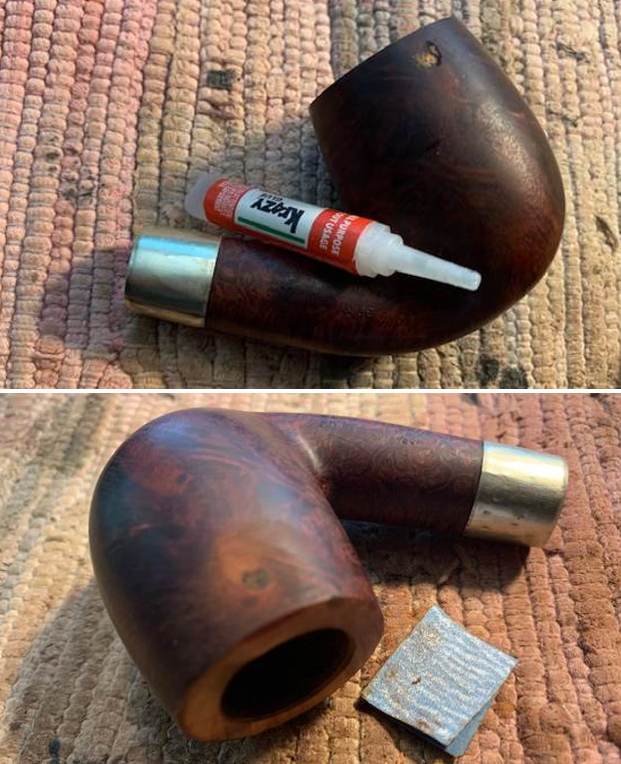
Now that I was reminded about the Karl Erik Ottendahl connection it was time to work on the pipe on my end. When I received it Jeff had once again done an amazing job cleaning the pipe. He reamed it with a PipNet pipe reamer and got rid of the cake. He cleaned up the reaming with a Savinelli Fitsall Pipe Knife so that we could see the walls of the bowl and assess for damage. He cleaned the internals of the shank and stem with alcohol, pipe cleaners and alcohol. He scrubbed the exterior with undiluted Murphy’s Oil Soap and a tooth brush. He rinsed the pipe under warm water. He dried it off with a cloth and then let it air dry. I took pictures of the pipe this morning to show how it looked before I started my work. 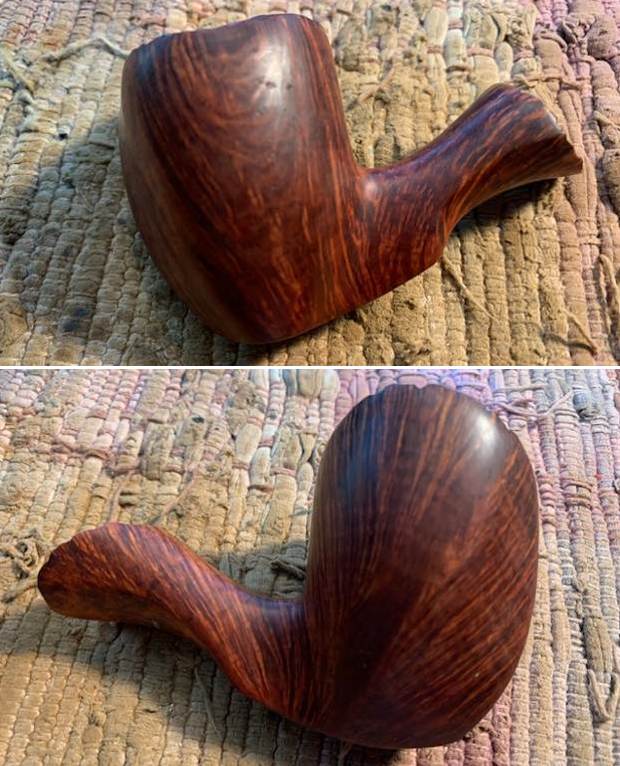
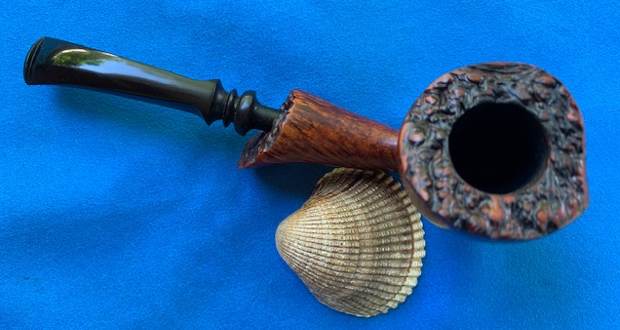
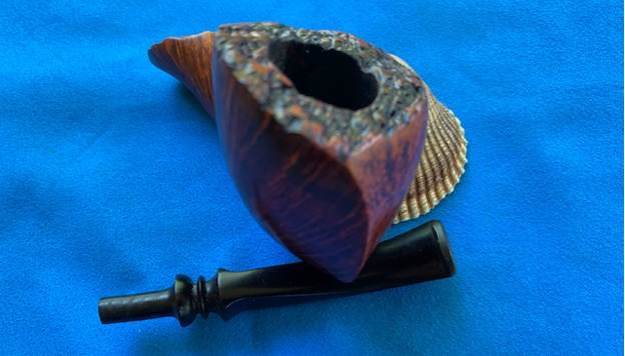
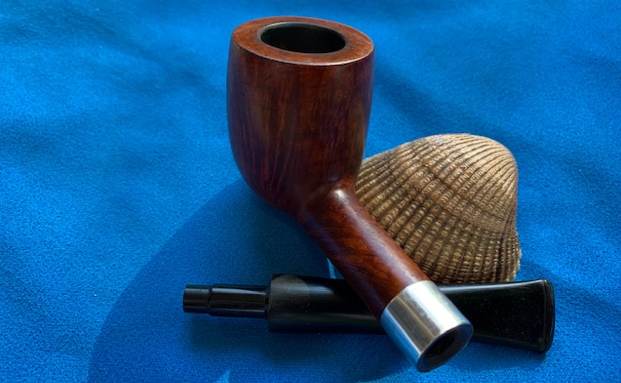
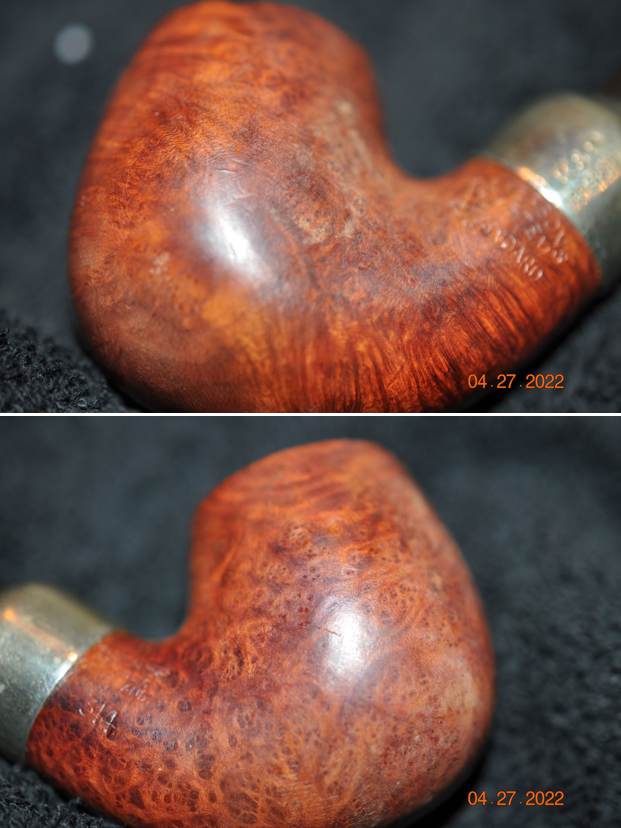
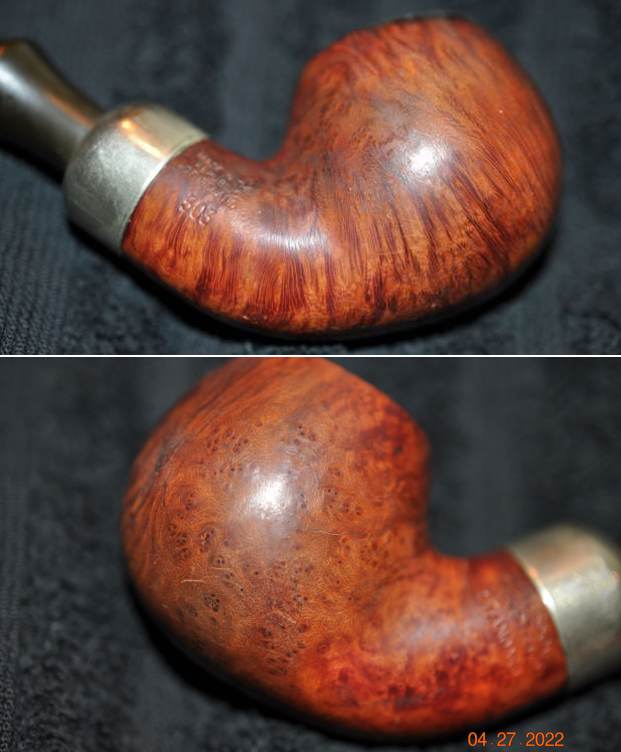
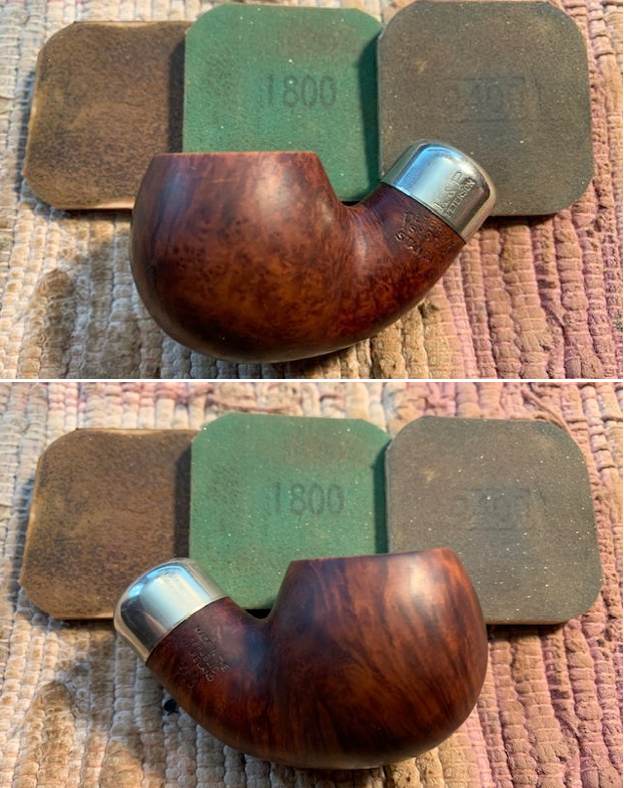
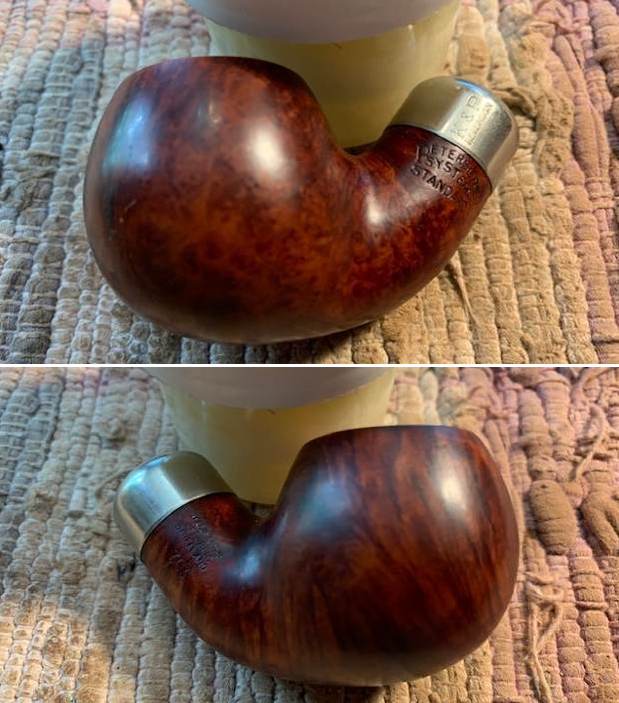
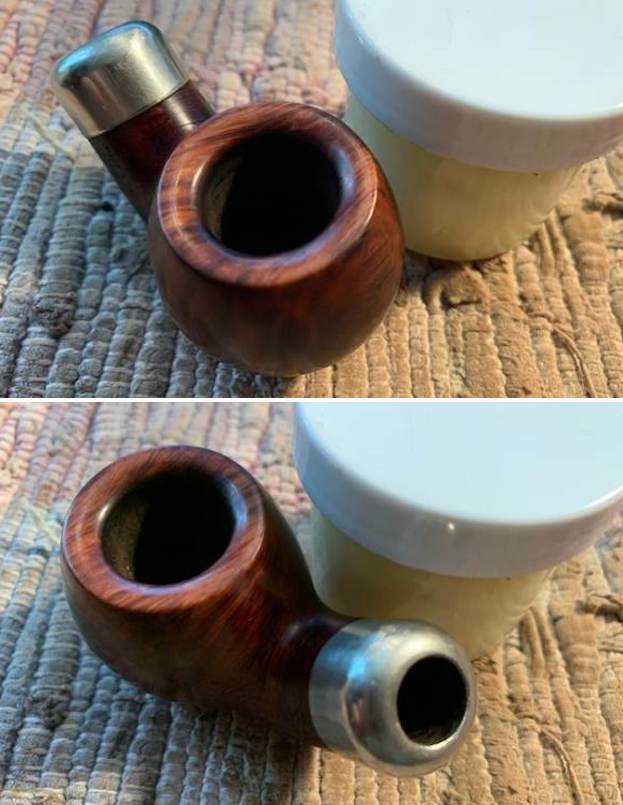
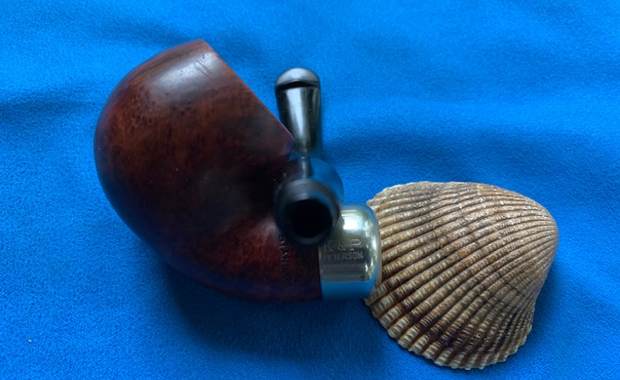
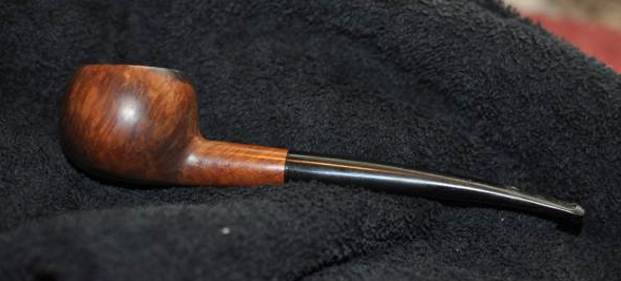
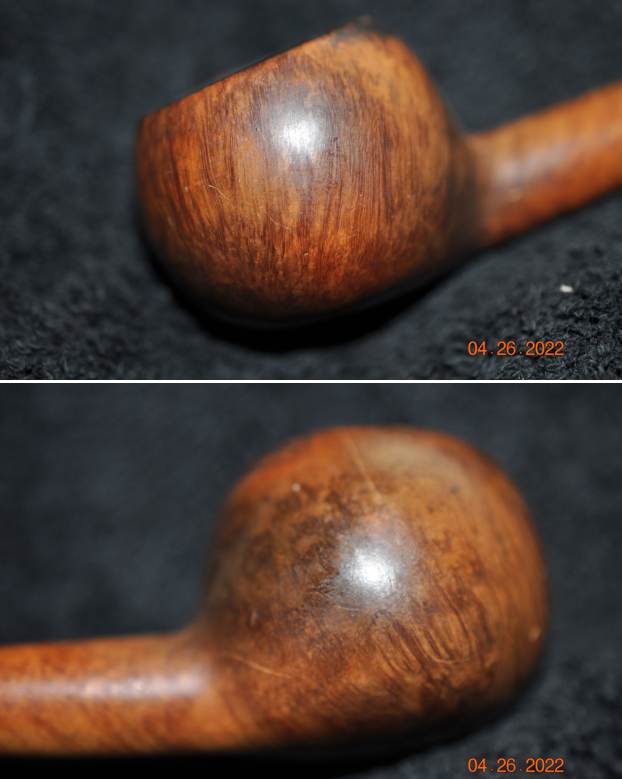
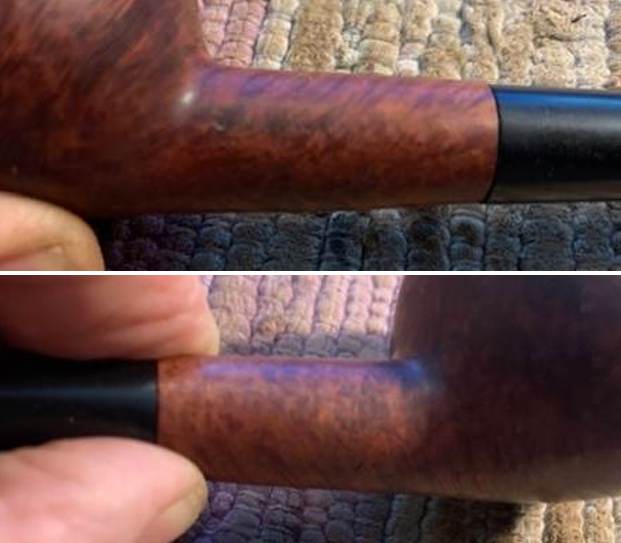
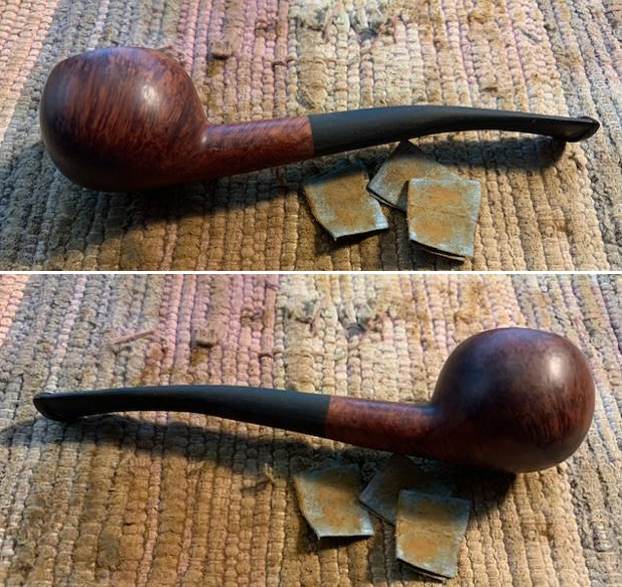
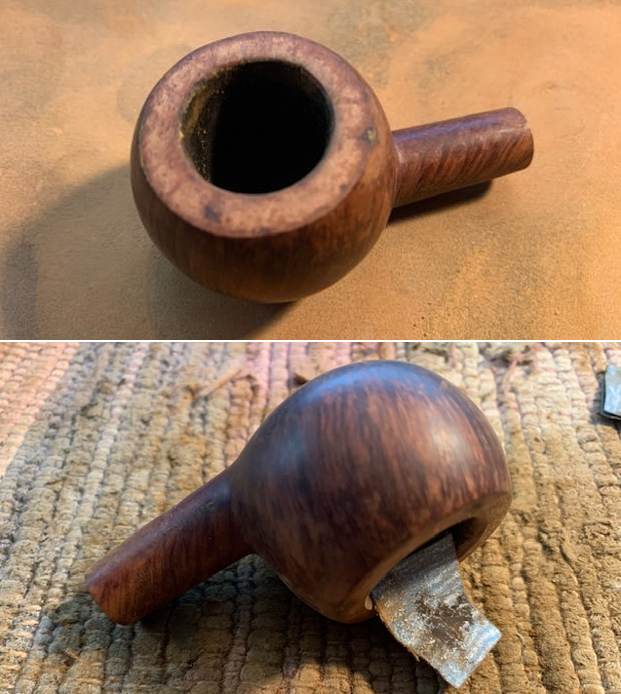
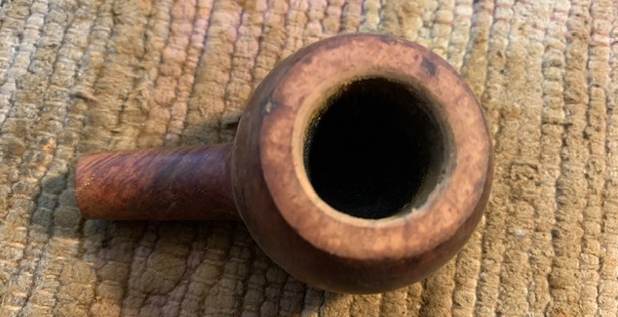
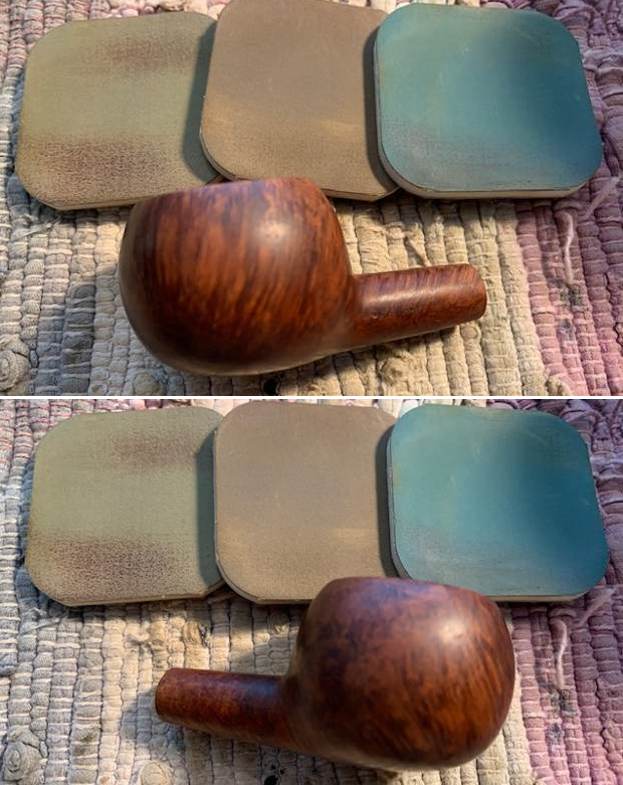
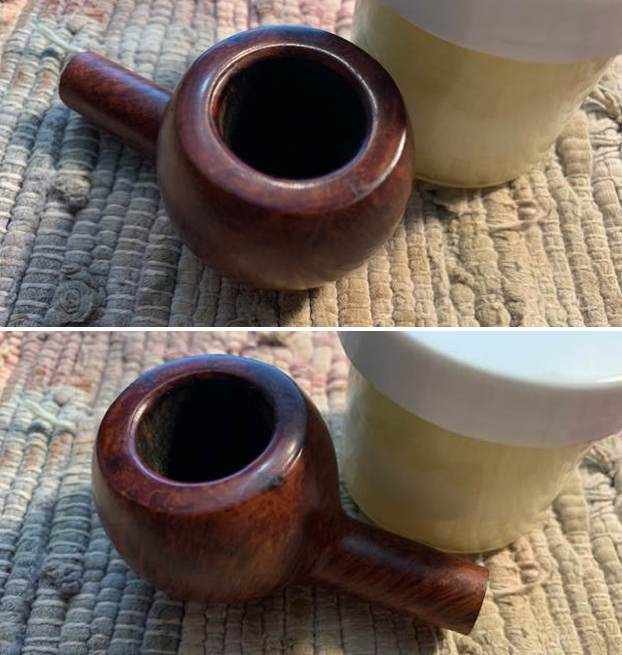
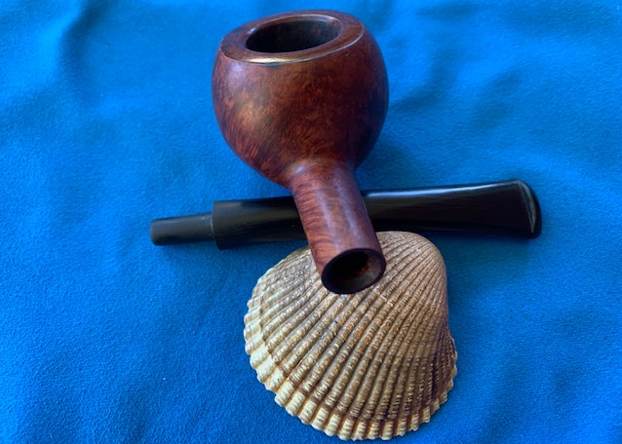
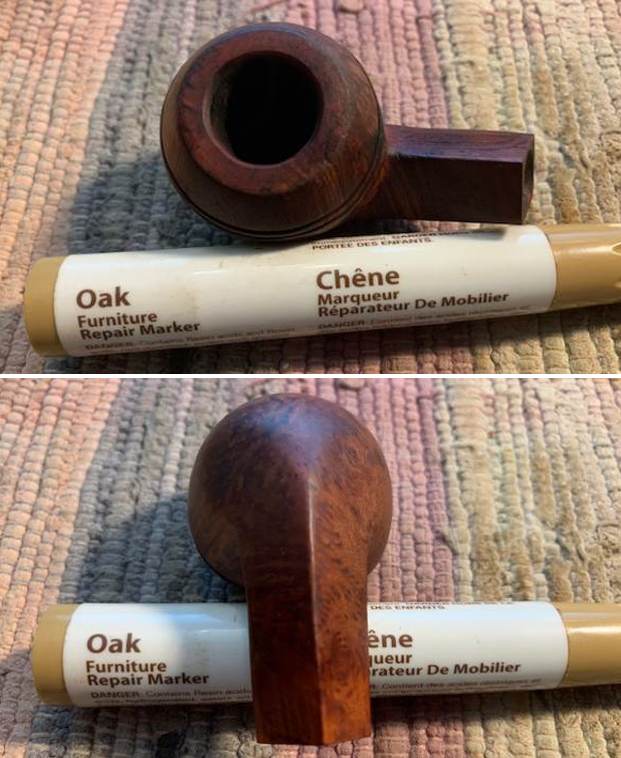
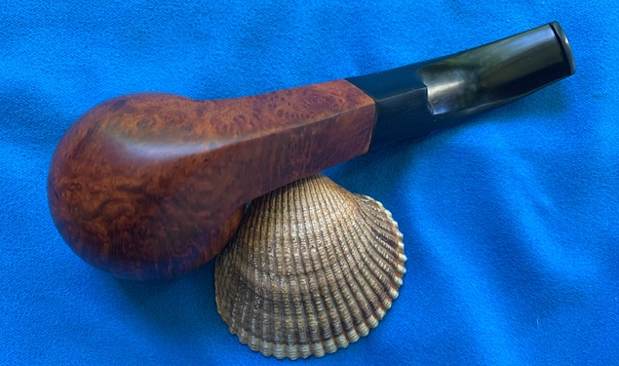
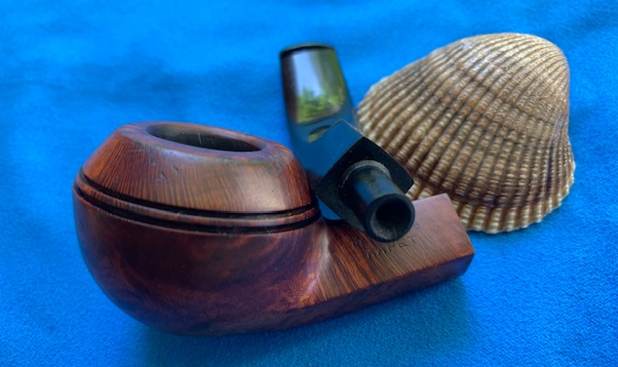
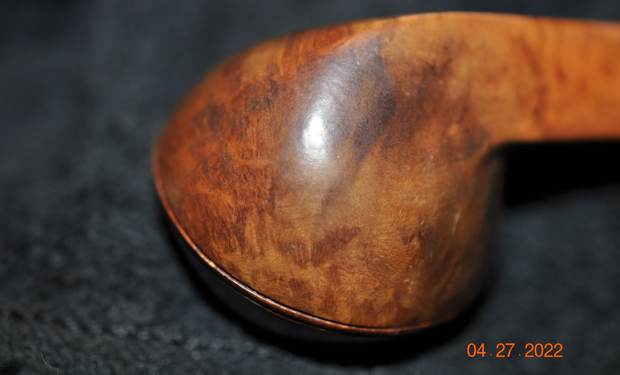
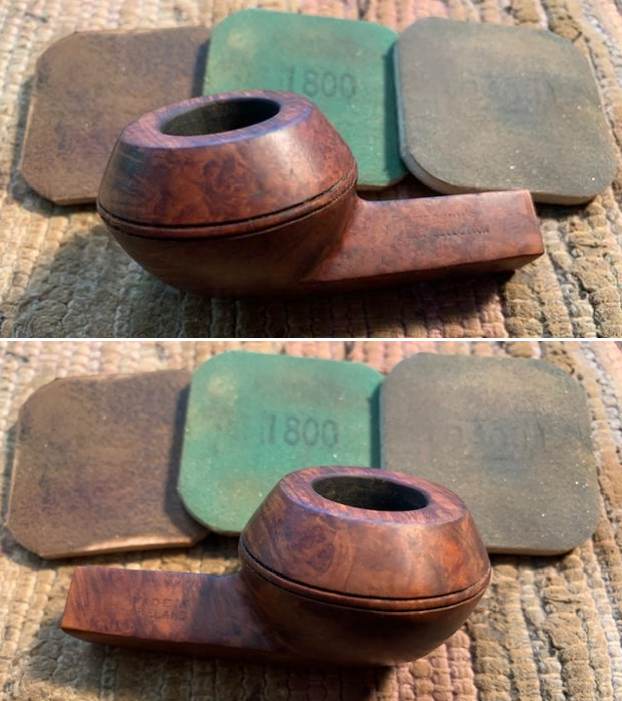
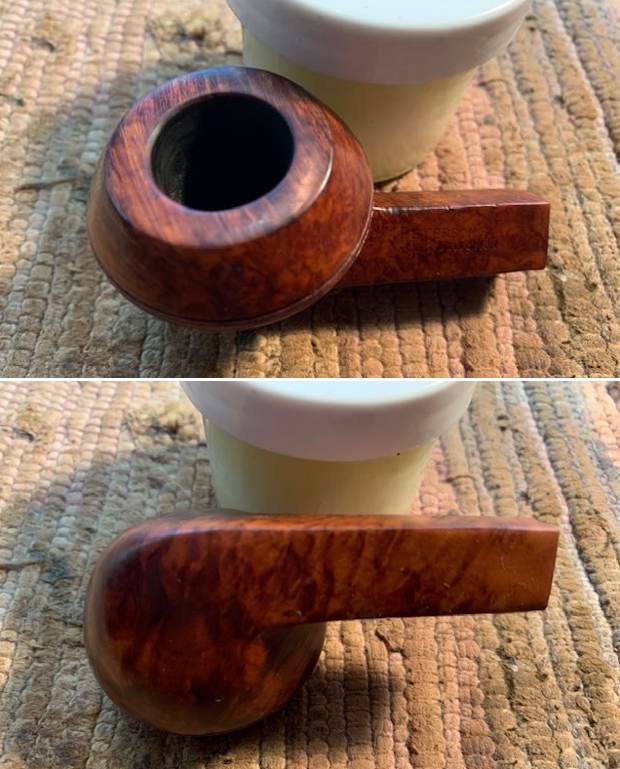
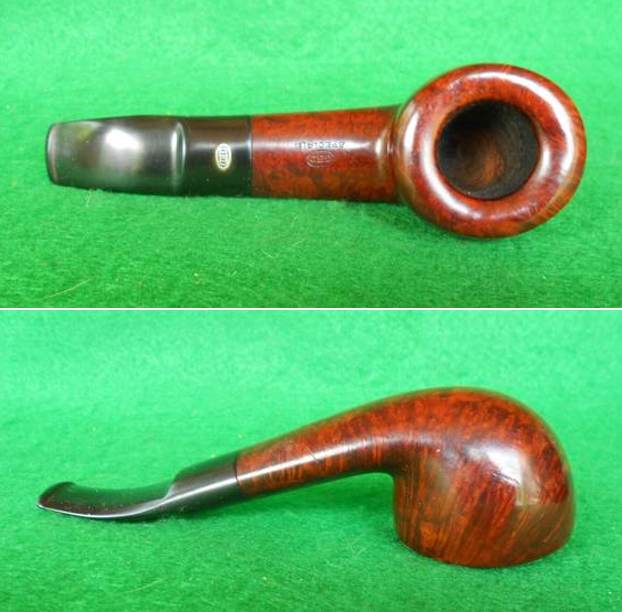
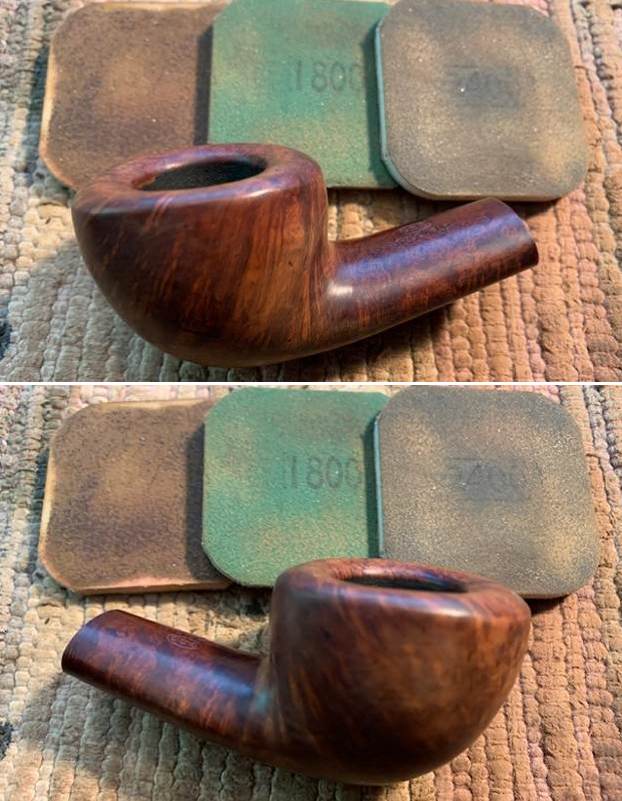
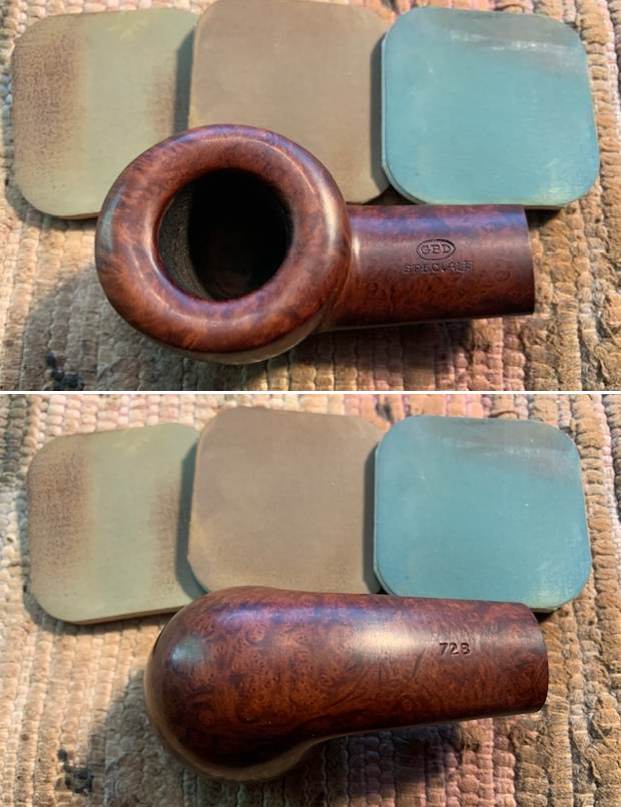
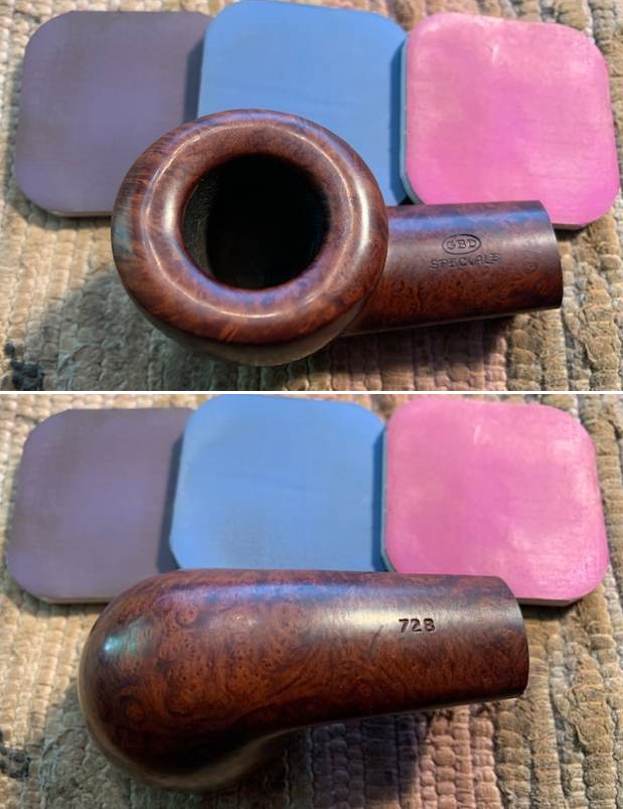
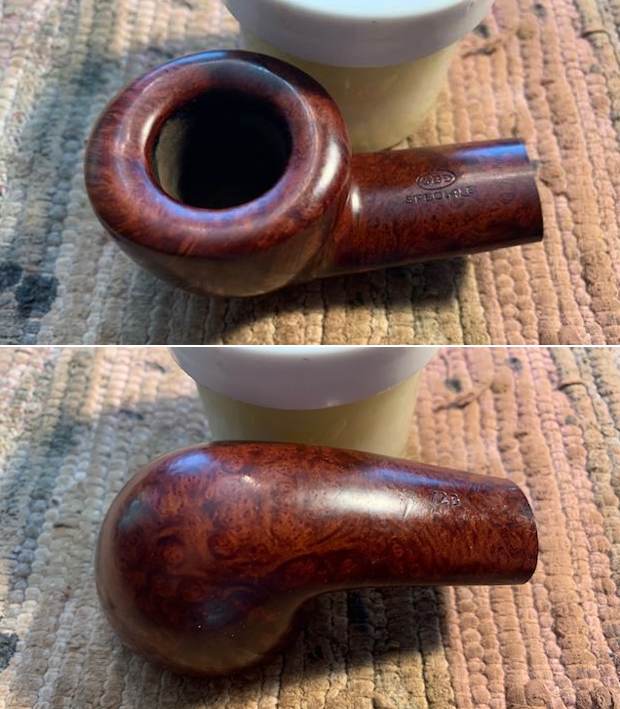
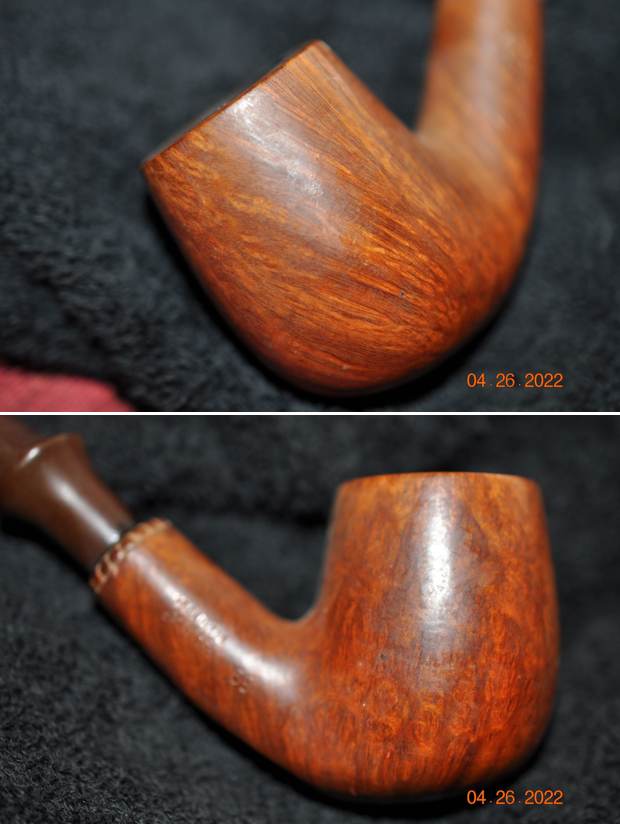
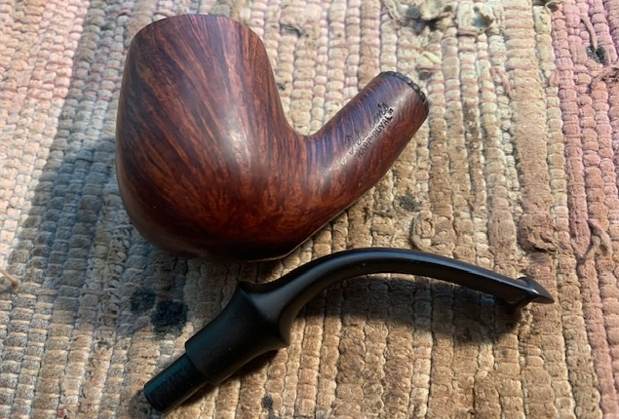
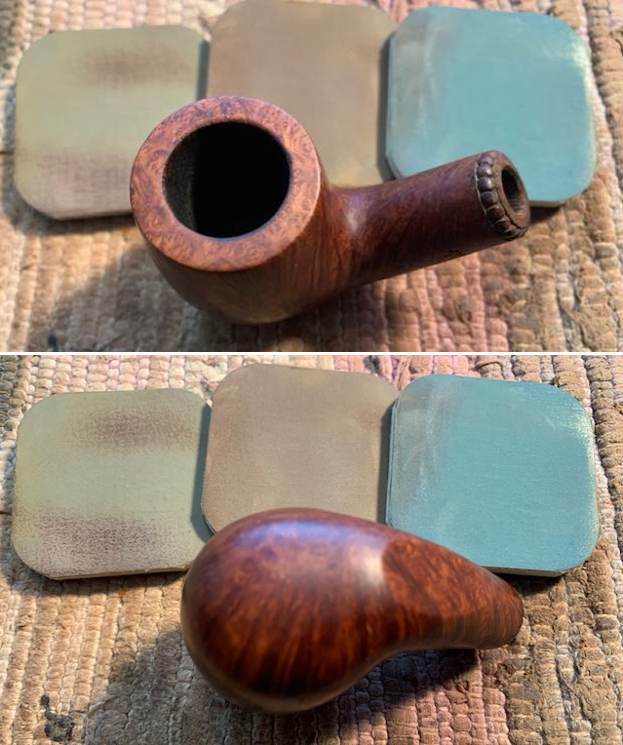
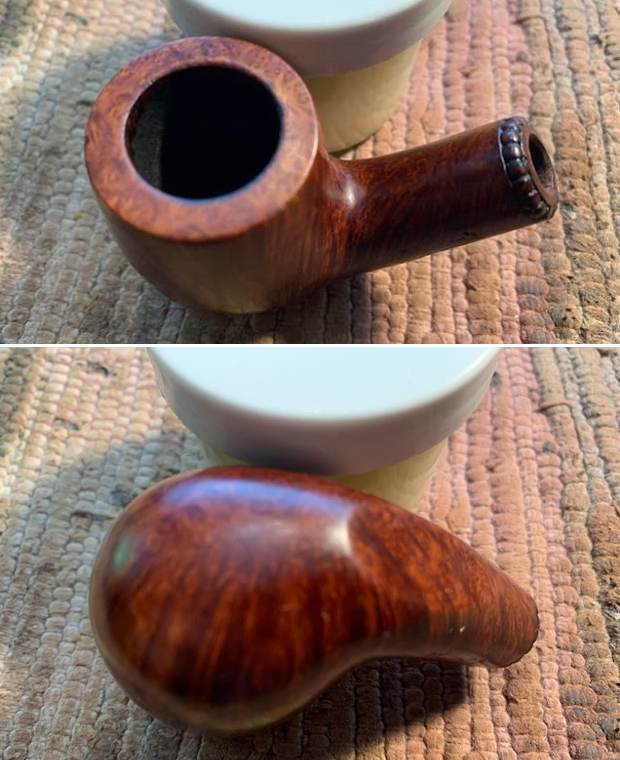
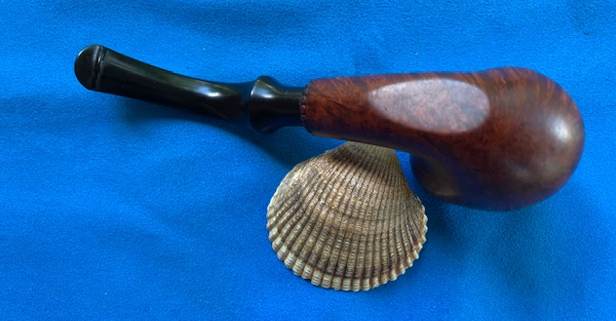
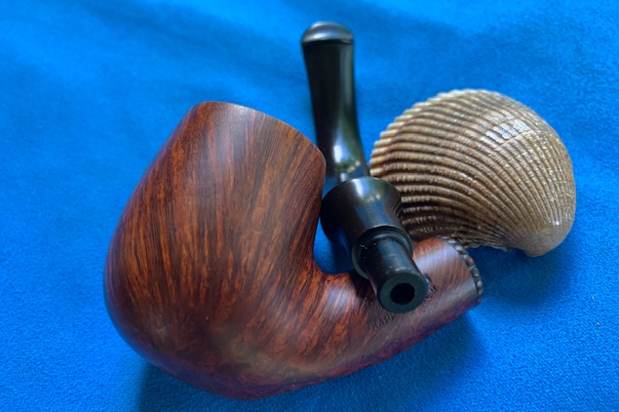
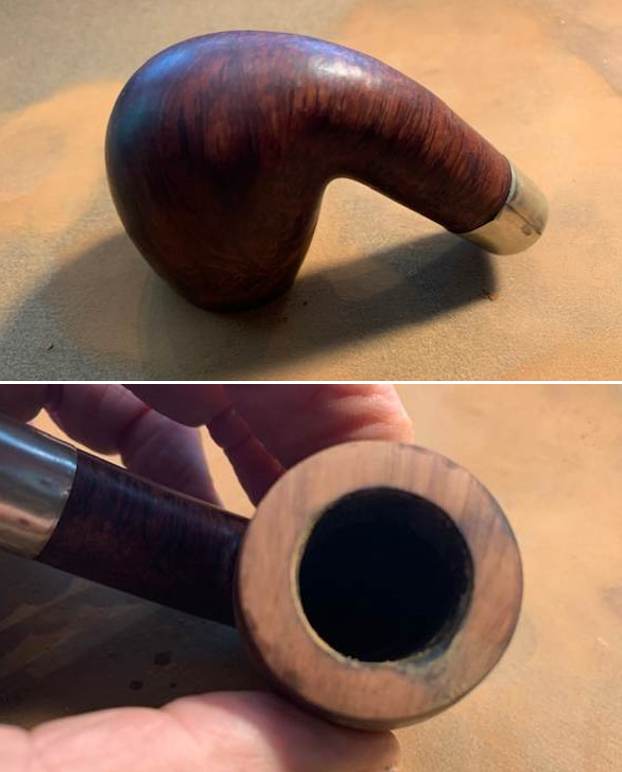
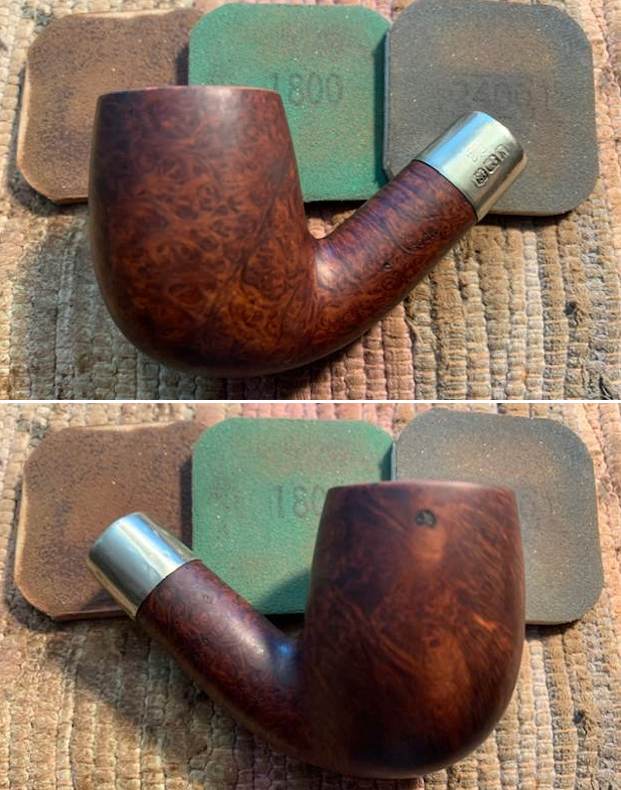
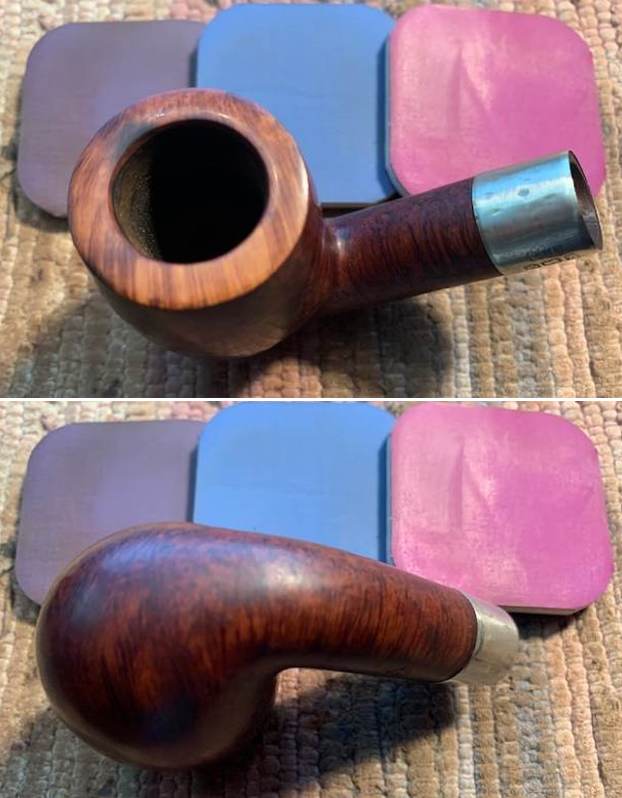
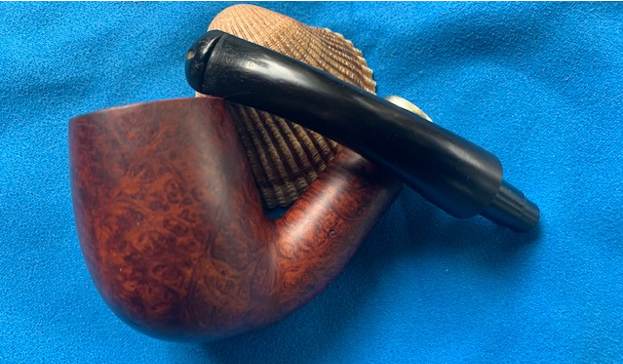
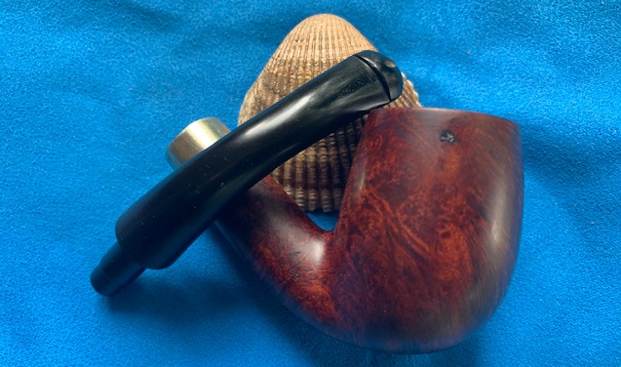
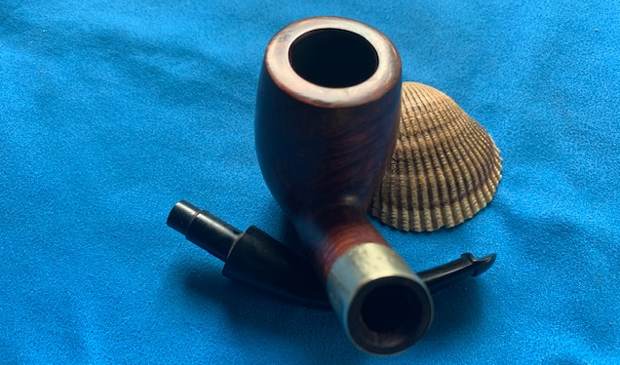
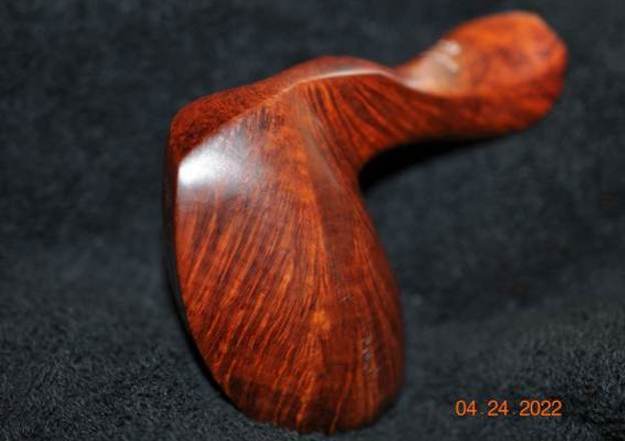
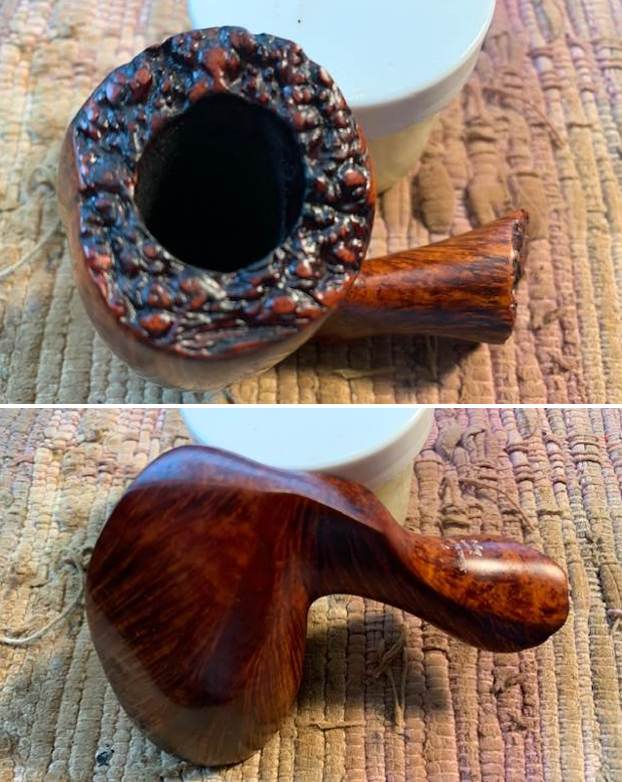
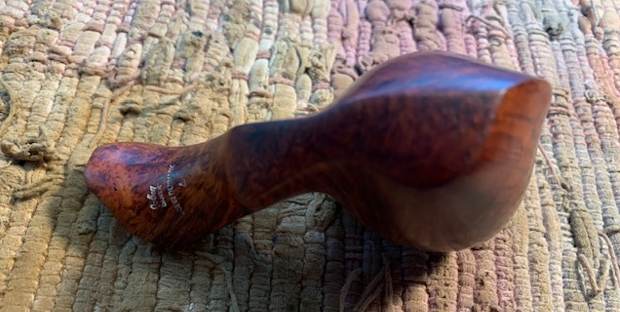 I took a photo of the plateau on the rim top to show how clean it was and to see a well executed finish on the rim top. The ravines, crevices and high points were very beautiful.
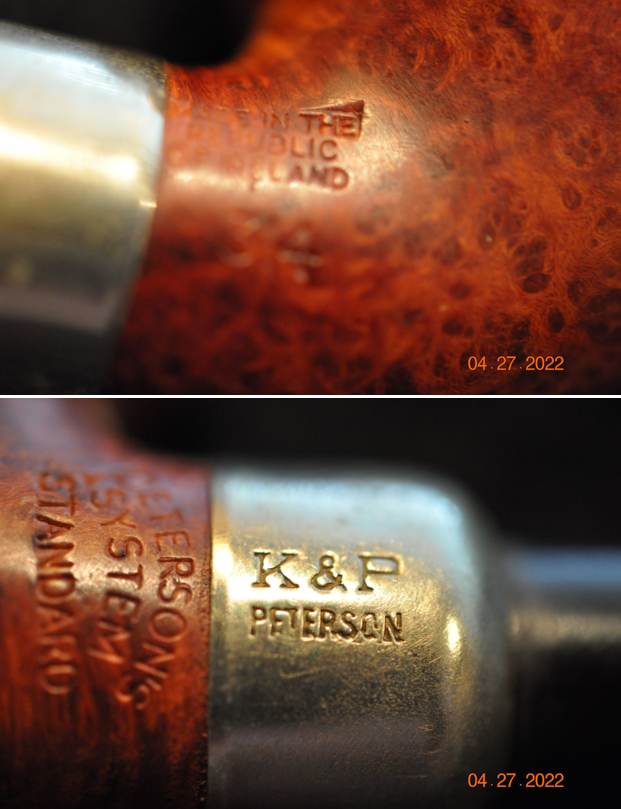
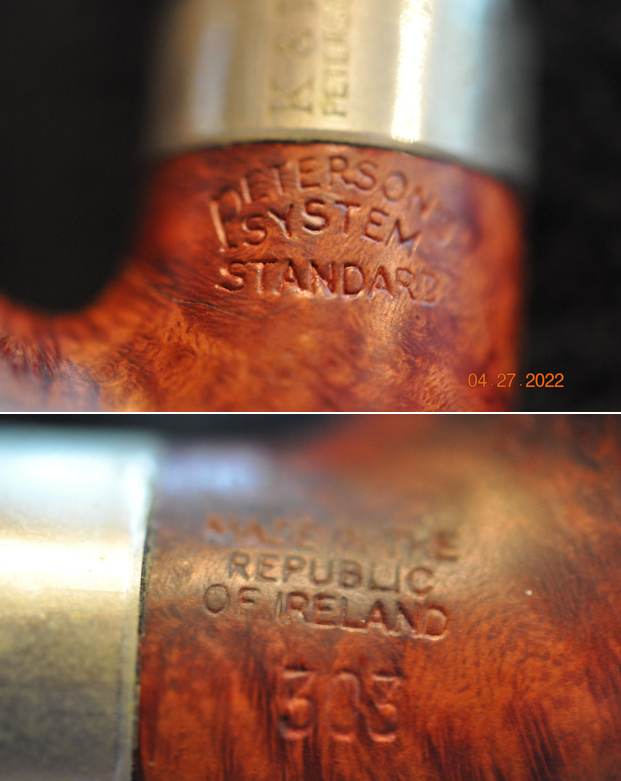
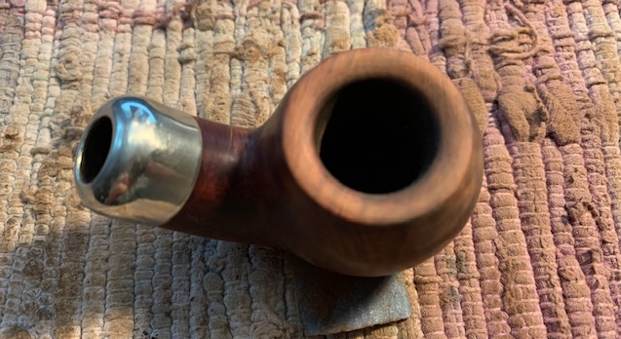
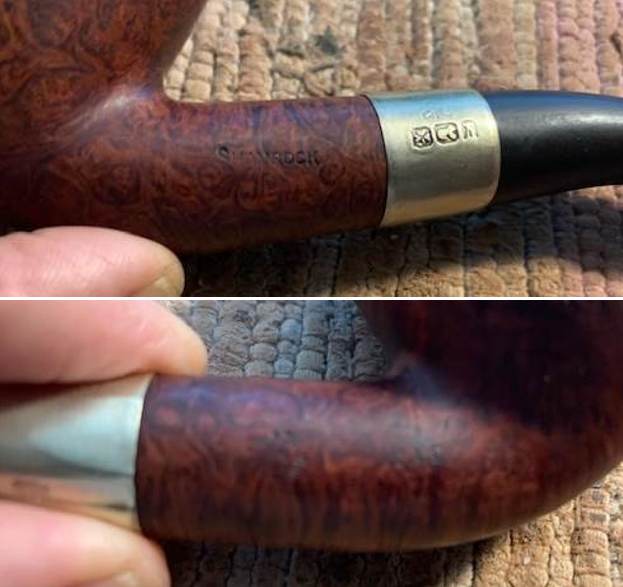
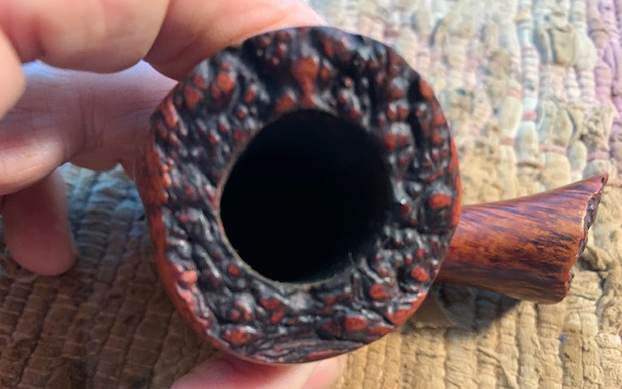 I took photos of the stamping on the underside of the shank. It had some colour in the stamp (like ones in the photos on the Pipedia site). It made the stamp very readable.
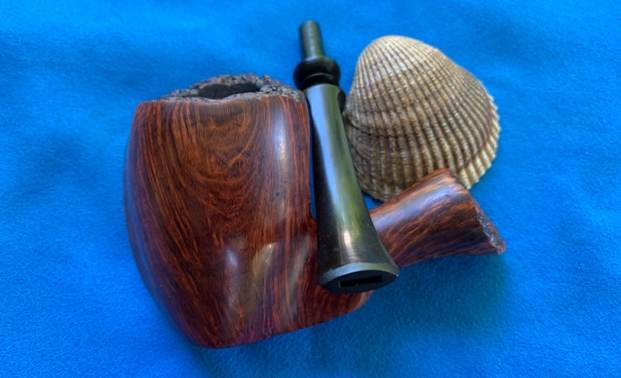
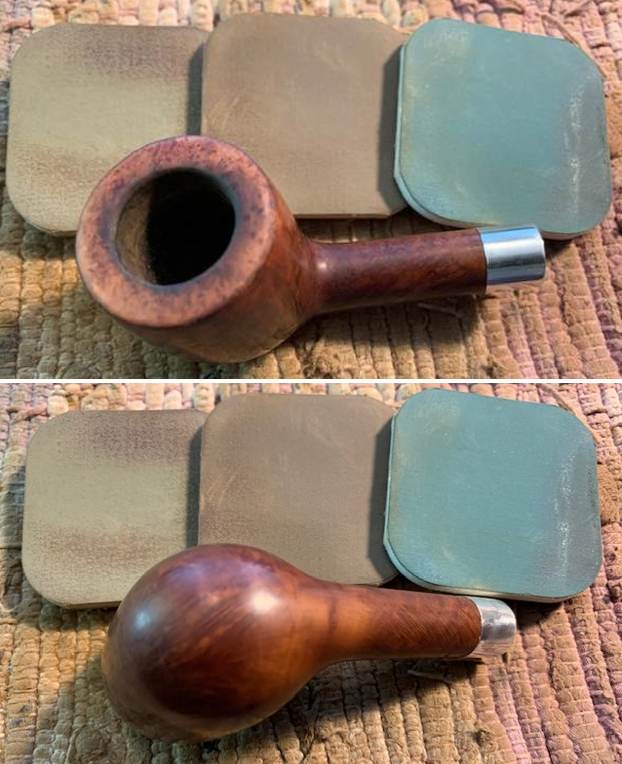
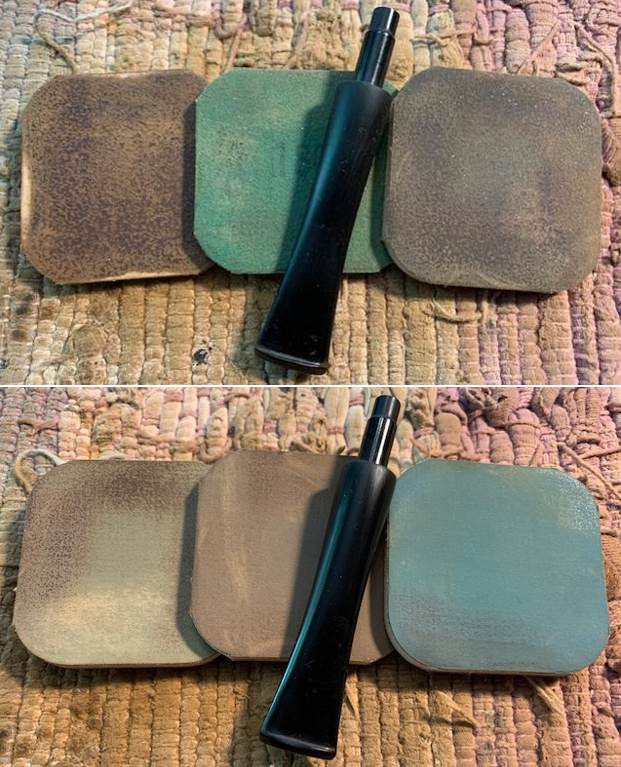
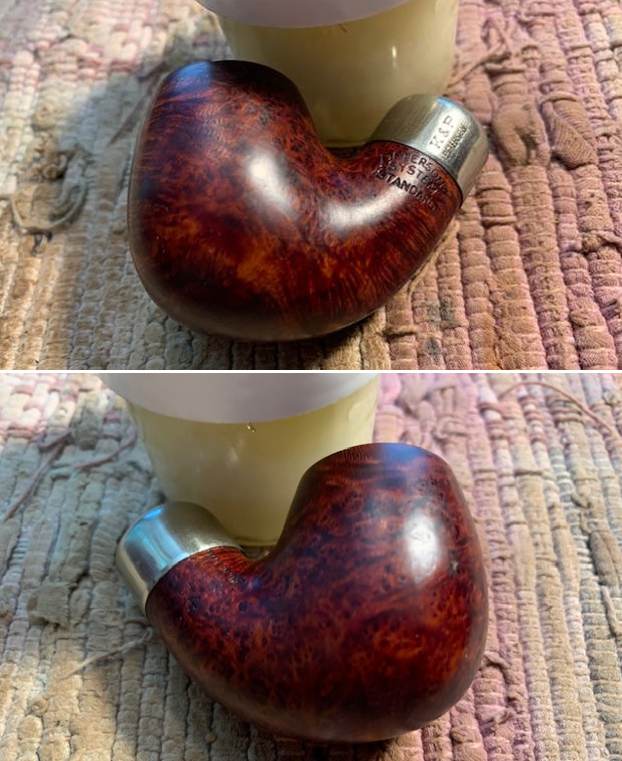
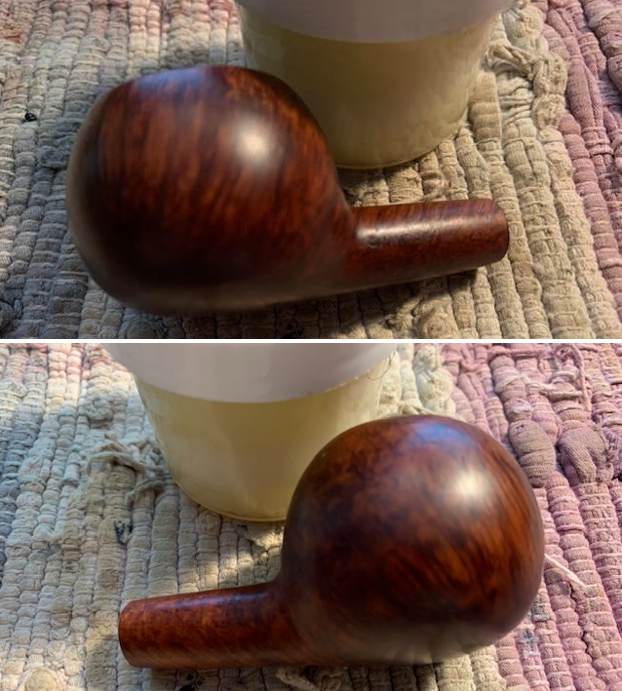
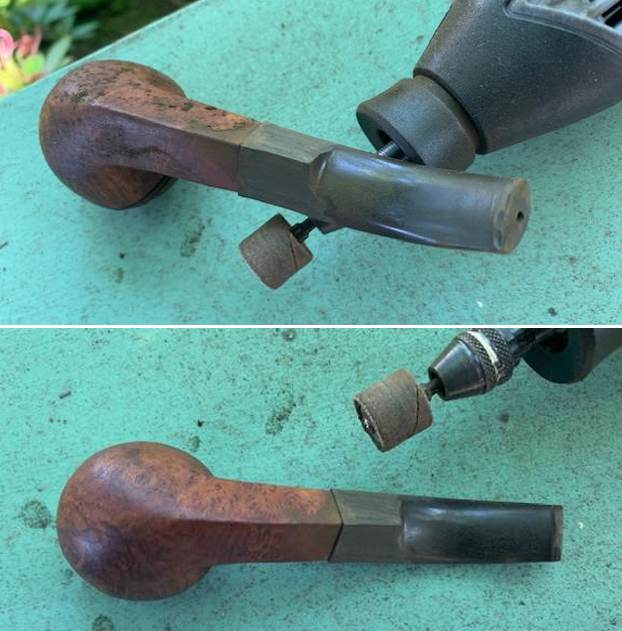
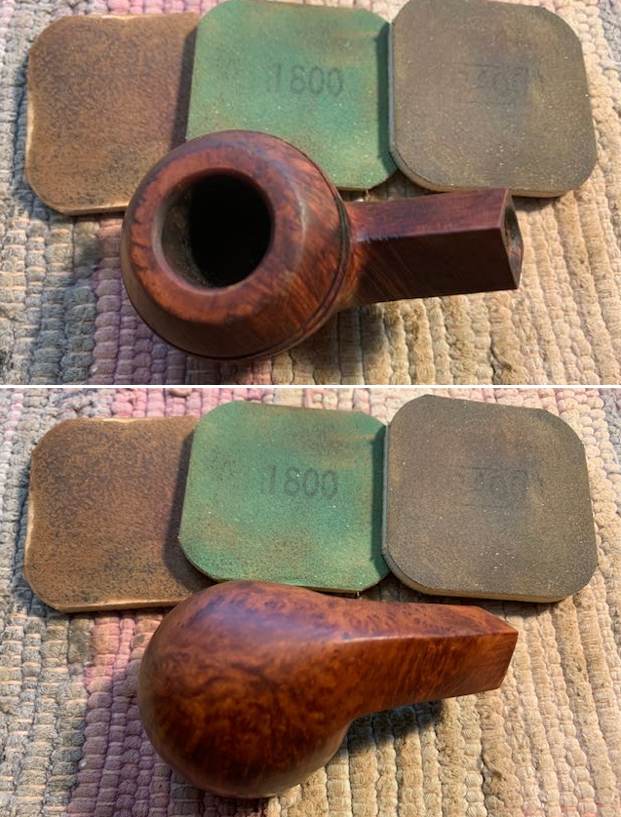
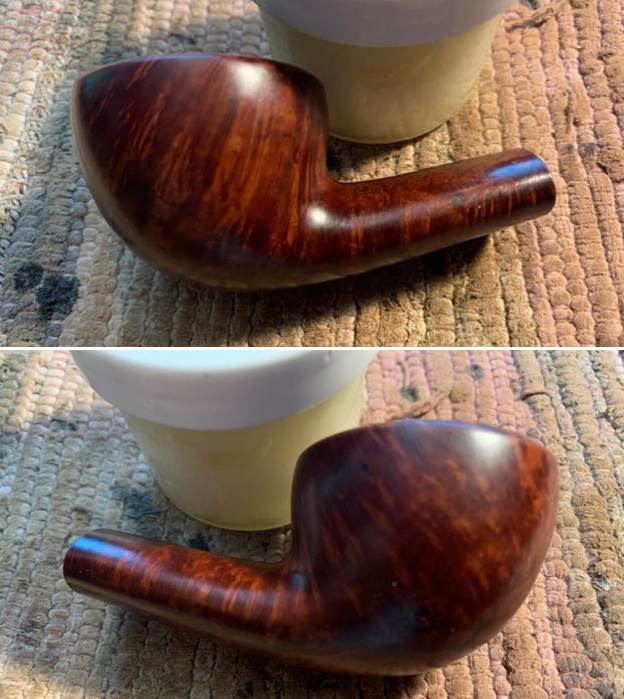
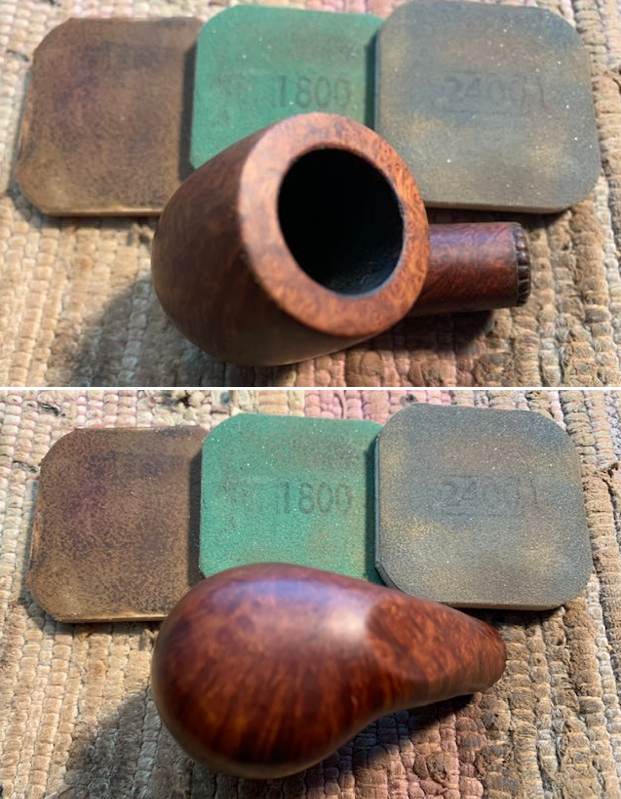
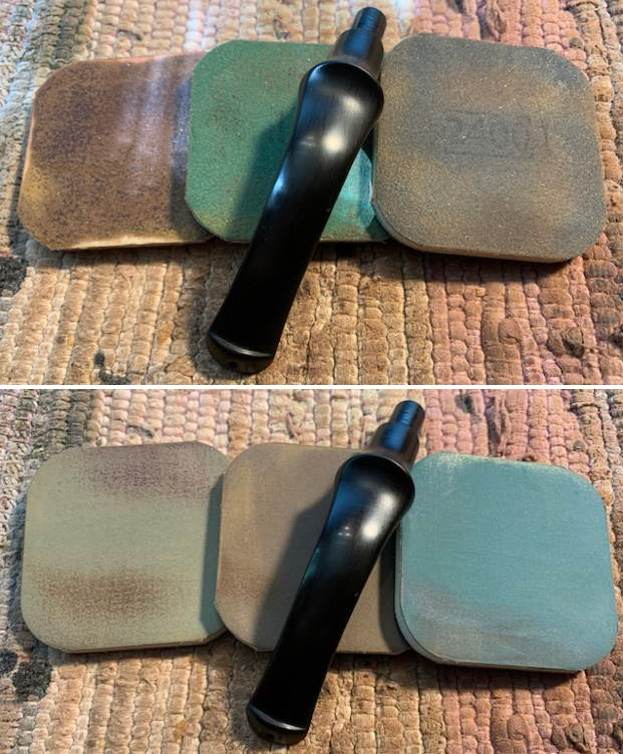
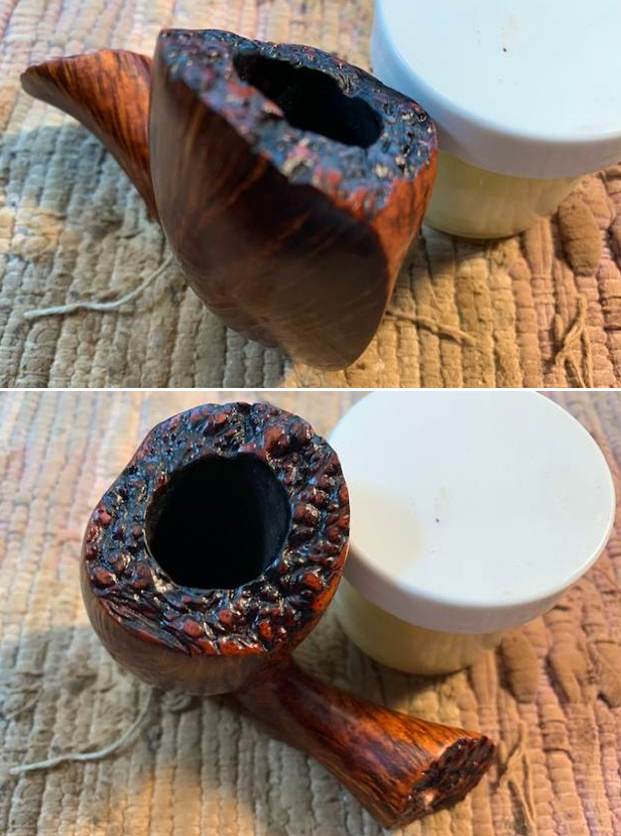
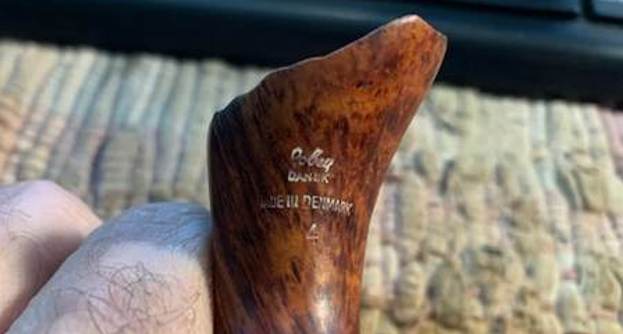 I polished the briar with micromesh sanding pads – dry sanding with 1500-12000 grit pads. I wiped the bowl down after each pad to remove any sanding debris left behind. The bowl began to shine through the process.
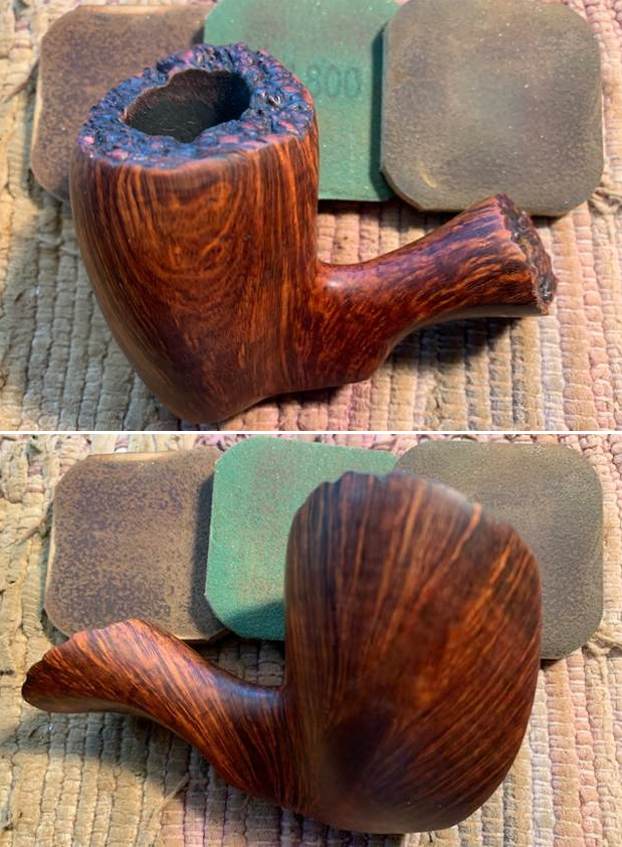
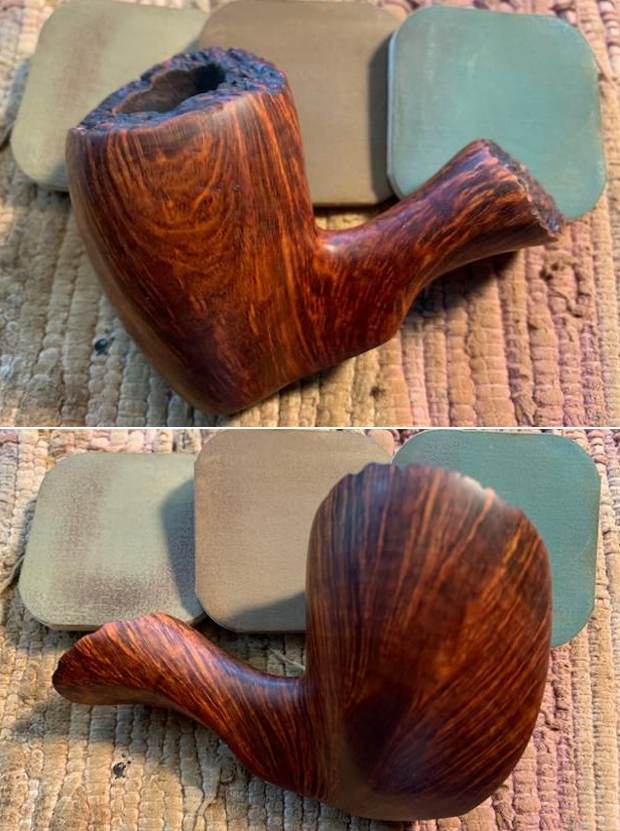

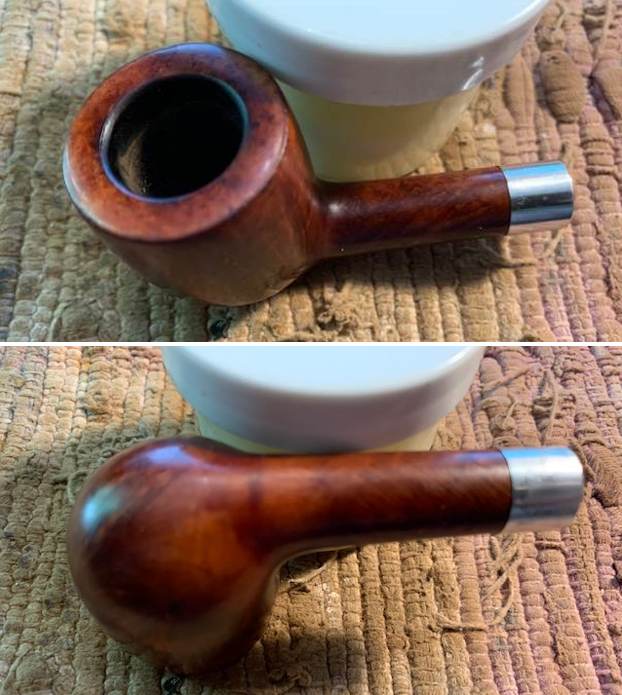
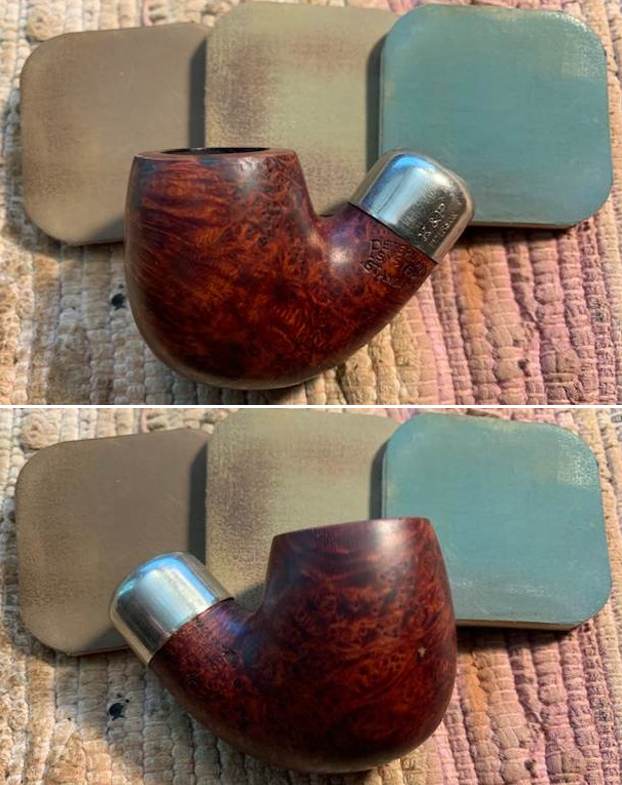
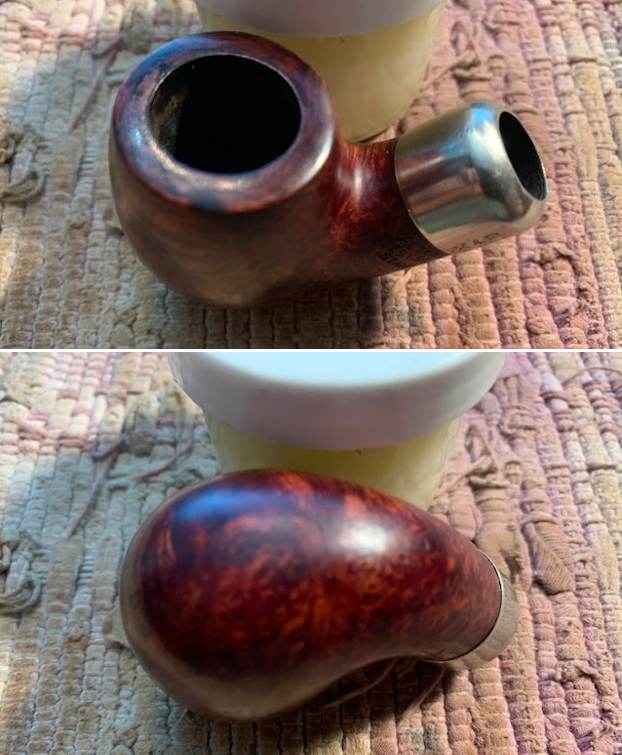
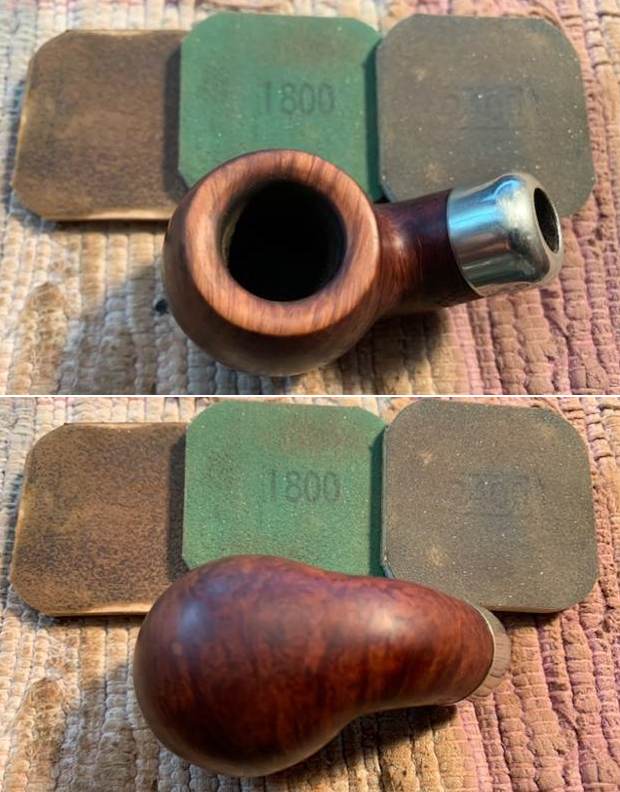
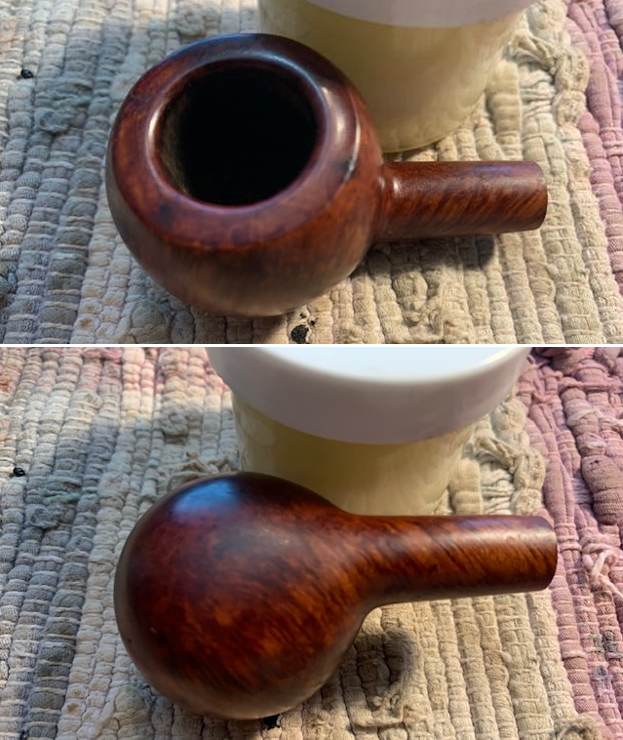
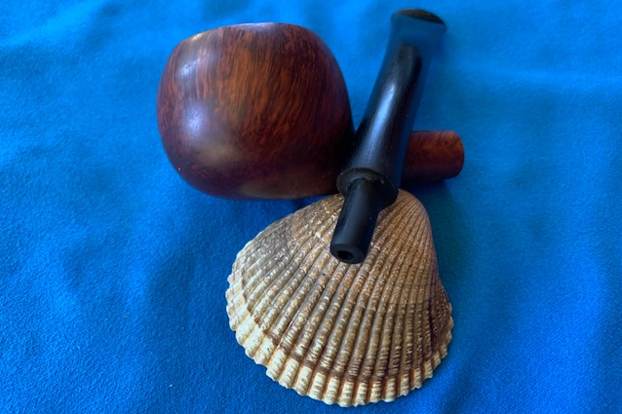
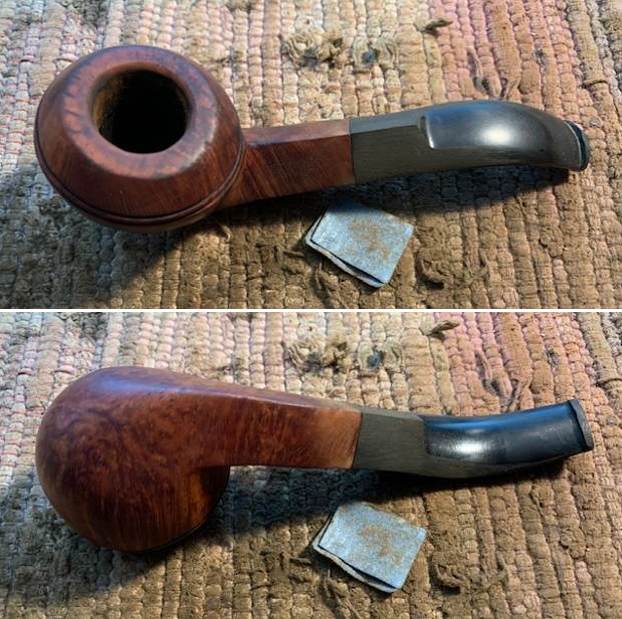
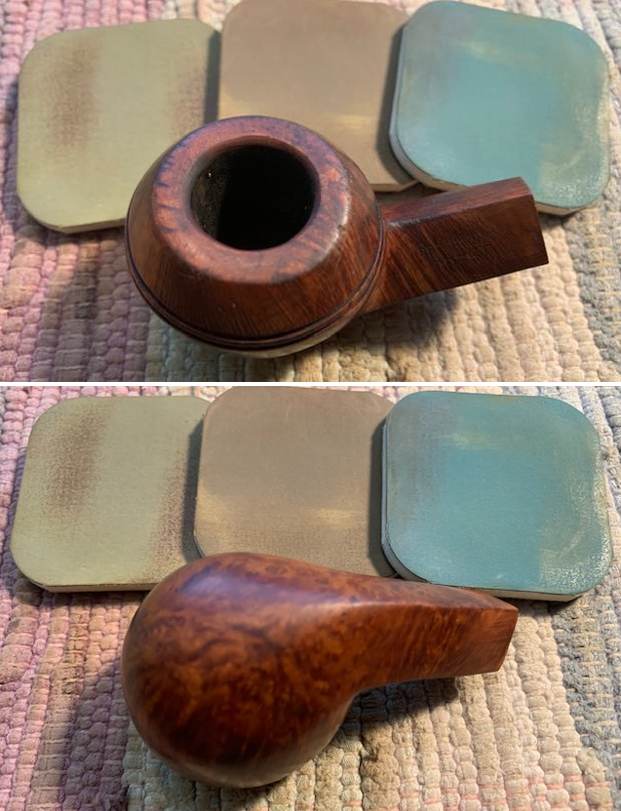
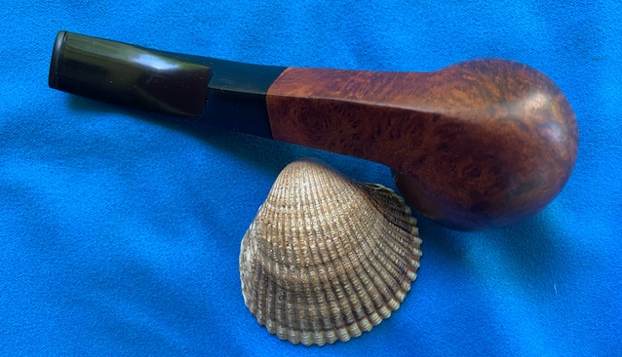
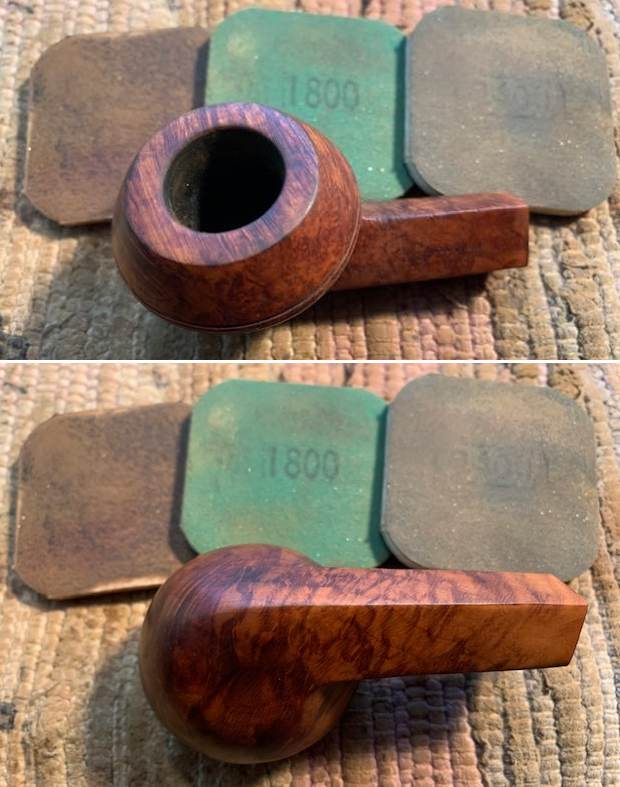
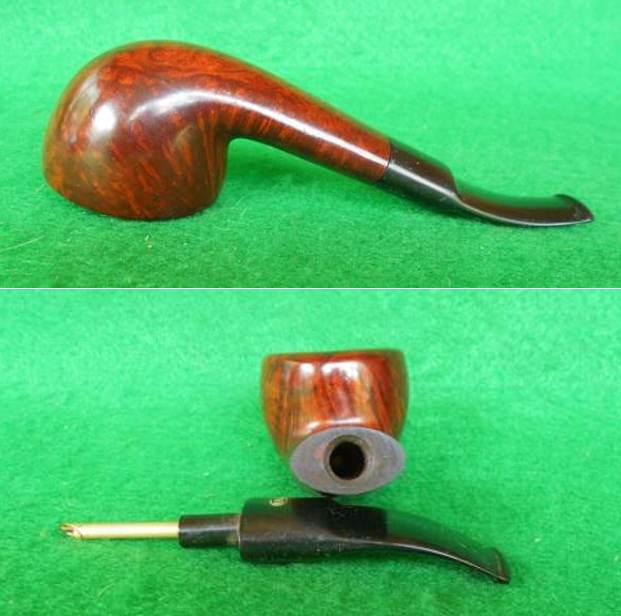
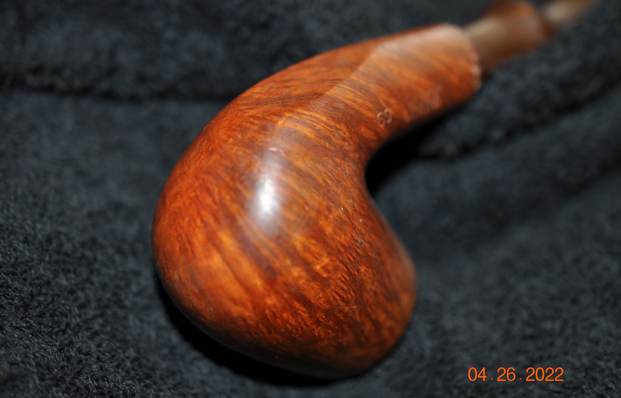
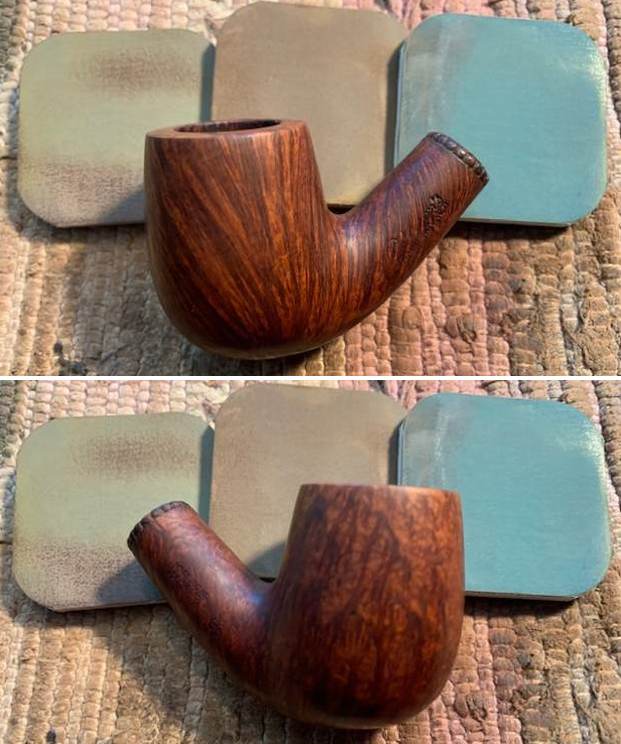
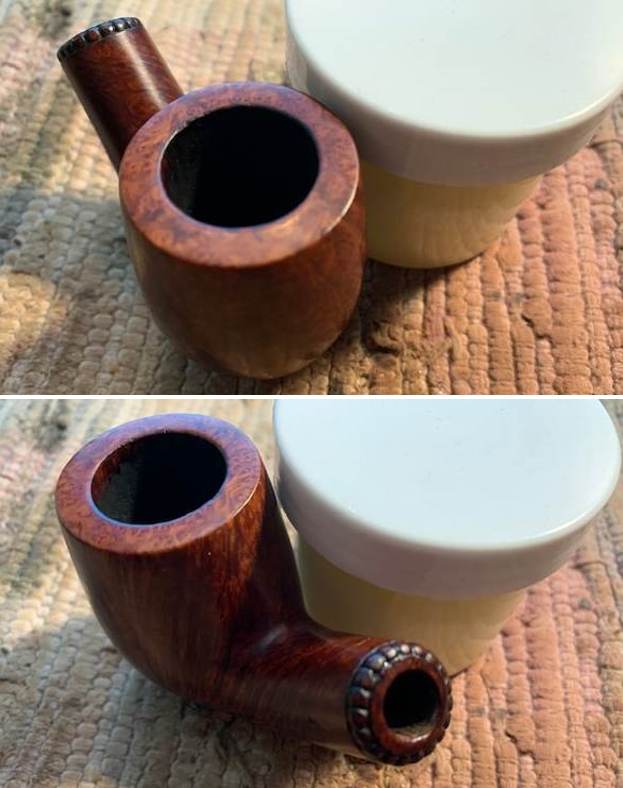
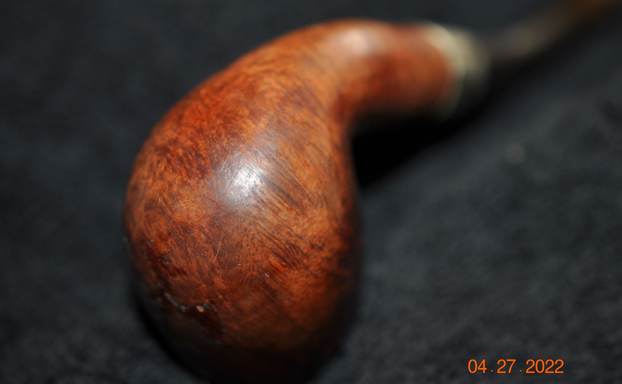
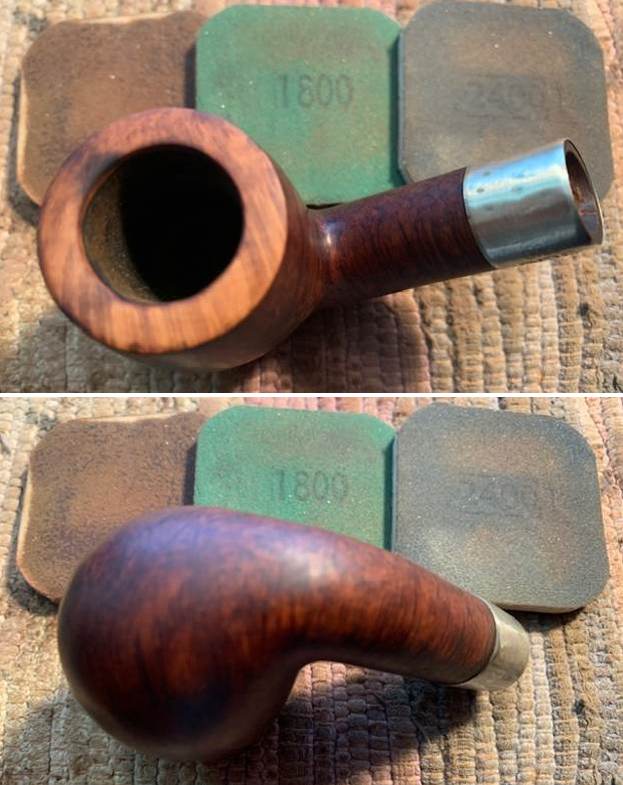
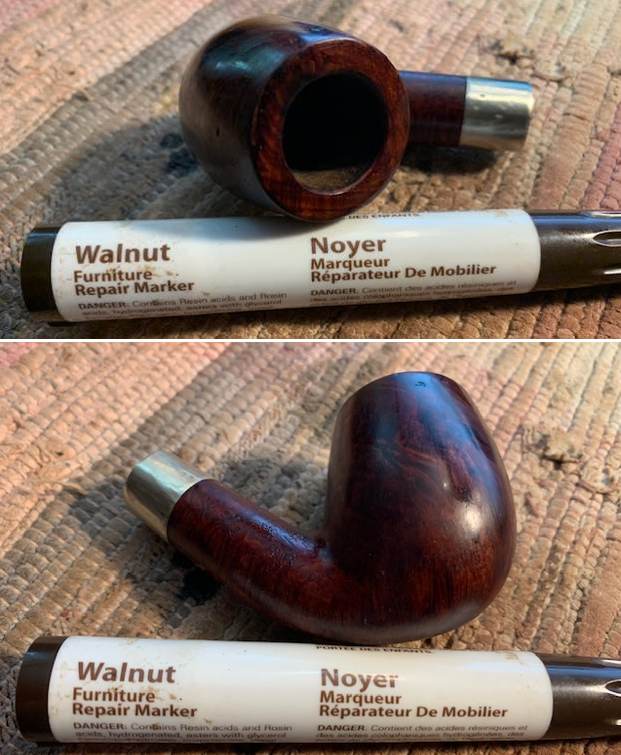
 I worked some Before & After Restoration Balm into the surface of the briar with my fingertips and into the plateau rim top and shank end with a horsehair shoe brush to clean, enliven and protect it. I let the balm sit for 10 minutes and then buffed the bowl with a cotton cloth to raise the shine. The photos show the bowl at this point in the restoration process.
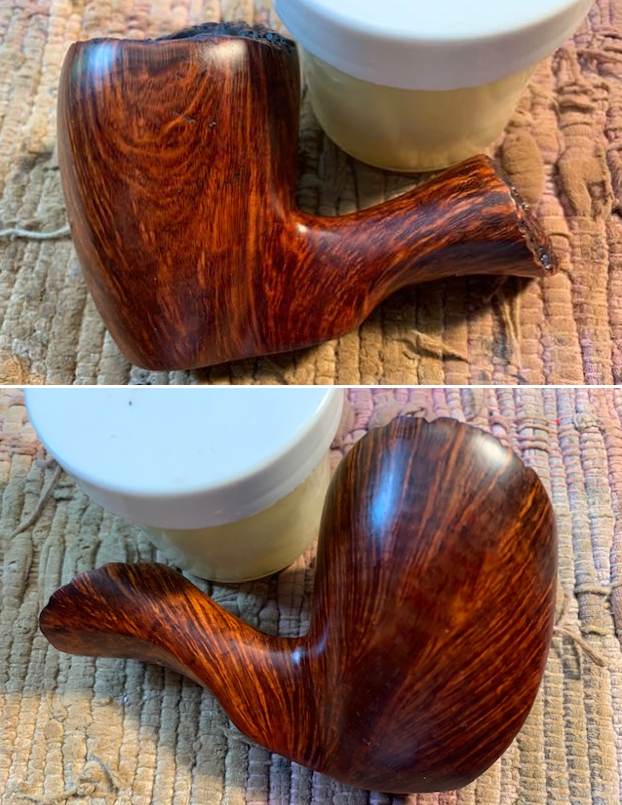
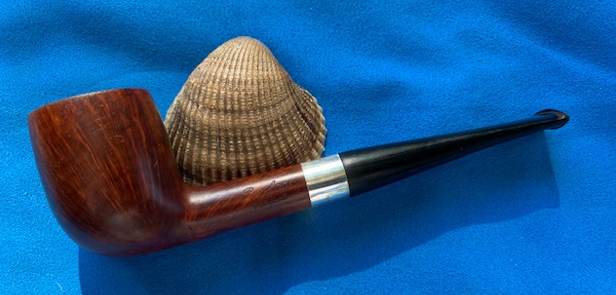
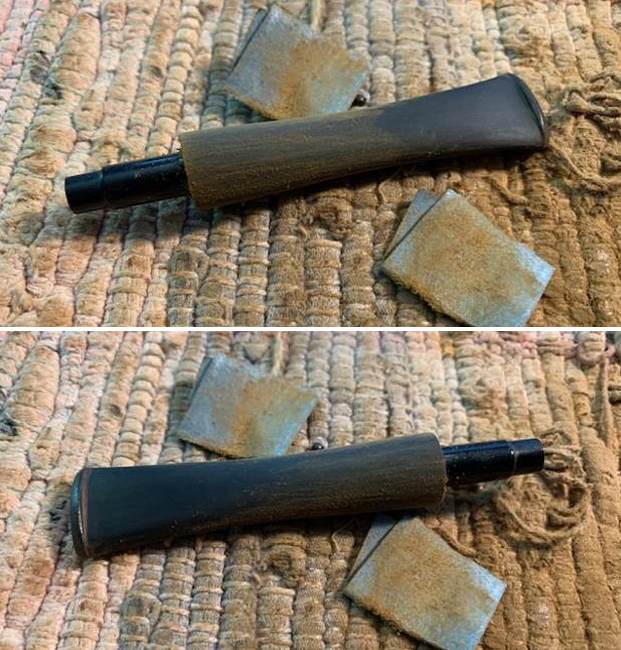
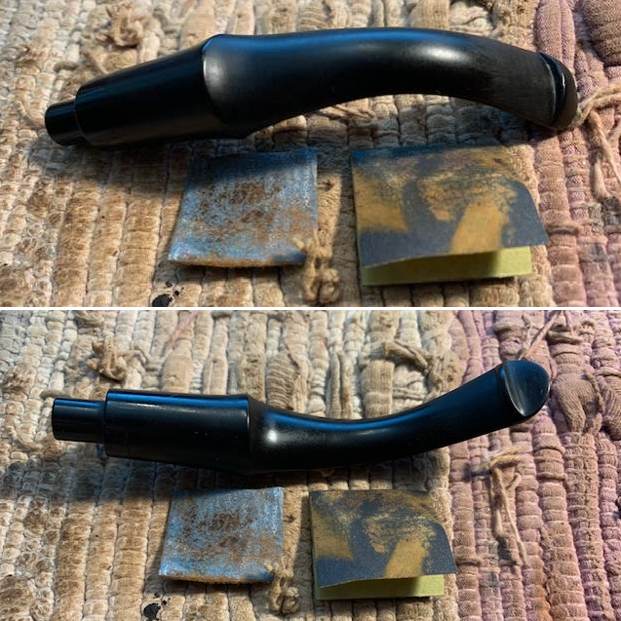
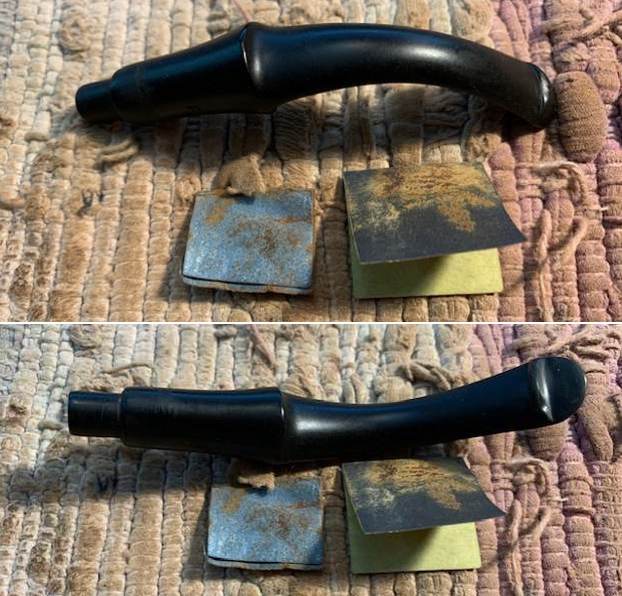
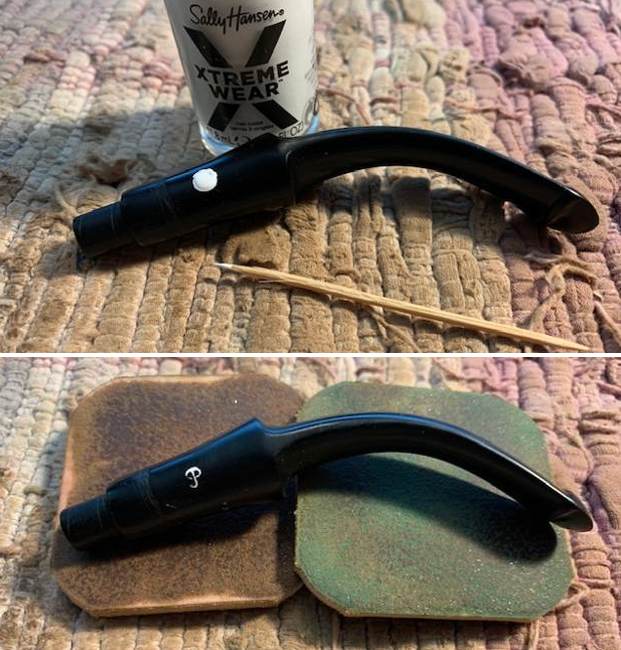
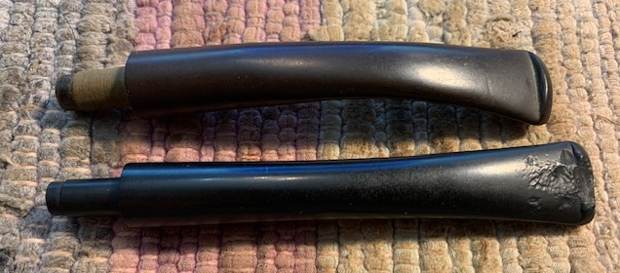
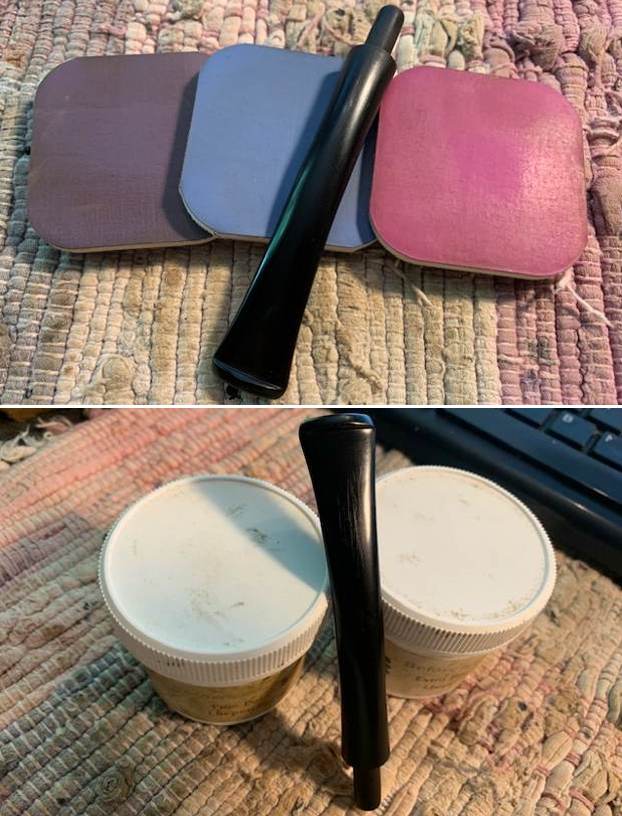
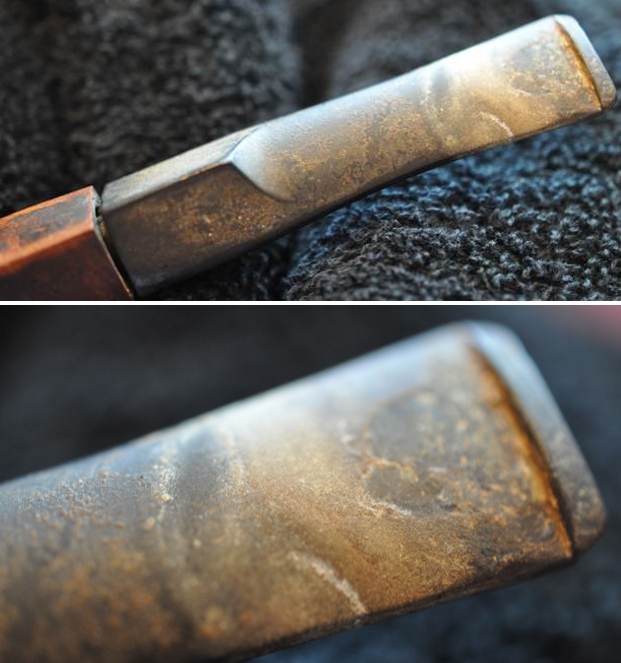
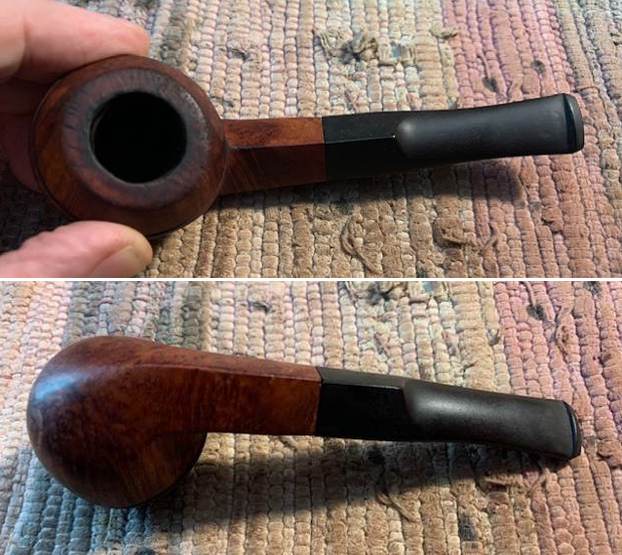
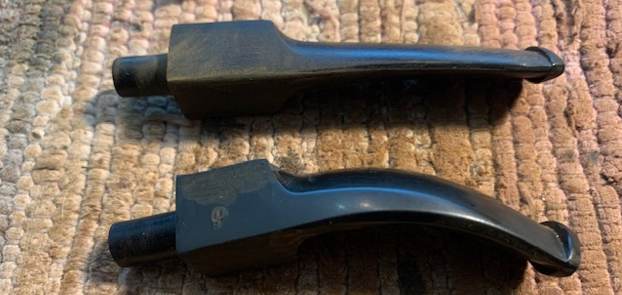
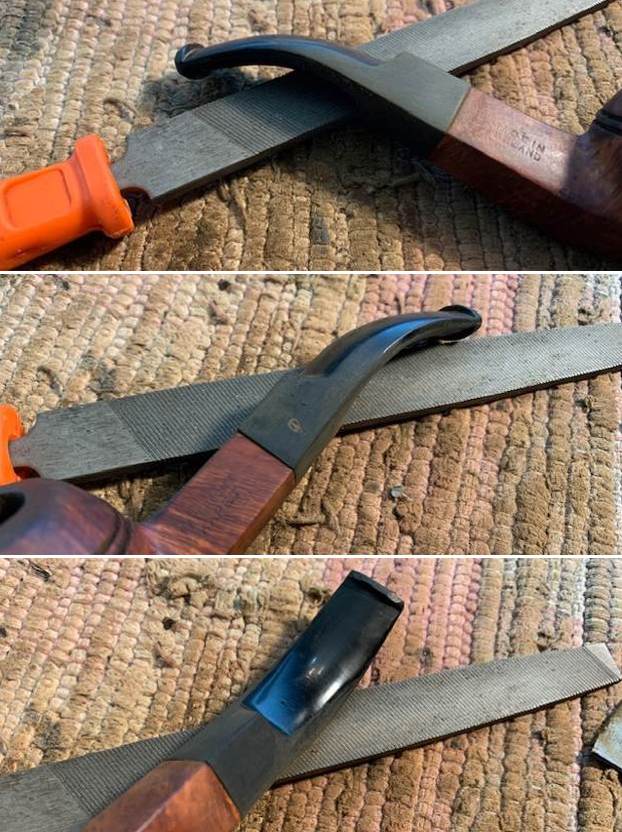
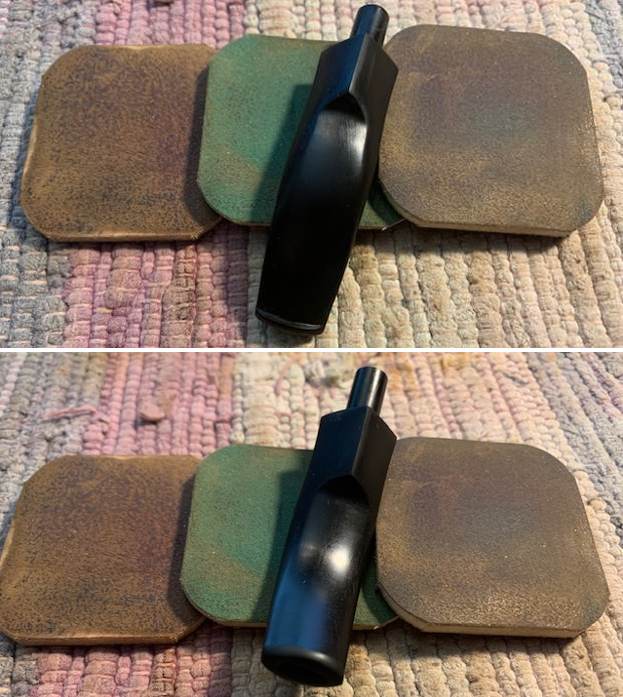
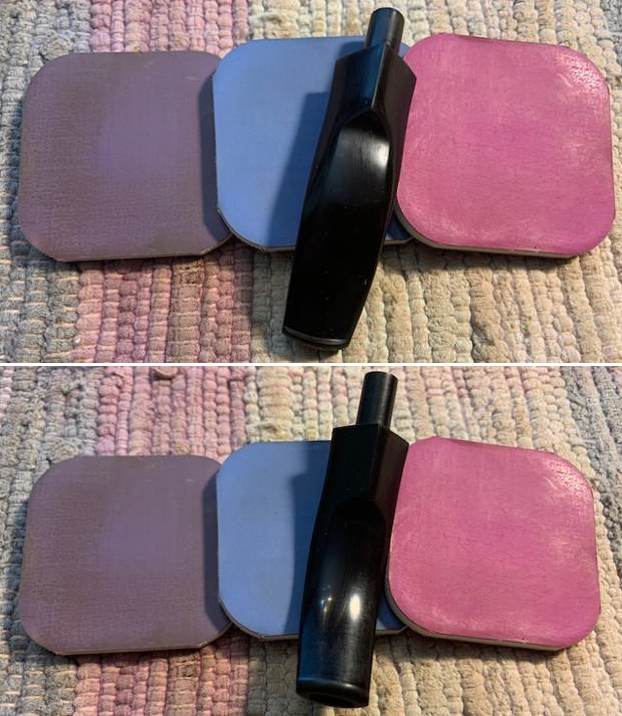
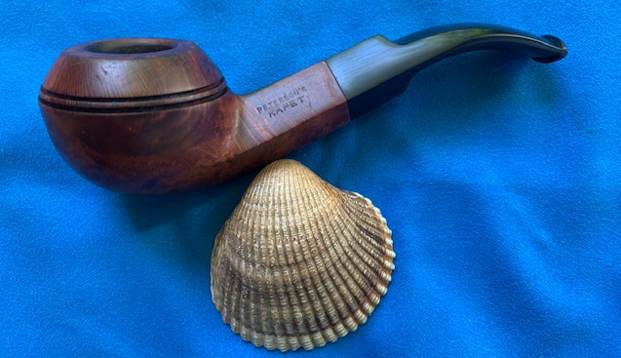
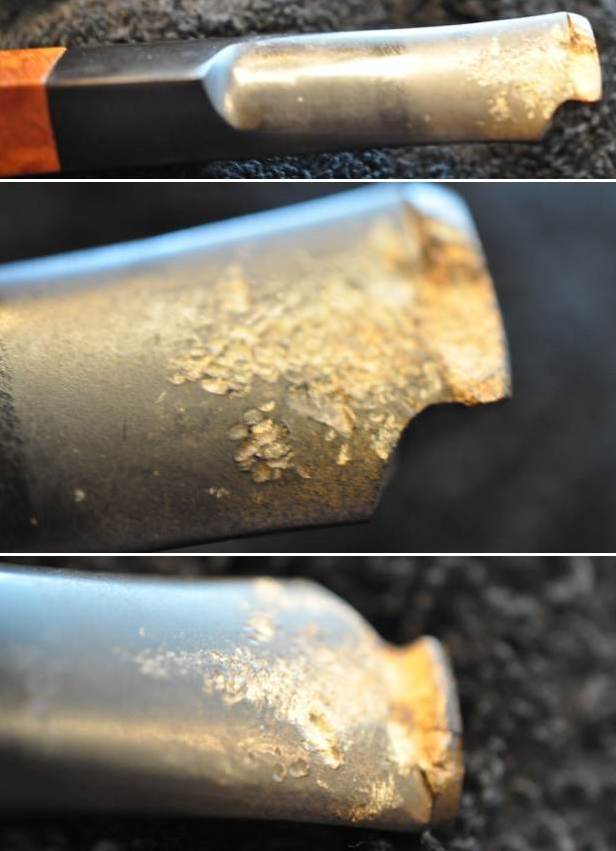
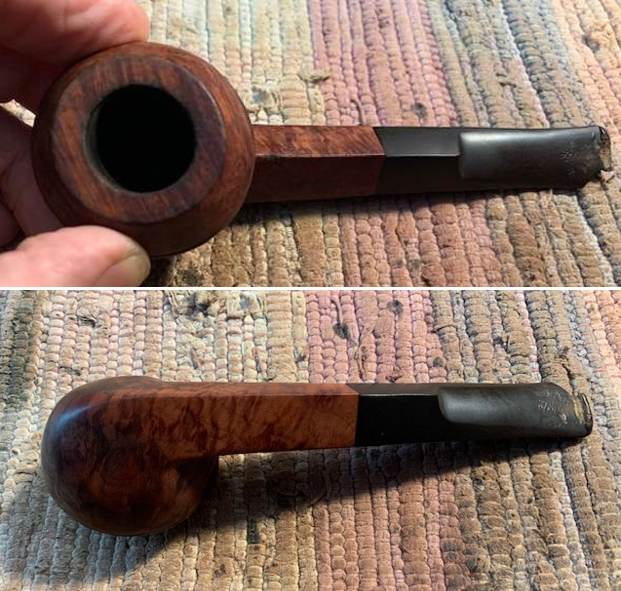
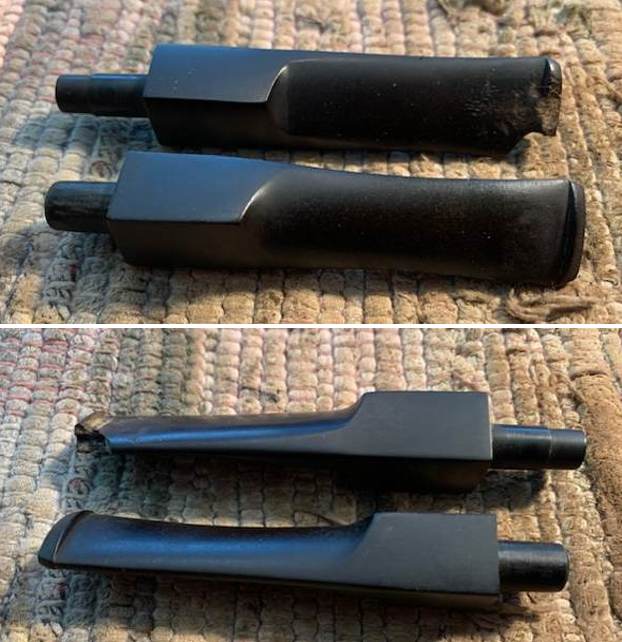
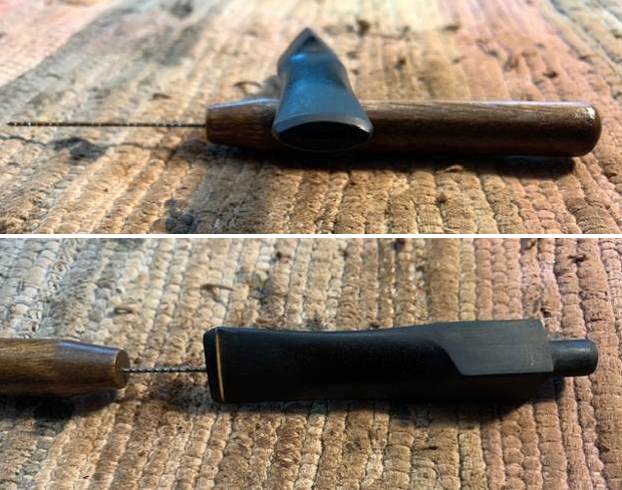
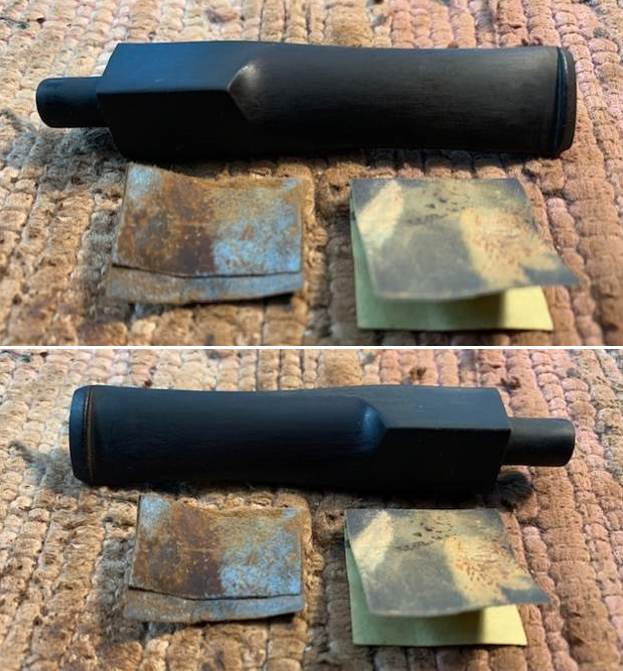
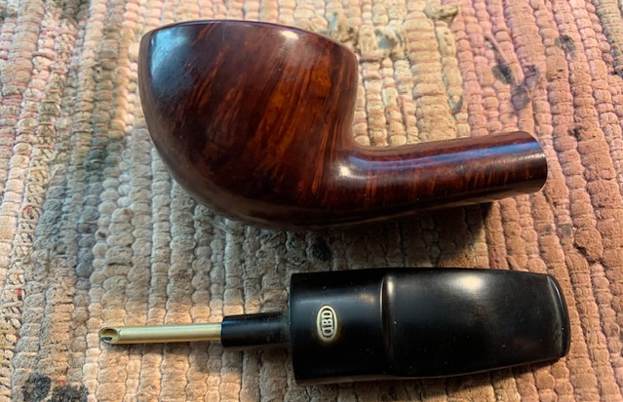
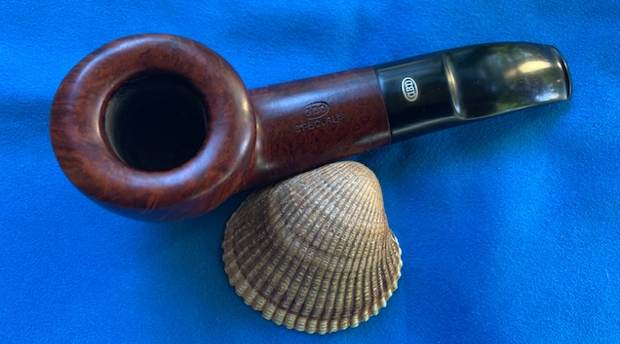
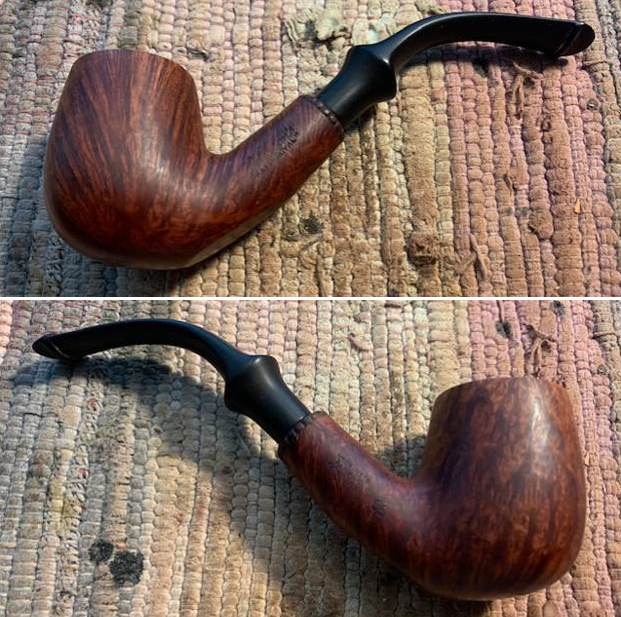
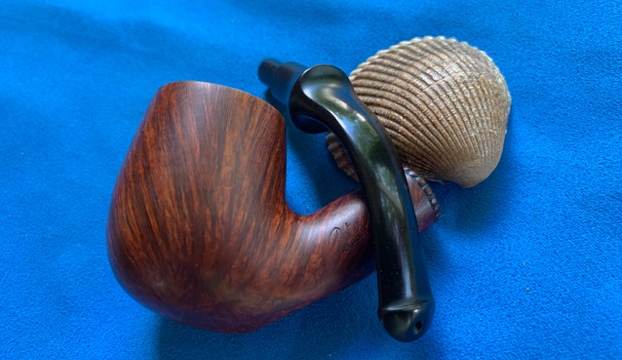
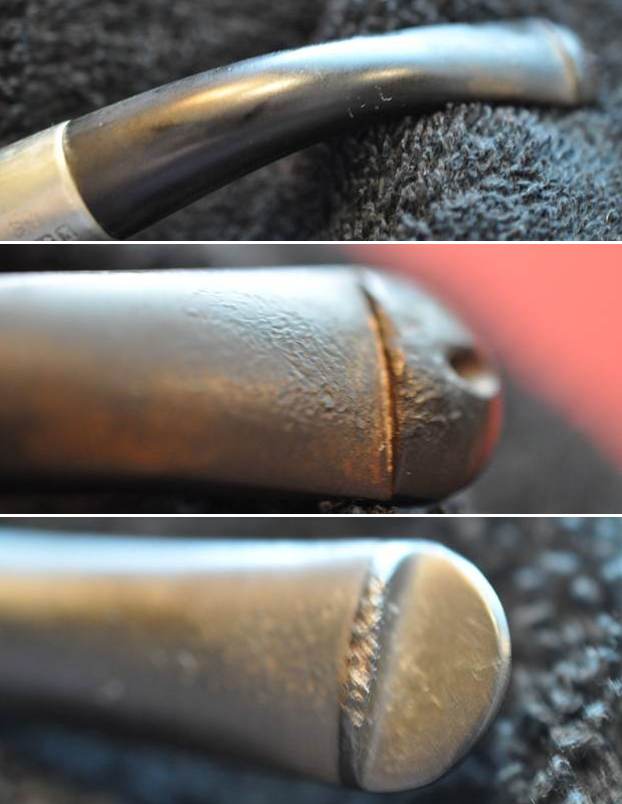
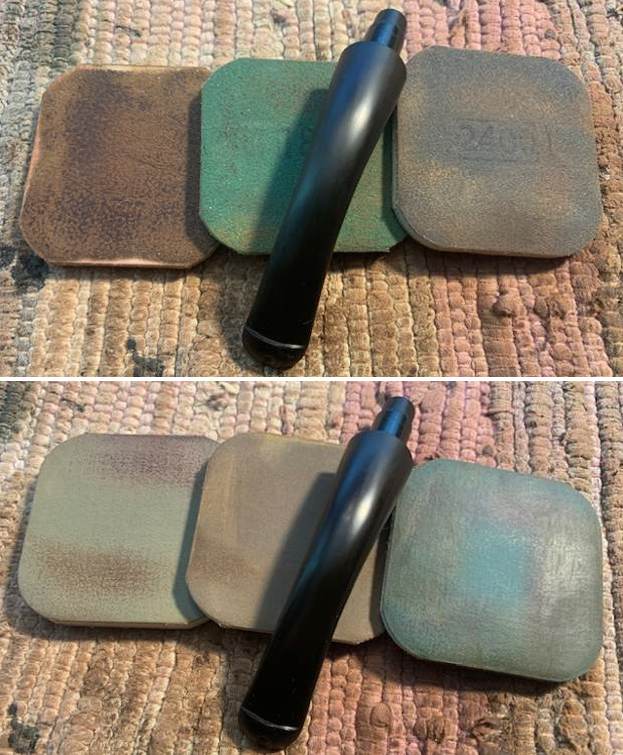
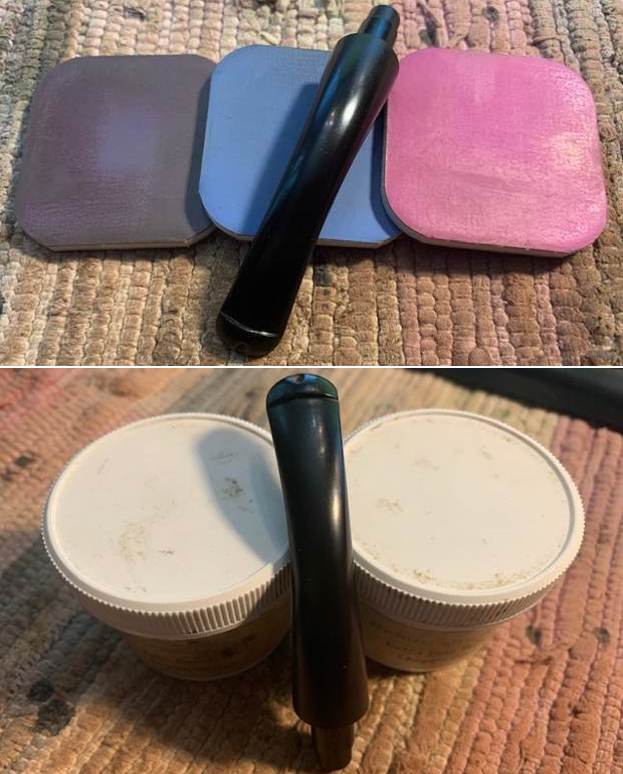
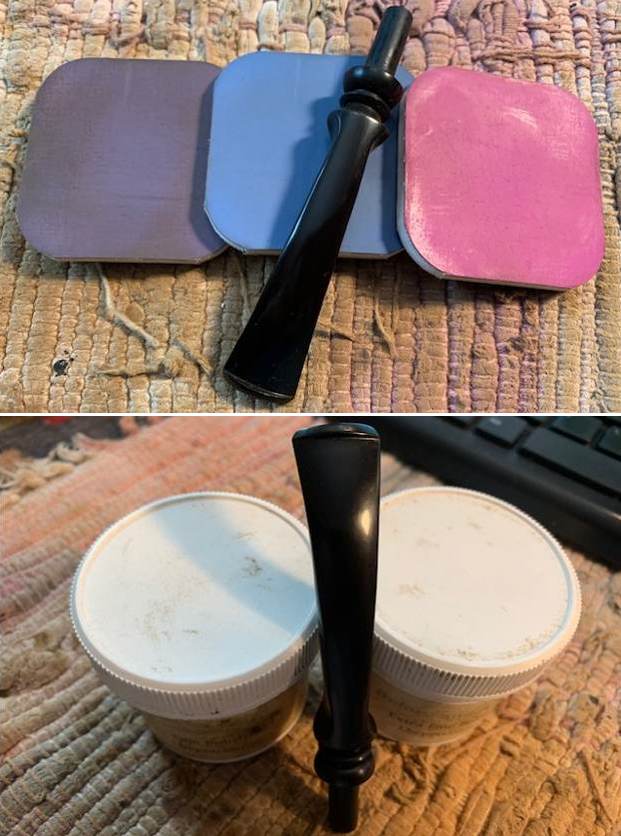
 I had a fancy stem in my can of stems. It is a nice looking panel sided stem. In examining it I could see a faint Stanwell logo on the side of the stem. I will use it on this pipe anyway and smooth out the stamping. I will need to polish the stem before I am finished. The tenon was the right size so with some polishing it was a perfect fit.
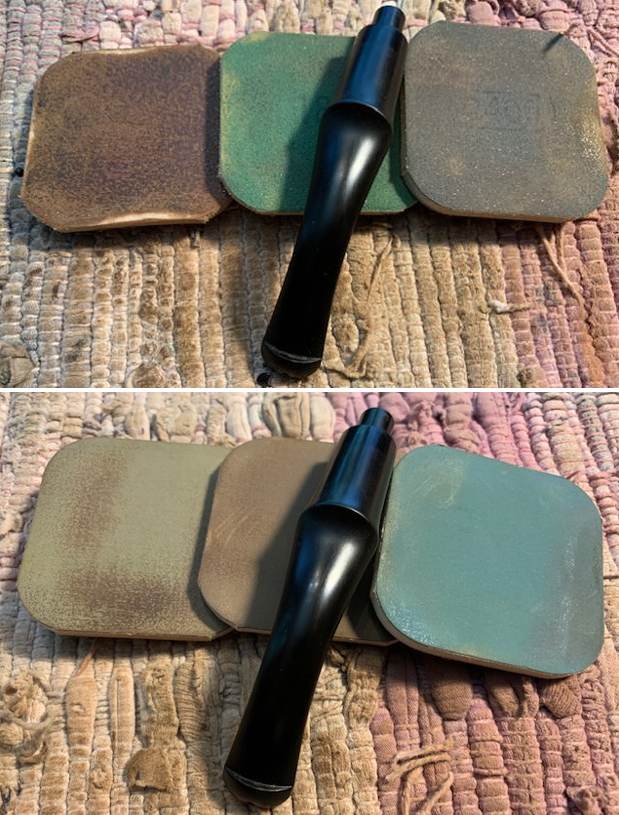
 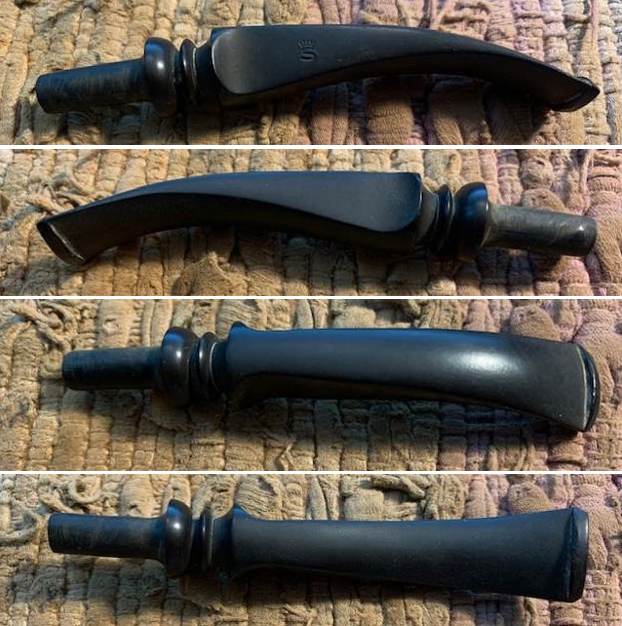 I sanded out the tooth chatter and light marks ahead of the button on both sides with 220 grit sandpaper and also smooth out the faint Stanwell stamp on the side. I started polishing the stem with 400 grit wet dry sandpaper to smooth out the sanding marks left behind by the 220 grit paper.
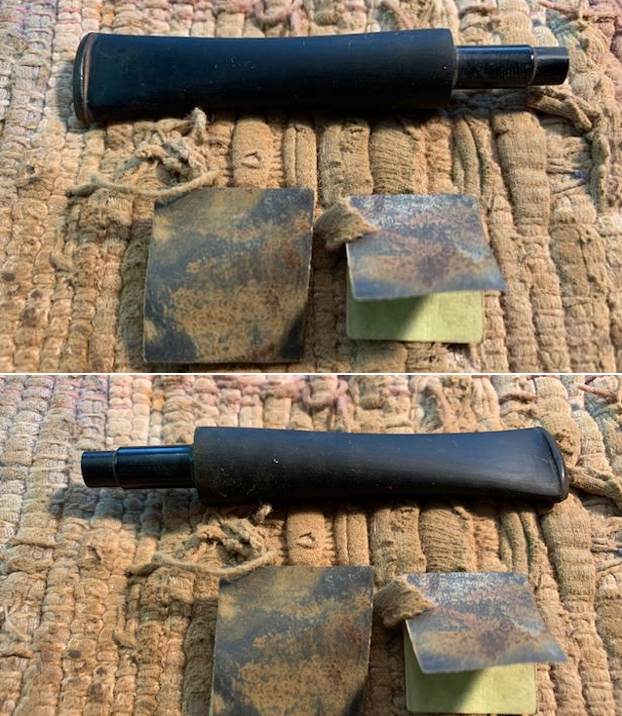
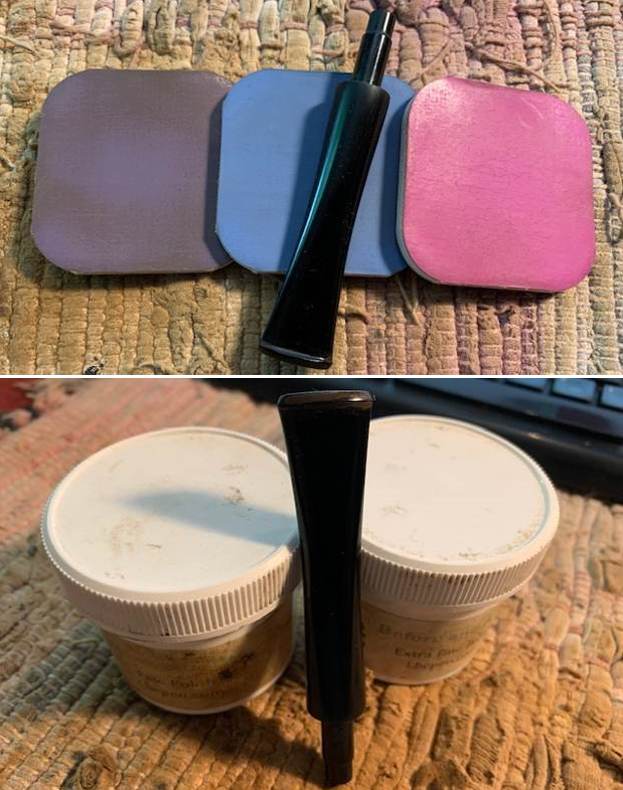
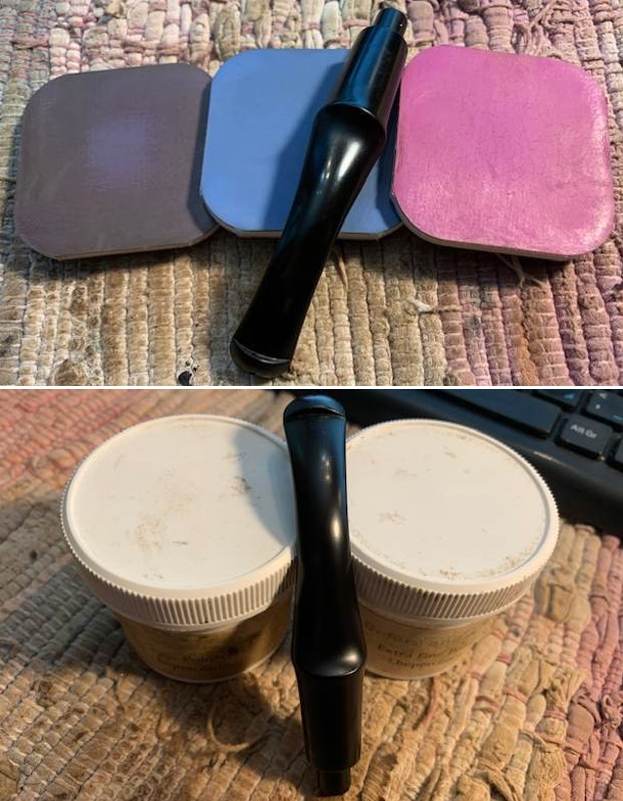
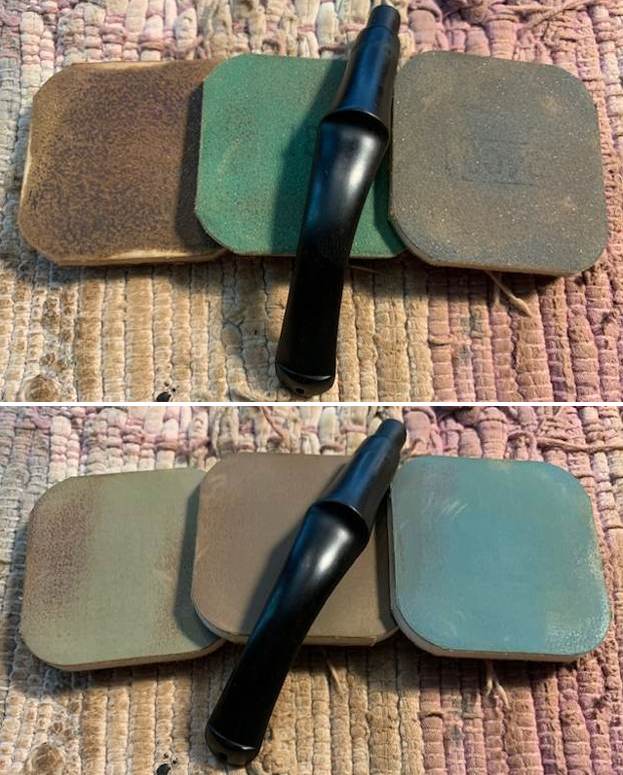
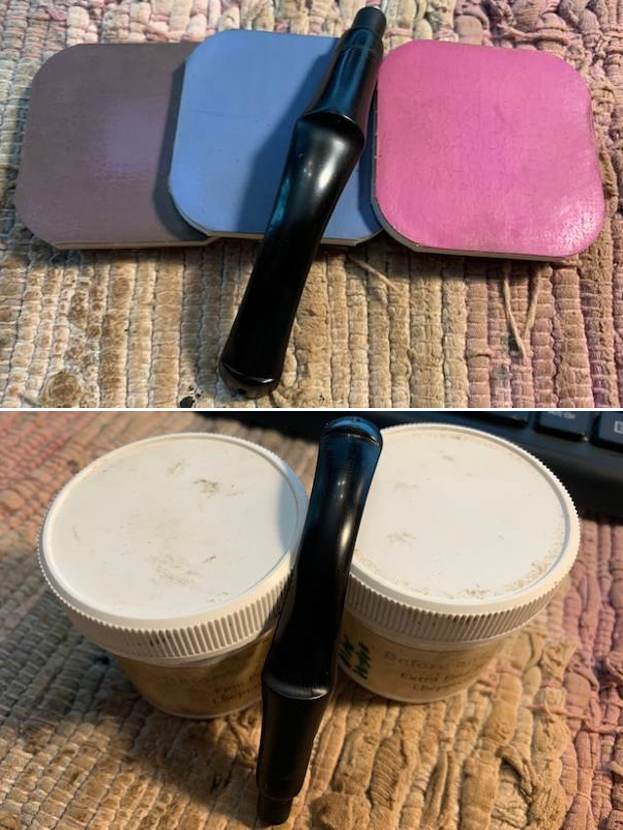
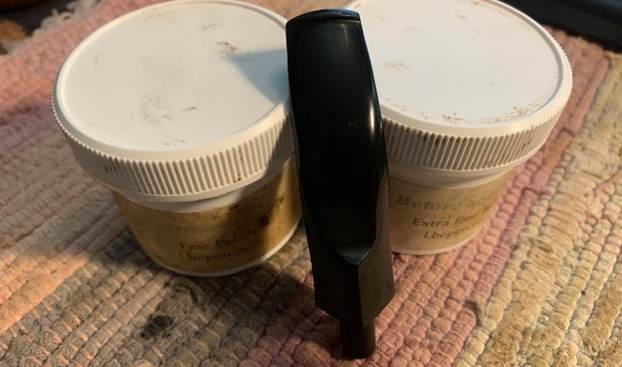
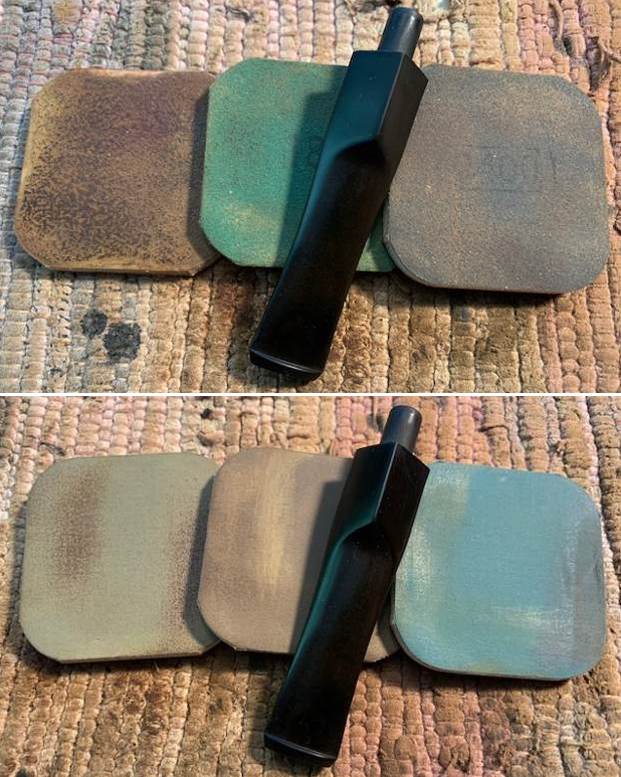
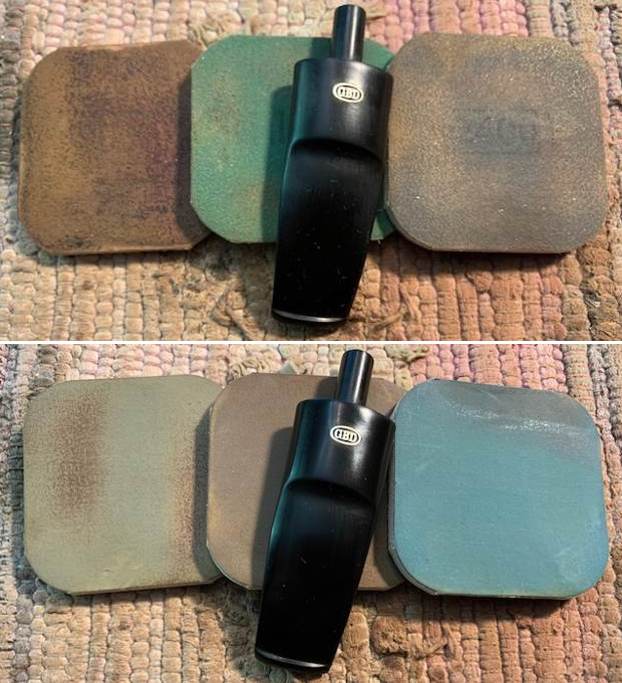
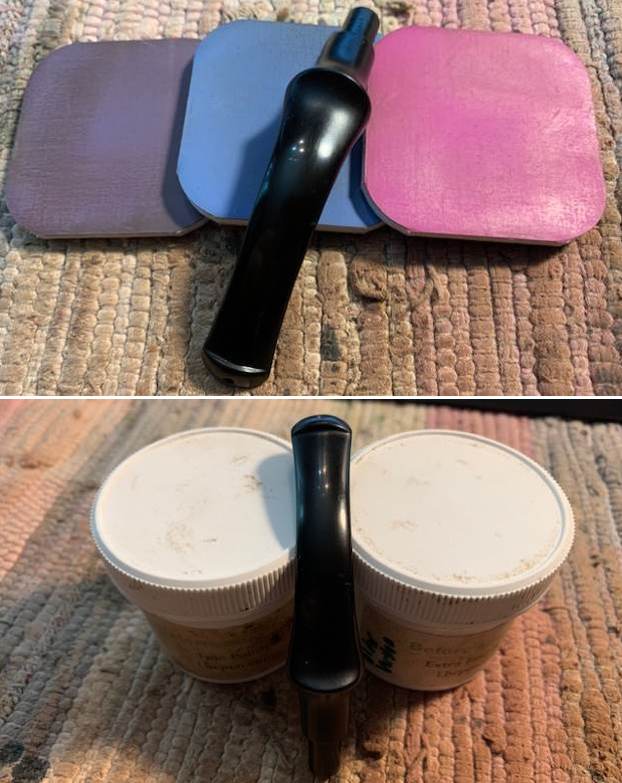
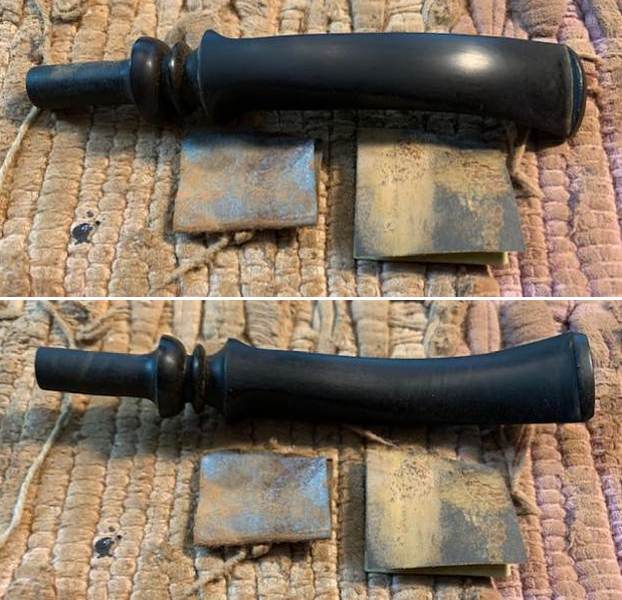 I polished the stem with micromesh sanding pads – wet sanding with 1500-12000 grit sanding pads. I wiped it down after each sanding pad with some Obsidian Oil. I finished polishing it with Before & After Pipe Stem Polish – both Fine and Extra Fine and buffed it off with a cotton cloth.
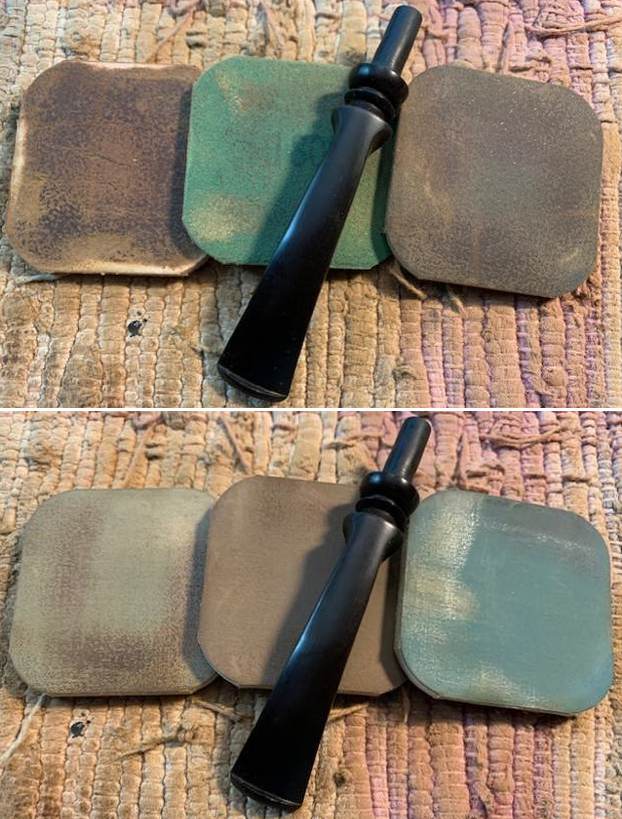
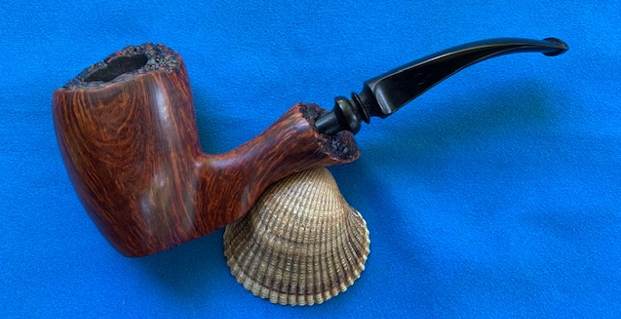
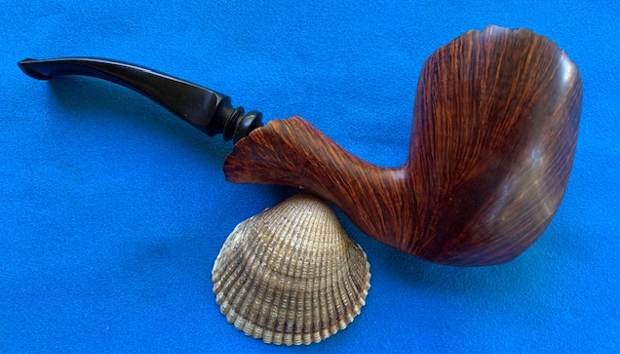
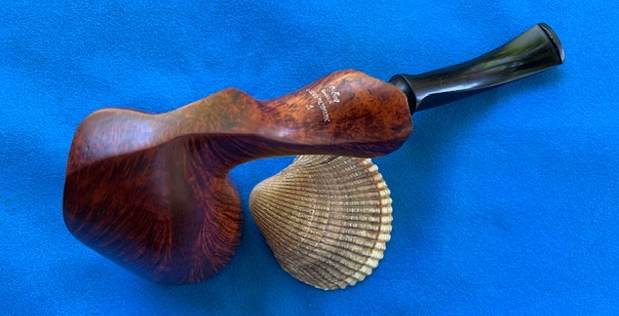
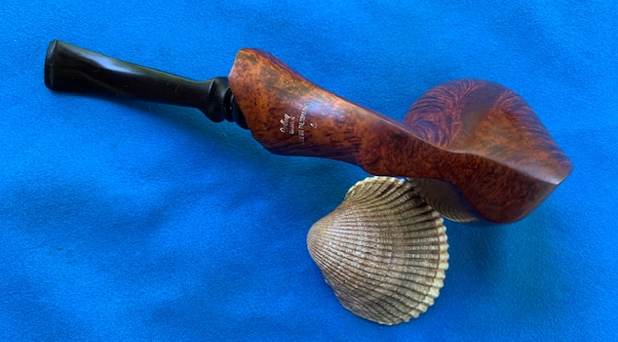
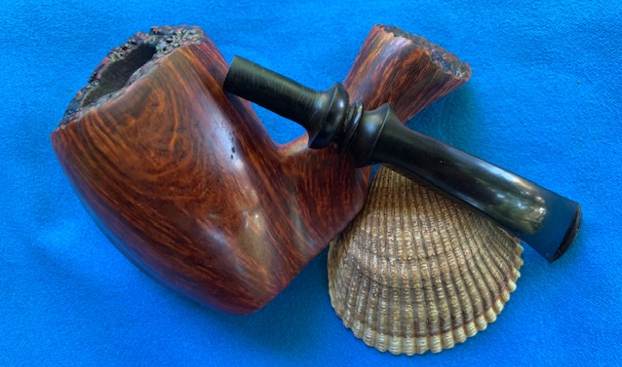
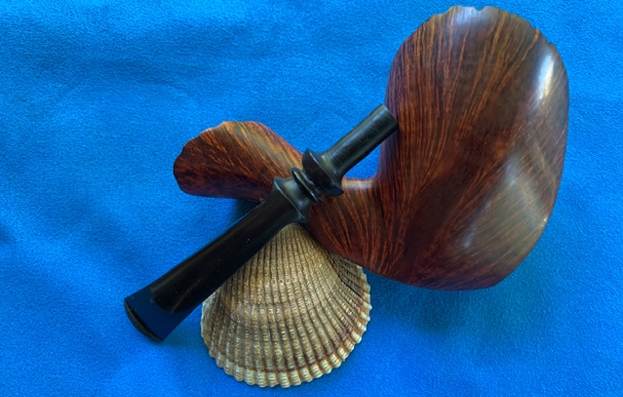
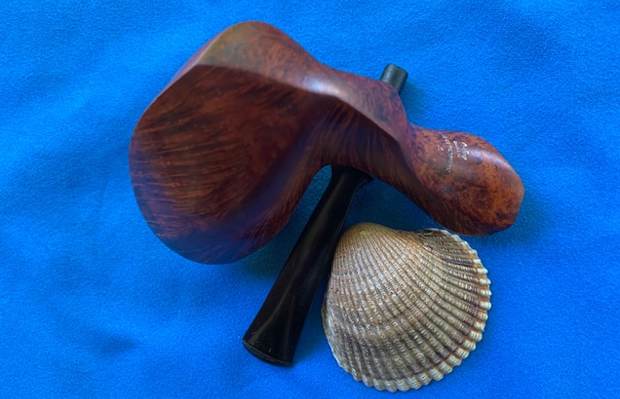
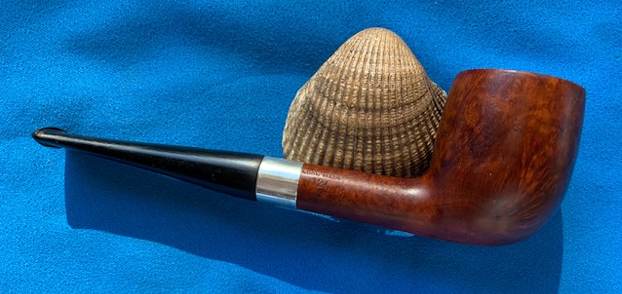
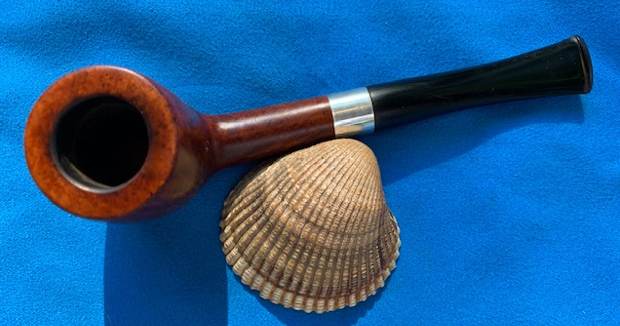
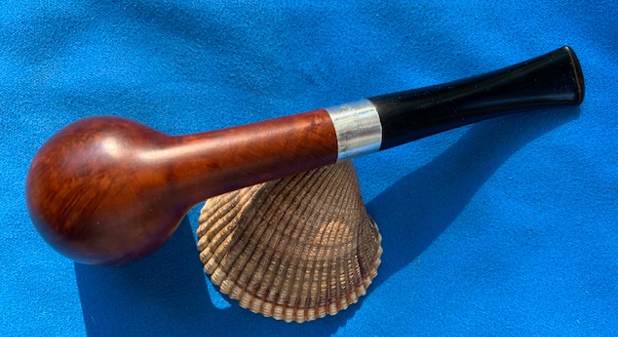
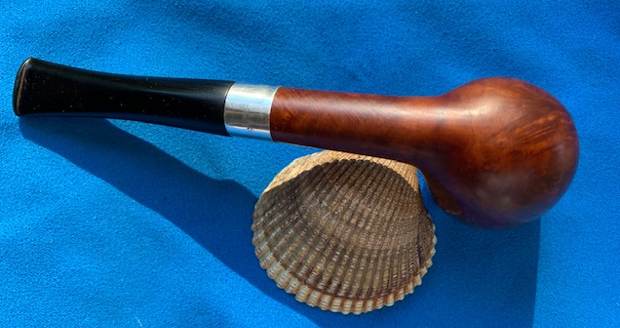
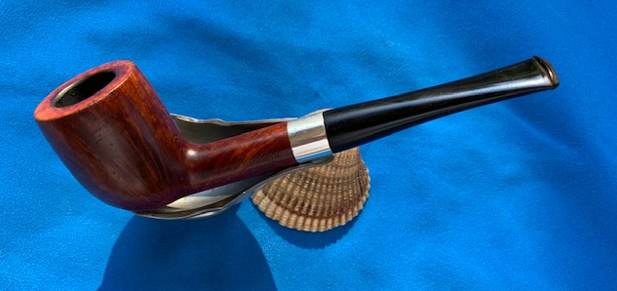
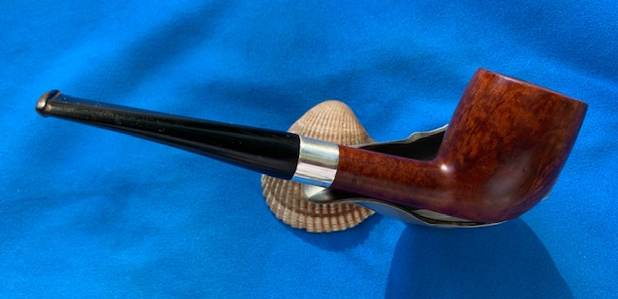
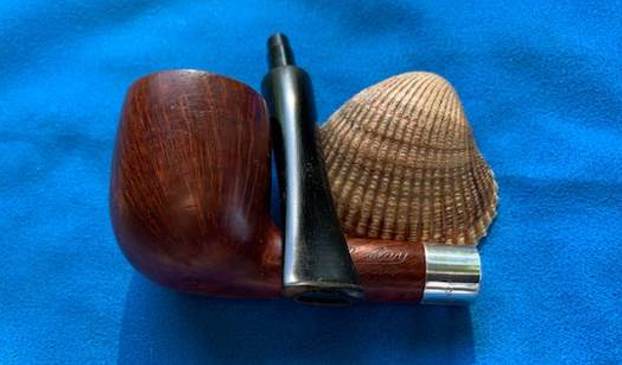
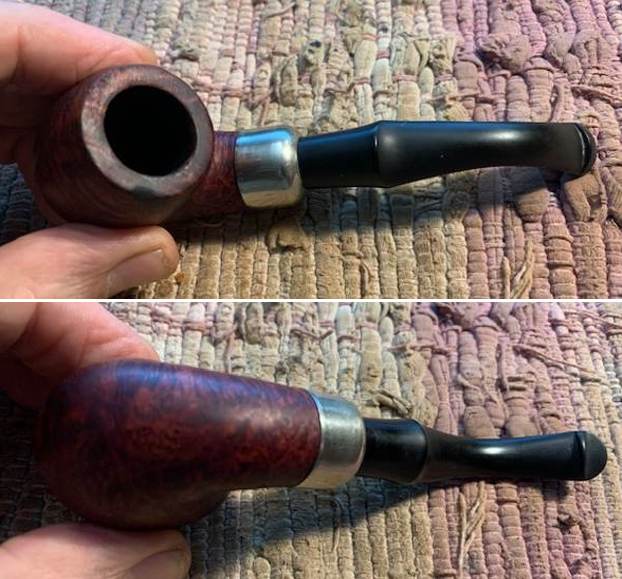
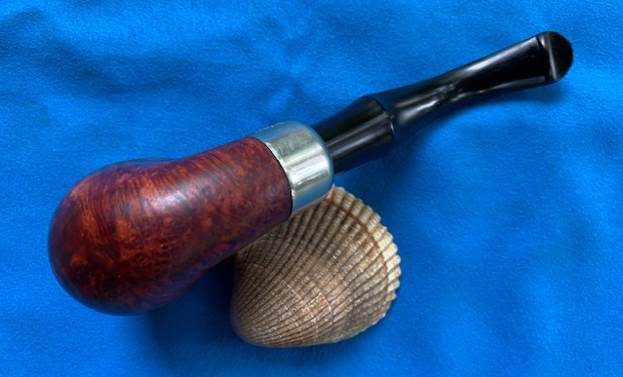
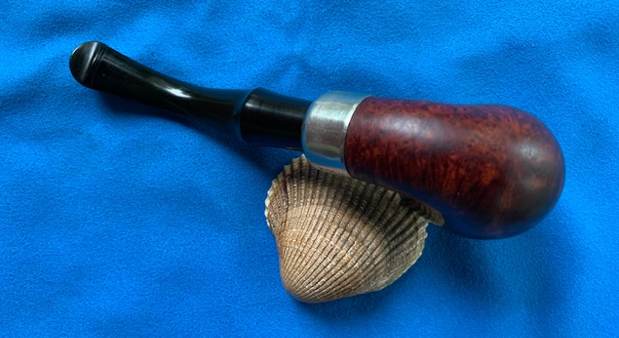
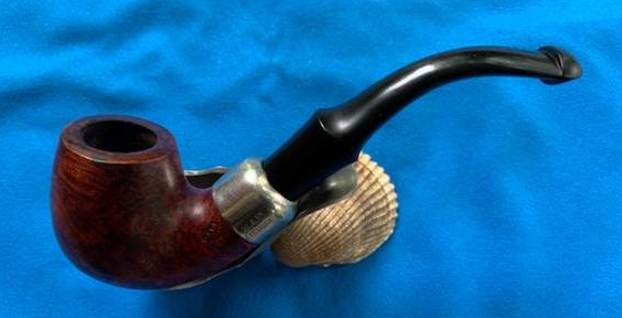
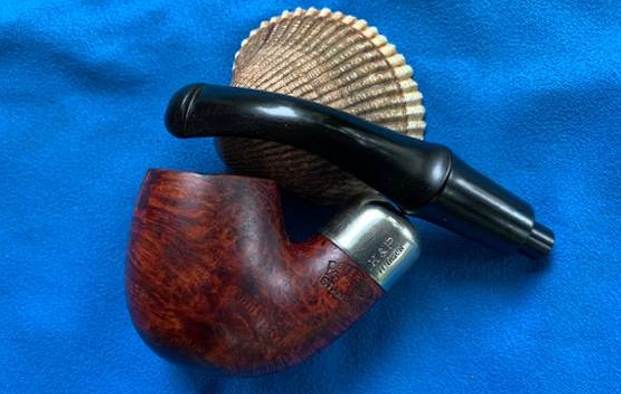
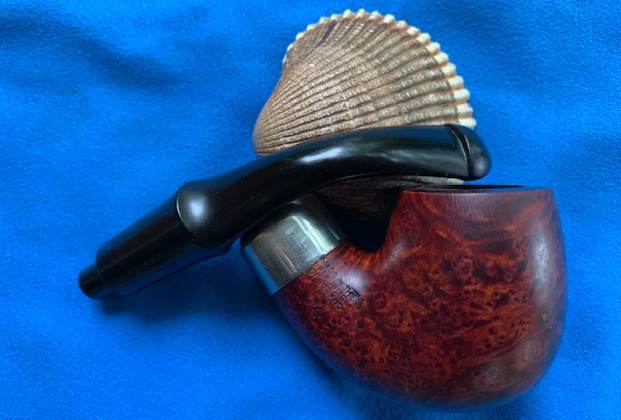
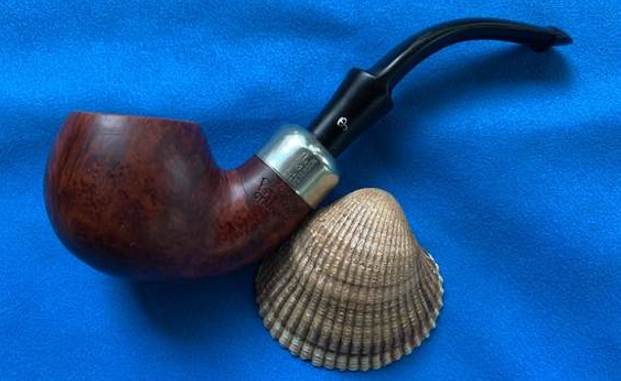
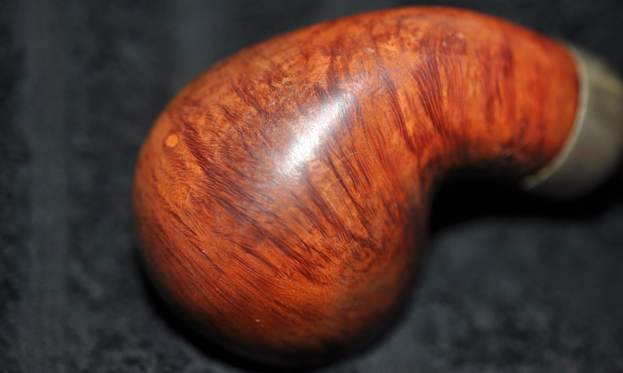
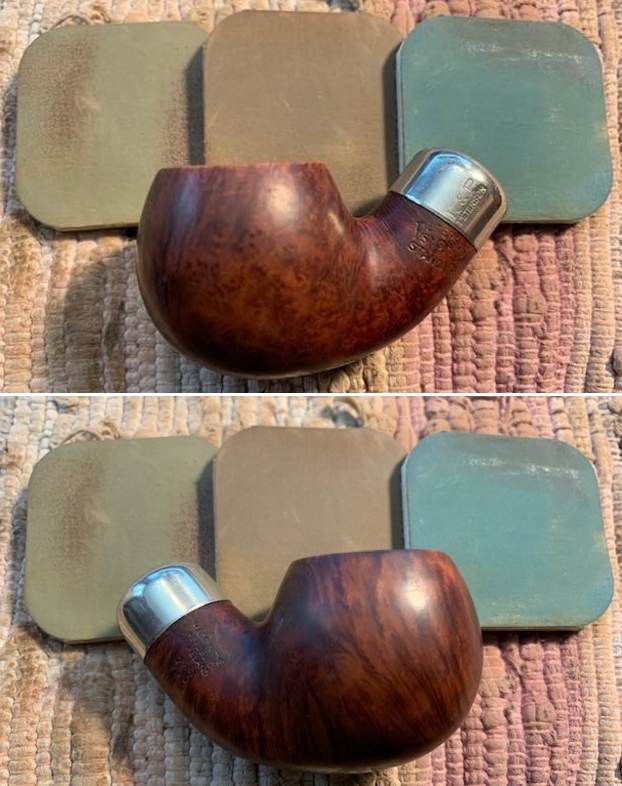
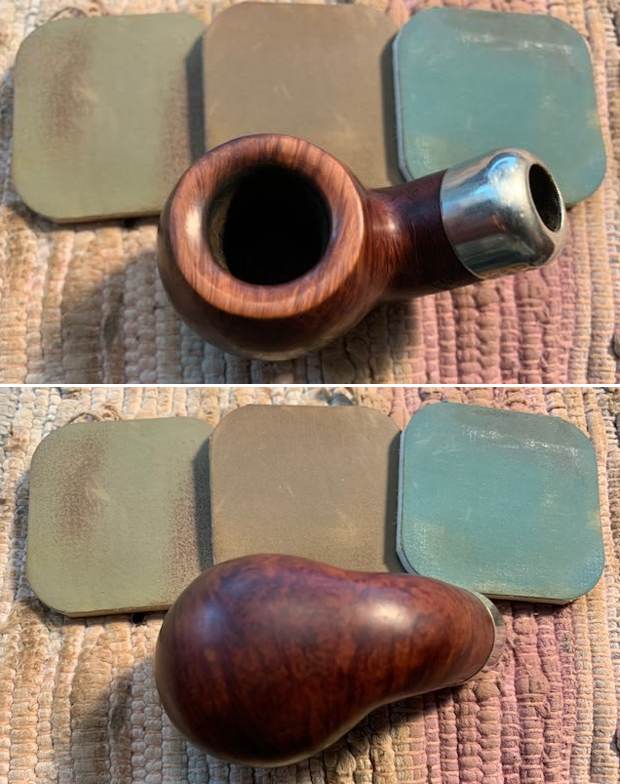
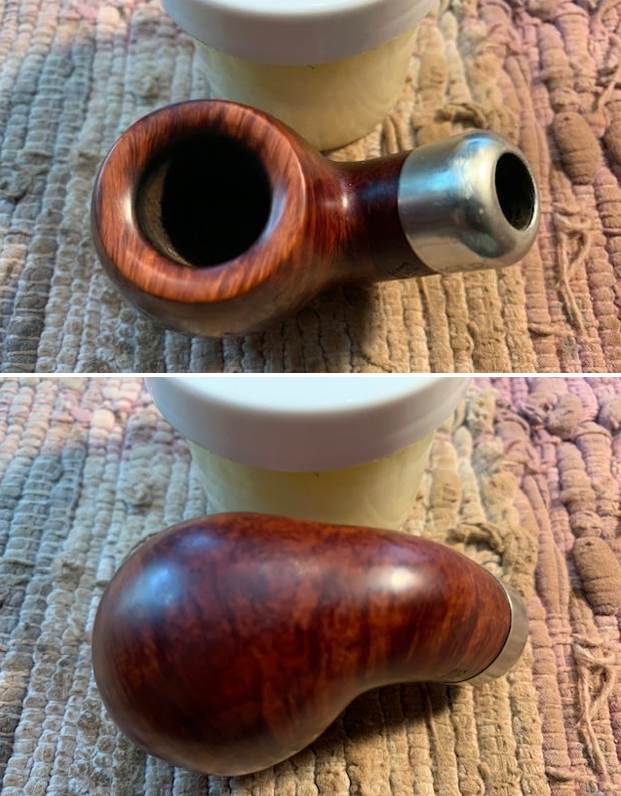
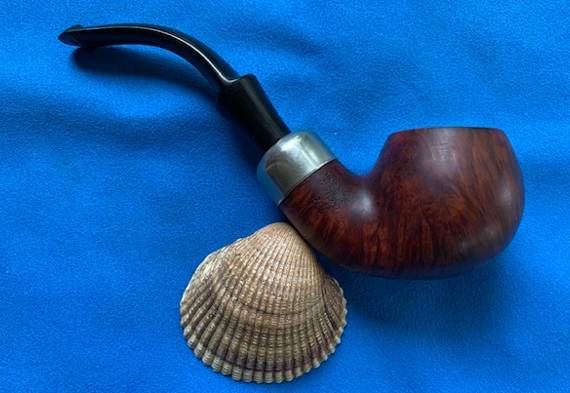
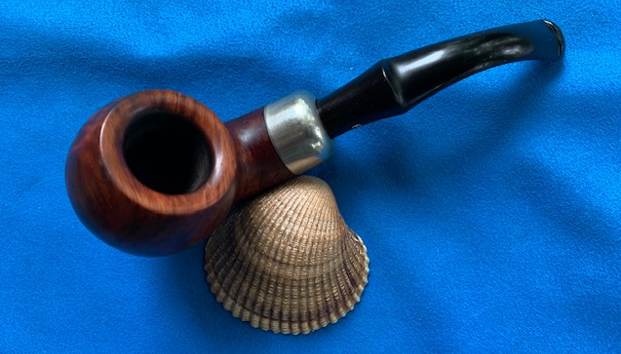
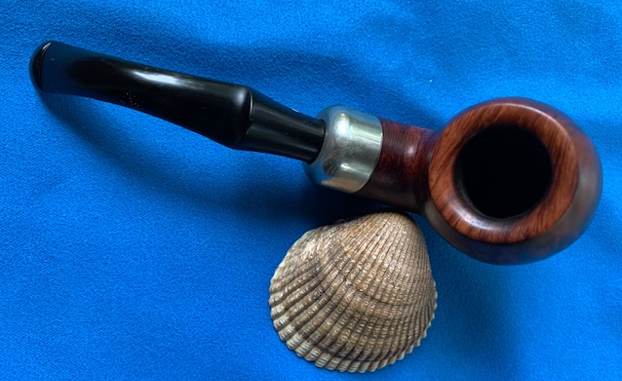
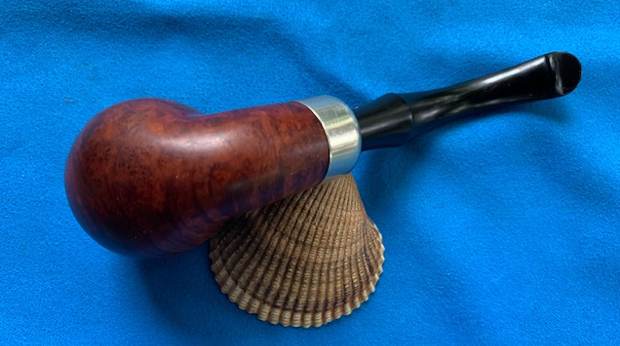
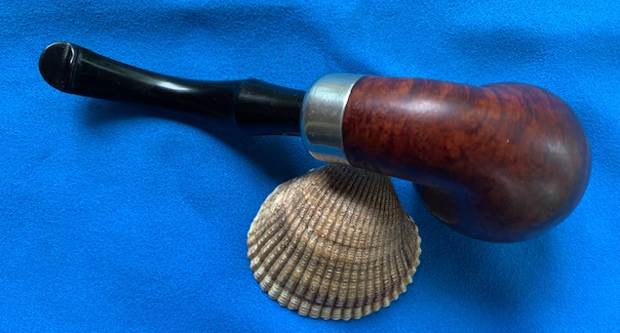
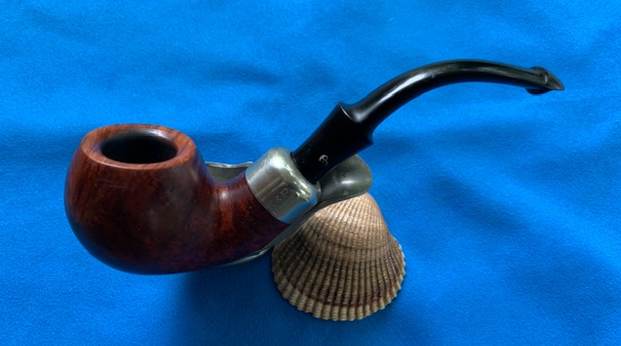
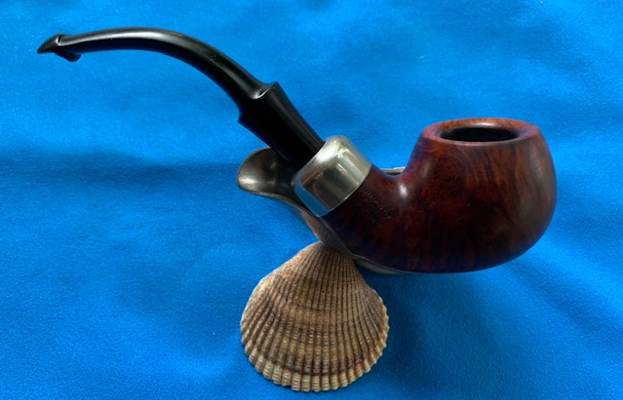
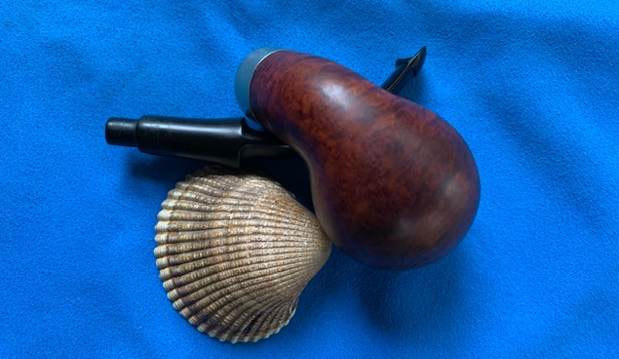
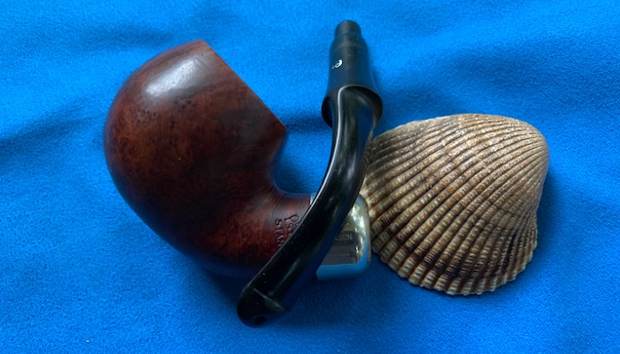
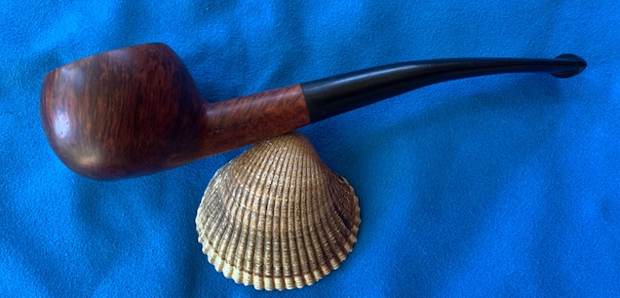
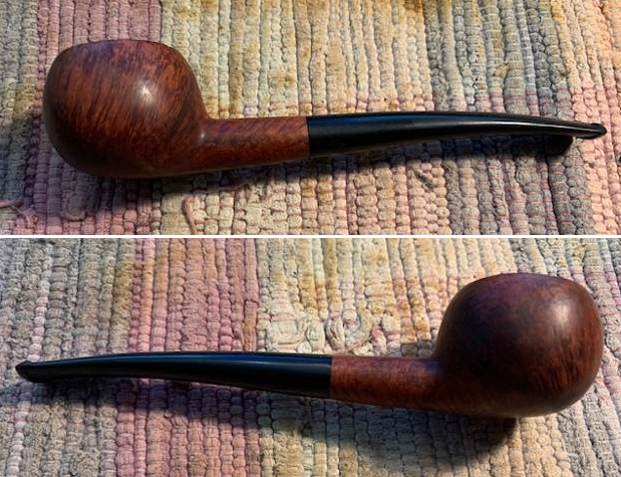
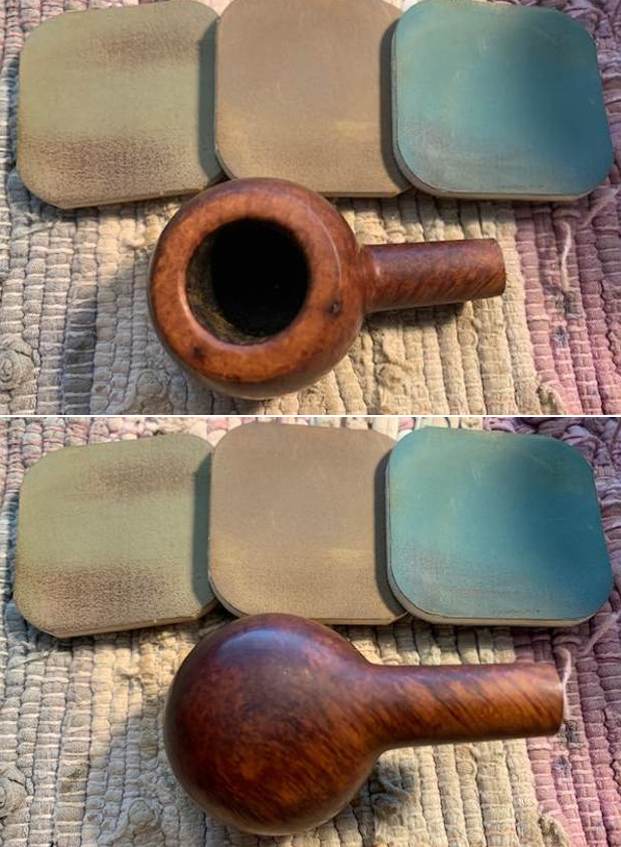
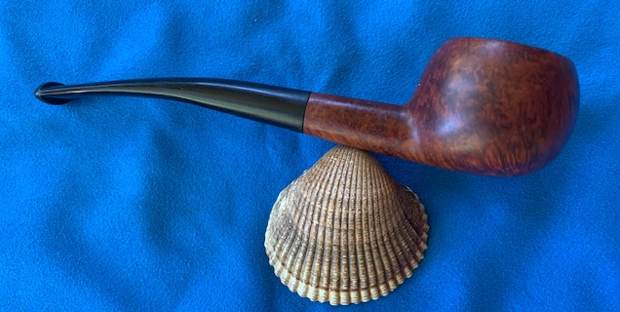
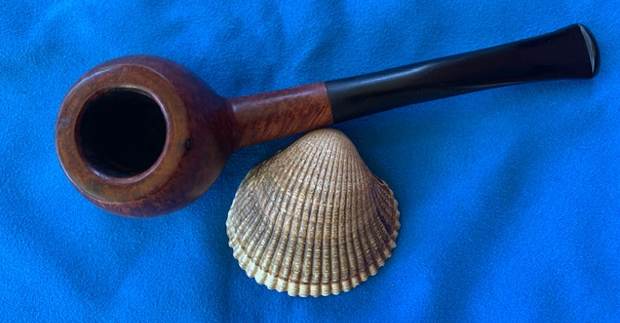
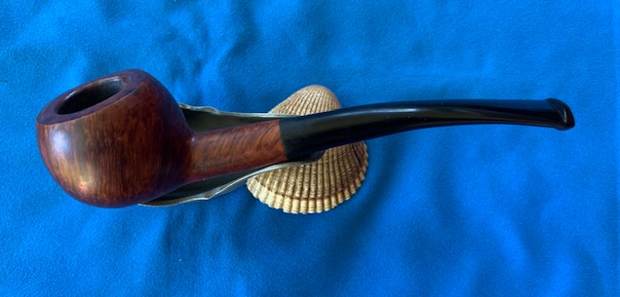
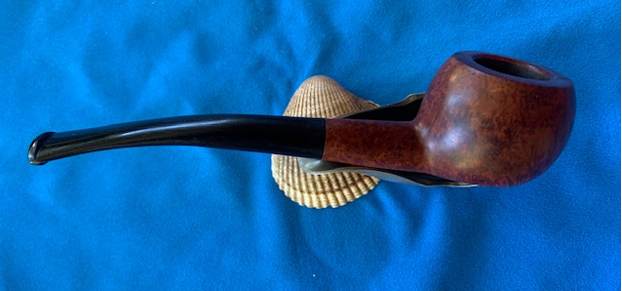
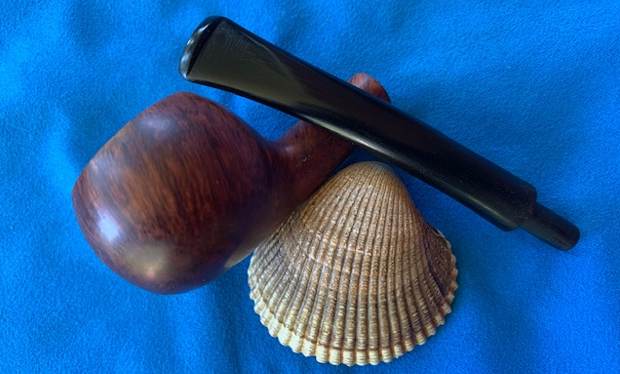
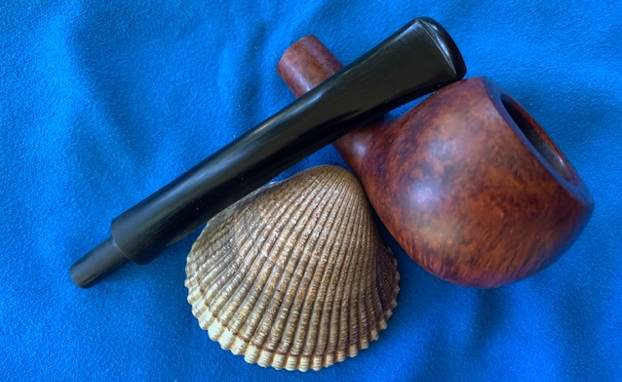
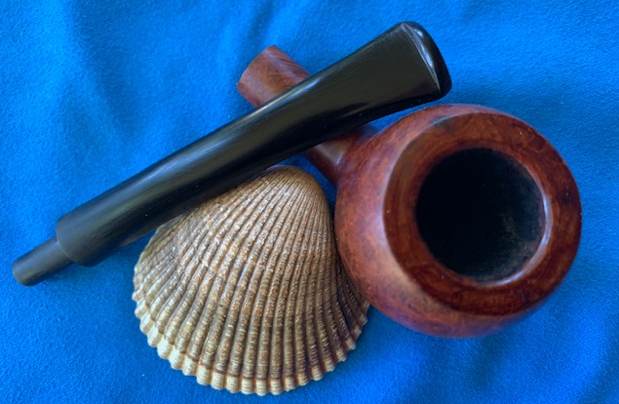
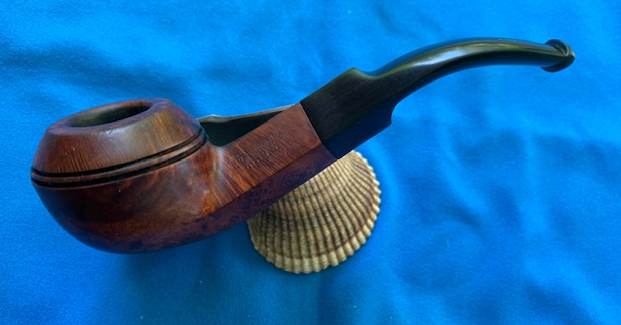
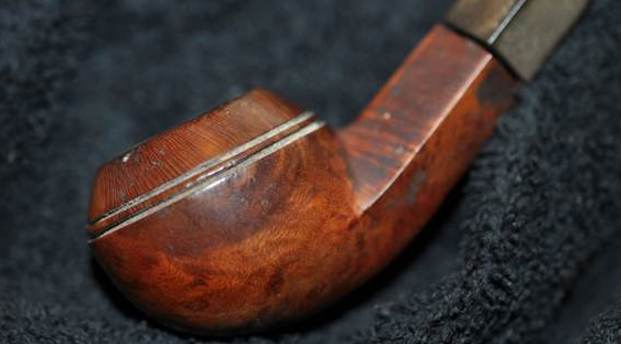
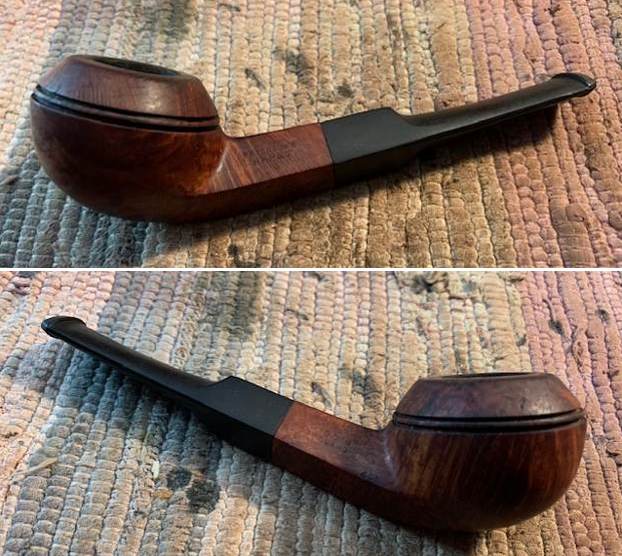
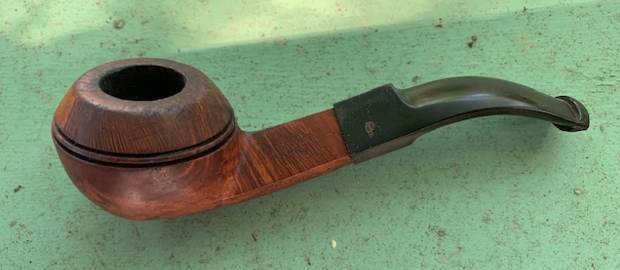
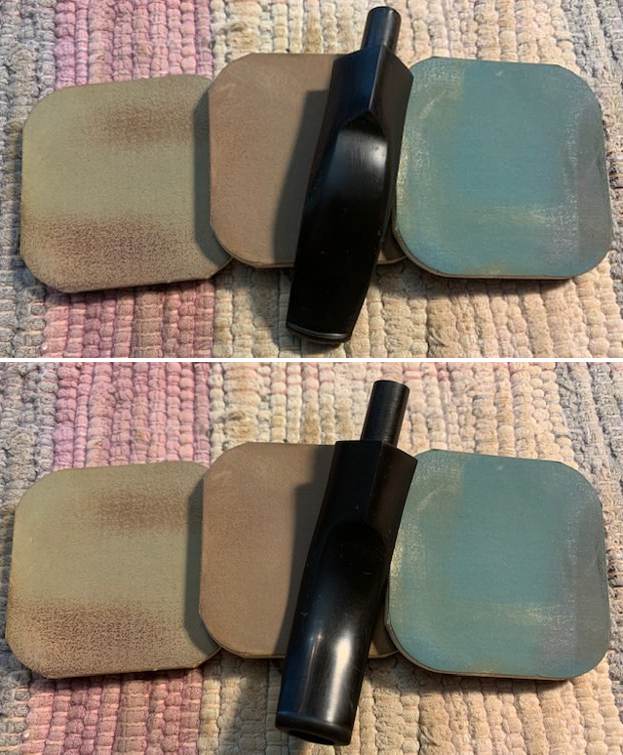
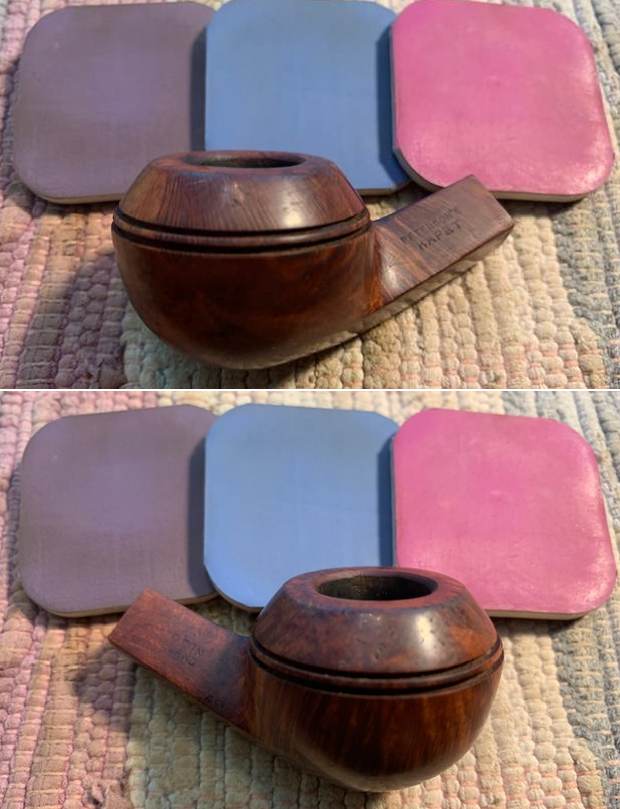
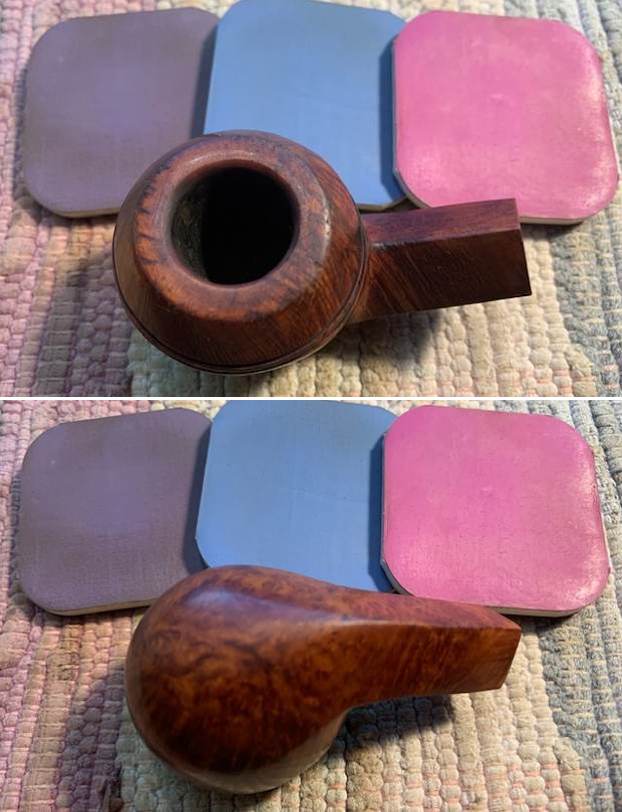
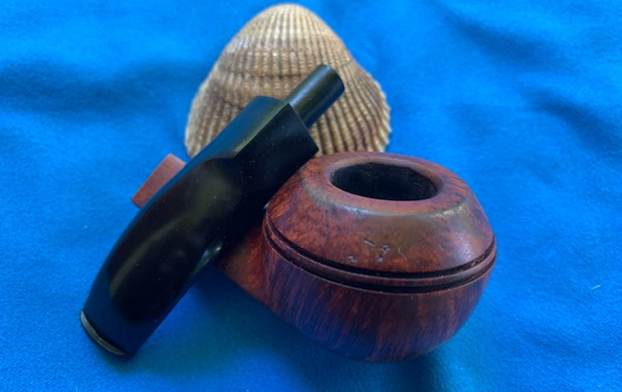
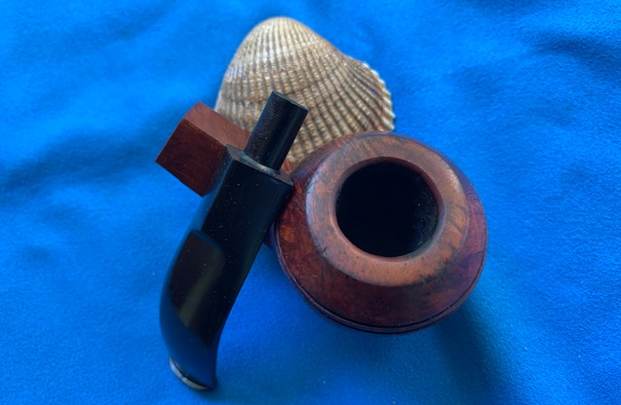
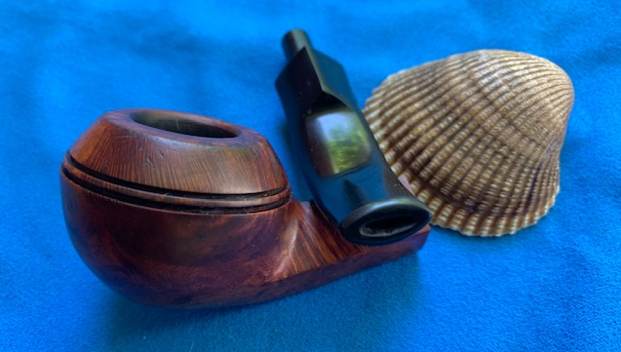
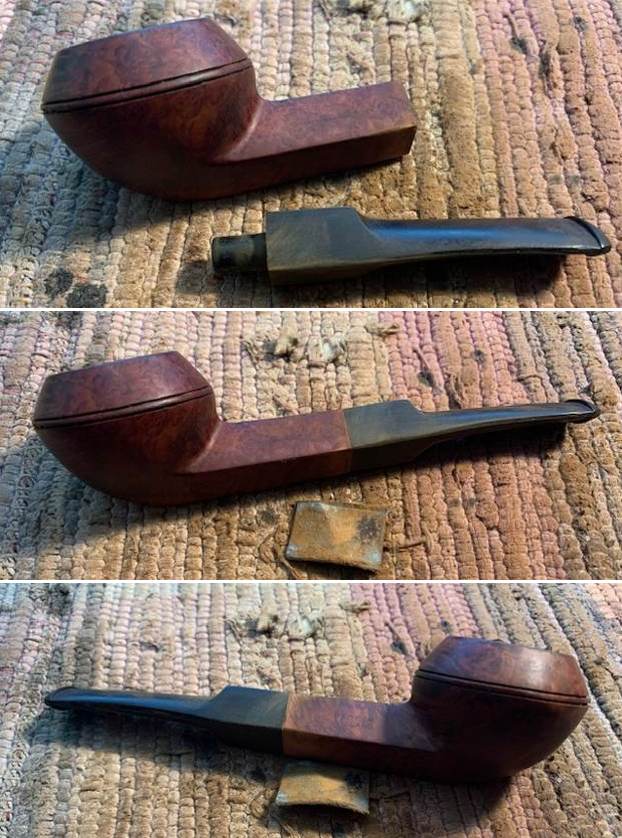
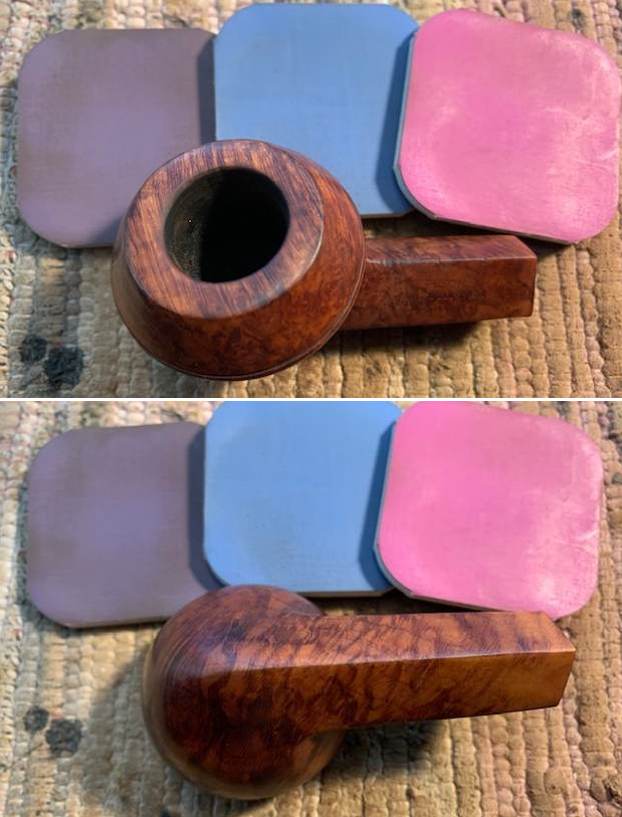
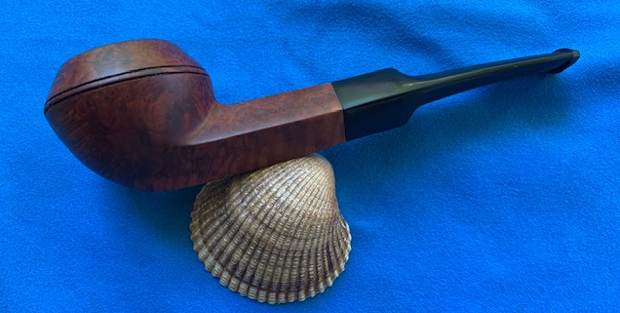
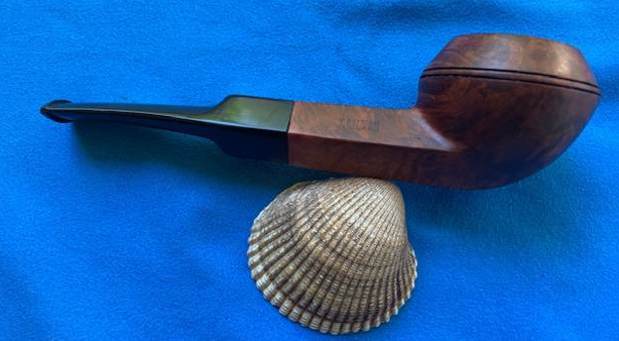
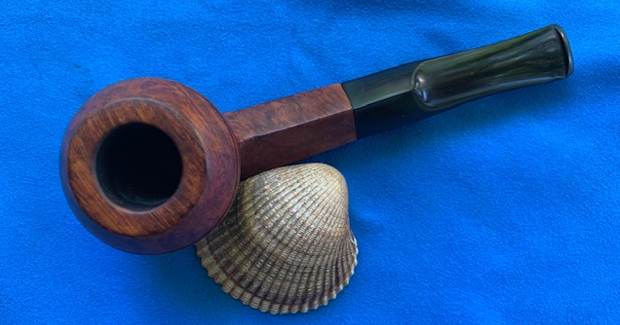
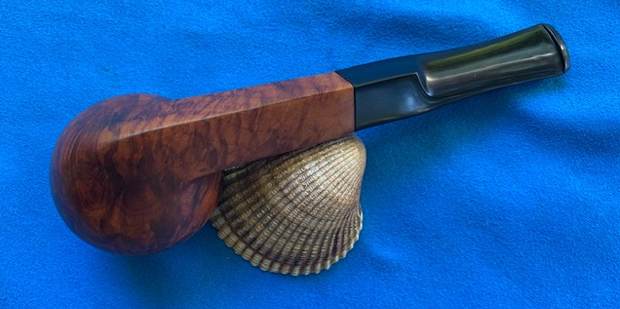
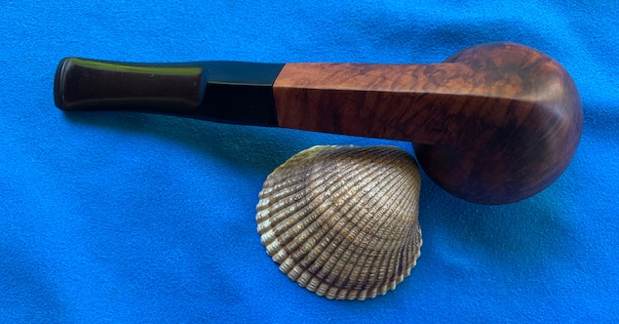
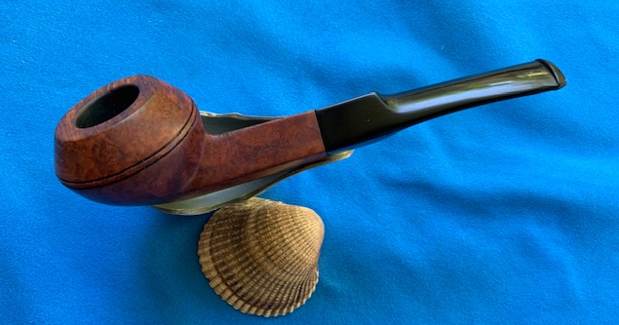
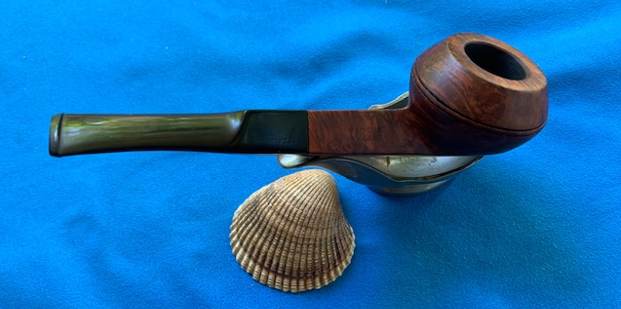
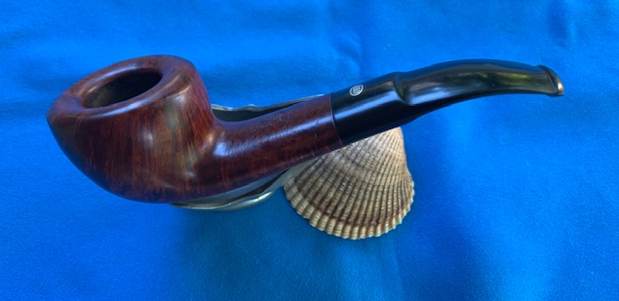
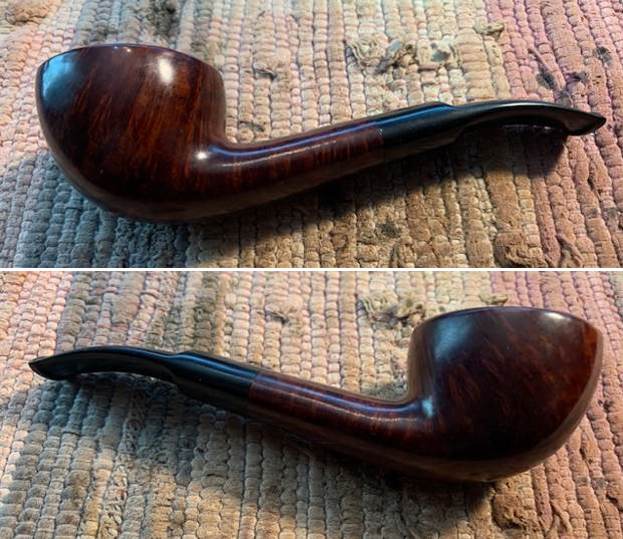
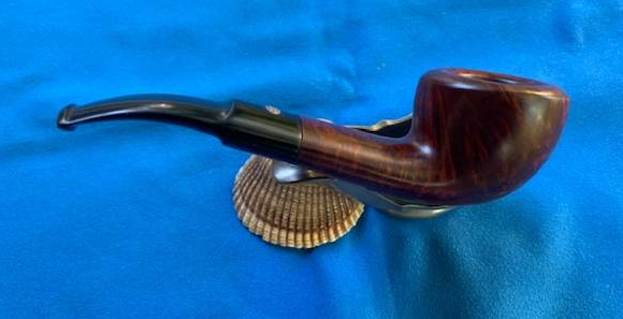
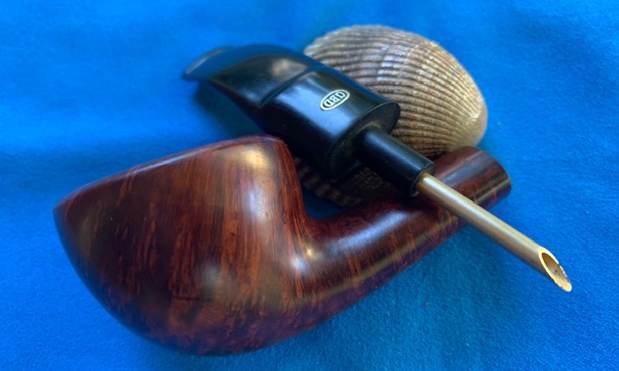
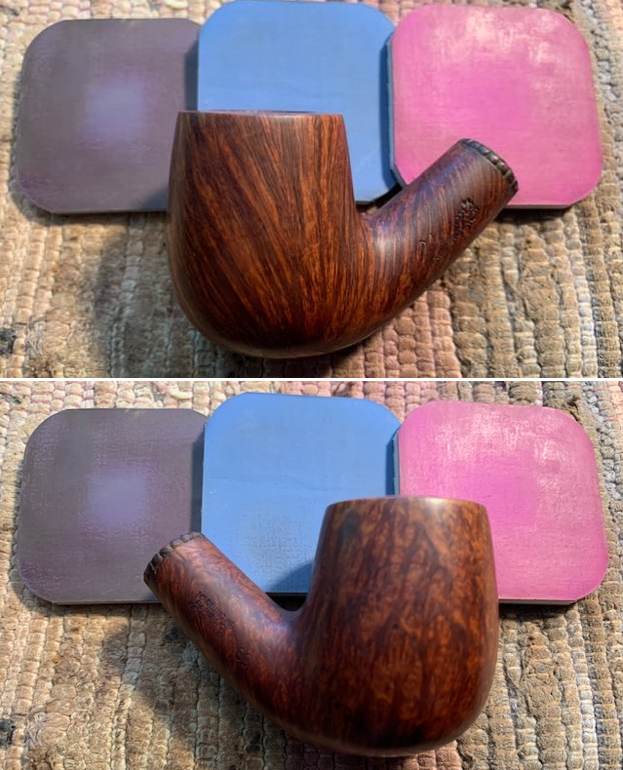
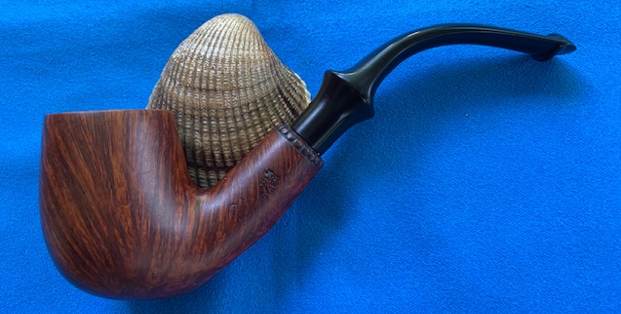
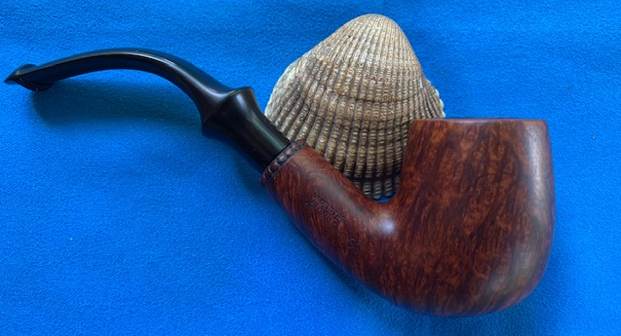
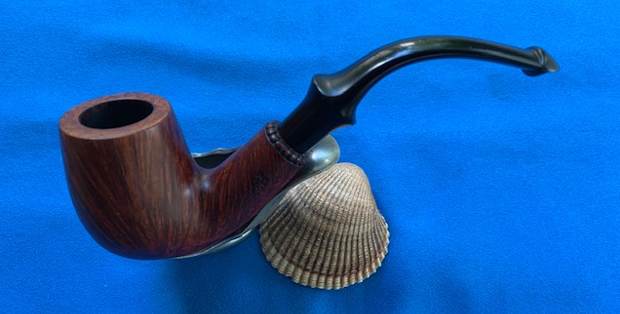
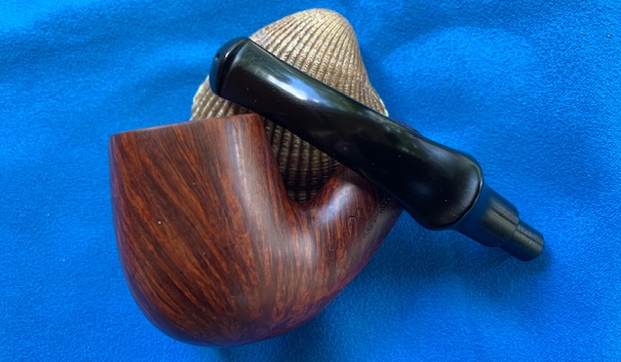
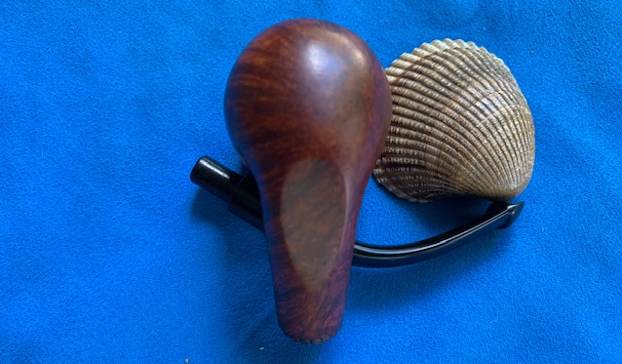
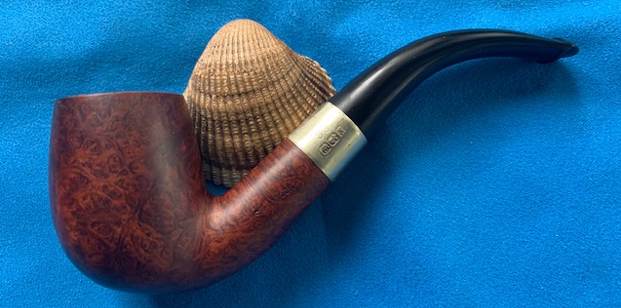
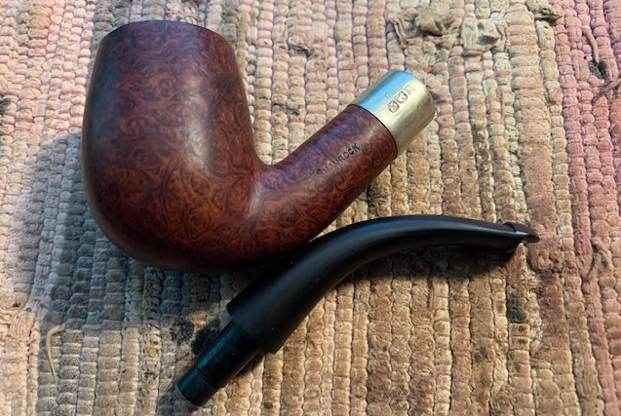
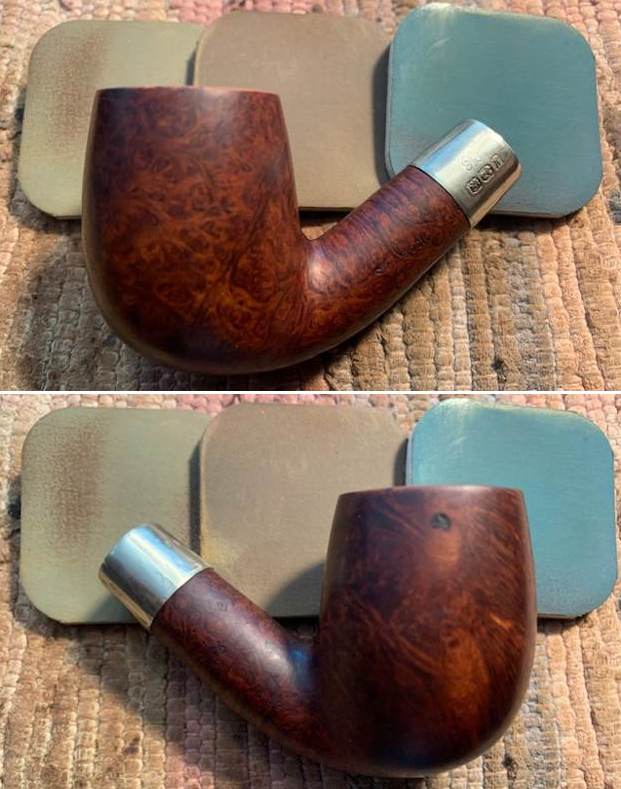
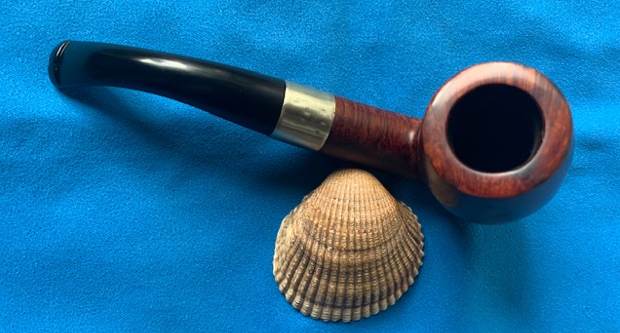
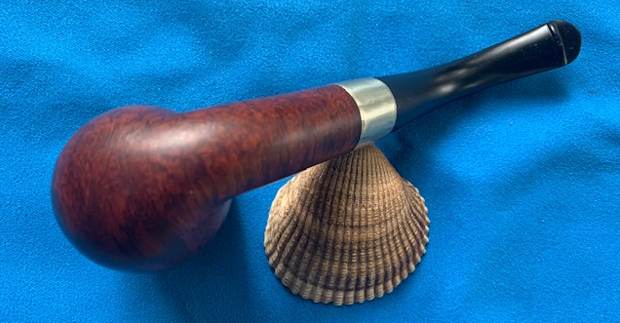
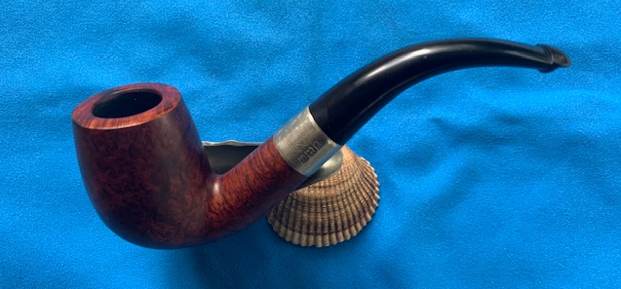
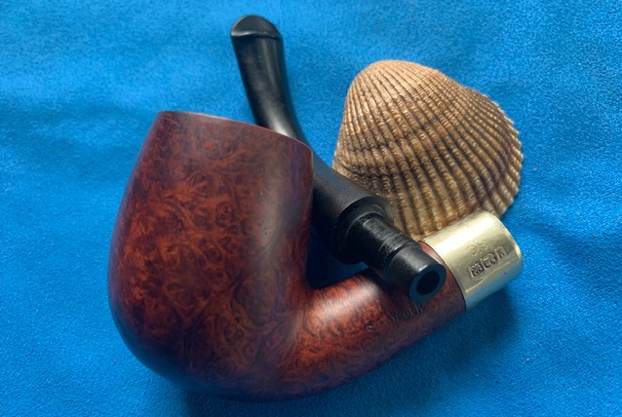
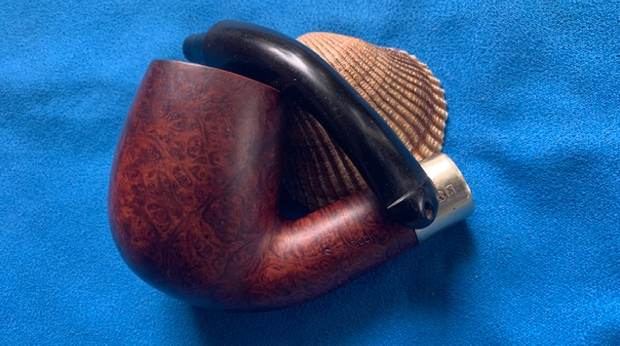
 This is a beautiful Jobey Dansk 4 Hand Made by Karl Erik with a fancy, turned, black vulcanite stem. It has a great look and feel. The shape fits well in the hand with the curve of the bowl and shank junction a perfect fit for the thumb around the bowl when held. I polished stem and the bowl with Blue Diamond polish on the buffing wheel. I gave the plateau on the rim top and shank end multiple coats of Conservator’s Wax. I gave the bowl and the stem multiple coats of carnauba wax. I buffed the pipe with a clean buffing pad to raise the shine. I hand buffed it with a microfiber cloth to deepen the shine. The pipe polished up pretty nicely. The rich combination of browns and black in the smooth finishes and the plateau areas took on life with the buffing. The rich colour of the briar works well with the polished vulcanite stem. I like the grain and finished look of this Jobey Dansk 4 pipe. Have a look at it with the photos below. The shape, finish and flow of the pipe and stem are very well done. The dimensions are Length: 6 ½ inches, Height: 2 ½ inches, Outside diameter of the bowl: 1 ¾ wide, Chamber diameter: ¾ of an inch. The weight of the pipe is 2.36 ounces/67 grams. This Danish Freehand is a real beauty. Thanks for walking through the restoration with me as I worked over another beautiful pipe. This one will be going on the rebornpipes store in the Danish Pipe Making Section shortly if you would like to add it to your collection. Thanks for your time.