By Al Jones
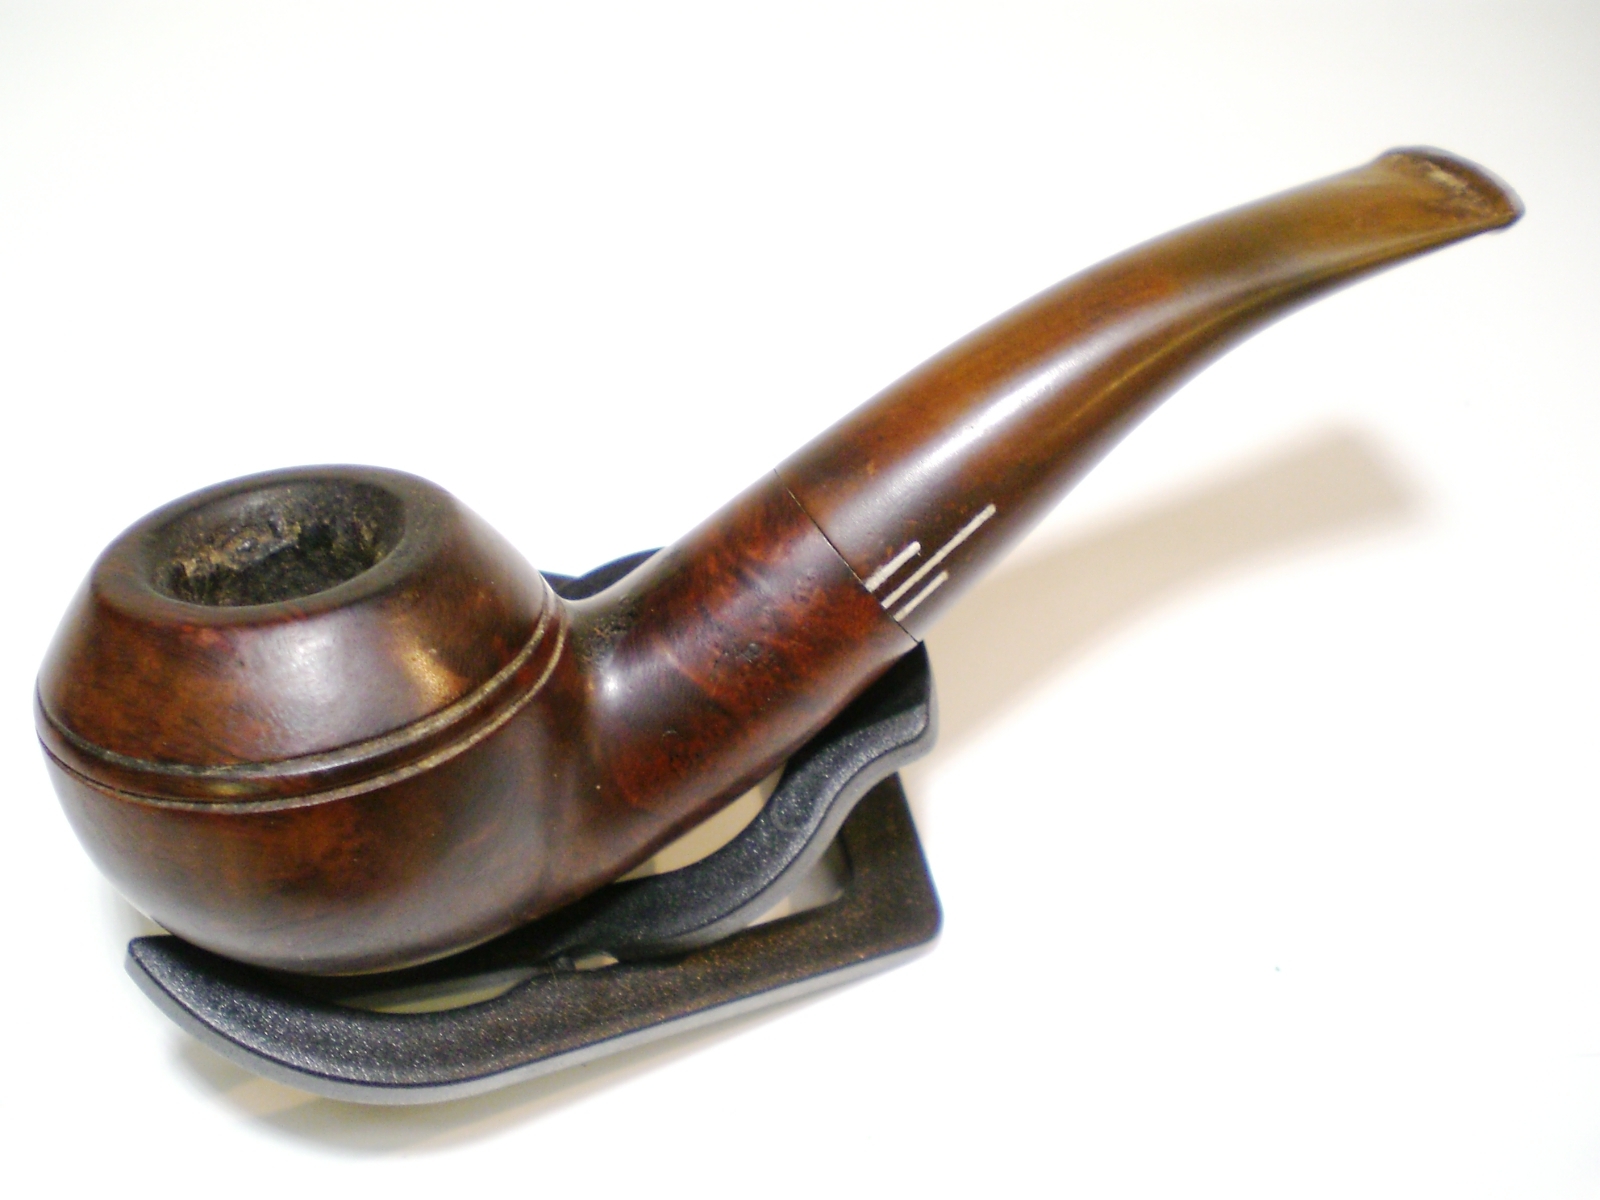
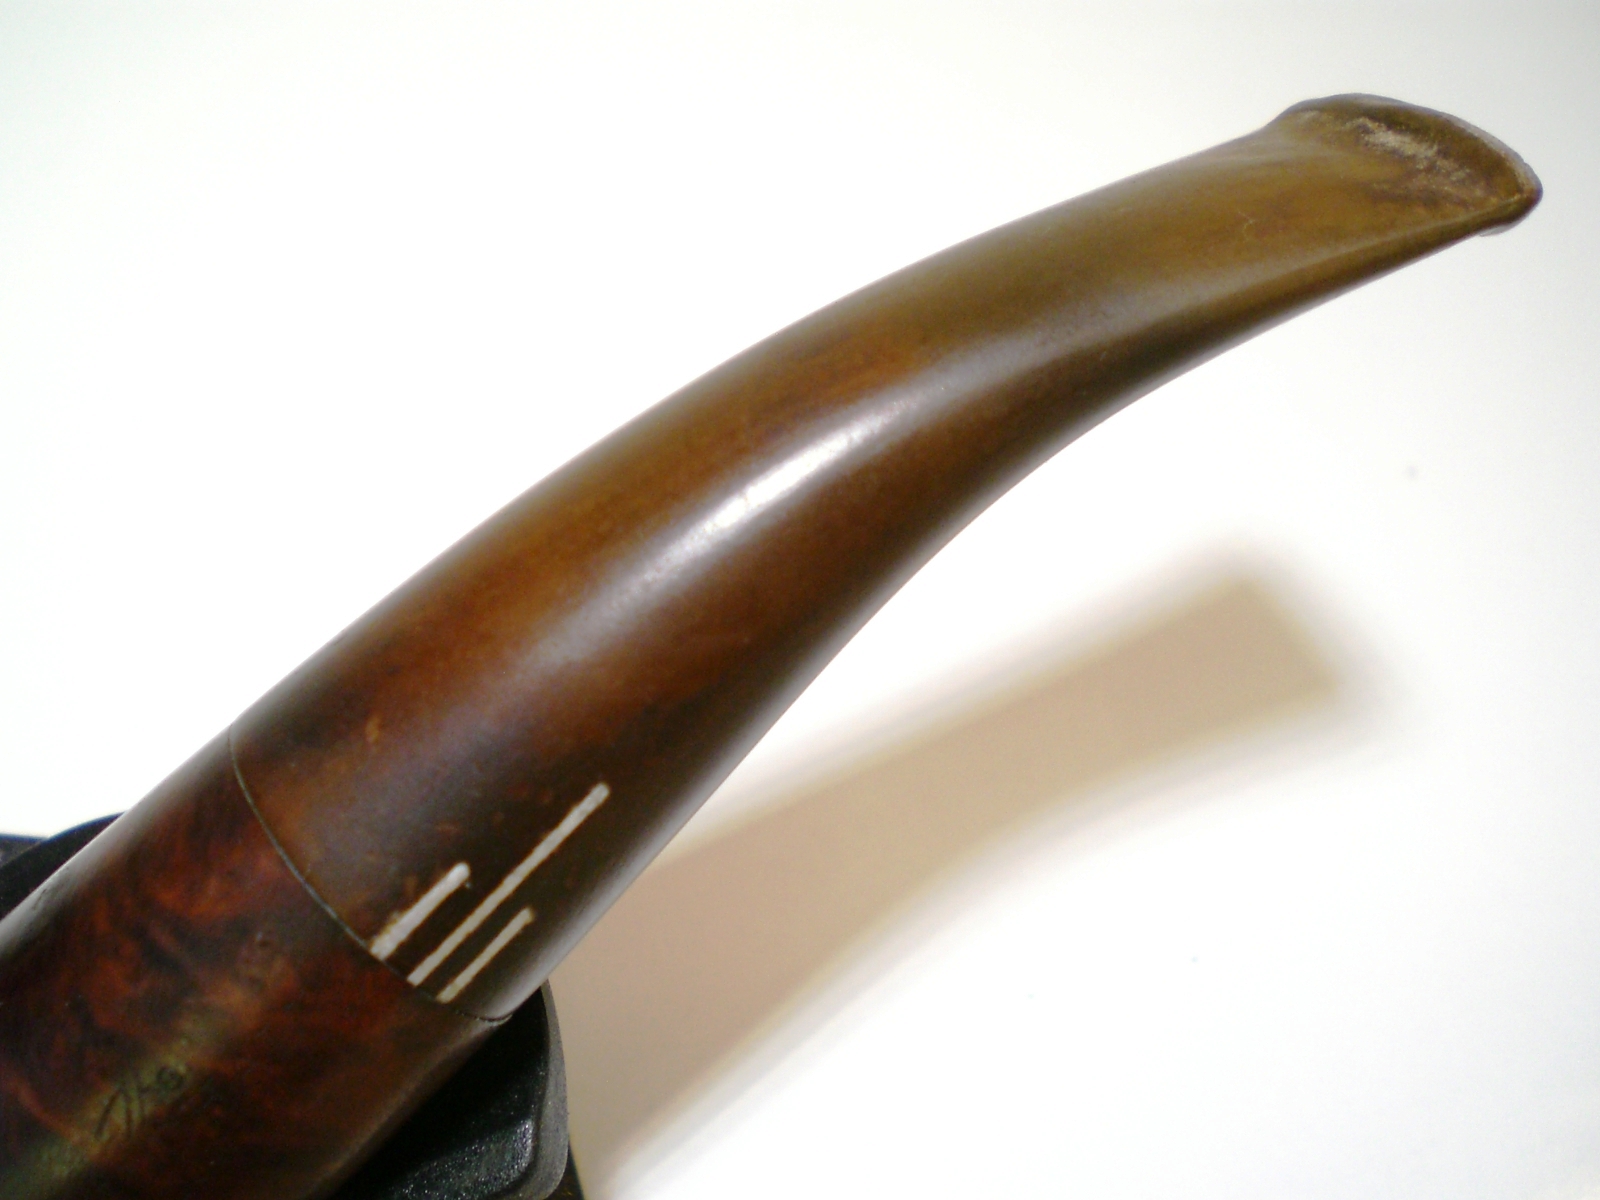
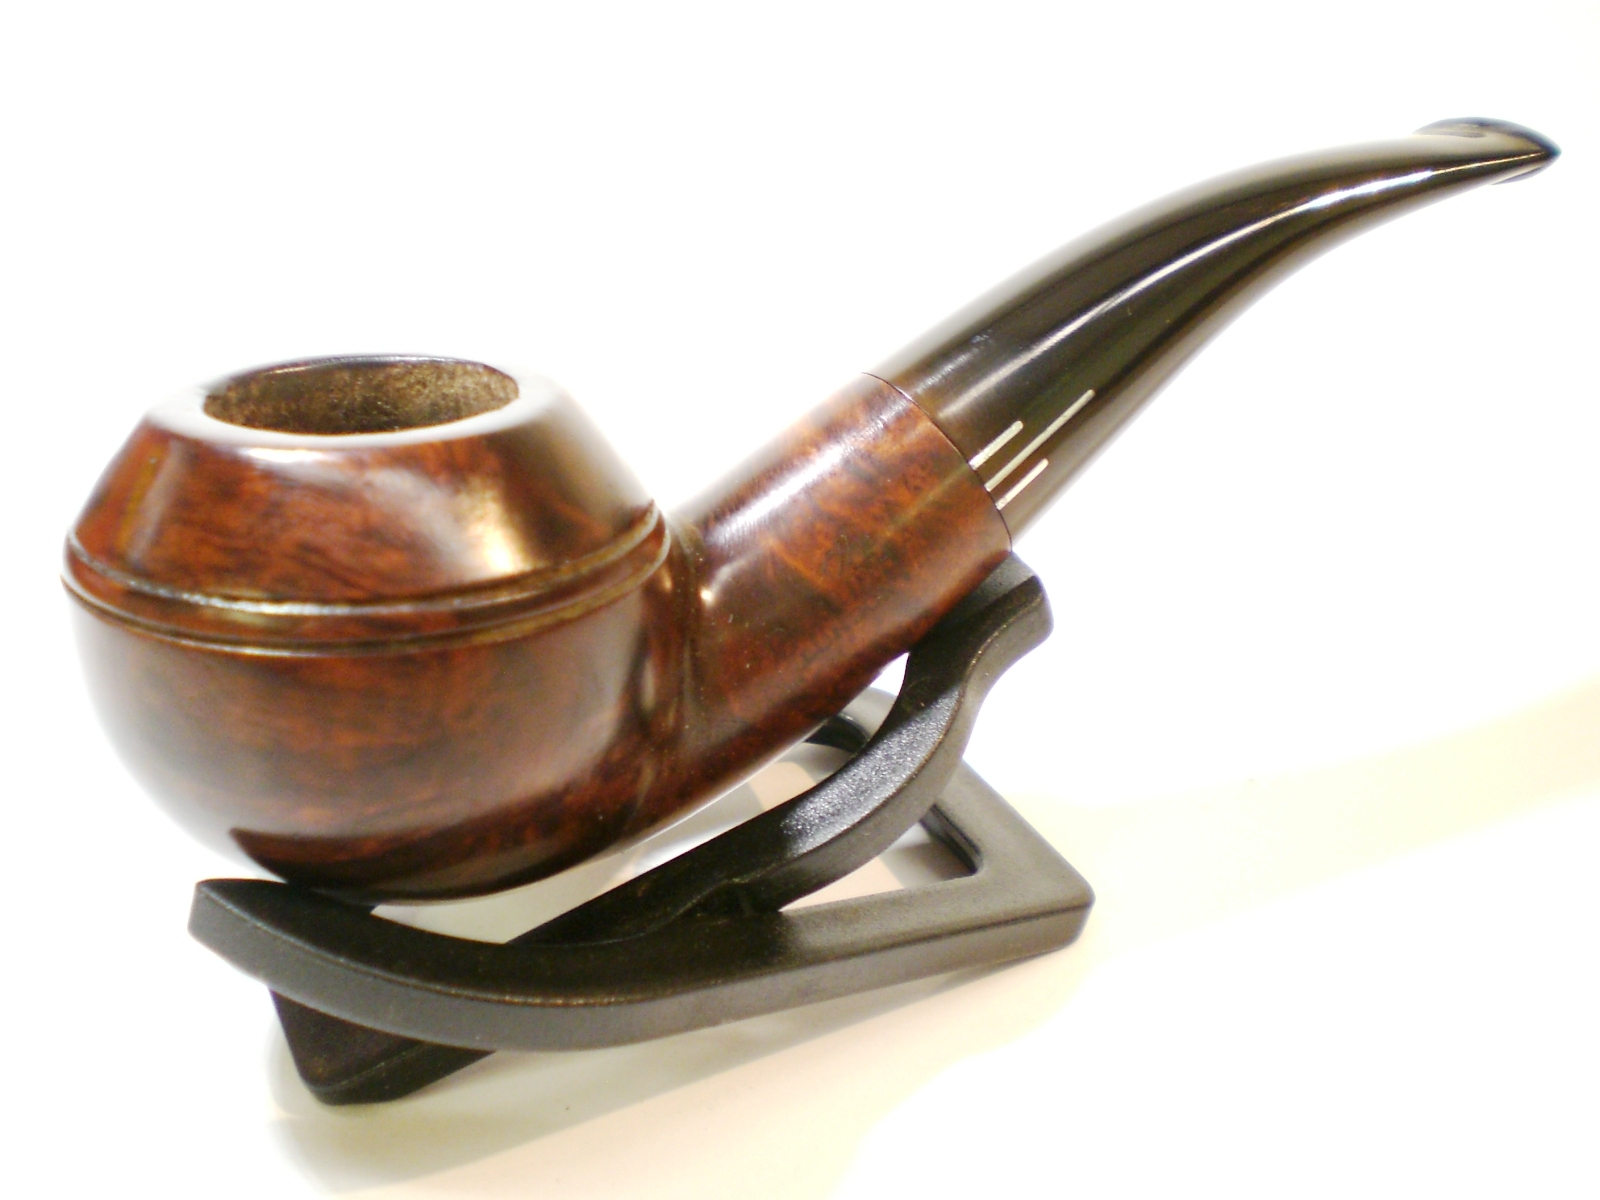
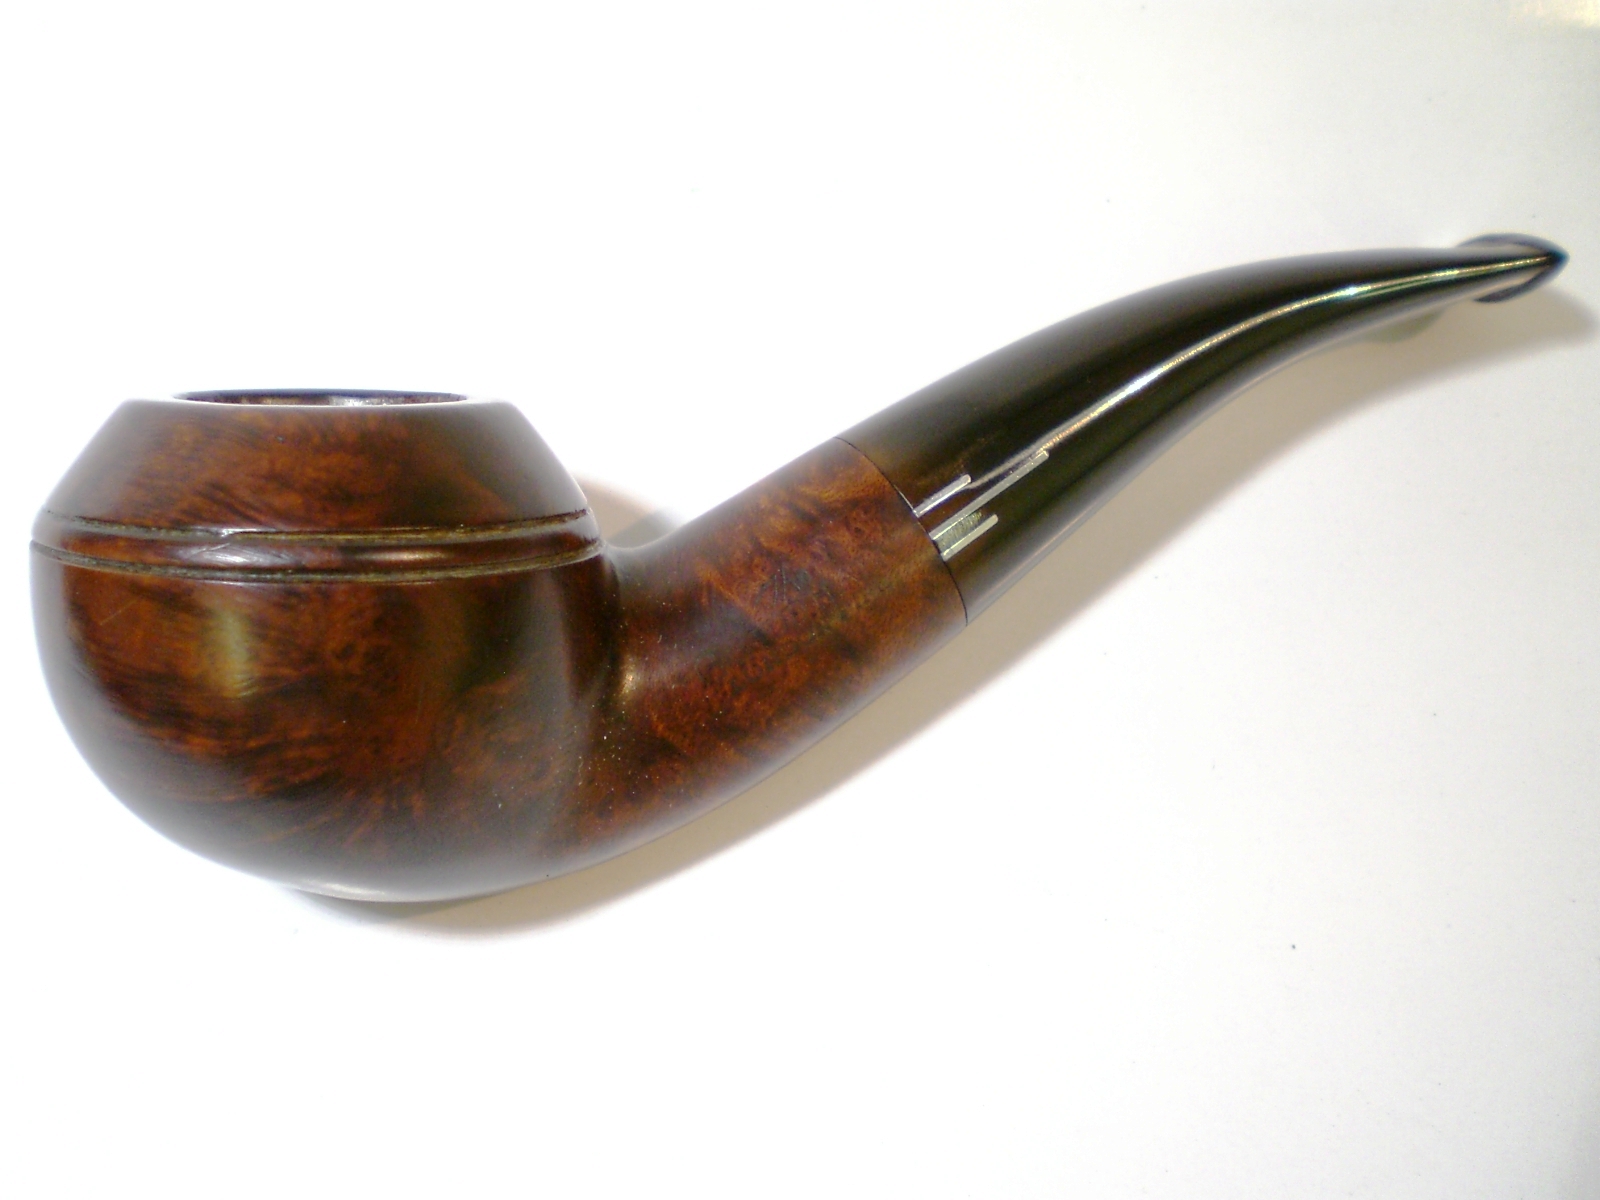
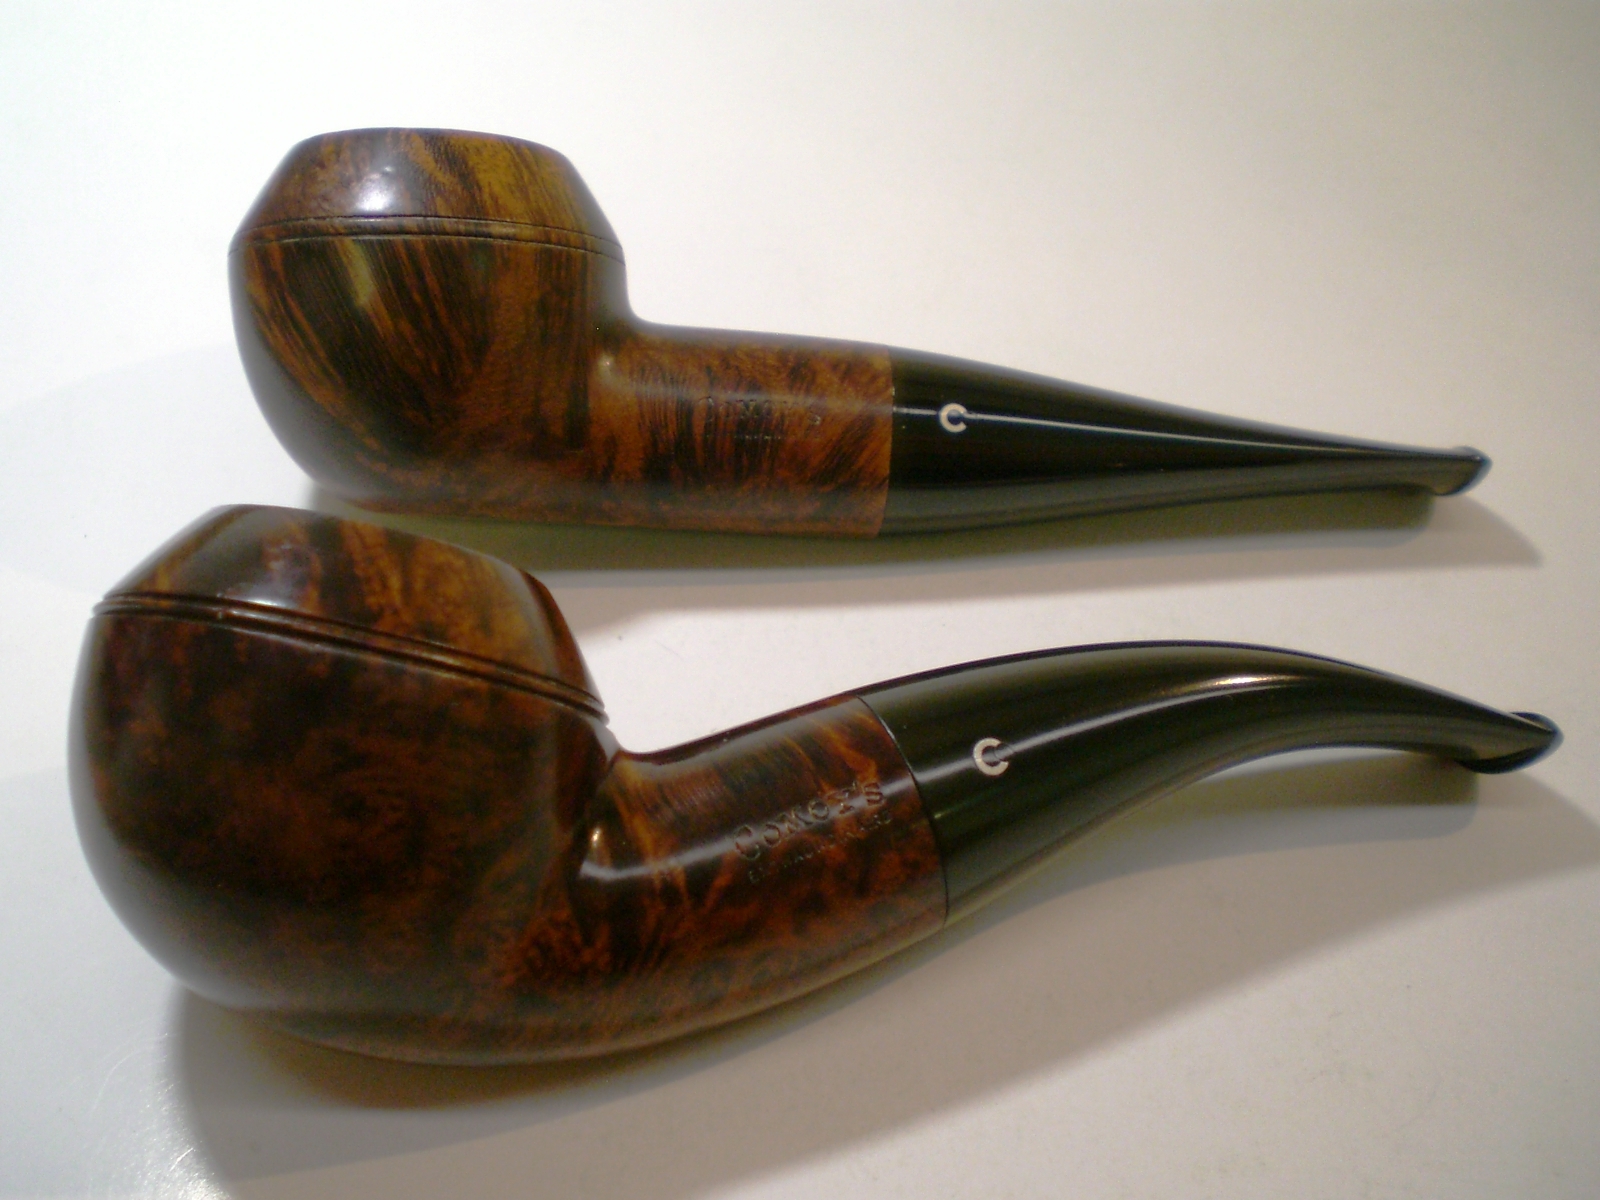
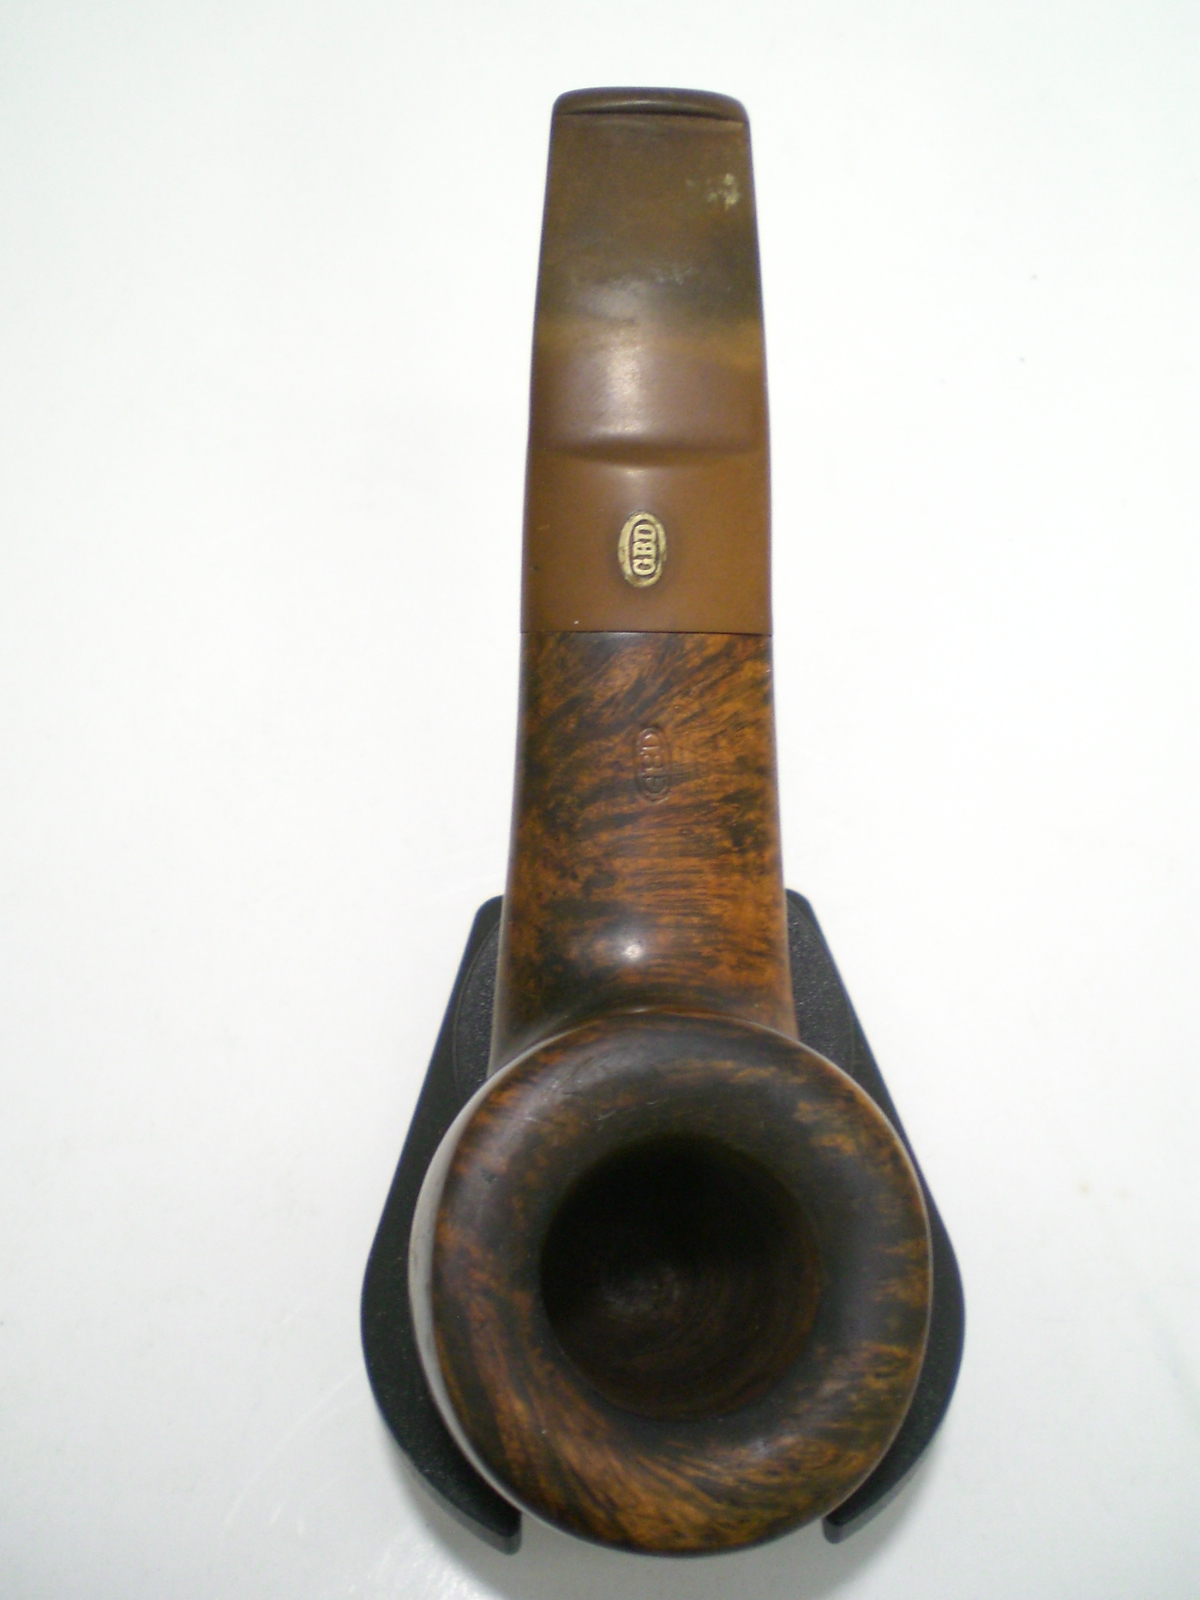
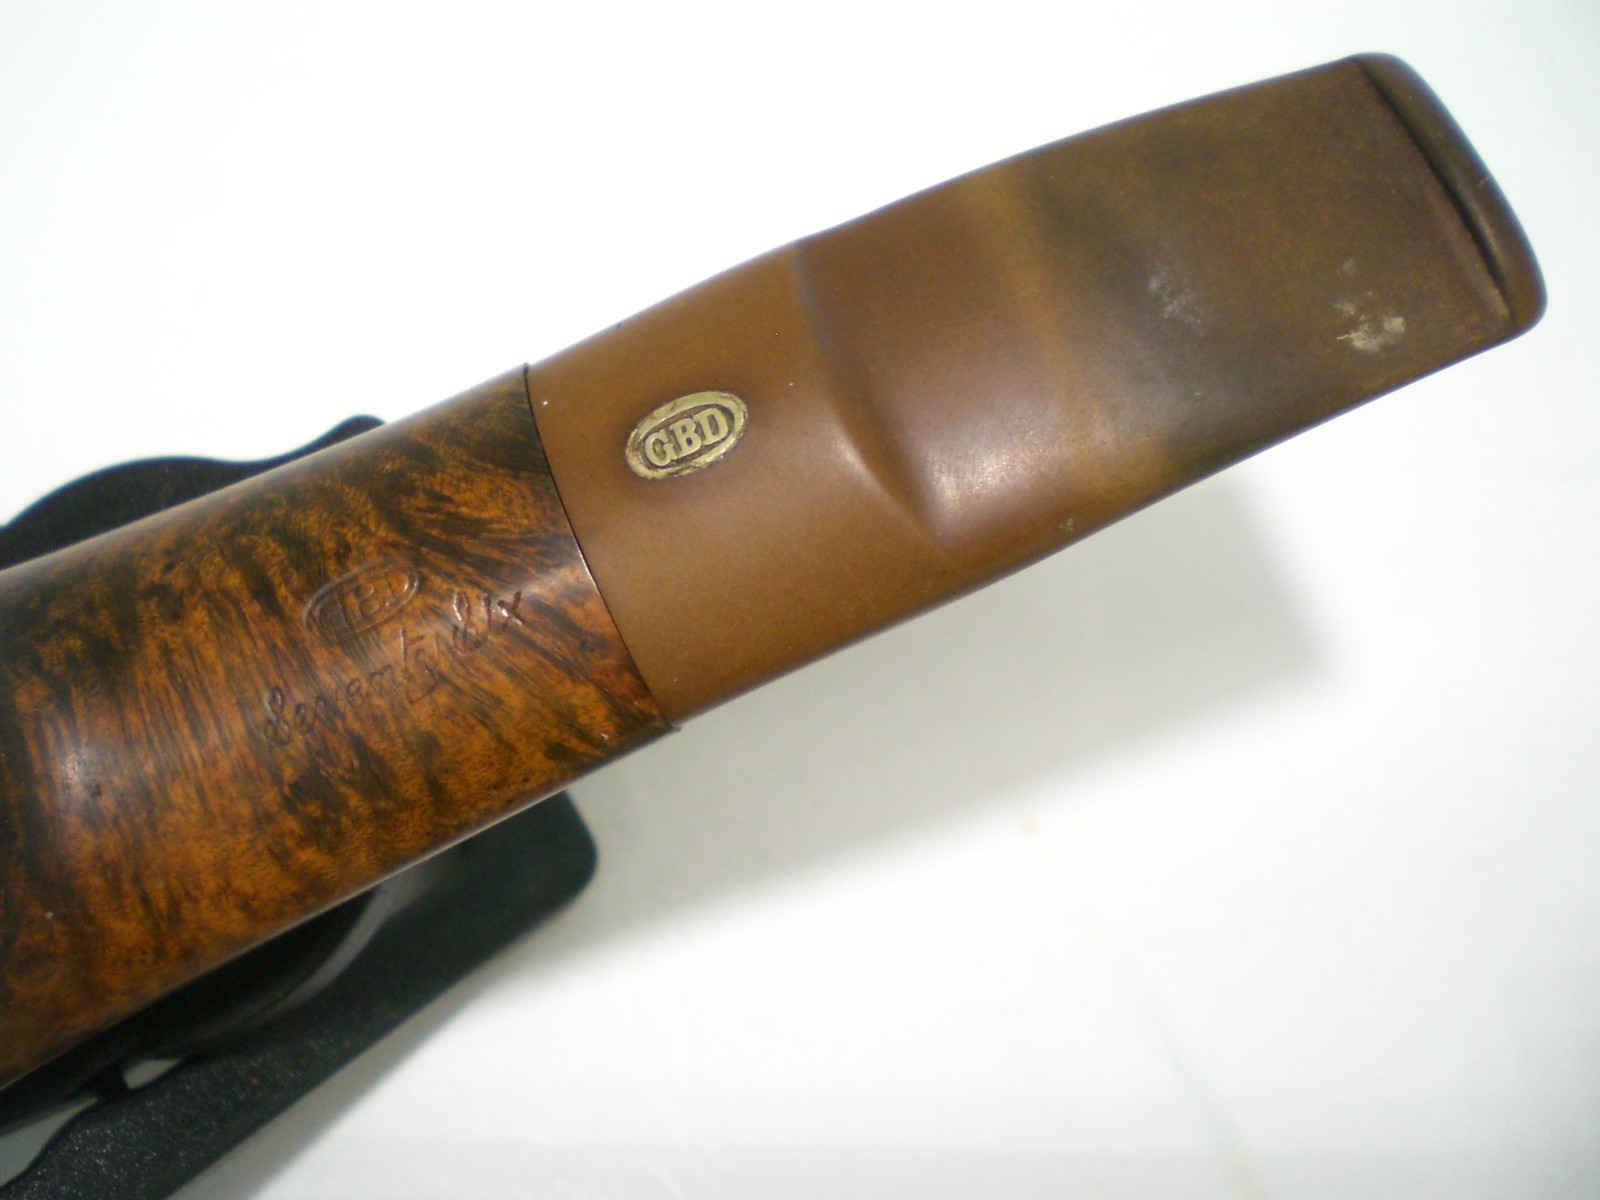
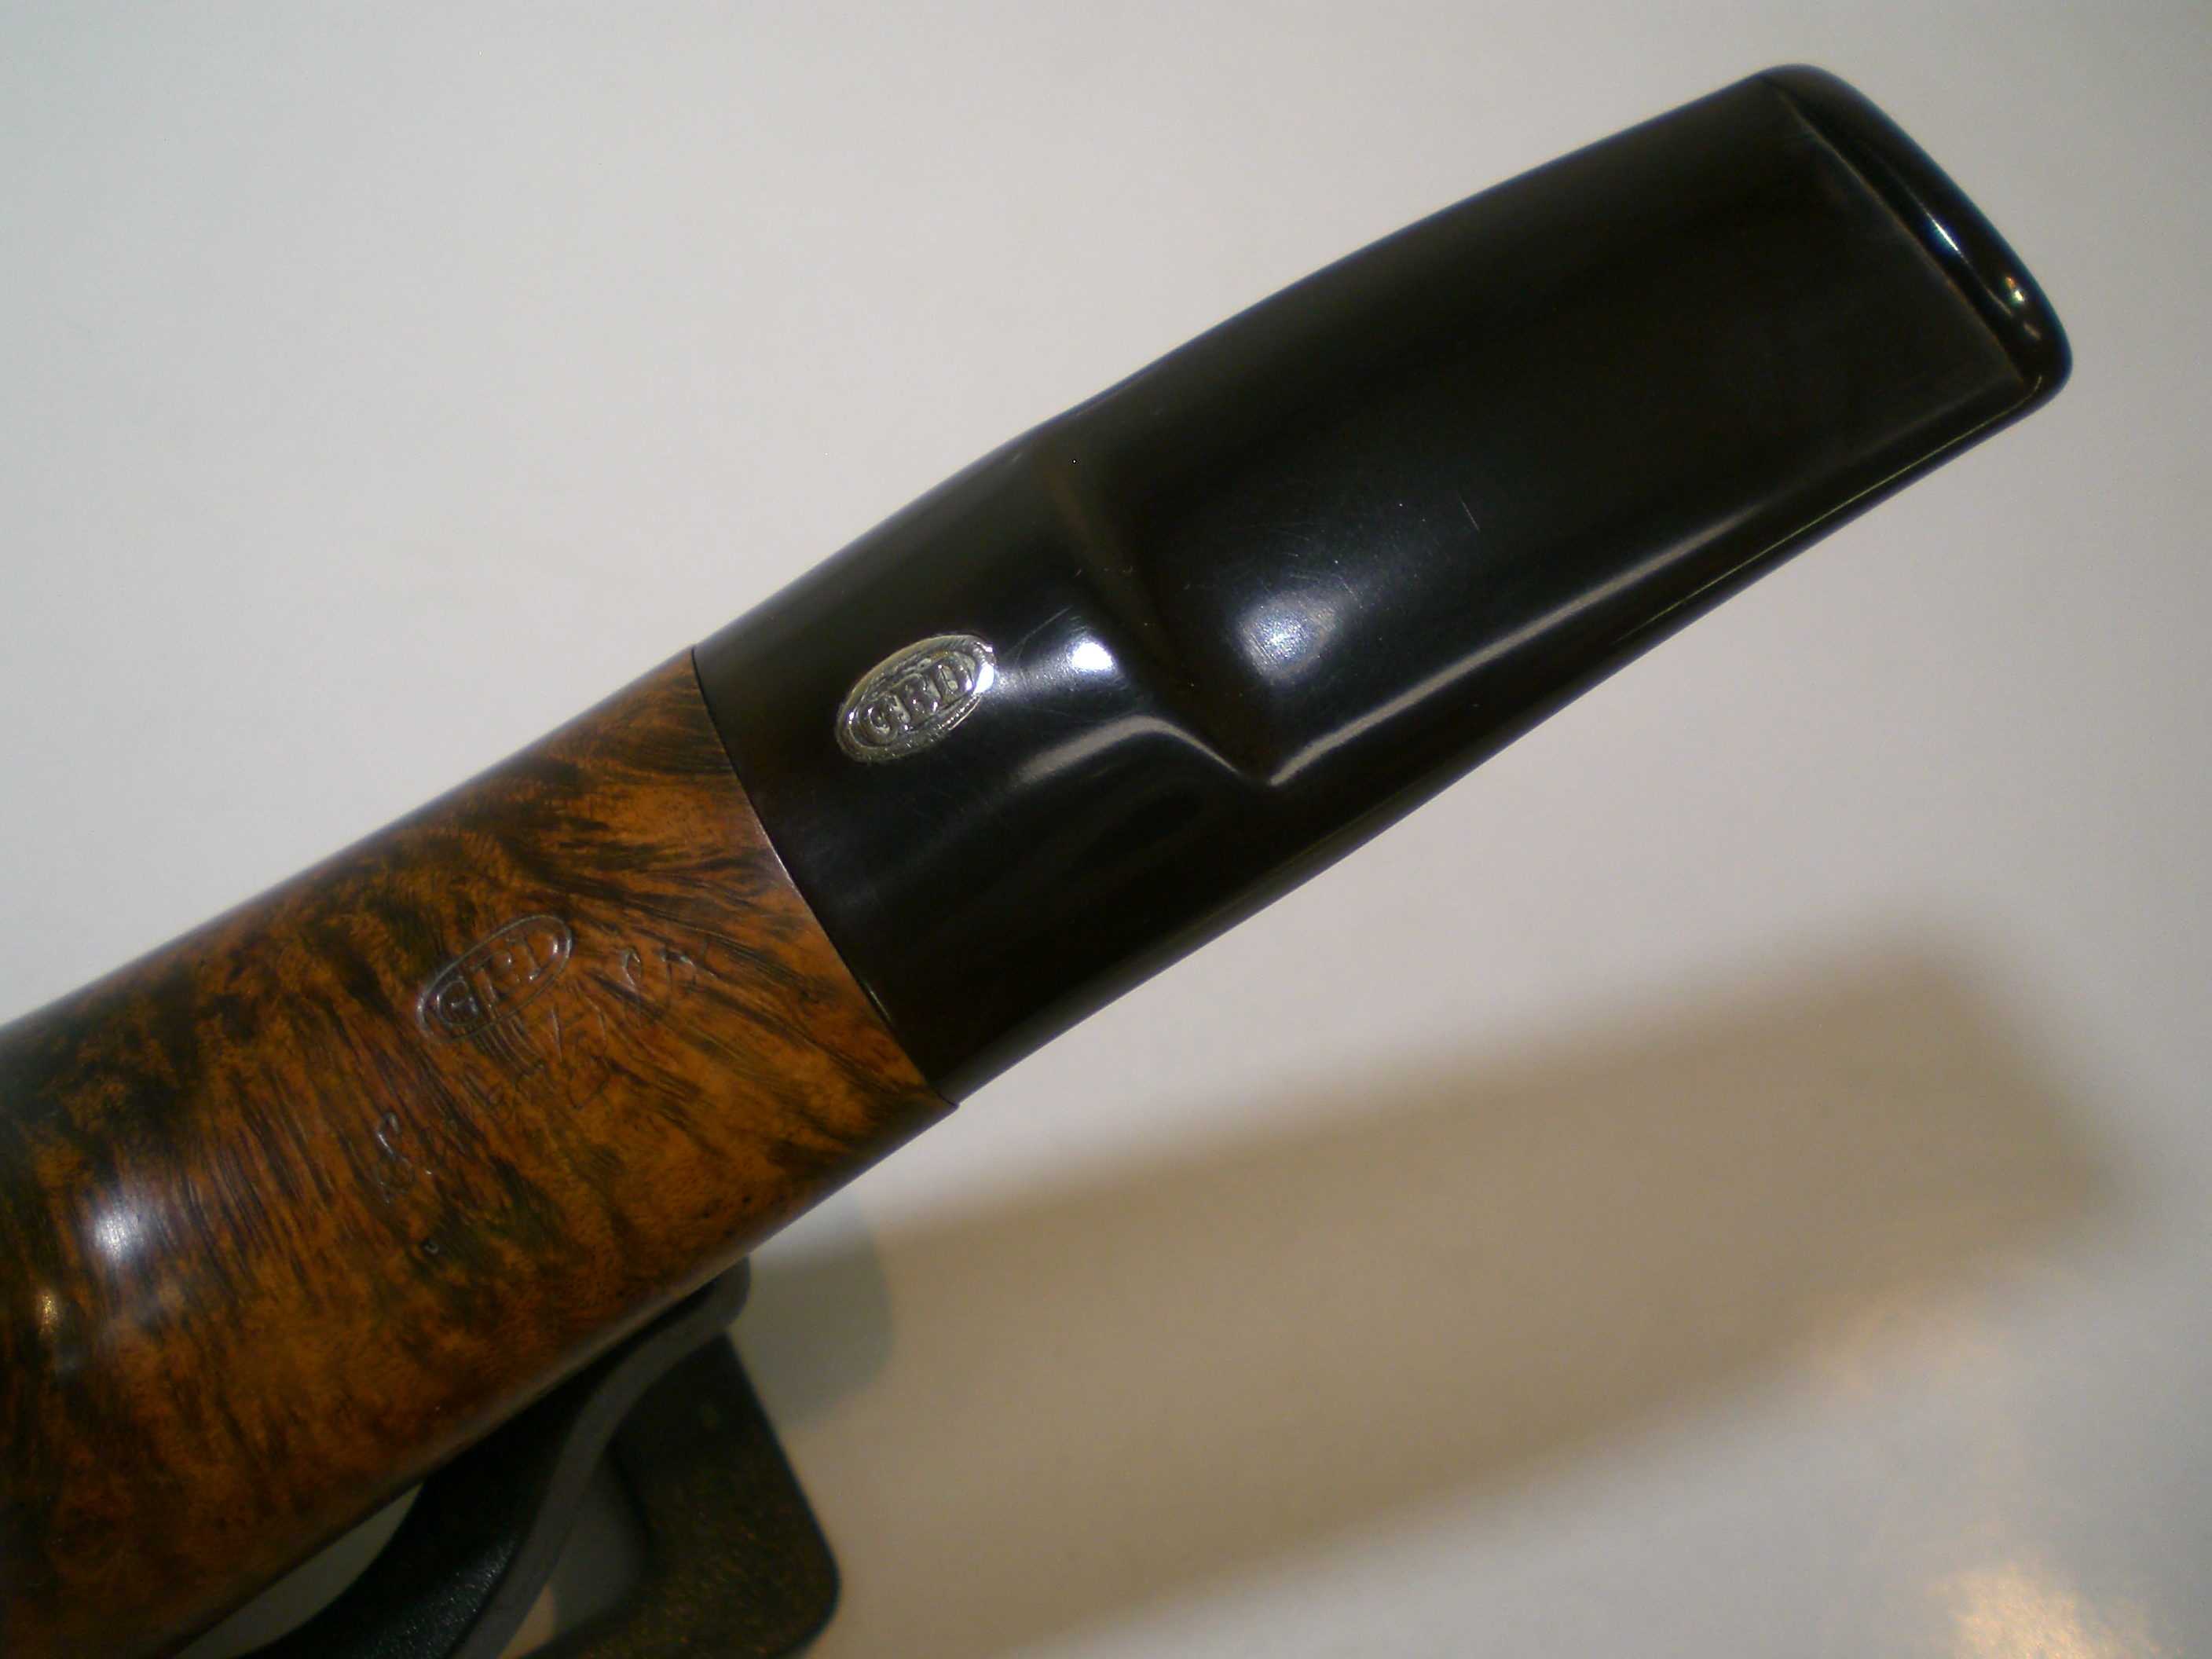
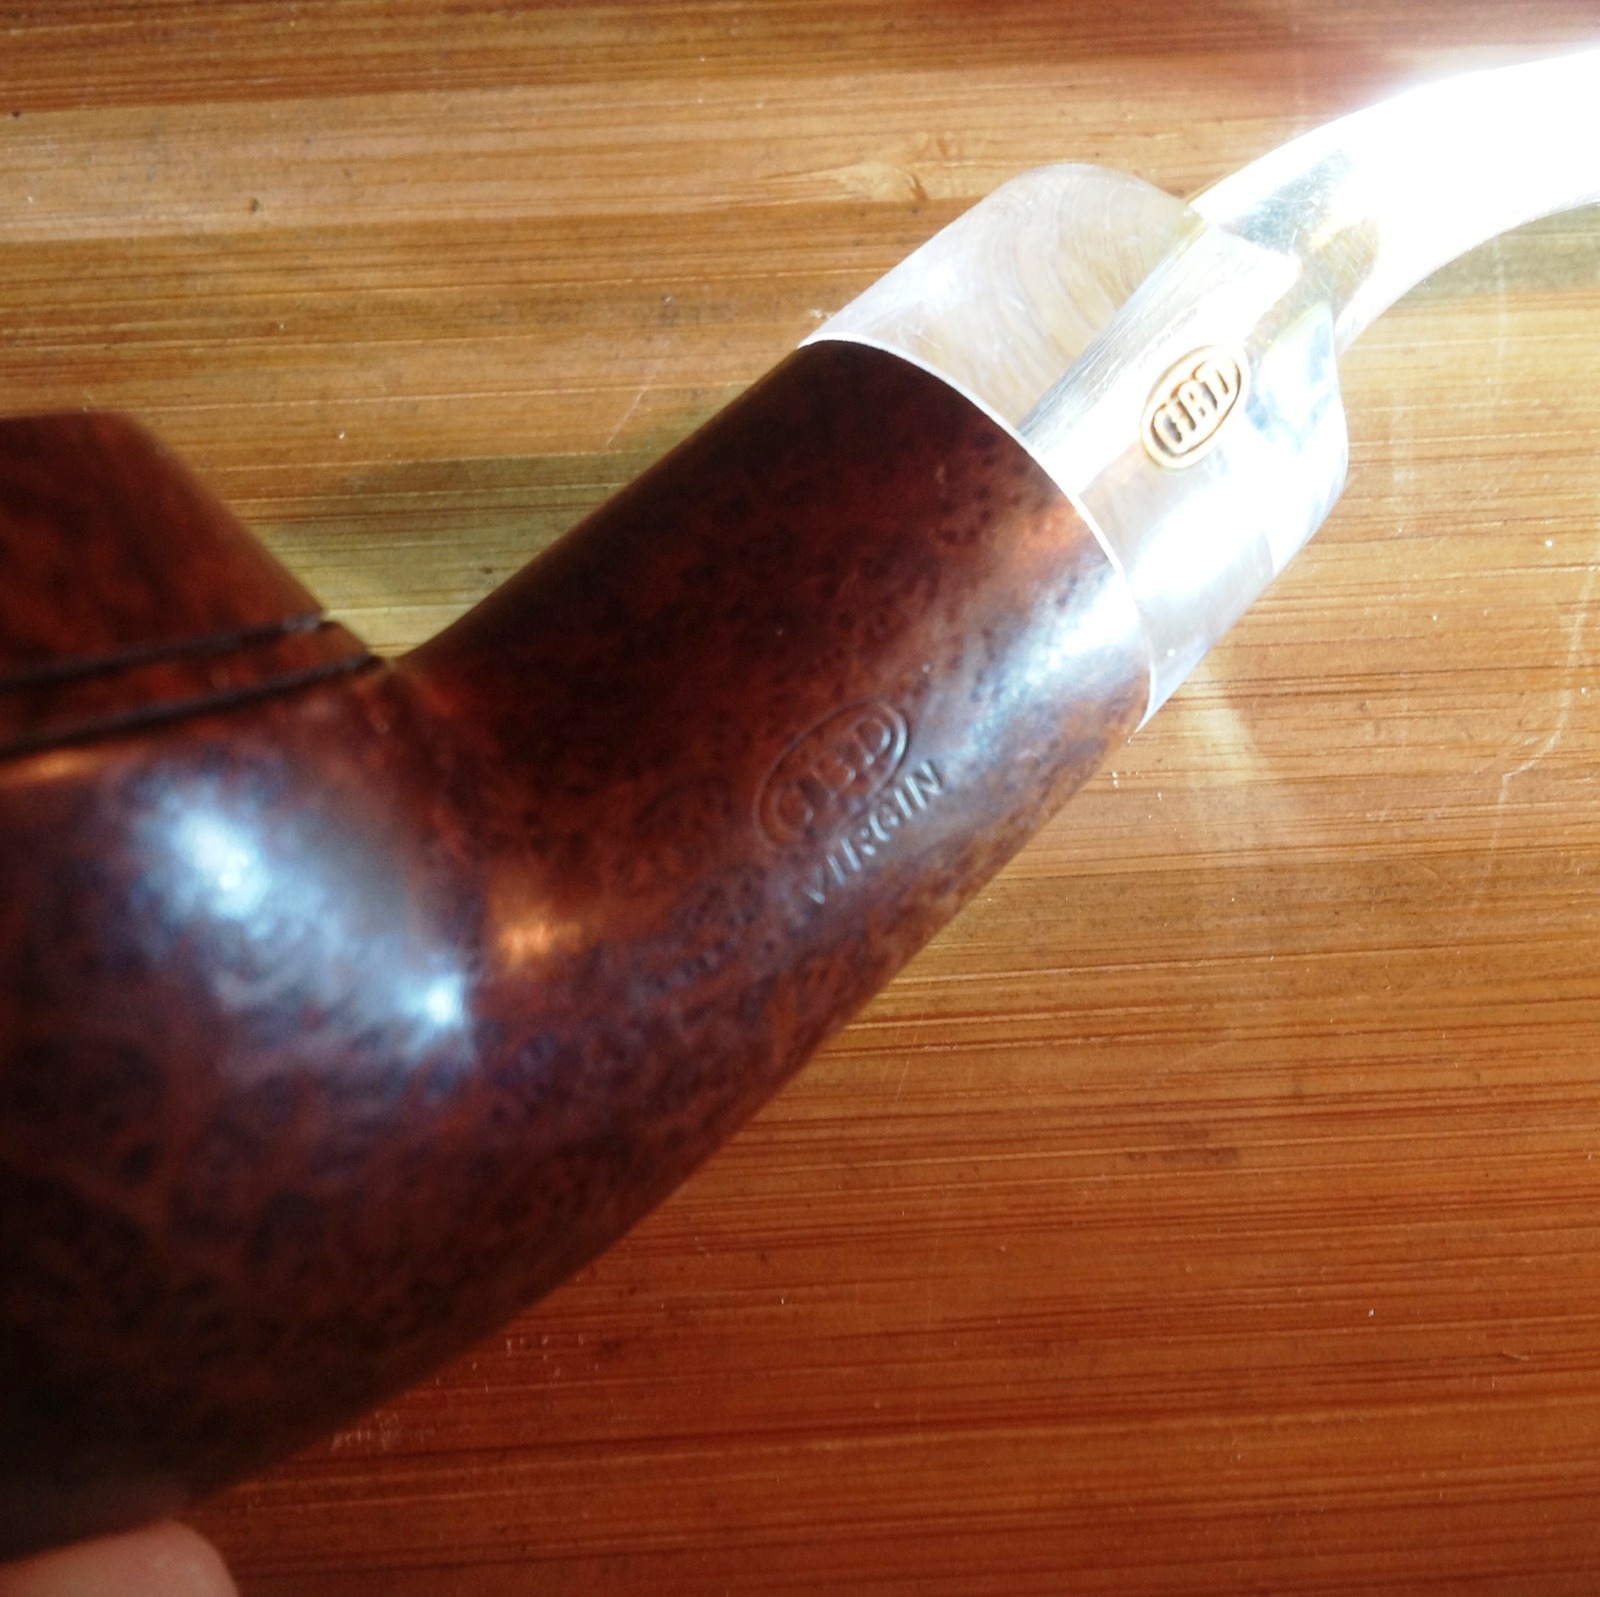
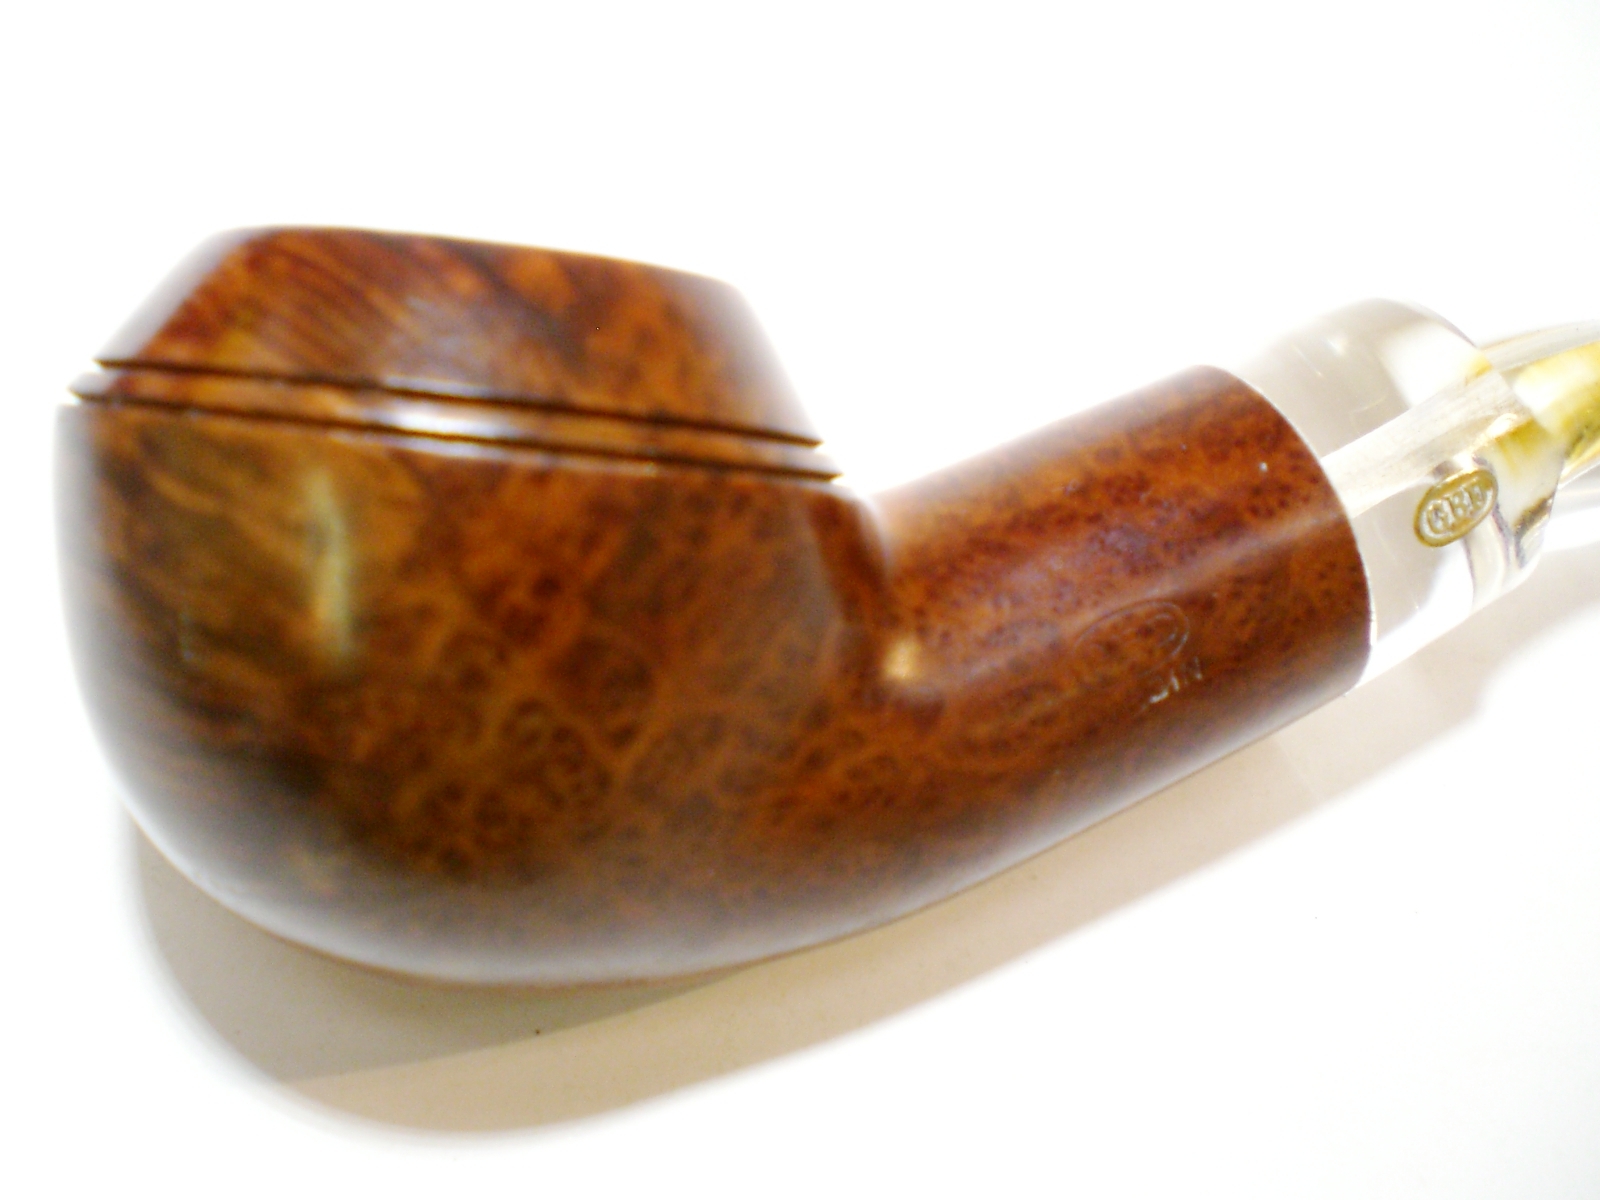
I am an admirer of the Rhodesian shape and the Comoy’s Shape 284, a compact Rhodesian, is one of my favorites. Unfortunately that shape doesn’t show up that often and when it does there is strong competition. I found this “The Guidall” shape 284 on Ebay but it was not in great shape, so I took a chance on it. “The Guildhall London Pipe” is a Comoy’s second line with a distinctive three-metal bar stem logo.
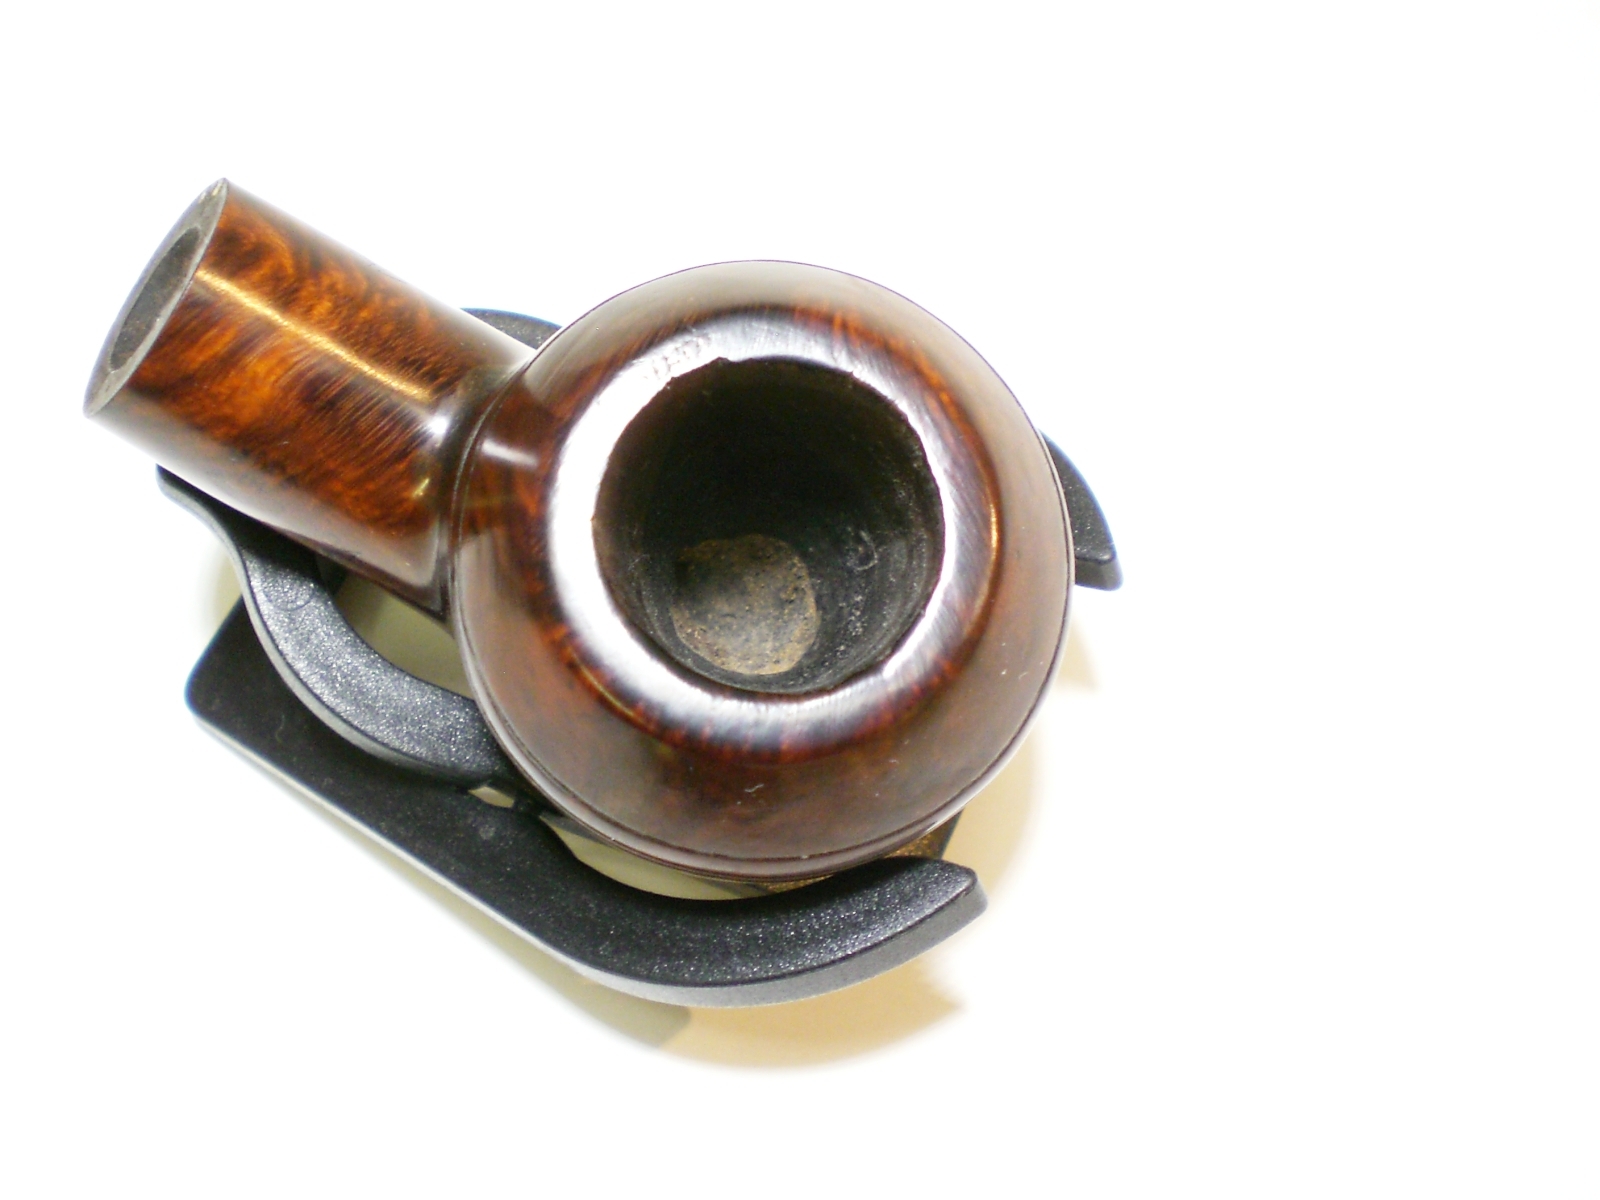
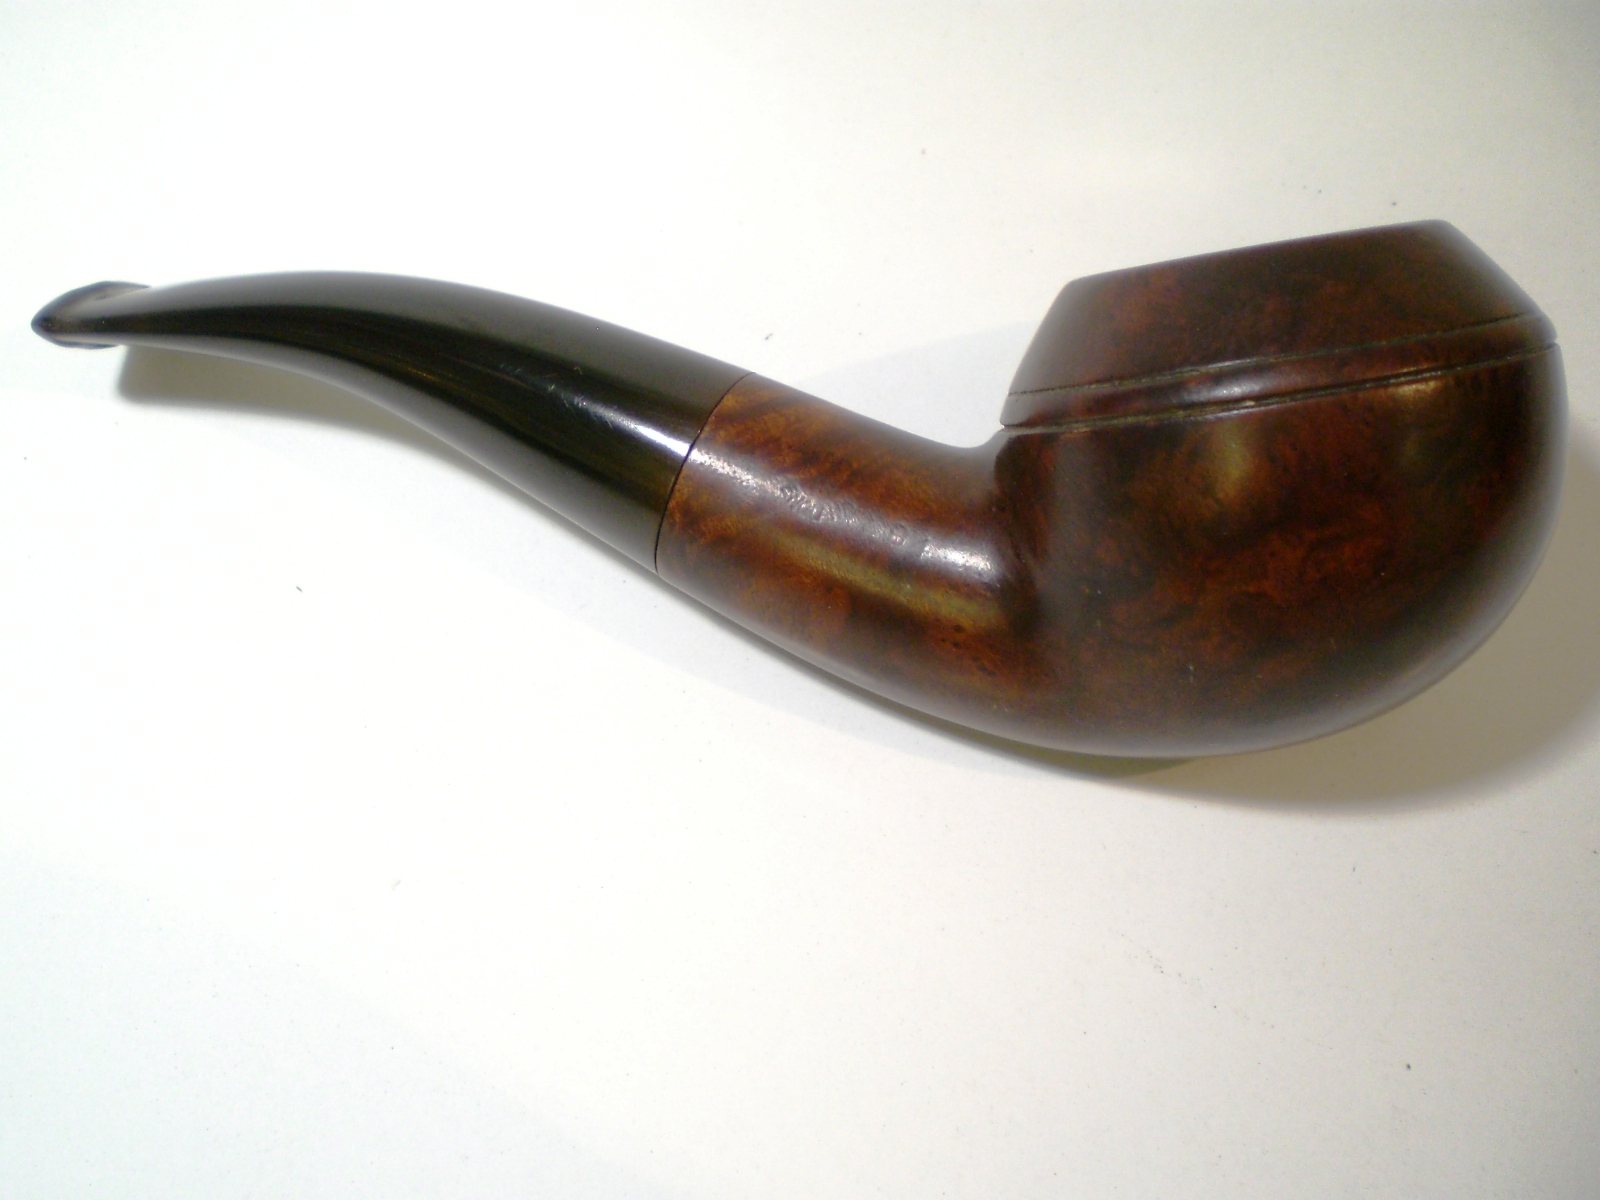
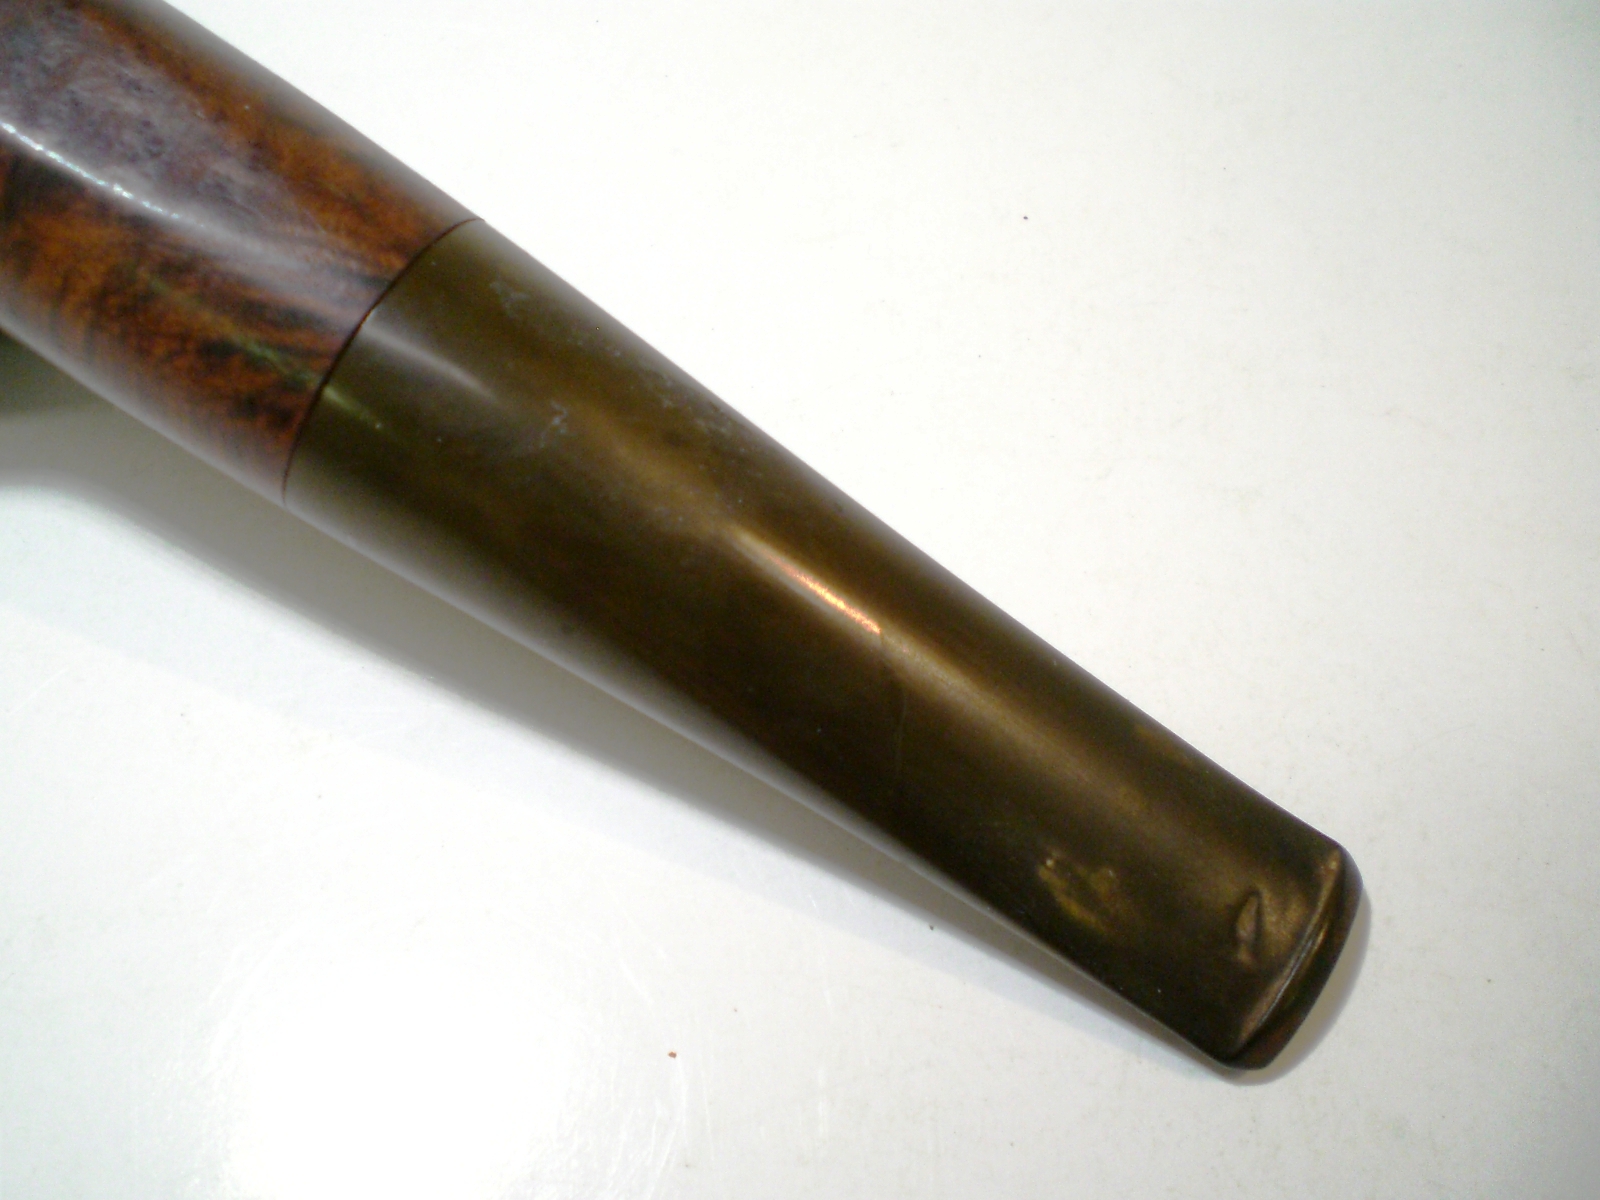
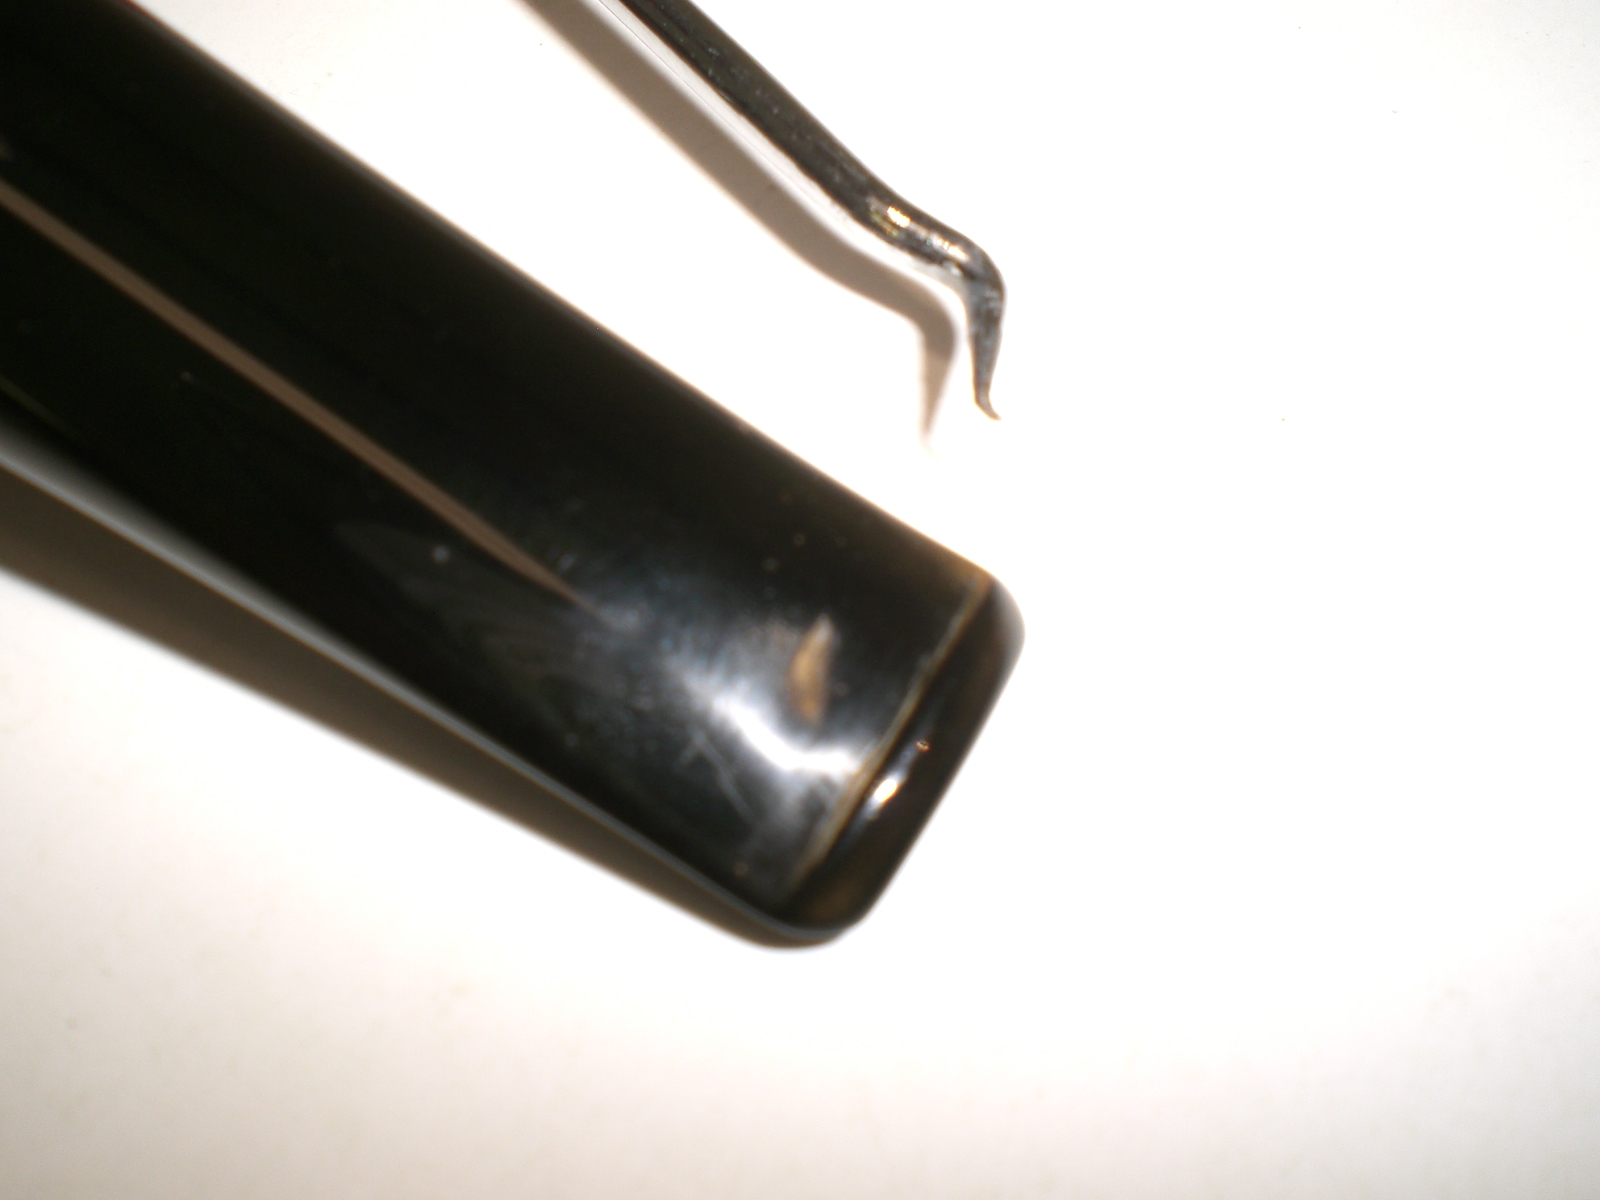
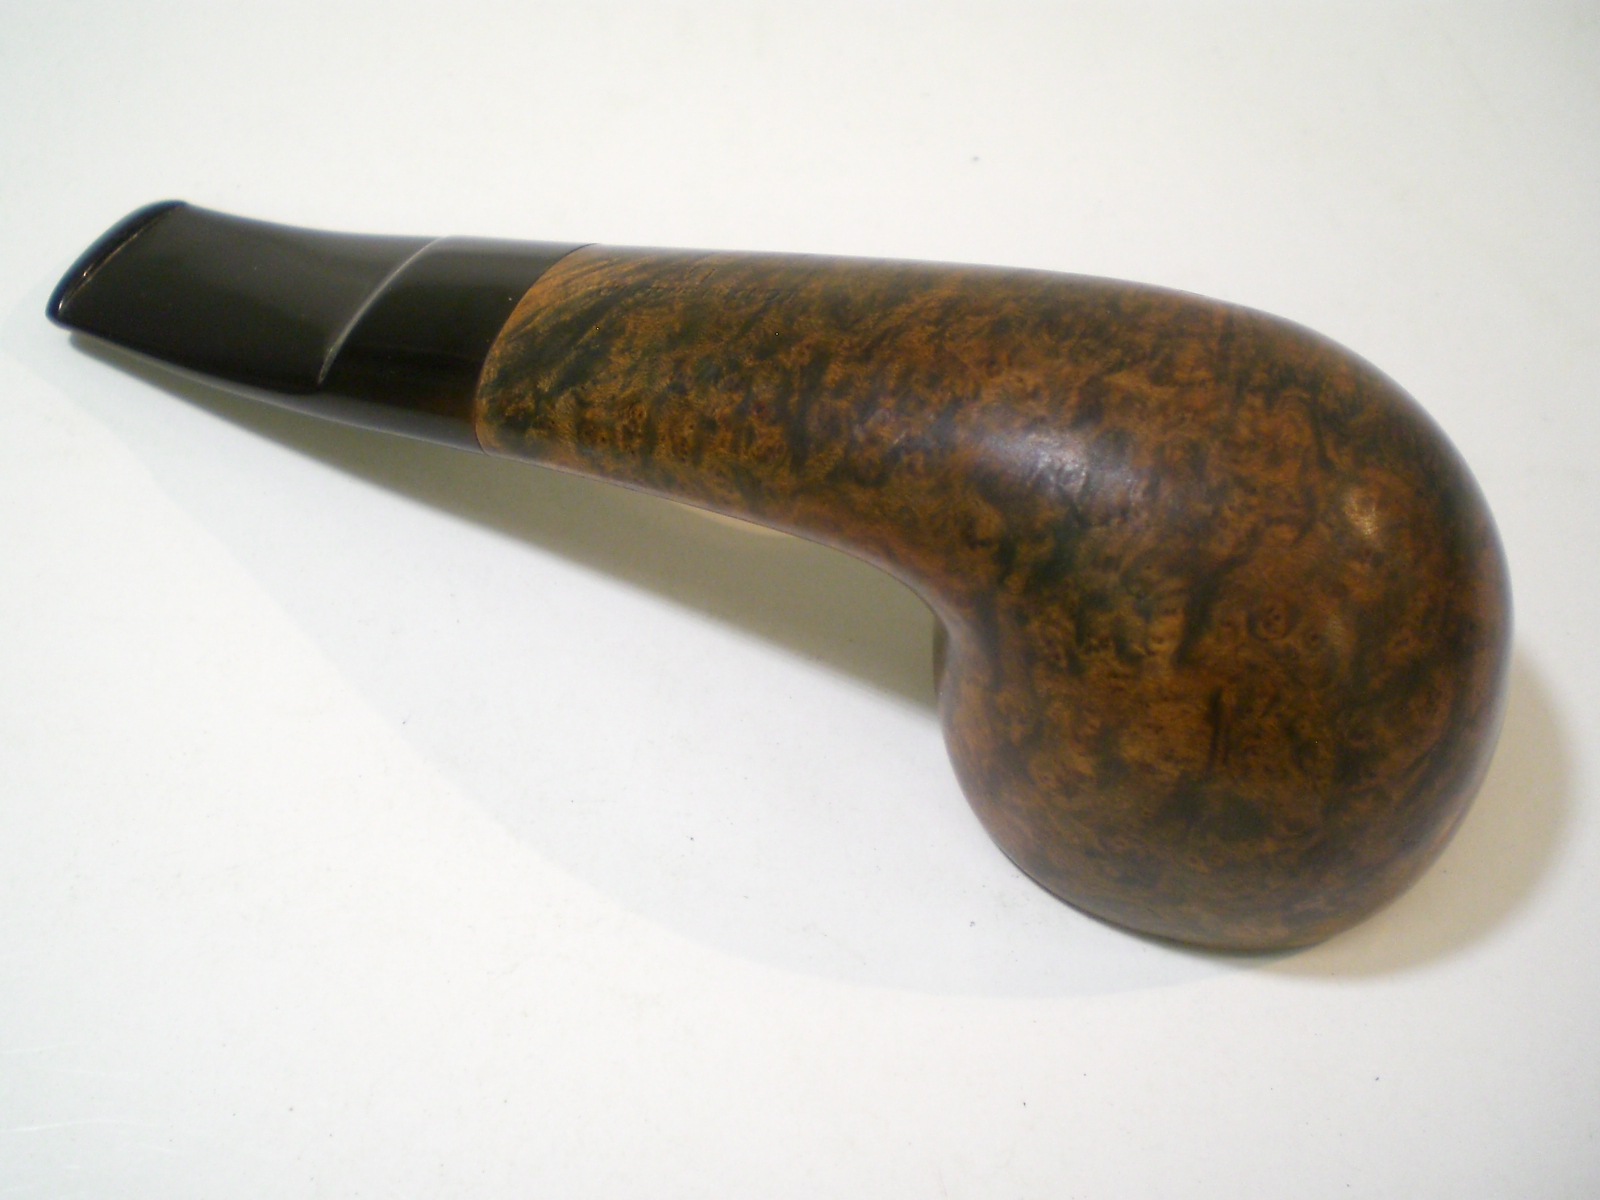
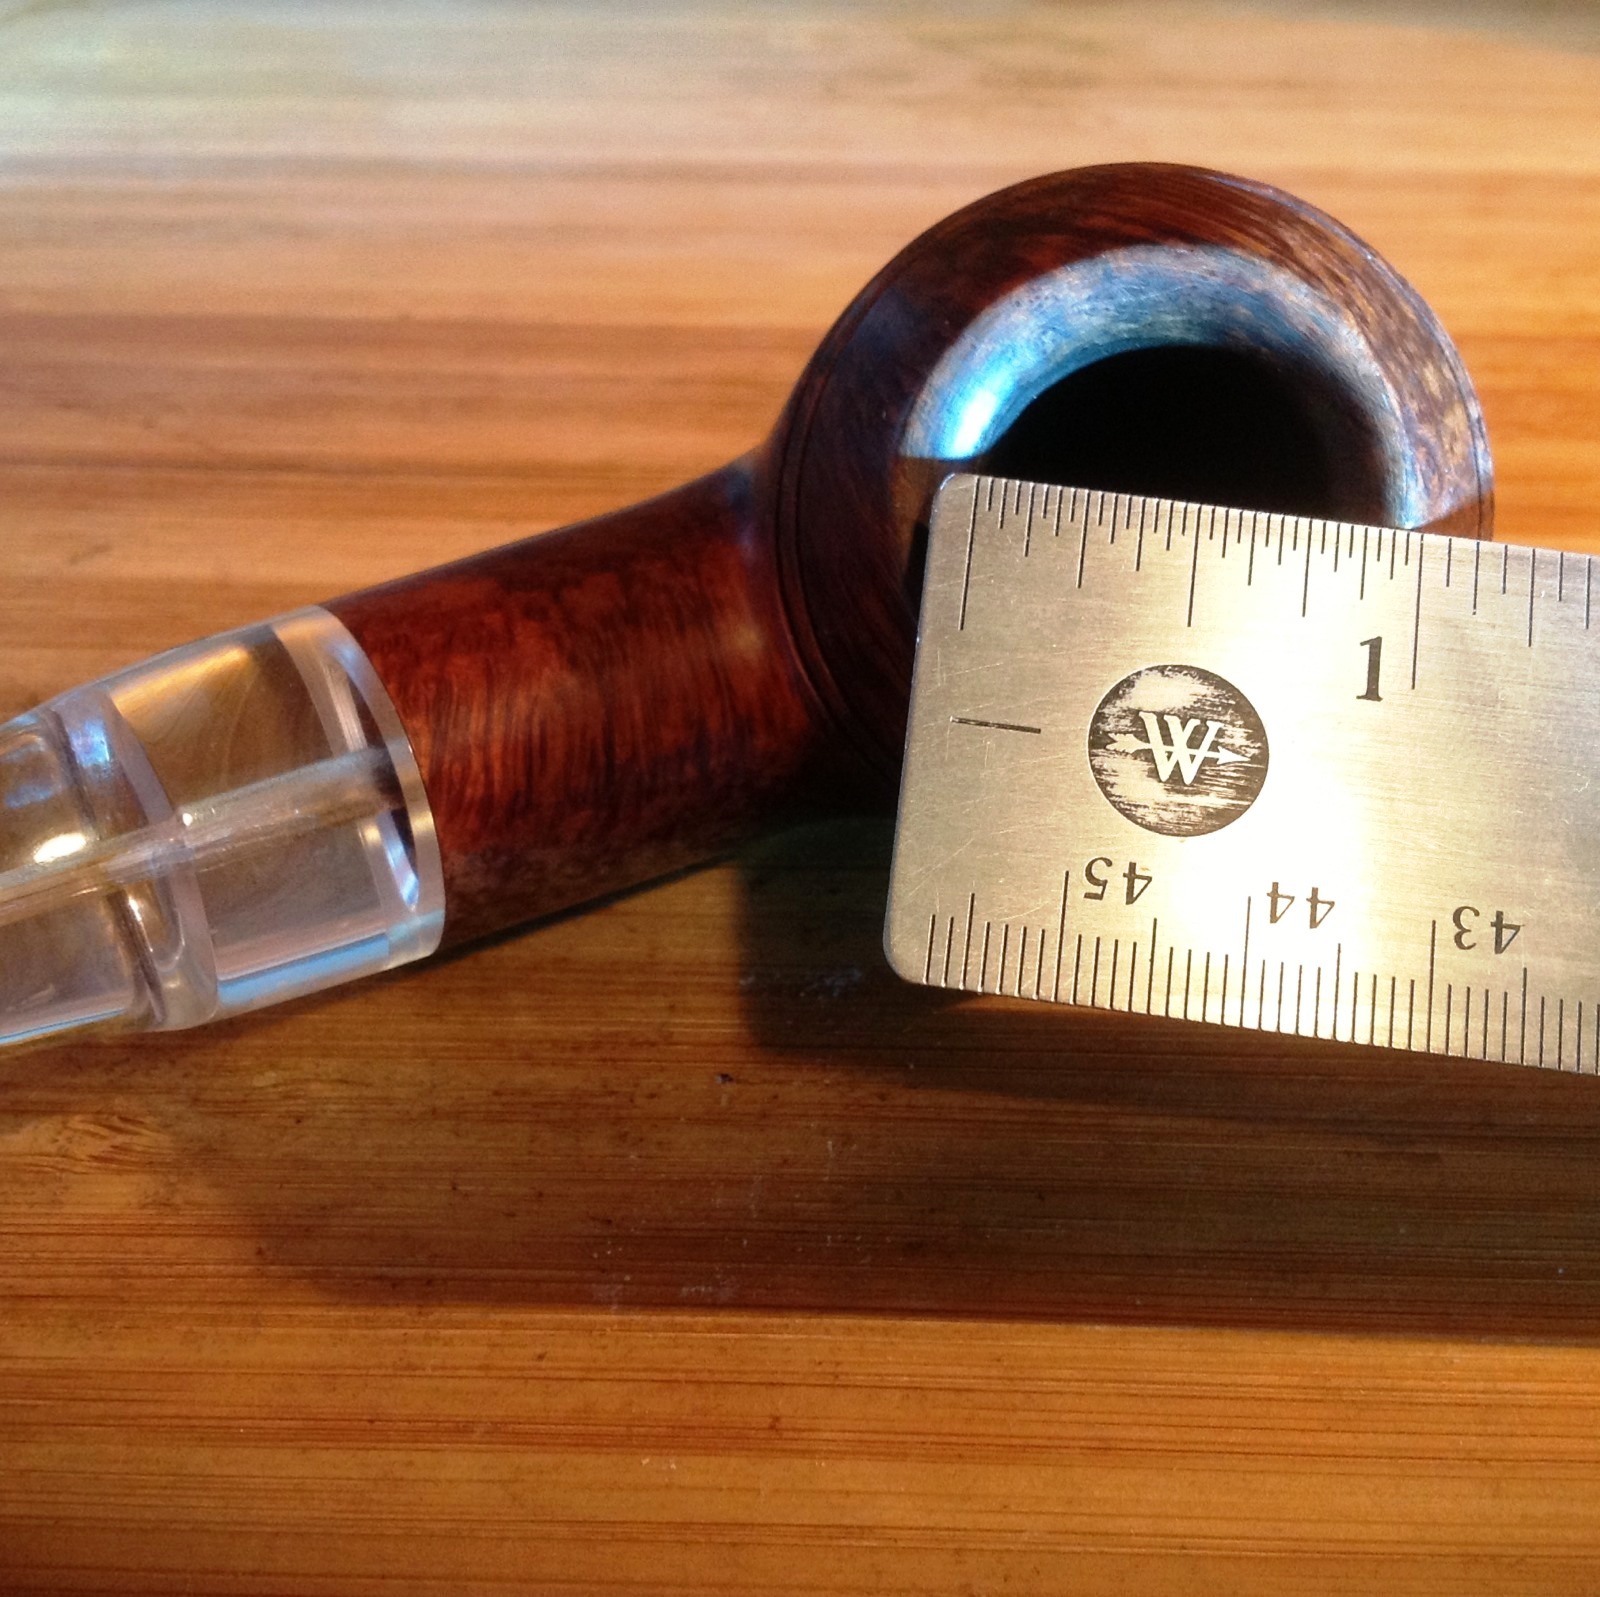
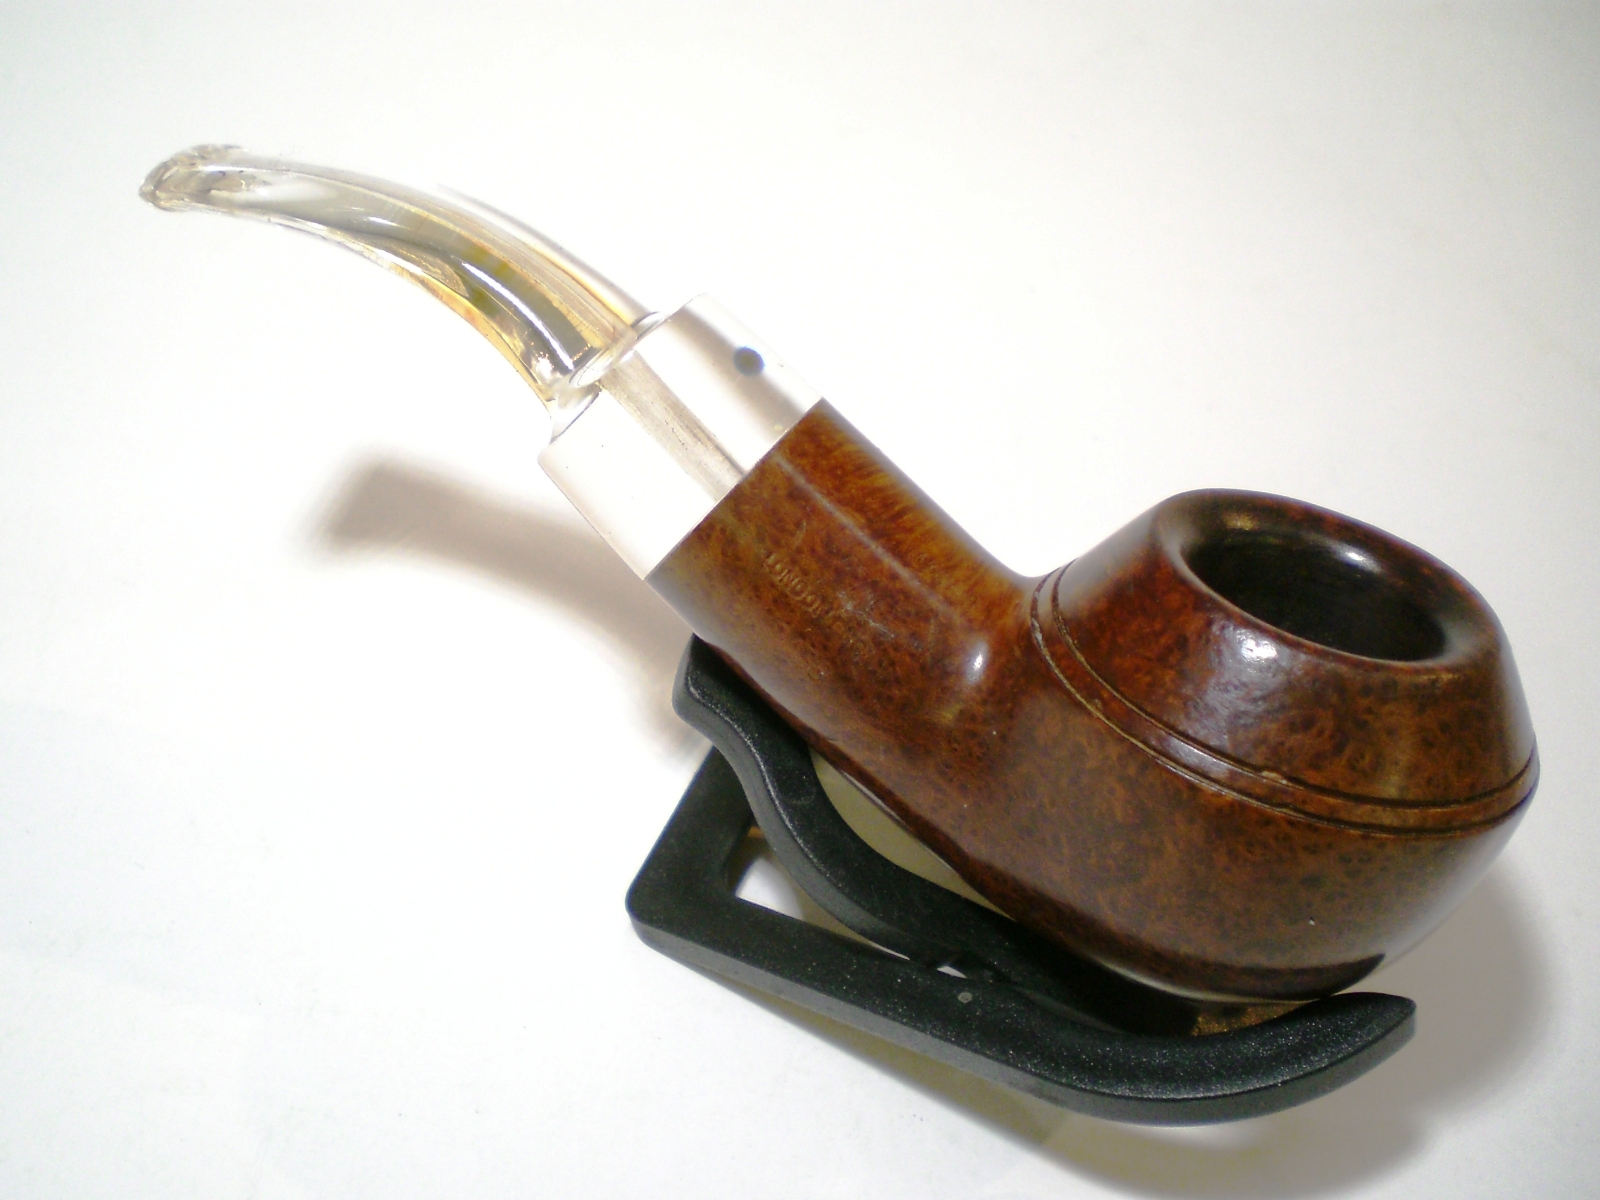
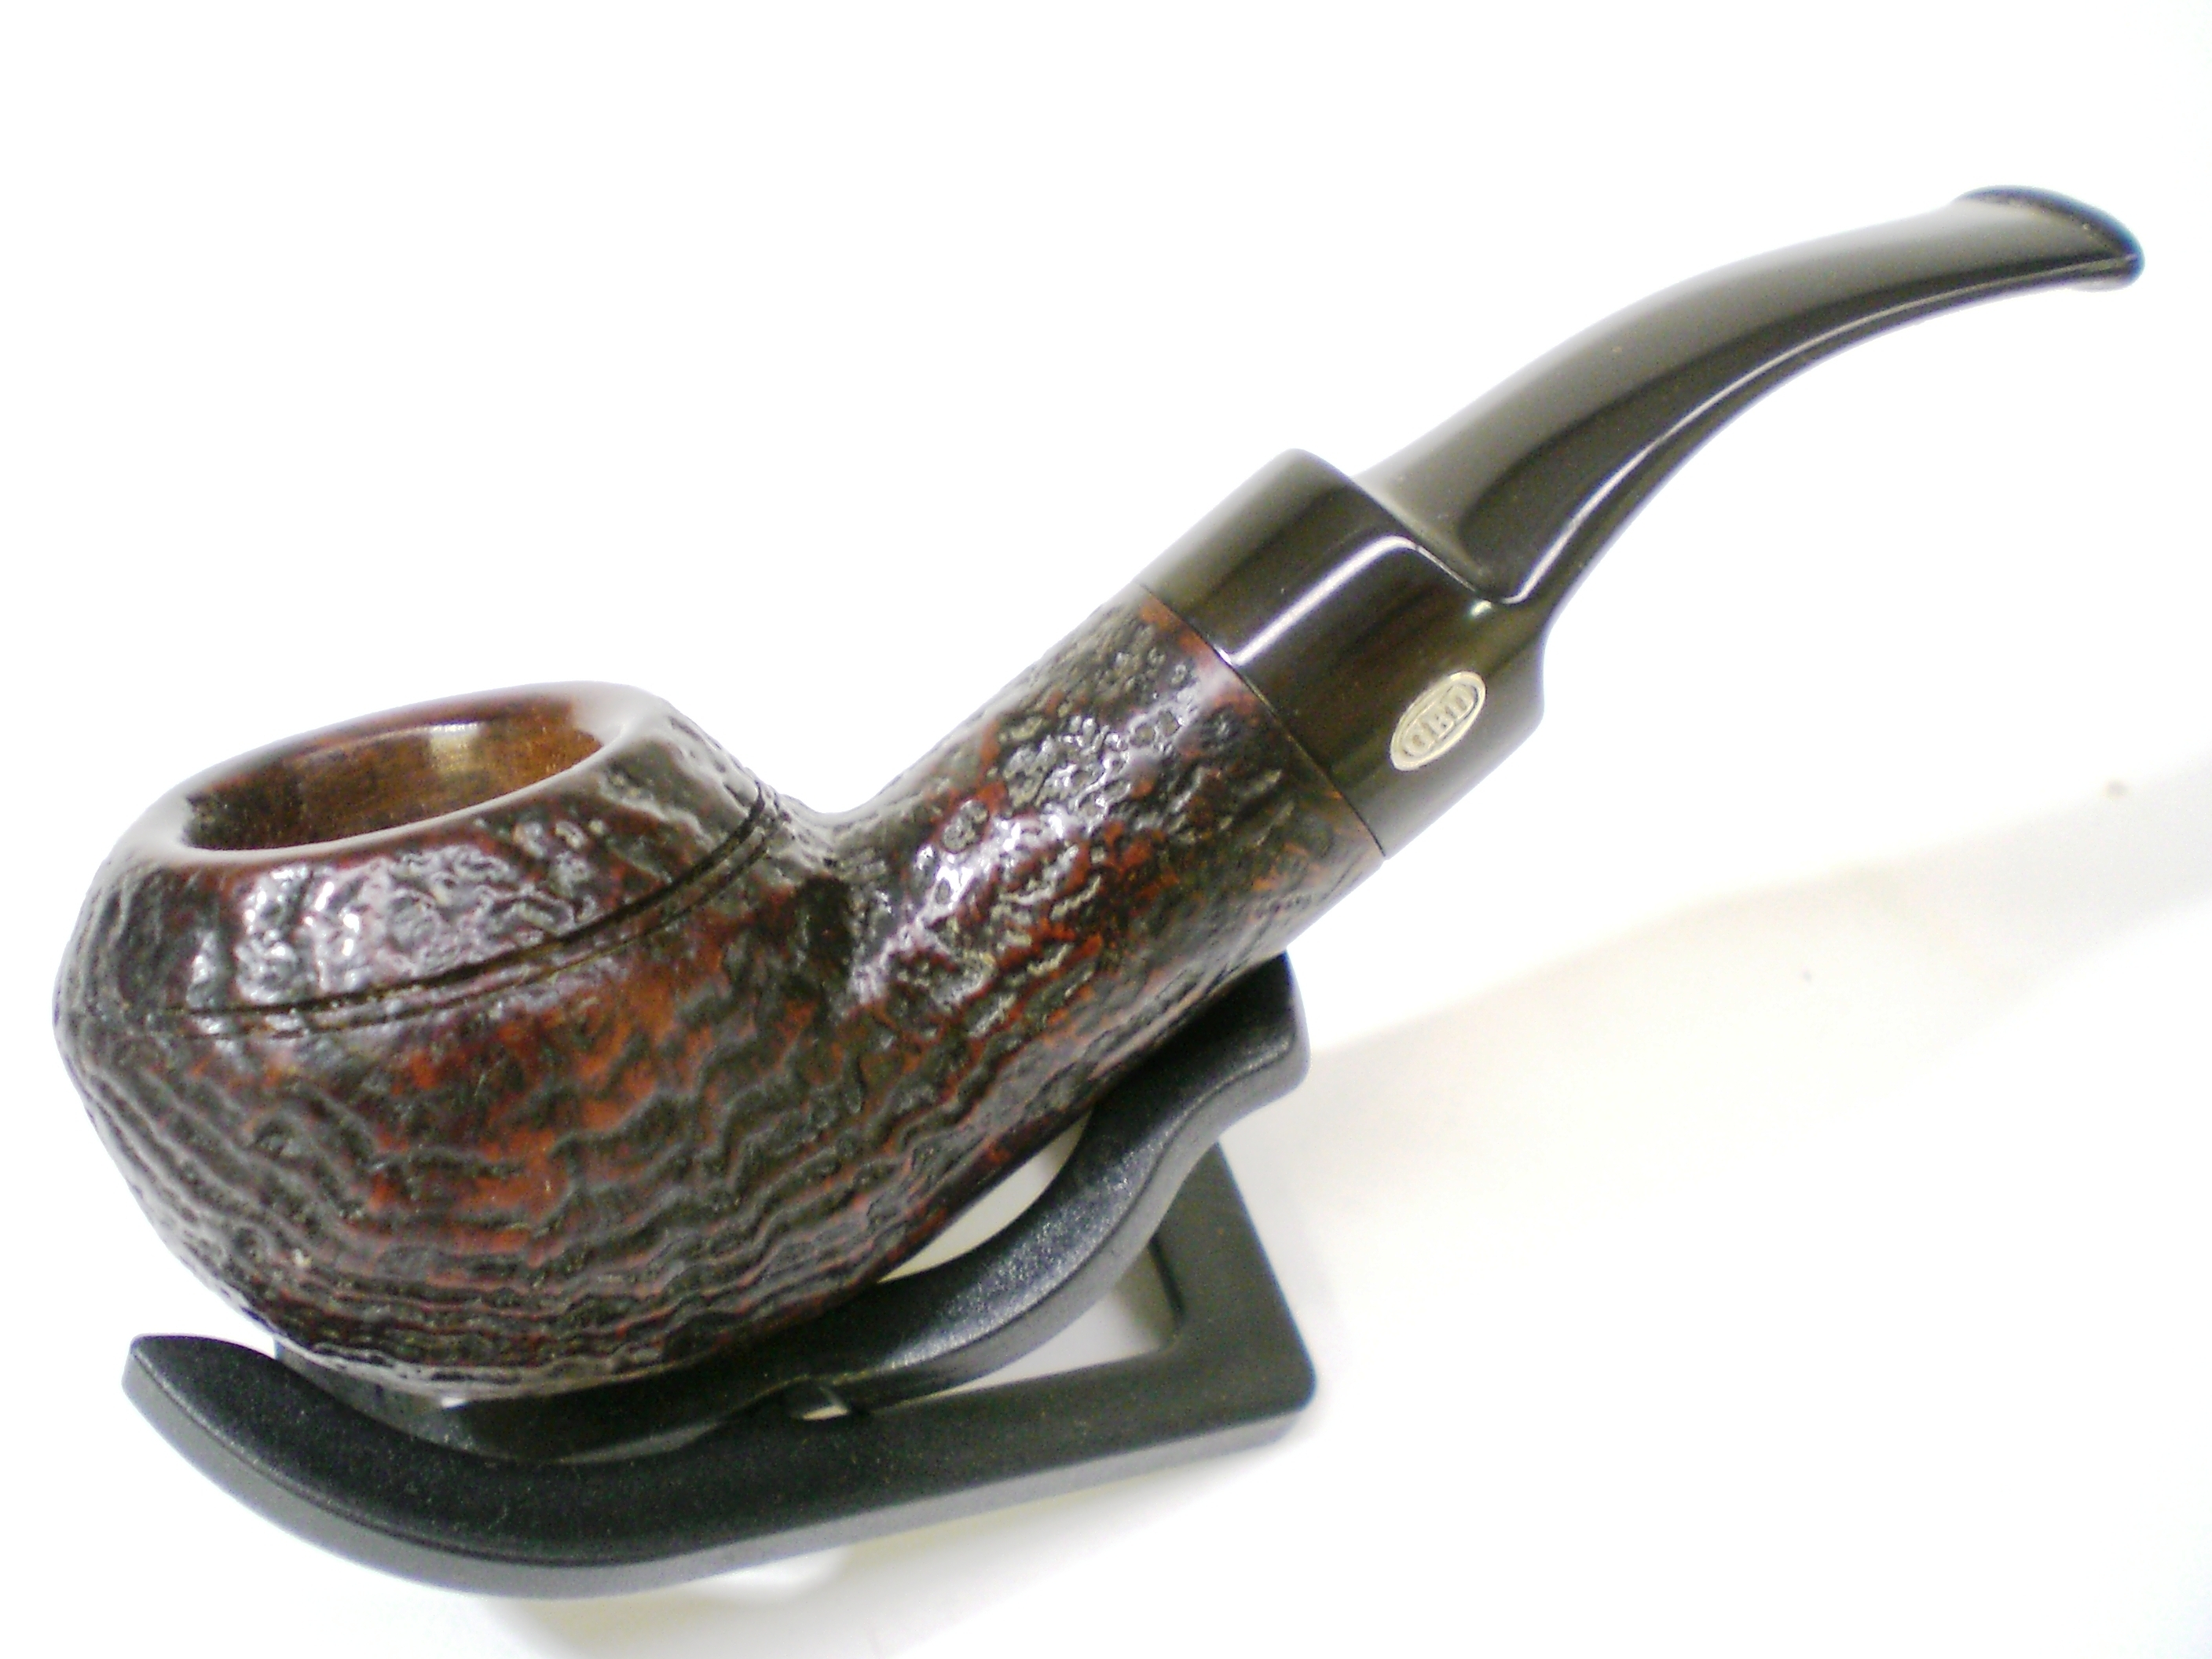
As you can see from these photos, the stem was heavily oxidized but it didn’t appear to have any tooth marks. The bowl top was a little misshapen and it had a very heavy cake build-up. Mike, the “Streets of London” social group administrator on the SmokersForums.uk tells me that The Guidall used pre-made stems. This one had a large stinger. I’m not a fan of stingers, so I warmed the metal end of the stinger and pulled it out.

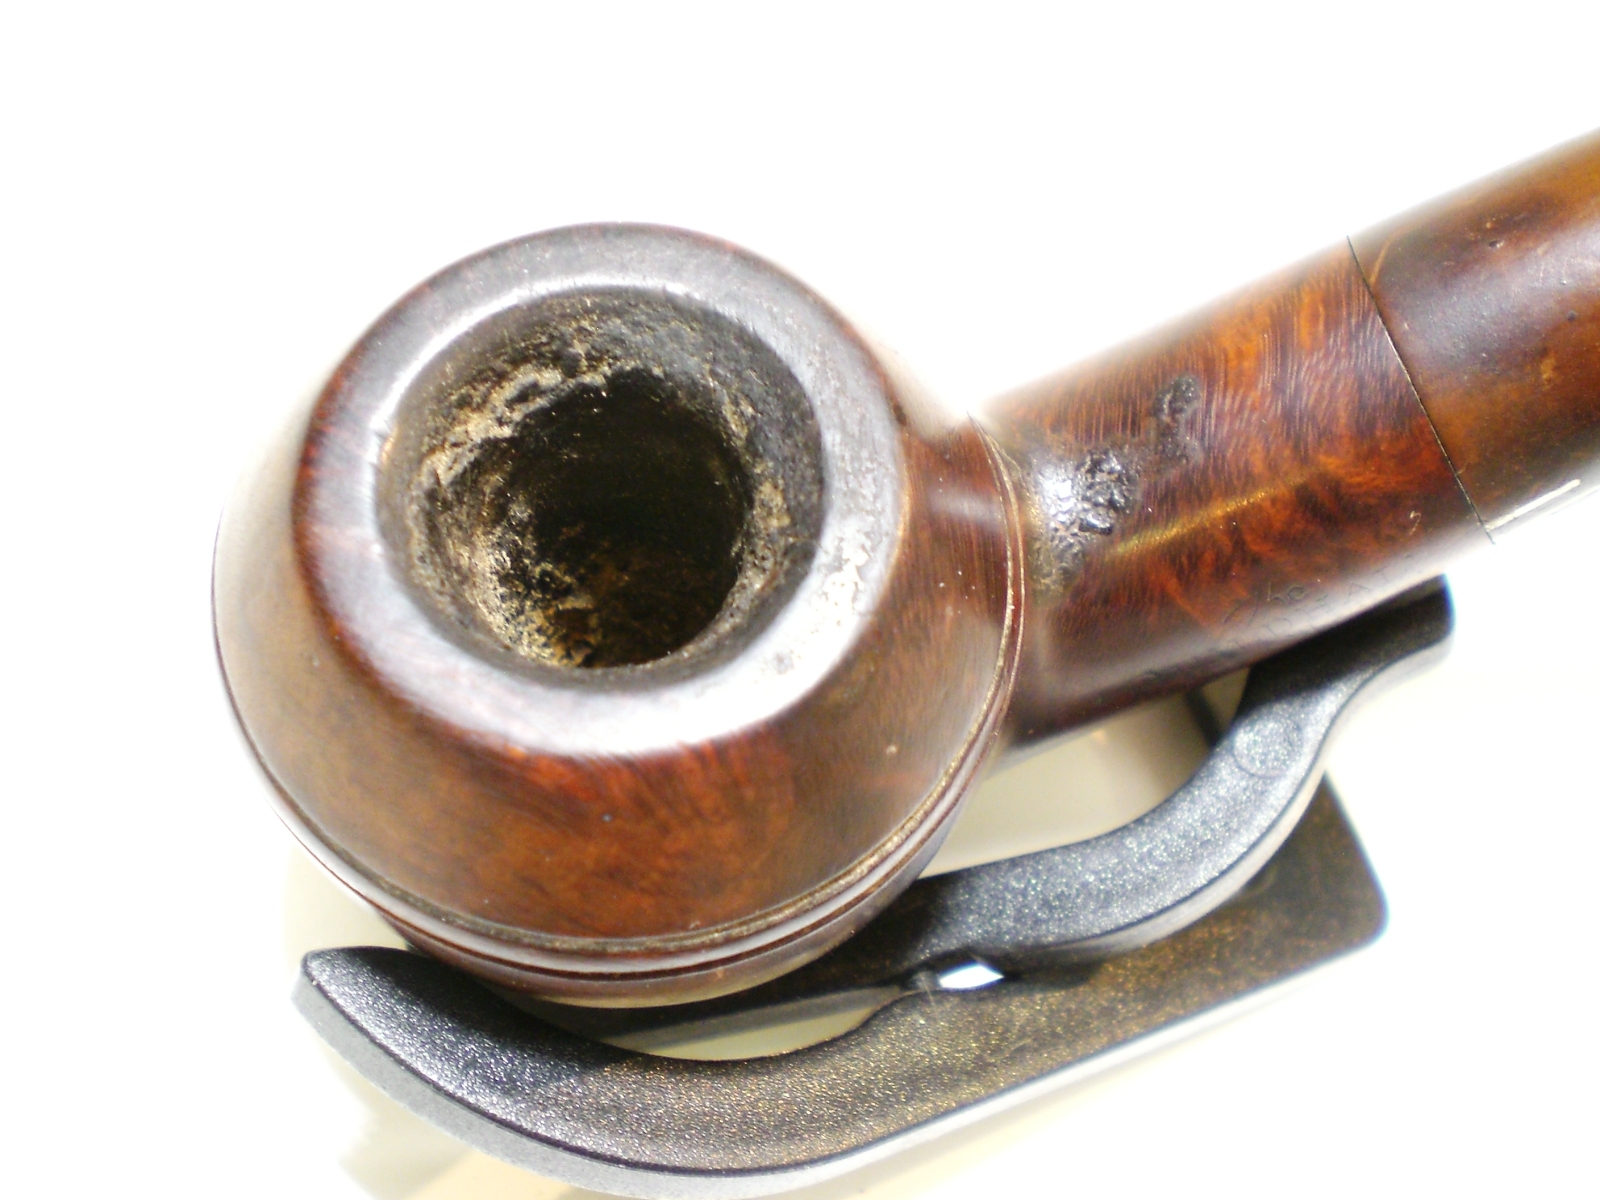
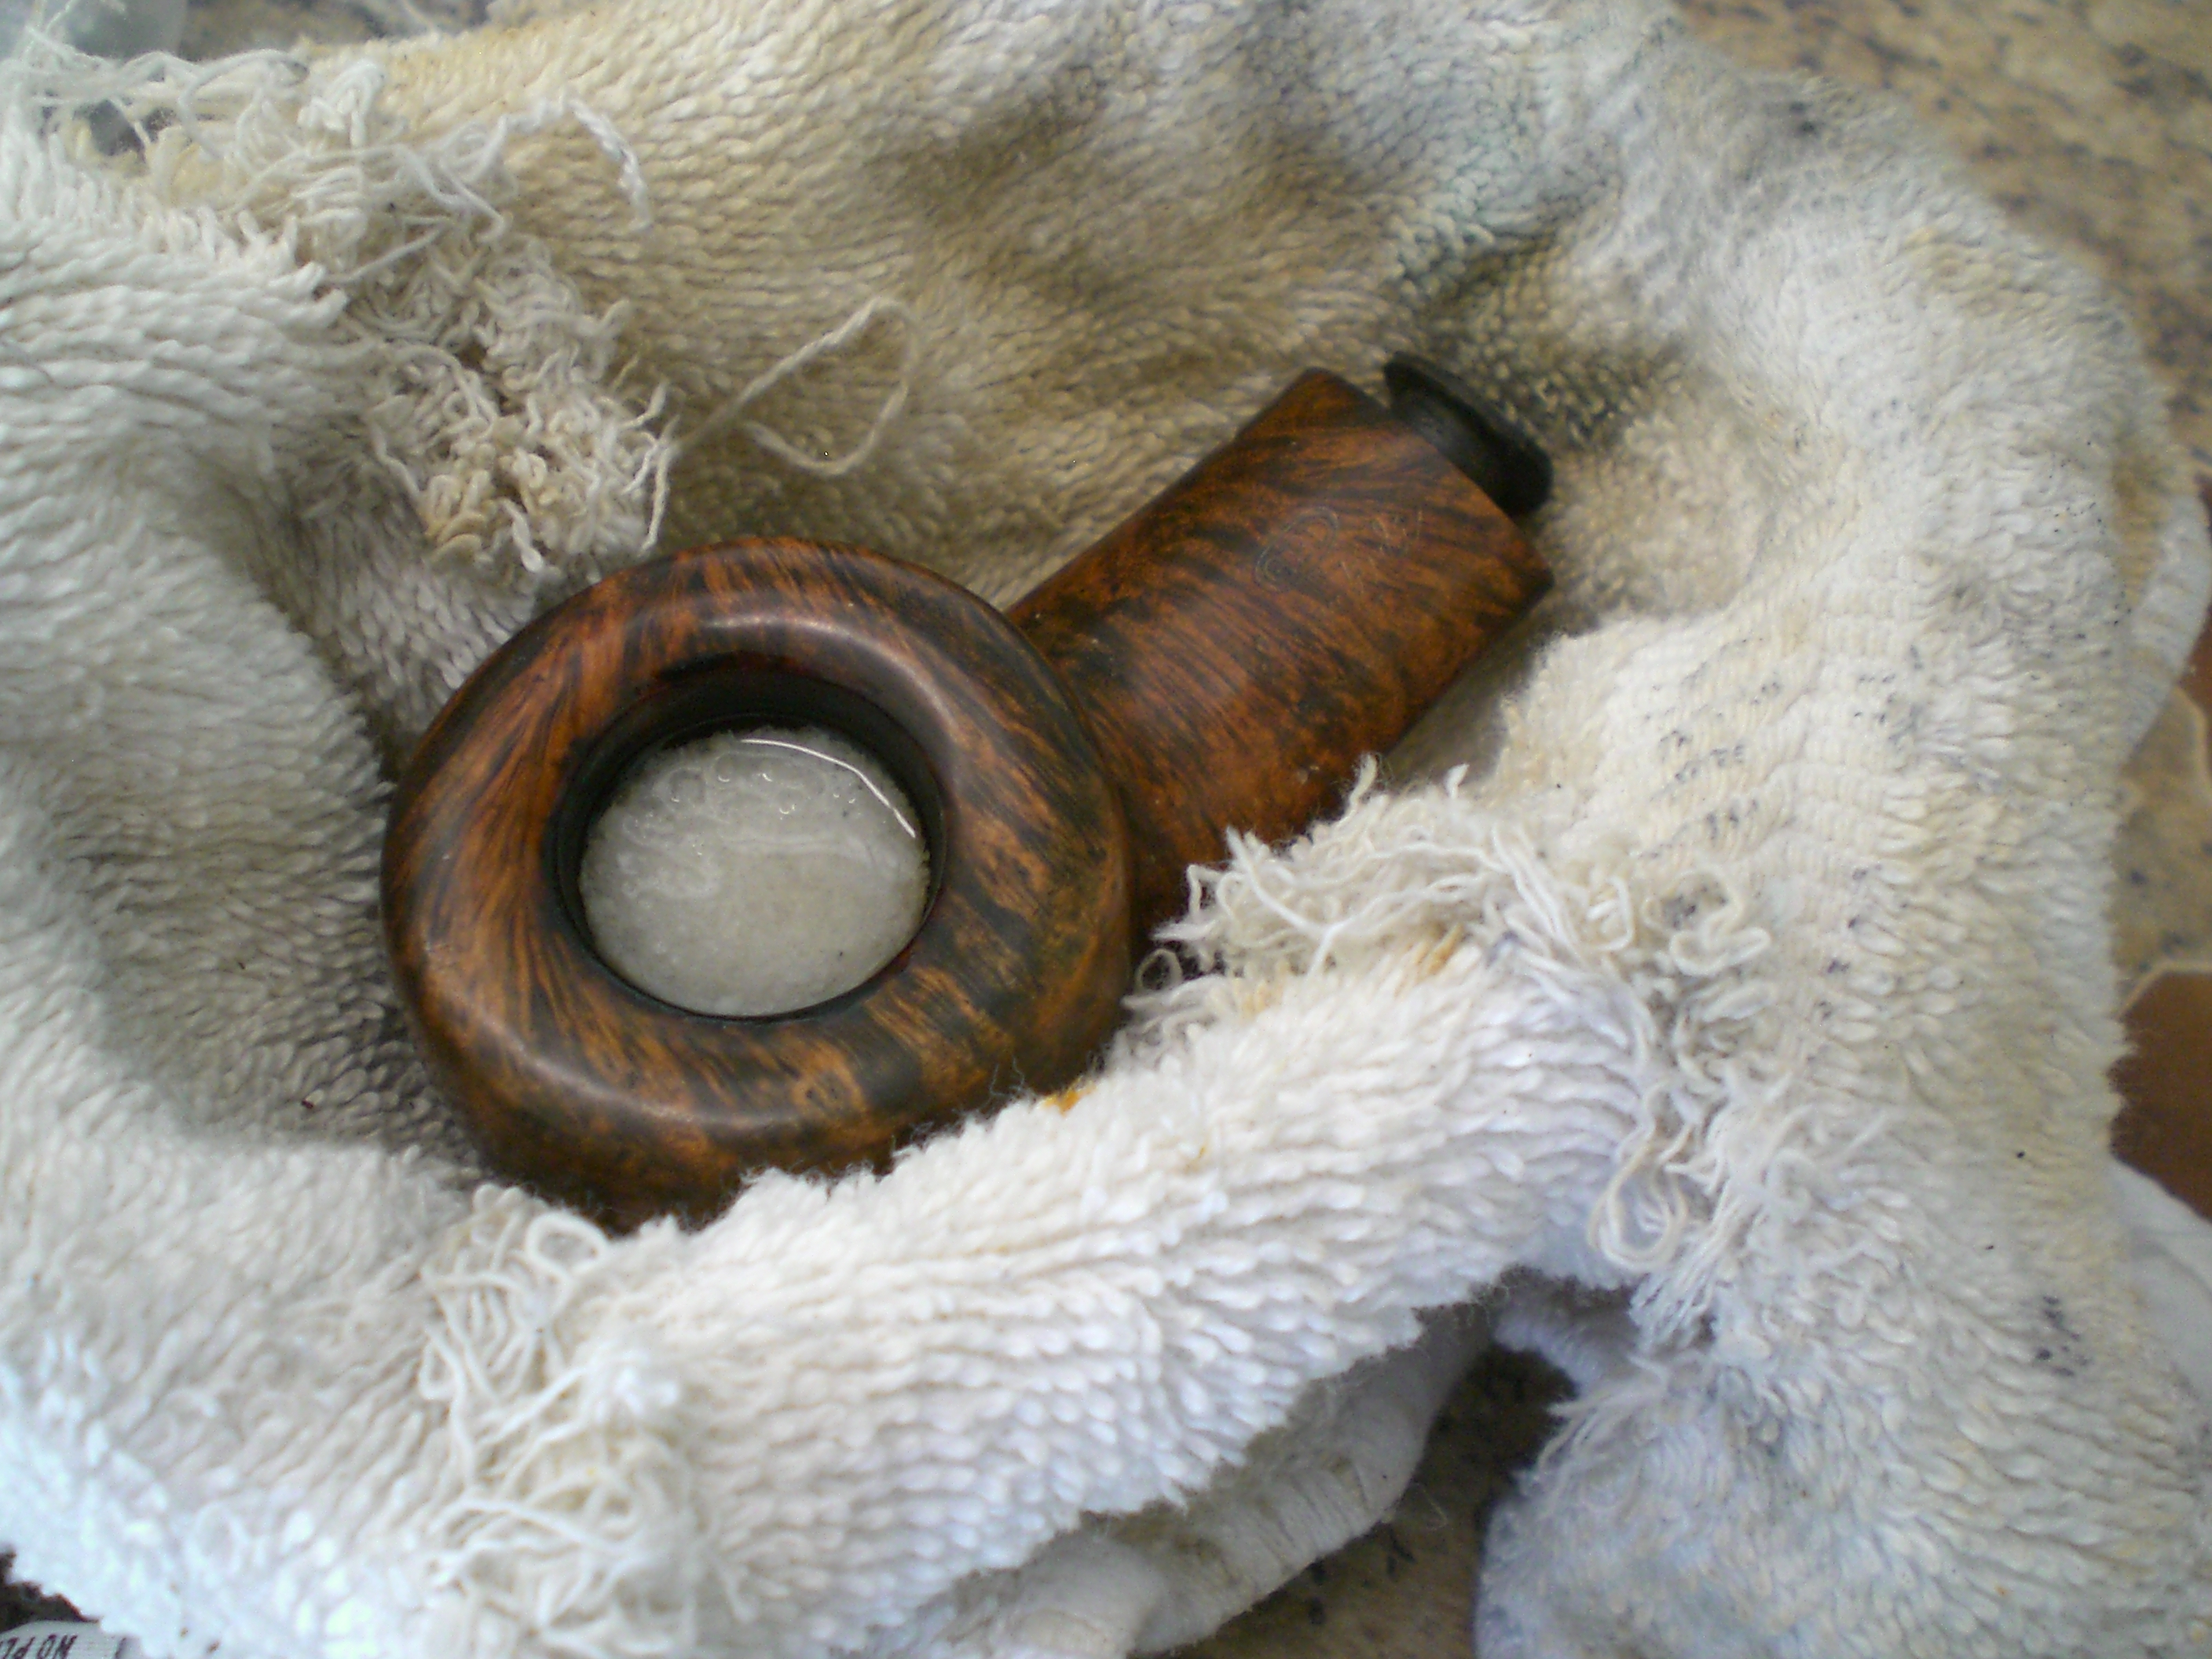
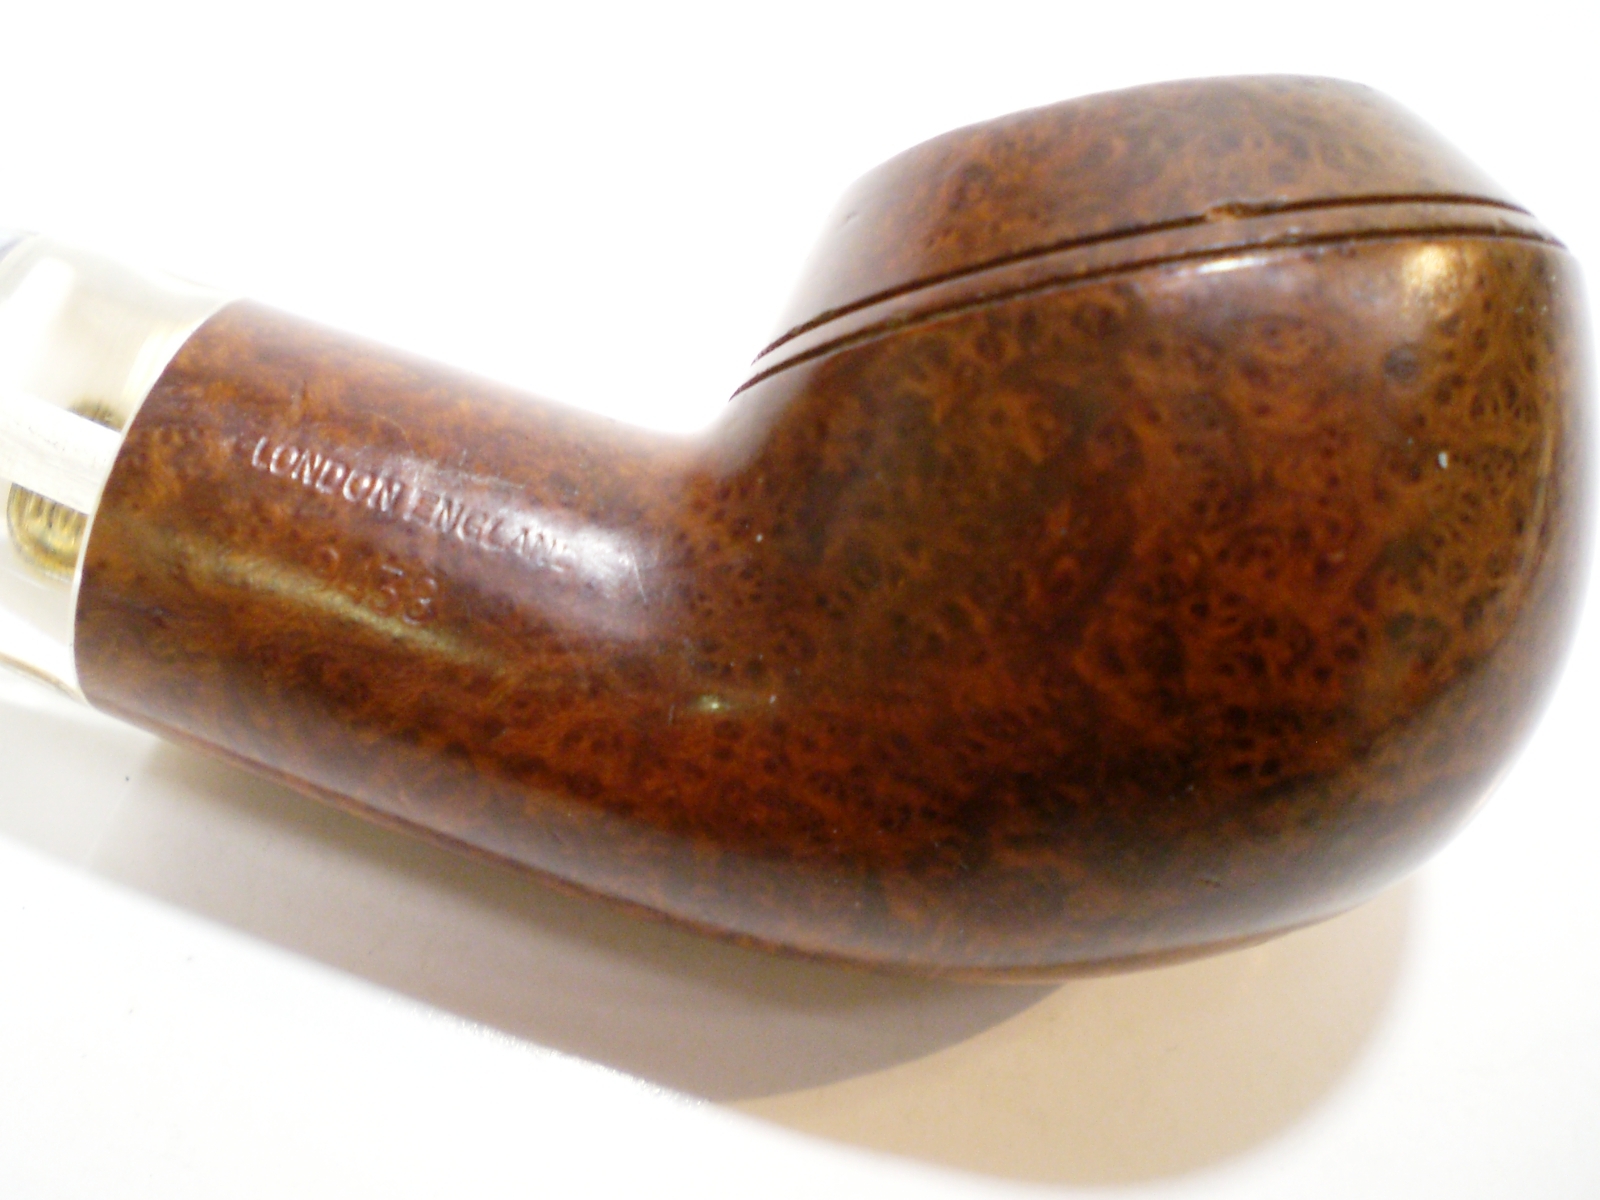
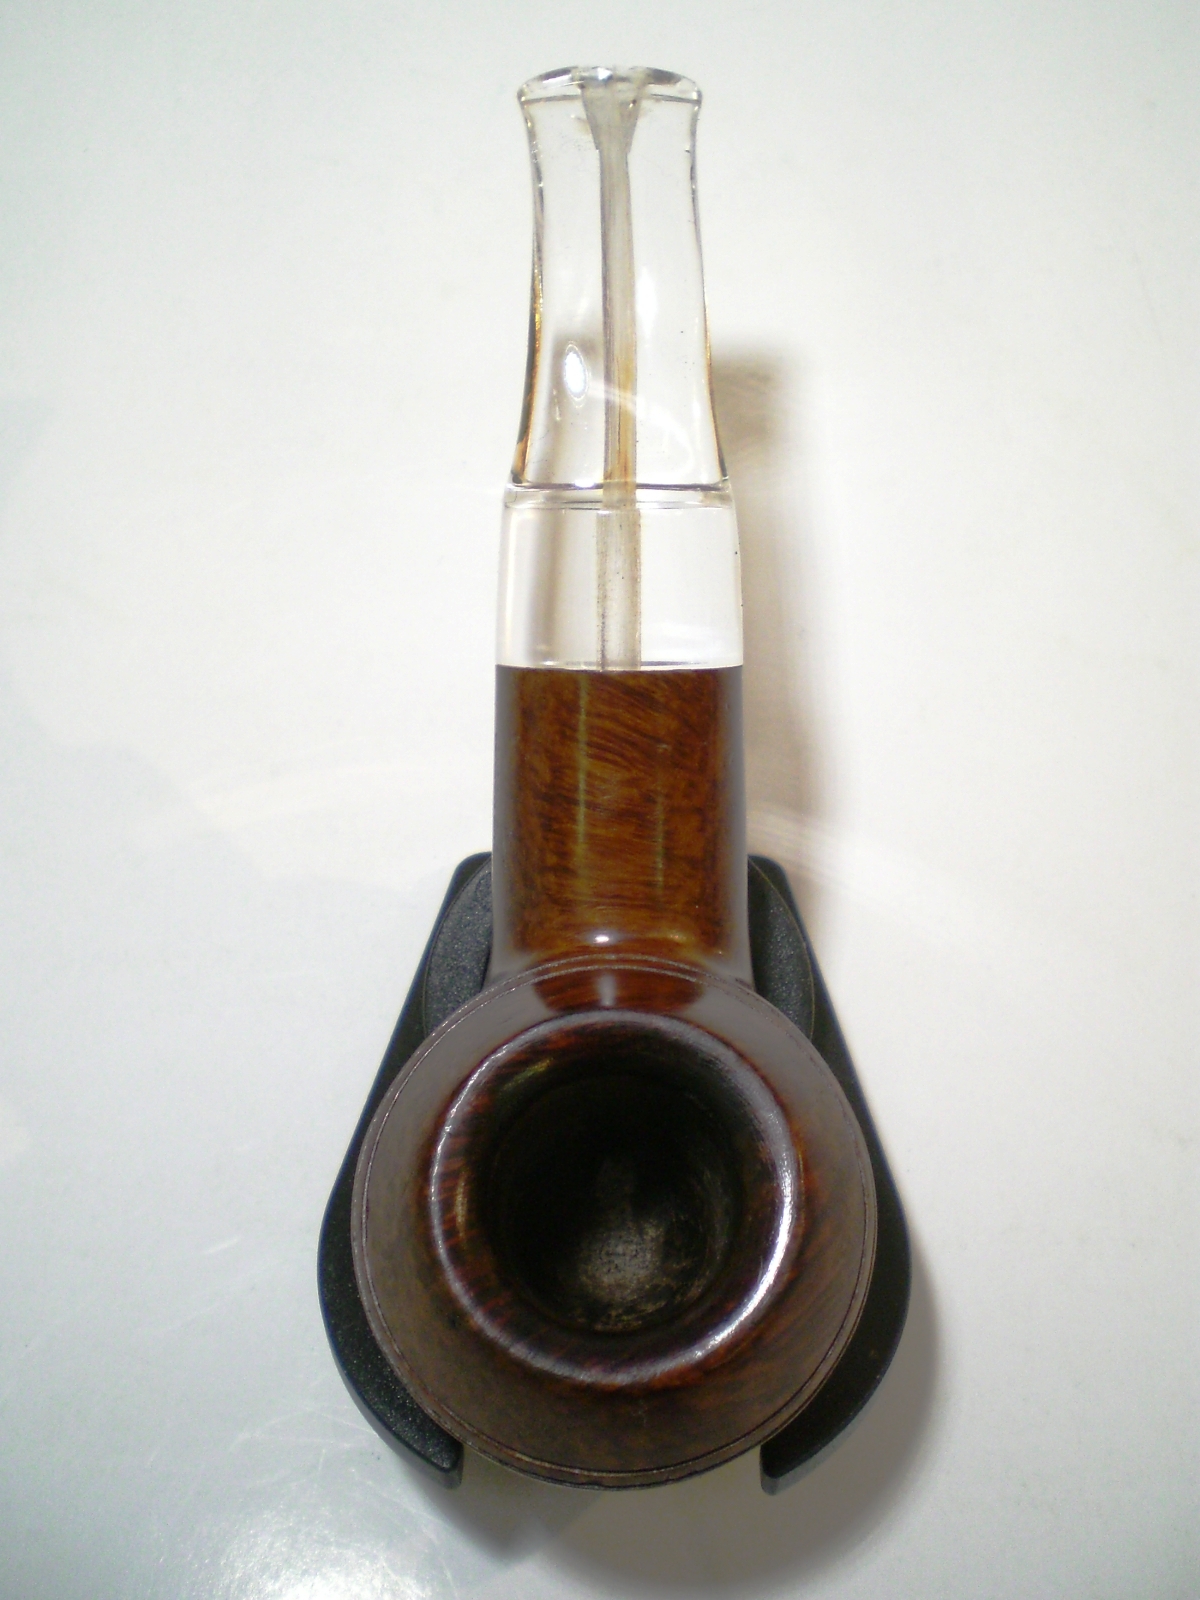
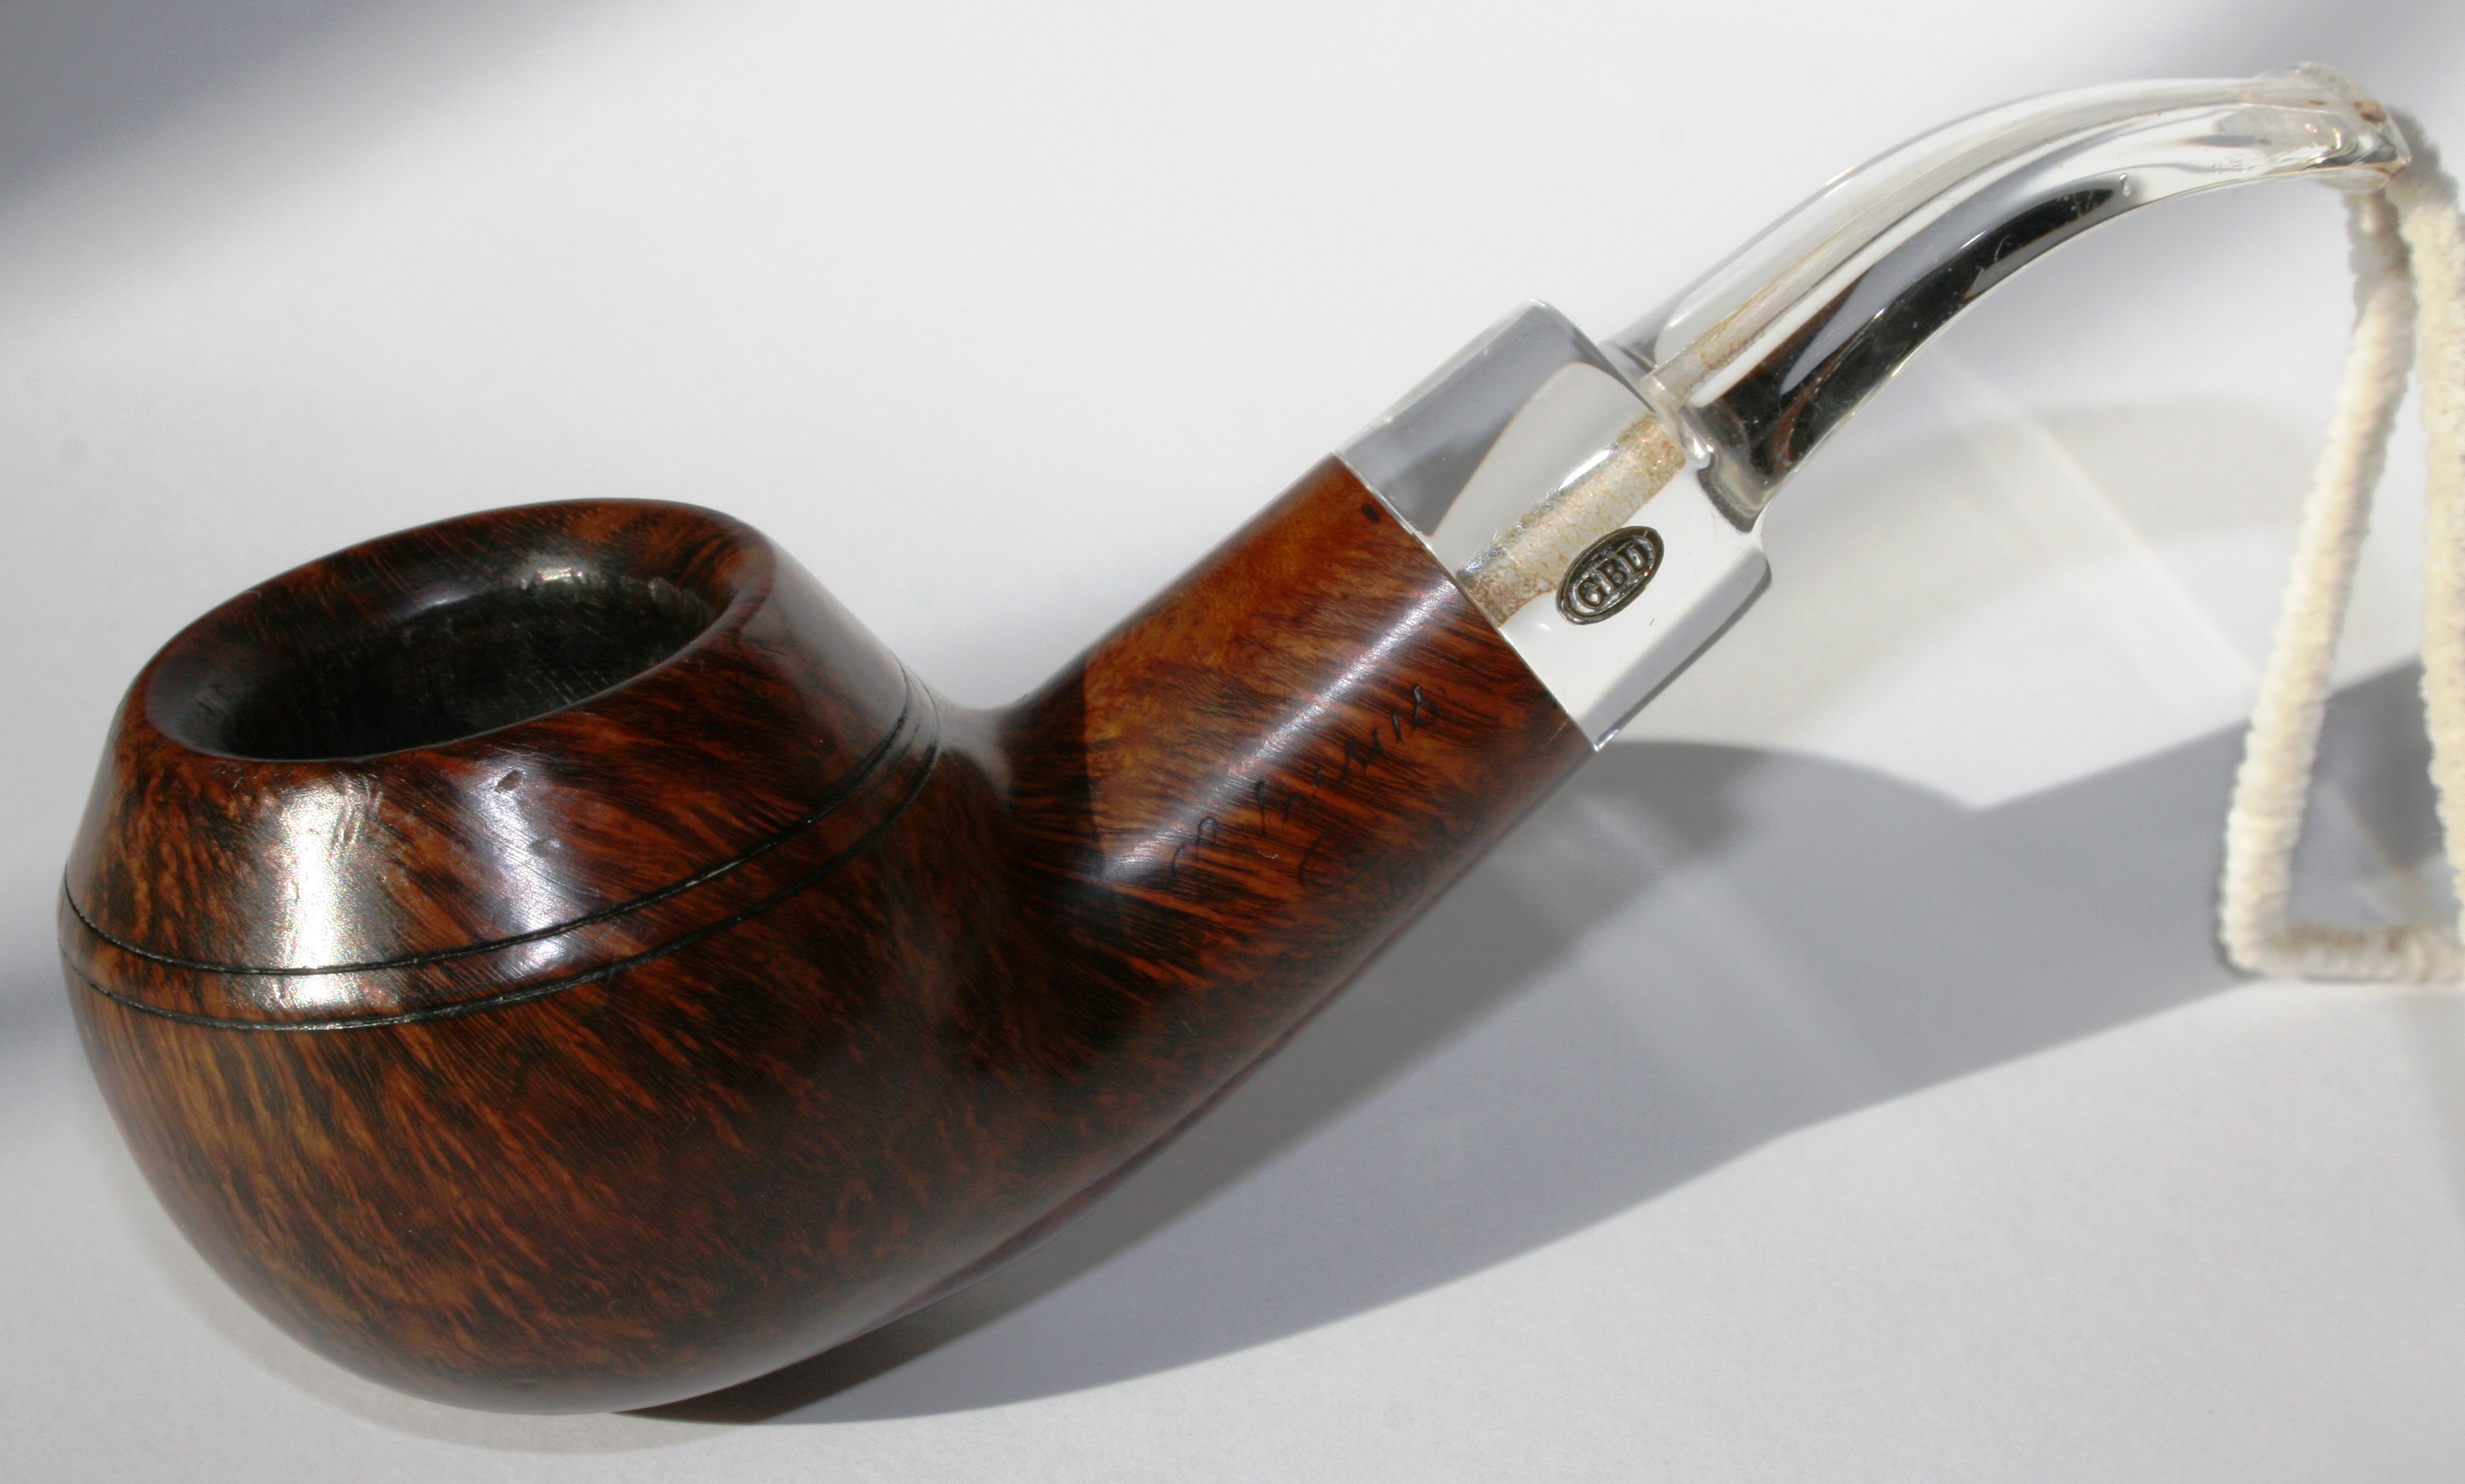
I reamed the bowl starting with my smallest Castleford bit and gradually worked up to the full bowl size. There was some damage at the bottom of the bowl that I will have to repair with some “pipe mud” (cigar ash & water). I soaked the bowl overnight with some sea salt and alcohol to remove the tars and residue. The stem was soaked in a mild Oxyclean and water solution. The metal stem logo looked pretty durable, so I didn’t do anything to protect it.
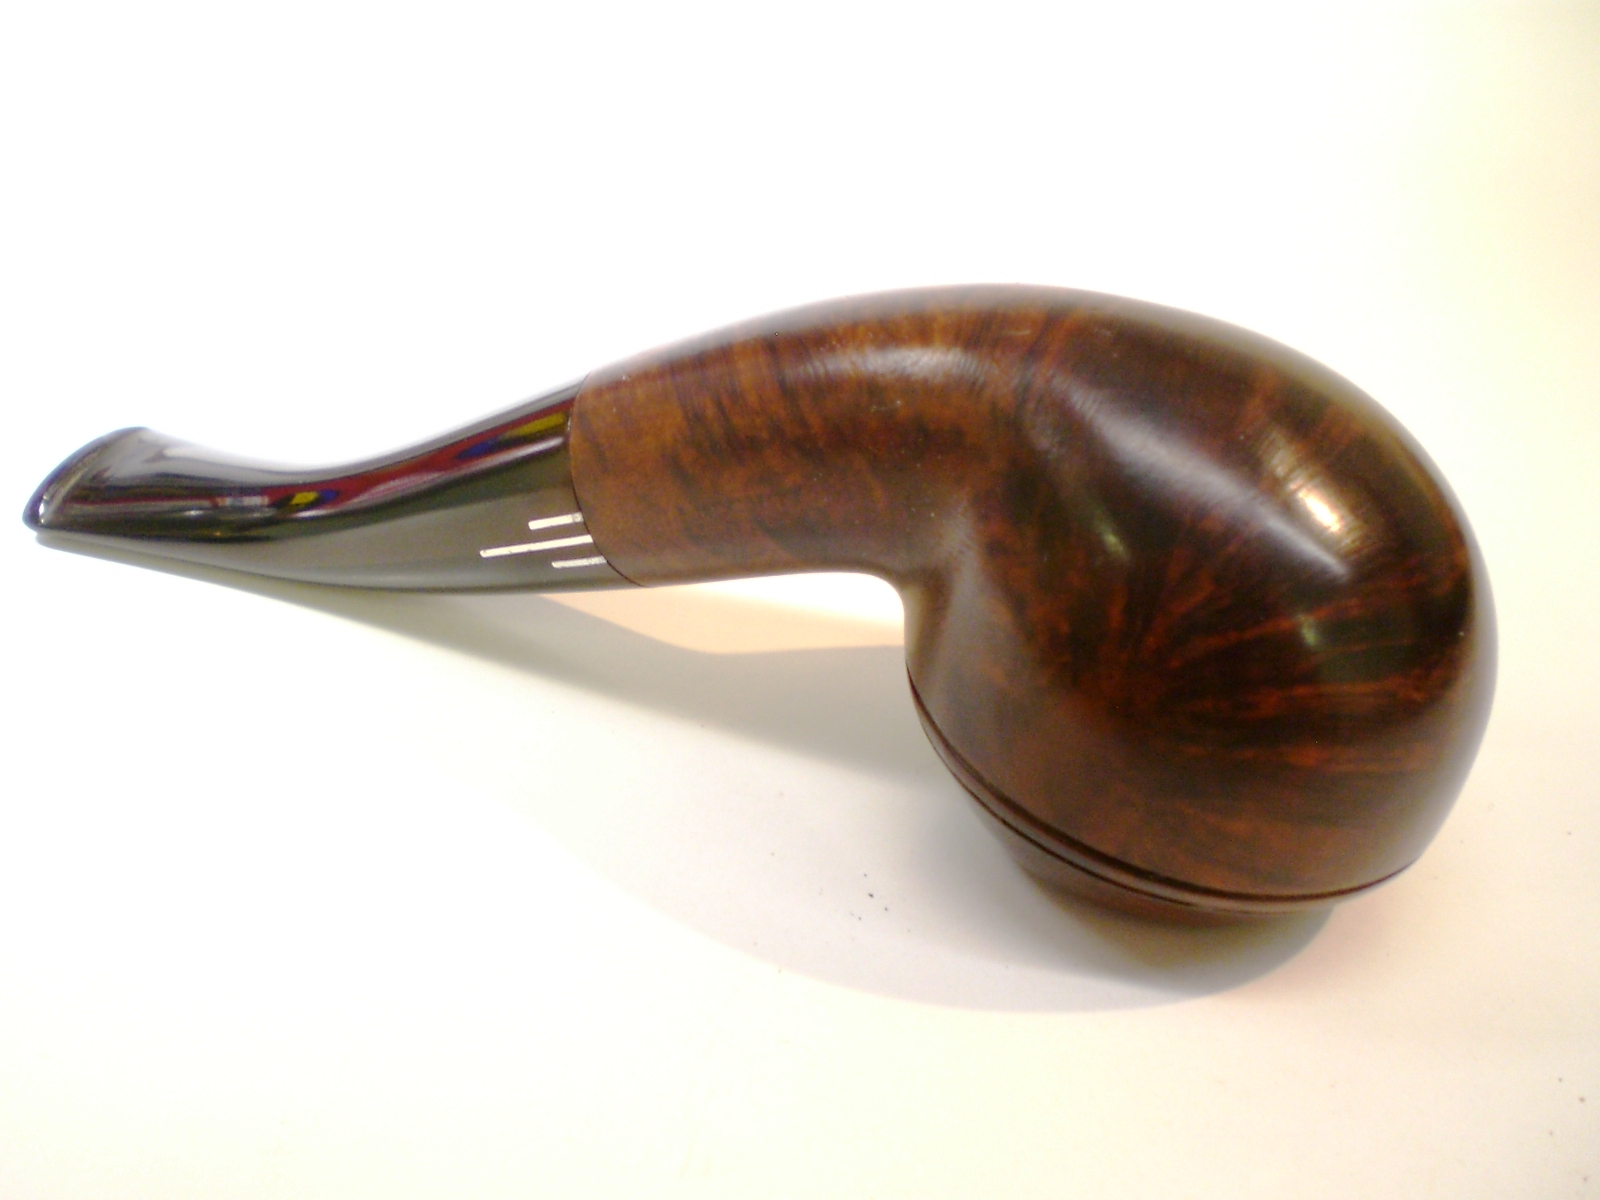
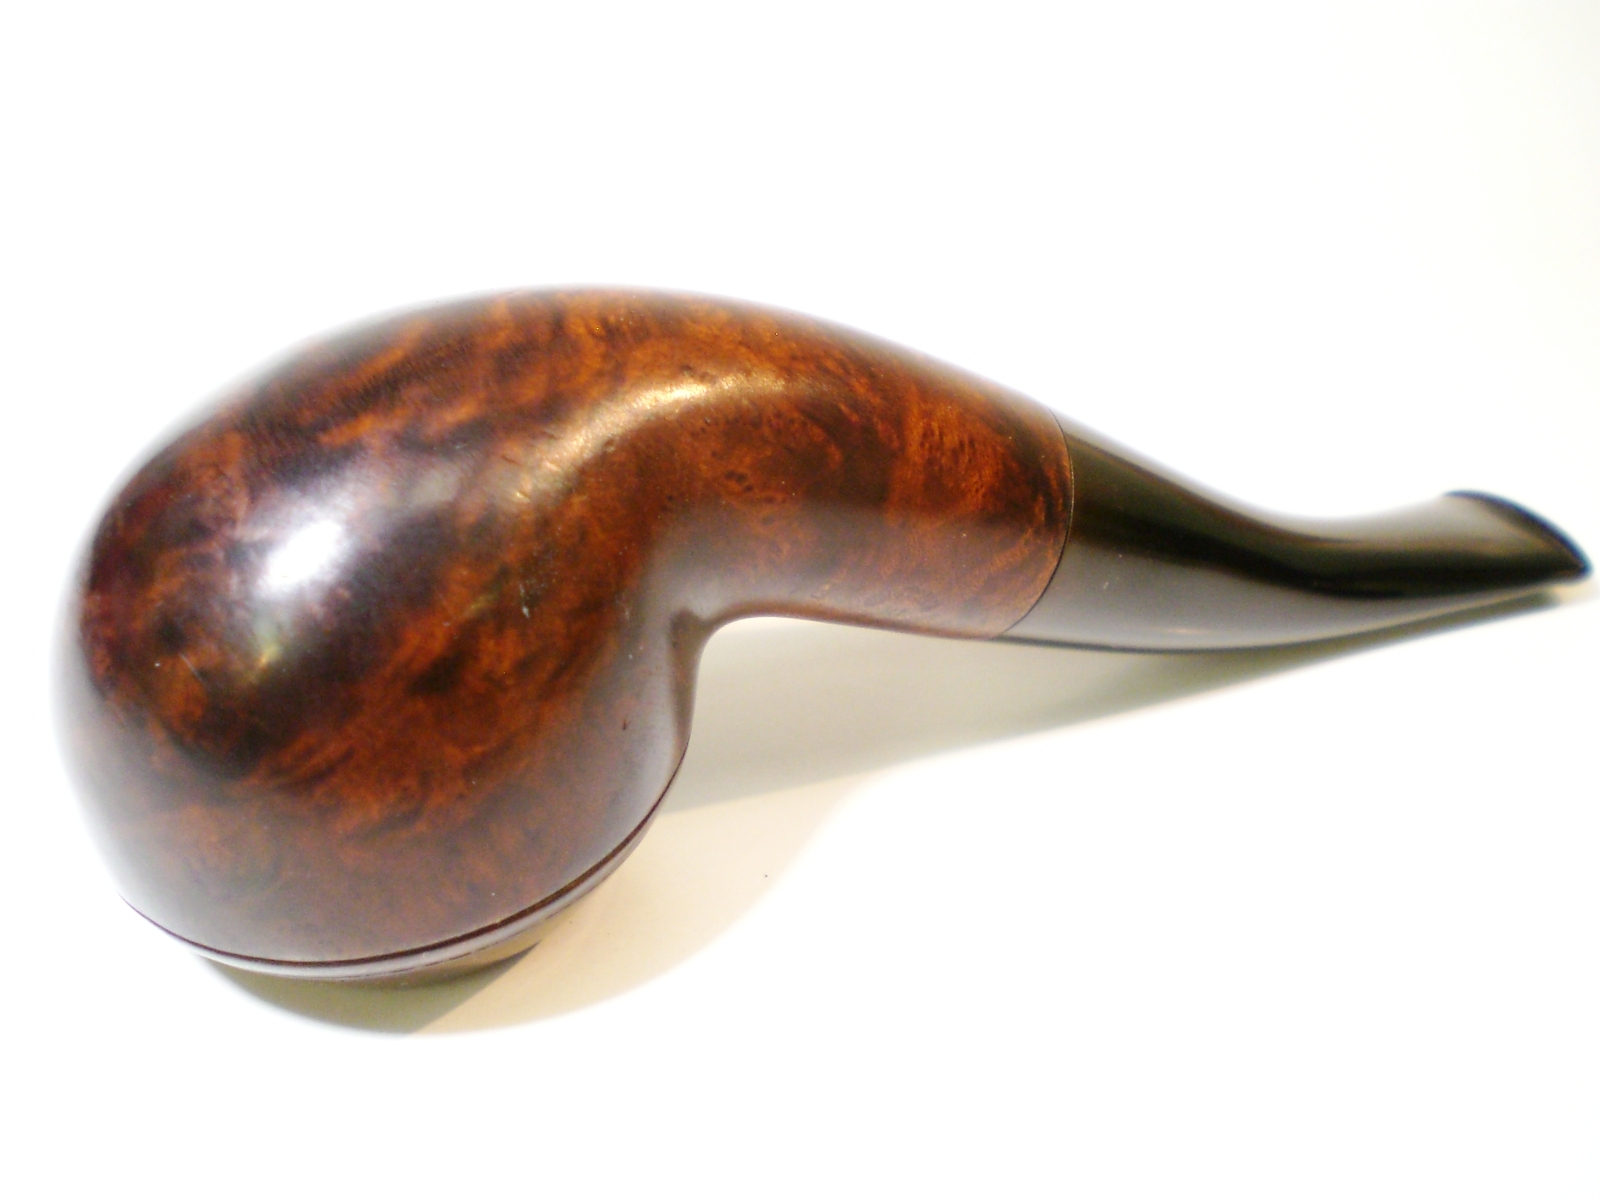
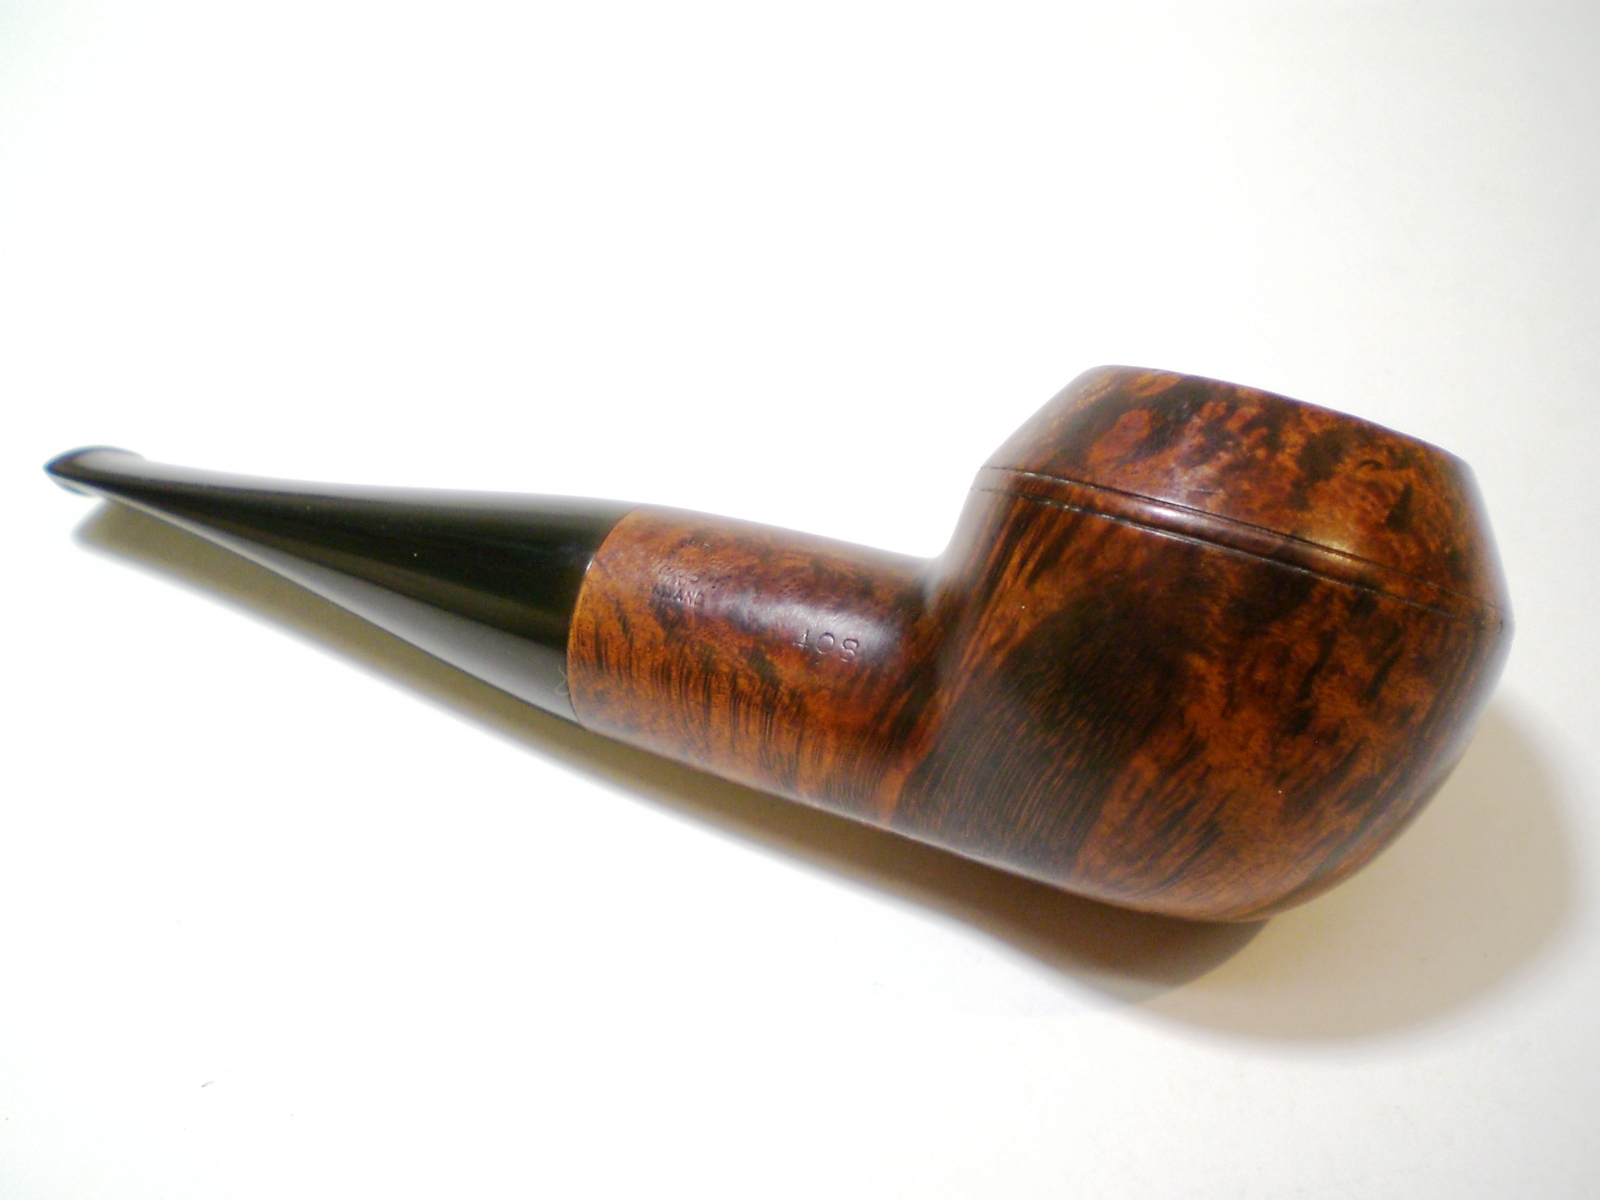
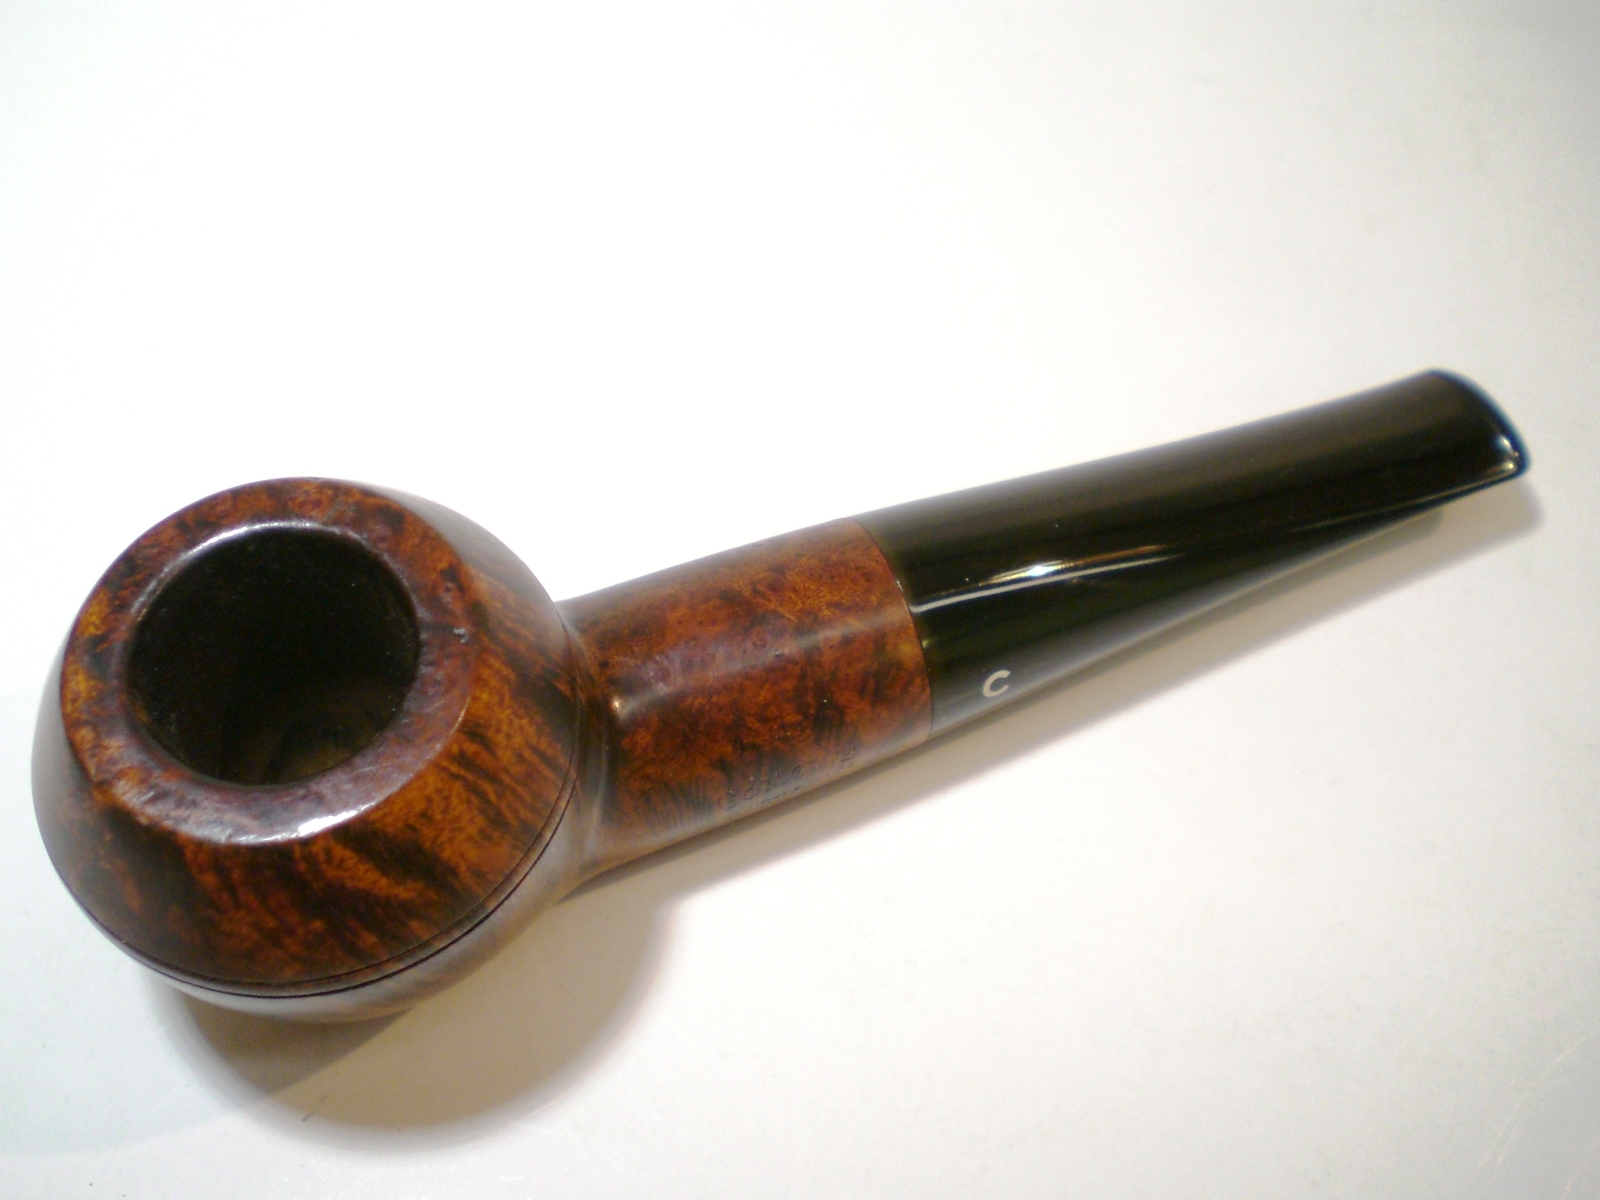
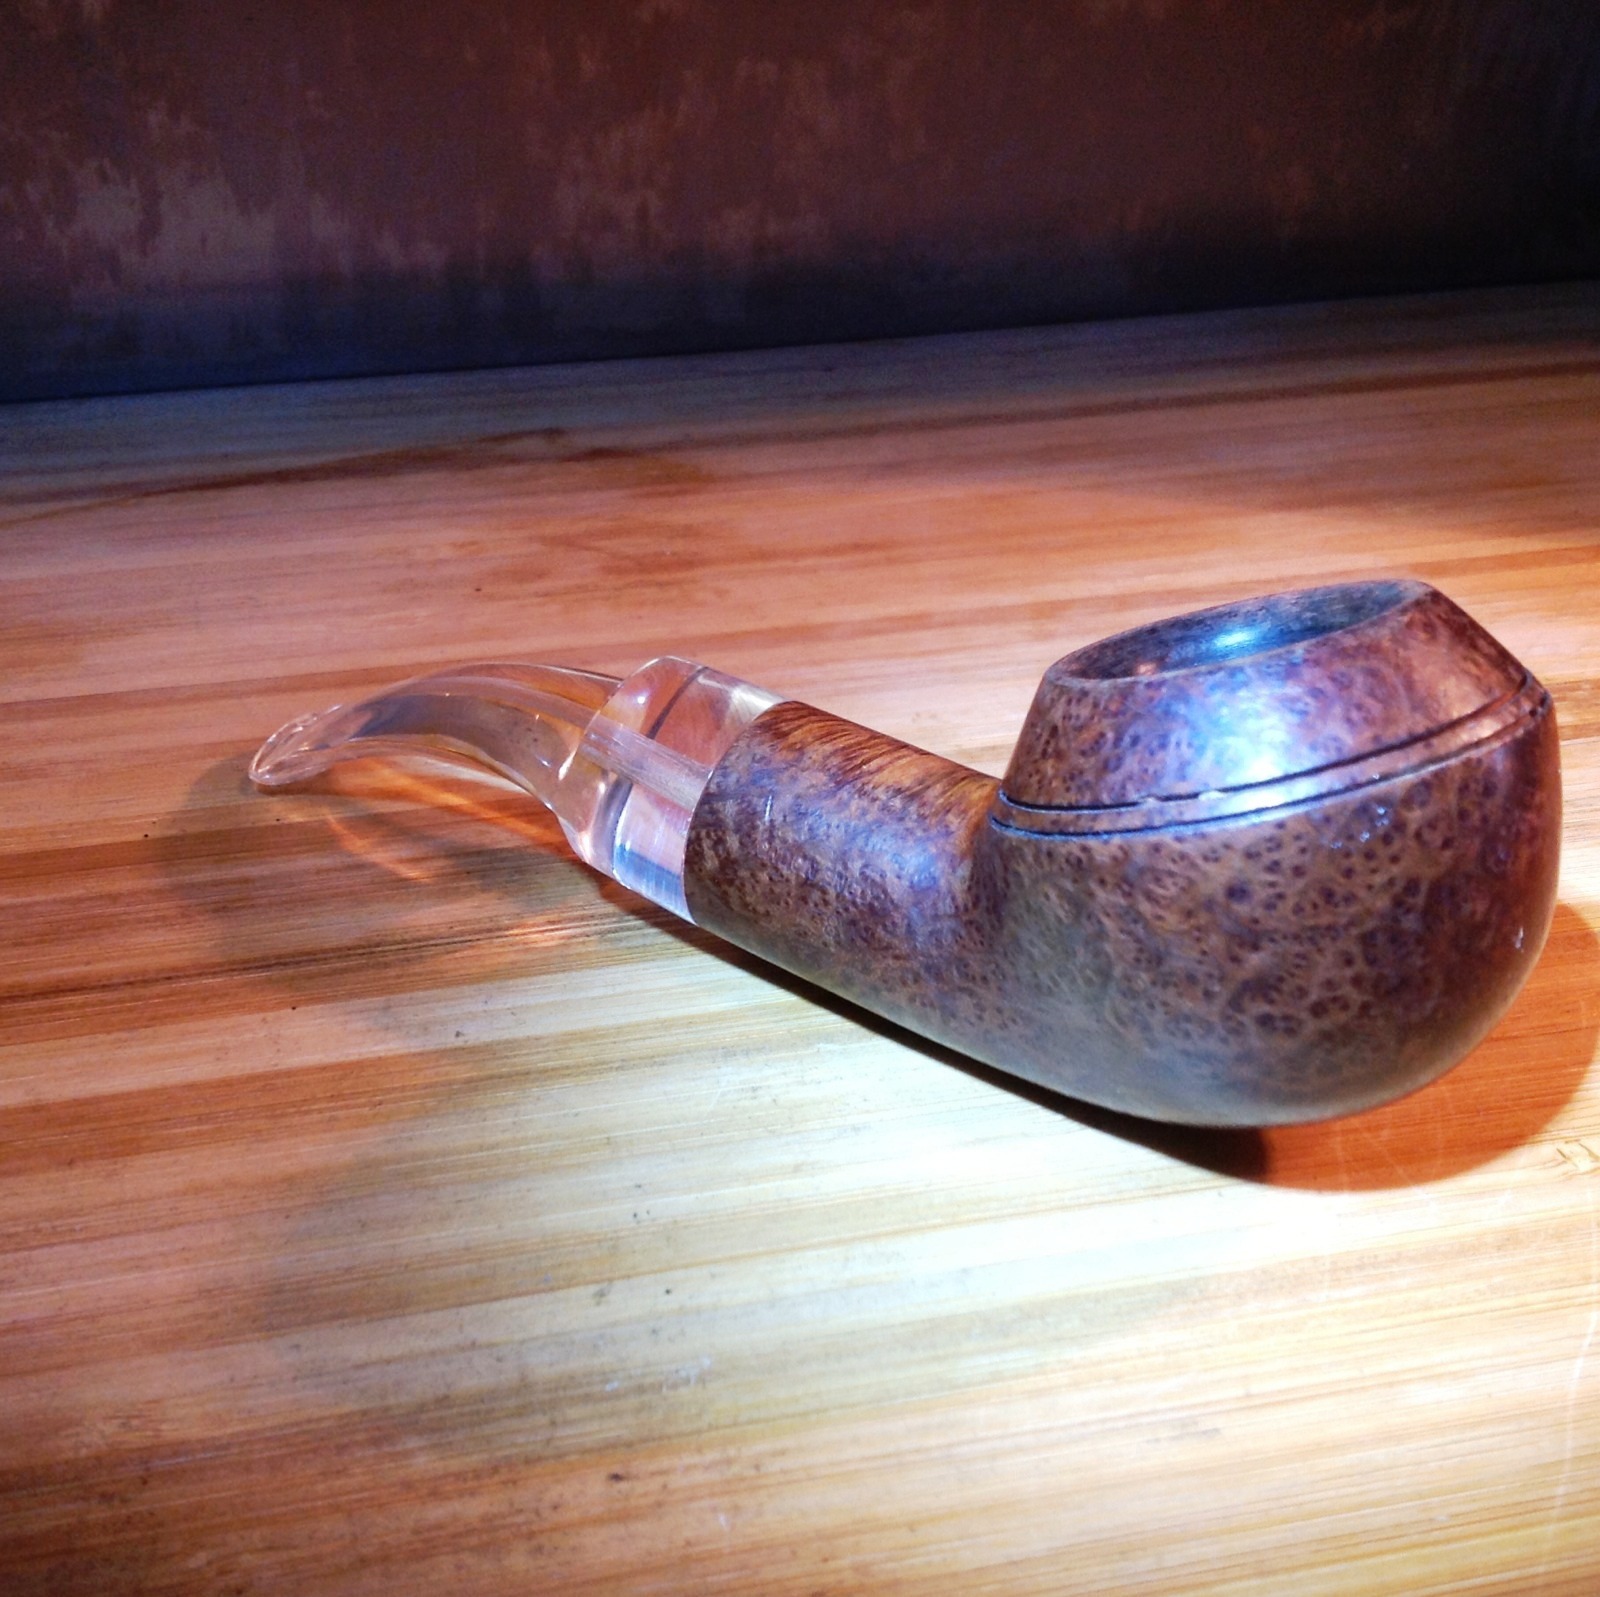
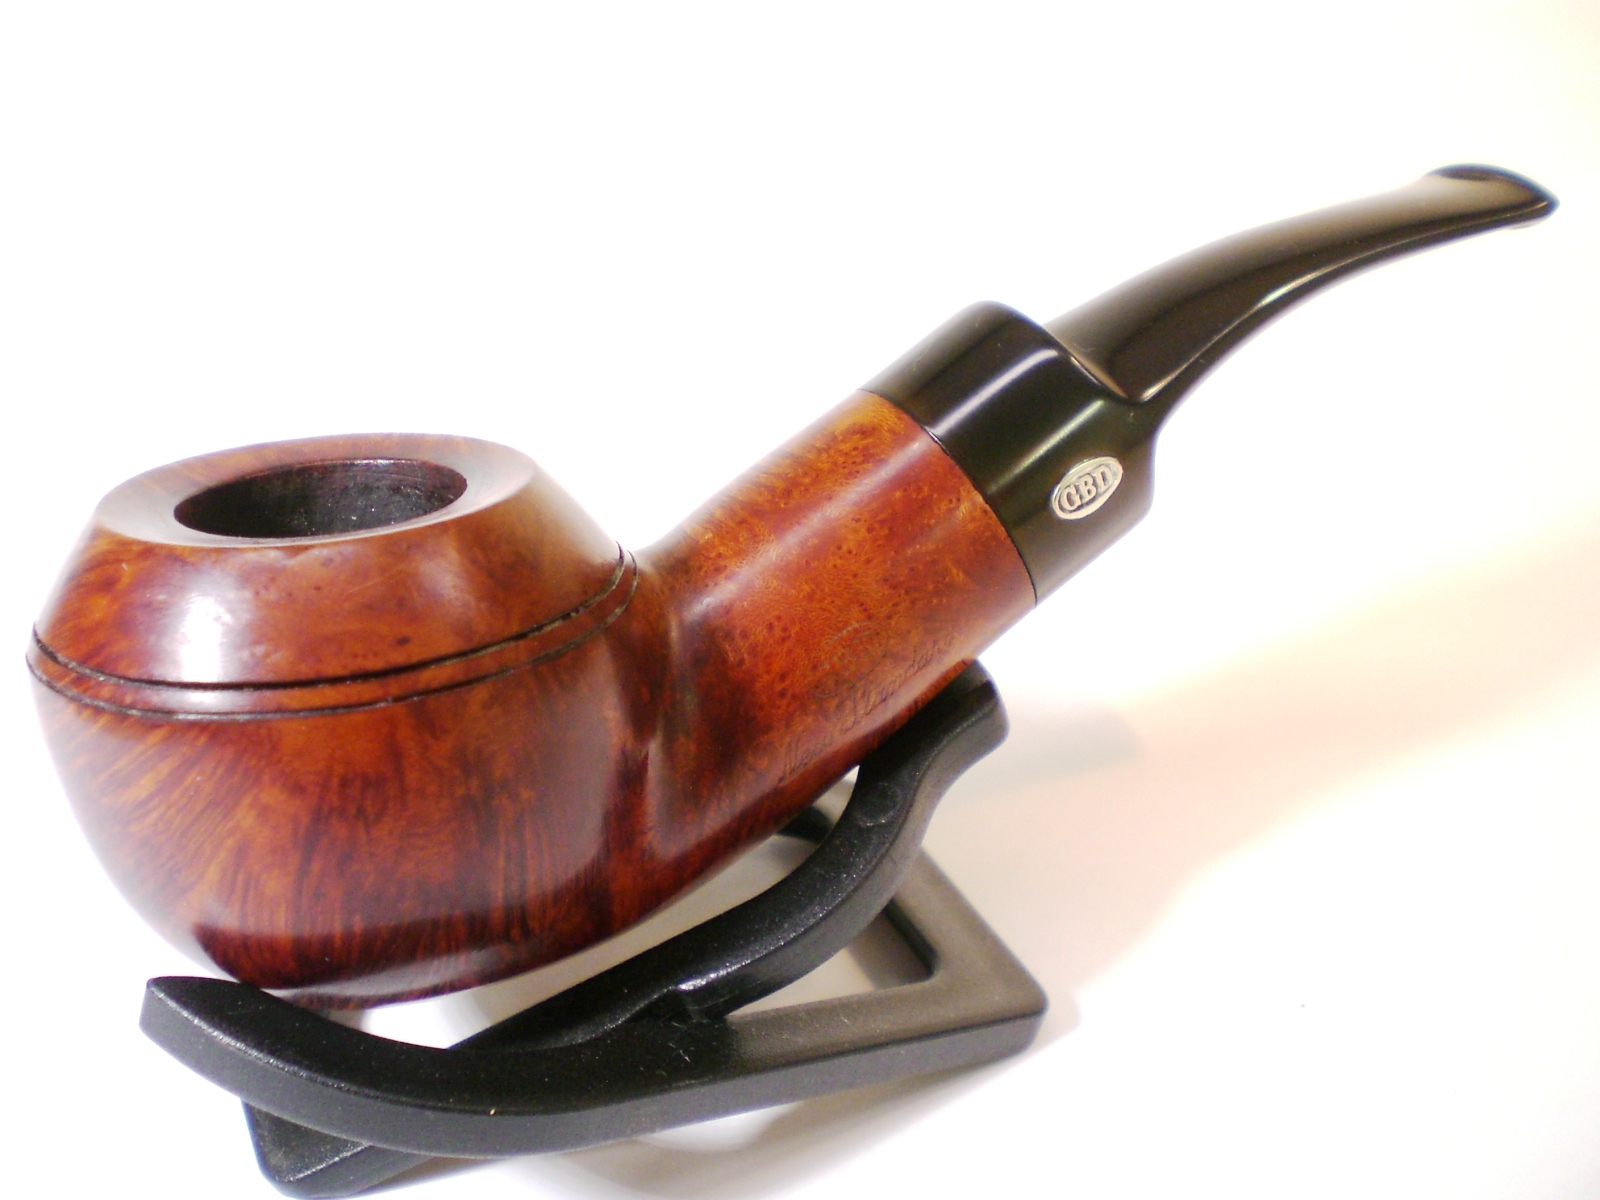
After the bowl soak was completed, I polished the briar on my buffer with some Tripoli and then White Diamond rouge. The briar was in remarkably good condition, considering the way the rest of the pipe was treated over its life. I didn’t detect any fills or other imperfections. You can see the burned out area on the bottom of the bowl, but when I filled it with pipe mud, it wasn’t as deep as it appeared.
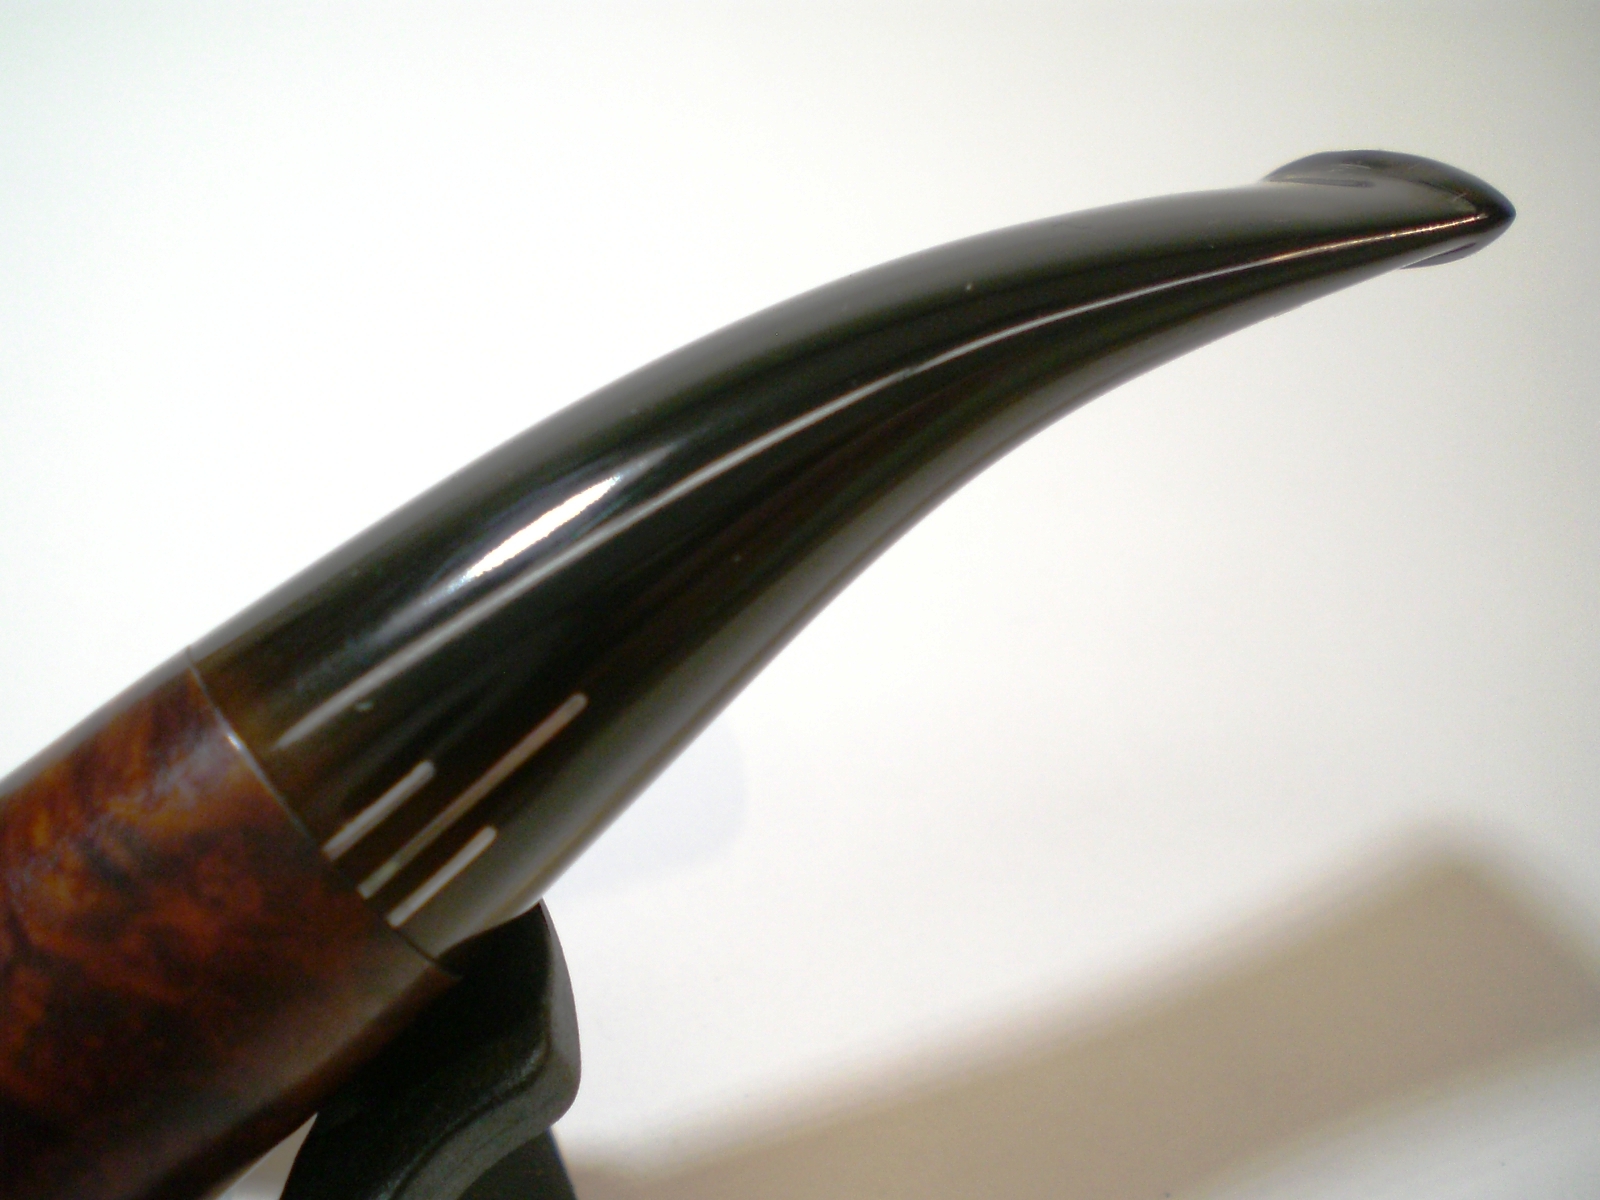
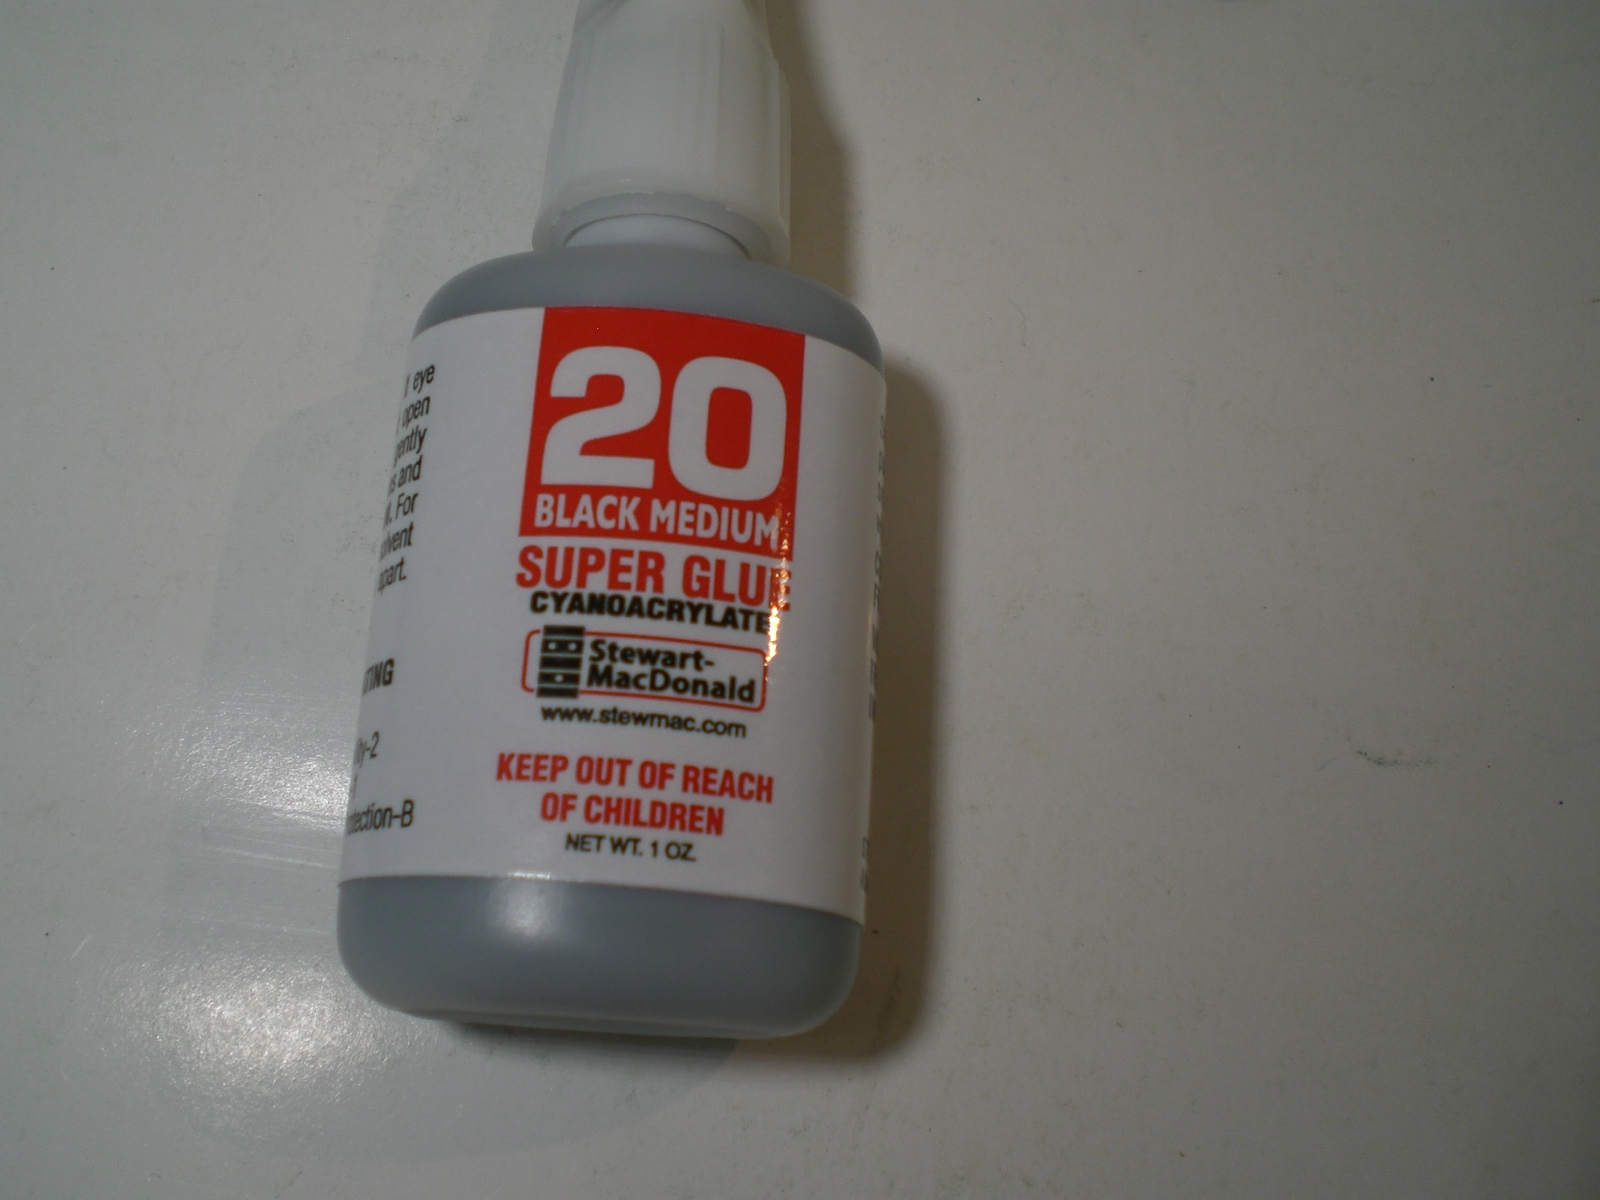
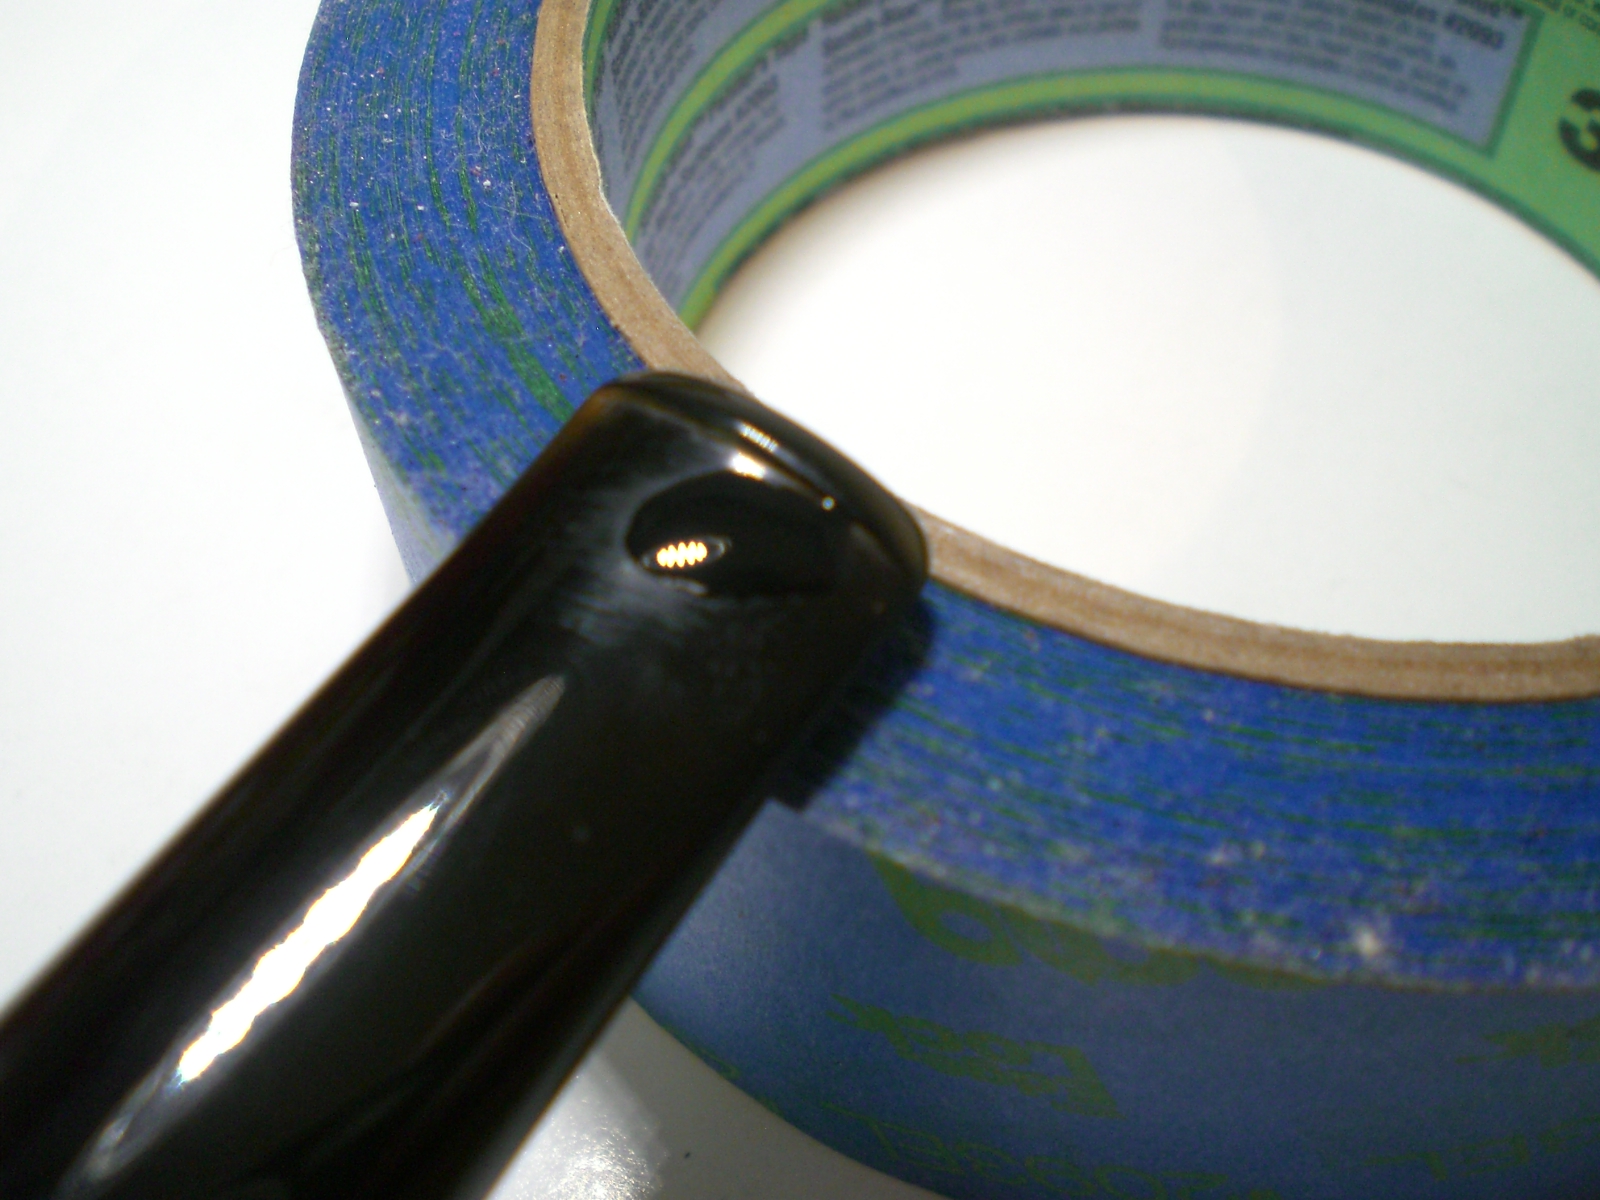
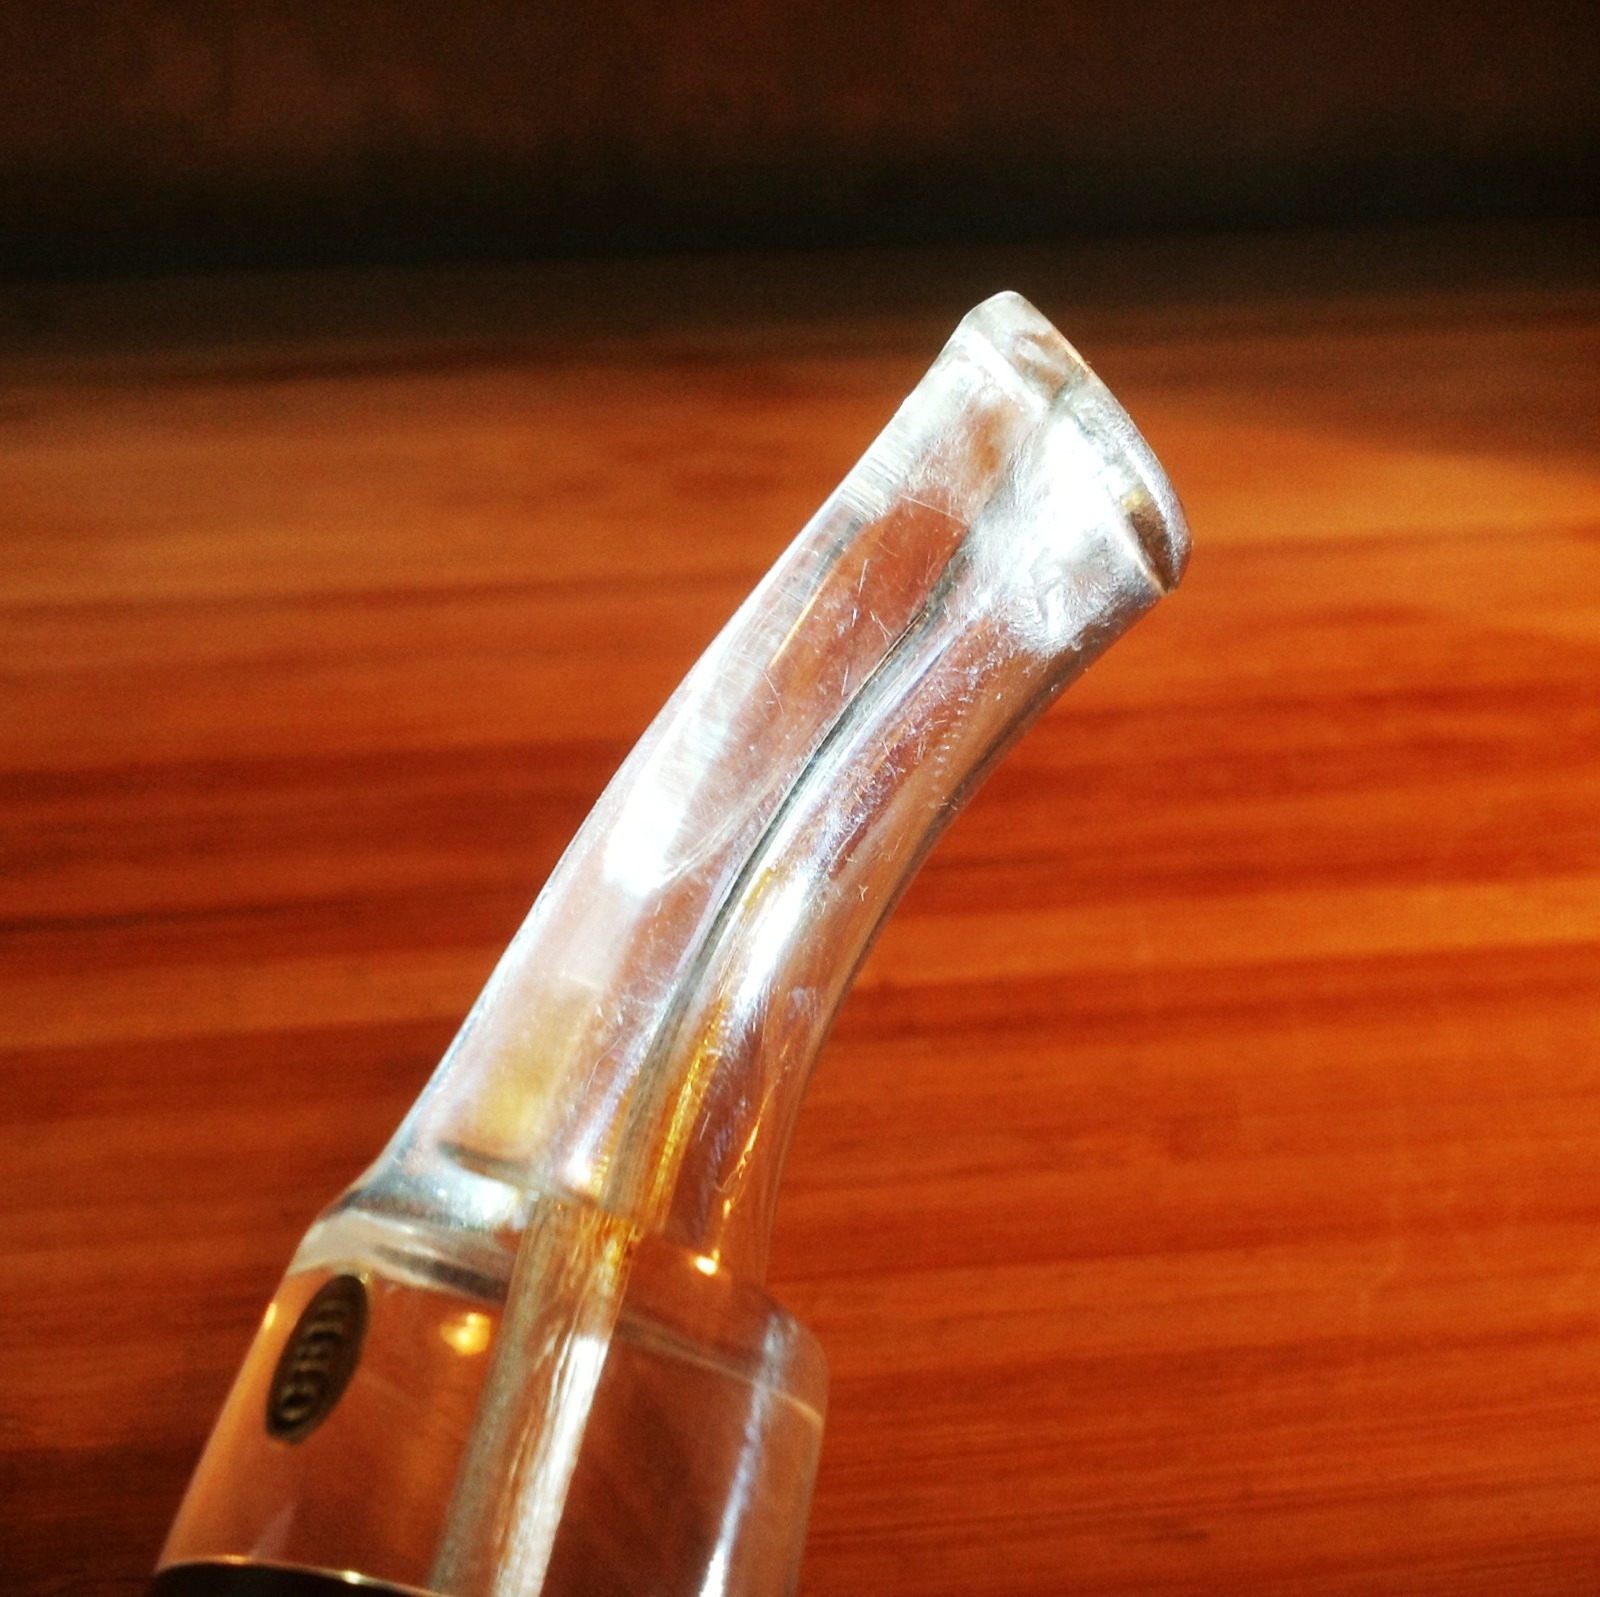
The stem took quite a bit of work to remove the heavy layer of oxidation, which was also in the draft hole. I started with 800 wet grit paper, then progressed to 1500 and 200 grits. I then moved to the micro-mesh paper, with 8000 and finally 12000 grit papers used. The stem was then buffed on the machine with White Diamond rouge. I always use an automotive plastic polish as a final prep. The end of the stem where it meets the briar still has a little oxidation but I was reluctant to sand further for fear of rounding the stem. I may go back and retouch this area. I mixed up some cigar ash I save with just a few drops of water to make a paste called “pipe mud”. I used the spoon on a Czech tool to ladle in the mixture and a small button head bolt to tamp it into shape.
The premade stem feels all right in my mouth, but I have to wait until the pipe mud dries to smoke it. I need a compact pipe for travel use and carry in my one-pipe bag and I’m hoping this one can fit that requirement.
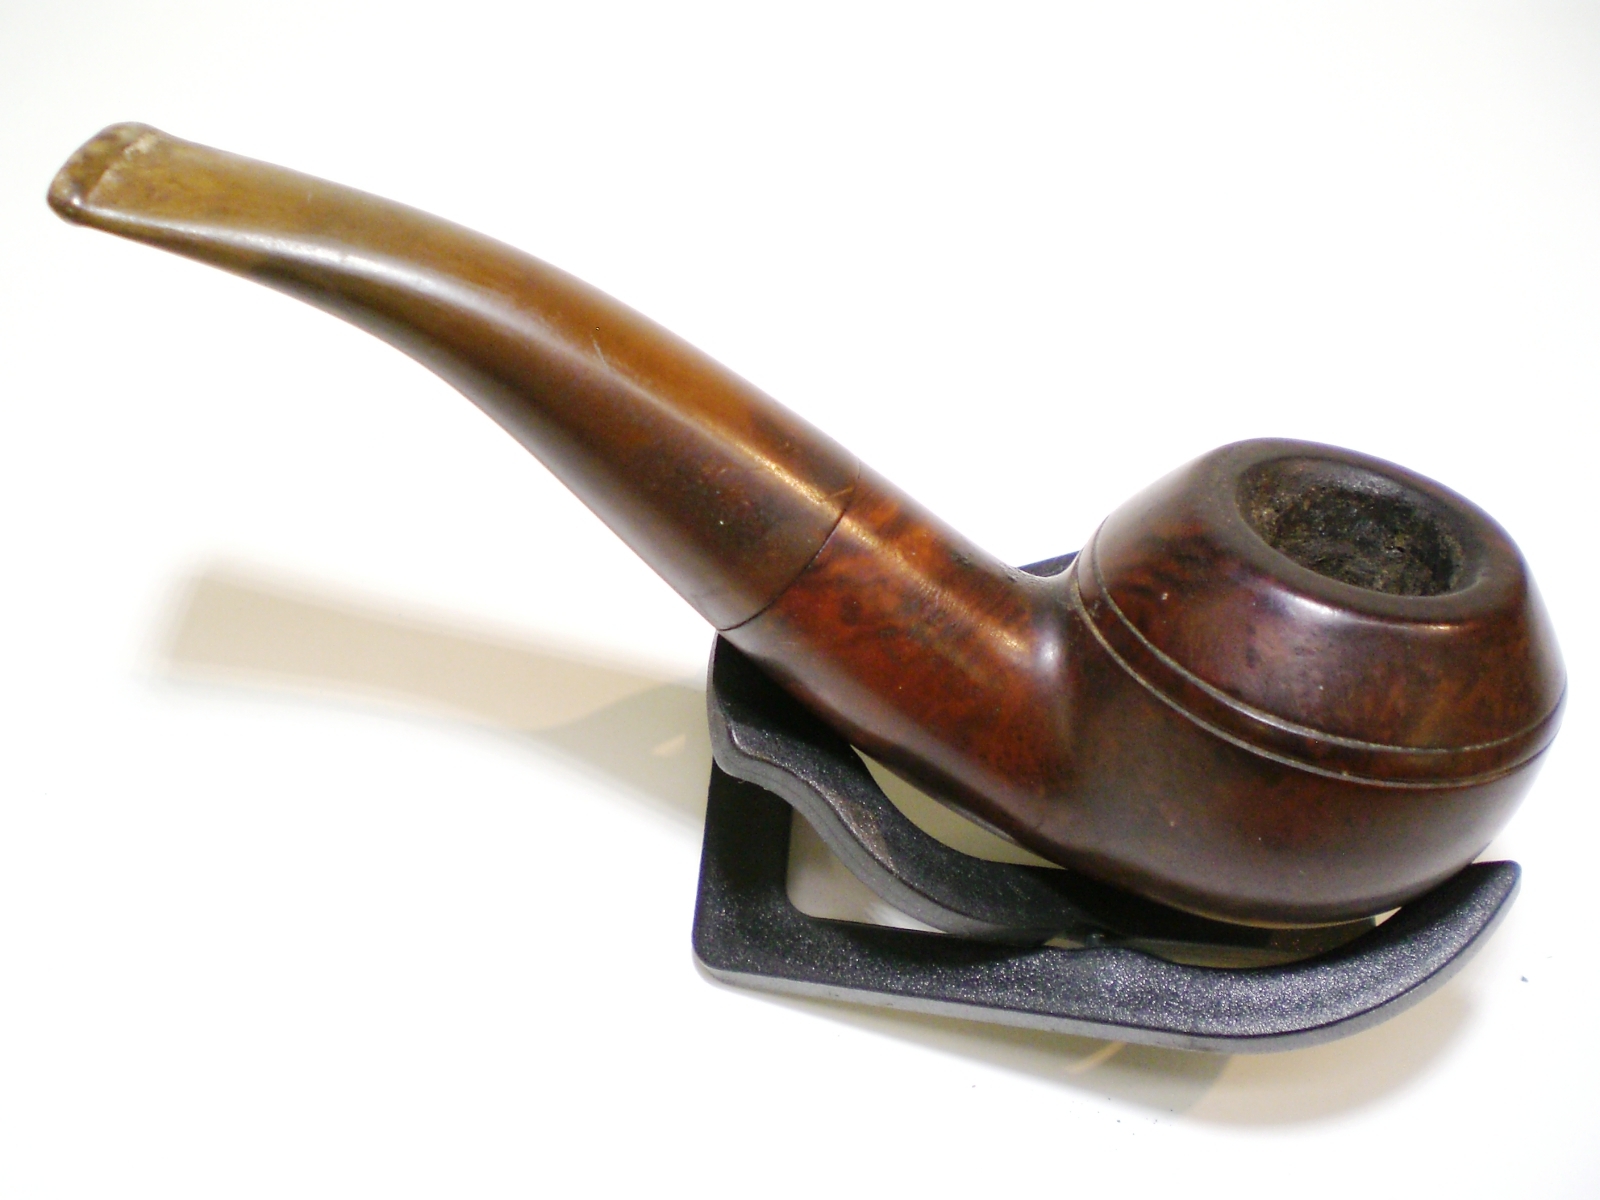
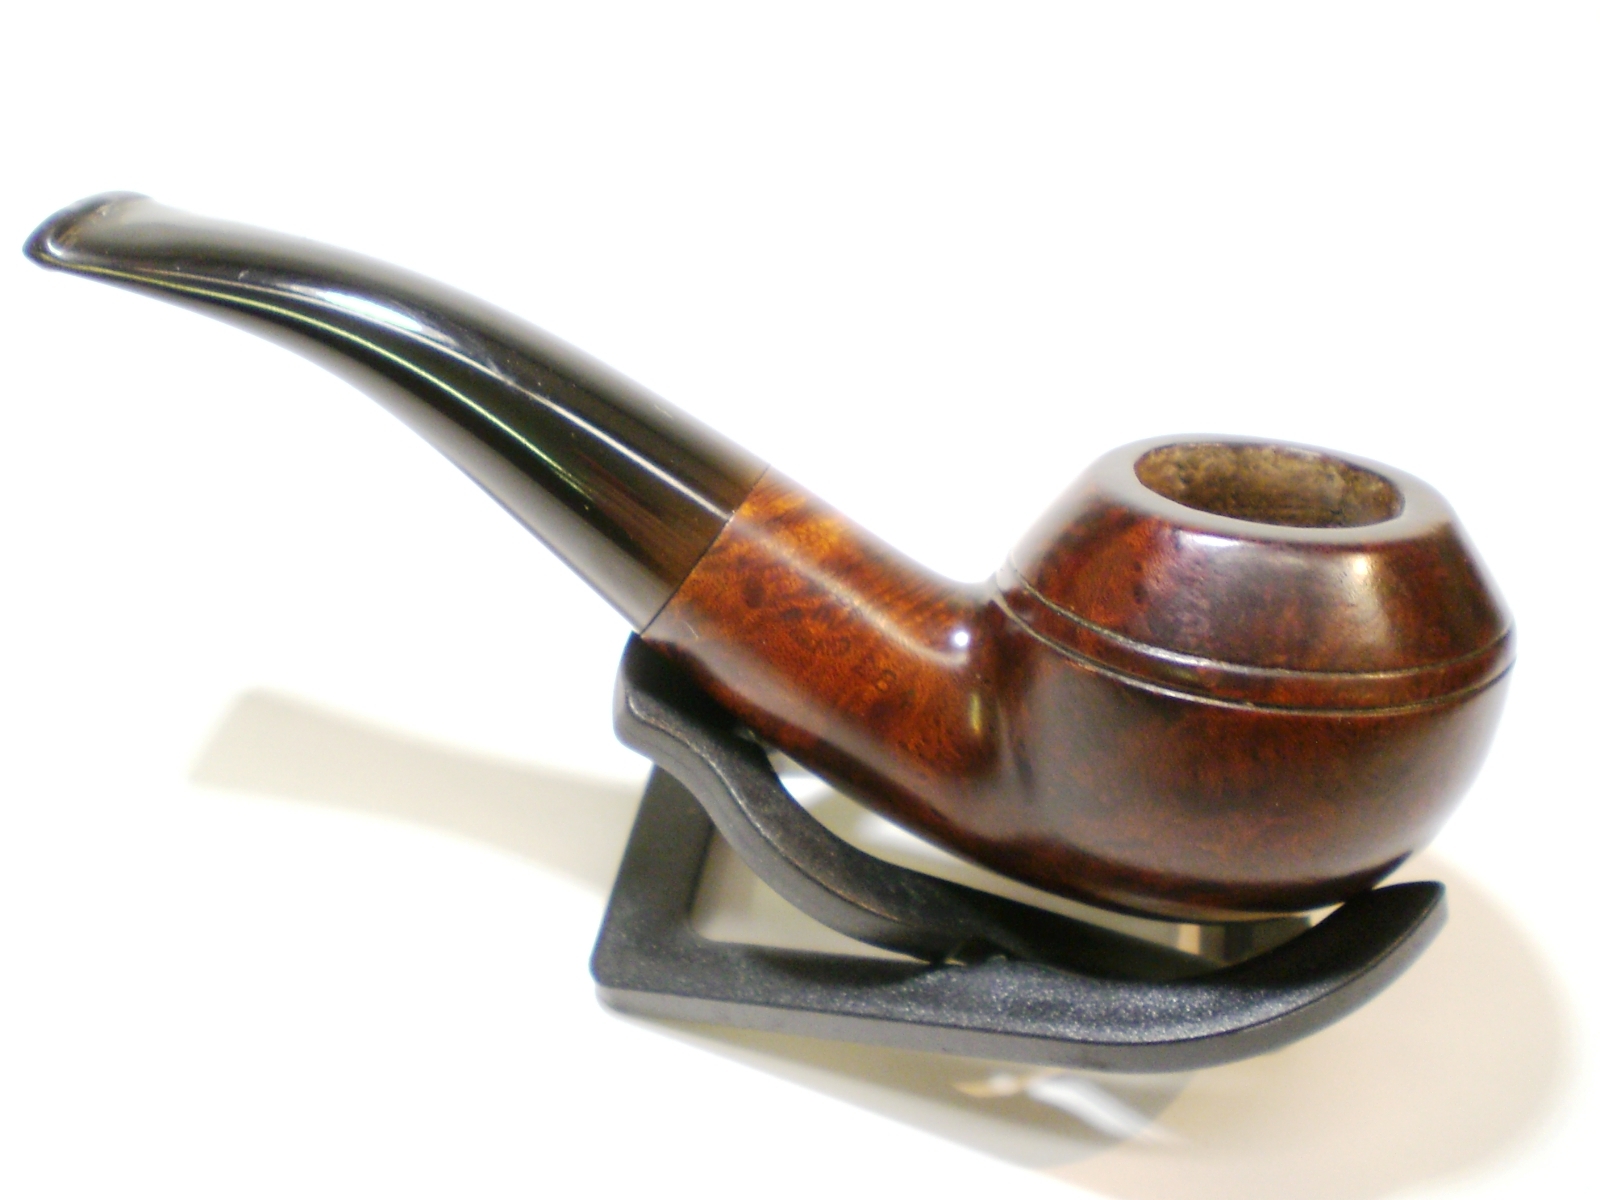
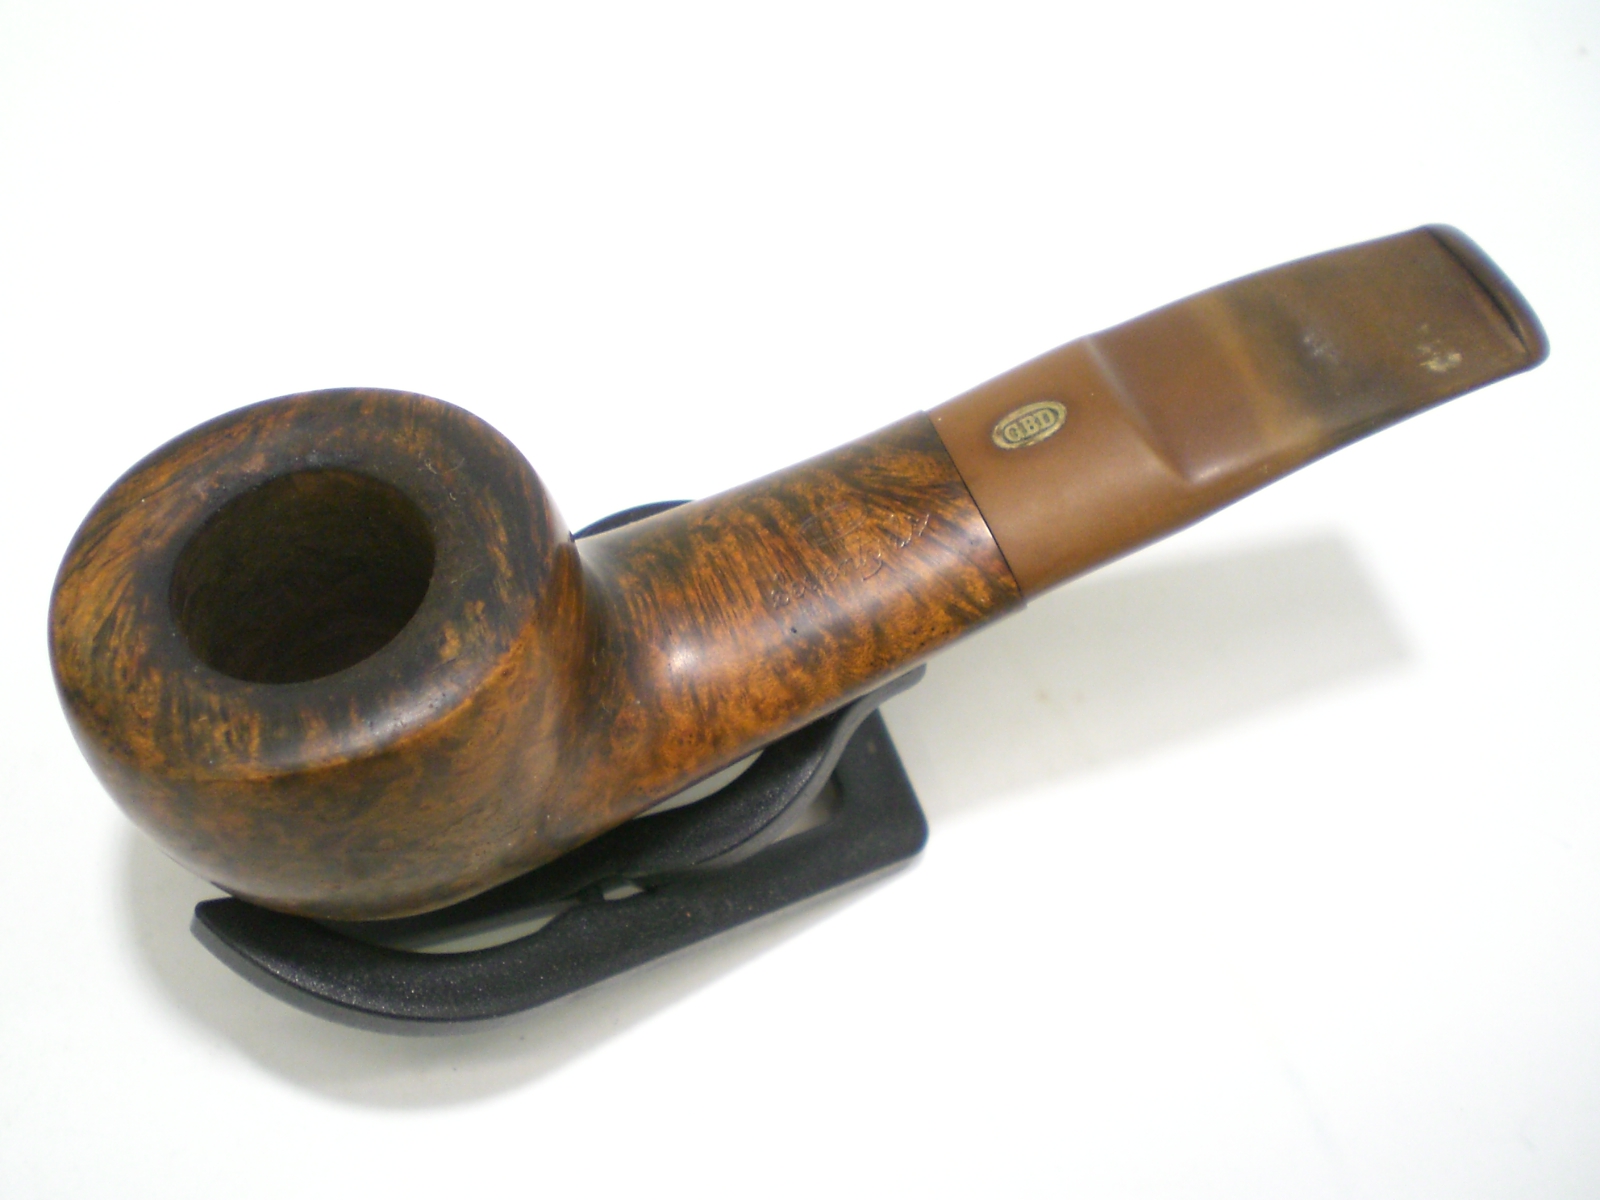
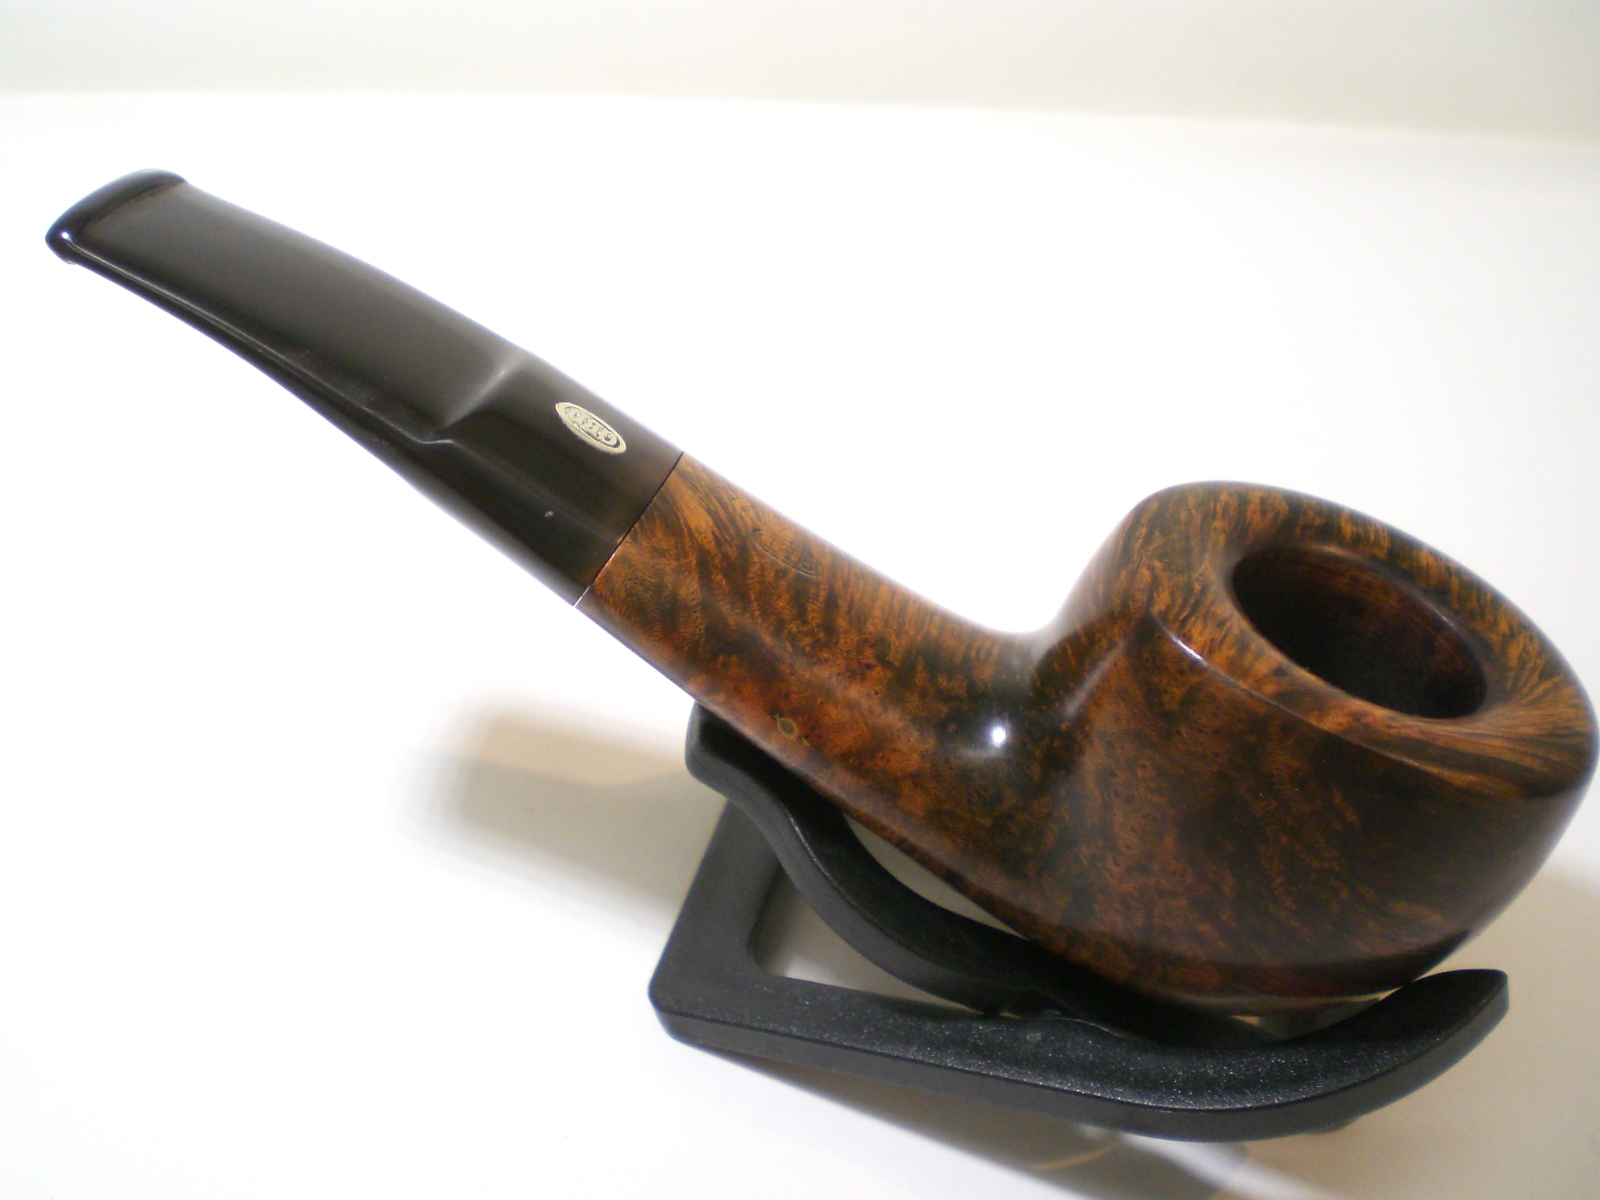
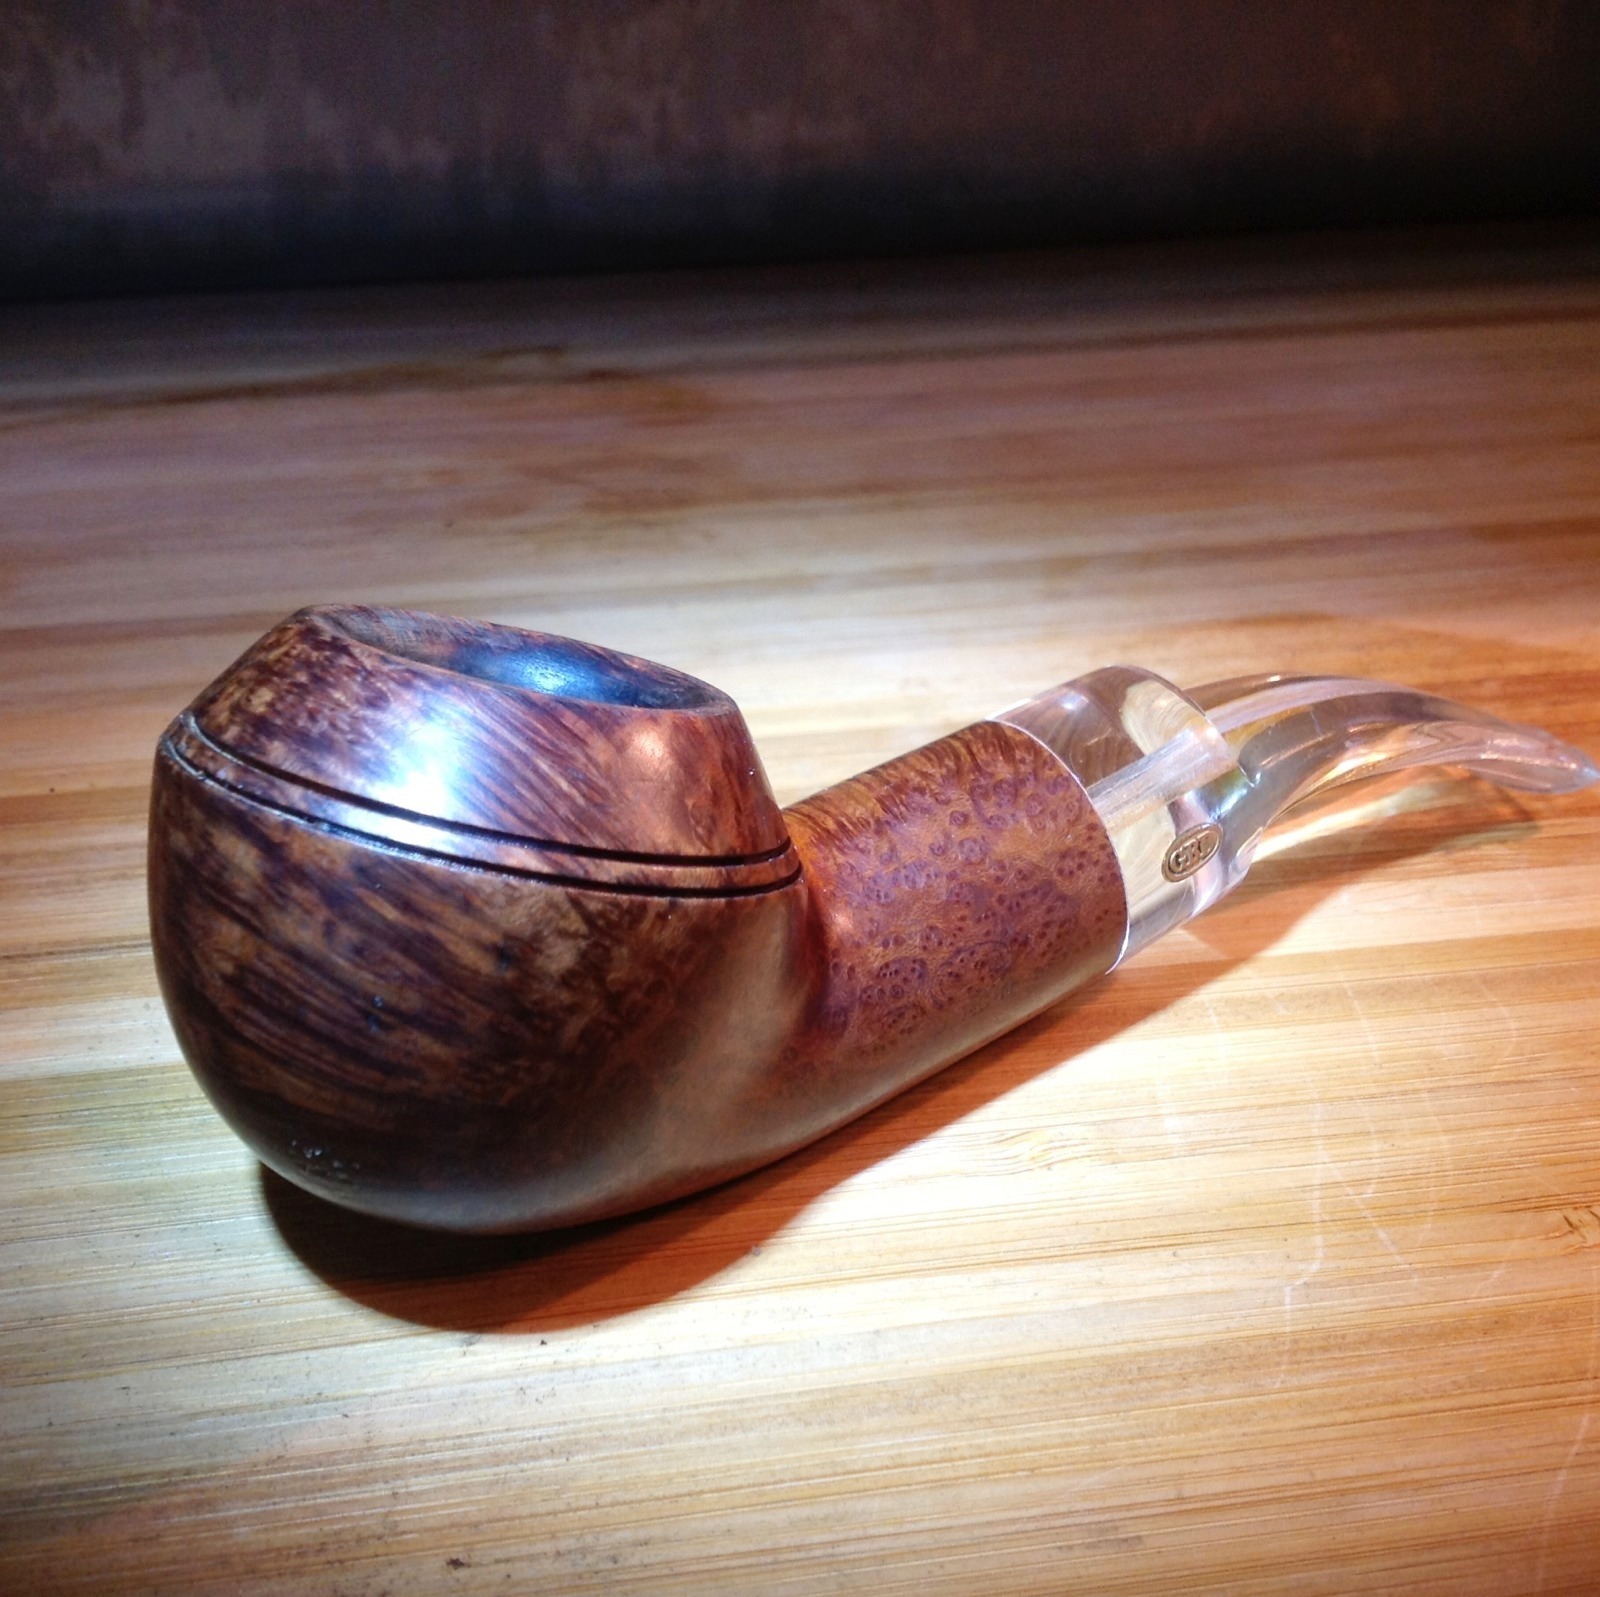
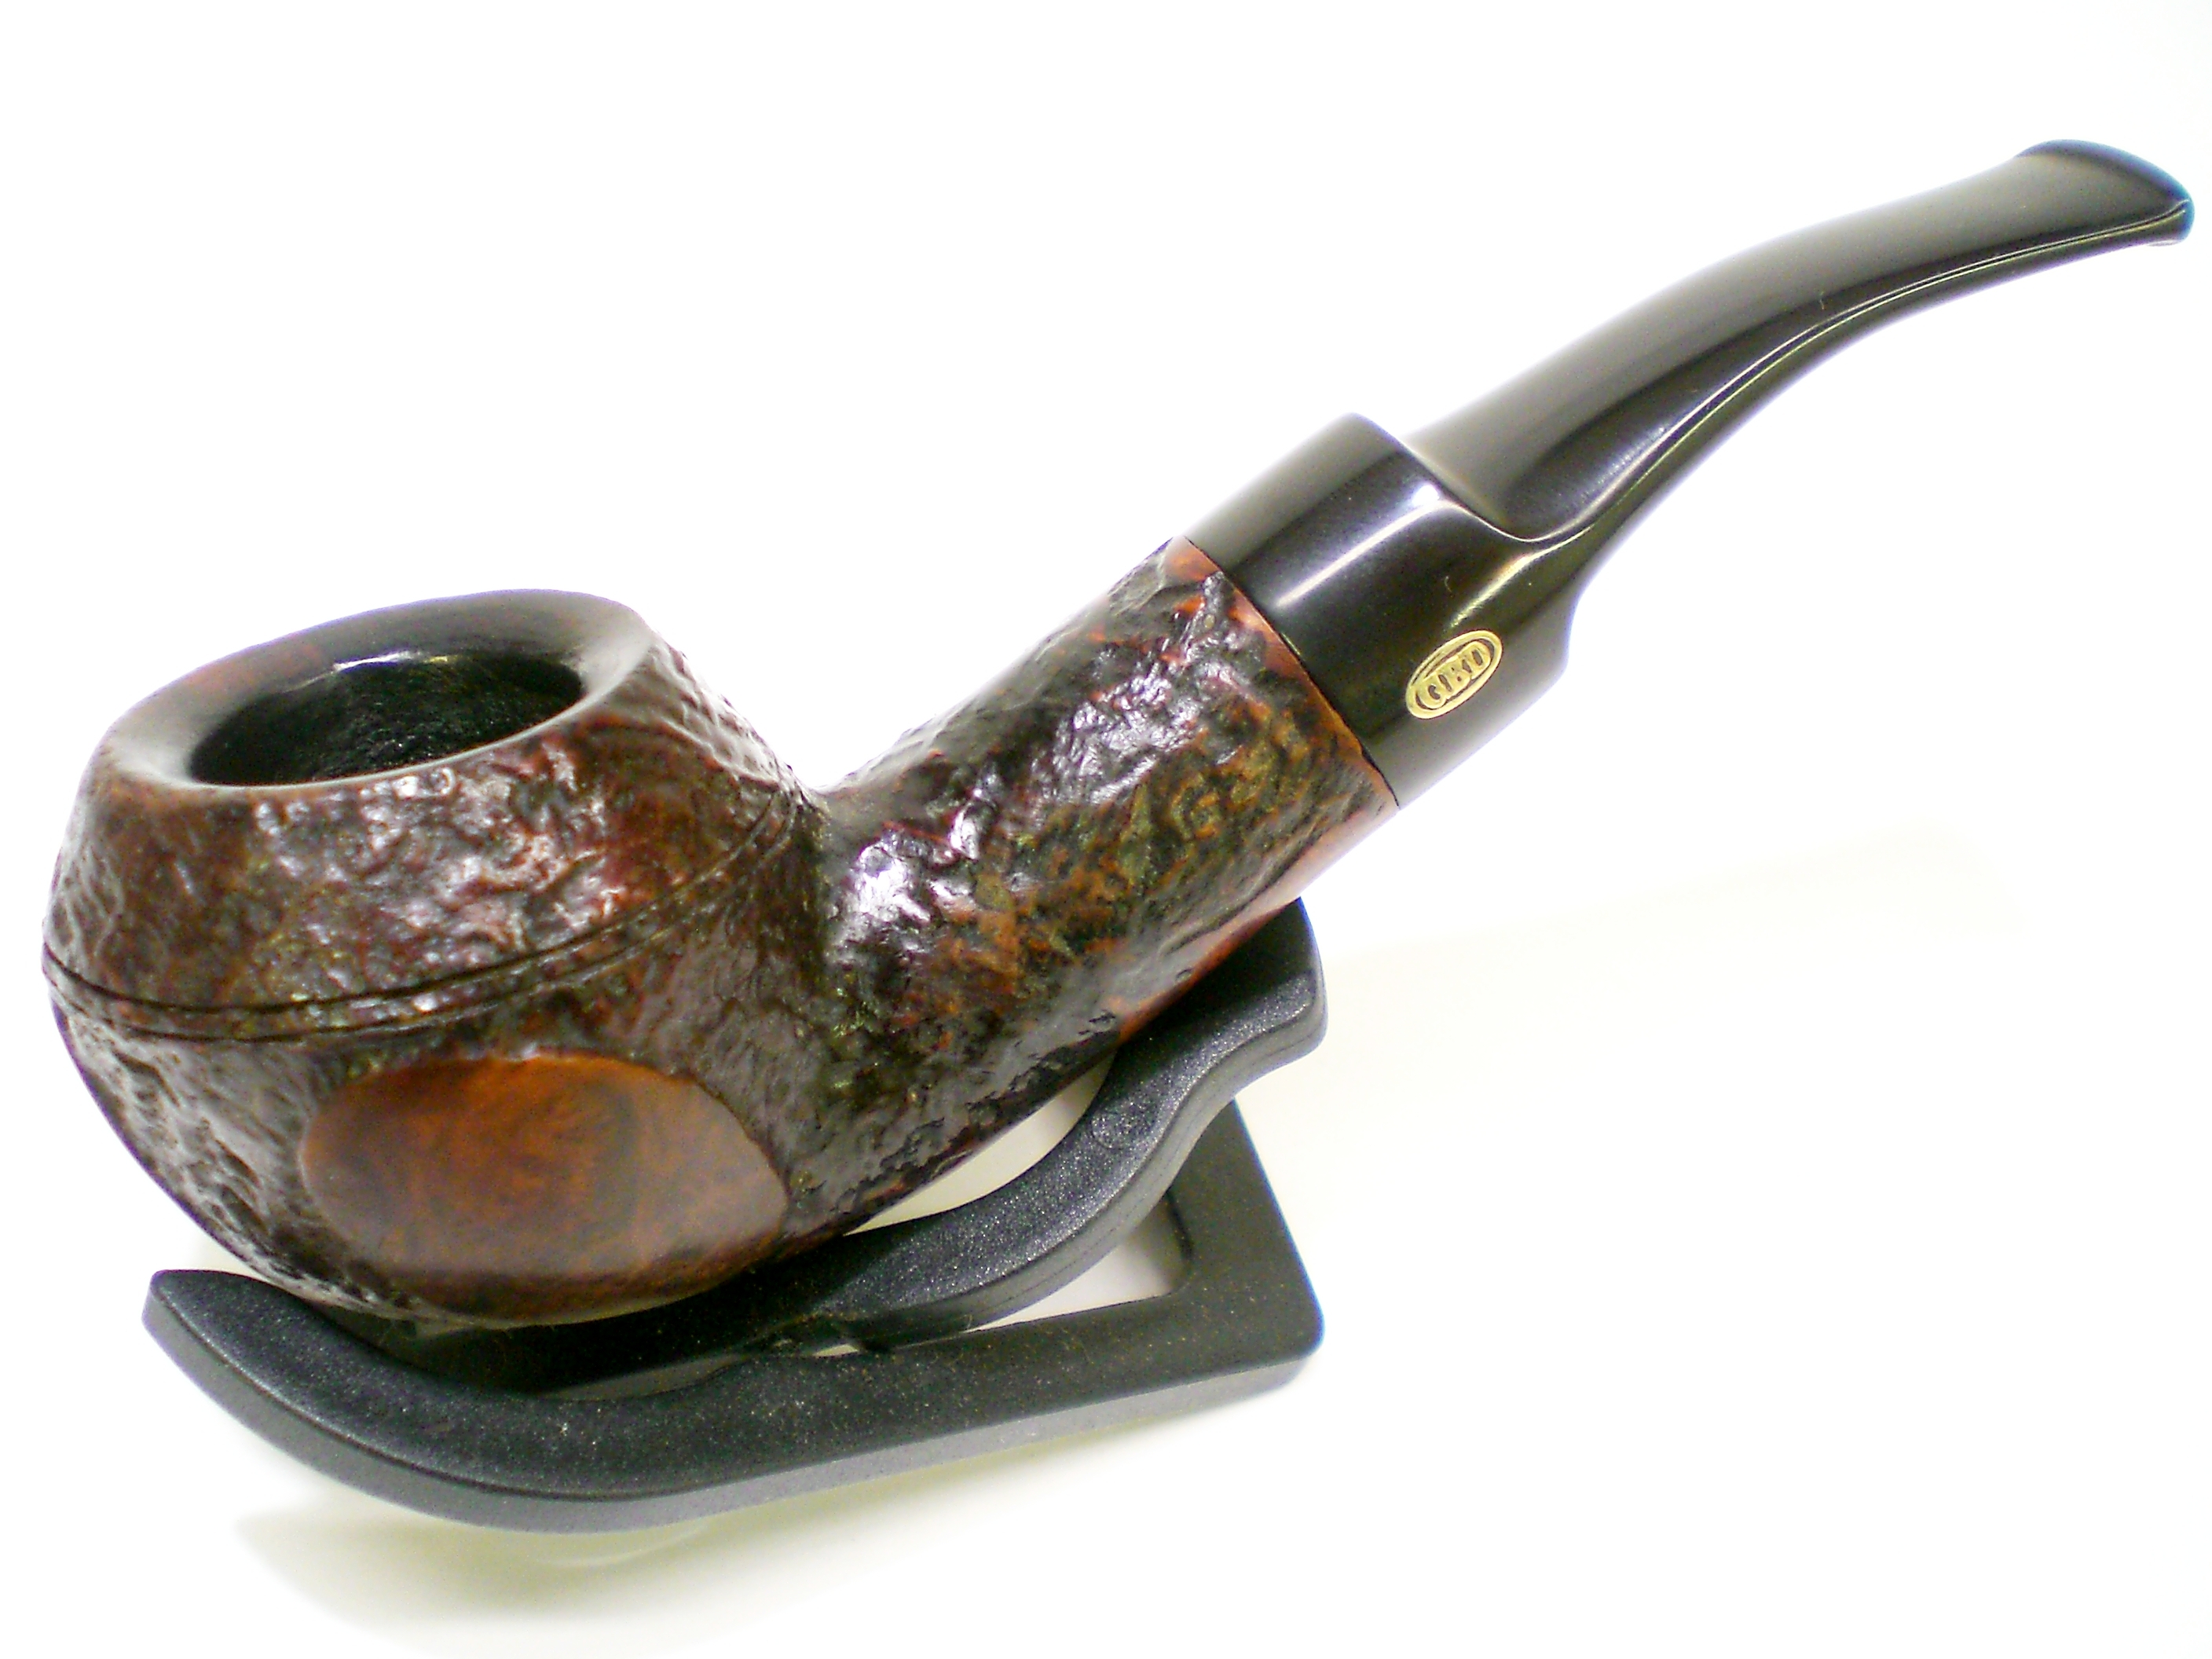
Here is the finished pipe.


")

")
")


")
")
")
")
")
")
")
")
")
")


")


