
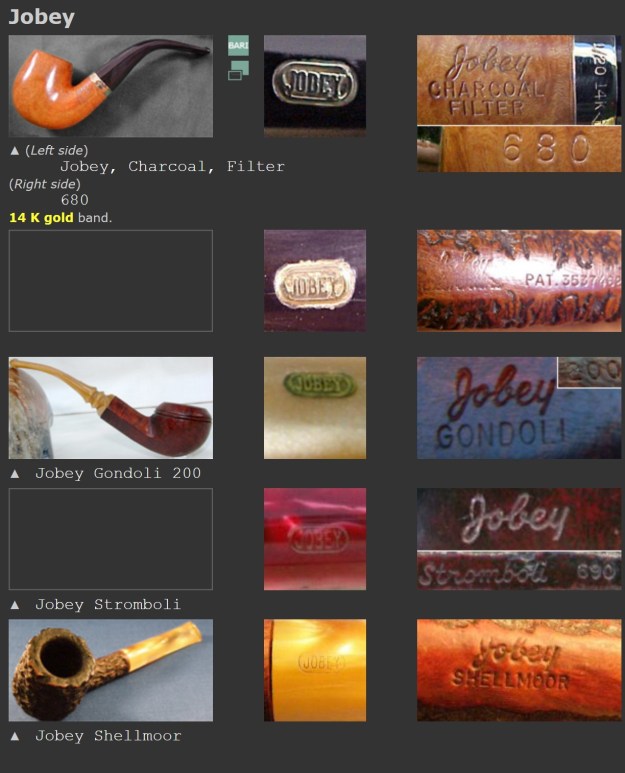
by Steve Laug
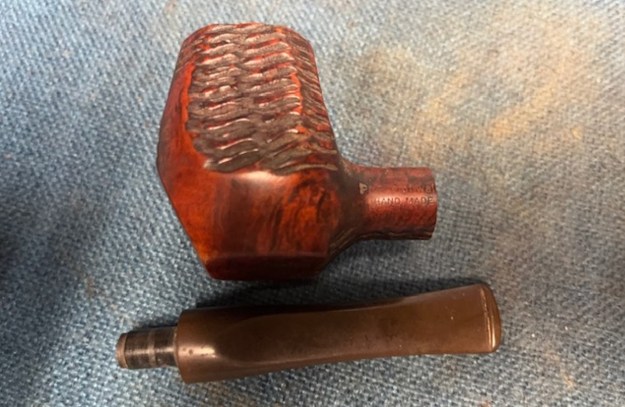
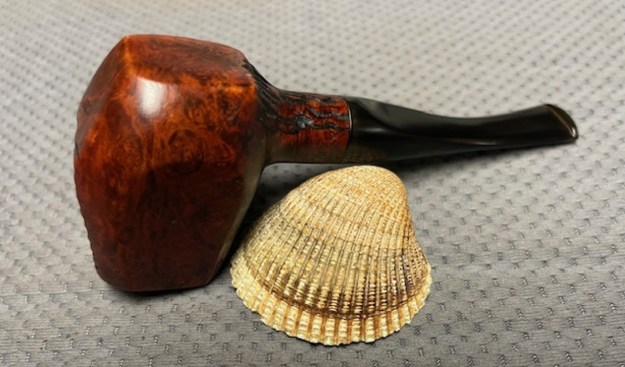
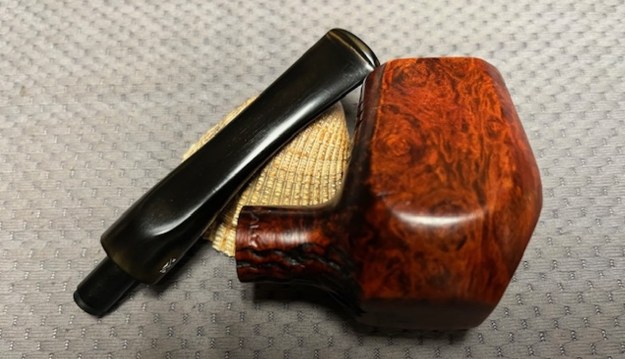
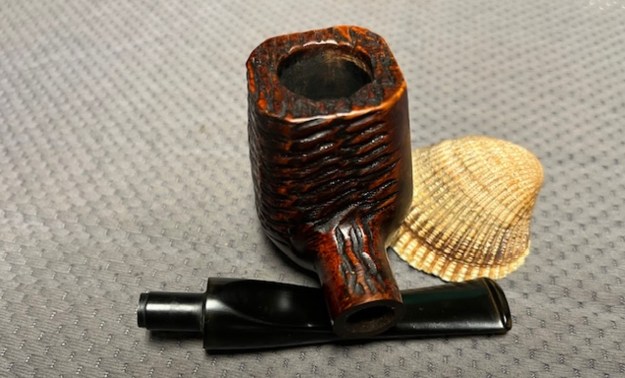
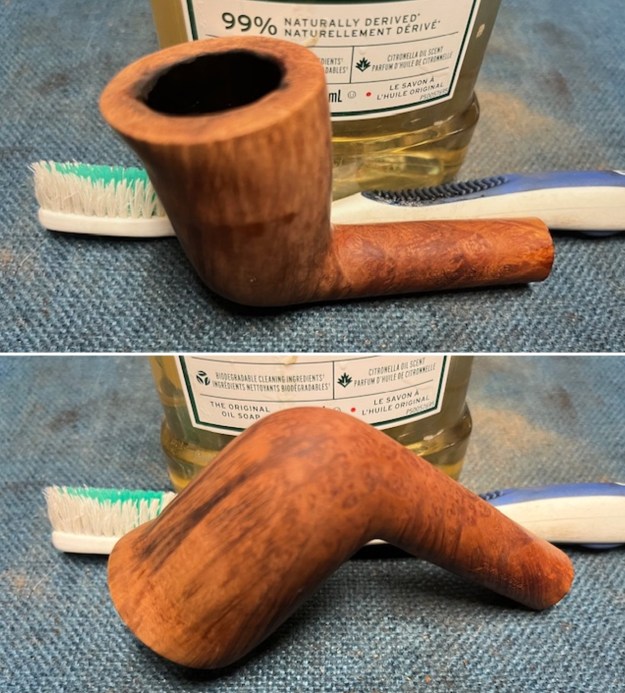
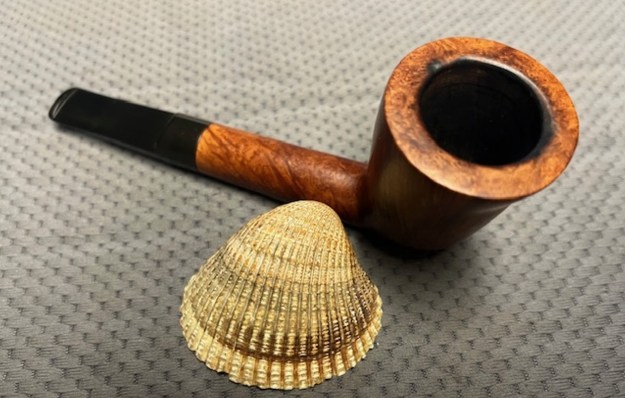
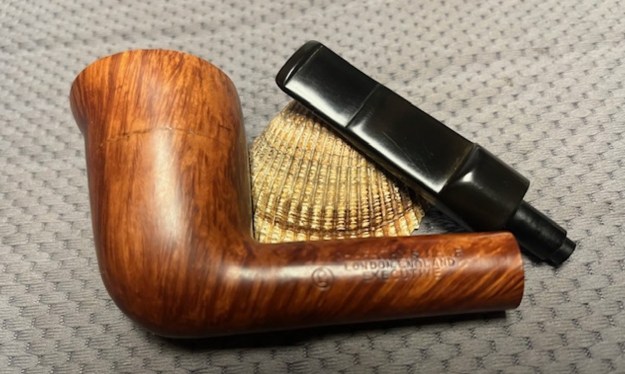
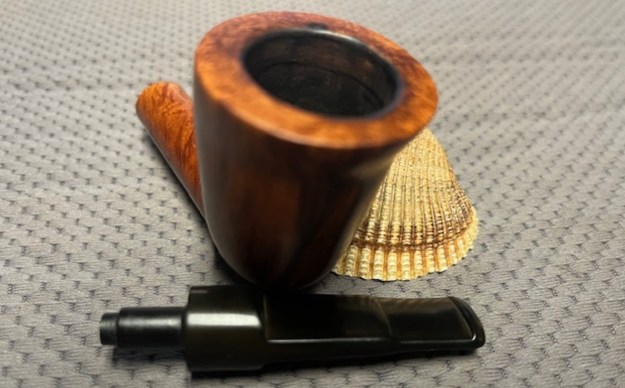
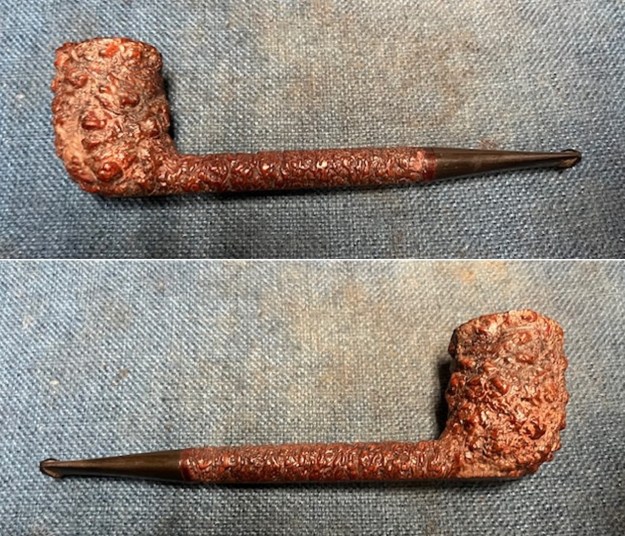
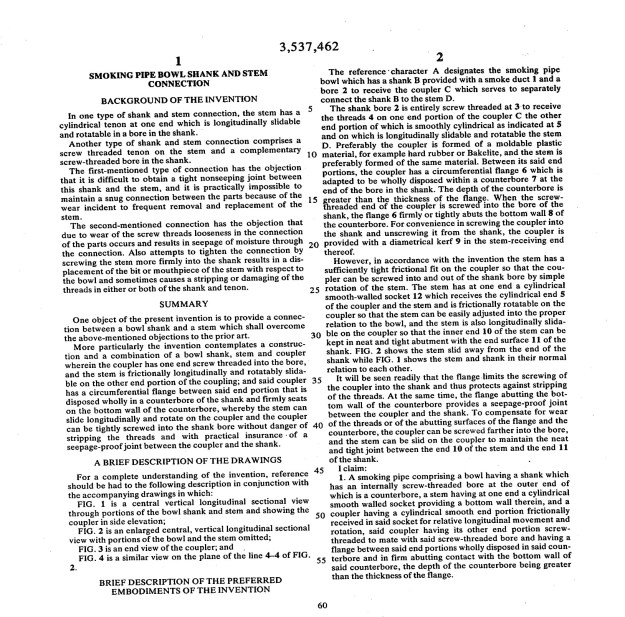
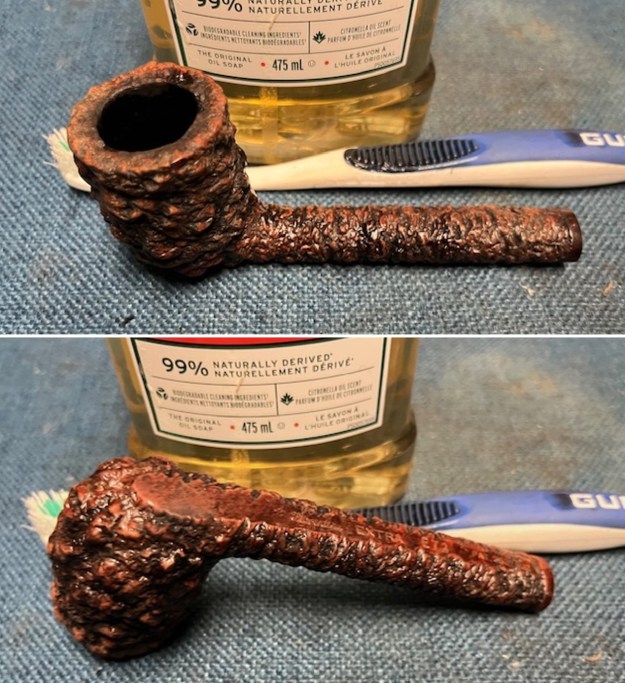
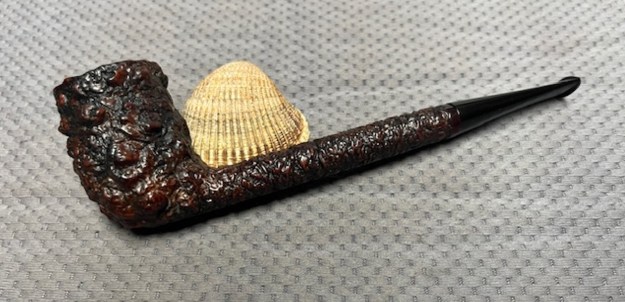
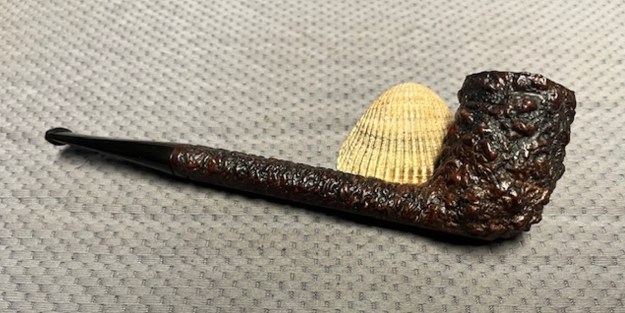
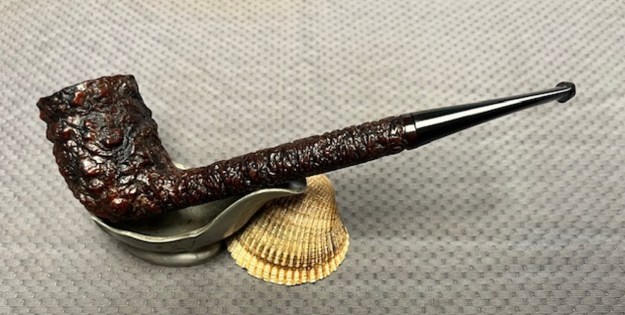
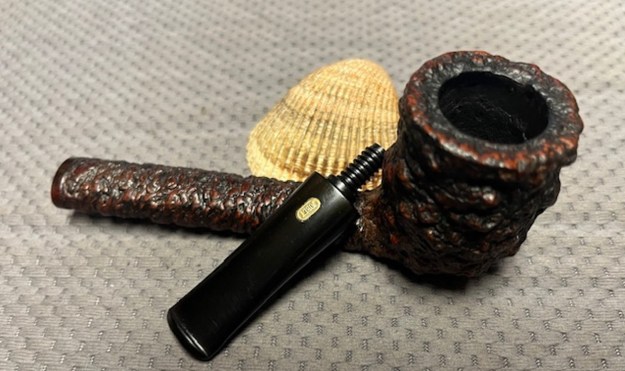
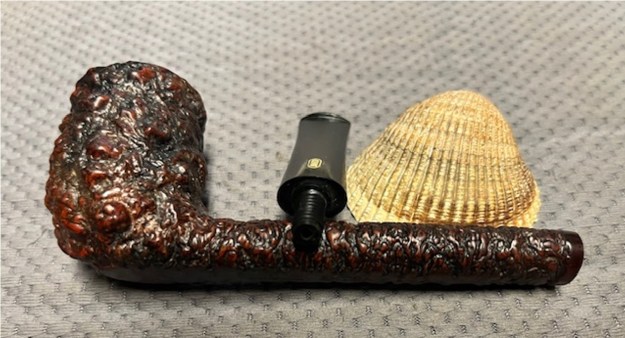
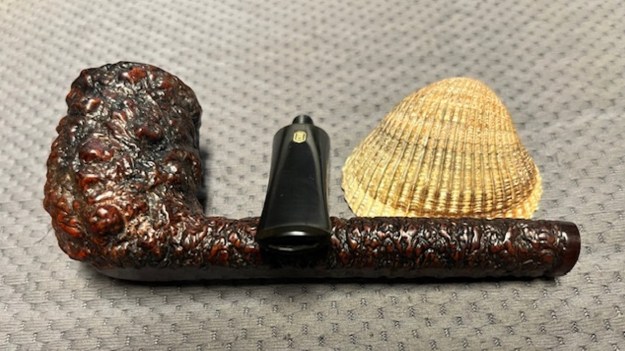
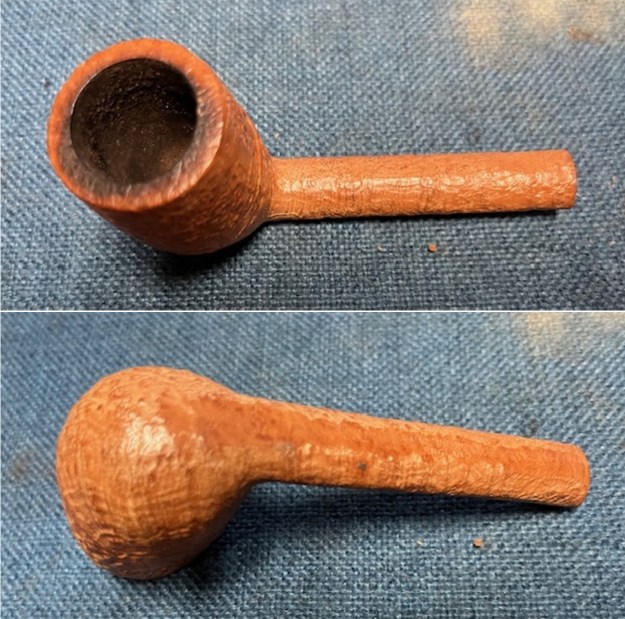
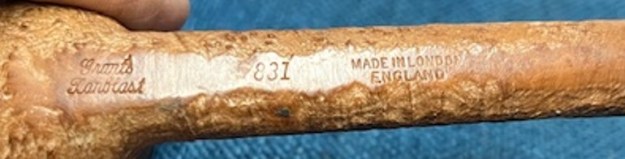
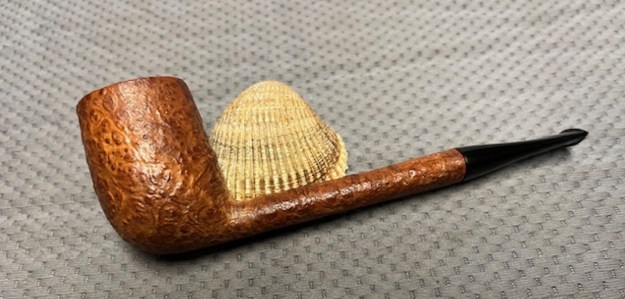
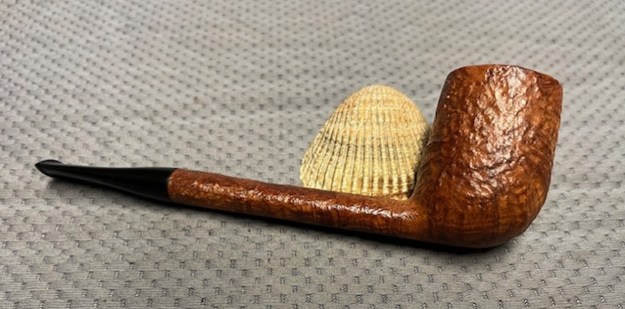
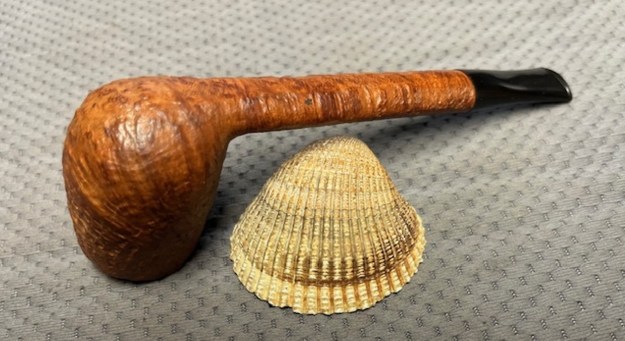
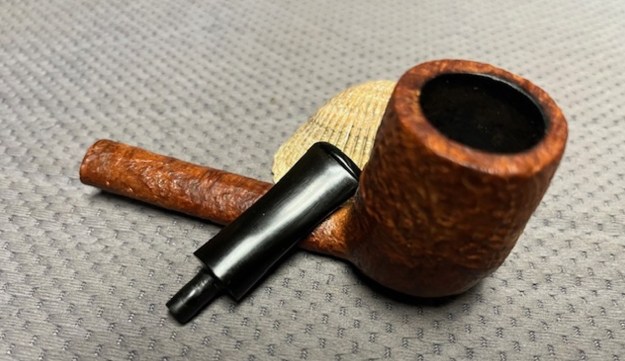
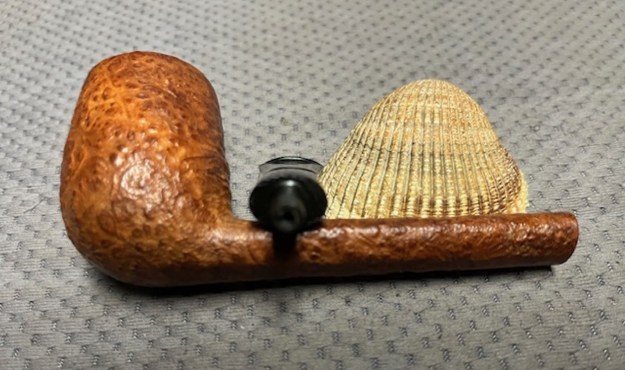
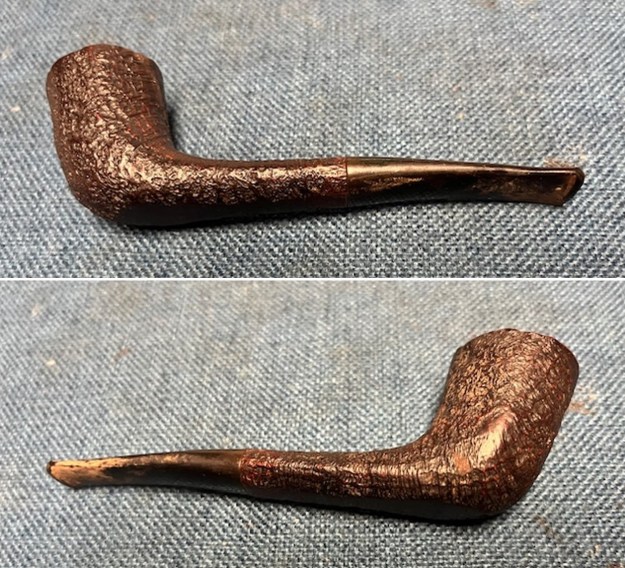
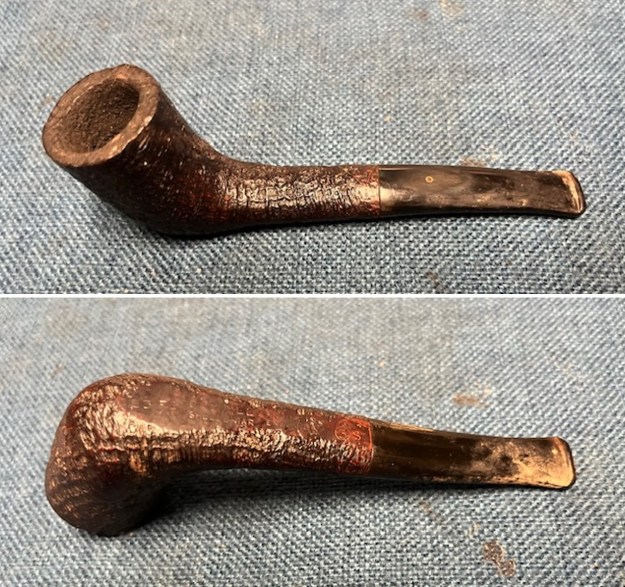
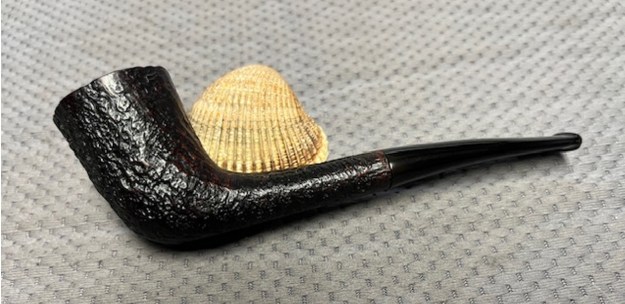
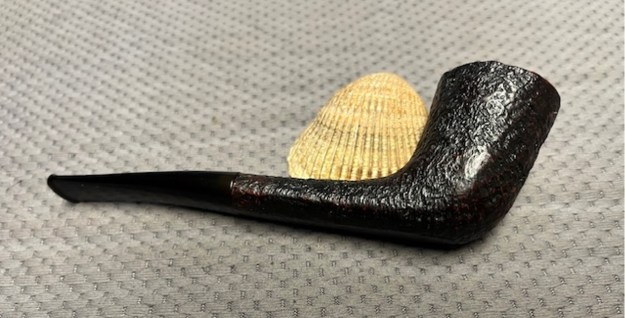
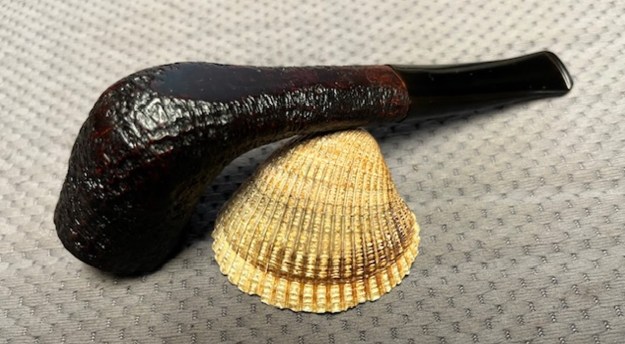
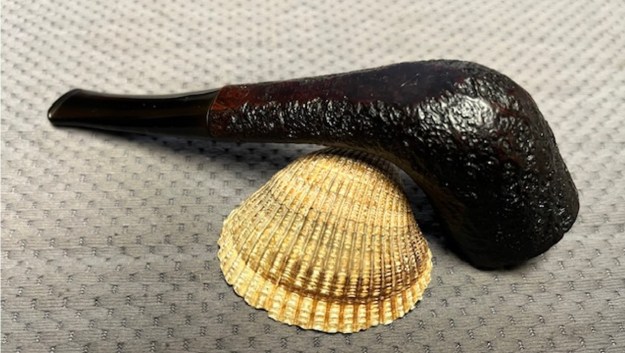
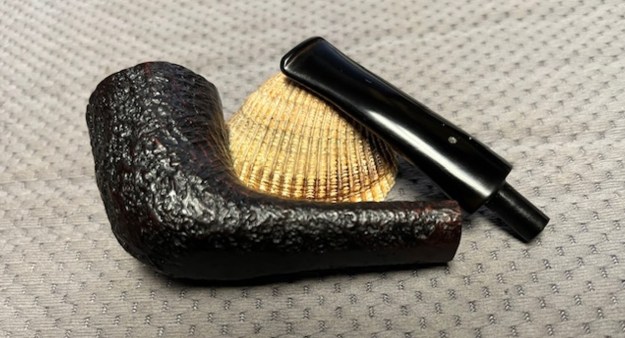
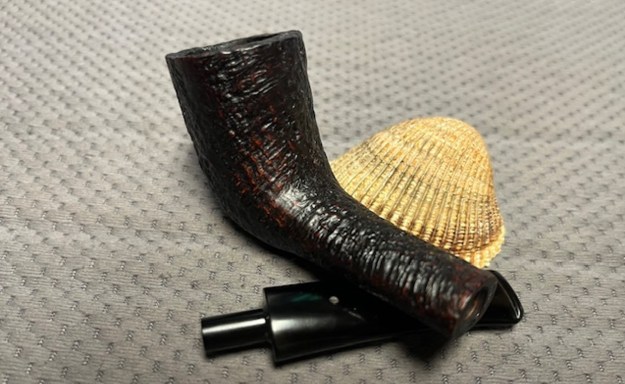
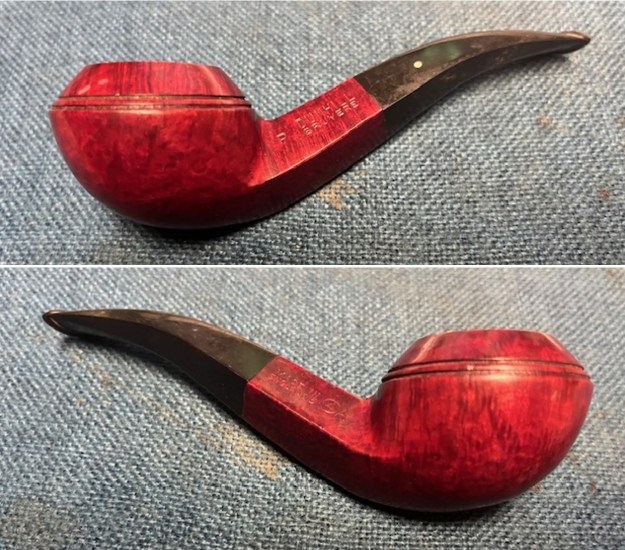
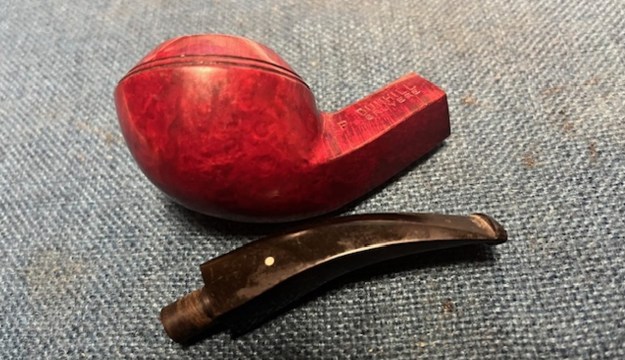
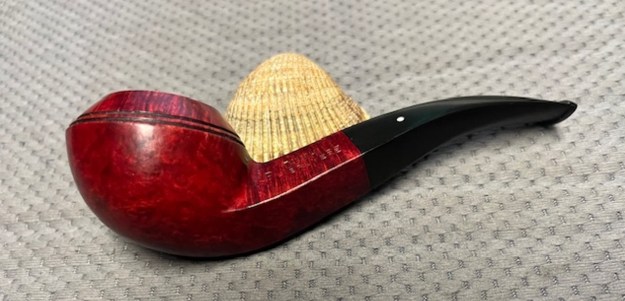
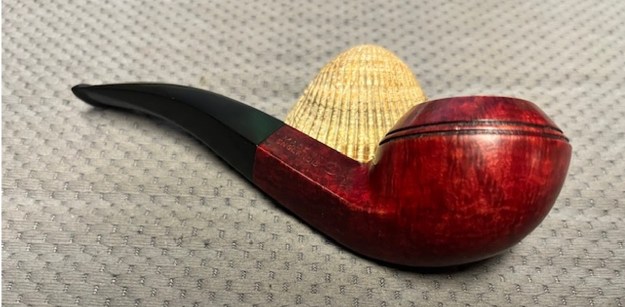
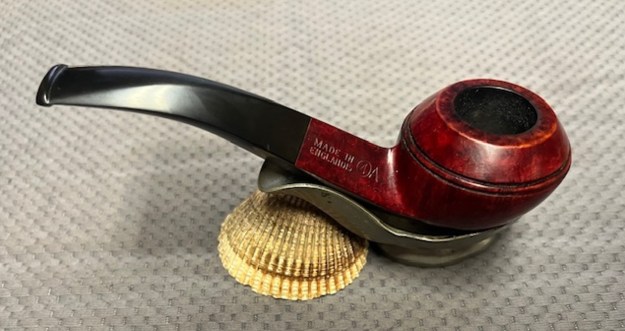
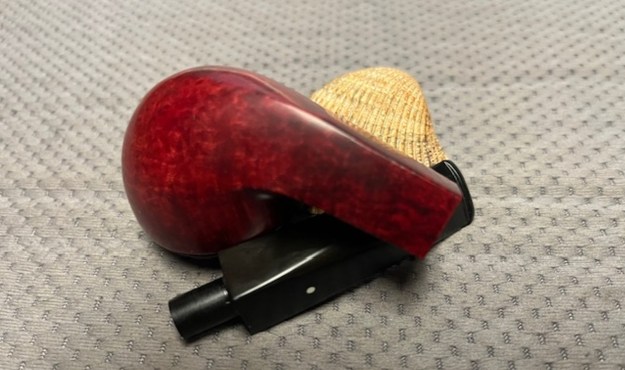
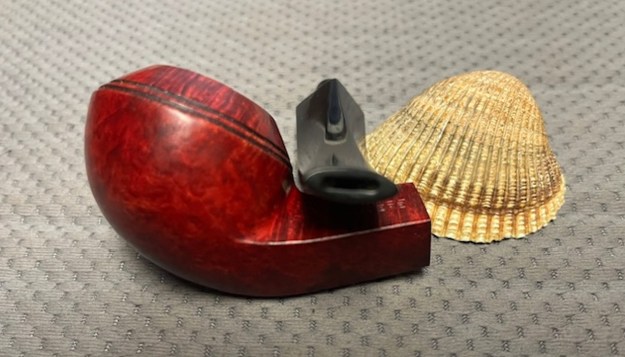
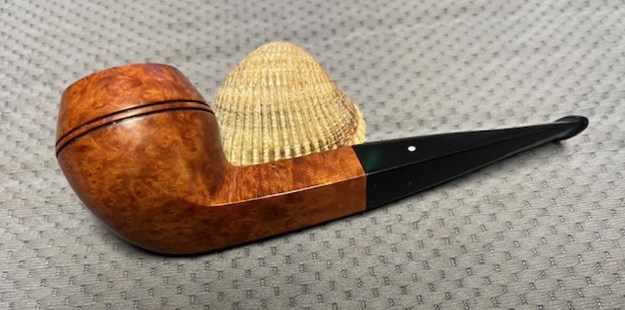
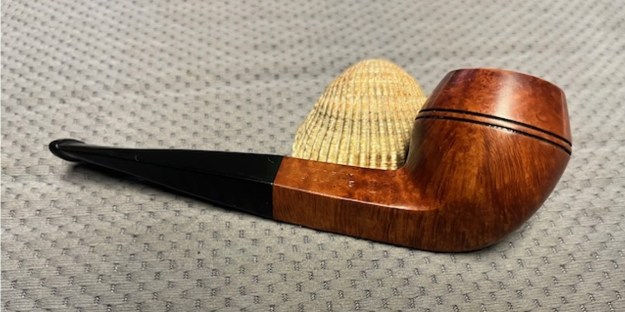
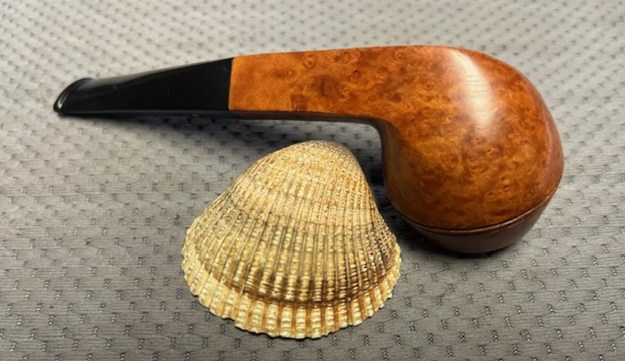
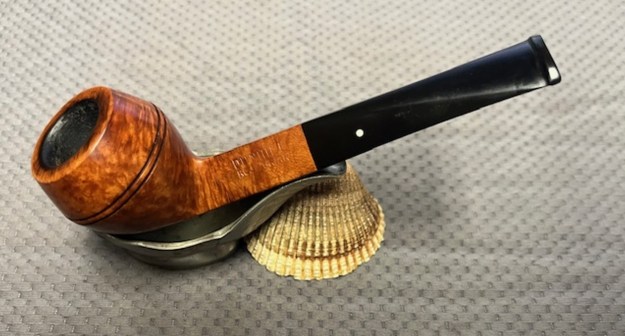
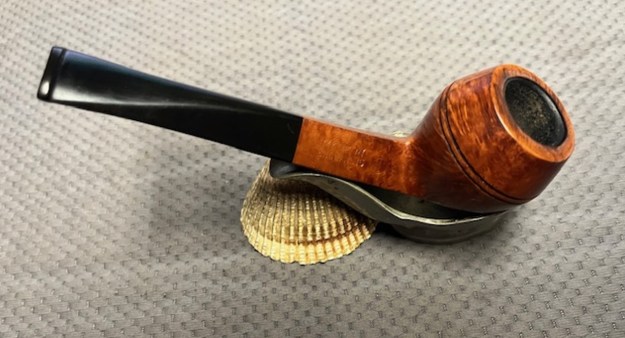
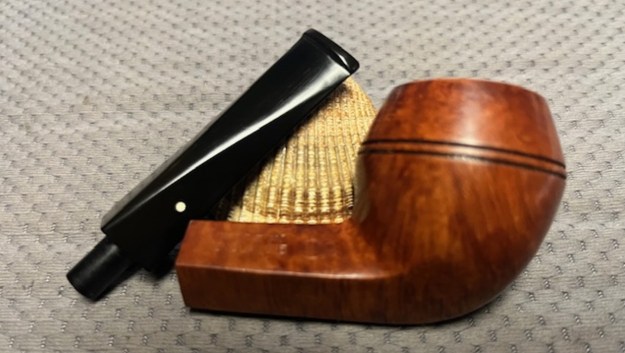
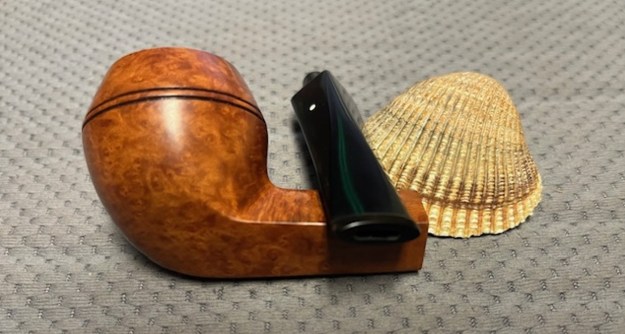
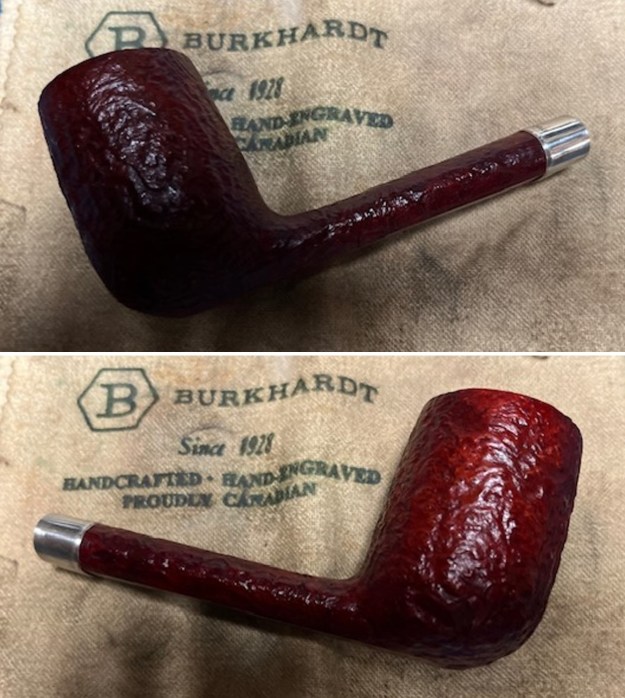
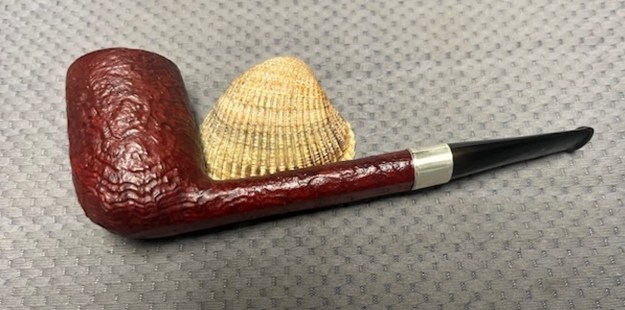
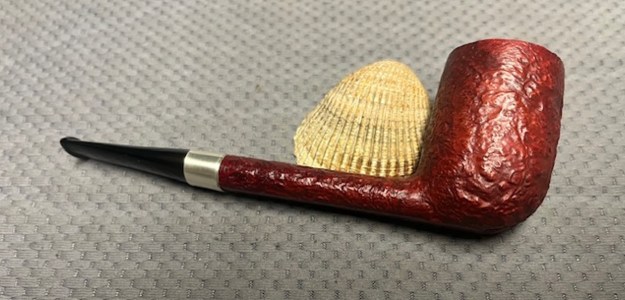
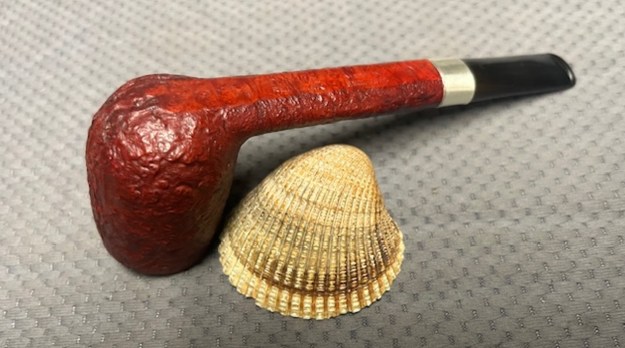
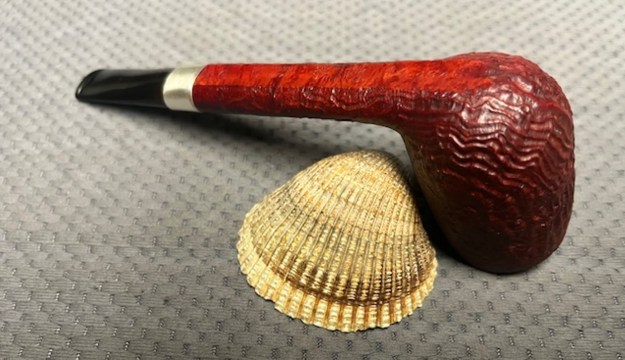
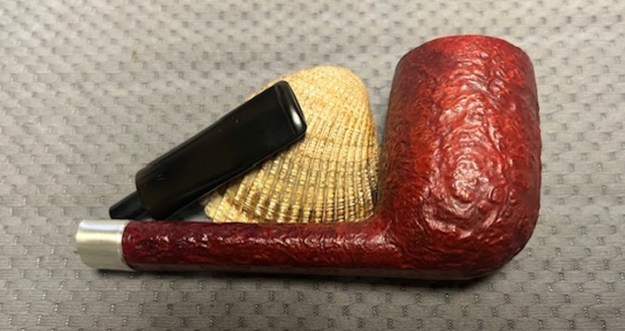
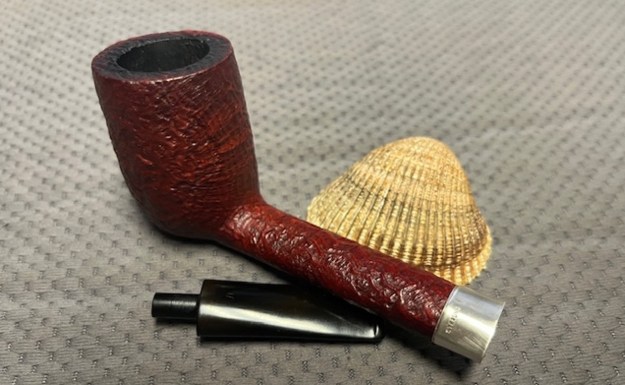
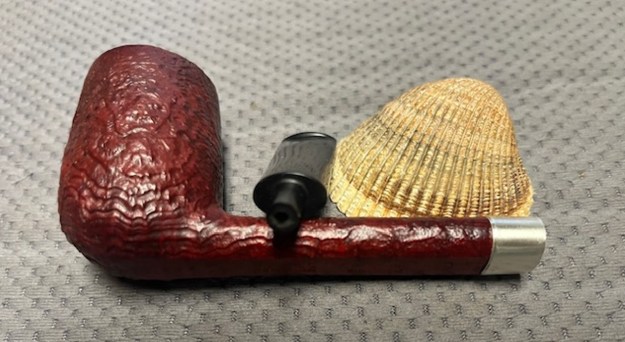
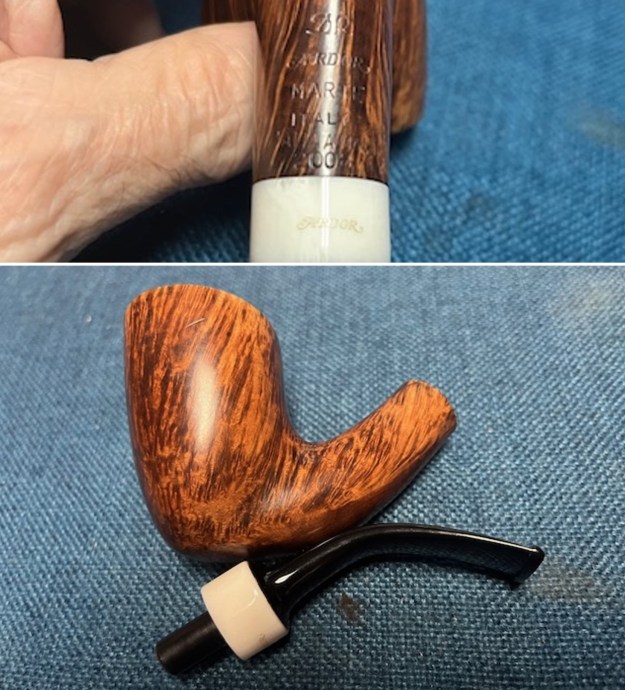
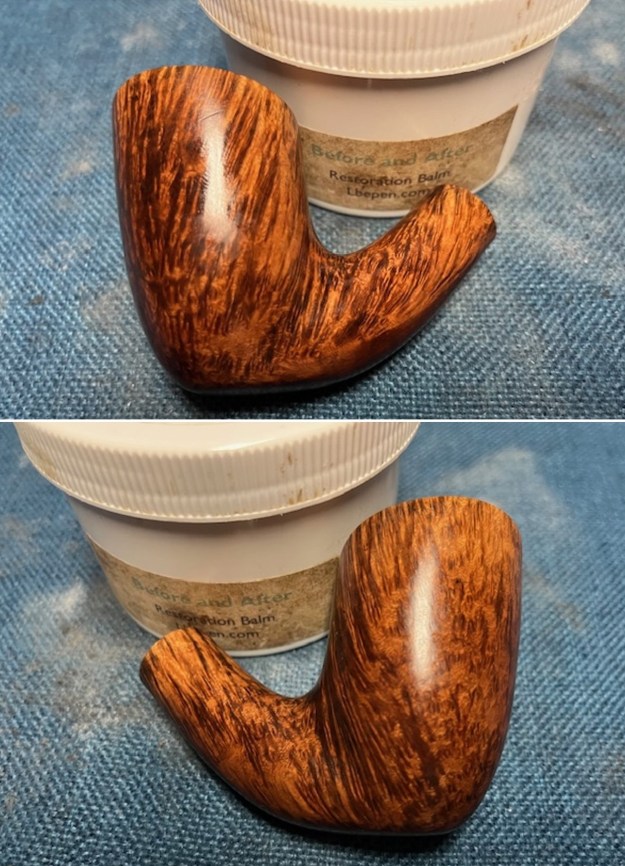
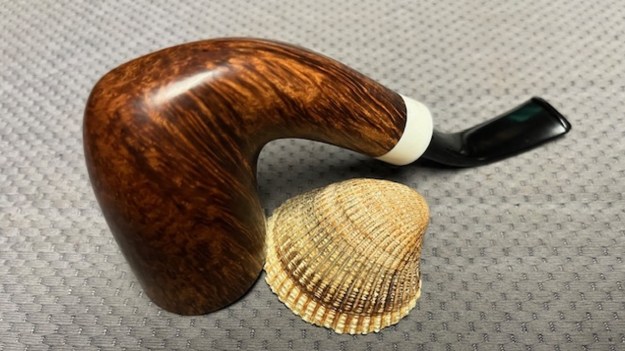
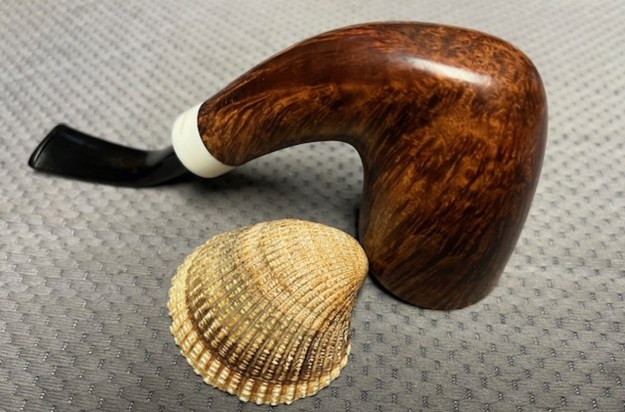
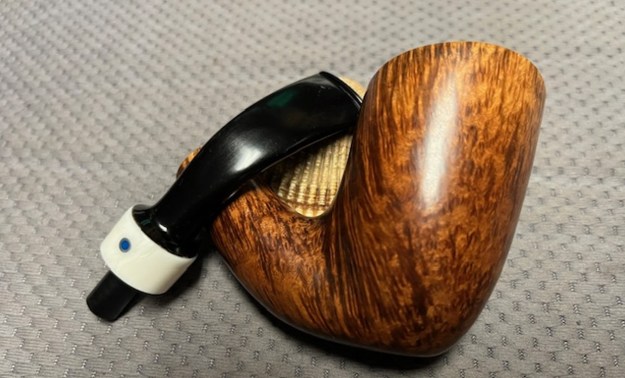
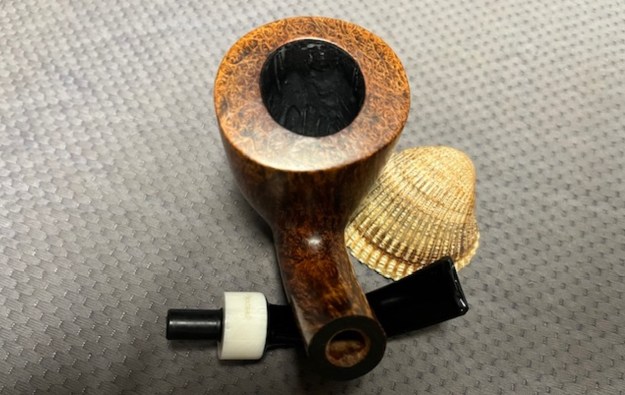
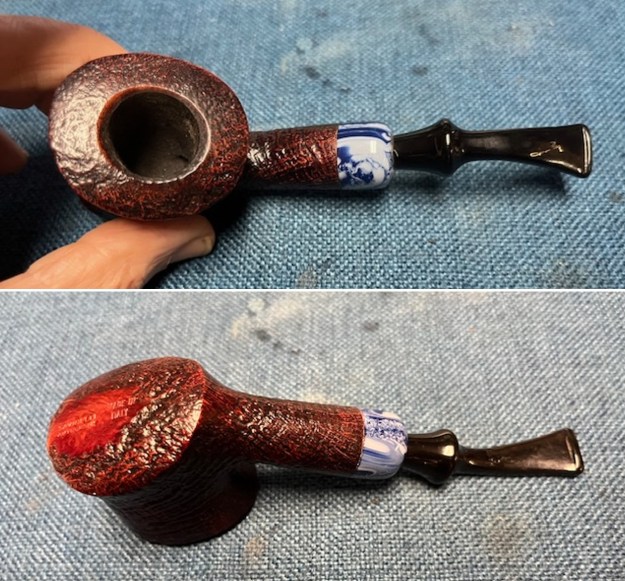
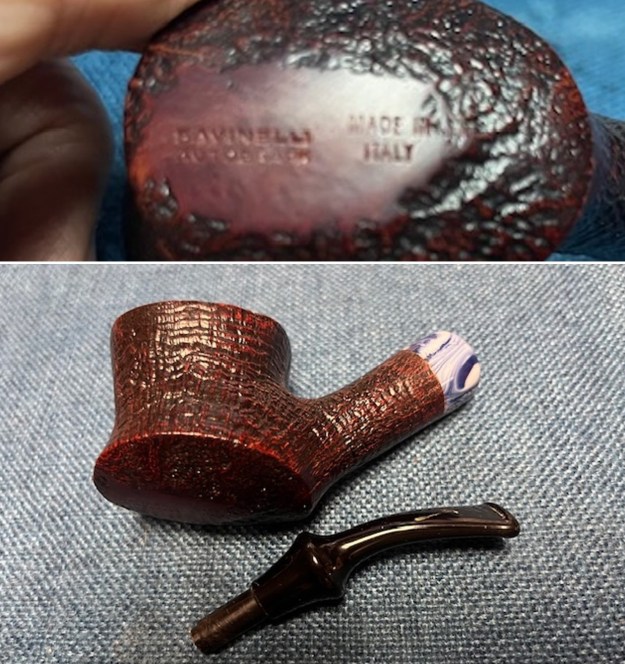
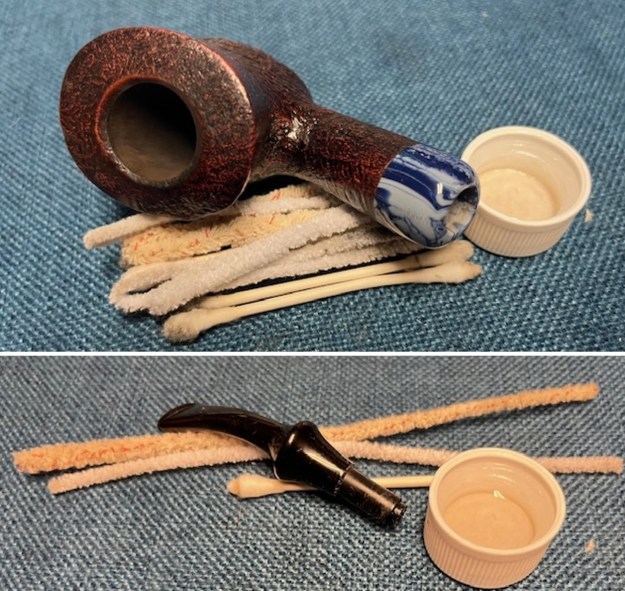
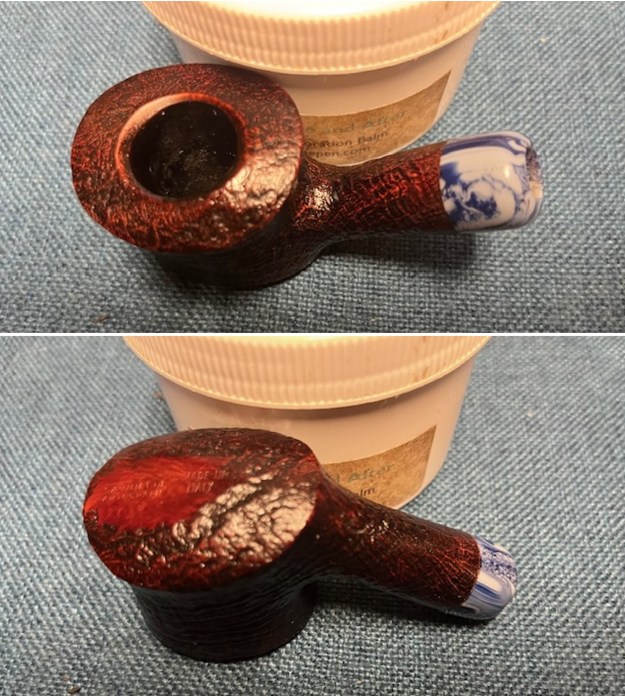
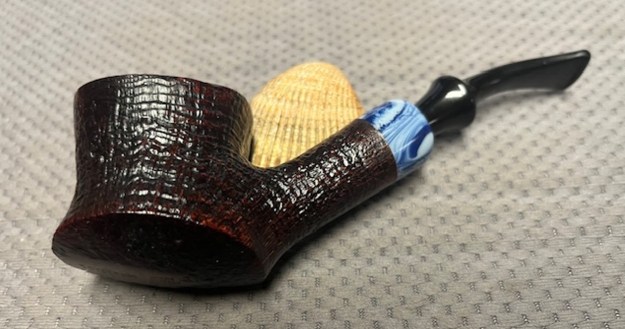
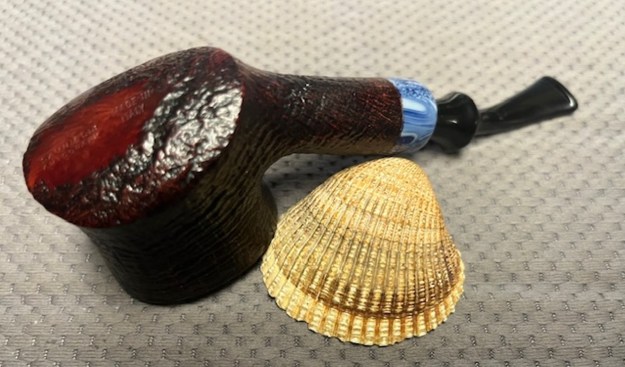
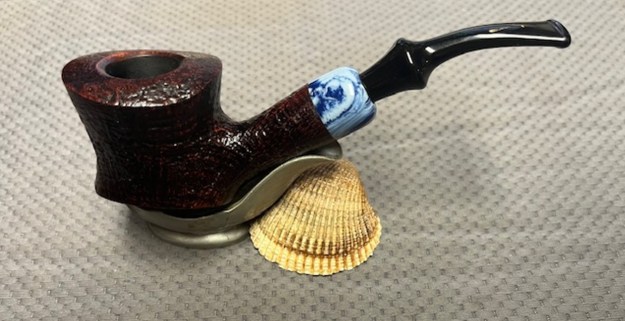
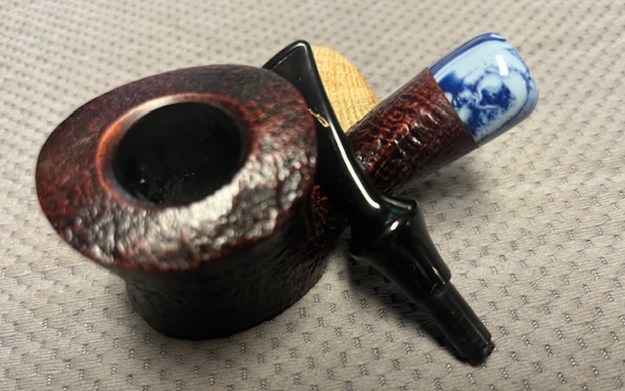
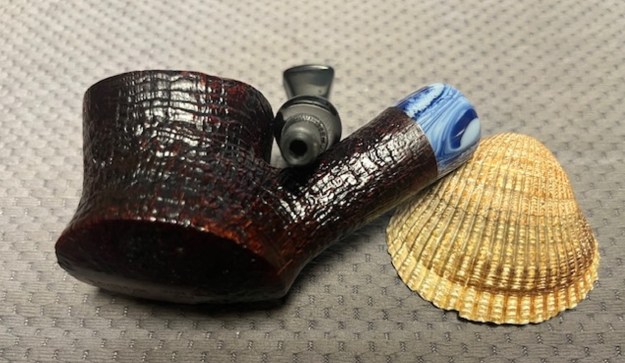
The next pipe on the table is one I had seen the last few times I visited Jeff in Idaho. This time I brought it home. It is an interesting shape – kind of a Panel with some odd curves and ending with a flat bottom making it a sitter. It is stamped on the left side of the shank – very tightly against the stem shank union. It reads Prince of Wales [over] Hand Made. On the right side against the stem it is stamp vertically and reads Italy. We purchased the pipe on 06/07/25 from a Facebook auction in Spirit Lake, Iowa, USA. The finish is rusticated on the left side and back of the bowl as well as on the top and underside of the shank. The rim top is also rusticated following the same pattern as the left side. The finish is dusty and grimy in the grooves of the rustication and there is a moderated cake in the bowl. There is light lava in the rustication on the rim top. The stem is oxidized and had light tooth chatter on both sides ahead of the button. It is an interesting looking pipe. I have included photos of the pipe before I started my work on it.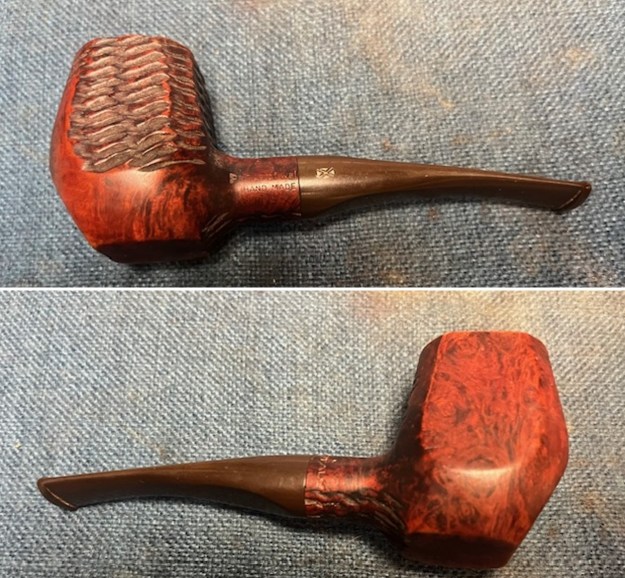
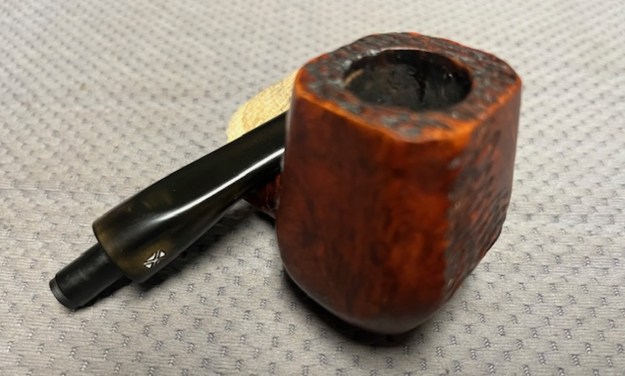
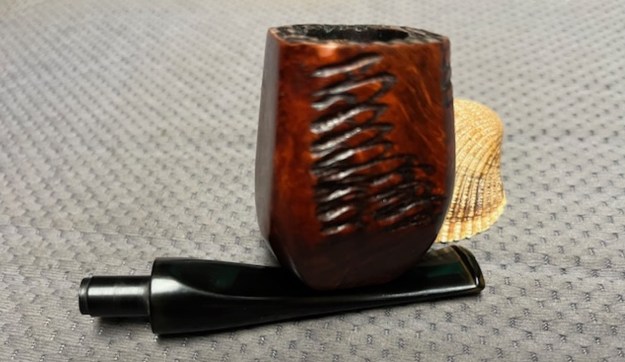
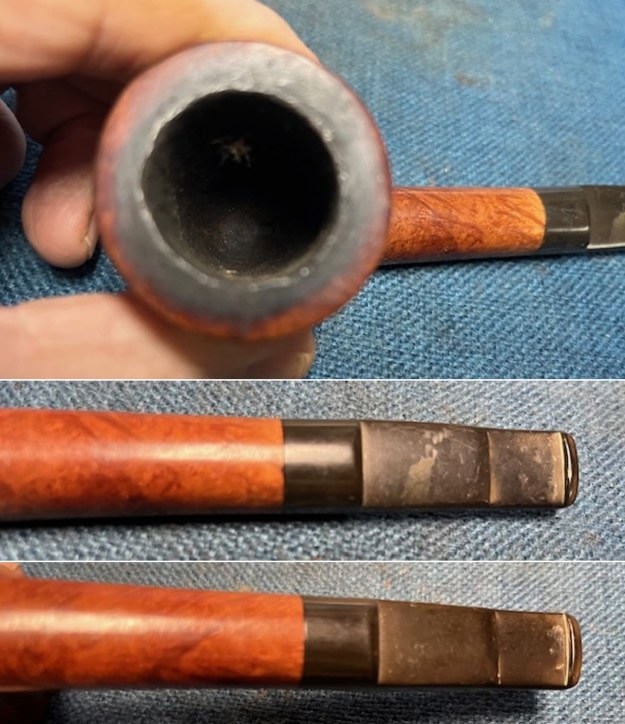
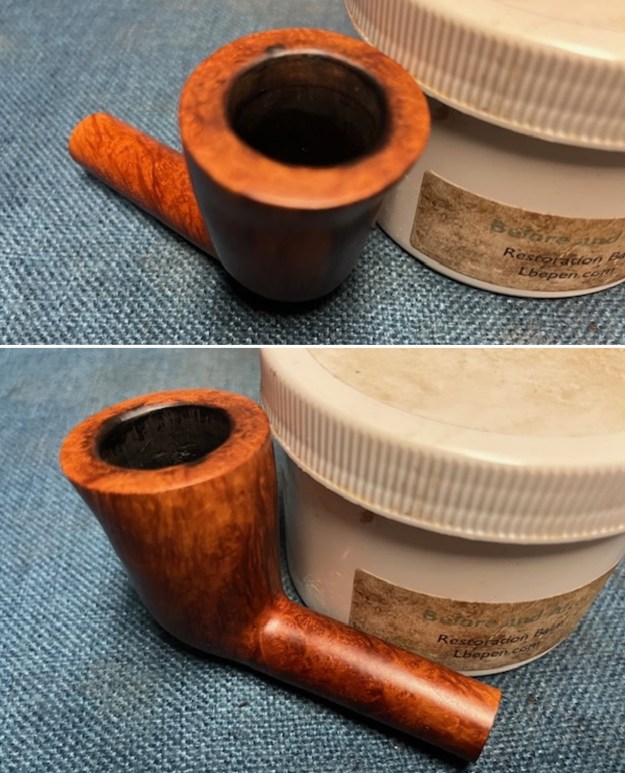
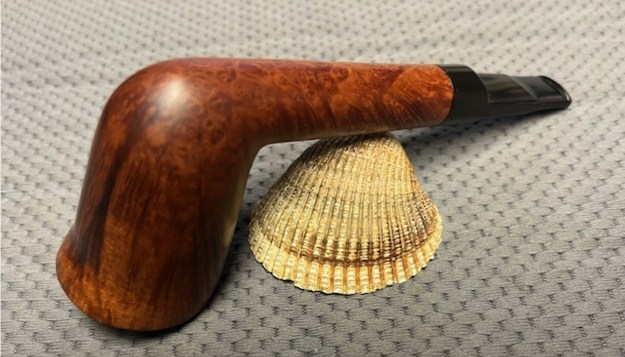
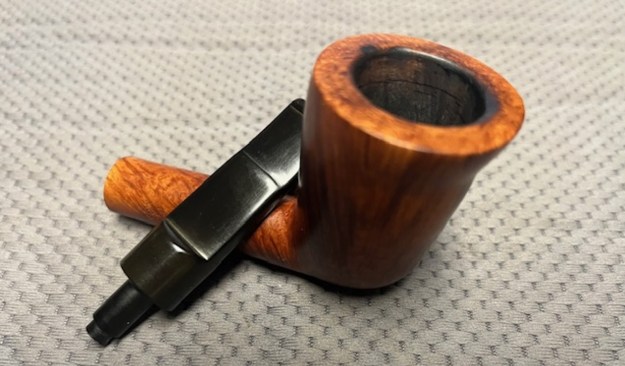
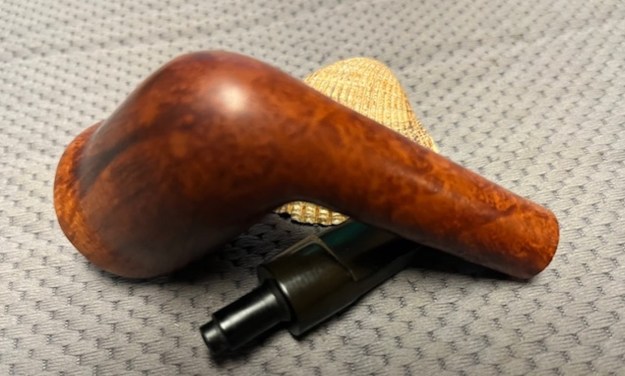
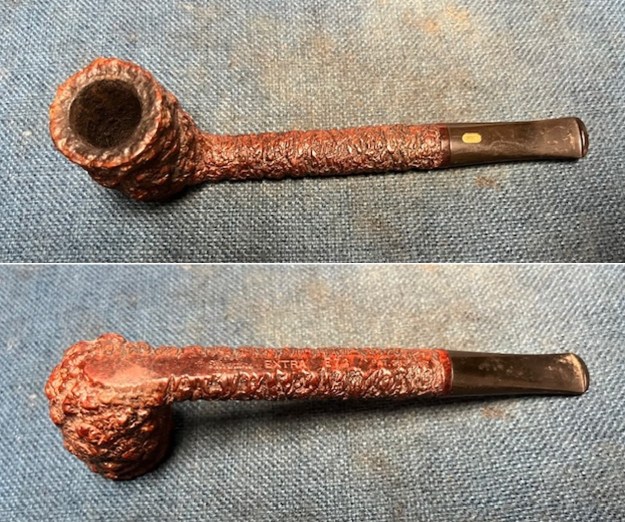
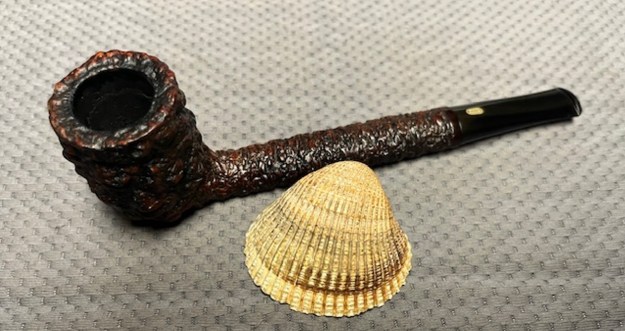
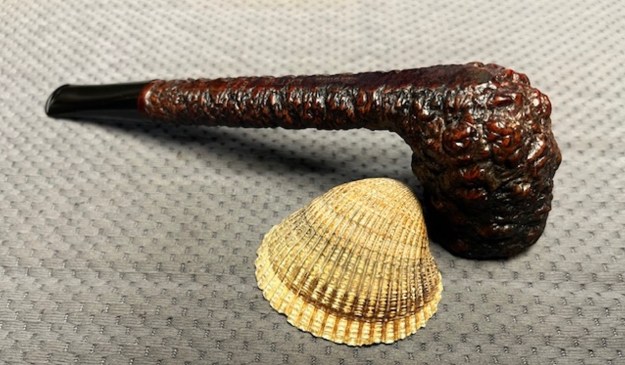
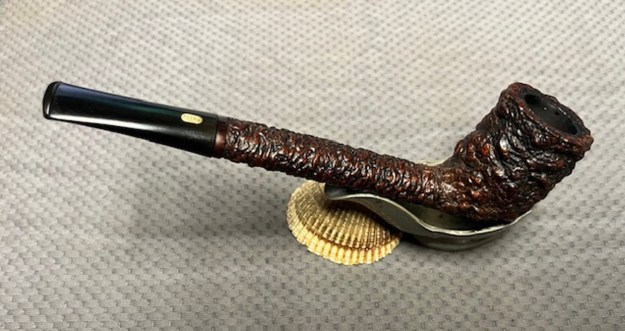
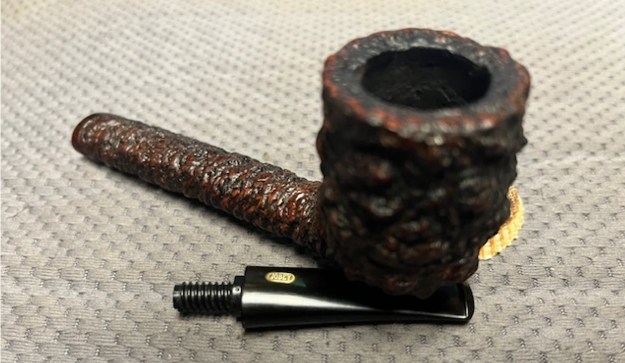
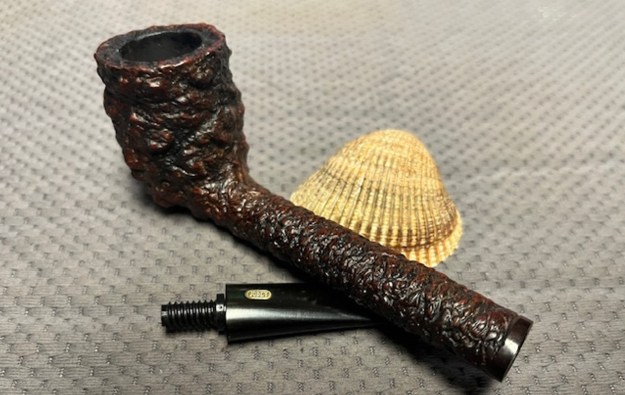
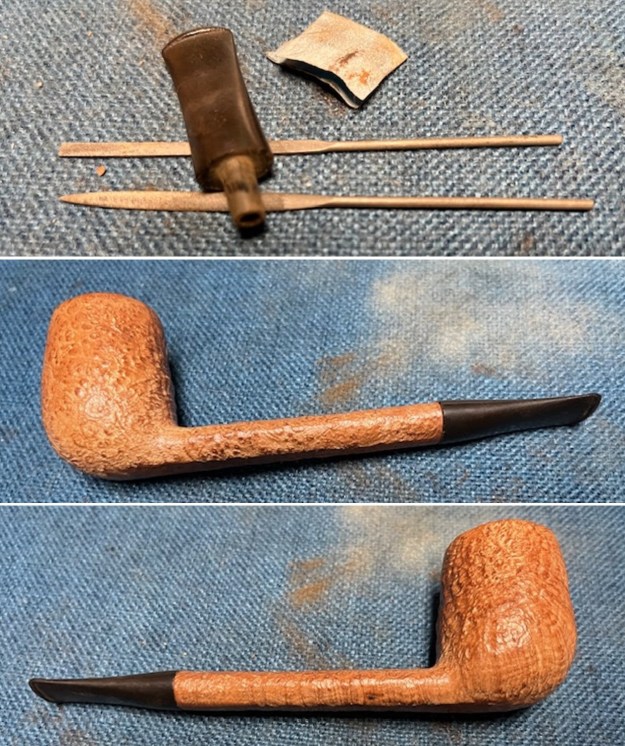
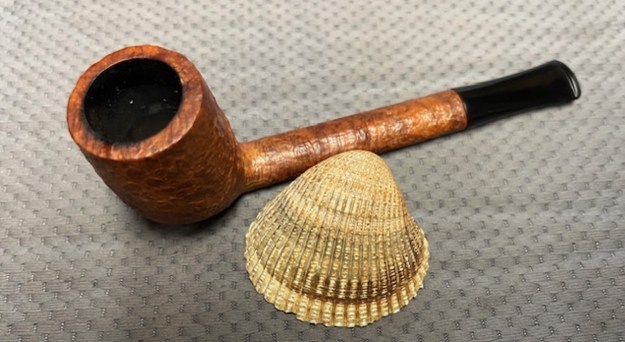
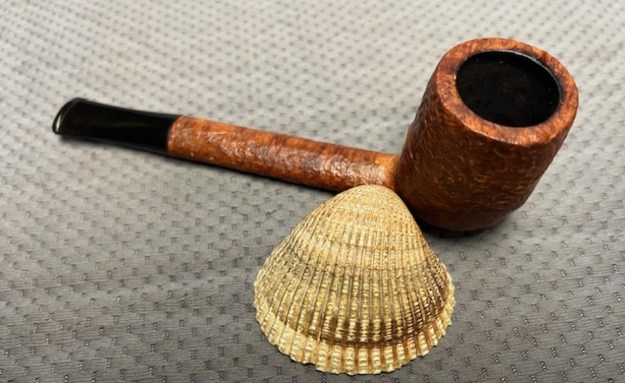
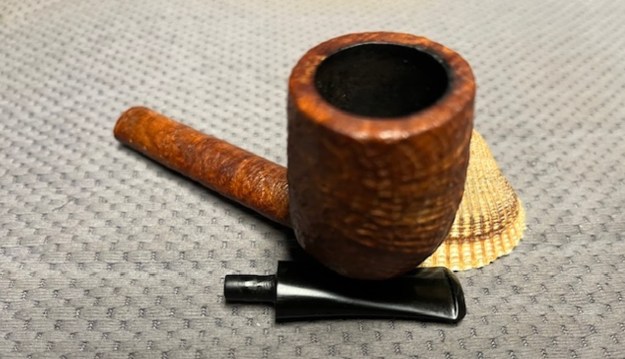
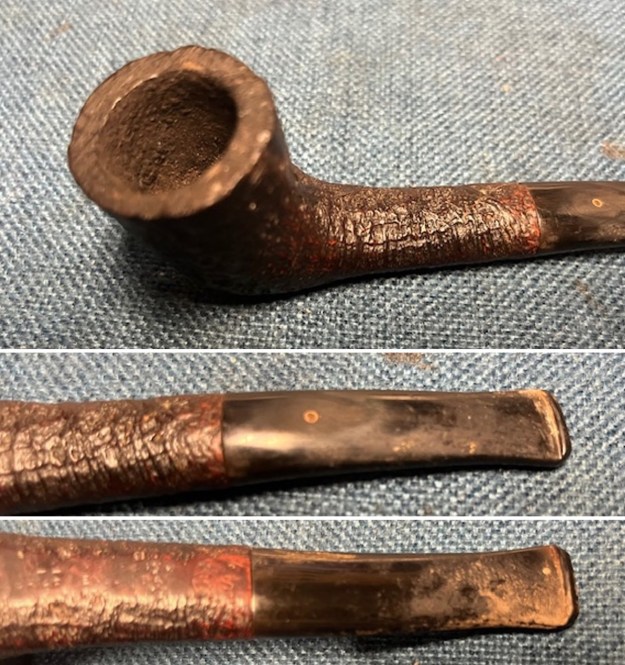
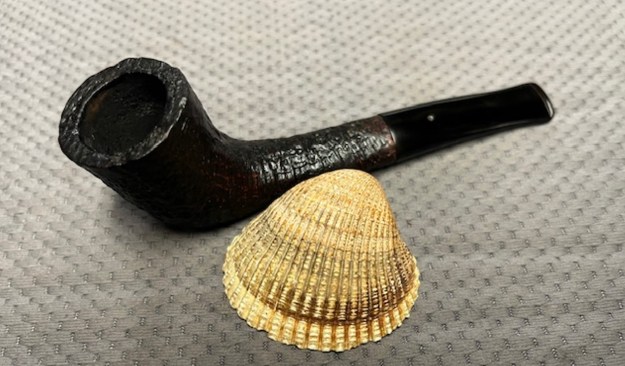
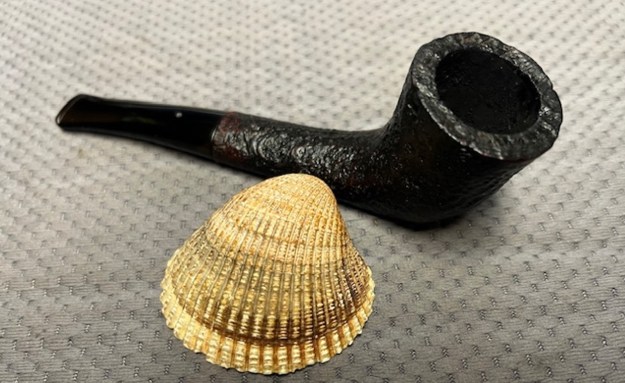
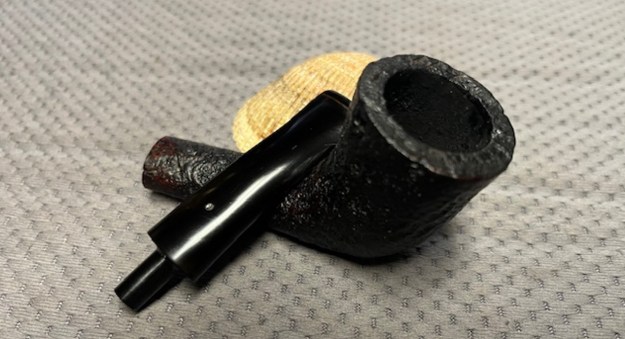
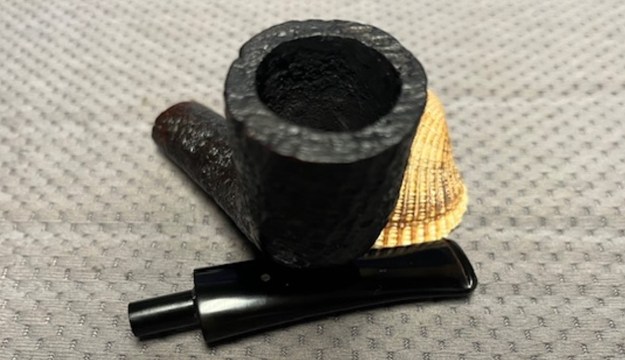
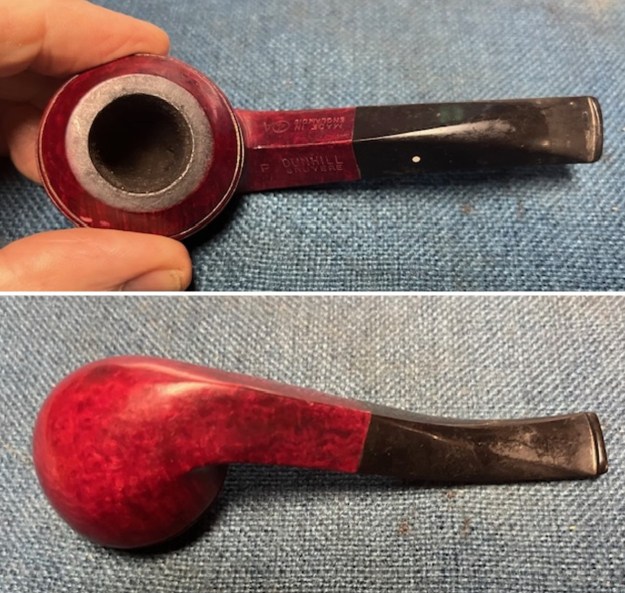
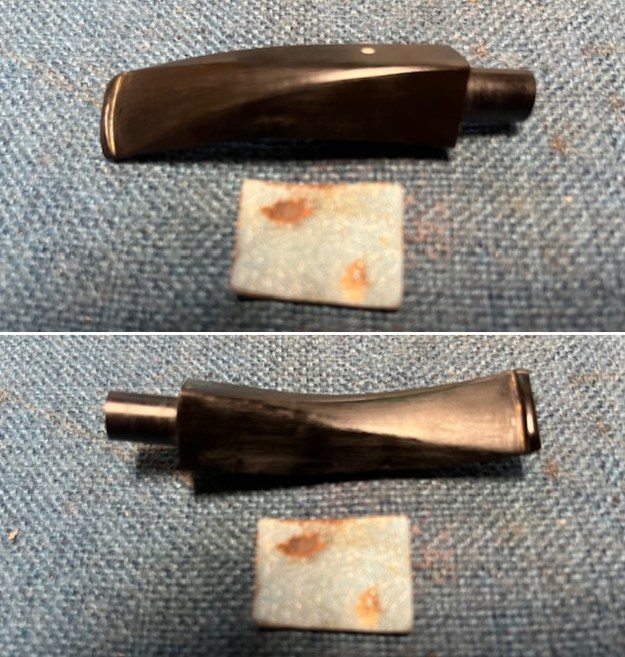
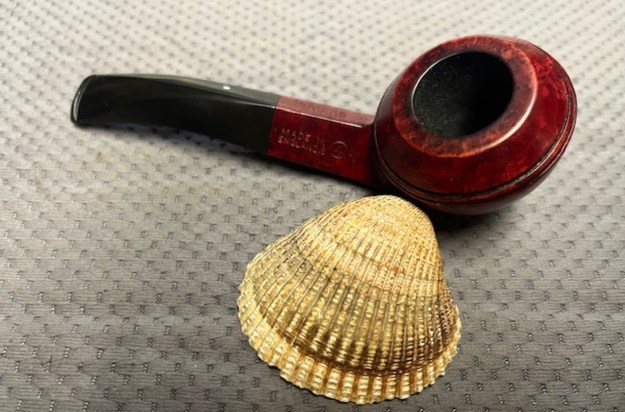
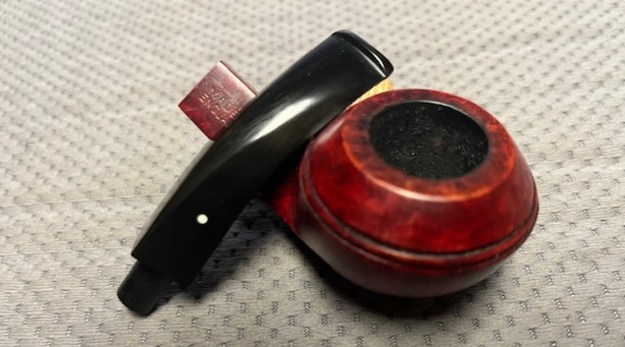
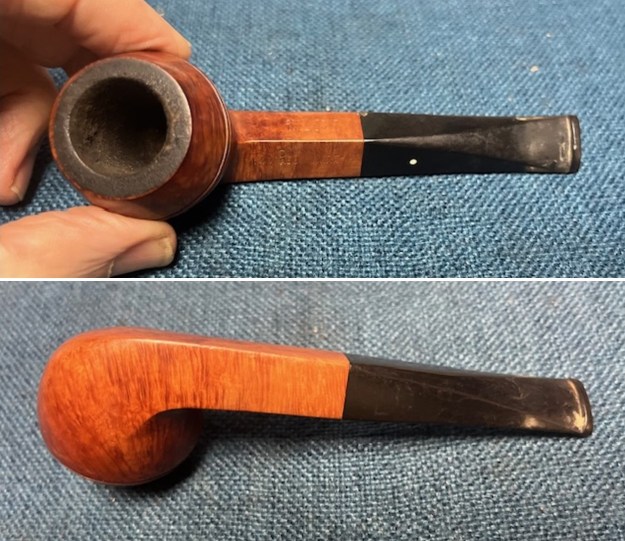
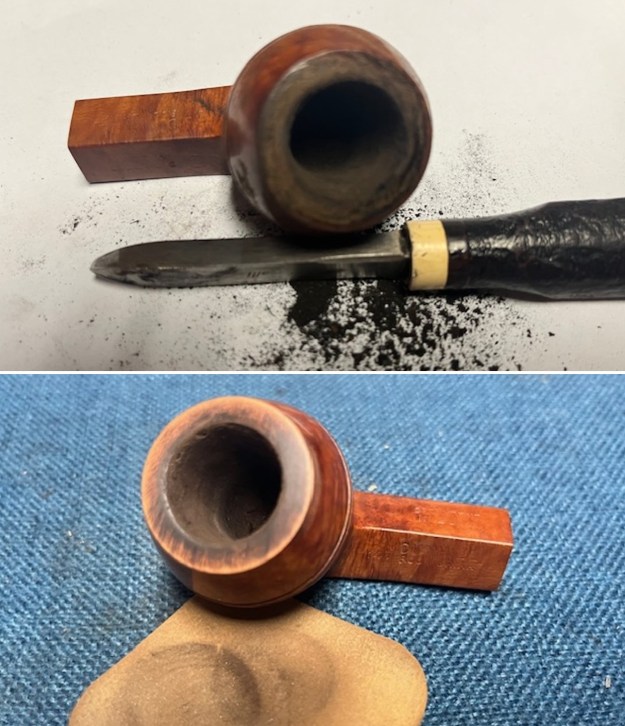
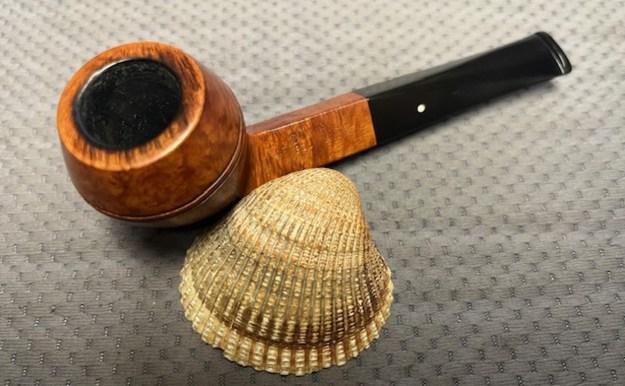
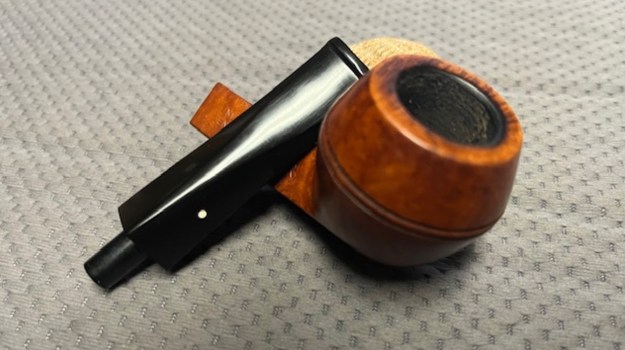
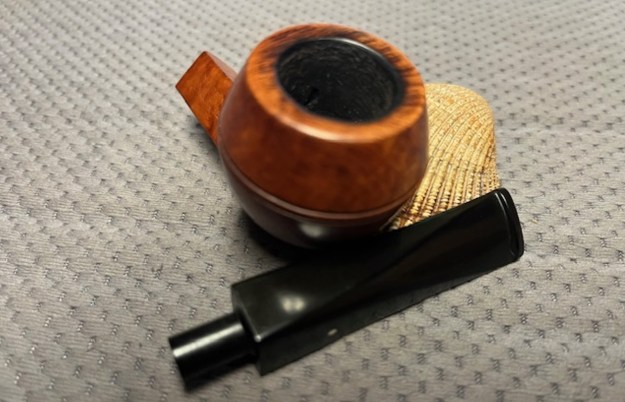
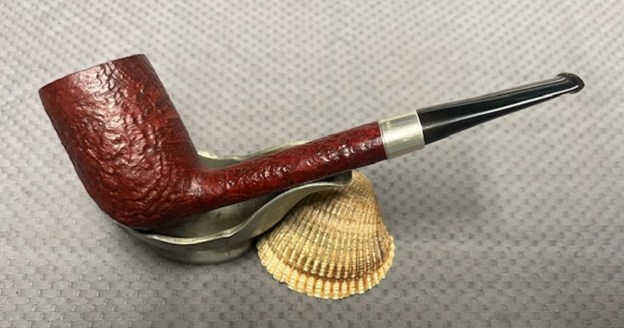
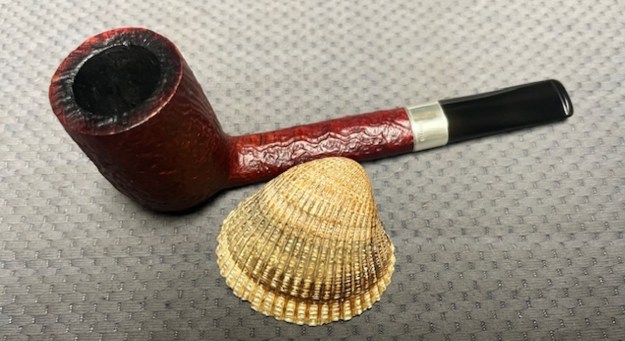
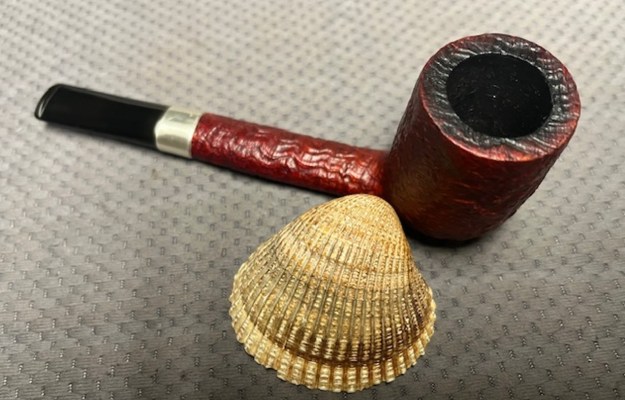
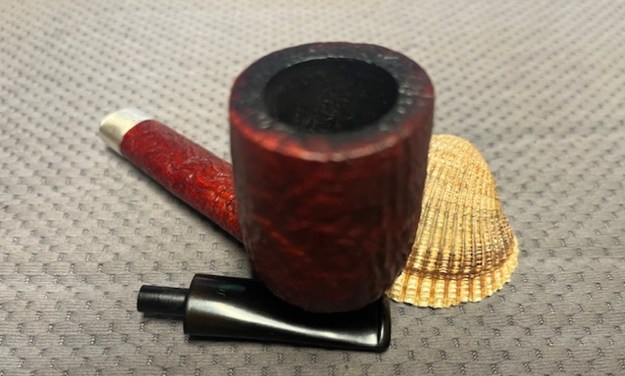
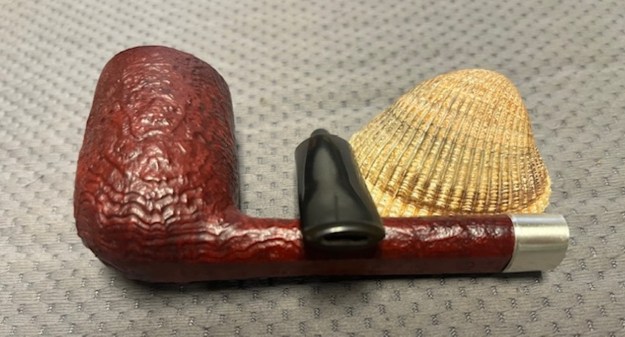
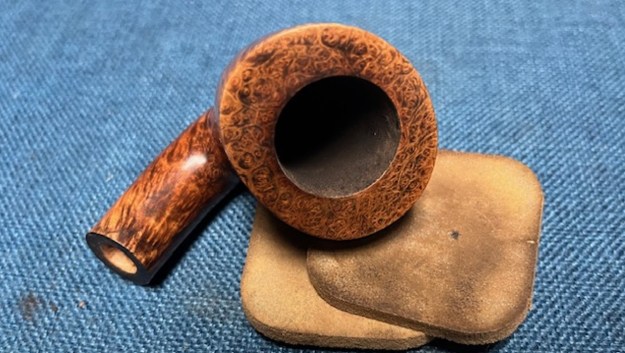
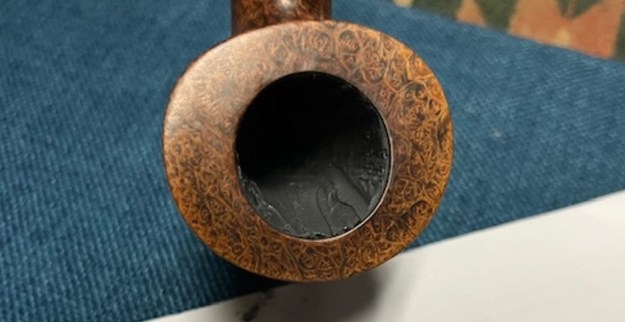
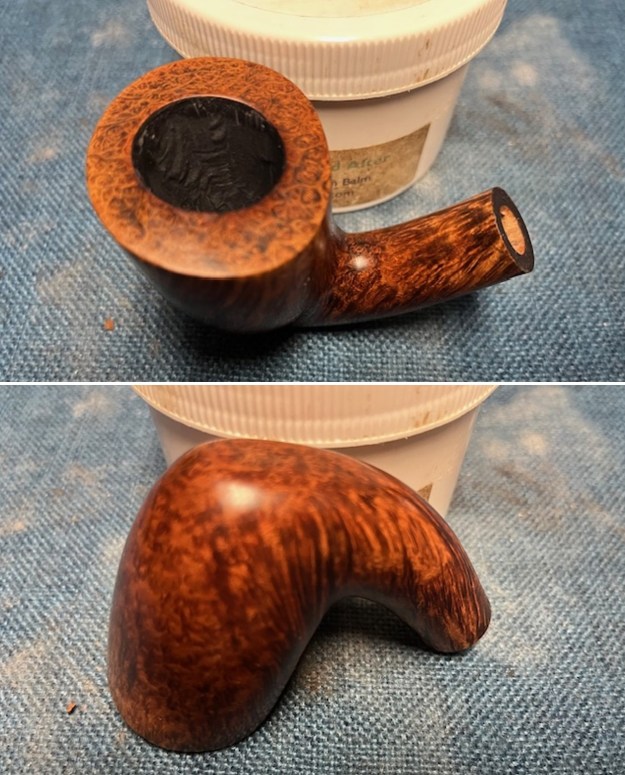
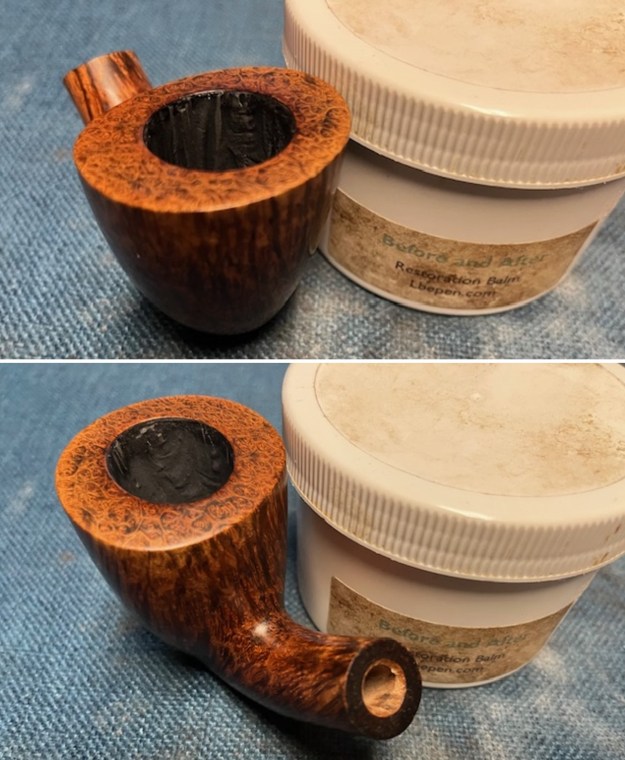
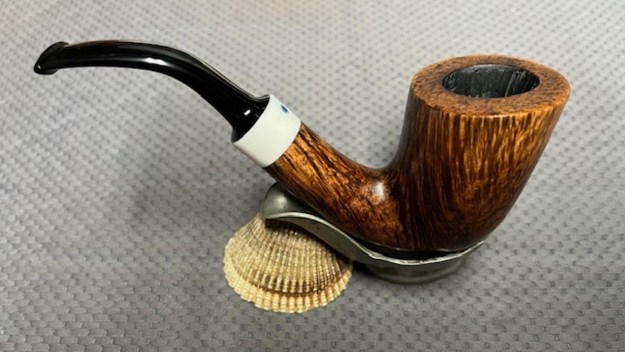
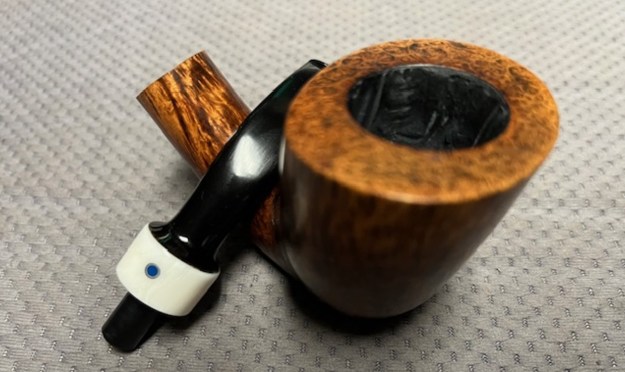
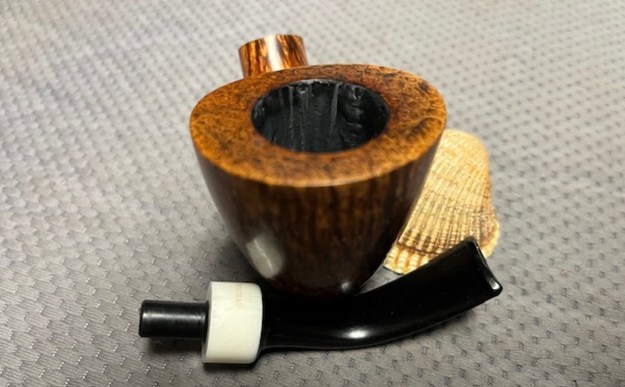
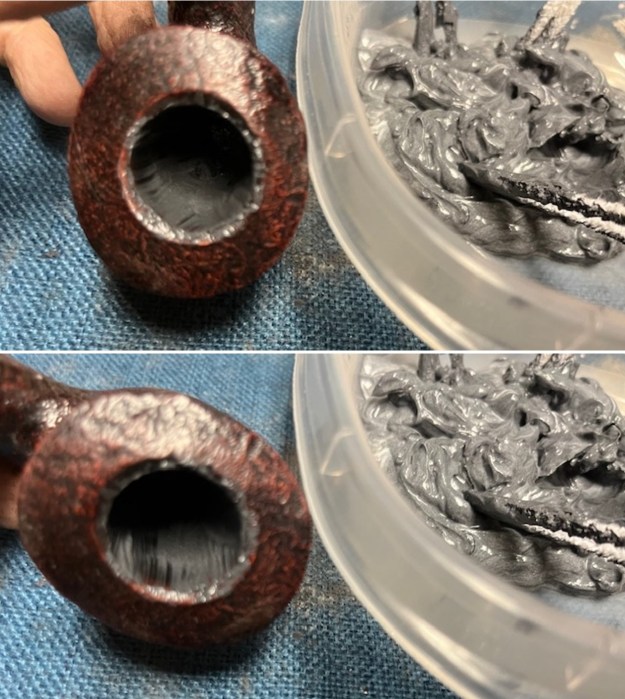
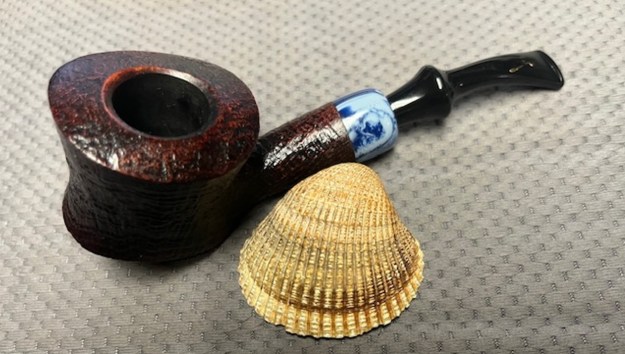
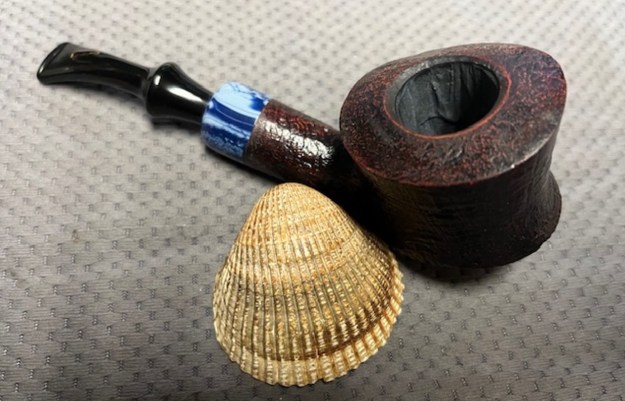
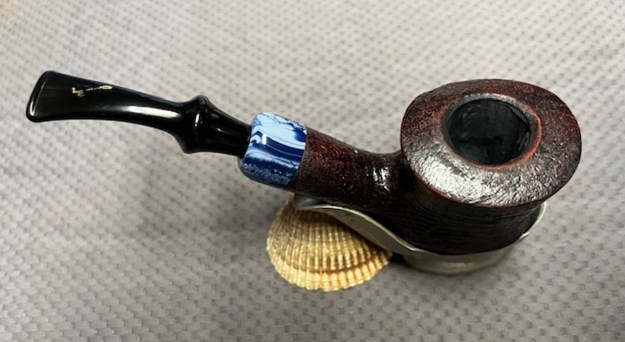
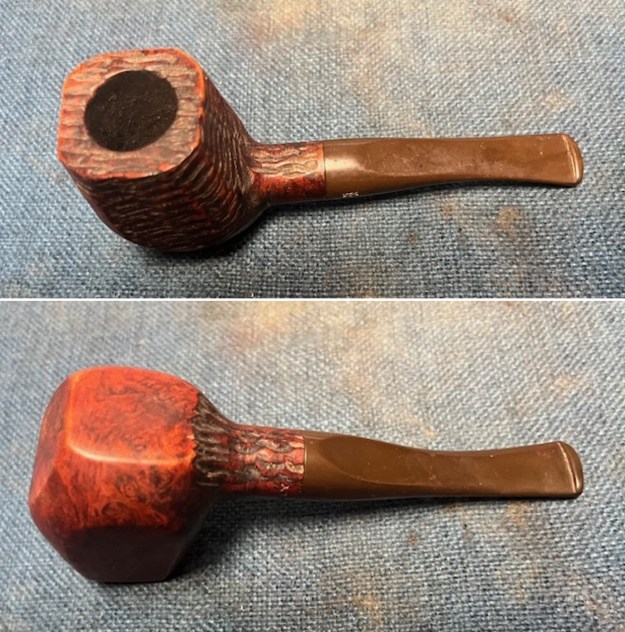 I took a photo of the bowl and rim top to show the thickness of the cake and the light lava coat on the rim top. There was some tobacco debris in the bottom of the bowl. The stem photos show the condition of the fancy saddle stem ahead of the button.
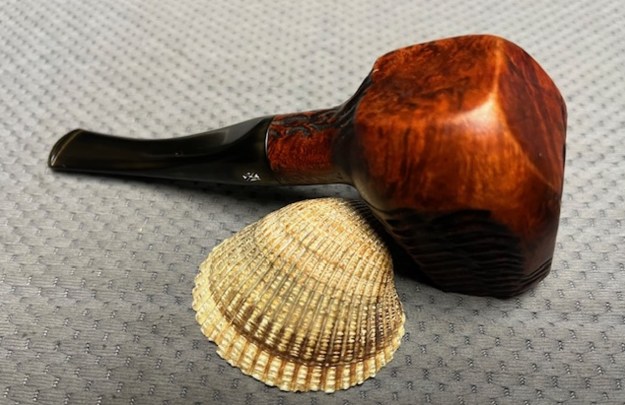
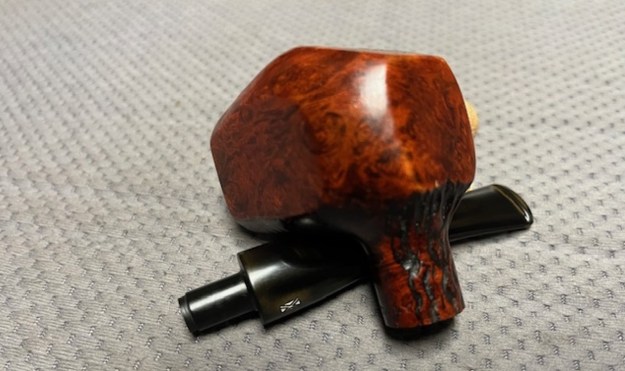
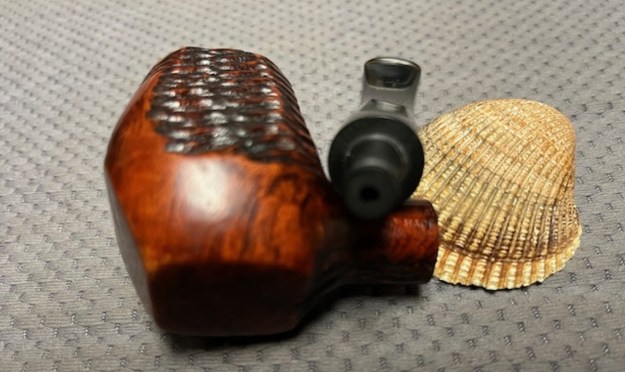
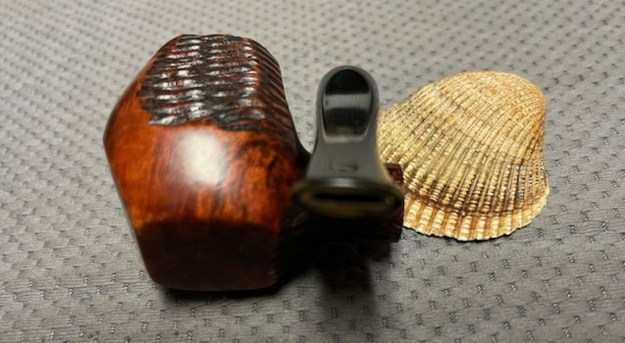
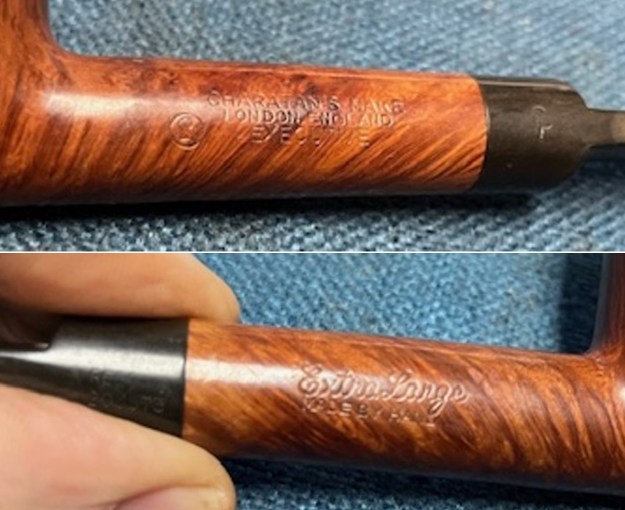
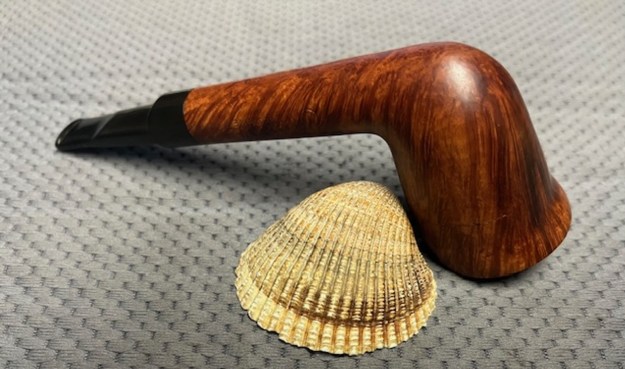
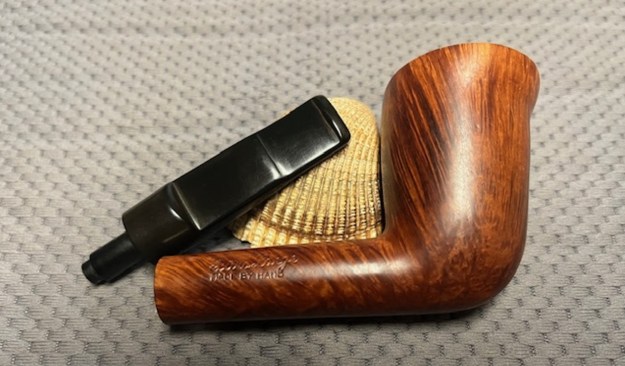
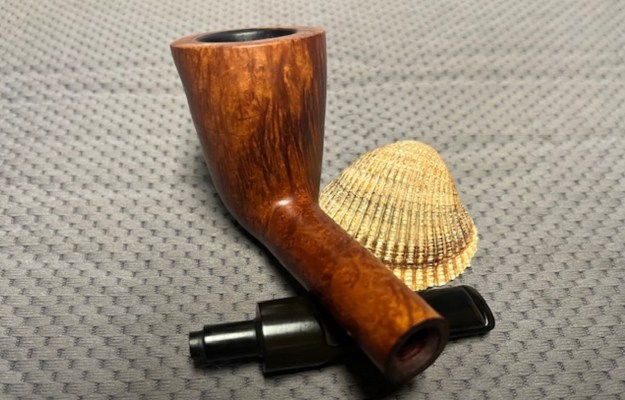
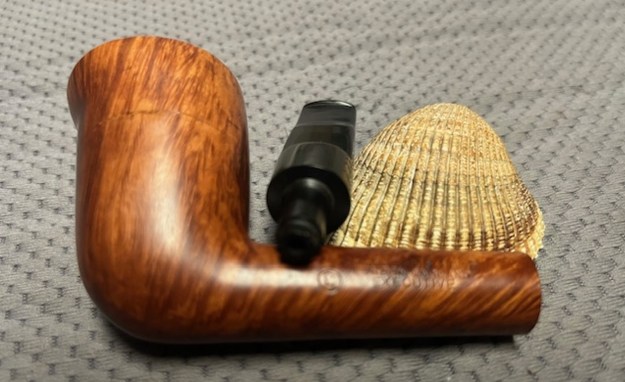
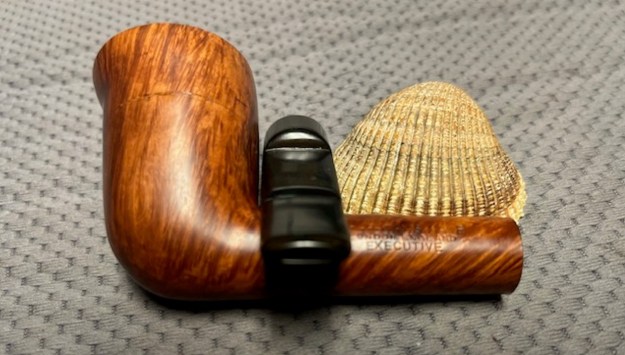
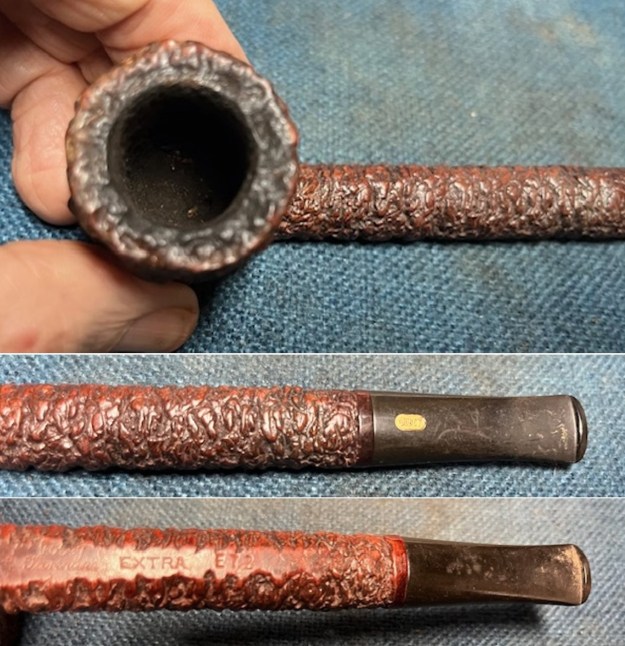
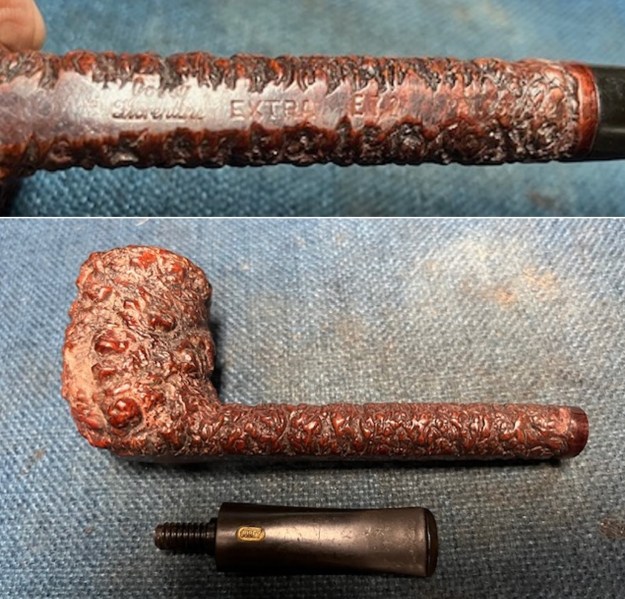
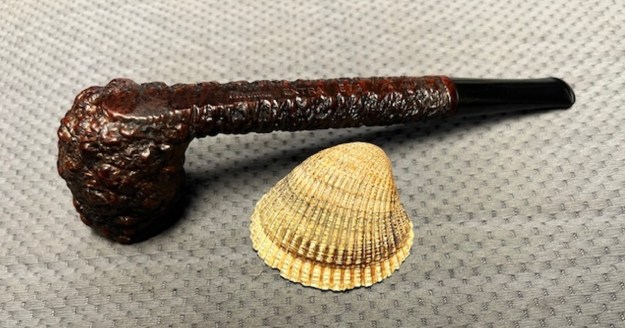
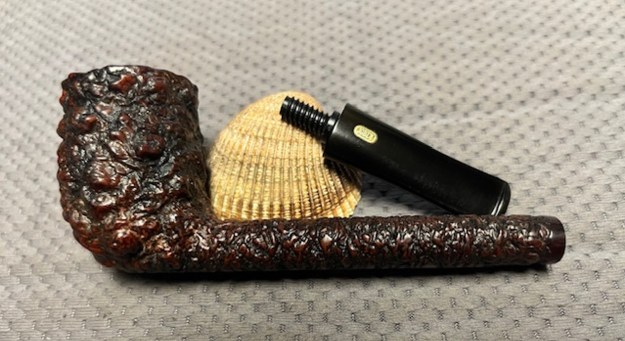
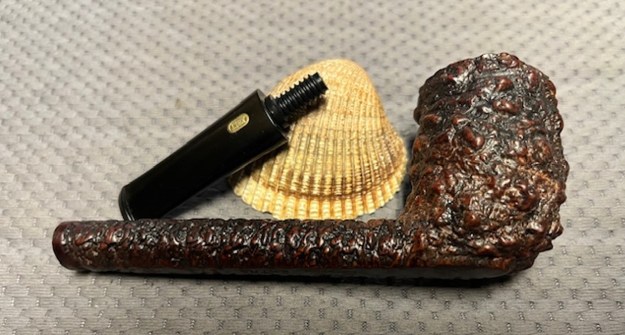
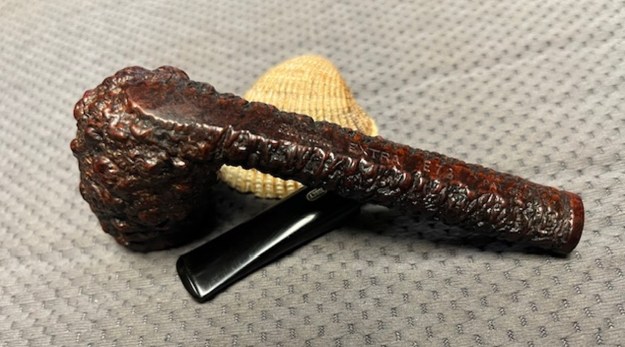
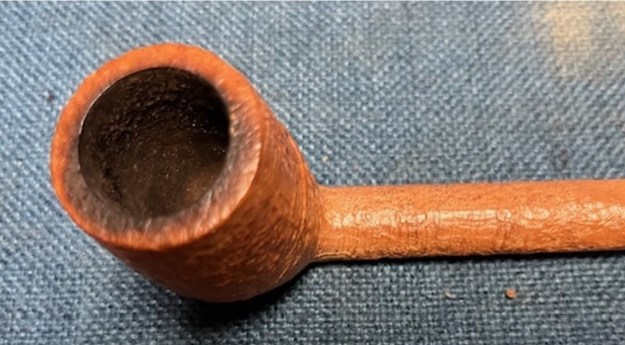
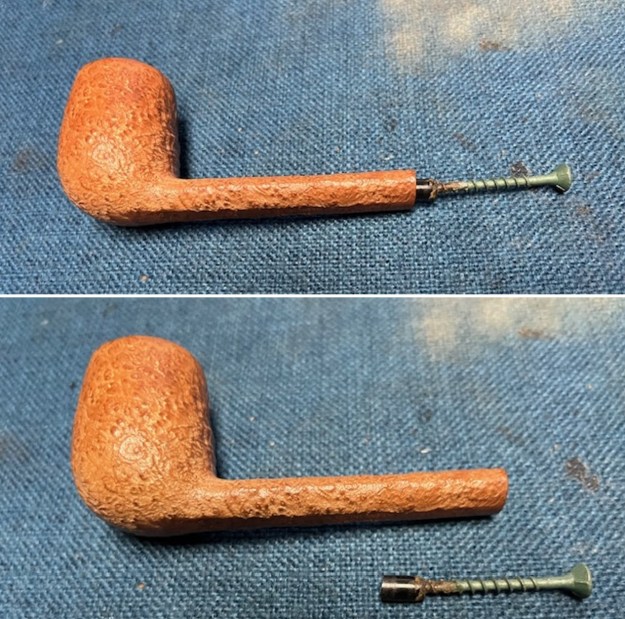
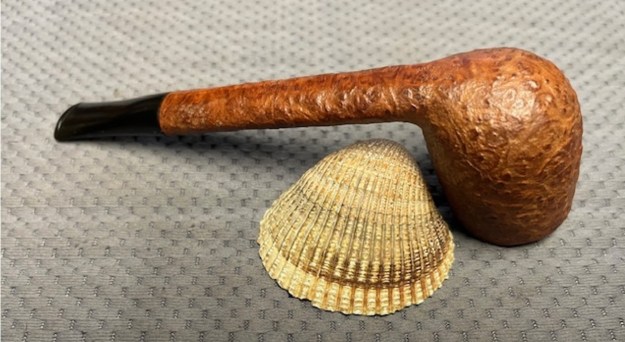
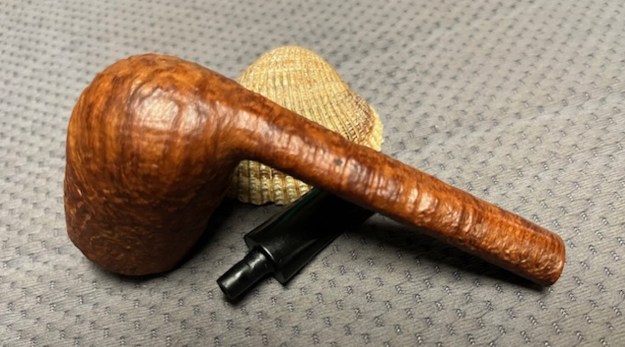
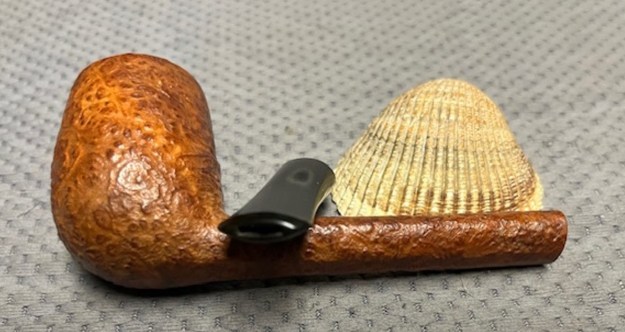
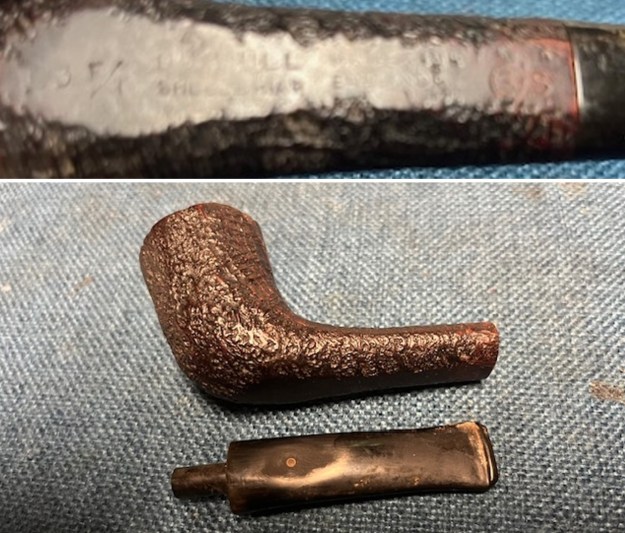
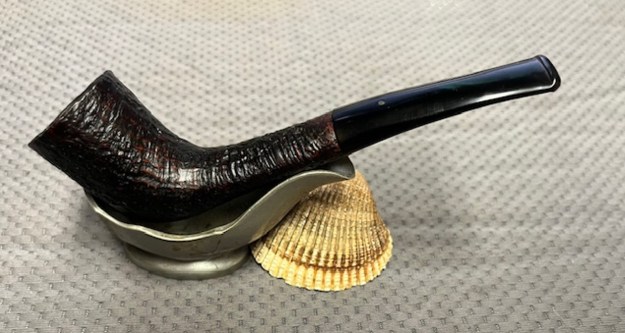
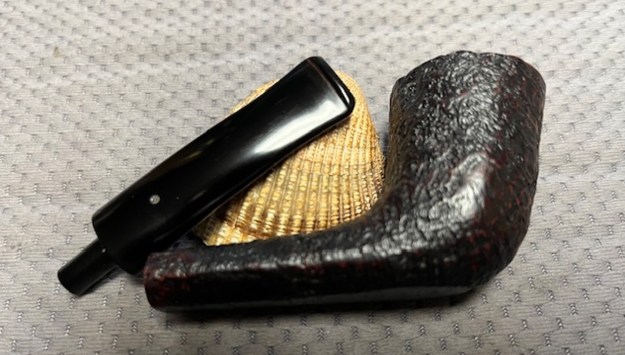
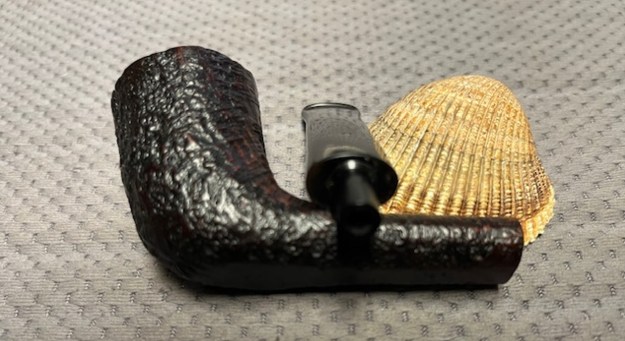
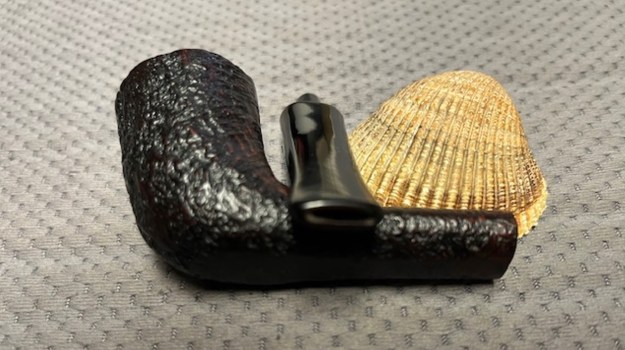
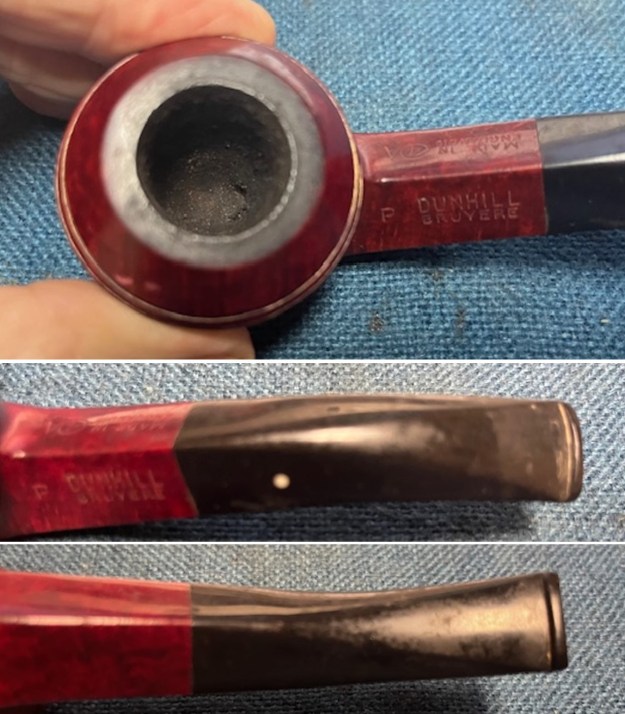
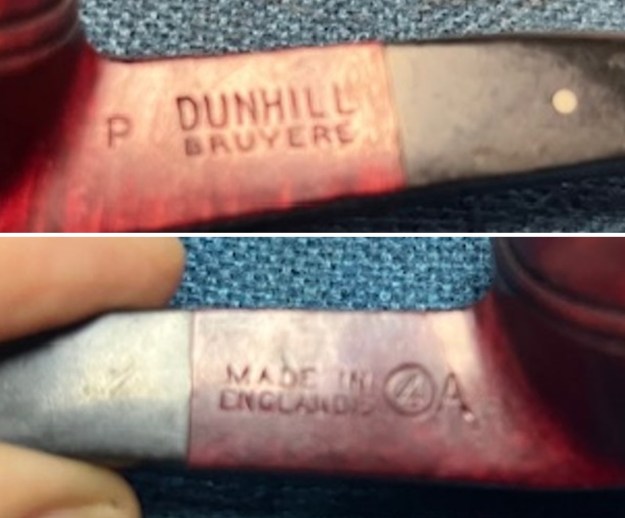
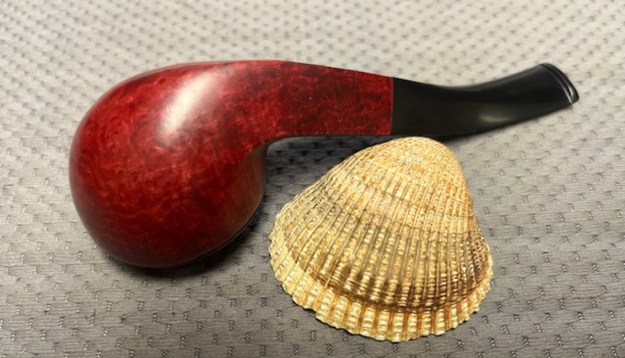
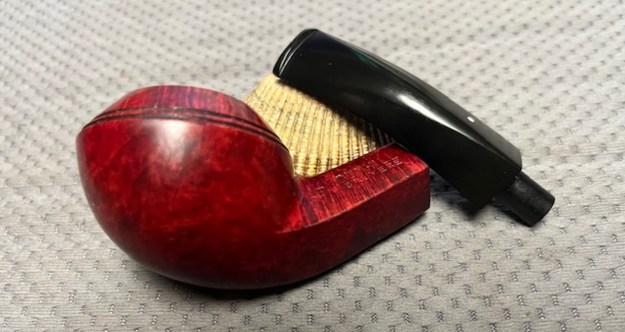
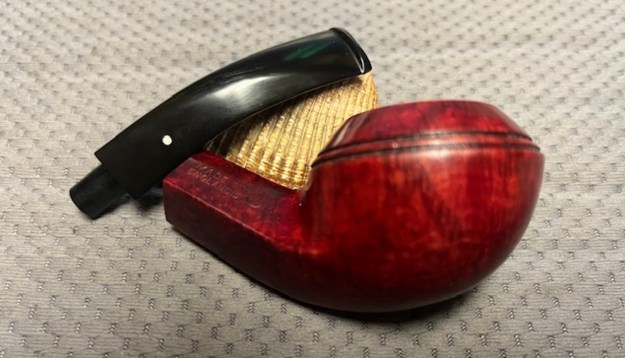
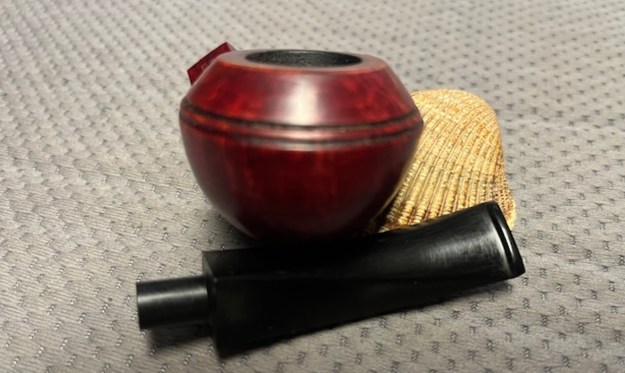
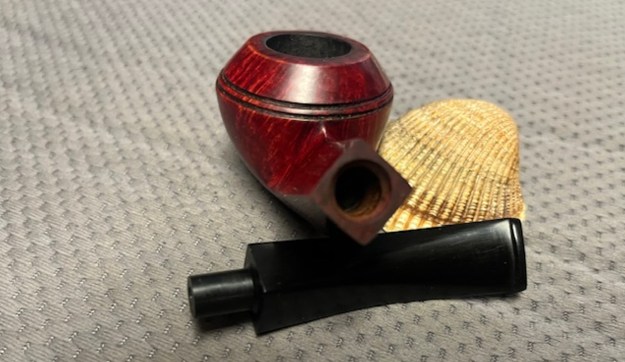
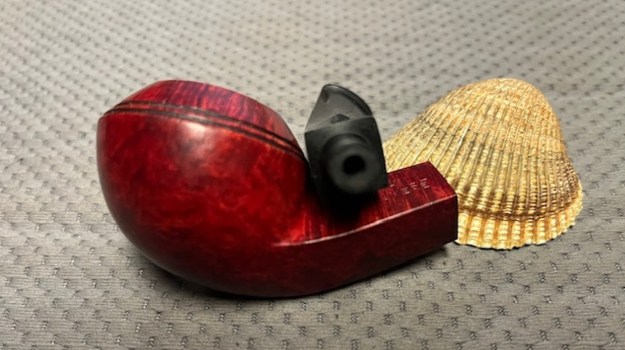
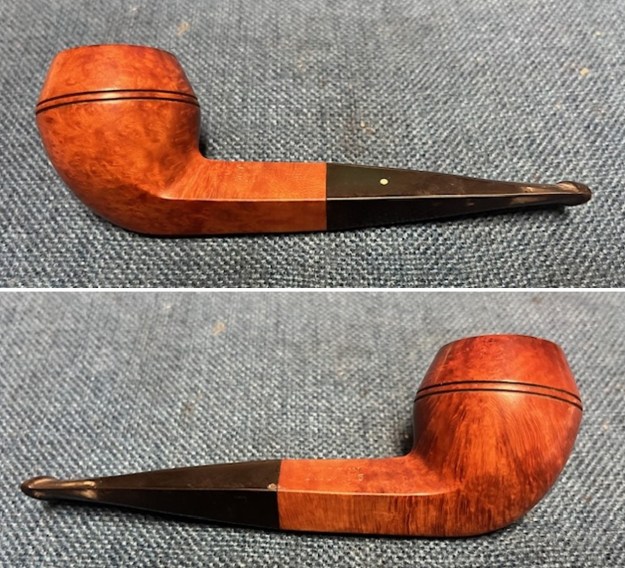
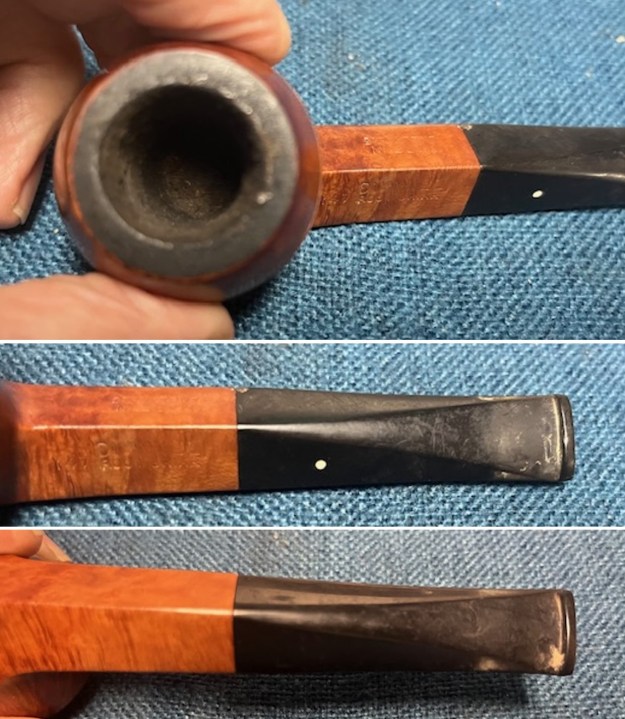
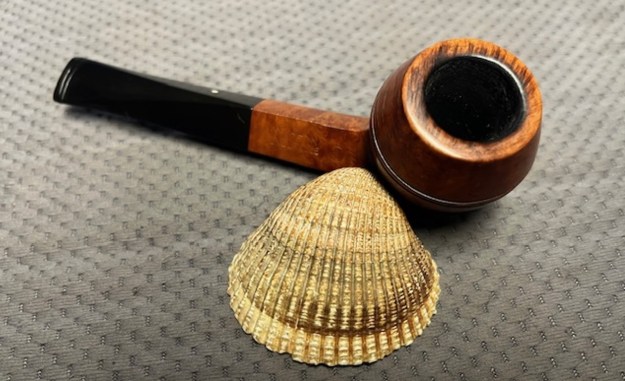
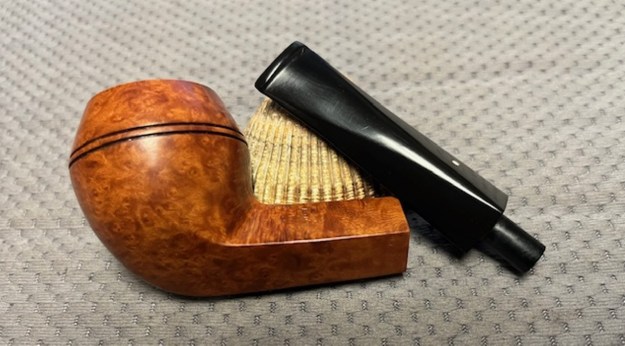
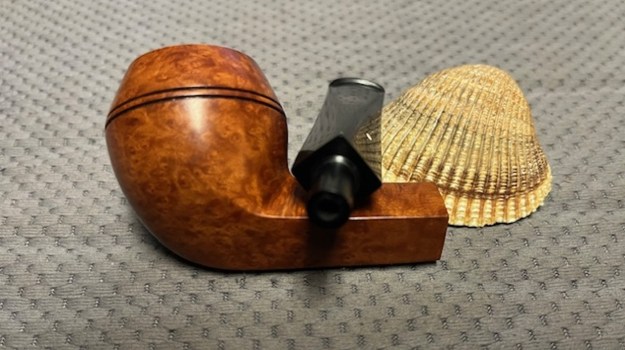
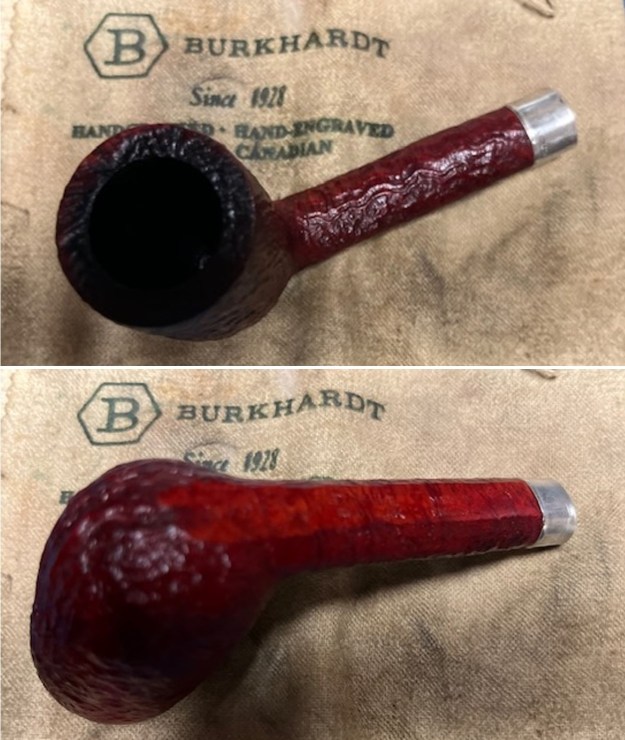
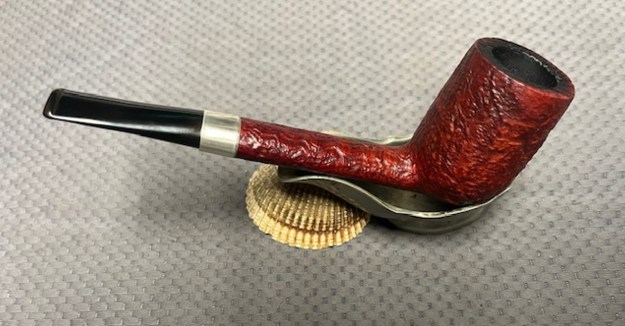
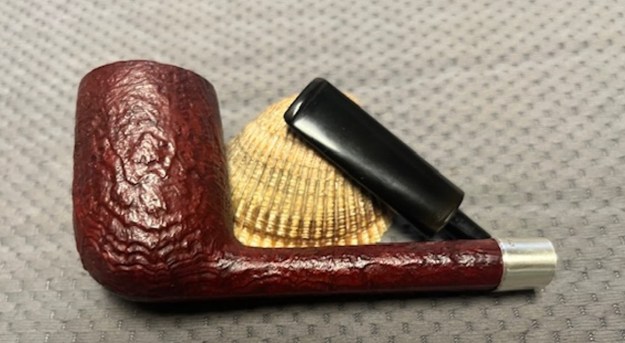
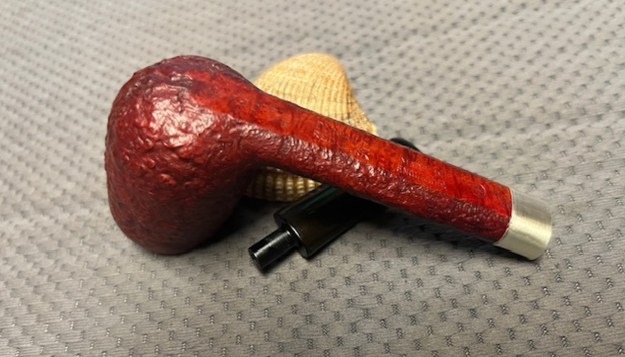
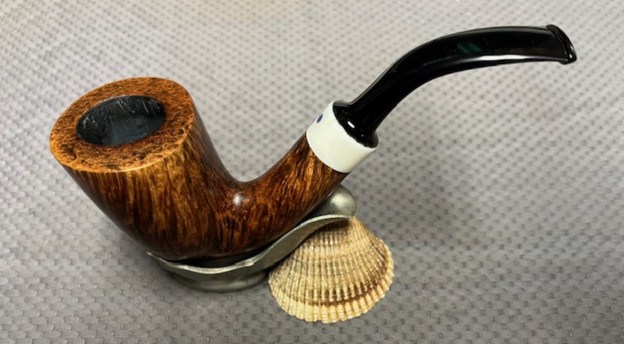
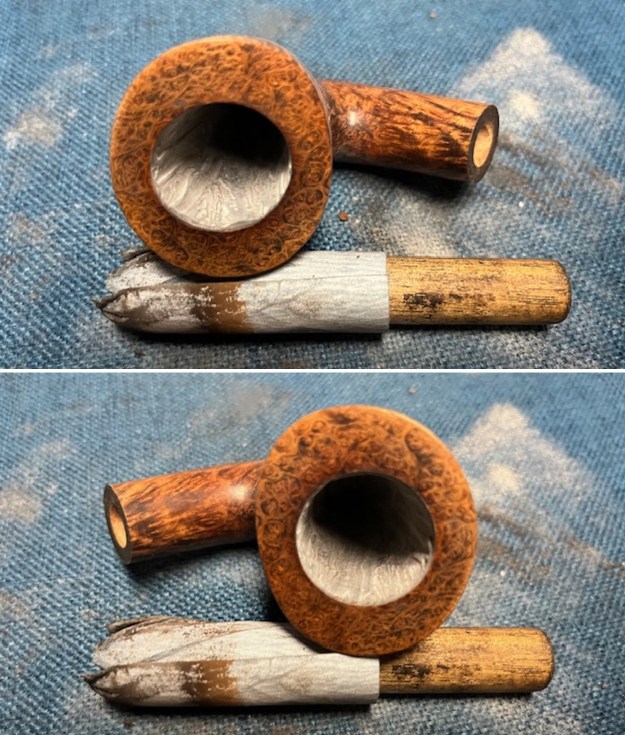
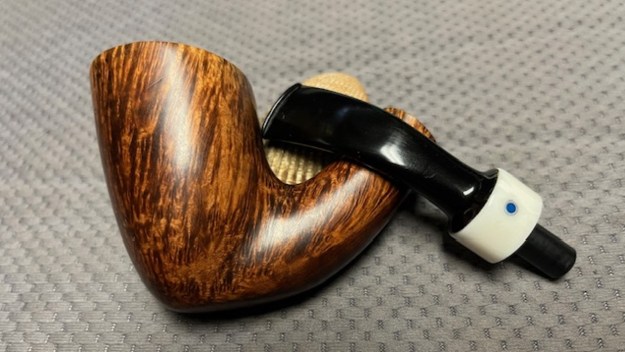
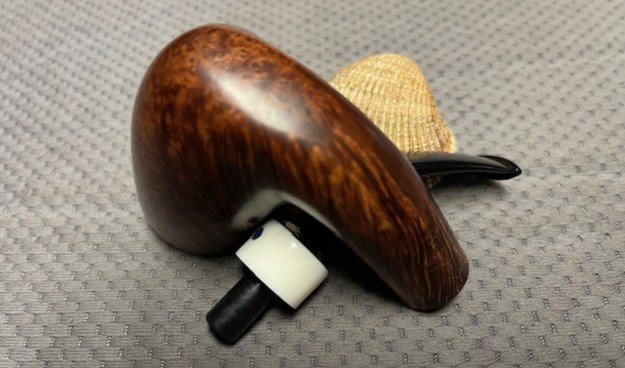
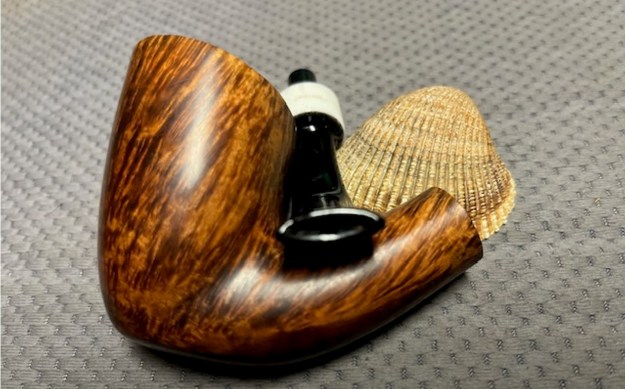
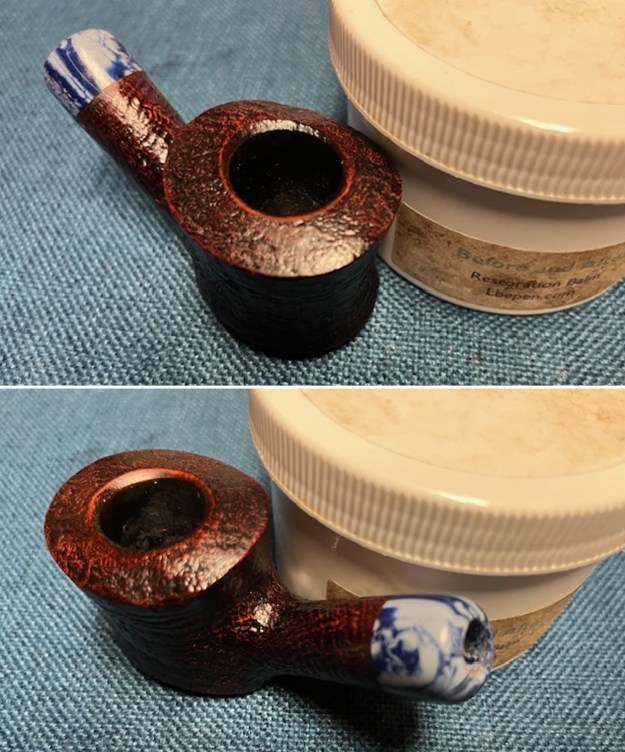
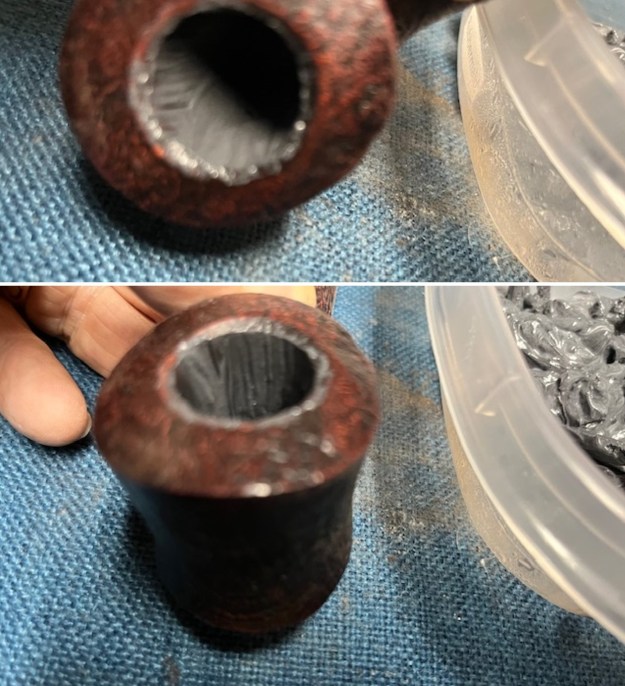
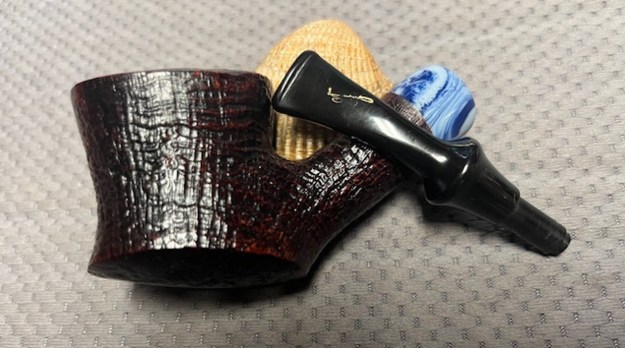
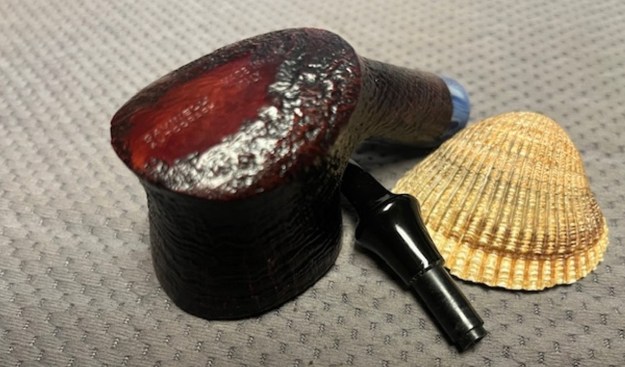
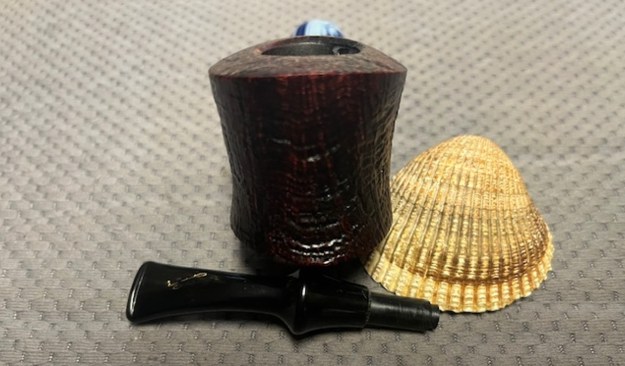
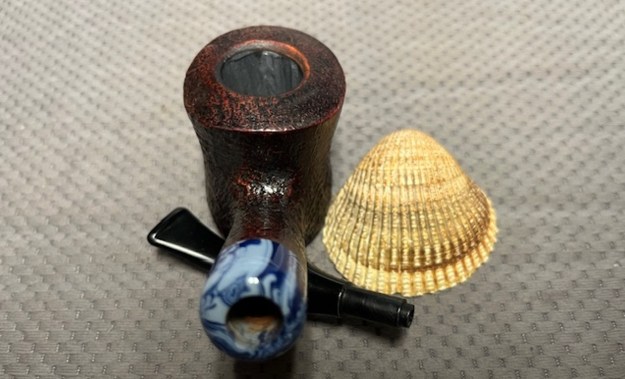
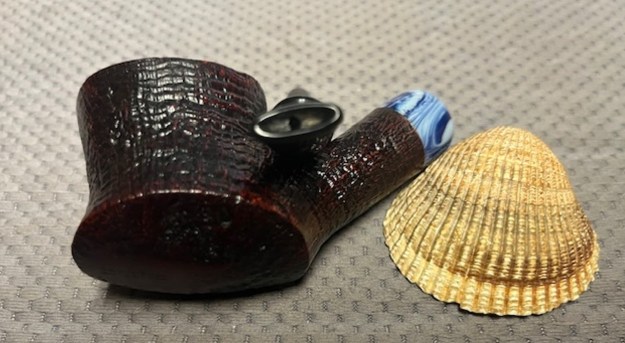
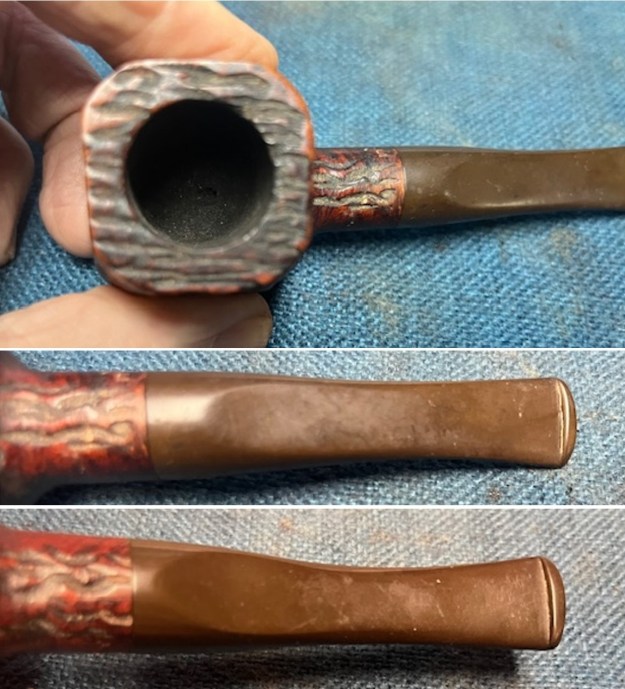 The stamping on the sides of the shank is readable as noted above. The stamping on the left side is missing the “es” on Wales as the shank is quite short. It has not been cut off as the Italy stamp is very readable on the opposite side of the shank. There is a Scottish flag stamped on the left side of the stem and it is faint but visible. I took a photo of the pipe with the stem removed to give a sense of the proportions of the pipe. It is a real beauty.
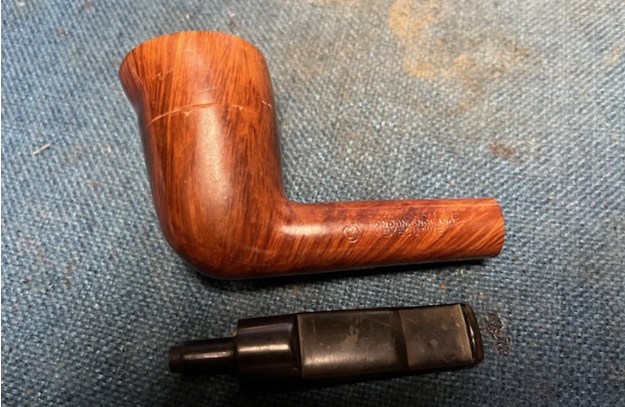
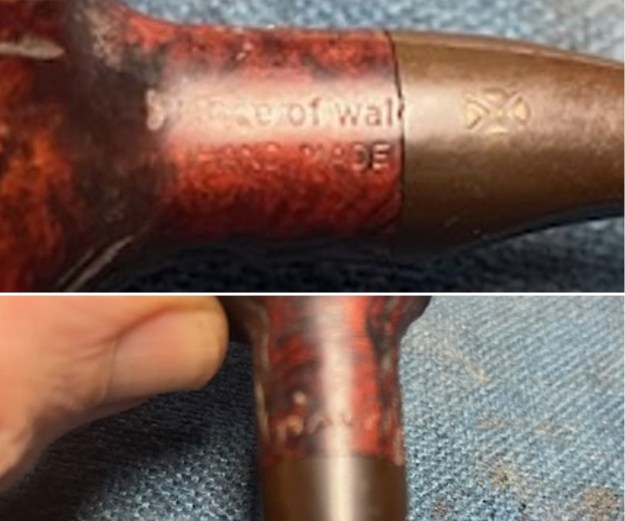
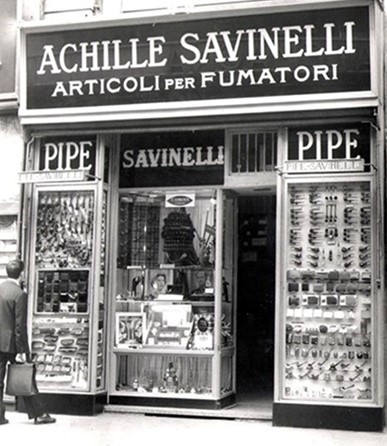
 Before I started my part of the restoration I wanted to have a clear picture of the background on the brand and what the stem logo looked like on the Prince of Wales pipe. I turned to Pipephil as he often has photos and sidebar information that give me the information that I am looking for (http://www.pipephil.eu/logos/en/logo-p5.html). Sure enough, he had a photo showing the stamped Scottish Flag on the stem. It is white and it is faint in spots on the pipe I am working on. Hopefully in the restoration process I can get it back a bit. I did a screen capture of the picture on the site and include it below.
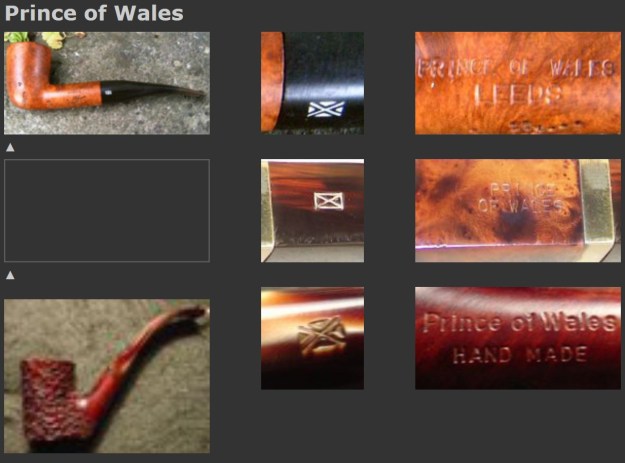 What is interesting in these photos is that it is the same logo but several of them say made in Leeds. They seem to be English made or at least maybe made for a pipe shop. The logo is a Scottish Flag. The one I have is stamped Italy which makes me think that someone had the pipe made by an Italian company for their shop.
I turned to Pipedia and looked up the brand there (https://pipedia.org/wiki/Prince_Of_Wales). Here is what I found there. I quote in full.
It is quite a three pipe problem, …”
- The name “Prince of Wales” was used at times by GBD for a sub-brand.
- Pipephil shows English made Prince of Wales which bear the Union Jack (the flag of the United Kingdom) as logo.Also listed by Pipephil is a brand named P.O.W. attributed to a Scottish firm G.M. Frame. Now, if P.O.W. doesn’t stand for “prisoner of war”, this might be an indication that there are two different Prince of Wales productions.
- Danish made semi-freehands stamped “PRINCE OF WALES” + “DANISH LINE” + “HANDMADE IN DENMARK”. The stems, as usual for the bulk of such pipes, often as stitch in stems. Decorated with a white ring and a stylized Danish flag. (Were once mentioned as order production for GBD. – Unconfirmed!).
- Prince of Wales Made in Italy. Quotation: “In the spirit of the Bing’s Favorite Pipe, Savinelli expands it’s line of pipes favored by famous pipesmokers. Prince of Wales Favorite series features a new mosaic designed mouthpiece which gives it a unique look like no other series. This pipe can be used with or without Savinelli balsa inserts (20pk included).”
Now I knew I was dealing with a bit of a mystery pipe. It has a Scottish Flag on the stem, an Italy stamp on the shank and the name Prince of Wales which sounds British. Very interesting piece. But no definitive information!!
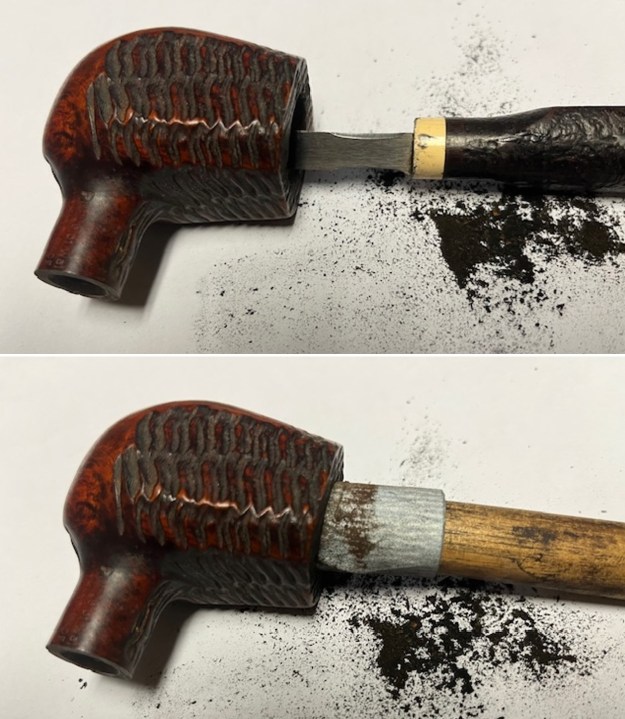
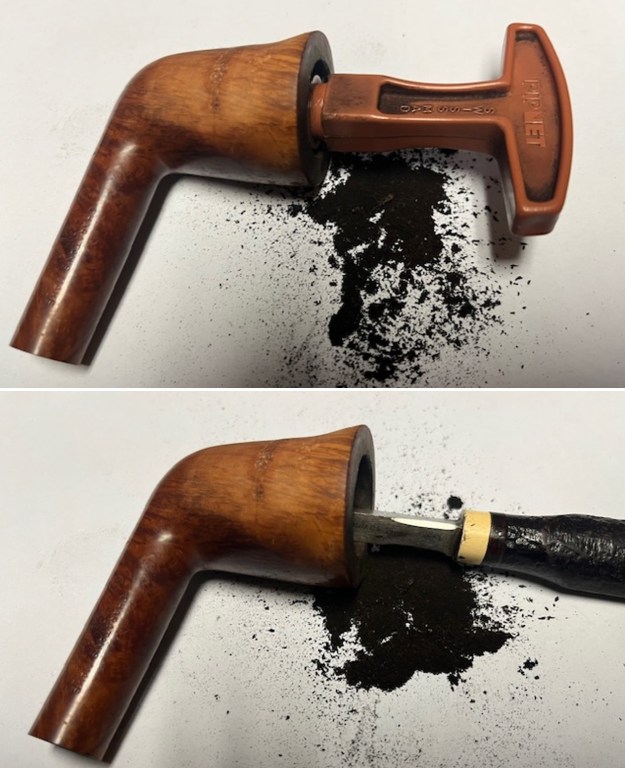
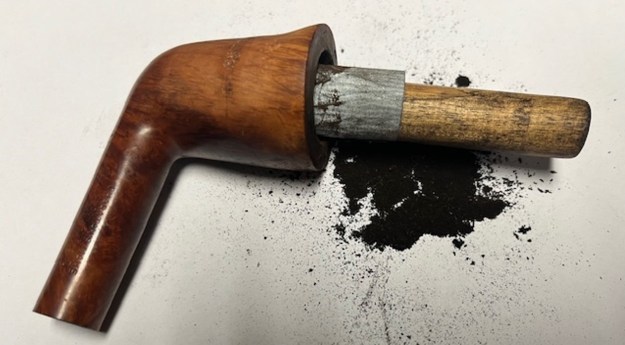
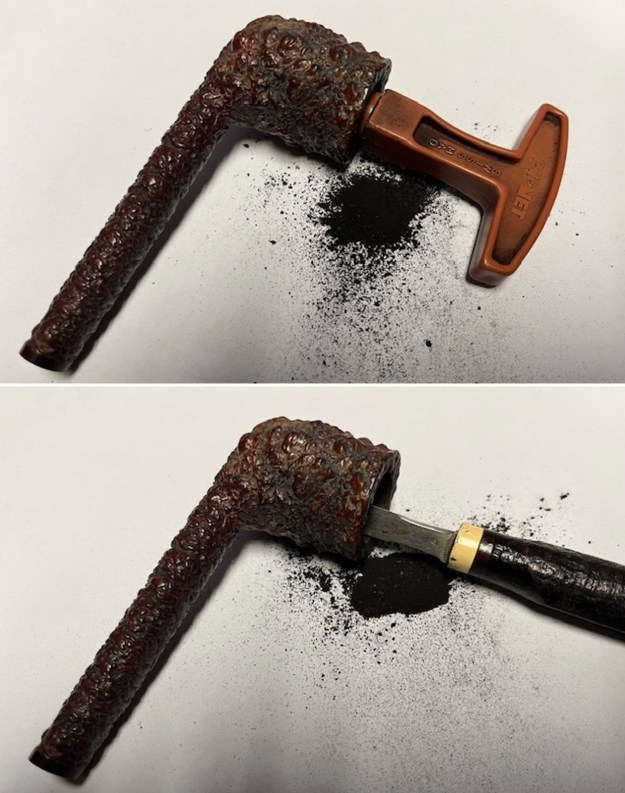
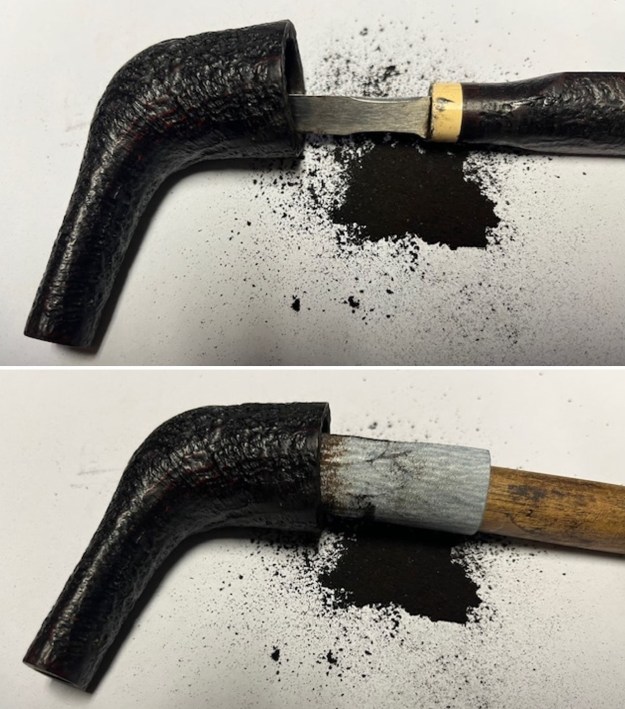
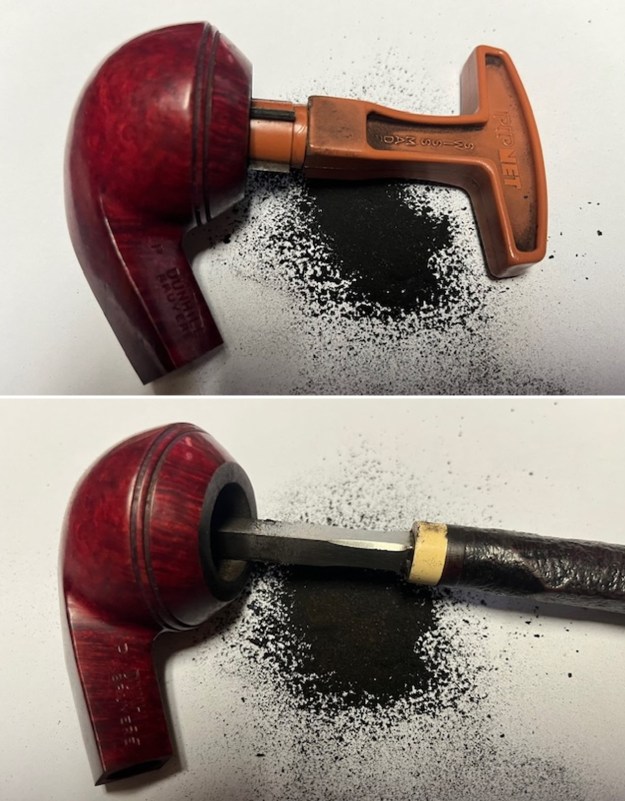
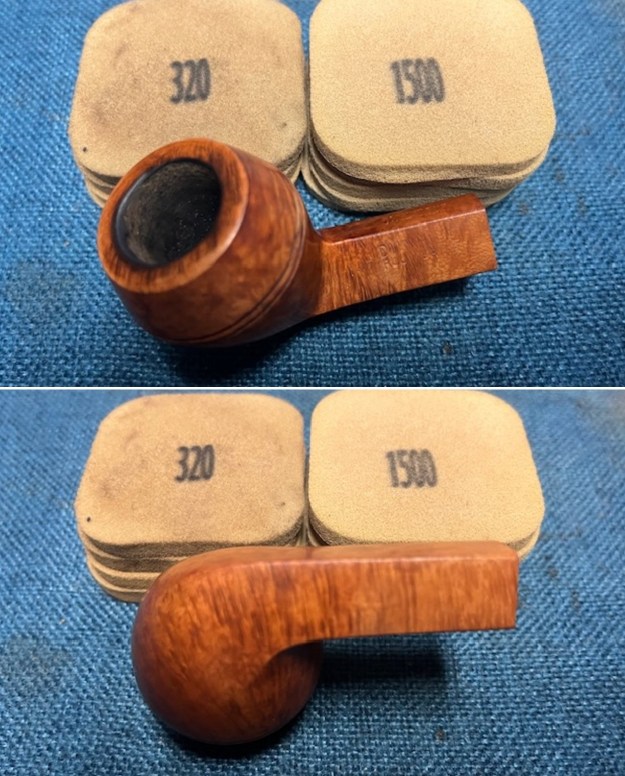
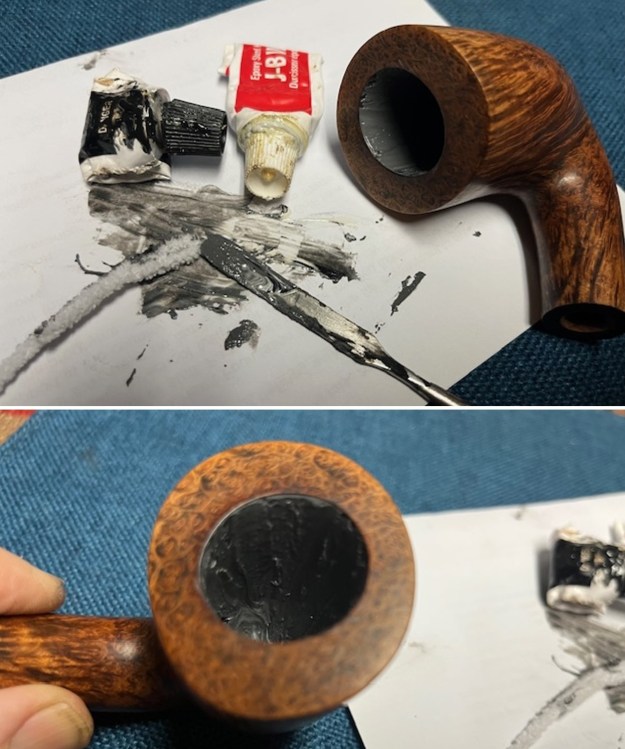
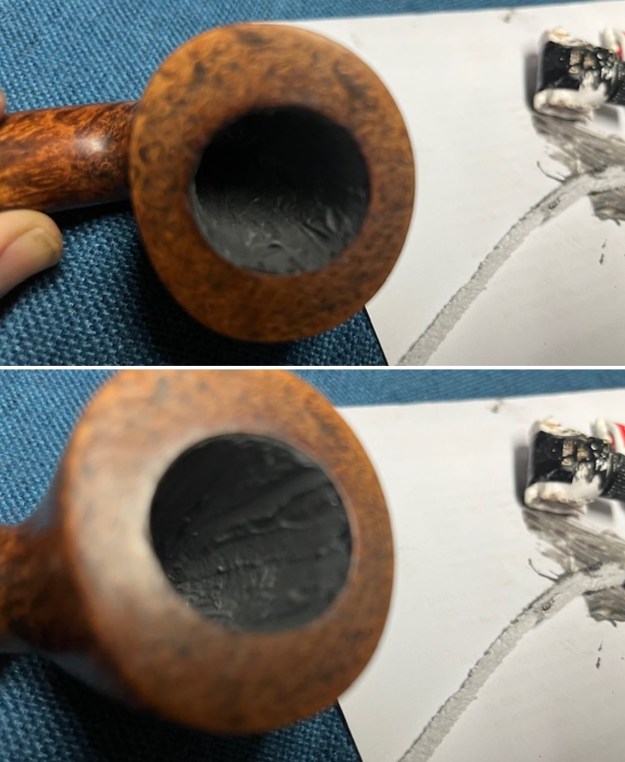
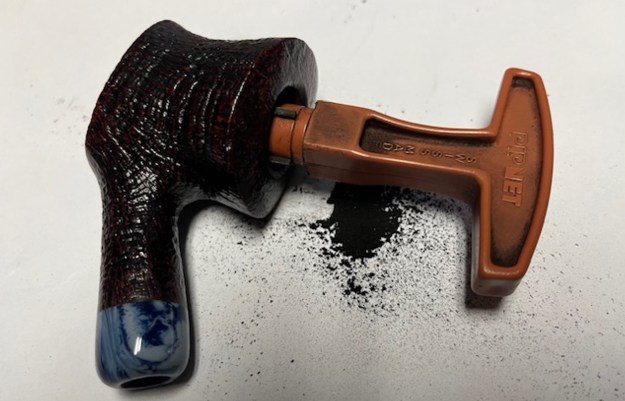
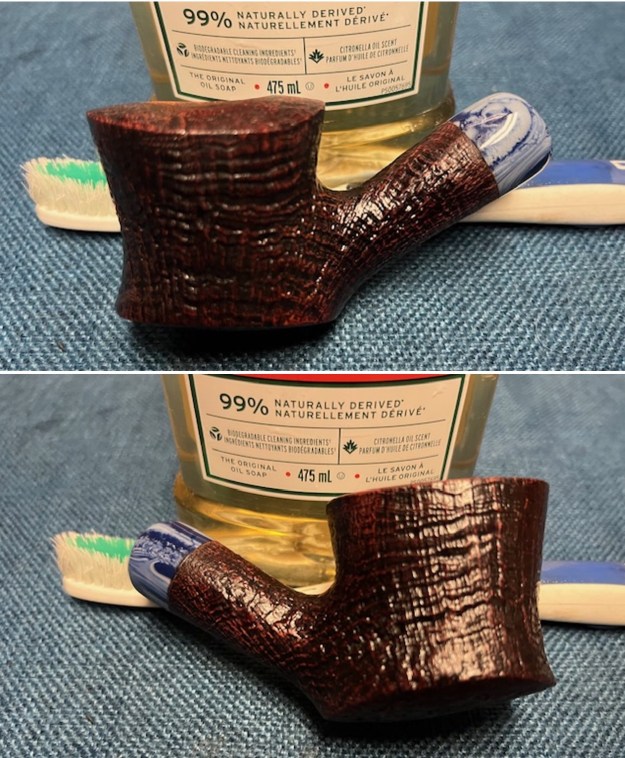
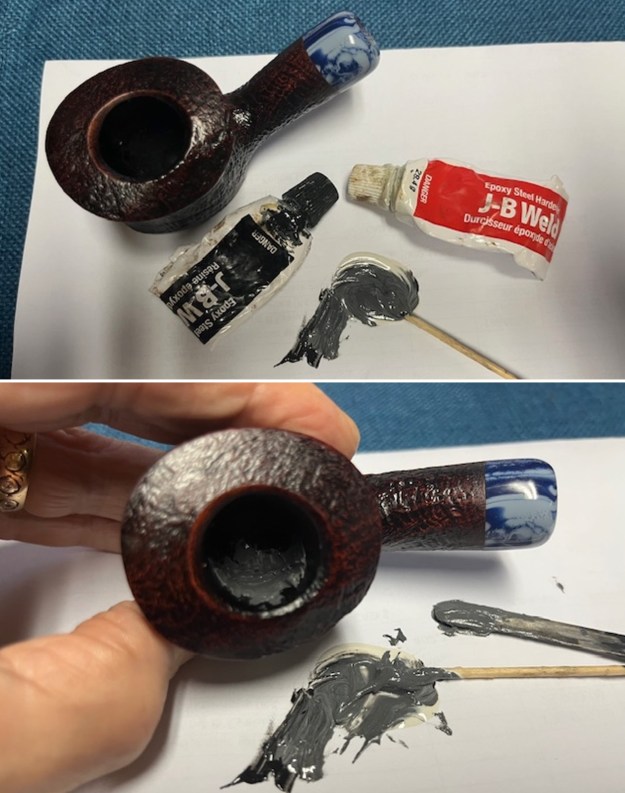
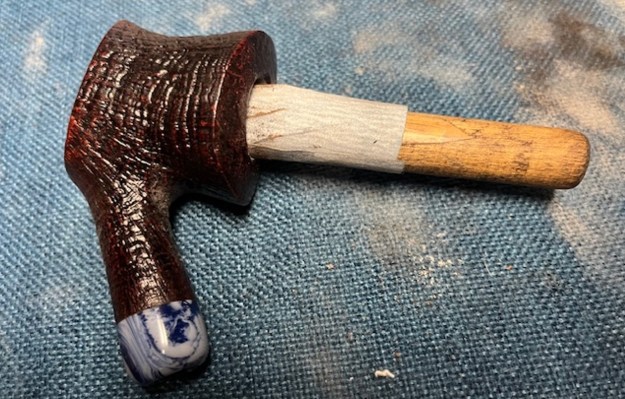
I turned to work on the pipe itself. I reamed the bowl with a PipNet pipe reamer using the cutting heads 2 and 3. I finished the reaming with a Savinelli Fitsall Pipe Knife. I sanded the walls of the bowl with 220 grit sandpaper wrapped around a piece of dowel. I turned to work on the pipe itself. I reamed the bowl with a PipNet pipe reamer using the cutting heads 2 and 3. I finished the reaming with a Savinelli Fitsall Pipe Knife. I sanded the walls of the bowl with 220 grit sandpaper wrapped around a piece of dowel.
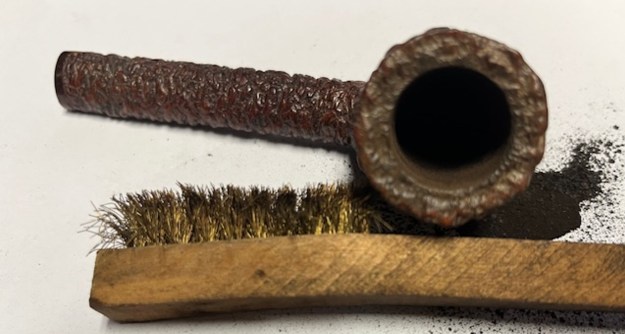
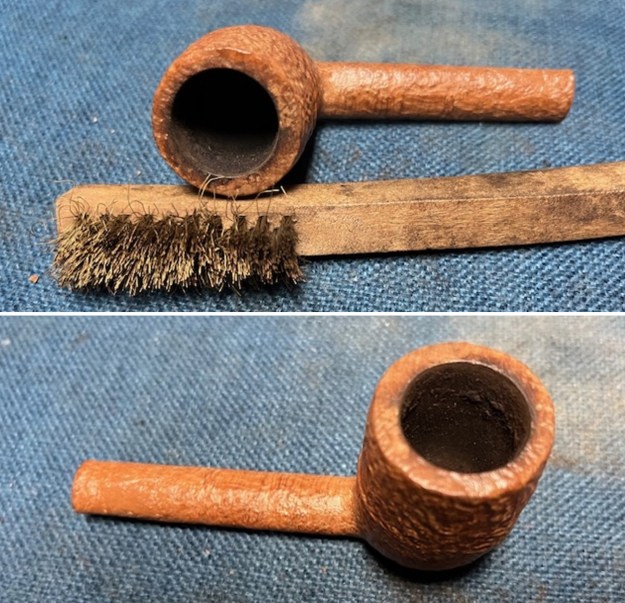
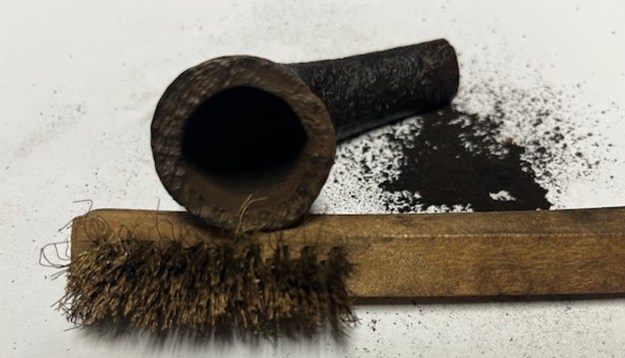
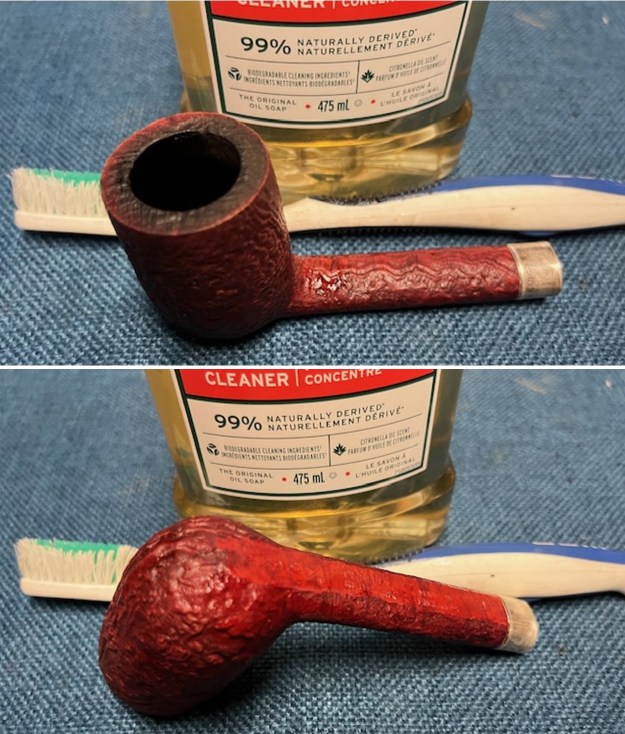
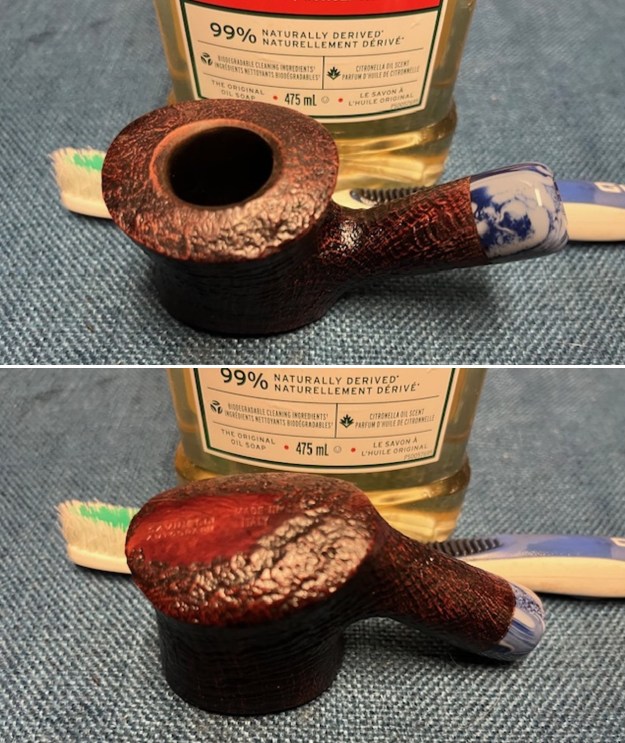
 I worked over the sandblast rim top with a brass bristle wire brush to clean up the debris in the valleys of the blast. It looked better.
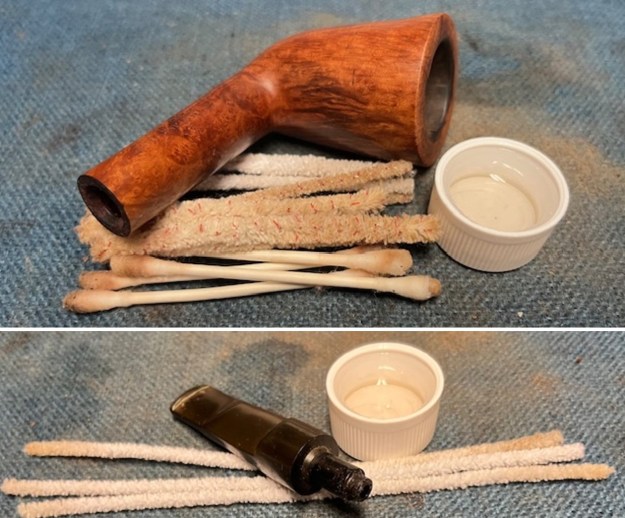
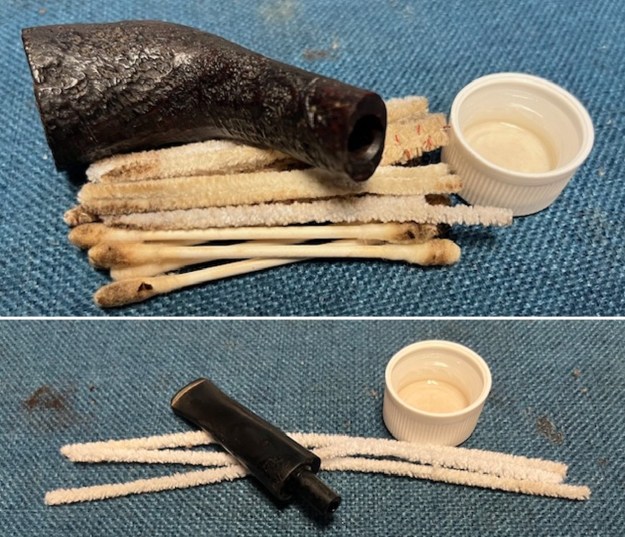
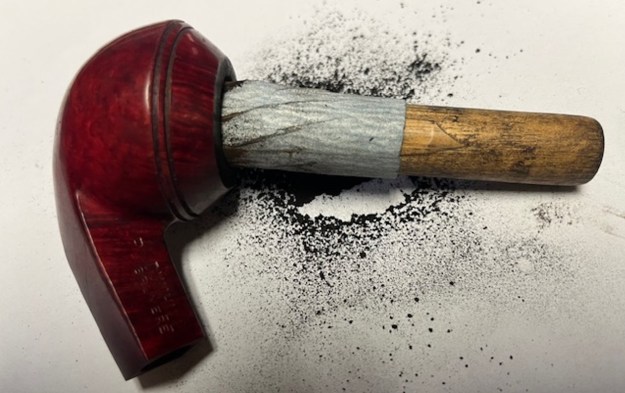
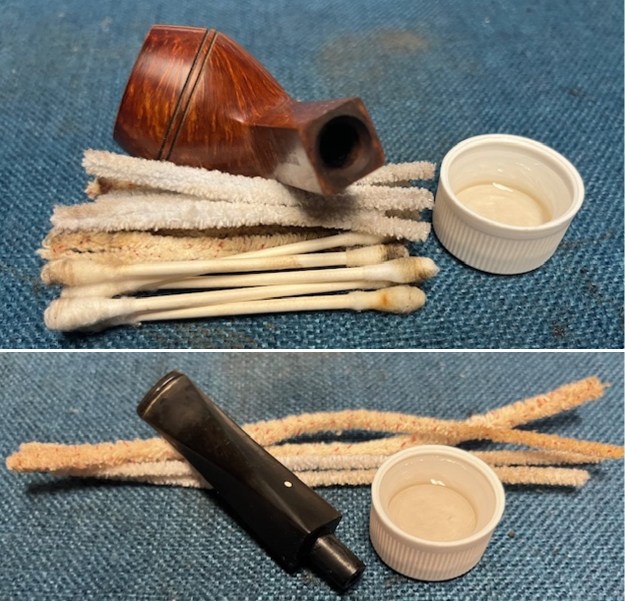
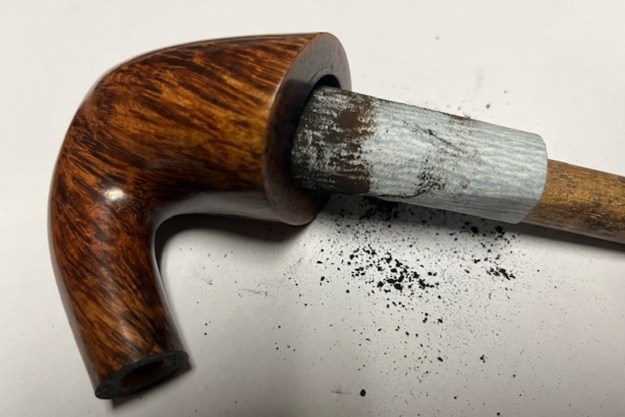
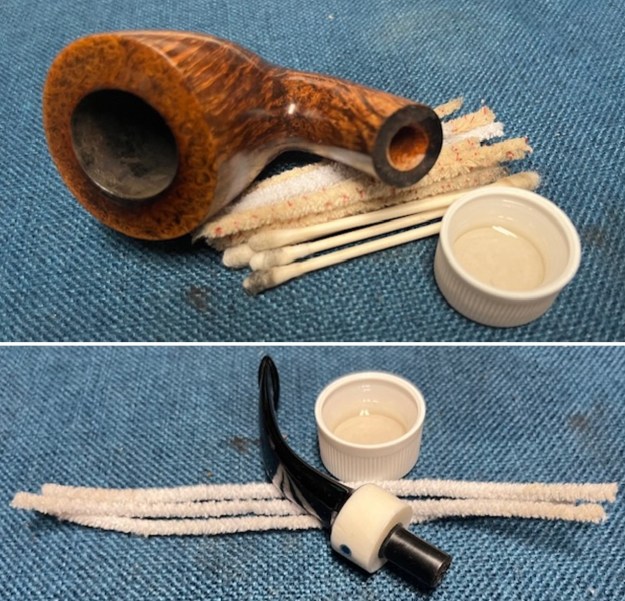
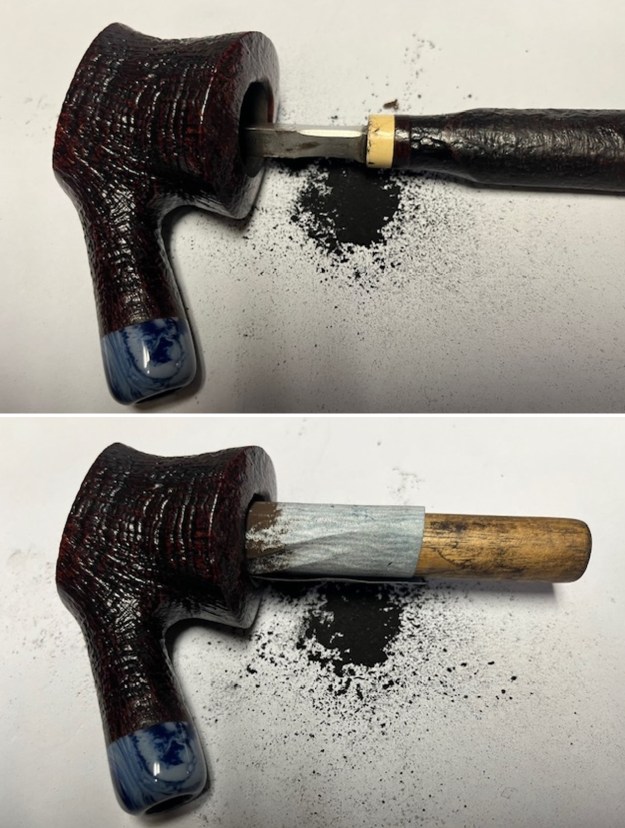
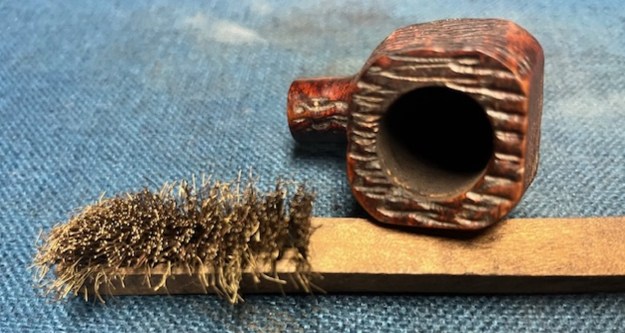 I cleaned out the inside of the shank and the airway in the stem with alcohol, cotton swabs and both bristle and regular pipe cleaners.
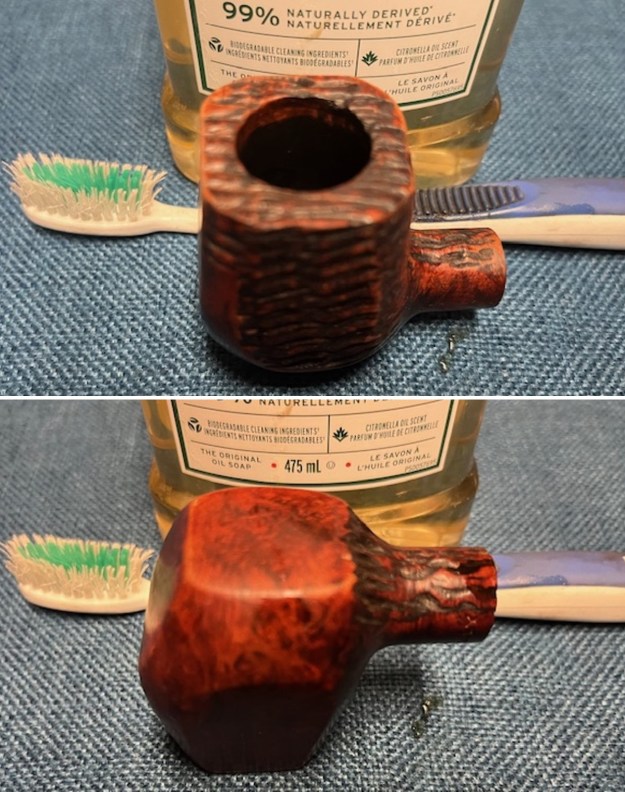
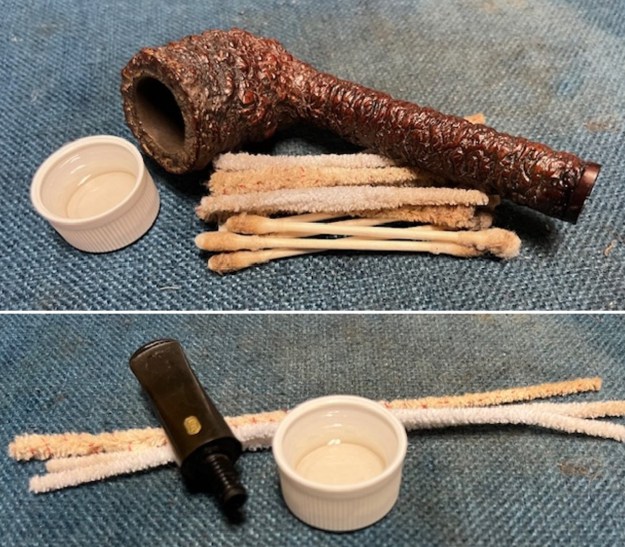
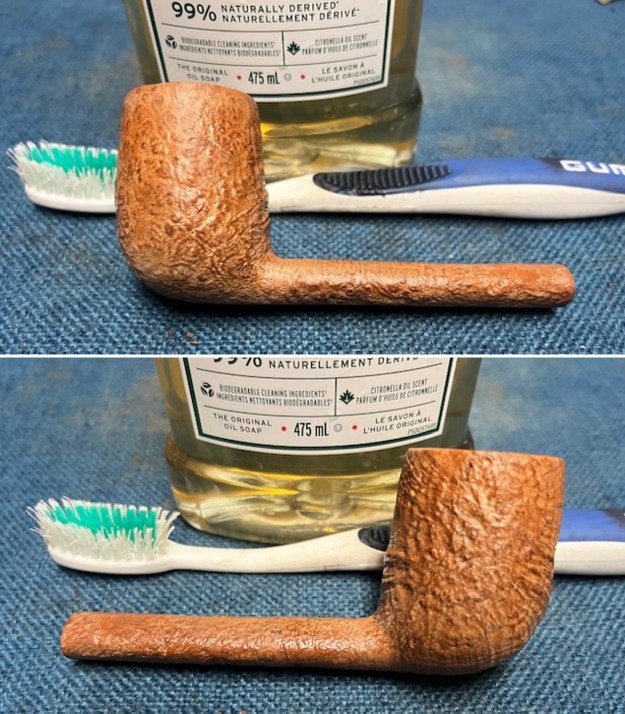
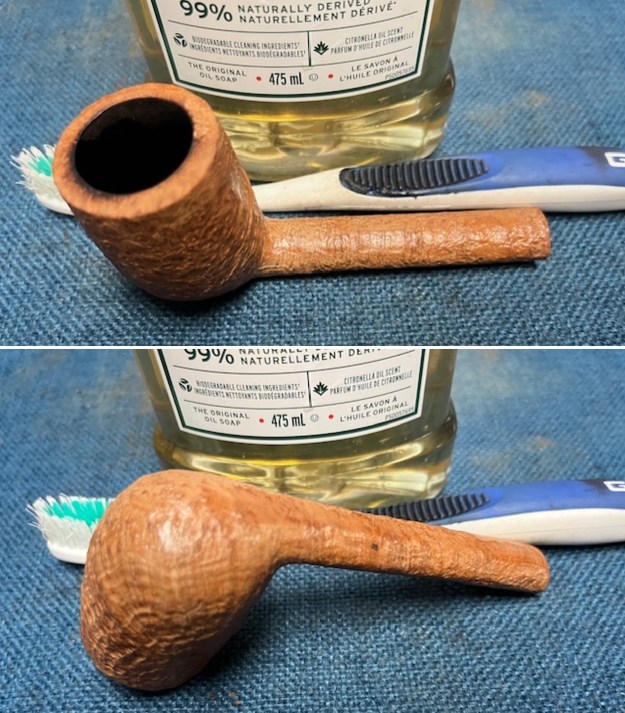
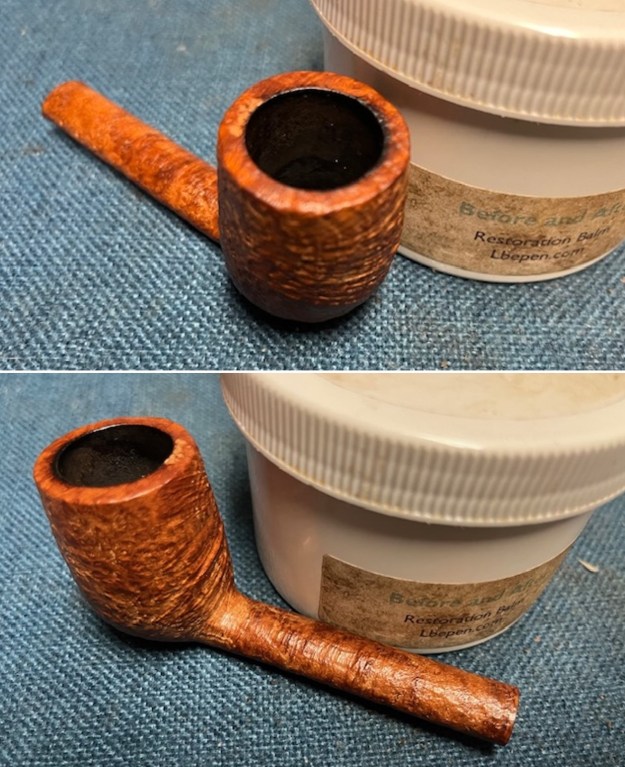
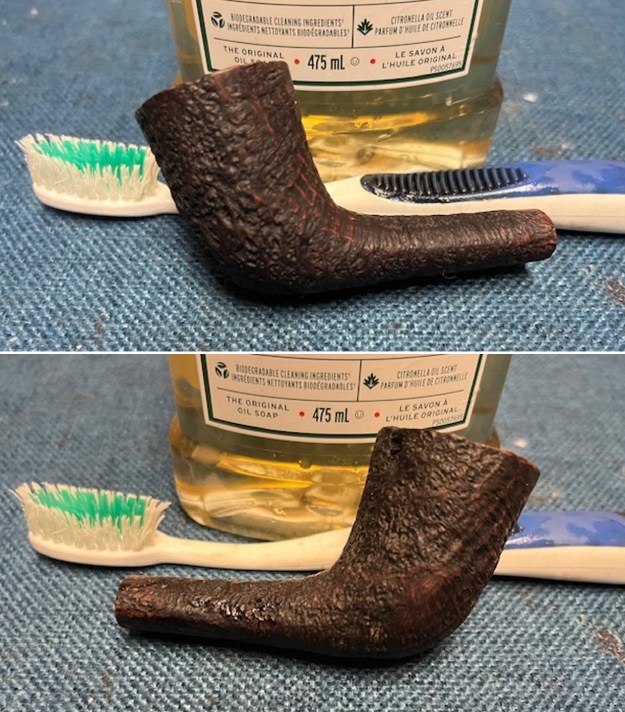
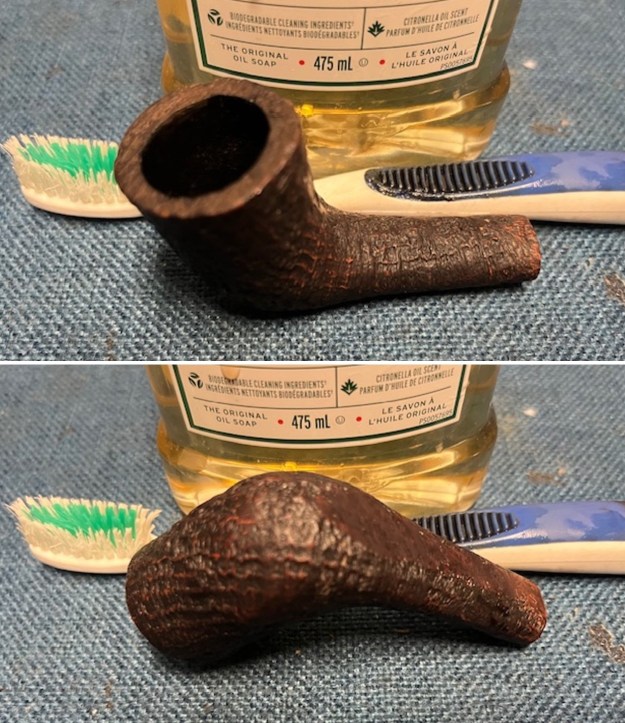
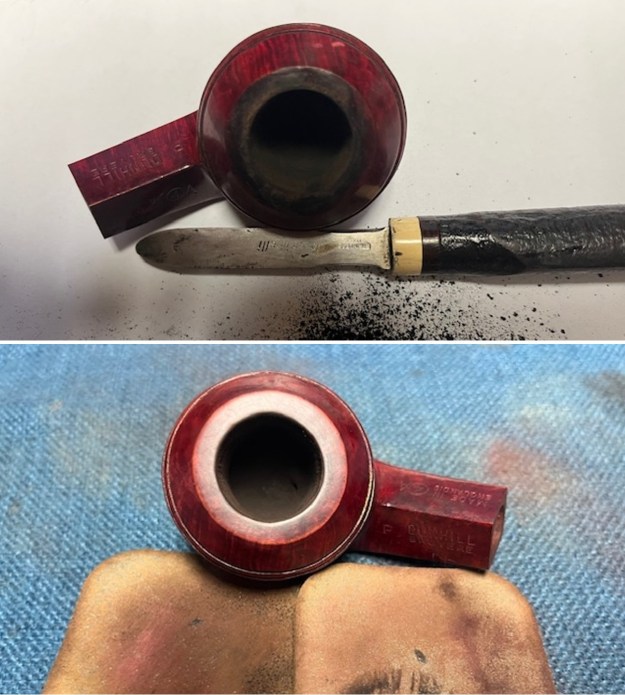
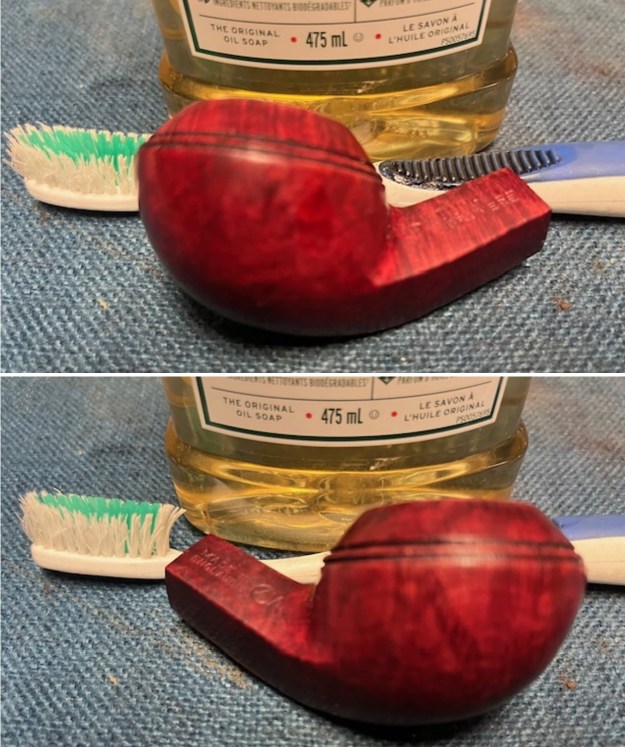
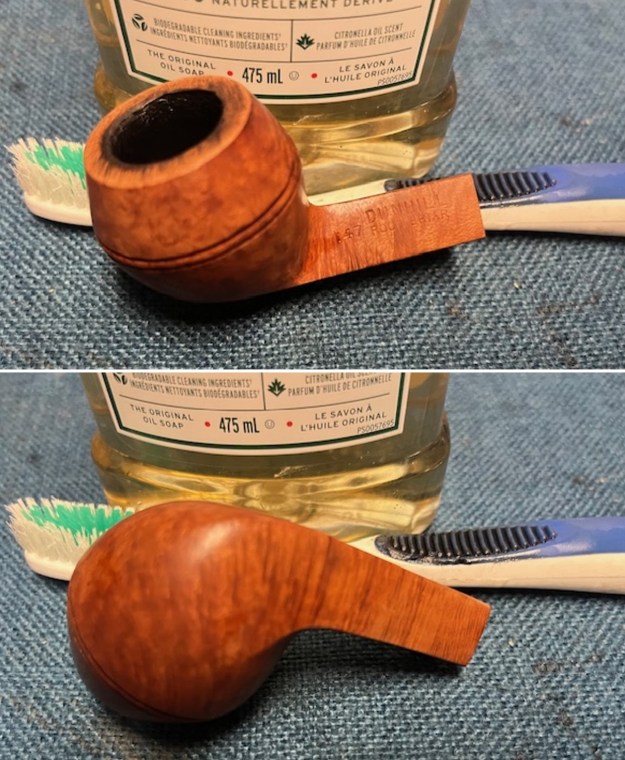
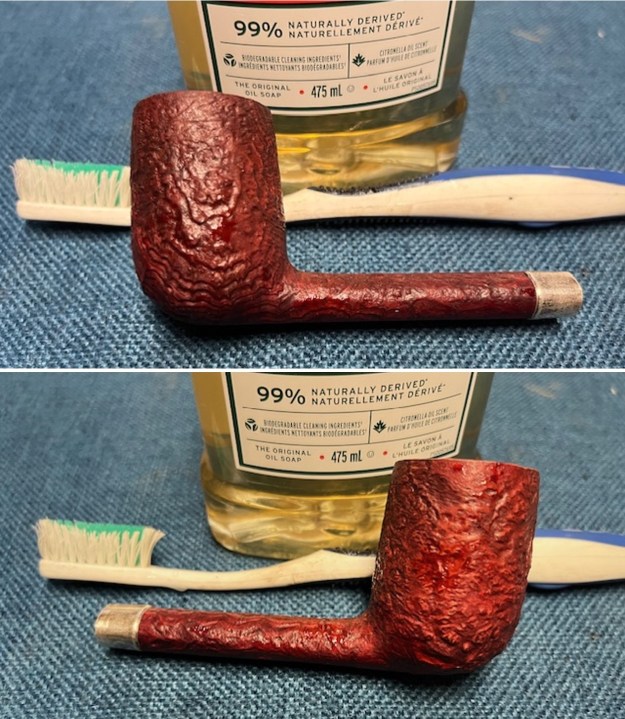
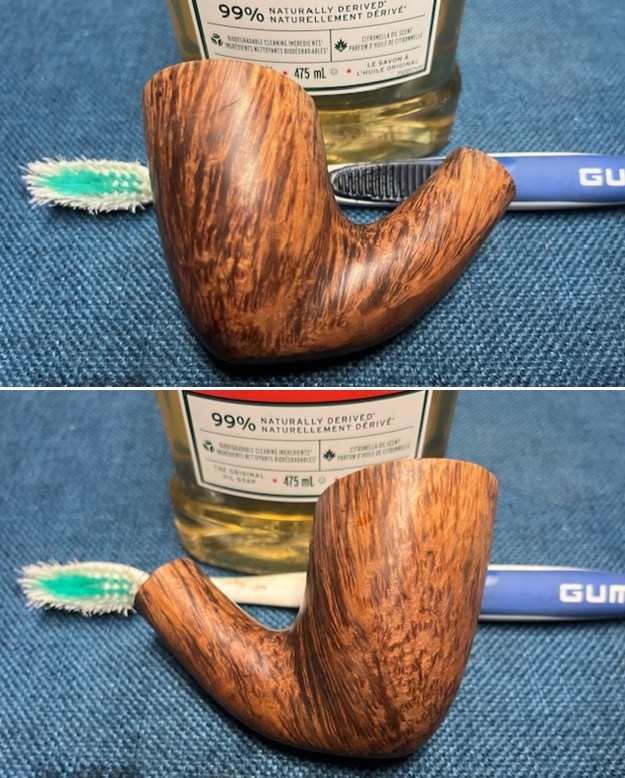
 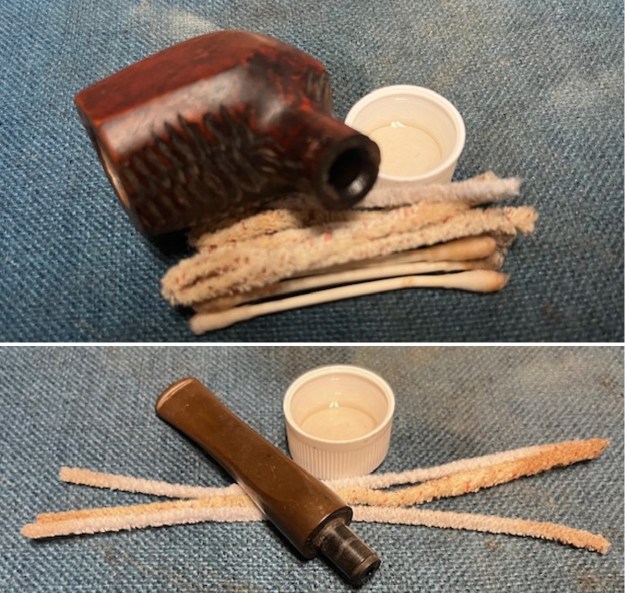 I scrubbed the bowl and shank with a tooth brush and some undiluted Murphy’s Oil Soap. I rinsed it off with warm water to remove the dust and soap from the finish. I dried it off with a soft cloth and it looked much better.
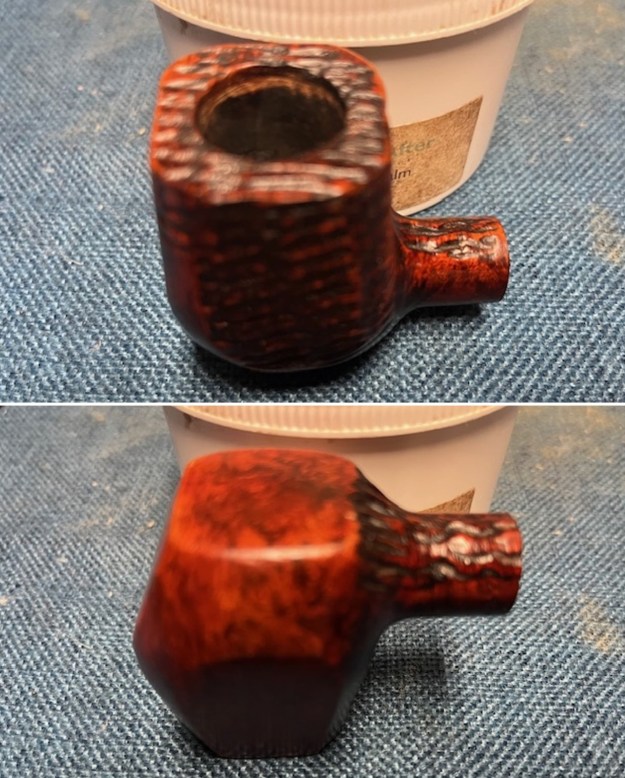
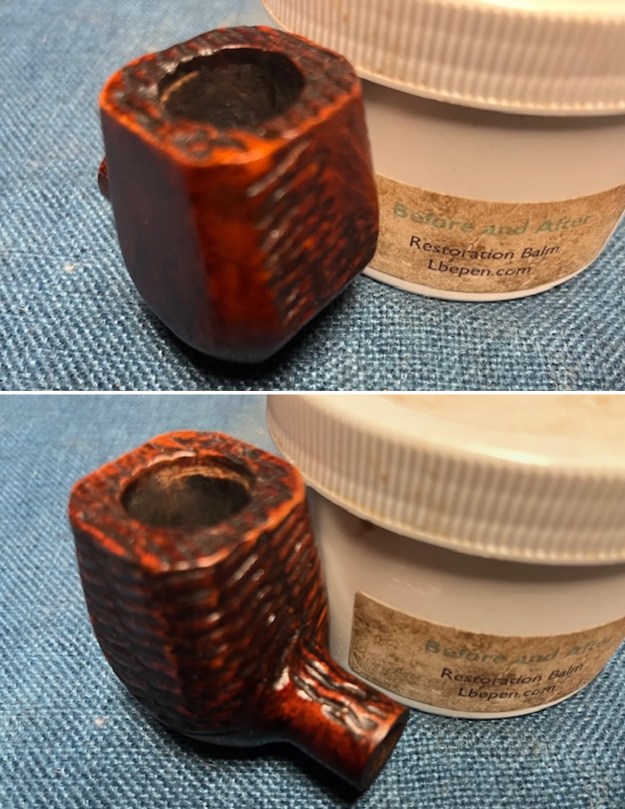
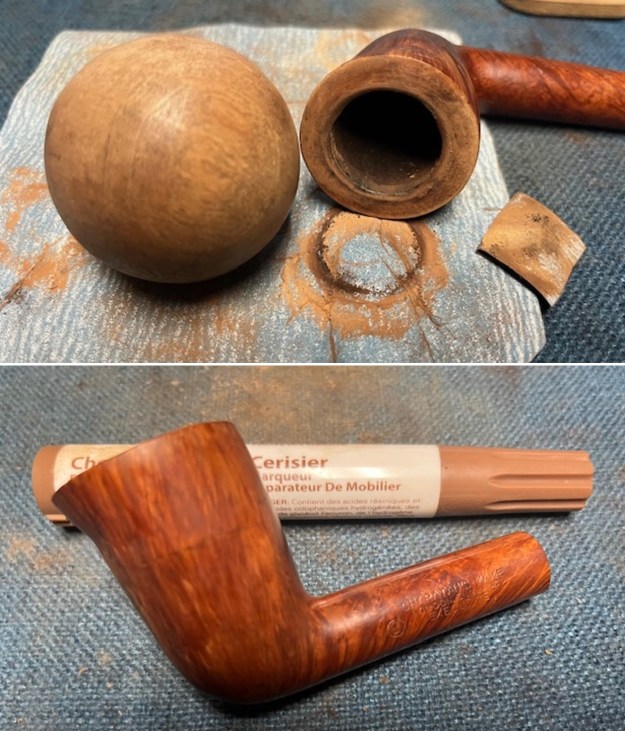
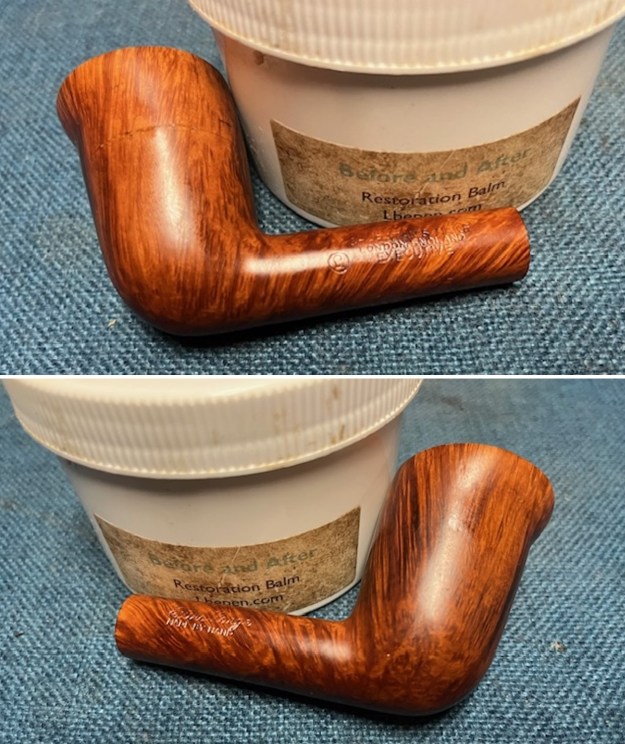
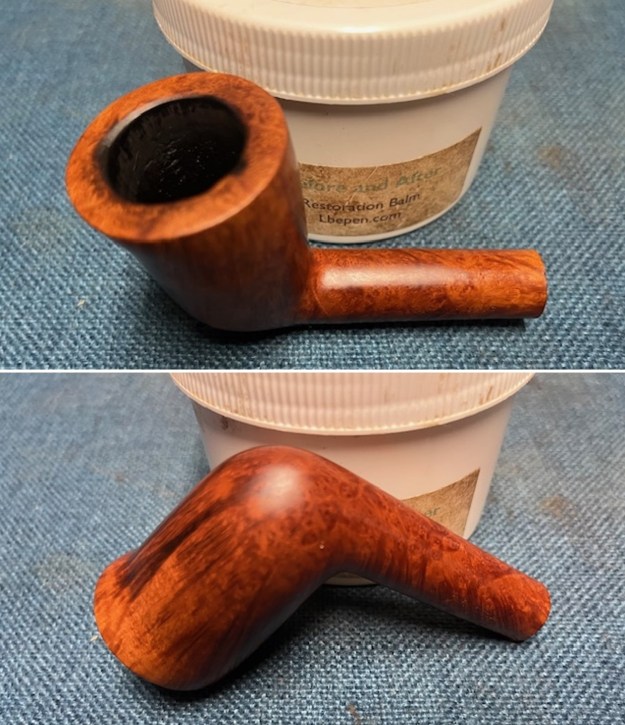
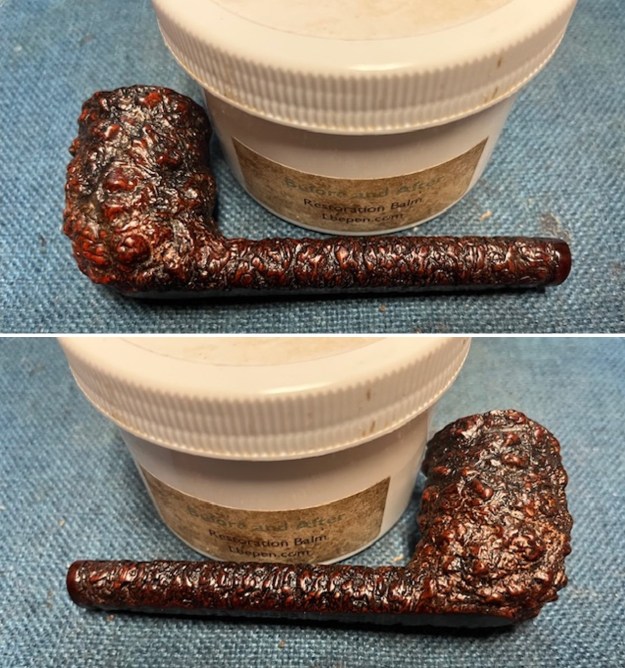
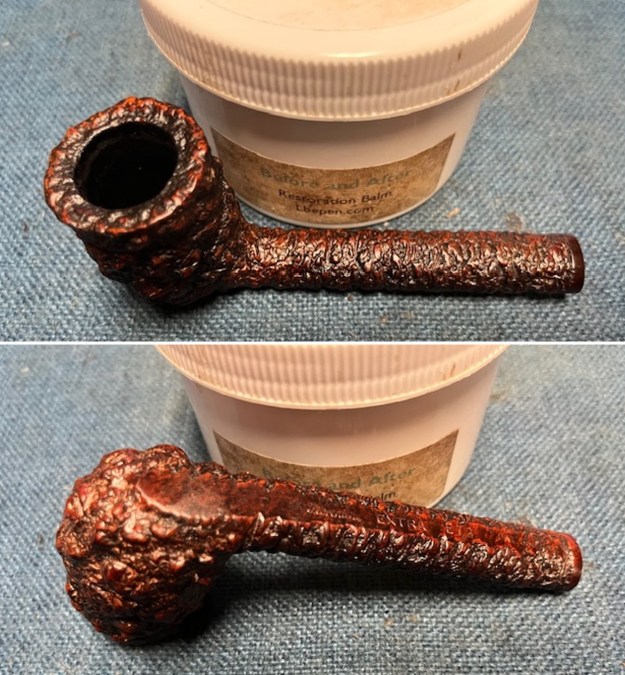
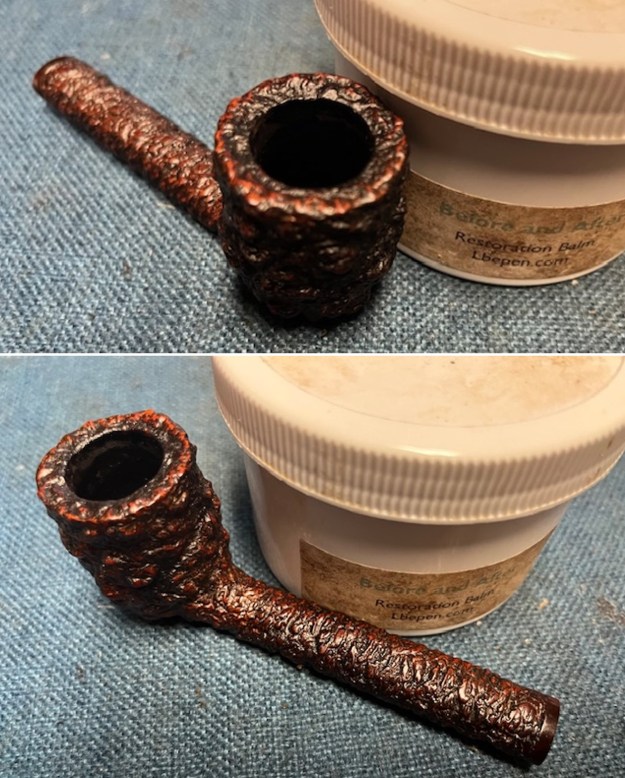
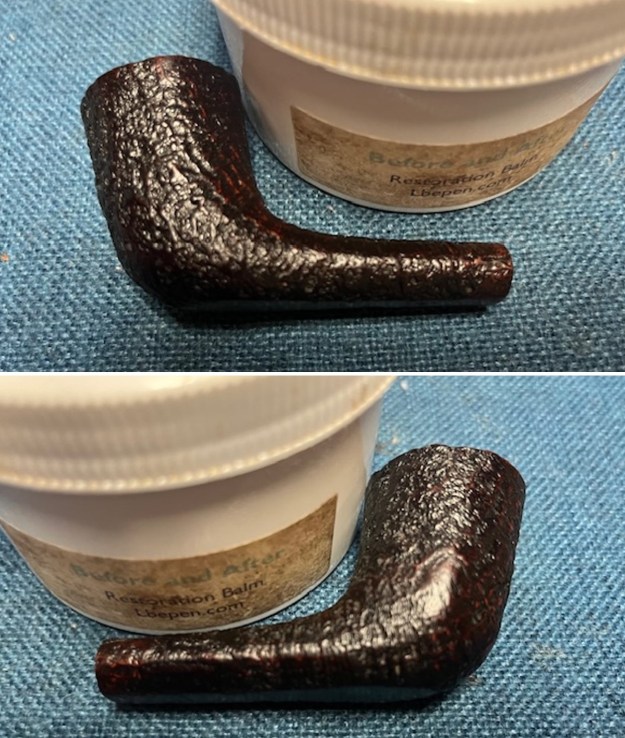
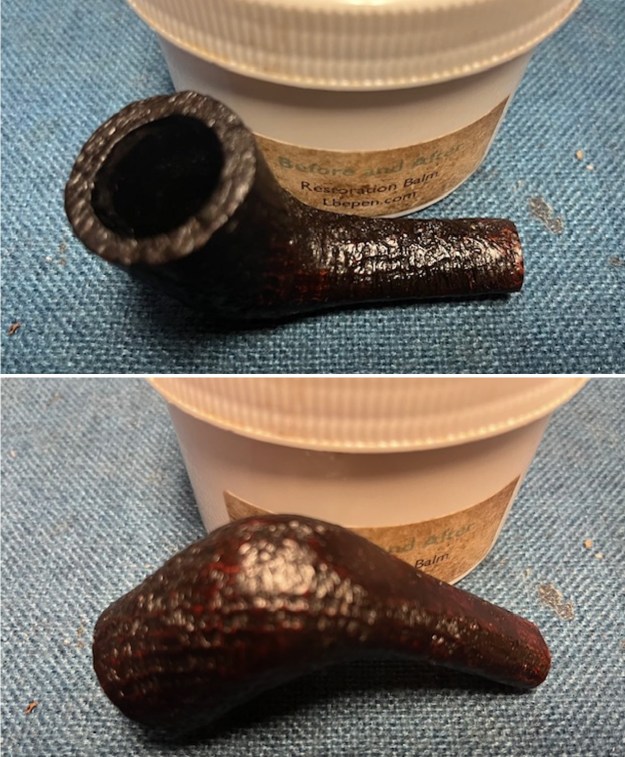
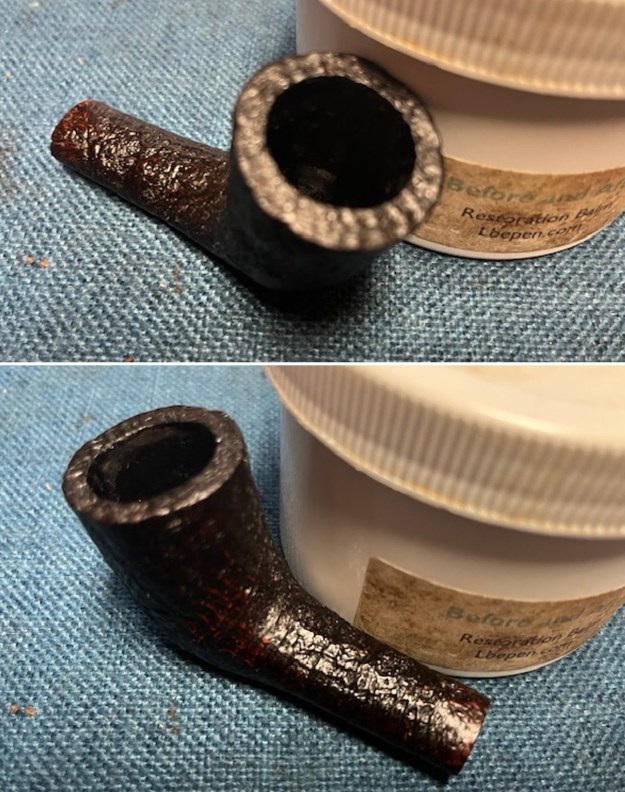
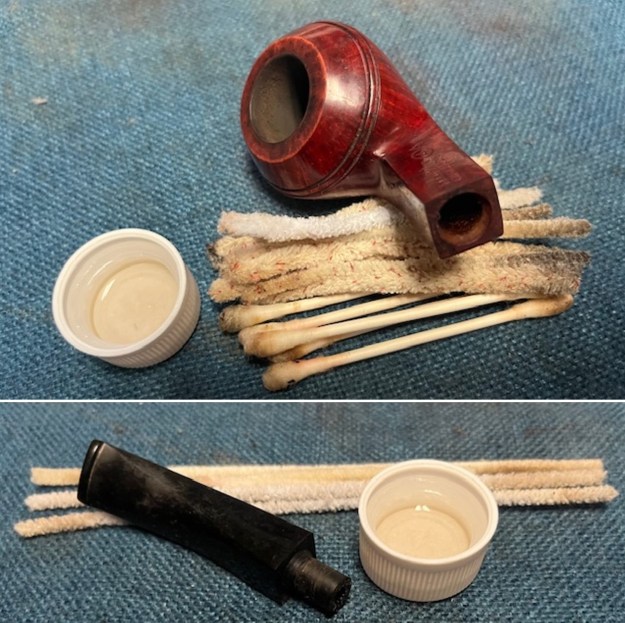
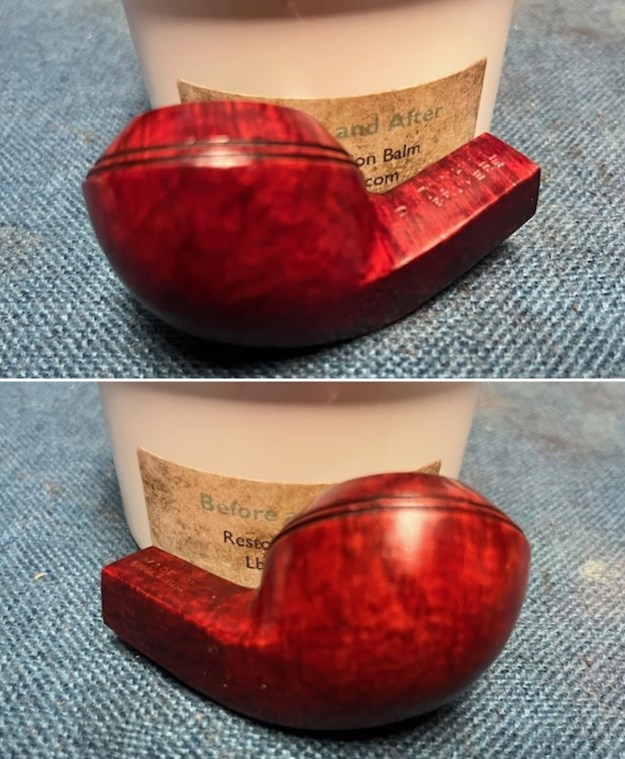
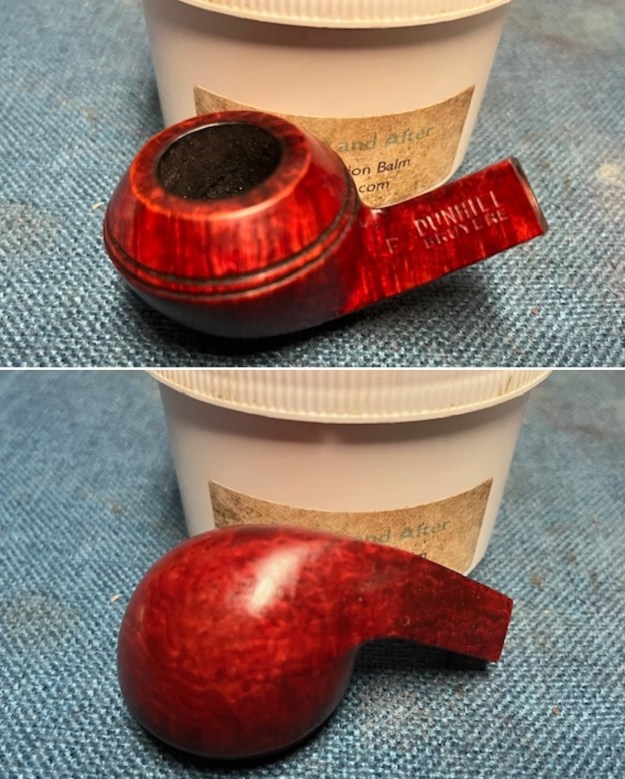
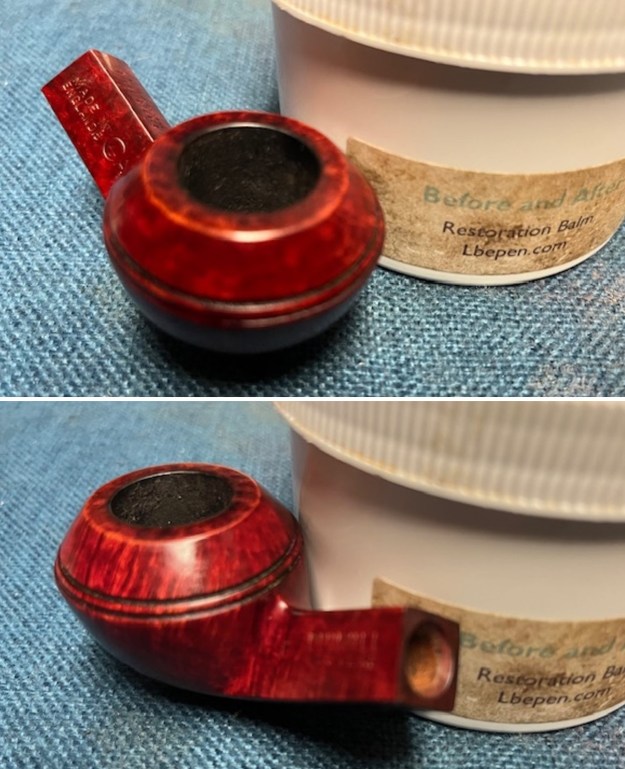
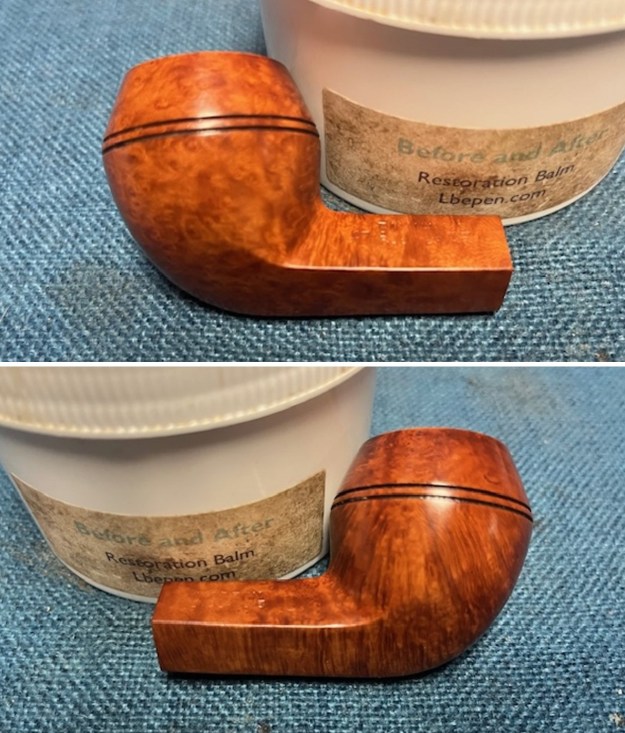
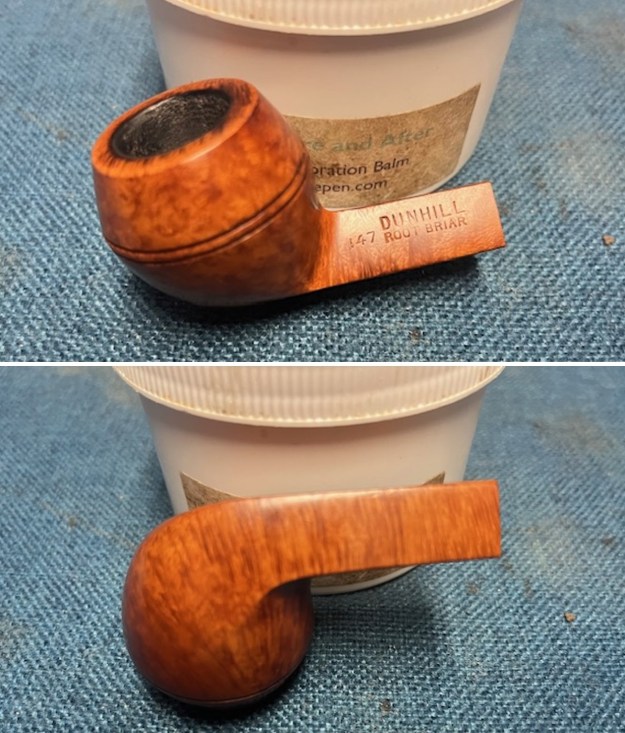
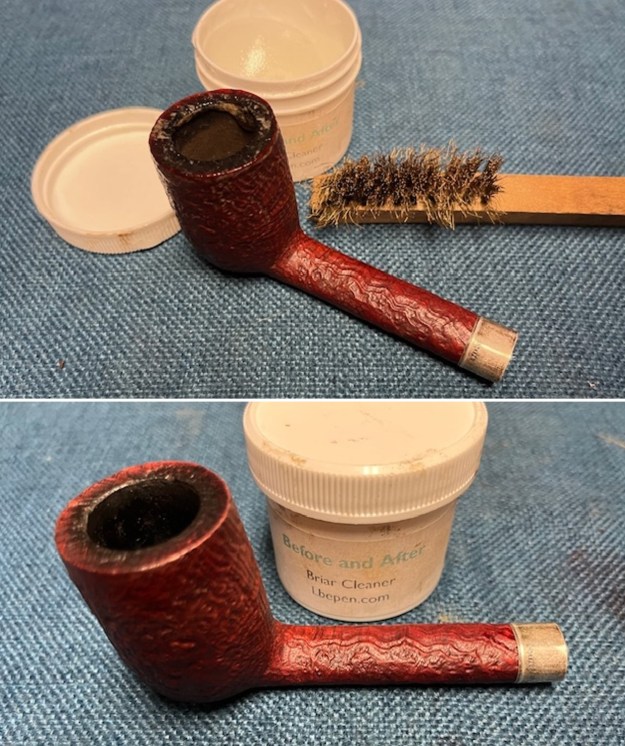
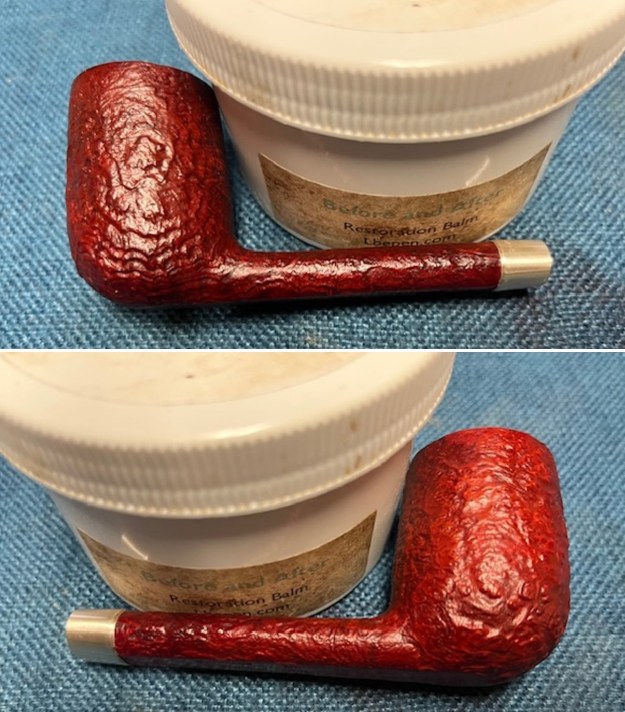
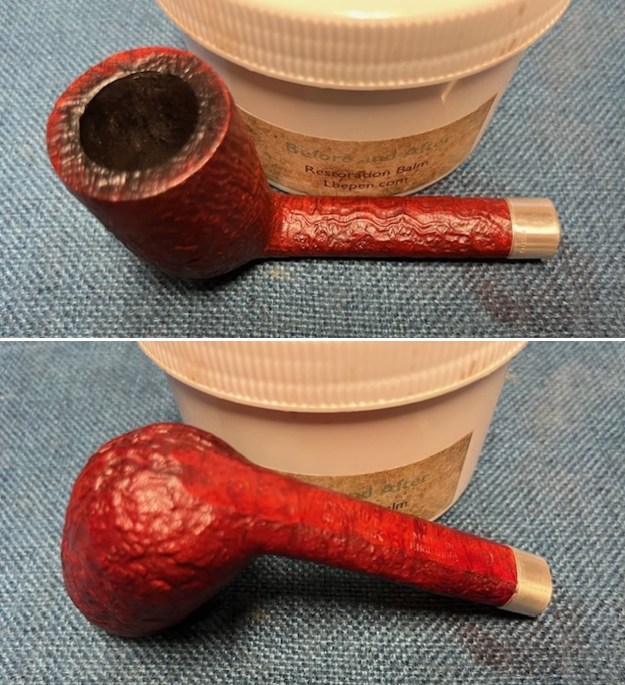
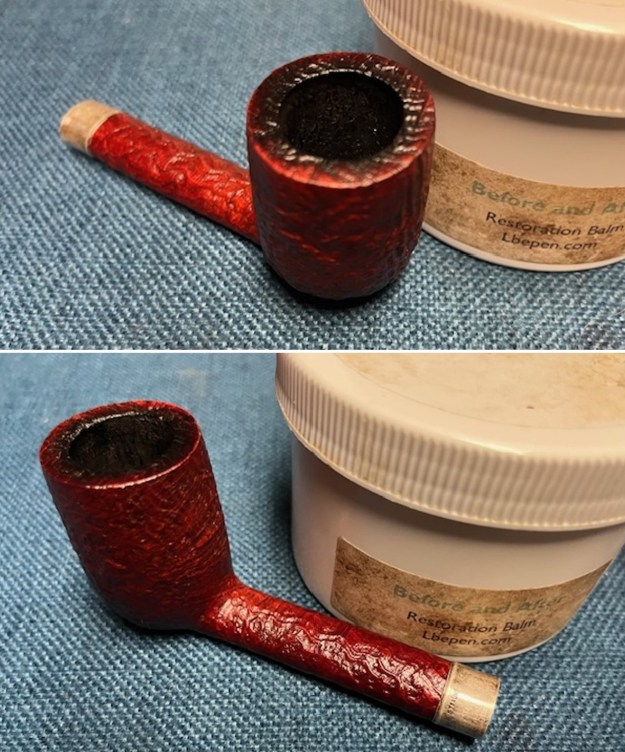
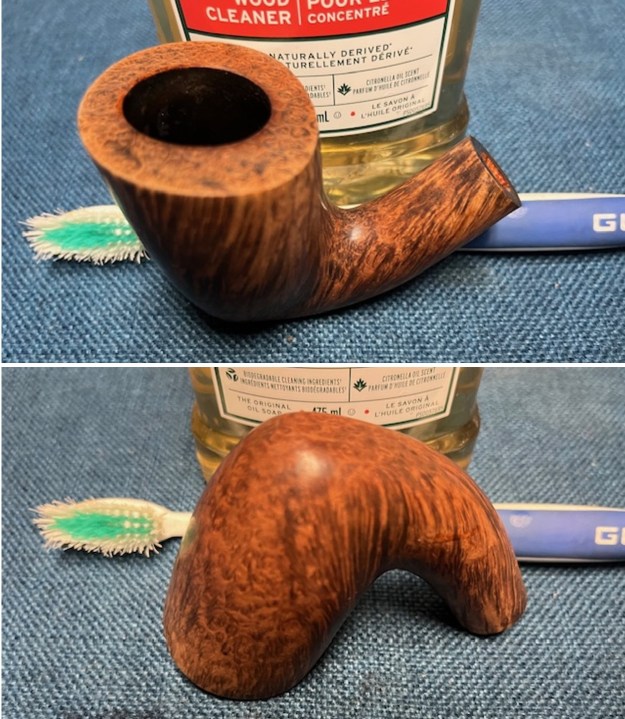
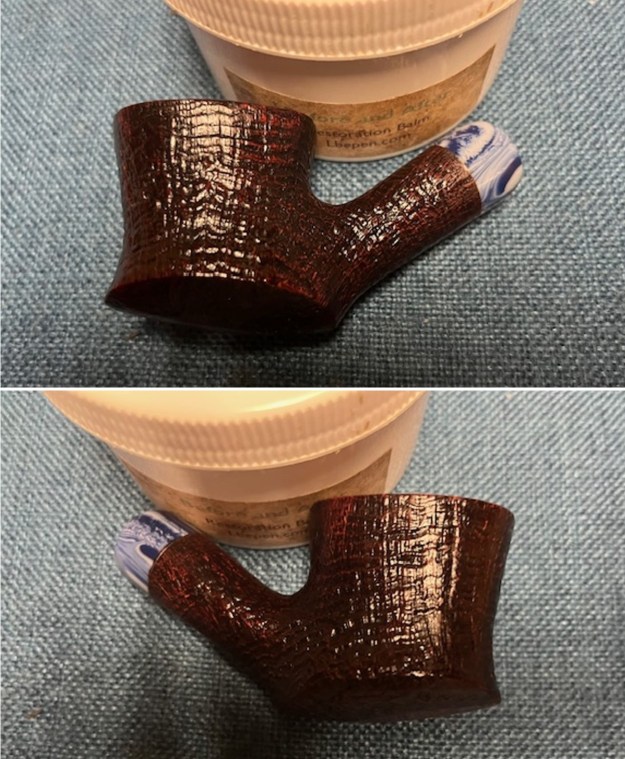
 I rubbed the briar down with Before & After Restoration Balm. I worked it into the briar with my fingertips to work it into the finish. The product works to clean, enliven and preserve the briar. I let it sit for 10 minutes then I buffed it with a cotton cloth to deepen the shine. The briar really comes alive with the balm.
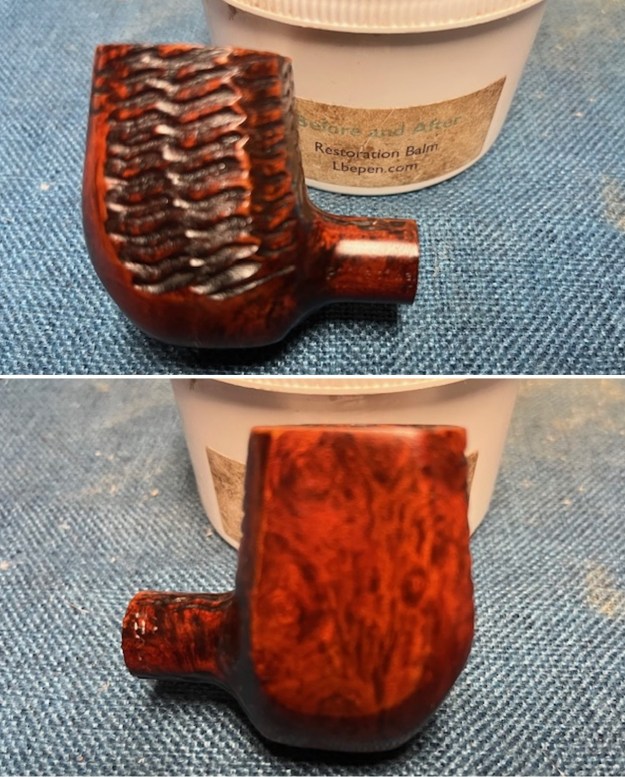
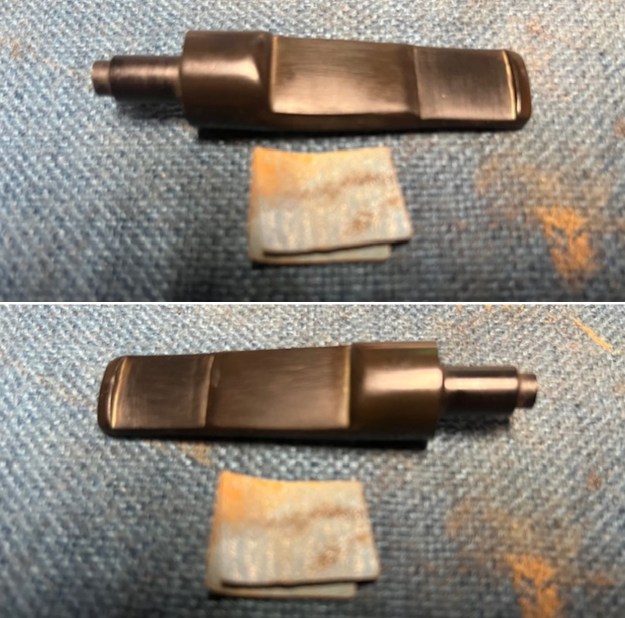
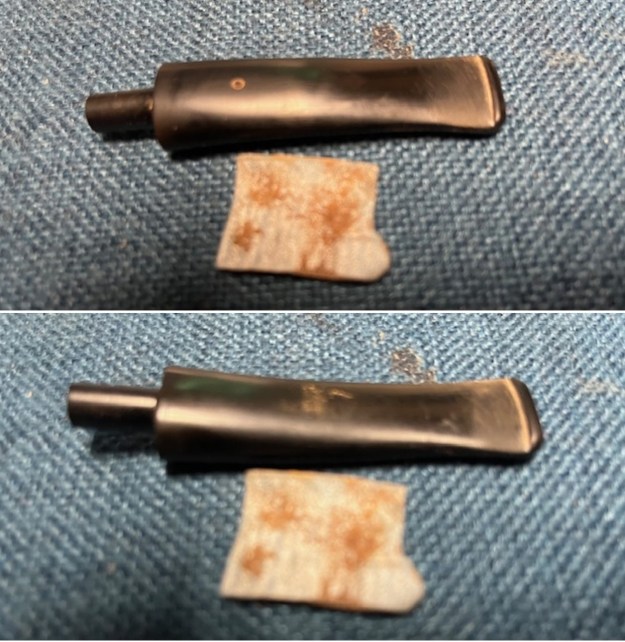
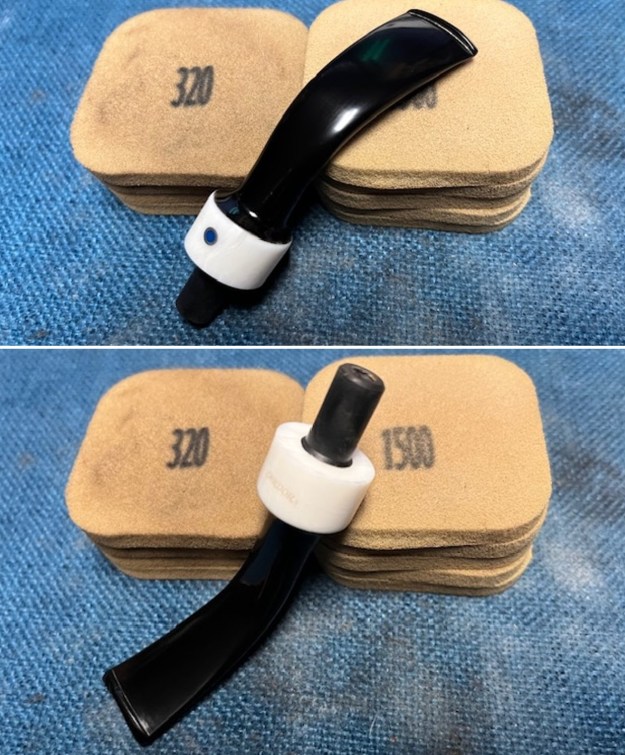
 I set the bowl aside and worked on the stem. I scrubbed the stem surface with some Soft Scrub on cotton pads to remove some of the oxidation. I sanded the surface of the stem with a folded piece of 220 grit sandpaper to remove the oxidation and clean up the tooth marks and chatter on both sides of the stem ahead of the button.
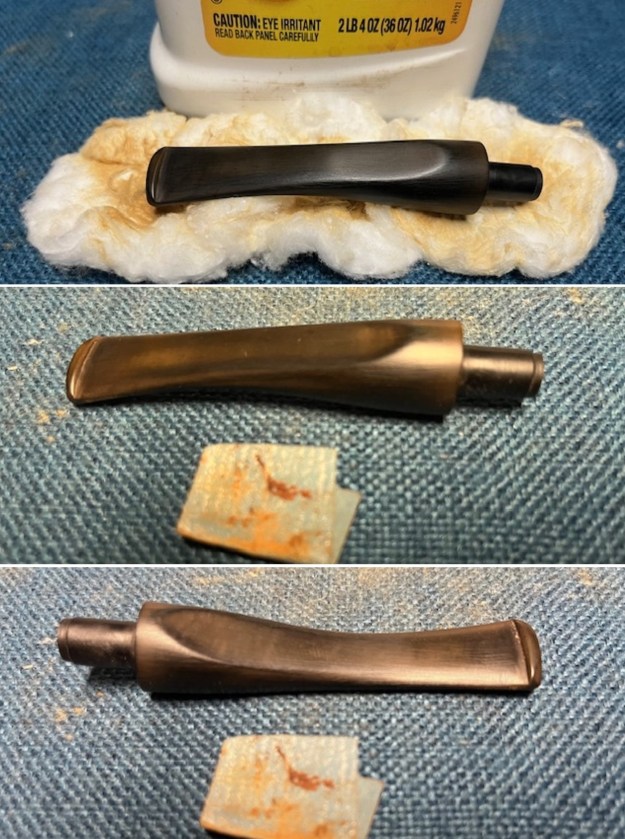 I soaked the stem in some Briarville’s Pipe Stem Deoxidizer for 2 hours. Afterwards I wiped off the excess and ran some pipe cleaners through the airway on the stem.
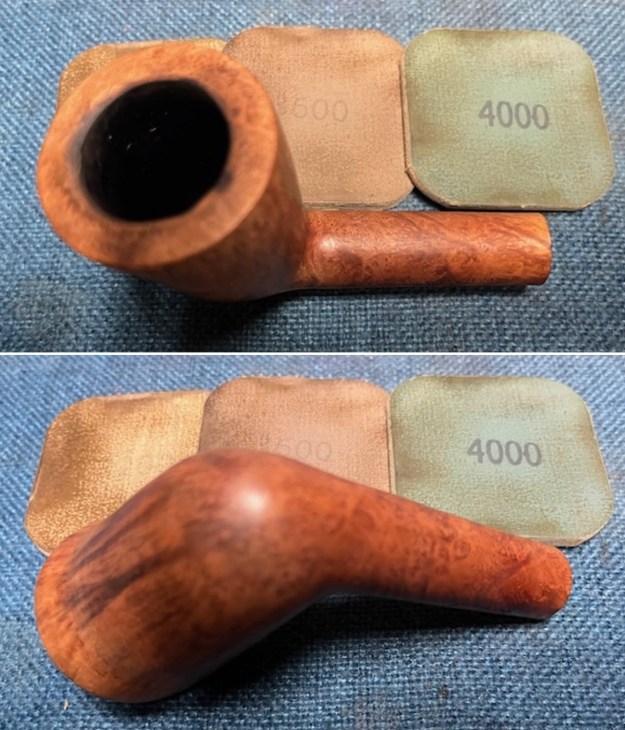
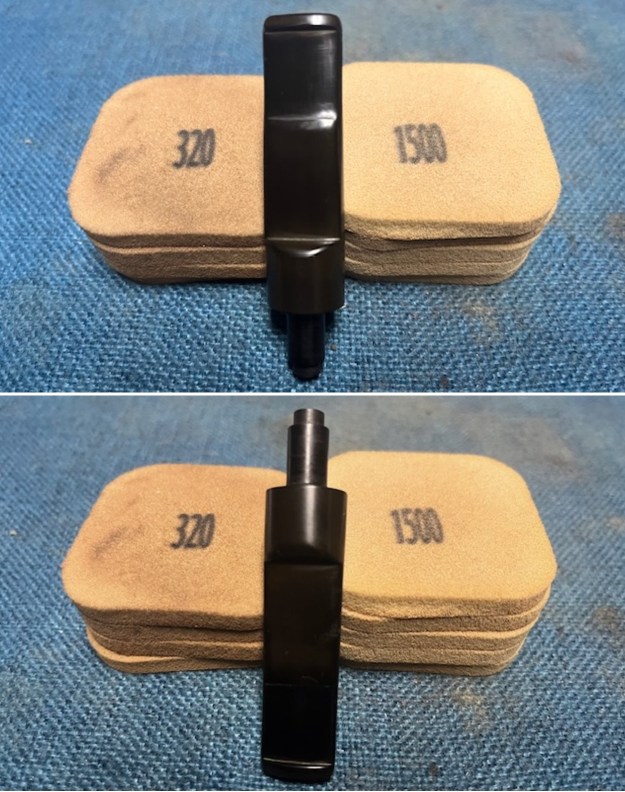
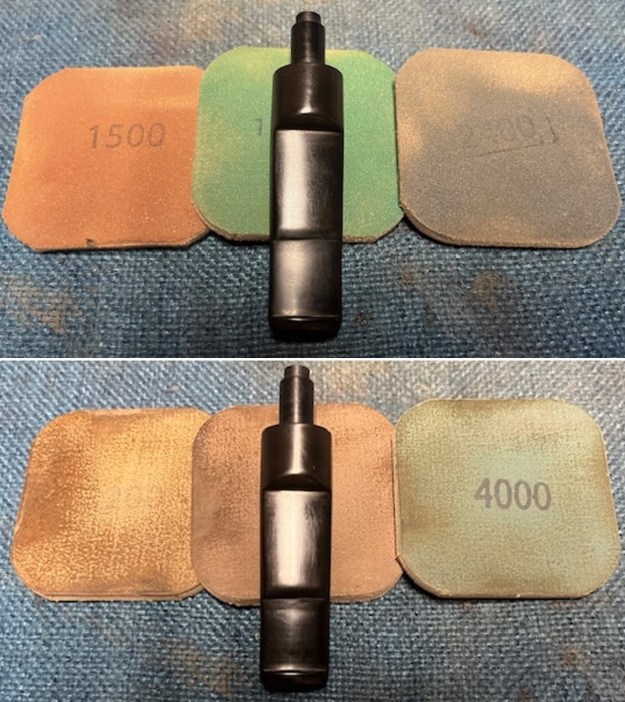
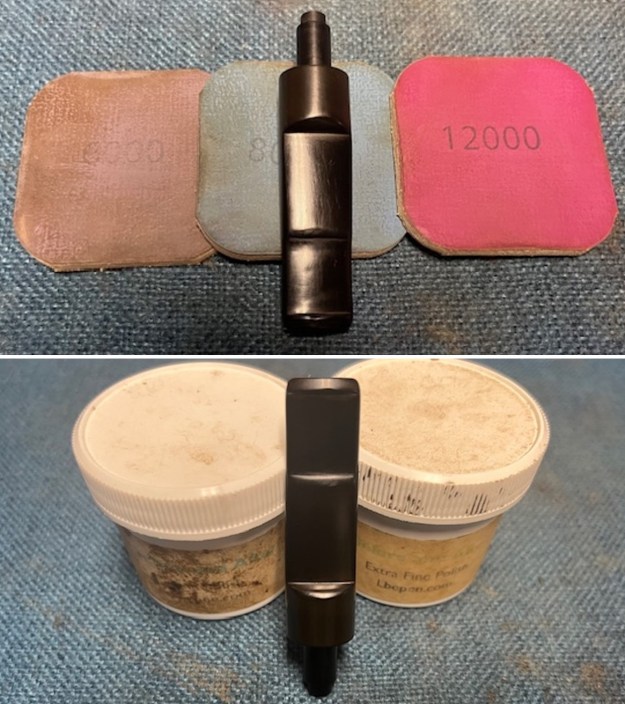
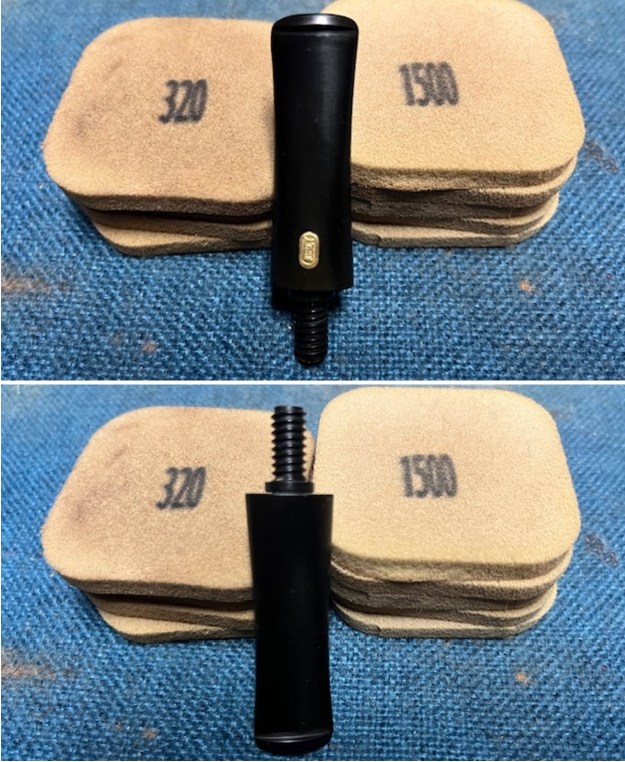
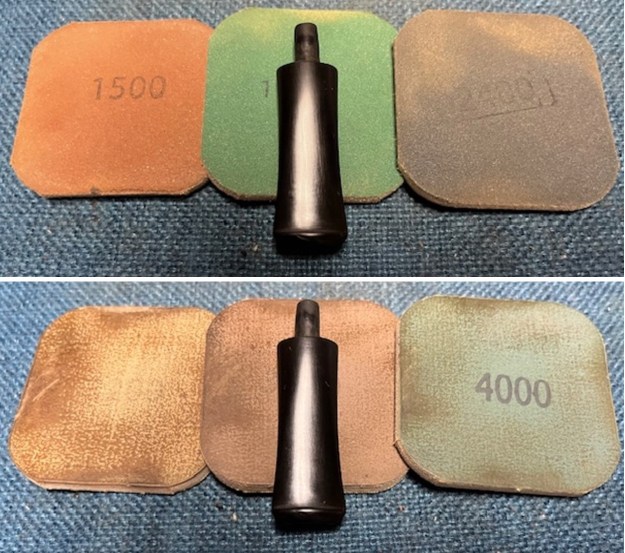
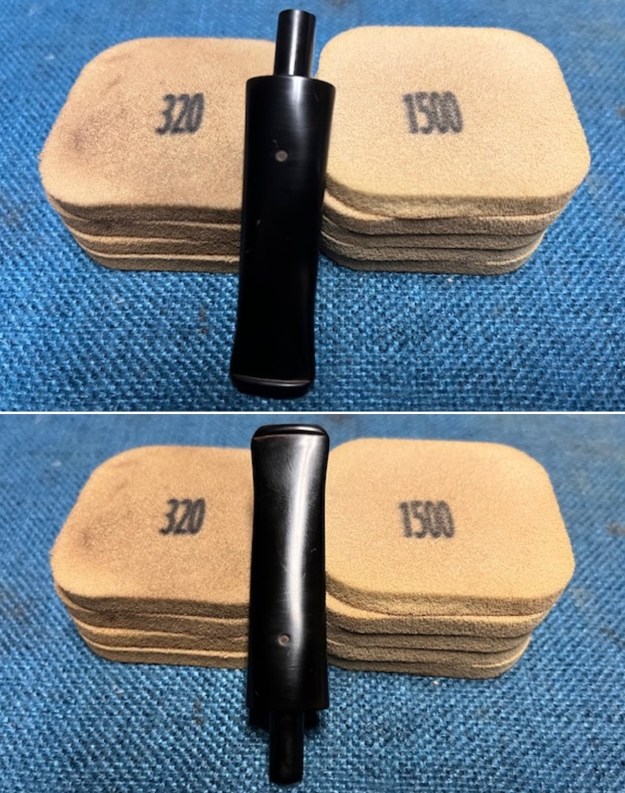
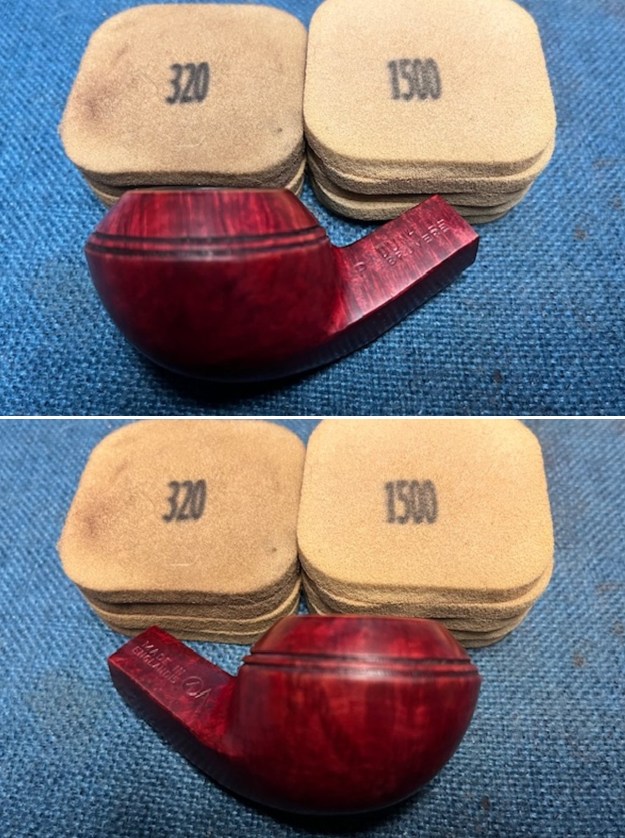
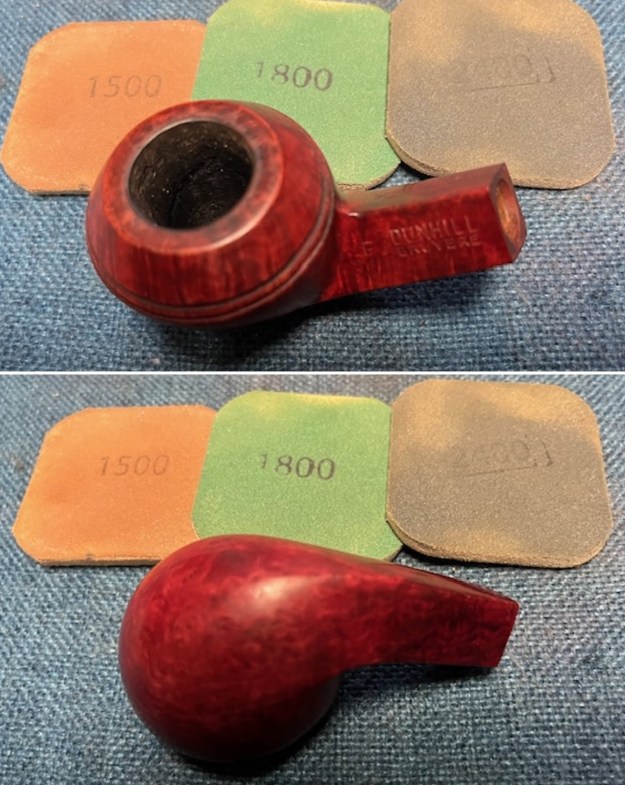
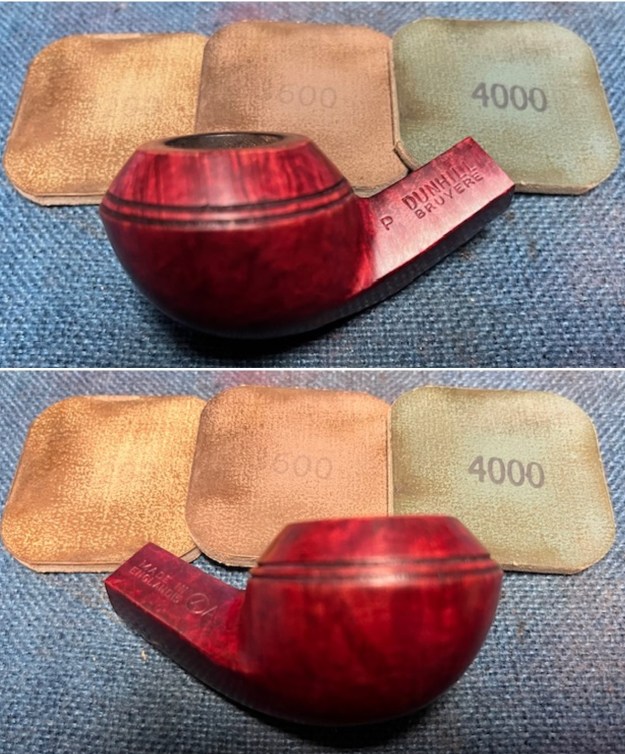
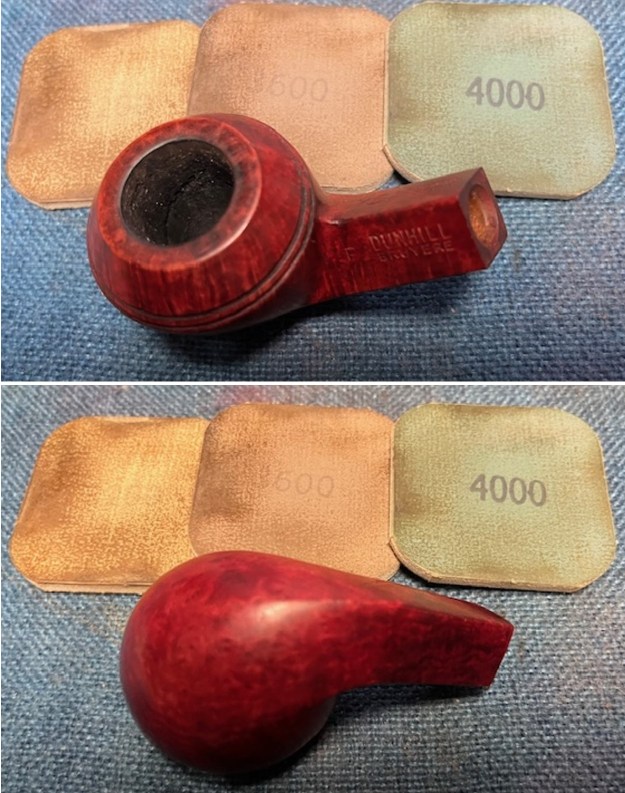
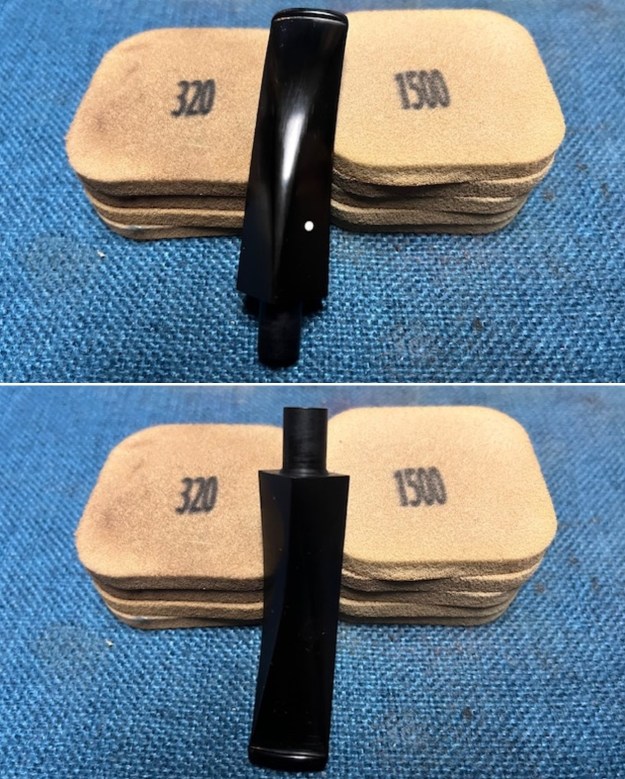
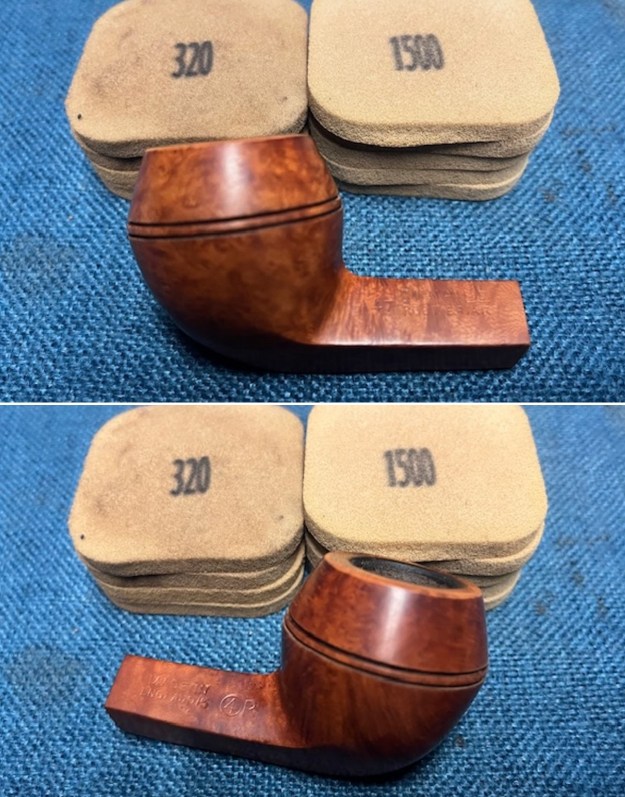
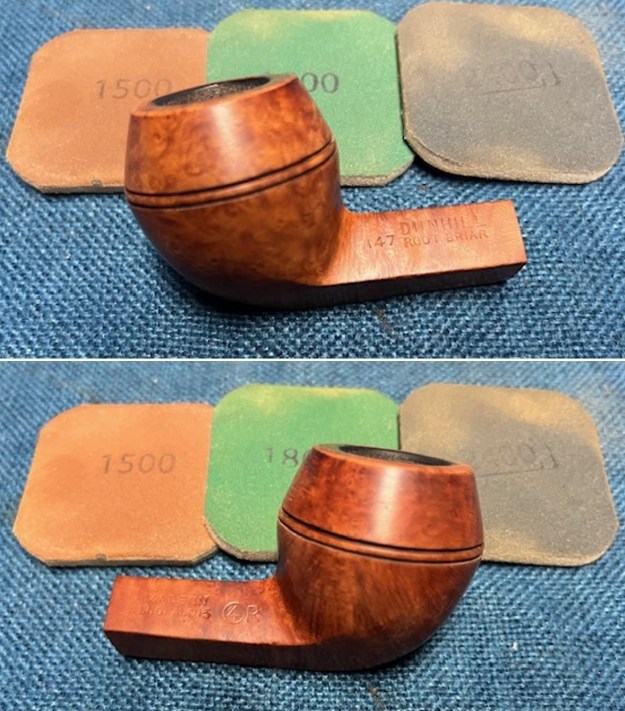
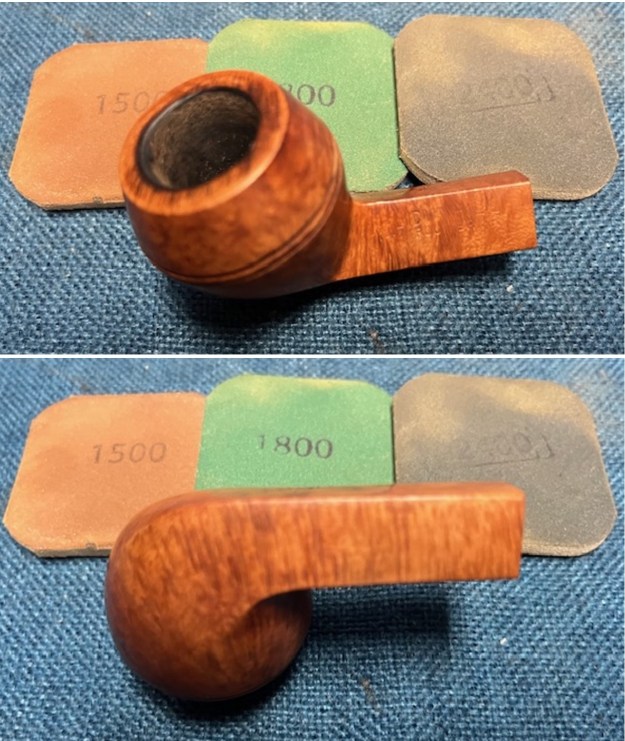
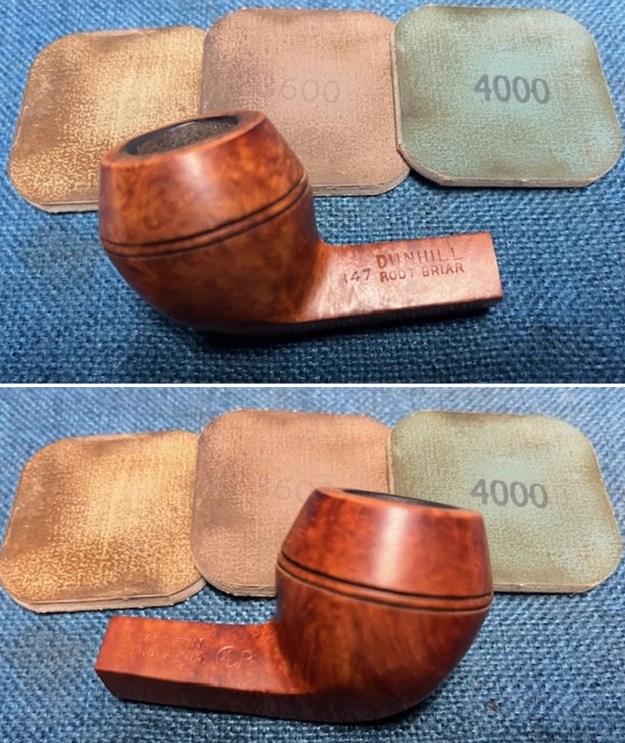
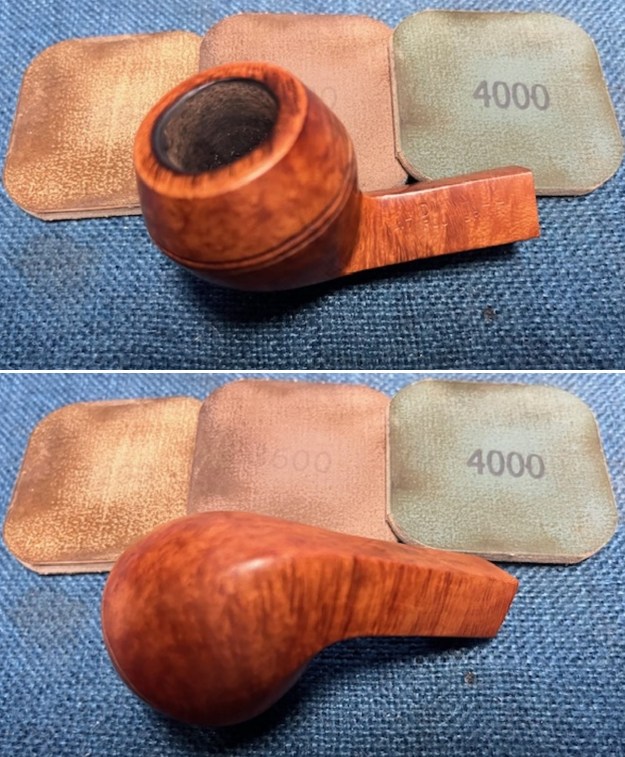
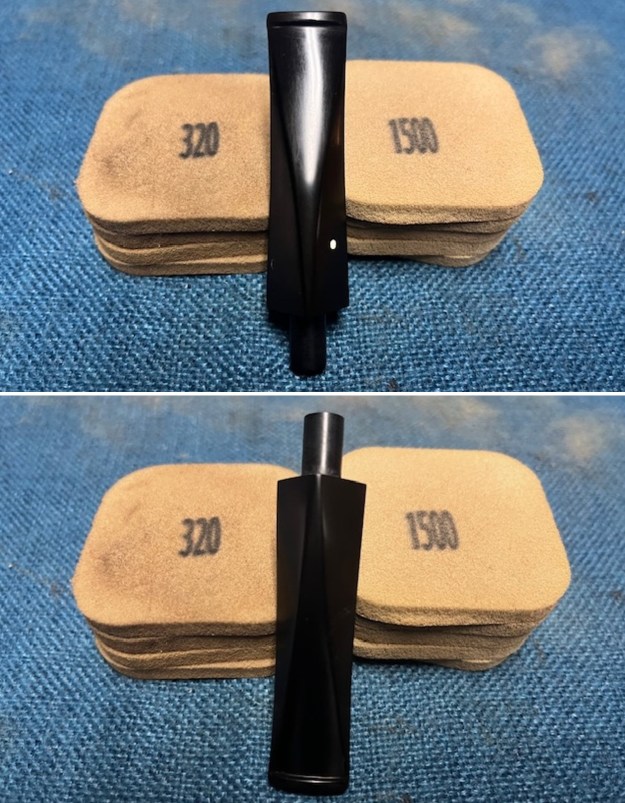
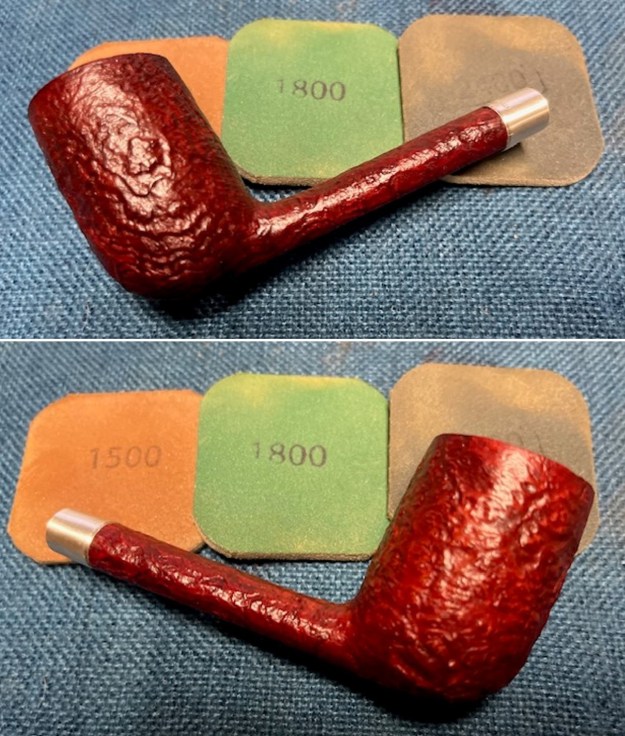
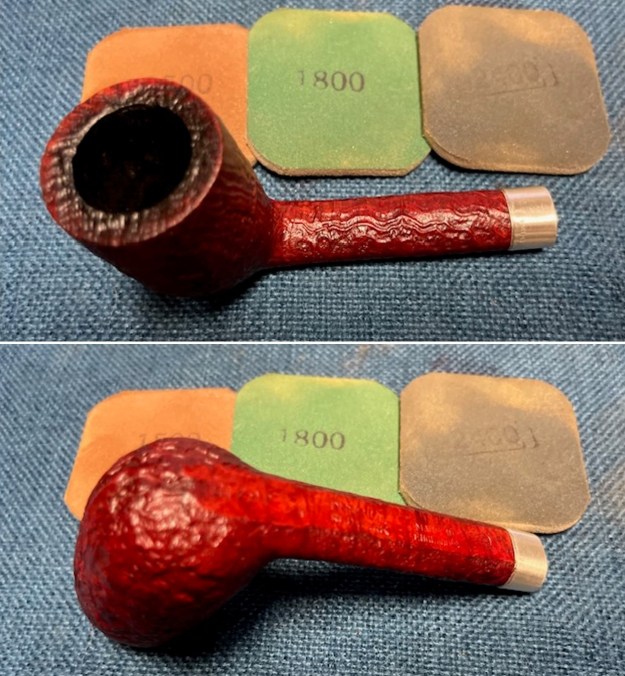
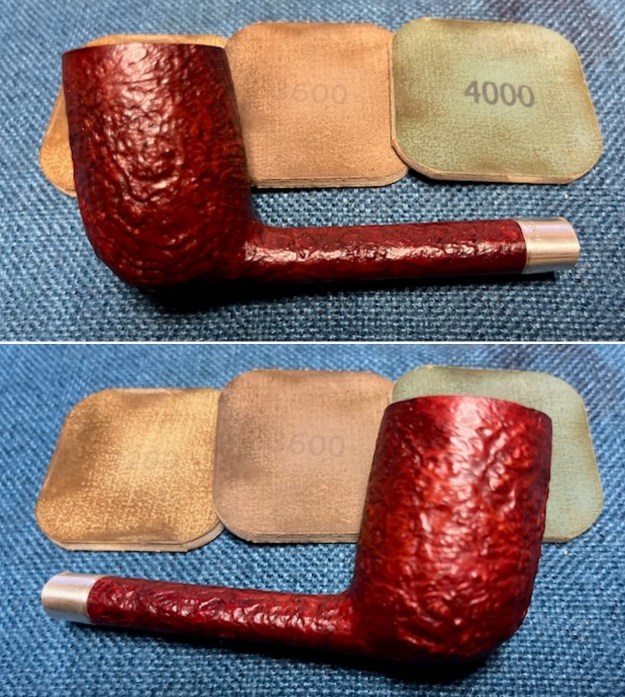
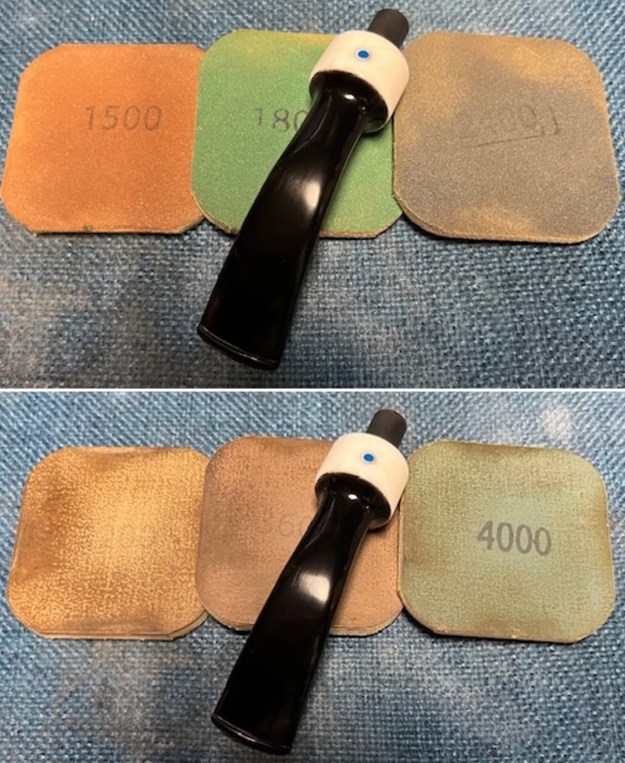
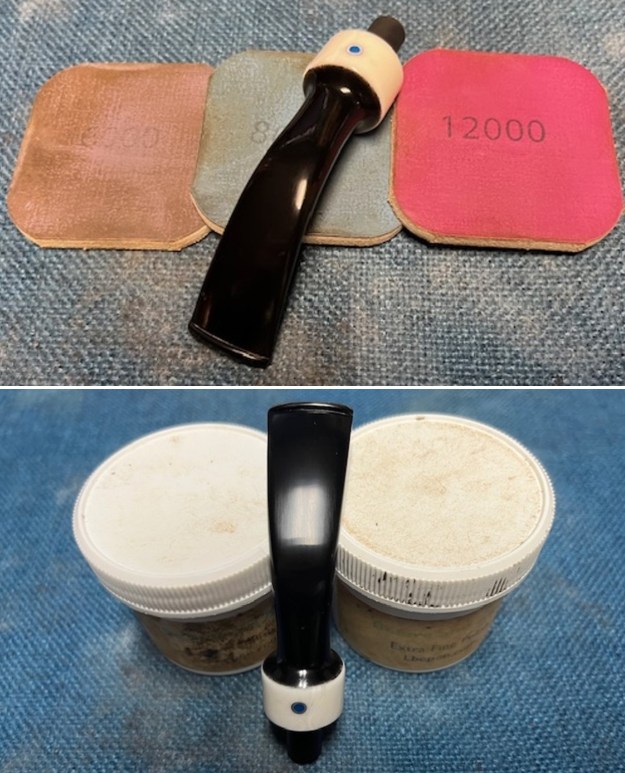
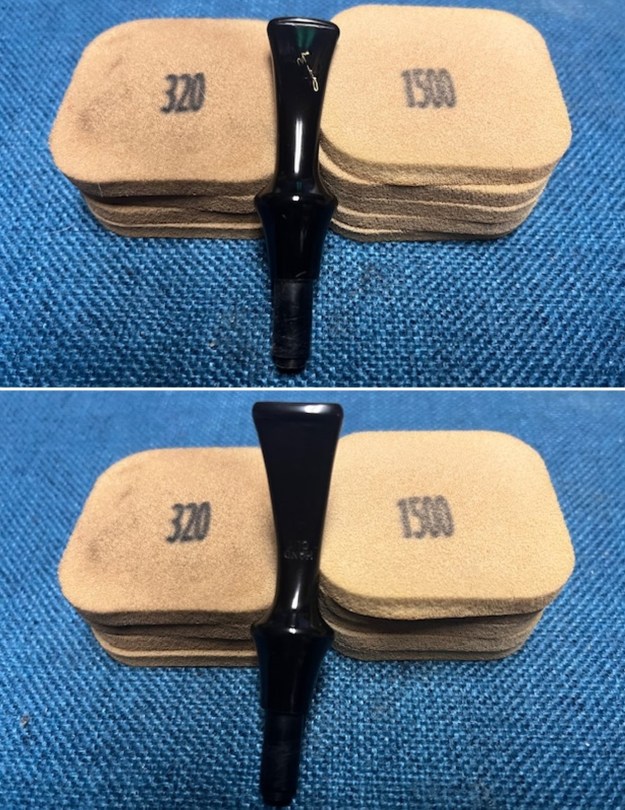
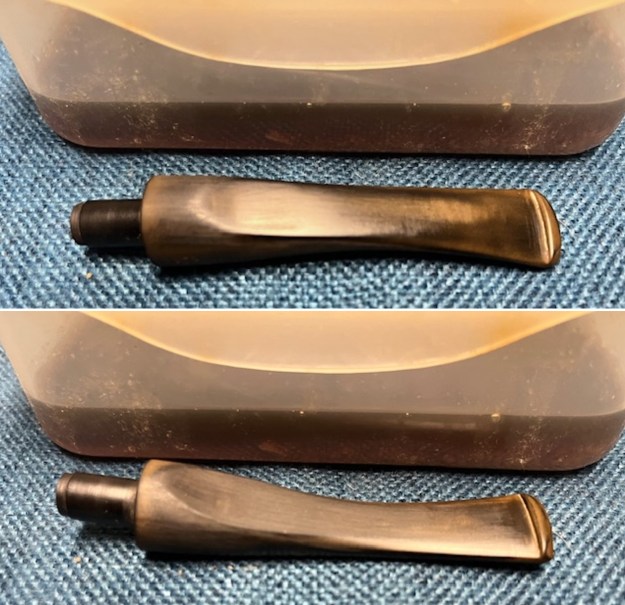 I sanded the stem with 320-3500 grit 2×2 inch pads. I wiped the stem down with an Obsidian Oil cloth after each sanding pad.
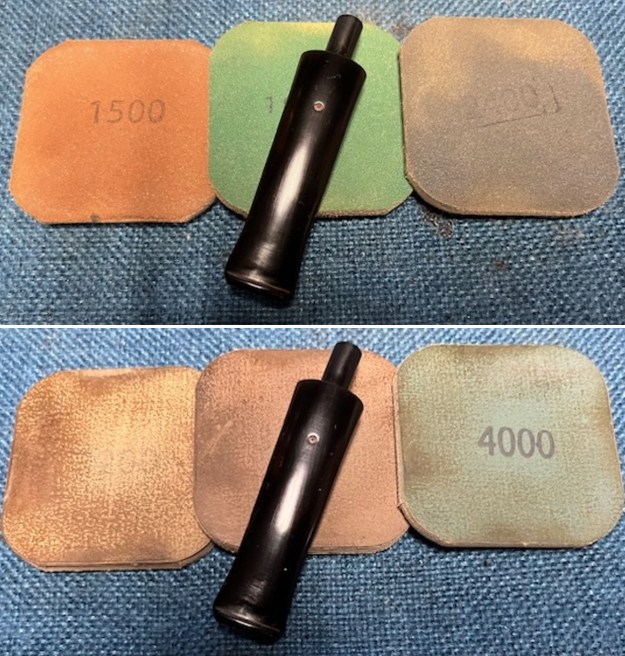
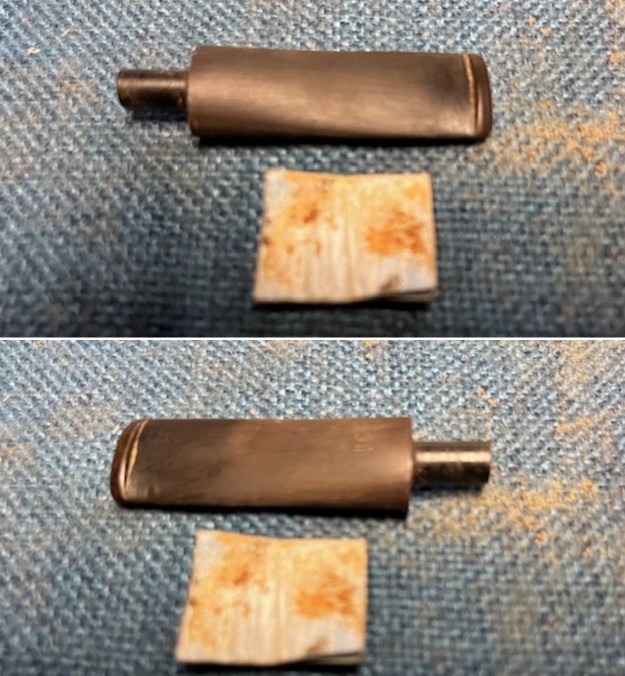
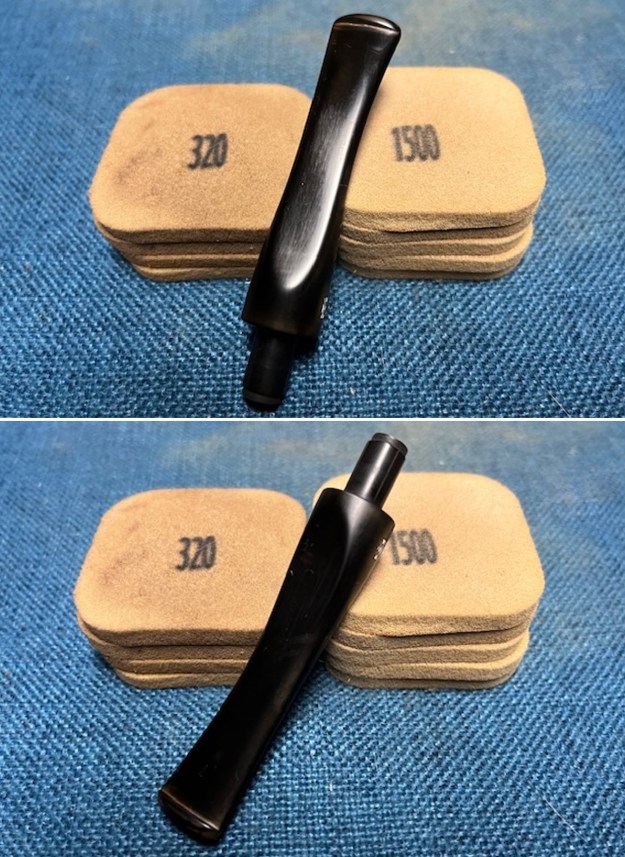 I touched up the Scottish Flag logo on the left side of the stem with white acrylic fingernail polish. I scraped off the excess and sanded it lightly with a 320 grit sanding sponge.
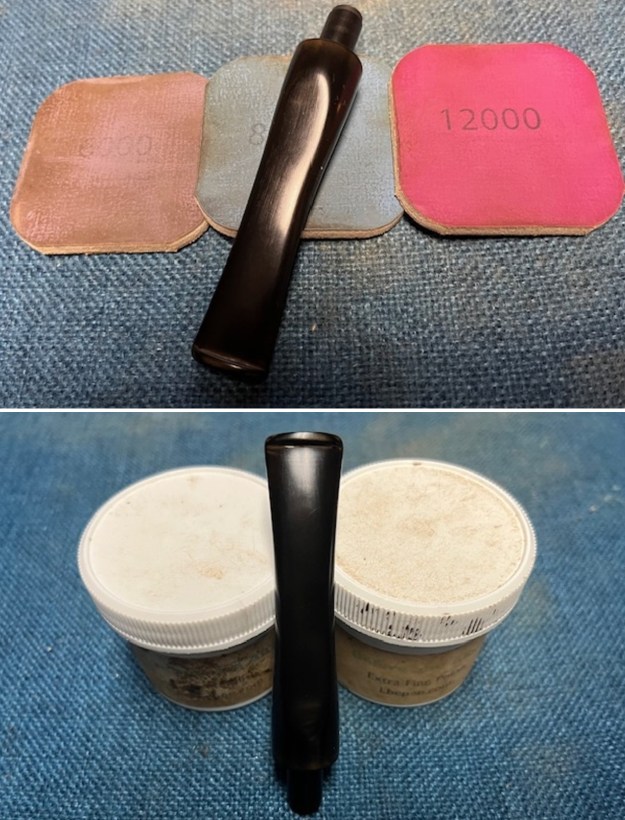
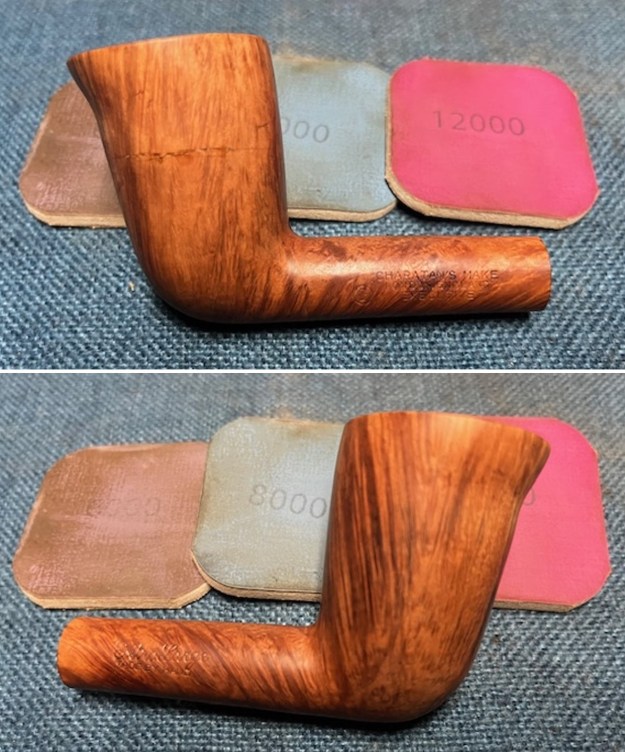
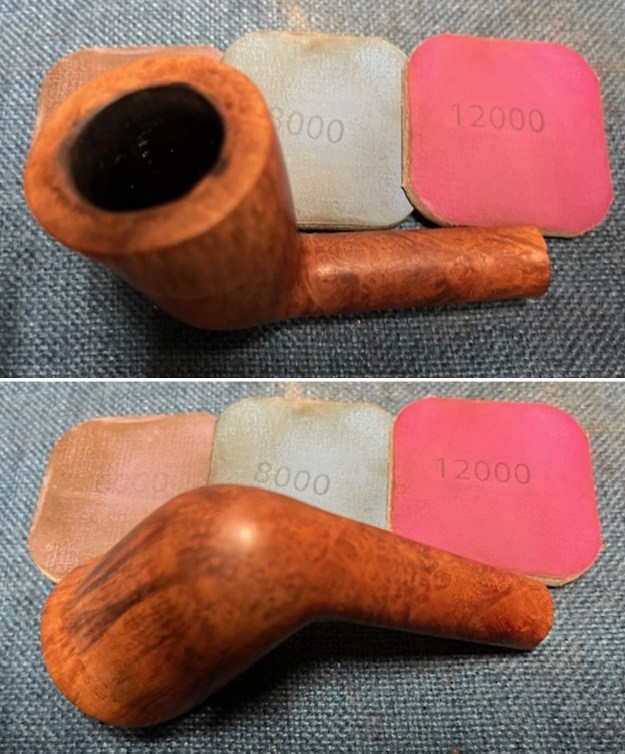
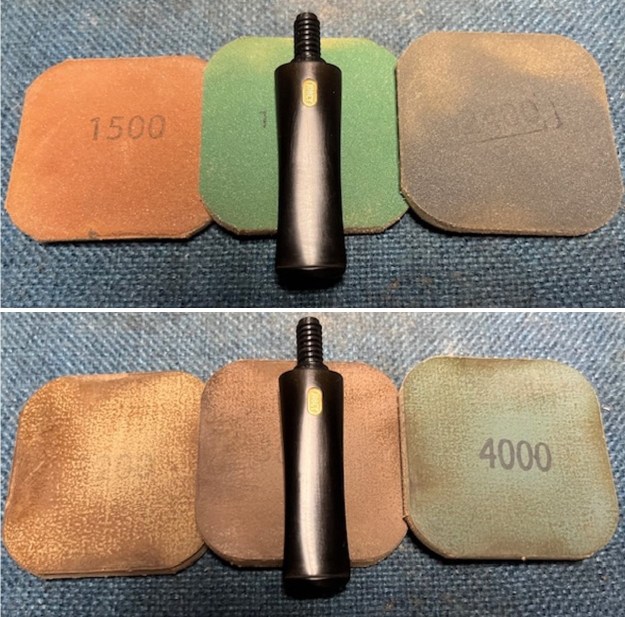
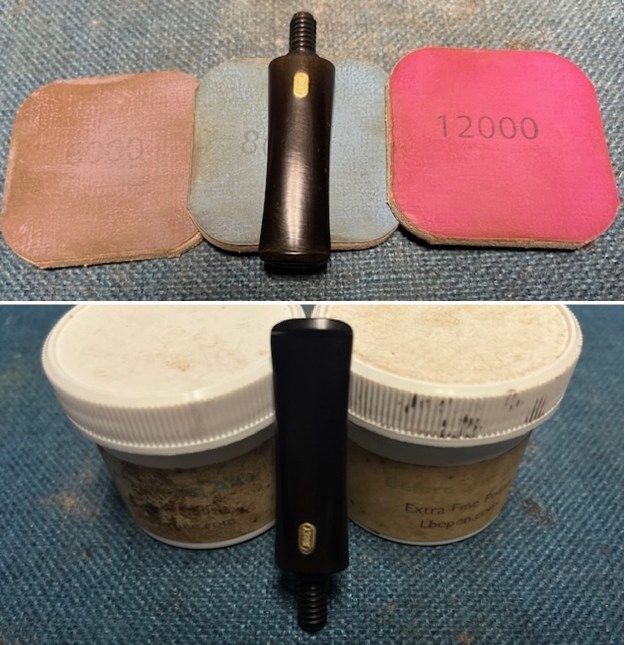
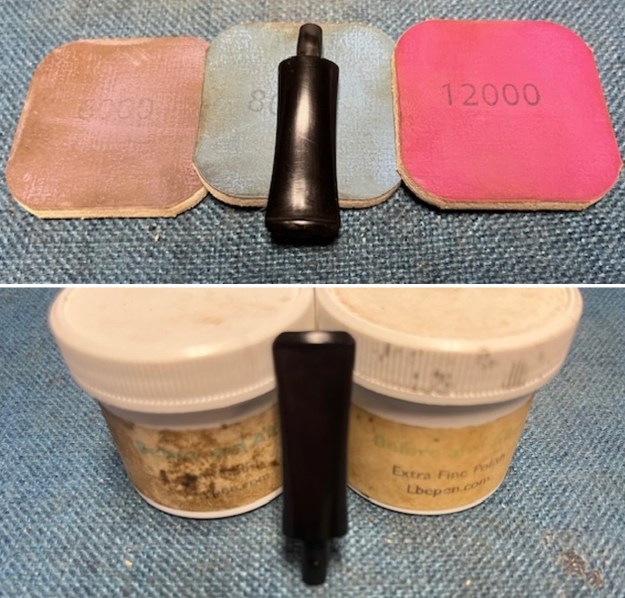
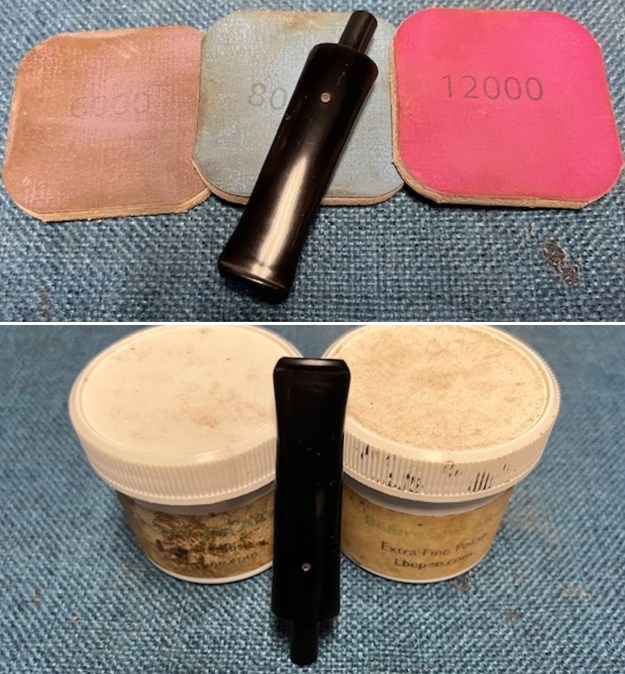
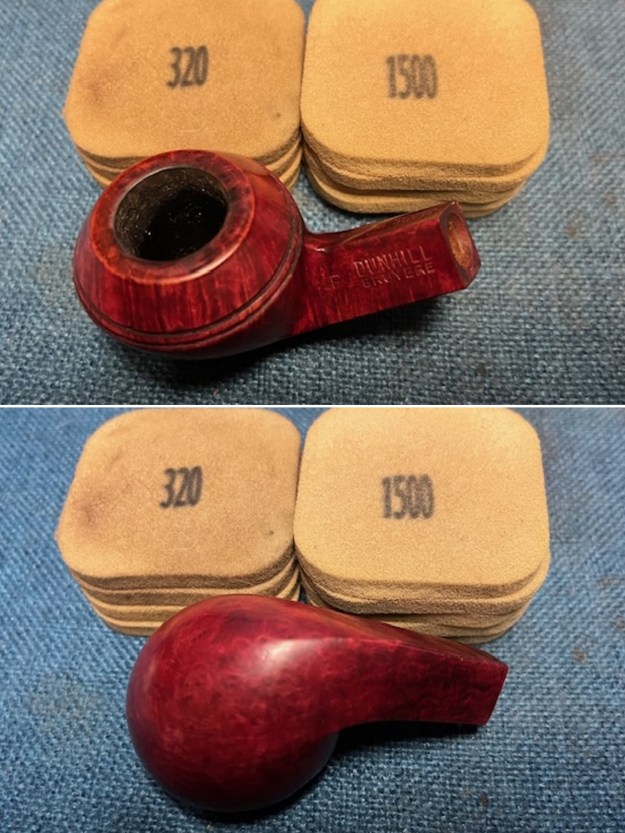
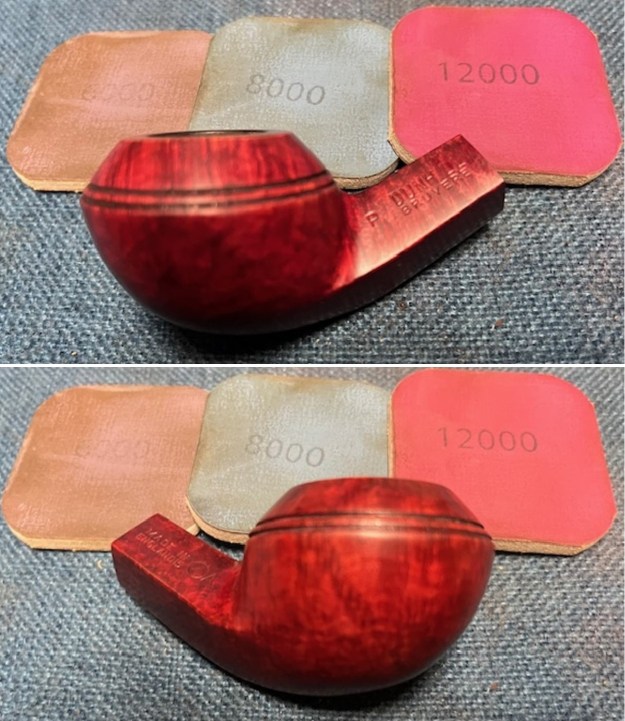
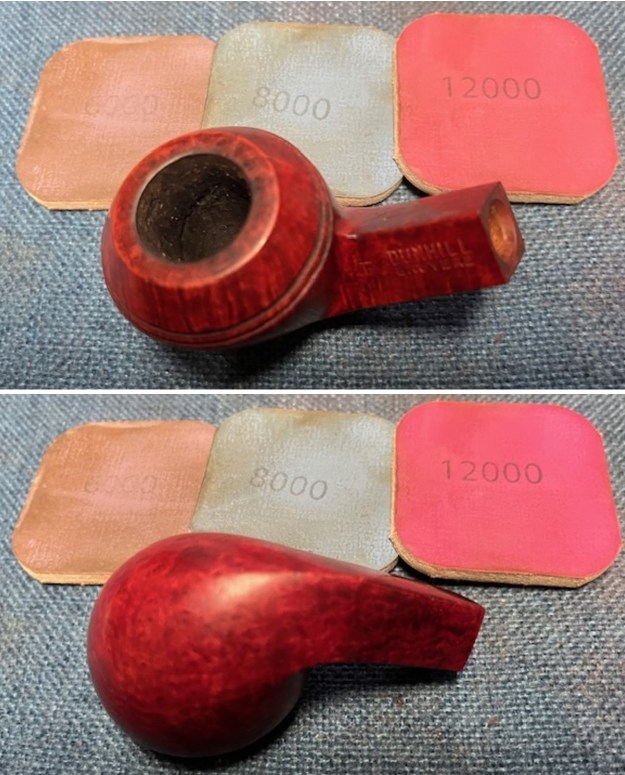
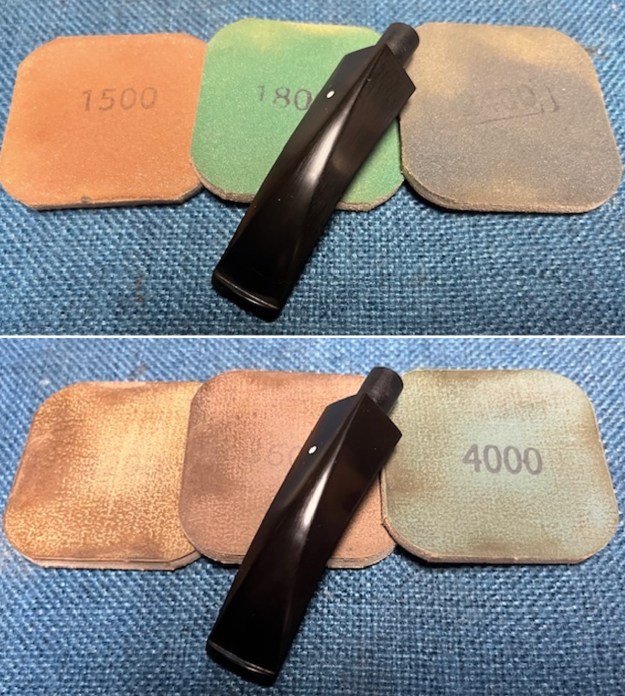
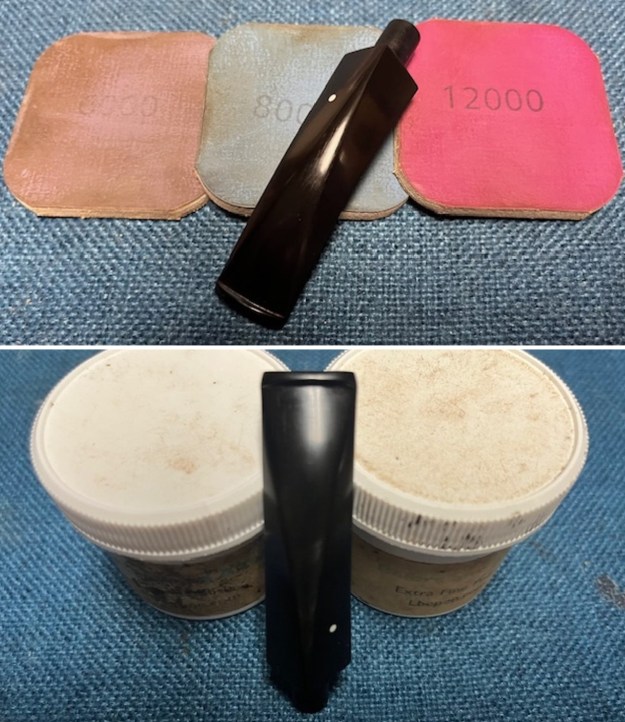
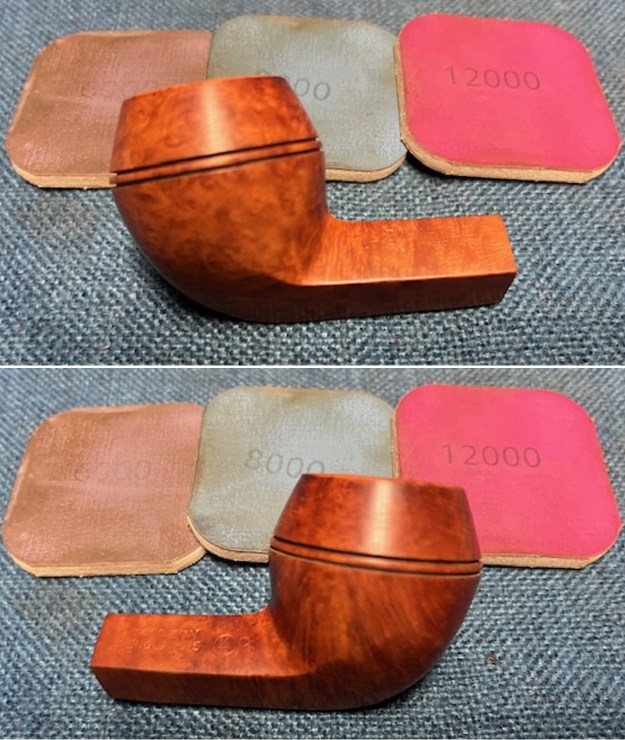
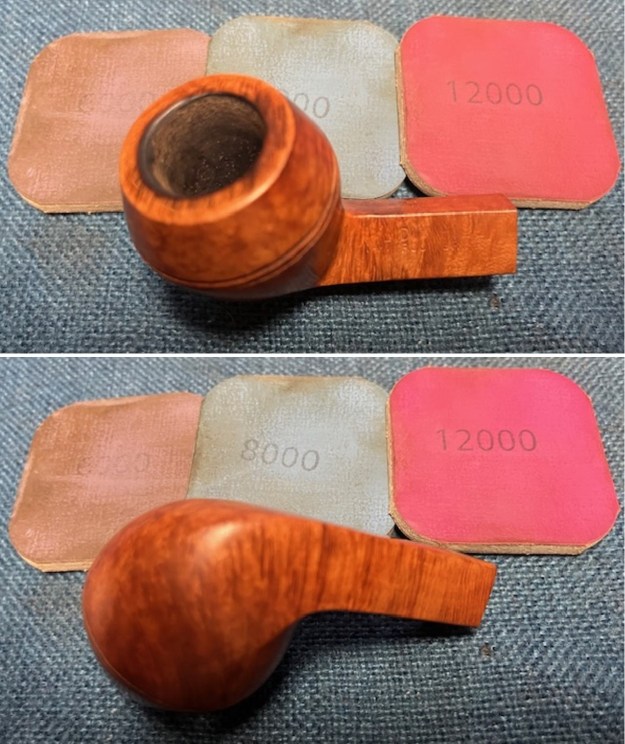
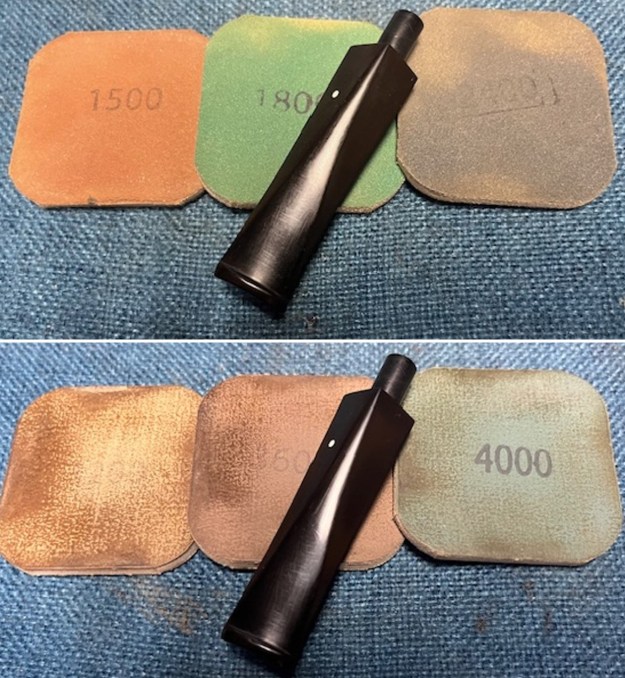
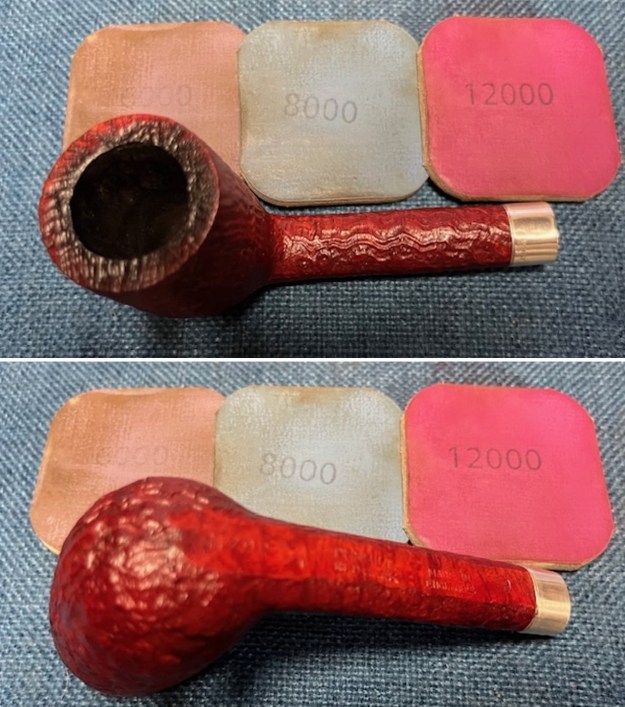
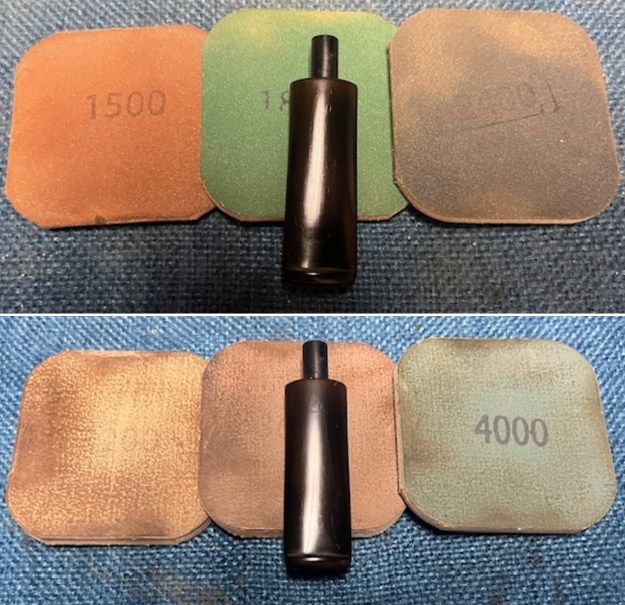
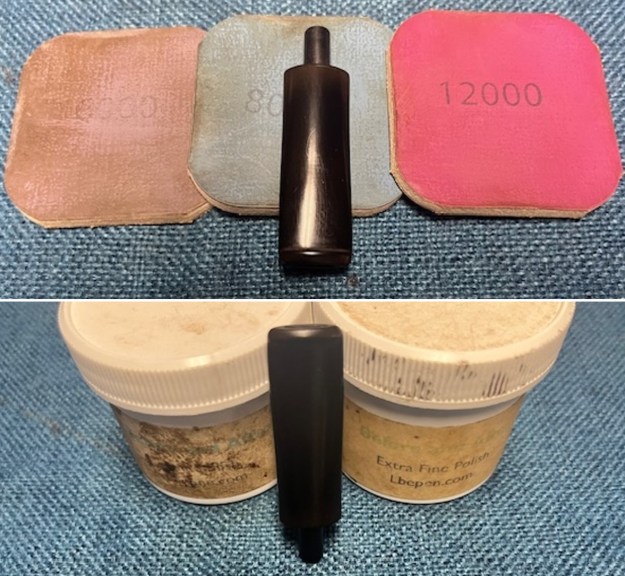
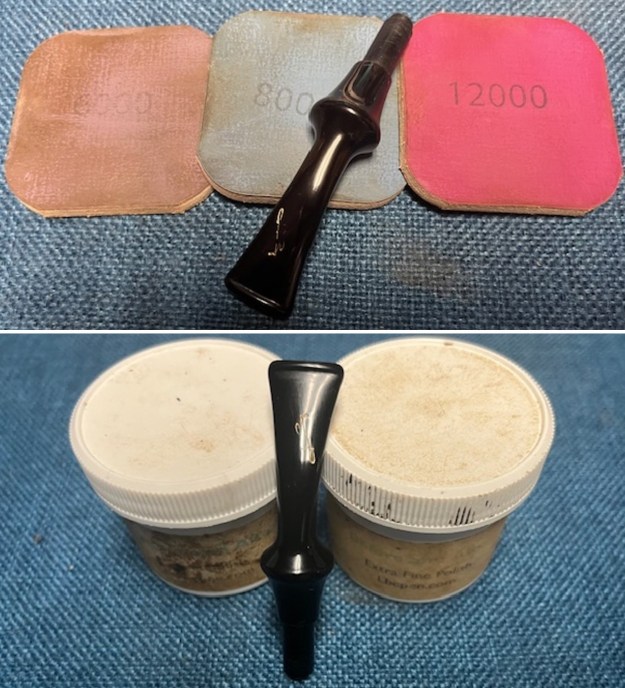
  I polished the vulcanite with micromesh sanding pads – 1500-12000 grit pads. I wiped it down with Obsidian Oil after each sanding pad. I used Before & After Pipe Polish – both Fine and Extra Fine to further polish the stem.
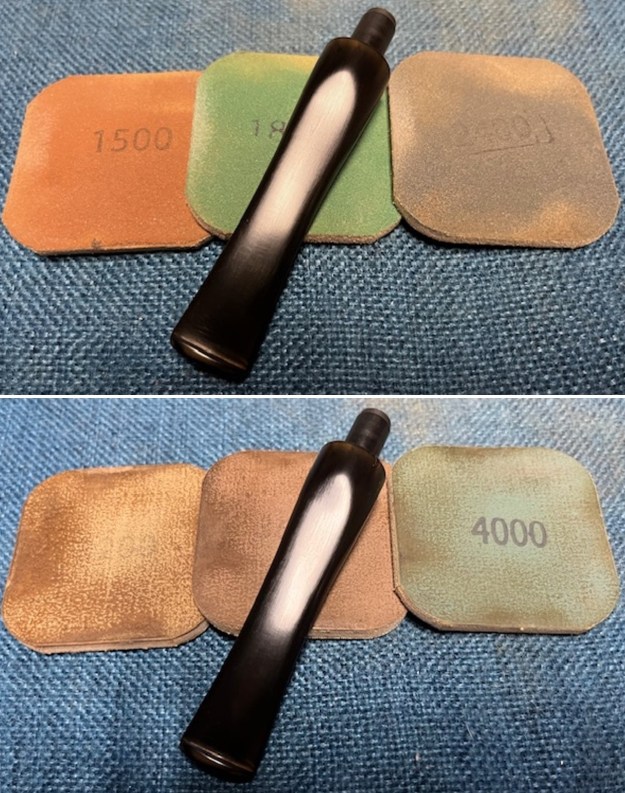
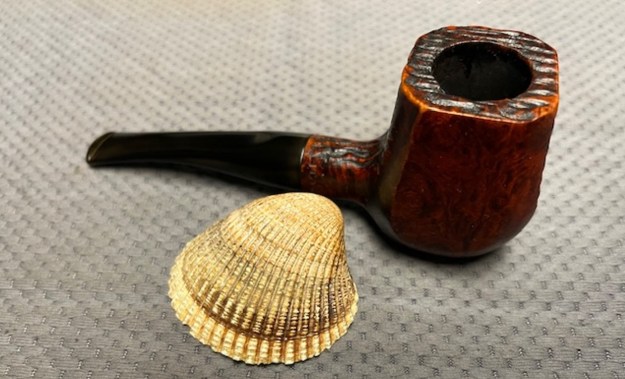
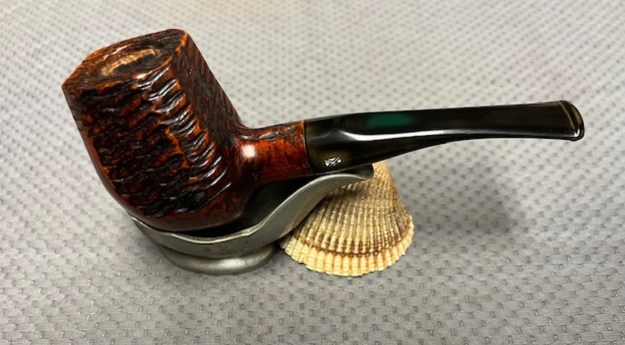
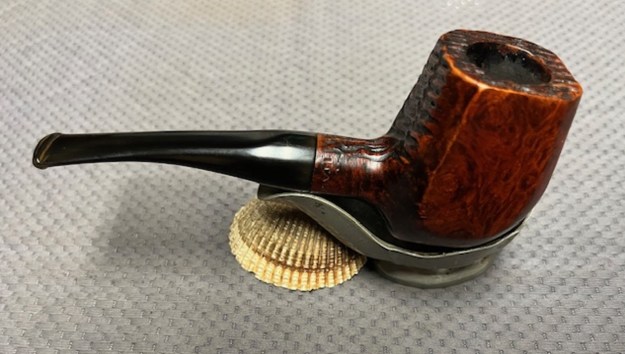
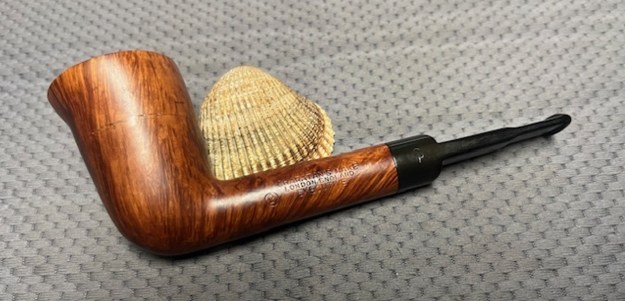
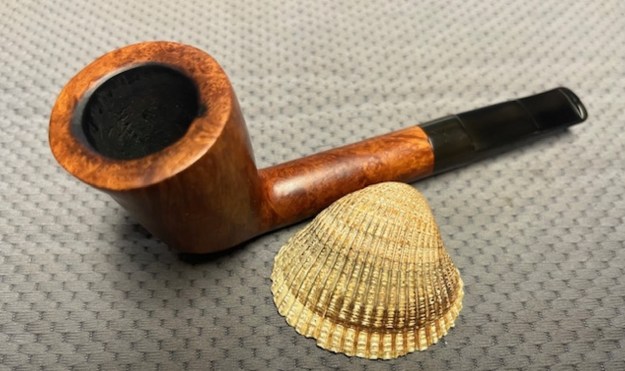
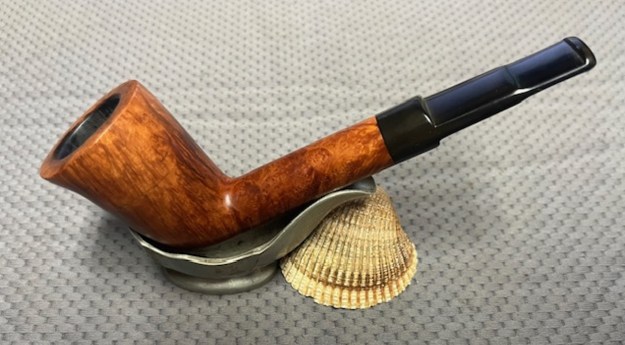
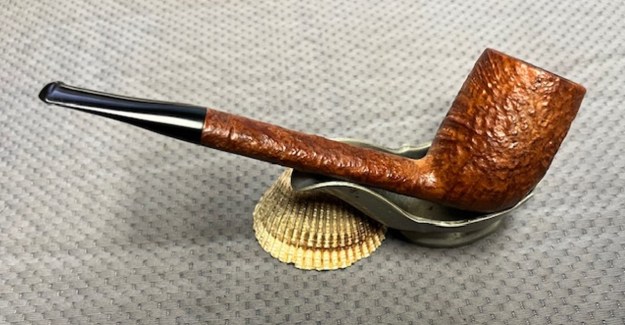
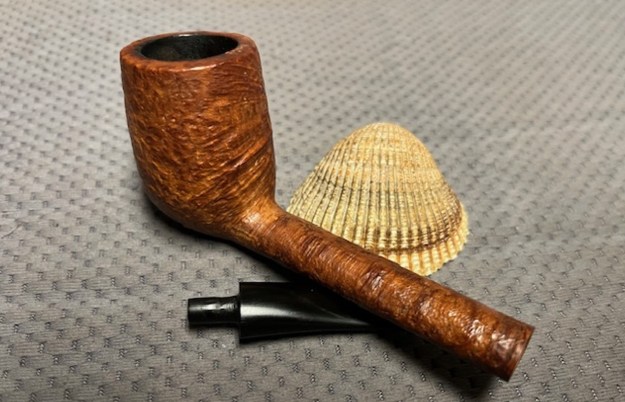
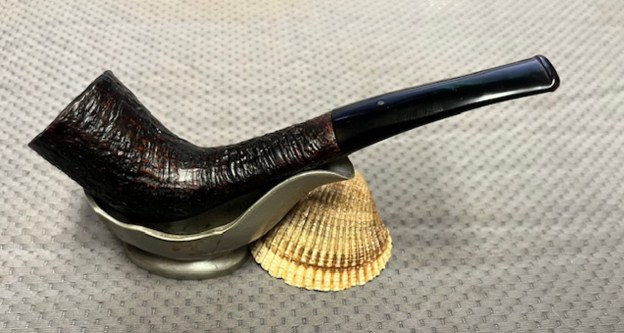
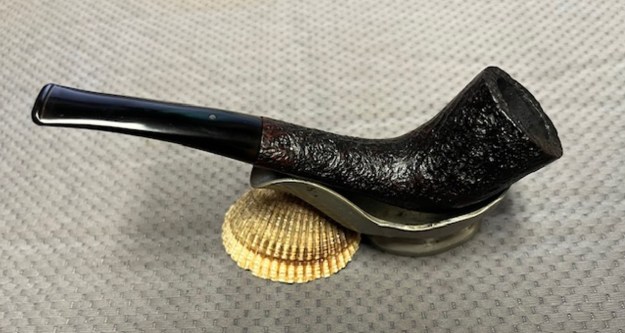
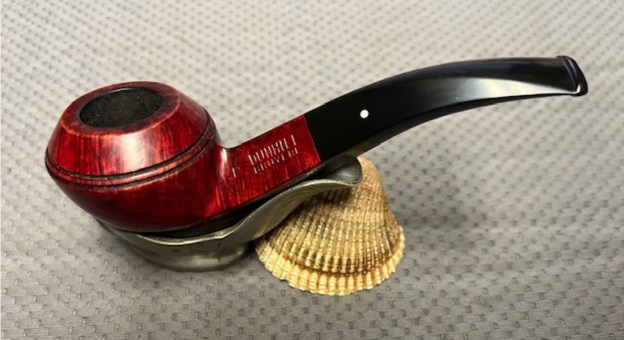
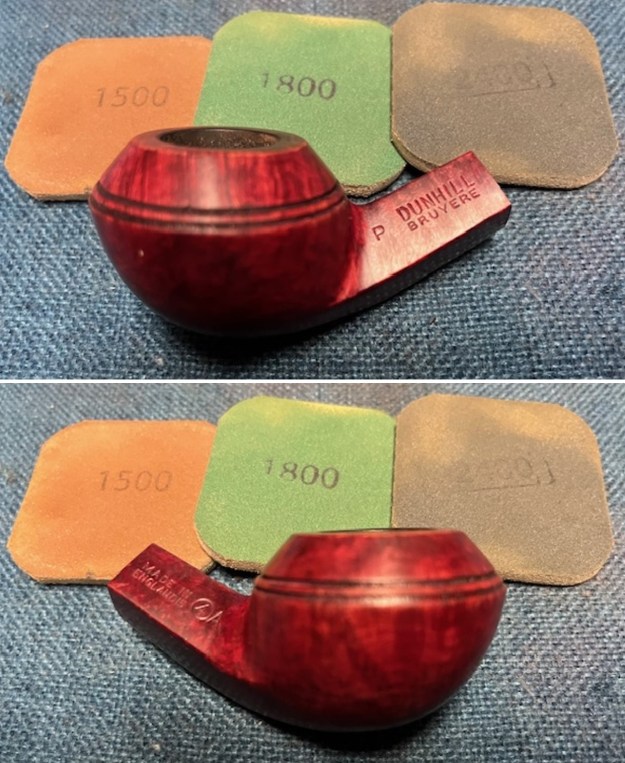
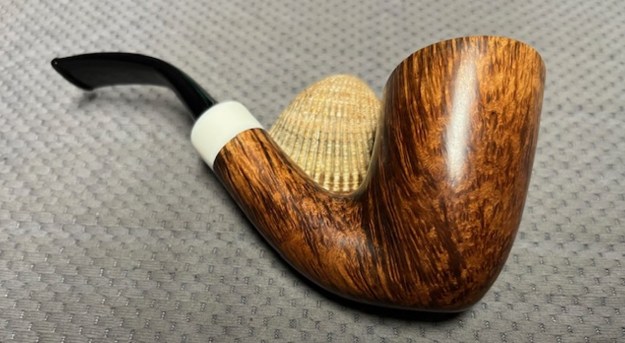
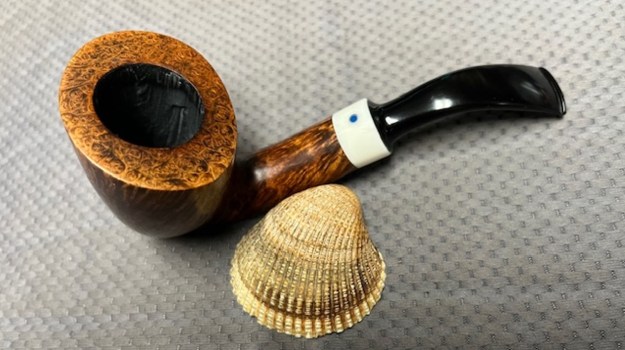
 As always I am excited to finish a pipe that I am working on. I put the Prince of Wales Hand Made Panel Sitter pipe back together and buffed it using a light touch with Blue Diamond on the buffing wheel. I gave the bowl several coats of Conservator’s Wax and the stem multiple coats of carnauba wax. I buffed the pipe with a clean buffing pad and hand buffed it to raise the shine. It is fun to see what the polished bowl looks like with the grain and the variations of colour in the rustication around the bowl and shank. Added to that the polished vulcanite saddle stem was a beautiful touch. This is nice looking pipe and I am sure that the tactile nature of the rustication will feel great as the bowl warms up during smoking. The Prince of Wales Hand Made is light and well balanced. Have a look at it with the photos below. The dimensions are Length: 5 ½ inches, Height: 2 inches, Outside diameter of the bowl: 1 ¼ inches, Chamber diameter: ¾ of an inch. The weight of the pipe is 1.69 ounces/48 grams. It is a beautiful pipe and one that will be on the rebornpipes store Pipes by Italian Pipe Makers Section. If you are interested in adding it to your collection let me know. Thanks for walking through the restoration with me as I worked over this pipe.
Thanks to each of you who are reading this blog. I want to keep reminding us of the fact that we are not pipe owners; we are pipemen and women who hold our pipes in trust until they pass on into the trust of the next pipeman or woman.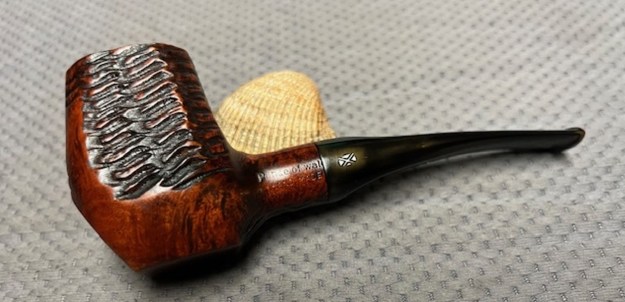


