Blog by Steve Laug
The next pipe on the work table is one that a fellow just dropped by. He had written to me earlier this week about a pipe he found. He wanted to drop it off and have me clean it up for him. Here is his first email.
Steve, found a Kaywoodie medium billiard that I’d like to get cleaned up. Can I drop it off this weekend? Take care, Robert
I replied to him as follows:
Drop it by. Can you send me a photo of the pipe so I can see it? Thanks – Steve
We made an appointment for Saturday or Sunday.
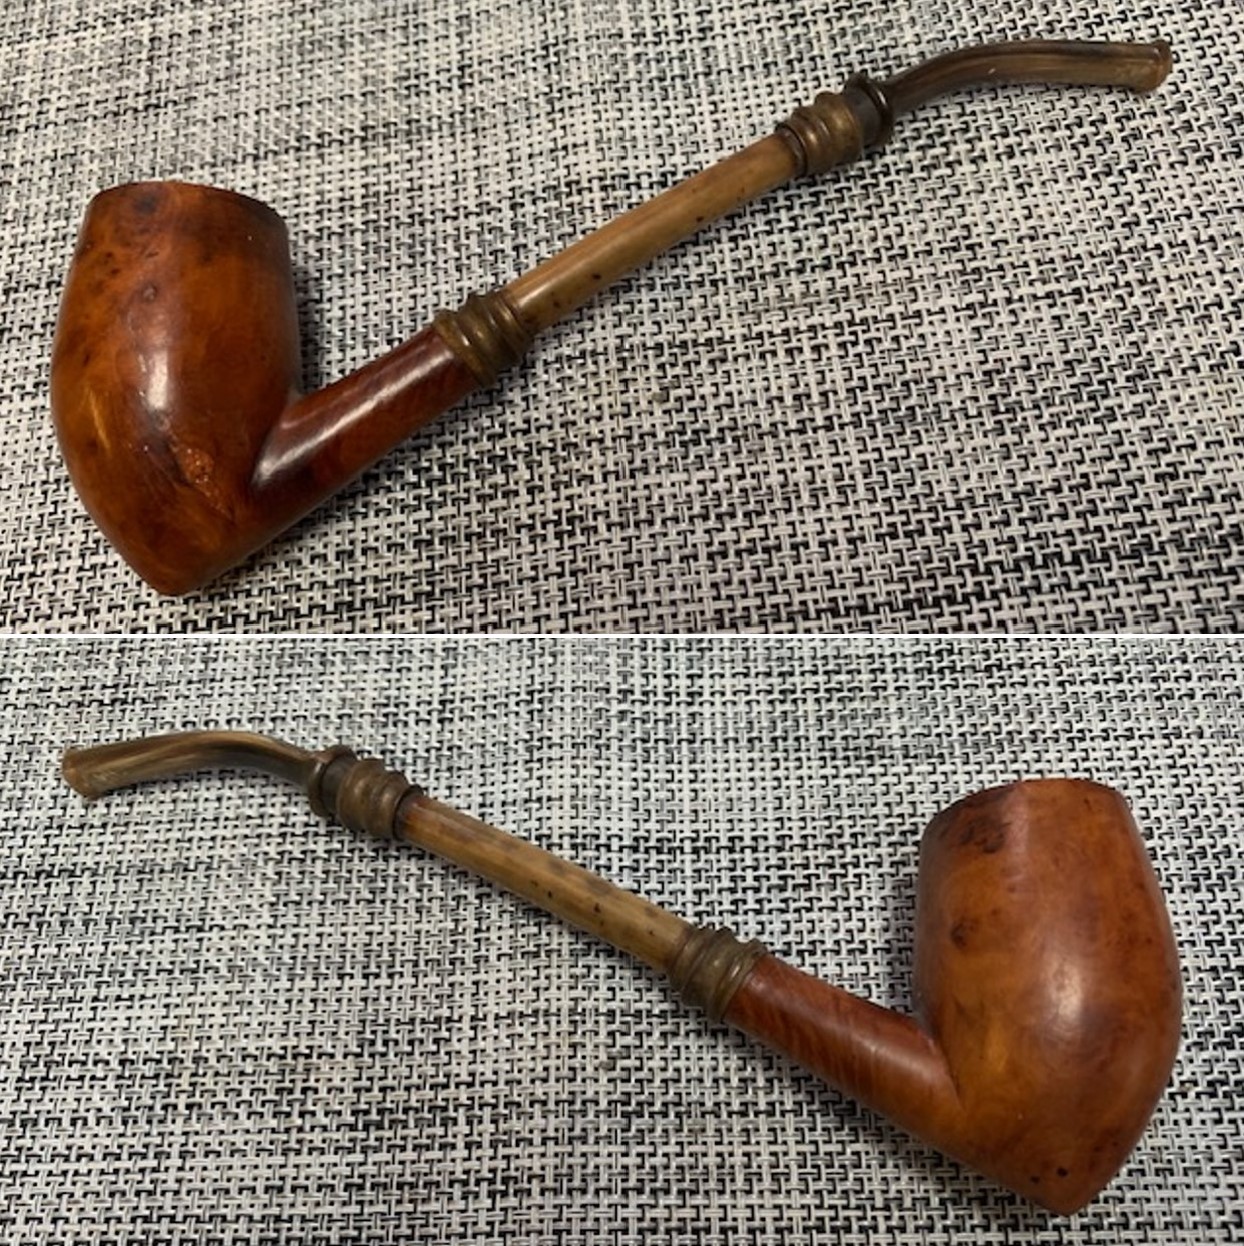
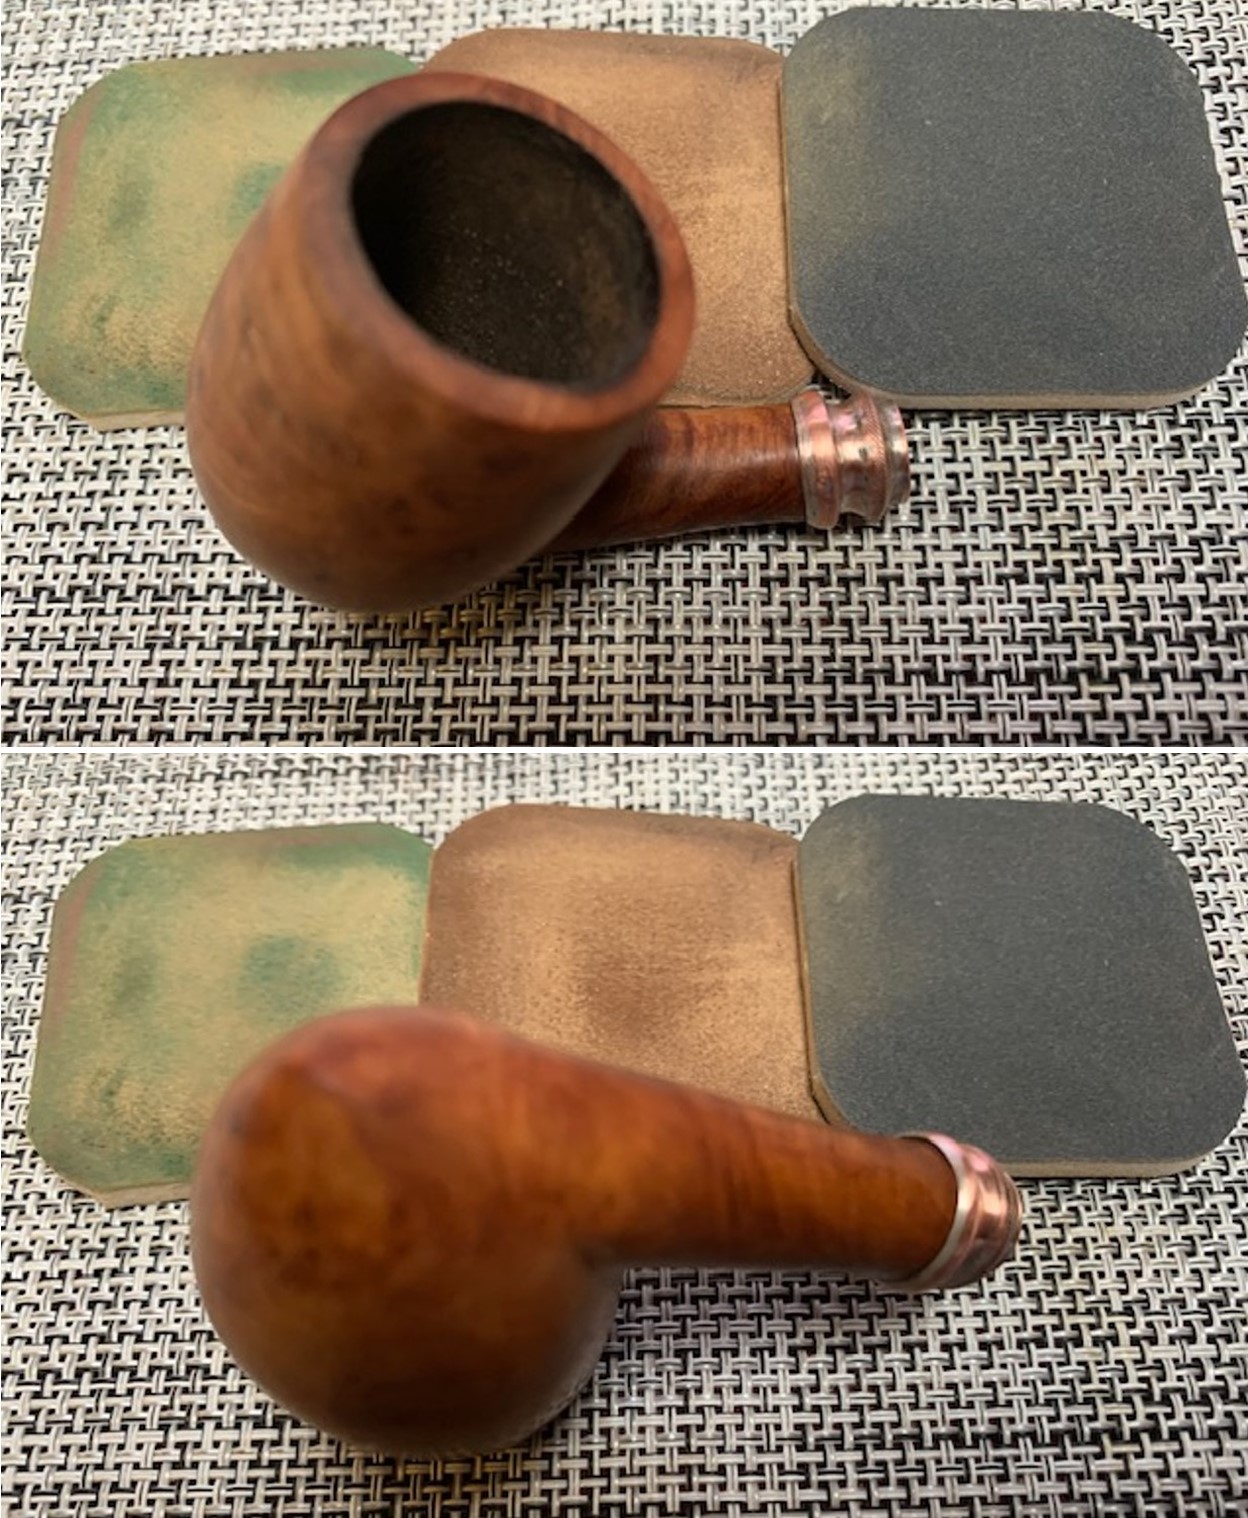
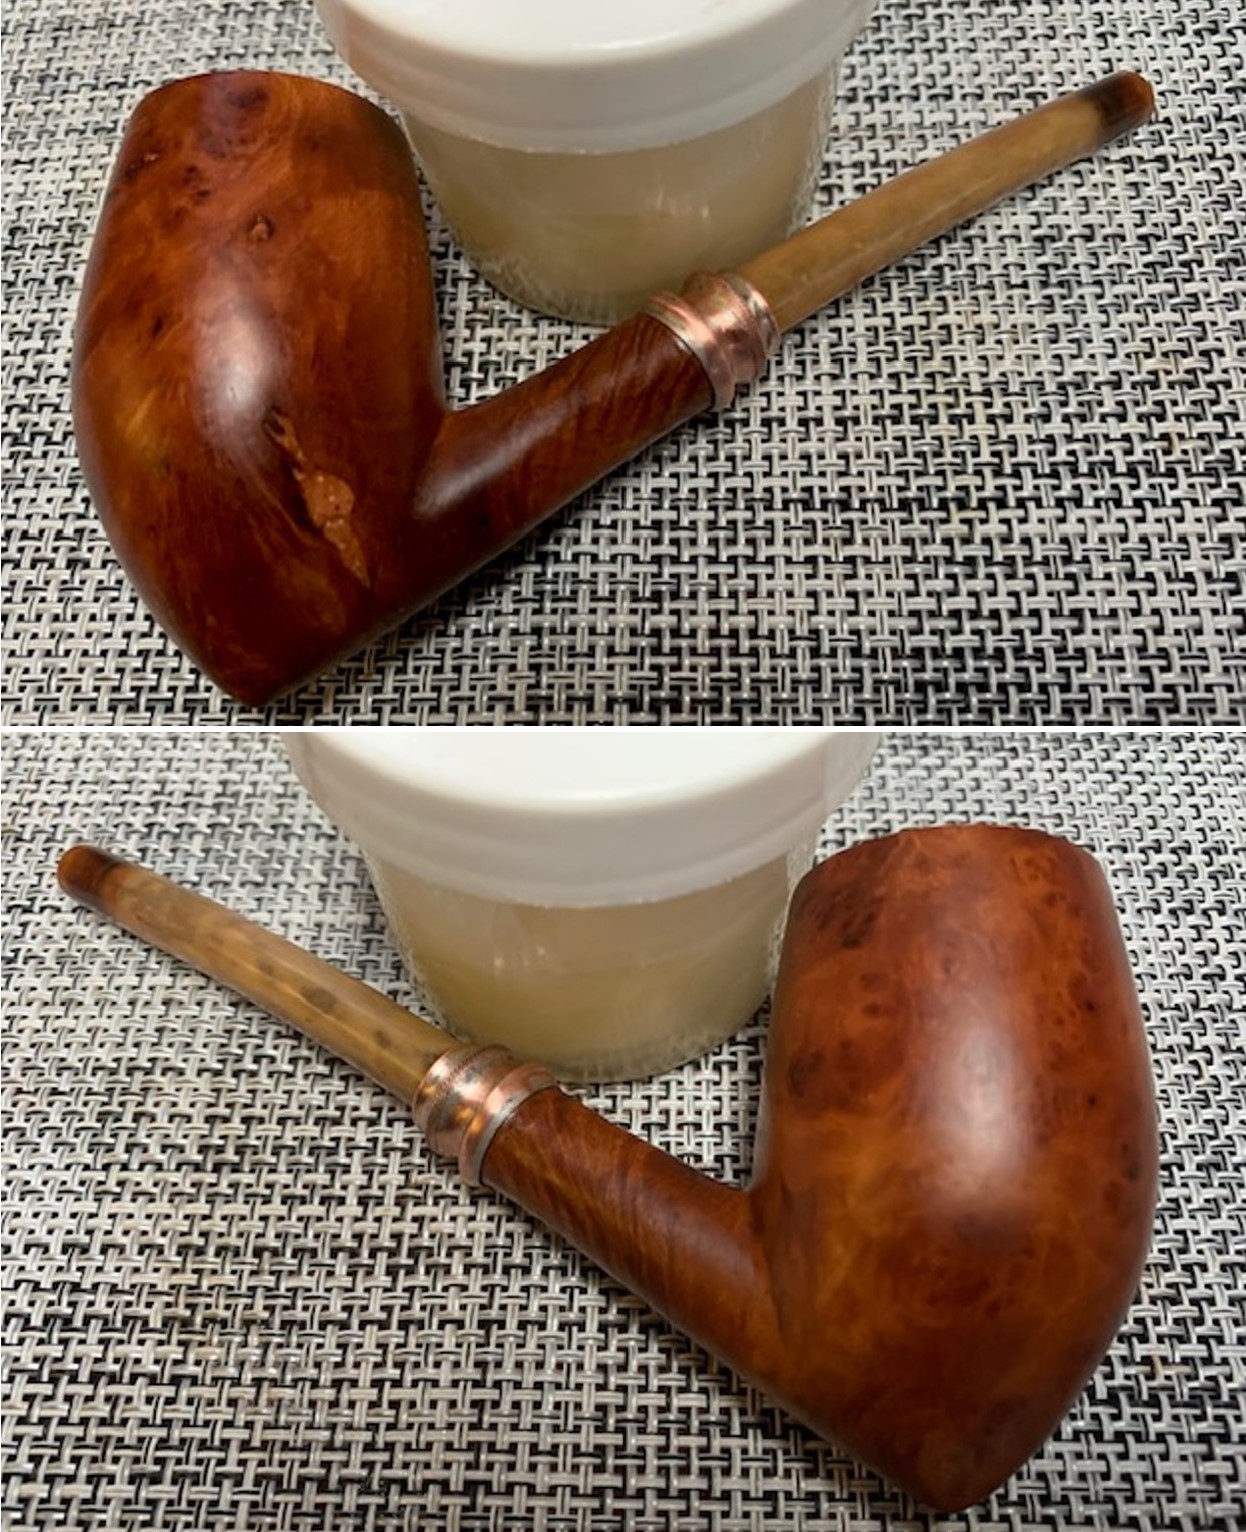
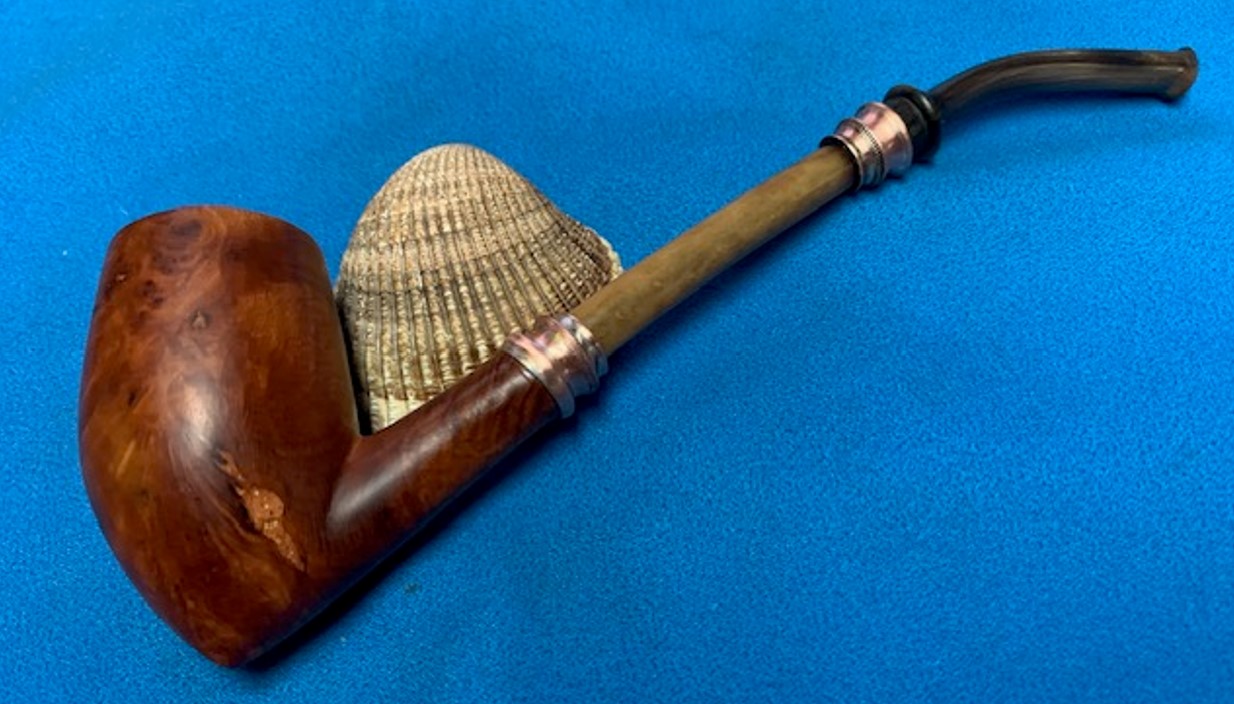
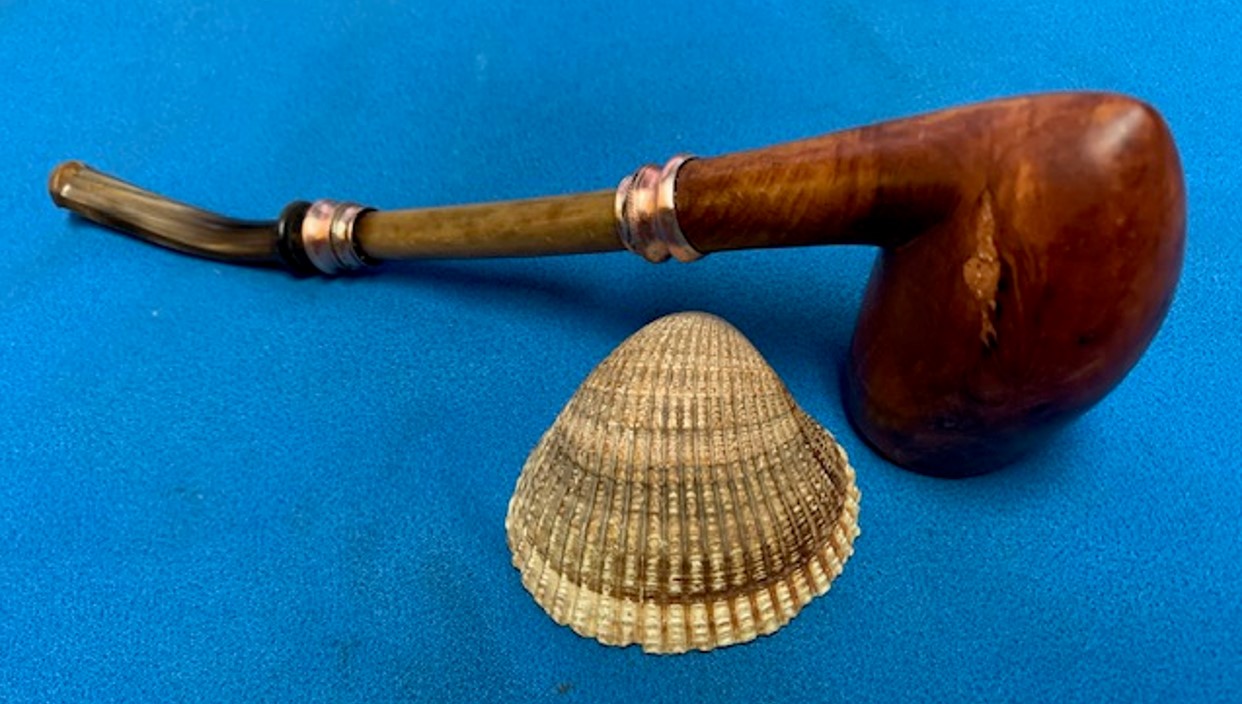
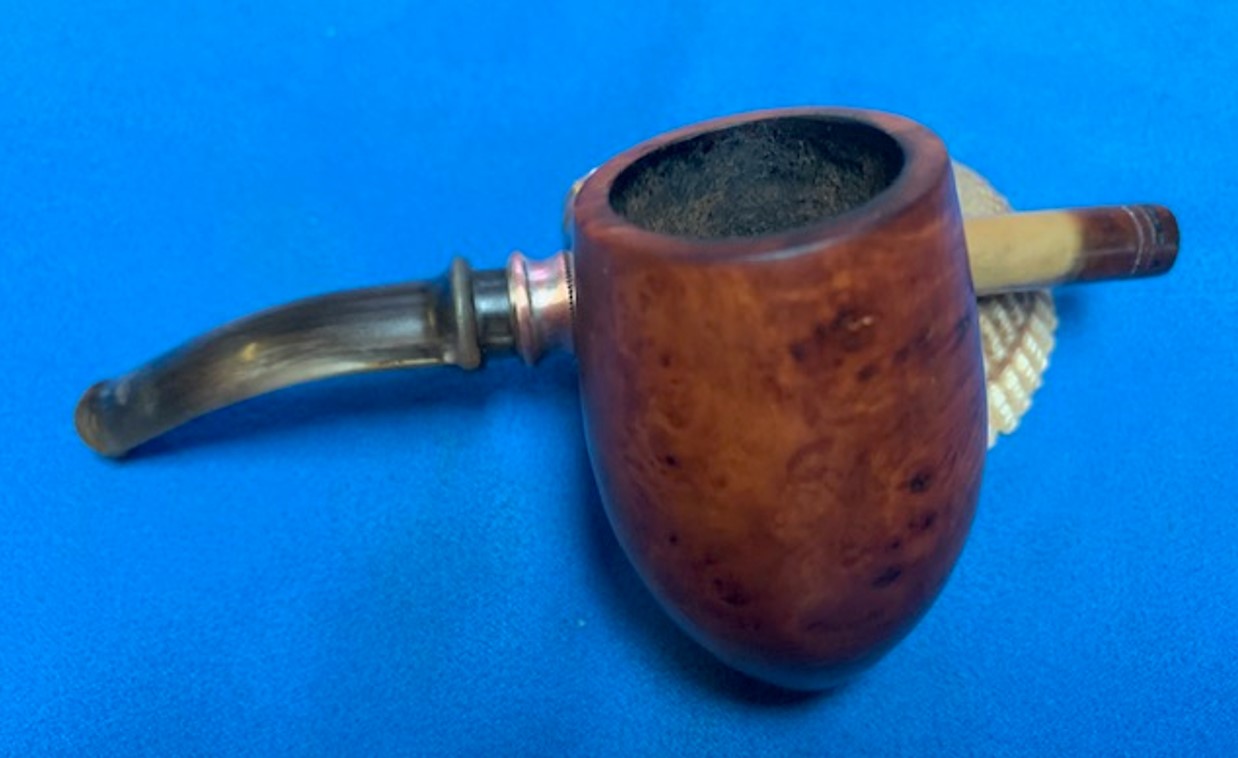
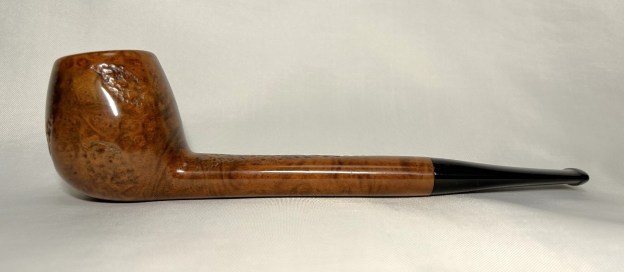
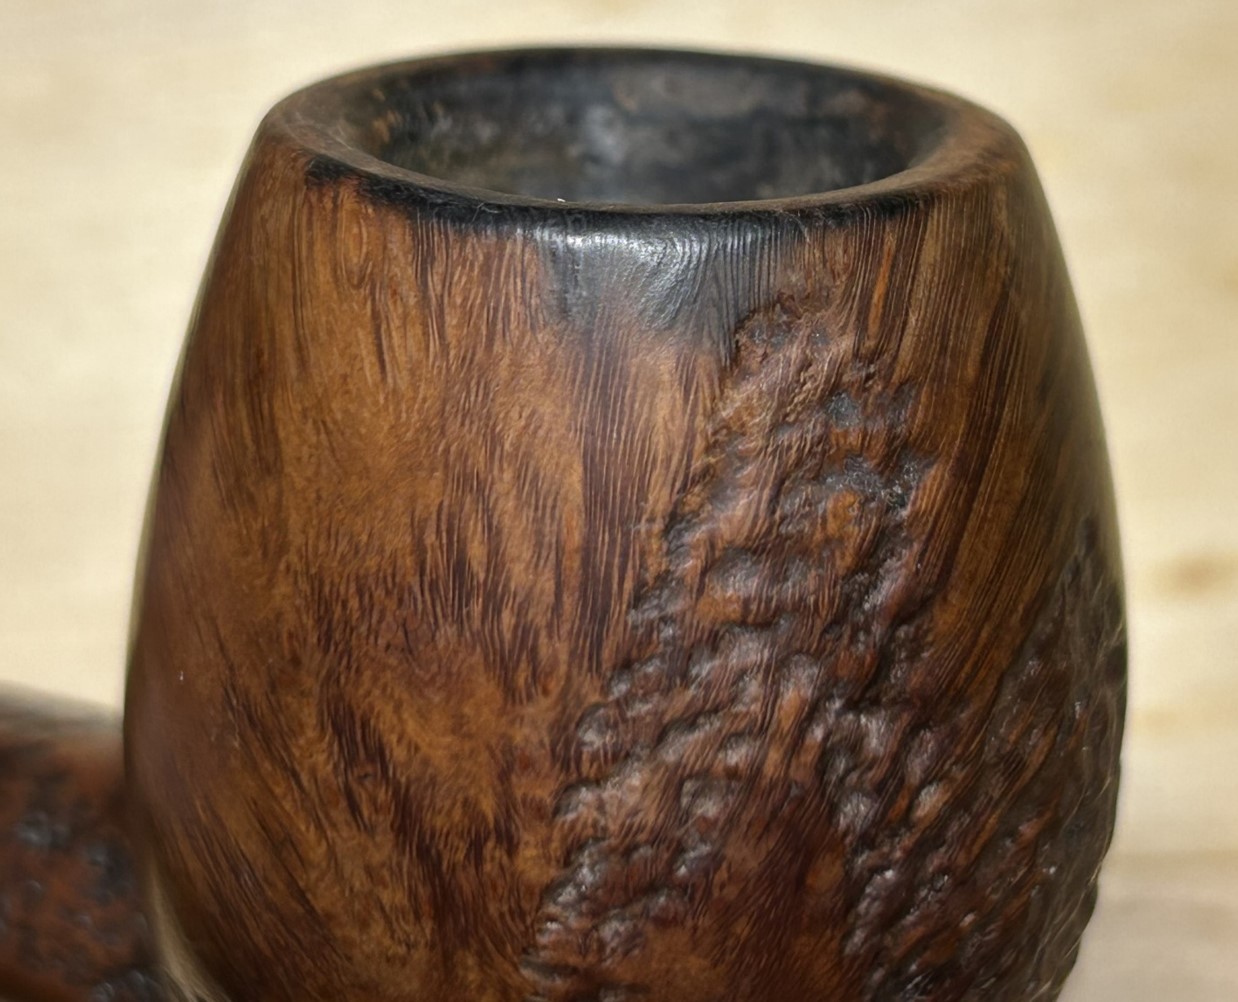
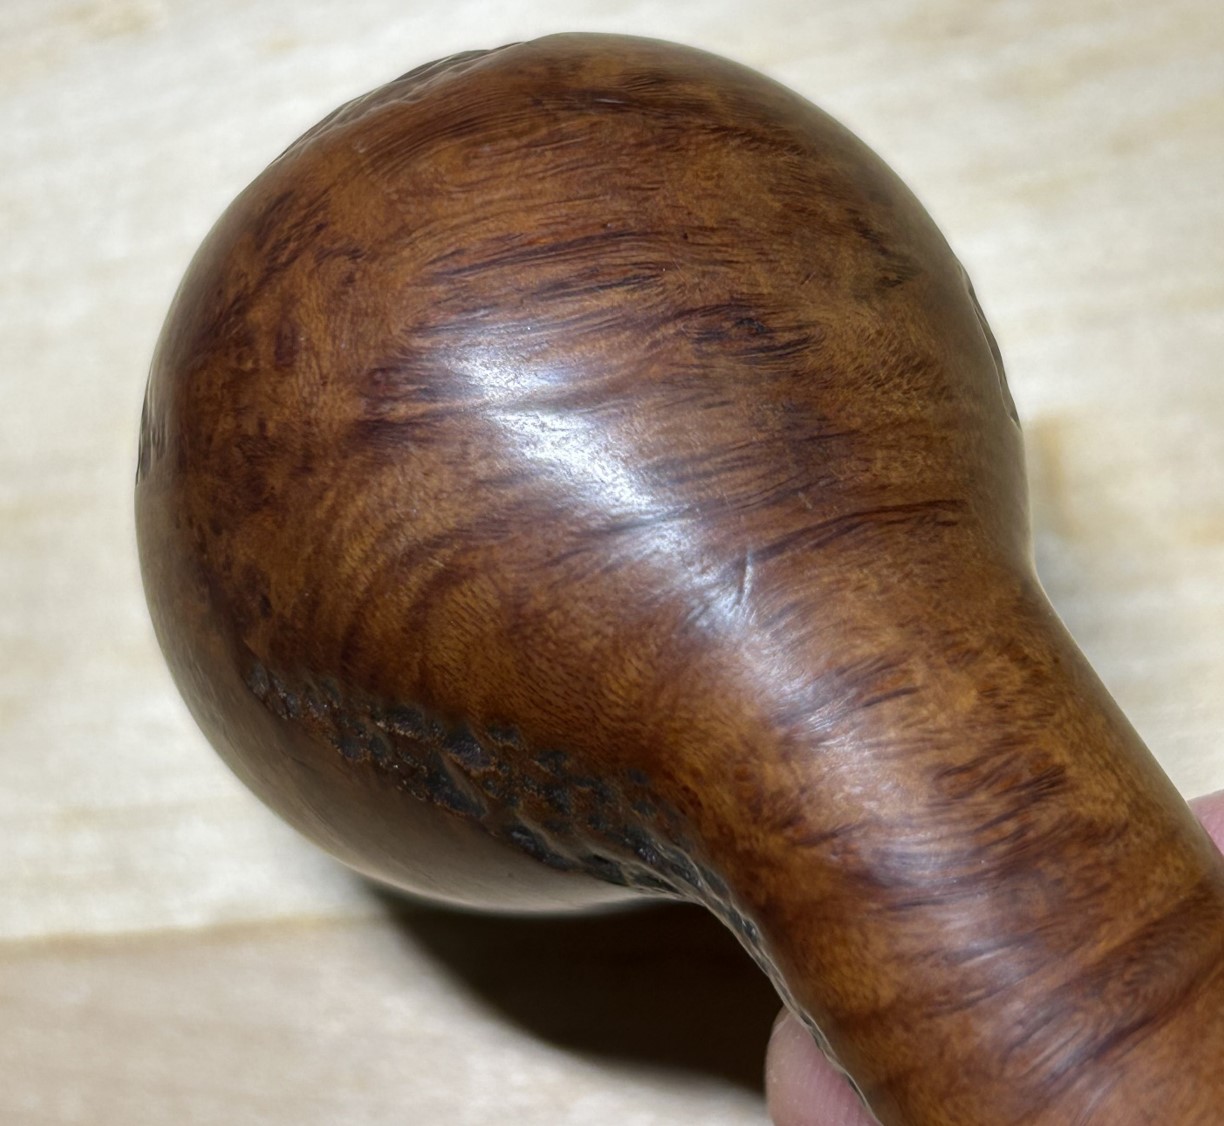
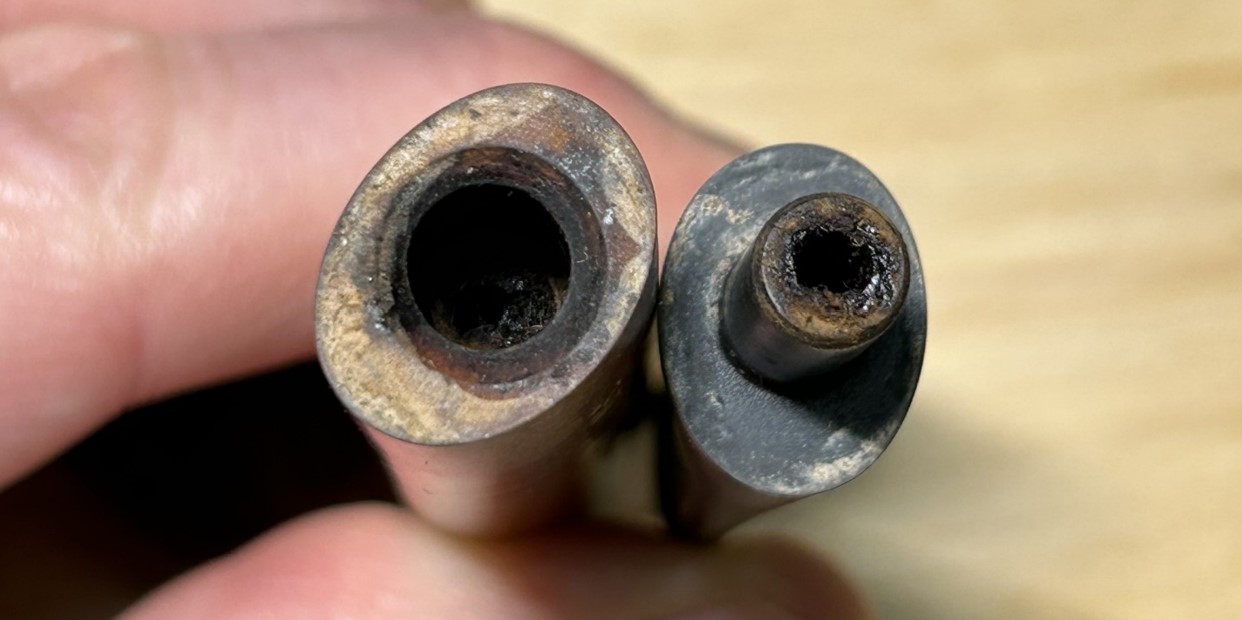
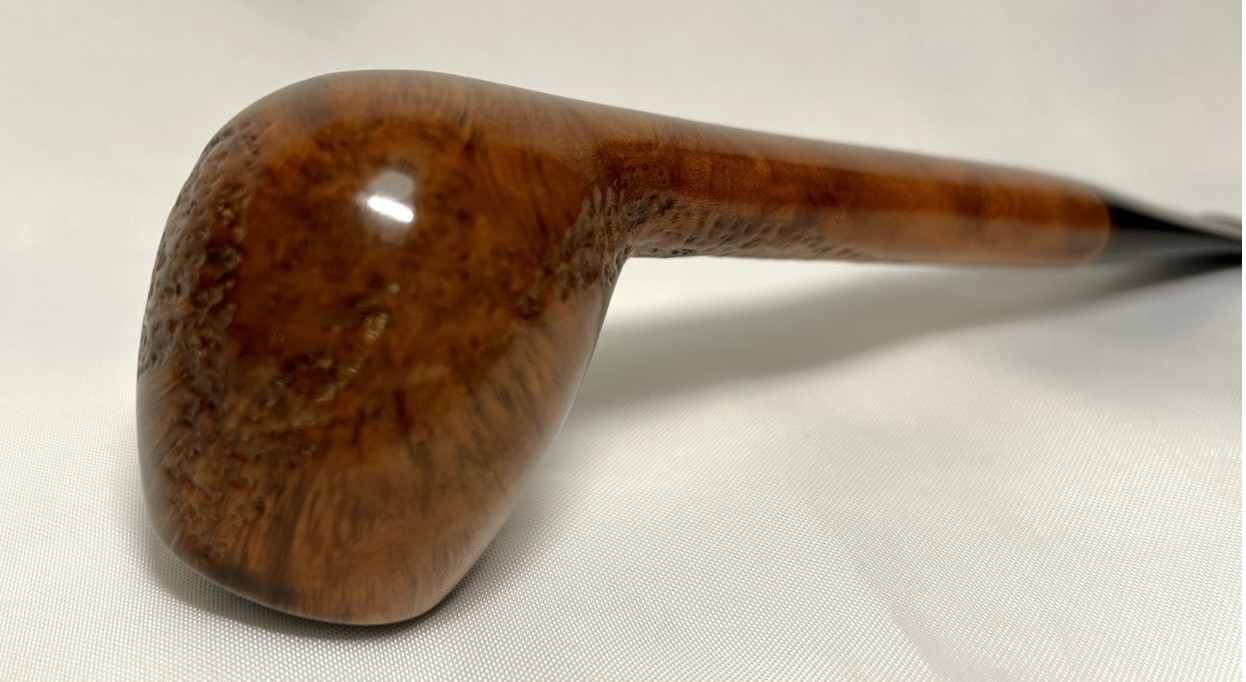
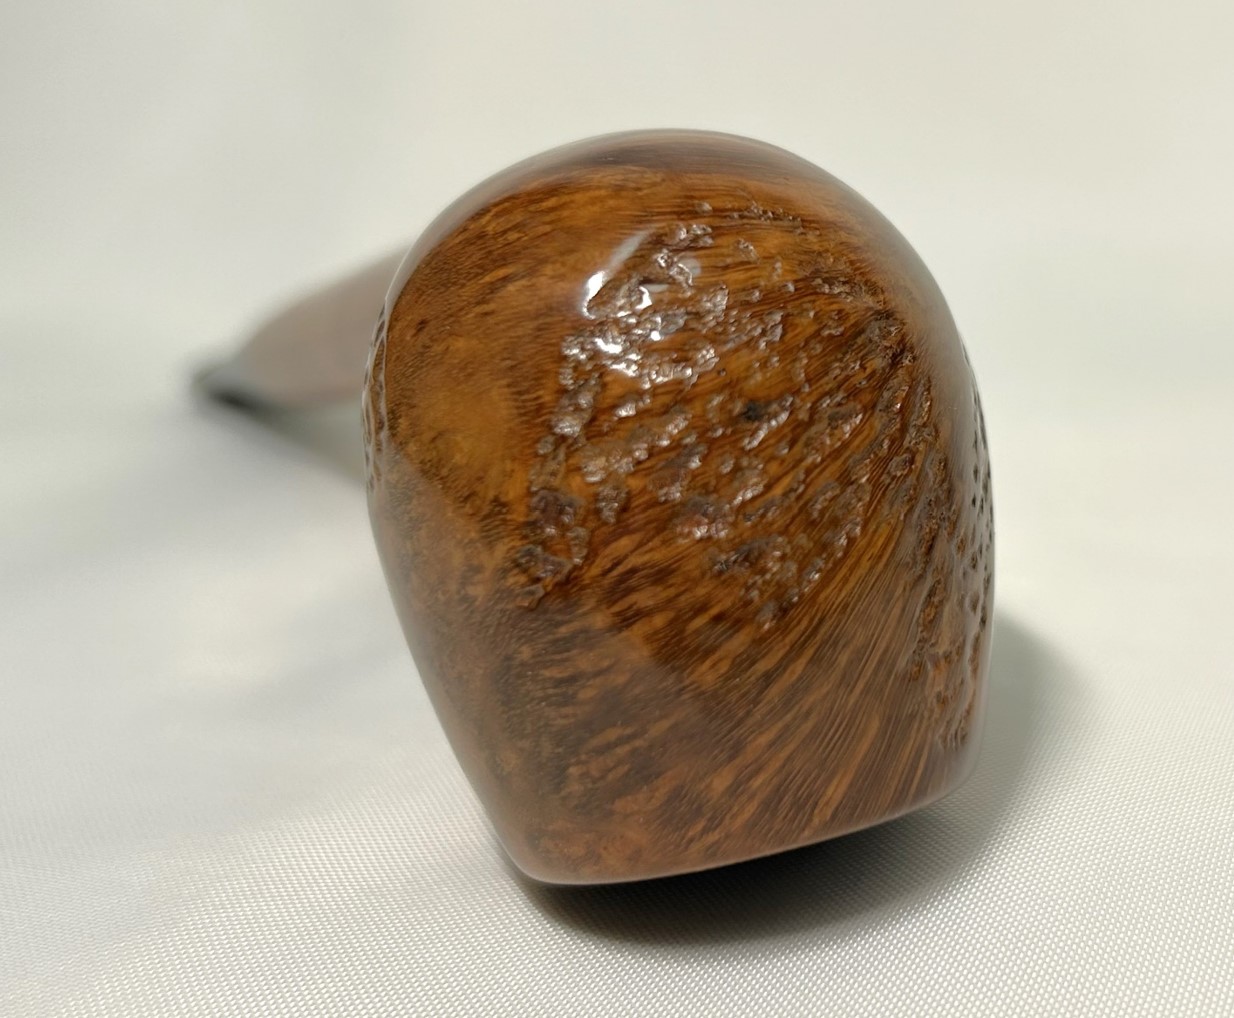
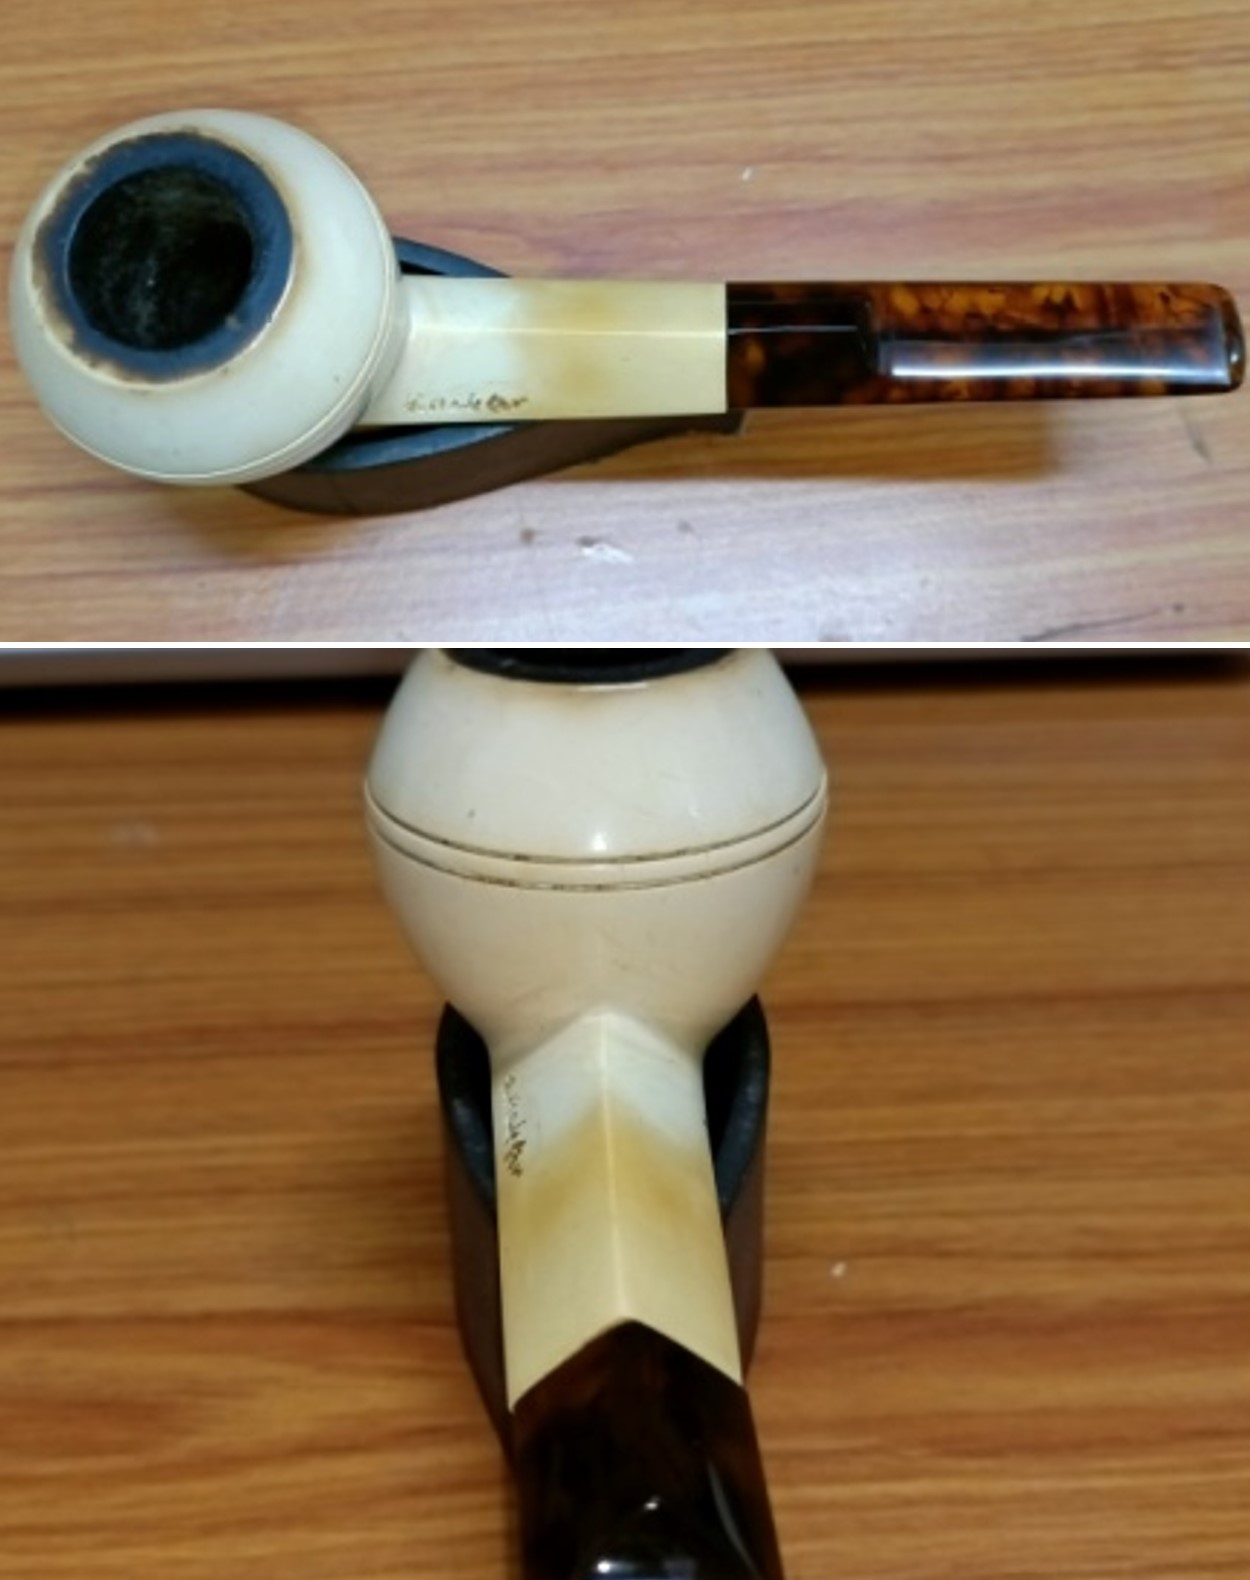
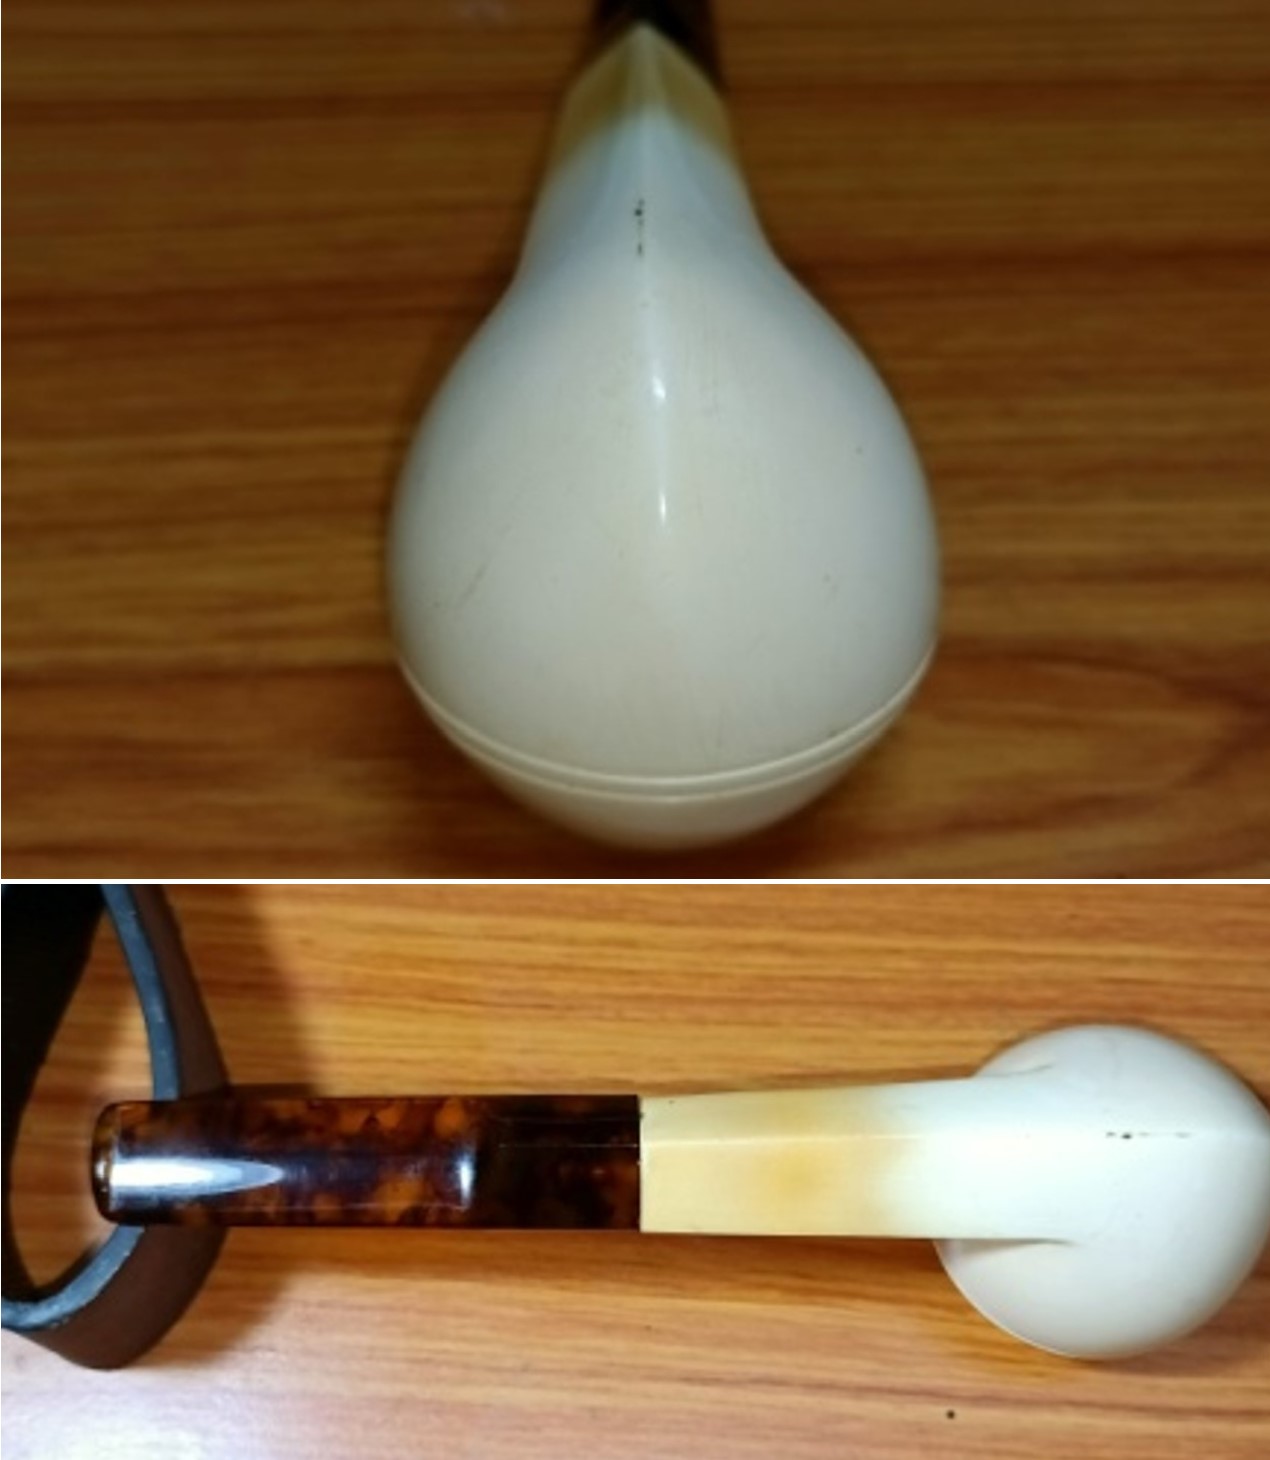
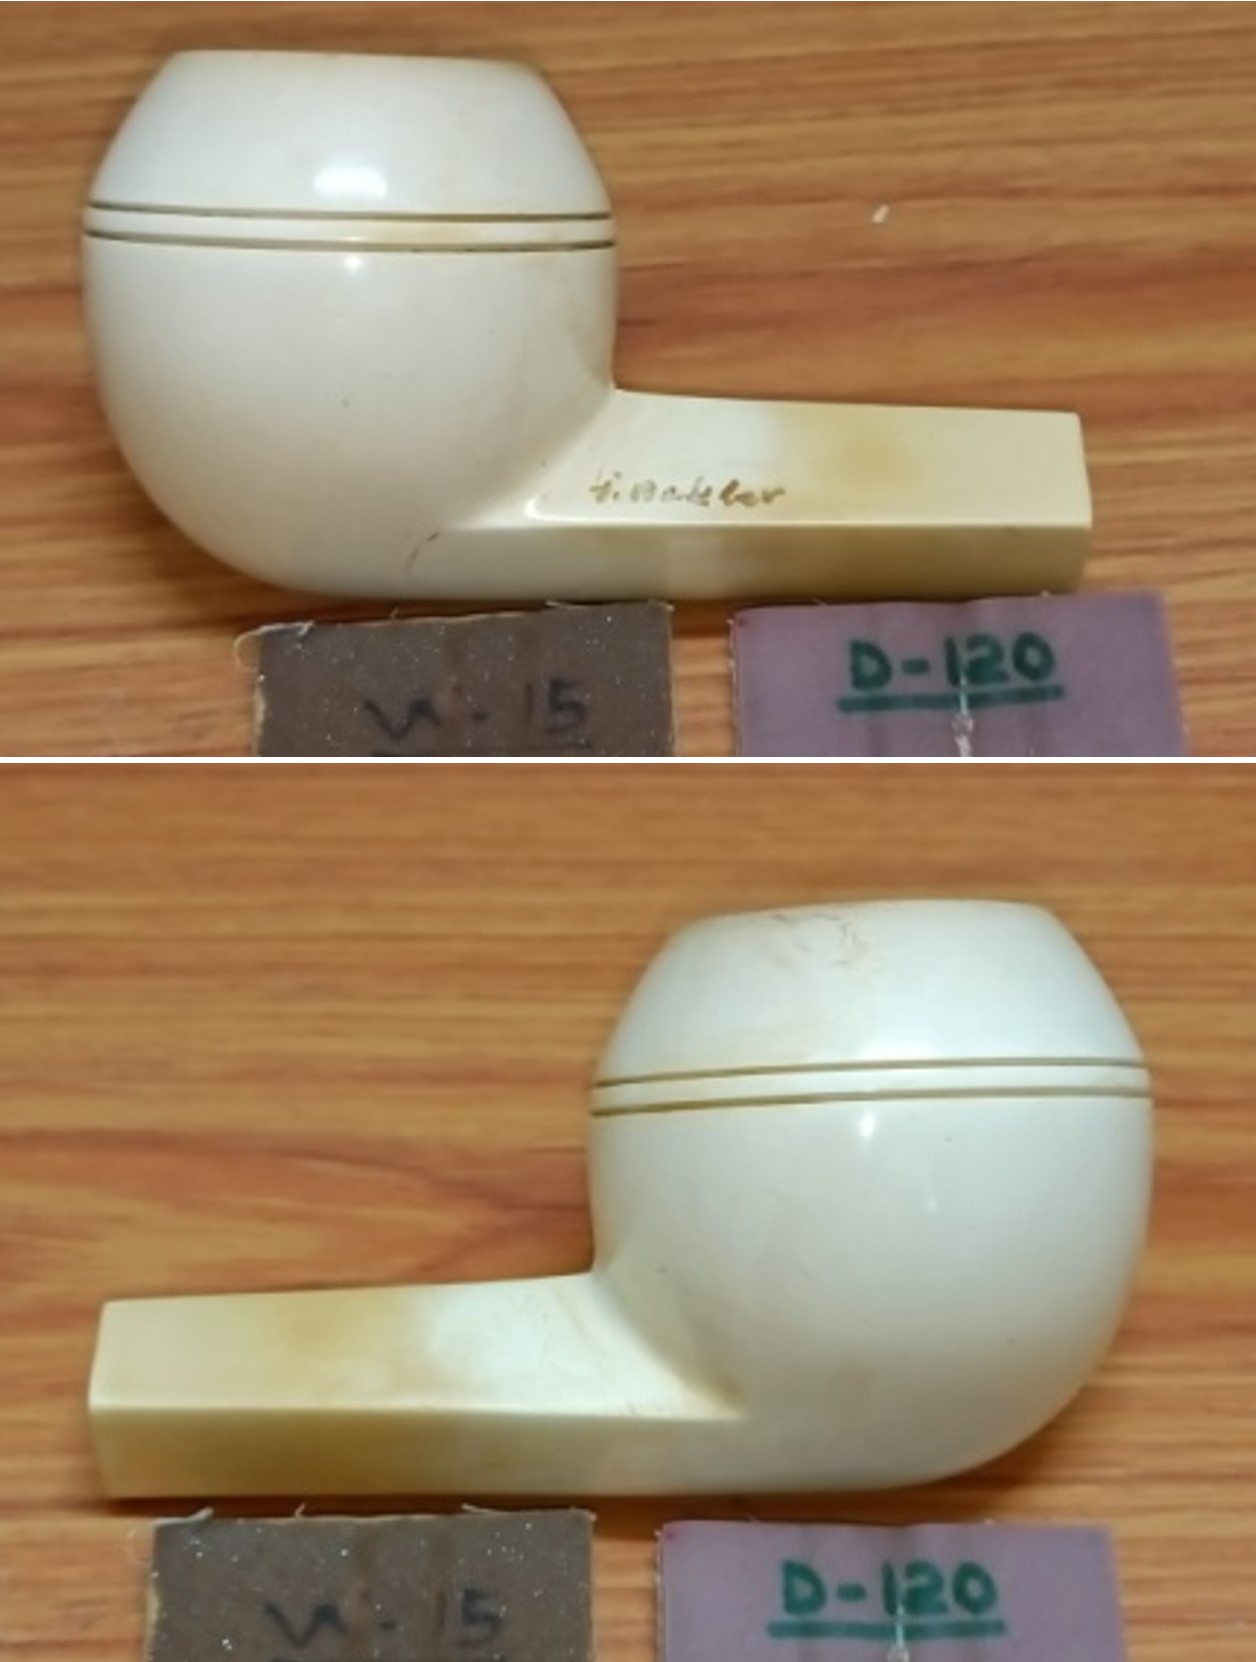
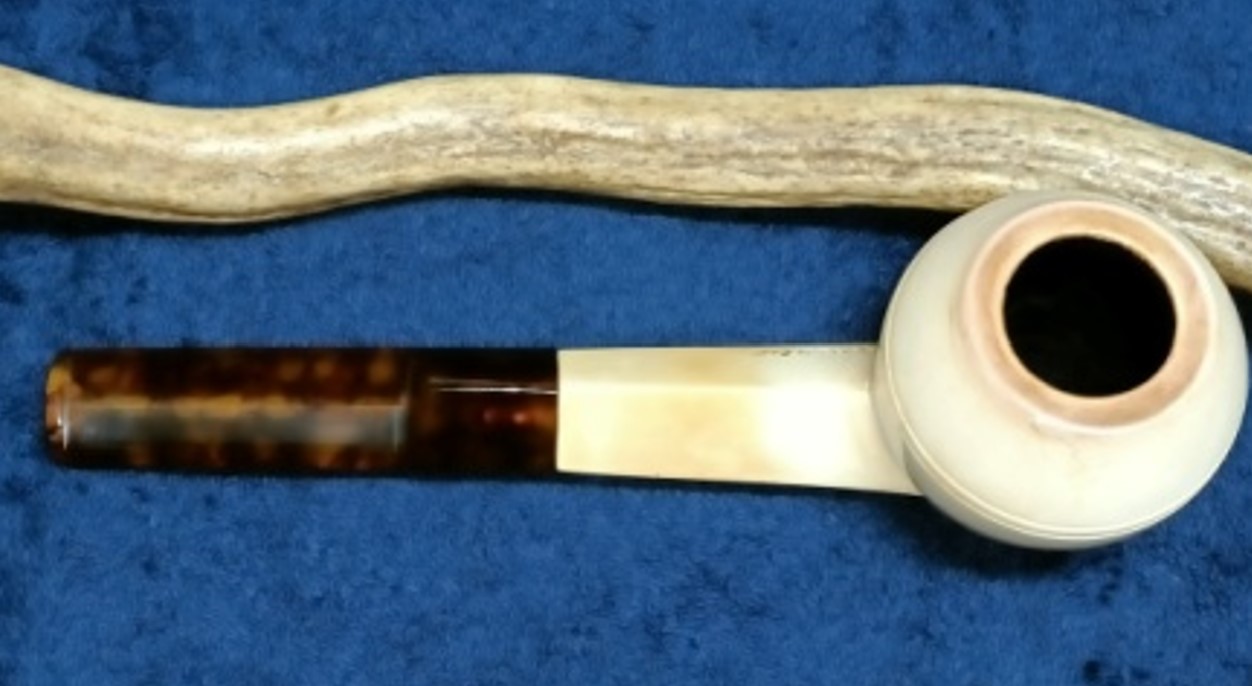
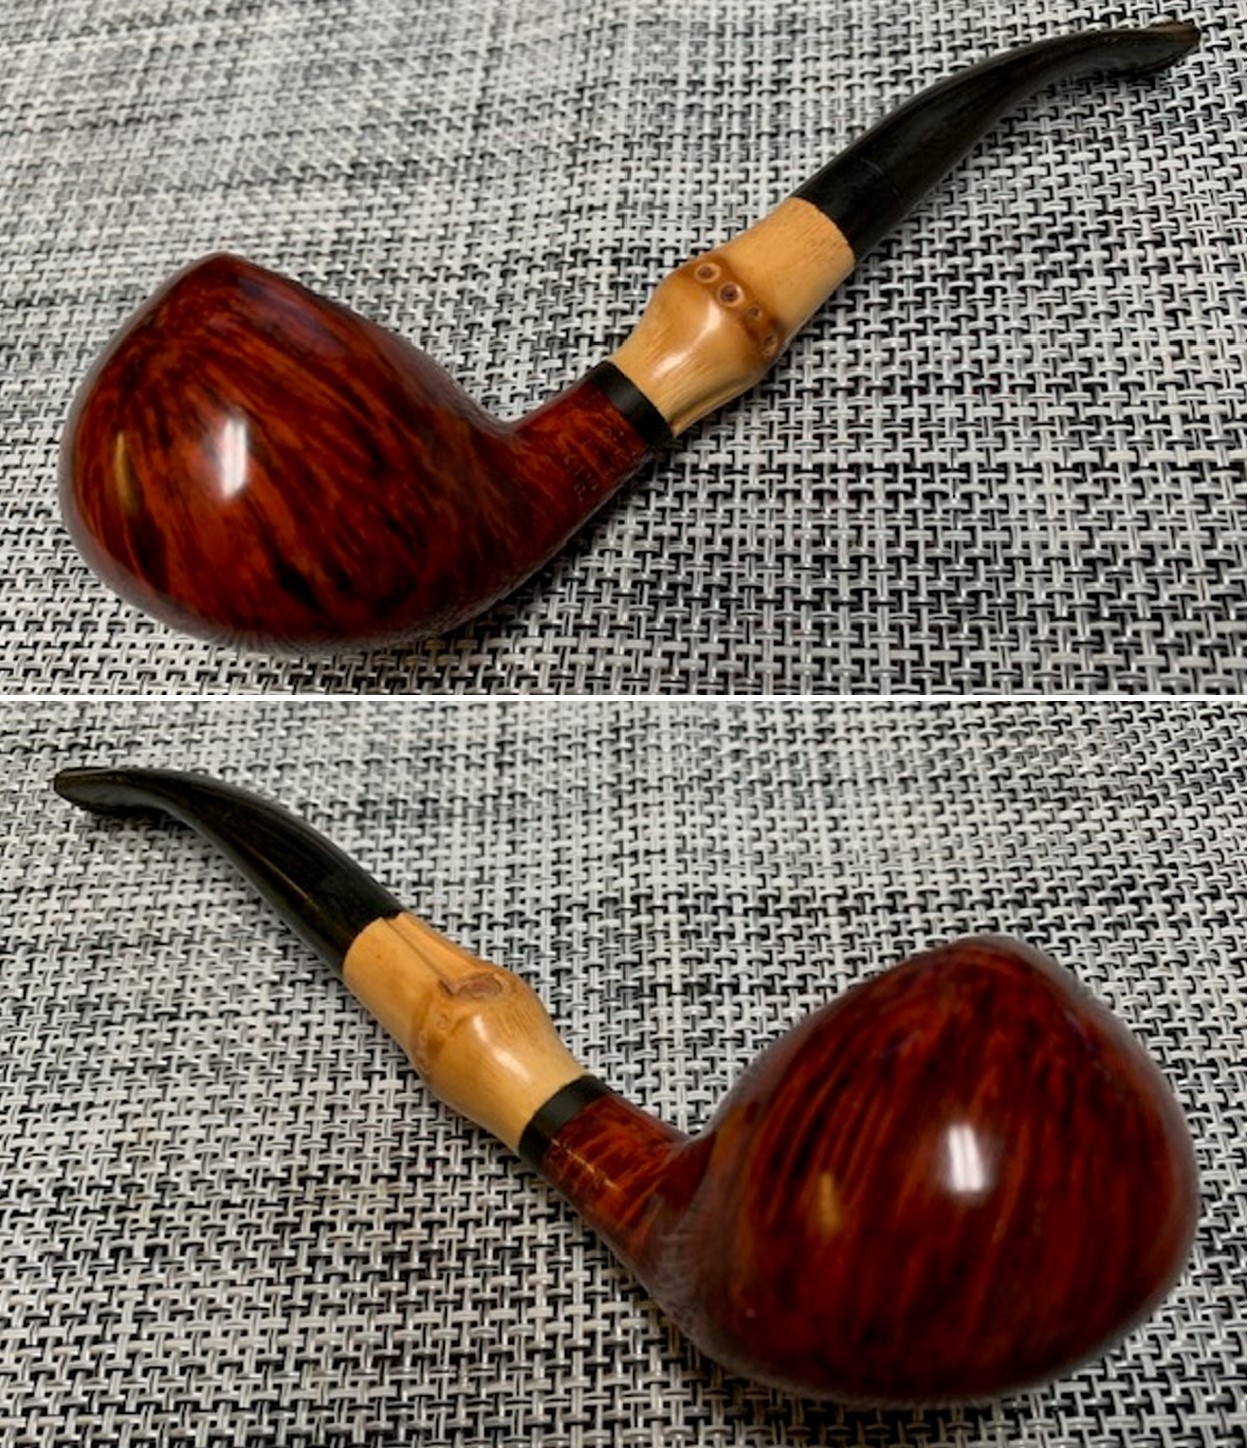
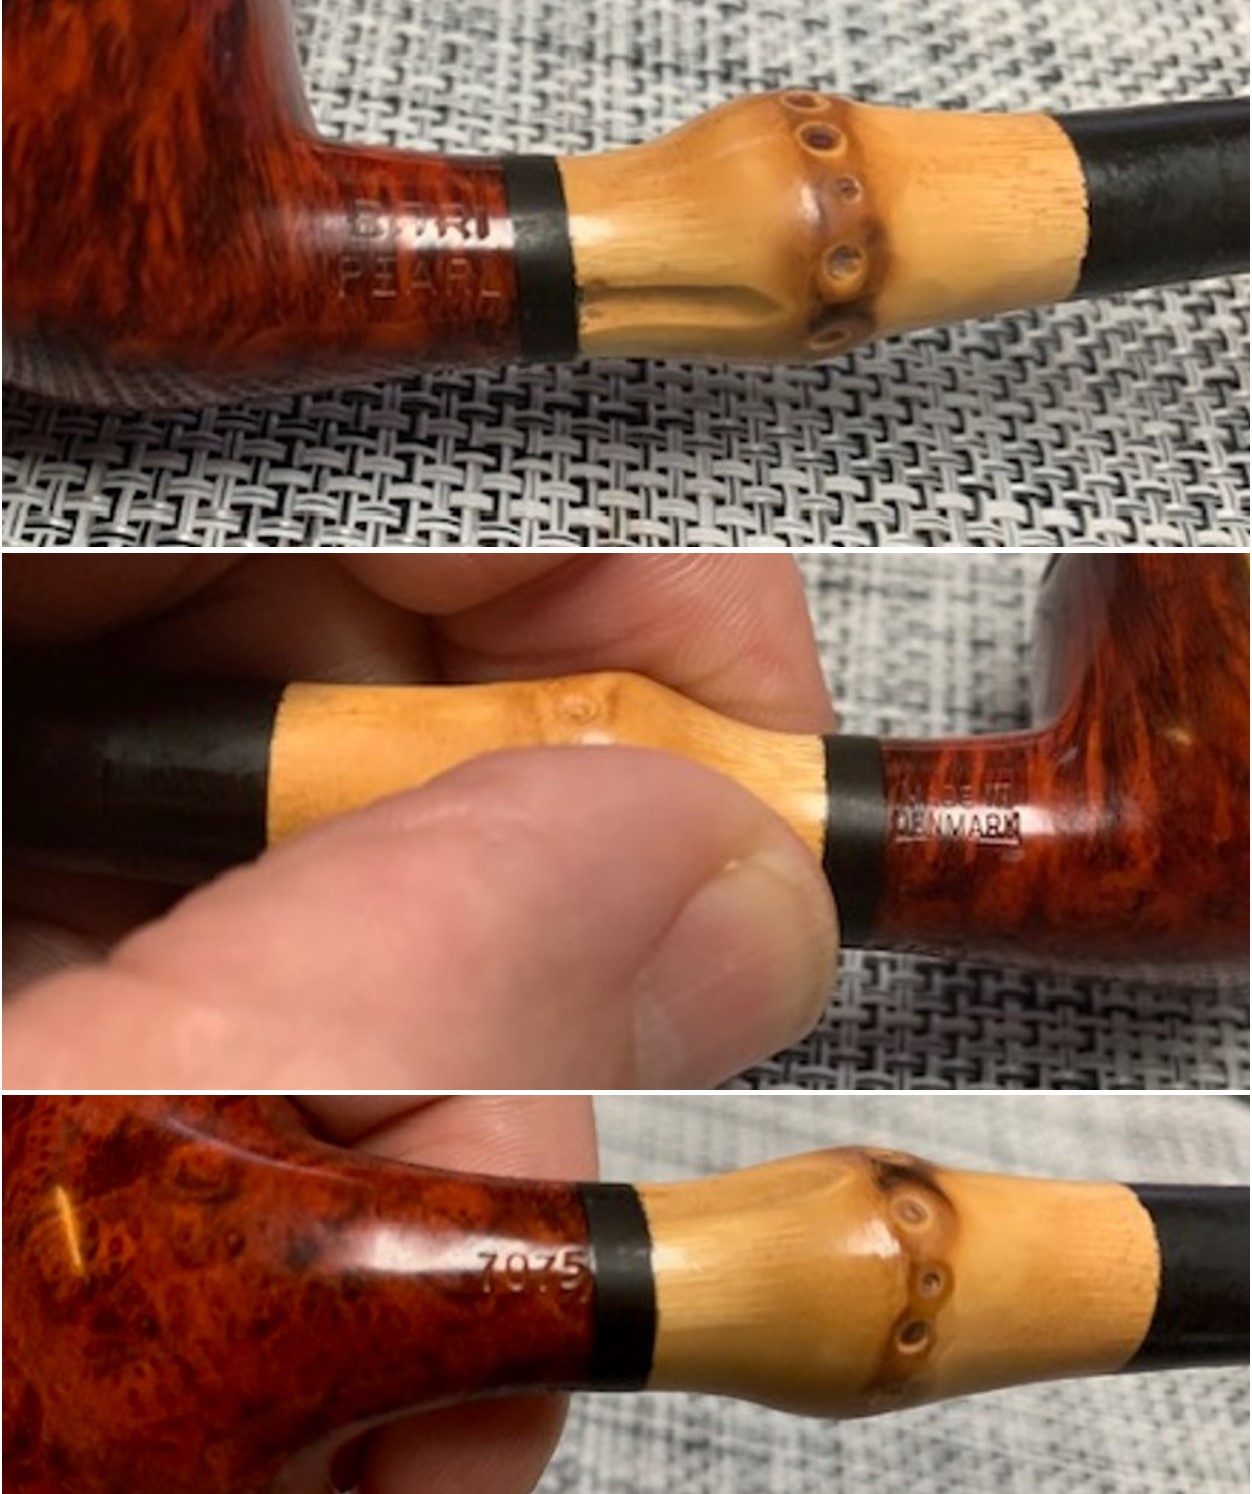
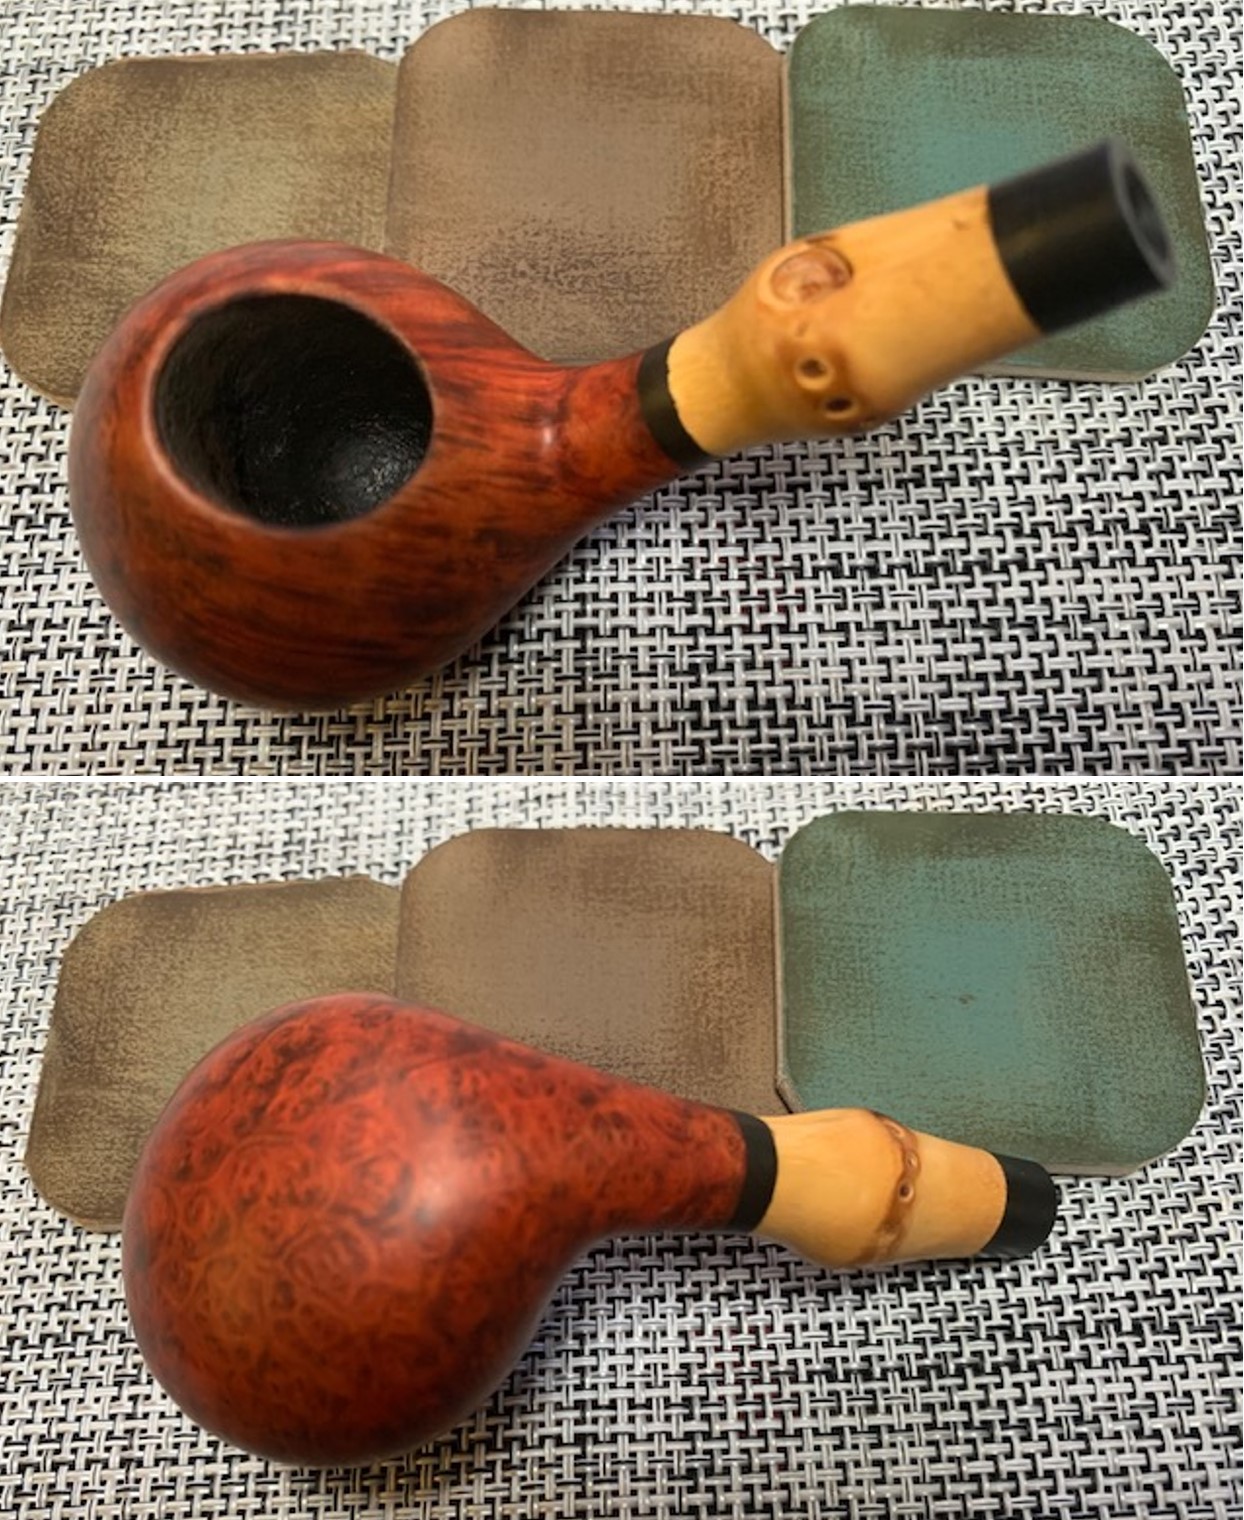
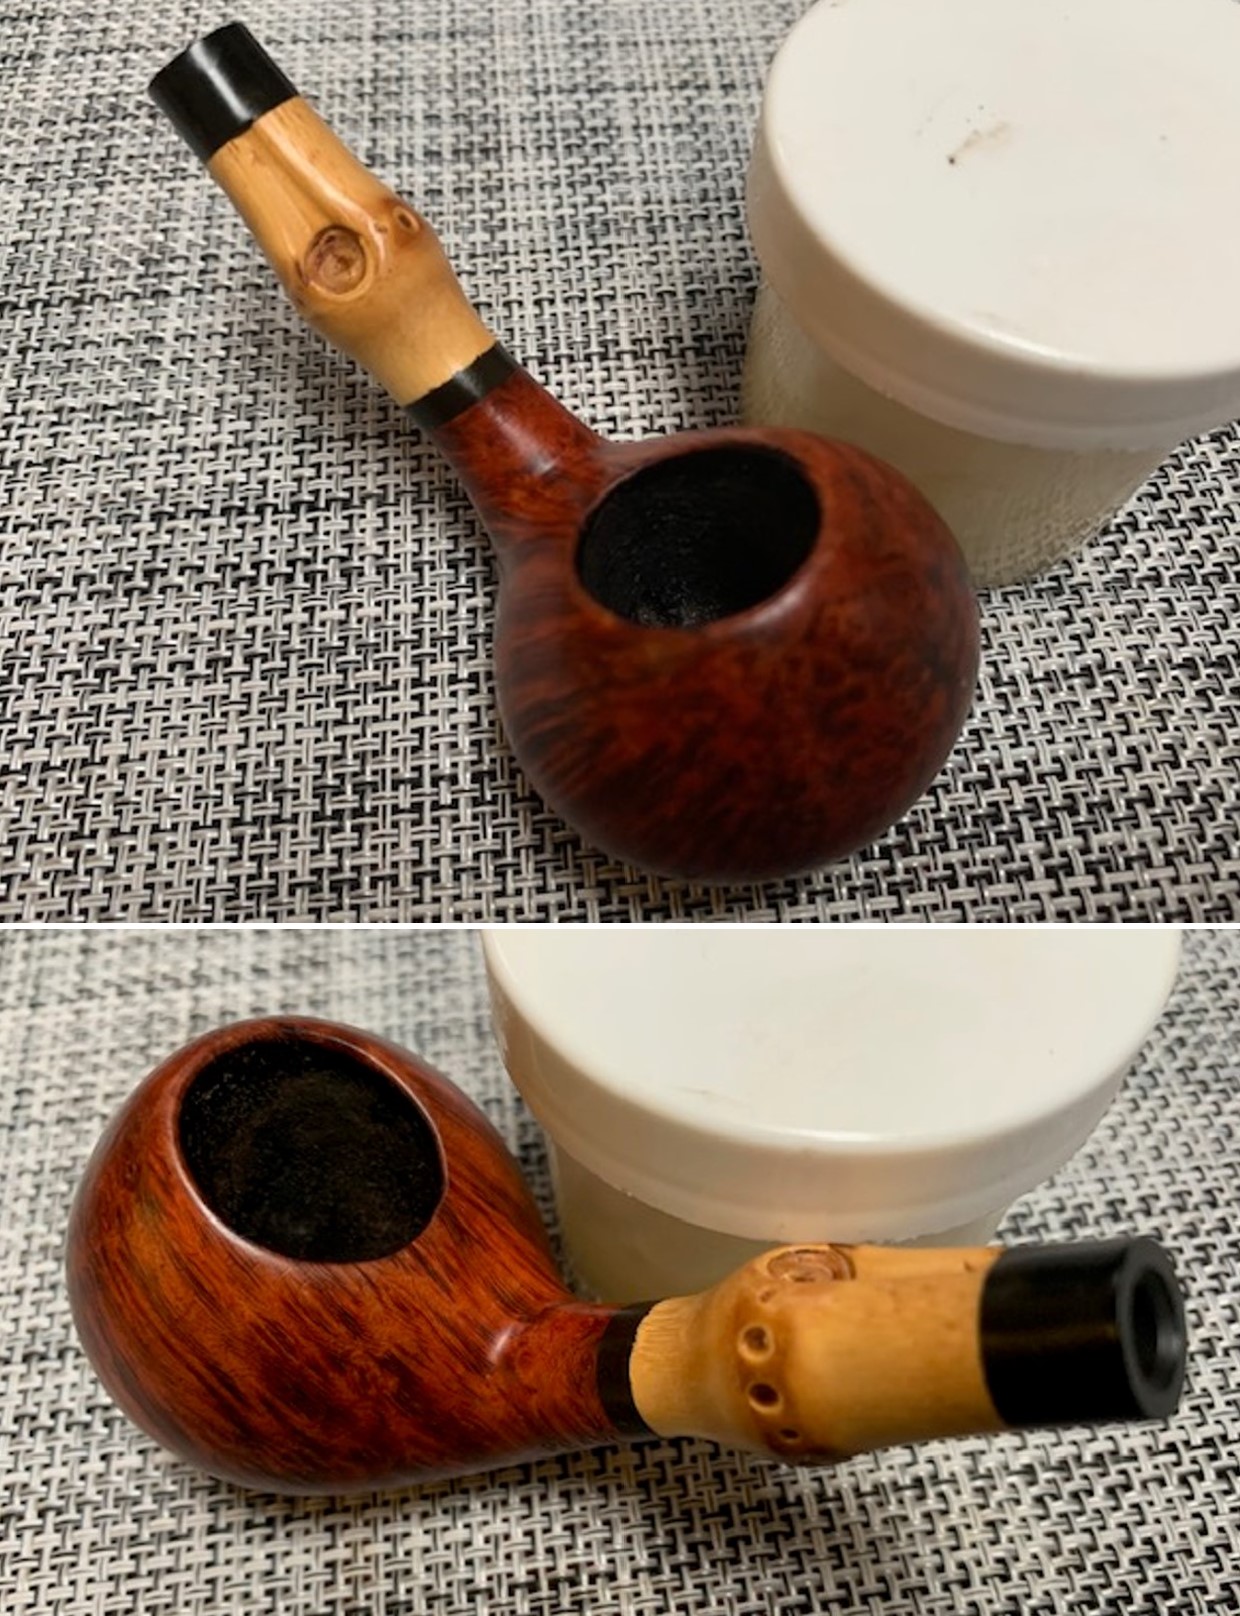
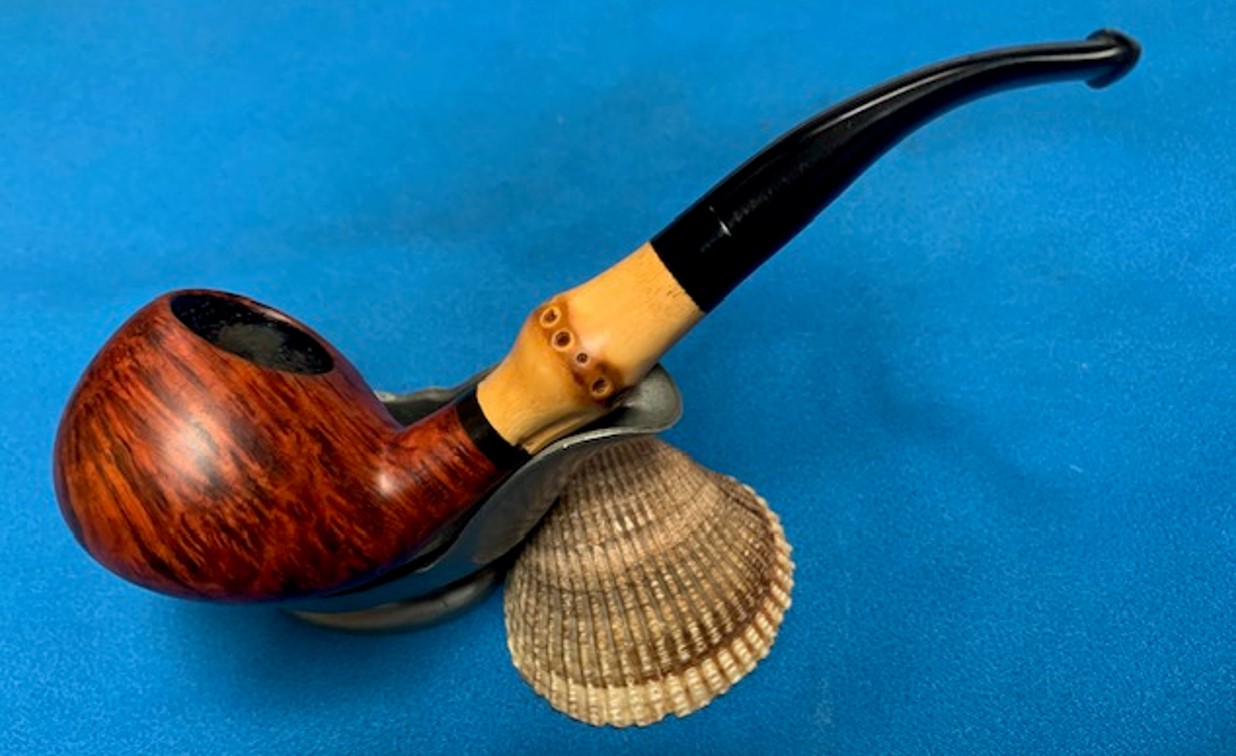
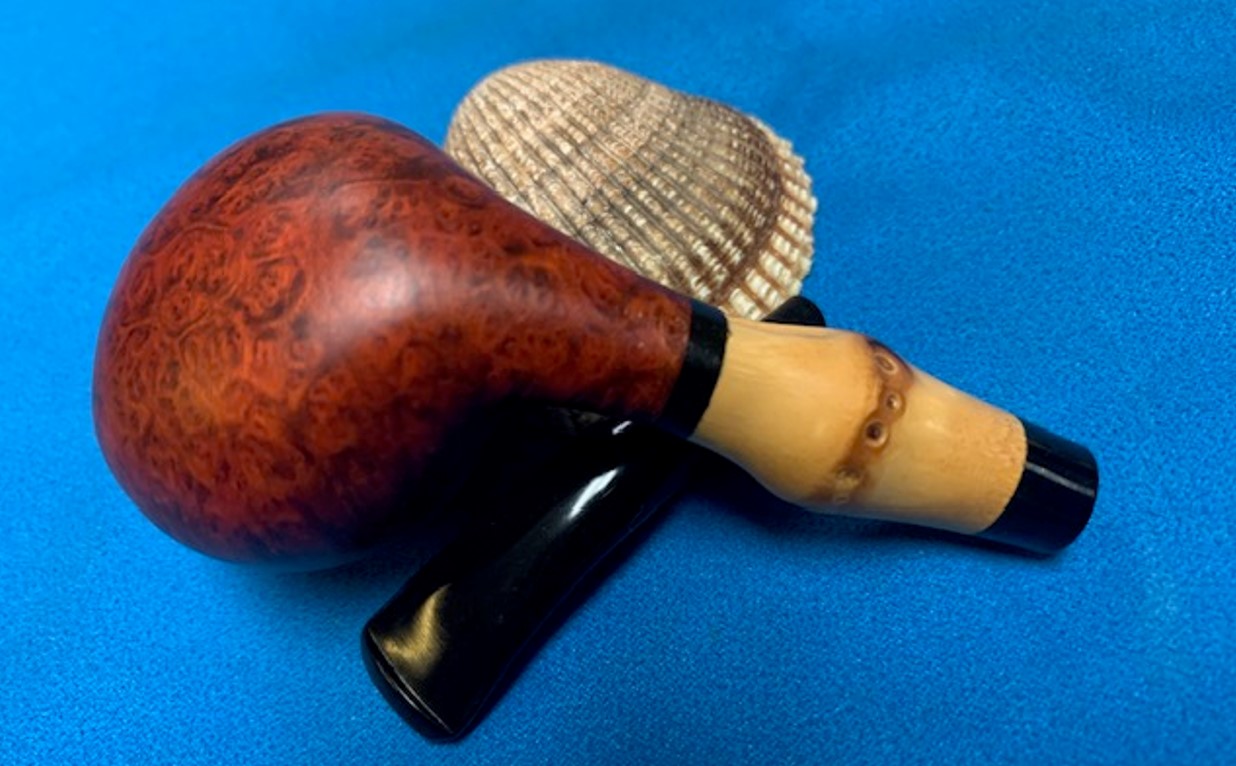
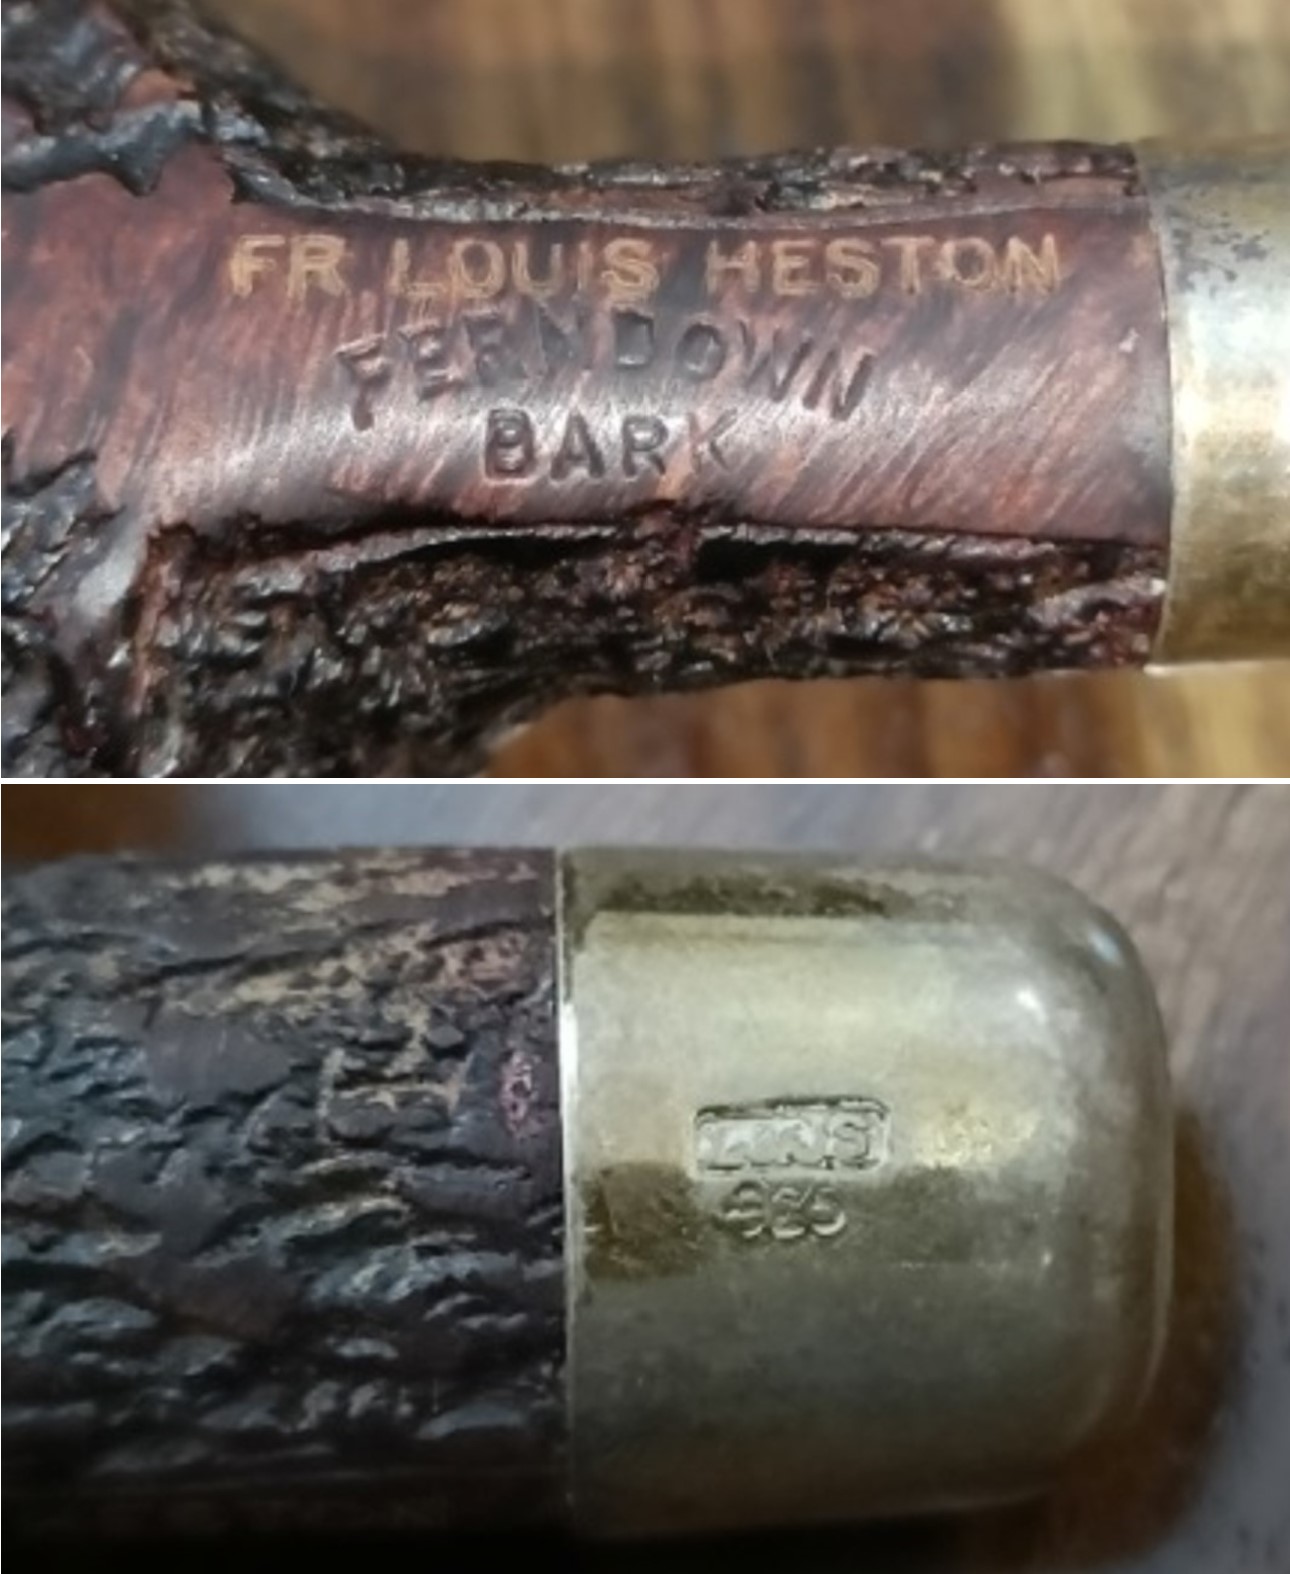
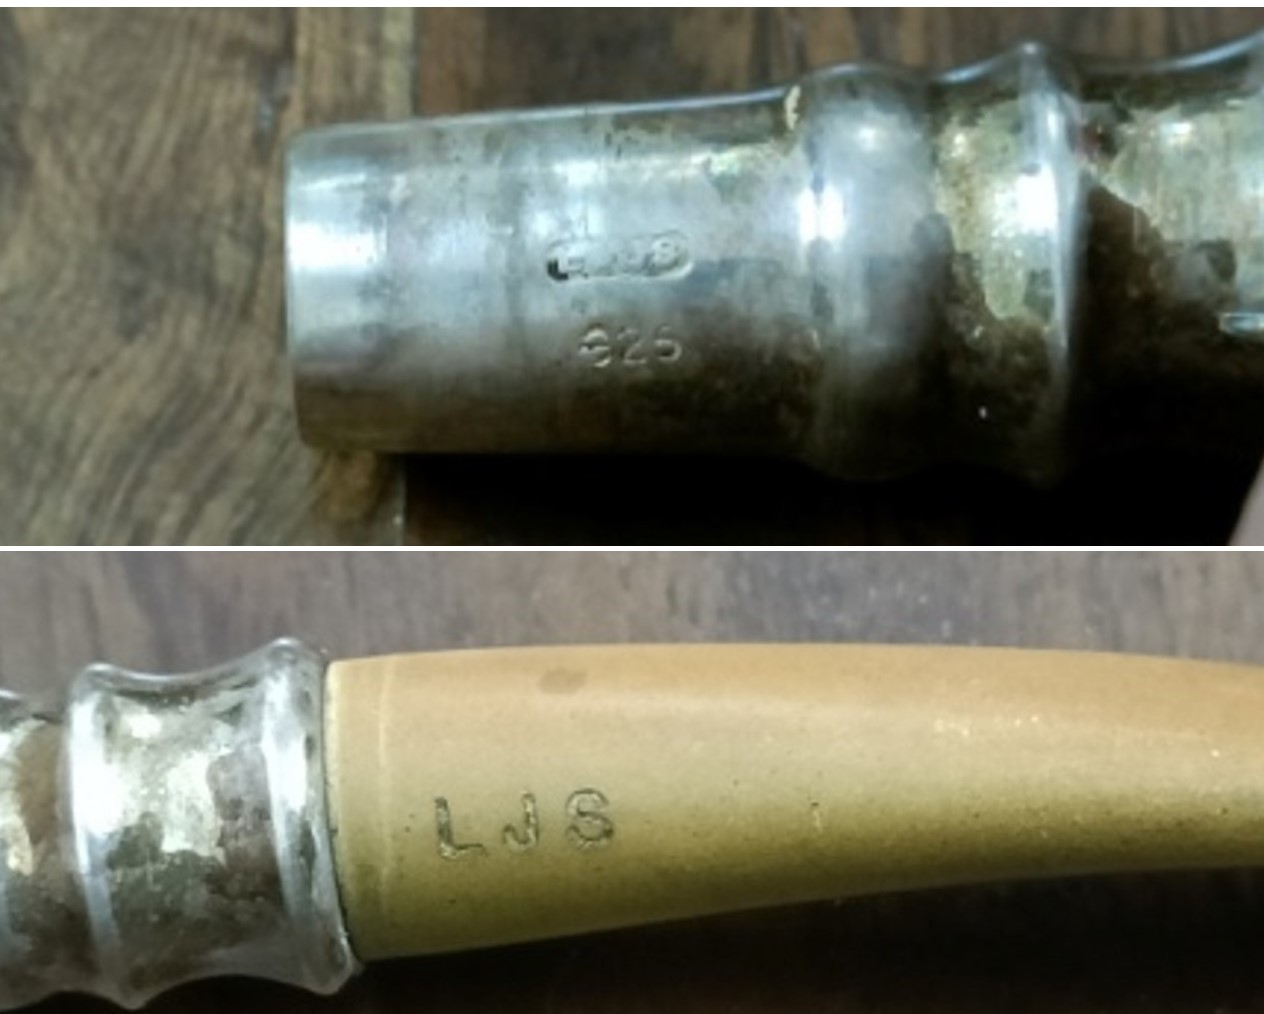
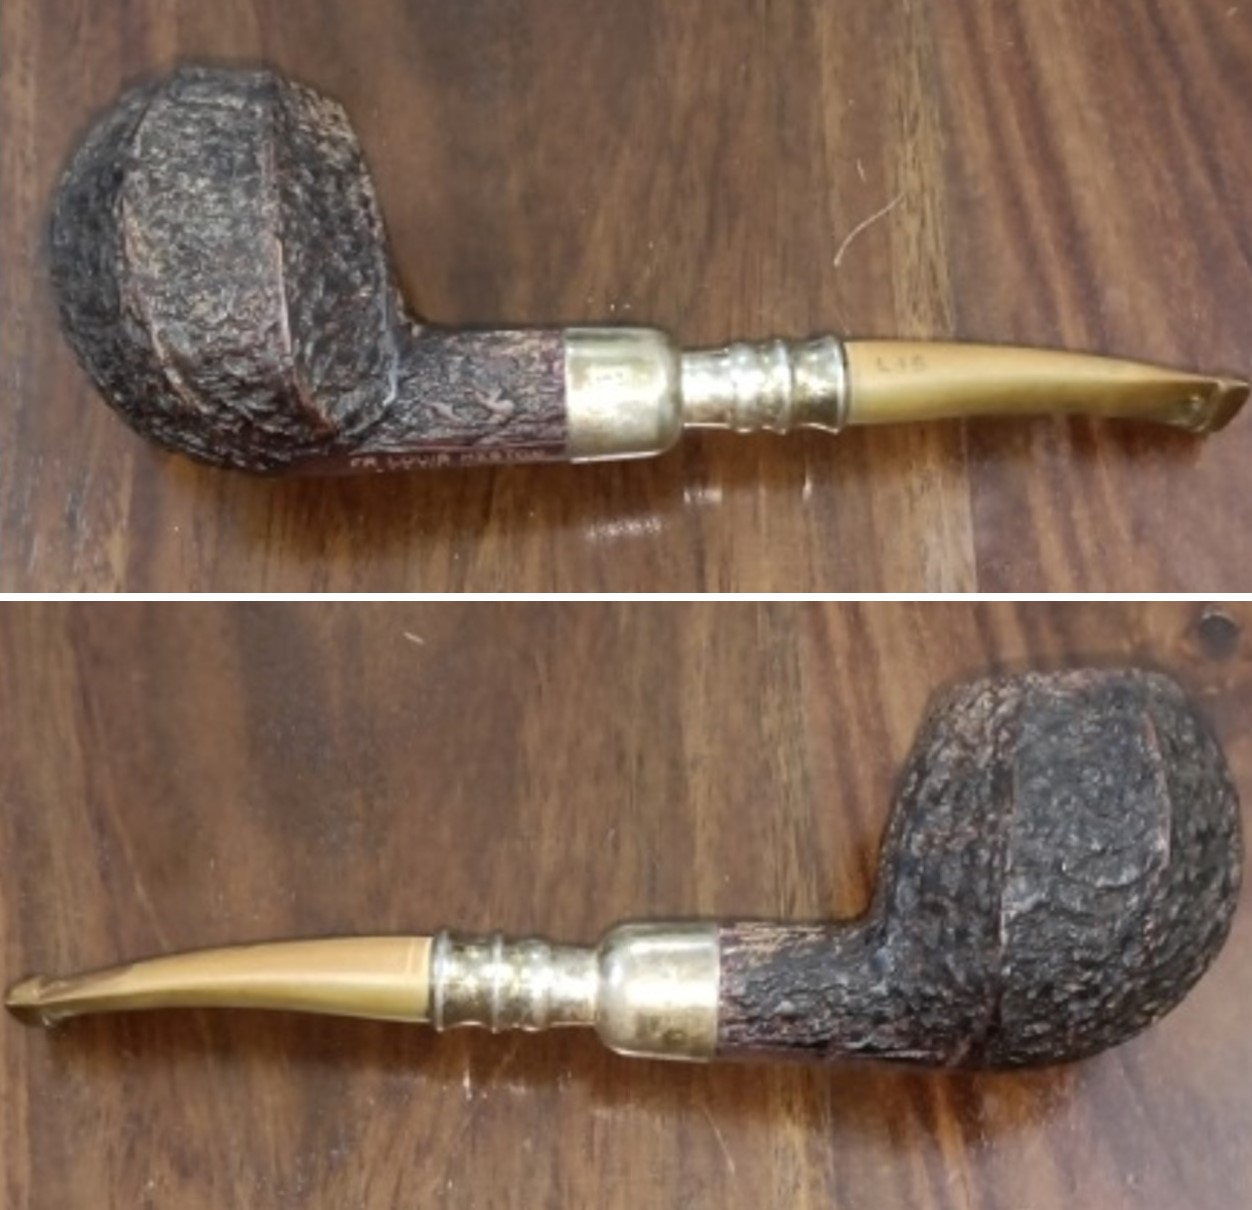
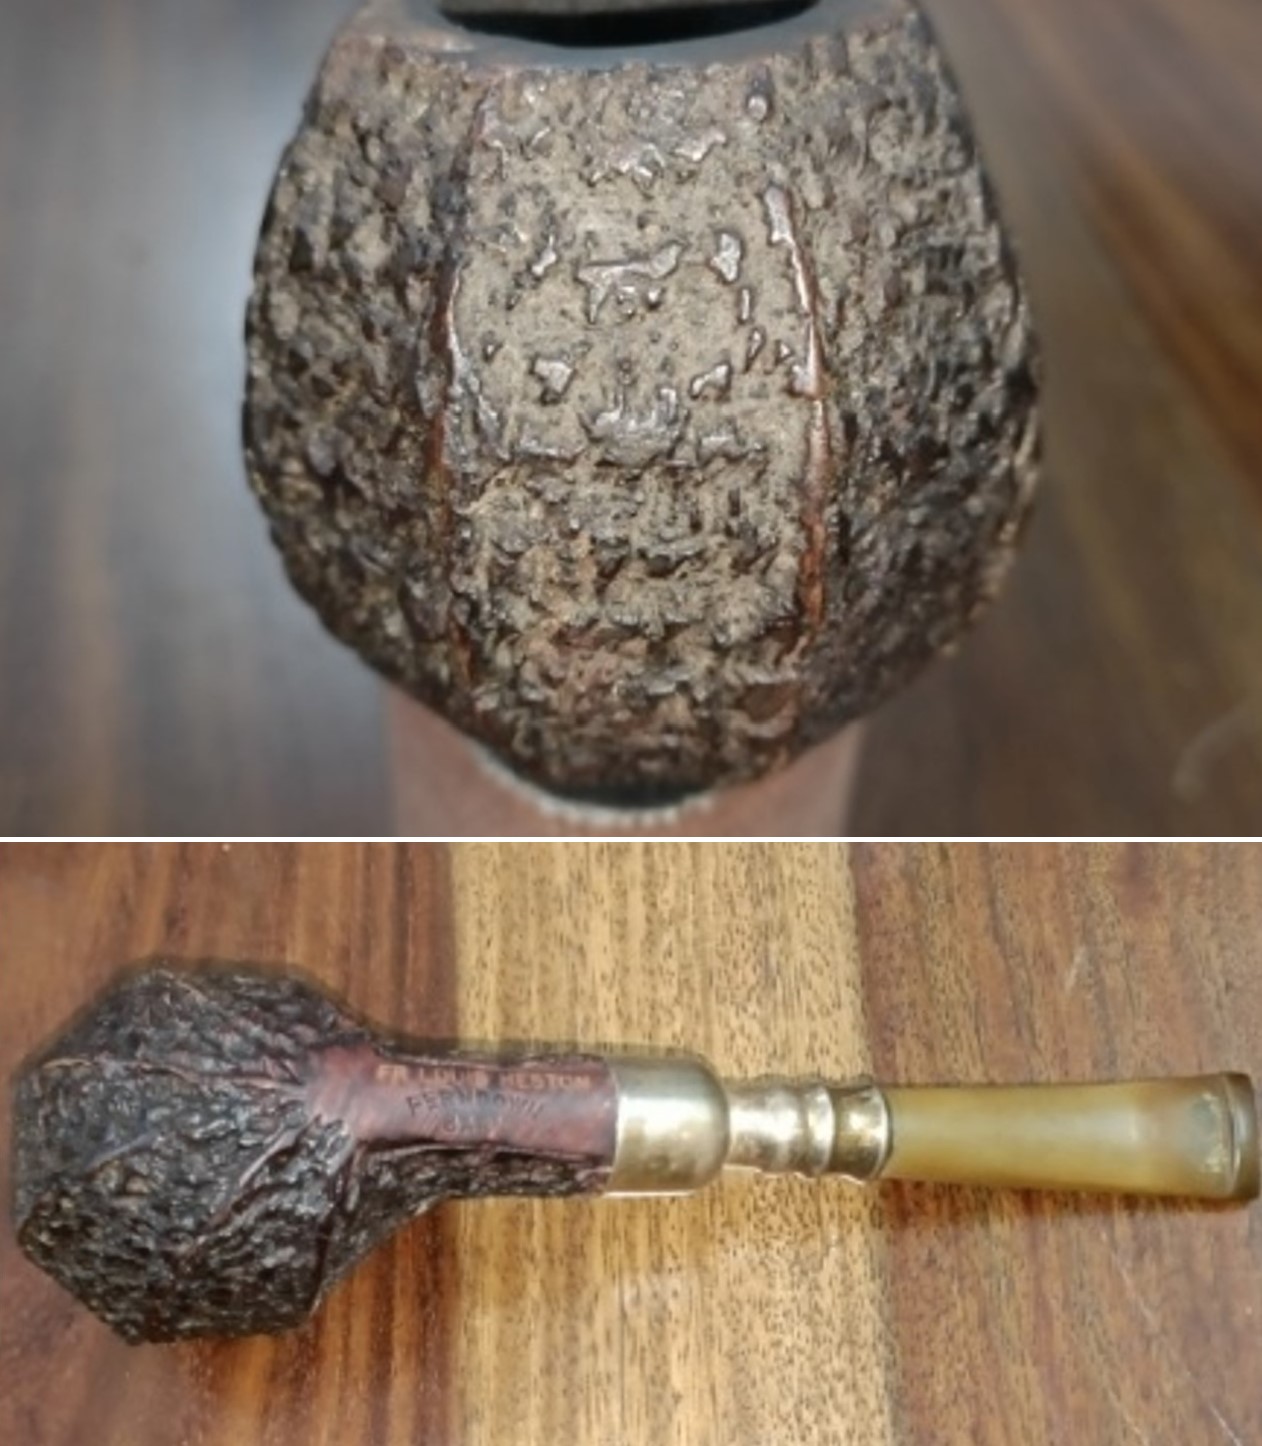
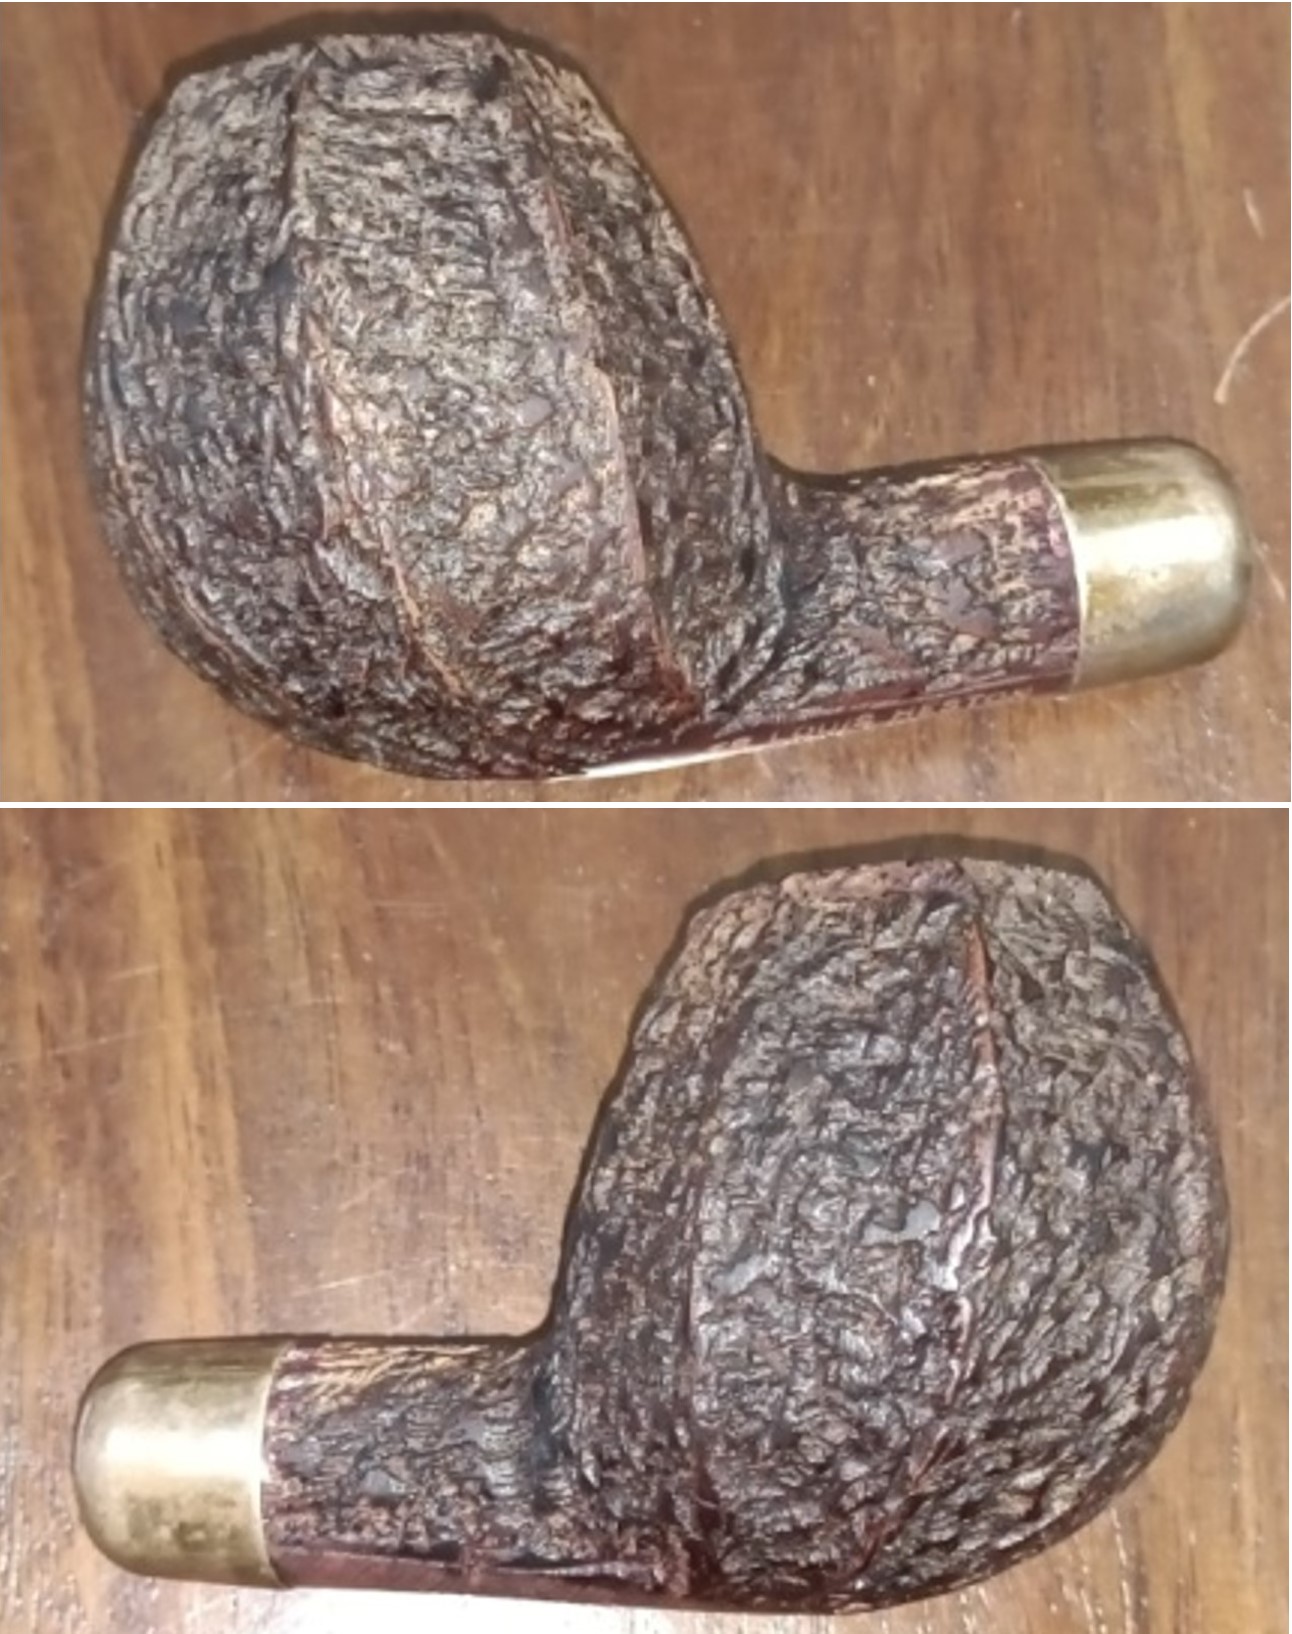
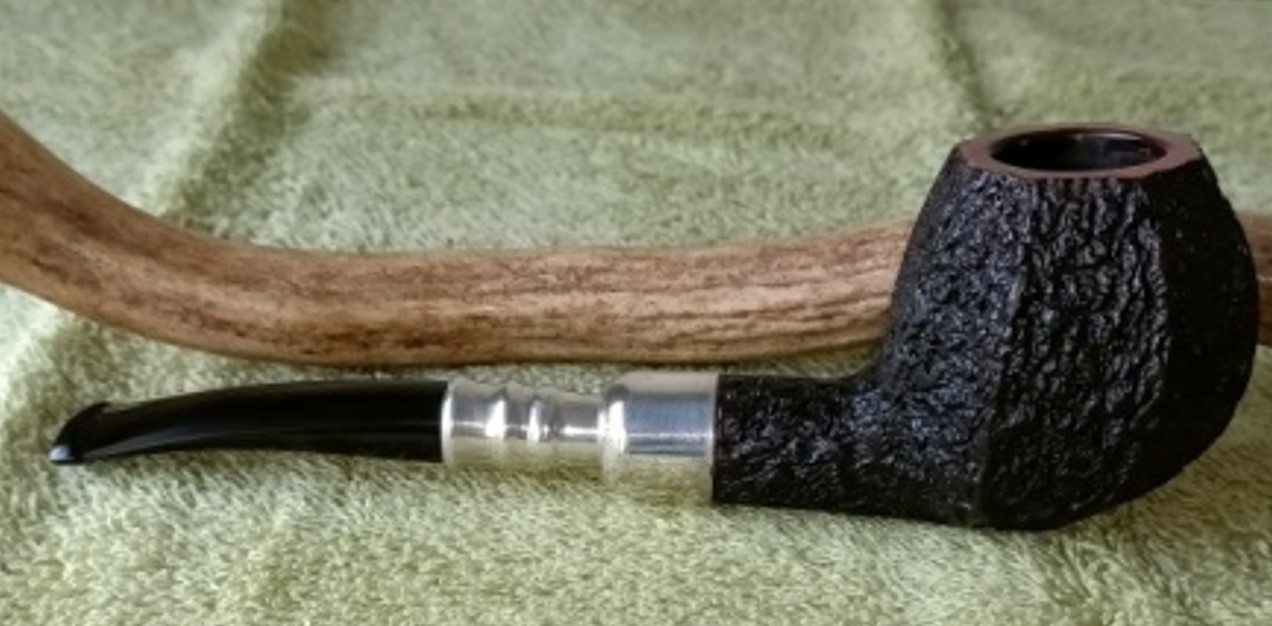
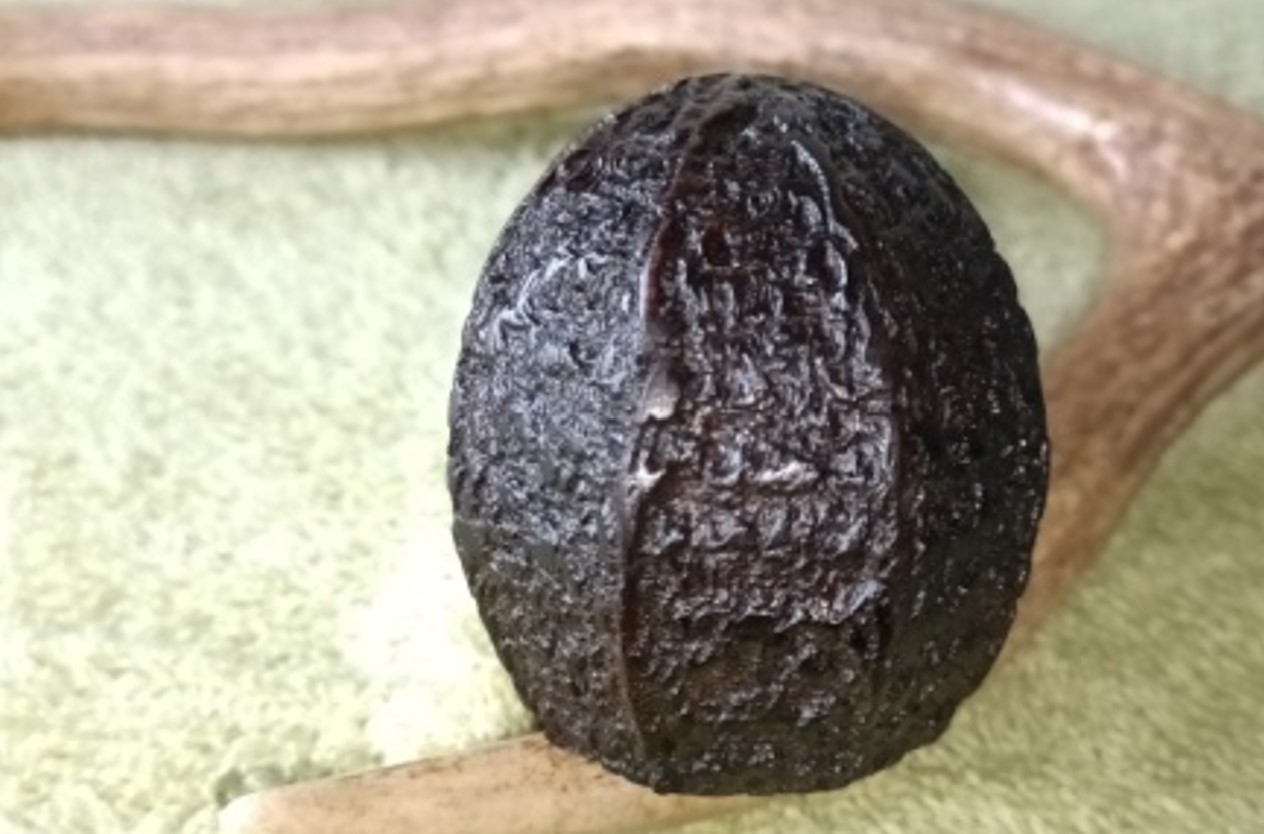
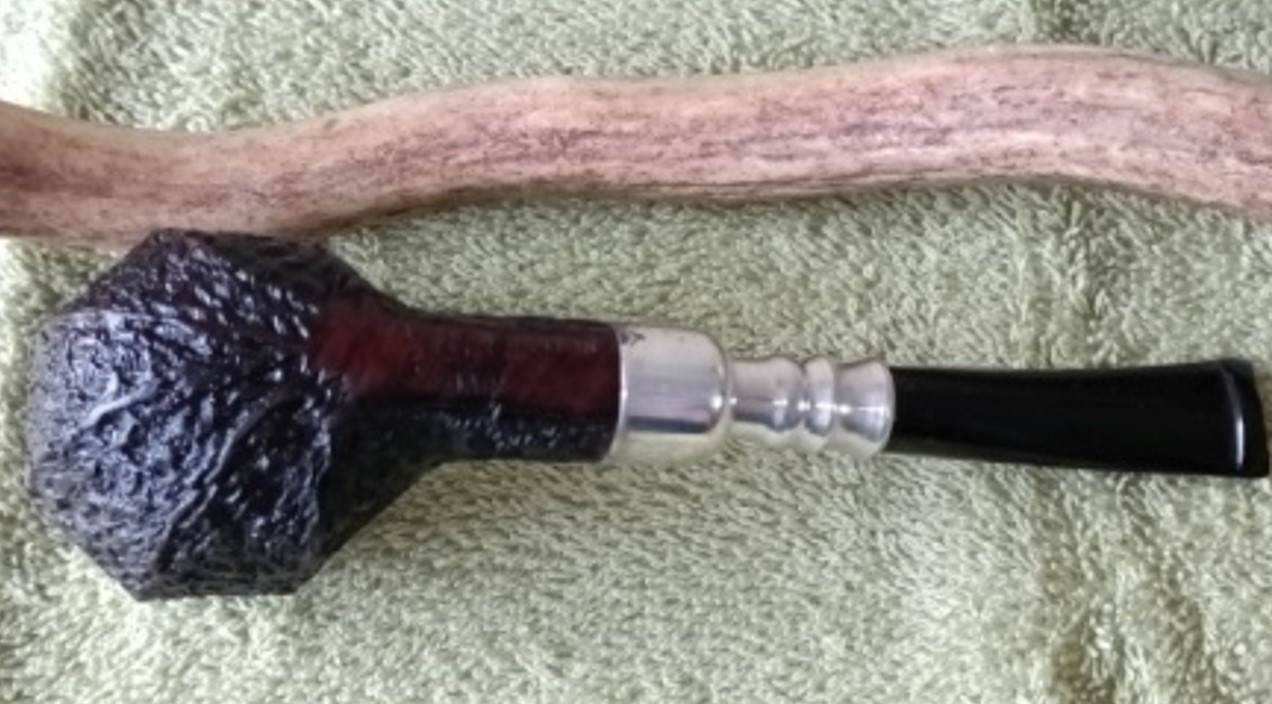
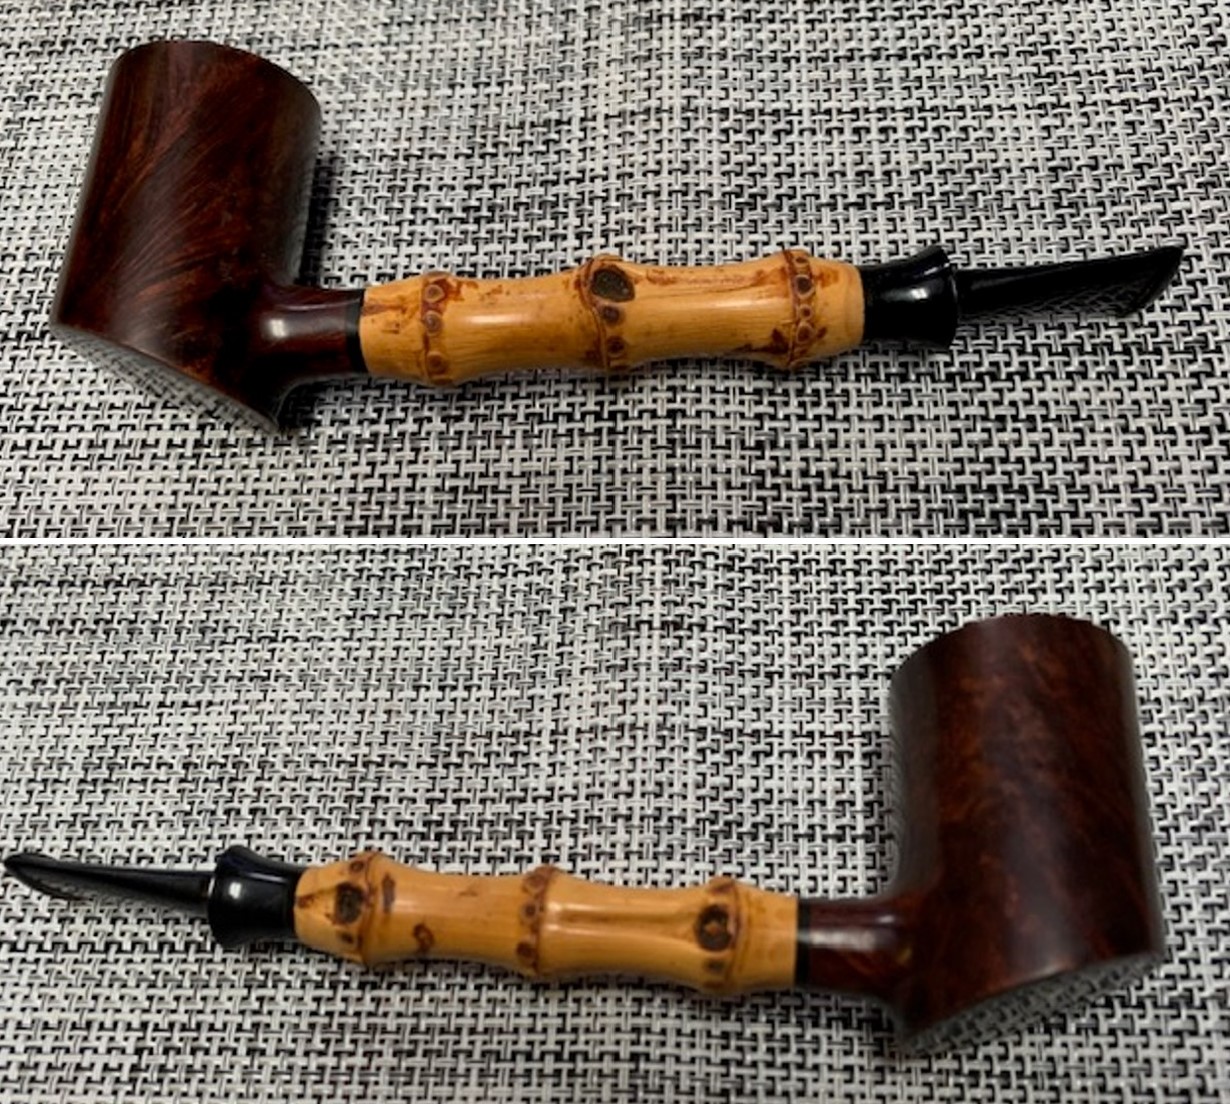
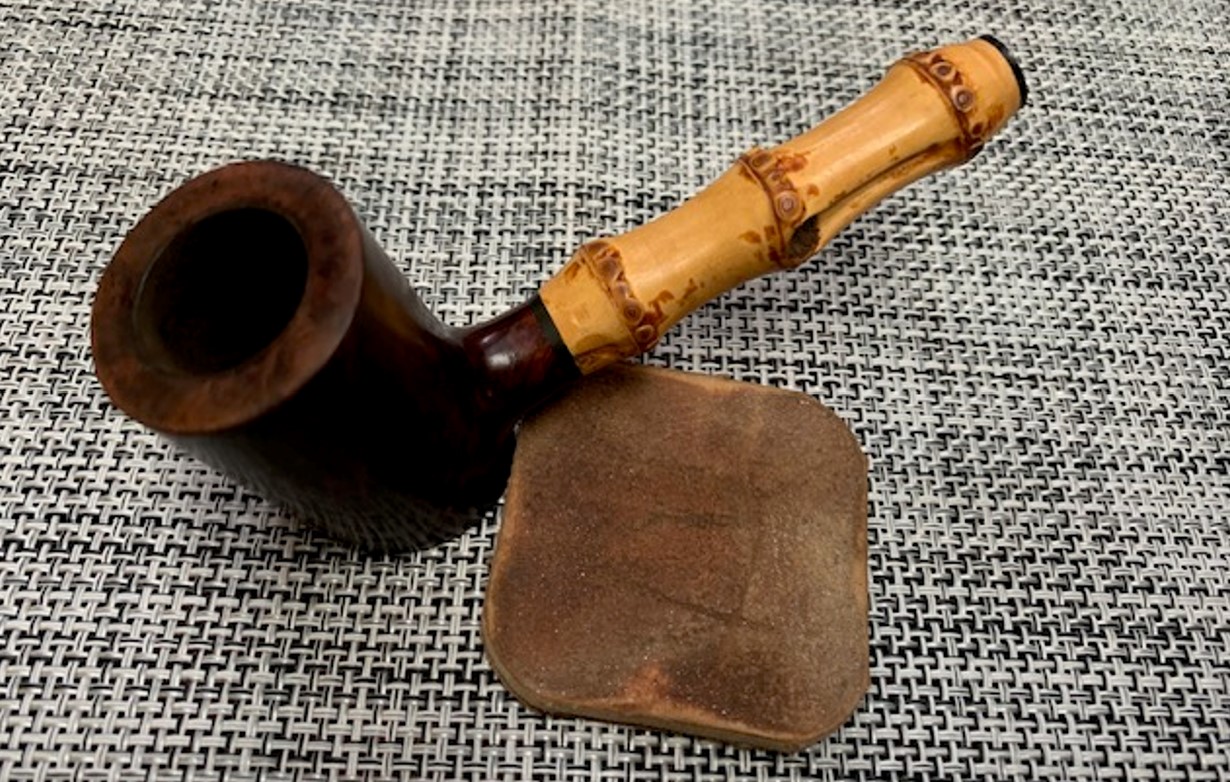
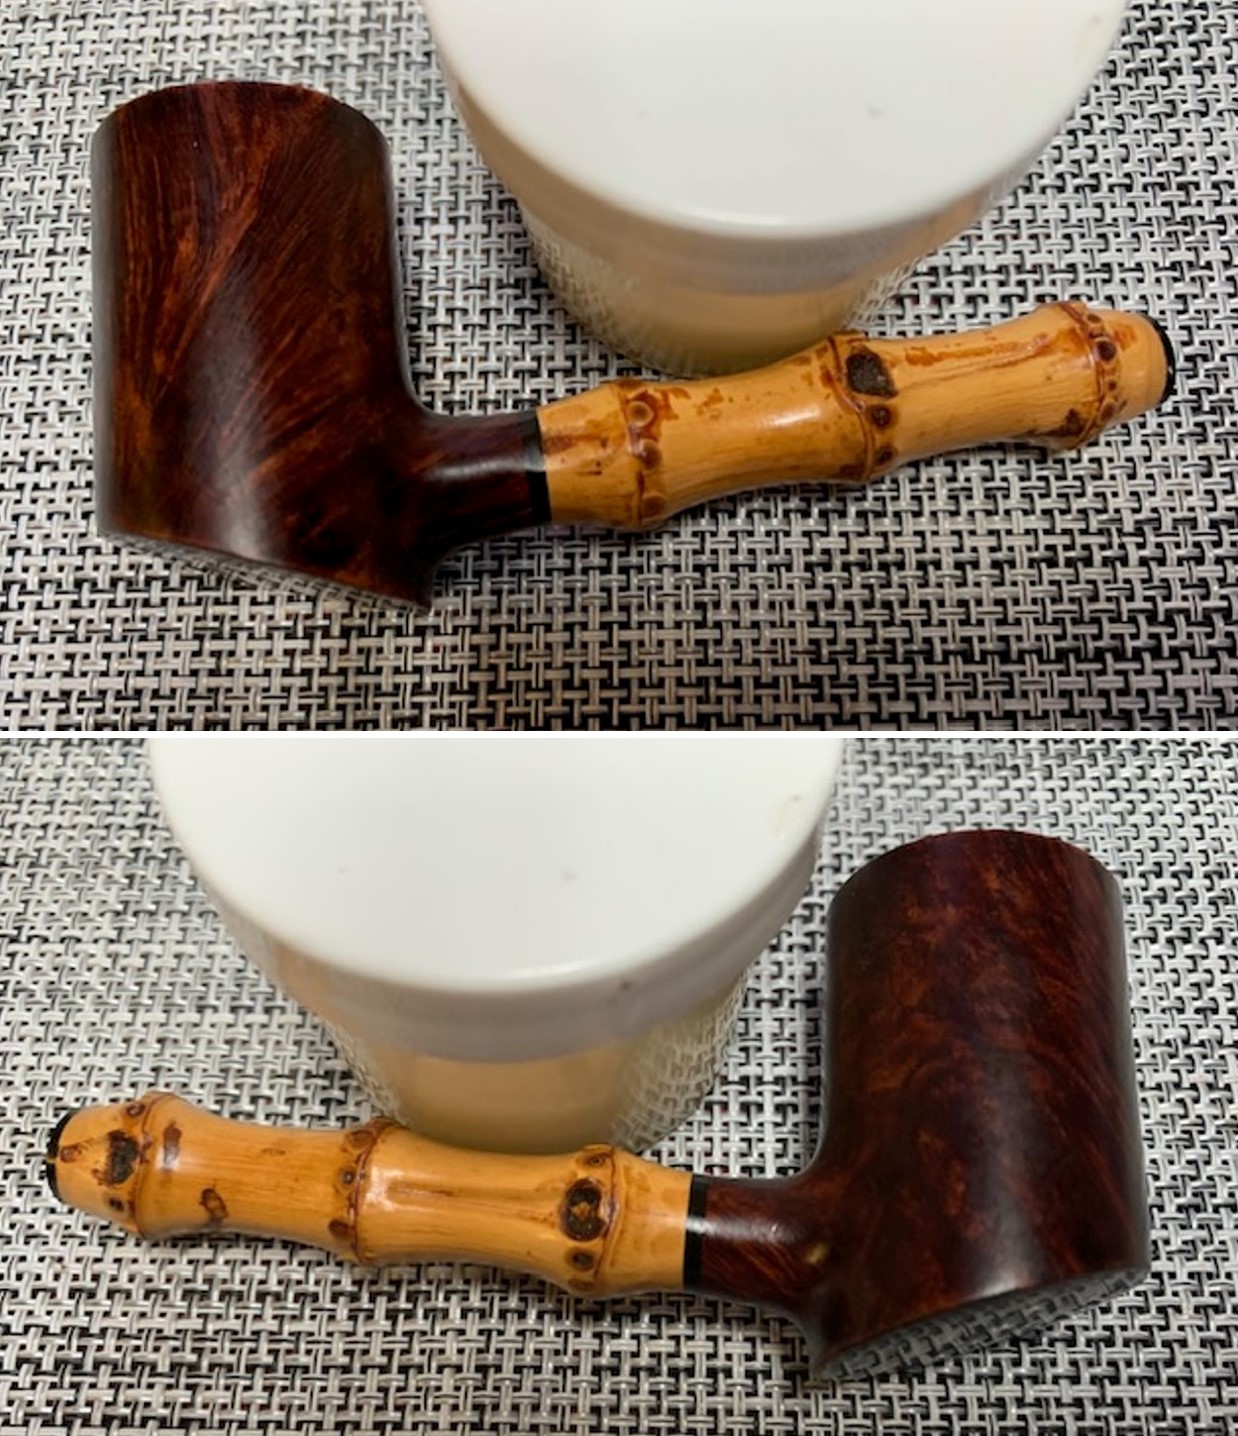
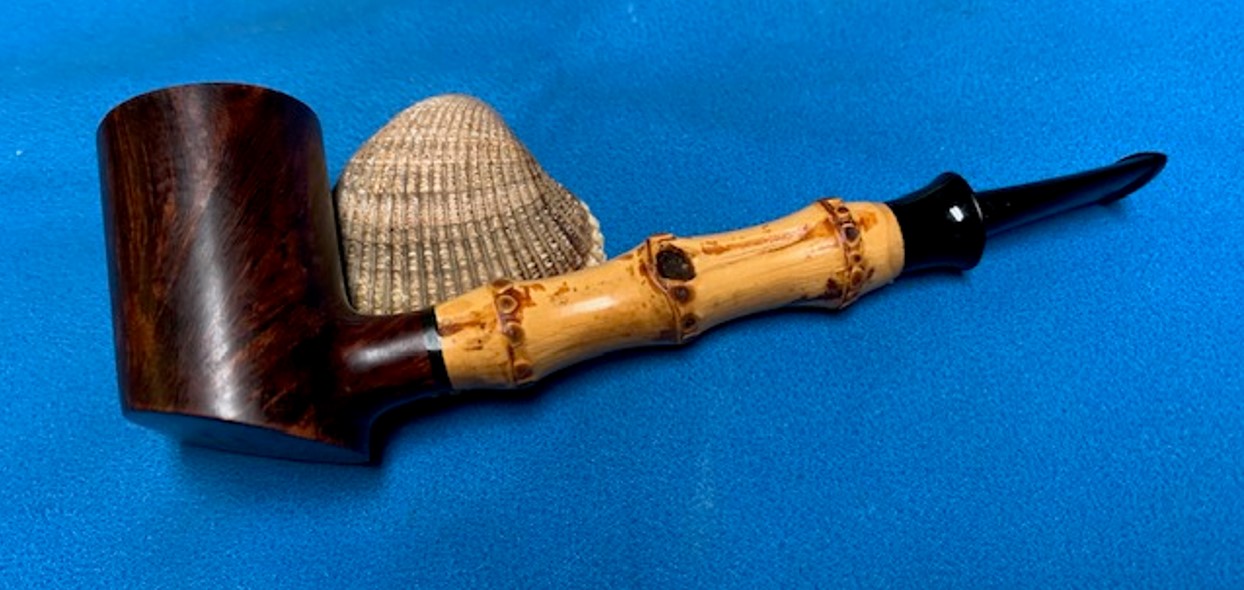
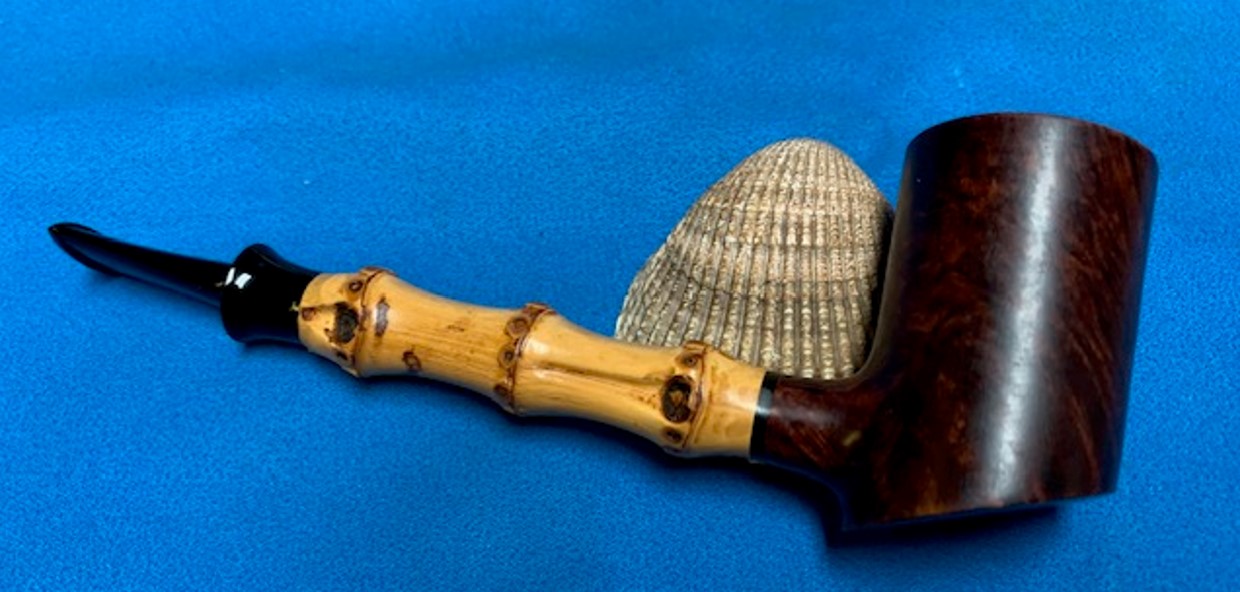
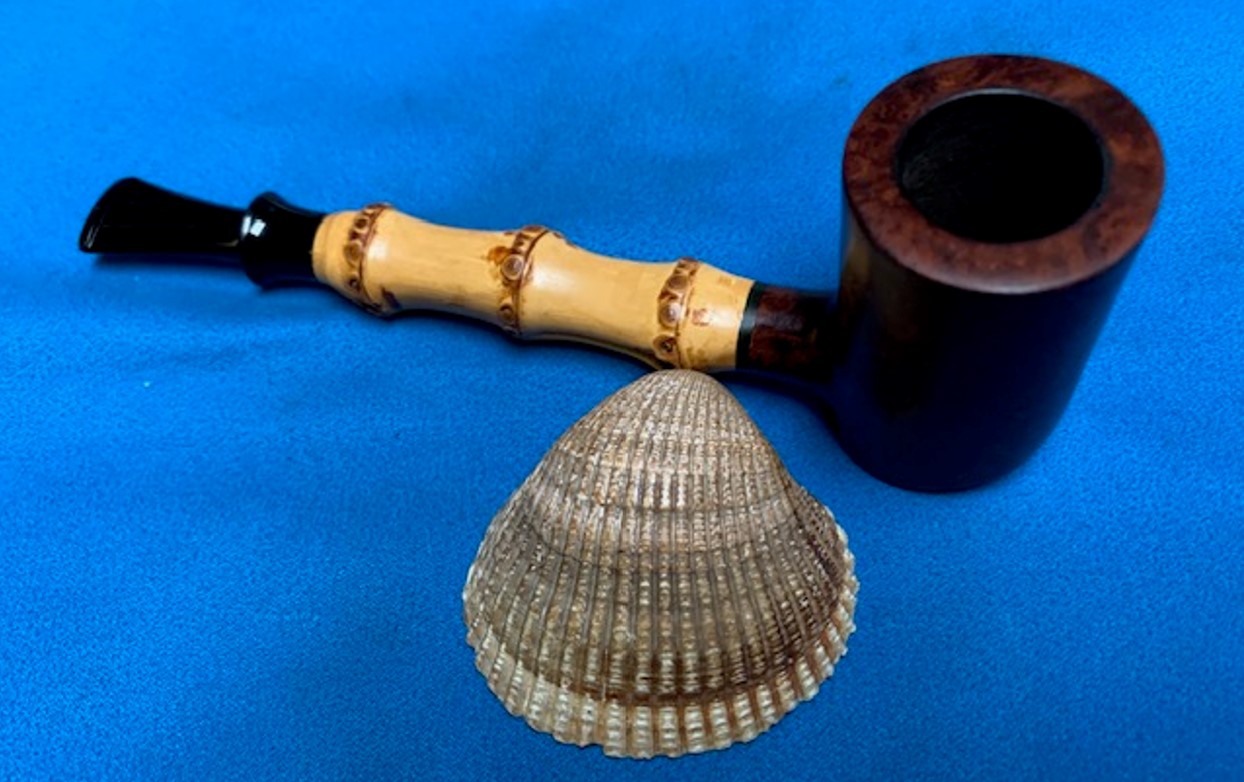
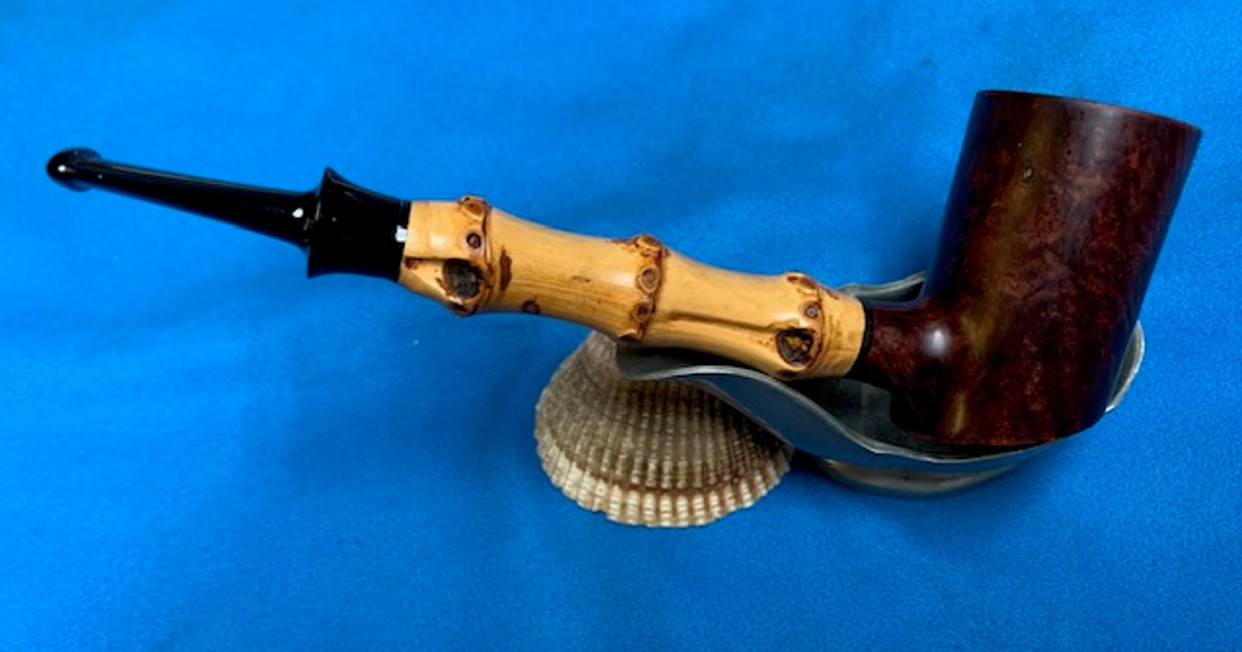
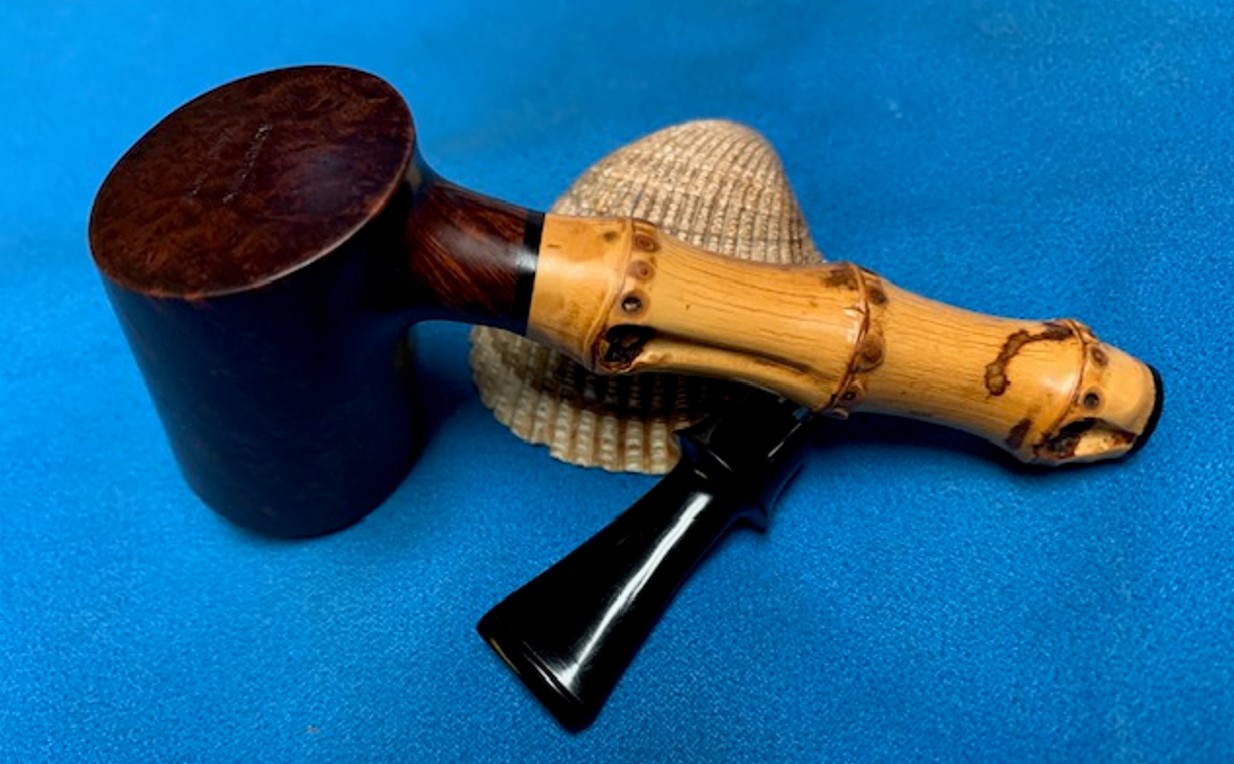
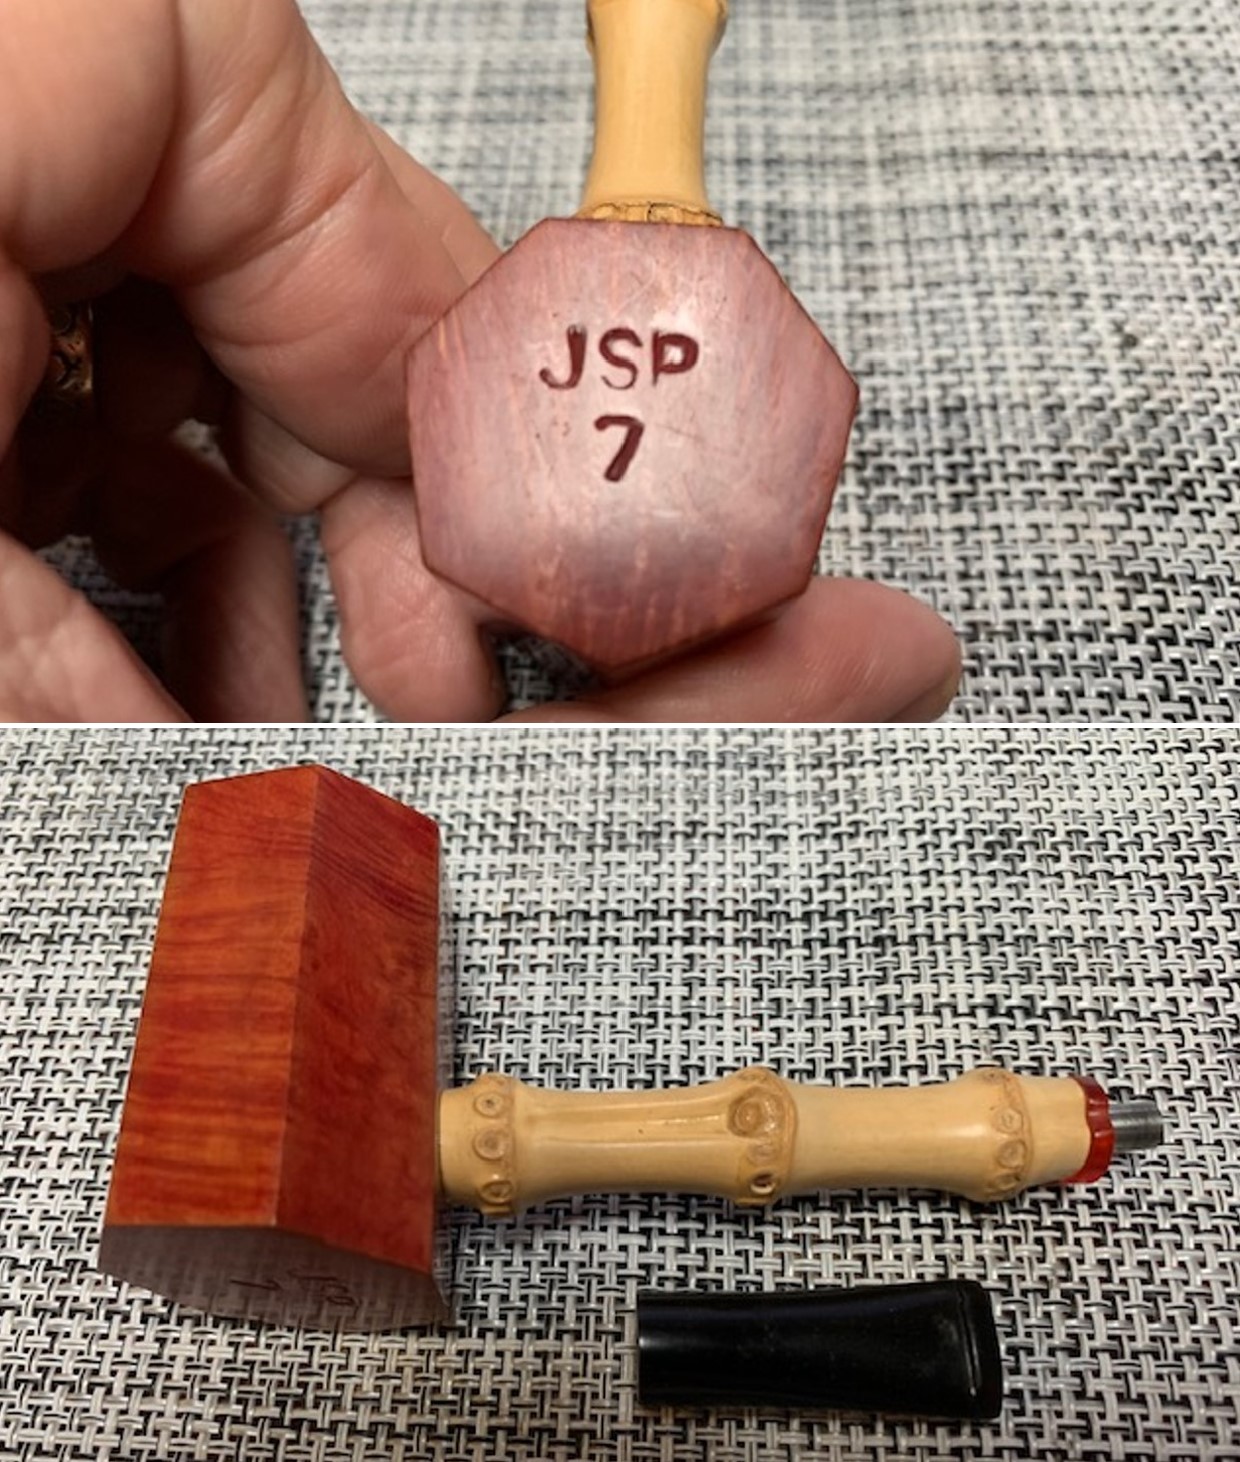
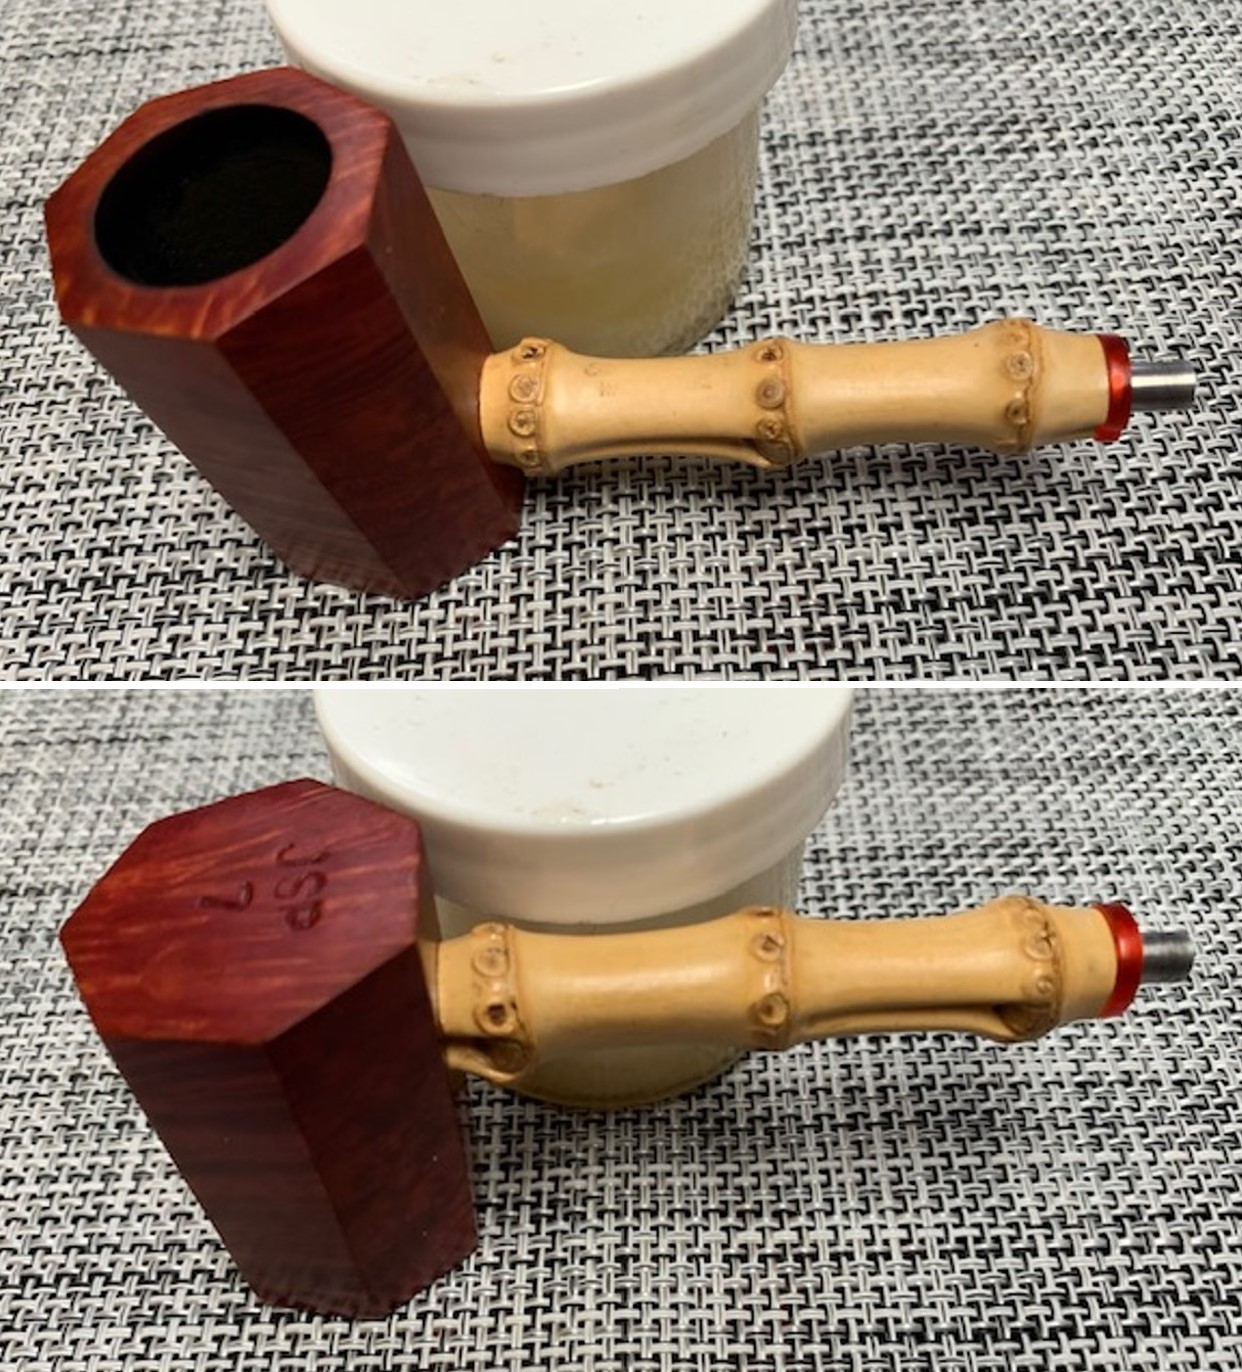
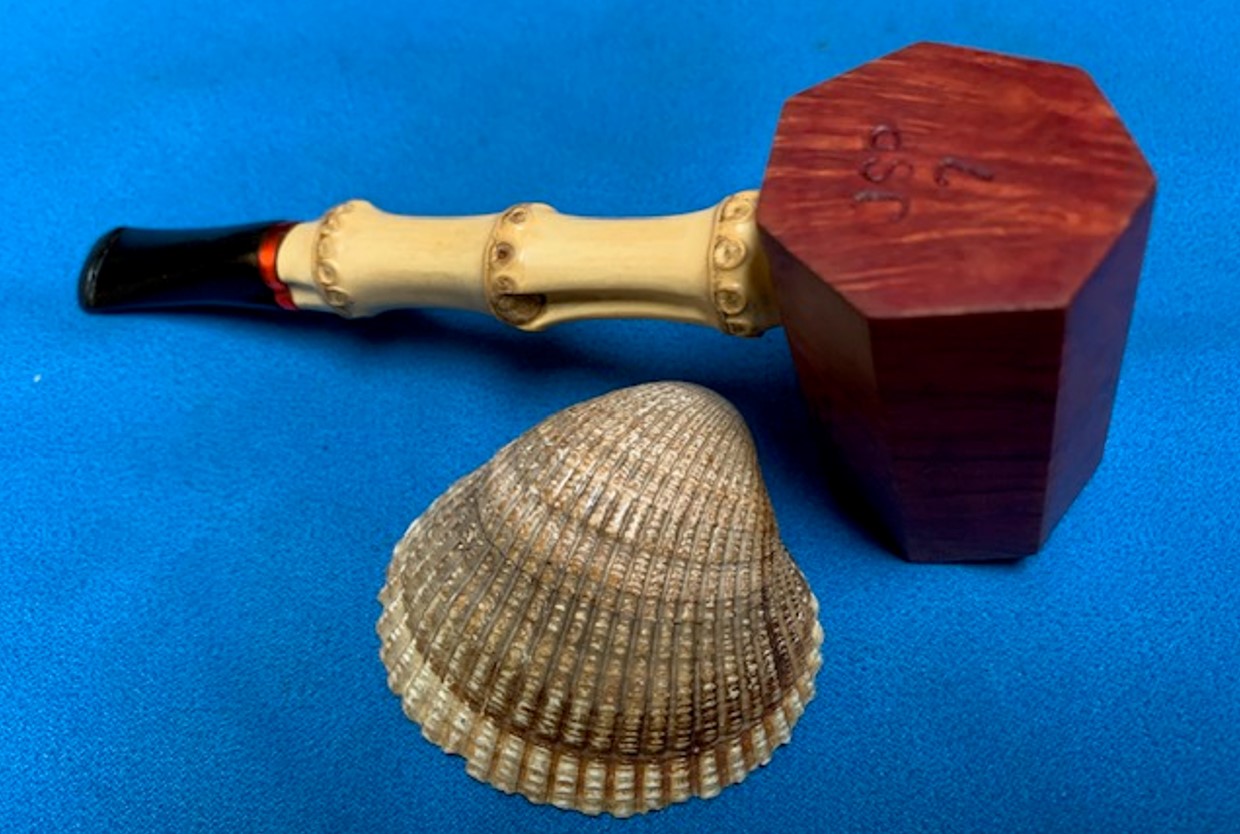
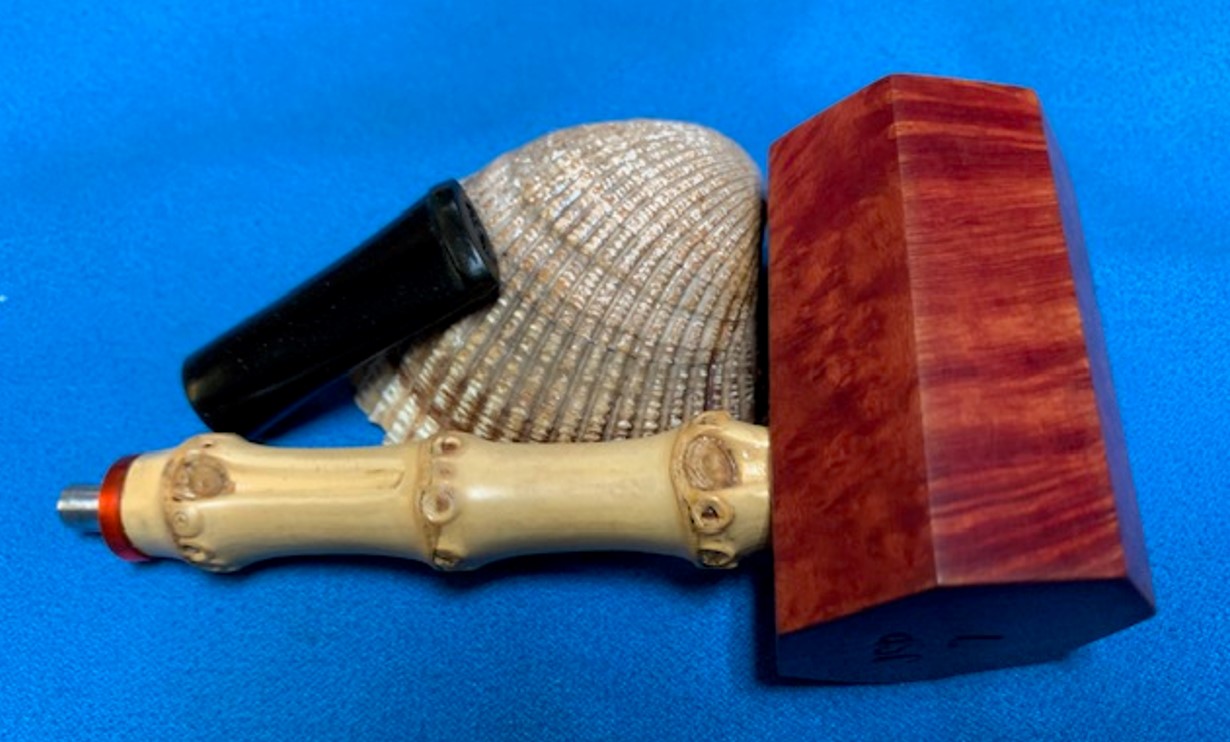
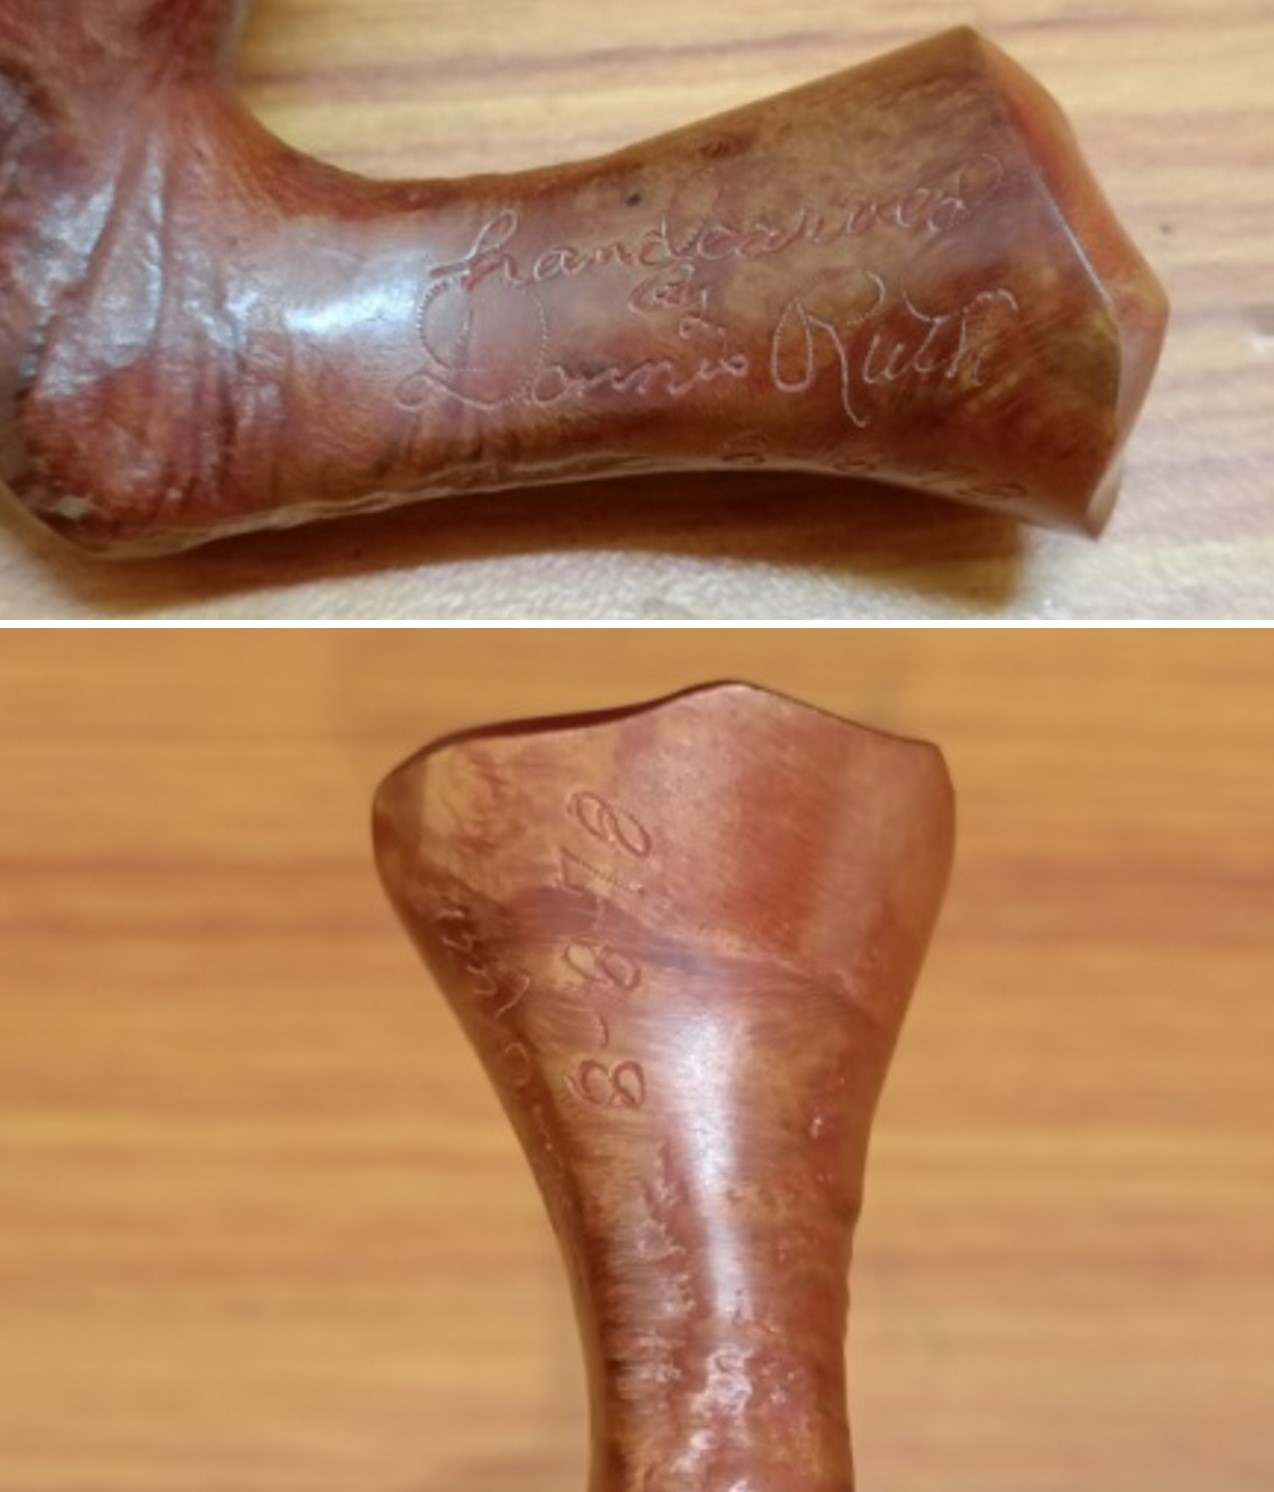
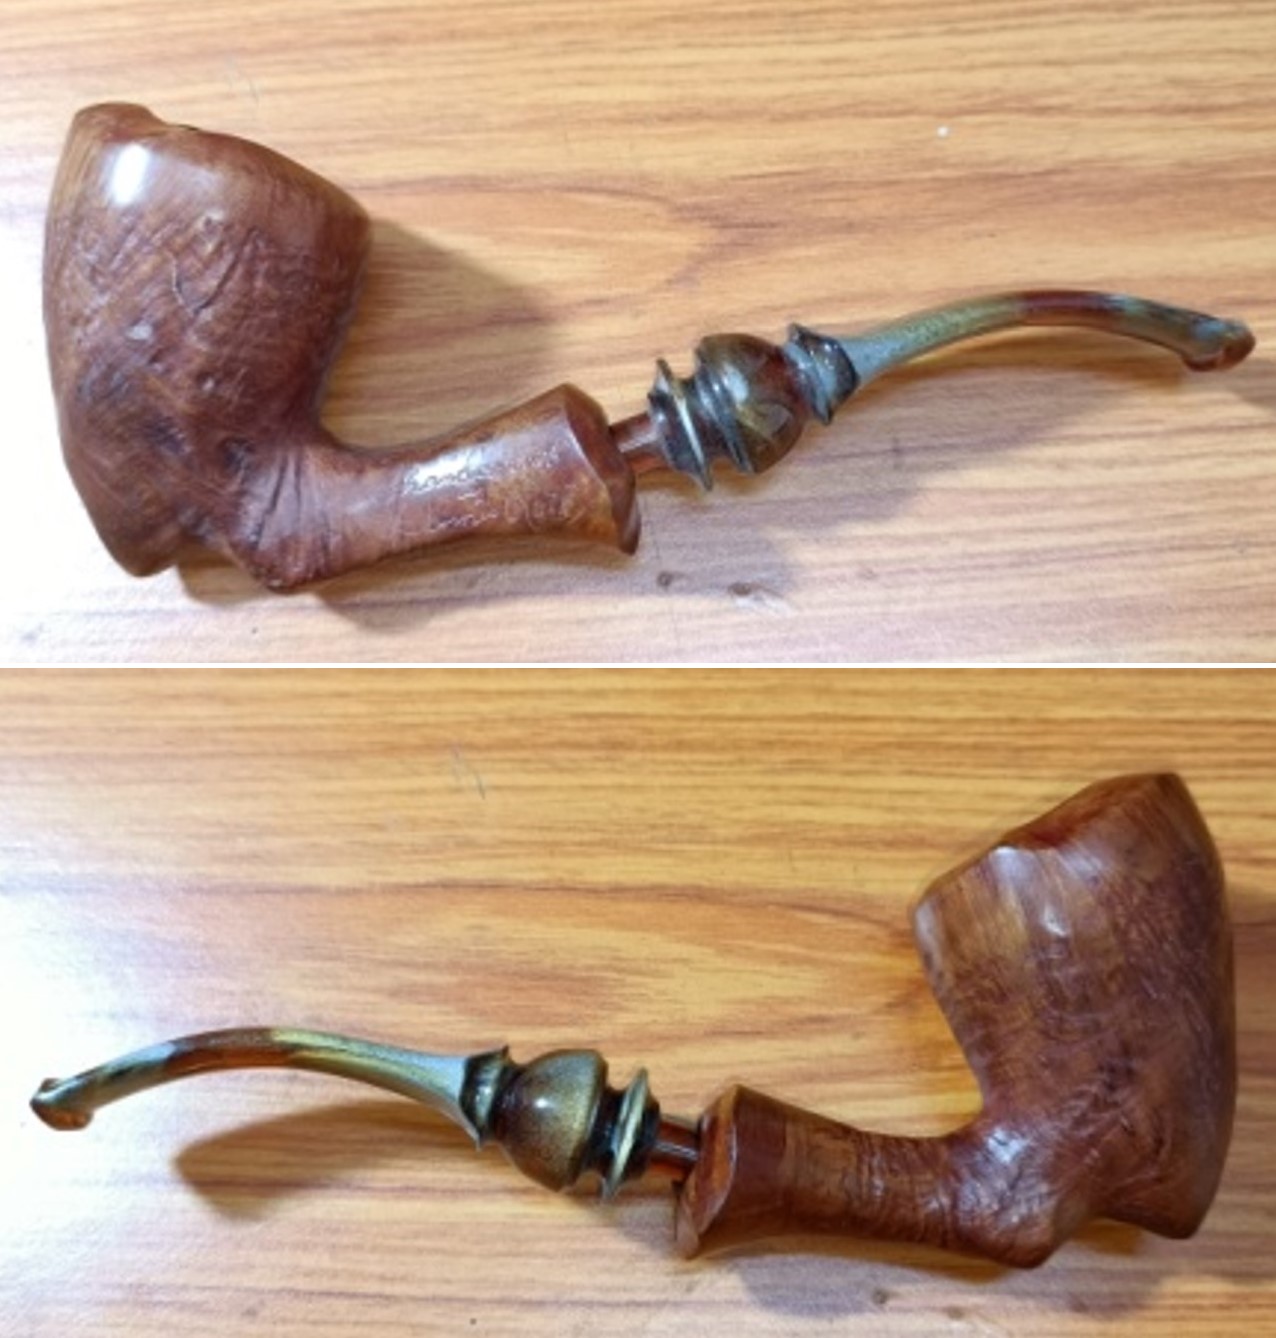
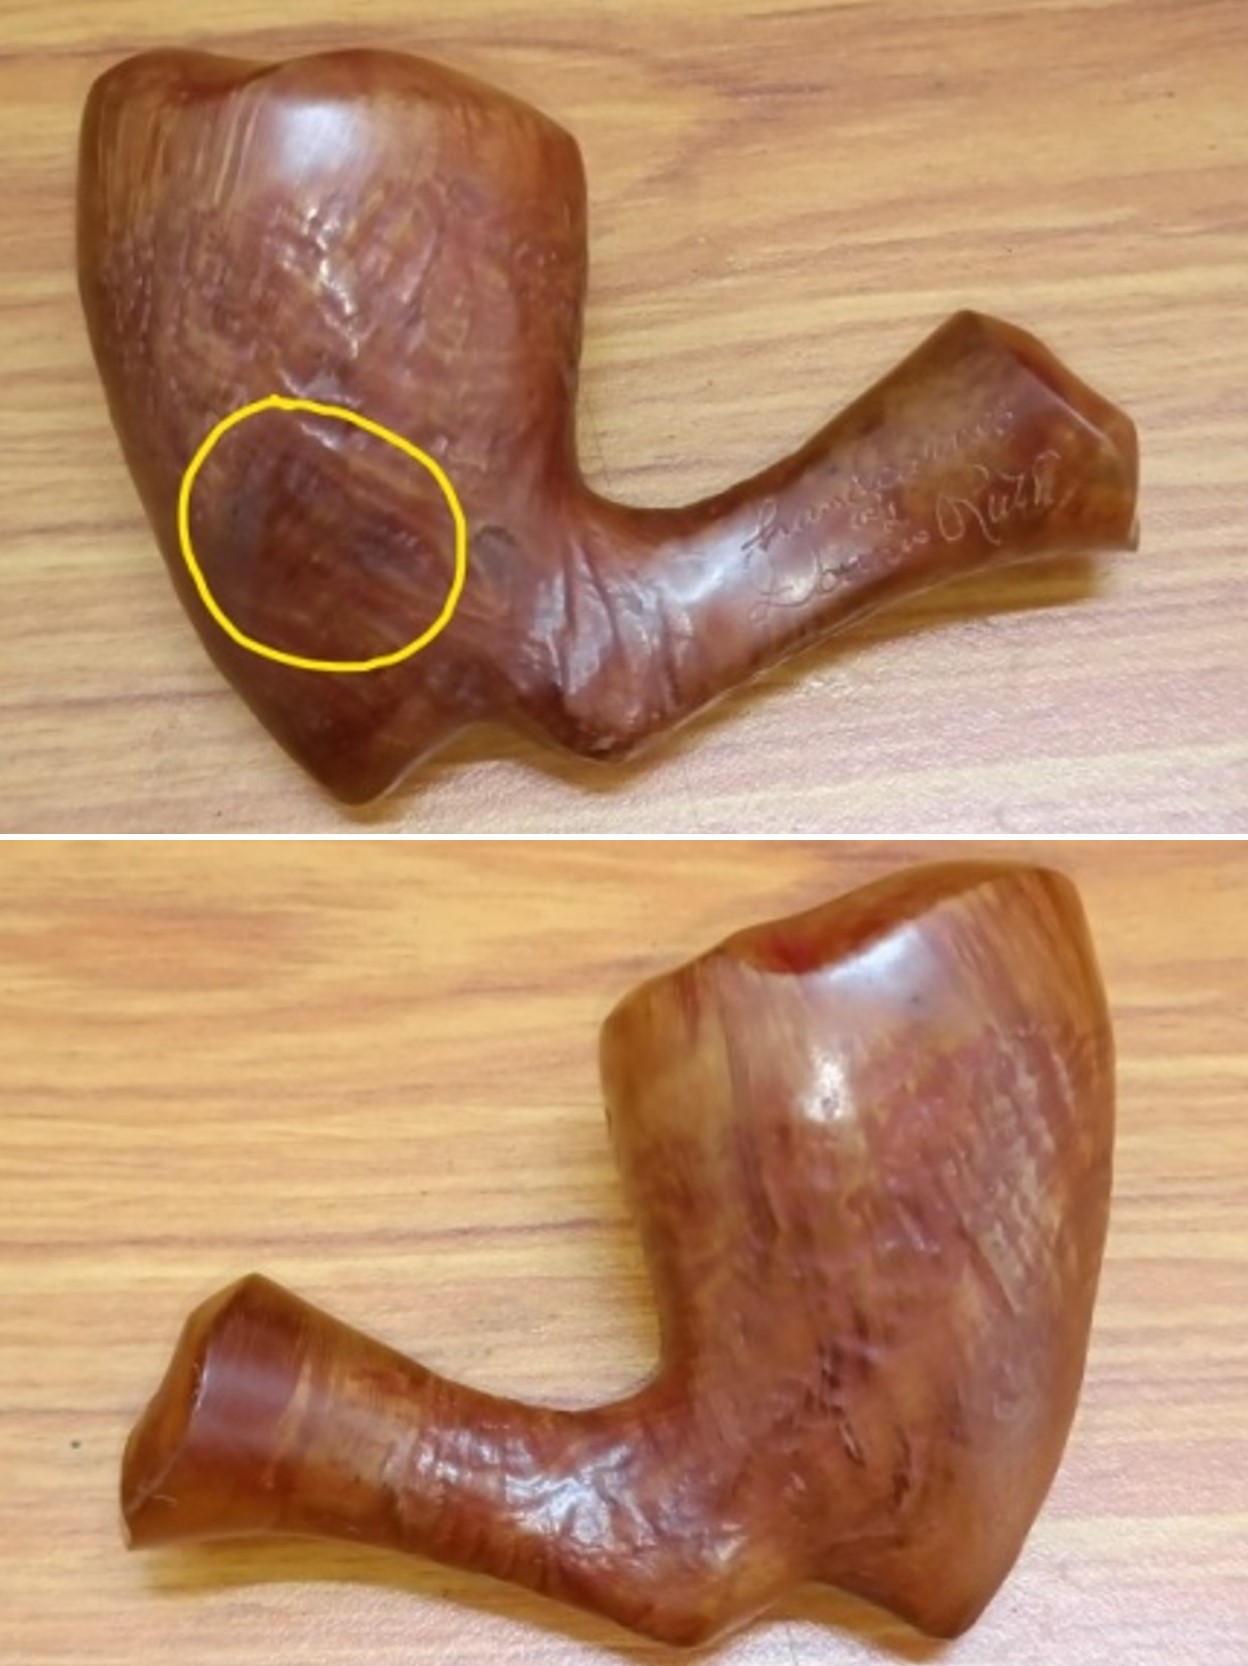
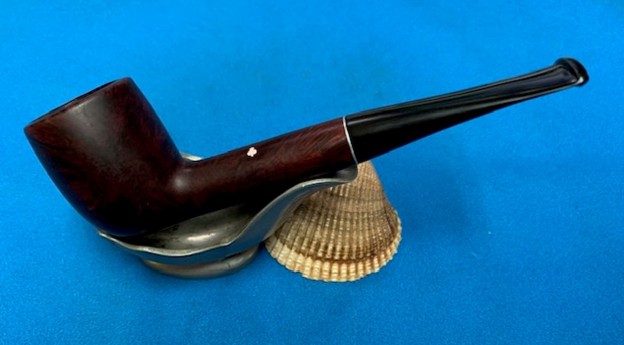
 After viewing the photo and talking with Mike about the pipe when he dropped it off I knew what I was dealing with. He found it when he was visiting his parents in New York. I took photos of the pipe once it was dropped off before I worked on it. My evaluation of the pipe included the following observations. The pipe was actually quite clean. The bowl had been reamed quite recently and the internals were clean. The rim top and the inner edge of the bowl showed some damage. There were some nicks and marks on the surface and edge. The walls of the bowl seemed be to quite smooth and did not show any checking or damage from heat or fire. The finish was dark but quite clean. There were just a few nicks and scratches in briar. The stamping was faint but read Super Grain [over] Kaywoodie on the left side. On the right side the numeral 5 was stamped. There was a inlaid white Kaywoodie Shamrock inlaid in the briar on the right top of the shank. The shank was quite long and had a shorter stem. Kaywoodie called the shape a Medium Billiard. The Kaywoodie threaded tenon and stinger had been clipped and filed smooth. The stem was vulcanite and quite clean but had tooth marks on the top and heavier ones on the underside. It is a great looking pipe that I really like the looks of and I think that once it is cleaned up it will be a real beauty.
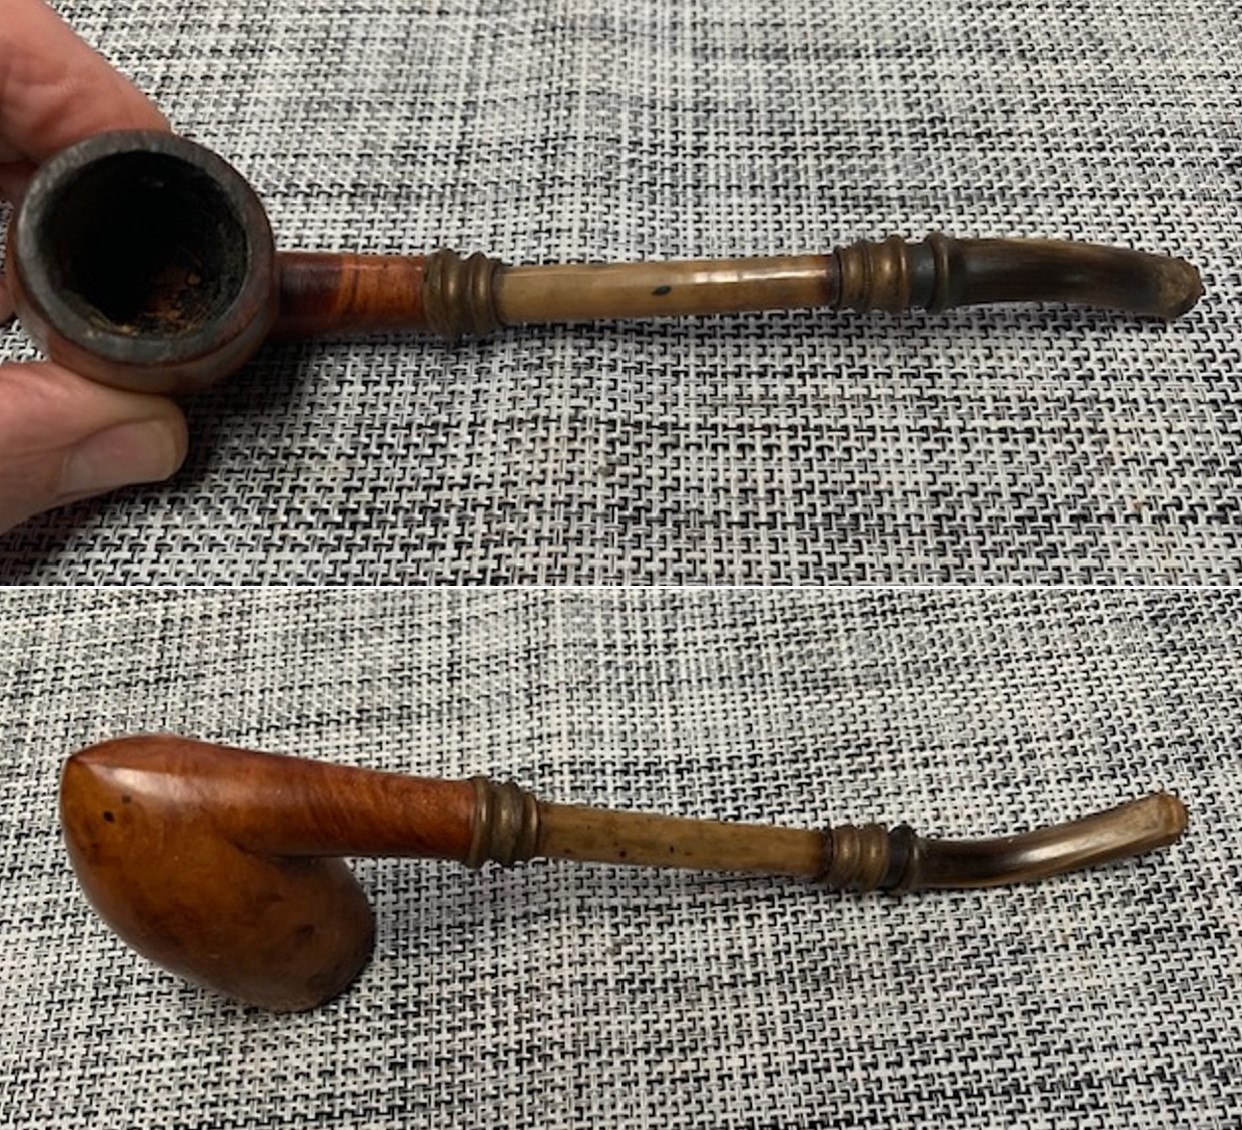
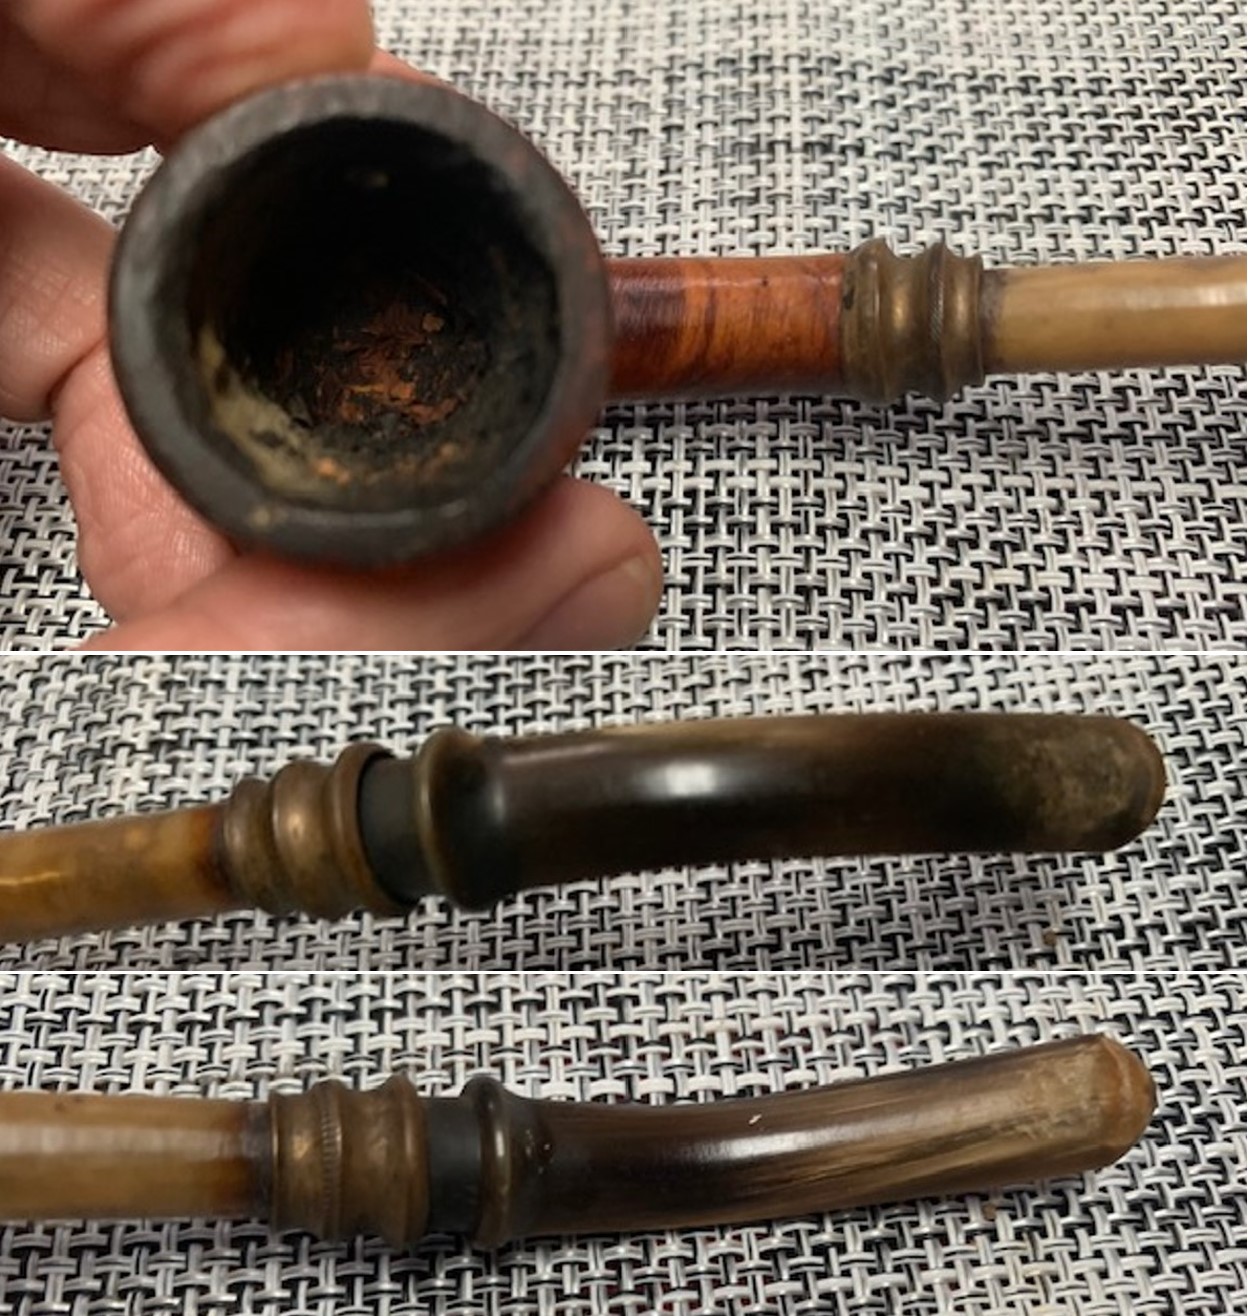
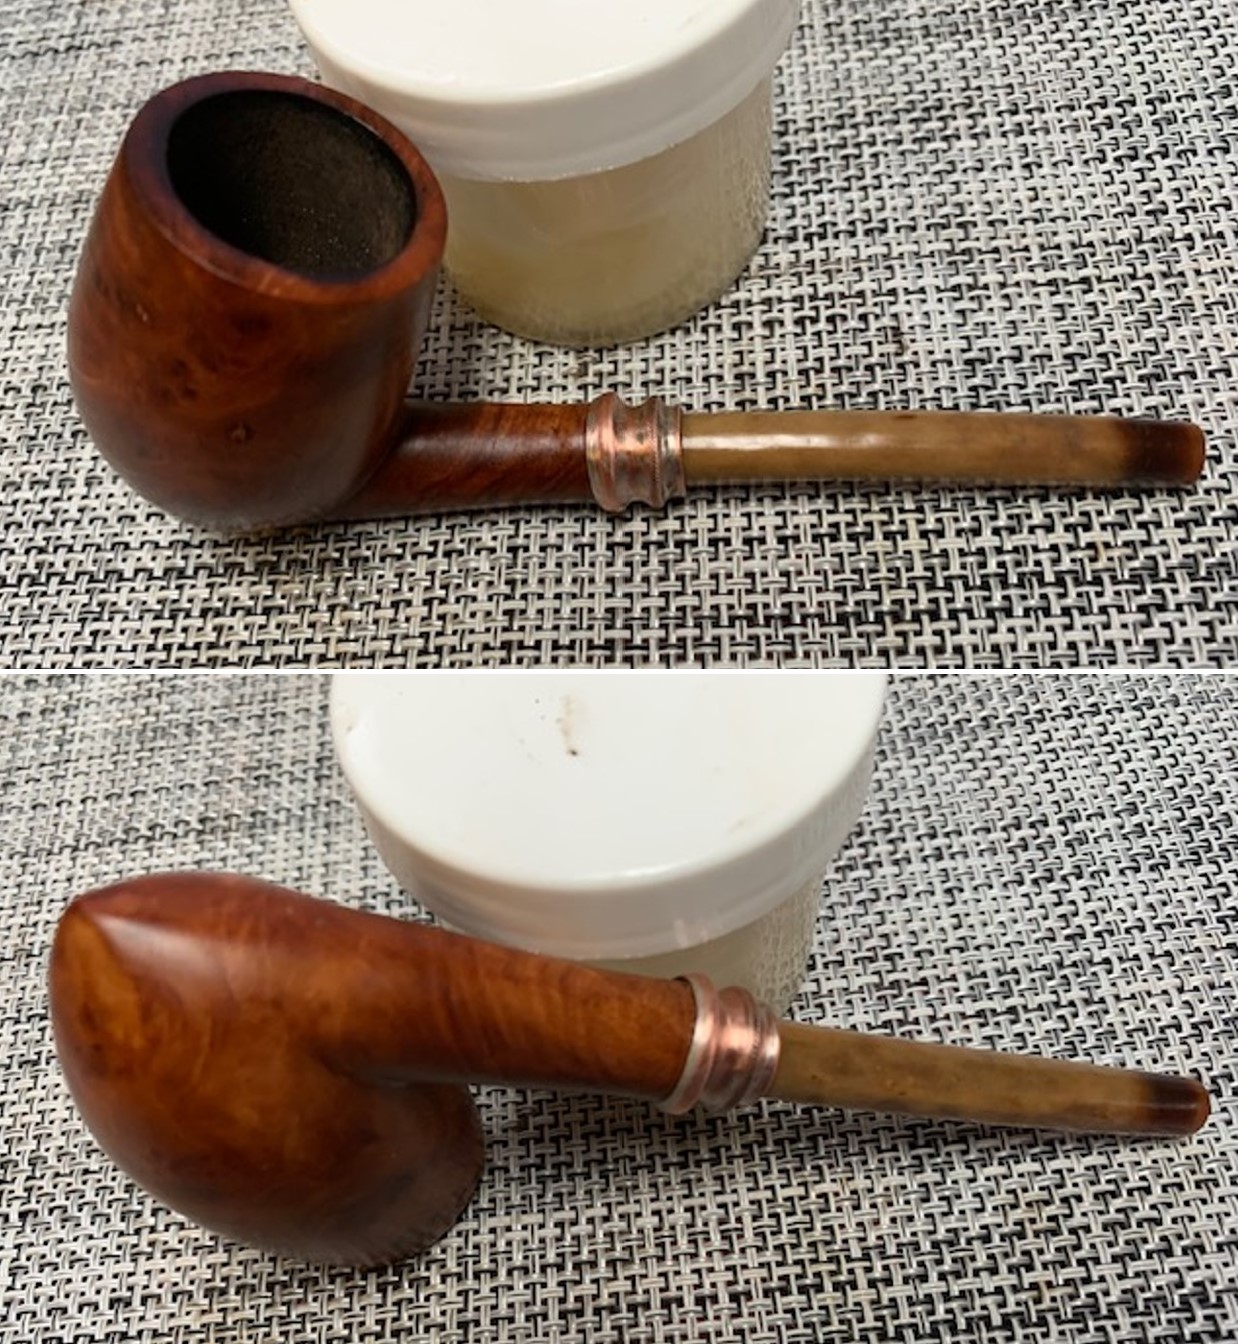
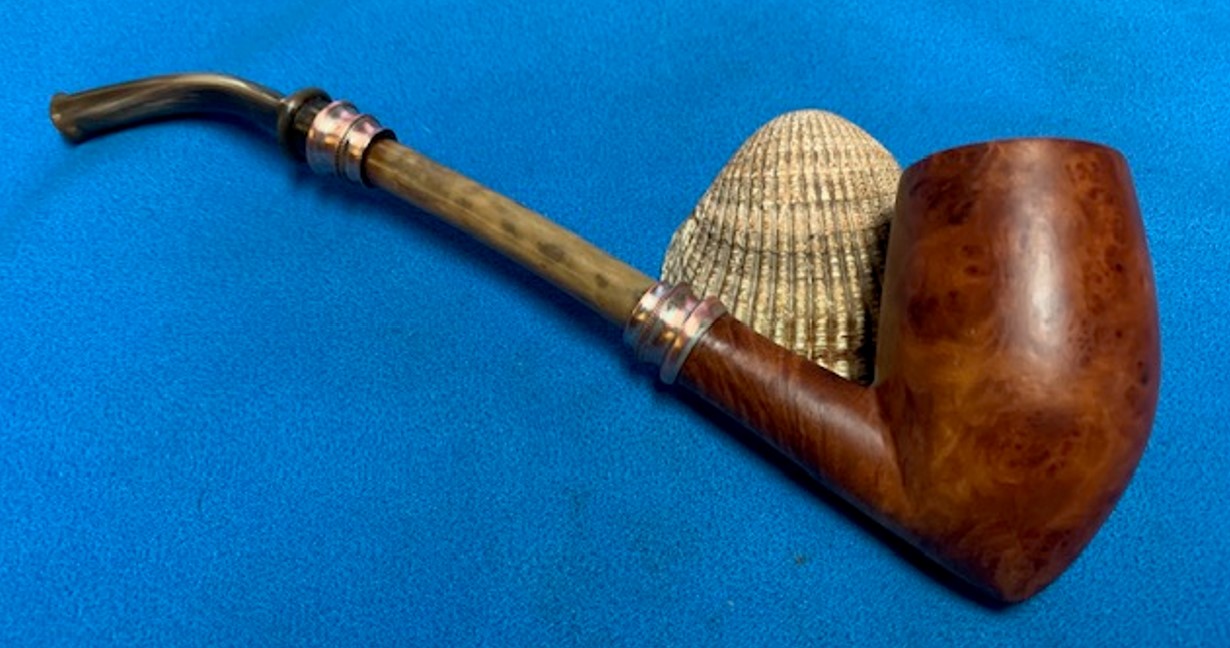
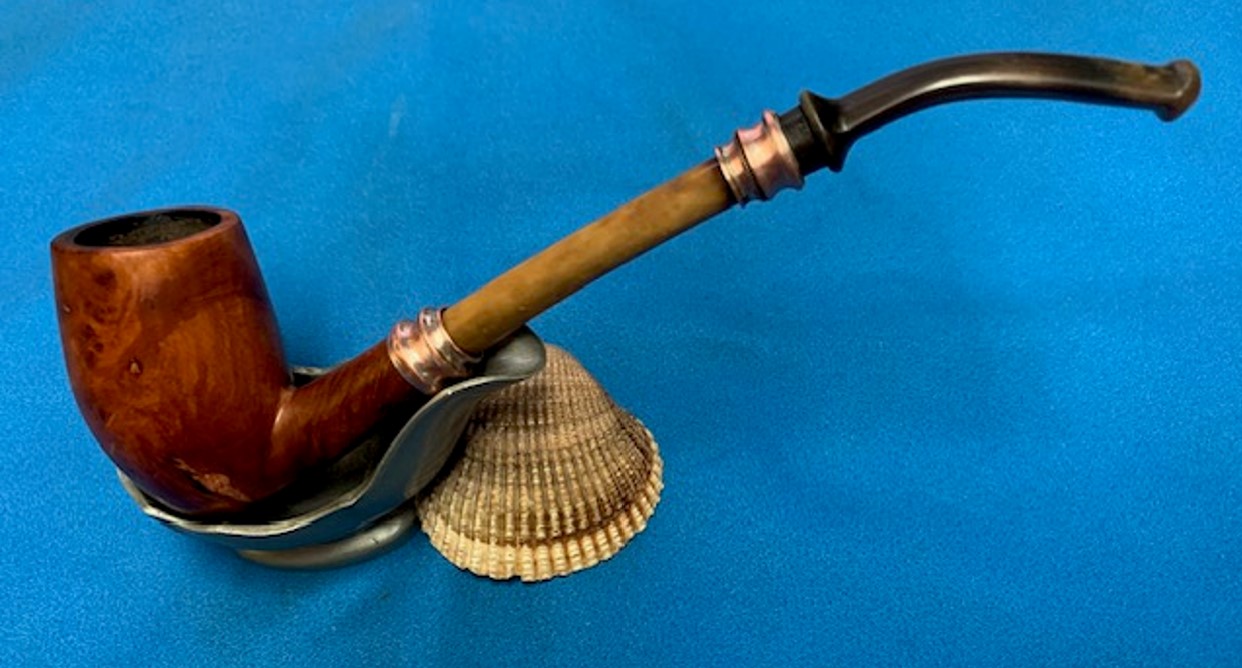
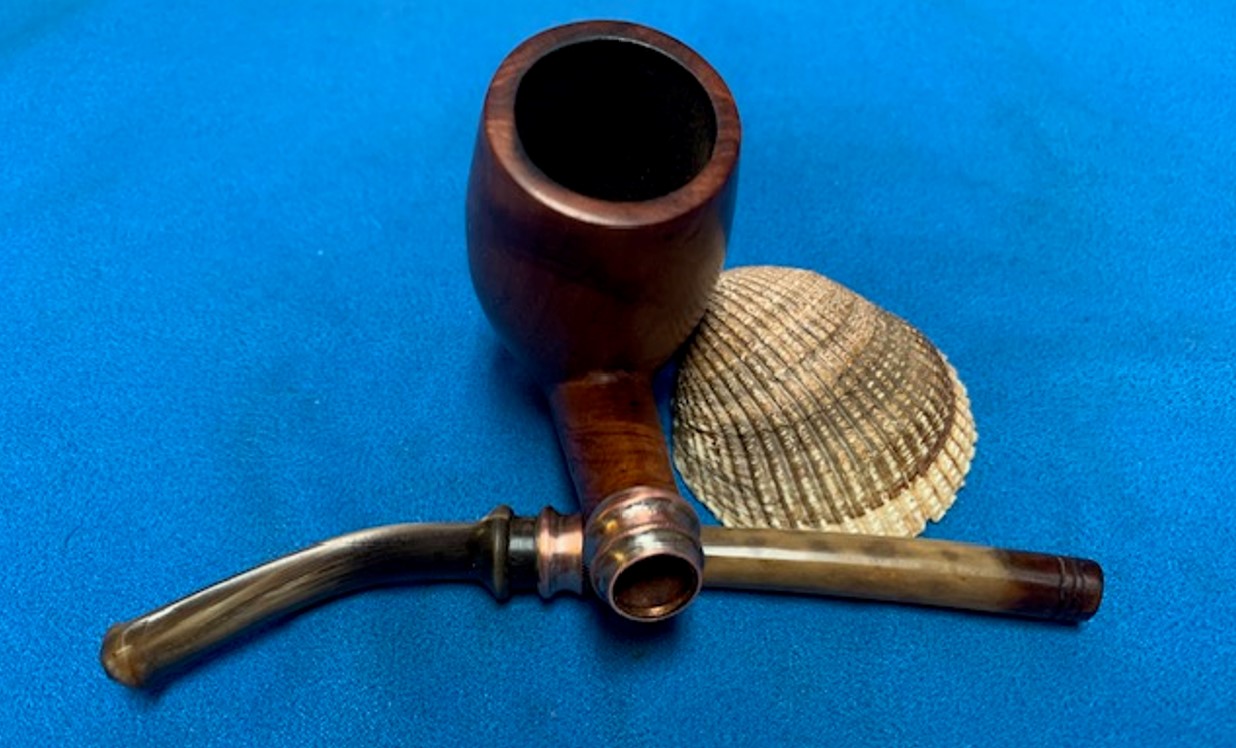
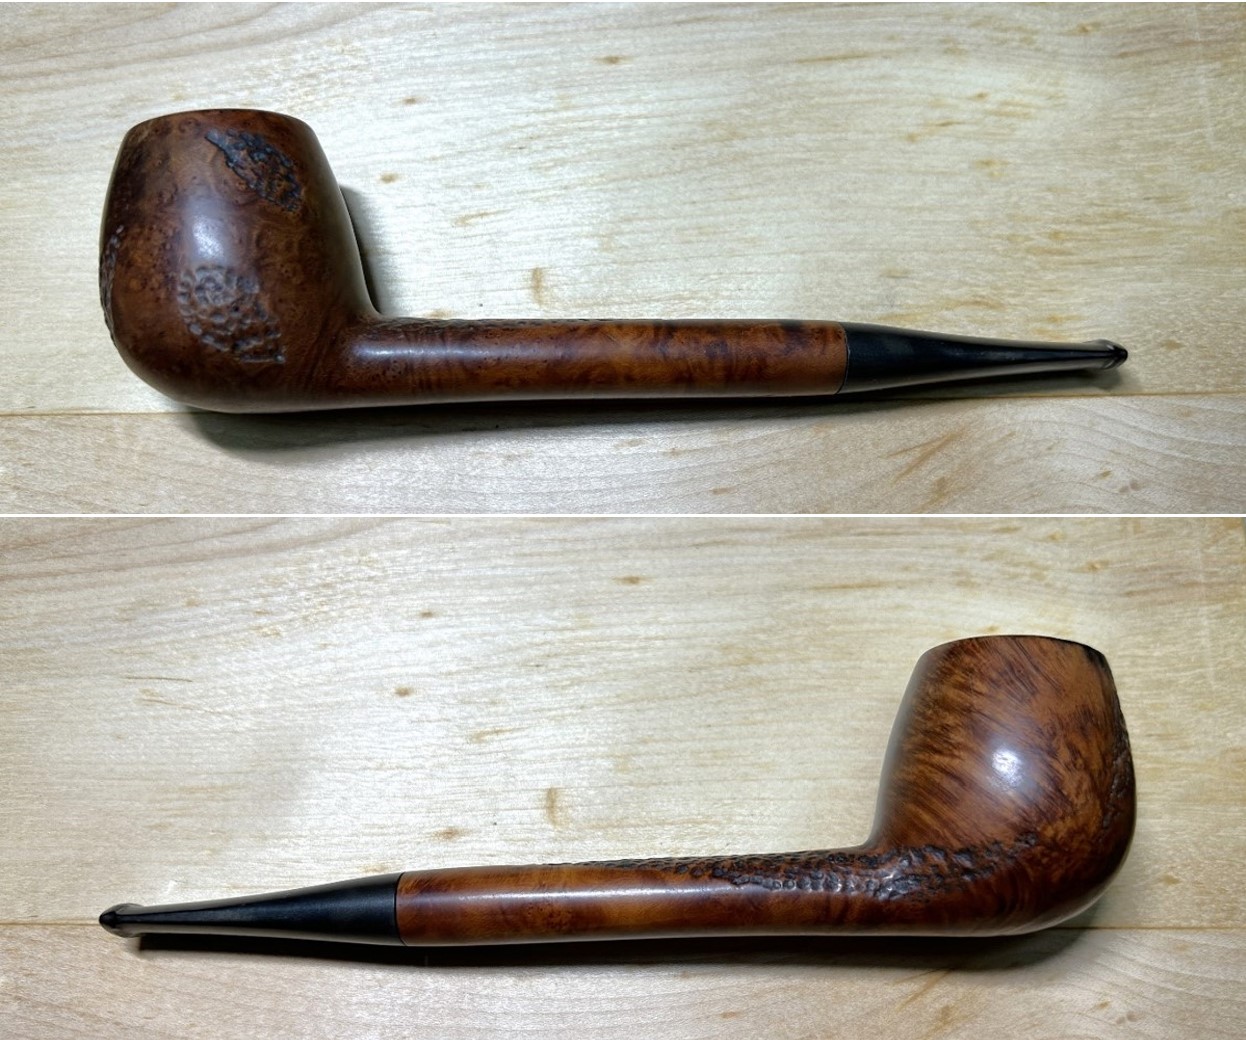
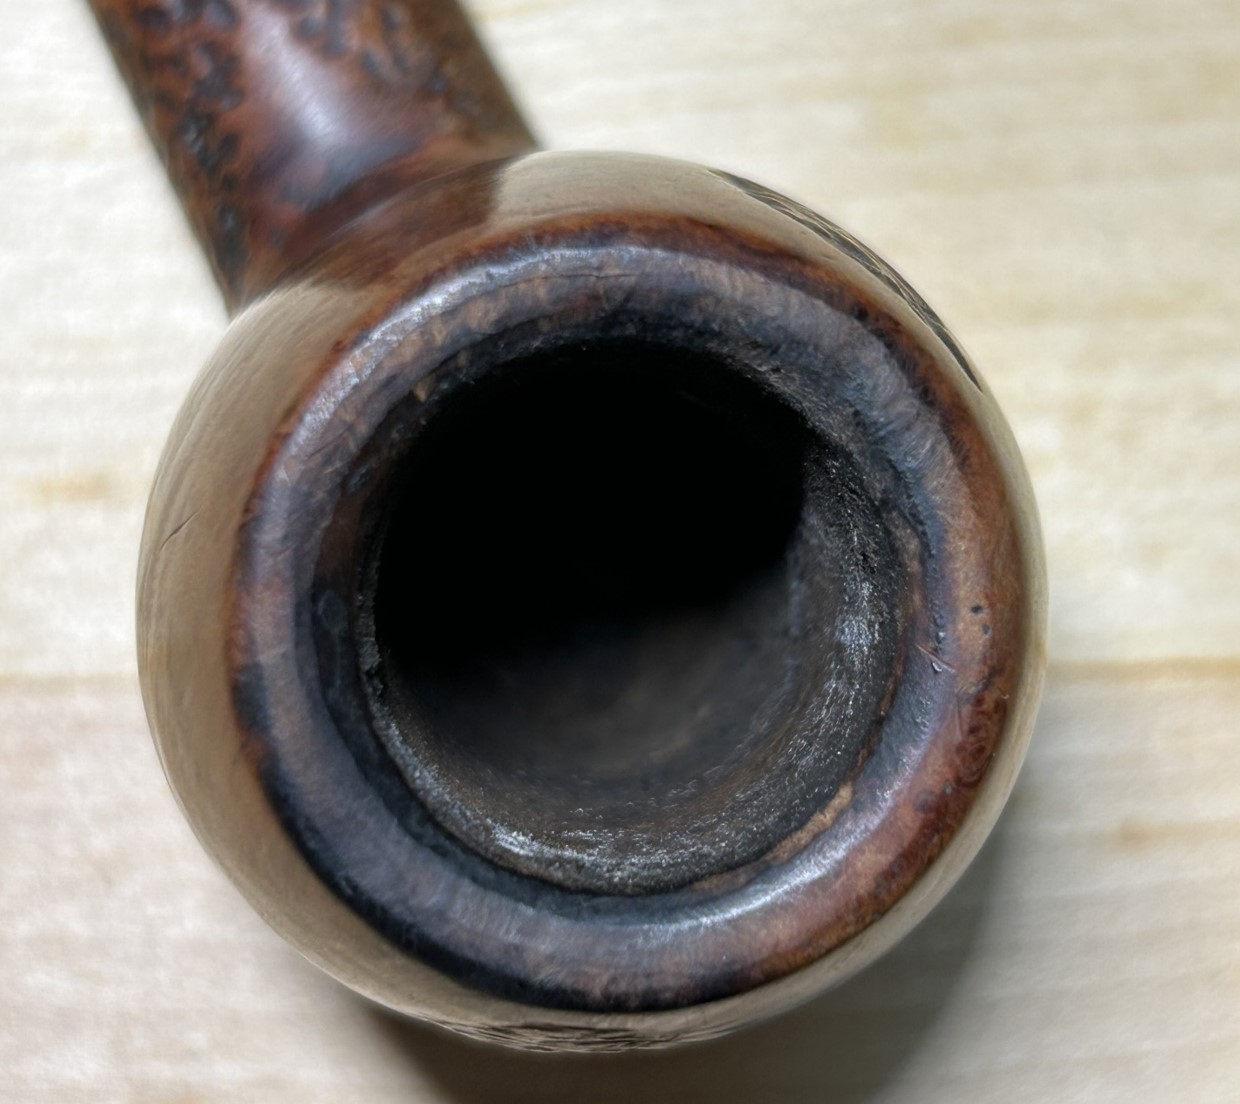
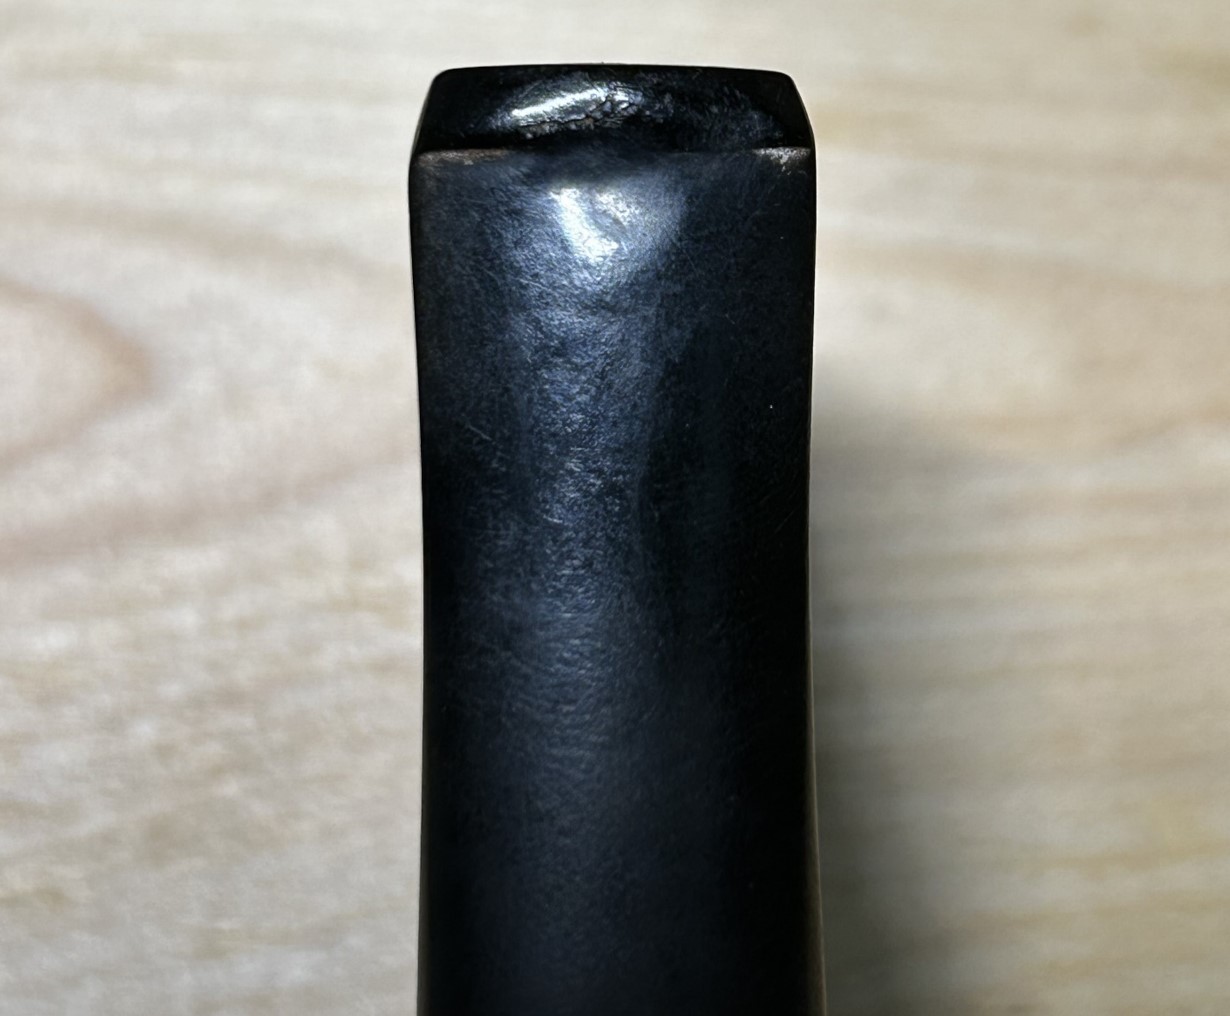
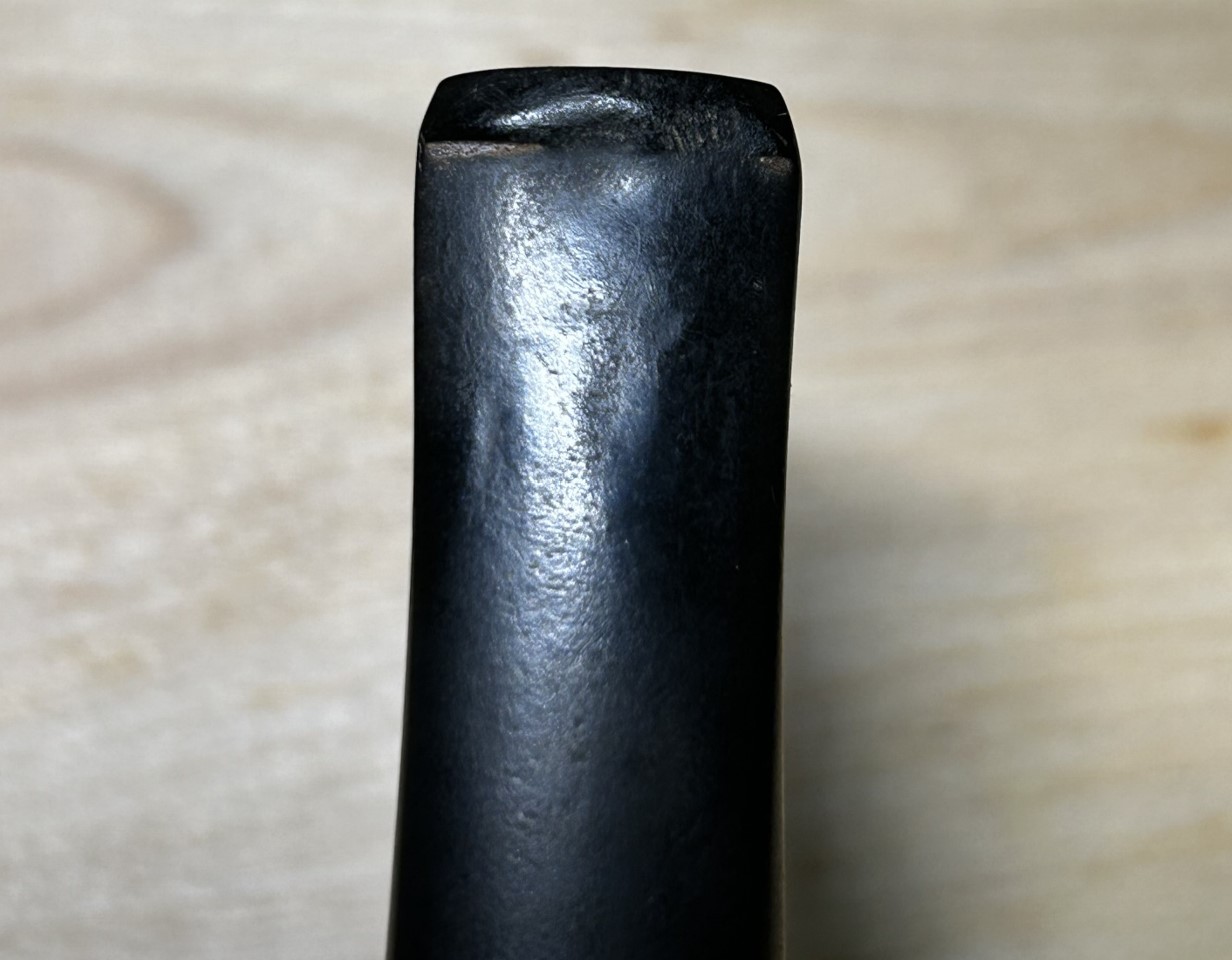
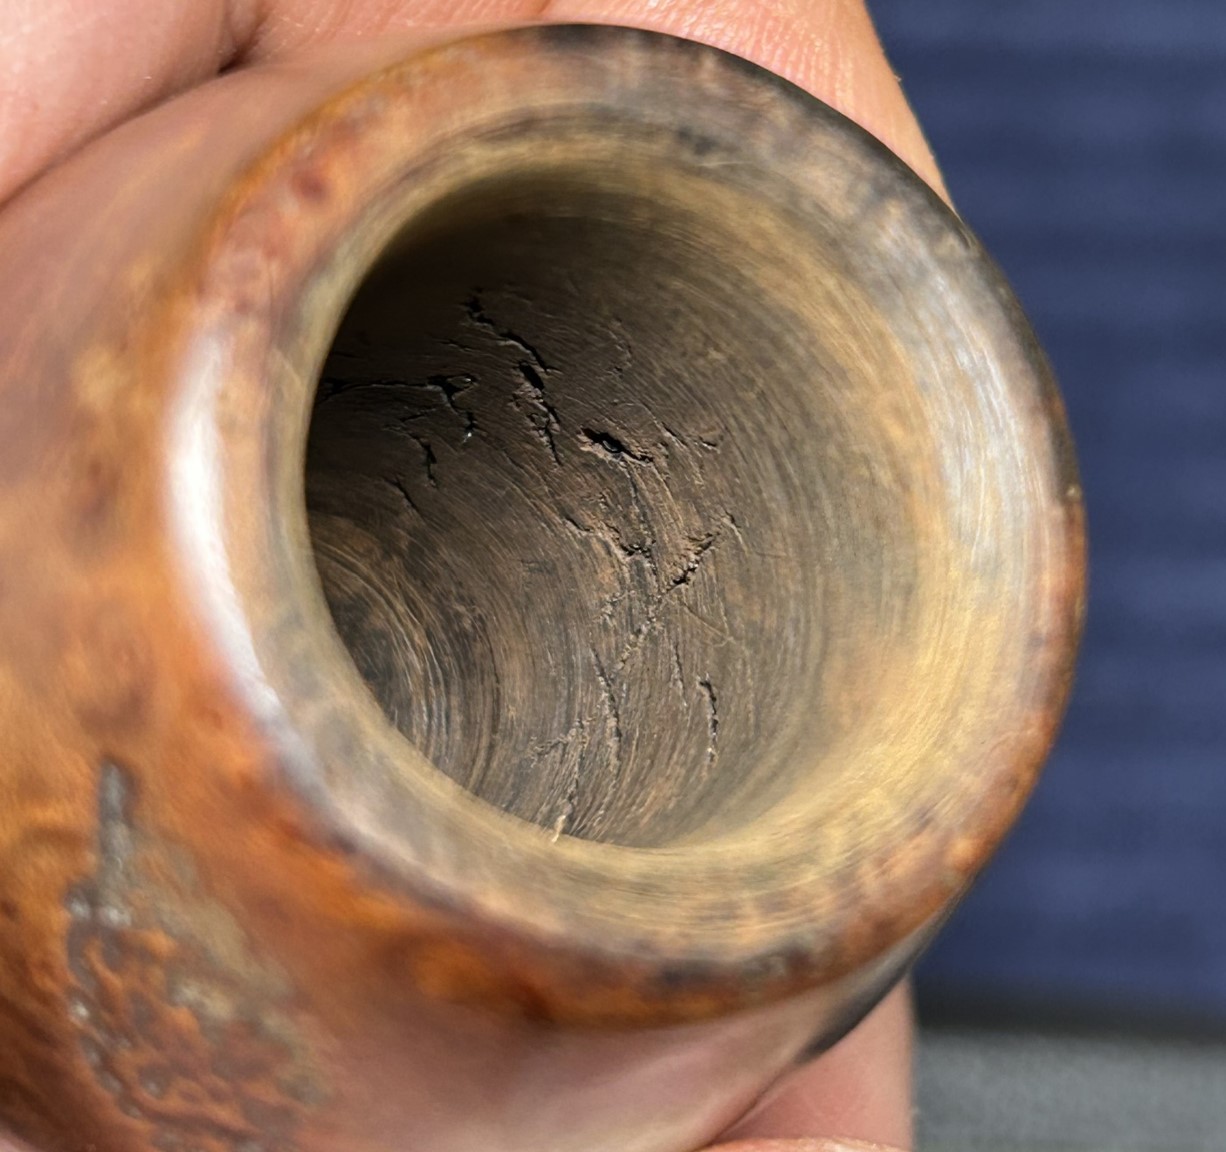
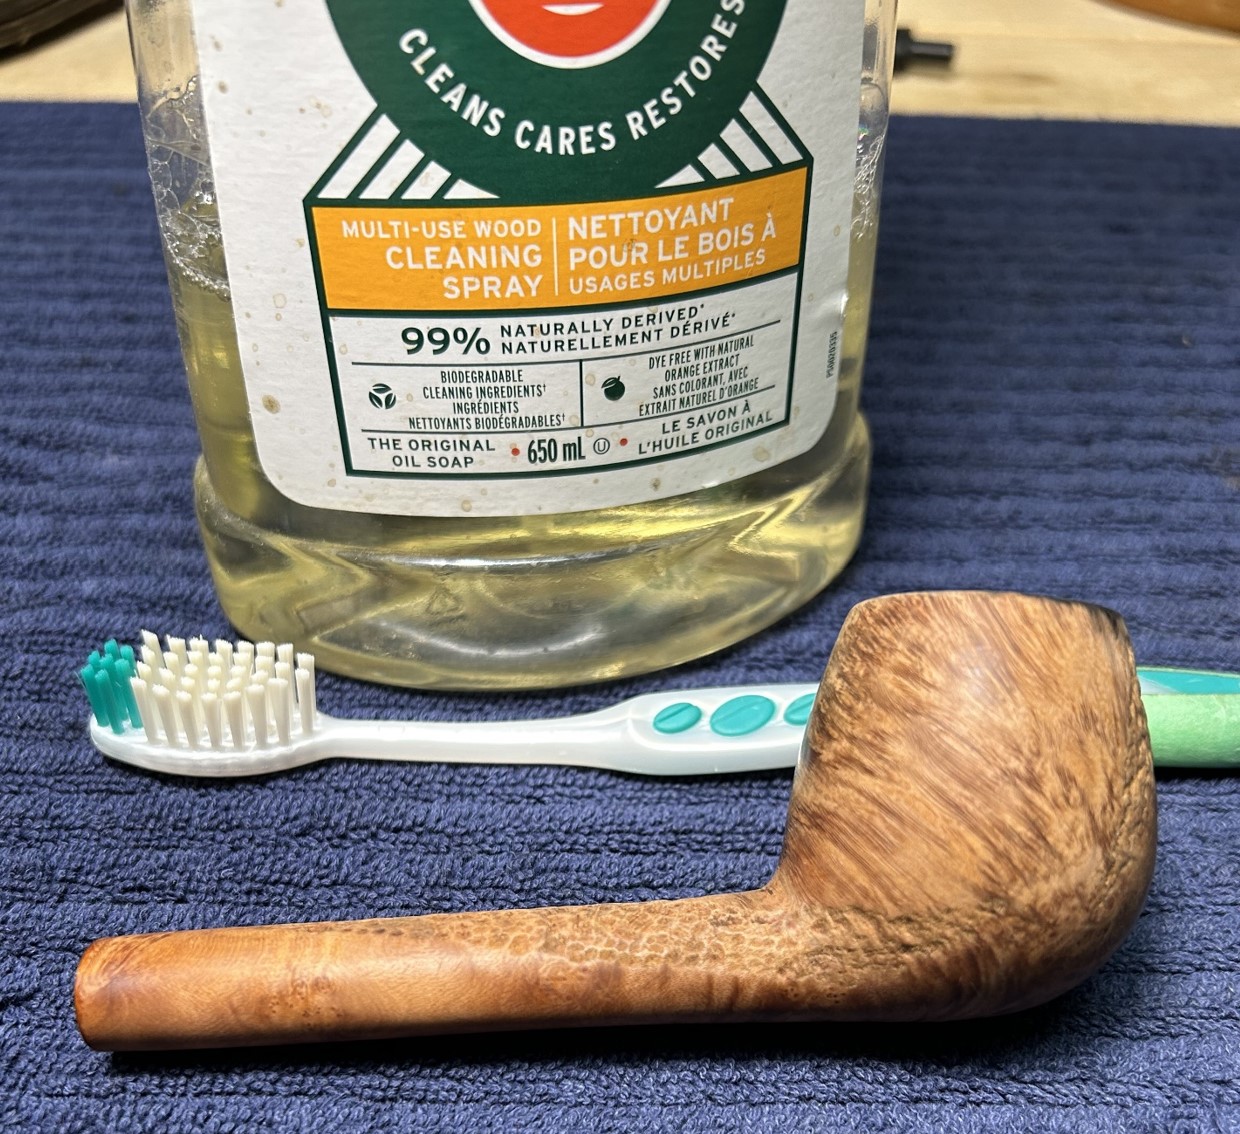
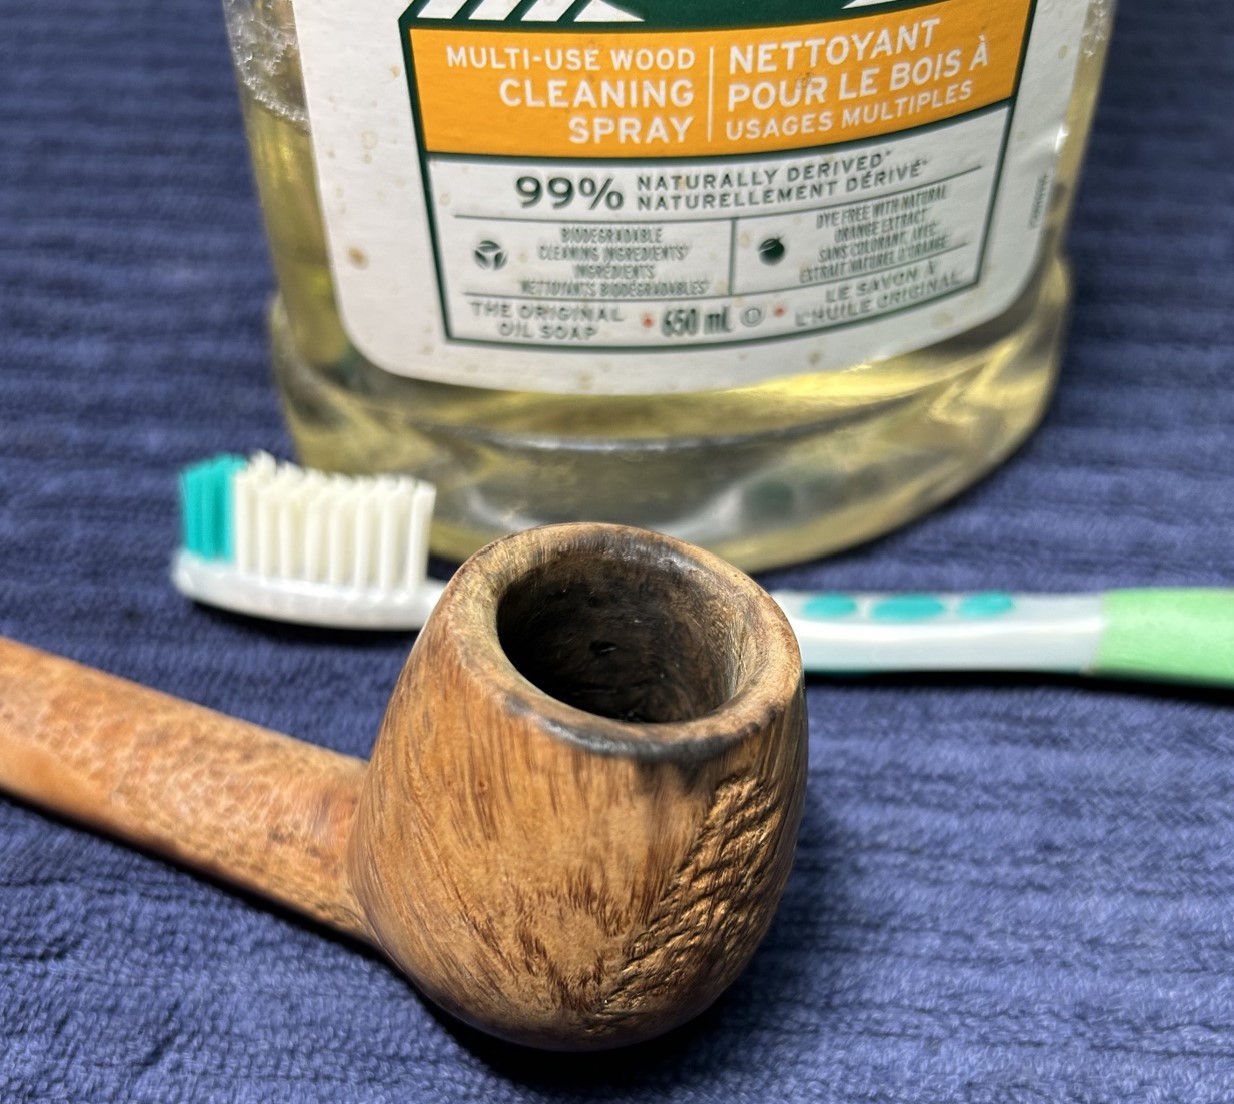
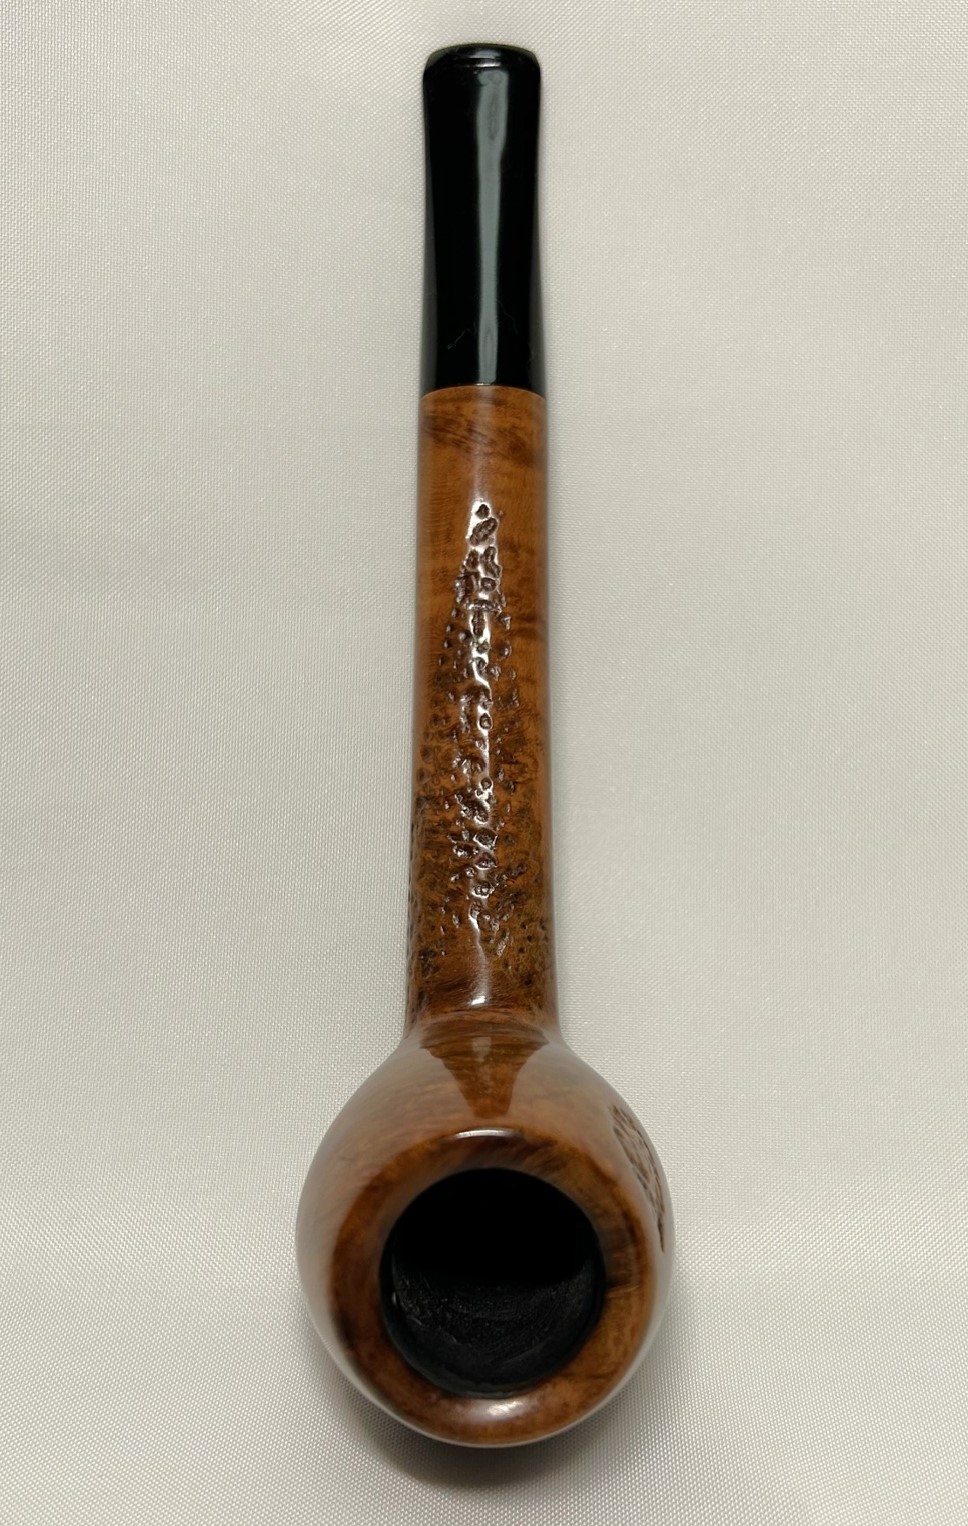
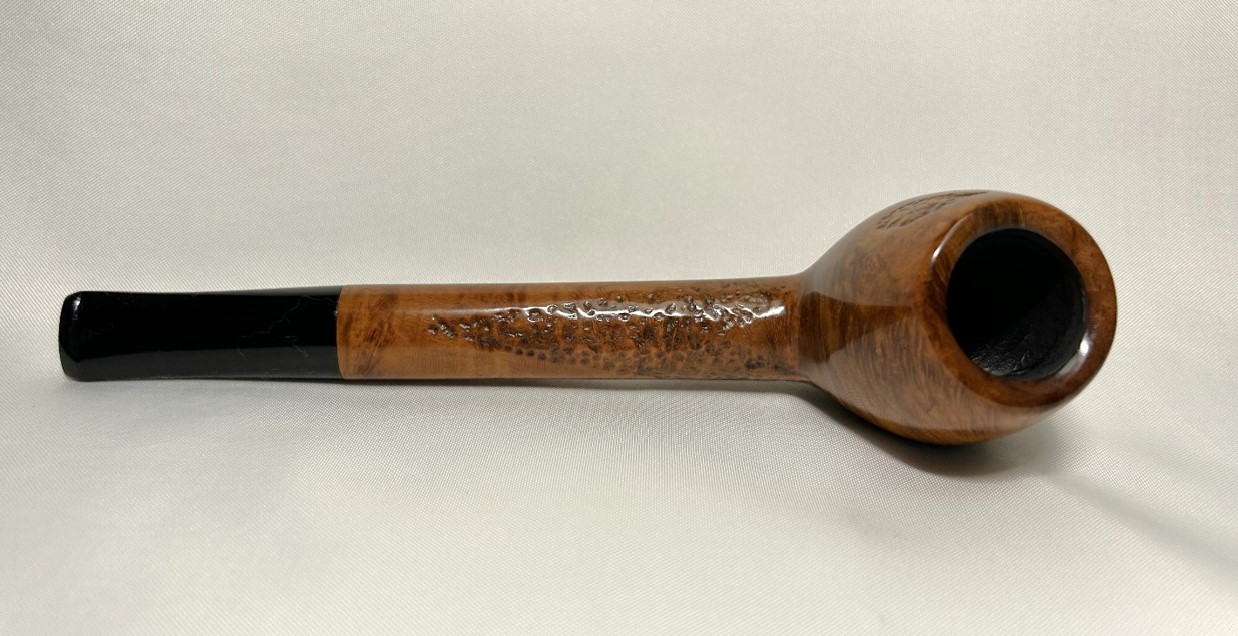
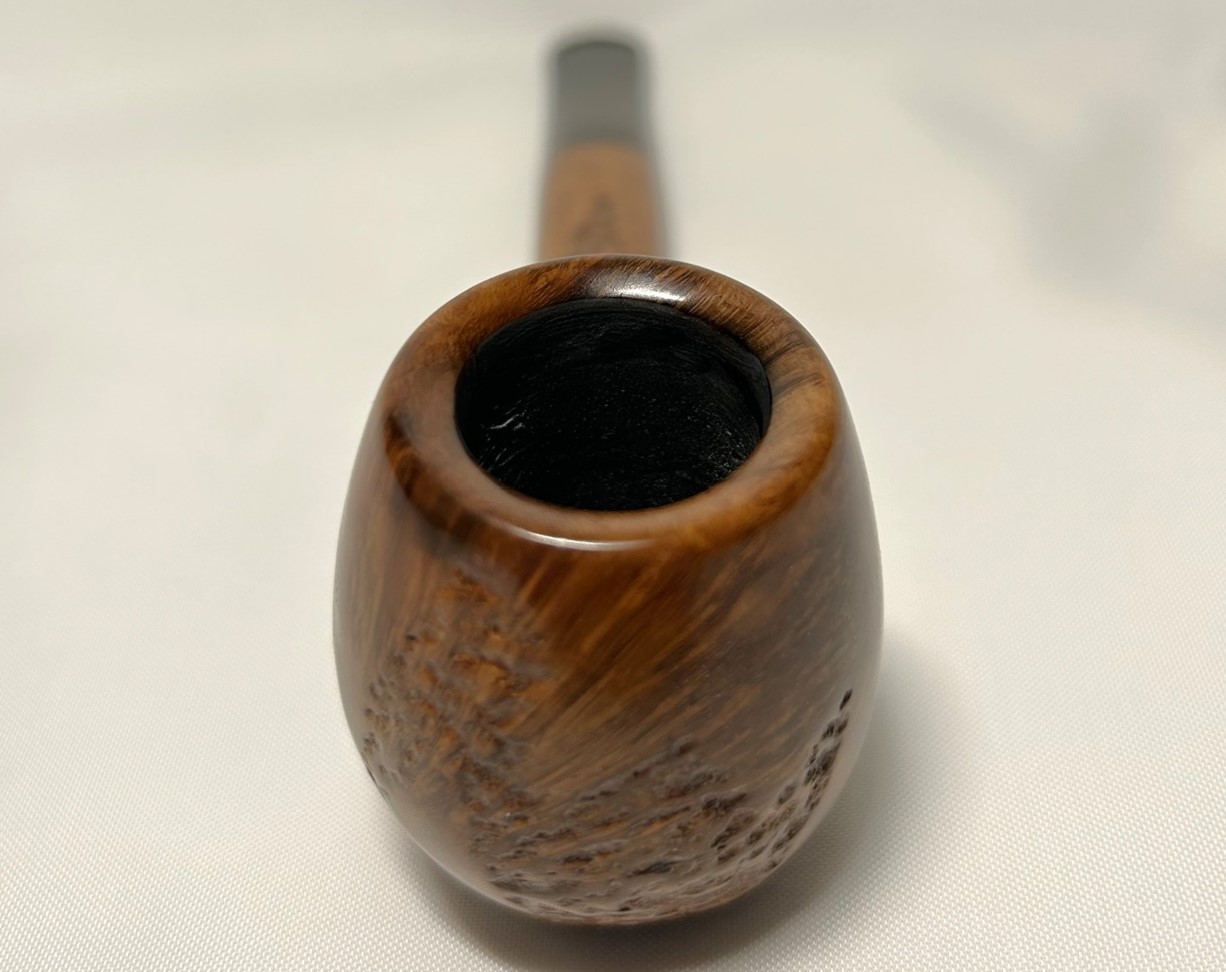
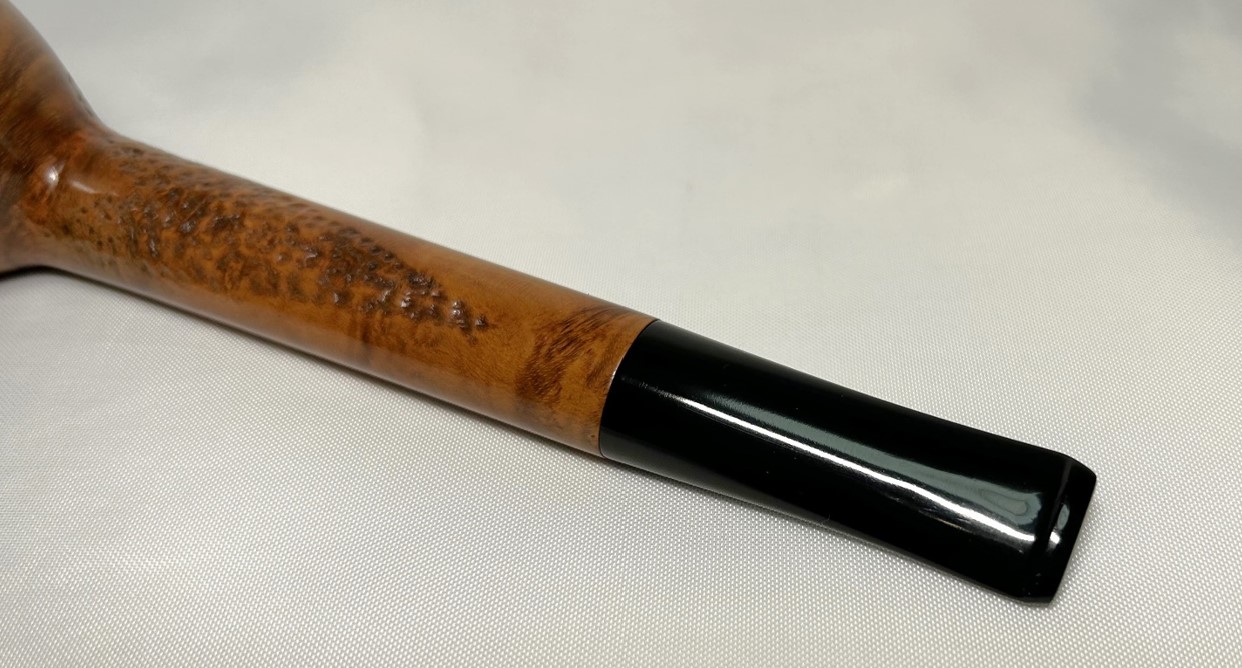
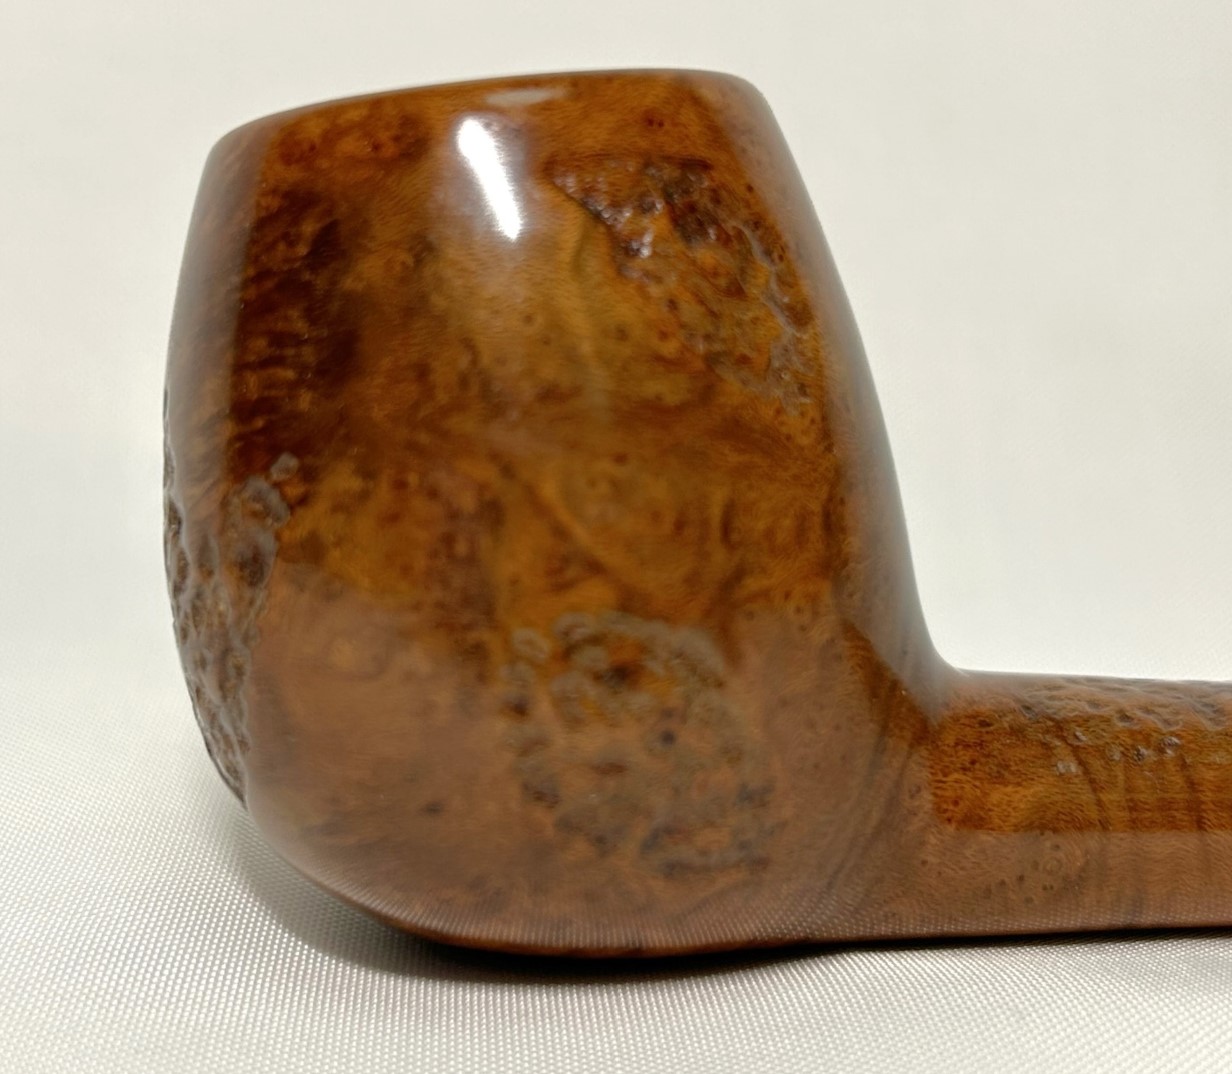
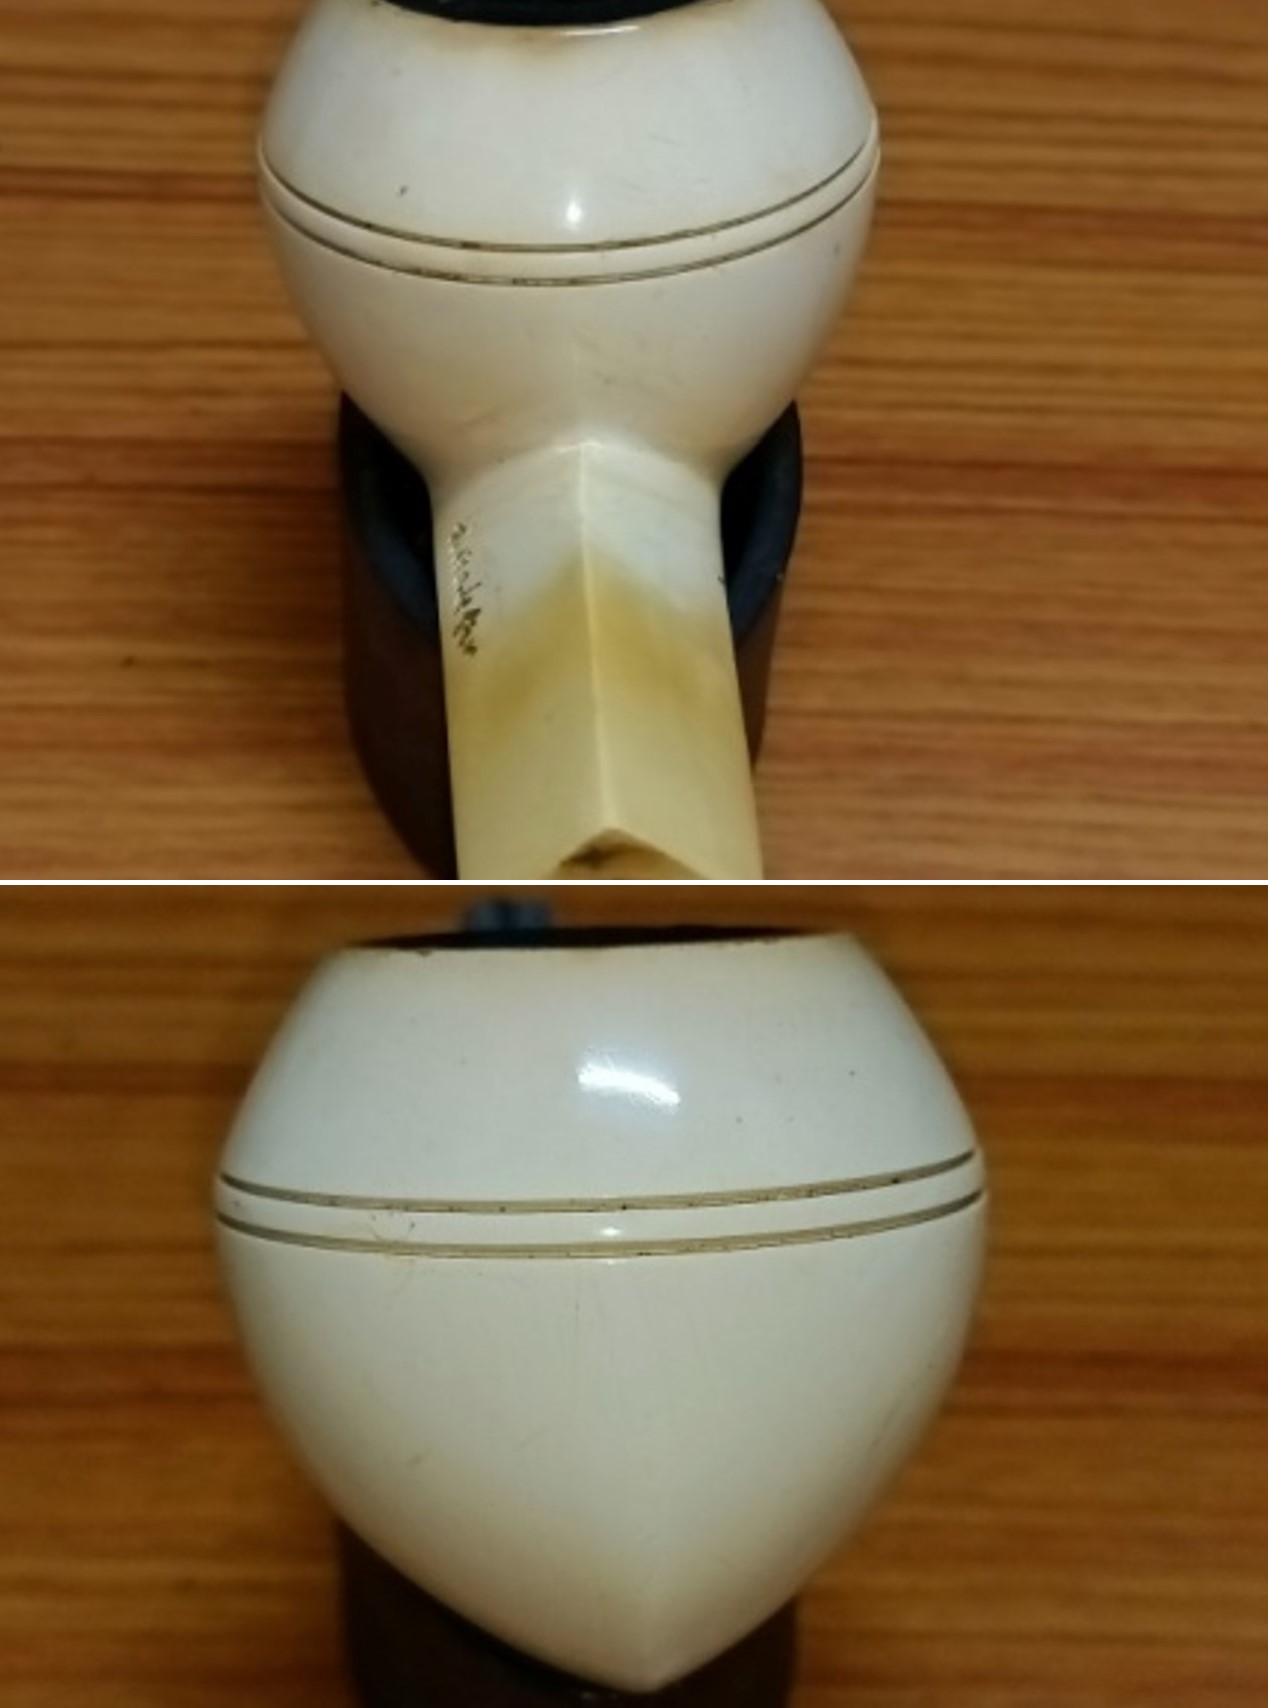
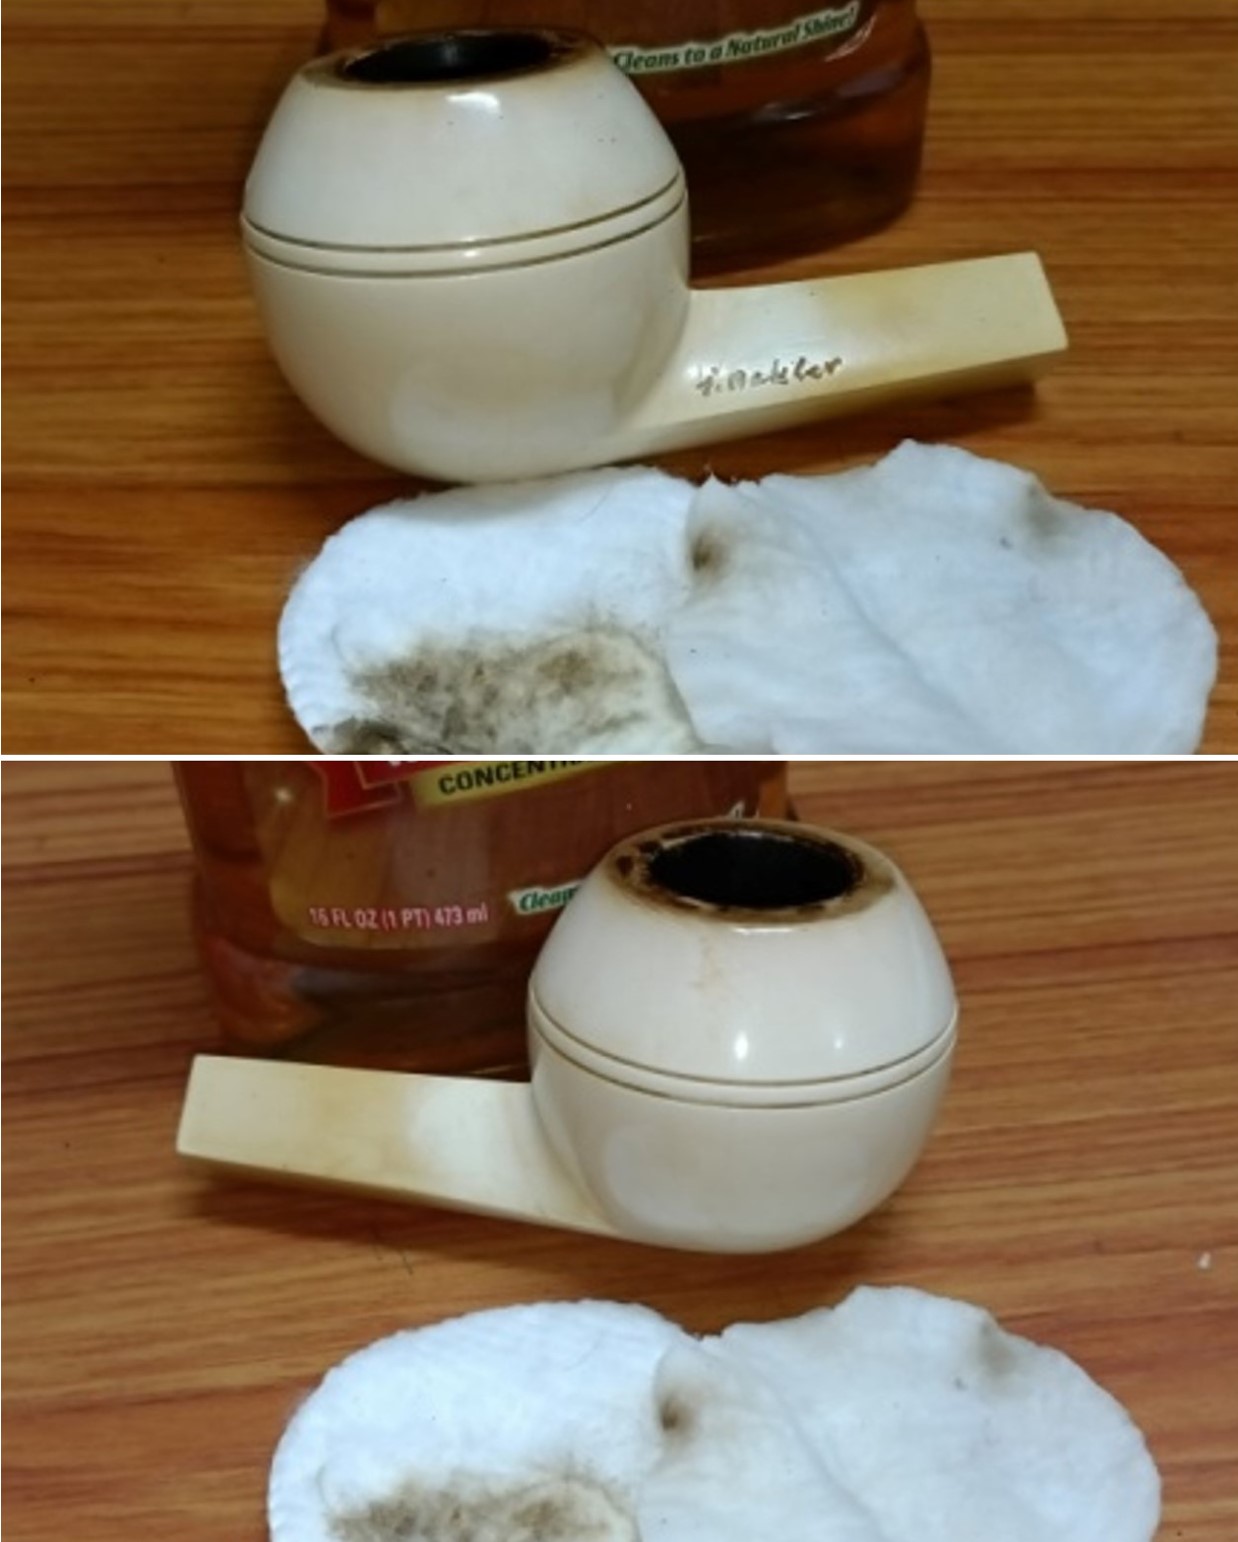
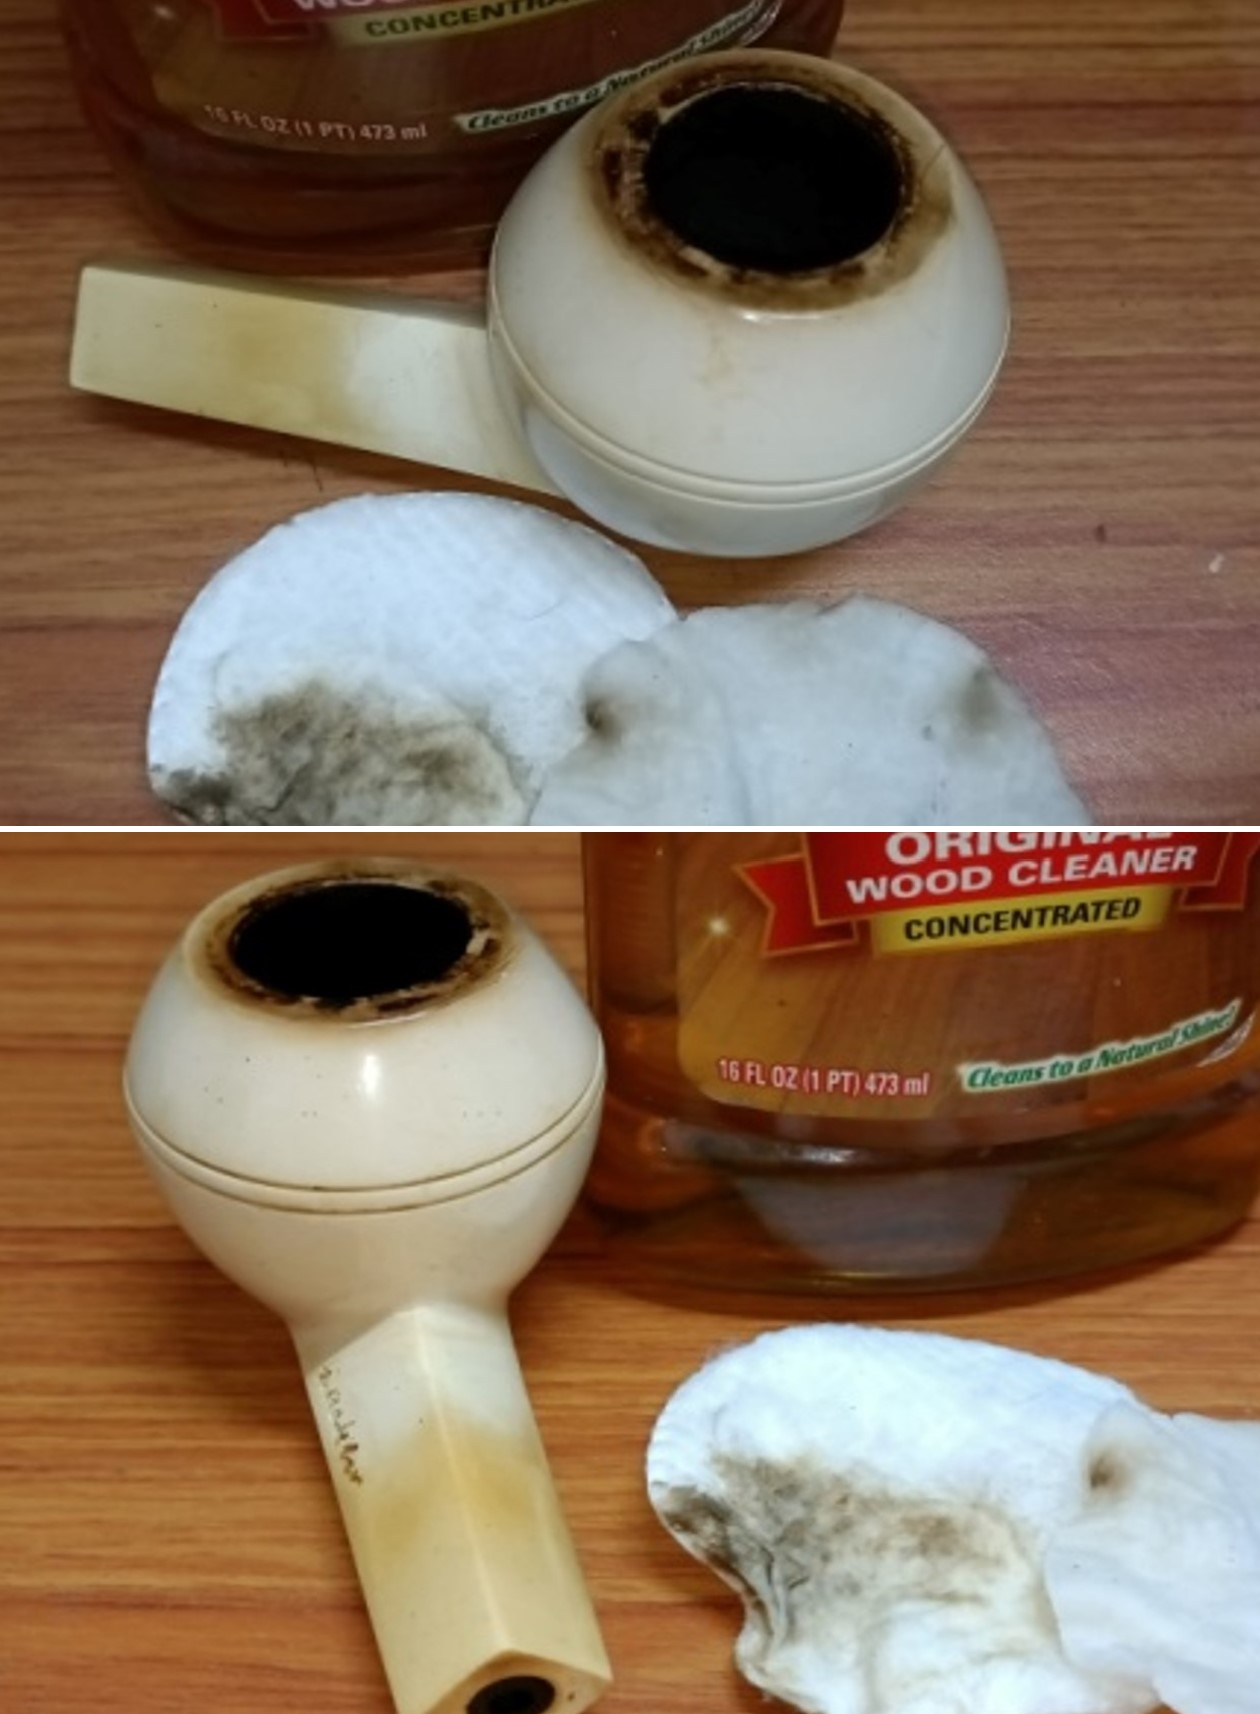
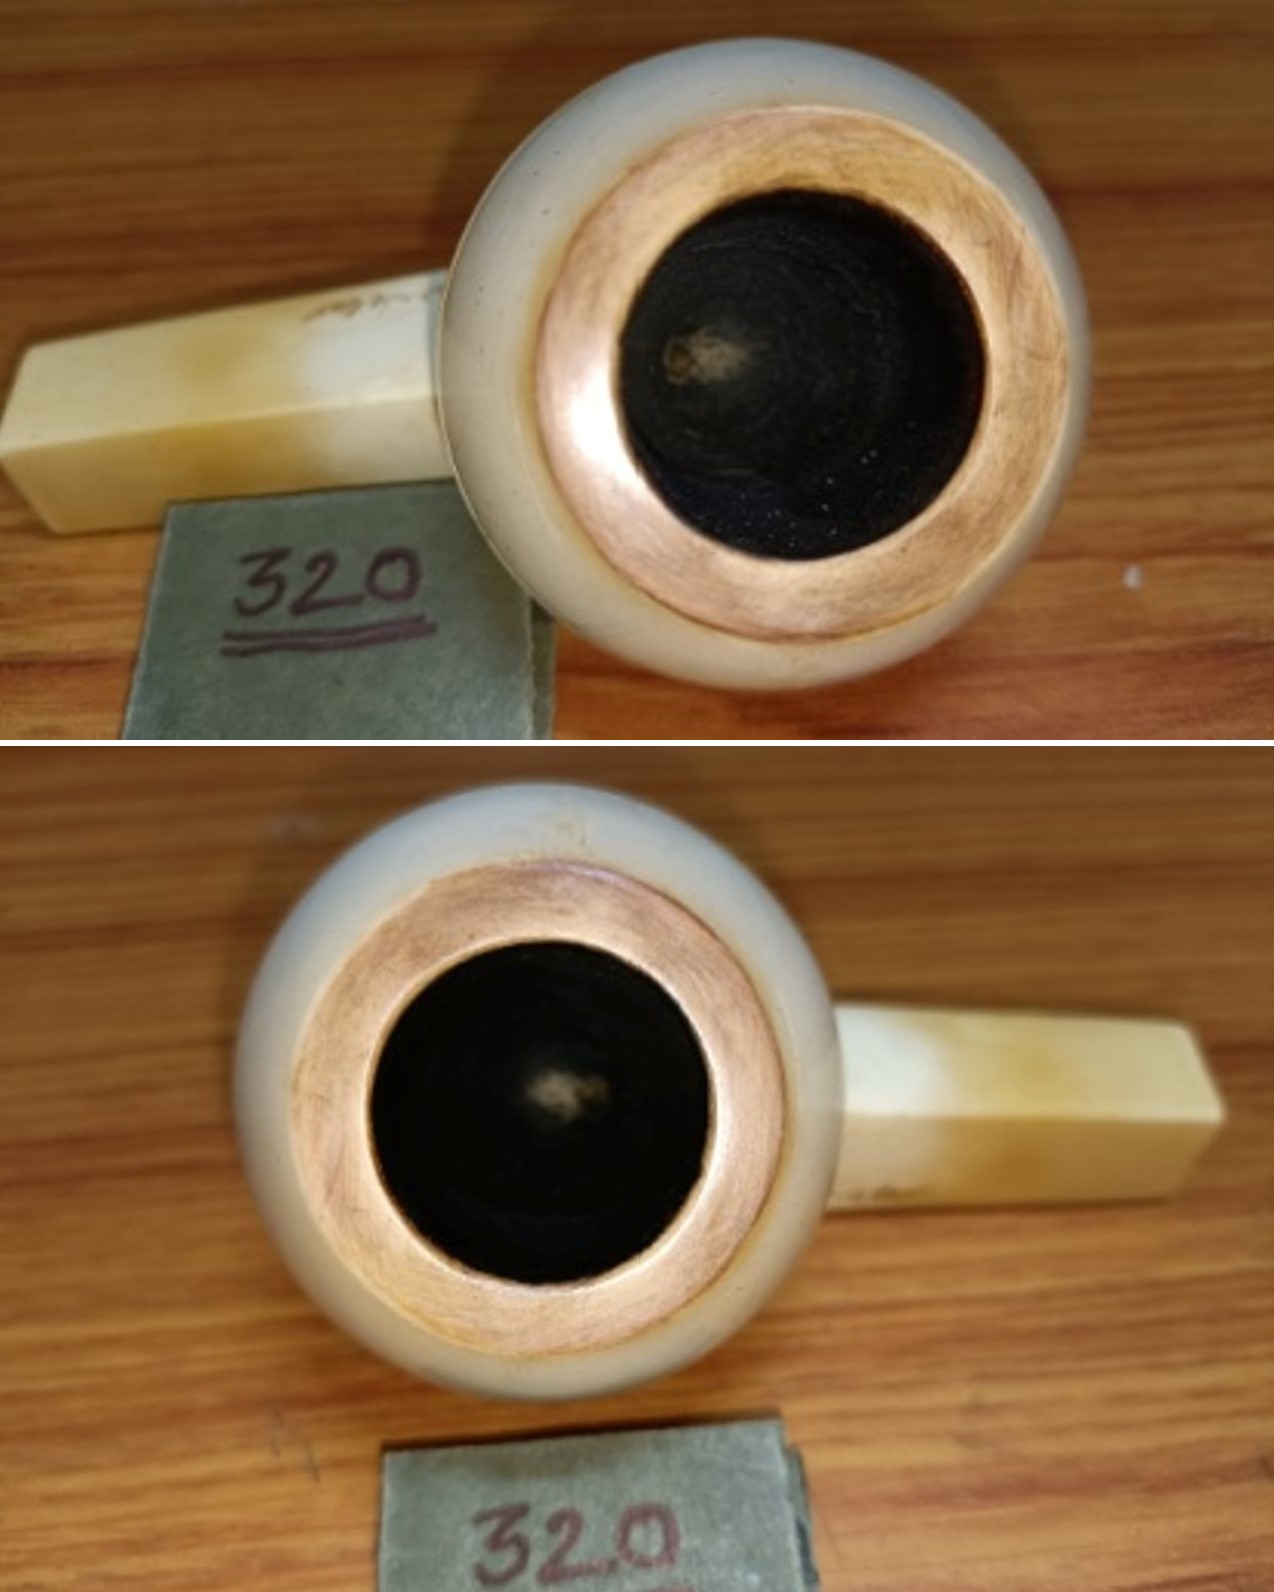
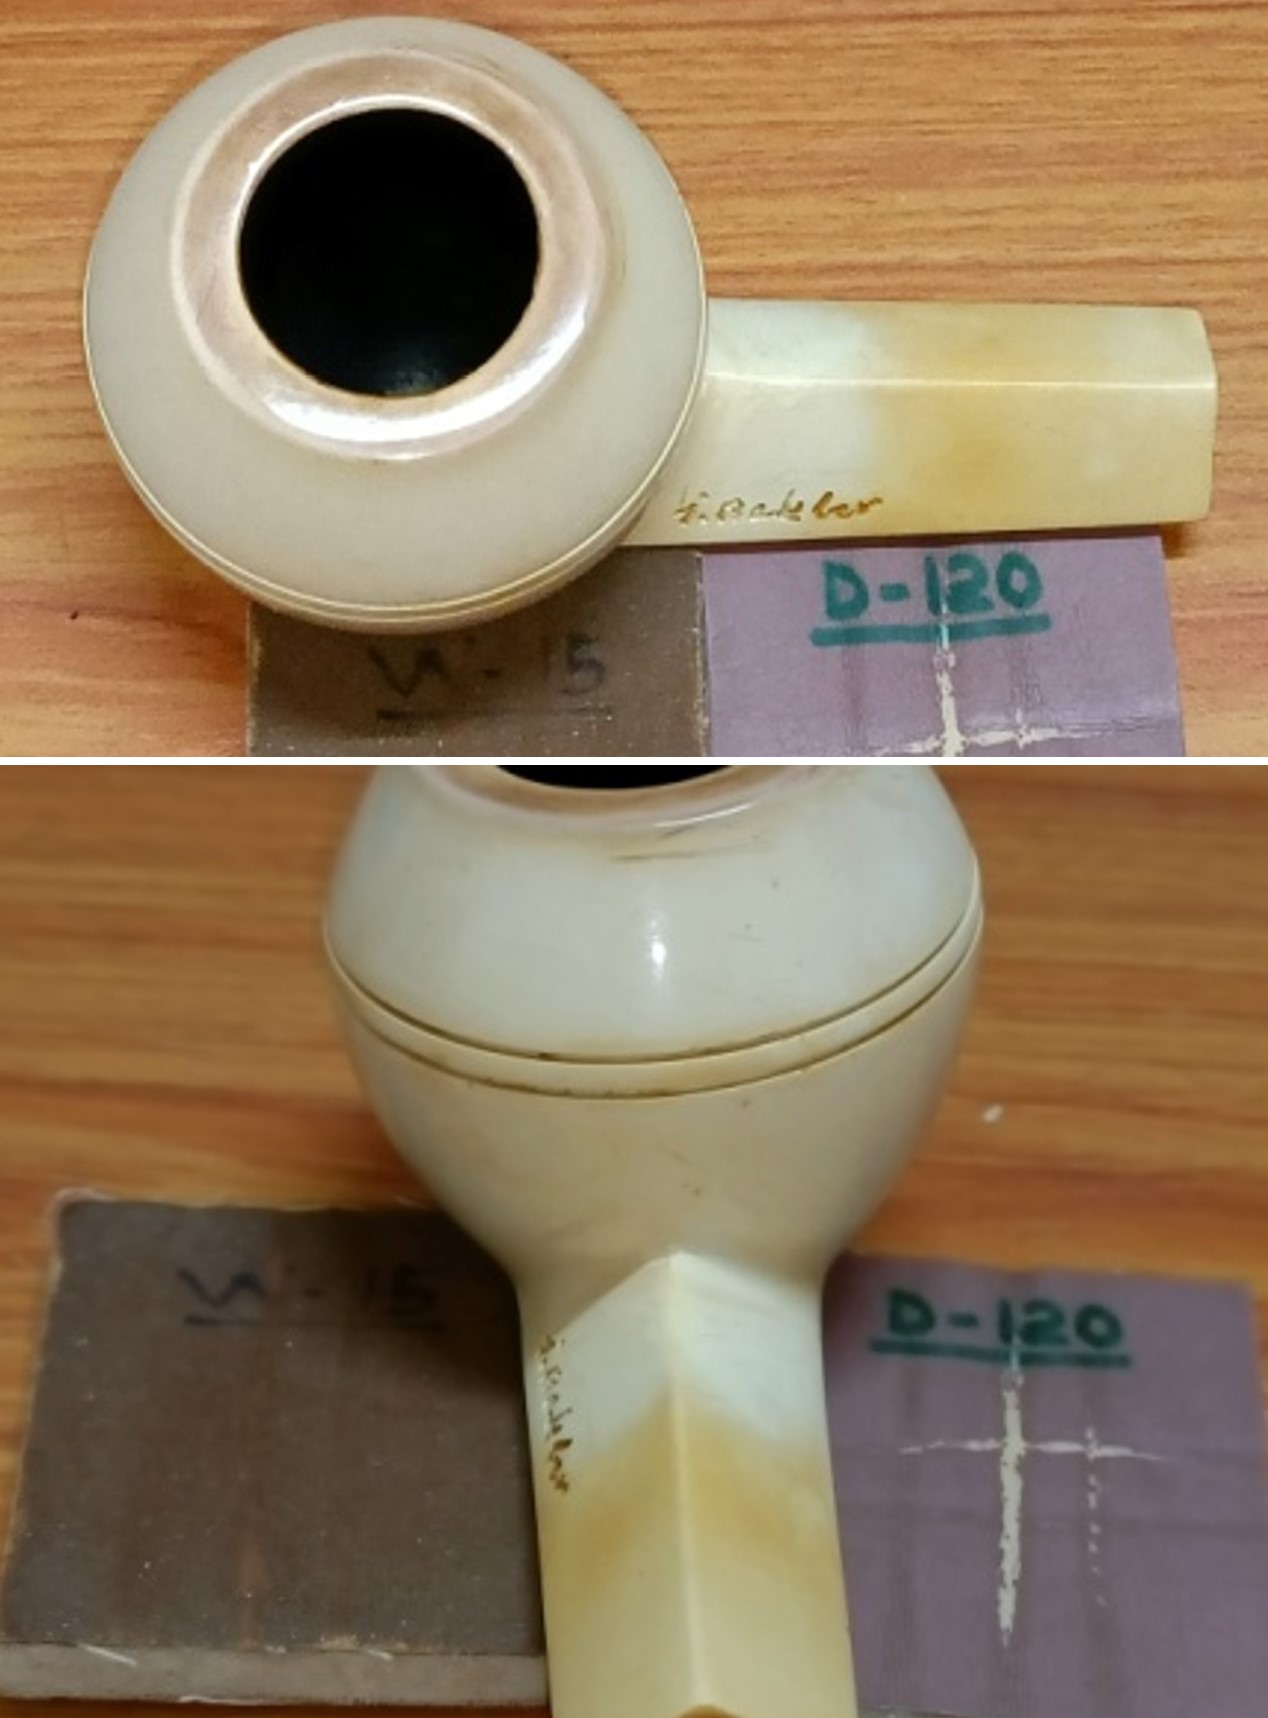
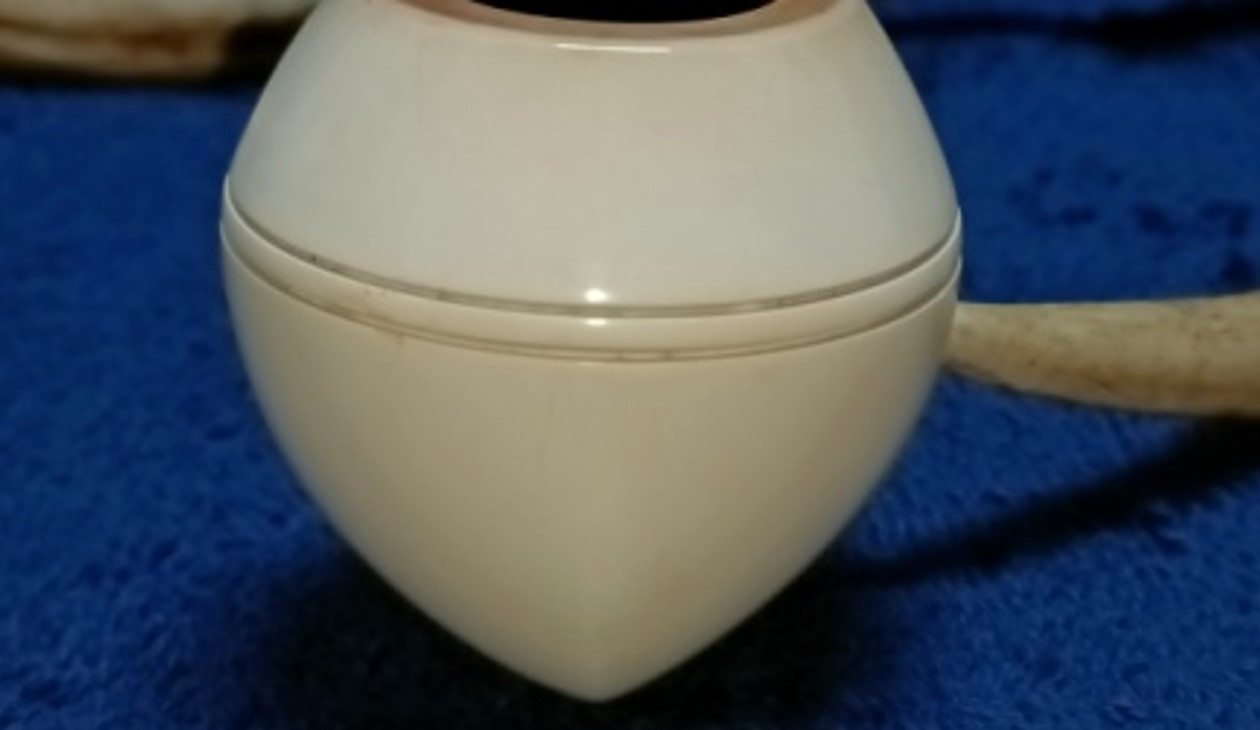
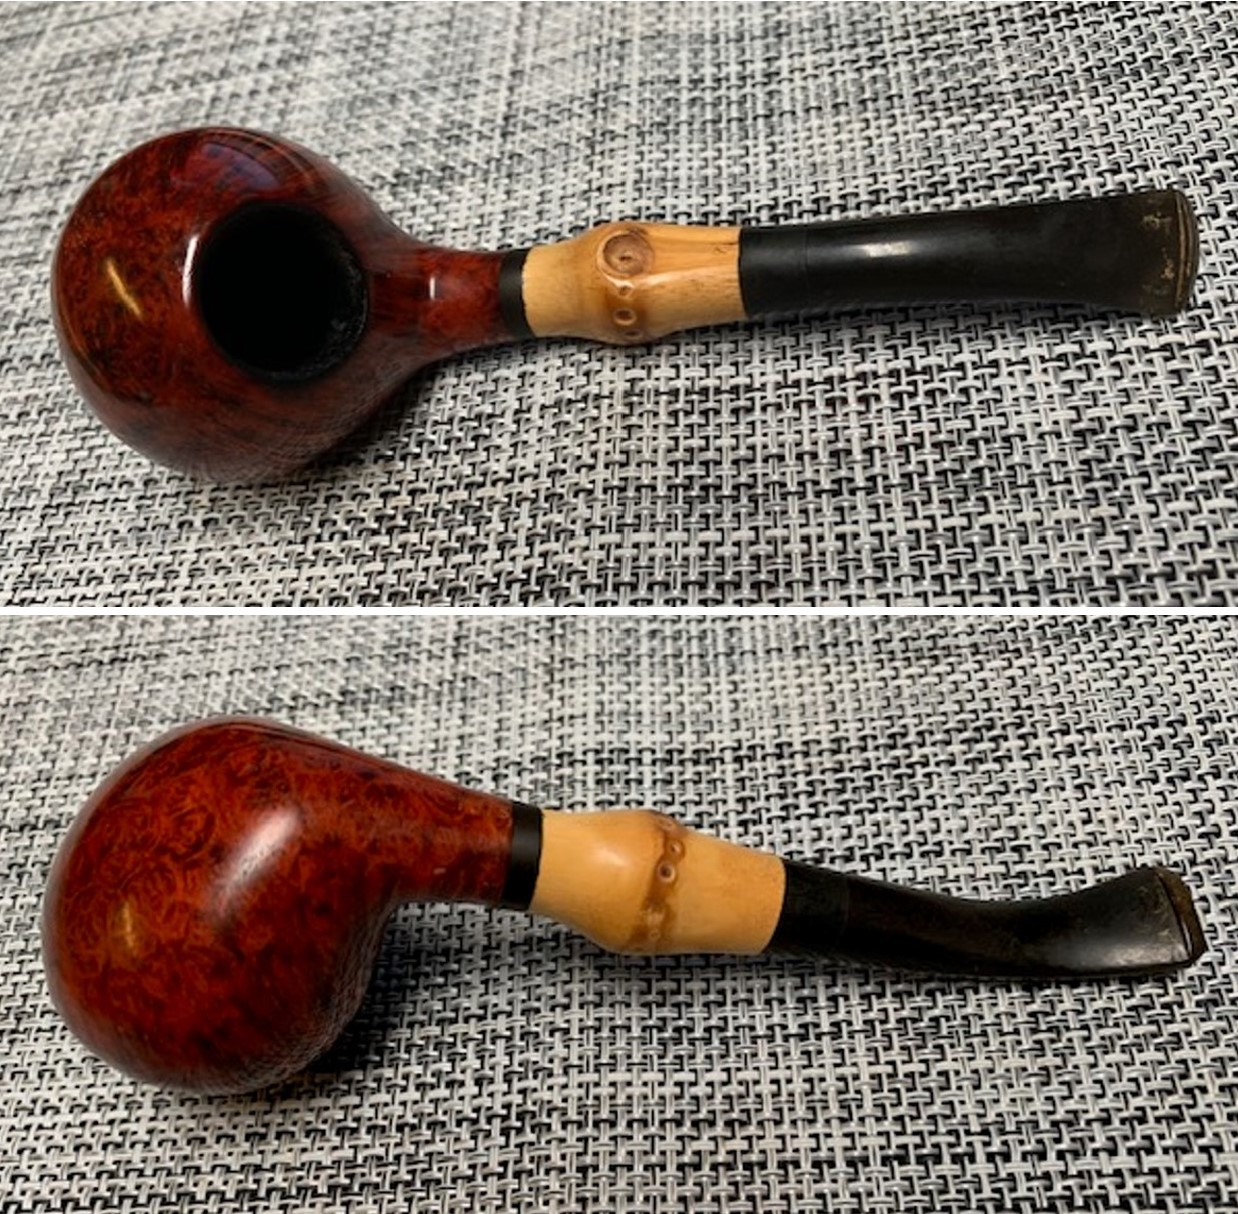
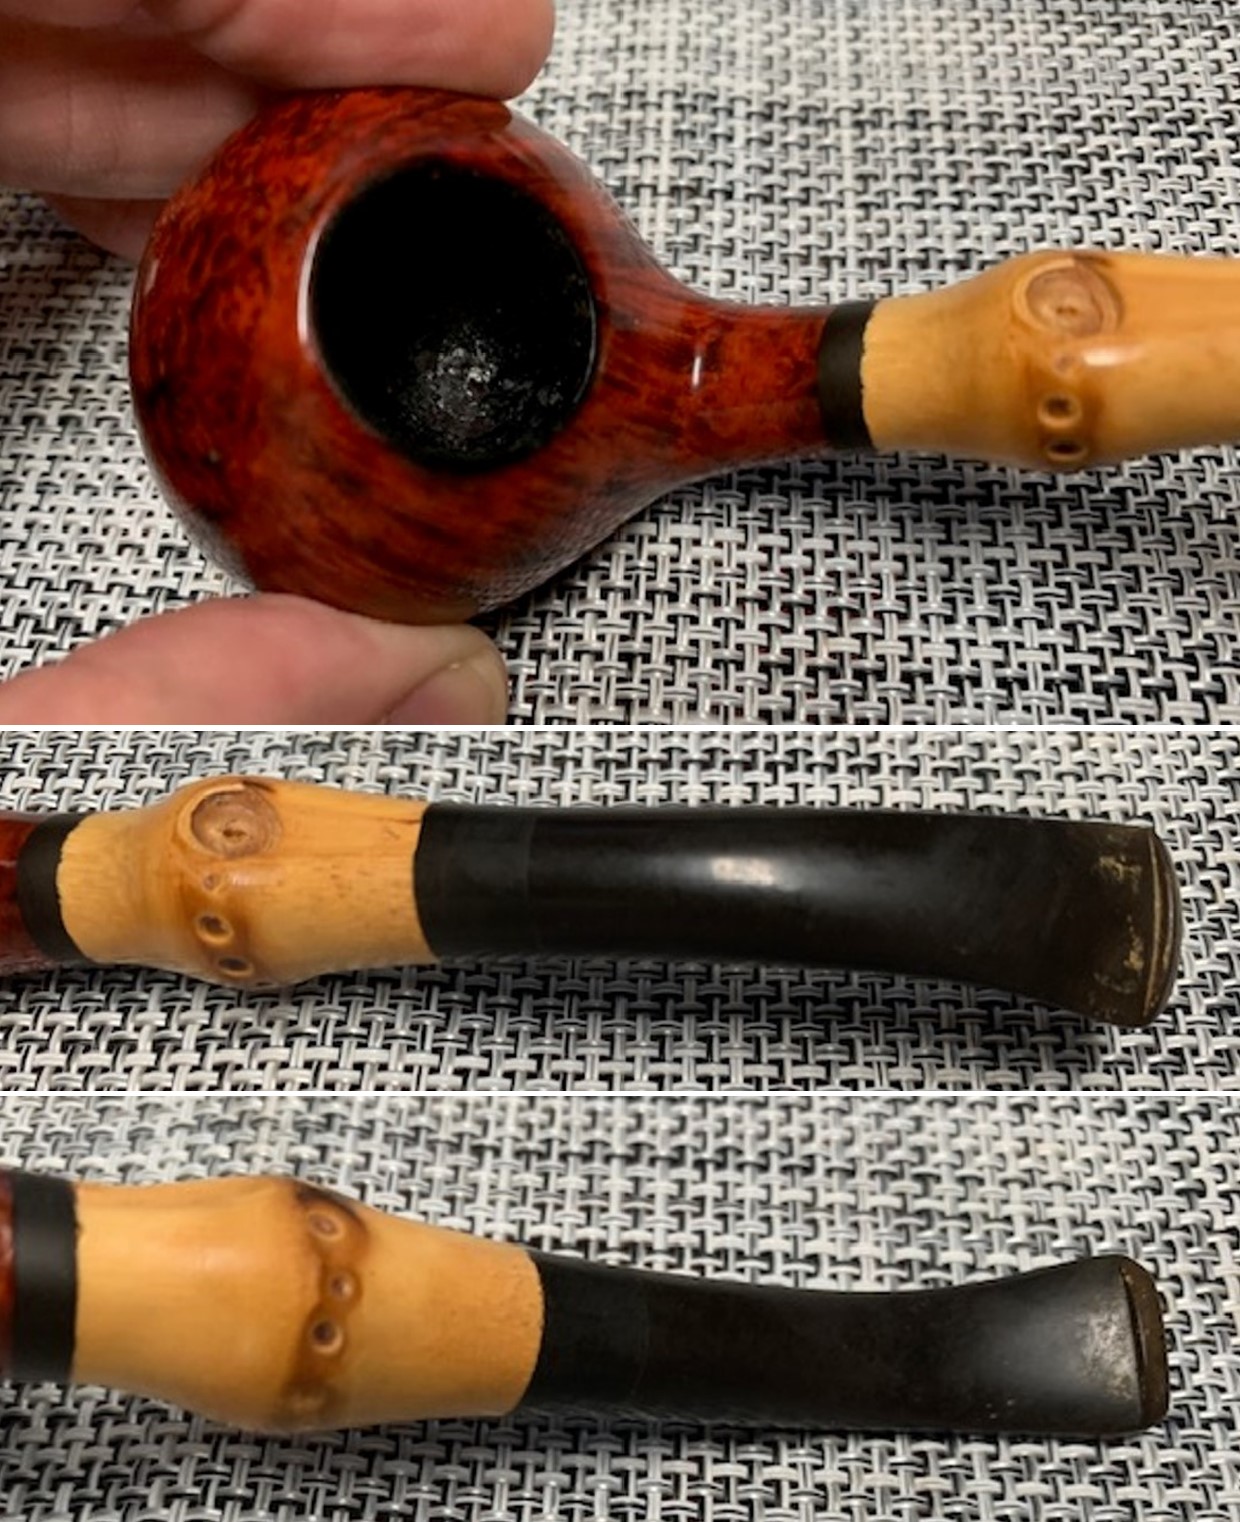
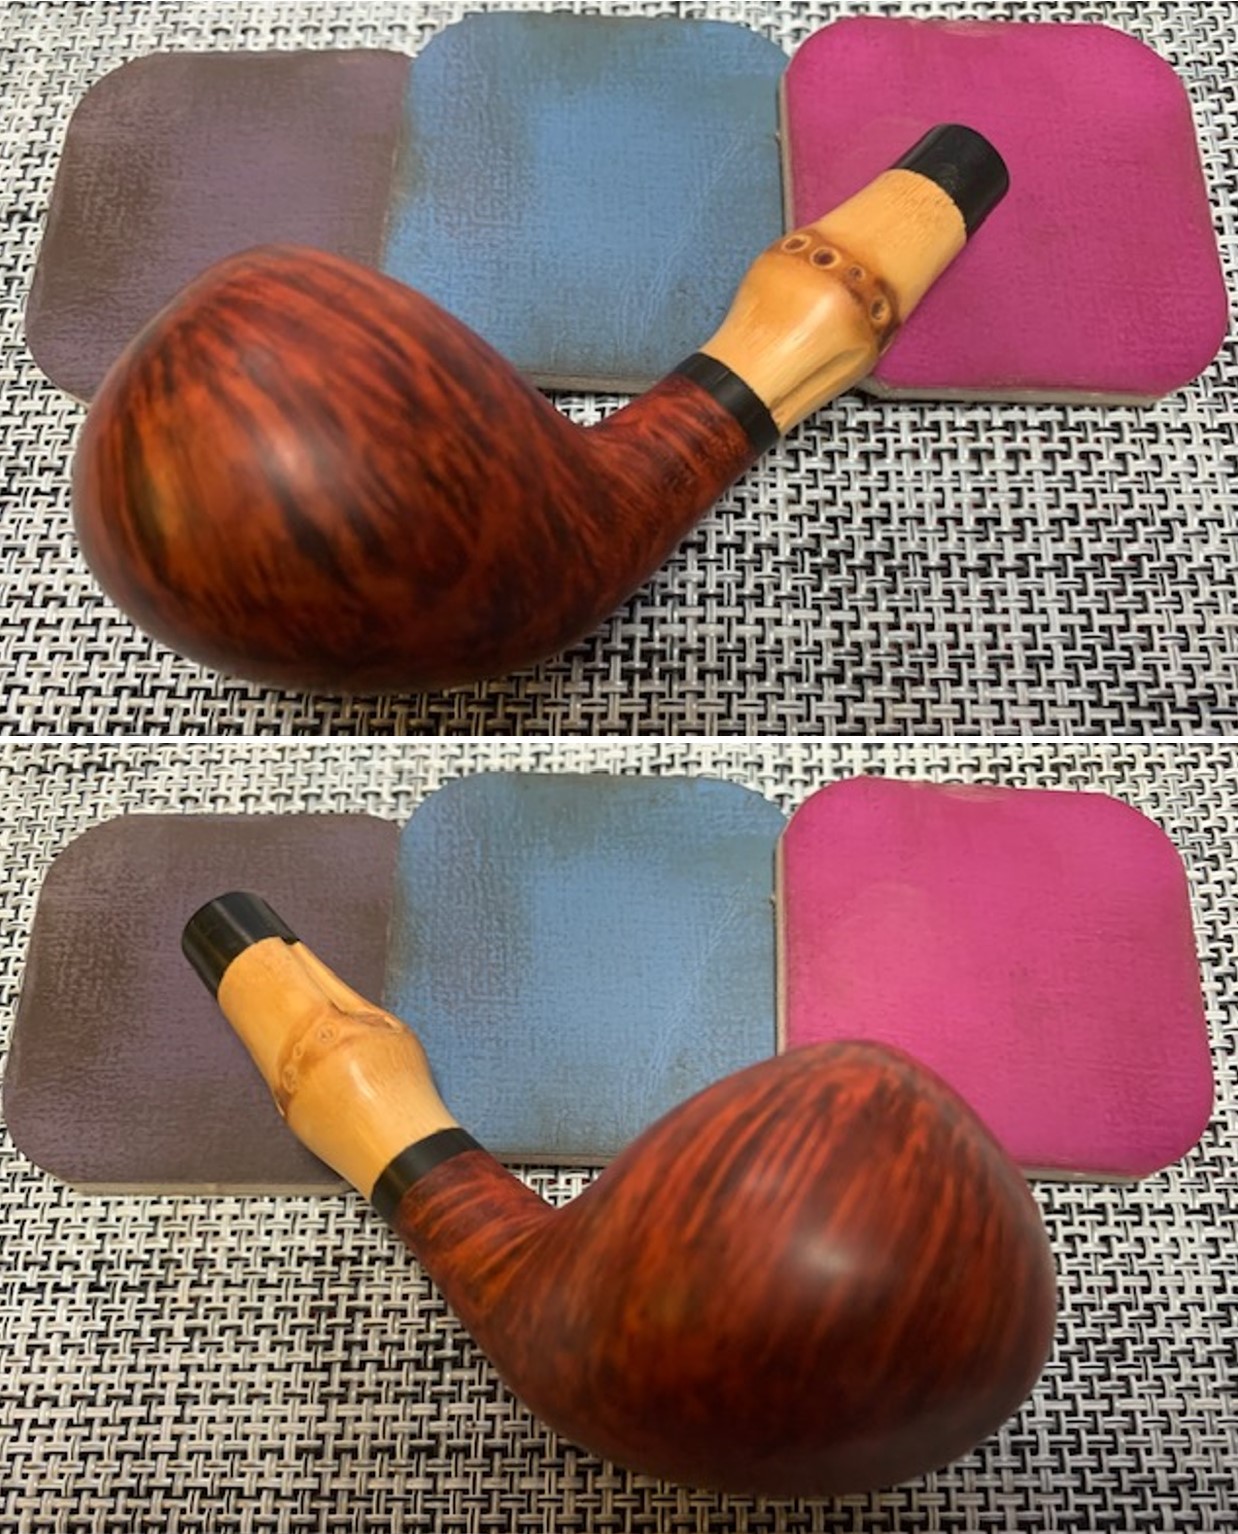
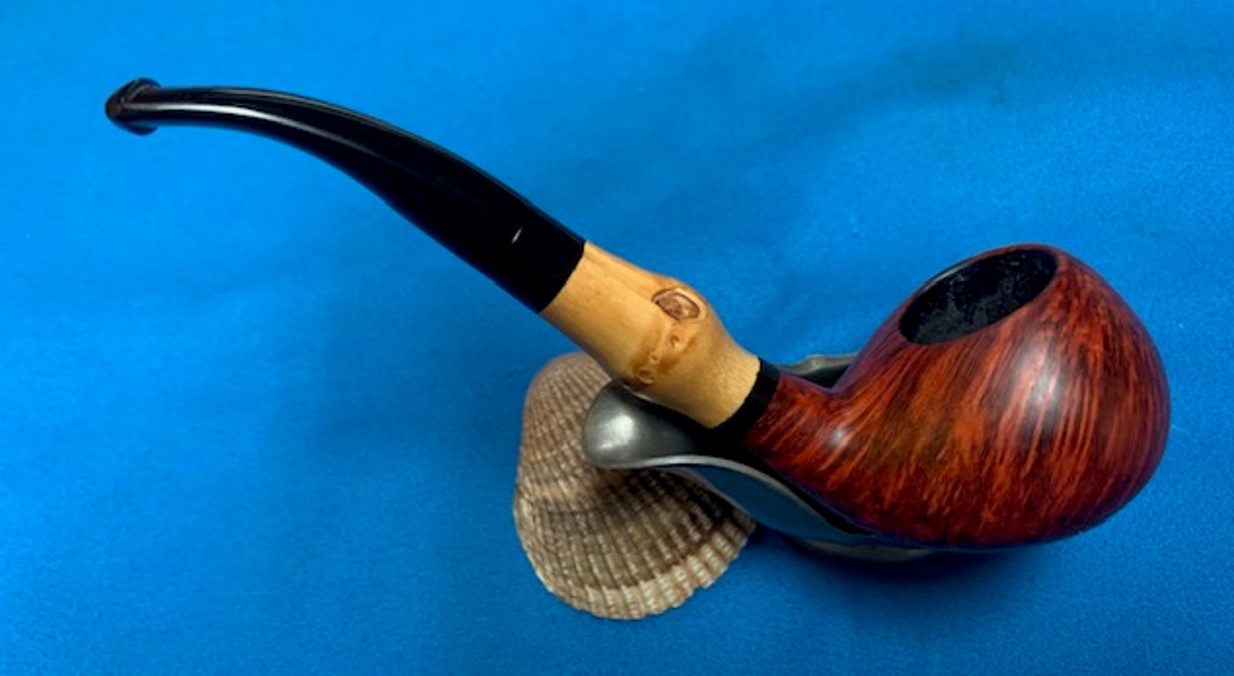
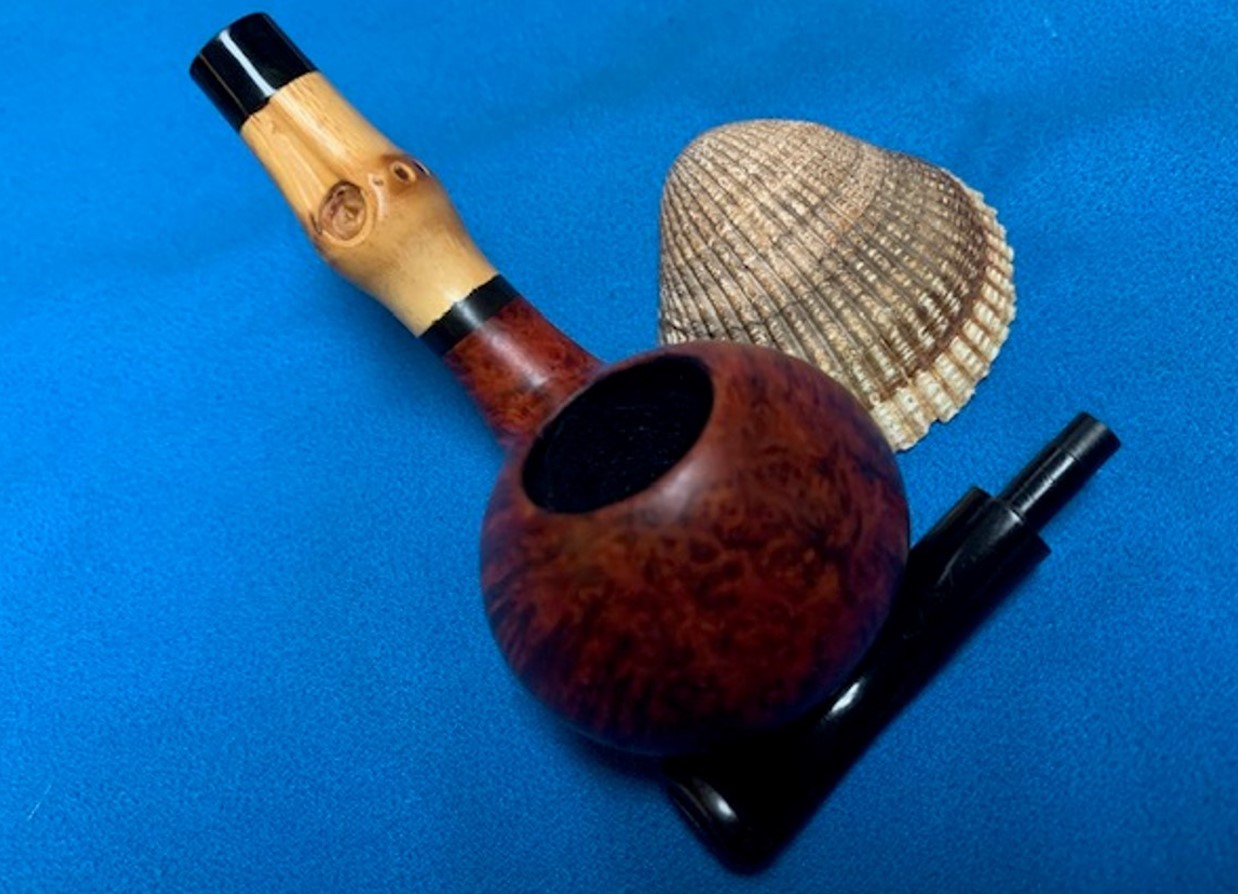
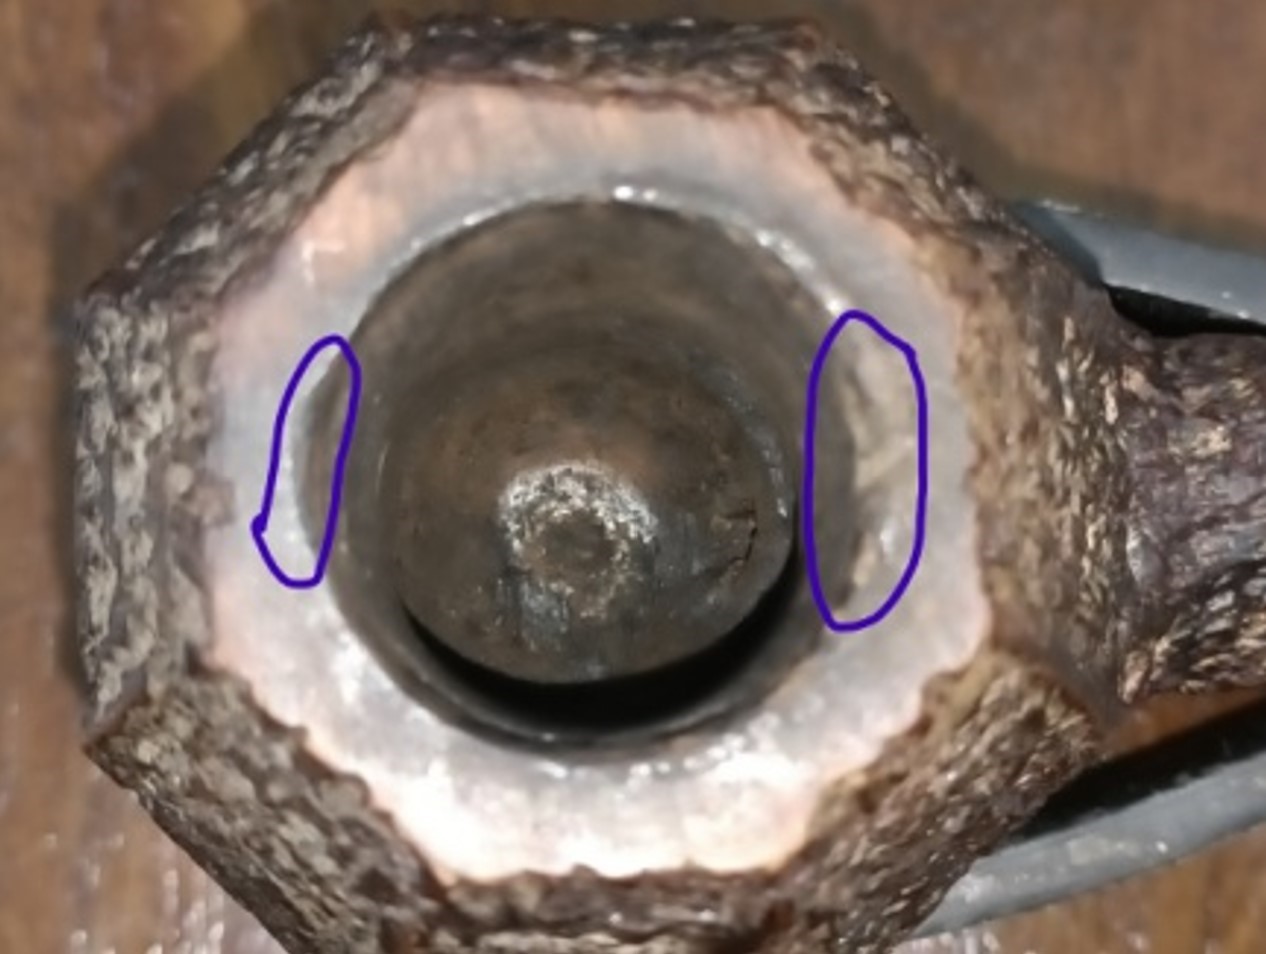
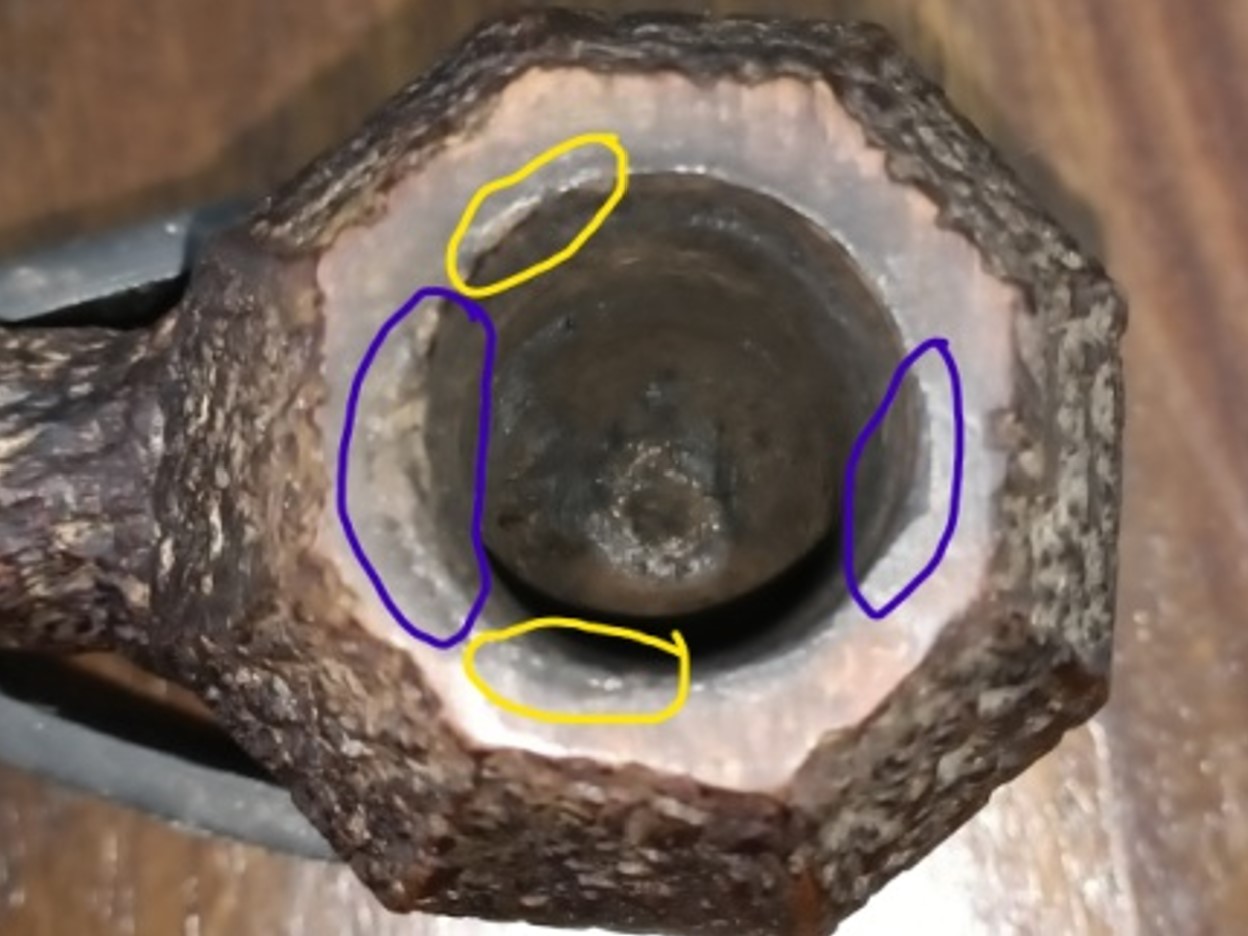
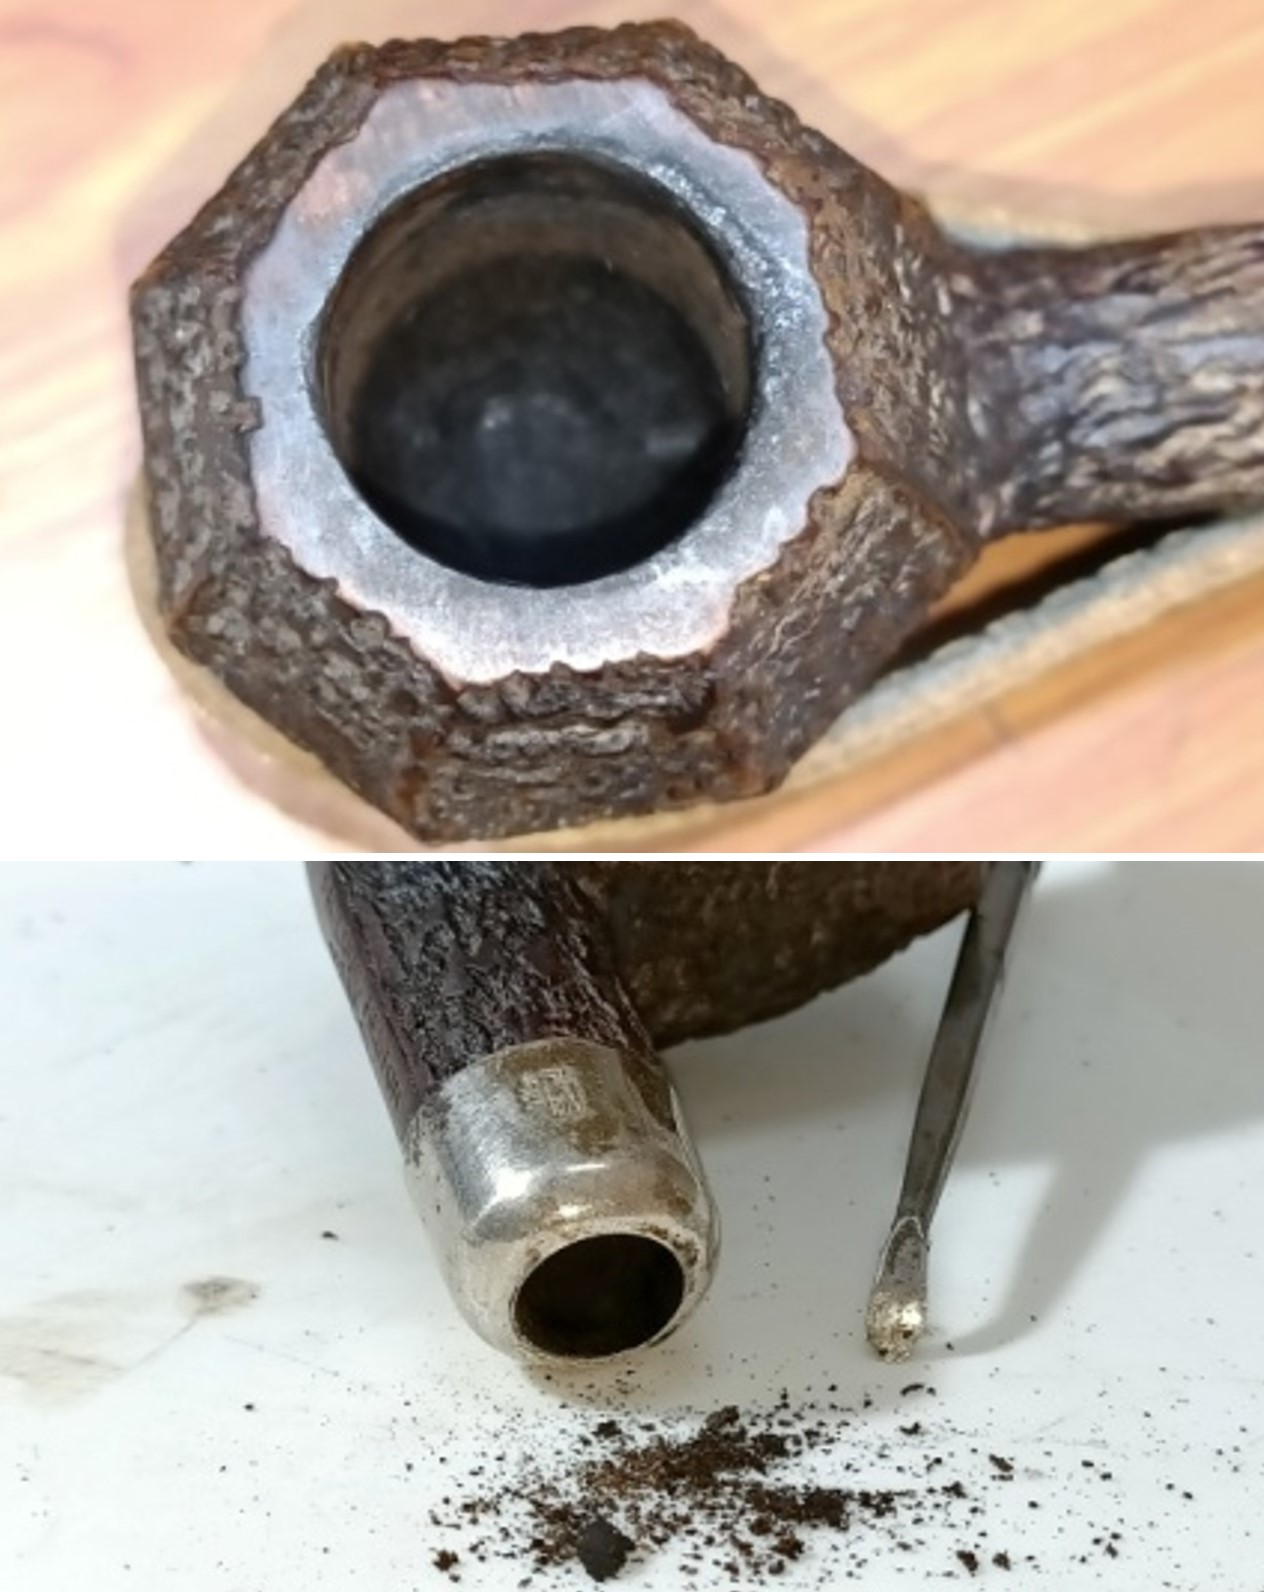
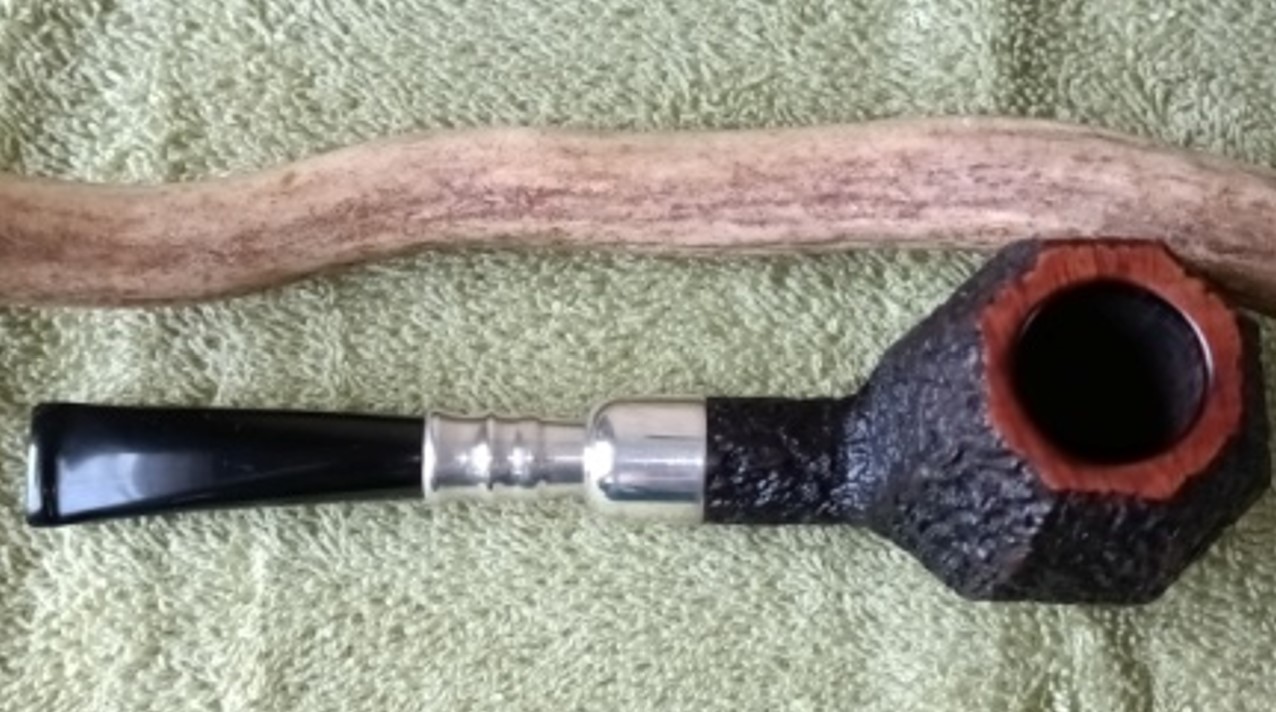
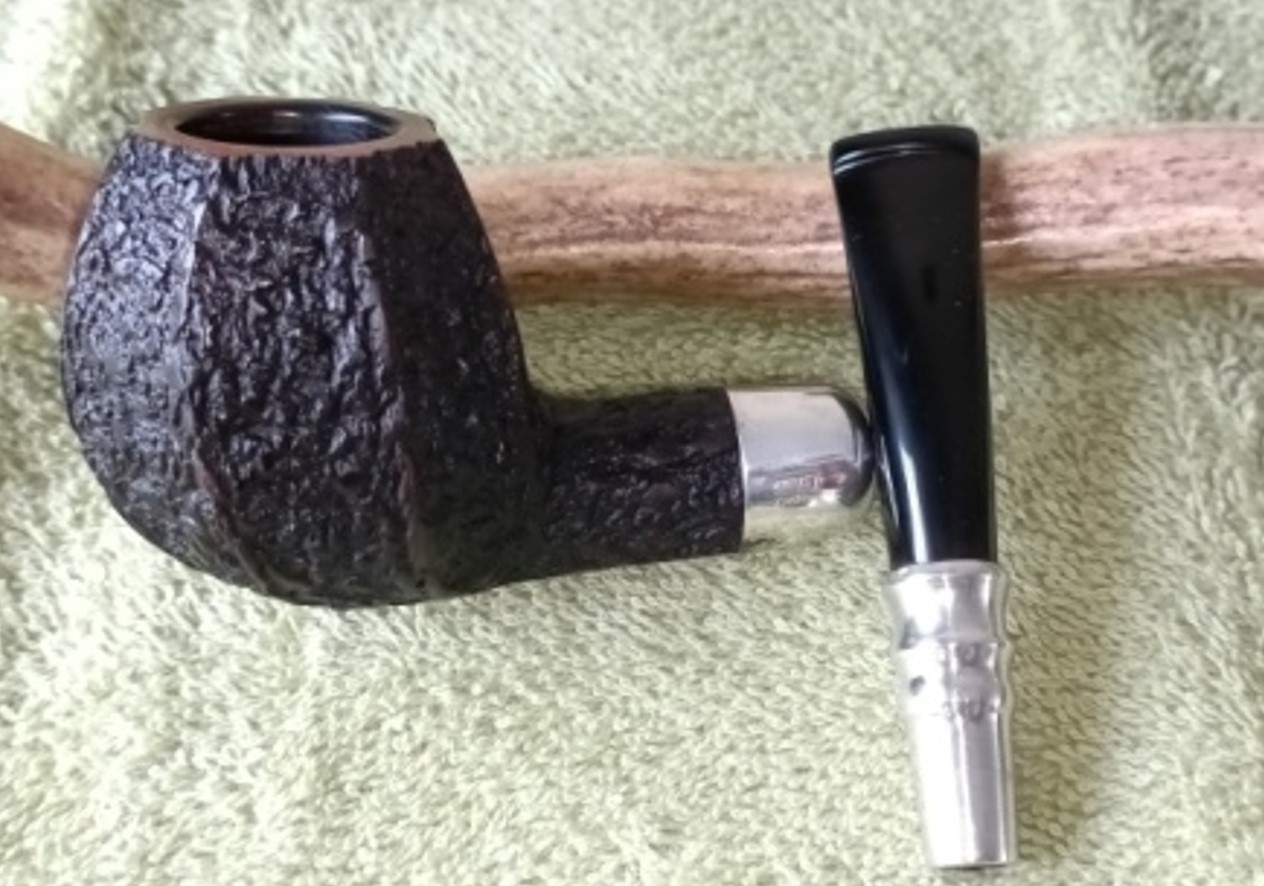
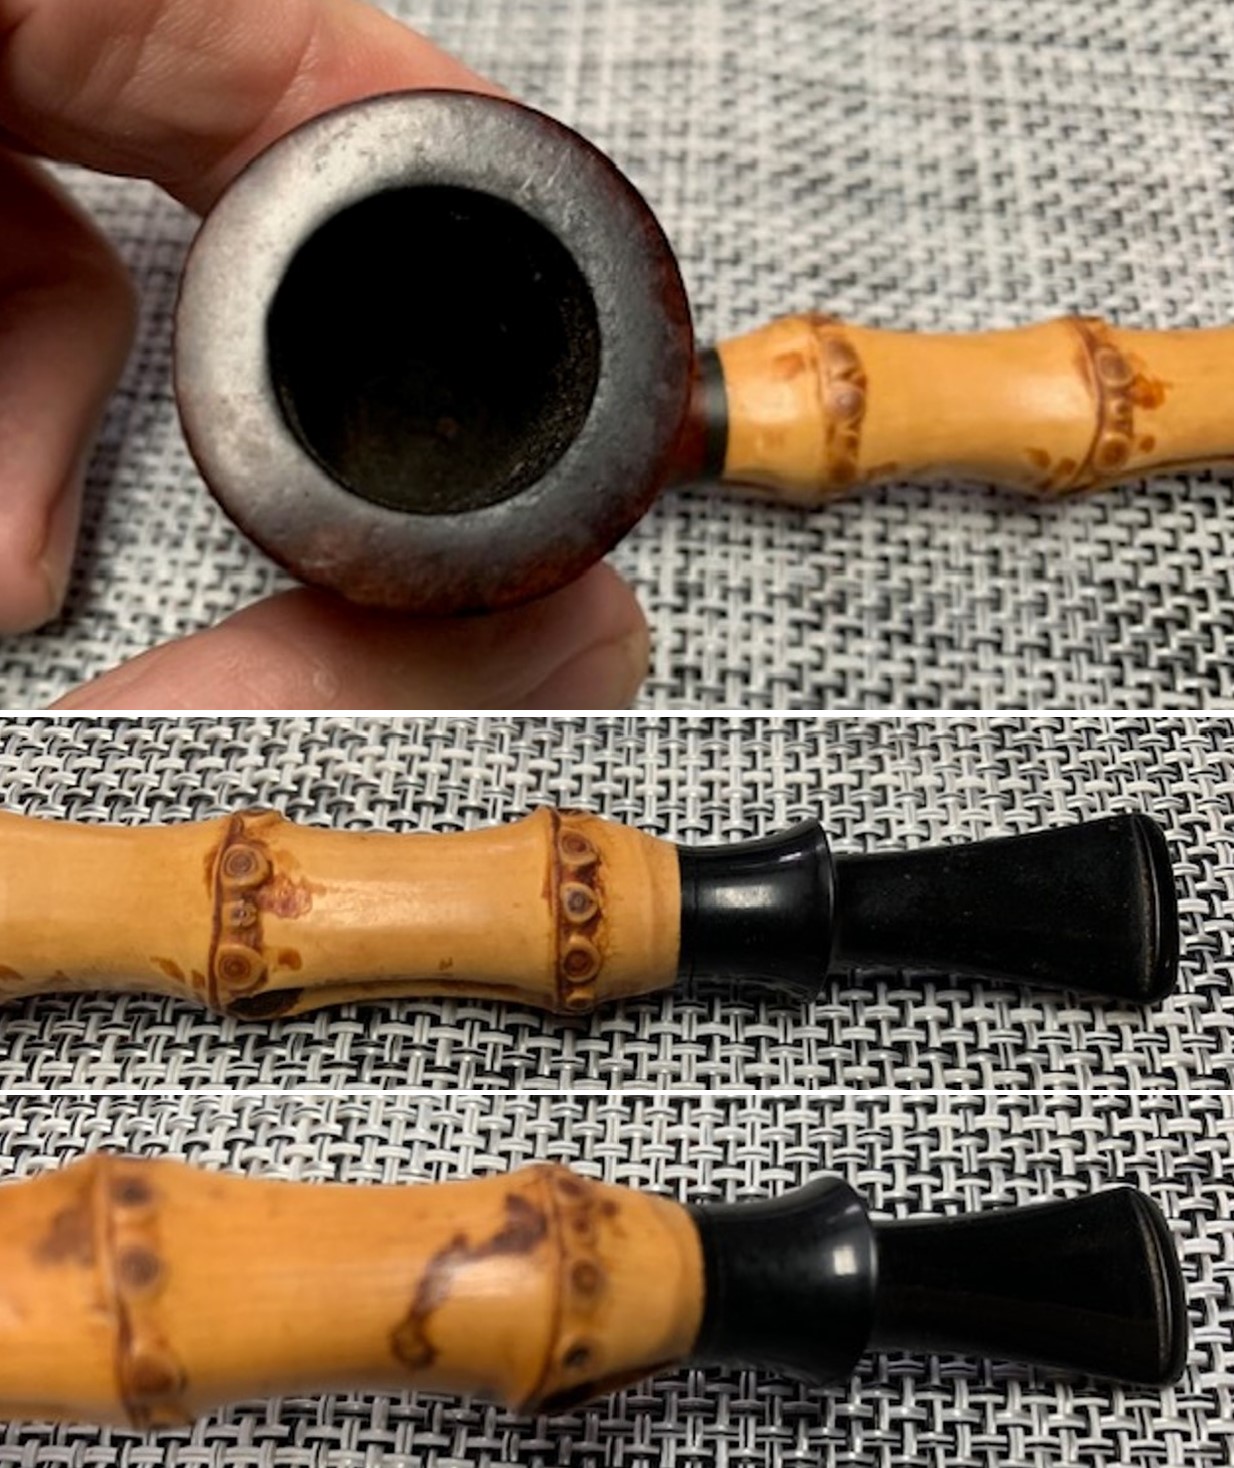
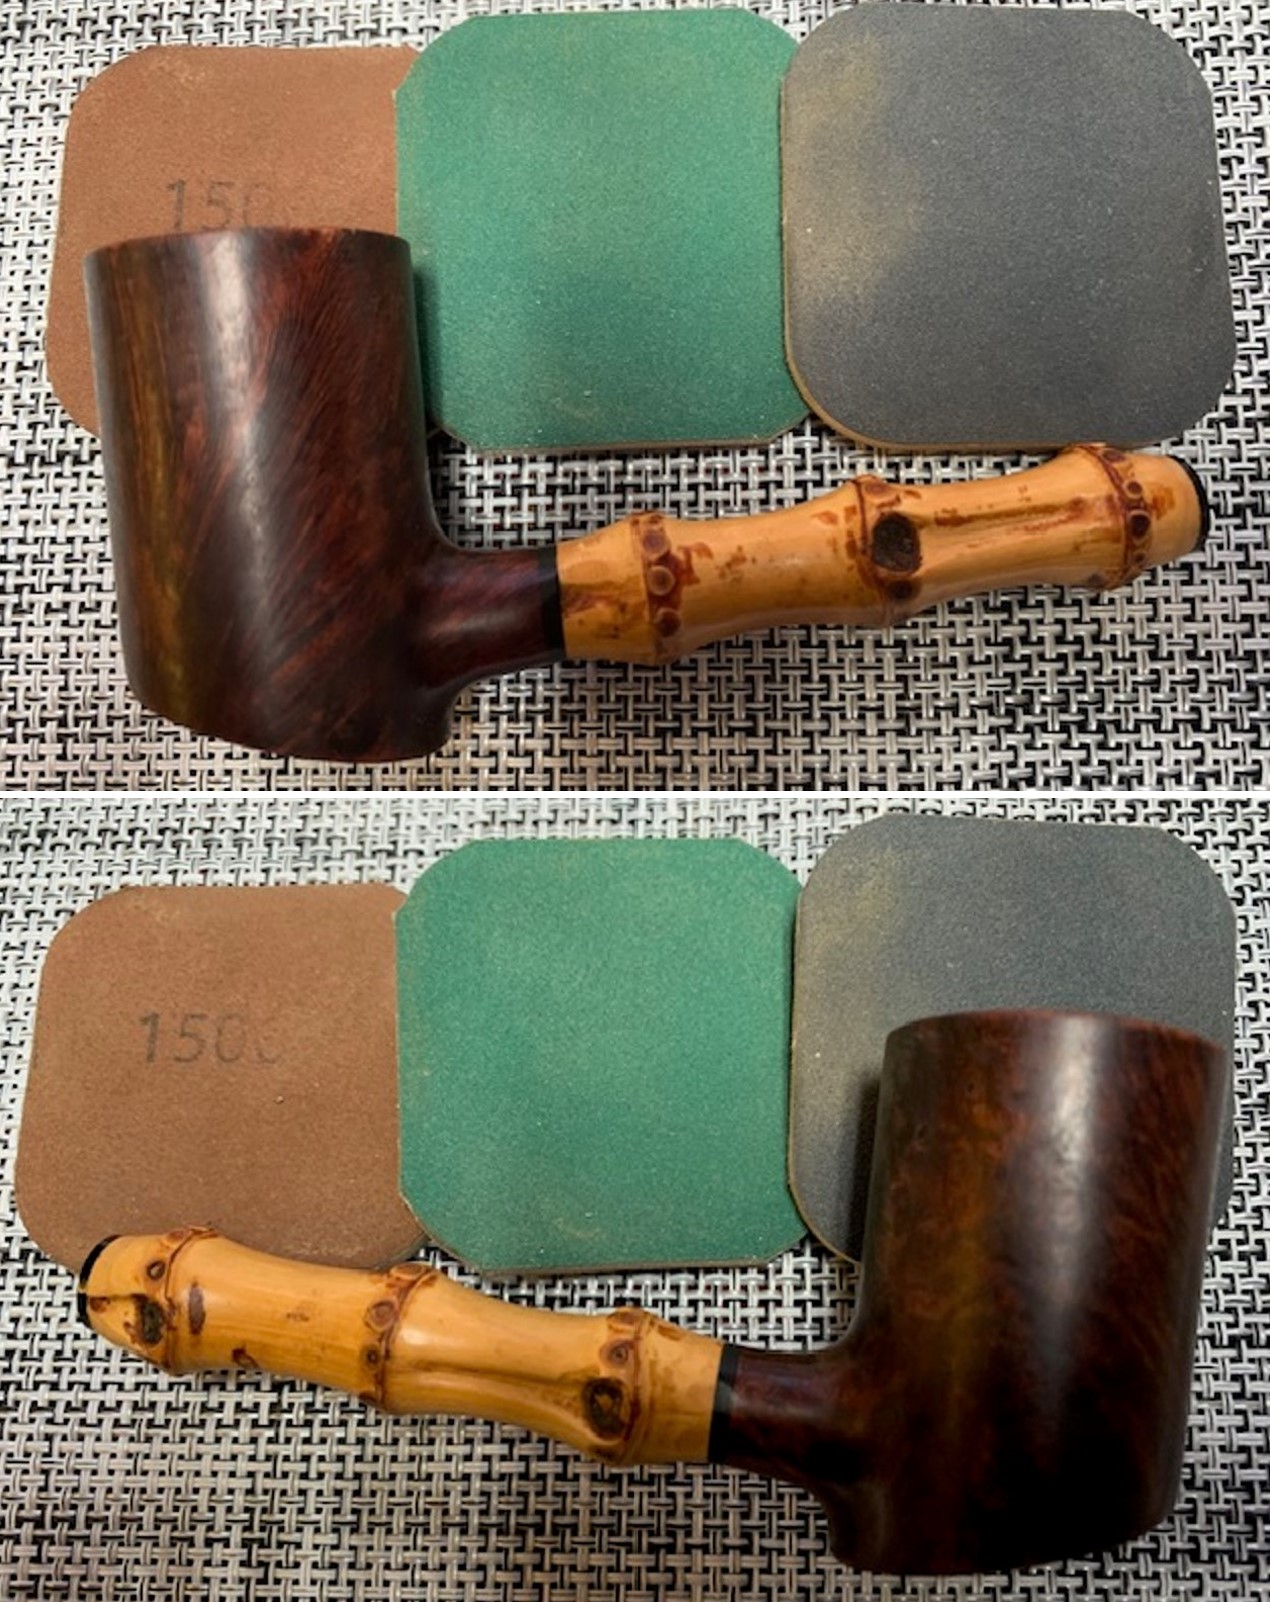
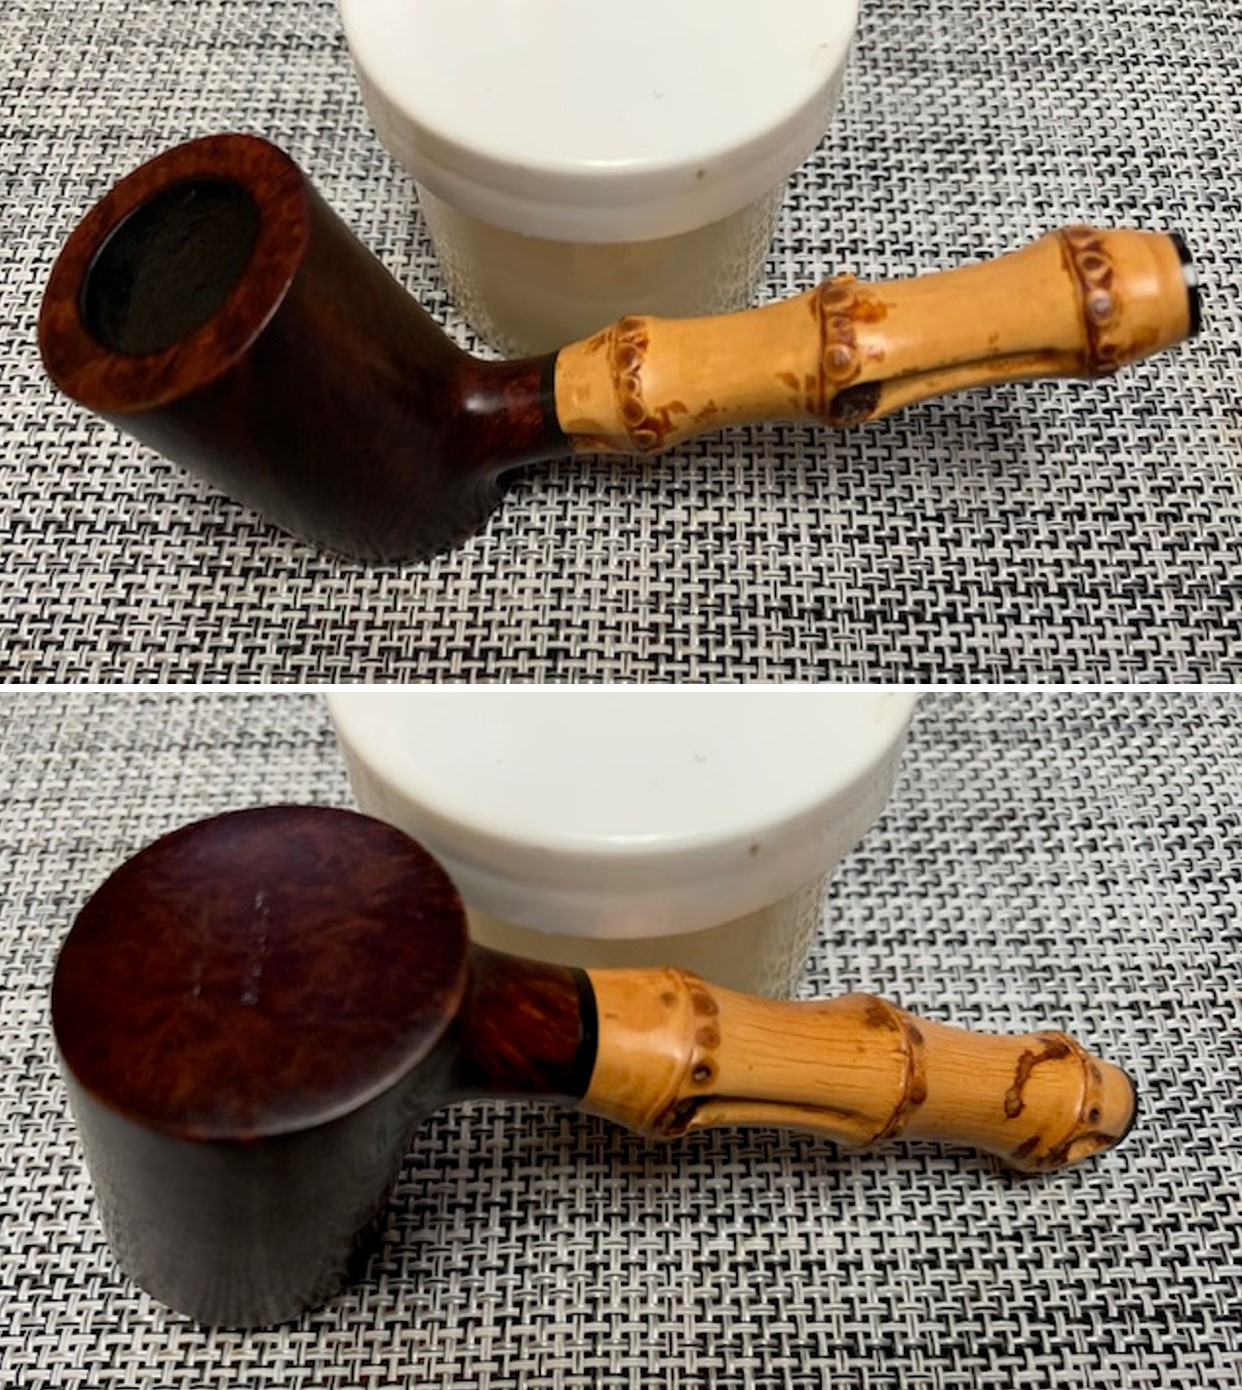
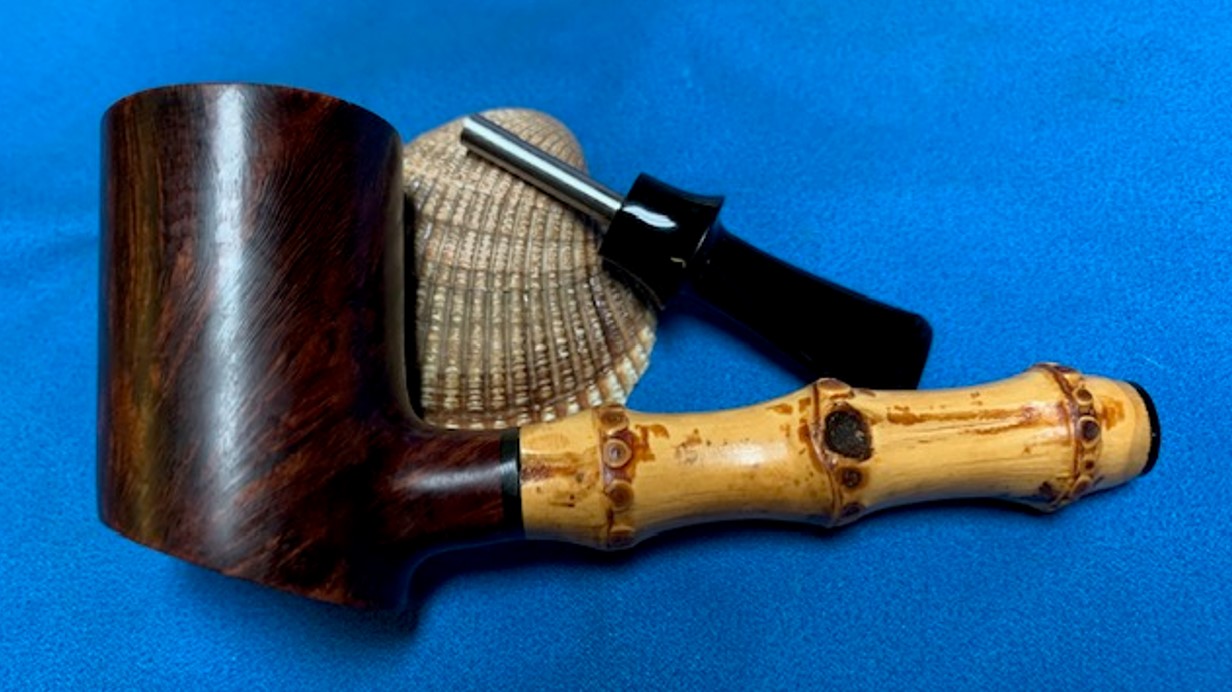
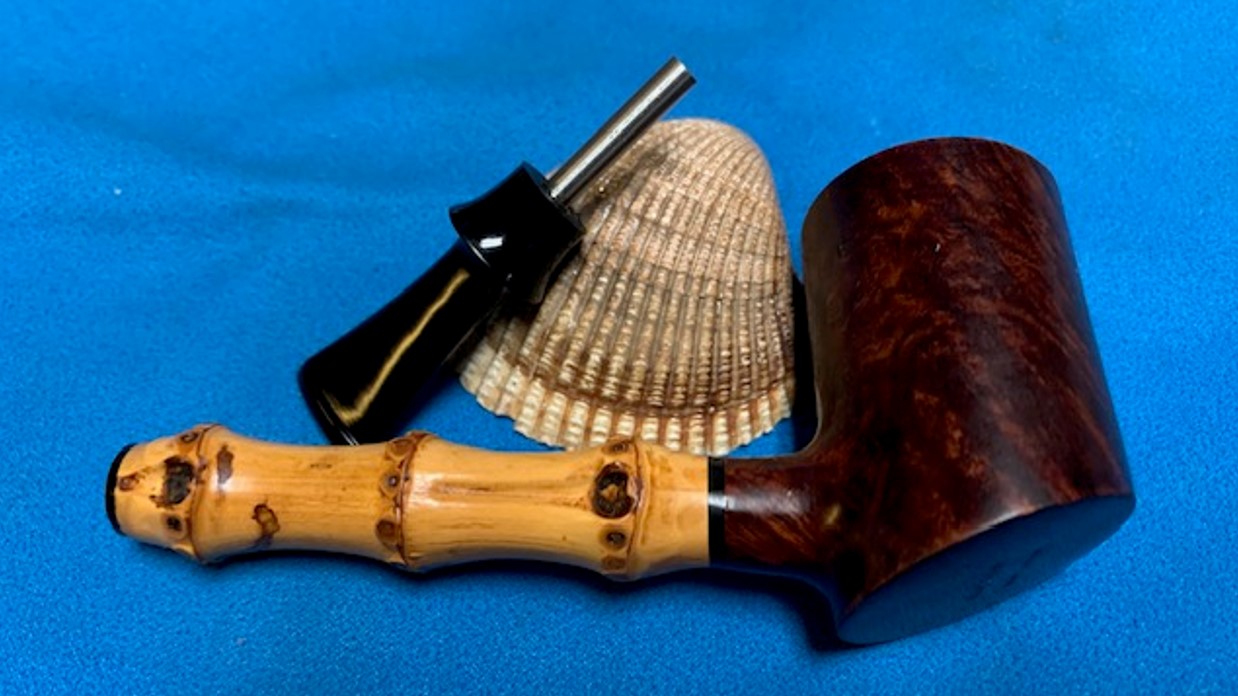
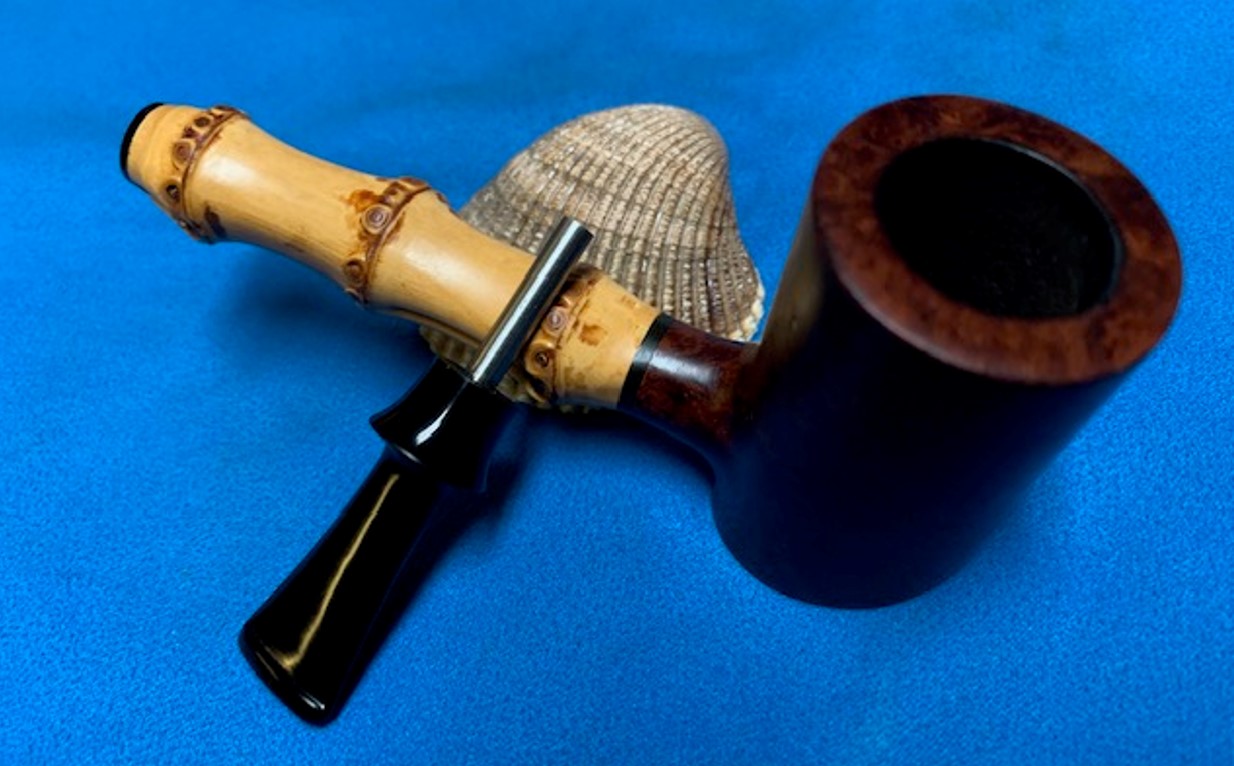
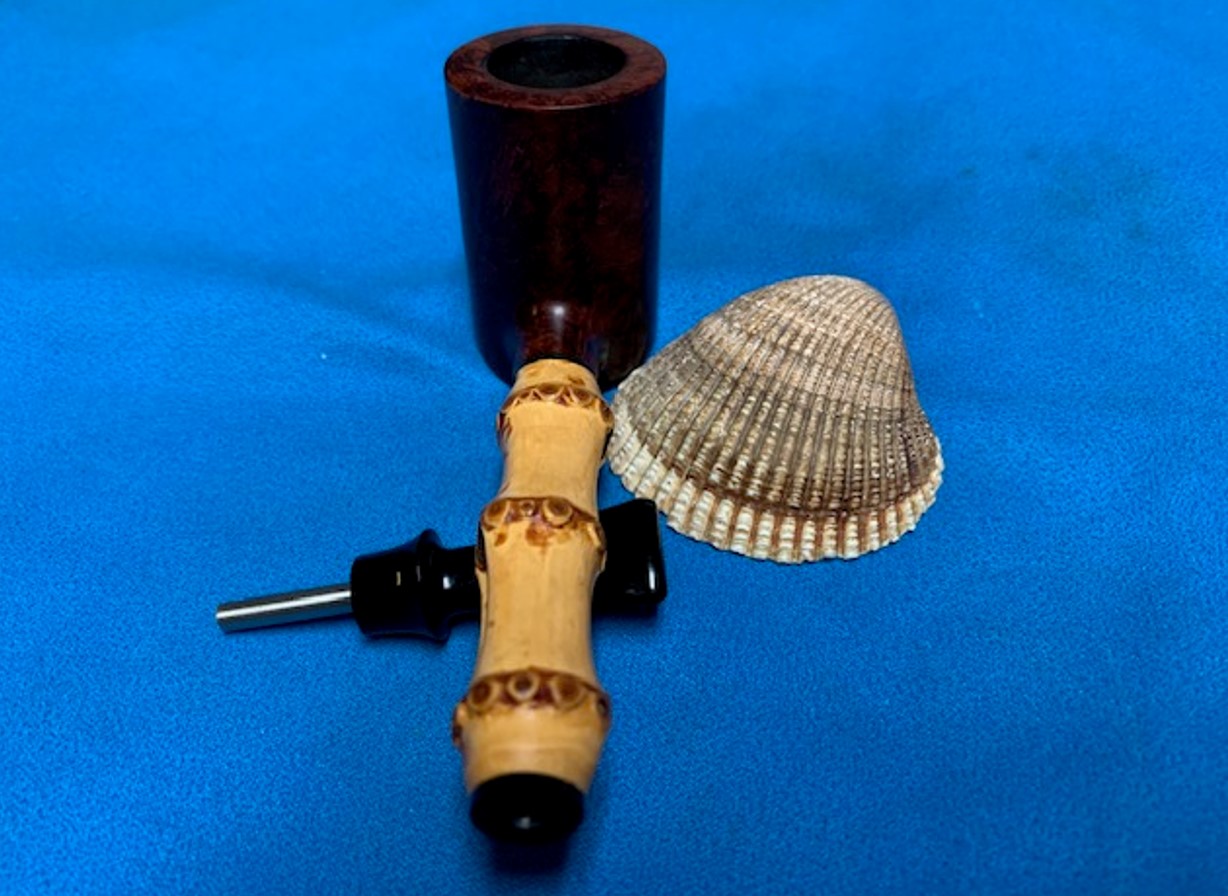
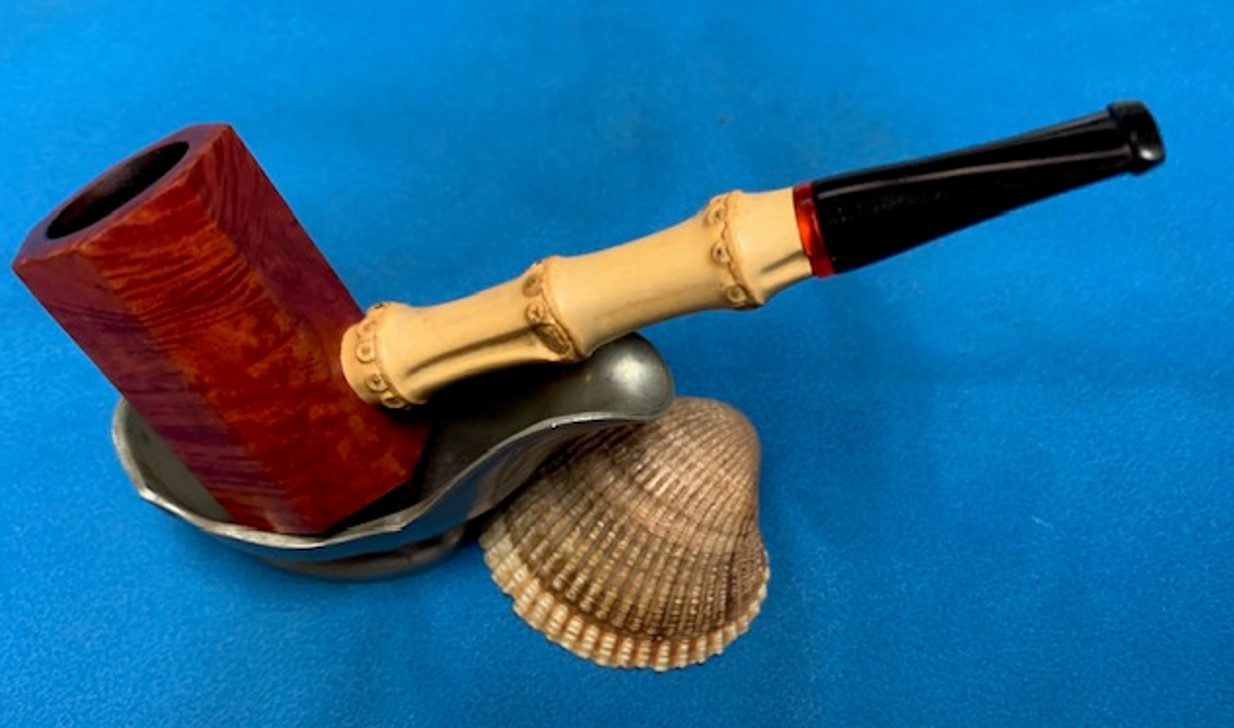
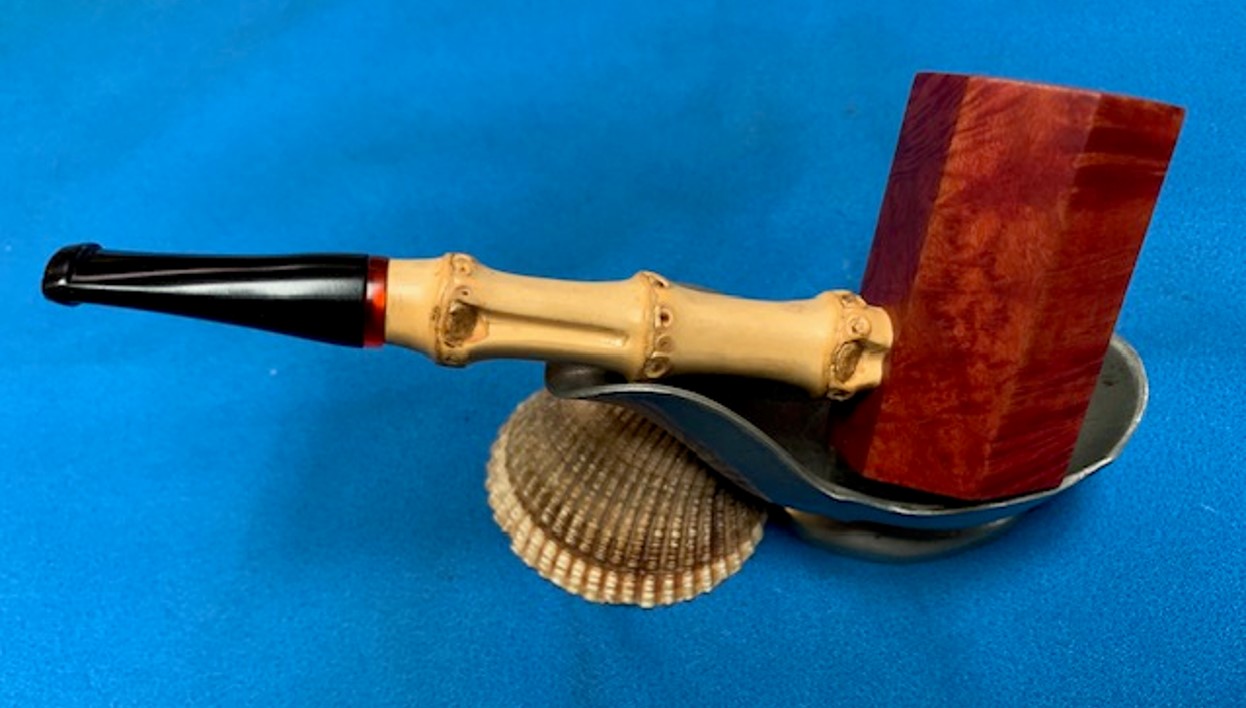
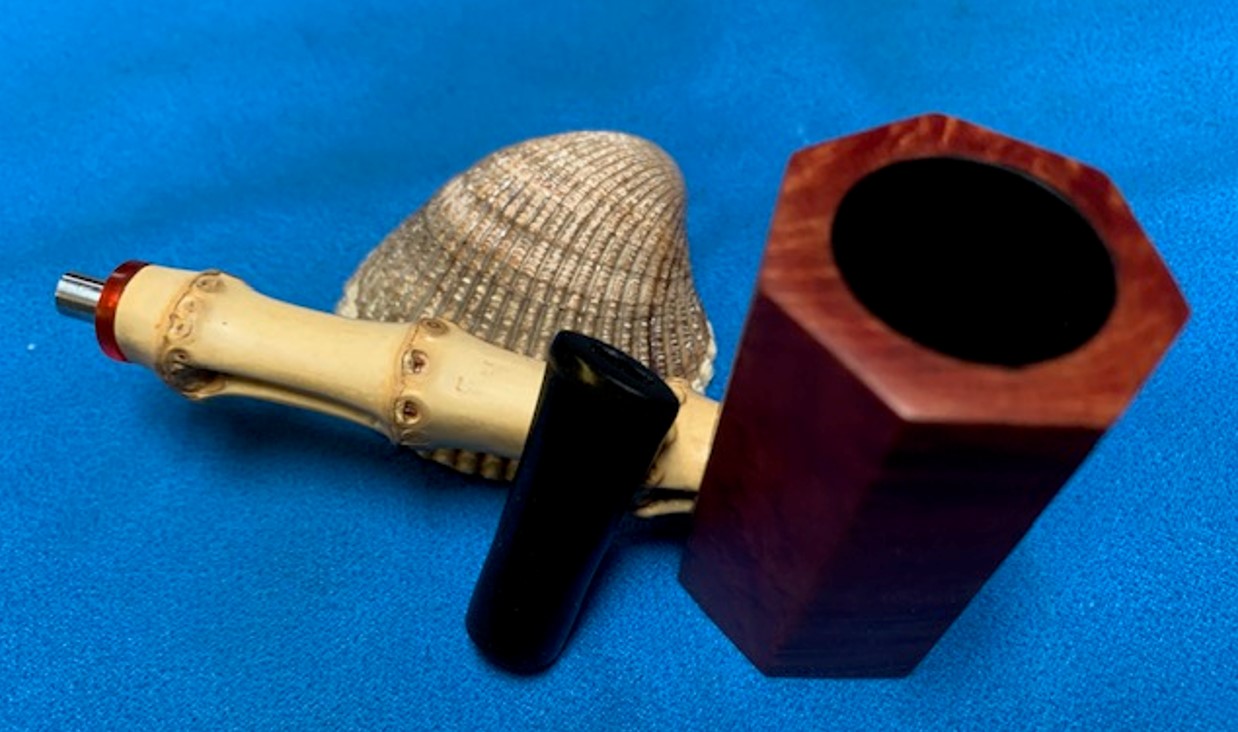
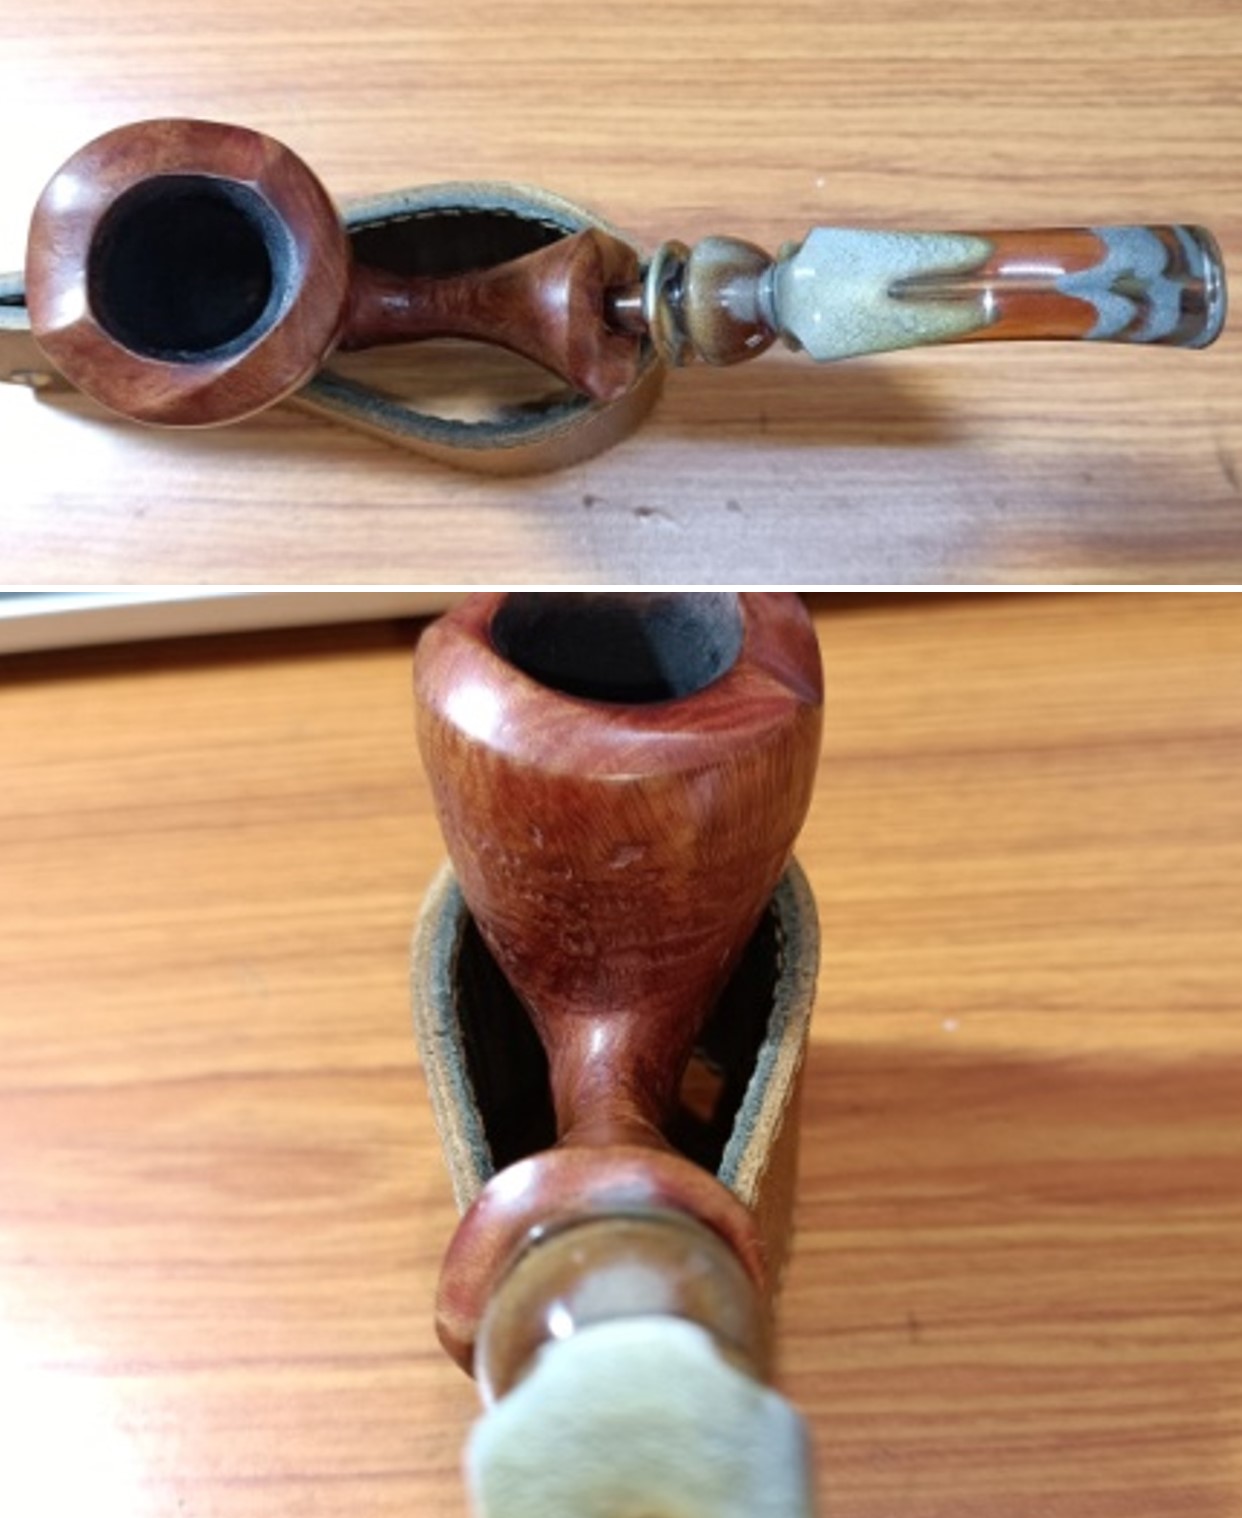
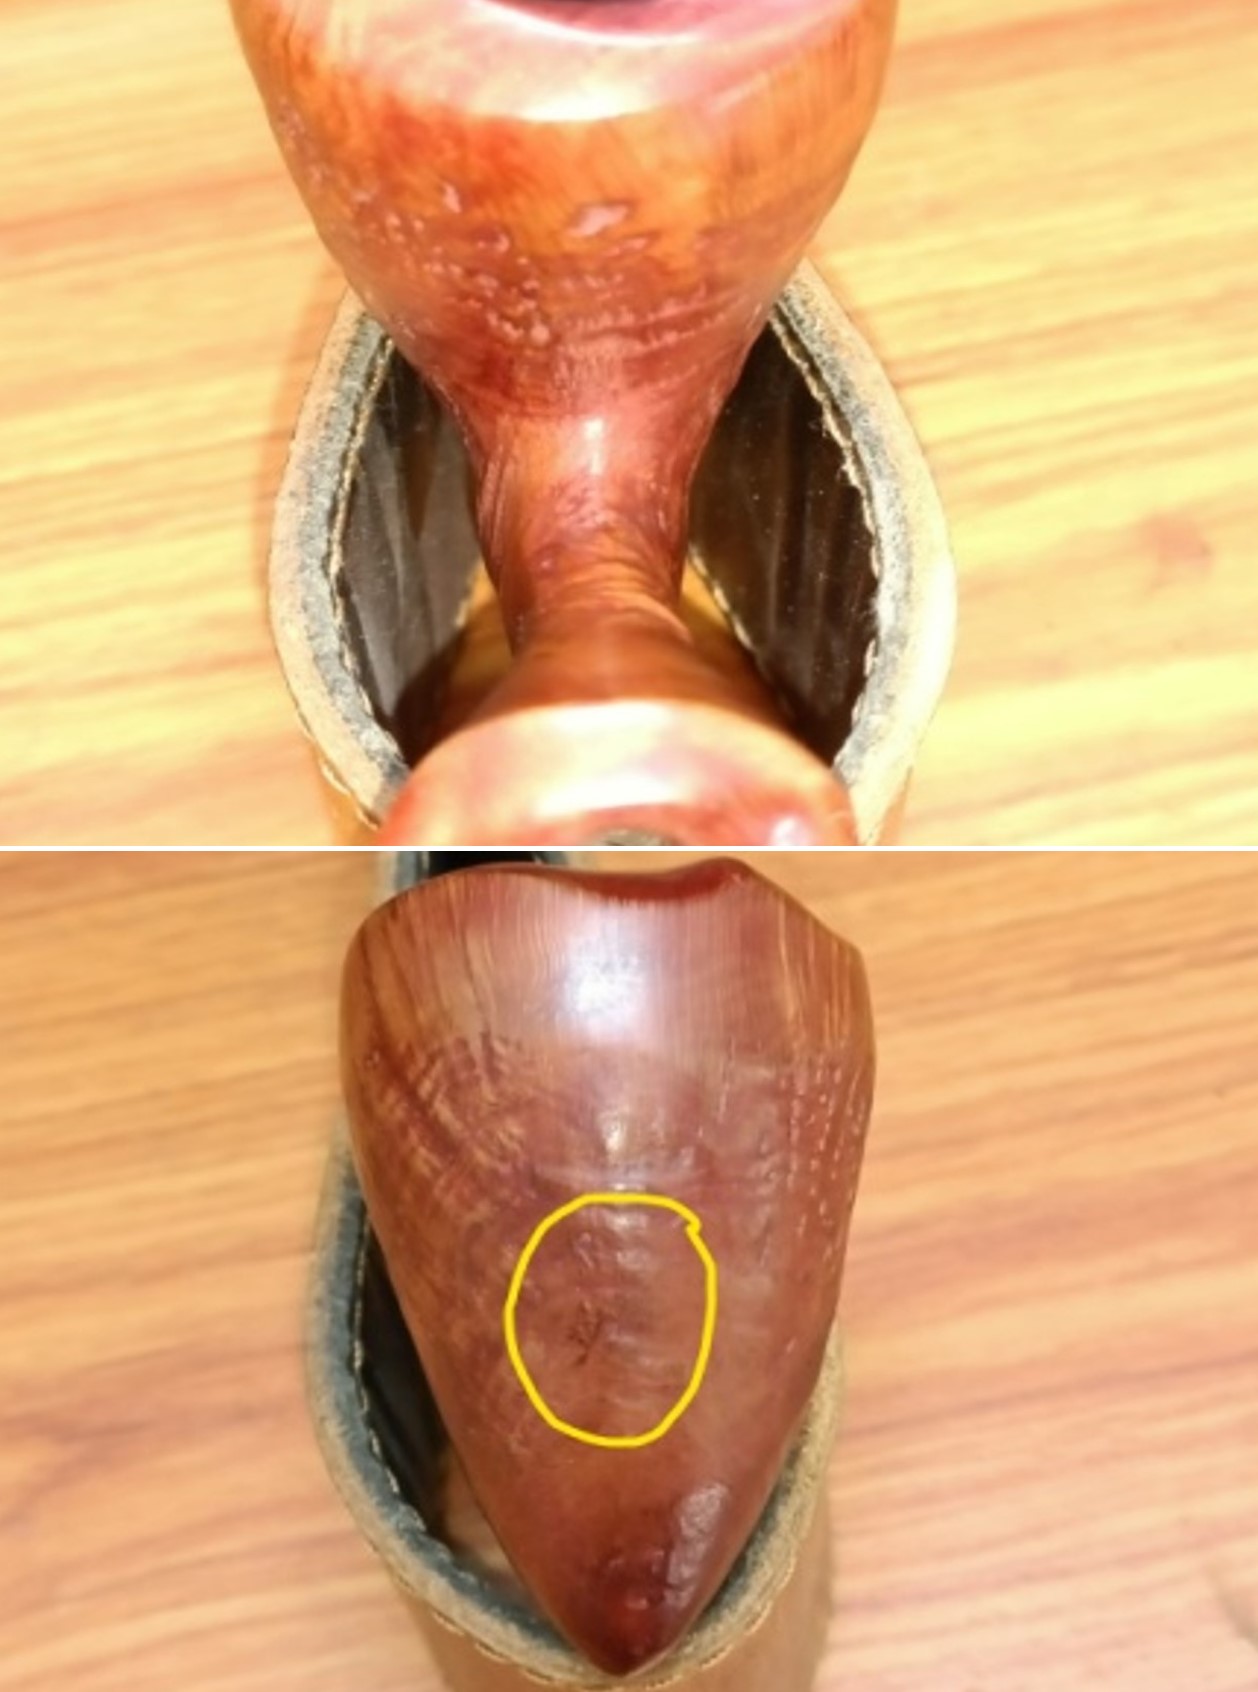
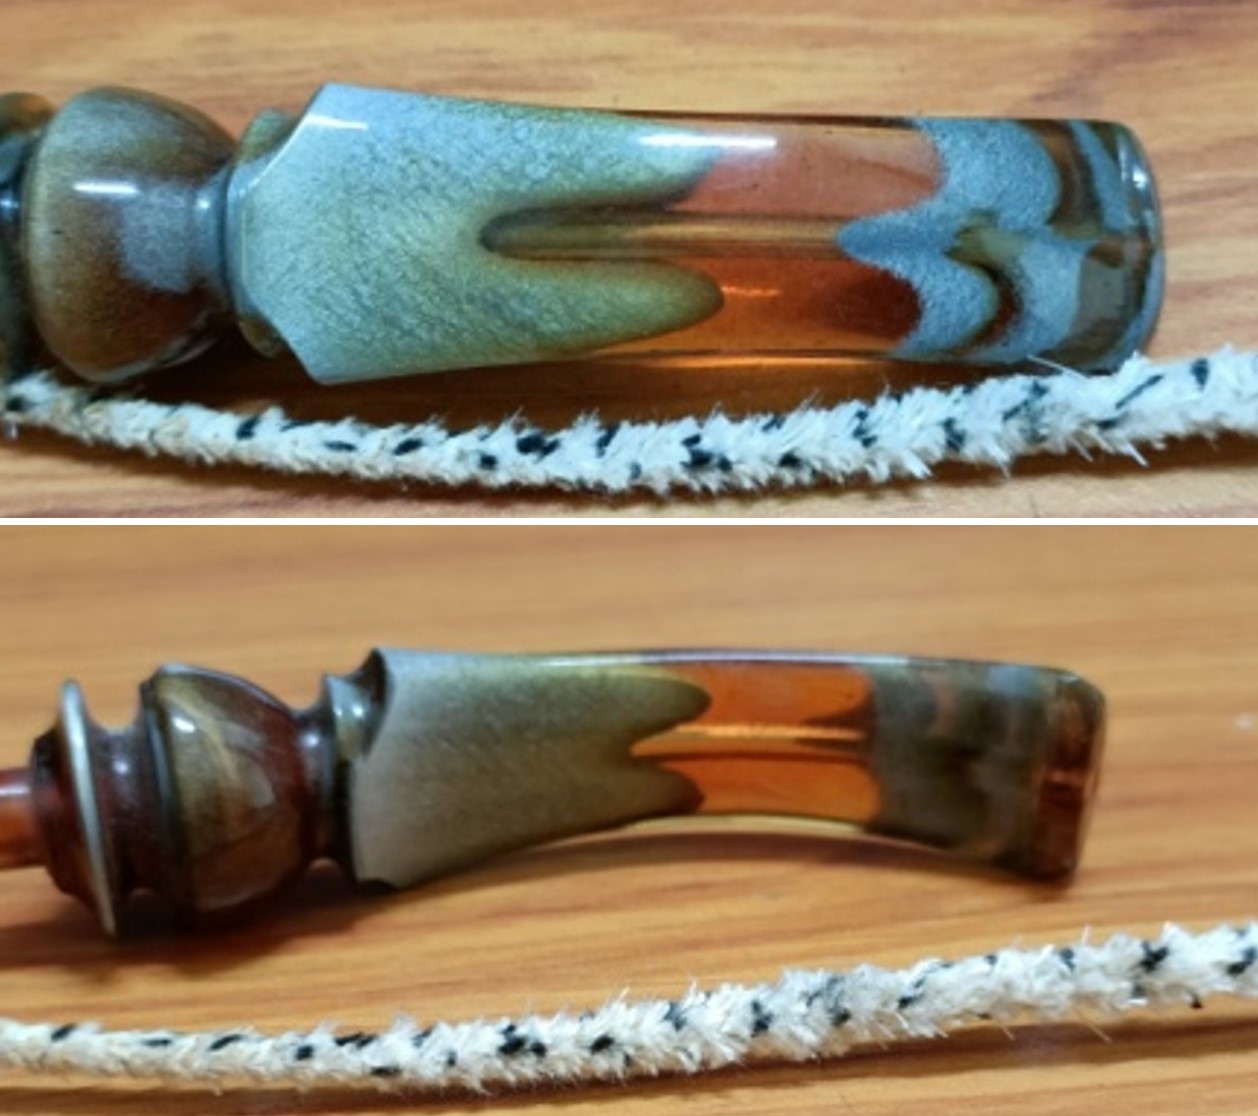
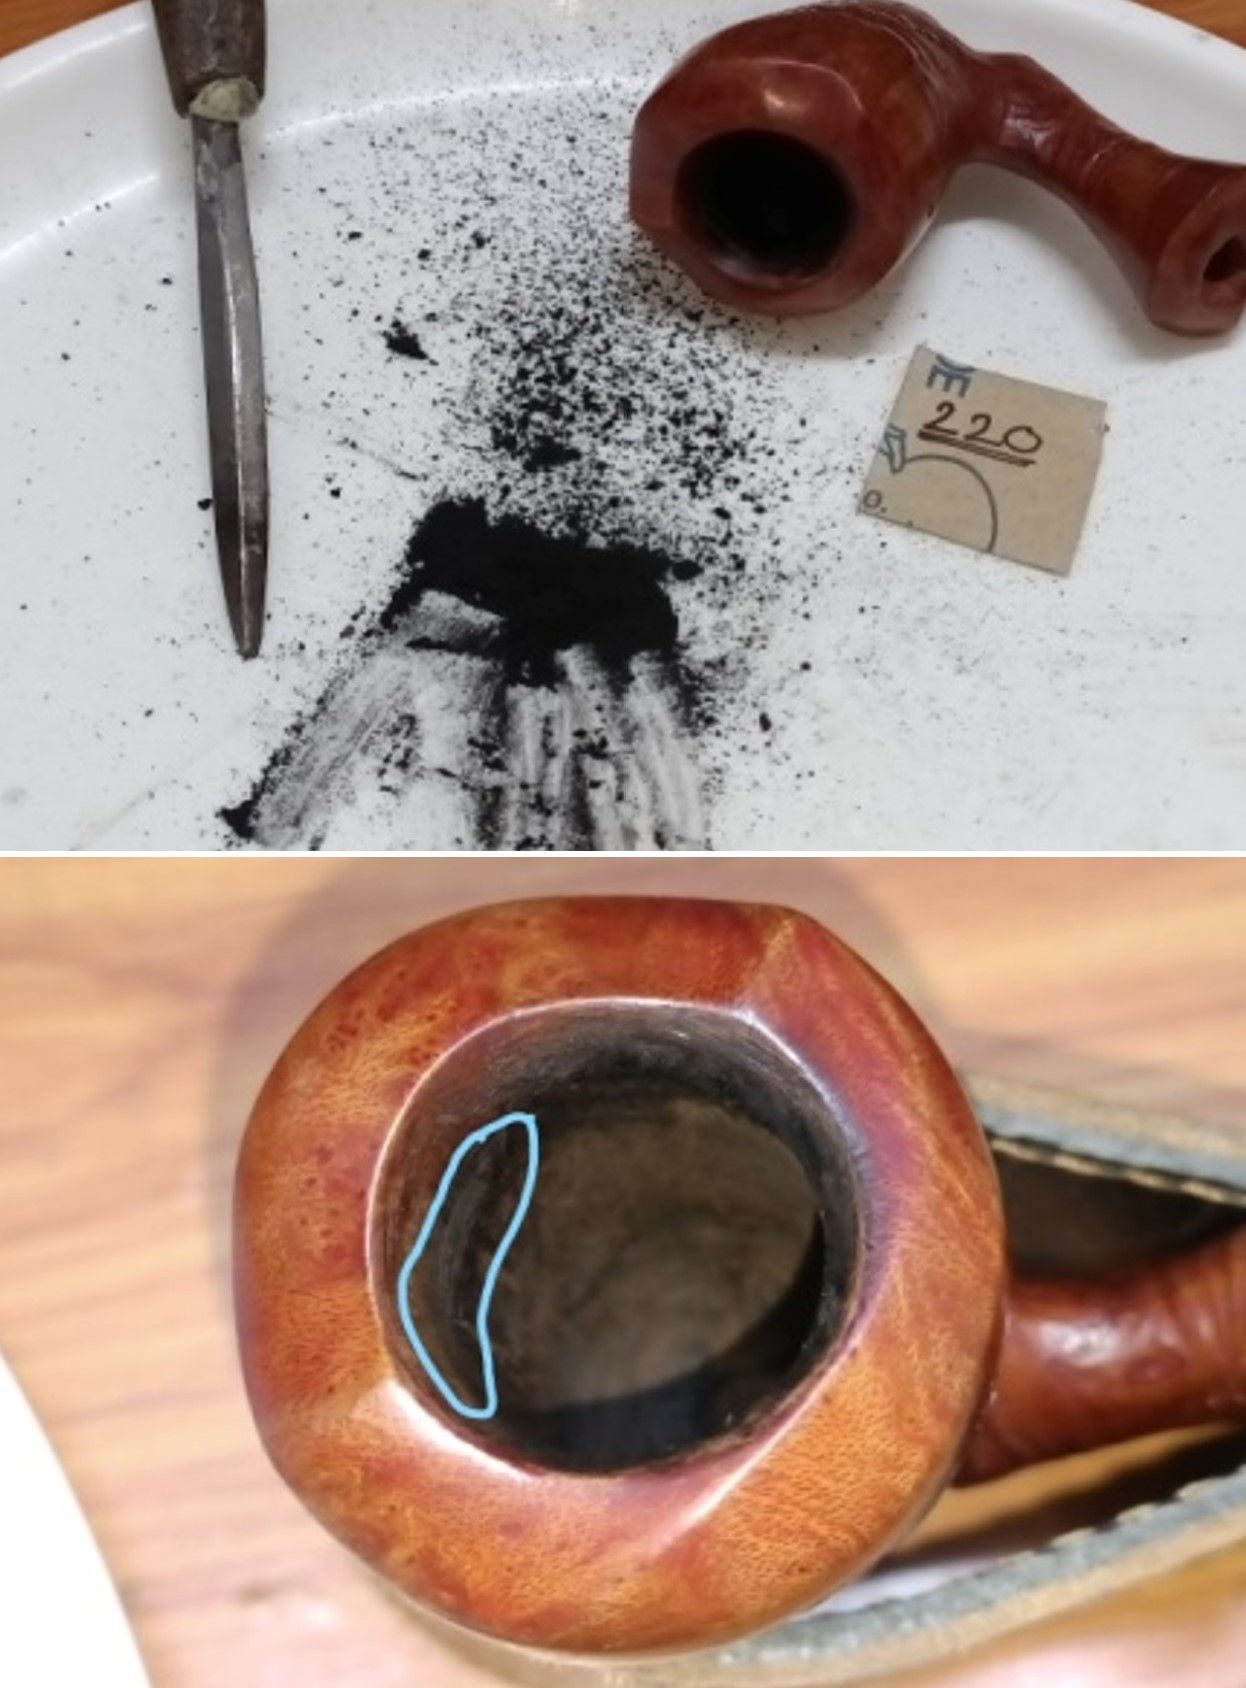
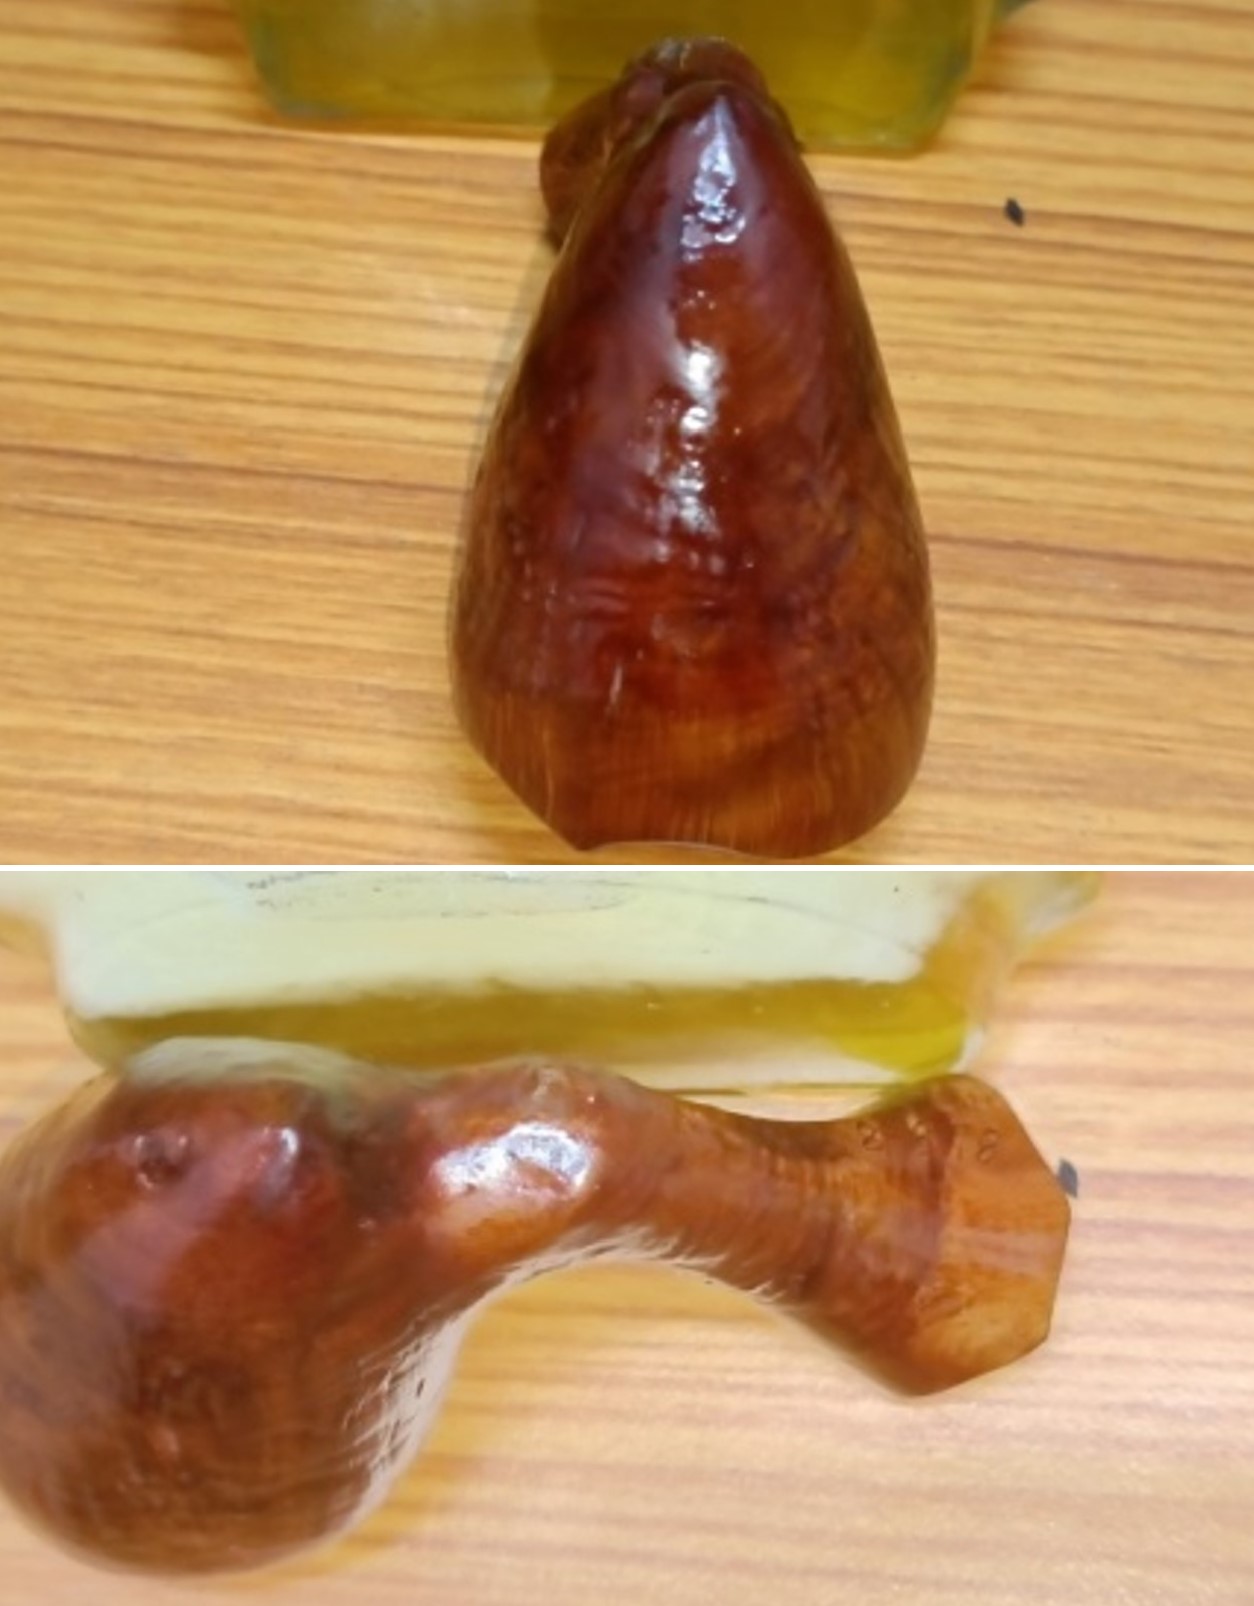
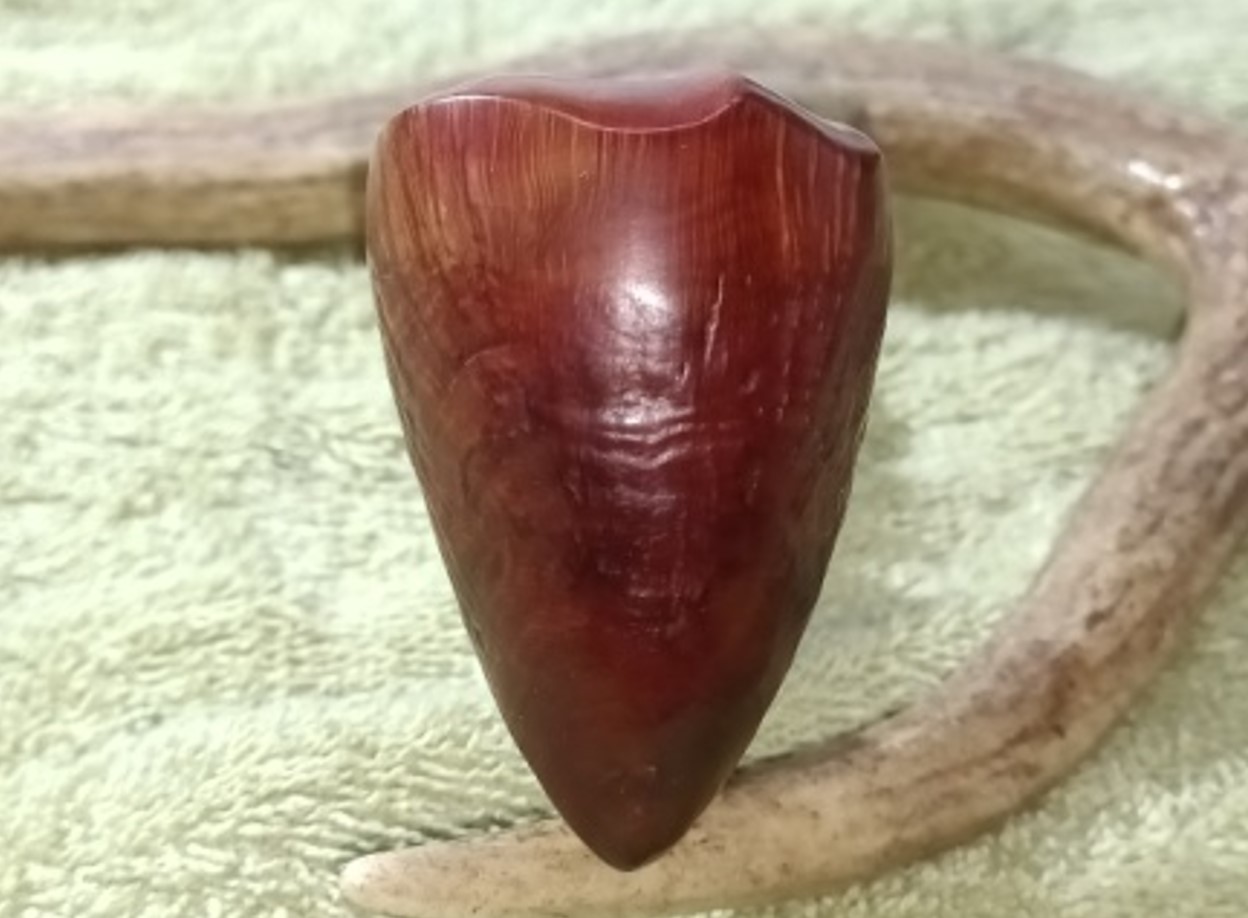
 I took photos of the bowl and rim top as well as the stem. The rim top shows the damage and nicks on the top and the inner edge of the bowl. It is uneven and quite messed up. You can see the tooth marks and chatter on both sides ahead of the button.
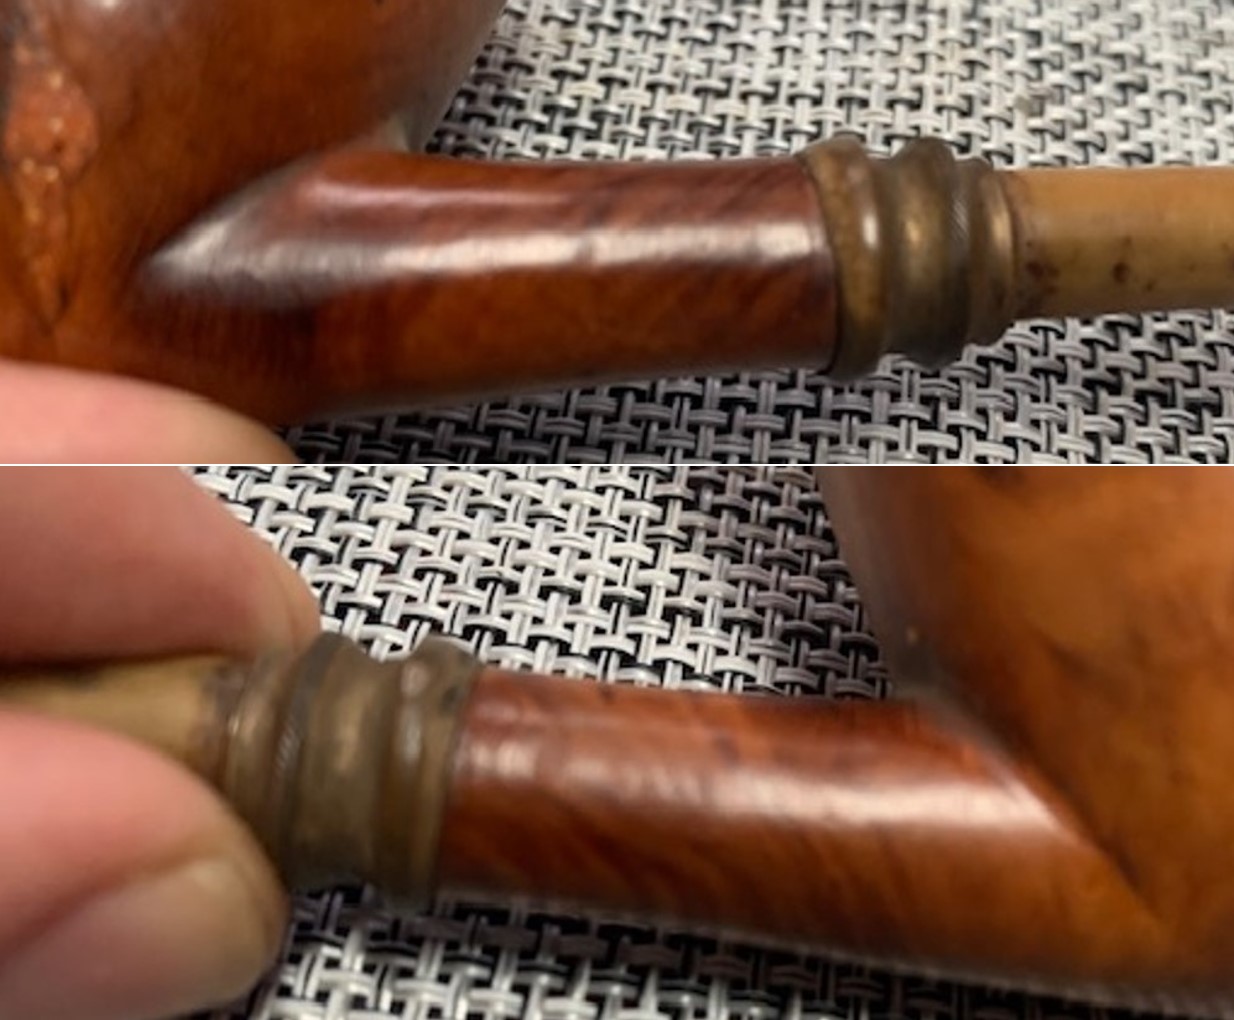
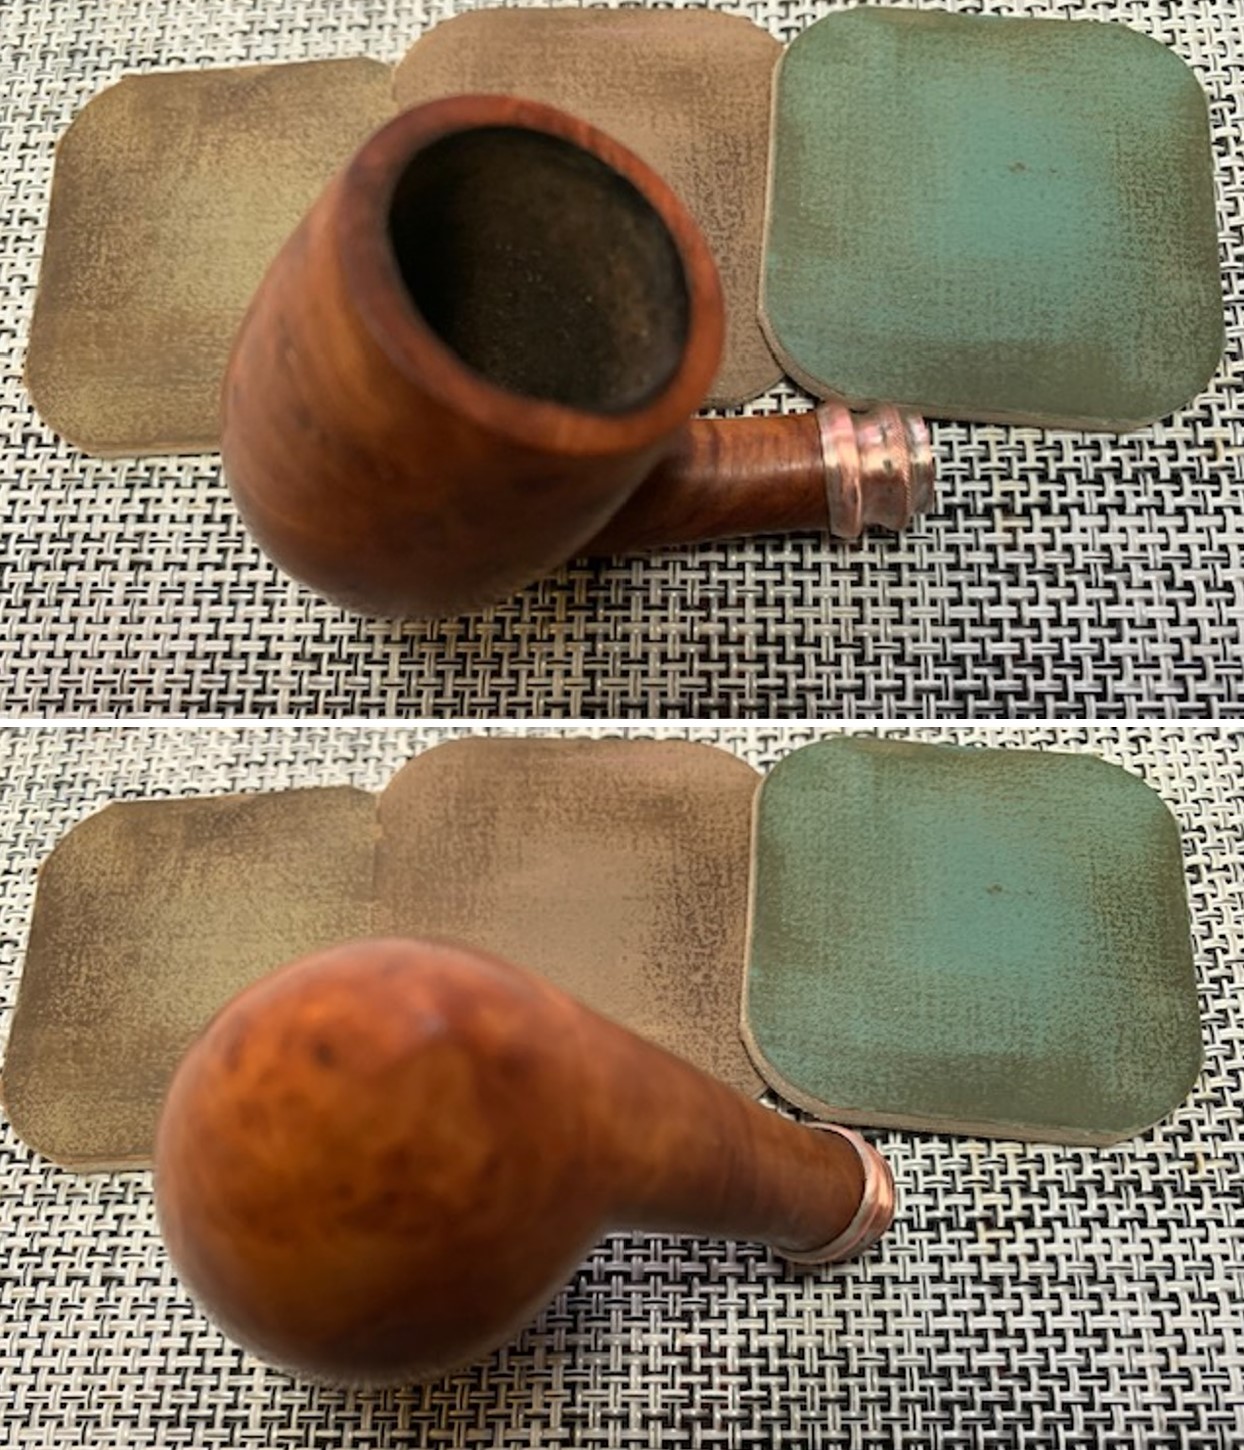
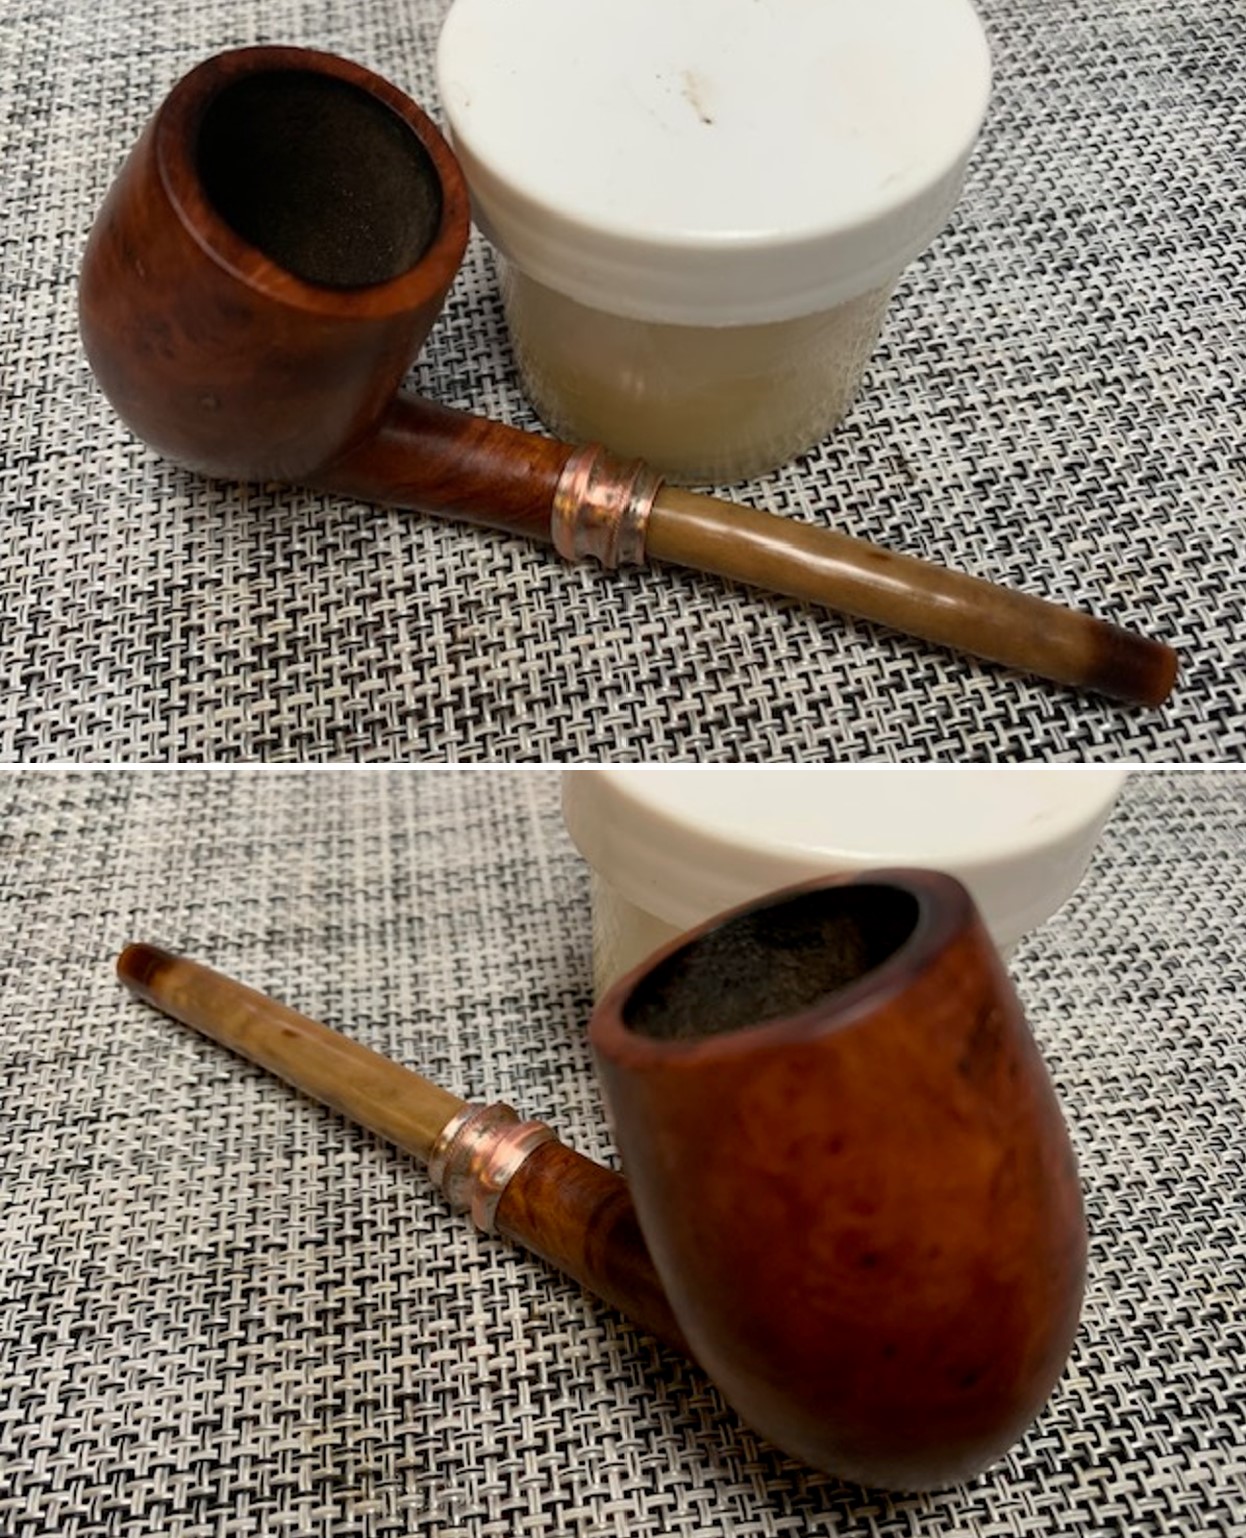
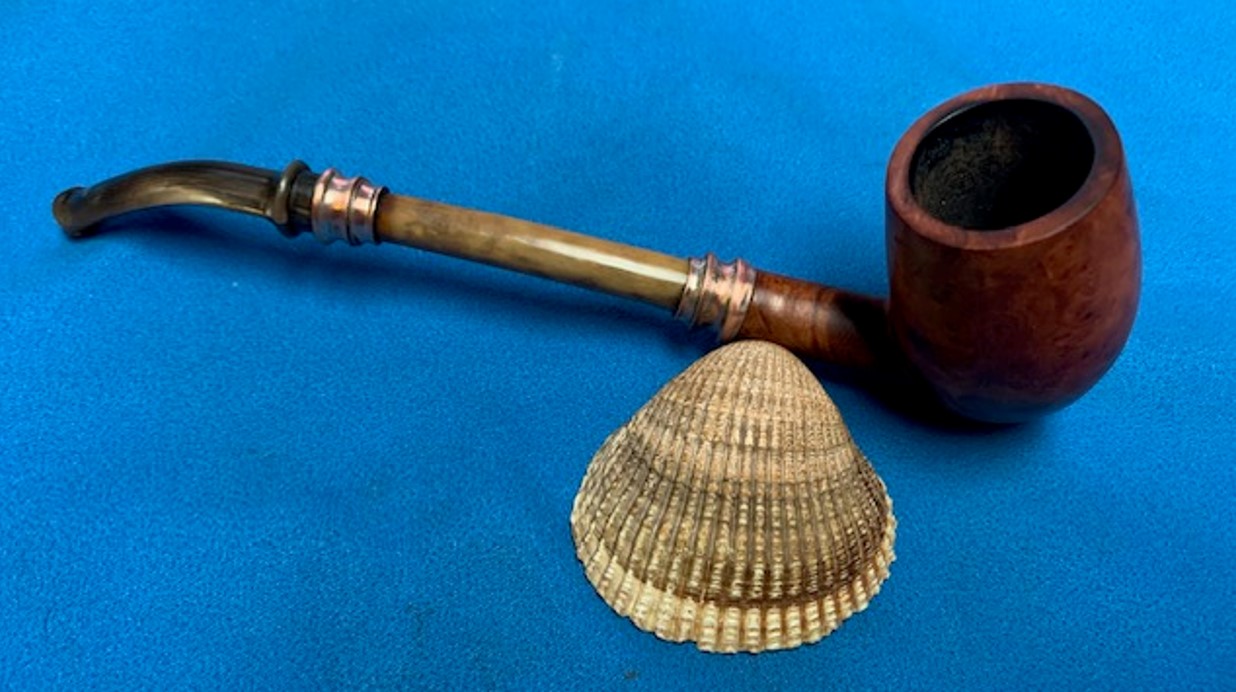
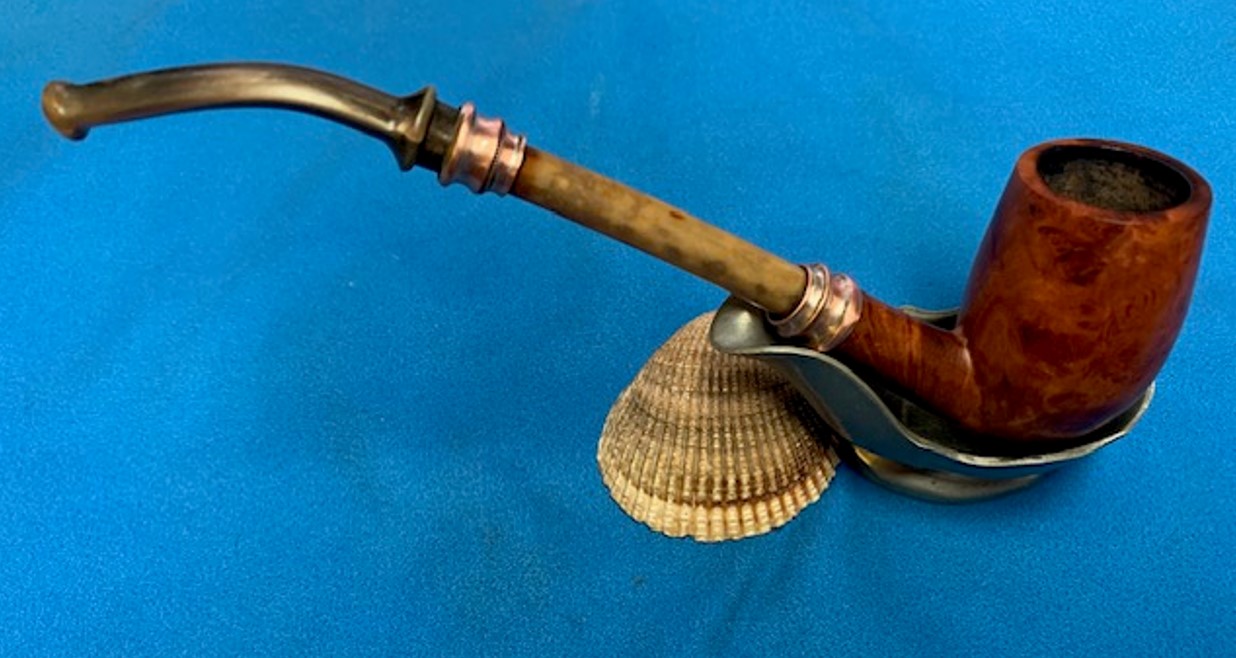
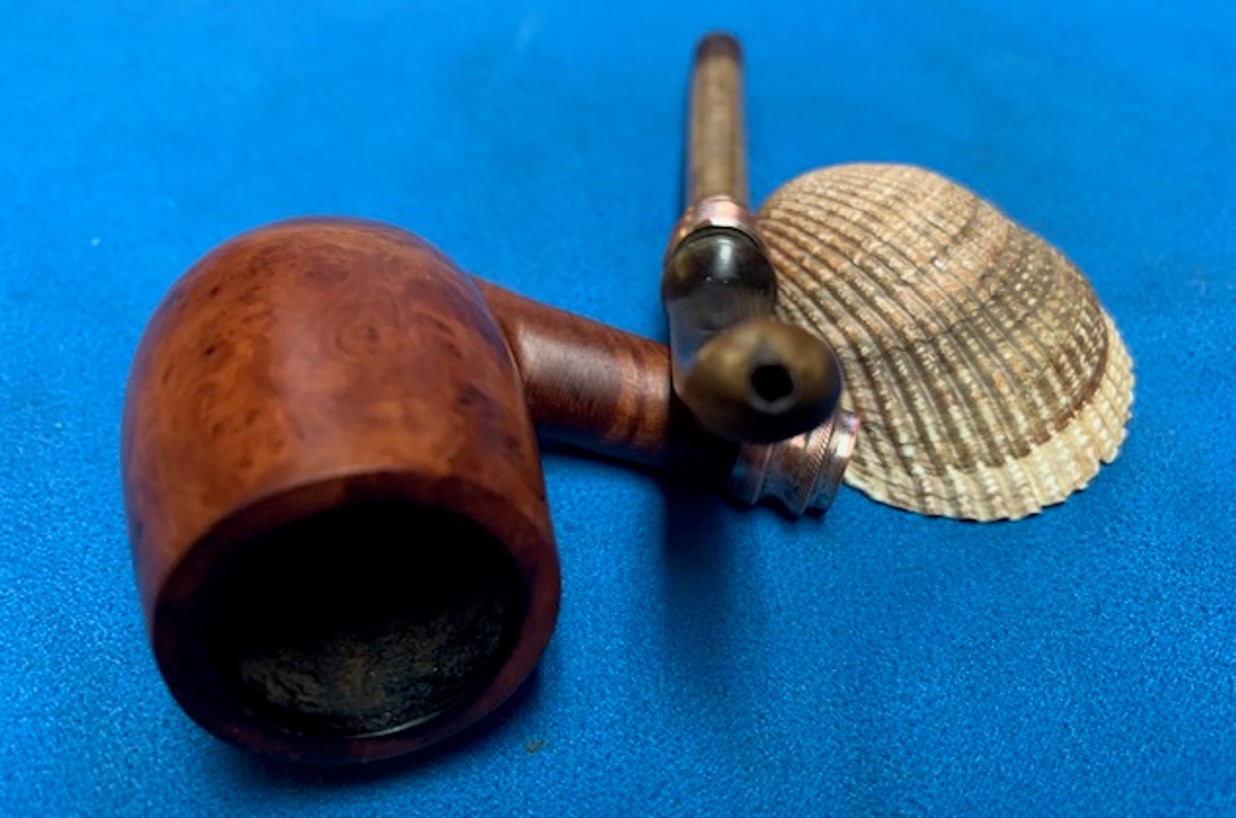
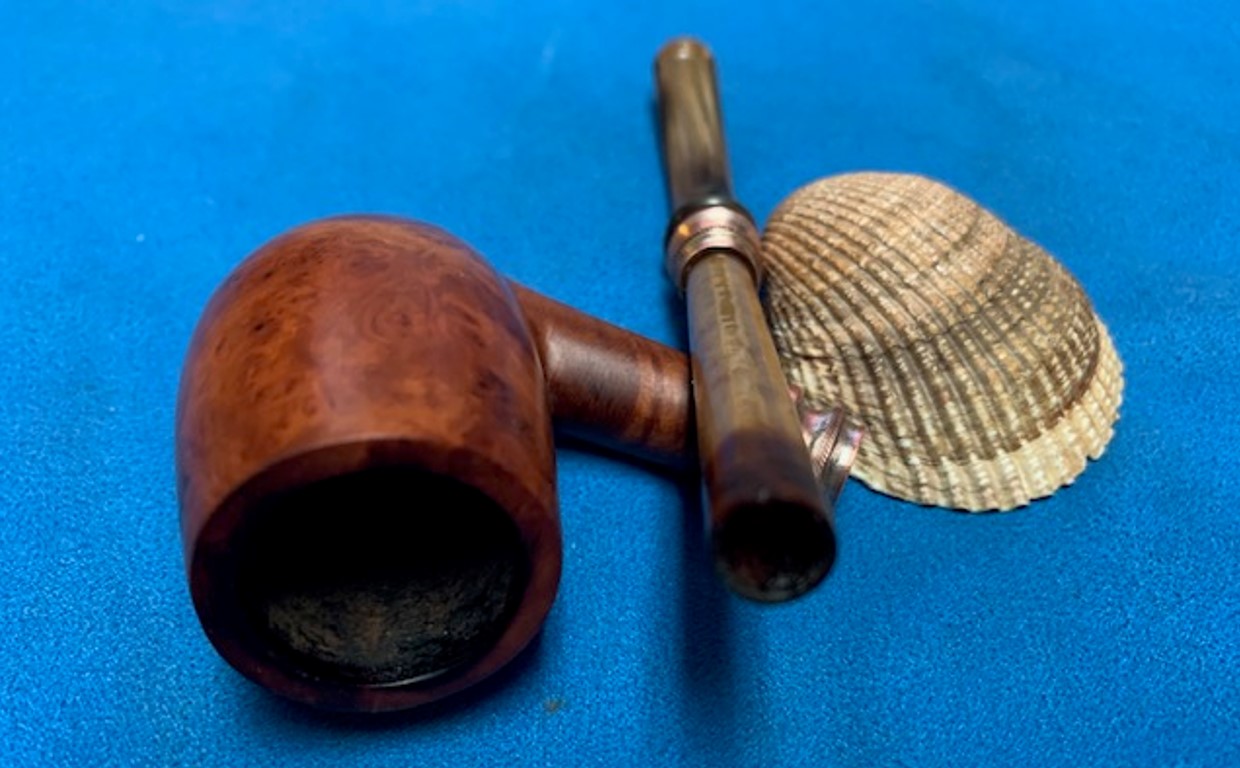
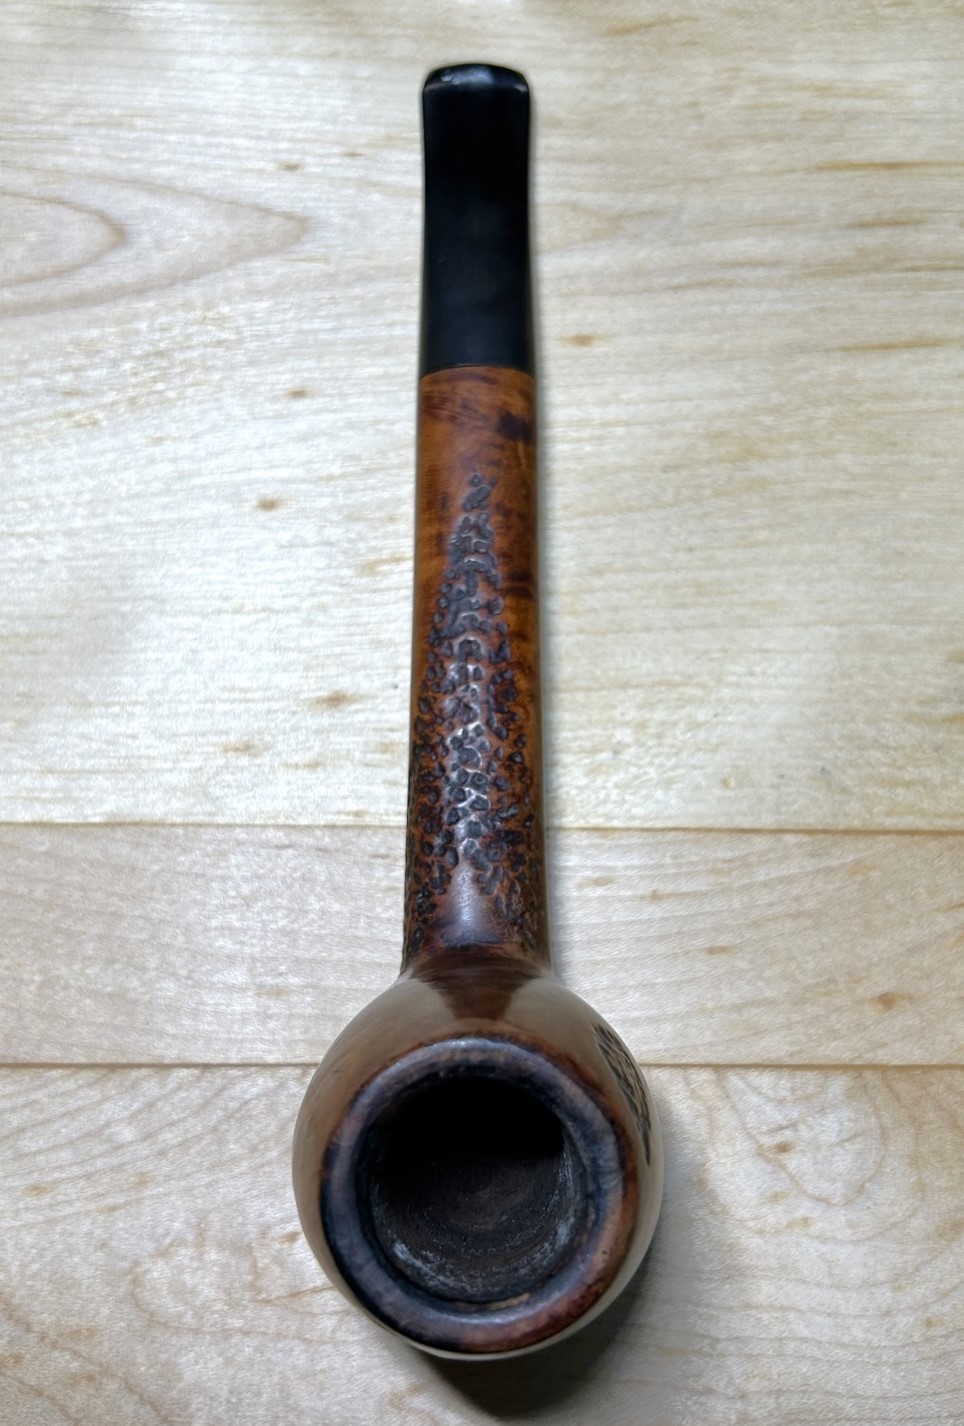
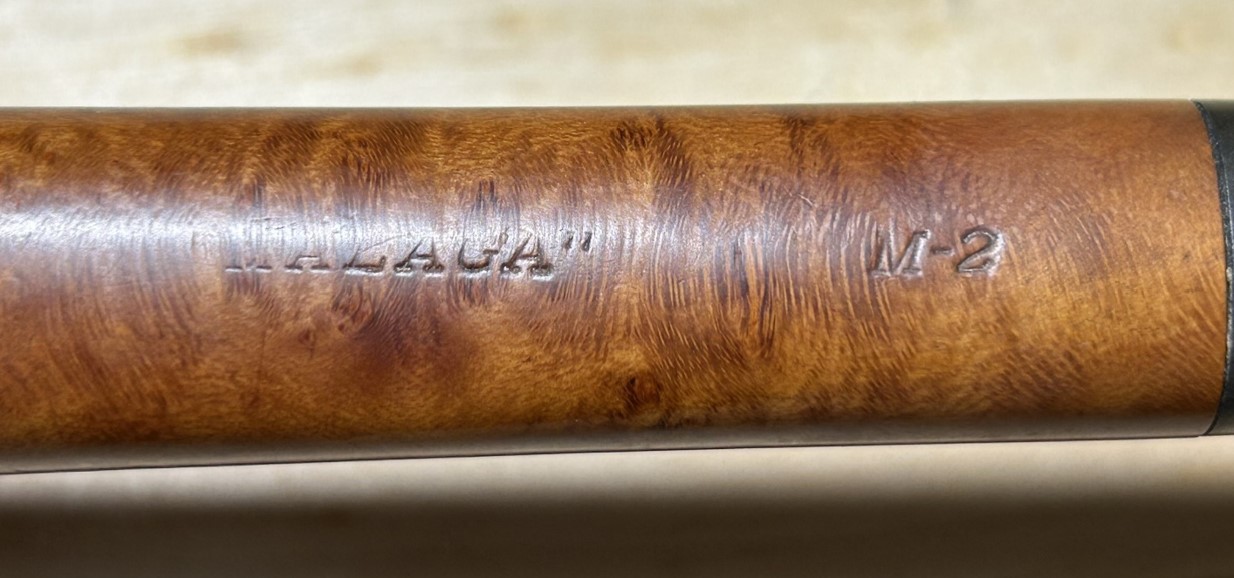
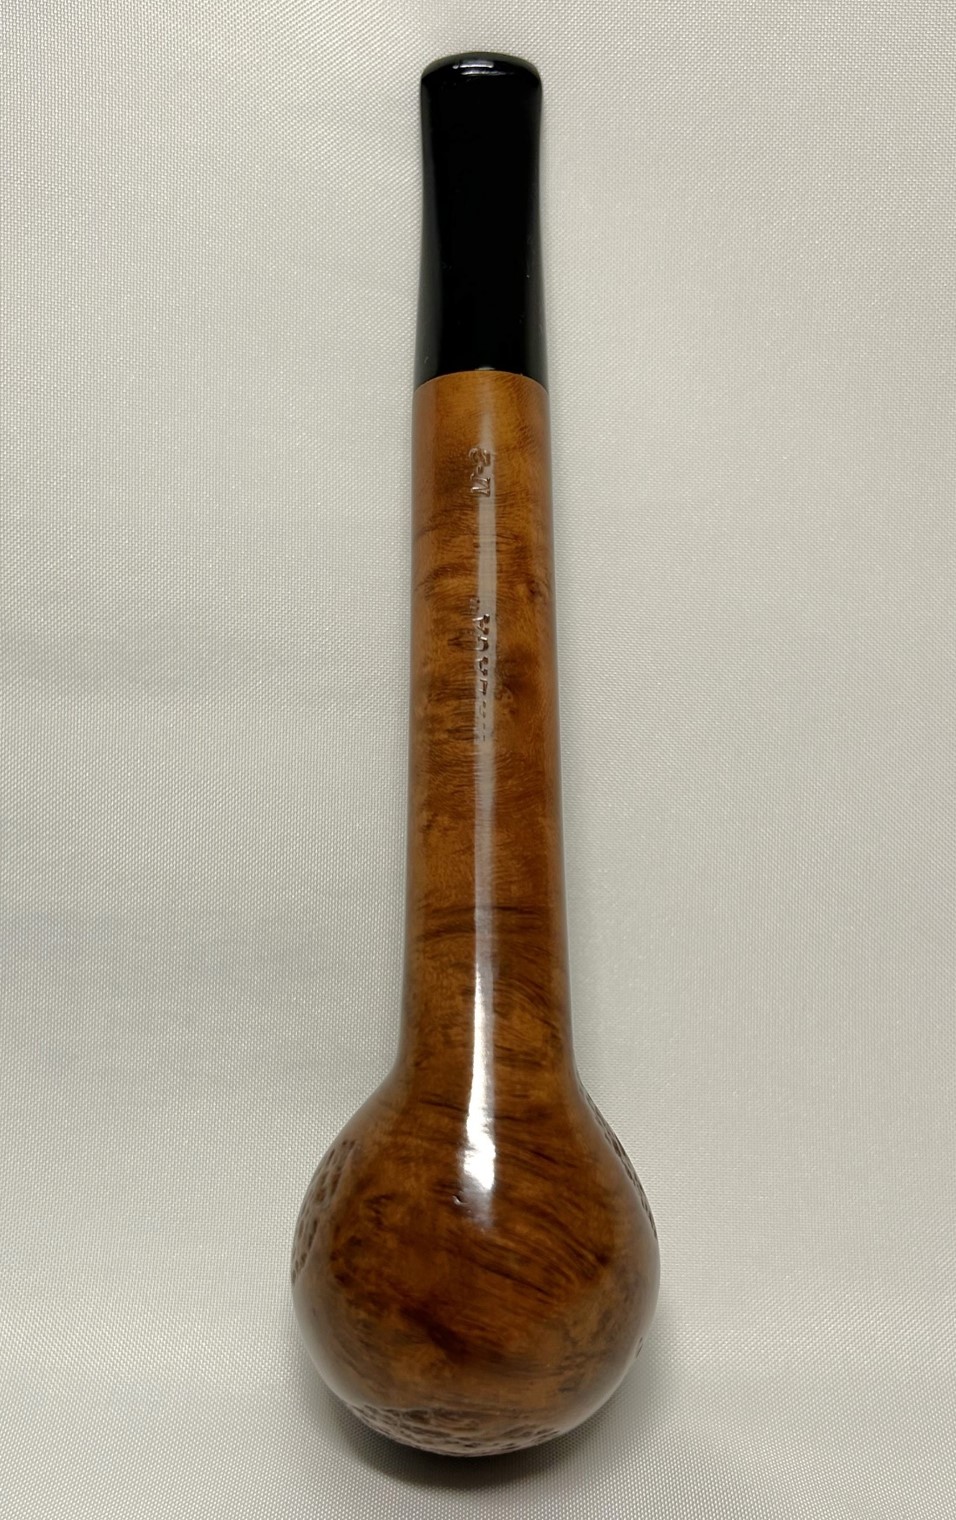
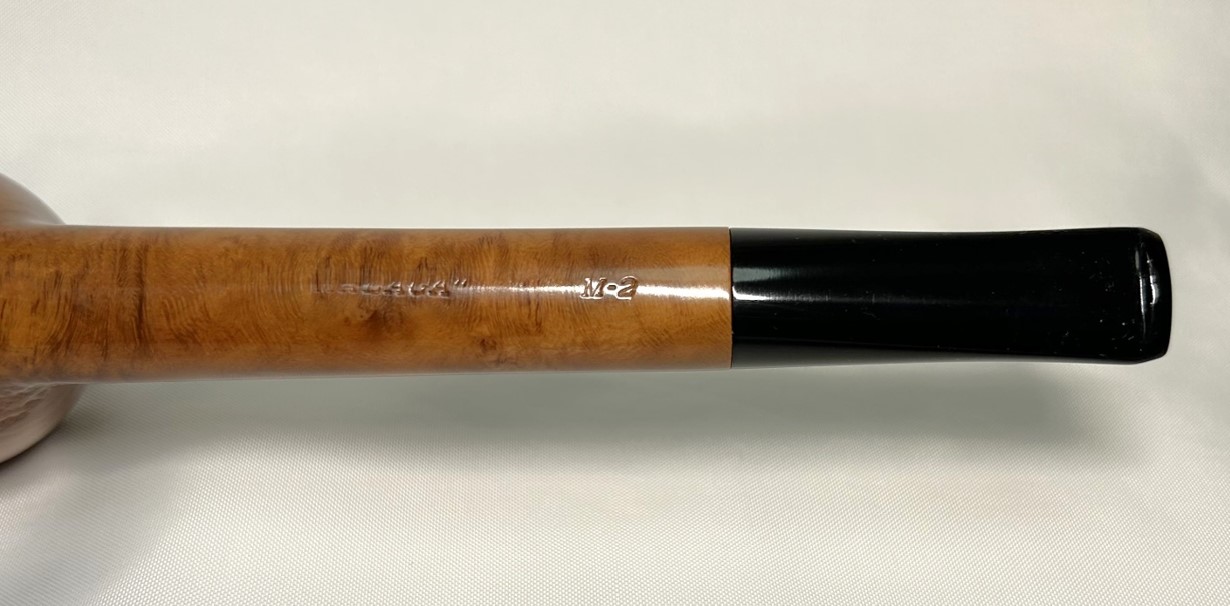
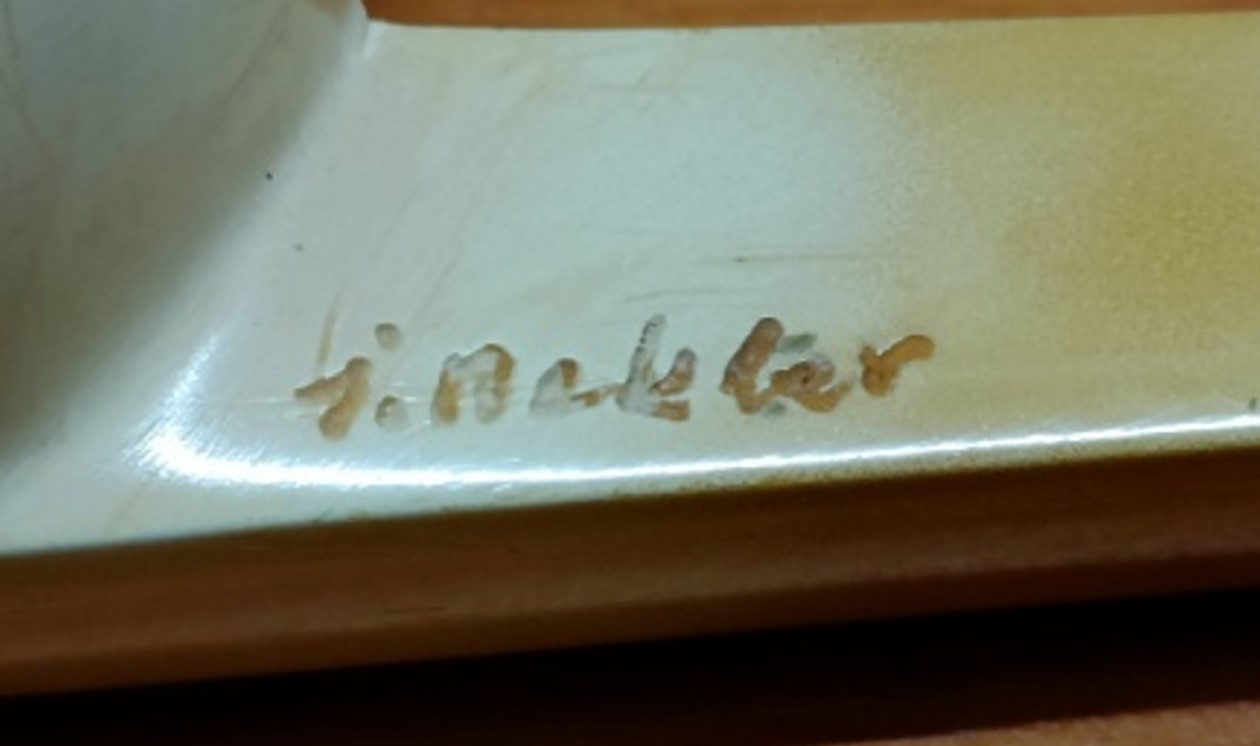
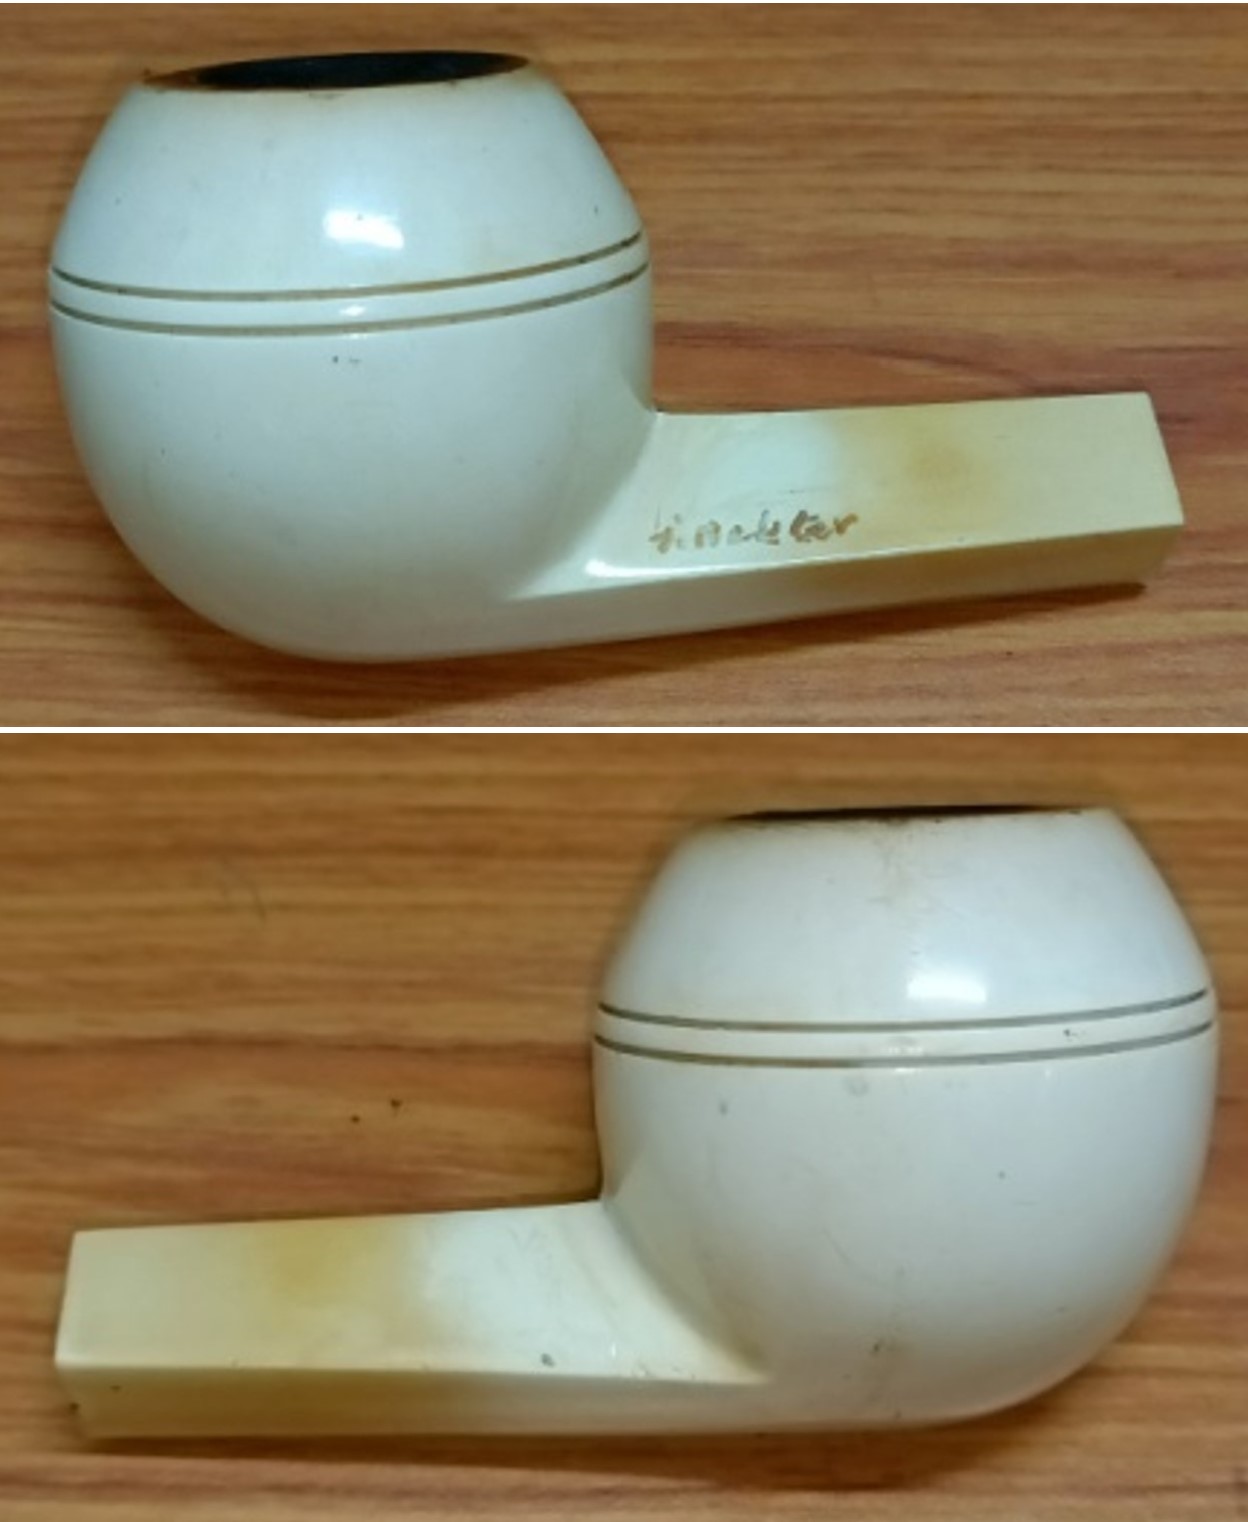
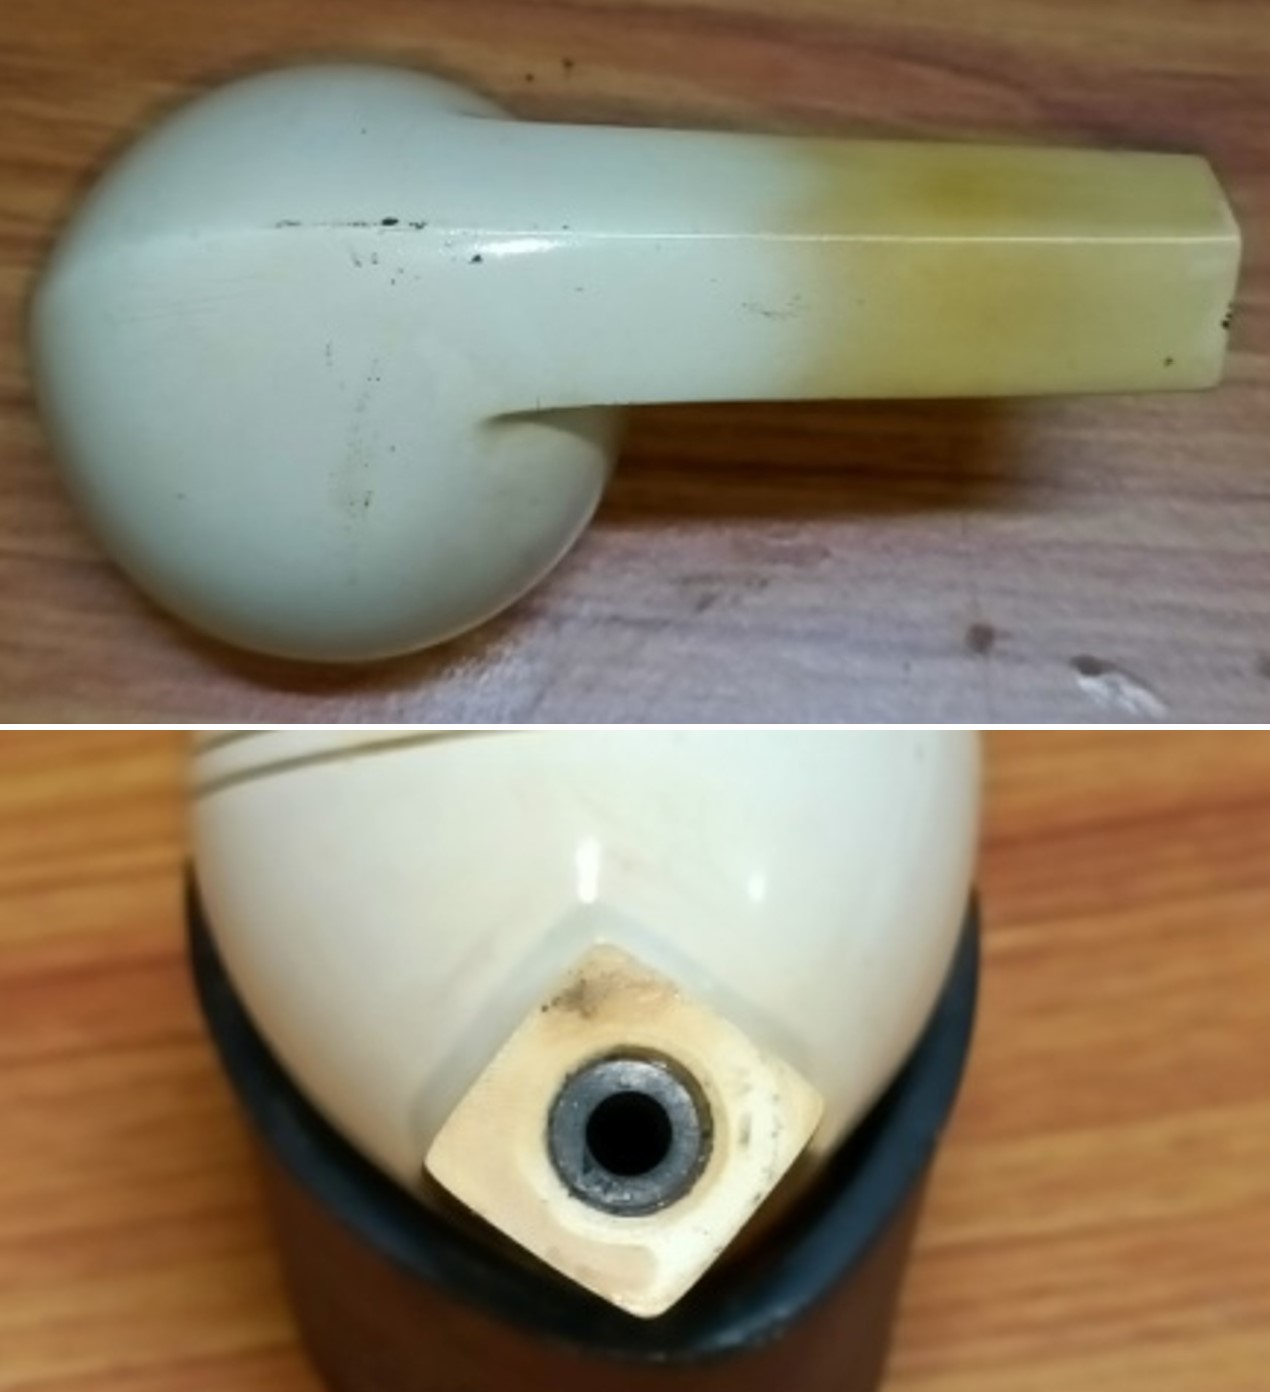
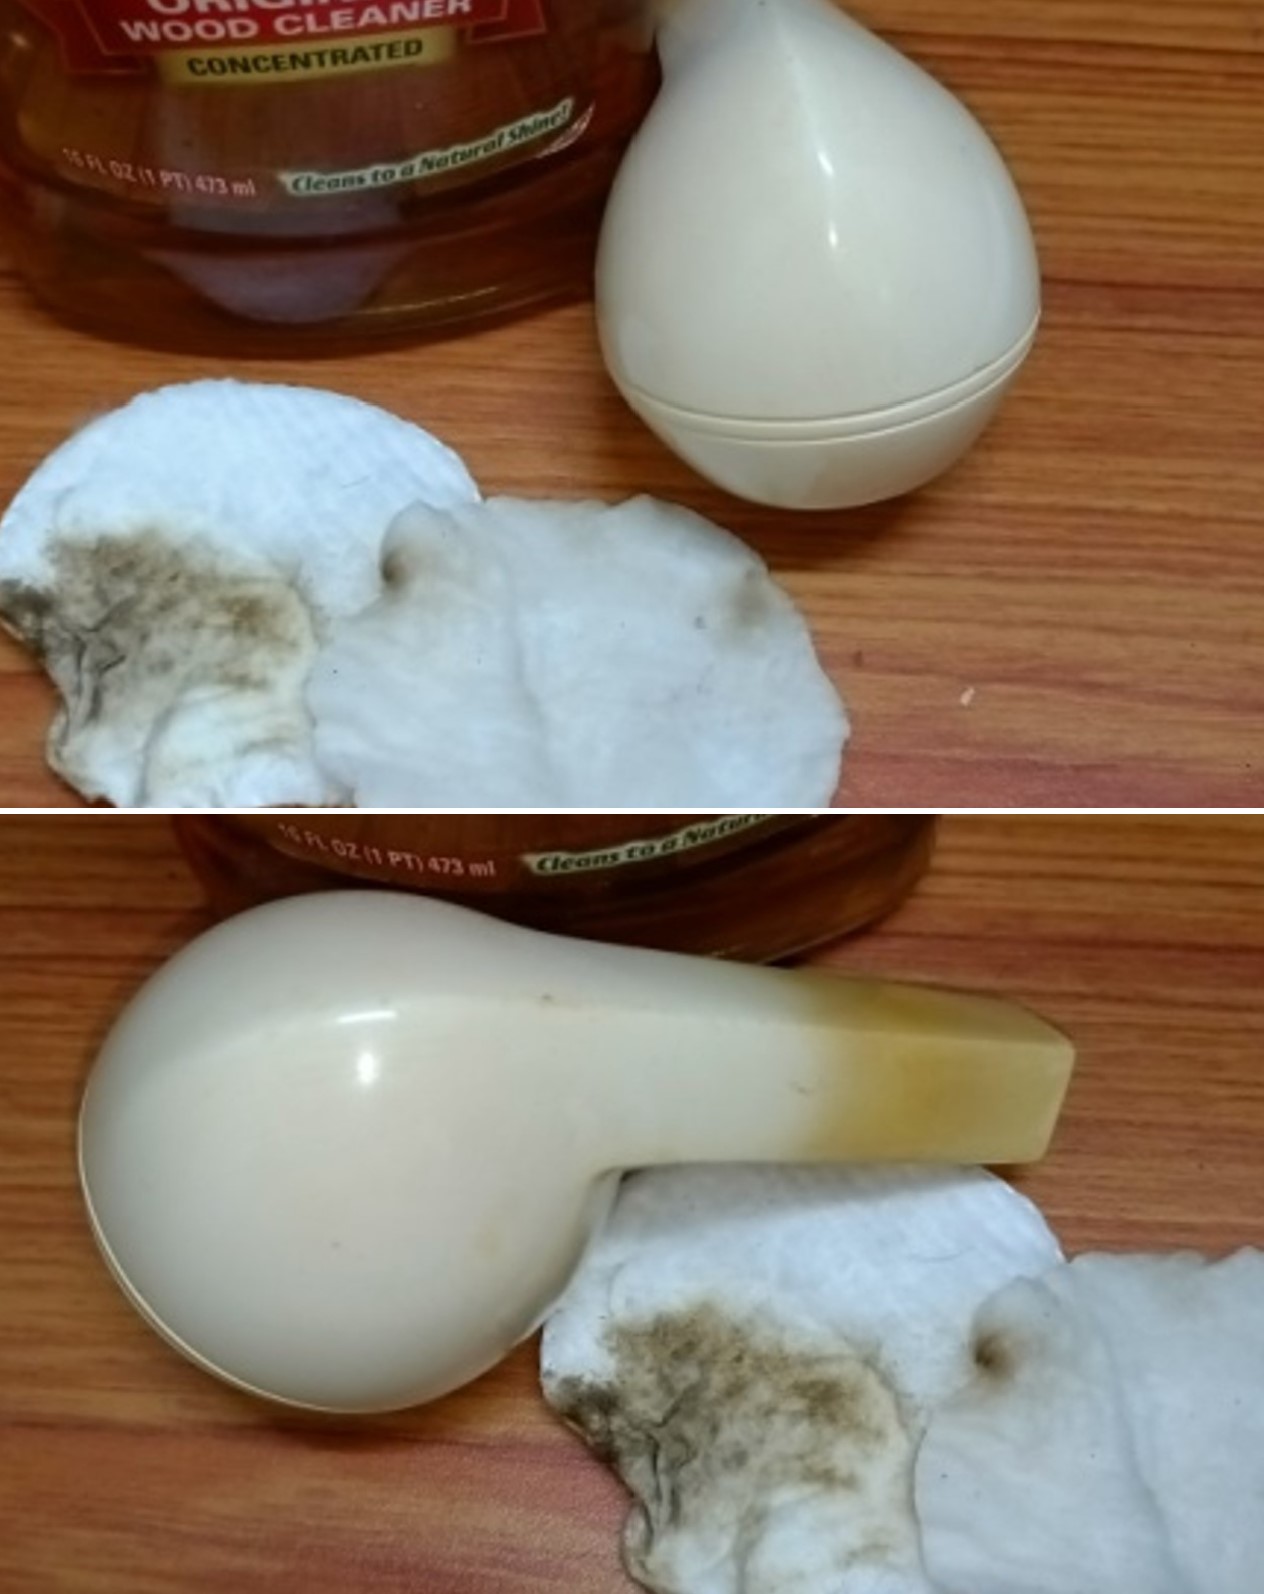
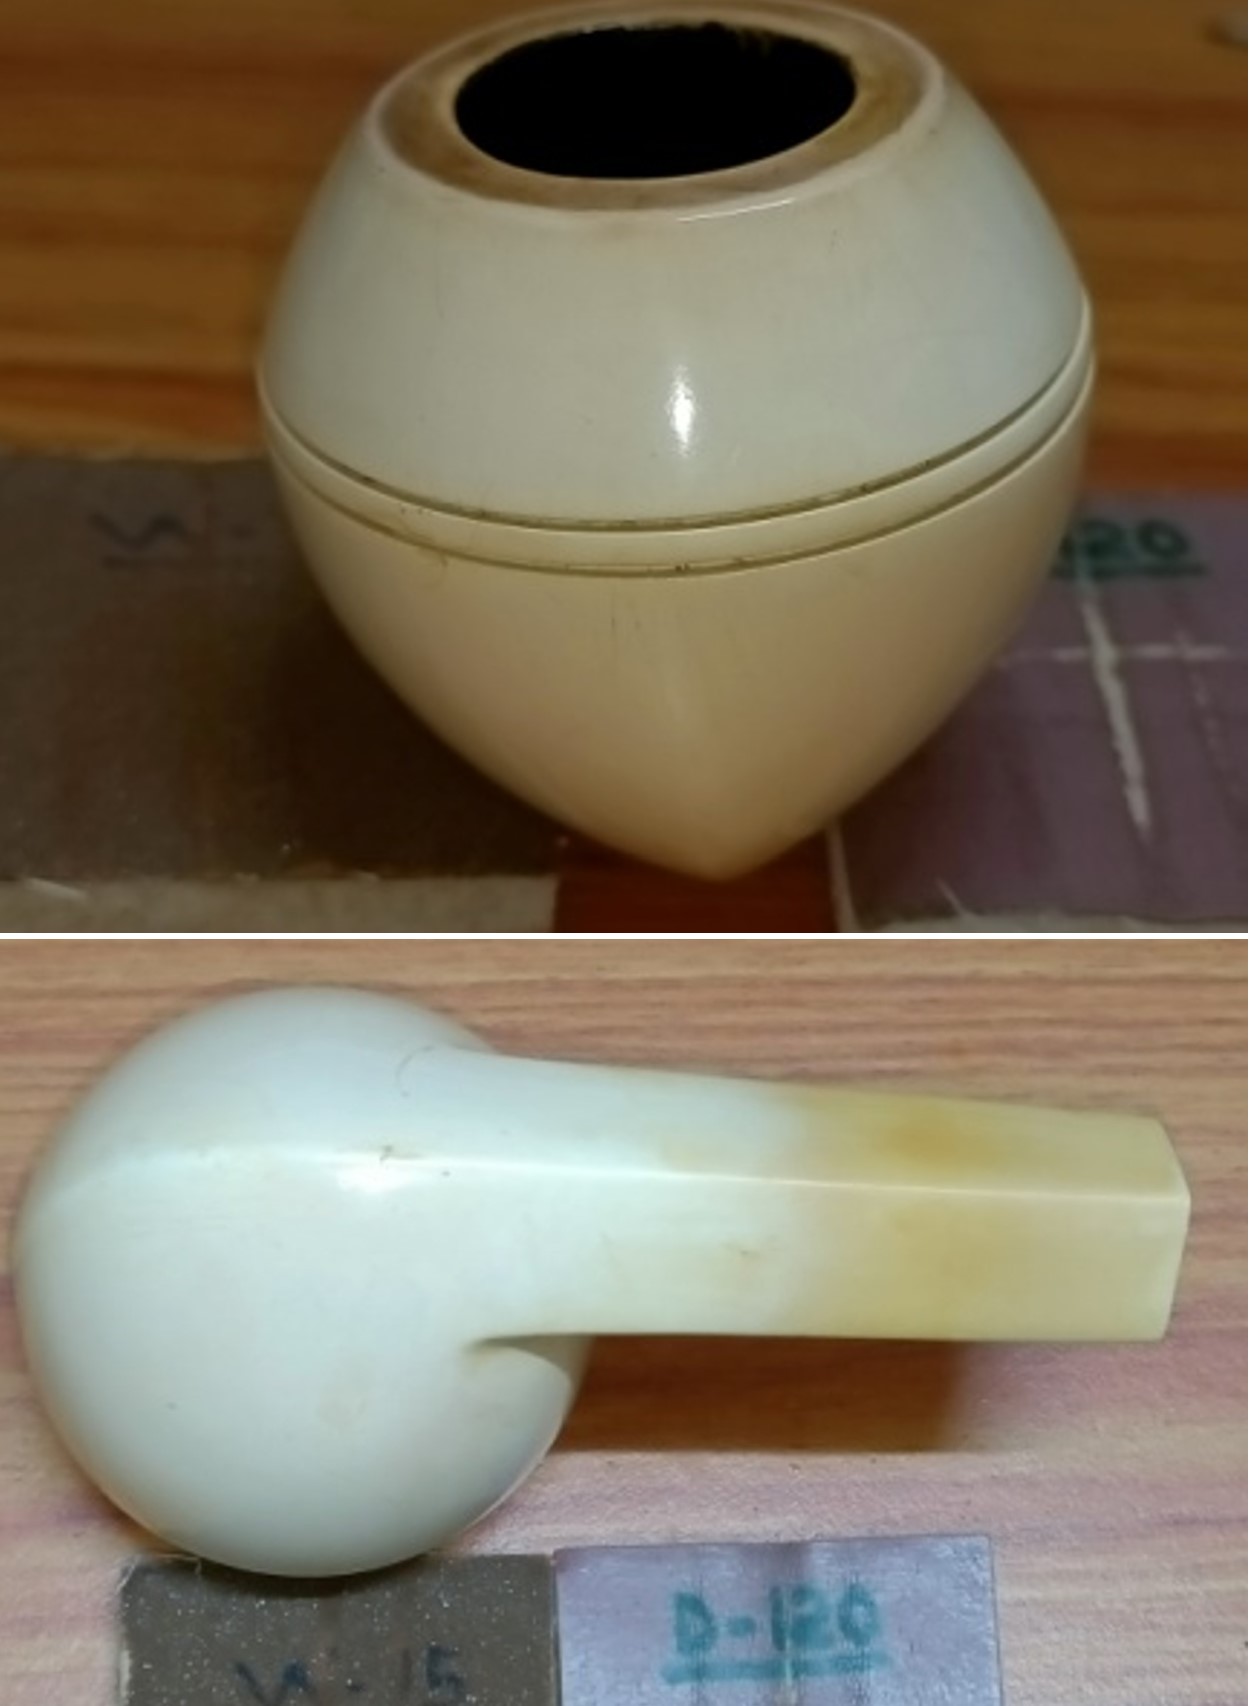
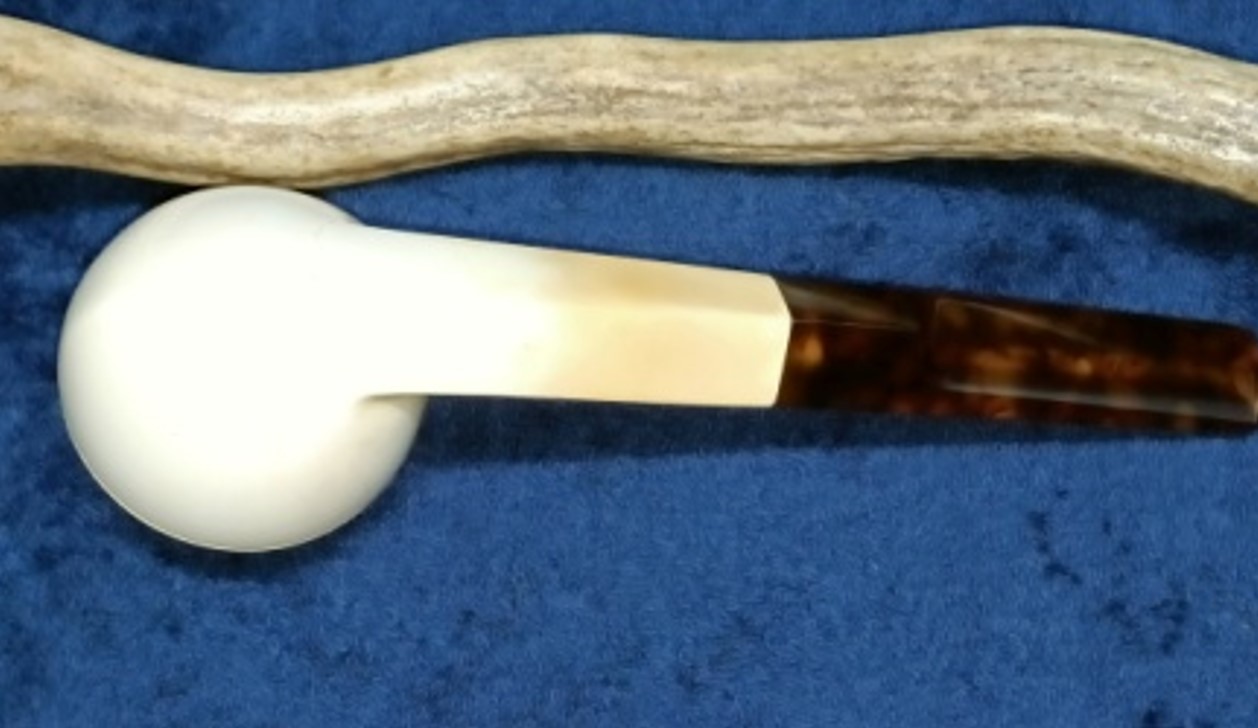
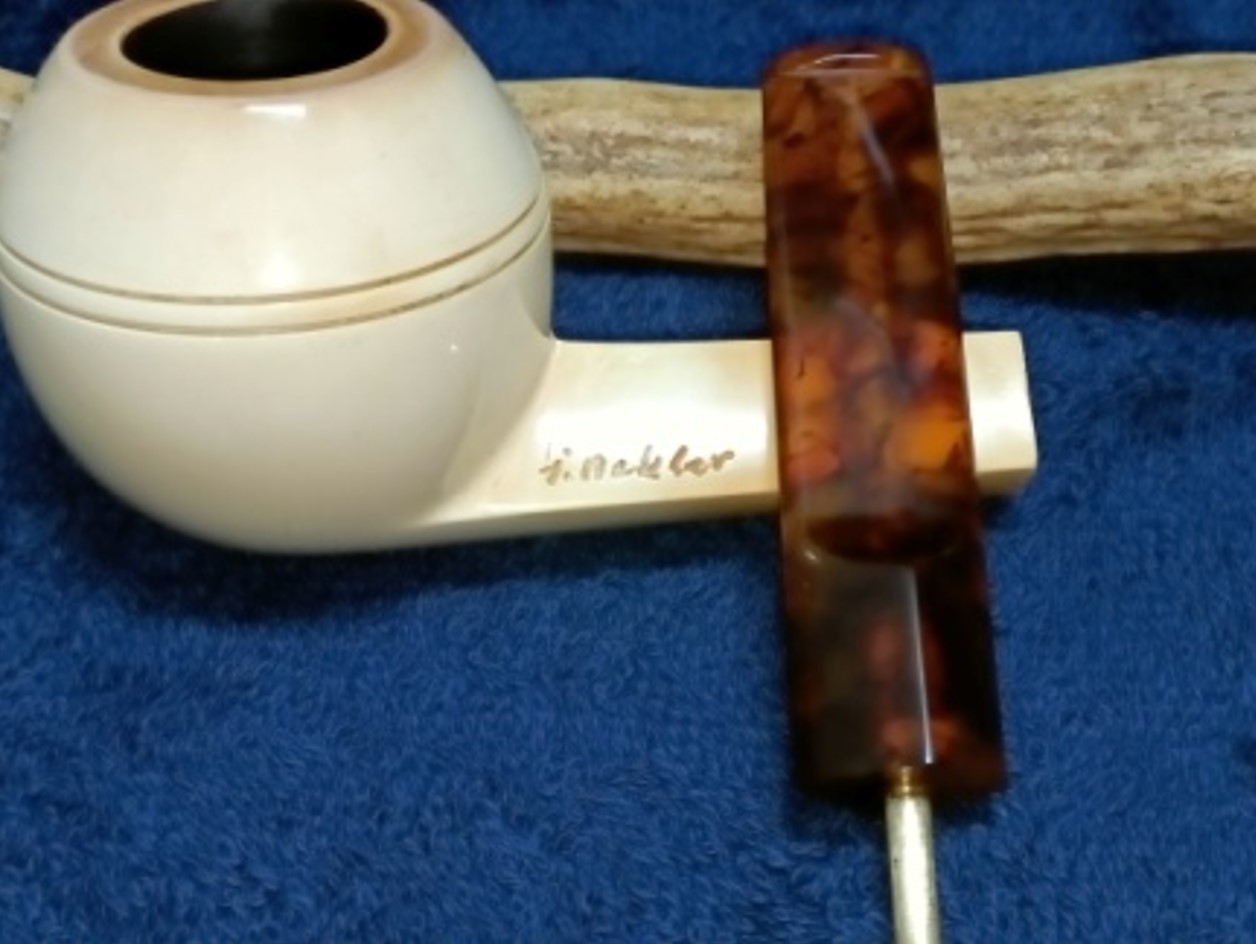
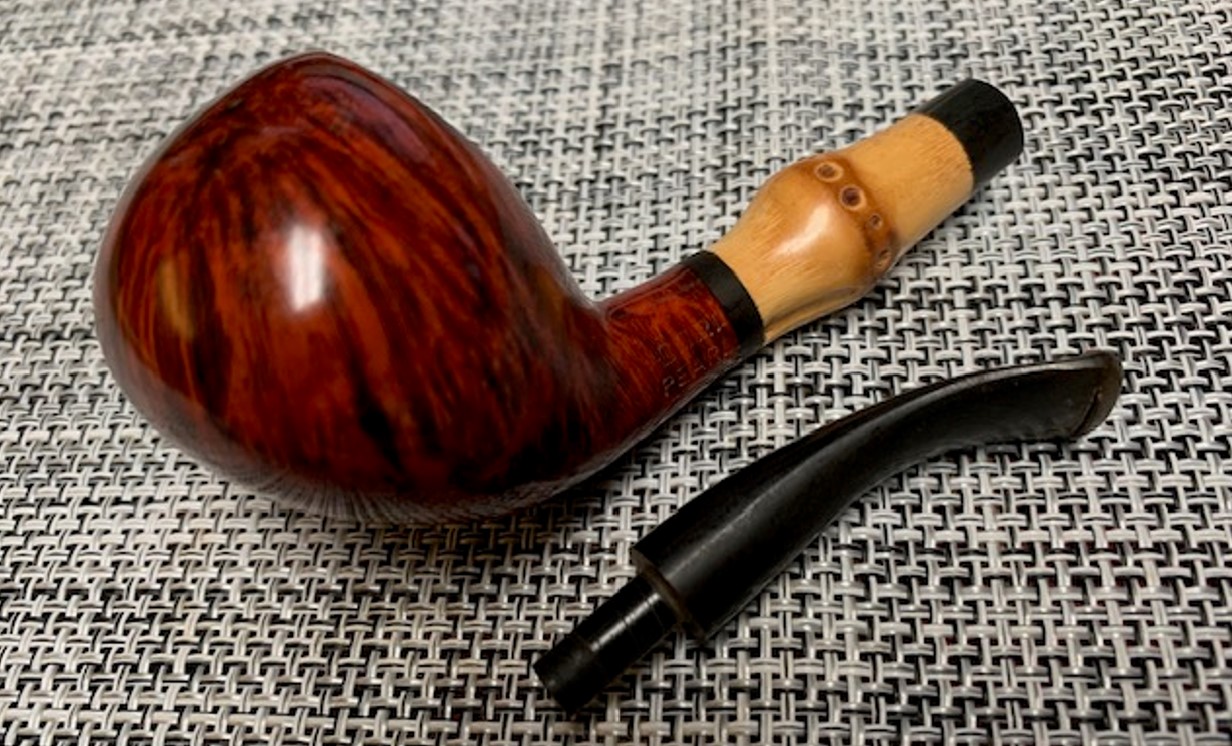
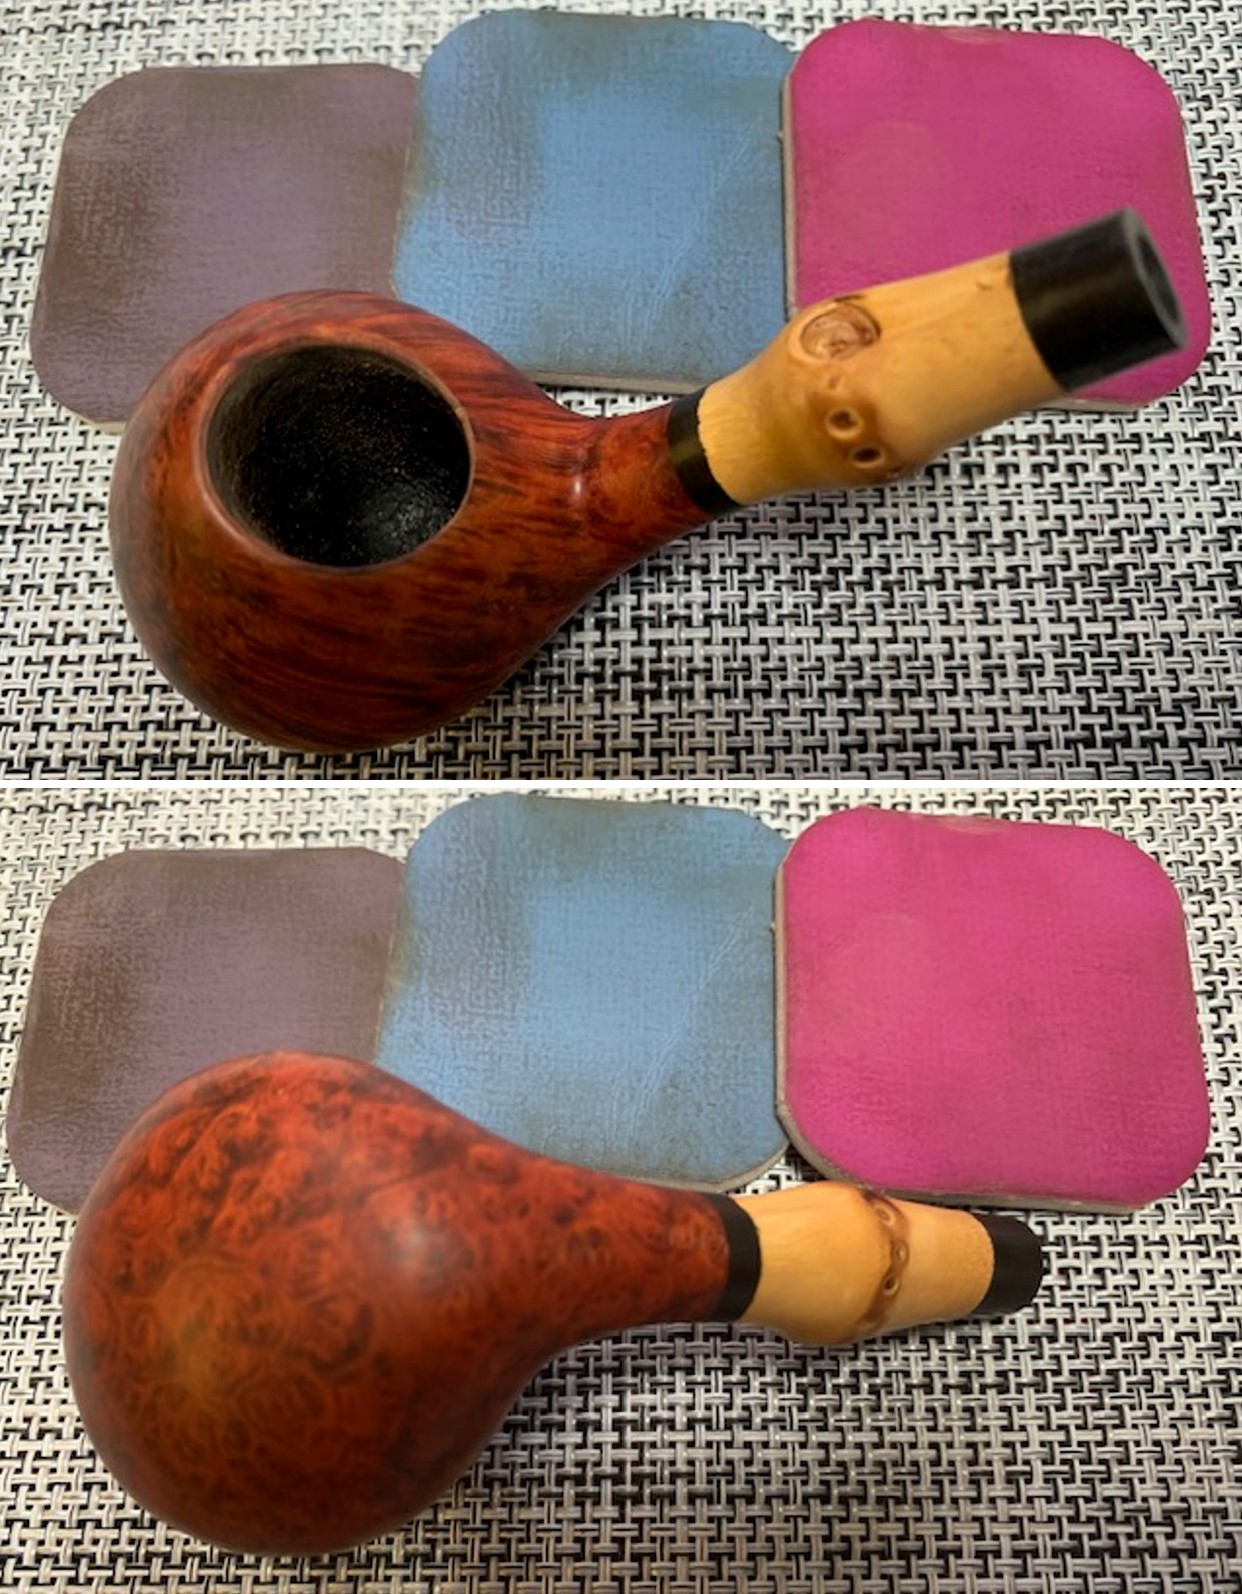
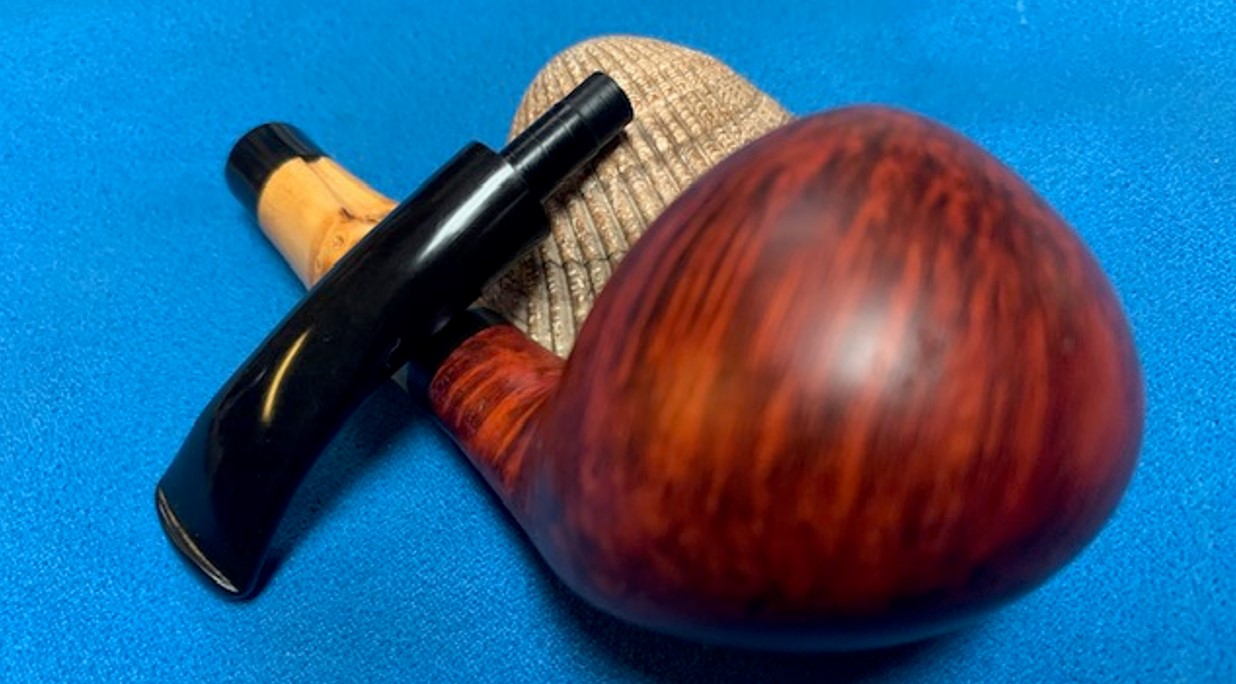
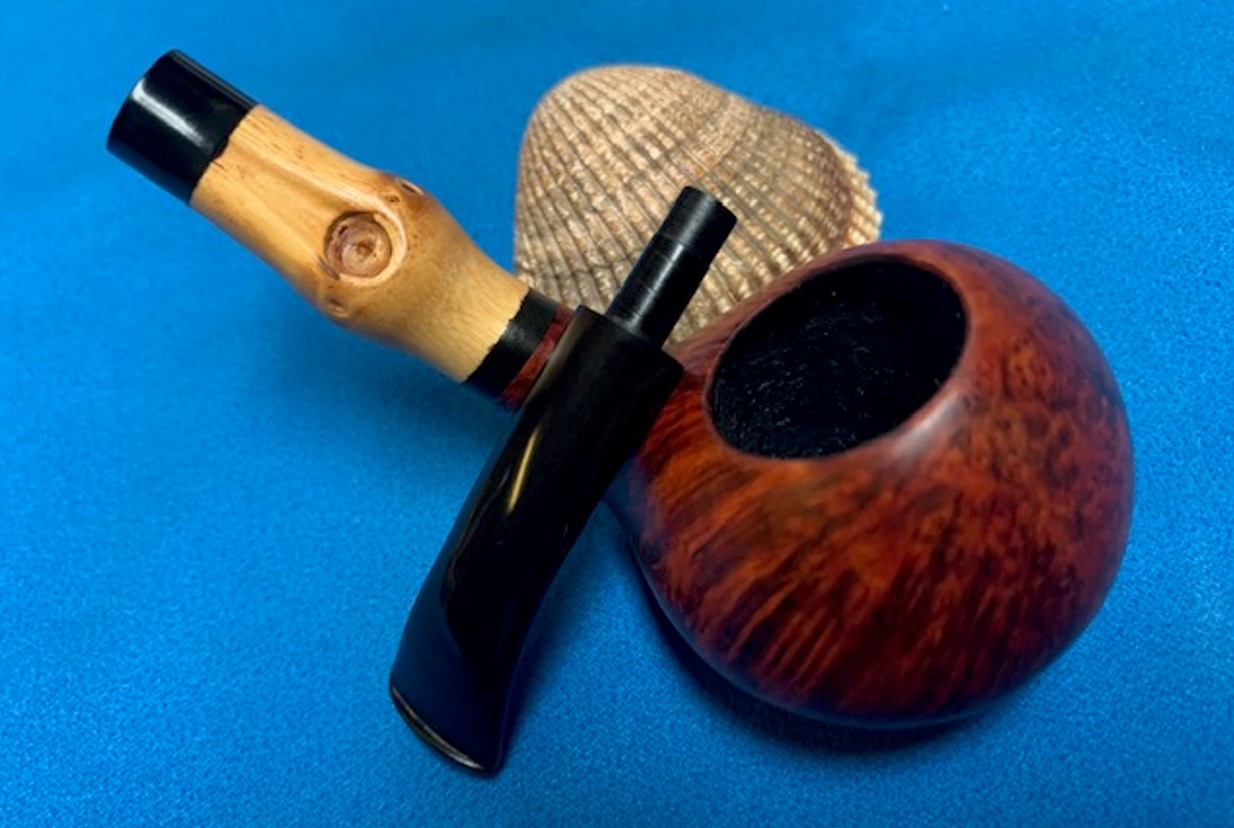
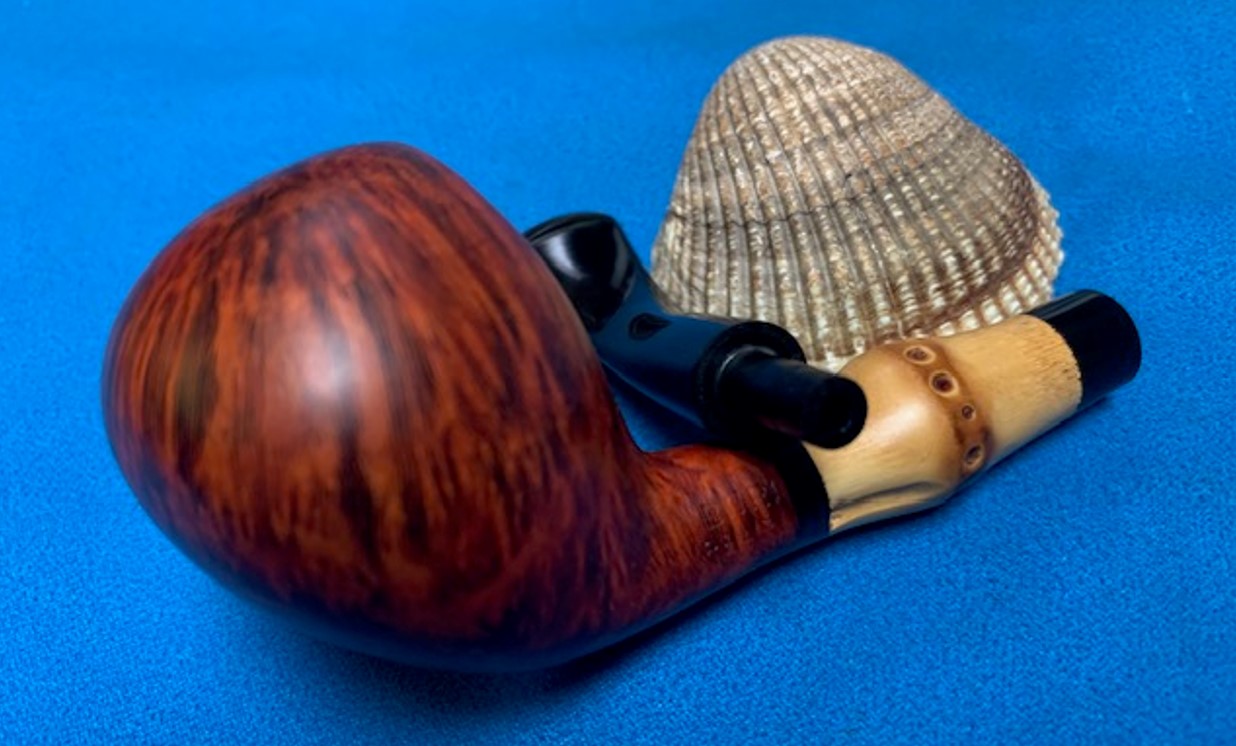
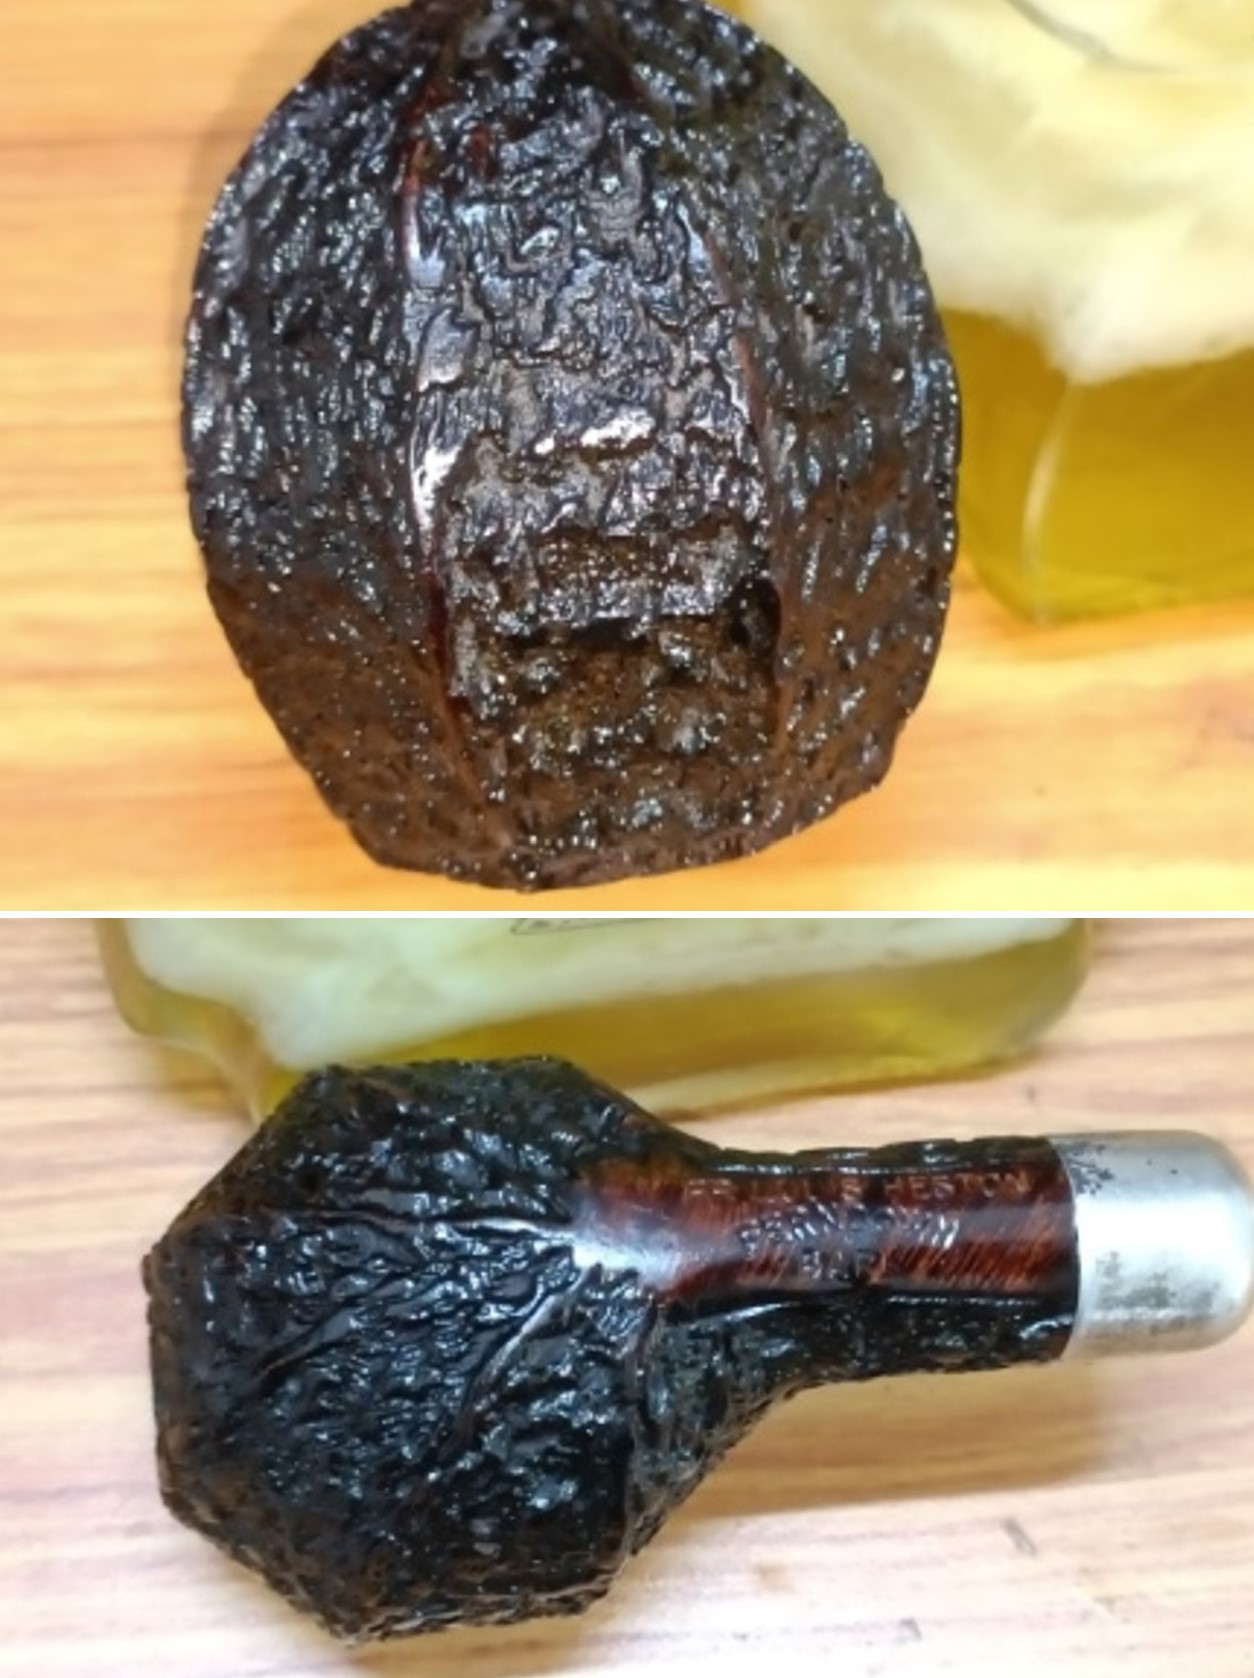
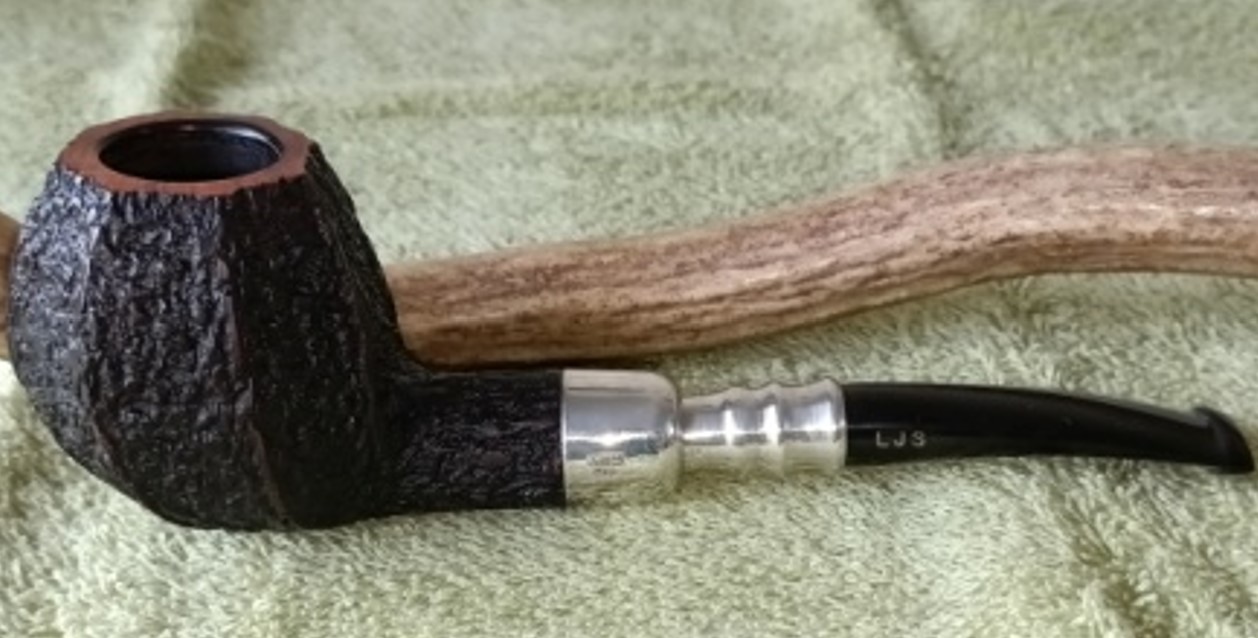
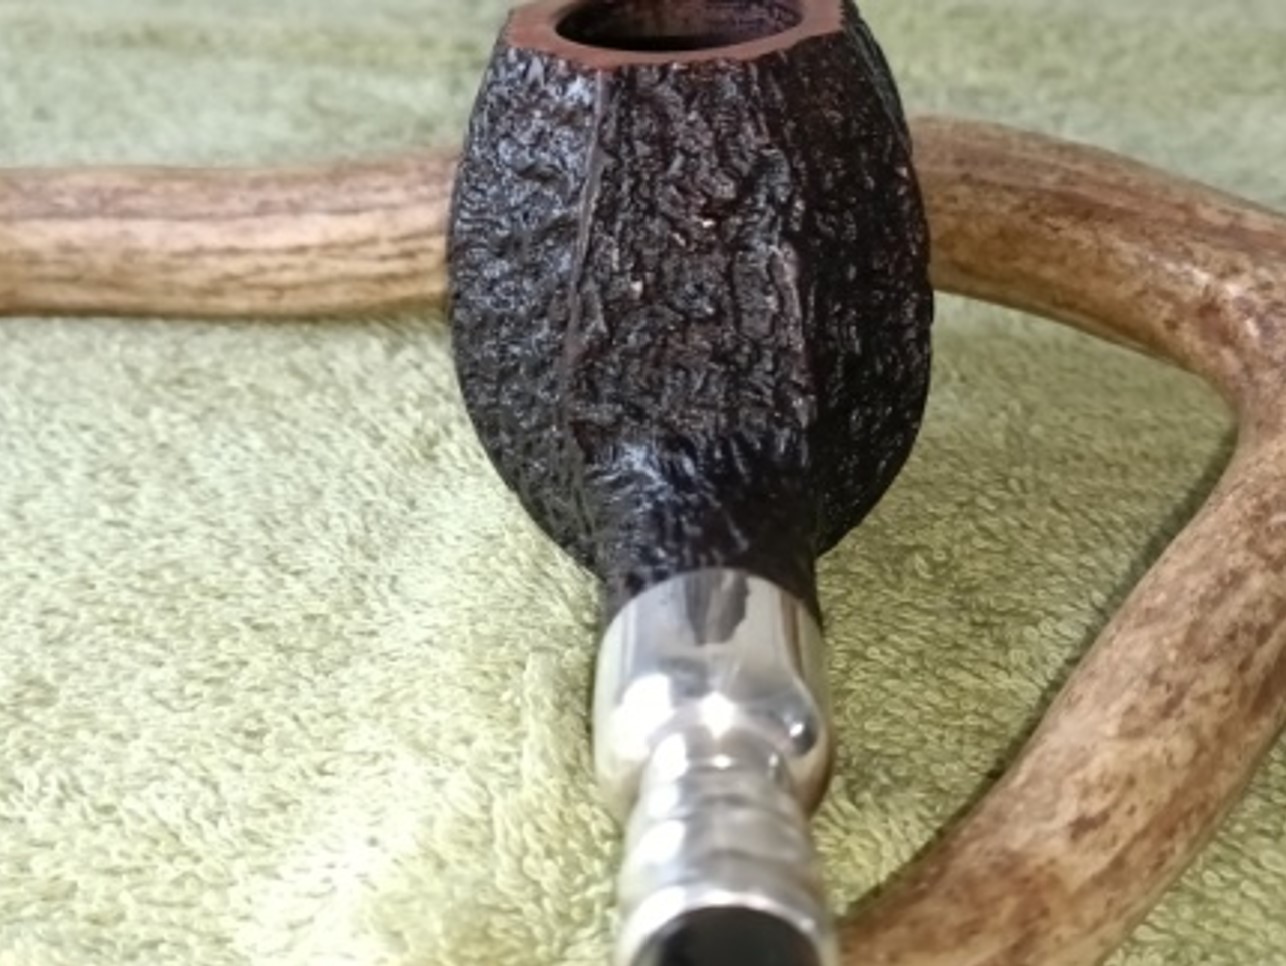
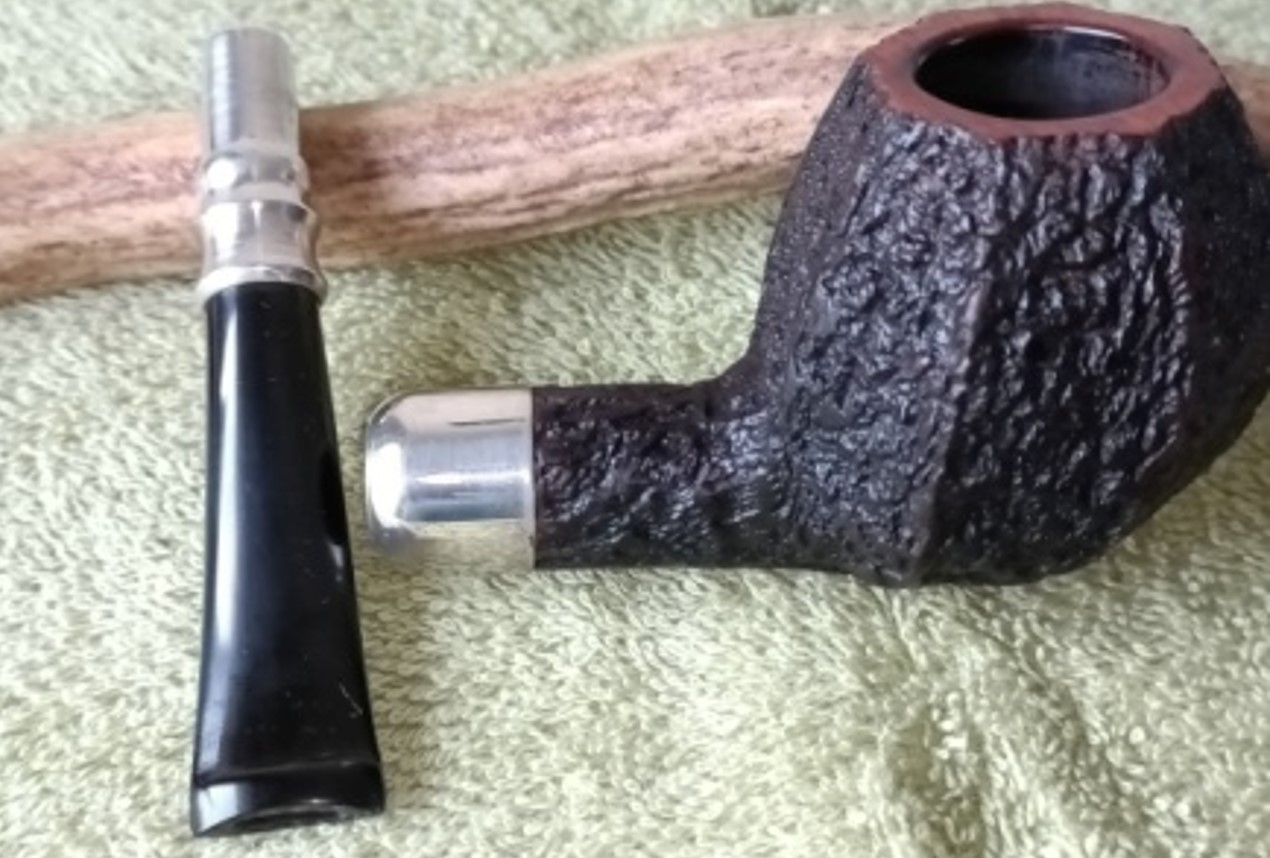
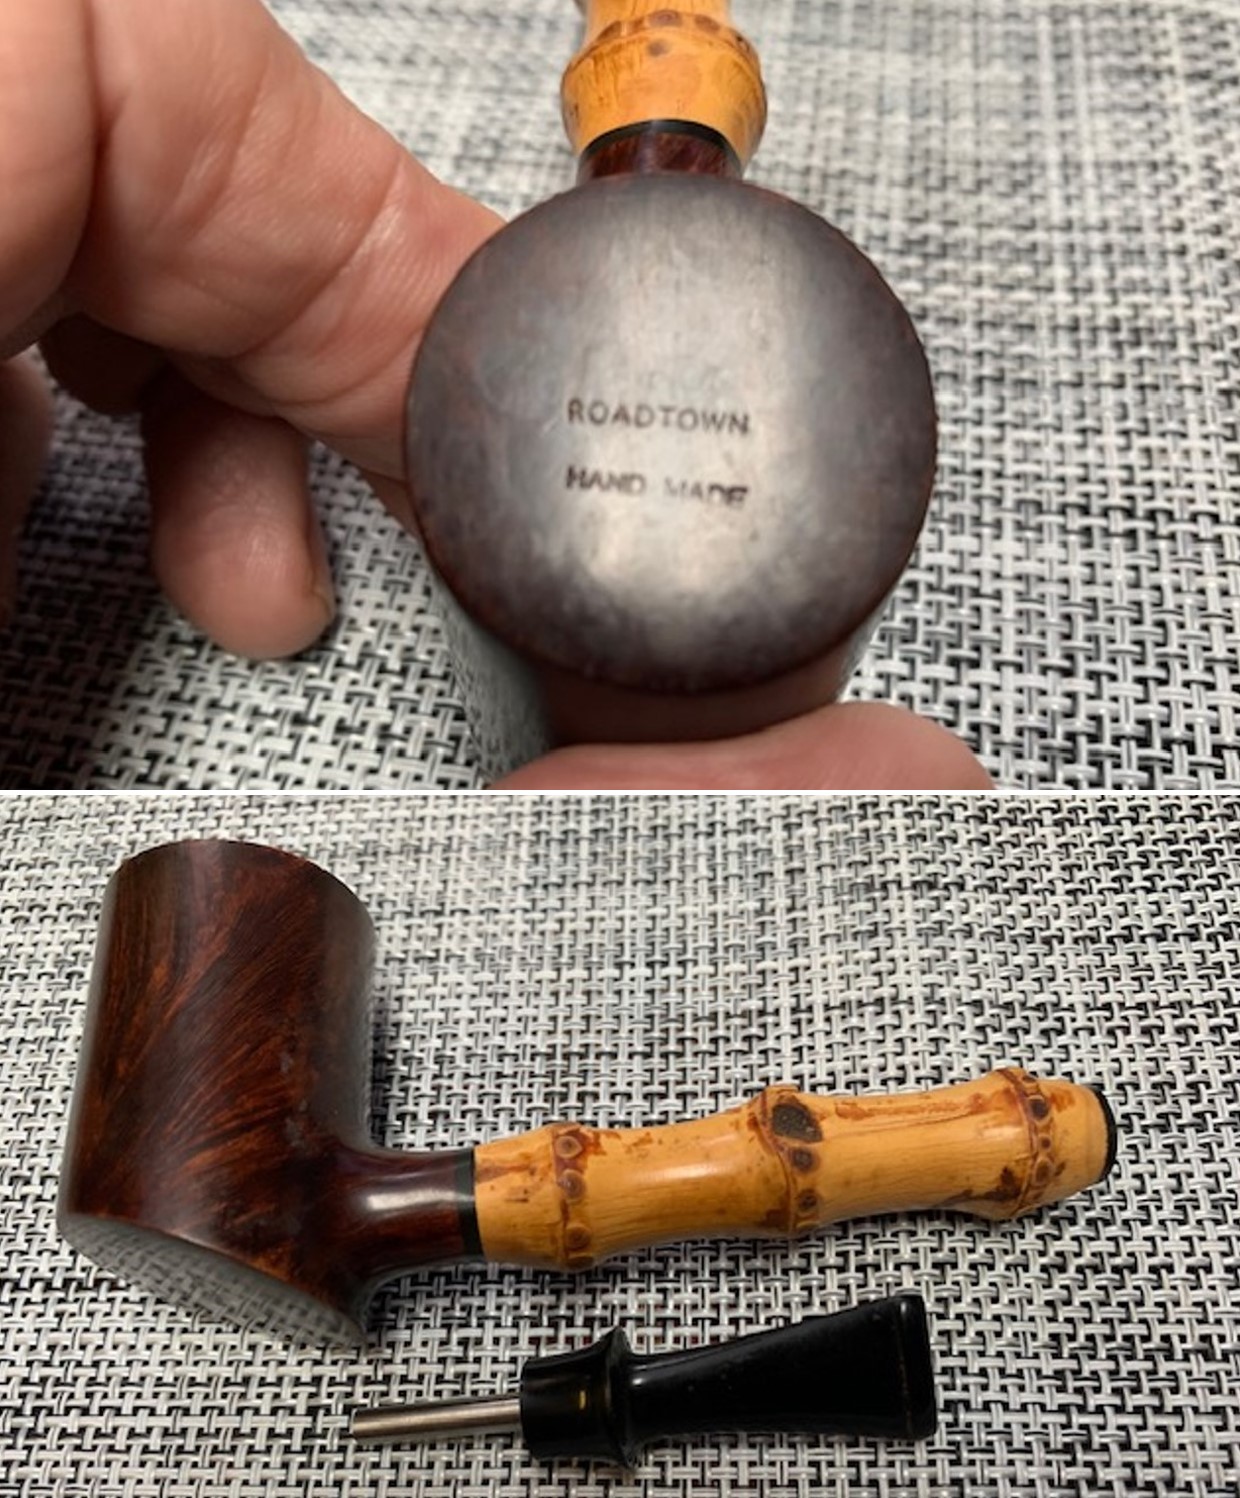
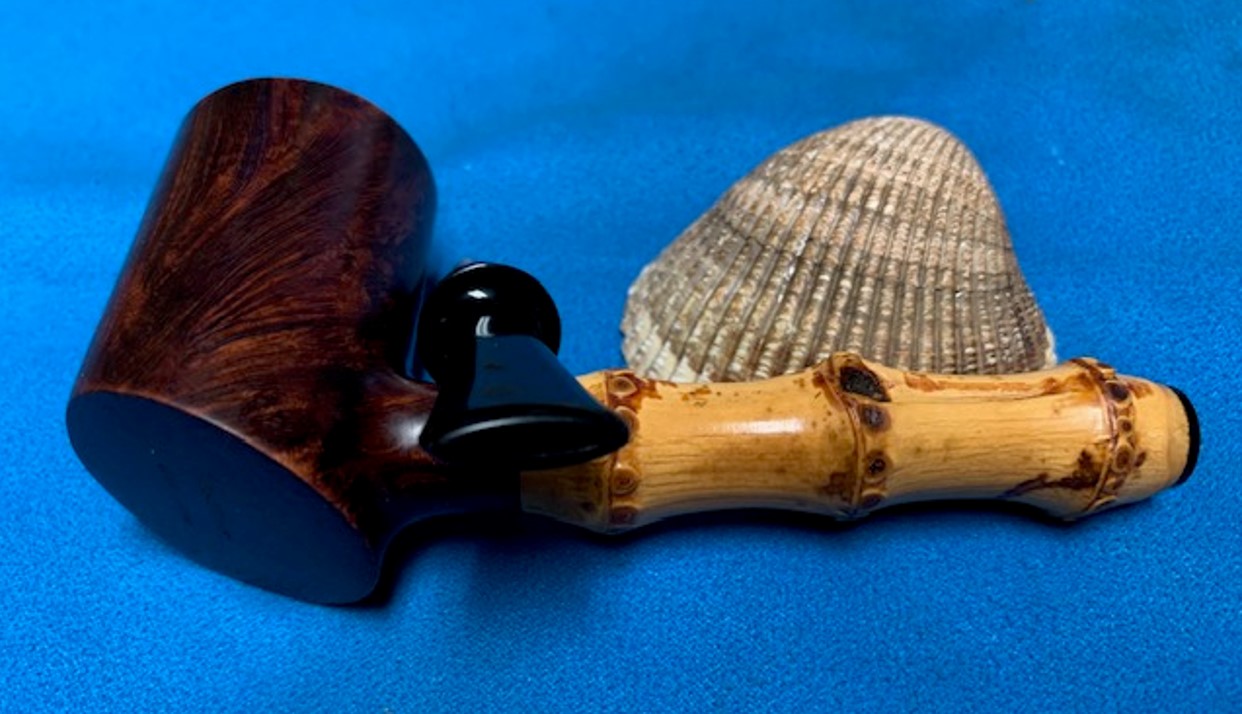
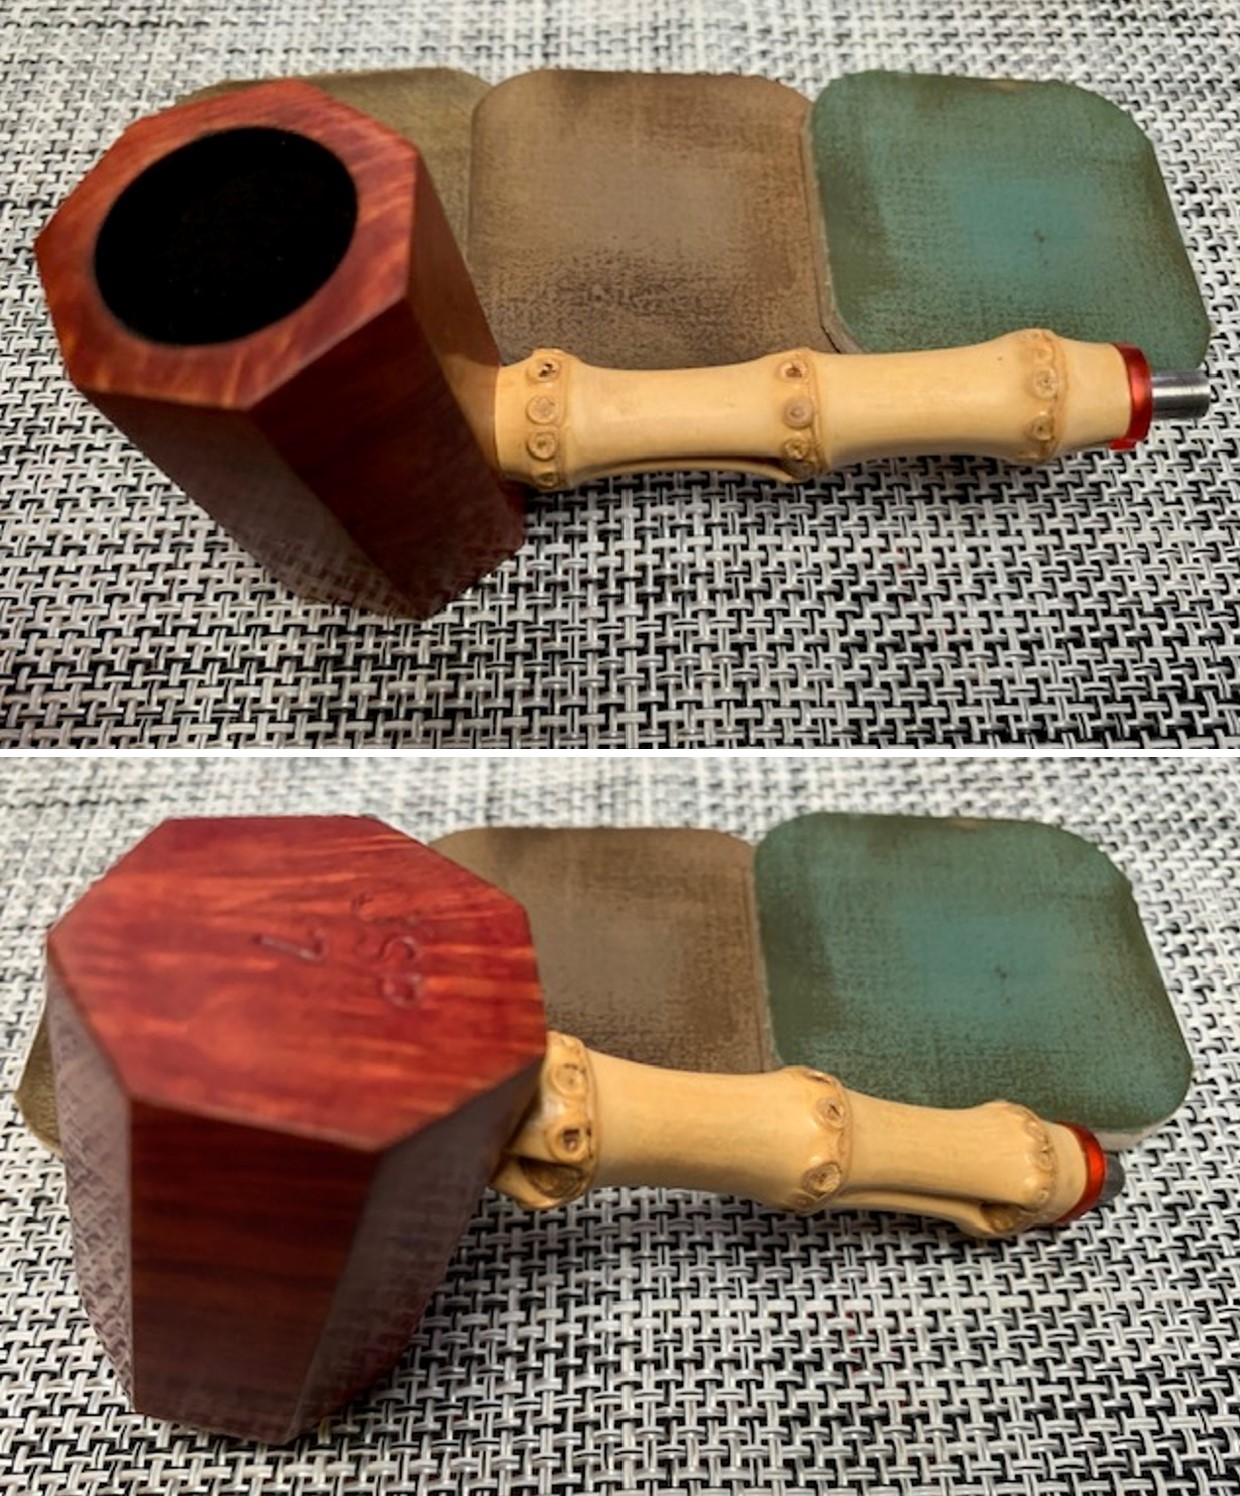
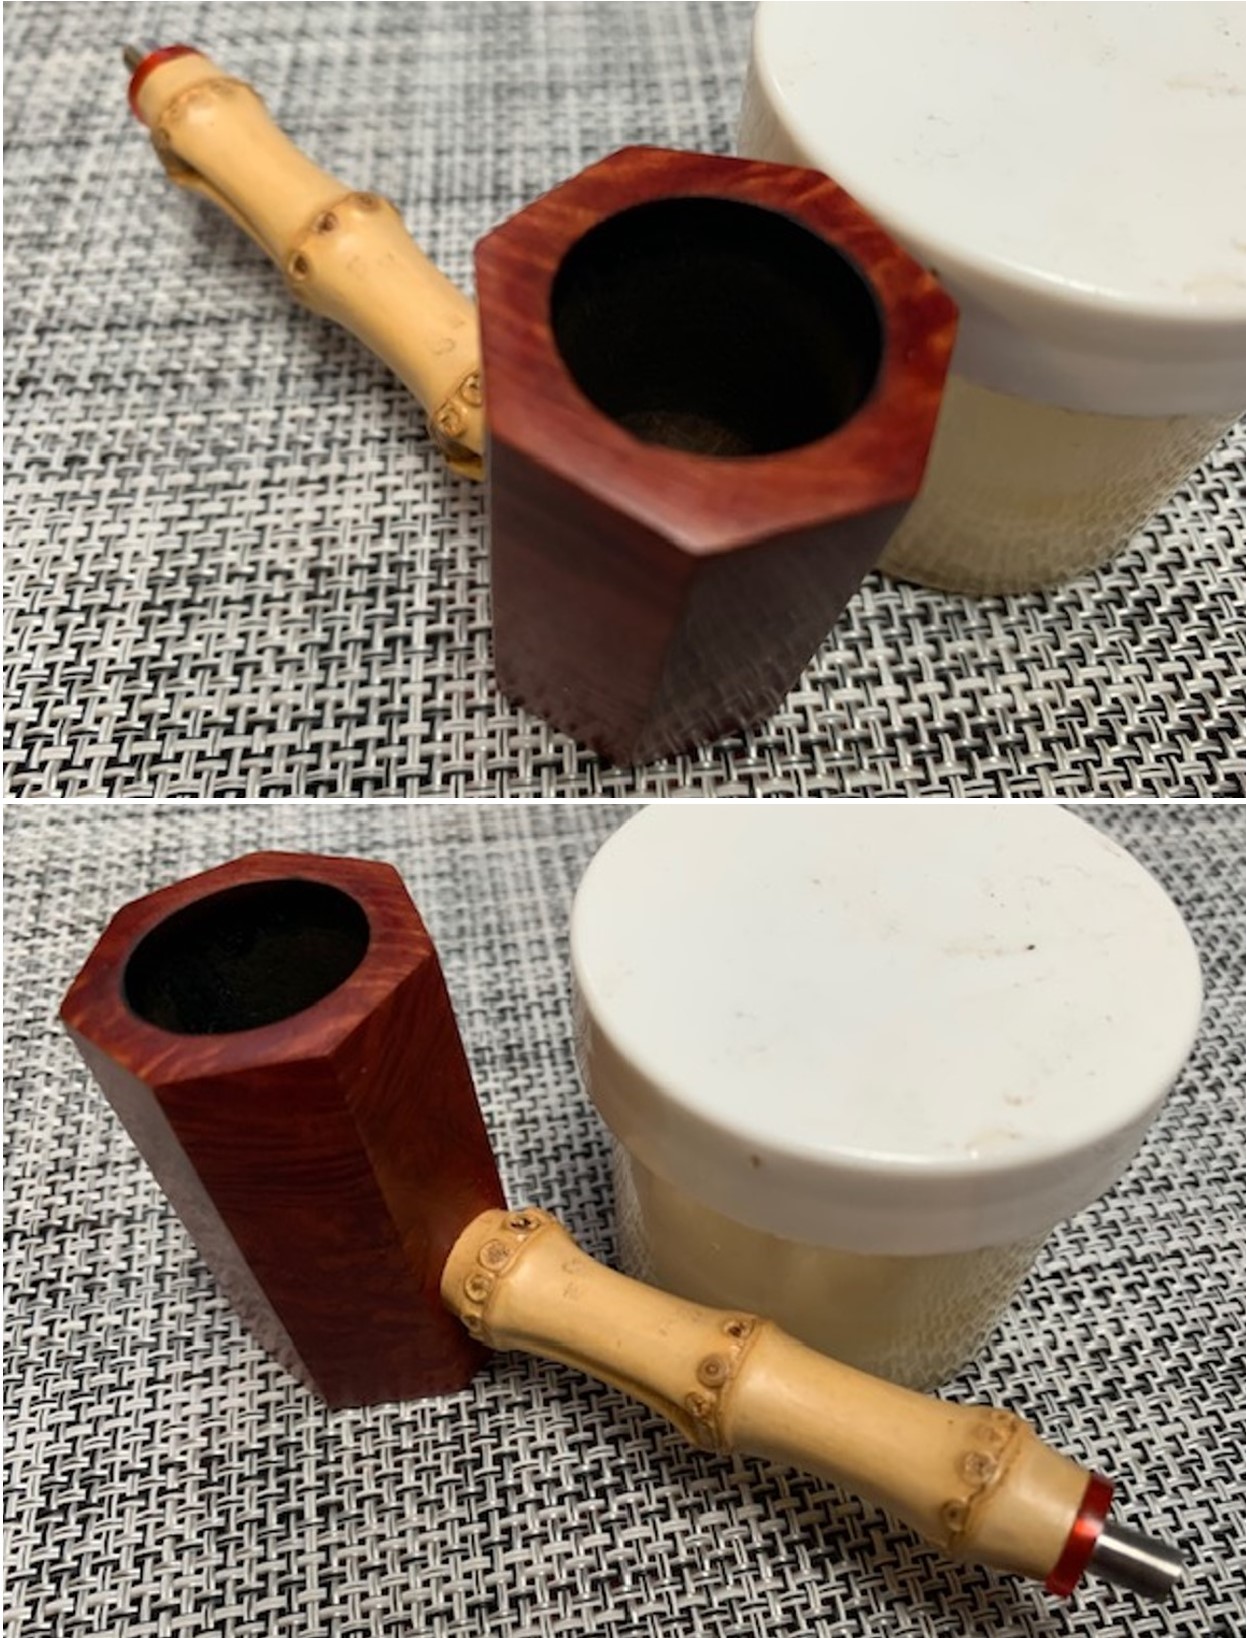
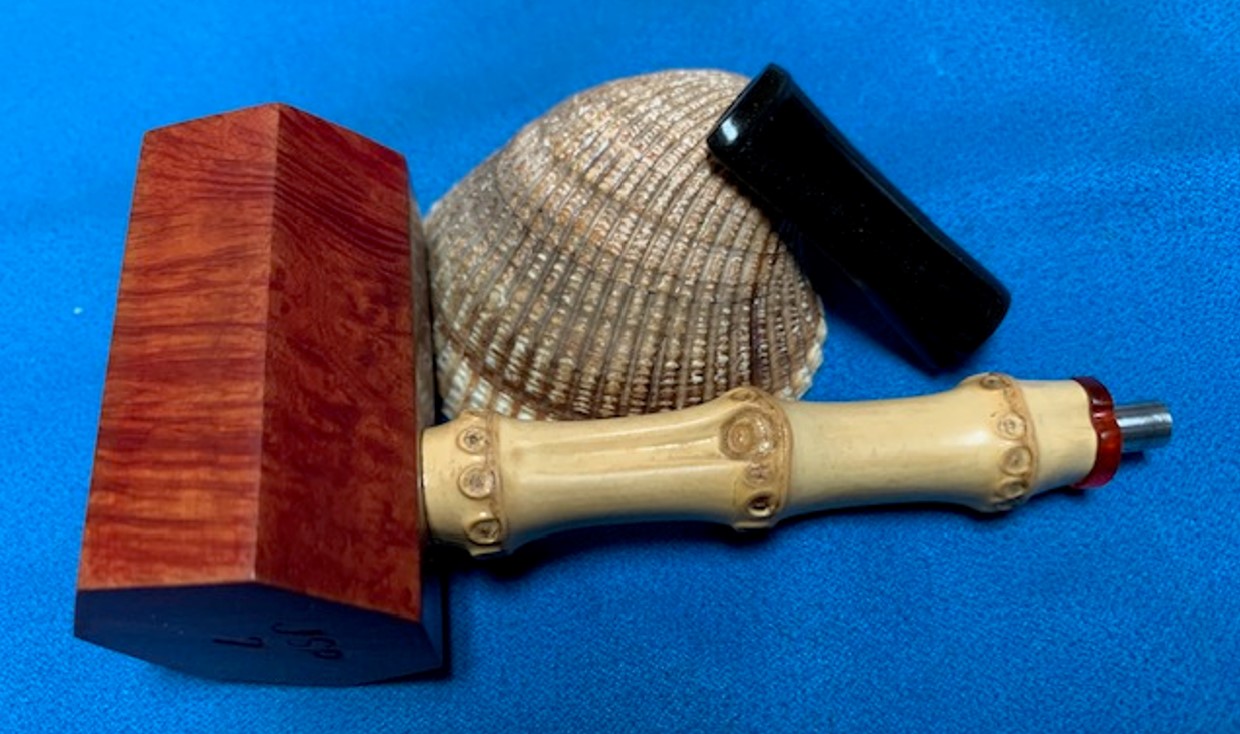
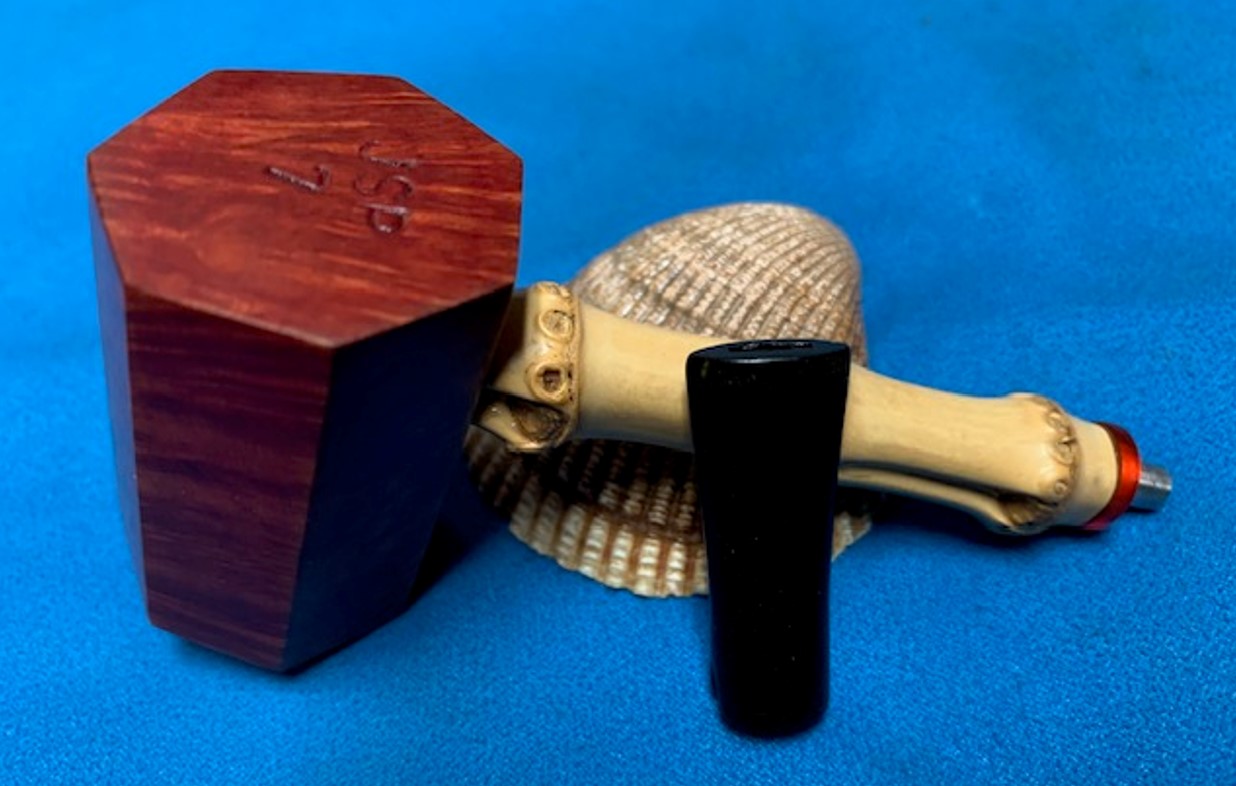
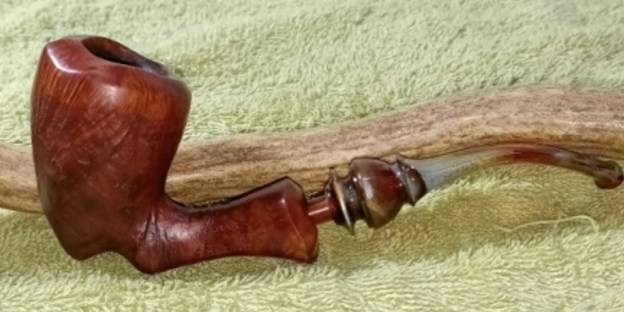
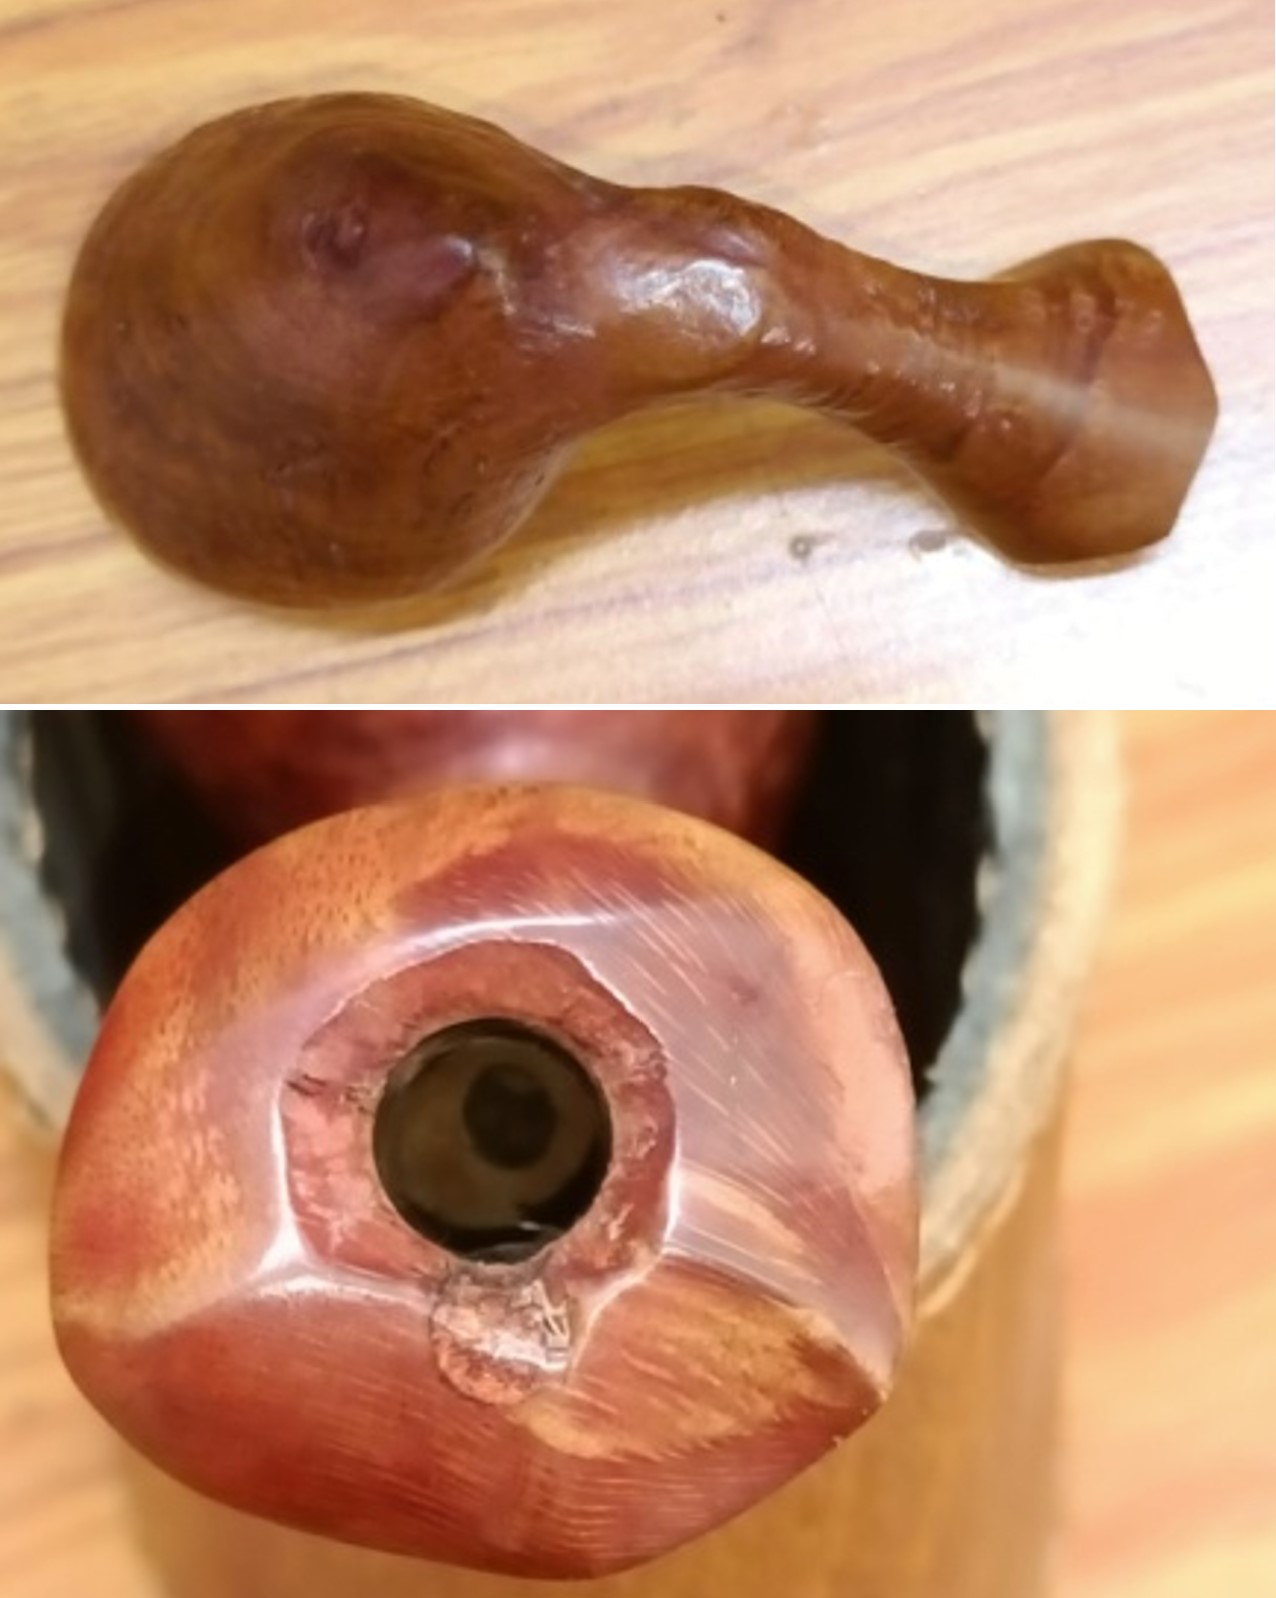
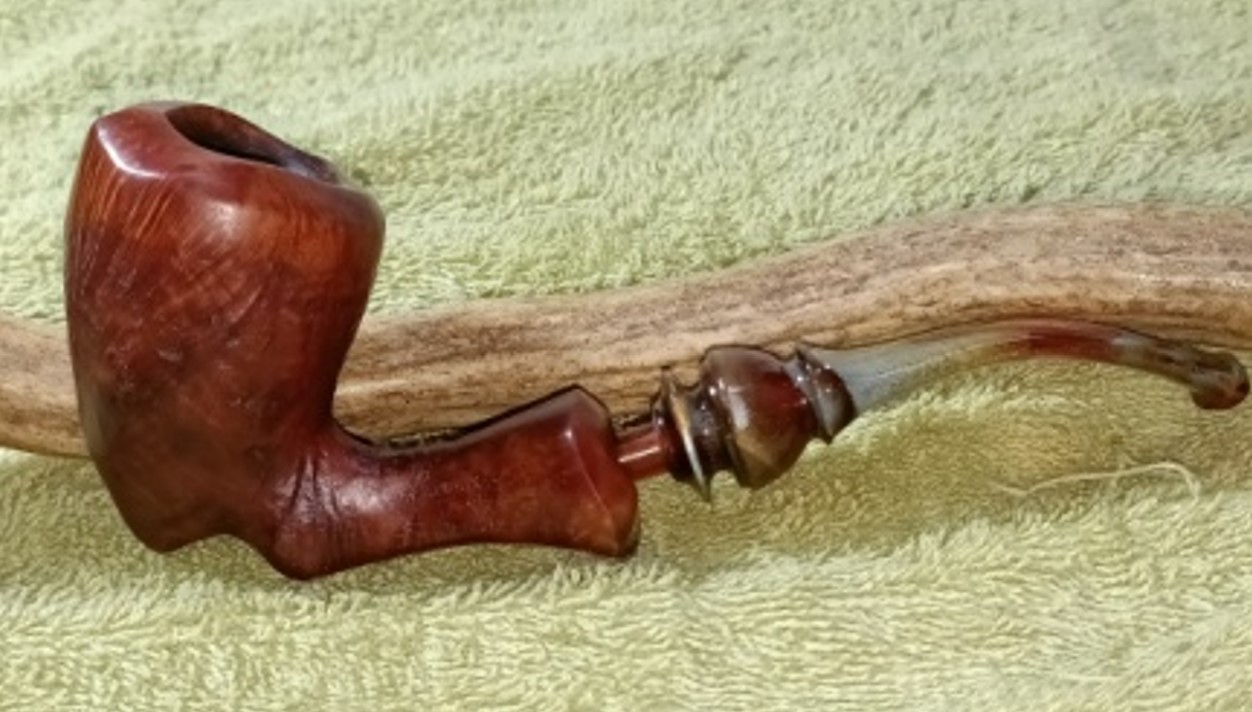
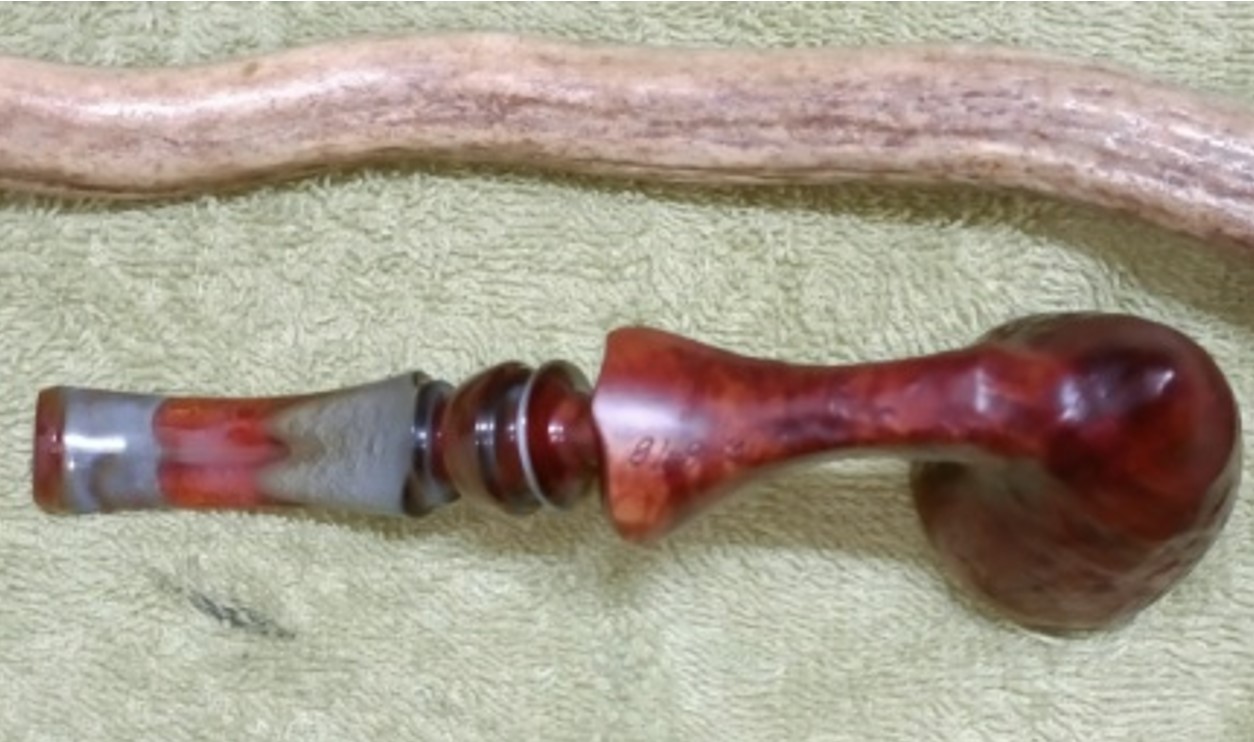
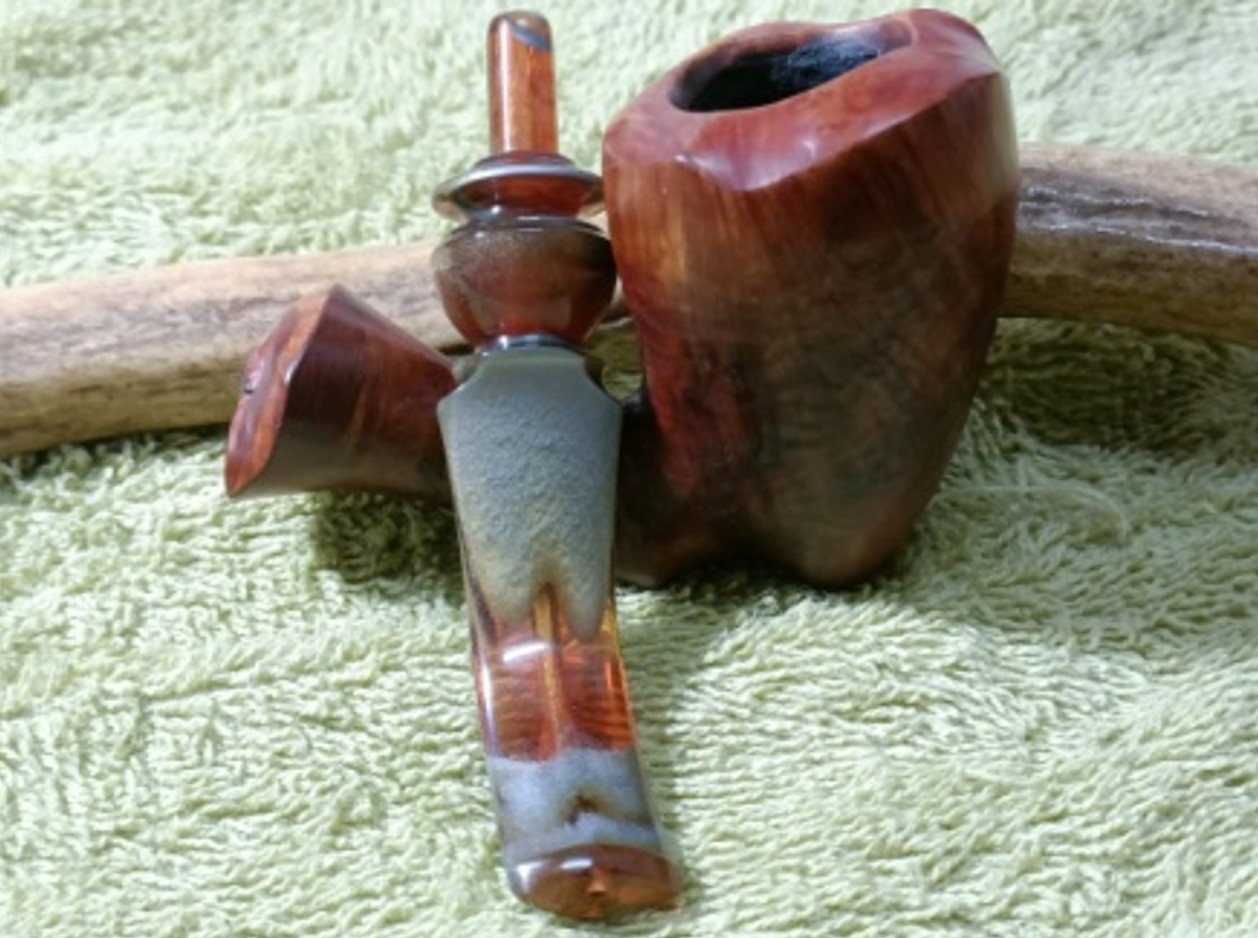
 I took a photo of the stamping on the underside of the shank. It is faint and hard to read but with a bright light and lens it reads as noted above. The pipe is quite nice with the stem removed. You can see the flow of the design and the look of the parts.
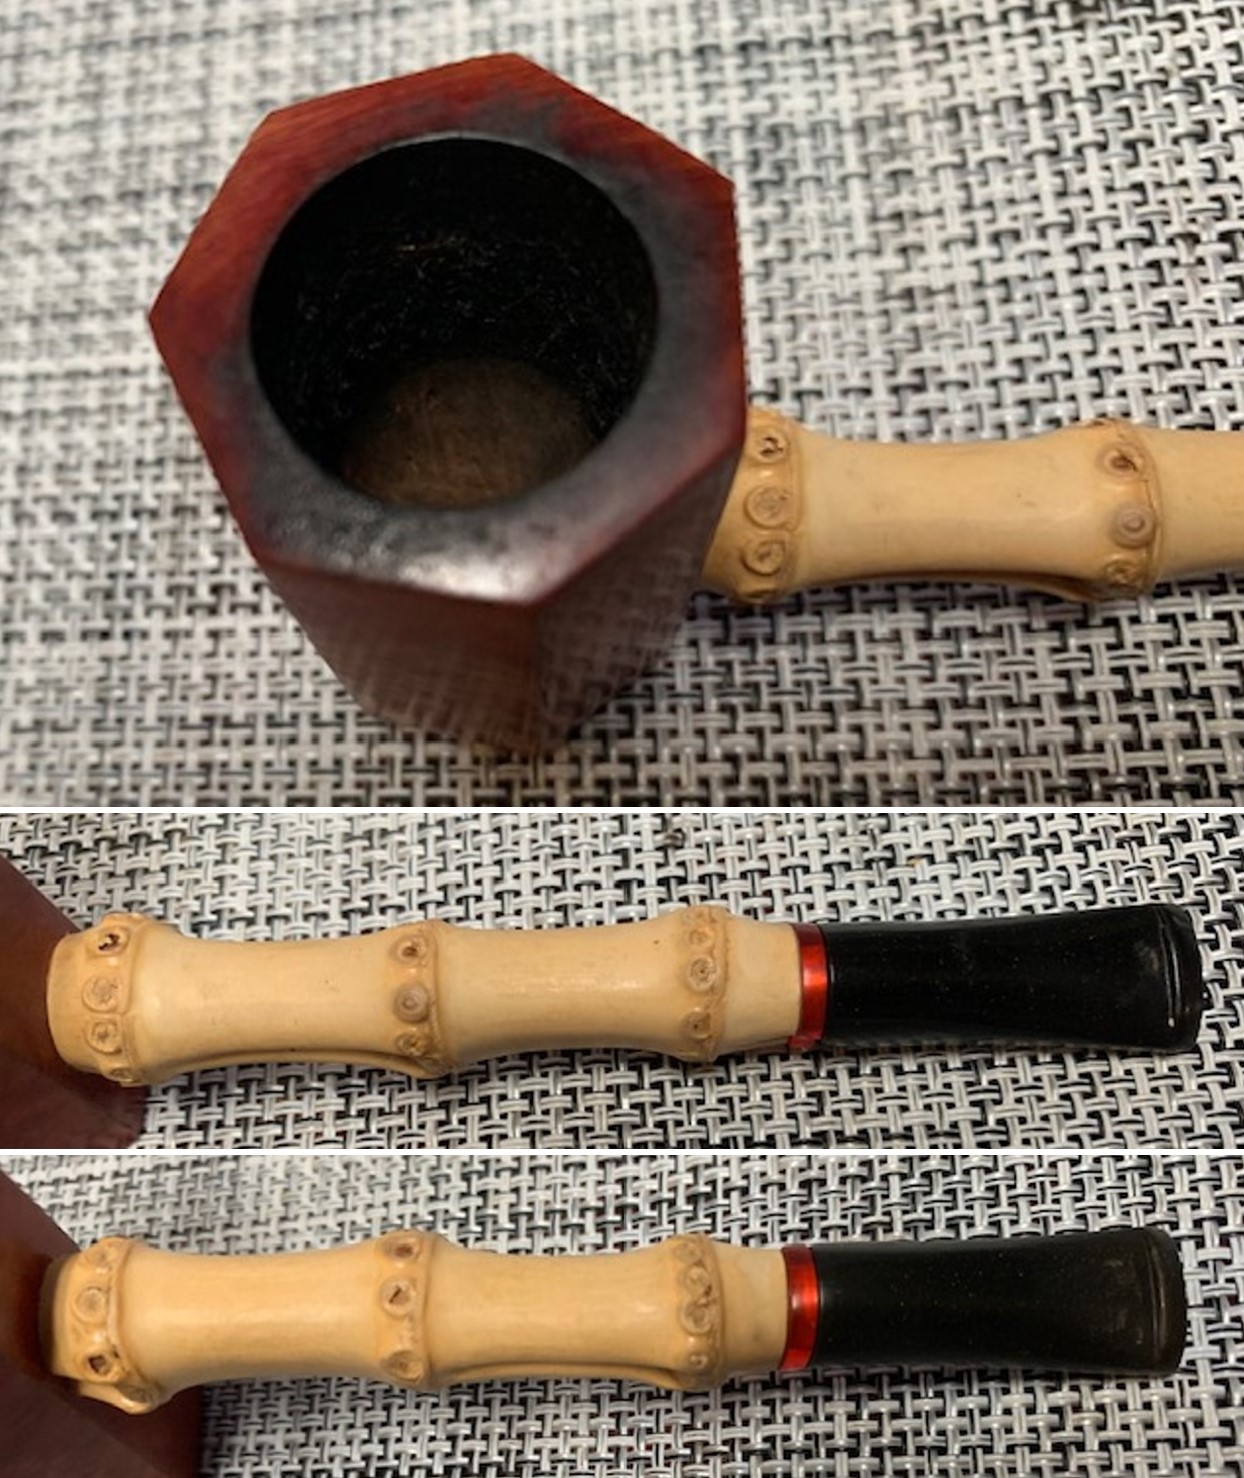
 The inlaid white shamrock/club on the shank side/top was a clear clue to the age of the pipe. I turned to Pipedia to an article entitle Guide to Kaywoodie Pipes to see what I could find that would help date it (https://pipedia.org/wiki/Collector%27s_Guide_to_Kaywoodie_Pipes). I quote a section of the article below. I have highlighted the portions that apply to this particular pipe in red.
THE 1936 KAYWOODIE LINE OF PIPES
The 1936 Kaywoodie catalog lists only four grades of pipes (Table 1). These four grades, however, were available in 140 shapes (see Appendix). These 140 shapes included many that differed only in size (small, medium, large). For example, the “In-Between”, “Colt” and “Freshman” shapes listed in the Appendix were merely smaller versions of the standard shapes, and the “E-Z-Set” shapes were “flat-bottom” versions of the standard shapes.
Table 1: Kaywoodie Pipe Grades and Prices (1936)
- Straight Grain: $10.00
- Super Grain: $5.00
- Carburetor: $4.00
- Drinkless: $4.00
As shown in Table 1, the Straight-Grain pipe was Kaywoodies’ top-of-the-line, selling for $10.00 in 1936. The Straight Grain pipe did not appear again in the catalogs reviewed in this research until 1968-69 (see Section 3.4).
The 1936 catalog shows 3 Super Grain models, selling for $5.00 each. One model is introduced as the “New Banded” Super Grain. The banded Super Grain had the white Kaywoodie cloverleaf logo in the bit and a wide metal band. The non-banded (“original”) Super Grain had the white Kaywoodie cloverleaf logo in the shank of the pipe and was offered in two finishes, virgin and miami (slightly darker than virgin). Due to the gap in catalogs used in this research, it is not known precisely when the practice of putting the cloverleaf in the shank of the Super Grains was discontinued (the 1947 catalog shows the cloverleaf on the bit). The Super Grain was later downgraded and many new grades appeared above it (see subsequent sections of this Chapter). The early (original) Super Grains are particularly interesting not only because they were high quality briars, but because they were the only Kaywoodies (in the author’s knowledge) to have the logo inlaid in the shank of the pipe…
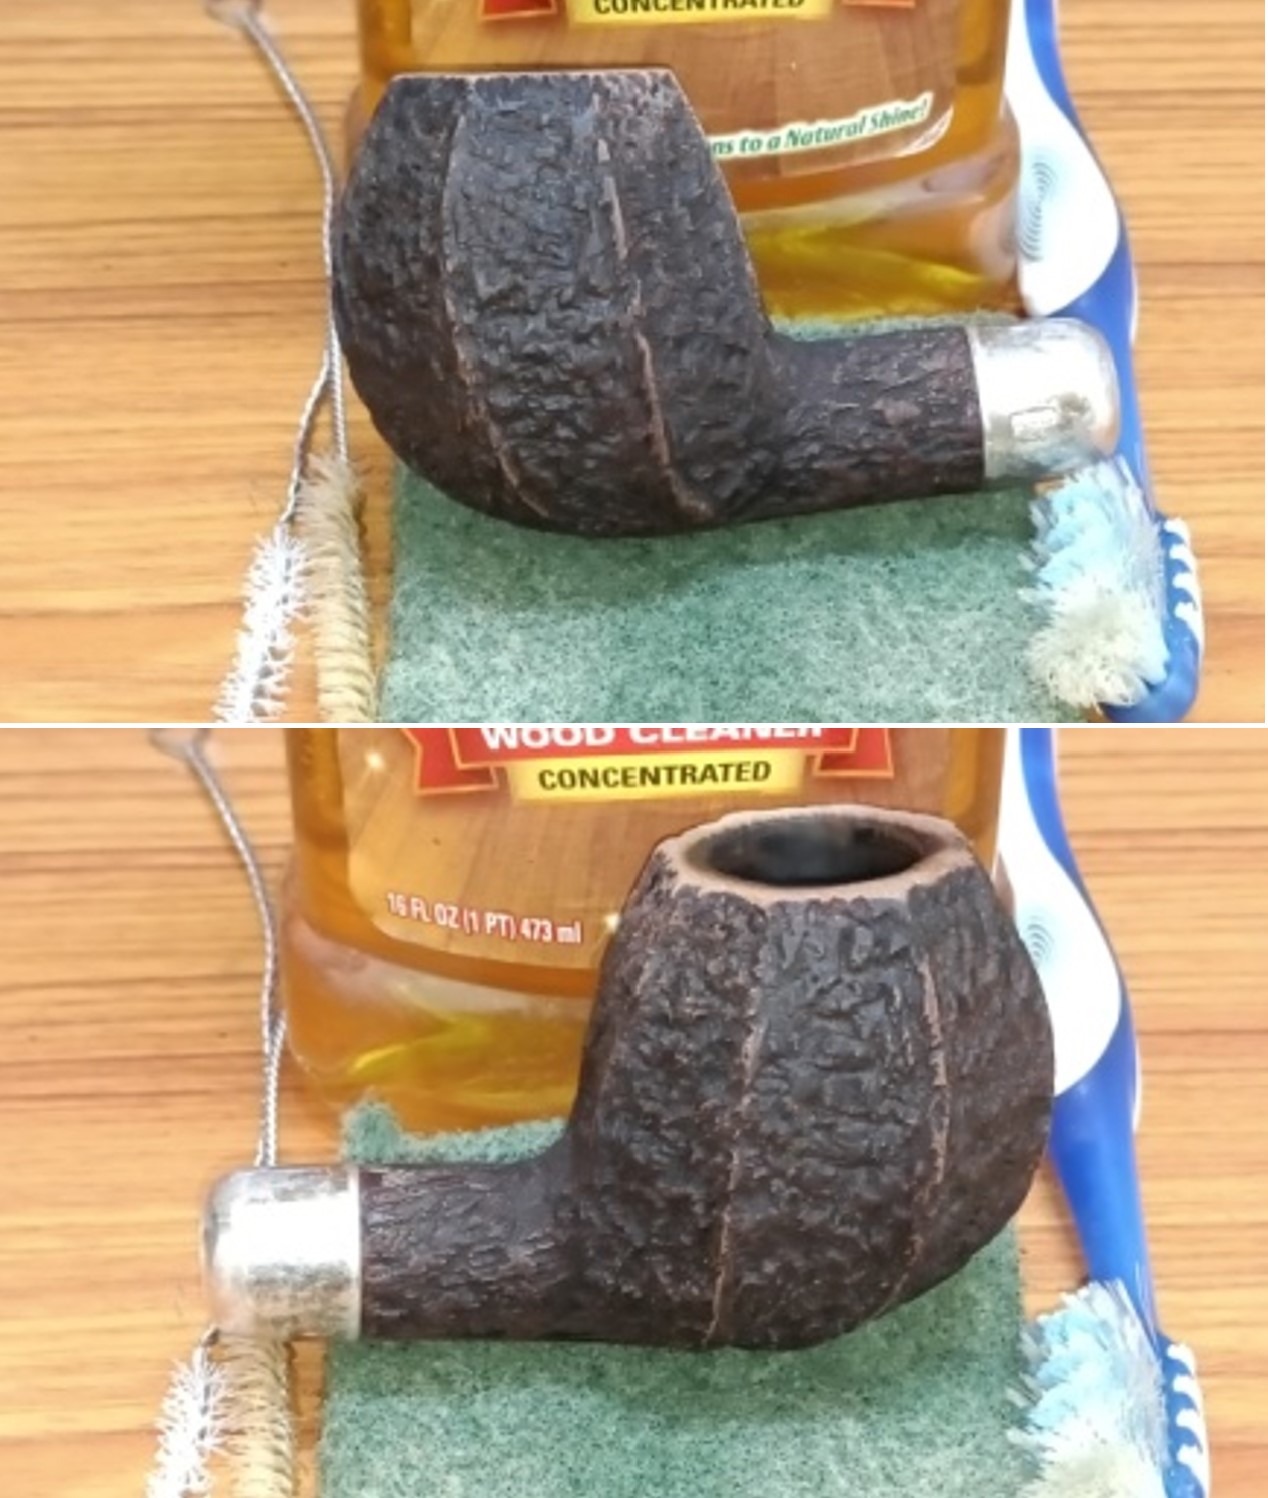
Thus, I knew that the pipe in hand was a Super Grain with the inlaid Kaywoodie cloverleaf was done in 1936 and we do not know when it ceased. It had the darker finish called Miami (a darker stain). It was time to work on the pipe.
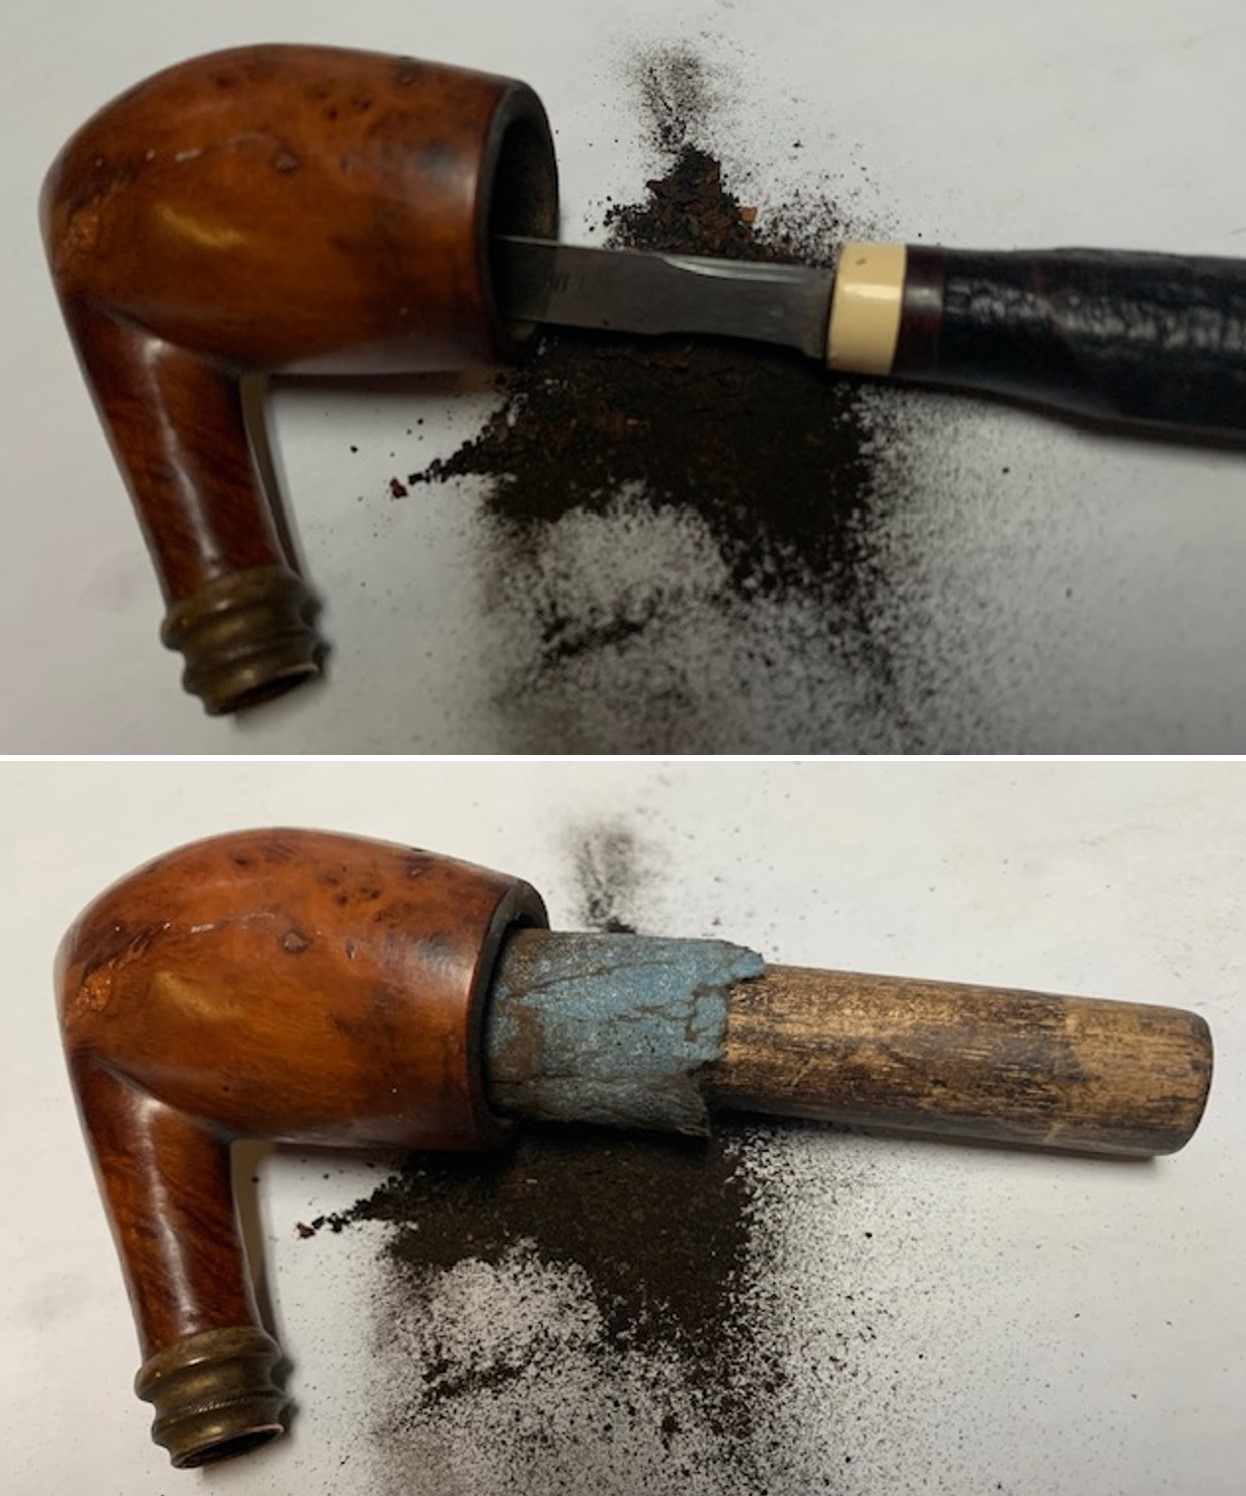
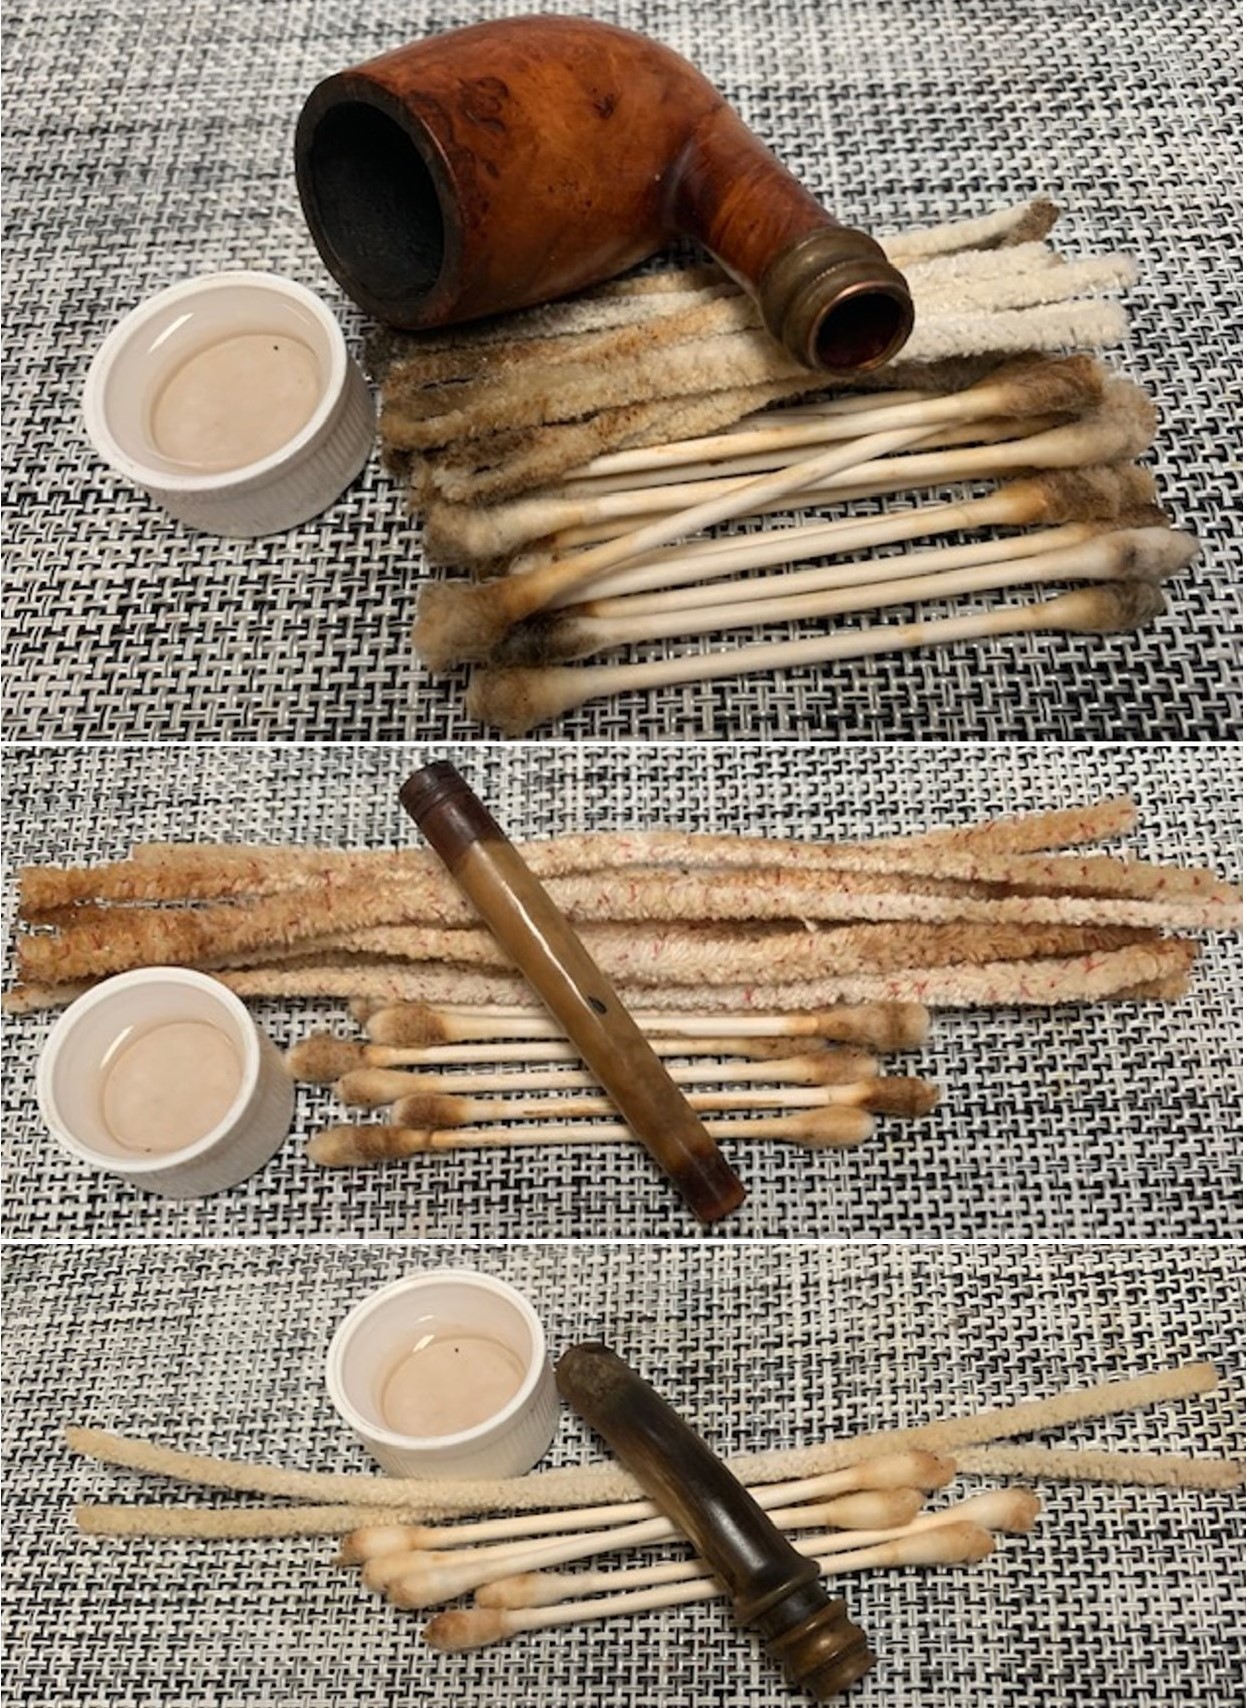
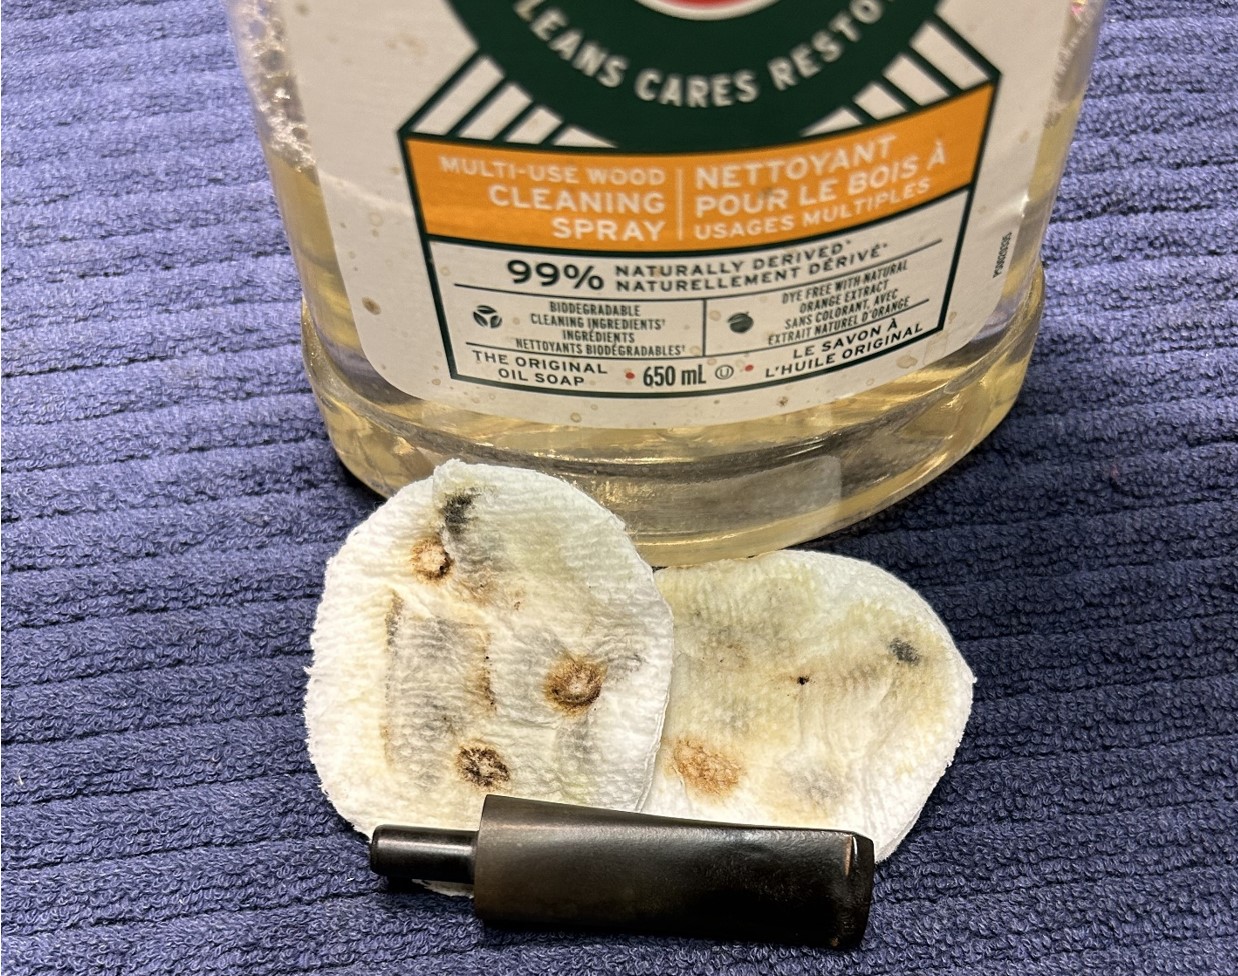
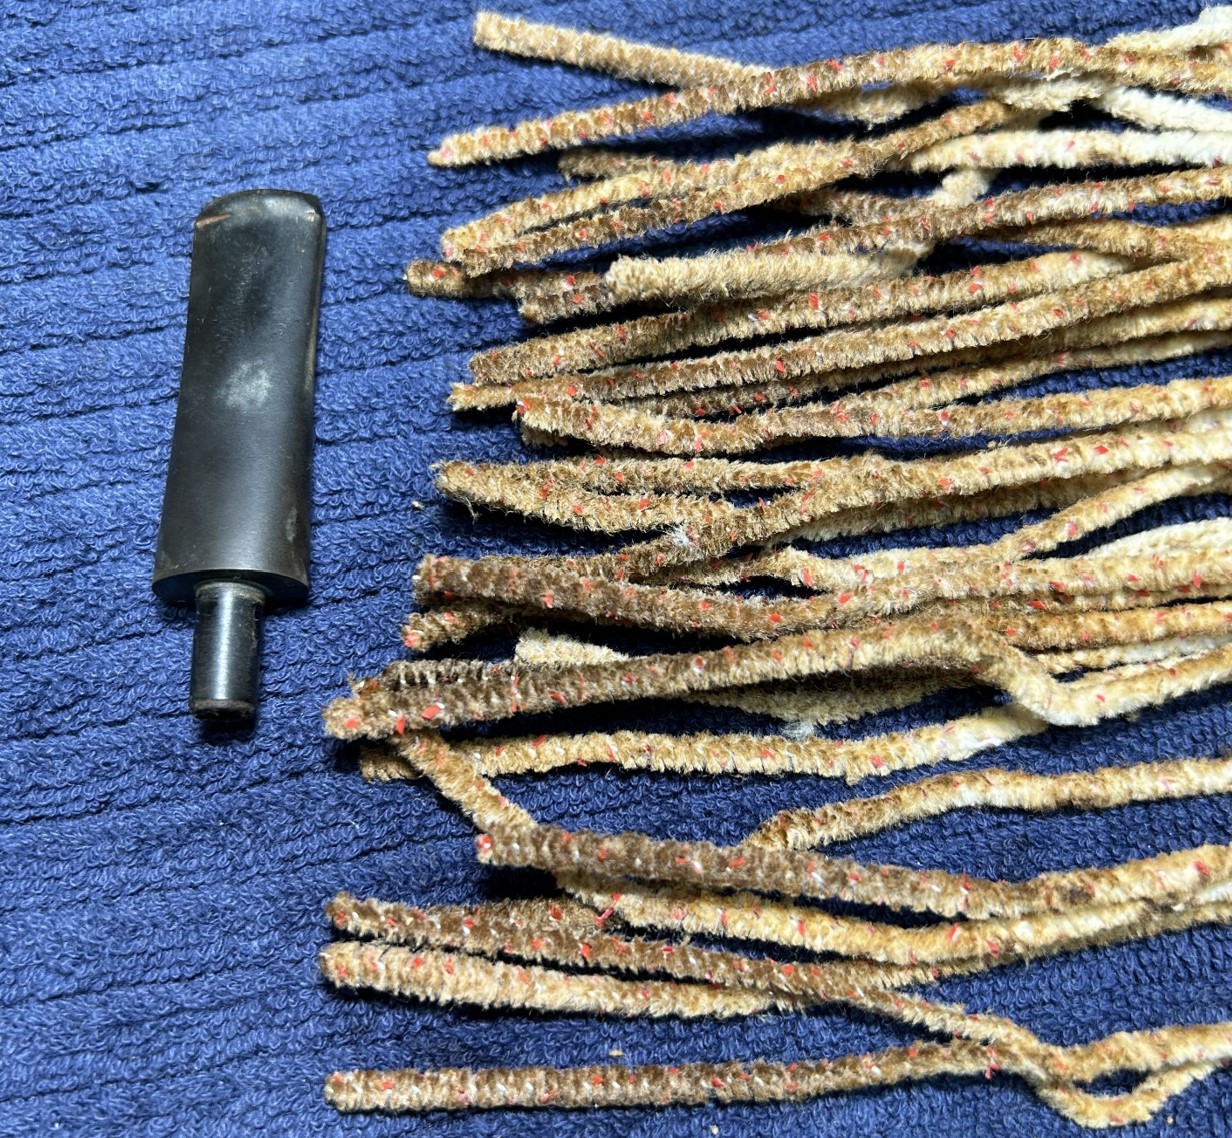
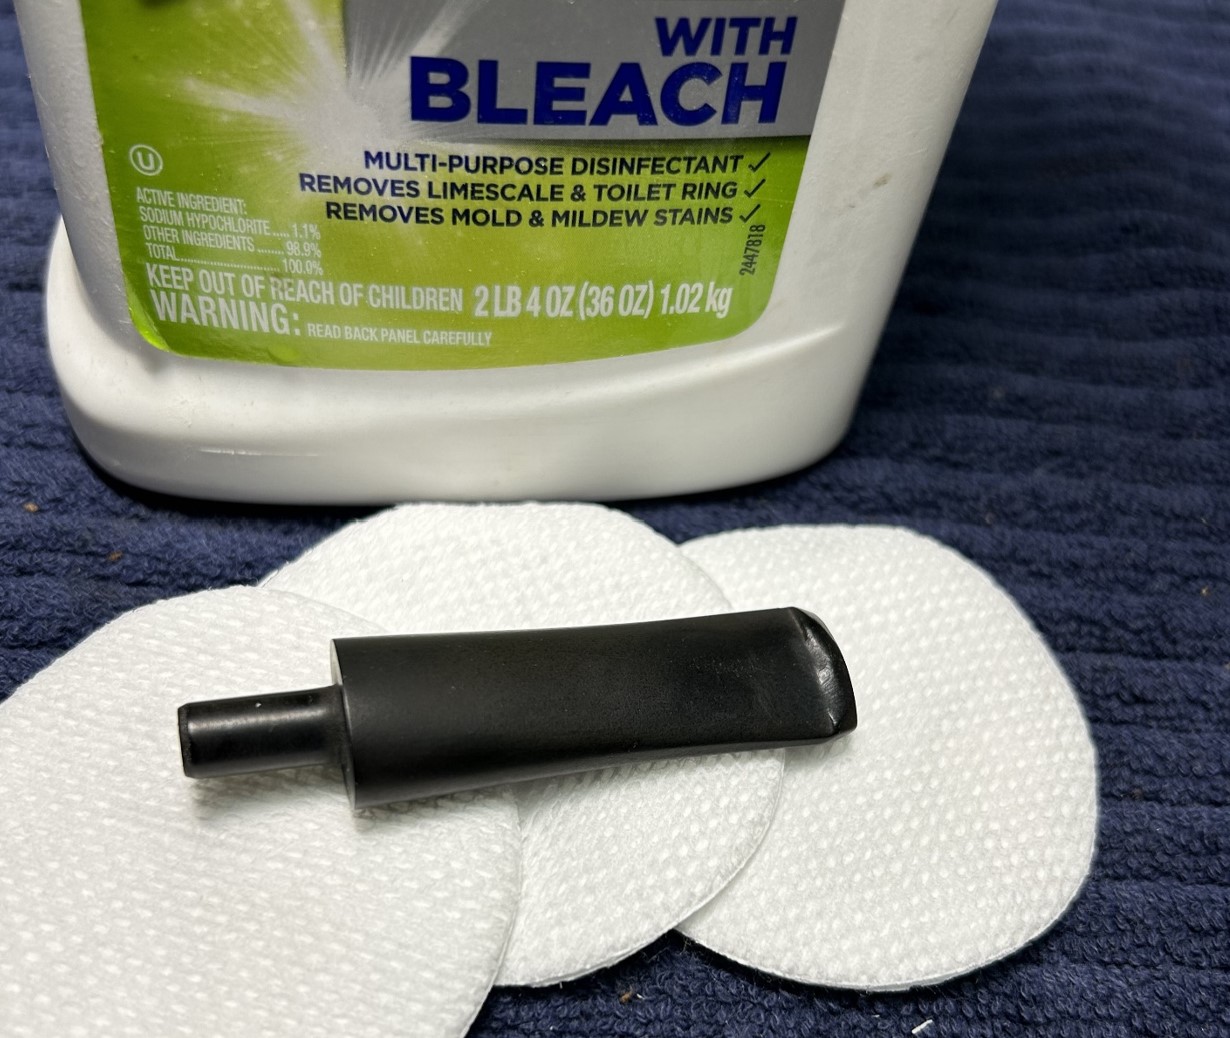
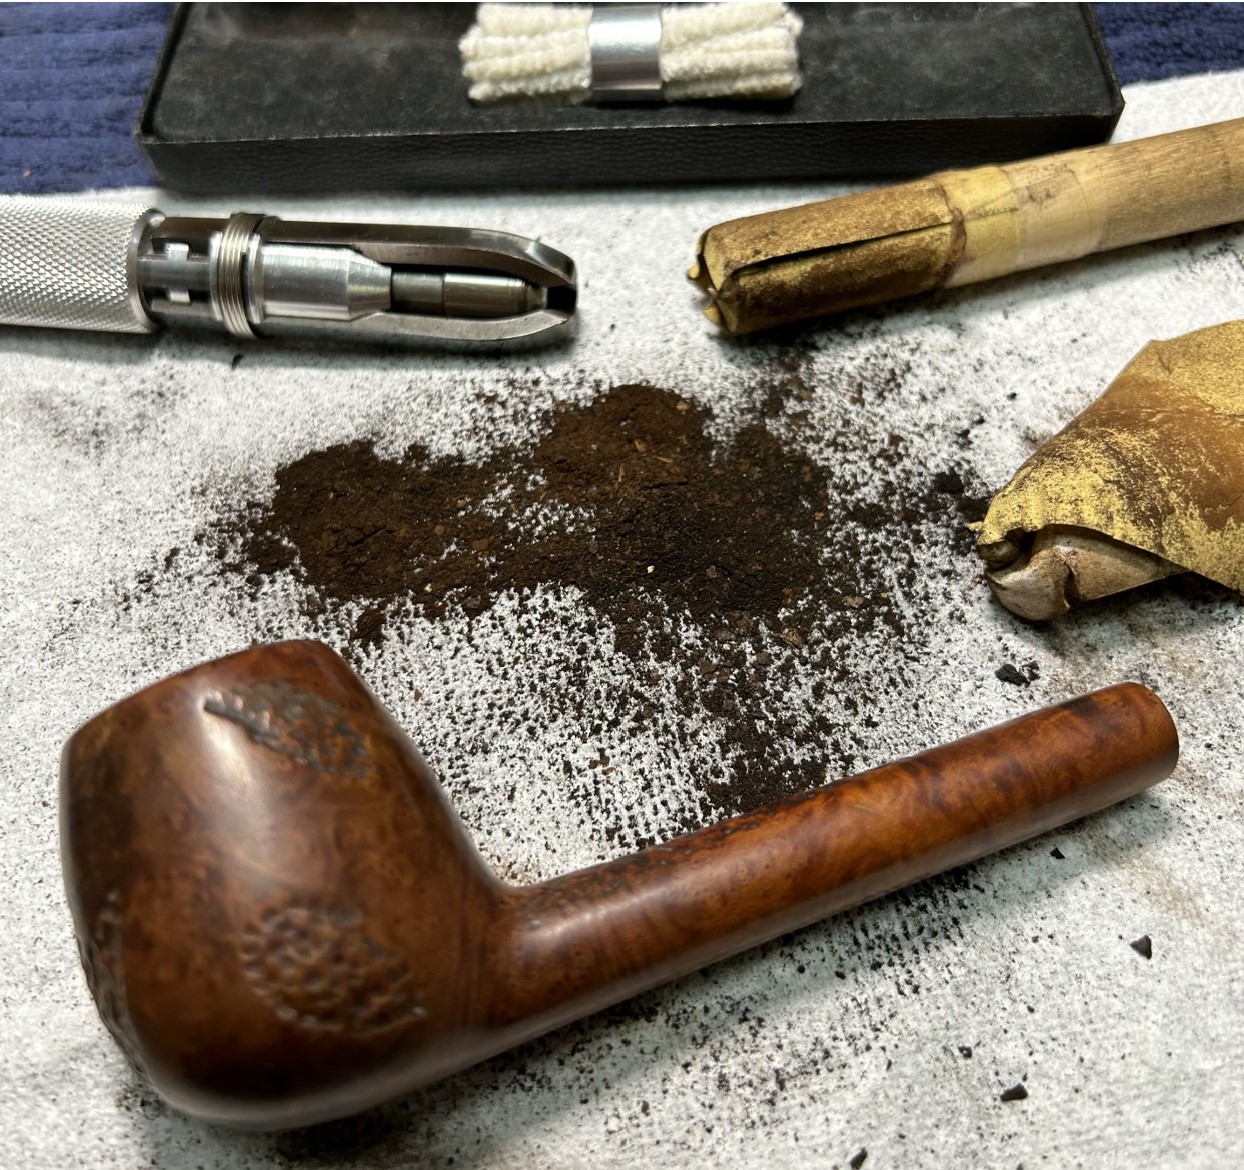
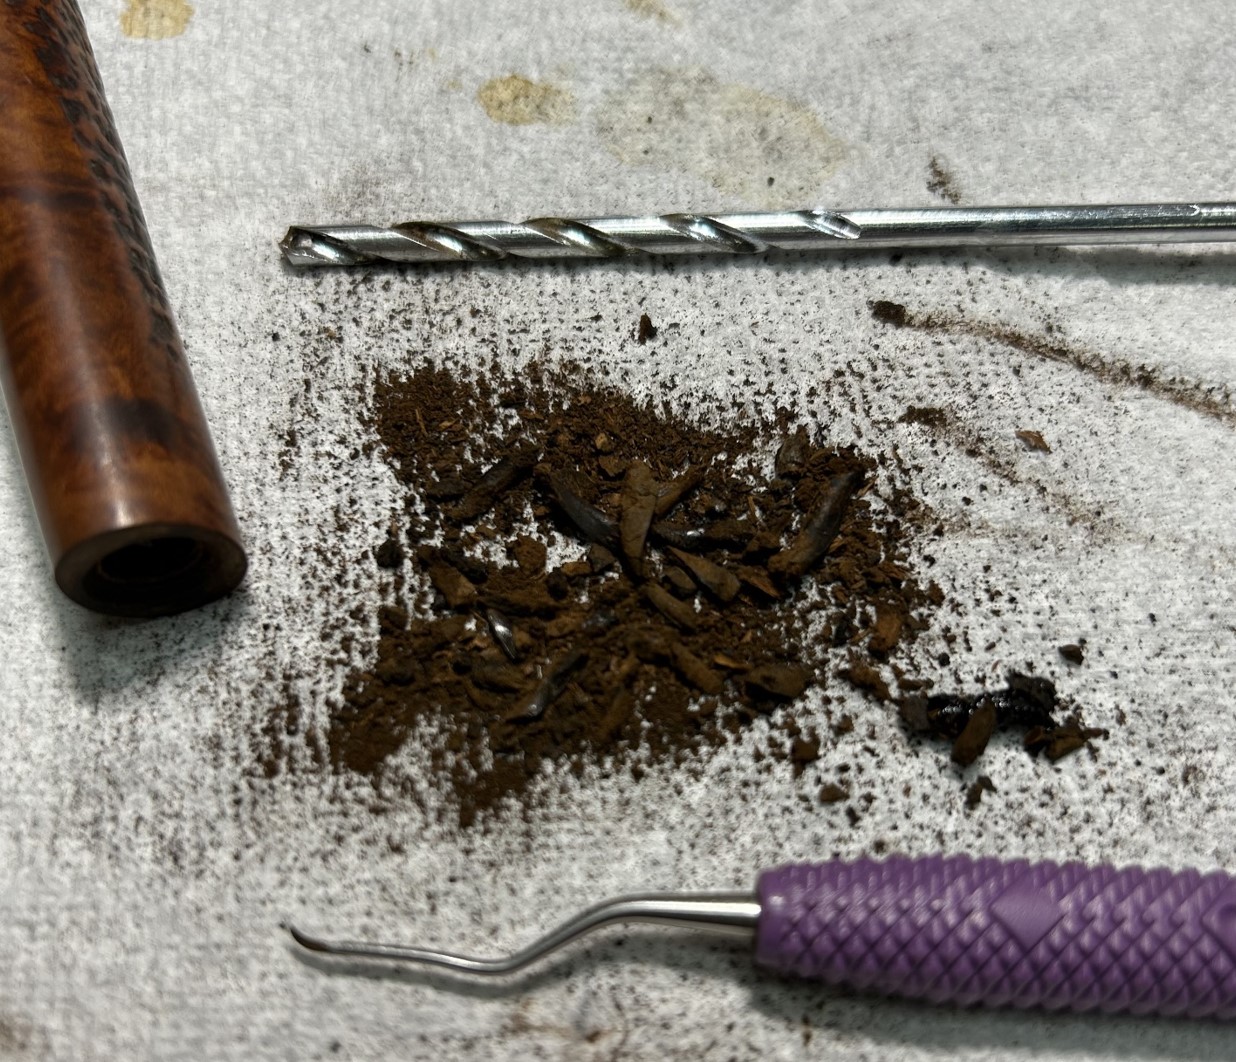
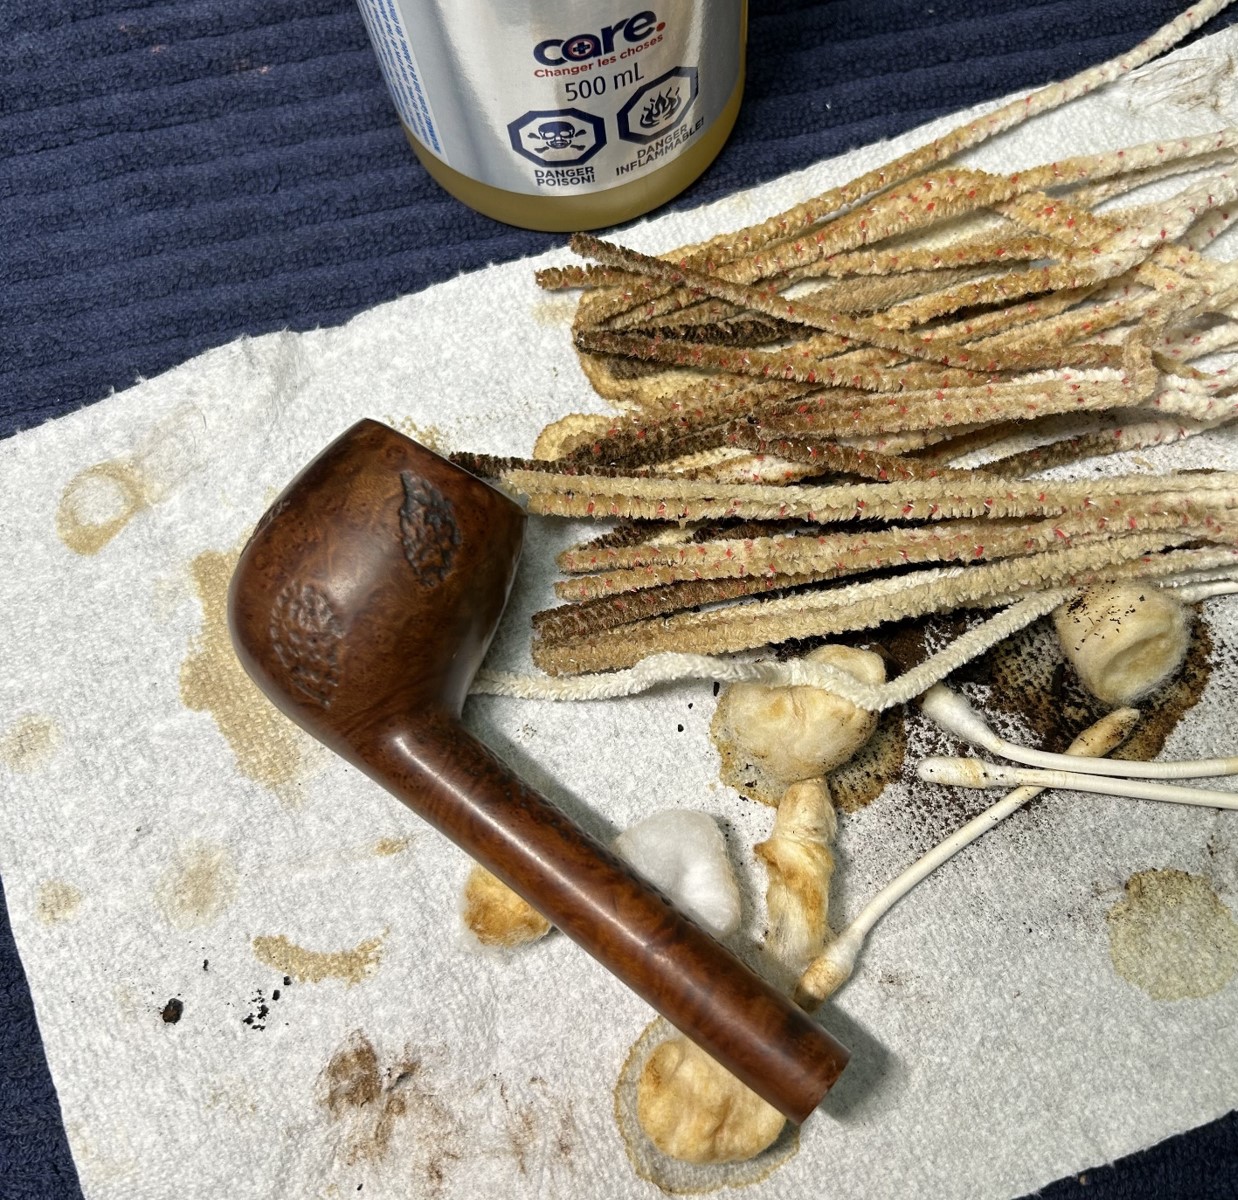
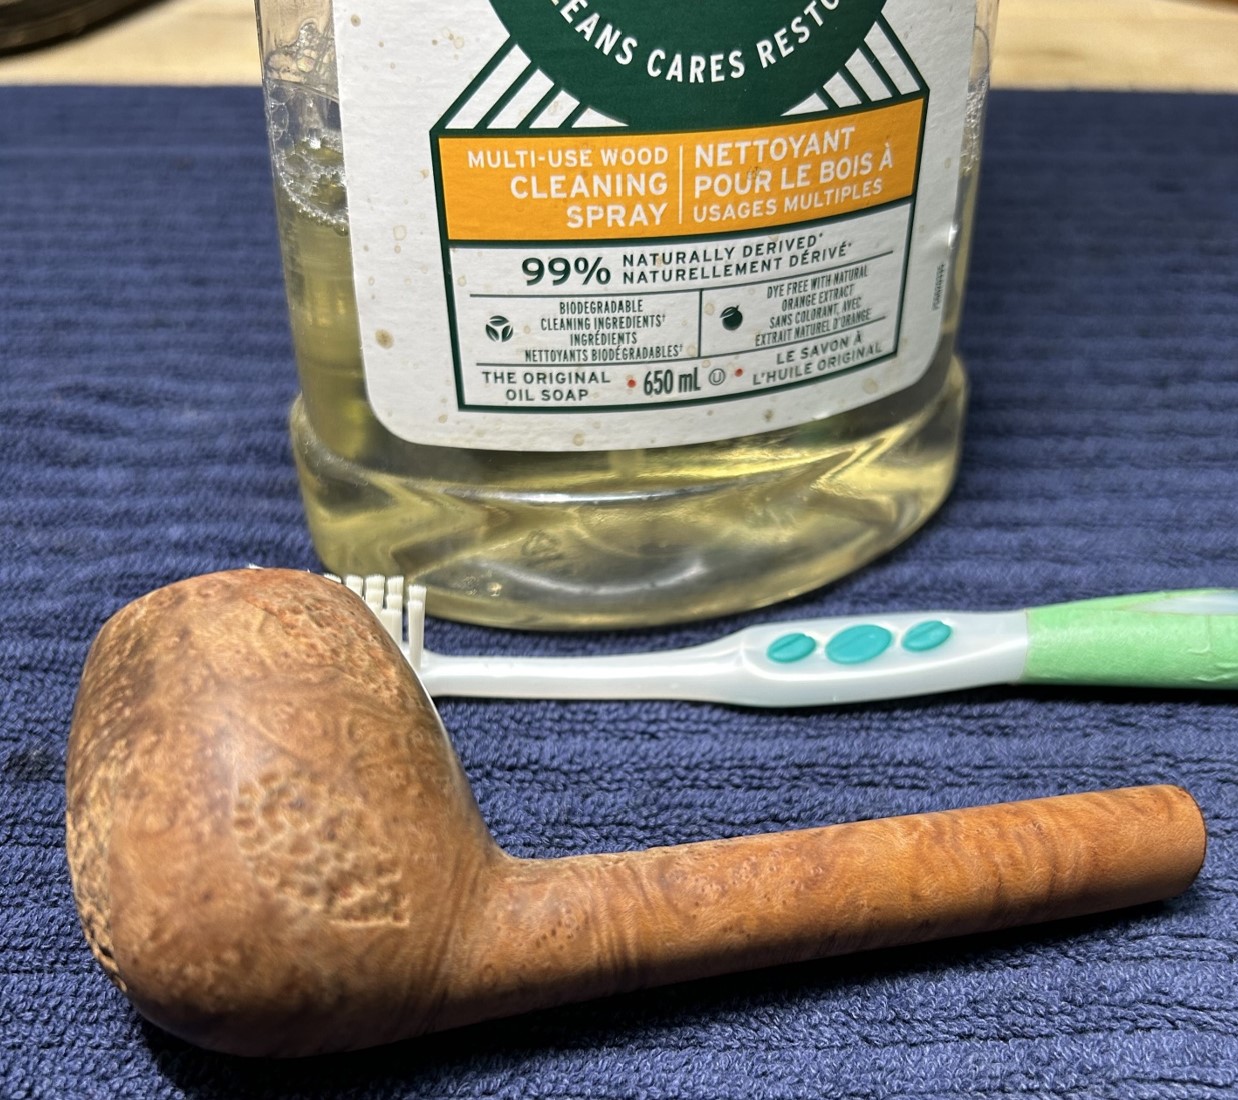
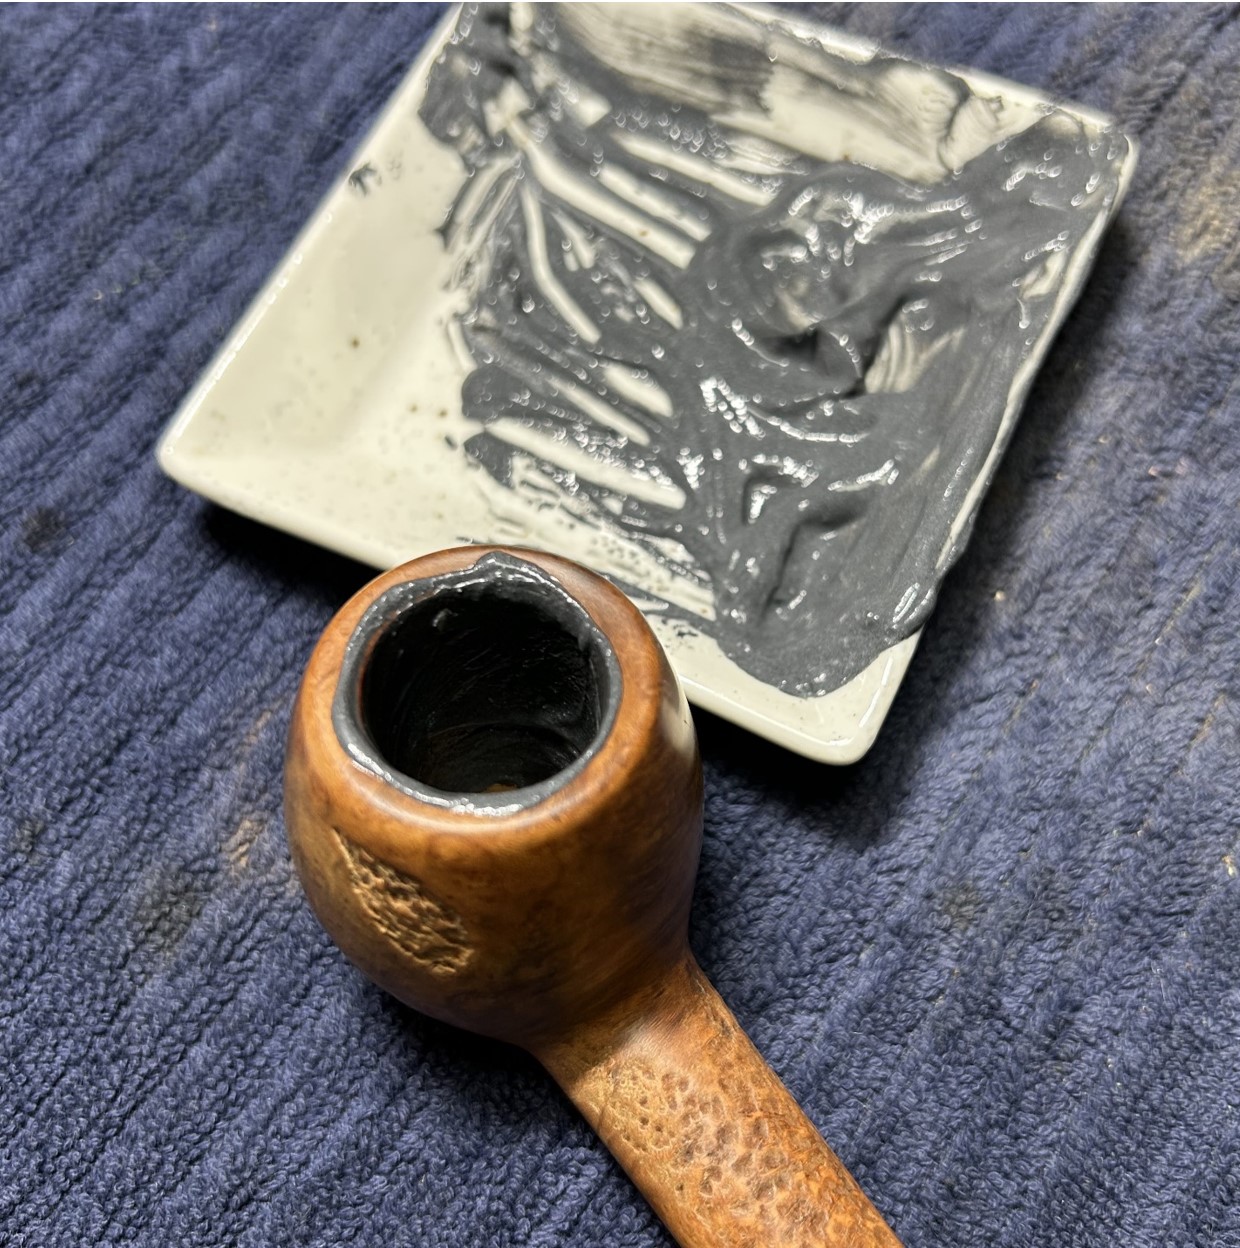
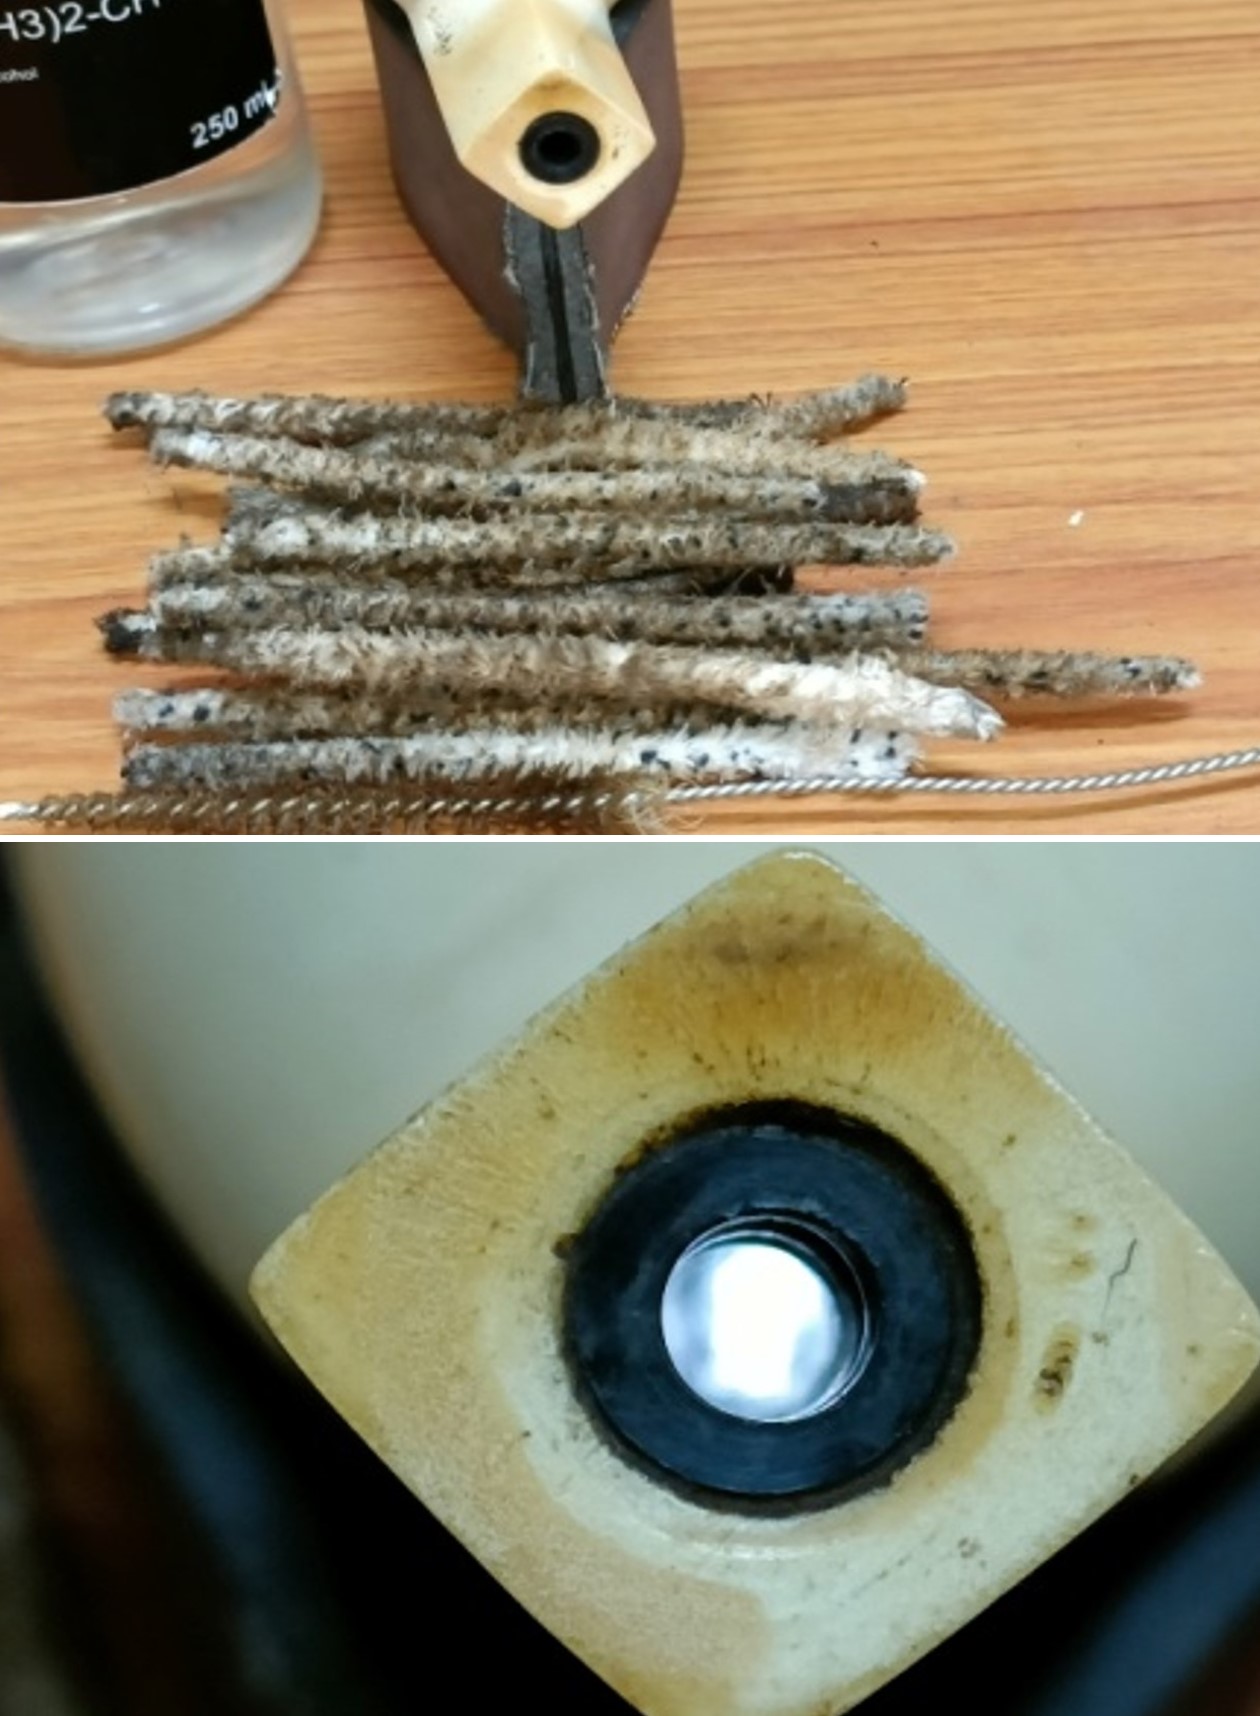
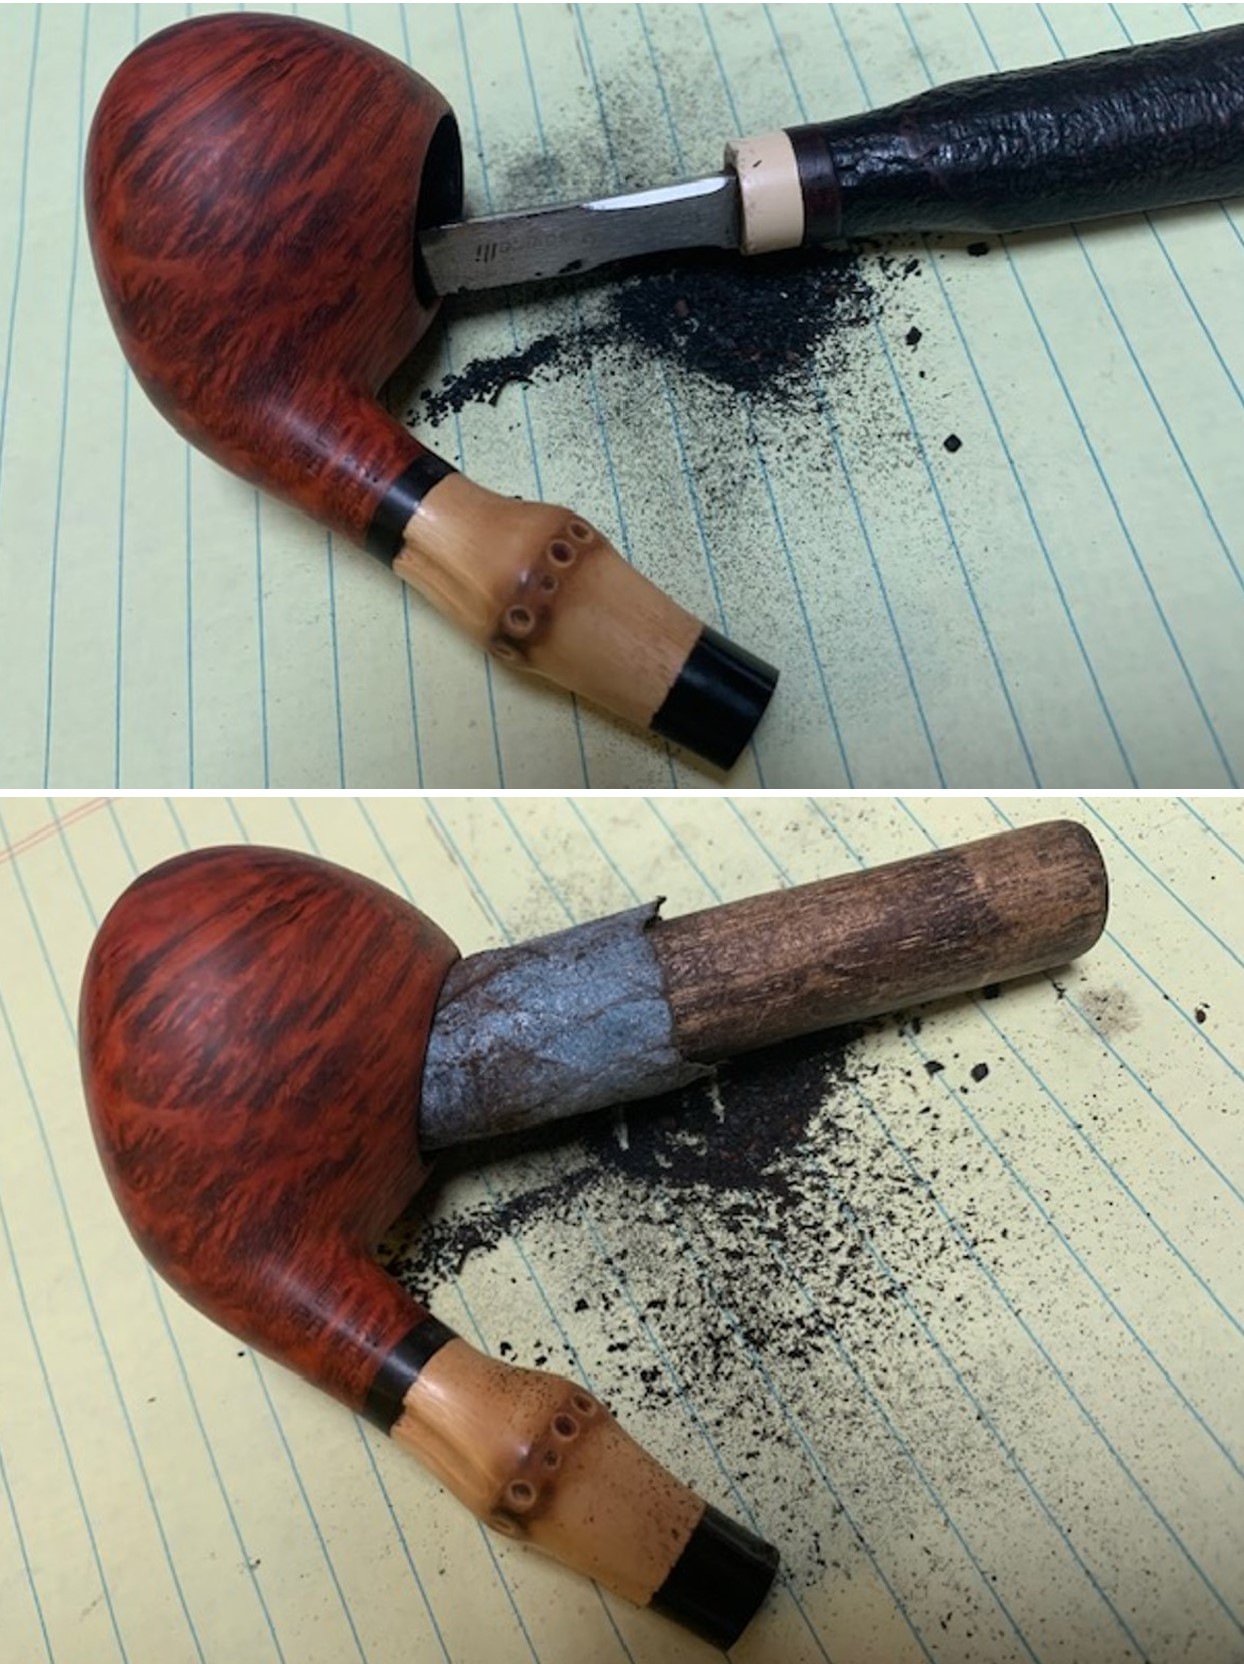
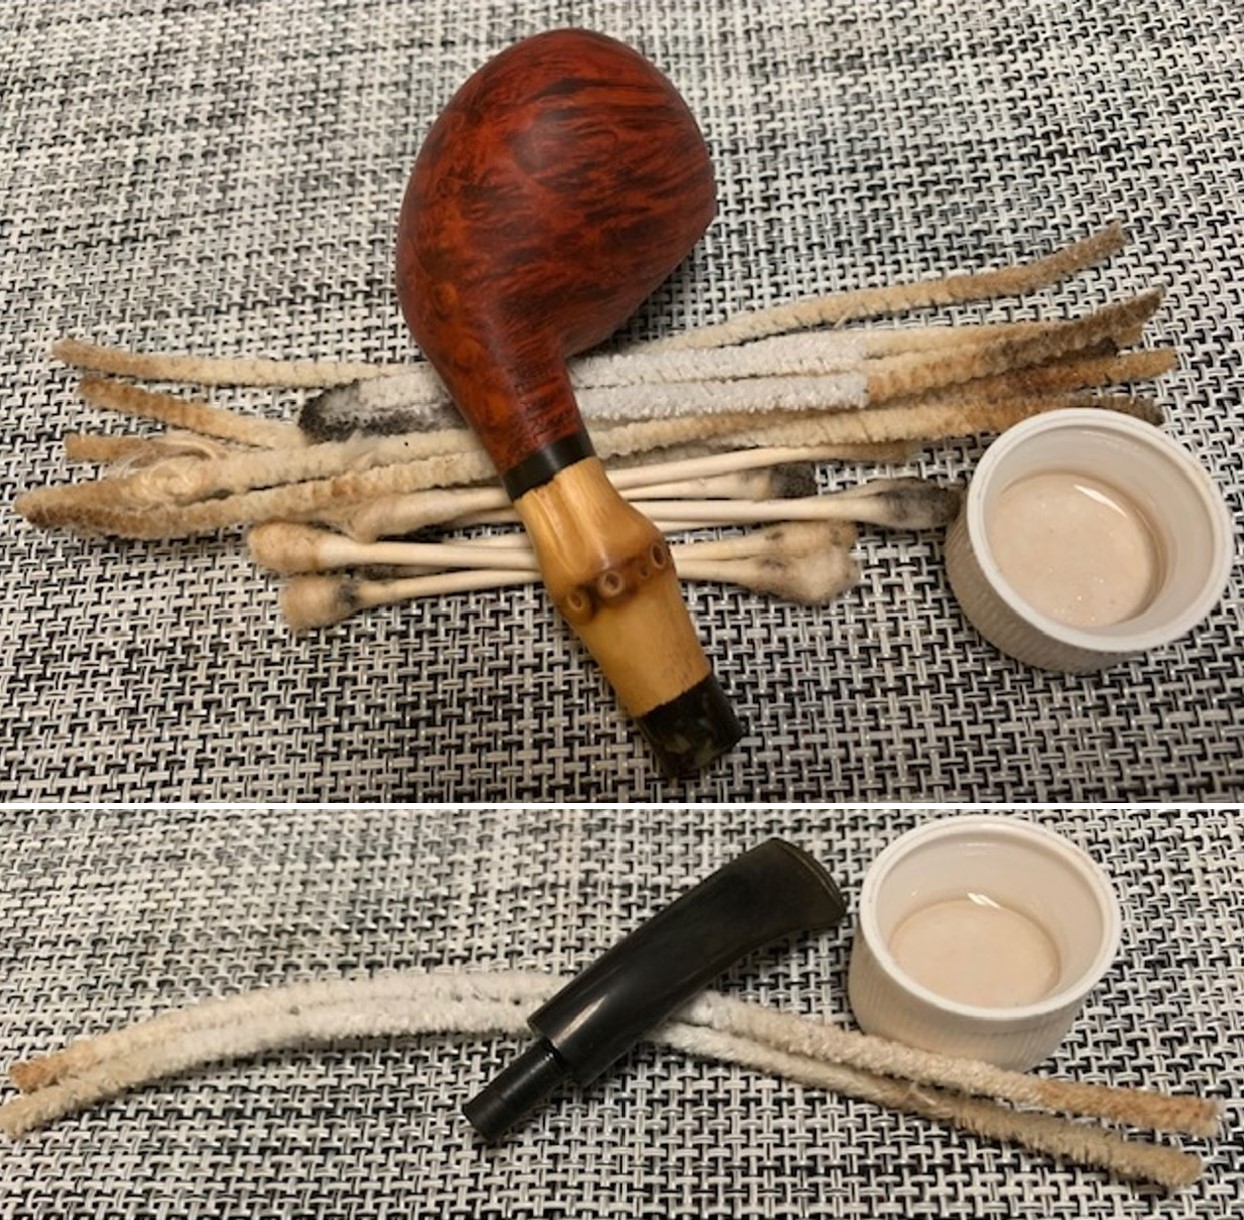
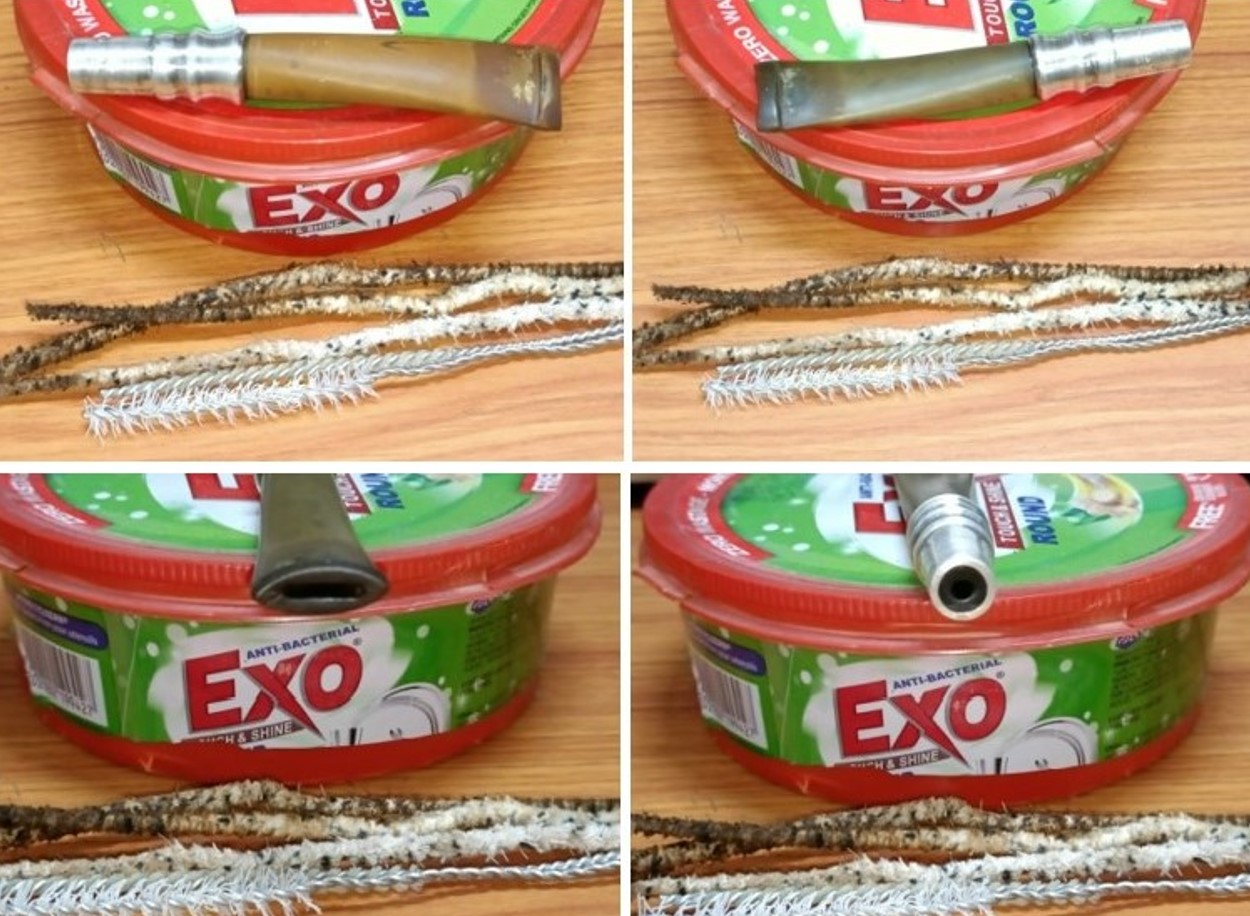
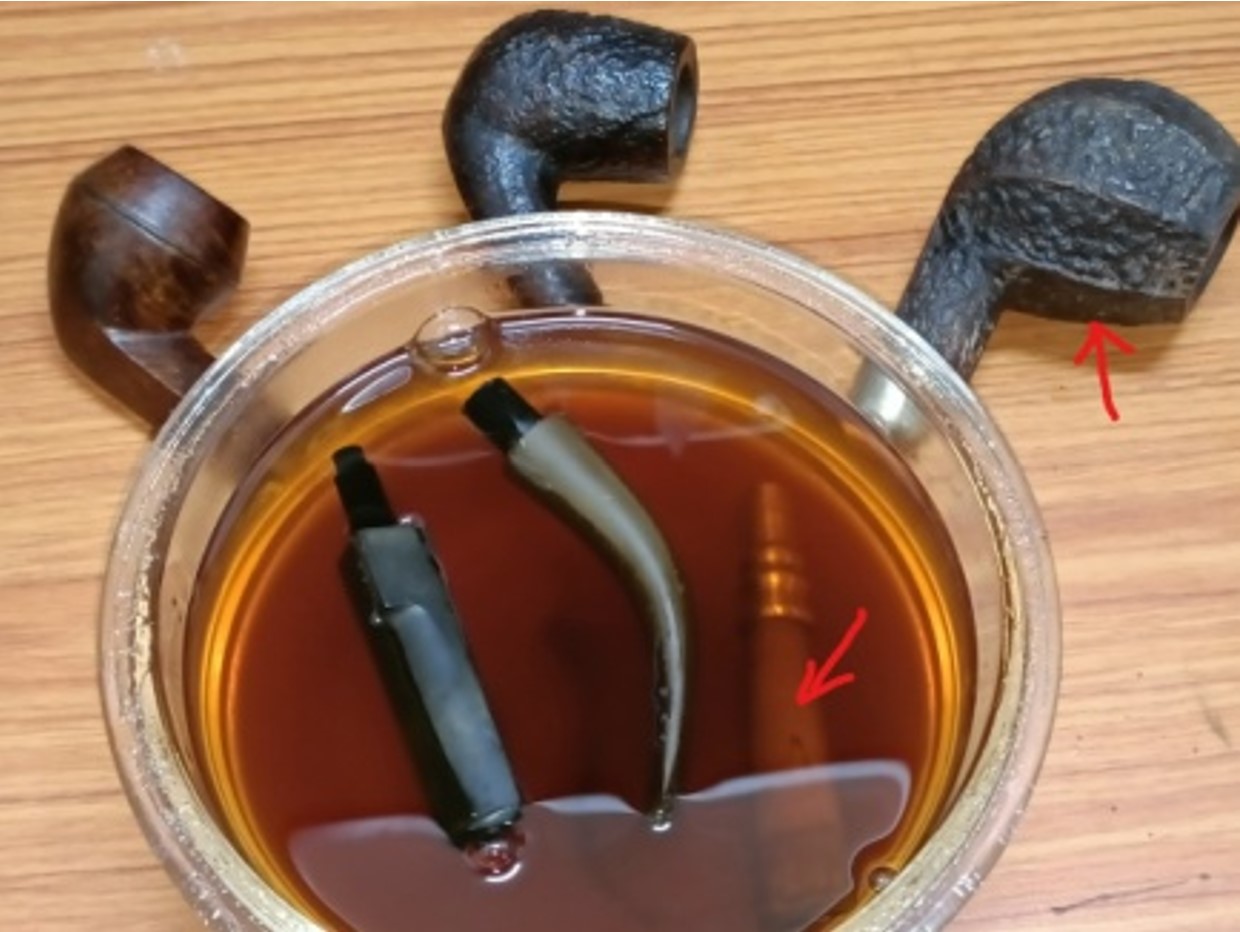
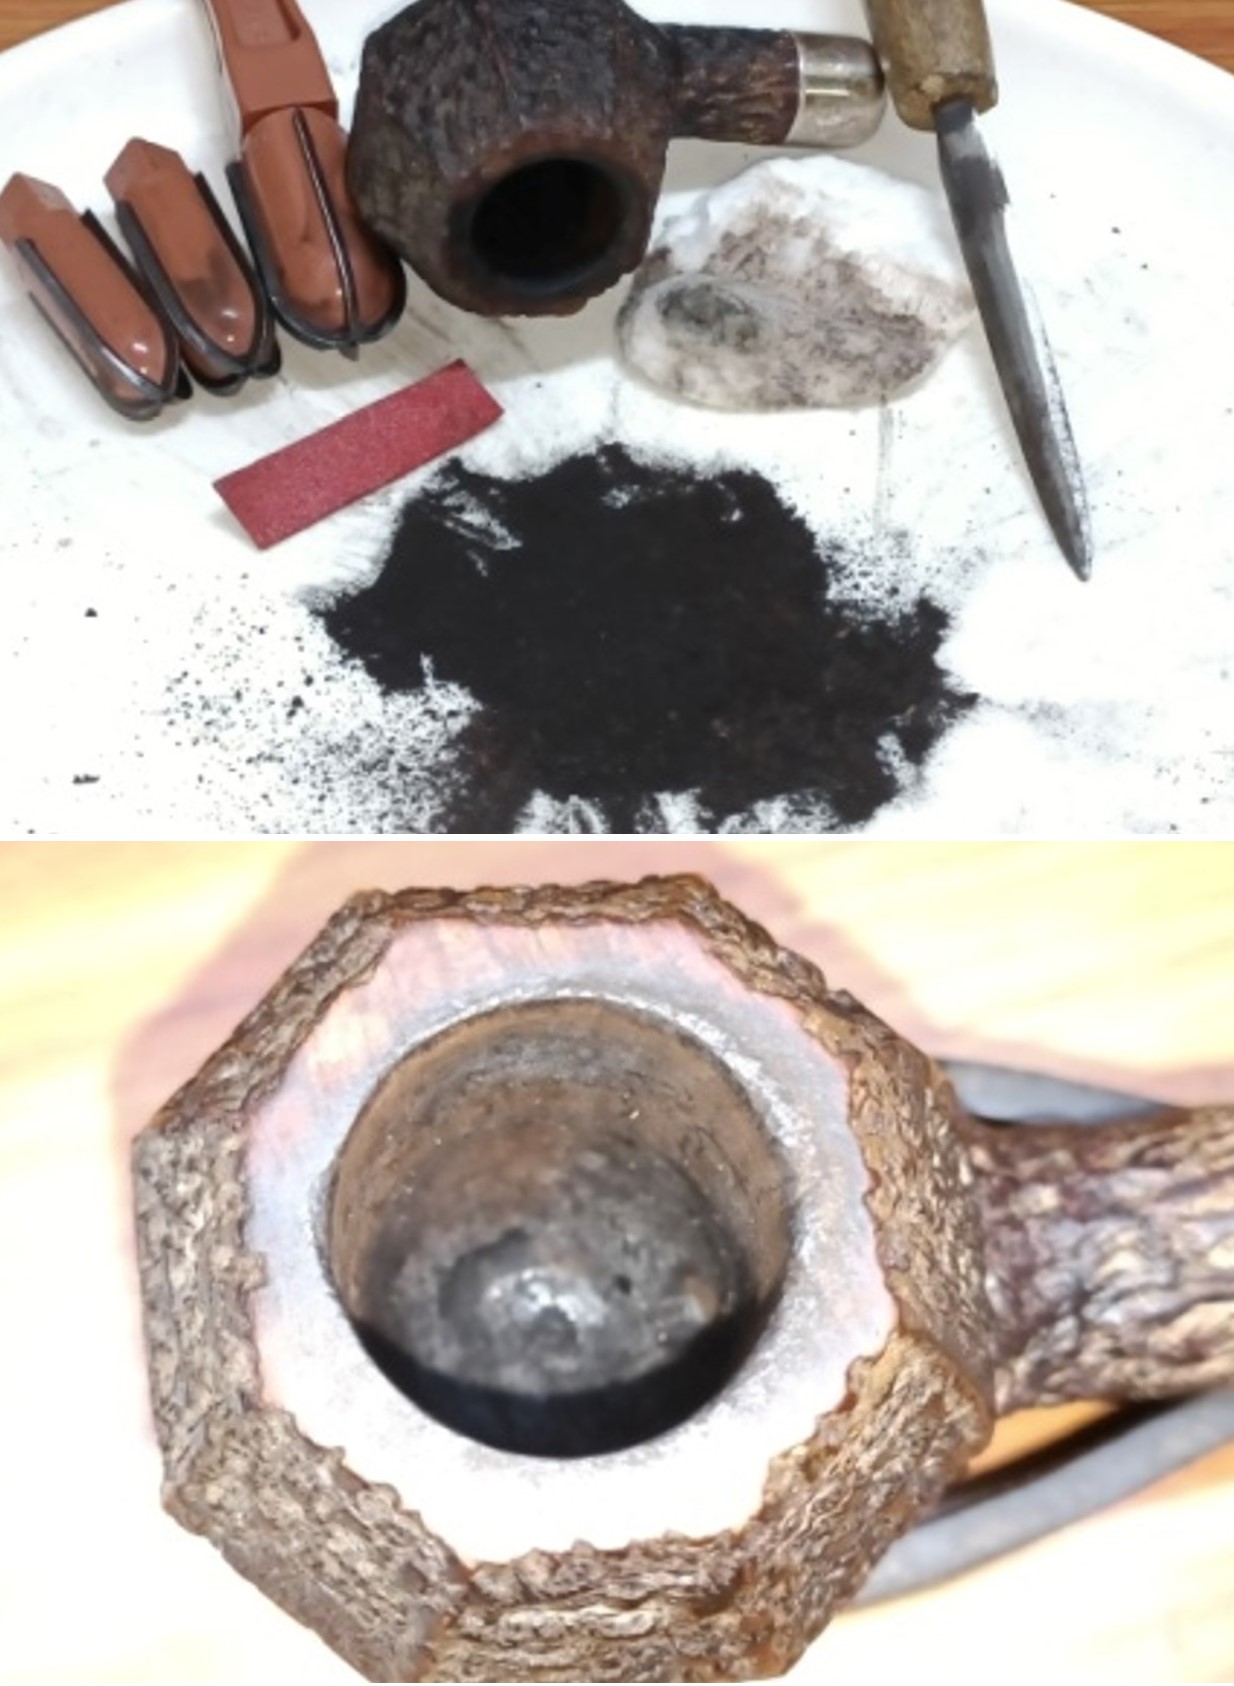
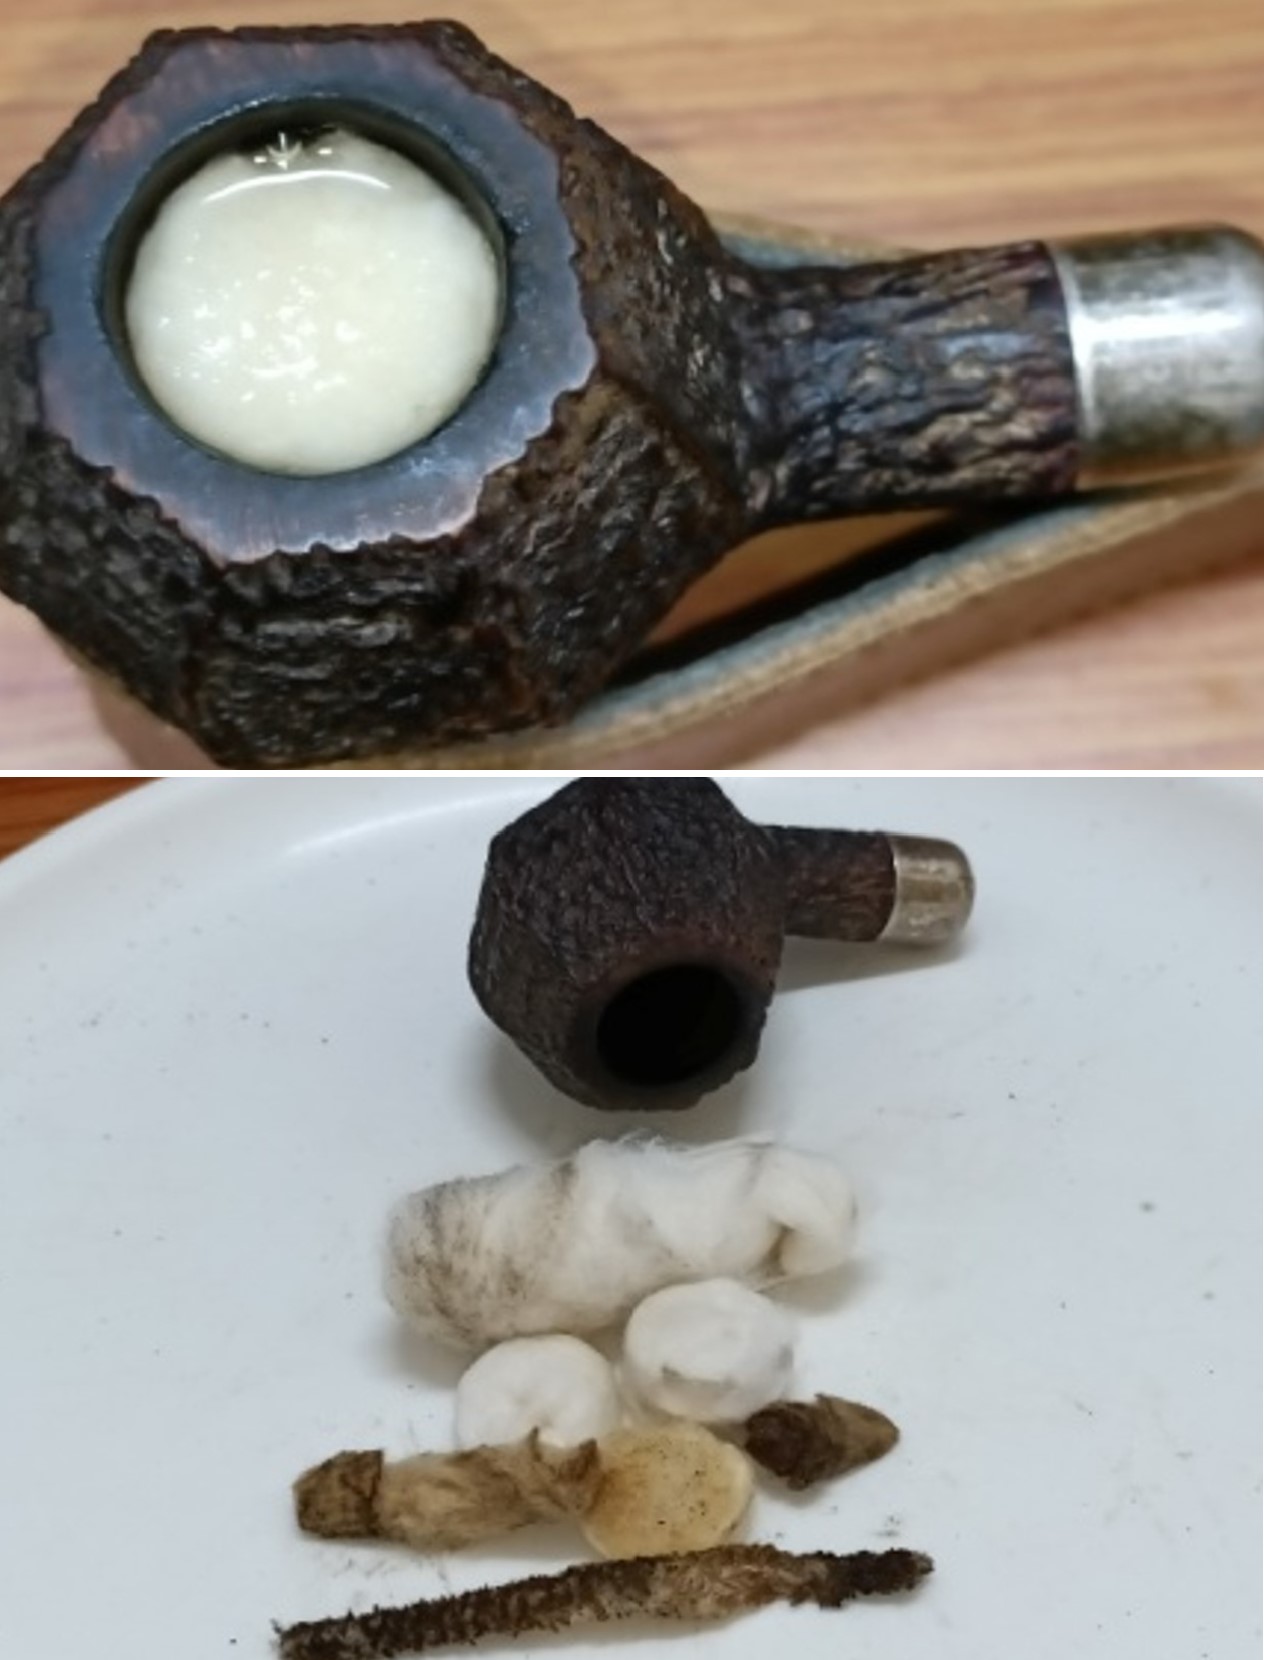
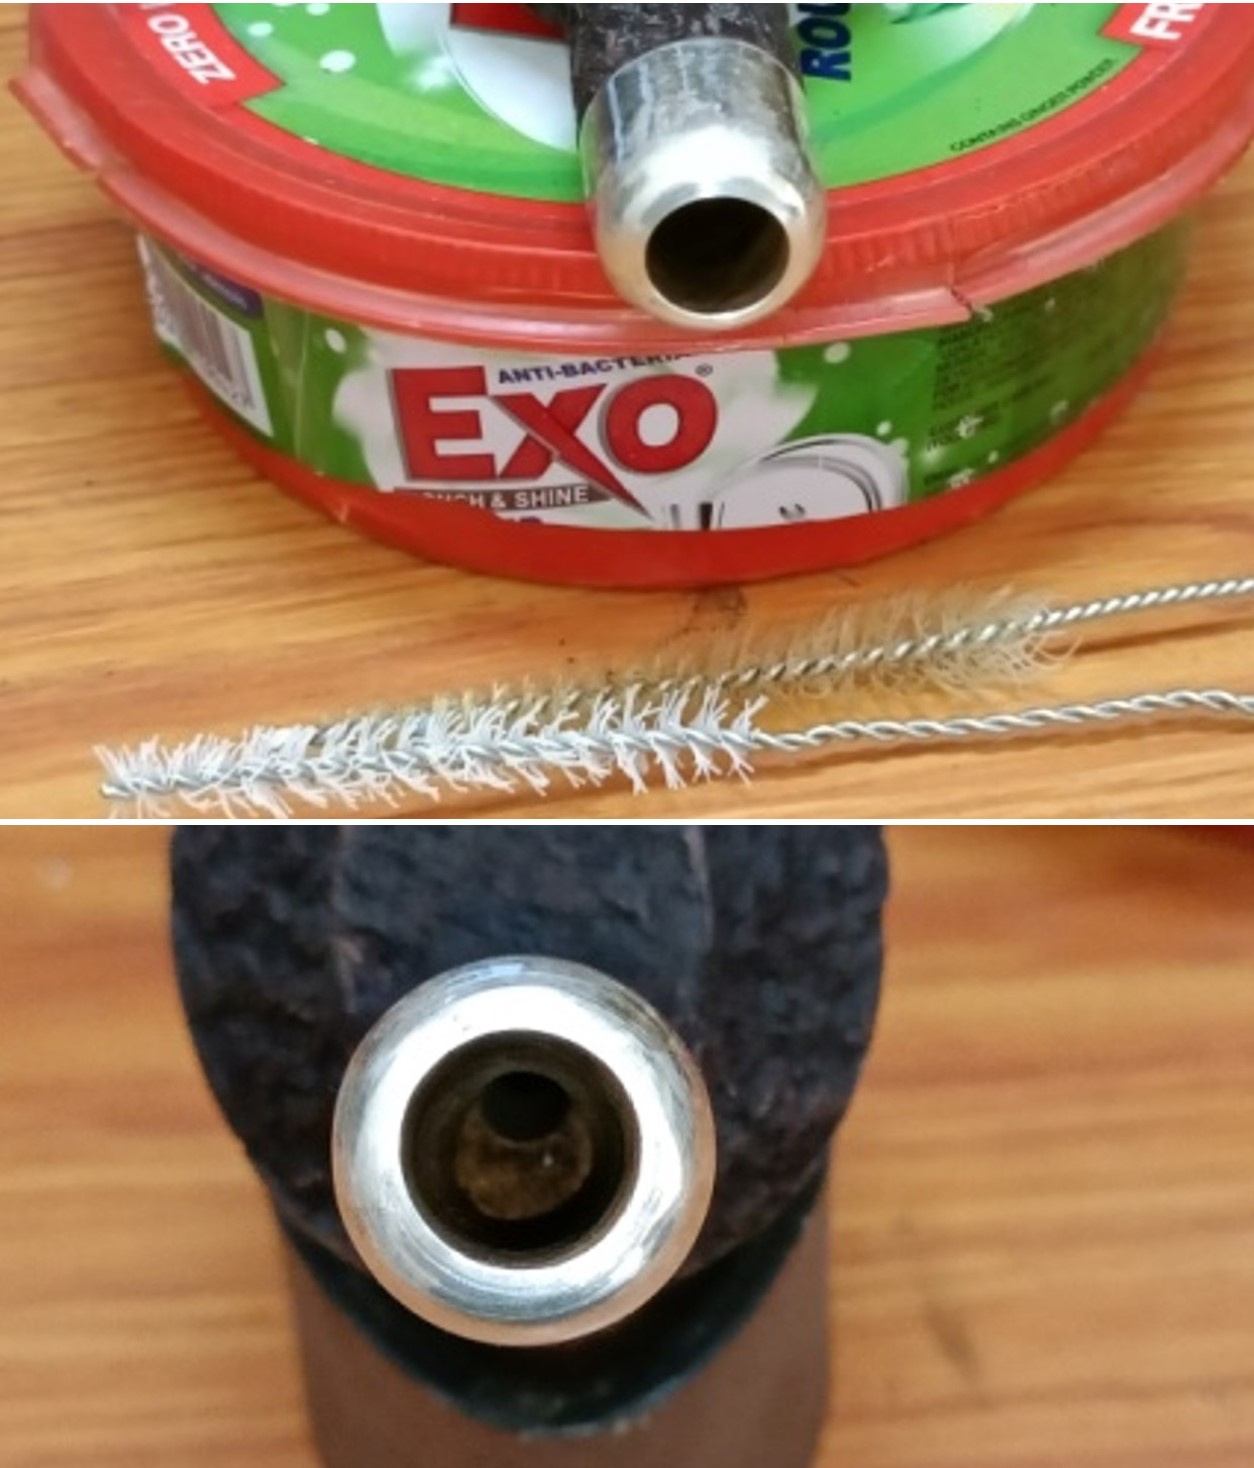
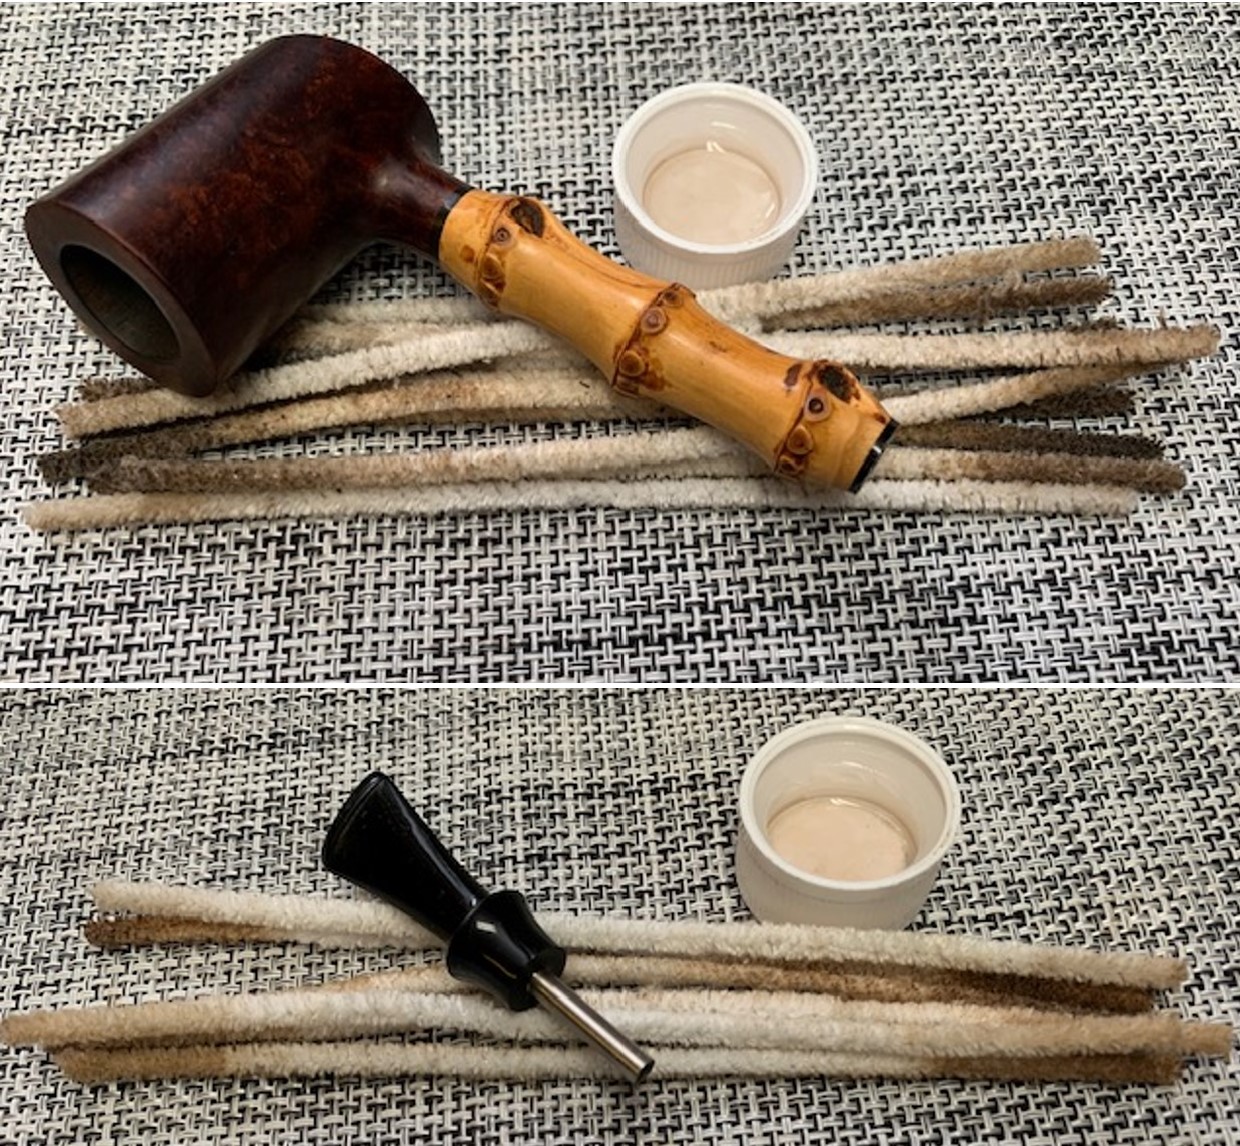
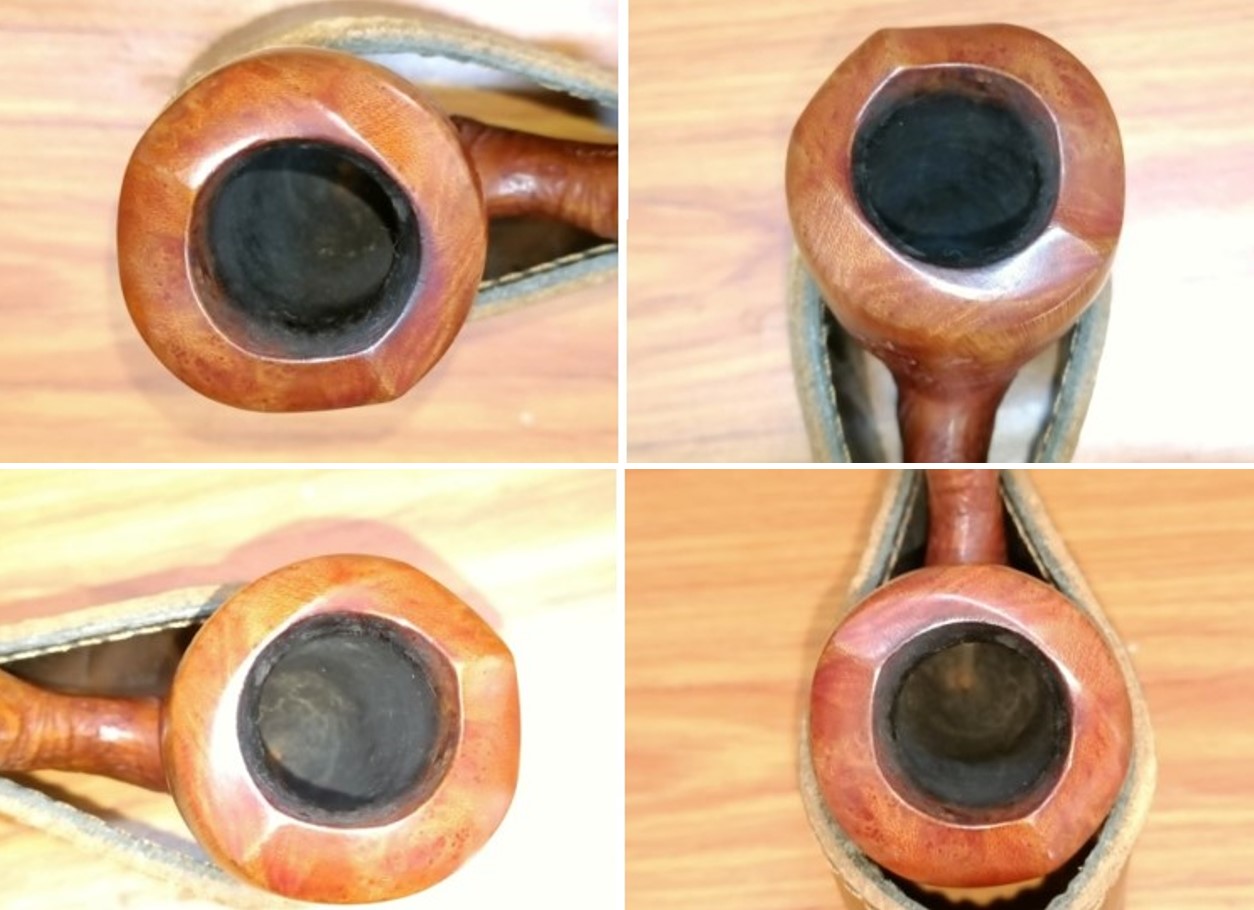
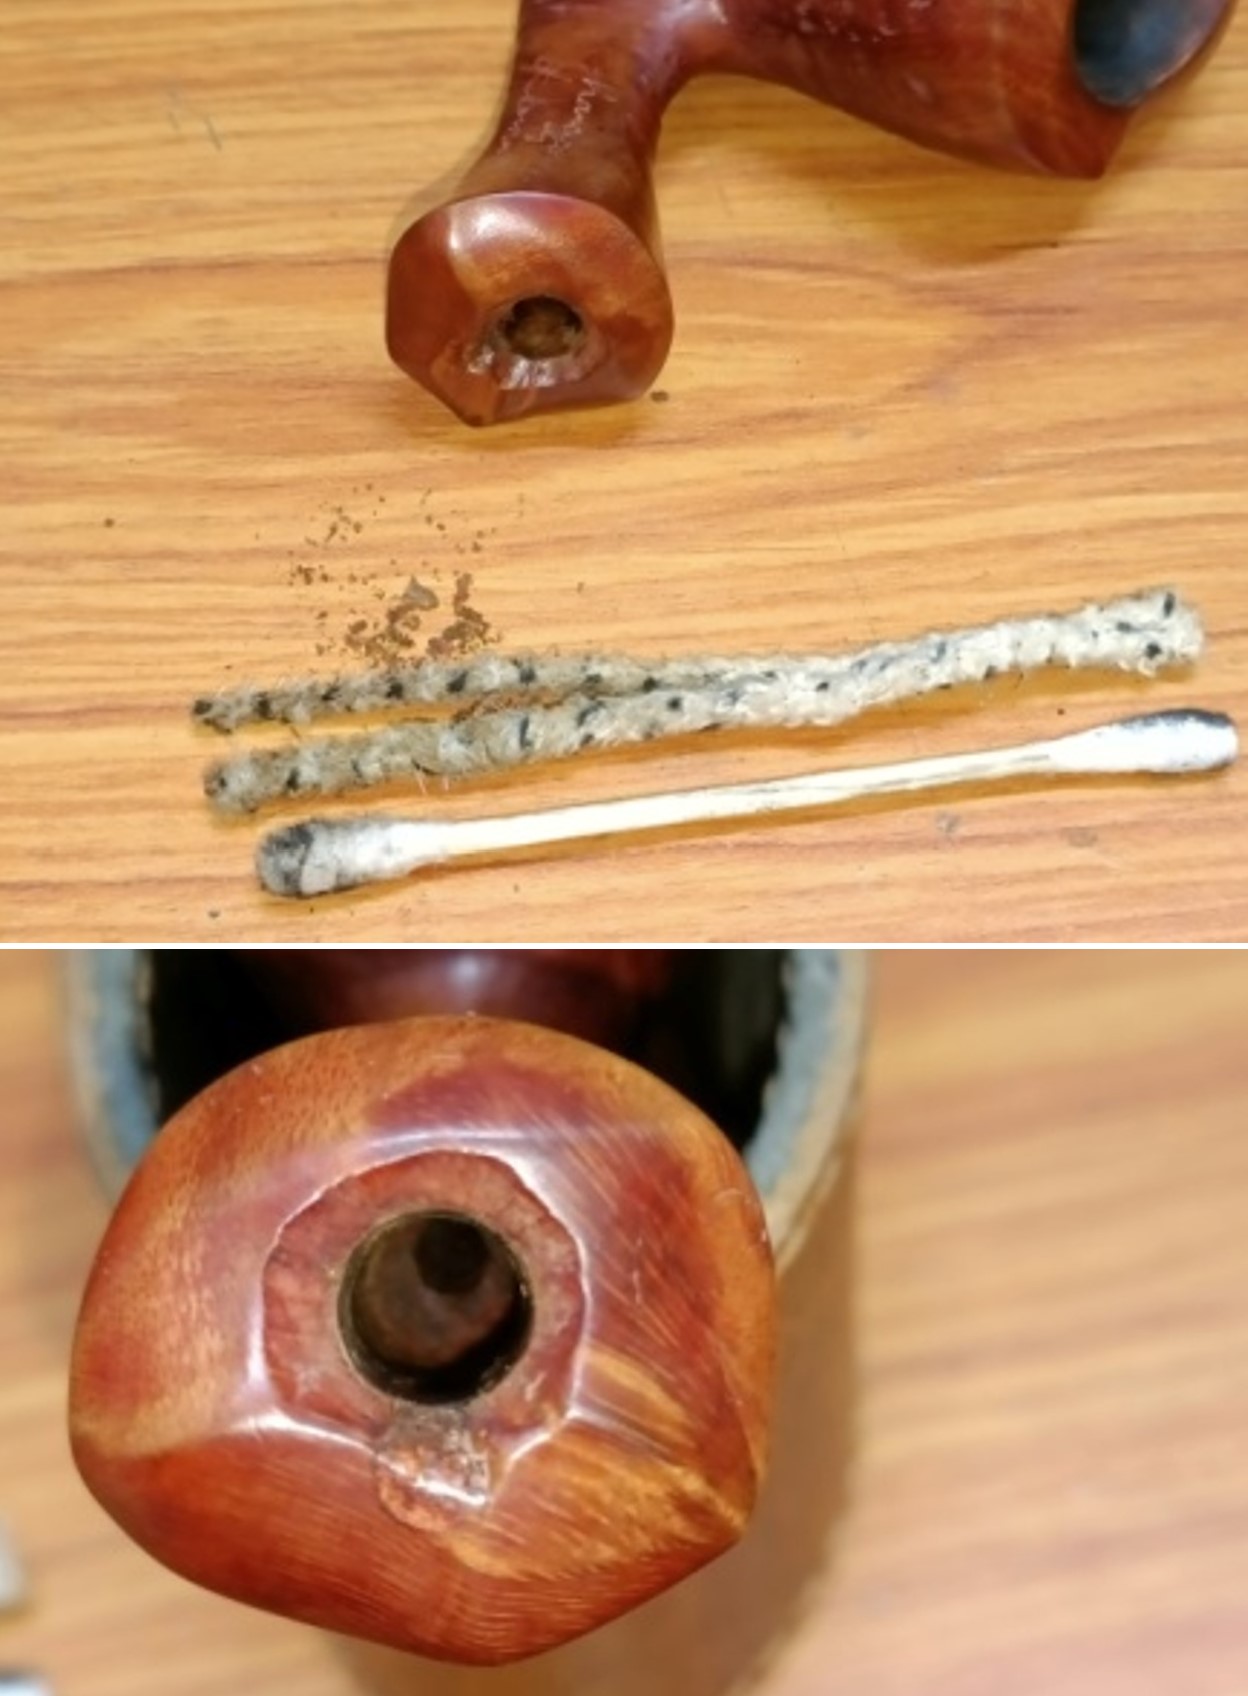
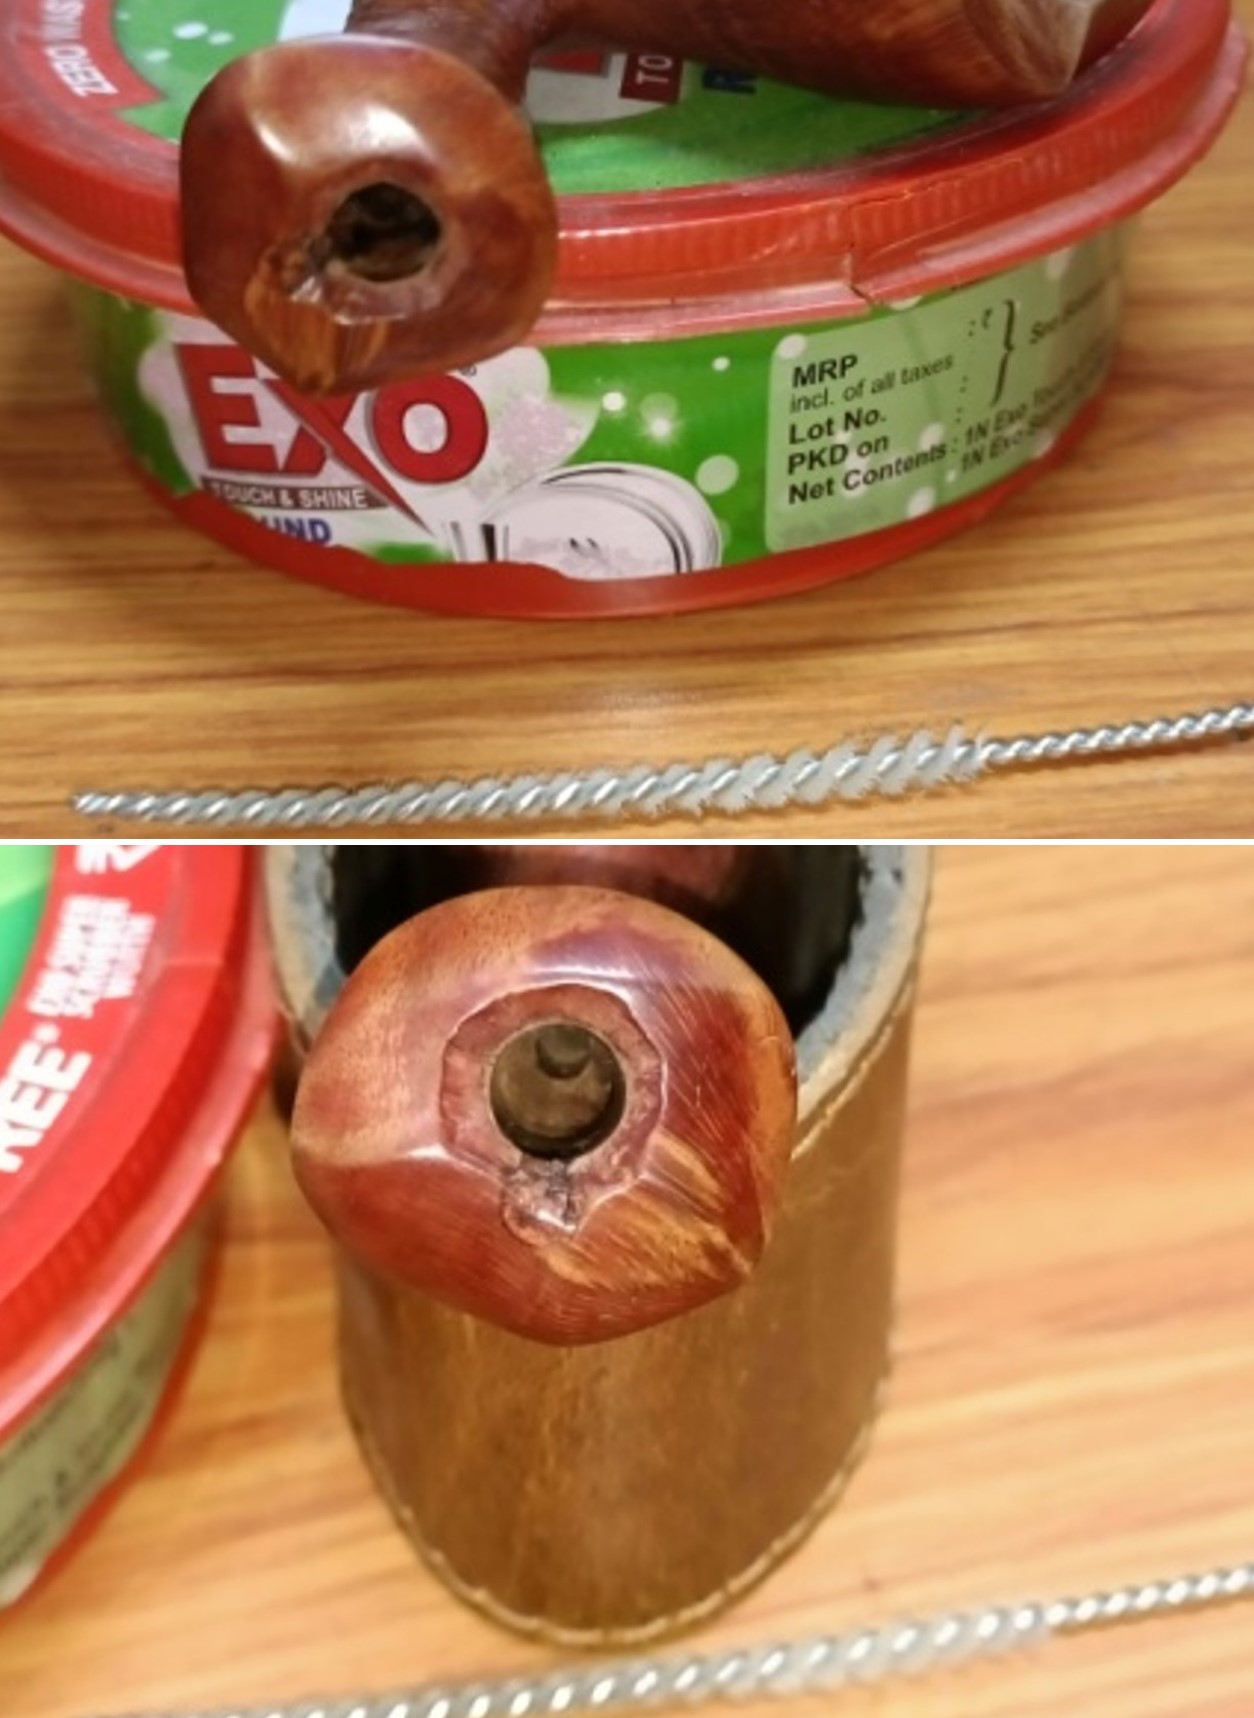
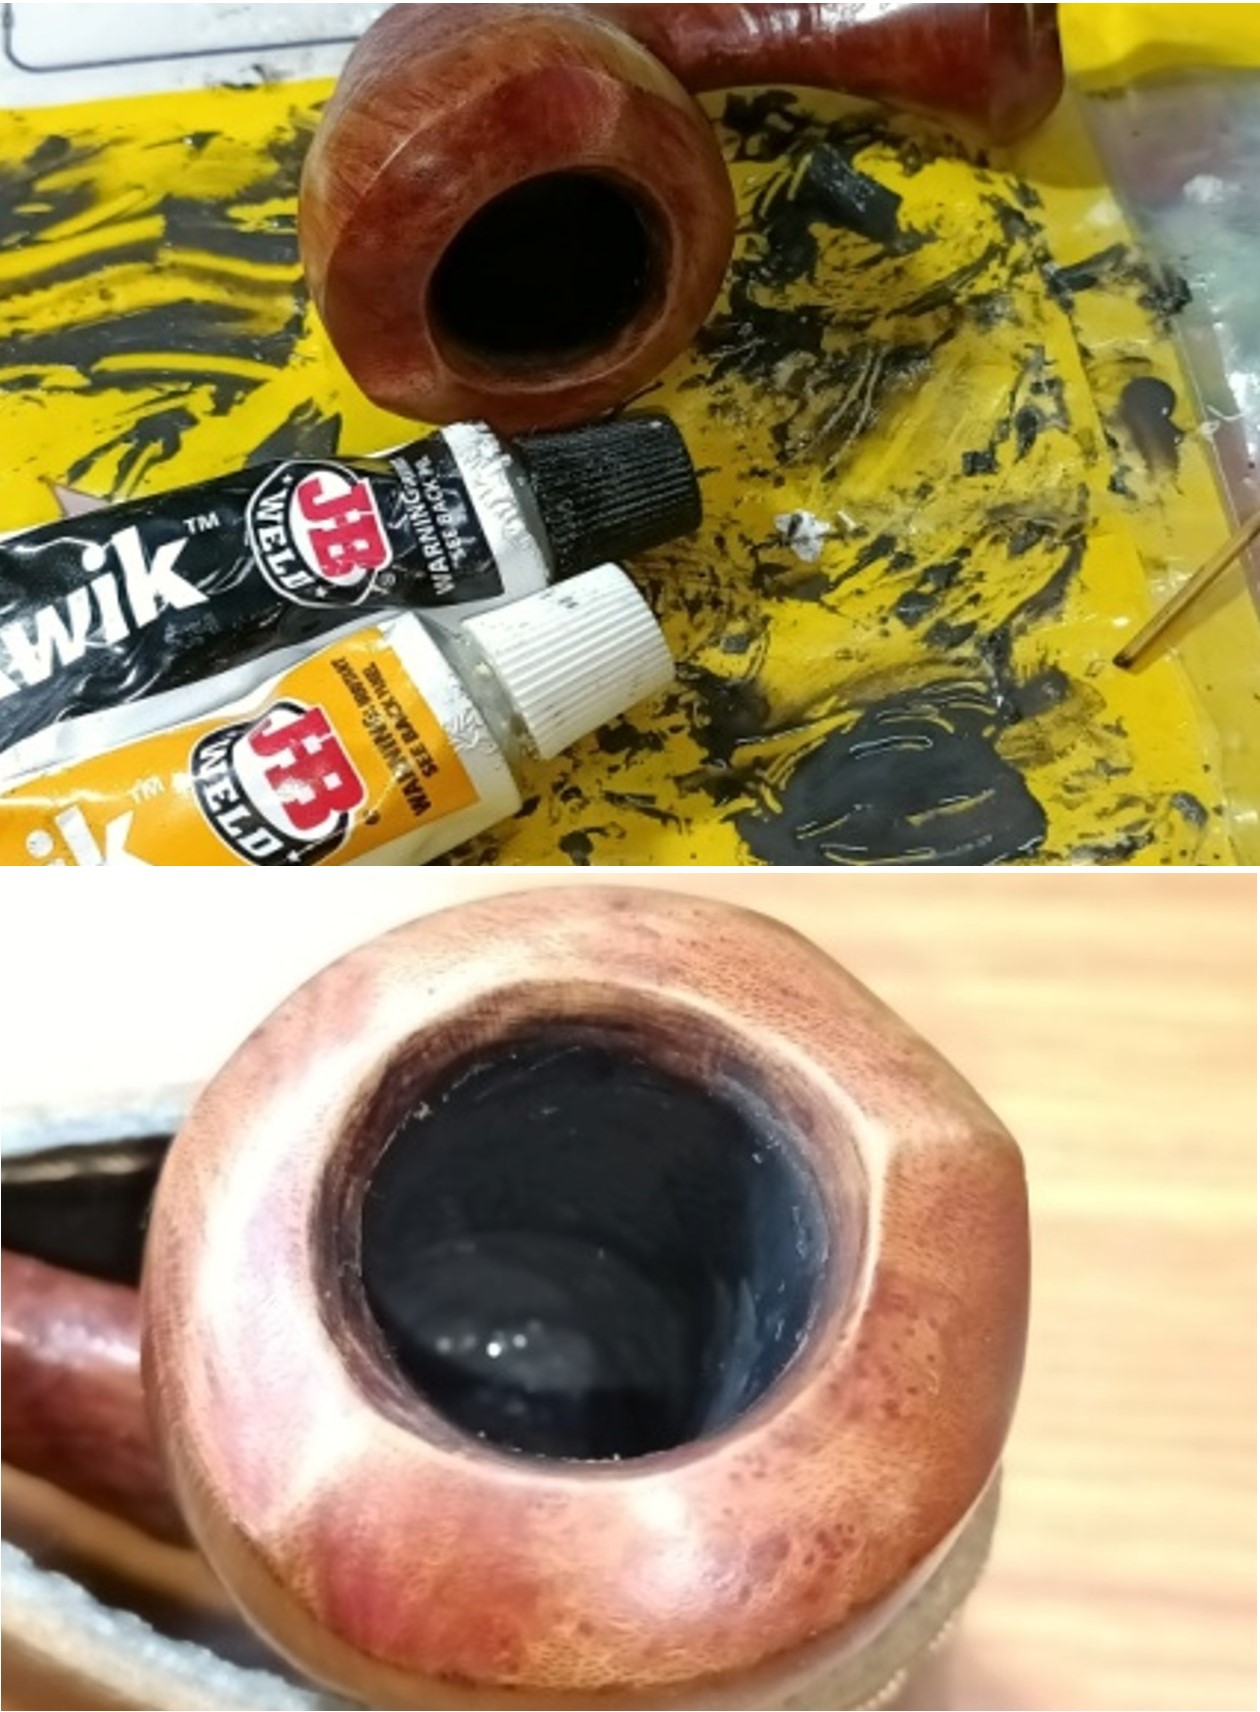
I started my work on this pipe by reaming the bowl. I cleaned out the remaining cake with a Savinelli Fitsall Pipe Knife. I took it back to bare briar to carefully examine the walls of the bowl. I finished by sanding the walls of the bowl with 220 grit sandpaper wrapped around a piece of dowel to smooth out the interior of the bowl. It was quite clean and undamaged.  I cleaned out the internals of the bowl, shank and the airway in the stem with alcohol, cotton swabs and pipe cleaners until they were clean.
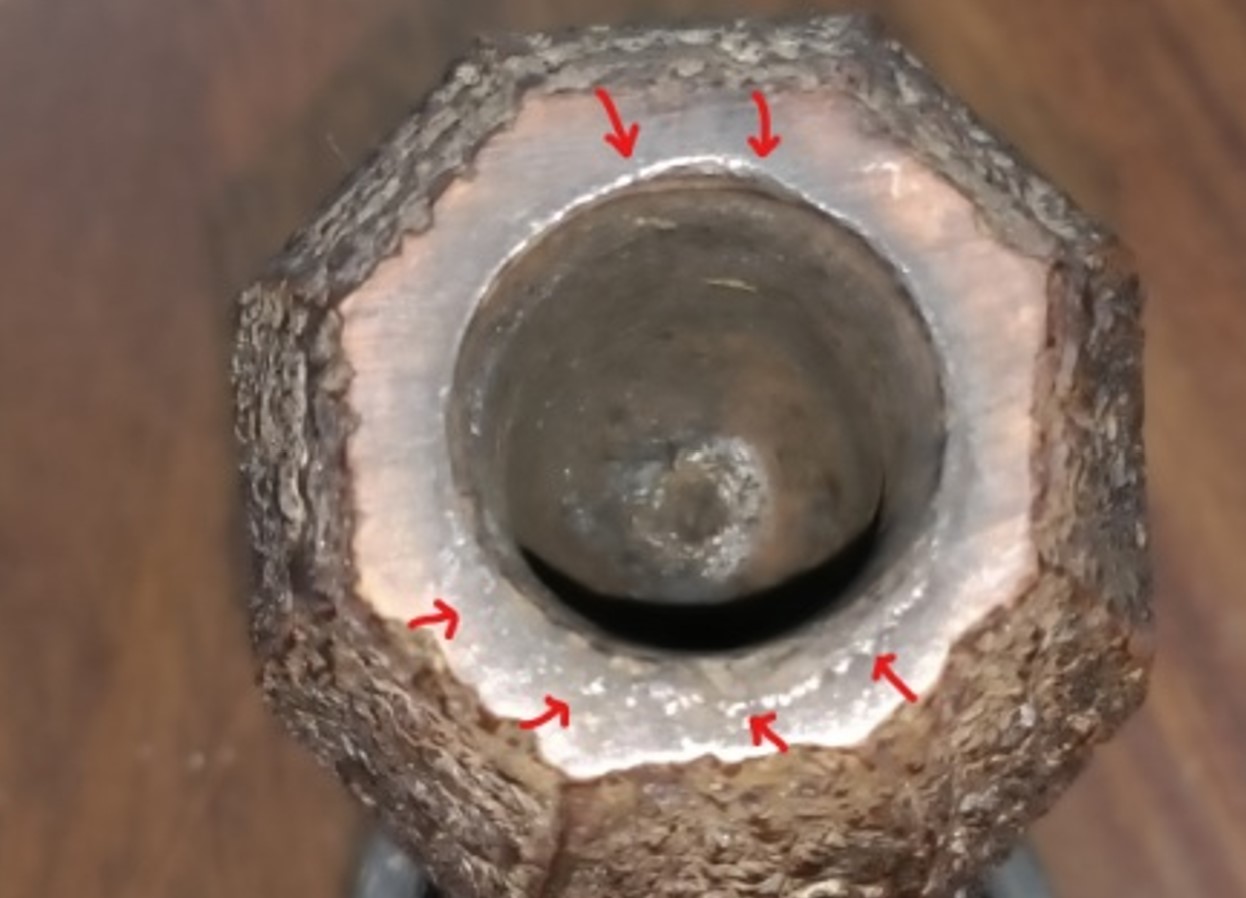
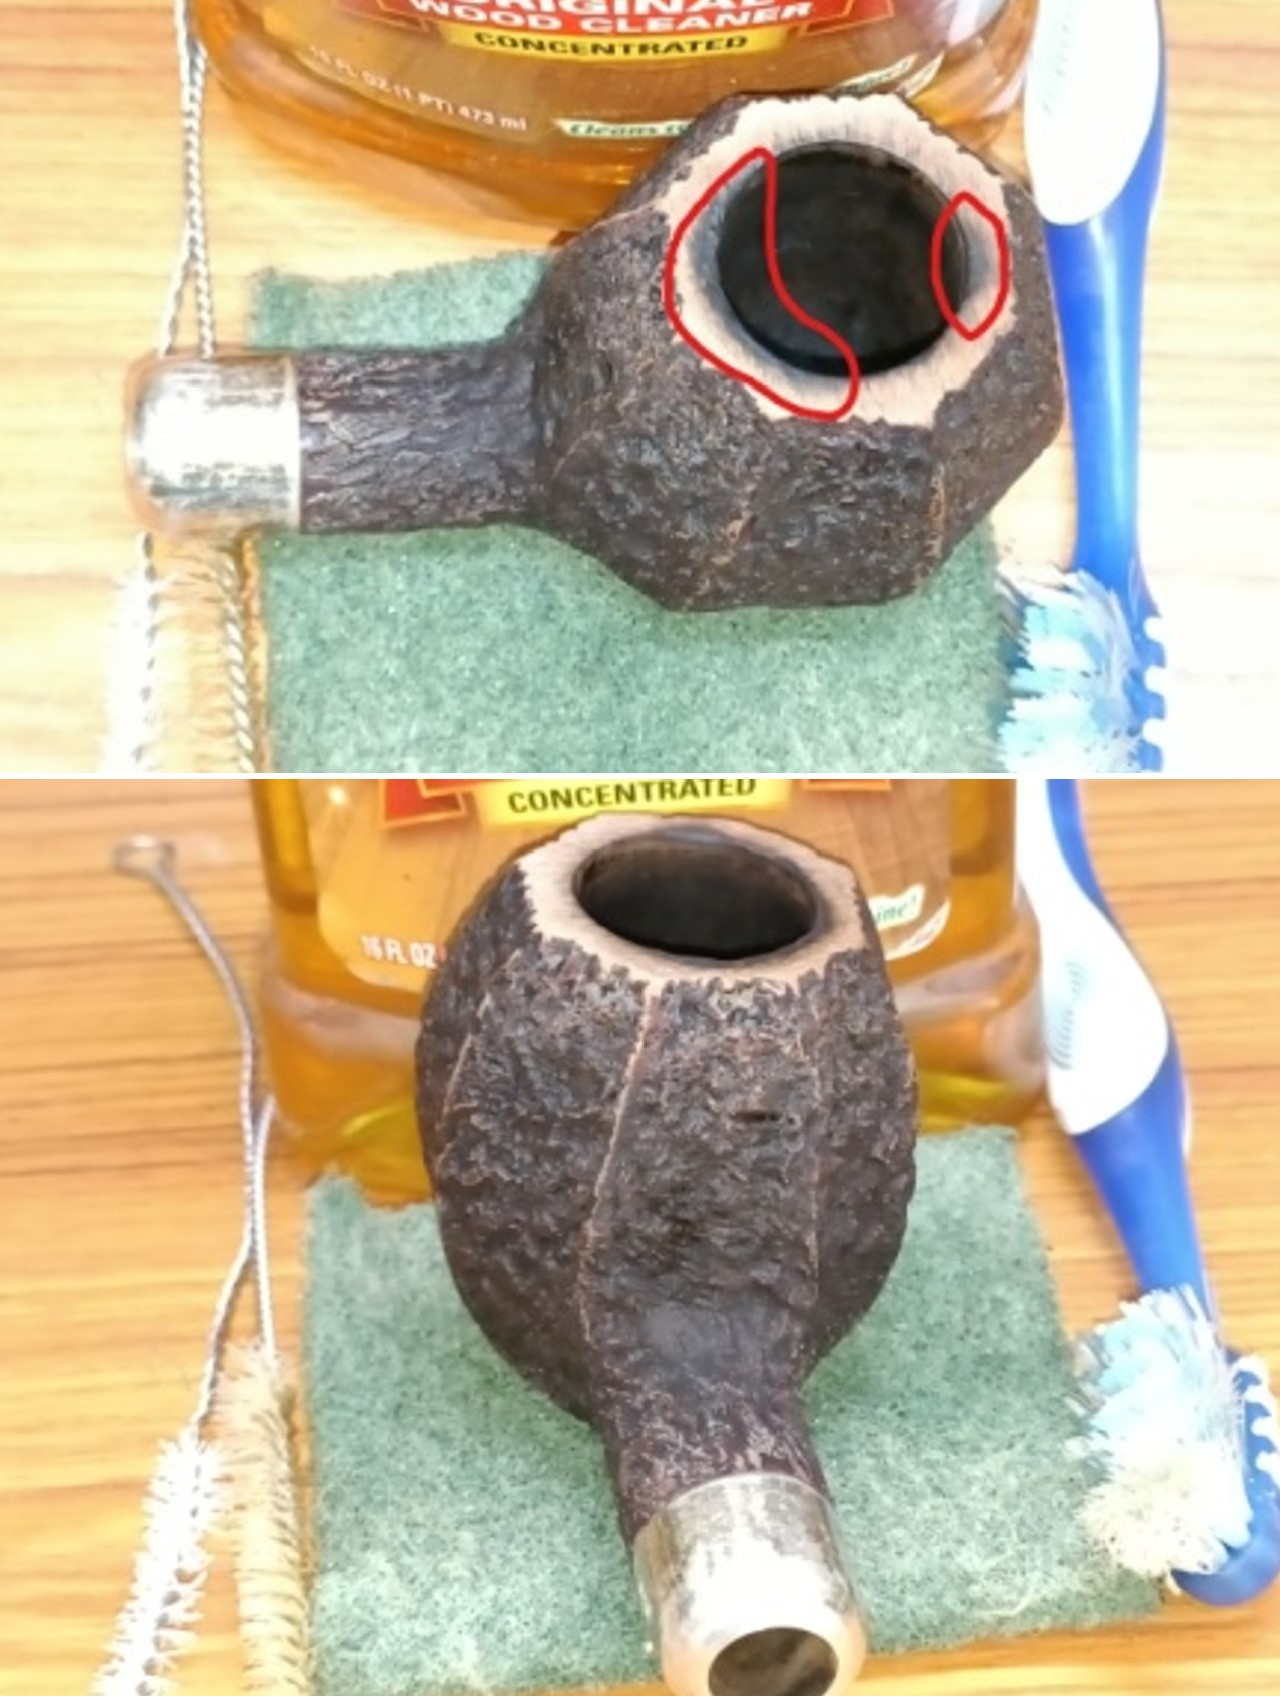
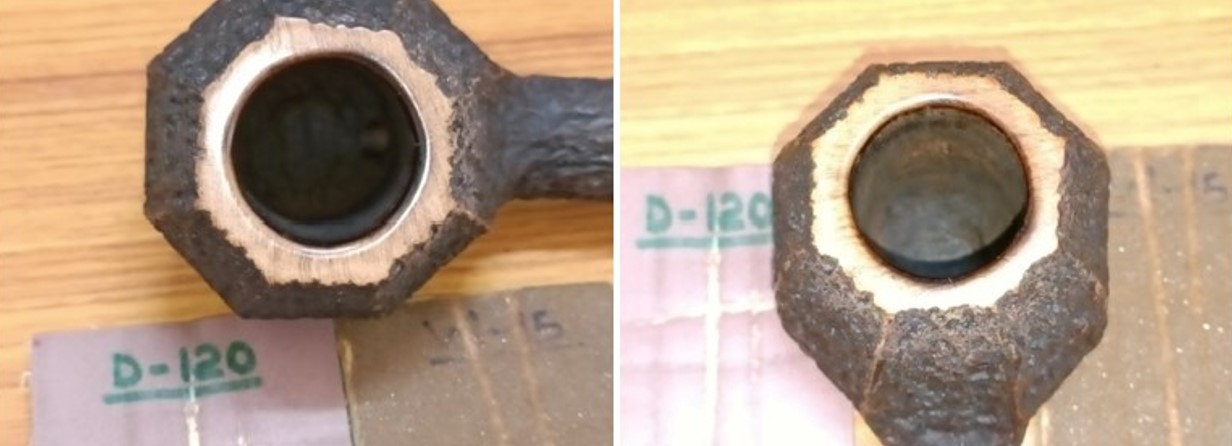
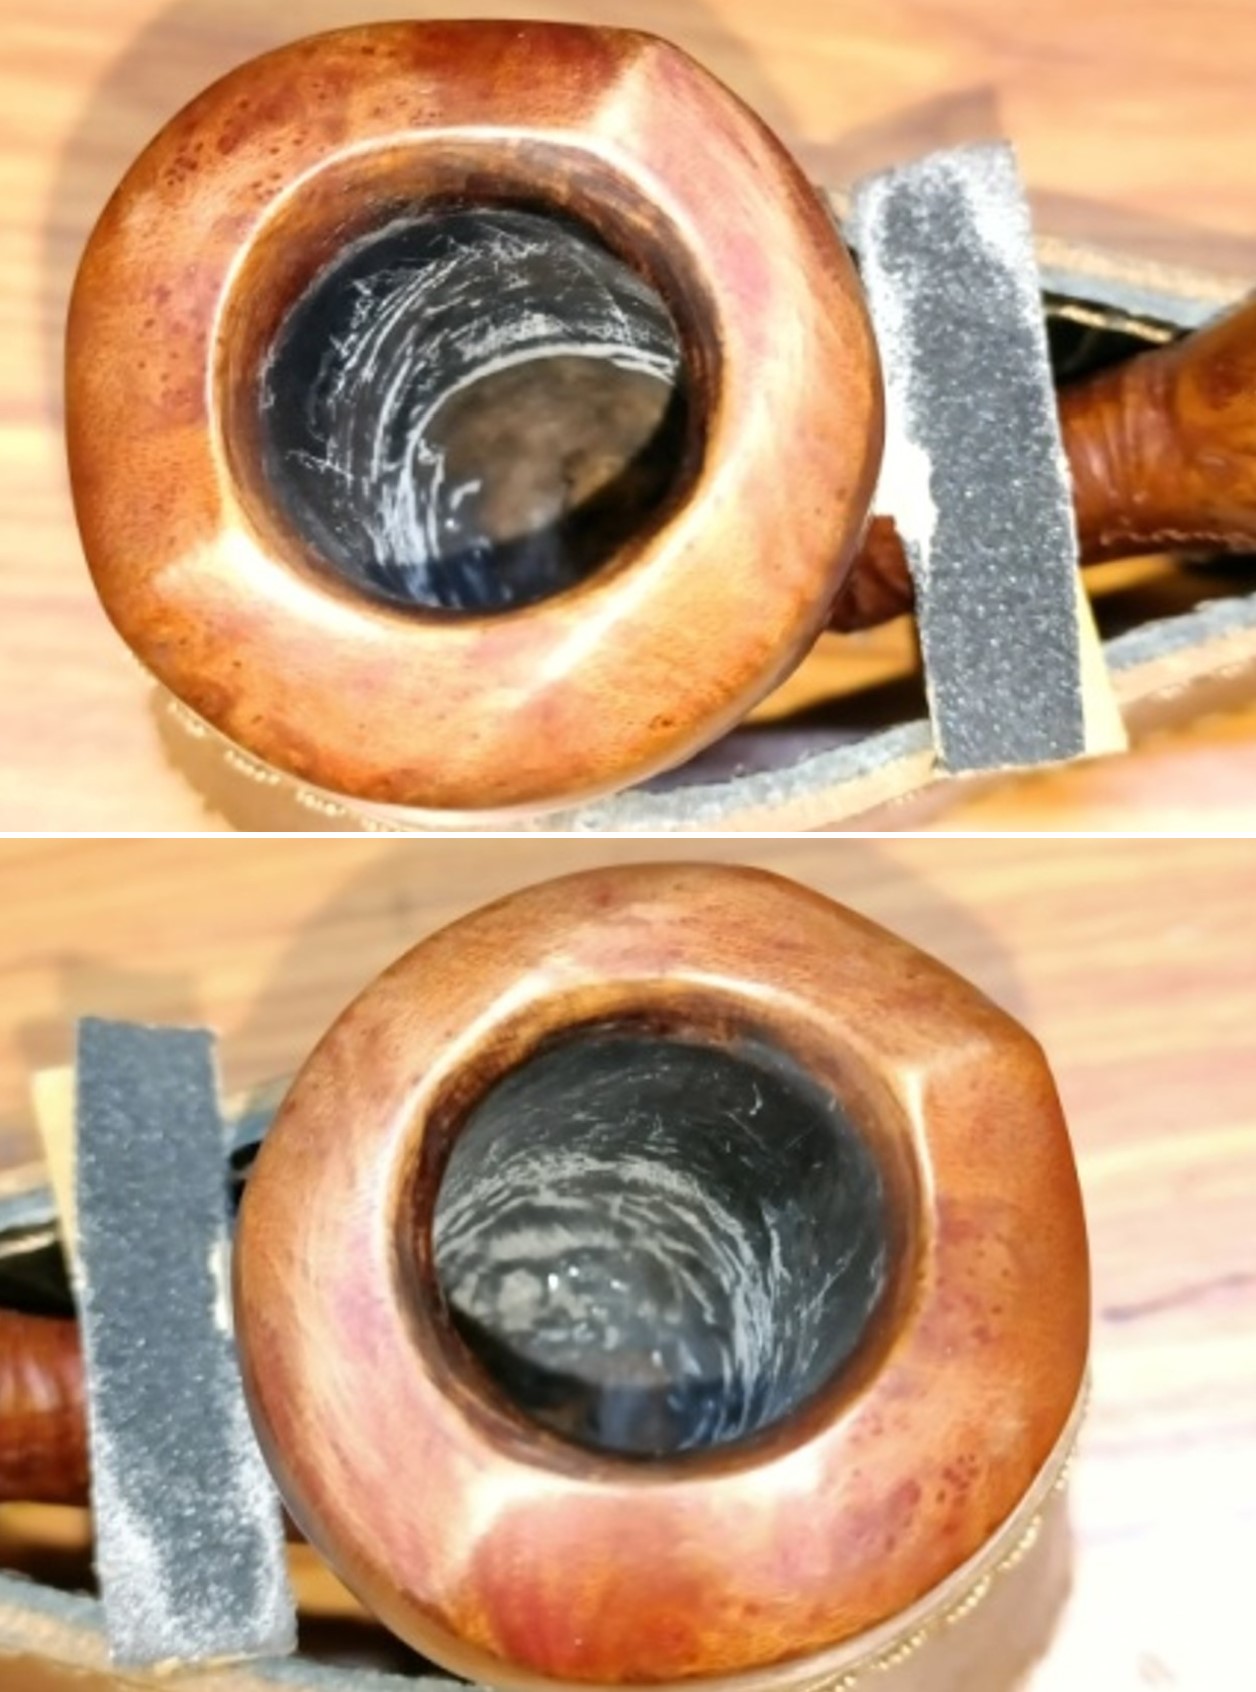
  Next, I addressed the damage to the inside edge and top of the bowl. I used a folded piece of 220 grit sandpaper to clean up the inner edge and give it a slight bevel. I smoothed out the damage and once done I wiped it down with a damp cloth to remove the sanding debris. It looked much better than when I started.
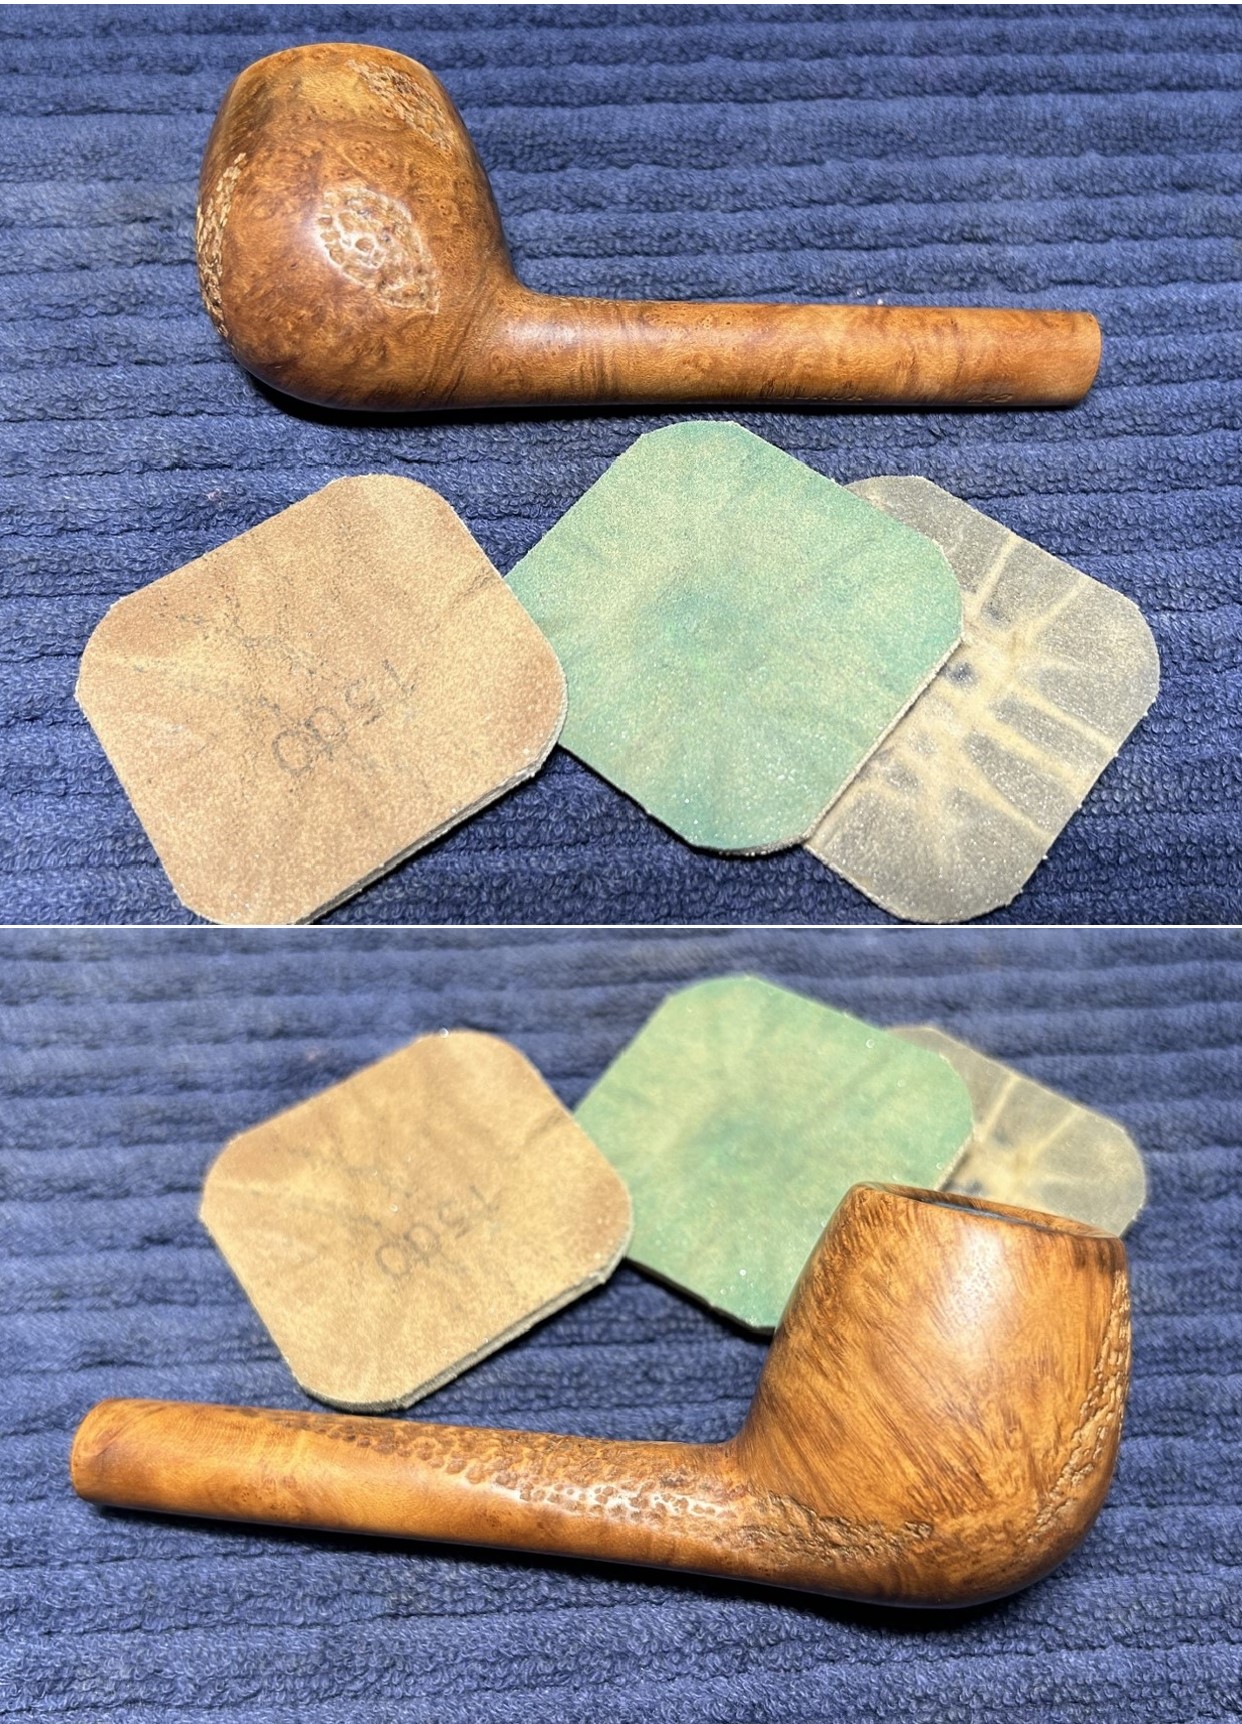
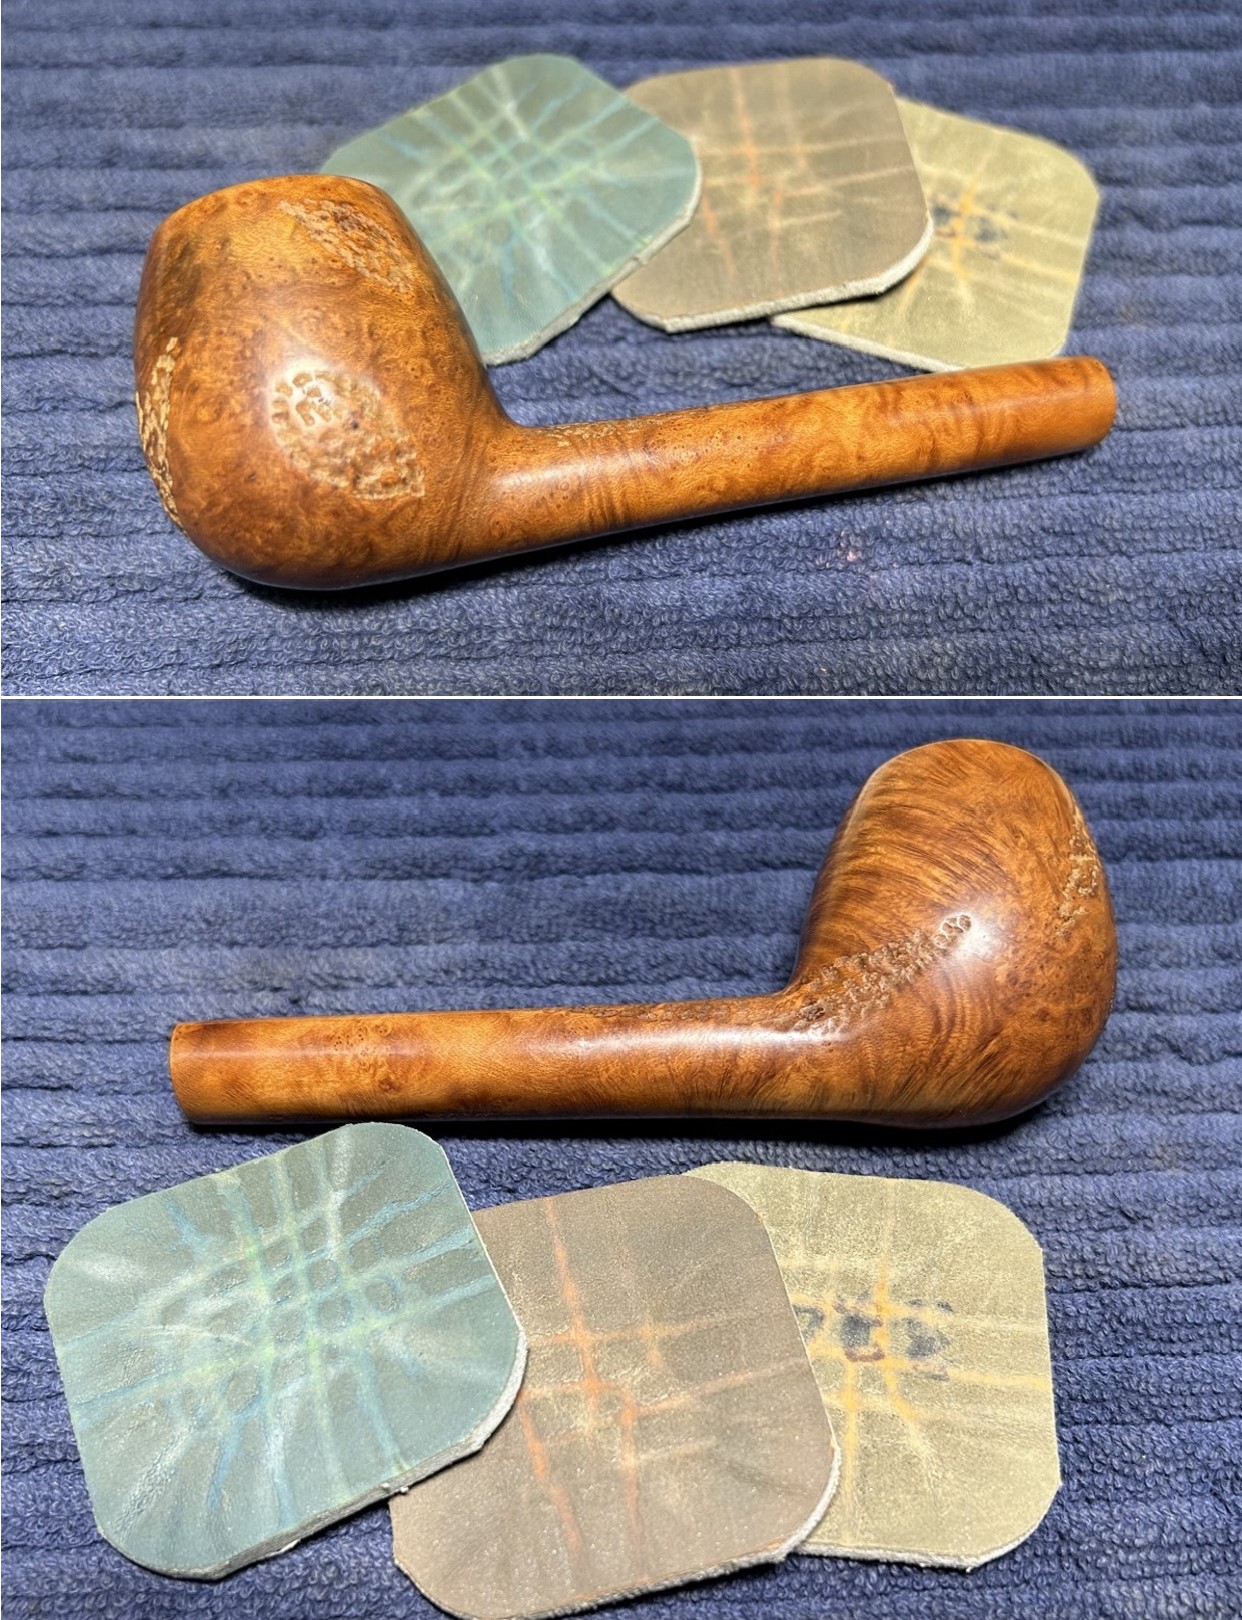
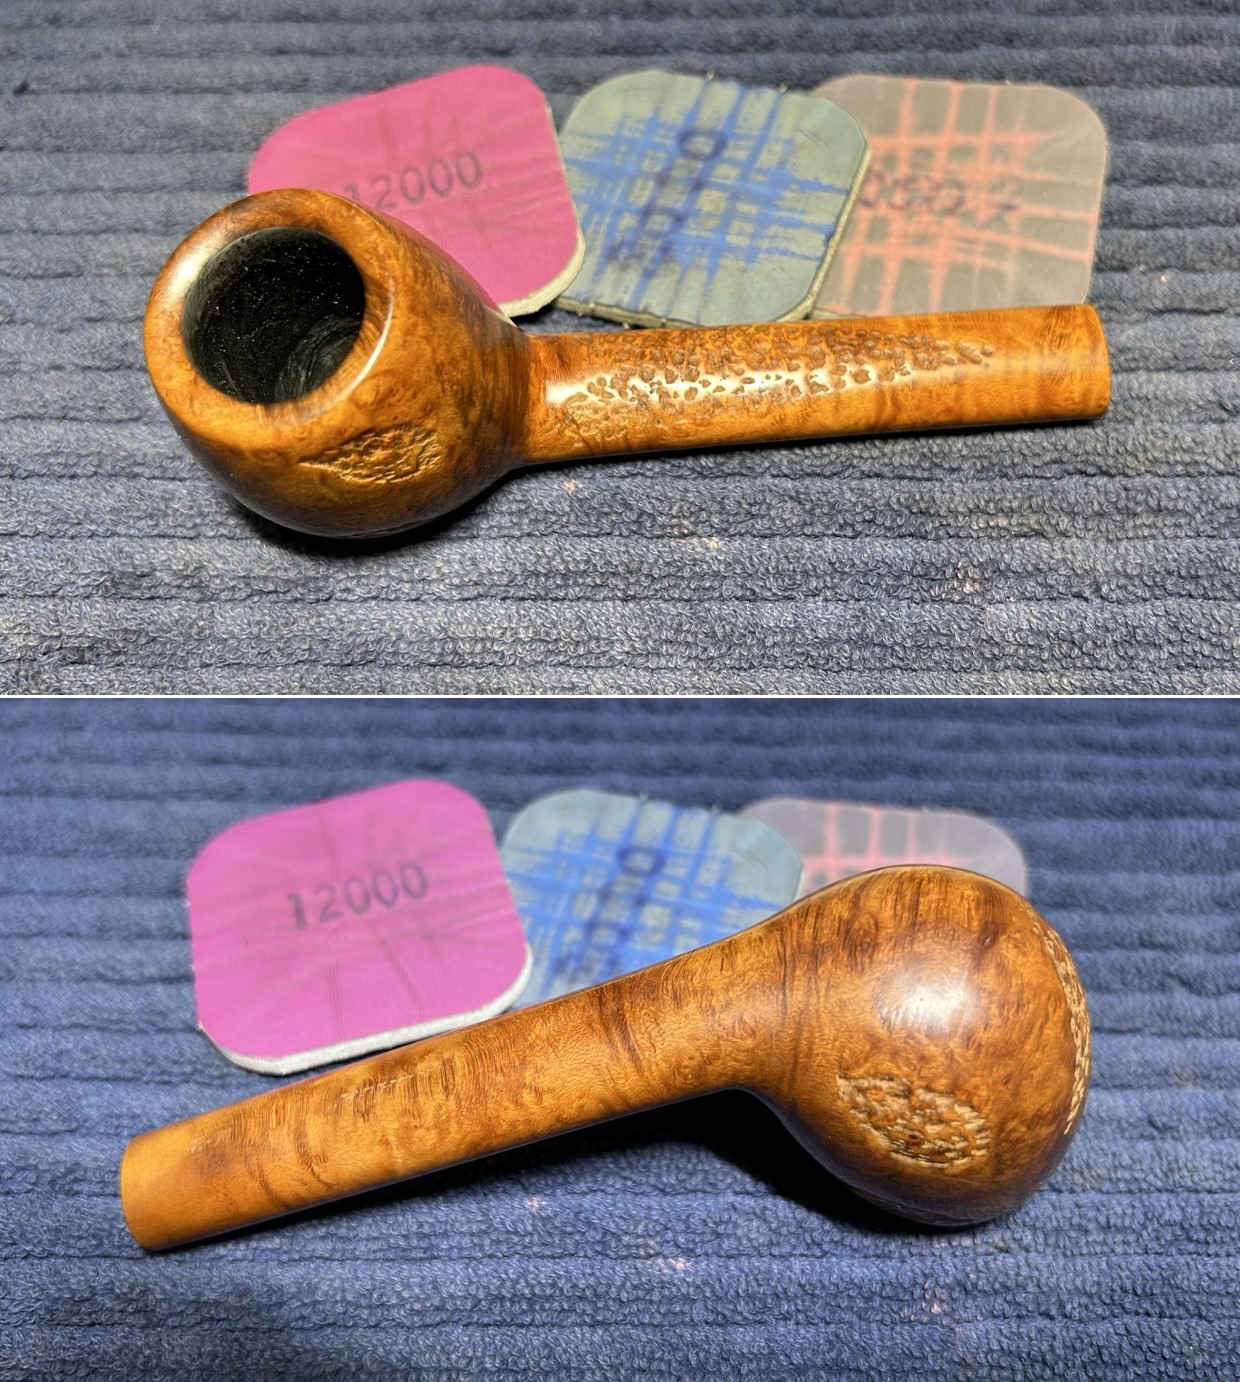
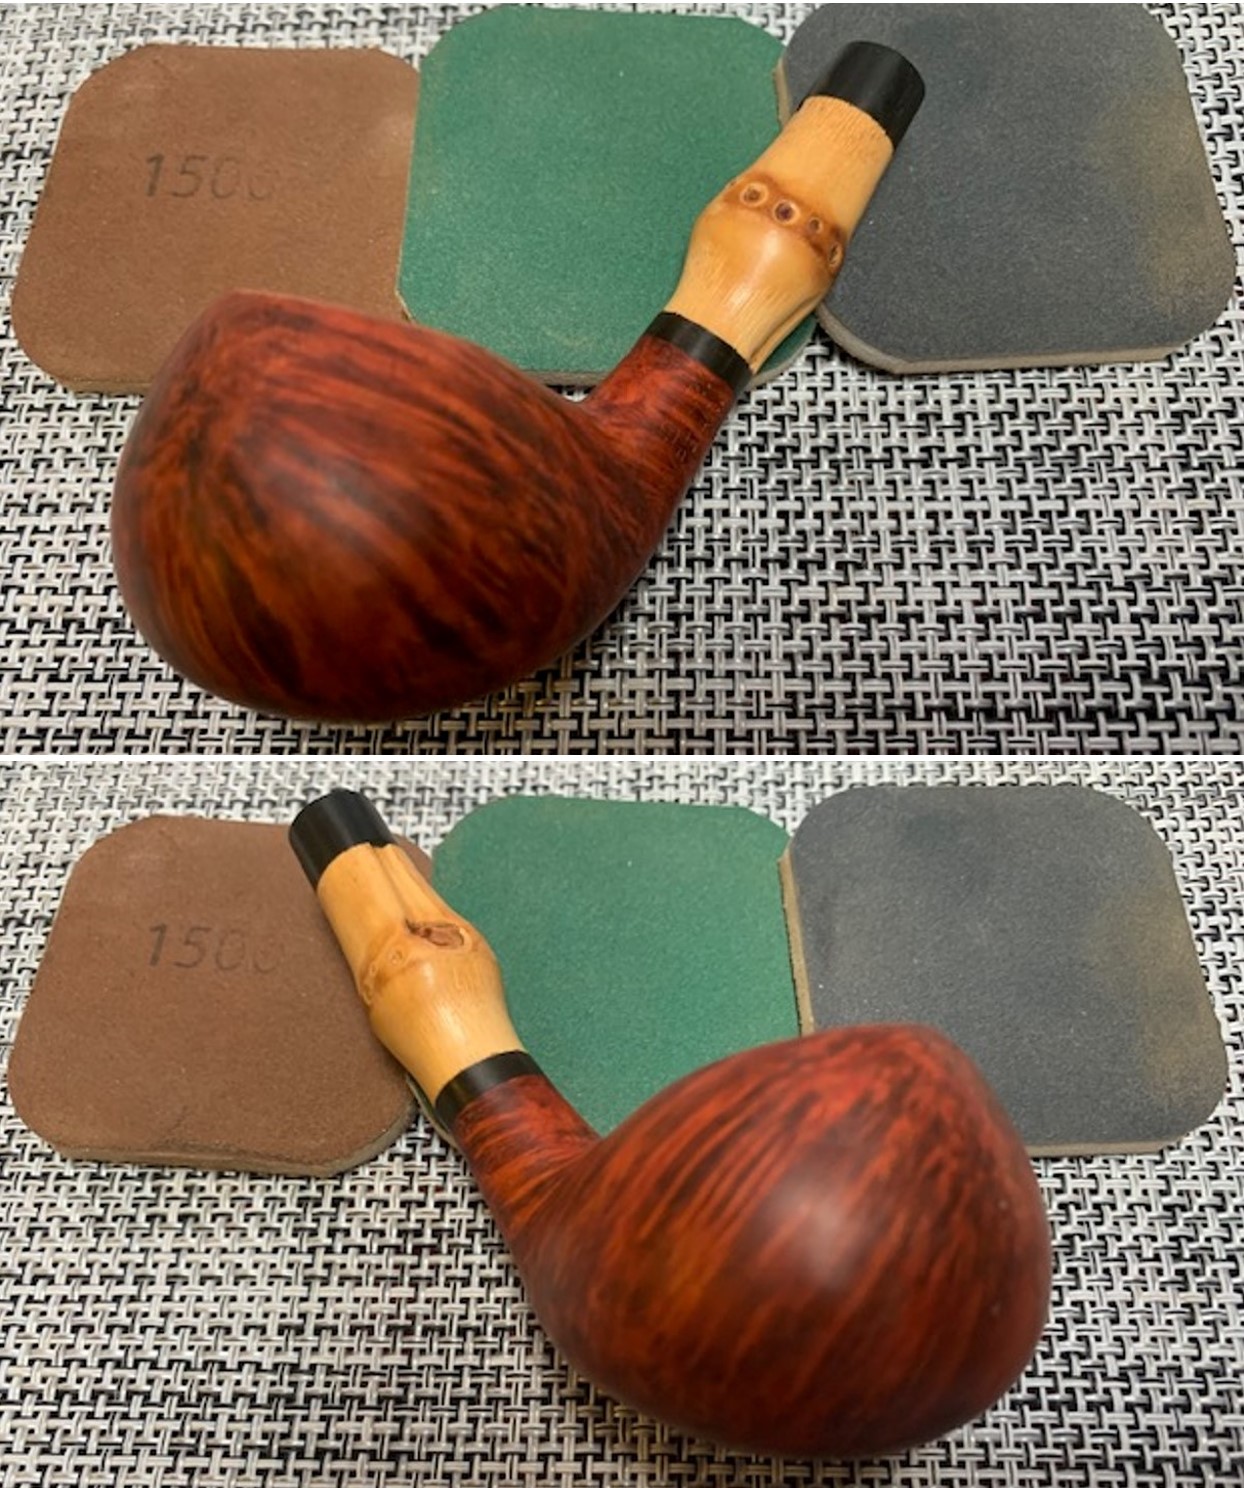
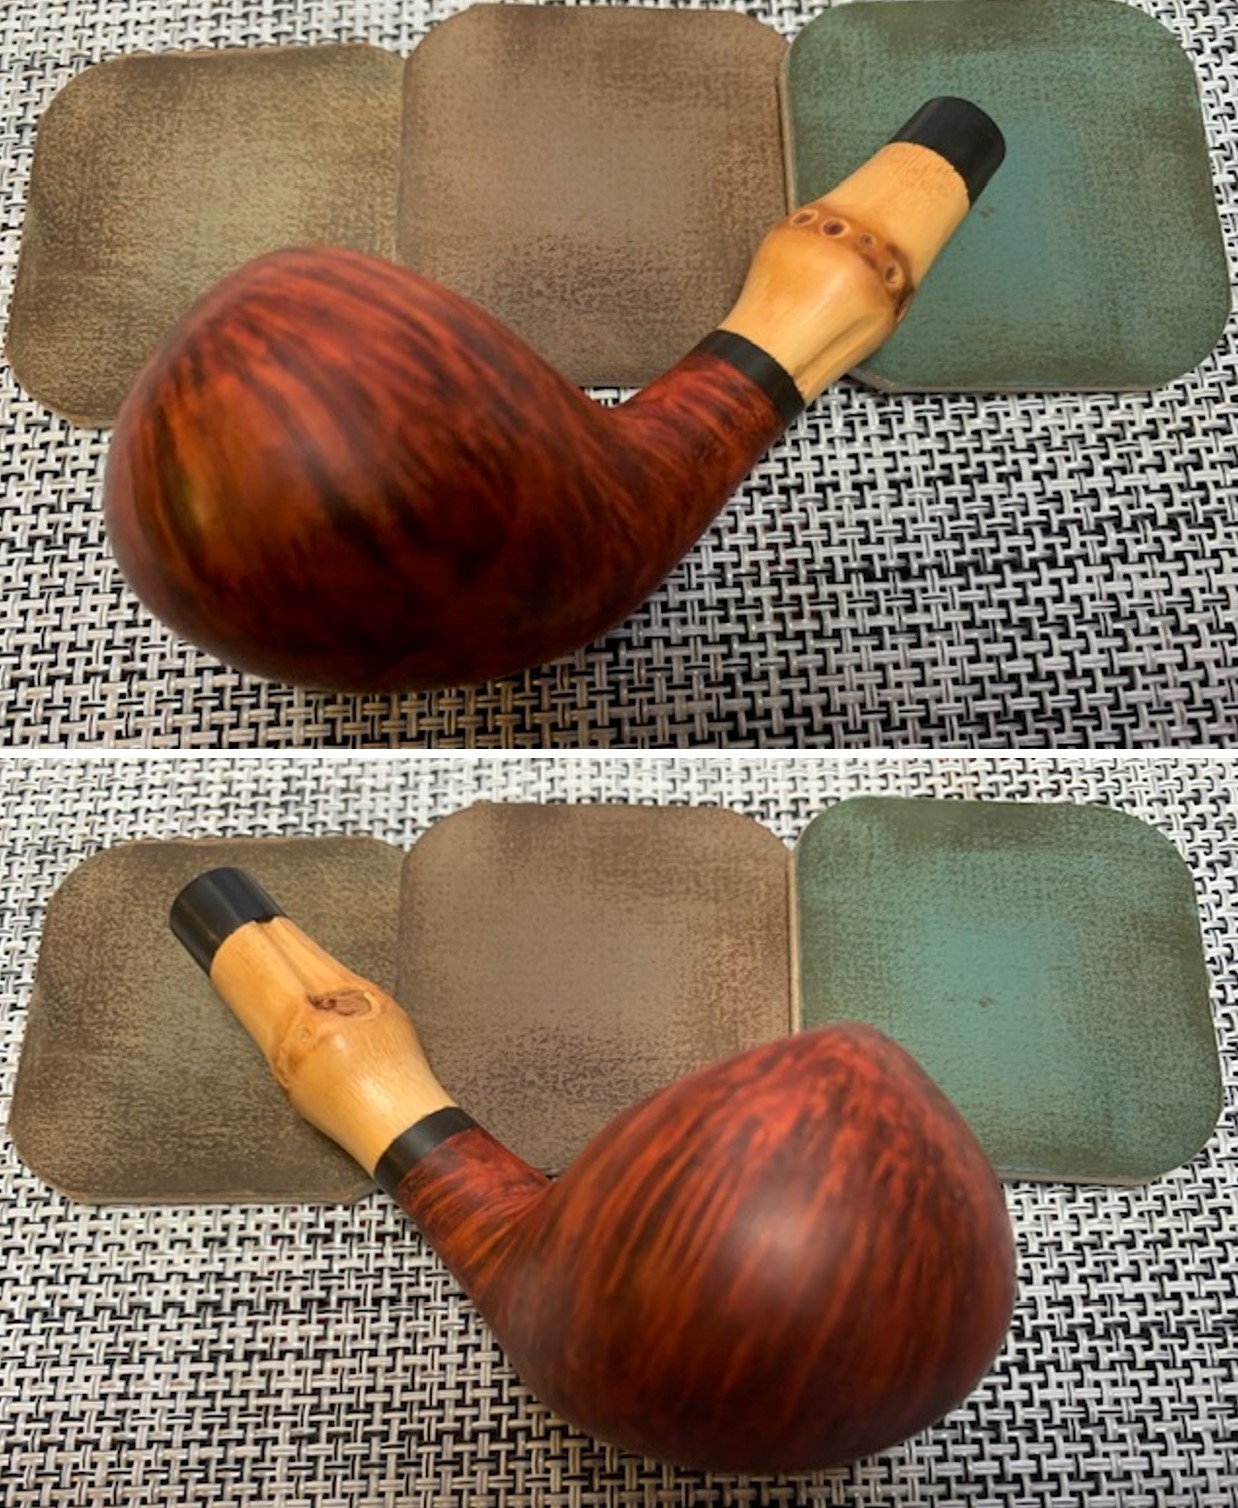
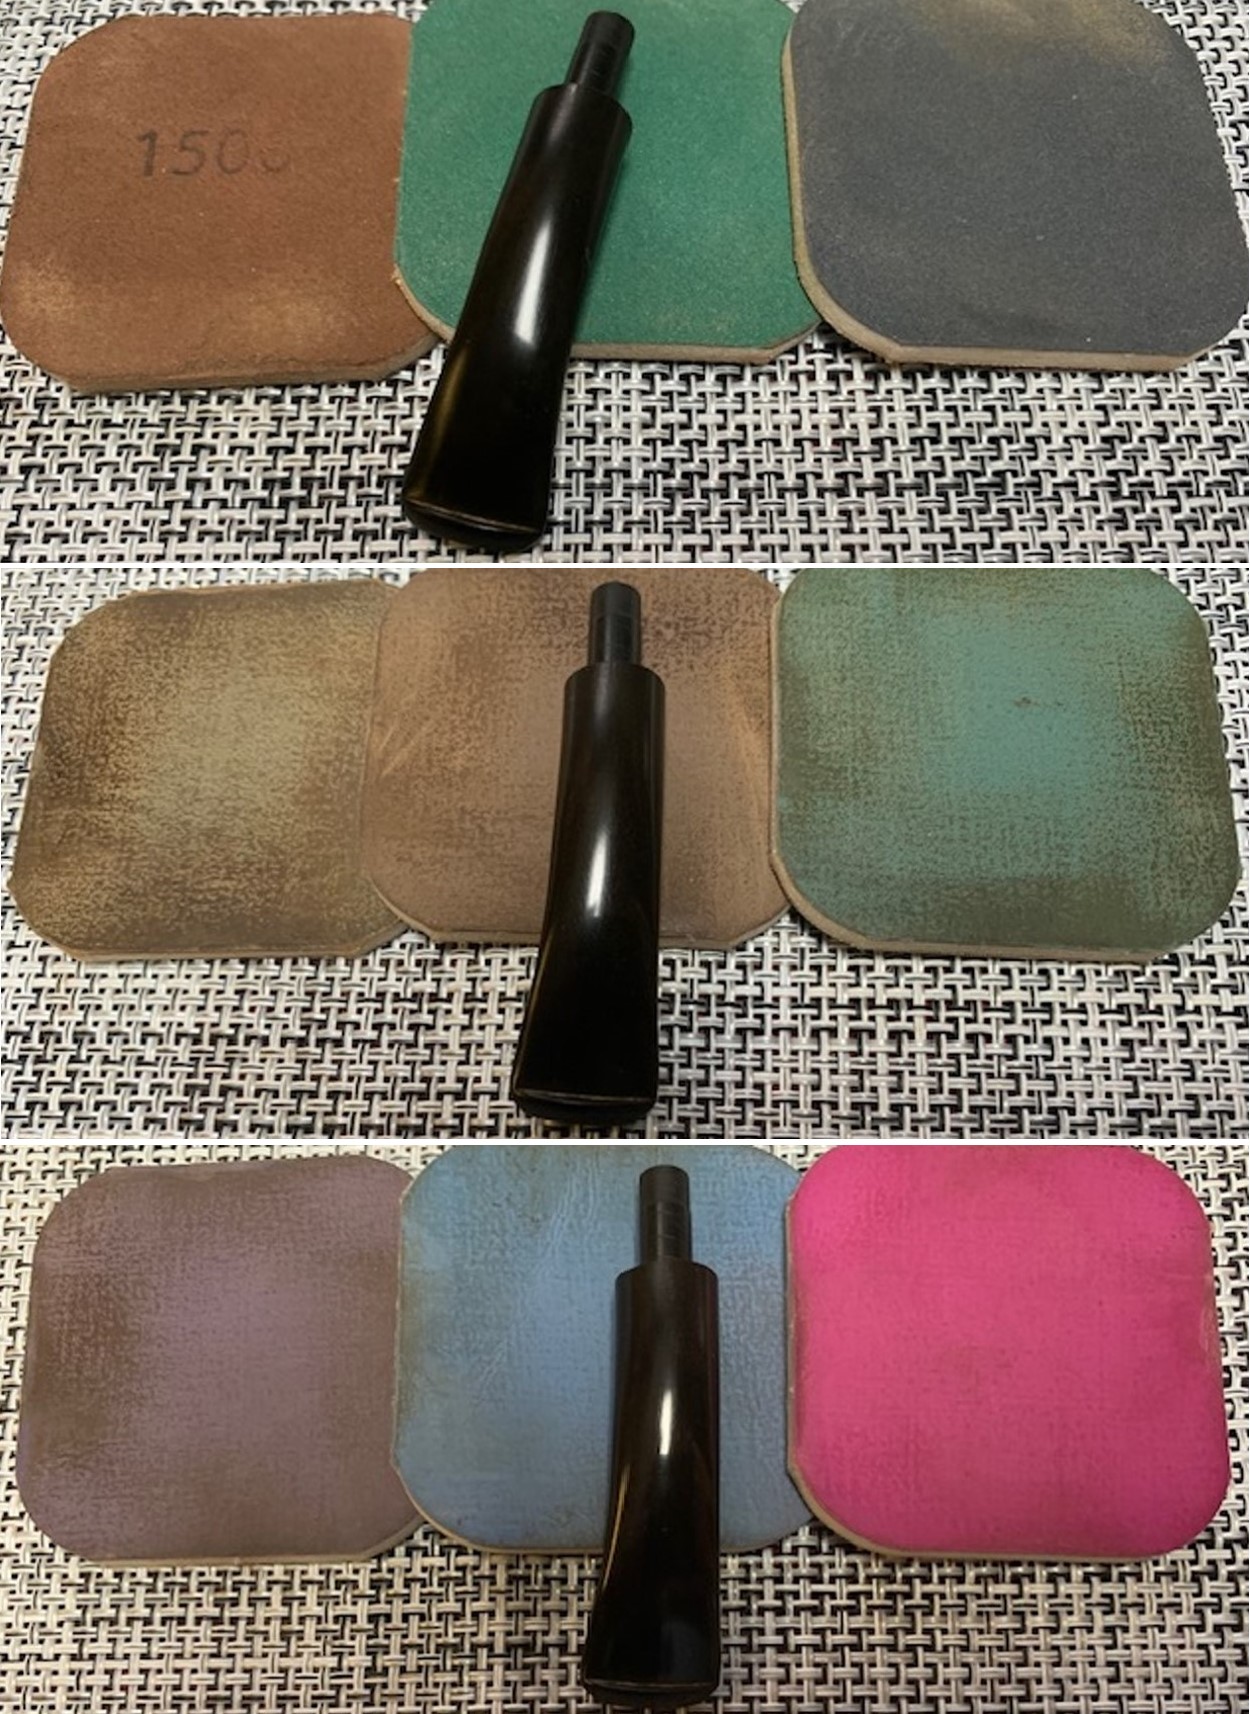
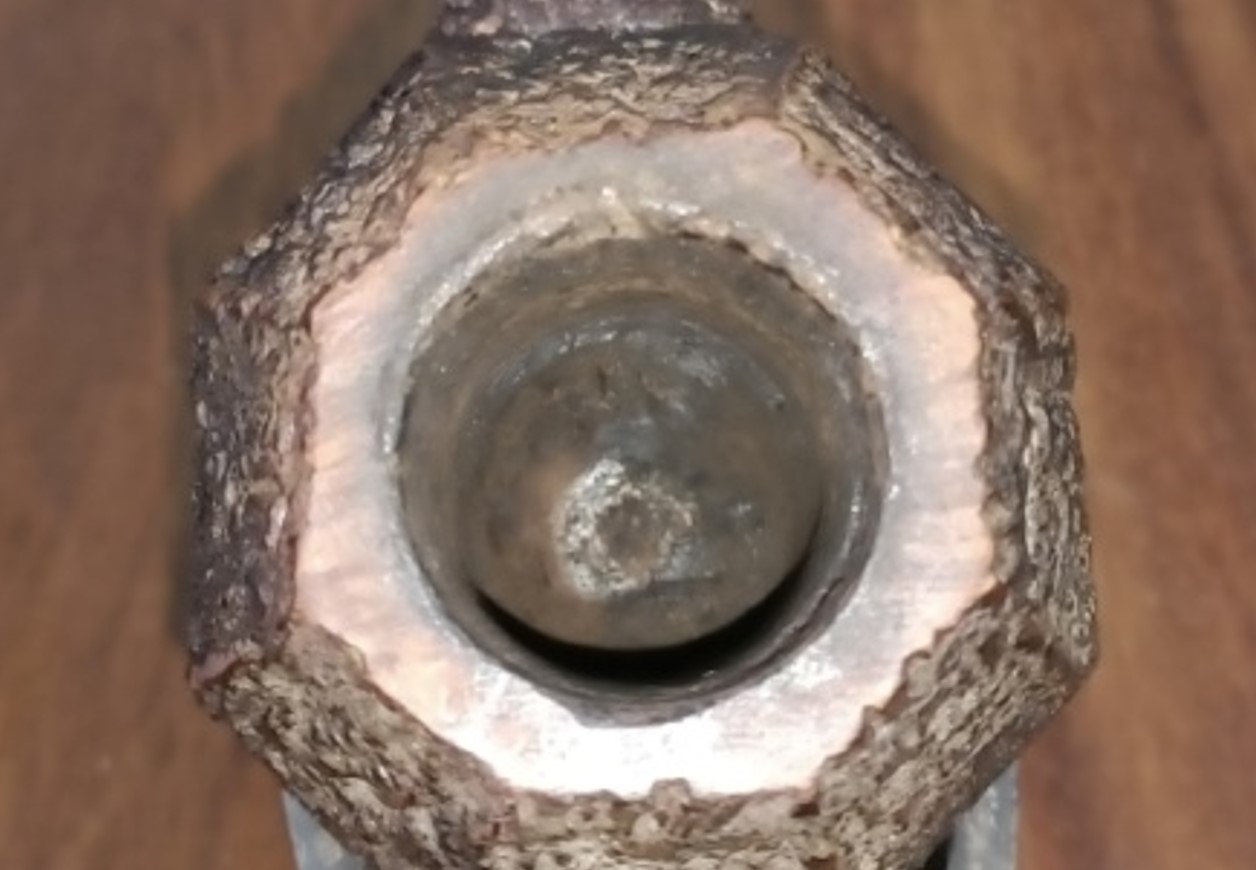
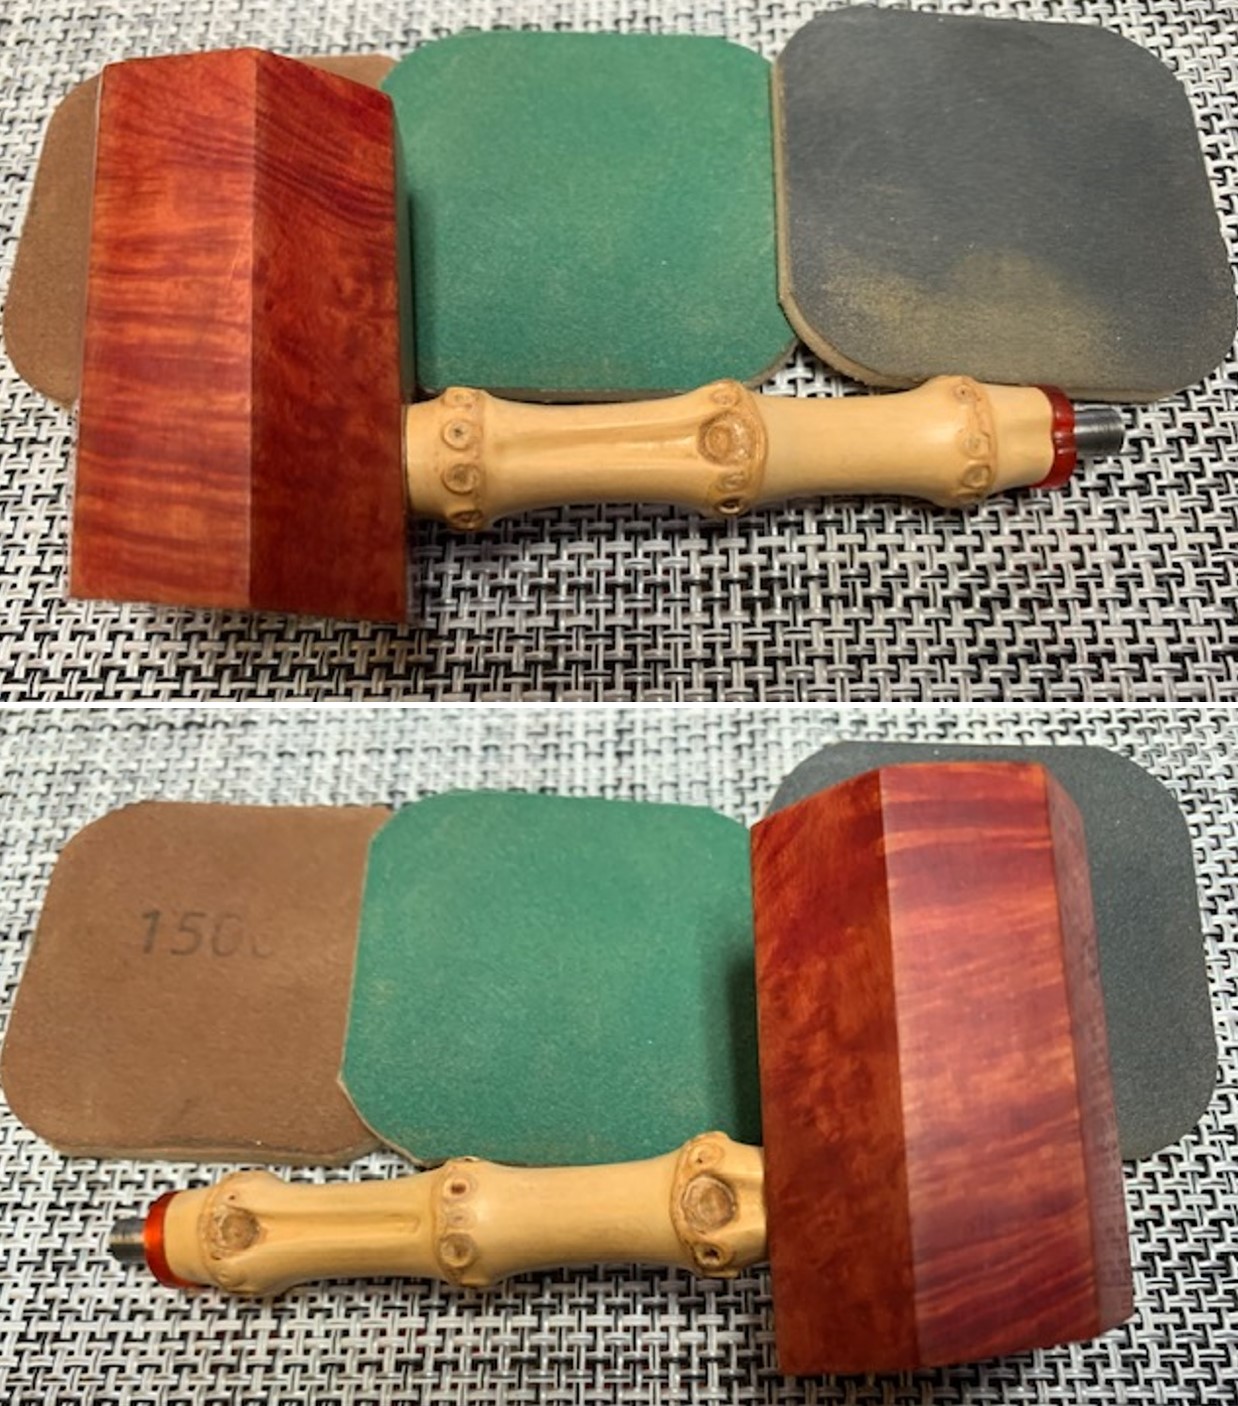
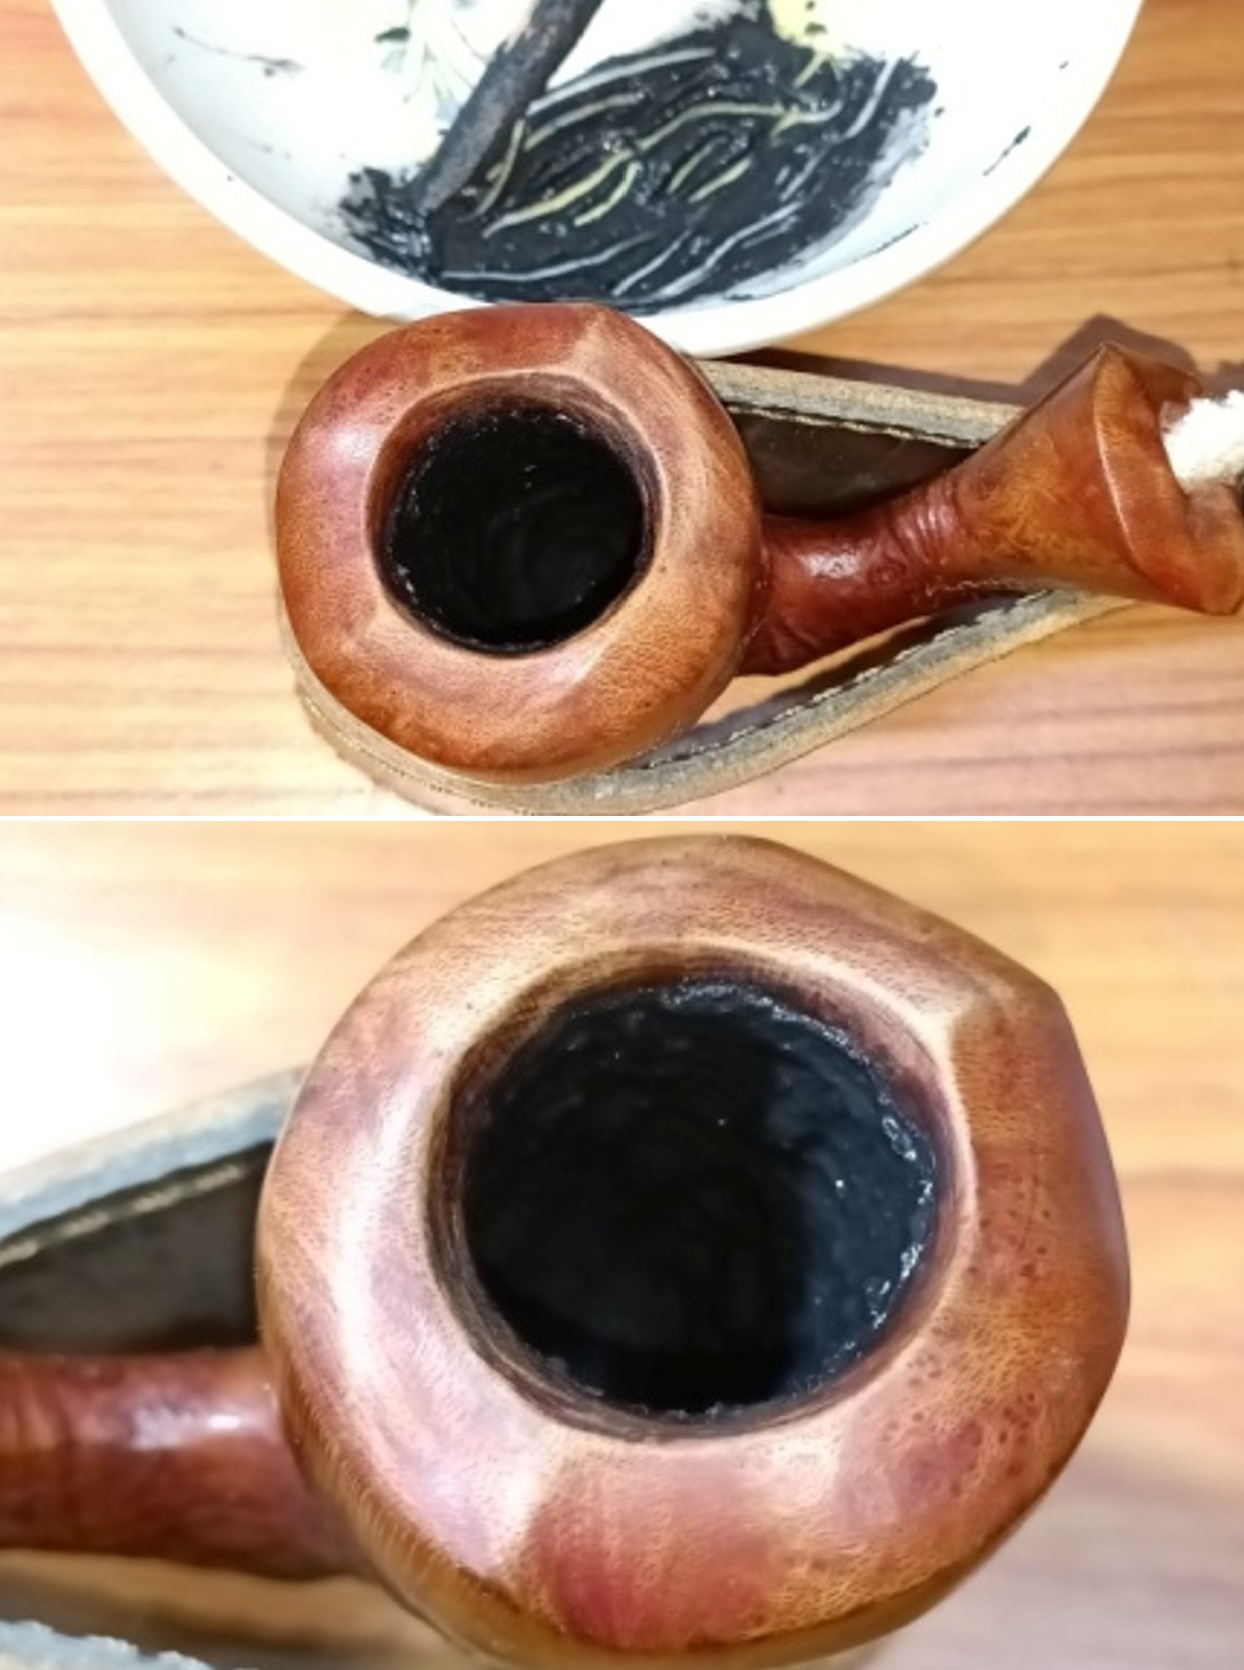
 I polished the briar with micromesh sanding pads – dry sanding with 1500-12000 grit sanding pads. I wiped the bowl down after each sanding pad with a damp cloth to remove the sanding debris. The bowl began to take on a rich glow.


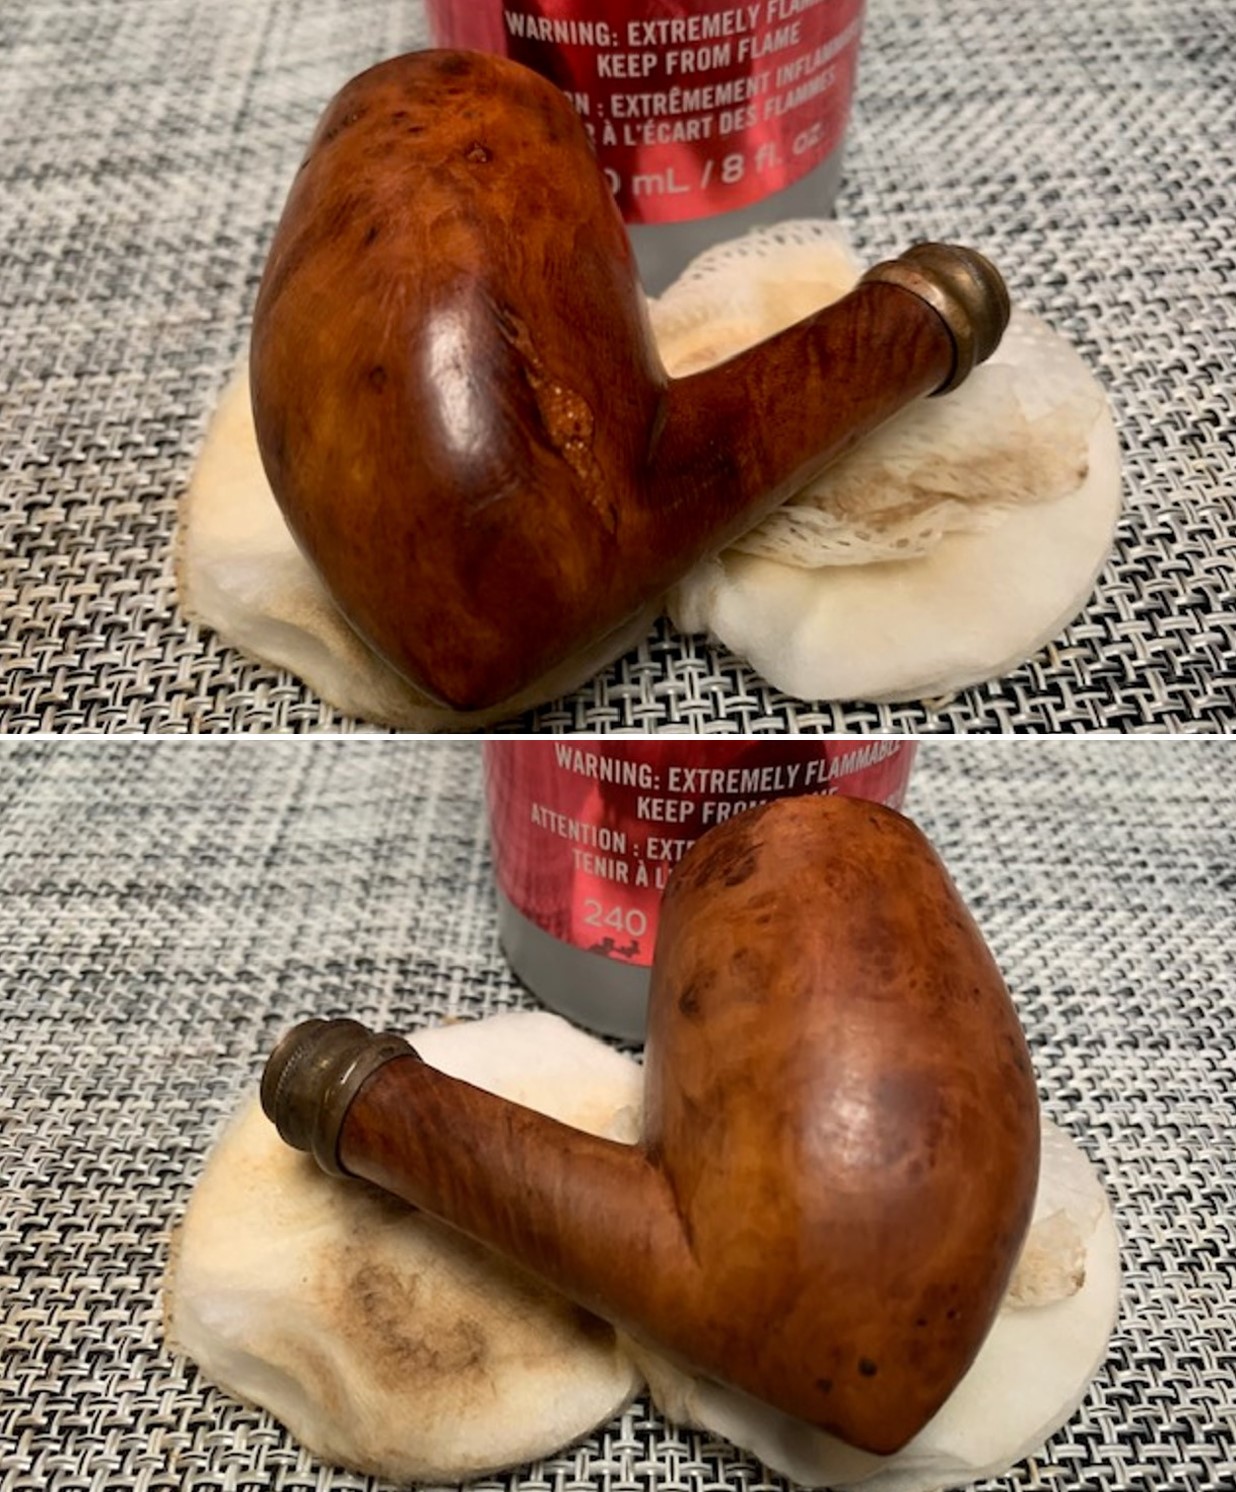
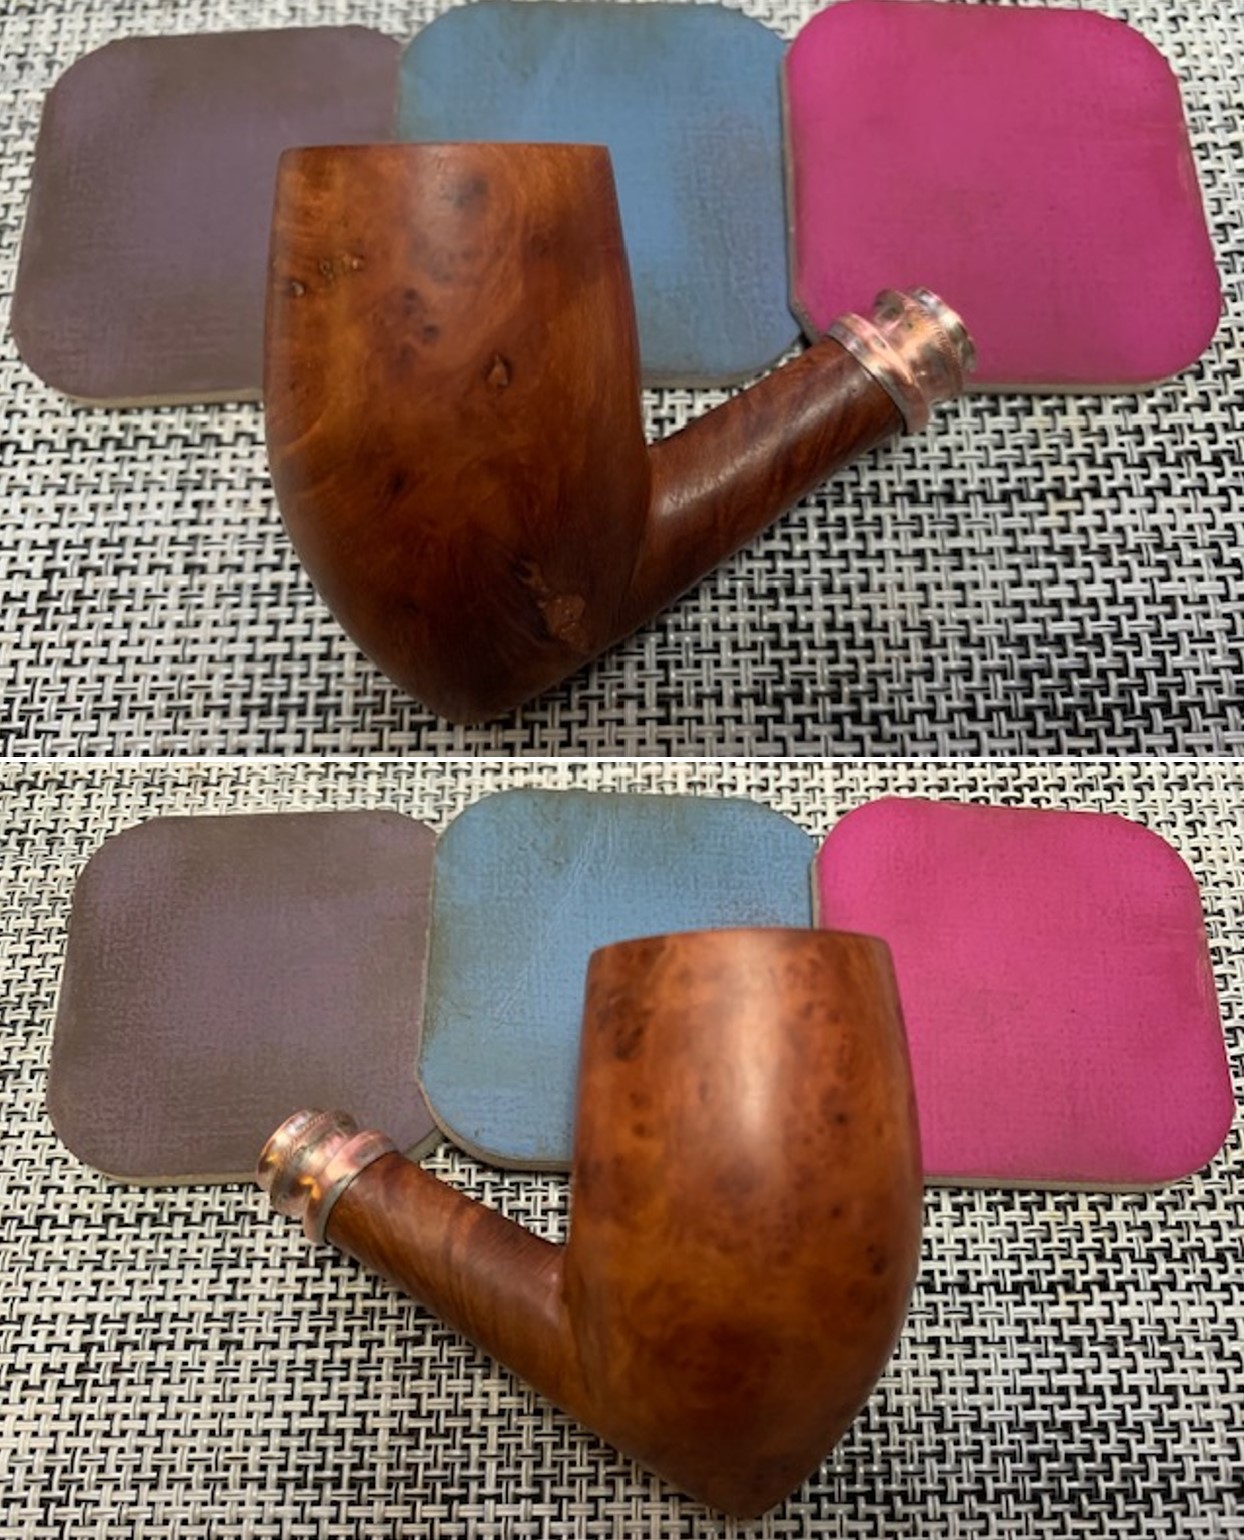
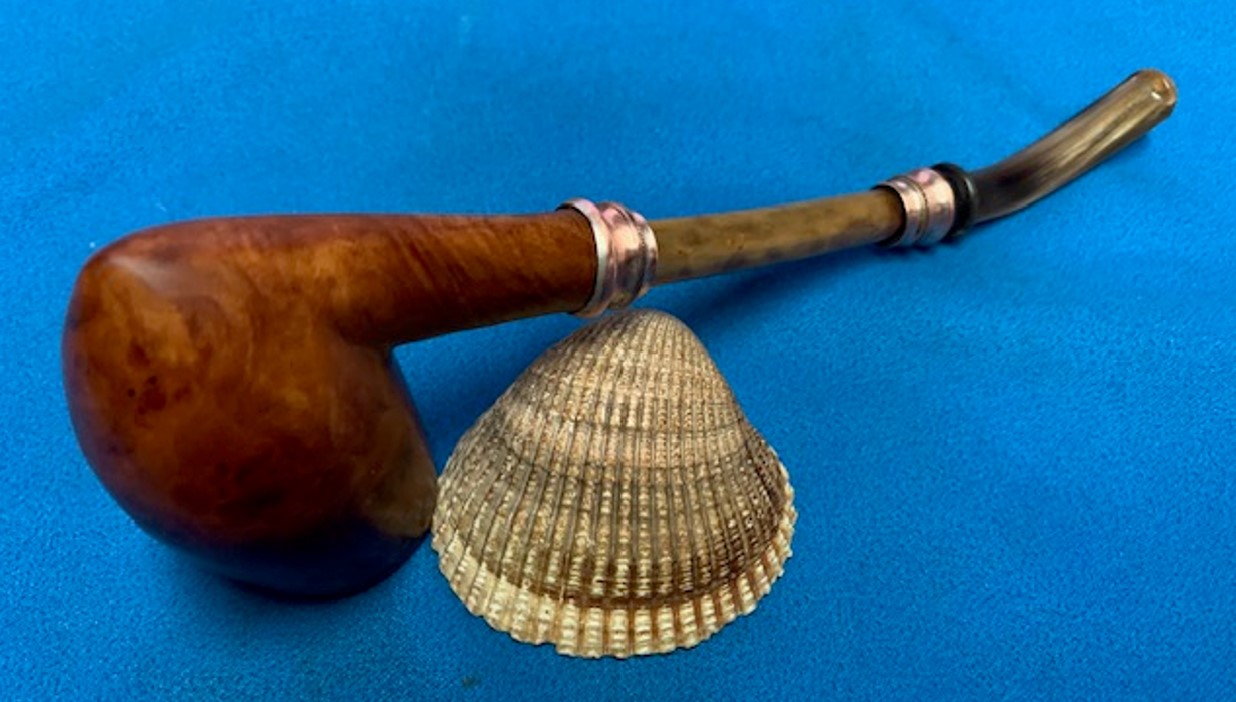
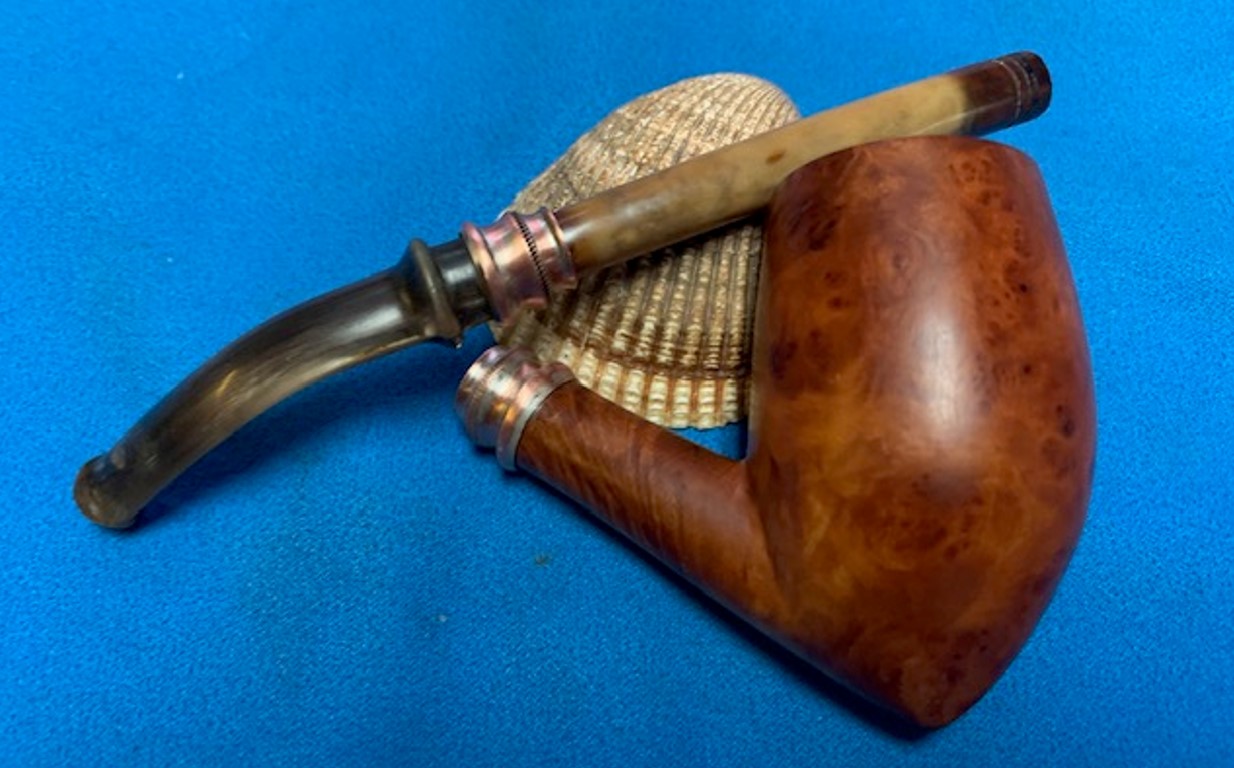
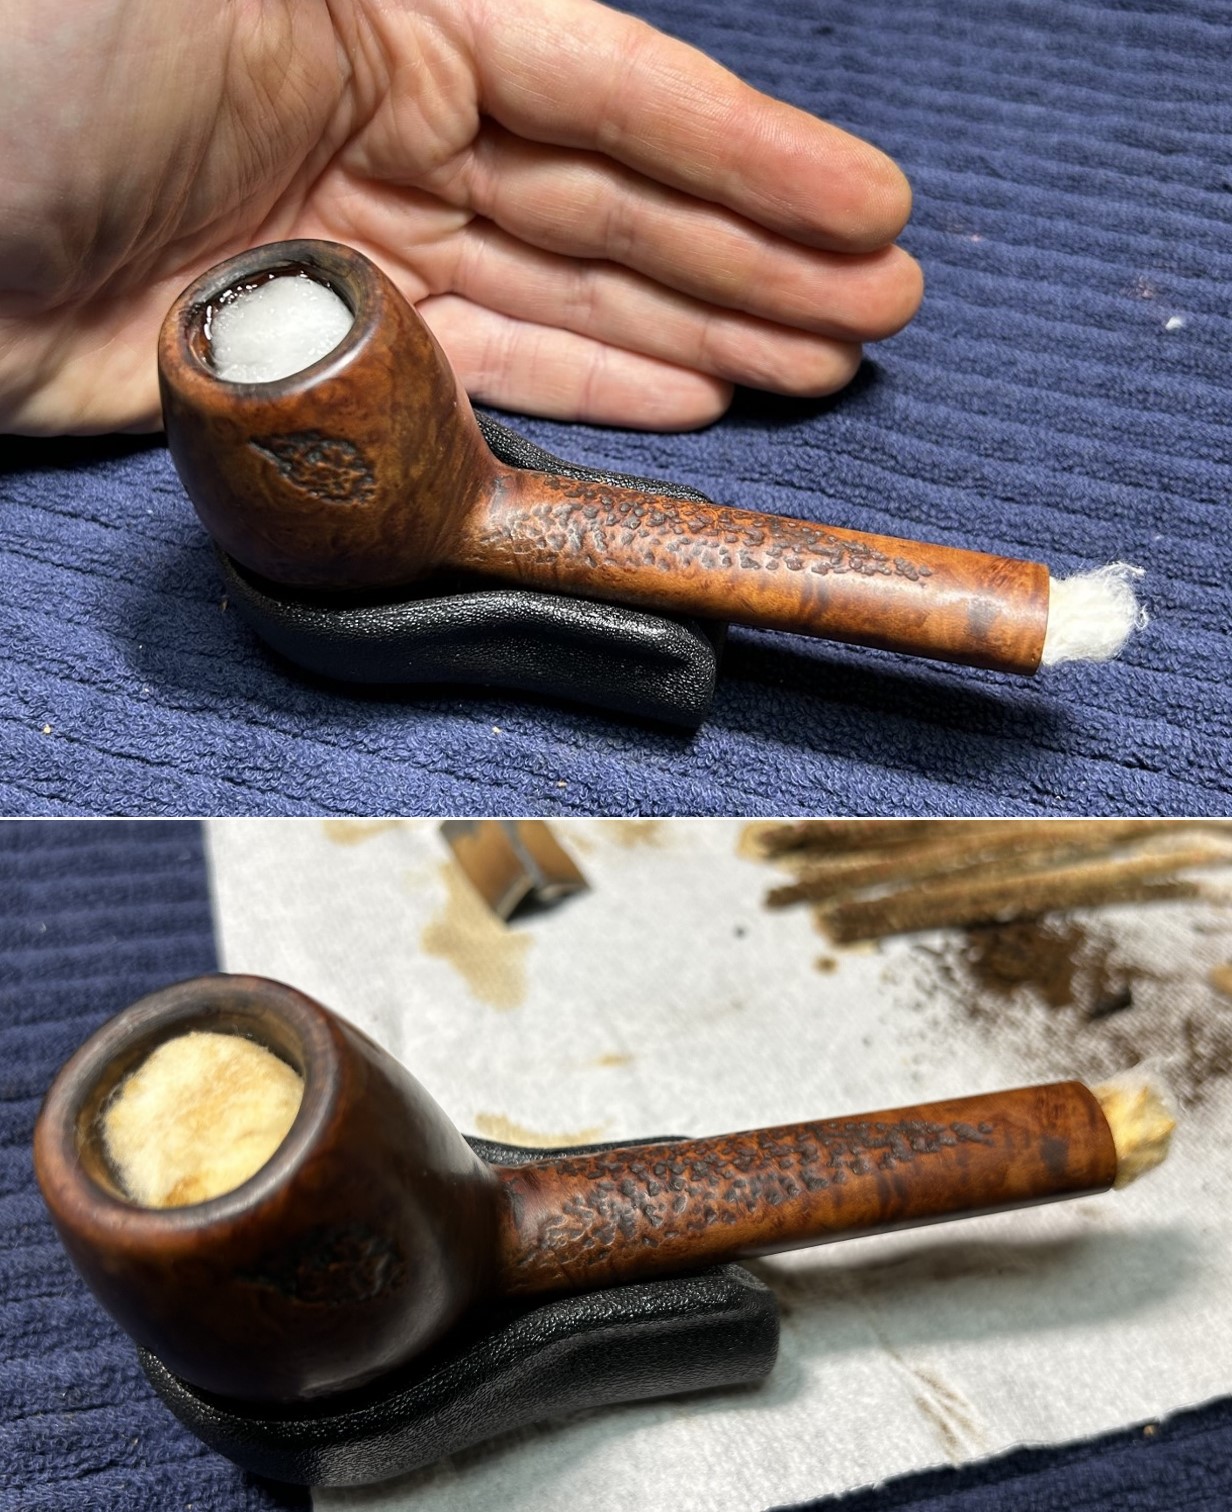
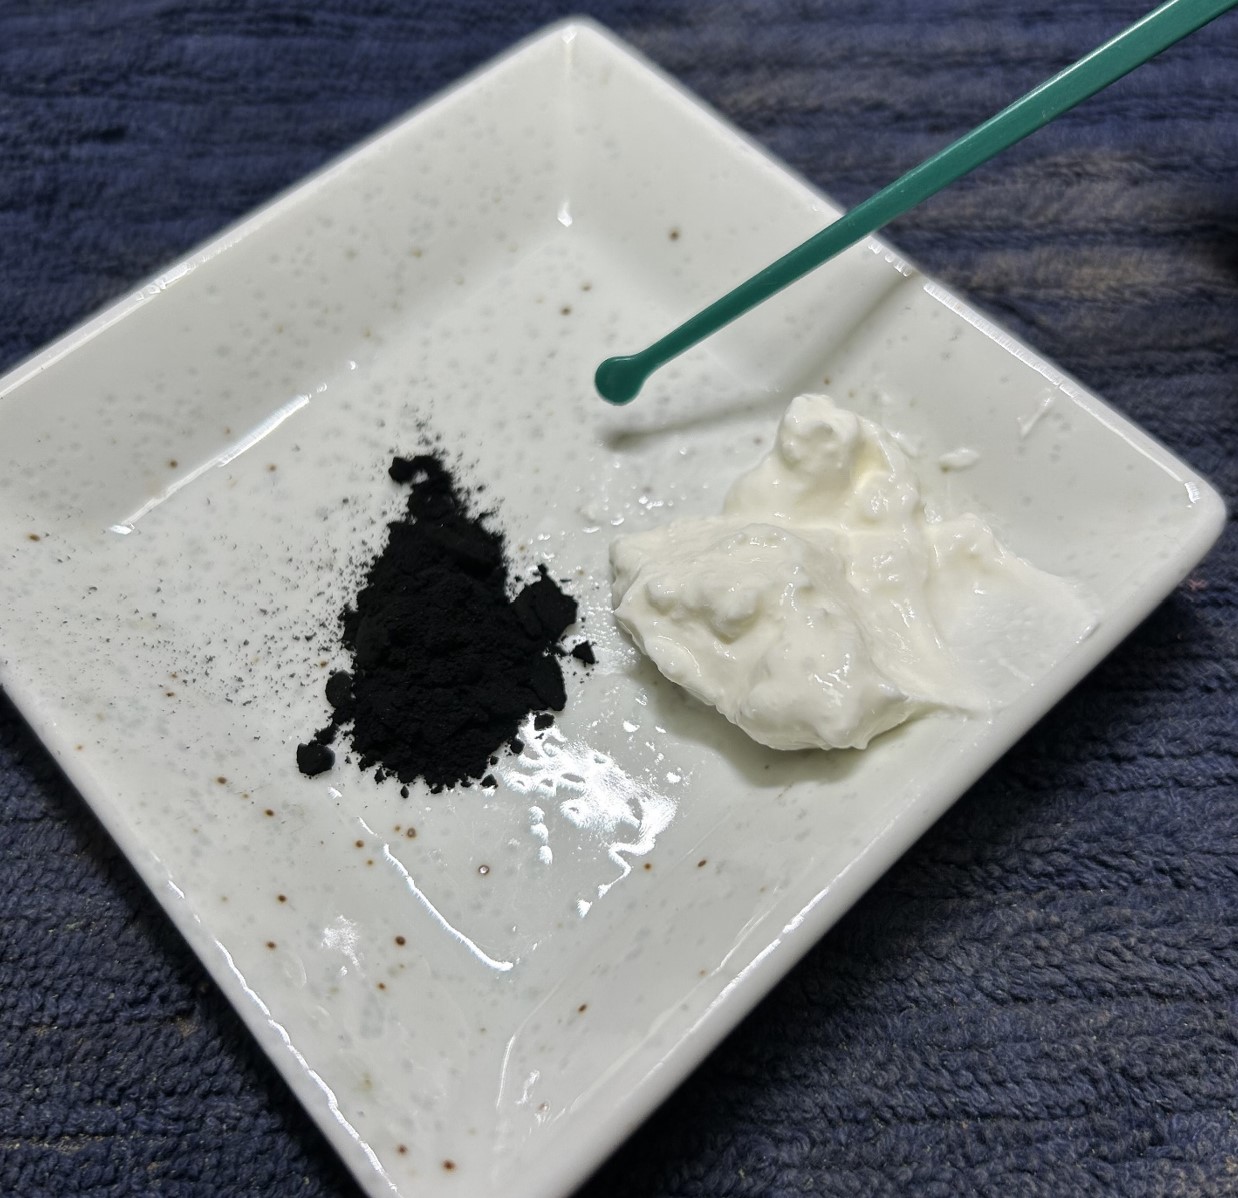
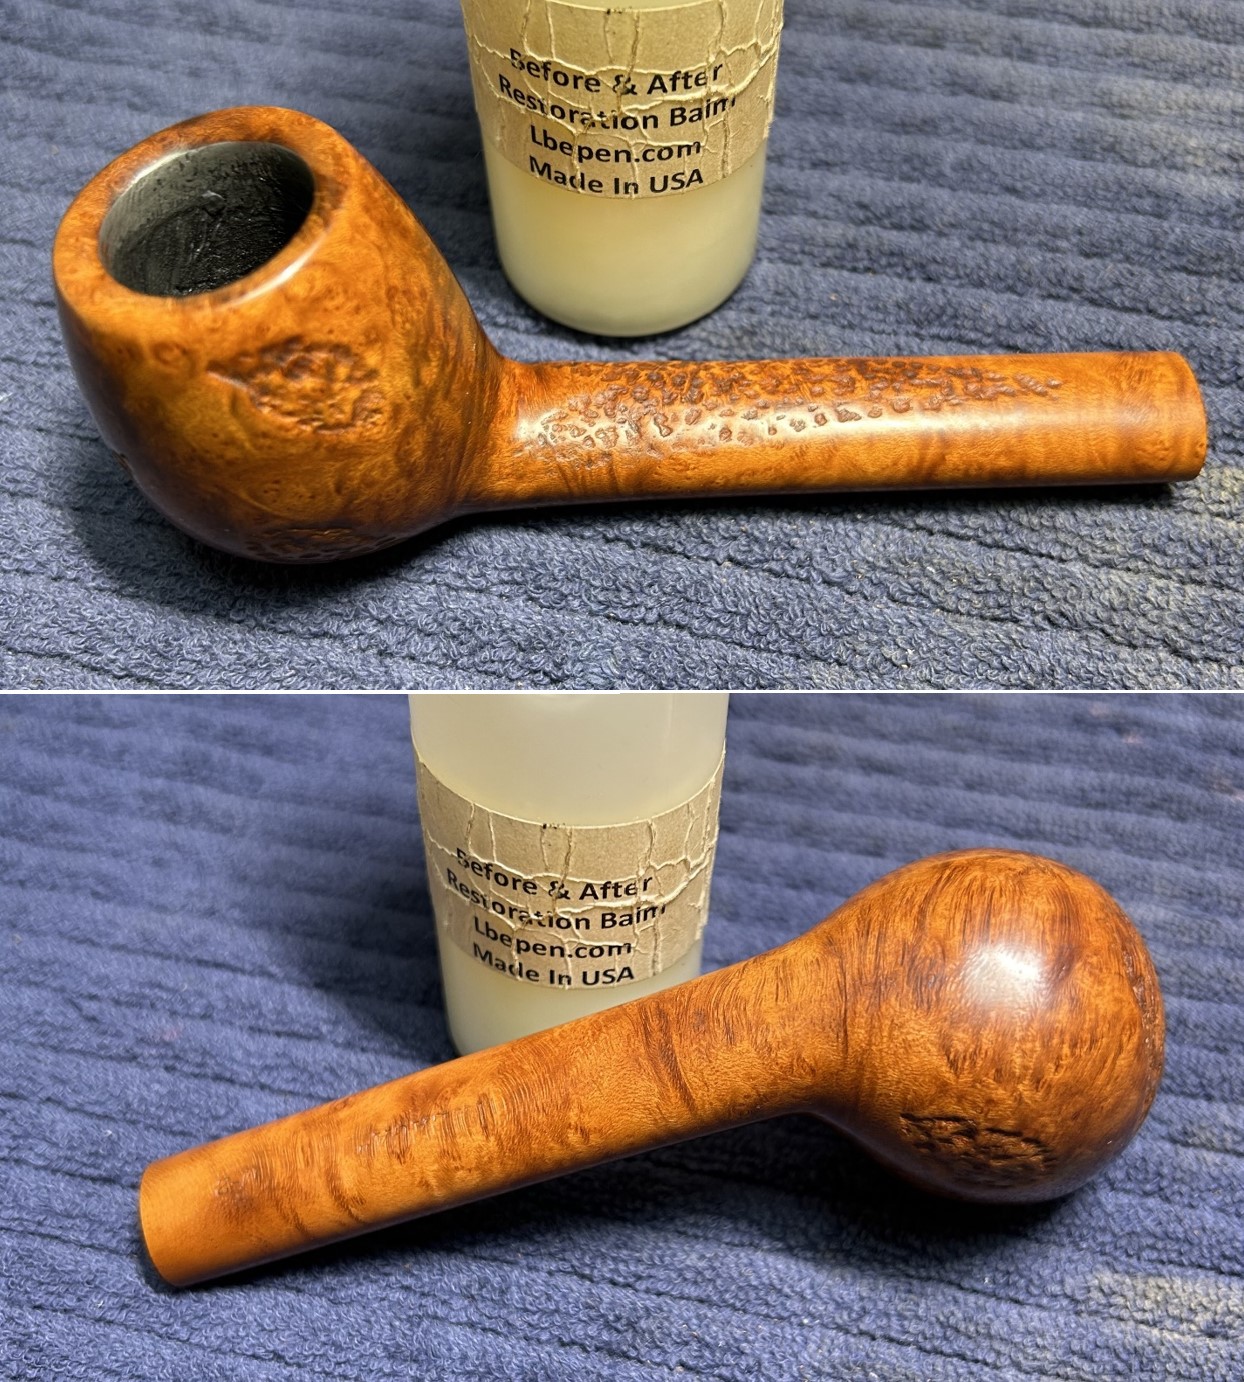
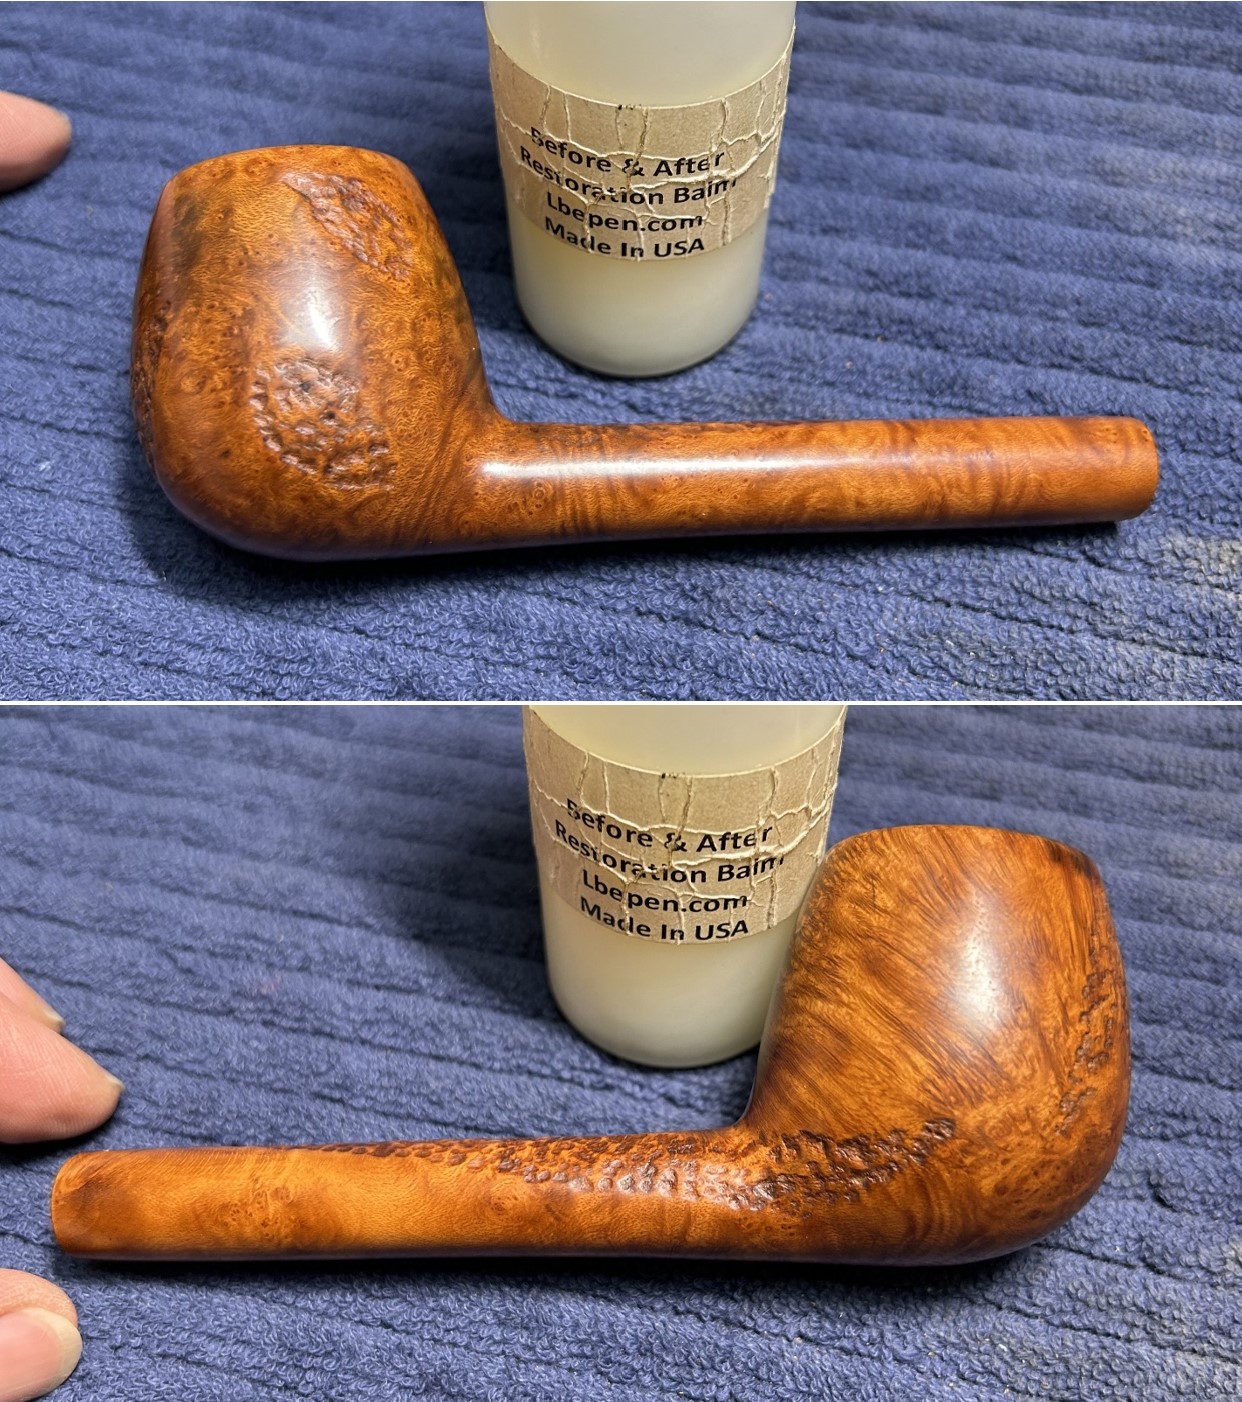
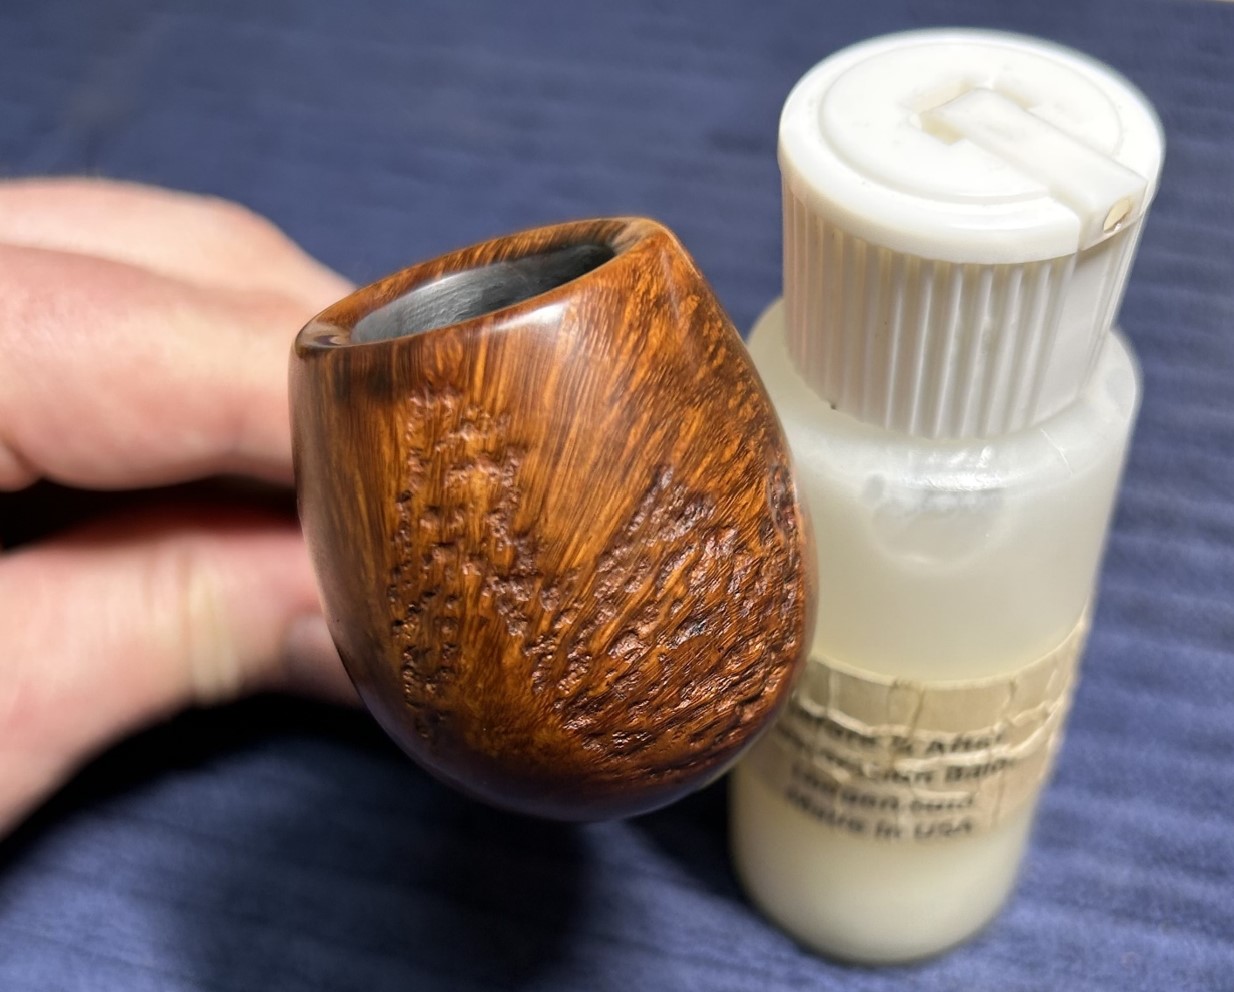
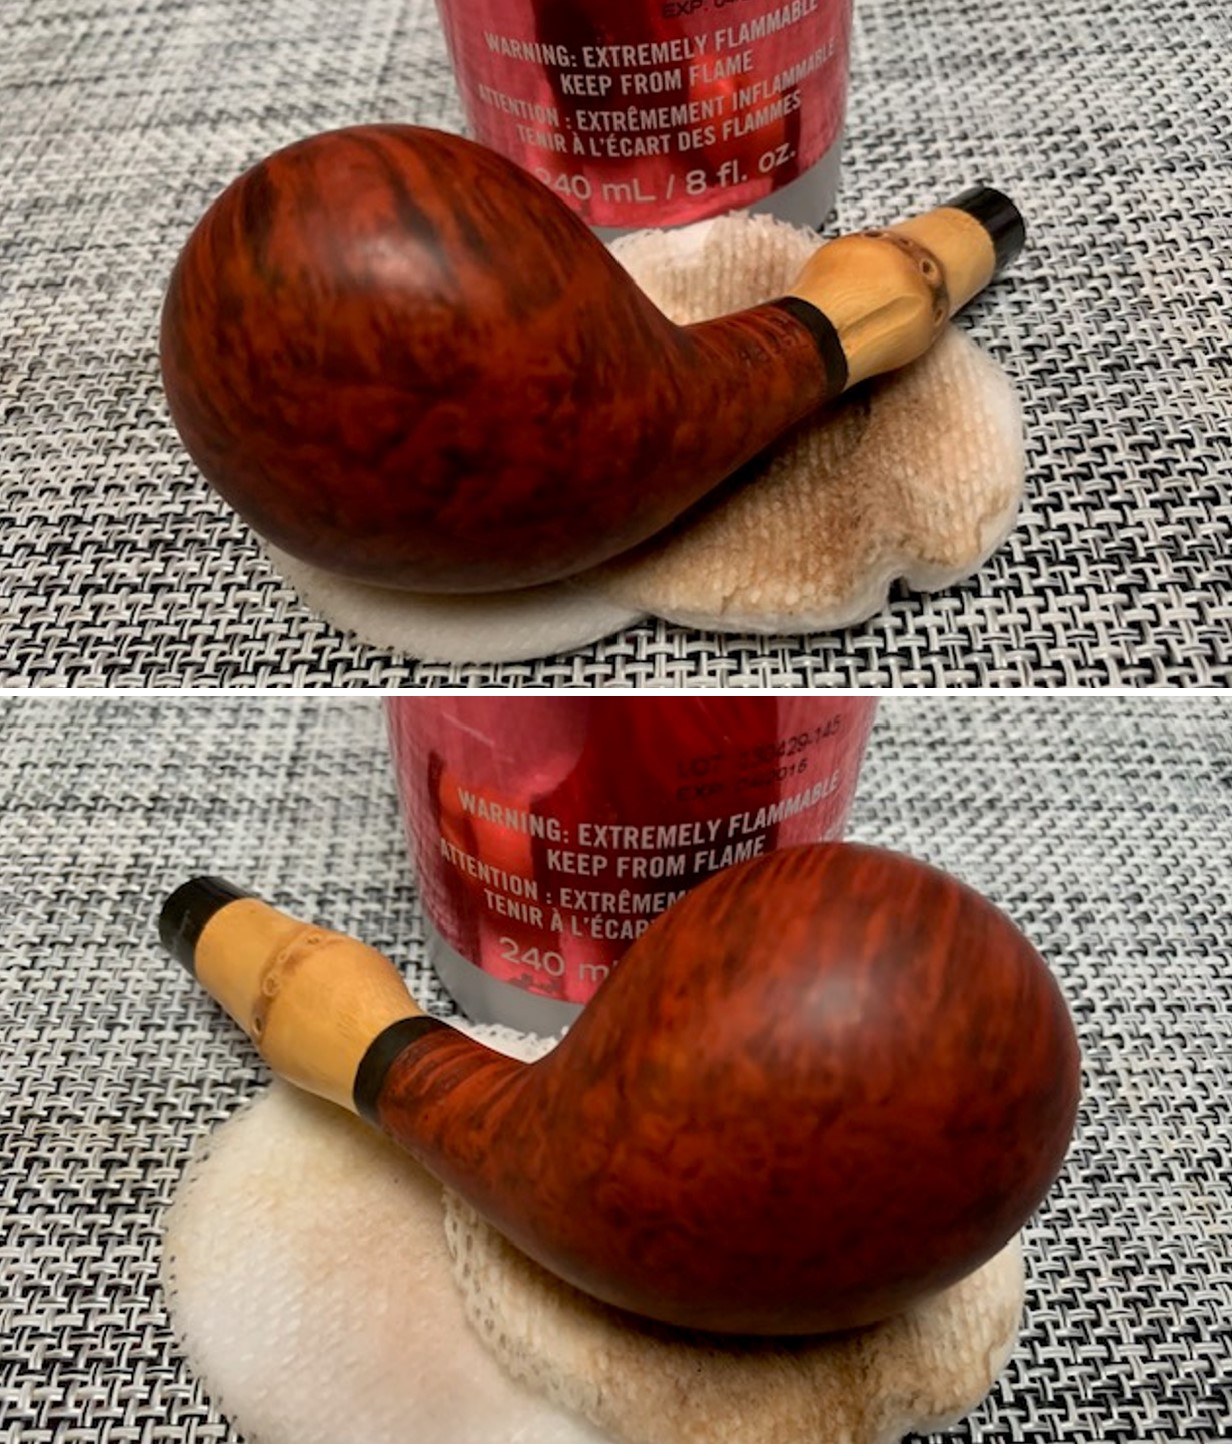
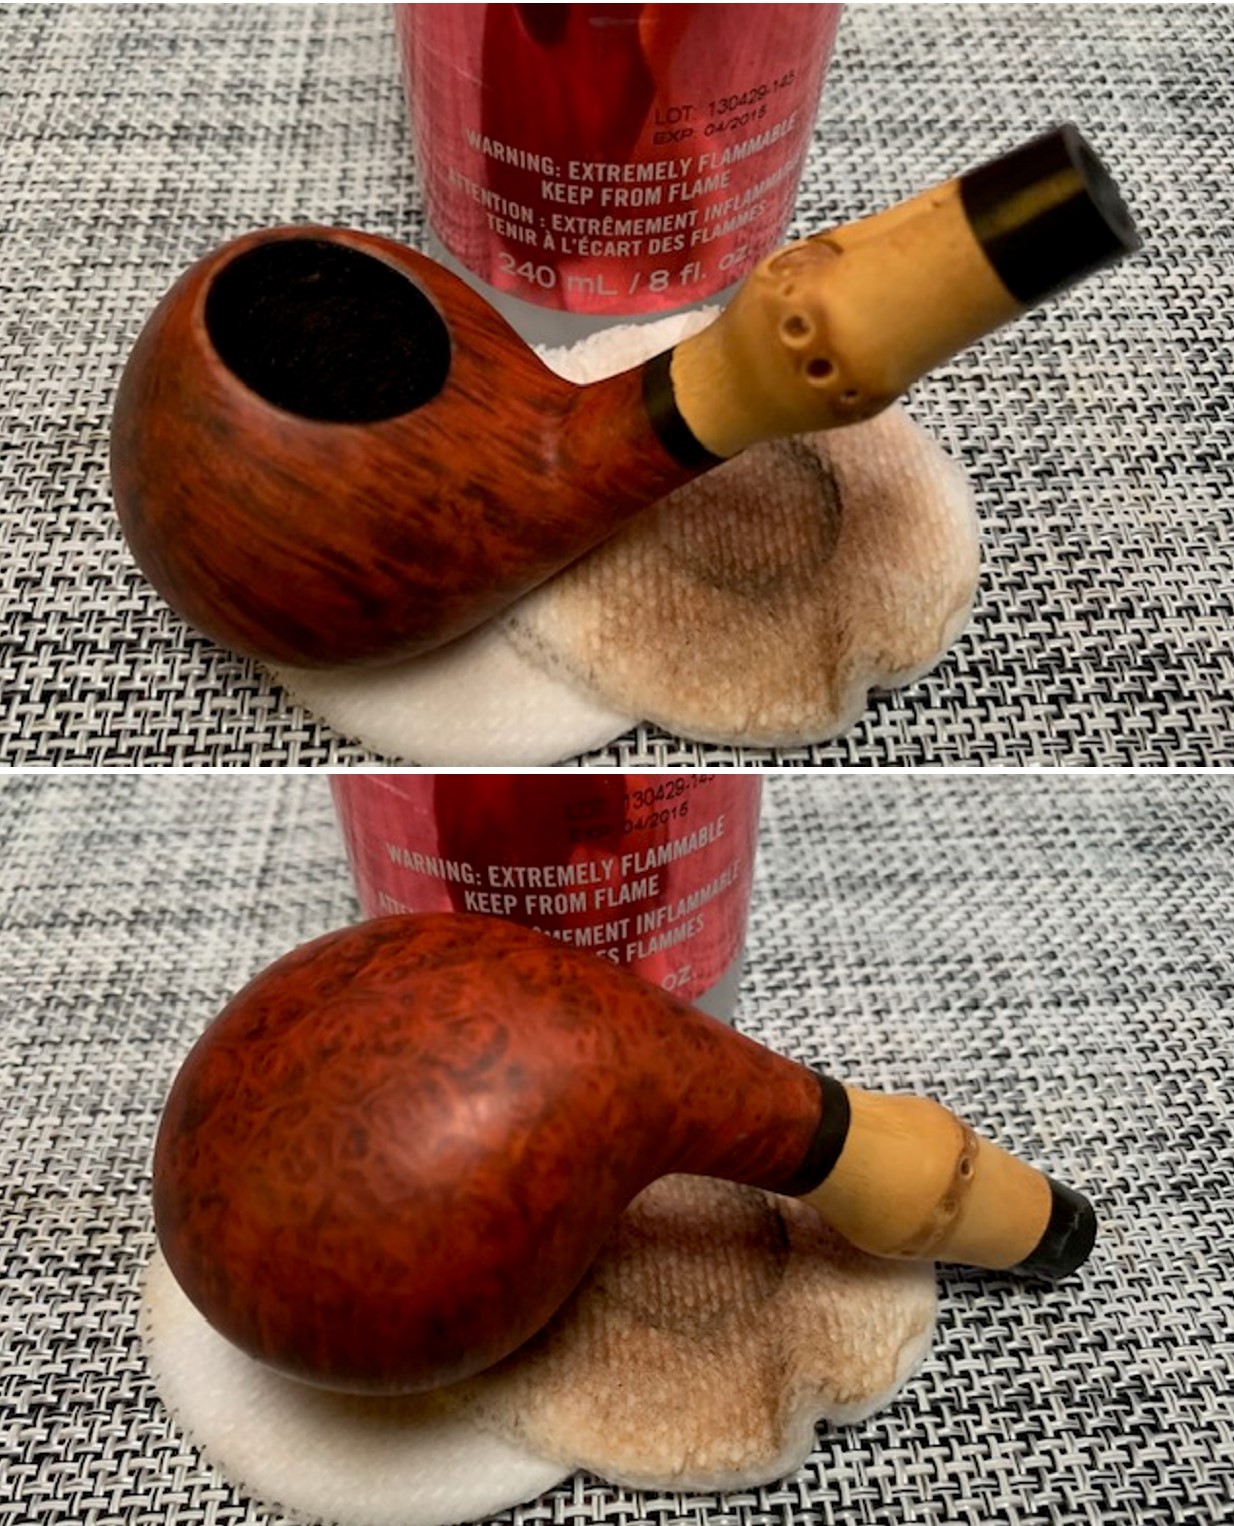
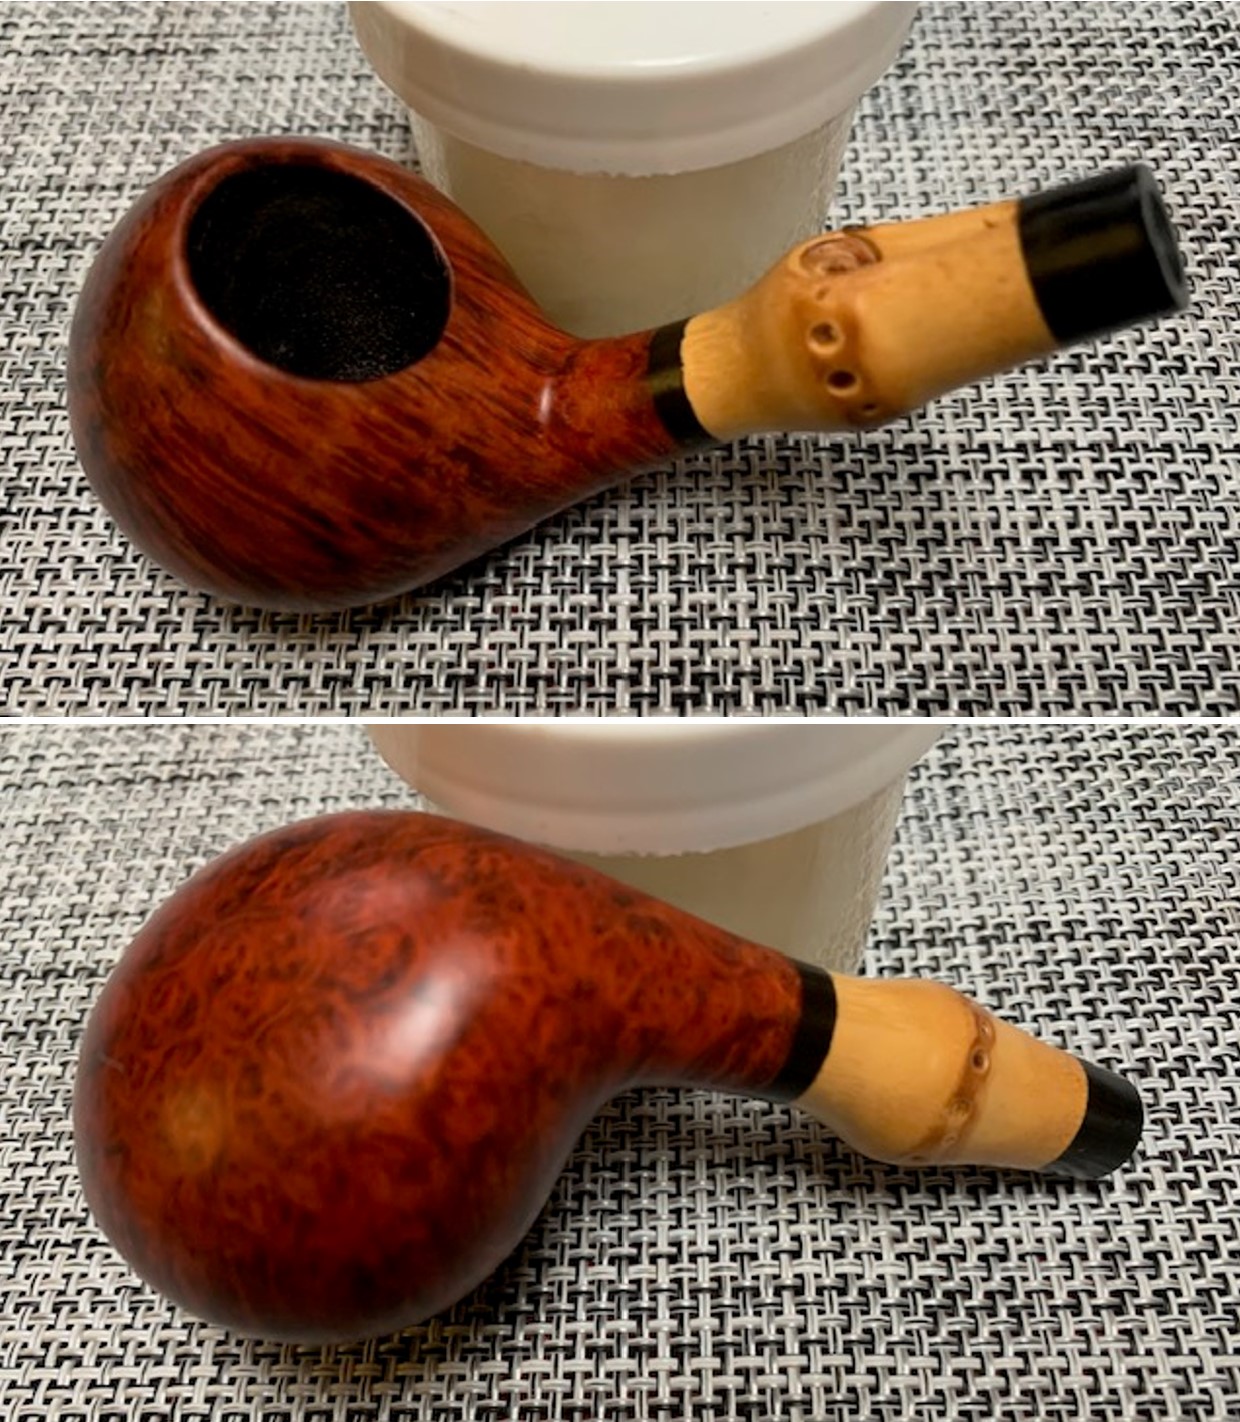
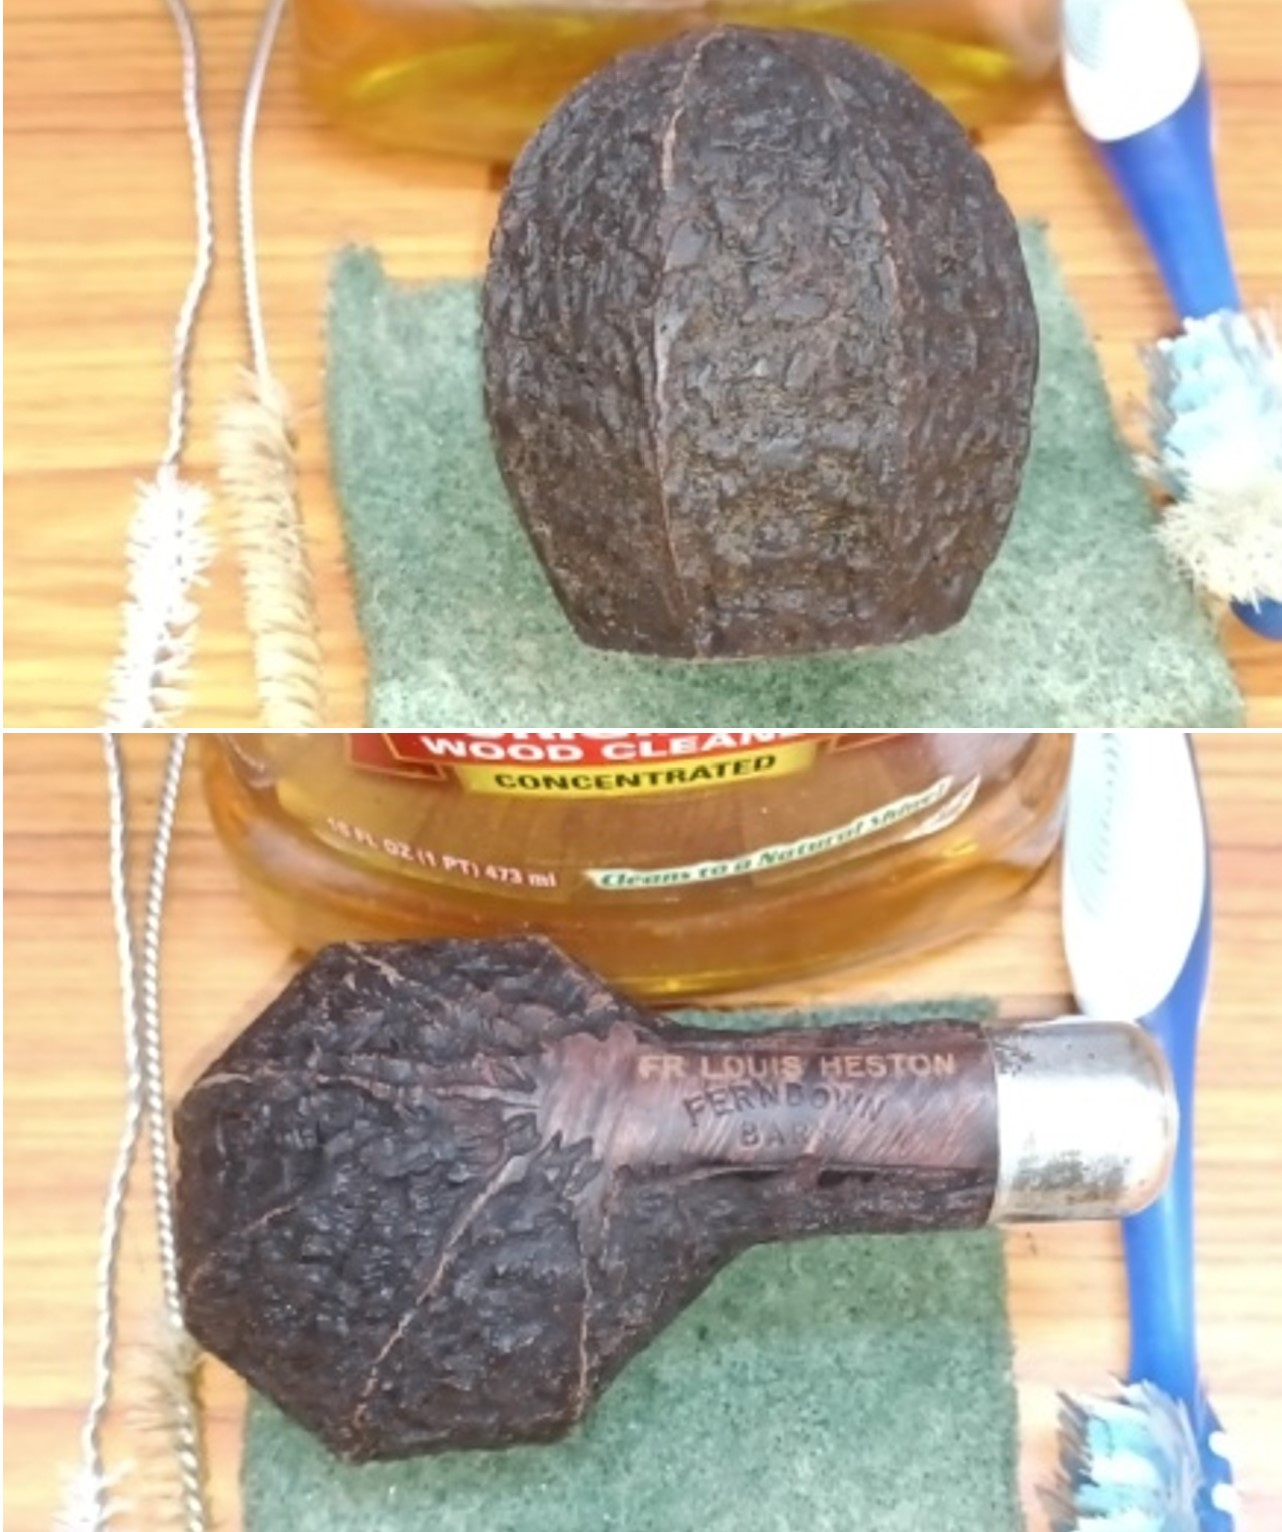
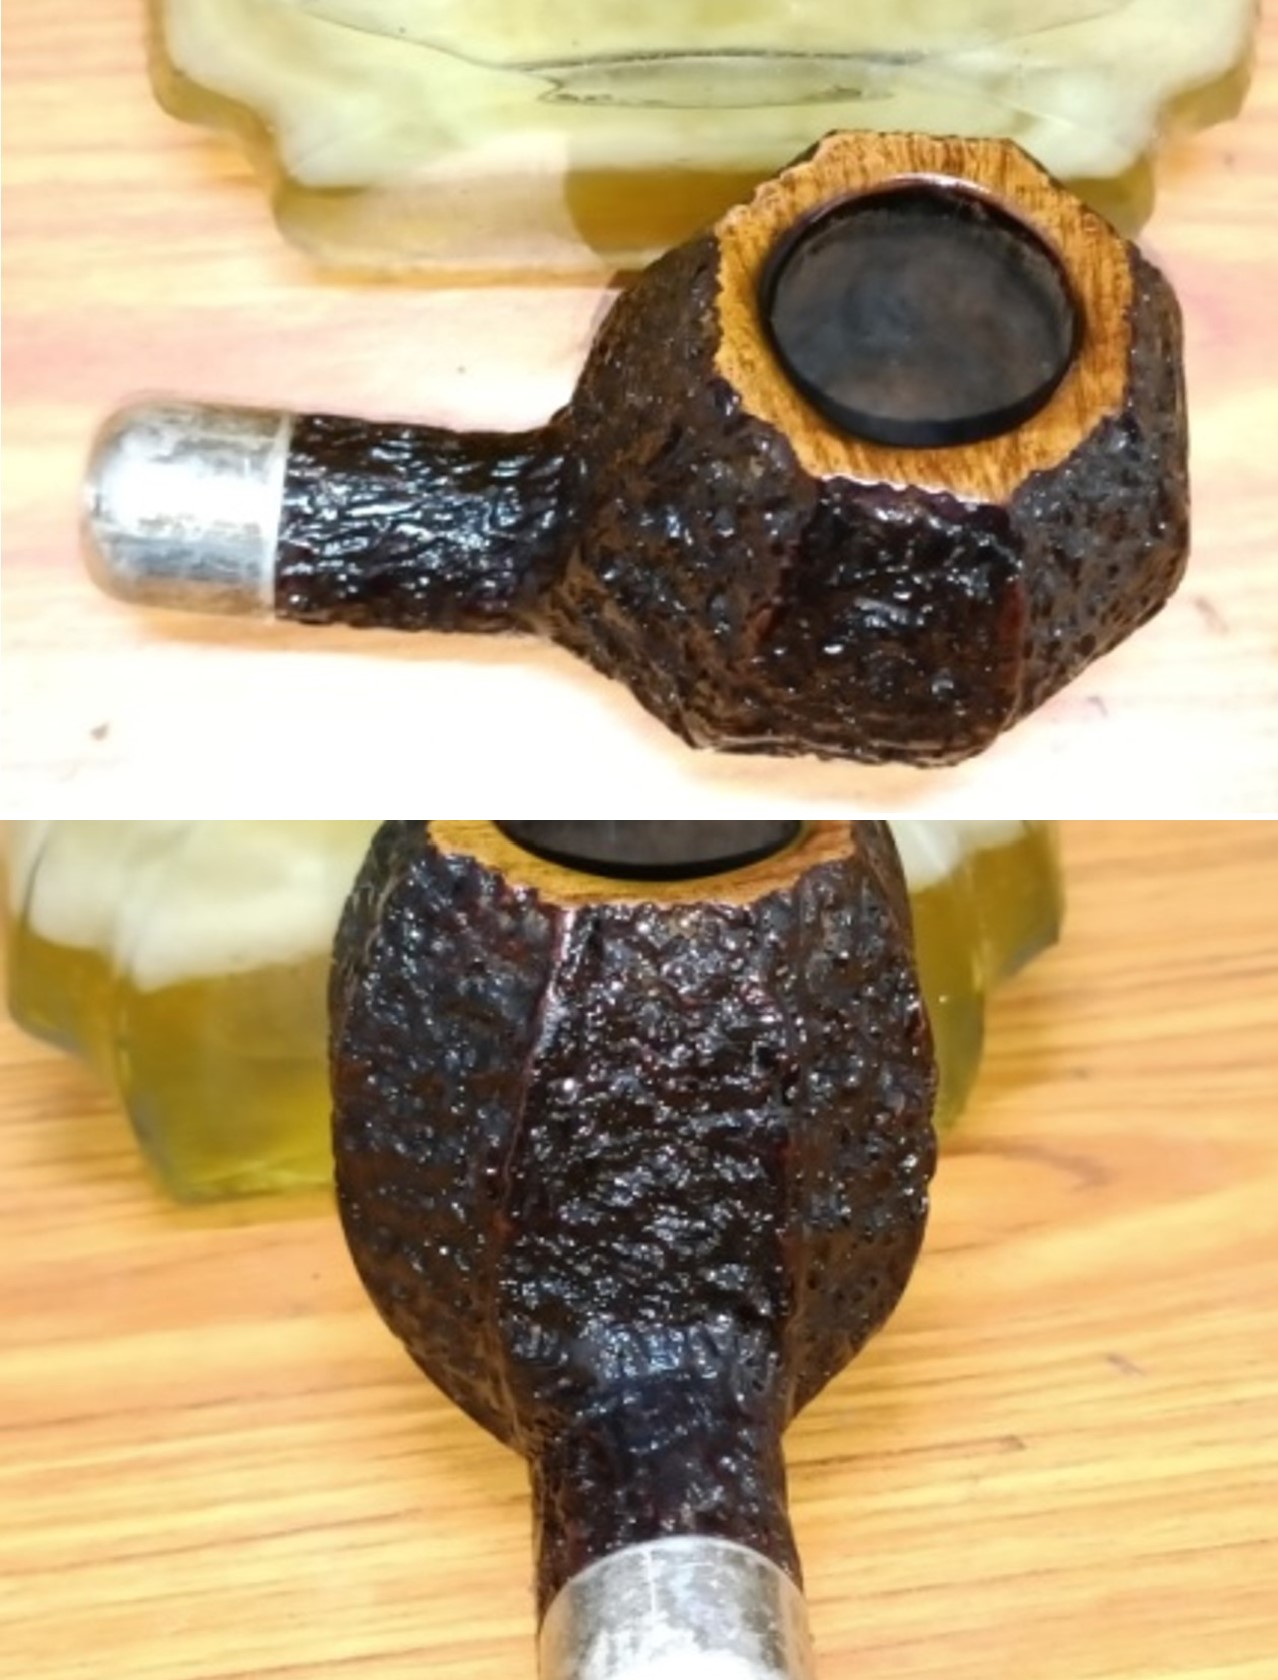
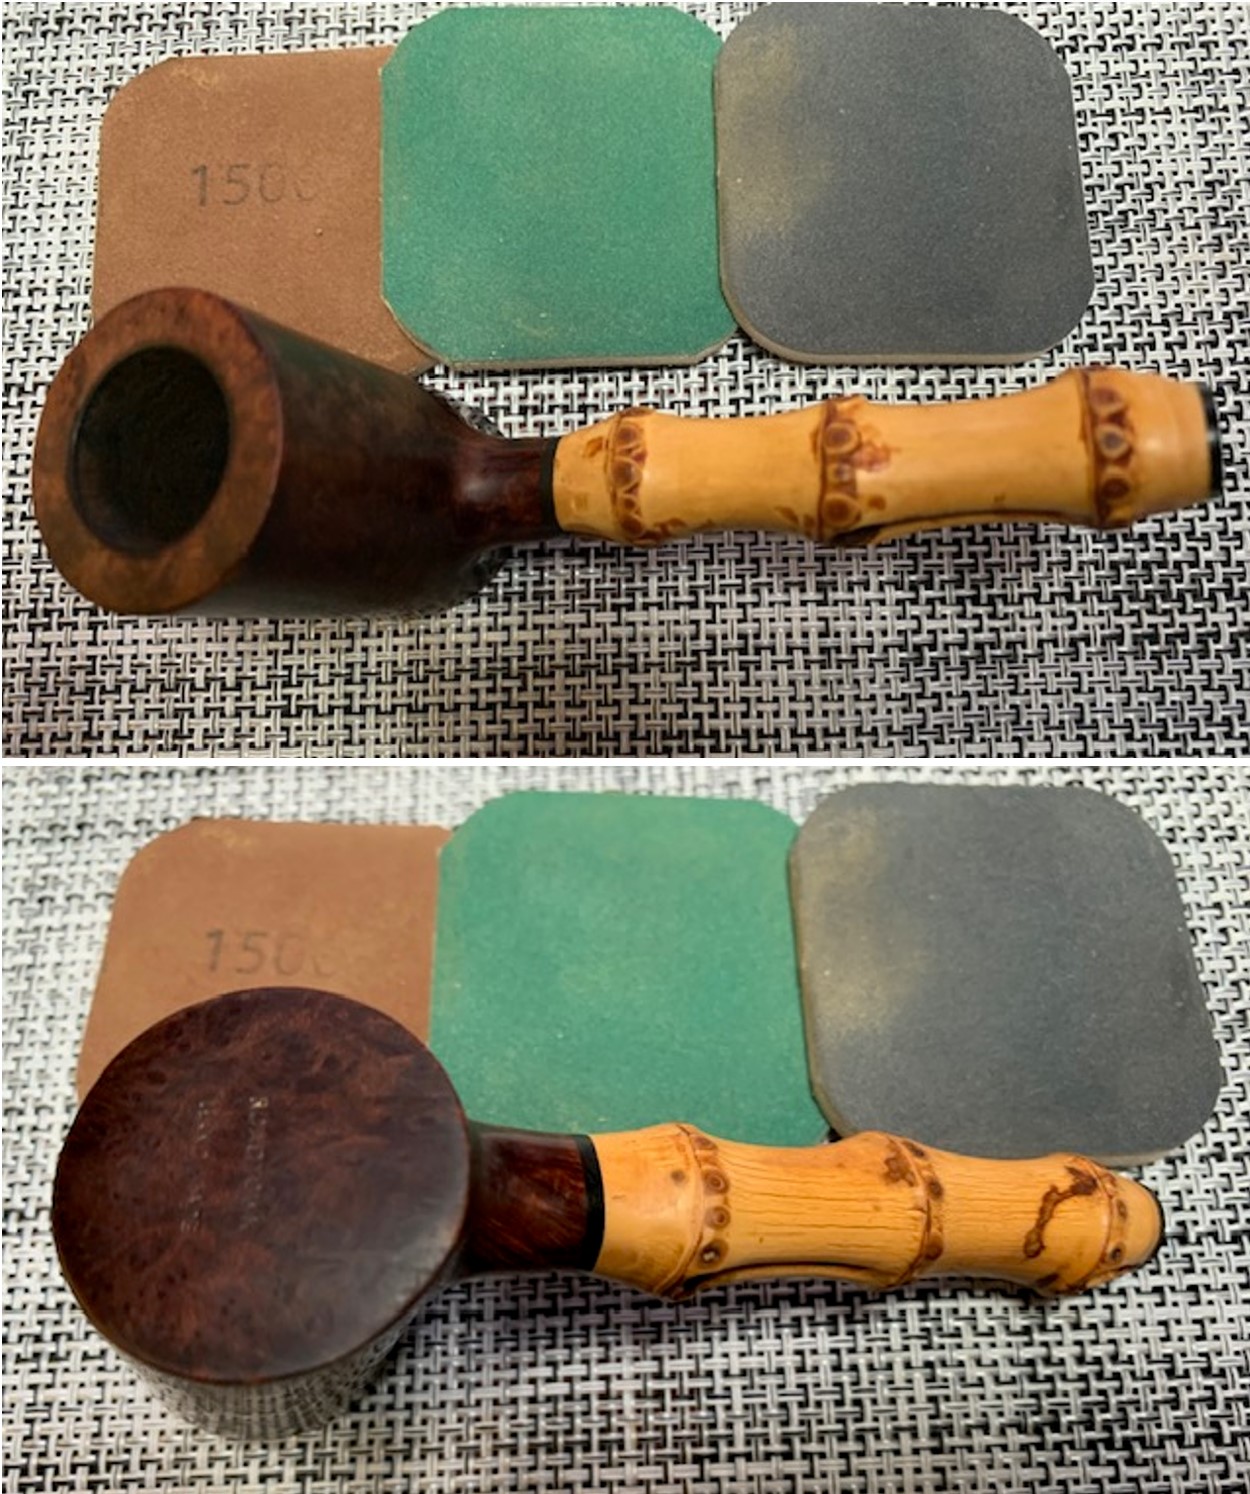
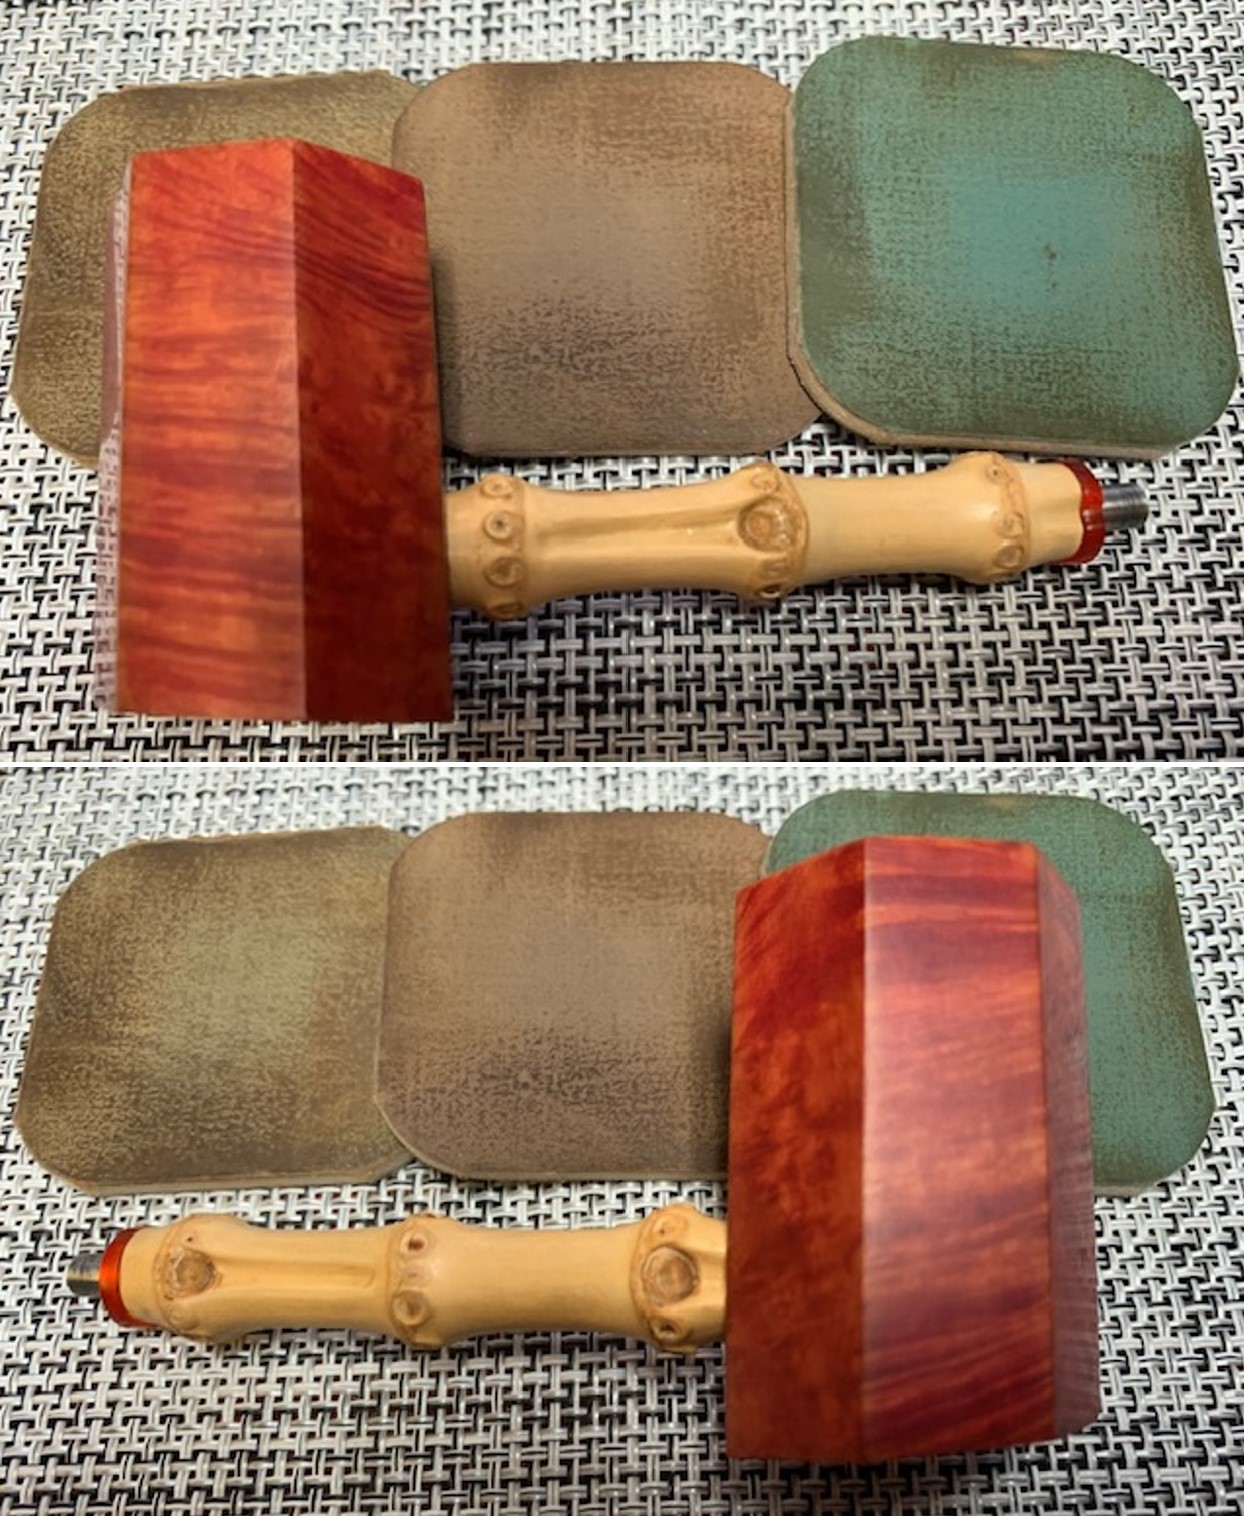
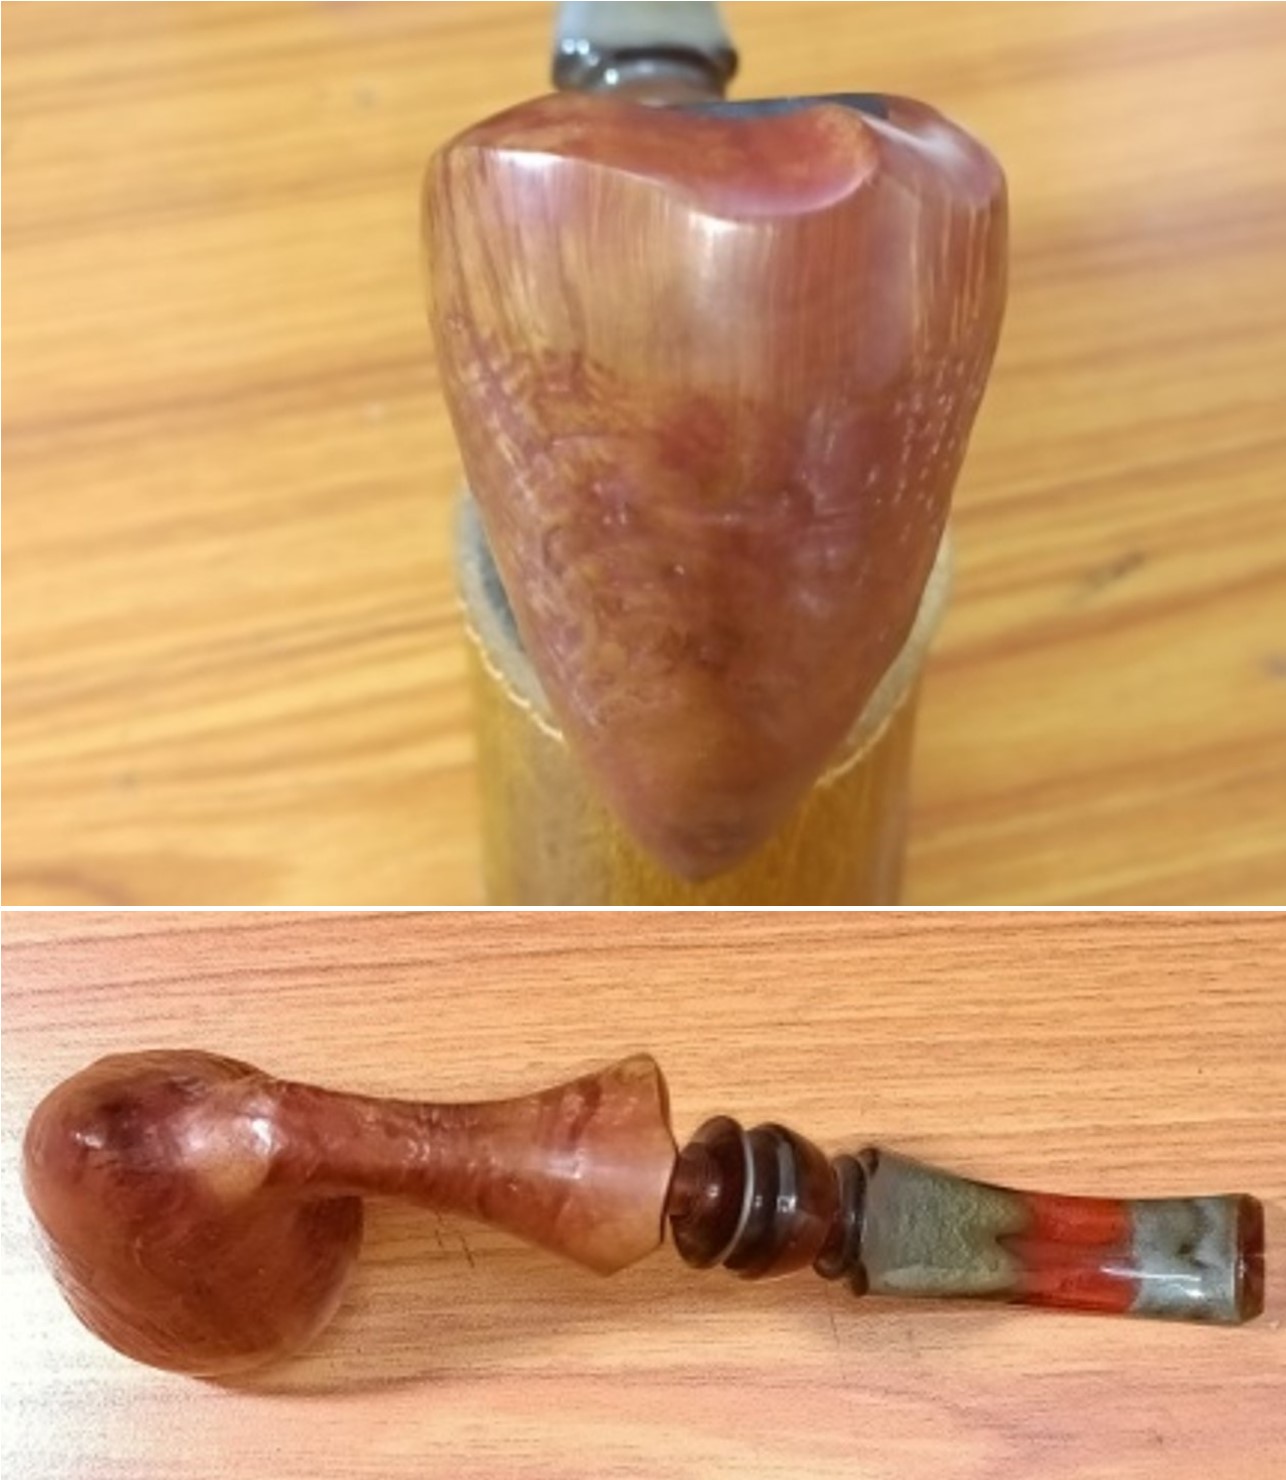
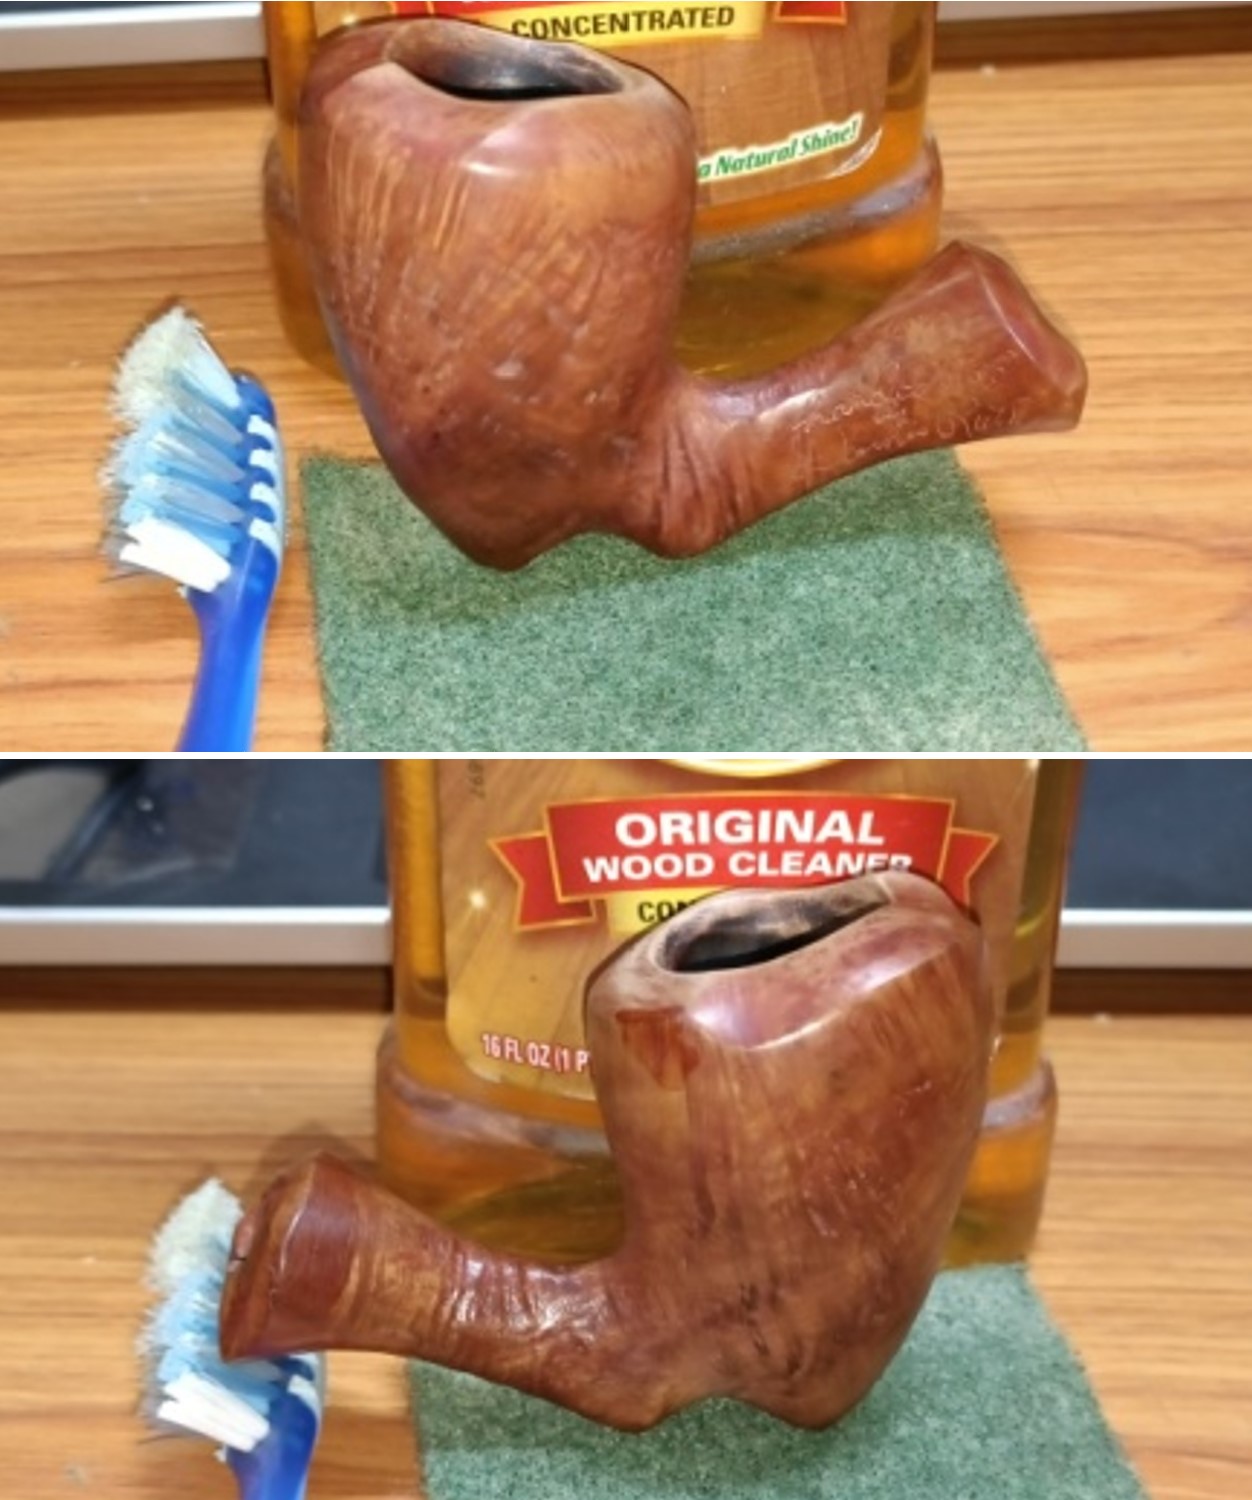
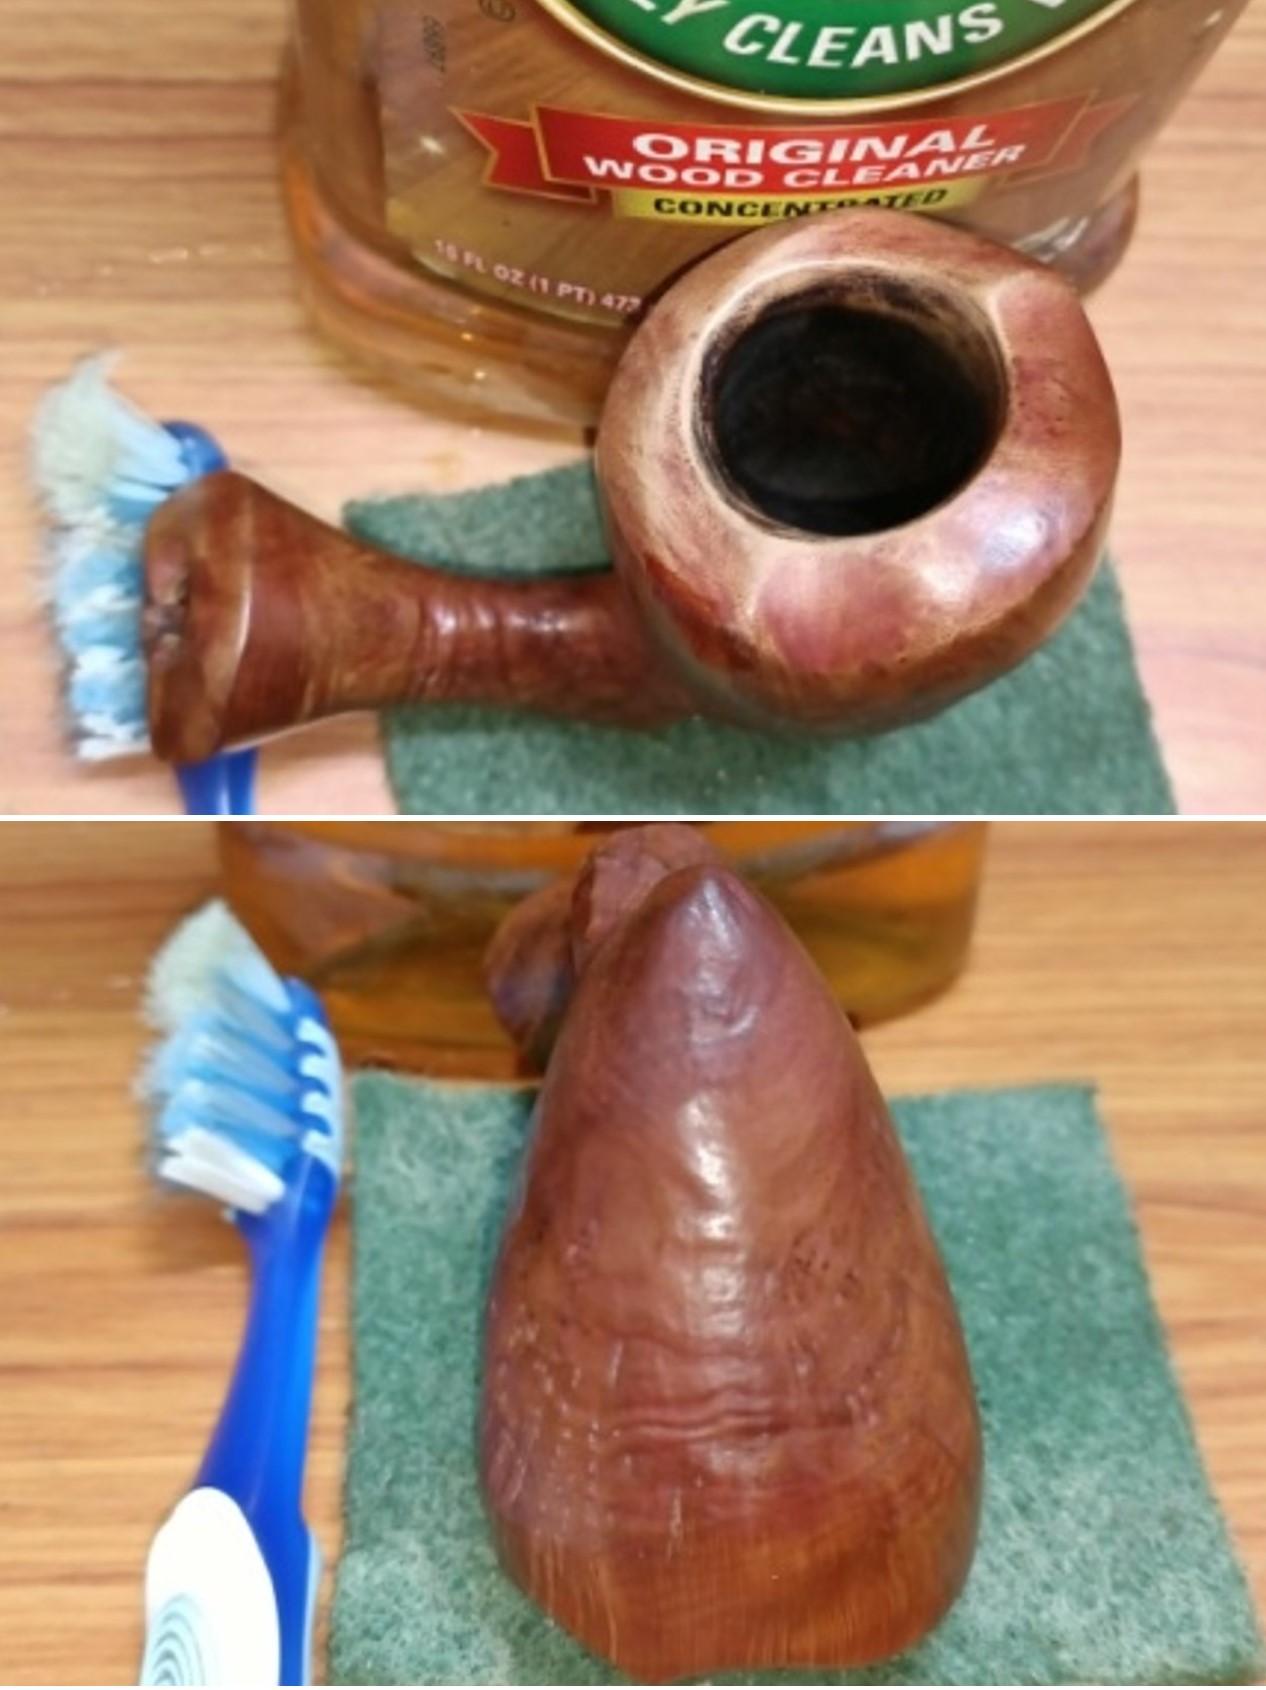
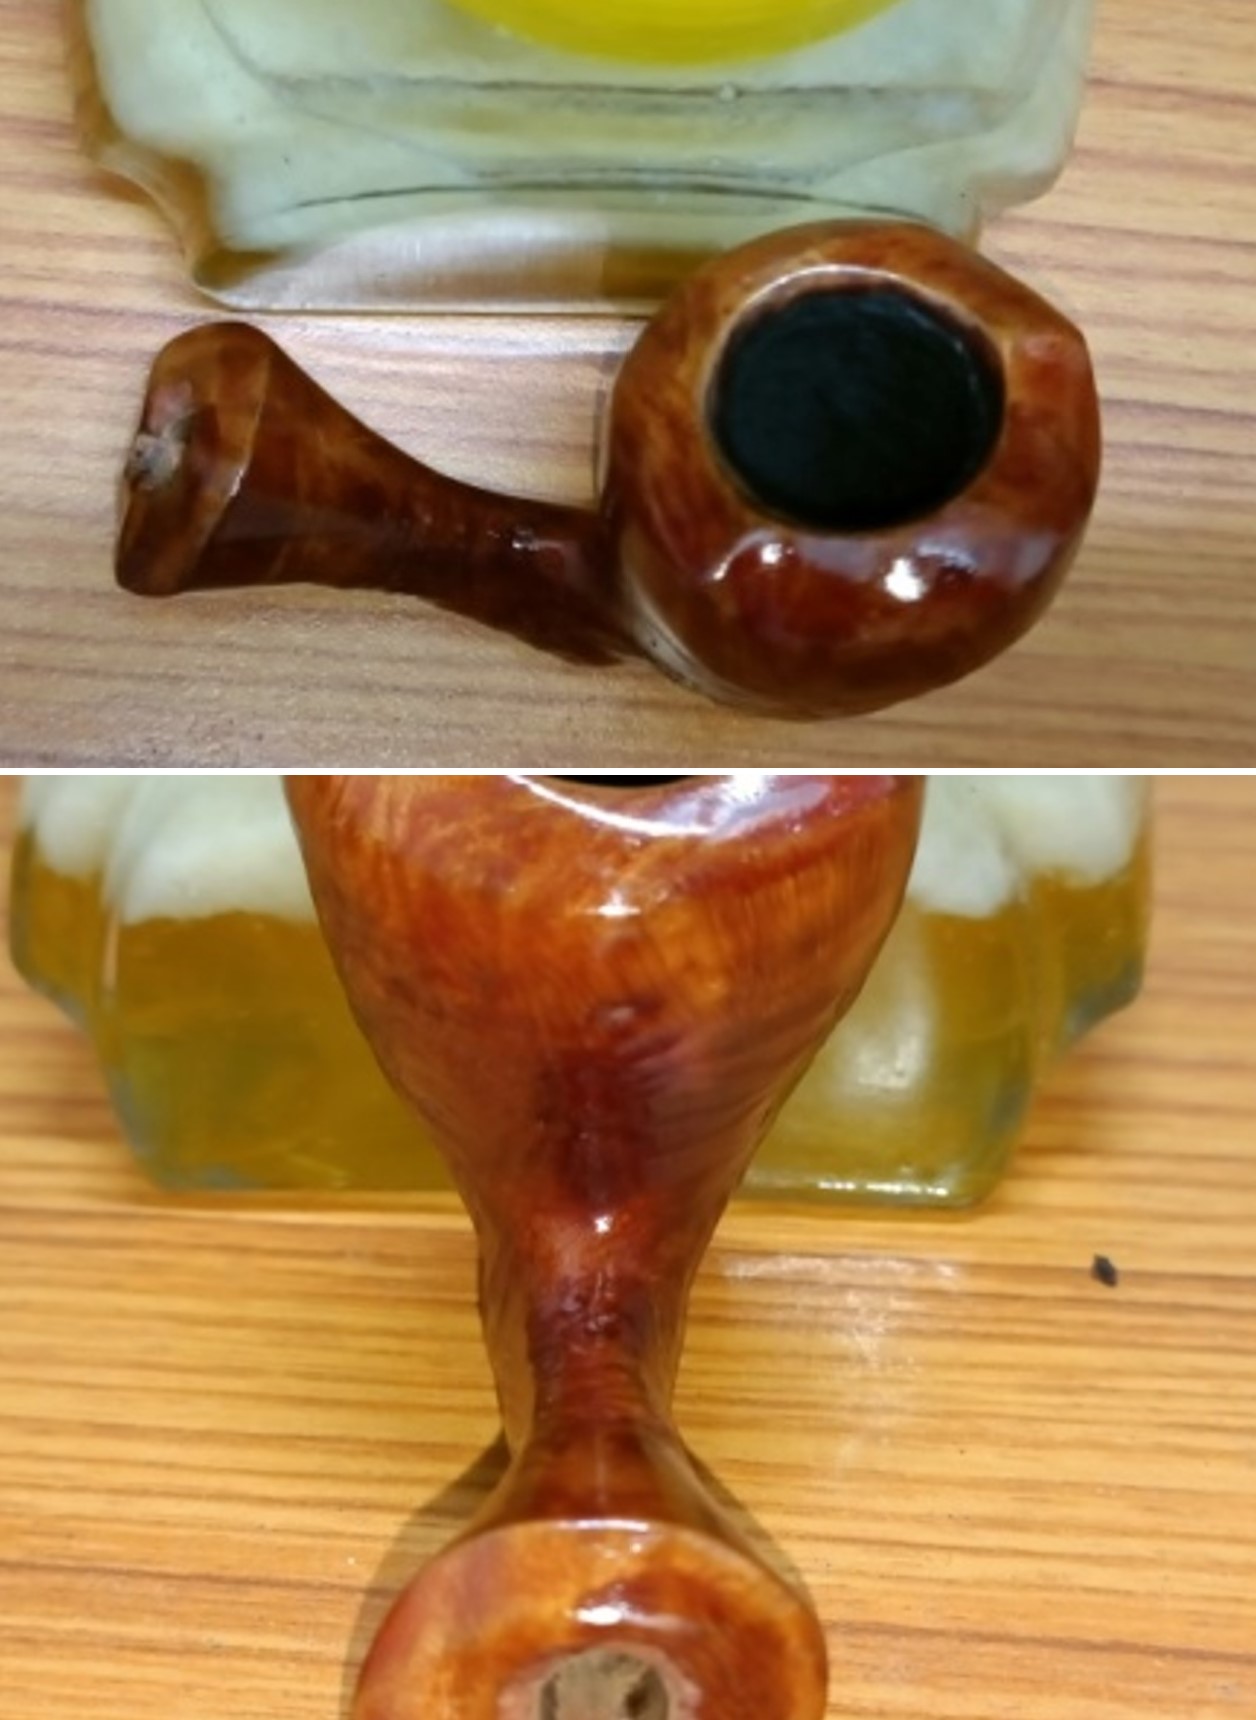
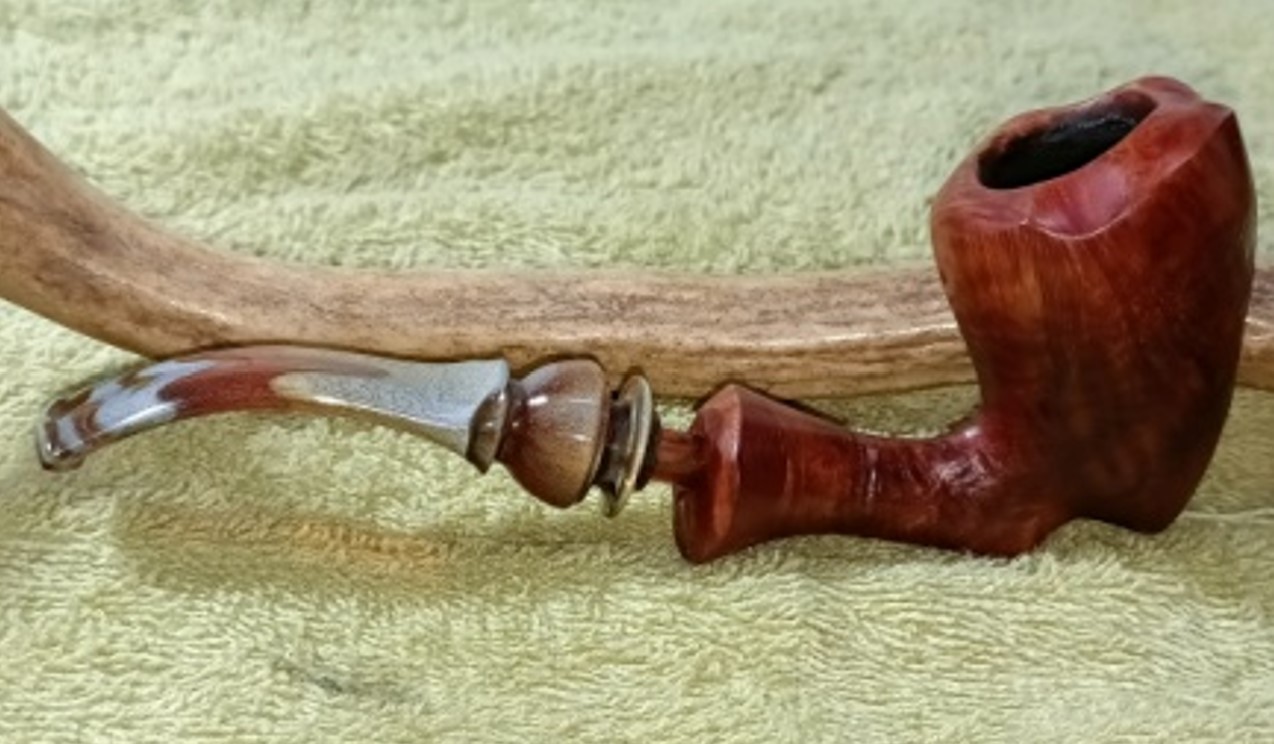
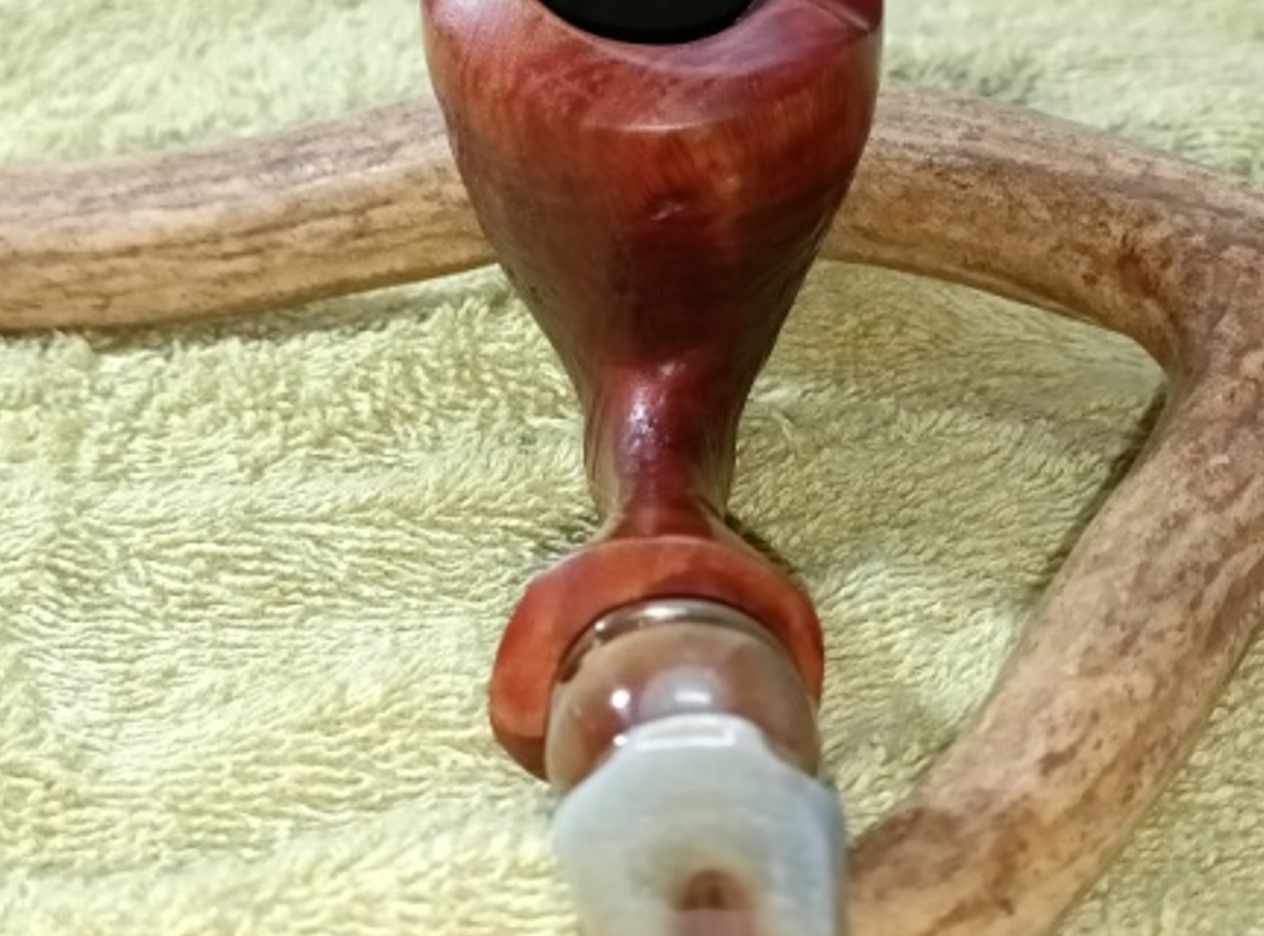
 I rubbed down the bowl and shank with Before & After Restoration Balm. It is a paste/balm that is rubbed into the surface of the briar. The product works to deep clean the finish, enliven and protect the briar. I worked it into the briar with my finger tips. I let it sit for 10 minutes then wiped it off with a soft cloth then buffed it with a cotton cloth. The briar really began to have a deep shine in the briar and the grain shines through. The photos I took of the bowl at this point mark the progress in the restoration. It is a gorgeous pipe.

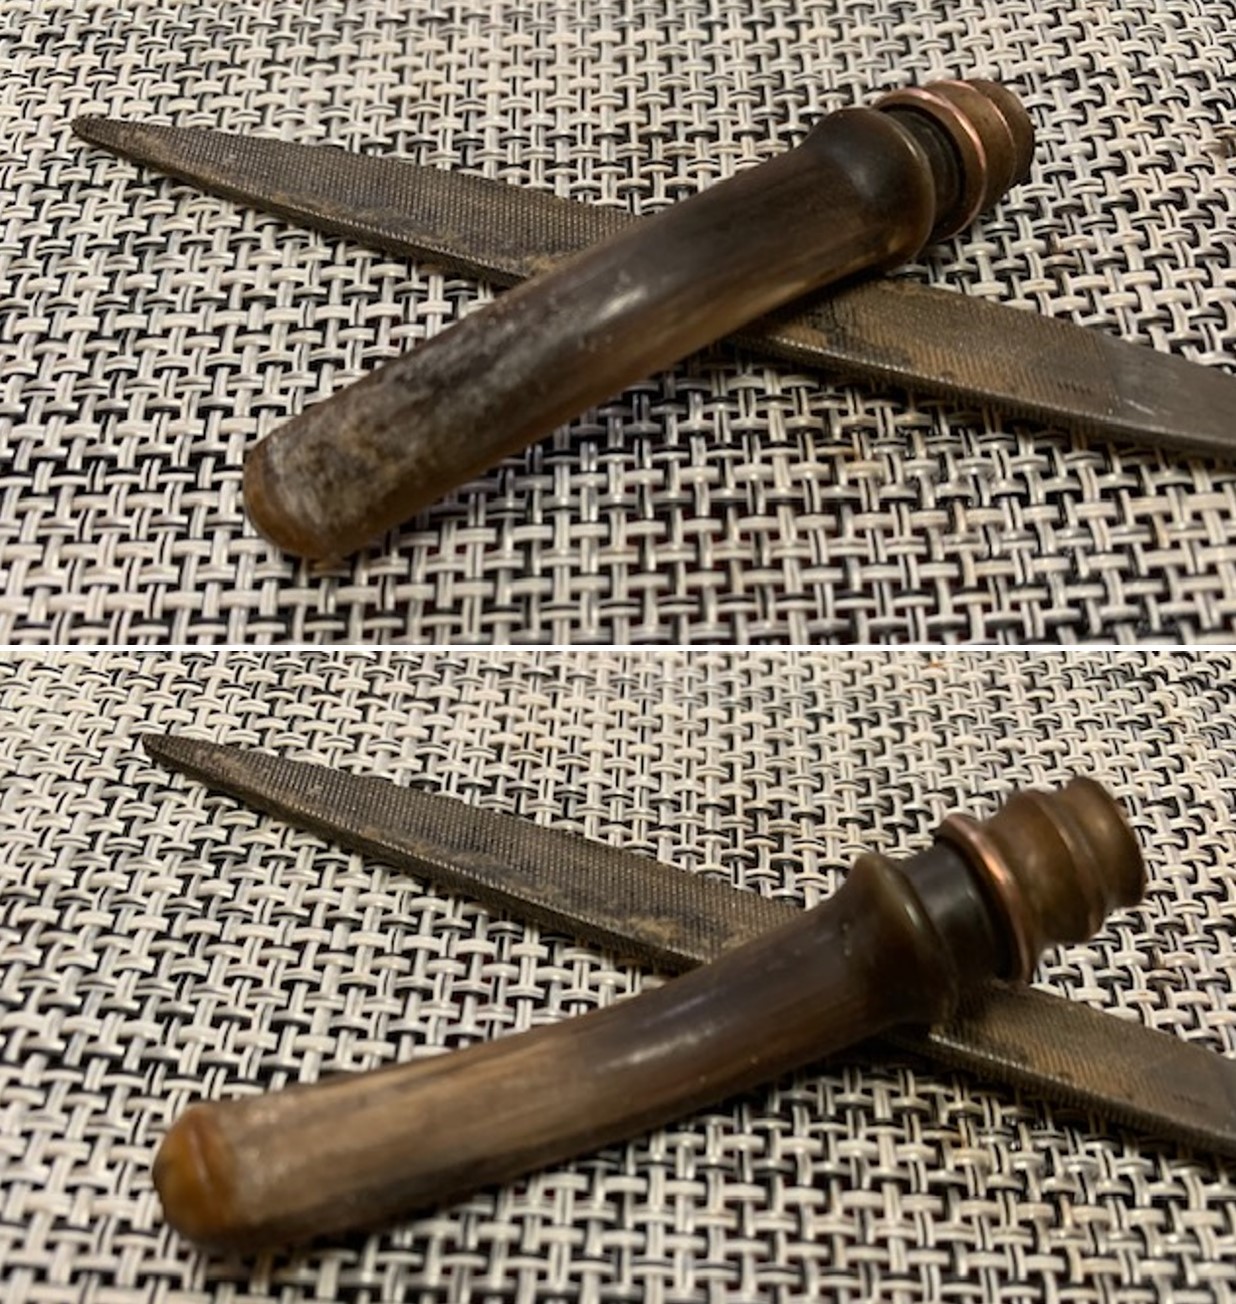
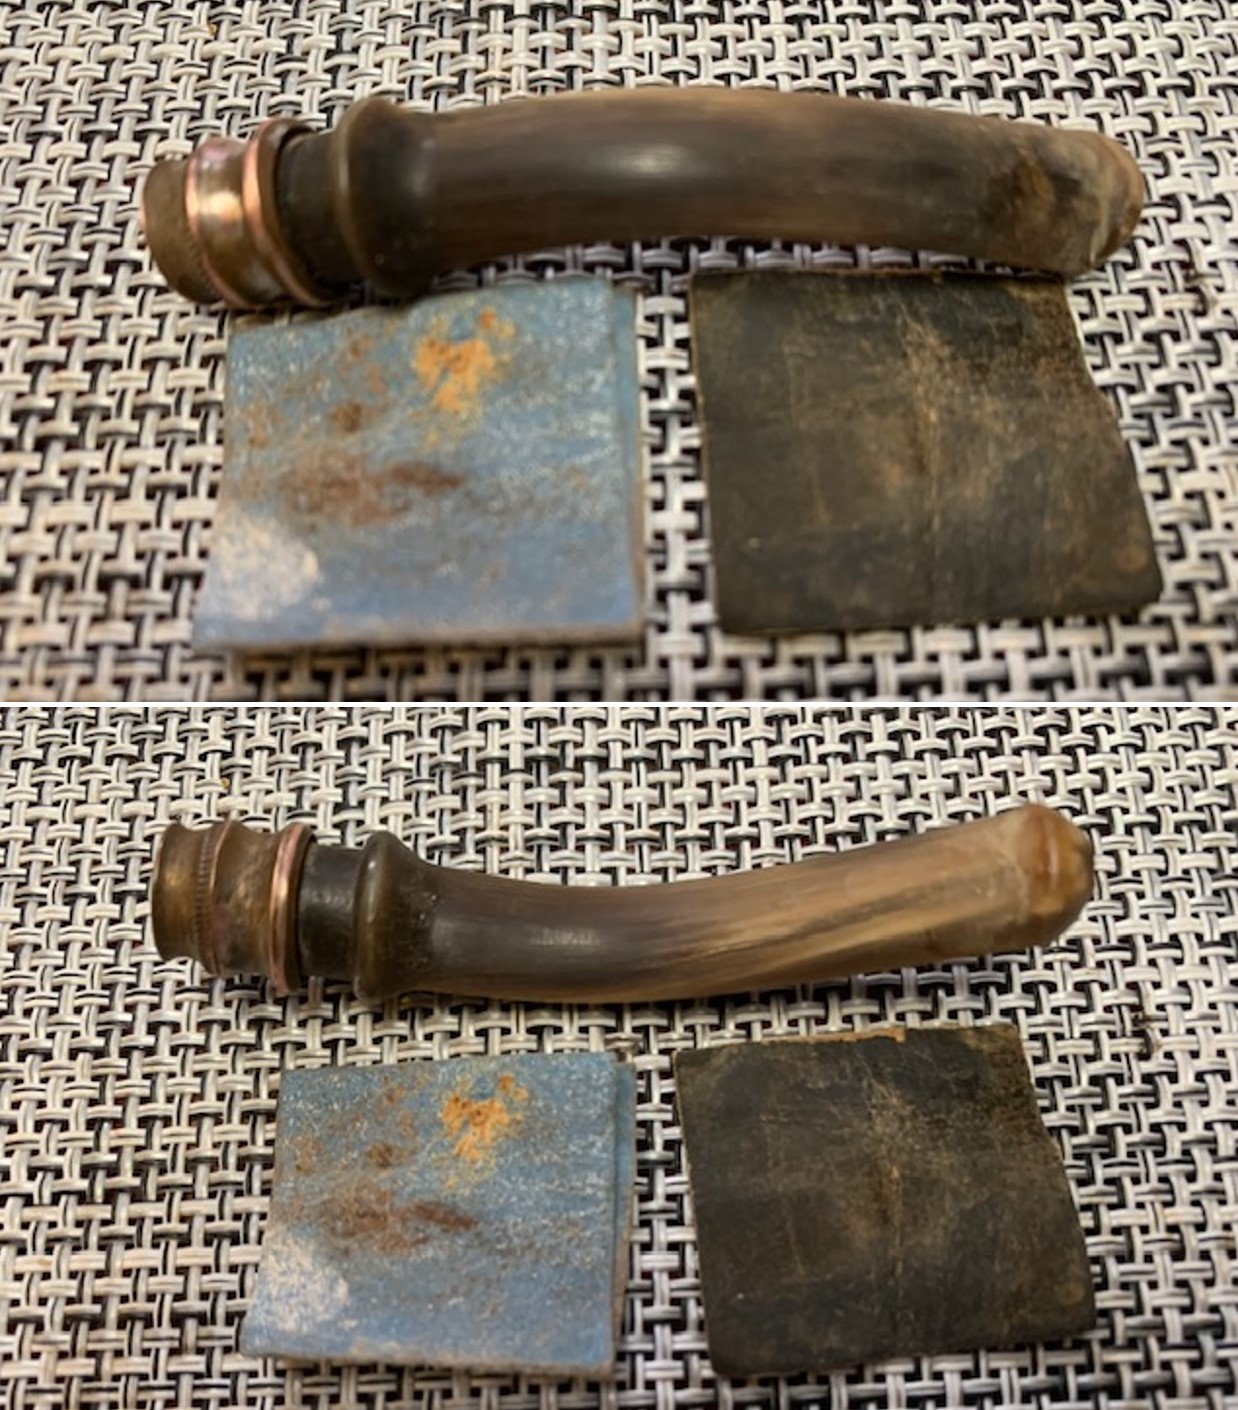
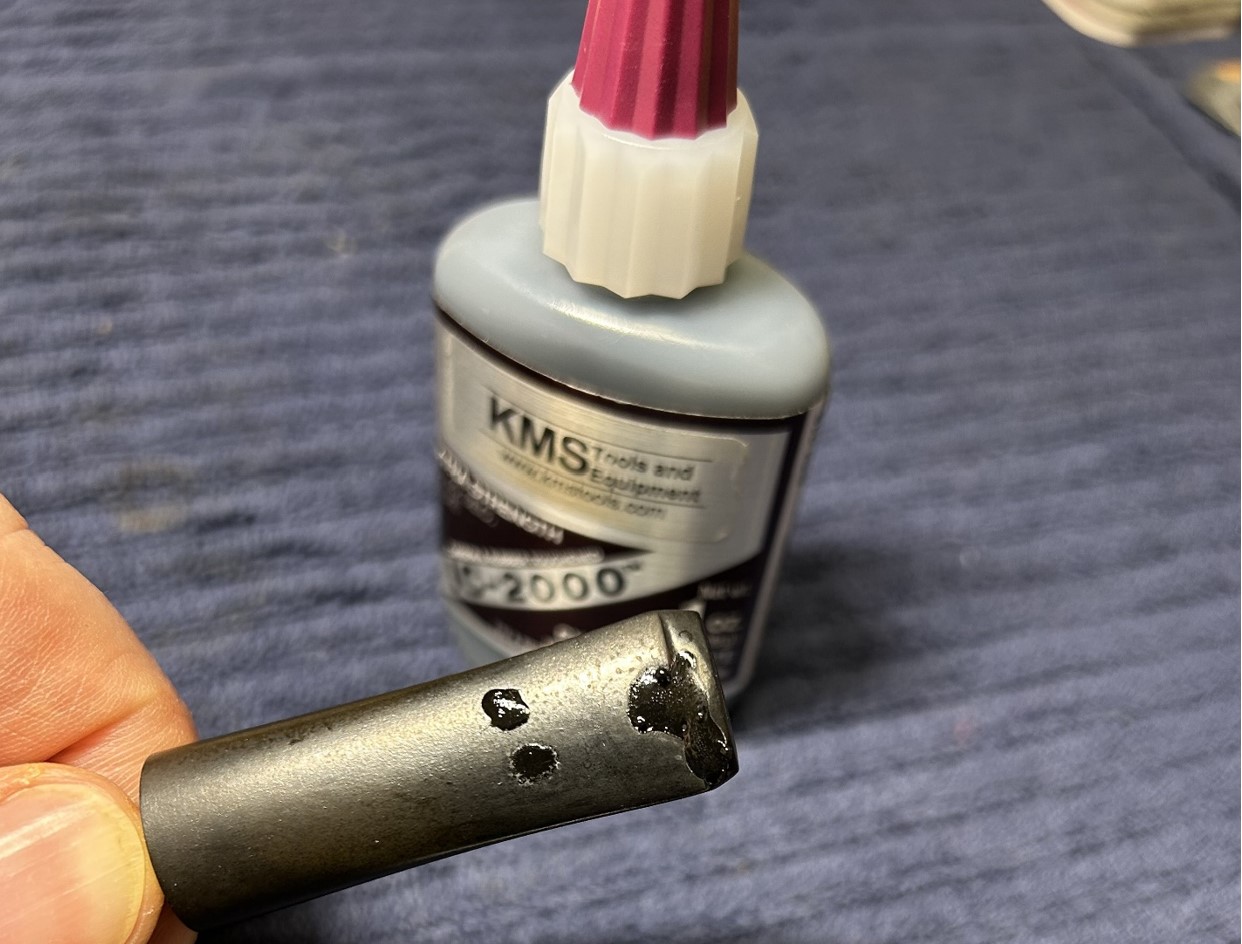
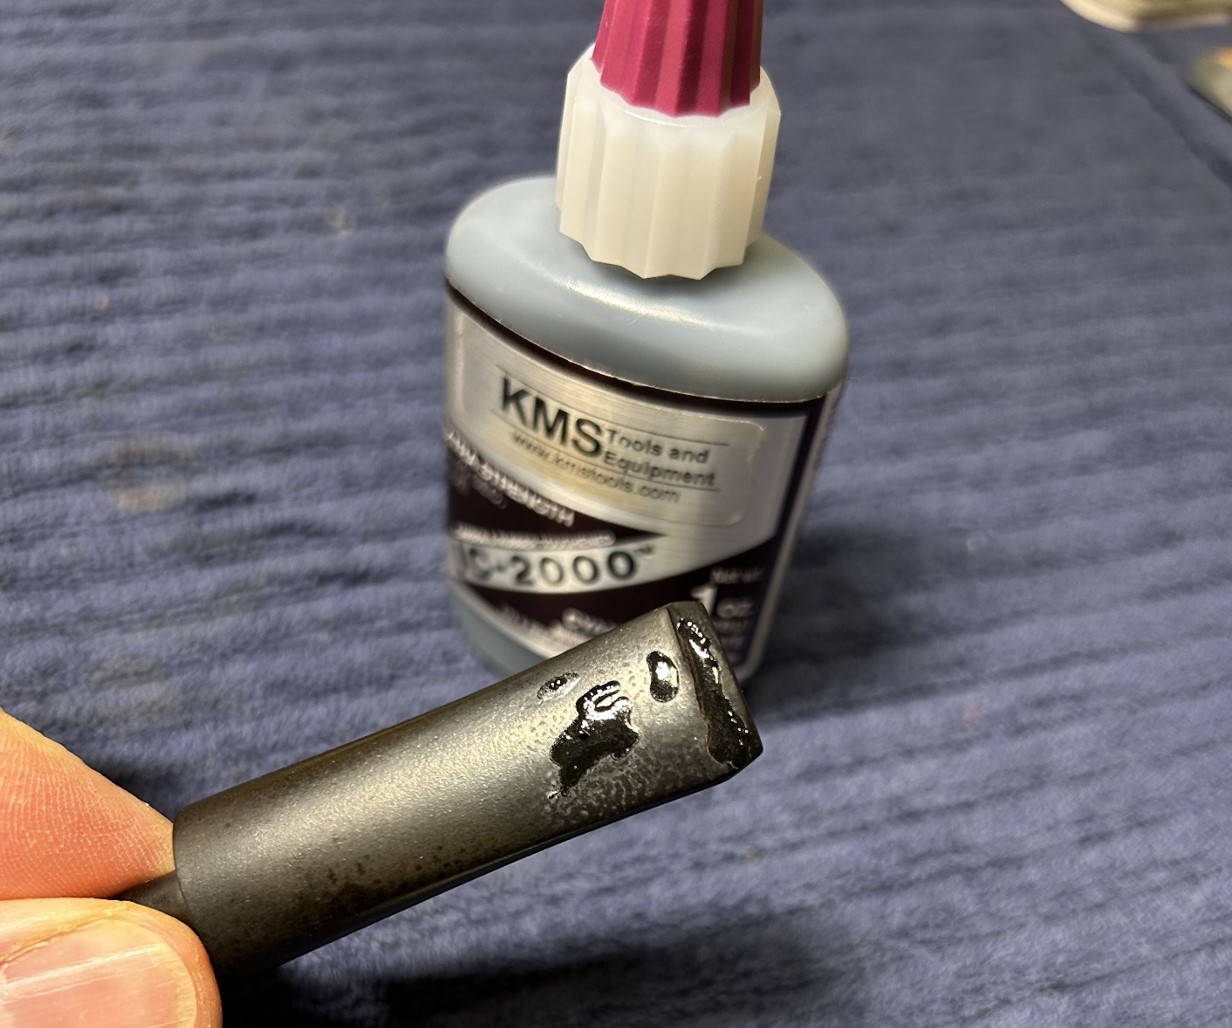
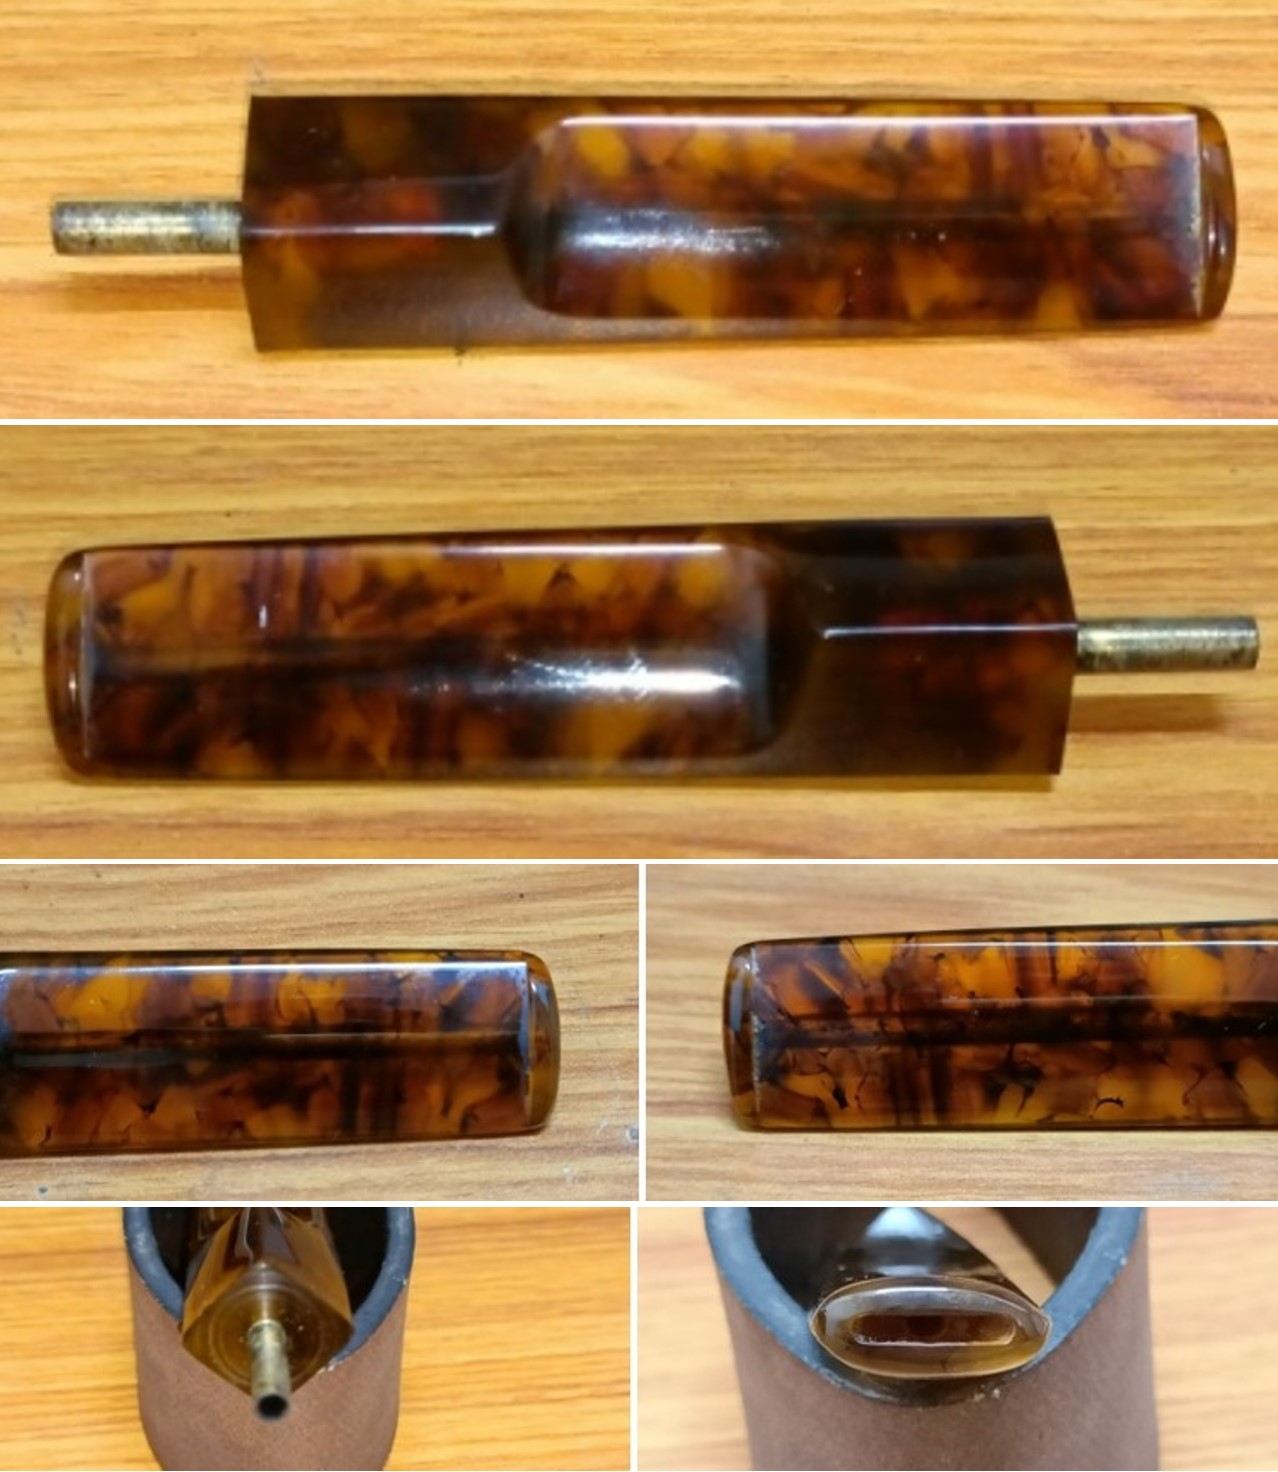
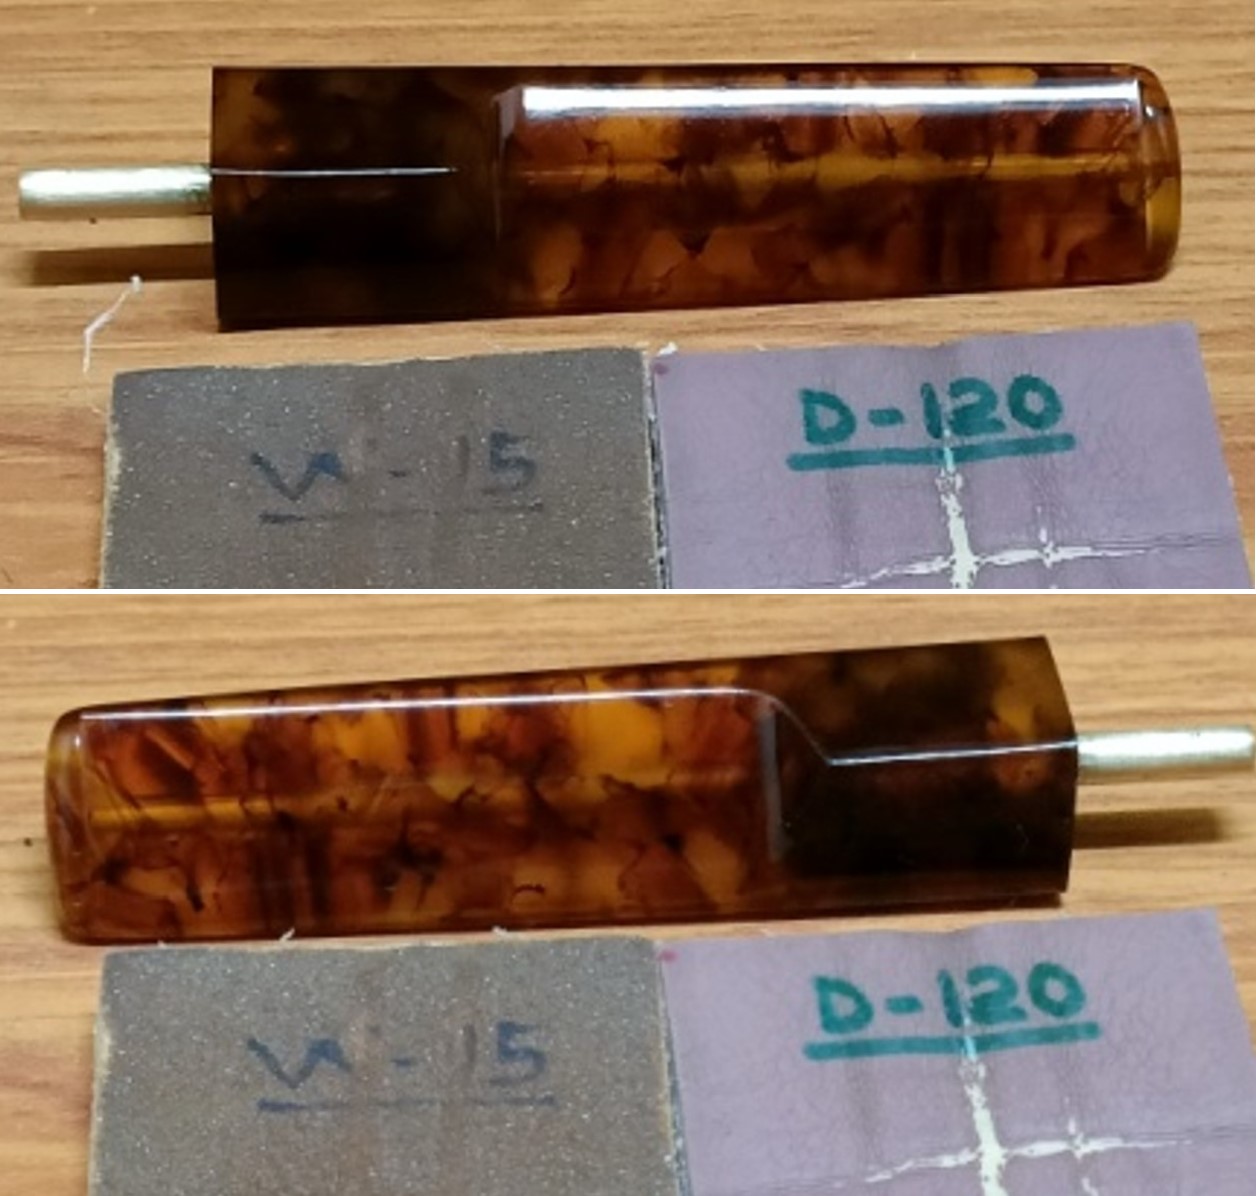
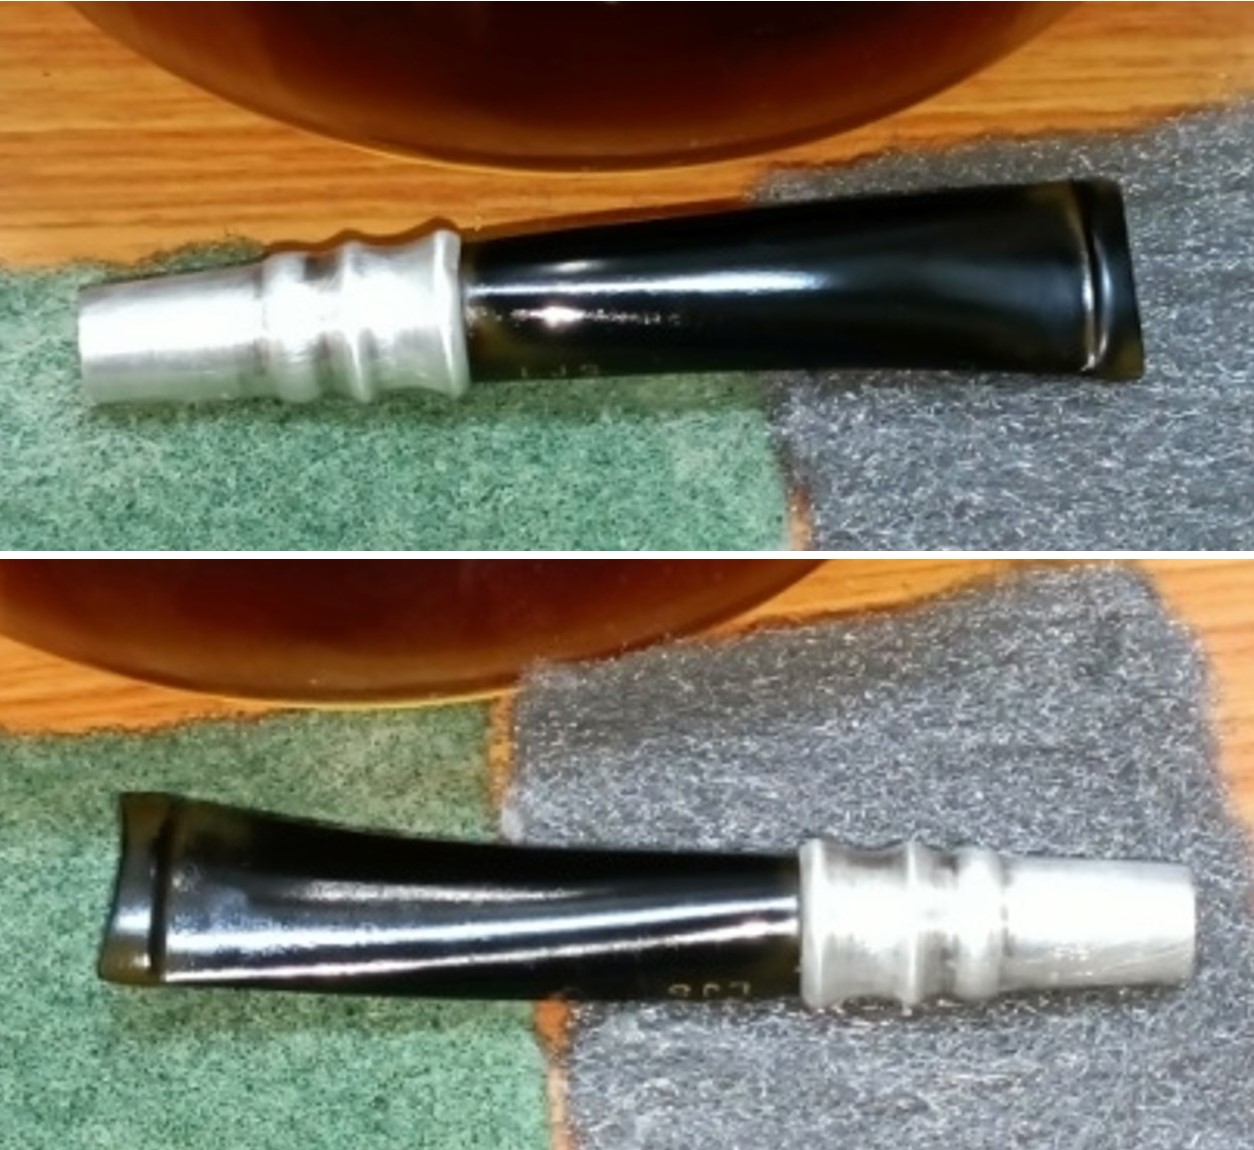
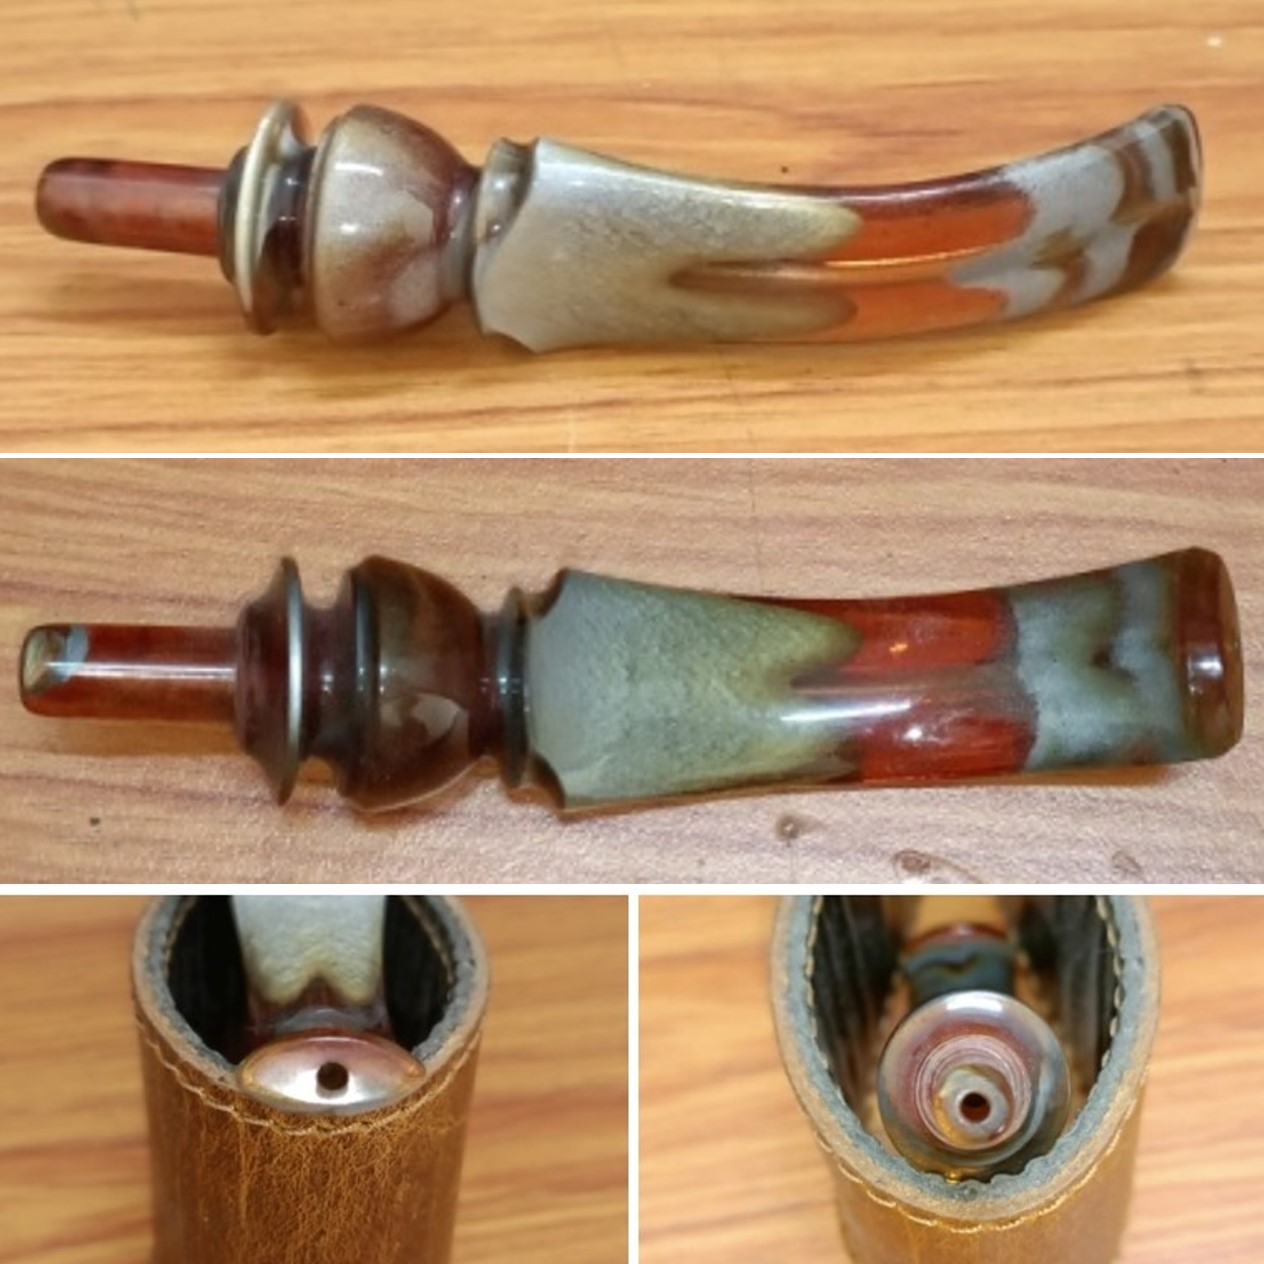
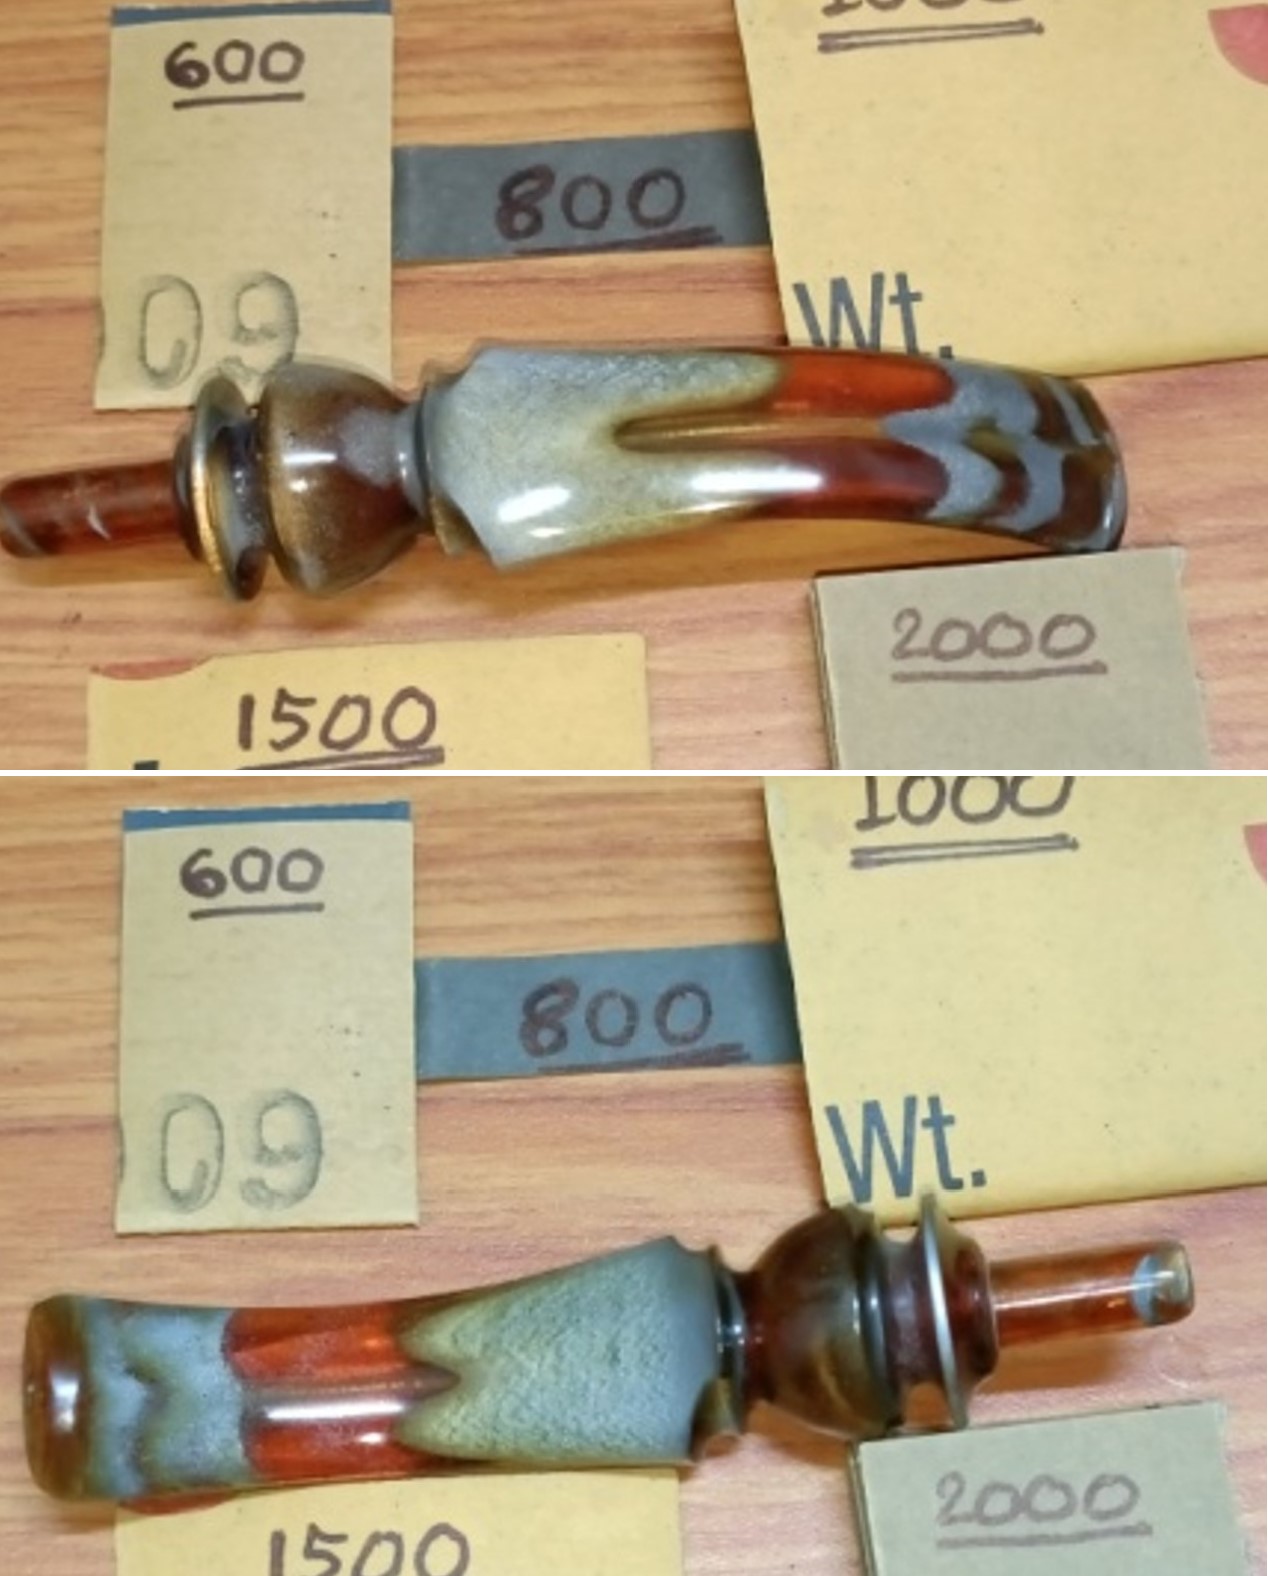
 I set the bowl aside and turned to the stem. It was in good condition but had some buffed tooth marks on the surface and what looked like a repair on the underside next to the button. I painted the surface of the stem with the flame of a Bic lighter to try and lift the marks. I lifted them some but they were still distinctly present. I filled in the marks with black rubberized CA glue and set it aside to cure. Once cured I flattened the repairs with a file and then followed that up with a piece of 220 grit sandpaper. I started the polishing the stem with 600 grit wet dry sandpaper. It looked much better.

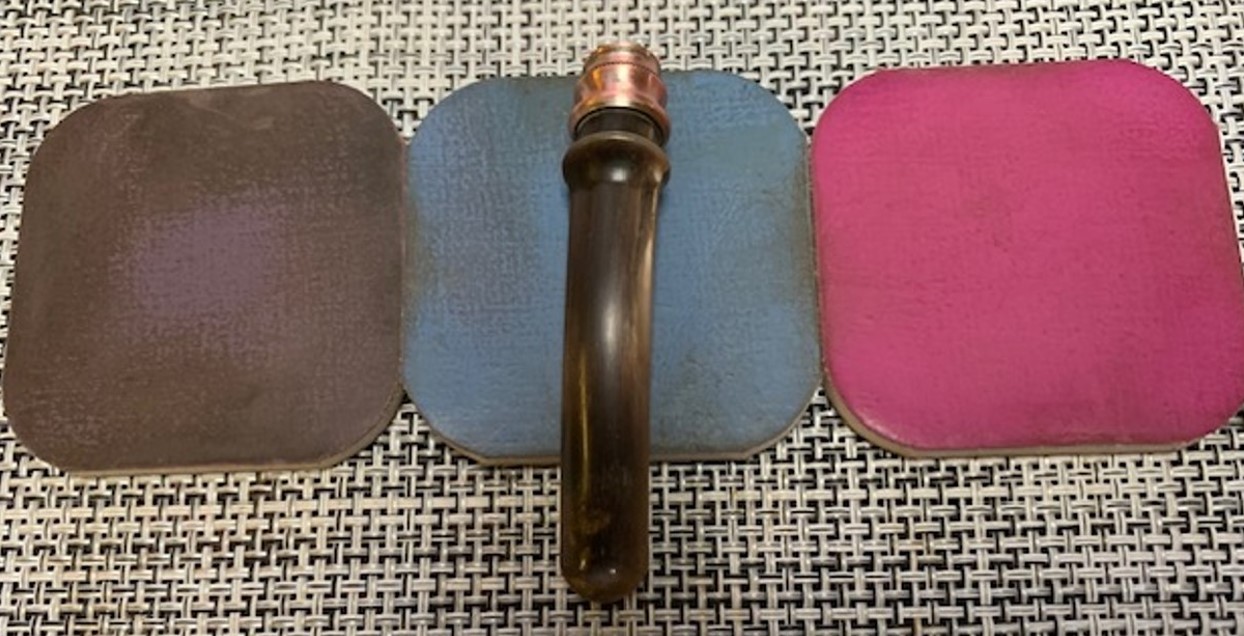
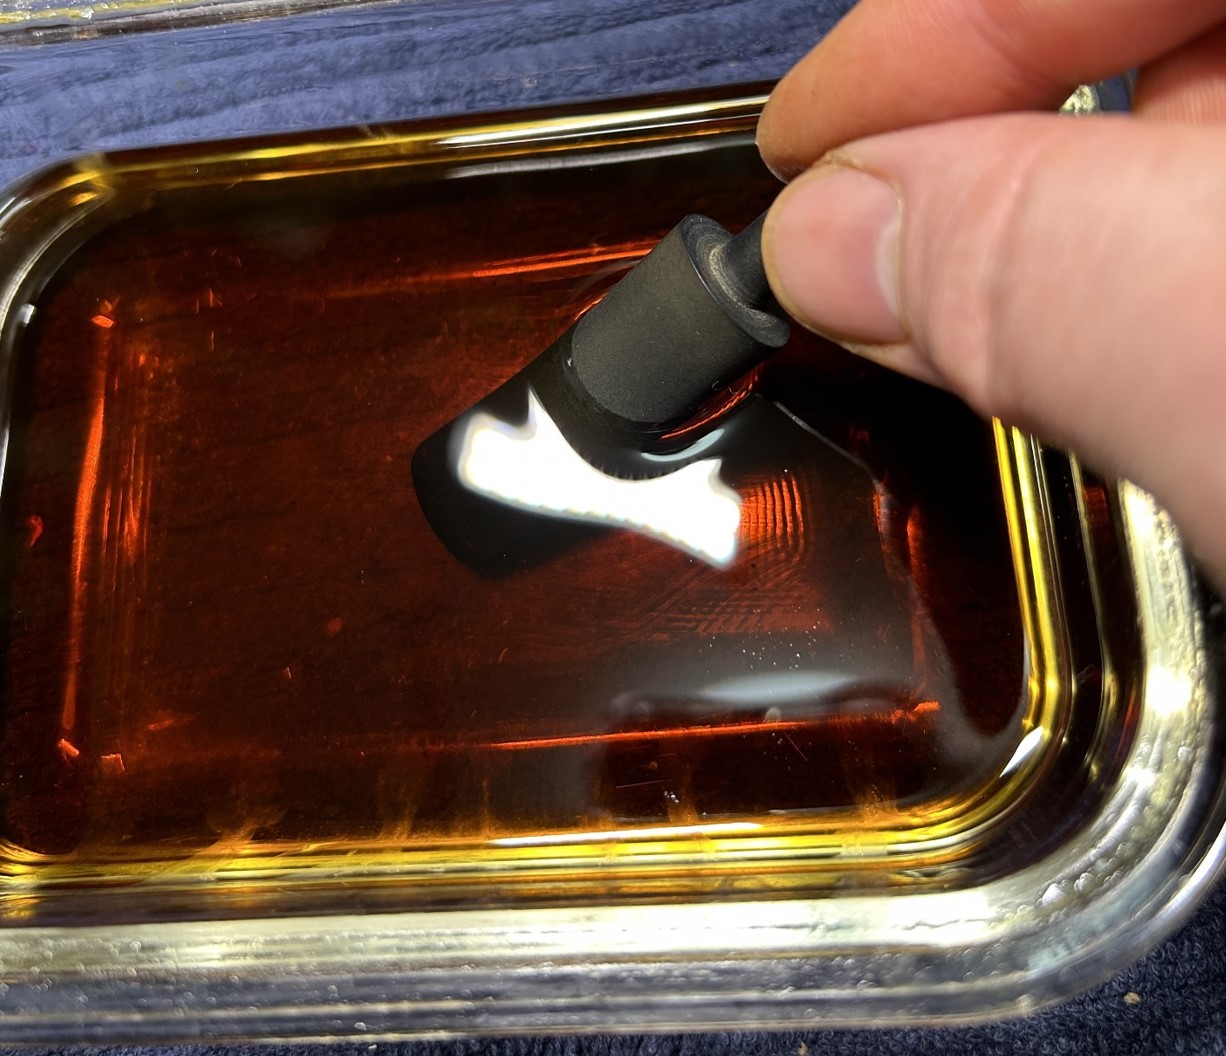
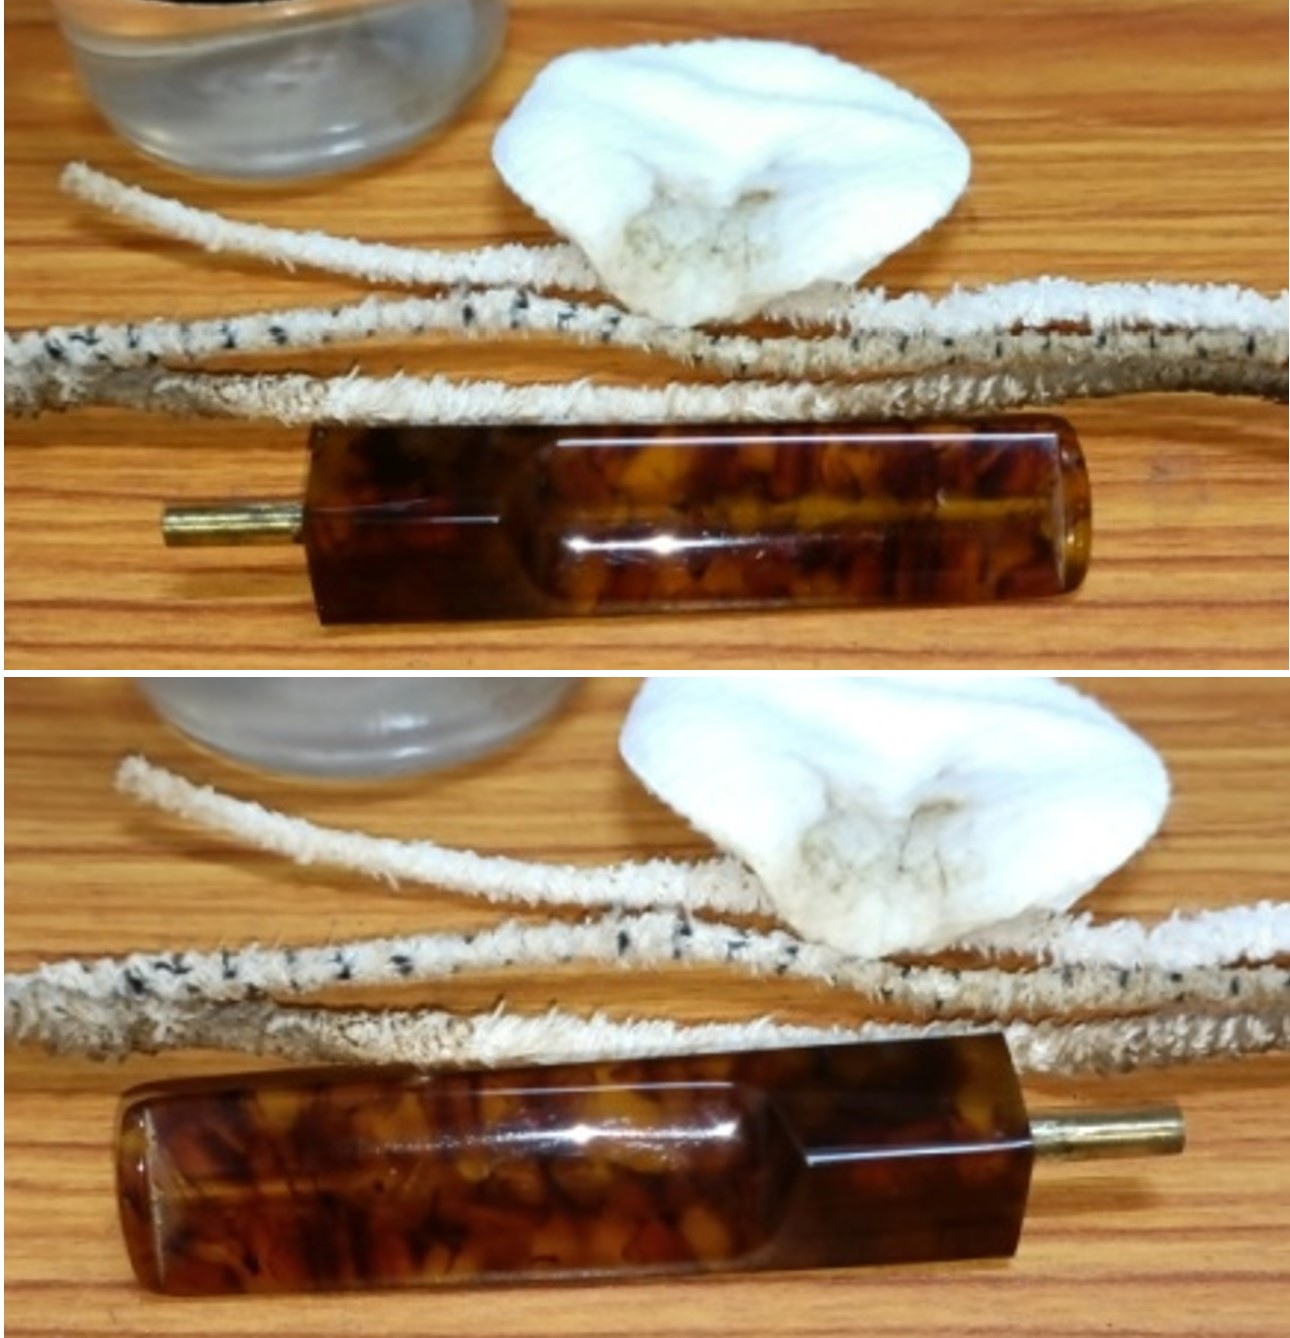
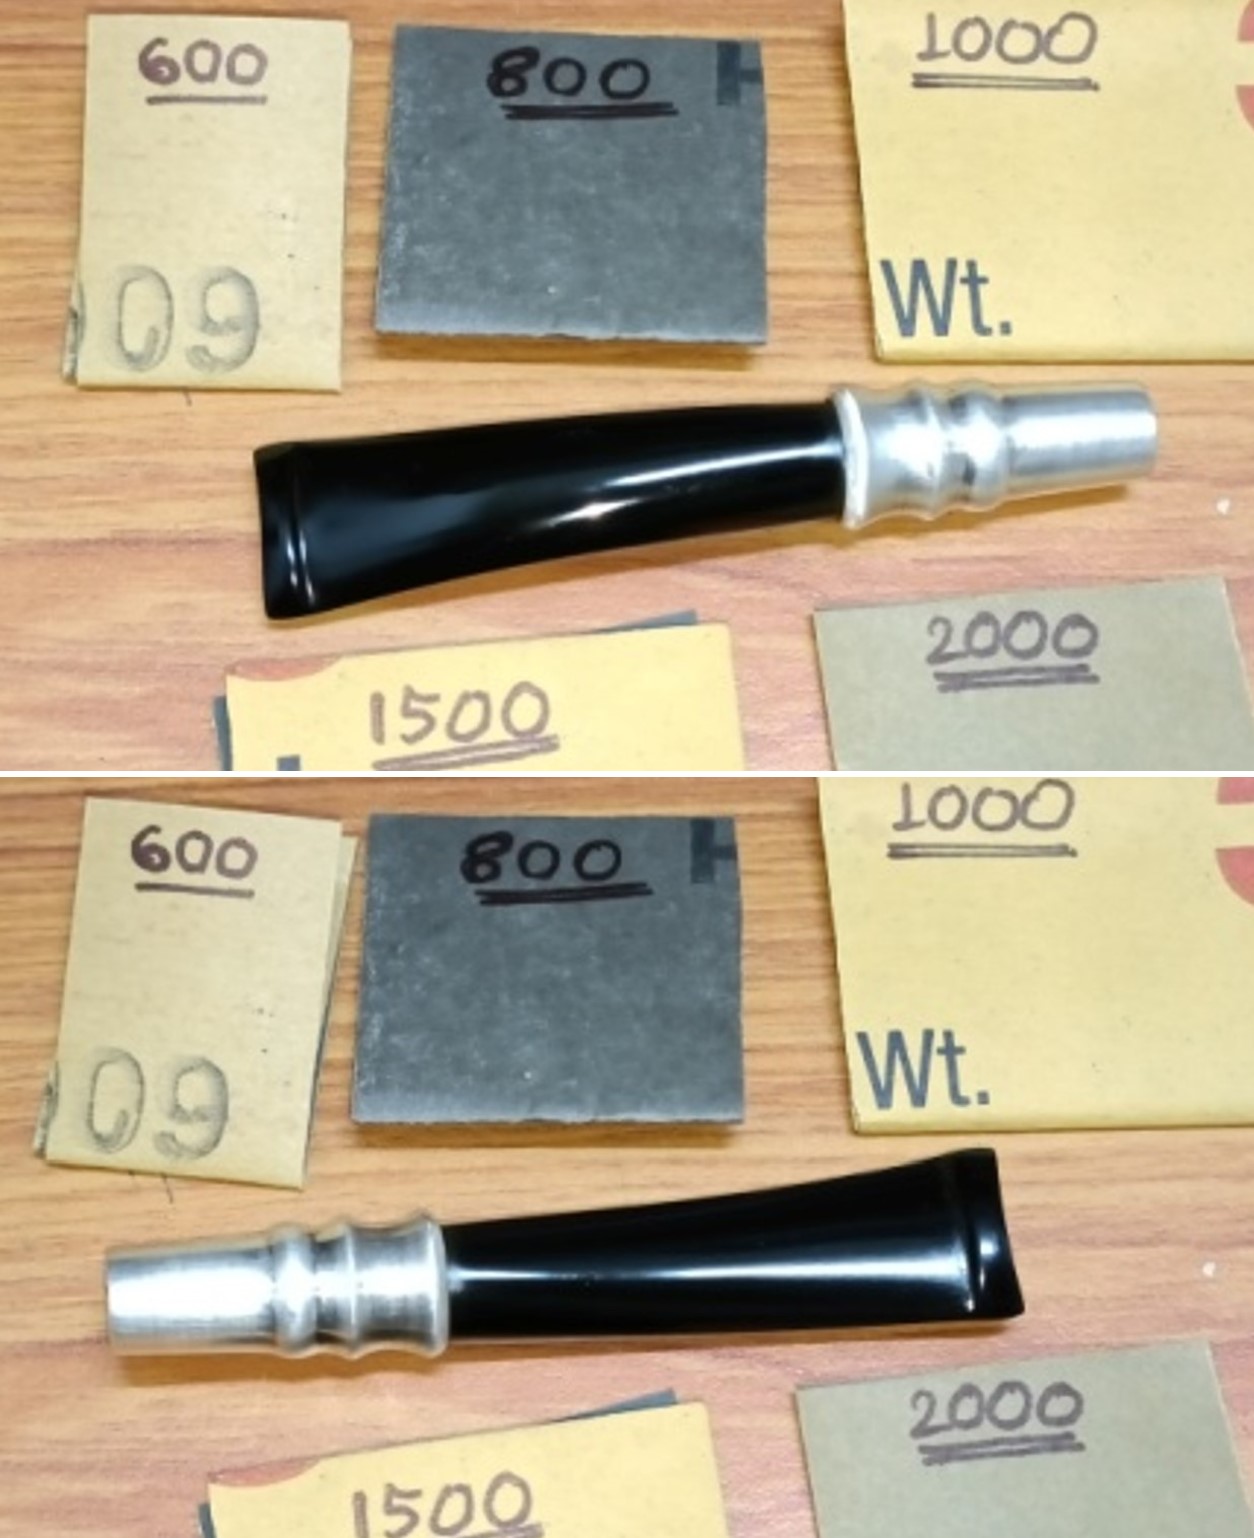
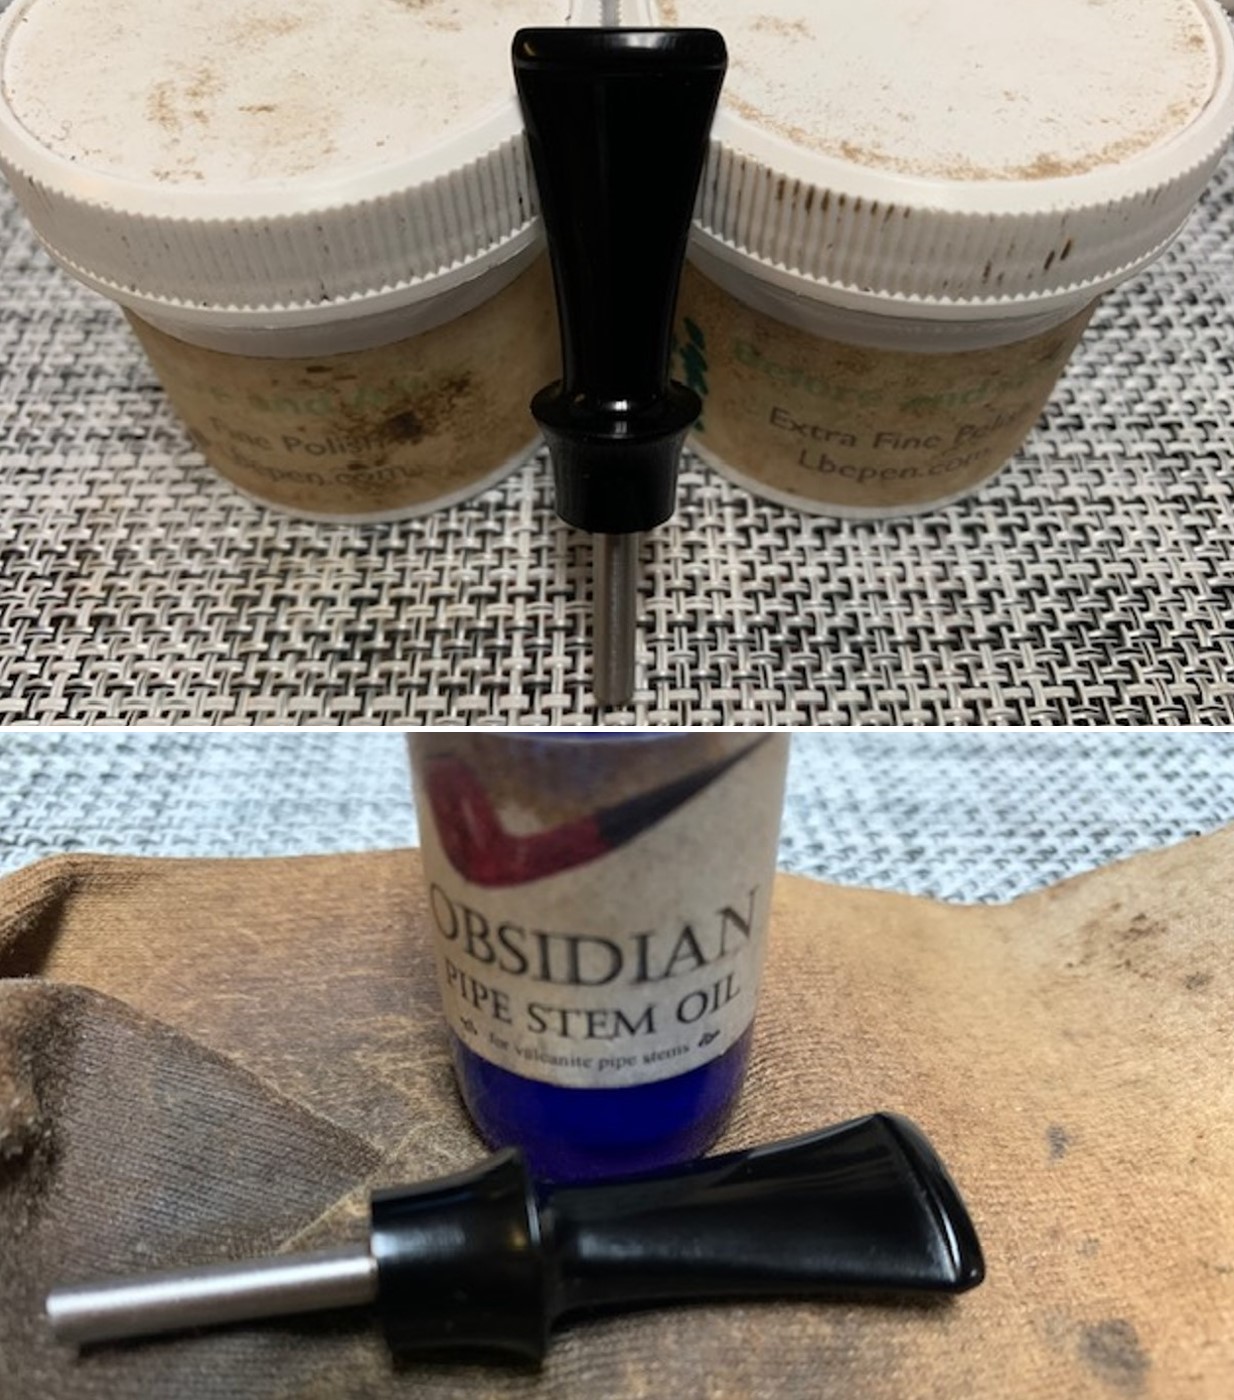
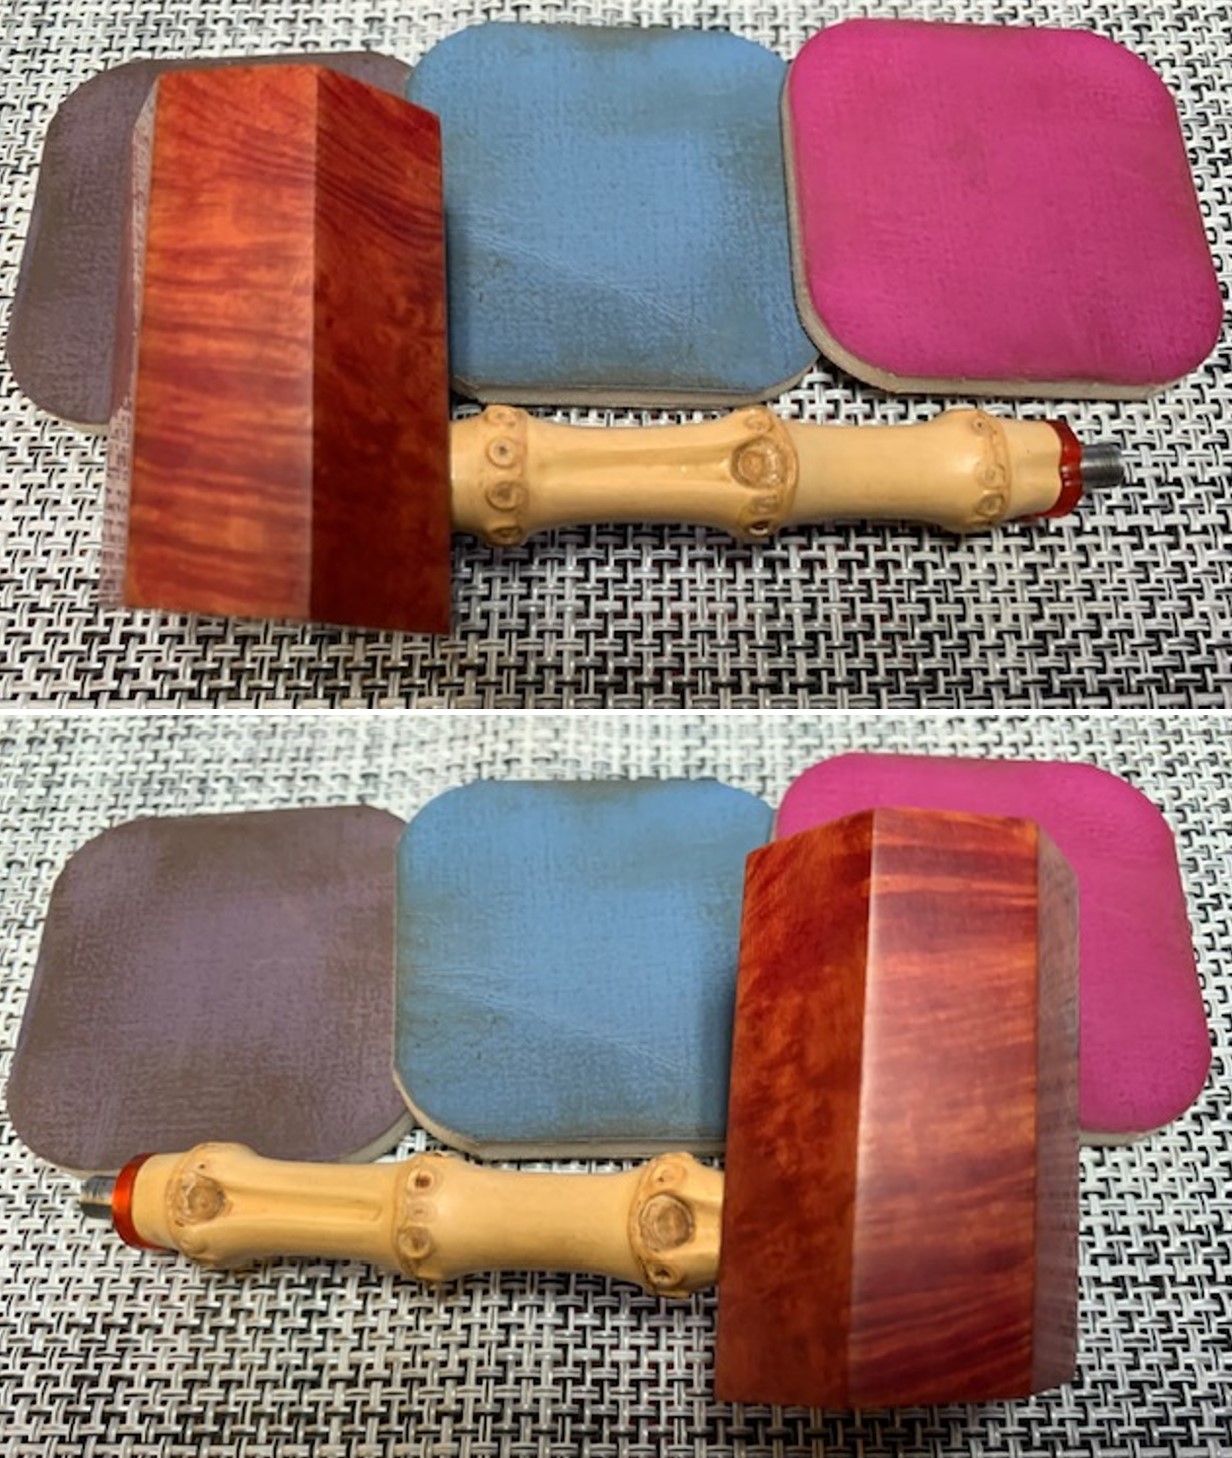
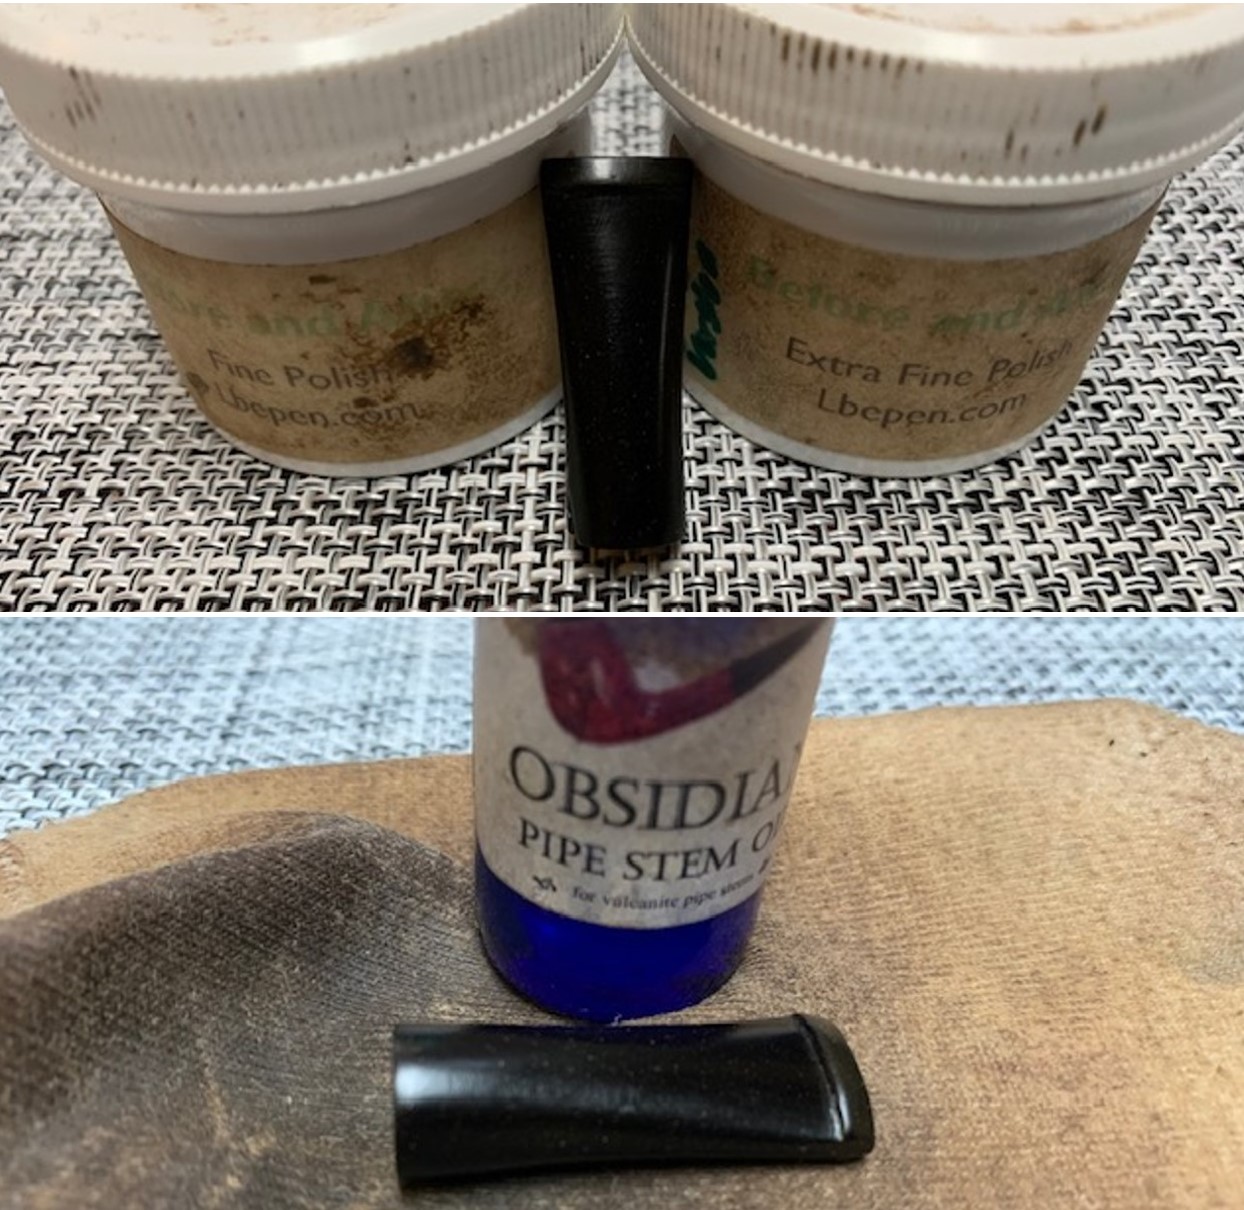
 I polished the stem with micromesh sanding pads – 1500-12000 grit sanding pads and water to wet sand the stem. I wiped it down after each sanding pad with Obsidian Oil on a cotton rag after each sanding pads. I know that many say Obsidian Oil does nothing for acrylic stems, but I find it does two things – first it gives some protection to the stem from buildup and second it give the sanding pads bite in the polishing process.
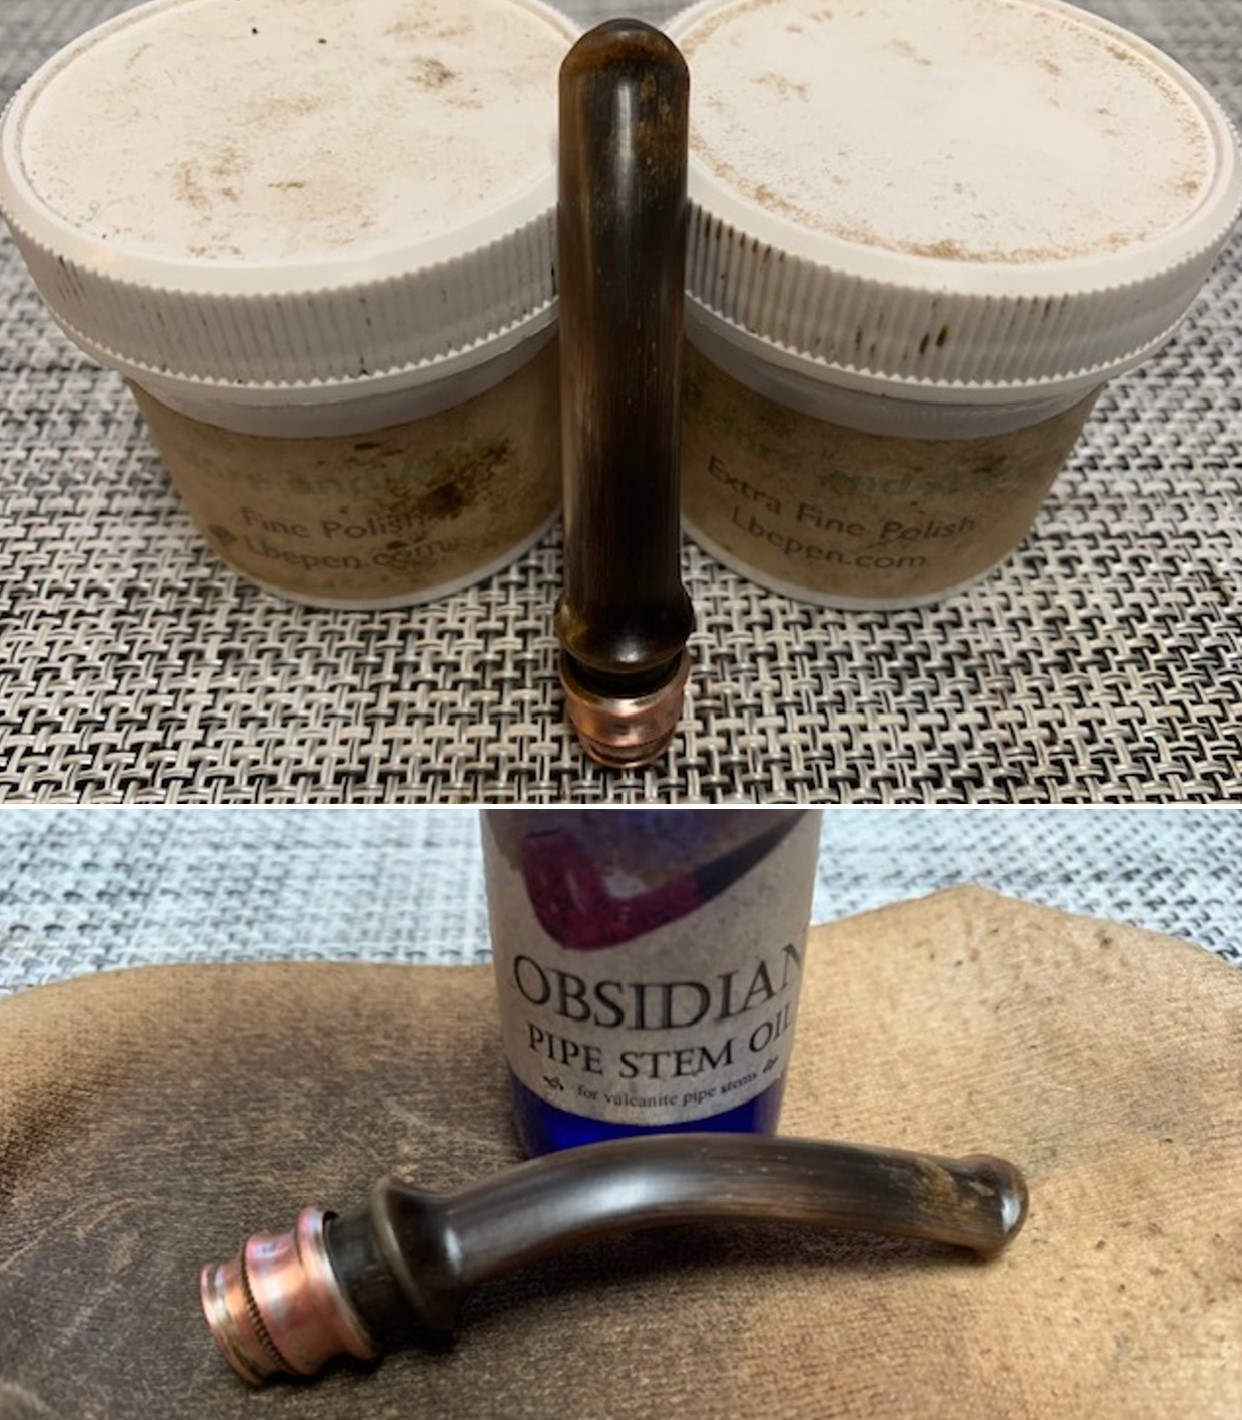
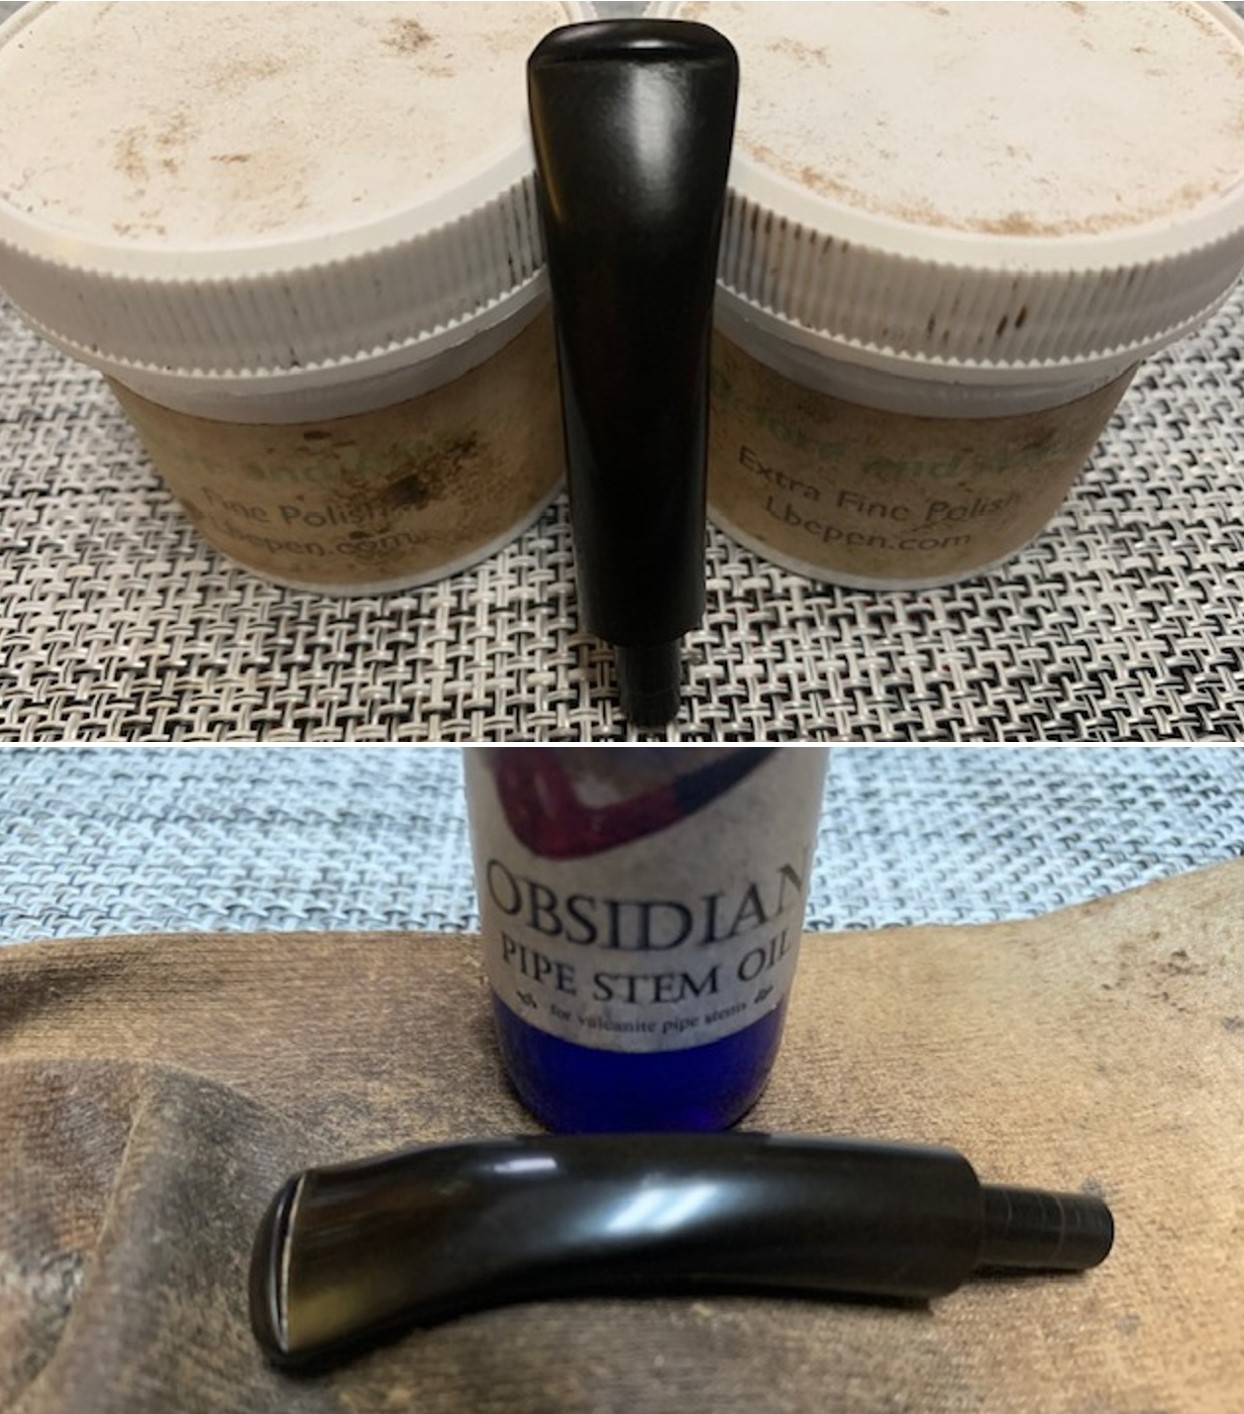
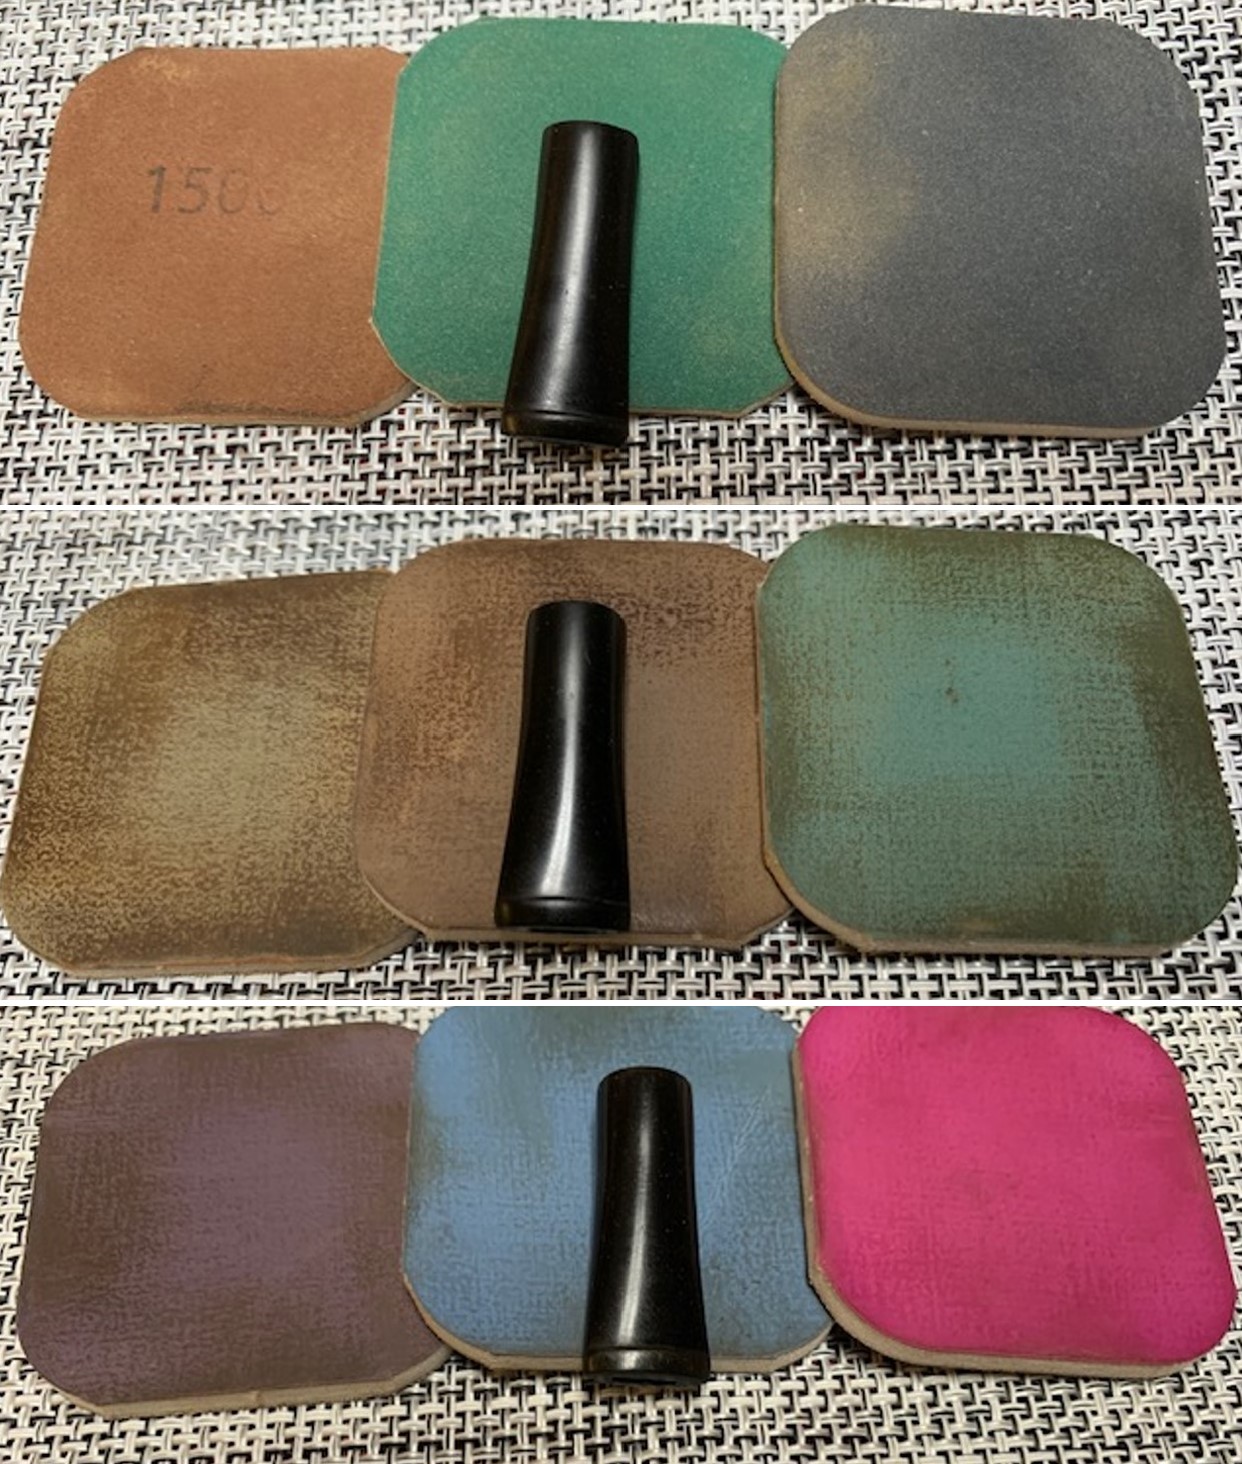
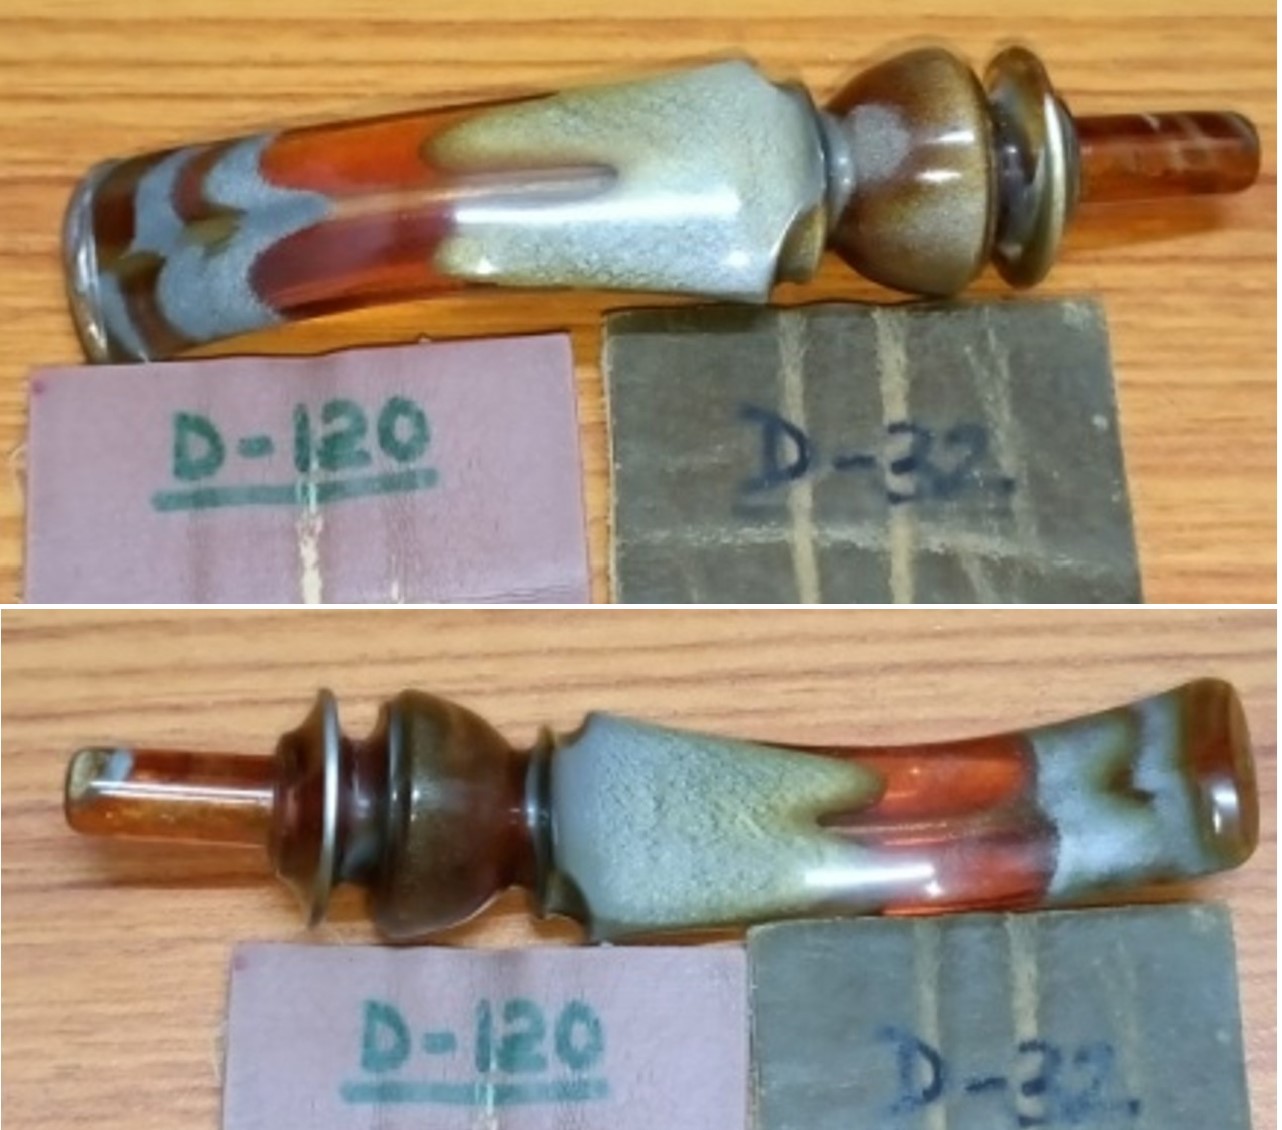
 I like to use Before & After Fine and Extra Fine stem polish as it seems to really remove the fine scratches in the vulcanite. I rub the Fine Polish on the stem and wipe it off with a paper towel and then repeat the process with the Extra Fine polish. I finish the polishing of the stem down with a final coat of Obsidian Oil and set the stem aside to let the oil absorb. This process gives the stem a shine and also a bit of protection.
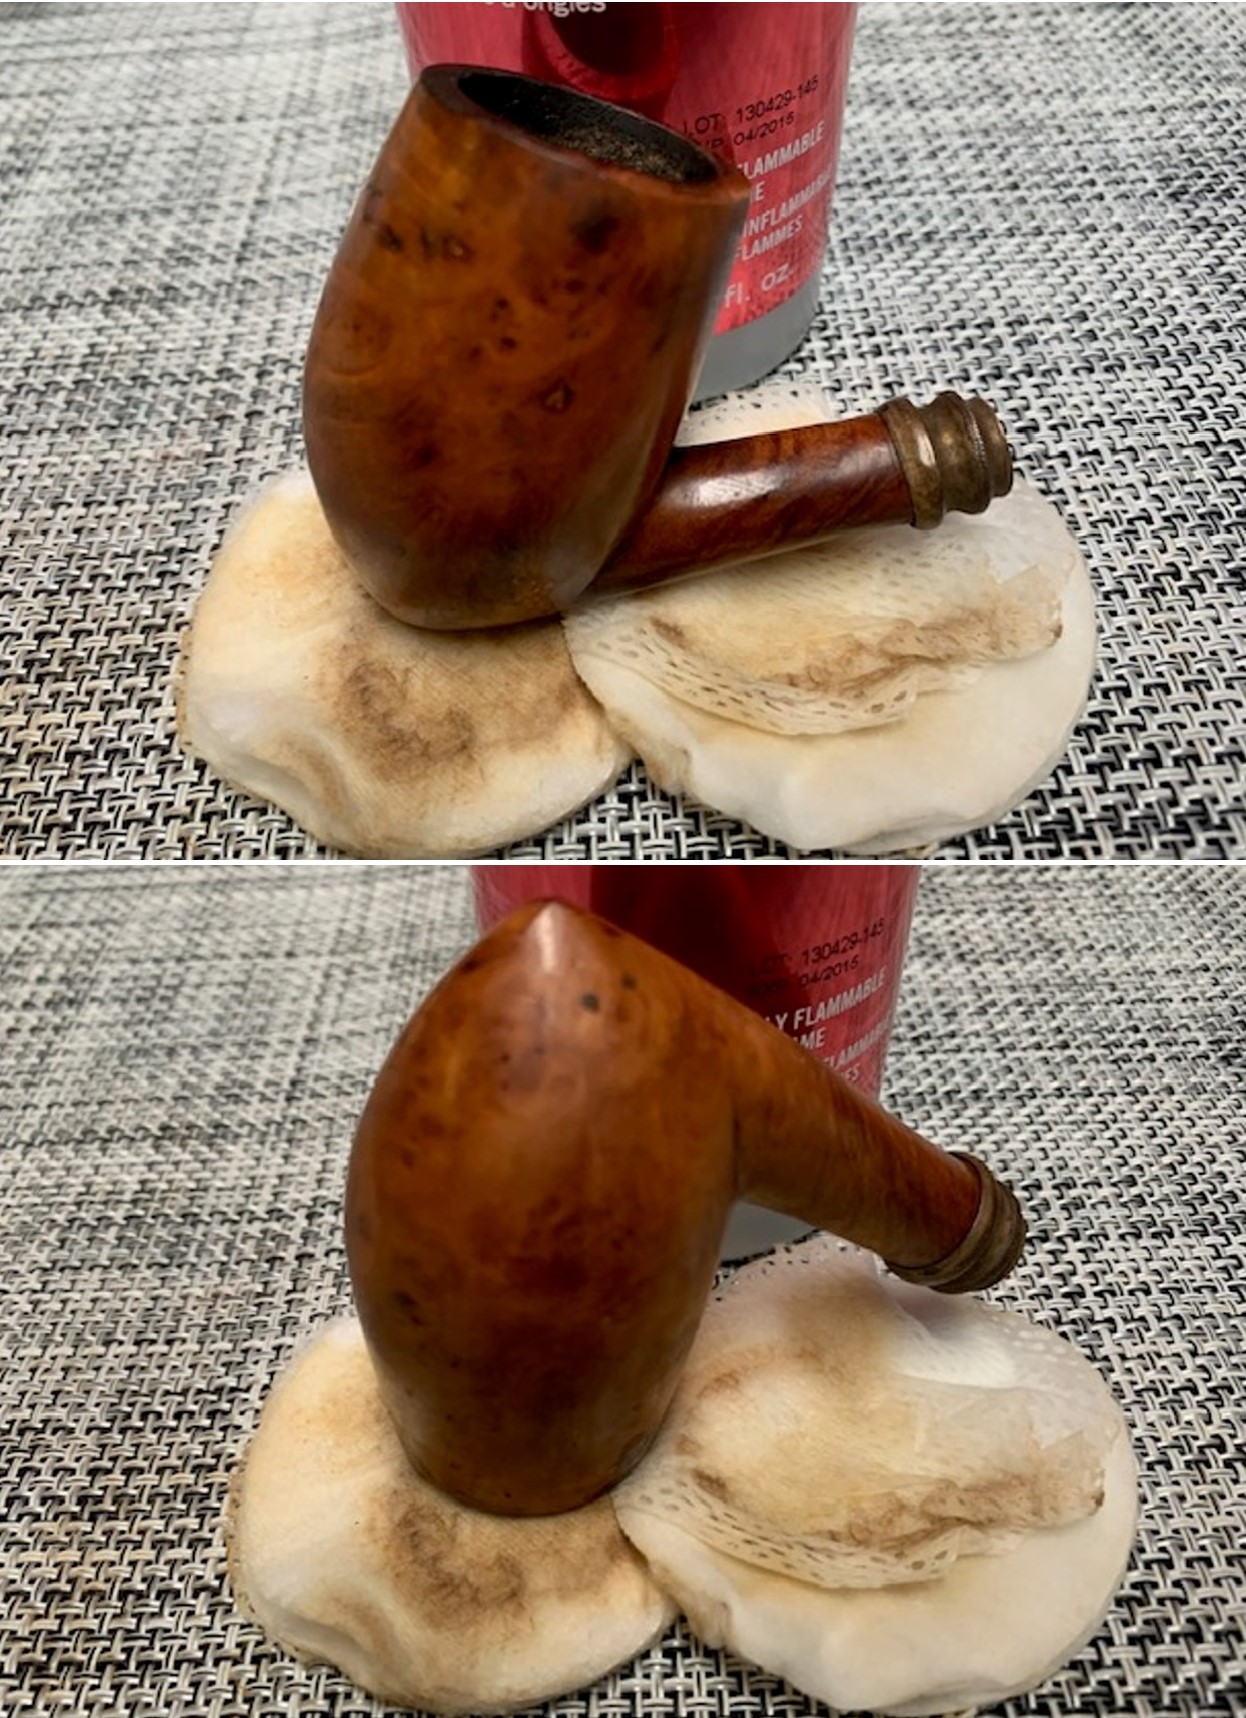
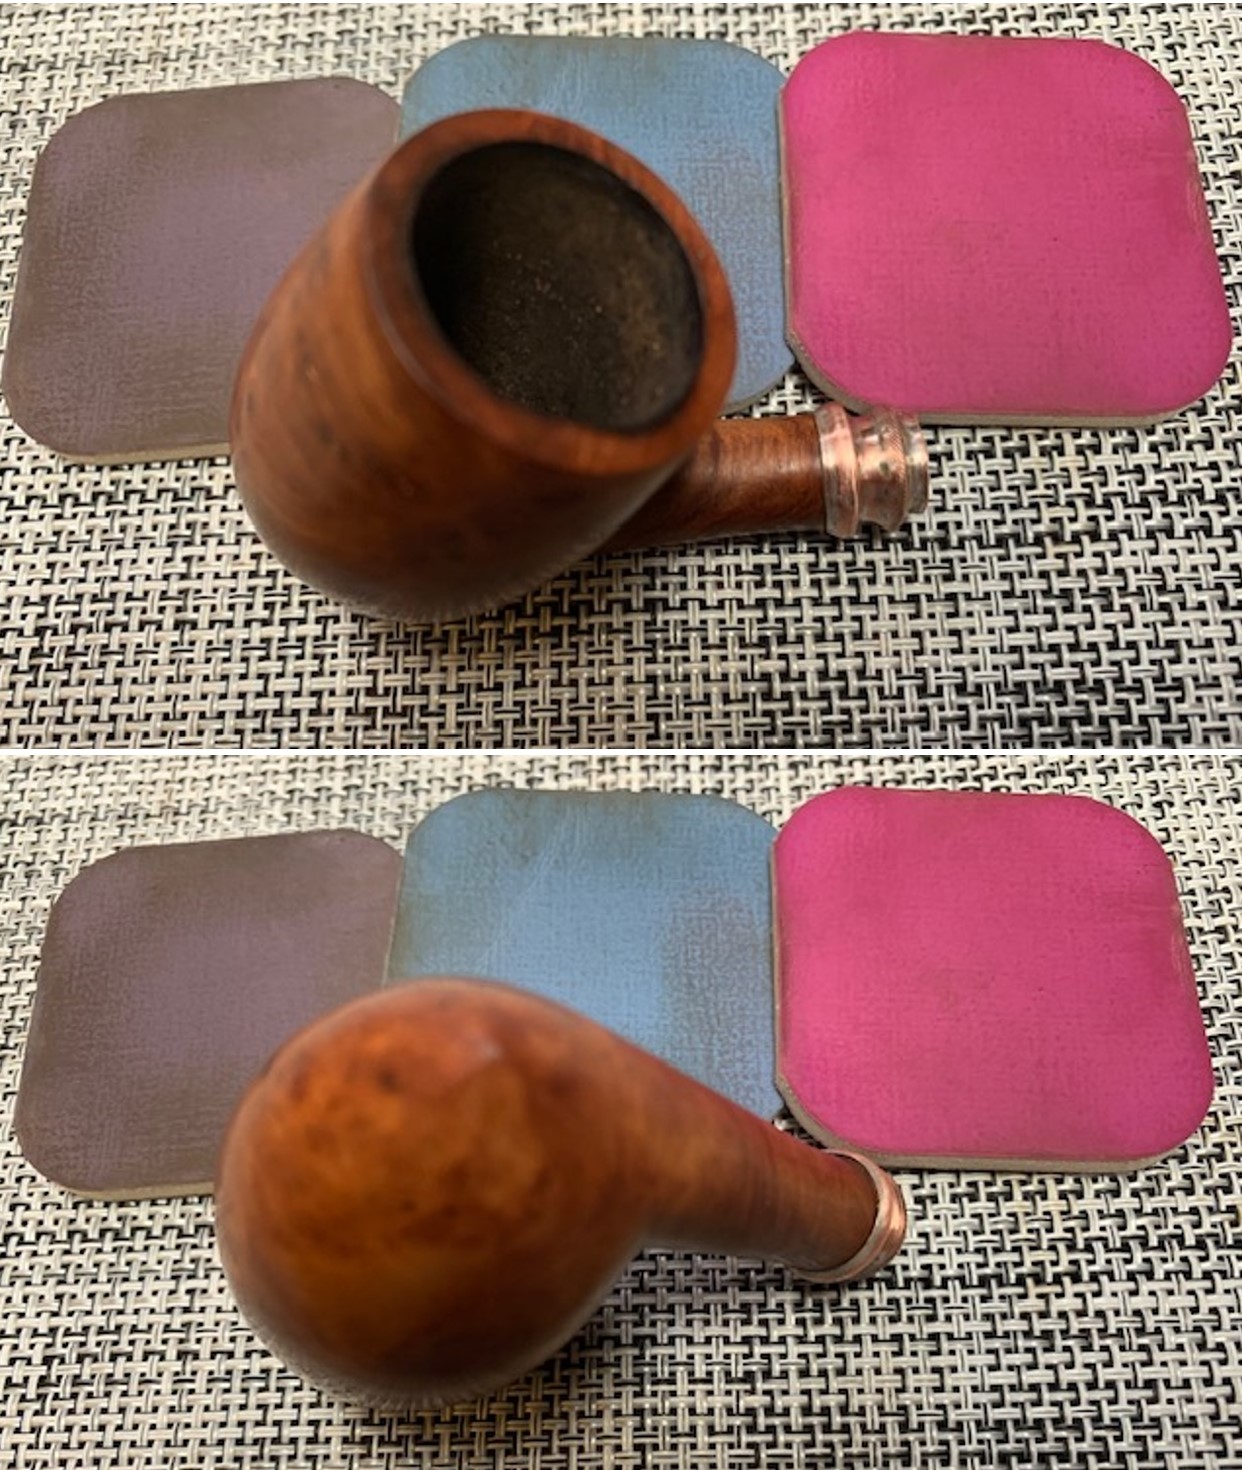
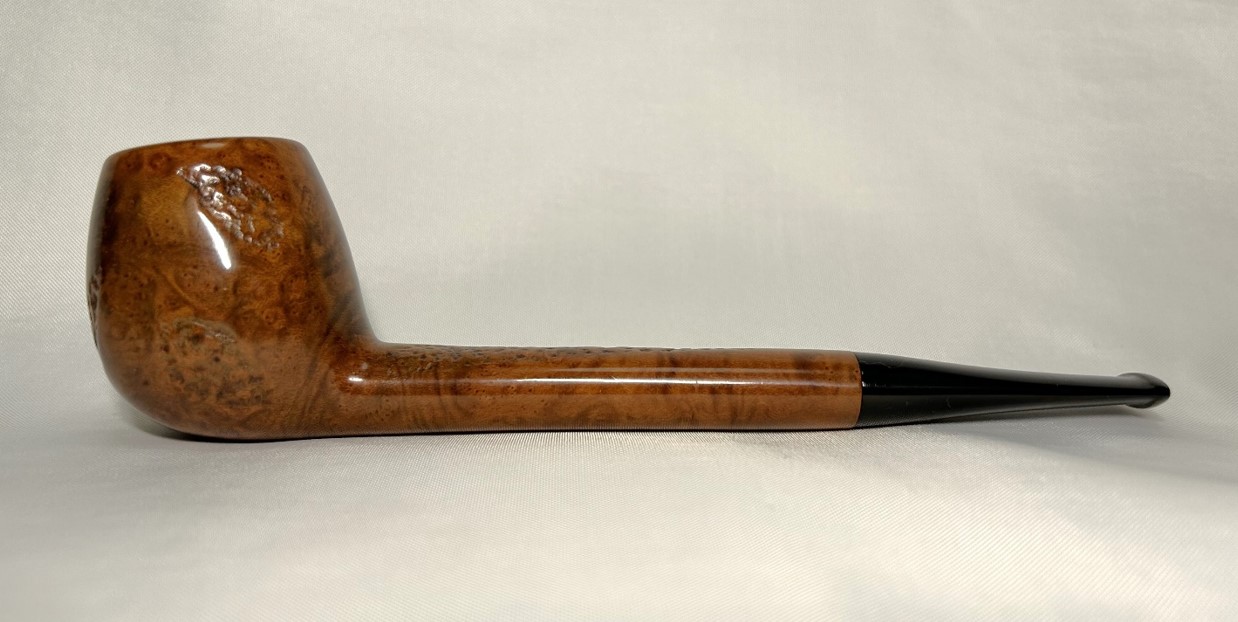
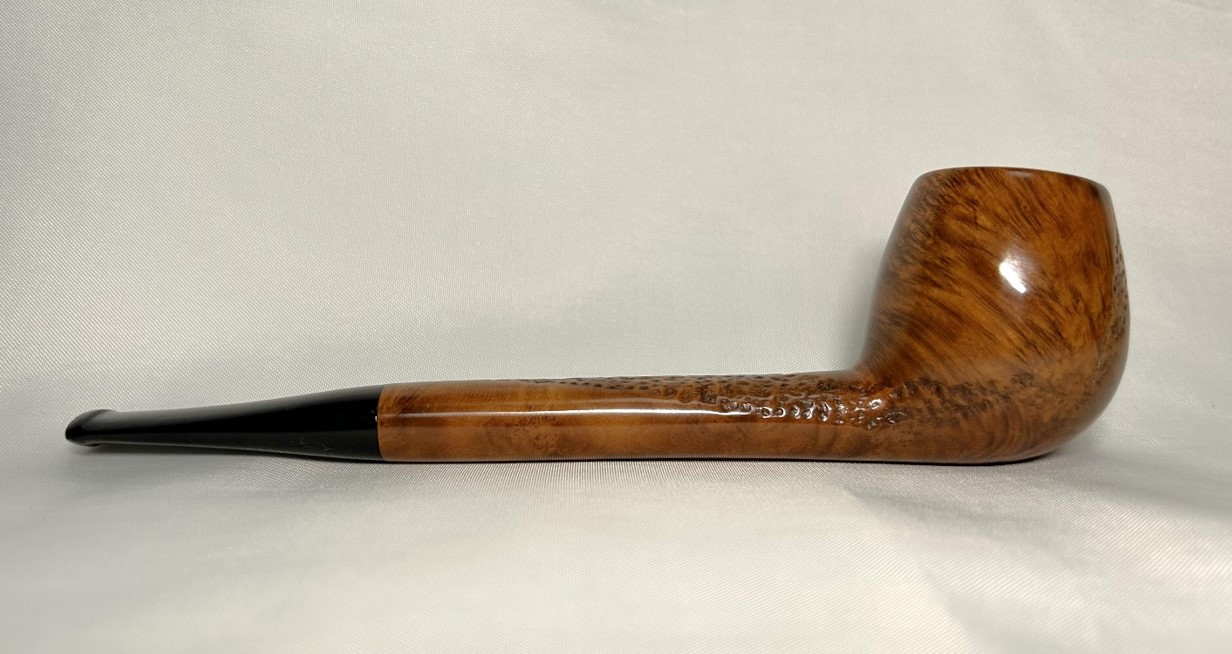
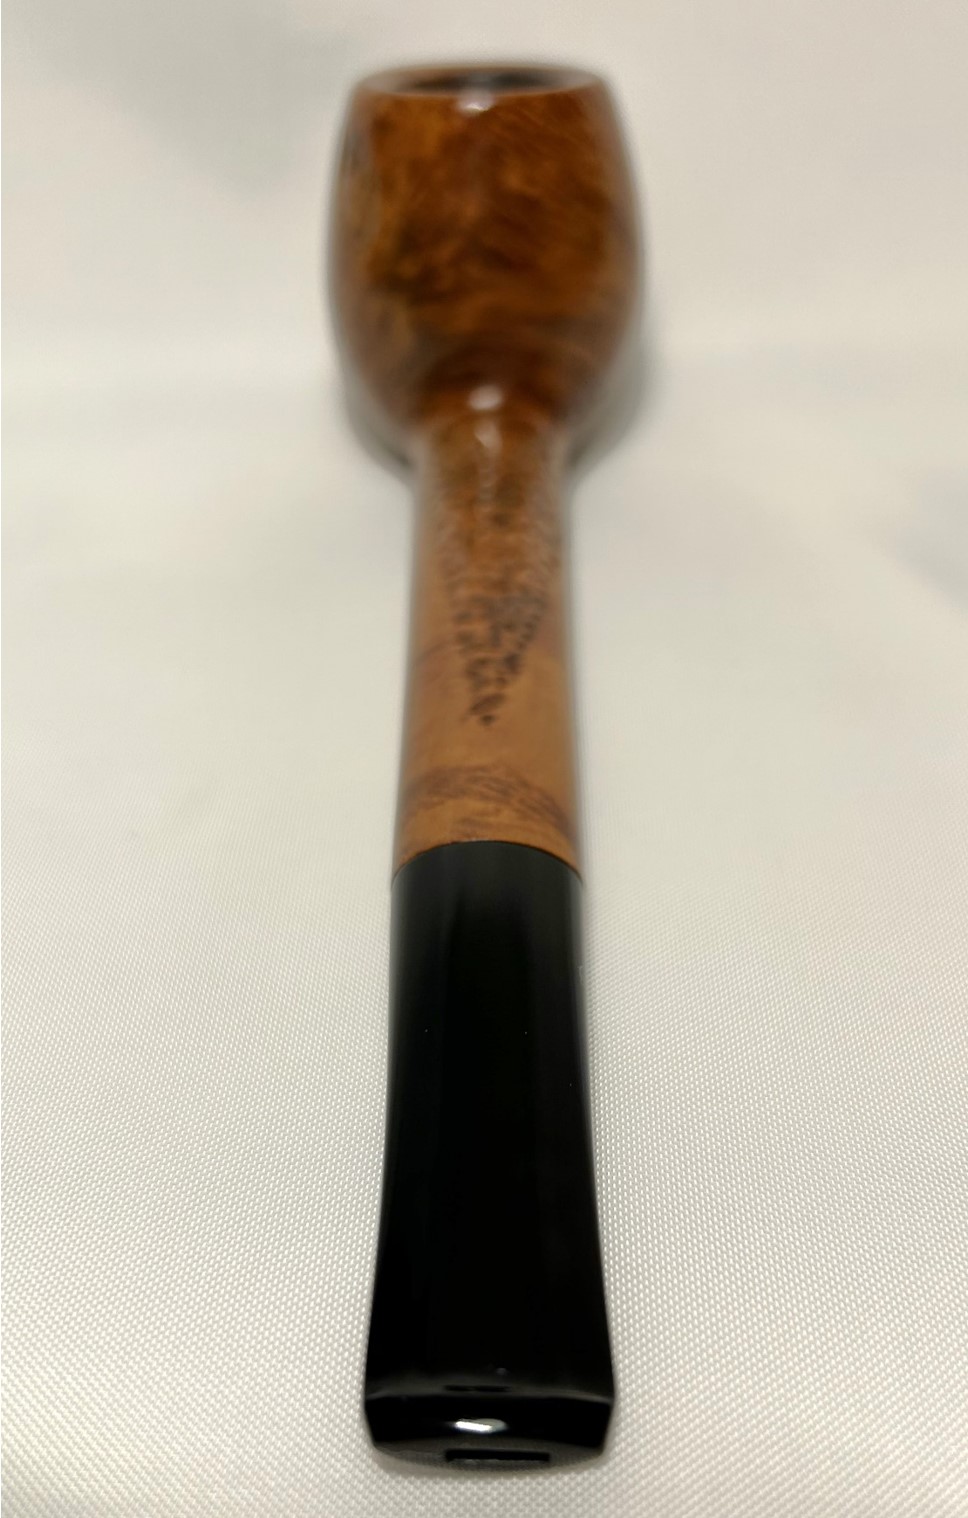
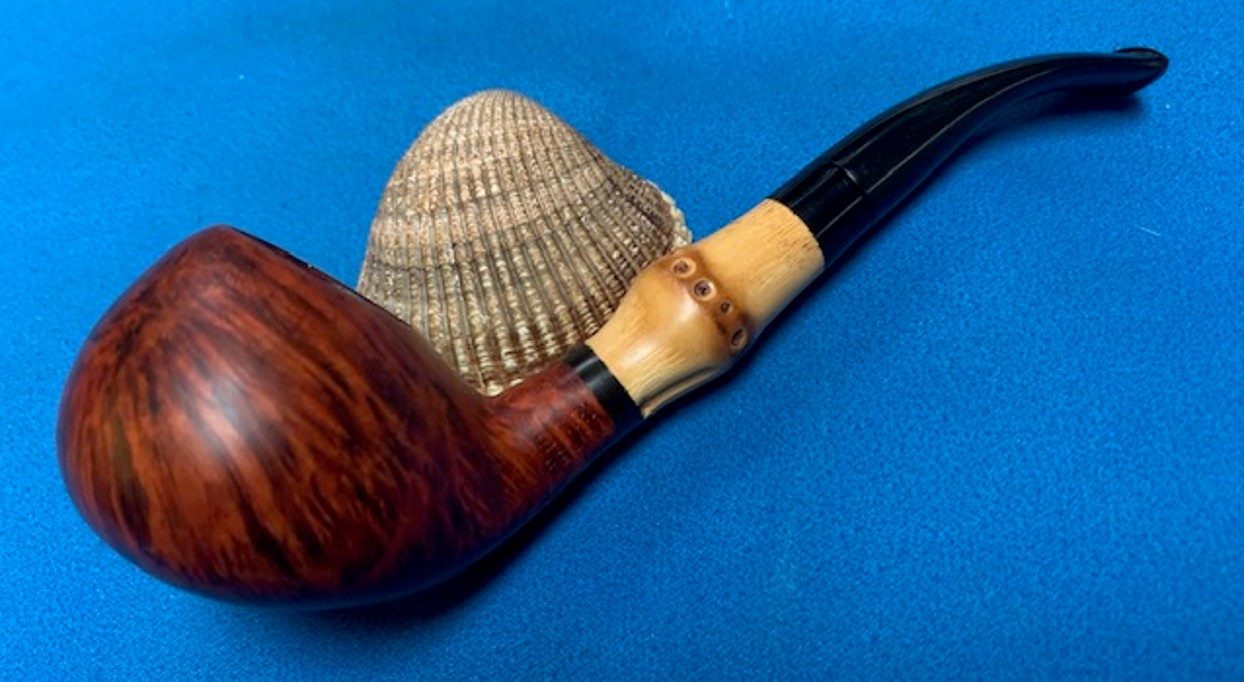
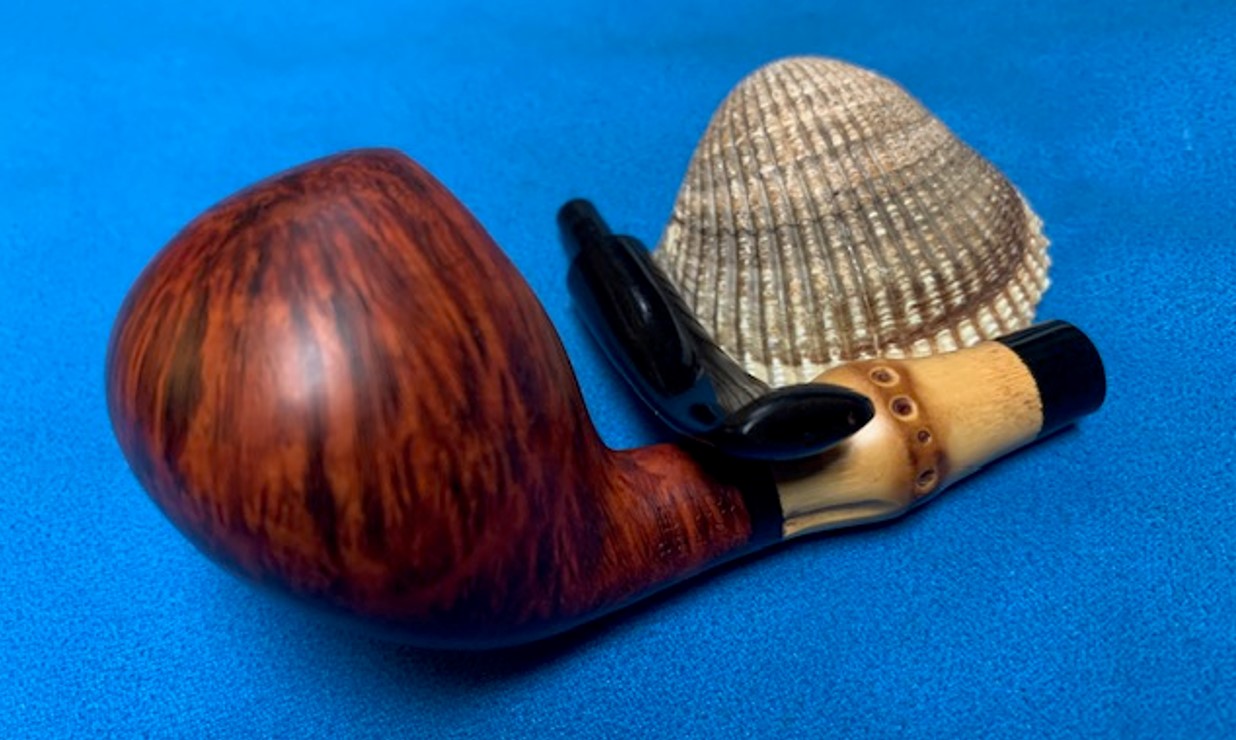
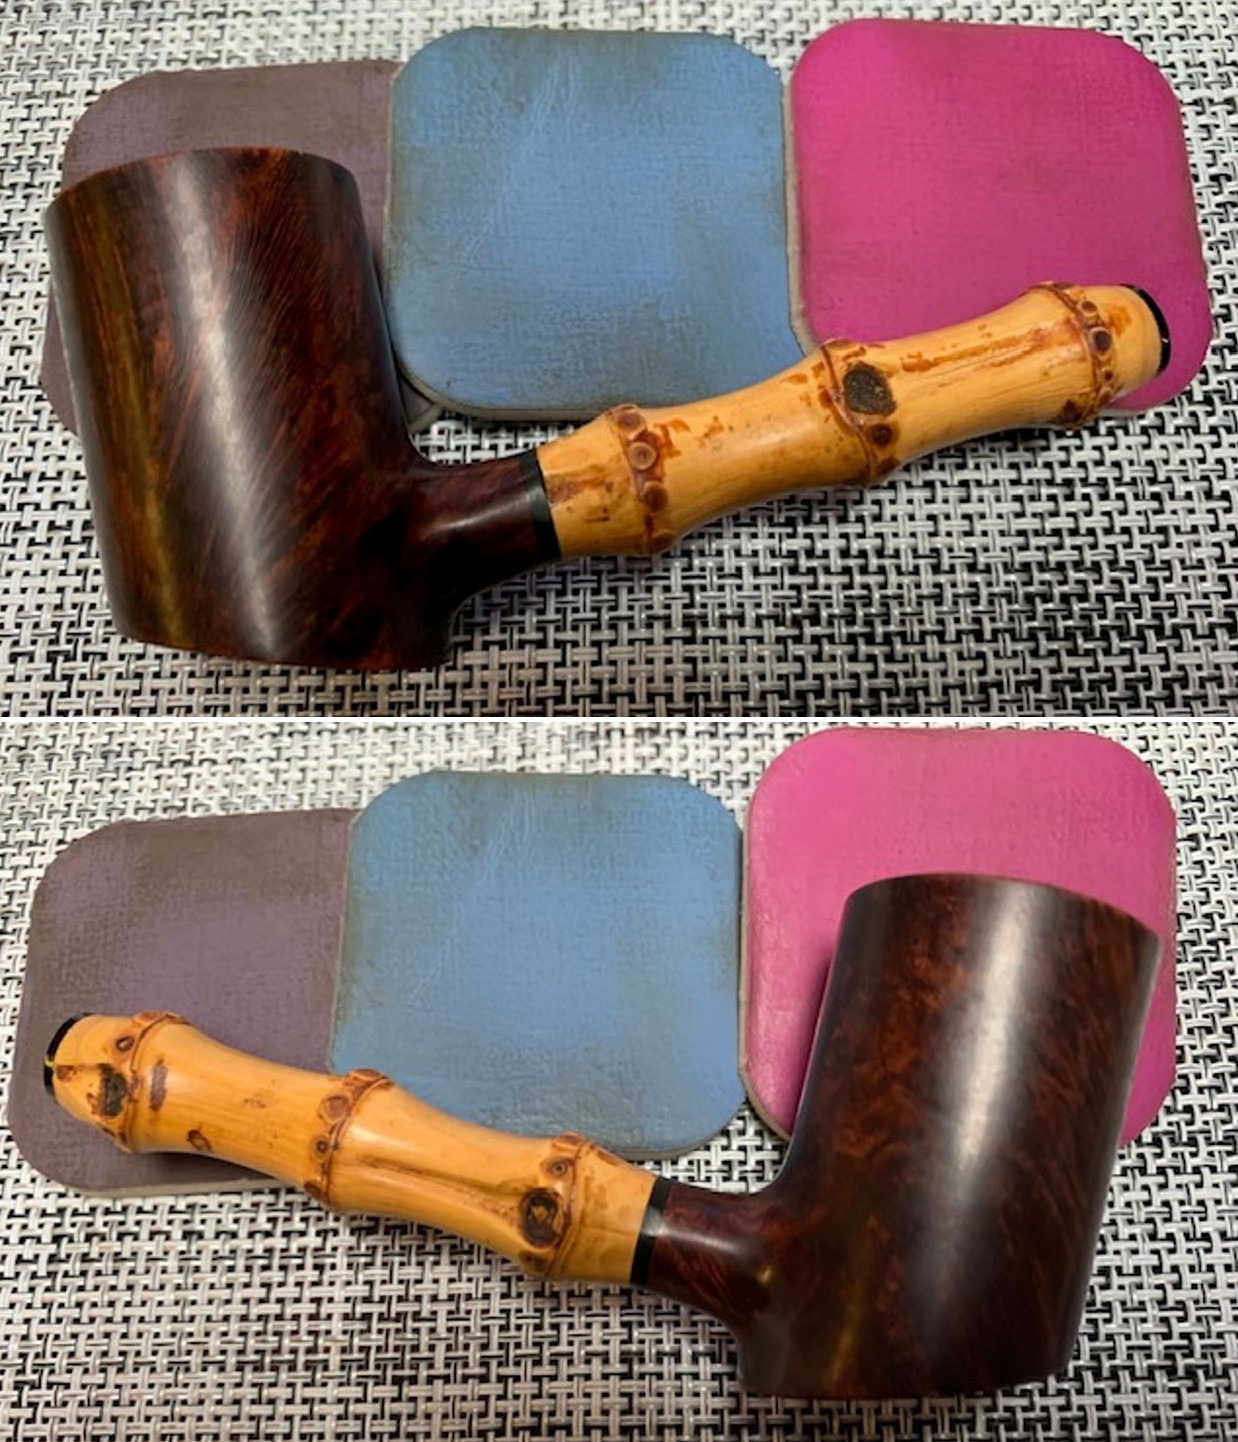
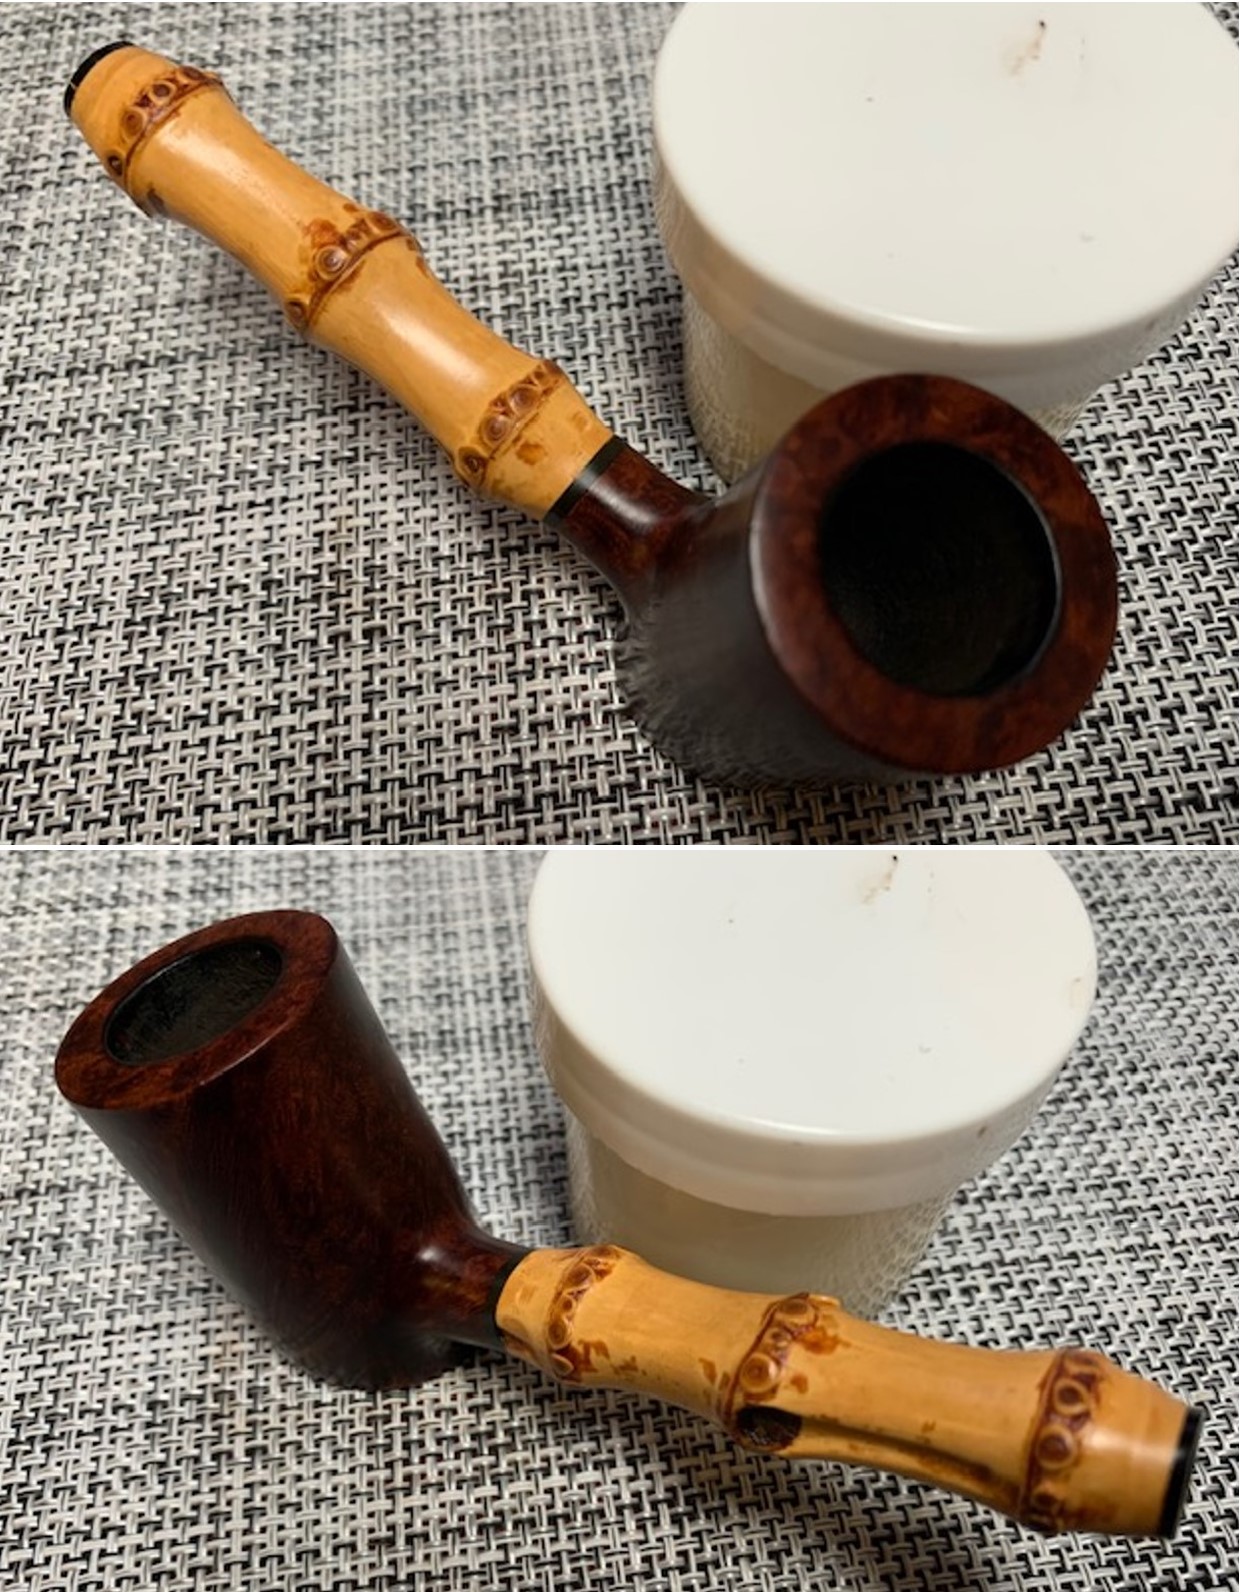
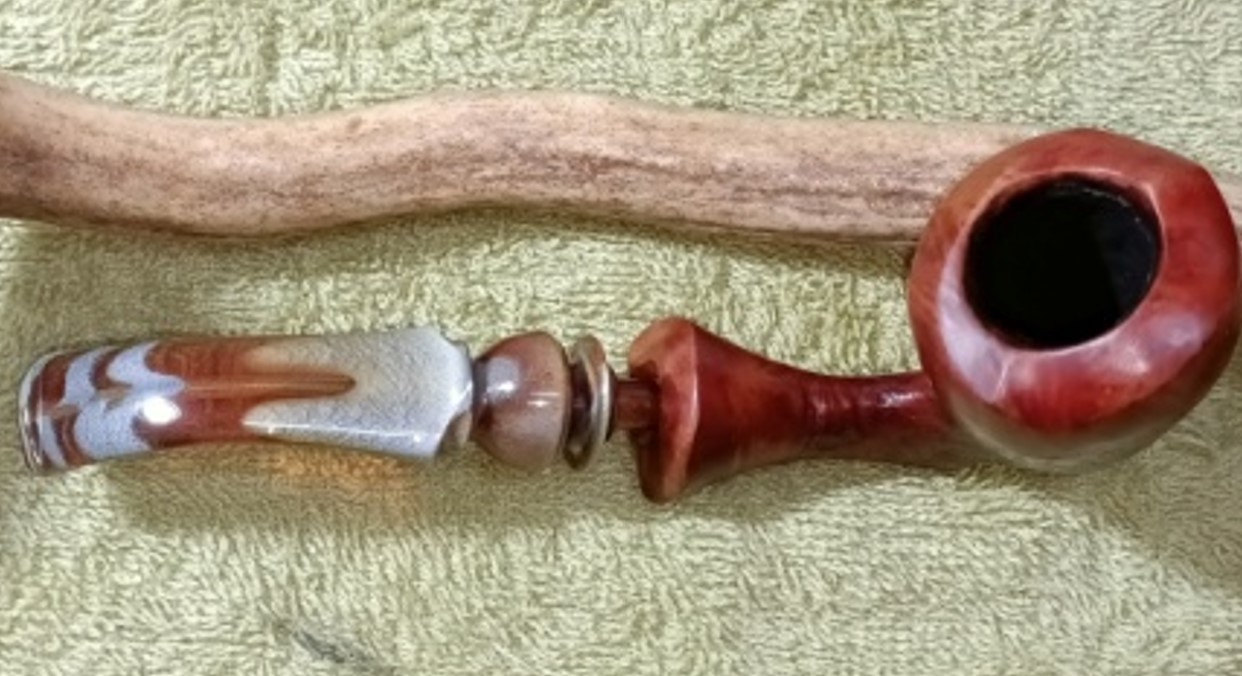
  The final steps in my process involve using the buffer. I buffed the bowl and stem with Blue Diamond to polish out the light scratches in the briar and the vulcanite. I gave the bowl and the stem multiple coats of carnauba wax. I have found that I can get a deeper shine if I follow up the wax buff with a buff with a clean buffing pad. It works to raise the shine and then I hand buff with a microfiber cloth to deepen the shine. It is always fun for me to see what the polished bowl looks like with the polished stem. It really is a nice pipe. The smooth finish around the bowl sides and shank looks great. The vulcanite taper stem works well with the pipe. The Kaywoodie Super Grain 5 Medium Billiard feels great in my hand. It is a well-balanced pipe. Have a look at it with the photos below. The dimensions are Length: 5 ½ inches, Height: 1 ¾ inches, Outside diameter of the bowl: 1 ¼ inches, Chamber diameter: ¾ of an inch. The weight of the pipe is 1.13 ounces/32 grams. It is a beautiful pipe that I will soon be giving back to Robert who dropped it off for restoration. I am sure he will enjoy it and it will give many more years of service to him.
As always, I encourage your questions and comments as you read the blog. Thanks to each of you who are reading this blog. Remember we are not pipe owners; we are pipe men and women who hold our pipes in trust until they pass on into the trust of those who follow us.