Blog by Kenneth Lieblich
Next on the chopping block is a bent billiard sandblast Smokewel (one “L”), which I acquired in a lot of pipes from a gentleman living on Vancouver Island. He had quite an assortment of pipes and they ranged from utterly horrible to surprisingly beautiful – fortunately, this was of the beautiful variety. The pipe is very well made: the proportions are right, the drilling is accurate, and it just oozes competence.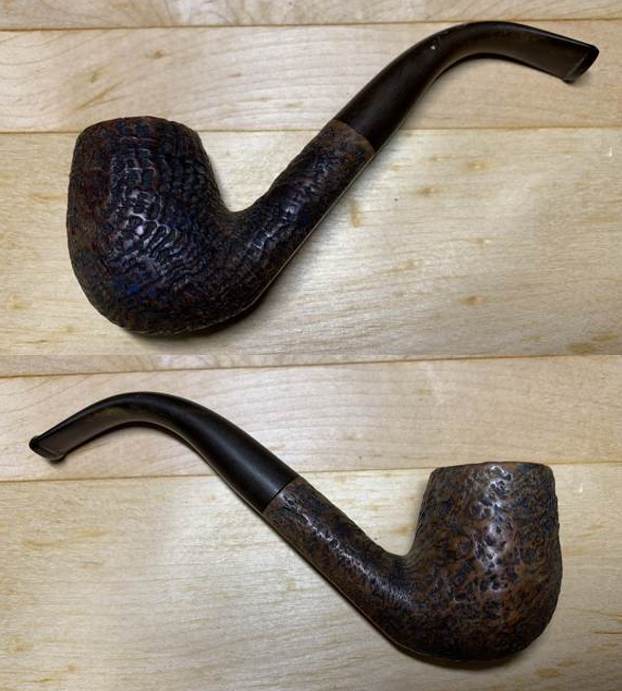
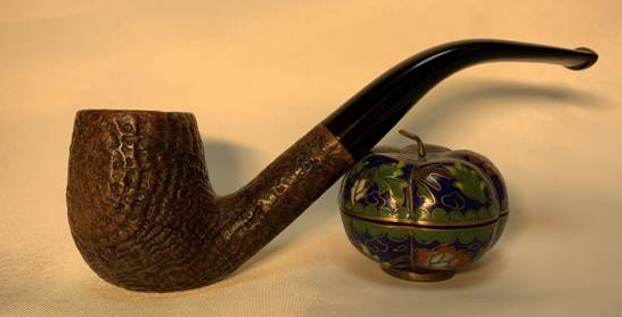
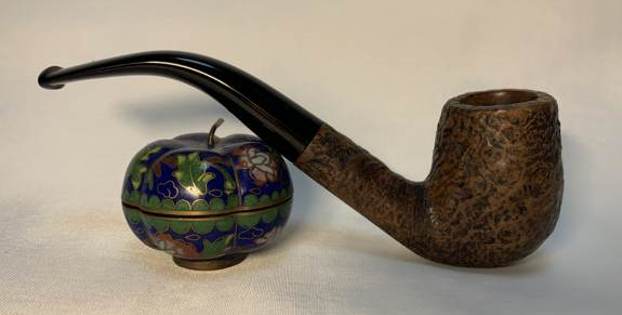
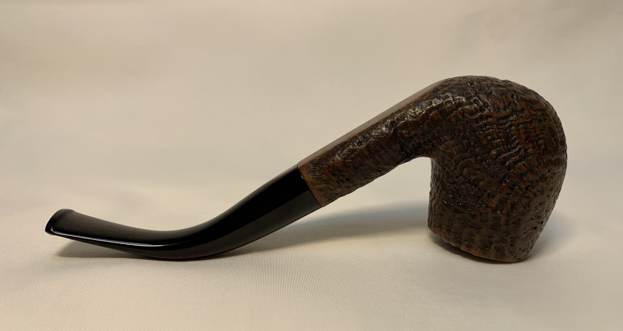
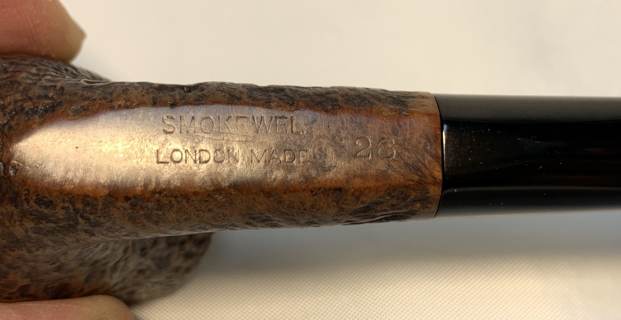
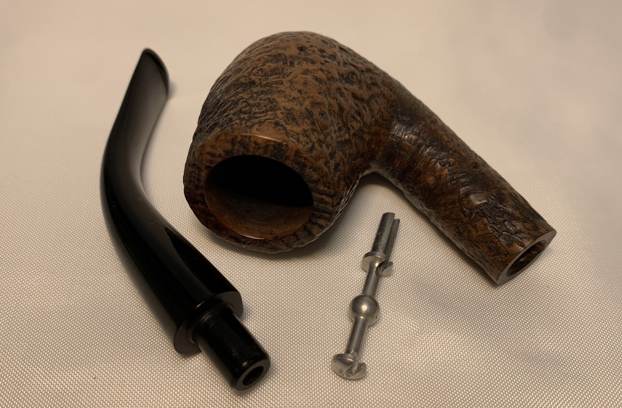
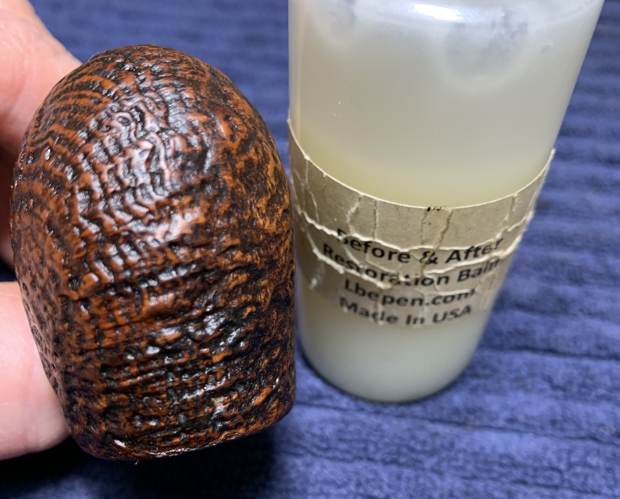
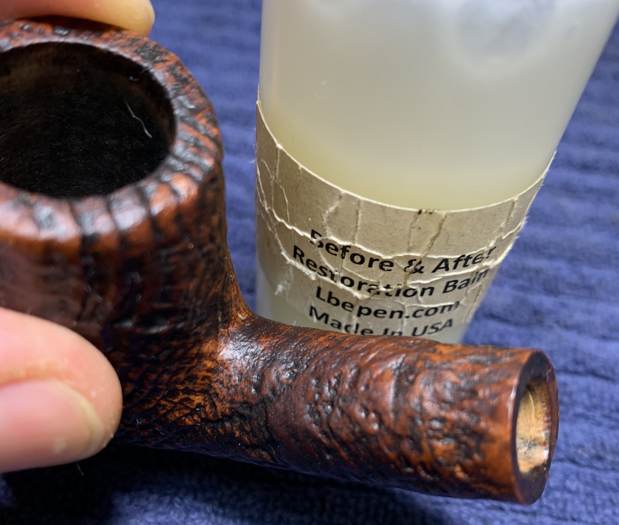
 This is a sandblasted bent billiard, with a tapered, vulcanite stem. And what a wonderful, rugged blast on this one! On the underside of the shank, the markings read ‘Smokewel [over] London Made’, and, off to the right, the shape number ’26’.
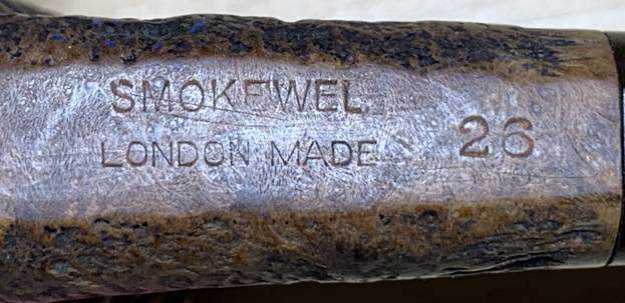
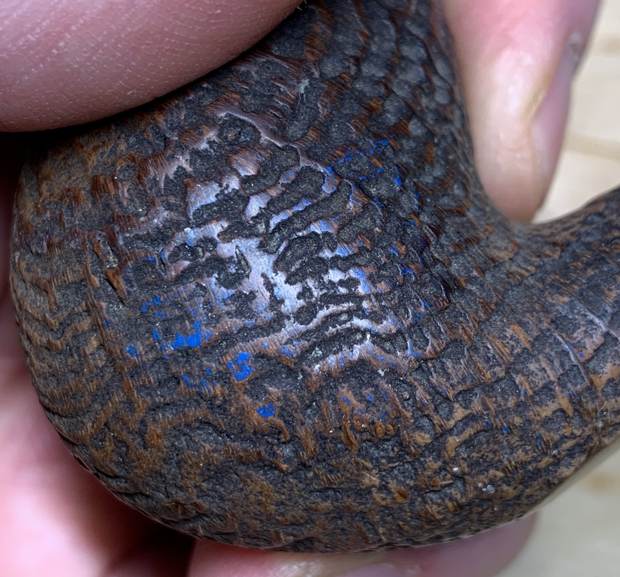
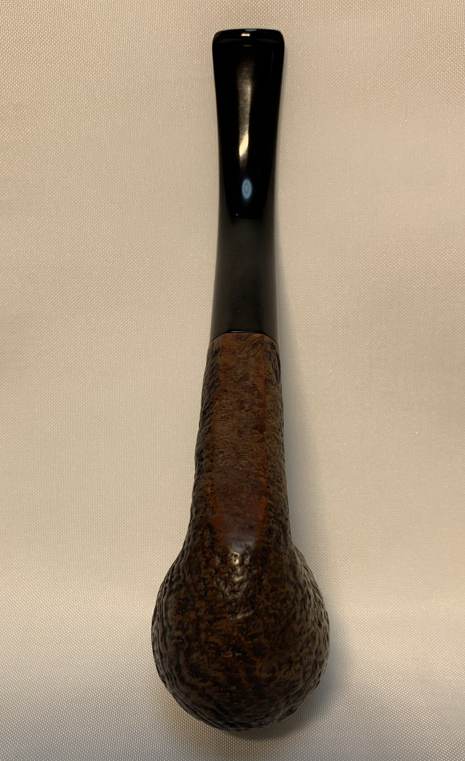
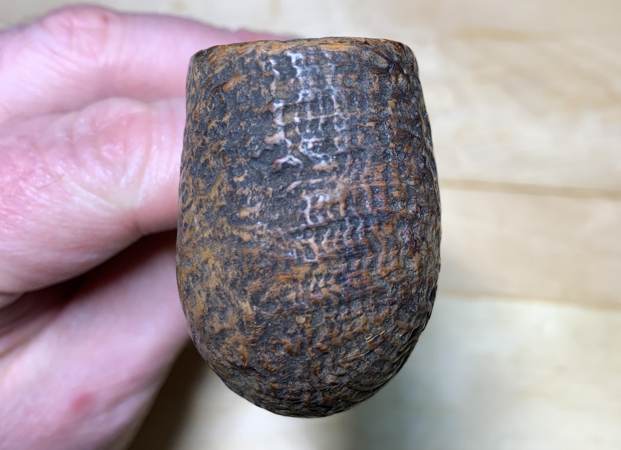
 This pipe had been well-loved and well-smoked, as it arrived with some marks and general wear, and the stem was pretty nasty. There were also beautiful indications of “hand erosion” on the right-hand side, where the previous owner’s hand had lovingly rubbed the pipe over the years. There were also a couple of tiny nicks, but, fortunately, nothing overly complicated.
Identifying exactly what a “Smokewel” pipe is turned out to be a typical pipe-history morass. There are a few twists and turns in this story, so join me in wading through this mess. As you’ve seen in the photos, the pipe clearly says “Smokewel” – not “Smokewell”. I initially thought that perhaps the terminal “L” had been rubbed off, but, looking closely, one can see that “Smokewel” is perfectly centred over “London Made”, which suggests this odd spelling was not the victim of rubbing. In other words, there is no missing “L”.
There is scant information to be had on both “Smokewel” and “Smokewell” – and none of it could be linked definitively to this pipe. There is this entry on Pipephil for “Smokewell”: As you can see, it is a line of pipes from the John Redman firm of London. There are some examples of these pipes that can be found online, and I have included a photo of the markings of Redman’s “Smokewell” line:
  This might be significant because I have studied the letters of the markings from my pipe and Redman’s pipe, and they are the same. In addition, a John Redman catalog (supposedly) from the 1960s, lists “Smokewell” as one of their “London Made Briars” (note the wording). I have clipped the specific passage here:
 All of this is persuasive evidence, but not definitive. The missing “L” on my pipe causes me to pause, if only briefly, before declaring it to be a John Redman pipe. Also, the various iterations of Redman pipe usually had markings on the stem – this one has none and I don’t think it’s a replacement stem. I am aware that Wilczak and Colwell’s Who Made That Pipe? lists “Smokewell” under John Redman – but there is more.
Wilczak and Colwell also list “Smokewell” under a company called Maurice Pipes. The second “L” here could be an error from Wilczak and Colwell – the book is full of them. I also found an old advertisement for Maurice Pipes. Based in London, this firm supposedly produced very fine pipes. Superficially, this ad seems to have nothing to do with our pipe, except that it instructs the reader to use the word “Smokewel” (one “L”) in telegram and cable correspondence with the firm. The word obviously had significance to Maurice Pipes. On the PipesMagazine forums online, I read a thread about early sandblasts and one comment stuck out to me: “The mysterious Maurice was listing blast pipes in the 20’s and as a pipe company they are totally in the dusty shadows, but I’d reckon they were a fine maker, mostly because of their prices – they sold their Sandblast alongside their topline Extra for the very same price, at 16/6 and that’s a fairly high price comparatively.”
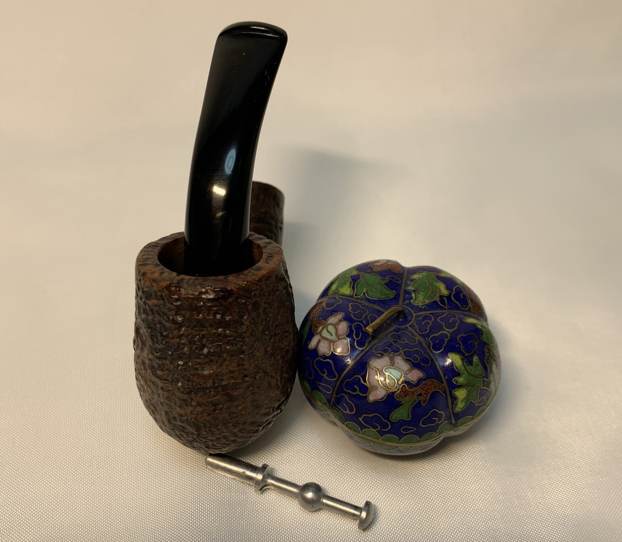
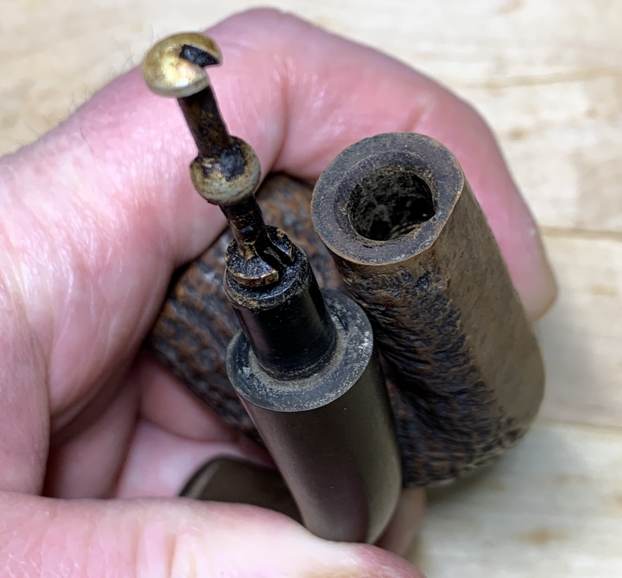
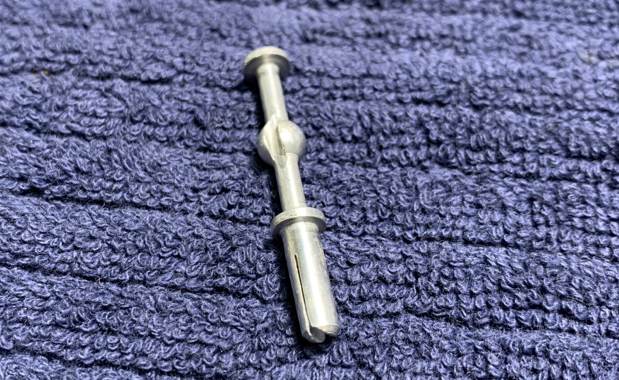
The connection between Maurice Pipes and “Smokewel” is tenuous at best, but it was my only connection to the single-L “Smokewell”. If you have information about any of the research above, I would love to hear from you. The stinger is a bit odd – does it ring any bells for you?
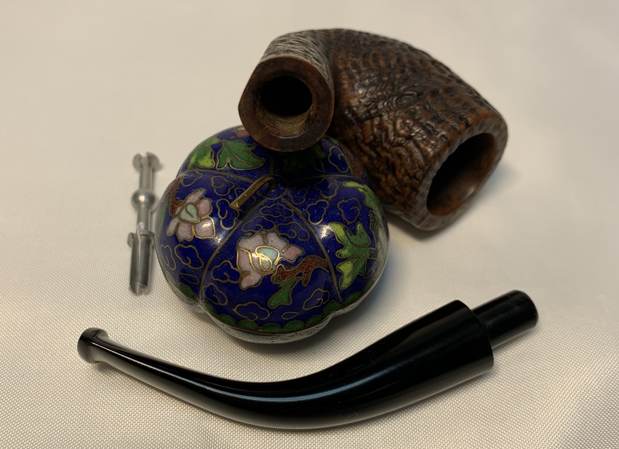
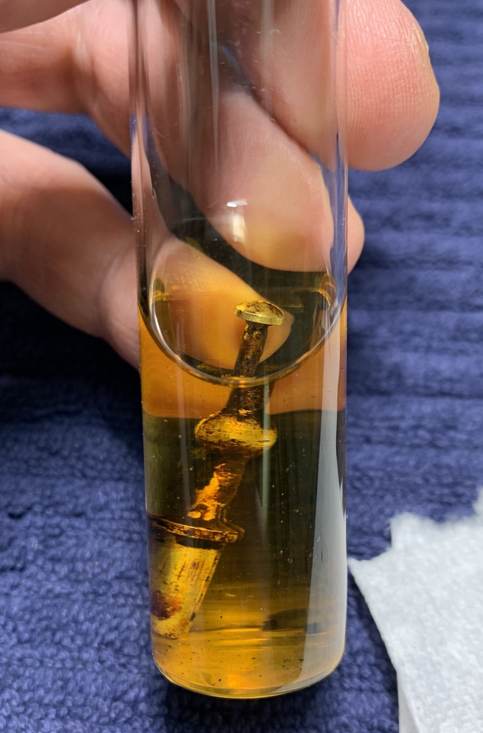
And speaking of the stinger, let’s clean it. I heated the stem and stinger with my heat gun and this provided just enough softening of the internal goo to allow me to pull it out. It then went for a soak in some lemon-infused isopropyl alcohol. I let it sit for several hours and then cleaned it off and it looked much improved.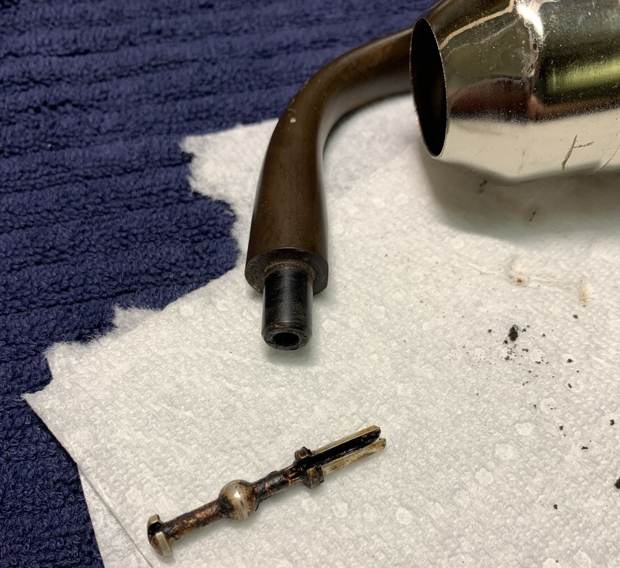
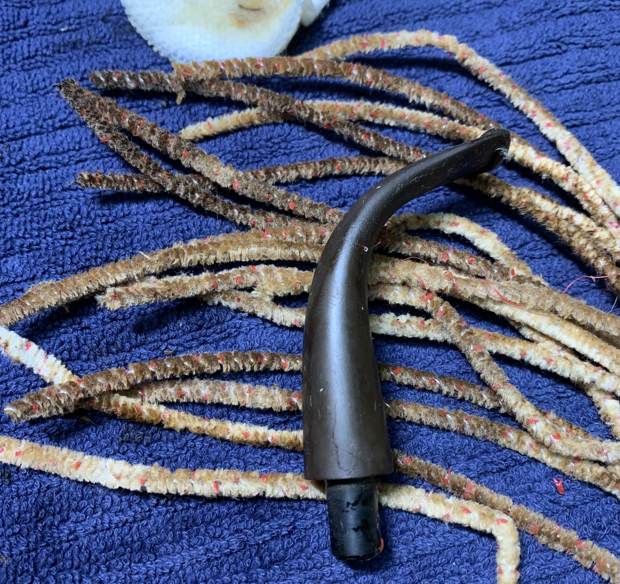
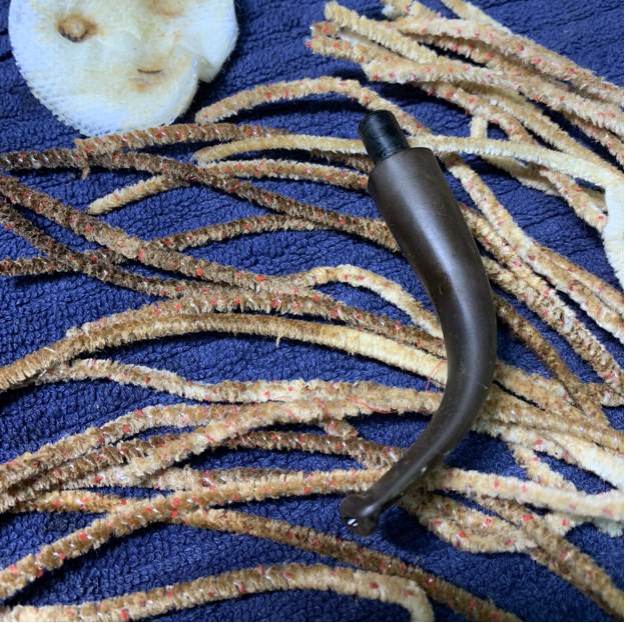
 I wiped the outside of the stem down with Murphy’s Oil Soap on some cotton pads. Though dirty, the outside of the stem was in decent condition and the oxidation wasn’t too bad. On the other hand, the inside was another kettle of fish! I used up a good chunk of the world’s supply of pipe cleaners to clean it out – the pictures only show a fraction of what I used.
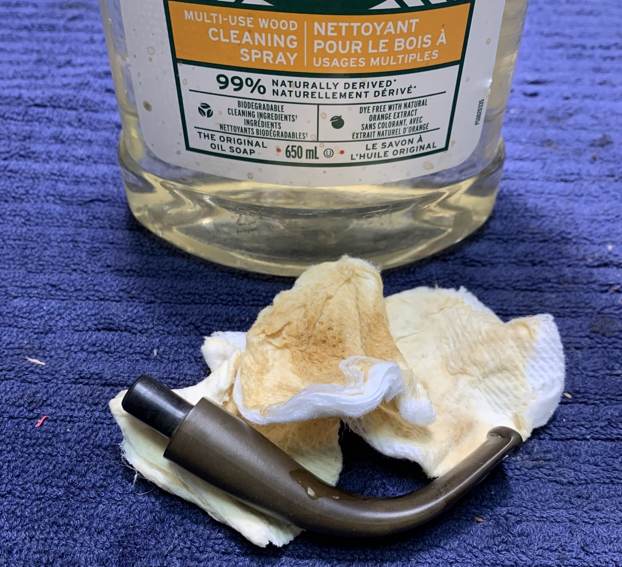
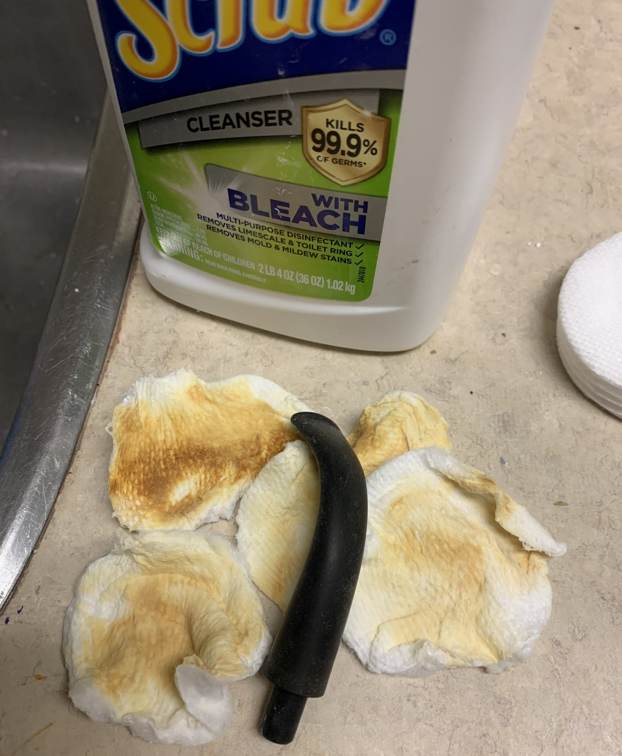
 Next, the stem went for an overnight soak in the Pipe Stem Oxidation Remover. The following day, I cleaned all of the de-oxidizing mess off. The oxidation had migrated to the surface and would be fairly straightforward to remove. I scrubbed with SoftScrub on some cotton pads to remove the leftover oxidation and leave the stem in a dull black colour.
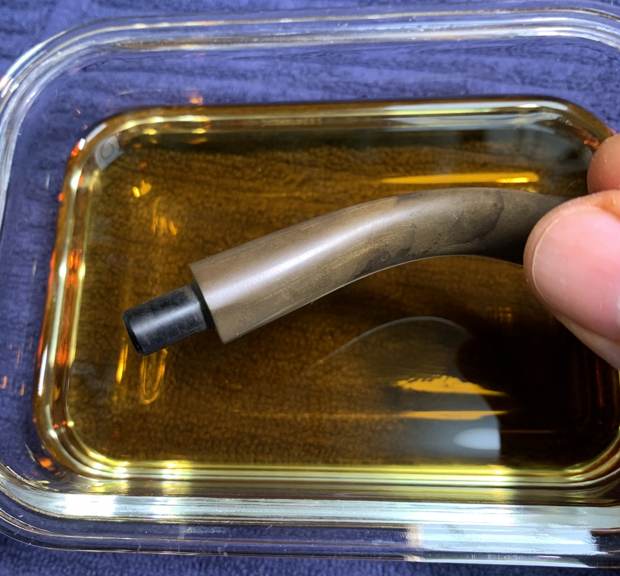
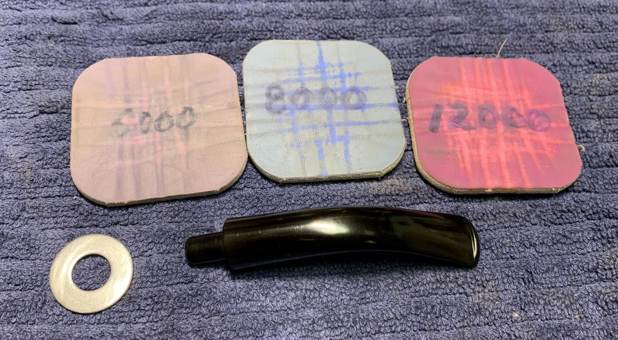
 Finally, I used all nine Micromesh pads (1,500 through 12,000 grit) to bring out the lovely black lustre on the stem. I also used Obsidian Pipe Stem Oil in between each pad scrubbing.
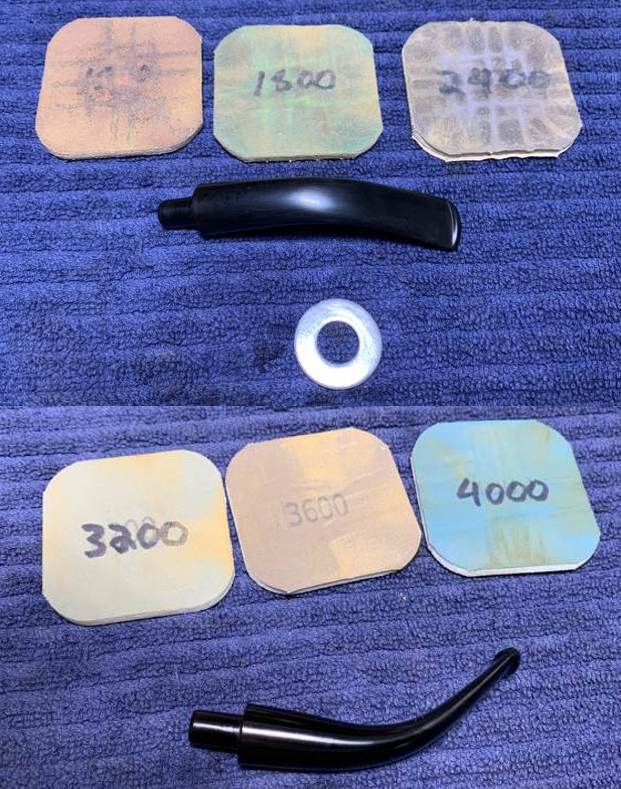
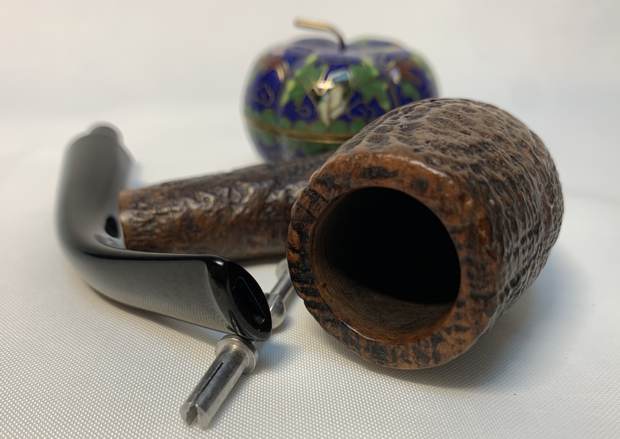
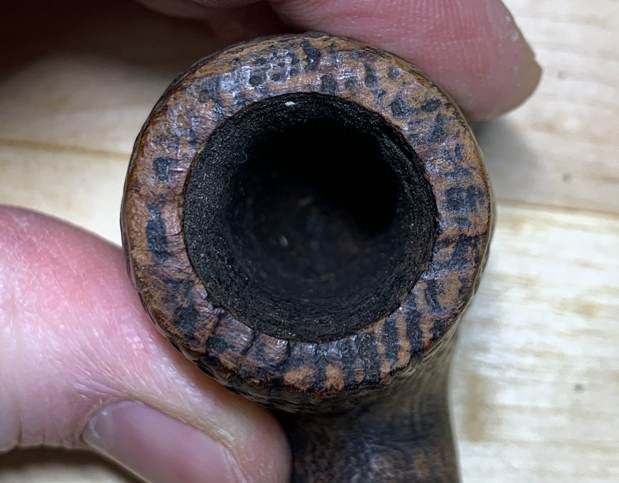
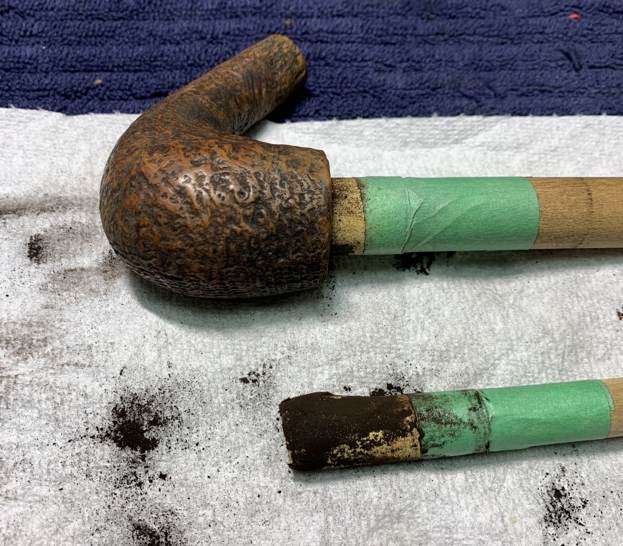
 Now for the stummel. It was nicked on the front edge of the rim, and the rim itself had lava and general filth, so, time to work on it! I started with the KleenReem to remove the built-up cake and followed that with 220-grit sandpaper taped to a dowel to eliminate as much as I could. I took the chamber down to bare briar, as I wanted to ensure there were no hidden flaws in the wall. Fortunately, there were none.
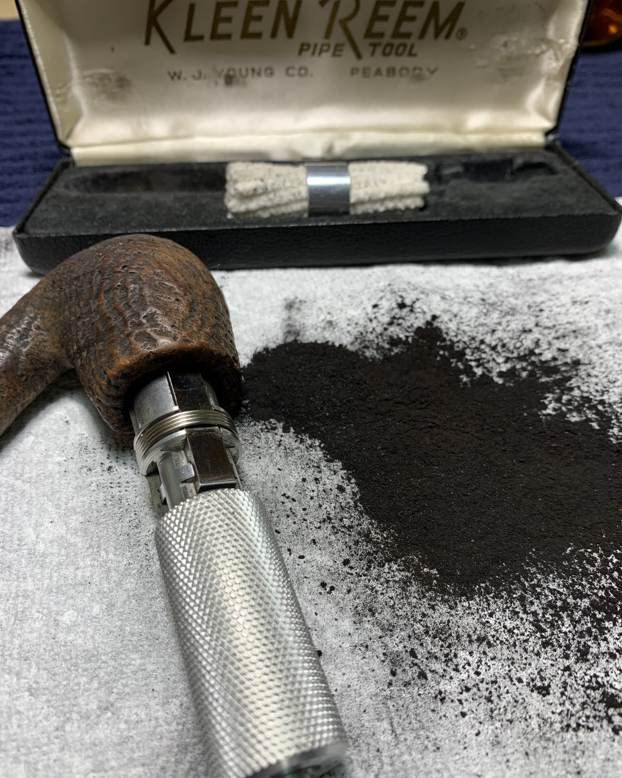
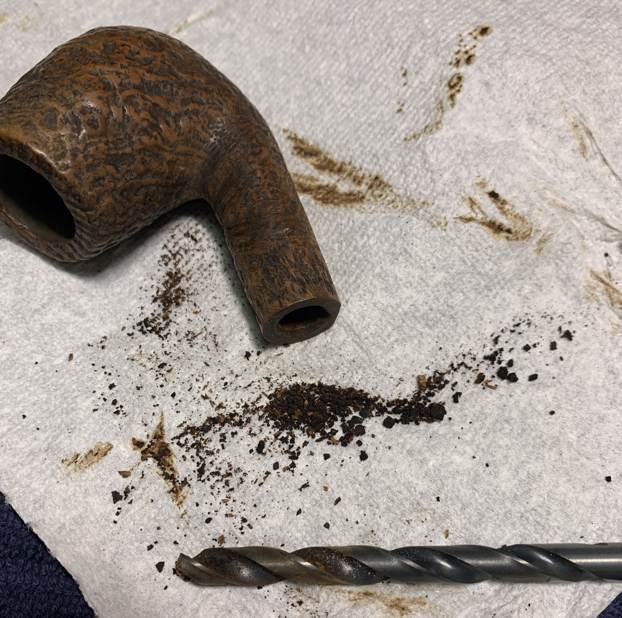
 I then proceeded to clean out the insides of the shank with Q-tips, pipe cleaners, and lemon-infused isopropyl alcohol. There was an extraordinary amount of filth inside this stummel and it took an enormous amount of cotton to get it clean. I only have a photo of a small number of pipe cleaners. I can’t imagine that this pipe had ever been cleaned – or, at least, not in many decades. Because the filth in the shank was well-encrusted, I used a couple of drill bits held in a chuck, by hand (not in a drill), to try and loosen up the debris. This worked quite well.
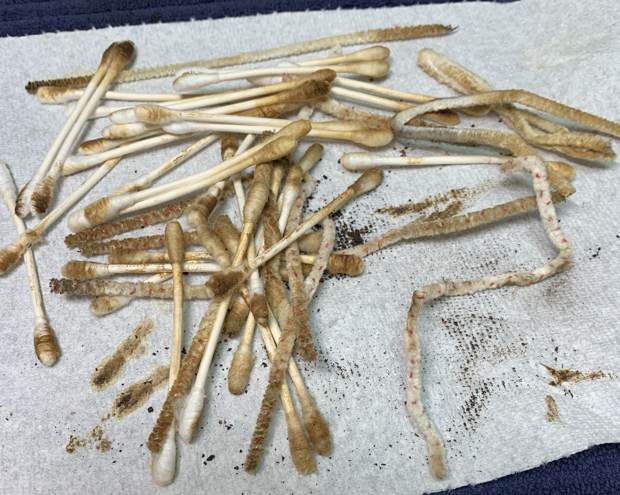
 I decided to de-ghost the pipe to remove any lingering smells of the past. I thrust cotton balls into the bowl and the shank and saturated them with 99% isopropyl alcohol. I let the stummel sit overnight. This caused oils, tars and smells to leach out into the cotton.
 In fact, the pipe was dirty enough that I then used my pipe retort system on it. I neglected to take photos of that, but it certainly helped clean the pipe. I followed that up by cleaning the insides with some dish soap and tube brushes.
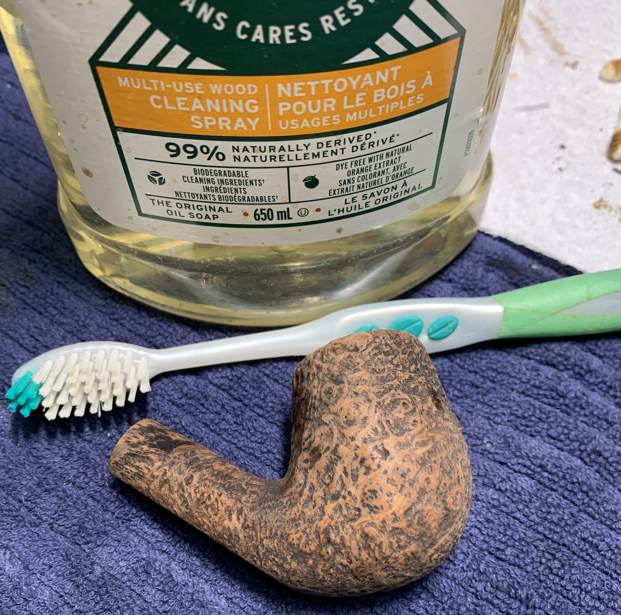
 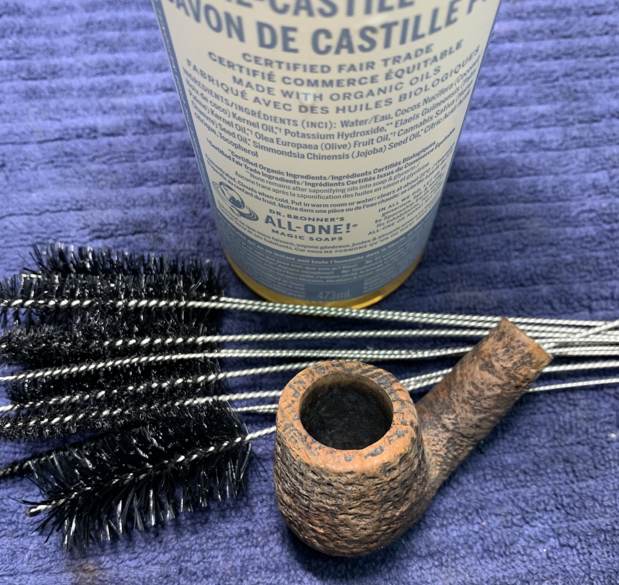 I used some Murphy’s Oil Soap and a toothbrush to scrub the outside of the stummel and the lava on the rim of the pipe. I didn’t scrub too hard – I wanted to keep the nice colour on the wood.
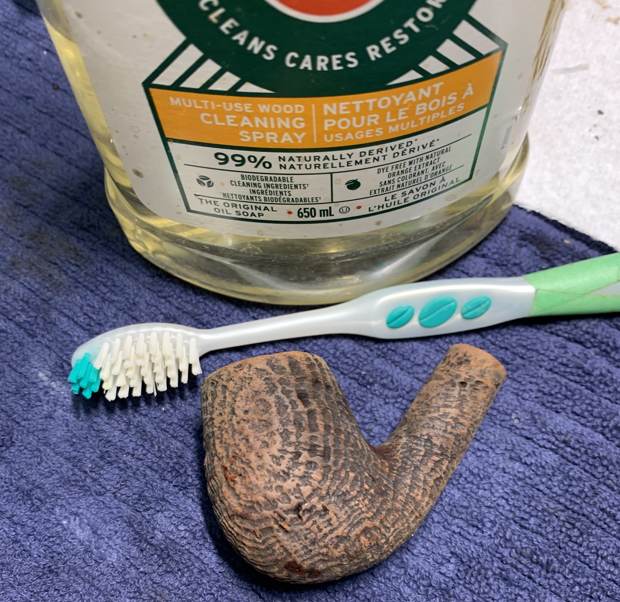
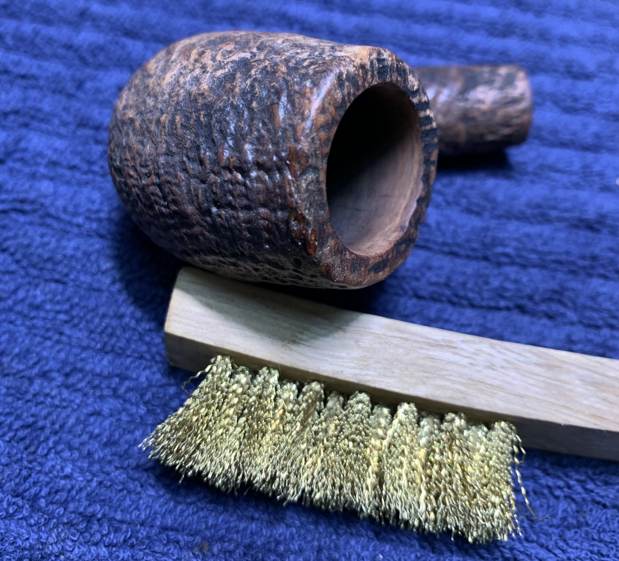
 Having completed that, I was able to address the small nicks on the rim and the bowl. I used some tiny drops of cyanoacrylate adhesive to fill the nicks, and a metal brush to camouflage the repairs in the wood.
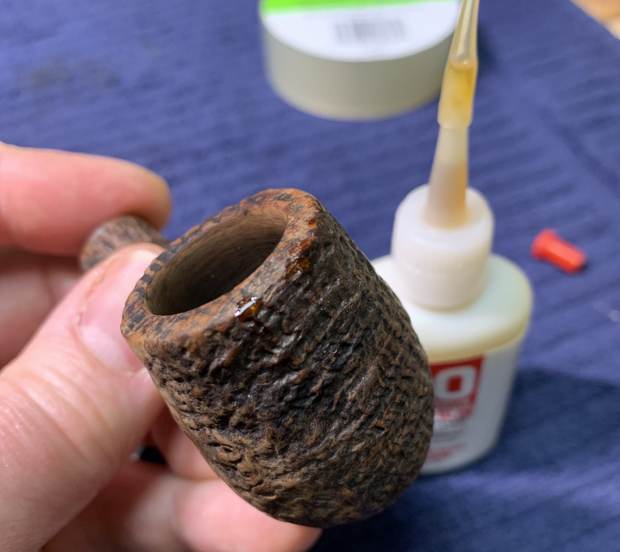
 Finally, I used only the last three MicroMesh pads to polish the stummel, but I was careful not to damage the sandblast.
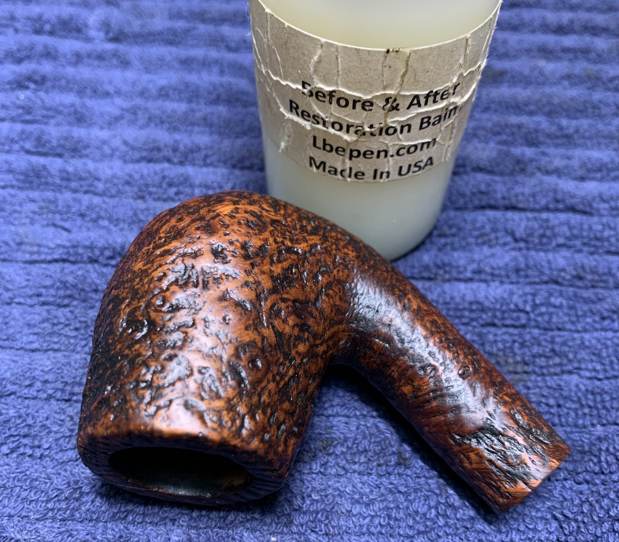
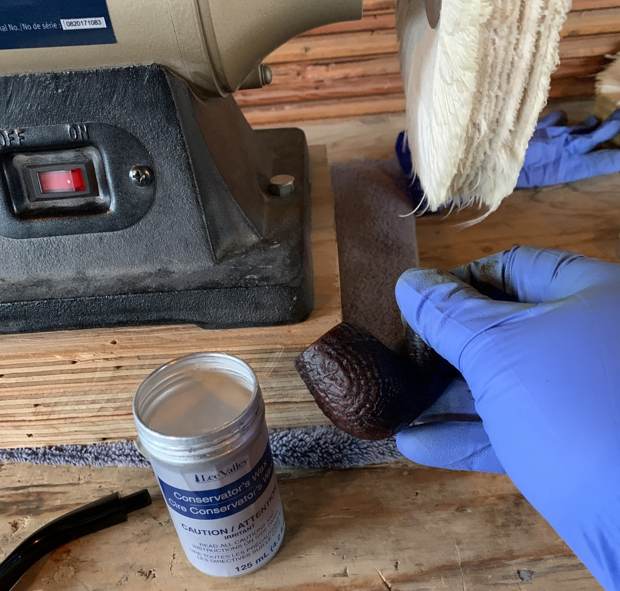
 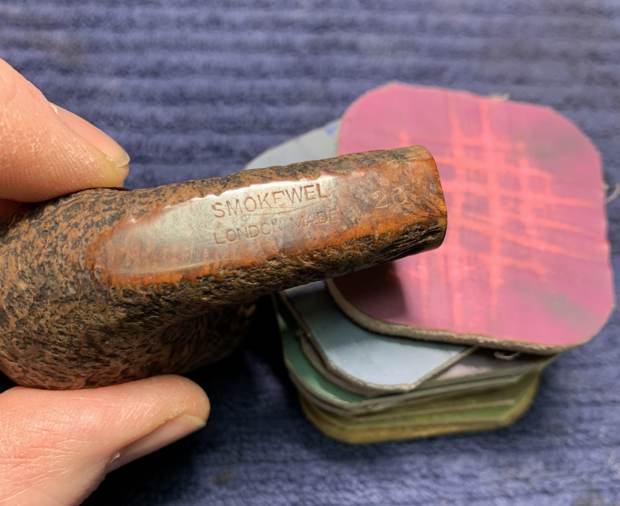 After that, a light application of Before & After Restoration Balm brought out the best in the stummel’s grain. Then off to the buffer! A tiny dose of White Diamond and a few coats of conservator’s wax were just what this pipe needed.
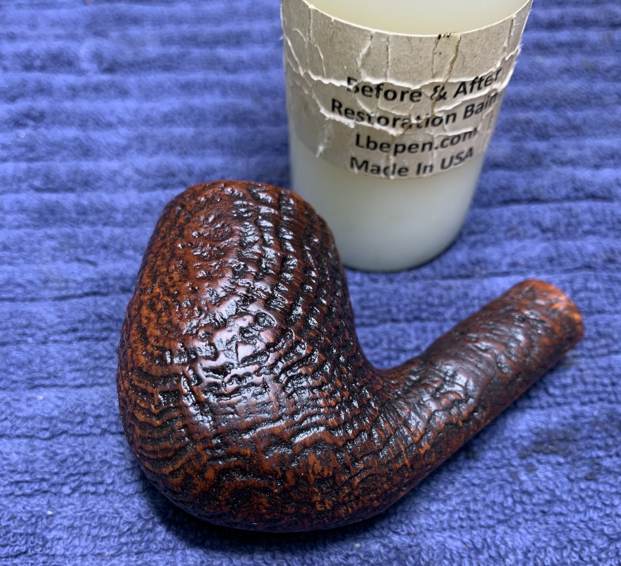
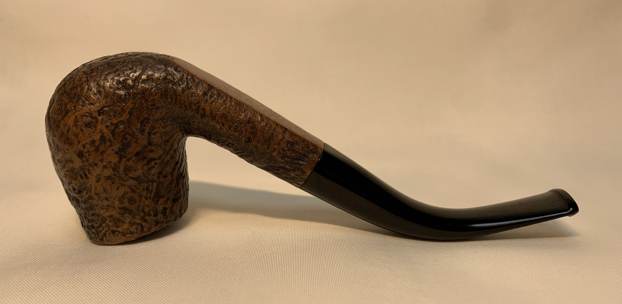
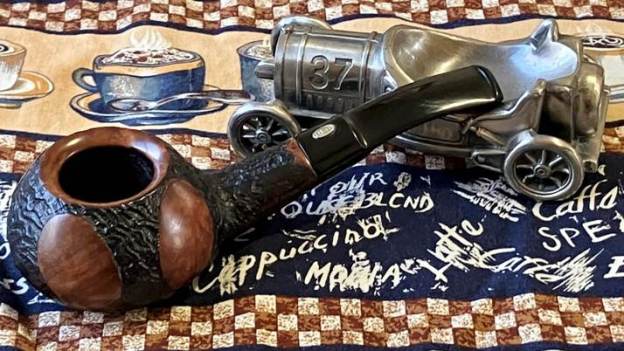
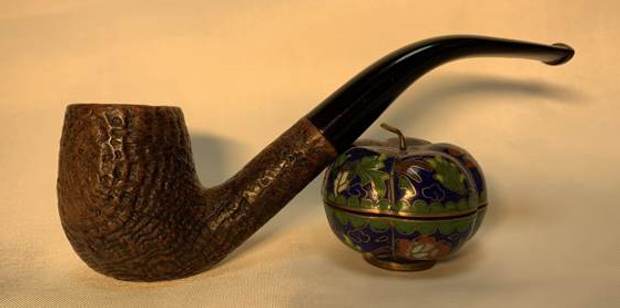
 This Smokewel looks fantastic again. It is elegant and handsome, and is ready to be enjoyed by the next owner. I am pleased to announce that this pipe is for sale! If you are interested in acquiring it for your collection, please have a look in the British pipe section of the store here on Steve’s website. You can also email me directly at kenneth@knightsofthepipe.com. The approximate dimensions of the pipe are as follows: length 5¼ in. (133 mm); height 2¾ in. (70 mm); bowl diameter 1¼ in. (32 mm); chamber diameter ¾ in. (19 mm). The weight of the pipe is 1⅛ oz. (35 g). I hope you enjoyed reading the story of this pipe’s restoration as much as I did restoring it. If you are interested in more of my work, please follow me here on Steve’s website or send me an email. Thank you very much for reading and, as always, I welcome and encourage your comments.