Blog by Steve Laug
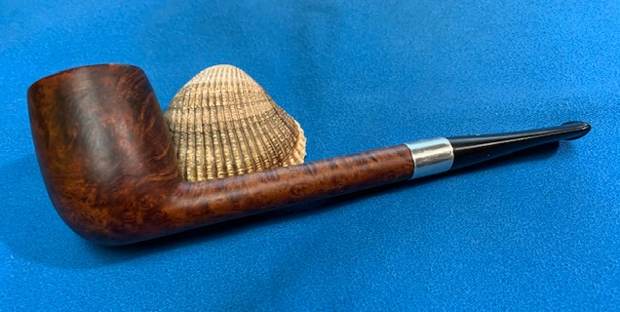
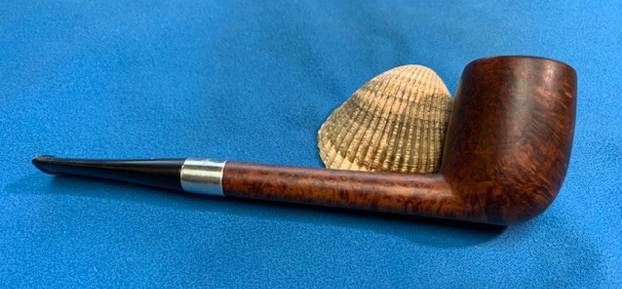
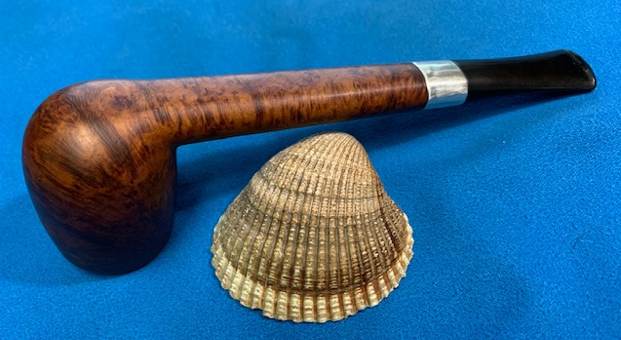
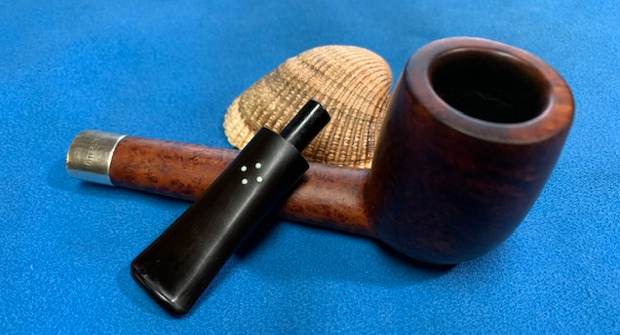
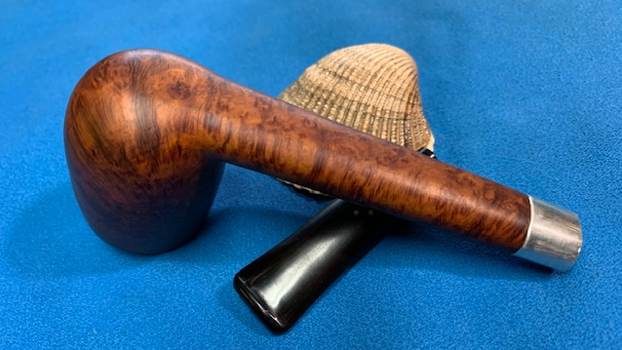
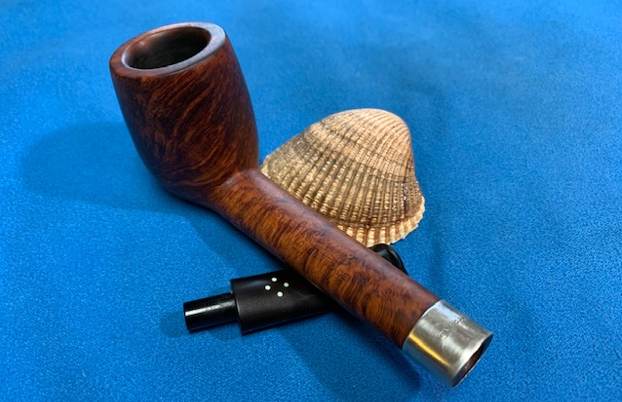
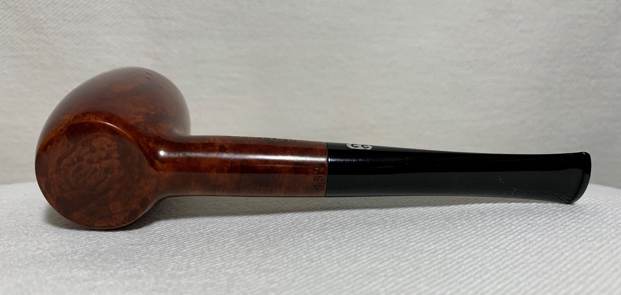
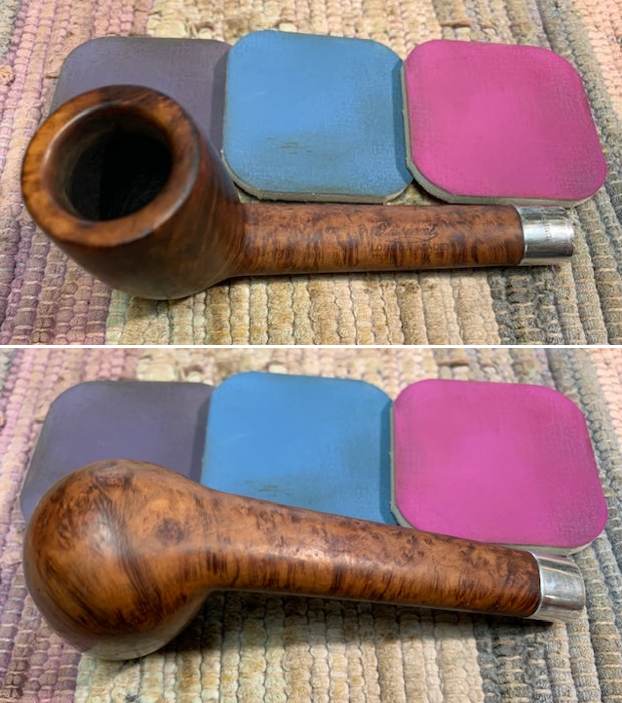
The next pipe on the work table came to me from either a trade I made (pipes for labour) or a find on one of my pipe hunts. I honestly don’t remember where it came from. It has been around for a while waiting to be worked on. It is an older long shank Canadian with a Sterling Silver band on the shank. It is quite dirty but has some great grain on the shank and stem. The stamping on this Canadian is faint but and readable. It is stamped on the topside of the shank next to the bowl and reads Made in England in an oval. That is followed by Sasieni [over] London Made [over] Pat. No. 150221/20. There is no shape number on the shank that I can see. The pipe had a lot of grime ground into the smooth finish on the bowl. The bowl had been heavily caked but had been reamed somewhere in its journey. The rim top and inner edge had darkening and some burn damage all the way around though heavier on the right and back side. The vulcanite stem was dirty and had light tooth chatter and marks on the top and underside ahead of the button. There were four pale blue dots on the top side of the taper stem that is common on a Sasieni. The pipe had promise but it was very dirty. I took photos of the pipe before I started my cleanup work. 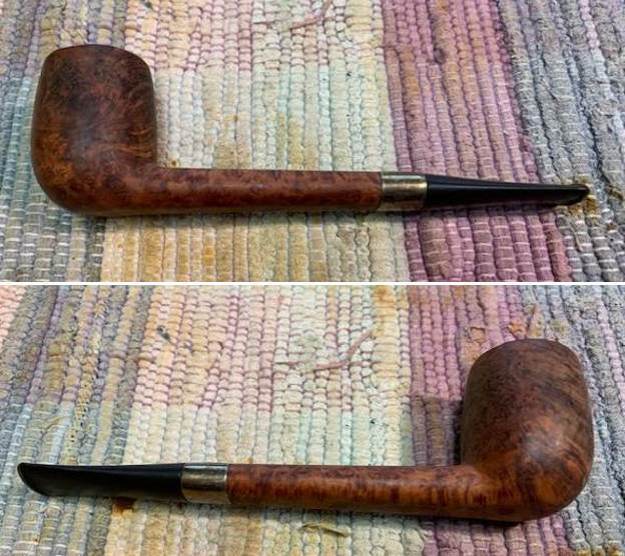
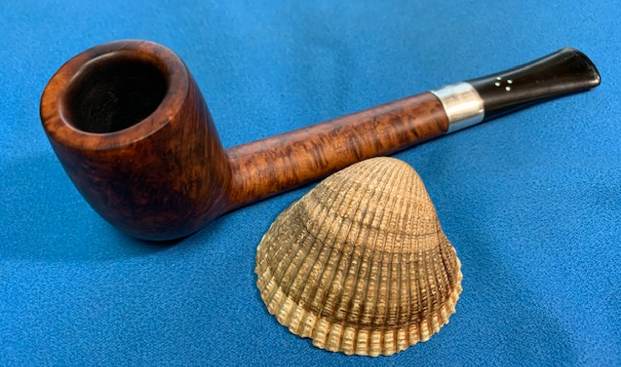
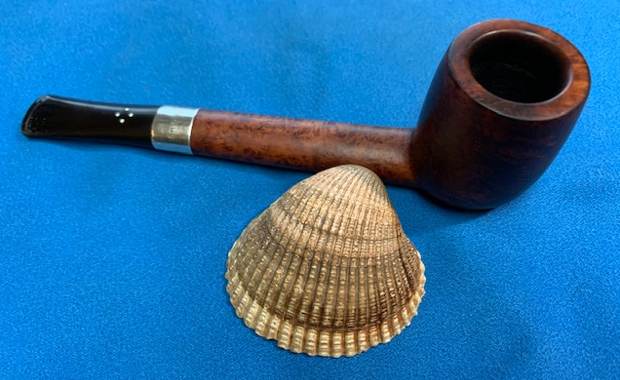
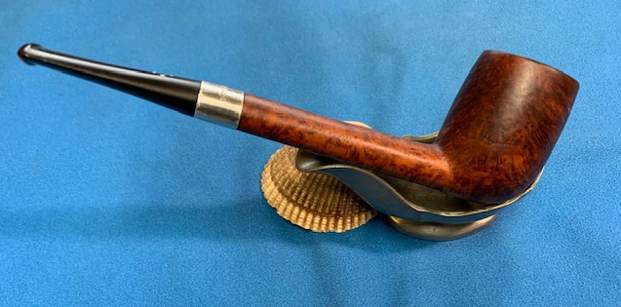
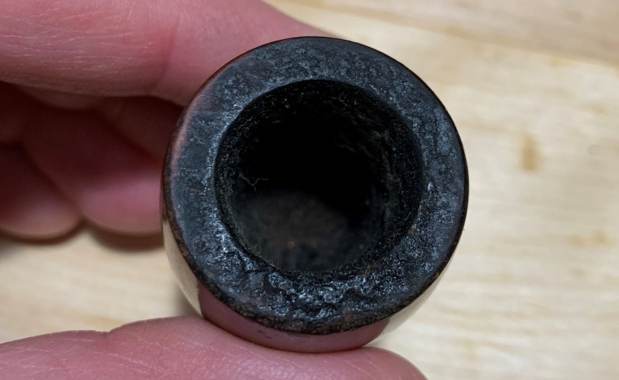
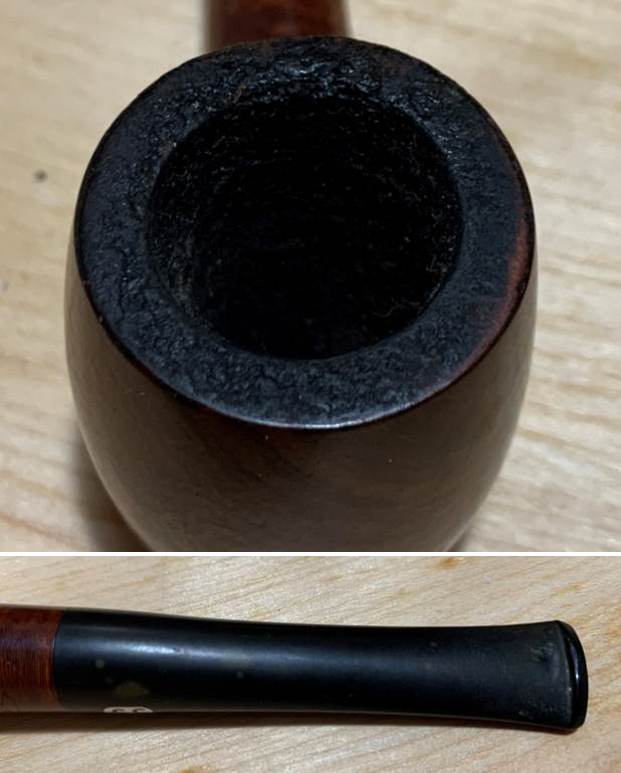
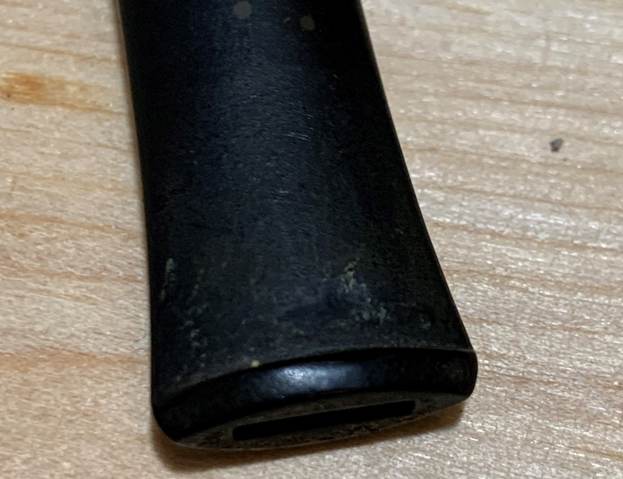
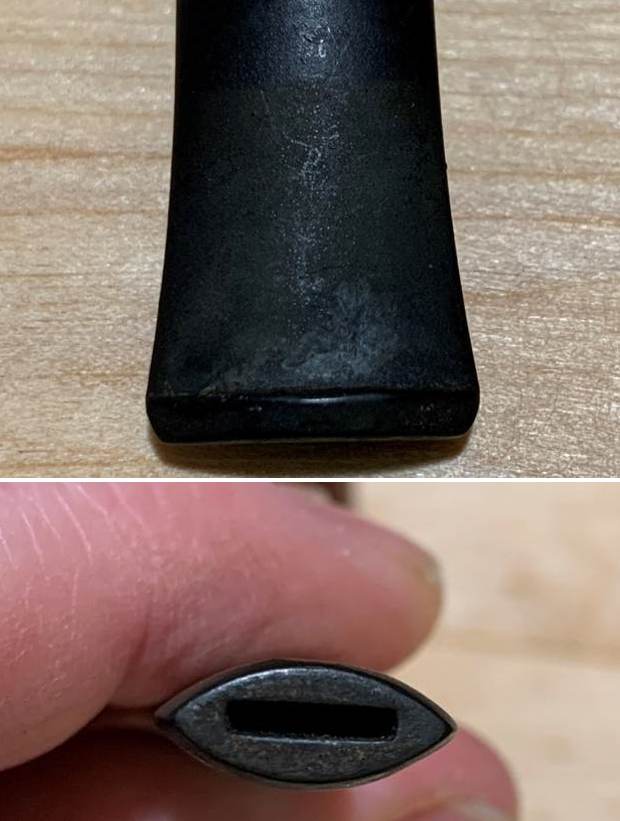
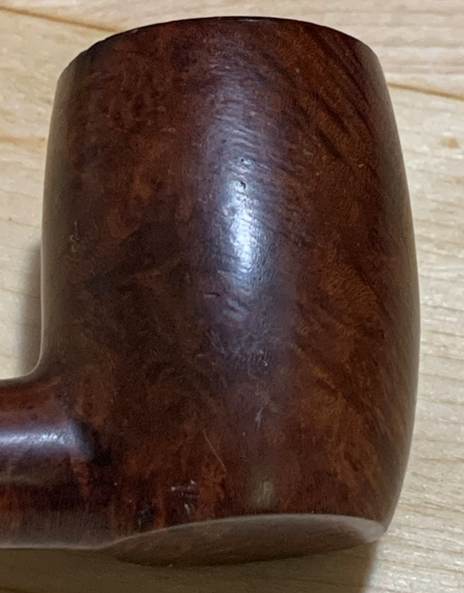
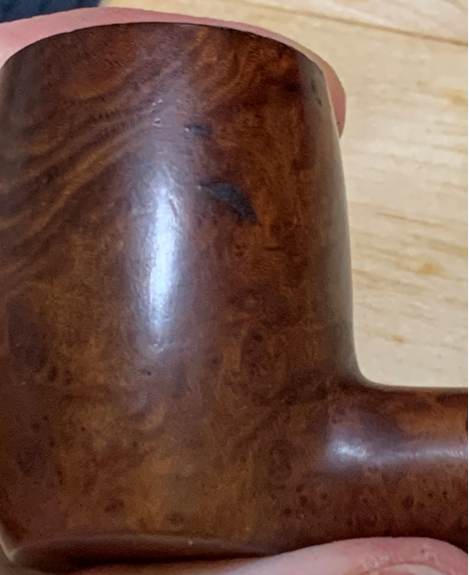
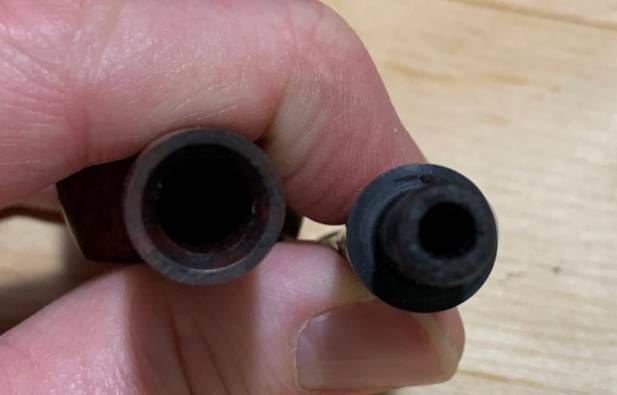
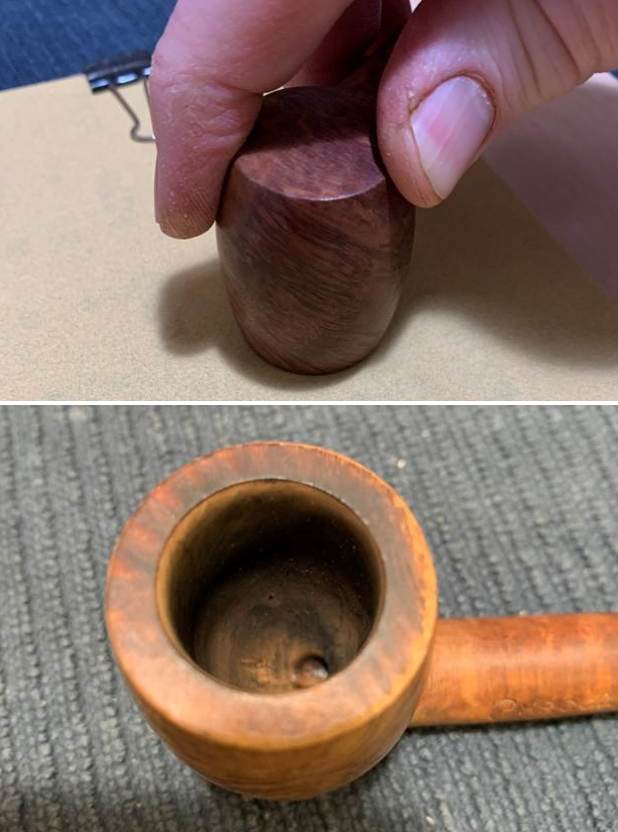
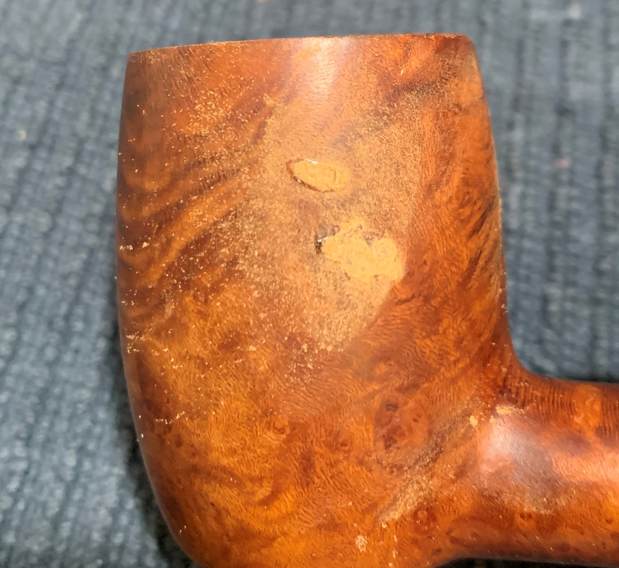
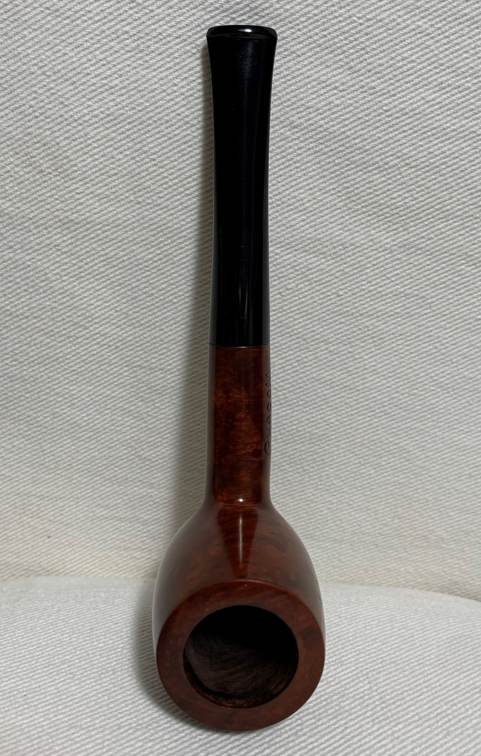
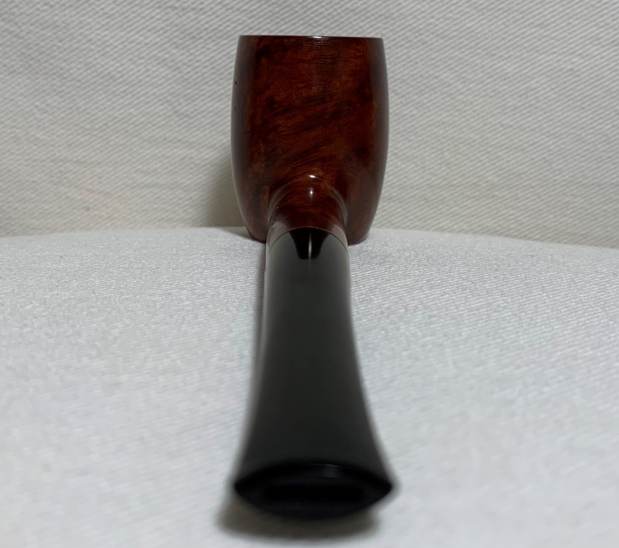
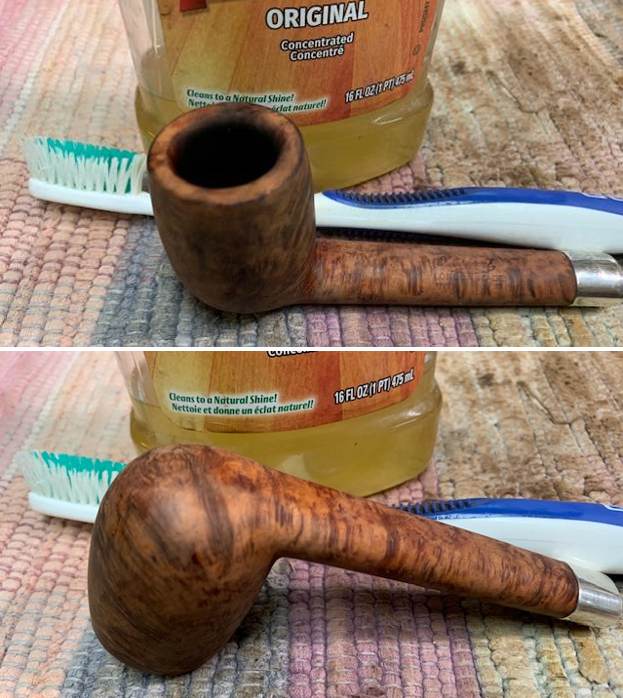
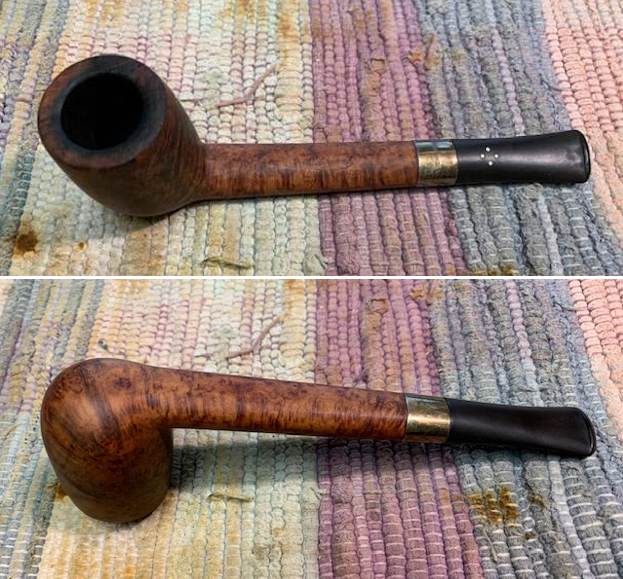 I took photos of the rim top and bowl to give a clear picture of the bowl and the damage on the rim top and edges. The Sterling Silver band is tarnished and black. I also took photos of the top and underside of the stem to show the light chatter and tooth marks.
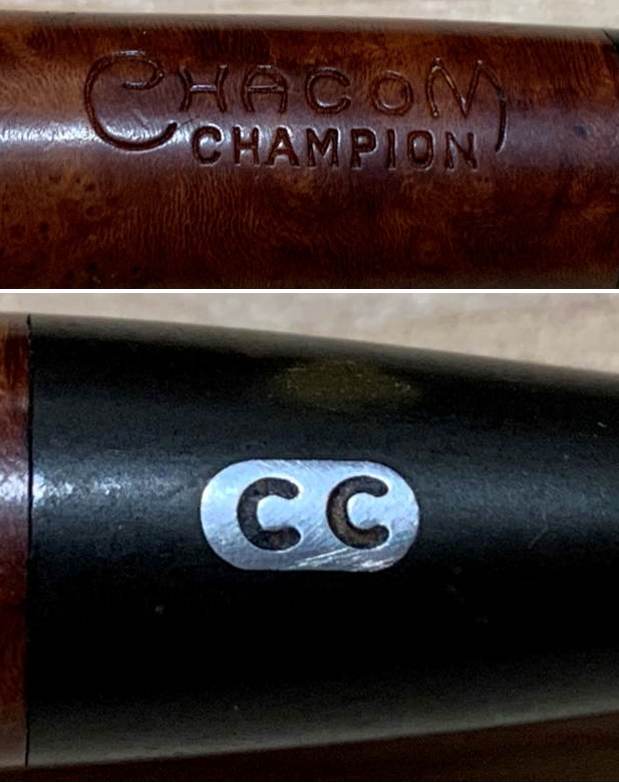
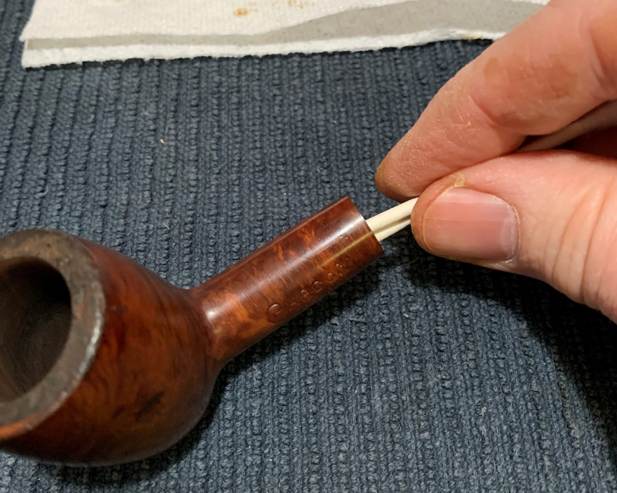
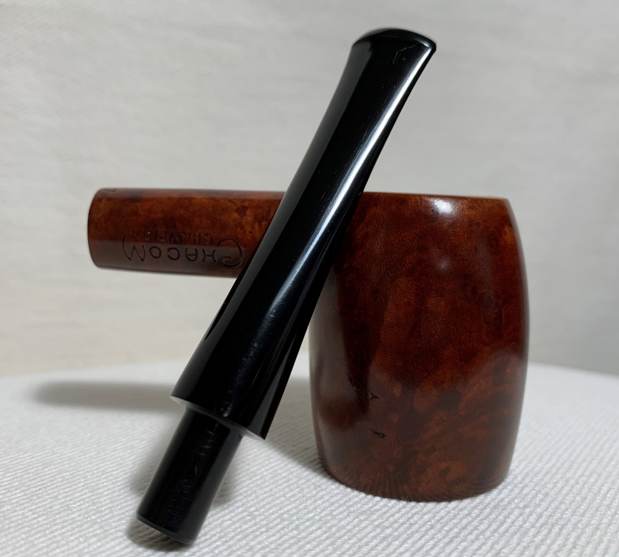
 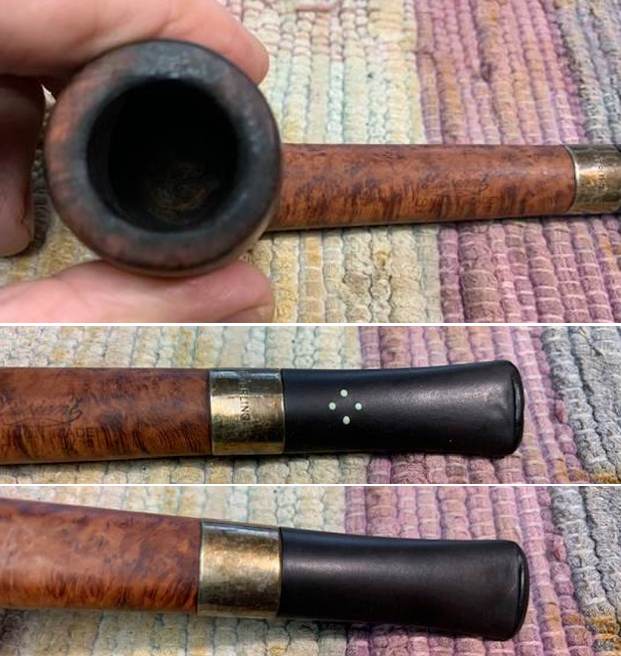 I took photos of the stamping on the top side of the shank. It reads as noted above and is faint but readable. The silver band is stamped Sterling Silver on the top and there are four light blue dots on the top of the taper stem.
 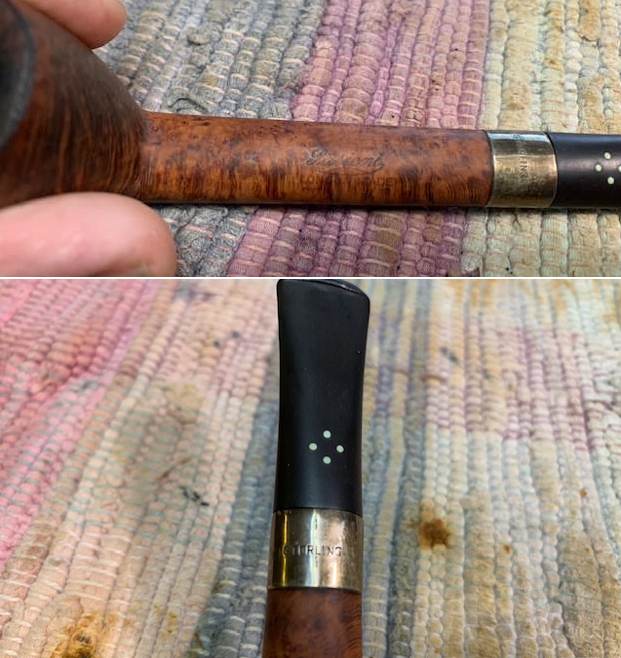 I wanted to see if I could narrow down a time frame for this Sasieni London Made Patent pipe so I turned first to Pipephil’s site to get a good overview and see if there were photos of a similar looking stamping on a pipe there (http://www.pipephil.eu/logos/en/logo-sasieni.html). I quote the summary of the history of the brand from the top of the page:
One may distinguish three major periods in the Sasieni brand history:
- The so called pre-transition period during which the family totally owned the business.
- The transition period from 1979 to 1986. The corporate has been bought by Ian Chase and a group of South African investors.
- The post-transition period from 1986 up to the present. At first the corporate has been bought by James B. Russell and after him by Cadogan Investments Ltd (A. Oppenheimer & Co. Ltd).
With that information I scrolled through the photos of shapes and stamping on the pipes shown. The one that bore the same stamping as the Canadian I am working on was a billiard shown below. I did a screen capture to show the stamping look and design. The shape number on the Canadian is obviously buffed off on the pipe I have. 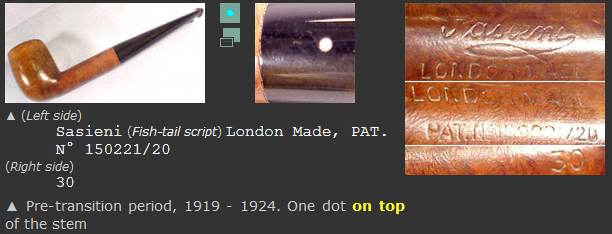 From that information I knew that the pipe I had was a Pre-Transition Period pipe made between 1919-1924. This is demonstrated by the style of the Sasieni Stamp (with a flourish) and the rest of the stamping including the Pat. No.
From there I turned to Pipedia to read more information about the time periods and the stamping on this particular pipe (https://pipedia.org/wiki/Sasieni). I quote a pertinent section below.
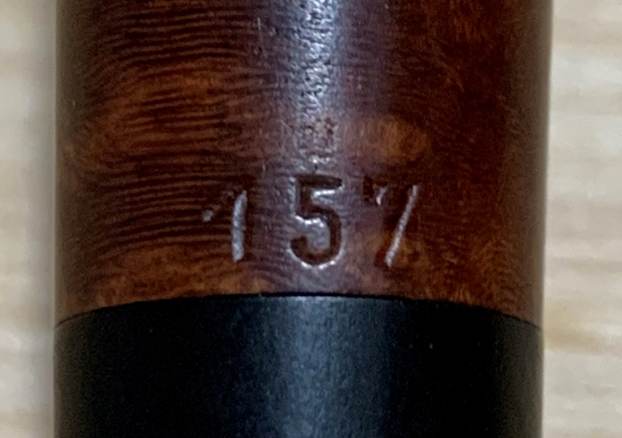
To begin with, there are three main elements to dating the Sasieni pipe, the patent number, the style of the name “Sasieni” as it appears on the shank, and the Dots themselves. Naturally, there are exceptions to these rules (this hobby would be boring without them), but for the most part these guidelines apply better than 95% of the time. All Sasieni One, Four, and Eight Dot pipes made before W.W.II and destined for the U. S. market carried a patent number on the shank which usually started with the numbers “15″, with 150221/20 and 1513428 being representative of the group. Also, the name “Sasieni” was stamped on the shank in a very florid manner, with the tail of the last “i” sweeping underneath the name forming a shape which has been compared to a fish by more than one collector. This script was discontinued by Alfred almost immediately after he took over the company, so this alone tells you your pipe is pre W.W.II. Underneath in block lettering are the words “London Made”, with the patent number making the third line.
The dots will help you narrow this down further. As we mentioned, the short lived U. S. market One Dot was introduced around 1920, and was replaced by the early to mid 1920’s by the Four Dot. The 1920’s Four Dot is distinguishable by the florid Sasieni script, a patent number, and four blue dots, which are quite small compared to the pipes of post war years. Furthermore, by 1935 Sasieni began stamping pipes, based on the shape, with their own names, which were usually, but not always, English towns. For example, apples were stamped “Hurlingham”, bulldogs were “Grosvenor” or “Danzey”, and panels were “Lincoln”. One rare and interesting variation of this was the large bent, dubbed “Viscount Lascelles”. Even in this soft Sasieni market, these pipes regularly sell for $150 in their rare appearances in mailers.
Once Alfred took over the company in 1946, these elements changed in fairly rapid succession. The first thing to be changed was the nomenclature itself. In place of the elaborate “Sasieni” stamp of pre war pipes, a simpler, though still script style, “Sasieni” was used. This can be seen on patent pipes which have the small, old style dots.
This further gave me a time period and date for this pipe. It was definitely pre-WWII and probably made between 1919-1924. So it was an older pipe that was in decent condition for a pipe that age.
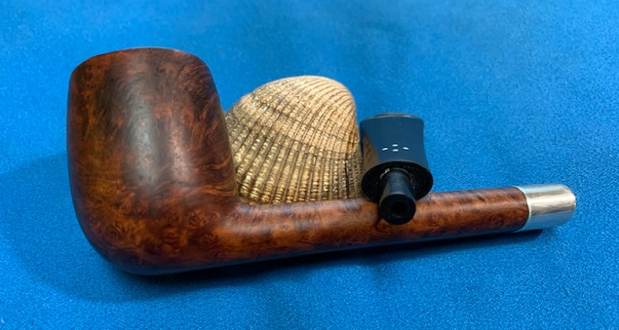
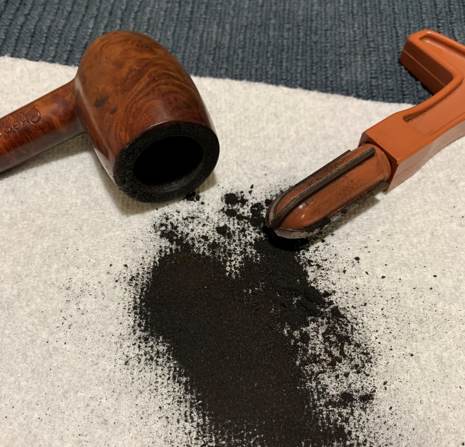
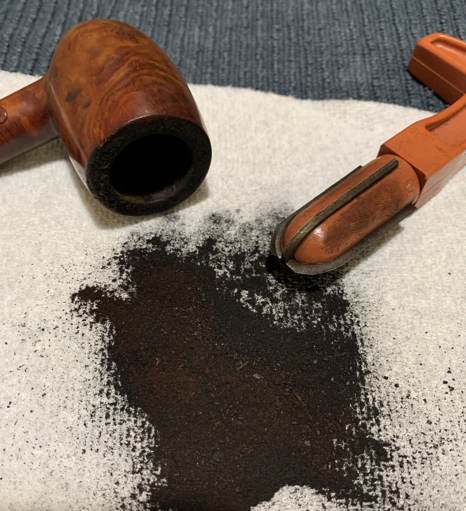
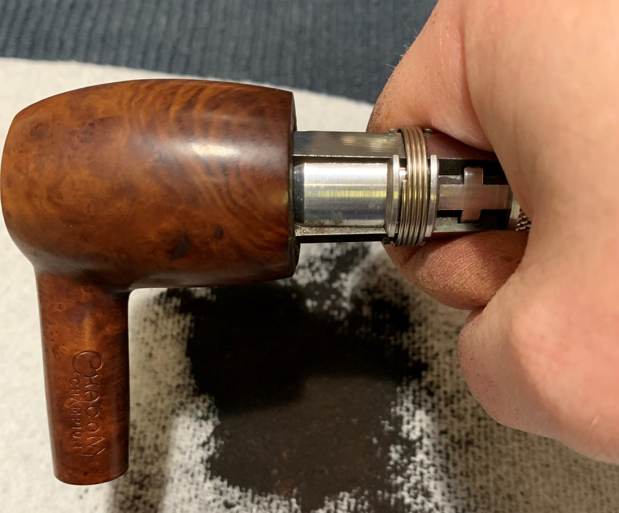
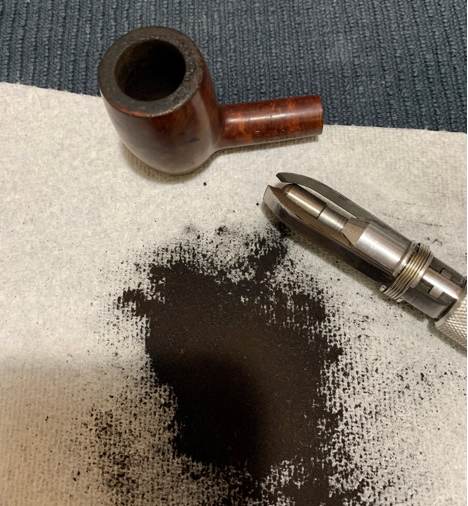
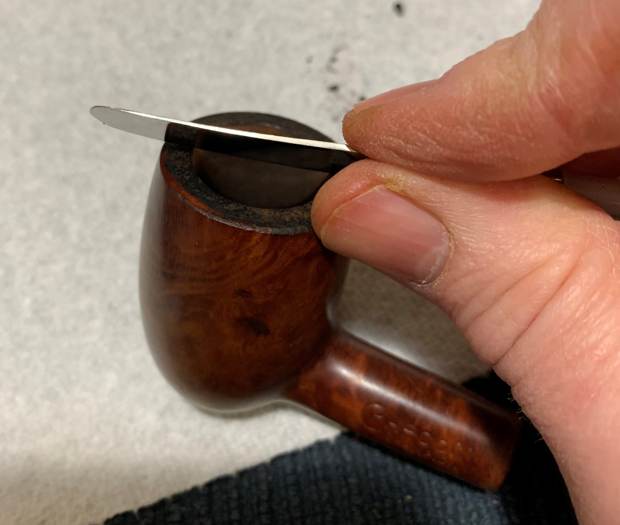
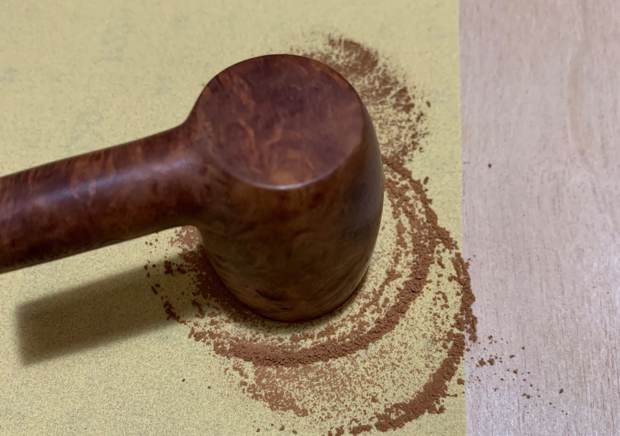
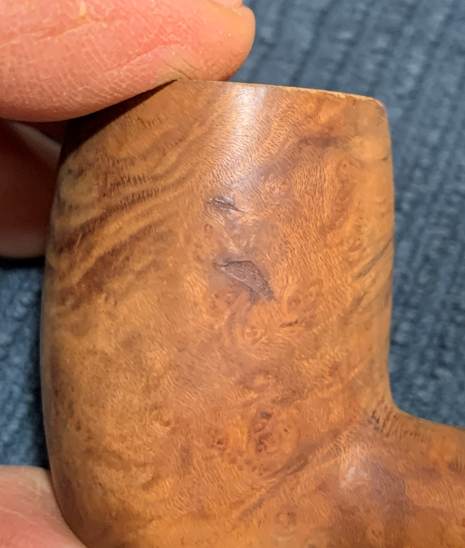
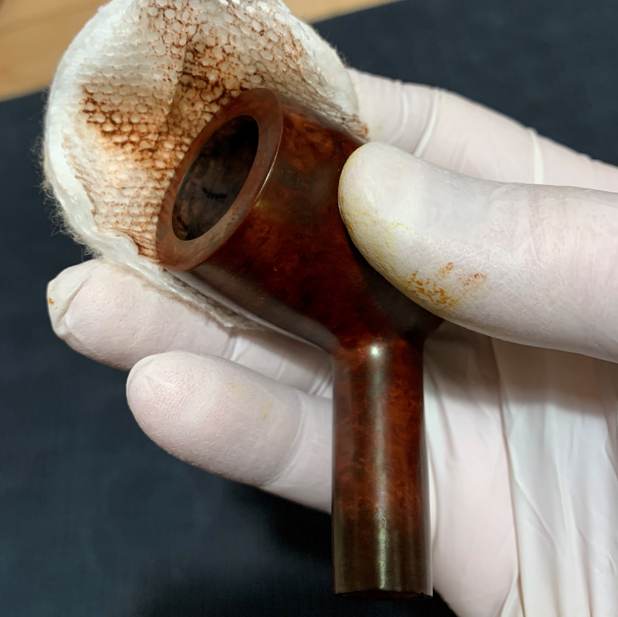
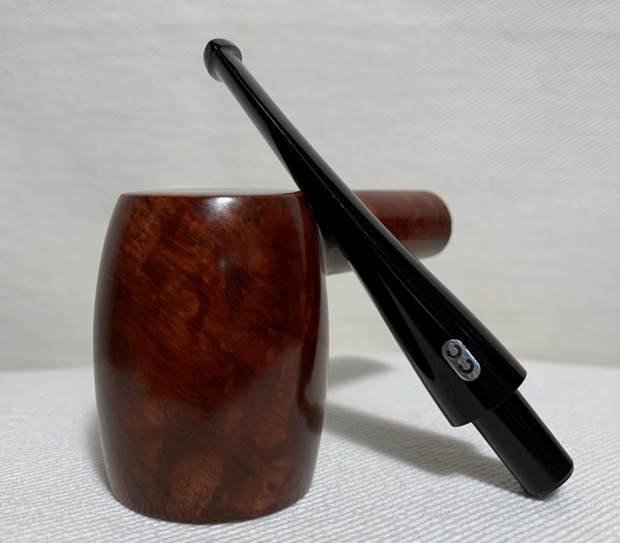
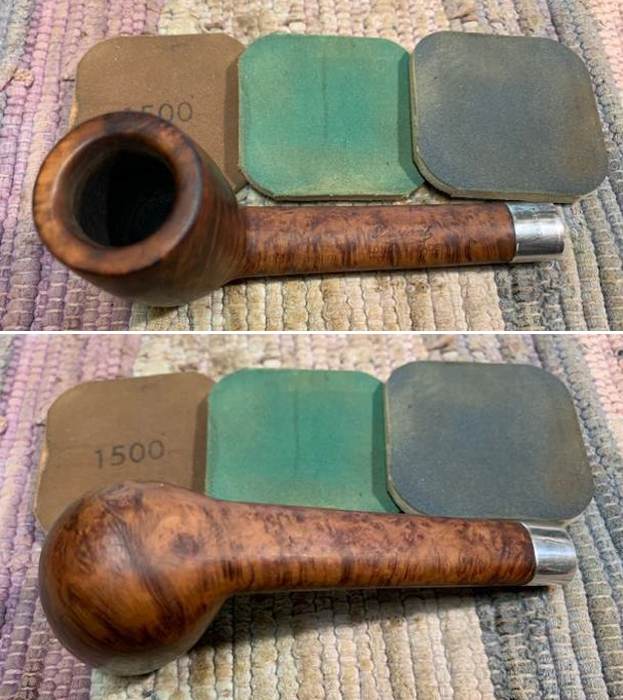
Now it was time to work on the pipe. I cleaned up the reaming of the bowl with a Savinelli Fitsall Pipe Knife. It did not take too much work to clean it up internally. On a pipe of this age once again I exercised restraint in how far I went to clean up the top. I do not want to change look or feel of a pipe that is at least 100 years old. I then turned my attention to the rim top and edges. I lightly topped the bowl on a topping board and 220 grit sandpaper to remove the damage on the top of the rim. I also worked over the inside edge of the bowl with a folded piece of sandpaper to give it a gentle bevel.  I polished the Sterling Silver shank band with a jeweler’s cloth to remove the tarnish and oxidation. It also works to slow down the tarnish process. I took some photos of the band and bowl after the polishing.
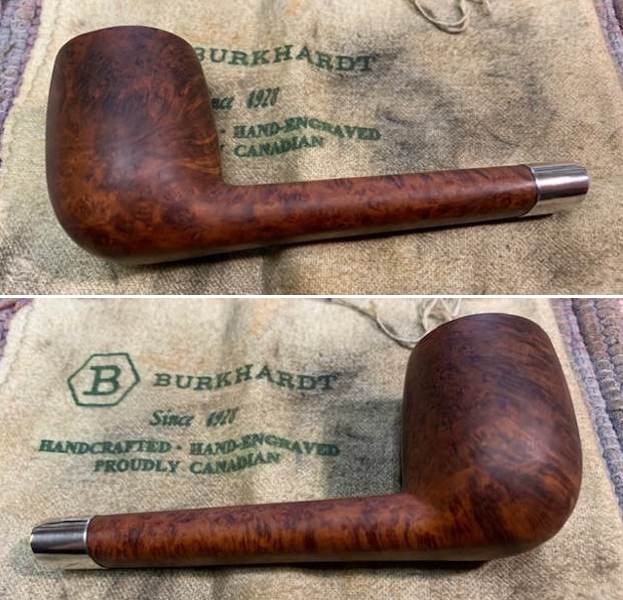
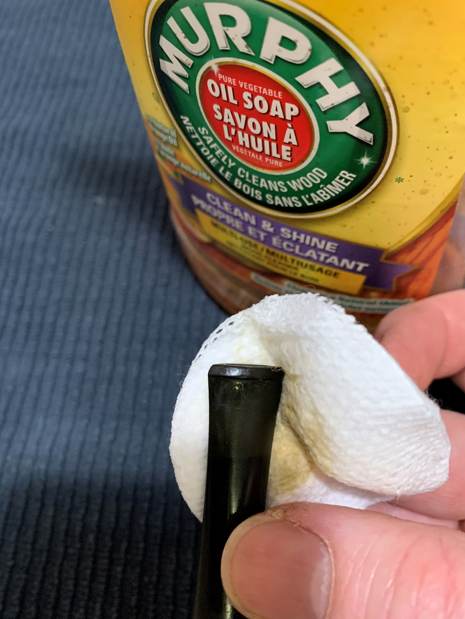
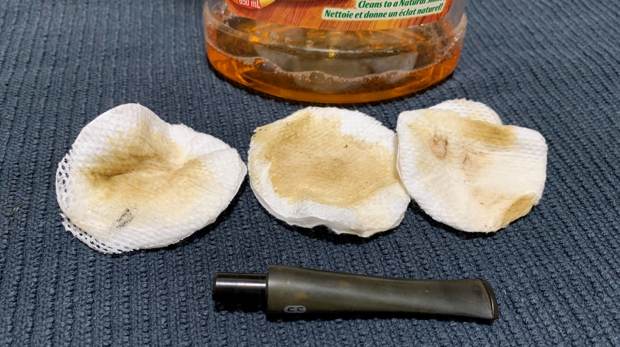
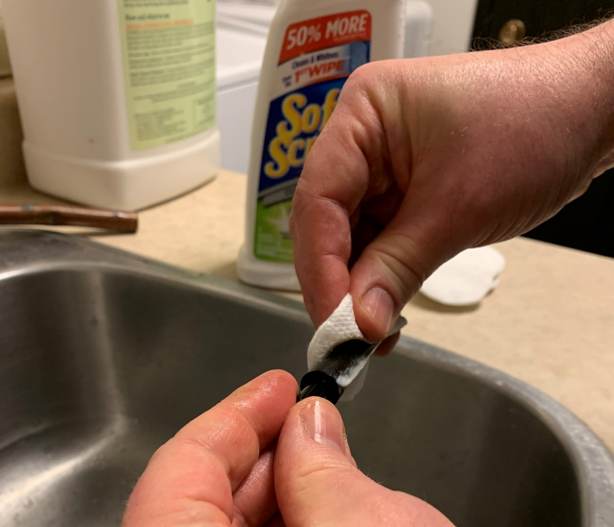
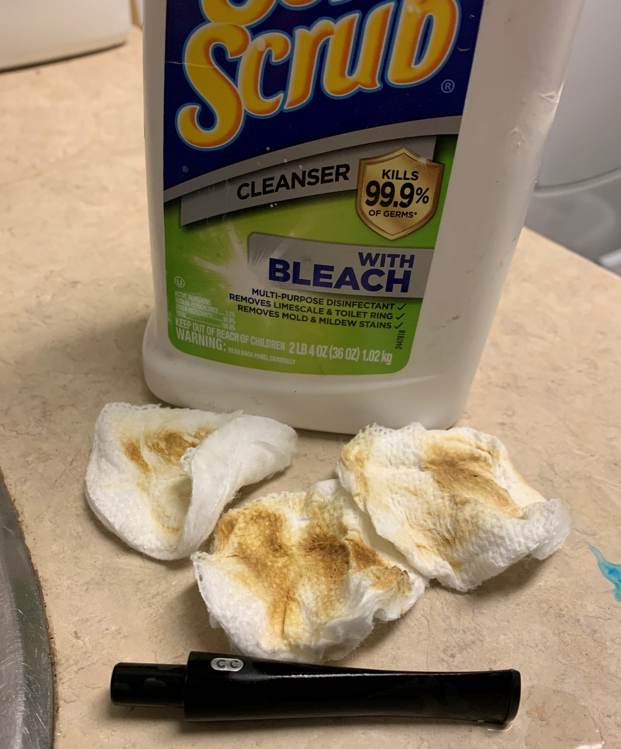
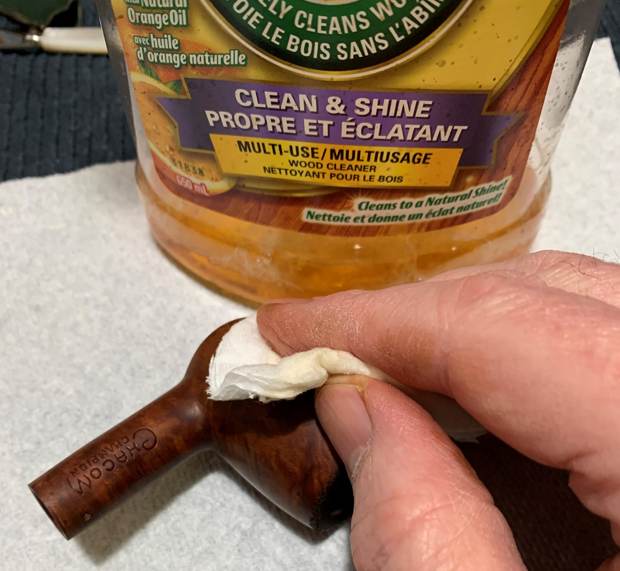
 I scrubbed the exterior of the bowl and rim top with a tooth brush and undiluted Murphy’s Oil Soap to remove the debris from the finish. I rinsed the bowl with warm water to remove the grime and soap and dried it off with a soft towel.
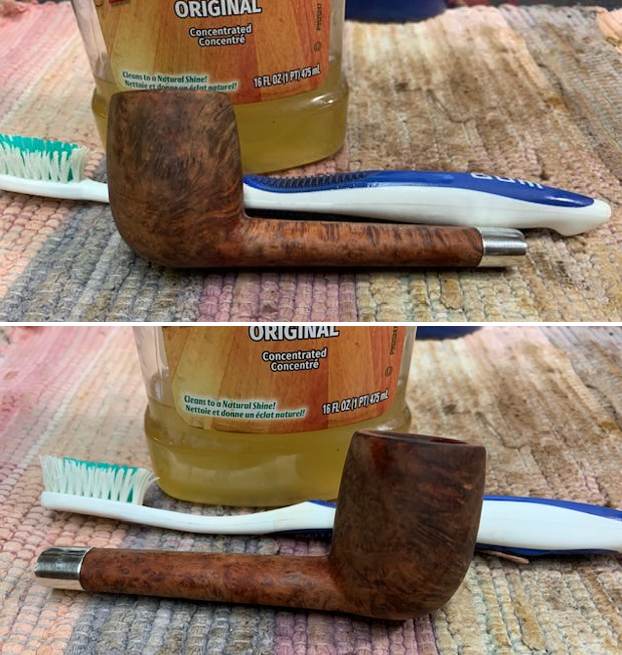
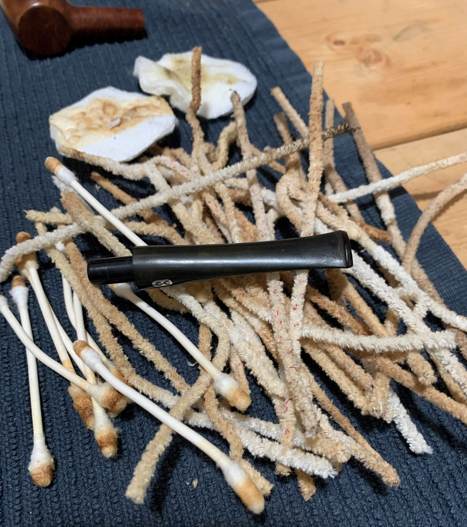
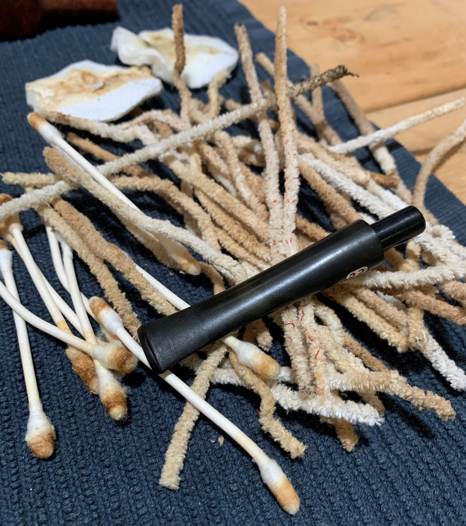
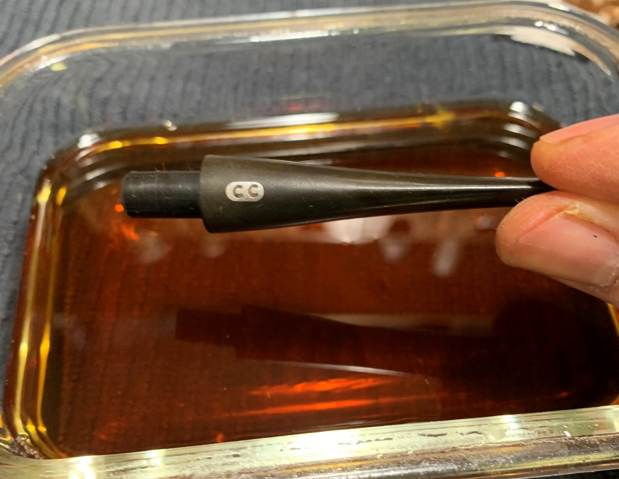
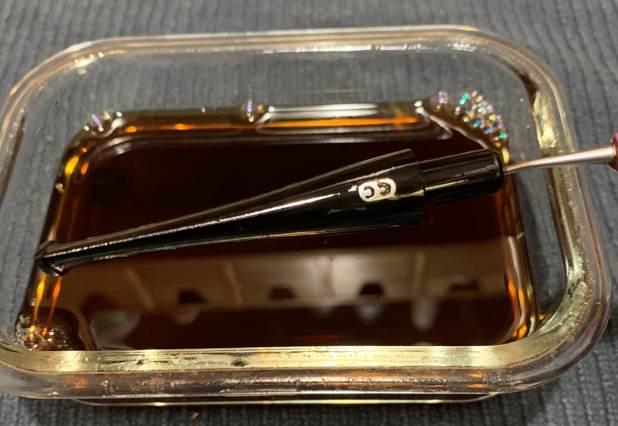
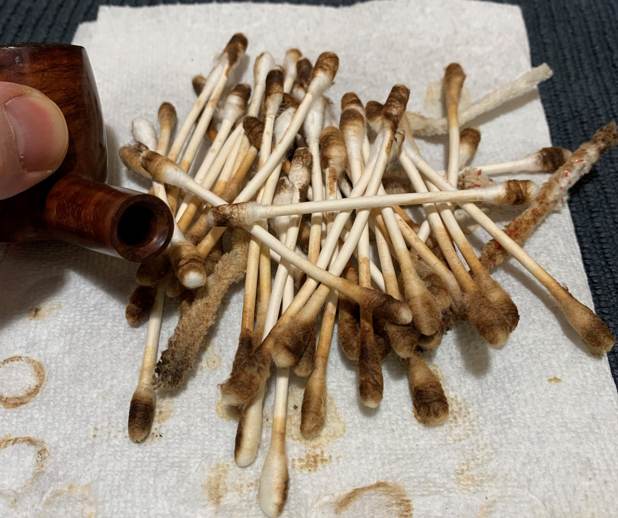
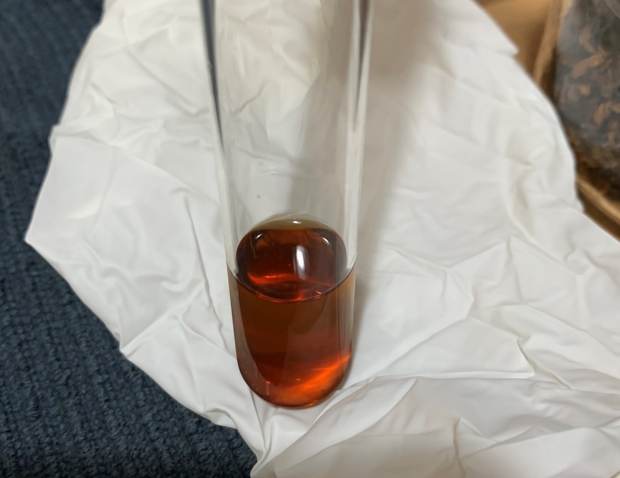
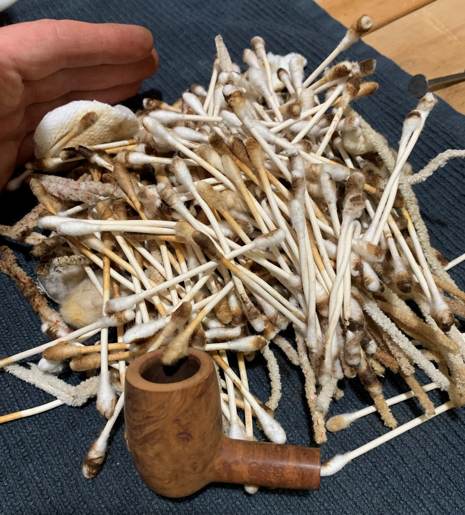
 I cleaned out the mortise and airway in the shank with pipe cleaners, cotton swabs and alcohol. It took quite a few of them to clean out the chamber. I cleaned the stem with pipe cleaners, cotton swabs and alcohol as well. Once finished the pipe smelled far better.
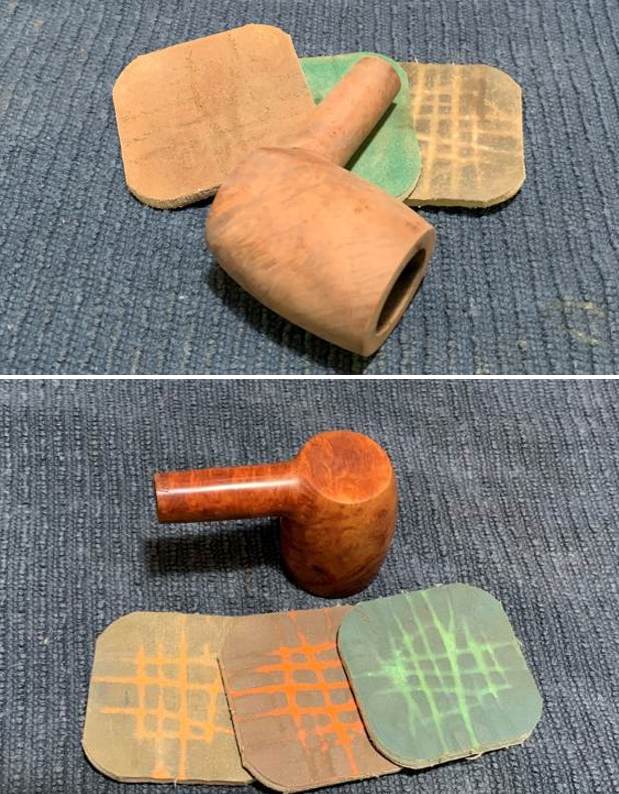
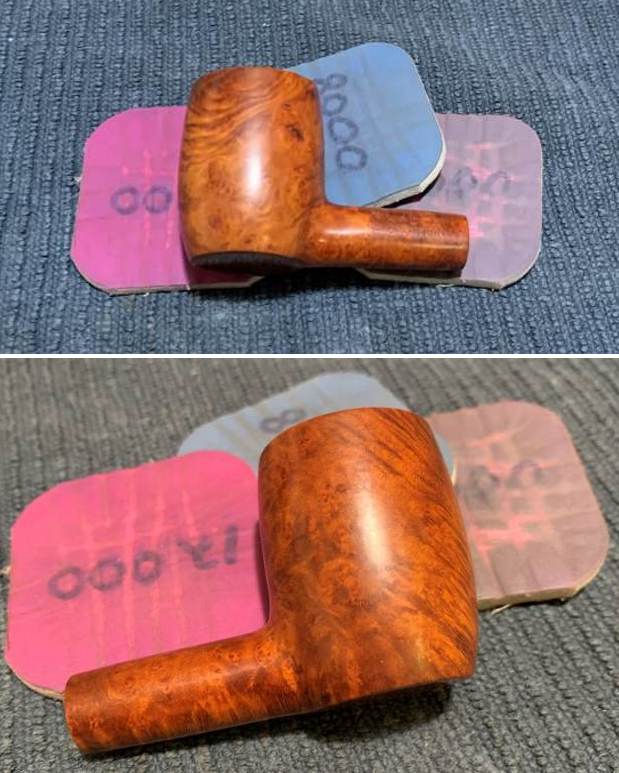
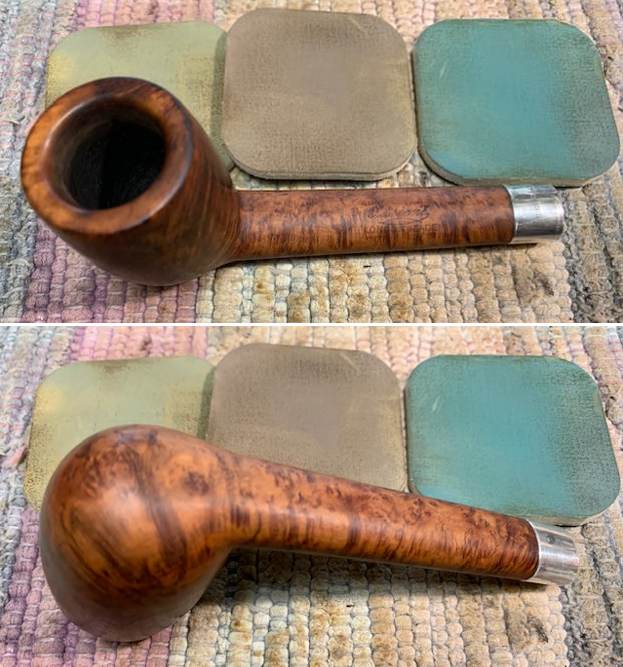
 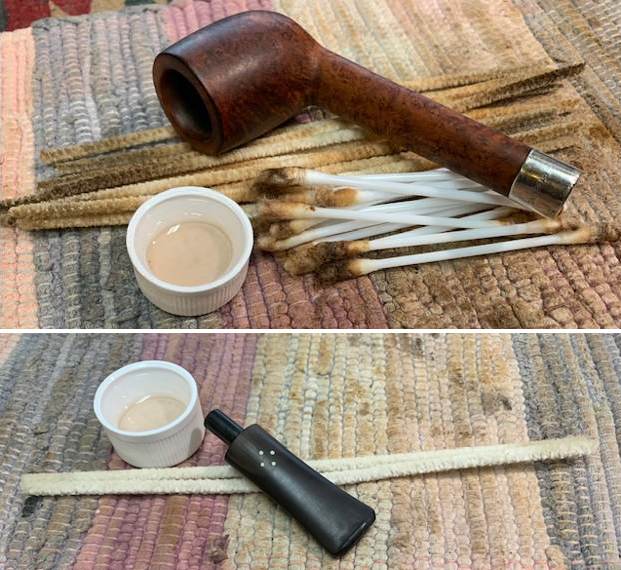 I polished the briar with micromesh sanding pads – dry sanding with 1500-12000 grit pads and wiping it down with a damp cloth after each pad.
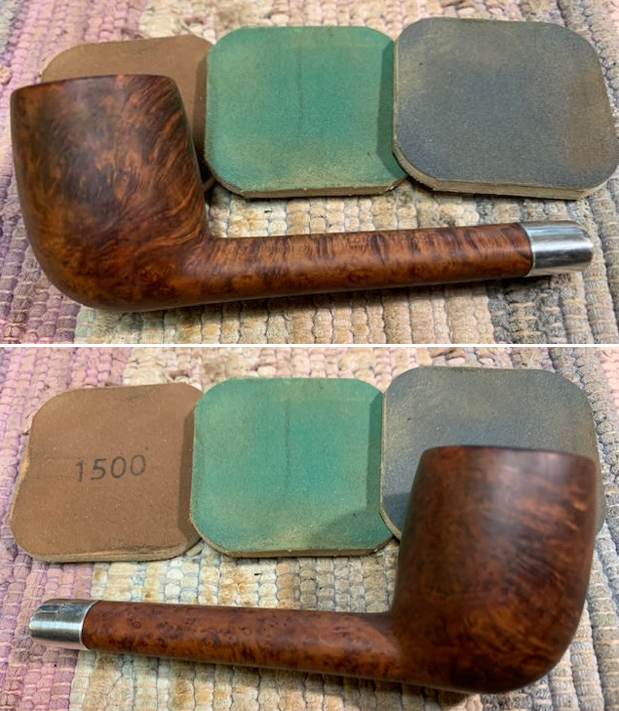
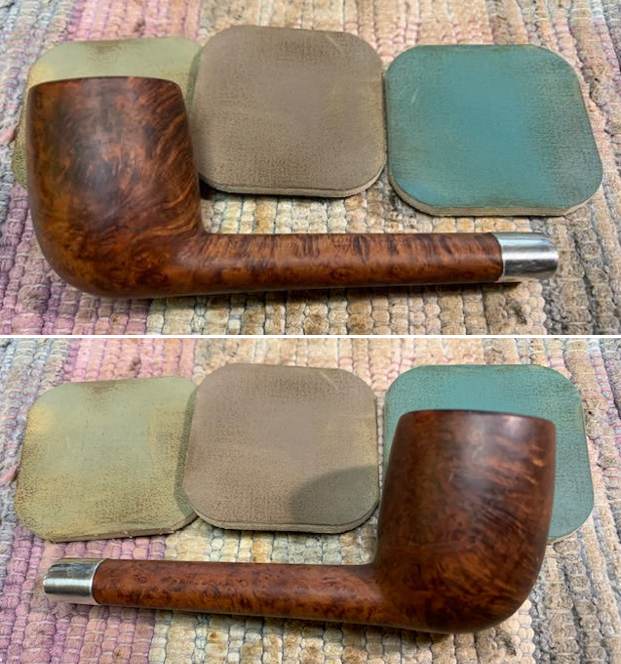
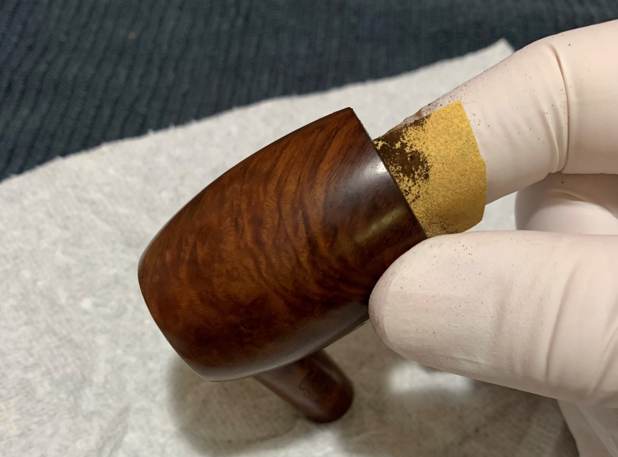
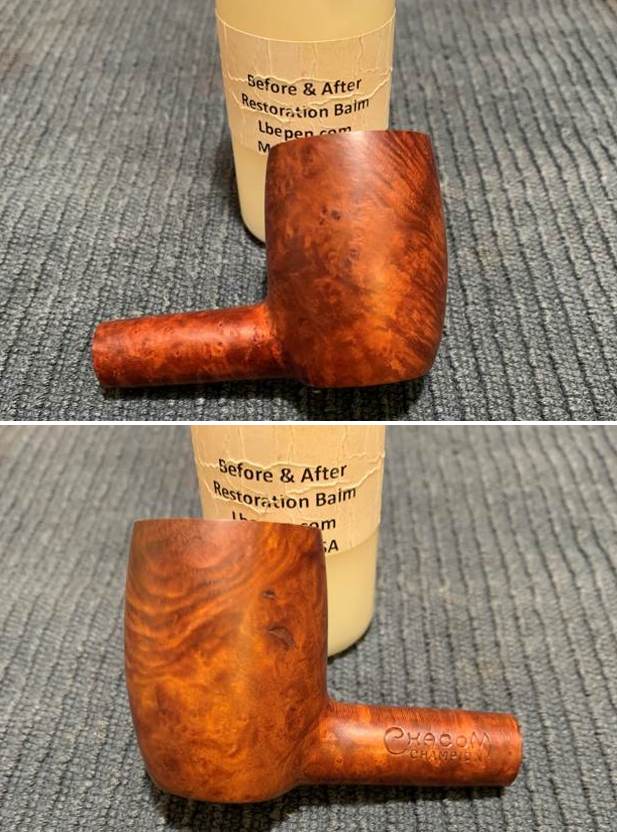
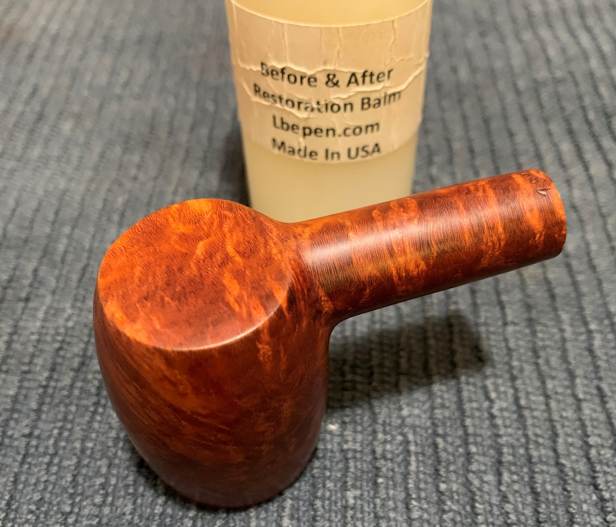
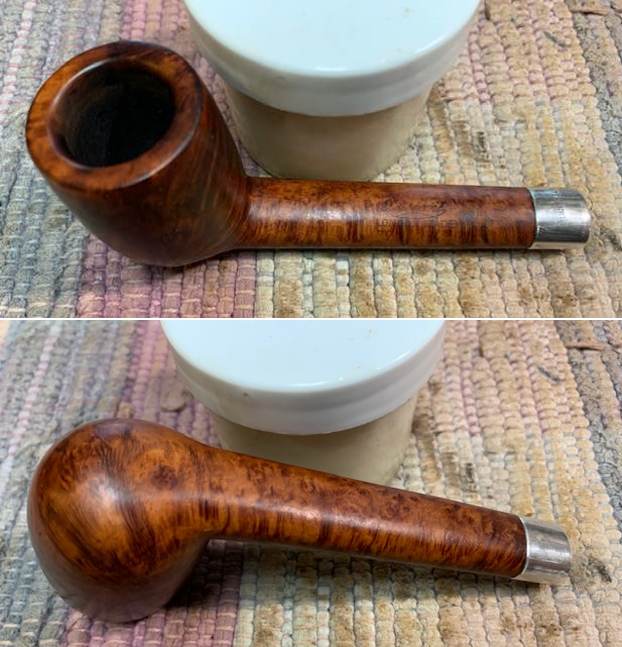
 I rubbed the bowl and shank down with Before & After Restoration Balm. I worked it into the surface of the bowl sides and shank with my fingertips to clean, enliven and protect the briar. I let the balm sit for a little while and then buffed with a cotton cloth to raise the shine. I really like what I was seeing!
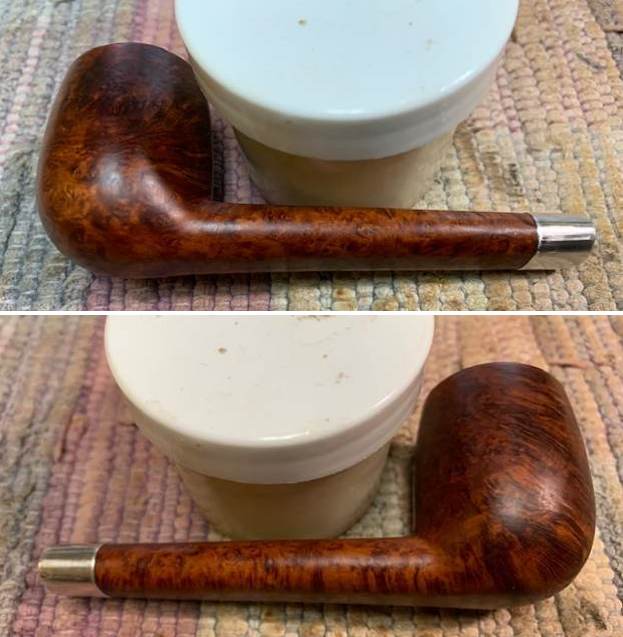
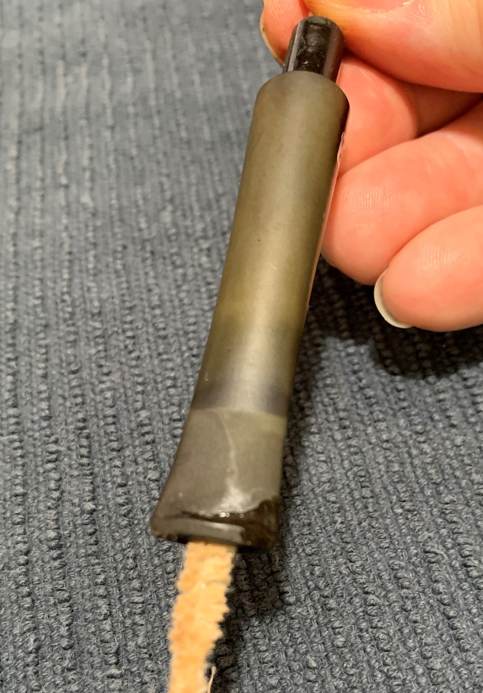
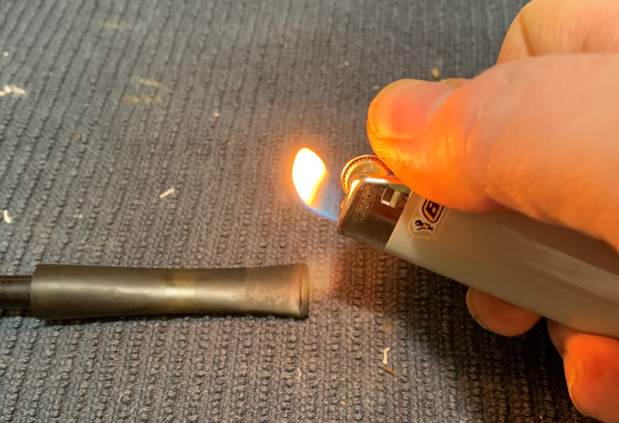
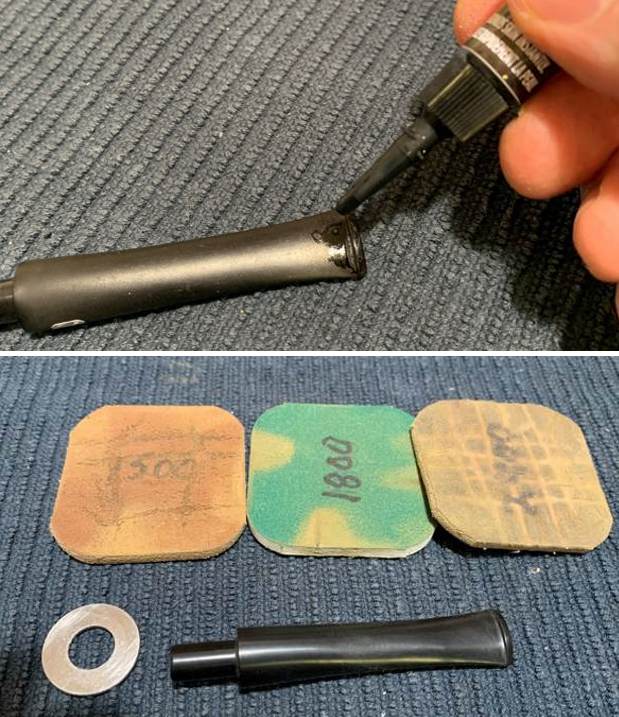
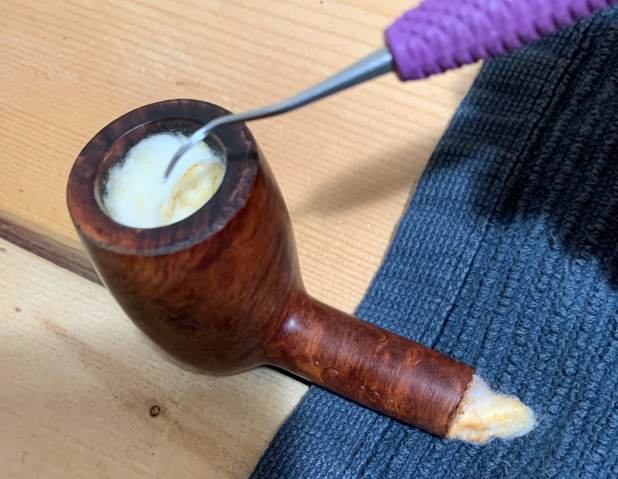
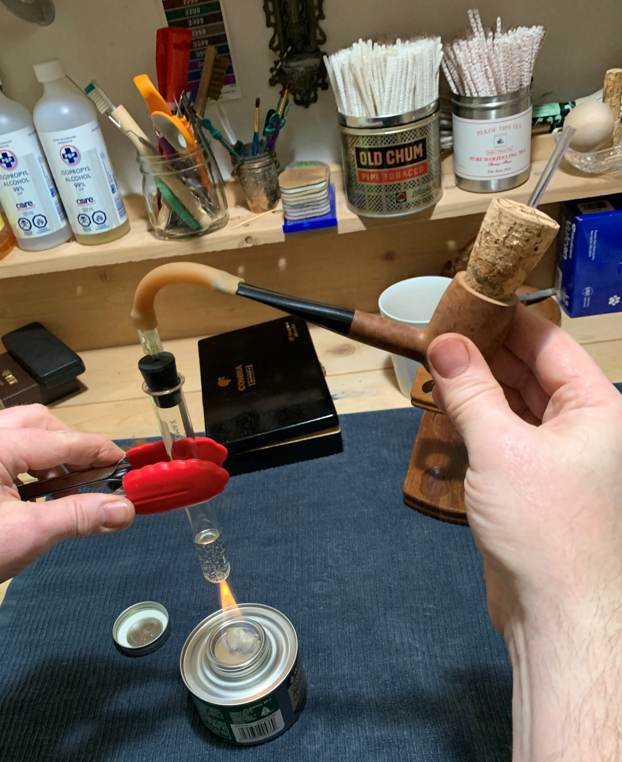
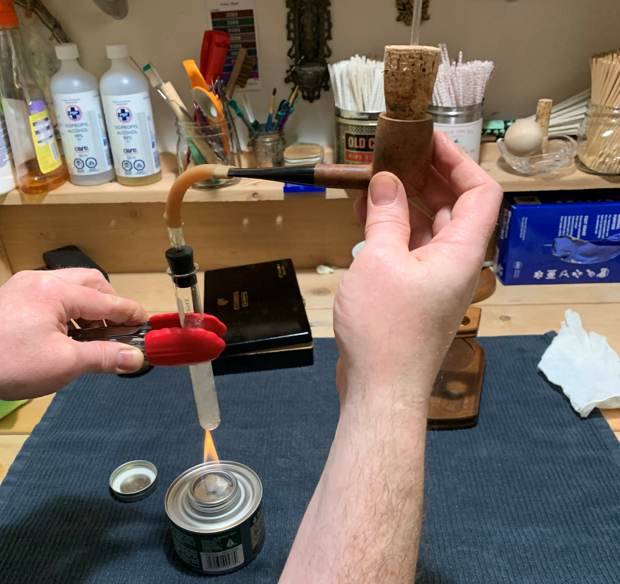
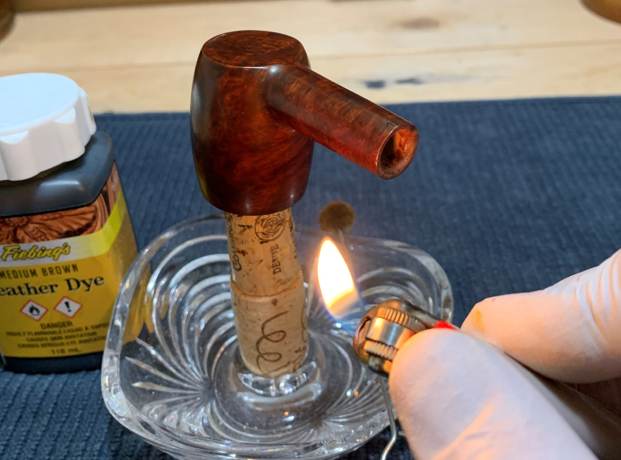
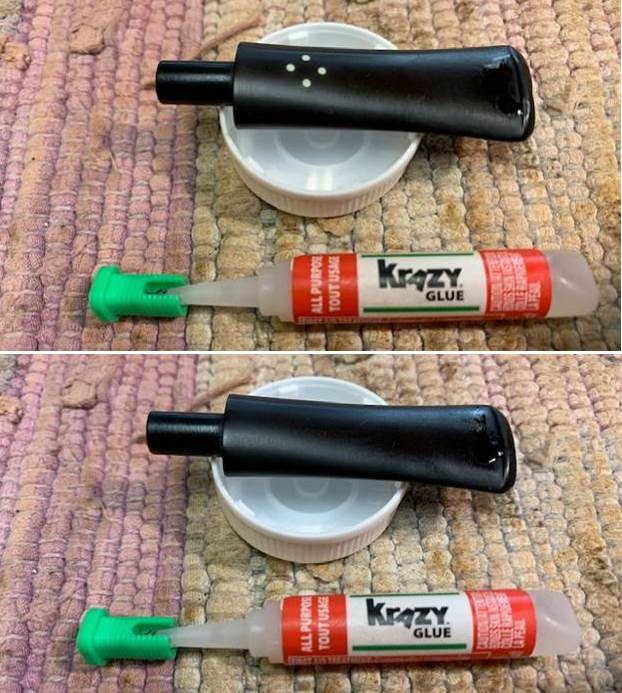
 I set the bowl aside to let the wall repairs cure overnight. I turned my attention to the stem. I “painted” the stem surface with the flame of a lighter to lift the tooth marks. It worked quite well but there were some left behind. I filled in the remaining marks with clear CA glue and set it aside to cure.
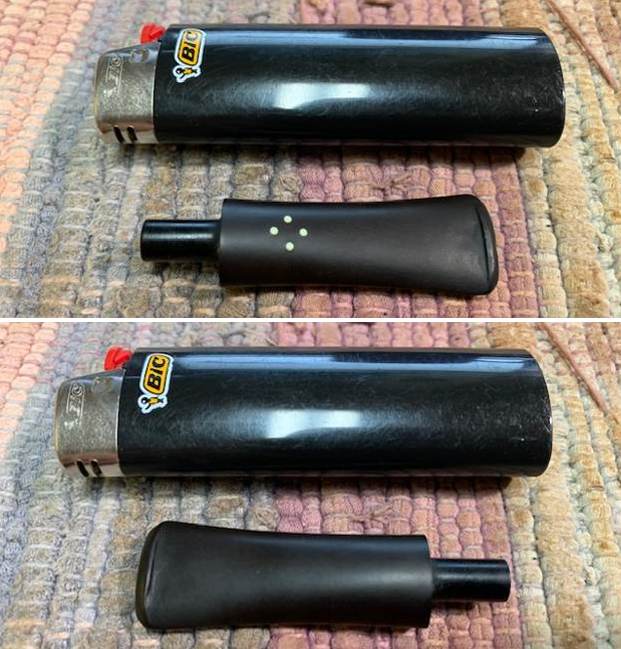
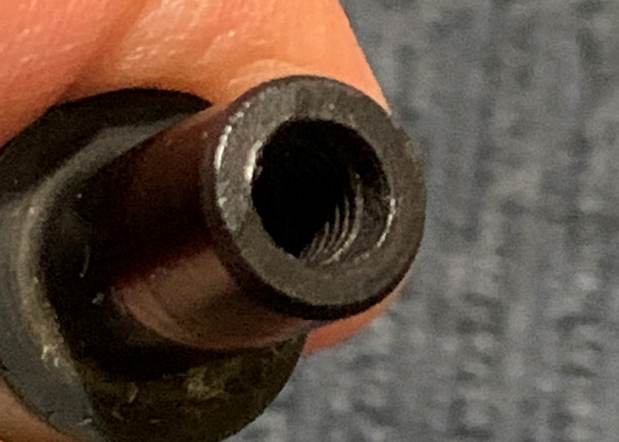
 I used a small flat file to flatten out the repairs and to recut the edge of the button. I sanded the repairs further with 220 grit sandpaper and started the polishing with 400 grit wet dry sandpaper.
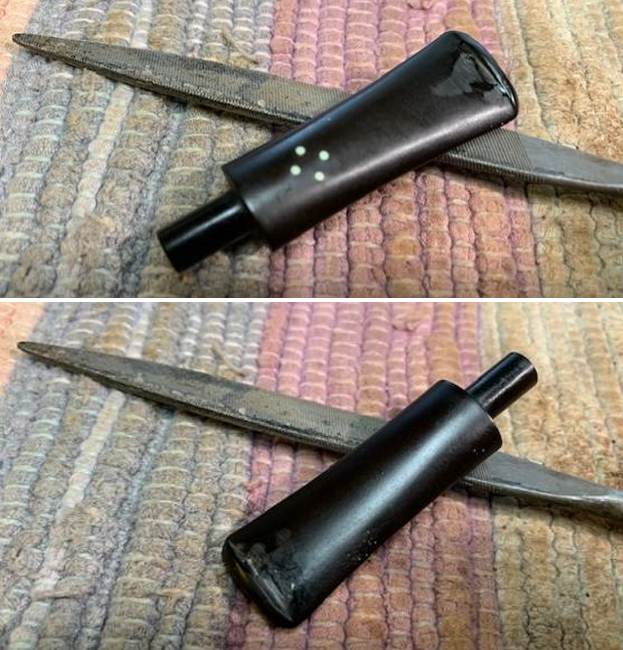
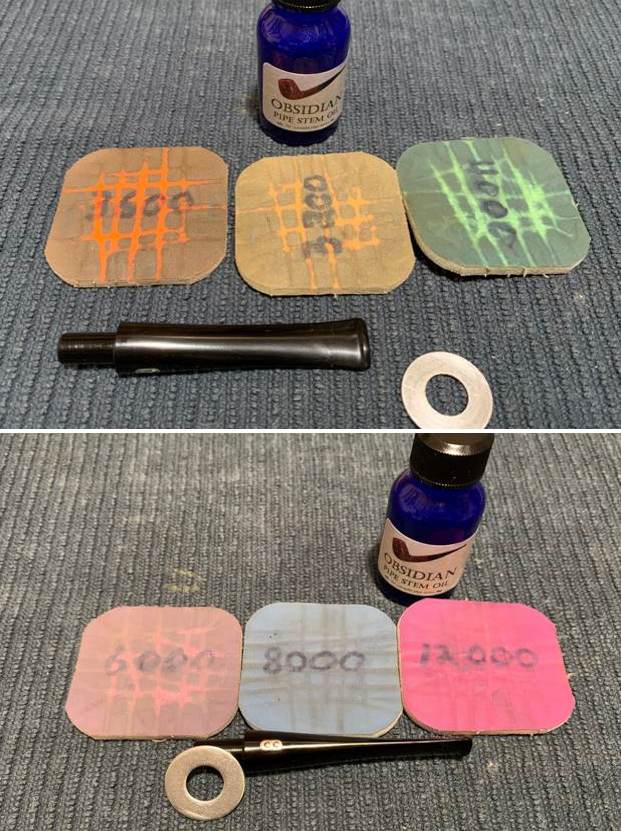
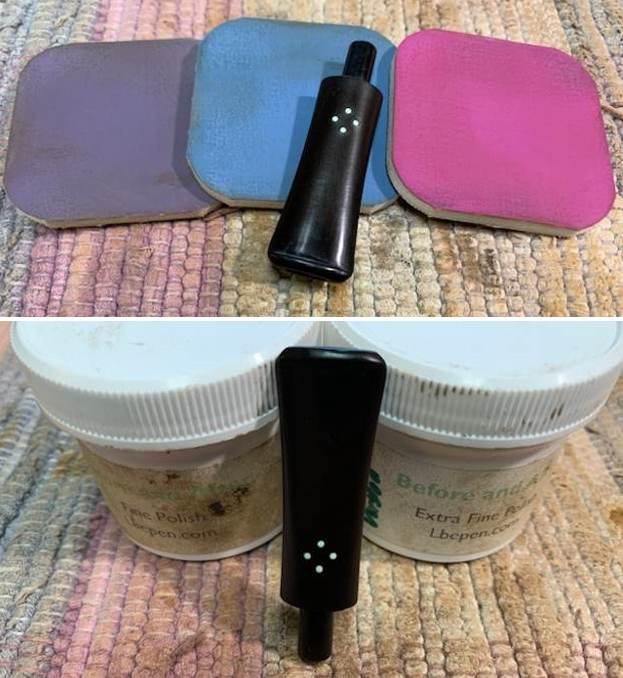
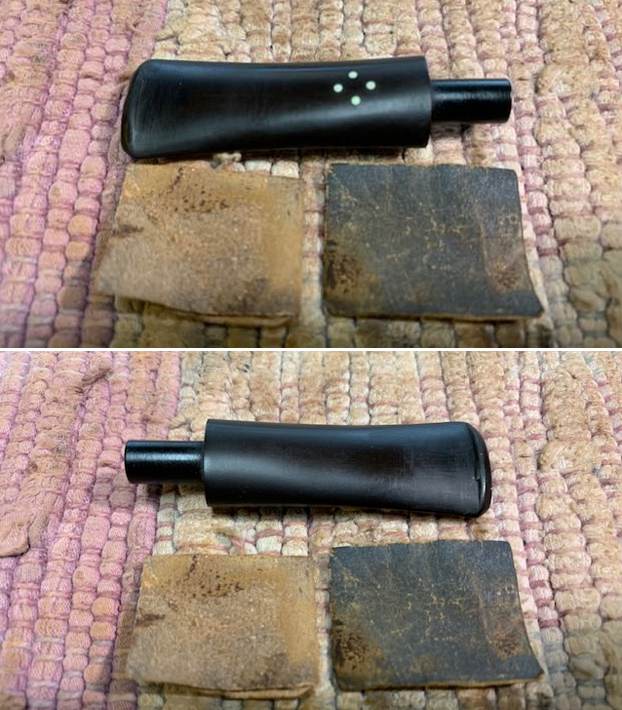 I polished the vulcanite stem with micromesh sanding pads – 1500-12000 grit pads. I wiped it down with an Obsidian Oil impregnated cloth after each sanding pad. I used Before & After Pipe Polish – both Fine and Extra Fine to further polish the stem. I gave it a final coat of Obsidian Oil.
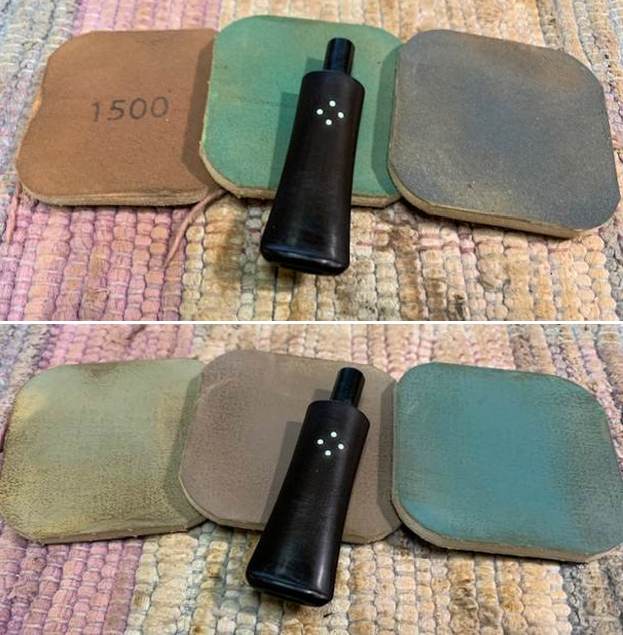
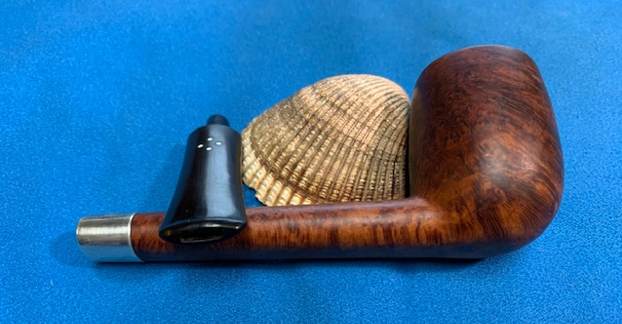
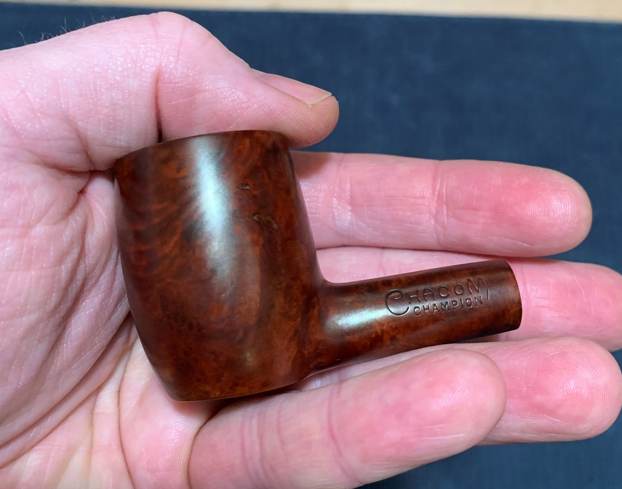
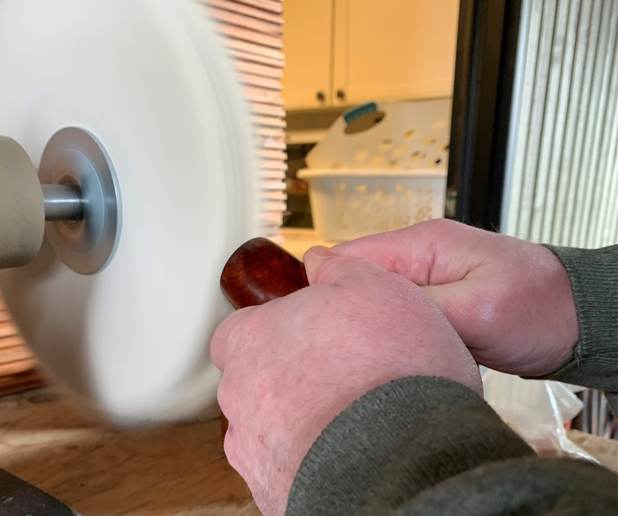
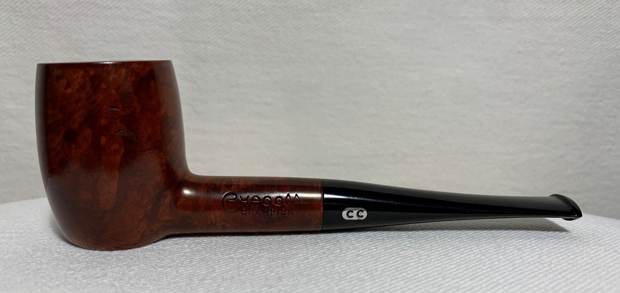
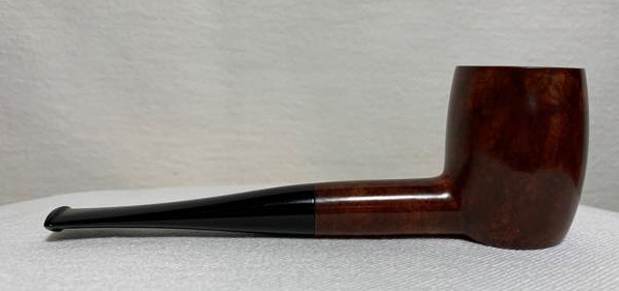
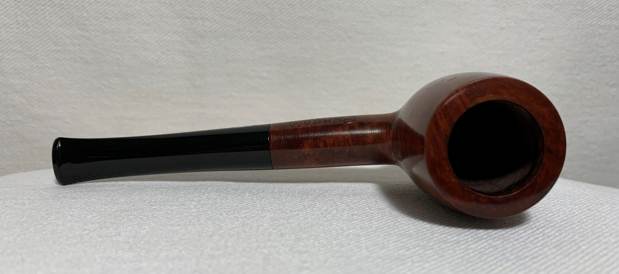
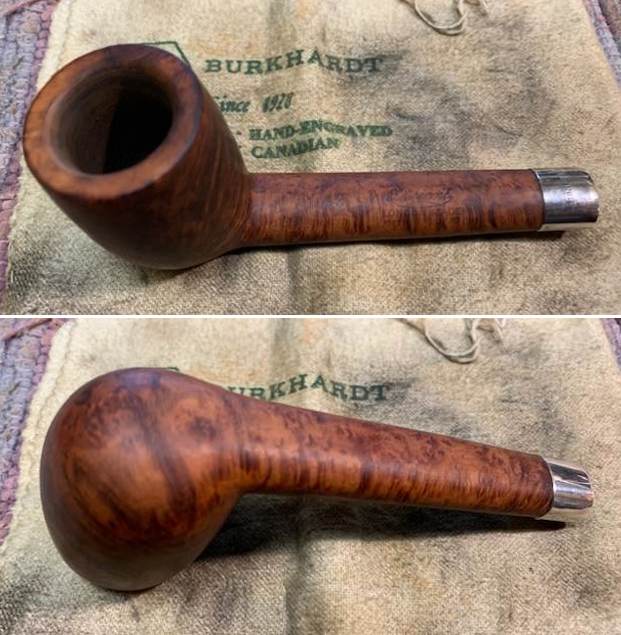
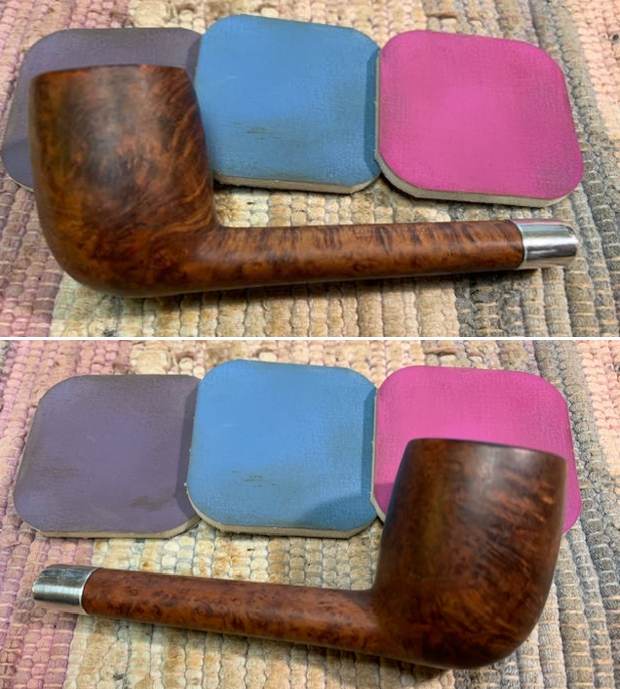
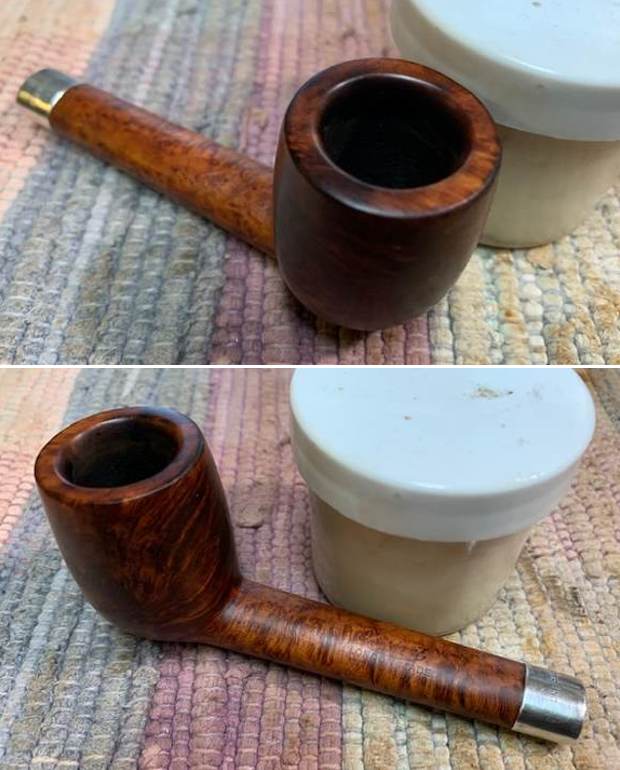
 This beautiful Sasieni London Made Pat. No. 150221-20 Canadian with a vulcanite taper stem is a great looking pipe now that it has been restored. The rich brown stain on the bowl allows the grain to really show. It came alive with the polishing and waxing. The silver band is a great transition between the briar and the vulcanite. I gave the bowl and the stem multiple coats of carnauba wax on the buffing wheel and followed that by buffing the entire pipe with a clean buffing pad. I hand buffed the pipe with a microfiber cloth to deepen the shine. The finished Sasieni London Made Canadian is a beauty and fits nicely in the hand and looks very good. Give the finished pipe a look in the photos below. The dimensions of the pipe are Length: 5 ¾ inches, Height: 1 ¾ inches, Outside diameter of the bowl: 1 ¼ inches, Chamber diameter: ¾ of an inch. The weight of the pipe is 32 grams/1.13 oz. I am still figuring out what to do with this one. It may stay here but if I decide to let it go watch for it on the store. Thanks for reading this blog and my reflections on the pipe while I worked on it. There are many more to come!