Blog by Steve Laug
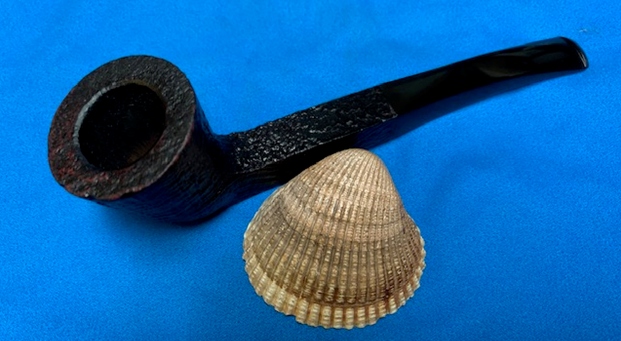
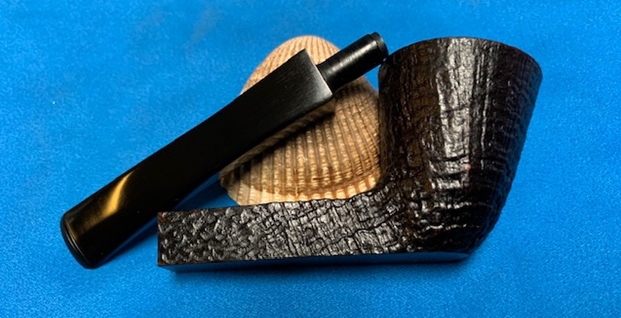
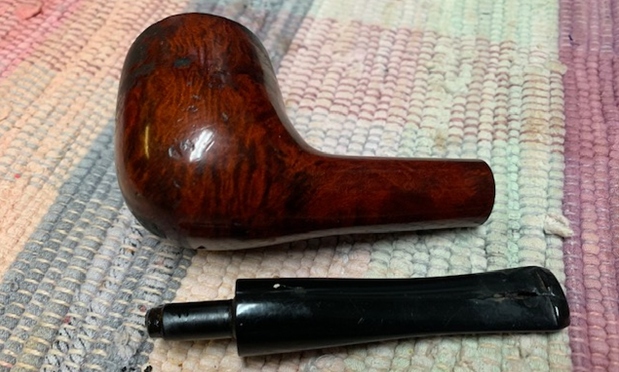
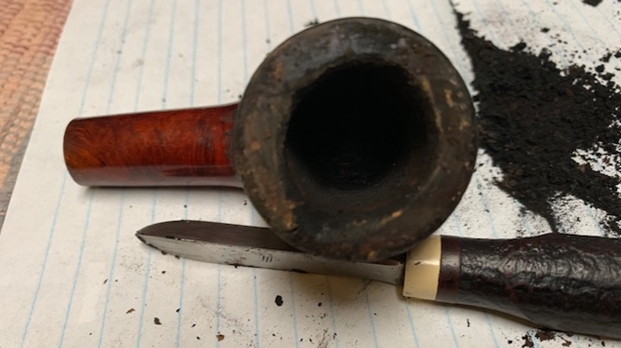
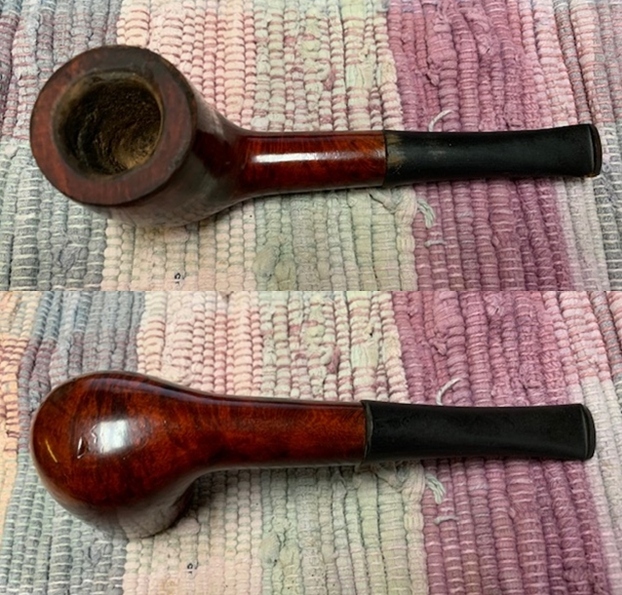
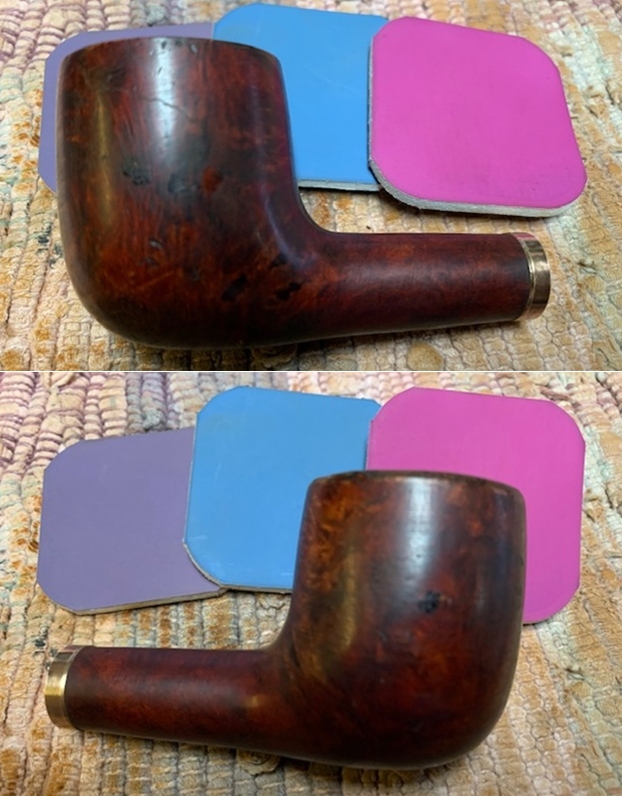
The next interesting looking large Billiard was picked up in 2018 from a fellow in Scottsdale, Arizona, USA. The long, square shank sandblasted Dublin looked very good. The finish was dirty but otherwise in good condition on the bowl and shank. The pipe is stamped on a smooth panel on the underside of the shank and reads BBB in a diamond [over] Own Make [over] Thorneycroft [over] London, England. To the right of this toward the stem it is stamped with the shape number 708. The Thorneycroft line seems to be associated with the sandblast finished pipes. There was a thick cake in the shank and thick overflow of lava on the rim top that obscured potential damage on either. The stem was the original, square tapered vulcanite without the usual brass BBB diamond of stamping. It was oxidized, calcified and had light tooth marks and chatter on both sides. The pipe had a lot of potential. Jeff took photos of the pipe before he started his cleanup work. 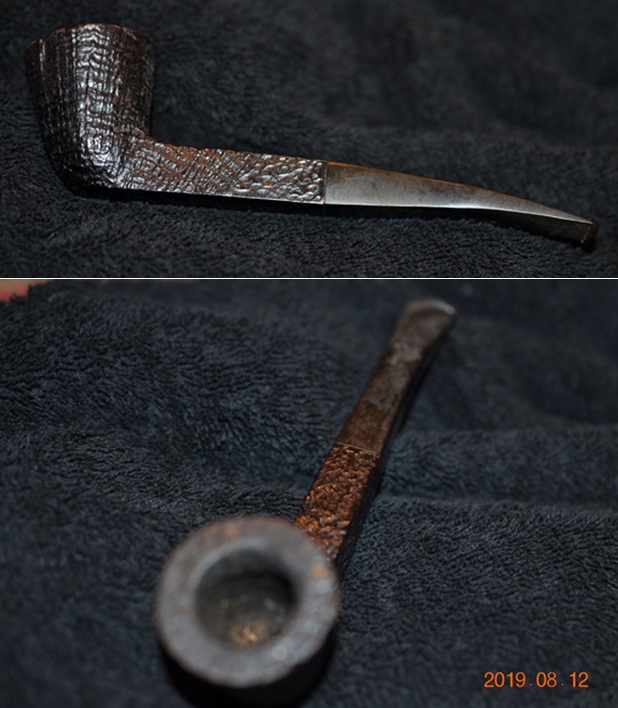 He took a photo of the rim top to show condition of the bowl. It is hard to tell what the inner edge of the bowl looks like under the lava coat. It is a very dirty pipe. He also captured the condition of the stem. It is oxidized, calcified and has light tooth marks and chatter on the top and underside of the stem near the button.
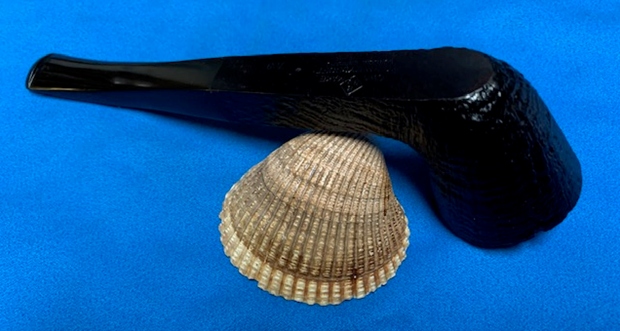
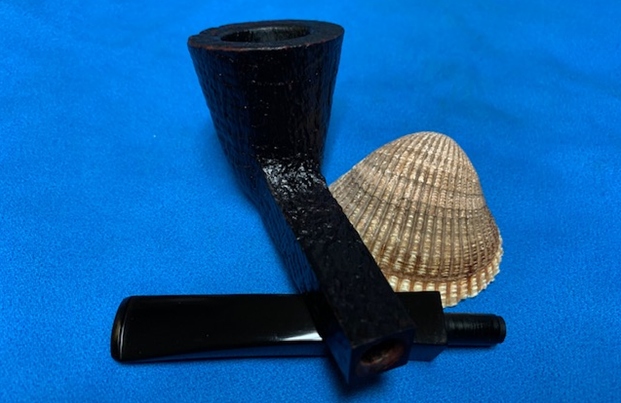
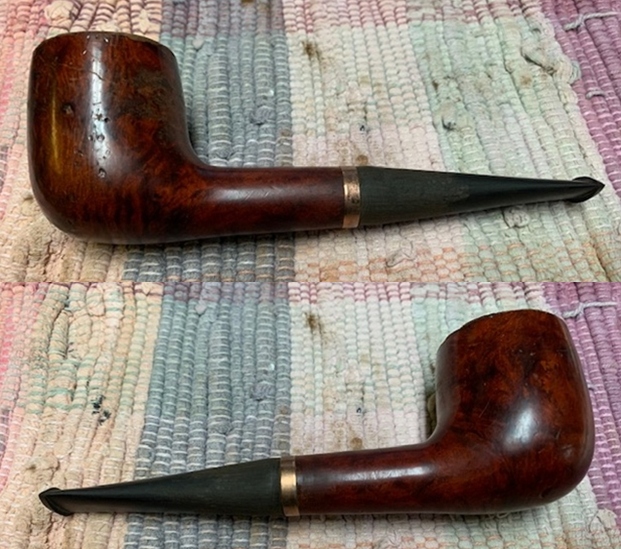
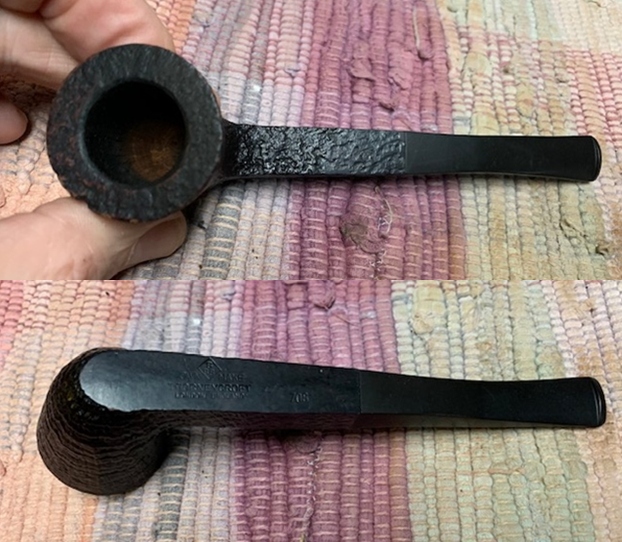
 He took a photo of the sides and heel of the bowl to show the sandblast finish around the bowl and the condition of the pipe.
  The pipe is stamped BBB in a diamond [over] Own Make [over] Thorneycroft [over] London, England that is followed on the right by the shape number 708.
  I looked on Pipephil’s site for information on the Thorneycroft line and found the following listing. I did a screen capture of the section on the line (http://www.pipephil.eu/logos/en/logo-bbb.html) and have included it below.
 I looked on Pipedia and found several references to the BBB Own Make Thorneycroft pipe but nothing specific (https://pipedia.org/wiki/BBB).
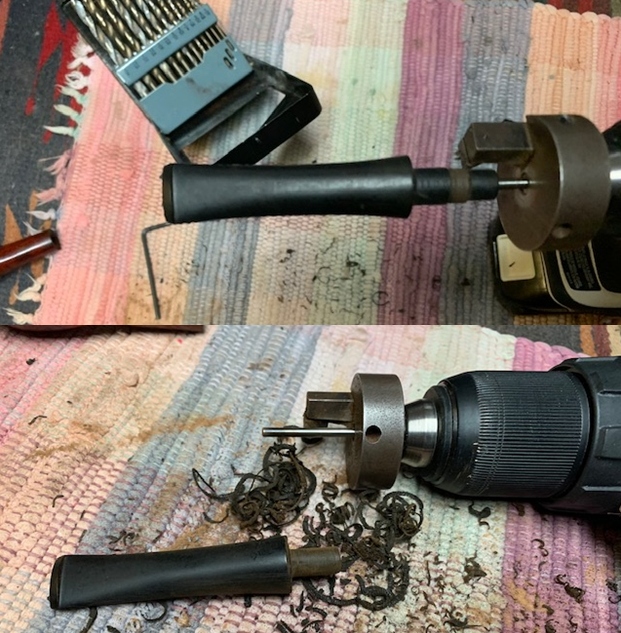
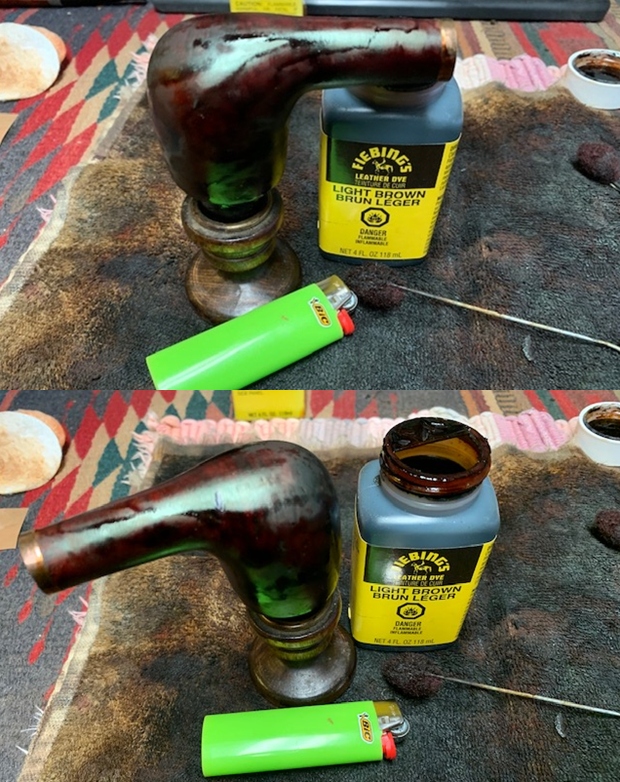
It was time to work on the pipe. As usual Jeff had done a thorough cleanup on the pipe. He reamed the bowl with a PipNet pipe reamer and followed up with a Savinelli Fitsall pipe knife to remove the cake. He scrubbed out the mortise and the airway in the shank and the stem with alcohol, cotton swabs and pipe cleaners. He scrubbed the exterior of the bowl, rim, shank and stem with a tooth brush and Murphy’s Oil Soap to remove the oils and tars on the rim and the grime on the finish of the bowl. He rinsed it under running water. One of the benefits of this scrub is that it also tends to lift some of the scratches and nicks in the surface of the briar. He dried it off with a soft cloth. He cleaned the internals and externals of the stem with alcohol, pipe cleaners and cotton swabs. He soaked the stem in Before & After Deoxidizer and rinsed it off with warm water and cleaned out the airway in the stem with alcohol. 
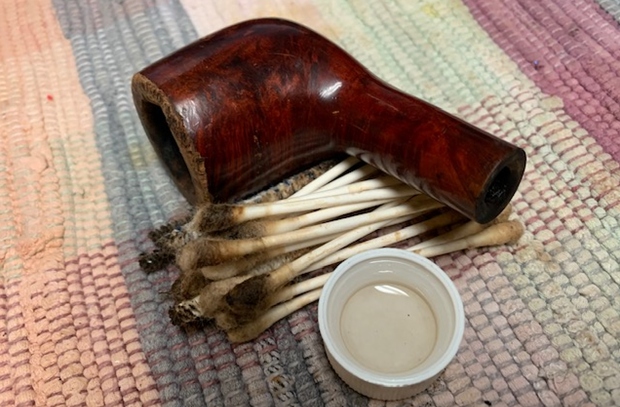
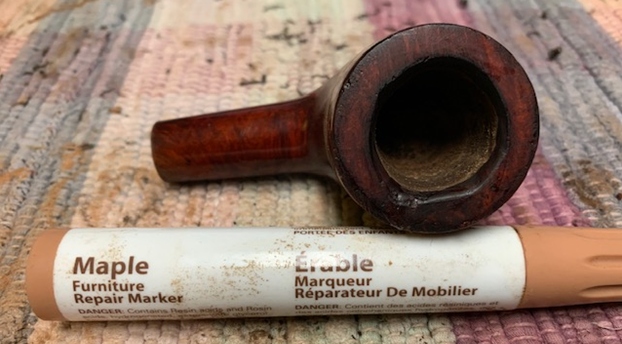
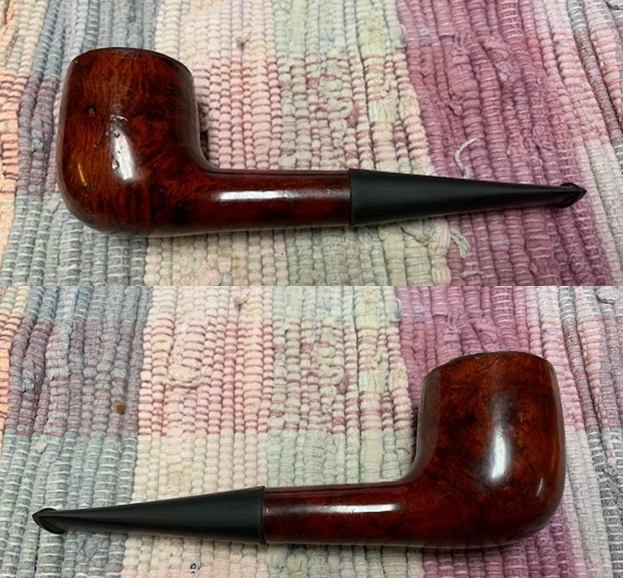
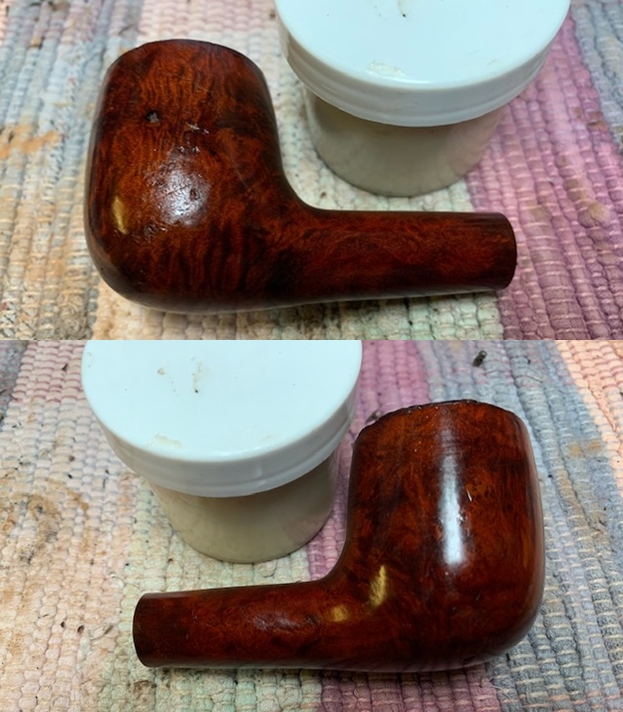
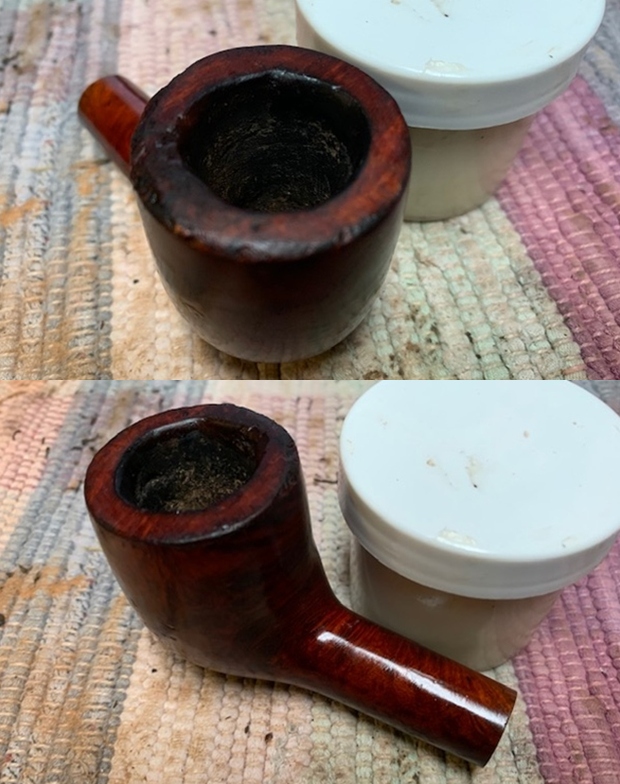
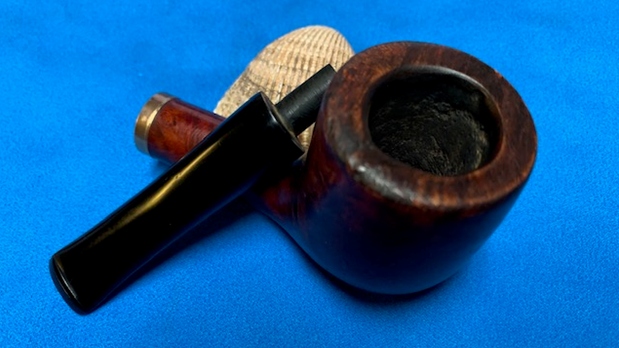
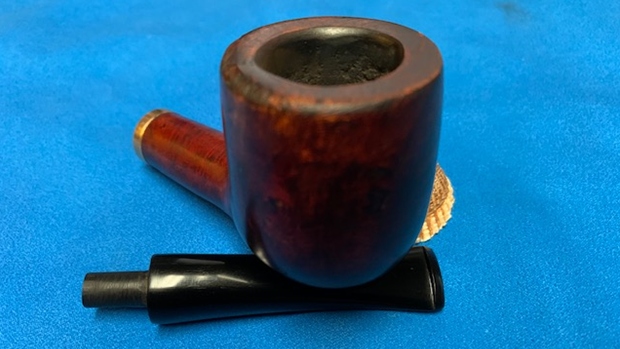
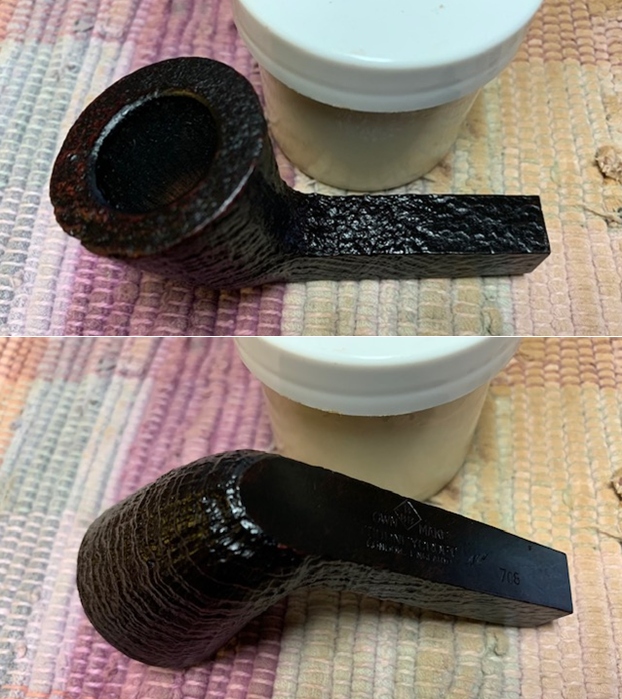
 I took photos of the rim top and bowl to give a clear picture of the rim top and bowl. The bowl has raw briar for the lower third of the bowl. The rim top is clean and the blast looks very good. I took photos of the top and underside of the stem to show cut marks on the top and underside of the stem.
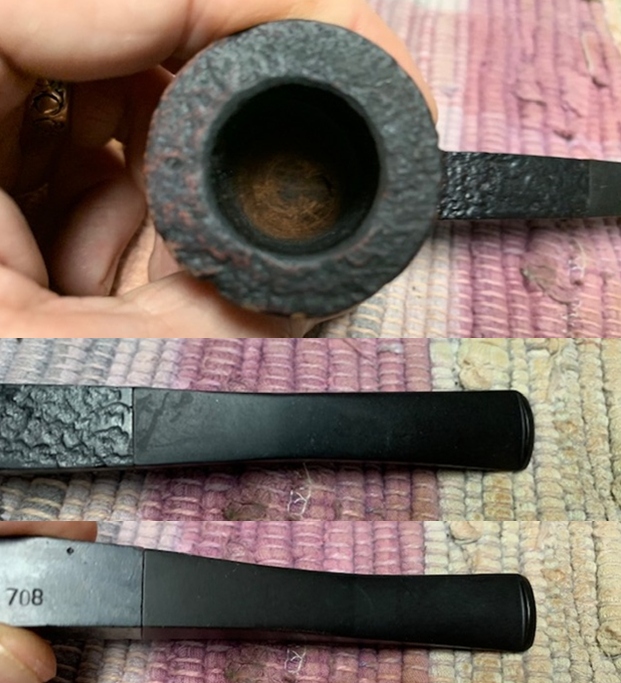 The stamping on the underside of the shank was readable. It read as noted above.
 I removed the stem from the shank and took a photo of the pipe.
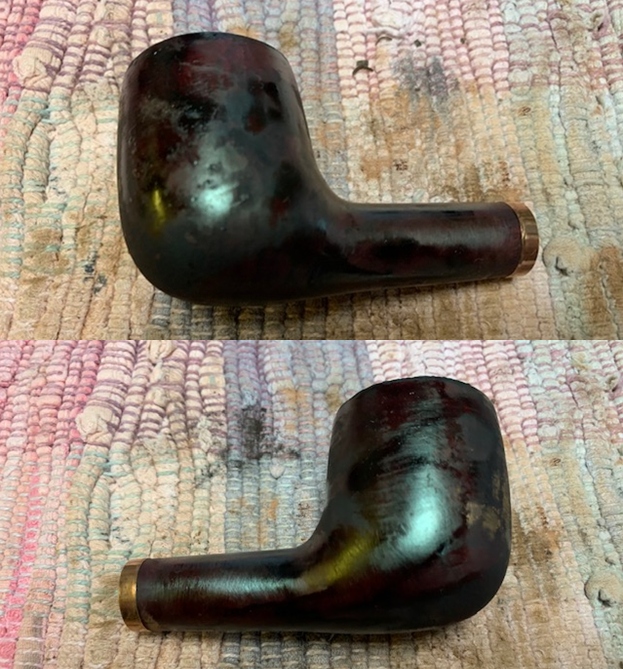
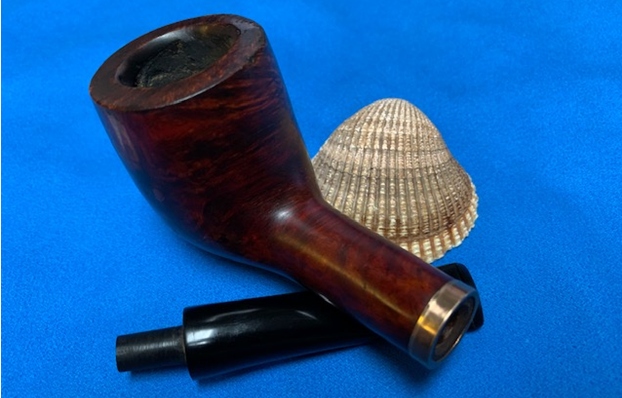
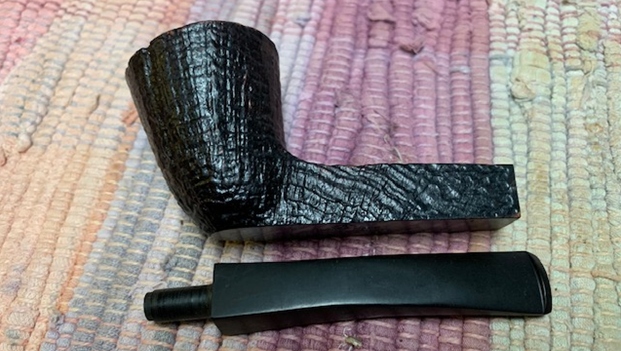 I rubbed the bowl and shank down with Before & After Restoration Balm. I worked it into the surface of the bowl sides and shank with my fingertips and a horsehair shoe brush to clean, enliven and protect the briar. I let the balm sit for ten minutes and then buffed it with a cotton cloth to raise the shine. The grain came alive and the finish looked rich.
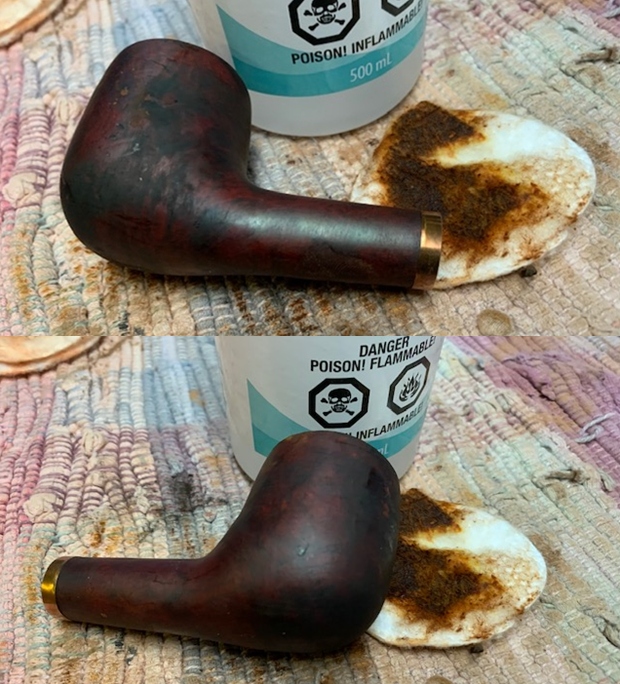
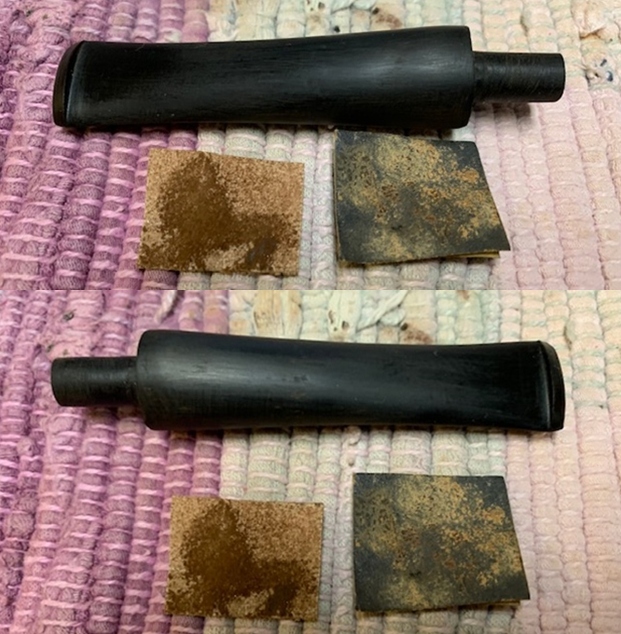
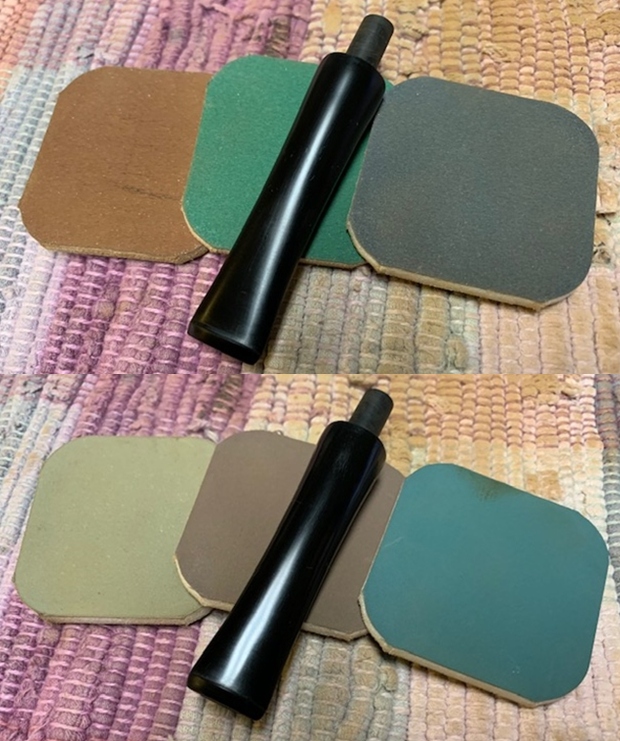
 I set the bowl aside and turned my attention to the stem. I polished the vulcanite stem with micromesh sanding pads – 1500-12000 grit pads. I wiped it down with Obsidian Oil after each sanding pad. I used Before & After Pipe Polish – both Fine and Extra Fine to further the stem. The photos below show the polished stem.
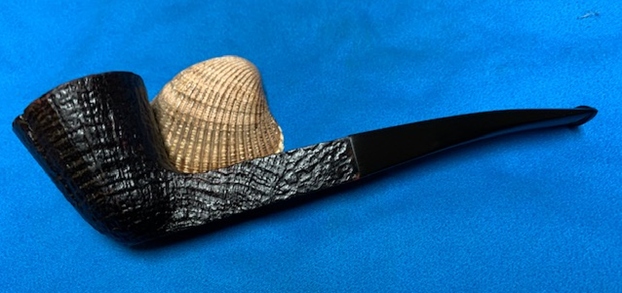
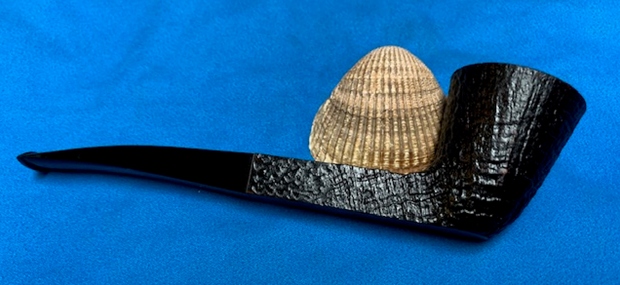
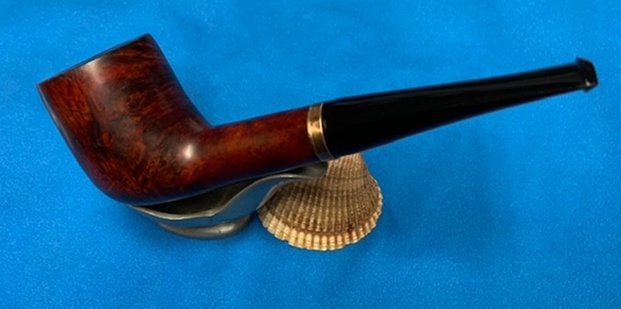
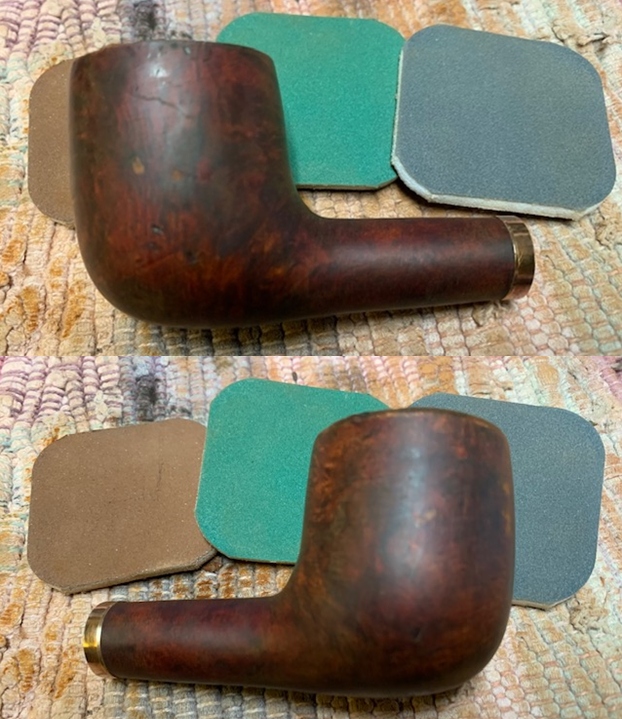
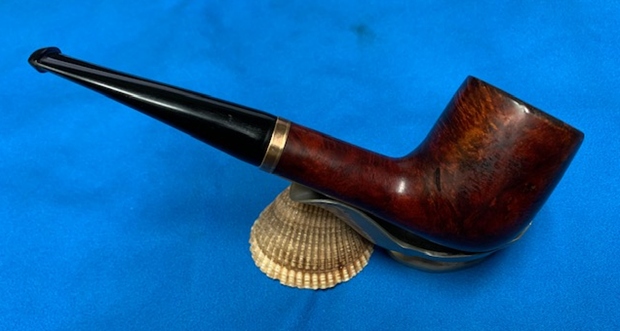
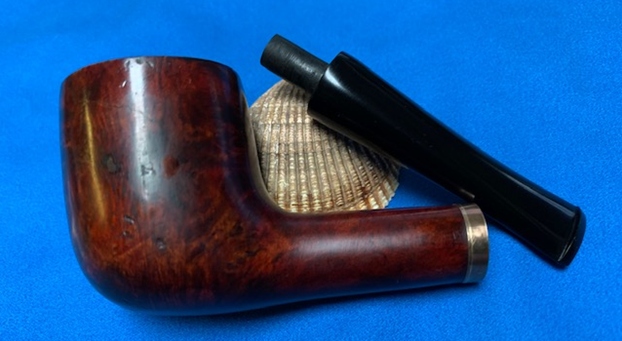
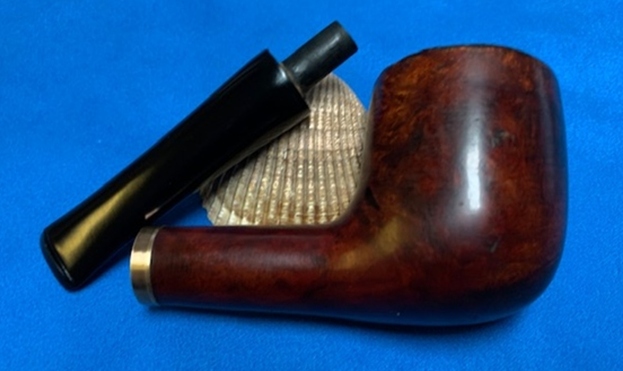
 I am pretty happy with the restoration of this BBB Own Make Thorneycroft Sandblast Canted Dublin. There is a sandblast finish to the bowl that is rugged and rich looking. The stem is clean and smooth with no damage. I put the stem back on the bowl and carefully buffed the pipe with Blue Diamond on the buffing wheel using a light touch on the briar. I gave the bowl multiple coats of Conservator’s Wax and the stem multiple coats of carnauba wax on the buffing wheel and followed that by buffing the entire pipe with a clean buffing pad. I hand buffed the pipe with a microfiber cloth to deepen the shine. The finished BBB Own Make Thorneycroft fits nicely in the hand and feels great. Give the finished pipe a look in the photos below. The dimensions of the pipe are Length: 6 inches, Height: 1 ¾ inches, Outside diameter of the bowl: 1 ½ inches, Chamber diameter: ¾ of an inch. The weight of the pipe was 29g/1.06oz. I will be putting it on the rebornpipes store shortly. Thanks for reading this blog and my reflections on the pipe while I worked on it. There are many more to come!