Blog by Steve Laug
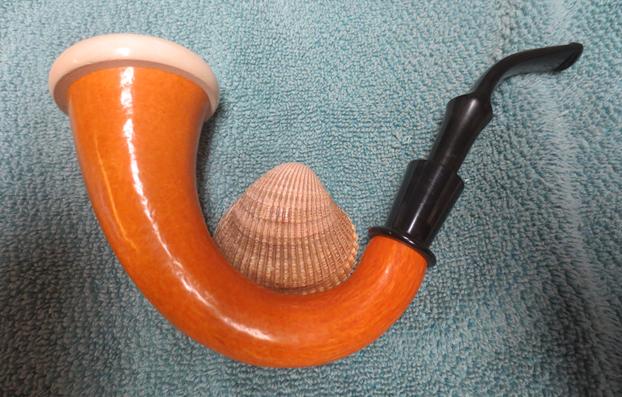
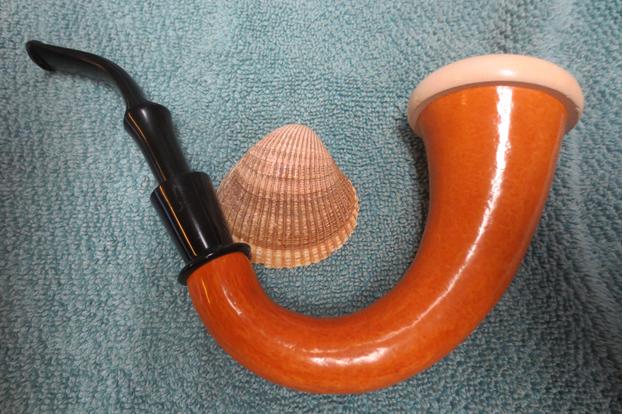
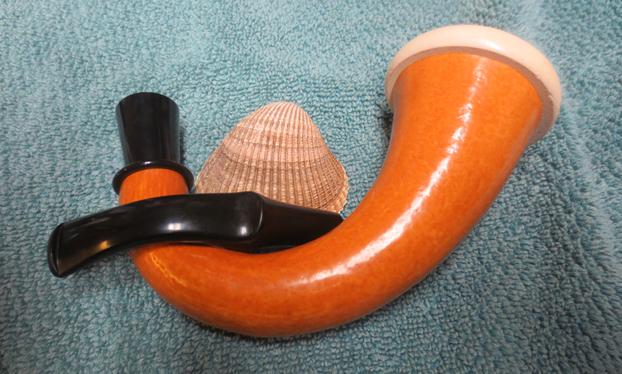
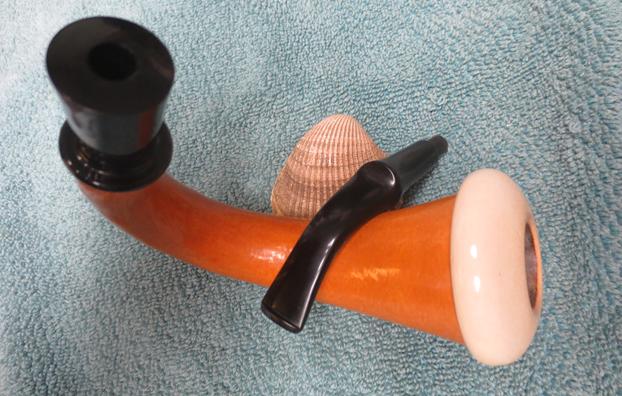
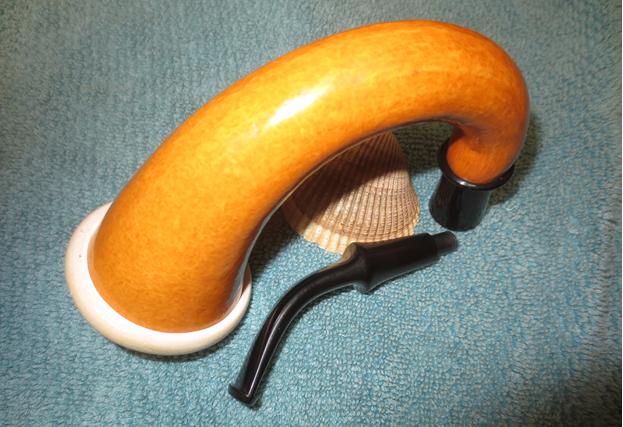
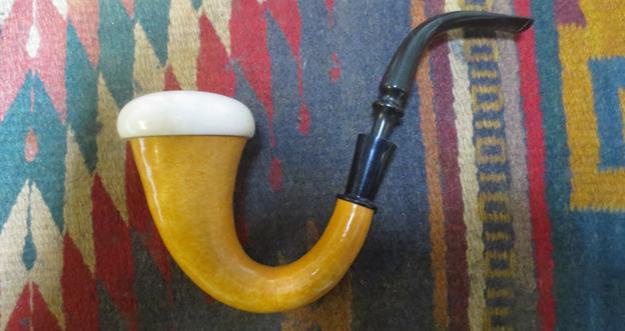
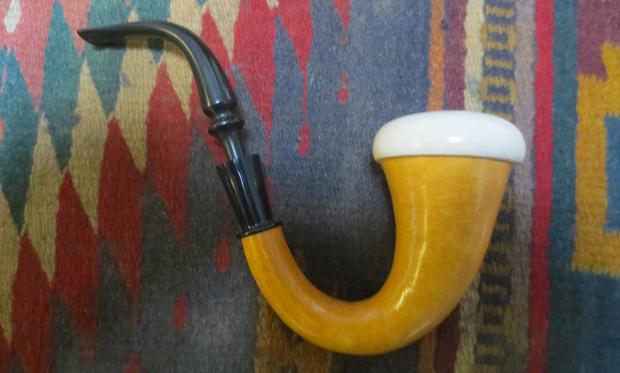
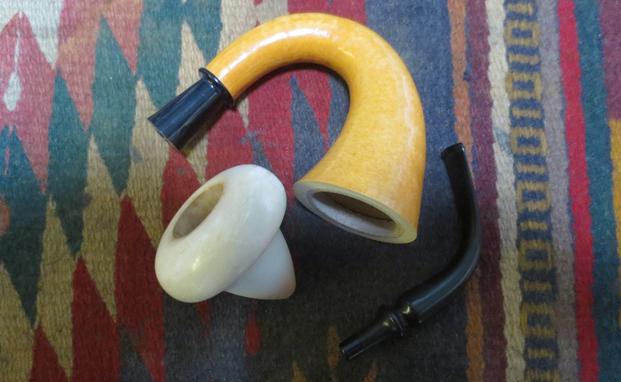
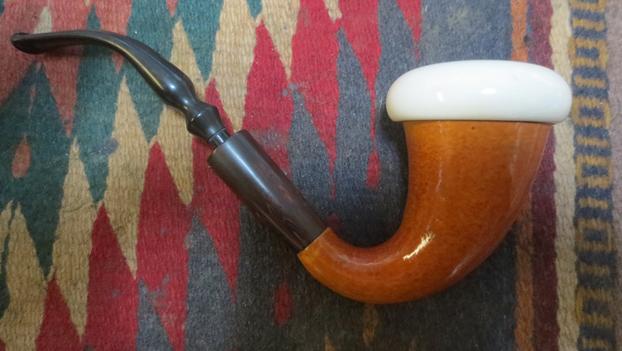
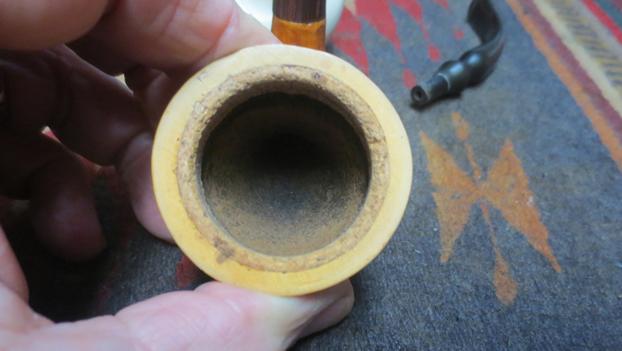
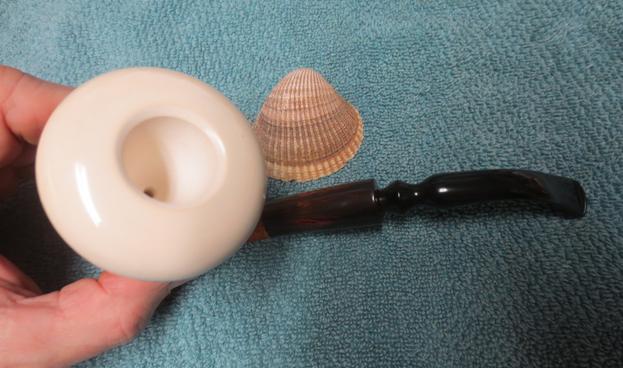
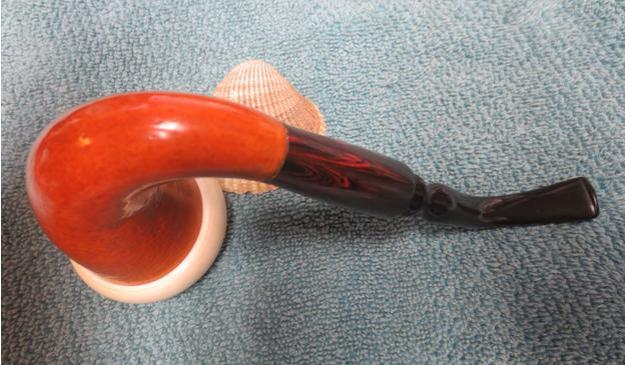
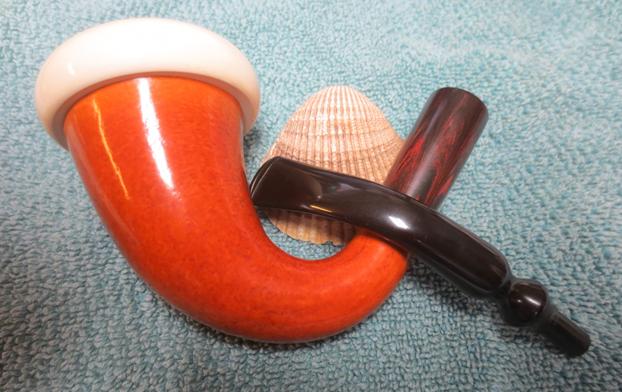
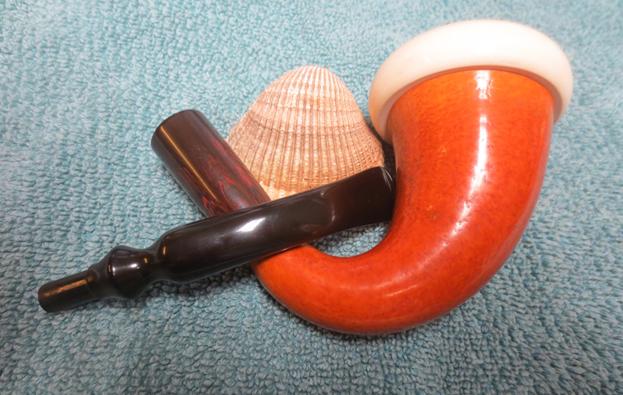
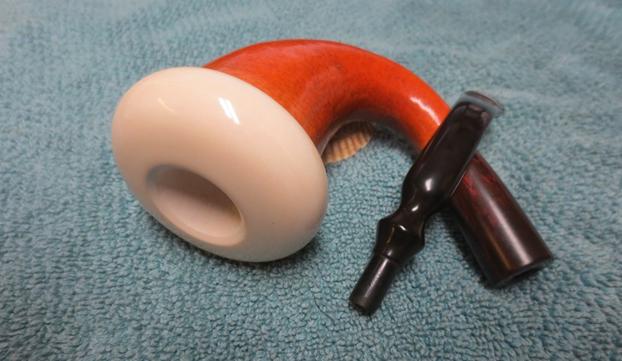
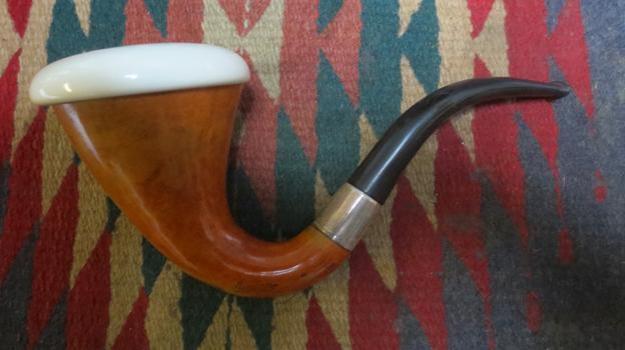
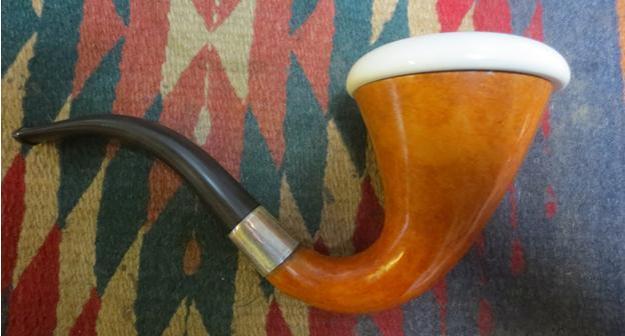
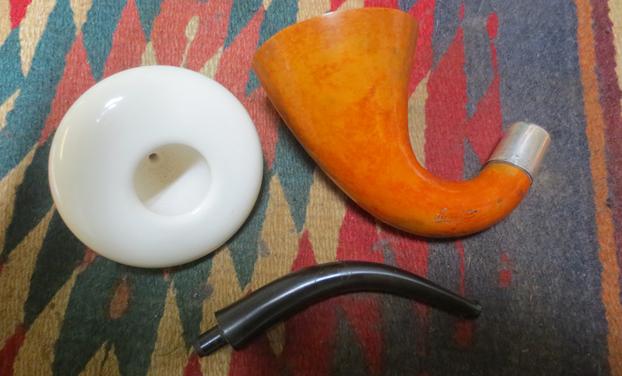
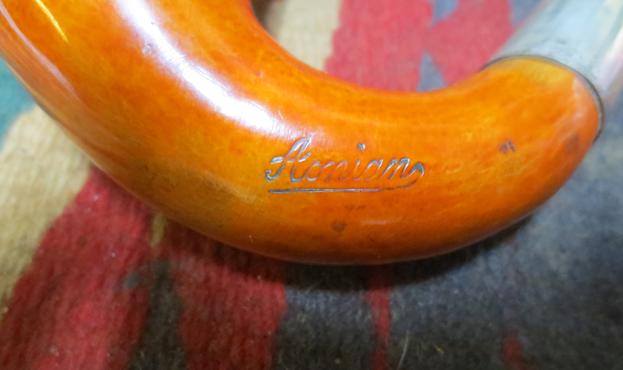
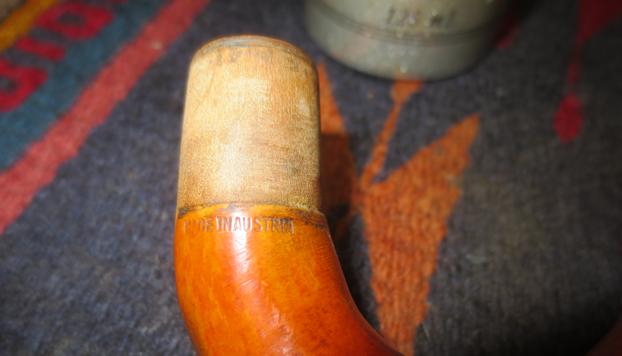
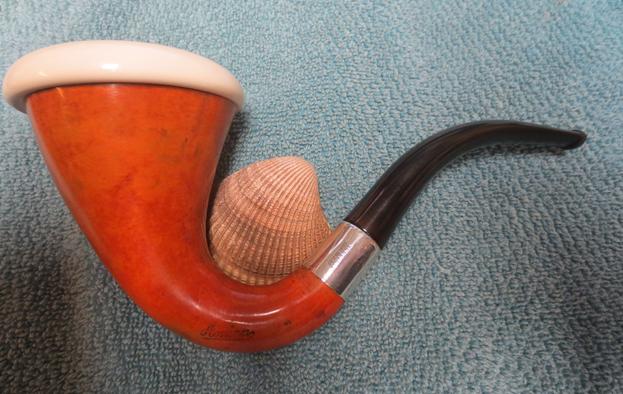
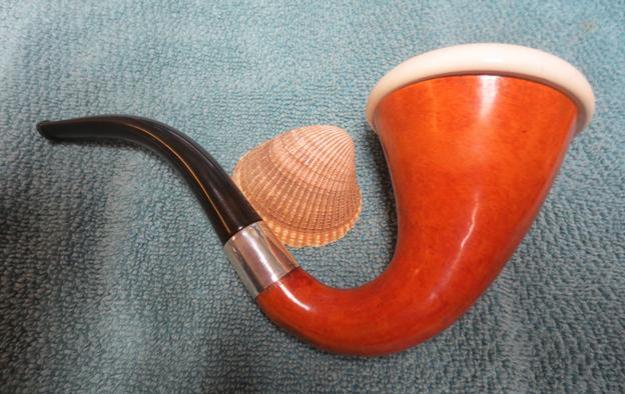
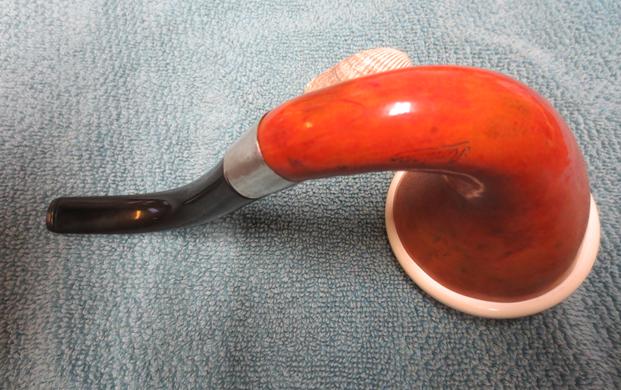
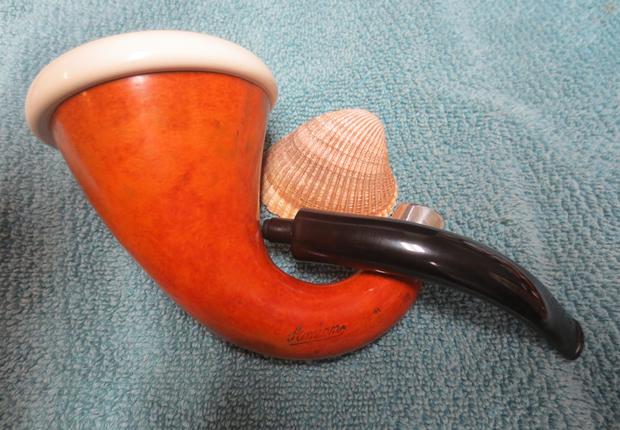
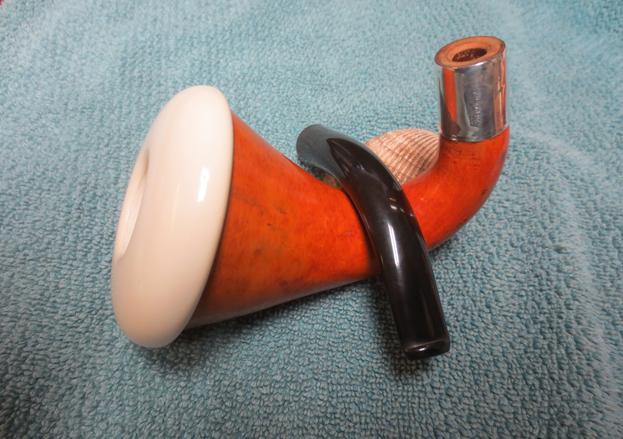
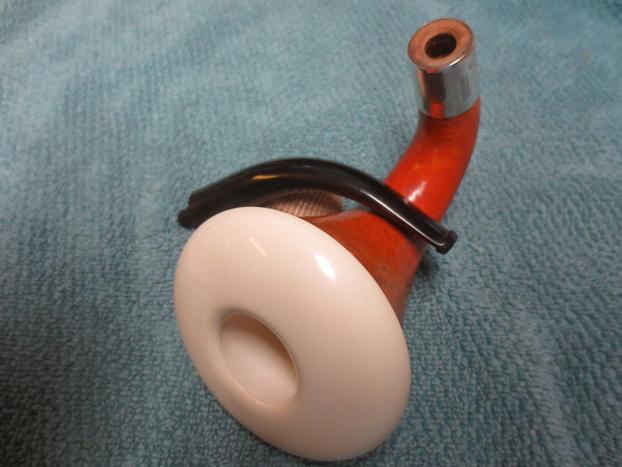
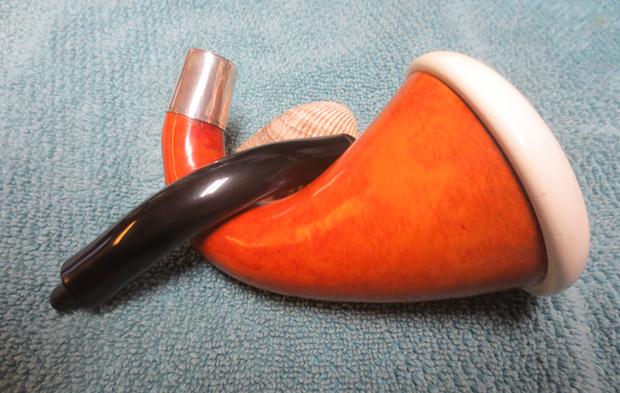
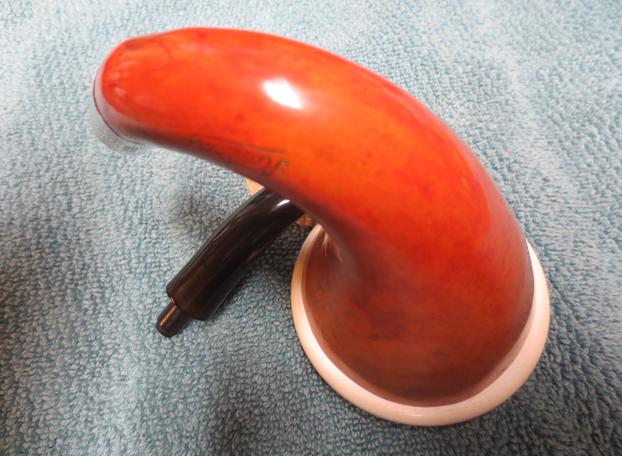
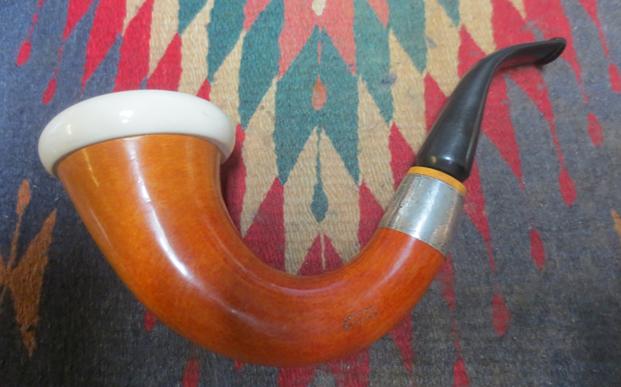
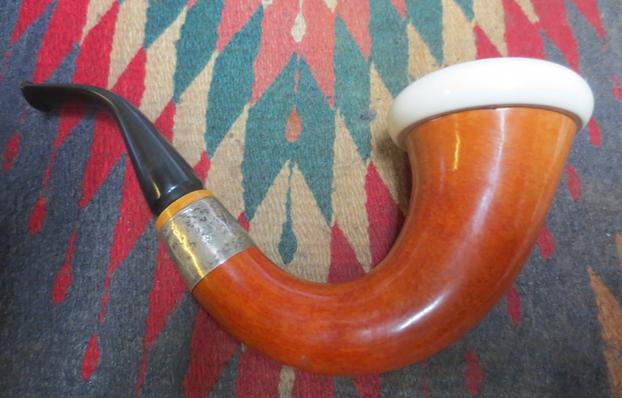
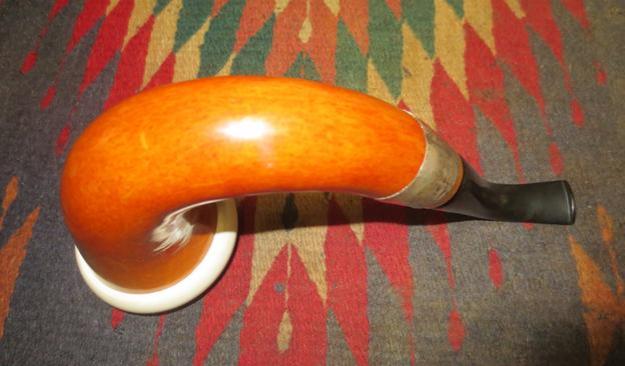
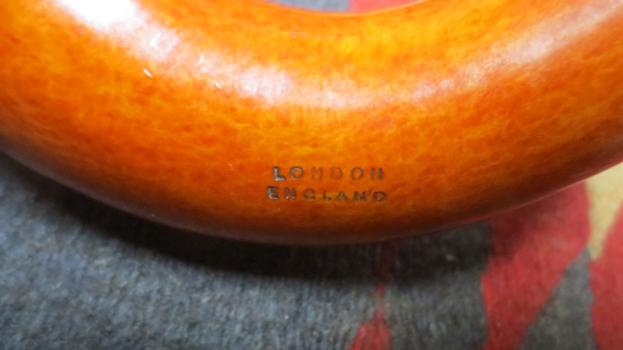
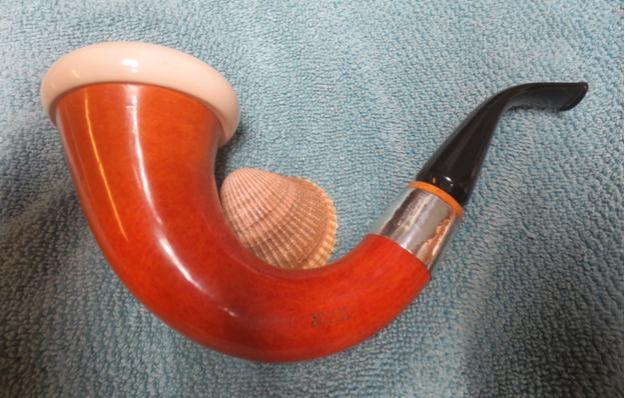
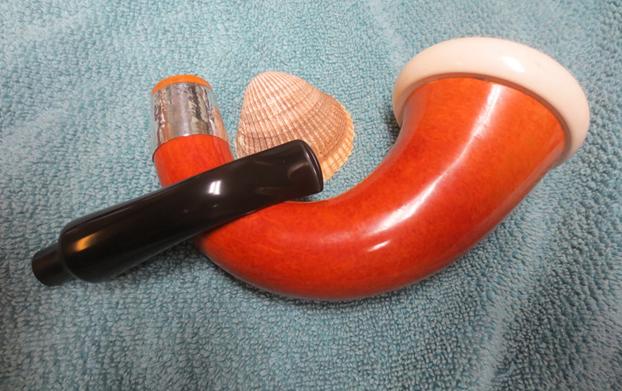
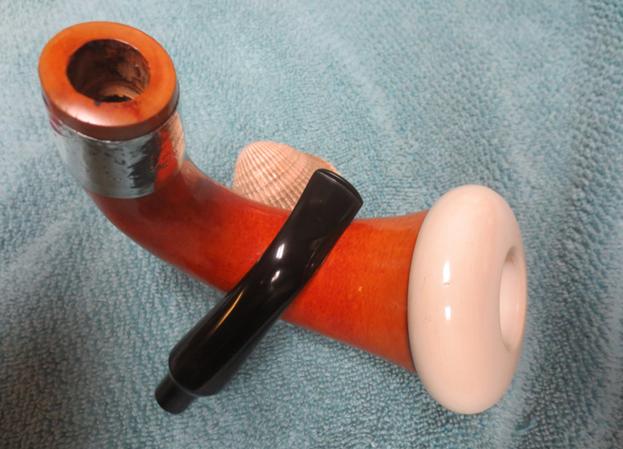
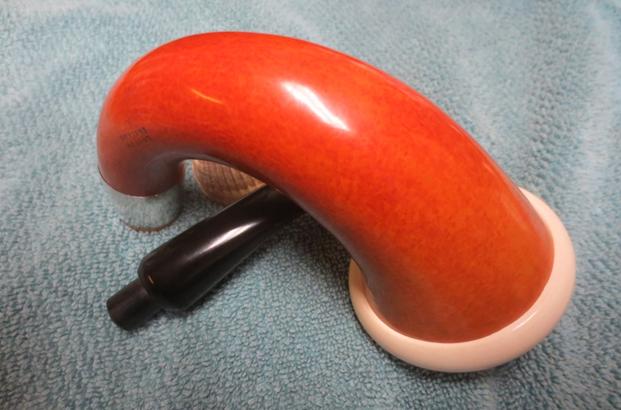
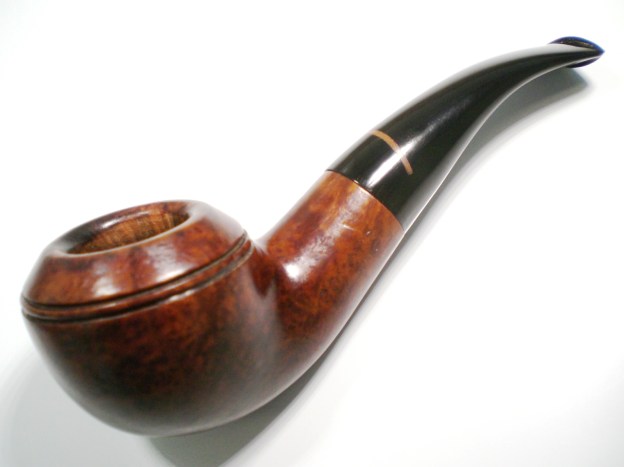
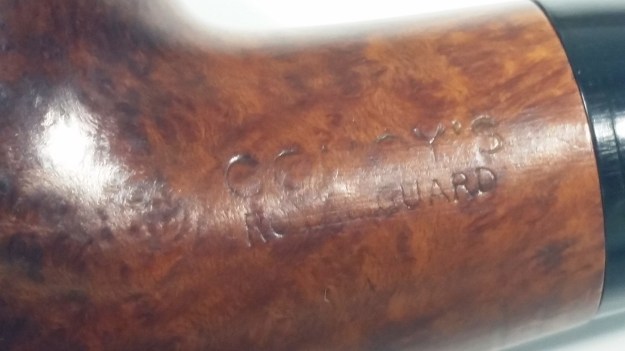
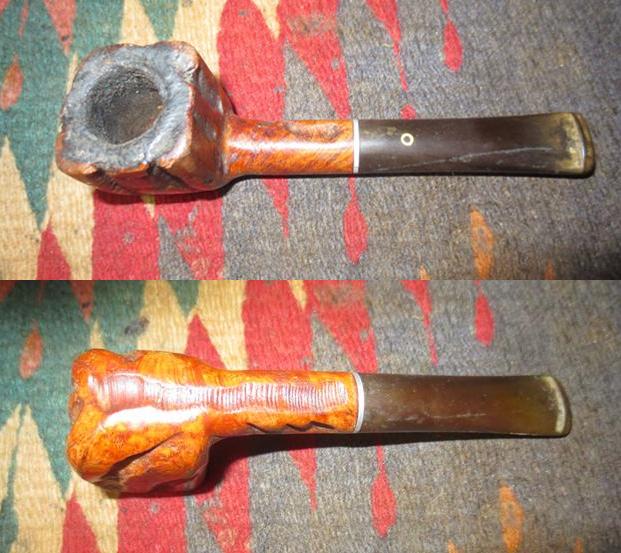
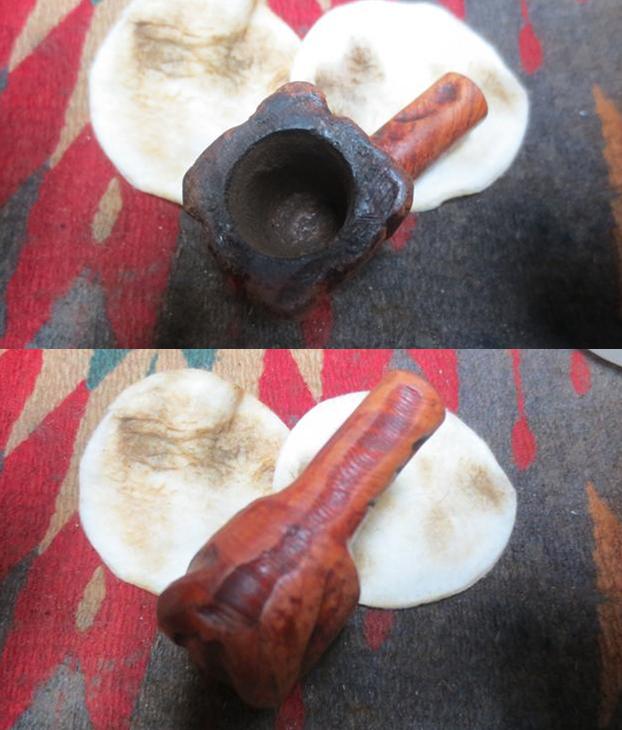
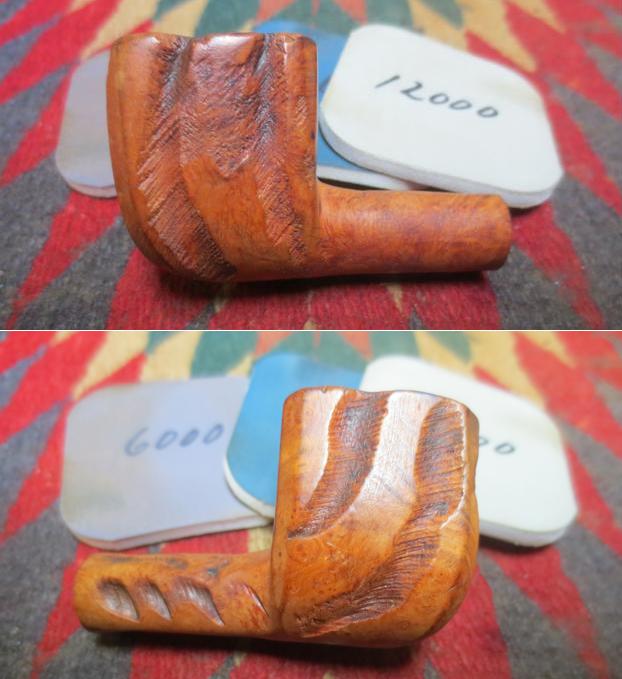
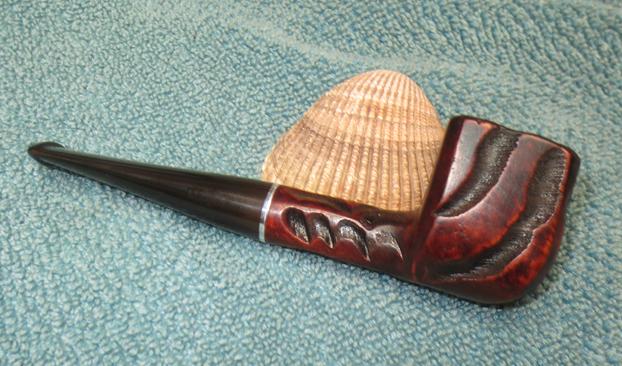
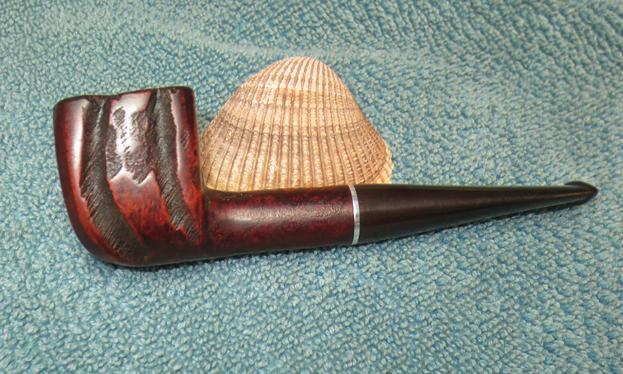
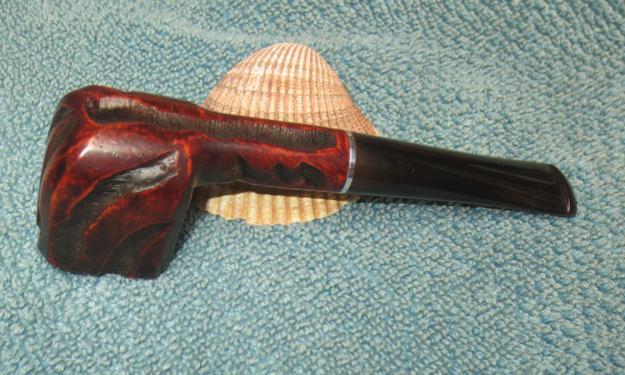
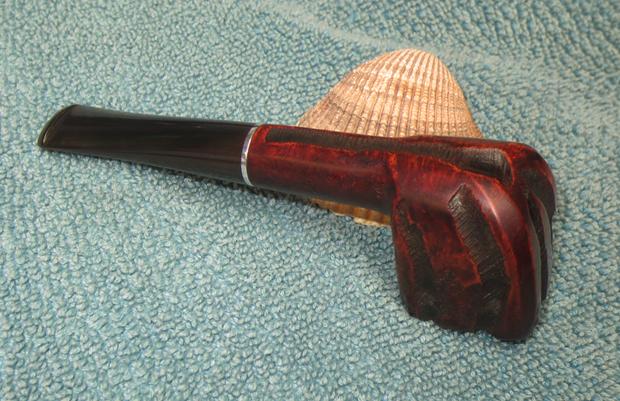
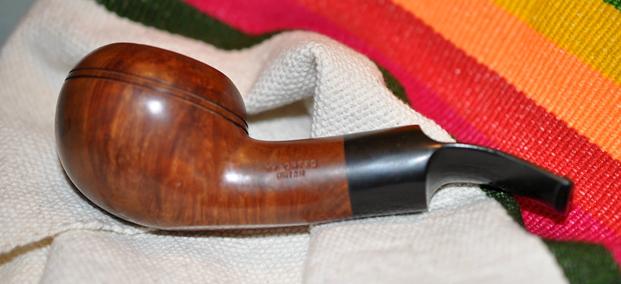
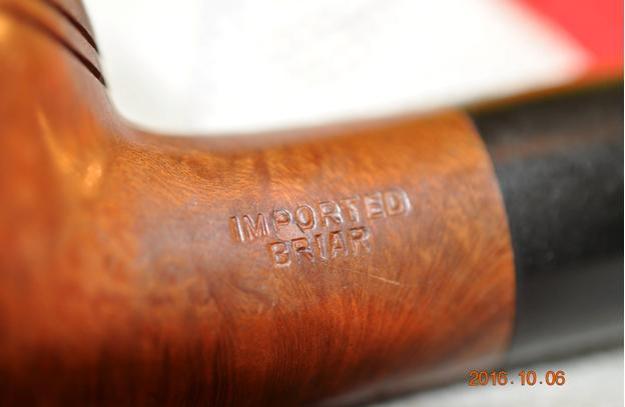
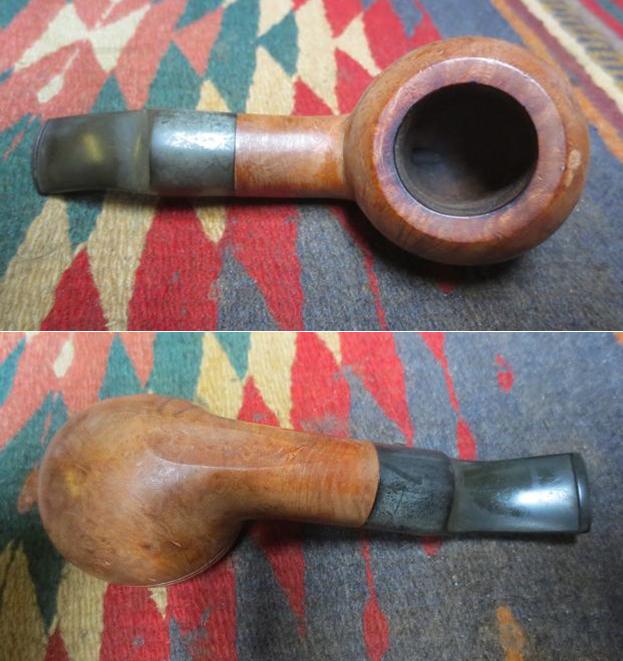
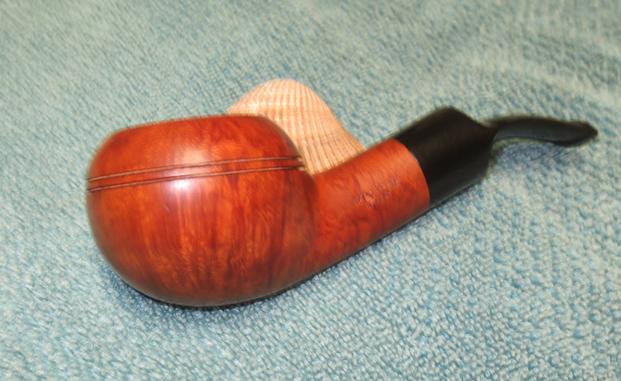
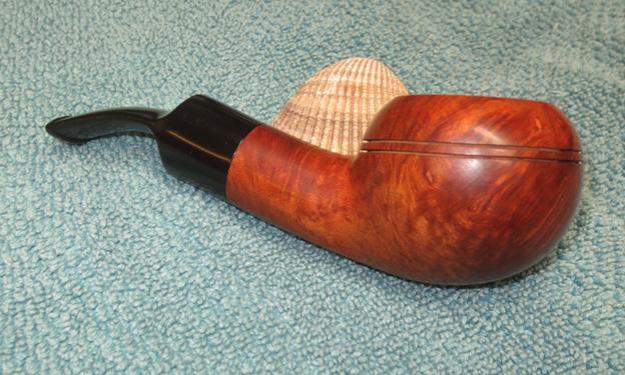
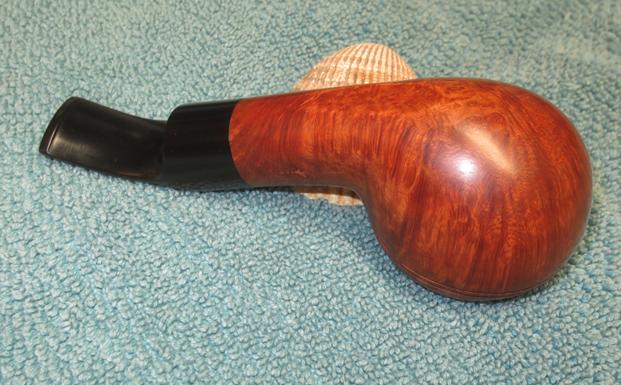
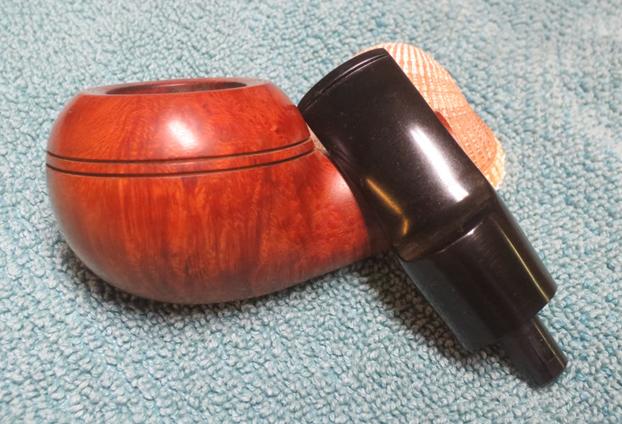
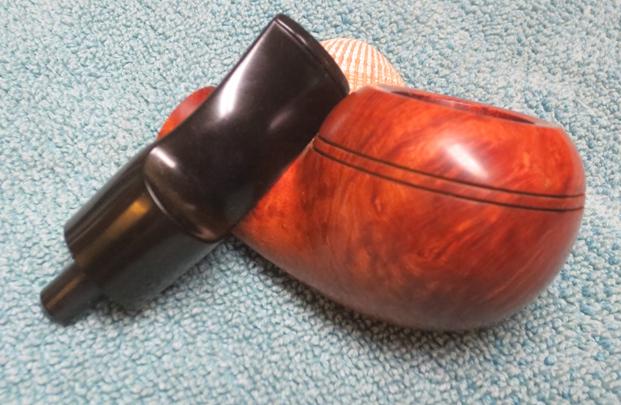
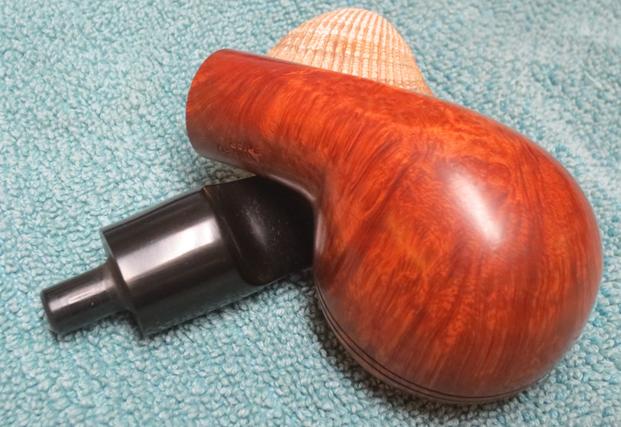
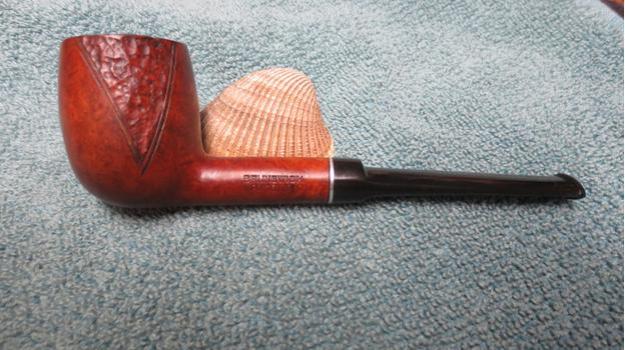
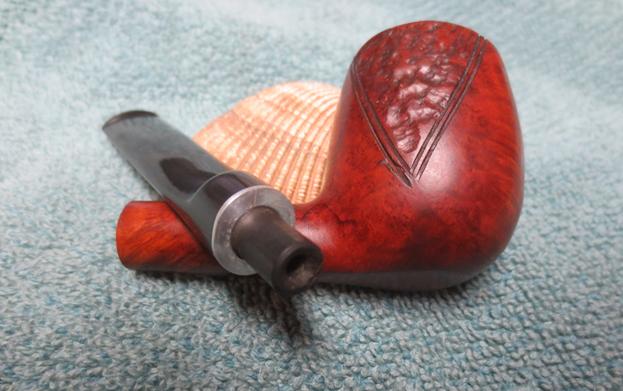
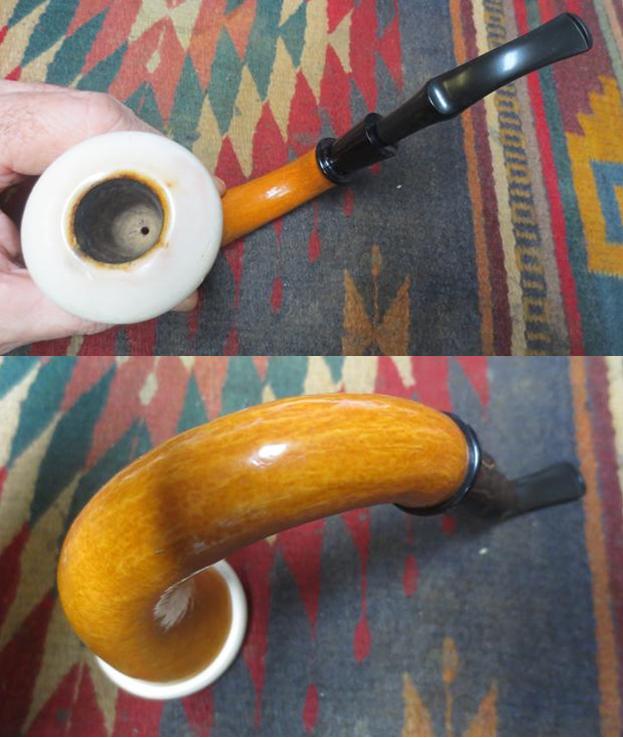
I had an email conversation with a pipe smoker over in Eastern Canada about a pipe that had been in his family for quite a while. He had inherited it and though he loved it, the pipe smoked wet. We talked about how to clean the mortise and the airway in the stem and shank. He did the cleanup but the pipe still smoked wet. He wrote back and asked if I would have a look at it for him and see what I could do with it. When it arrived I could see why he liked it. The pipe is extremely light weight and the saddle stem and flow of the bowl is perfect. The brand is one that I had not heard of before. The pipe is stamped Brunswick over Import Briar on the left side. There is a nice rusticated wedge on each side of the bowl otherwise the finish is smooth. The photos below show what the pipe looked like when it arrived in Vancouver.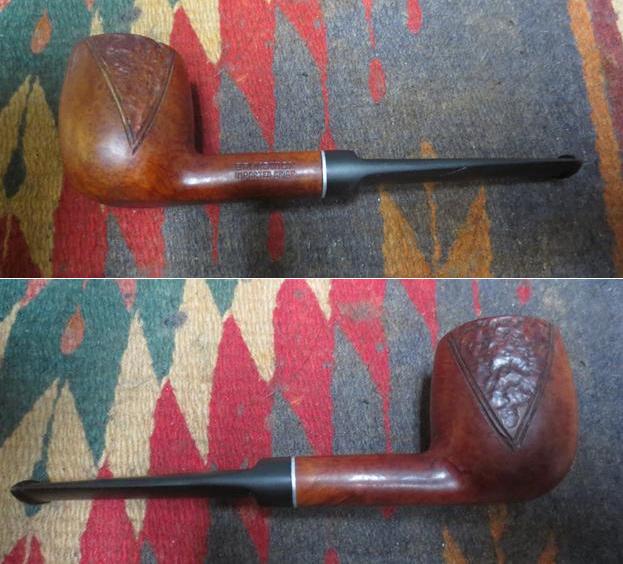 The pipe was in decent shape. The finish was a little dirty and there were burn marks on the front outer edge and the left and rear inner edge of the rim top. The rim top also had some dents and nicks in it and some general darkening from being lit with a lighter in the same place each time.
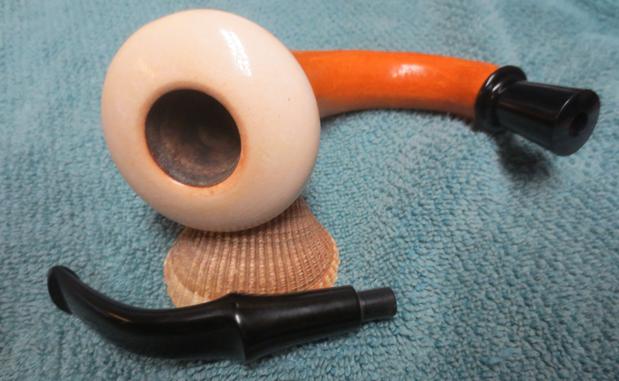
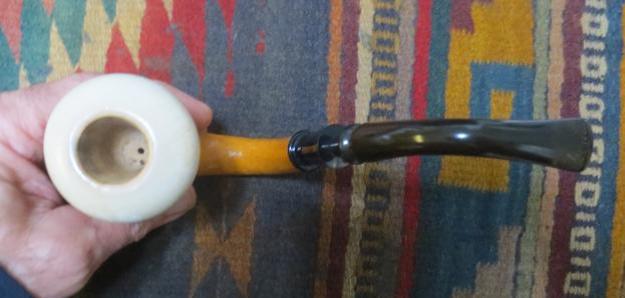
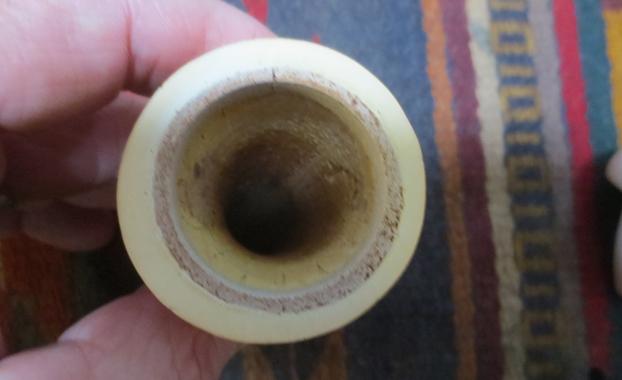
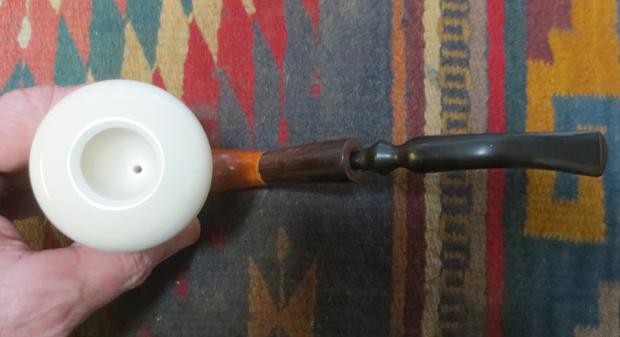
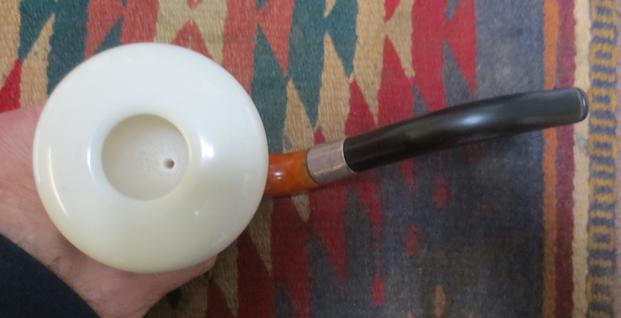
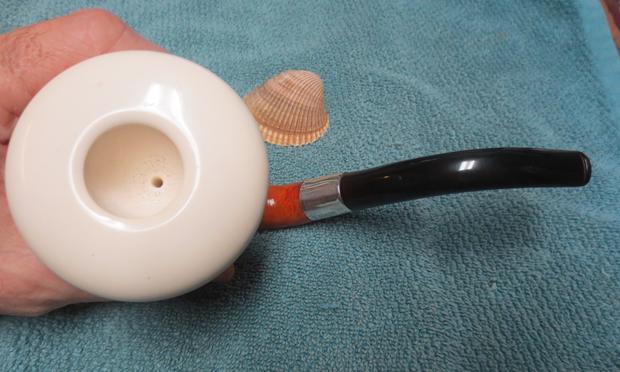
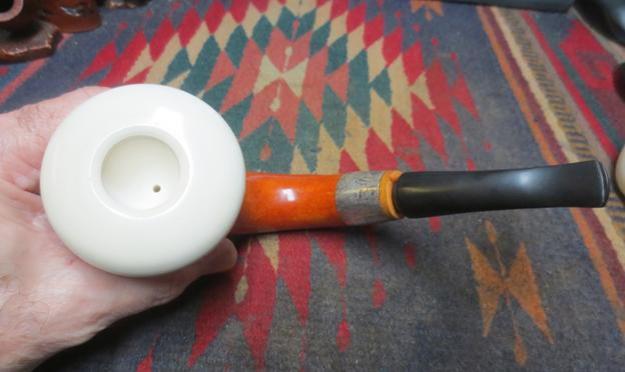
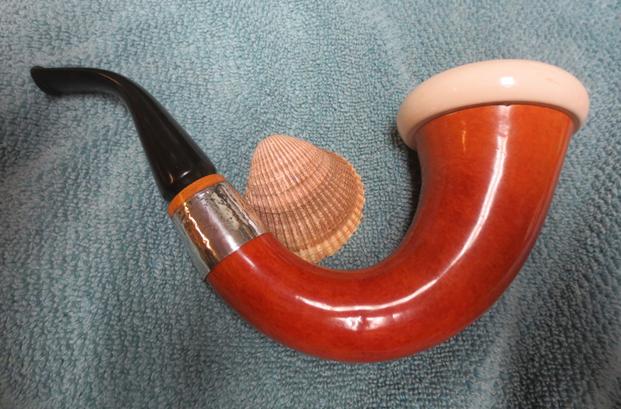
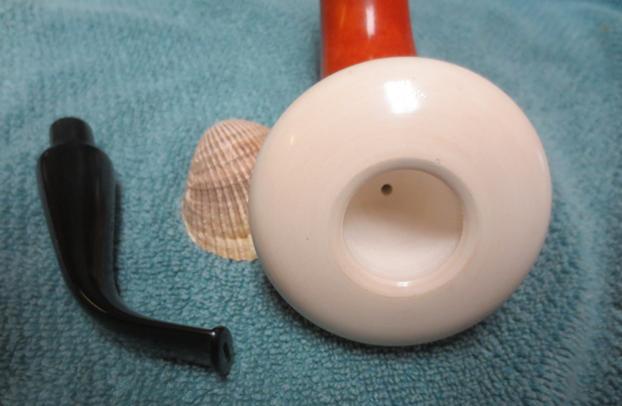
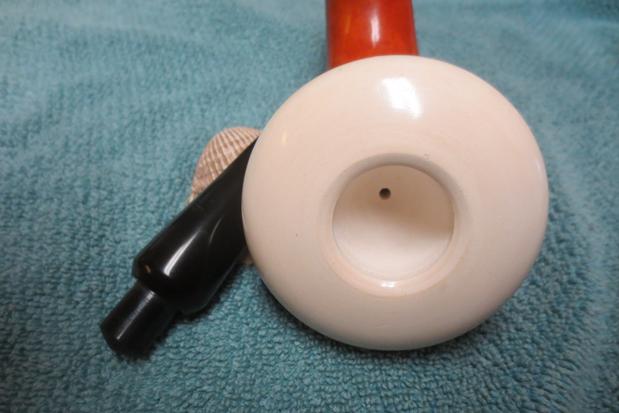
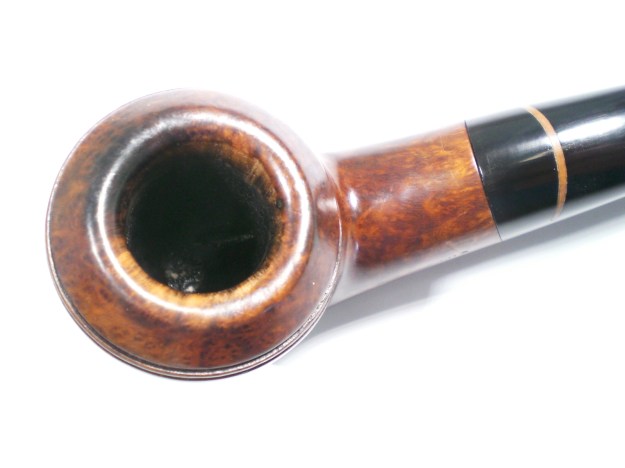
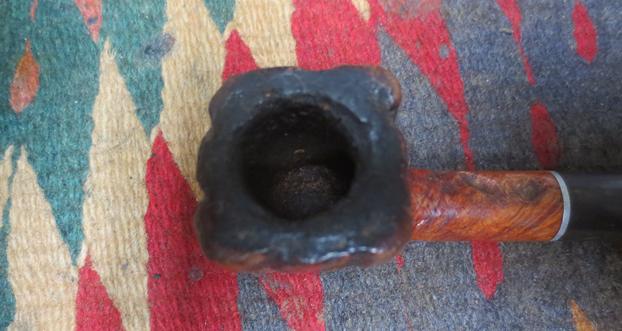
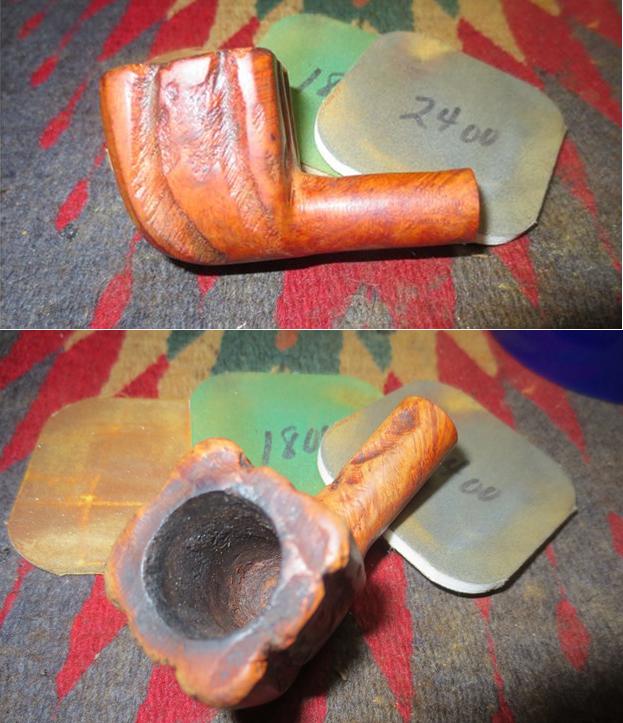
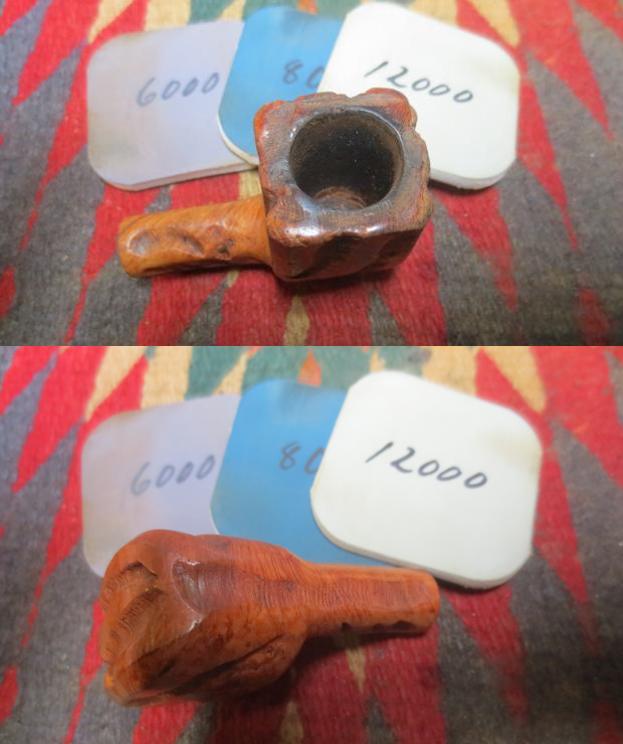
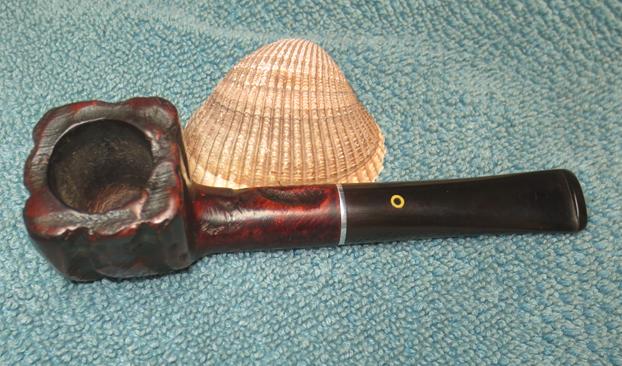
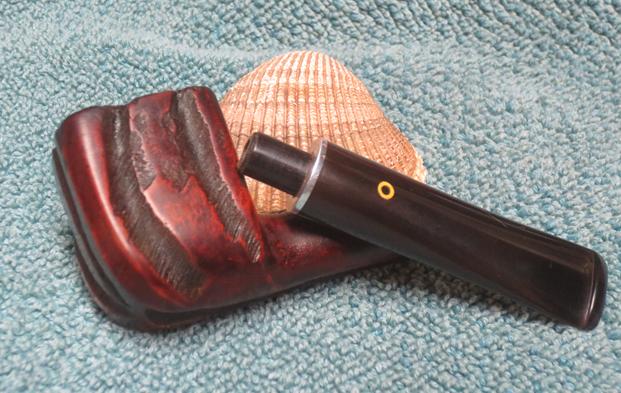
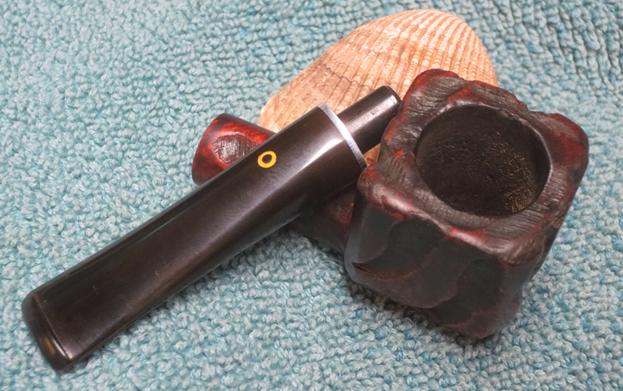
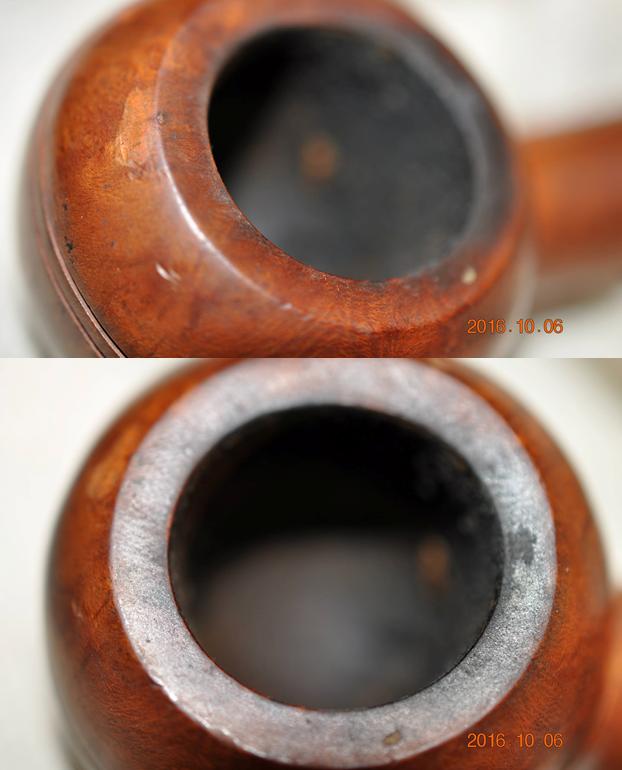
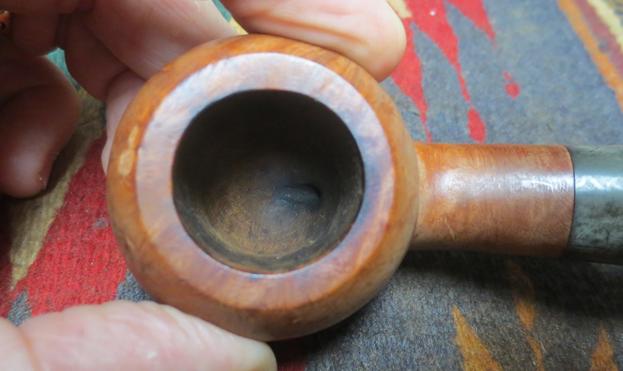
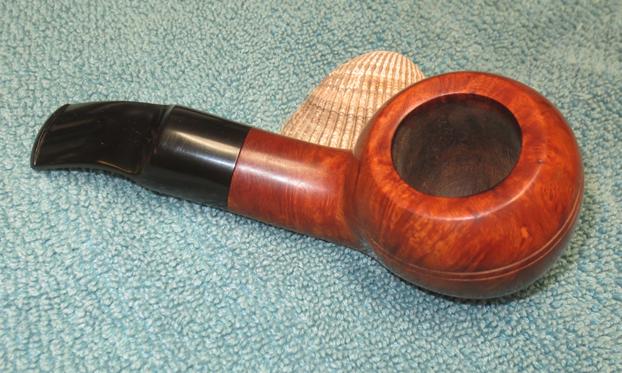
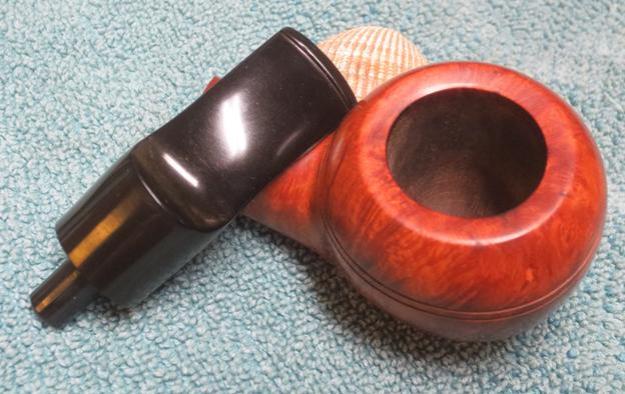
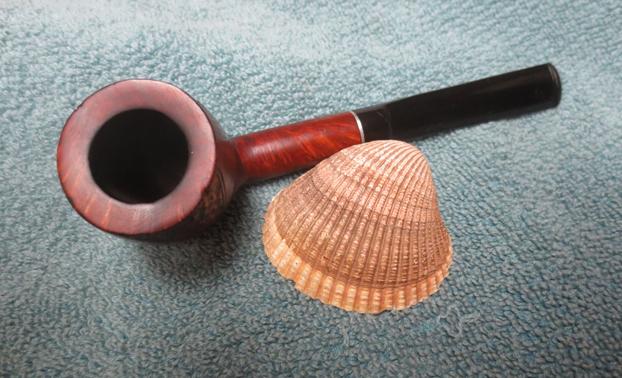
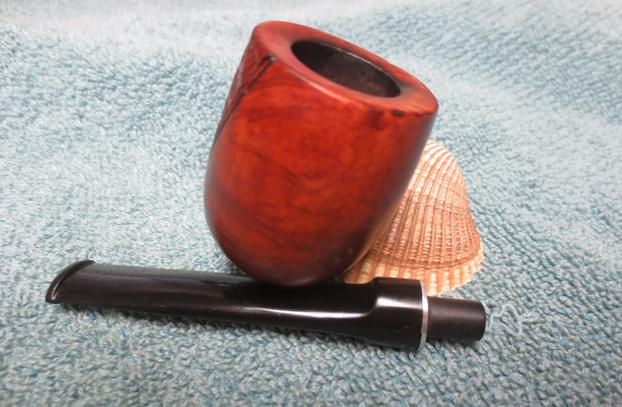
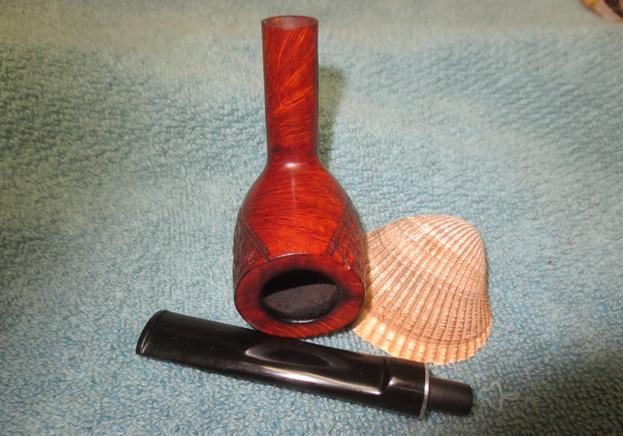
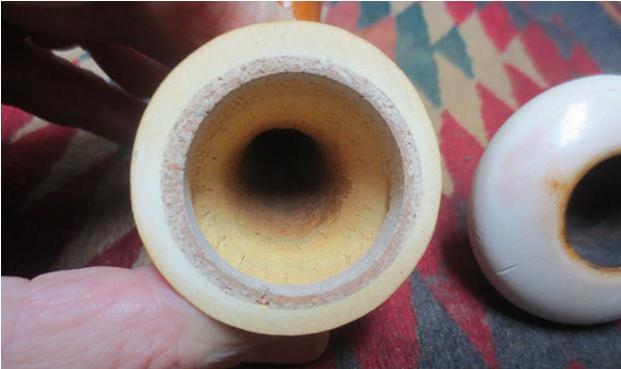
 I took a close up photo of the rim and bowl to show the uneven cake and the rim top damage. The rim was slightly beveled and the inner edge was undamaged.
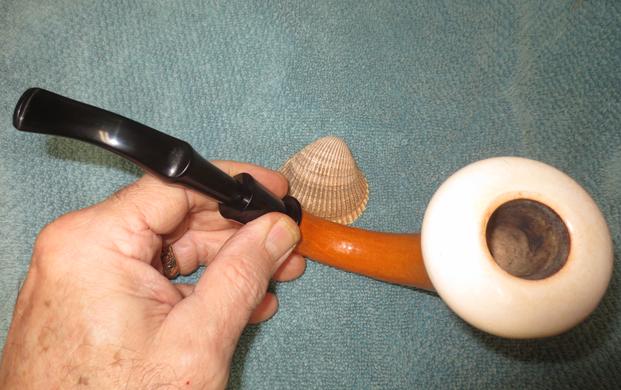
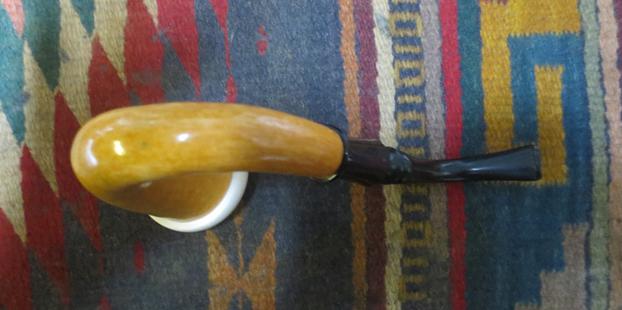
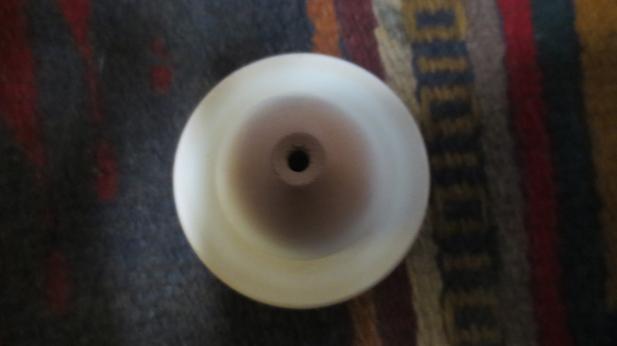
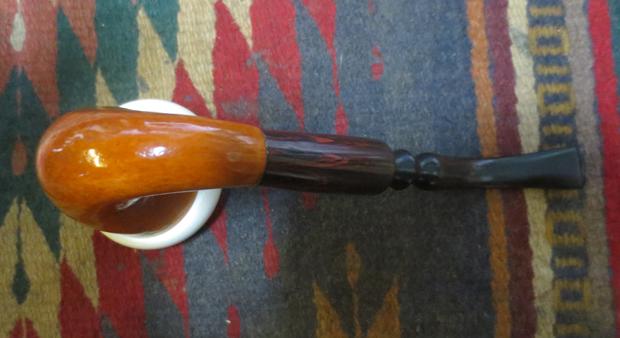
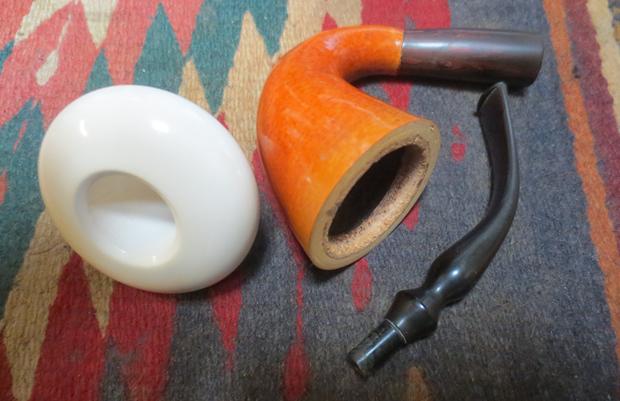
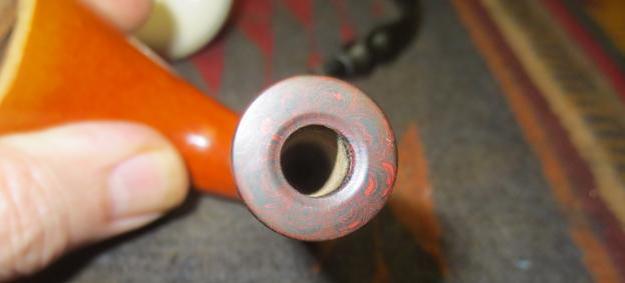
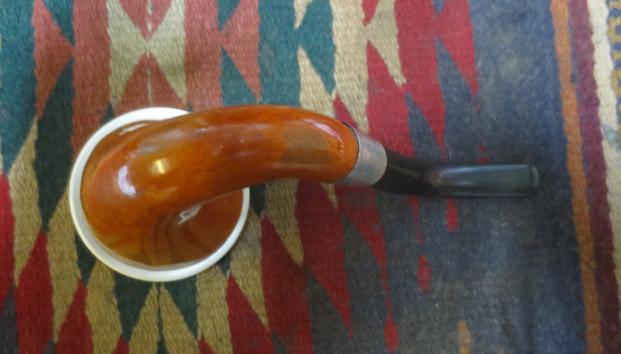
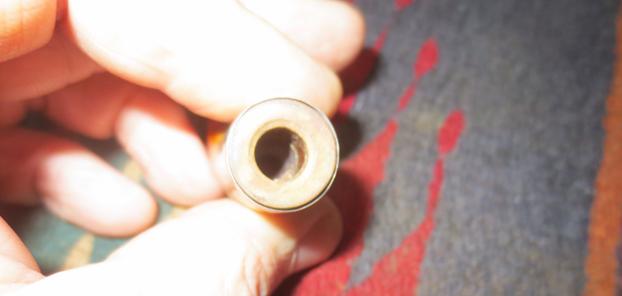
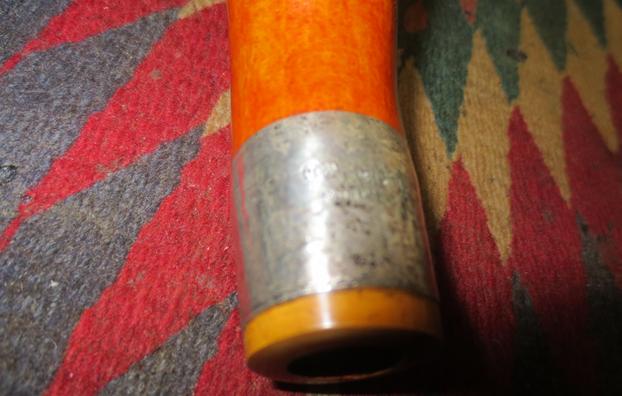
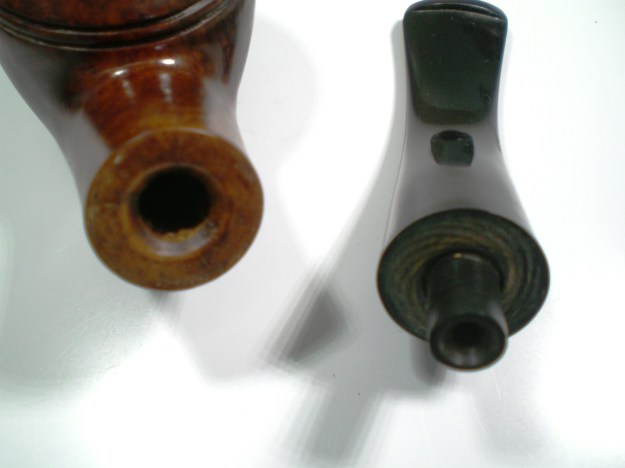
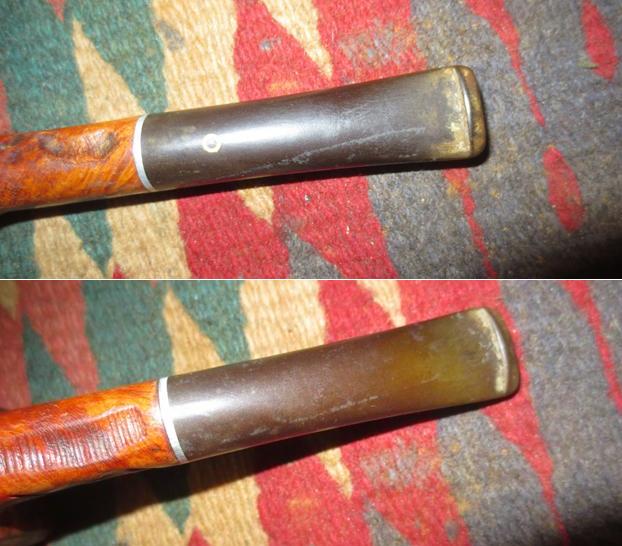
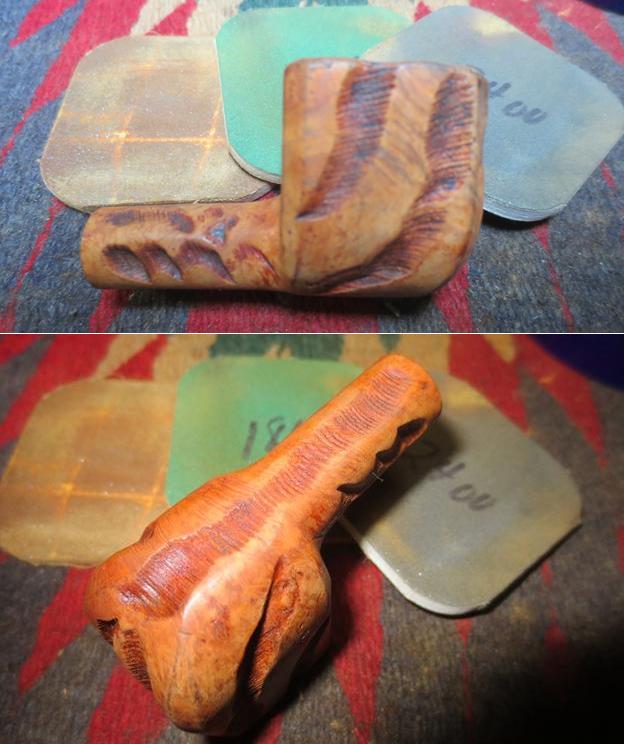
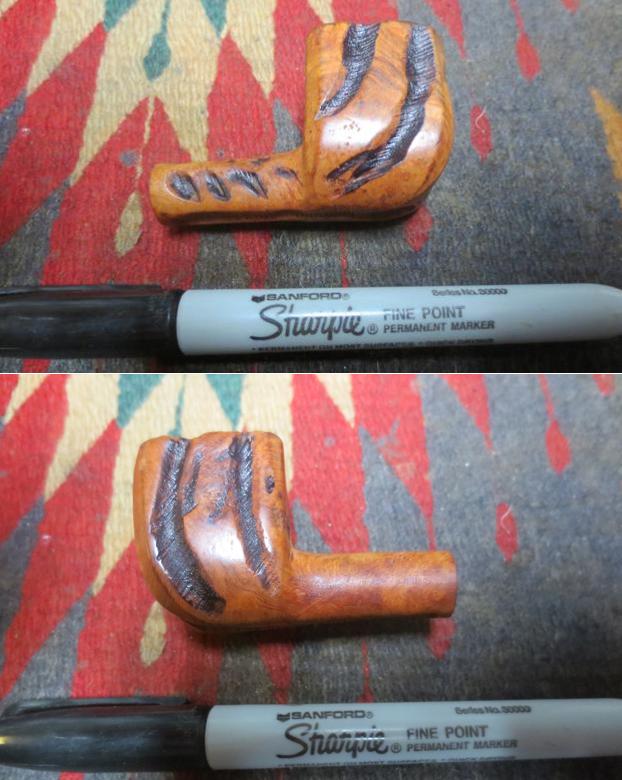
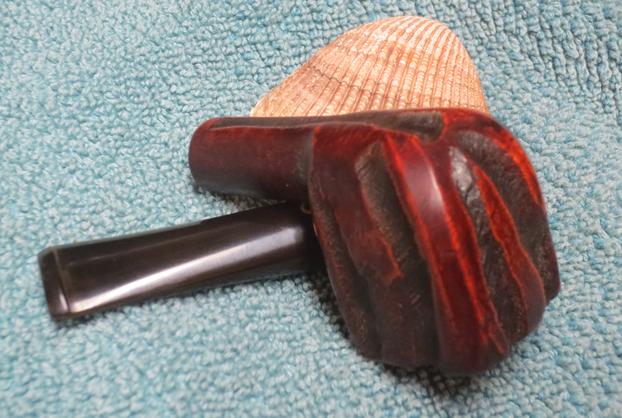
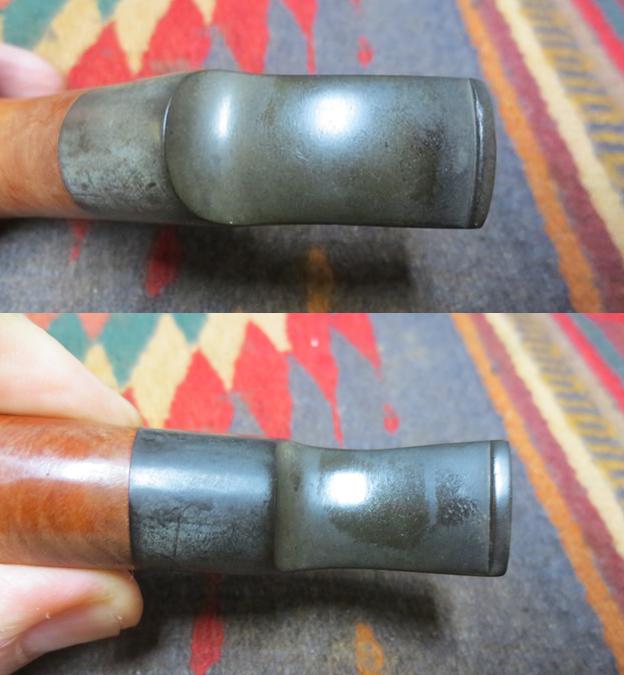
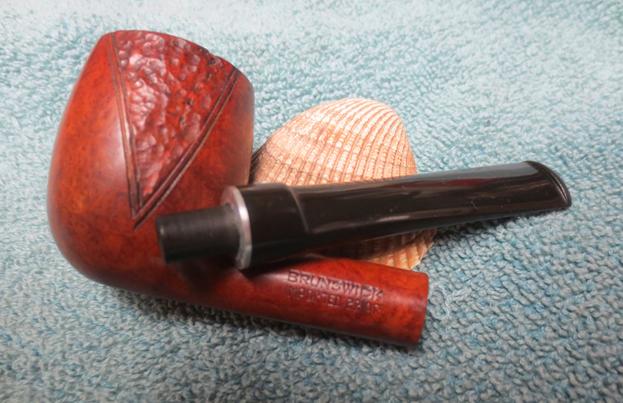
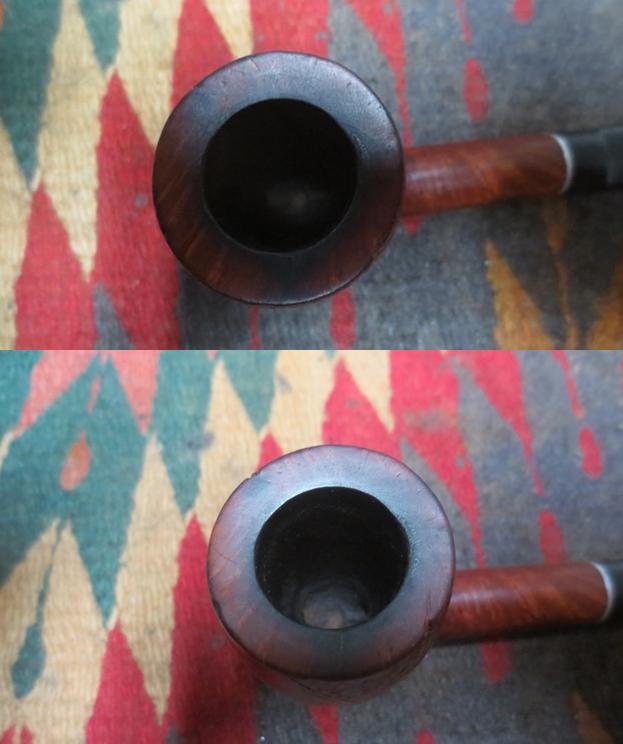 I took some photos of the stem to try to capture the damage on the underside. It was hard to capture but there were four divots out of the vulcanite on the underside. I have circled their location in red in the photo below. The quality of the vulcanite was very good and the stem was not oxidized. There were a lot of small pits and scratches in the stem surface but it would polish up nicely and have a deep shine. The aluminum spacer was set on the tenon and acted as a thin ring around the shank and stem junction. It was lightly oxidized but also would polish up well.
 Before I started the clean up of the pipe I decided to do a bit of digging to see if I could learn anything about the brand. I looked on Pipedia and Pipephil’s Stampings and Logos site and neither one listed the brand. I also did a pretty thorough Google search of the brand using different combinations of words around the brand name. That turned up a pipe starter kit that included a new pipe, tobacco and tamper combination. The pipe bore the Brunswick name but it just did not look anything like the pipe or the stamping on the one I had in hand. It was available through the Pipeguys back in 2013 but the link no longer works. Looking at the pipe I do not think that the brand is related.
I turned to a copy of Who Made that Pipe that resides on my desk next to the computer. I looked through the listings and found two different possible makers of the brand – one in France and one in the USA. I have attached a screen capture of the listing from the book.
The American Company is listed as Adrien Brunschwig 1942. I think this is the maker of this particular pipe. The Imported Briar stamp under the Brunswick name leads me that conclusion as it was used in the US after WW2 when briar was once again available for import. I did some more searching for that brand and maker. The only thing I could find was an American wholesaler and manufacturer of household items called Brunschwig & Fils. I suspect that it is possible that like many other post war manufacturers the company had pipes made by an American Manufacturer (or maybe a European one) to sell or distribute to clients. Quite a few companies did that during this era.
The other company, Ruchon & Verguet 1933 is French and is a predecessor to the company that later was became GBD. I looked on Pipedia and found a link to the history of the company that later became Marechal Ruchon & Cie: https://pipedia.org/wiki/Marechal_Ruchon_%26_Cie. The link gave me the following info and certified the link to GBD. Marechal Ruchon & Cie. was a company owned by Auguste Marechal and Ferdinand Ruchon (“& Cie” is the french equivalent of “& Co”) which owned the GBD brand from the end of the 19th century until 1902 when they sold Marechal, Ruchon & Cie. to Oppenheimer Pipe, which in turn changed the name of the company to Marechal, Ruchon & Co., Ltd.. Upon the creation of Cadogan, however, the brand was no more, remembered only in the name of the GBD Marcee pipes made until just after the Second World War.
To me the connection to the French company is unlikely because of the Imported Briar stamp. The rustication on the pipe also would place it in the post WW2 years as that style was pretty prevalent in US made pipes. I had a passing thought that can in no way be confirmed, perhaps the Brunschwig name has been bastardised into Brunswick. It has happened to a lot of Germanic names over time so I would not be surprised. That tie also makes the connection to the American maker very probably.
I think I can say with a good measure of confidence that the pipe is American made in the late 1940s by Brunschwig (Brunswick). I wrote to the owner and asked him if he could give me any information on where his father in law may have picked up the pipe. He wrote back as follows:
Hi Steve,
…As far as I know it was my wife’s father’s pipe, she grew up in Toronto and so as far as I can gather I believe it was made around that area. I am pretty certain that he bought it in Canada though he was in the army and may even picked it up somewhere along wherever he was stationed, but I do think he bought it here. She remembers him as a child smoking it (before he stopped smoking a pipe and switched to cigarettes) so the age is roughly 50+ years old, perhaps a bit older…I couldn’t find any information on it either on any sites I visited, so I don’t think that the Brunswick company is still in operation. I would love to know more about it myself so at the next family get-together I’ll ask around with the few of the old-timers that are still around and see if they can recall anything about it and I’ll pass on any info I come across. I haven’t heard of the brand either, they seem to be very obscure.
She did tell me when I inherited the pipe that she found it in his drawer after he had passed so I don’t think he even smoked it all that often.
He also included a photo of his father in law with this pipe in his mouth. It looks to me like he is wearing a Canadian Army uniform. Now I had the back story on the pipe and a good lead on the name and the maker of the pipe. Those details are things I love to have in hand when working on a pipe. It adds another dimension to the restoration and repair process. The pipe will soon go back to the family and the next generation will carry on the tradition of pipe smoking. It is a reminder to me that we truly do hold our pipes as a trust that can be passed on when we depart. They certainly are made to outlast the sturdiest of us.
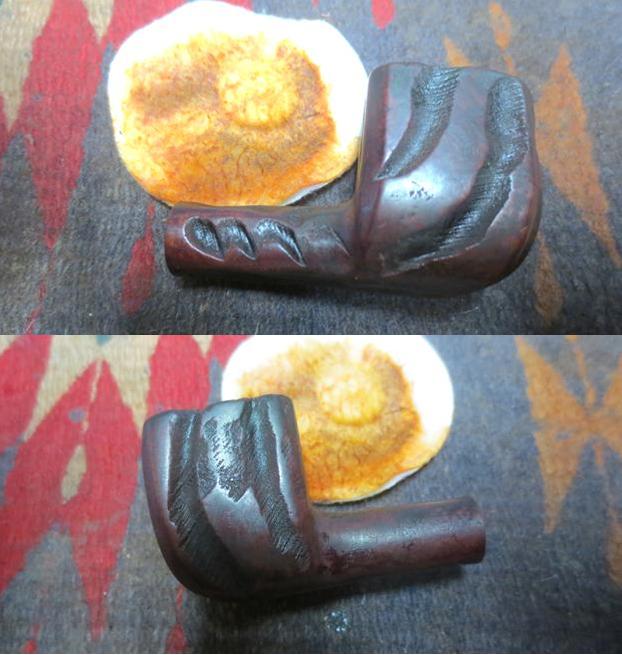
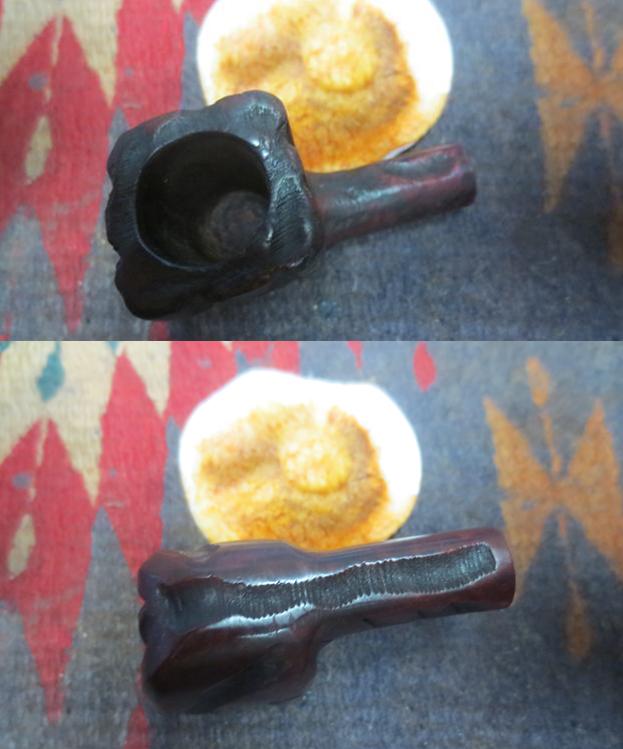
I started the cleanup on this one by addressing the issues on the rim top. I decided not to top the bowl but rather just lightly sand out the scratches and nicks. Sanding the top would also minimize the darkening and burn marks on the rim top and edges. There were also some burn marks on the front of the bowl that extended from the rim top down about ¼ inch. I sanded those at the same time and was able to remove much of the damage.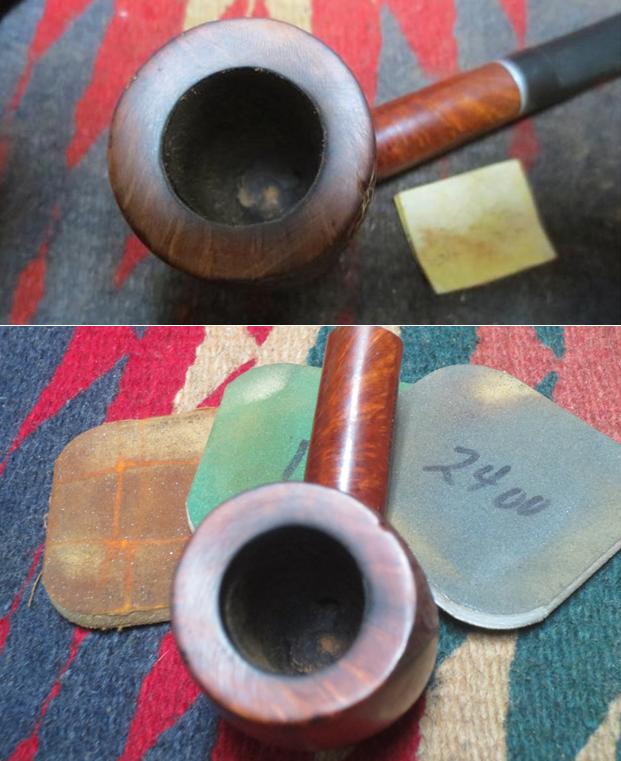
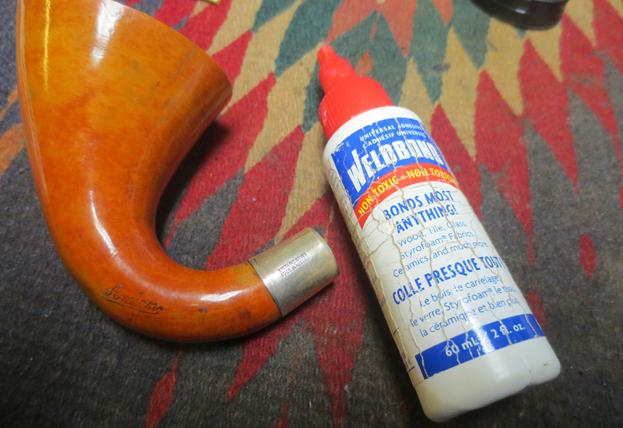
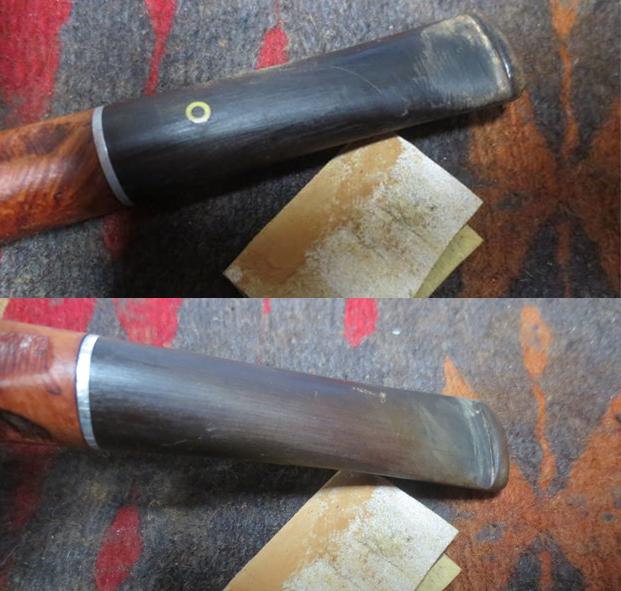
 I lightly sanded out the tooth chatter on the stem surface and wiped the stem down with alcohol on a cotton pad to remove the dust. I filled in the three remaining divots with black super glue. Once the glue cured I sanded the stem with 220 grit sandpaper to blend the repairs into the surface of the stem.
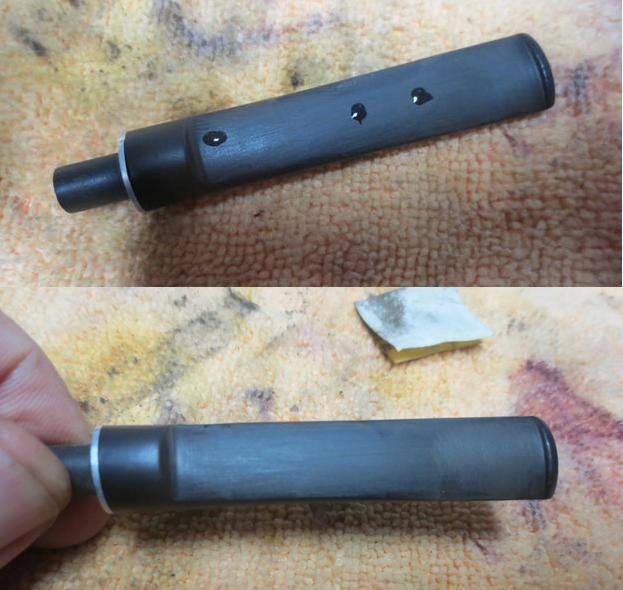 I reamed out the uneven cake with a PipNet reamer and cleaned up the remains with a Savinelli Fitsall Pipe Knife. I took the cake back to bare briar.
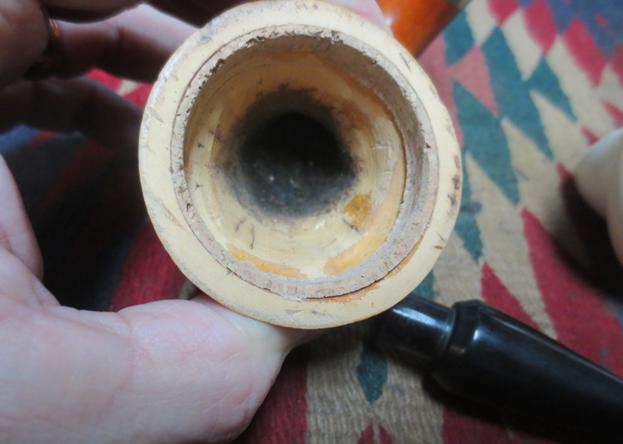
 I rolled a cotton pad and inserted it in the shank to plug the mortise and wick the alcohol back into the shank. I pushed a cotton ball into the bowl and used an ear syringe to fill the bowl with alcohol. I used an old ice-cube tray to hold the pipe upright and left it overnight to draw out the oils and tars in the briar.
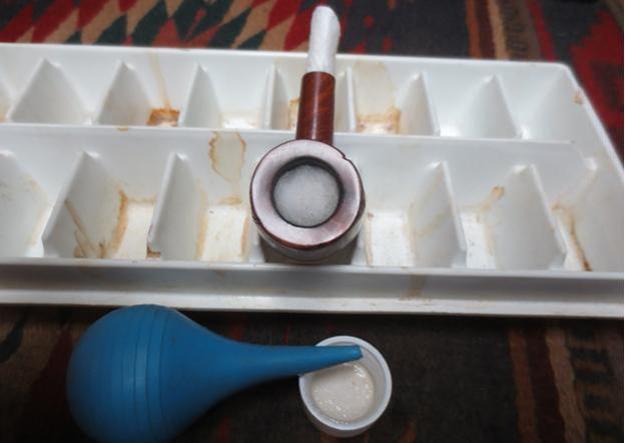 In the morning I woke to find the cotton ball darkened with tars. It was not the worst I have seen but it drew out a lot.
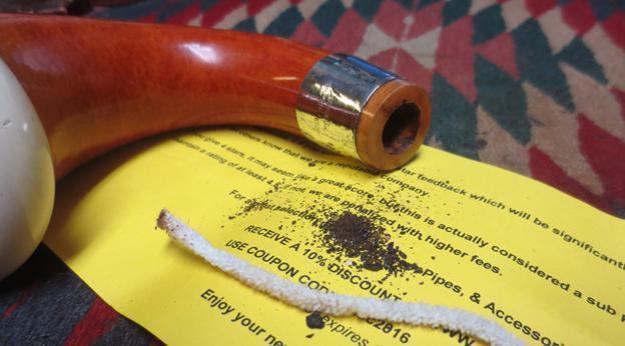
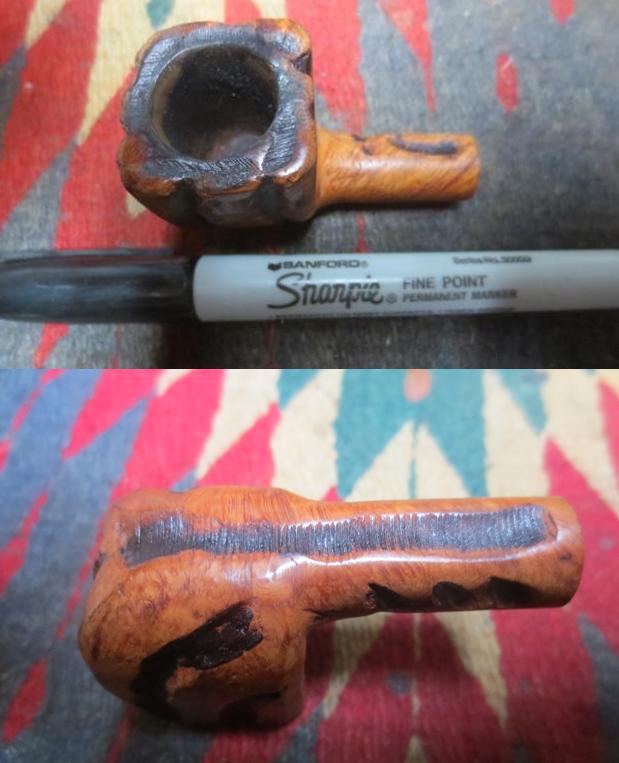
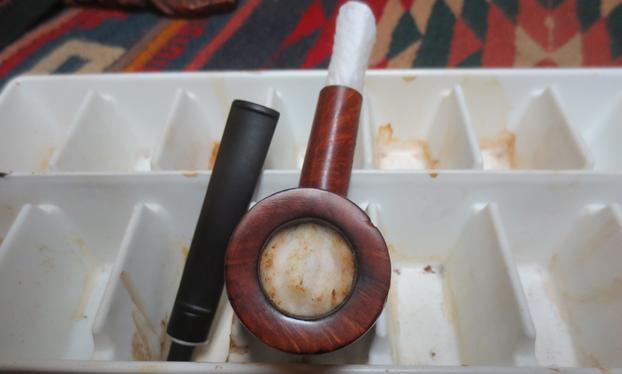 I left the bowl sitting a little while longer and countersunk the end of the tenon to funnel it. I find that the funneled tenon draws the air into the stem and can work to reduce moisture by facilitating air movement. The photo below shows the tenon end after I had cut the funnel. I still needed to sand it but it was ready. I remove the cotton ball from the bowl and ran a pipe cleaner and cotton swabs through the shank.
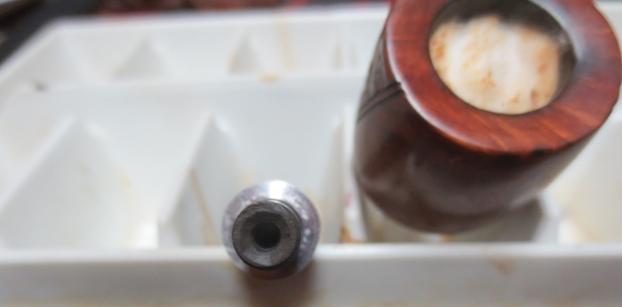 I let the bowl dry and turned my attention to sanding out the patches and repairs on the stem. I wanted to do a bit more blending and smoothing work. I was not ready for the micromesh pads yet as I wanted to use the retort on the pipe before polishing the stem.
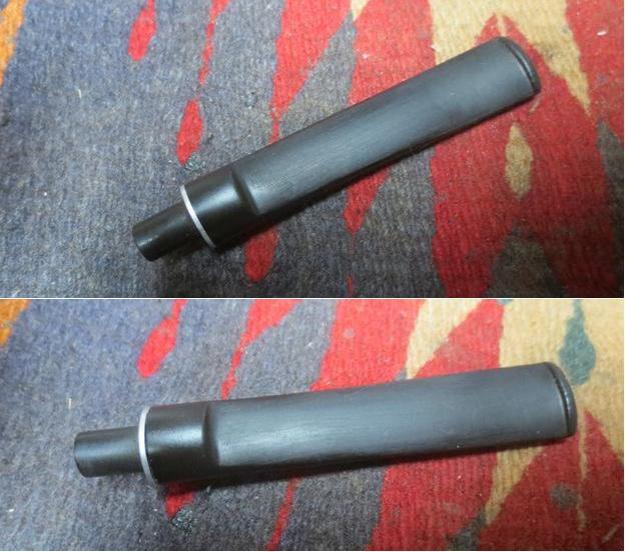 I finished the stem and put the pipe back together. I set up the retort. I pulled the rubber tube over the end of the mouth piece. I put a cotton ball in the bowl. I filled the test tube 1/3 full with alcohol and lit a candle to heat the alcohol. Once the alcohol gets hot it boils through the stem and the shank cleaning and loosening any remaining oils and tars.
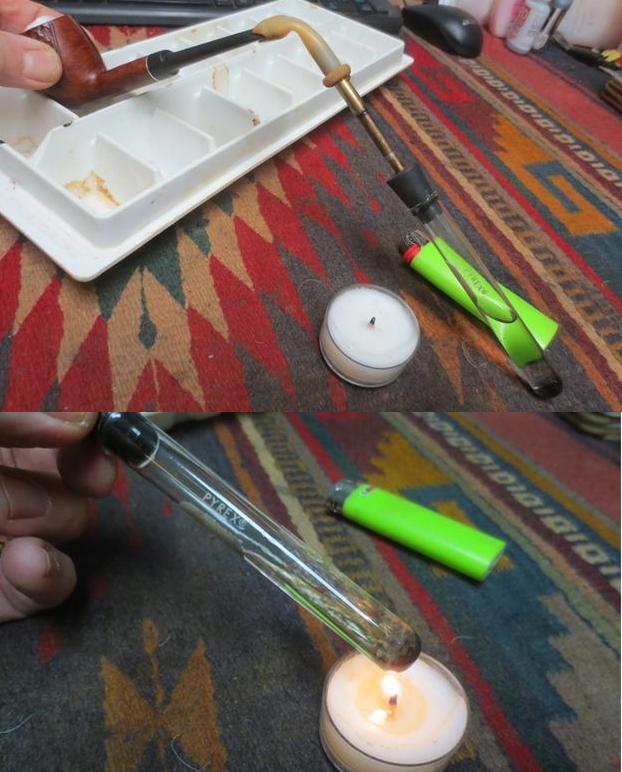 I boiled the alcohol through the pipe for quite a while and then stood the pipe up and let the alcohol cool and run back into the test tube. I was amazed at how little grime came out of the shank. I boiled it through a second time and repeated the cooling. This pipe was very clean now.
 I cleaned up the retort and put it away. I ran a pipe cleaner through the stem and also through the shank to dry out any remaining alcohol. It came out very clean.
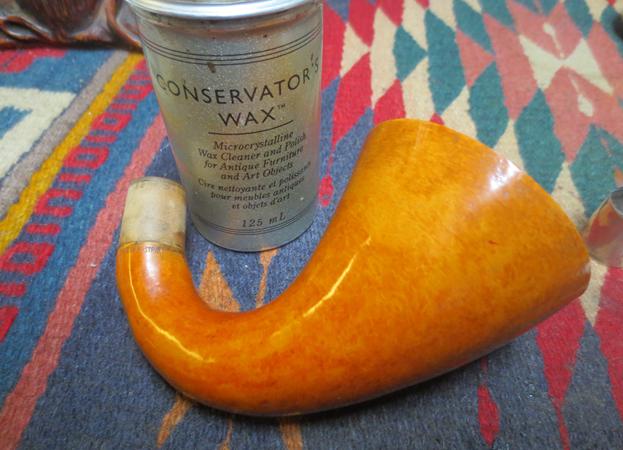
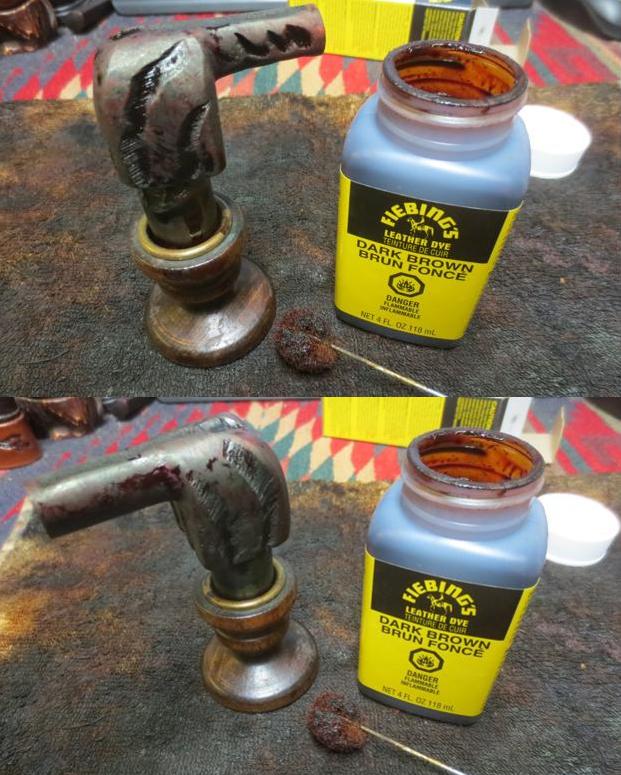
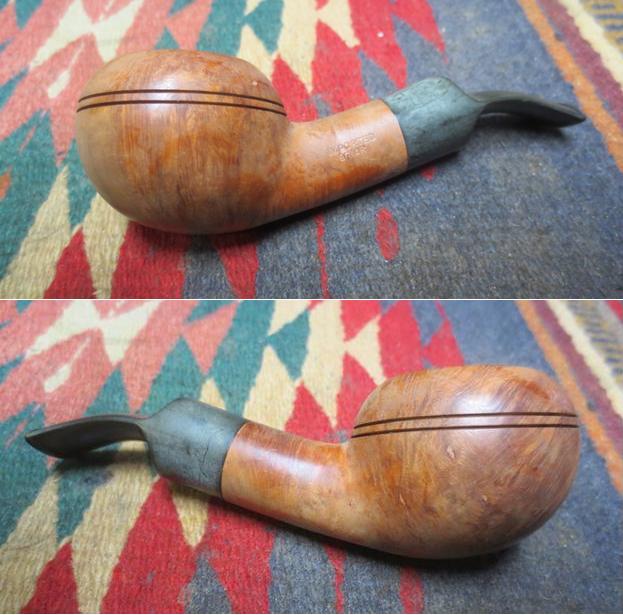
 I touched up the rim and the front of the bowl with a medium brown stain pen to match the colour of the rest of the bowl and hand waxed it with Conservator’s Wax. The rim is looking really good and the burn mark on the front edge is minimized though still showing. I look at those kind of marks as battle scars that tell a story.
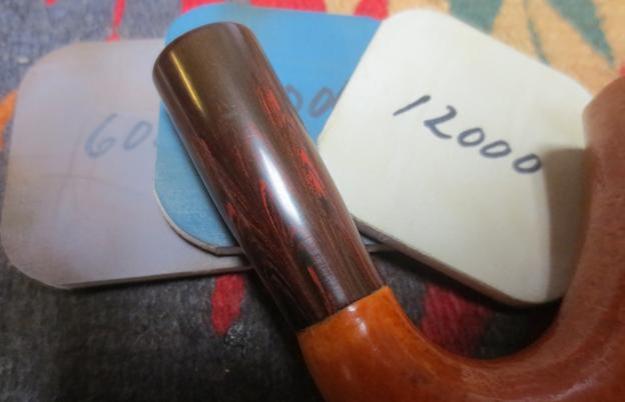
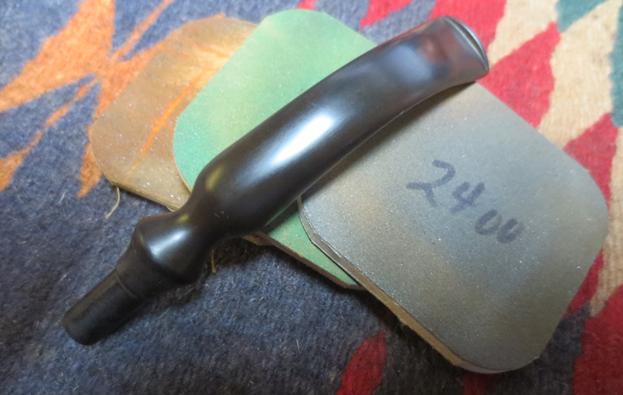
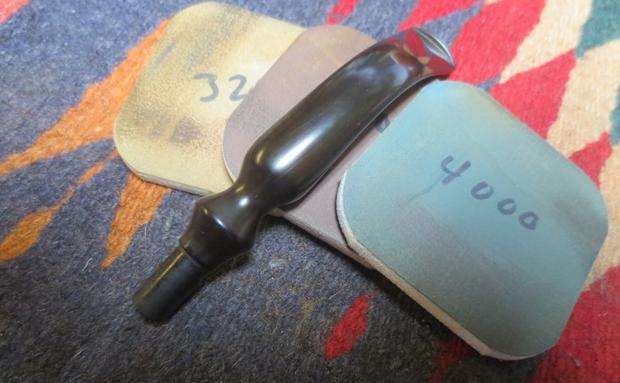
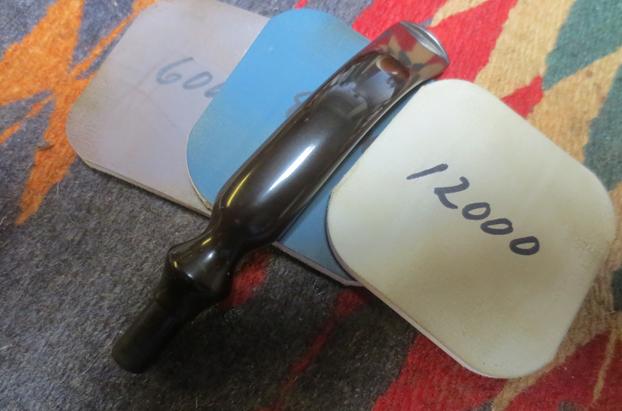
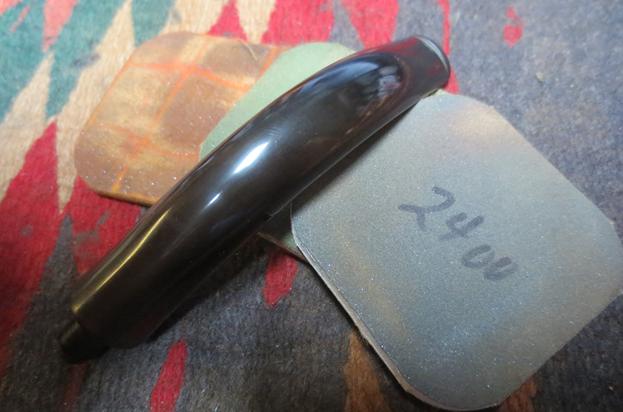
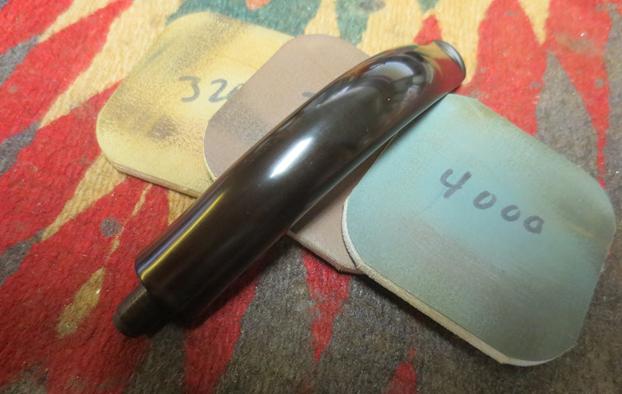
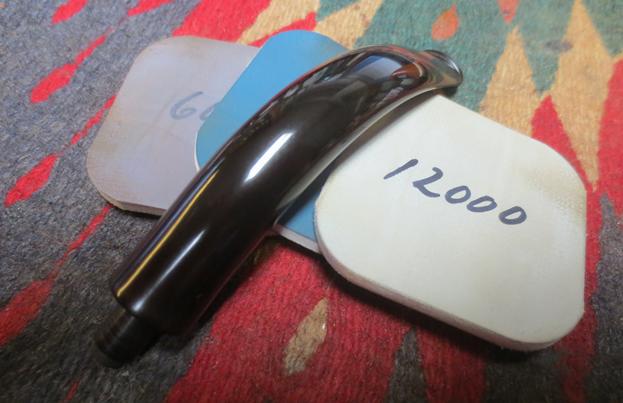
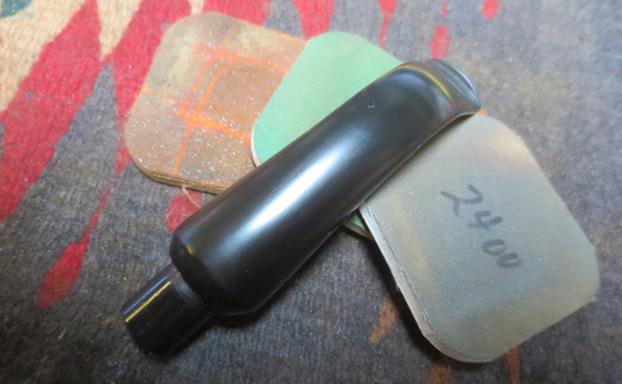
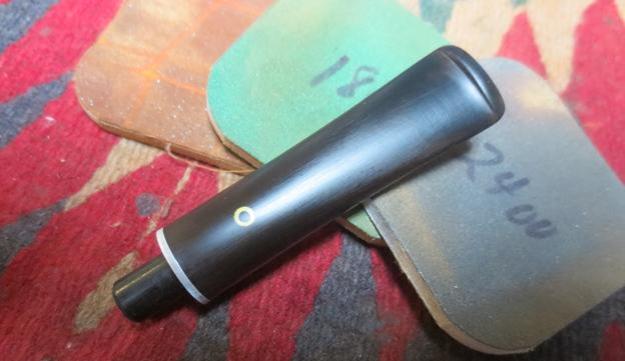
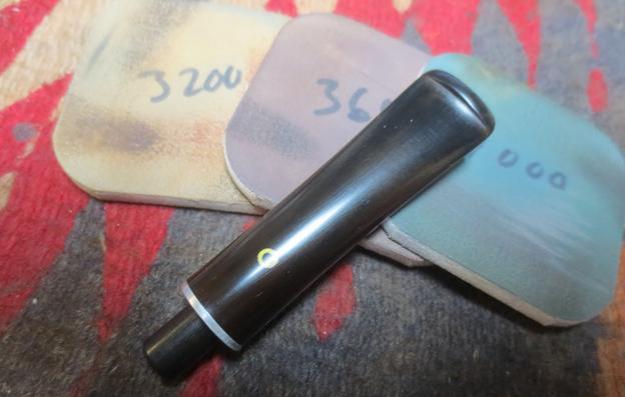
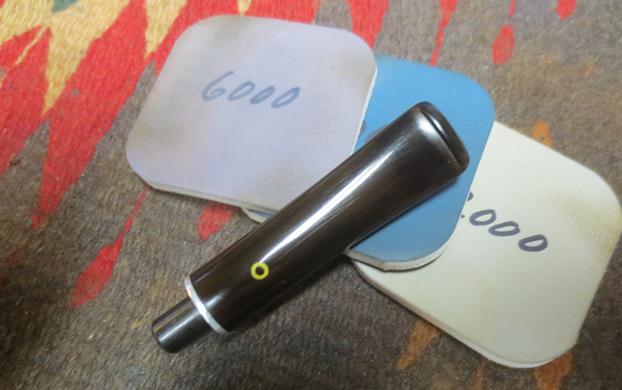
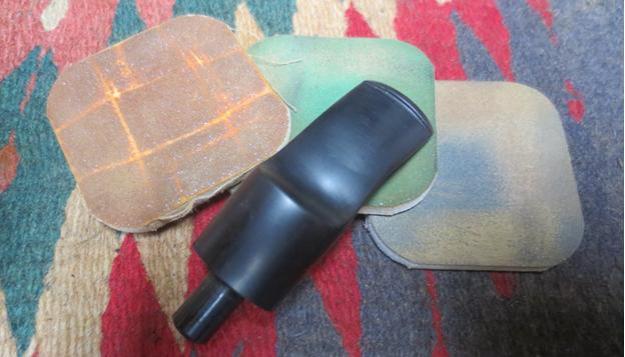
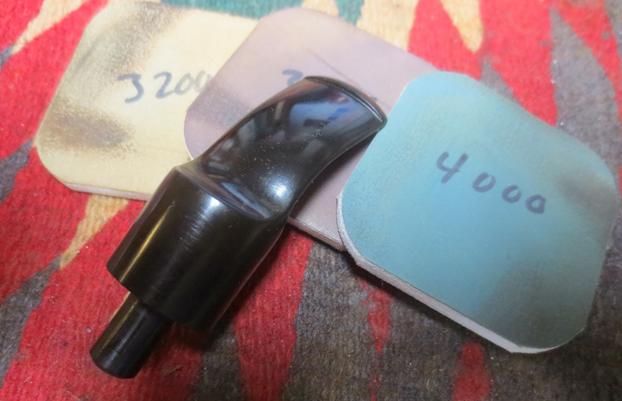
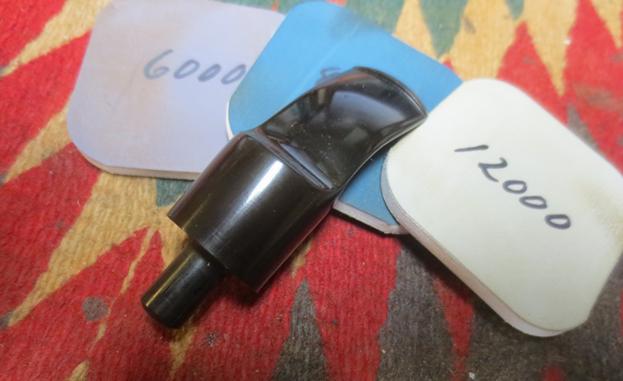
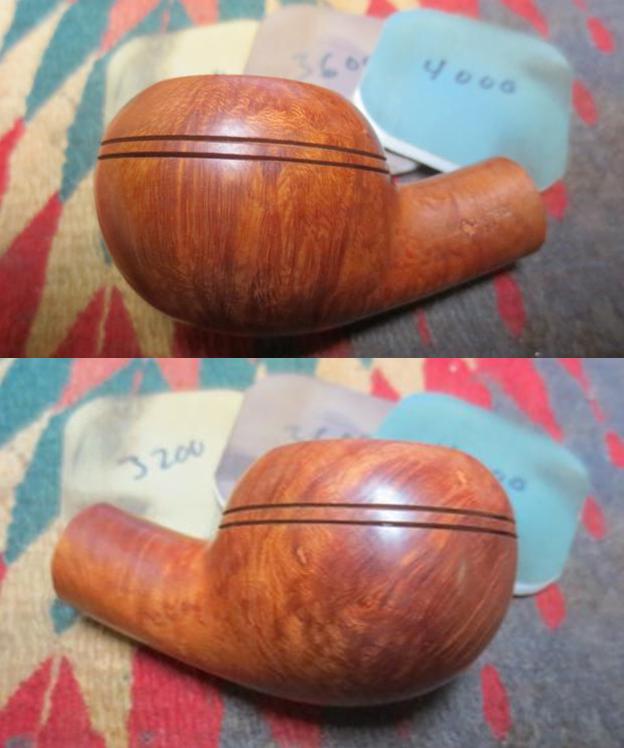
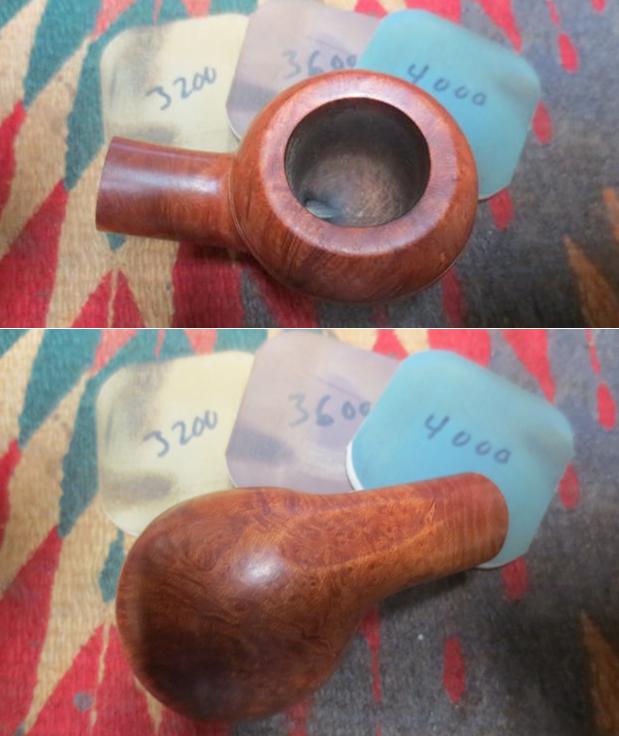
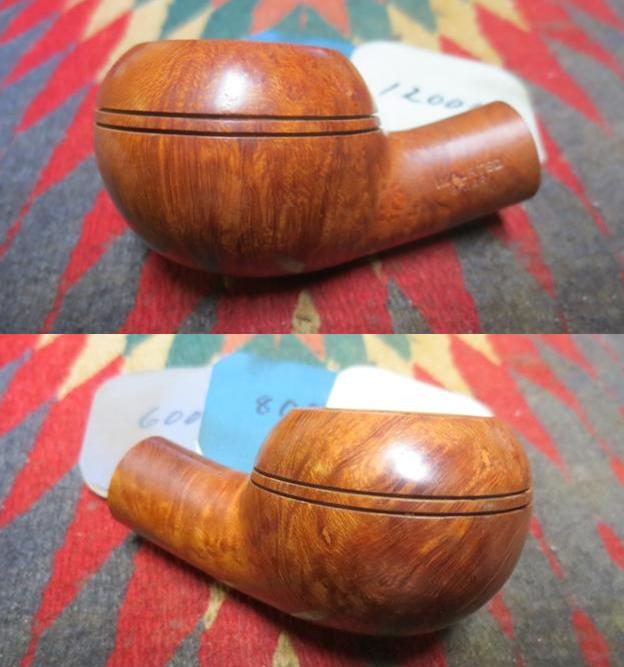
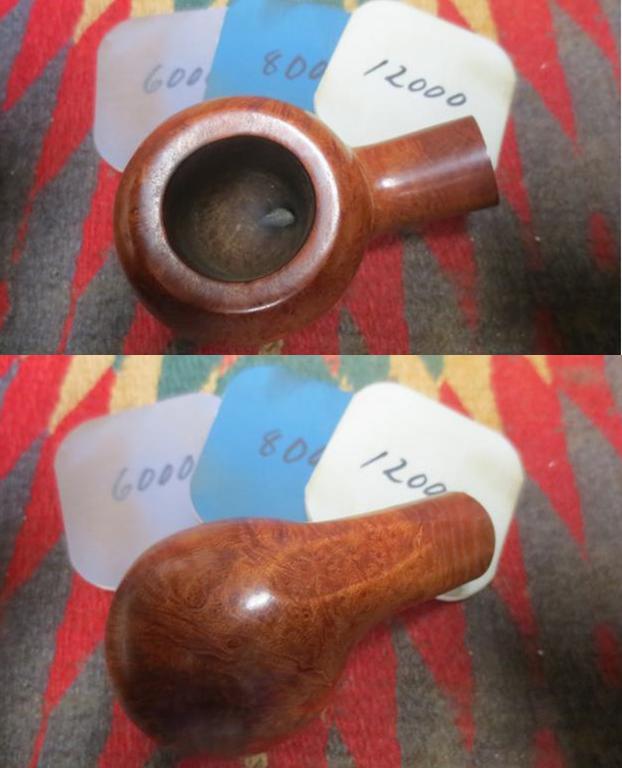
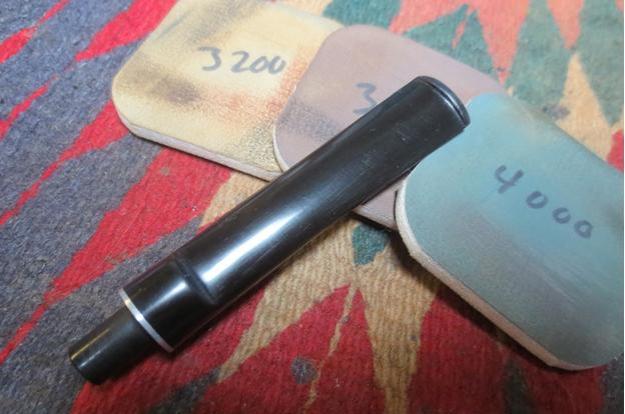
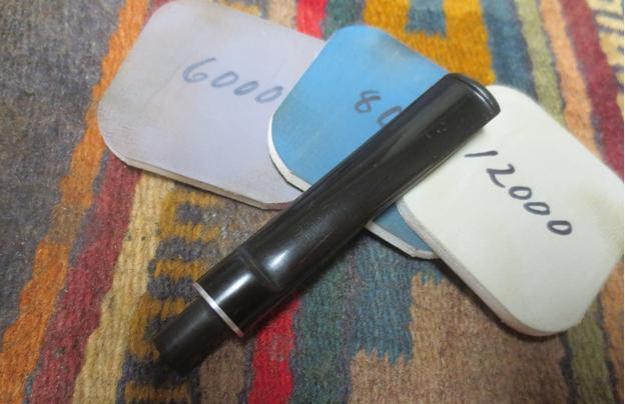
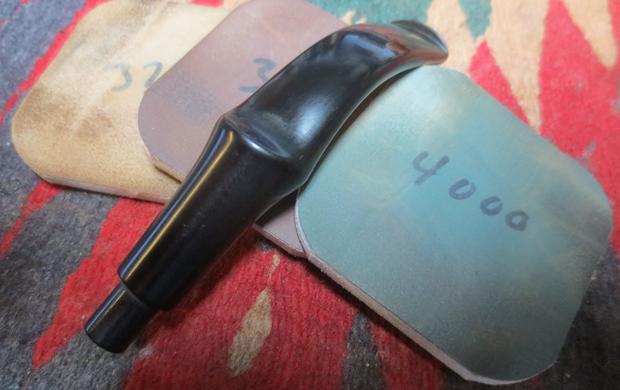
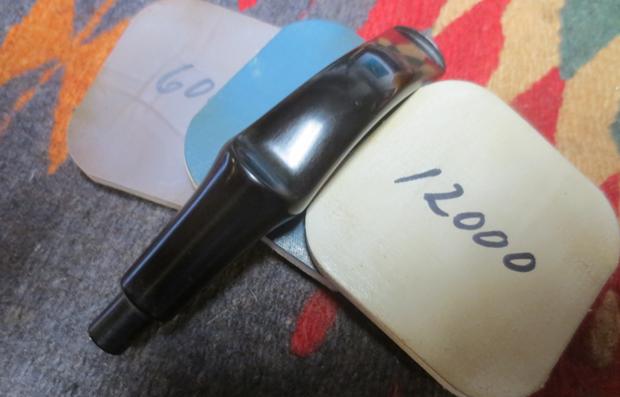
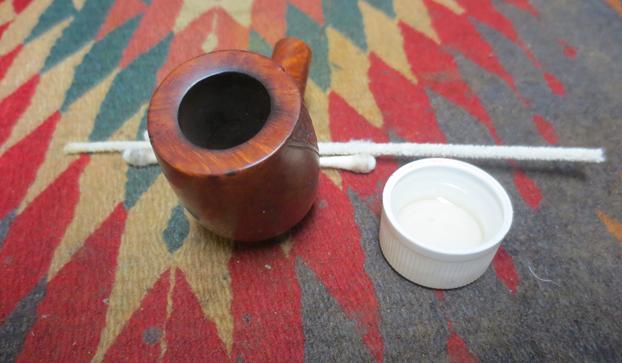 I polished the stem with micromesh sanding pads – wet sanding it with 1500-2400 grit pads and dry sanding it with 3200-12000 grit pads. I rubbed the stem down with Obsidian Oil after each set of three pads. After the final polishing with the 12000 grit pad I gave it a final coat of oil and set it aside to dry.
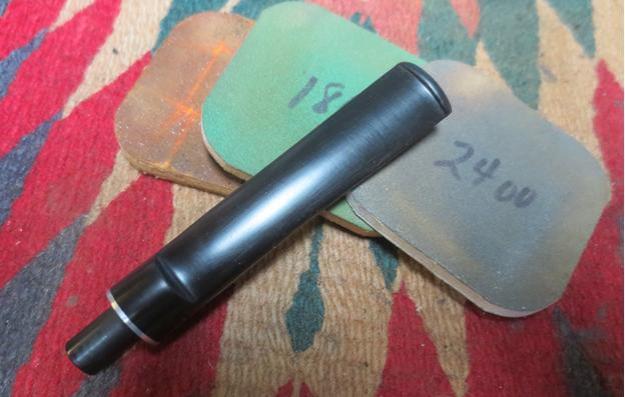
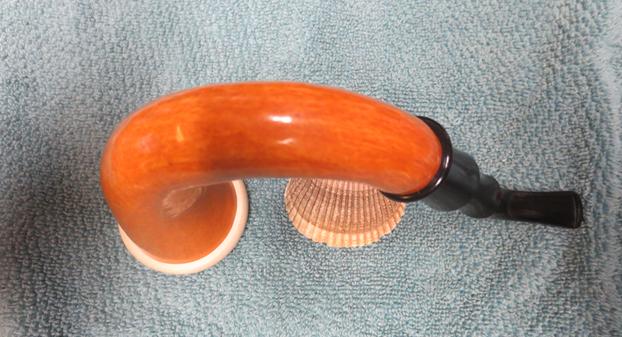
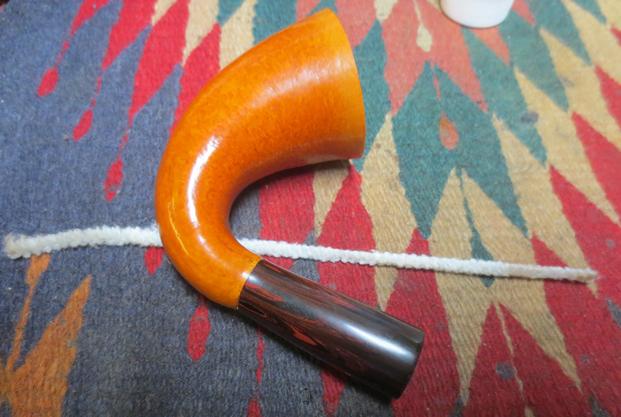
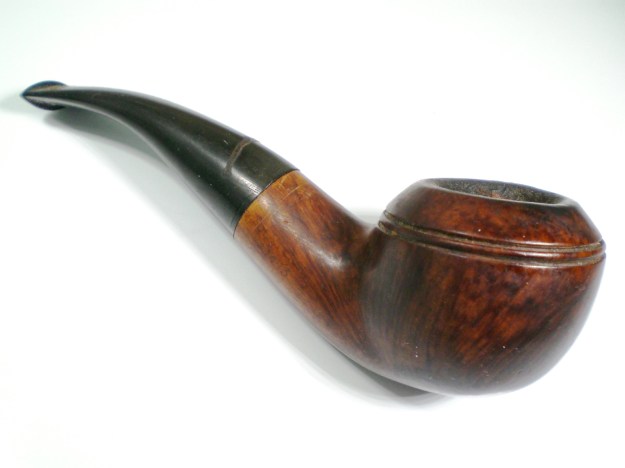
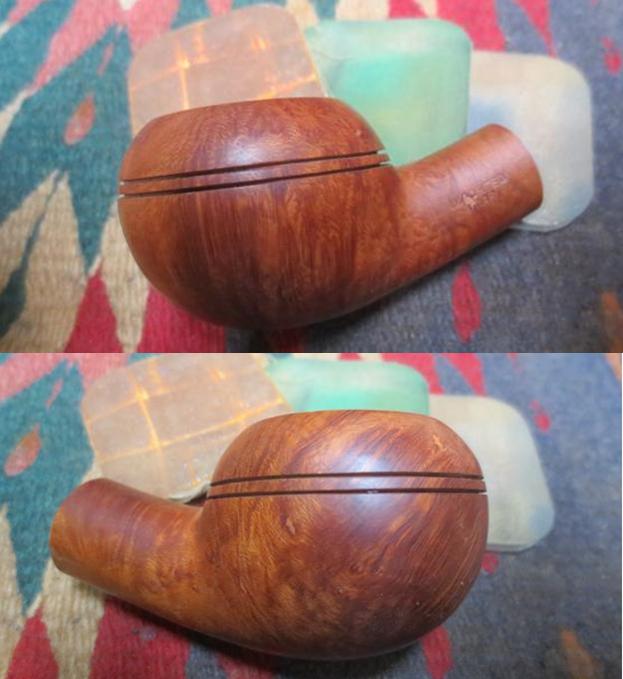
 I put the stem back on the shank and took the pipe to the buffing wheel. I buffed the pipe with Blue Diamond to remove any remaining scratches in the bowl, rim and stem. I gave the pipe multiple coats of carnauba wax focusing on the smooth portions. I buffed it with a clean buffing pad to raise the shine. I took the pipe back to the work table and waxed the rusticated areas with Conservator’s Wax. I buffed those areas with a shoe brush. I hand buffed the pipe with a microfibre cloth to deepen the shine. The pipe is finished and ready to go back to its owner to carry on the family connection. I am looking forward to hear how it smokes for him now. Thanks for looking.
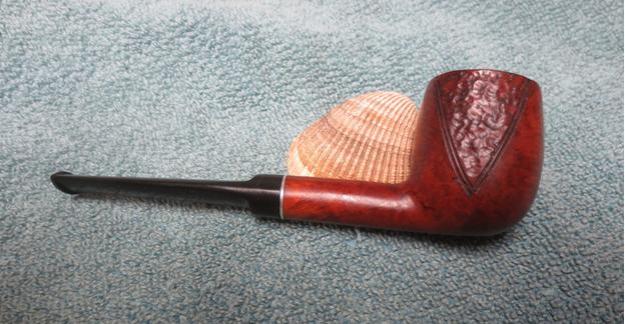


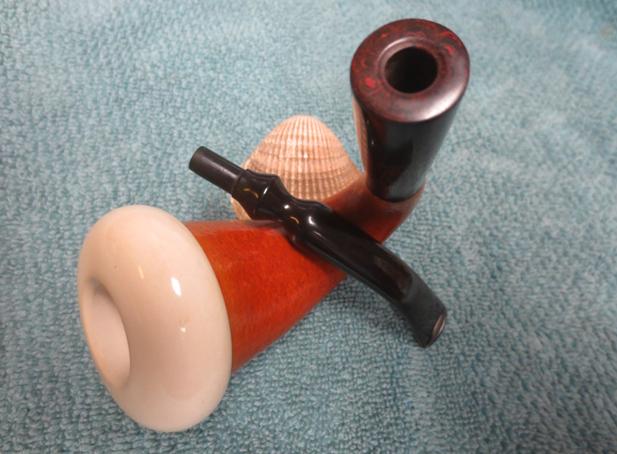
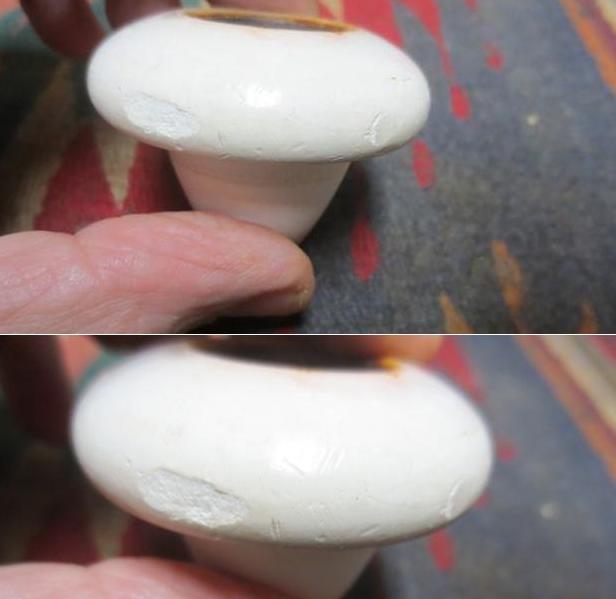
 I took the pipe apart to get a look at the parts. The inside of the gourd was surprisingly clean. In fact it looked barely smoked. This made me wonder if the bowl was not a used replacement bowl from another pipe. The cork gasket was also new and had been replaced. It was dry and hardened but still had not cracked or broken. The top of the bowl was in rough shape. There were some scratches and the burn marks were all around the inner edge of the bowl.
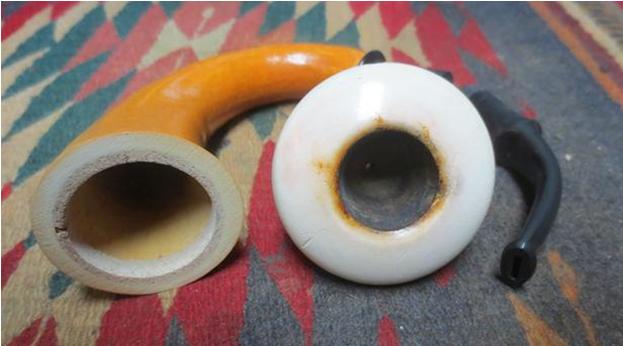
 I took a close up photo of the bowl top and edges to show more clearly the kind of damage that would need to be addressed in cleaning this one up. You can see the nicks on the inner edge of the bowl and on the top. The burn marks went all the way around and out into the surface of the bowl. The scratches on the top are visible and many. The second and third photo below show the nicks in the out edge of the bowl. It looked to me that the bowl had been dropped some time in its life. There were two missing pieces and there were also a lot of scratches all the way around the outer edge of the bowl.
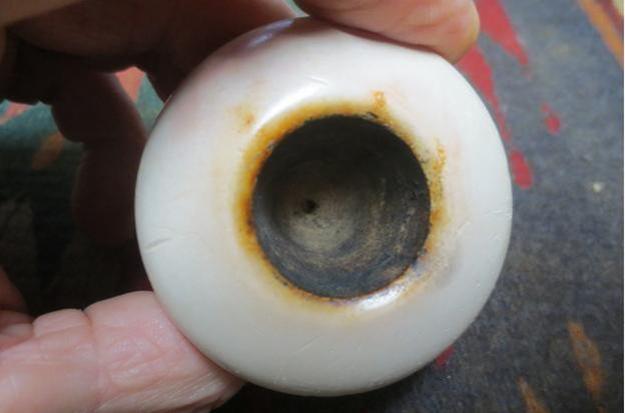
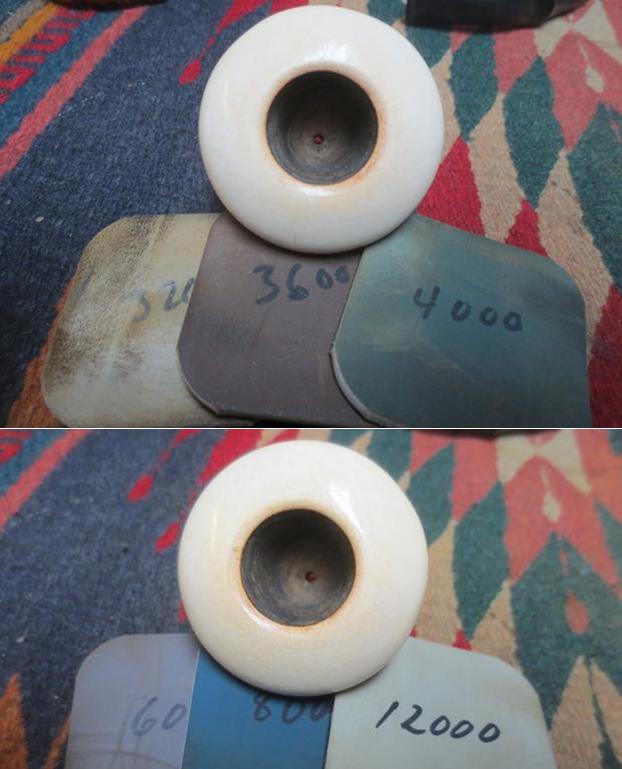
 I sanded out the as many of the scratches as possible with 220 grit sandpaper. I smooth out the missing chips on the edge of the bowl and reshaped the rounded edge of the bowl so that the chips were no long visible. I polished the meerschaum with micromesh sanding pads – wet sanding with 1500-2400 grit pads and dry sanding with 3200-12000 grit pads. I buffed the bowl with Blue Diamond to polish it to a shine. By the time I was finished most of the scratches and damage had been repaired and the bowl looked far better.
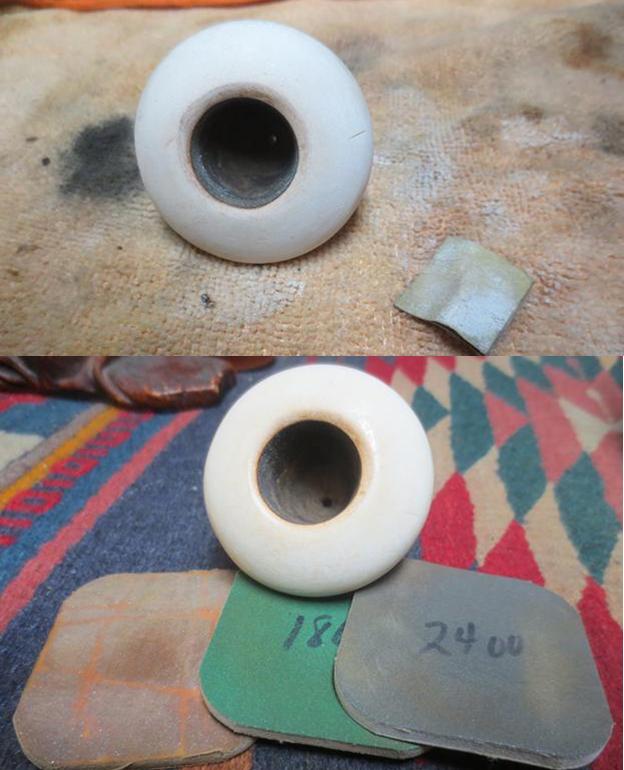
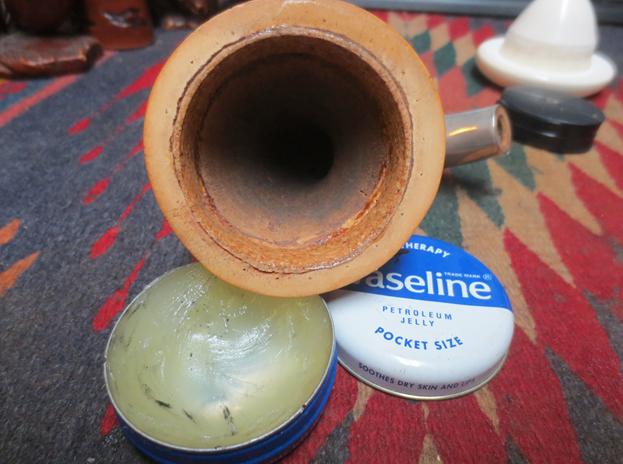
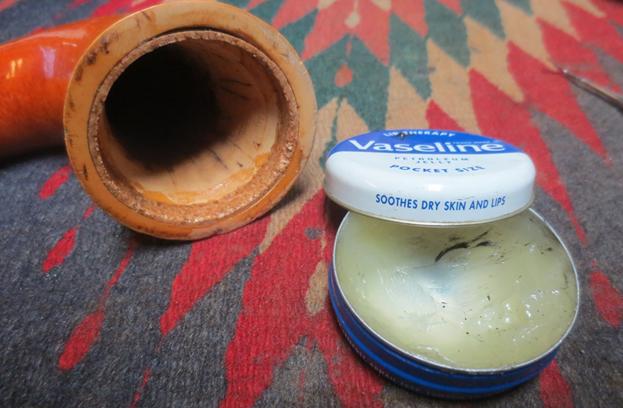
 I greased the cork with Vaseline to revitalize it and soften it. I rubbed it down and let it absorb before giving it another coat. Once it had been absorbed the cork was softer and more flexible. The bowl seated very well when pressed into place.
 I waxed the gourd with Conservator’s Wax and buffed it by hand with a soft cloth. I repeated the process and after buffing it with the cloth hand buffed it a final time with a microfibre cloth.
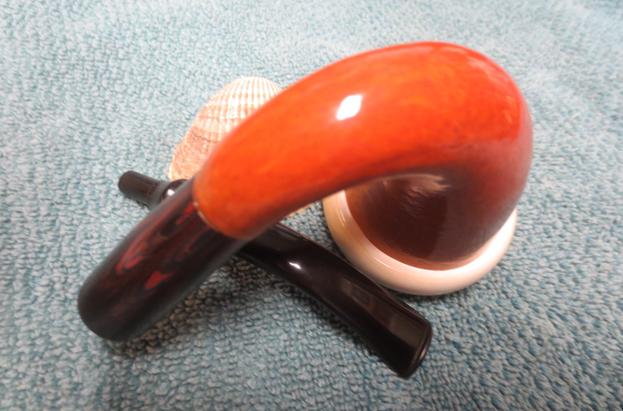
 I pressed the bowl into the gourd and it fit really well. The next two photos show the polished bowl and gourd. The pipe is already looking far better than it did when I started the refurbish on it. There is a shine to it now.
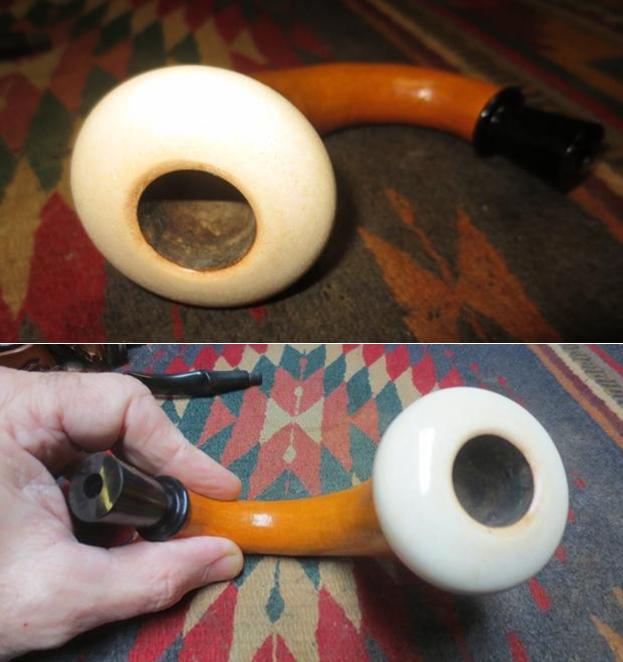 I cleaned out the shank, the mortise and the airway in the stem with pipe cleaners, cotton swabs and alcohol. It was remarkably clean which made me more certain that the pipe itself was unsmoked and a used replacement bowl had been added later.
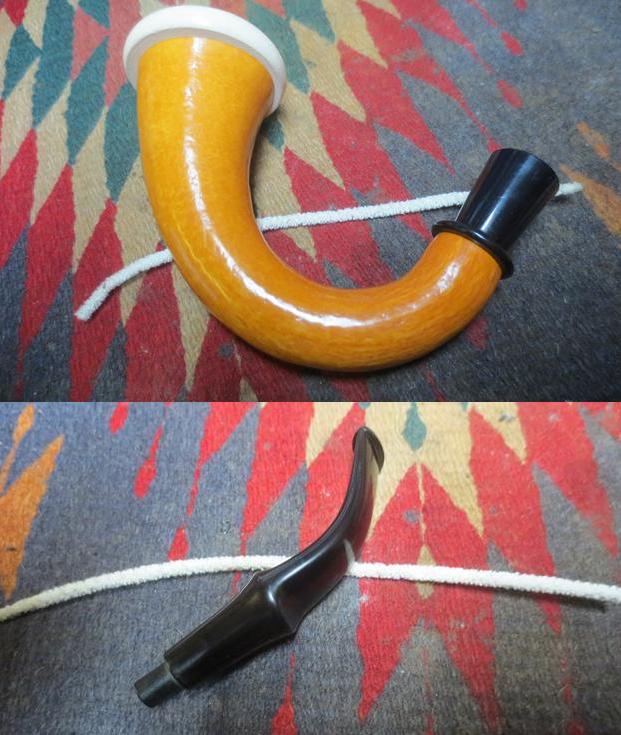 I polished the unused stem with micromesh sanding pads – wet sanding with 1500-2400 grit pads. I buffed the stem with red Tripoli to remove the light oxidation and then finished dry sanding with 3200-12000 grit pads. I gave the stem repeated coats of Obsidian Oil after the first set of pads and the buffing and after each set of three pads after that. I gave it a final coat after the sanding with the 12000 grit pad and then set it aside to dry.
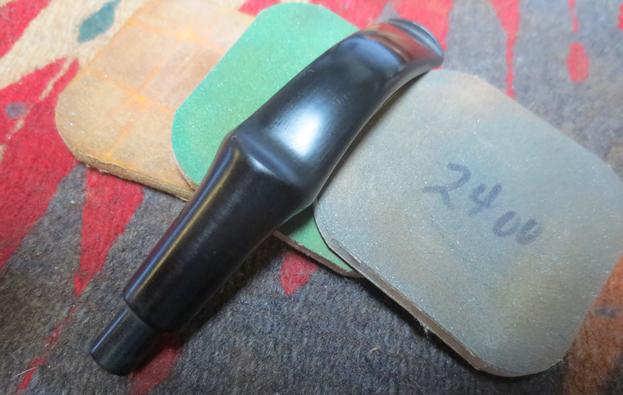
 I gave the stem multiple coats of carnauba wax and buffed it with a clean buffing pad to raise the shine. I removed the bowl and carefully buffed the gourd with a clean buffing pad to raise the wax shine on it as well. I put the pipe back together and hand buffed it with a microfiber cloth to deepen the shine. The pipe looks really good now that it is finished. You would be hard pressed to find the damaged areas on the bowl sides and the scratches on the rim top look really quite good. The bowl has a light patina that remained after I waxed it with beeswax. It is a beauty and will serve someone well. It will be available on the rebornpipes store shortly. If you have been looking for a gourd calabash this one may well fit the bill. Thanks for looking.