Daily Archives: July 29, 2016

Deghosting a Stinky Champagne by Savinelli 606KS


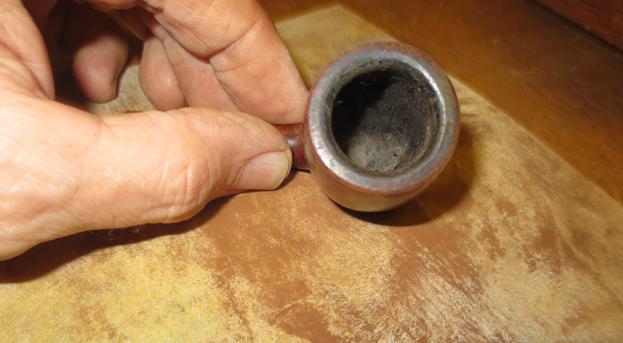
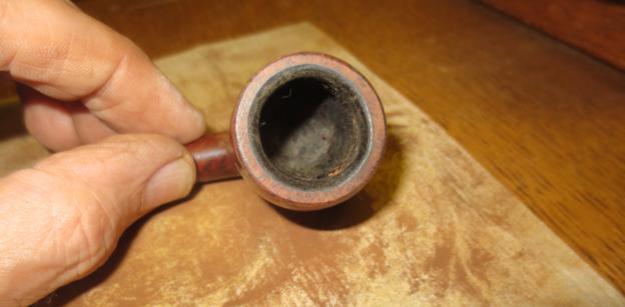
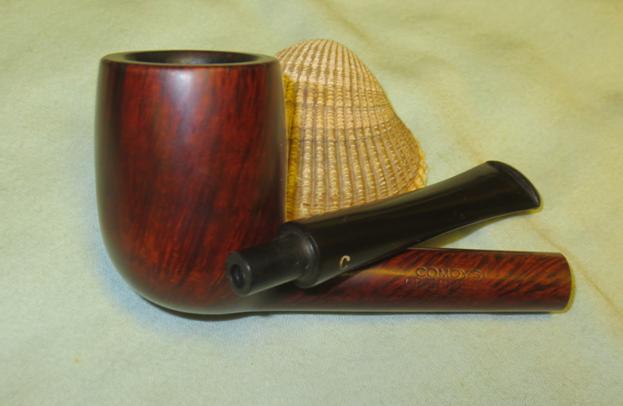
Charles a good description the process of destinking a bowl with charcoal. I have done this but have not written it up at this point. I am reblogging it on rebornpipes to pass it on to the readers of the blog that might read this here. Thanks for doing the work.

The aroma of a pipe is one of those olfactory experiences that can thrill the senses and trigger a flood of memories and emotions – chats with Grampa on the front porch, the texture of the bench seat in an aluminum fishing boat, the scent of a campfire or the warm hazy aftermath of Christmas morning.  I’ve had fellow pedestrians deliberately alter the course of their afternoon stroll in order to get a whiff of my pipe and even stop me to share their pipe recollections. Sometimes I think that if I could bottle the scent of burning pipe tobacco, I could make a fortune.

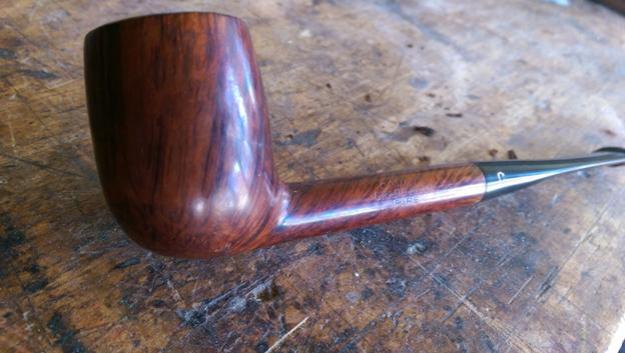
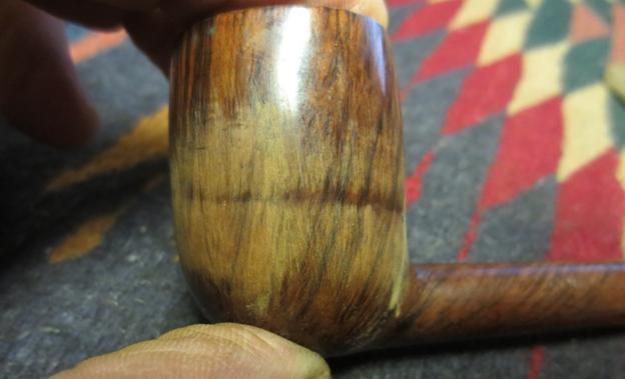
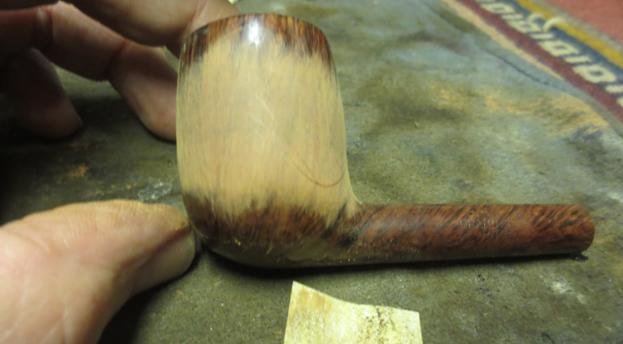
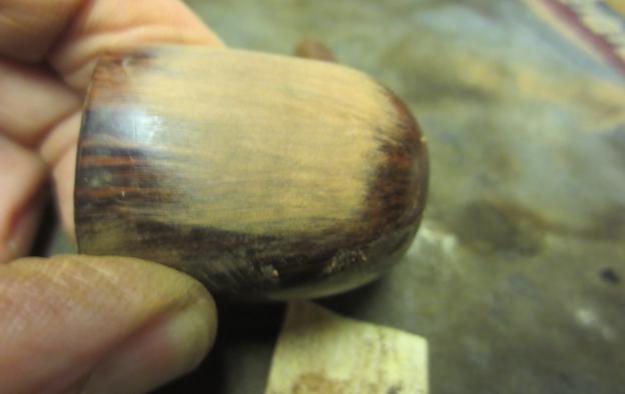
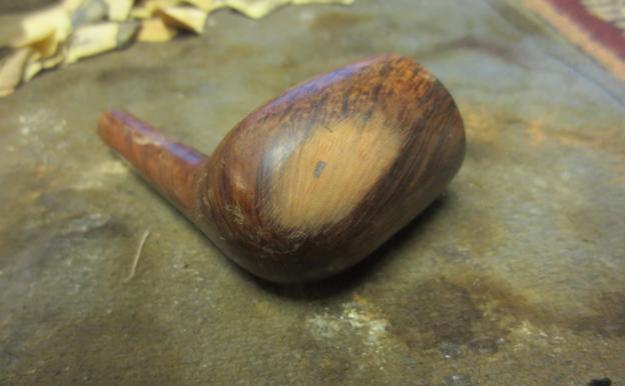
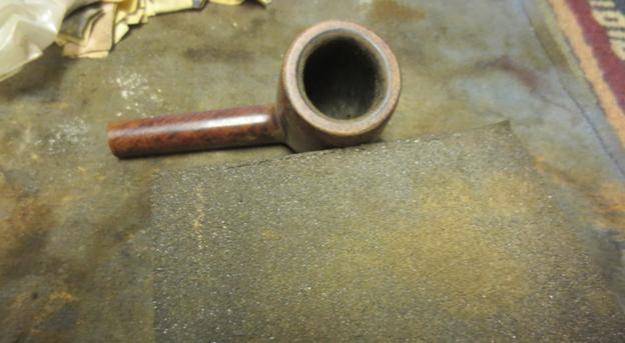
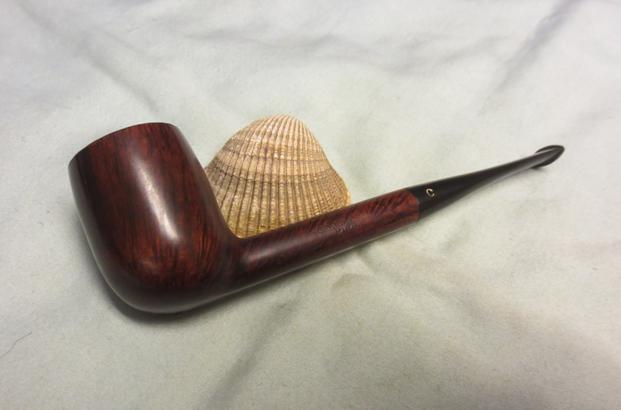
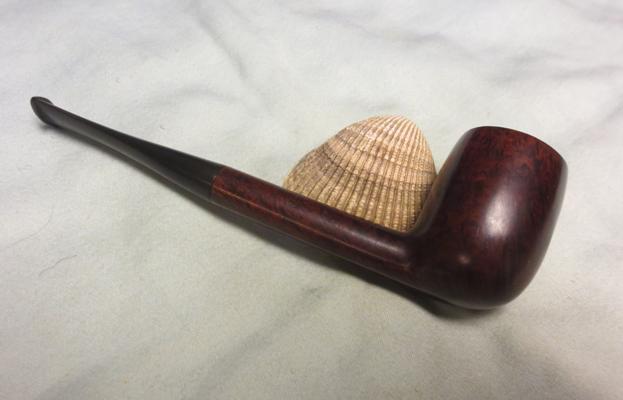
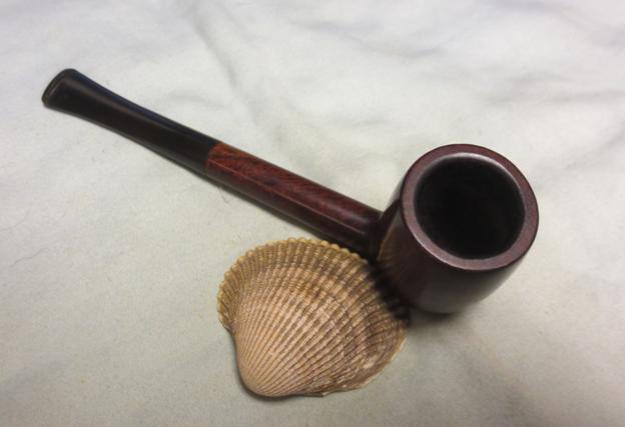
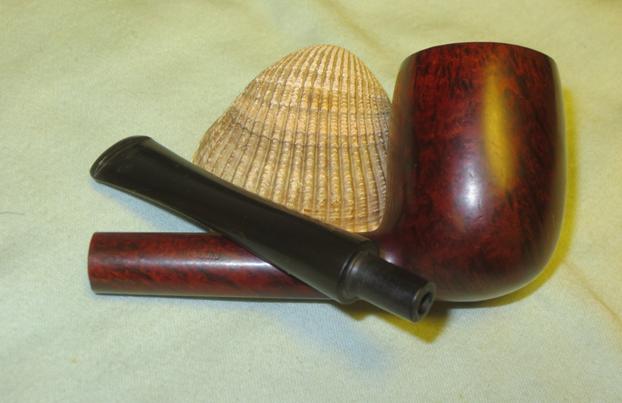
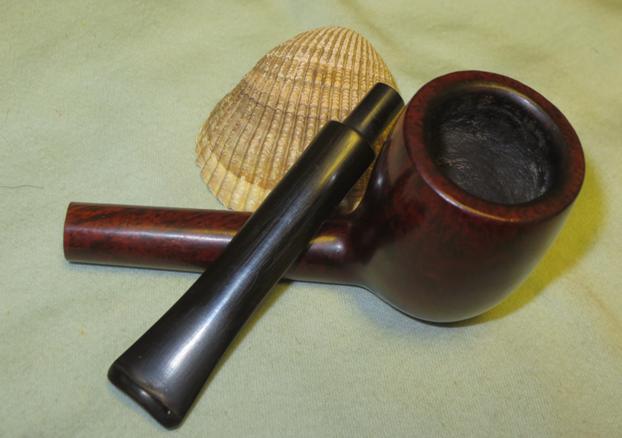
Yes, the reaction to a quality tobacco burning in a good, clean briar is almost universally positive. But everything changes when that same pipe is neglected, transformed from a stalwart briar companion to a stinking wooden husk packed full of soured, congealed tars and fouled…

View original post 1,379 more words

Doing Shaping Work on a Comoy’s Grand Slam Pipe 66


Blog by Steve Laug

Recently I traded the Simpson Sandblast Billiard that I restored with a reader of the blog for a Comoy’s Grand Slam 66. It is stamped on the left side of the shank Comoy’s over Grand Slam over Pipe. On the right side it has the classic Comoy’s Circle Made in London over England Com Stamp and further along with the shape number 66. The finish was in decent shape though there was some sticky dirt buildup on the sides. The right side of the bowl had a small divot on the bottom front of the bowl. On the left side of the bowl there was a ring or a small trough that was indented in the bowl from the left rear of the bowl to left front of the bowl. It looked like a dent in the briar. It is very clearly shown in the second and the third photos below. The stem had some oxidation and three deep tooth gouges on the top of the stem and one on the button top. There were also some deep tooth marks on the underside of the stem and the button. The C stamp on the stem is a newer stamp in the vulcanite that is painted with a white paint.Comoy1 Comoy2 Comoy3I measured and studied the side of the bowl before I decided what to do with it. I was not sure if the trough was caused by and issue inside of the bowl so my brother and I both cleaned and checked that out and could see nothing. I turned to look at the outside of the bowl and noticed that the bowl actually bulged above and below the line. That line itself actually was the same height as the rest of the bowl apart from the bulge. The bulge was thus briar that needed to be removed rather than the line a dent of missing briar. I breathed a sigh of relief and began to work on restoring it to normalcy.

I sanded the side of the bowl with 220 grit sandpaper to try to minimize the groove in the bowl side. The photos below show the progress of the repair. The first photo shows the first sanding on the bowl side. With the initial sanding you can see length of the groove on the side of the bowl. I sanded the bowl side on both sides of the groove until the groove disappeared. I was actually surprised that I was able to remove the damage to the bowl without making the bowl any thinner in the process. It was almost as if when the bowl was turned in the factory the cutting head that turned the bowl slipped and left a hump above and below the groove. Thus the groove itself was actually level with the rest of the bowl other than the humps.Comoy4 Comoy5 Comoy6 Comoy7In the next photo you can see the slight divot at the 11 o’clock position at the top of the photo. It was a deep cut in the briar that must have happened when the pipe was dropped somewhere along process. I sanded it smooth and filled in the divot with clear super glue and briar dust. Once the repair cured I sanded it smooth with 220 grit sandpaper to smooth out and blend in the repair. I sanded it with a medium and a fine grit sanding block to remove the scratches in the briar.Comoy7a Comoy8The rim on the bowl had a light buildup of tars so I lightly topped it on the topping board to remove the buildup. I topped it against 220 grit sandpaper then against a medium and a fine grit sanding block.Comoy9 Comoy10 Comoy11 Comoy12I stained the bowl with a dark brown aniline stain thinned with alcohol to match the colour of the existing finish. I applied it to the surface and flamed the stain. I repeated the process until I had a good even coverage on the bowl sides.Comoy13 Comoy14I wiped the bowl and shank down with alcohol on cotton pads to even out the colour of the stain and make it more transparent. Once that was done, the finish of the bowl looked really good to my eye.Comoy15 Comoy16 Comoy17 Comoy18The stem was a newer style Comoy’s as noted above because of the style of the logo. It was stamped into the vulcanite and then painted. There were some significant bite marks on the stem that needed attention. The lighter tooth marks I was able to sand out with 220 grit sandpaper and remove them. There were others that were quite deep. I cleaned the surface of the stem and used a thick black super glue to fill in the tooth marks. Comoy19I sanded the repaired spots with 220 grit sandpaper and cleaned up the sharp edge of the button with a needle file. I was pleased with the overall look of the stem once the repairs had been sanded smooth.Comoy20I wet sanded the surface of the stem with 1500-2400 grit micromesh sanding pads to begin the process of polishing the stem. I rubbed it down with Obsidian Oil.Comoy21Before proceeding further with the micromesh I decided to touch up the “C” stamp. I used a fine bristle brush and white acrylic paint to fill in the letter. I sanded off the excess with the 1500 grit micromesh pad and went over that section with 1800-2400 grit to match the rest of the stem.Comoy22I dry sanded the stem with 3200-4000 grit pads and gave it another coat of Obsidian Oil. I finished sanding it with 6000-12000 grit pads, gave it a final coat of oil and set it aside to dry.Comoy23 Comoy24I polished the pipe and the stem on the buffing wheel with Blue Diamond polishing compound and gave the entire pipe several coats of carnauba wax. I buffed it with a clean buffing pad and then by hand with a microfibre cloth. The finished pipe is shown in the photos below. The adjustment to the left side of the bowl worked well to smooth out the bulges and crease and the pipe looks as it should have when it left Cadogan. Thanks for looking.Comoy25 Comoy26 Comoy27 Comoy28 Comoy29 Comoy30 Comoy31