Lance Leslie
I received an email from Lance this afternoon with a blog submission. In his email he states that he thought that this would make a good blog for the site. He has been restoring pipes for a few years and has learned some valuable tips on rebornpipes. He sent along a restoration he completed that had a repair tip he had not seen addressed on the blog. While I have inserted dots on Dr. Plumb pipes and an odd variety of others I have not dedicated a blog to this repair so I agreed that it would be good to have his process spelled out here. Welcome to rebornpipes as a contributor Lance. It is good to have you here. Hopefully this will be the first of many contributions that you bring to the site. — Steve
I have been restoring pipe for a few years now and have learned some valuable tips from rebornpipes. I have a restoration to share and unless I have missed it, I have not seen this issue addressed on this blog. The issue being, adding the infamous white dot to new replacement stem. Or…in my case, a blank replacement stem.
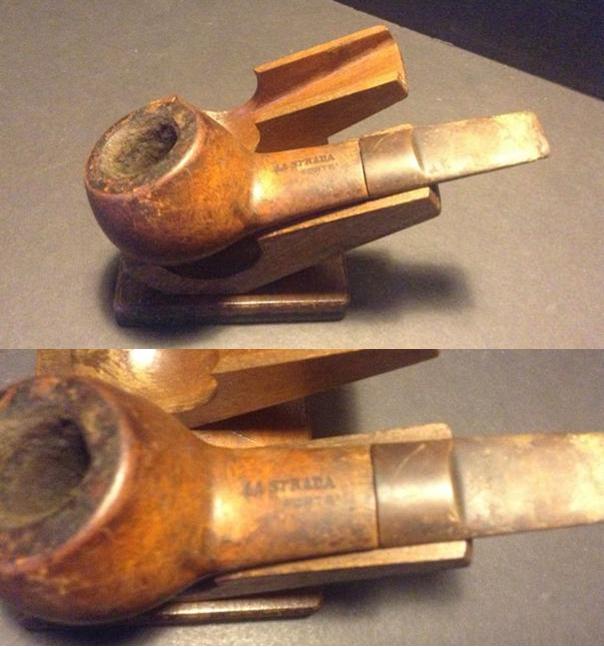
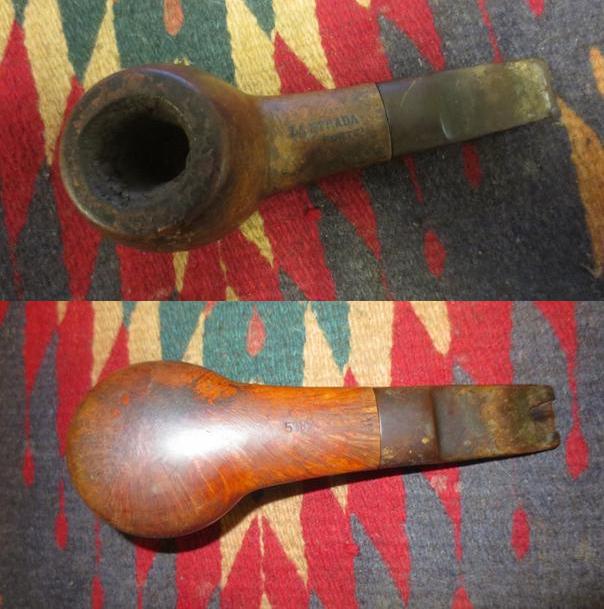
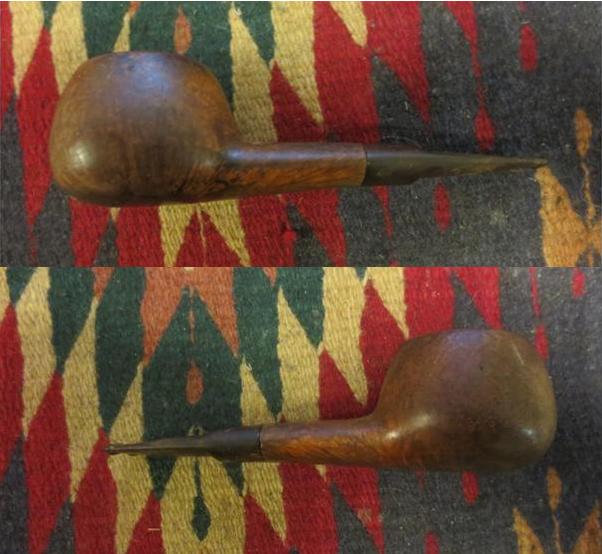
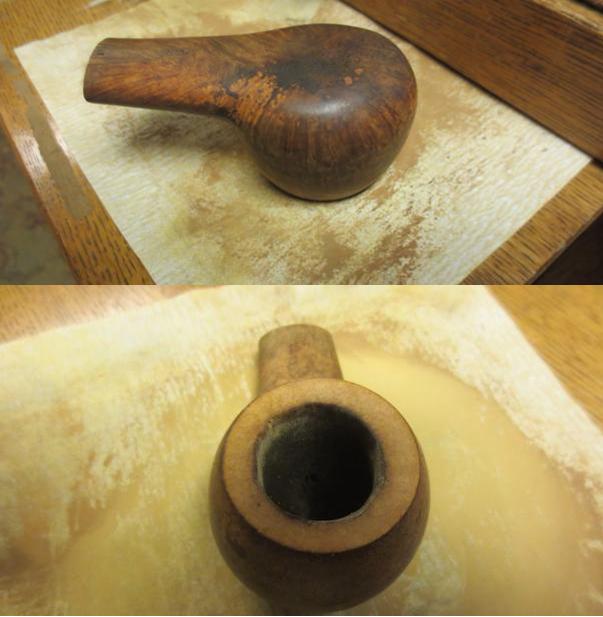
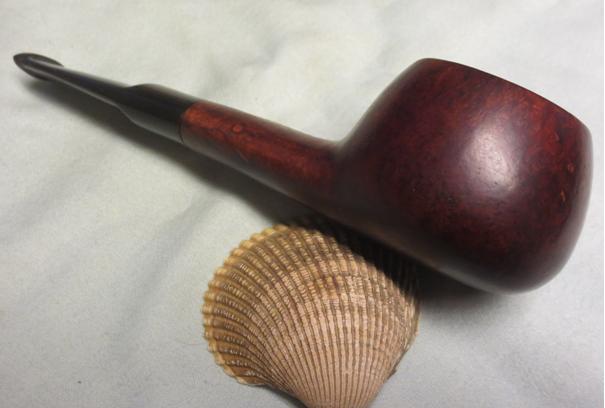
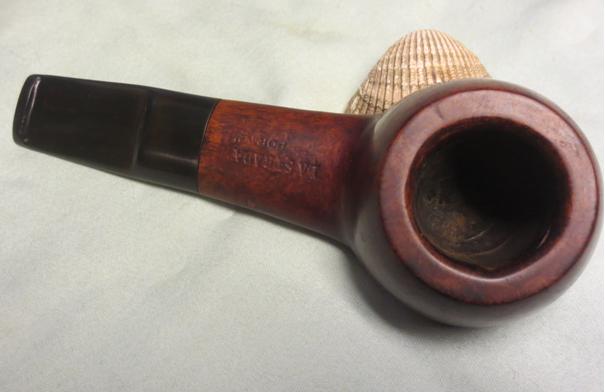
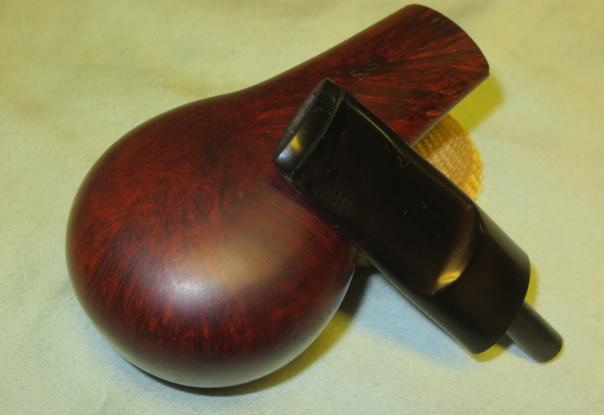
I recently won this Dunhill on eBay and noticed that the White Dot was missing. After asking all the right questions to be sure I WAS bidding on a Dunhill, I made my offer and won. The owner did not know much about pipes so he did not know if it was a replacement stem. I have seen the white dot covered by soot only to be revealed during the cleaning, but this was not the case. This was listed as a 1982 Dunhill Bruyere but it turned out to be a 1977. Here is the pipe as it looked when it arrived.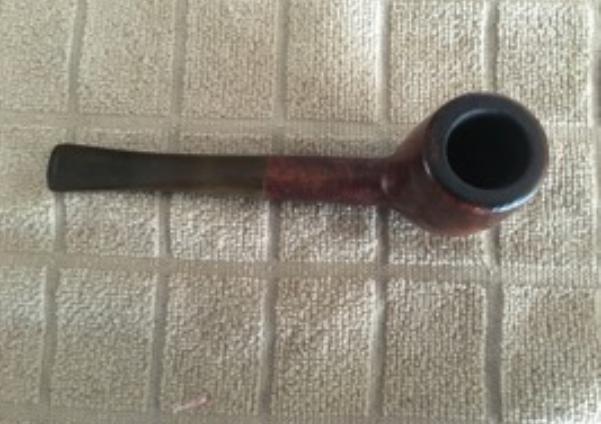 The rim was covered with lava and the bowl was thick with cake. There were some dings in the bowl that would need to be addressed. The stem had some dents and would need a White Dot added. What is a Dunhill without the White Dot? The stem was also heavily oxidized.
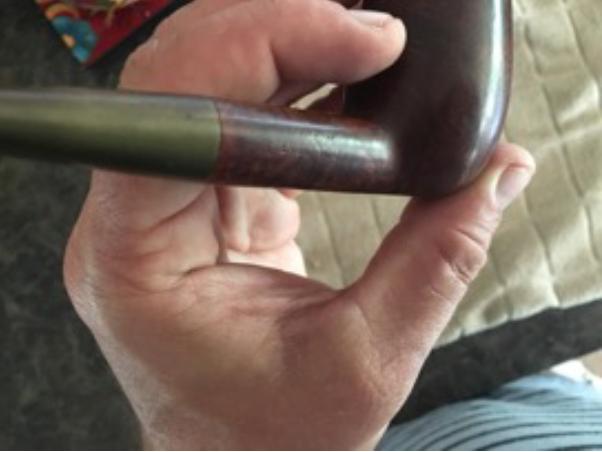

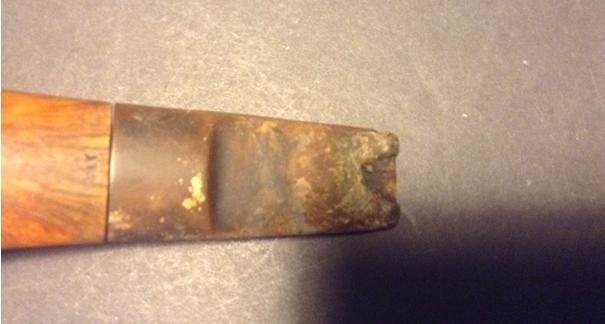
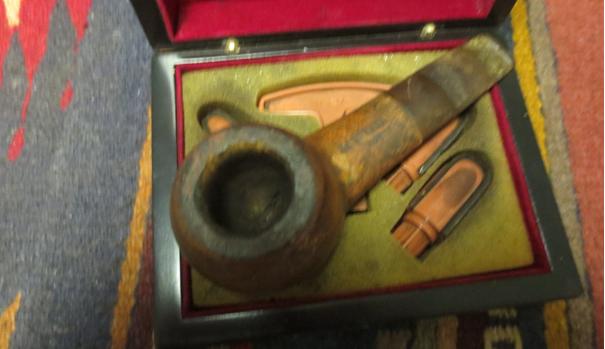
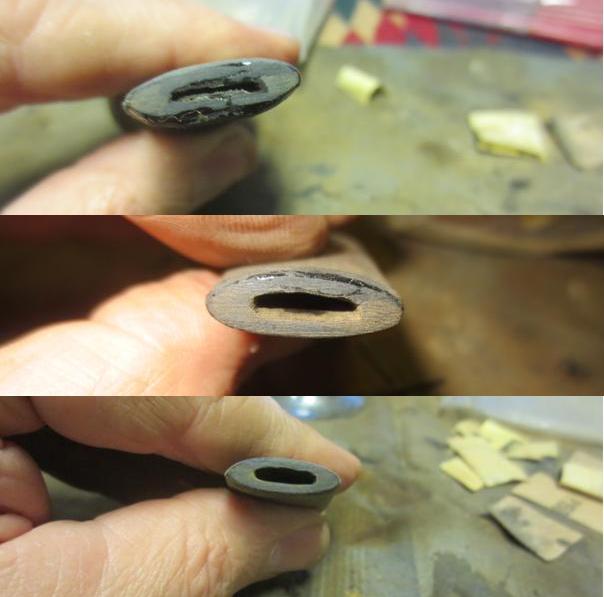
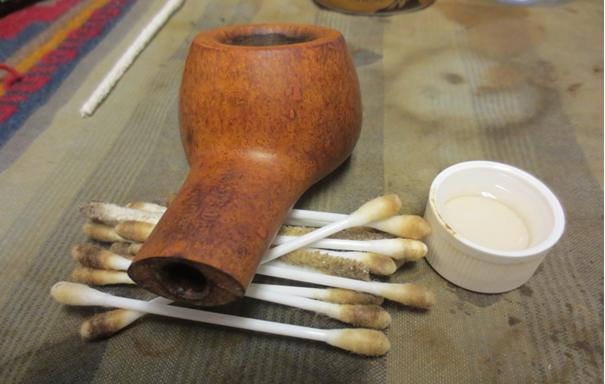
 I placed the stem in an Oxyclean bath and let the stummel soak in an alcohol bath to loosen the lava. After I removed the lava I saw significant damage to the rim of the piped and the rim was scorched in two places. This could only be fixed by topping the bowl. Rats!
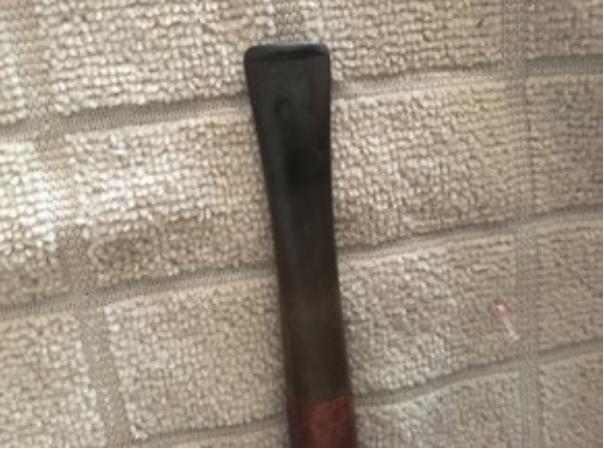
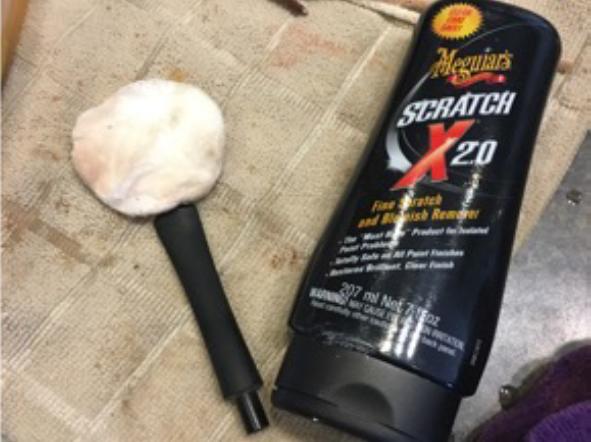
 I removed the stem for the Oxyclean bath and polished it with Meguiar’s scratch X 2.0. I didn’t want to go too far with the stem because I would be adding the dot later.
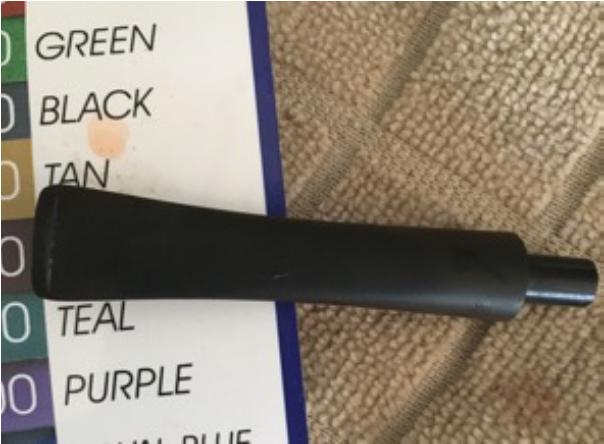
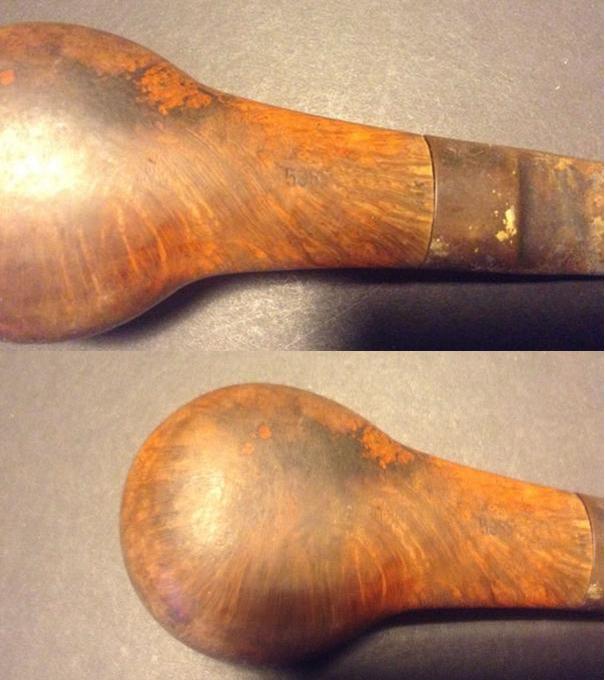
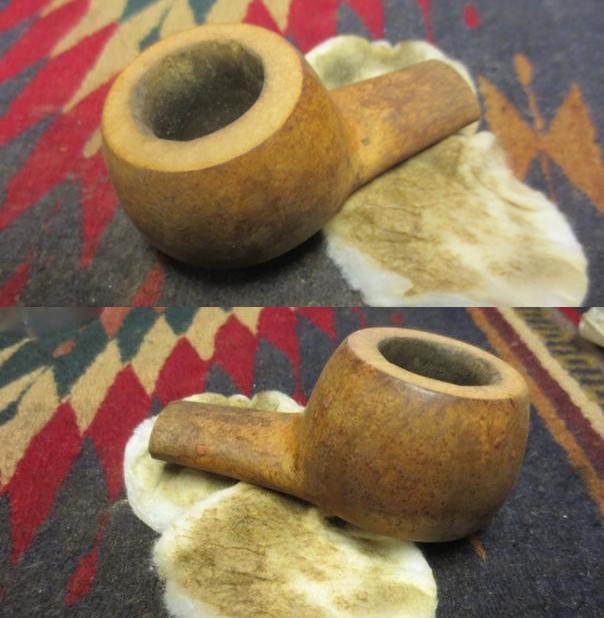
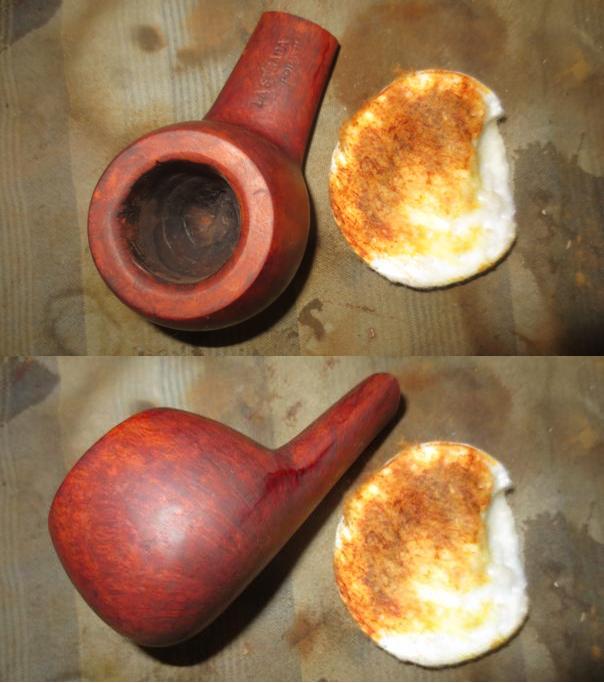
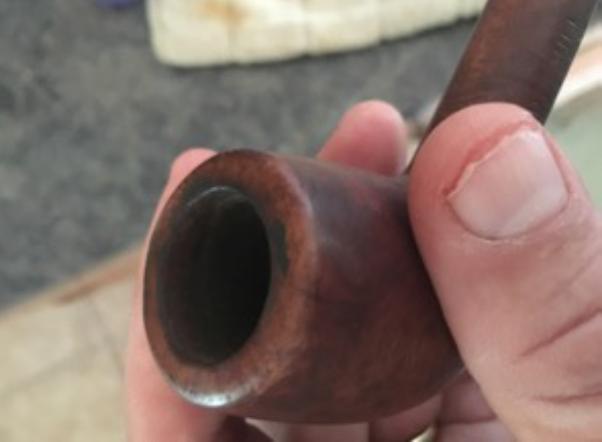
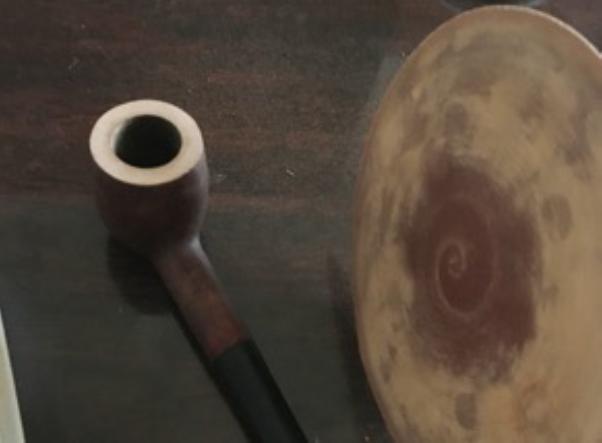
 I then took the bowl and my sanding bit and topped the bowl. As you can see, it is now clean and sharp. The scorching was also gone. Thank goodness it was not too deep.
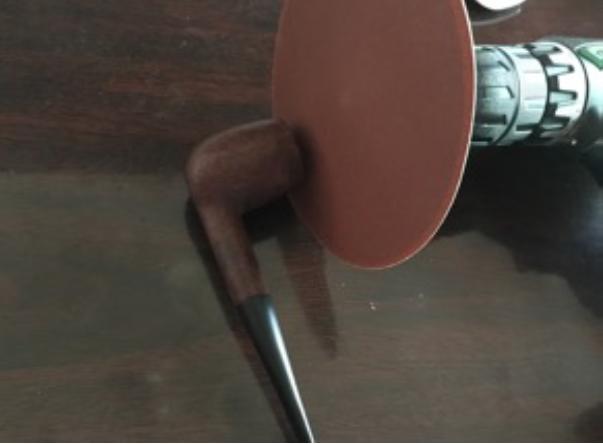
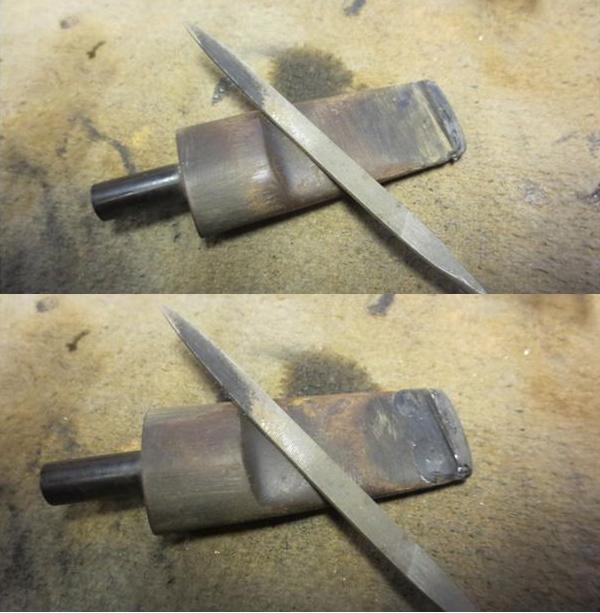
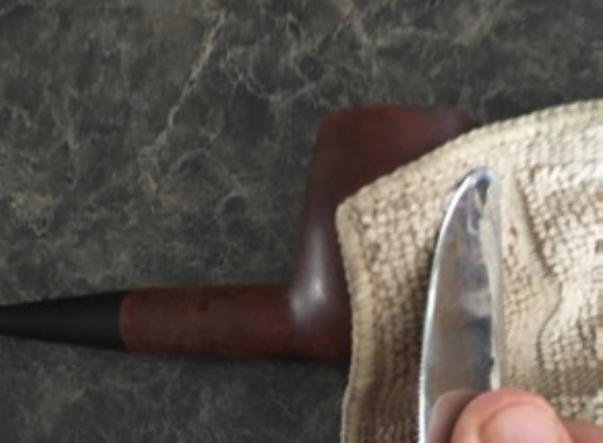
 Next I wanted to address the dents in the sides of the bowl. Thanks to rebornpipes I knew a simple way to do this. And yes, my wife is missing a dish towel. With said dish towel wet, I heated a kitchen knife with a lighter. I pressed the knife against the dish towel and steamed the dent right out. Works every time.
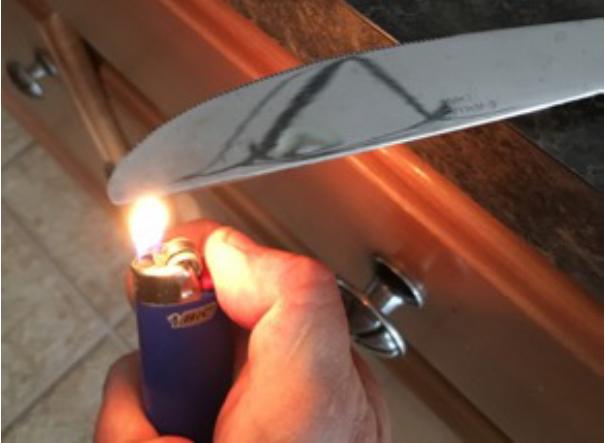
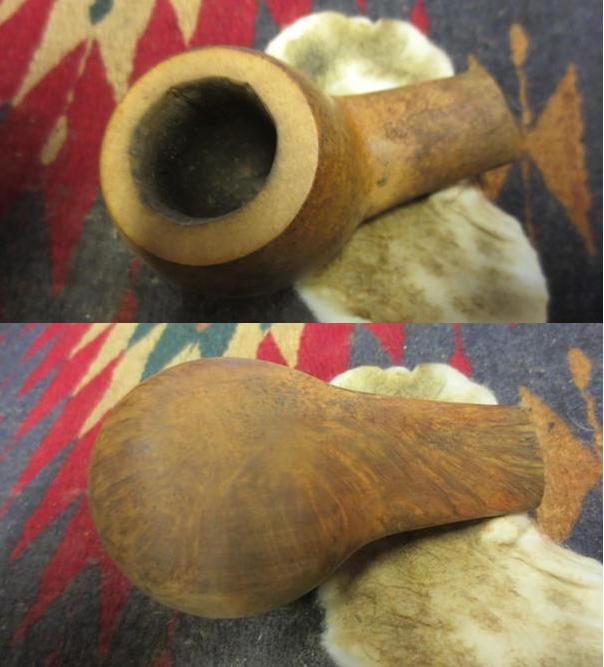
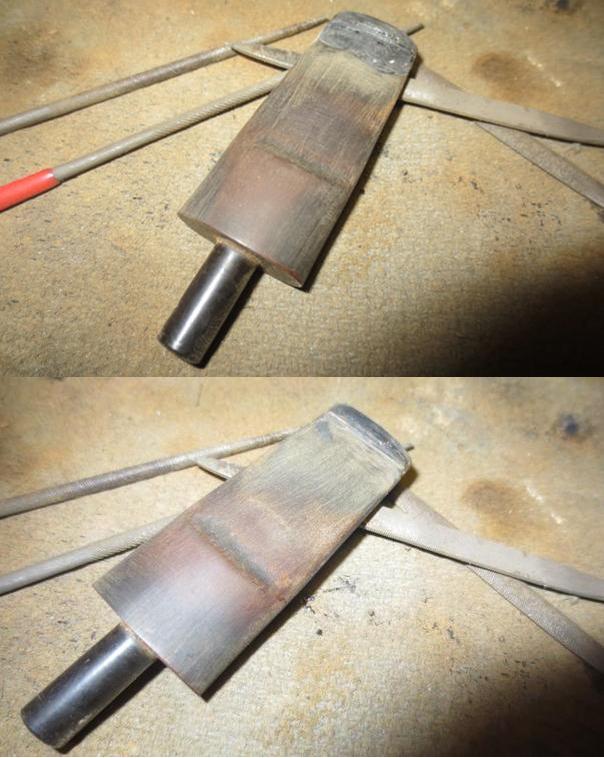
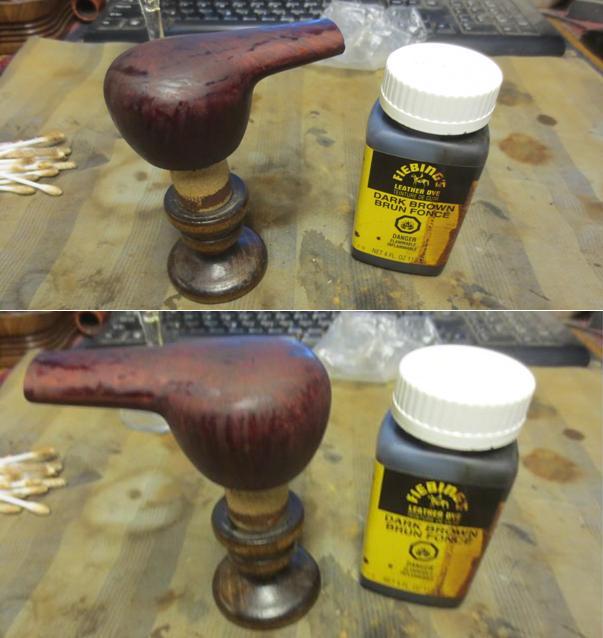
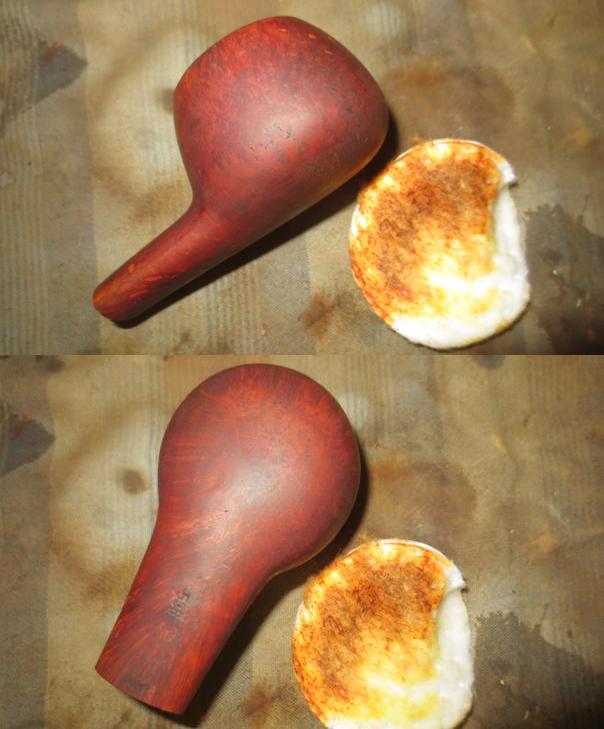
 Now I needed to stain the top of the bowl. I mixed up some leather dye to match color of the bowl and gave the top several coats until it matched.
 Now the fun part!! It was time to add the White Dot to the stem. I had recently acquired a quad copter (Syma X5SW) and remembered the propeller protectors that came with the copter.
These are added for beginners to help protect the blades while you learn to fly. I no longer needed these so I checked the size and knew it would be a perfect match. BTW, you can order these blade protectors off of Amazon. Just type in replacement parts for Syma X5SW. They are cheap! See photos below…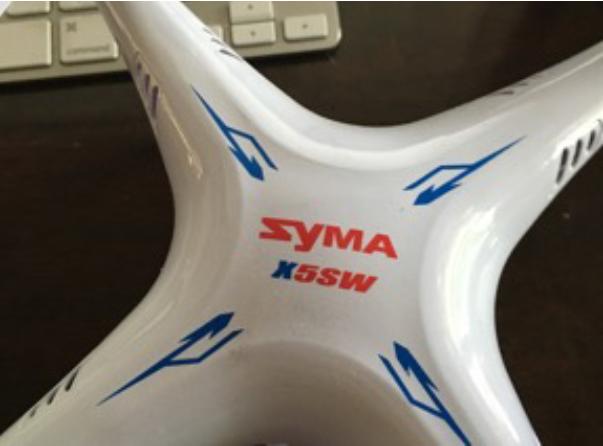
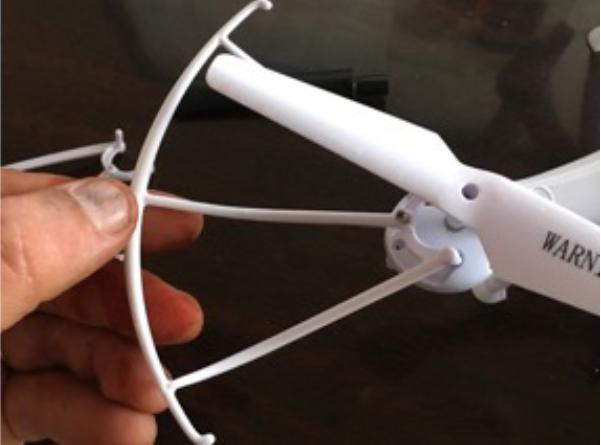
 The ends of the blade protectors would do nicely. They are even conical shaped!!! I clipped off one end and sat it to the side. I then took some old stems and did a practice run before trying it on the Dunhill. It worked like a charm. I did not take pictures of my practice run, sorry.
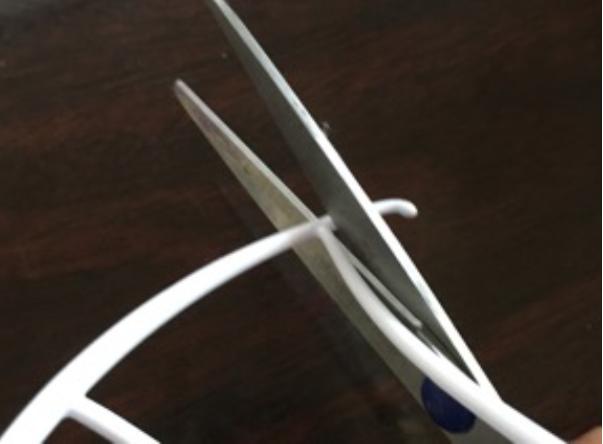
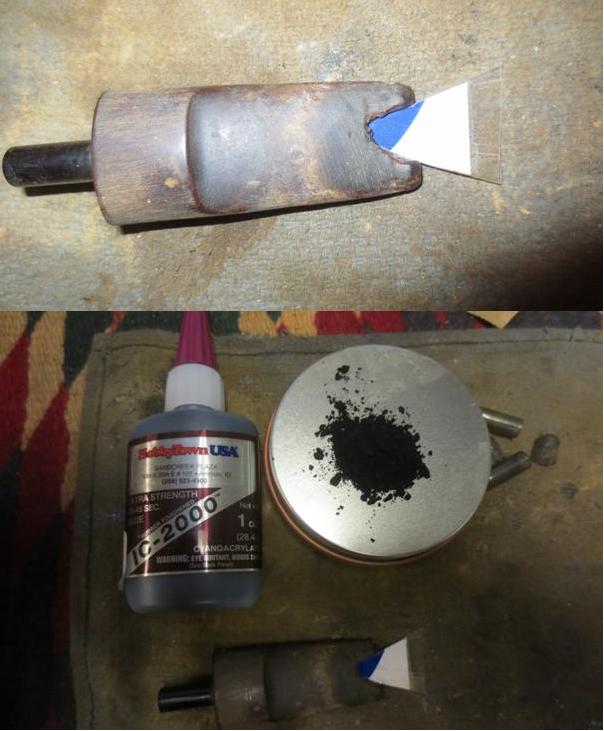
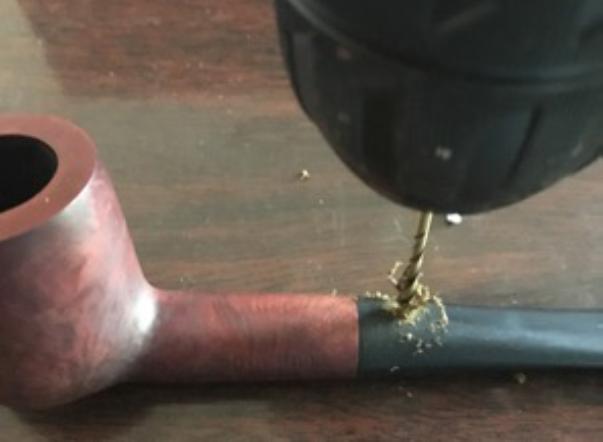
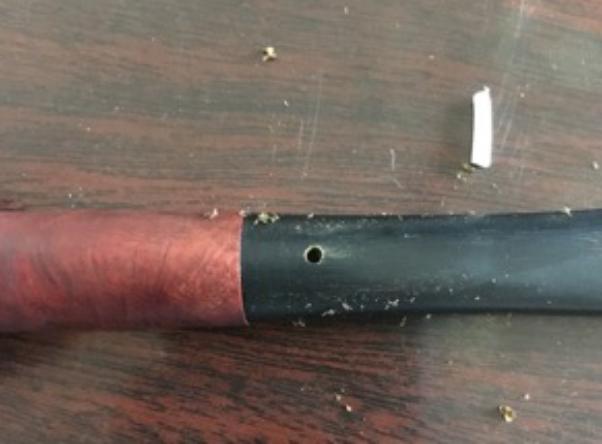
 I then went to my drill bits and chose the correct size. I lined up another Dunhill beside this one to get the proper distance for the White Dot on the stem. After I found the distance and center, I carefully drilled about 3 mm down. (Start your drill out slow if you use a hand-held drill. I would suggest a drill press if you have one.)
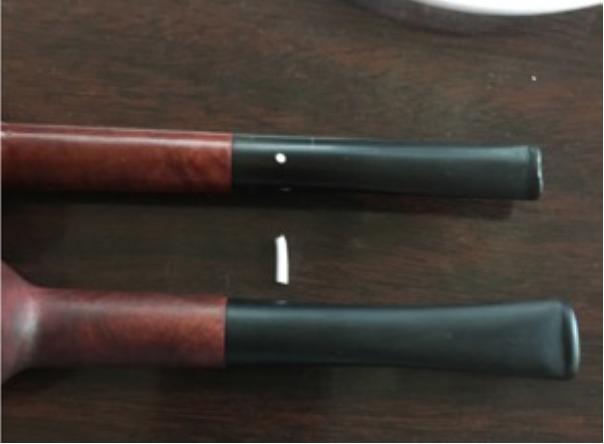
 I added some black super glue to the hole and placed the little white rod into the hole. Then using a rubber hammer, I hammered it into the hole.
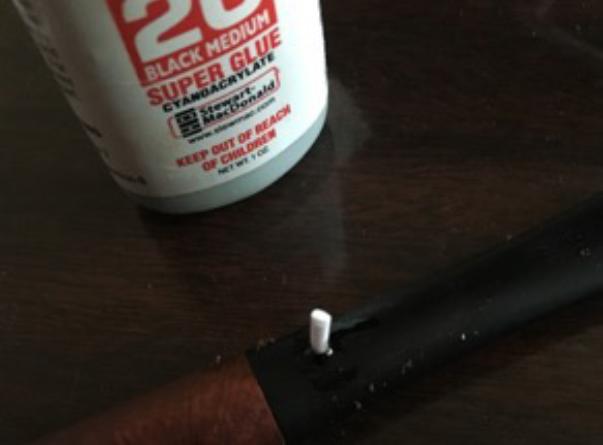 Then I clipped the plug as close as I could using scissors, and sanded down the rest with my sanding bit.
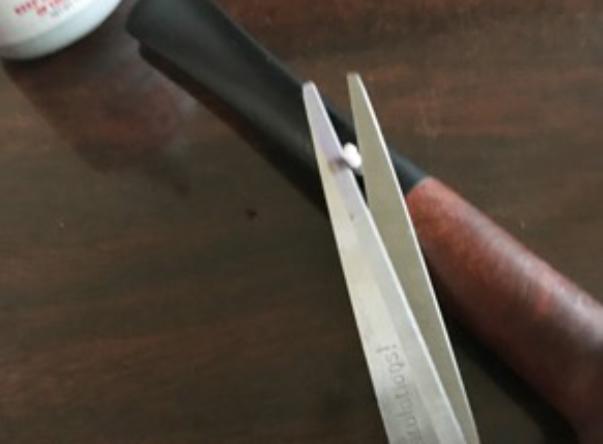

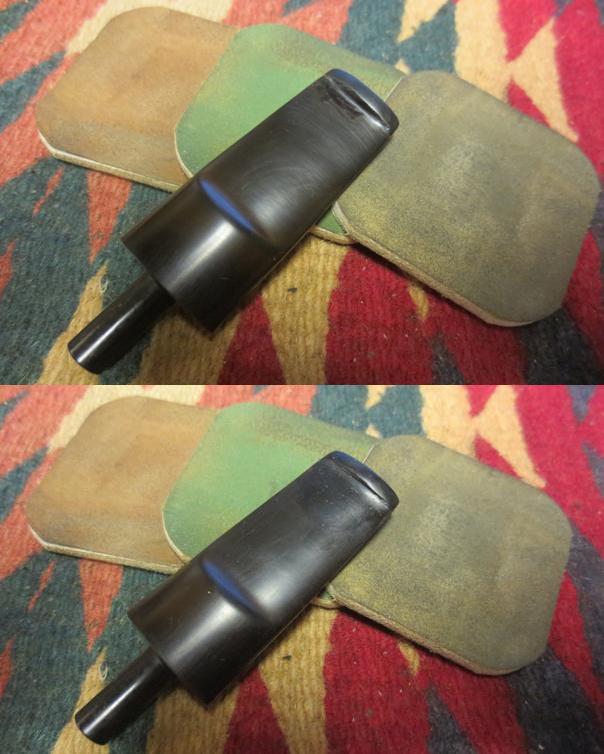
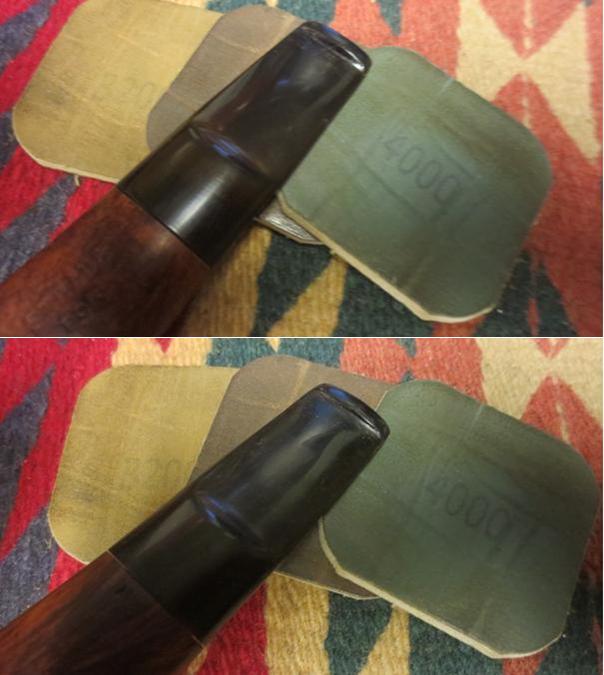
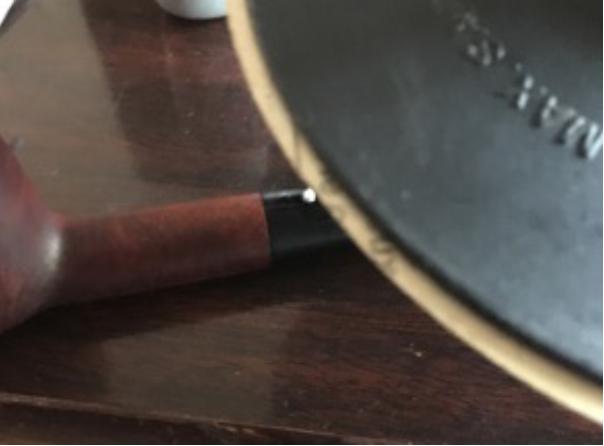 The rest of the plug was sanded down with 220 sandpaper.
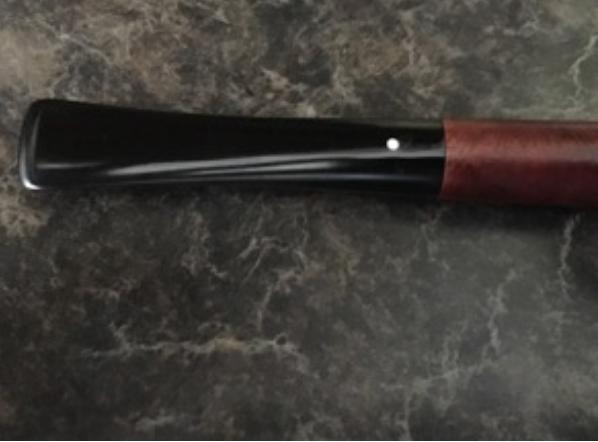
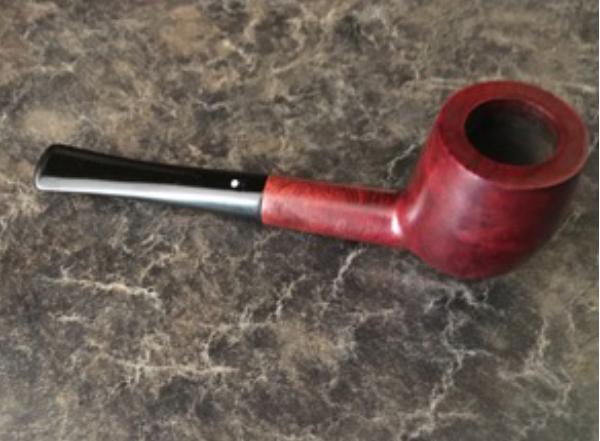
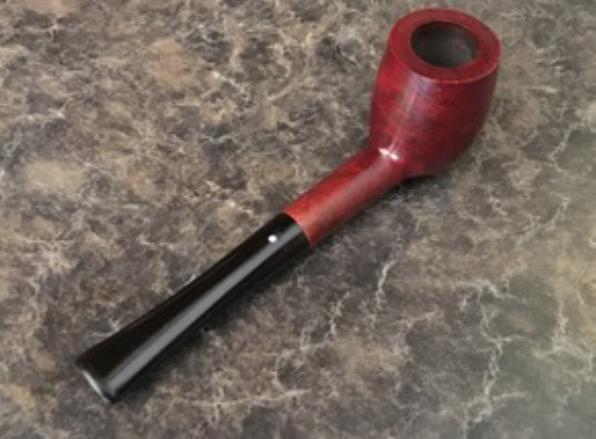
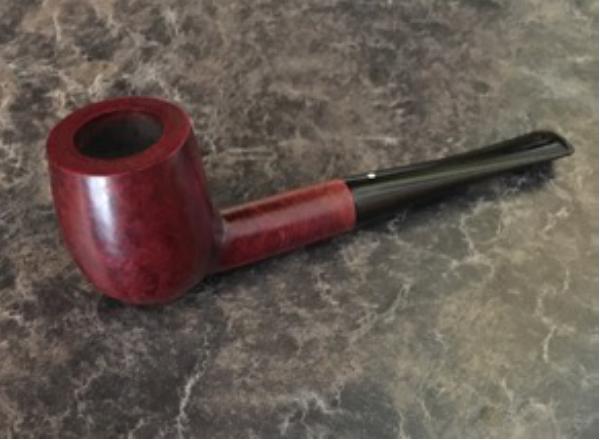
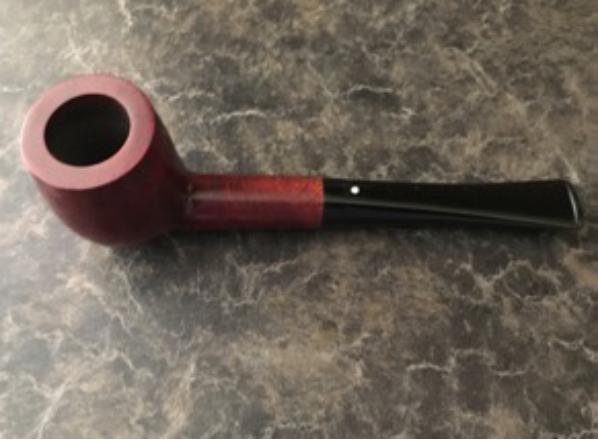
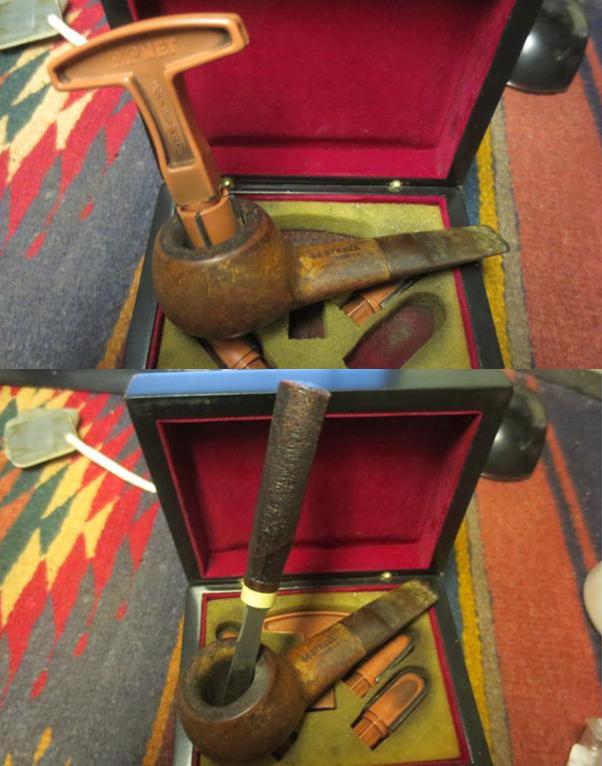
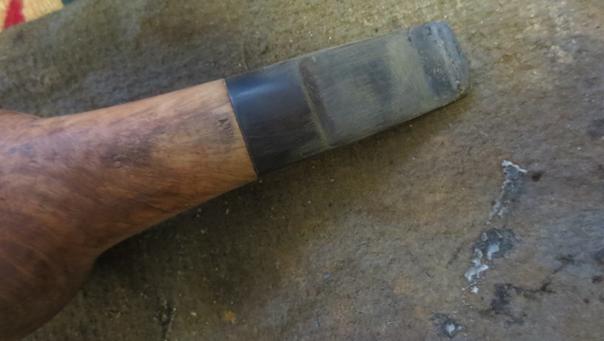
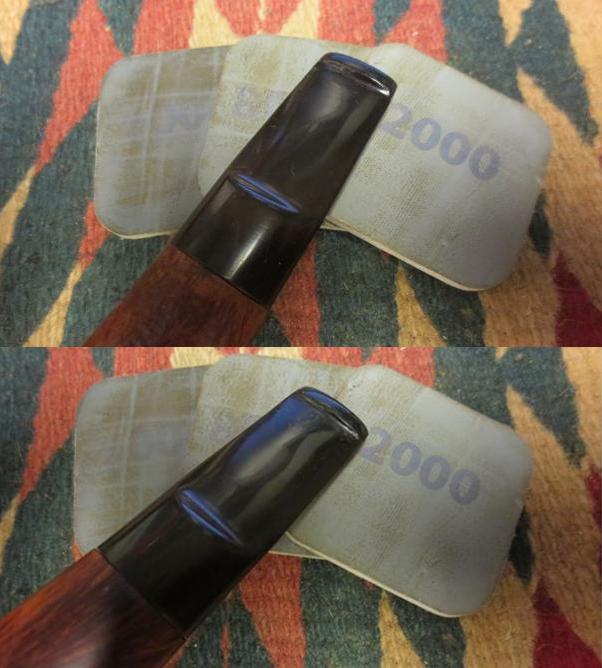
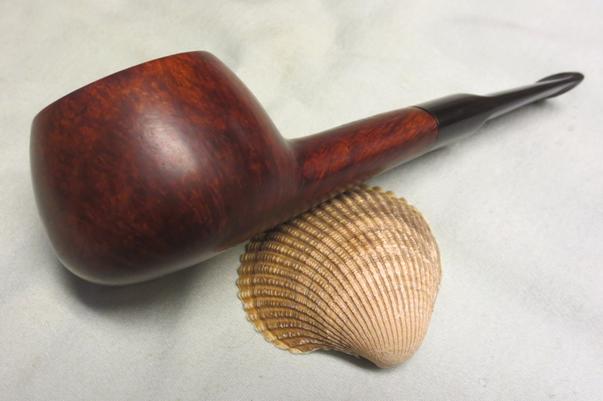
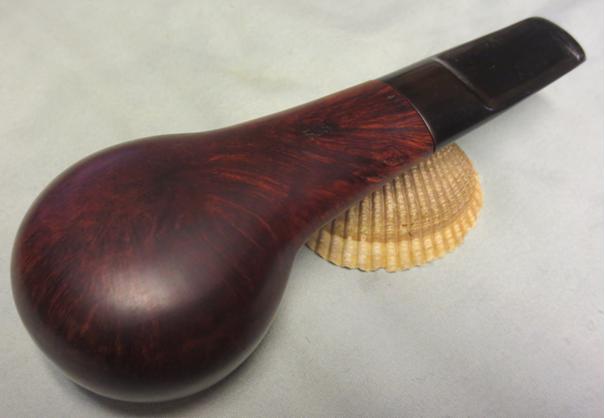
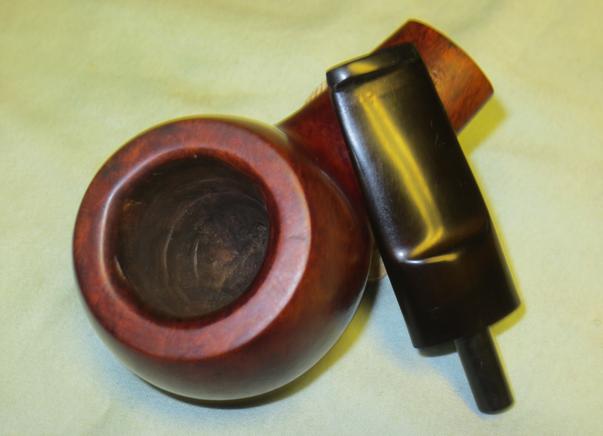
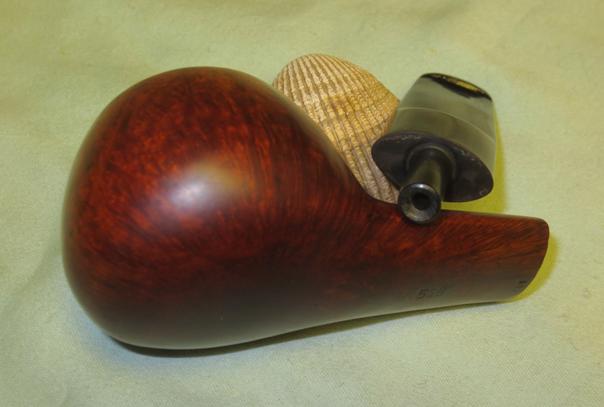
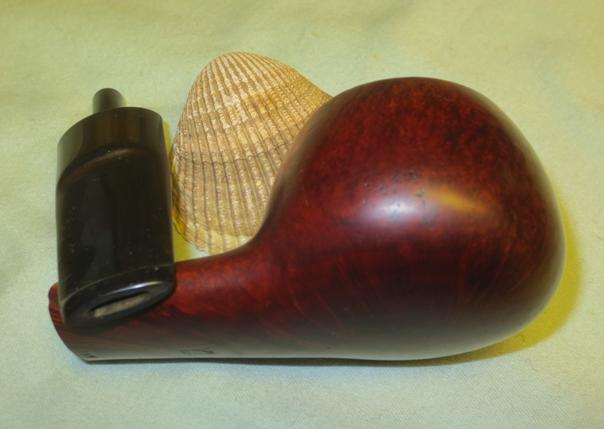
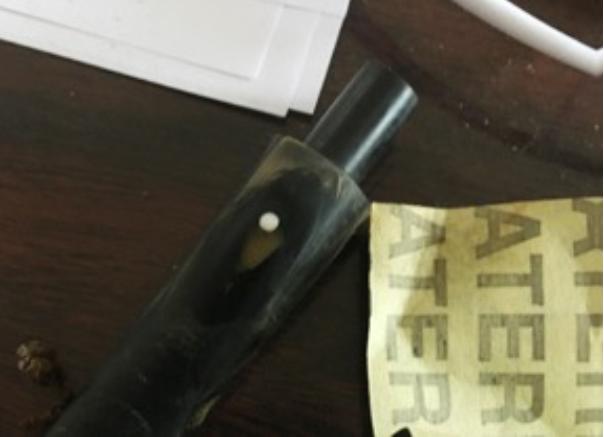 Then it was a trip through the micro-mesh sanding/polishing pads. The pipe was married to its stem once again and polished with carnauba wax. Here is the finished pipe.