Blog by Steve Laug
This Churchwarden is stamped Television on the left side of the shank and Imported Briar over Italy on the right side. From two earlier Television pipes I had restored and restemmed I remembered that Jose Manuel Lopes – Pipes Artisans and Trademarks had helped me identify the original manufacturer. Here is what Lopes says: The brand was sold by A. Grunfield Co. and was produced by Gasparini. They were known to be an English brand with long stems. I have written more about the brand at the following links: https://rebornpipes.com/2014/08/04/restoring-and-restemming-the-first-of-two-television-pipes-a-pot/
https://rebornpipes.com/2014/08/05/restoring-and-restemming-a-second-television-pipe-a-prince/
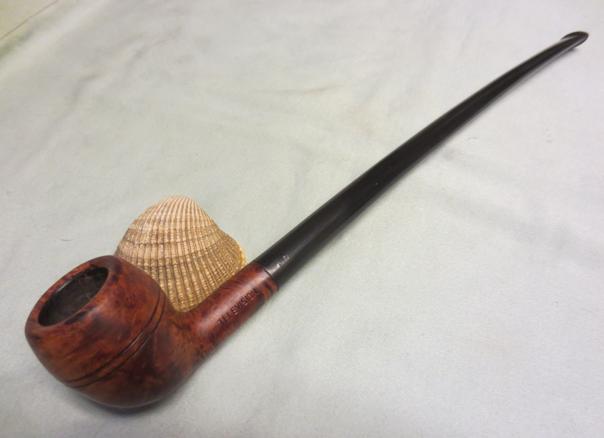
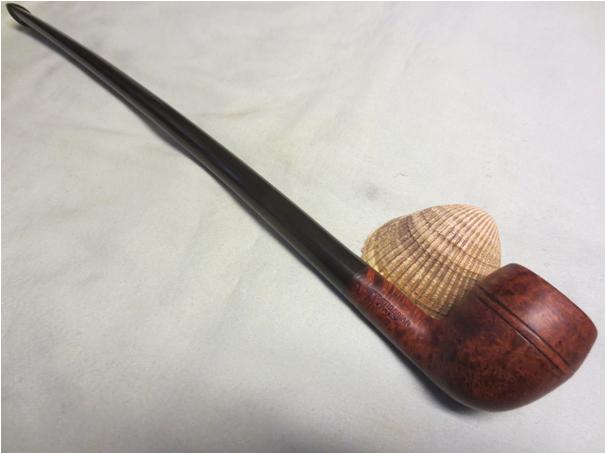
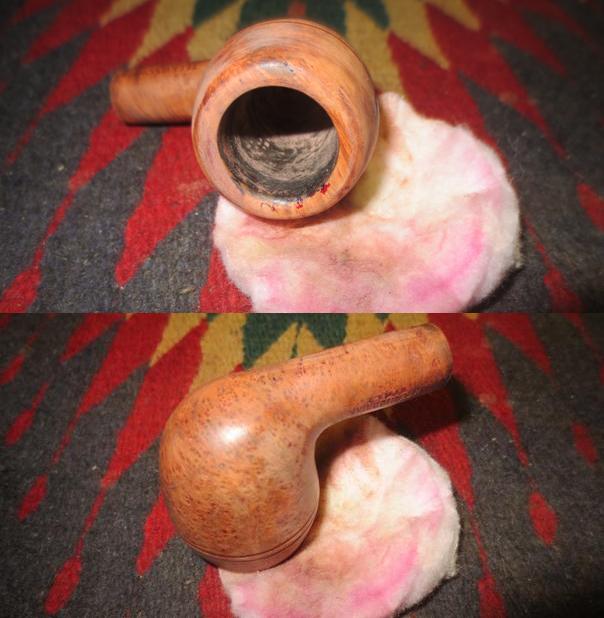
I took some photos of the pipe before I started working on it.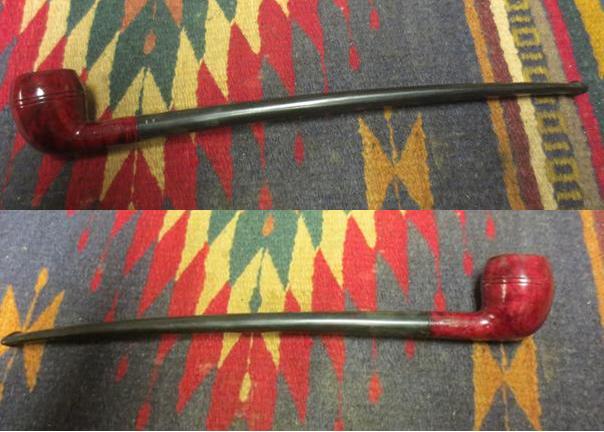
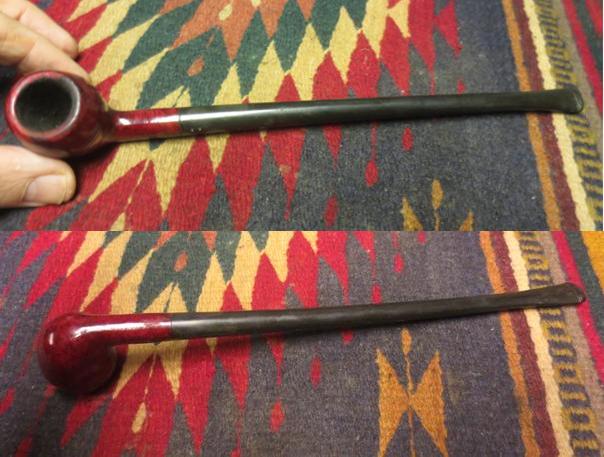 The pipe was in decent shape – no dings or burn marks on the bowl. I just have never really liked candy apple red pipes. This was no exception, as it was almost a painted surface. The combination of a very opaque stain and a urethane topcoat left the bowl looking almost plastic. The rim was dirty and had some lava on it so I knew that in removing that I would not be able to keep the thick red coat on the rim so it would look different from the rest of the bowl. The bowl had a light cake inside. The stem was oxidized and had light tooth chatter near the button on the top and the bottom sides. Through the opaque stain and the urethane coat I could see some interesting grain on the pipe. I also was well aware that this kind of heavy stain and topcoat often hid a multitude of fills.
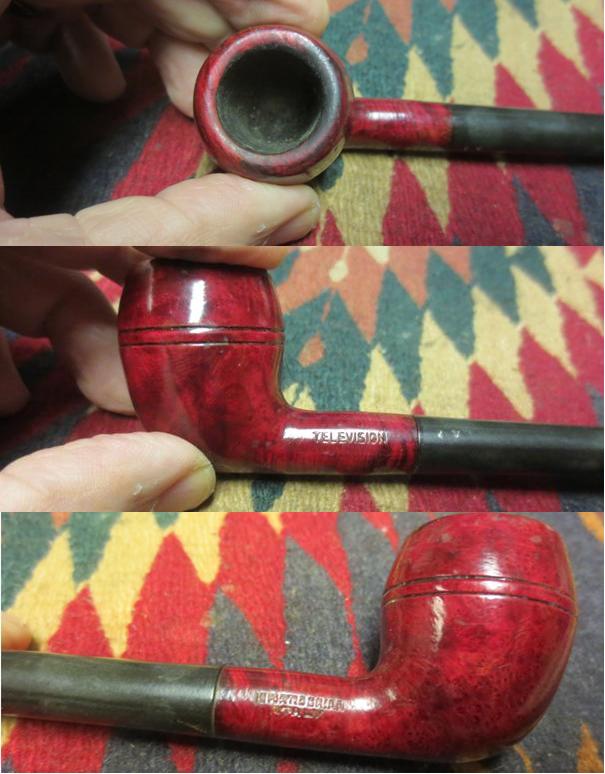 I reamed the bowl with the Savinelli Pipe Knife to scrape out the light cake.
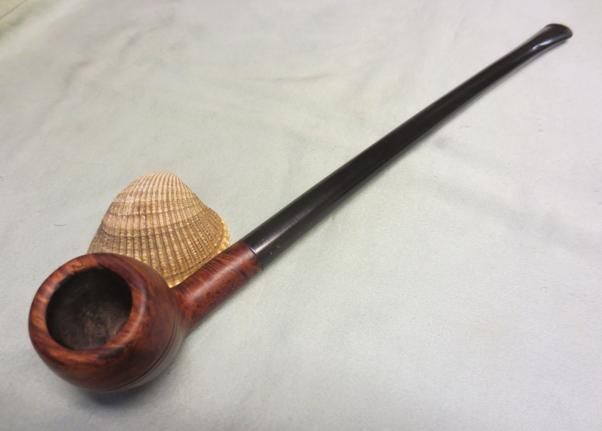
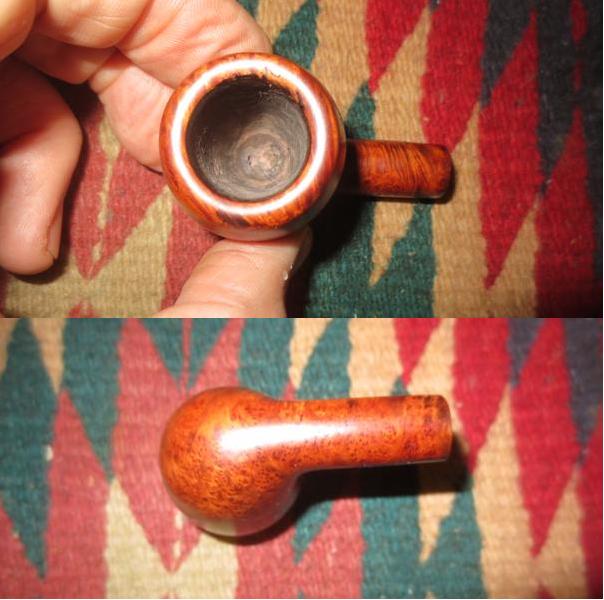
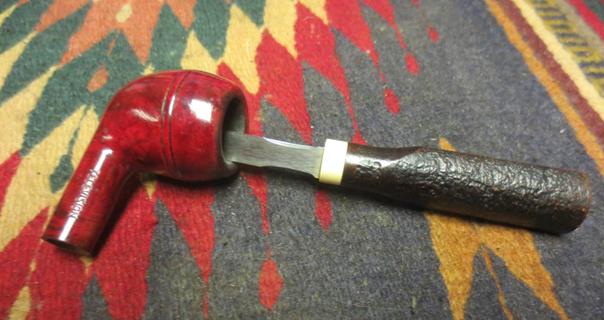 I weighed my next move with fear and trepidation wiped down the bowl with acetone to see if I could dent the urethane coat. No such luck with that. I sanded the bowl with a medium grit sanding block and in some spots with 220 grit sandpaper. The finish was hard as rock and it took quite a while to remove the finish. The urethane and the stain coat came off together. It was almost as if it was not in the grain but rather sat on top. I wiped it down with acetone on cotton pads. The results of stripping the bowl can be seen in the next photos.
 To my amazement the number of fills was not as bad as I expected. There were actually two – yes just two. Now the bad news was that they were both larger than the average ones I deal with. The first was on the front of the bowl and was centered over the two rings around the bowl. The second was on the back side of the cap. The front one was visible but I could live with it. The putty was brown and was tight and smooth. The one on the back was well blended into the grain on the bowl. It too was tight. I would not need to pick them out and repair them. I cleaned out the shank and airways in the bowl and stem with pipe cleaners, cotton swabs and alcohol. It was actually quite clean.
 I buffed the bowl with red Tripoli on the wheel and was able to remove some of the stubborn paint/stain spots on the bowl cap and the shank. I then gave the bowl a light rub down with olive oil to get a feel for the grain on the pipe. You can see from the photos below that the mix of grain is quite stunning. The right side of the bowl has some tight birdseye. The rest of the bowl is a mix of grains.
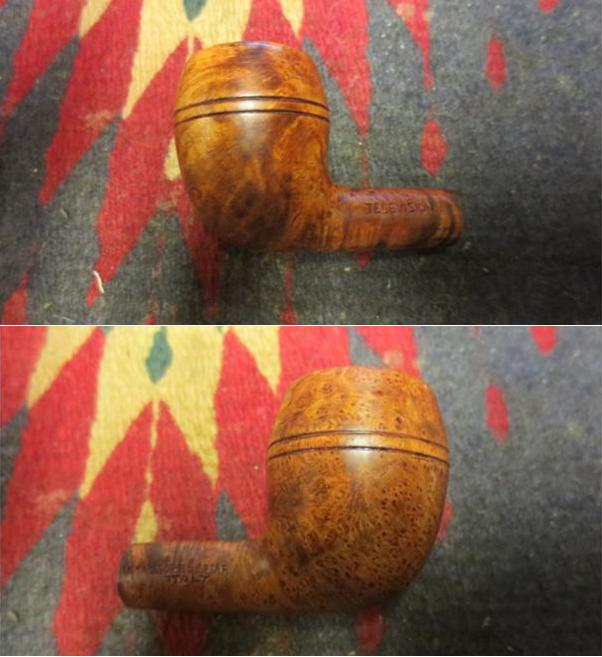
 I gave the bowl several coats of medium cherry Danish Oil to raise the level of red from the briar. I let it dry and buffed it between coats. I gave it a final coat and let it dry while I worked on the stem.
 When the stain coat was dry I buffed the pipe with a coat of carnauba wax.
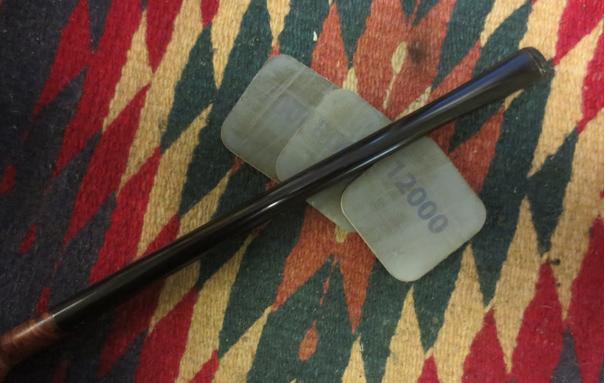
 I worked on the stem. I sanded it with 220 grit sandpaper to remove the light oxidation and tooth chatter and then with a medium grit sanding sponge to smooth out the scratches. I wet sanded the stem with 1500-2400 grit micromesh sanding pads. I gave it a coat of Obsidian Oil. I dry sanded it with 3200-4000 grit pads and gave it another coat of oil. I finished sanding it with 6000-12000 grit pads and gave it a final coat of oil. I set it aside to dry.

 I buffed the stem with Blue Diamond to finish the polishing. I gave the bowl and the stem several coats of carnauba wax. I buffed it with a clean buffing pad and then hand buffed it with a microfibre cloth to add depth to the shine. The finished pipe is shown in the photos below. I like the transparent stain on this one far better than the heavy urethane coated pipe I started with. The pipe is going with me to Bulgaria on an upcoming trip I am making there. The pipe man in Sofia is looking forward to adding this to his collection. Thanks for looking.