Blog by Steve Laug
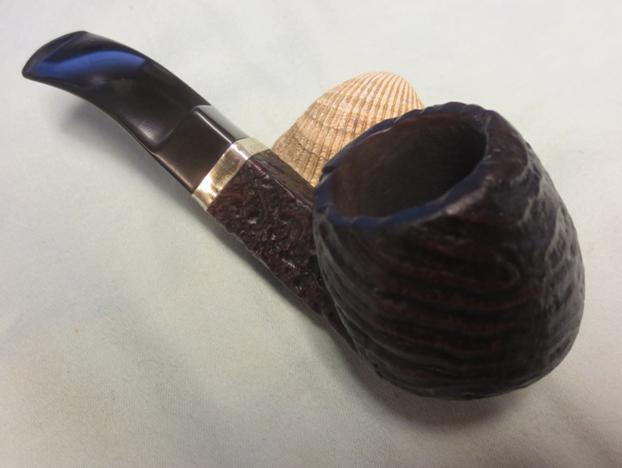
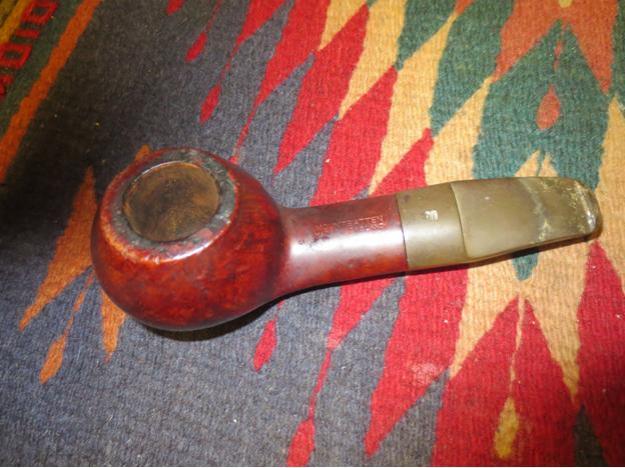
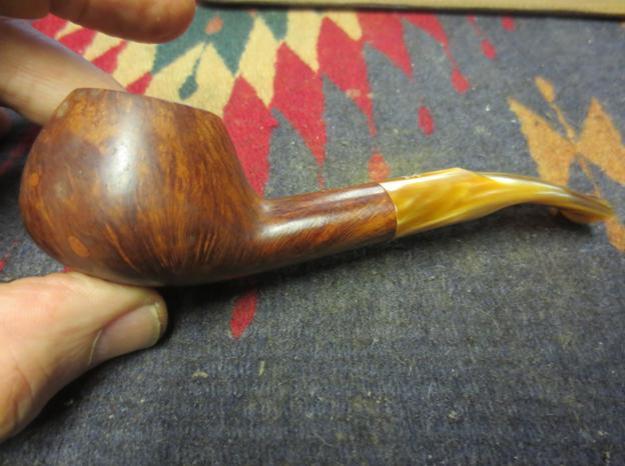
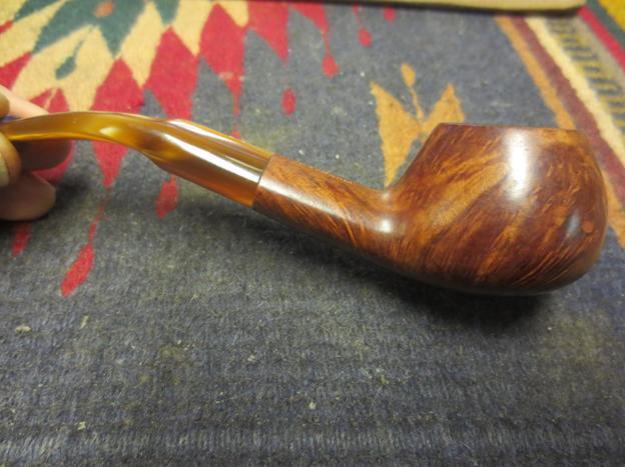
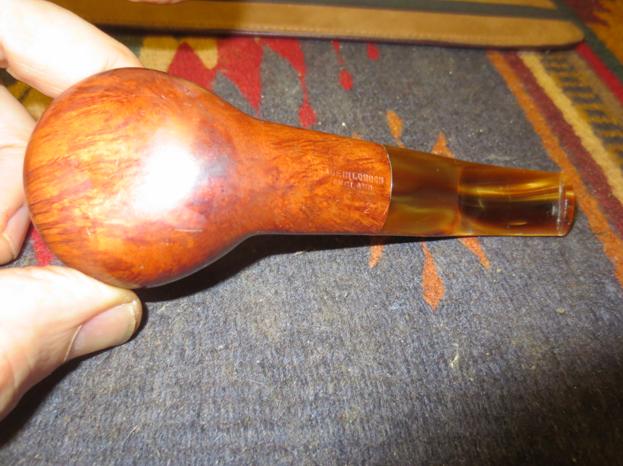
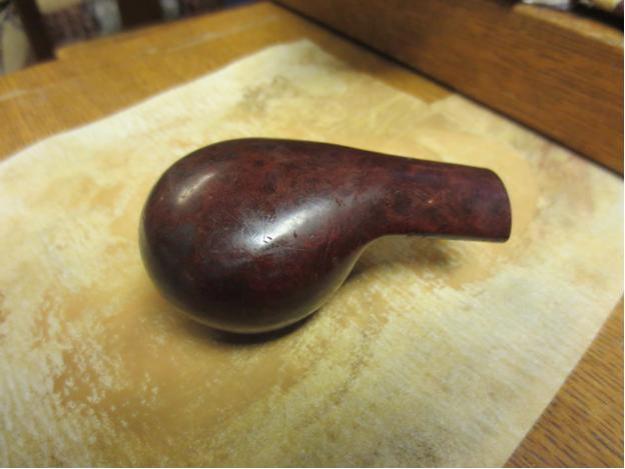
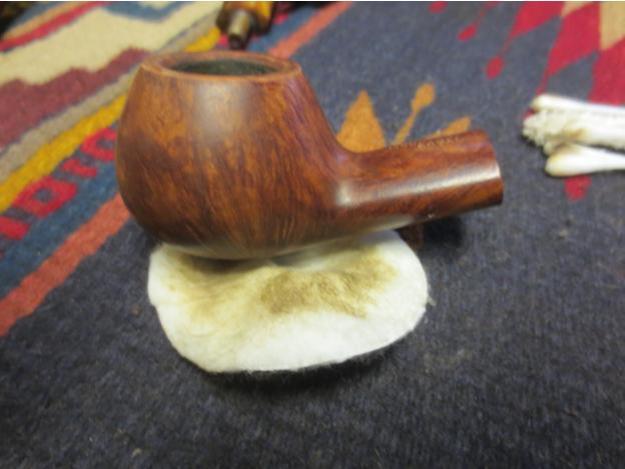
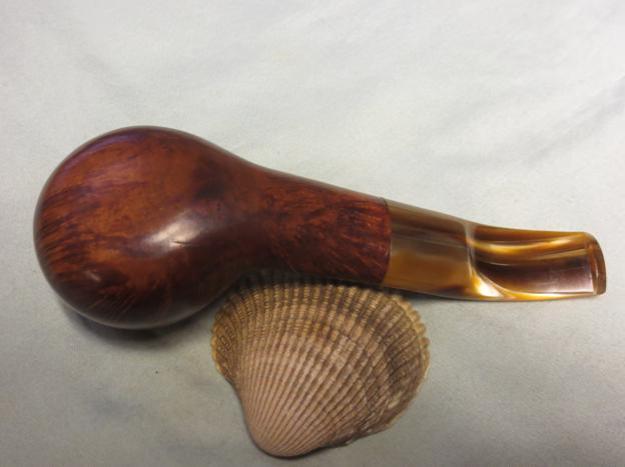
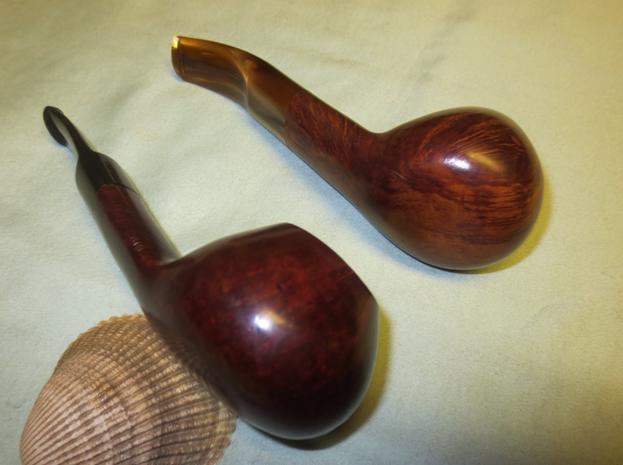
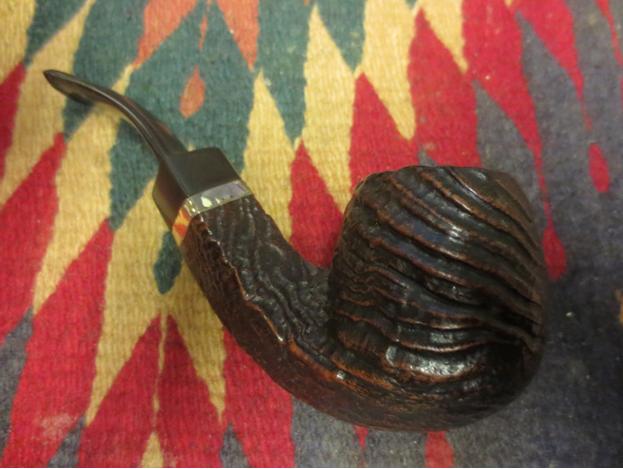
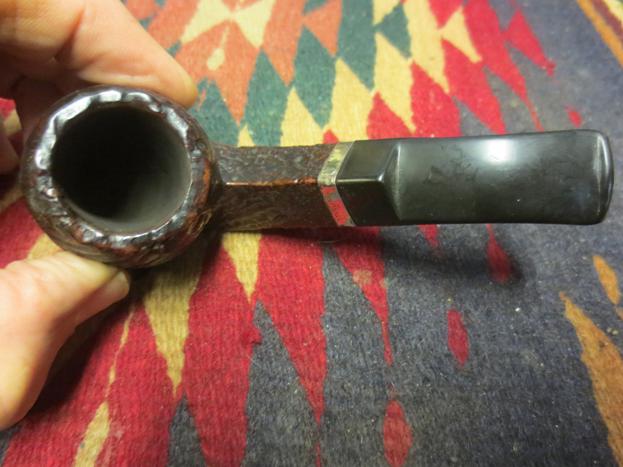
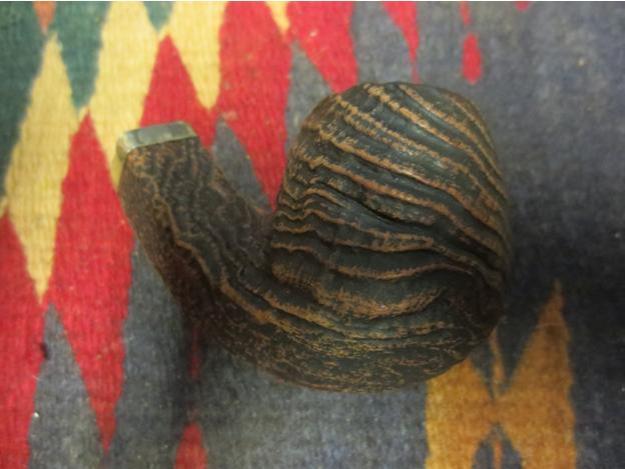
When I saw this Ehrlich Sandblast Diamond Shank bent Billiard I was immediately drawn to the cragginess of the blast on the bowl. The deep lines and grooves of the blast that go all around the bowl are really nicely done. The ridges and grooves flow with the cut of the pipe and give it a distinctive flare that I was taken by. The finish was worn but in decent shape in the EBay photos but it still looked good. When I picked up the pipe from my brother on an April visit I could not wait to work on it. I took these photos to show the state of the pipe when I received it. The finish was worn and dirty – lots of grime in the deep grooves. The rim was pretty clean. I field reamed it when I was at my brothers and took back the cake that was there to bare briar. The shank had a smooth portion on the left underside where the EHRLICH stamp resides. I have no idea how to tell the age of their pipes as all the ones I have had over the years have had the same stamping. Some added a second line – Supreme, etc. – but this one only had Ehrlich. The band on the shank end is stamped Sterling. It was obviously put on the shank after the blast and was a shop cosmetic addition. It does not hide any cracks in the shank. The stem was oxidized and had some serious bite marks on the underside that would need to be addressed. I liked the shortness of the stem as it gave the pipe a compact look that worked with this pipe.
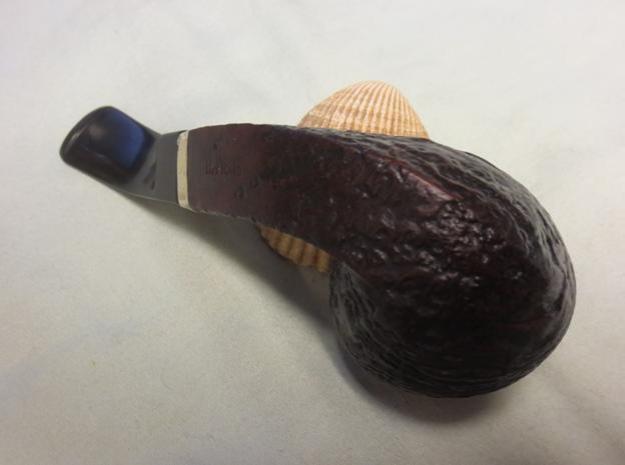
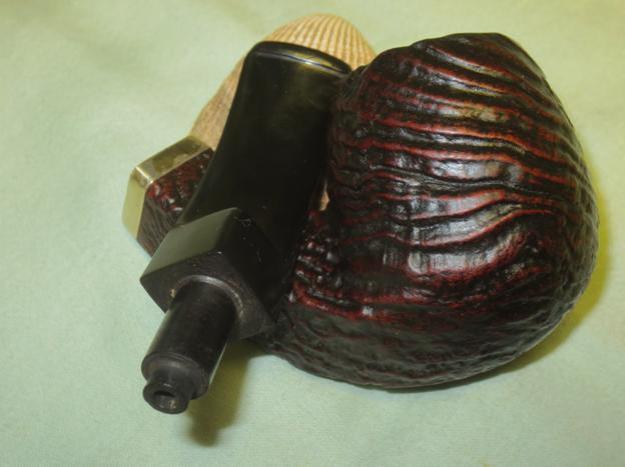
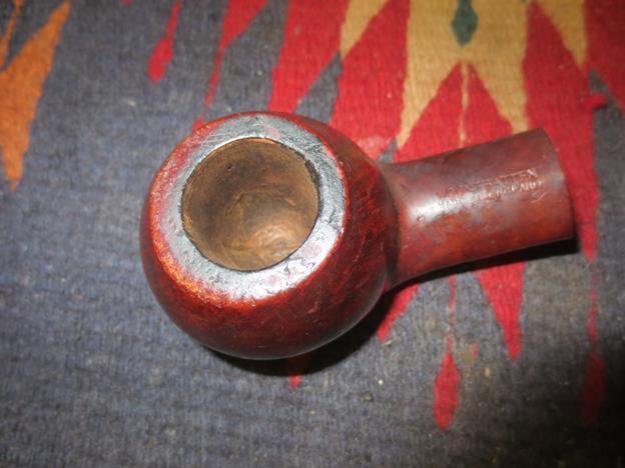
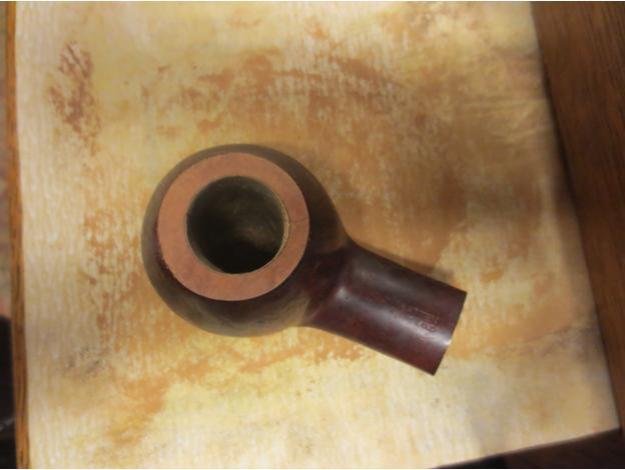
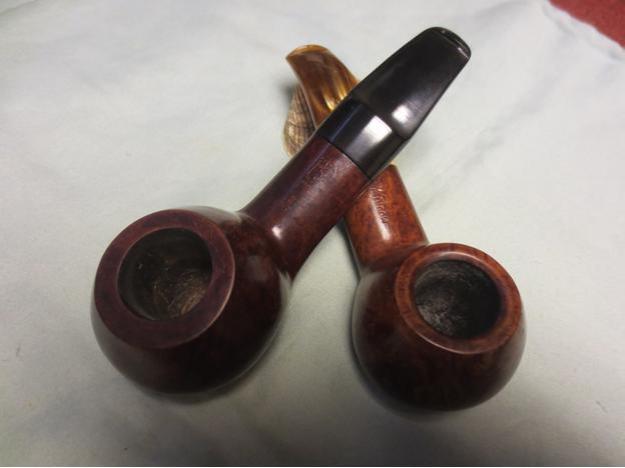
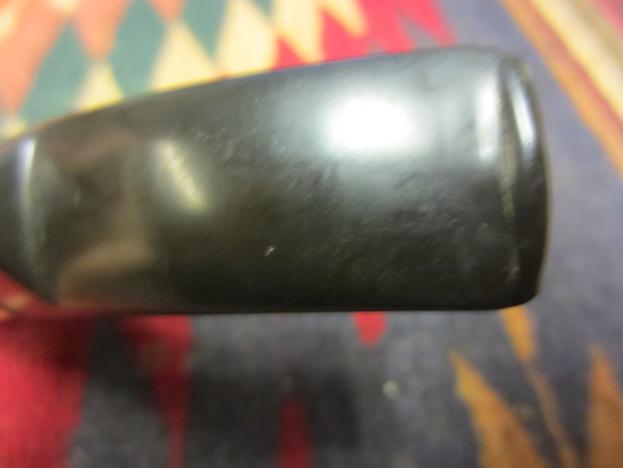
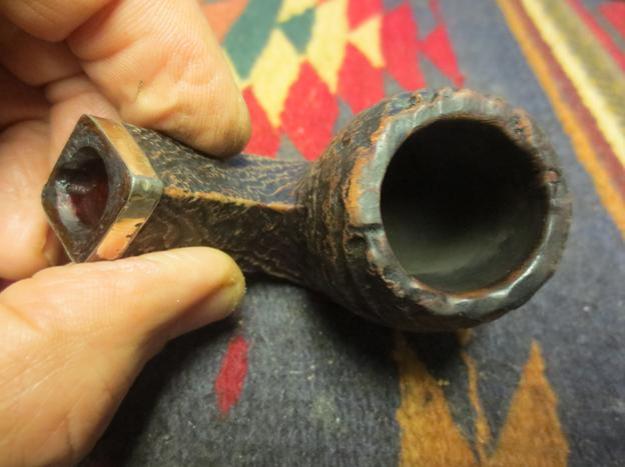
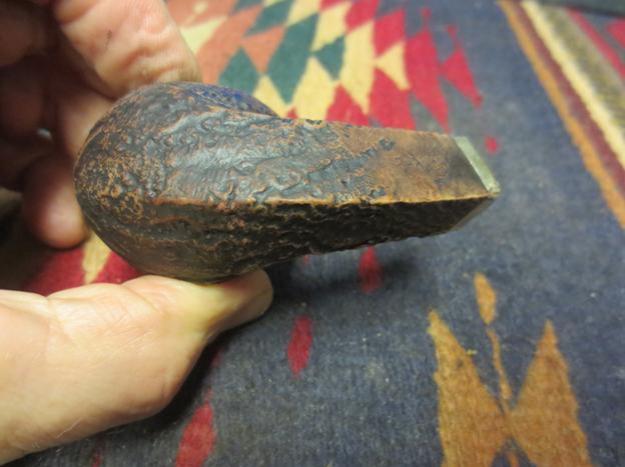
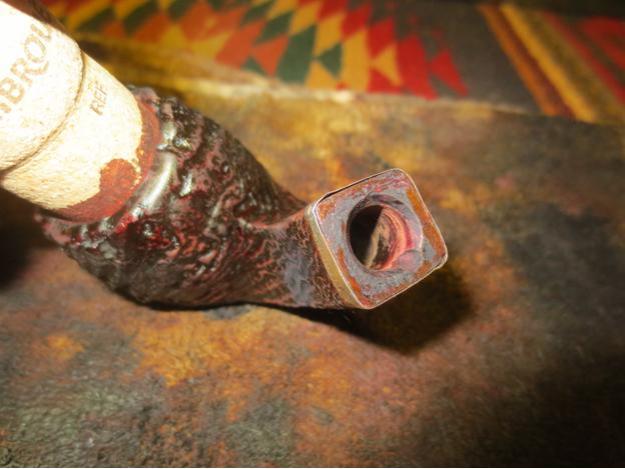
 I took some close-up photos of the rim and the stem to show their condition. The rim had no buildup or tars on it. The thin edges were lightly grooved – almost looked like the pipe maker had rusticated the rim to match the look of the bowl rather than risk sandblasting it. The stem was another story. The top side had lots of small dents that looked like they had been buffed out and the result was a wavy top surface. The underside had deep bite marks and tooth indentations that amazingly did not break through the surface and leave holes. I think that the thickness of the stem prevented the bite marks from going through to the airway. The sharp edge of the button and the top and bottom surfaces were pretty much obliterated by the “chomper” who had previously owned this pipe.
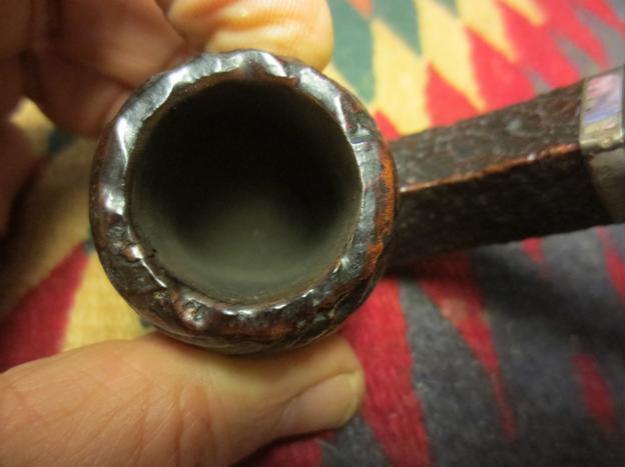
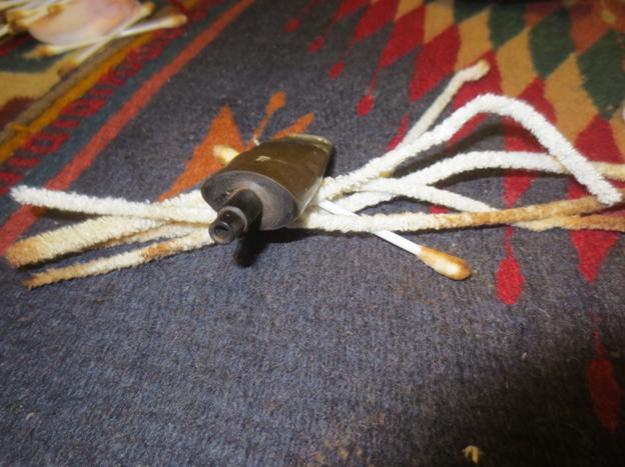
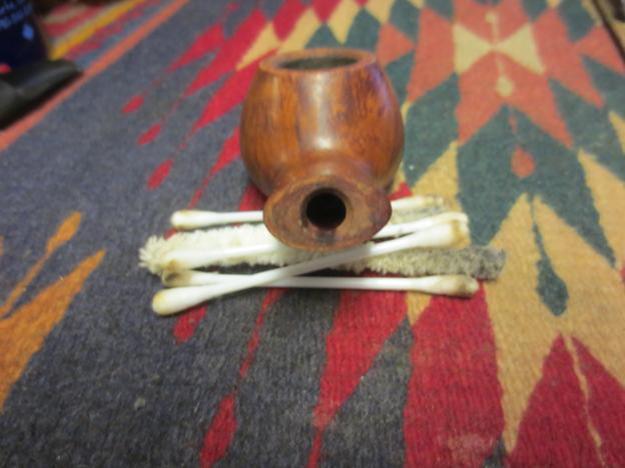
 I cleaned out the deep tooth marks on the stem with alcohol and cotton swabs. I removed the debris in the pits and grooves with a dental pick. I dried off the stem and then filled the bite marks with black super glue. I built up the button and filled in the sharp groove. I would need to recut that once the glue had cured. I laid the stem aside to let the glue harden.
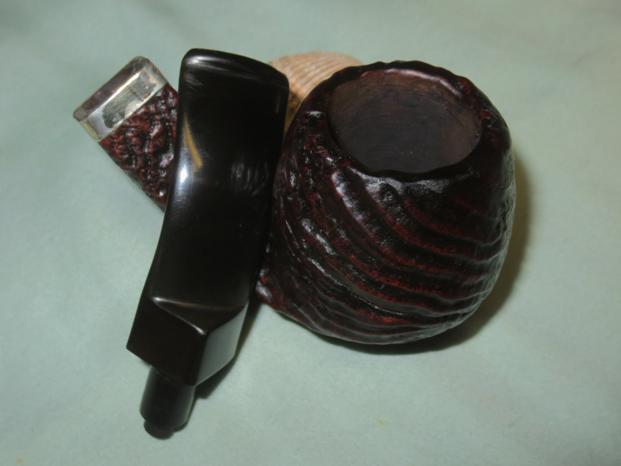
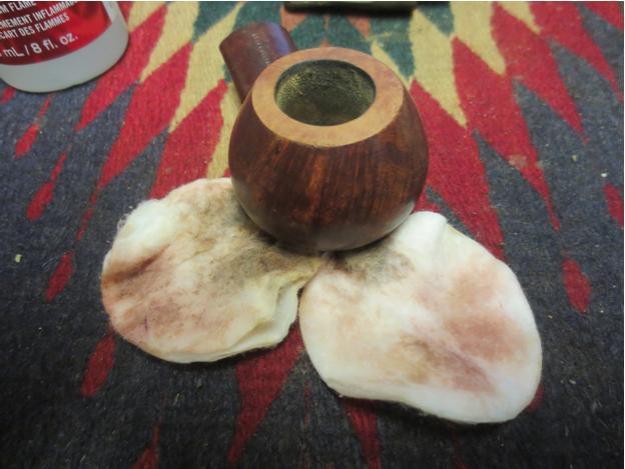
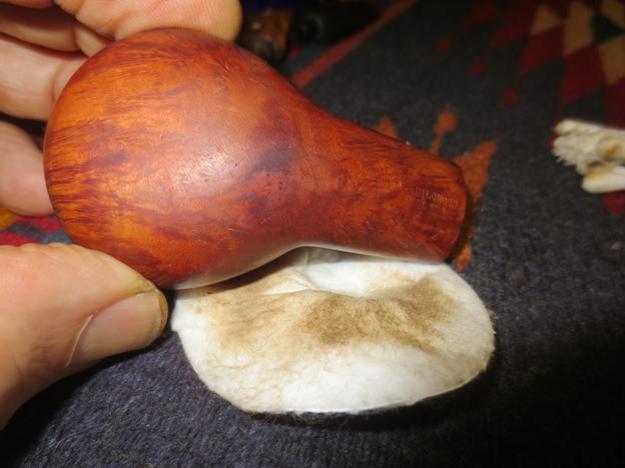
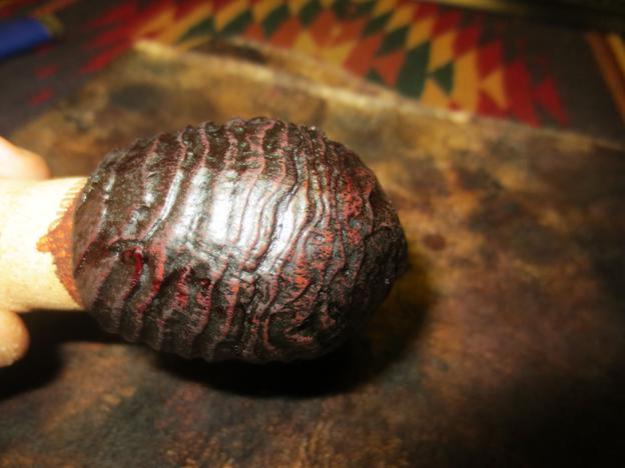
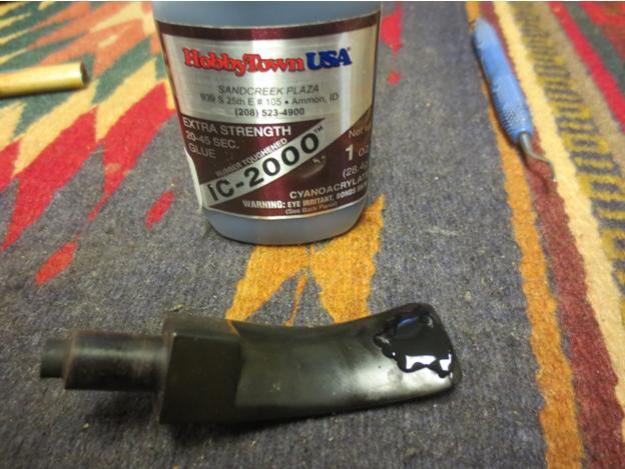 I scrubbed the grooves and ridges of the bowl and shank with a tooth brush and Murphy’s Oil Soap. I rinsed the bowl under running water and dried it off. The scrubbing had done a great job removing all of the grit and grime in the ridges and grooves of the sandblast.
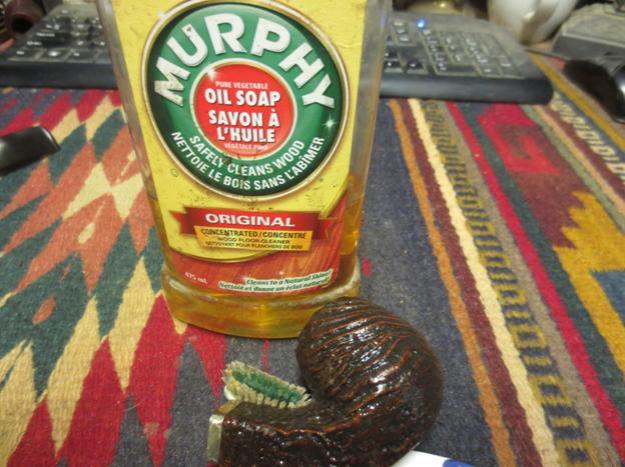

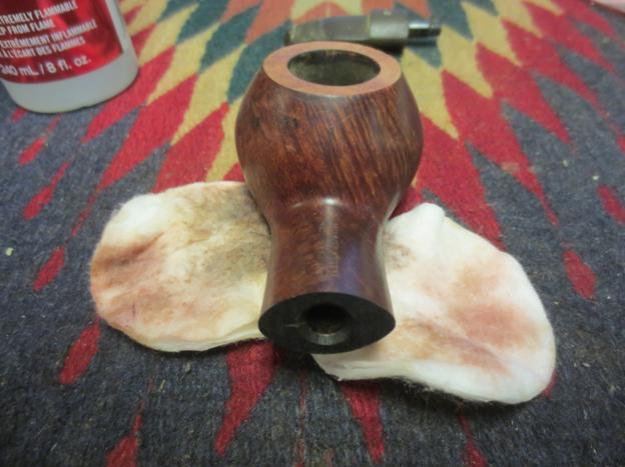
 While the stem repair cured I worked on the bowl. I wiped it down to remove any remaining dust and then put a large cork in the bowl so that I could hold on to it while staining the bowl. I used a dark brown aniline stain that had been thinned to 50% with isopropyl alcohol to restain the bowl. I flamed it to set the stain in the blast.

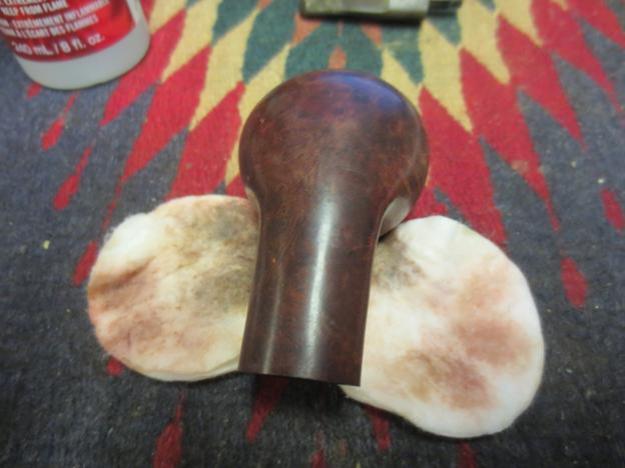
 I wiped down the bowl with alcohol on cotton pads to make it a bit more transparent and allow the dark black in the grooves to show through.
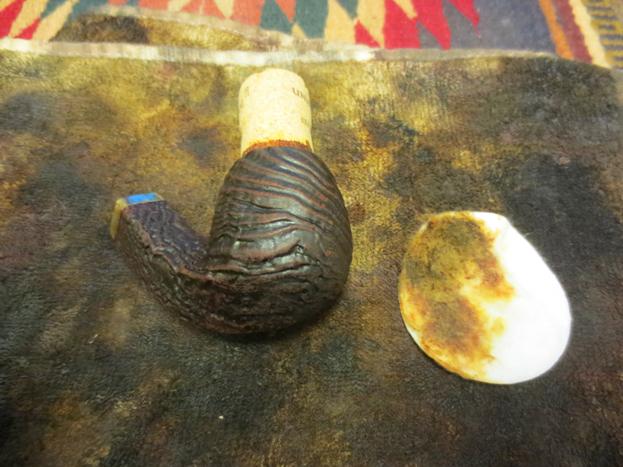
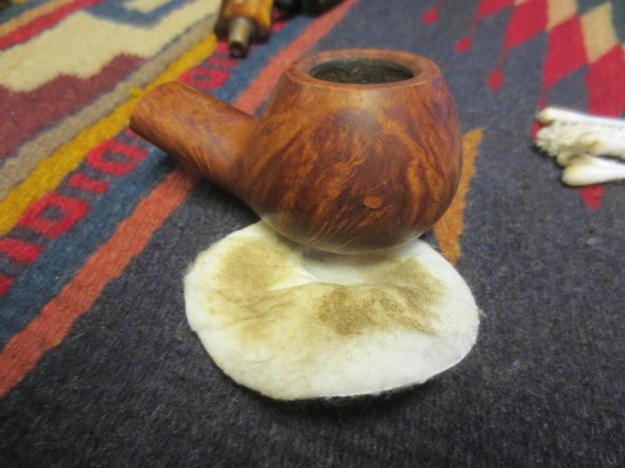
 I hand buffed the bowl with a shoe brush to get a bit of a shine on the briar.
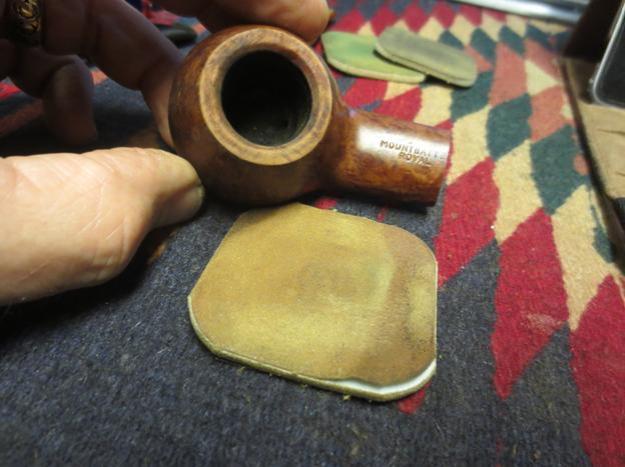
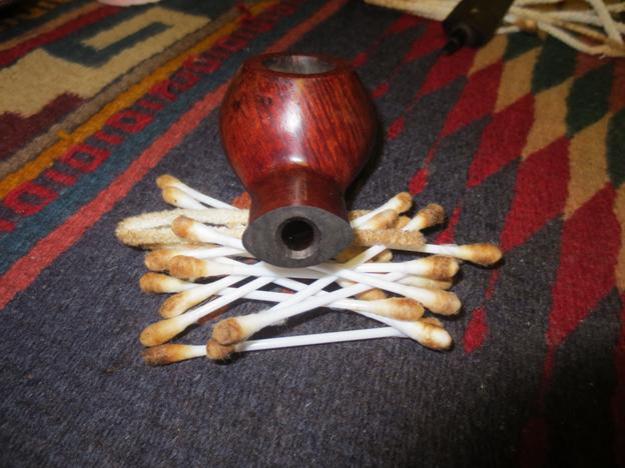
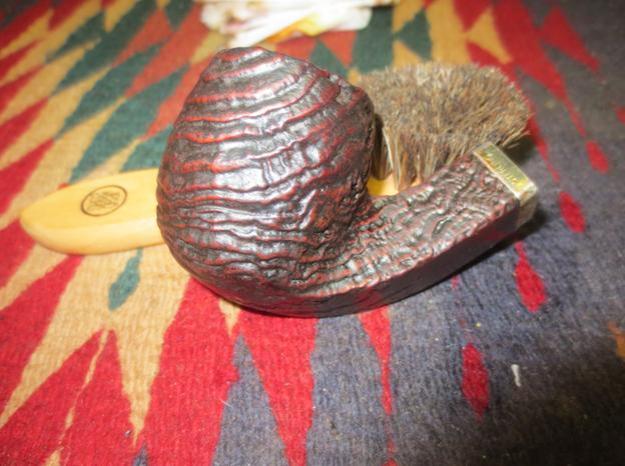 With the externals pretty well cleaned up and restored I addressed the internals of the bowl and shank. I cleaned out the mortise and shank with pipe cleaners, cotton swabs and alcohol. To my surprise there was not much tobacco debris or oil in the shank. What came out with the cleaning was the original brown stain. Evidently the bowl had been dipped in stain. The amount of stain that came out on the pipe cleaners and cotton swabs was amazing. You can see it in the photo below. I scrubbed it until it was clean and I could see bare briar on the sides of the mortise.
 I sprayed the stem repair with some accelerator to harden the super glue more quickly. I decided to use it this time. I usually let the repair cure over night, but this time I was a bit impatient. When the glue was hard to the touch I used a series of flat needle files to begin flattening the repair and shaping the sharp edge of the button on both sides of the stem.
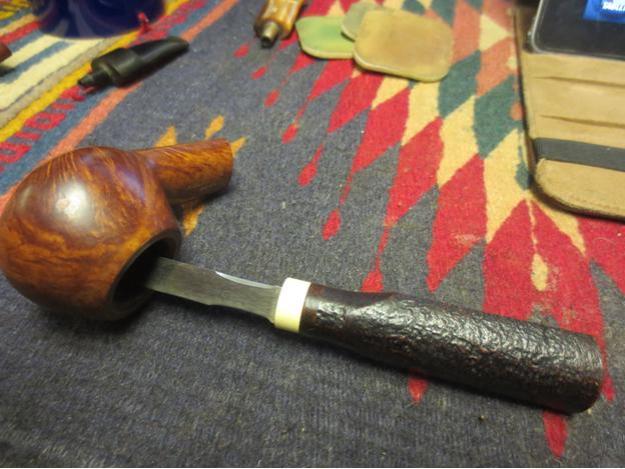
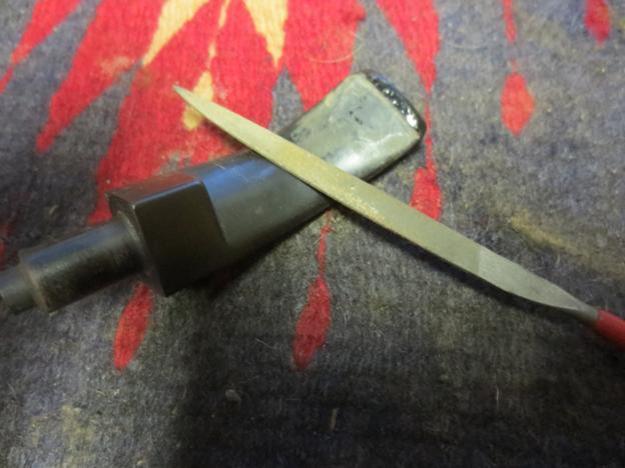
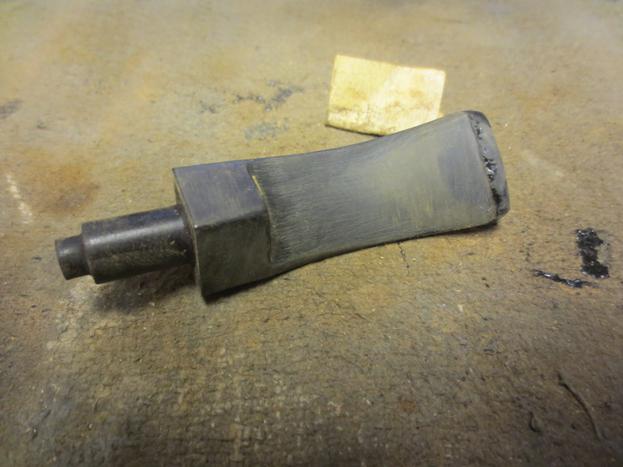
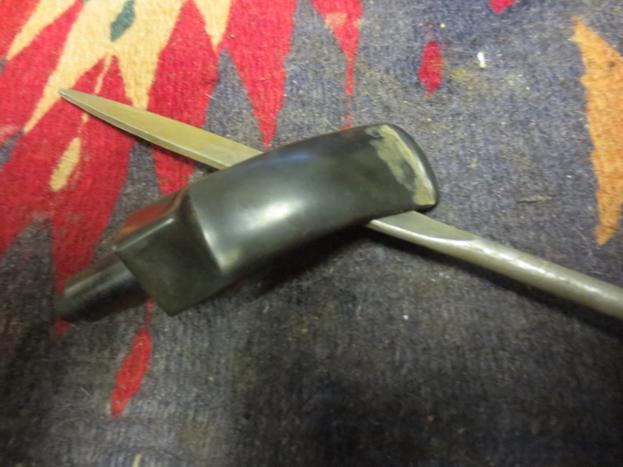

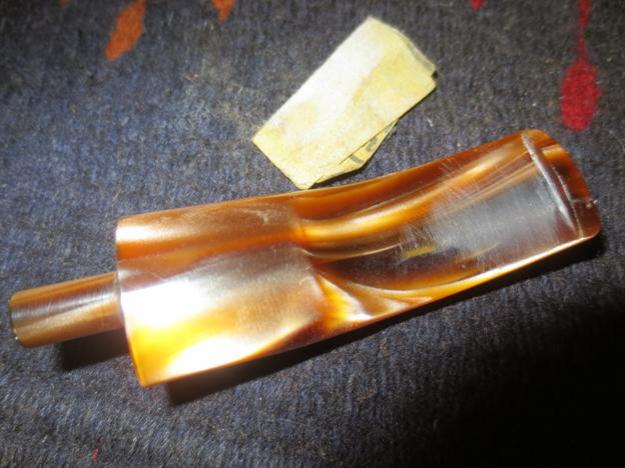
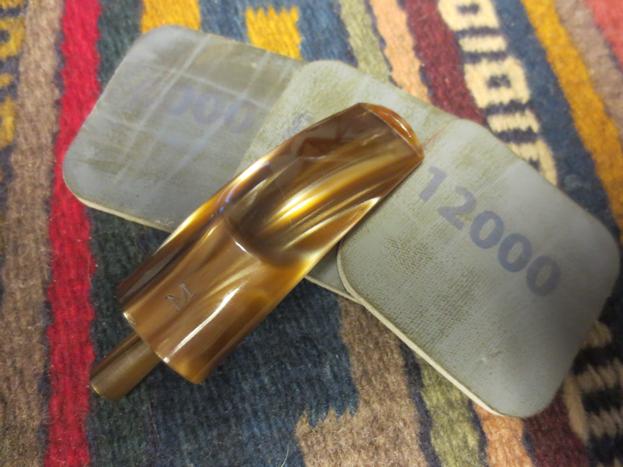
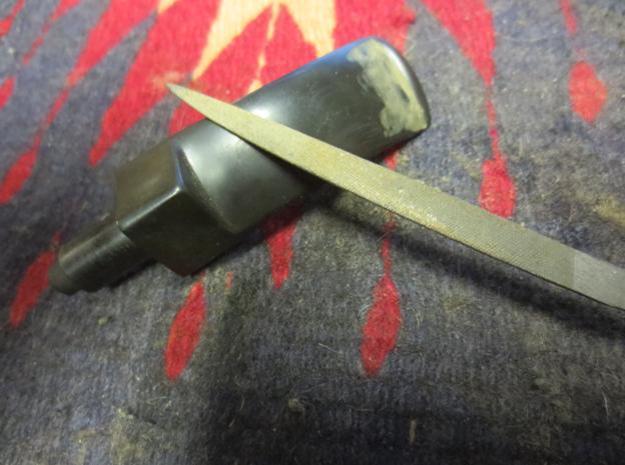 With the button edges cleaned up and the slot opened slightly with the files I sanded the stem surface with 180 and 220 grit sandpaper to smooth out the repairs and minimize the file marks in the vulcanite.
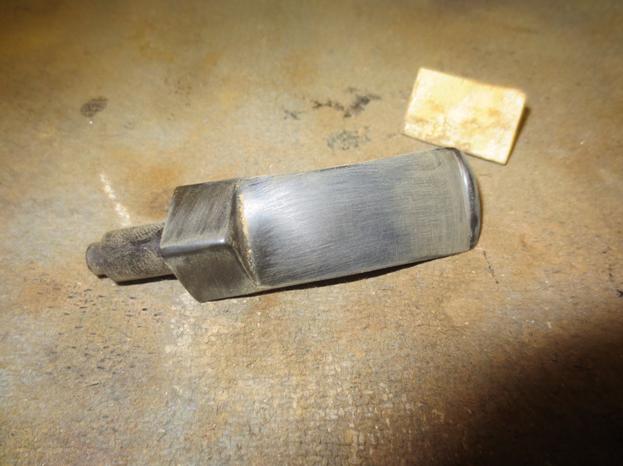
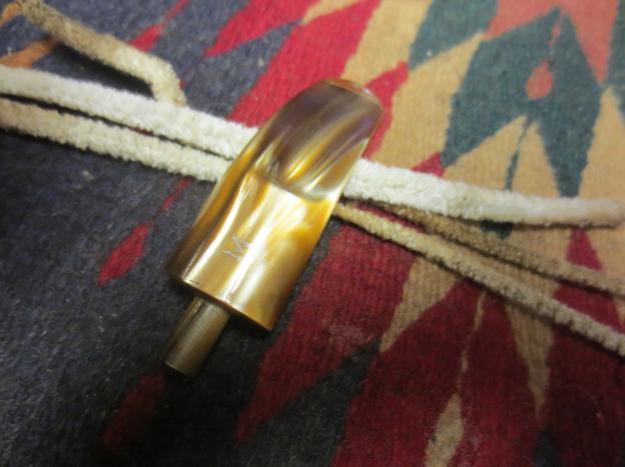
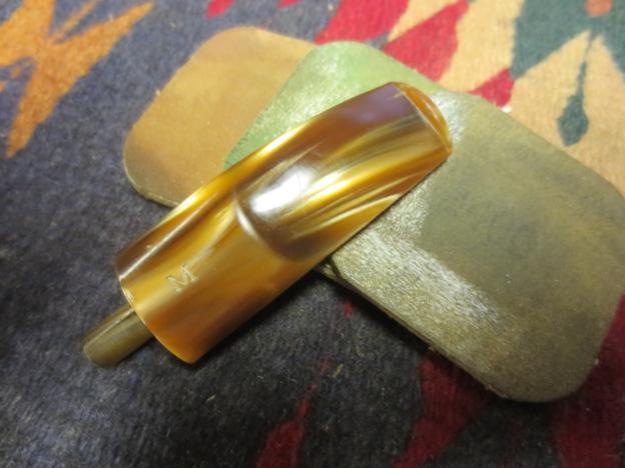
 I wet sanded both sides of the stem with 1500-2400 grit micromesh sanding pads to blend in the repair on the underside. I rubbed it down with a coat of Obsidian Oil.
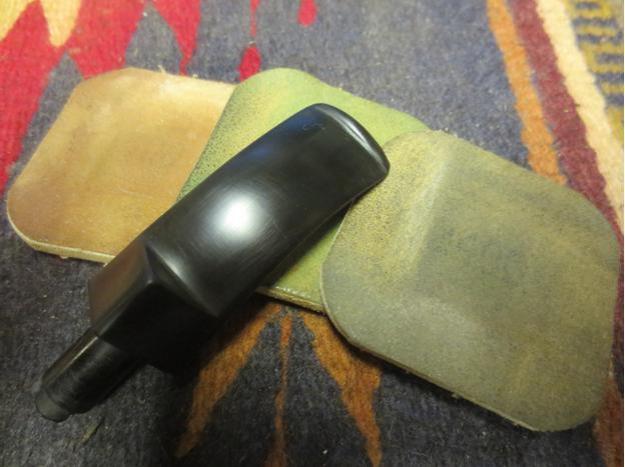
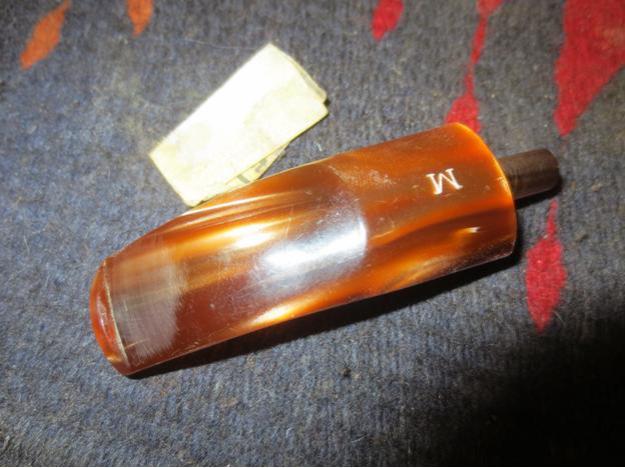
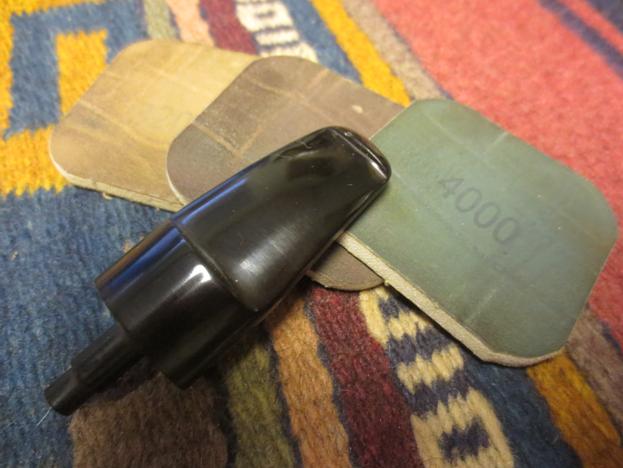
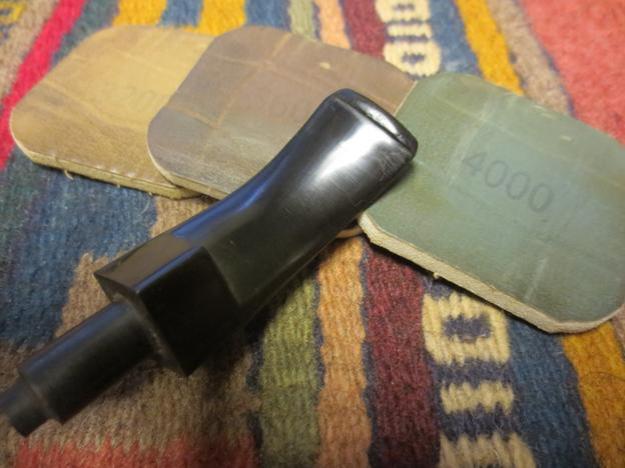
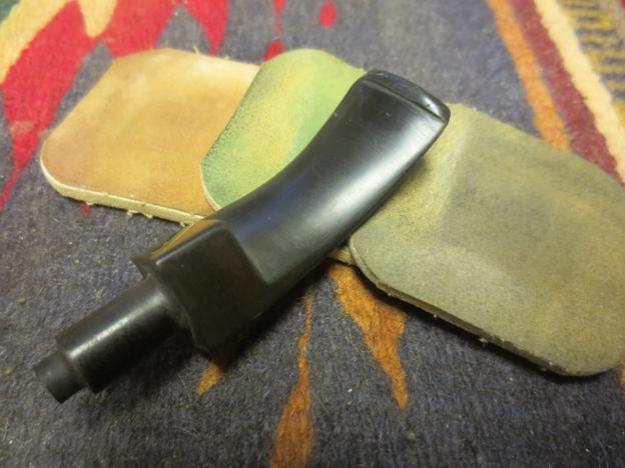 I dry sanded both sides with 3200-4000 grit sanding pads to further blend in the patch on the underside. By this point it was beginning to disappear into the shine of the stem. I gave it another coat of oil.
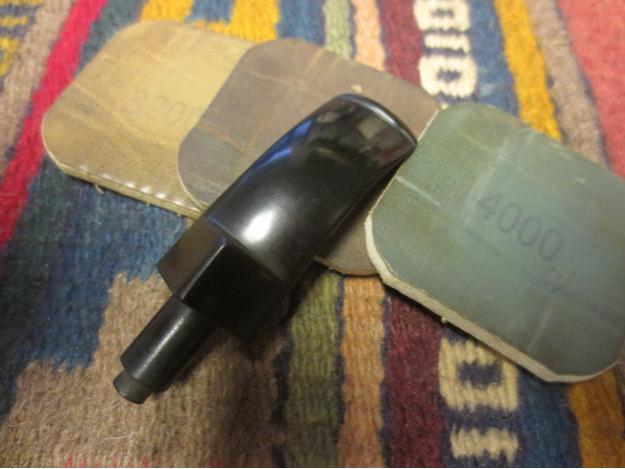
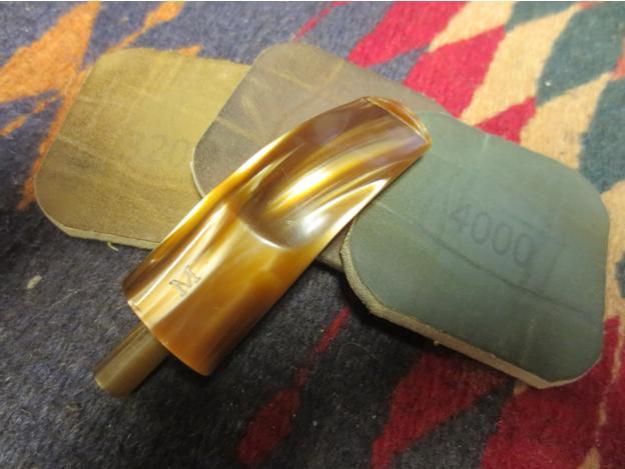
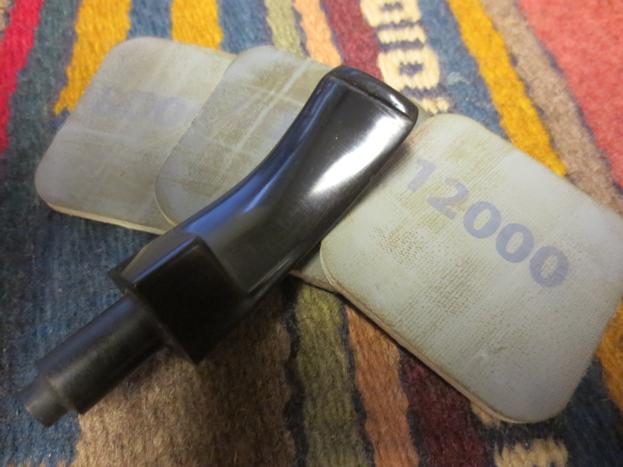
 I finished sanding it with 6000-12000 grit pads and gave it a final coat of oil and let it sit until the oil was dry.
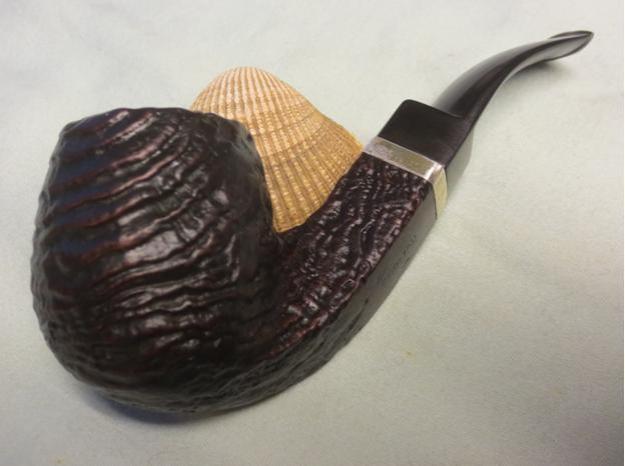
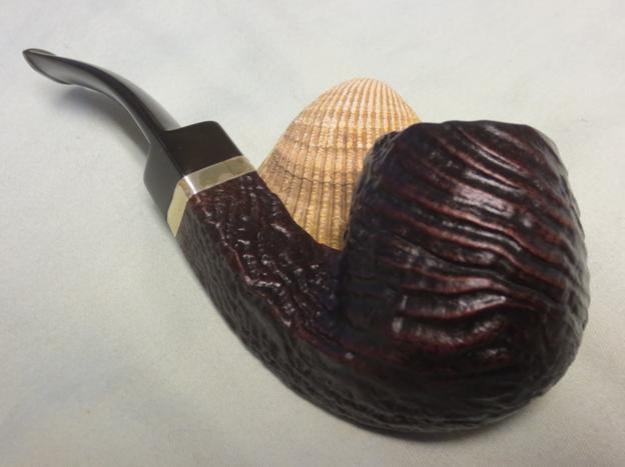
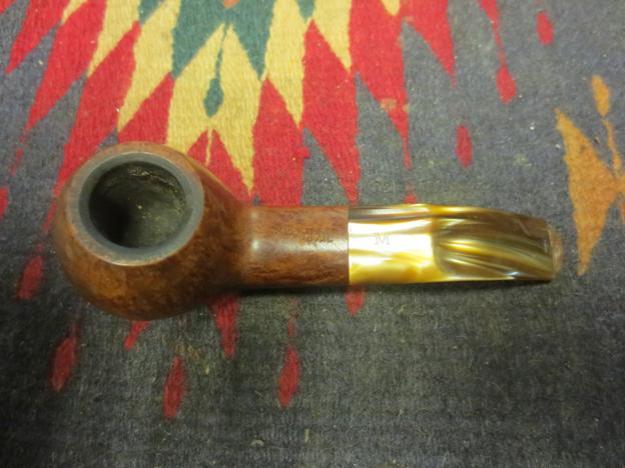
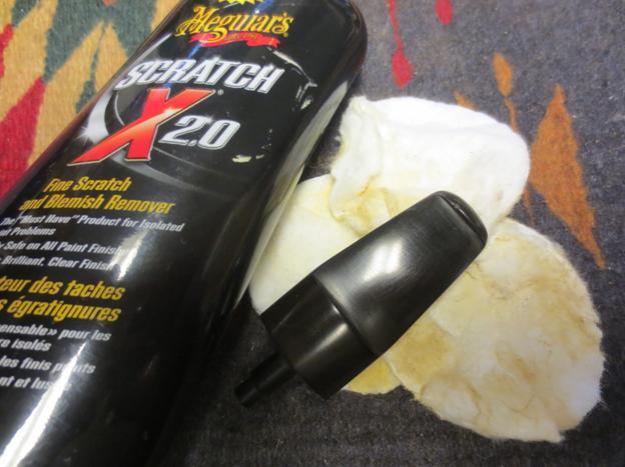
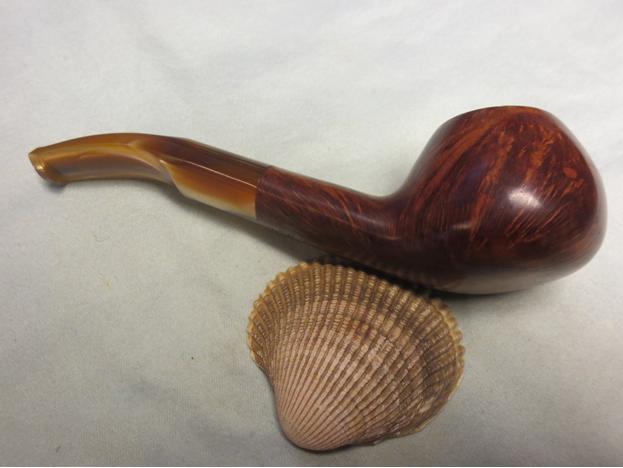
 I buffed the stem with Blue Diamond and lightly touched the blast with the polish. Too heavy a touch and the grooves fill in with the polishing compound so it is critical to have a very light touch. I gave the stem multiple coats of carnauba wax and buffed it with a clean buffing pad. I sparingly applied some Conservator’s Wax to the bowl and hand buffed it with a shoe brush and with a clean buffing pad. I finished by hand buffing the pipe with a microfibre cloth to give depth to the shine. The finished pipe is shown in the photos below. I really like the way the stain turned out and I am pleased with the repair to the stem. Thanks for looking.