Daily Archives: October 5, 2015

Restemming a Brian Doran Nosewarmer Poker


Blog by Steve Laug

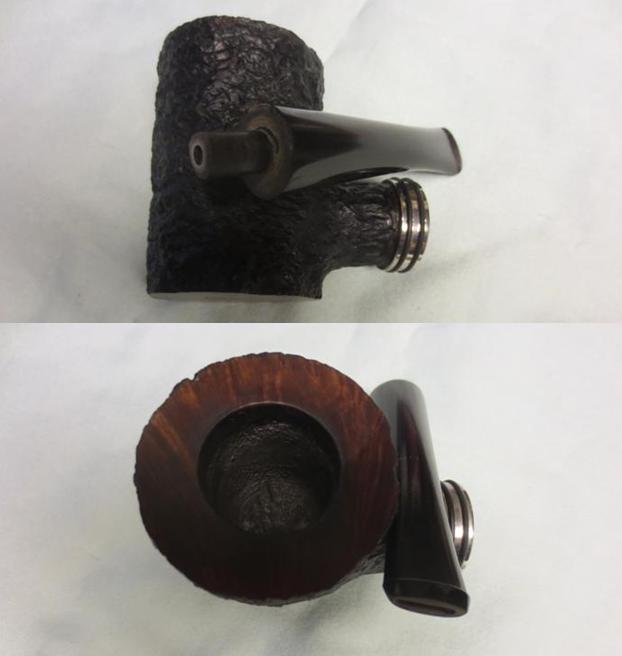
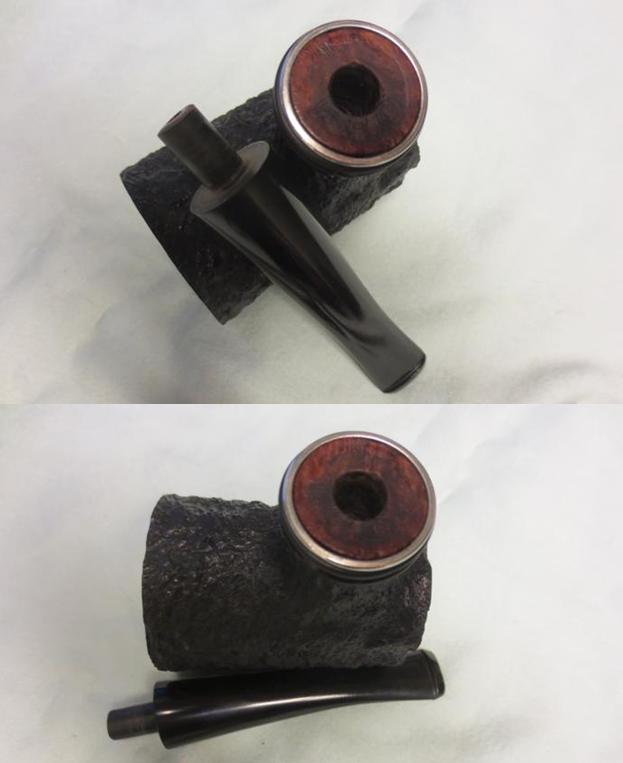
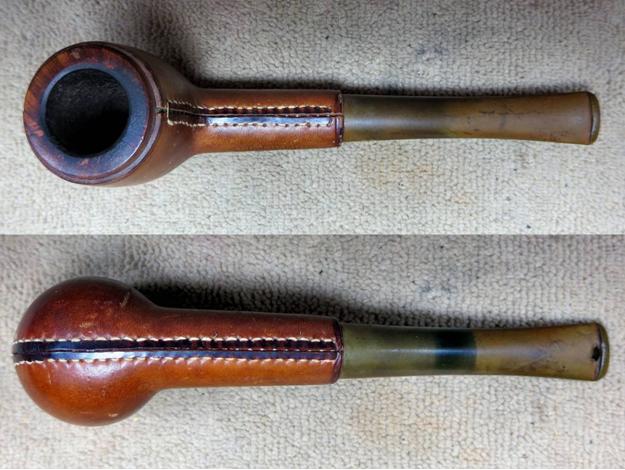
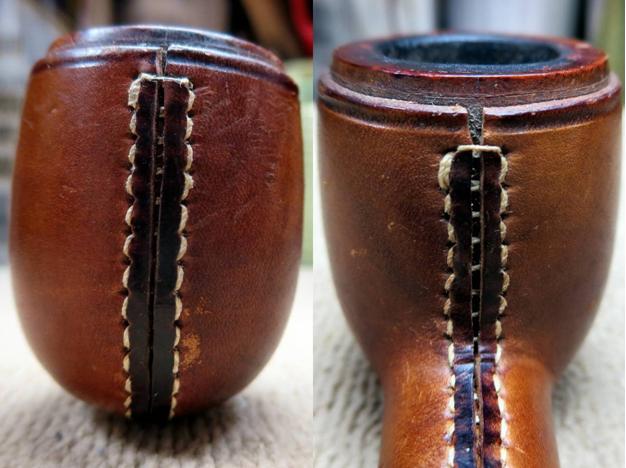
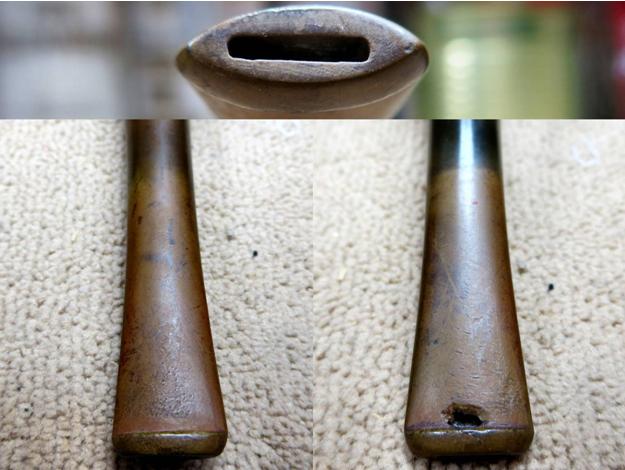
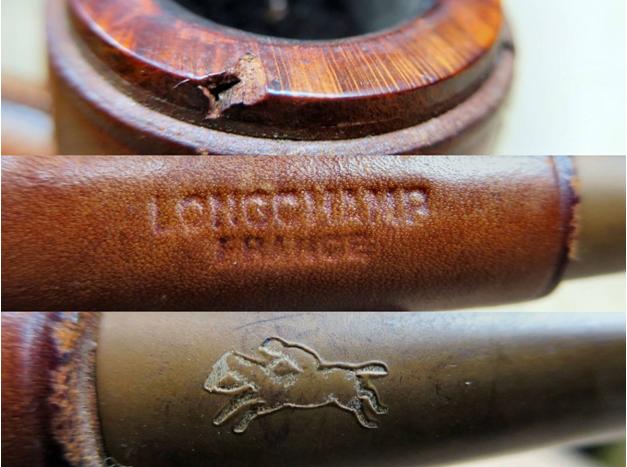
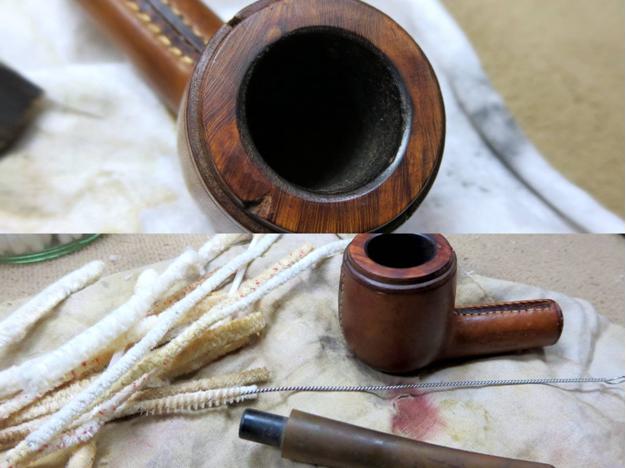
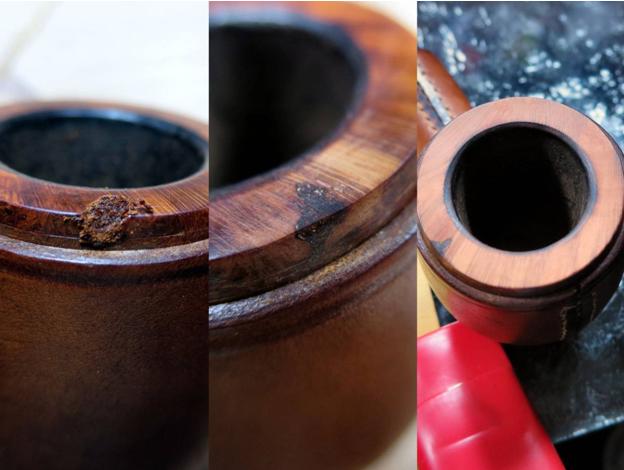
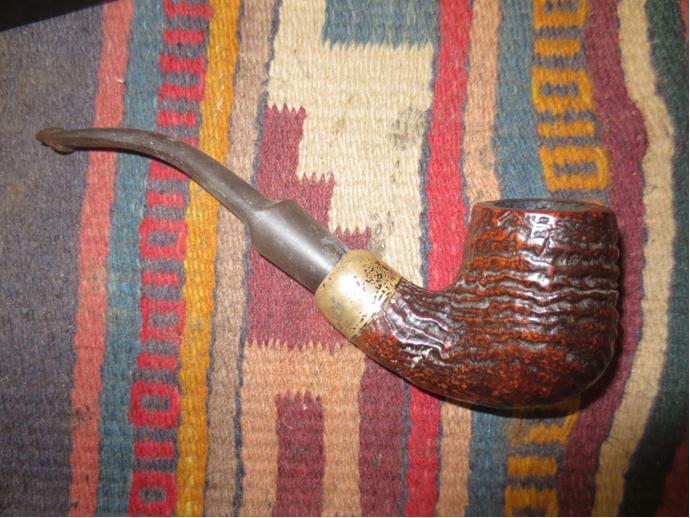
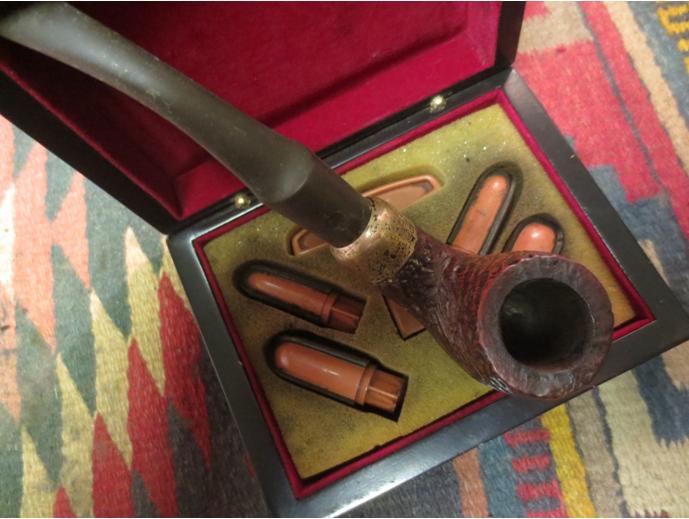
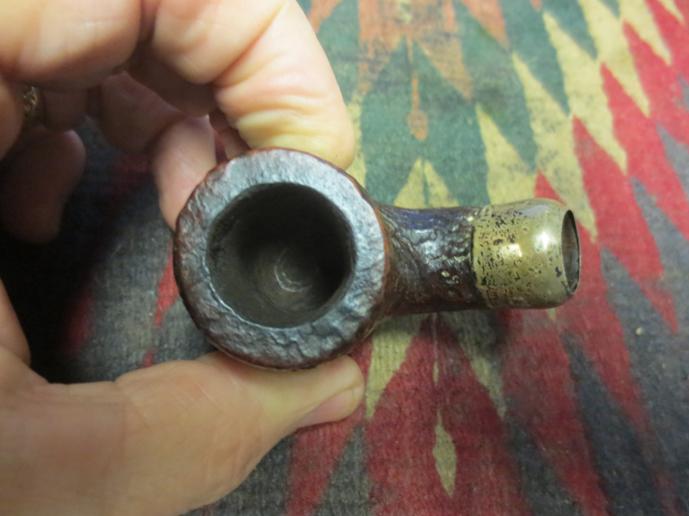
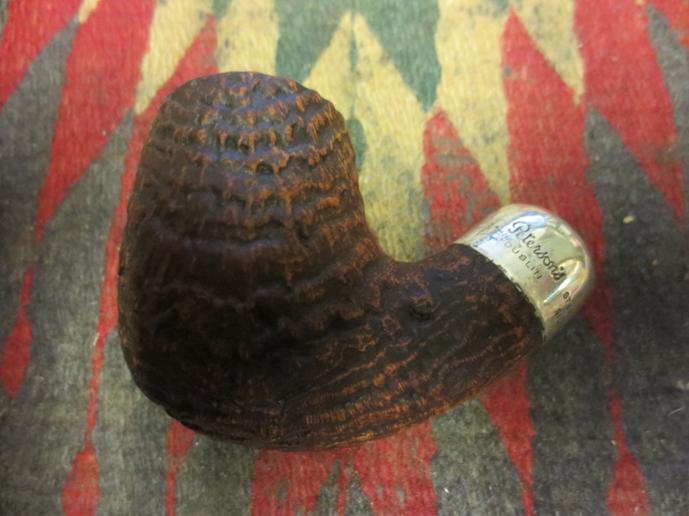
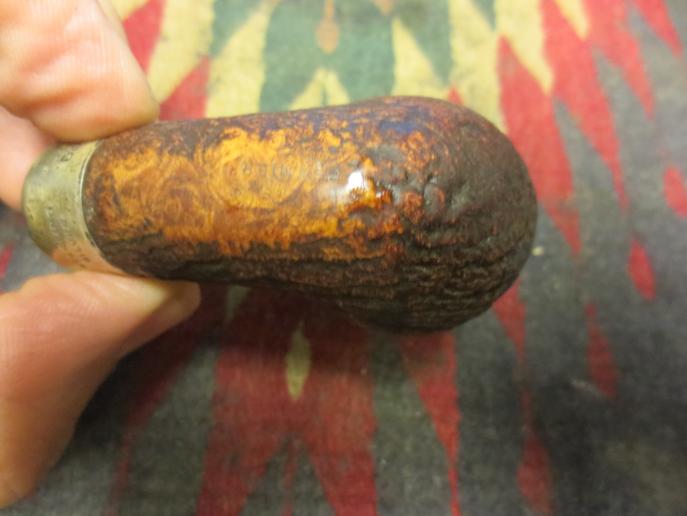
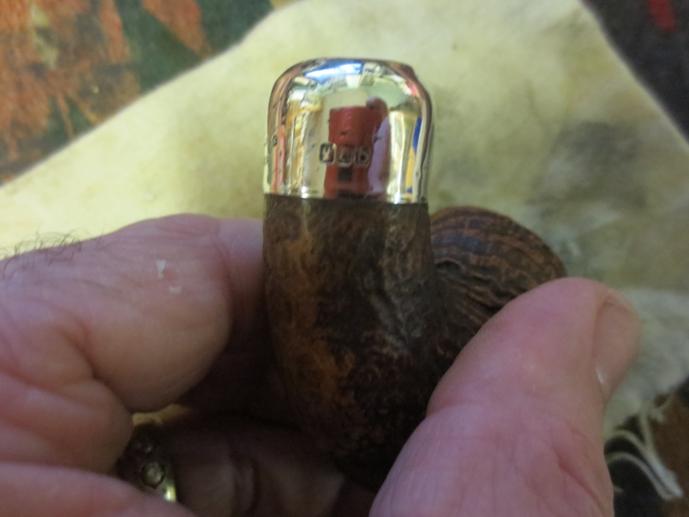
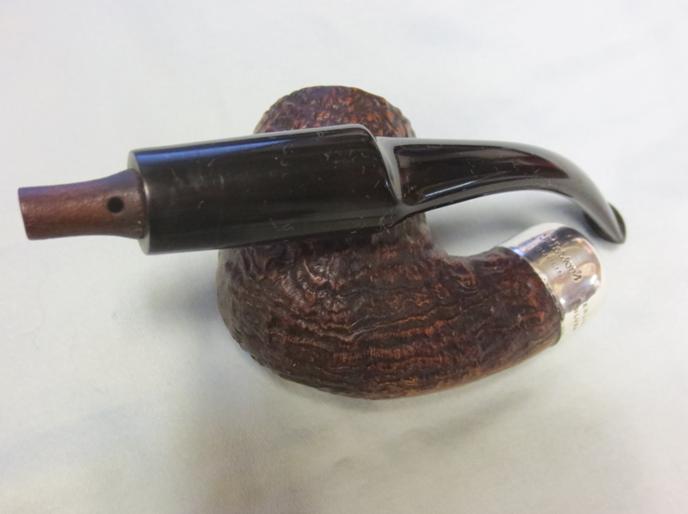
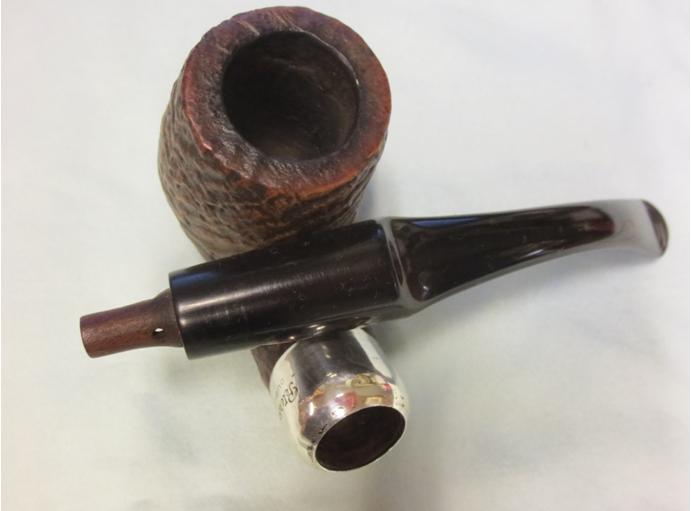
In the gift bag that I received while traveling was a poker made by Brian Doran. I did some reading on Brian’s Facebook page and cannot find out when the pipe was made. I know that this one was originally a nosewarmer poker. I had the pieces of the pipe as it had been dropped by my friend. The tenon broke off in the shank. The tenon would need to be pulled and a new tenon put in the stem or the pipe would need to be restemmed. The bowl was large and the rustication was very nice with a contrasting stain between the rim and bowl. The bowl was a dark brown/black with the smooth rim and bottom stained with a medium brown. The bowl was attractive and the drilling was spot on. There was a large silver band with two black rings around it on the end of the shank that added to the weight of the piece.Doran1 
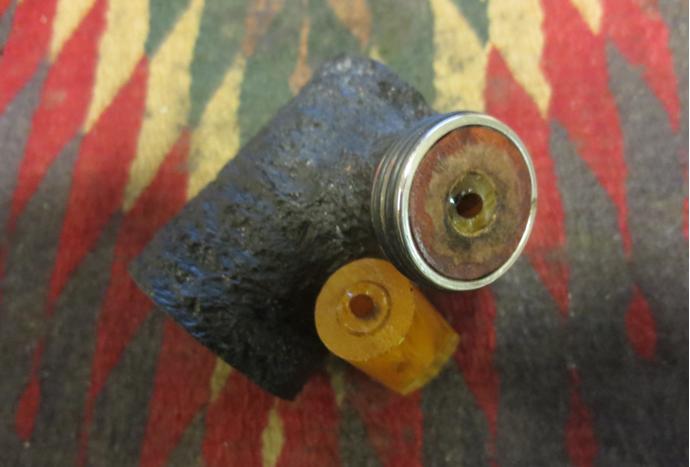
I put the stem up against the bowl to get an idea of how it originally looked before the break. The piece of briar was quite large and heavy and the small mouth piece that had been on it made gripping it a challenge. I could see why my friend had dropped it. The mouth piece itself was smaller in diameter than the shank of the pipe and did not look quite right to me. The button was rough – not sure if it happened during the drop or if it came that way. It had chips out of the edges, top and the face of the button and the inside of the slot was also roughly shaped. The shortness of the blade on the stem did not give much to work with.Doran2 
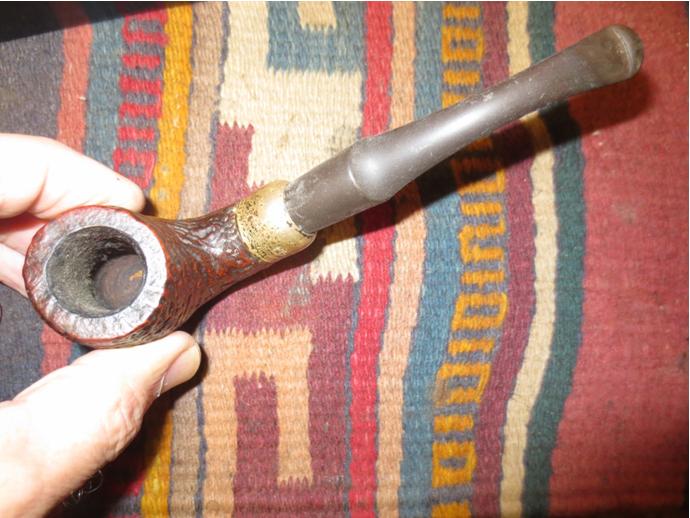
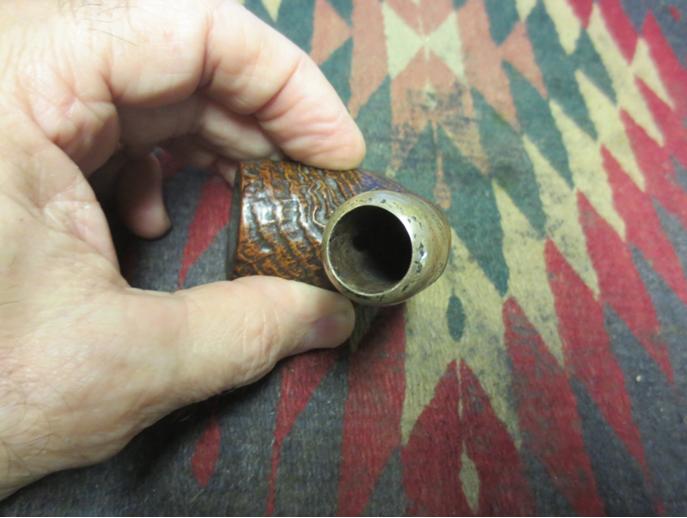
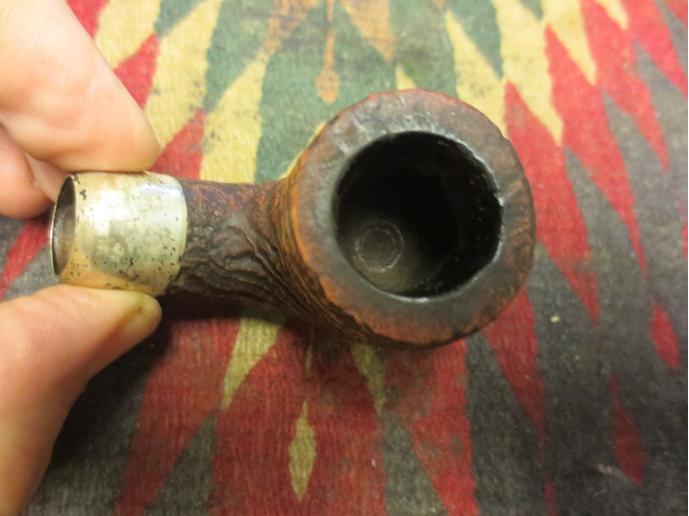
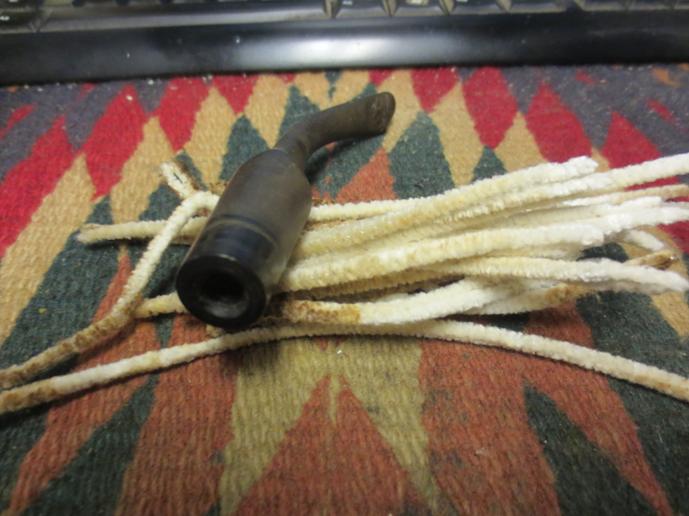
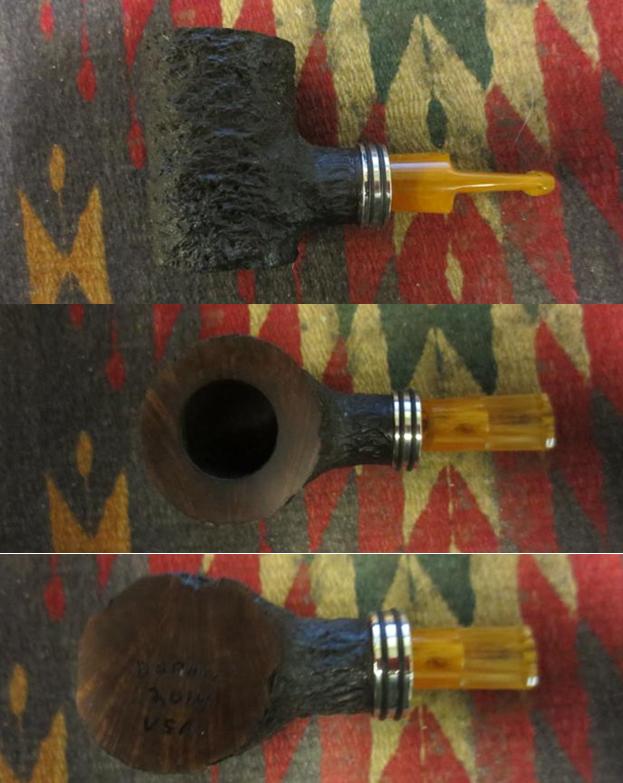
I used a screw to pull the broken tenon out of the shank. I twist it in with a screwdriver until it catches and then wiggle the screw while pulling on it. It generally comes out very easily. I was thankful that this time it came out without a problem. I cleaned up the shank with pipe cleaners, cotton swabs and alcohol.Doran3 
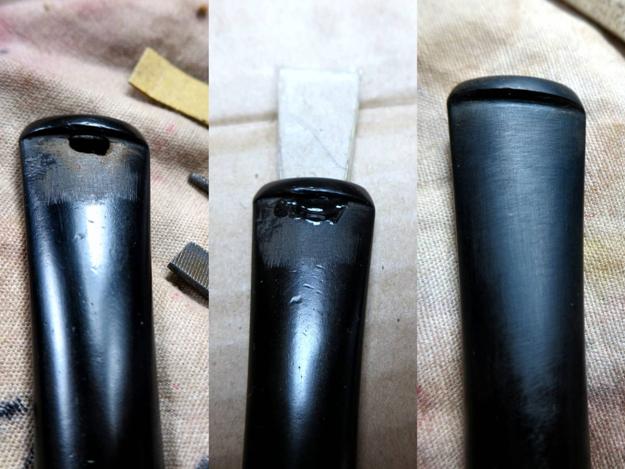
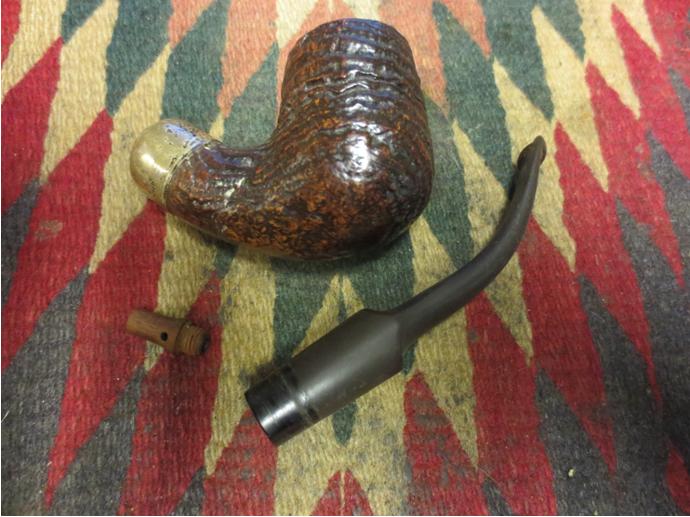
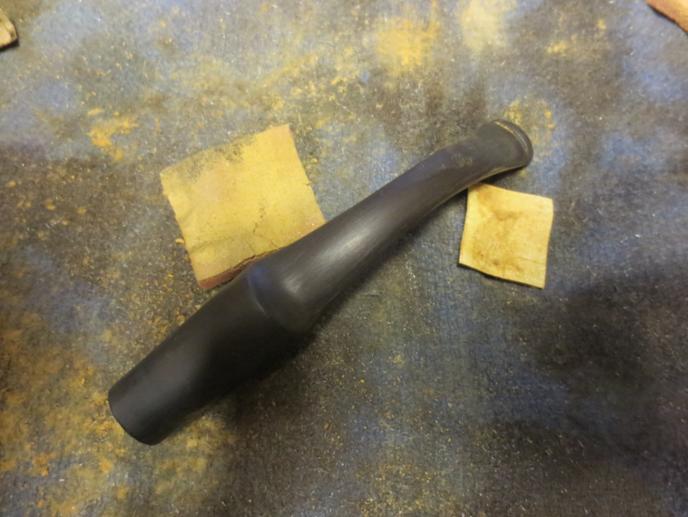
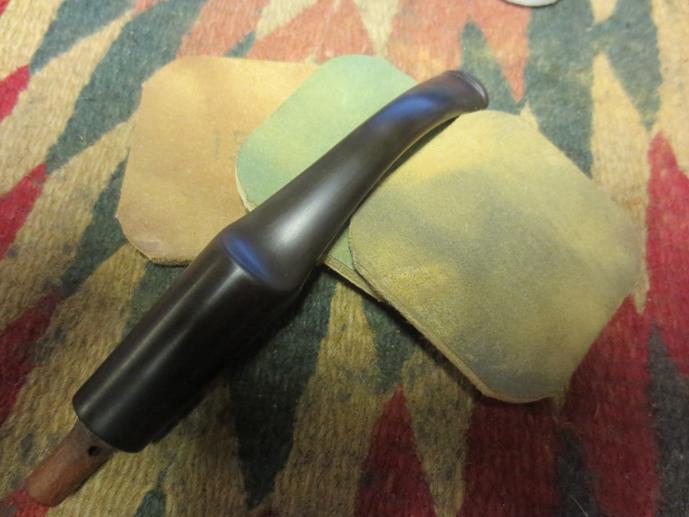
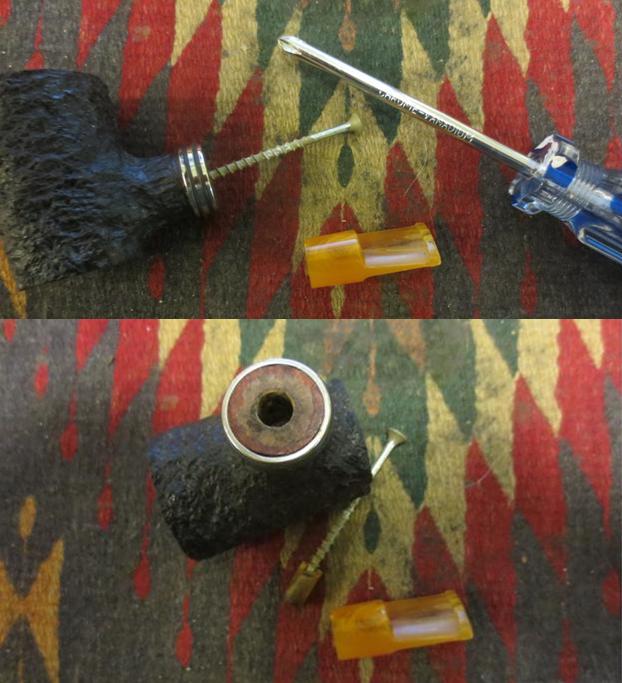
With the tenon pulled I needed to make a decision regarding the pipe. After spending some time with the mouth piece I decided that the damage to the button would take more work than I was willing to put into it. I personally did not like the short stem and found that it was uncomfortable in the mouth and the pipe was too heavy to make it practical. That meant that I needed to restem it. I looked at short stems of the same diameter – both saddle and tapered and just did not like the look. I went through my stems and found a saddle stem that was the same diameter as the shank but was not happy with the overall look. Then I found this smaller tapered stem. It was one I had scavenged from somewhere and the tenon was a perfect fit. It sat in the shank just like the little saddle stem had and showed the stained briar ring inside of the silver band. The appearance at the shank was almost the same. It was slightly bent and I would need to straighten it but I kind of liked the look. It would be worth working on. If I should decide otherwise later I can always restem it again. I set up the heat gun and straightened the stem leaving a very slight bend.Doran4 
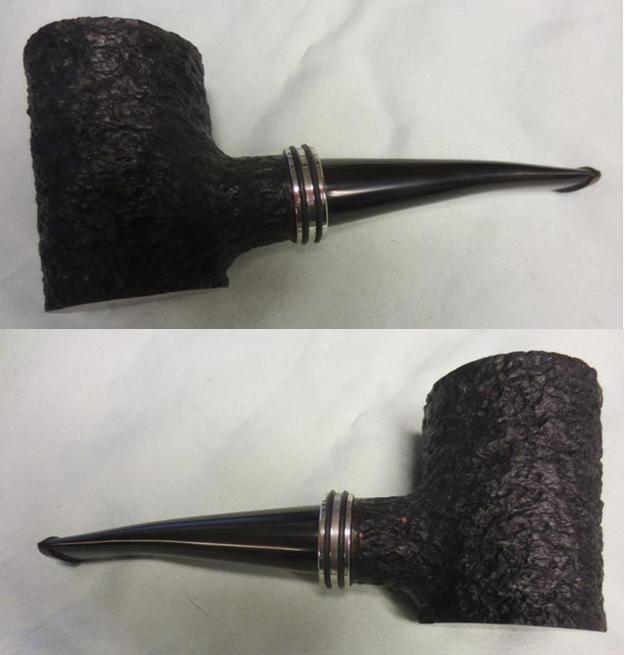
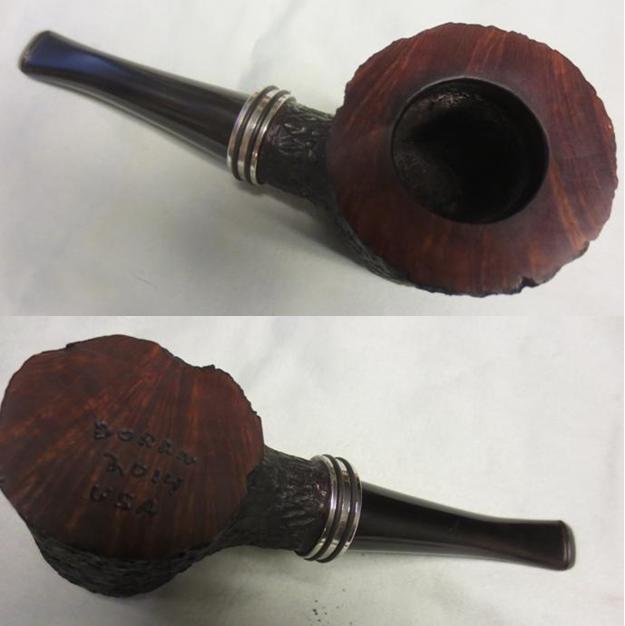
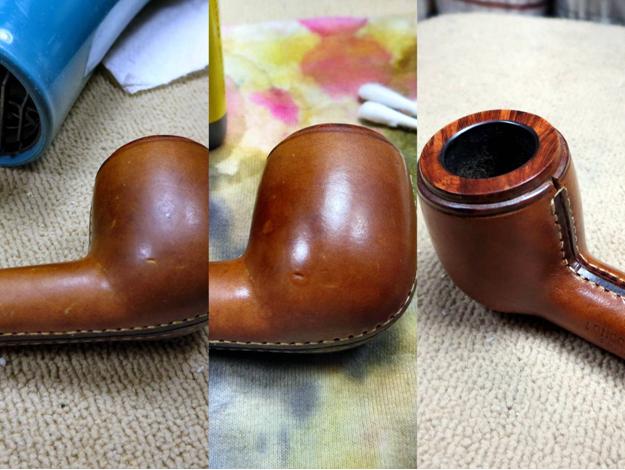
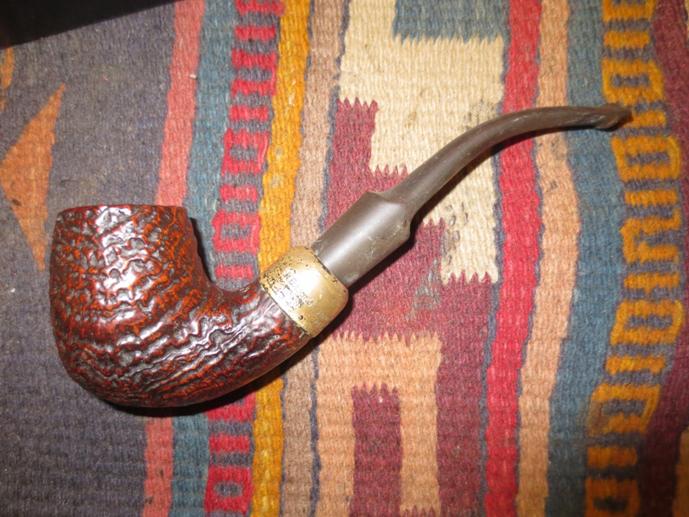
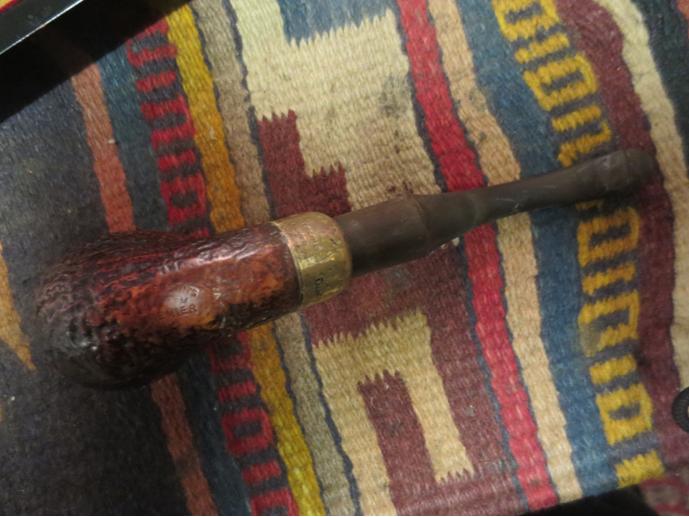
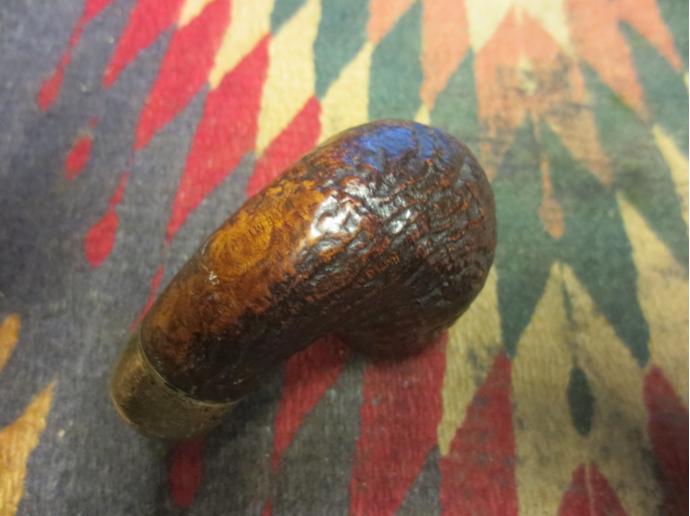
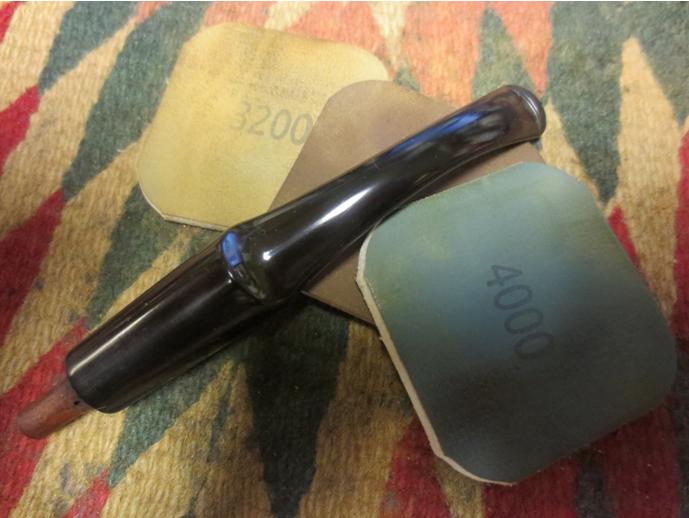
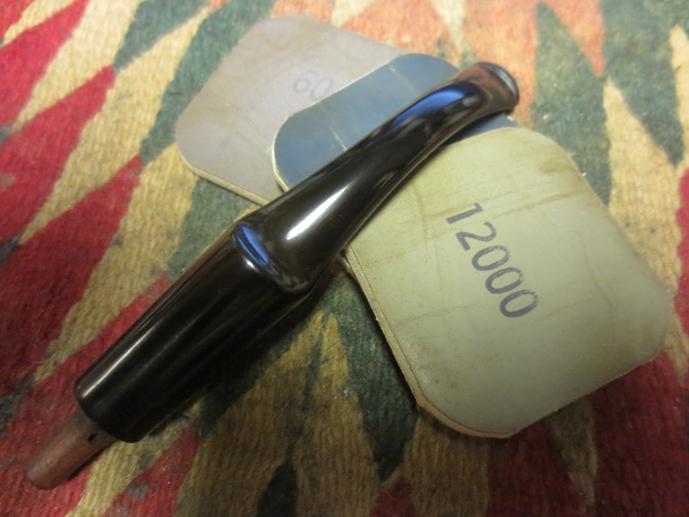
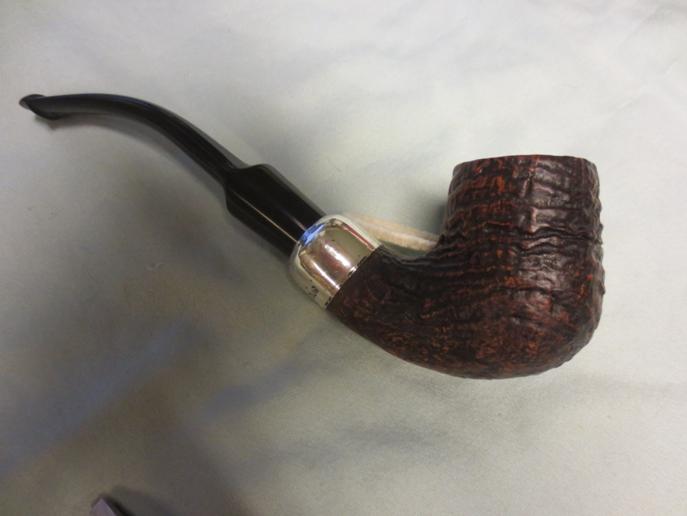
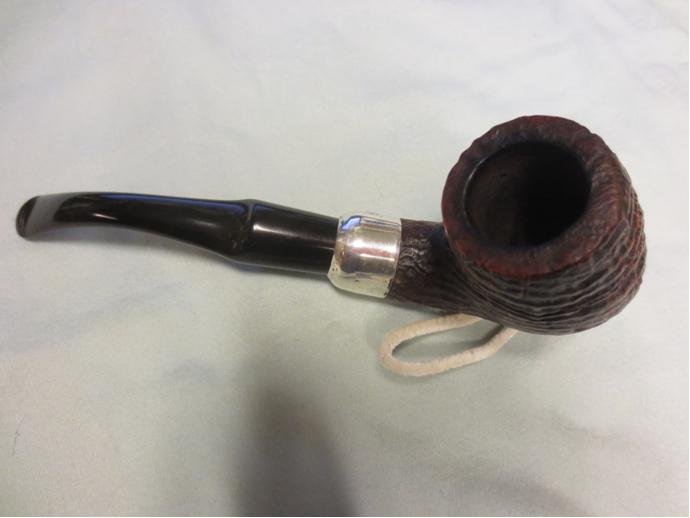
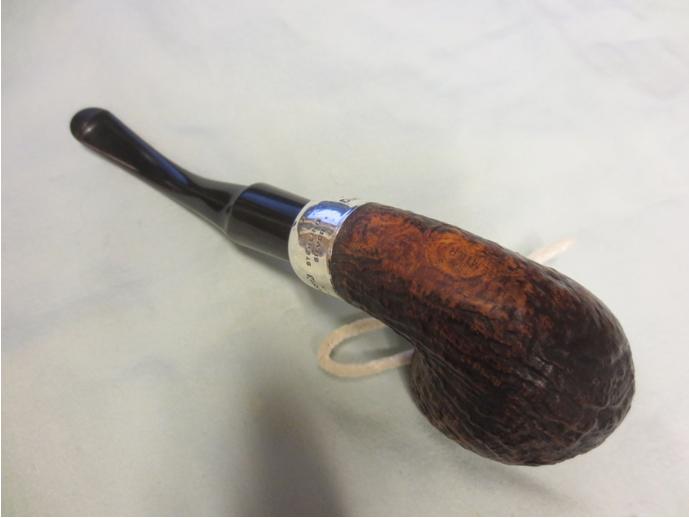
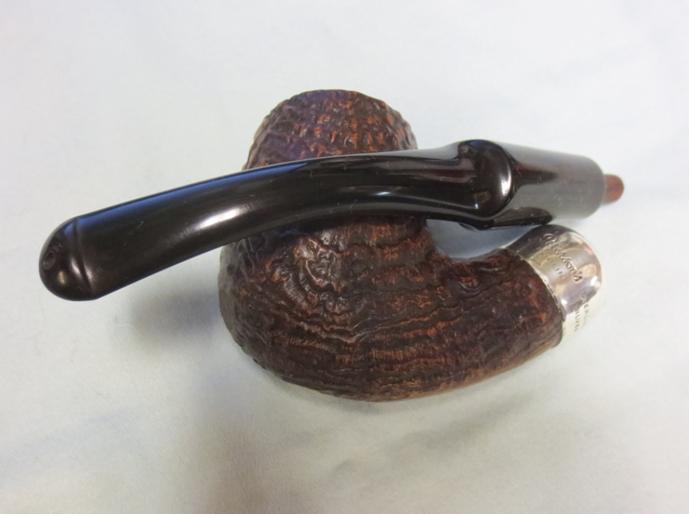
I took the next series of photos to show what the pipe looked like at this point in the process with the longer stem.Doran5

Doran6 
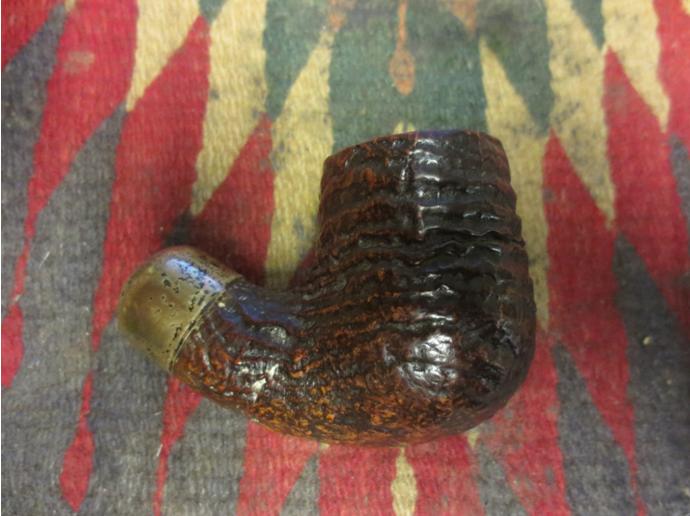
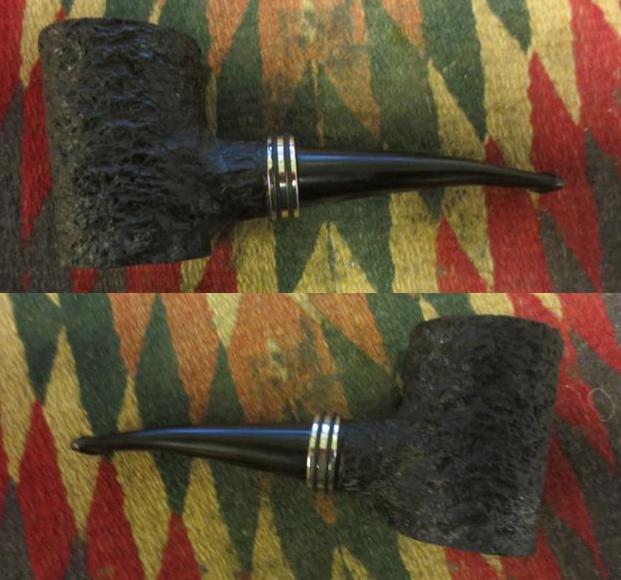
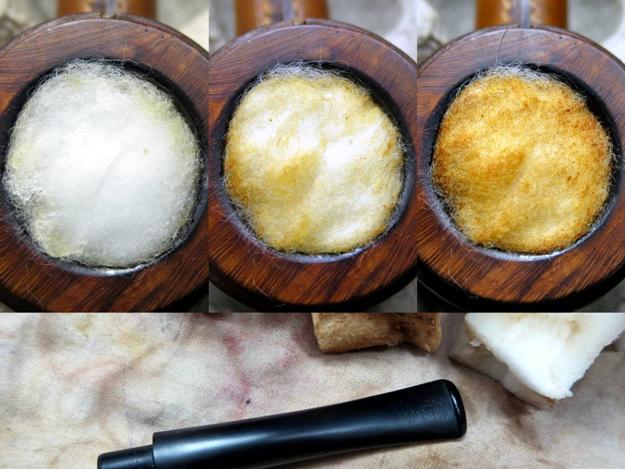
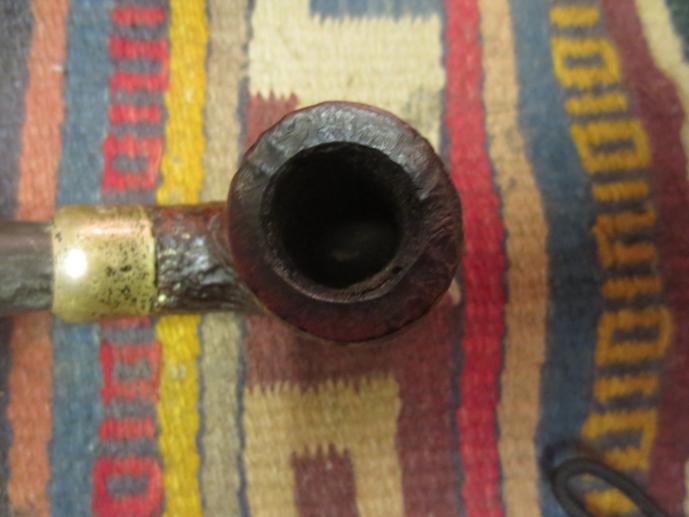
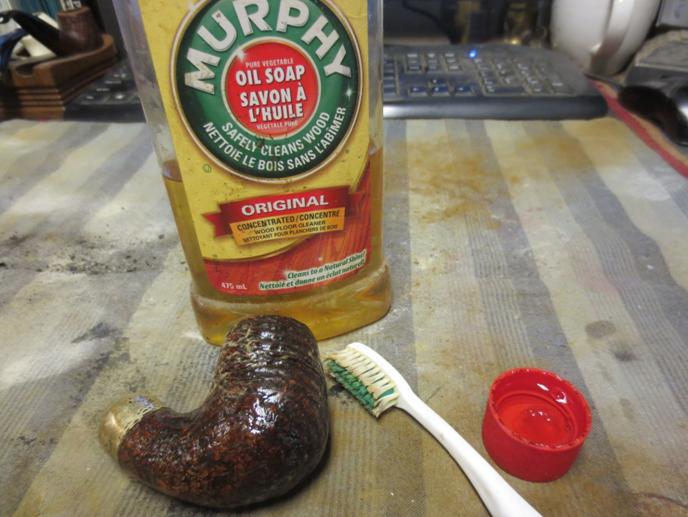
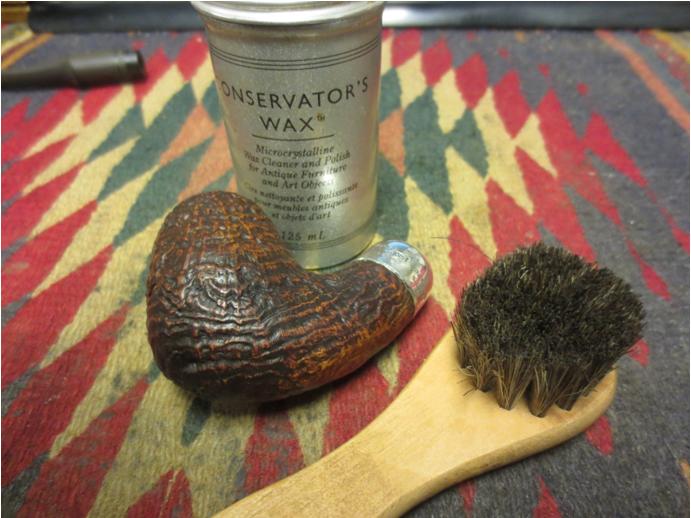
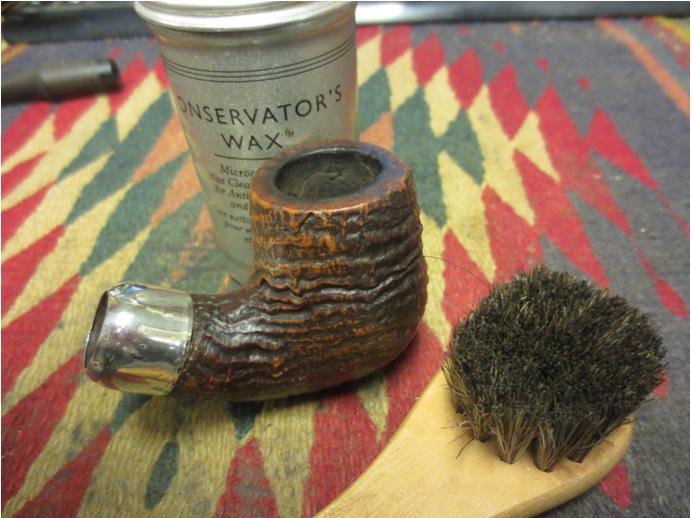
I reamed the bowl to take back the uneven cake. I scrubbed the rusticated bowl and the tars on the rim with a tooth brush and Murphy’s Oil Soap. I rinsed the bowl with water and then dried it off with a soft cloth. I further worked on the darkening of the rim with a cotton pad and saliva until I had the majority of it removed. I also scrubbed the bottom of the bowl with the cotton pad and saliva as well.Doran7 
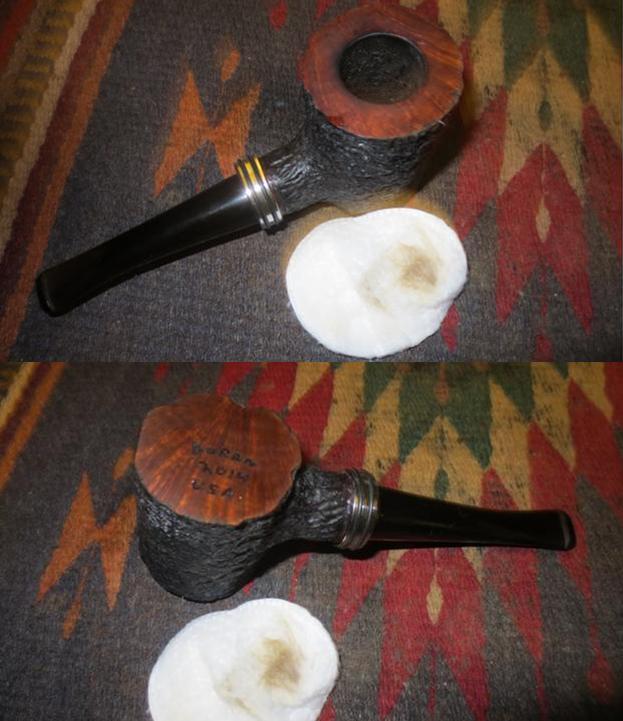
I buffed the rustication with a shoe brush to give it a slight shine.Doran8 
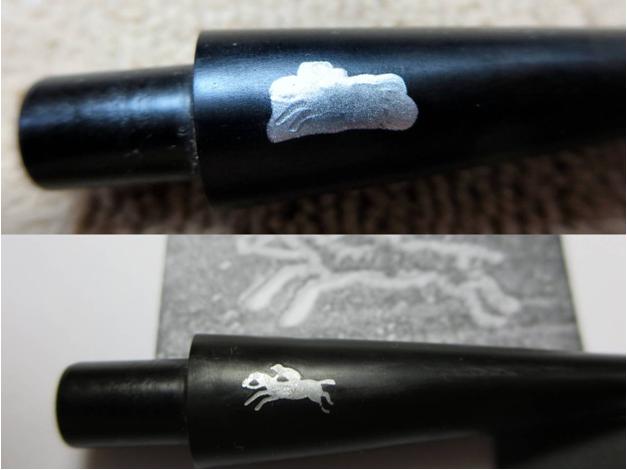
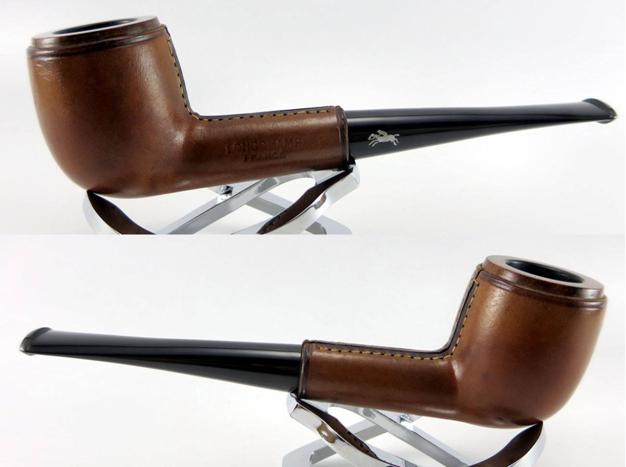
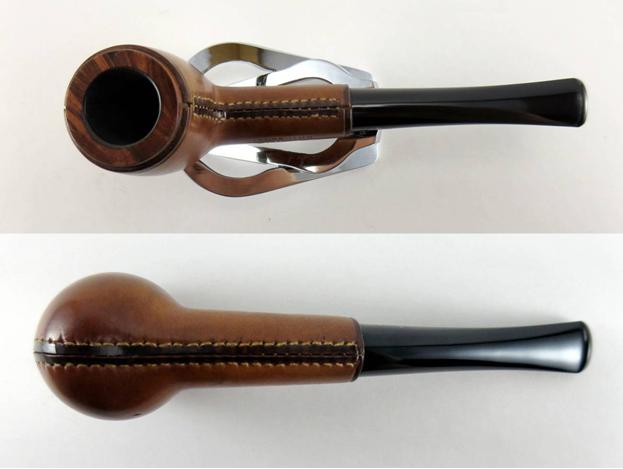
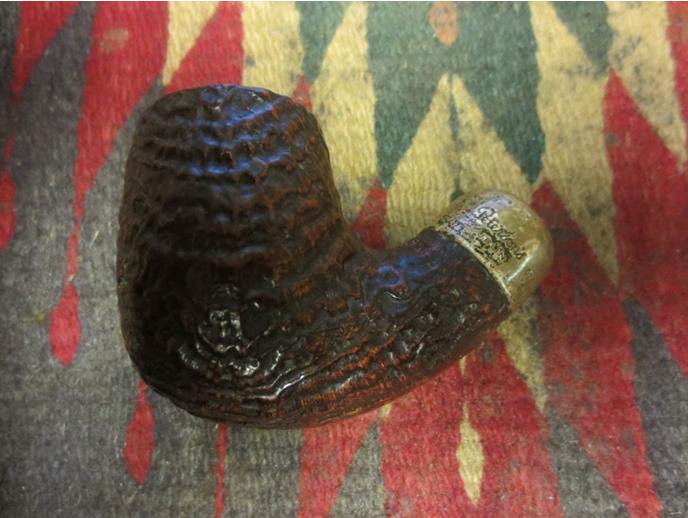
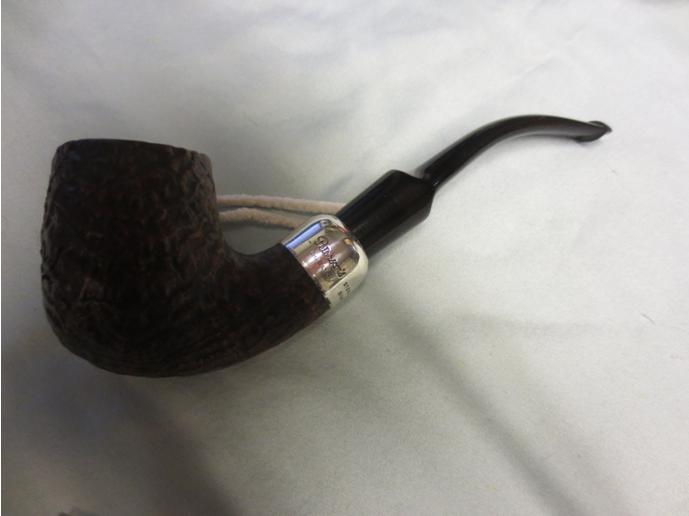
I gave the bowl a light wipe down with olive oil and hand buffed it with the shoe brush to raise the shine. The stem was in very good shape with no tooth chatter or oxidation so it needed only to be cleaned and polished. I buffed the rim and the base along with the stem with Red Tripoli, White Diamond and Blue Diamond. I then gave the rim, base and stem several coats of carnauba wax and buffed them with a soft flannel buff. I finished by hand buffing with a microfibre cloth. The finished pipe is shown below. I like the new look with the longer stem. The pipe now works as a sitter and balances on the desk with no issues. What do you think?Doran9

Doran10

Doran11

Doran12

Get Me to the Church on Time: Restoring a Longchamp Billiard


Blog by Anthony Cook

I was browsing through Reddit’s /r/PipeTobacco sub-forum when I saw a post from a member looking for someone who could restore an old, leather-wrapped Longchamp pipe. He wanted it in time for his wedding day, which was a couple of weeks away. I could see in the accompanying photos that the pipe had a chip out of the rim and a bite through on the stem, but otherwise it appeared to be in good condition and both the leather and stitching looked solid. So, I contacted him and offered to take care of it.
The pipe arrived at my door a while later. I was happy to see that there were no hidden “gotchas” and the condition of the pipe was pretty much as it had appeared in the photos.

Here are a few photos of the pipe on arrival:Bride1

Bride2

Bride3

Bride4 Notice in the image below that the stem has almost no tooth chatter despite the massive bite through. What’s up with that? Weird.Bride5 The next image shows some detail photos of the stamping and the rim damage on the pipe.Bride6 The pipe needed to be cleaned up before I tackled any of the damage. This is my “getting to know you” time with the pipes that I work on. I learn a lot about the pipe as I’m cleaning it and I often discover things that I hadn’t noticed previously.

I used a very lightly damp rag to remove the tar and soot from the rim. It came away easily. You can see some light spots on the rim in the photos above. I had been afraid that they were fills (that would be a nightmare), but they turned out to be… something else. Whatever it was, it came off with the rest of the grime and I could see that the rim was in good condition other than the noted chip.

Then, I cleaned out the interior of the stem and stummel with a few cotton swabs, pipe cleaners, a shank brush and some isopropyl alcohol. The pipe was already pretty clean. So, it didn’t take much work.Bride7 I then gave the pipe a retort just to be sure and another quick scrub to remove anything that the retort had left behind.Bride8 To prevent any lingering tobacco ghosts, I stuffed cotton balls into the chamber and used a dropper to drip in alcohol until they were saturated. I then sat the stummel aside overnight to let the cotton balls and alcohol do their job. The image below shows a photo of the bowl just after adding the alcohol, another taken about three hours later, and another at about twelve hours (just before I removed the cotton).

Meanwhile, the stem had been soaking in a bath of Oxyclean and warm water. I removed it from the bath and scrubbed it with cubes cut from a Magic Eraser until all of the yellow-brown oxidation was gone and the stem was restored to a satin-black finish.Bride9 Using needle files, I cleaned up the edges of the bite through hole to remove any loose material and scored the surrounding surface to prep for the patch. Then, I inserted a wedge of thin cardboard wrapped in clear tape through the slot making sure that it completely covered the bottom of the hole. I applied several thin layers of black CA glue over the hole. I allowed each layer to dry and lightly sanded with 220-grit paper between layers to give the next one a good surface to bite into. The patch was ready to be blended in when it was slightly higher than the surrounding surface. I used needle files to carve a sharp transition at the back of the button and sanded back the patch and much of the tooth chatter with 220-grit paper.Bride10 I followed that with 320-grit and 400-grit paper to further smooth the surface, and then I lightly sanded the entire stem (carefully avoiding the logo impression) with 600-grit paper.

I wanted to repaint the stem logo to give the pipe a more complete look. So, I used a silver leaf paint pen to paint over the logo and fill the impression with paint. Once it was dry, I carefully sanded the paint from the raised surfaces with 1200-grit paper leaving behind only what was left in the impression. Some of the impression had been worn away until it was nearly level with the surrounding surface. So, I had to try to shape those by hand using a printed photo reference of the logo.Bride11 I lightly sanded the rest of the stem with 1200-grit paper, and then polished with Micro-Mesh pads 1500-grit to 12000-grit. Somehow, I forgot to get a shot of the completed stem, but you can see it in the photos of the finished pipe.

The stem was finished. So, it was time to take care of the stummel. I filled the chip in the rim with briar dust and CA glue, let it dry, and then sanded the patch back with 220-grit paper. It’s just about impossible not to sand away some of the surface surrounding a patch. So, there was a very slight depression in the patched area. To even the rim out, I lightly topped the bowl, first with 220-grit, and then with 320-grit paper.Bride12 To bring the color back and blend the patch, I applied Fiebing’s dark brown dye to the rim with a cotton swab, flamed it, and sanded the rim with 400-grit and 600-grit paper. Then I stained with medium brown and sanded with 1200-grit. I polished the rim with Micro-Mesh pads 1500-grit through 2400-grit before giving the rim a final buckskin stain, and then polished with the remaining Micro-Mesh grits. Again, I forgot to get photos of any of this. Sometimes, you just get caught up in the work, you know?

All that was left to do to get this pipe ready for the wedding day was to spiffy up the leather a bit. I used a hairdryer set to high heat and low flow to heat the leather and raise the dents. I used my fingers to knead and stretch the leather around the deeper ones to help lift them. Then, I used Fiebing’s buckskin dye to restain the scratches and a small tear on the right side of the bowl. The tear itself was then patched with a bit of leather glue. Finally, I used Fiebing’s 4 Way Care to clean and condition the leather wrapping before burnishing the ends of the leather and edging the seams.Bride13 The pipe work as finished and it was ready to be sent back for the big day. Here are a few photos of the finished pipe:Bride14

Bride15

Bride16

Bride17 Thanks for looking and CONGRATULATIONS, NATE!!!

Rejuvenating a Peterson’s System Premier 307


Blog by Steve Laug

The next pipe that is on my desk came to me from a friend on Smokers Forums who wants me to clean and sell them for the support of the forums. It is a nice Peterson’s Premier System Pipe in the 307 shape. It is stamped on the underside of the shank Peterson’s System Premier 307. The silver ferrule is stamped as normal with Petersons of Dublin on one side. Underneath it is stamped Sterling Silver and there are hallmarks that give the date of the pipe. The stamping of the hallmarks was as follows: Hibernia, Lion (denoting that the silver is .925) and the letter “b” which denotes that the pipe was made in 1969. I have included the Peterson’s Hallmark chart below as it is a very helpful tool that I have used repeatedly to date my Peterson pipes.Peterson Hallmarks The pipe was dirty and the silver was oxidized enough that the stamping was hard to see. The rim was darkened by in pretty decent shape. The sandblast finish had a lot of grime in the grooves and there was some white paint of dried wax in the grooves. There was a light cake in the bowl that was thicker toward the middle of the bowl than it was at the top or the bottom. The stem had a rough finish from the oxidation and there were some small tooth marks on the top and the bottom edge of the stem near the P lip. The airway on the button was in excellent shape and the crease was still well defined.Pete1

Pete2

Pete3

Pete4 I took a close up of the bowl to show the cake that was in the bowl. There was a small nick on one side of the inner edge of the bowl on the right side but it looked like it would clean up very nicely.Pete5 I reamed the bowl with a PipNet reamer and took the cake back to the bare wood. I wanted a good even base so that the new owner could build a solid hard cake evenly in the bowl. I used a folded piece of sandpaper to smooth out the nick on the right side.Pete6

Pete7 I took the stem out of the shank and removed the Bakelite/wood extension that screws into the tenon on Peterson Premier pipes. The photo below shows the pipe taken apart.Pete8 I took the next series of photos to show the grime and white wax in the grooves of the sandblast.Pete9

Pete10

Pete11

Pete12

Pete13 I scrubbed the bowl with a tooth brush and Murphy’s Oil Soap to clean out the grooves of the blast. I worked on it until I was able to remove the grit. I followed up with a light scrub of the rim and the grooves with a brass bristle tire brush to finish the cleaning.Pete14 I rinsed the bowl under running water to remove the soap and the loosened dirt. I dried it off with a soft cloth and then took the next set of photos.Pete15

Pete16

Pete17

Pete18 I polished the sterling silver ferrule with a jeweler’s polishing cloth and was able to remove the tarnish. The silver began to shine and the stamping became very clear as I cleaned it.Pete19

Pete20

Pete21 I rubbed some microcrystalline Conservator’s Wax on to the bowl surface with my fingers and then buffed it with a shoe brush. The result was a warm shine on the bowl. I don’t like to use a buffer on deep blasts as it tends to flatten the blast and wear it down. Hand buffing it with a shoe brush preserves the blast.Pete22

Pete23 I cleaned the interior of the stem and shank with pipe cleaners, cotton swabs and alcohol. I was surprised at how clean the shank and the stem were. It took very few cleaners to clean up the interior of the pipe.Pete24 I soaked the stem in Oxyclean for about 30 minutes and then dried it off and sanded the oxidation with 220 grit sandpaper and also a medium and a fine grit sanding sponge to remove the loosened oxidation.Pete25 I wet sanded the stem with 1500-2400 grit micromesh sanding pads and then rubbed it down with Obsidian Oil. I dry sanded it with 3200-4000 grit micromesh and gave it another coat of oil. In each of these steps I did not let the oil absorb but rather used it to give traction to the micromesh pads. I buffed the stem with Red Tripoli and with White Diamond on the wheel to remove the stubborn oxidation that remained. I finished by sanding the stem with 6000-12000 grit sanding pads. I gave the stem a final coat of Obsidian Oil and let it absorb into the vulcanite.Pete26

Pete27

Pete28 I buffed the stem with Blue Diamond and gave it multiple coats of carnauba wax to protect and give it a shine. I then buffed it with a soft flannel buff and then by hand with a microfibre cloth. The finished pipe is shown in the photos below. It is a beautiful sandblast system pipe that will make someone a great addition to their rack. If you are interested in this pipe contact me via Facebook of comment on the blog. All proceeds will go toward supporting Smokers Forums.Pete29

Pete30

Pete31

Pete32

Pete33

Pete34

Pete35