Blog by Steve Laug
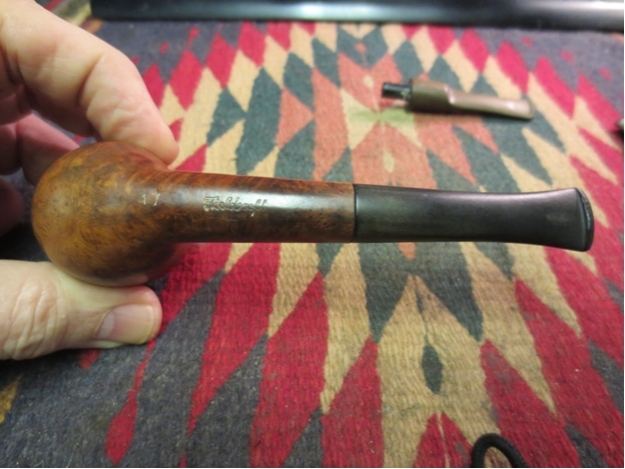
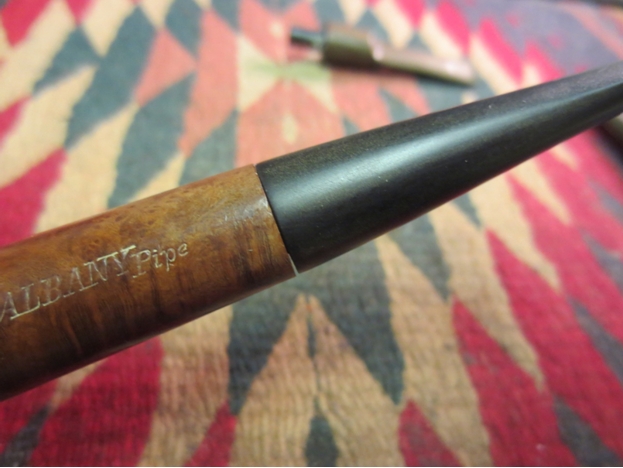
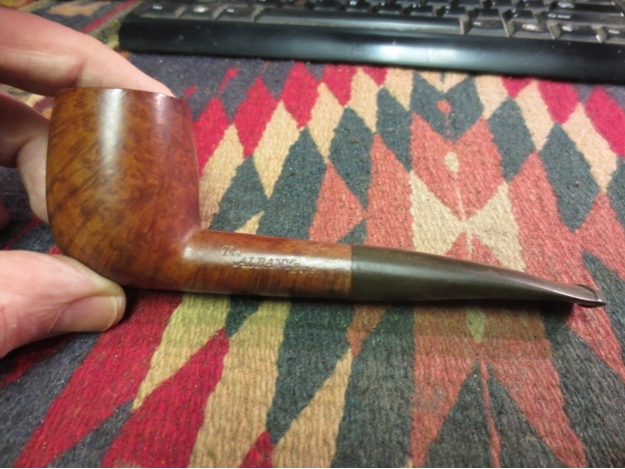
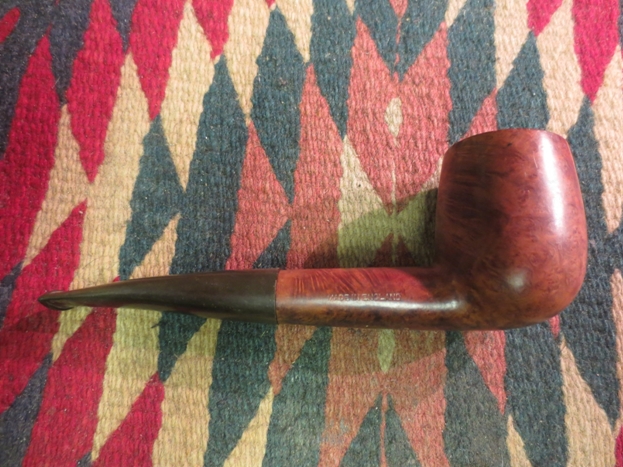
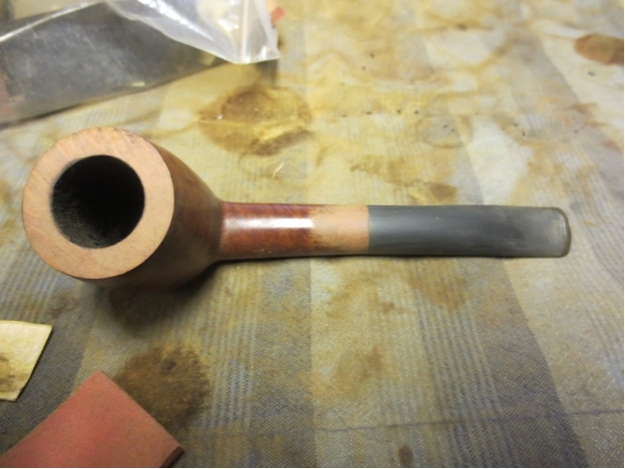
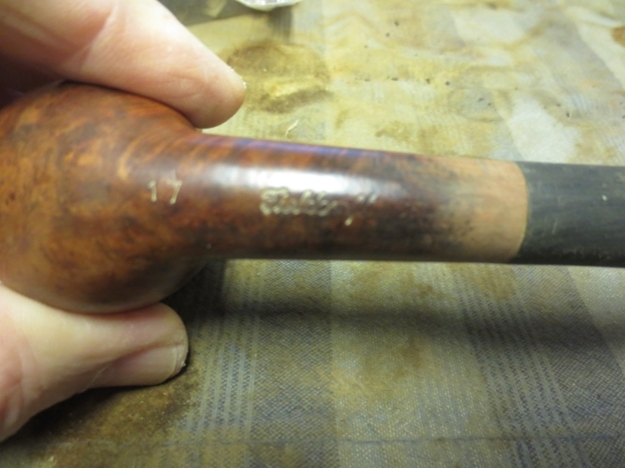
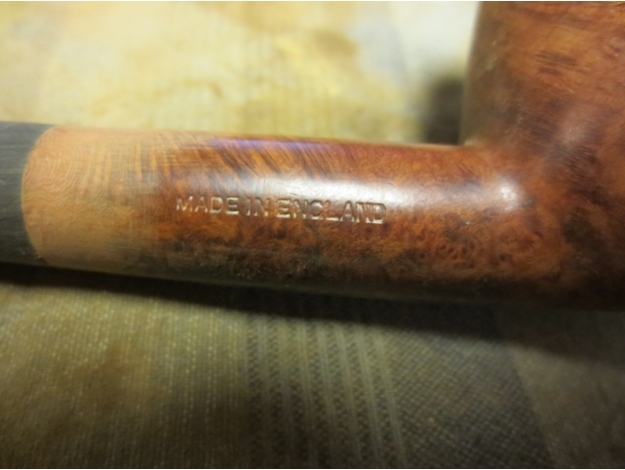
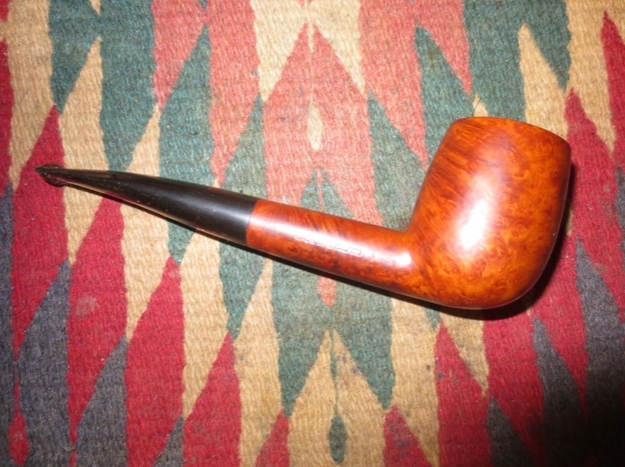
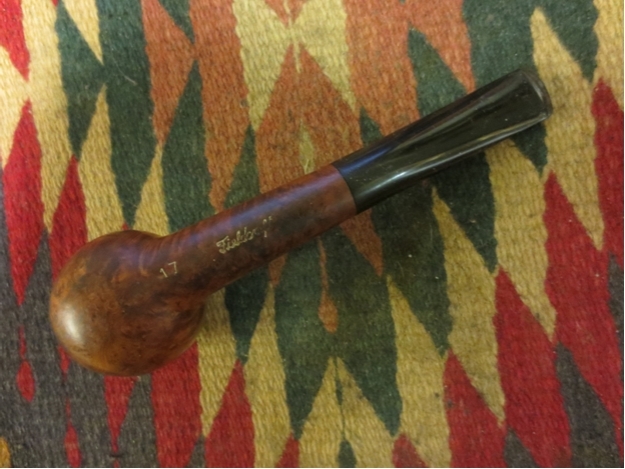
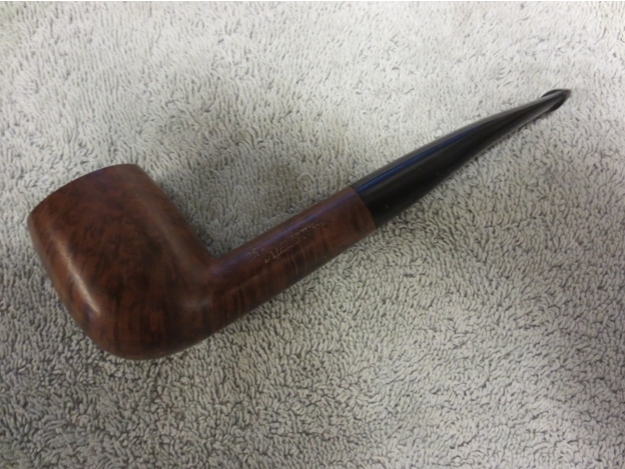
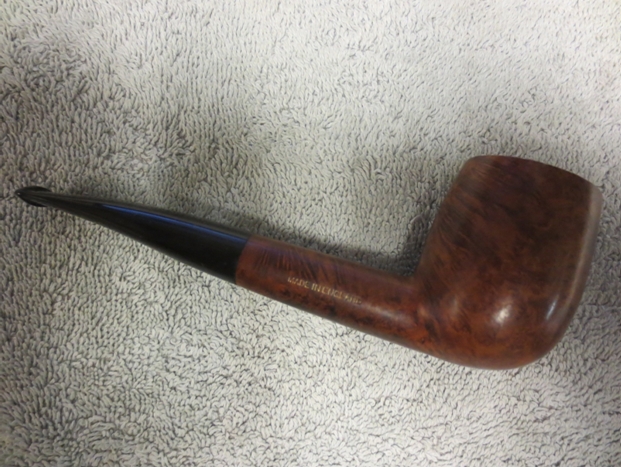
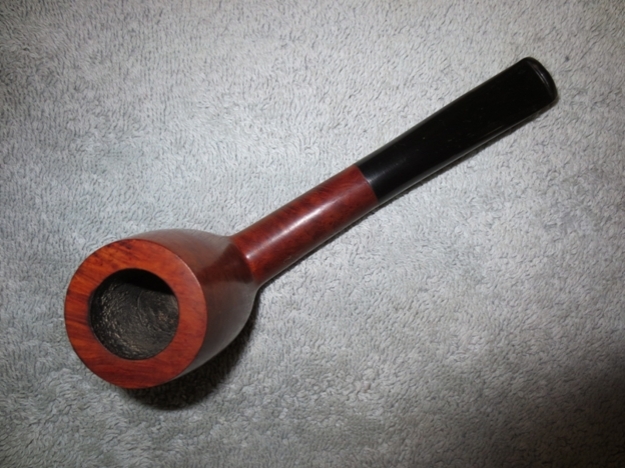
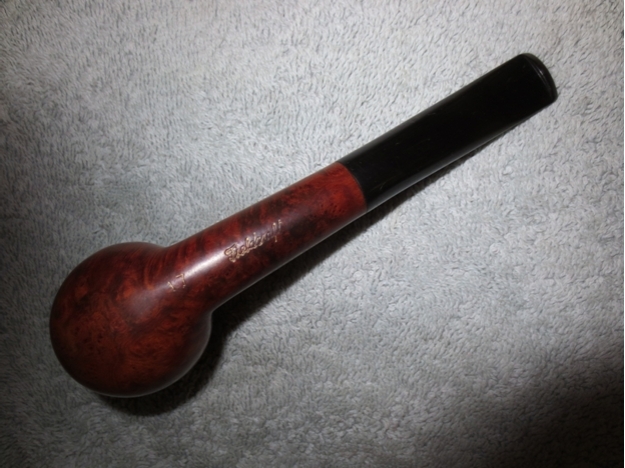
I am slowly but surely working my way through the gift box of pipes I received. The next one that I chose to work on was a billiard. It is stamped Yorkshire in an arch over Natural and another reverse arch with the words Algerian Briar.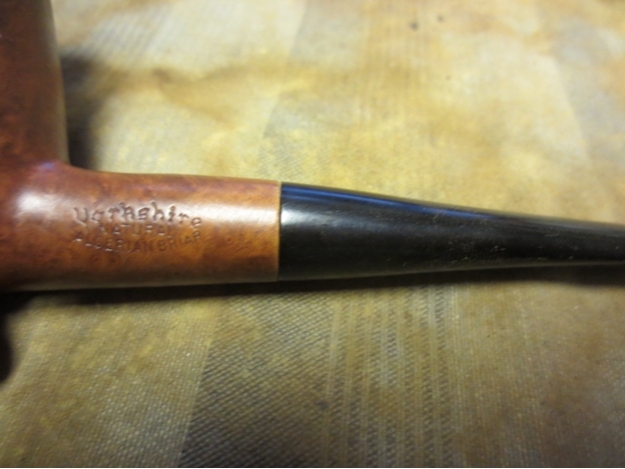 The stem on it was a replacement and did not fit well on the shank. It was slightly smaller in diameter and also had rounded shoulders. The angles and flow of the stem did not work well with the pipe in my opinion as the taper on the top of the stem was different from the one on the bottom side. The bowl itself was clean but and the finish dirty. The rim had been damaged around the outer edge on the front of the bowl rounding it slightly. The stamping was clear and distinct. From what I can find on the internet the Yorkshire brand is a US Made pipe that came from Barnaby Briars (smoking pipe retailer) that was located at 28 Powell St. in Brooklyn (NY). They also made pipes stamped Barnaby. The Germanic Script differentiates it from the other Yorkshire Brand that was made in Italy by Gasparini for Sears and Roebuck.
 The right side of the bowl had the only fills present on the pipe – and there were about five of them visible. The largest is almost in the middle toward the back. These fills were hard, smooth and tan in colour.
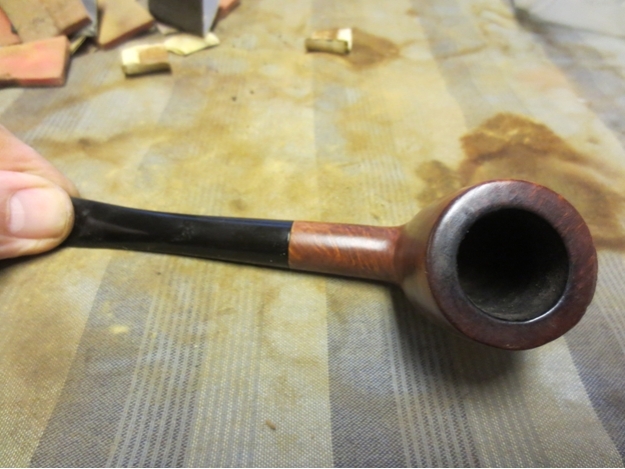
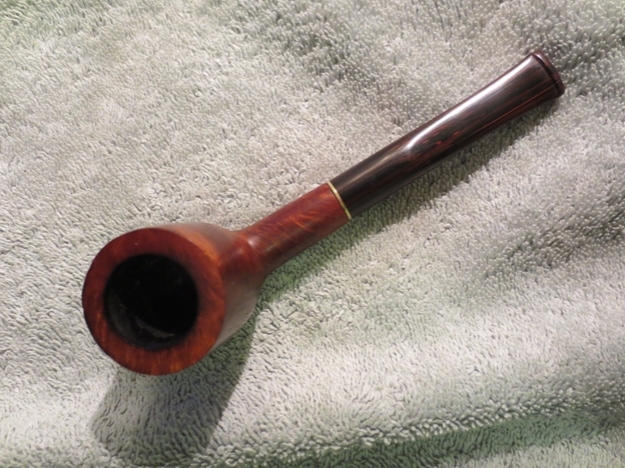
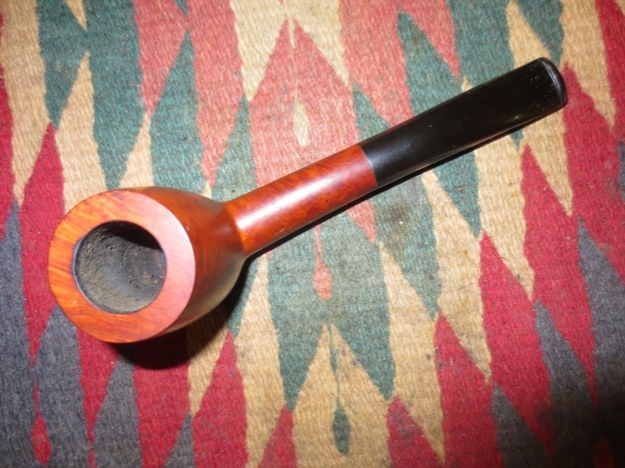
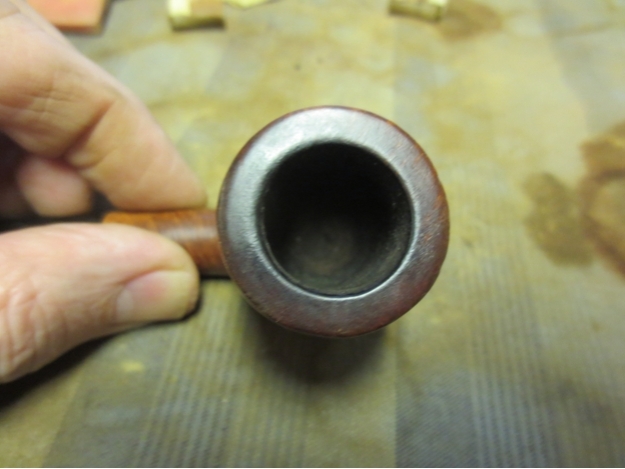
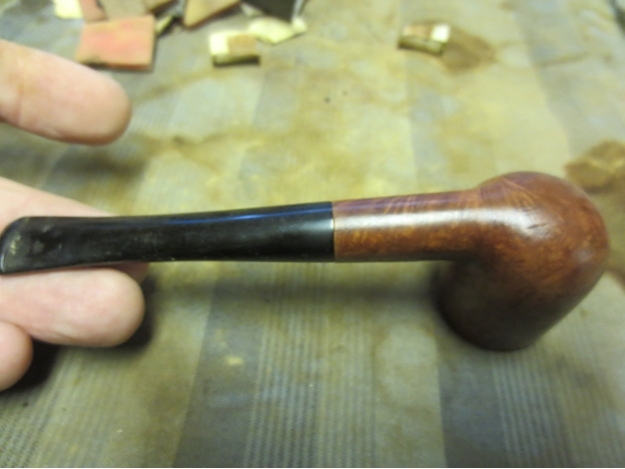 The close-up photo of the rim below shows the rounding of the edges on both the front and the back sides of the rim.
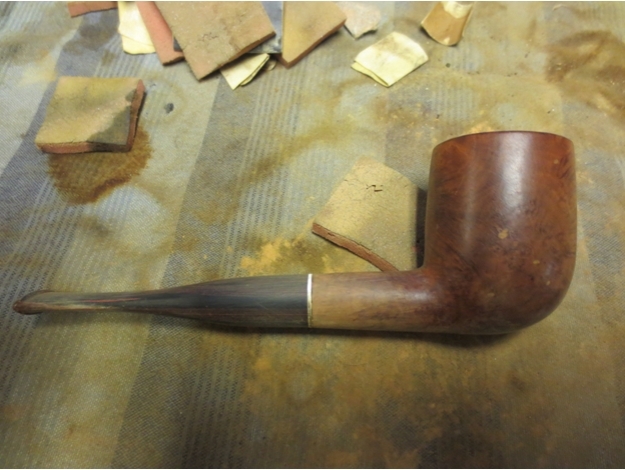
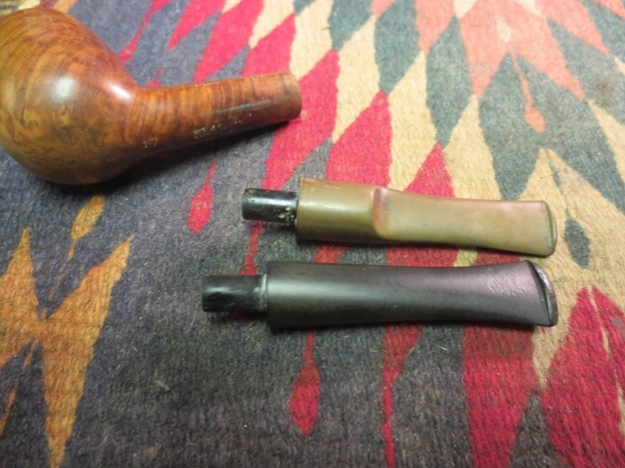
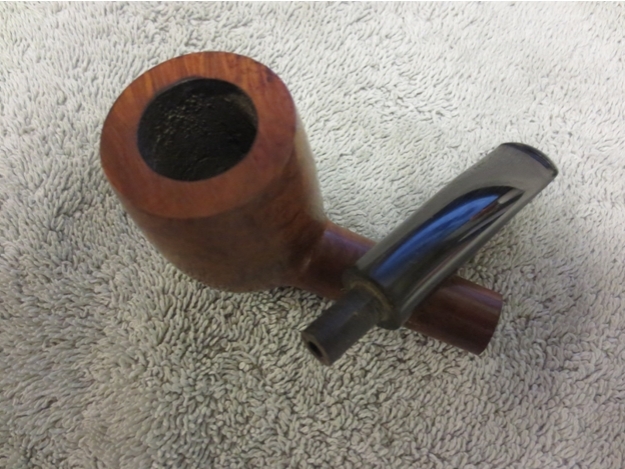
 I absolutely hated the look of the stem on this pipe so I went through my can of stems until I found one that would work well. It was a well broken in stem that had a lot of oxidation and calcification on the top and bottom of the stem. There were no tooth marks which were a bonus and the stem was Cumberland! Once I had cleaned up the bowl and the stem the combination would look really good.
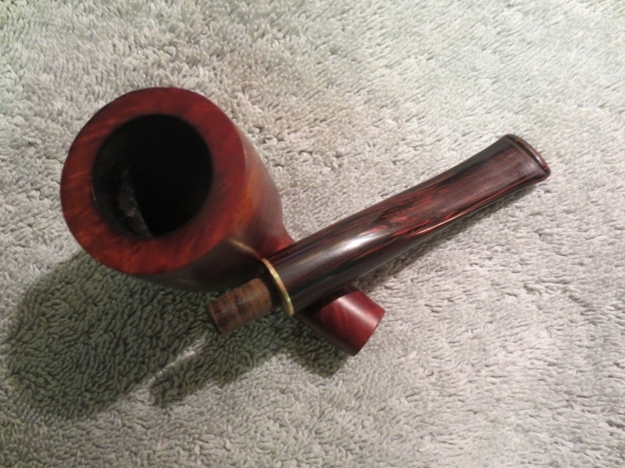
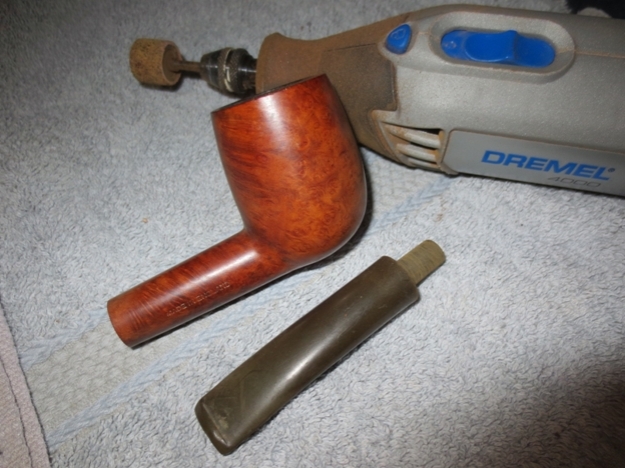
The tenon was slightly larger than the mortise so I used a Dremel with a sanding drum and took some of the Cumberland material off the tenon. I worked on it until it was close to fitting. Then I took it back to the work table and use a folded piece of sandpaper to get a good snug fit in the mortise. I had no idea that there was a brass band that was a part of the stem until I began to clean it up.
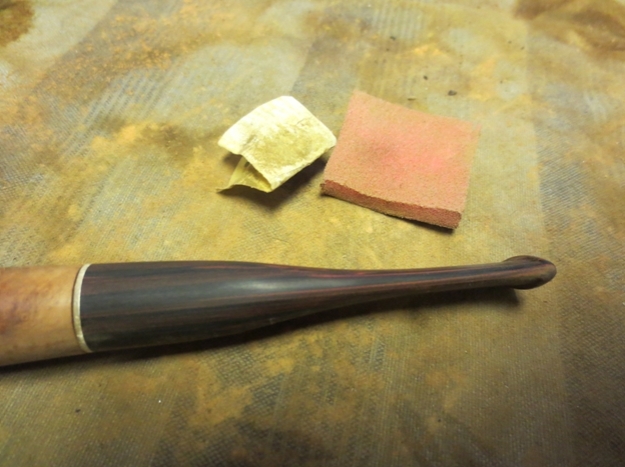
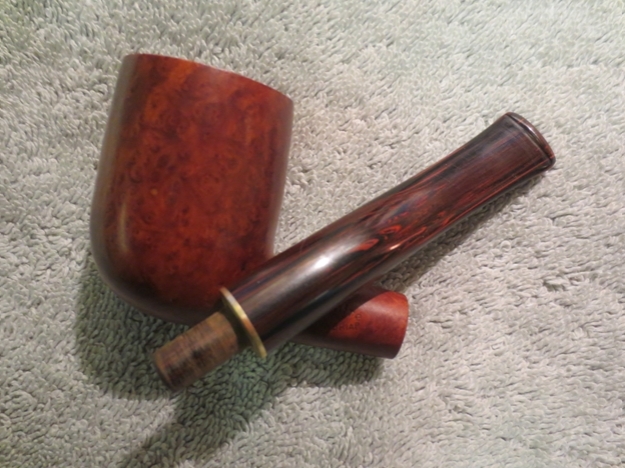
 When the stem was in place I sanded the stem and the junction of the shank and stem to make sure that the fit was smooth and the transition was as seamless as I could make it. I sanded with 220 grit sandpaper to even things out. As I did it I found that there was a brass coloured band that was a part of the stem. I removed the stem and cleaned off the face of the stem and found the band extended across the face of the stem like a washer around the tenon. I really liked the way the stem tapered quickly to from the shank to the button.
 I topped the bowl on a topping board to remove the damage on the rim and clean up the outer edges. I wanted to remove the damaged, rounded edges. I also sanded the scratches on the underside of the bowl.
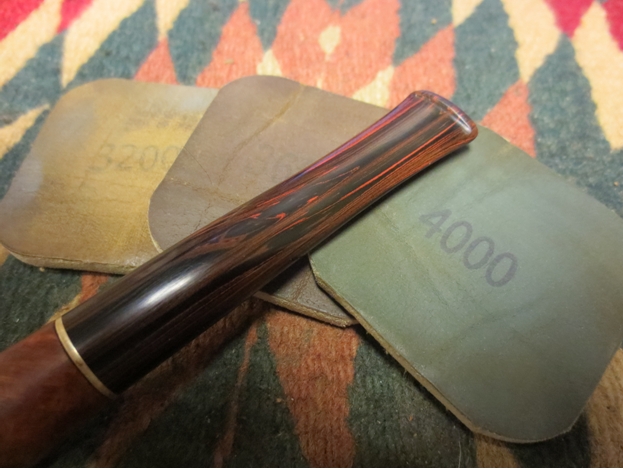
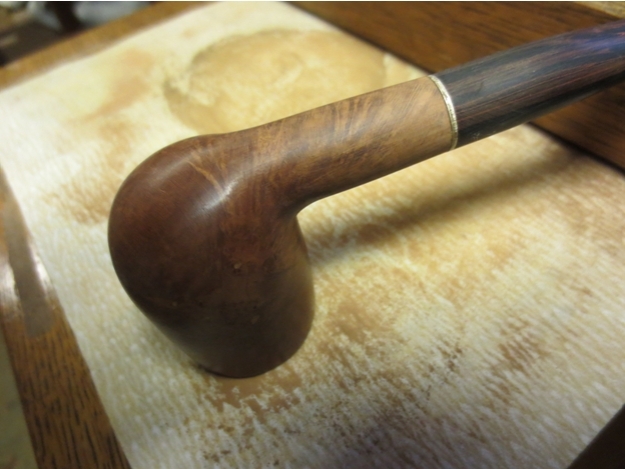 I sanded the stem and shank with a medium and a fine grit sanding sponge. I also sanded the brass shank adornment to remove the scratches and polish it. I wiped it down with a wet cloth to remove the sanding dust. The Cumberland is coming to life the more I sand it and remove the oxidation and buildup. The lines of red and burgundy flow through the stem horizontally along the taper and the sides.
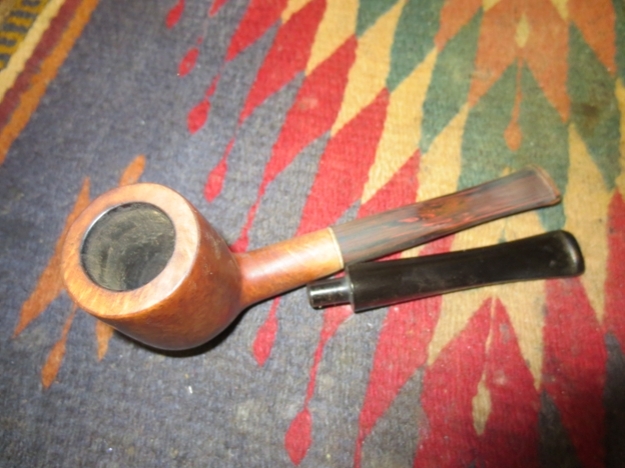
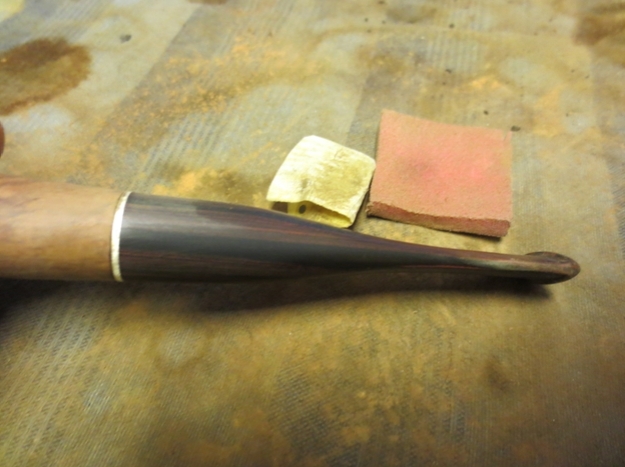 I took a picture of the pipe and stem with the old stem beside it for comparison sake. The stem is about ¼ inch longer than the old one and the taper more radical. The Cumberland looked better with the briar than the old as well.
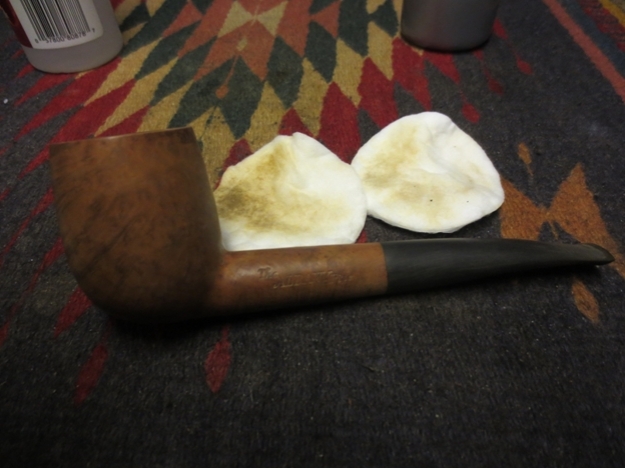
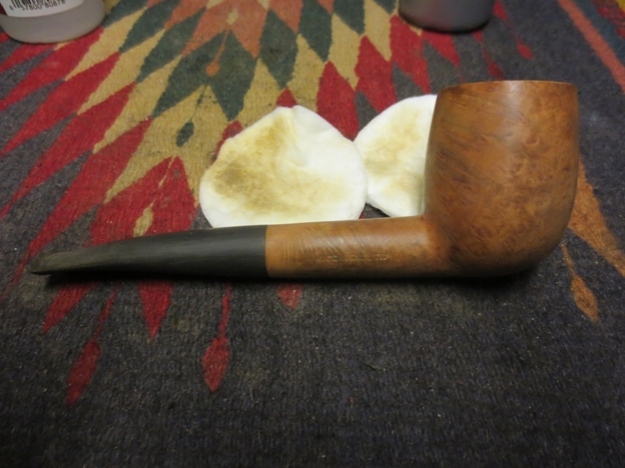
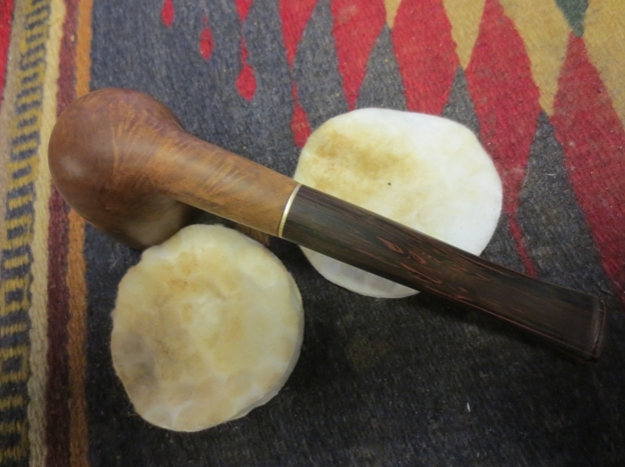
 I wiped down the bowl and shank with acetone on cotton pads to remove the oils and grime that was on the surface of the briar. I wanted to bring the rest of the briar as close to the colour of the sanded rim and shank.
 I cleaned out the shank and the stem with cotton swabs, pipe cleaners and isopropyl alcohol to remove the tars and oils.
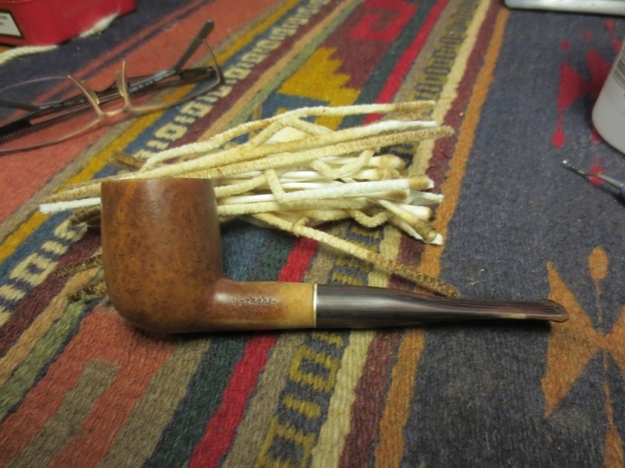
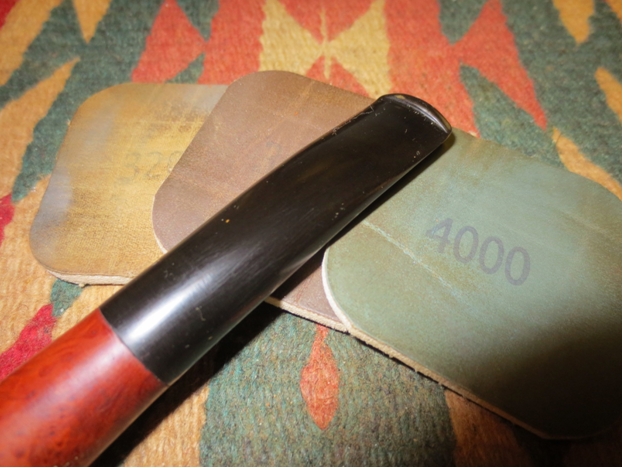
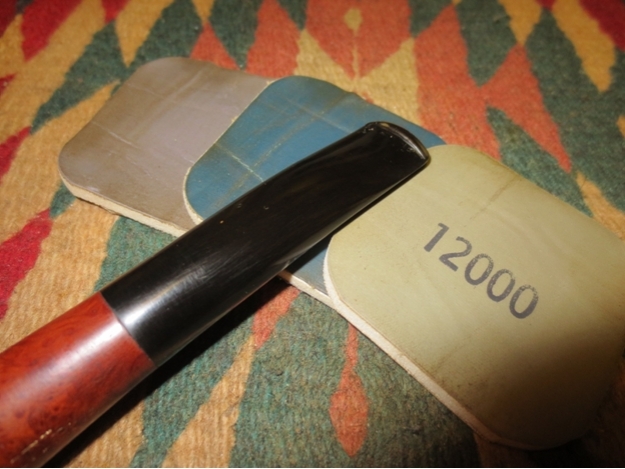
 I sanded the stem and shank with micromesh sanding pads – wet sanding with 1500-2400 grit pads and dry sanding with 3200-12,000 grit pads. I rubbed the stem down with Obsidian Oil between each set of three pads. I did not let the oil dry between rub downs as I find that the oil gives the micromesh some cut on the surface of the stem. The translucence of the Cumberland really shows through the shine.
 I rubbed the bowl and down with olive oil and let it soak into the briar. The oil brought out the reddish brown tones of the briar and made the grain stand out. Sadly it also made the fills on the right side of the bowl stand out as well.
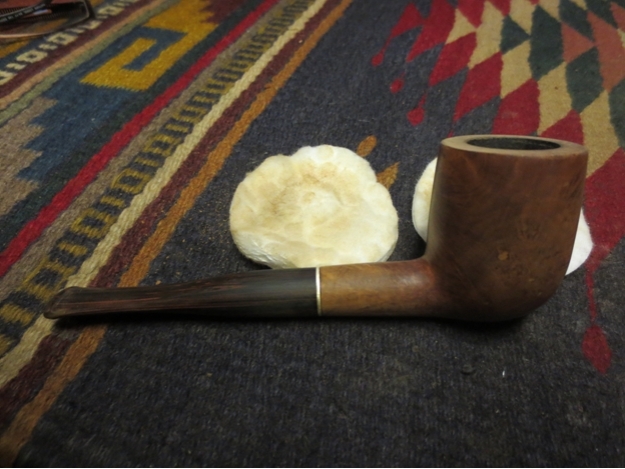
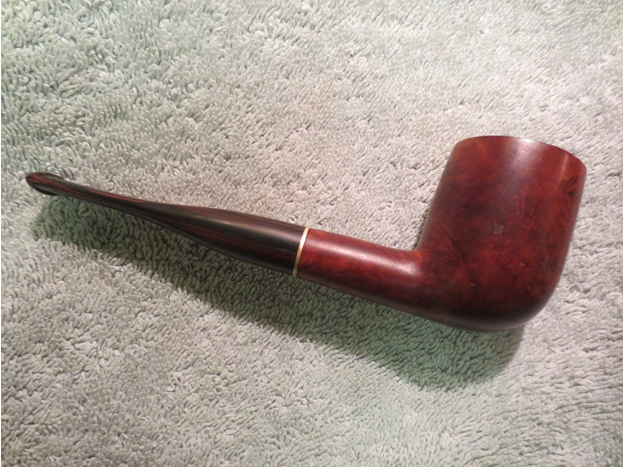
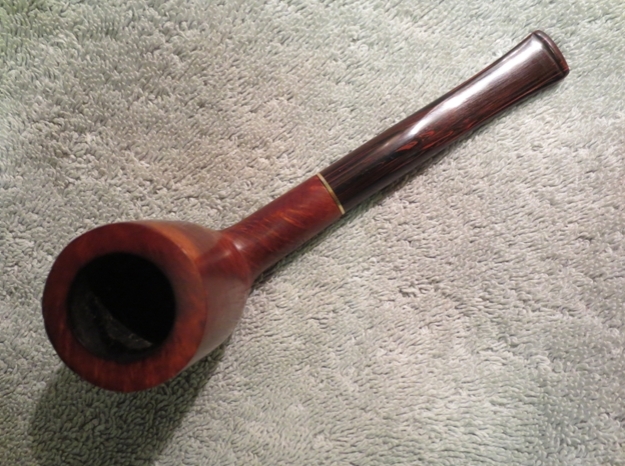
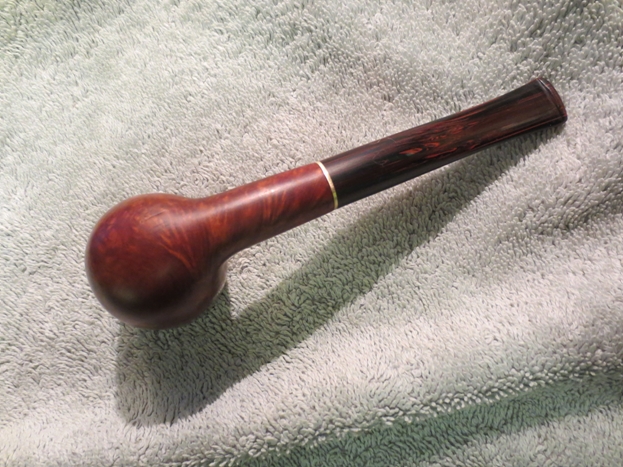 While the brown tones stood out well I wanted to bring out some of the red tones in the briar. To highlight the reds I stained the bowl with a coat of oxblood stain. Before I stained the briar I used a permanent black marker to darken the fills on the side of the bowl. When it had dried so that it would not rub off when I put the stain coat on the bowl. I applied the stain with a cotton pad and then flamed it. Once it dried I polished the bowl with White Diamond on the buffing wheel. The finished pipe is shown below.
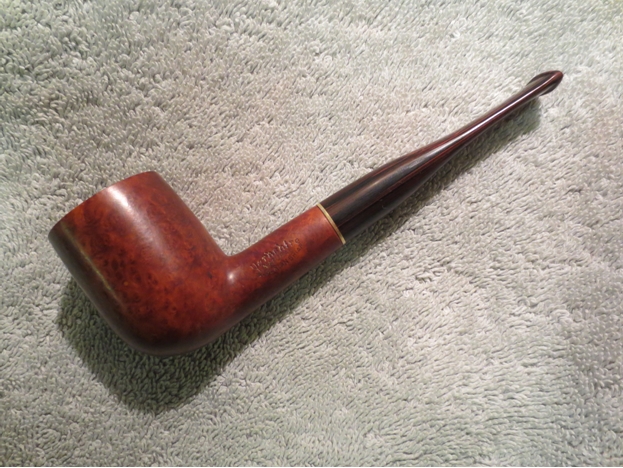
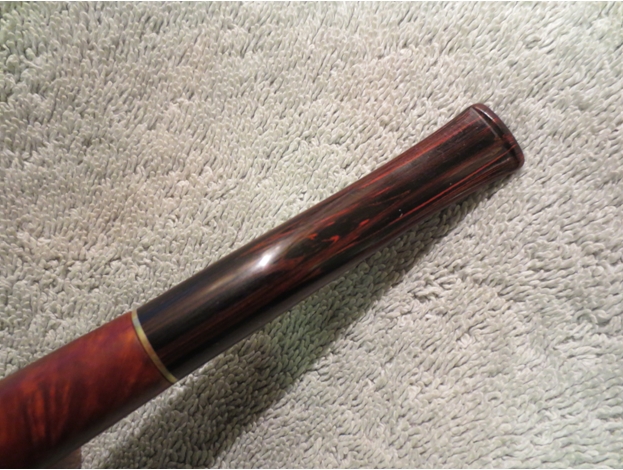
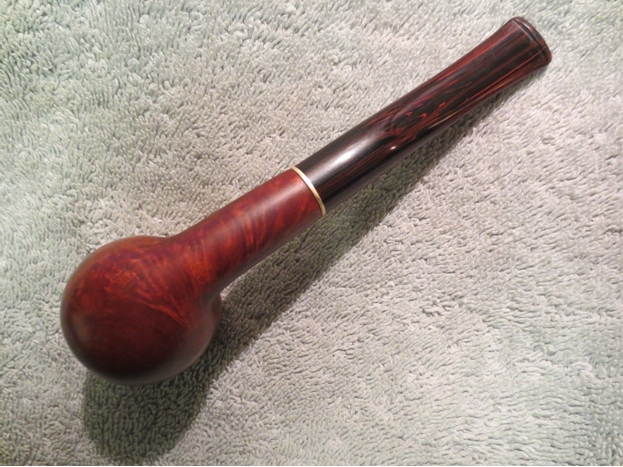 The rich colours of the briar work really well with the reds of the Cumberland stem. The light brass band that separates the stem and the shank adds a light brass coloured horizontal line that breaks up the vertical Cumberland and the horizontal grain of the briar.
 The sharp edges of the rim and the grain on the surface look far better than the round outer edge of the bowl.

