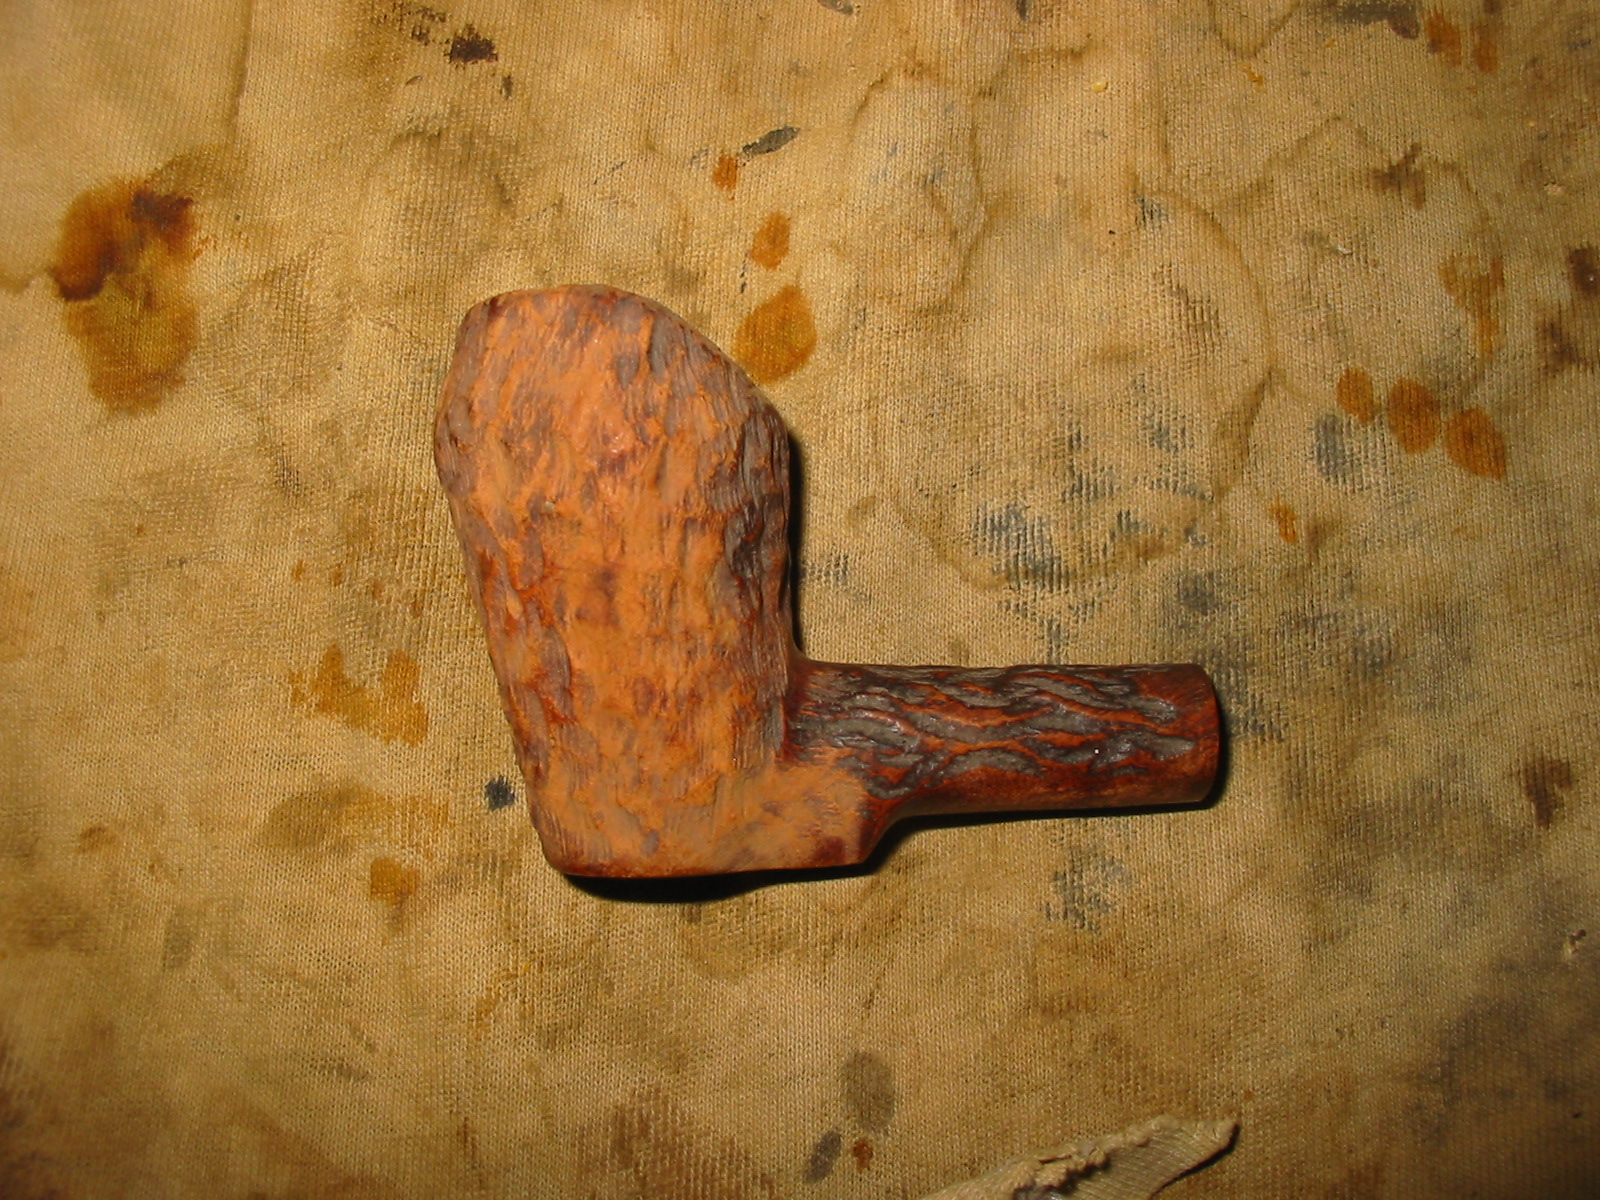
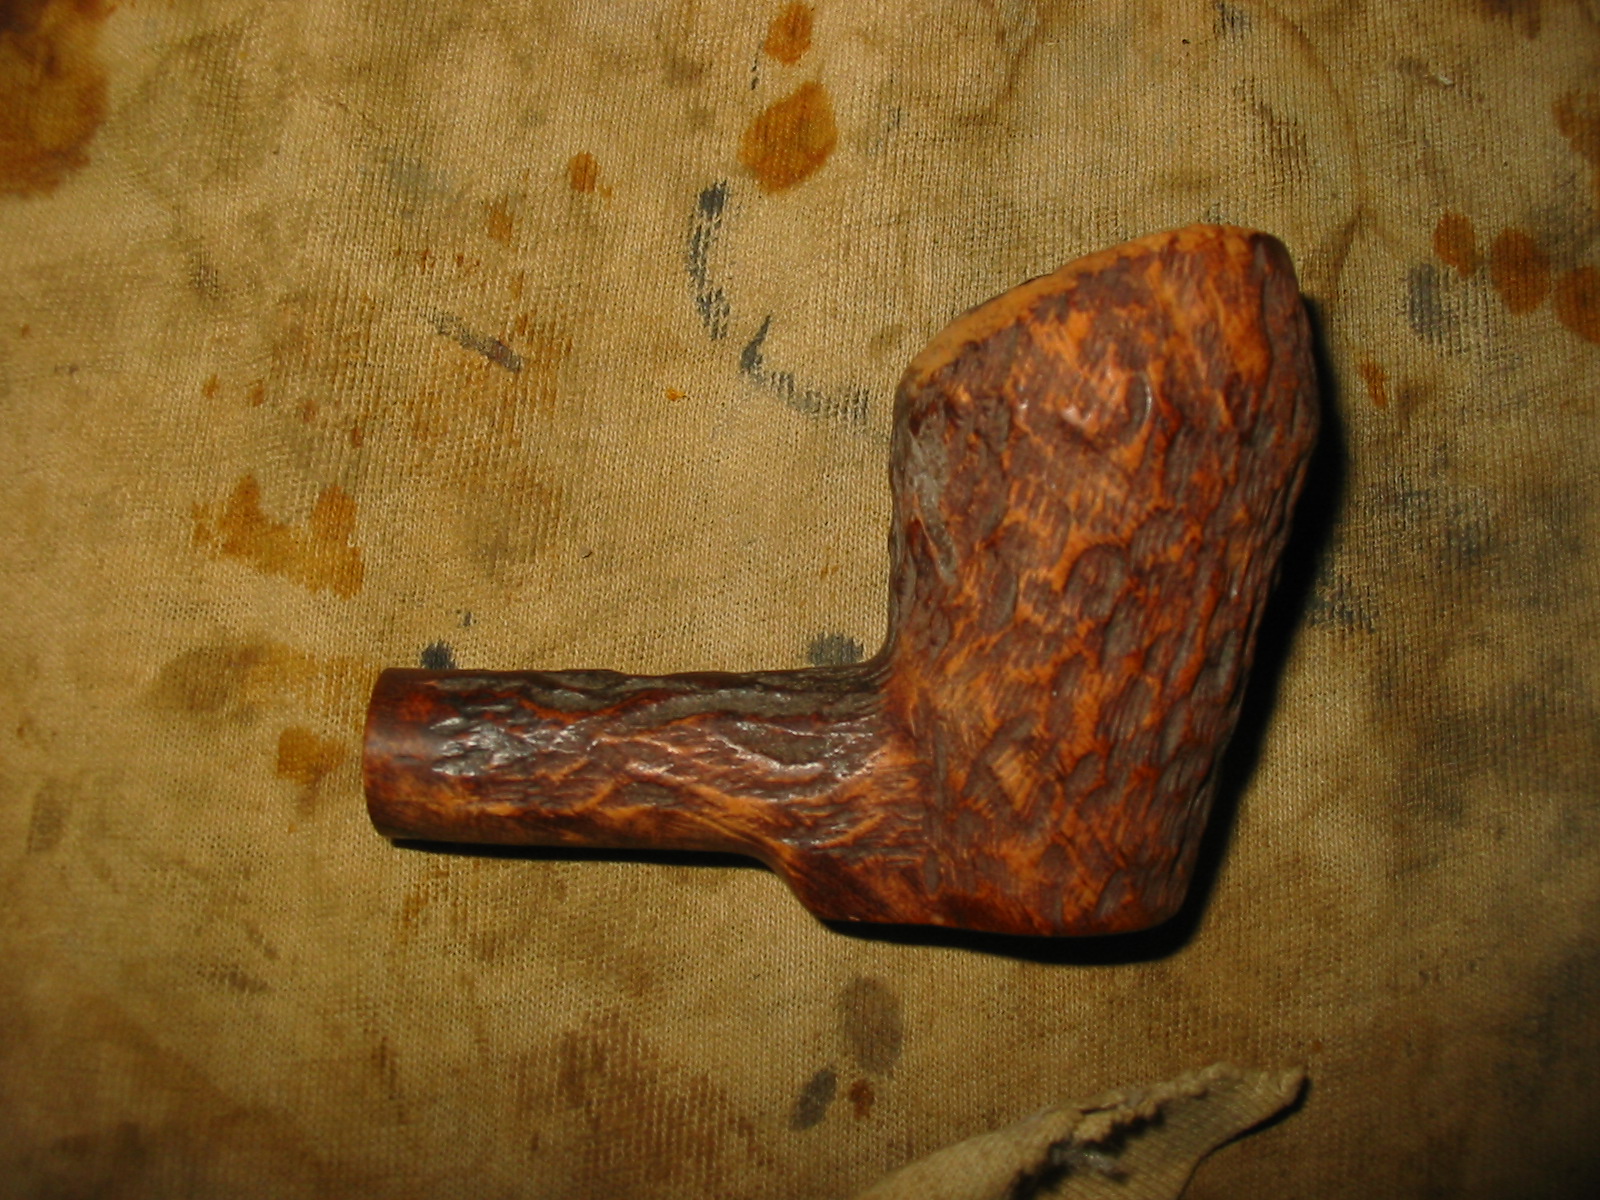
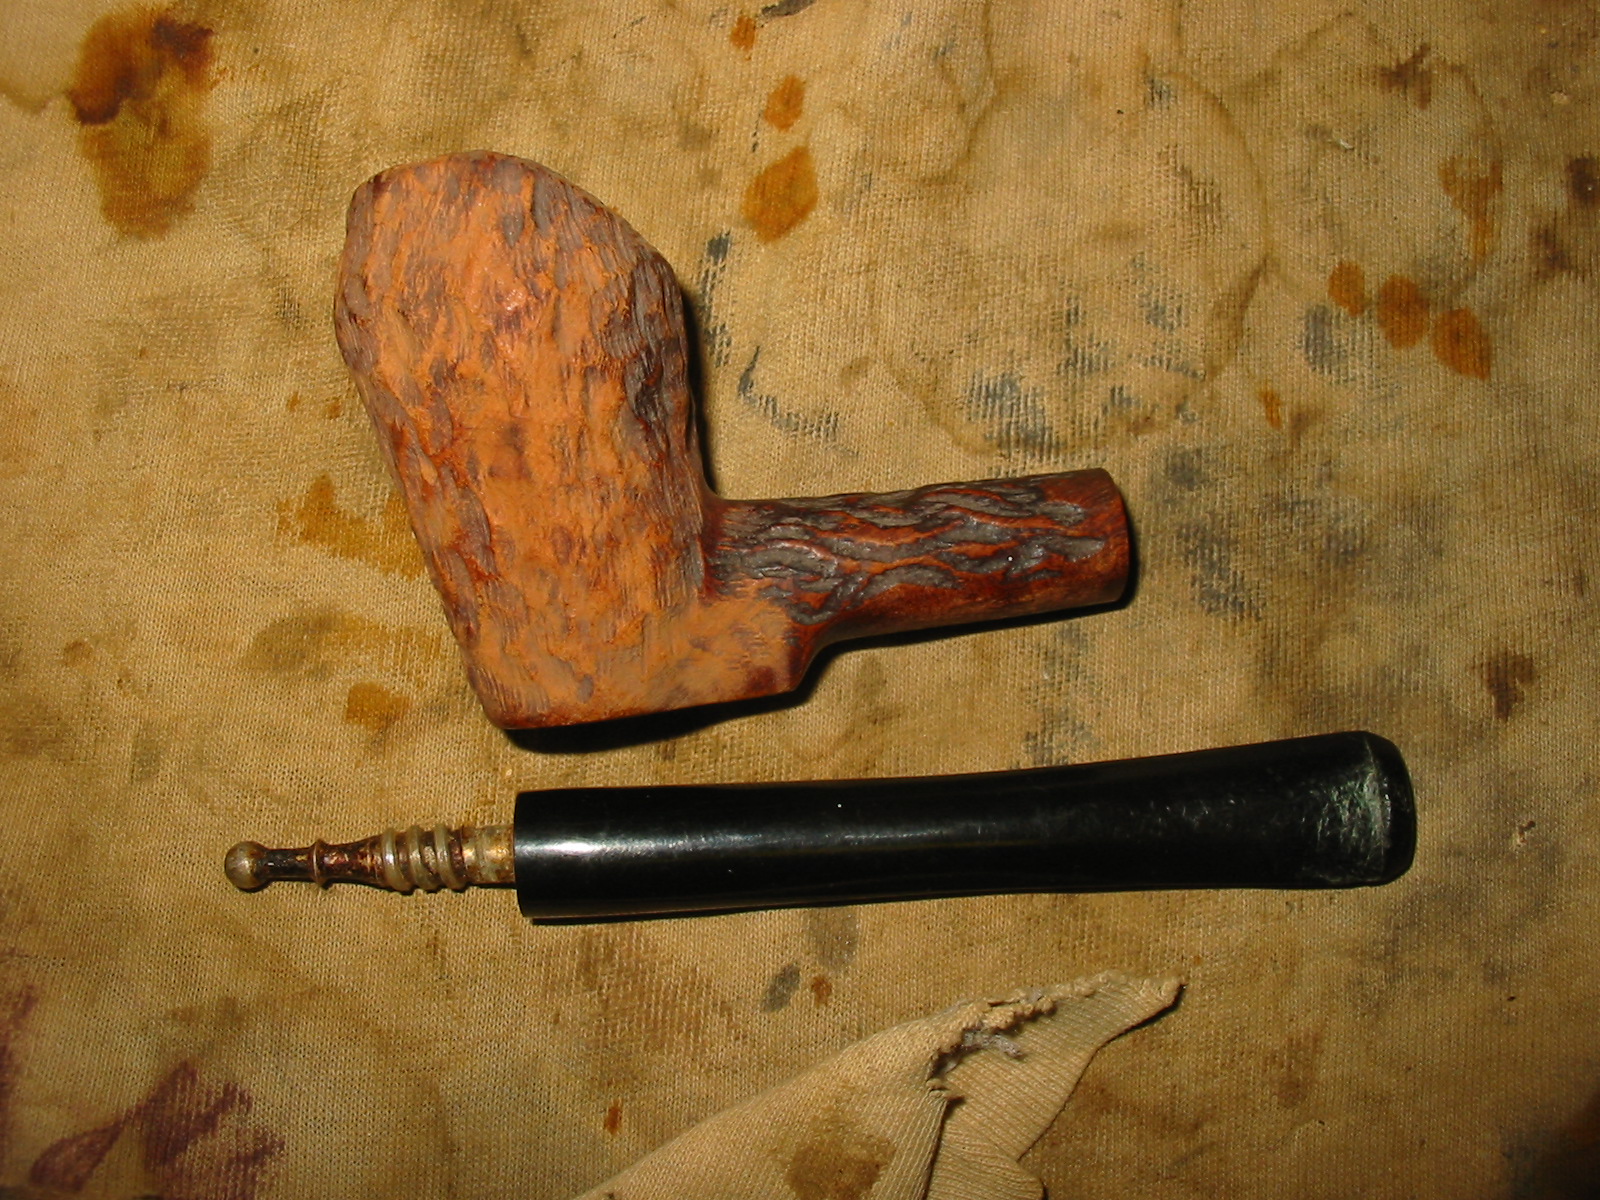
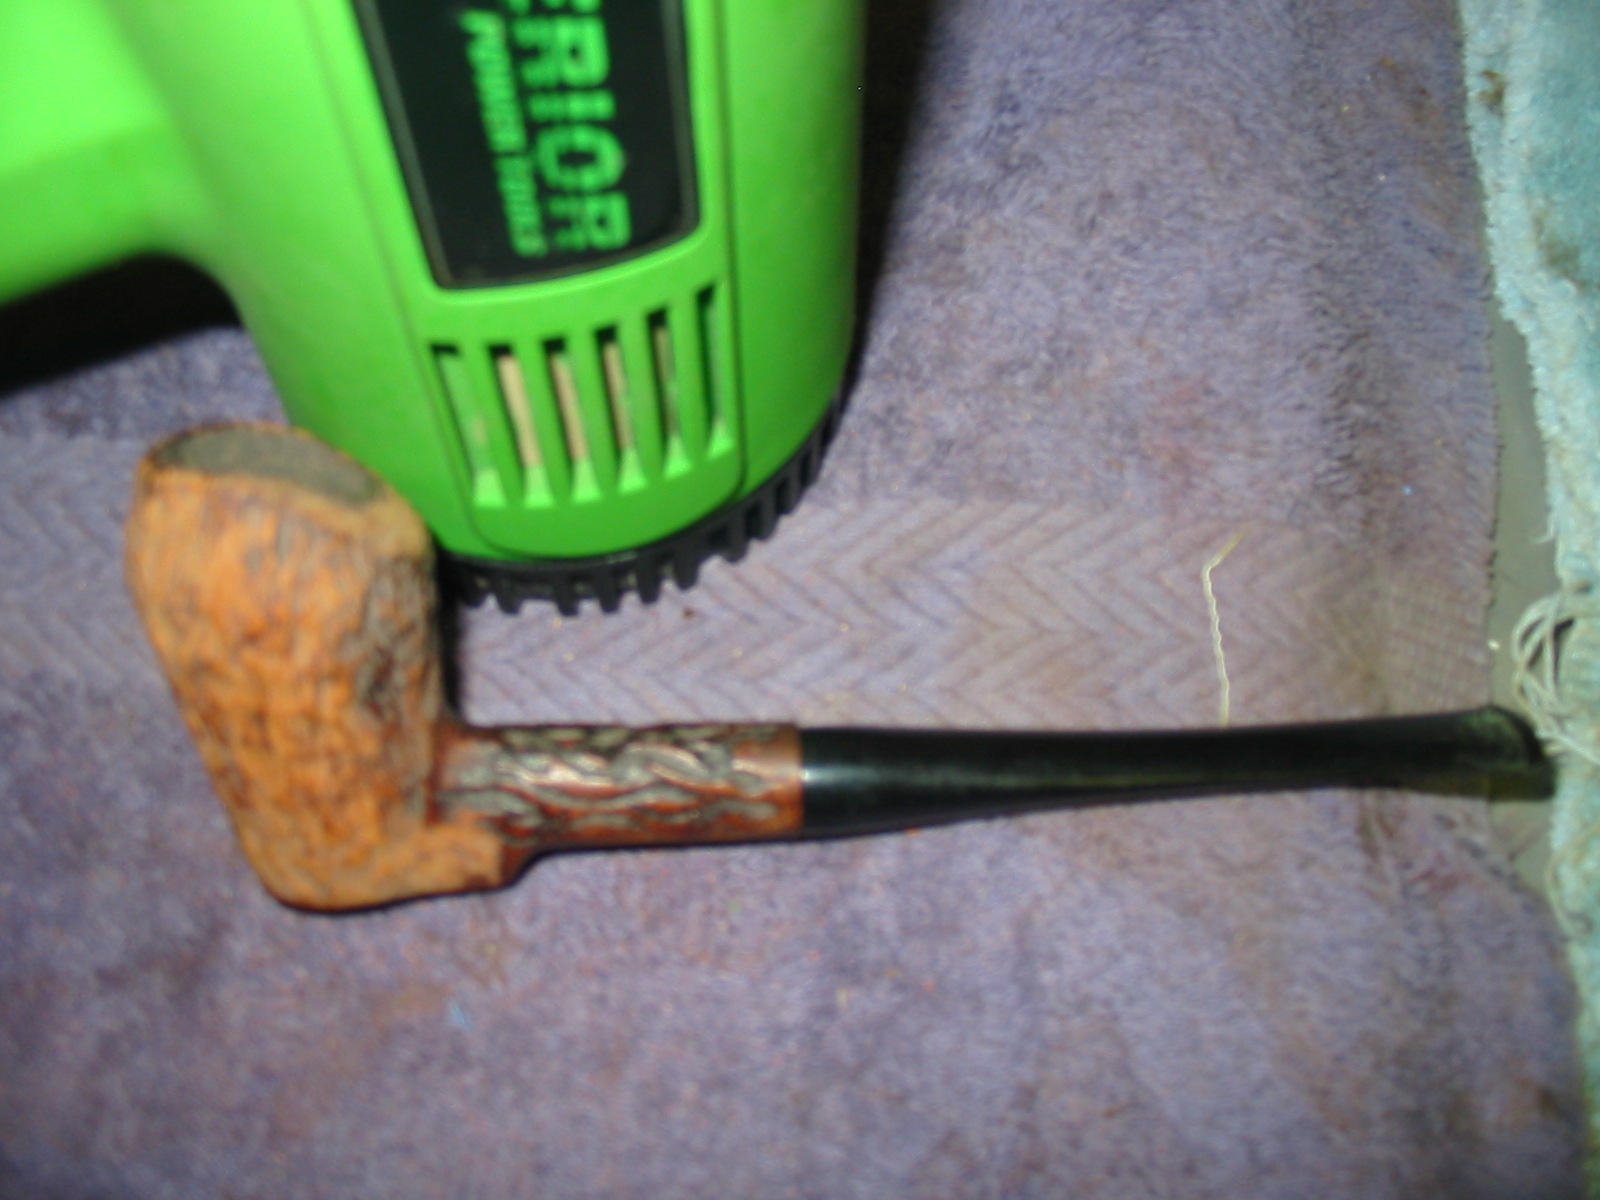
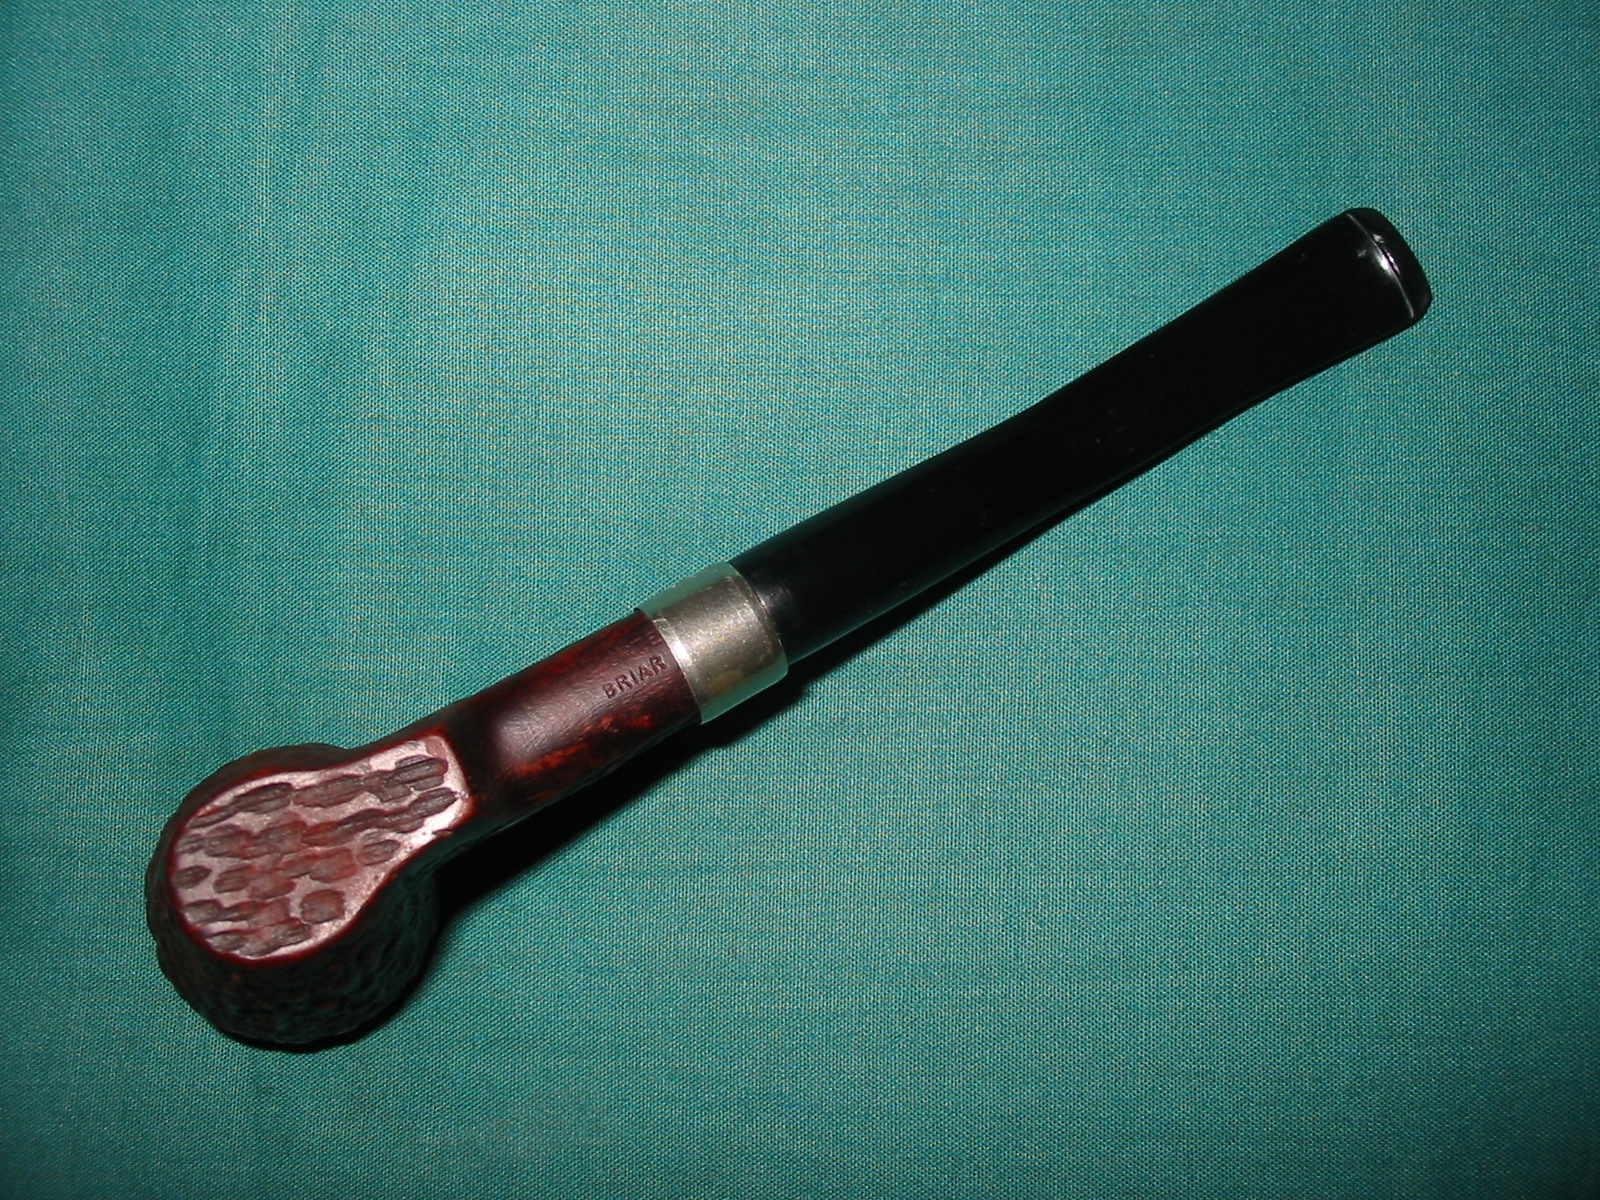
I am not sure who the maker of this pipe original was. It has some rustication patterns that remind me of Dr. Grabow. It has a metal screw mount mortise. The flat base that extends from the bottom of the bowl backward toward the stem also has similarities to a Grabow shape. But this one is only stamped Imported Briar on the bottom of the shank. When I received it the bowl was in rough shape. The finish was gone. The stem was gone, the rim was a beaten and worn down mess. I think originally the rim was probably straight across but it was worn and beaten to the point that it was now angled. If indeed it was originally angled then the rim was badly beaten. Either way it was rough. The cake in the bowl was quite thick. The internals of the shank and airway were quite clean – that was a surprise. The briar was solid and relatively thick and sound.
As I looked at it and studied it there was something about it that drew me to the shape. The wear and tear still did not hide the fact that there was some life still left in this old pipe. I went through my can of stems and found an old screw mount stem. The stinger apparatus on it was slightly different than the old Grabows that I had seen but it would work. The draw on the stem was very constricted anyway so I figured I would end up cutting the stinger off and drilling out the metal tenon. The stem has lots of tooth marks and chatter but was solid. It was a nylon stem and not vulcanite so it was a little trickier to work with. The diameter was also slightly off and the stem was overturned once it was on the shank.
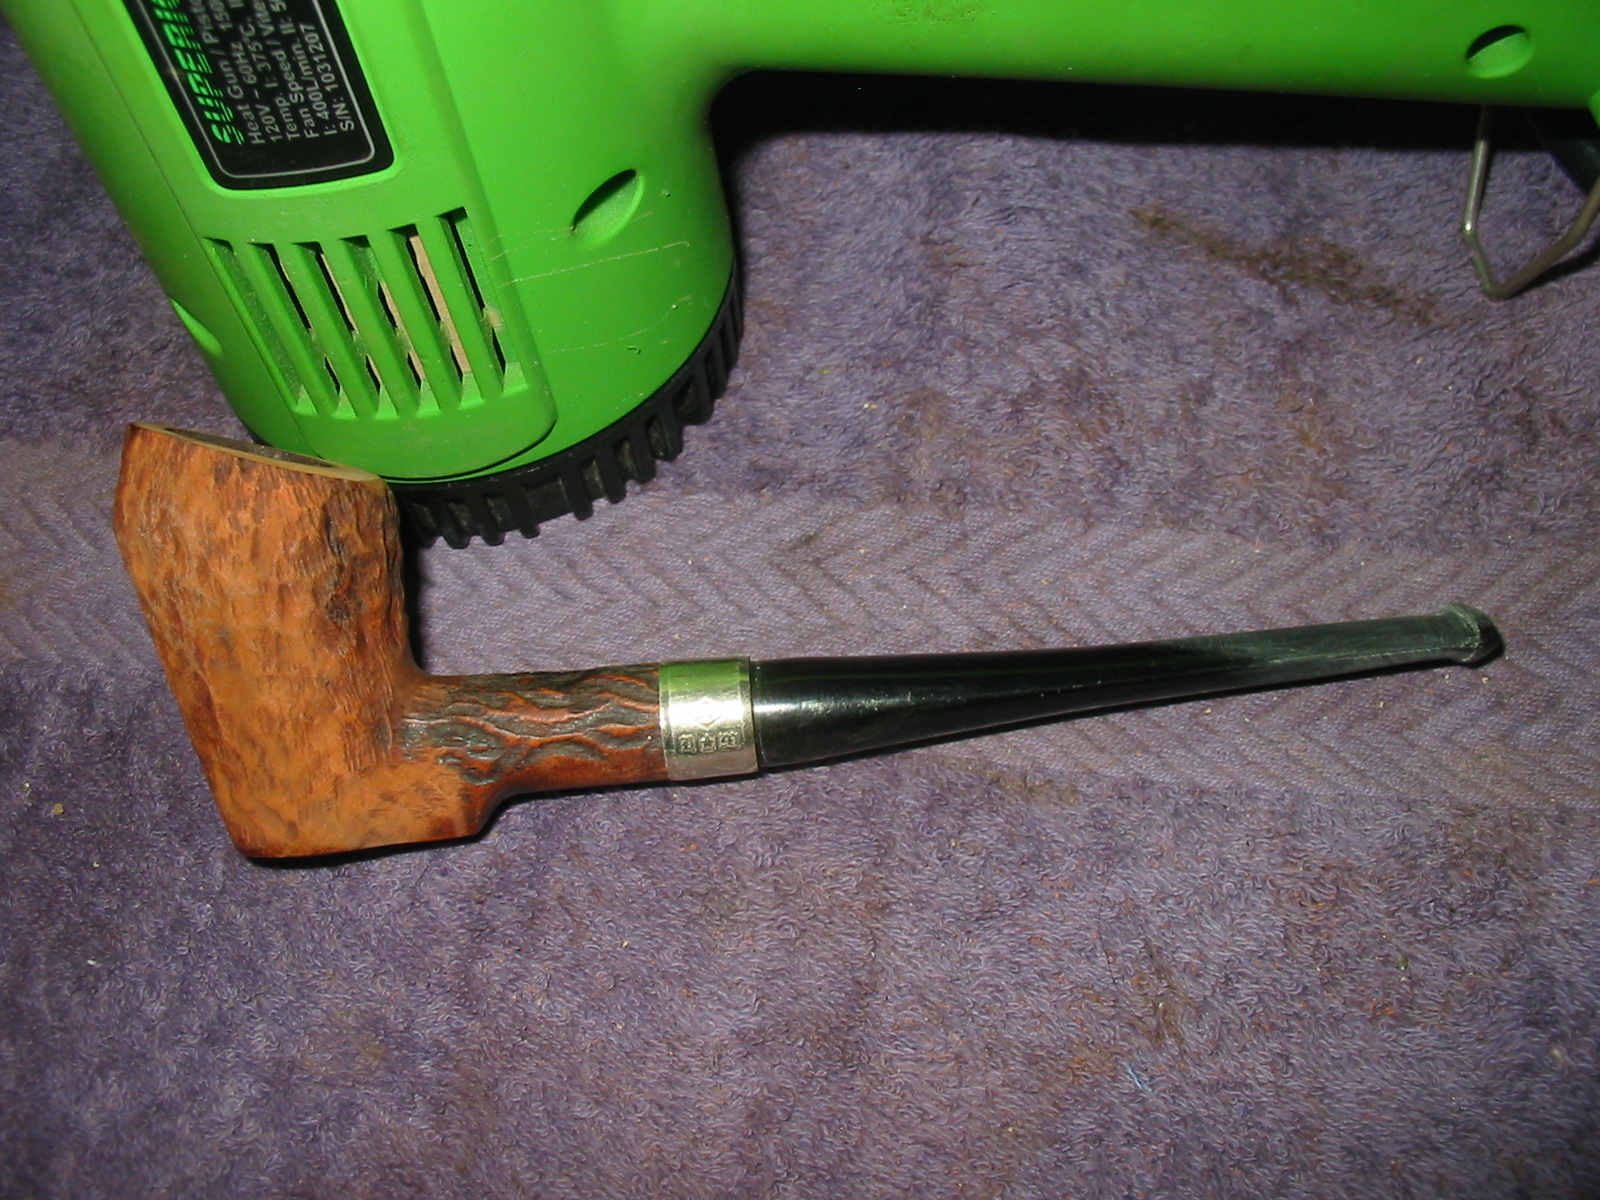
I heated the metal tenon with a heat gun until the glue softened and then turned it in the shank until it lined up. This type of tenon is actually very easy to realign.

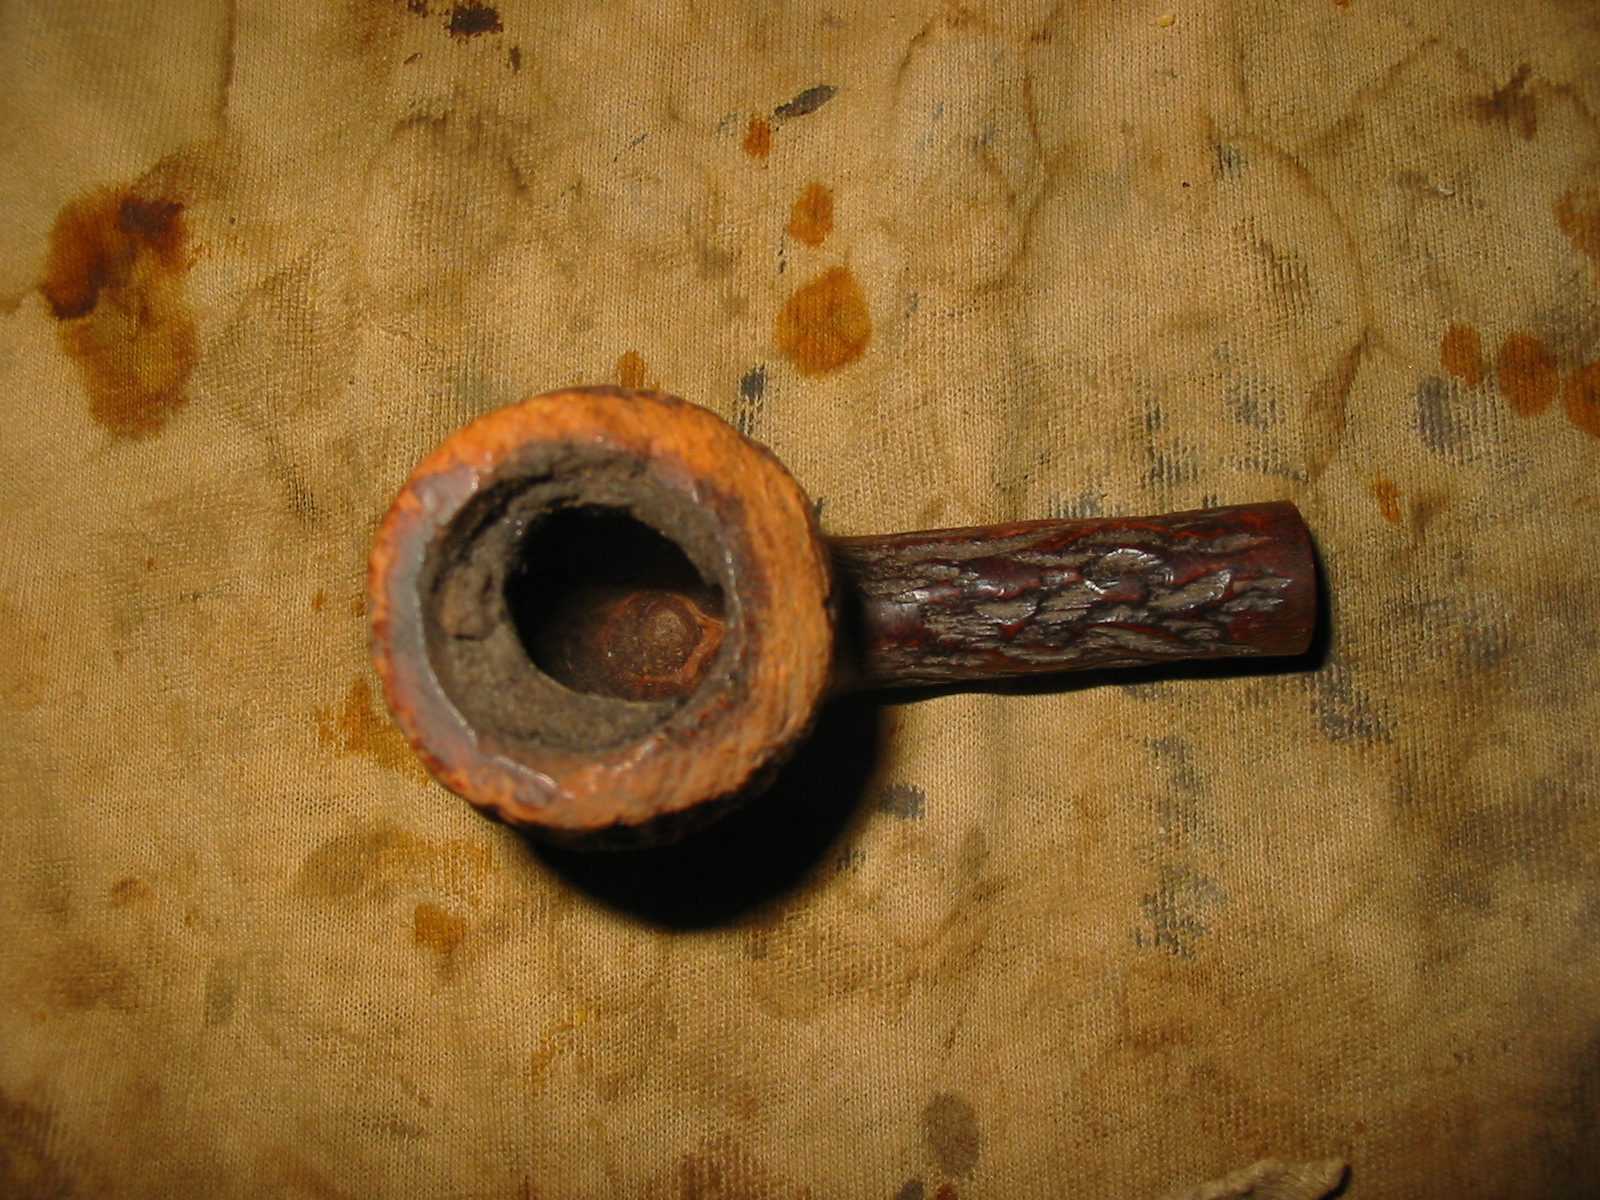
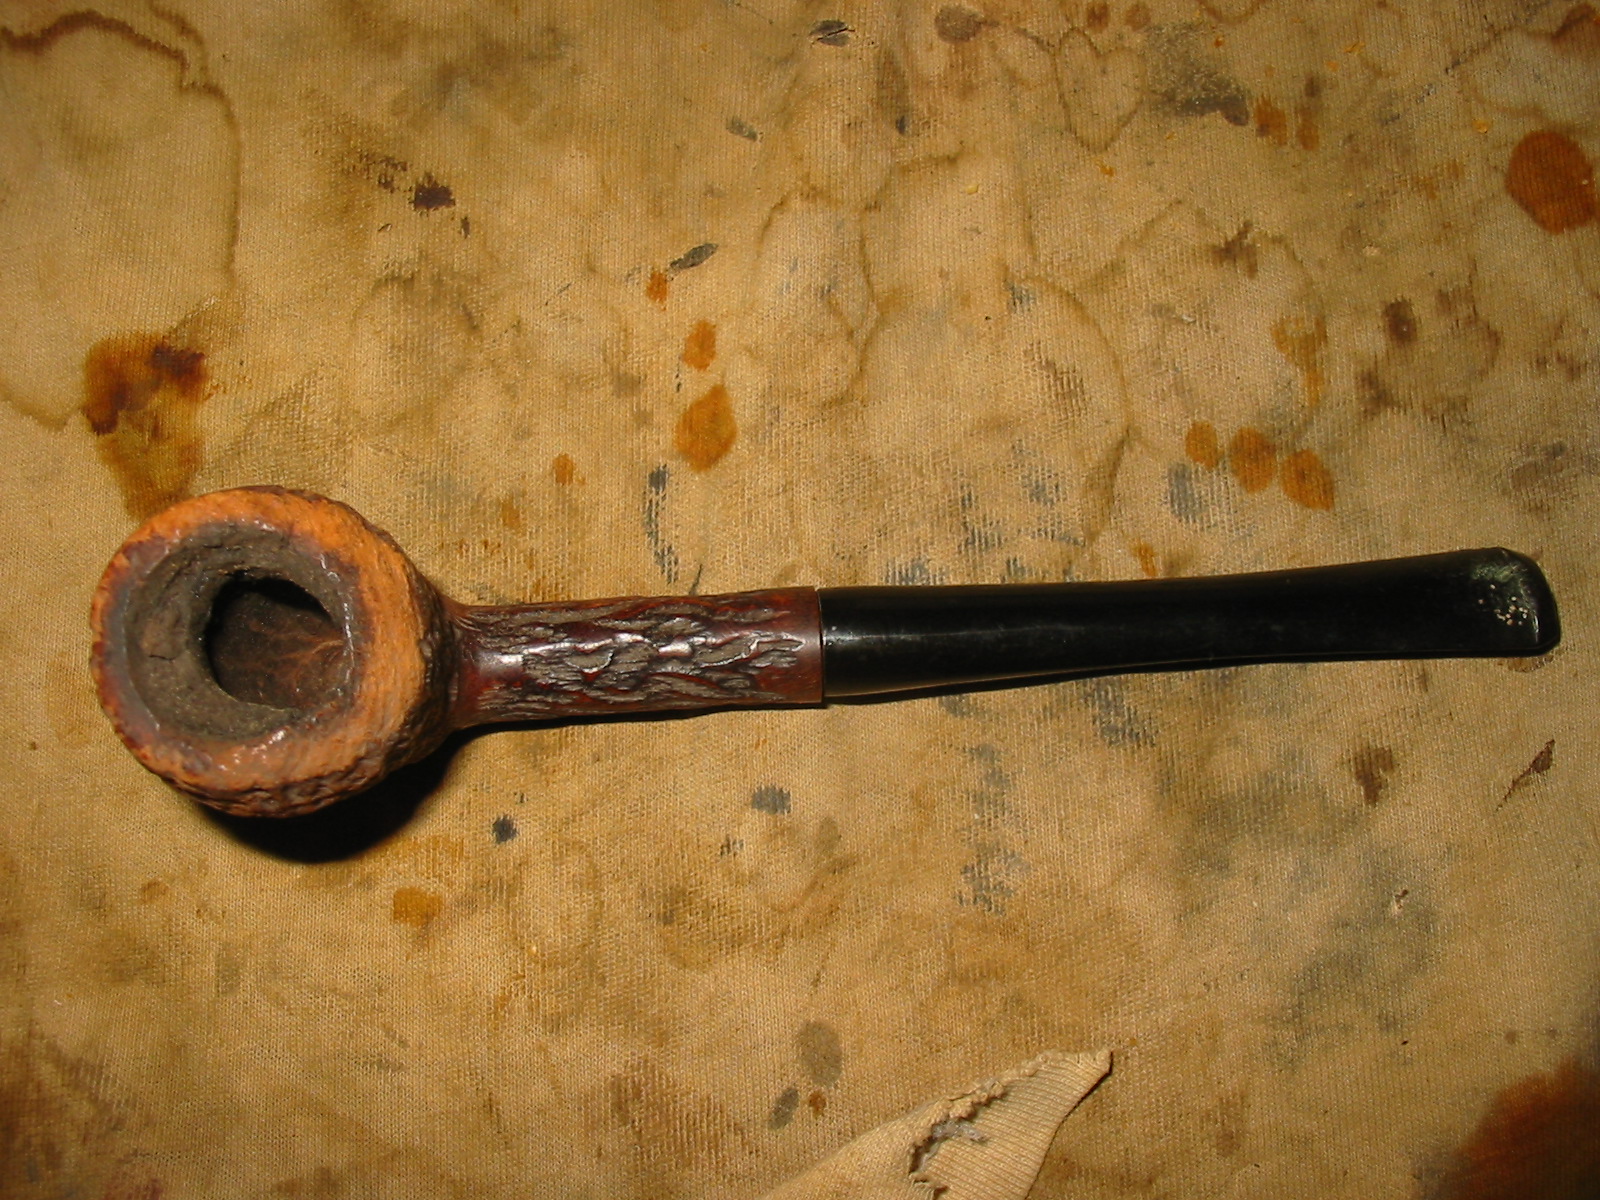
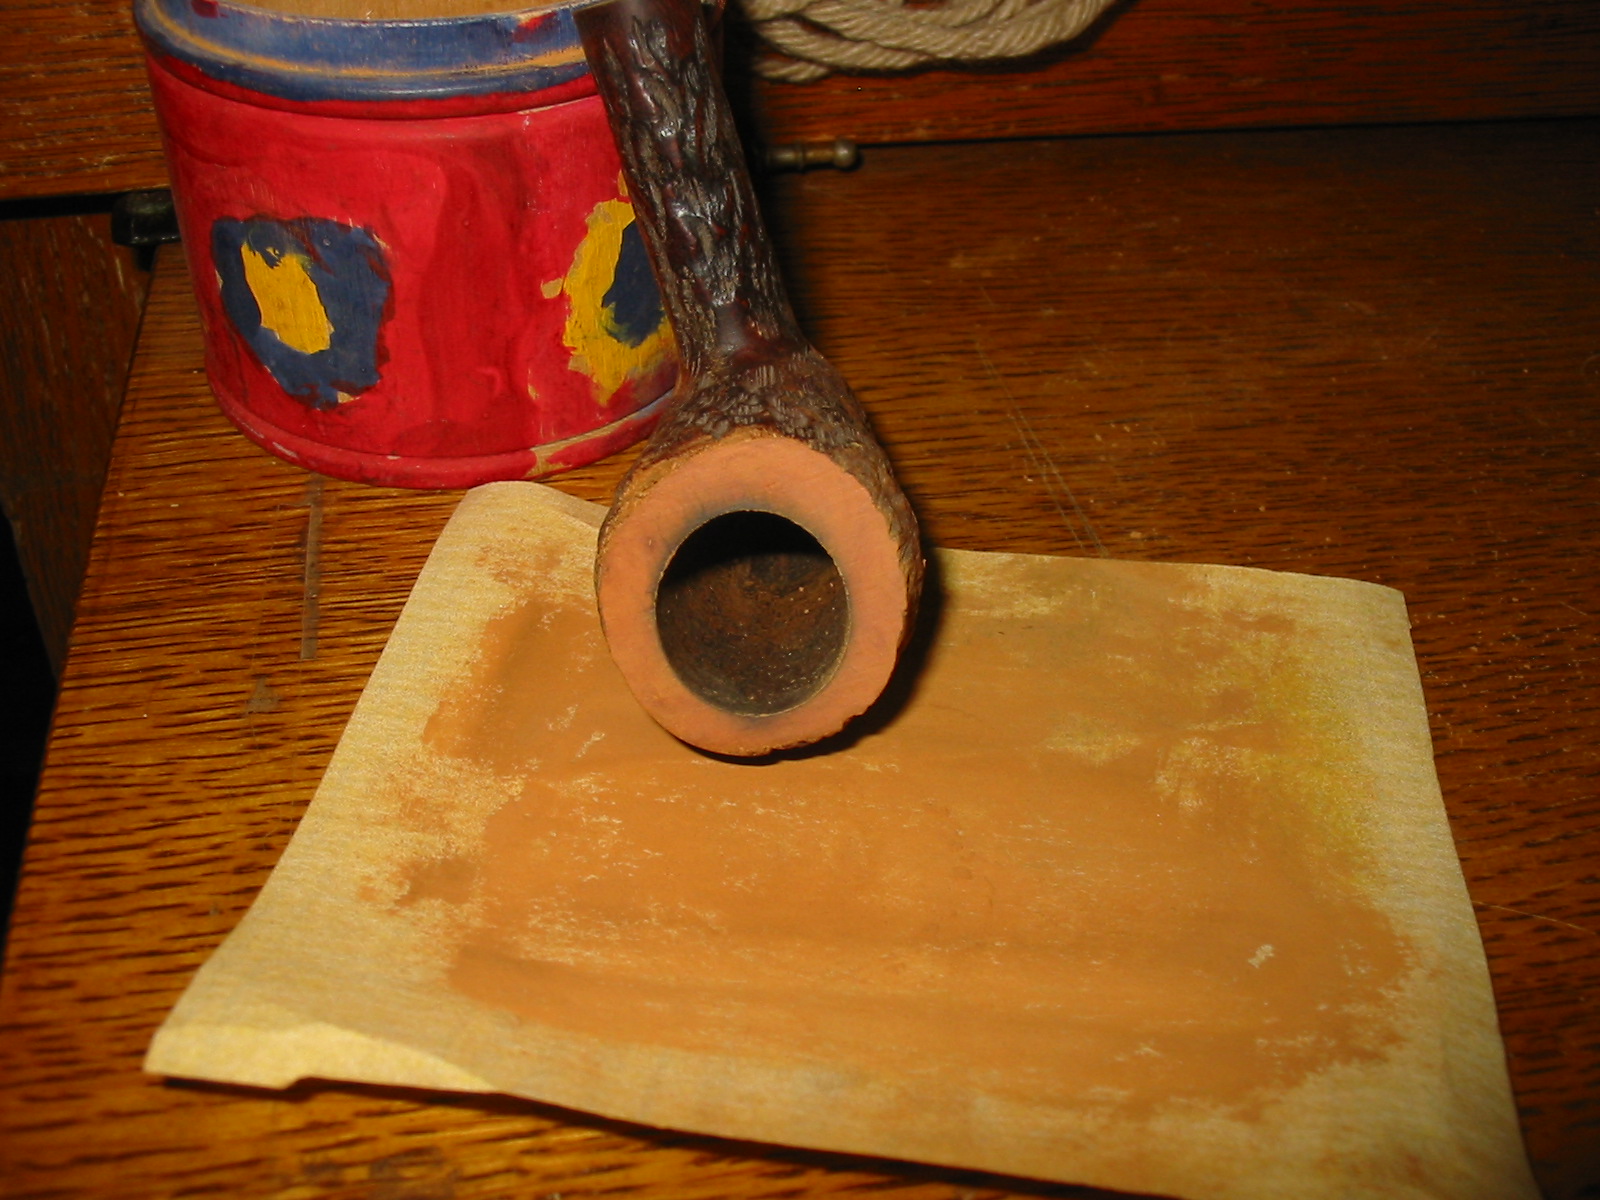
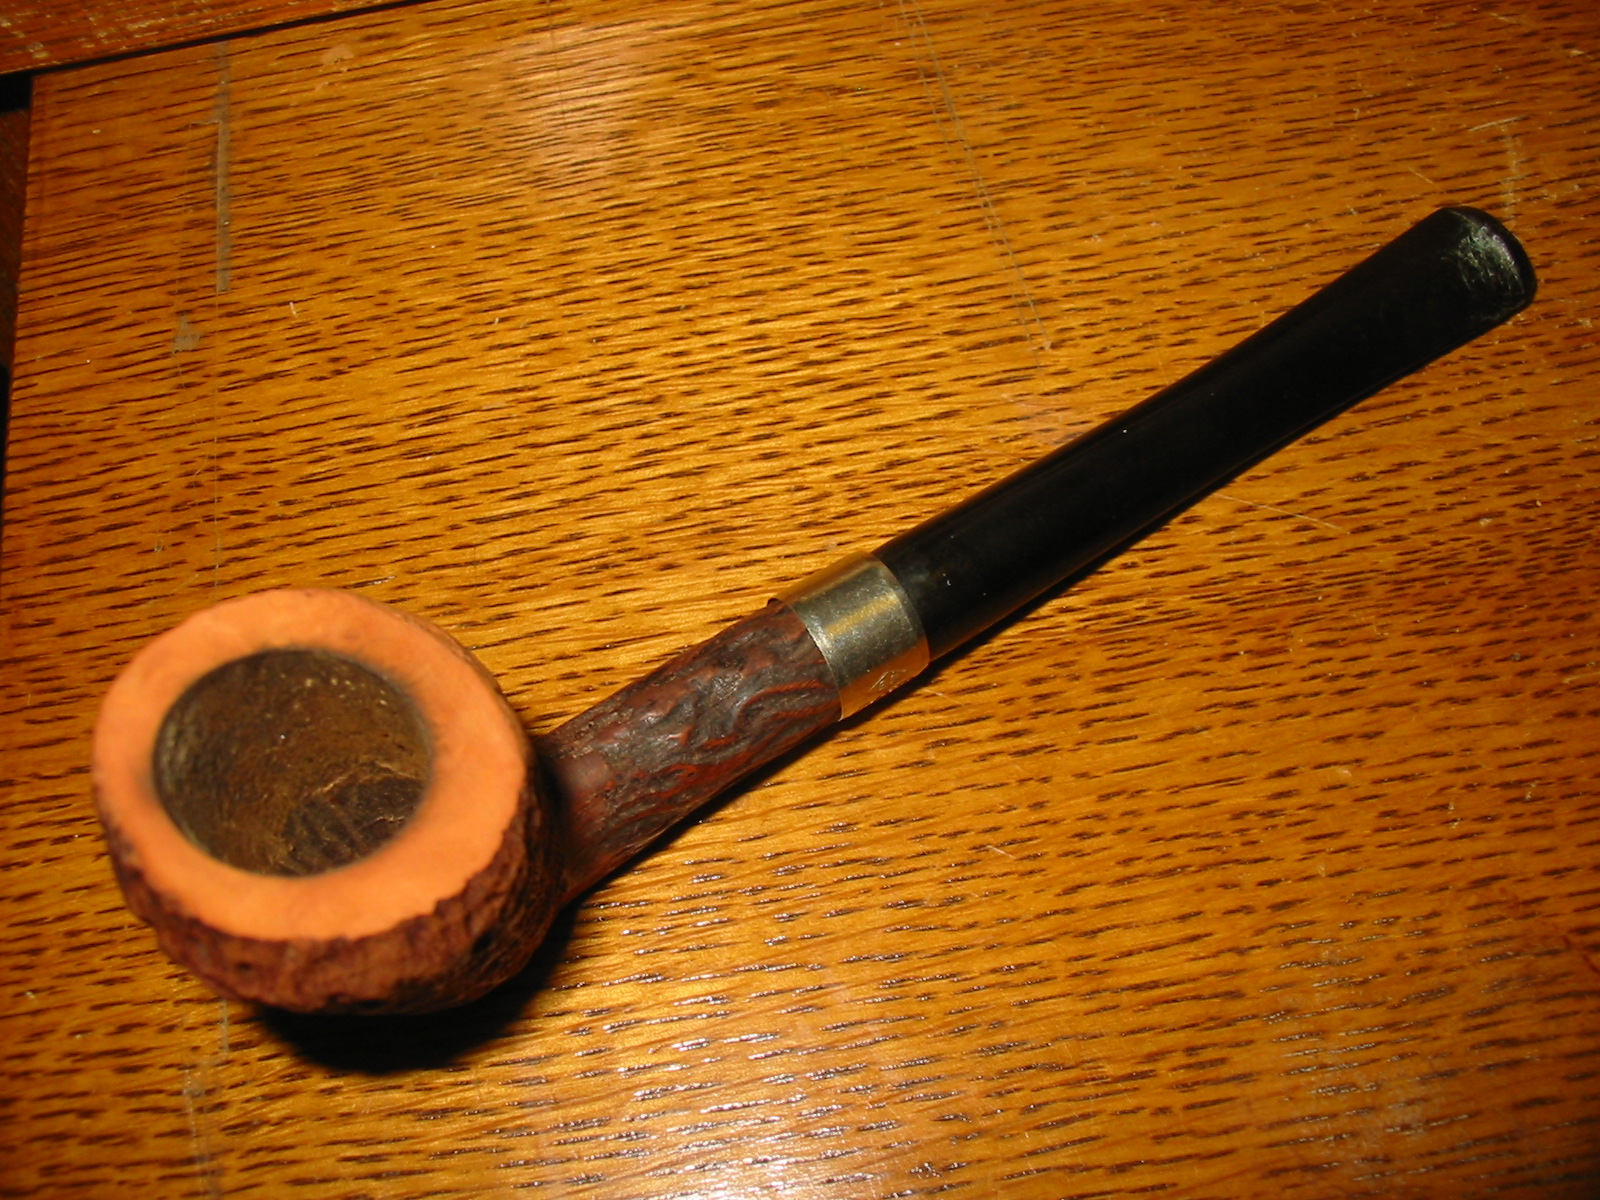
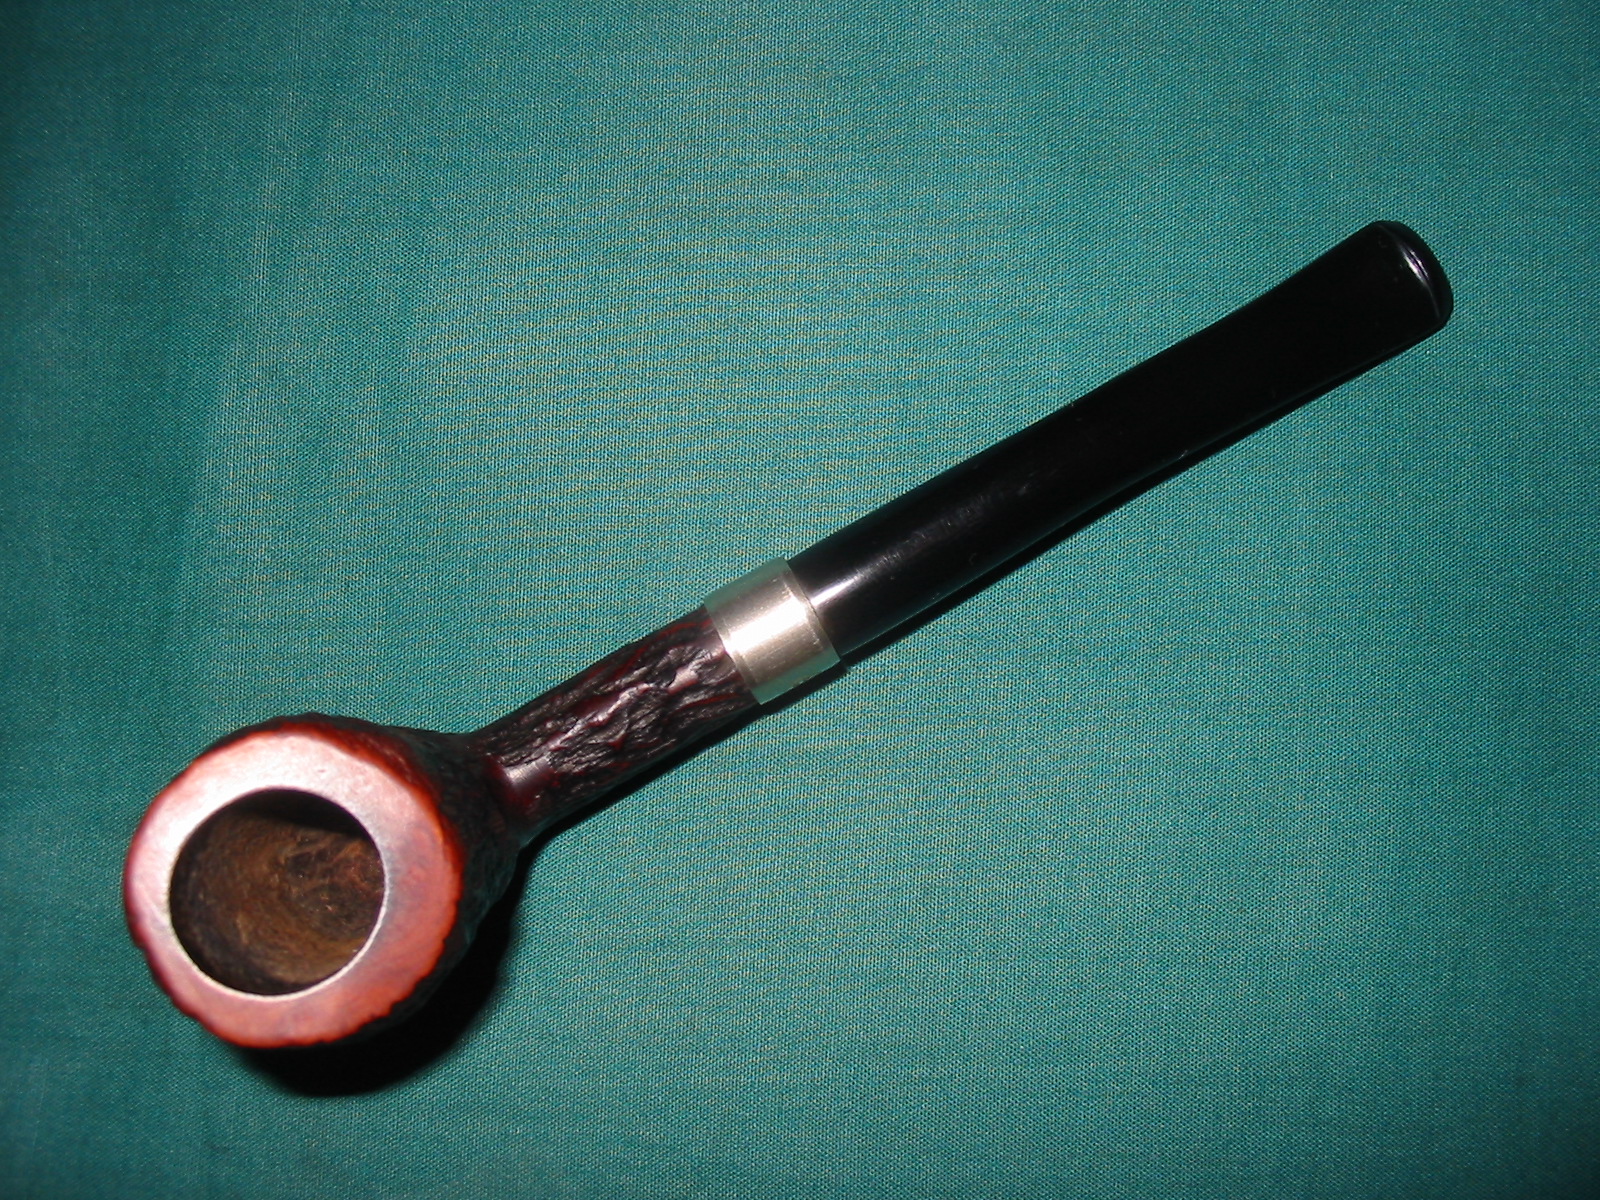
Once the stem was aligned I reamed the bowl with a PipNet reamer and heads taking the bowl back to bare wood. I wanted to see what the shape of the bowl under the cake was like to assess whether I wanted to continue to put time into the pipe. The interior bowl was actually in excellent shape under the cake. This pipe must have been a good smoker – someone’s favourite pipe.
I set up a topping board and sanded the rim at the angle of the bowl to even out the top and to minimize the damage. The back edge was very ragged from tapping the pipe out, or using it as a hammer! It took some time to get the top flat and the angle correct from the back of the bowl to the front edge.

I wiped the bowl down with acetone on cotton pads to clean up the grime in the grooves of the rustication and to even out the remaining stain coat. There was also some varnish left on the shank that I wanted to remove.
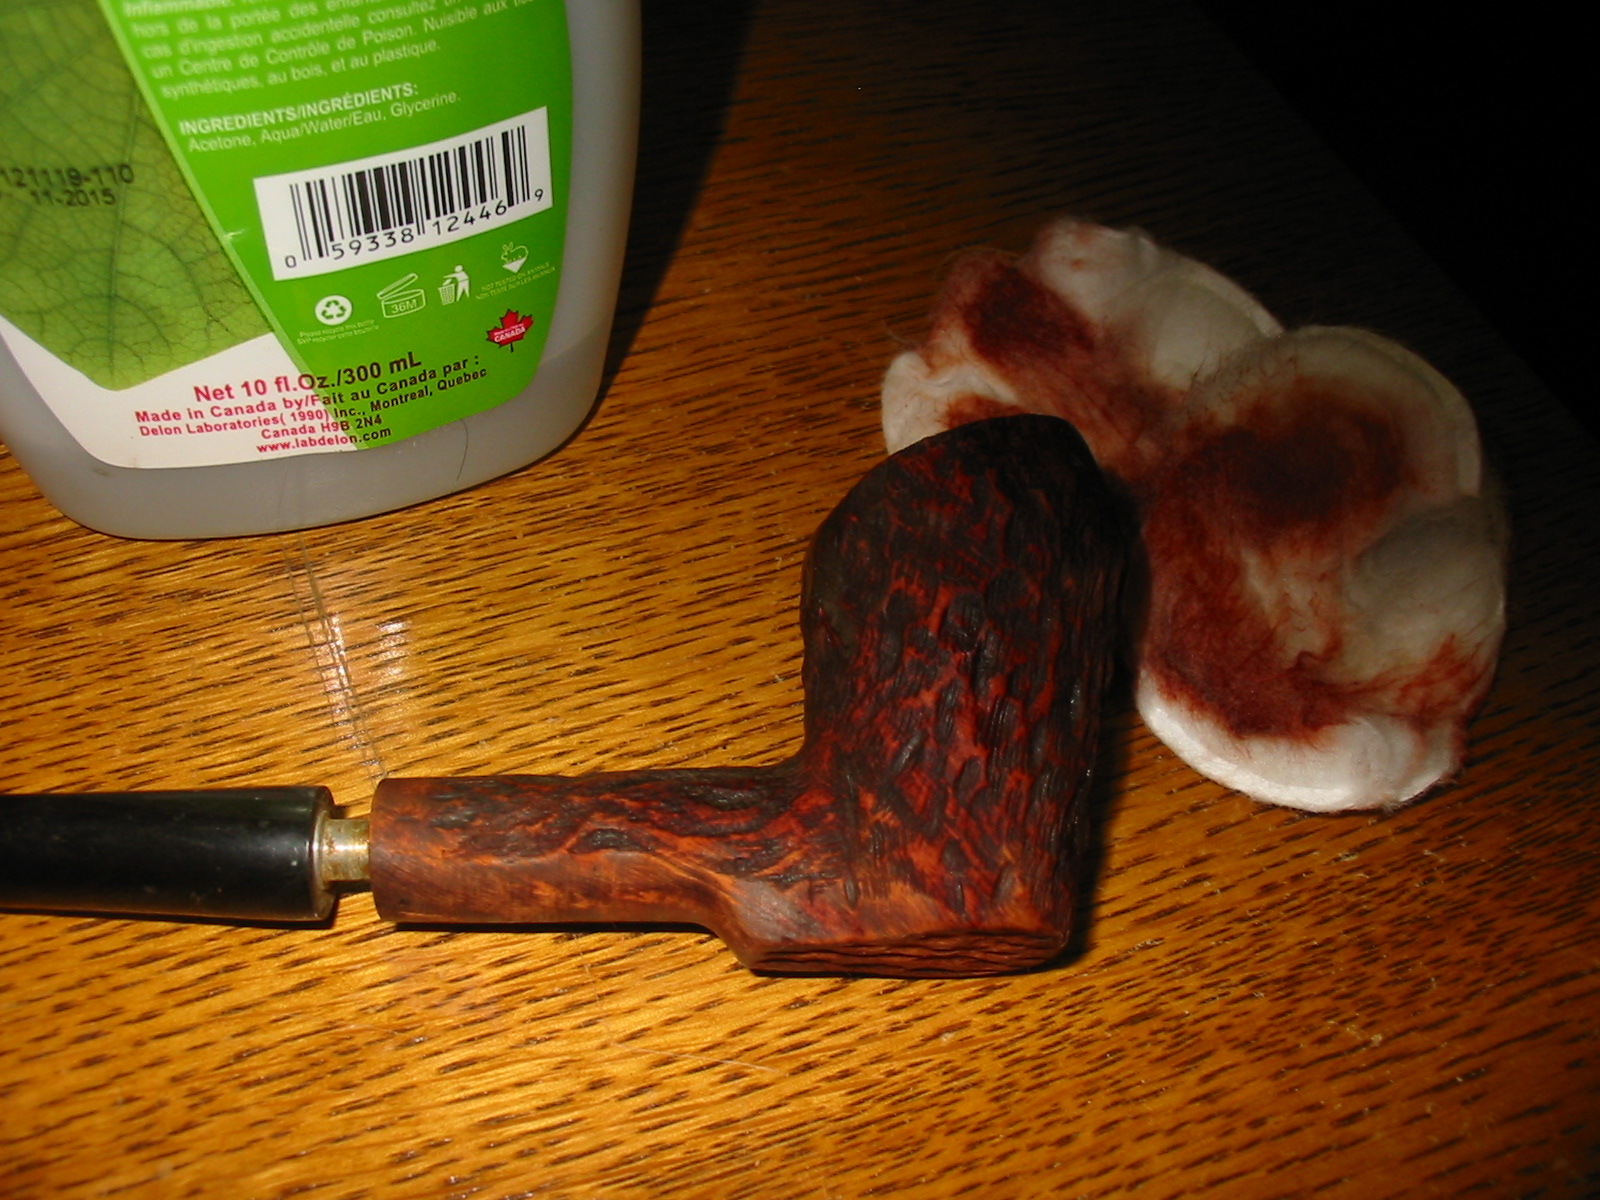
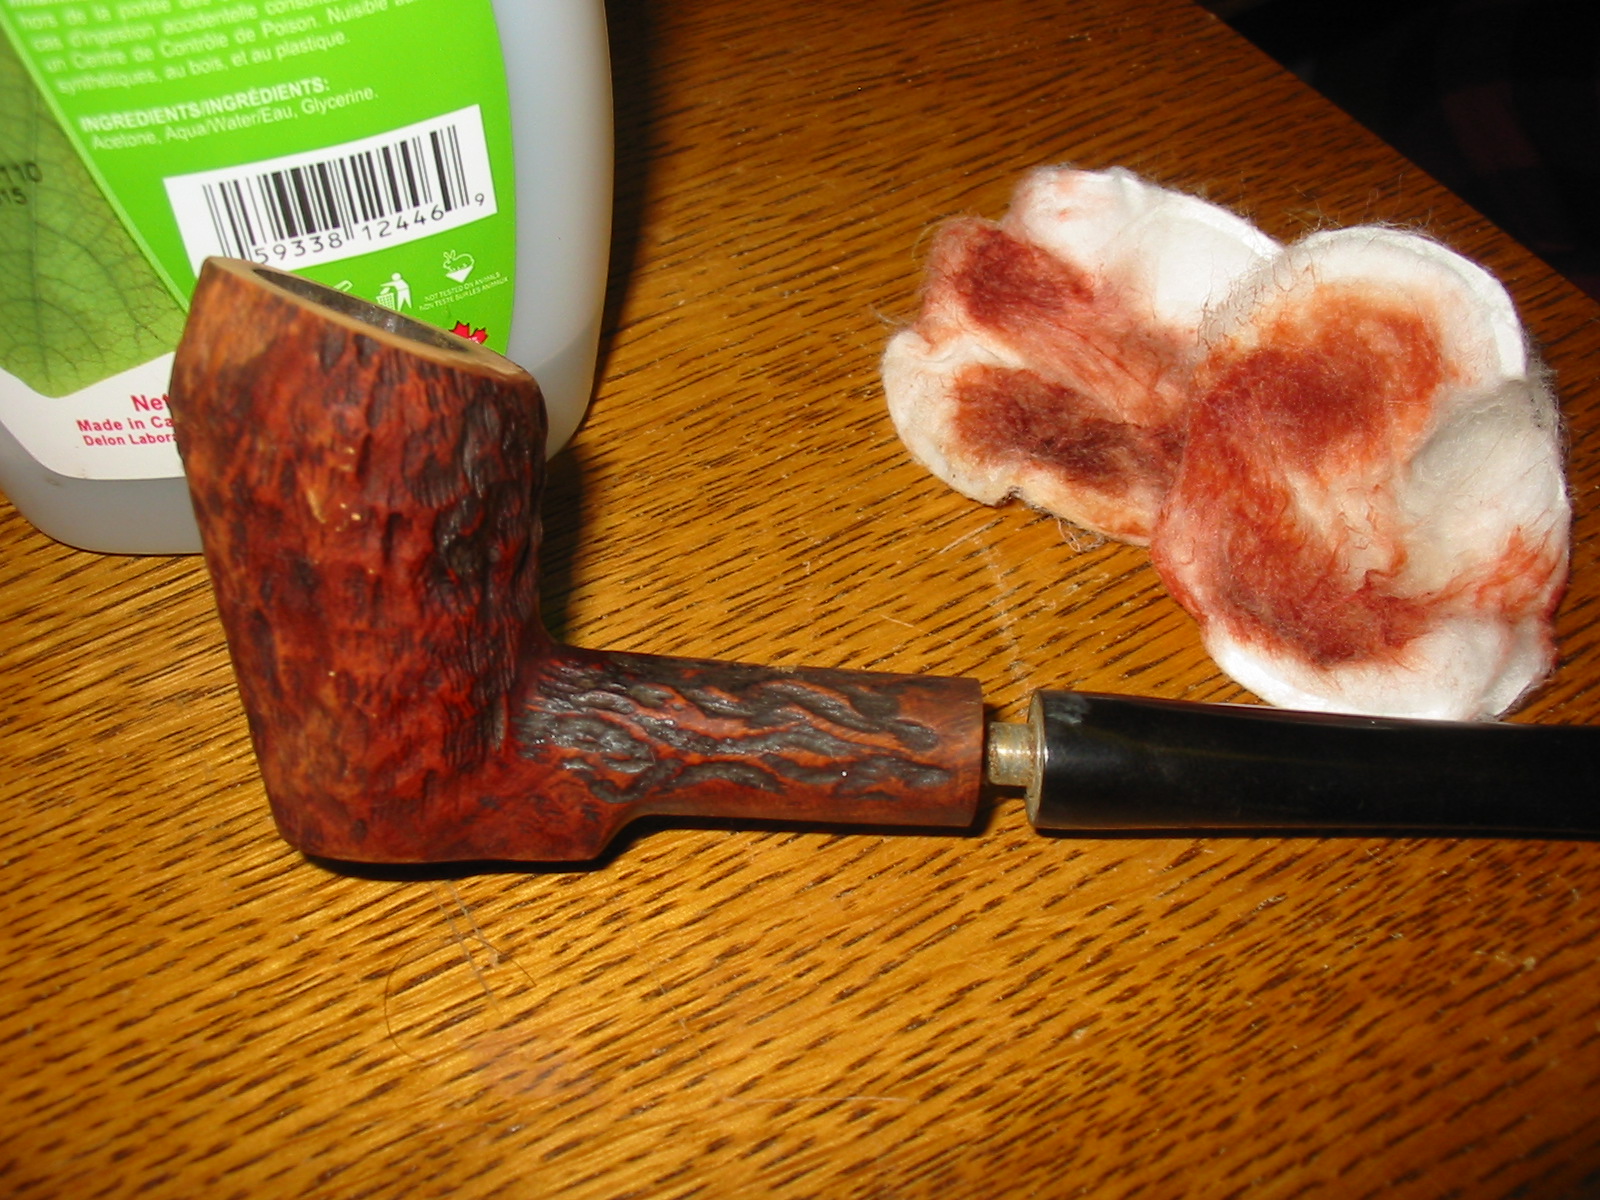
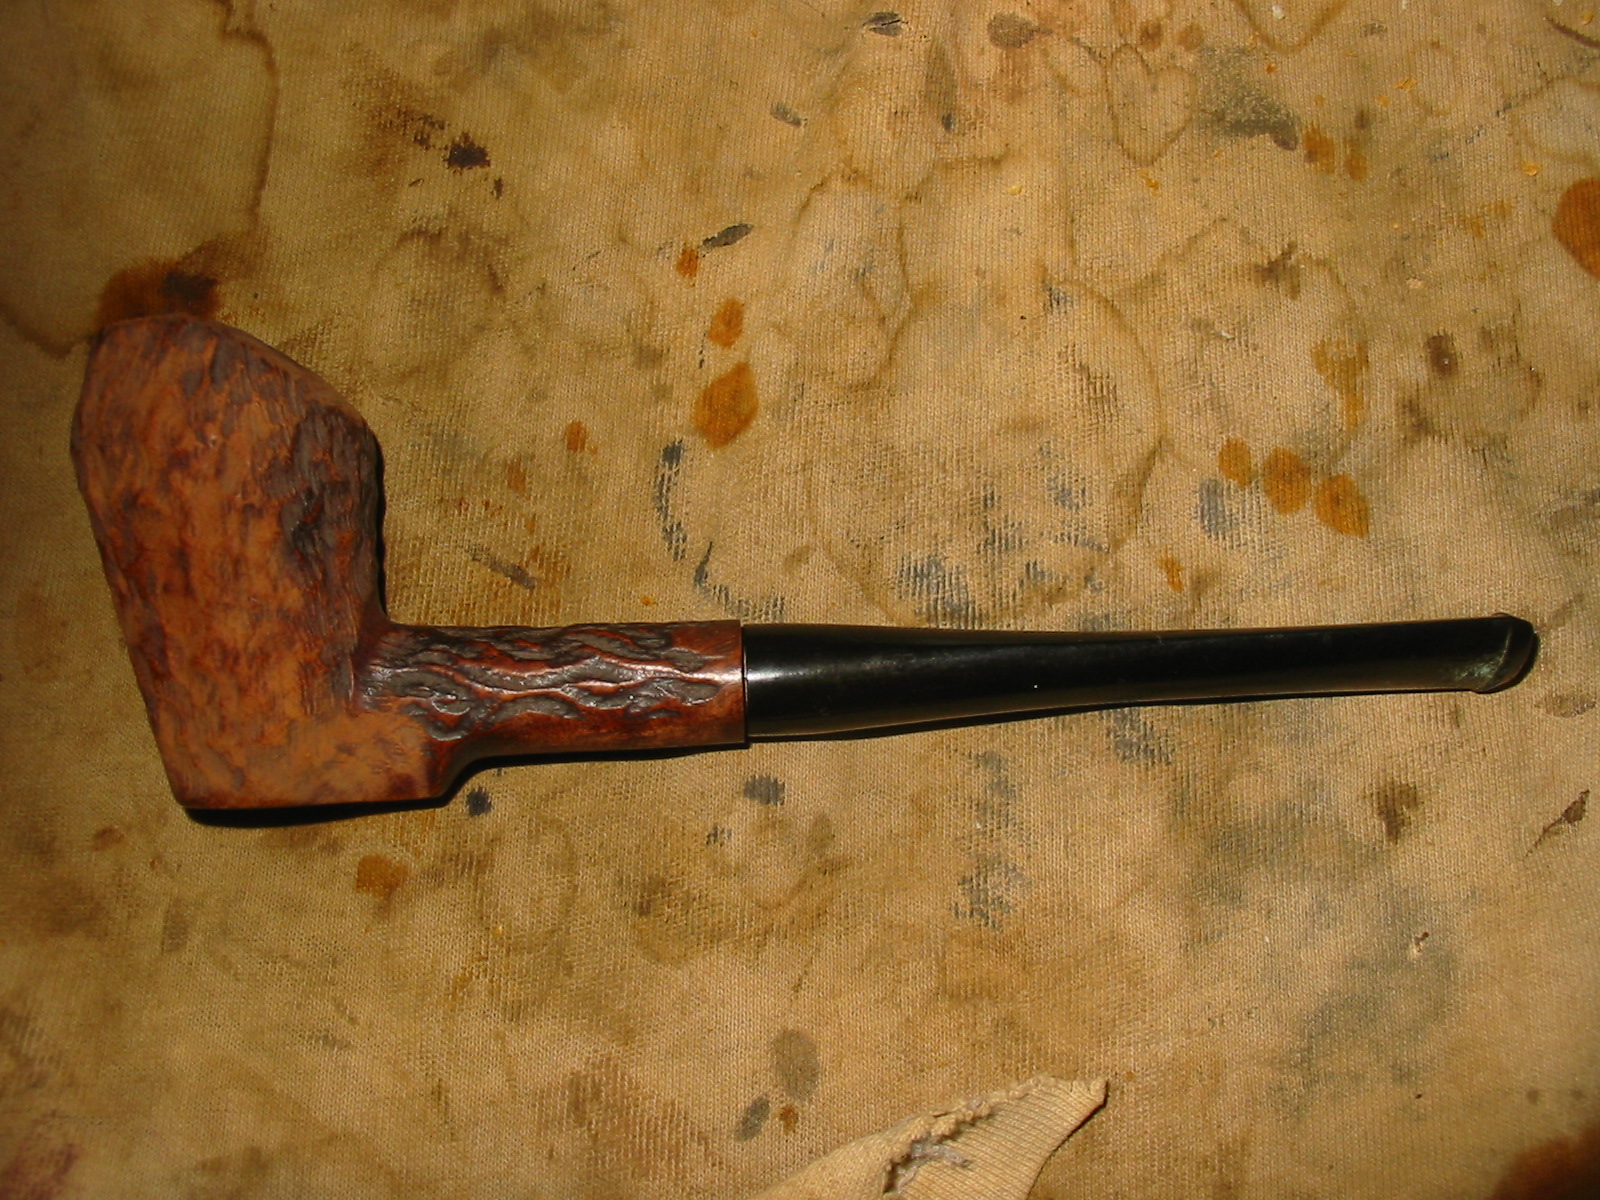
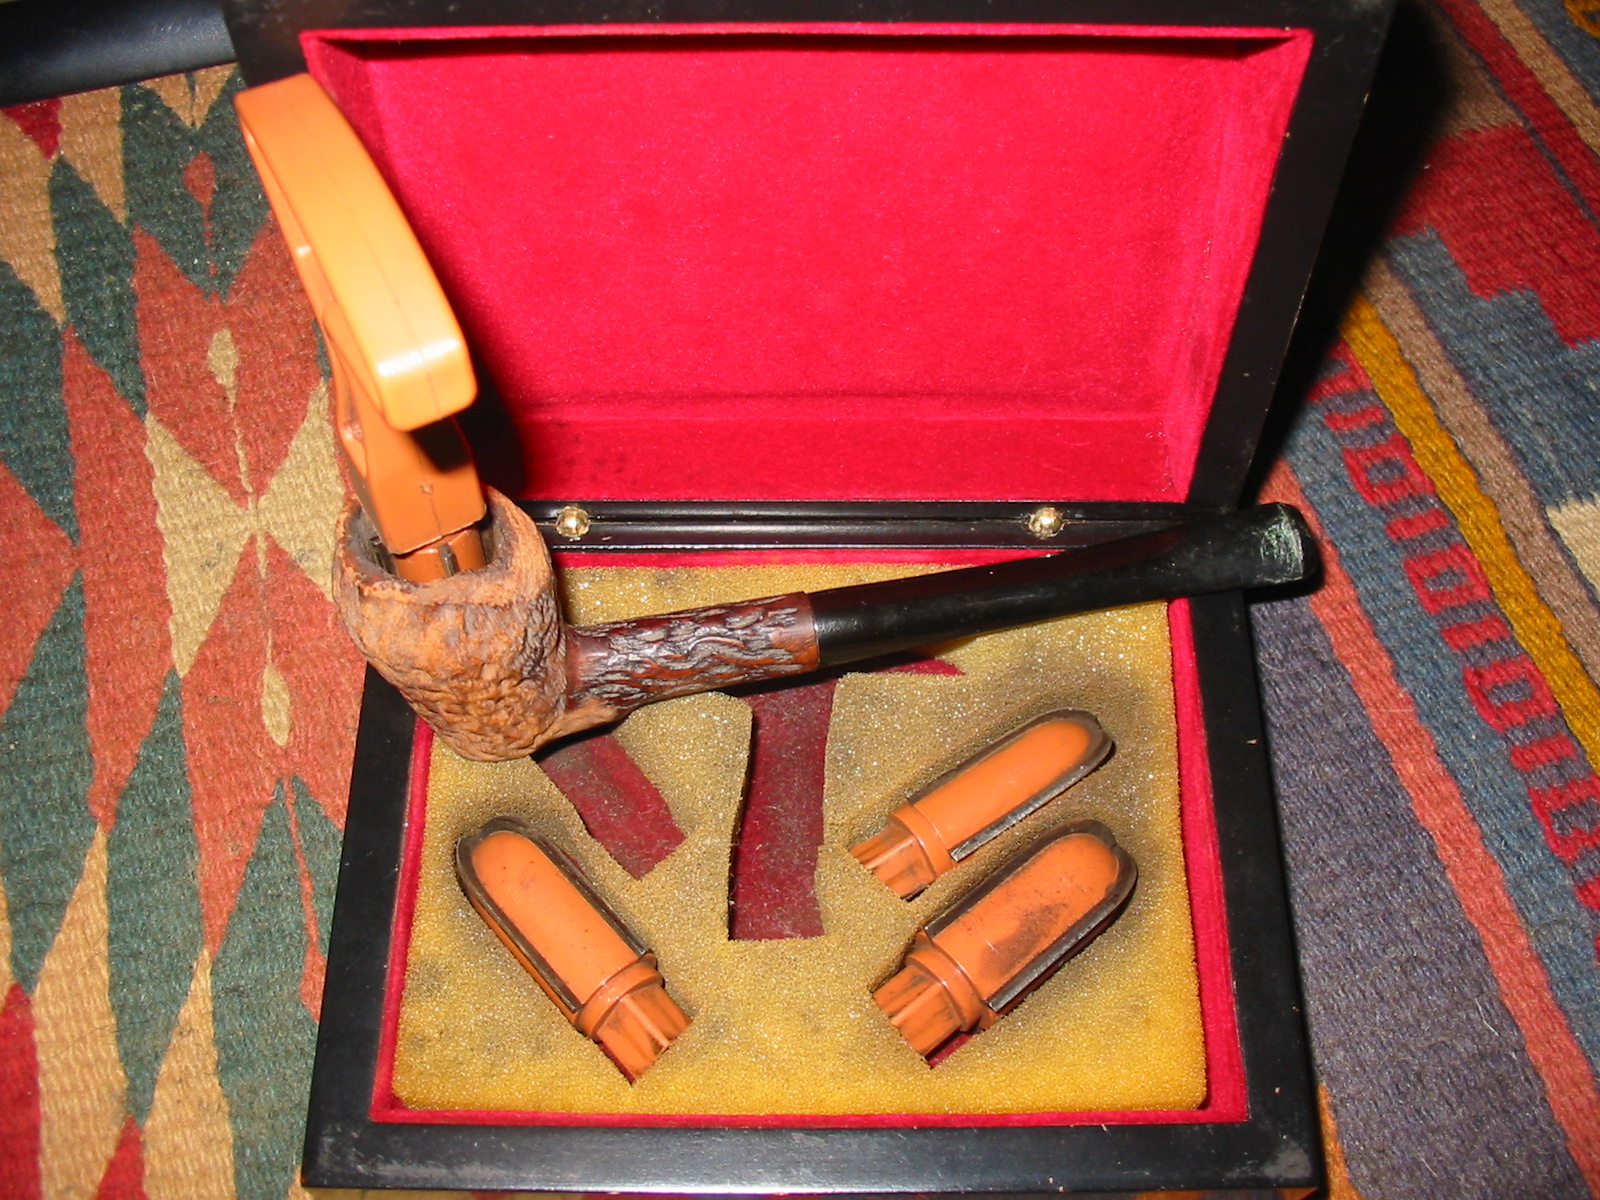
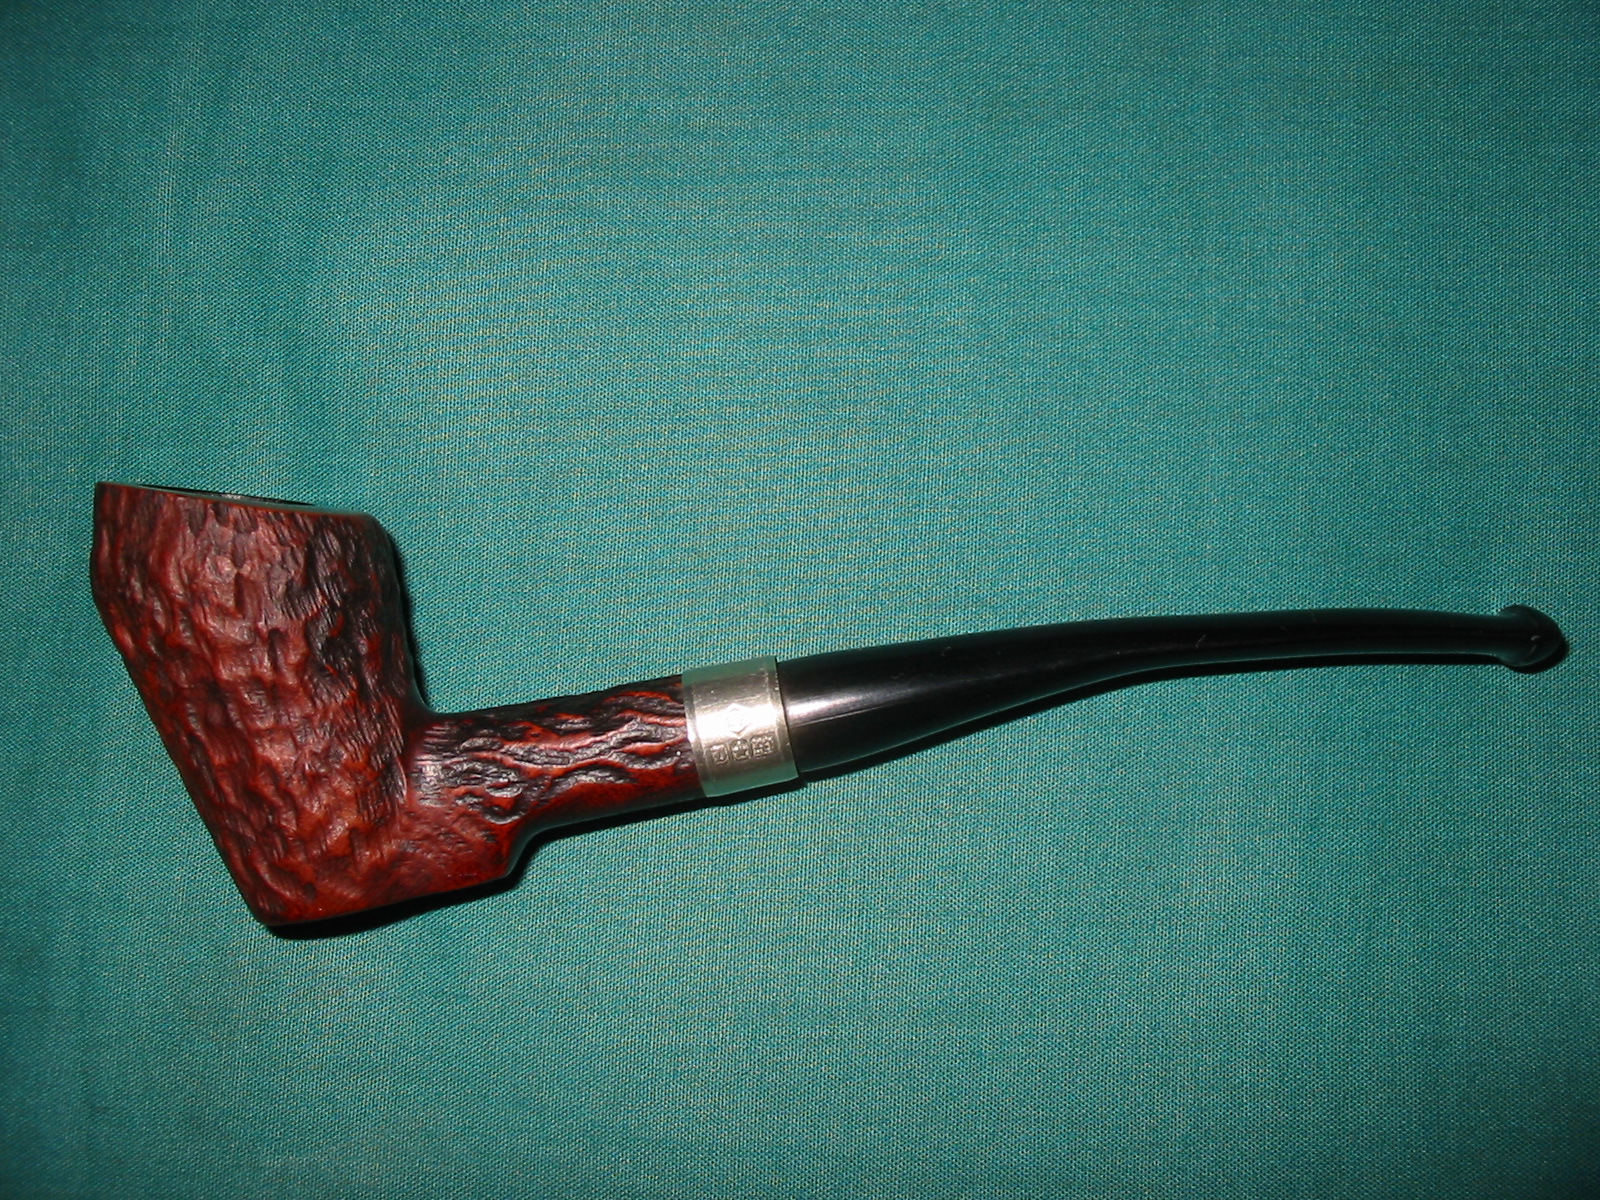
Once the finish was gone I experimented with a metal band. The shank was not cracked or broken. It was solid but I wanted to see what the shiny silver would look like against the rugged rustication. I also wanted to minimize the slight difference in the diameter of the shank and the stem. I decided I liked the look of the band so I heated it with the heat gun and pressed it into place on the shank. I liked the finished look of the nickel band. I feel it gives a bit of bling to a rough looking pipe.

I screwed the stem in place to have a look at the fit and finish of the pipe as a whole. I thought to myself that it would work well. I would need to give the stem a bend to make a correct fit to the sitter style of the bowl but it would work.
I decided to sand out the tooth marks and chatter as much as possible. I was hoping that the heat would lift the marks a bit. I heated the stem with a heat gun to do the bending. I bent it over a rolling pin. It took awhile for the nylon to be flexible enough to bend. Bending nylon stems is far trickier than vulcanite. It does not seem to have the memory of vulcanite so once bent it remains even if heated and has to be pressed back into shape. It also kinks very easily so you have to be very careful when bending it. I have also found that the wire in a pipe cleaner heats up and the pipe cleaner can stick to the inside of the stem. All of the above make it a pain to bend this type of stem.
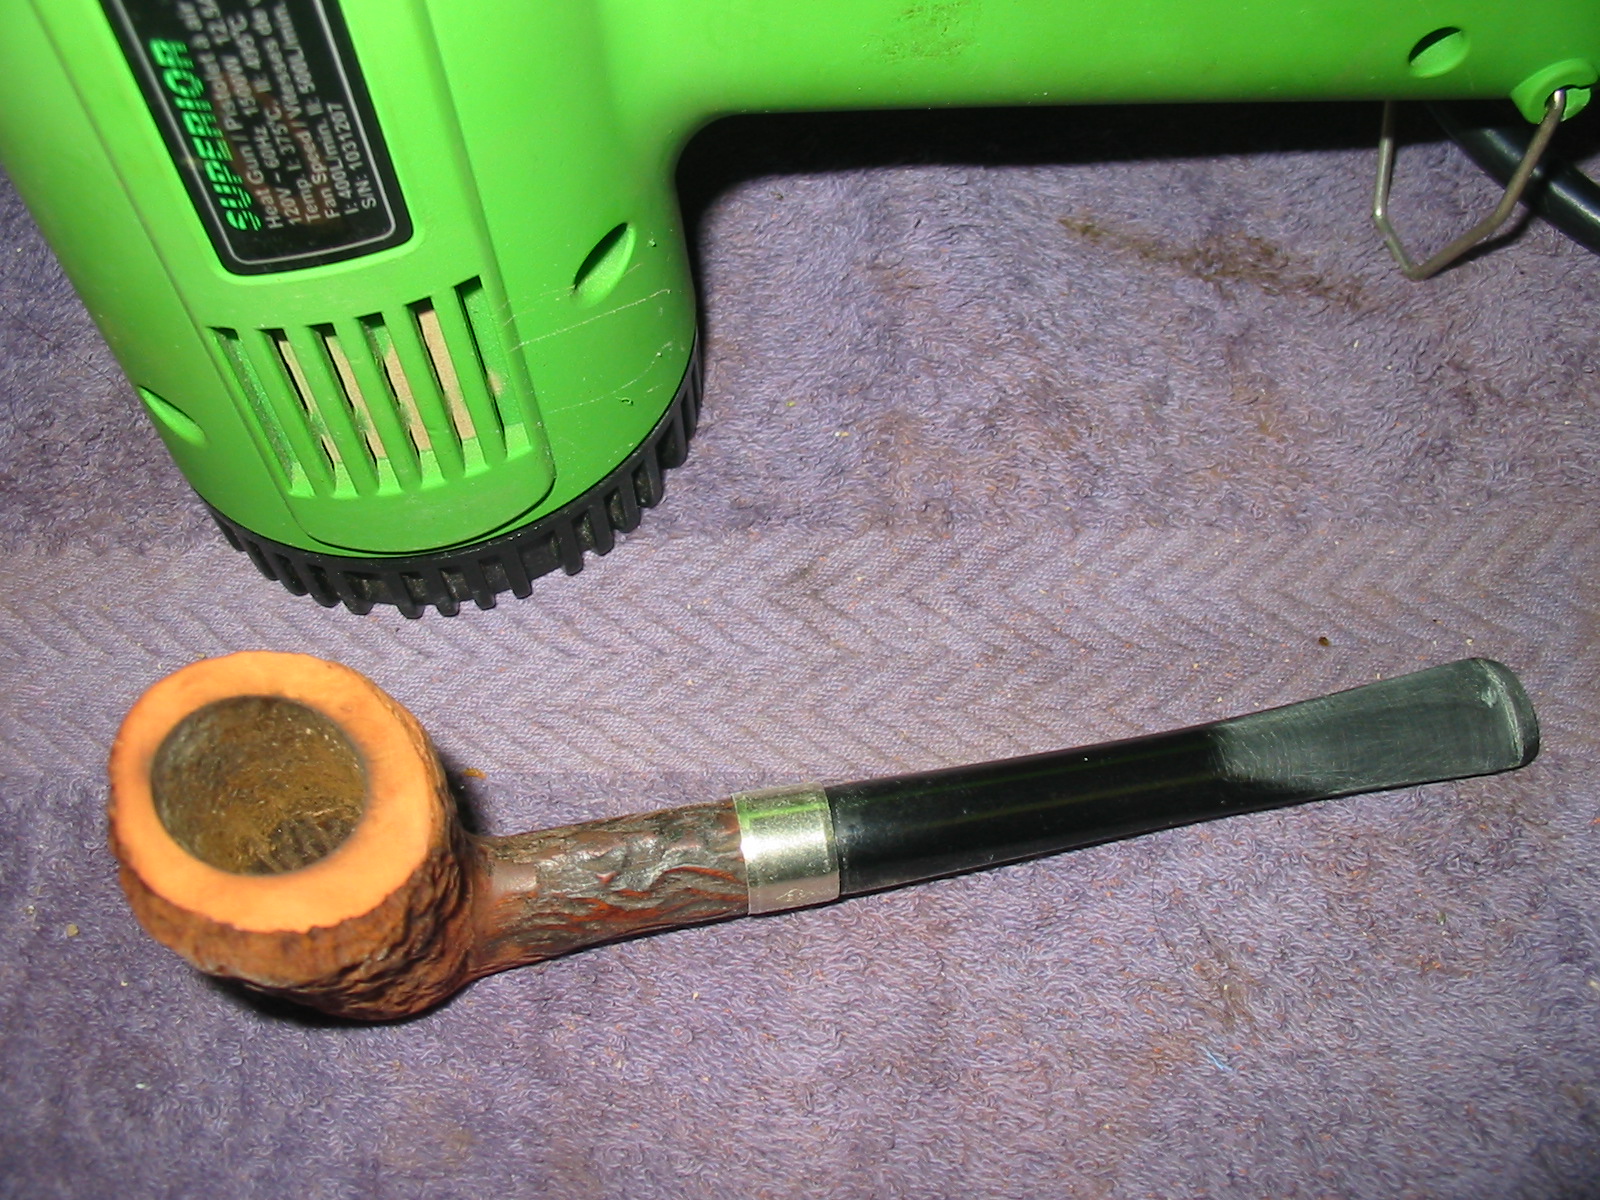
I finished the bend and set it with cold water. I was not happy with the overall look and flow of the stem. The bend was correct in terms of allowing the pipe to sit flat on the bottom of the bowl with the tip of the button arching to touch as well but the flow/arch of the stem was not right. I reheated and tried it a second time and still it did not quite work. I decided to stop and revisit that later.
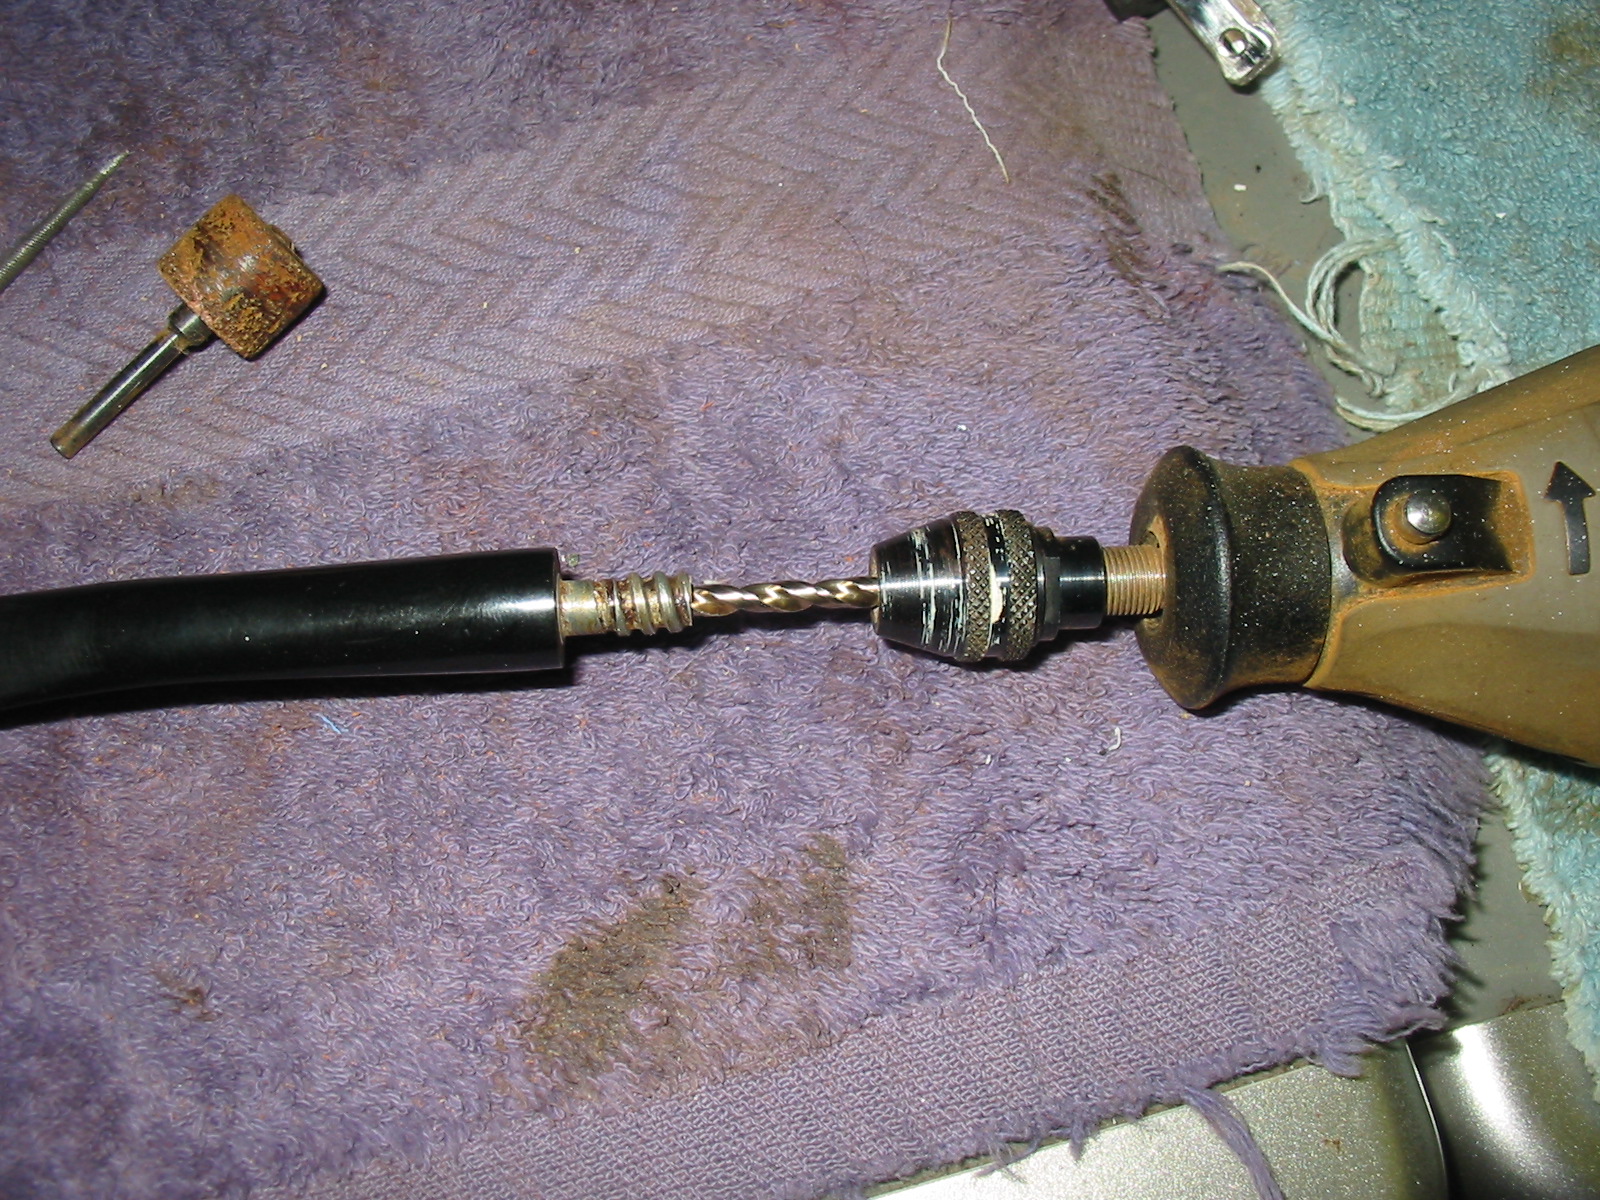
The draught on the pipe bowl was wide open and easy but the stem itself was very constricted. The stinger apparatus had a slotted entry into the stem. It was very narrow and seemed to extend quite a distance up the stem. A pipe cleaner would not pass through the stem and the stinger. I decided to sacrifice the stinger end so I sawed it off with a hack saw and then drilled out the airway in the metal tenon. As can be seen in the photo below the drill bit went a long ways into the stem before it broke through the slotted airway. Once I had opened the airway in the stem and removed the stinger the draught on the pipe was excellent – open all the way and passing a pipe cleaner with ease.
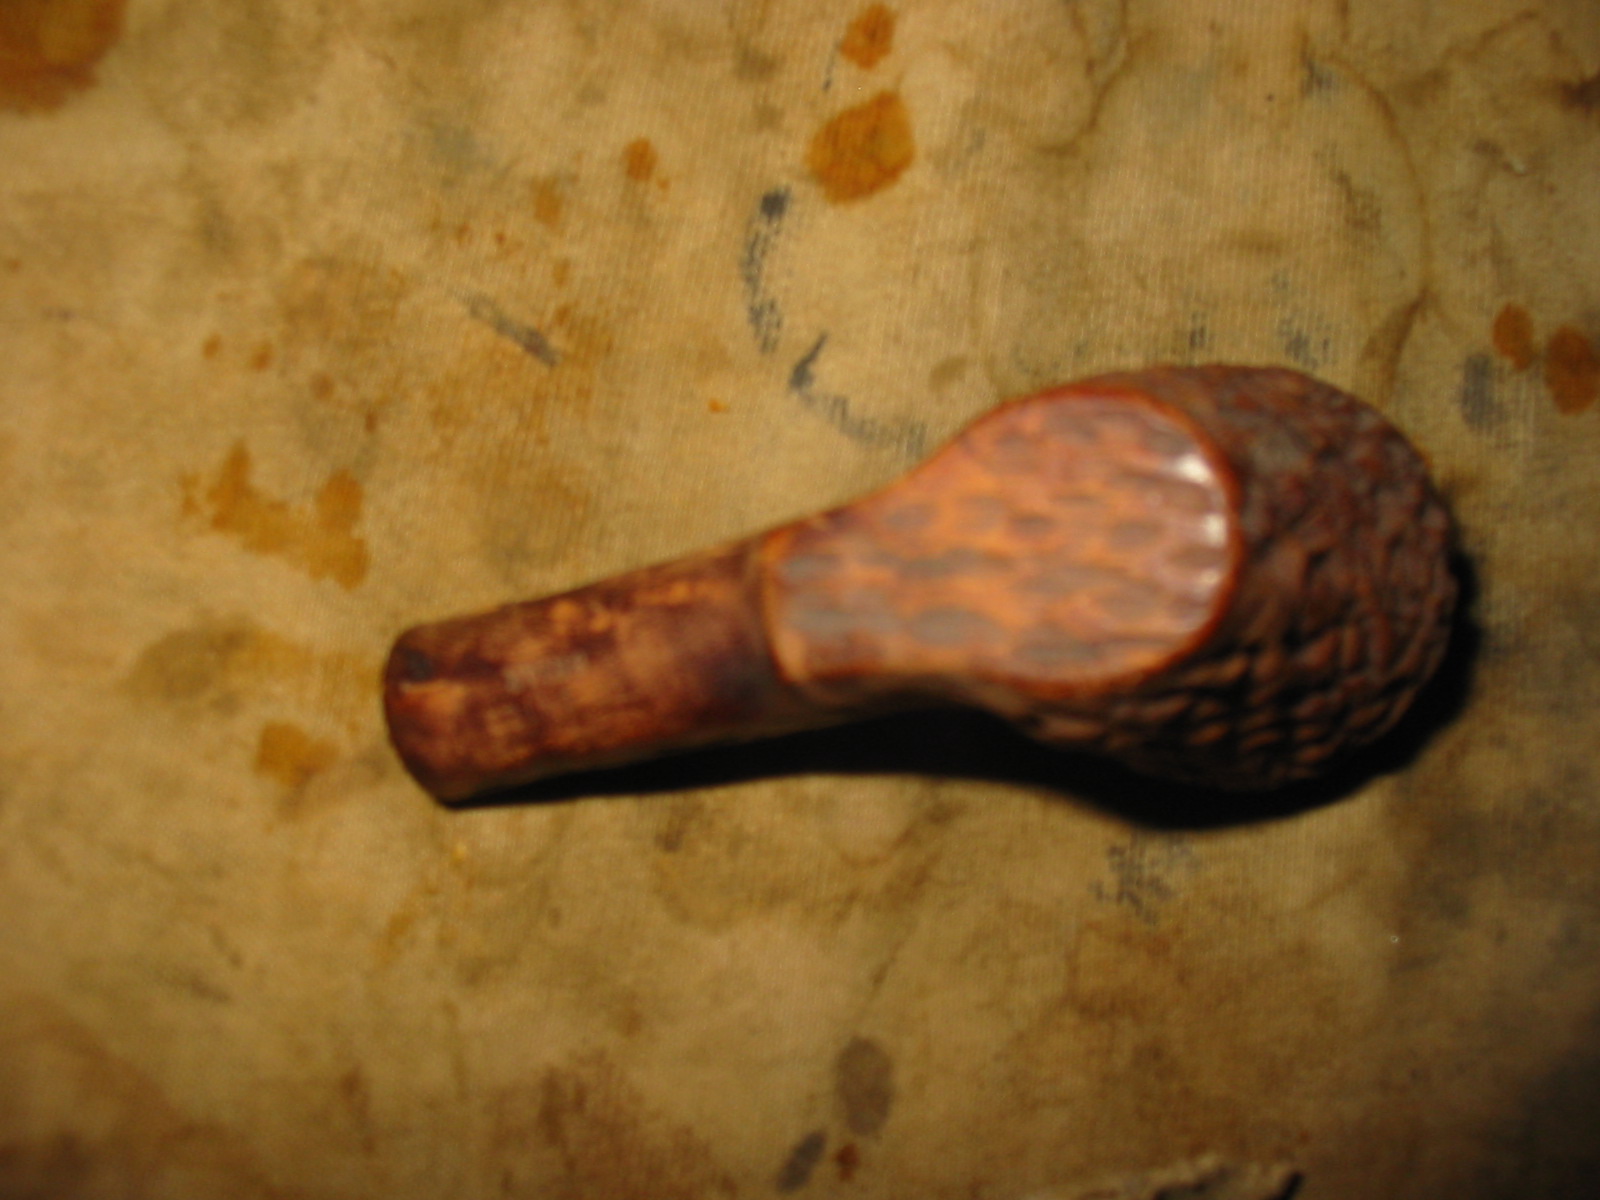
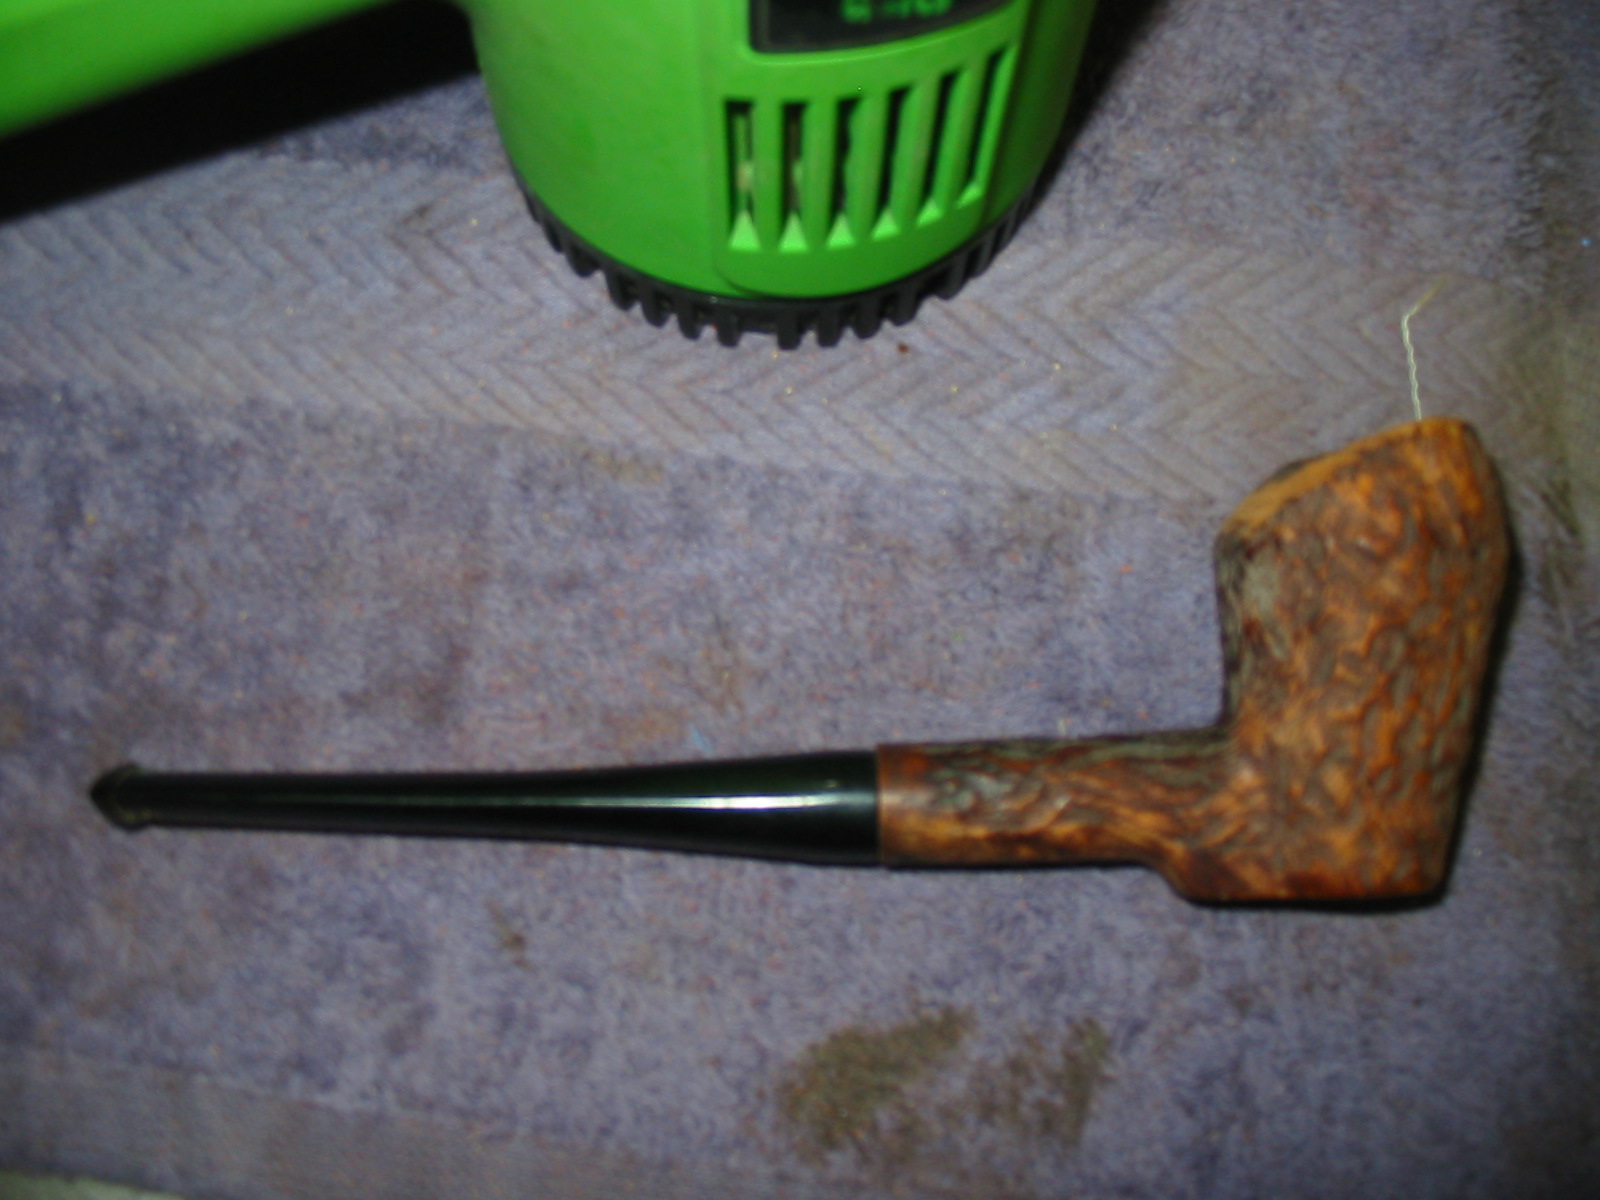
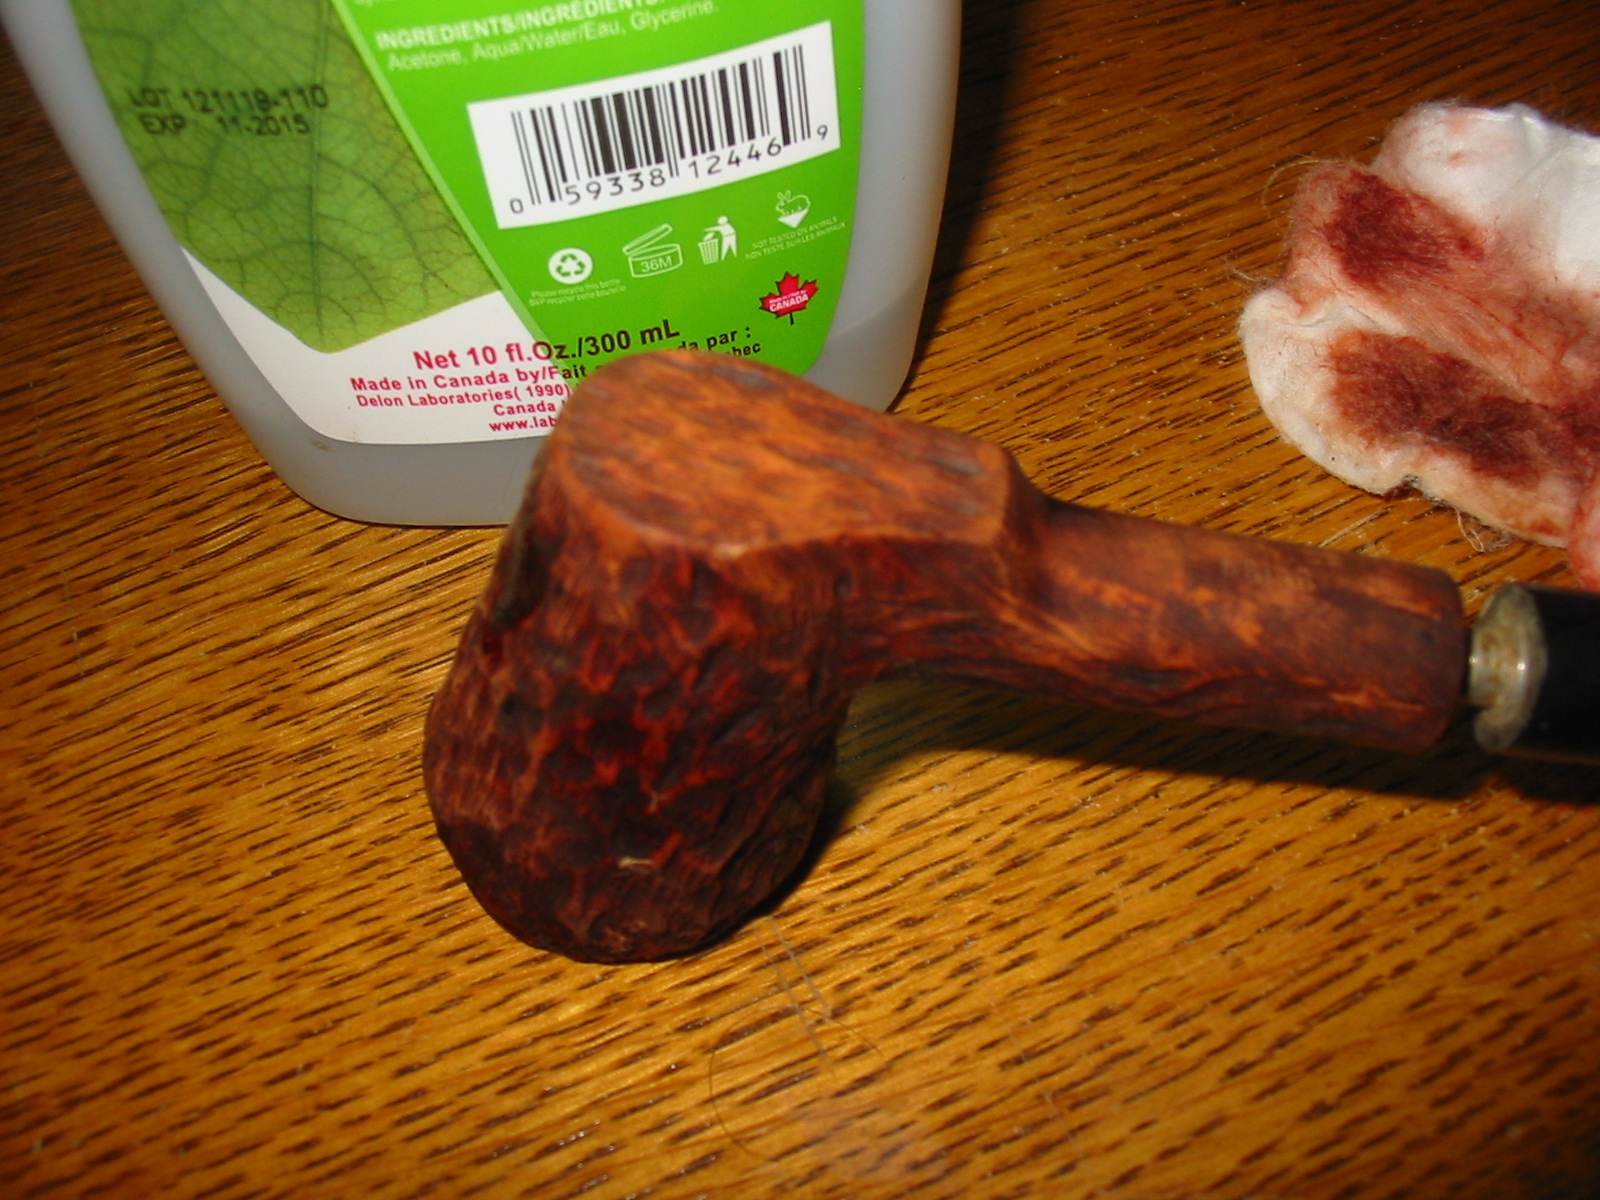
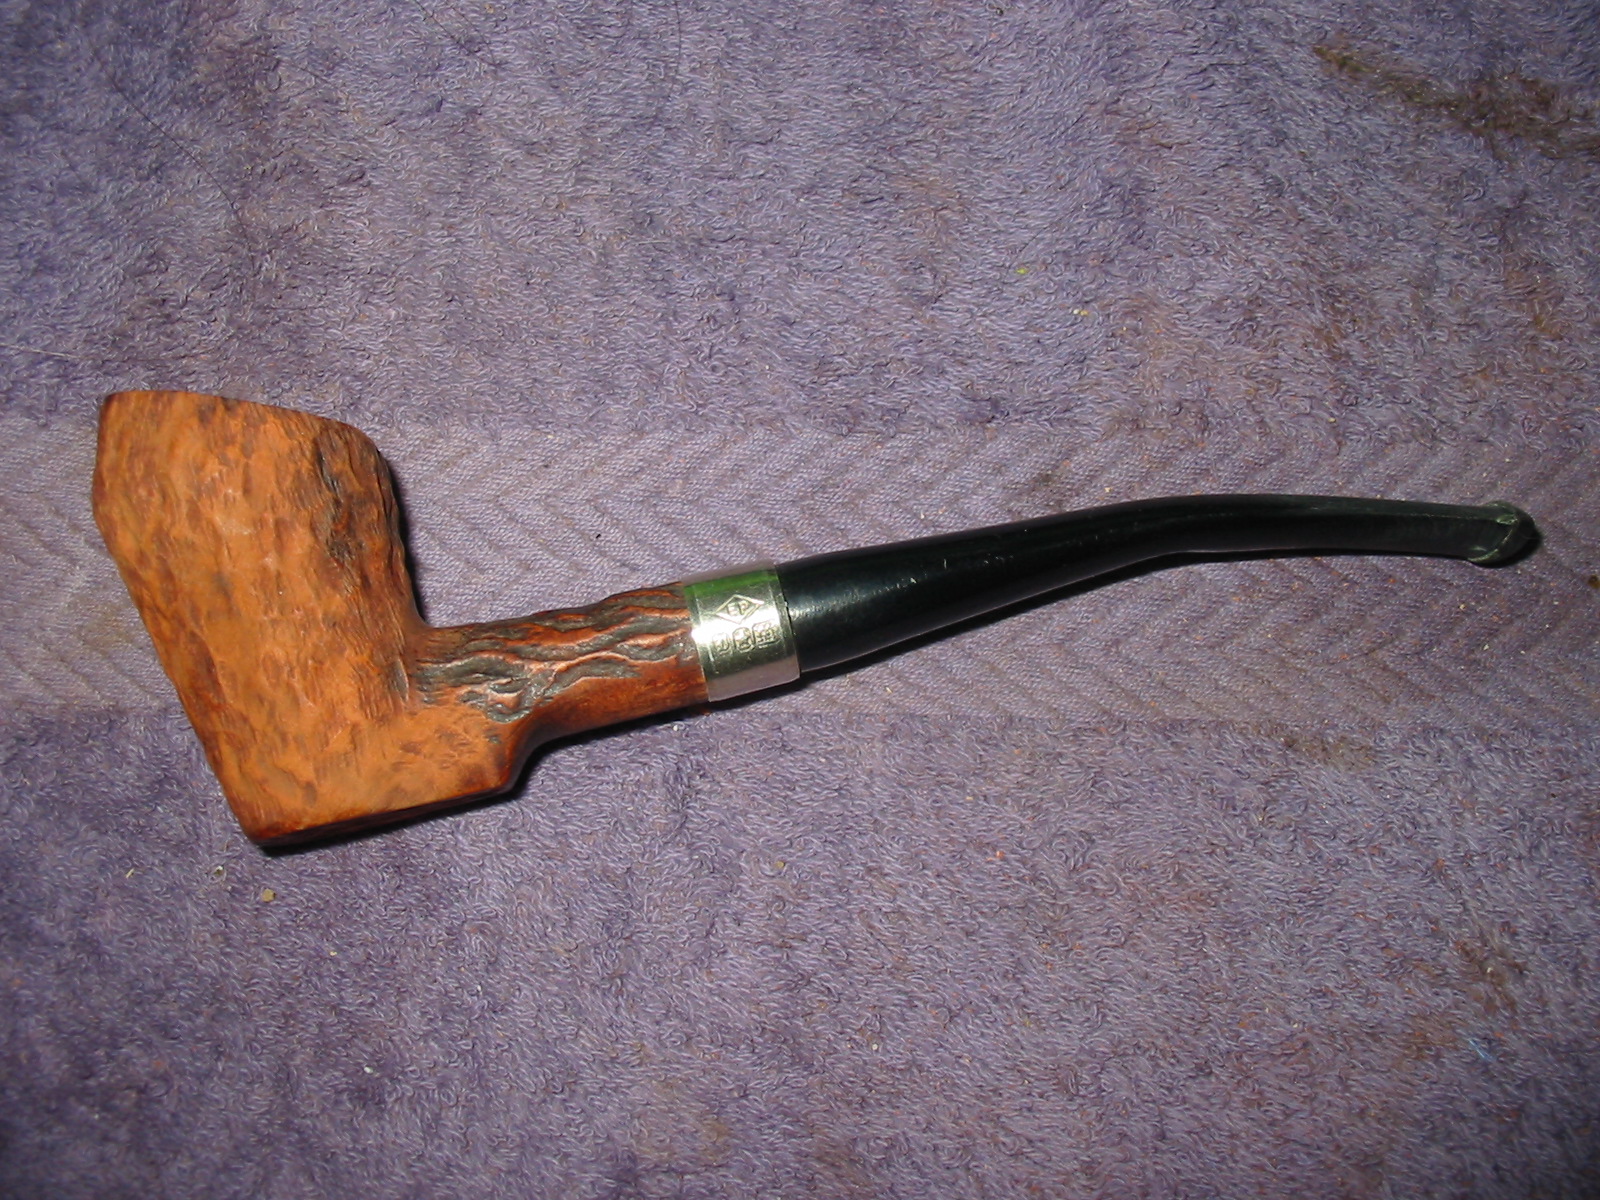
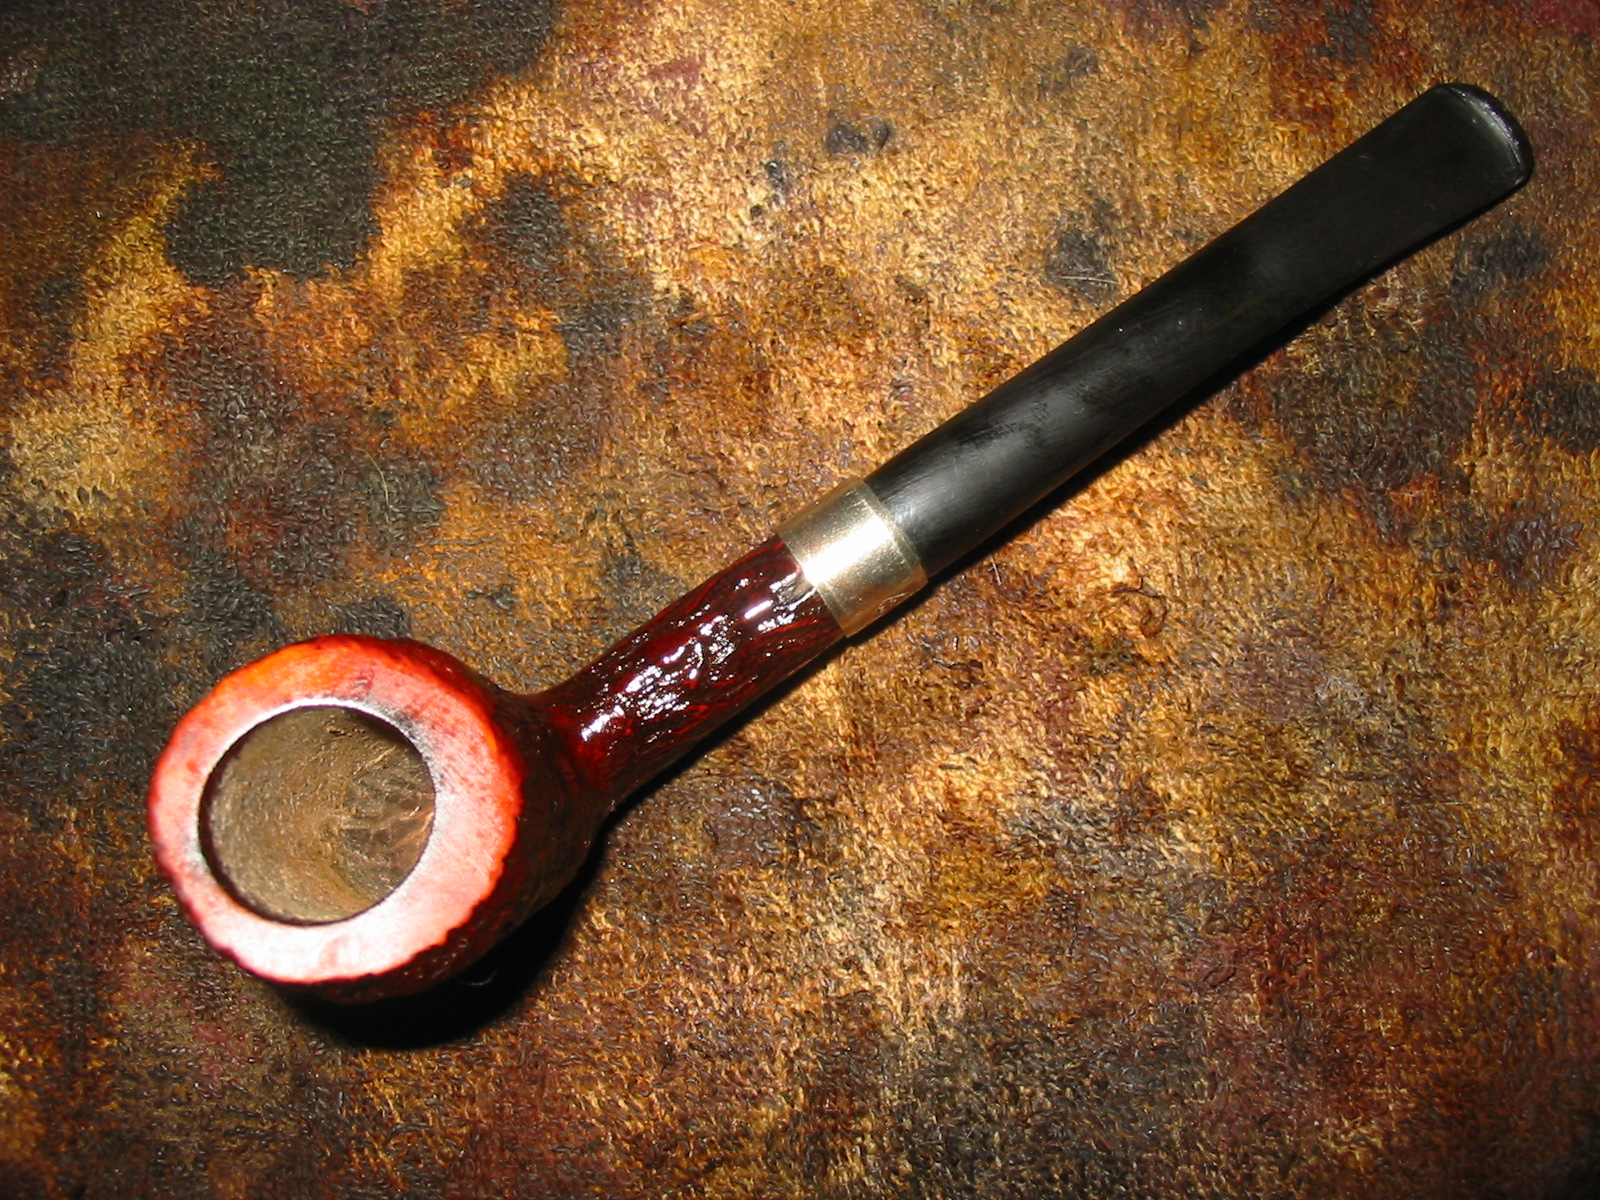
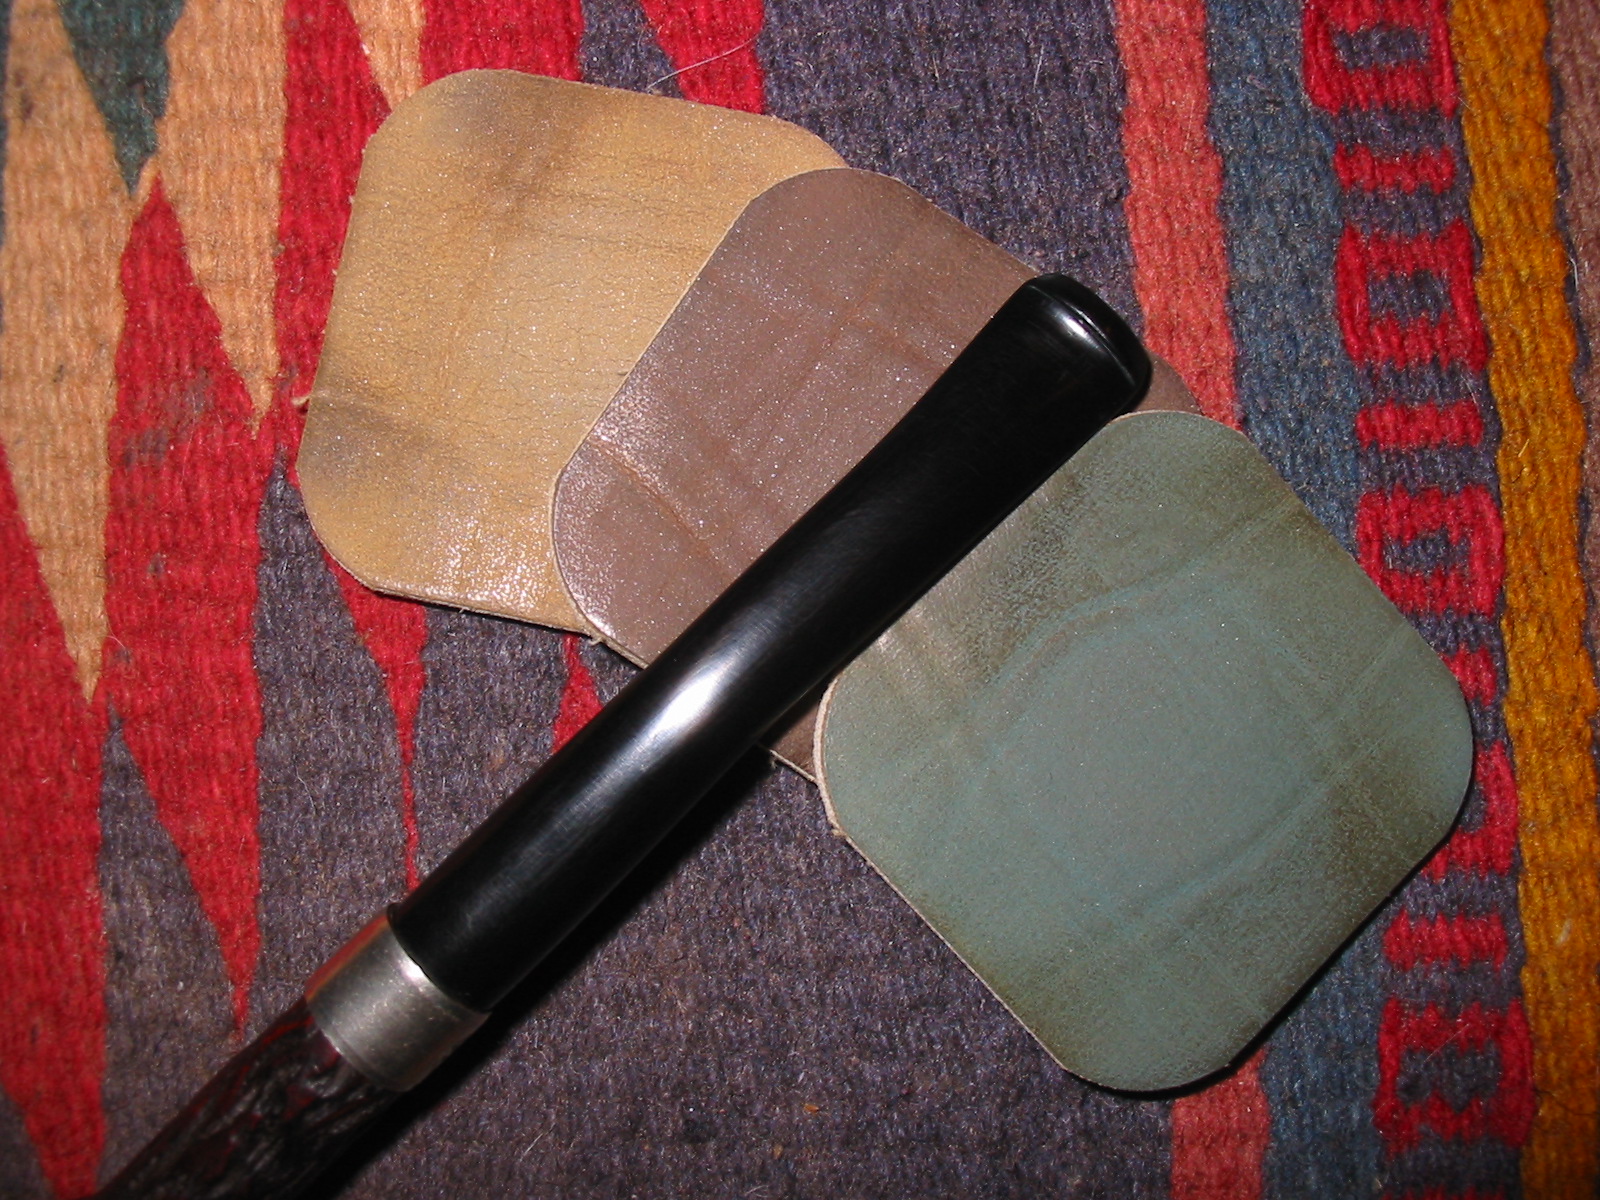
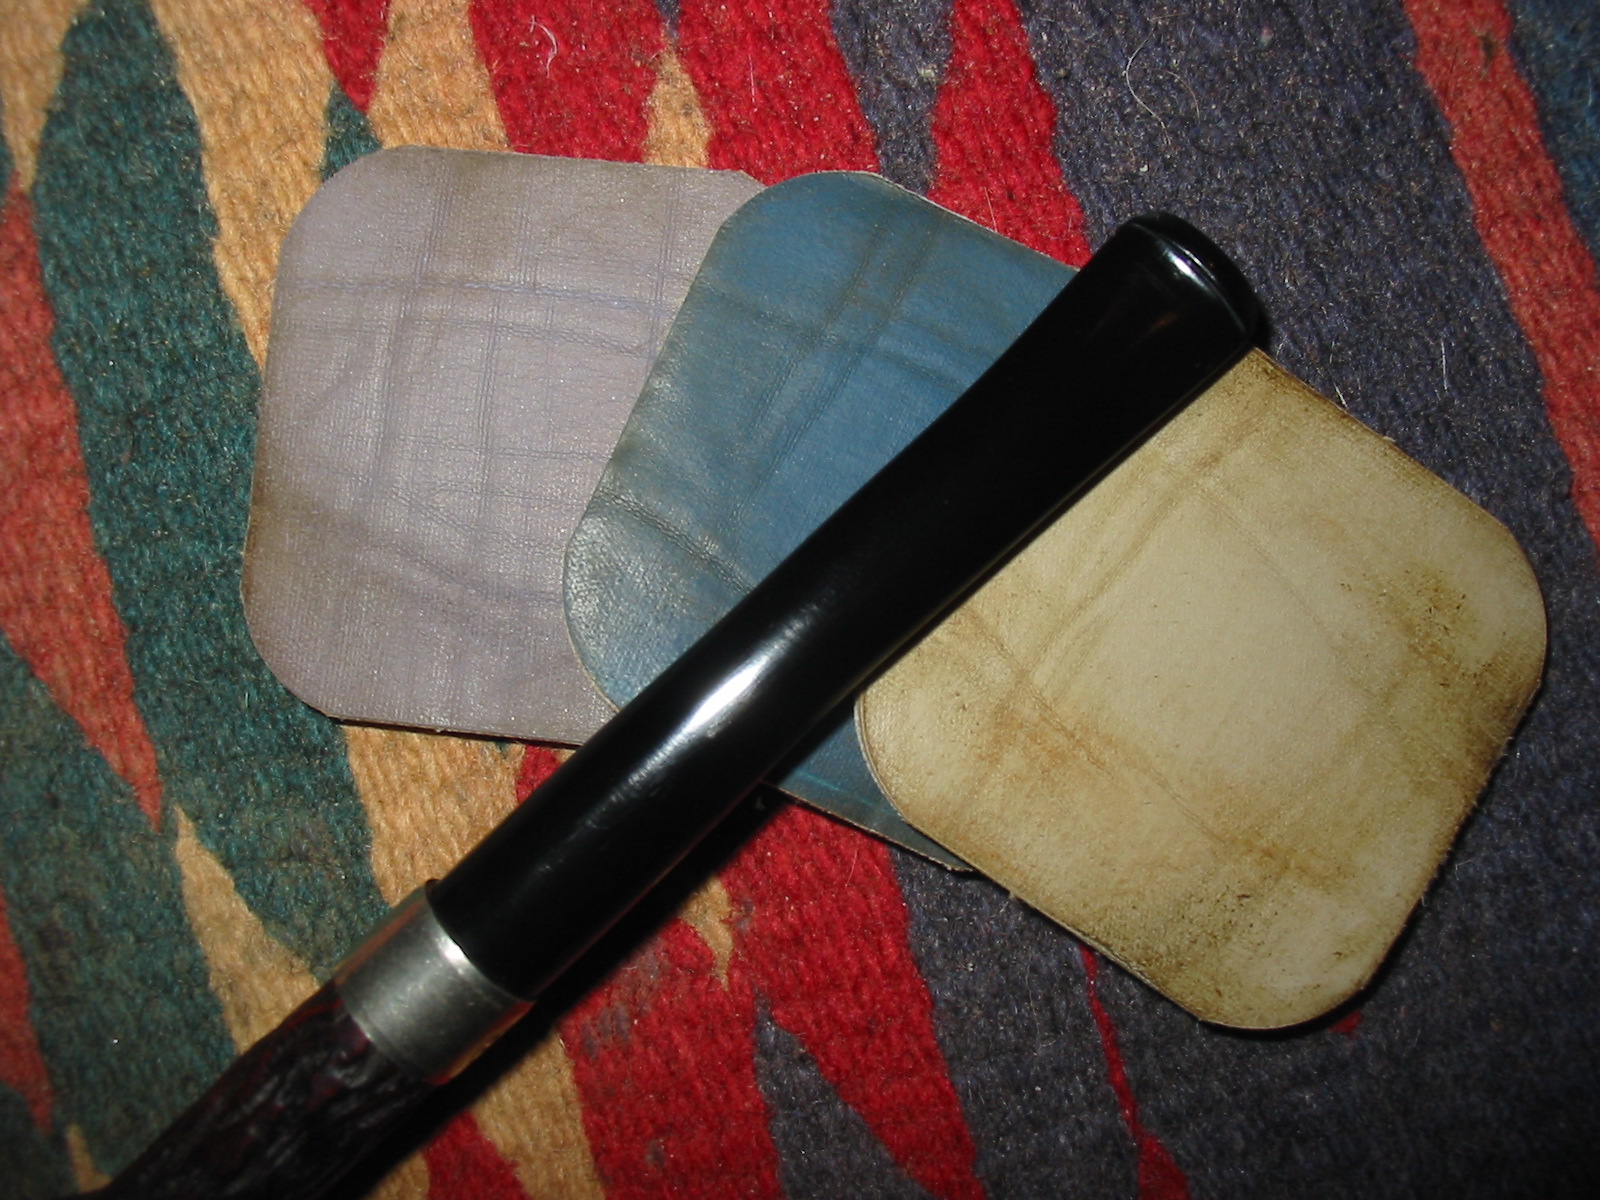
I stained the bowl with an oxblood aniline based stain. I flamed it and restained until it was well covered. I then buffed the bowl with White Diamond on the buffing wheel. The photos below show the bowl after the staining and buffing. The colour of the briar after the stain coat was workable. The black undertones that were deep in the grooves of the rustication worked well with the red of the oxblood stain. The rim colour matched the bowl and the birdseye grain showed nicely on the flat of the rim.
The stem being nylon required all handwork. I could not use the buffer on it as it would melt and make more work than I desired to do on this pipe. Before I sanded it I used the heat gun to rebend the stem and get the angles and bend correct. Once I had that done I sanded it with 220 grit sandpaper and then with a medium and a fine grit sanding sponge. I then sanded the stem with my usual array of micromesh sanding pads – wet sanding with 1500-2400 grit pads and dry sanding with 3200-12,000 grit pads.

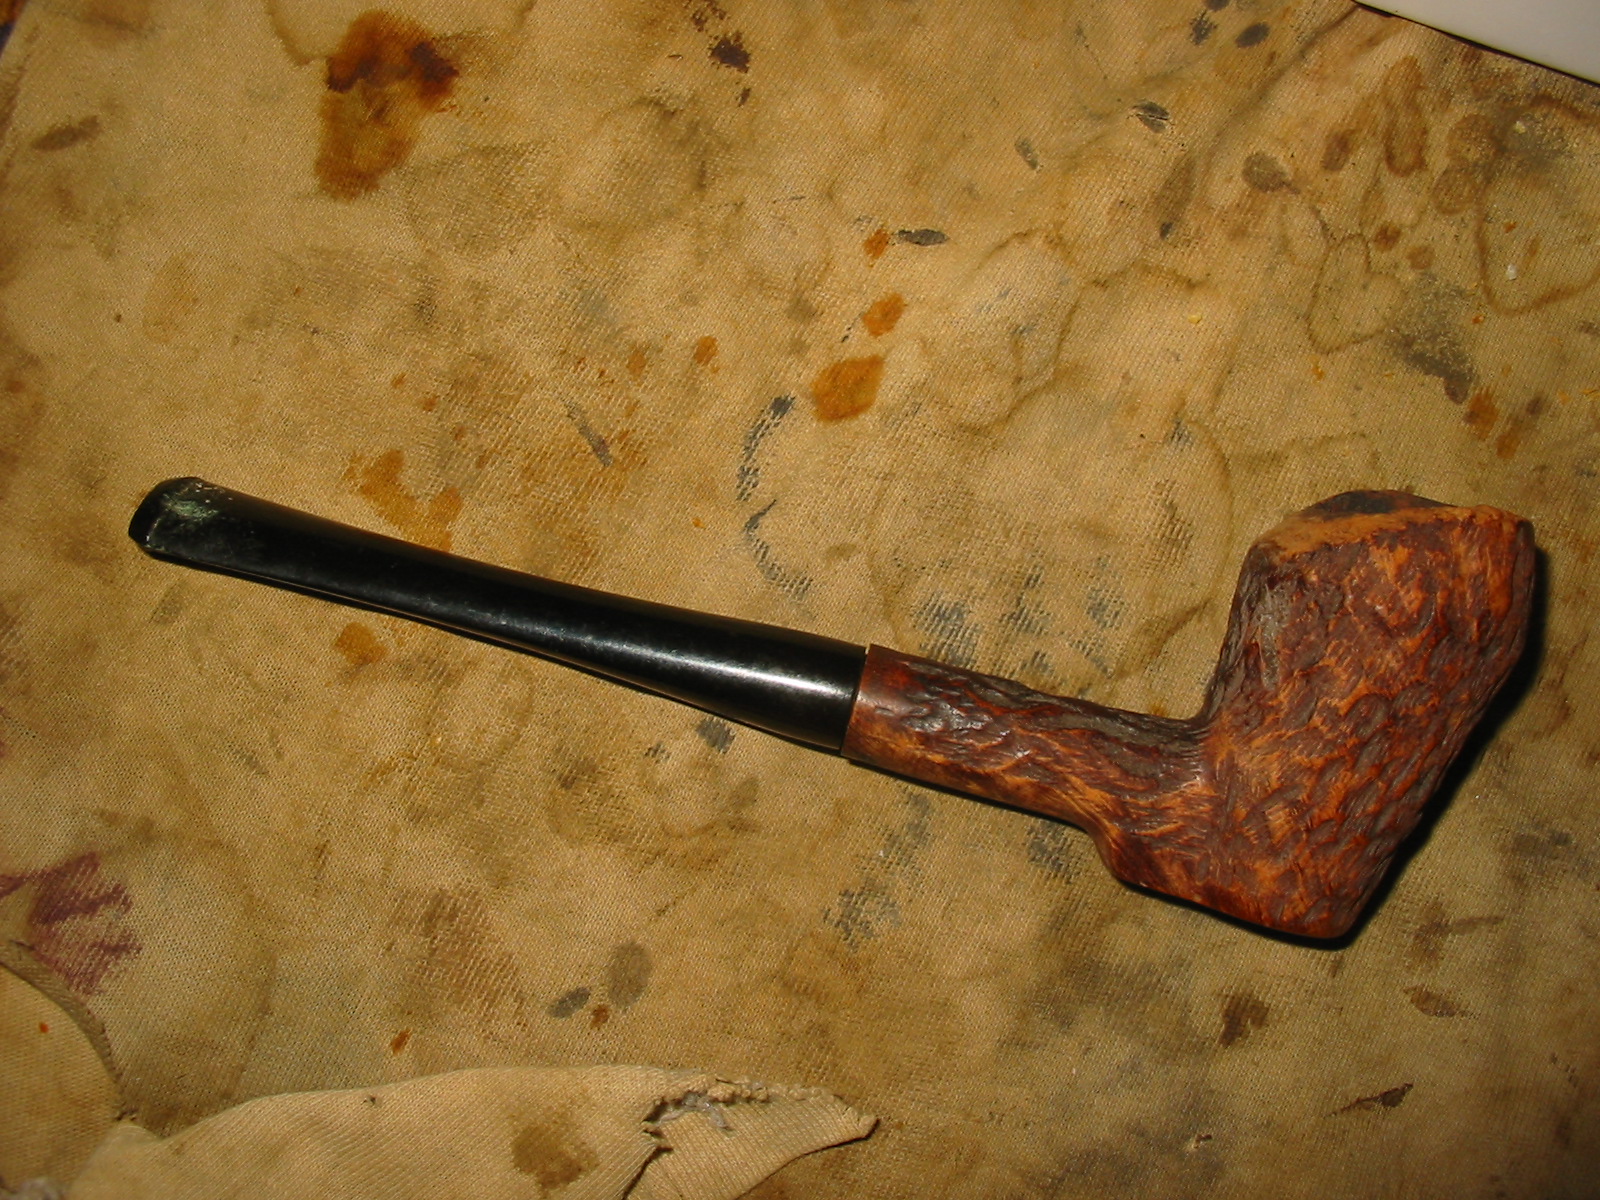
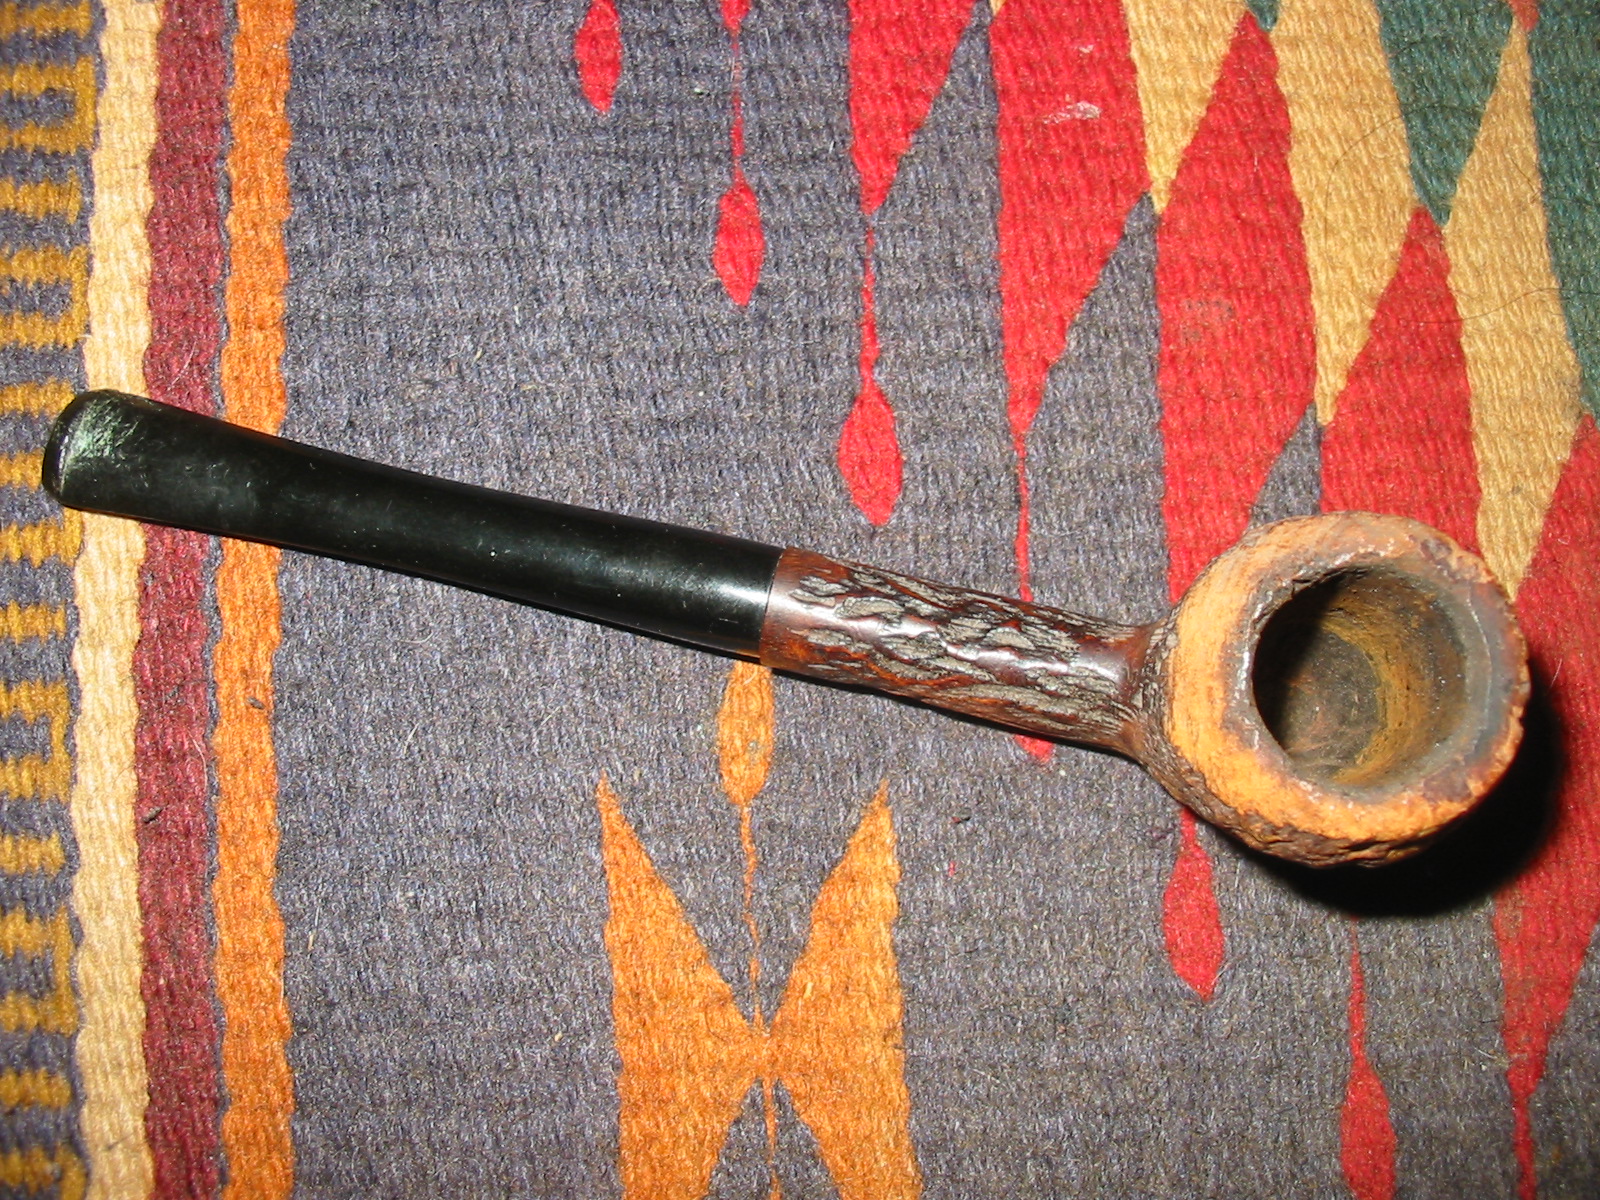
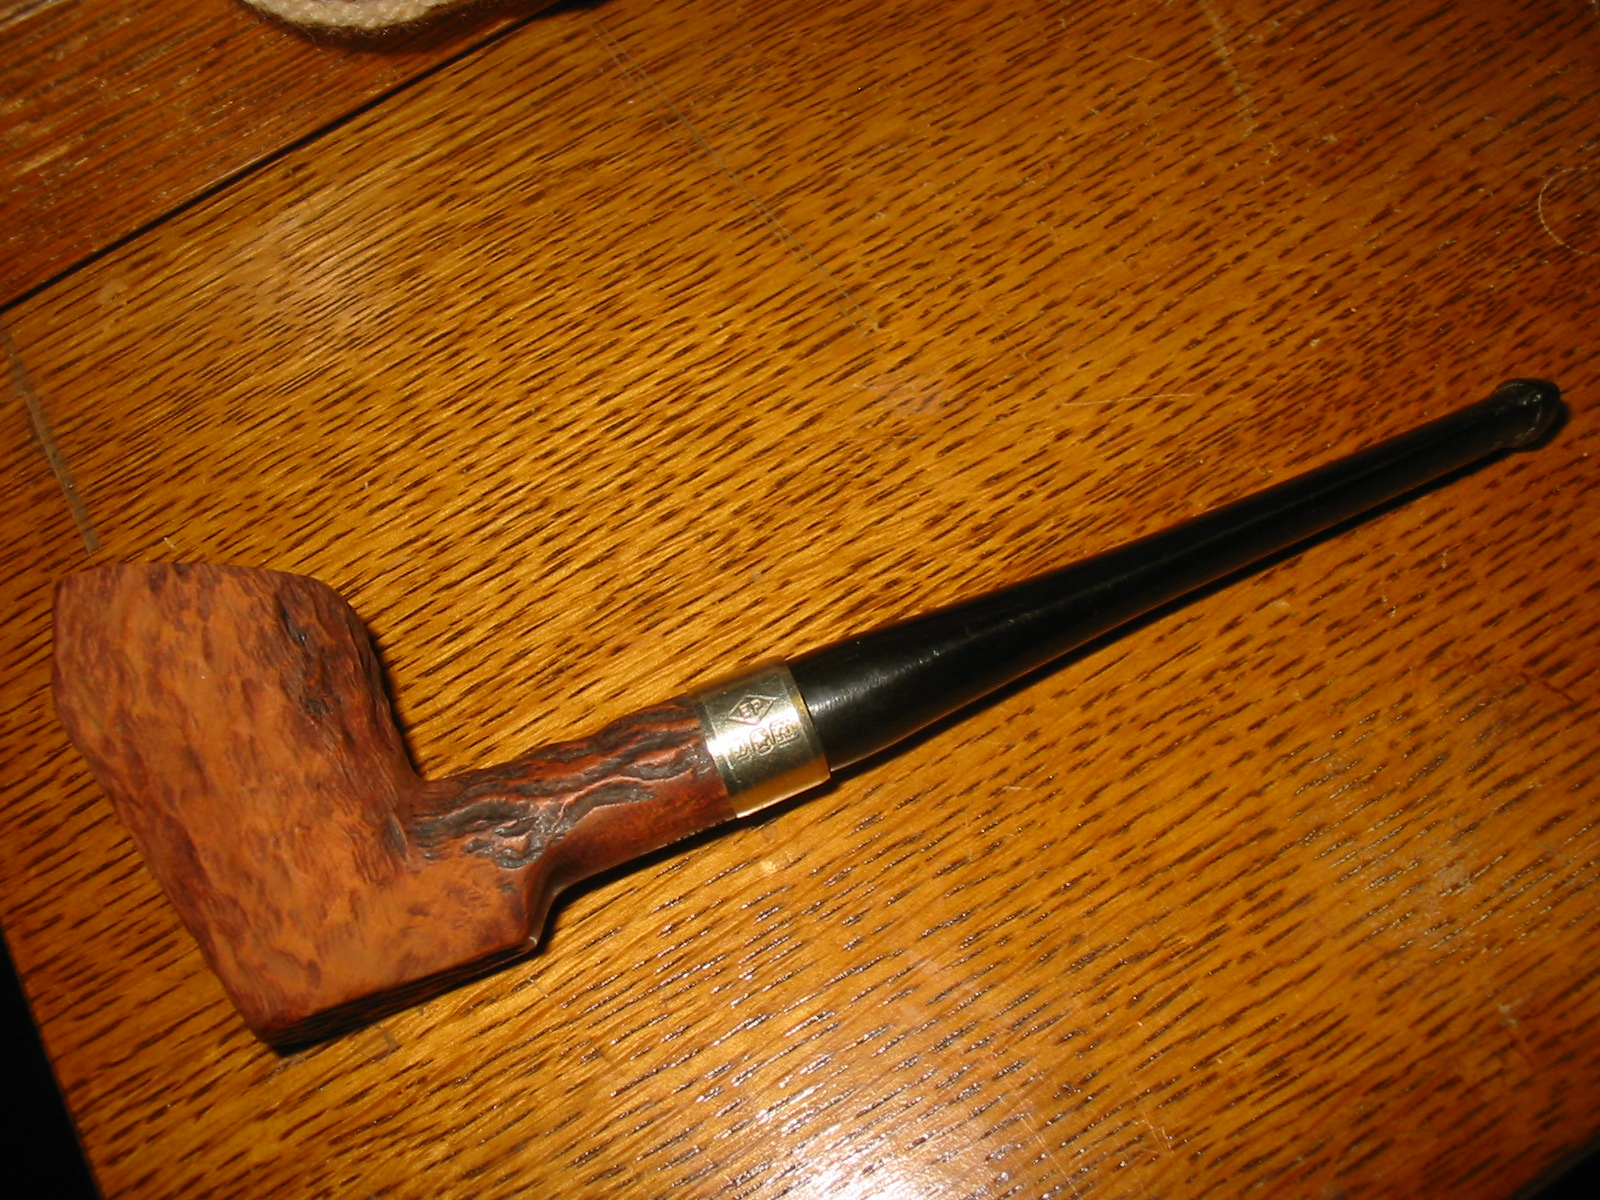
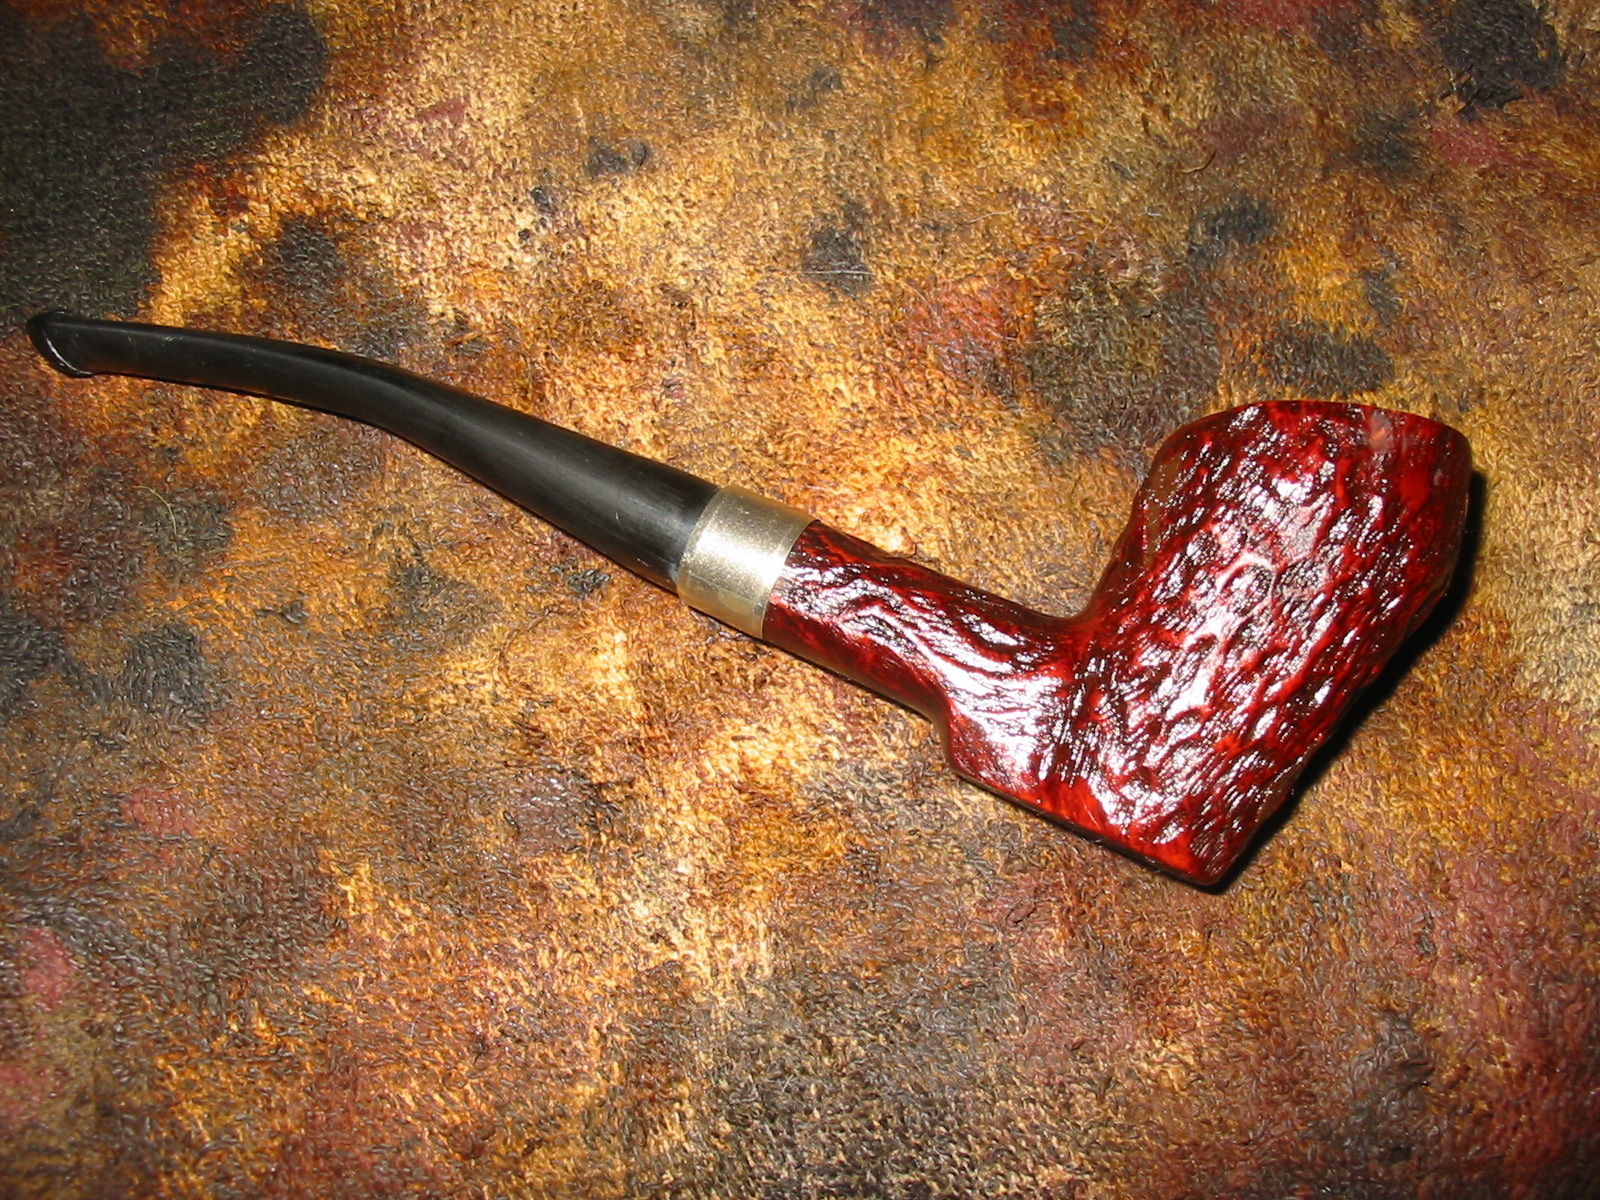
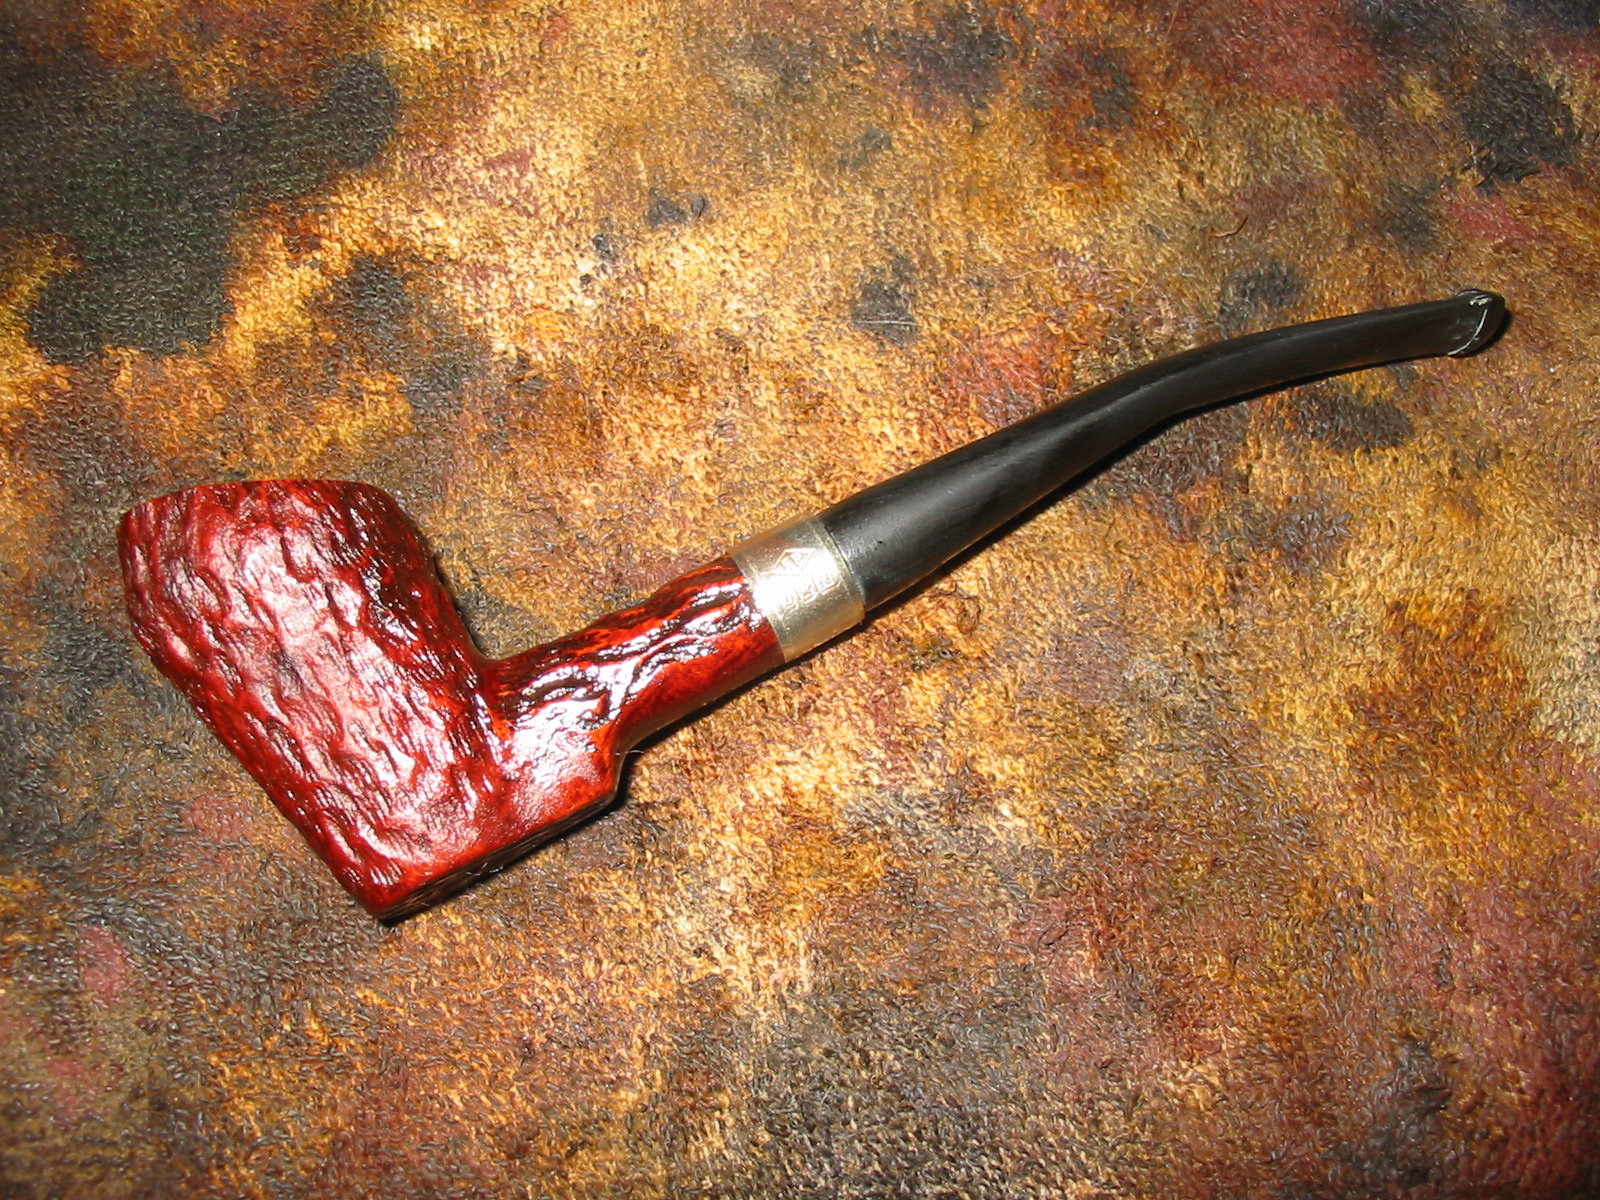
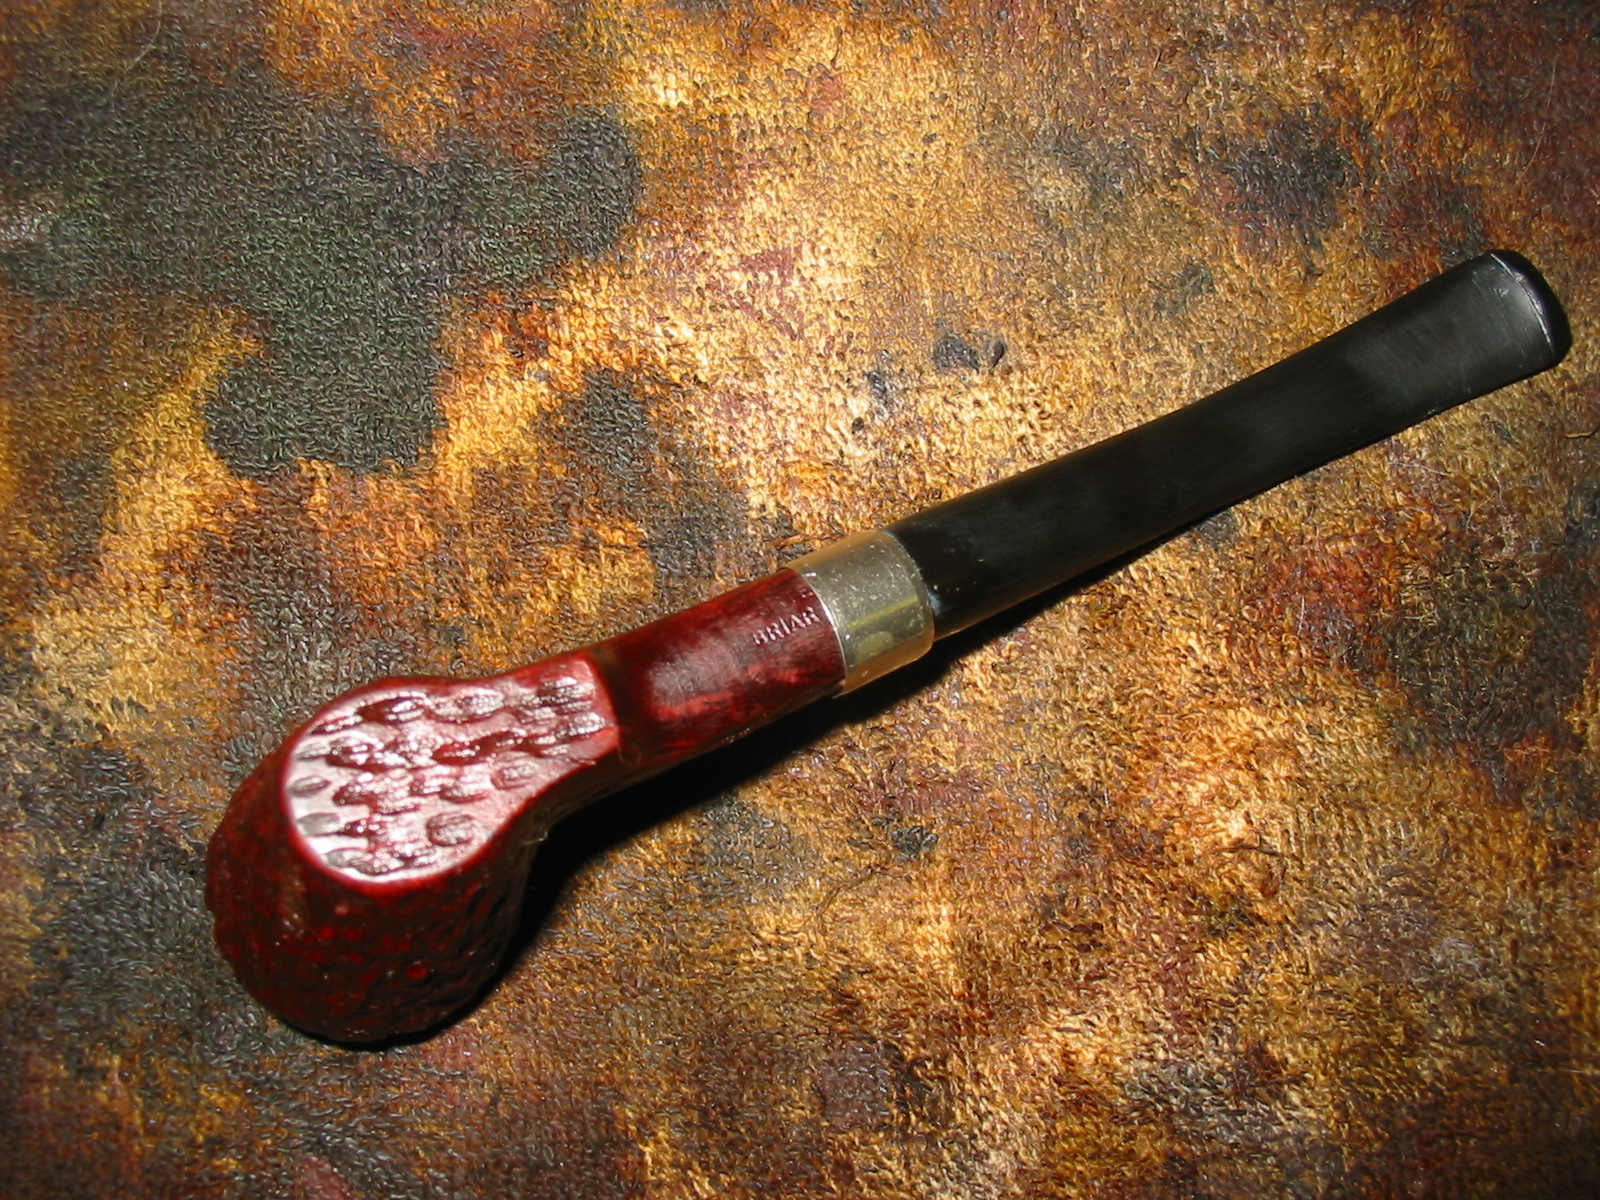
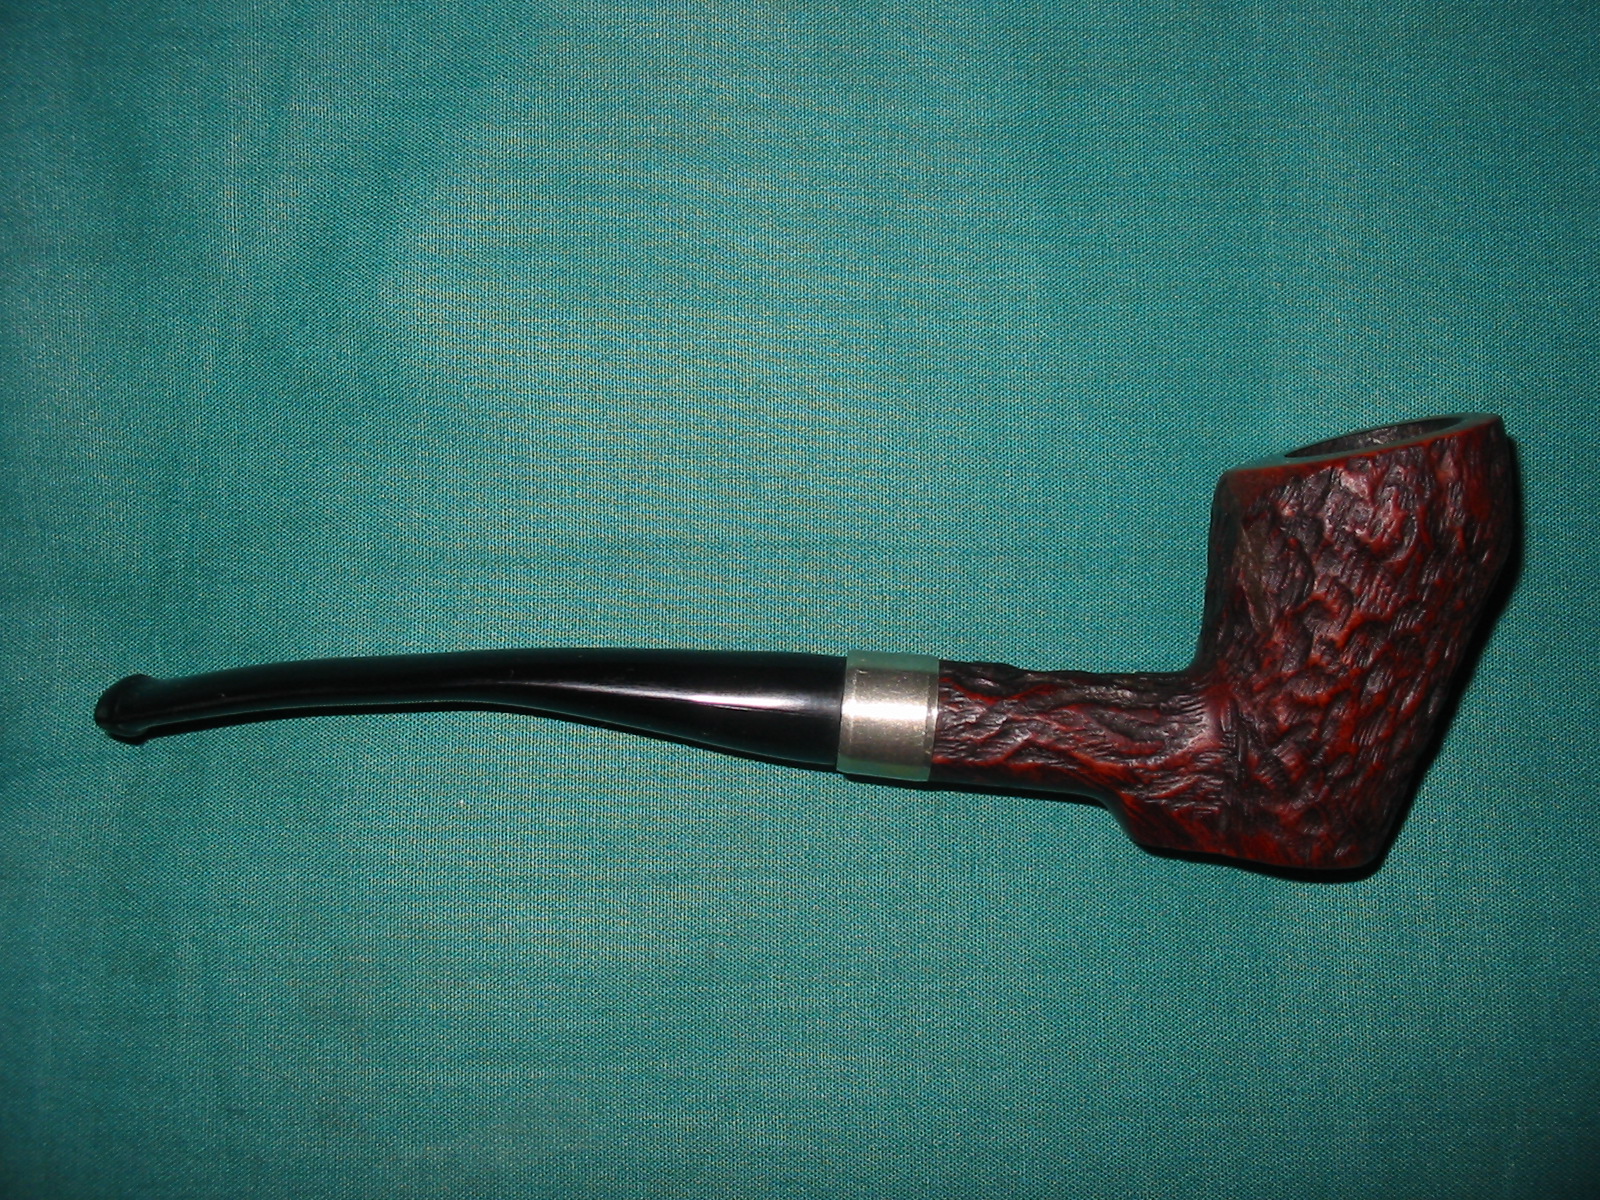
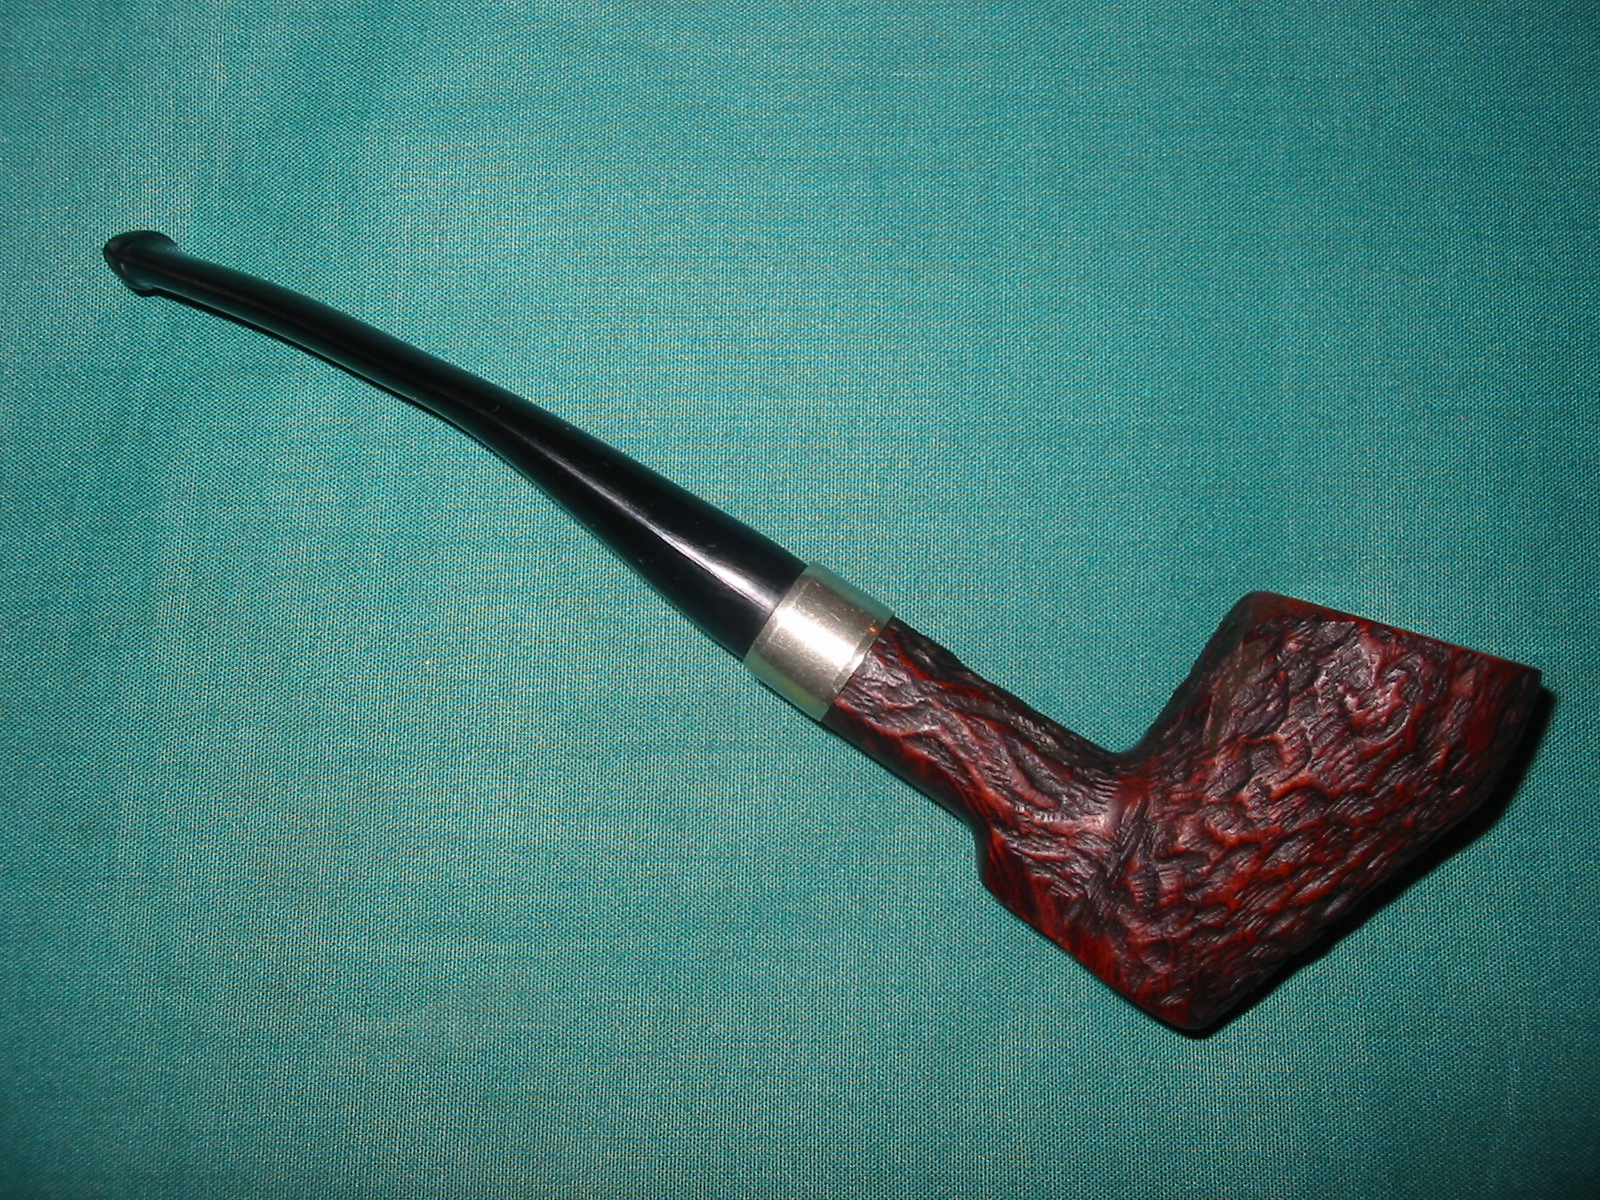
I rubbed the nylon down with Obsidian Oil and once it was soaked in I hand buffed it with Paragon Wax. I gave it multiple coats of the wax to preserve it. I buffed the bowl with White Diamond and then gave it multiple coats of carnauba wax with a light touch to keep the wax from building up deep in the grooves of the rustication. The next series of photos show the finished pipe. The side profile photos show the pipe in the sitter position and also from an angle. The top and bottom view photos show the new finish on the rim and the shape of the bottom of the pipe. This old worn pipe is now freshly reworked and ready to give many more years of service.


Your eyes are always full of hope Steve! I would have probably tossed that one aside, buy you hit paydirt! I appreciate the comments on bending a nylon stem, that will probably come in handy one day. Well done!
LikeLike
Thanks Al – to me it is the challenge of seeing what I can do with an old pipe – particularly if it is structurally sound… then of course there have been the challenges of the cracked bowls…ah well maybe you are right…. hope. Got one now that I am debating about – a nice older GBD London Made Canadian with a serious crack on the exterior of the bowl on the shank side about half way up – still thinking about that one. It is a beautiful piece of briar though so I should at least give it a try… don’t you think?
LikeLike
Why not!
LikeLike
I would be happy to see, if possible, pictures of this GBD pipe, speccialy the area of crack. It seems a challenge, but it may be doable.
LikeLike
That’s a fine piece of work, Steve! Just goes to show, an artist with ability can turn a sow’s ear into a silk and leather purse with attractive silver trim.
LikeLike
And I agree, that does look like Grabow’s rustication.
LikeLike
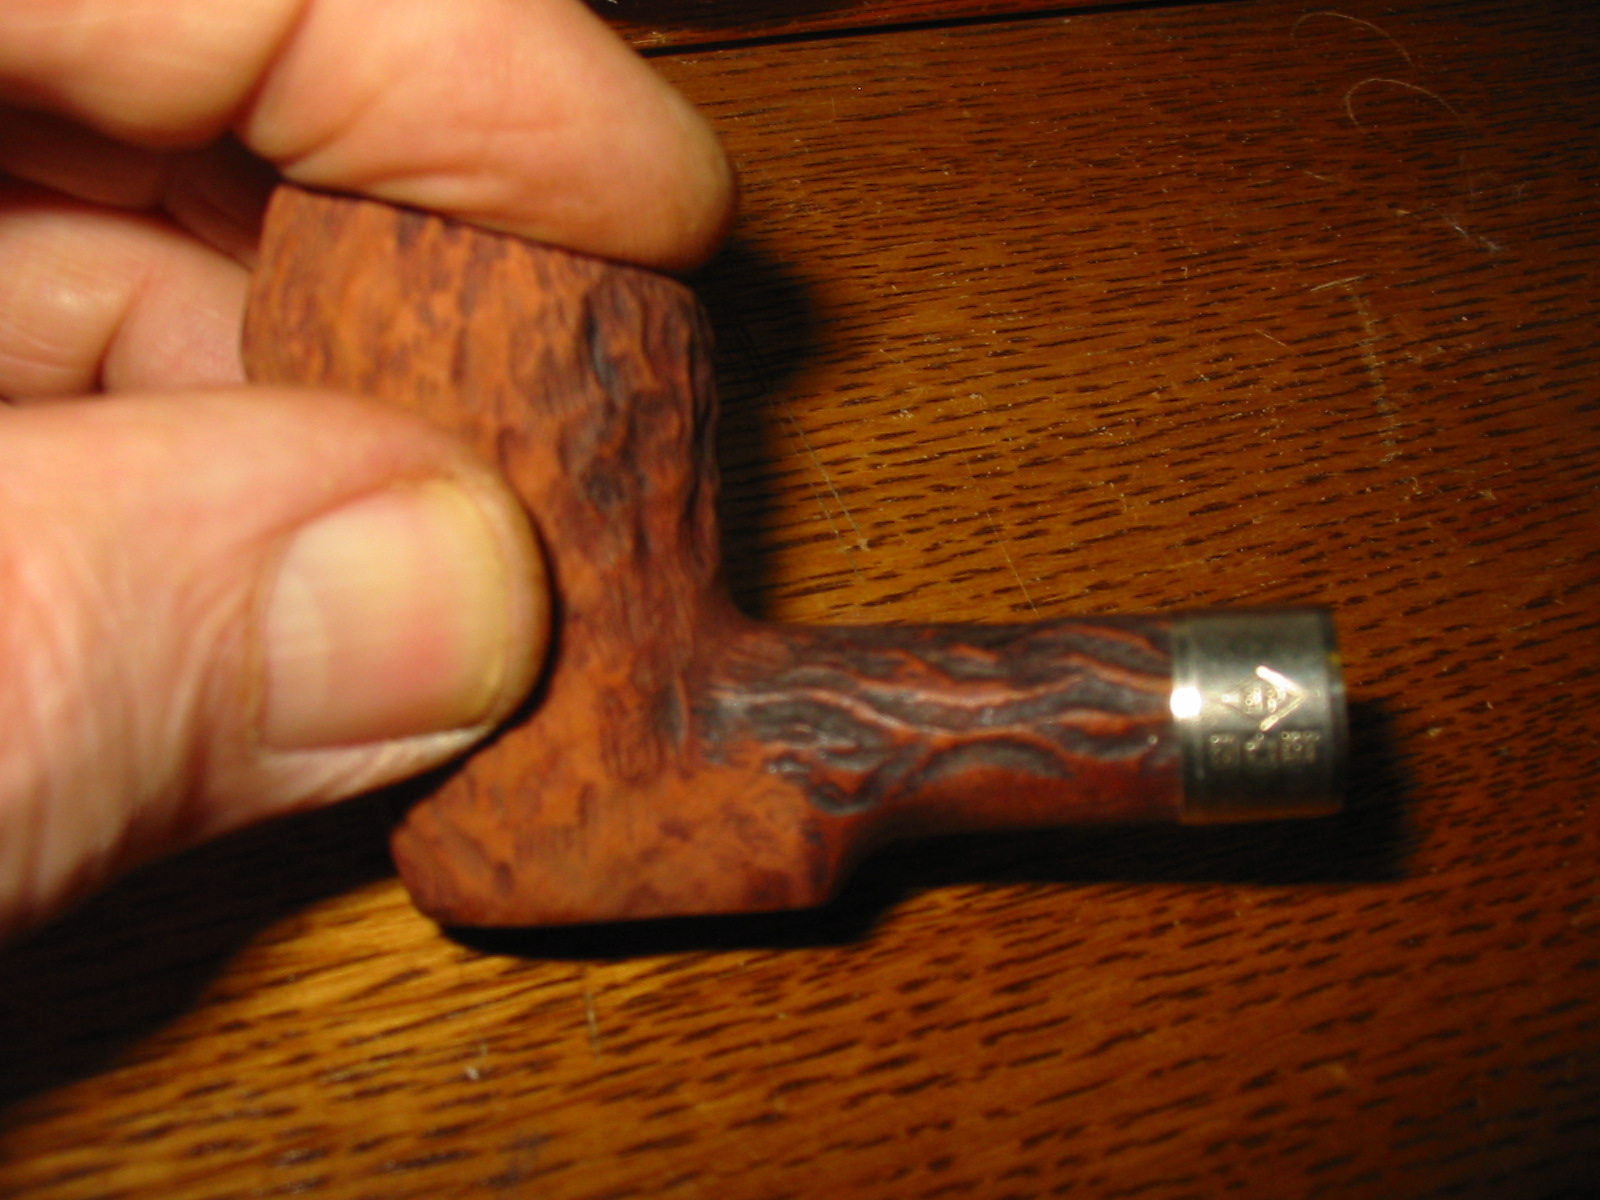
Fine work, Steve. Congratulations ! and yes, the metal band fits here well from the esthetic point of view. I wonder if there are any special reasons that you decided to use just this band ?
This metal band has markings stamped. The EP in romb reads: electroplated. And the marks below, if my eyes serve me well, are these gothic like marks/”letters”. The EP we find on many different pipes; these “gothic like “letters” are also used in case of several pipe brands; once I had a pipe marked CAMELIA with original metal band stamped with these gothic like letters. I remember that the CAMELIA brand was sub brand of GBD. And I would like to learn more on these gothic like letters.
LikeLike
Jacek the repair bands that I order from Pipe Makers Emporium almost all have that stamping. The EP in the diamond is as you suggest though funny enough the bands are nickel. The gothic letters are faux hallmarks to give the appearance of age. I think it is the band makers effort to give apparent age to the pipe that it adorns.
LikeLike
Yes Steve, on smokers forum some time ago I was answered in similar way, that these gothic like letters are just and ornamental element with no special meaning. This make the historian of art that is “inside of me” to be more curious. From our point of view every mark is of importance in process of recognizing and /or dating object. If my memory serves me well, oldest examples of metal bands with such gothic like letters on pipes come from end of 18xx. That time is so called “time of historical styles” – neo-gothic, neo-rennaisance, etc; art noveau style in applied art we date briefly from the Exposition Universelle, in Paris in the year 1900 where Rene Lalique made “a blast”/”hit” by exposition of his works there. So I can not exclude that these gothic like letters were on the beginning “stylized” monogram of real workshop, maker, real “being”.
On the other hand it is absolutely possible that you are correct and these “letters” are nothing more then ornamental element, result of fascination by esthetics of the past…looking at the “surface” prevents understanding of meaning…form and content…There are cases in history of metalsmithing/goldsmithing that markings that otherwise were used in most controlled way by assay offices and guilds were used by some makers “full of fantasy” (not to say: ignorants) as purely ornamental element in order to give to object “noble” and “serious” appearance. Since we know the original marks in the field of silver and gold, it was easy to formulate such opinion on objects where the marks looking more or less like hallmarks are used in “free way”. I still do not know what is origin of these gothic like letters on pipe bands, so I am still in search for an answer.
Thank you for telling that this band is contemporary made and acquired at the place that is known.
I may imagine why on the nickel band there is the EP sign. Maybe, like eventual origin of real meaning of these gothic like letters is forgotten (if there was any) in similar way the meaning of the EP sign is forgotten as well, all what is known, is, that it is “very old”. Perhaps just in order to make it more “ancient” 🙂 somebody noticed, that if this set of faux marks is to imitate British Hallmarking system there should be not three but no less then four marks: the one that denominates the quality of material (Standard Mark), the one that tells on “territory of operation” of certain assay office (City Mark), then Date Letter and, of course, Maker’s Mark. (So called Duty Mark was in use between 1794 until 1890). So if these gothic like letters are to imitate first three marks, then maybe the EP is here to imitate the Maker’s Mark…
LikeLike