Daily Archives: January 5, 2014

Reworked Comoy’s The Guildhall London Pipe Stack – Shape 345


Blog by Steve Laug

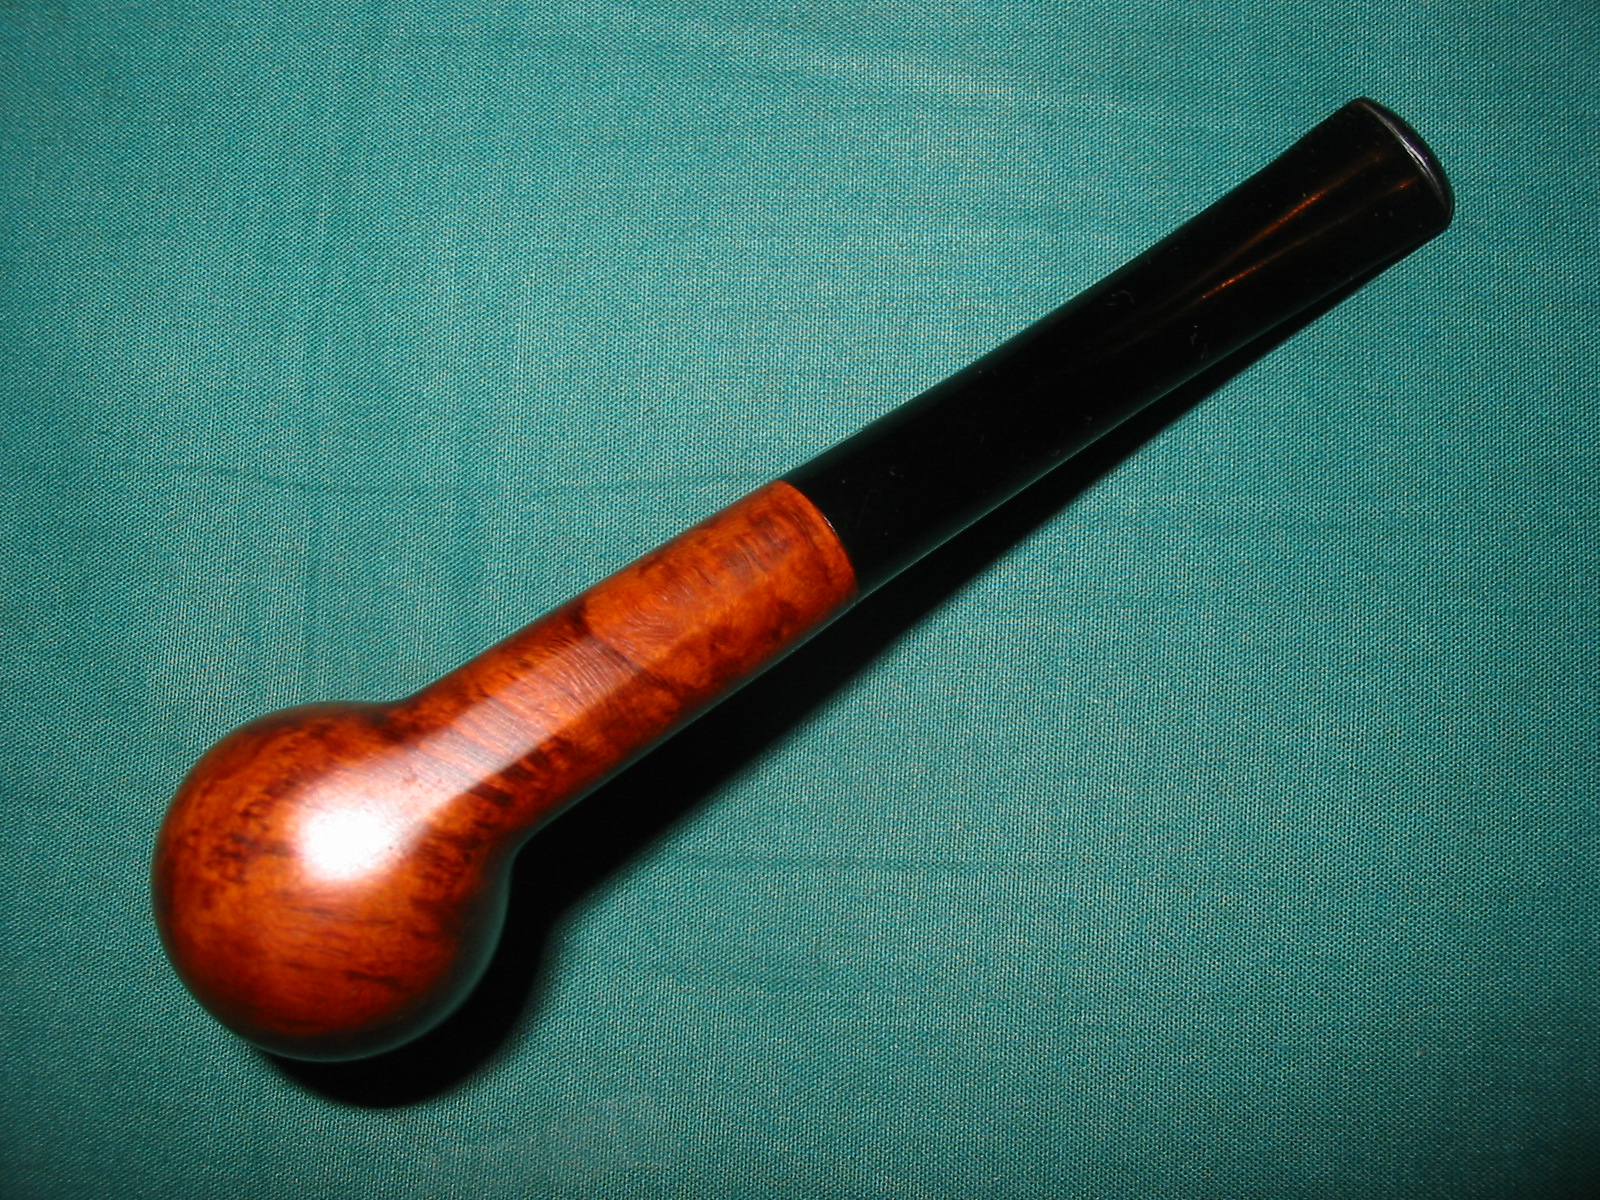
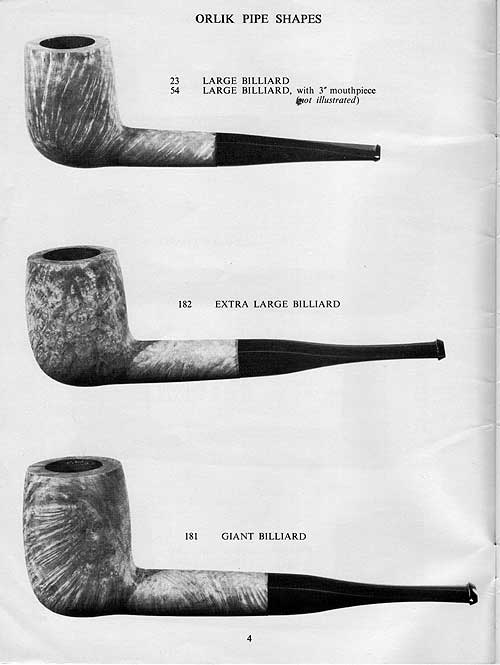
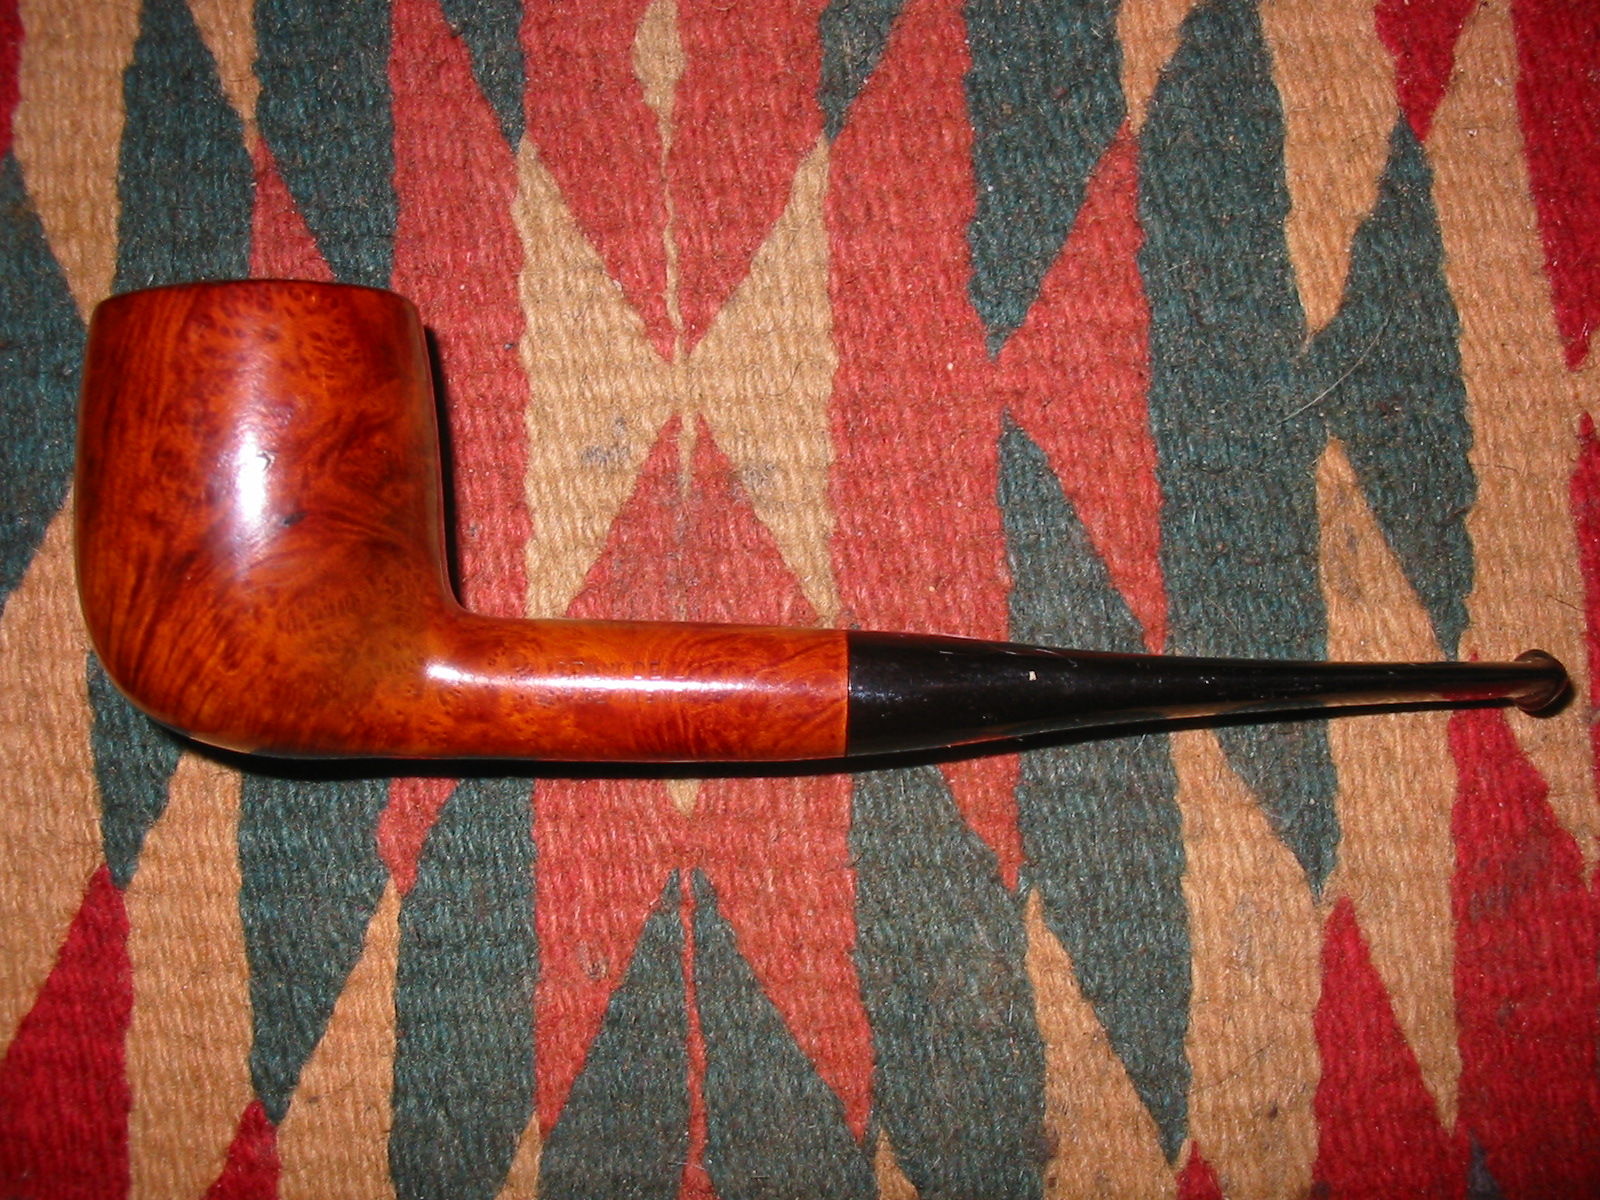
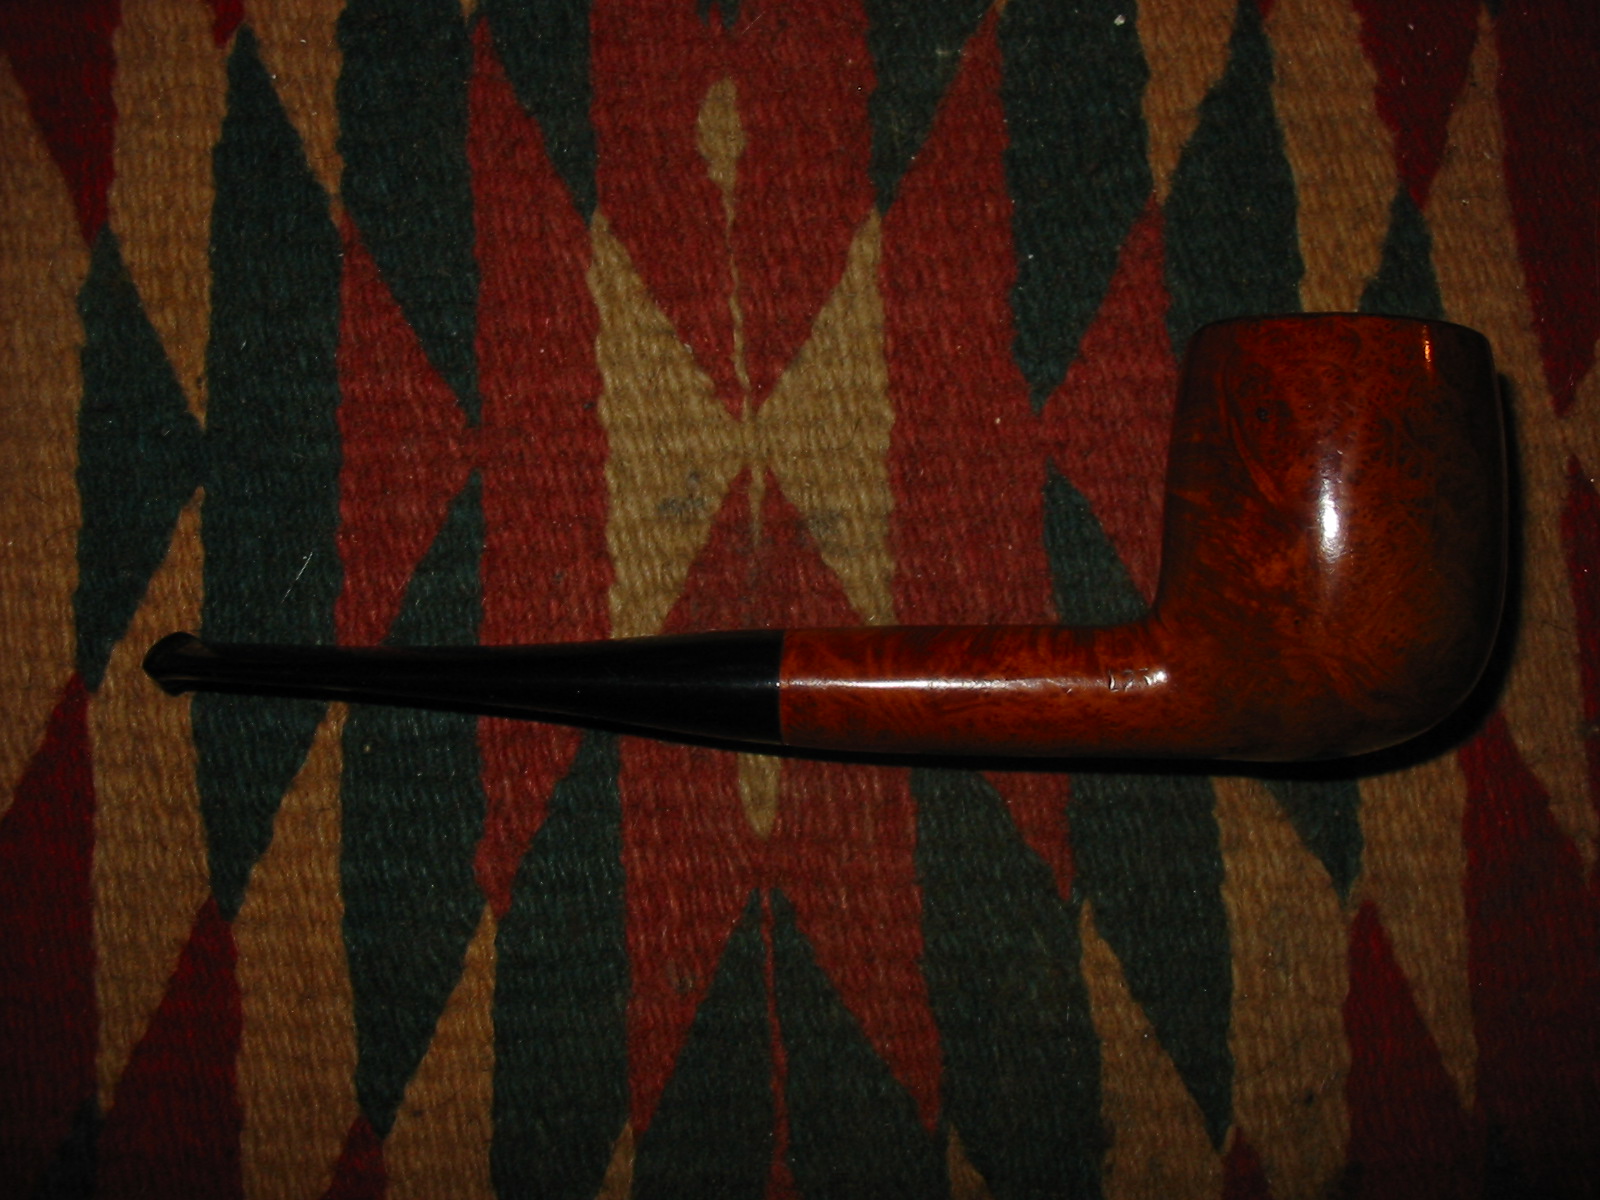
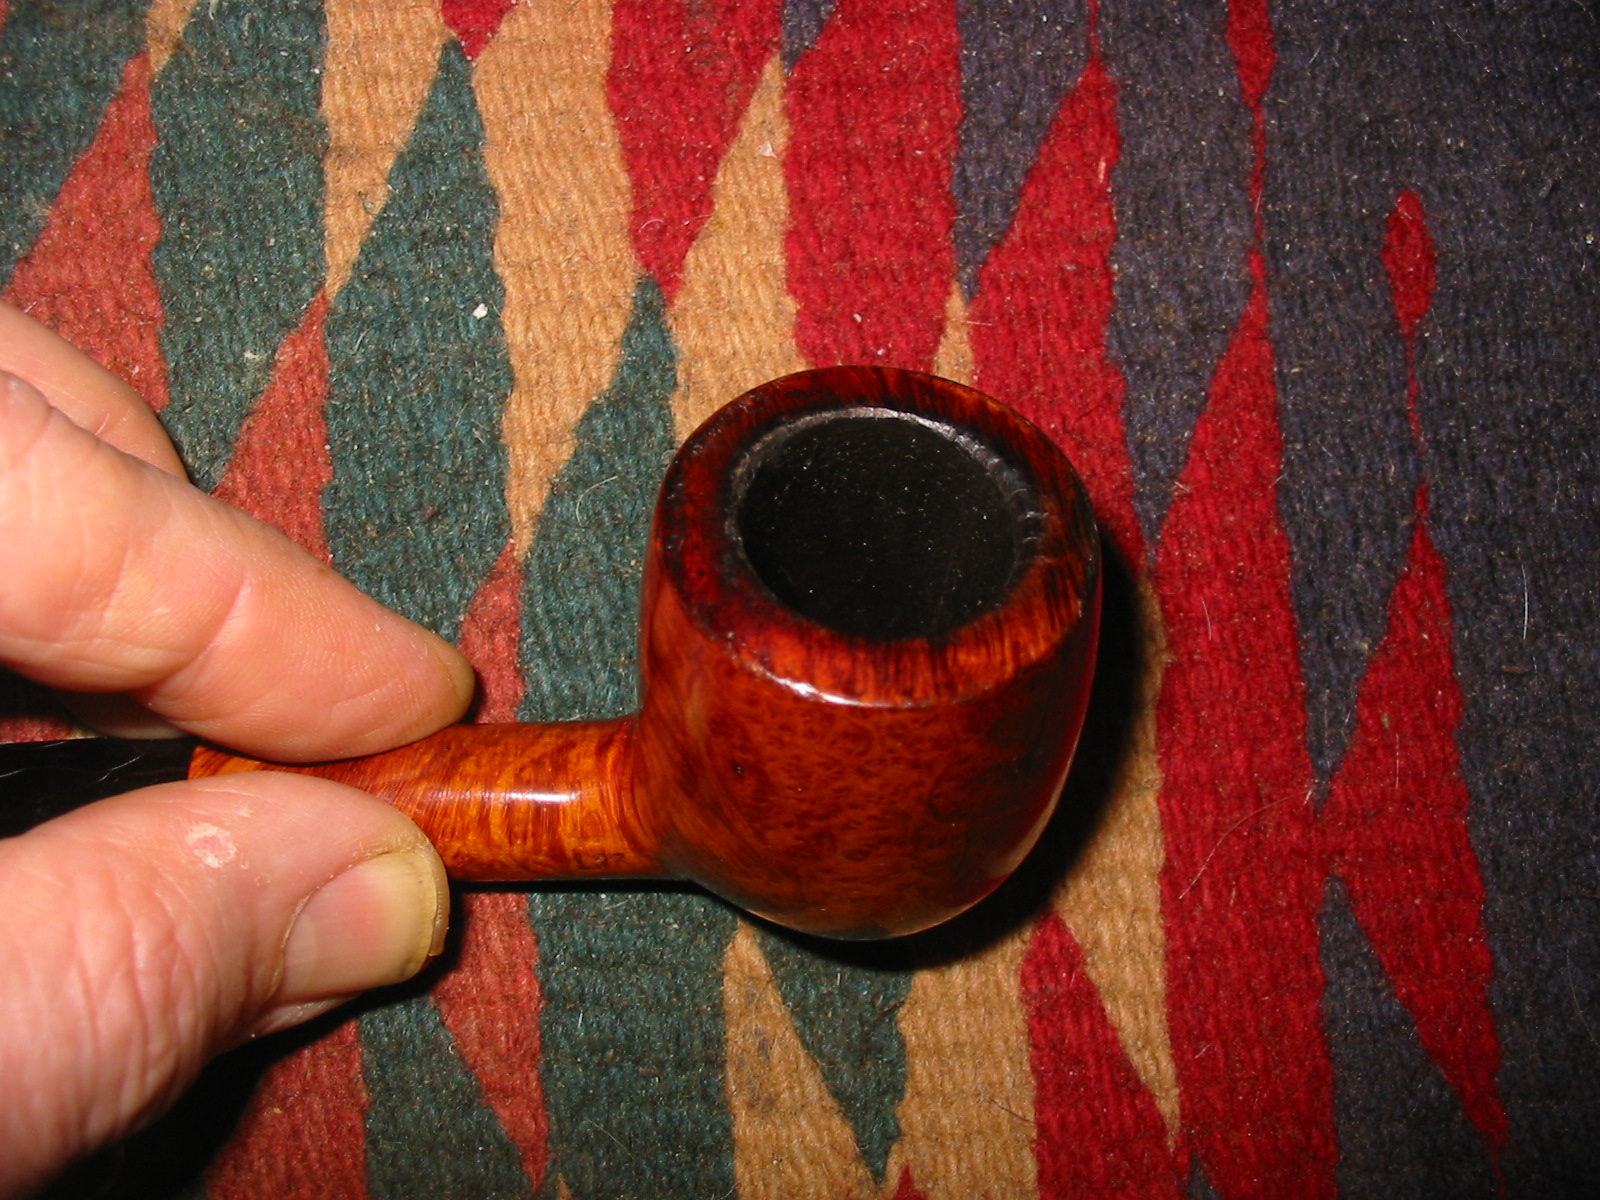
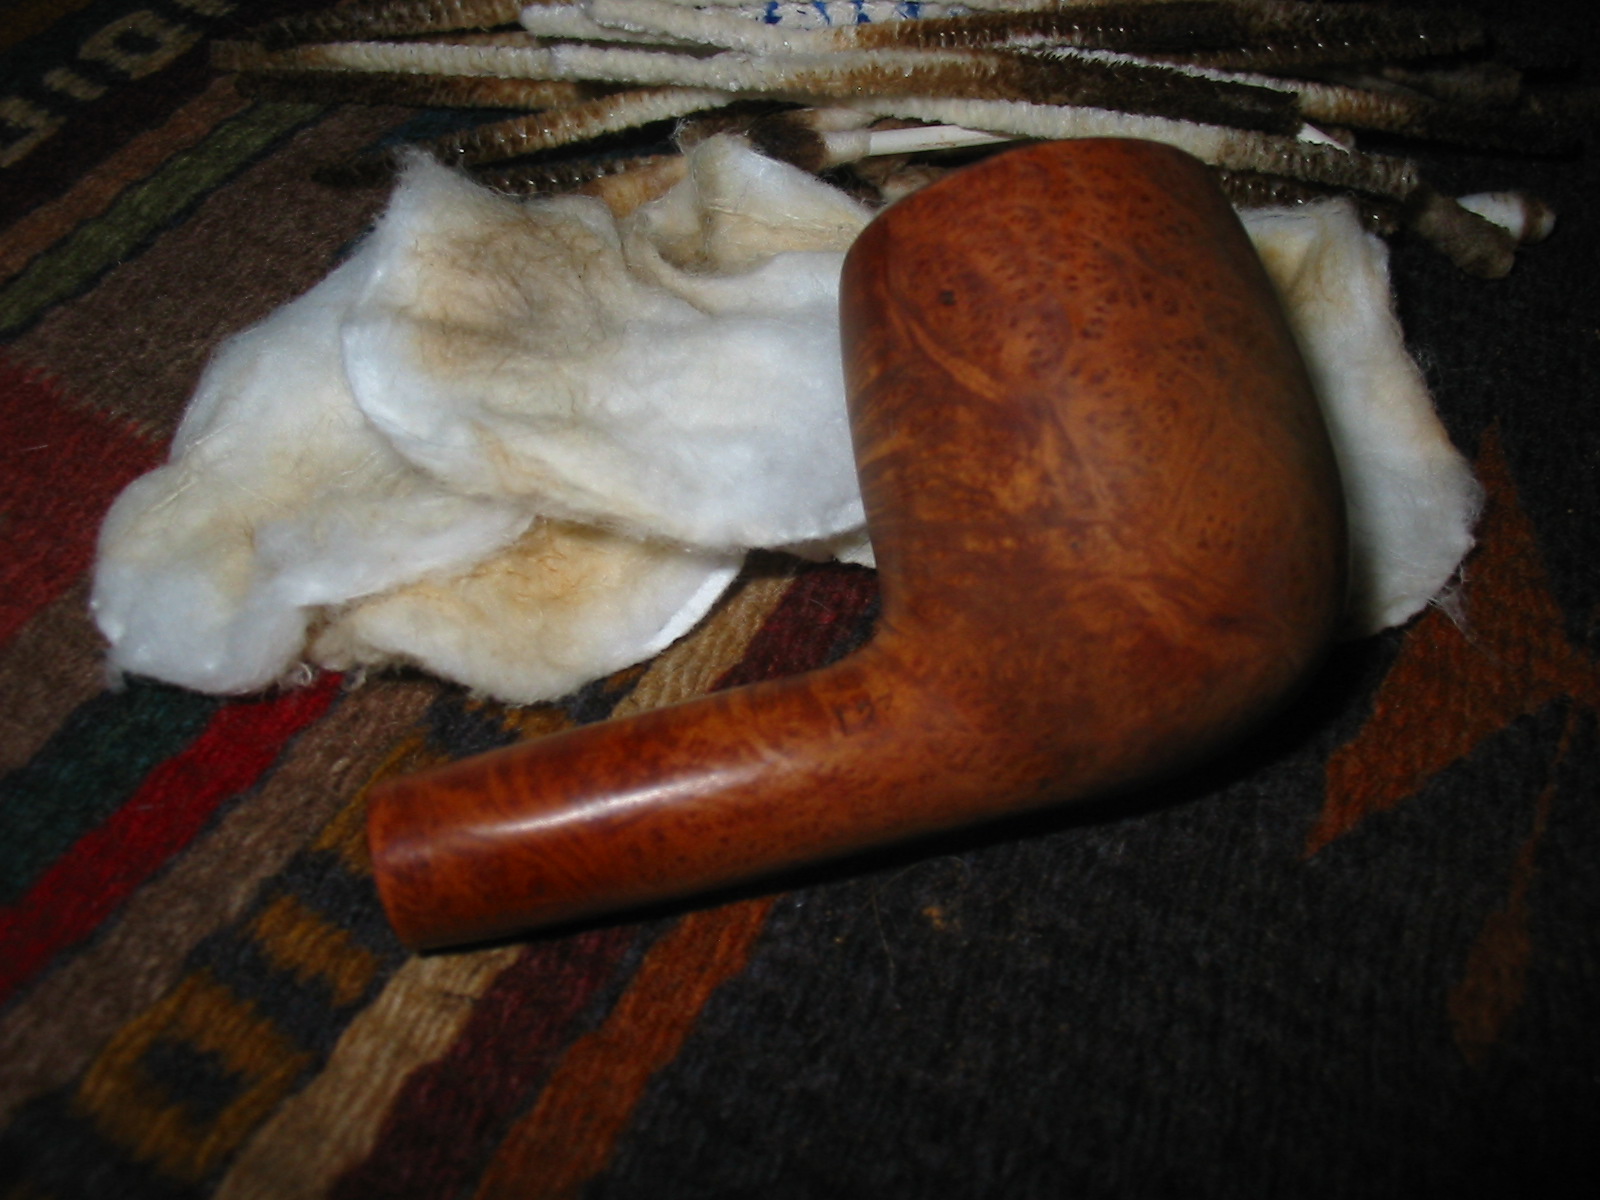
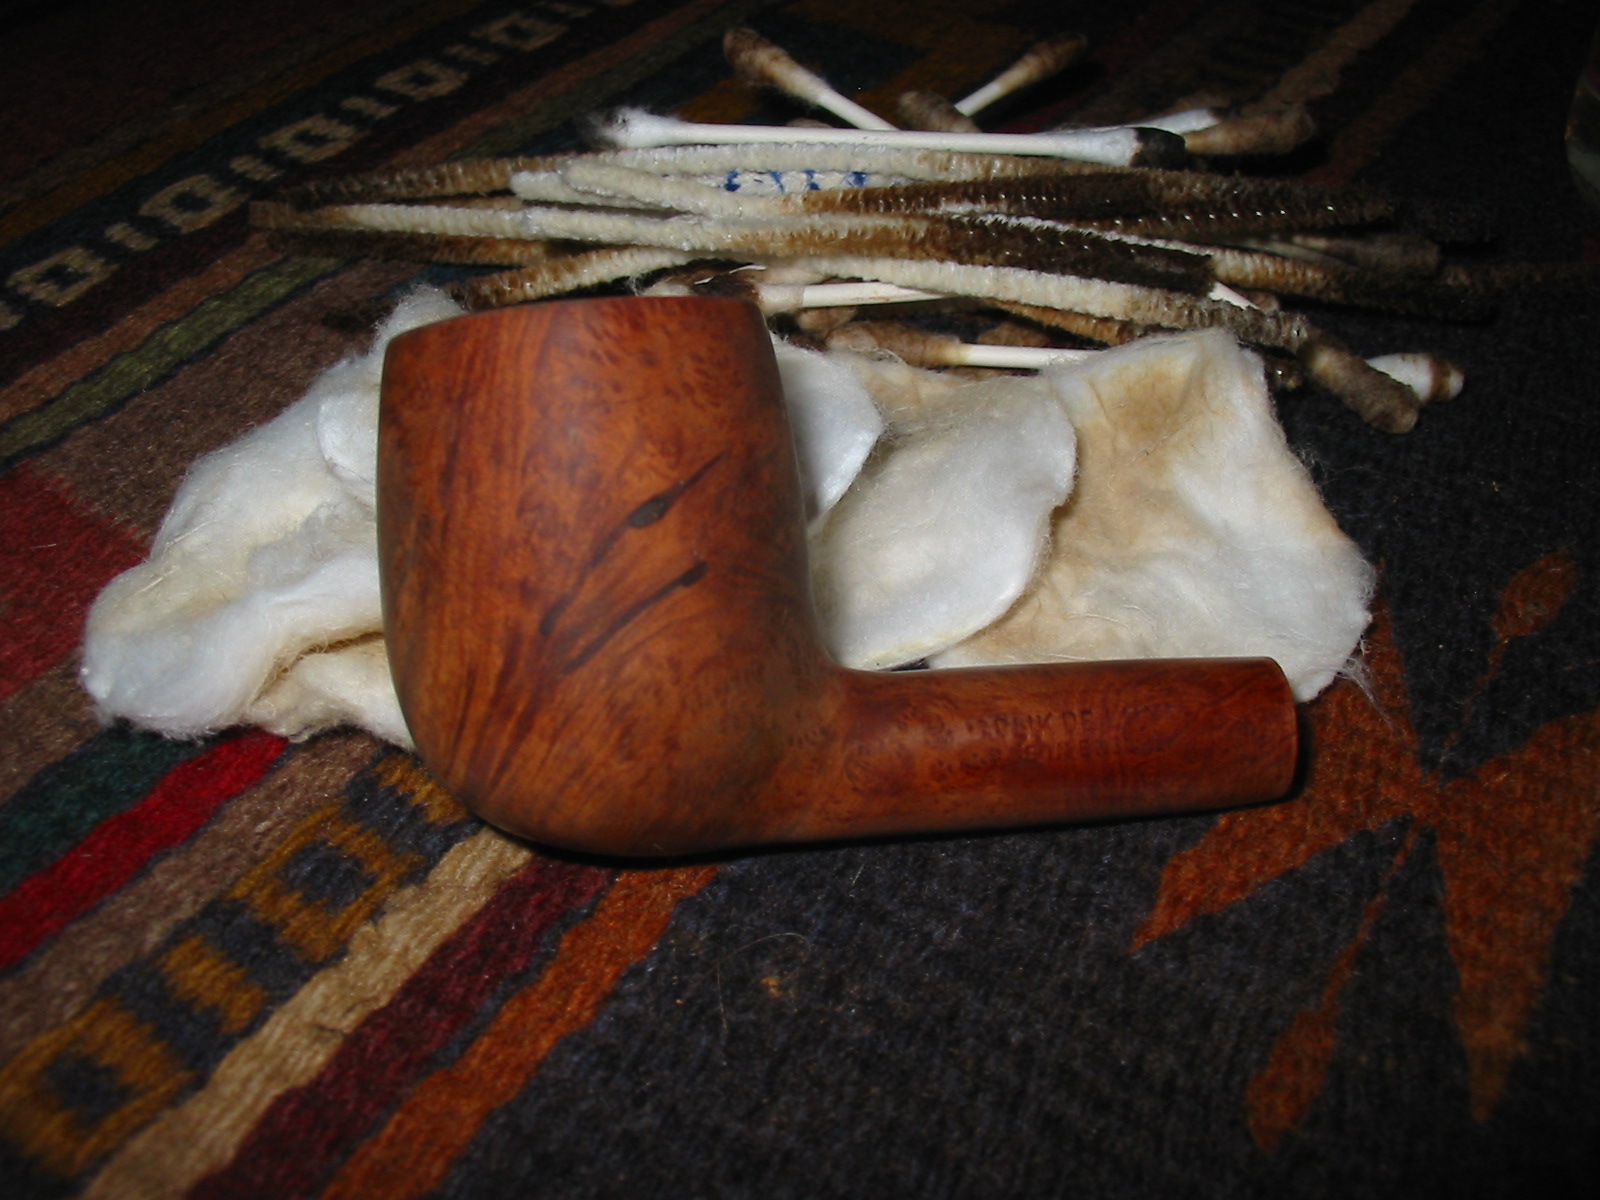
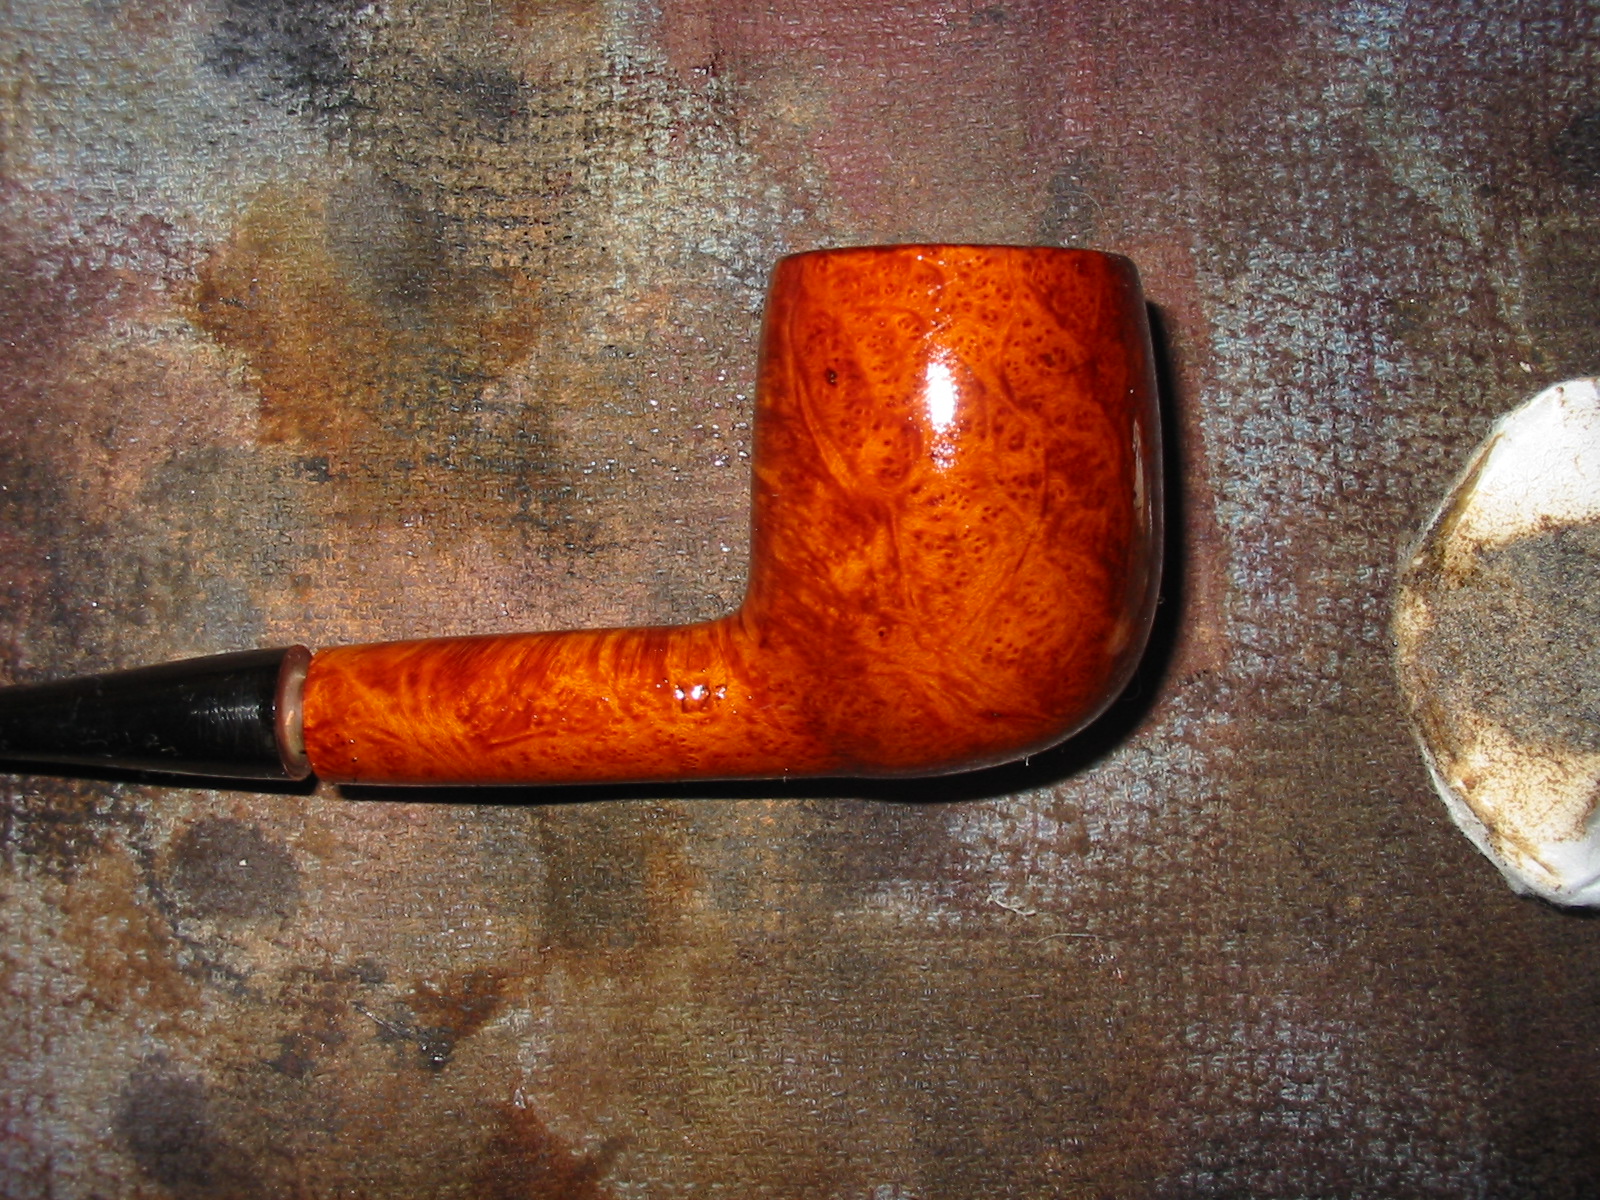
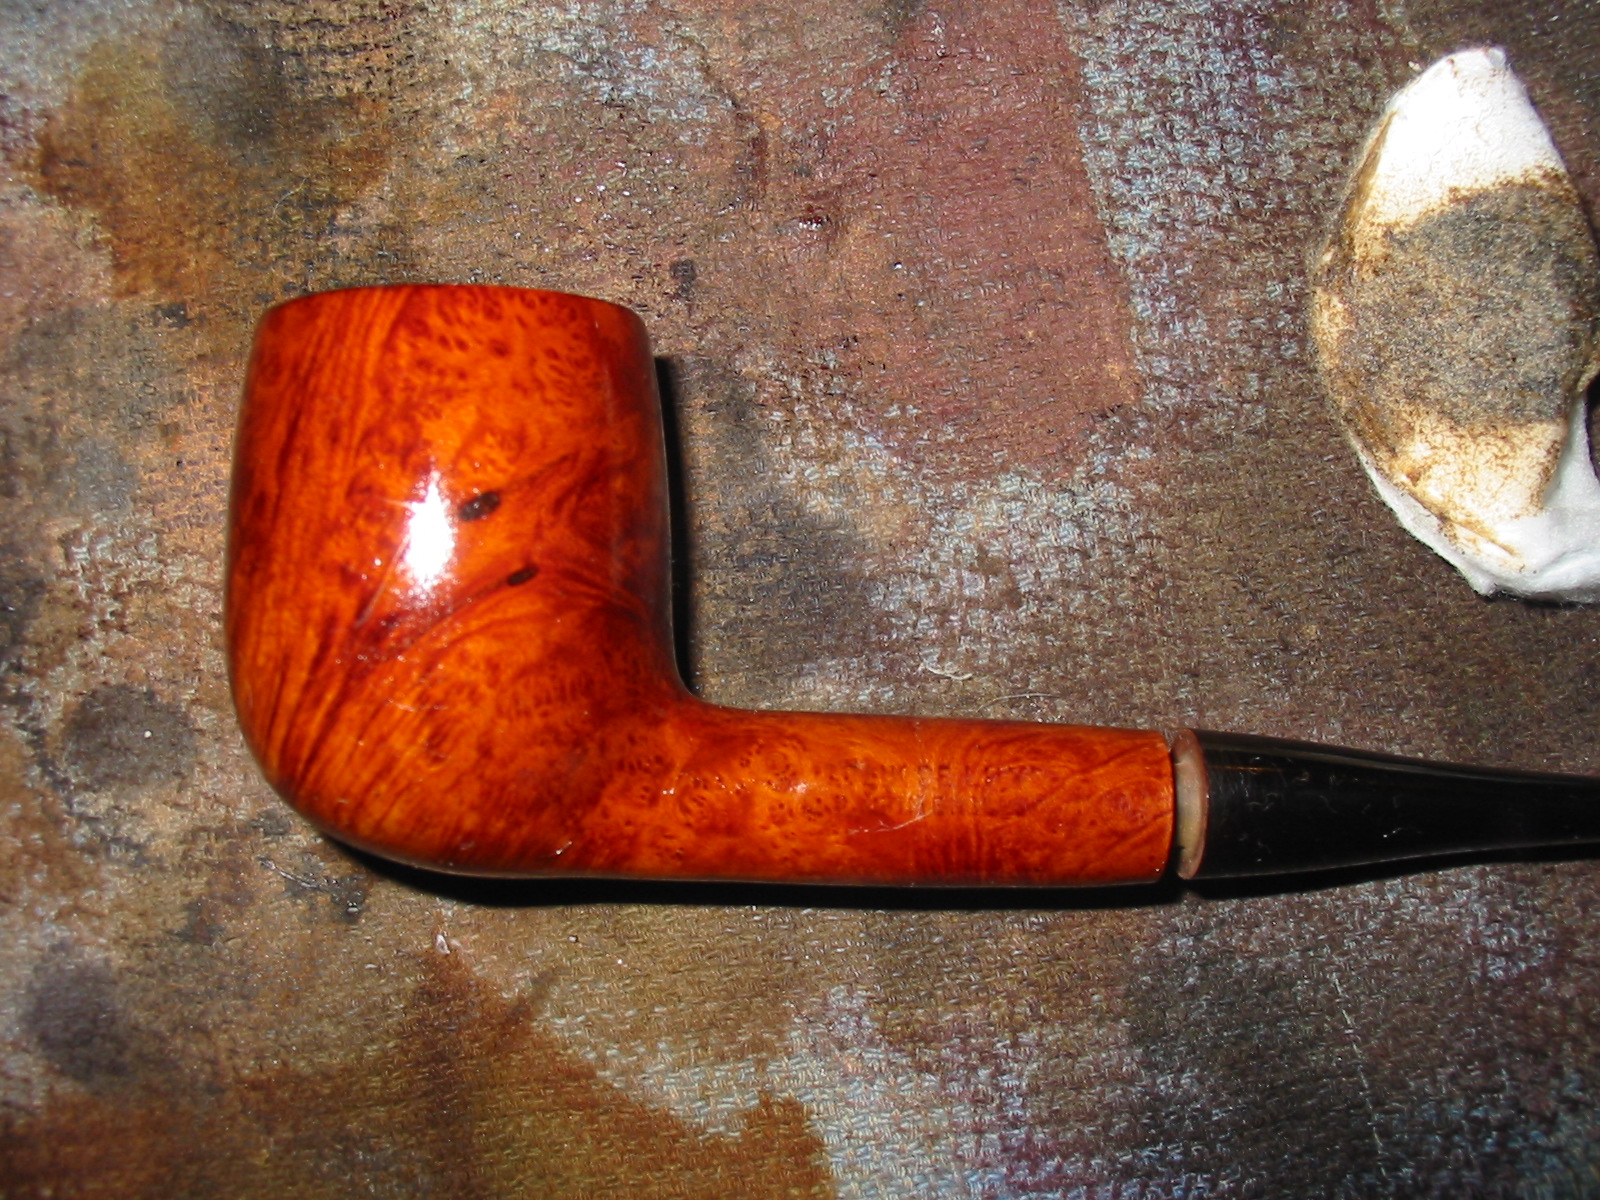
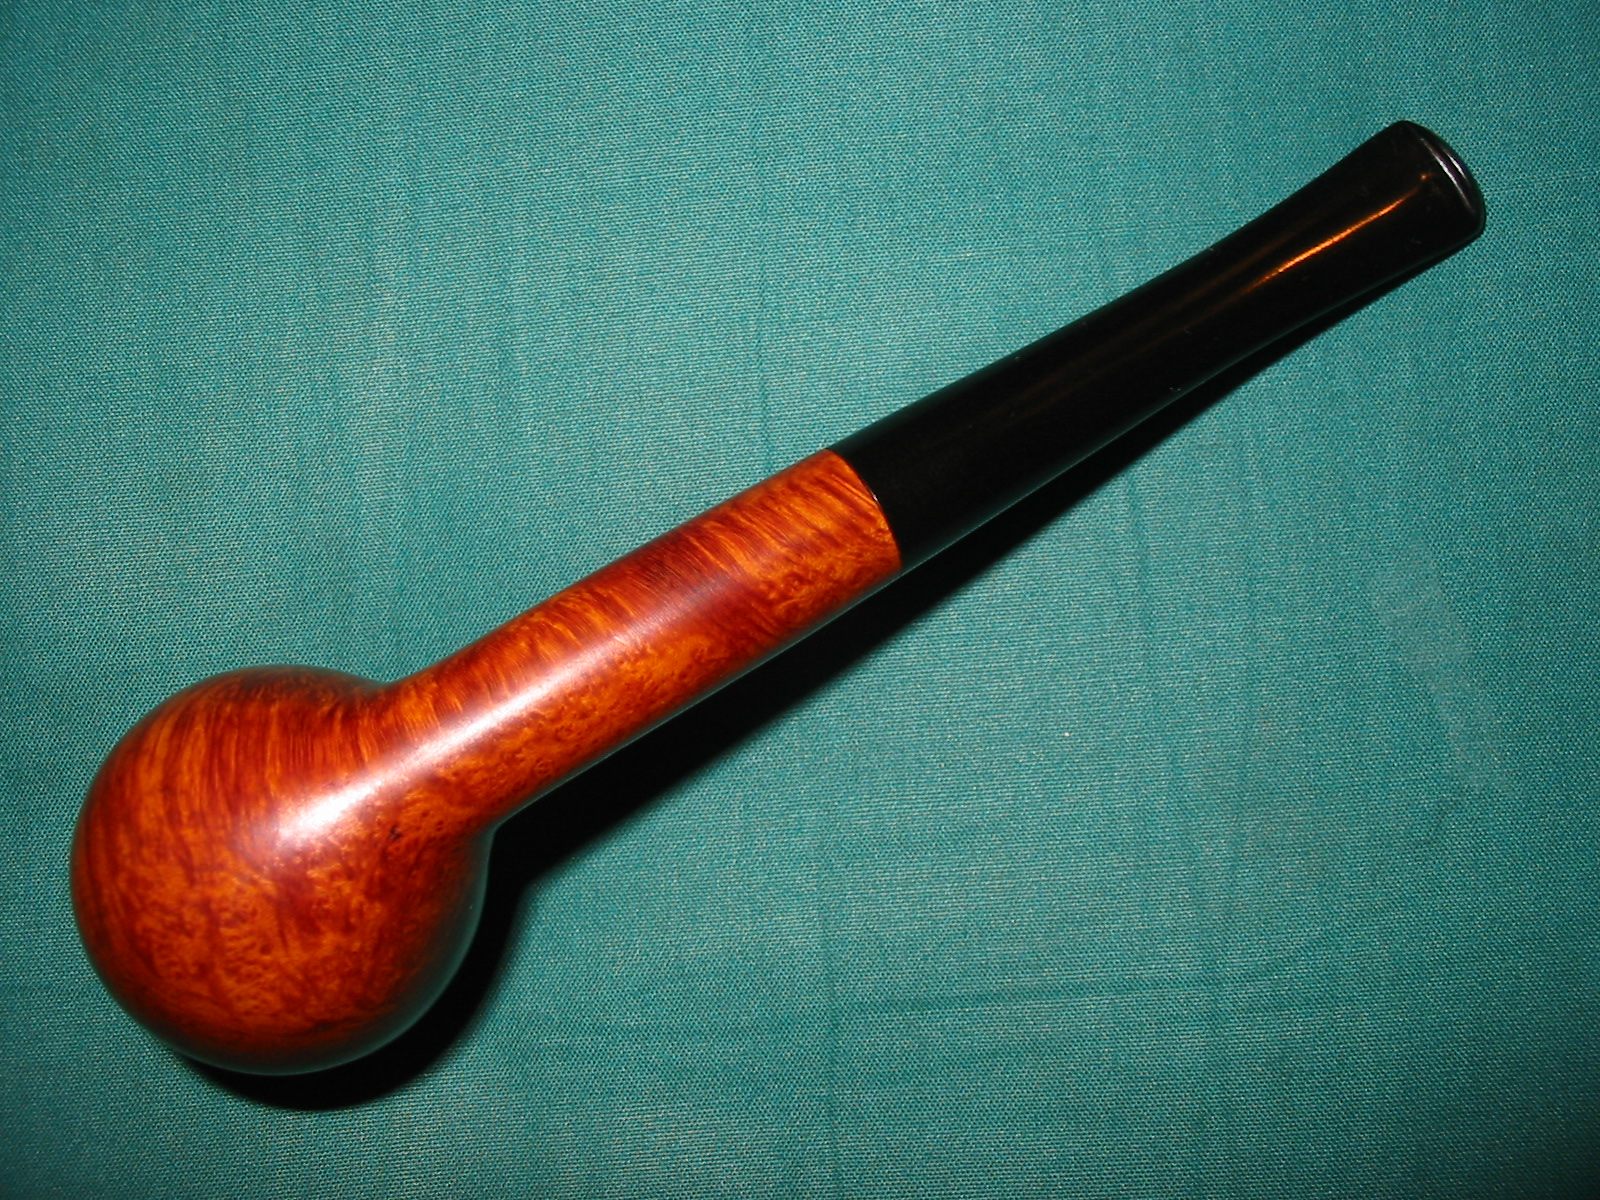
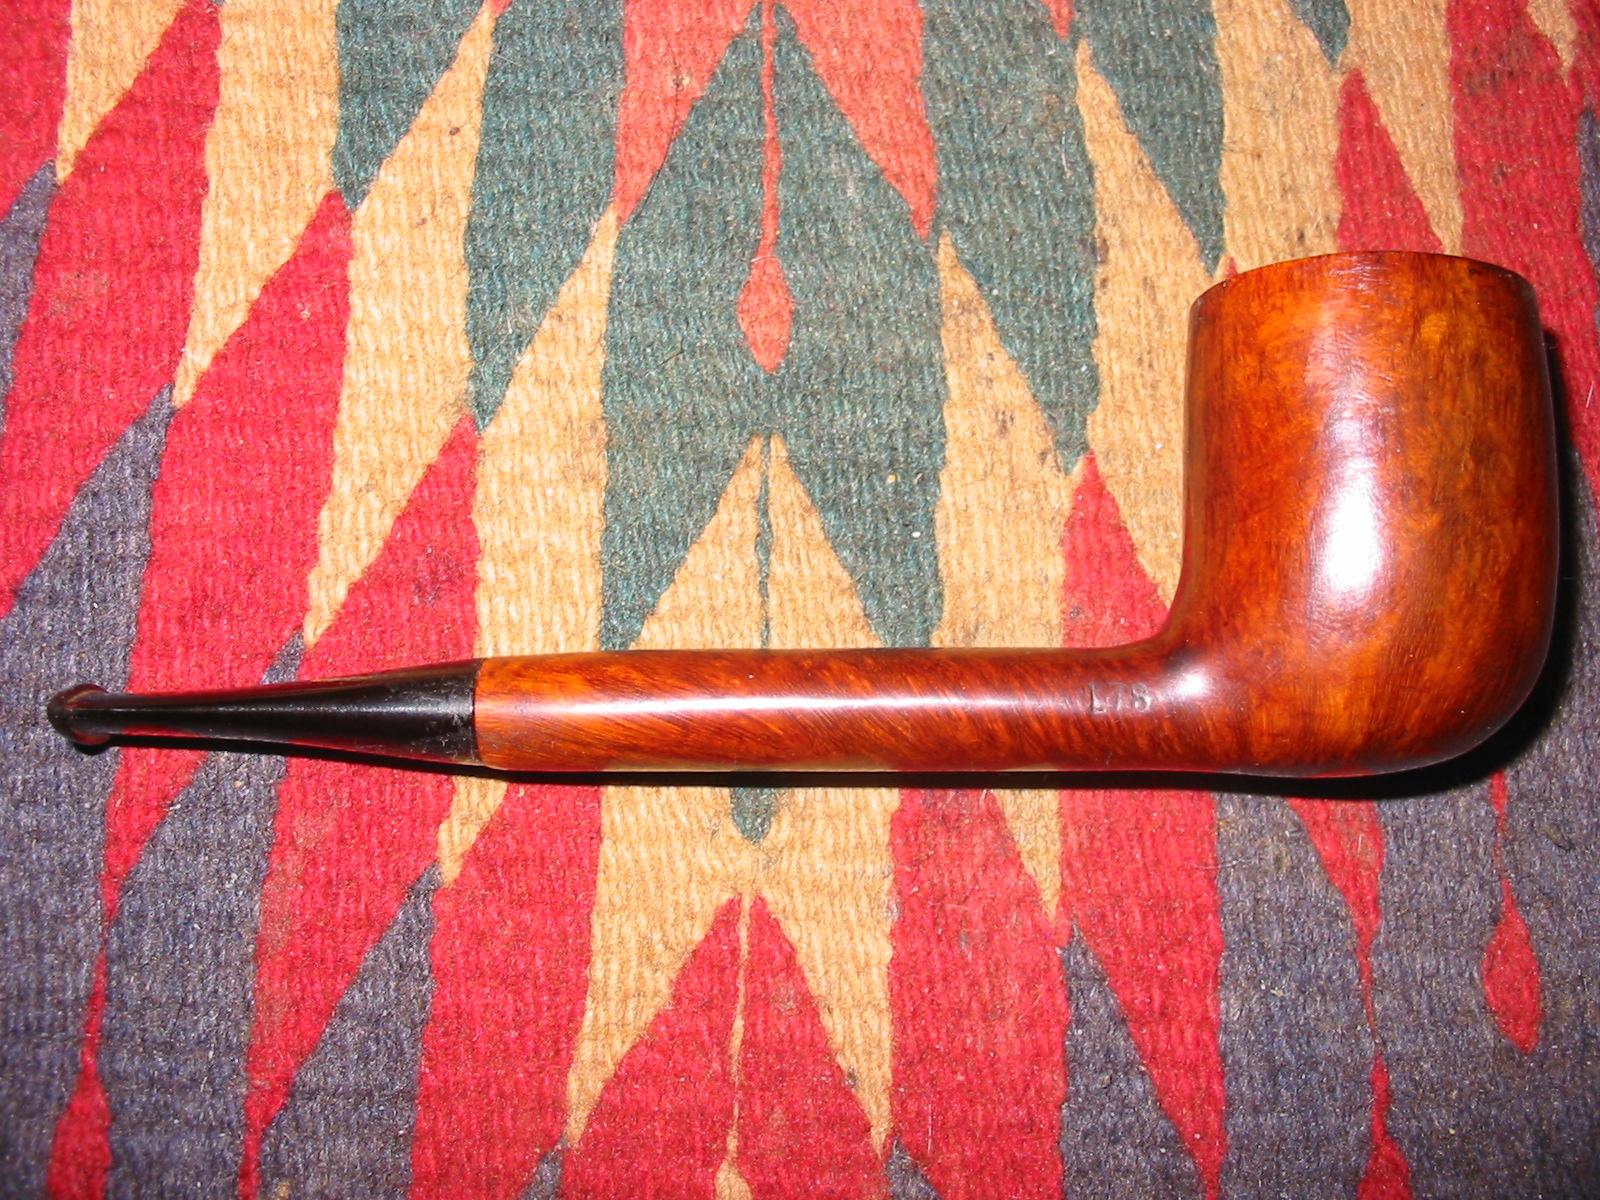
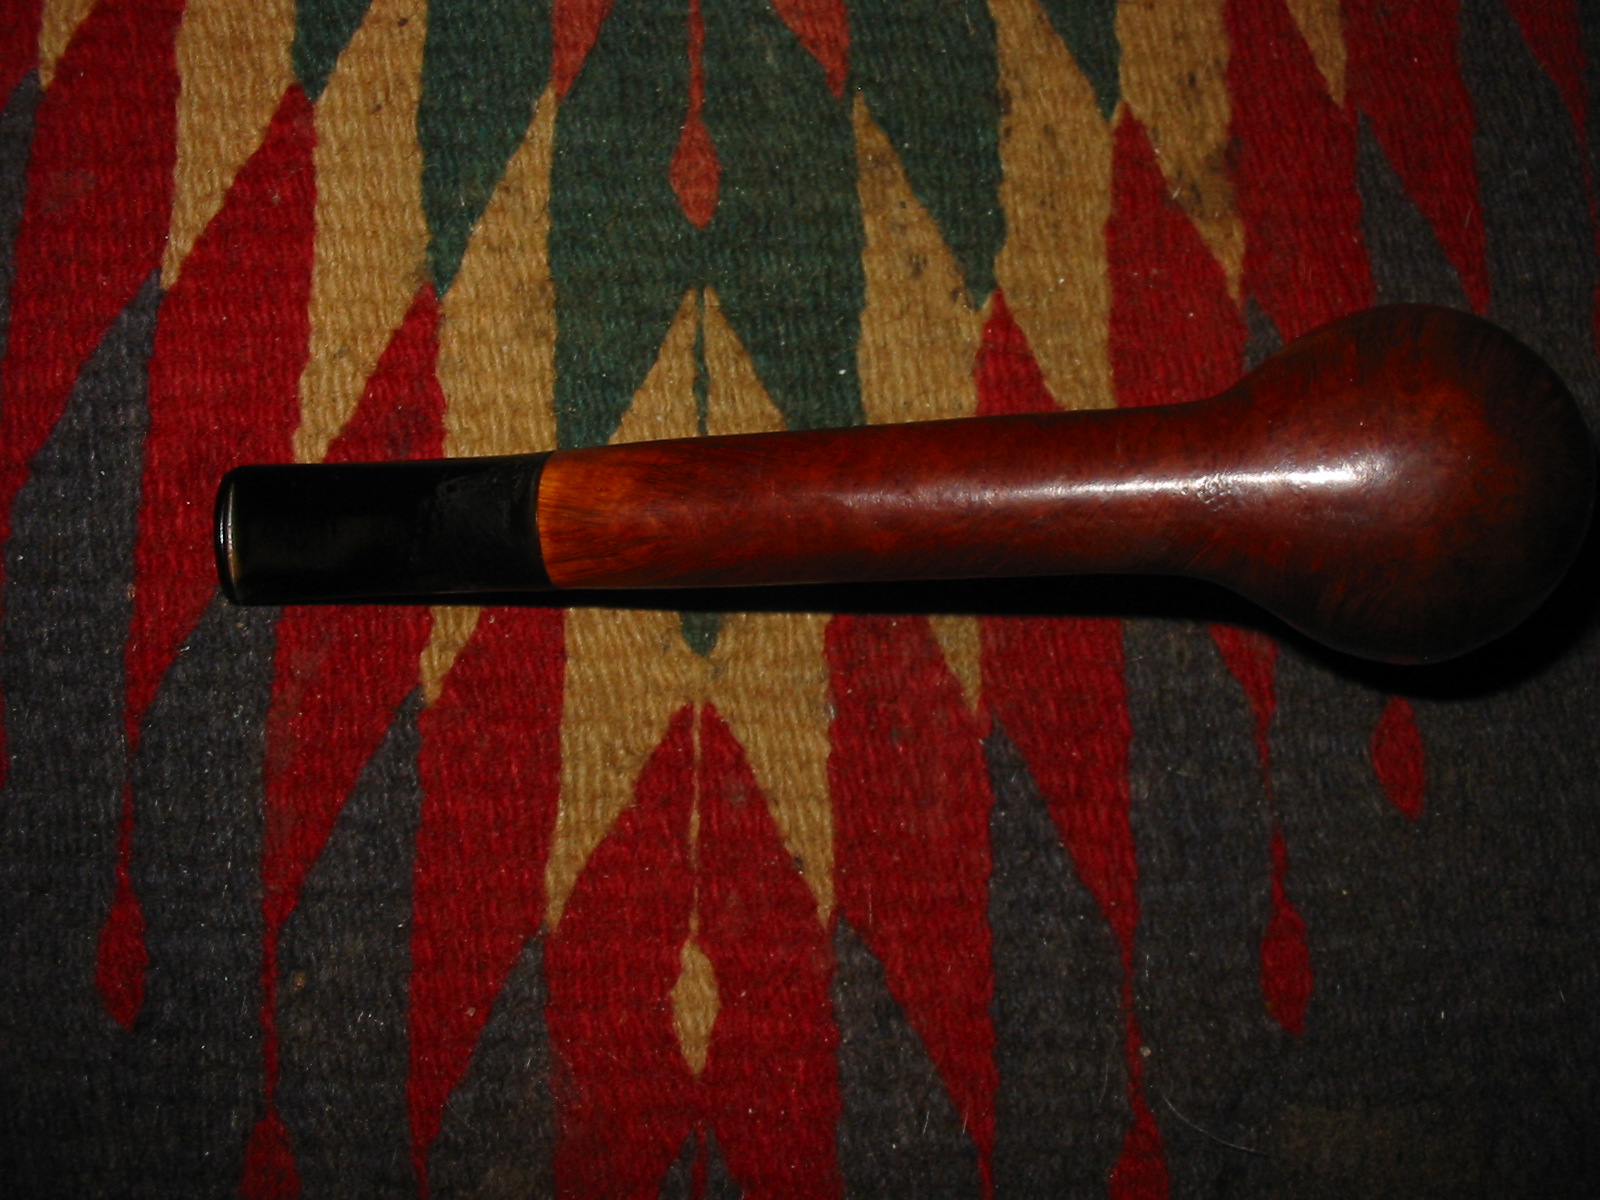
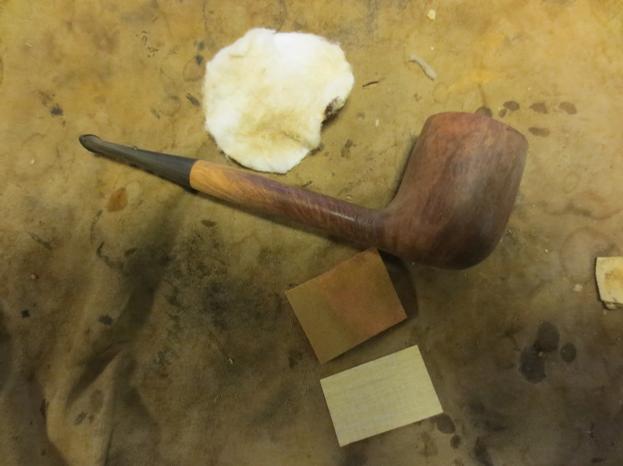
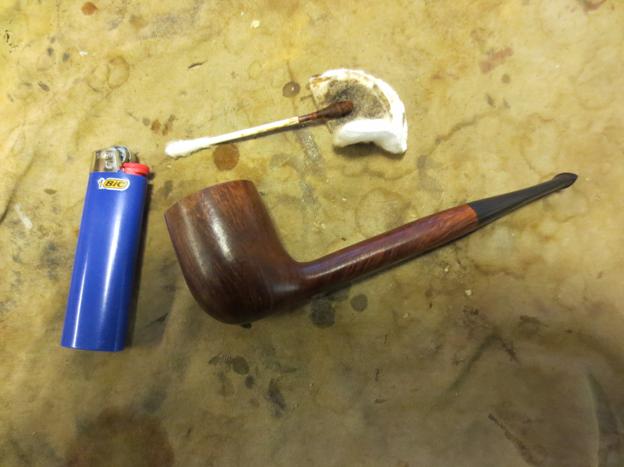
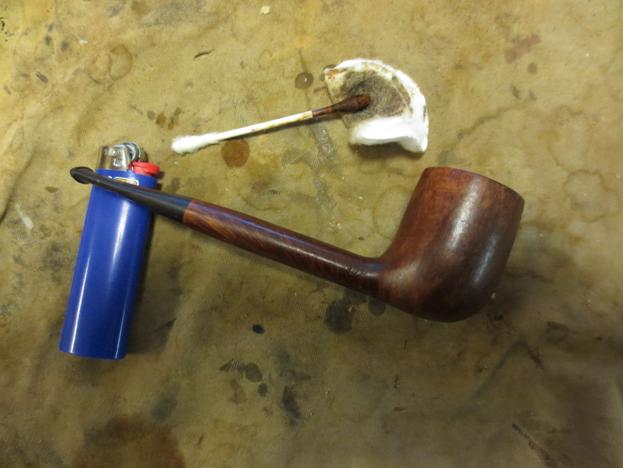
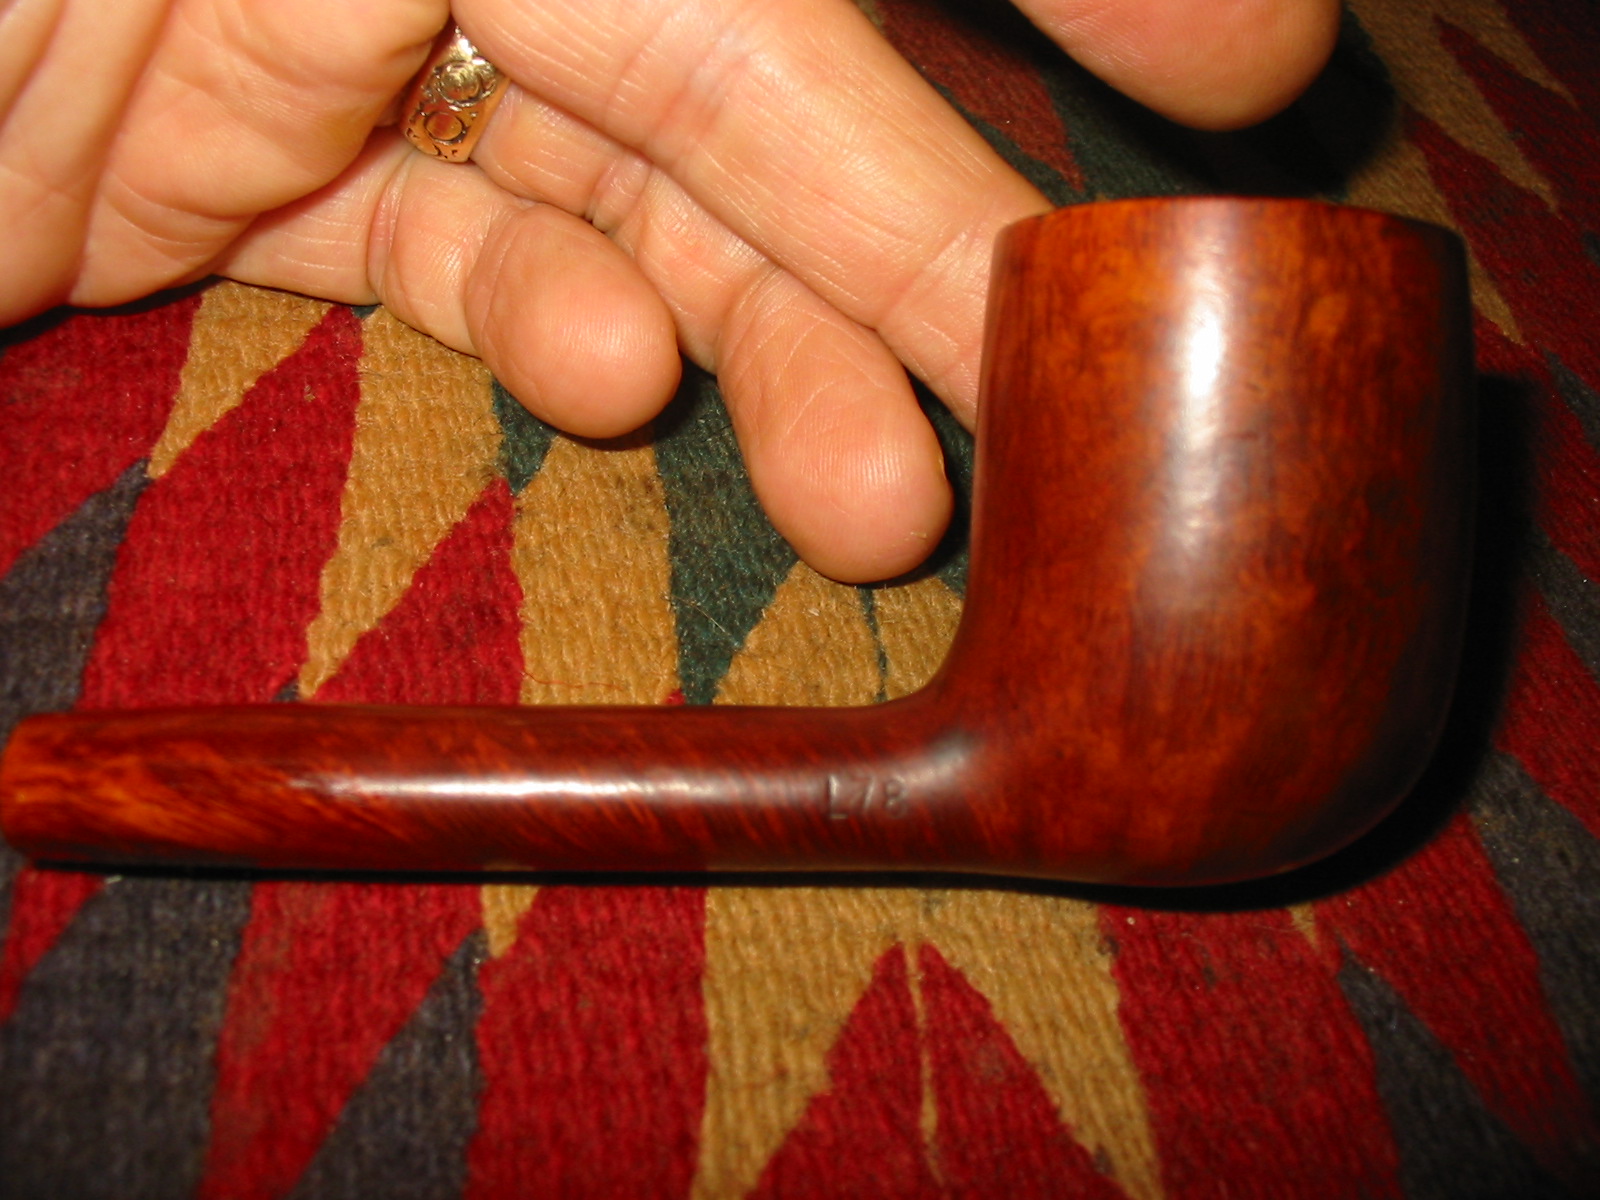
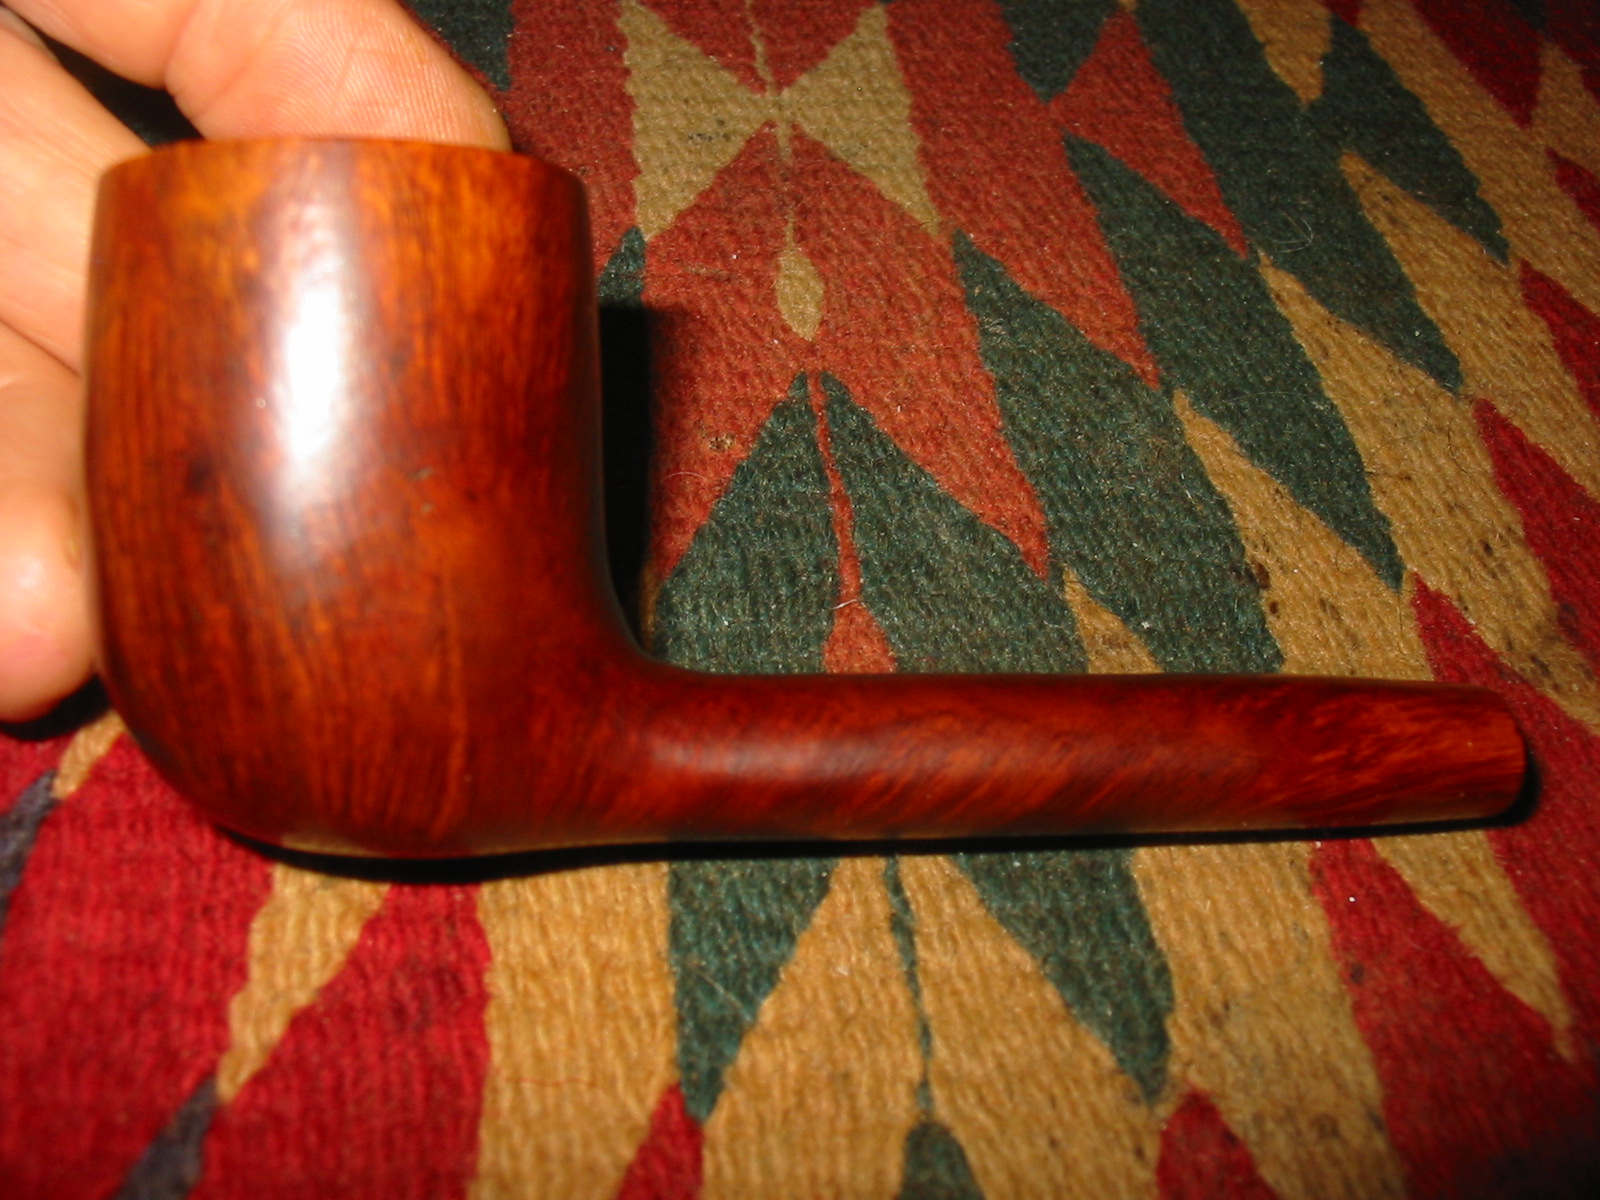
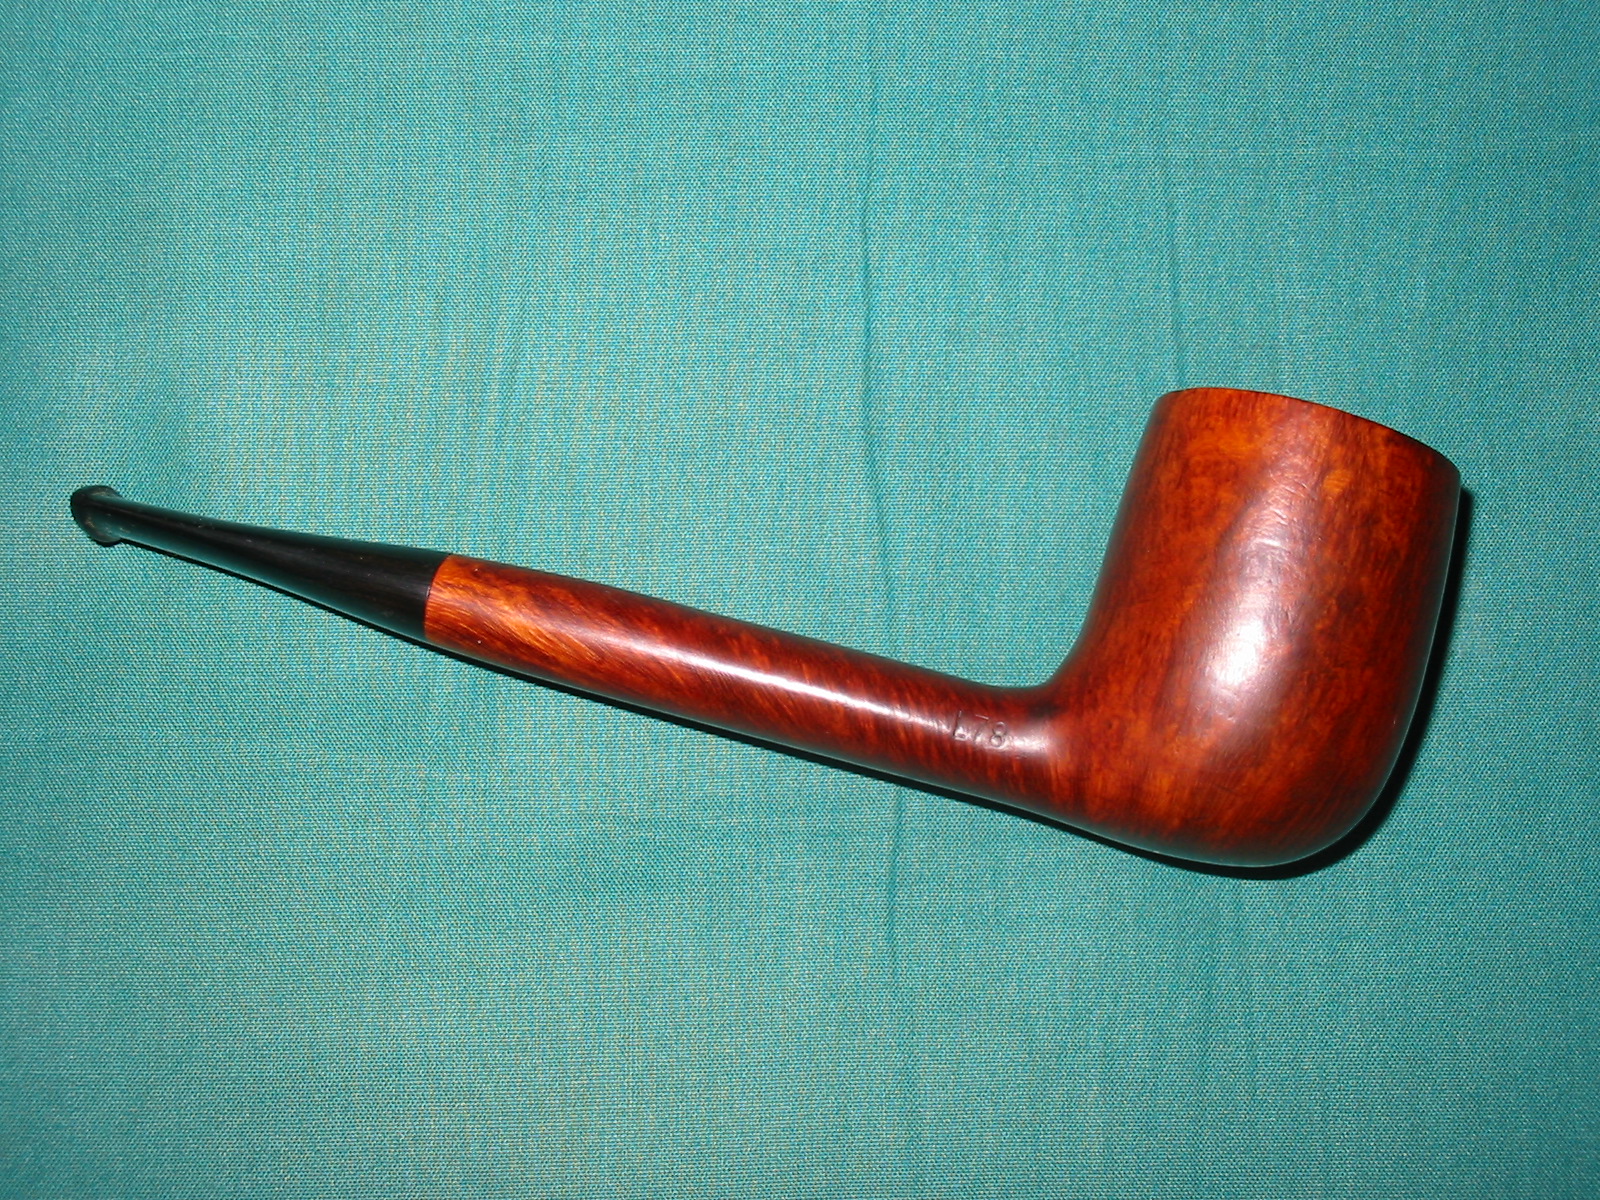
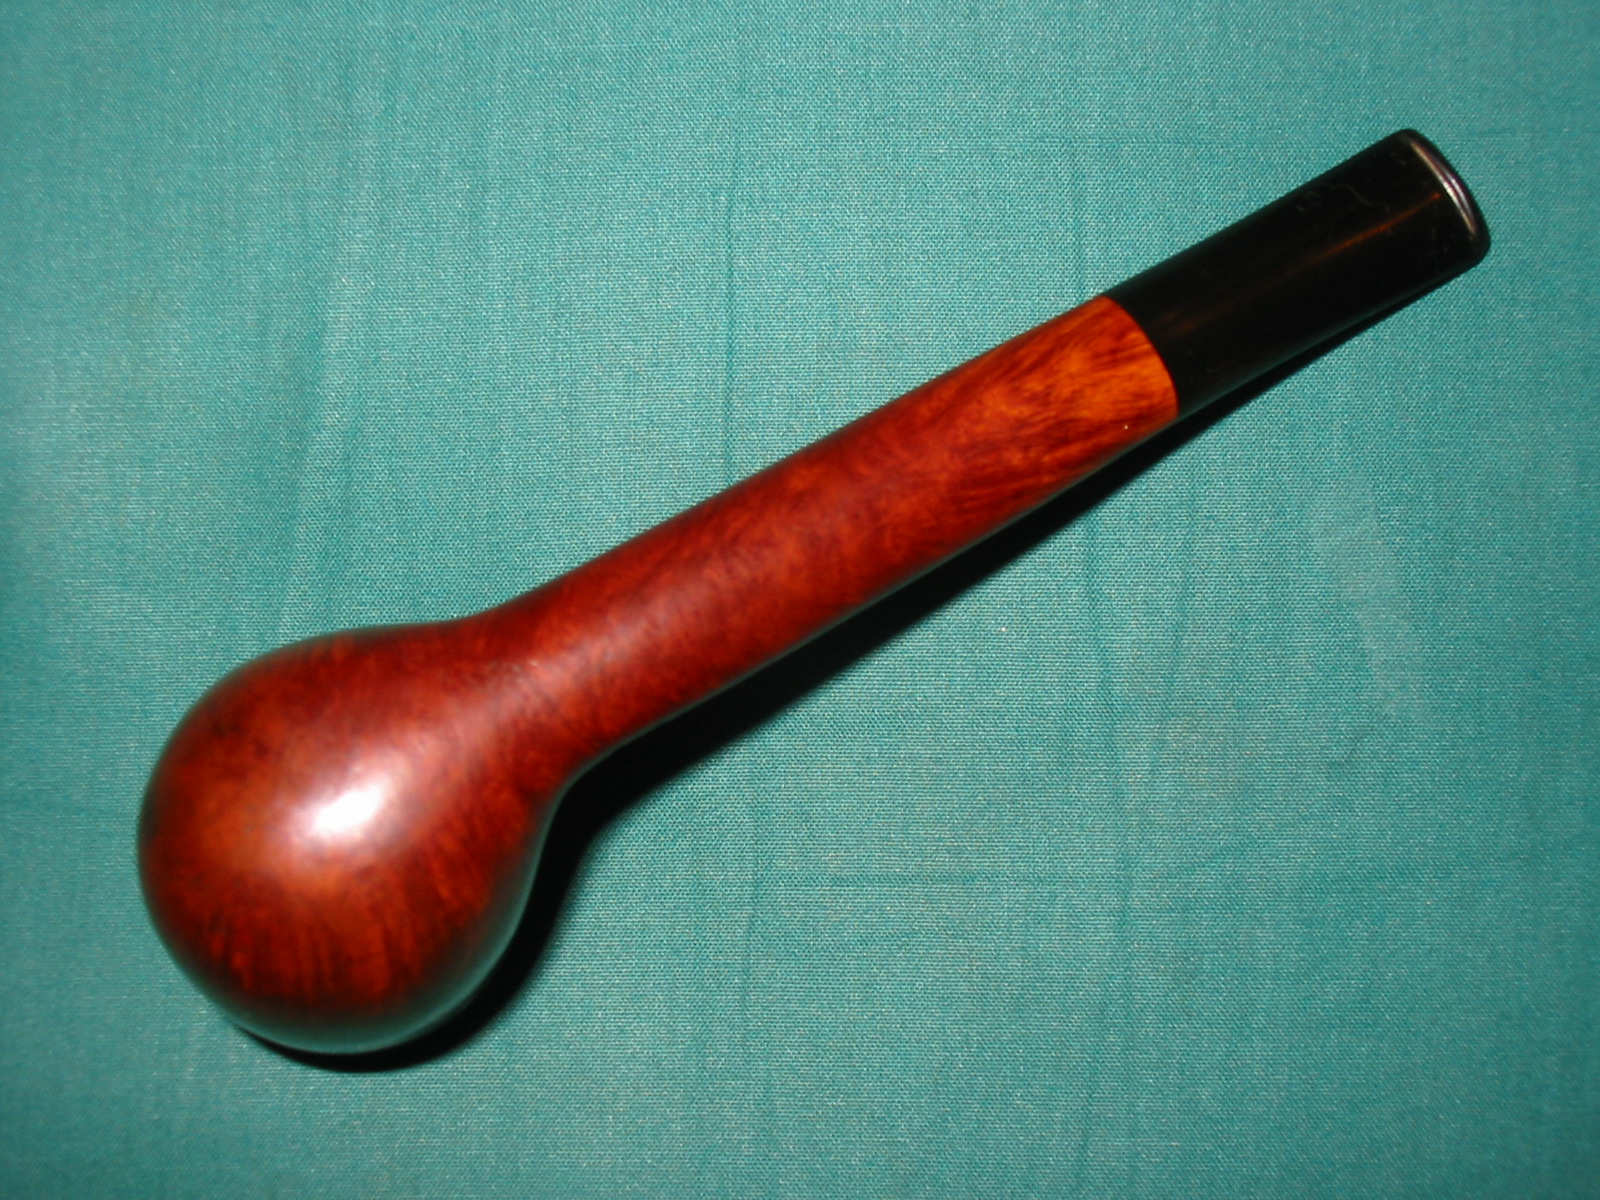
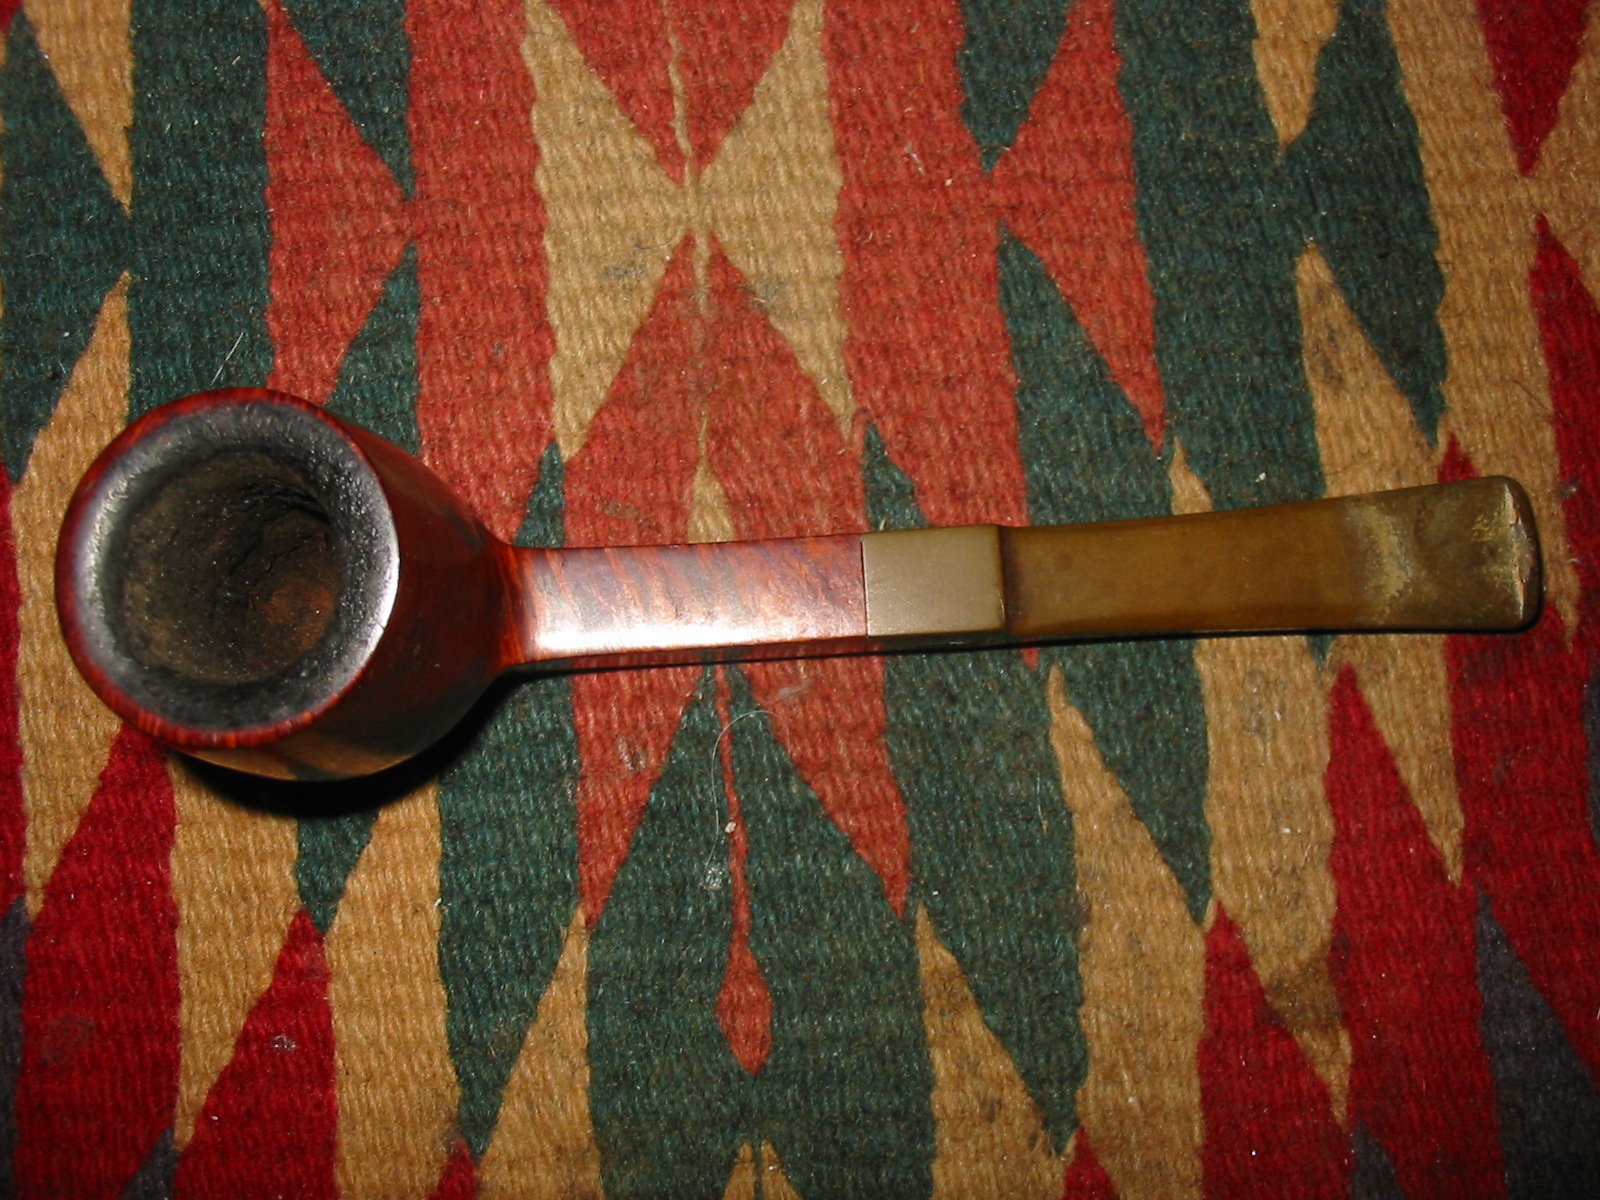
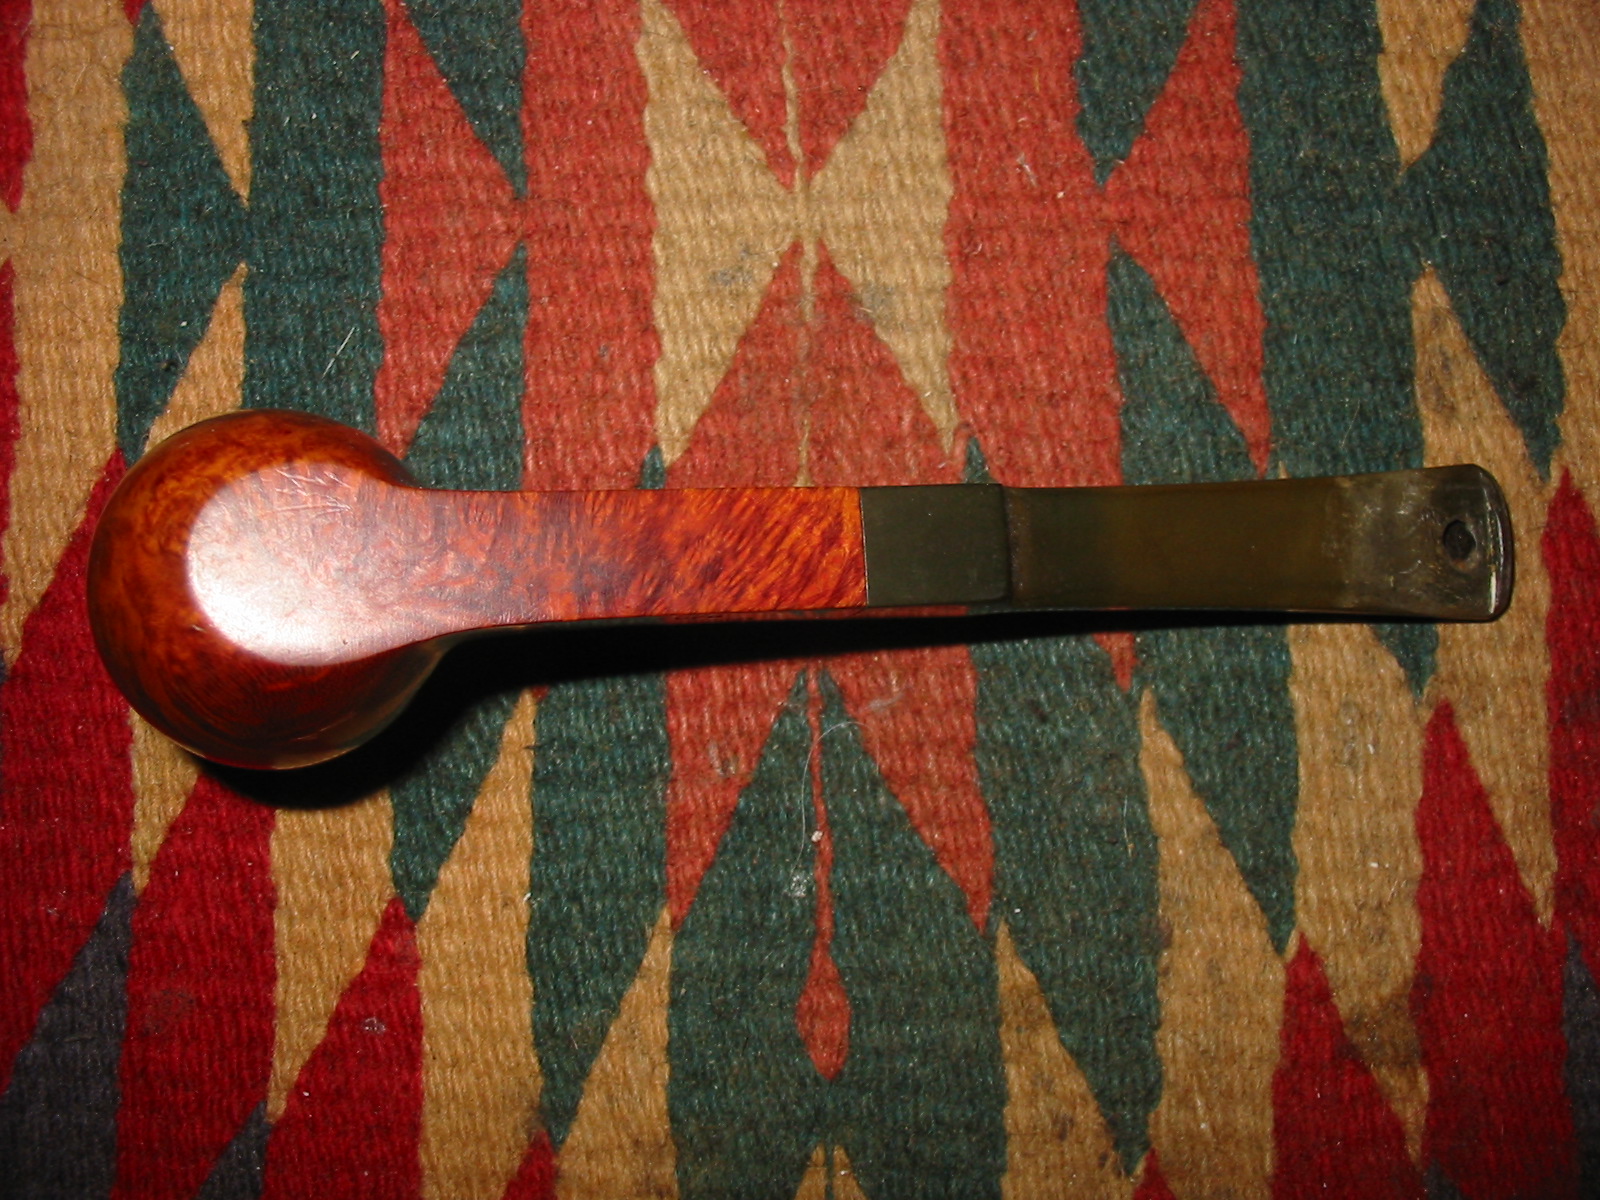
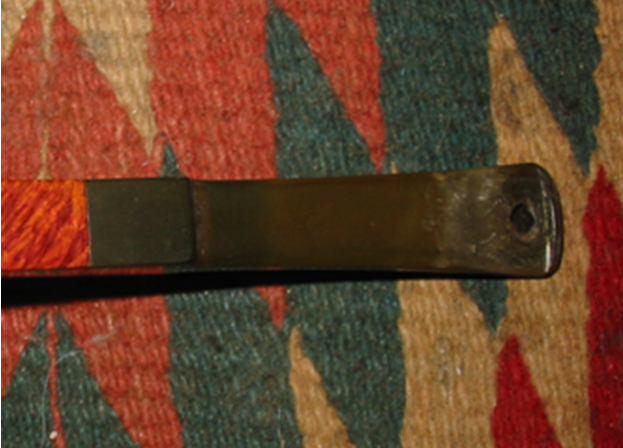
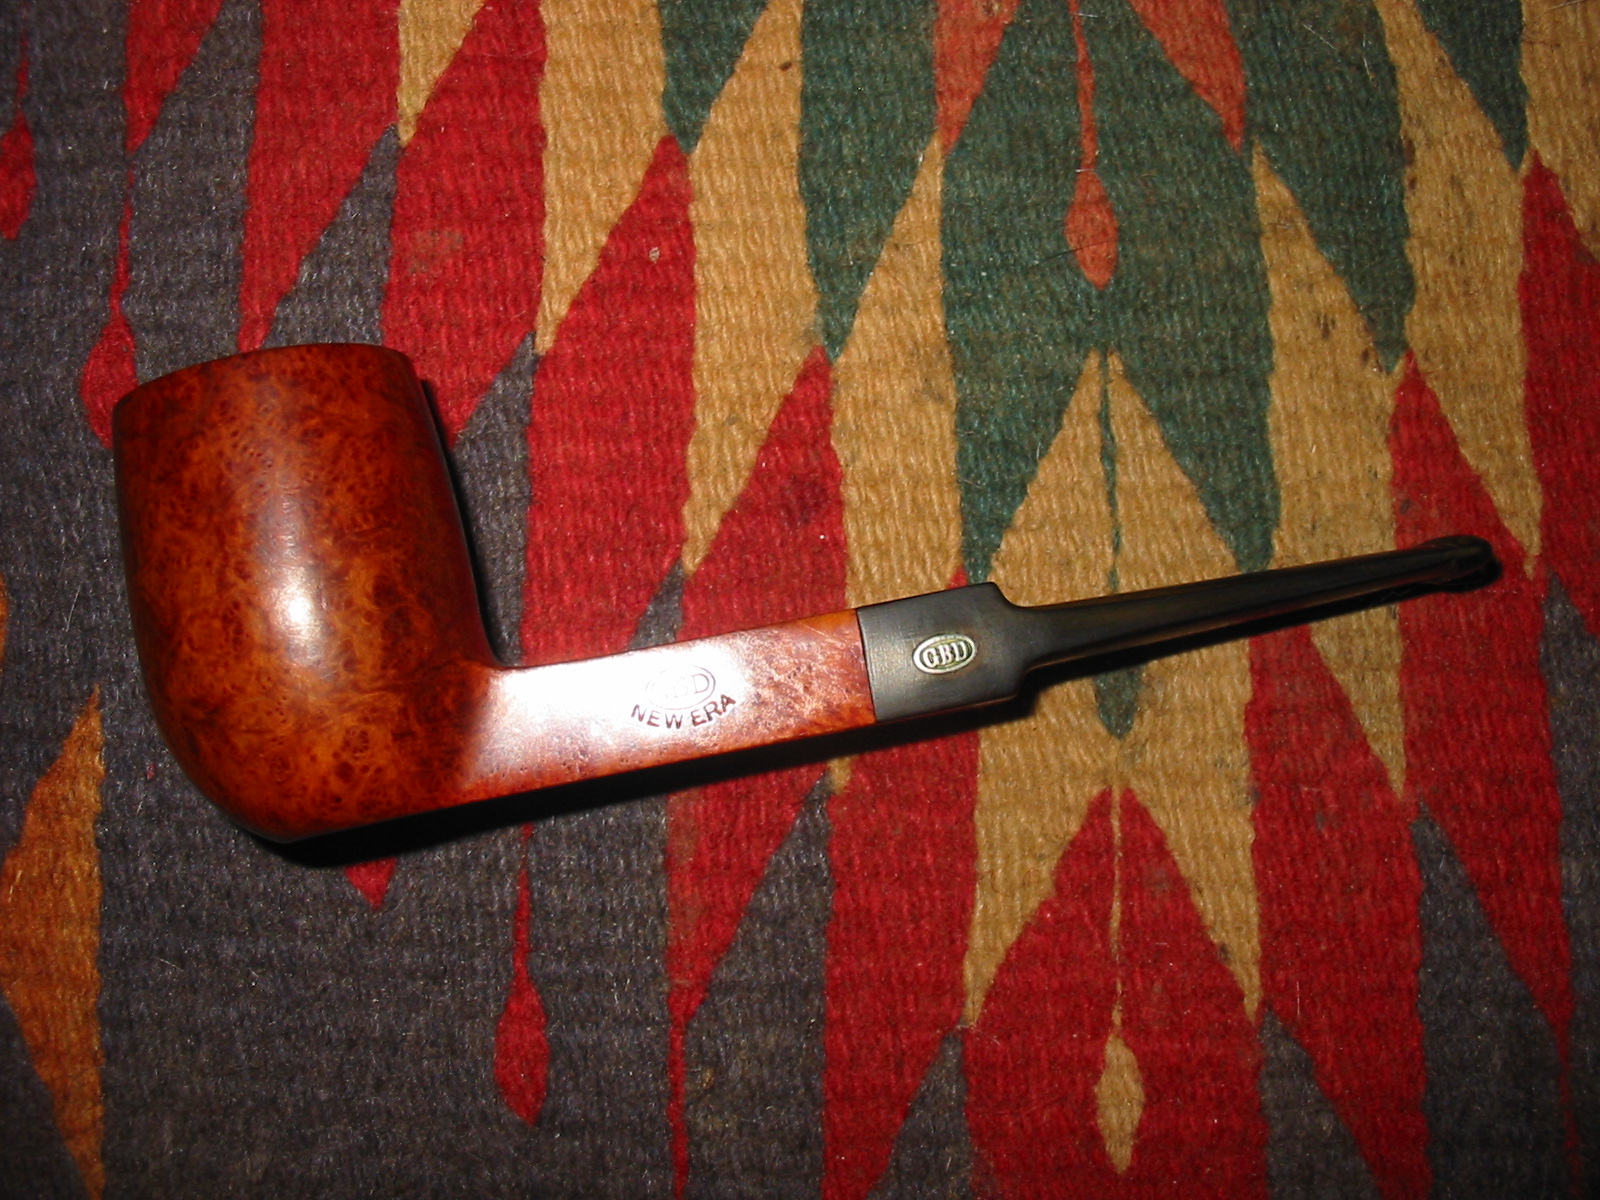
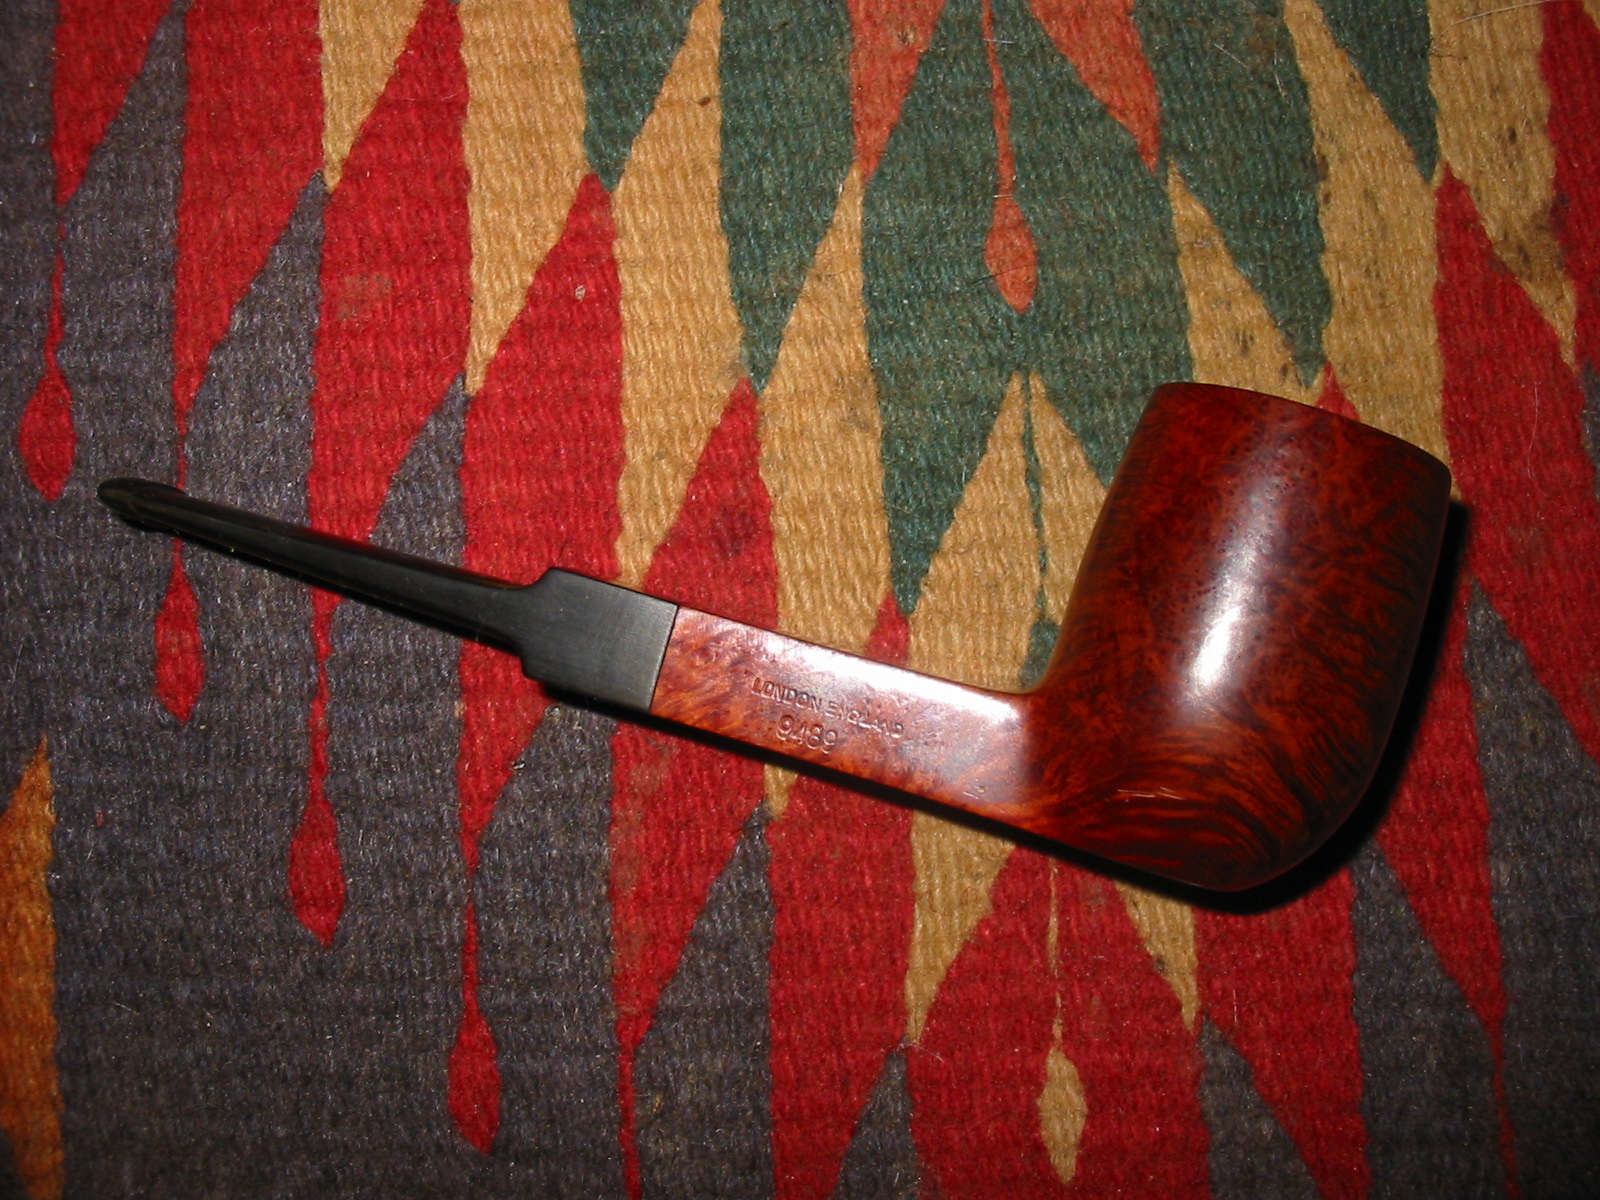
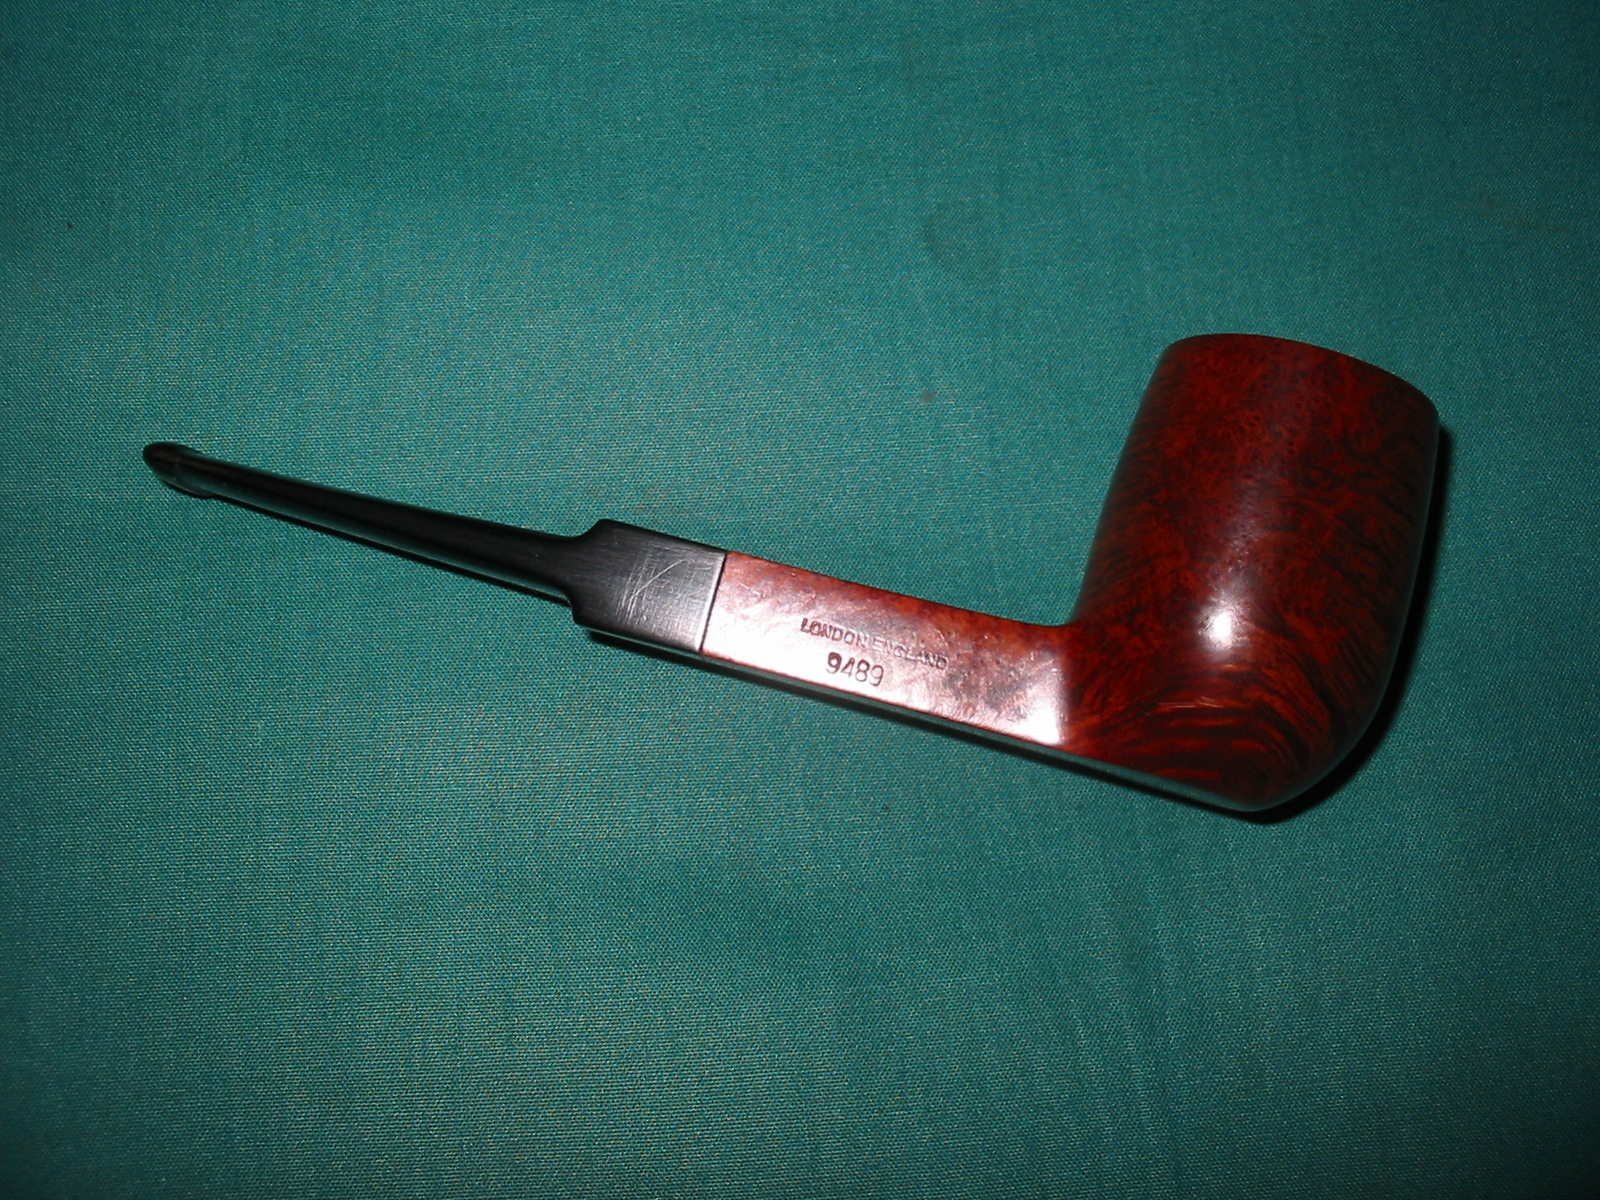
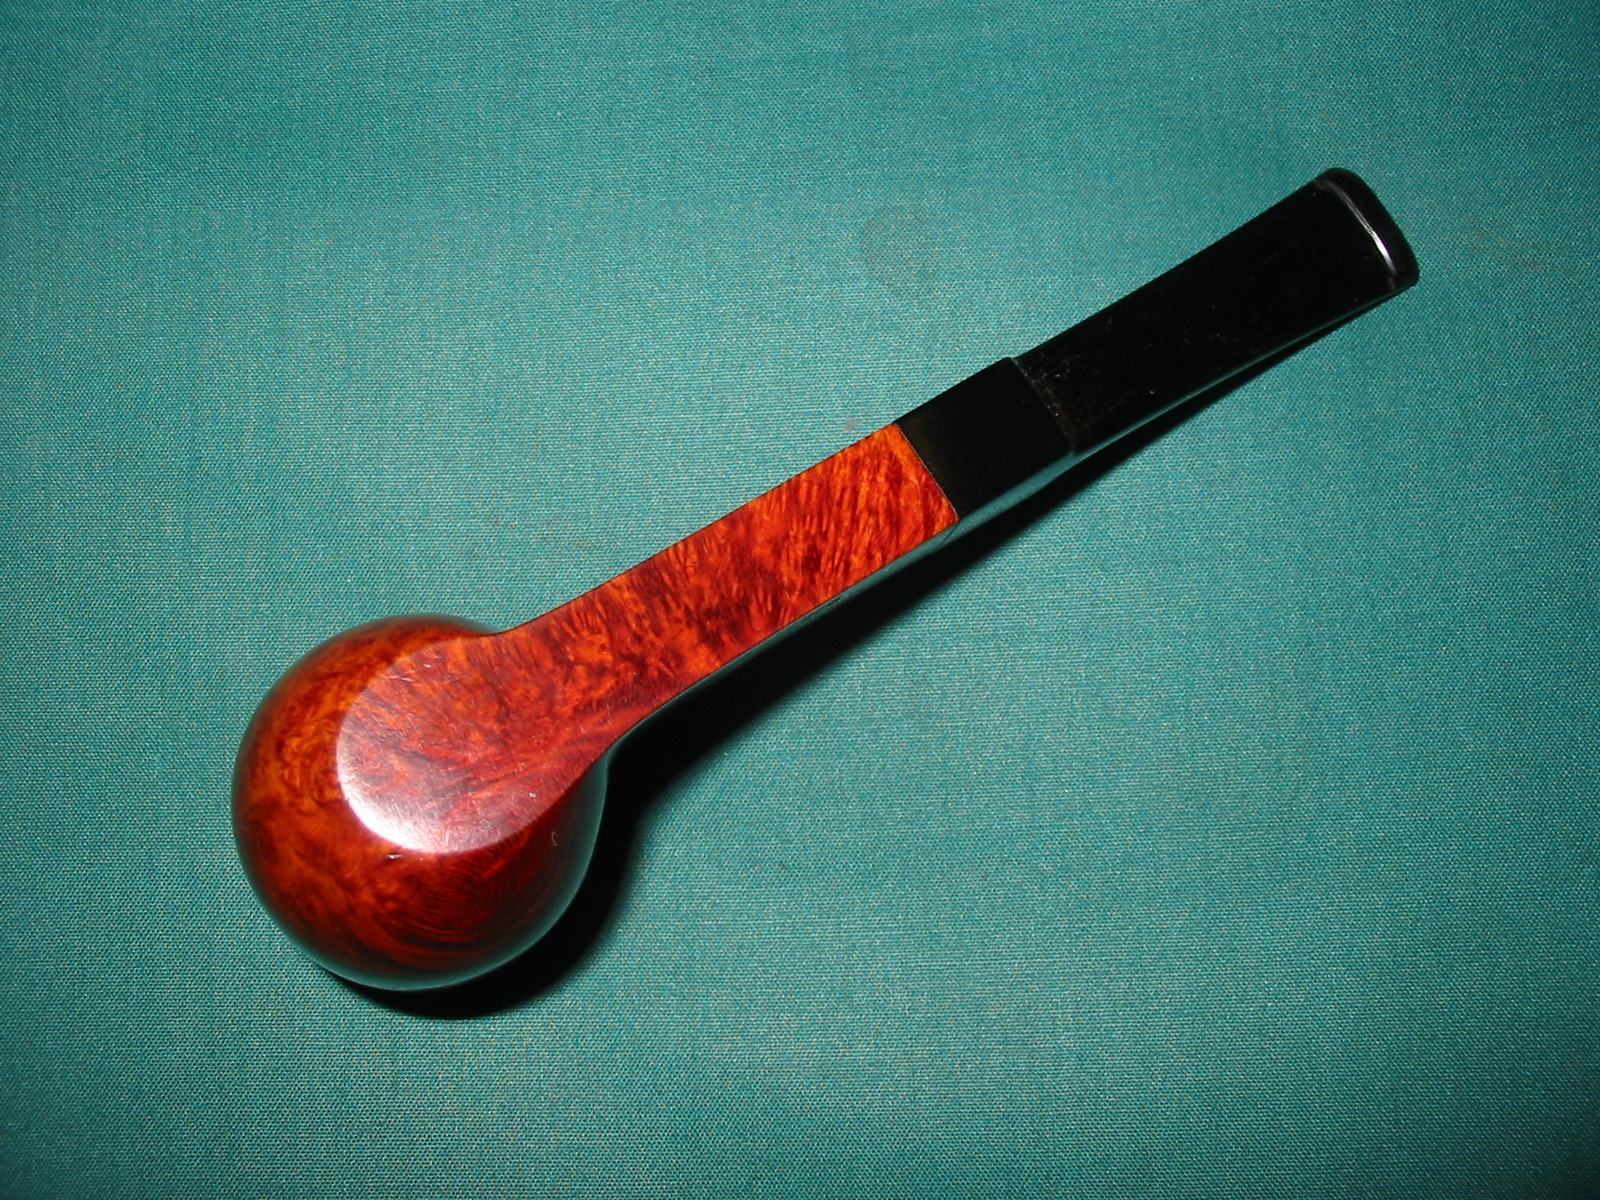
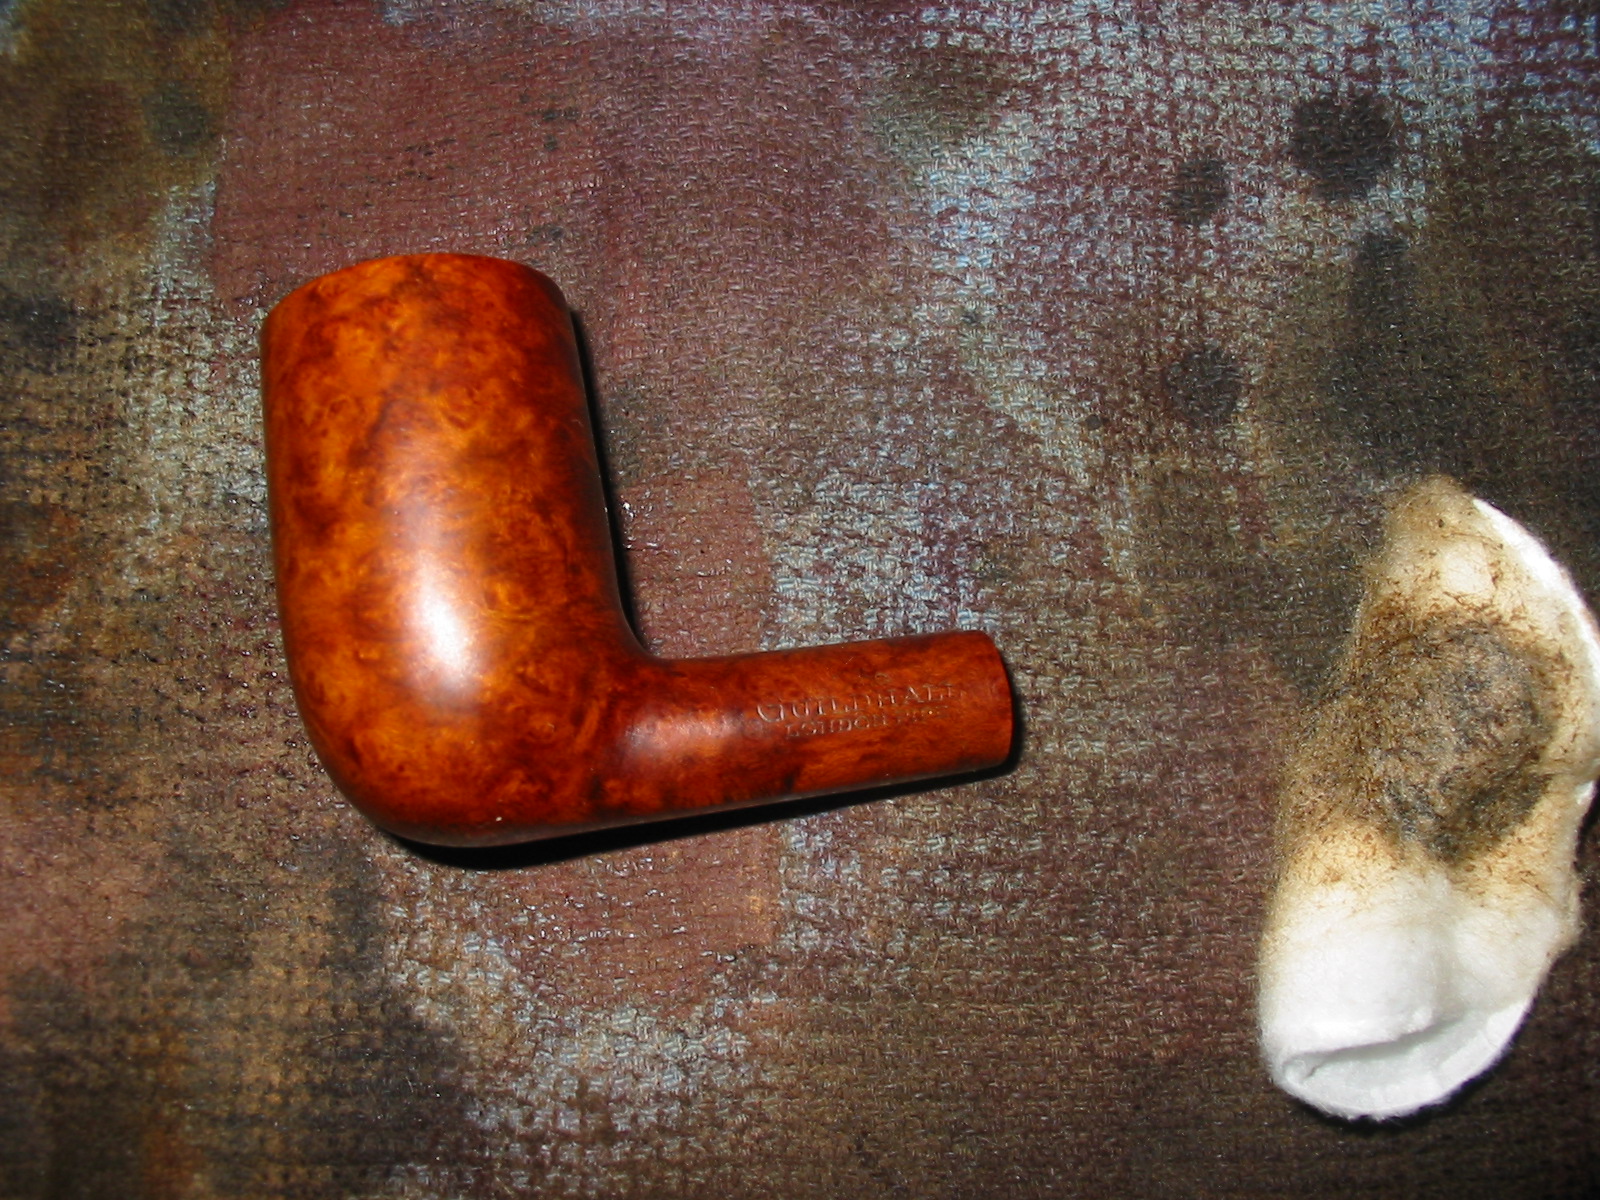
The pipe is stamped The in script over Guildhall over London Pipe on the left side of the shank and number 345 near the bowl on the right side of the shank and Made in London in a circle over England. This is the third of the pipes from the box my daughters found for me. The first two were the Orlik’s that I wrote about earlier. This one was in better condition than the other two. The top was beat up with outer and inner rim damage and also the same varnish coat over the uncleaned rim and the bowl and shank. The stem was original and has the three silver bars on the left side as expected in the Guildhall series. There were tooth dents that had been buffed out and left the stem with waves around the remaining marks. The grain was quite nice on this one – lots of cross grain and birdseye but it was obscured by the finish coat. The interior was filthy as were the others. In the side photos below the finish looks pretty good but the grain could stand out more clearly.
IMG_3927

IMG_3930

IMG_3931

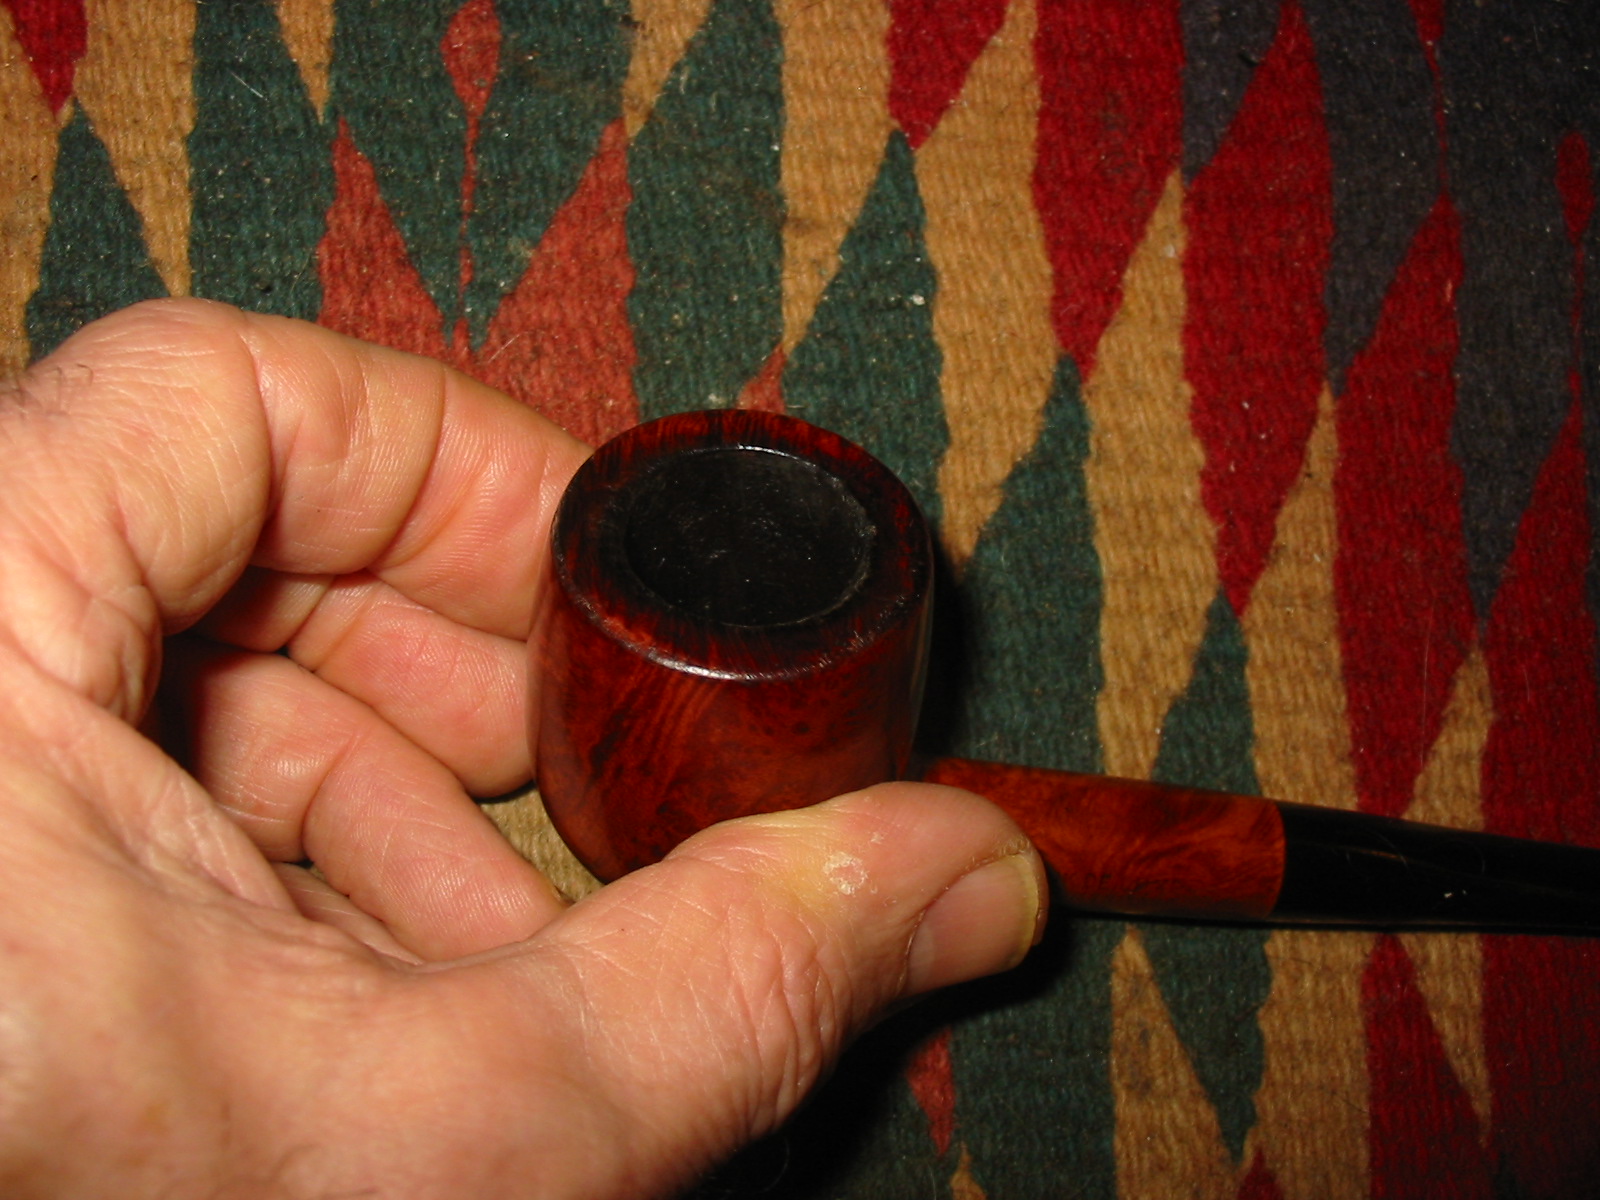
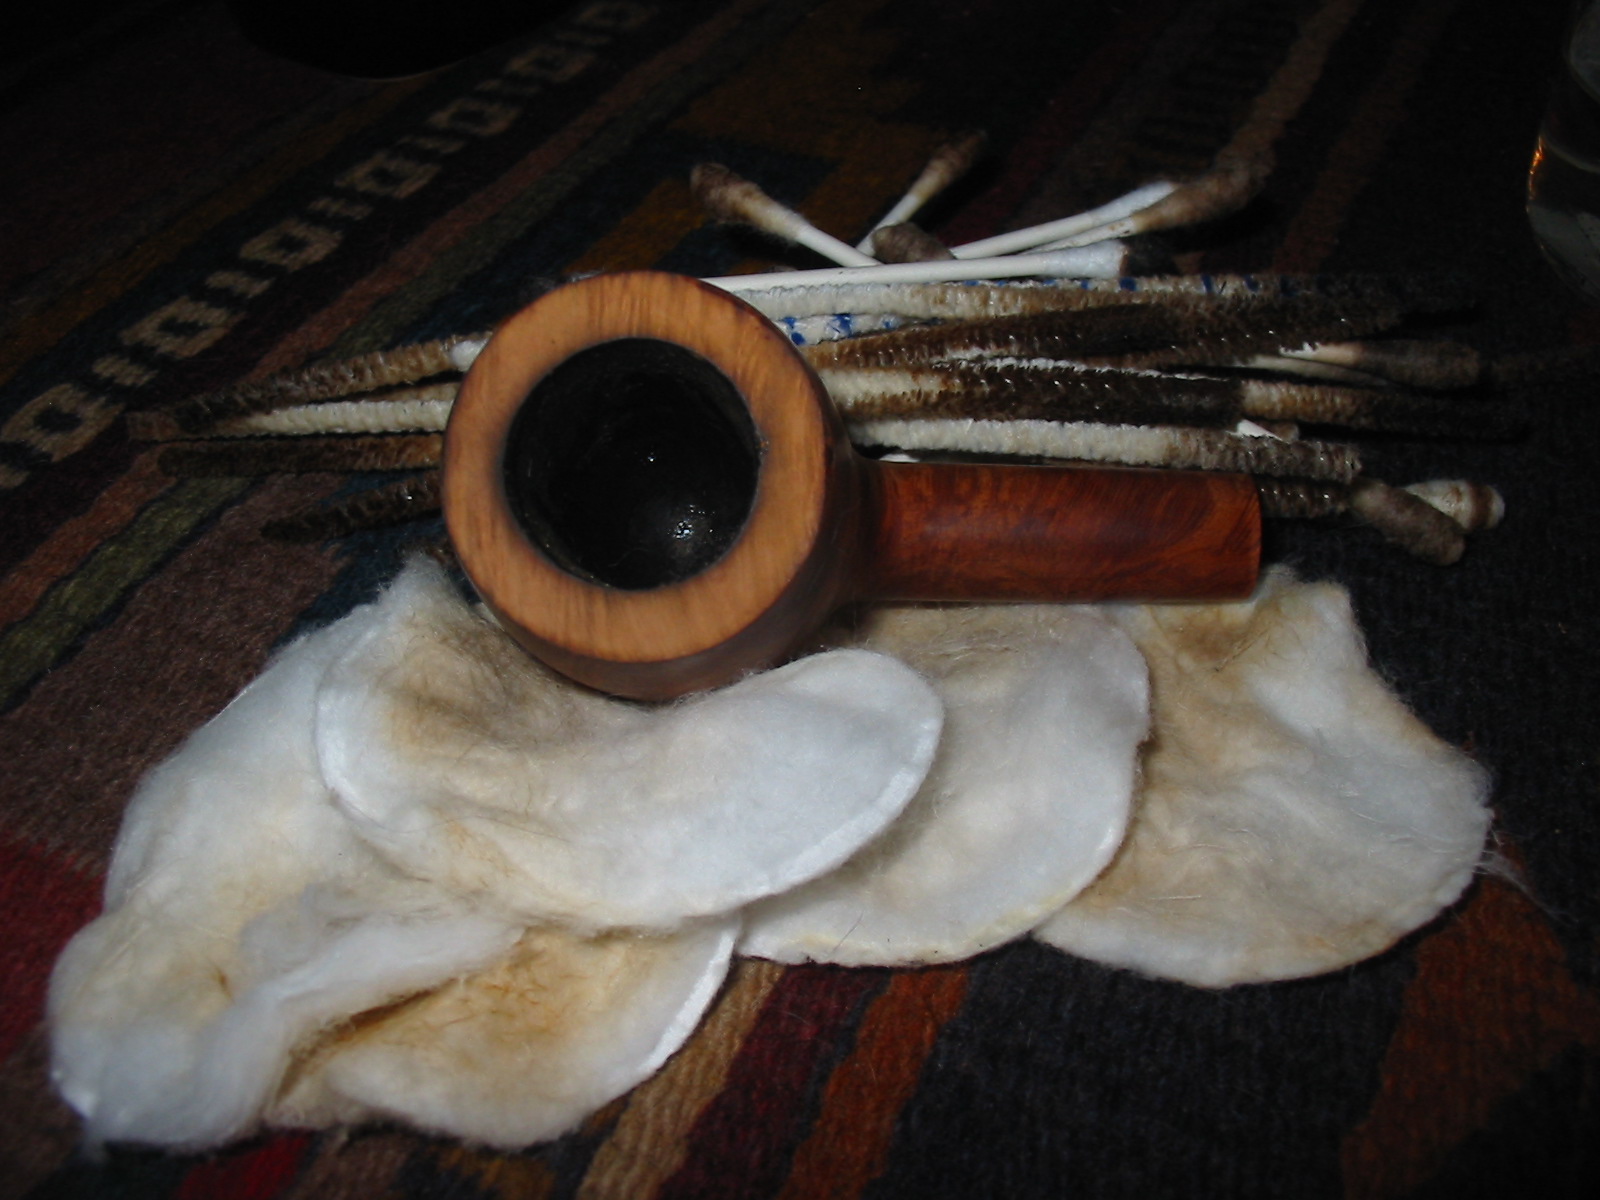
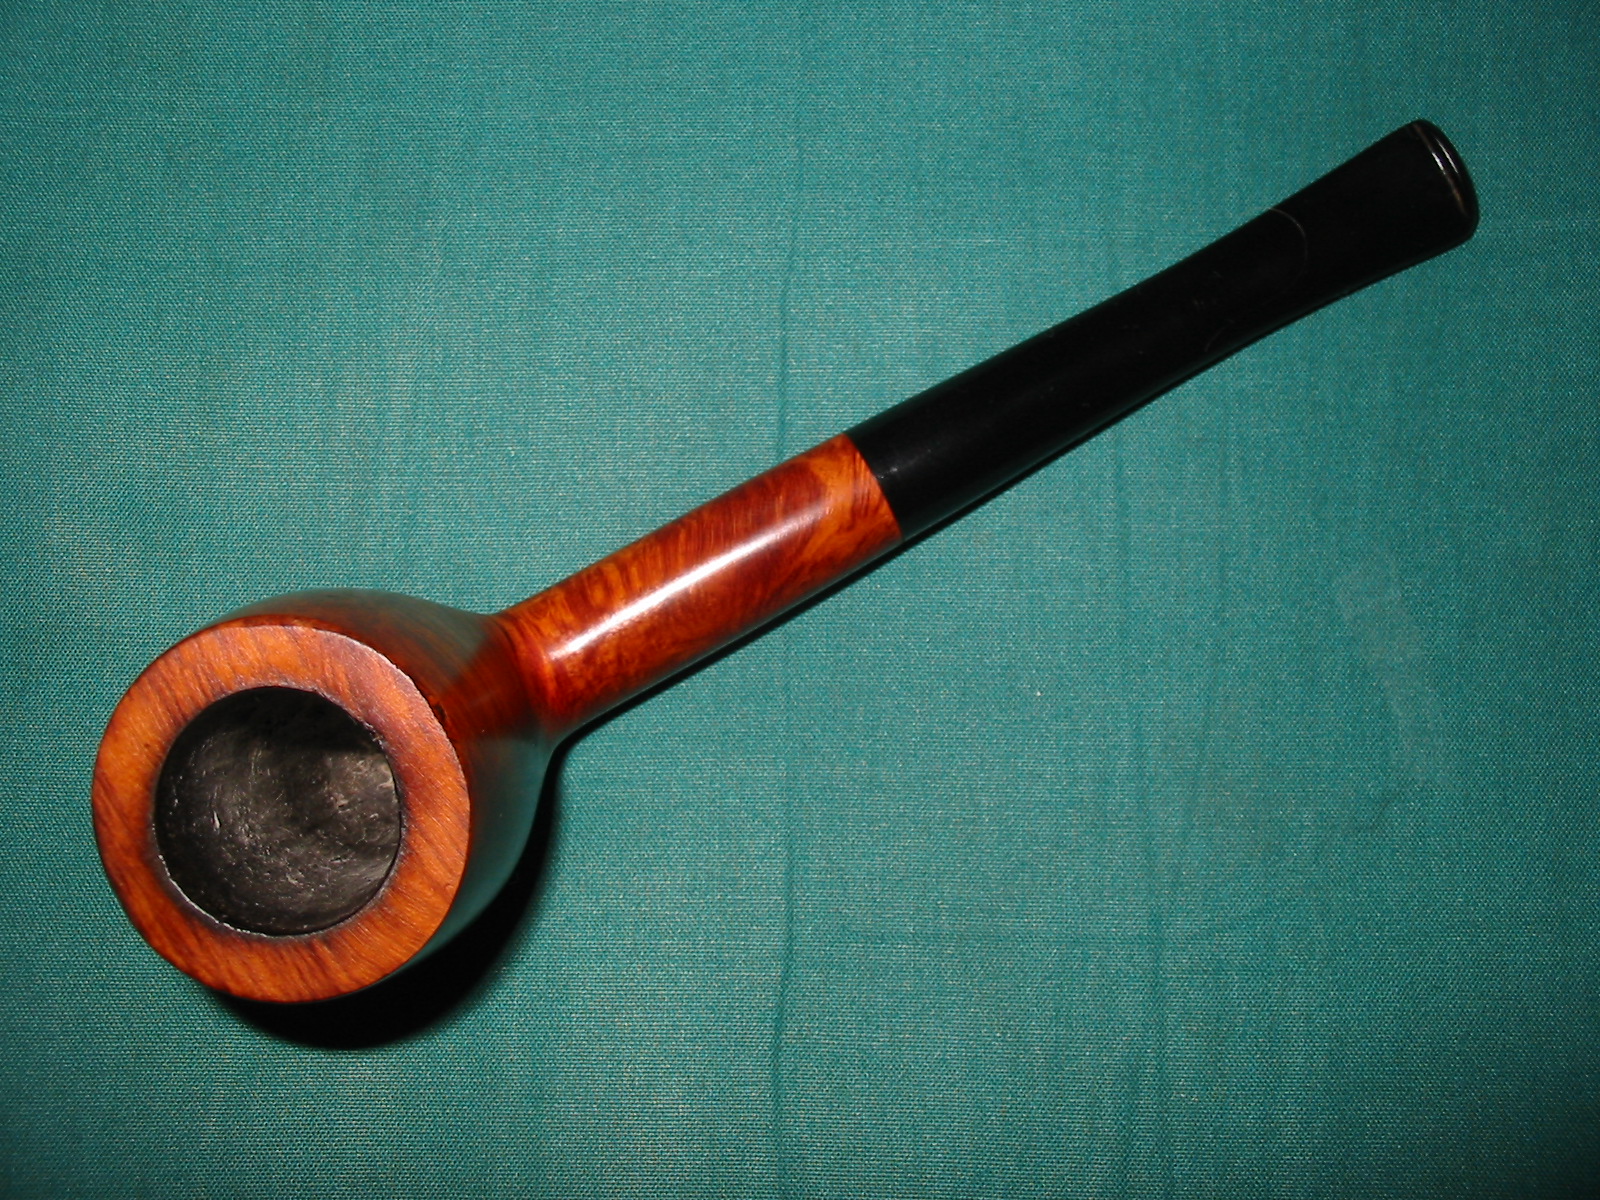
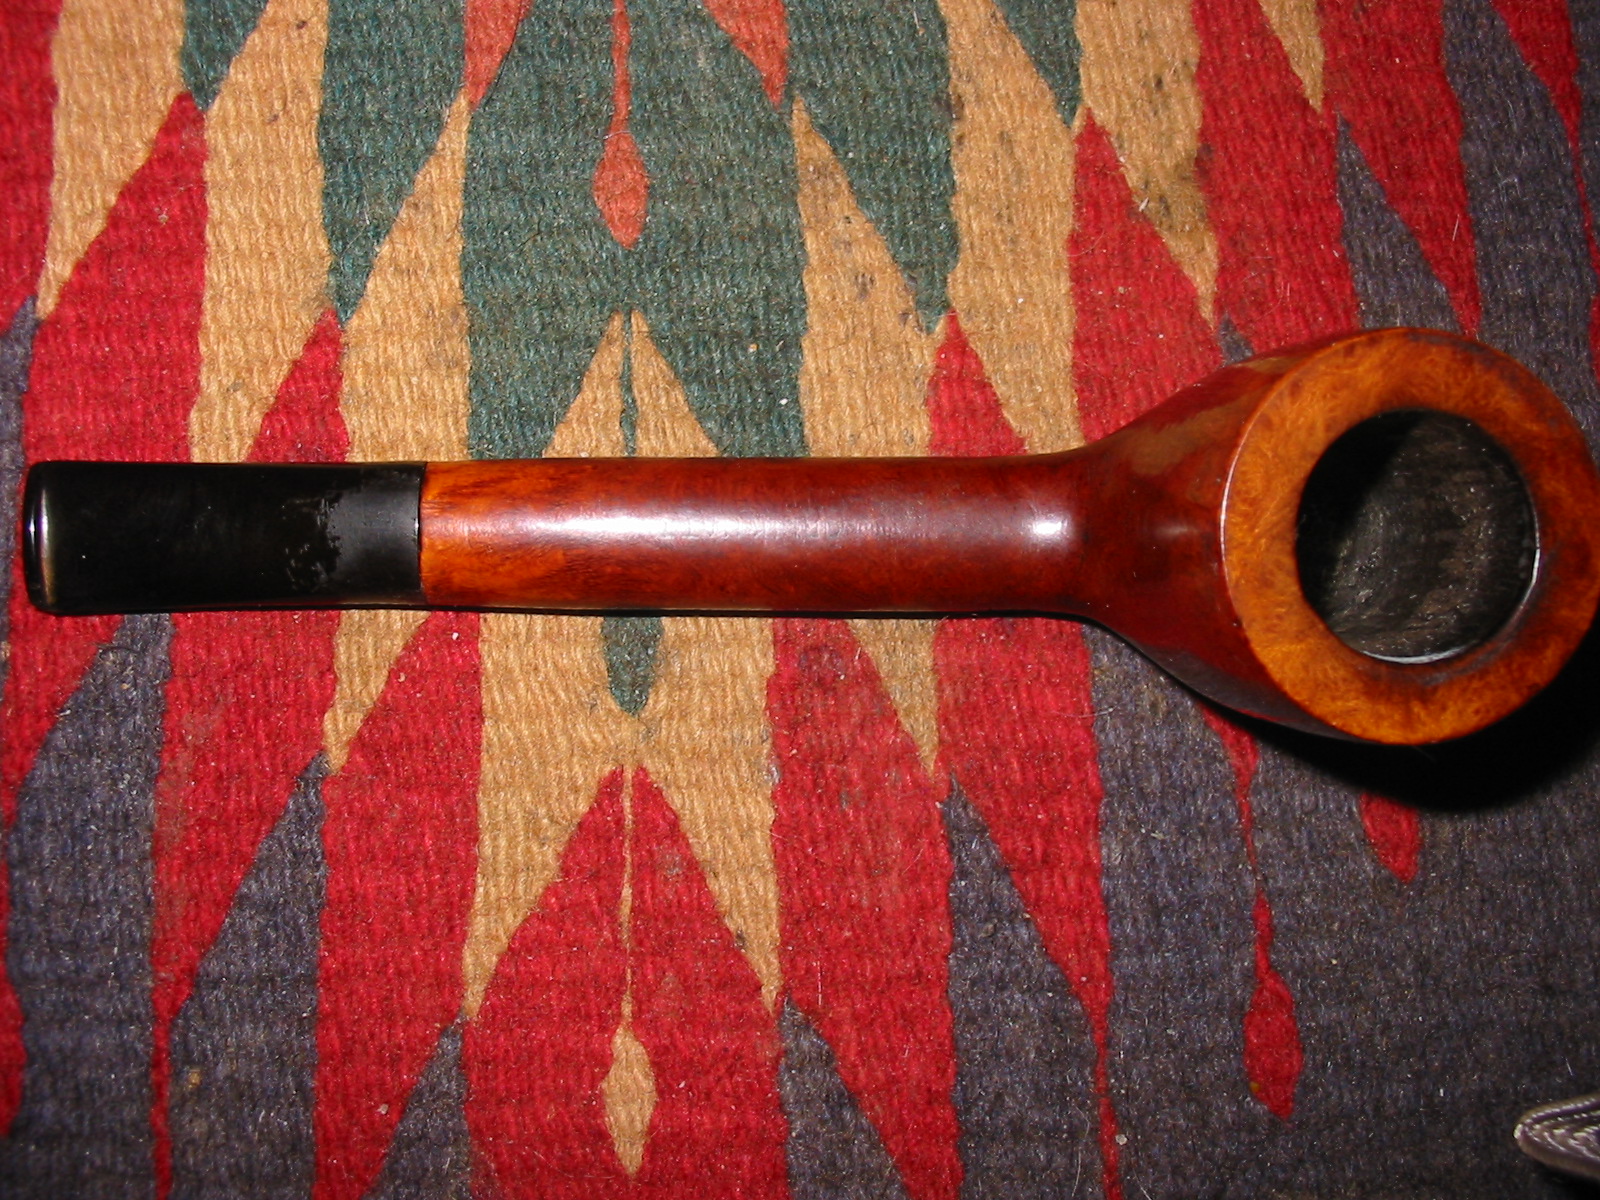
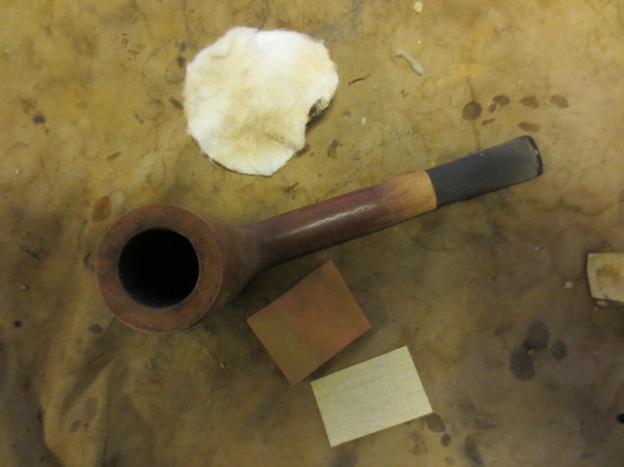
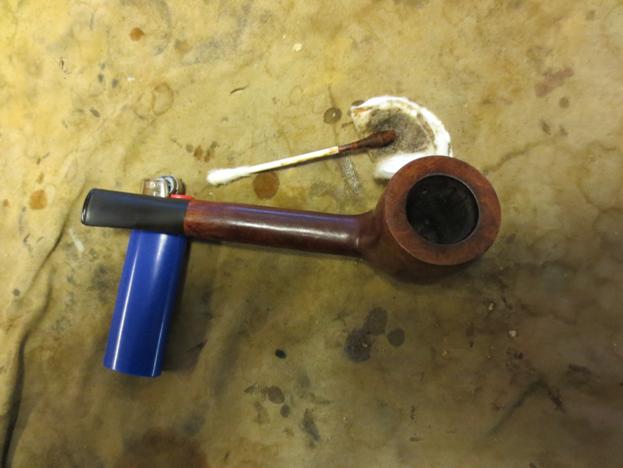
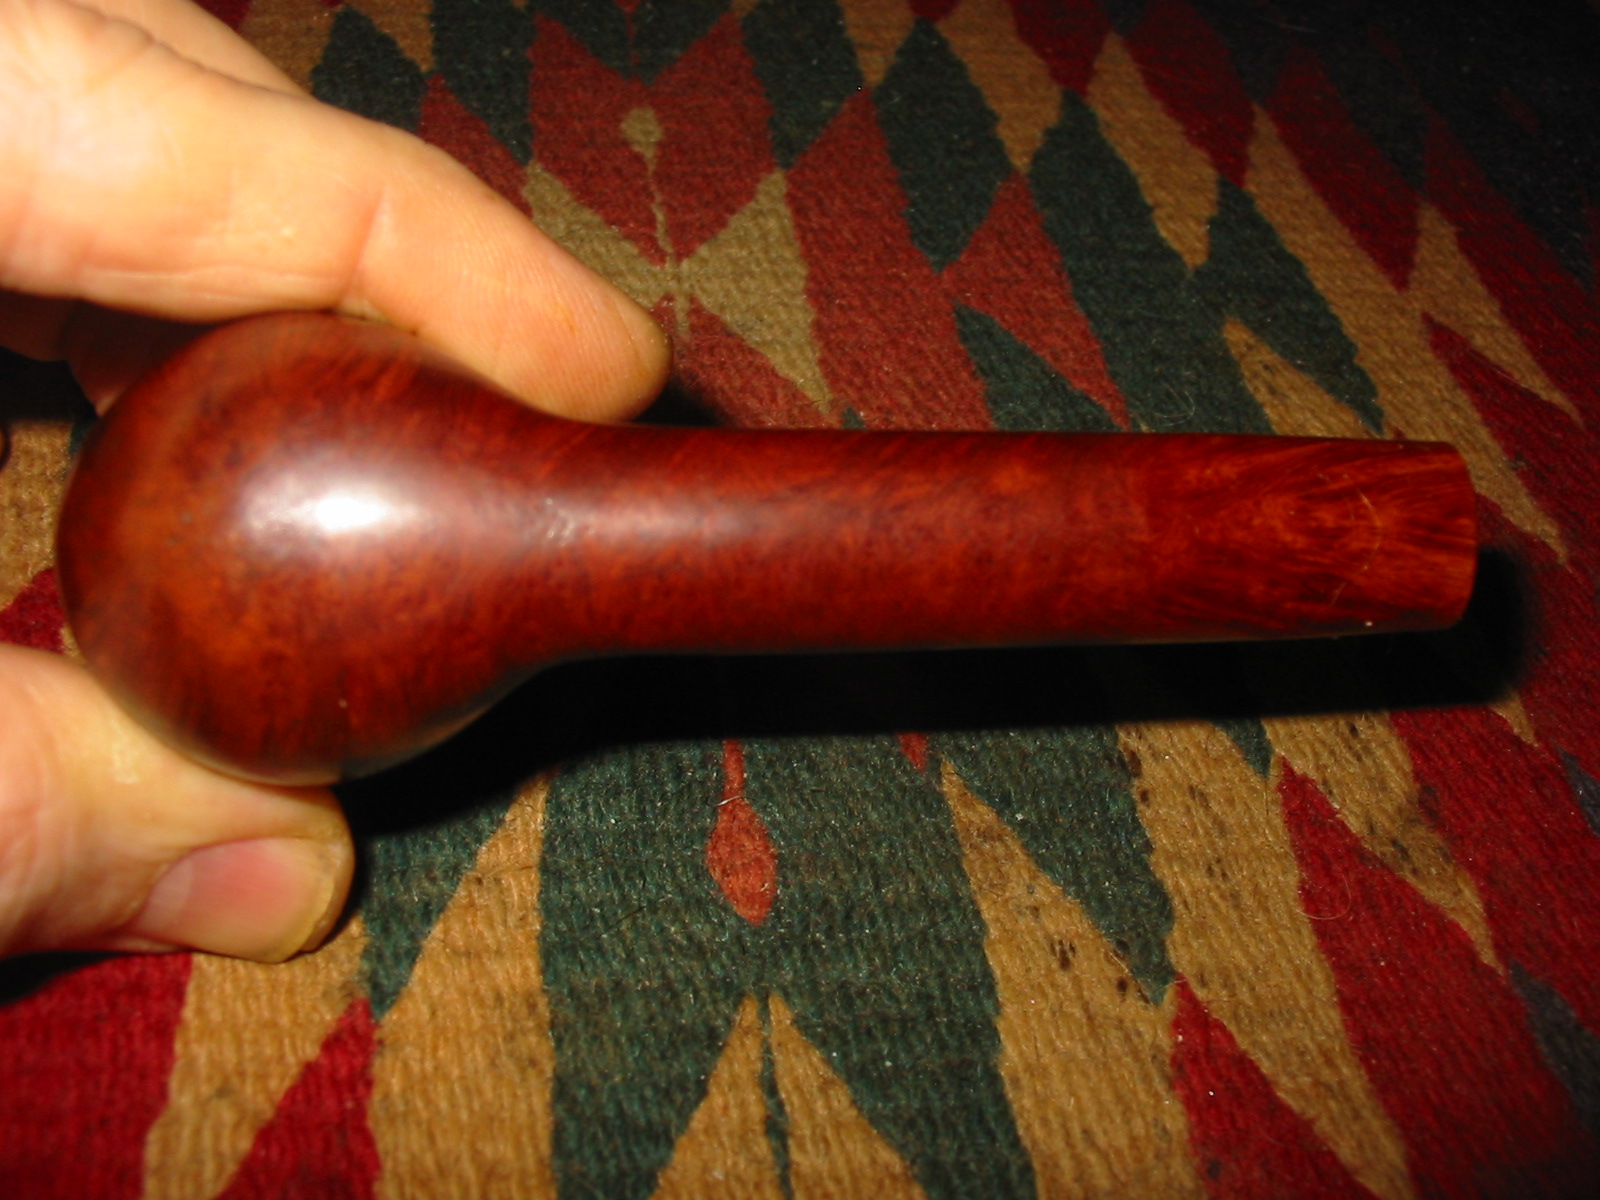
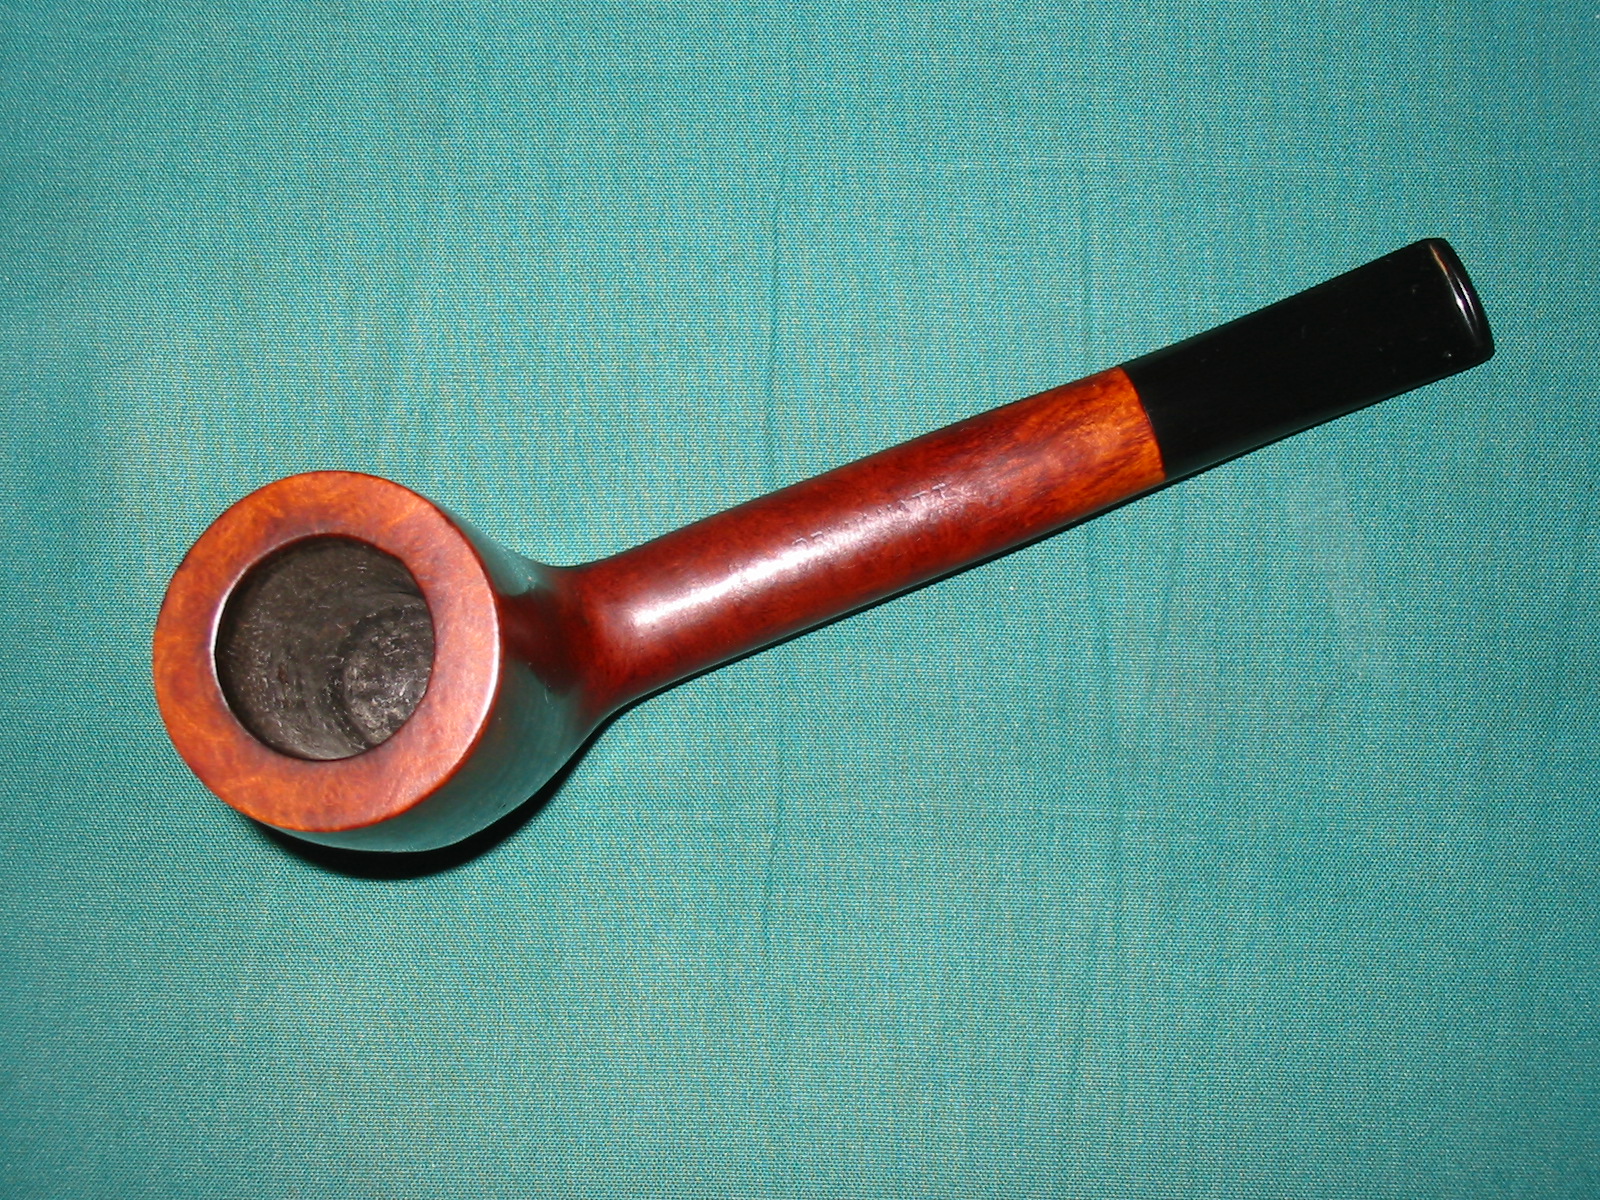
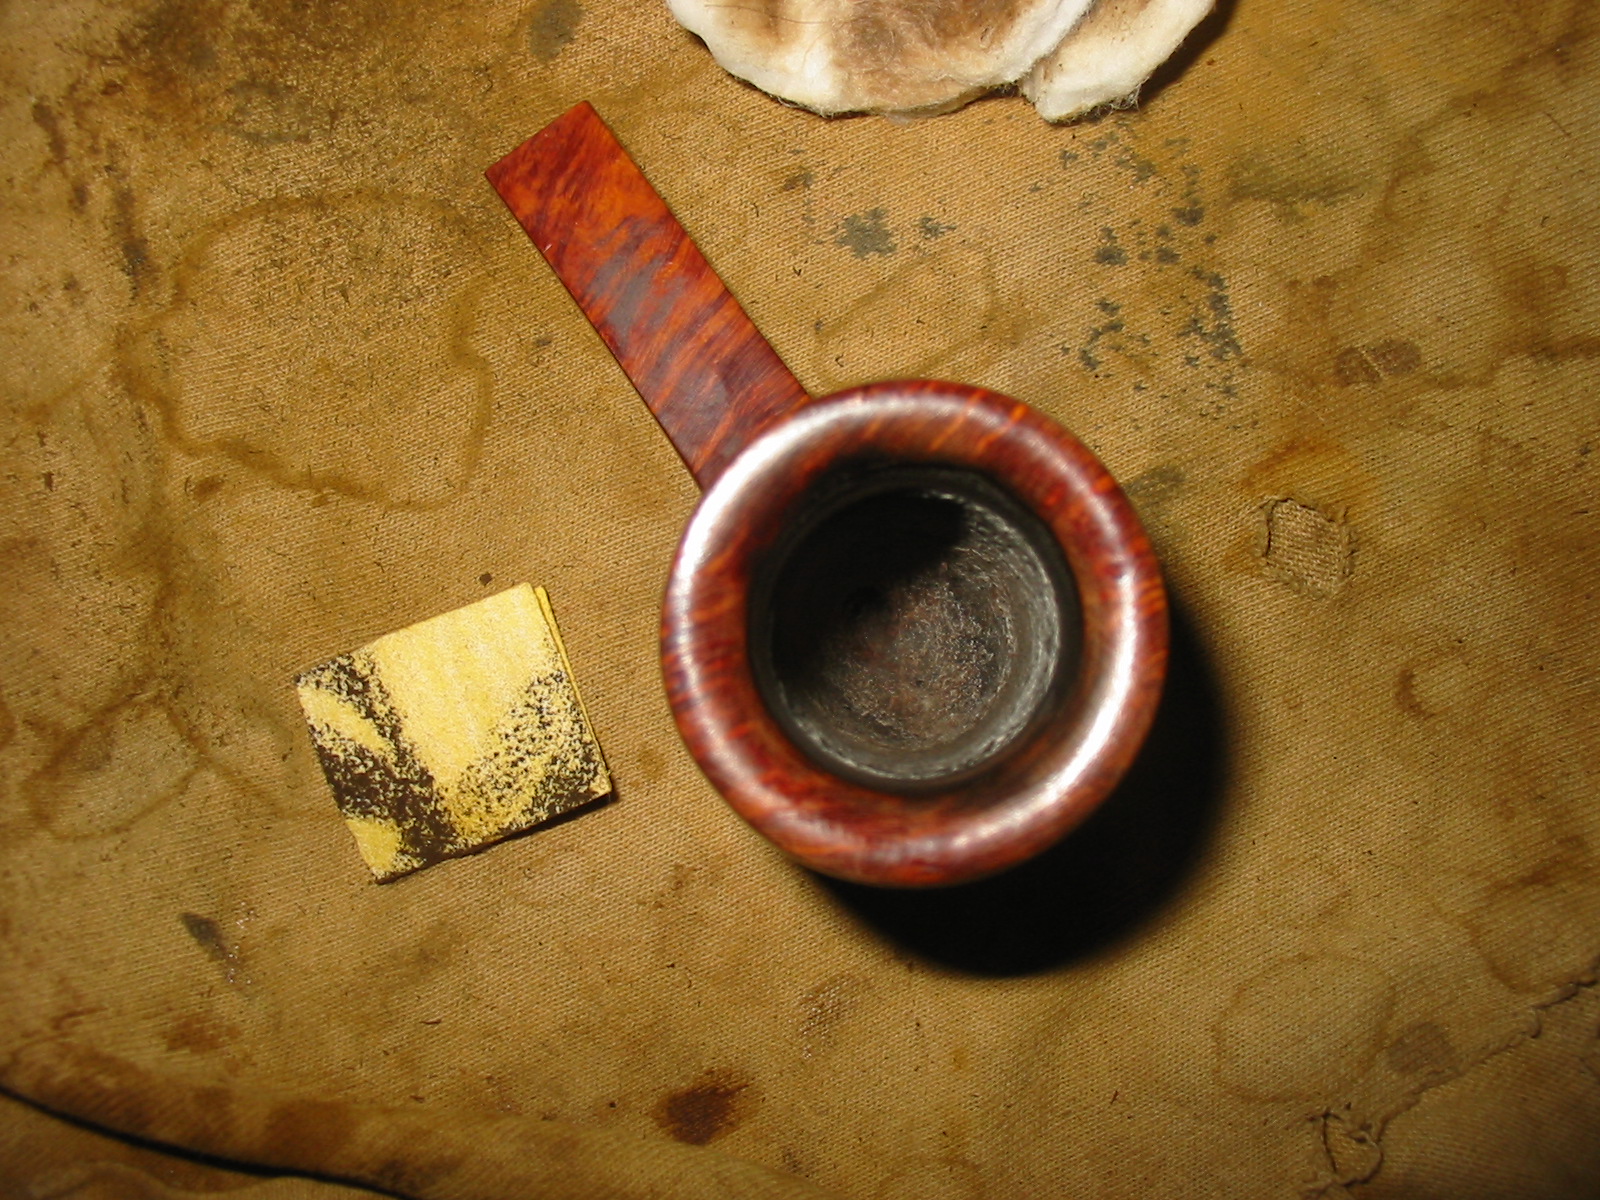
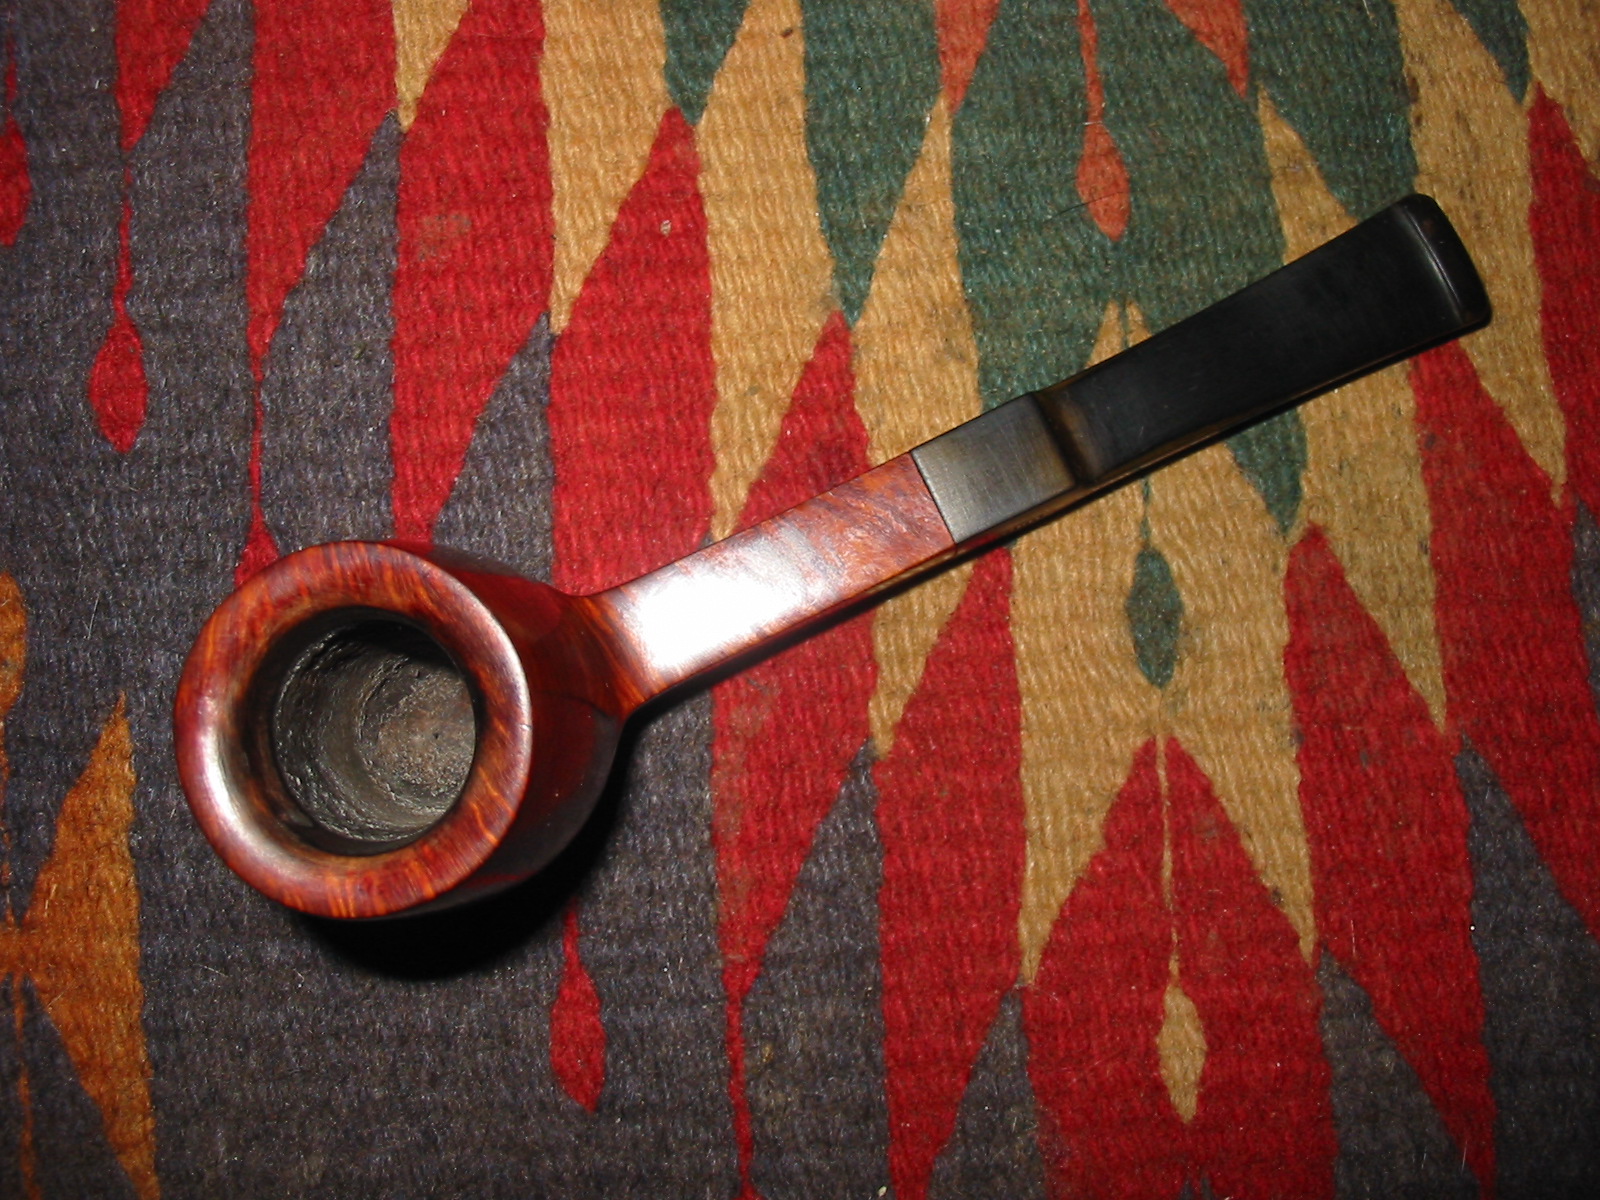
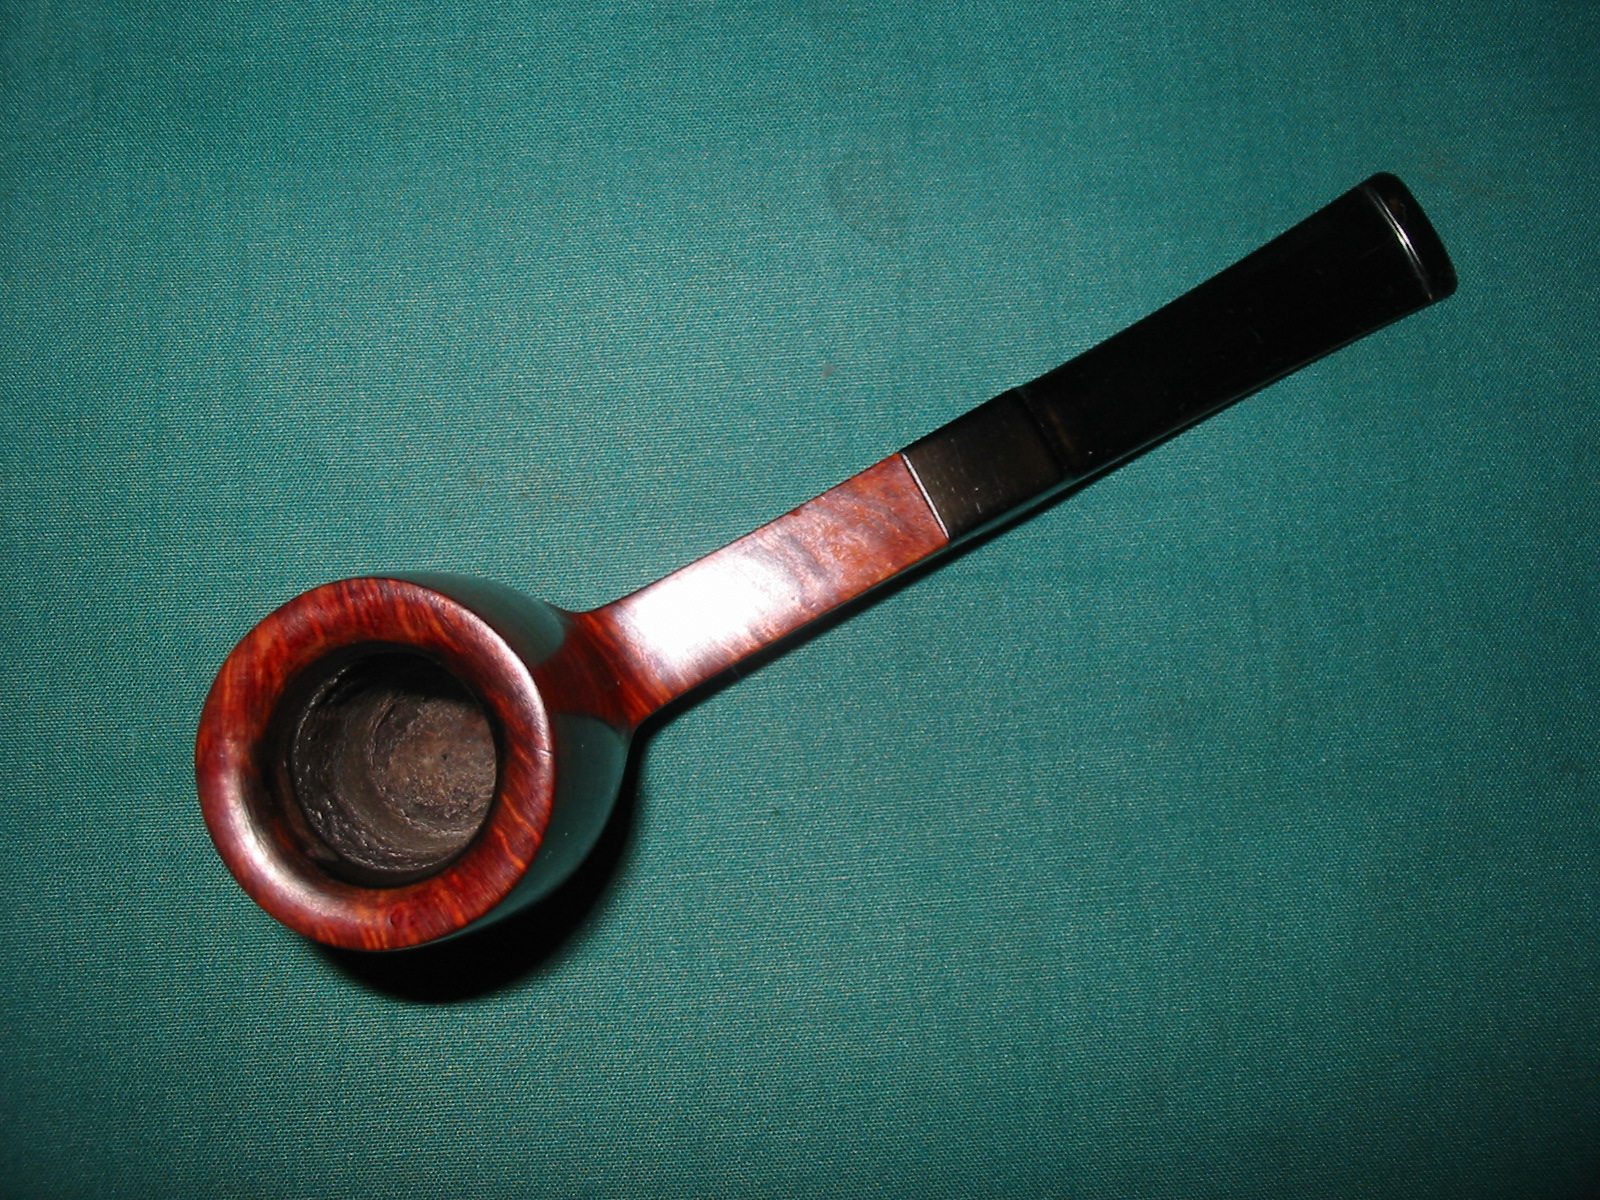
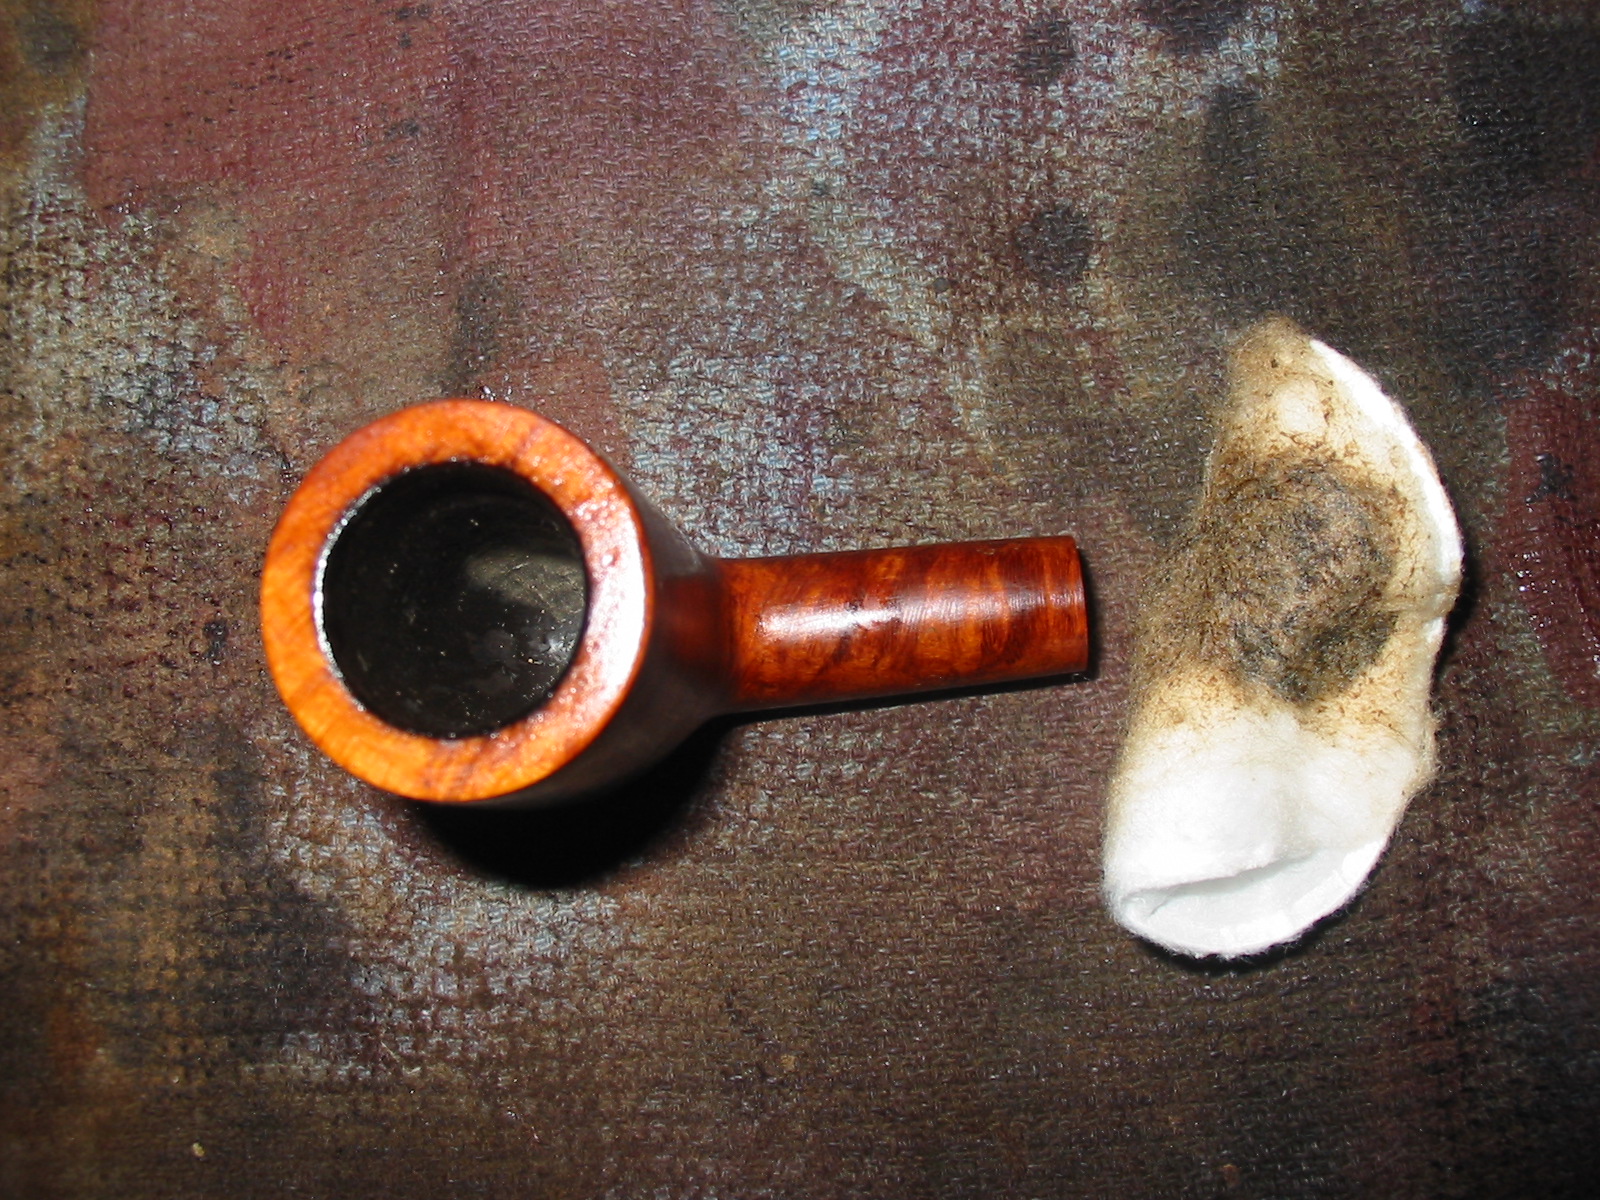
I took the next photo to show the damage on the rim. The inner edge was rough and the outer edge was also rough. There was tar build up under the varnish coat that had not been cleaned off before varnishing. The bowl was also coated with a black bowl coating.
IMG_3932

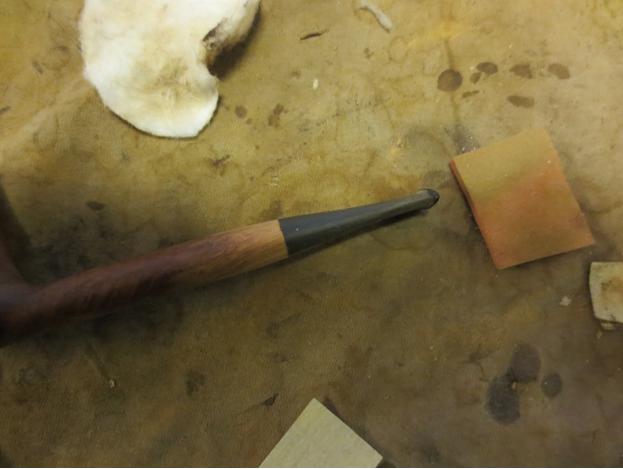
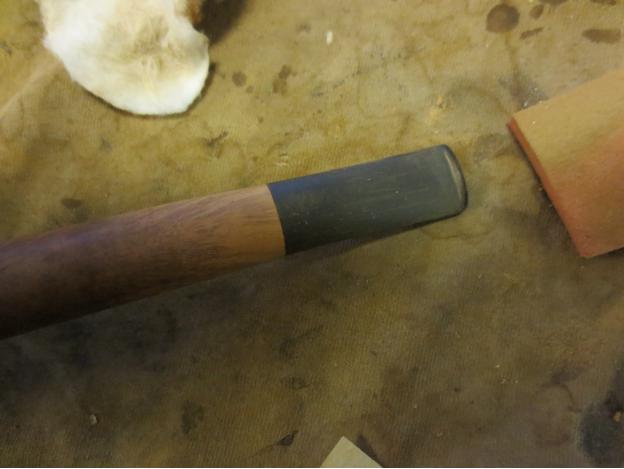
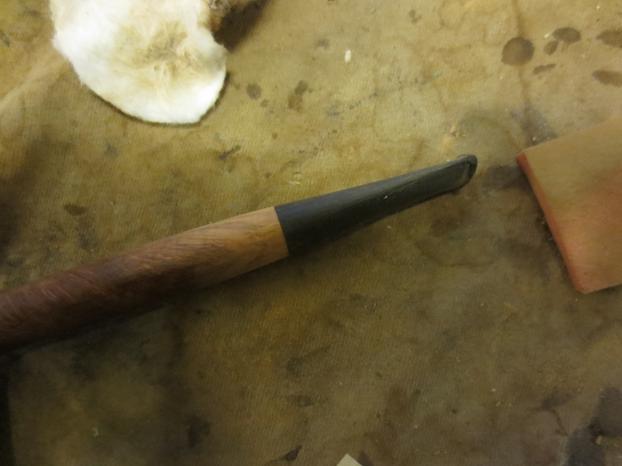
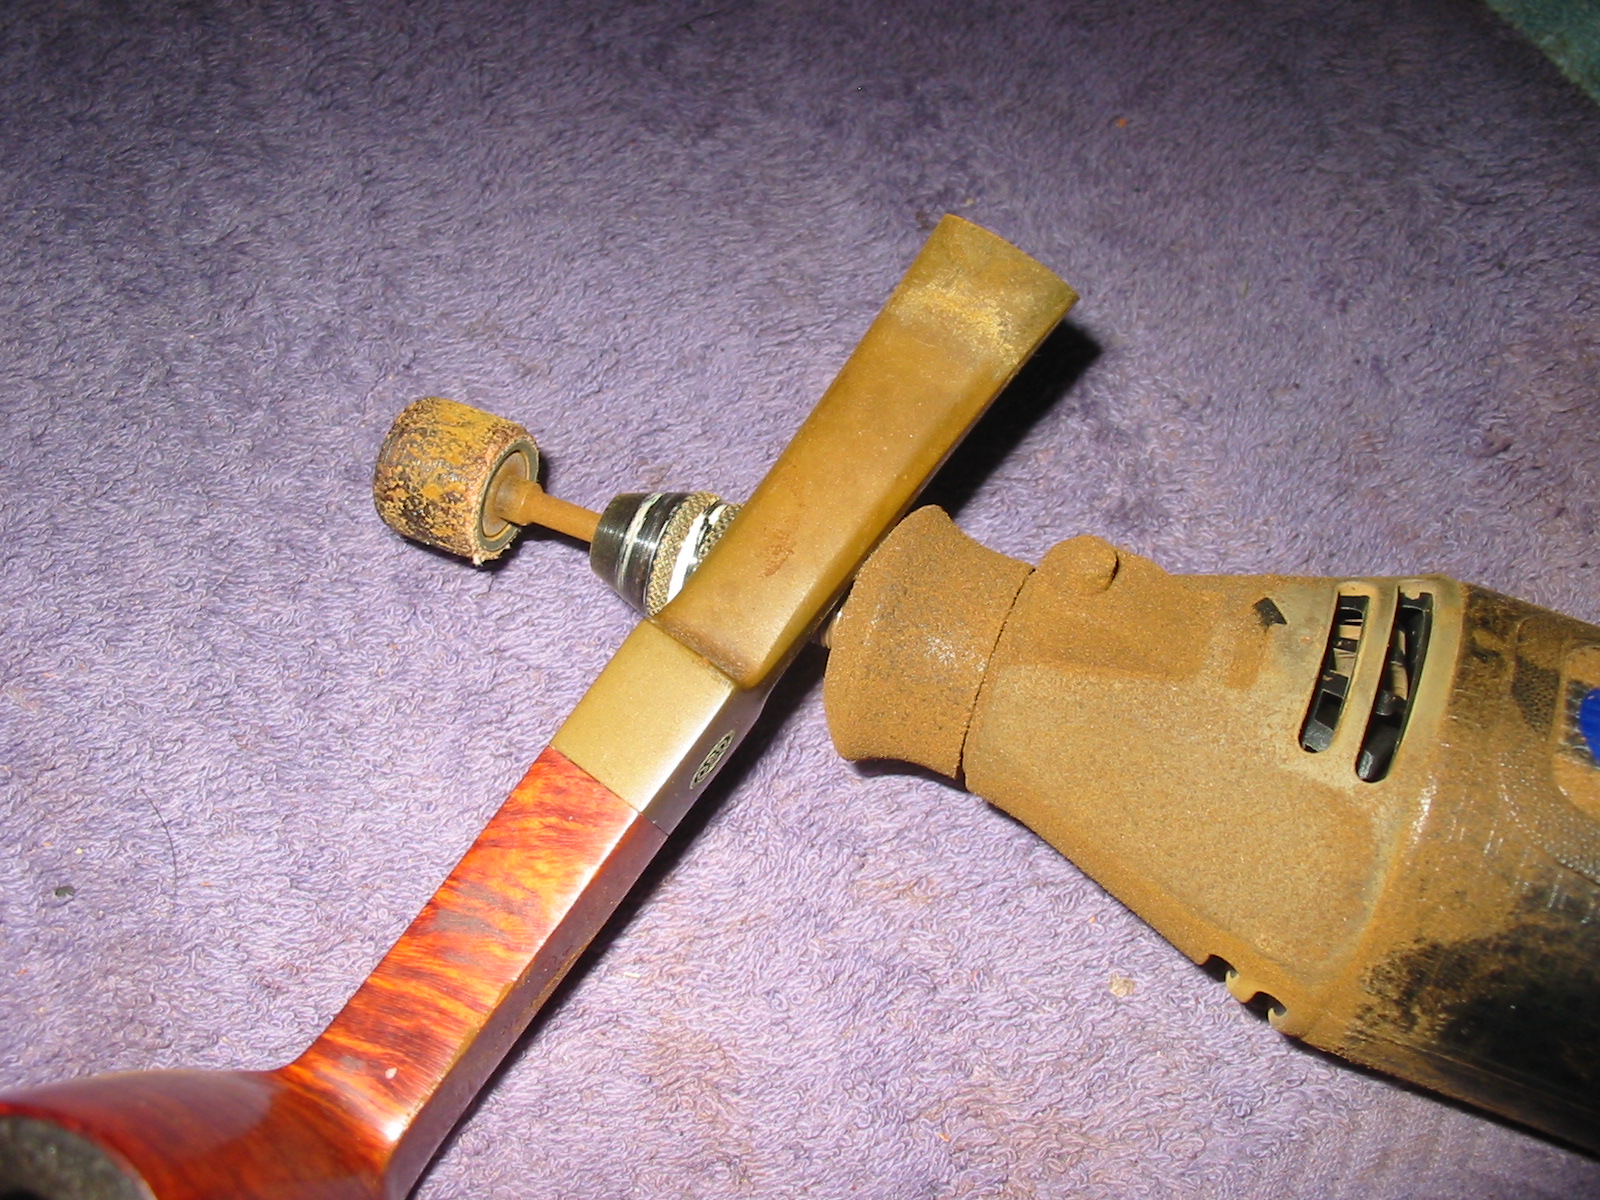
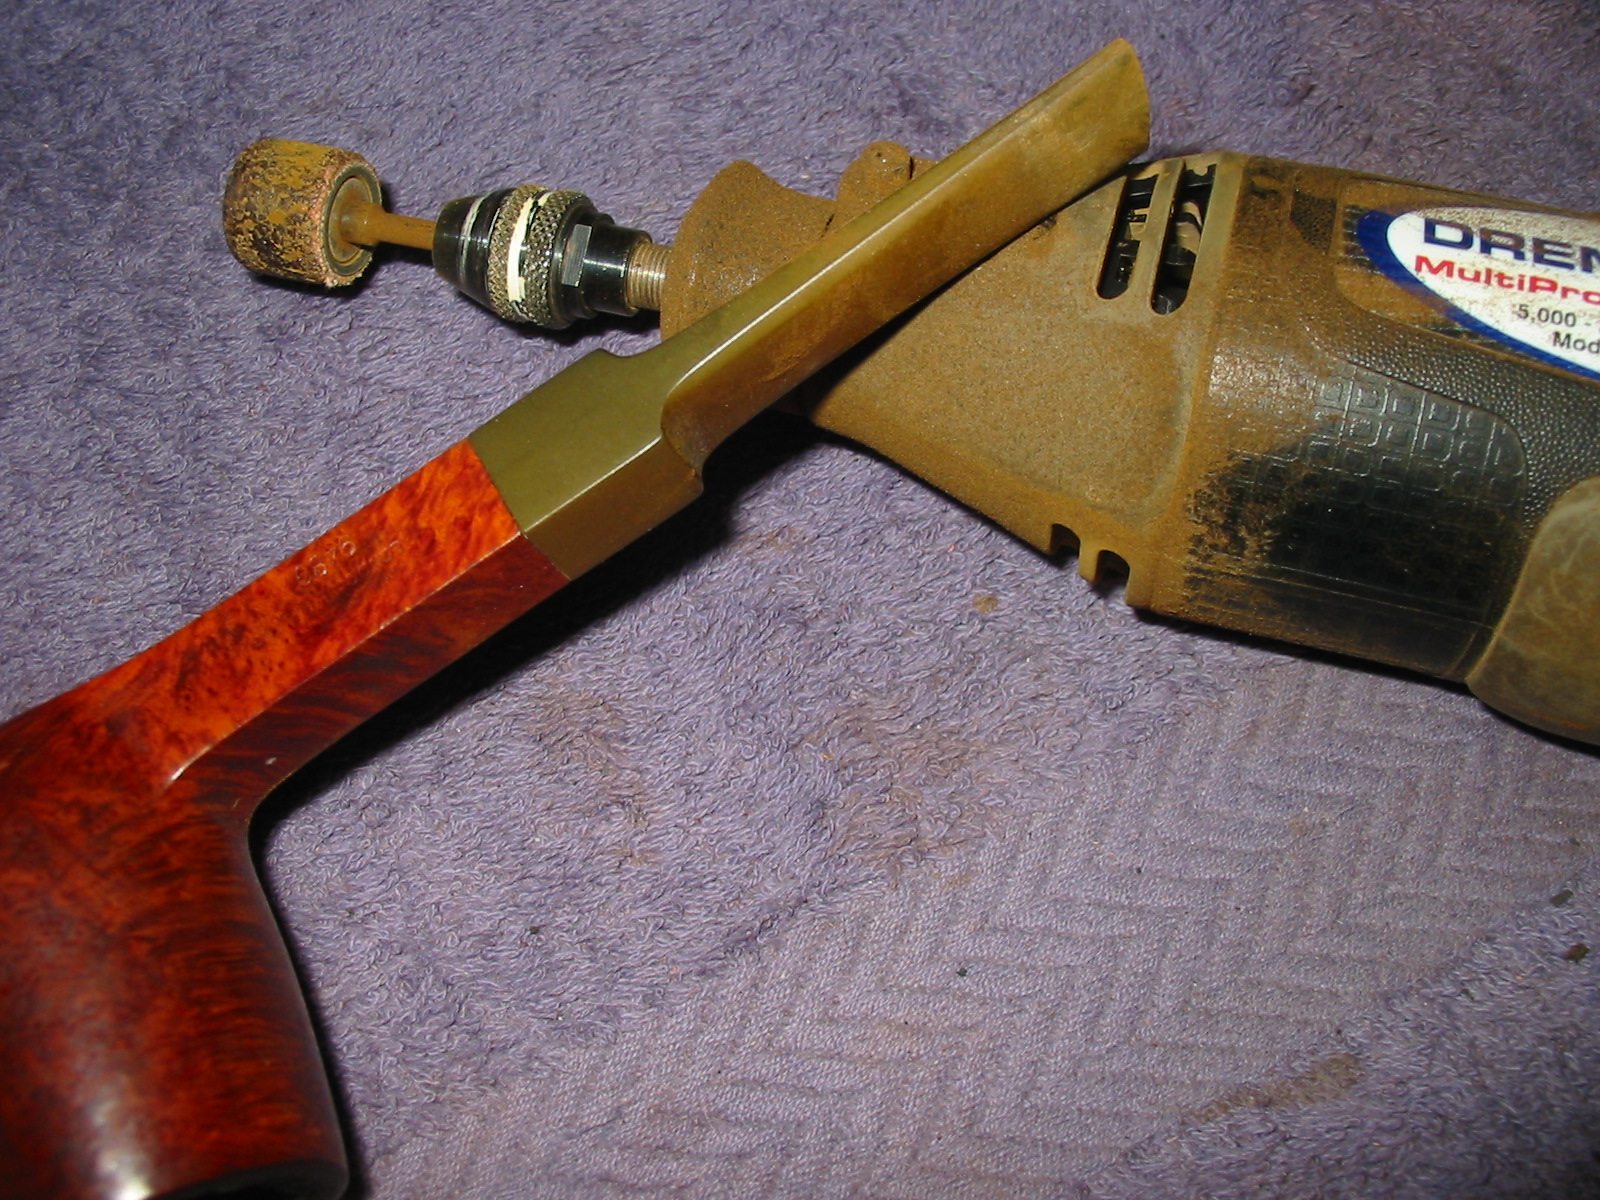
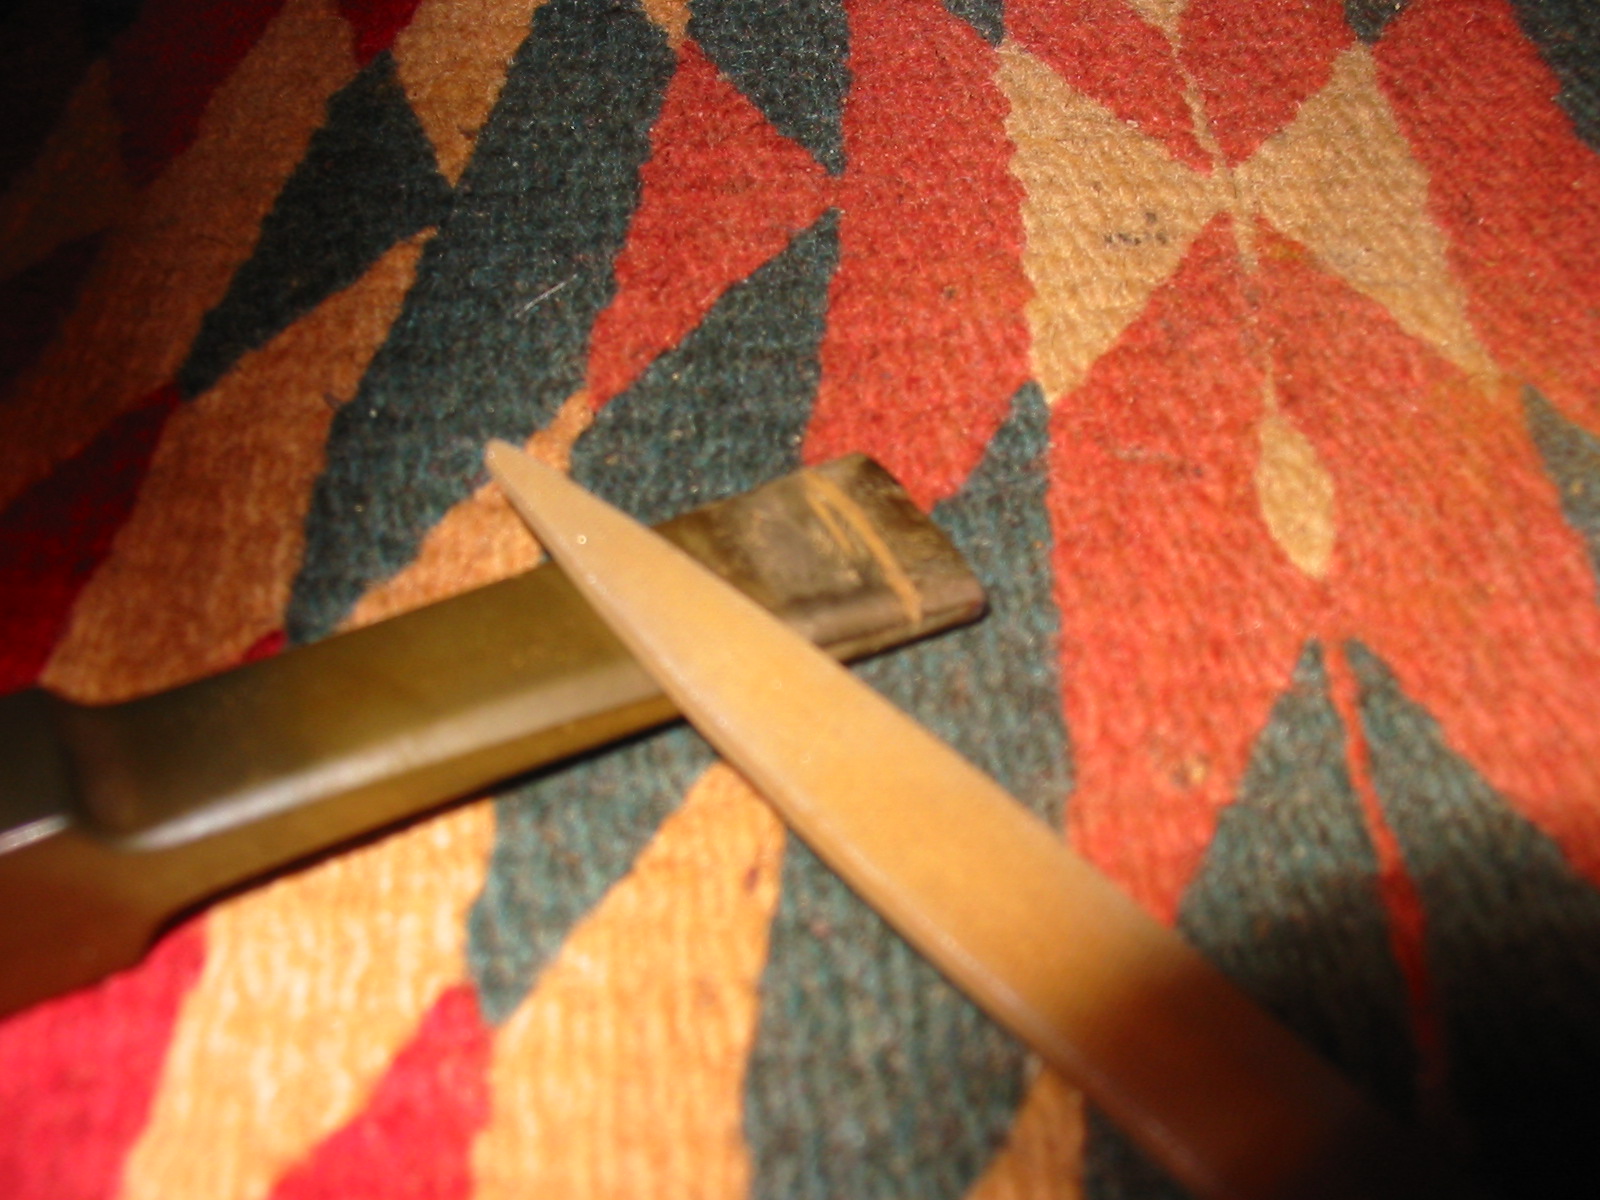
I sanded the top and bottom side of the stem with 20 grit sandpaper to smooth out the ripples in the vulcanite and remove the remainder of the tooth marks. Once I had them removed I worked on the bowl.
IMG_3935

IMG_3936

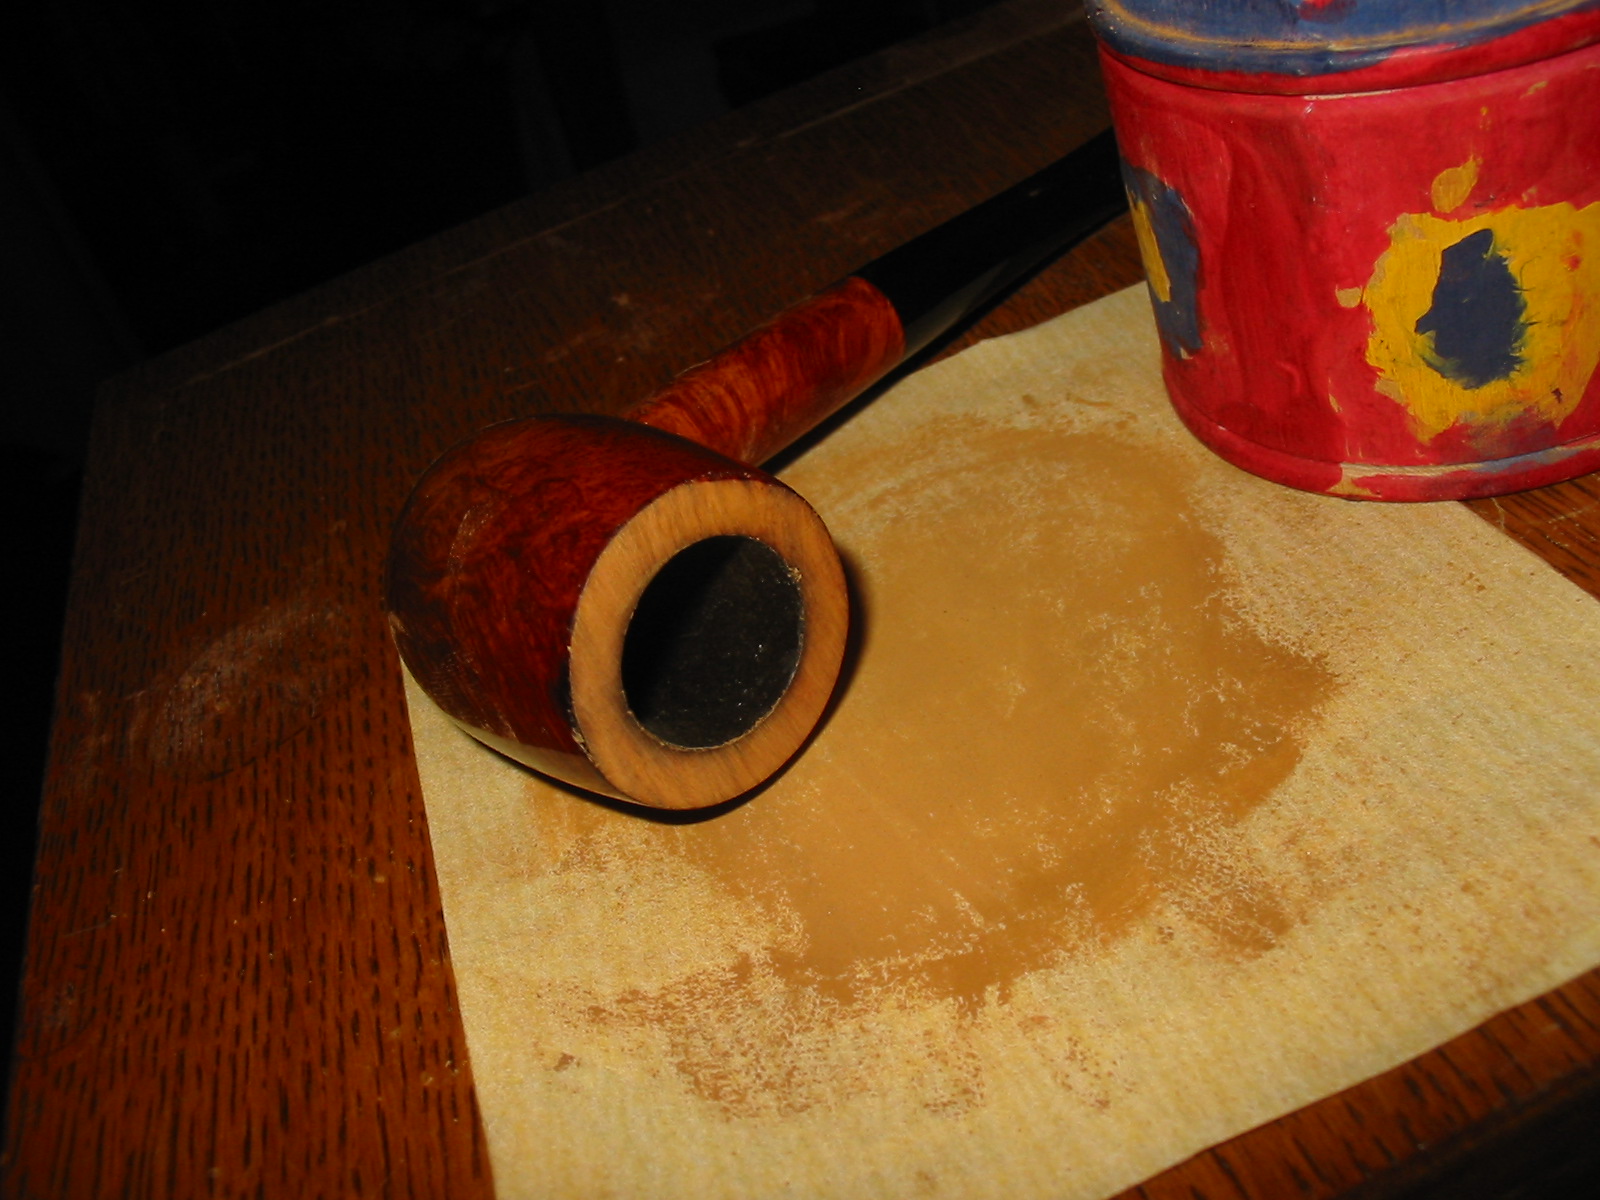
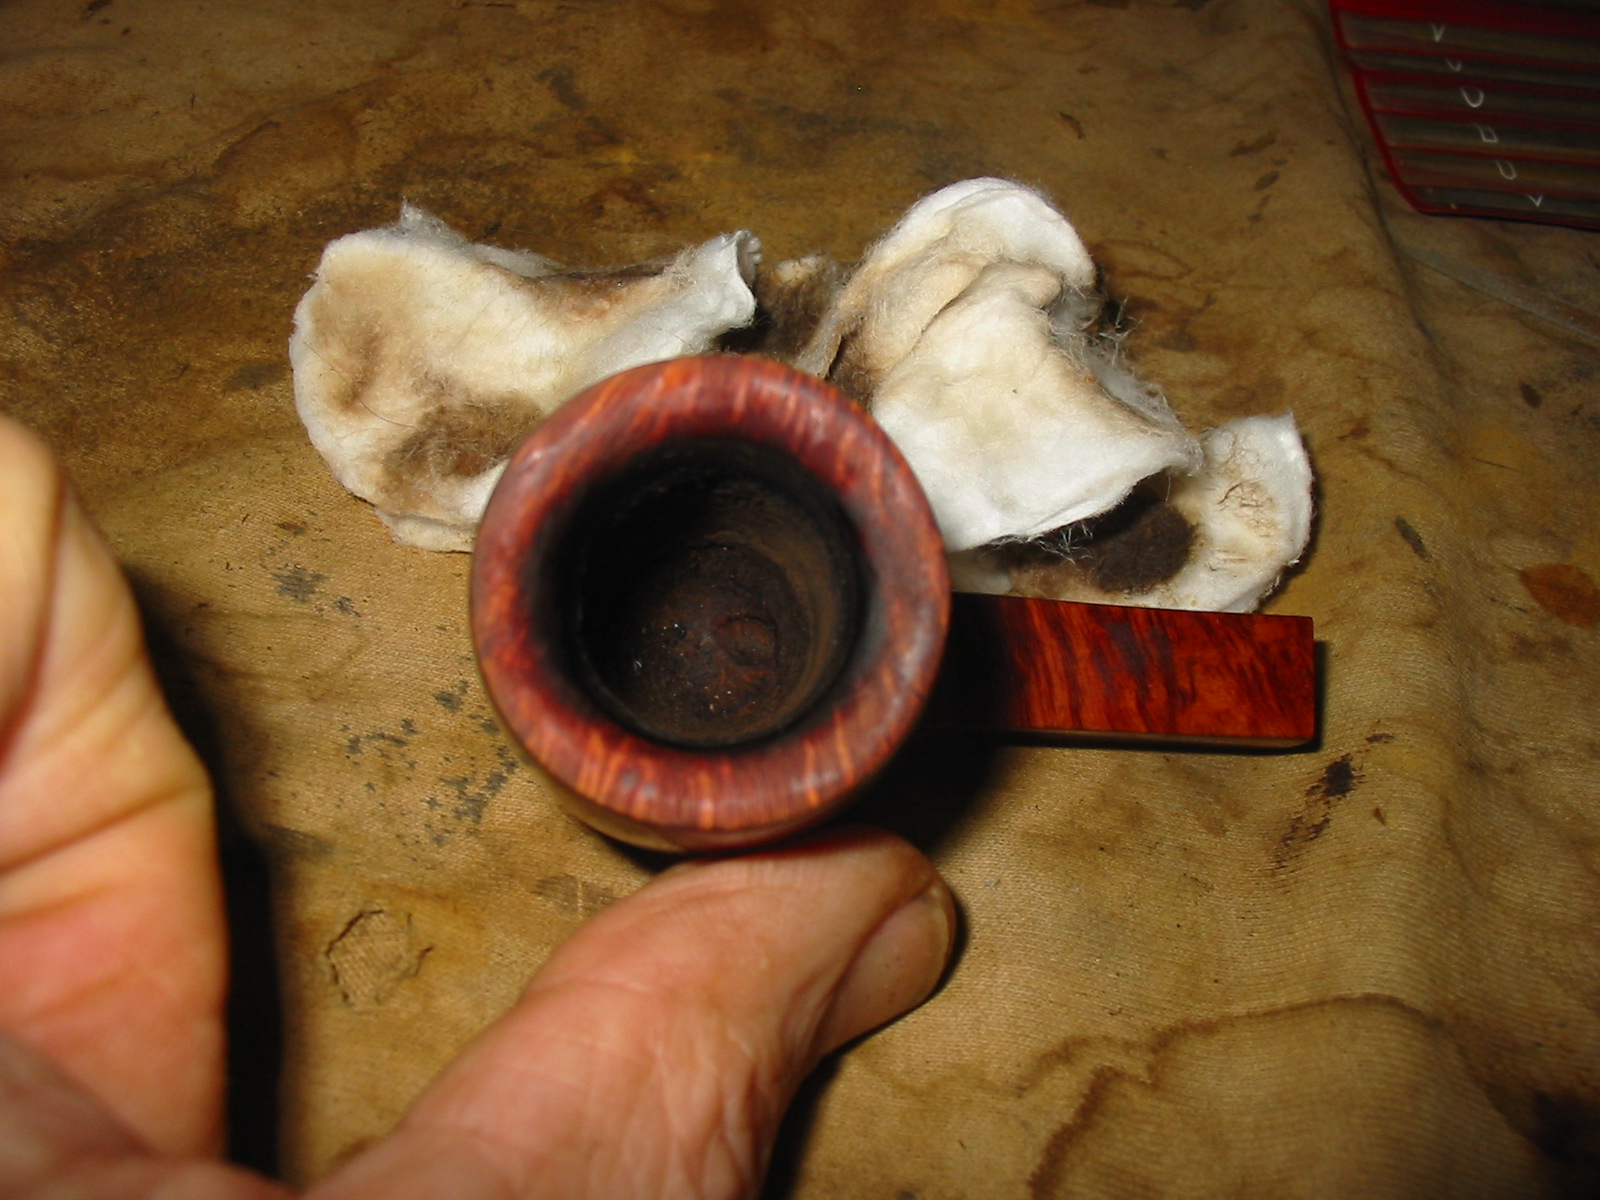
I topped the bowl on the sandpaper and flat board as is my usual method. I took off enough briar to make the top smooth and the outer edge sharp as well. I sanded the inner edge with a folded piece of sandpaper to smooth out the damage there as well. The next two photos show the topping process and the sanding of the inner edge.
IMG_3938

IMG_3939

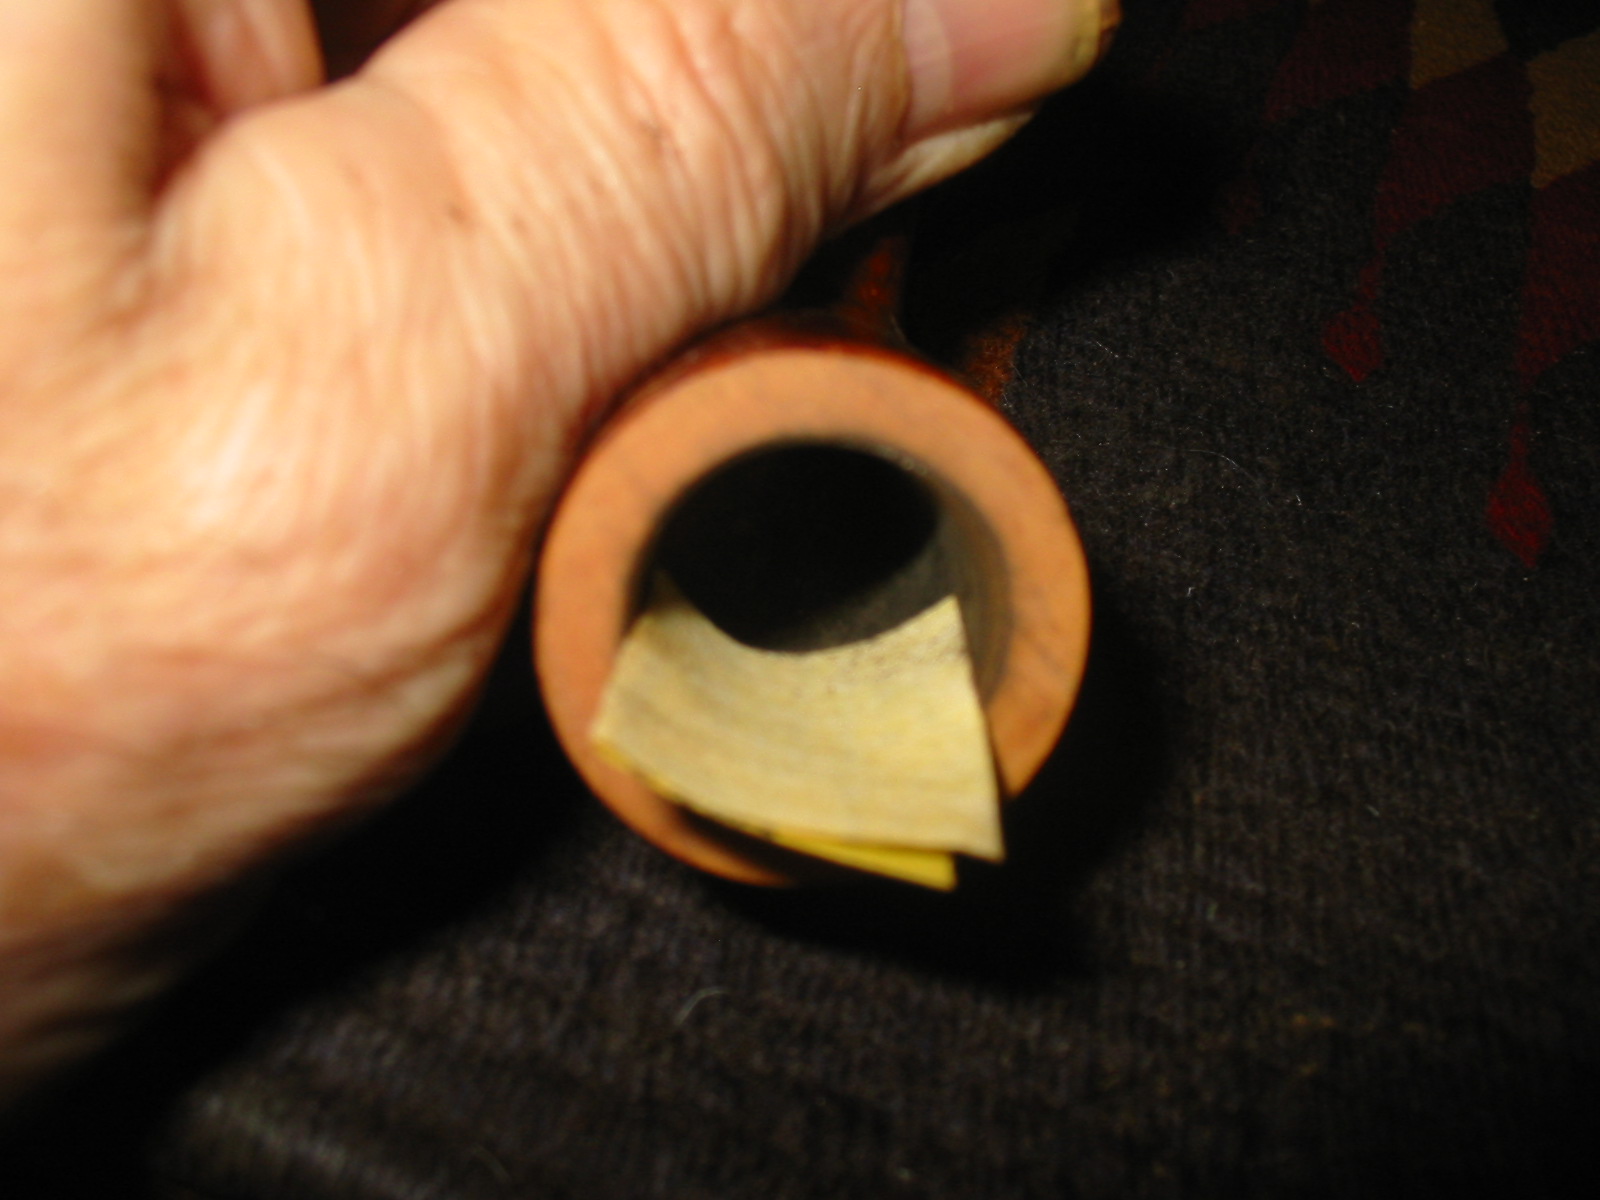
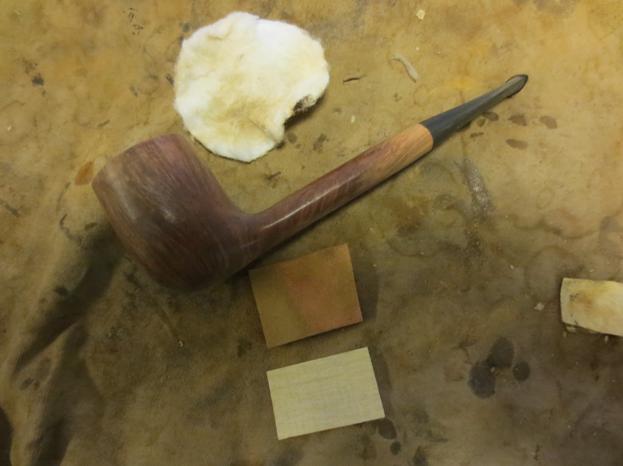
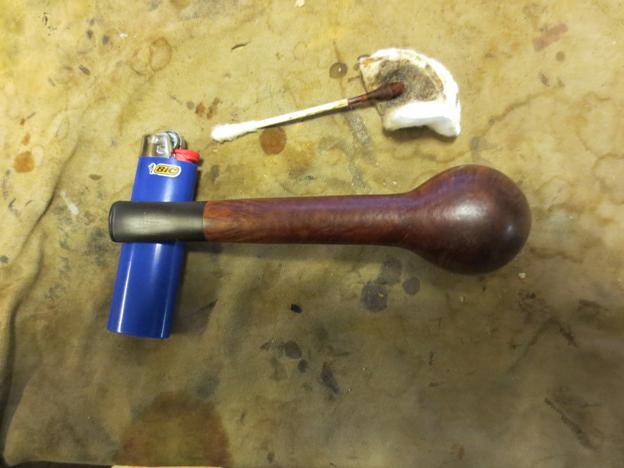
The interior of the shank and stem were filthy and needed a lot of work with Everclear, pipe cleaners and cotton swabs. The photo below shows the first lot that was used but by the time I was finished cleaning the shank I had used about twice that number.
IMG_3940

I wiped down the surface of the bowl with acetone on cotton pads to remove the varnish coat and the finish. I wanted to remove as much of it as possible so that when I restained the rim it would be easier to match.
IMG_3941

IMG_3942

IMG_3943

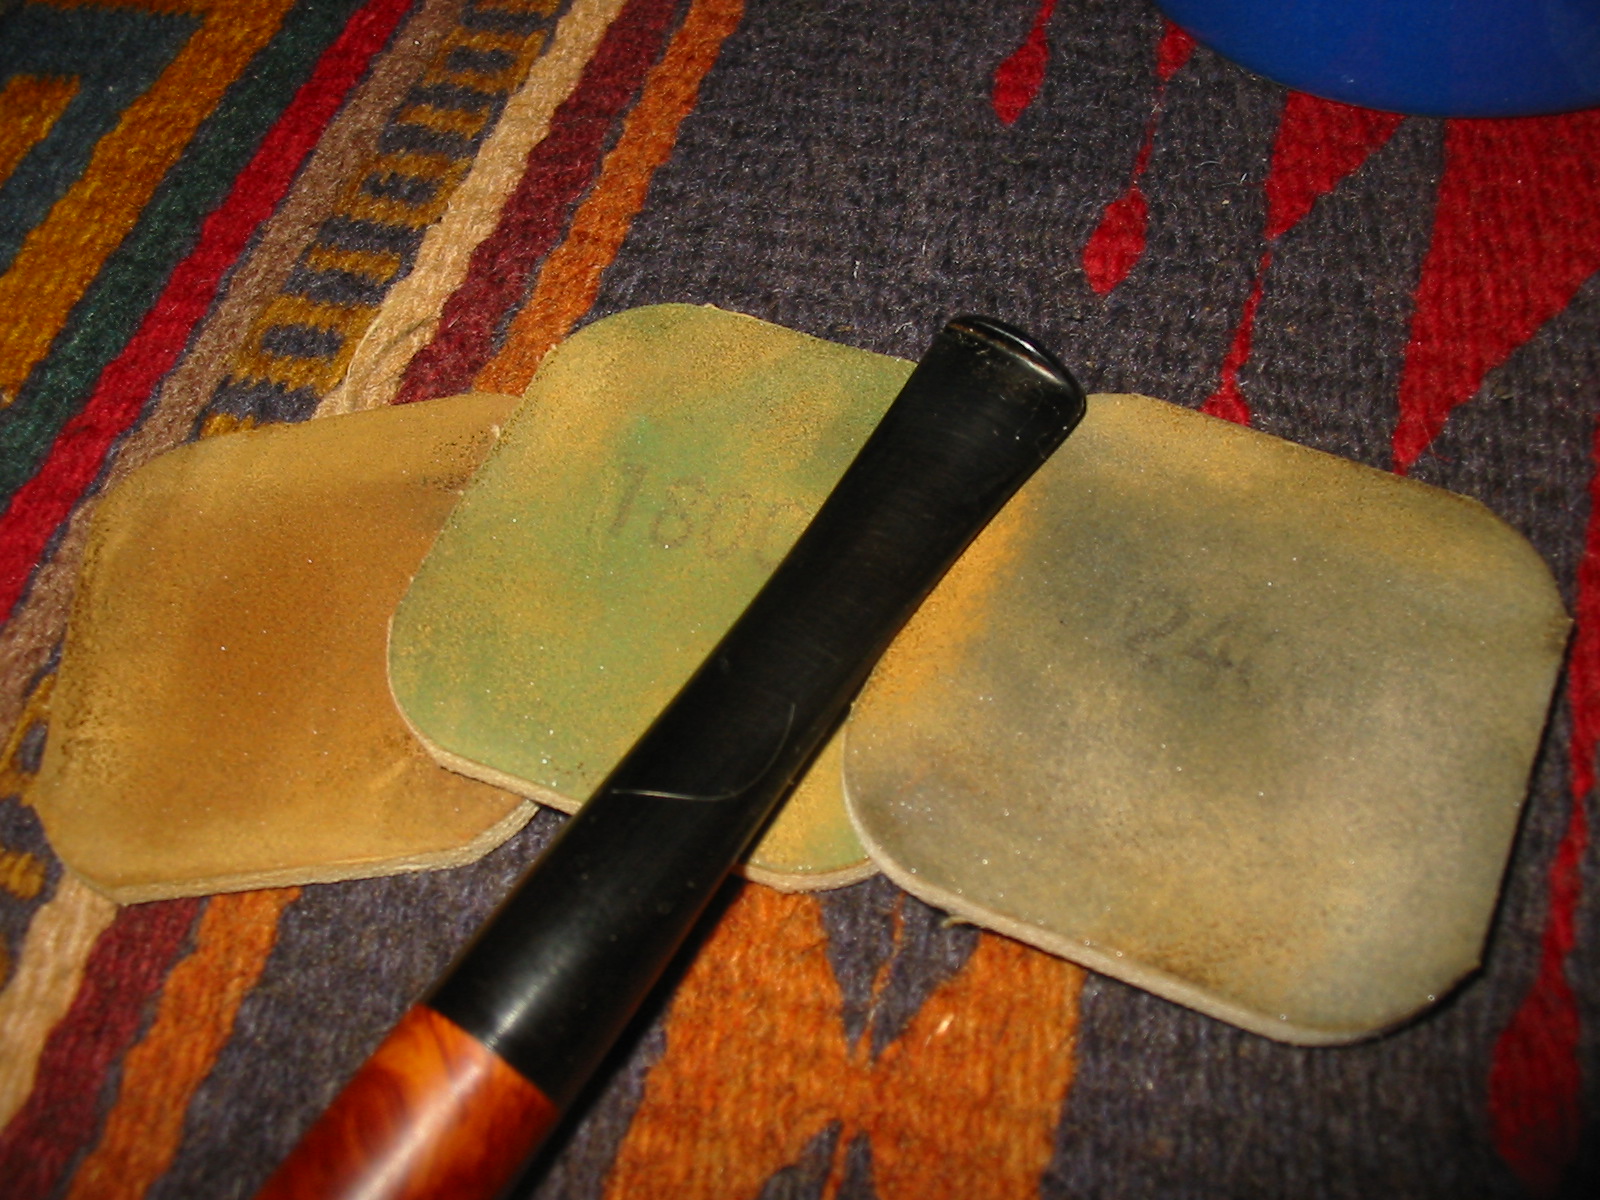
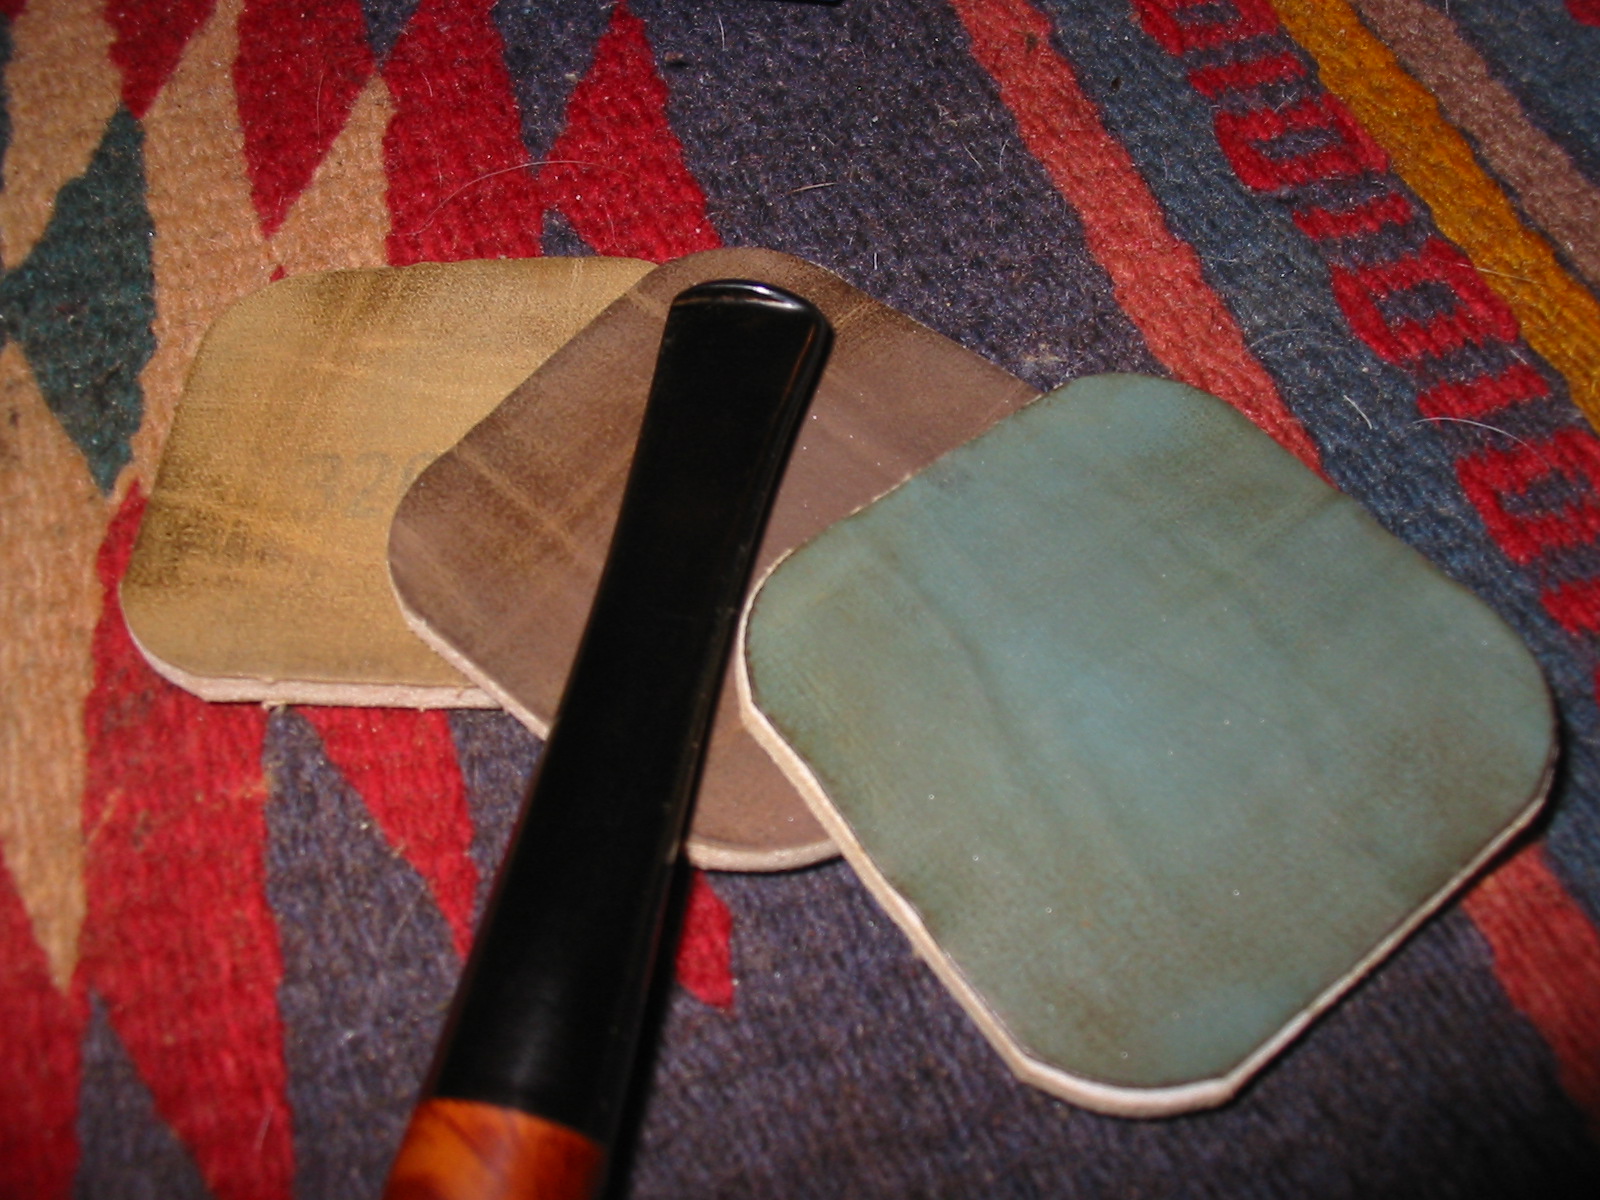
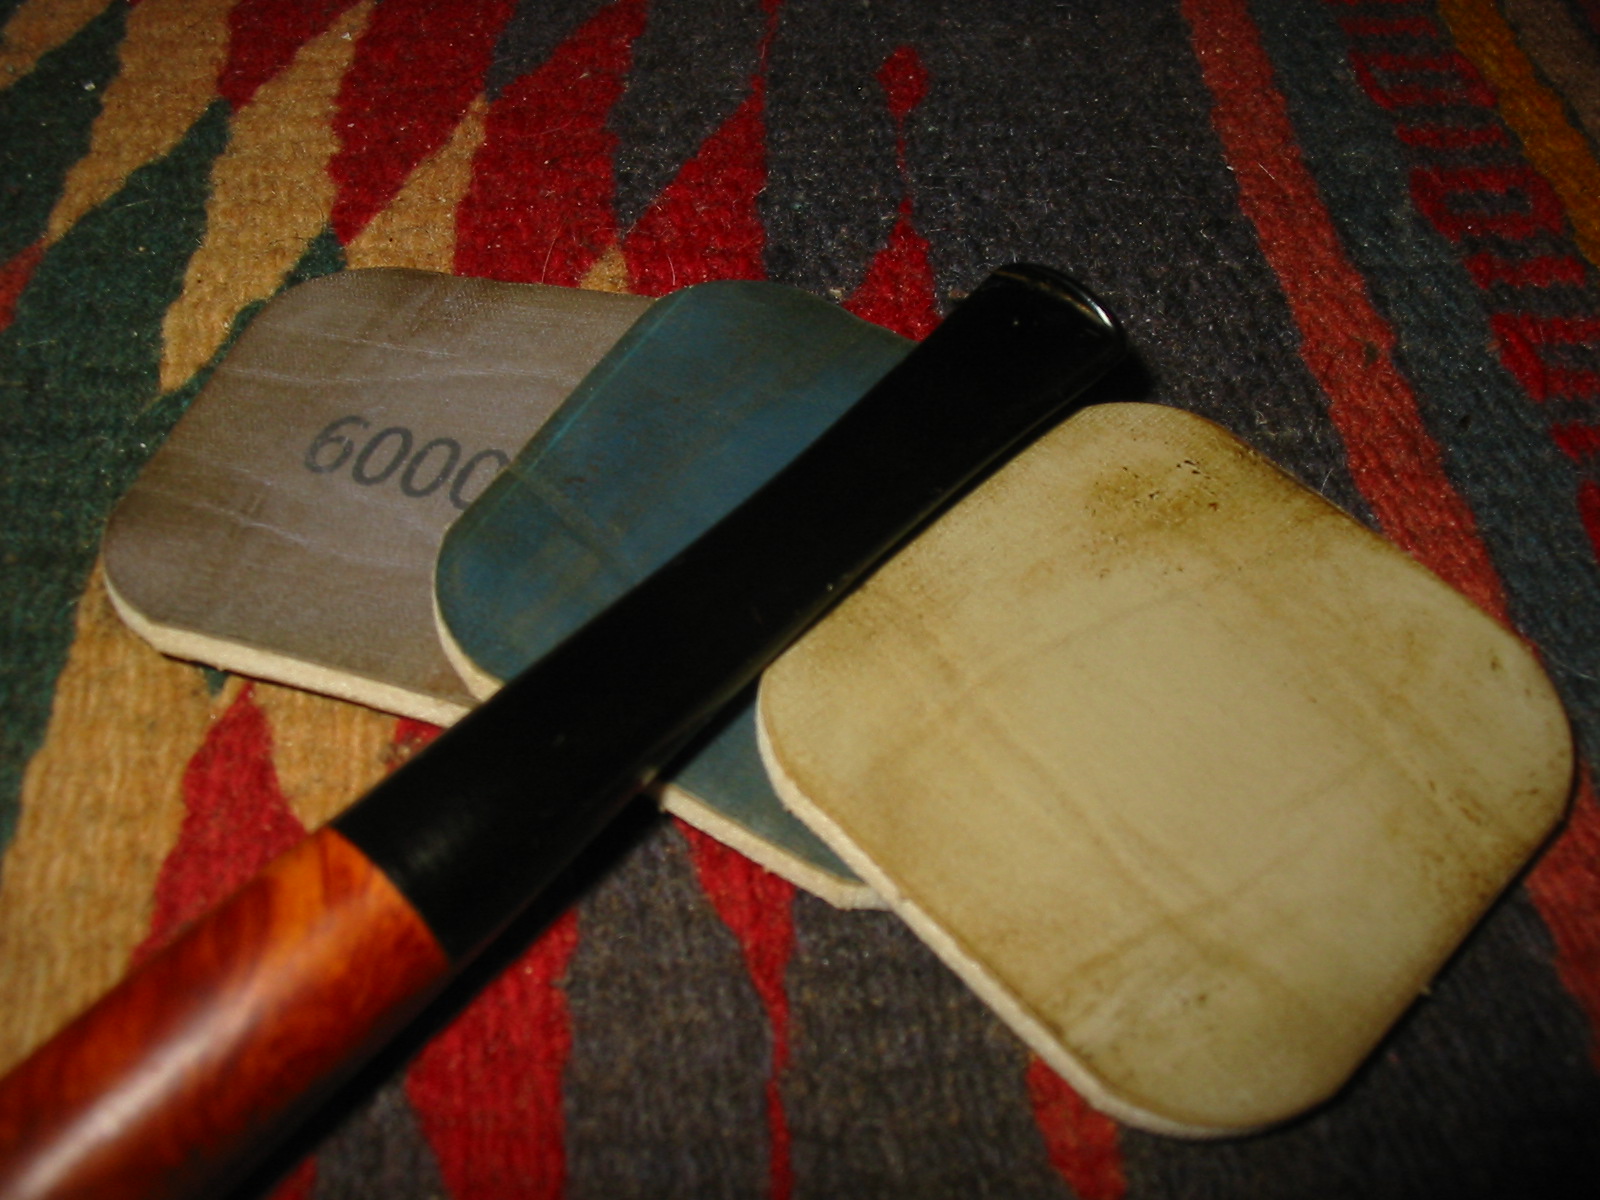
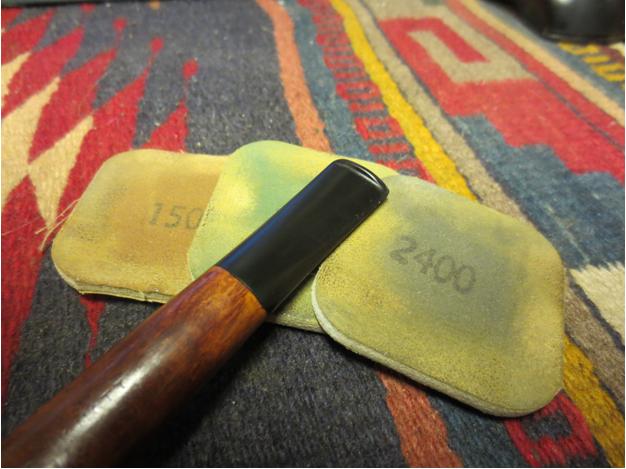
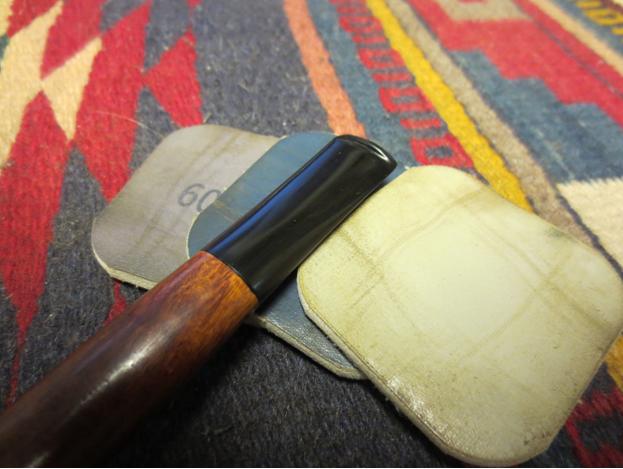
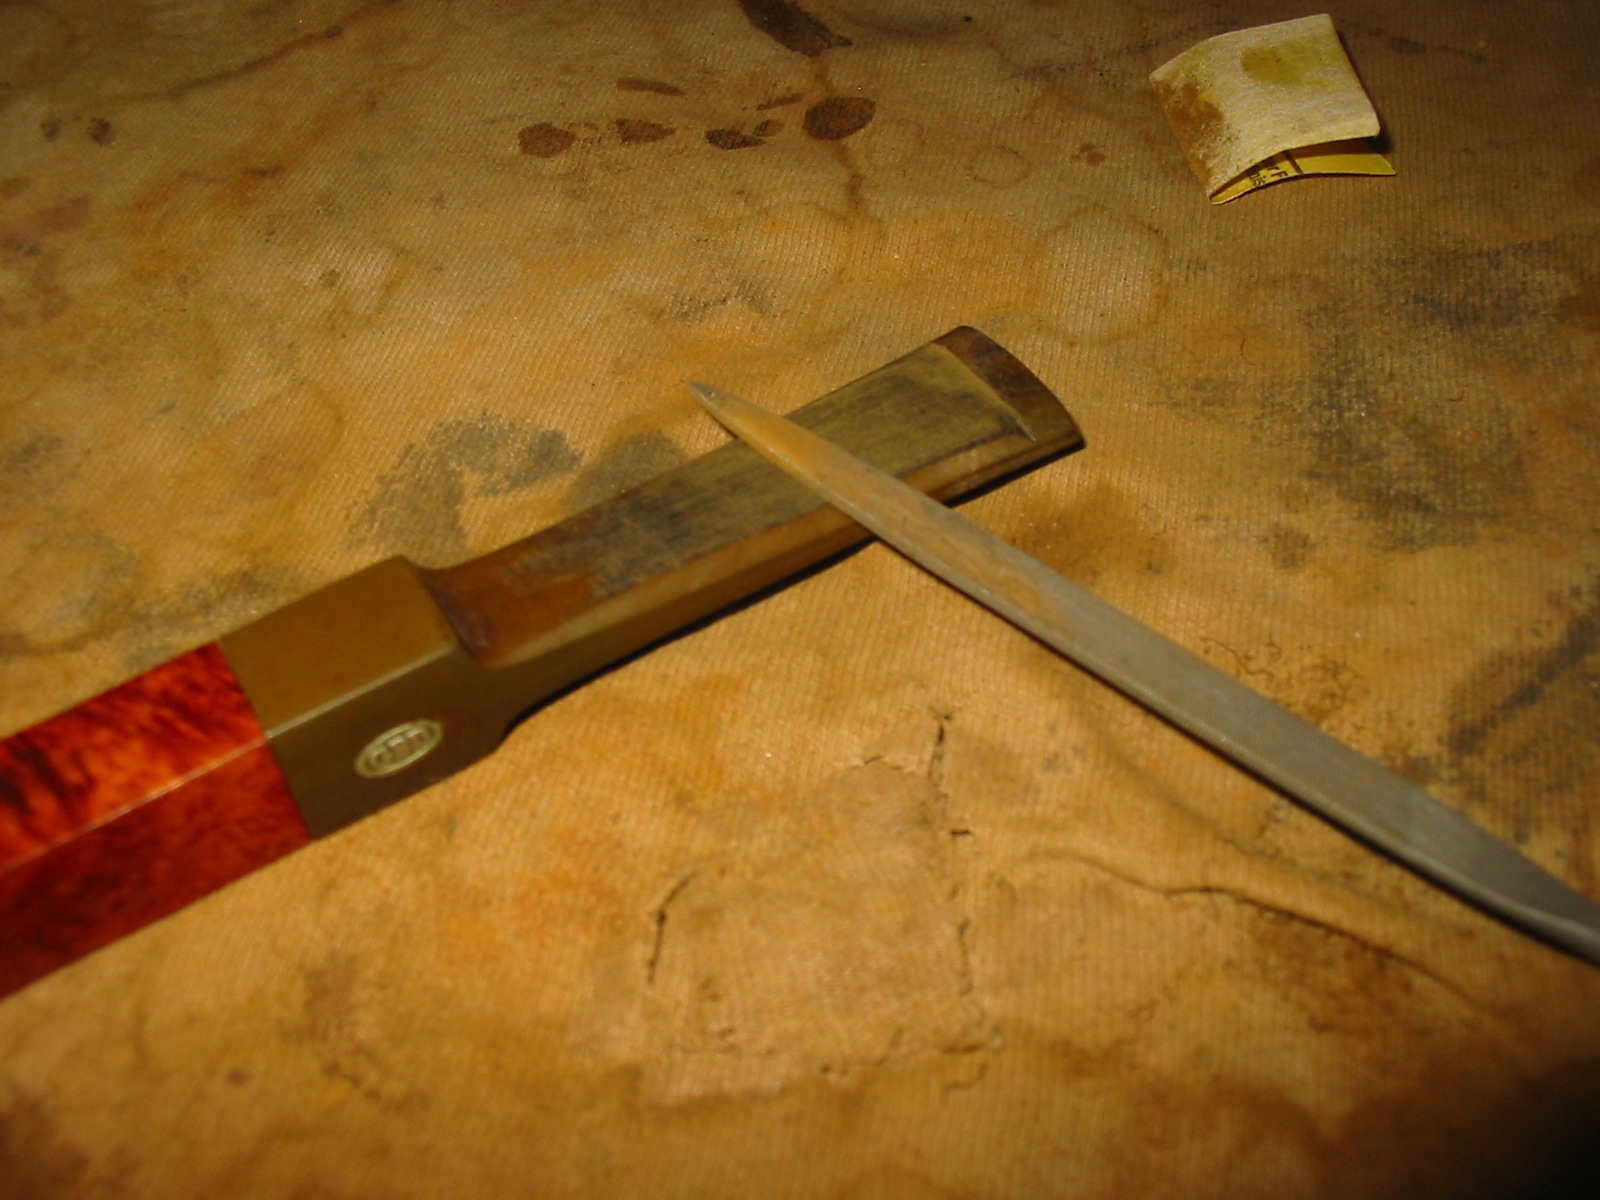
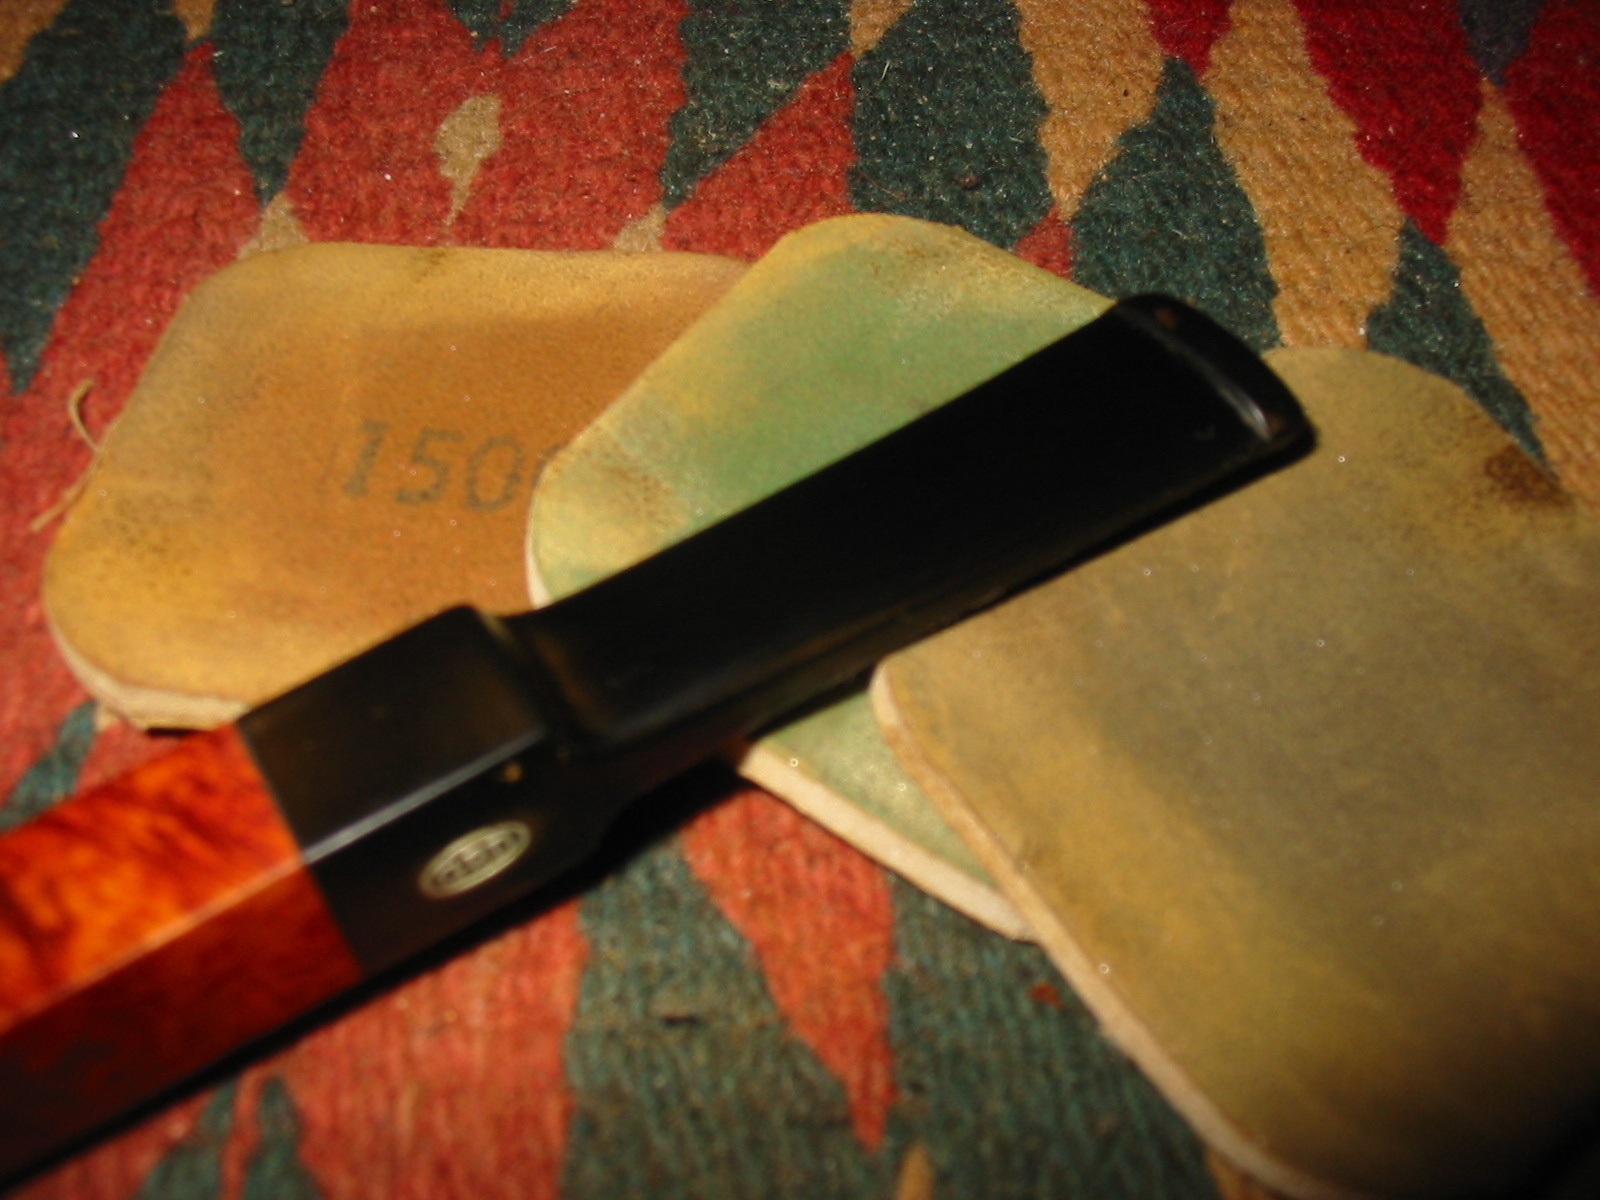
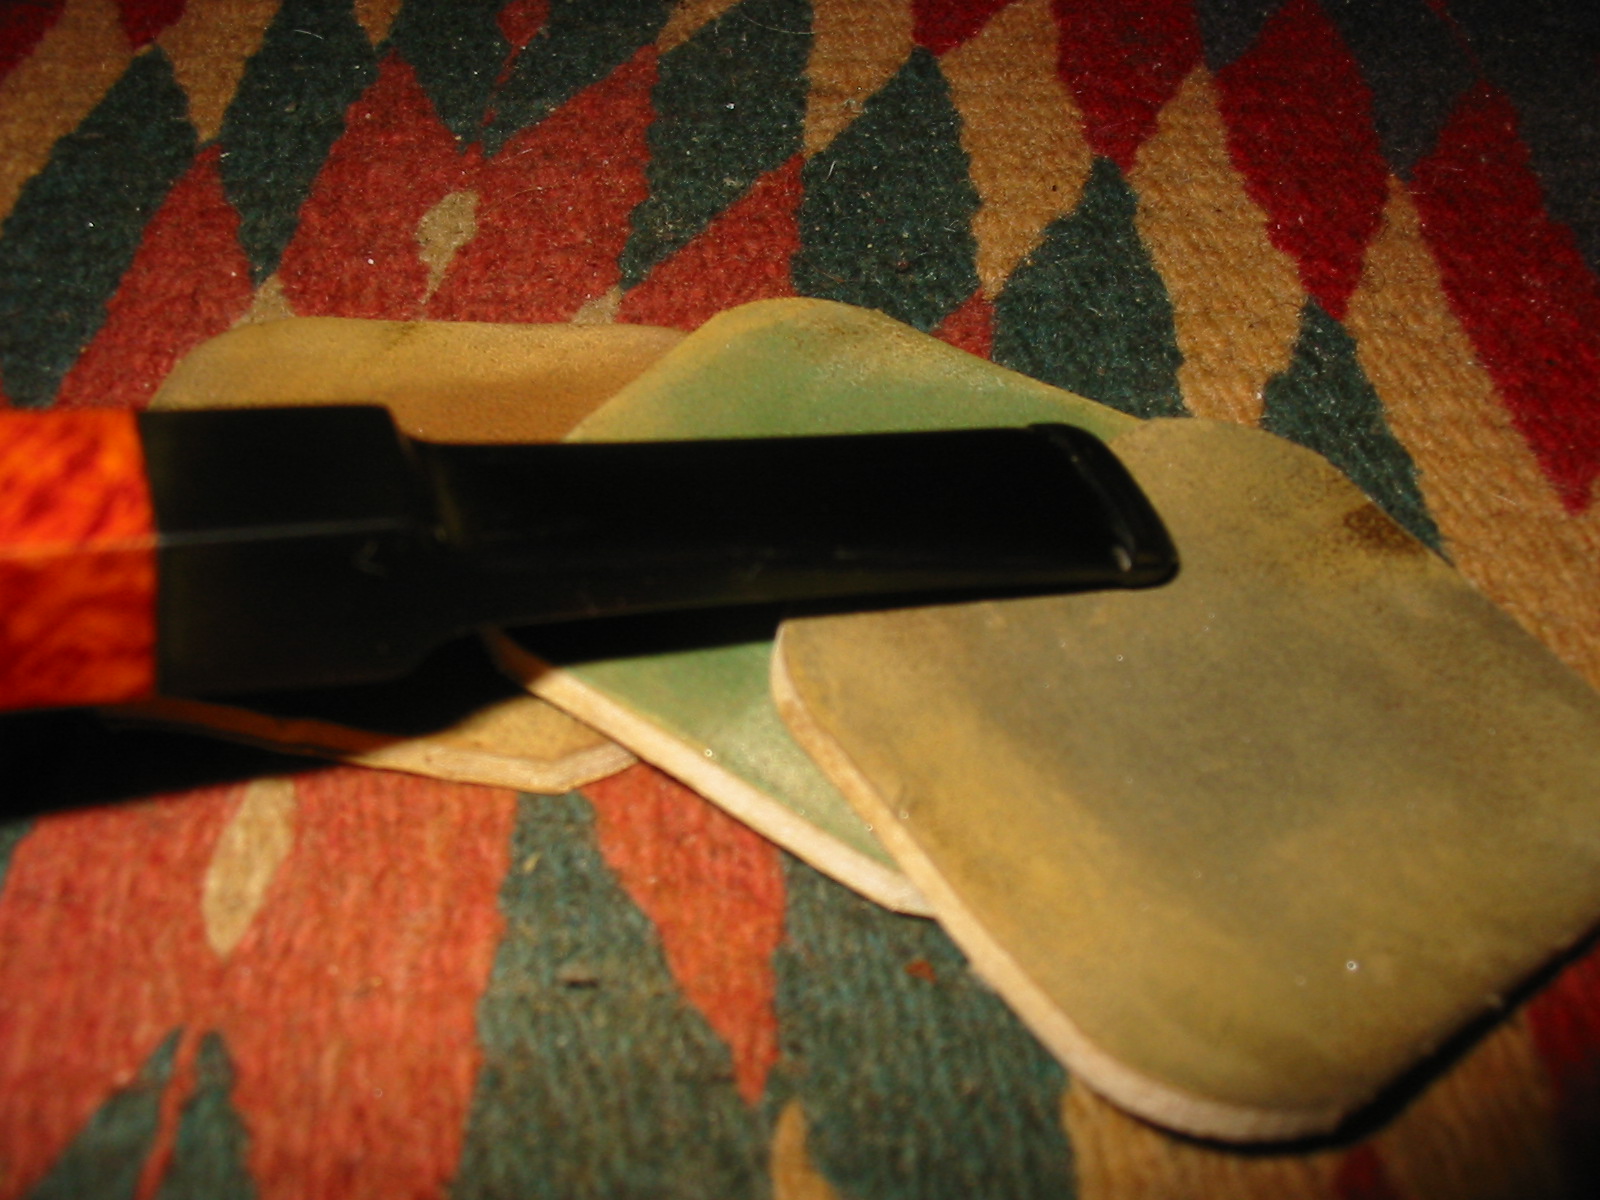
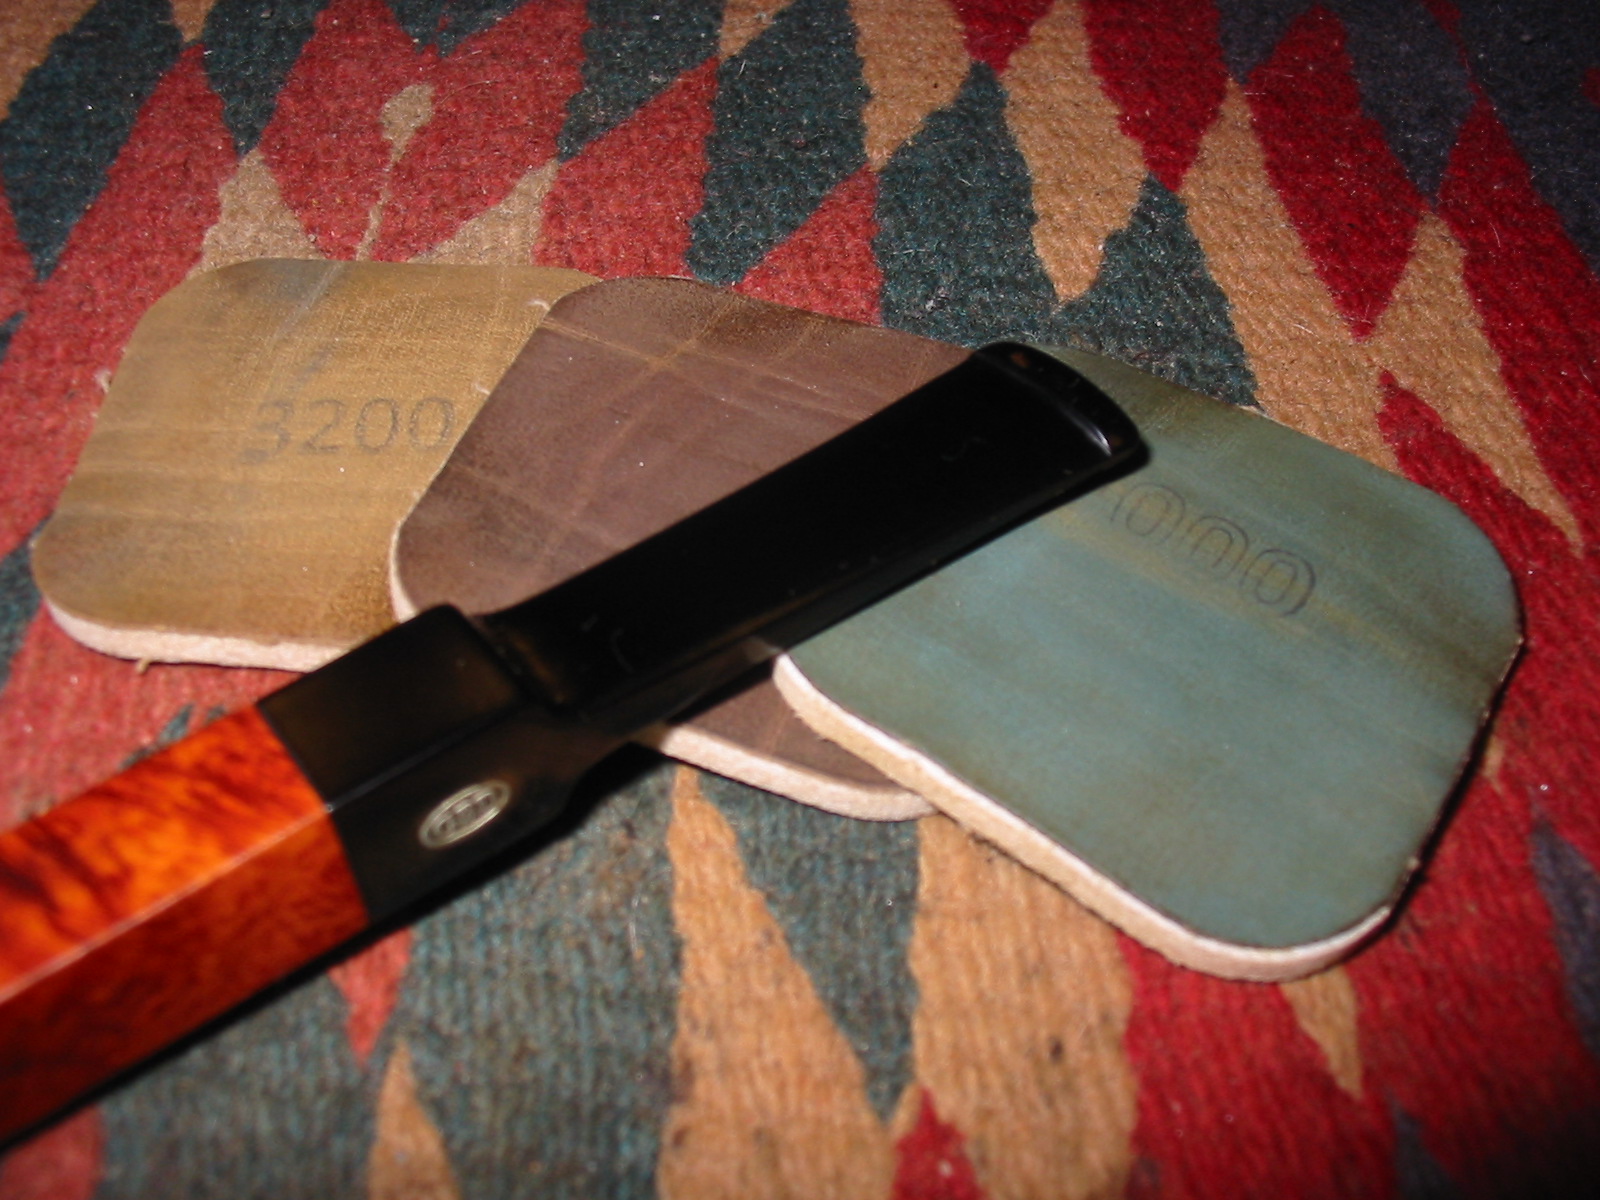
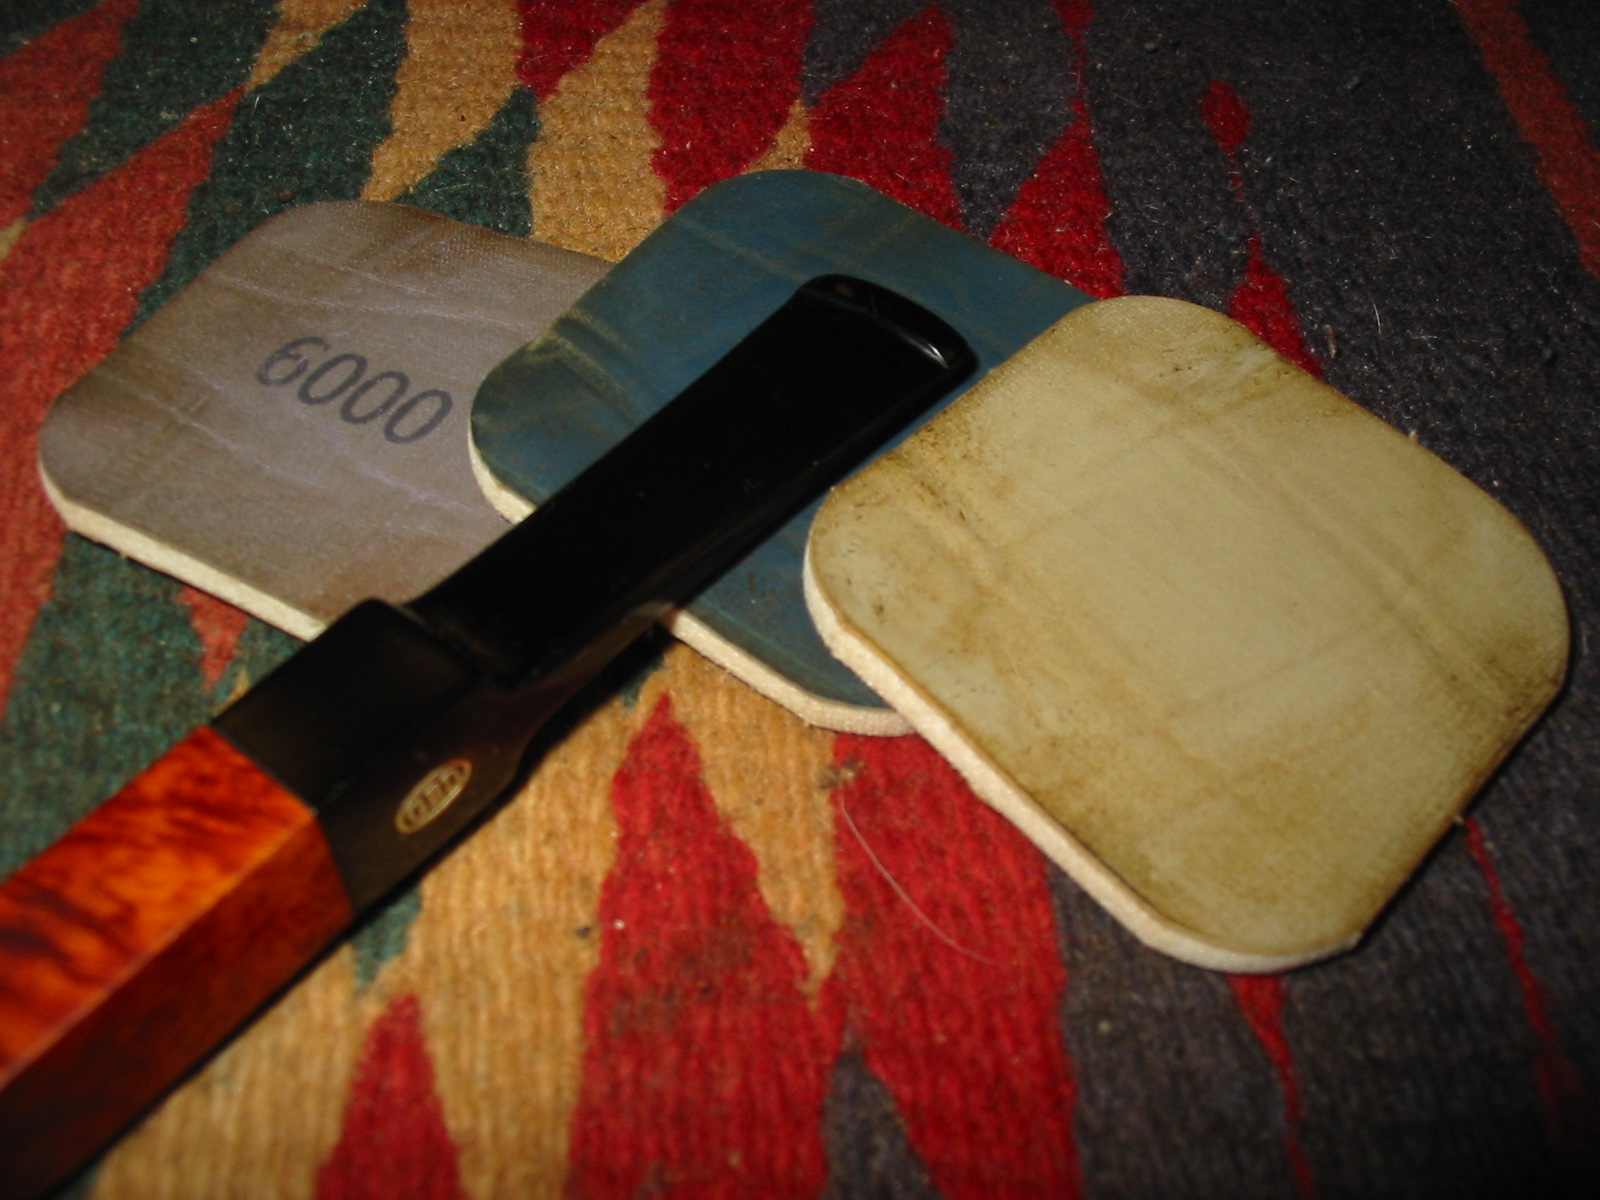
I sanded the stem with a medium grit sanding sponge and then with my usual array of micromesh sanding pads. I wet sanded with 1500-2400 grit pads and dry sanded with 3200-12,000 grit pads. I buffed the stem in between the wet sanding and the dry sanding with red Tripoli because I wanted to see what I had to work with and if I had removed the rippling on the vulcanite. I had so I went on to the dry sanding. When I had finished I buffed the stem with White Diamond and then rubbed it down with Obsidian Oil and put it aside to dry.
IMG_3944

IMG_3945

IMG_3946

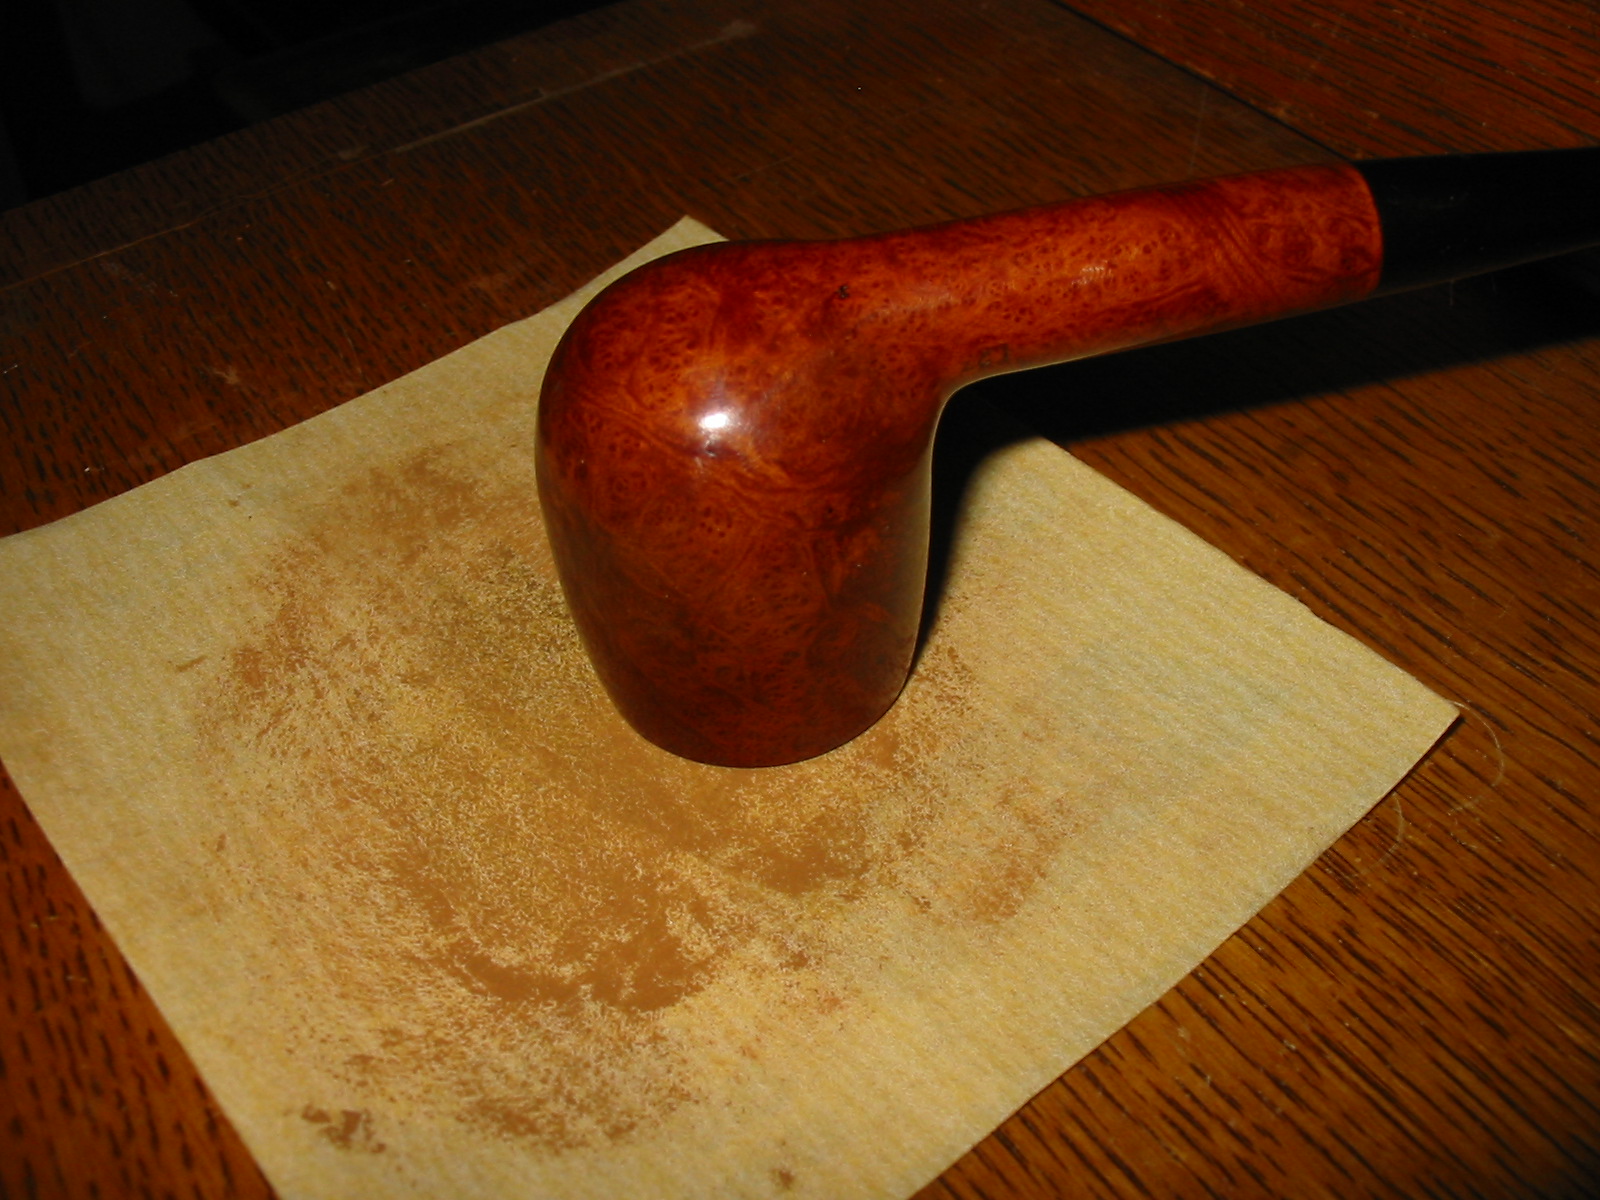
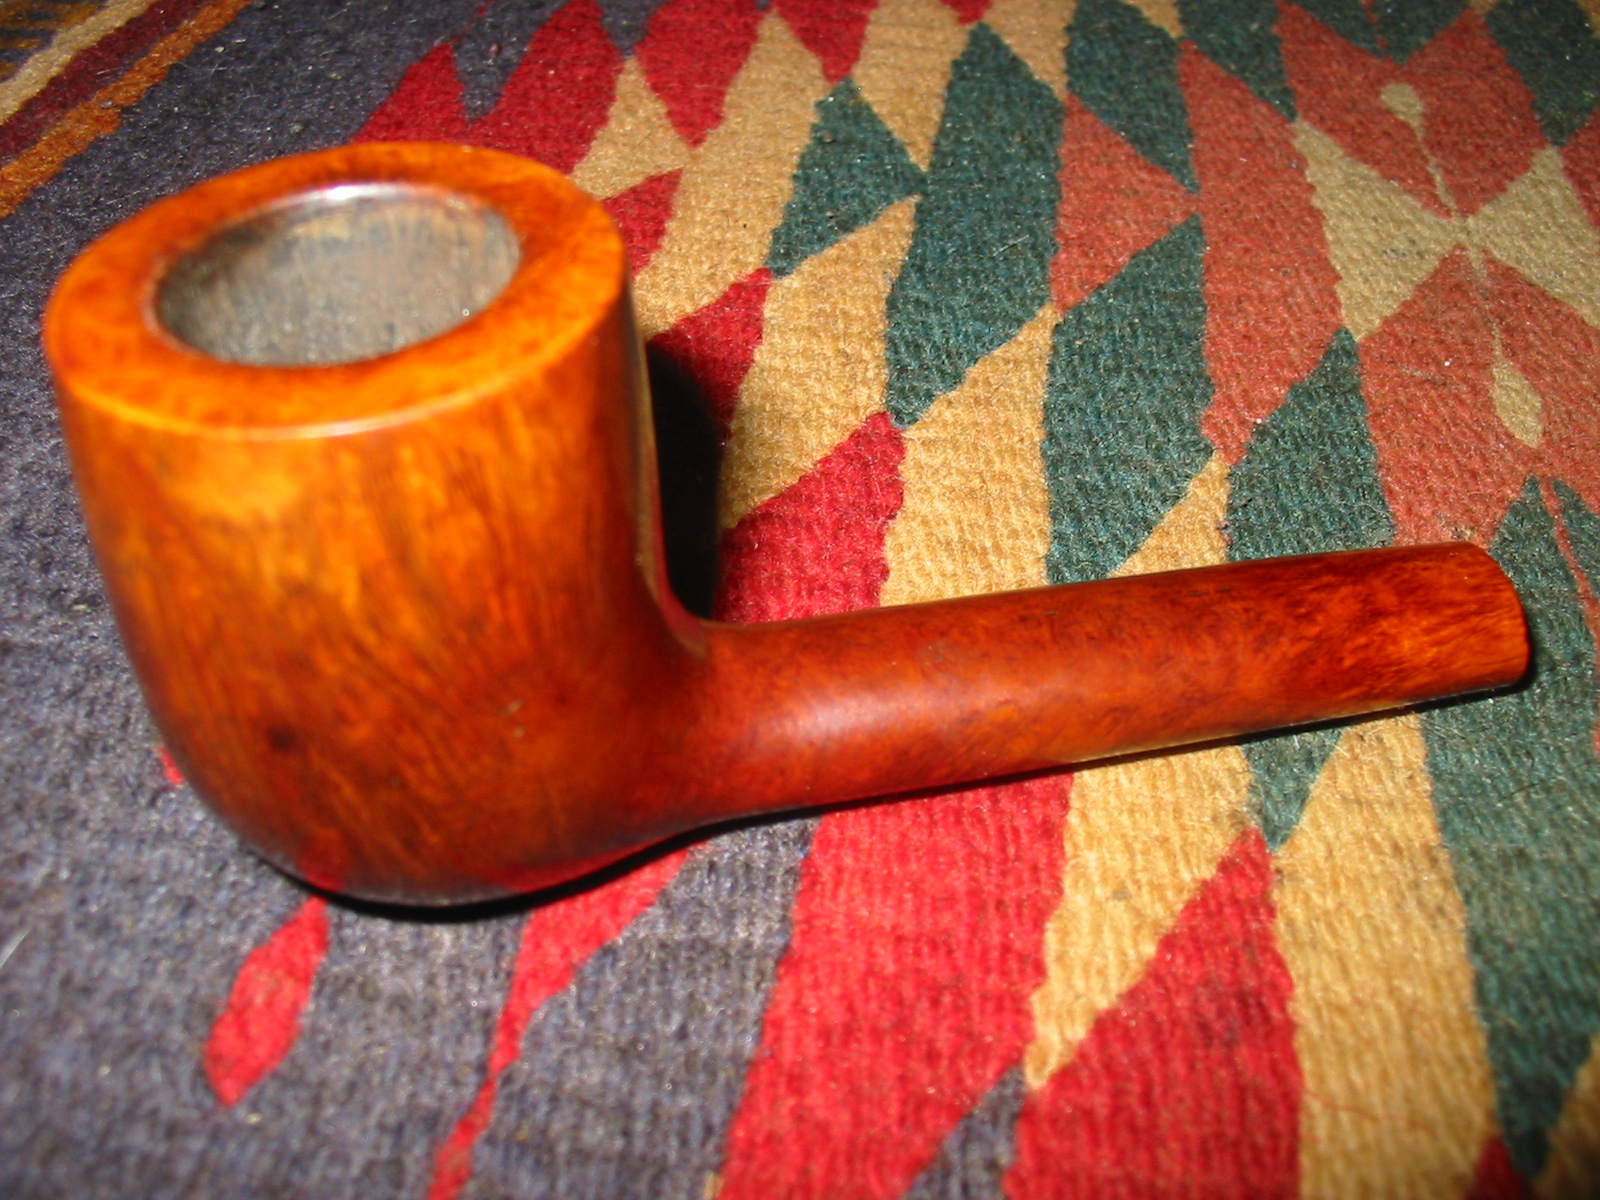
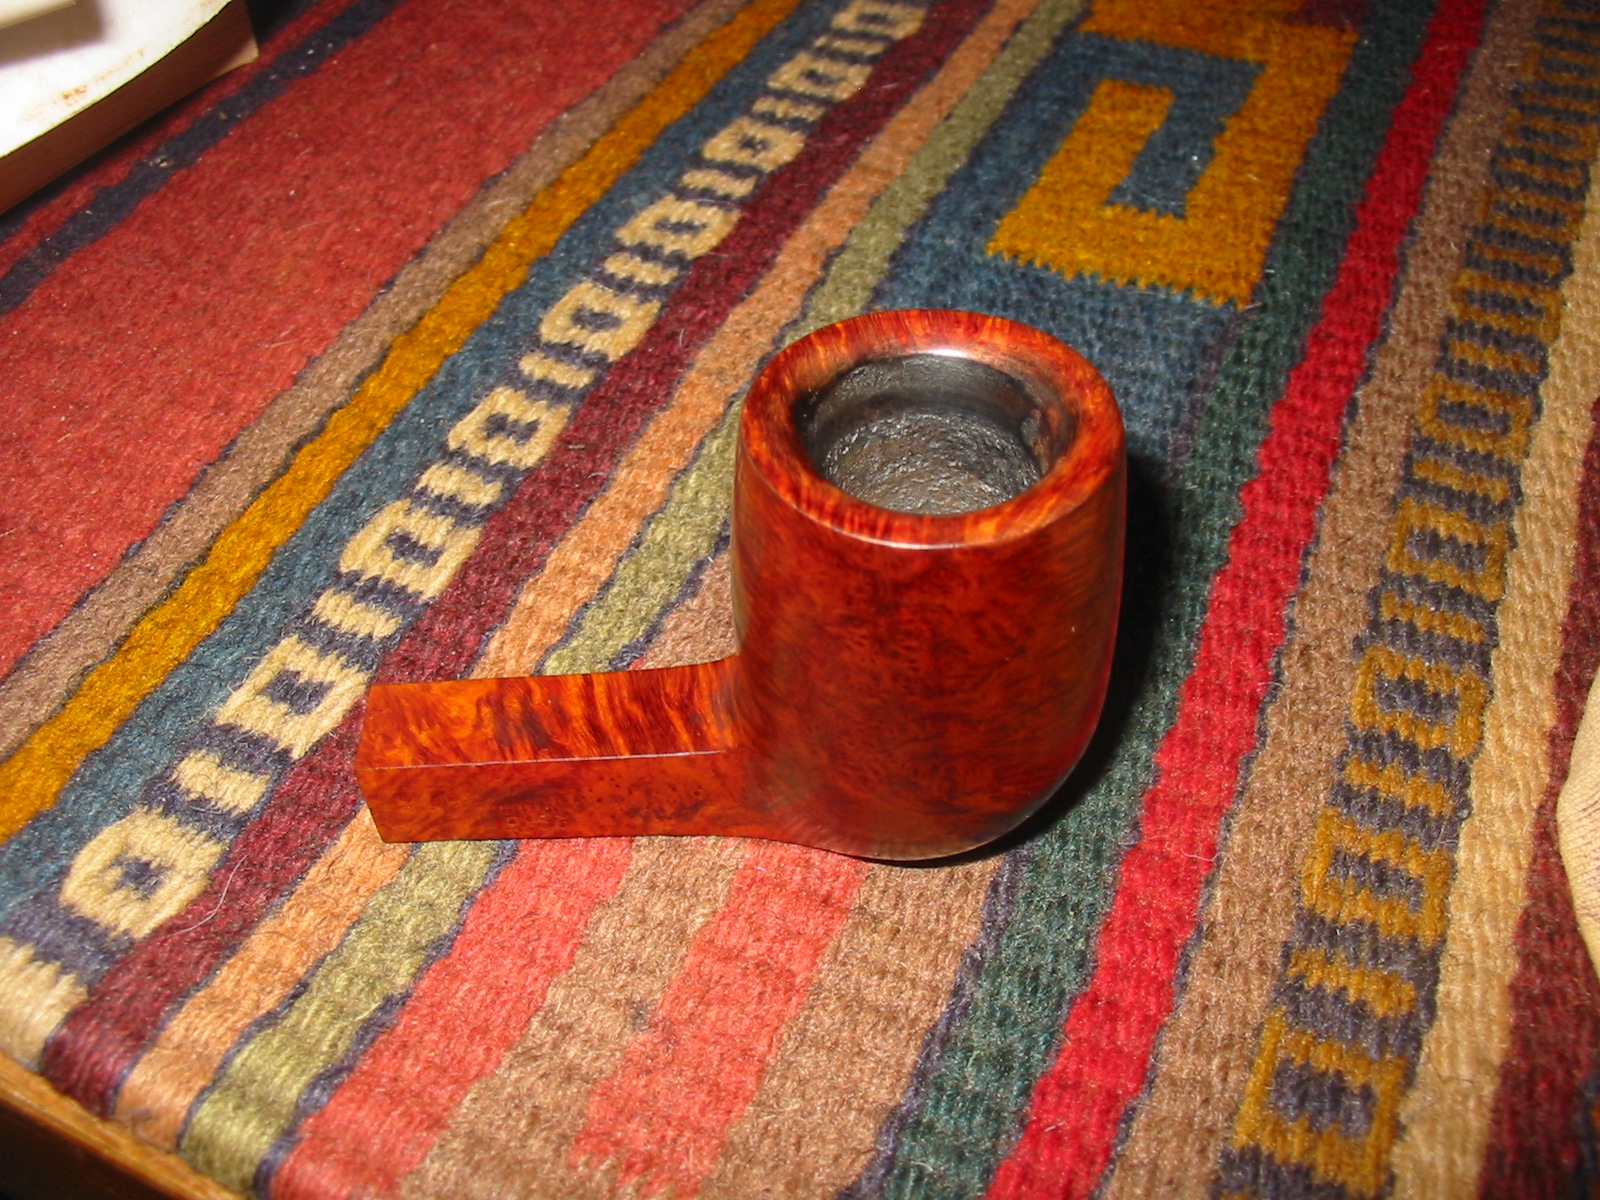
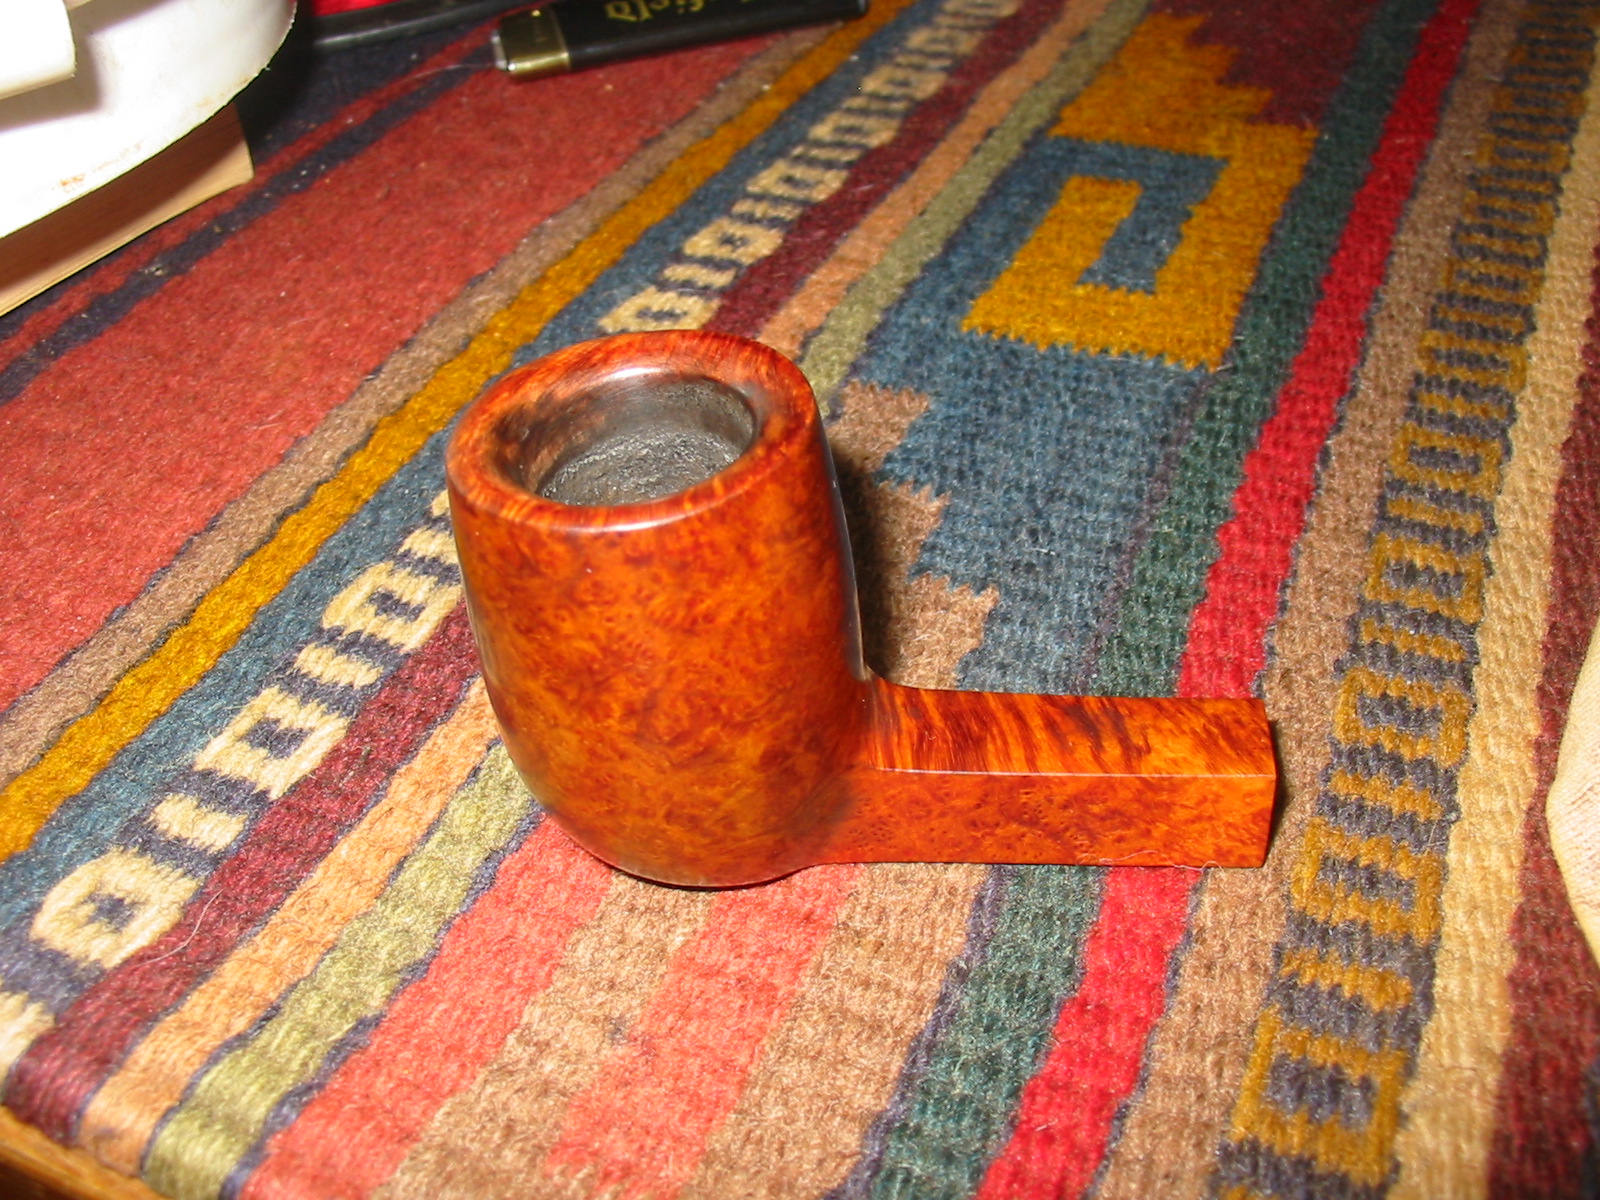
I stained the bowl with MinWax Medium Walnut stain. I applied it with a cotton pad and rubbed it off with a cotton cloth. I repeated the process until I had the coverage that I wanted and the rim and bowl matched.
IMG_3947

IMG_3948

IMG_3950

IMG_3951

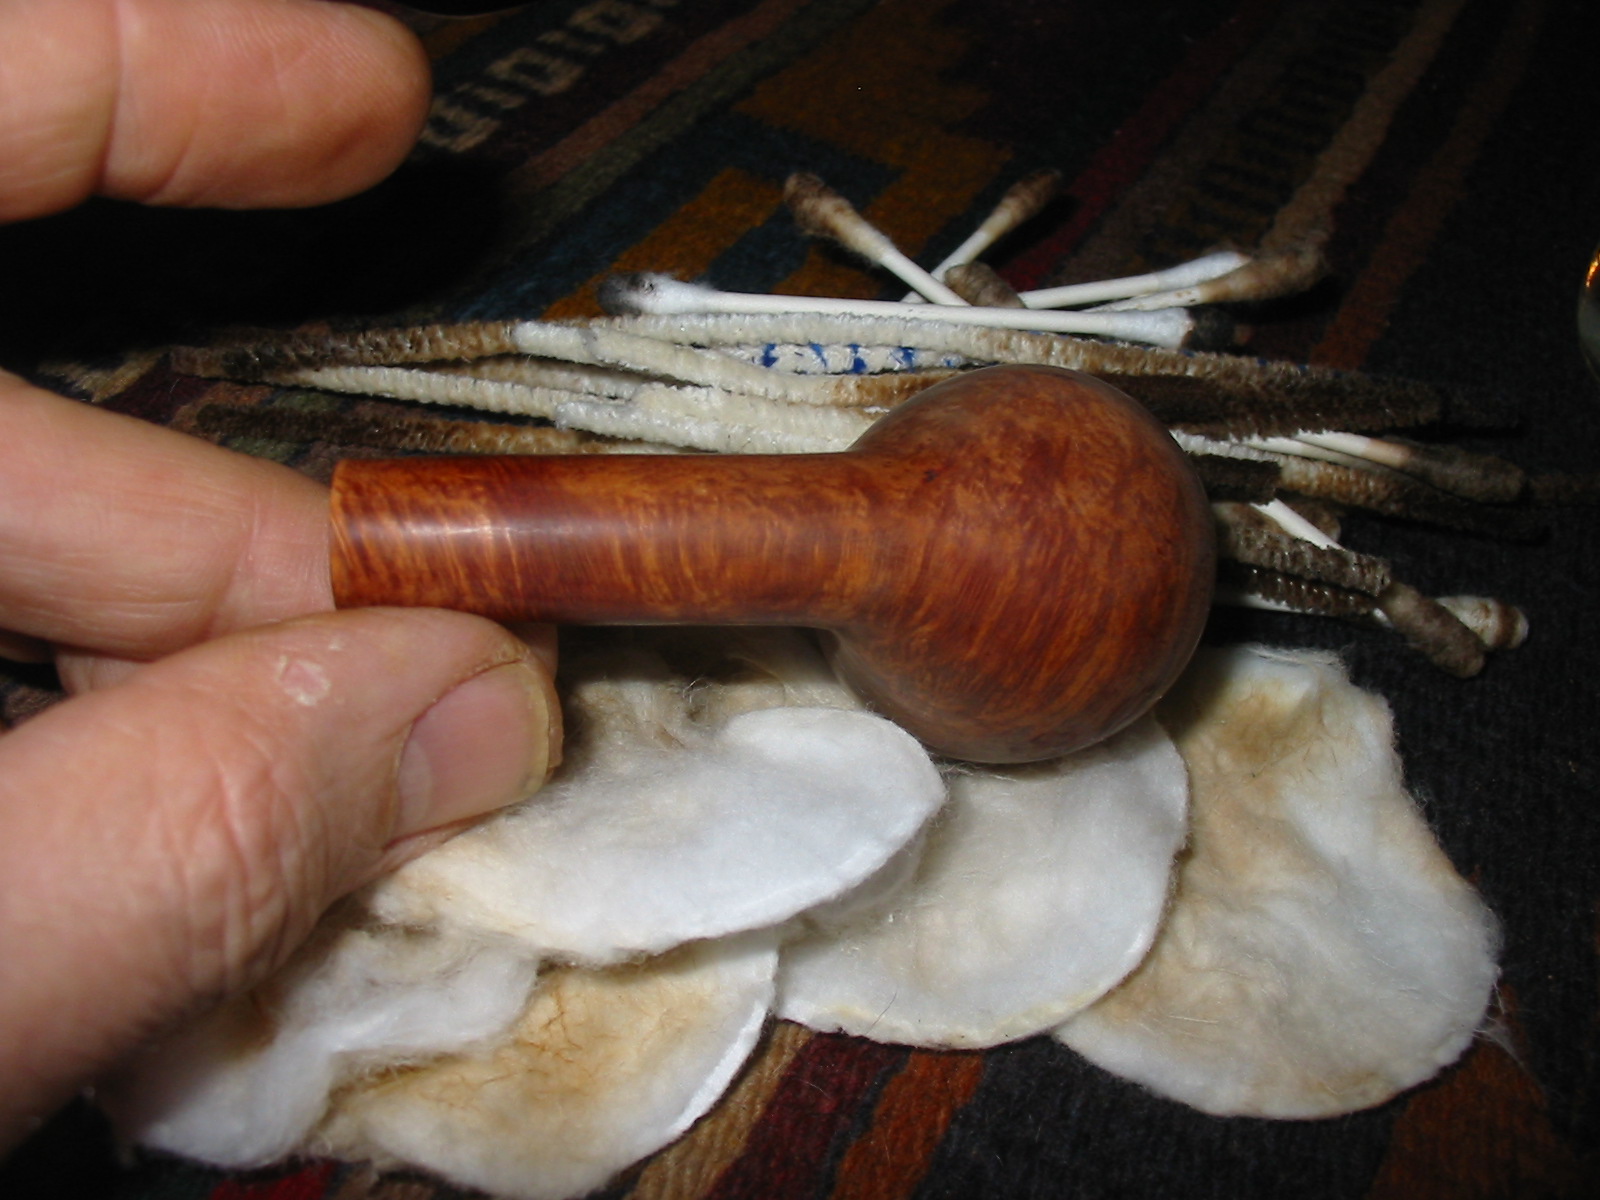
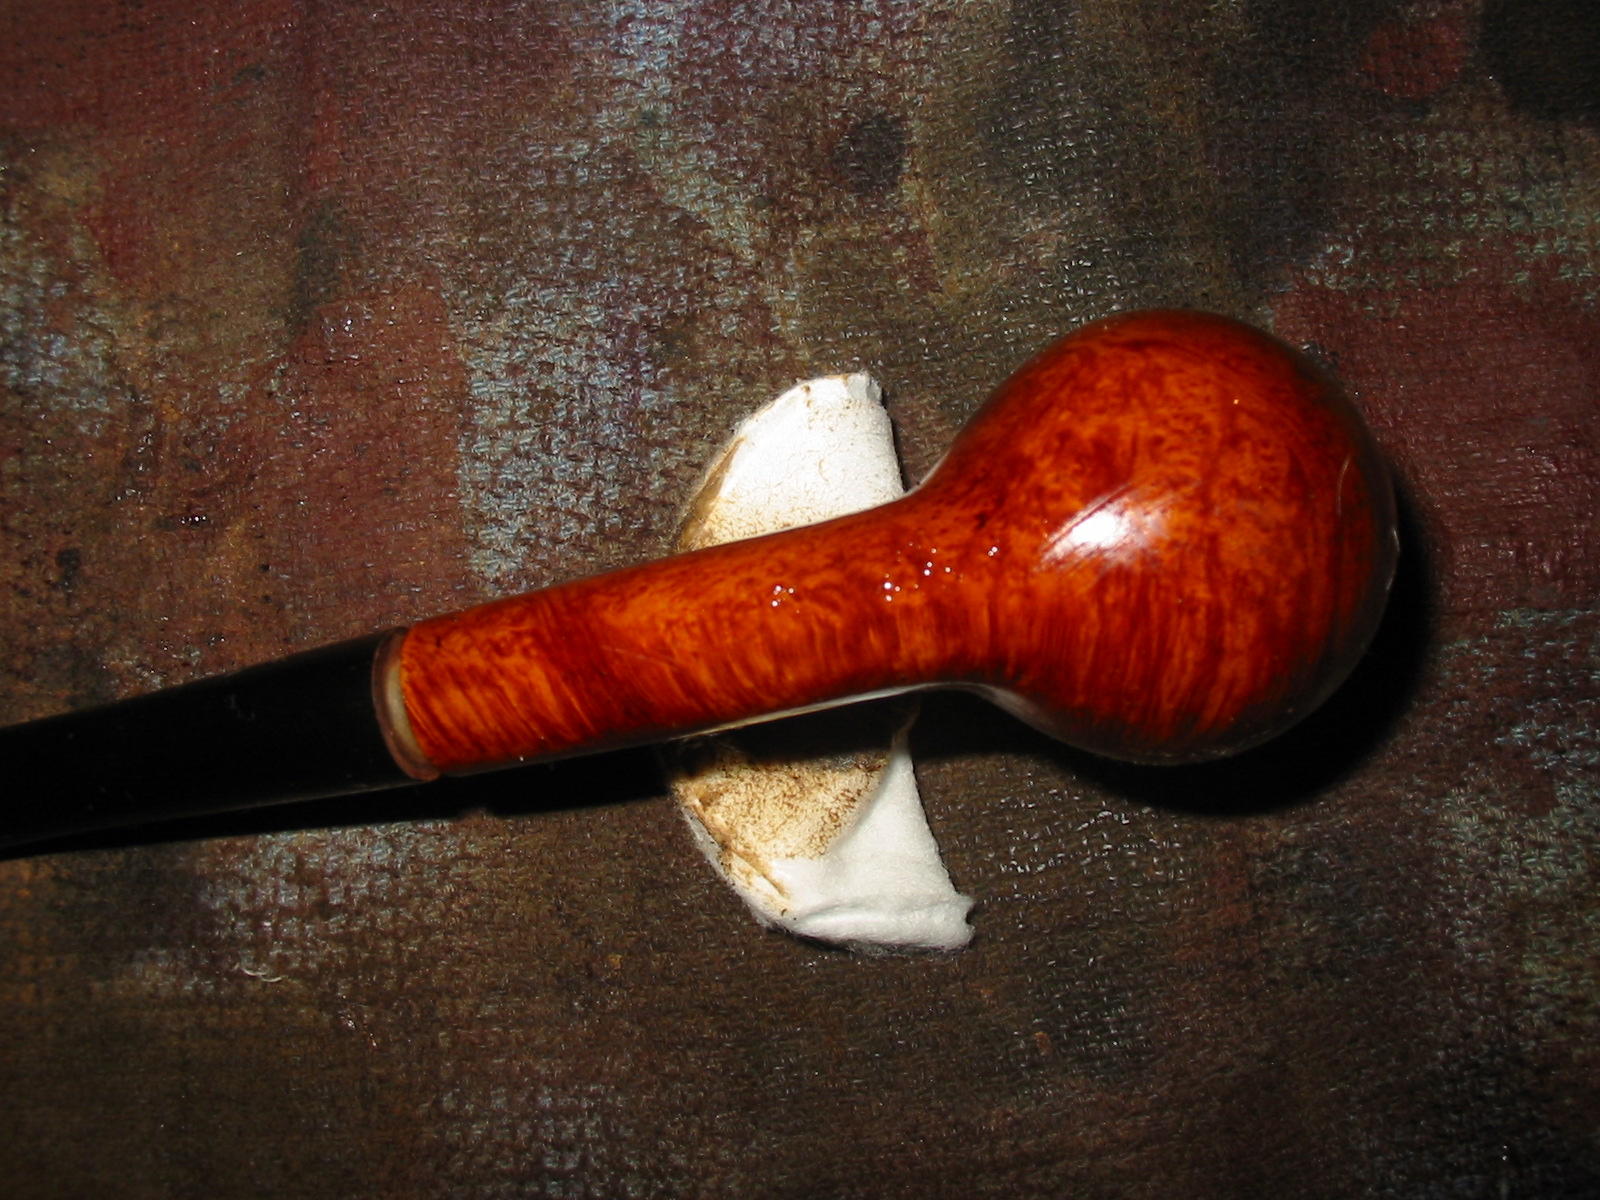
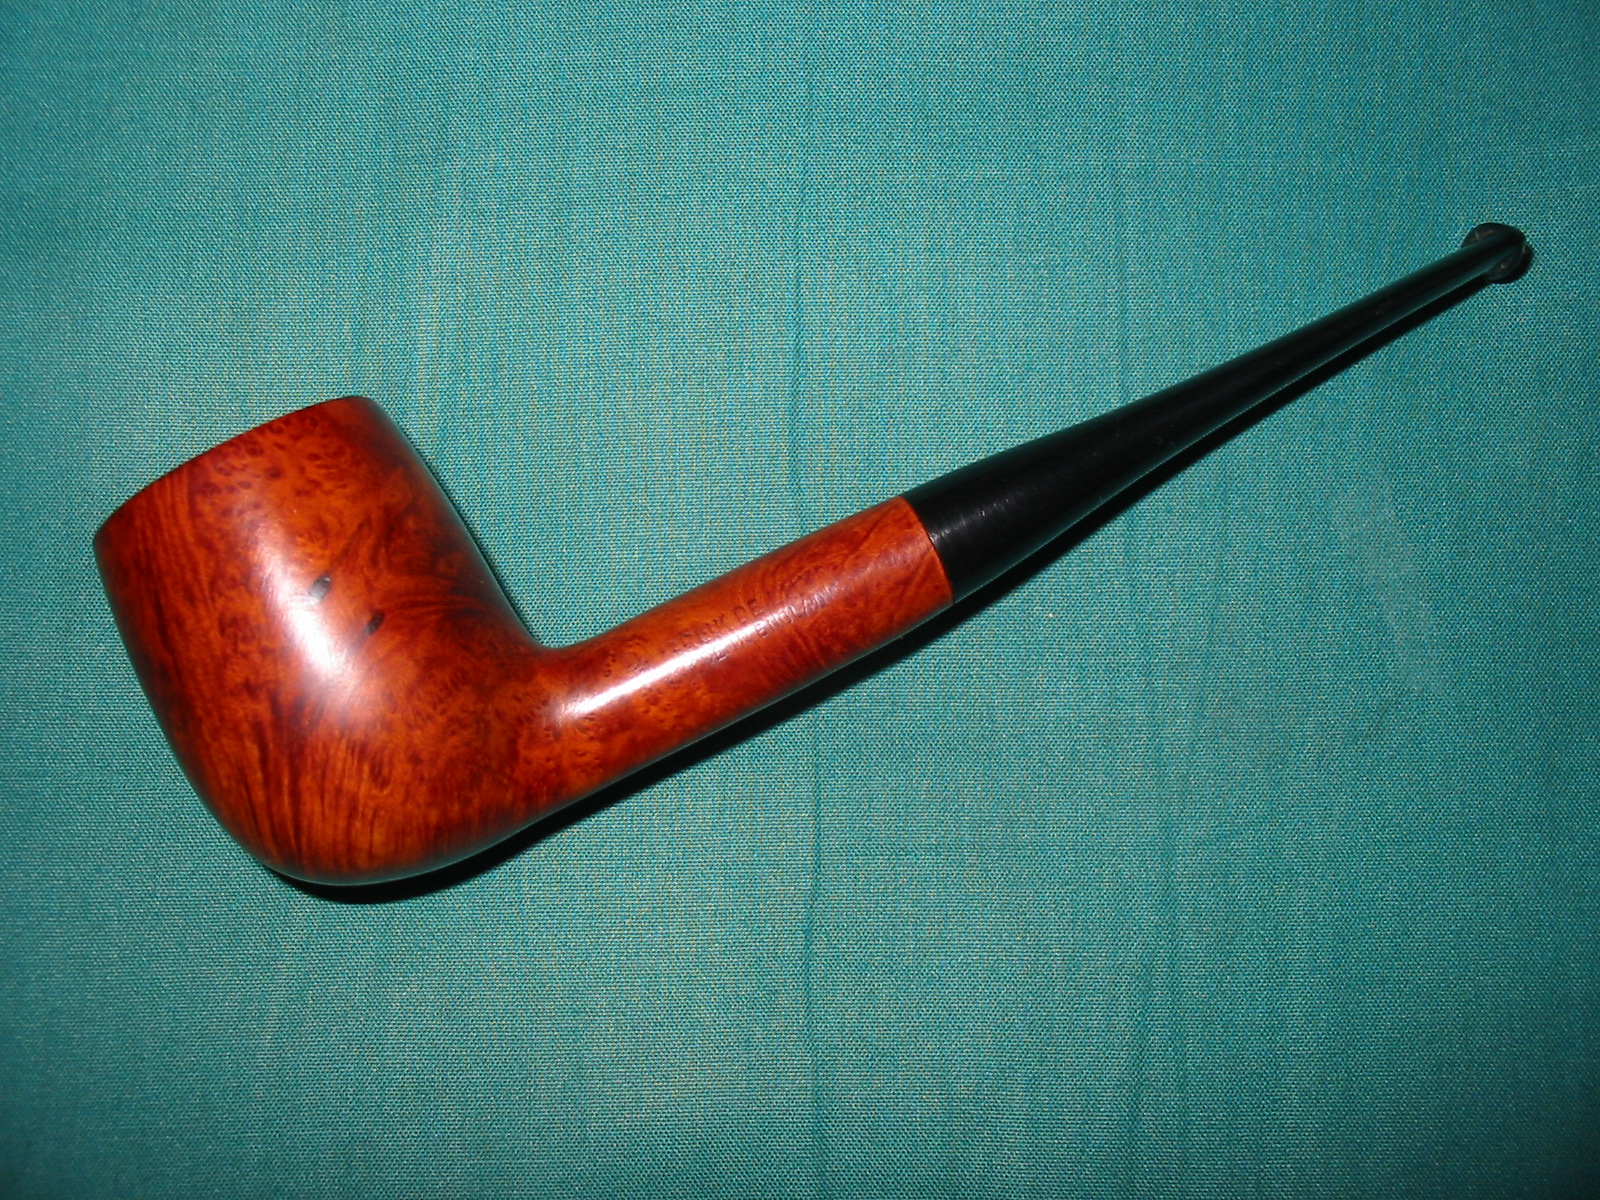
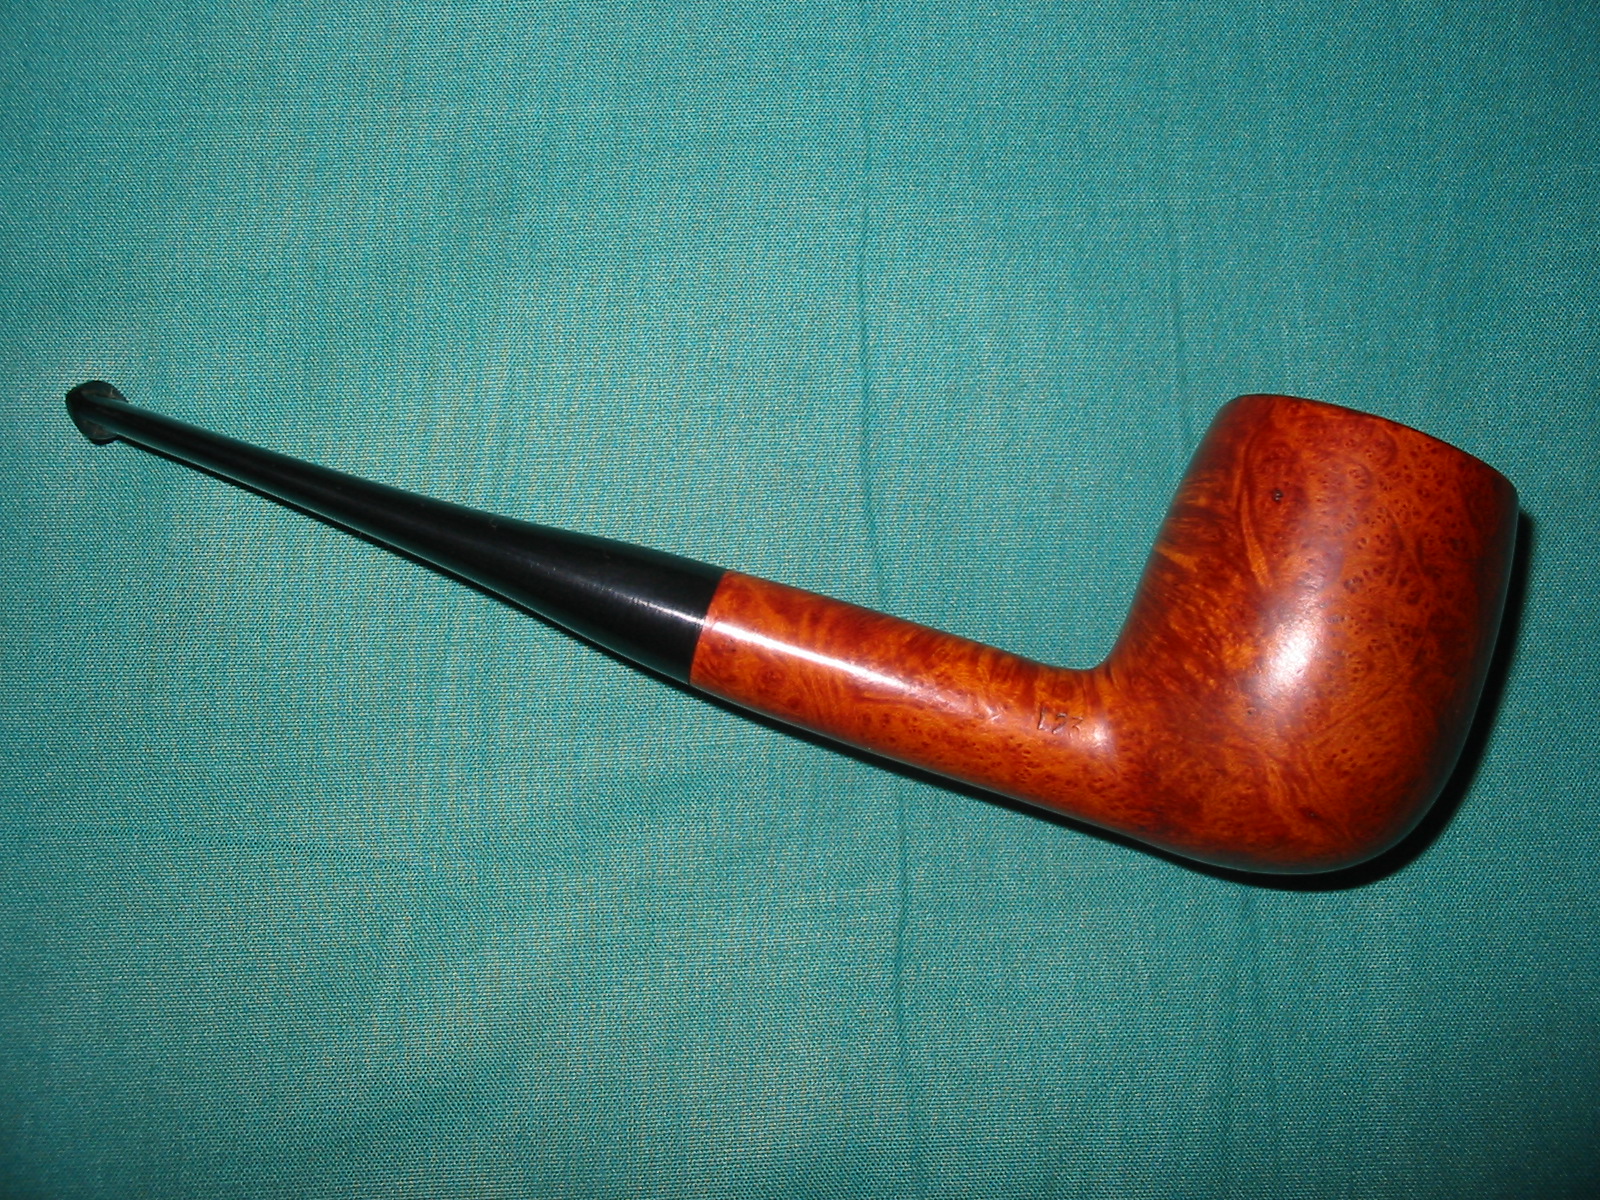
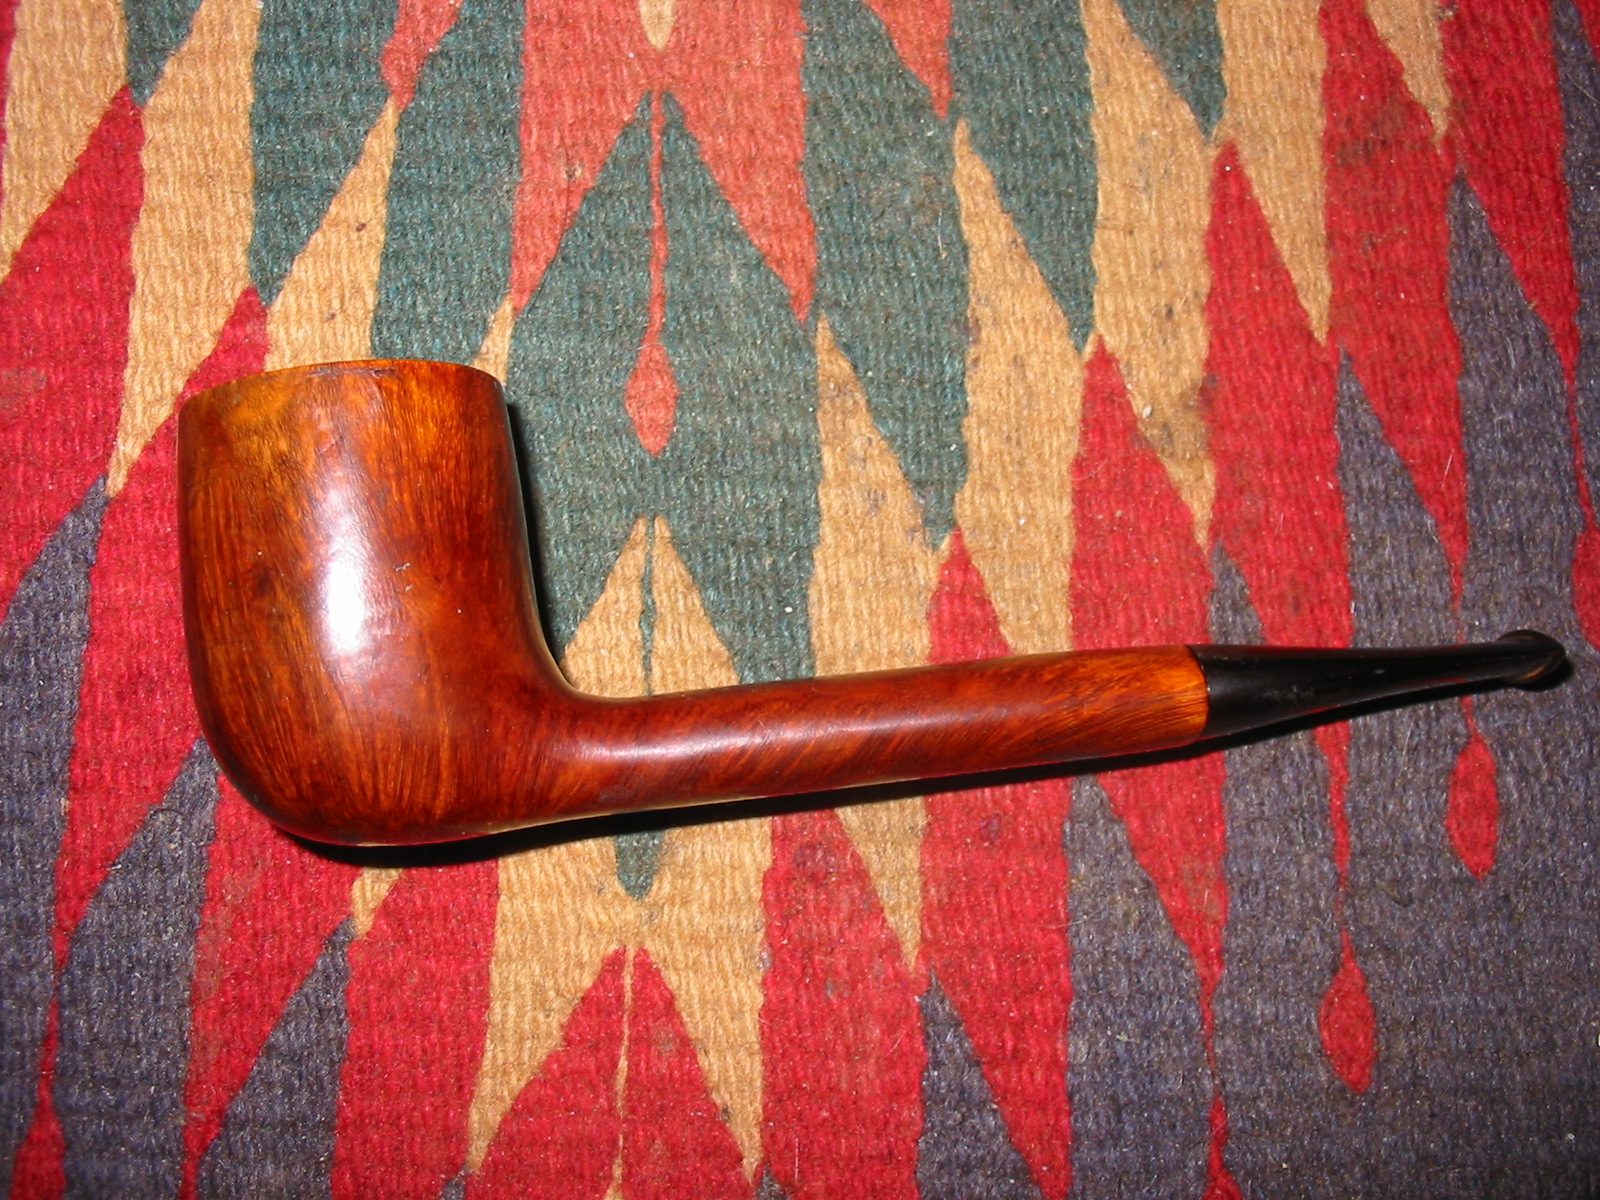
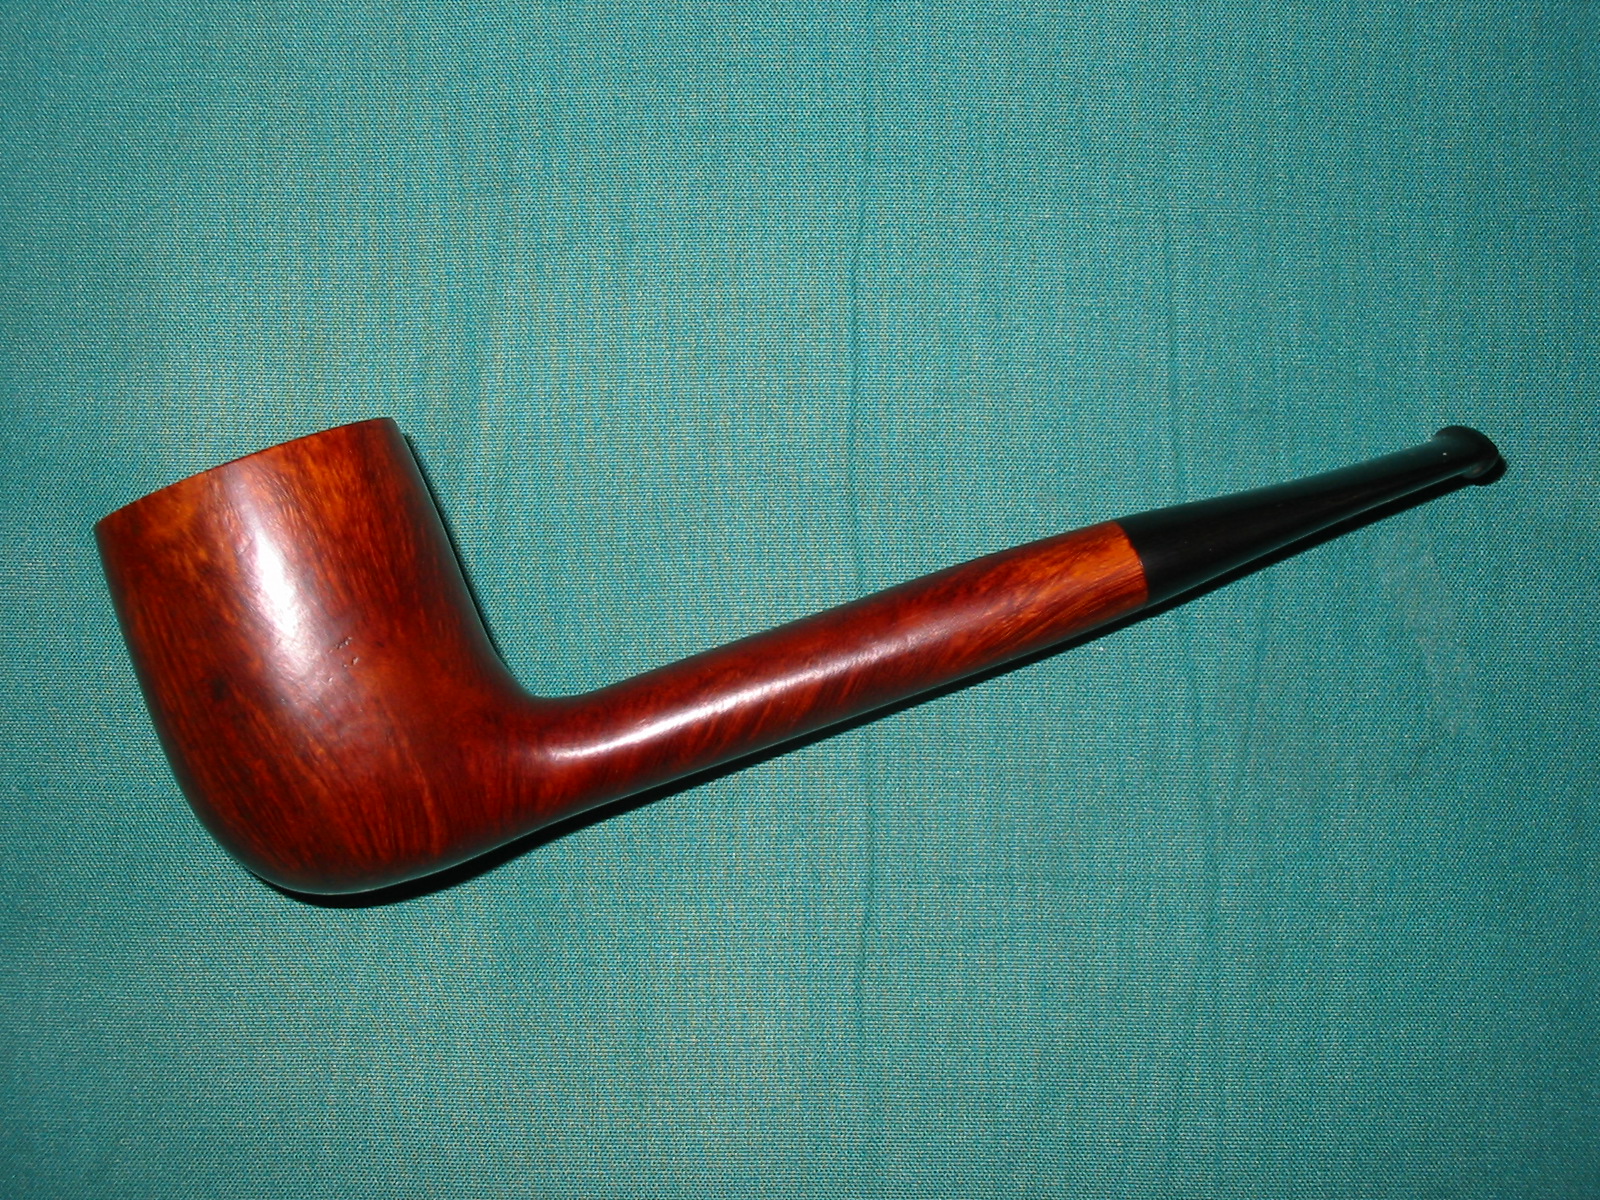
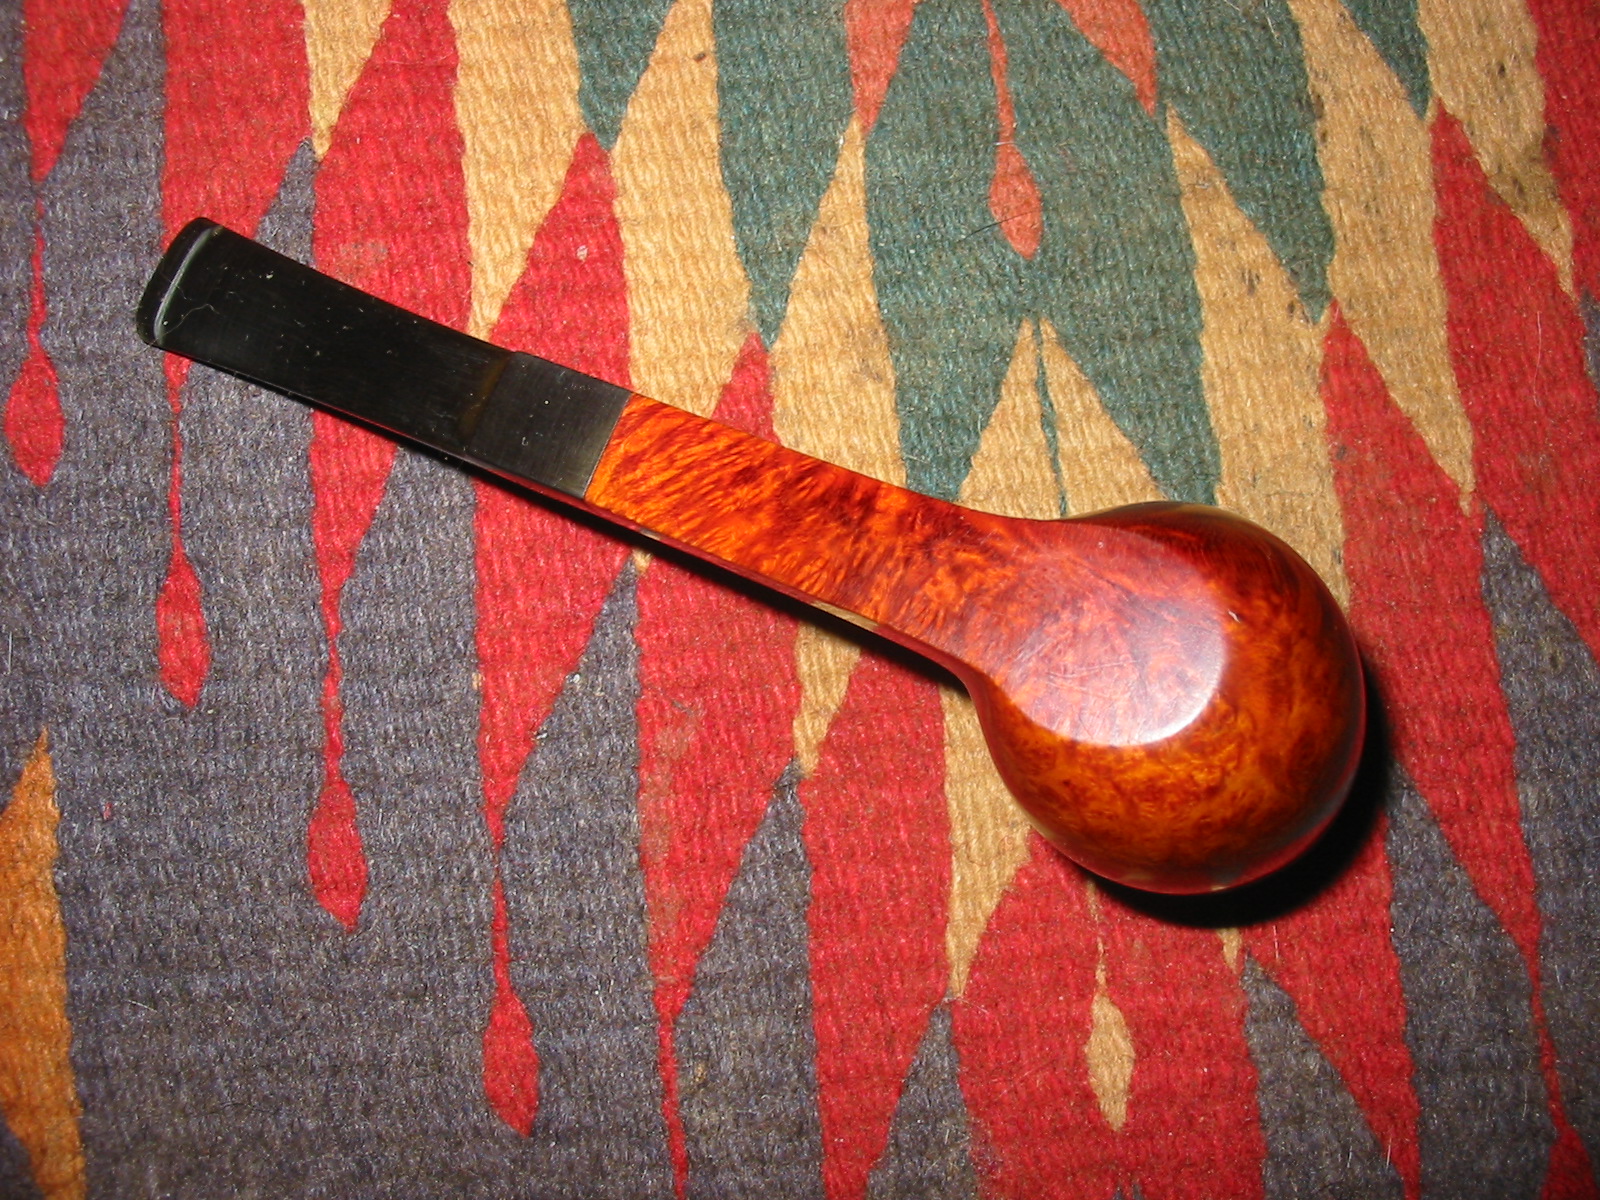
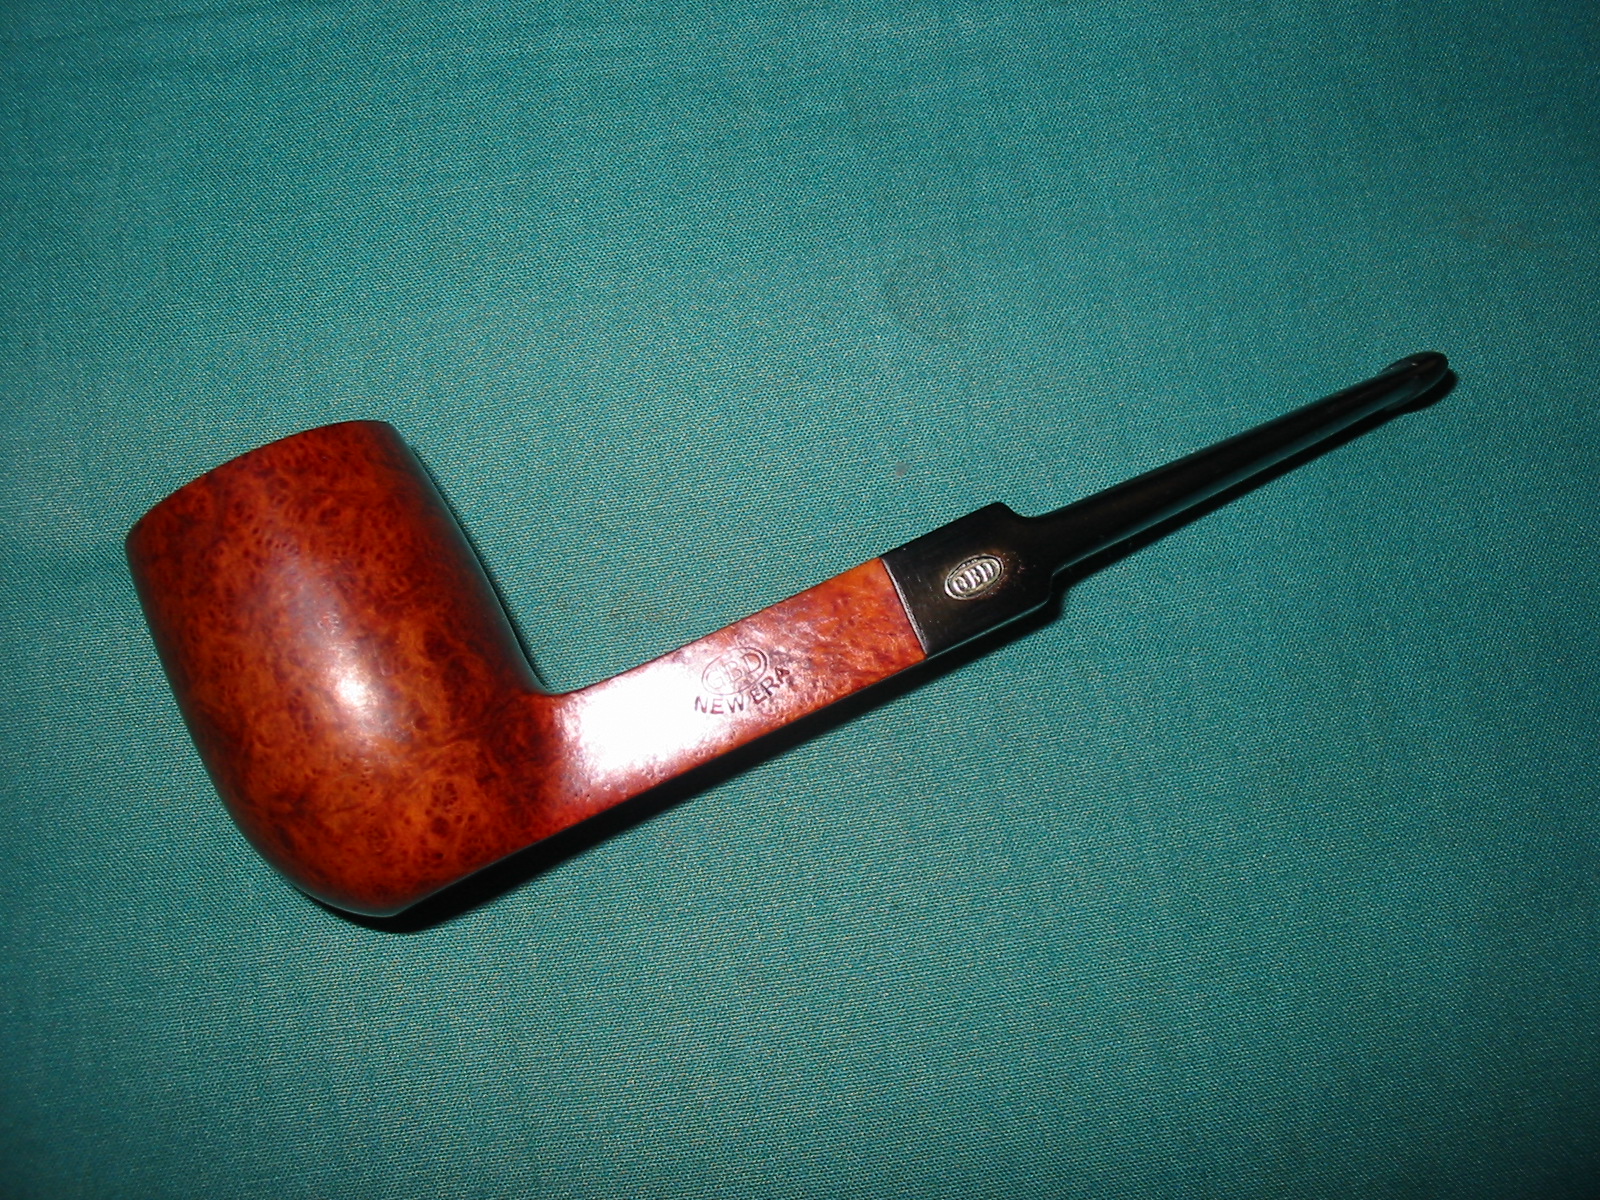
I reinserted the stem in the shank and took the pipe to the buffing wheel for a buff with White Diamond. I gave both the bowl and the stem multiple coats of carnauba wax and polished it with a soft flannel buff. The reworked Comoy’s Guildhall Stack is shown in the photos below ready and clean for its inaugural smoke.
IMG_3953

IMG_3954

IMG_3955

IMG_3956

Reworking an Orlik De Luxe L23 Billiard


Blog by Steve Laug

This is the second pipe from box of English pipes that my daughters found when cleaning out our storage room under the front porch (interior room). It is stamped Orlik De Luxe over Made in England on the left side of the shank and L23 on the right side of the shank. It looked as if it had been refurbished by the same gent who did the Orlik Canadian I reworked. This one also had a varnish coat on the bowl that made it shiny. Underneath the varnish the finish was spotty. The outer and inner edge of the rim was damaged and there were deep grooves on the surface of the rim. The tarry buildup had not been totally removed before the finish coat of varnish was put in place. The inside of the bowl had been painted with a bowl coating that was black. The stem appears to be a replacement but it was better craftsmanship than the previous one. The stem itself was clean but had scratches. The interior of the pipe and stem were filthy.

I have little experience with Orlik pipes so the numbering system was a mystery to me. I did a bit of research and found out that the shape numbers remain consistent throughout the various lines of Orlik pipes. The only difference is found in the letter that precedes the number. In the case of the two pipes that I have now worked on each had the letter “L” before the shape number. The letter signifies the line of pipes within the Orlik family that is in hand. The L stands for the Orlik De Luxe line. I have included the chart below that gives the various lines of Orlik pipes. I have also included the shape chart for Large Billiards that shows the L23. The one I have is similar to the one in the picture though I am certain that mine has a replacement stem as it has a different taper to the stem.
orl24

orl4

The first three photos below show what the pipe looked like when I brought it to the work table. The issues that I noted above are clearly visible from these photos. The stamping on the pipe is faint but readable on the left side. The number stamp on the right side is in better condition.
IMG_3901

IMG_3902

IMG_3903

In the photo above the tars that were left on the rim before the varnish are visible by my thumb and also my forefinger. The bowl would need to be topped. I have included the next two close-up photos of the rim to show the condition it was in when I started the rework of this pipe and to explain why I was going to top the bowl. The inner edge of the rim had significant damage and showed signs of being hit against something to empty the bowl. The outer edge had similar damage and was badly pitted on the back and the front of the bowl.
IMG_3907

IMG_3908

I set up the sandpaper on the flat board that I use for topping and topped the bowl until the rim and the edges were once again sharp and clean. I did not have to remove very much of the briar but what I removed took off the damaged outer edges of the rim and reduced the appearance of damage to the inner edge. I sanded around the inner edge with a folded piece of sandpaper to smooth out the inside. The newly topped bowl is visible in the second photo below.
IMG_3910

IMG_3911

I used a lot of pipe cleaners and cotton swabs to remove the black tars and oils that had not been cleaned out for quite a while. This is only the second pipe that I have cleaned up that came from this chap and I have to say I am not impressed at this point. These were sold in a shop as estates that had been refurbished and were ready to smoke. I wiped down the bowl with acetone on cotton pads to remove the varnish coat before I restained the bowl. I used a black permanent marker to carry the grain lines through the two fills on the left side of the bowl. The briar was actually quite nice under the varnish coat.
IMG_3912

IMG_3913

IMG_3914

IMG_3915

I wiped the bowl down a final time with acetone and then gave it a coat of MinWax Medium Walnut stain. I rubbed it into the bowl and then wiped it off with a soft cotton towel. It really brought the grain to life on this old pipe.
IMG_3916

IMG_3917

IMG_3918

IMG_3919

The stem had scratches from the sandpaper that had been used on it previously and a slight bit of tooth chatter near the button that had been buffed over. I sanded it with a medium grit sanding sponge and then with the usual array of micromesh sanding pads – wet sanding with the 1500-2400 grit pads and dry sanding with 3200-12,000 grit pads. I took the pipe and stem to the buffer and buffed the entirety with White Diamond, being careful around the faint stamping on the left side of the shank. I rubbed the stem down with Obsidian Oil and hand buffed it when it was dry.
IMG_3920

IMG_3921

IMG_3922

I buffed the finished pipe with White Diamond and then gave it multiple coats of carnauba wax. I finished buffing with a clean flannel buff to give the pipe a shine. The photos below show the reworked pipe, cleaned and ready for its inaugural bowl.
IMG_3923

IMG_3924

IMG_3925

IMG_3926

Reworking an Orlik Matt Canadian Shape L78


A few years ago I was gifted a small box of English pipes. I had truly forgotten about it but my daughters were cleaning out our storage room under the front porch (interior room) and came across the box. So now I have five more pipes to restore. The pipe on the table this morning was a Canadian with a poorly fitted replacement stem. It was not the same oval as the shank. The shank had been sanded down to fit the stem and done in such a way that it was no longer an even taper. Even in doing so the stem still was larger on the top and bottom where it met the shank. The transition was thus rough and uneven. The stem also had significant scratches on it and a spot at the top and bottom where there was an uneven bump near the shank. The bowl had been topped and then the rim and shank restained but they did not match the rest of the pipe. The stamping though faint on the top of the shank reads Orlik Matt over Made in England in block letters. There is also a shape number on the right side of the shank as noted in the title – L78. I did a bit of checking to see if the shape number matched what I had. I have included a page of shapes – the one I have is at the bottom of the page.
orl7

Here are some photos of the pipe when I started.
Orlik1

Orlik1b

Orlik2

Orlik3

I wiped the bowl and shank down with acetone on a cotton pad to remove the spotty finish. I cleaned out the shank and stem as they were filthy and prohibited a true fit on the stem. Once I had the stem sitting in the stem correctly I sanded the shank and stem junction with 220 grit sandpaper to smooth out the transition and even out the taper from the bowl to the stem. I wanted to also remove the excess vulcanite and to reshape the oval of the stem and shank. I wanted the transition to be smooth to the feel. I think that whoever restemmed and restored this pipe the first time gave the bowl a coat of varnish so I removed that with the acetone.
Orlik4

Orlik5

Orlik6

Orlik7

I sanded the stem shank union with a medium grit sanding sponge and a fine grit sanding block to further smooth out the transition and lines. I wanted a smooth flow of line from the bowl to the button.
Orlik8

Orlik9

Orlik10

Orlik11

Once I had finished sanding the stem and shank and the briar was smooth and unscratched it was time to stain the shank and rim. I gave the shank end and the rim a coat of dark brown aniline stain to try to bring it back to the same hues and the rest of the bowl and then stained the entire bowl and shank with a Minwax Medium Walnut stain. The first time I did it the stain still did not match well so I heated the end and the rim with a lighter and reapplied the dark brown aniline. Then stained them both again with the Minwax stain. When I had finished they were closer than before.
Orlik12

Orlik13

Orlik14

Orlik15

I sanded the stem and the bowl with micromesh sanding pads. I wet sanded the stem with 1500-2400 grit pads and then dry sanded the bowl and stem with 3200-12,000 grit pads. I rubbed the stem down with Obsidian Oil and then took the pipe to the buffer to give it a light buff with White Diamond to polish. I was careful in the buffing to avoid the already light stamping on the top of the shank. I had buffed that section with a soft cotton cloth.
Orlik16

Orlik17

I still was not happy with the stain coverage on the sanded portions of the pipe as they appeared lighter than the body of the pipe. I brought it back to the work table and touched up those two areas – the stem shank junction and the rim – with Minwax Red Mahogany Stain then set it aside to dry.
Orlik18

Orlik19

Orlik20

Orlik21

Orlik22

Once the stain was dry I lightly buffed the pipe with White Diamond and then gave it multiple coats of carnauba wax with the buffer. I polished the finished pipe with a clean flannel buff to protect it and give a shine. Even with the buffing I was seeking more of a matt look to the pipe than a shiny one. The finished pipe is pictured below.
Orlik23

Orlik24

Orlik25

Orlik26

A Great Piece of Briar – Restored Square Shanked GBD New Era 9489 Billiard


I am generally not a fan of square shanked pipes. I am not sure why but there is just something about them that has never caught my eye… that is until I saw this GBD New Era Billiard. It has stunning grain – cross grain on the back of the bowl and the top and bottom of the shank and the bowl. There is also some cross grain off centre on the front of the bowl. The left side has stunning birdseye and the same is also true on the right side of the bowl. The rim of the bowl is beveled inward and is also cross grain. The finish on the bowl was in excellent shape other than a heavy build up on the rim of tars and carbon. The stem was long, oxidized and had a huge bite through on the underside of the stem. It is stamped GBD in an oval over an arced New Era on the left side of the shank and London England over 9489 on the right side.
IMG_3455

IMG_3456

IMG_3458

I have included the photo below of the underside of the stem. The size of the hole made it unpatchable with my usual methods.
Hole in stem

I used the Dremel and sanding drum to cut off the end of the stem and remove the damaged portion of the stem. I would then recut a button on the end of the stem and rework the airway opening in the slot.
IMG_3842

IMG_3843

IMG_3844

IMG_3845

I took the pipe back to my work table and used a file to cut the line for the button. For this initial part of shaping the new button I leave the stem on the shank as the bowl provides a good “handle” to hold on to when reworking the stem.
IMG_3847

I used a flat needle file to carve down the slope of the stem toward the button. I find that reworking the slope of the stem gives a smoother transition between the new button and the blade of the stem. I think we have all seen poorly cut buttons where the button looks pinched on the end – almost like someone squeezed the button out of the stem. I want the transition to move gently toward the new button and then have clean angles on the button.
IMG_3848

At this point I usually remove it from the shank as I have much more carving to do on the stem with needle files and I want to be able to turn it at various angles to get things the way I want them. I continued to work on the stem with various needle files and 220 grit sandpaper to shape and contour the stem. I sanded the rest of the stem as well carefully working around the GBD roundel to make sure not to damage it. When I had finished the shaping of the button I sanded the entirety with a medium grit sanding sponge to smooth out the scratches and further remove the oxidation. I probably could have soaked it in Oxyclean but since I was working the button over with sandpaper and files anyway I just sanded the stem.

I set the stem aside for a bit and scrubbed the bowl rim down with saliva on cotton pads scraping and rubbing until I got to the clean surface of the rim. I did not intend to restain this pipe so I was careful not to remove the finish in the process.
IMG_3849

I took it to the buffer after I had it cleaned up as shown above. I buffed the edge with White Diamond to remove the last of the detritus of the carbon on the rim. The first photo below shows the clean bowl rim. The three photos following that one show the bowl after it had been buffed with carnauba wax to polish it and protect it.
IMG_3852

IMG_3853

IMG_3854

IMG_3856

I put the stem back on just to have a look at the work so far. Sometimes I need to get a bit of perspective on the stem work so I will stop and put things back together, take a few photos and study them to see what I need to do. Somehow the photos show things that my eye does not pick up as I work on the pipe.
IMG_3857

IMG_3858

IMG_3859

IMG_3860

The pipe was looking good and the areas that needed work on the oxidation and scratches showed up clearly in the flash. I used micromesh sanding pads to work on the finish. I wet sanded with 1500-2400 grit pads and dry sanded with 3200-12,000 grit pads.
IMG_3861

IMG_3862

IMG_3864

IMG_3866

When I finished sanding I rubbed the stem down with Obsidian Oil and when it as dry buffed it with White Diamond once again. I gave the bowl and stem multiple coats of carnauba wax and buffed it with a clean flannel buffing pad to give it a shine. It is important when buffing to not press to hard around the nomenclature. I generally use a very light touch in those areas and then hand polish them with a soft cotton cloth. The finished pipe is pictured below. The stem came out quite nicely There is a bit of oxidation around the roundel that still remains. I will continue to work on that with the micromesh pads and see what I can do but it is ready to load a bowl and smoke.
IMG_3868

IMG_3869

IMG_3870

IMG_3871