Daily Archives: January 1, 2014

A GBD “Dublinish” Poker Brought Back to Life


Blog by Steve Laug

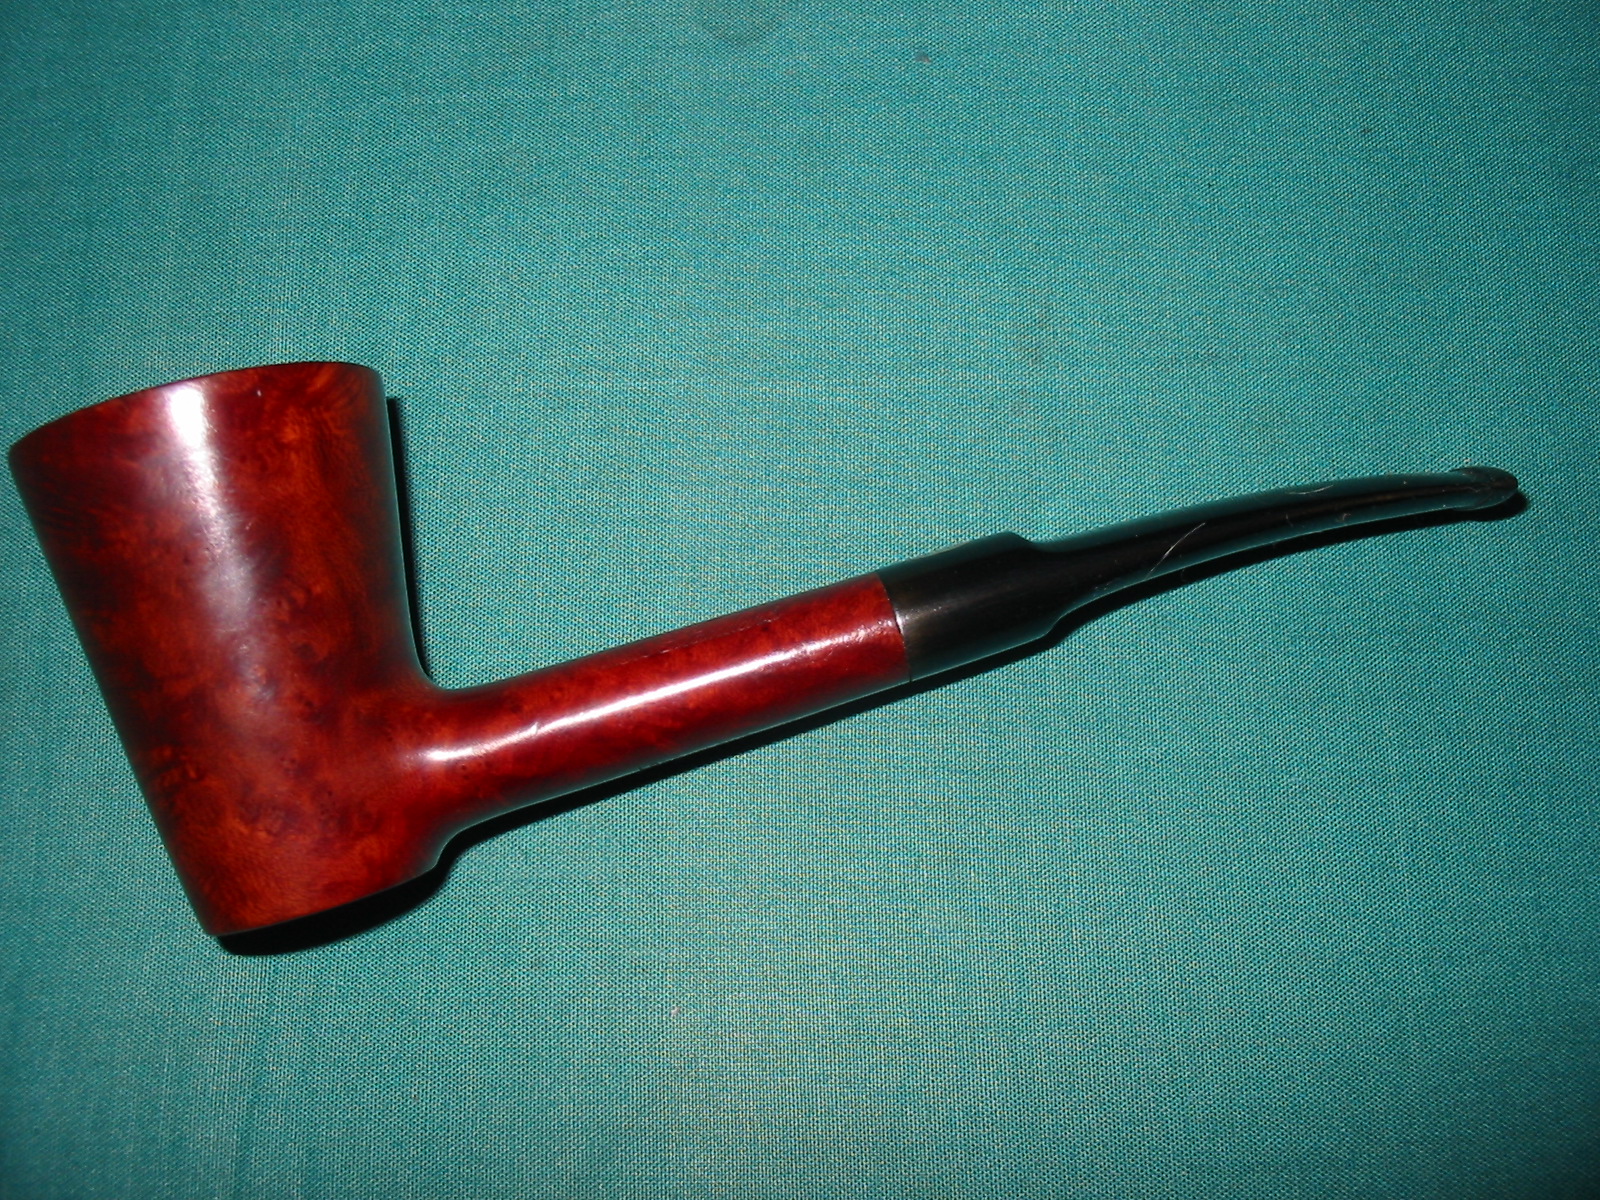
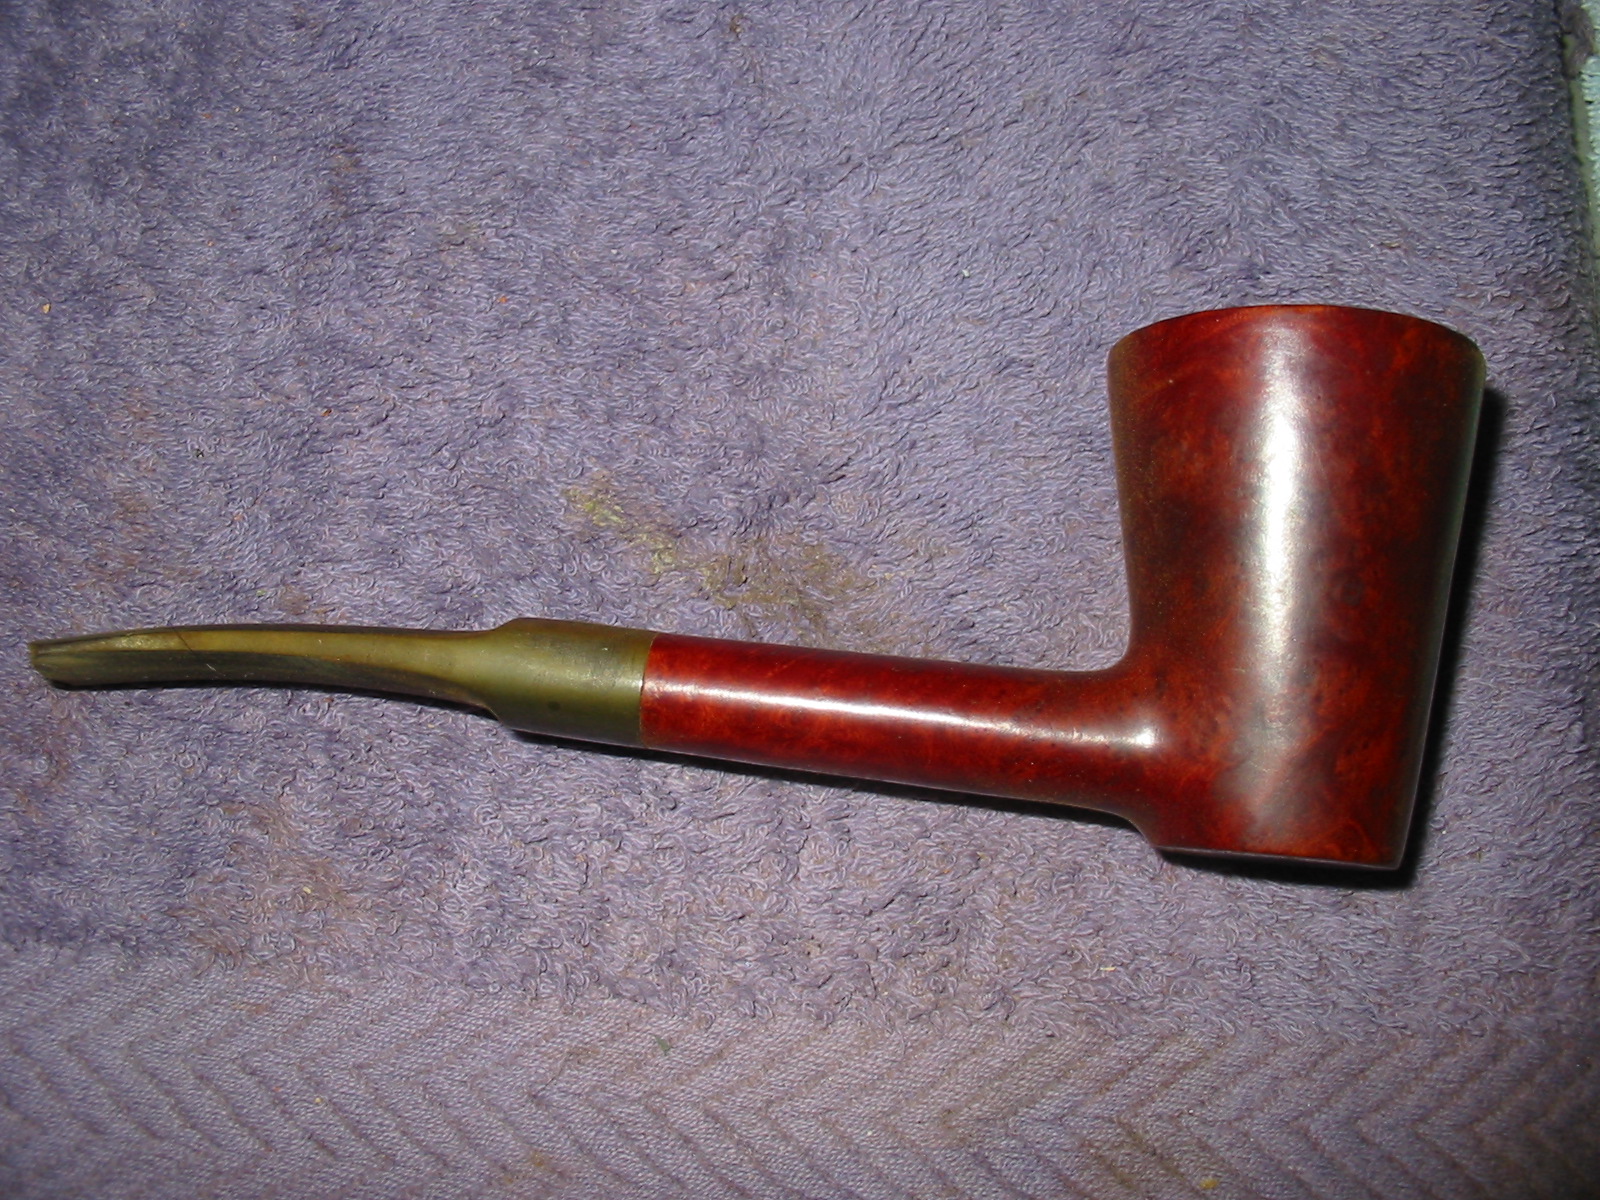
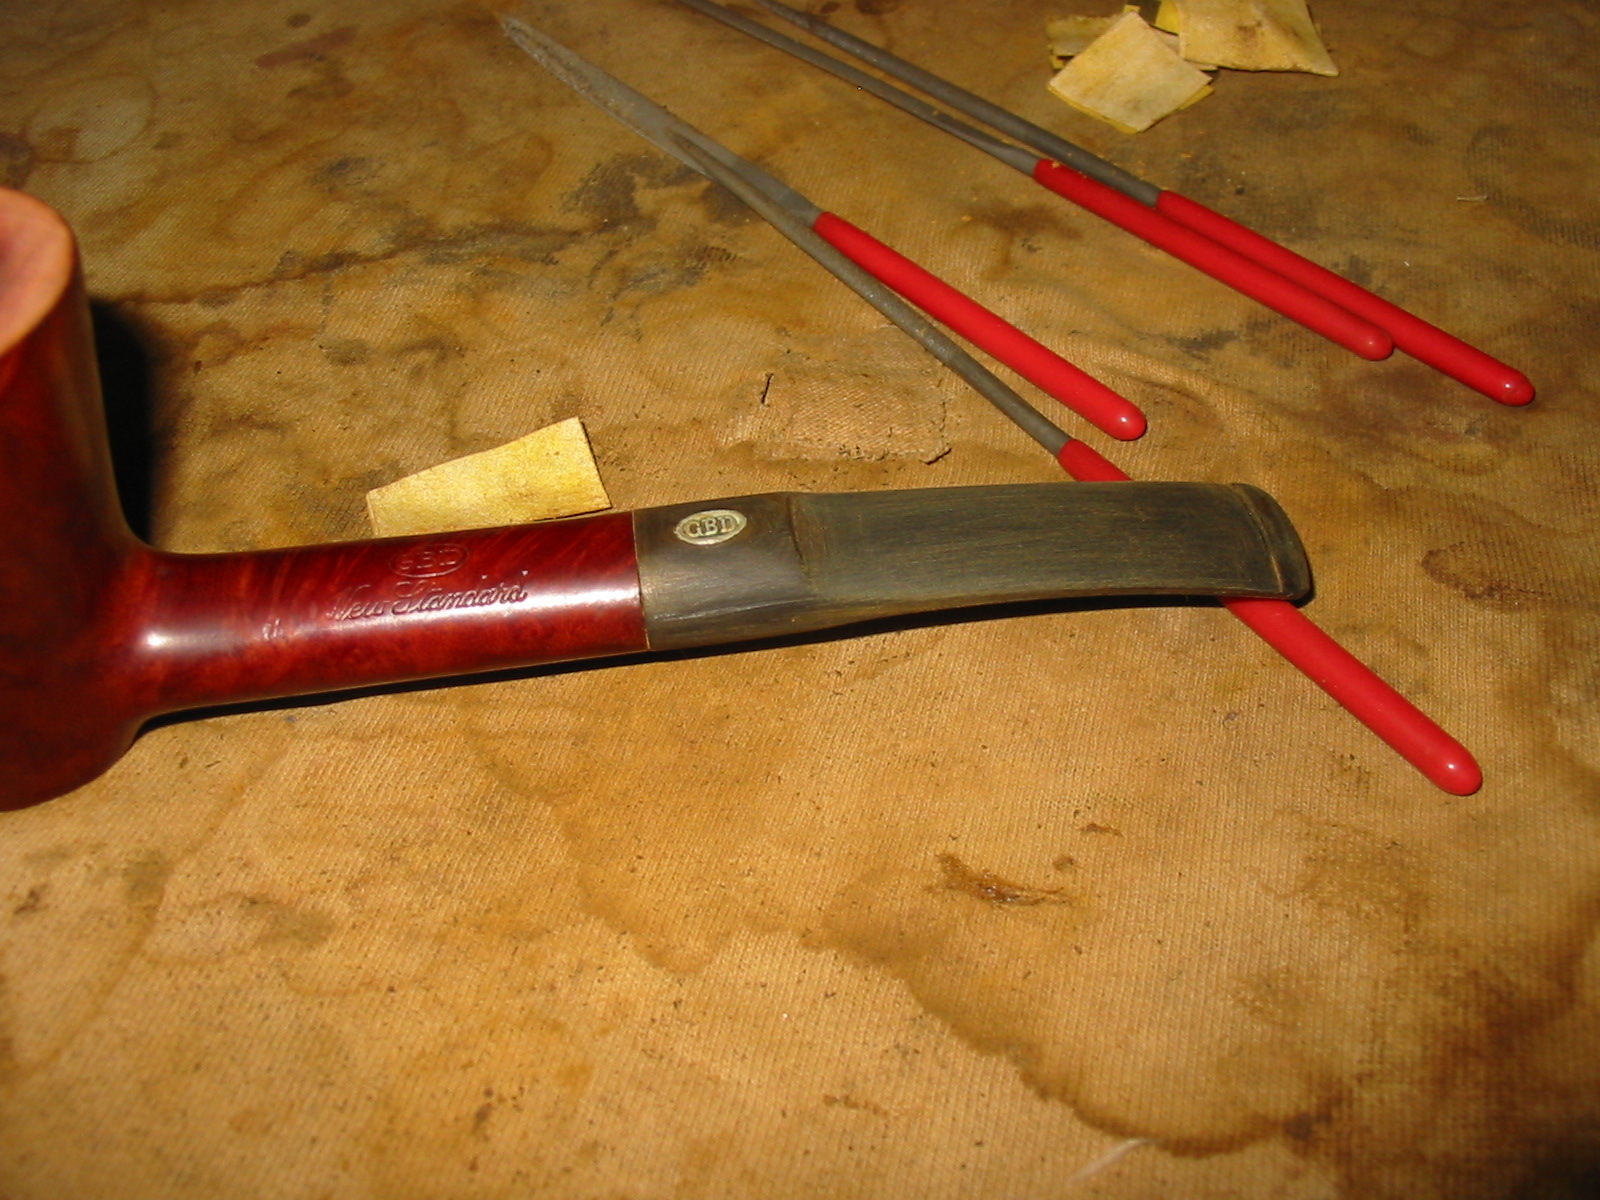
The fourth pipe I have refurbished from the lot I just picked up is an oval shanked “Dublinish” Poker that has a GBD on the brass stem roundel. It is stamped on top of the shank with GBD in an oval over New Standard in script. On the underside of the shank it is stamped London England over 9558. I looked up the shape number on the GBD shape site and was unable to find a listing for a pipe of this shape. I looked other places on the web and did not find this shape either listed or pictured. It is certainly not a shape that I have seen for the years that I have been working on pipes and collecting GBD pipes.
IMG_3666

IMG_3667

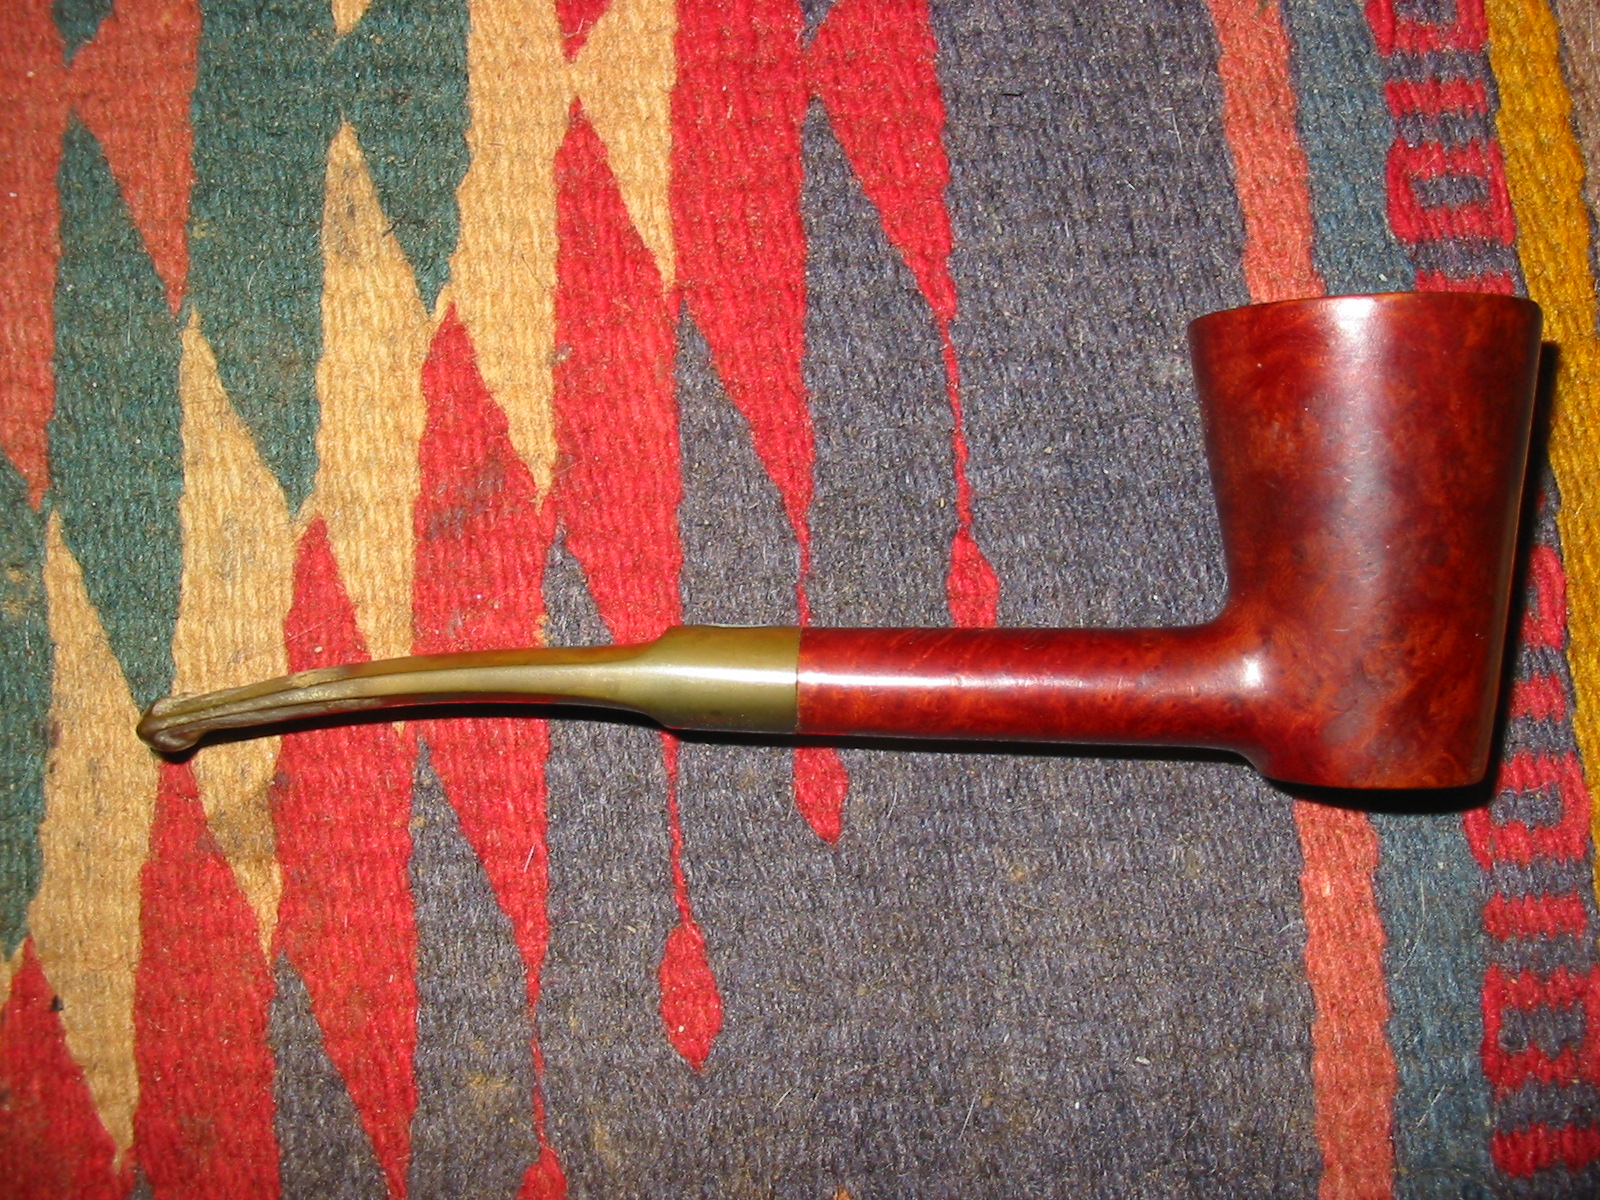
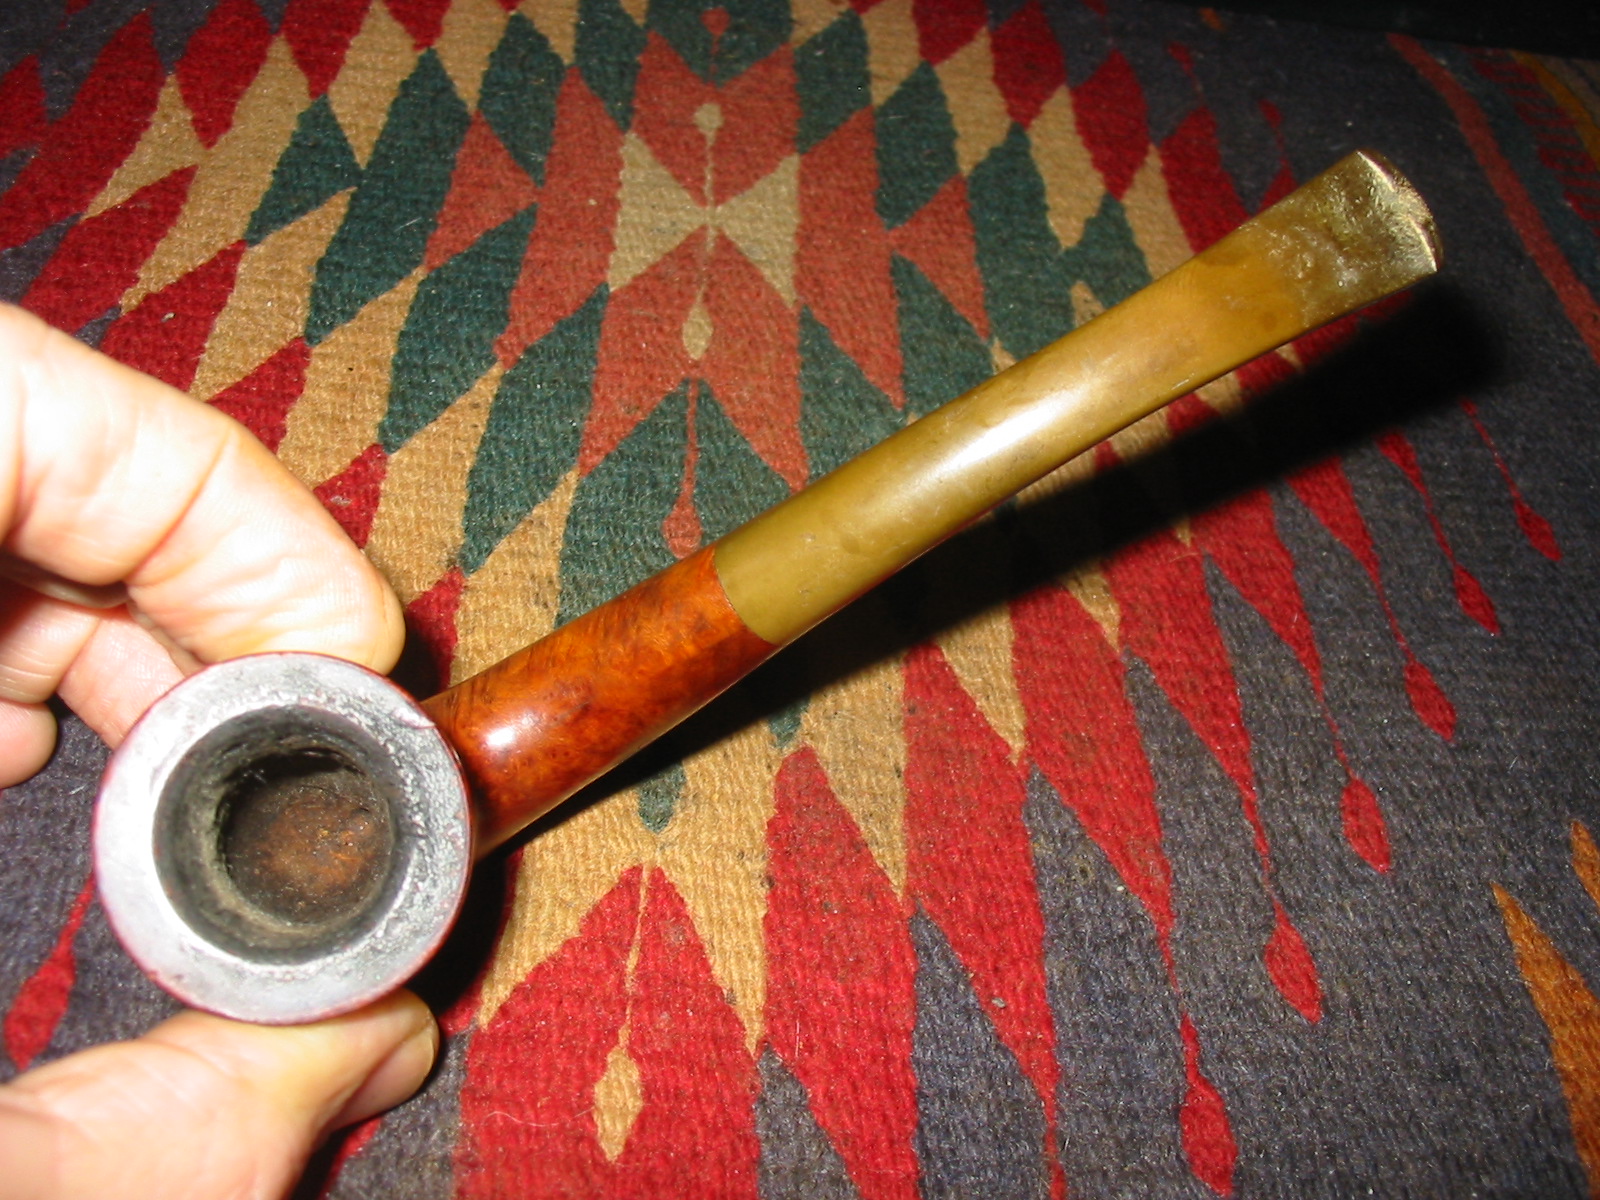
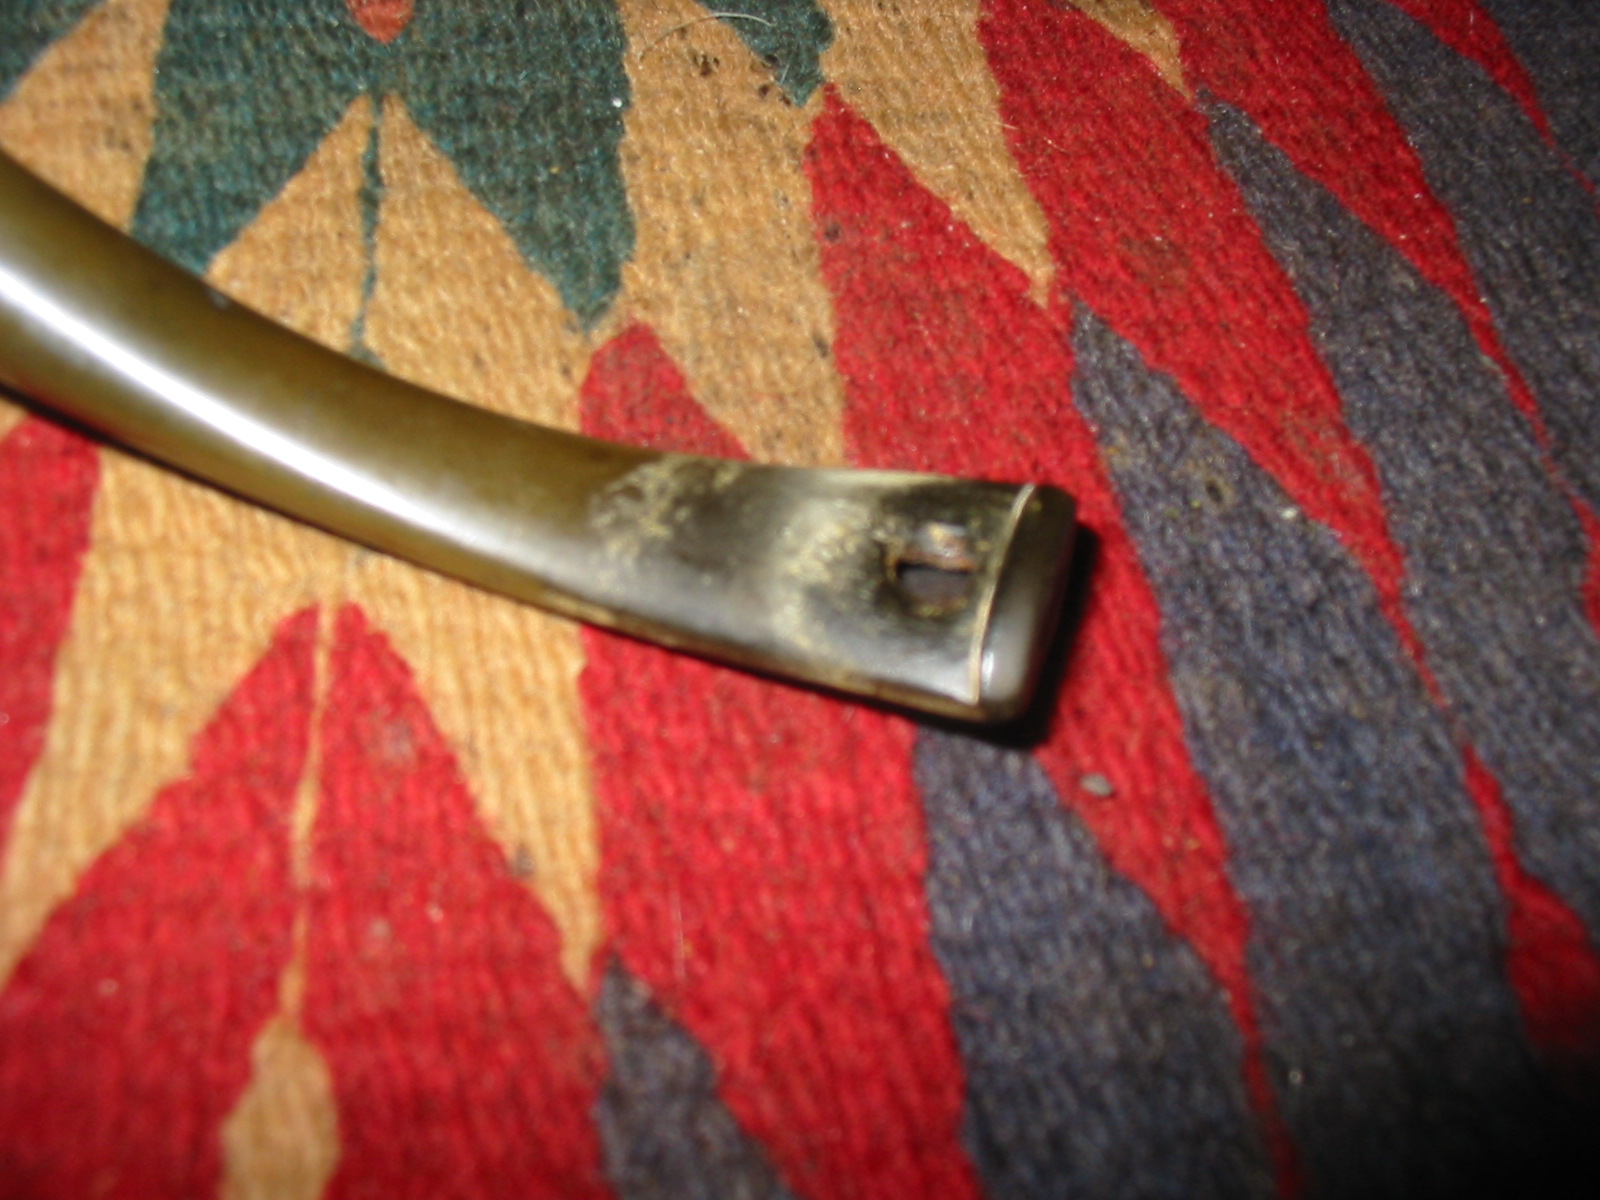
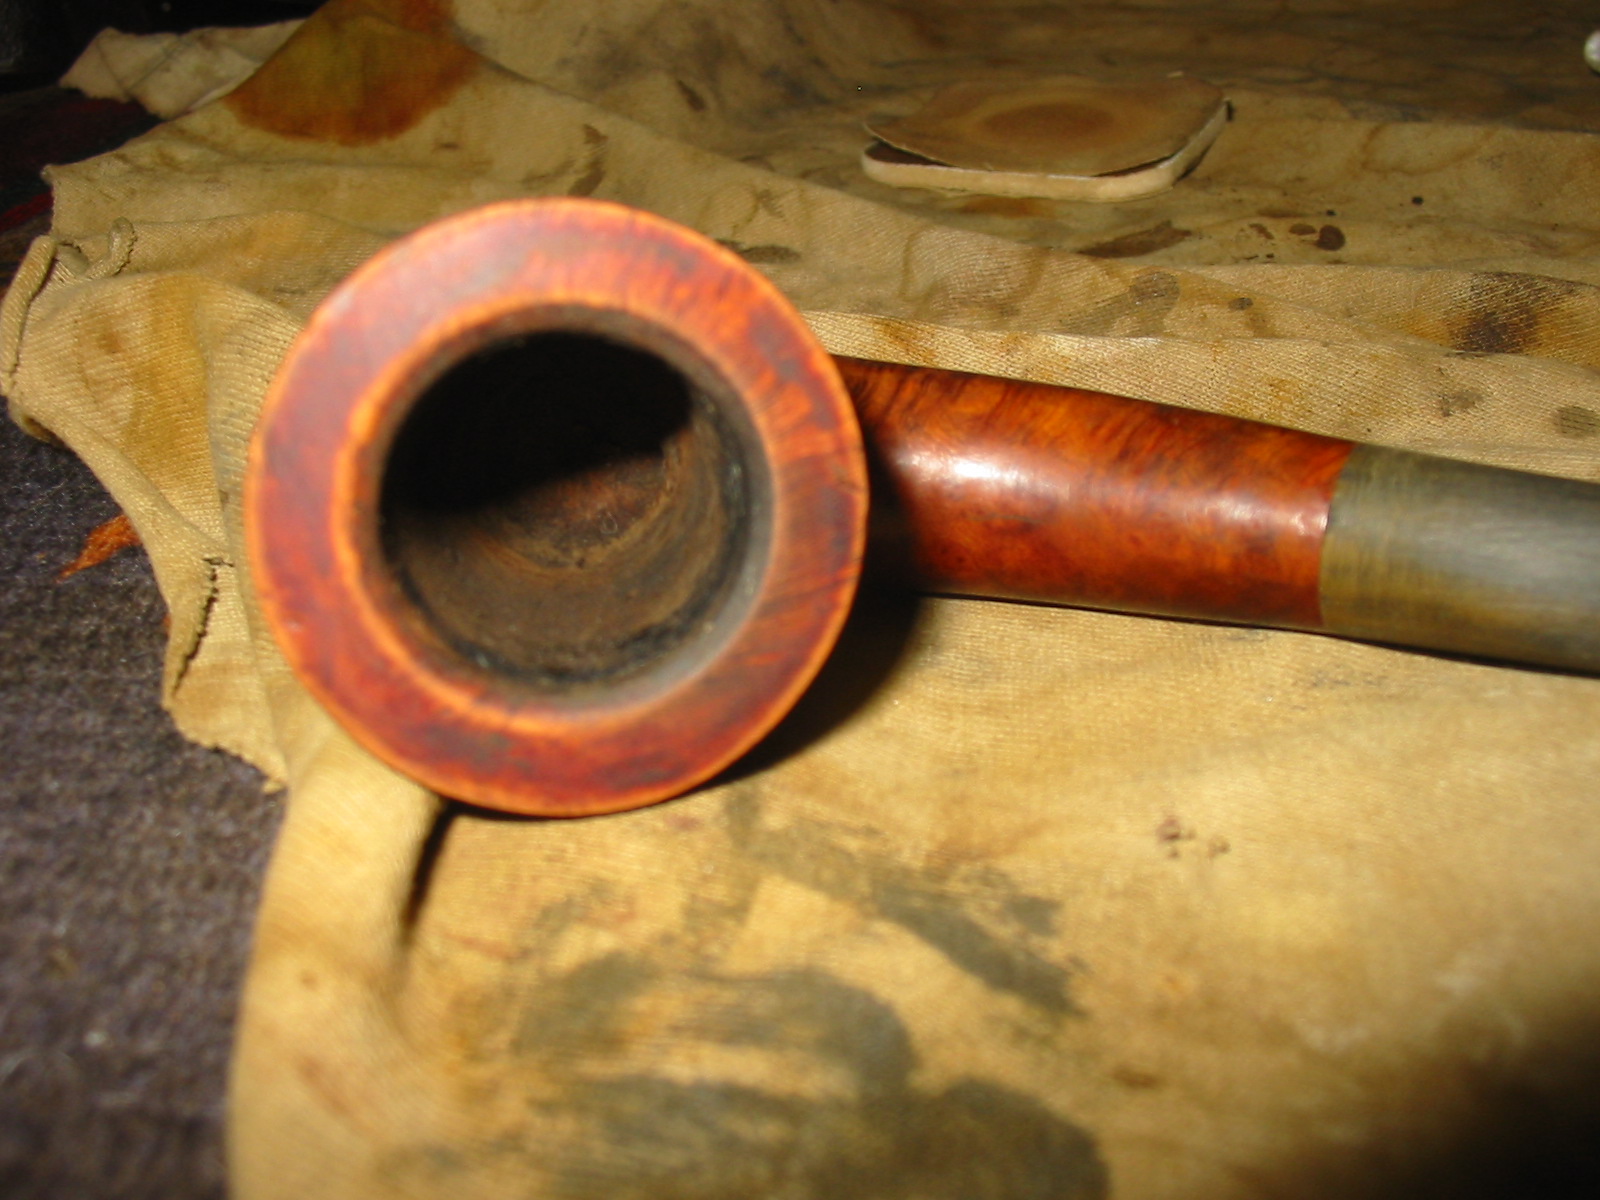
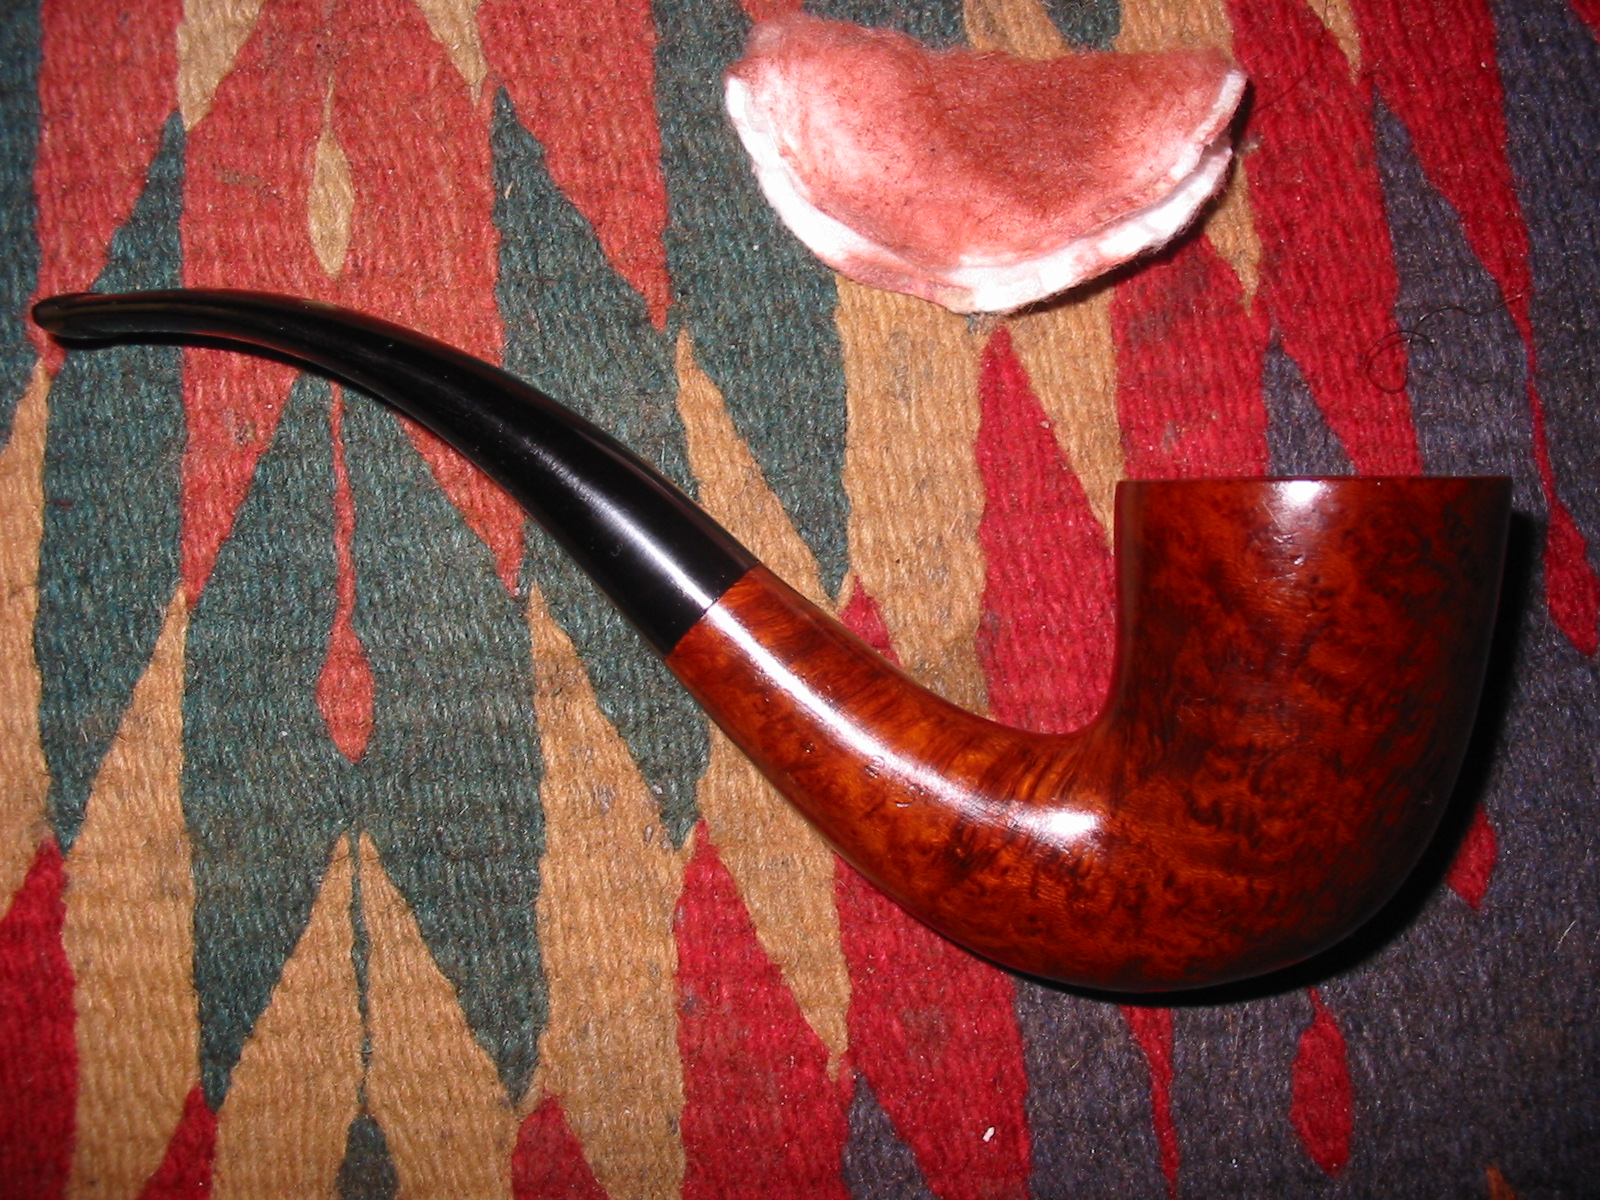
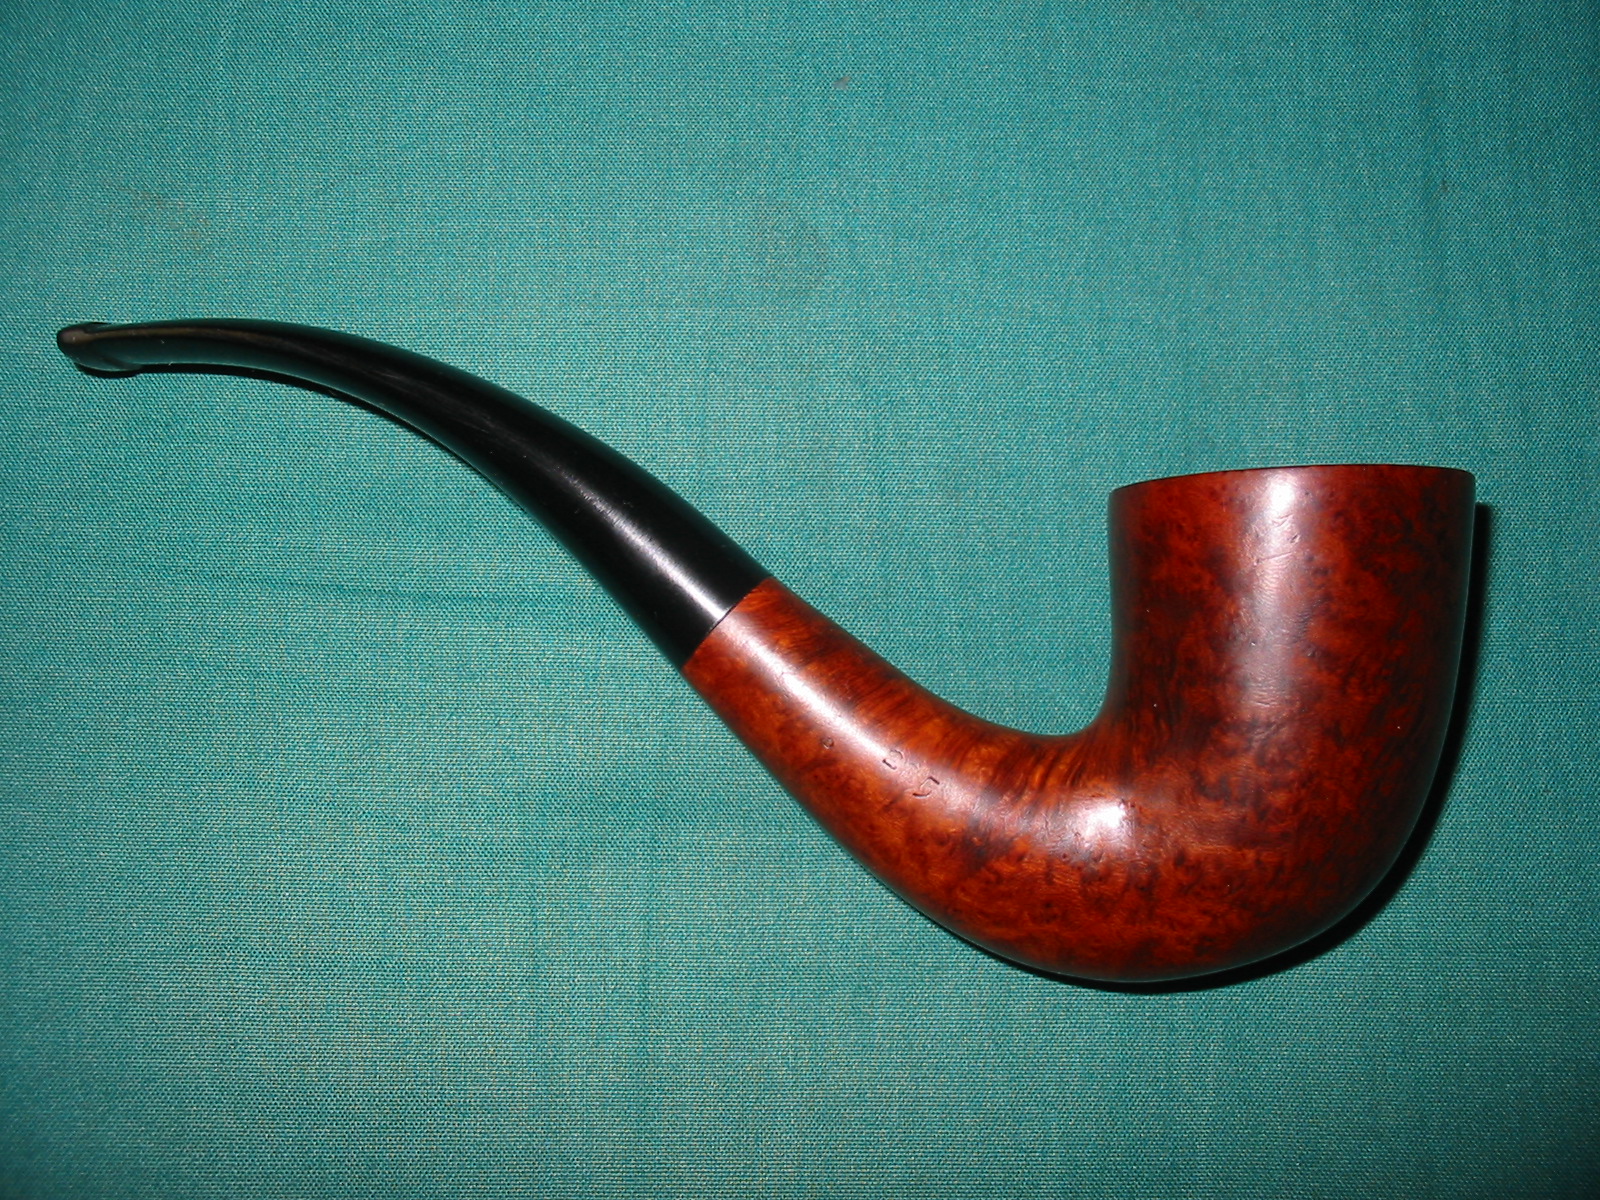
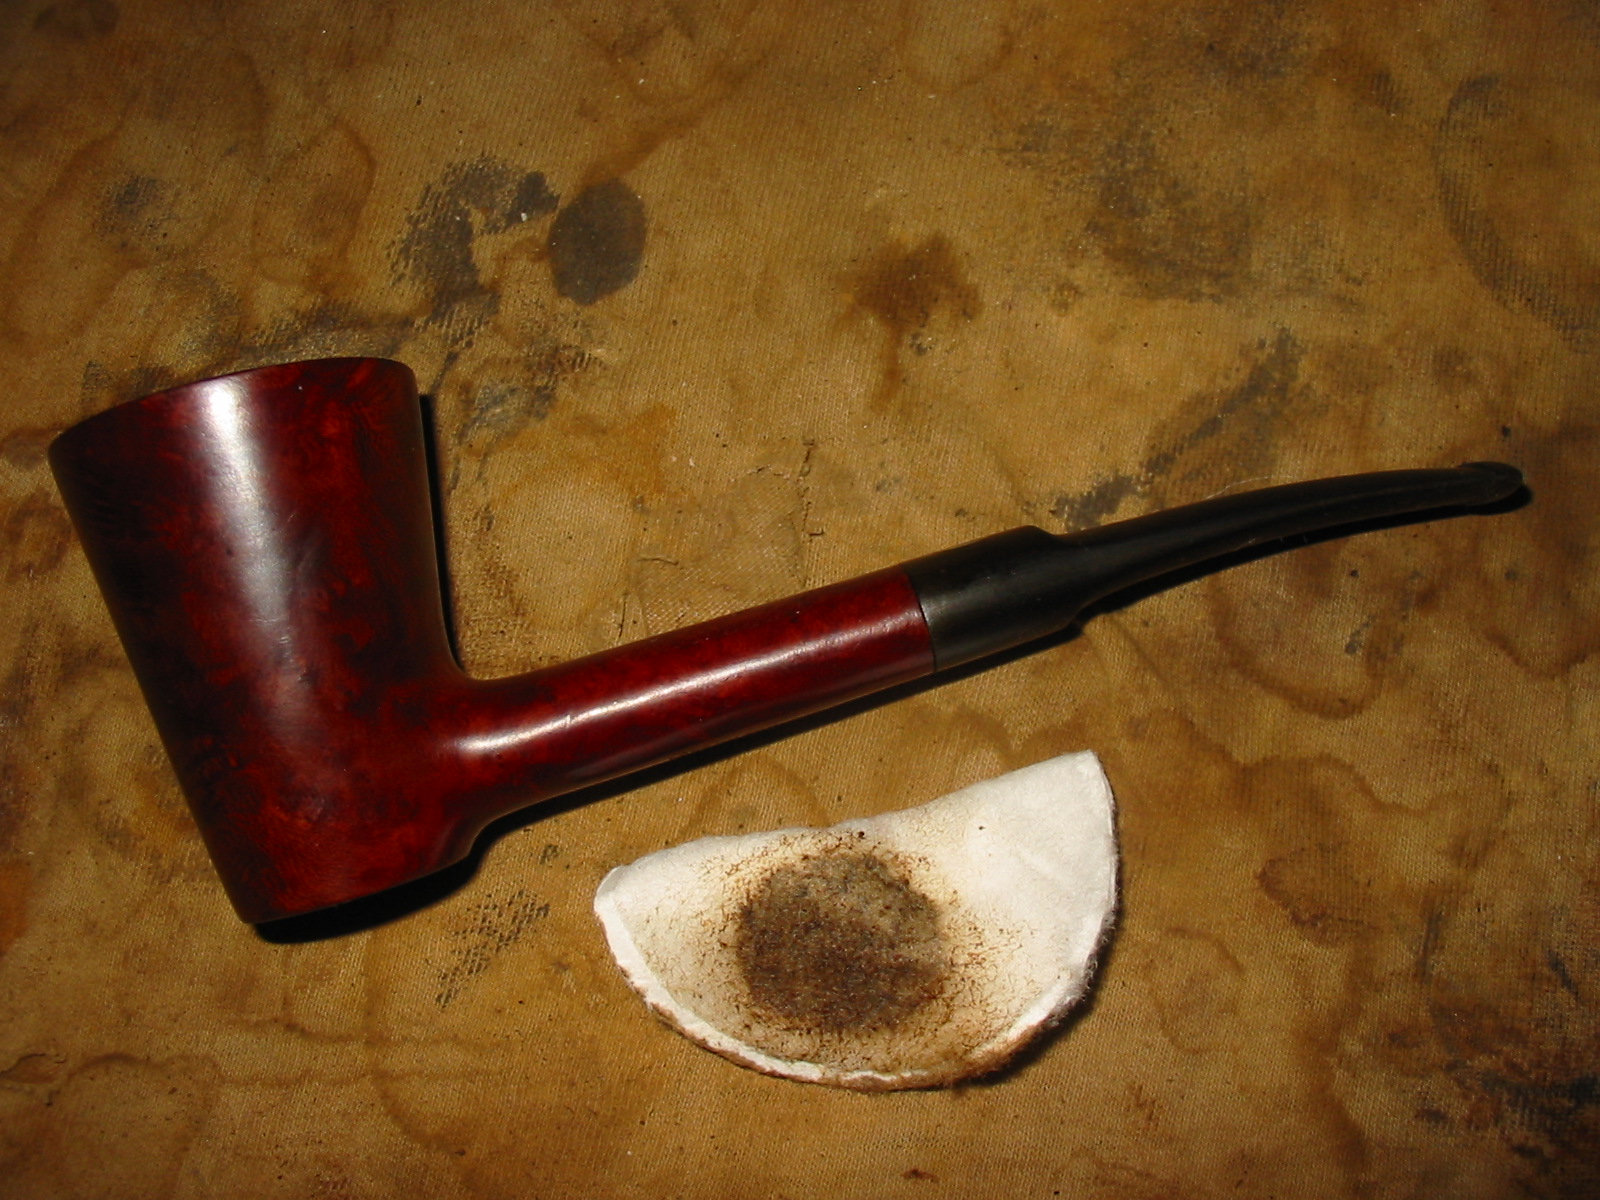
The picture below shows the state of the bowl when I brought it to the work table. It had a thick and crumbly carbon cake and carbon and tar build up on the concave surface of the rim. The front of the outer edge had burn marks from repeated lighting. The GBD roundel on the stem was badly oxidized and looked to be corroded. The stem was badly oxidized and on the bottom had a large hole where the previous owner had bitten through the stem.
IMG_3668

IMG_3669

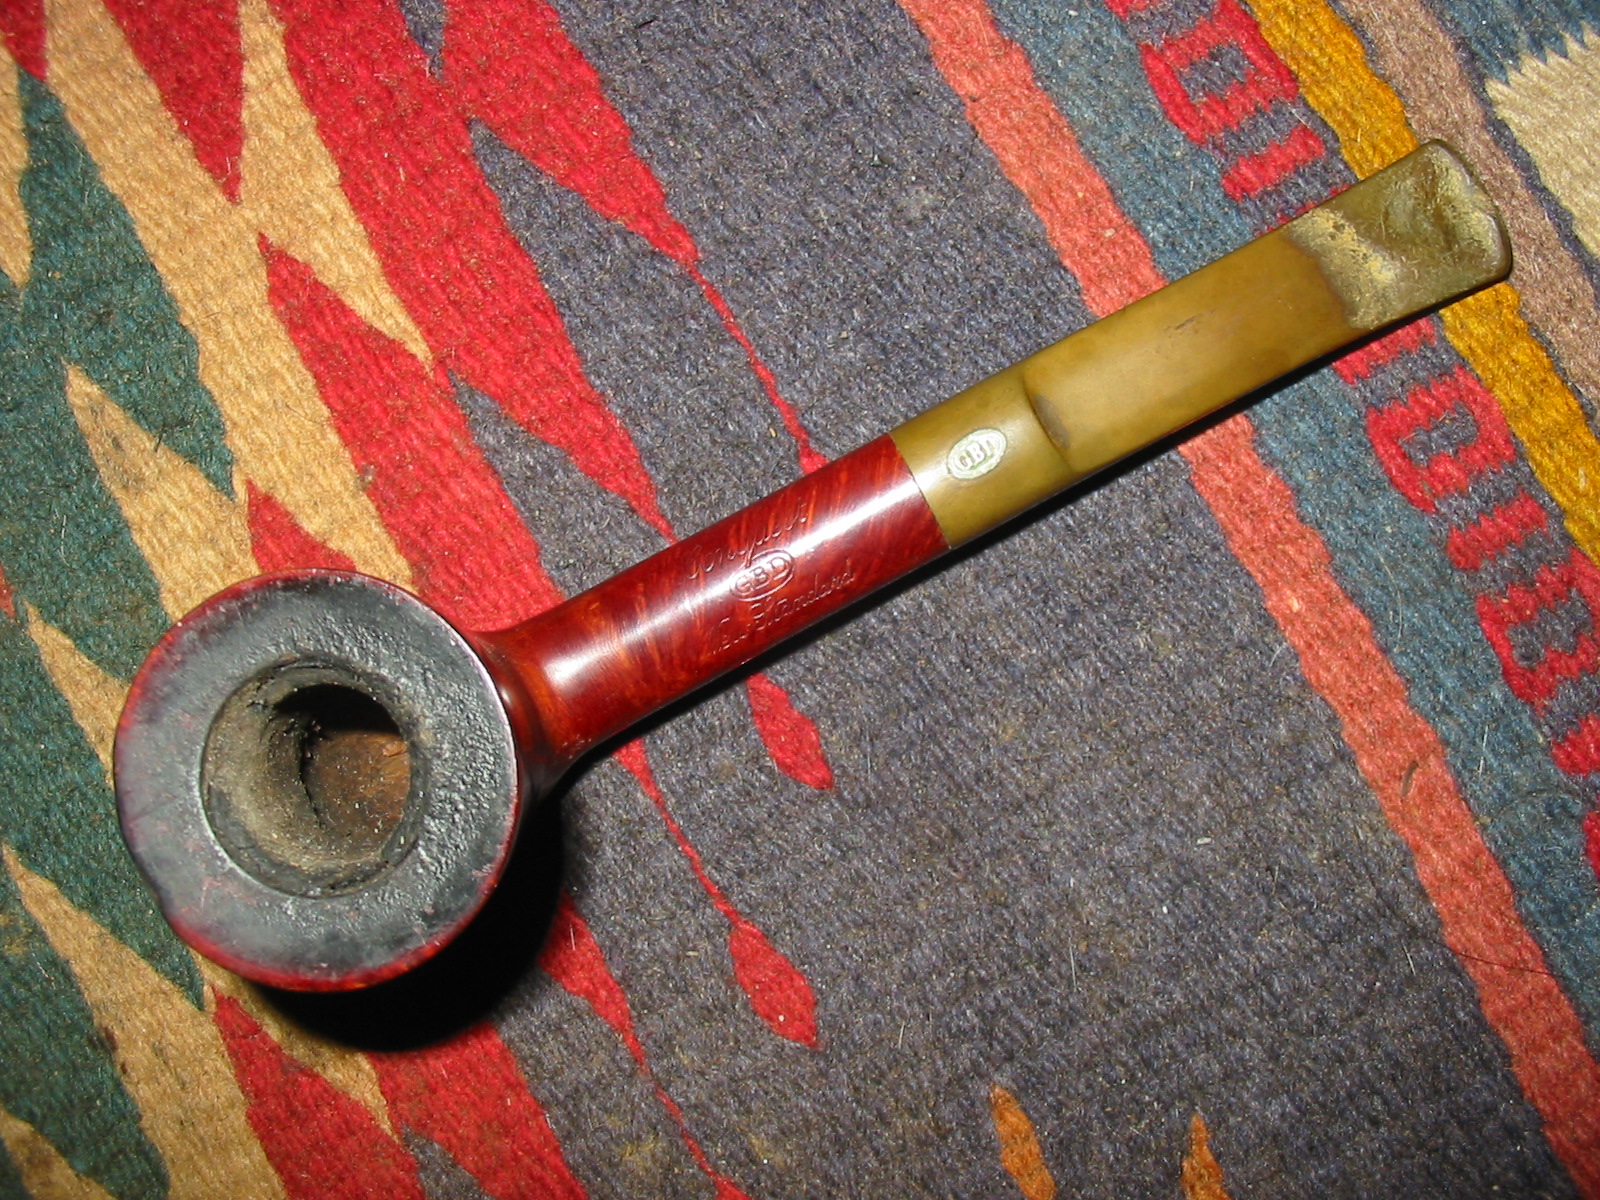
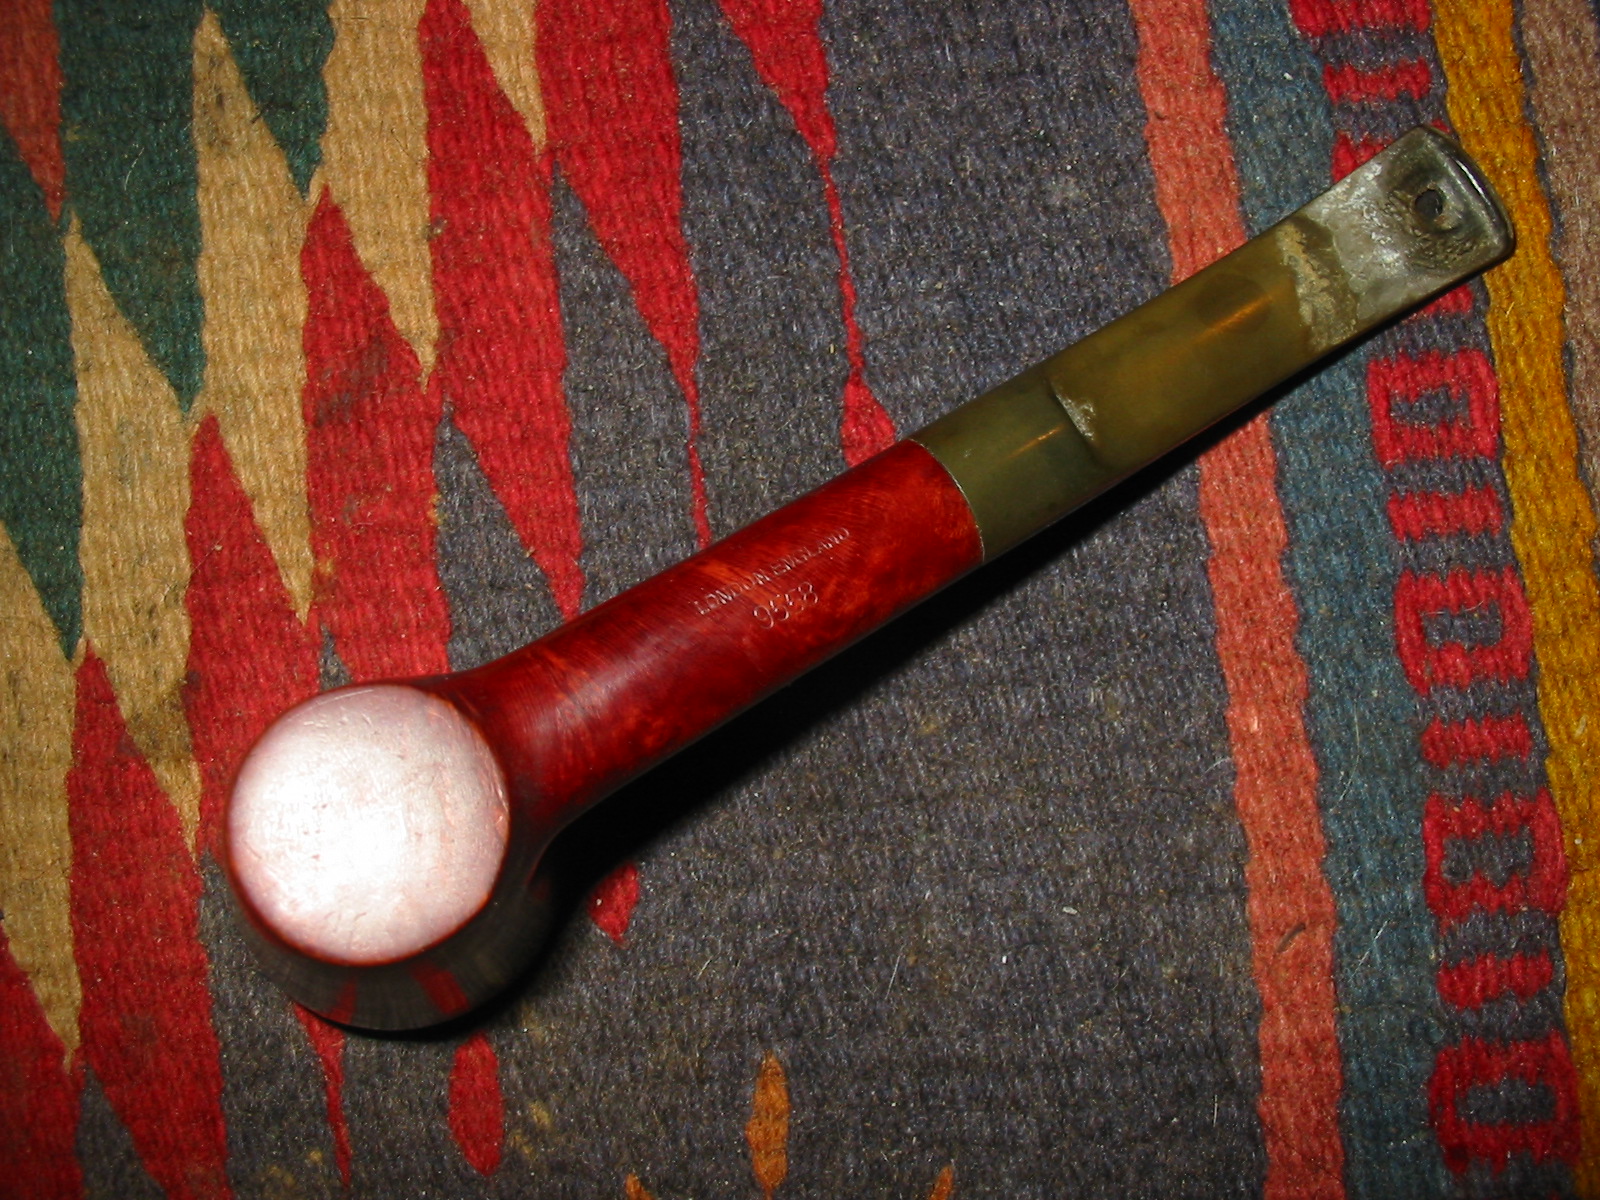
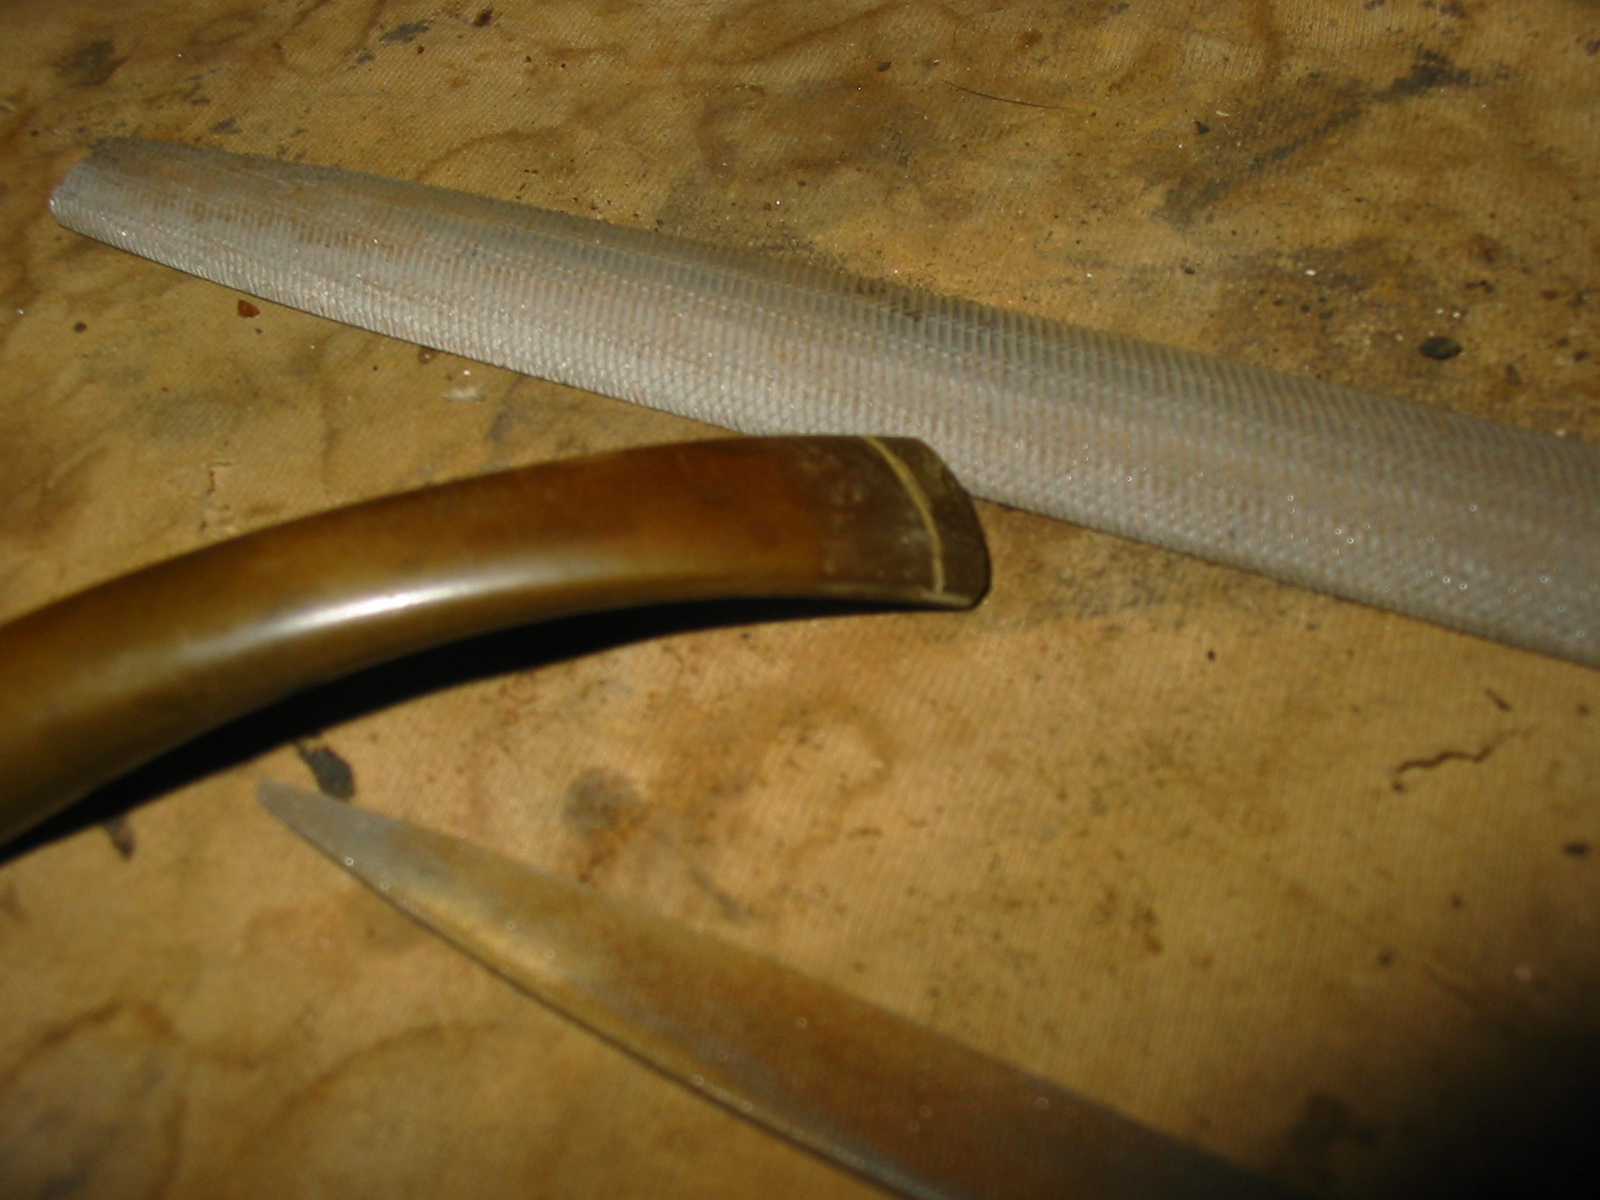
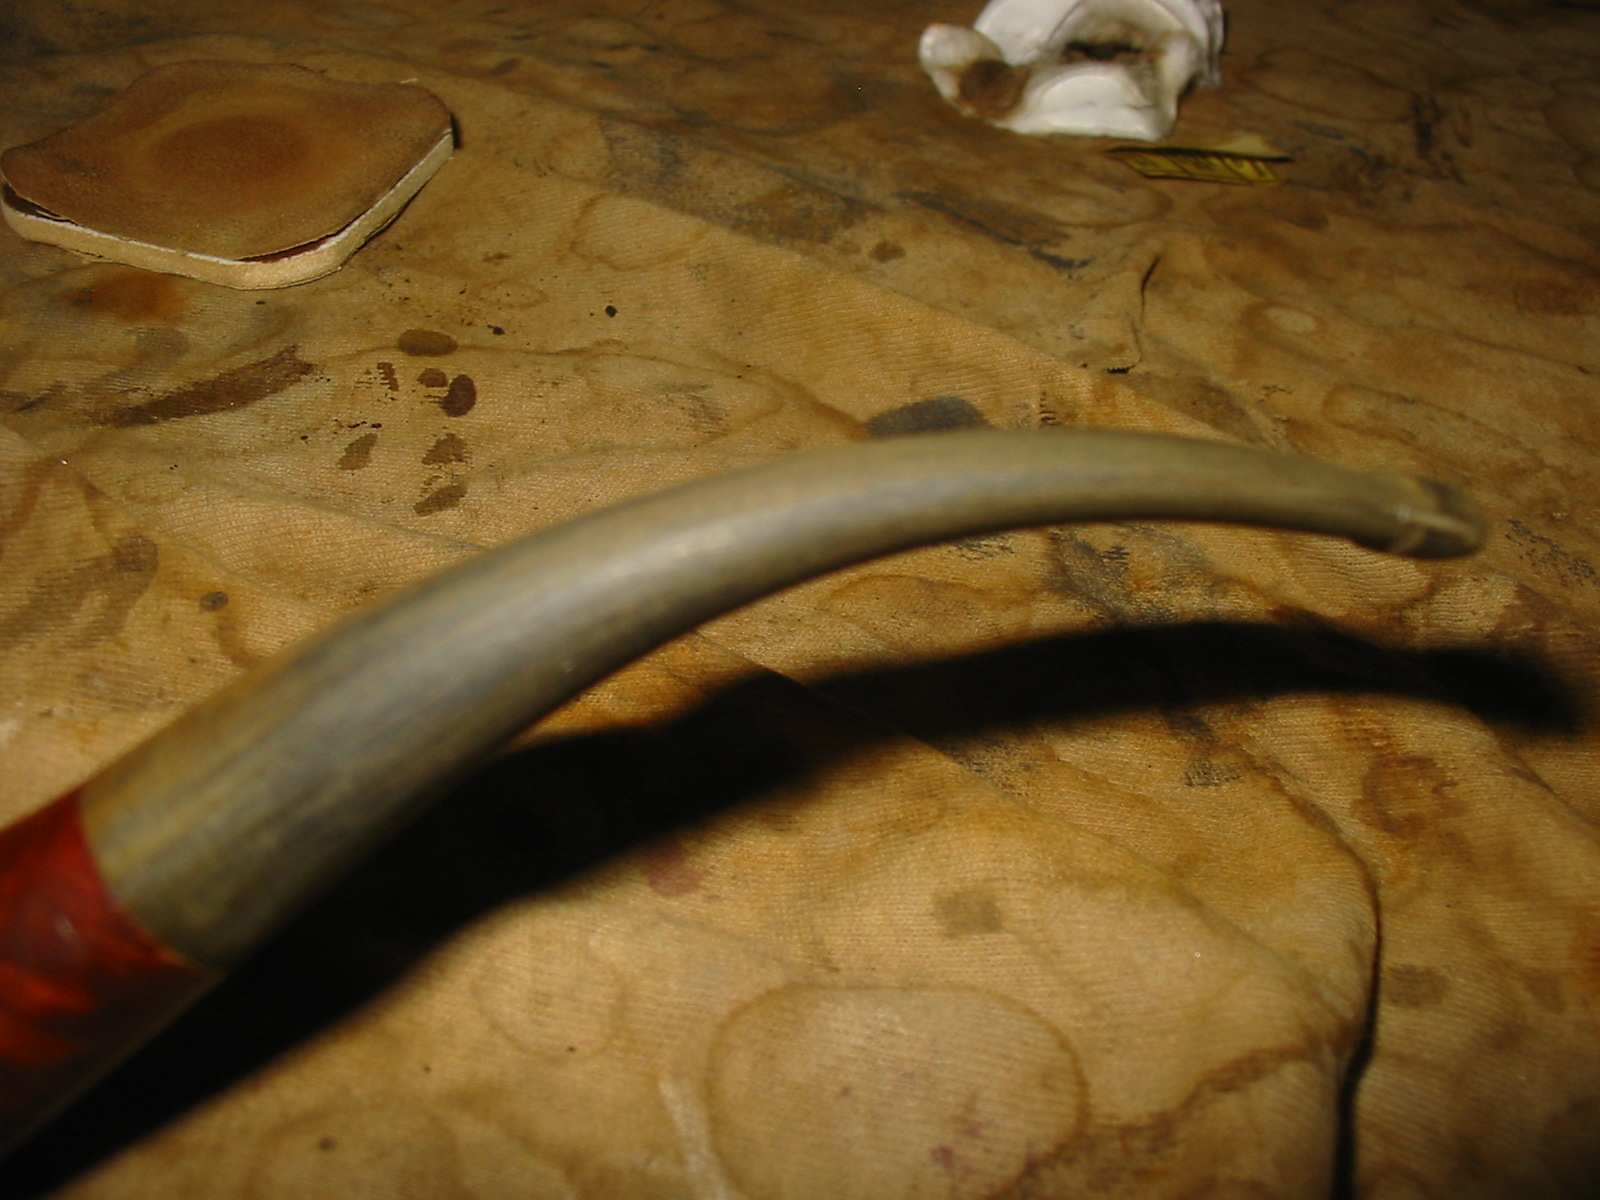
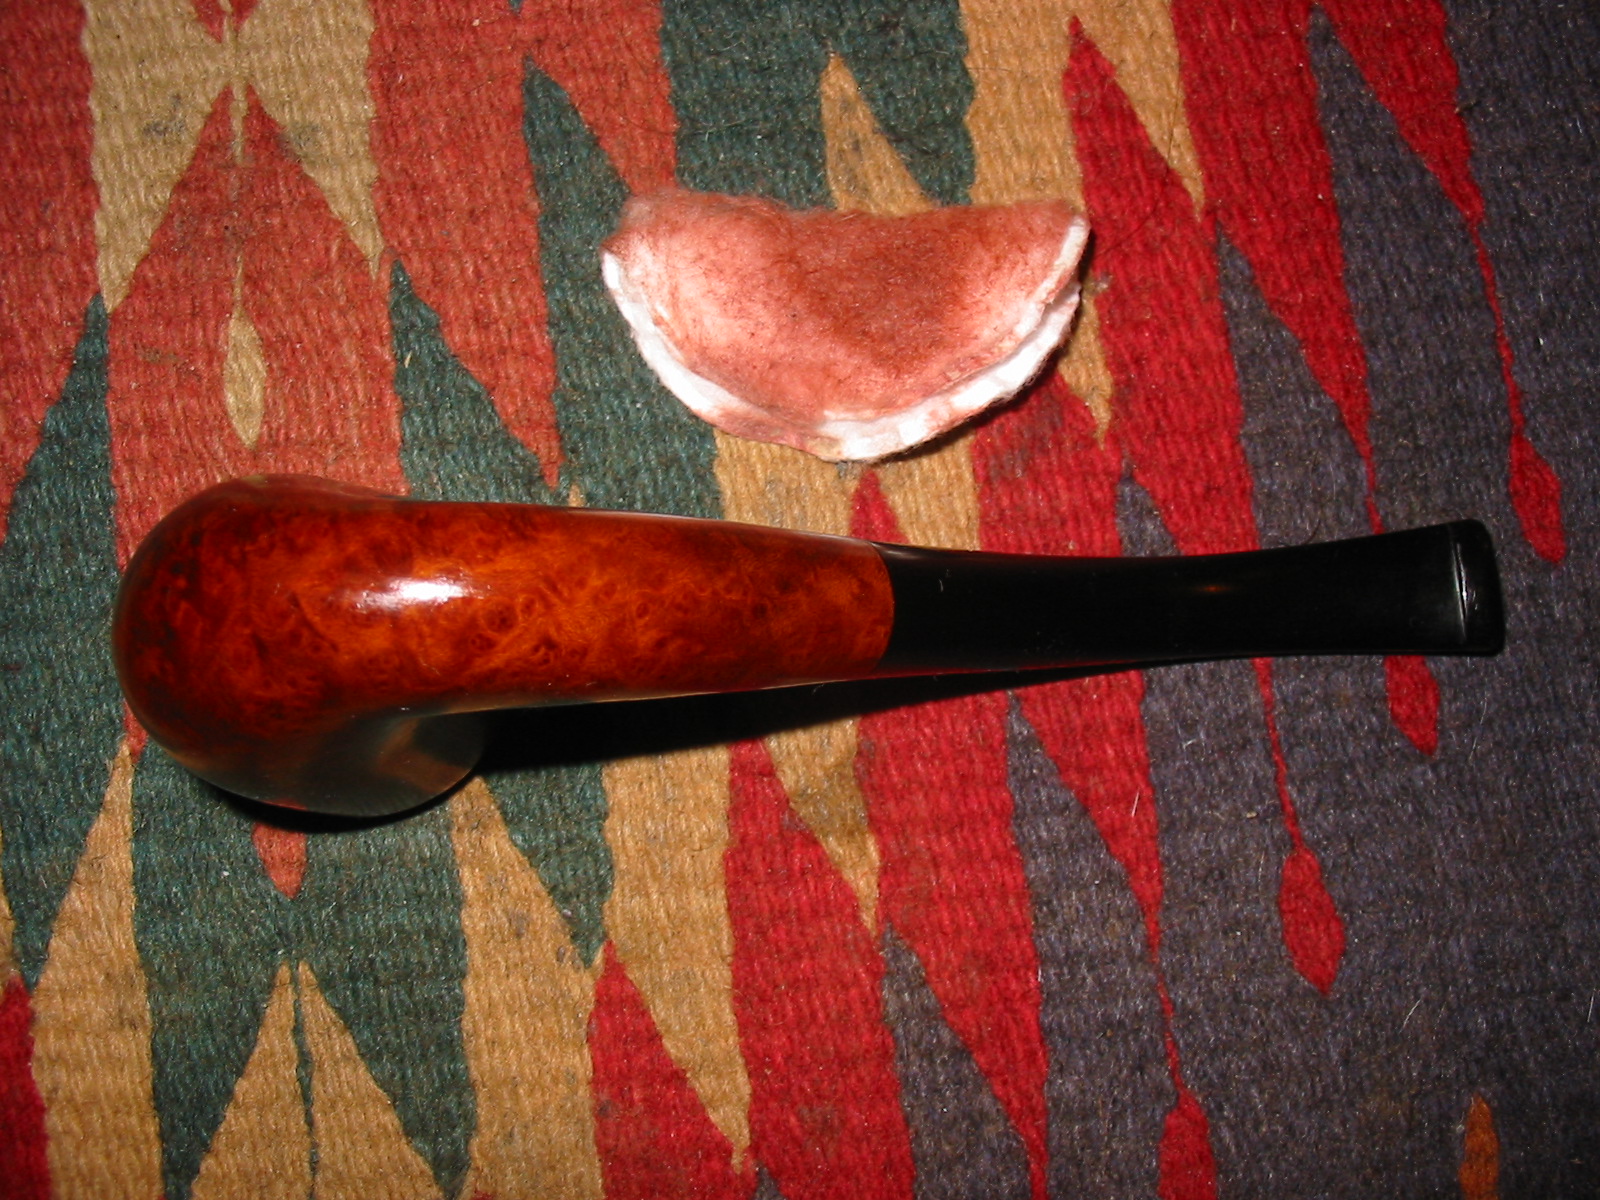
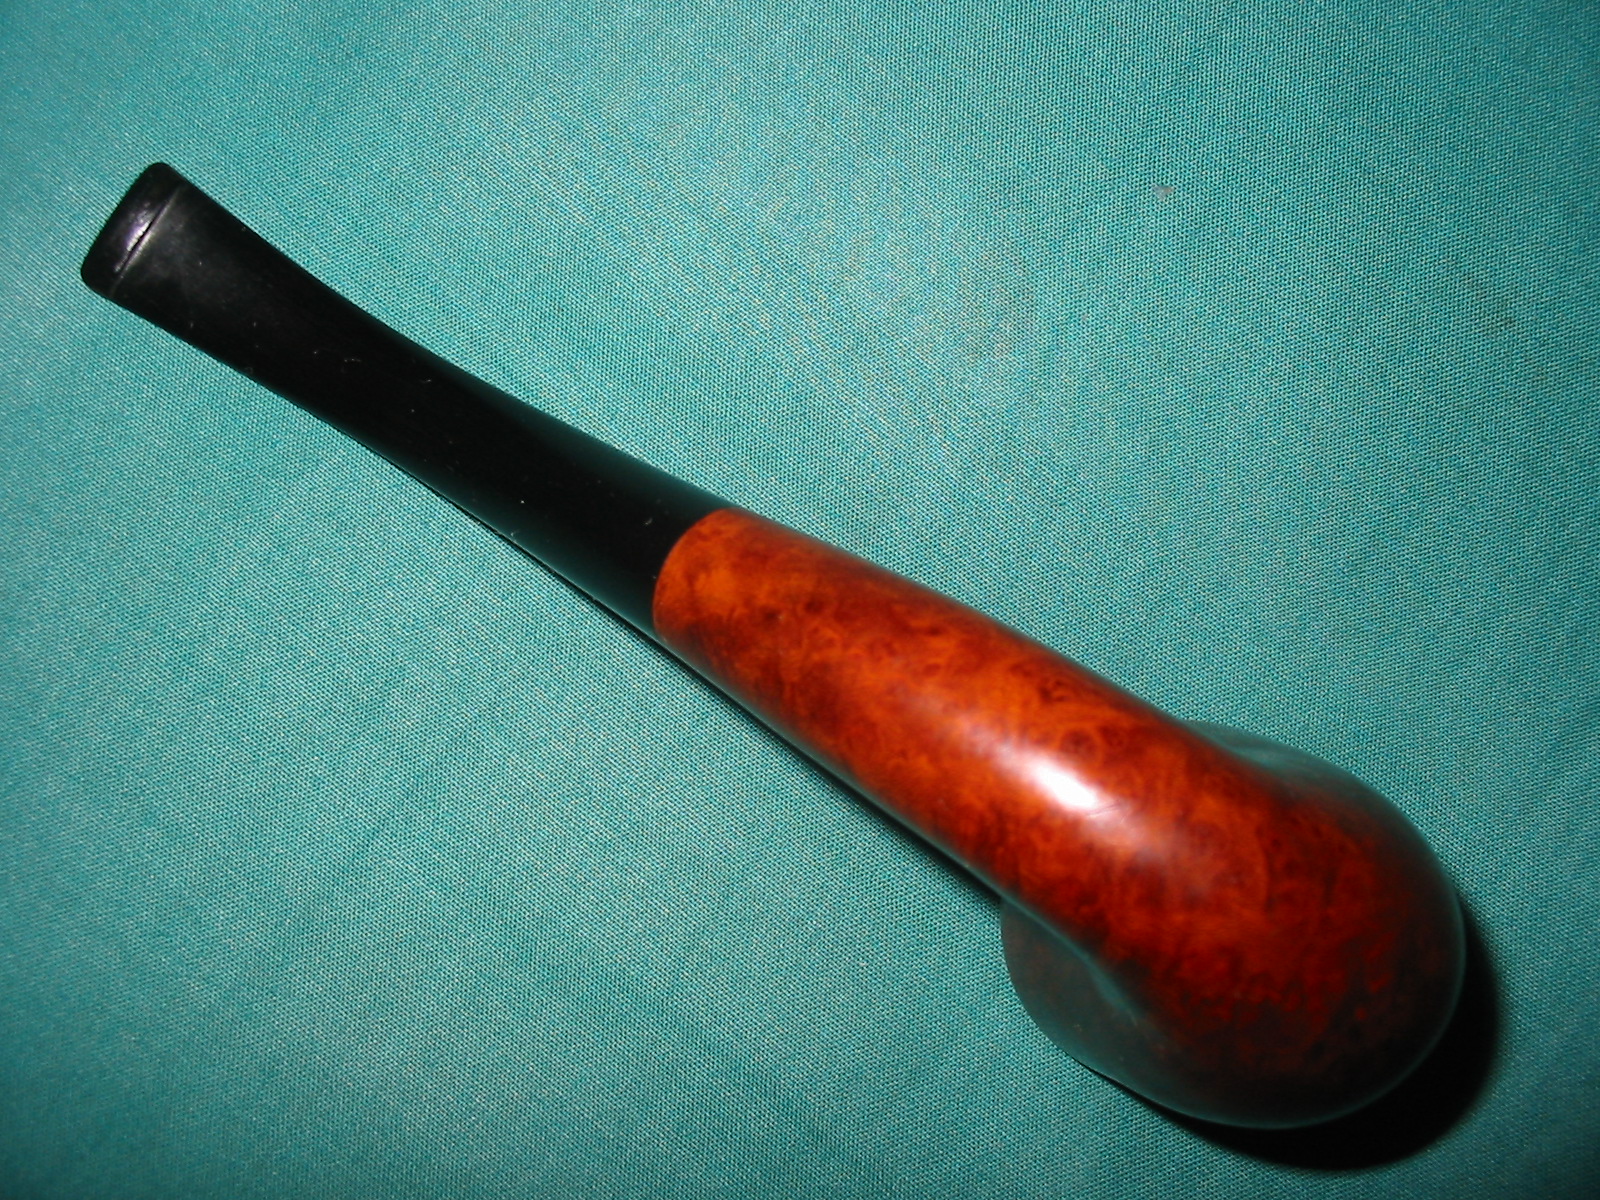
The picture below shows the size of the bite through and gives a pretty clear picture why I chose not to patch the stem but rather to cut the bite through off and rework the stem and button.
IMG_3670

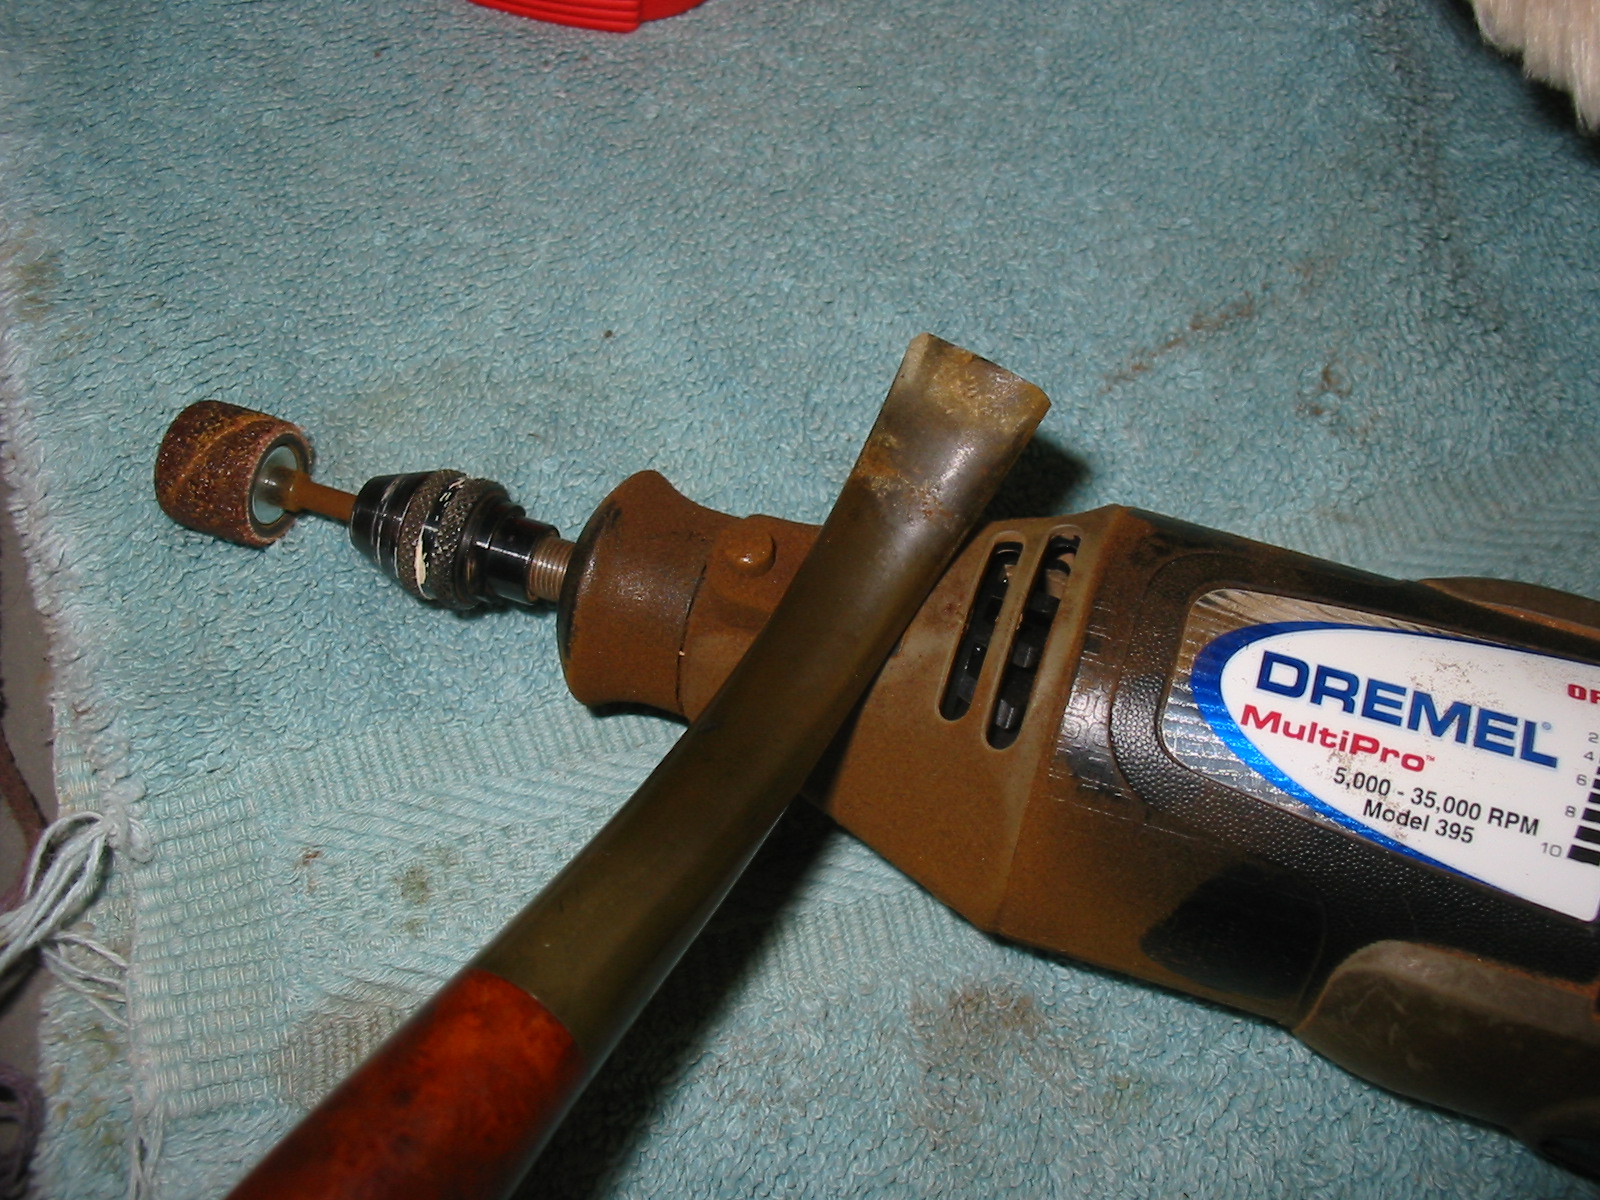
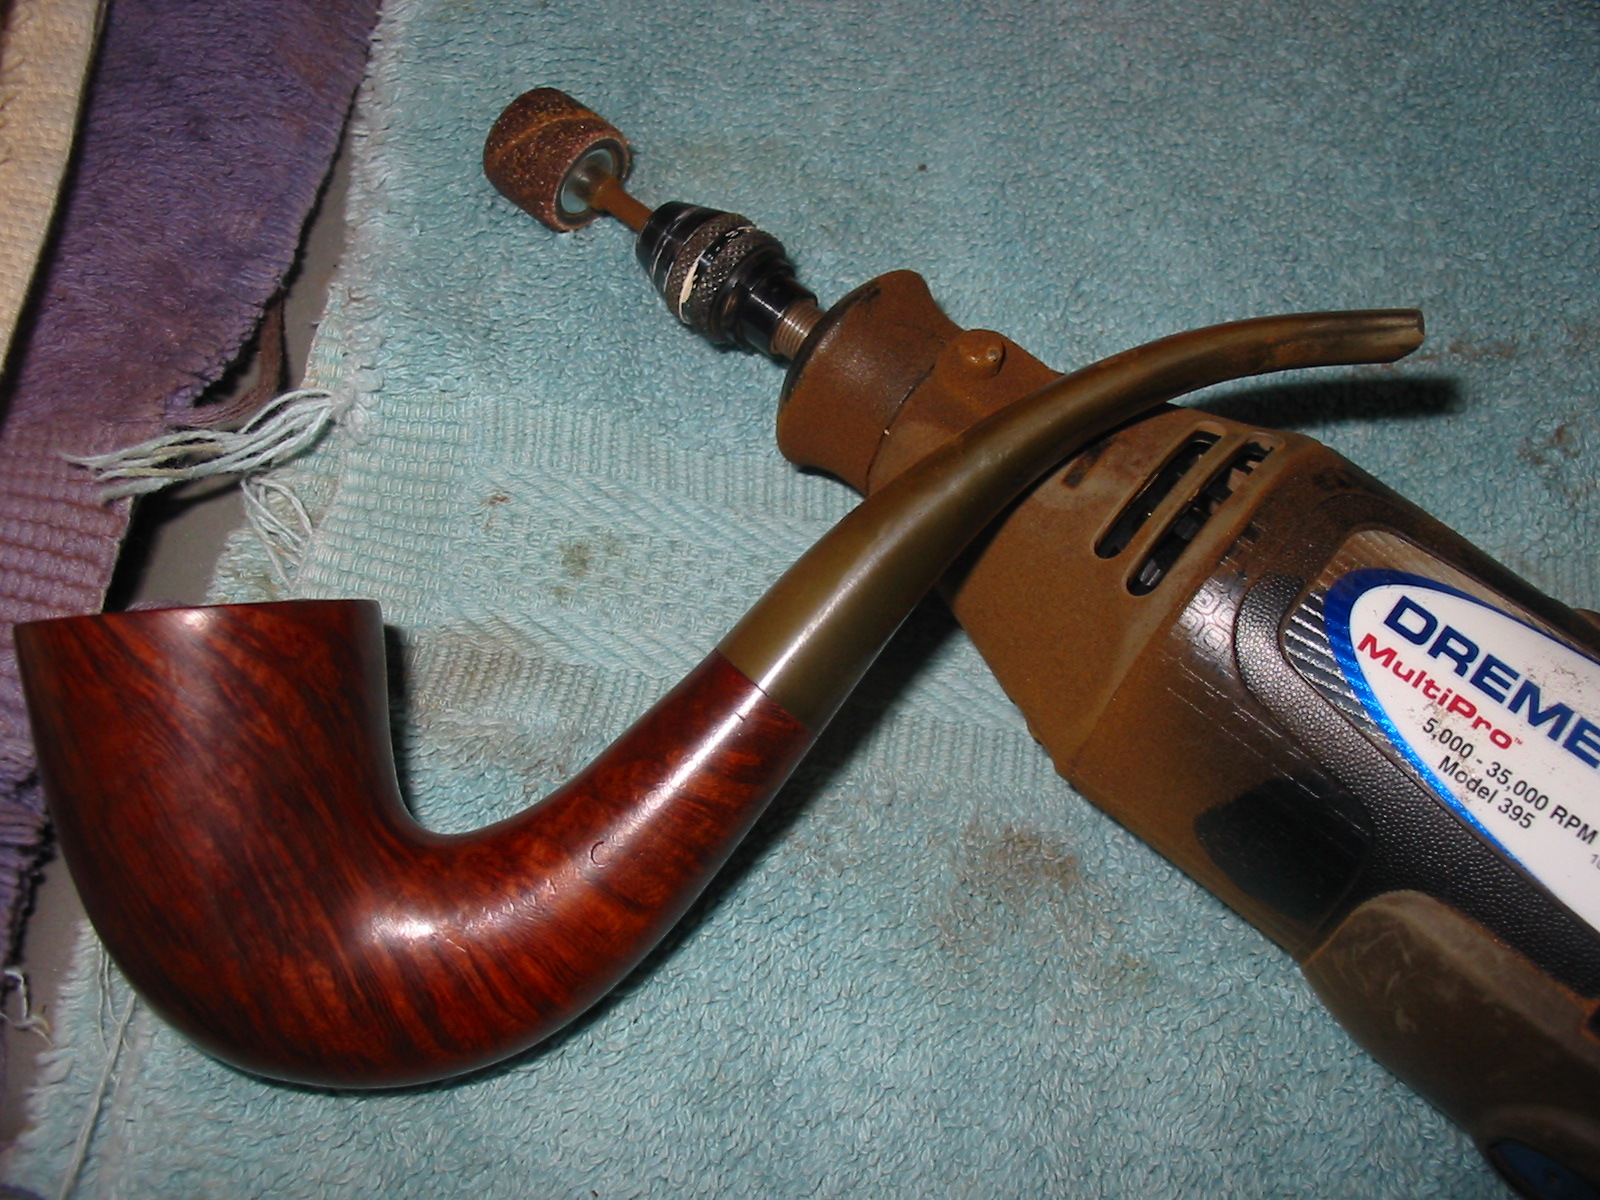
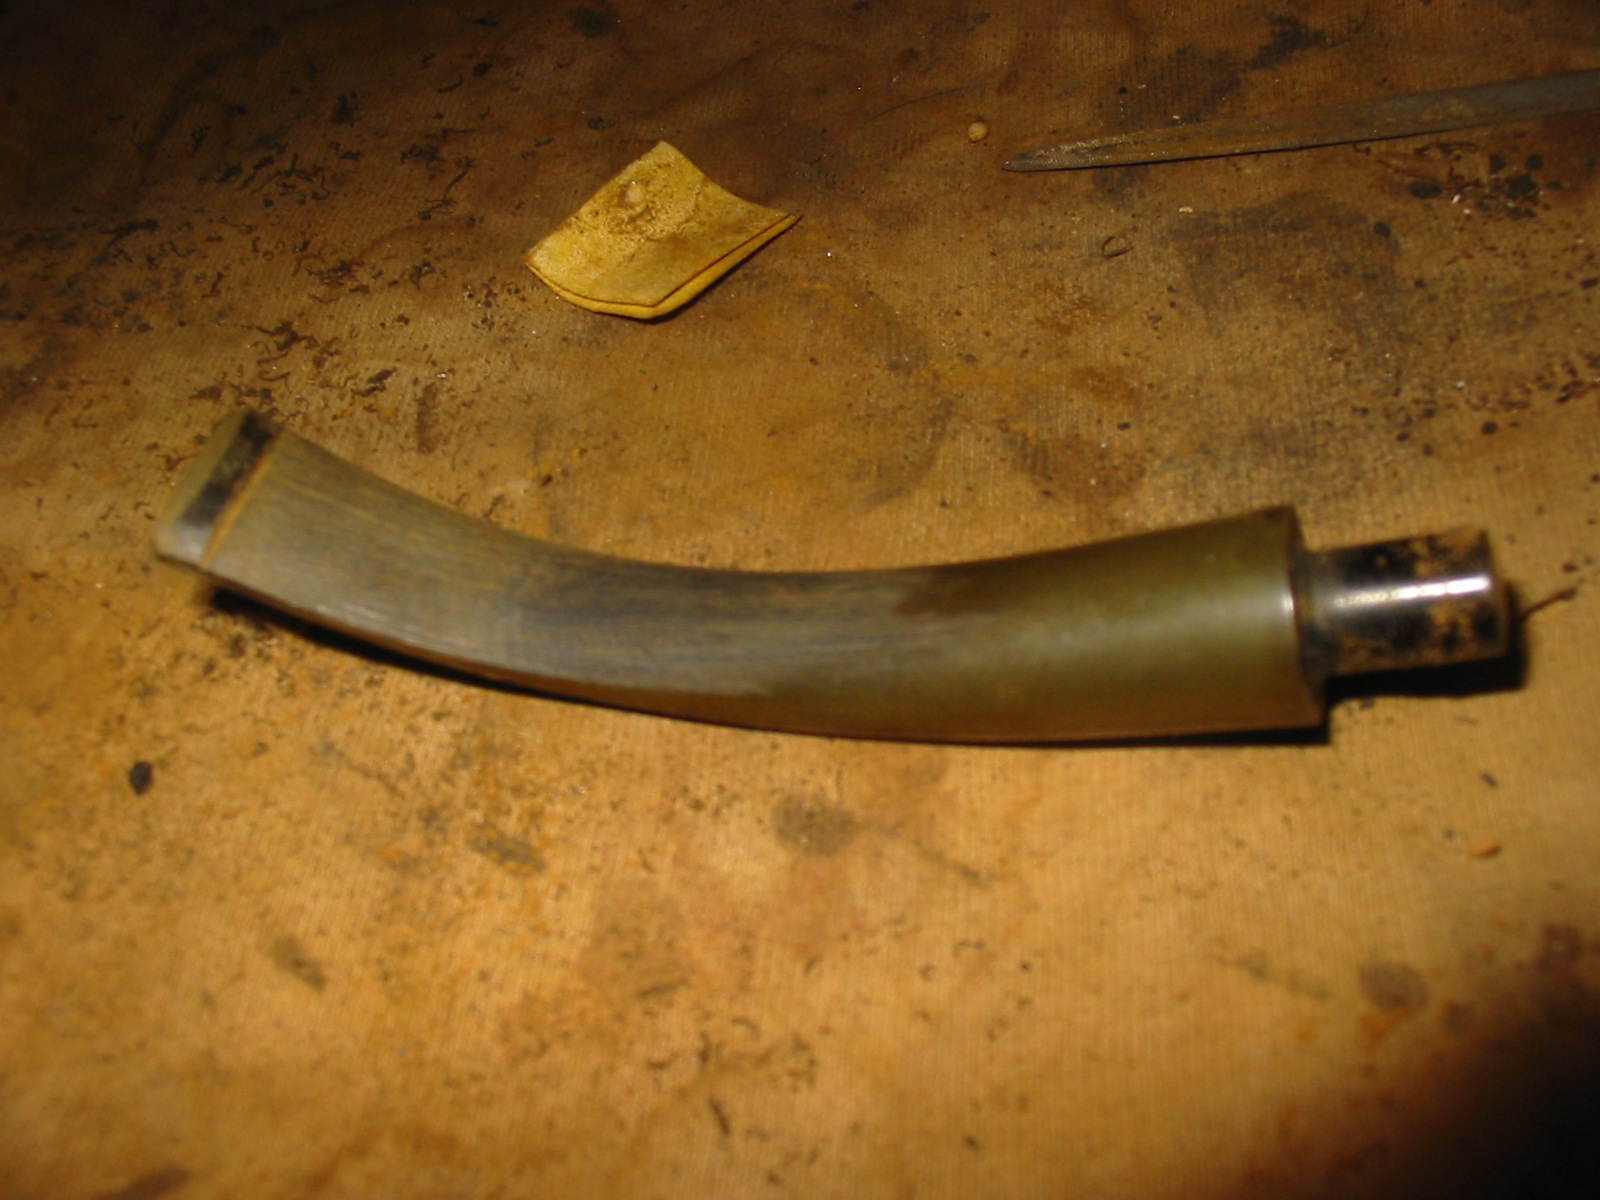
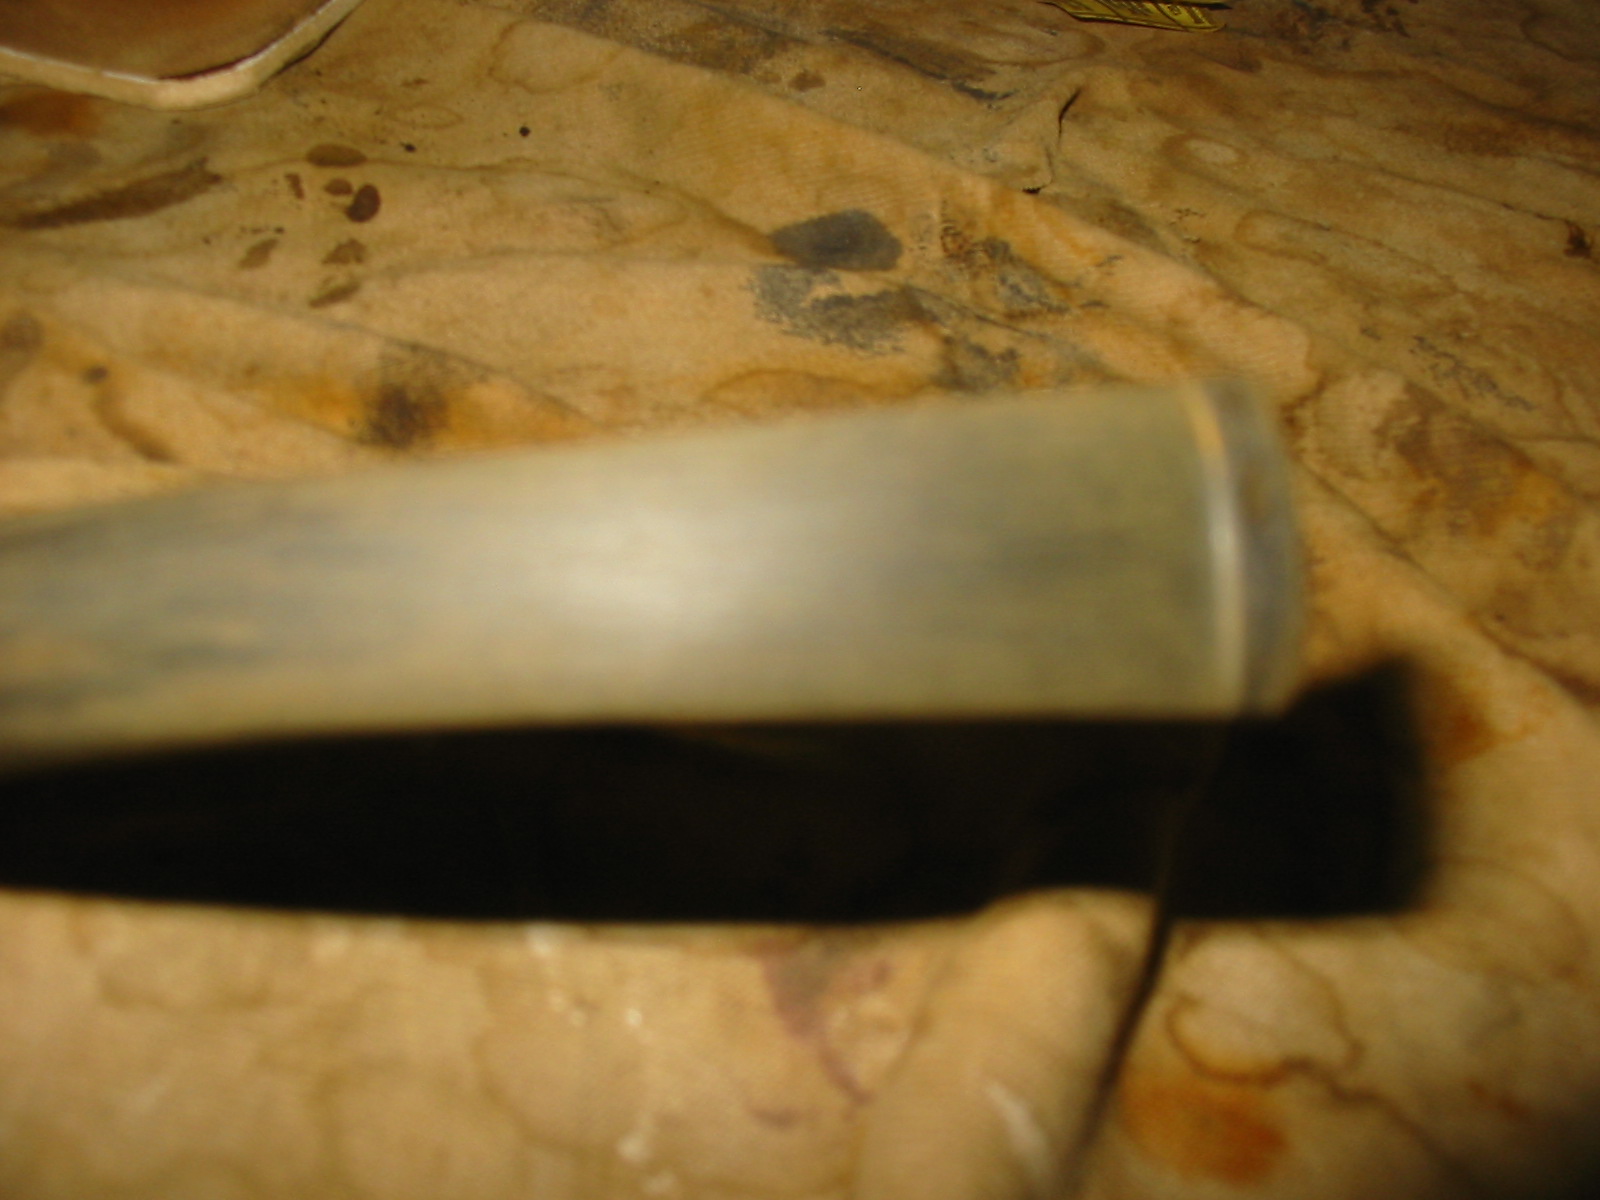
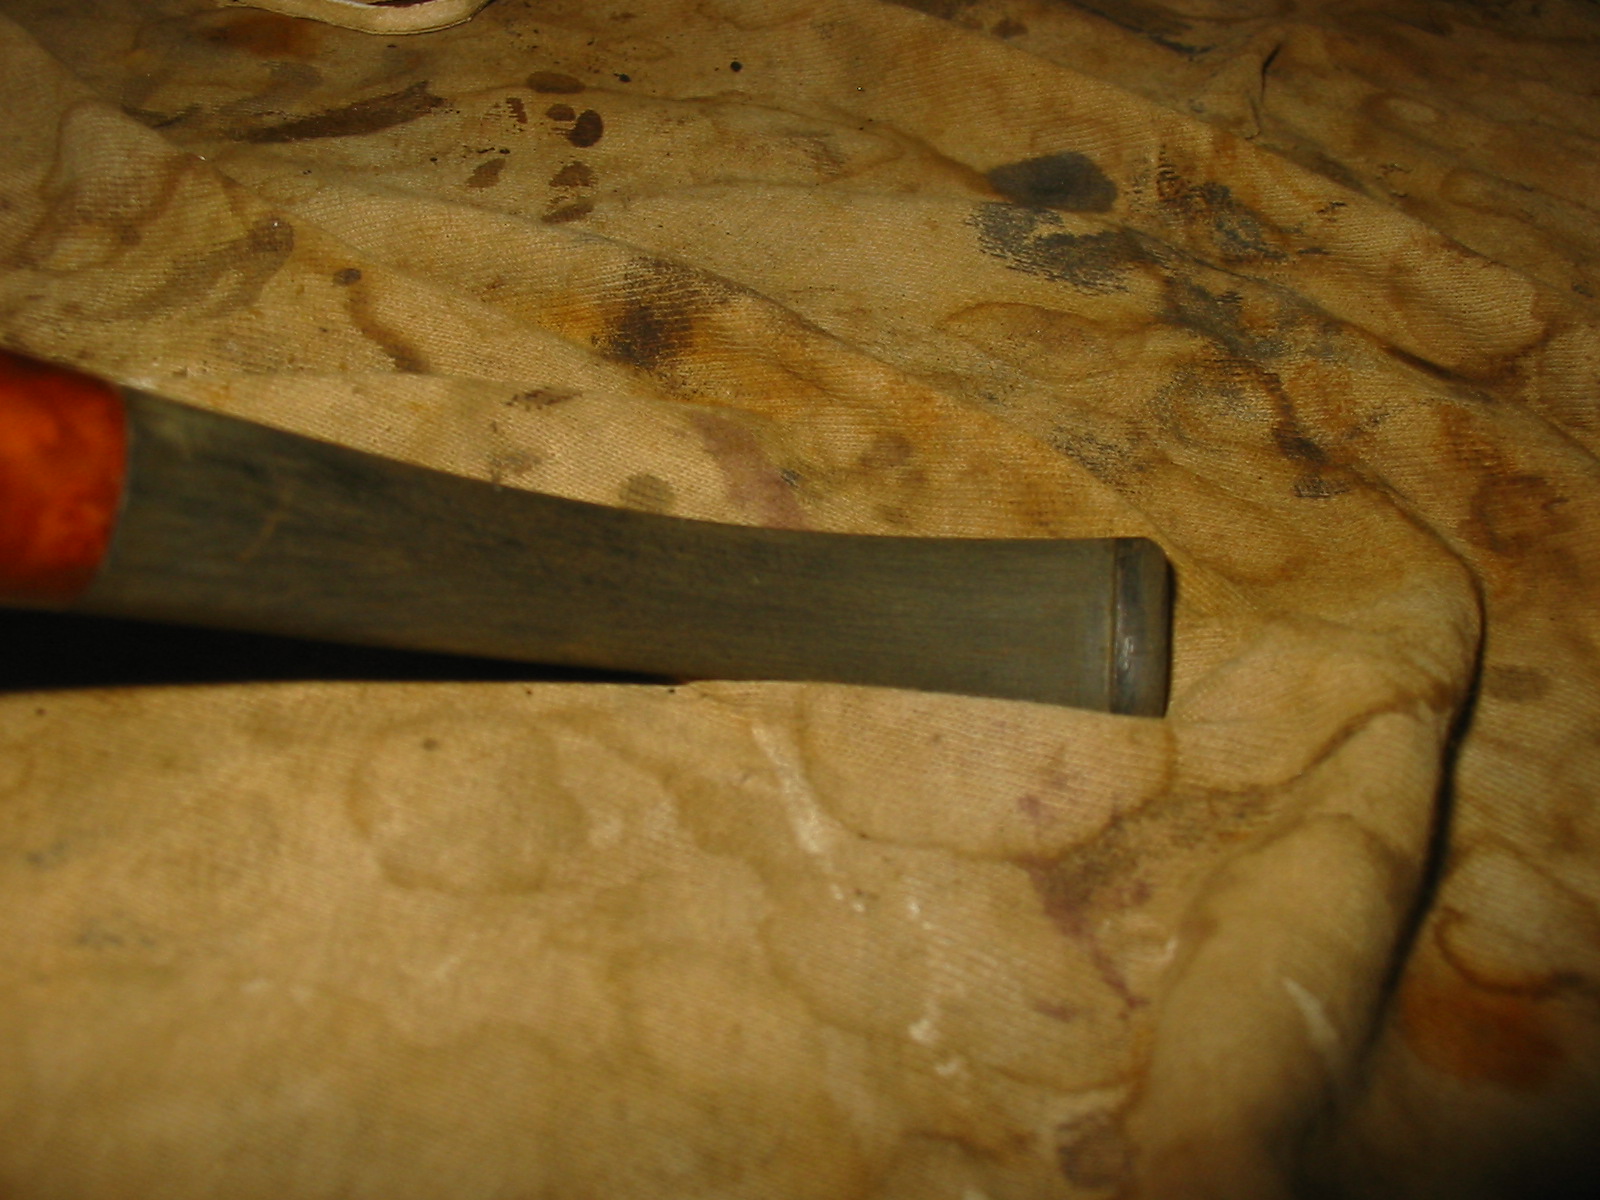
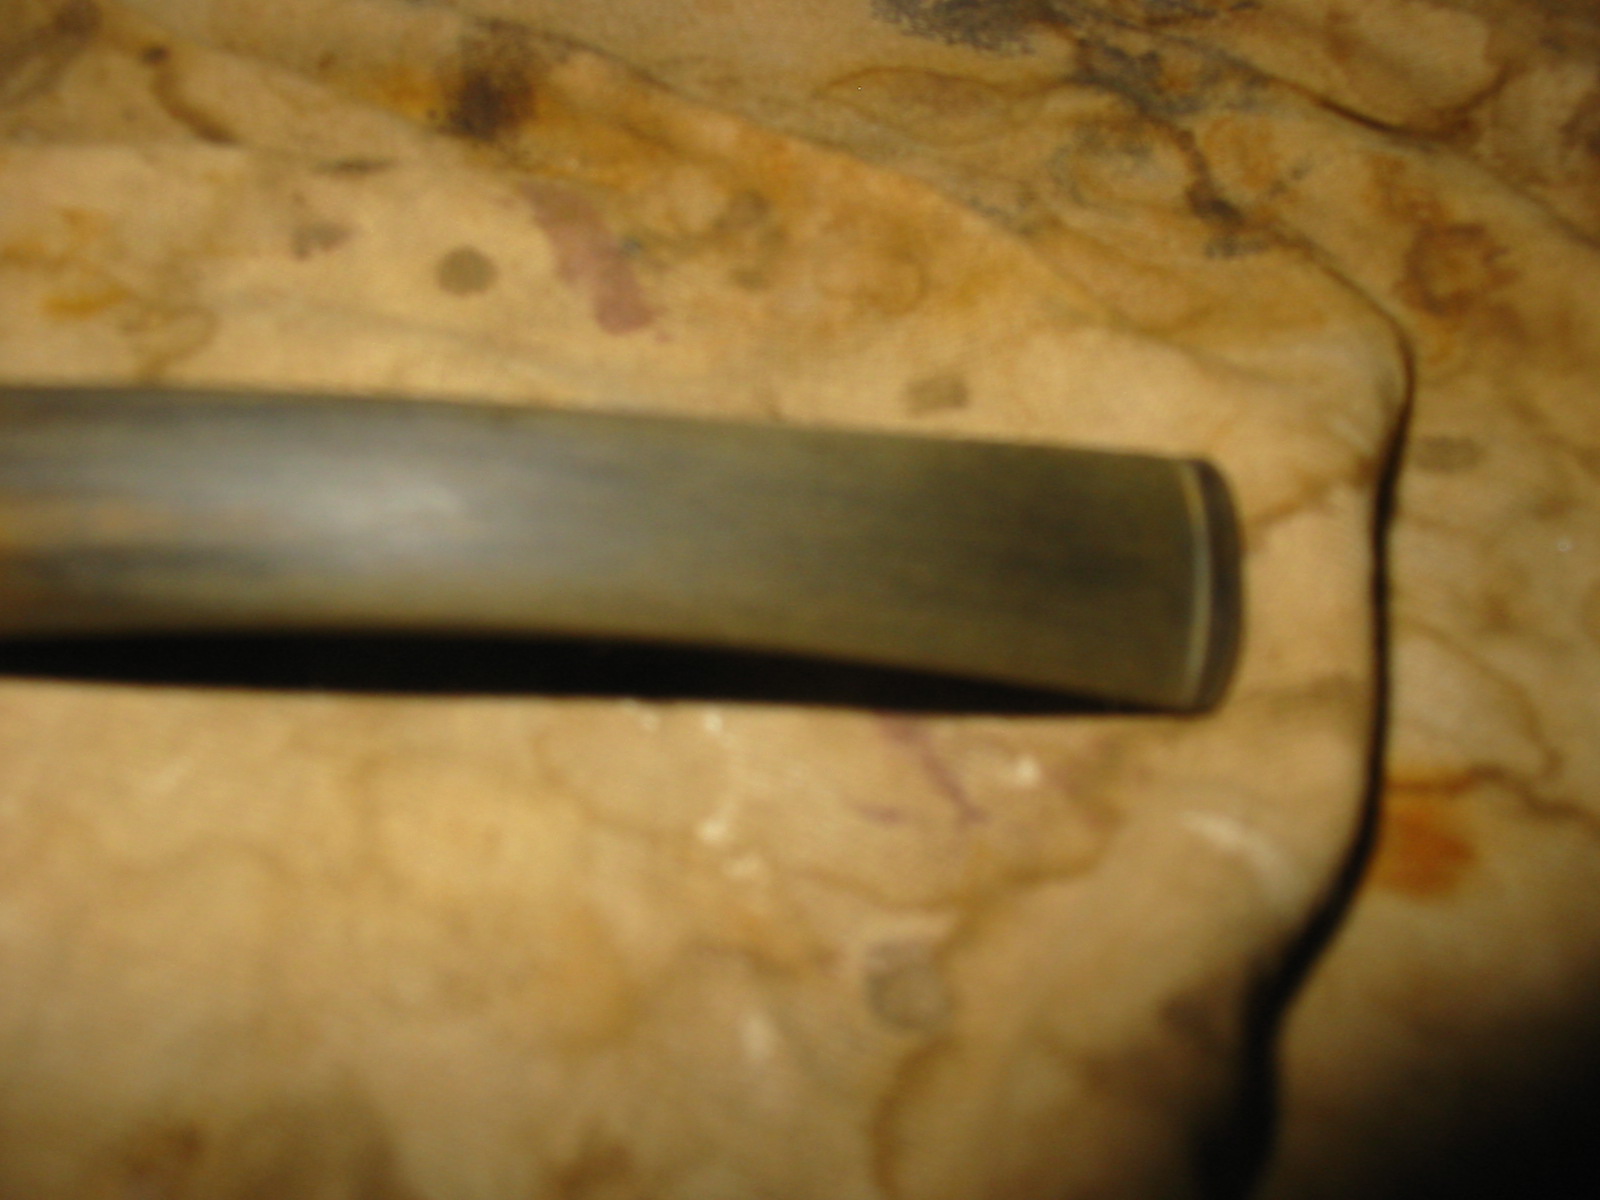
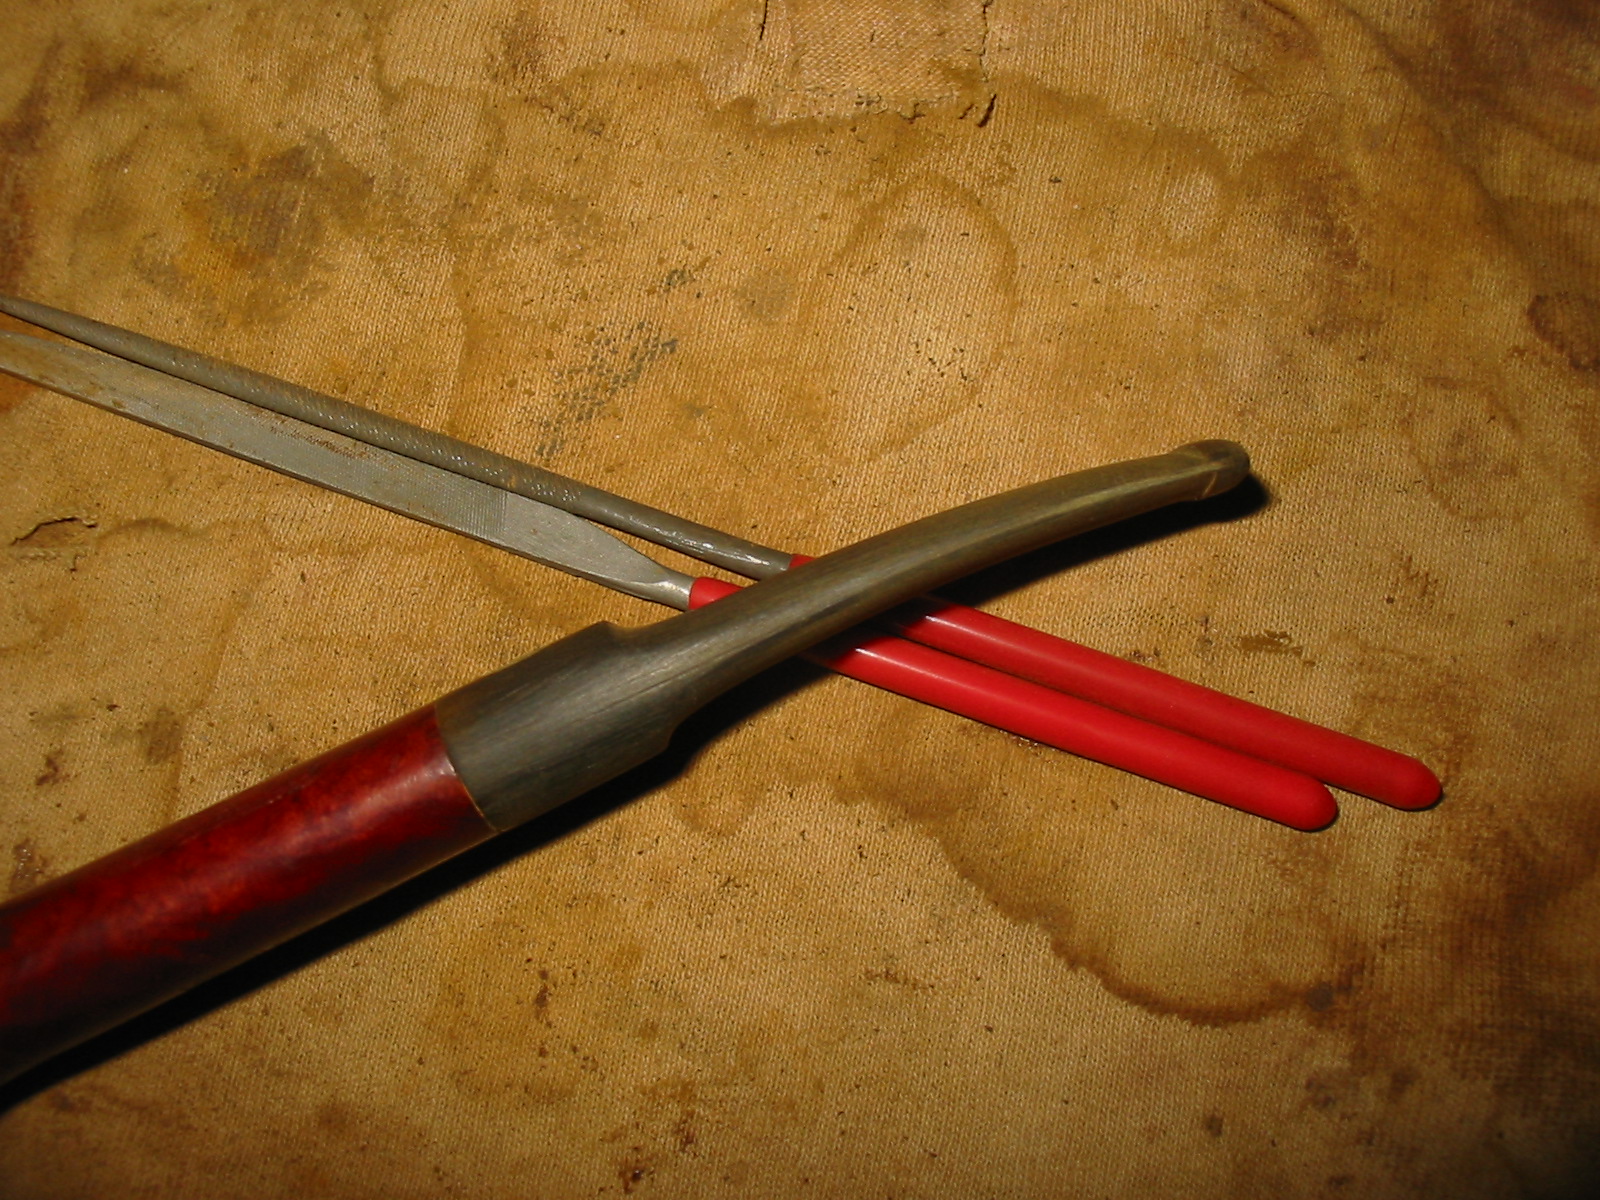
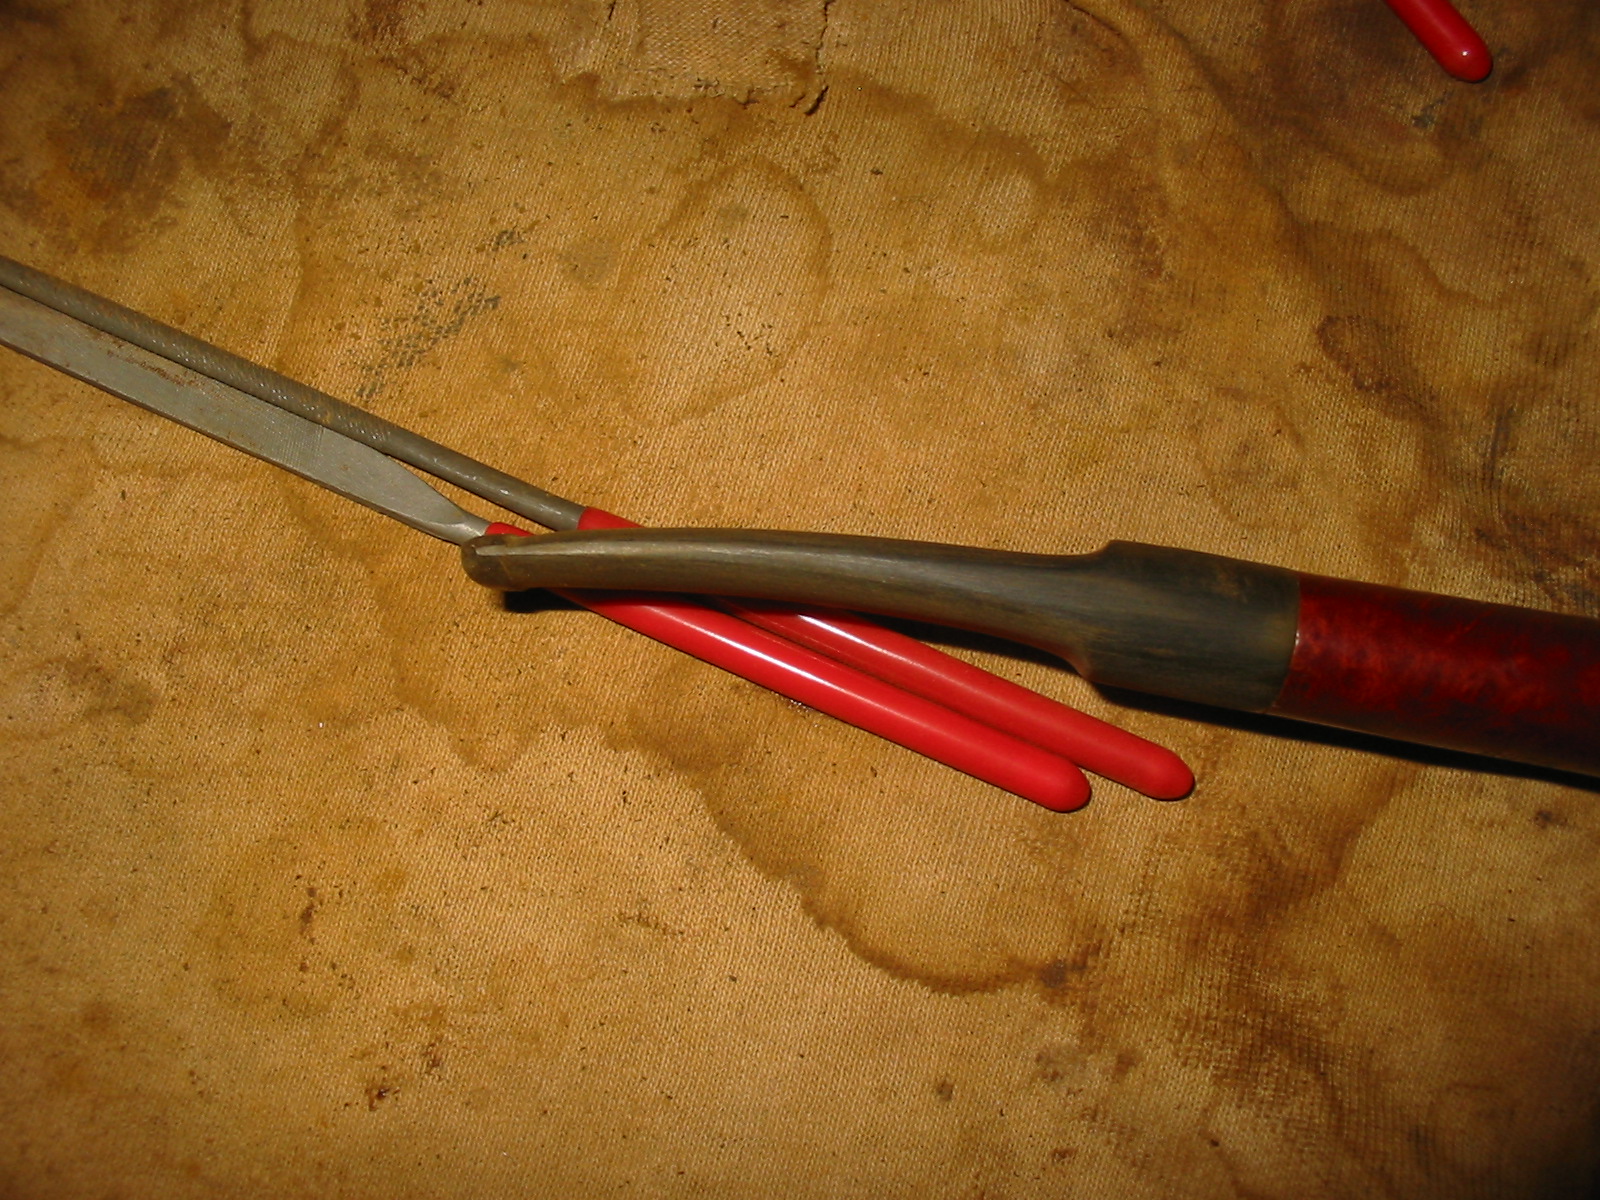
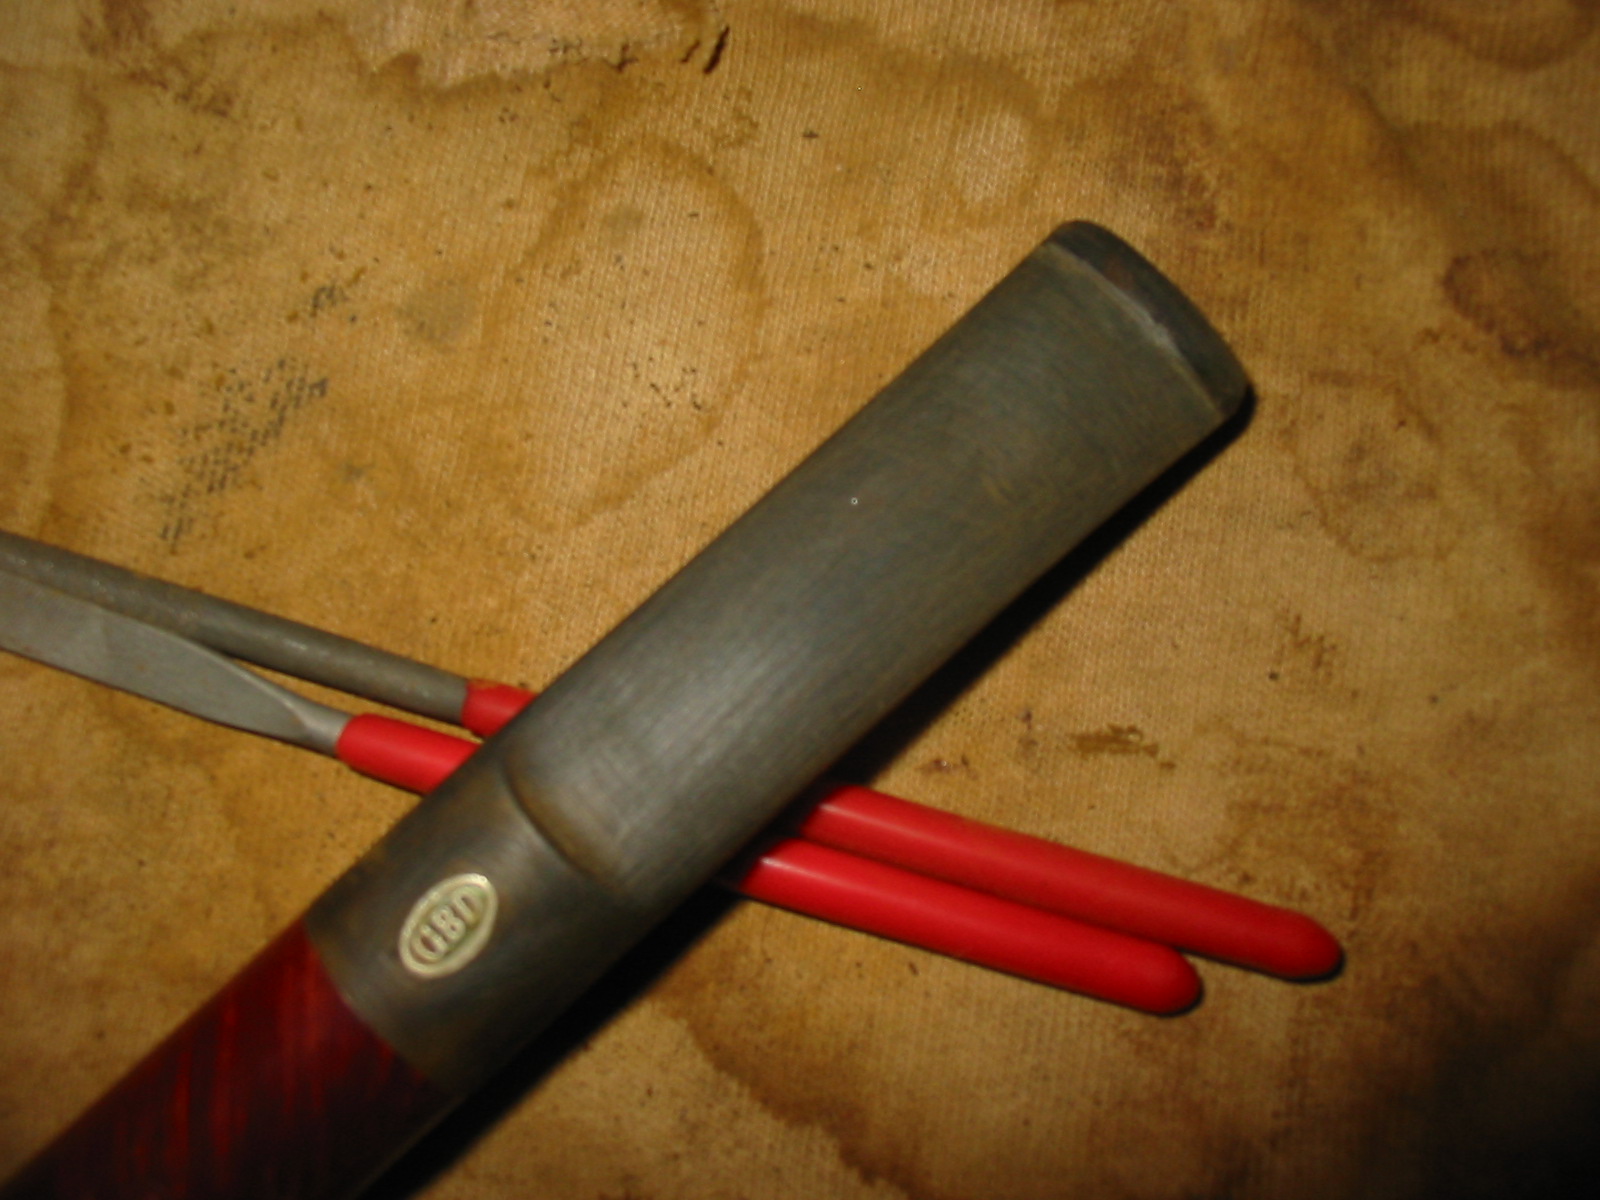
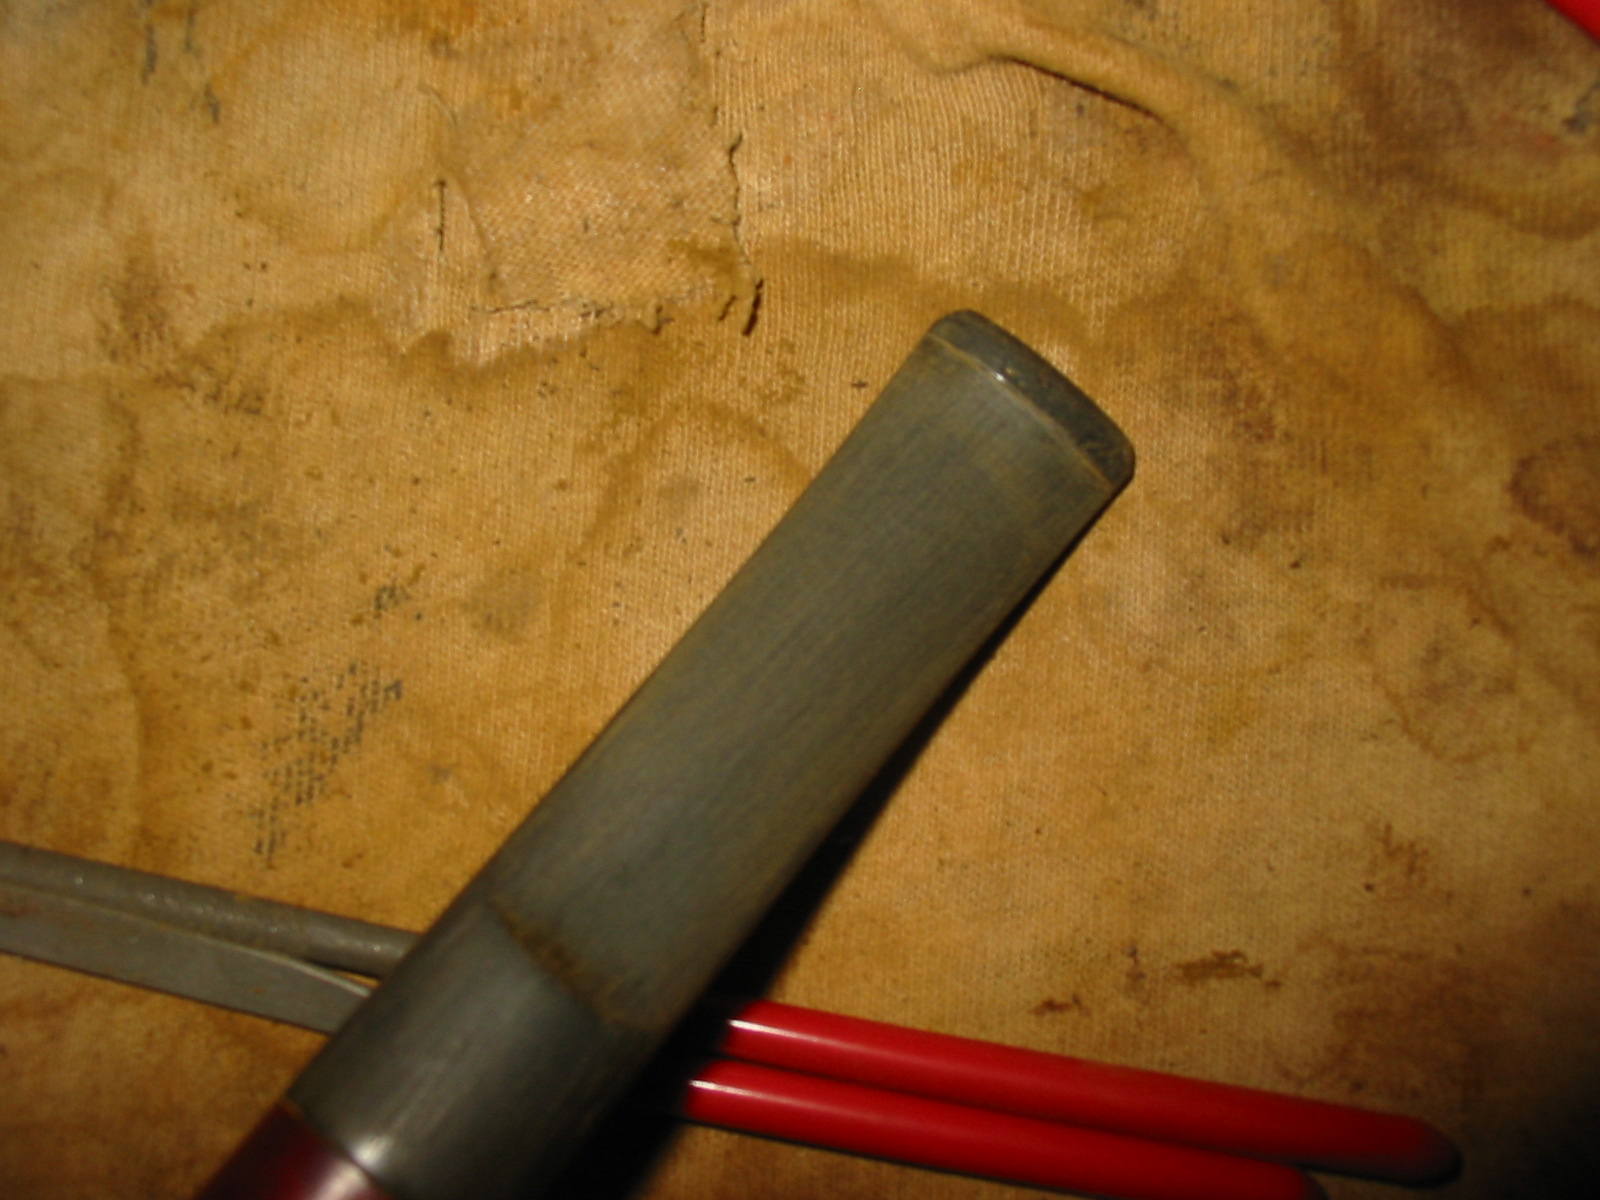
I cut off the end of the stem with a Dremel and sanding drum attachment. I cut it back to the place behind the bite mark that was solid and undamaged. The next four photos show the pipe with the damaged portion of the stem removed and a straight cut made across the end of the stem.
IMG_3671

IMG_3672

IMG_3674

IMG_3678

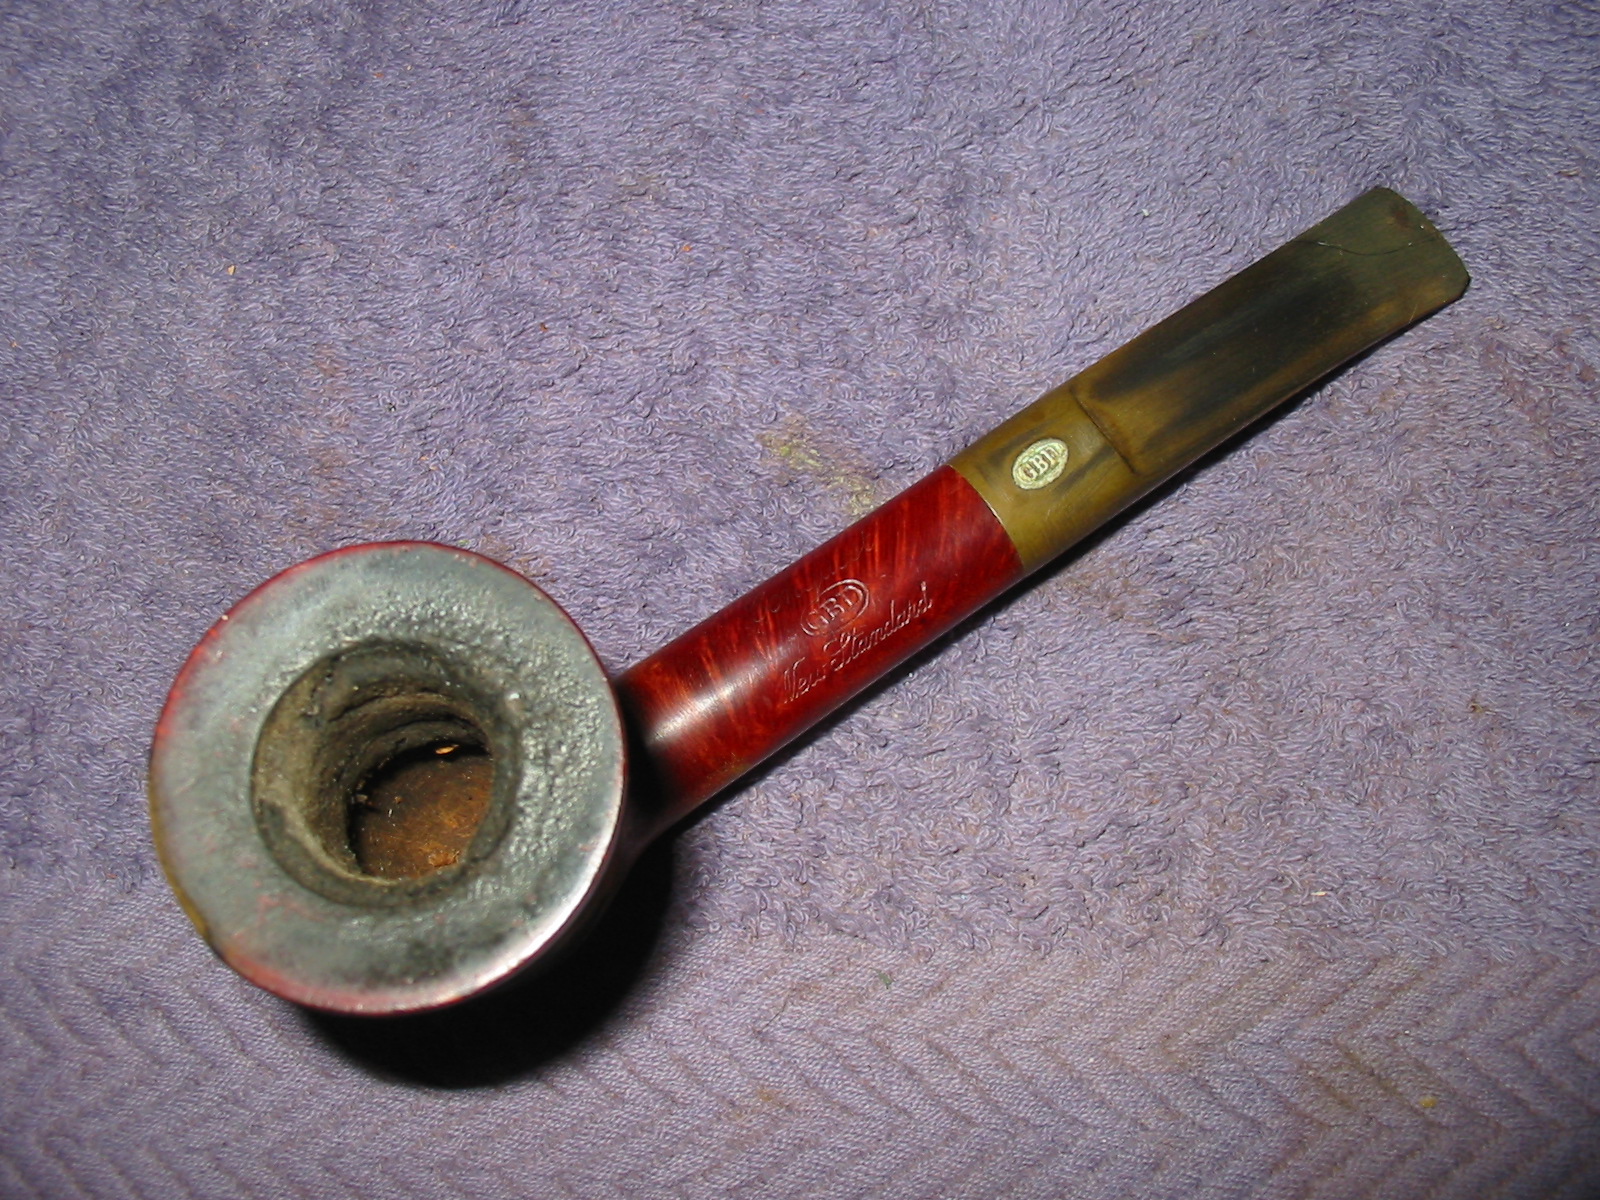
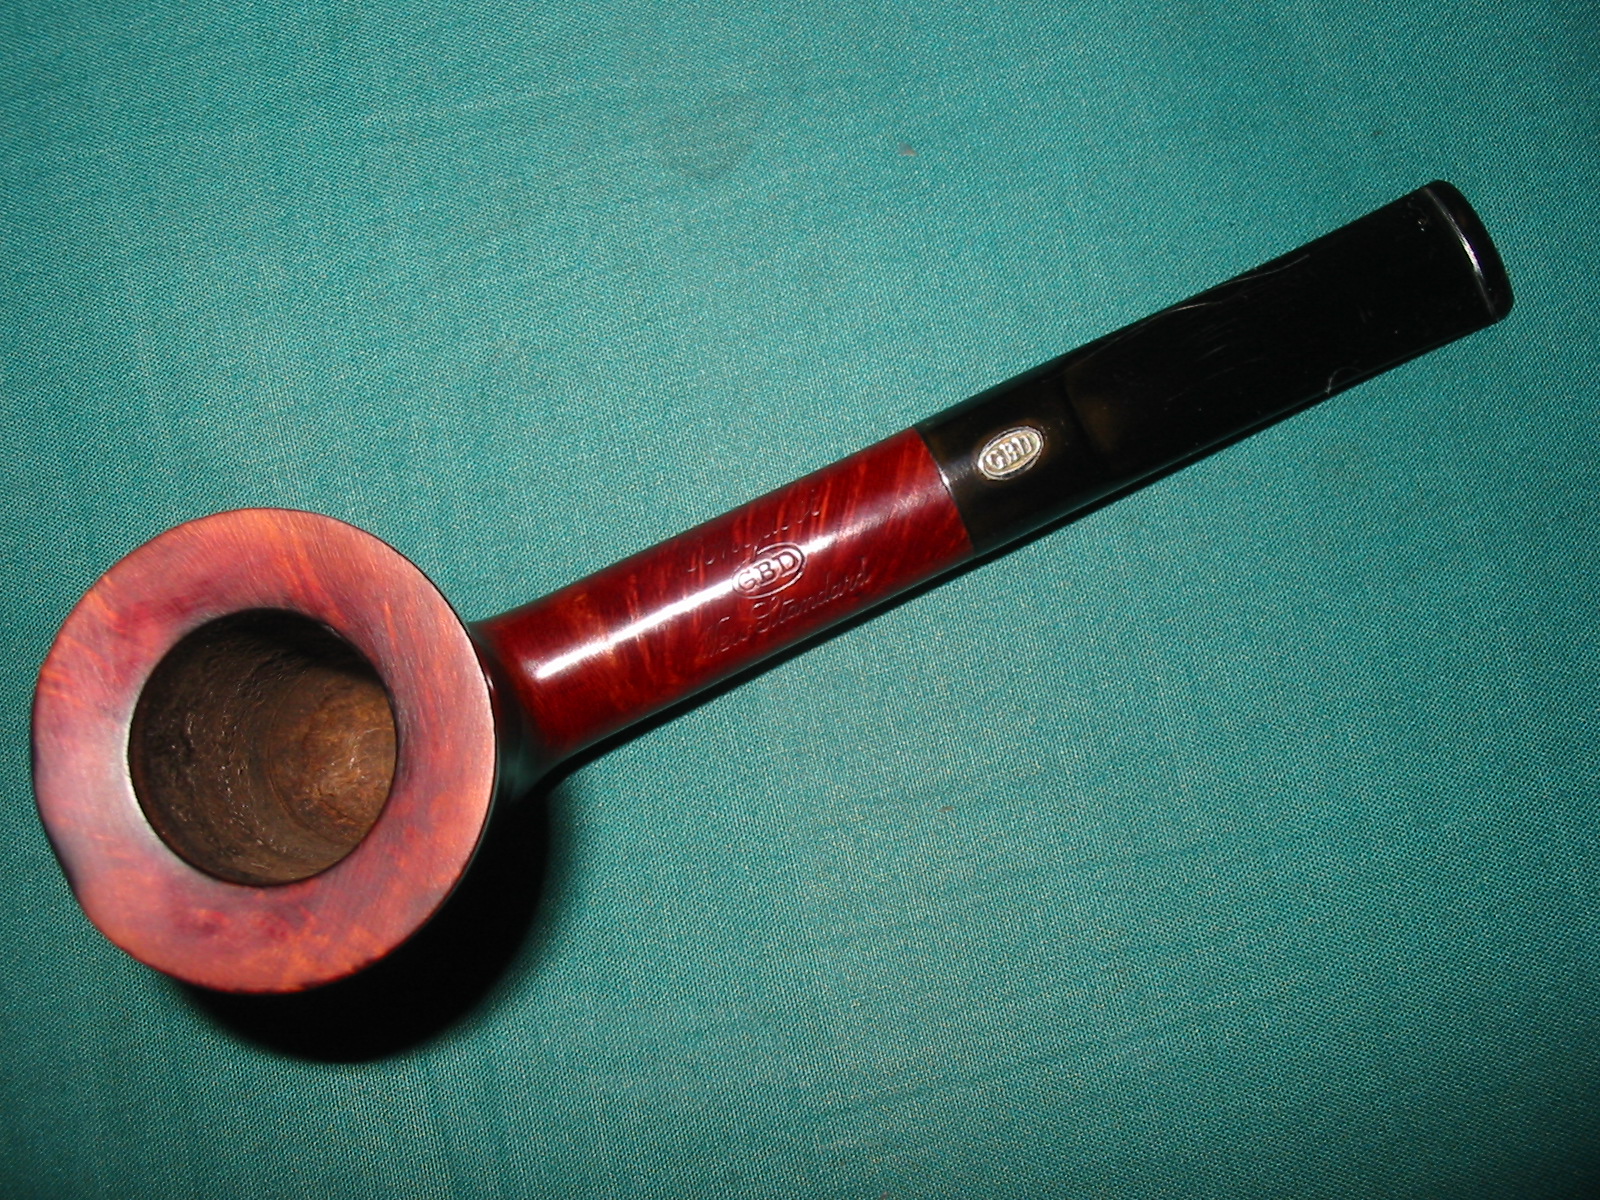
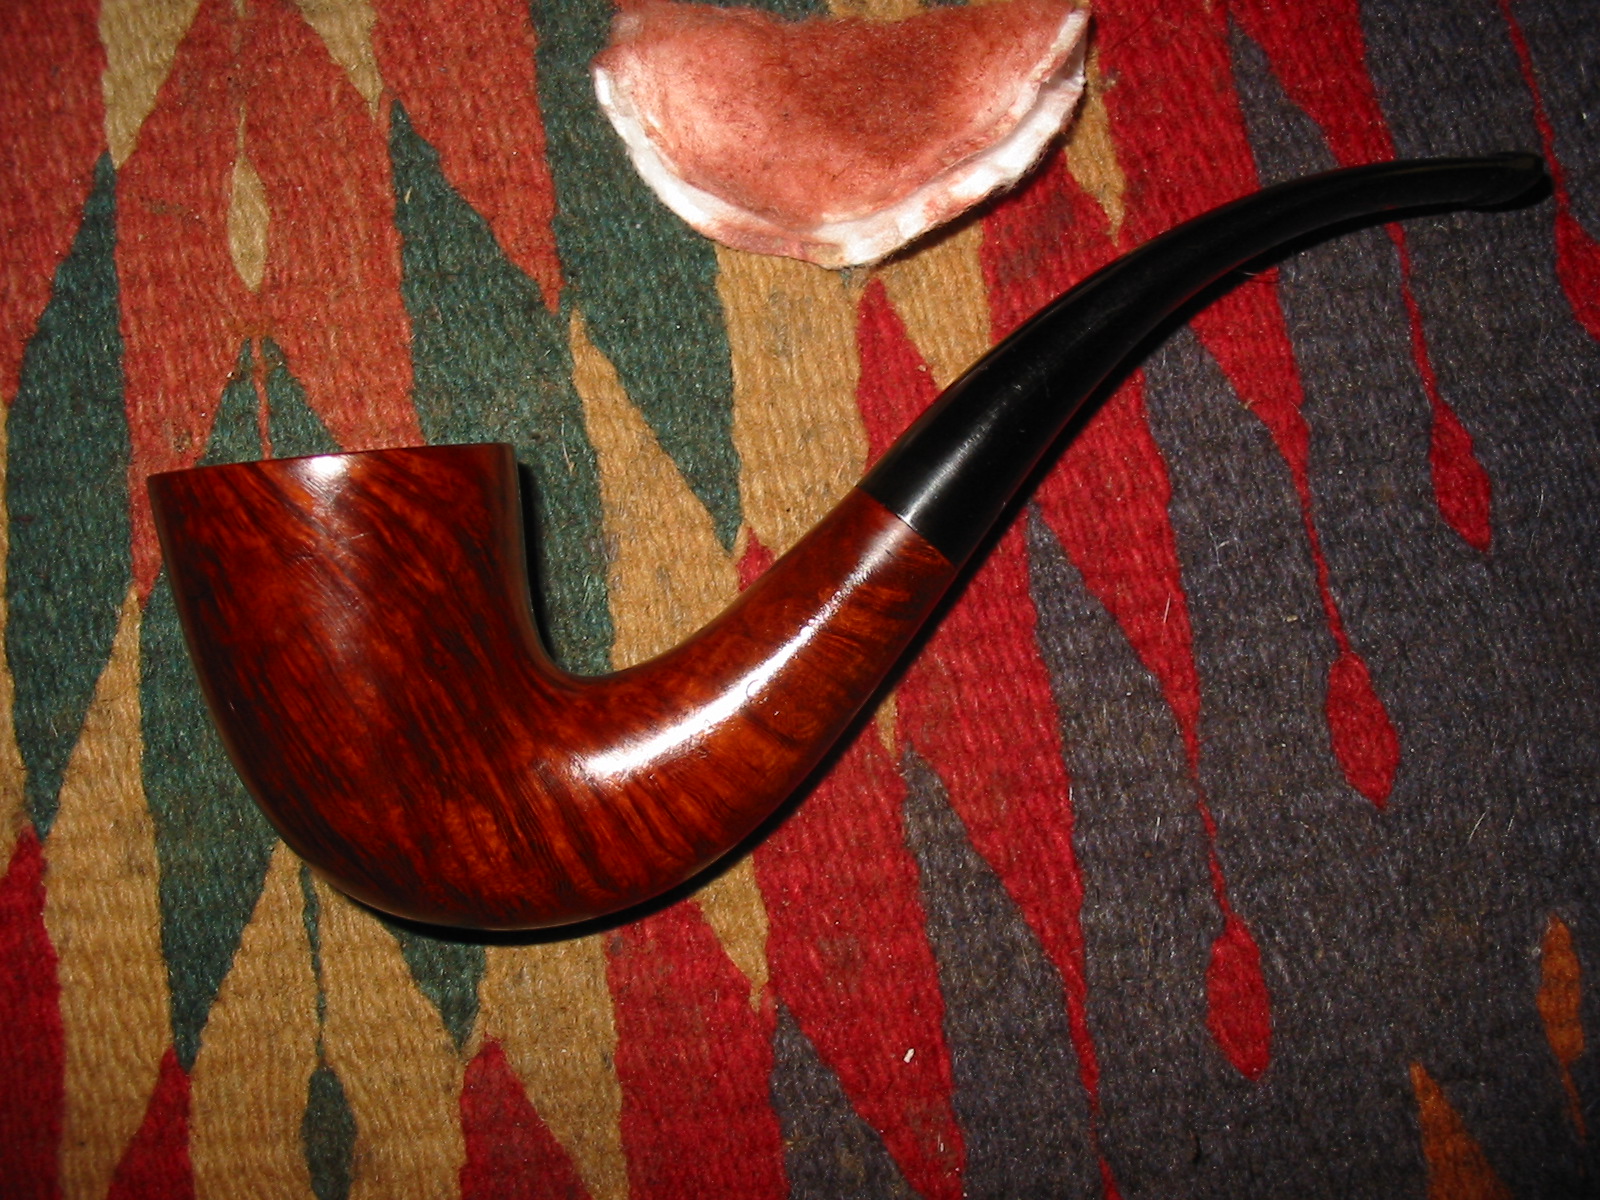
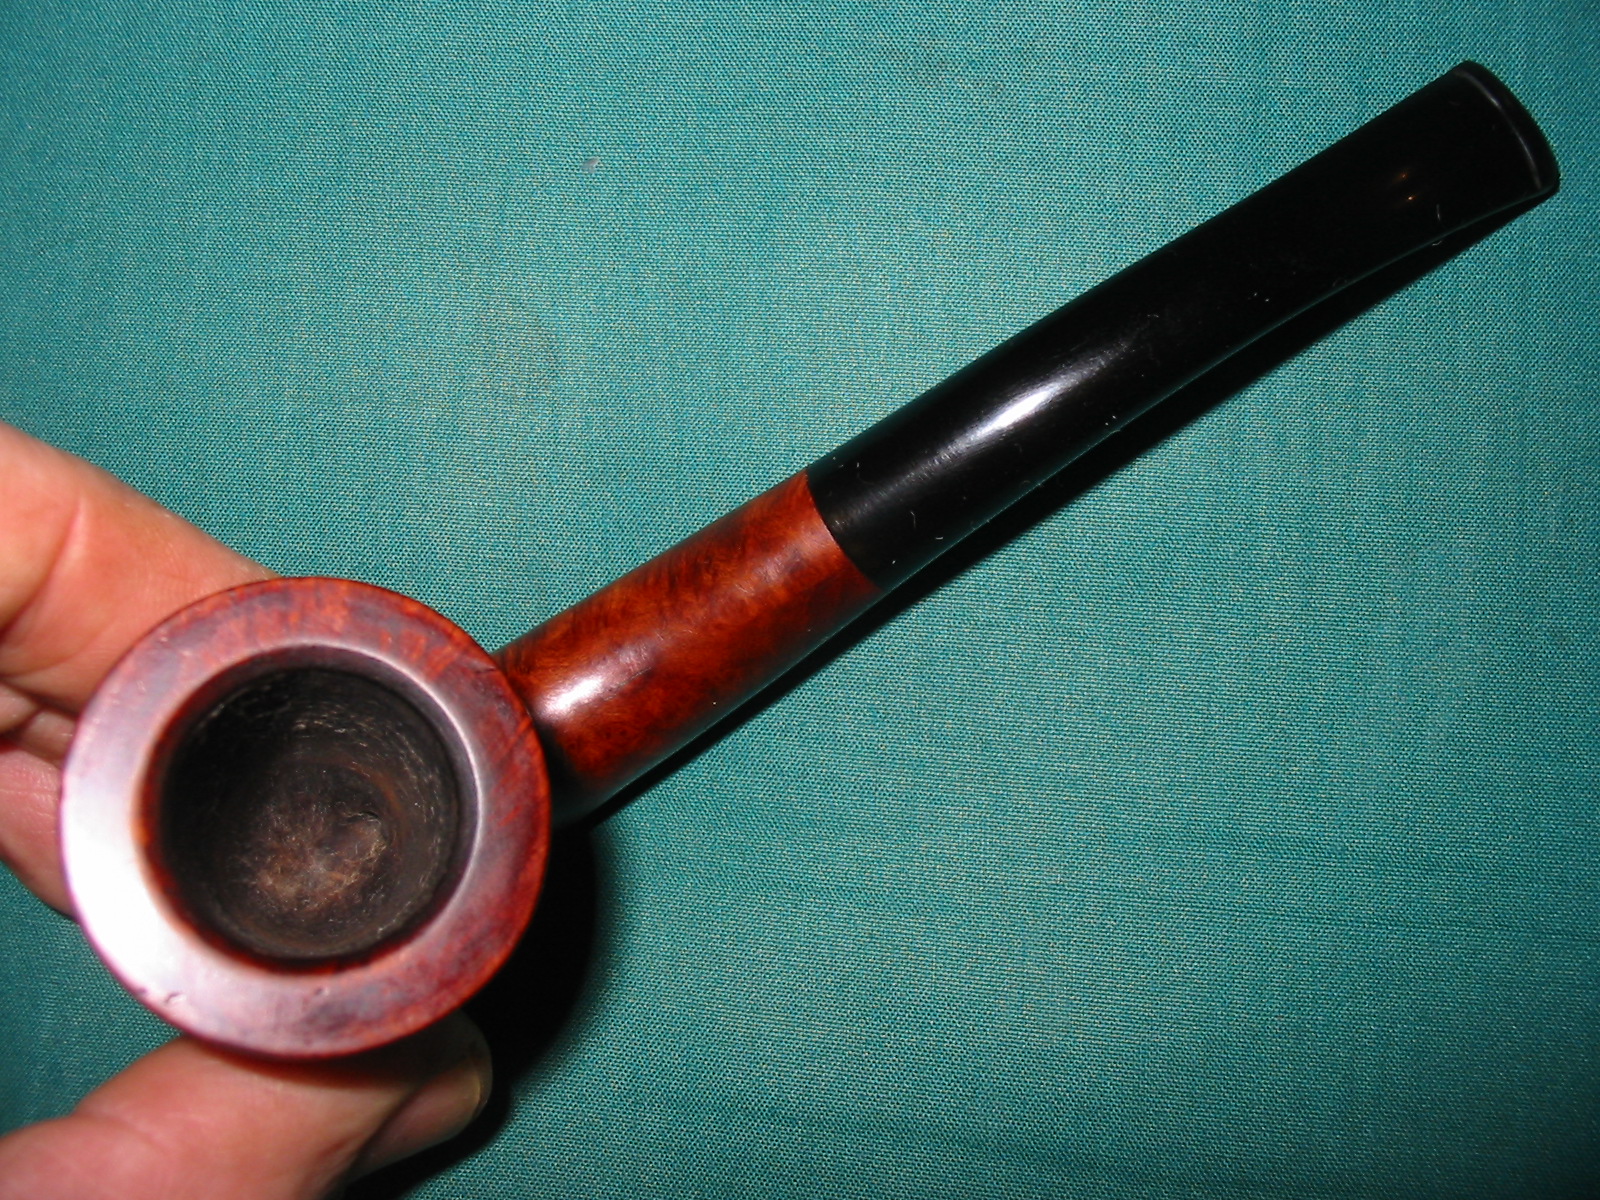
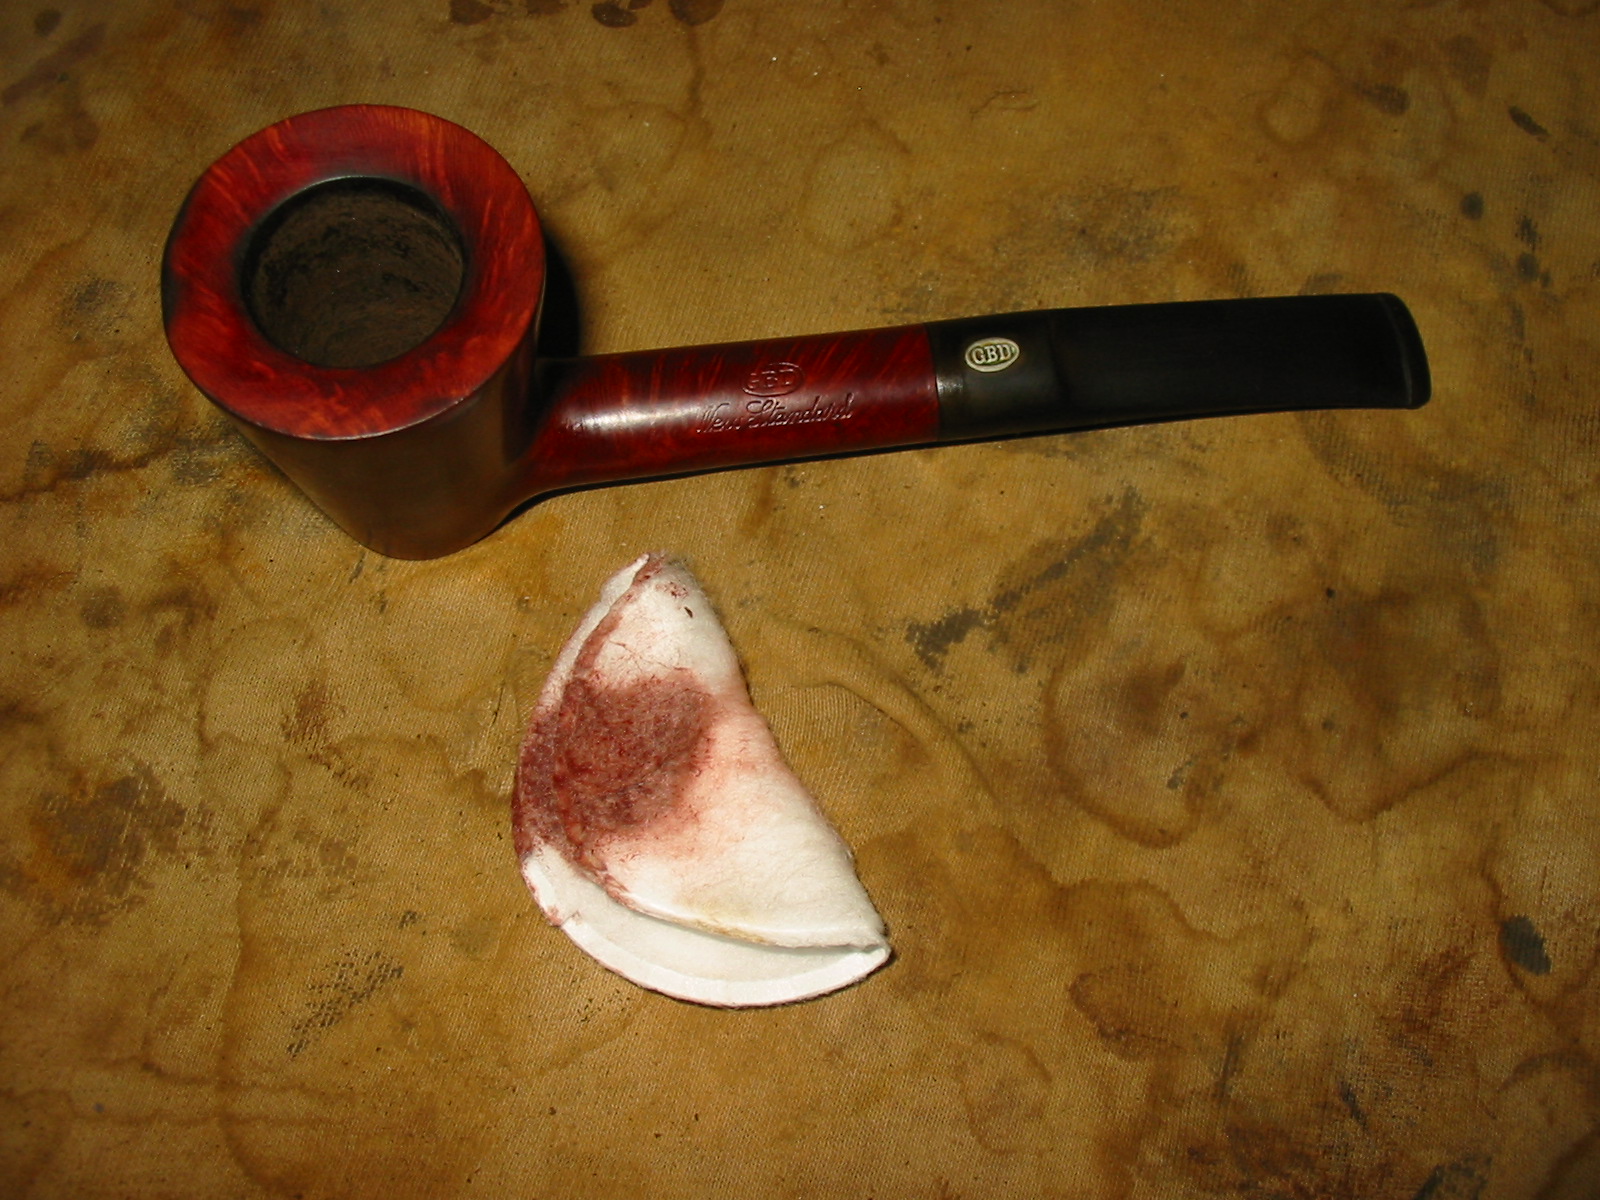
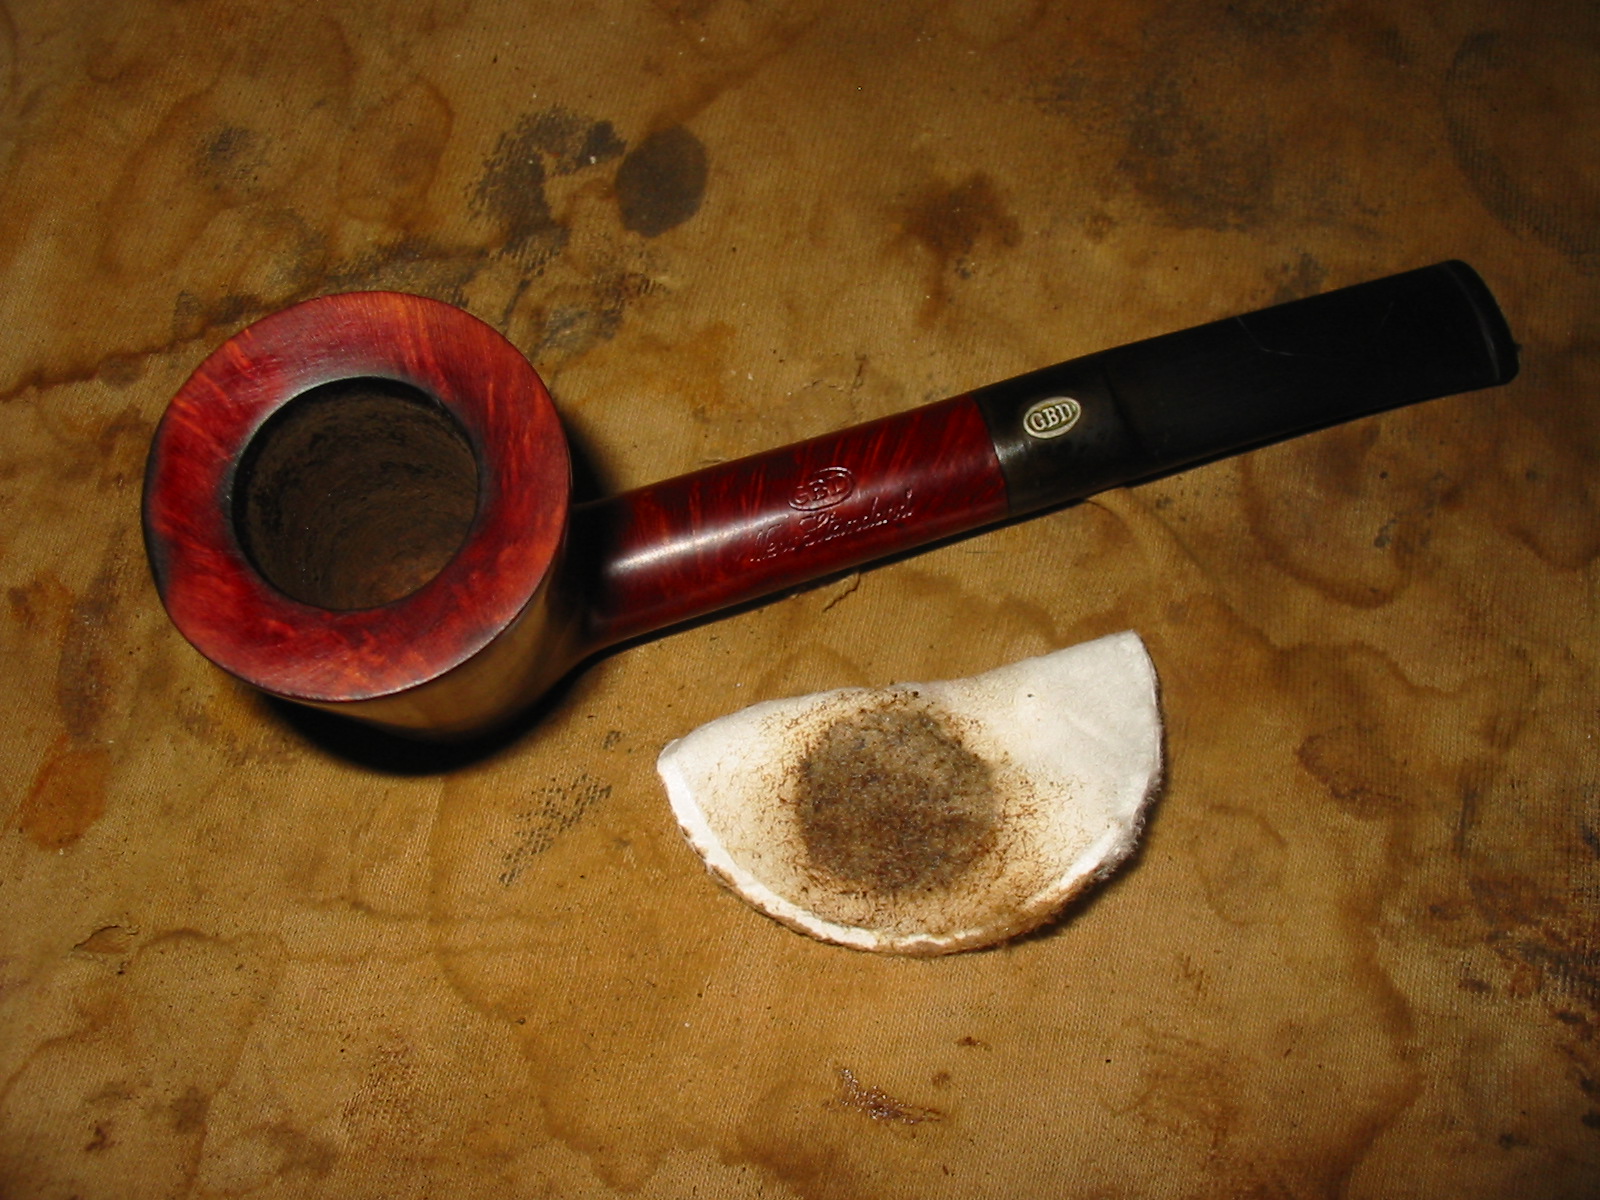
I took it back to the work table and reamed the bowl with a PipNet reamer. I used three of the cutting heads from the smallest up to remove the cake and clear out the debris in the bowl. I wanted to remove the cake to assess the soundness of the rim and the bowl of the pipe. I scrubbed the rim down with saliva and cotton pads. It took a lot of elbow grease to finally get the rim clean of the buildup and tars. In the photo below the burn mark on the front of the bowl is visible.
IMG_3679

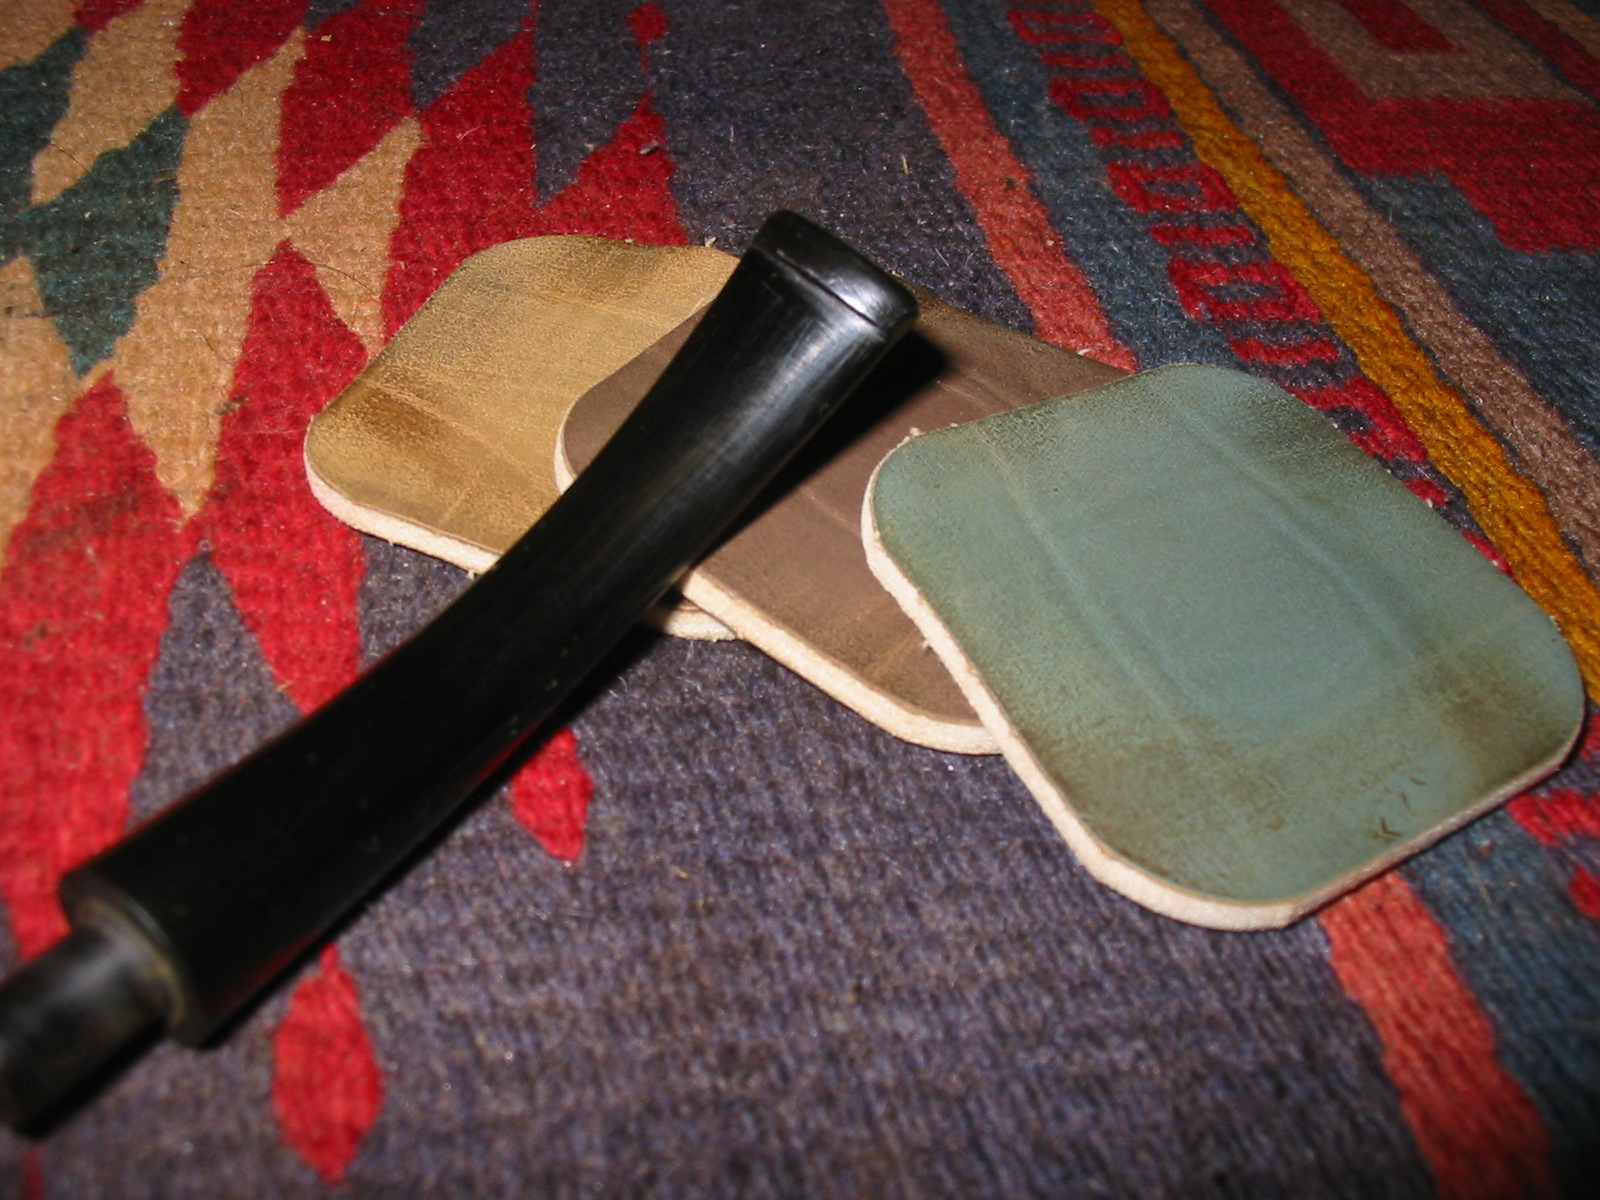
I used files, a wood rasp and needle files to cut the line on the button across the top and the bottom of the stem. I trimmed the thickness of the stem tapering toward the shank with the needle files. I wanted to thin down the stem and taper is more smoothly into the new button making for an even transition from the saddle to the edge of the button.
IMG_3680

IMG_3681

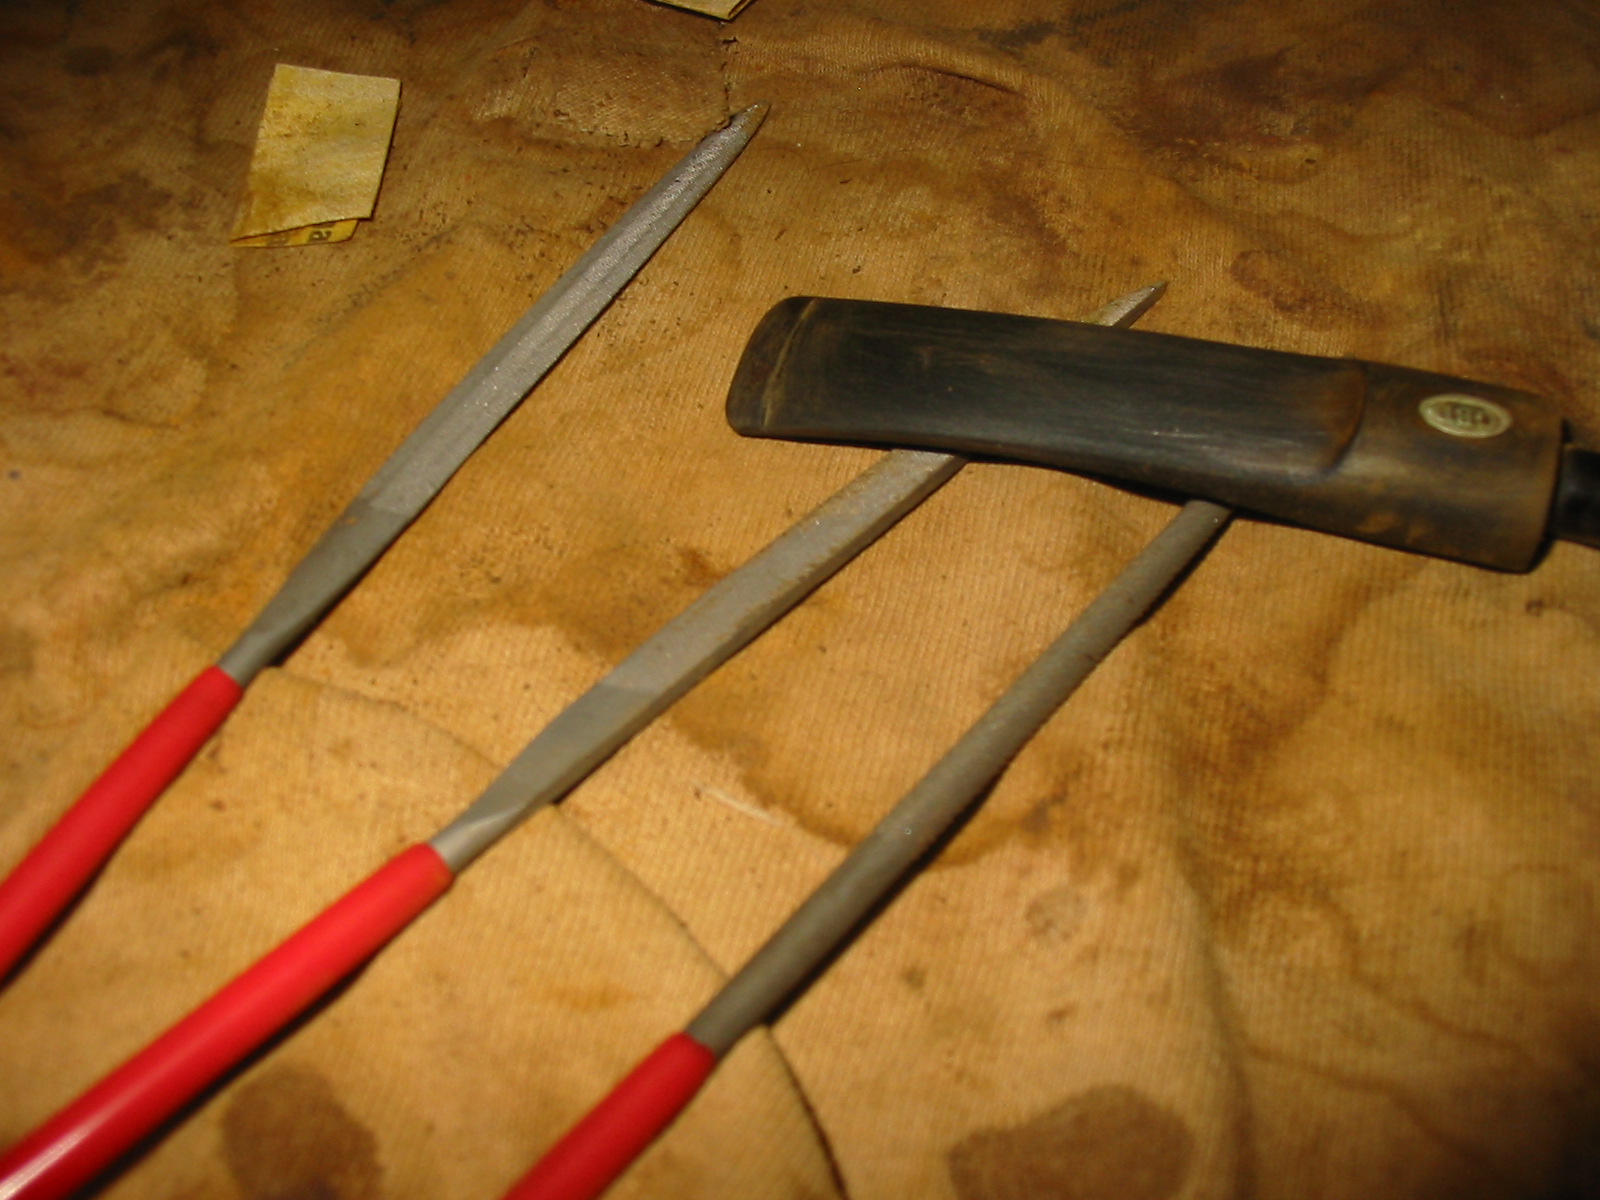
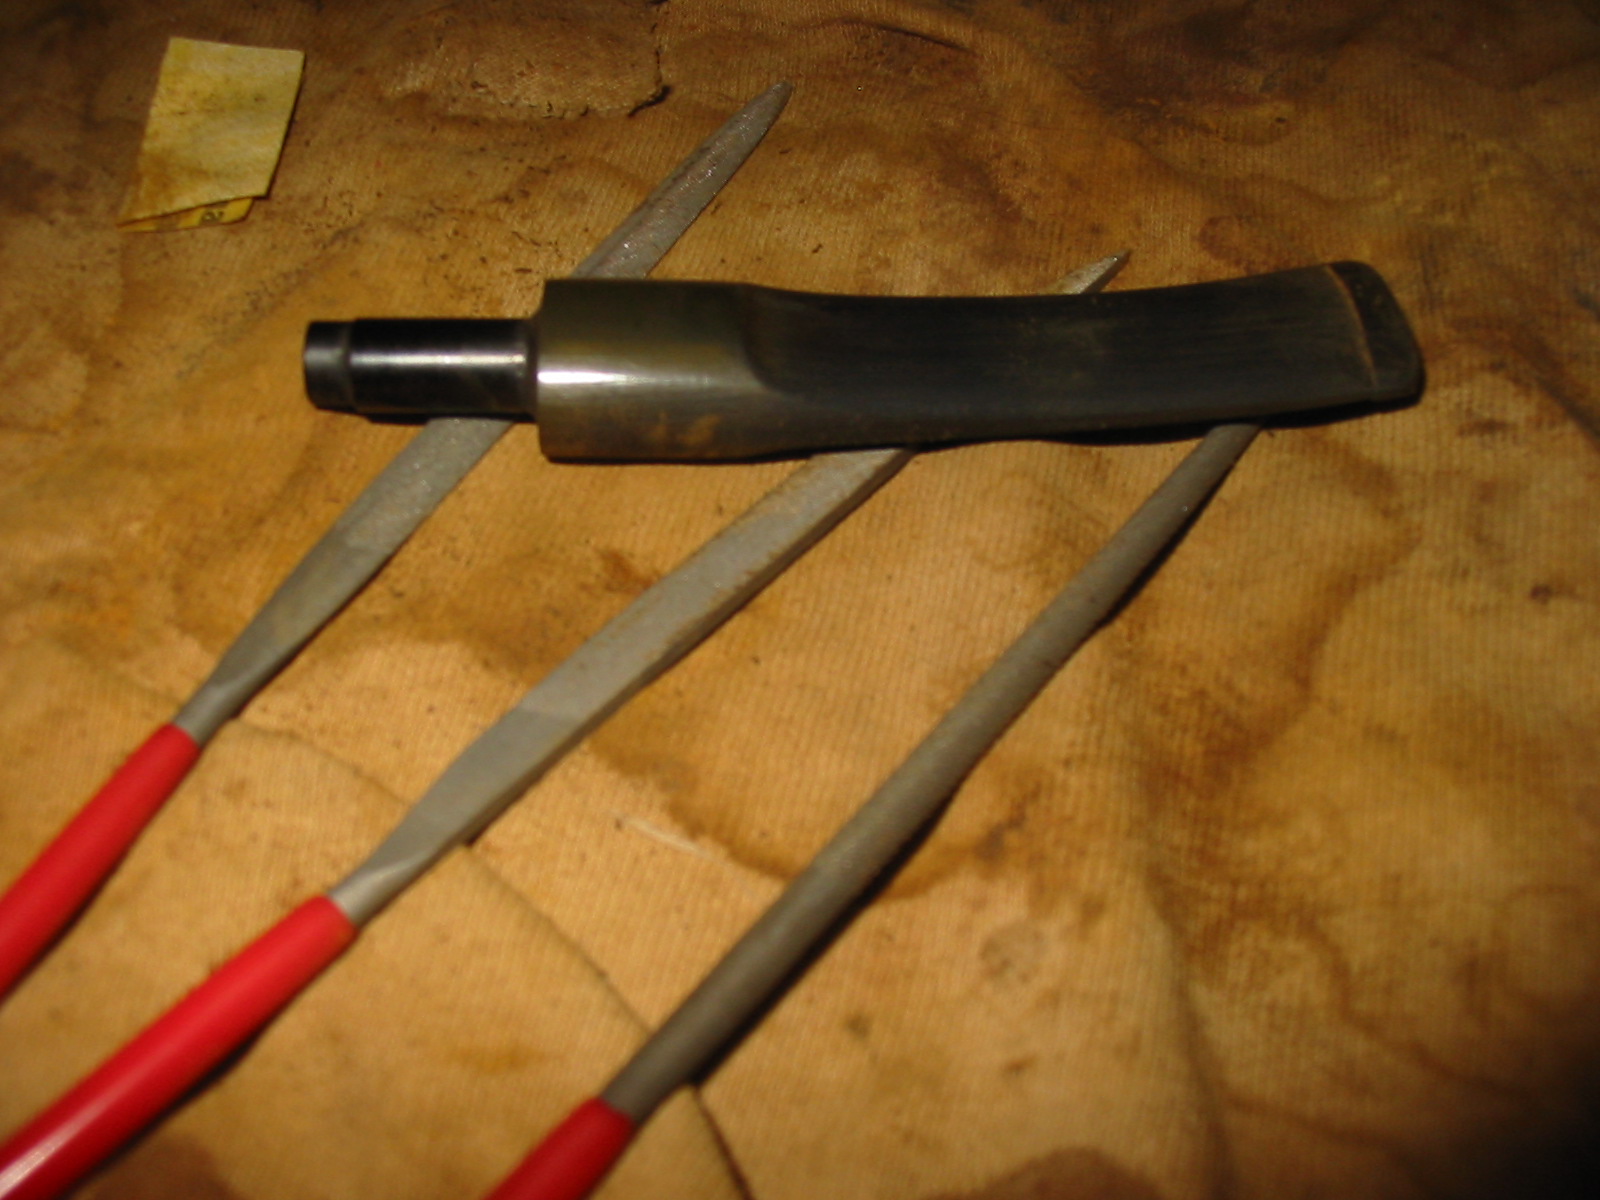
I used the needle files to open the end of the button and shape it into and oval and a funnel into the airway. I wanted a good open airway that would easily take a pipe cleaner.
IMG_3682

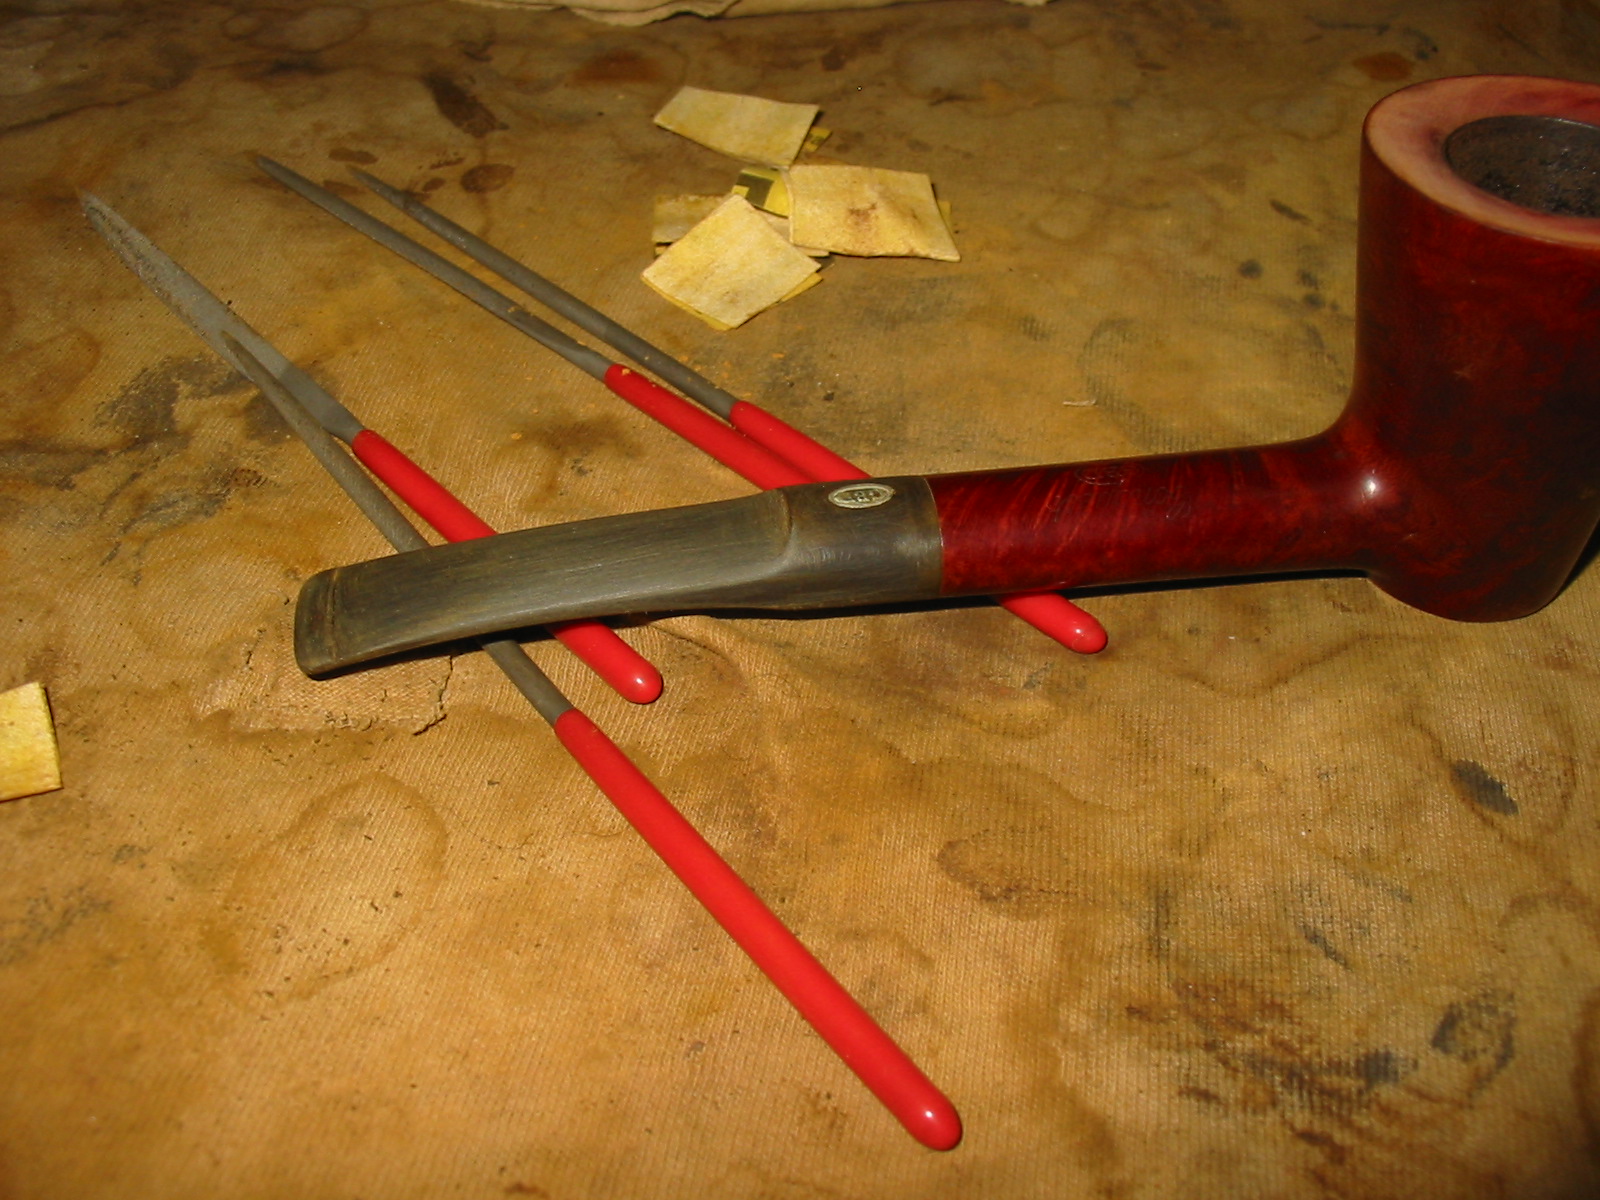
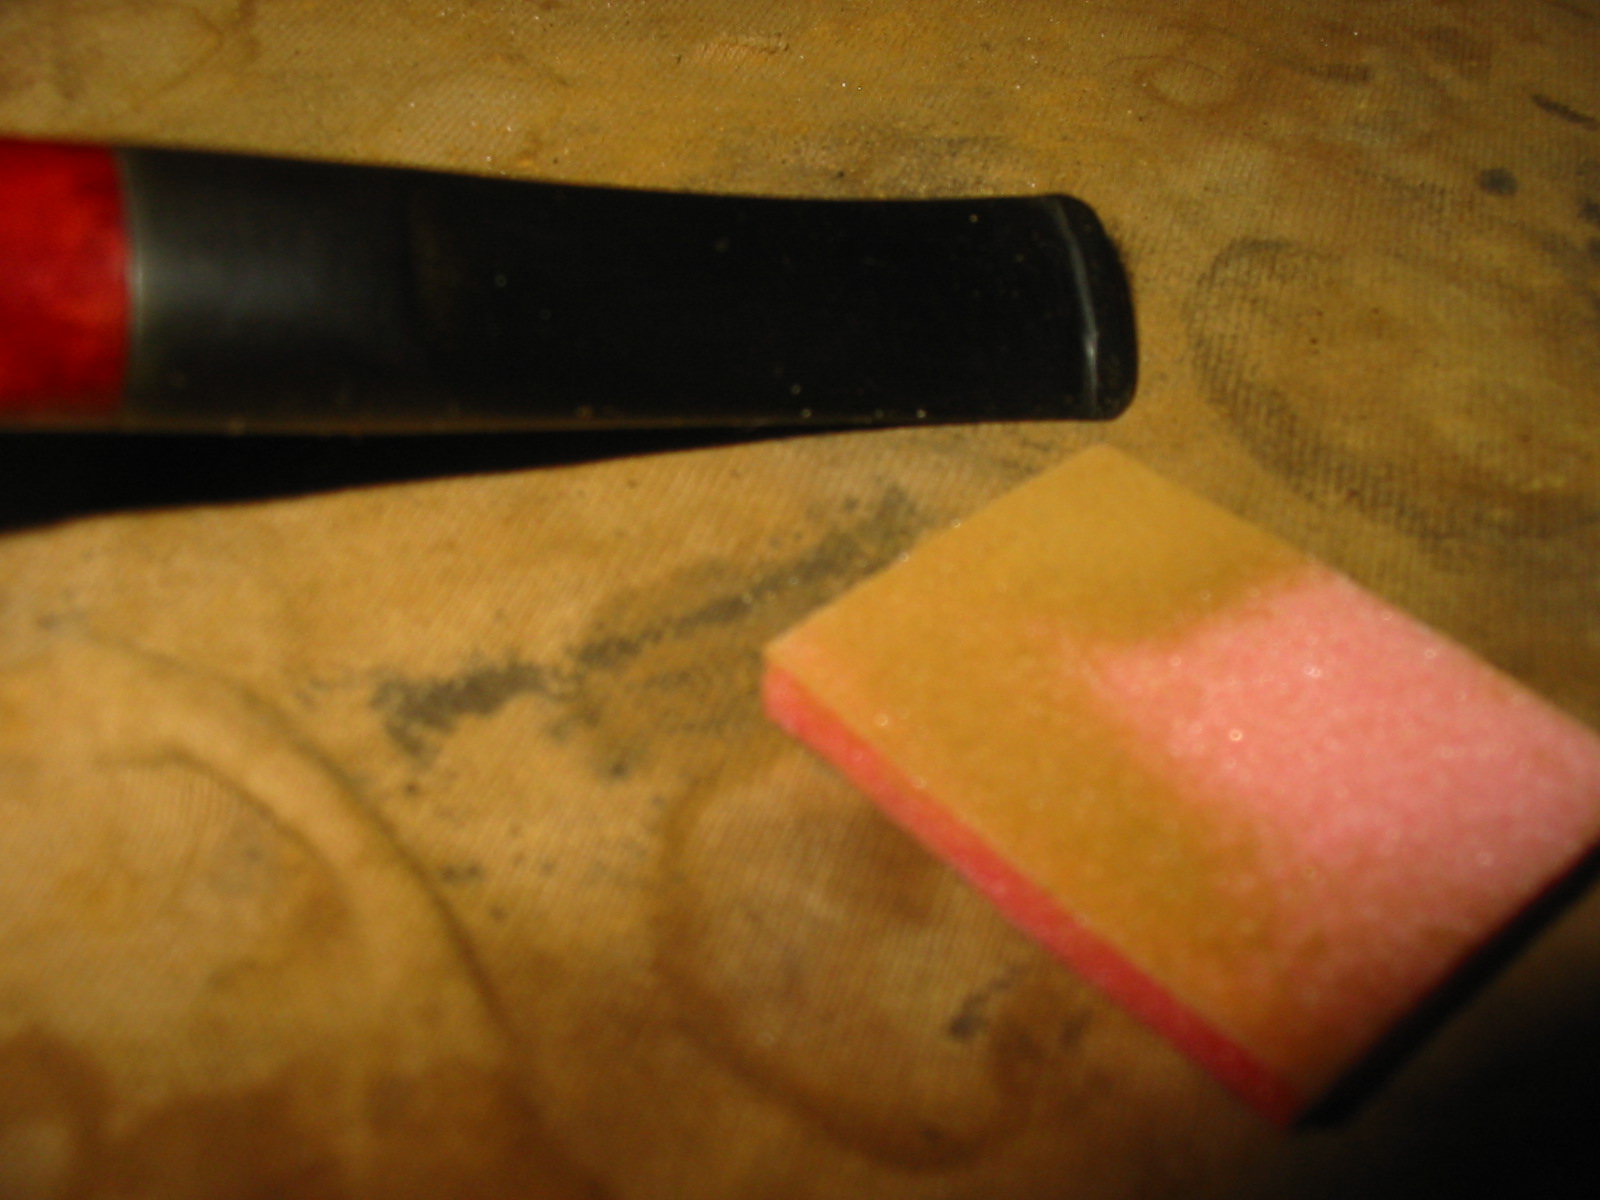
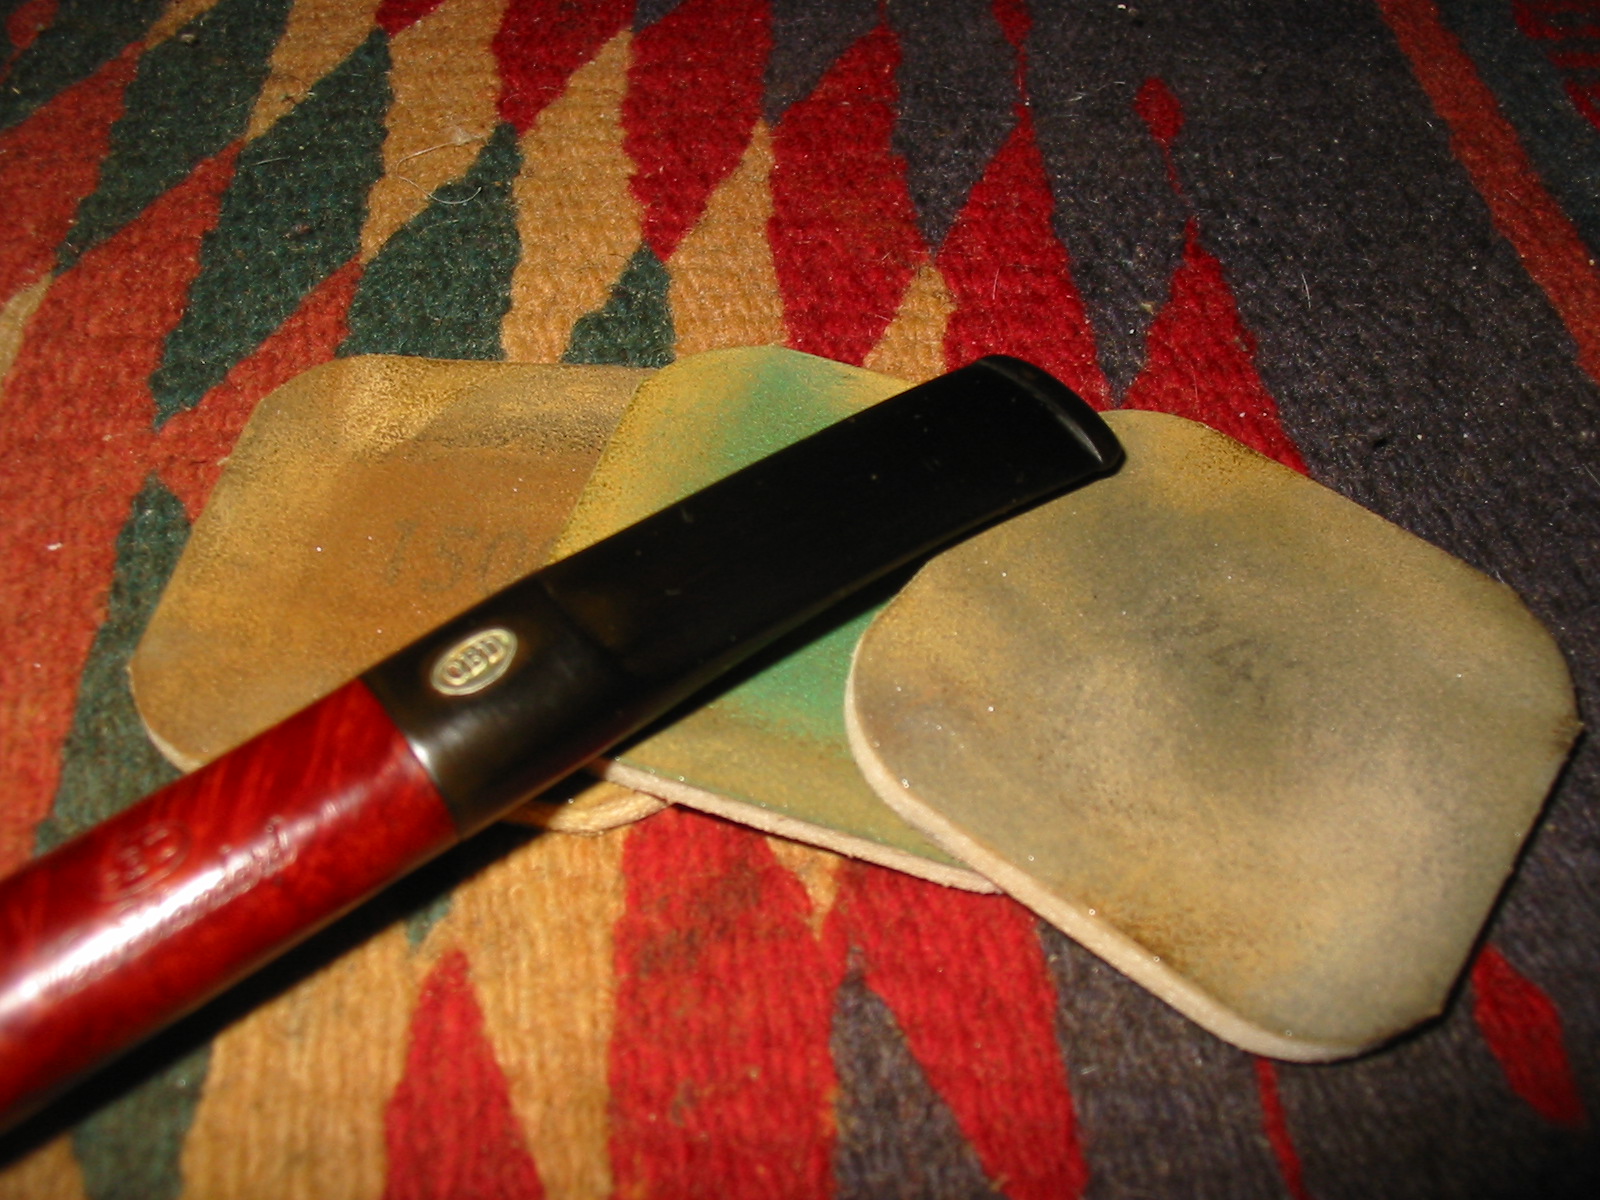
After working with the files I sanded the stem with 220 grit sandpaper to remove the oxidation and to continue to shape the stem into a smooth taper from the saddle to the button.
IMG_3683

IMG_3684

IMG_3686

IMG_3687

I sanded the end of the button to angle it back toward the slot and to smooth it out and shape it. I also used the needle files to clean up the straight edge of the button.
IMG_3688

IMG_3689

Once I had the taper and the angles correct I sanded the stem with a medium grit sanding sponge to remove the scratches from the sandpaper.
IMG_3690

IMG_3691

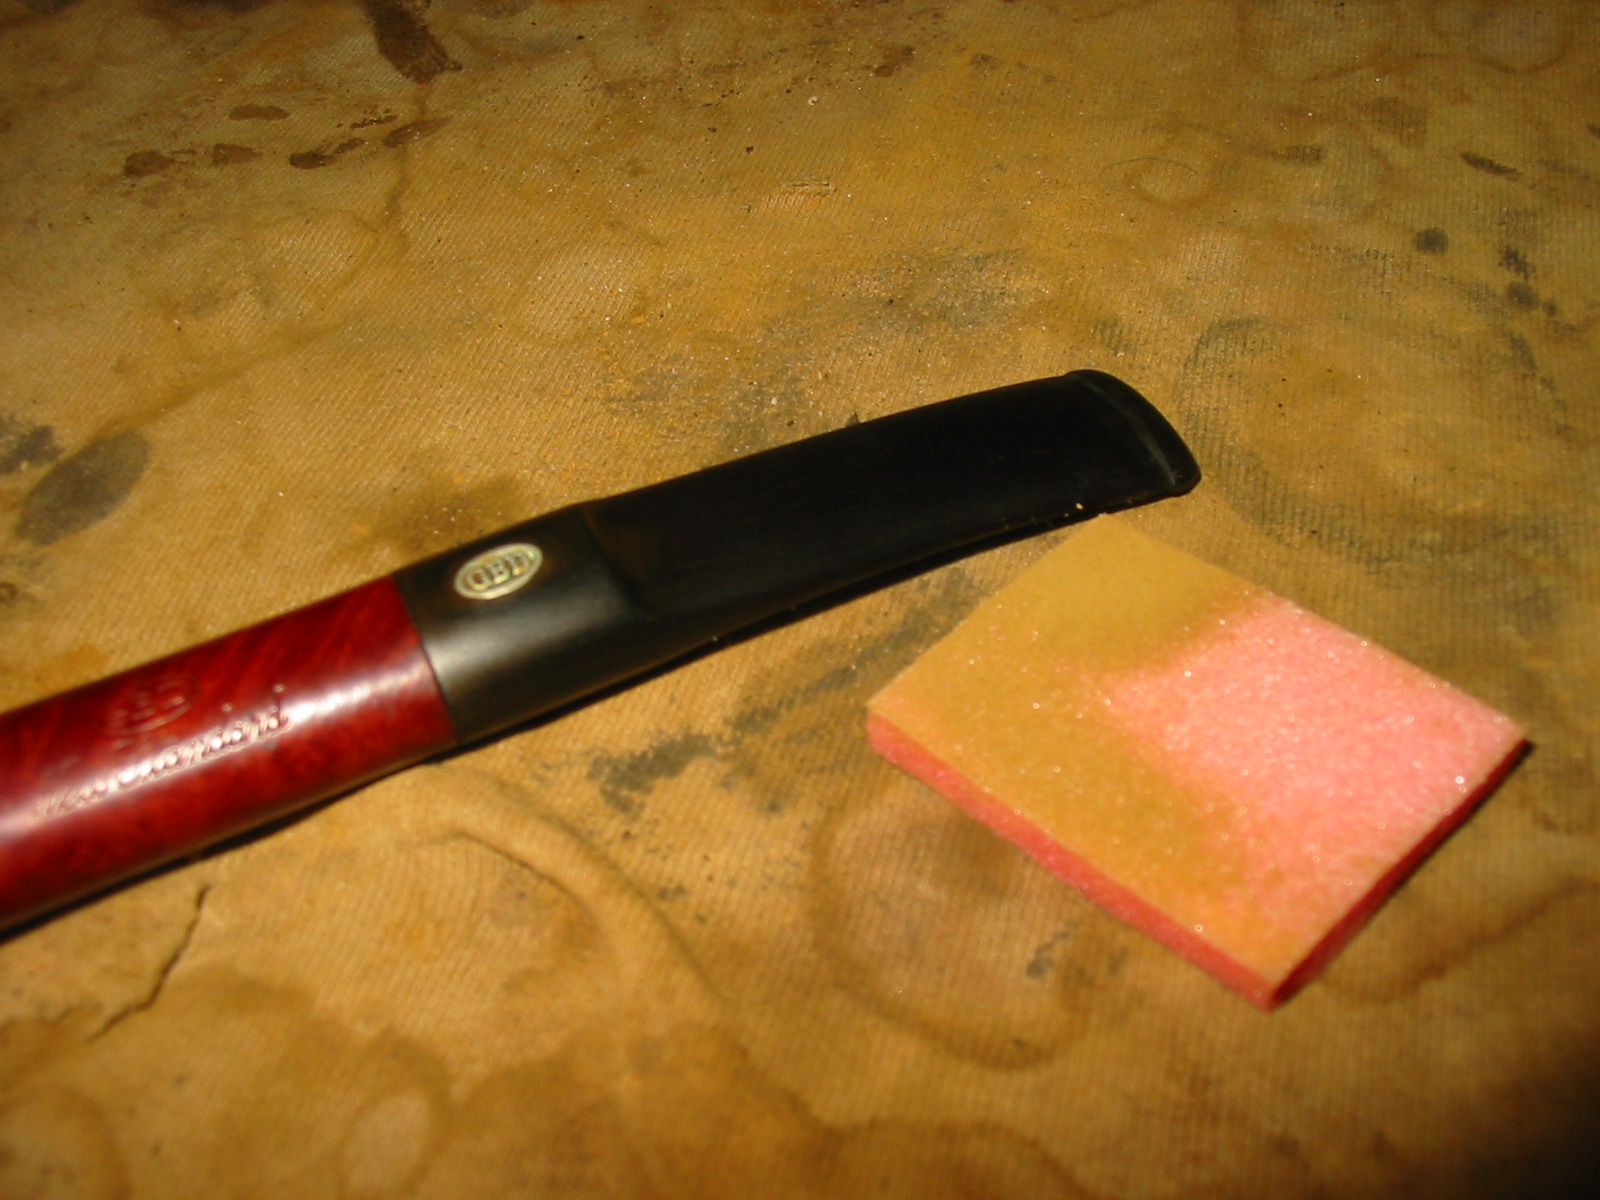
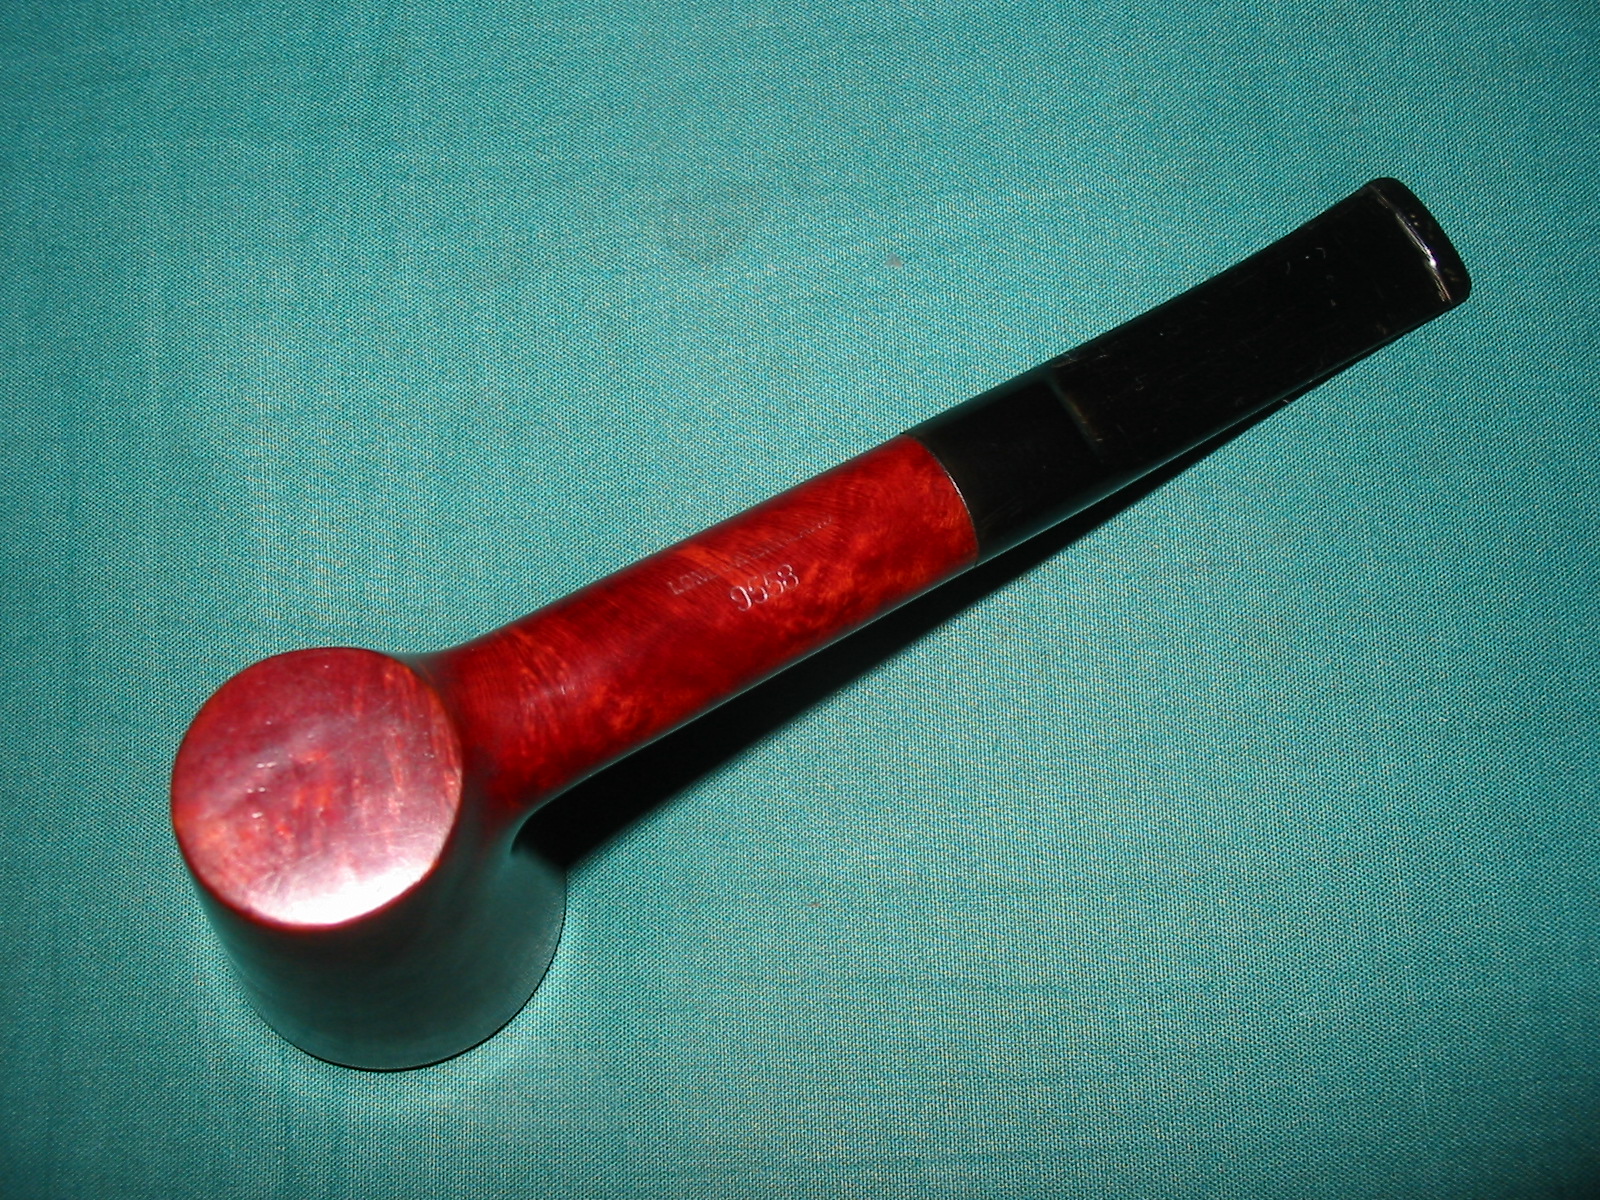
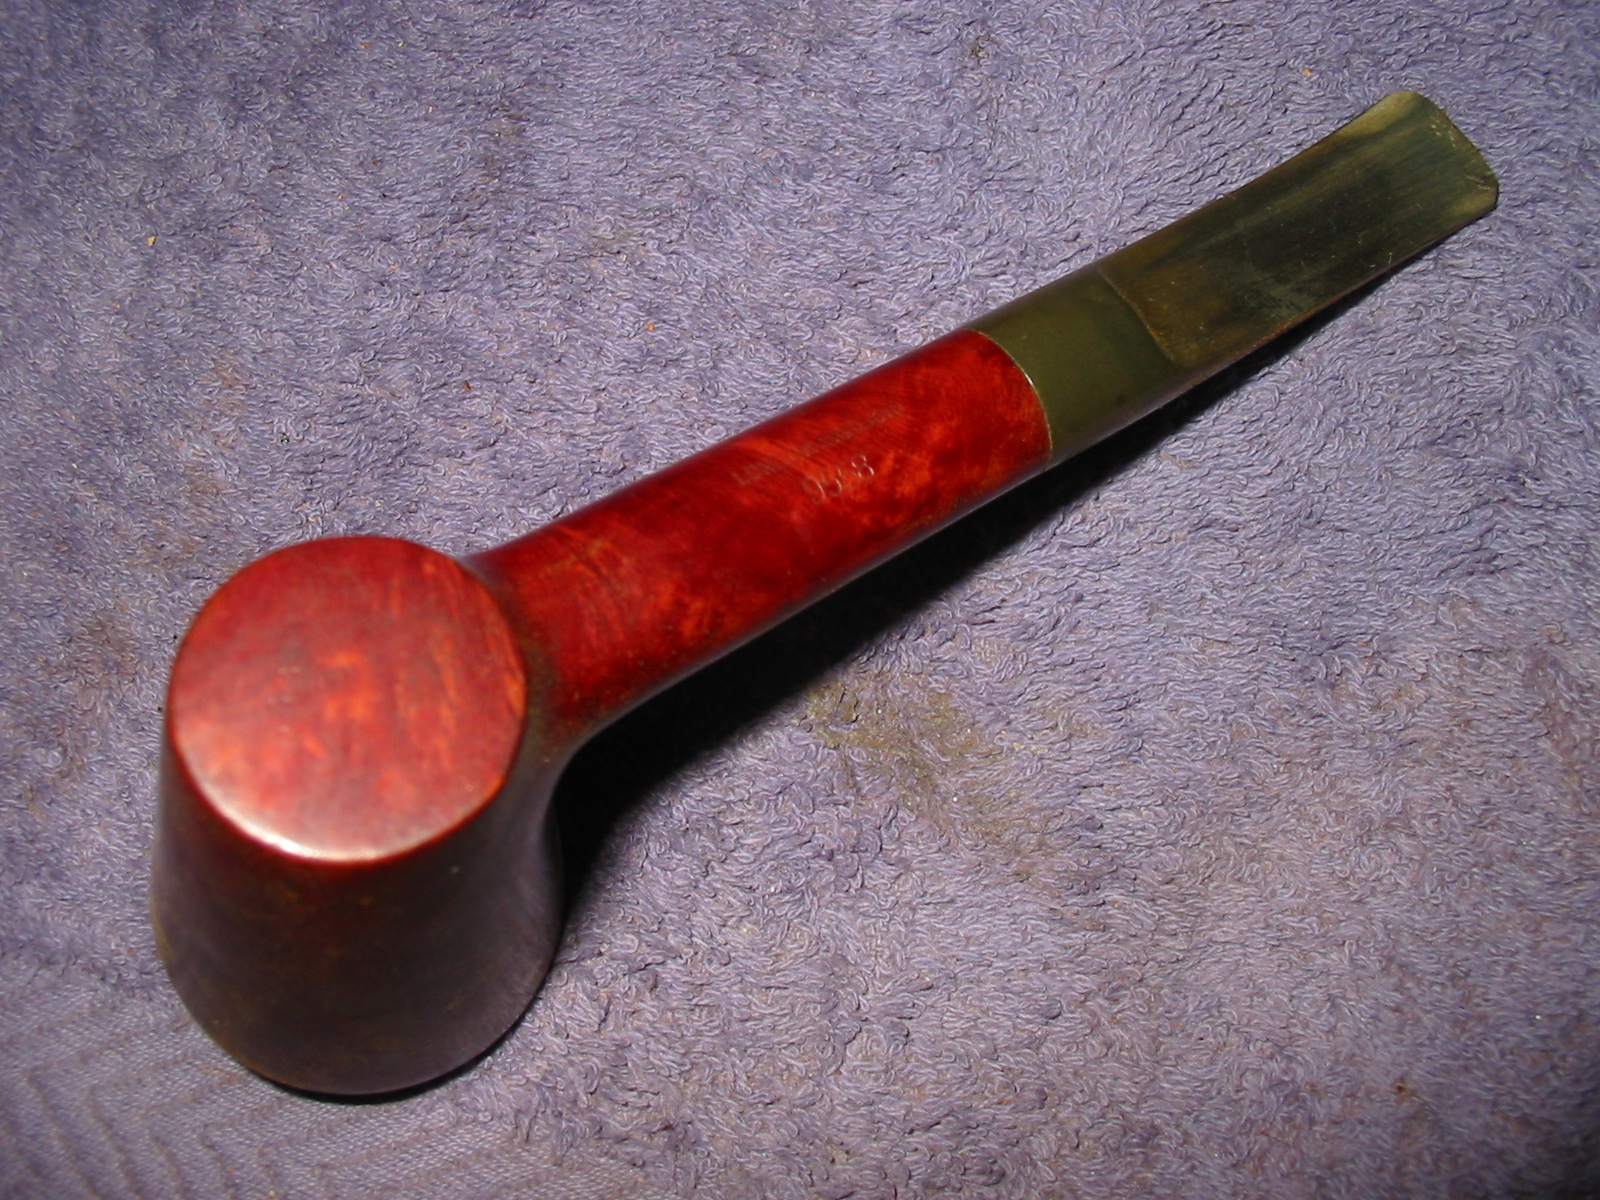
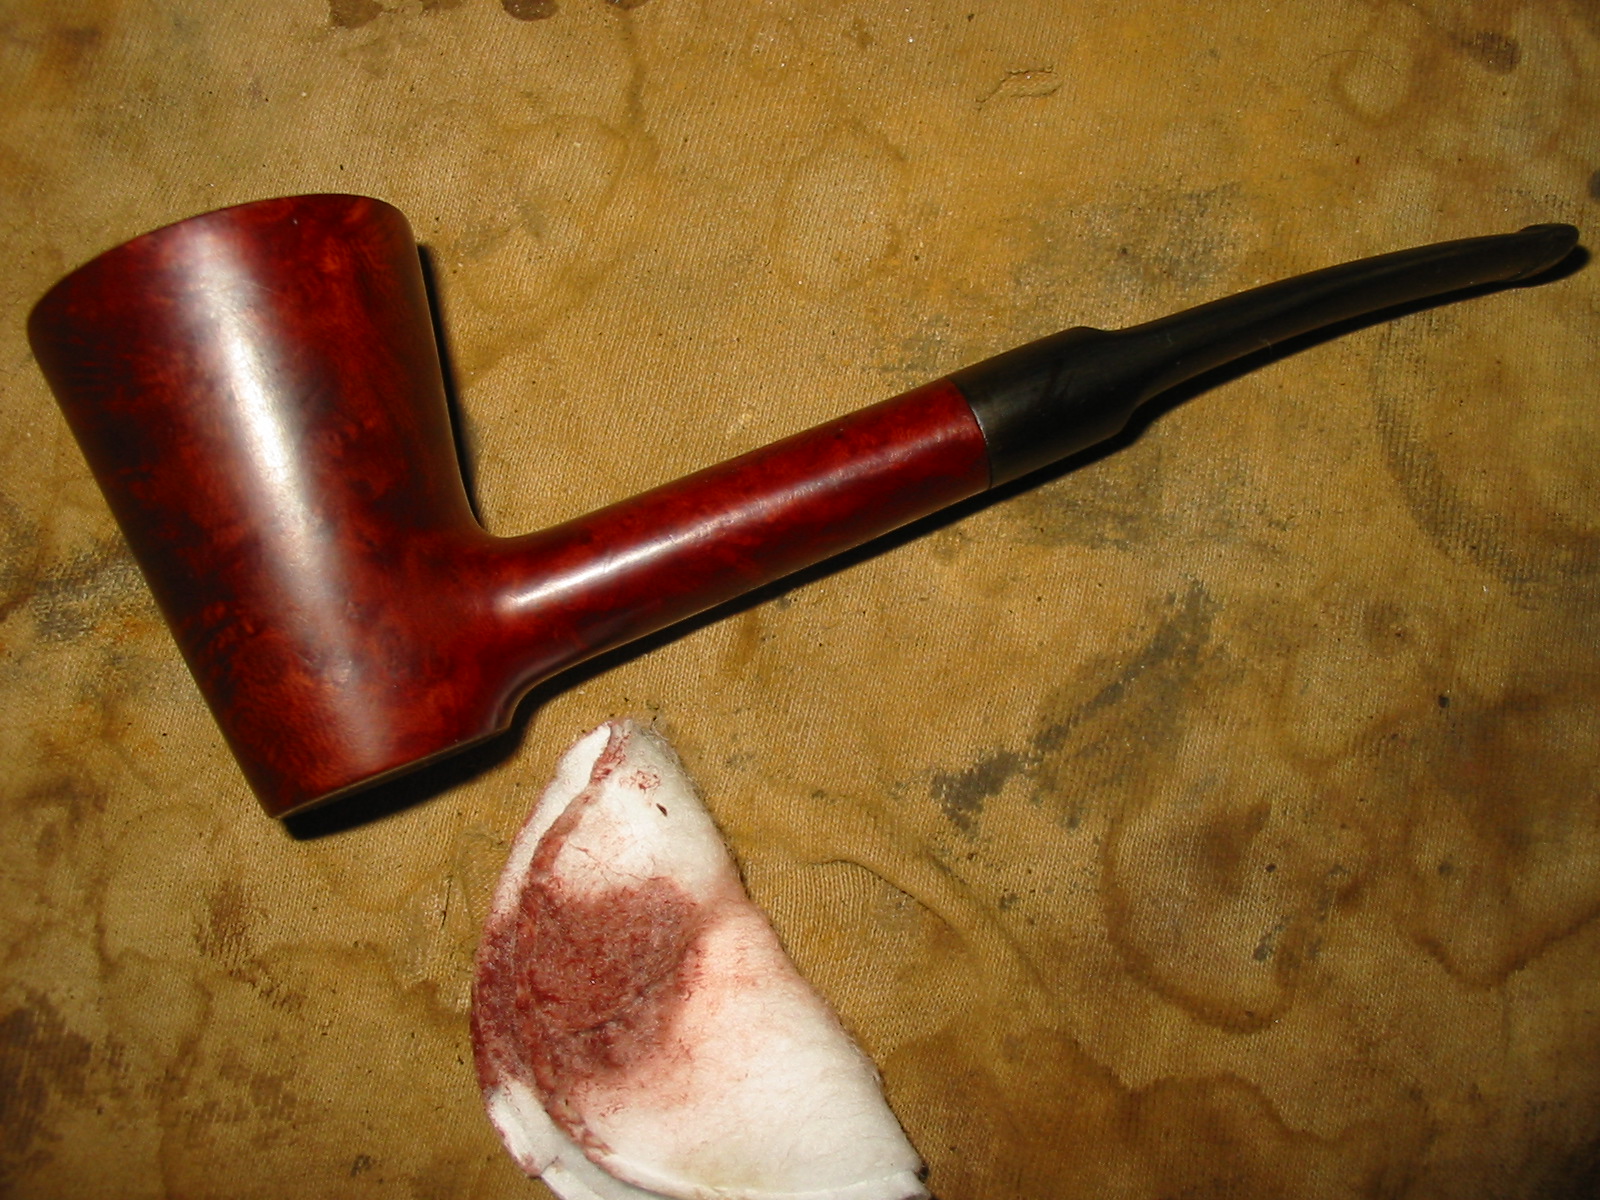
When the stem was finished in terms of shaping I moved on to work on the bowl. I wanted to stain the rim and the edges of the bowl where the burn marks were. I used a red mahogany Minwax stain and rubbed it into the rim and gave the entire pipe a stain coat. Once I had wiped that off with a clean towel I gave it a second coat of medium walnut stain to blend it in even more with the rest of the bowl. I buffed it with White Diamond to polish it and give it a shine.
IMG_3692

IMG_3693

IMG_3694

IMG_3695

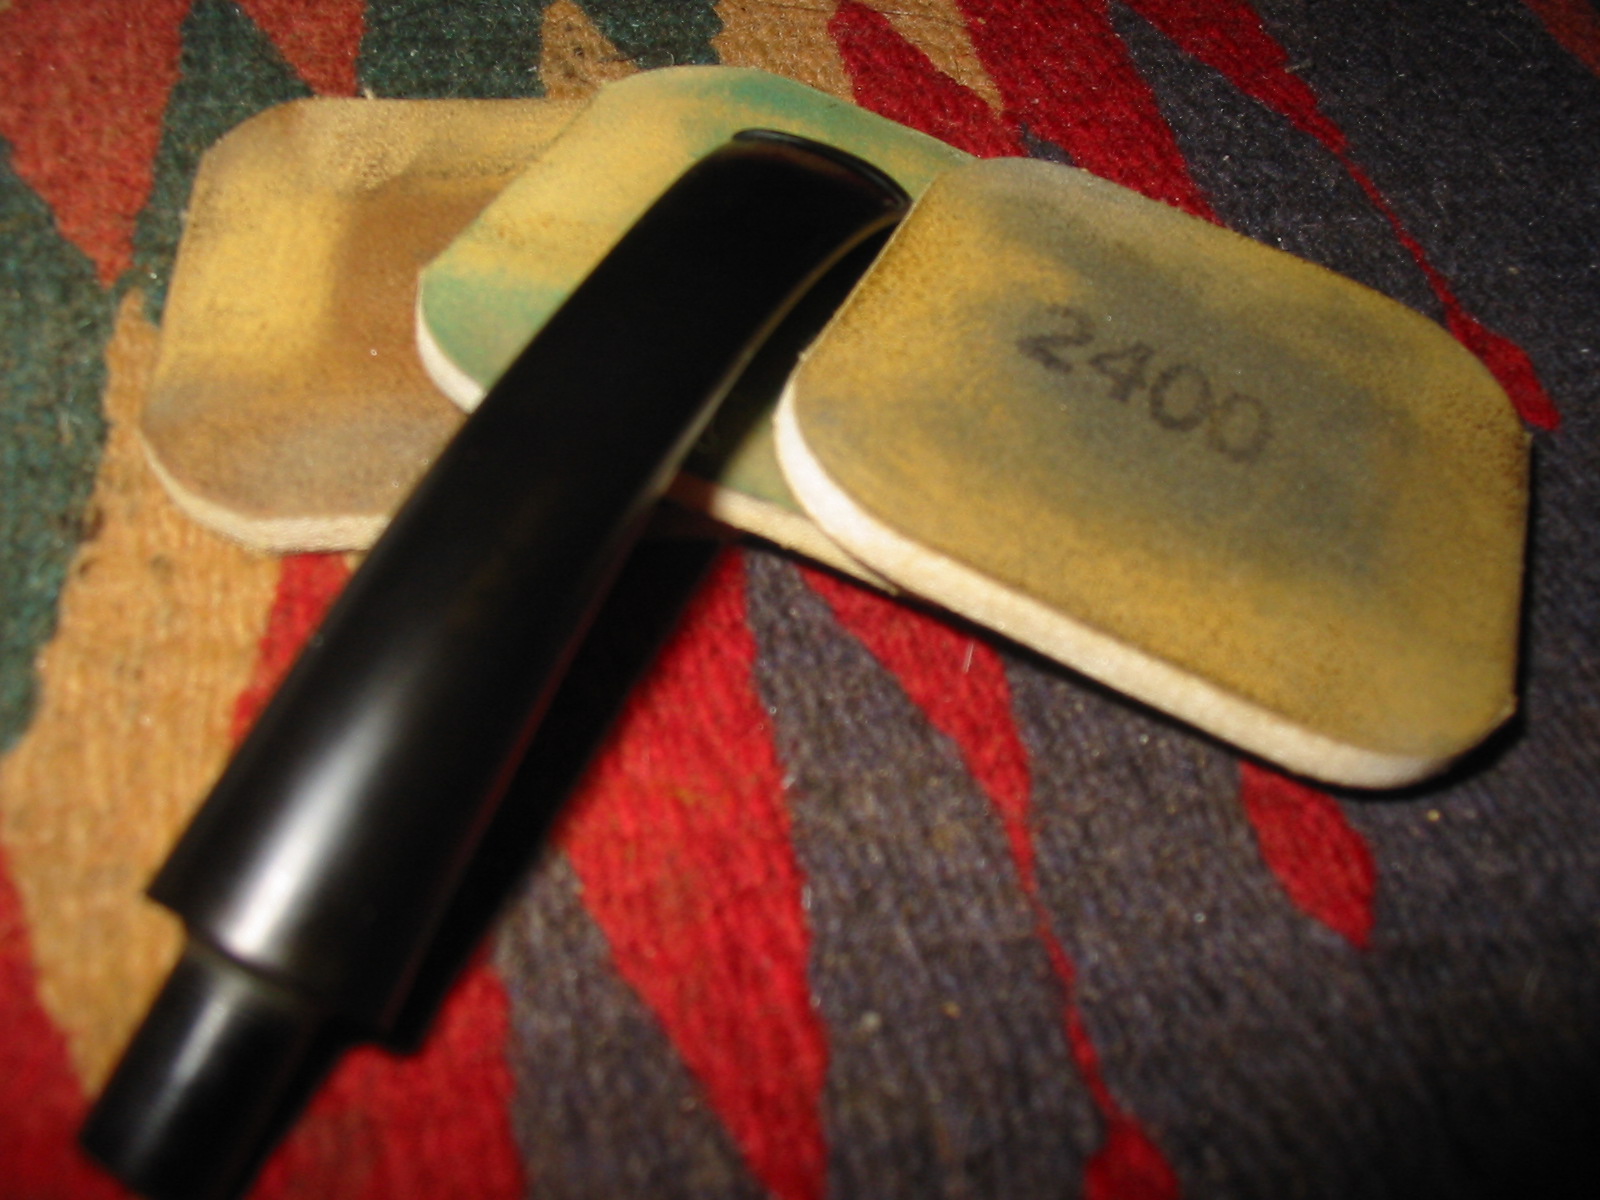
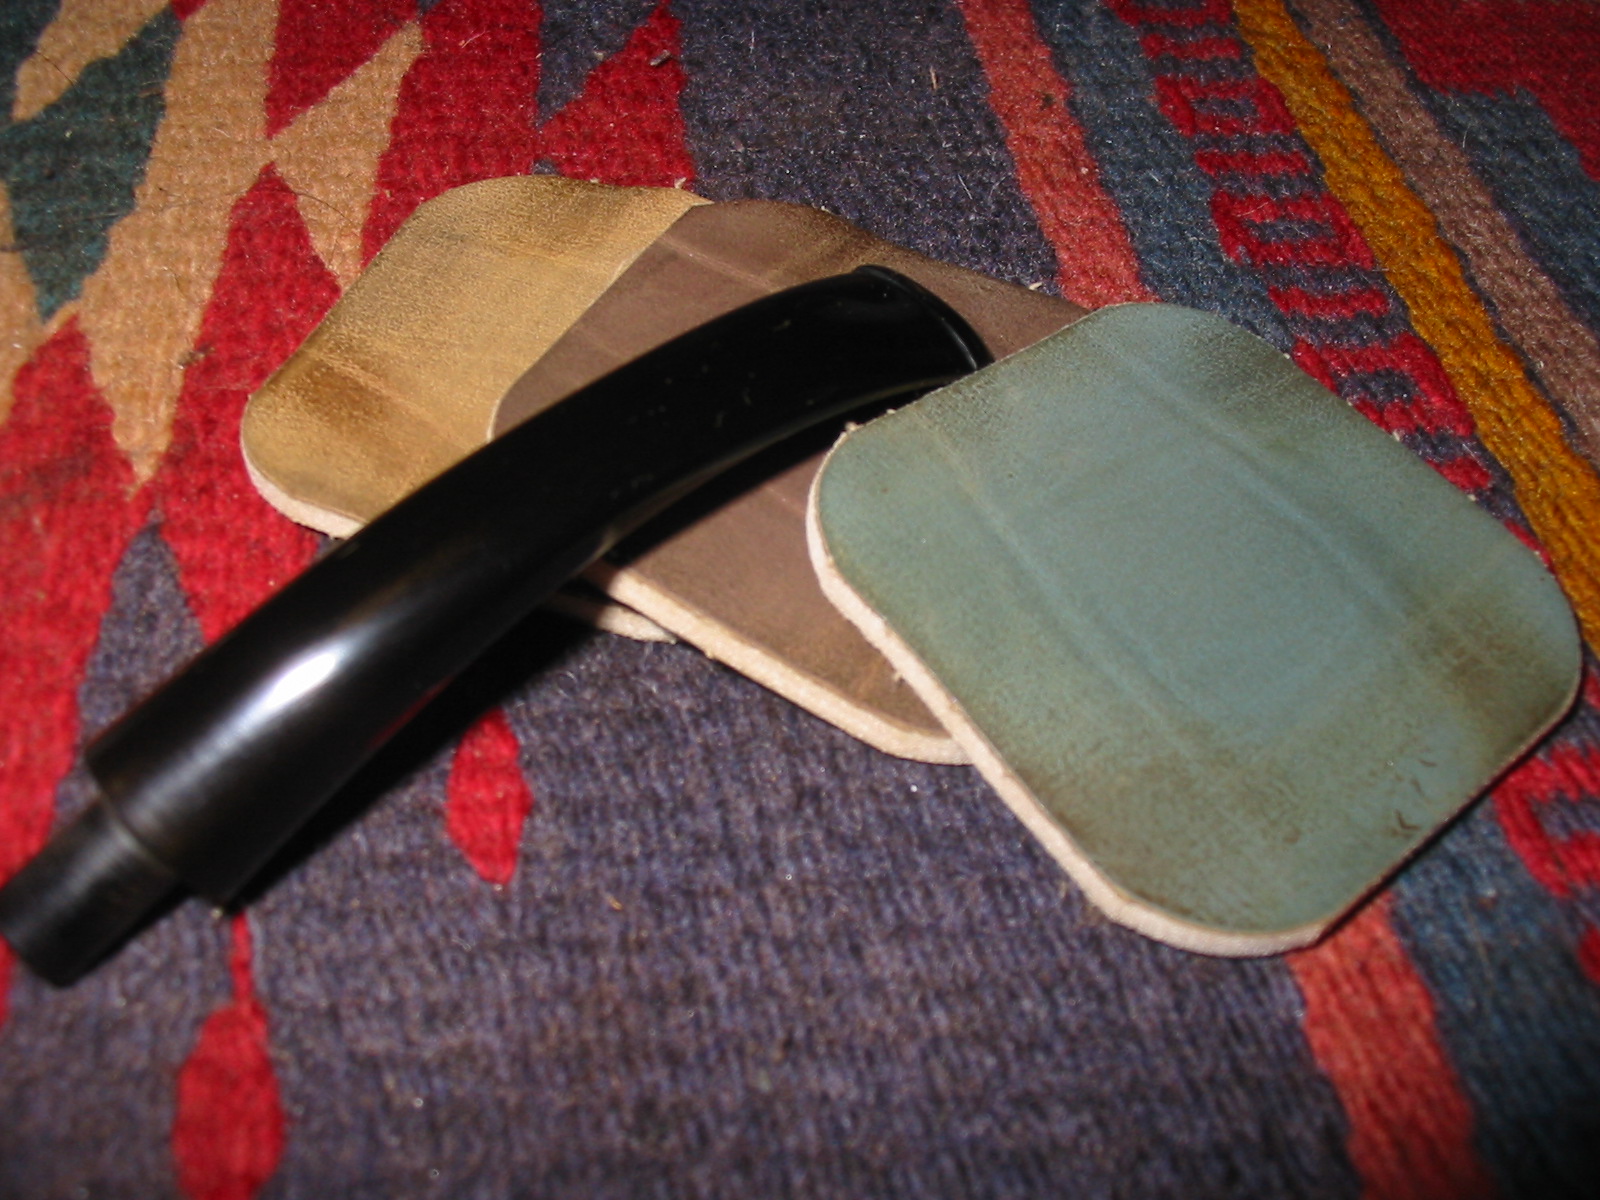
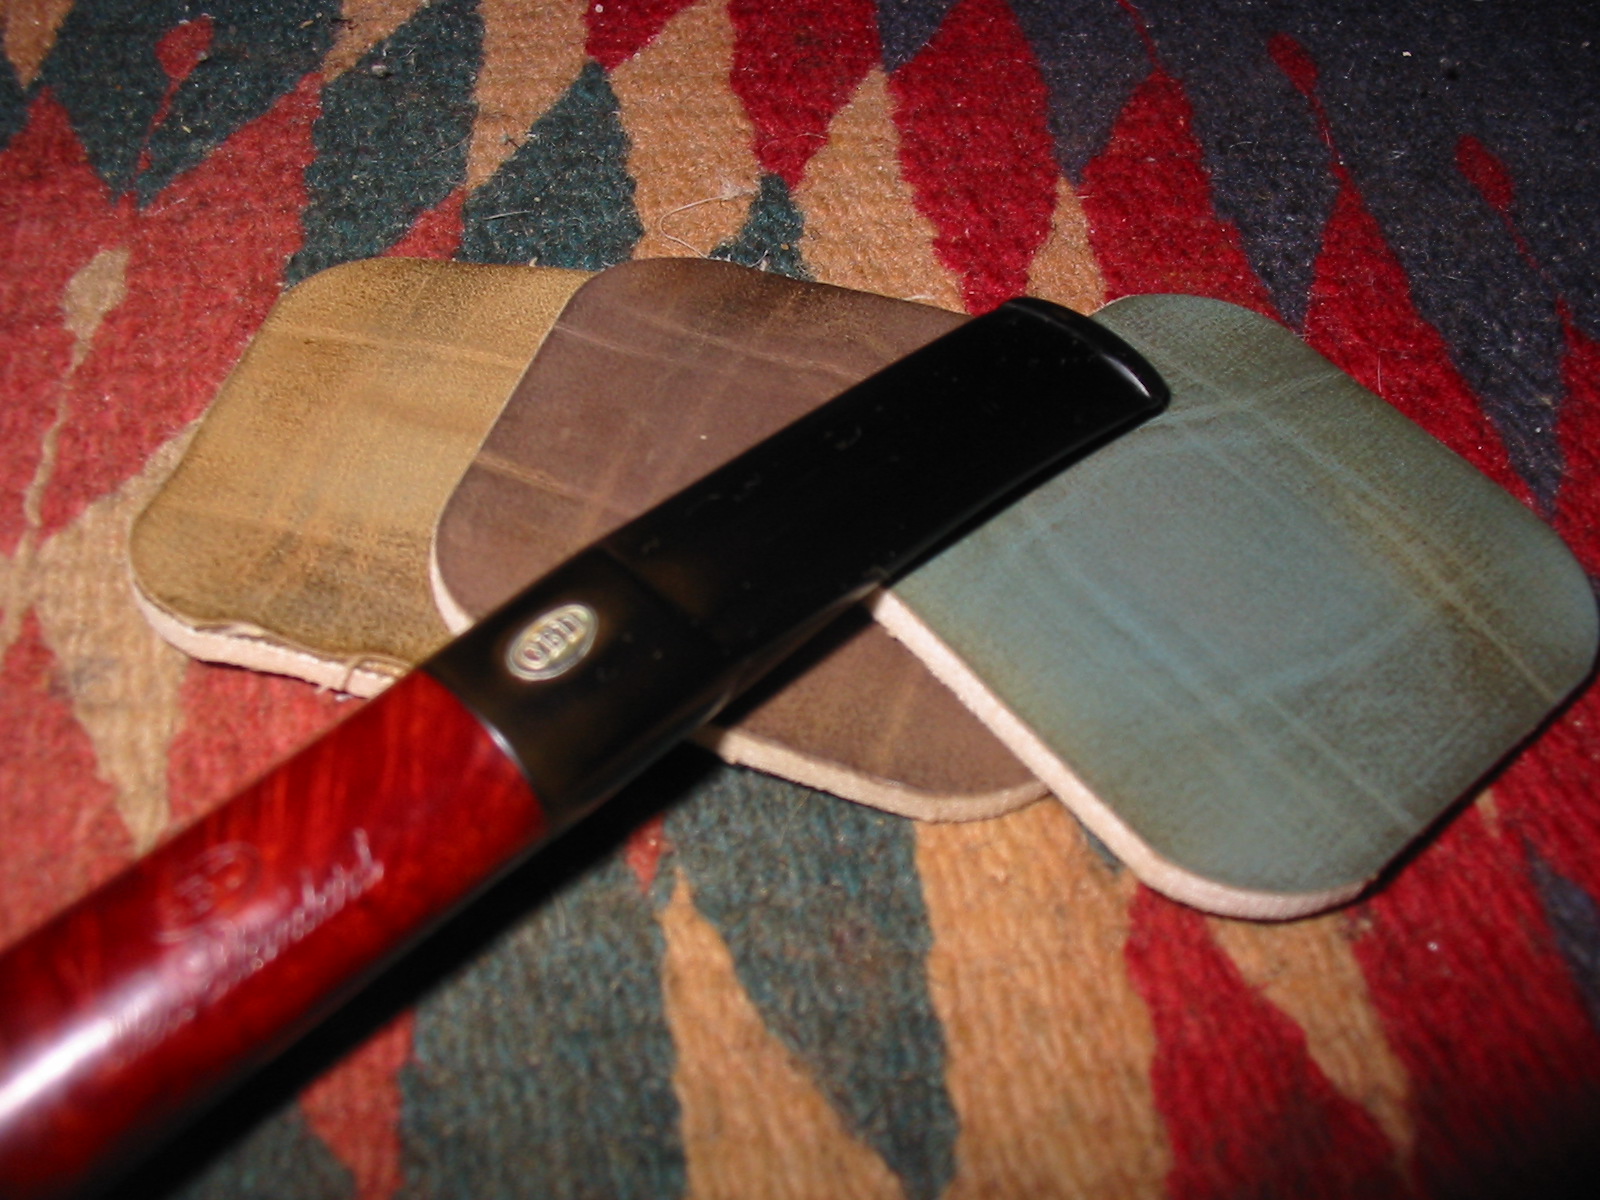
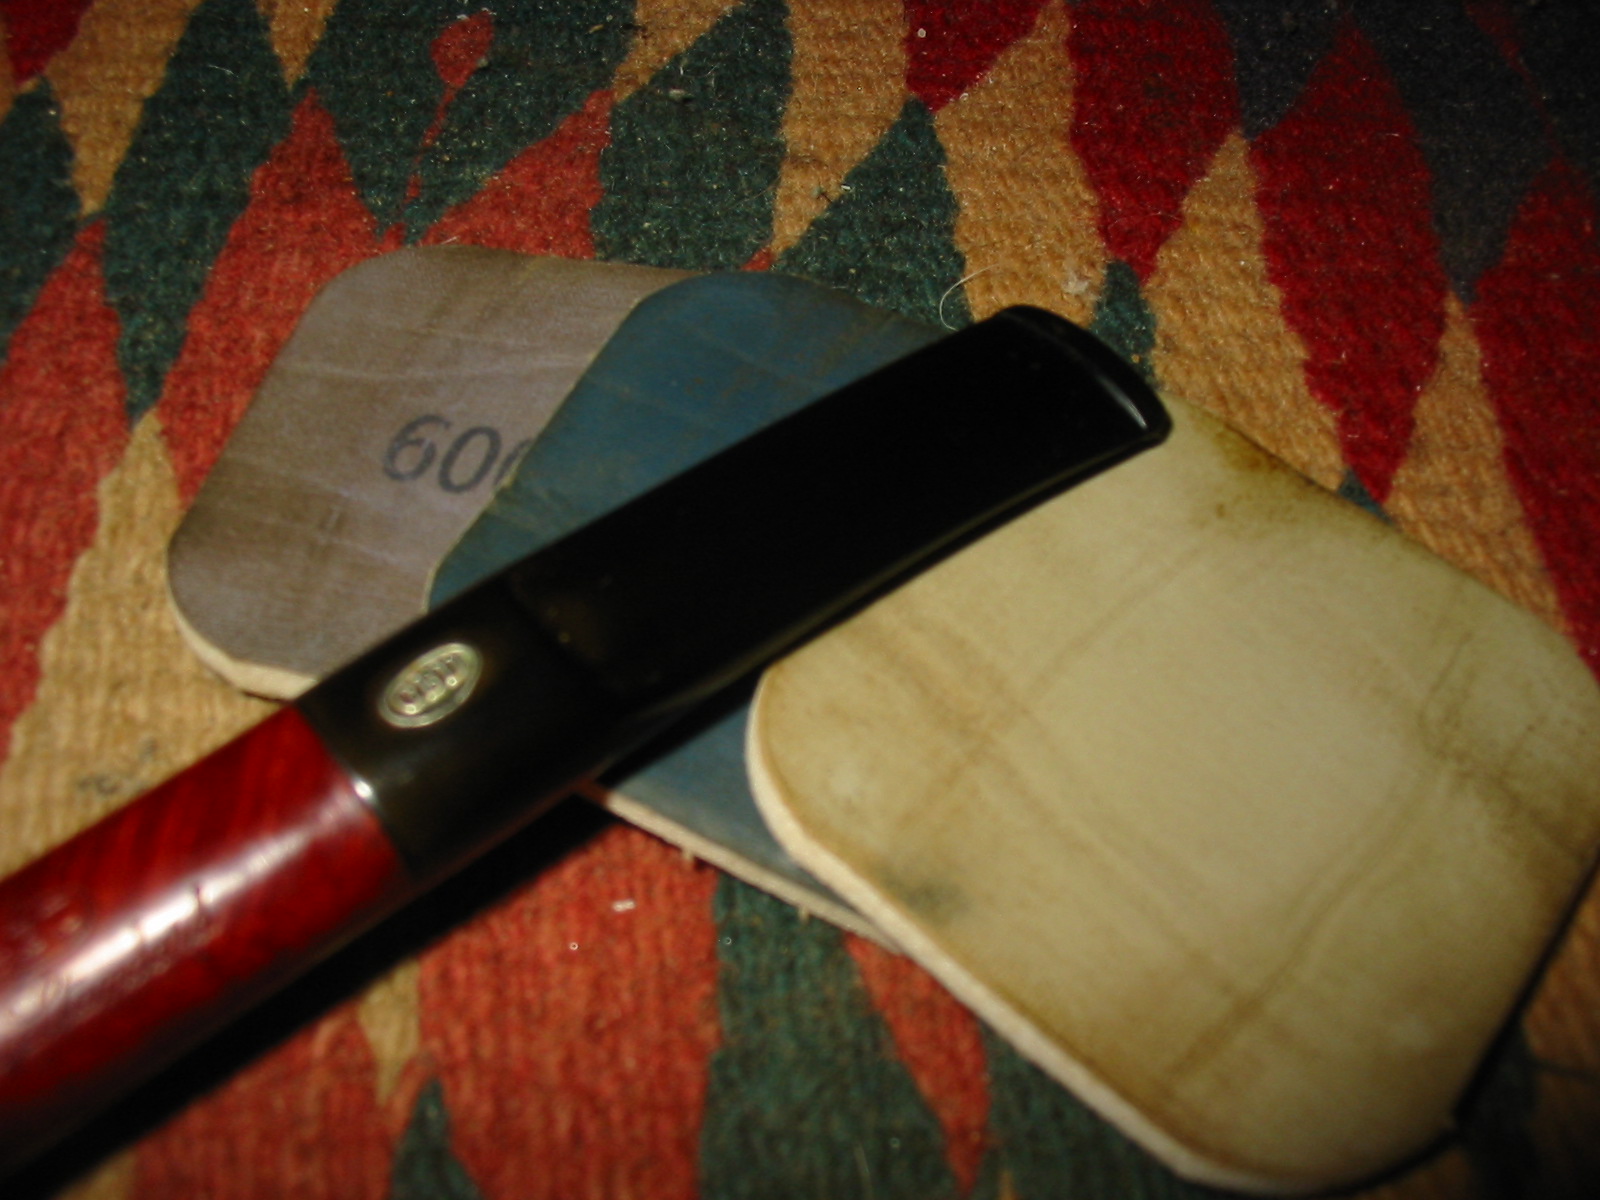
I sanded the stem with my regular regimen of micromesh sanding pads – wet sanding with the 1500-2400 grit pads and dry sanding with the 3200-12,000 grit pads. I rubbed in a coat of Obsidian Oil and when it had dried took the stem to the buffer and buffed it with White Diamond to give it a shine.
IMG_3696

IMG_3698

IMG_3699

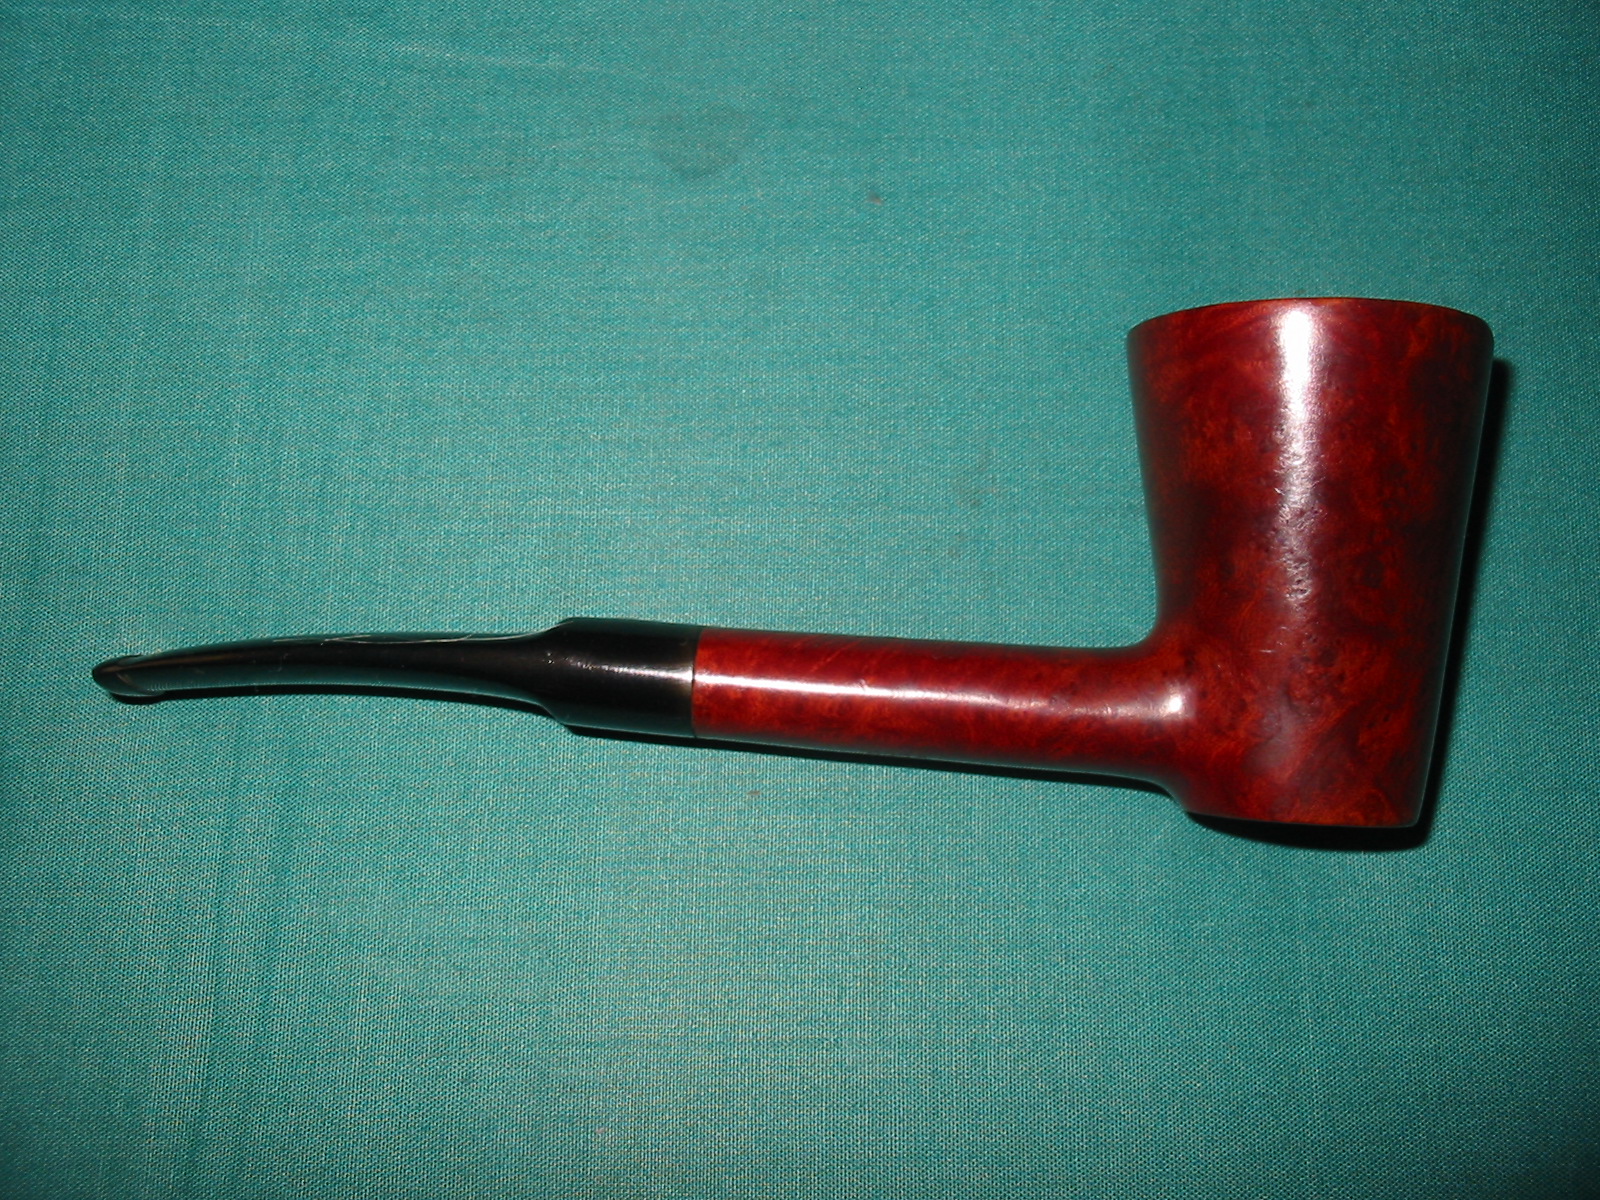
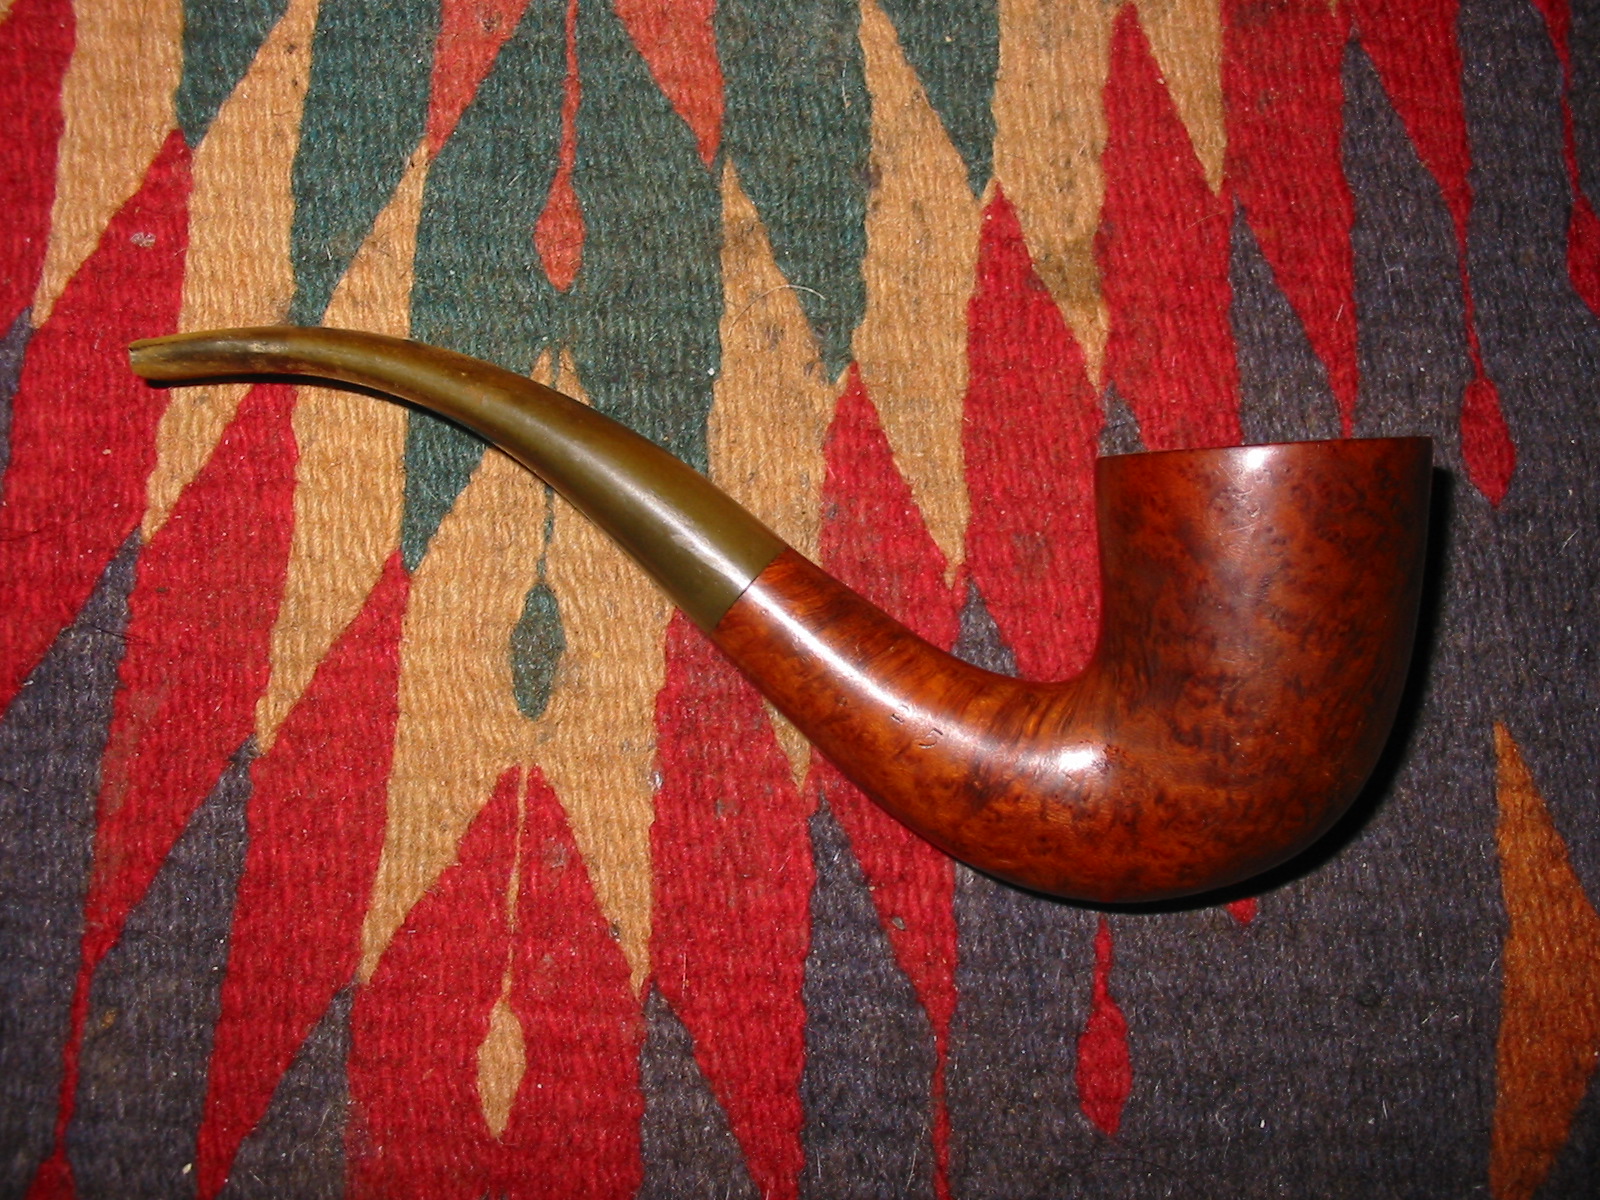
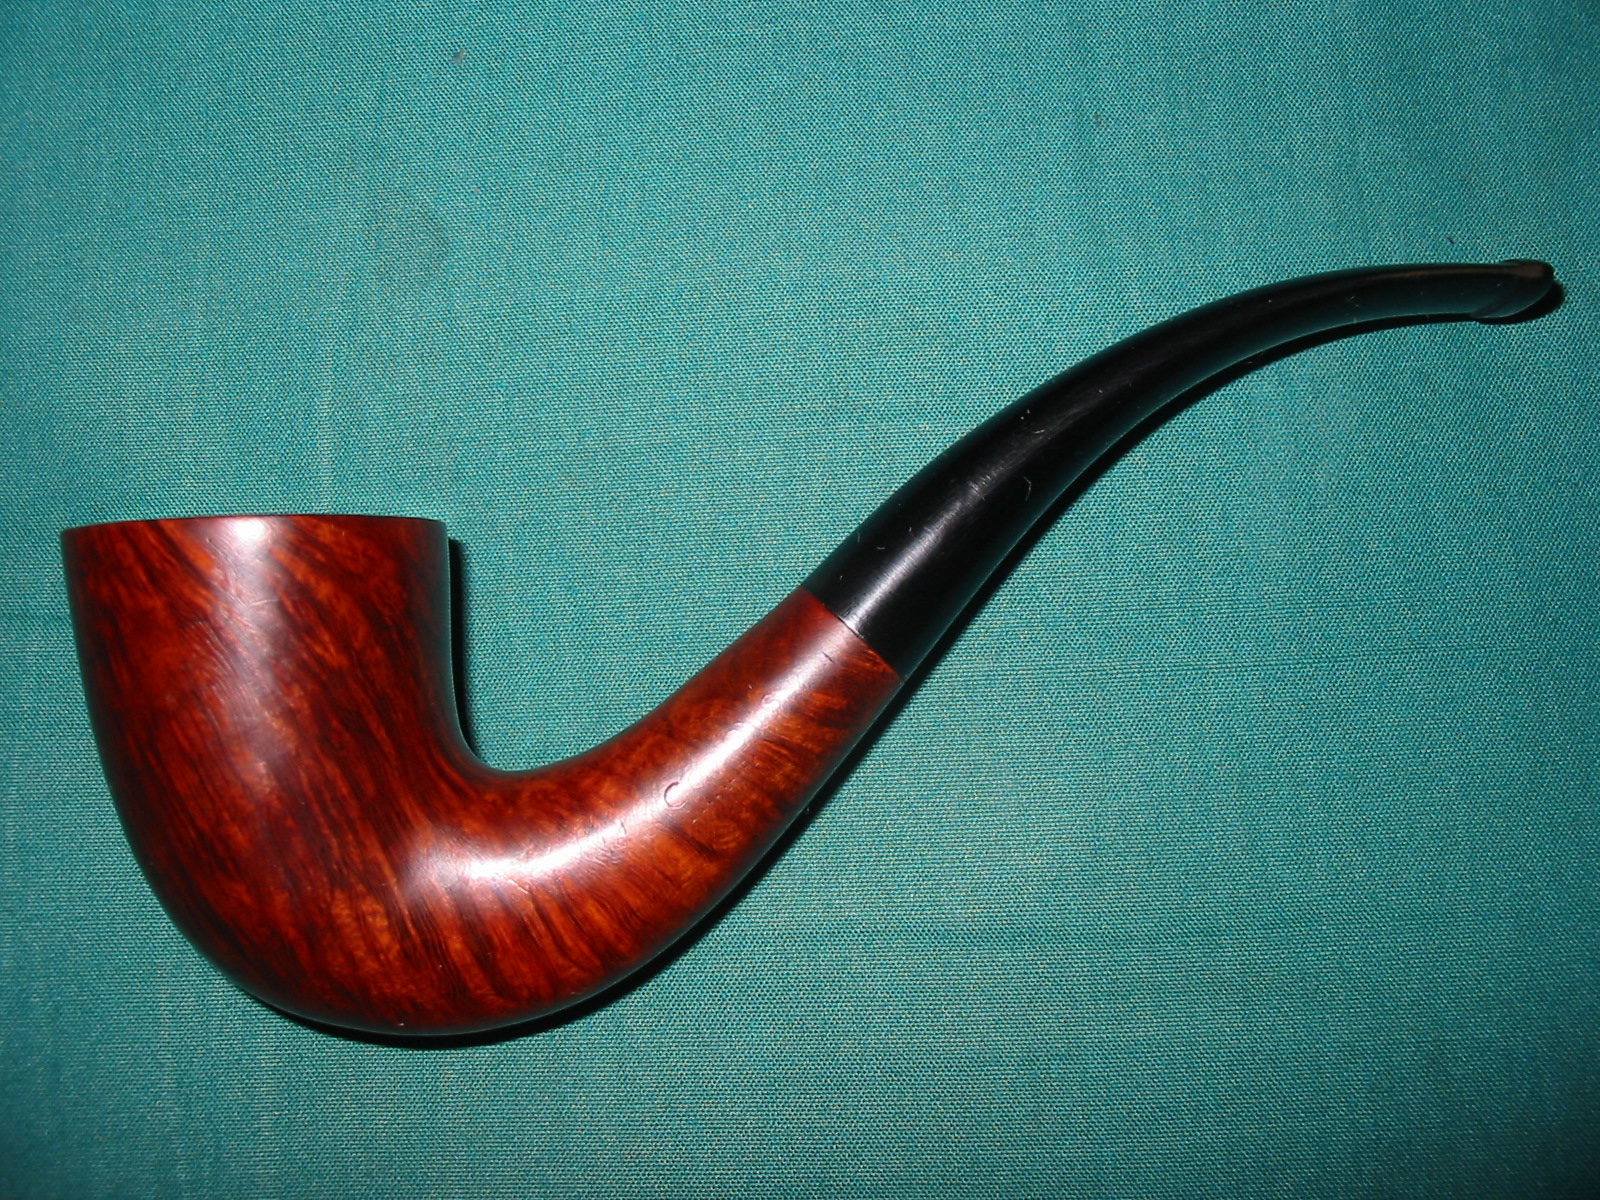
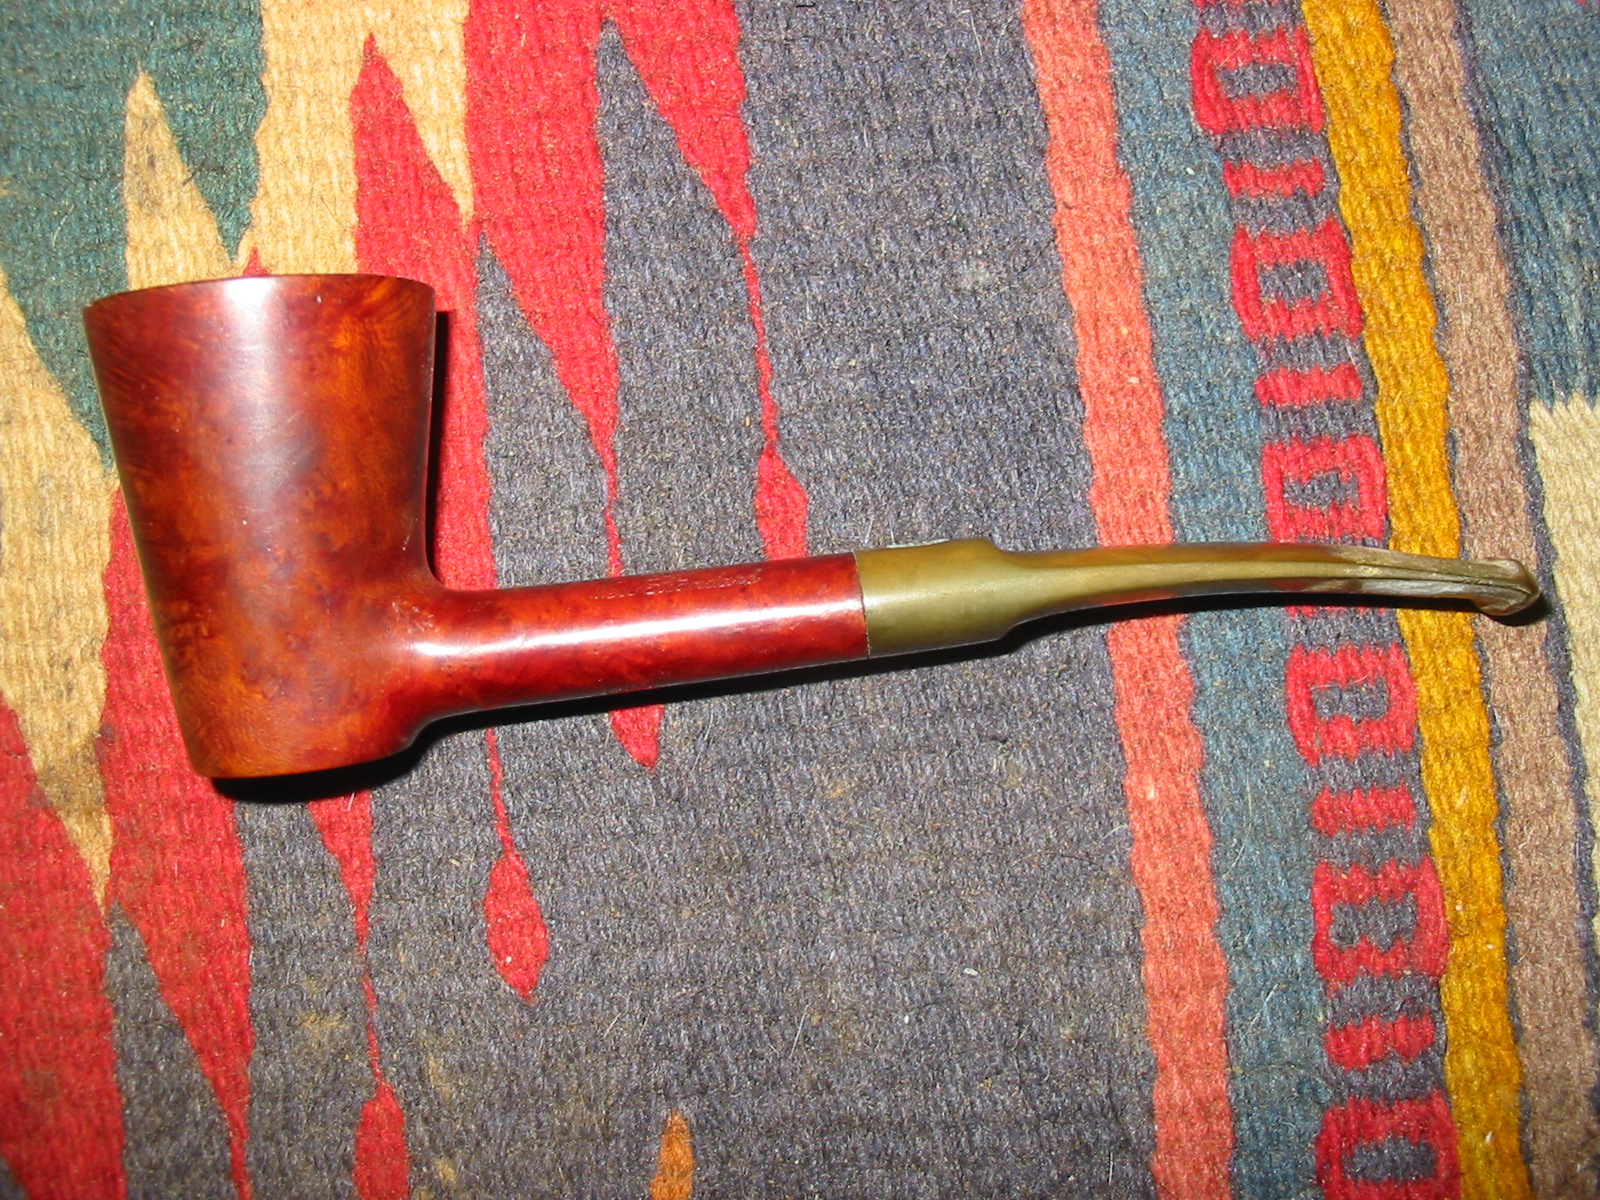
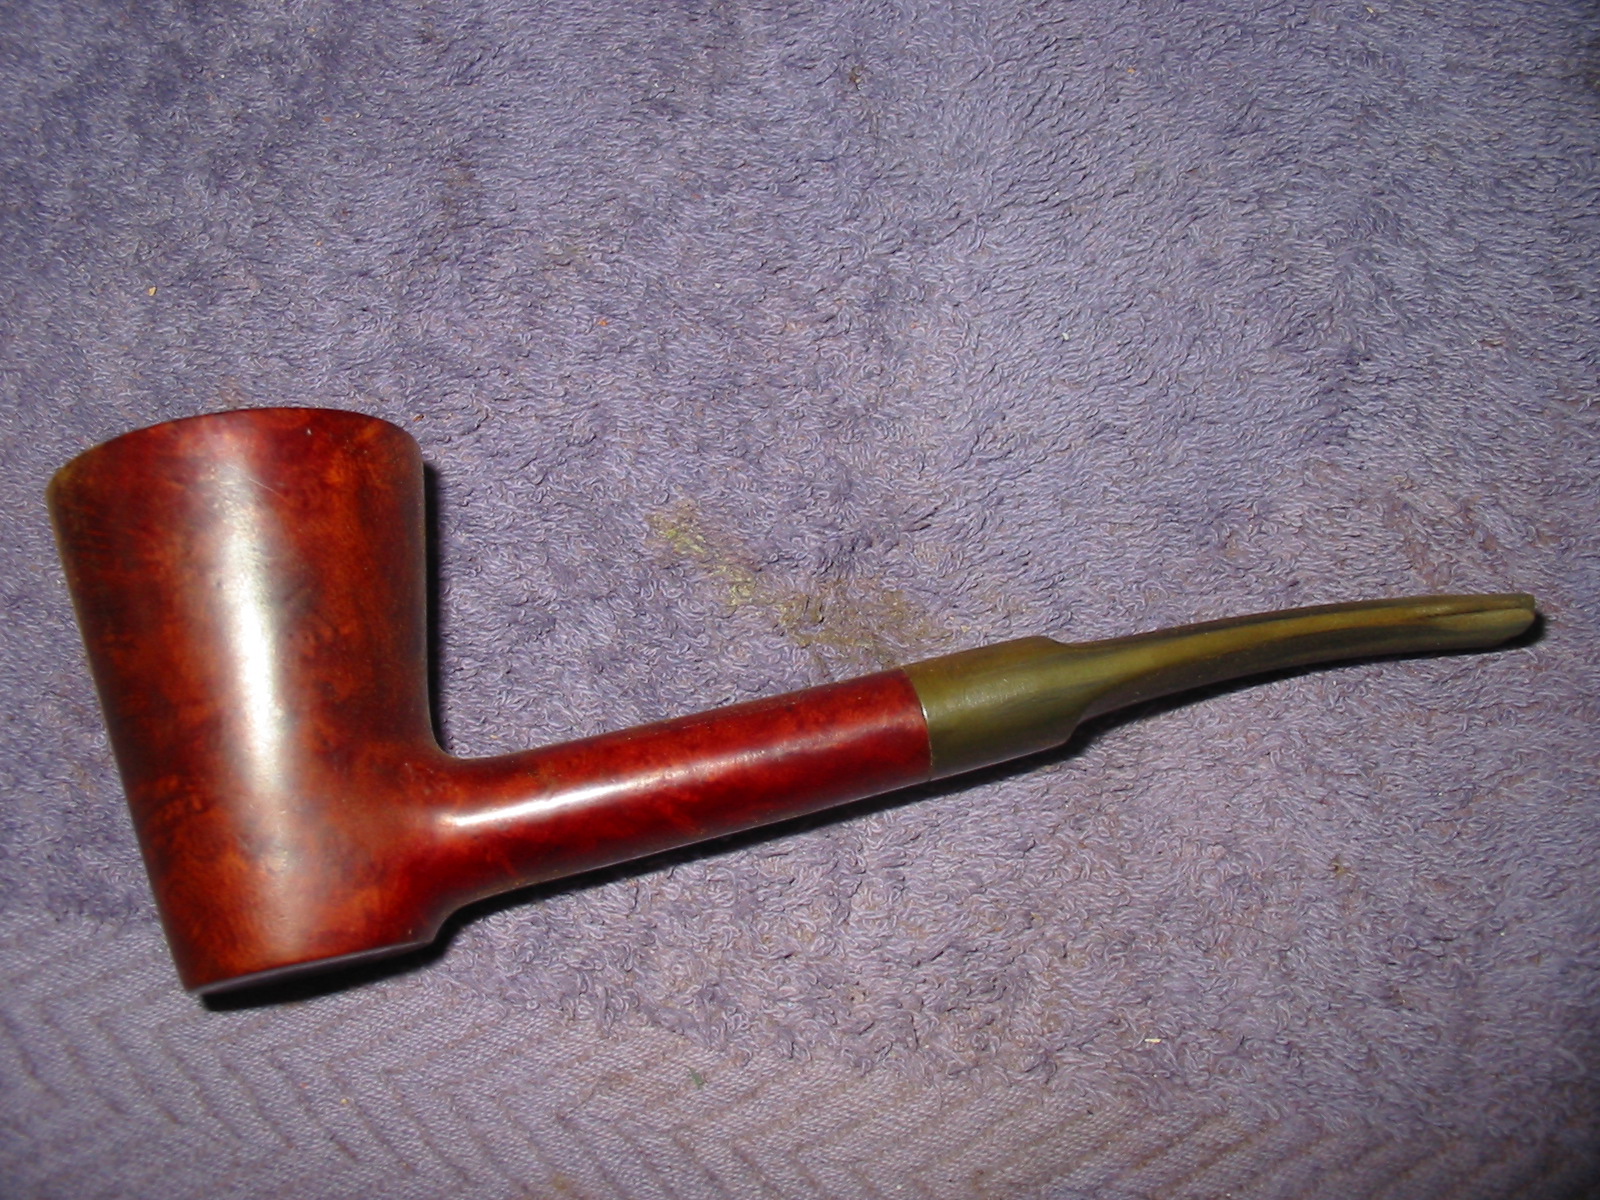
I buffed the entire pipe with White Diamond and then multiple coats of carnauba wax. I finished by buffing the bowl and stem with a clean buff with soft flannel to bring out a high shine. The finished pipe is shown below in the pictures. The shortened stem came out looking very good and the reduced length does not detract from the look of the pipe as a whole.
IMG_3700

IMG_3701

IMG_3702

IMG_3703

Restoring a Comoy’s Tradition Shape 225 Bent Dublin


Blog by Steve Laug

The second Comoy’s I picked up on the recent hunt was a beautifully shaped 225 Tradition. It is a shape that I love for its graceful flow and bend. The stamping on it was weak but visible under a lens. The left side of the shank was stamped Comoy’s over Tradition and the right side was stamped 225. I looked up the shape on Chris Keene’s Pipe Pages and found this page on a 1960’s catalogue http://pipepages.com/64com19s.htm . It is the 225 shape at the bottom of the page.
64com19

When I picked it up the pipe the stain on the briar was slightly faded. The stamping was weak. On the side where Comoy’s Tradition was stamped it is very faint, though still visible with light. On the side of the shank where the shape number was stamped the 2 and the 5 are clear and the middle 2 is very light. The bowl was caked and the rim was caked with tars and carbon build up. The inner bevel was clean and undamaged though dirty with tars and the outer edge was also very clean. The exterior of the pipe had no dents of dings. The stem was a replacement and was missing the usual step down tenon that I have come to expect and the existing tenon was shorter than normal. The stem itself was oxidized and had a large bite through on the underside. Of the six pipes (GBD and Comoy’s) that I picked up all but the little bulldog have the same issue.
IMG_3612

IMG_3613

IMG_3614

IMG_3615

The photo below shows a closer look at the bite through on the underside of the stem. It’s size, the length of the stem and the fact that it was an obvious replacement stem made my decision of whether to try to repair the hole or to cut the stem back quite easy to make.
IMG_3616

I used a Dremel and sanding drum to cut the stem back to solid vulcanite and remove the damaged spot and the button. This would necessitate recutting and shaping a new button on the stem as well as reshaping the slot in the button.
IMG_3617

IMG_3618

After cutting it off I took it back to the worktable to prepare it for the new button. I wiped the stem down to remove the dust from cutting and to clean the surface so that I could get a good clean line on the button.
IMG_3619

IMG_3620

I used files, a wood rasp and various needle files to cut an edge for the new button on both the top and the bottom sides of the stem. I also used the files to cut back the stem on the slope before the new button on both sides of the stem. The stem needed to be thinned down from the button forward to the shank for more comfort in the mouth and to keep the graceful lines of the shape intact. I used the needle files to carve back the stem thickness and smooth out the lines so that the button did not look choked and pinched at the line. Once I had a clean slope on the stem previous to the button I sanded it with 220 grit sandpaper to further highlight the angles of the button.
IMG_3621

IMG_3622

IMG_3623

I sanded the end of the new button to give it a slope toward the slot and to remove the sharp edge look of the new cut. I opened up the button to give it a funnelled shape to the airway and also made it oval. The side profile photos give a clear look at the stem and the angle of the stem previous to the new button.
IMG_3624

IMG_3625

IMG_3626

IMG_3627

IMG_3628

I reamed the bowl with a PipNet reamer to get rid of the cake and to clear away the debris from the inner edge of the bowl. I cleaned the rim with saliva on a cotton pad and scrubbed until I had removed the tars and buildup from both the top and the inner bevel of the rim.
IMG_3630

I sanded the stem to further define the button and shape it using 220 grit sandpaper and a medium grit sanding sponge. When I was happy with the overall shape of the stem, I sanded its entirety to remove the oxidation. I finished sanding it with my usual regimen of micromesh sanding pads. I wet sanded with 1500-2400 grit pads and dry sanded with 3200-12,000 grit pads.
IMG_3632

IMG_3634

IMG_3635

IMG_3636

IMG_3637

IMG_3638

When I had finished sanding with the final grits of pads I put the stem in the shank and buffed it with red Tripoli to remove some of the scratches that still remained on the underside of the stem near the button and then buffed the whole stem with White Diamond. I lightly buffed the pipe as well before taking it back to the worktable to give it a top coat of red mahogany Minwax stain. I rubbed the stain on the bowl to bring back some of the reddish colour that I have found in my other Tradition pipes and used them to match the colour on this pipe.
IMG_3649

IMG_3650

IMG_3651

IMG_3652

I rubbed the stem down with Obsidian Oil to preserve the vulcanite. And when the stain was dry I gave it a light buff with White Diamond. I finished by giving the entire pipe multiple coats of carnauba wax to preserve and give it a shine. The finished pipe is picture below. It is cleaned and ready to continue a life of service.
IMG_3653

IMG_3654

IMG_3655

IMG_3656