Blog by Steve Laug
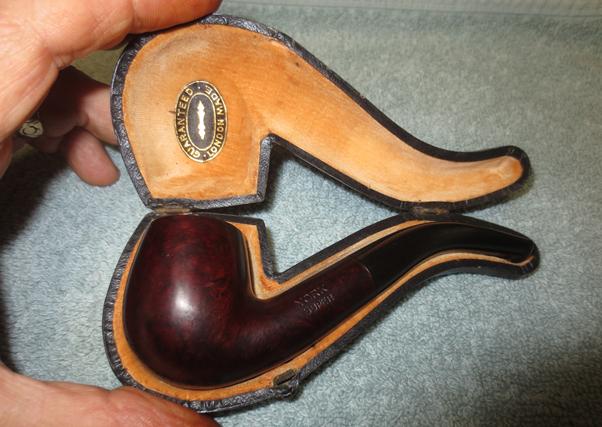
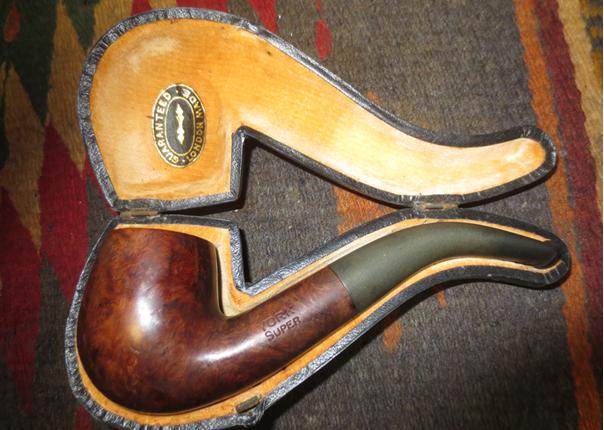
In a recent box of pipes that my brother Jeff sent to me from Idaho there was an interesting little pipe. It came in its own black leather case with a gold felt lining. There was a logo on the inside that read Guaranteed London Made. The case was in excellent condition. The pipe inside was really good looking and from the stem shape and orific button it was clear that it had some age on it. It was stamped on the left side of the shank with the words YORK over SUPER and on the right side of the shank with the words LONDON MADE. 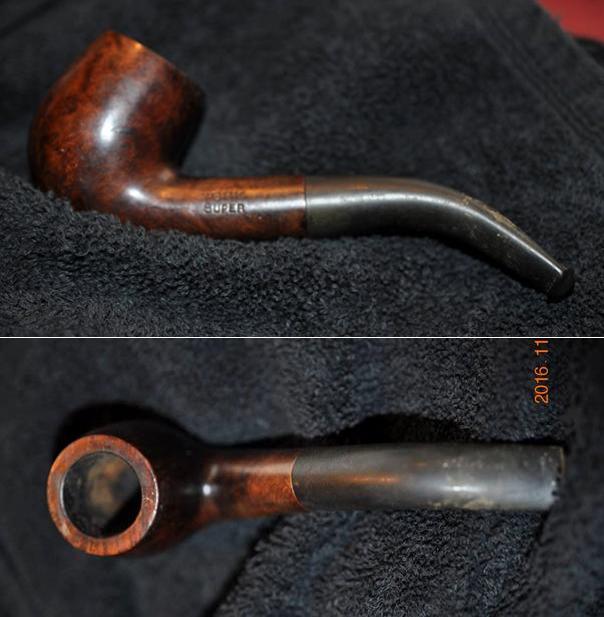 For a pipe of this age I was surprised that the finish was still in pretty decent condition. The only real issue of consequence was a spot on the right side where there was a large fill that was falling out. The bowl had a thin cake around the top half of the bowl while the lower part of the bowl appeared to be unsmoked. It had not even darkened from smoking it. There was some minor rim damage on the outer edge toward the bowl front where the pipe had been knocked out against something hard. There were some nicks on the front edge and there were some dents in the rim but they were not too bad. The rest of the finish was dirty and dull but would clean up nicely. The stem had tooth marks and chatter at the button on both the top and bottom sides of the stem and it was oxidized. The vulcanite was older and was a good quality rubber. The button was an older orific style with a single hole in the end. I liked the overall look of the pipe.
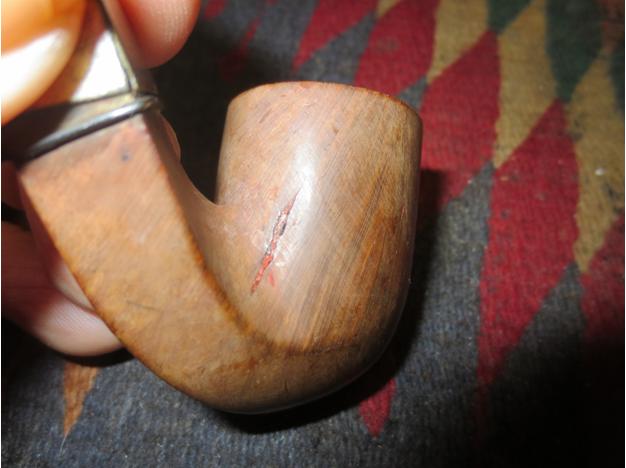
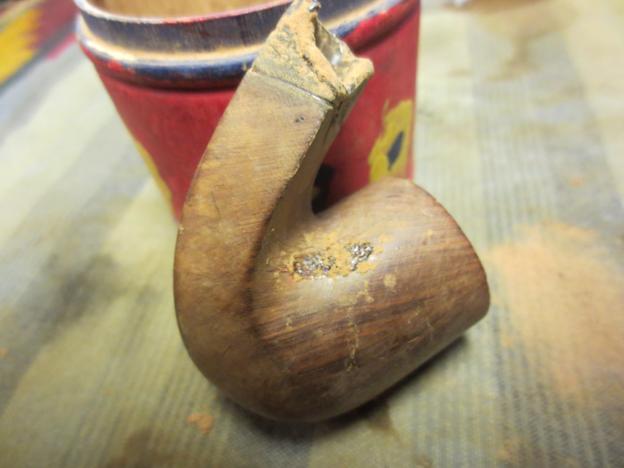
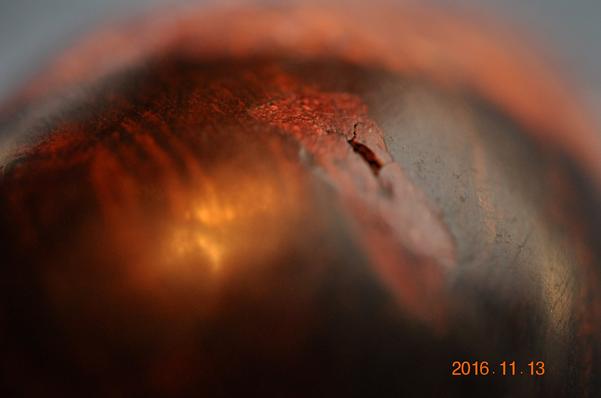
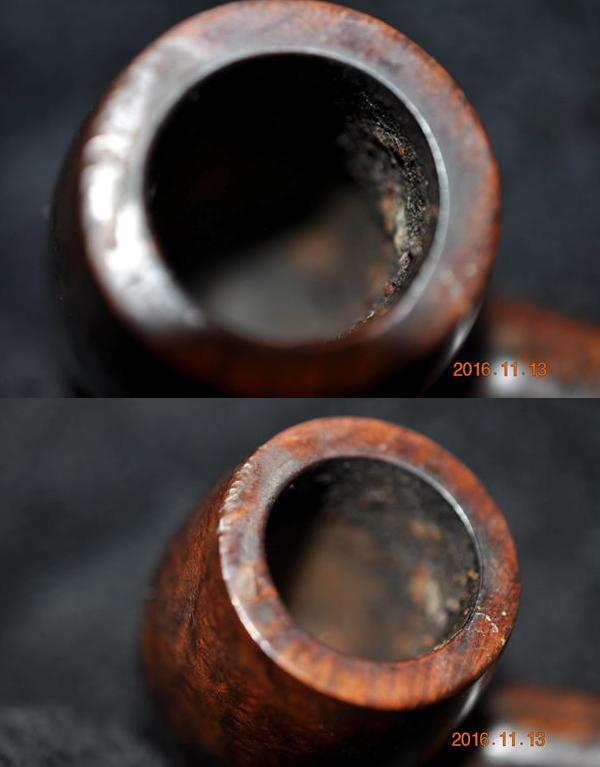 The next series of photos show the large fill toward the front on the lower right side of the bowl. It was a pink putty fill and it was crumbling revealing the flaw in the briar. The third photo captures the crumbling area of the fill. It would need to be picked out and refilled.
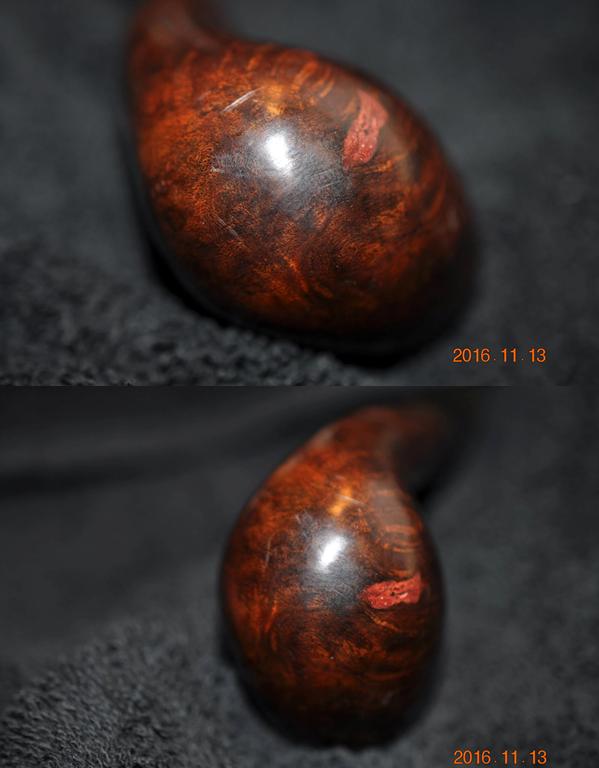
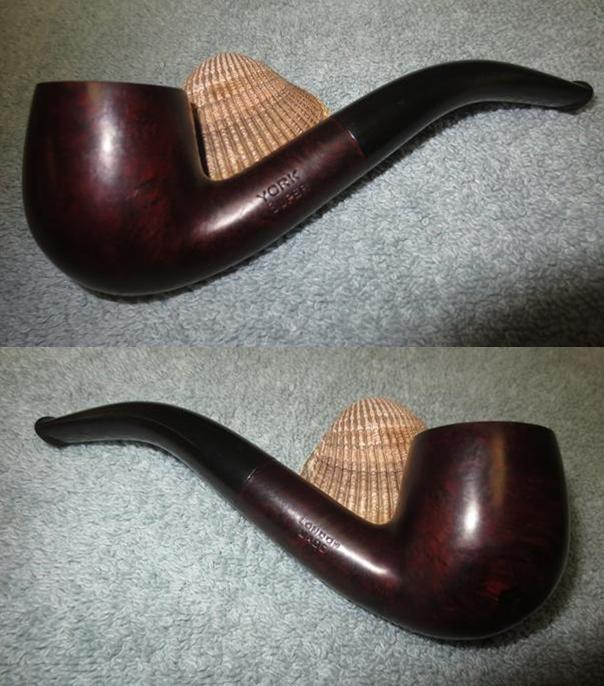
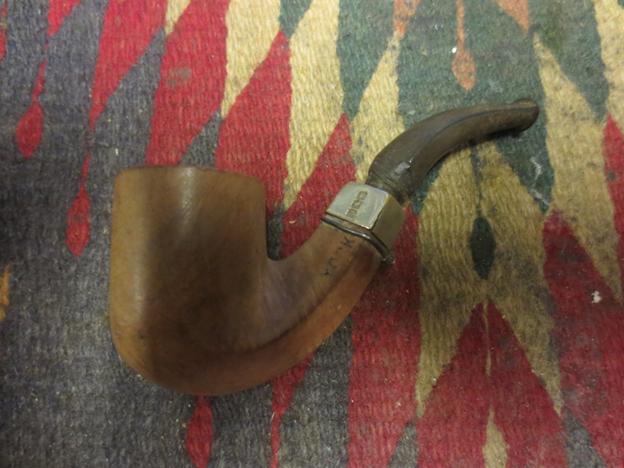
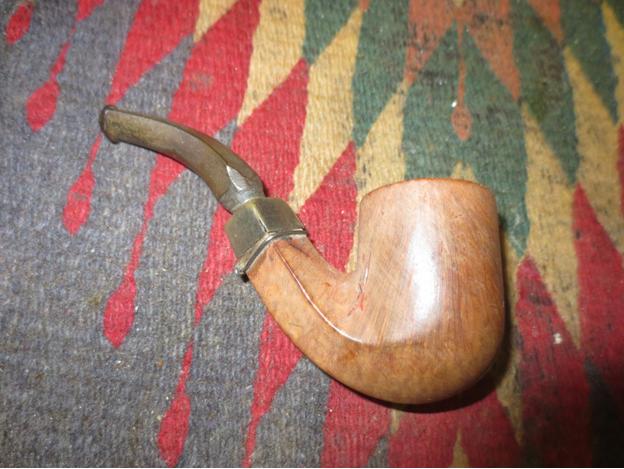
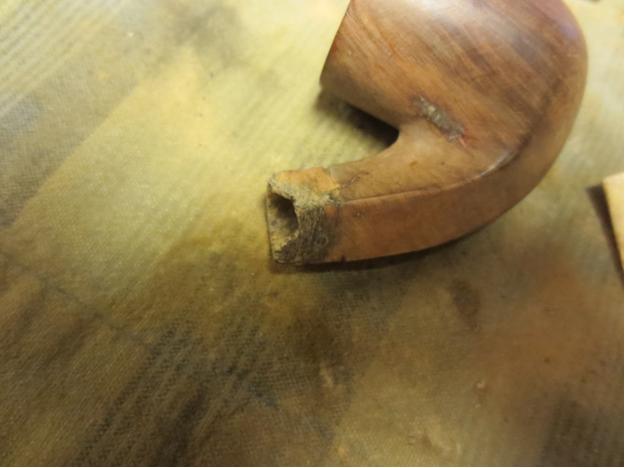
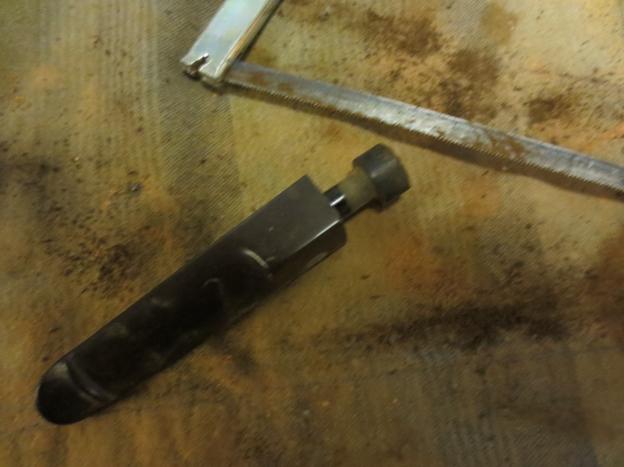
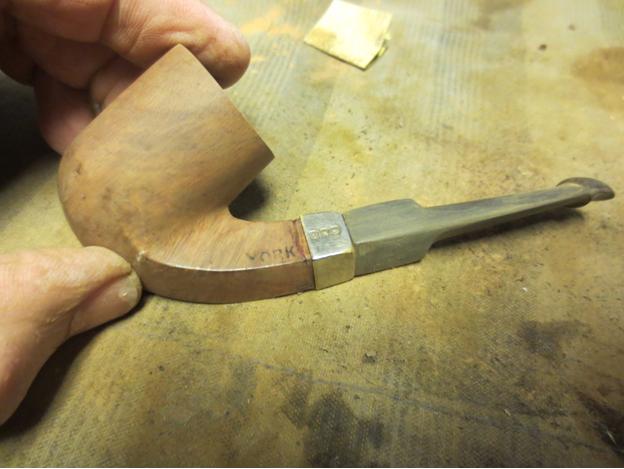
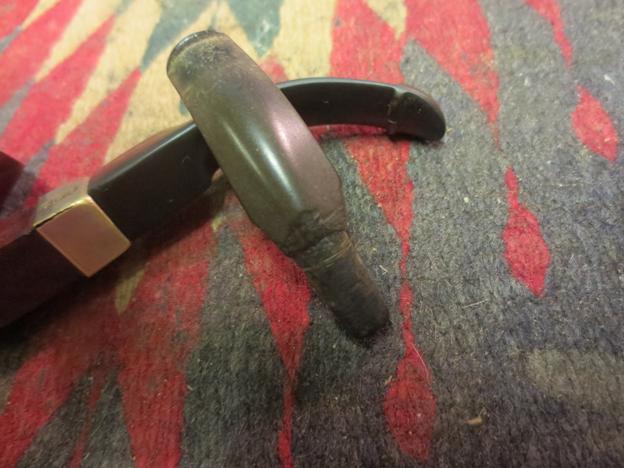
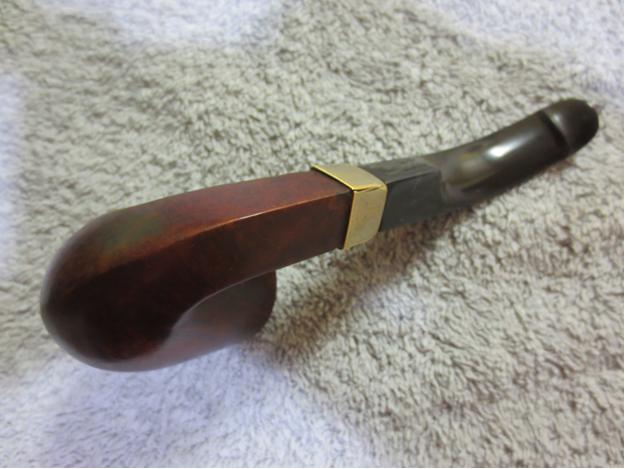
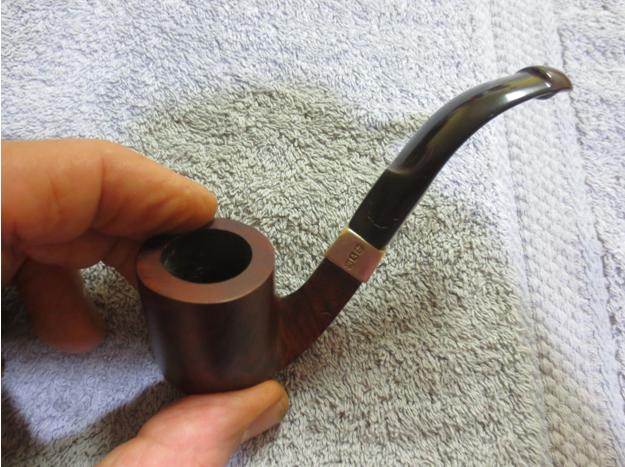
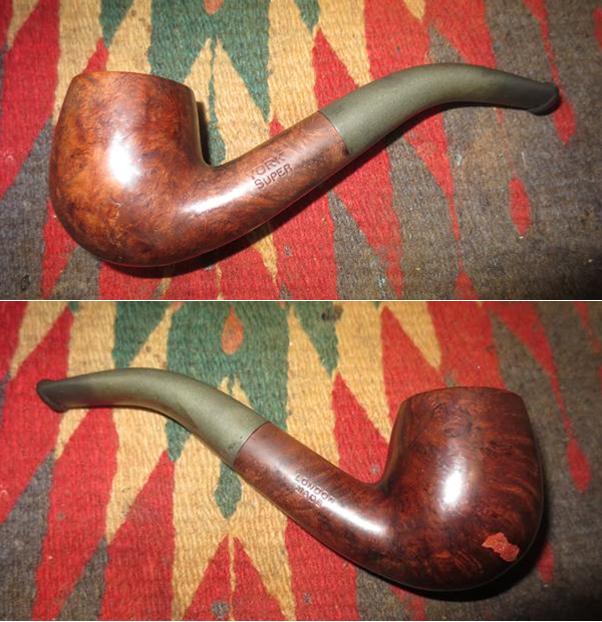
 The next two photos show the stamping on both sides of the shank. It was sharp and readable and did not show signs of over buffing.
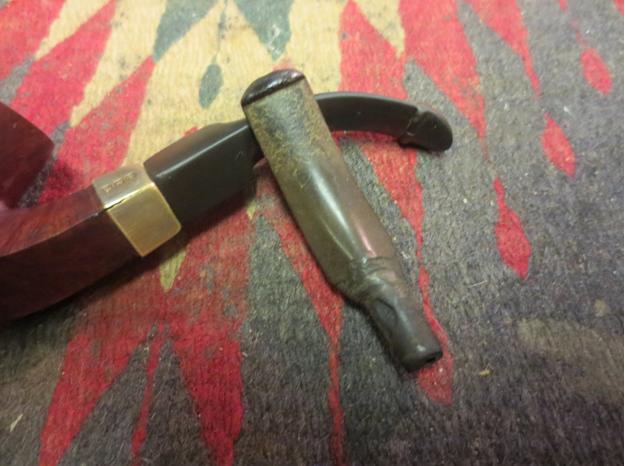
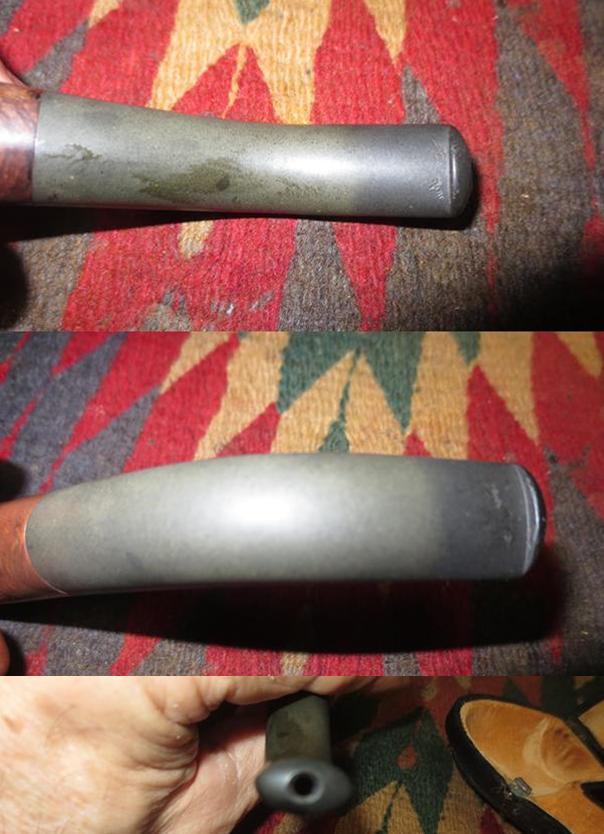
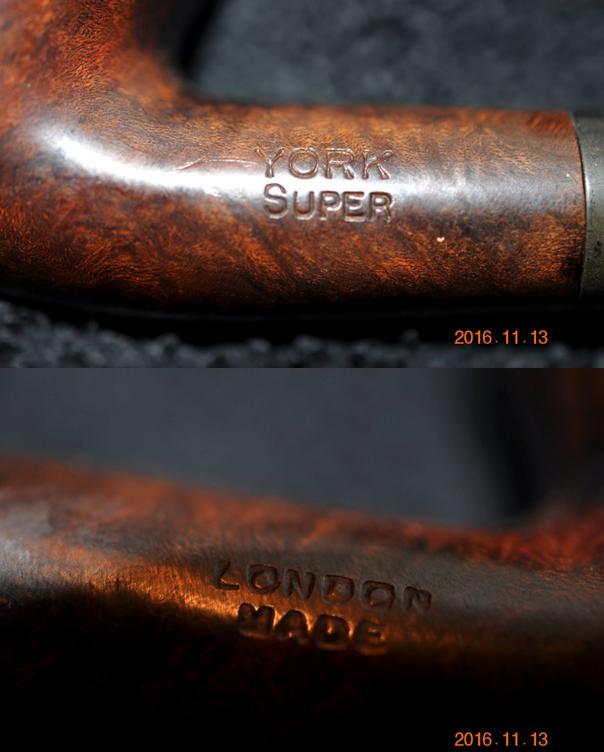 My brother took two photos of the stem to show its condition. The photos show the oxidation on the stem and the nature of the tooth marks near the button. The quality of rubber used in this old timer can be seen in the lack of oxidation.
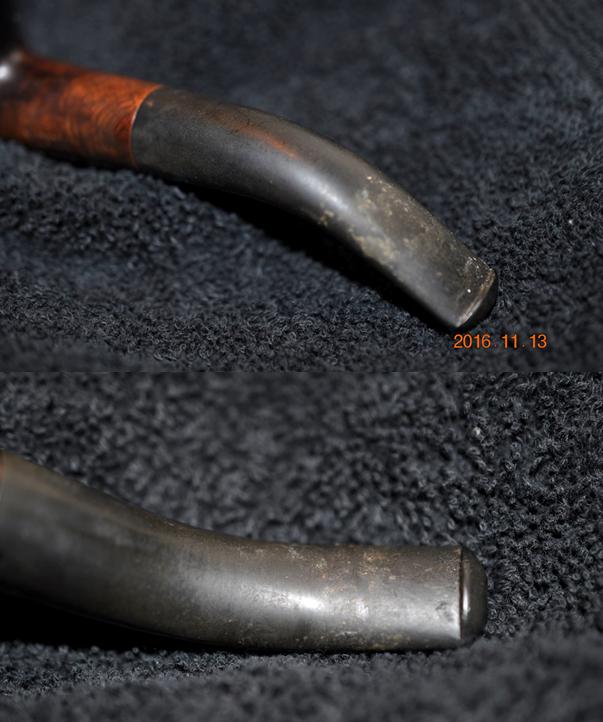 I have restored on other older York pipe and from my research I found that it was probably made by KB&B. The London Made stamp on the cover of the case and on the pipe led me to consider several other options but the stamping itself matches exactly the style used by KB&B. From what I could find they also had London Made pipes like this. I would love to find the back story on this brand but at this point this is all I could find. Do any of you have any more information on the brand? Post it here for all of us to learn from. Thank you ahead of time for your help.
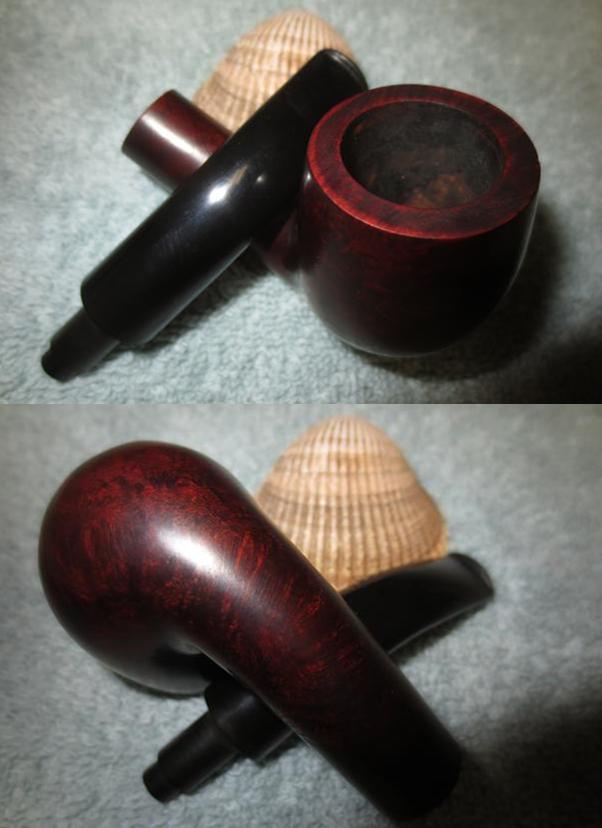
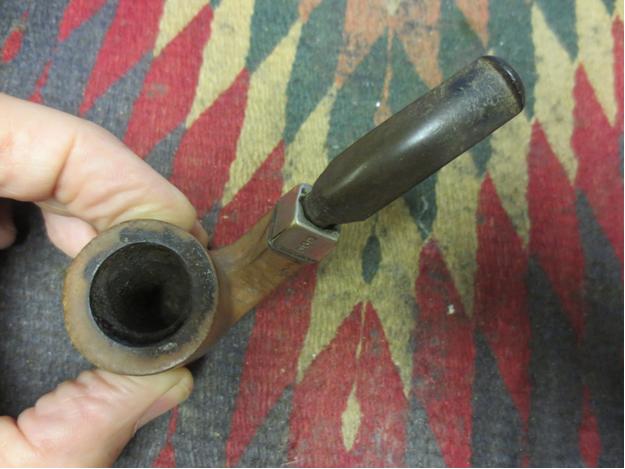
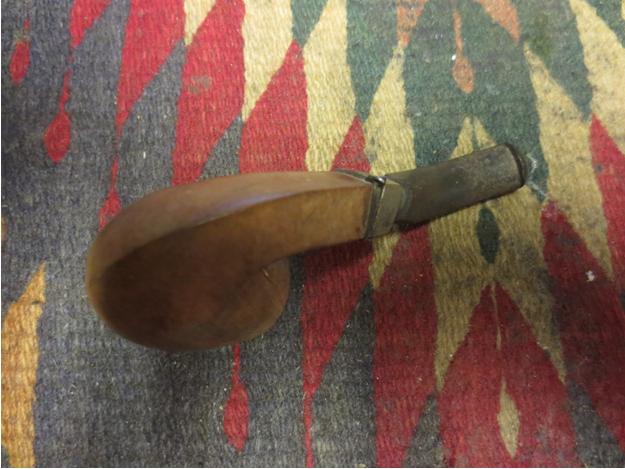
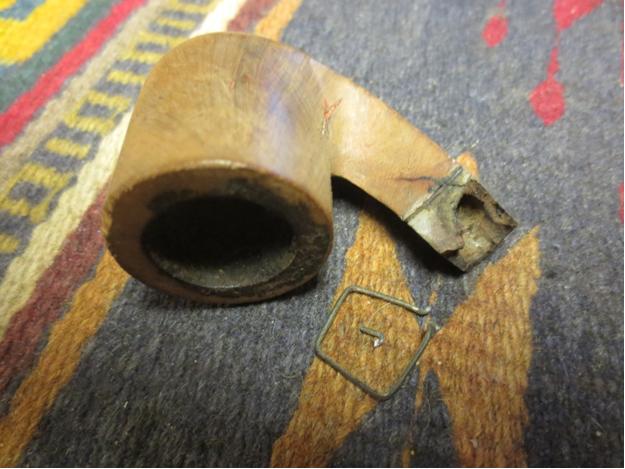
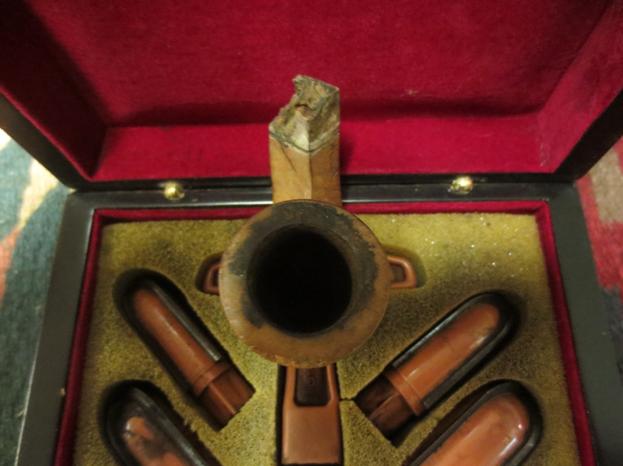
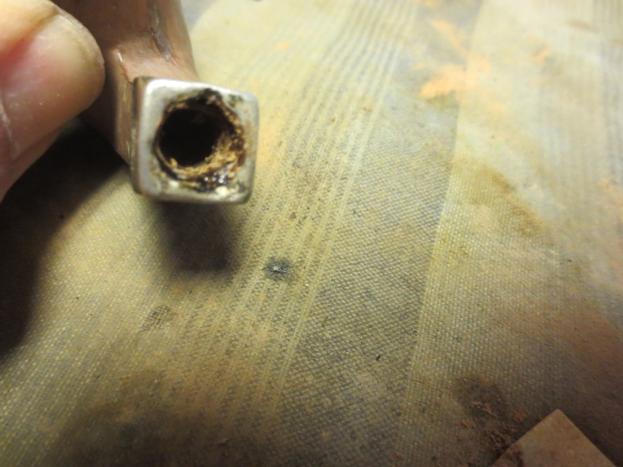
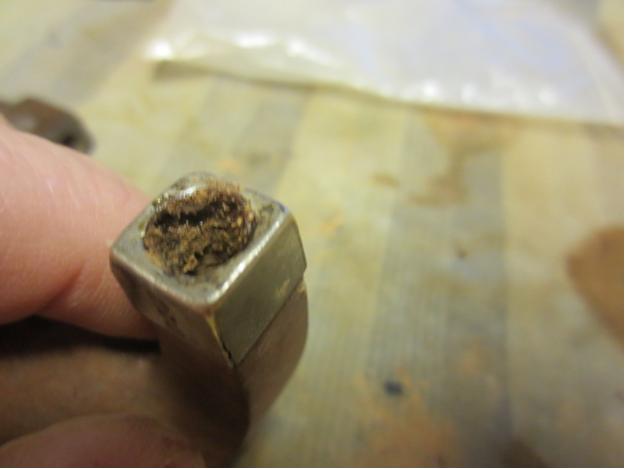
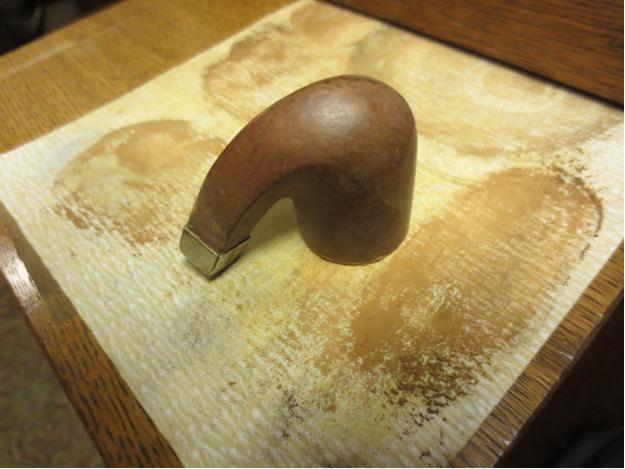
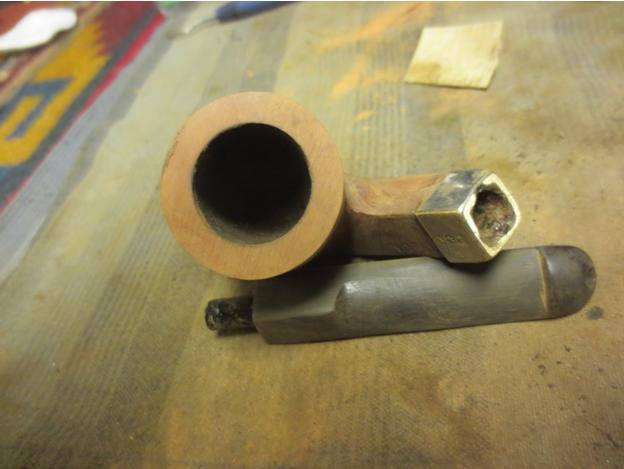
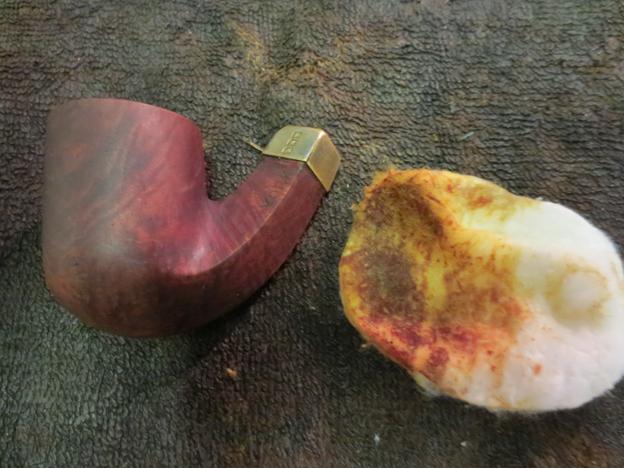
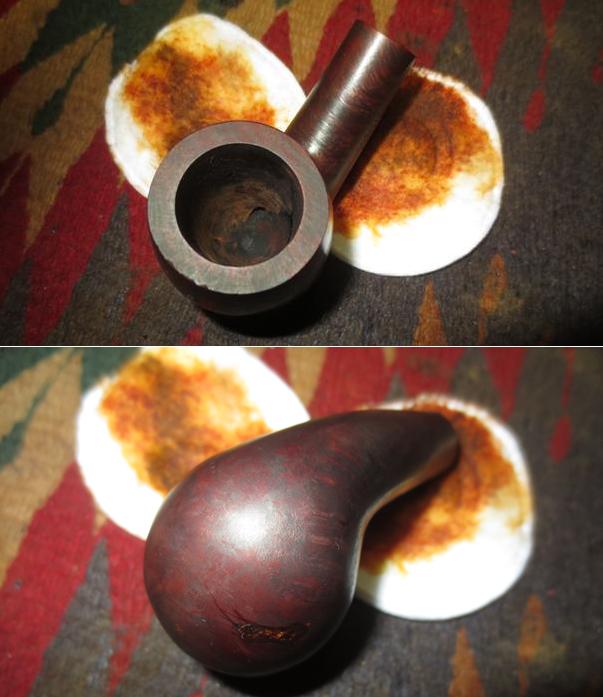
My brother did his usual stellar cleanup of the pipe. He scrubbed the surface with Murphy’s Oil soap and removed the buildup of wax and oils on the exterior of the bowl. He reamed the bowl and cleaned out the mortise and airway in the shank and the stem with pipe cleaners, cotton swabs and alcohol. When I ran a pipe cleaner through the pipe it came out clean. The chamber and mortise area showed that this pipe had not been heavily smoked. The stem was clean on the inside and needed no more work on my part. The light tooth marks and chatter would be fairly simple to remove. When it arrived at my work table I took the following photos of the pipe both in and out of the case. The shape is one of my favourites and the diminutive size make it a pipe that probably traveled well in a pocket.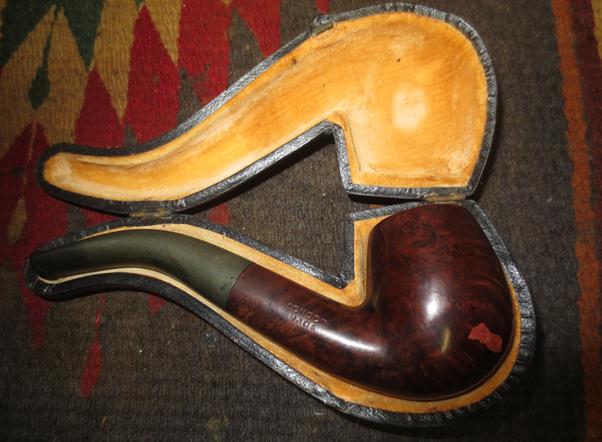
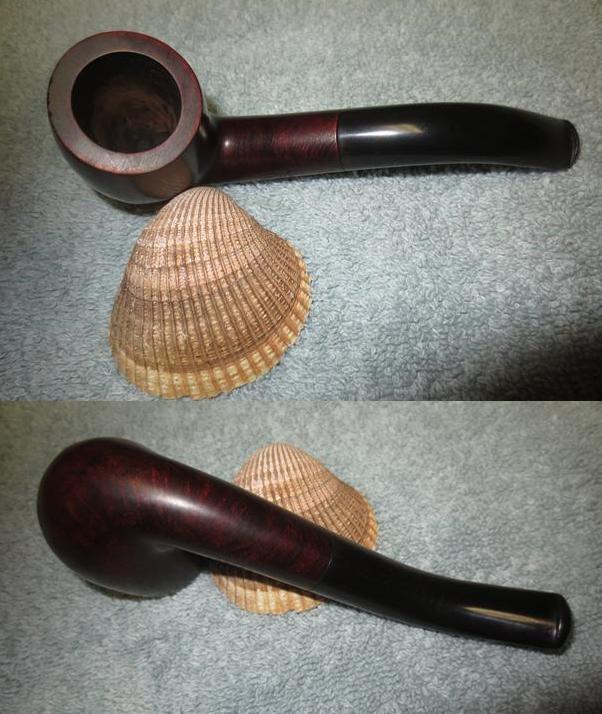
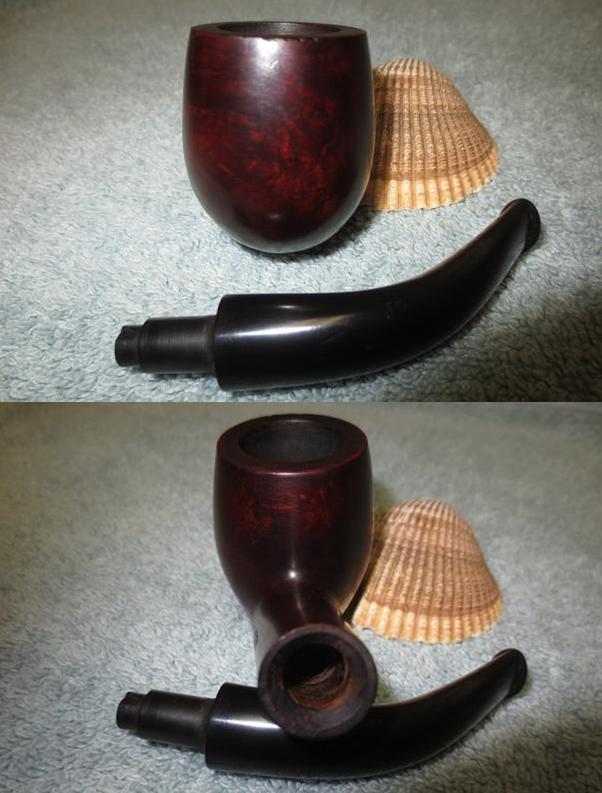
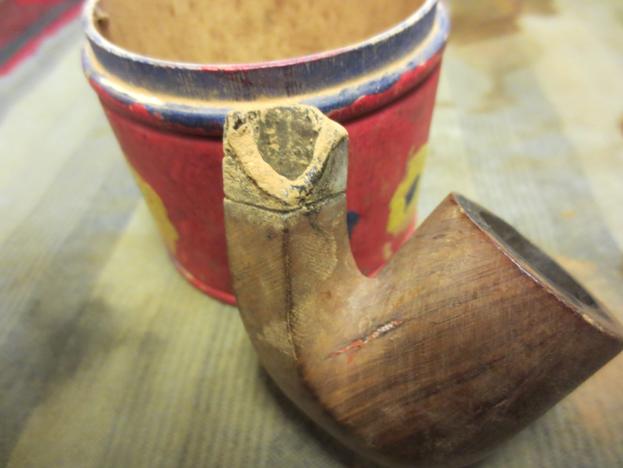
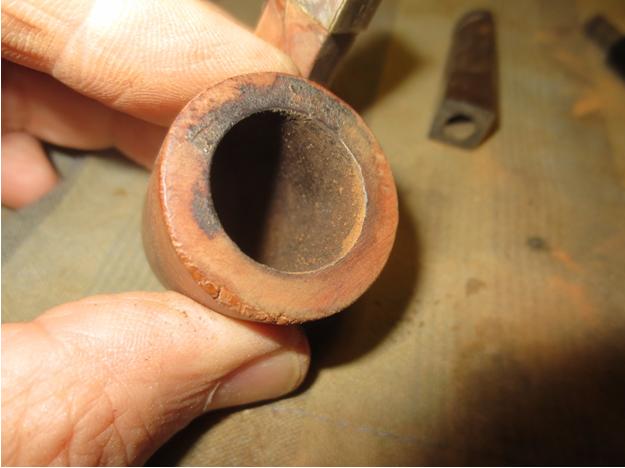
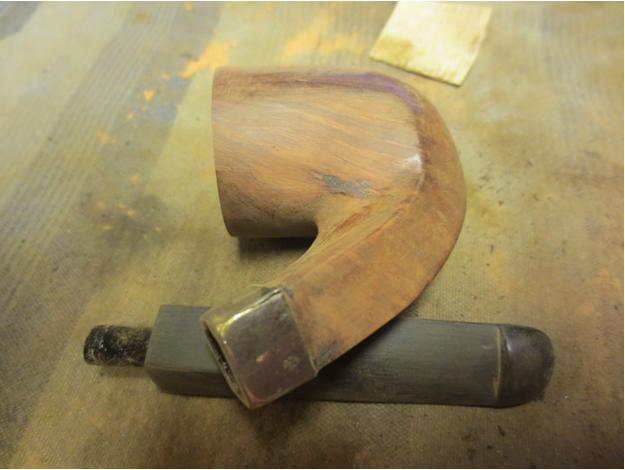
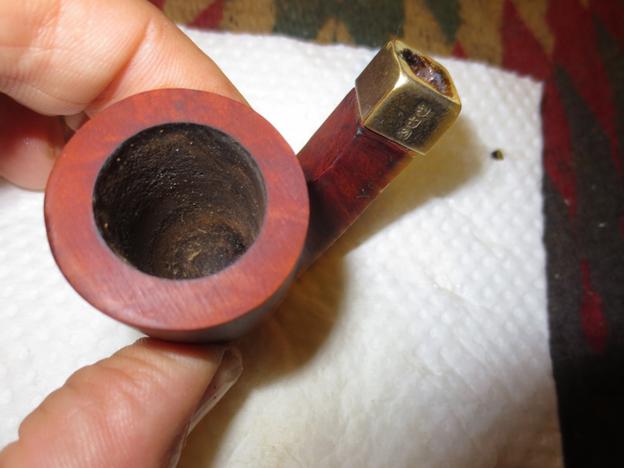
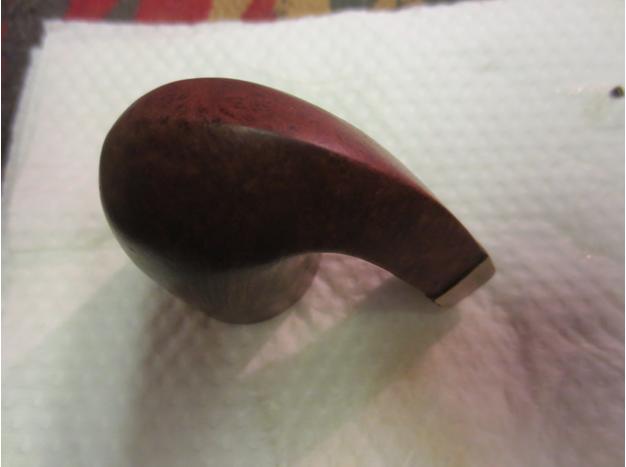
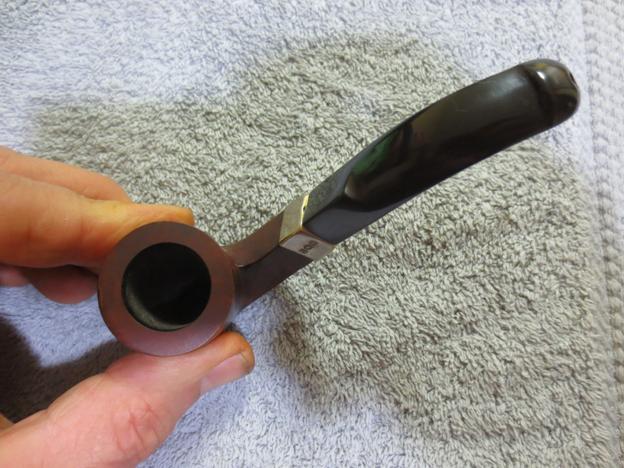
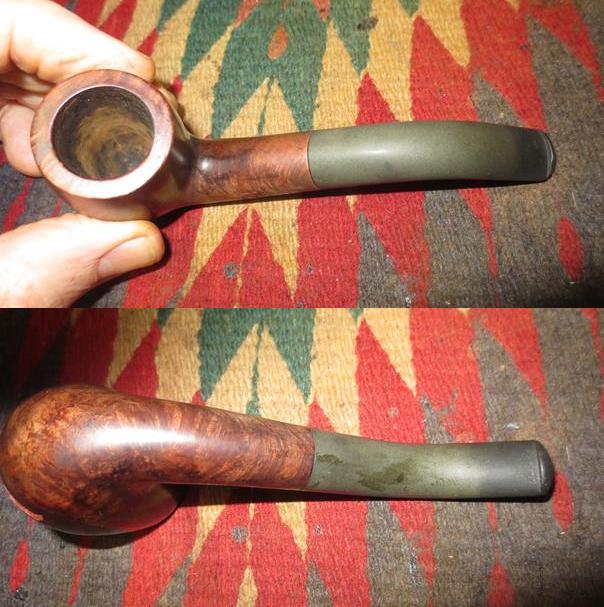 I took some close up photos of the bowl, rim and stem to show the condition of the pipe before I started the restoration process.
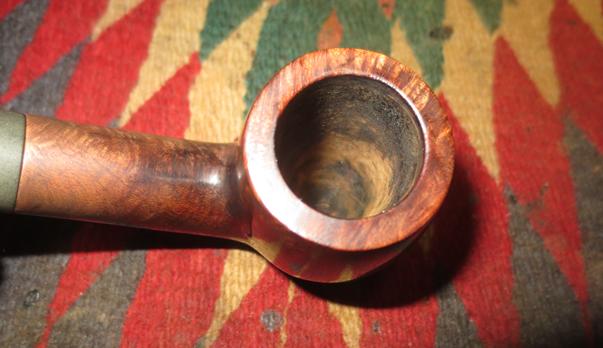
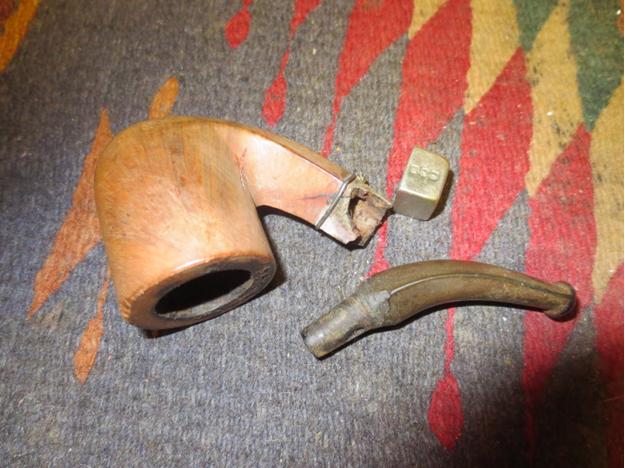
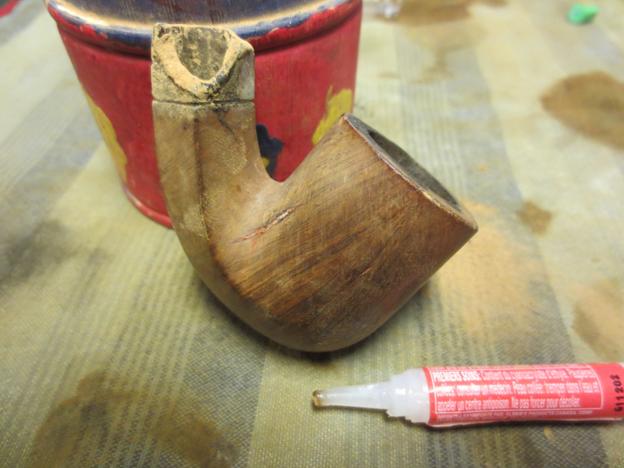
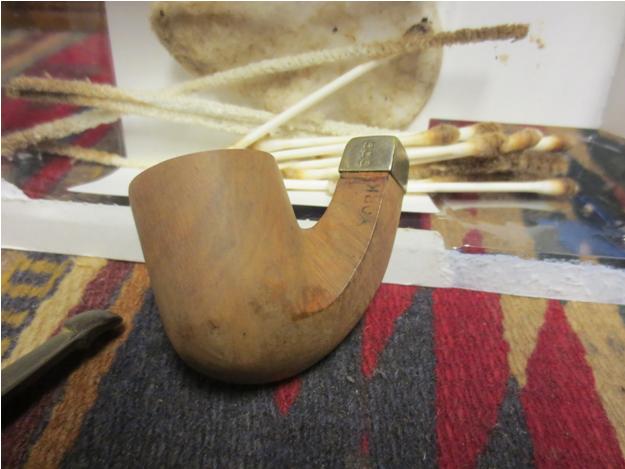
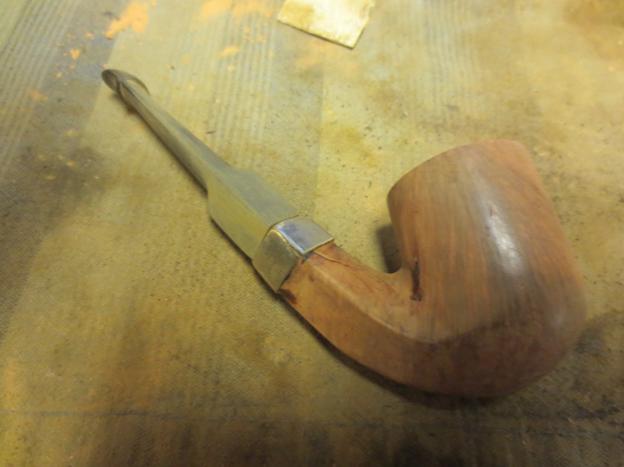
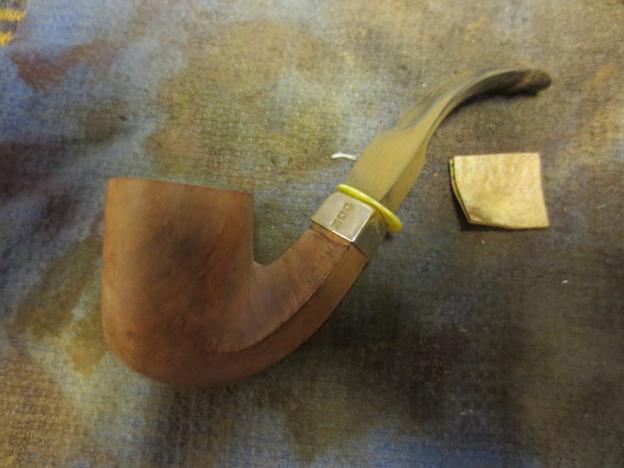
 The large pink putty fill was really ugly on the bottom right side of the bowl. It was cracked and chipped, but even if it were not I would still pick it out and start over. The grain on the pipe is quite nice but this eyesore of a fill makes it disappear from view. I picked the fill out completely with a dental pick.
 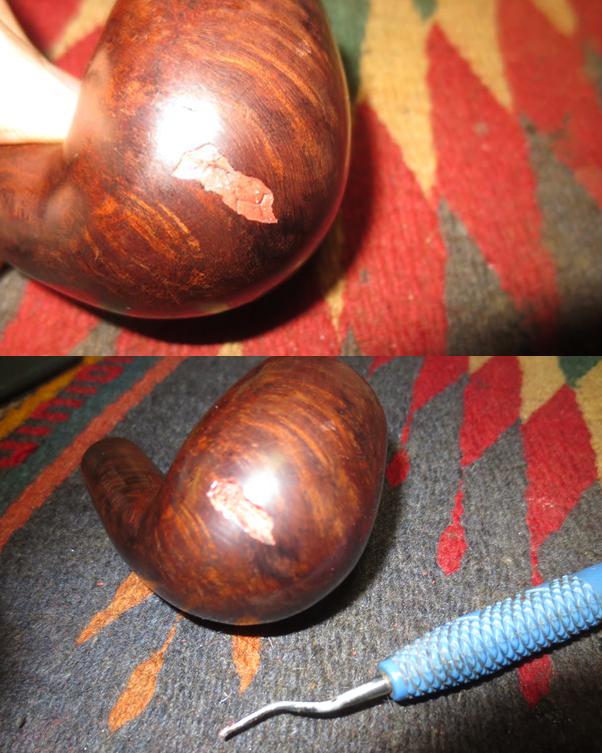 I wiped down the surface of the bowl around the area that needed to be repaired with alcohol on a cotton pad. I packed in some briar dust and put some drops of clear super glue on top. I added more briar dust and super glue until the surface bulged slightly above the bowl surface.
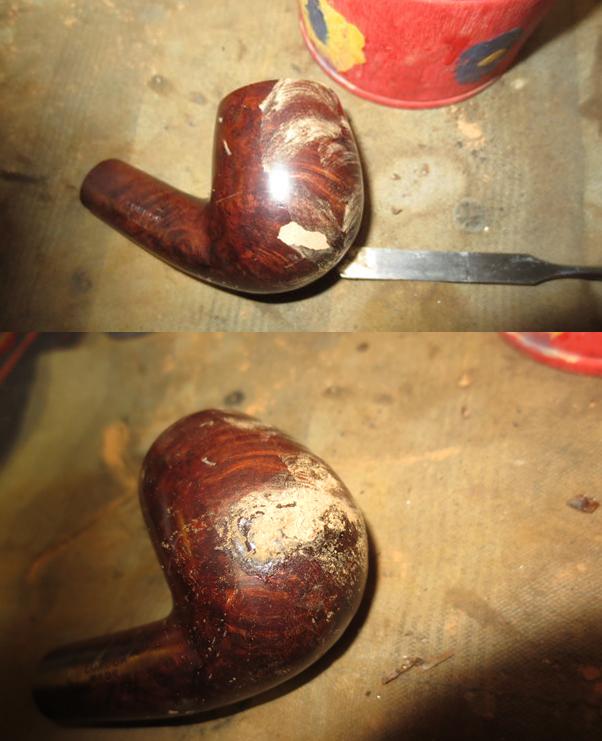 When the repair dried I sanded the area with 220 grit sandpaper to blend the surface of the fill into the surrounding briar. I sanded it with a medium and a fine grit sanding sponge to remove the scratch marks. I refilled the small air bubbles that had showed up in the surface of the bowl with some more super glue and then sanded them again. Once the surface was smooth I wiped down the bowl with alcohol to remove the finish before restaining the pipe. I use alcohol as it does not react to the super glue repair like acetone does. Acetone actually dissolves the super glue and compromises the repaired area.
 At this point I could have left the rim alone and not worried about the nicks and dings. They do not show up well in the photos but they were very visible in person. I could also feel them when I ran a finger over the rim. To put it mildly, they bugged me. I lightly topped the bowl to remove the damage and minimize the damage to the front edge. I sanded the bowl with a medium and a fine grit sanding sponge to remove the scratches. I was happier with the rim top now that I had finished it.
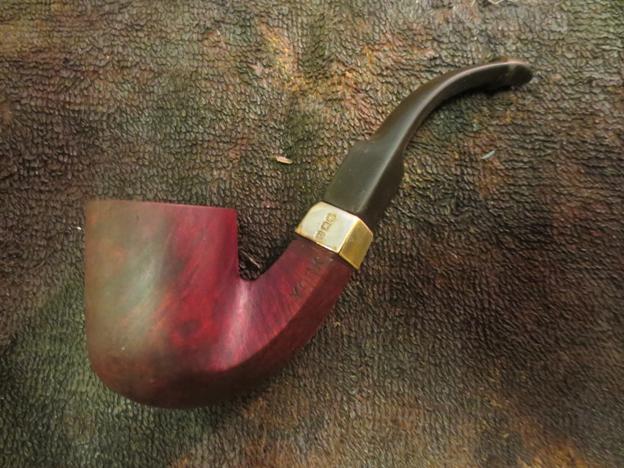
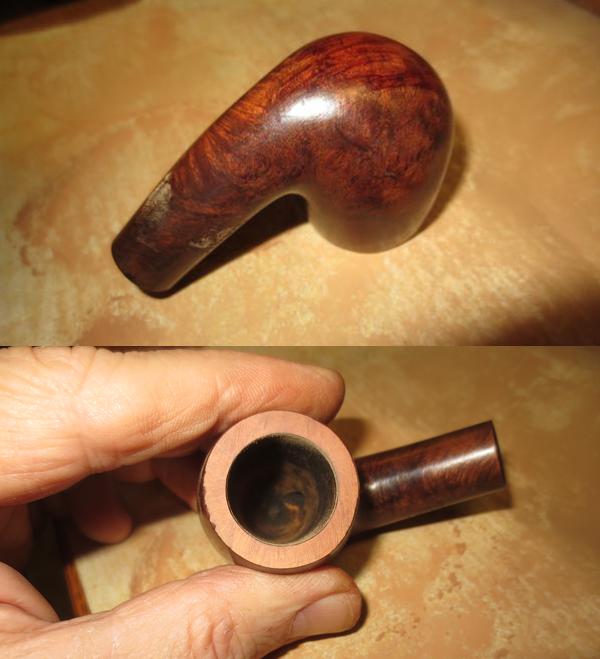 I stained the pipe with a dark brown aniline stain and flamed it to set it in the grain of the briar. I have found that when a pipe has been previously stained with a oxblood colour that it will come out in the final colour of the dark brown stain and give the pipe a rich patina that is really close to the original colour.
 I wiped the bowl down with alcohol on cotton pads to make it more transparent and help the grain show. You will notice in the second photo that the filled area is still showing. I needed to do a little more work on that to get it to blend in more. I used a black Sharpie pen and touched up the spots on the fill that looked lighter than the bowl. I hand buffed the pipe to give it some lustre and touched up the area of the fill with some more dark brown stain.
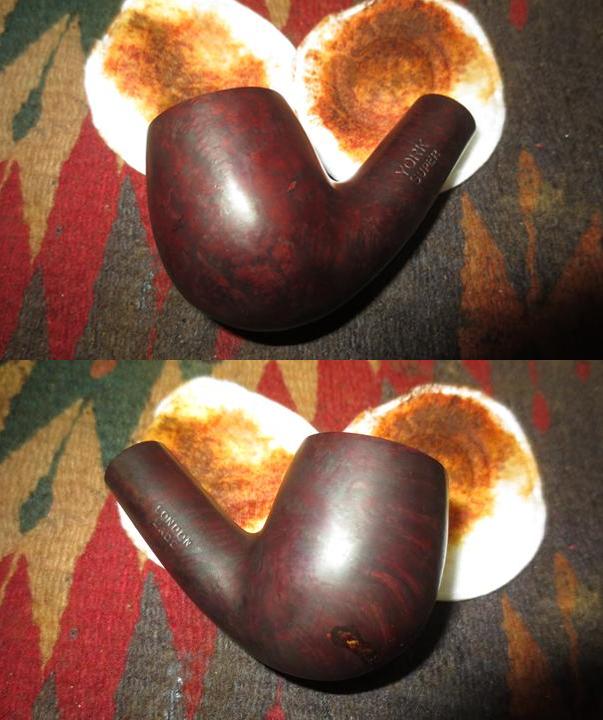
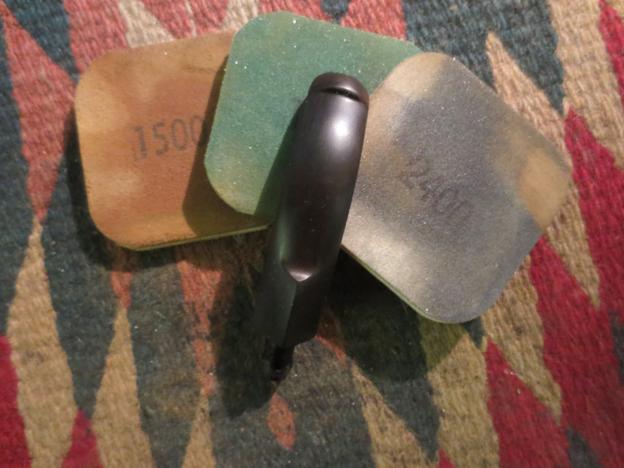
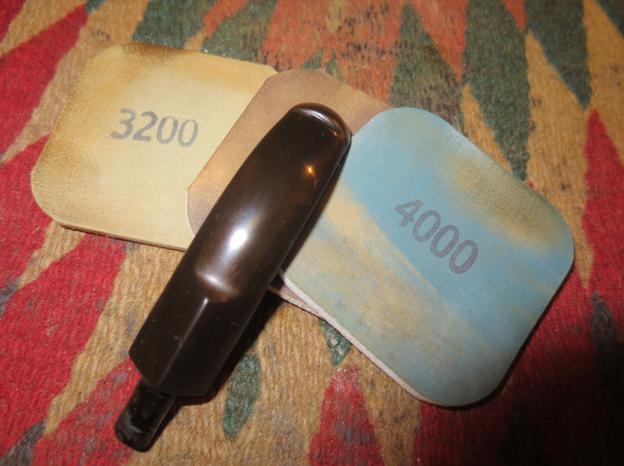
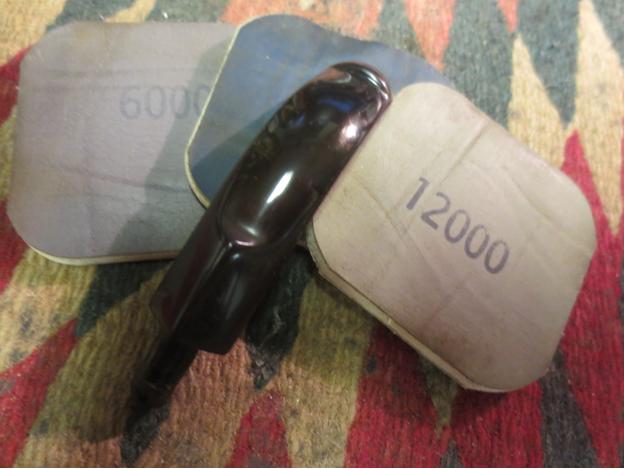
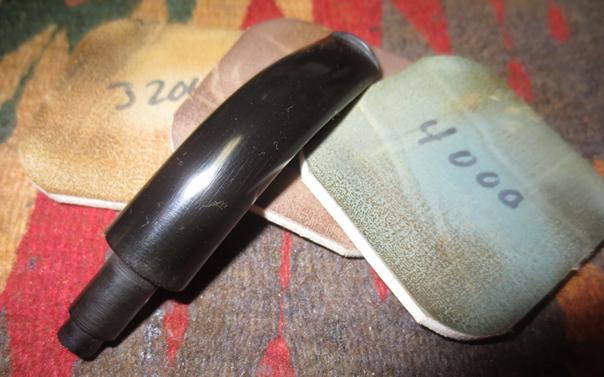
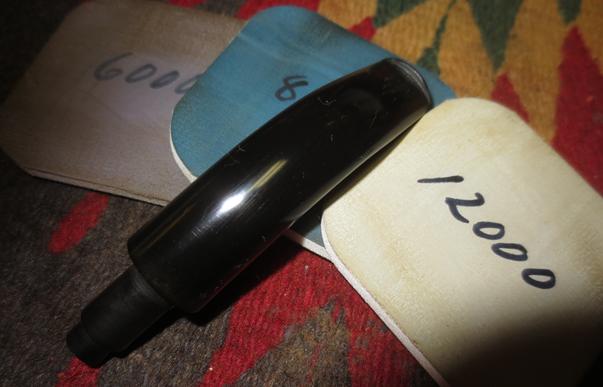
 I set the bowl aside to dry and turned my attention to the stem. I sanded out the tooth chatter and tooth marks with 220 grit sandpaper. I polished the stem with micromesh sanding pads – wet sanding with 1500-2400 grit pads and dry sanding with 3200-12000 grit pads. I repeatedly rubbed the stem down with Obsidian Oil and after the final sanding pad gave it a last coat of the oil and let it dry.
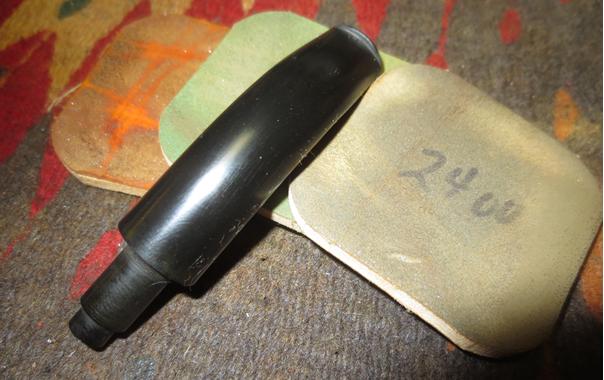
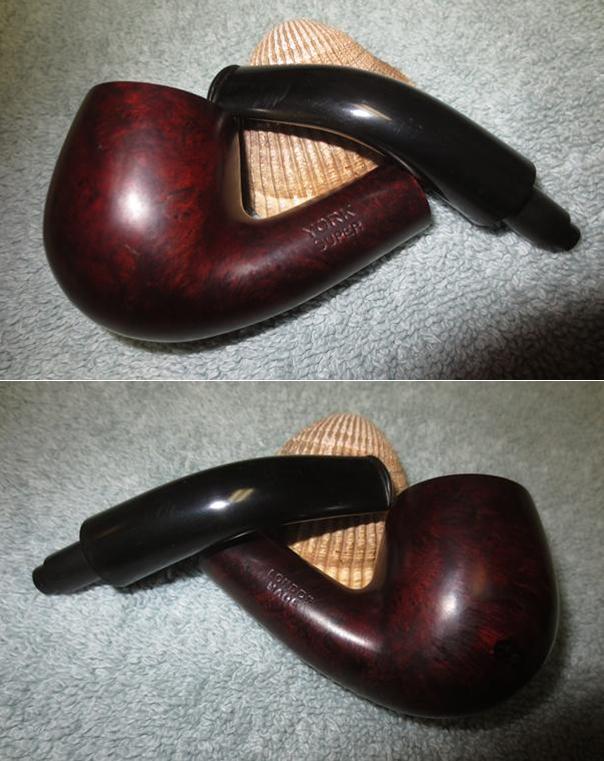
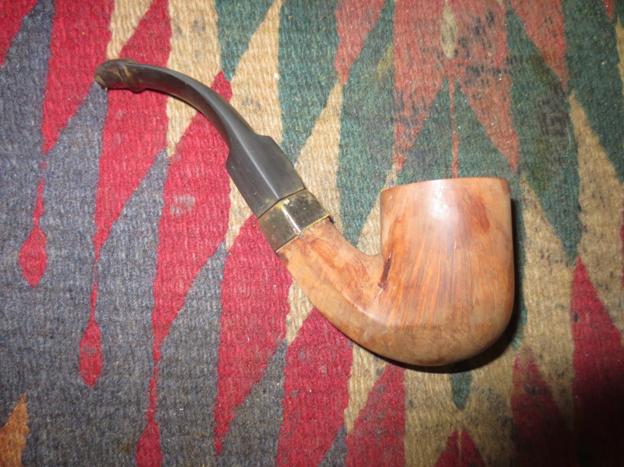
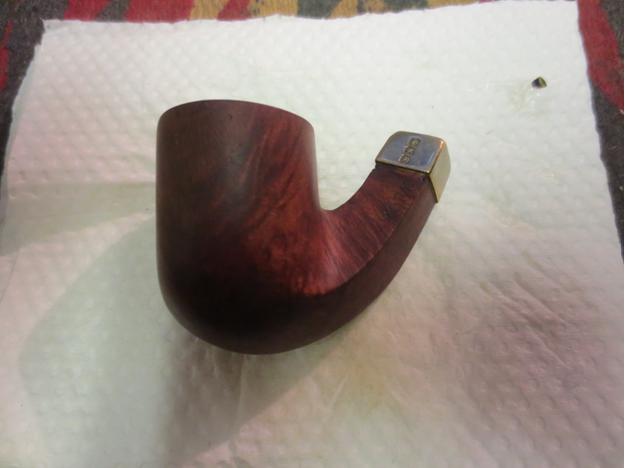
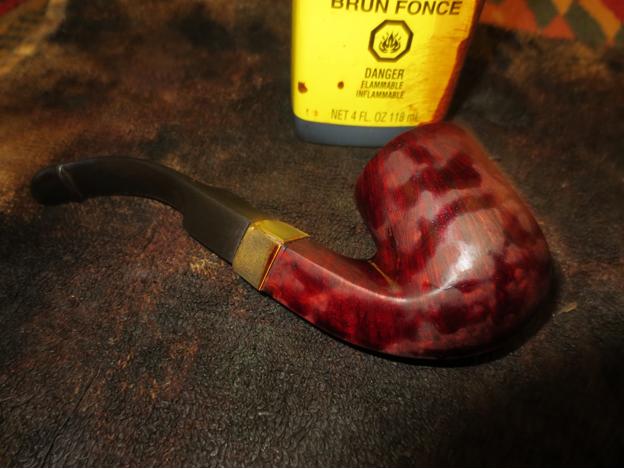
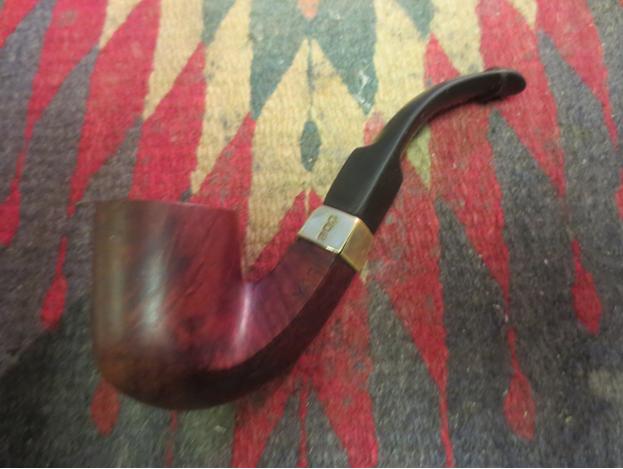
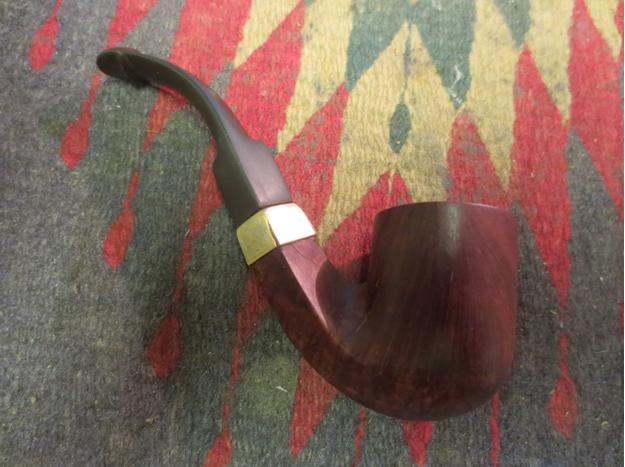
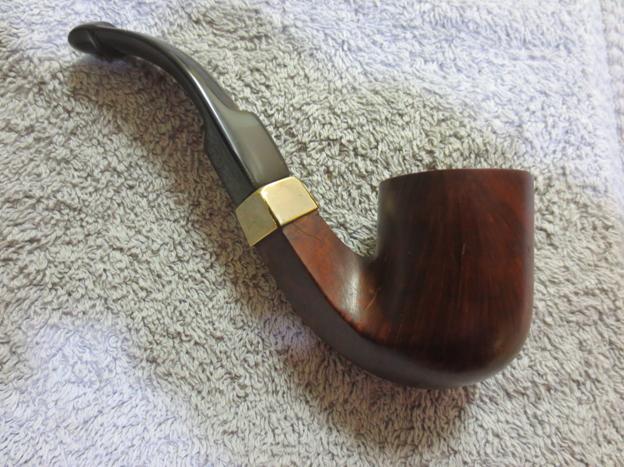
 I put the stem back on the pipe and buffed the pipe with Blue Diamond on the buffing wheel. I find that Blue Diamond gives lustre to the briar and the vulcanite. I gave the bowl and stem multiple coats of carnauba wax and buffed it with a clean buffing pad to raise the shine. Don’t skip this step in the process. Many folks do not buff with a clean pad after the waxing and miss out on giving the pipe a rich shine by missing this. I hand buff my pipes afterward with a microfibre cloth as I find that it deepens the shine and evens out the finished look on the briar and rubber. The finished pipe is shown in the photos below. The elegant shape of the older bent billiards is quite captivating. These smaller, compact ones have a definitive look all their own. Thanks for looking.