by Steve Laug
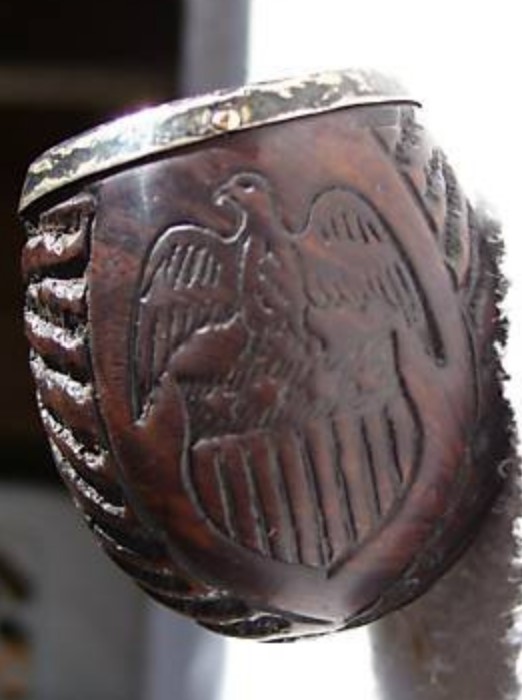
I decided work on this interesting Royal Demuth mixed finish billiard next. Jeff pick up from an auction in Blue Springs, Missouri, USA on 05/07/20. So, it has been here for a while. It had a silver rim cap and band on the shank. The bowl has some unique rustication on the sides of the bowl and a carving of an eagle standing on a shield with the stars and stripes inside. The eagle has its wings extended. The carving is well done and very tactile. The pipe is stamped on the left side of the shank and reads WDC in a triangle [followed by] Royal [over] Demuth. On the right side it is stamped Imported Briar [over] Briar Root [followed by] the shape number 44. On the underside of the shank it is stamped FILTER PAT’D [over] 1934. The stem has no markings or stampings. The stem is a replacement I believe as it does not have the filter tenon as noted on the shank. It is vulcanite with a fishtail taper stem. It is lightly oxidized and has some tooth marks on the top and underside of the stem near the button. The bowl had a thick cake in it and some bits and bobs of tobacco stuck to the walls. There was a thick lava coat on the rim top and edges. The silver rim cap is tarnished as is the silver band on the shank end. The finish was dirty but still winsome in some strange way. Jeff took some photos of the pipe before he started working on it.
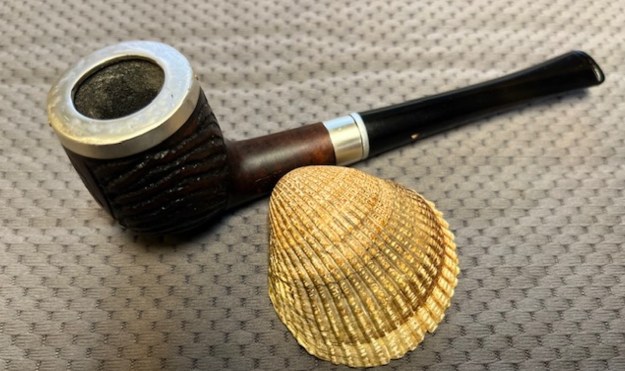
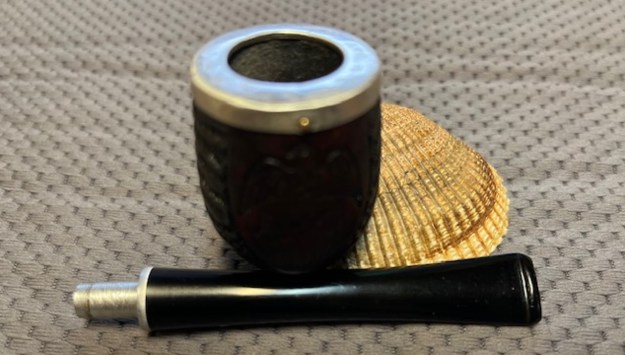
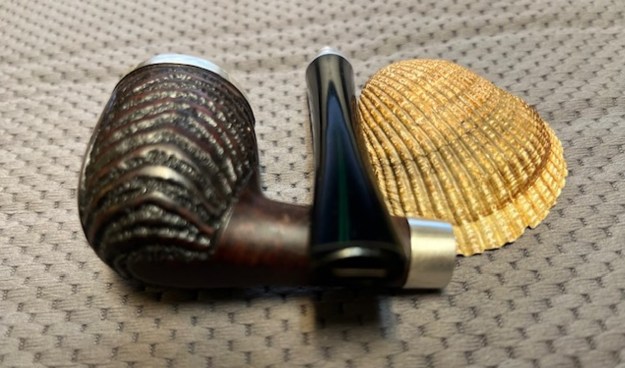
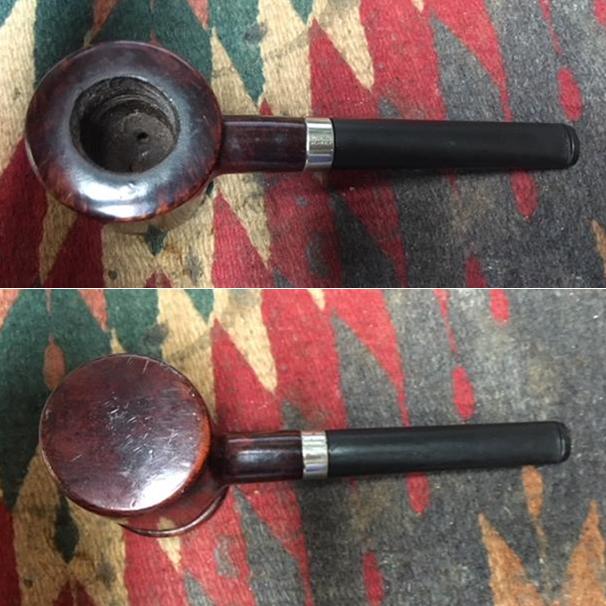
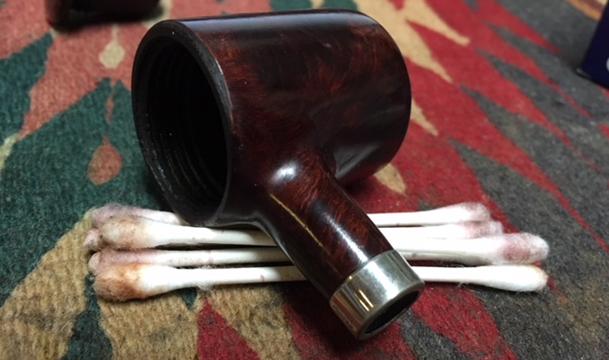
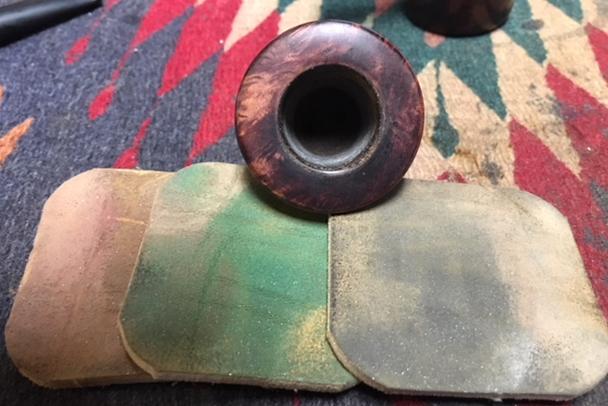
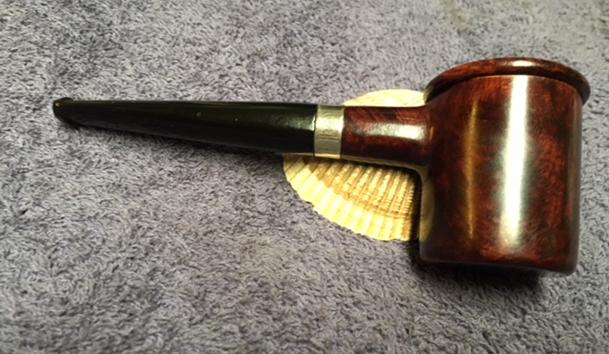
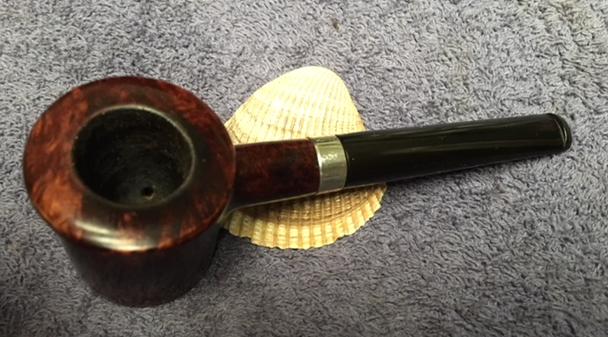
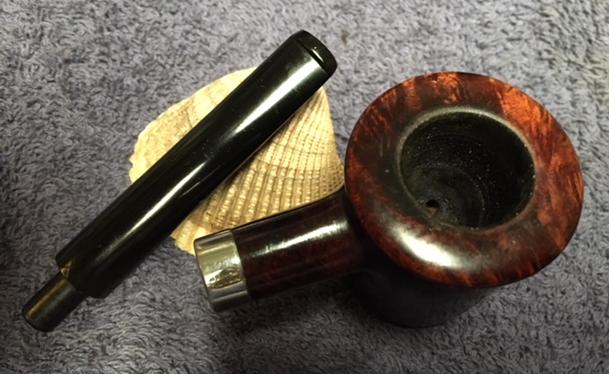
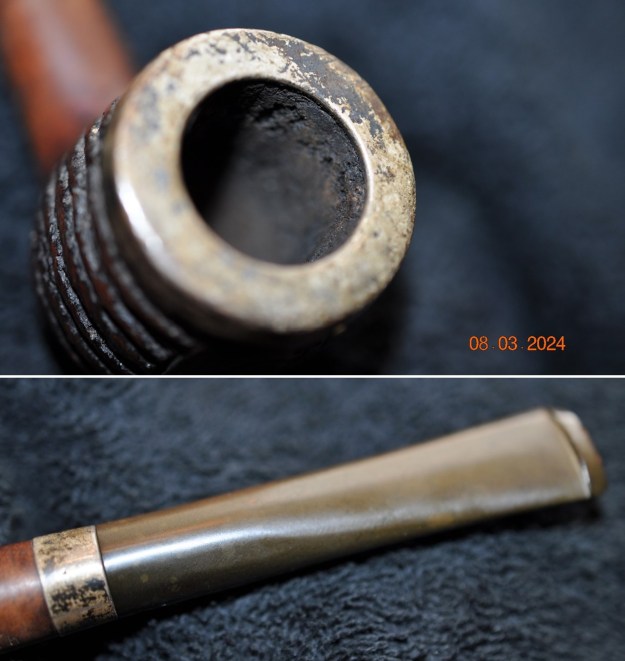
 He took photos of the rim top and stem to show the general condition of the pipe. The bowl is heavily caked and the rim top and edges have a heavy coat of lava overflowing on to them. The silver rim cap is also tarnished as is the band on the shank. The stem is oxidized and has tooth chatter and marks on both sides ahead of the button end.
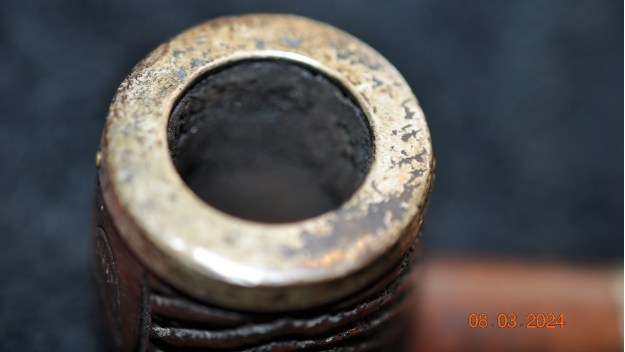
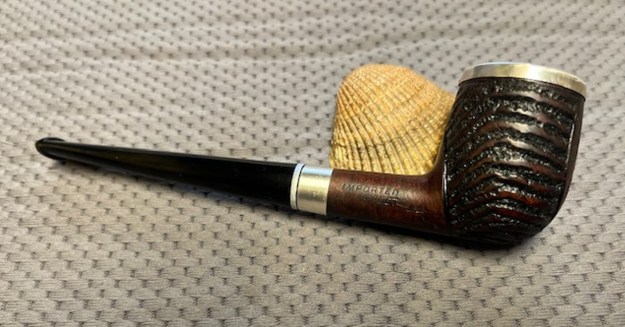
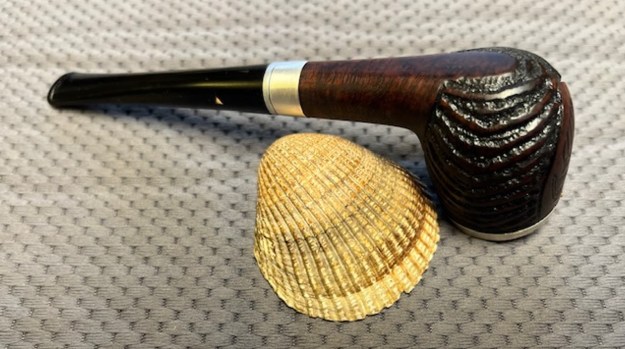
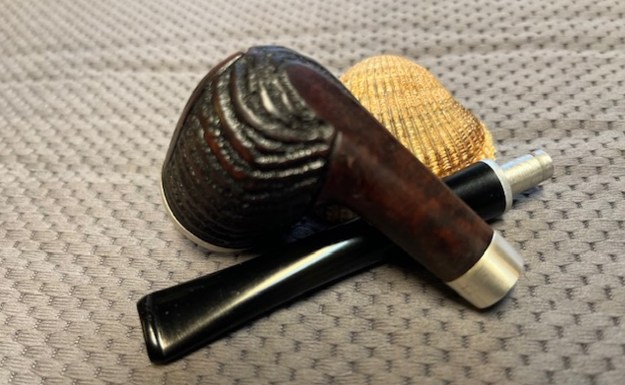
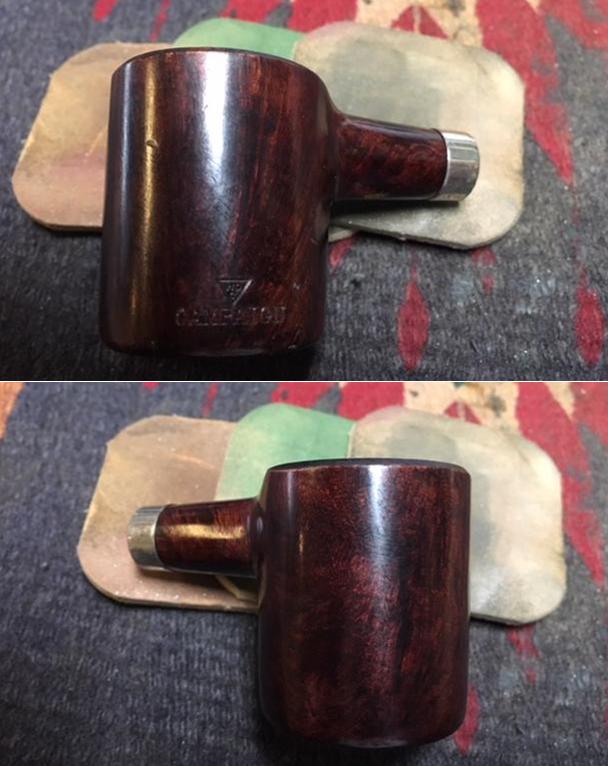
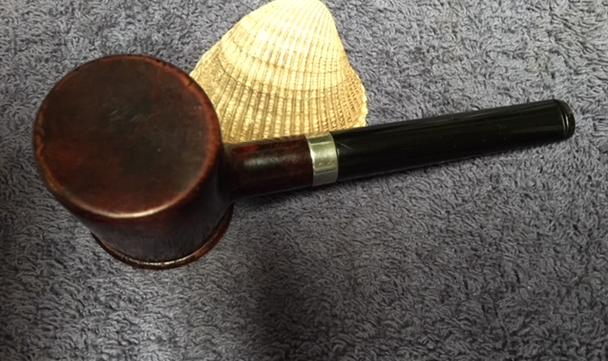
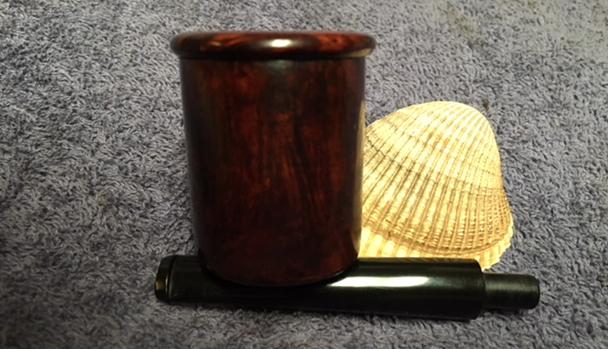
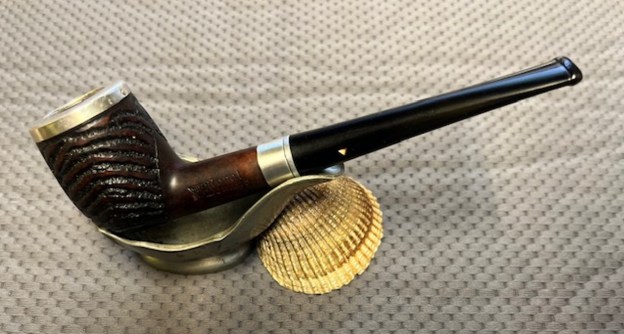
 He took photos of the finish and carving around the sides and heel of the bowl. It is a combination of rustication carved between smooth bands on the bowl sides and the shank. It is unique and very interesting.
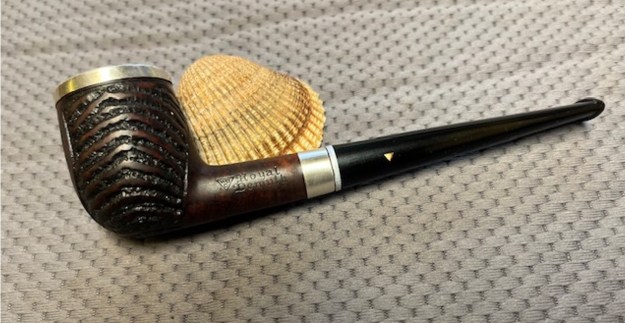
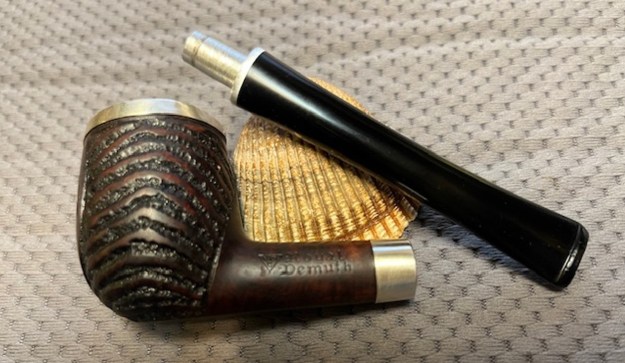
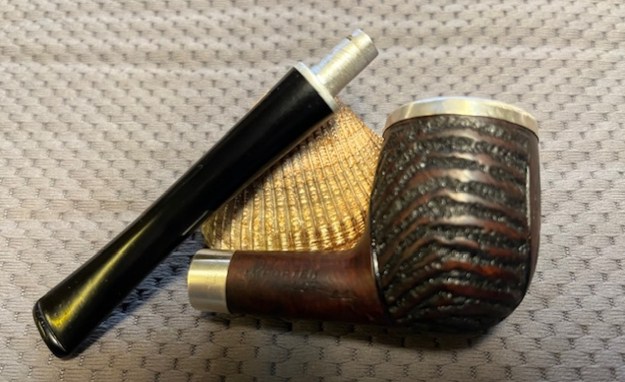
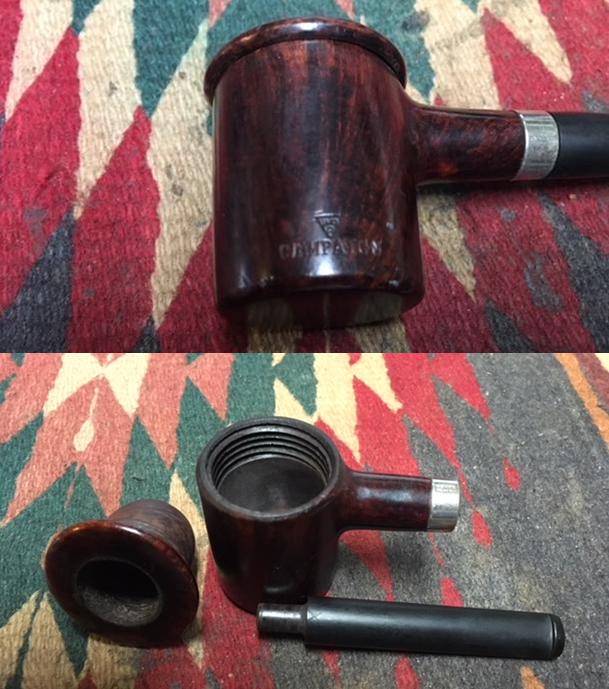
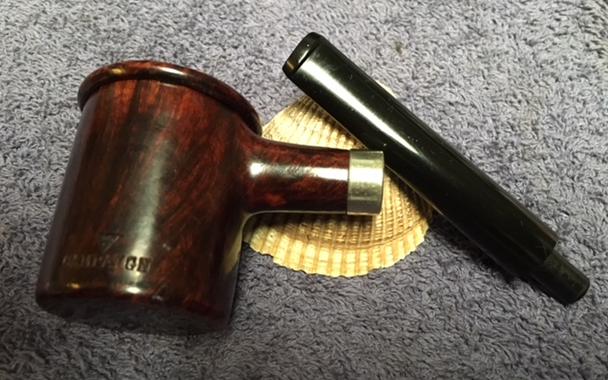
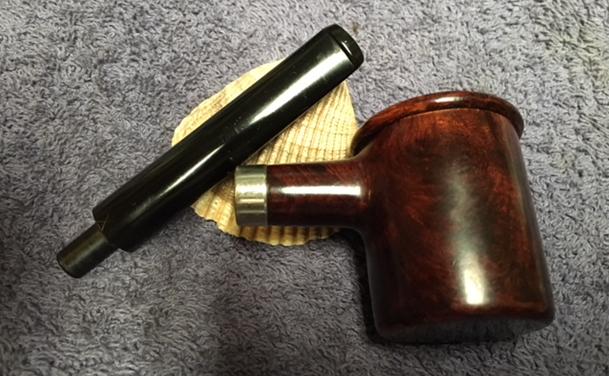
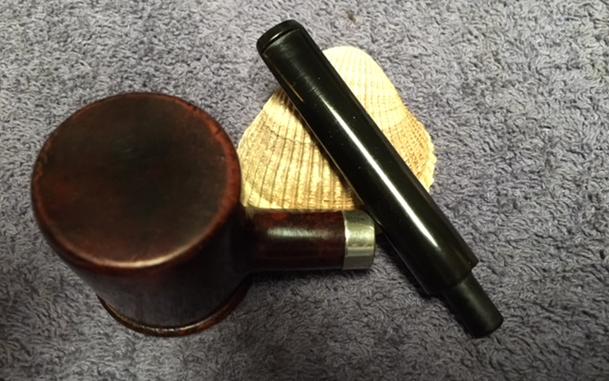
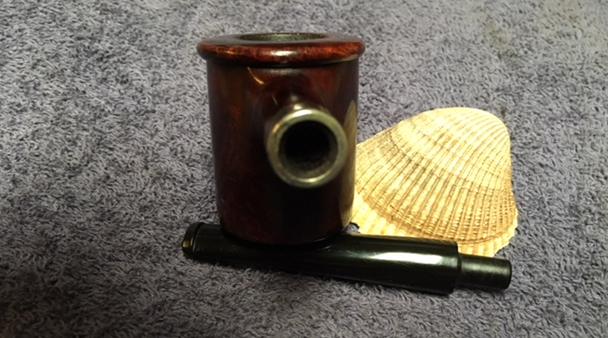
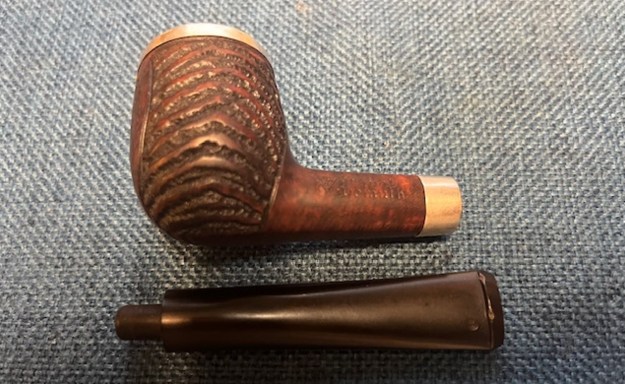
 He took photos of the carving on the bowl front and the stamping on the sides of the shank. You can see that it is clear and readable. It reads as noted above. I removed the stem from the shank and took a photo of the parts to show how the pipe looks.
 I looked on Pipephil’s site and though there were many WDC pipes there was nothing stamped Royal Demuth and nothing with any of the other stamping on the shank sides of this pipe. I turned then to Pipedia (https://pipedia.org/wiki/William_Demuth_Company). As always there is a great history of this American brand. If you are interested be sure to turn there and take time to read about it.

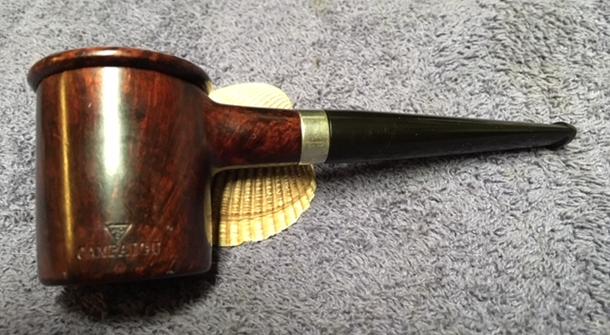
Royal Demuth example with box and filters, courtesy of Doug Valitchka
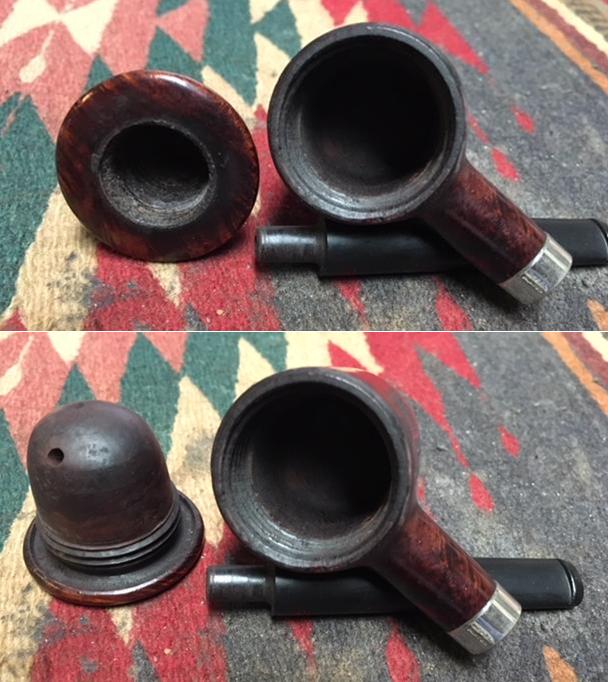
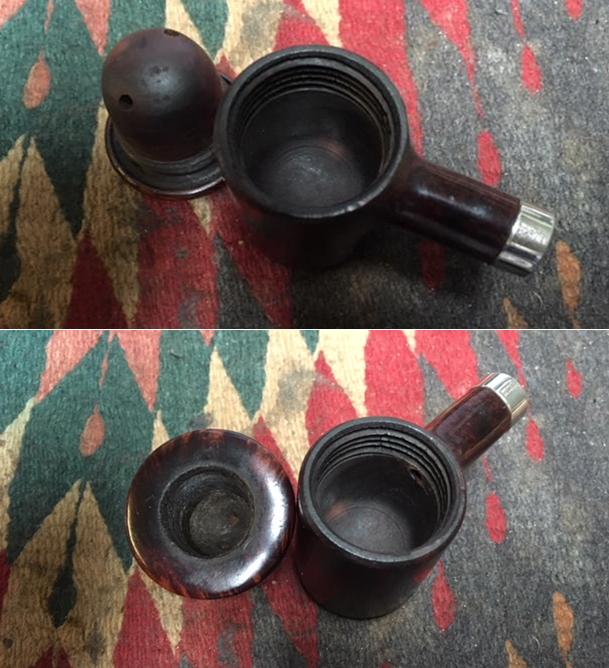
There was an interesting example of the Royal Demuth provided by Doug Valitchka that has identical stamping to the one that I am working on. It is a different shape but it identical in terms of the stamping. It also looks like it takes a filter that is similar to the Medico filter but I will double check that once it is thoroughly cleaned. This series of photos confirm that the stem on the pipe I am working on is a replacement as it is a push stem. There was also an advertisement for the WDC Changeable Filter Pipes that included the Royal Demuth. I have included that below.  There is also a great article by Ben Rapaport on the Demuth – Dunhill Connection that is an enjoyable read (https://pipedia.org/wiki/A_Demuth%E2%80%94Dunhill_Connection%3F).
I now knew that the pipe was part of a line of Filter Pipes that WDC put out and that the filter system was patented in 1934. The stamping that the Filter was Pat’d 1934 tells that it came out after the patent was granted. However, I could not fine tune the date more than that. I also knew that the pipe I was working on was an older one but that it had been restemmed sometime in its life.
I did a bit more digging to see if I could find anything on the Royal Demuth pipe I was working on with the same stamping but also with a carved Eagle and Shield on the front of the bowl. I googled that and found two examples of the same type of carving on Worthpoint. I have included both descriptions given by the seller as well as photos.
Here is the first of the sale pipes listed: https://www.worthpoint.com/worthopedia/world-war-ii-wdc-royal-demuth-filter-1797860035
World War II era WDC Royal Demuth, says “Filter Patent’d 1934 on the bottom, “Imported Briar Root’ and the number 28 on the left side, has an Eagle and Shield motif carved into the bowl, this was on of the patriotic pipes they came out with during the war. In pretty good shape, some minor chatter on the stem, a little bit of wear on the rim. The Royal Demuths are generally considered some of the best WDC pipes.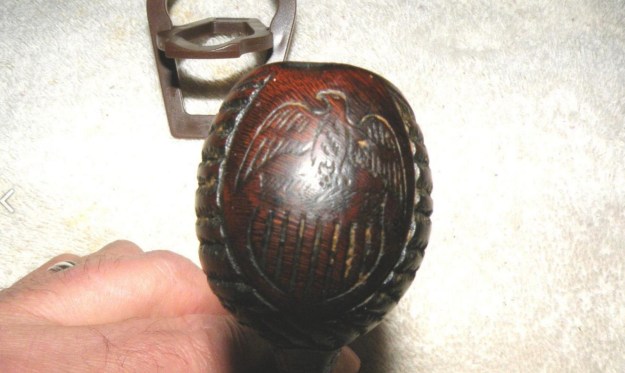 Here is the second of the sale pipes listed: https://www.worthpoint.com/worthopedia/estate-royal-demuth-pipe-carved-american-eagle
 I have up for auction estate Royal Demuth pipe. It is marked on both sides and the bottom. The side that has the name also has a triangle with the letters, W, C, D inside. The other side has, Imported Briar Root, # 11. The bottom has, Filter Pat’d 1931. I am unsure of the actual date mark is does have some wear. The bowl has a beautiful American Eagle standing on a shield with 4 stars and stripes. The bowl has a strip of sterling on the rim and a band on the stem. The band is marked Sterling and has a square with a sideways anchor in it, a T in a square, and a lion in rectangle. I do not know the name of this company. The pipe is a well loved pipe and has been used. Some of the pictures were taken before I cleaned the silver.
From these sale sites I learned that the pipe I was working on was a World War II era WDC Royal Demuth. The patent date gave a start date and thus I knew it was made after that. It also has an Eagle and Shield motif carved into the bowl and the first seller surmised that it was one of the patriotic pipes that came out with during the war. I also knew that the stem was replaced sometime later and did not have the filter system expected on this pipe.
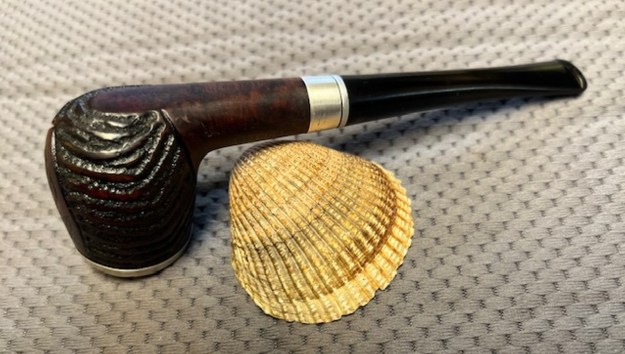
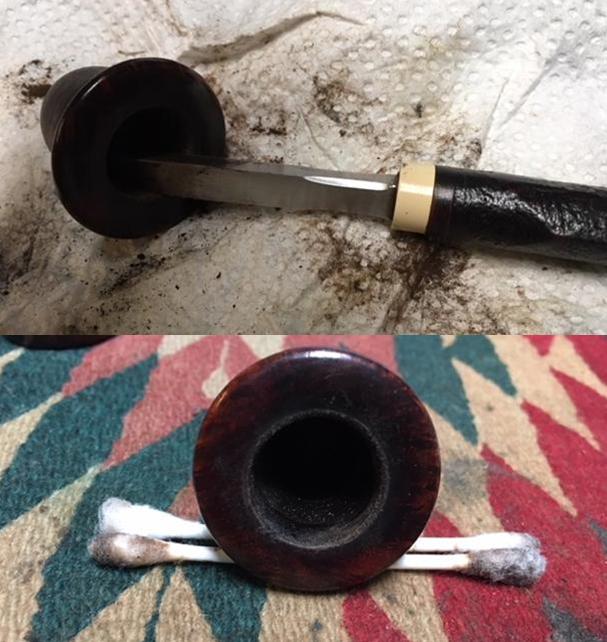
When I received it from Jeff it did not look like the same pipe. It was clean and the finish had life. He reamed it with a PipNet pipe reamer and got rid of the cake. He cleaned up the reaming with a Savinelli Fitsall Pipe Knife so that we could see the walls of the bowl and assess for damage. It was in good condition. He cleaned the internals of the shank and stem with cotton swabs, pipe cleaners and alcohol. He scrubbed the exterior with undiluted Murphy’s Oil Soap and a tooth brush. He rinsed the pipe under warm water. He dried it off with a cloth and then let it air dry. He scrubbed the stem with Soft Scrub and soaked it in Briarville’s Stem Deoxidizer. He rinsed it with warm water and dried it off with a soft cloth. It came out looking very good. The finish on the bowl and the rim top cleaned up nicely. I took pictures of the pipe to show how it looked when I brought it to the table.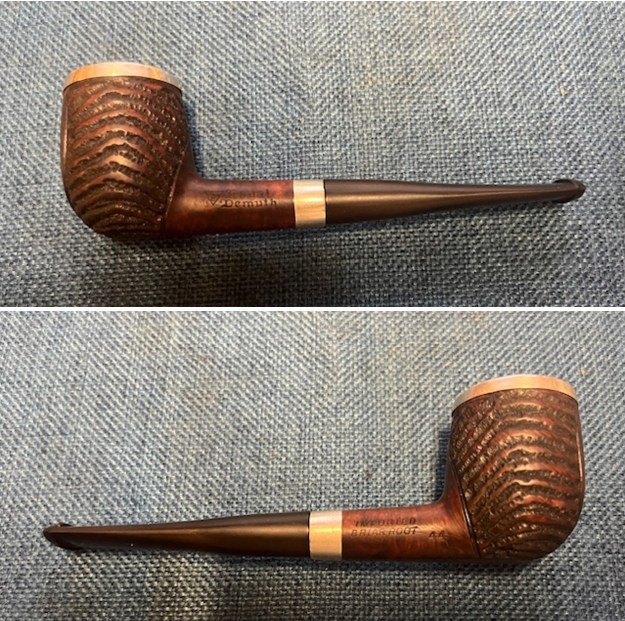
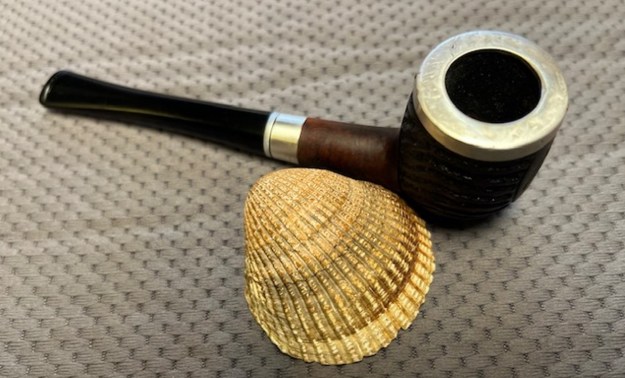
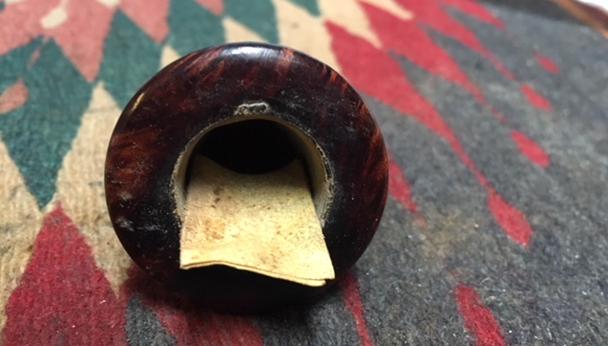
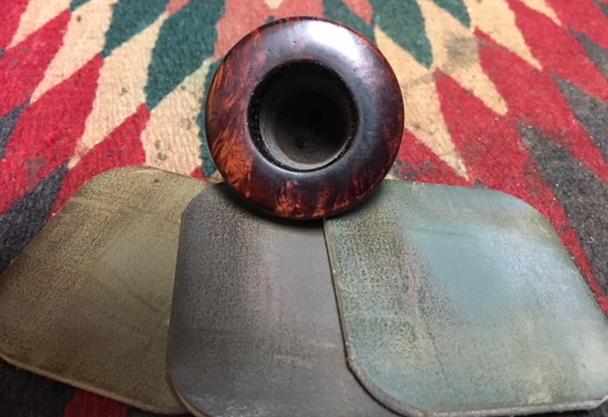
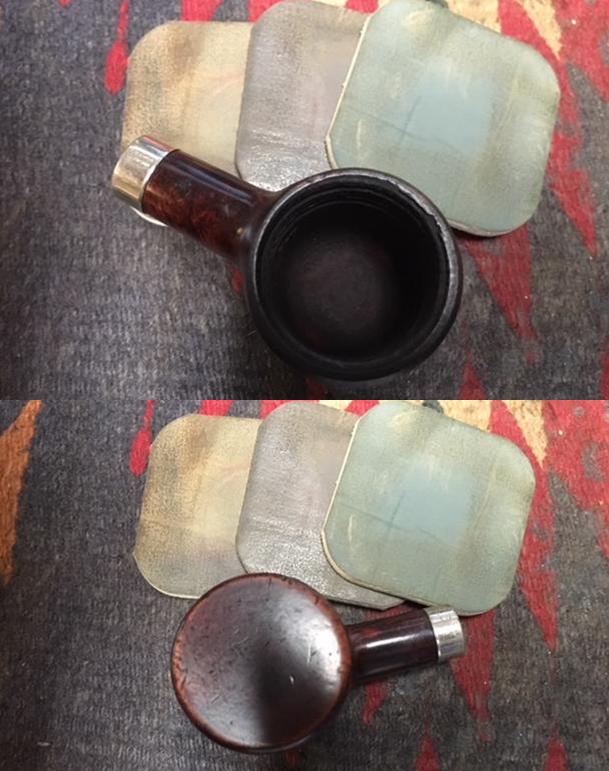
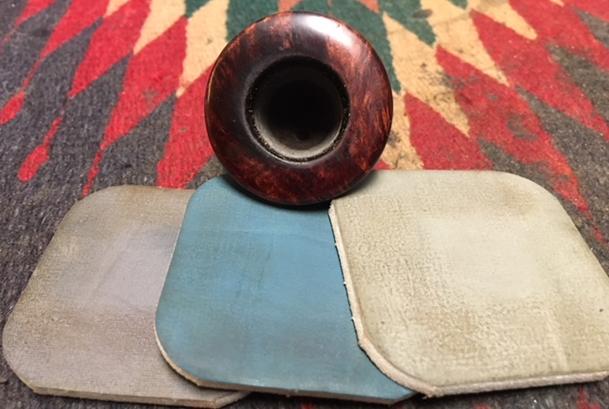
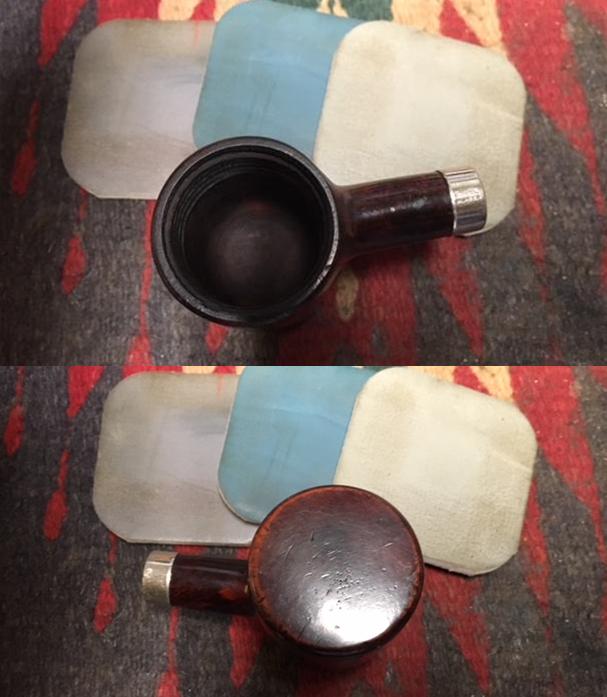
 I took some photos of the rim top and stem to show the condition of them both when the pipe arrived. The rim top had some damage to the inner edge of the bowl and some marks on the top surface. Overall it looked very good. The oxidation on the stem had come off very well and the tooth marks chatter in the surface of the stem were visible.
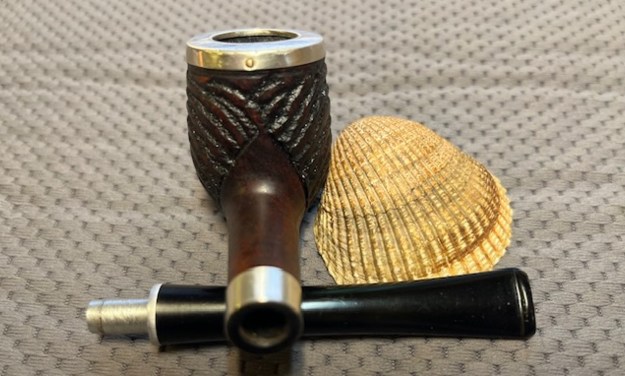
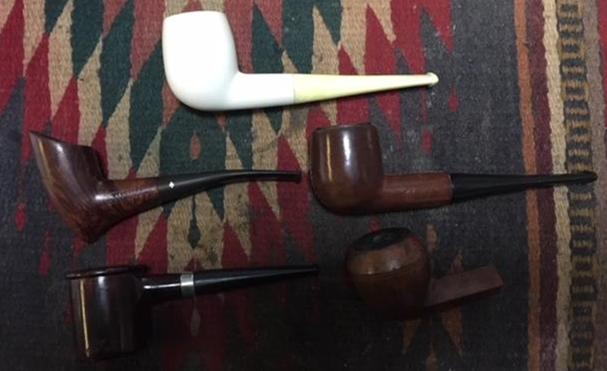
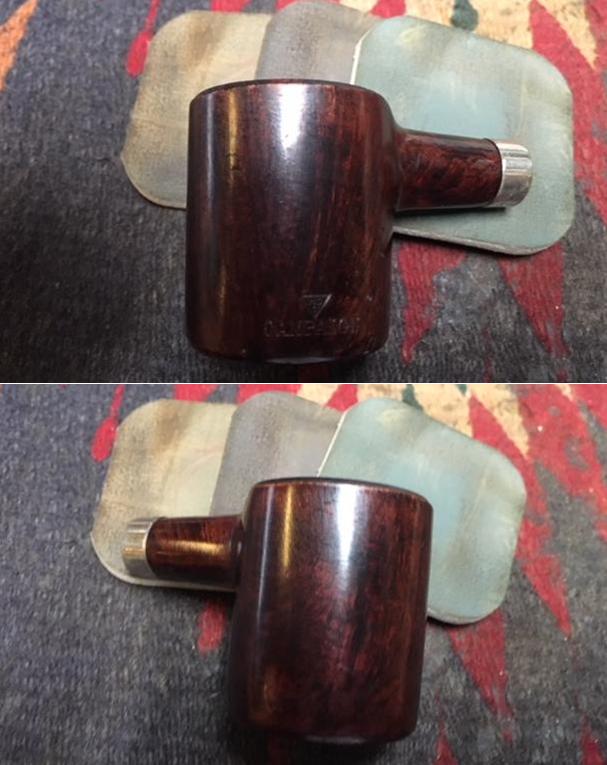
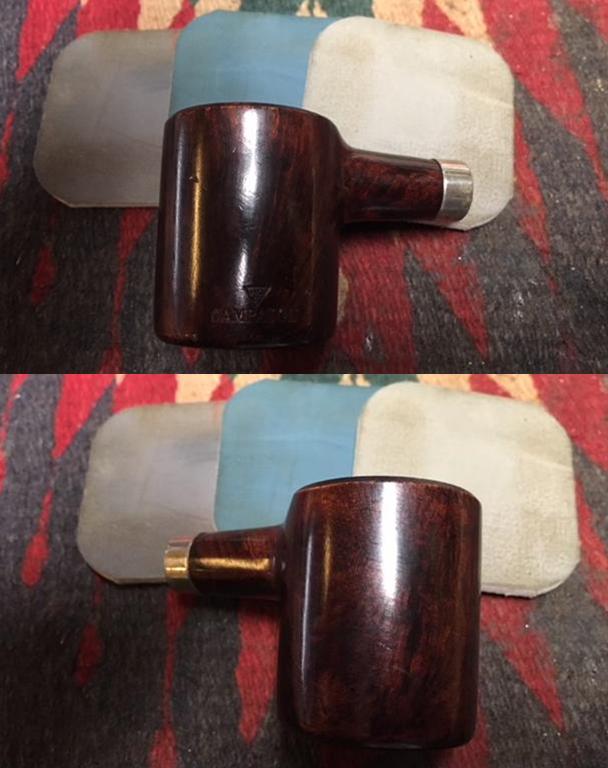
 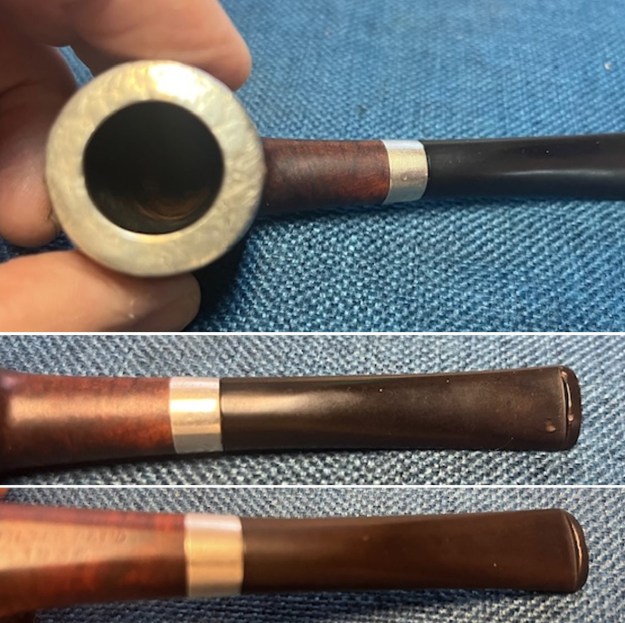 I took photos of the stamping on the sides of the shank. It was clear and readable as noted above. I removed the stem from the shank and took a photo of the appearance of the parts. It is a beauty.
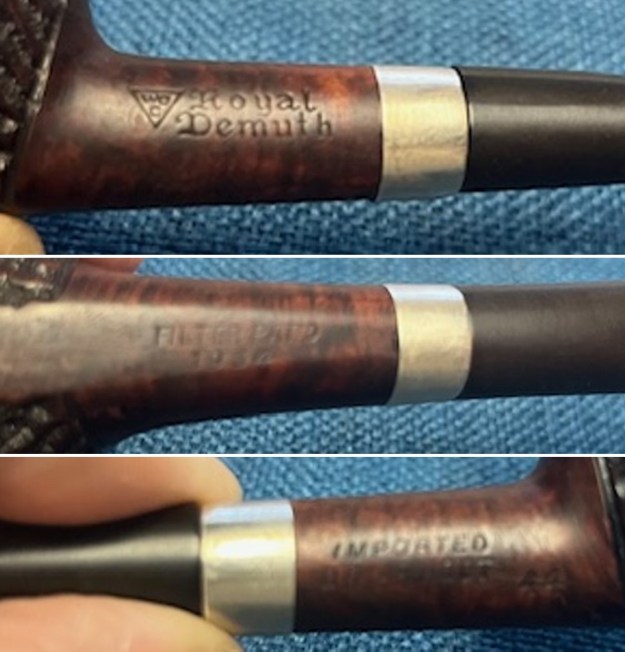
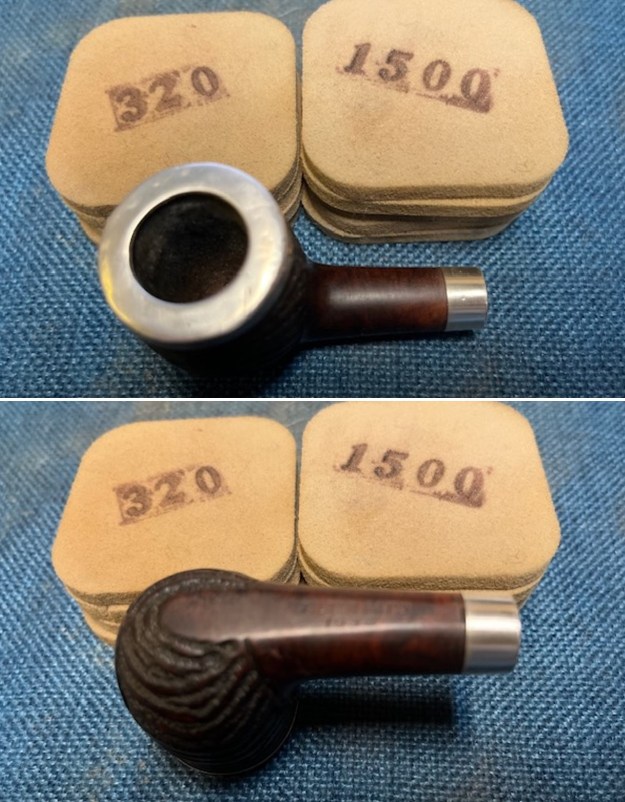
 I started my work on the pipe by polishing the metal rim cap, edges and shank band. I polished it with 320-3500 grit sanding pads to polish out the scratches in the metal. It looked much better at this point in the process.
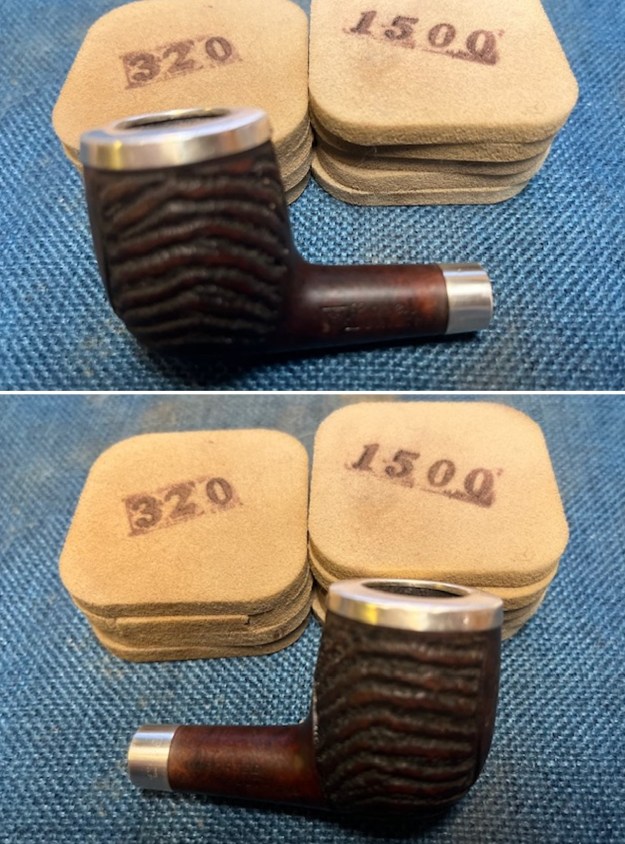
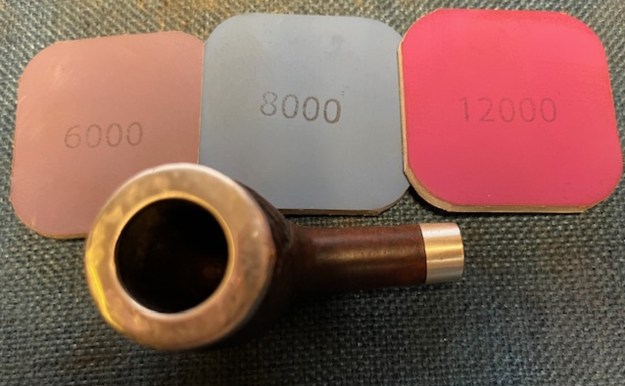
 I polished the metal cap and band with micromesh sanding pads – dry sanding with 1500-12000 grit sanding pads. I wiped it down with a damp cloth after each pad to remove the debris. The metal took on a rich glow.
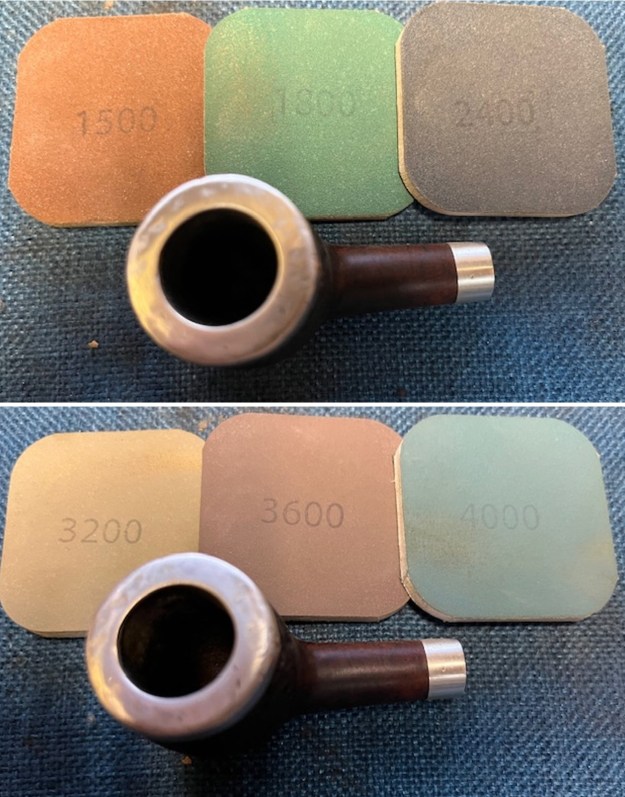
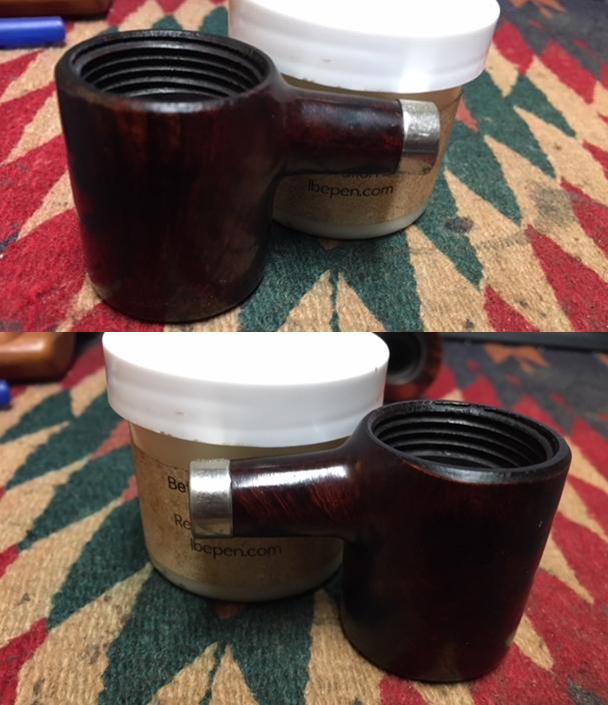
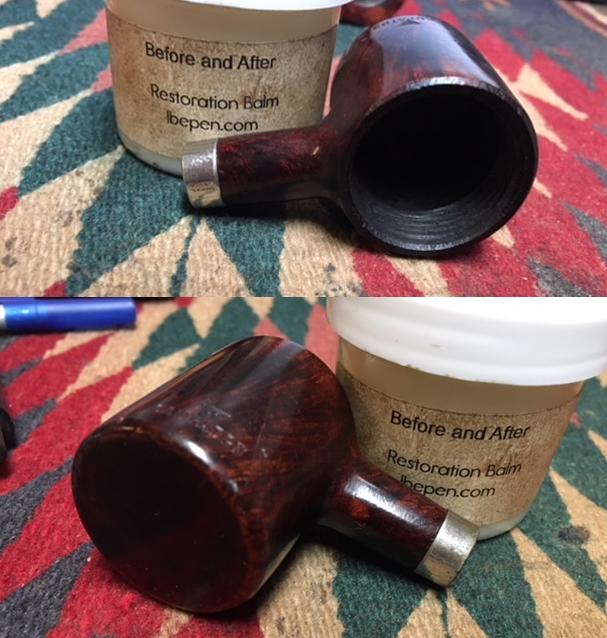
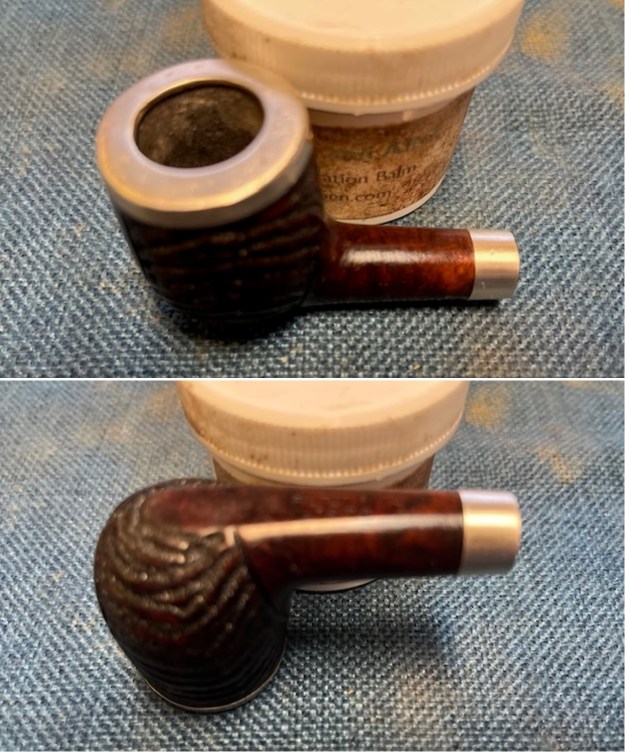
 I rubbed the bowl down with Before & After Restoration Balm. I worked it into the surface of the briar with my fingertips and a horse hair shoe brush to clean, enliven and protect it. I let the balm sit for 10 minutes and then buffed with a cotton cloth to raise the shine. Mark Hoover’s Balm is a product that I have come to appreciate and one I use on every pipe I have been working on.
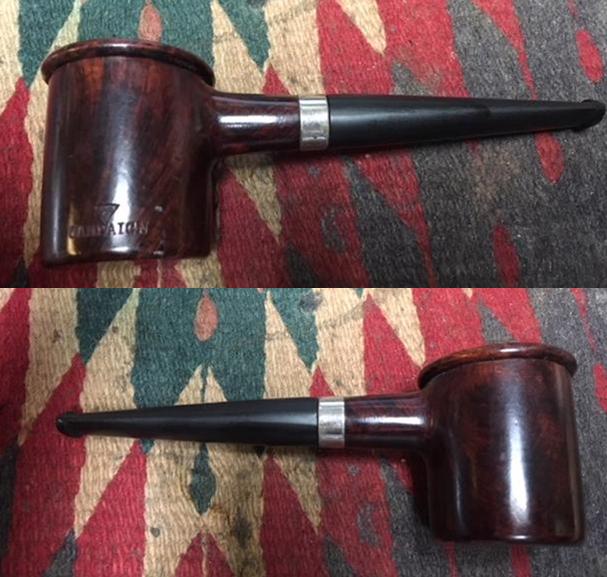
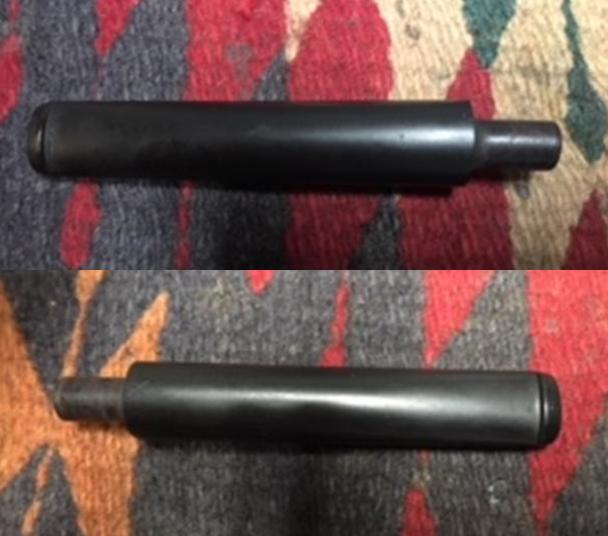
 I set the bowl aside and turned my attention to the stem. I had been thinking about the replacement stem and went through my cans of stem to see if I could find a WDC stem with the triangle logo on the left side. The amazing thing was I found one!!. The metal tenon (made for the WDC filters) was misshaped and was larger next to the stem than the mortise end. I used a small file and a Dremel and sanding drum to even us the diameter of the tenon all the way from the end to the stem end. It took some work but it worked well and the end result was the stem fit in the shank well. The diameter of the metal spacer was taller at the top than at the bottom. The measurements showed that from the tenon to the stem top was larger than the distance from the bottom edge. I would need to shape and work out that shape.
 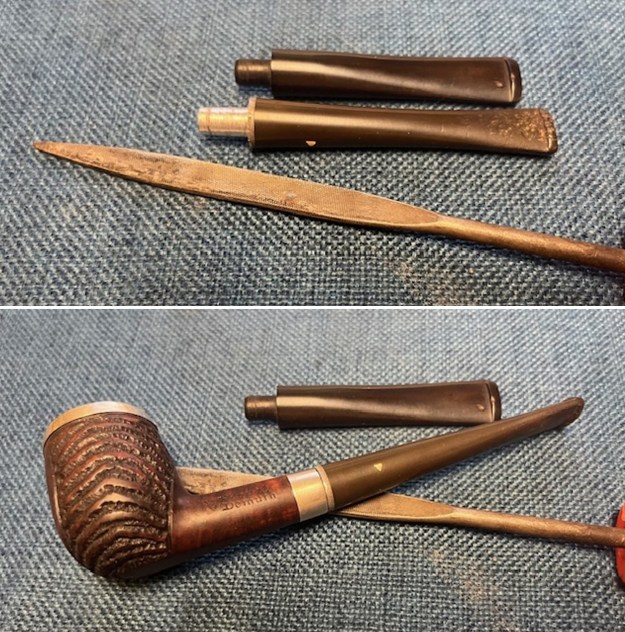 I took off some of the metal and vulcanite on the top half of the stem with the Dremel and sanding drum. I used a folded piece of 220 grit sandpaper to smooth out the sanding marks from the Dremel. Once I had smooth them out I sanded the stem with 320-3500 grit sanding pads to further blend them in and smooth out the surface of the stem.
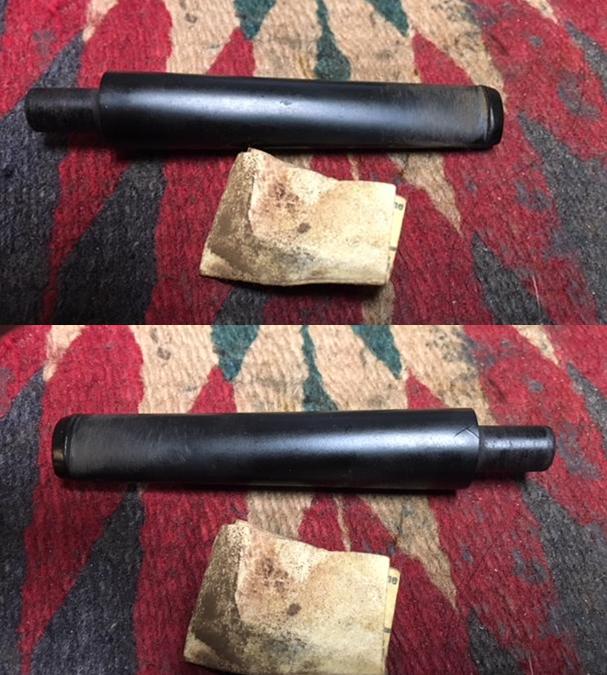
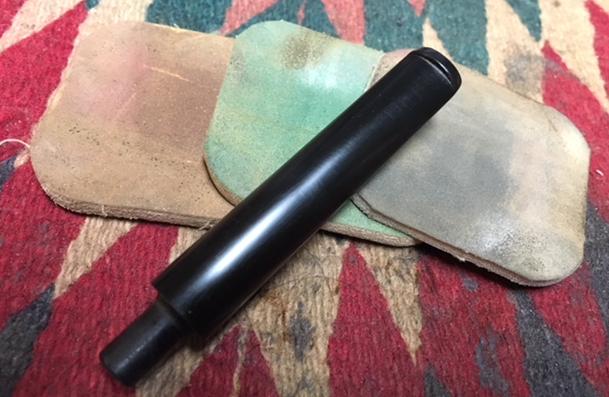
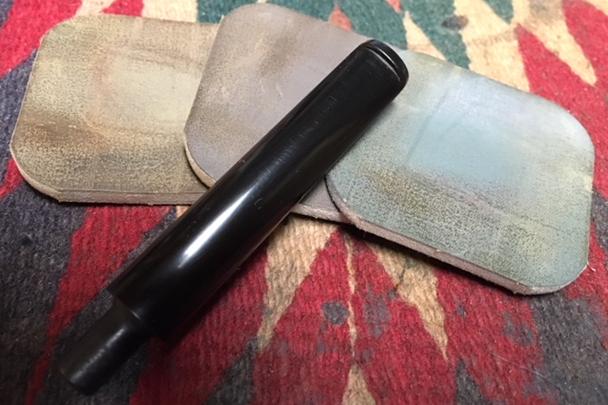
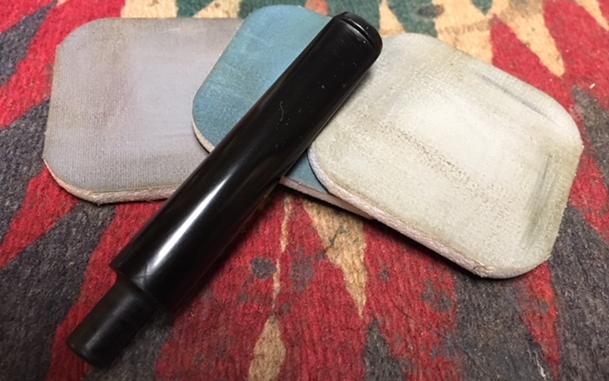
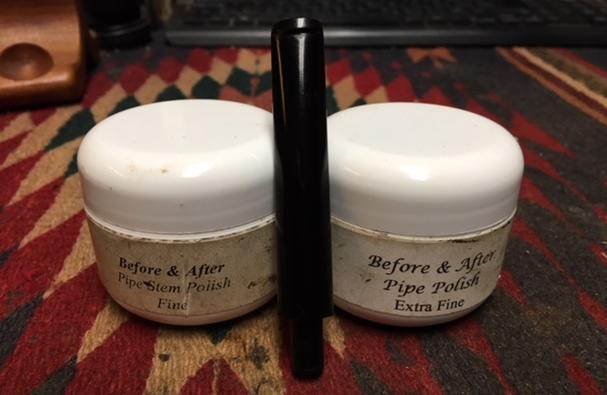
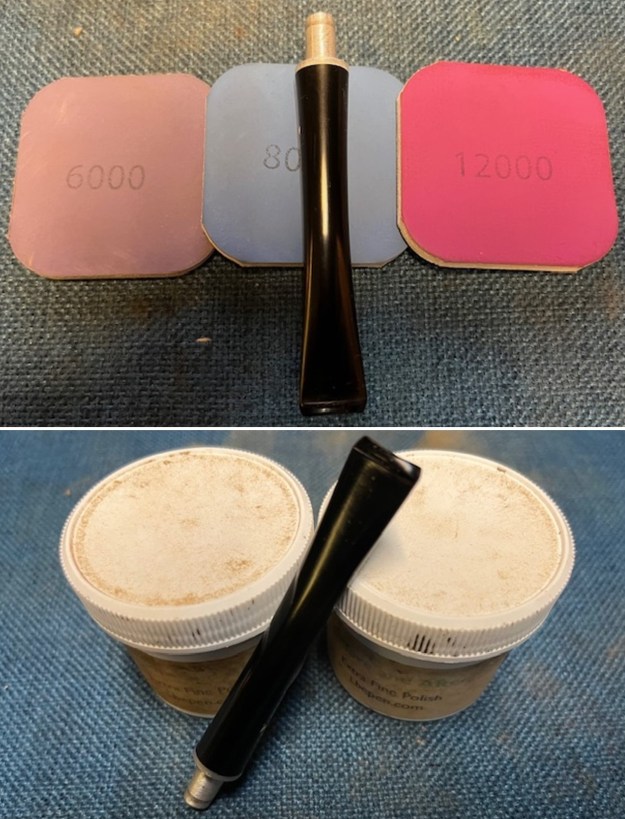
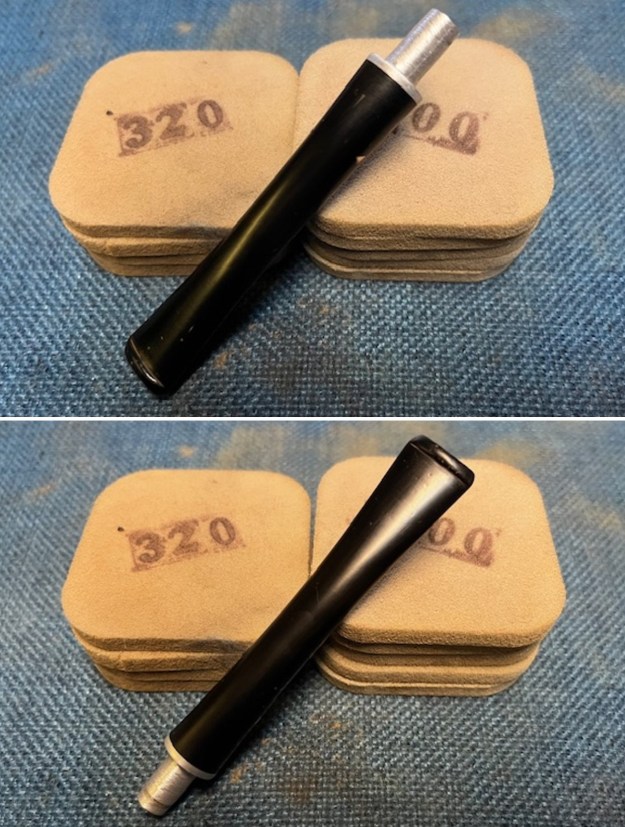 I polished the stem with micromesh sanding pads – dry sanding with 1500-12000 grit pads. I wiped the stem down after each pad with some Obsidian Oil. I finished hand polishing it with Before & After Pipe Stem Polish – Fine and Extra Fine. I rubbed it down with another coat of Obsidian Oil and let it dry. The stem really was beginning to look very good.
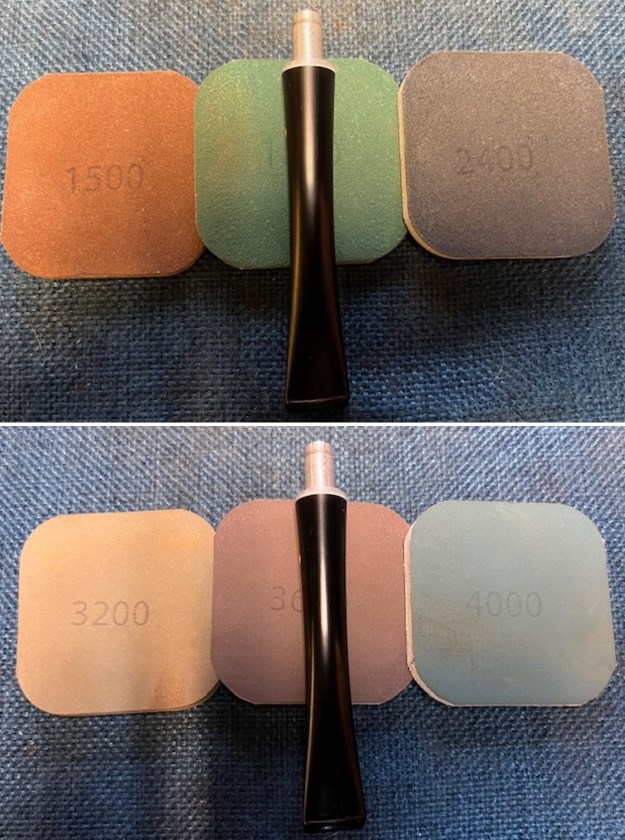
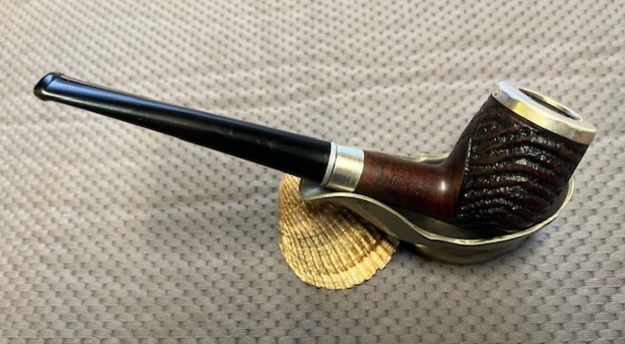
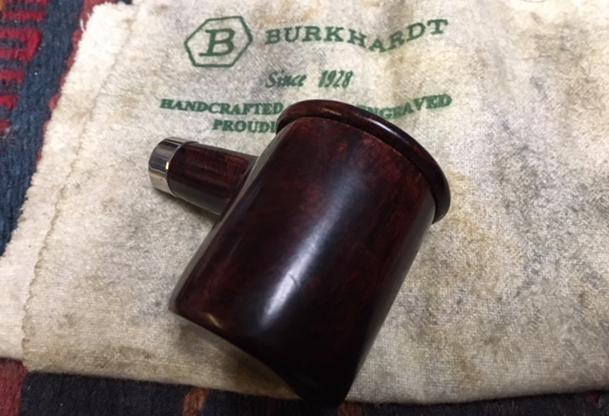
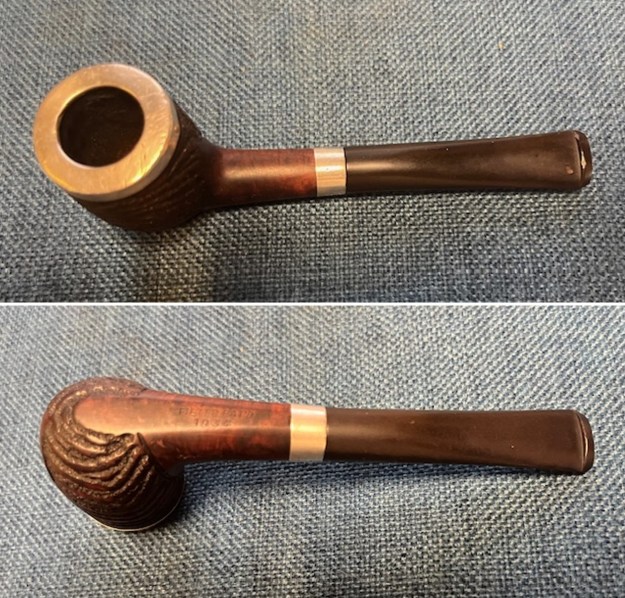
 This is a beautiful WDC Royal Demuth Silver Capped and Banded Billiard with a fitted filter vulcanite stem. The flat bottom makes it a sitter that is well balanced. The shape fits well in the hand with the curve of the bowl makes it a great pipe to hold. I polished stem with Blue Diamond polish on the buffing wheel. I gave the rusticated bowl and carvings on the bowl front multiple coats of Conservator’s Wax. I gave the stem multiple coats of carnauba wax. I buffed the pipe with a clean buffing pad to raise the shine. I hand buffed it with a microfiber cloth to deepen the shine. The pipe polished up pretty nicely. The rich combination of black and dark brown stains gave the sandblast a sense of depth. The pipe took on life with the buffing. The rich colour of the briar and the polished silver rim cap and shank band works well with the polished stem. Have a look at it with the photos below. The shape, finish and flow of the pipe and stem are very well done. The dimensions are Length: 5 ½ inches, Height: 1 ½ inches, Outside diameter of the bowl: 1 1/8 inches, Chamber diameter: 5/8 of an inch. The weight of the pipe is 33 grams/1.16 ounces. This American Made Silver Capped and Banded Filter Billiard is a real beauty. Thanks for walking through the restoration with me as I worked over another beautiful pipe. This one will be going on the rebornpipes store in the American Pipe Makers Section shortly if you would like to add it to your collection. Thanks for your time.