by Steve Laug
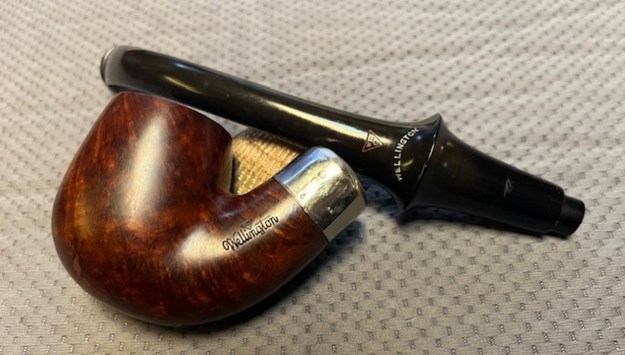
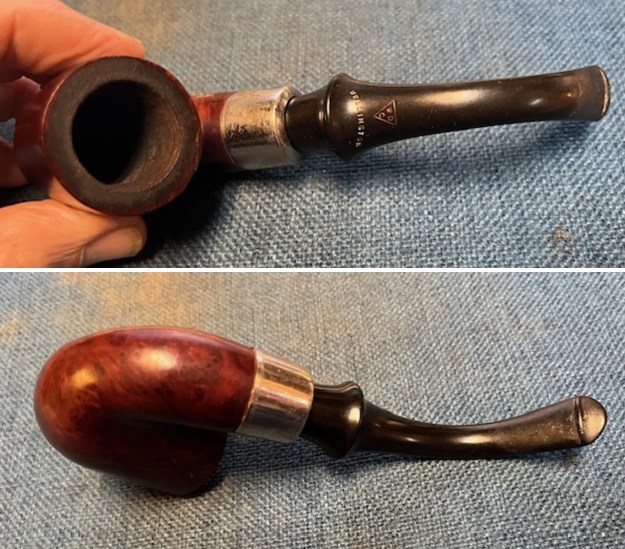
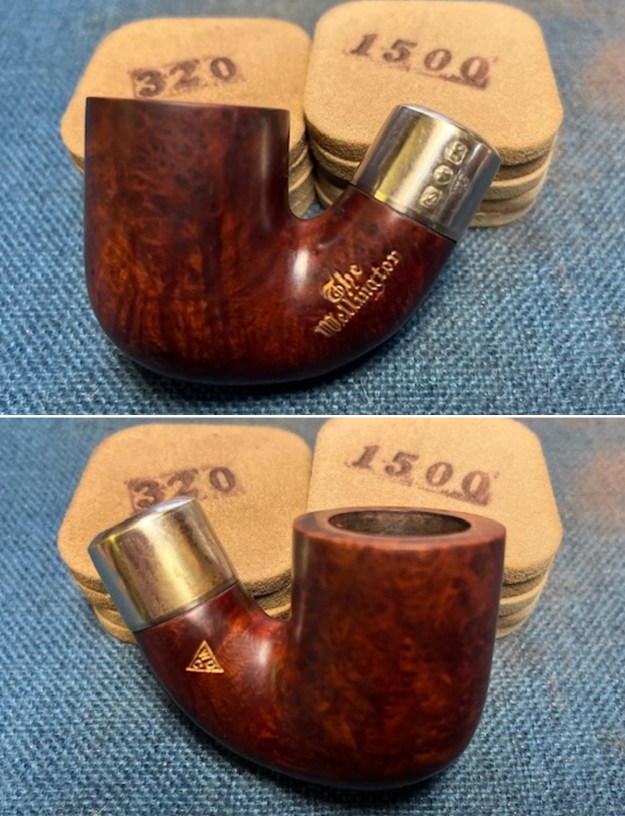
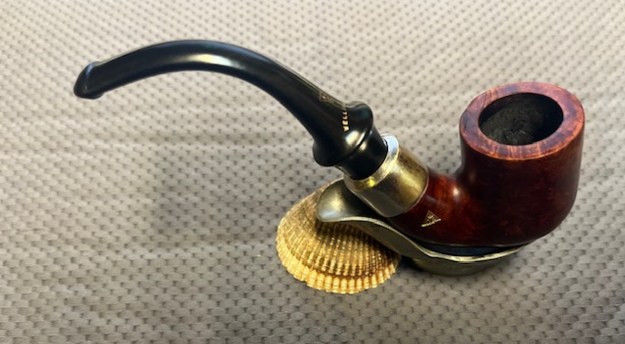
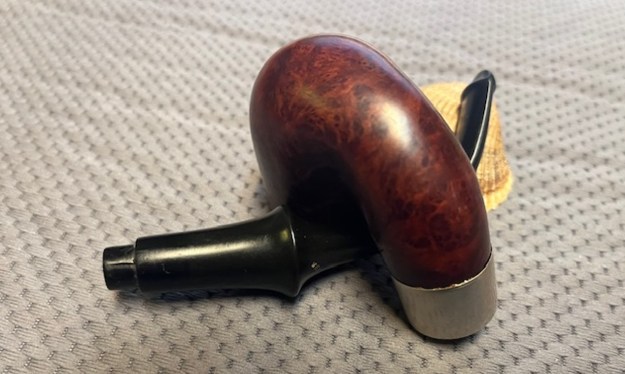
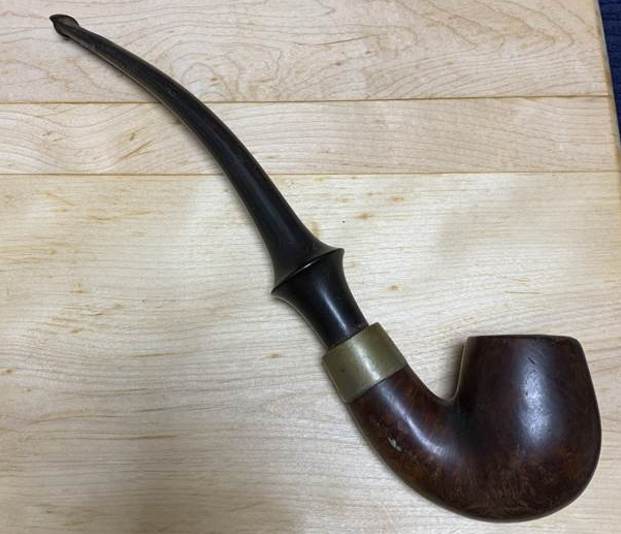
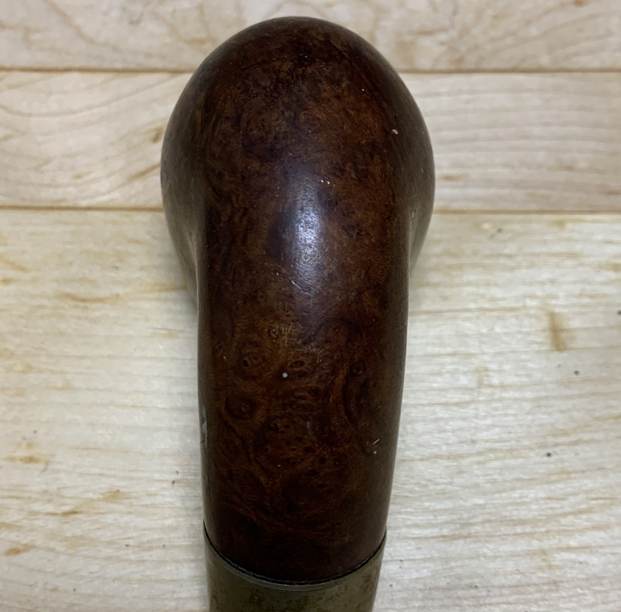
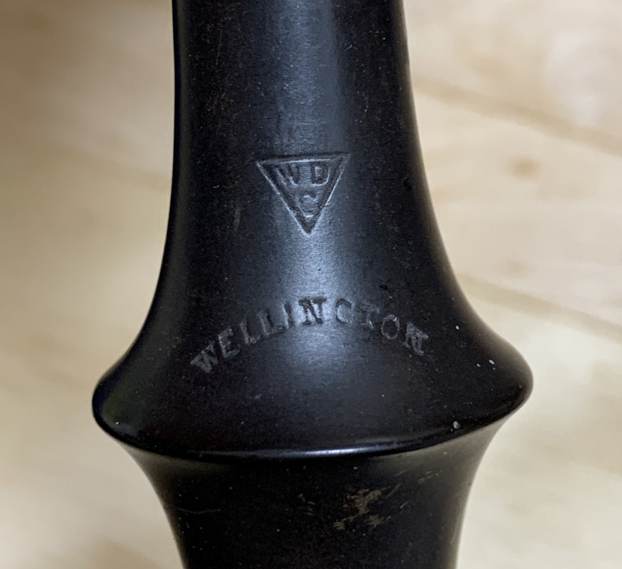
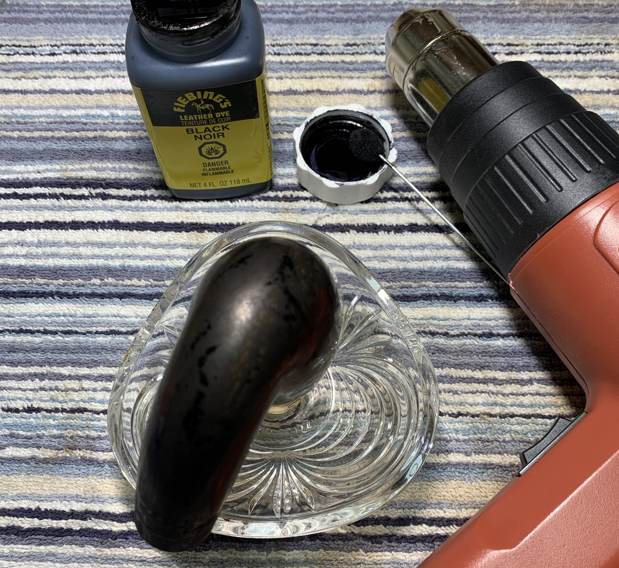
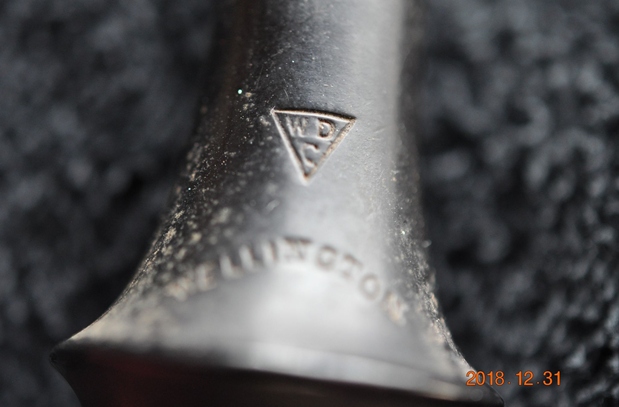
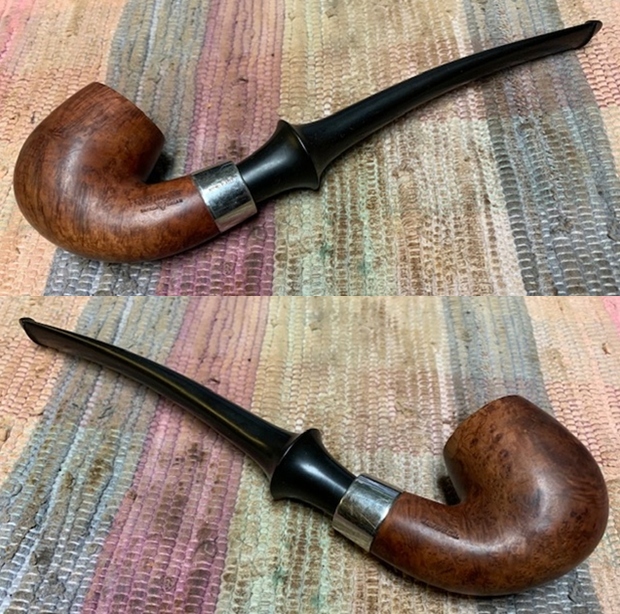
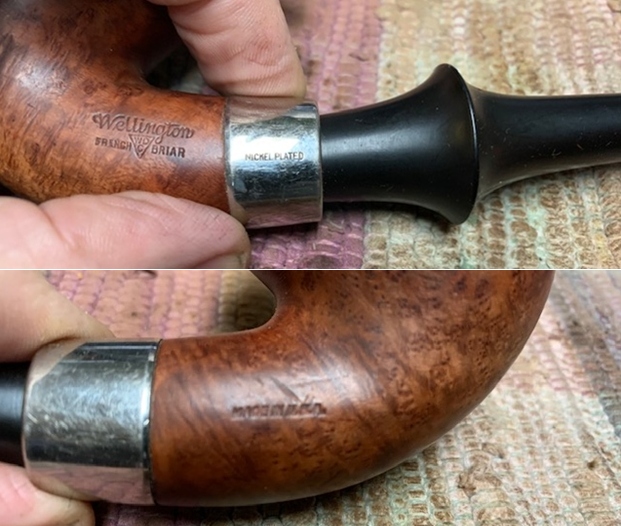
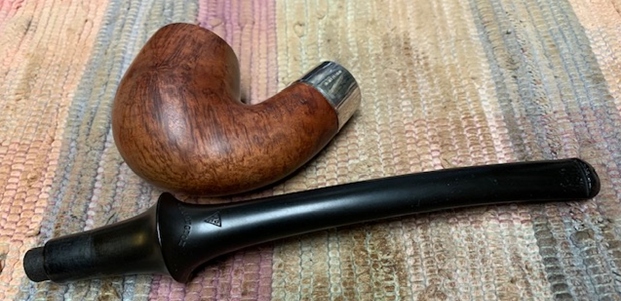
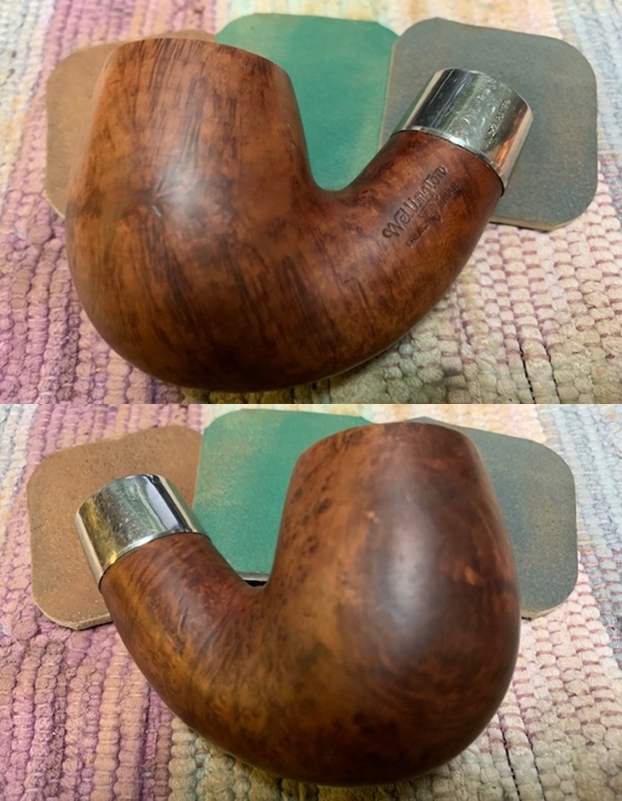
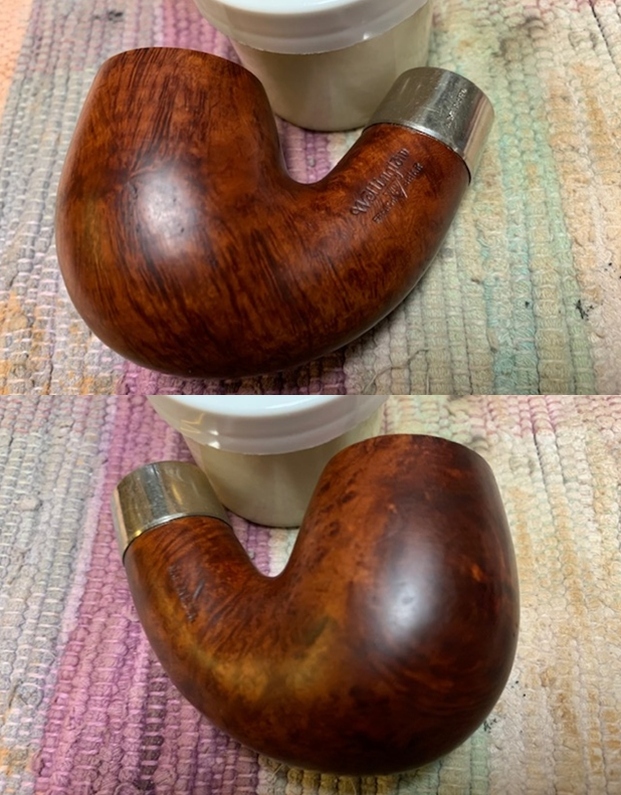
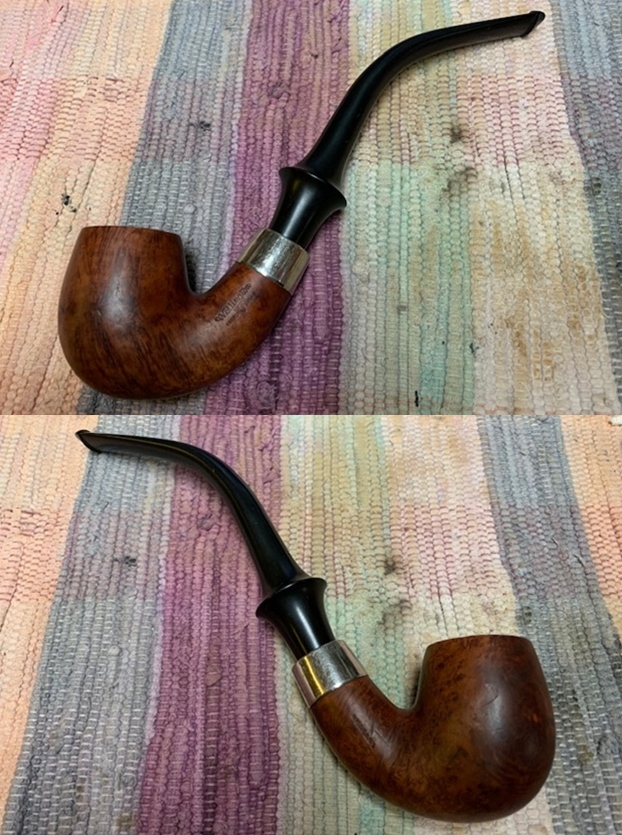
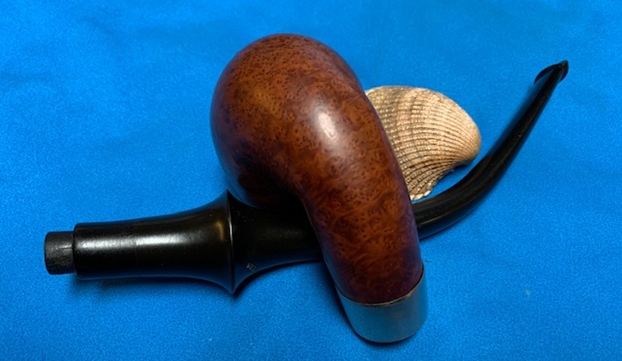
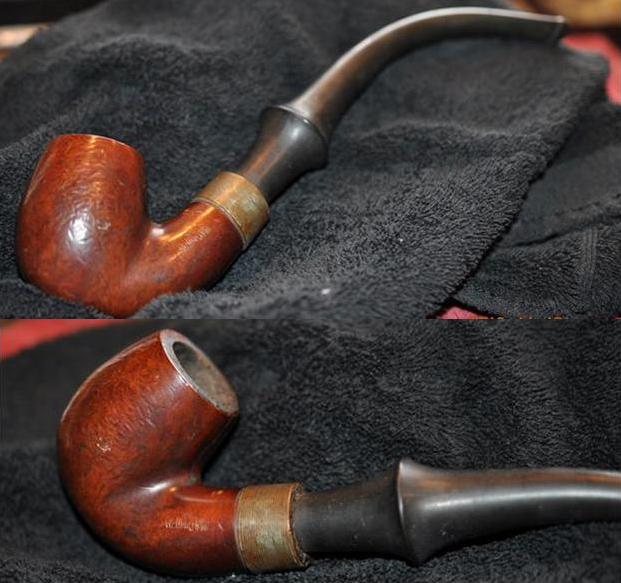
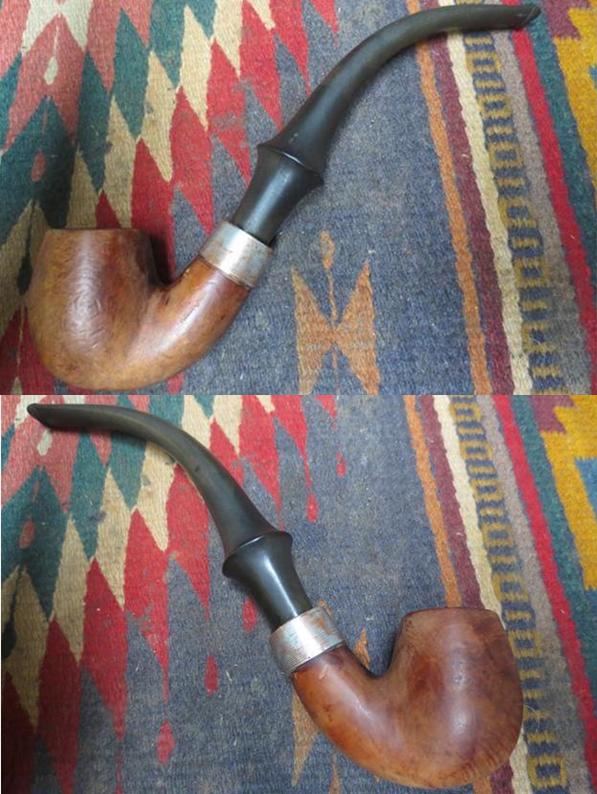
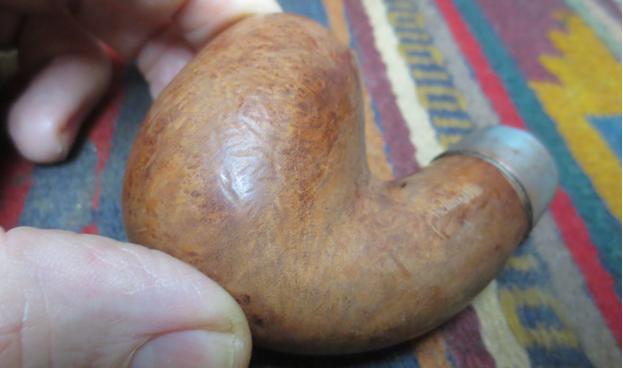
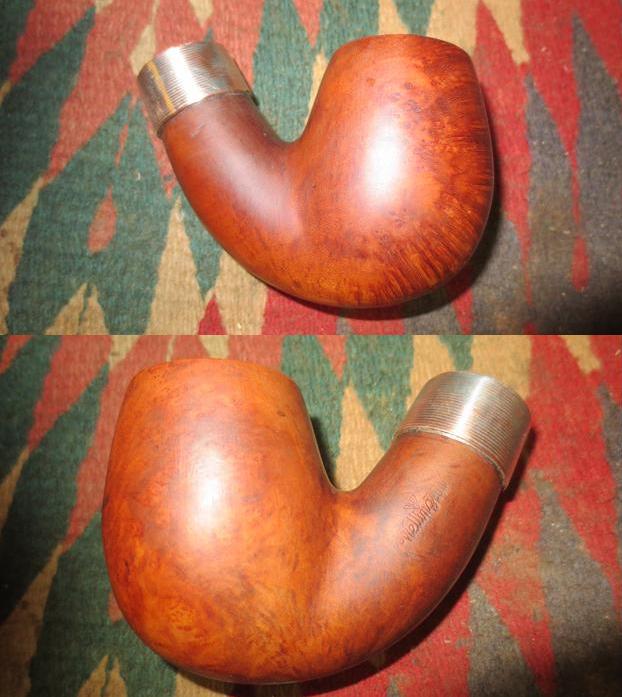
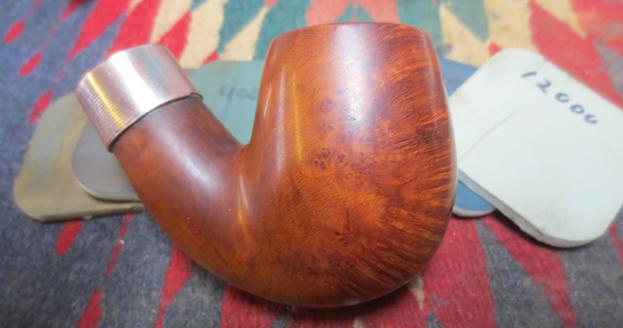
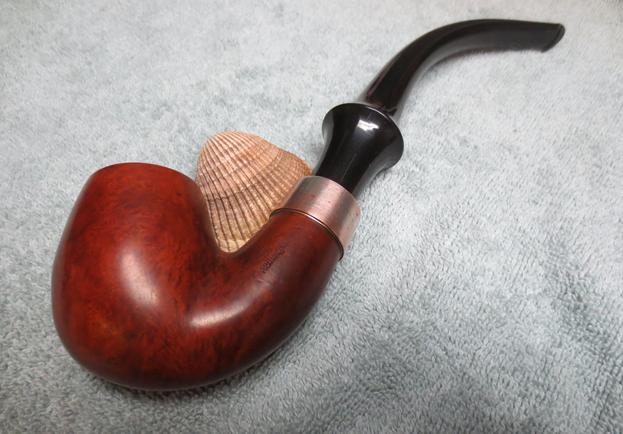
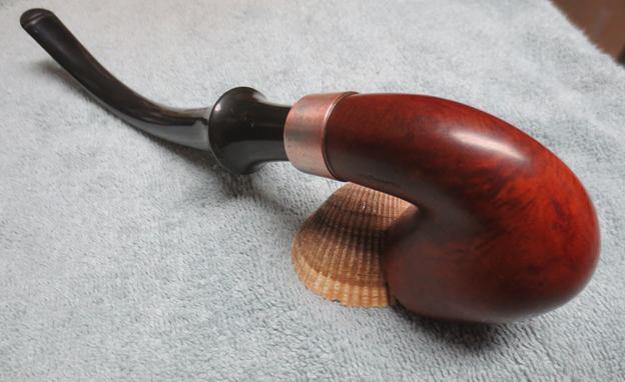
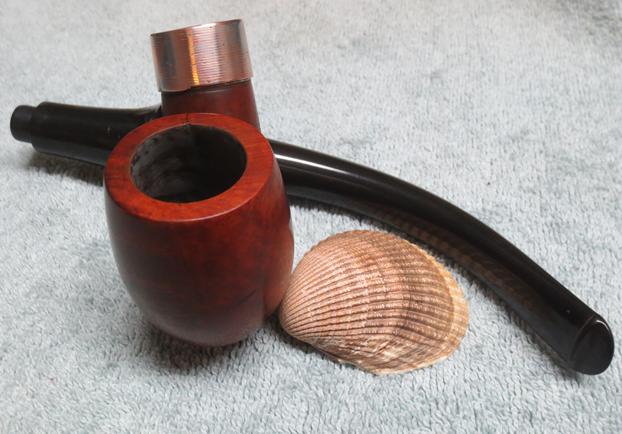
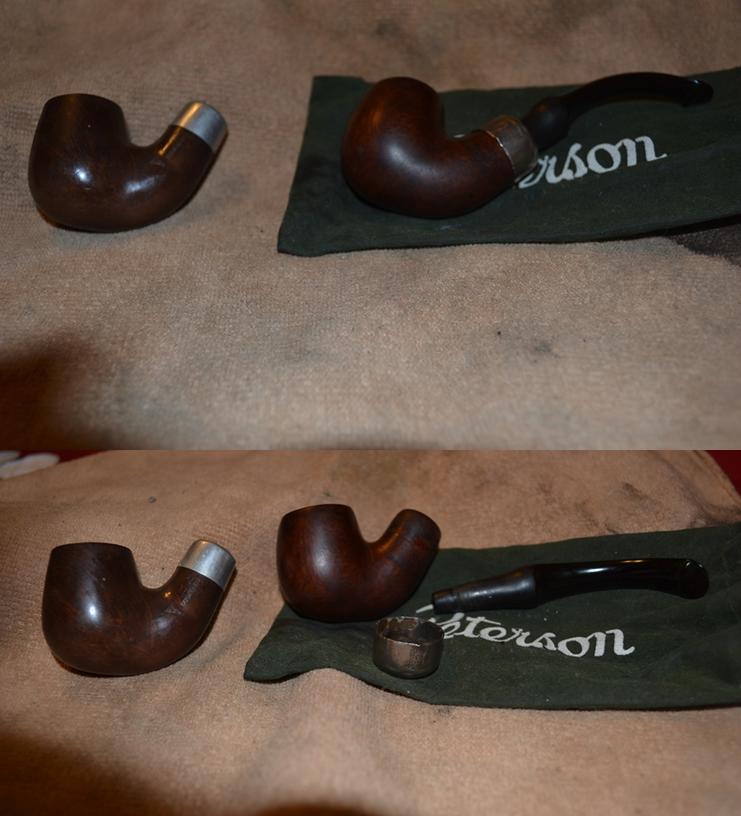
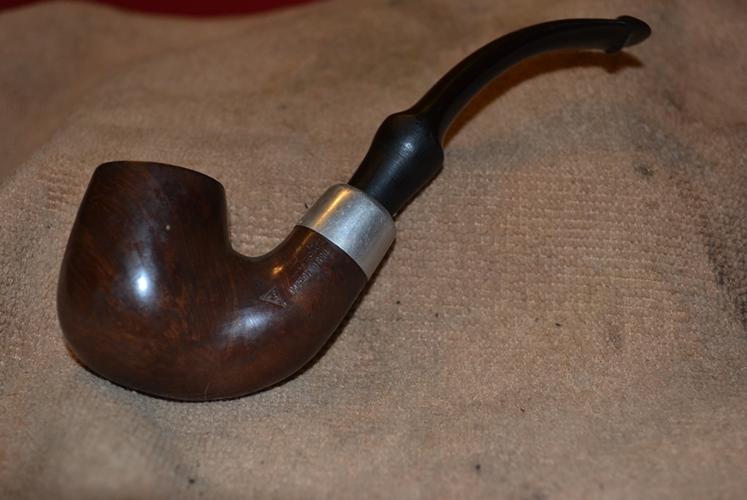
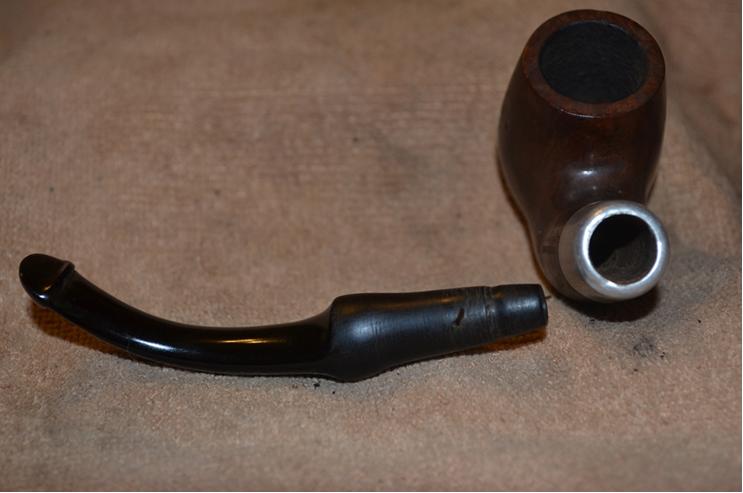
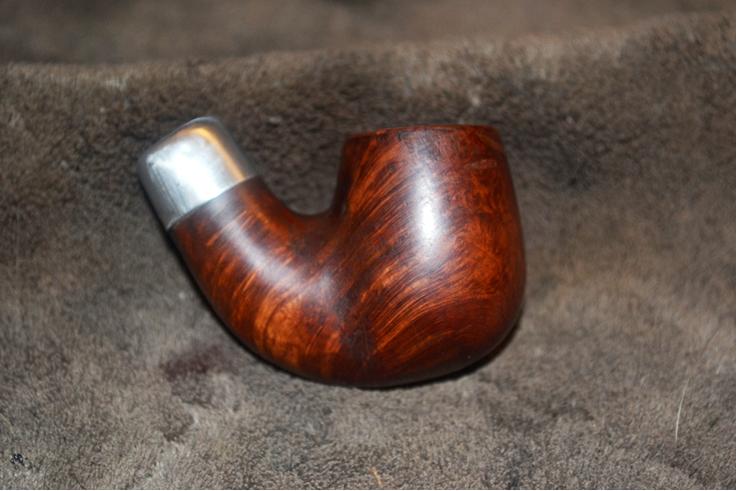
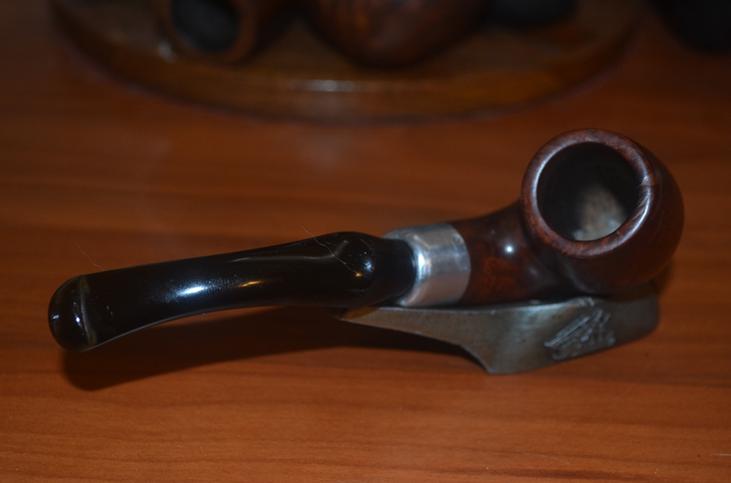
In the box that Jeff recently sent to me there was a large Wellington bowl without the stem. We purchased it from an antique shop in Vancouver, Washington, USA on 04/03/2024. We had cannibalized the stem and sent it to a fellow who needed a Wellington stem. The stamping on the left side of the shank read WDC in a triangle (logo). Under that it is stamped Wellington is script. The nickel ferrule is heavily dented and is stamped WDC in a triangle over three faux hallmarks. Though it is dented it still looks good. The bowl had a thick cake on the walls and an overflow of lava onto the rim top and edges. The smooth finish was very dirty with debris and oils. There were some fills in the bowl sides and some nicks as well from looked like the bowl had been dropped. The nickel ferrule was dented in spots and a little rough but still in solid condition. Jeff took photos of the pipe before he started cleaning it up. Have a look. 
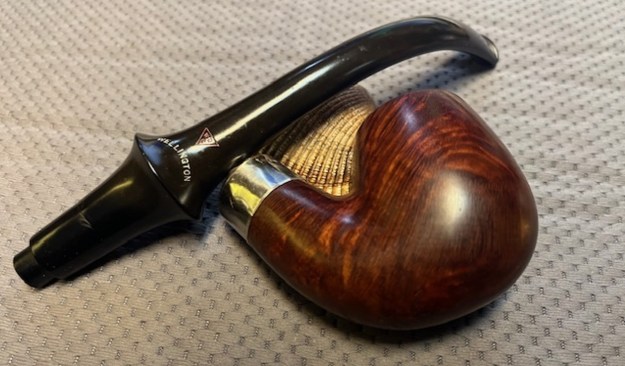
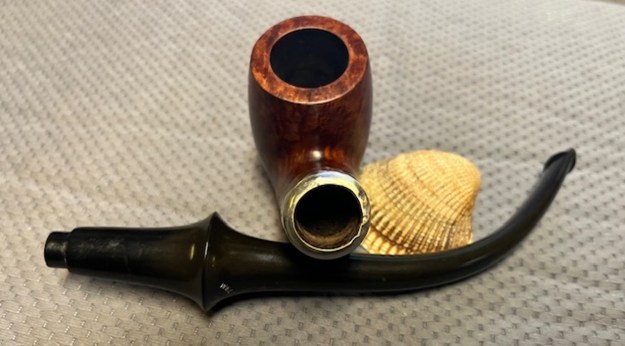
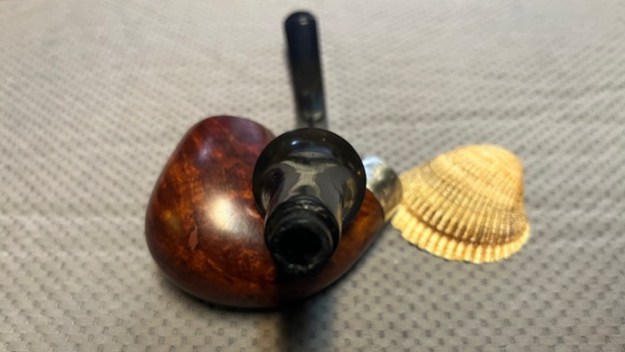
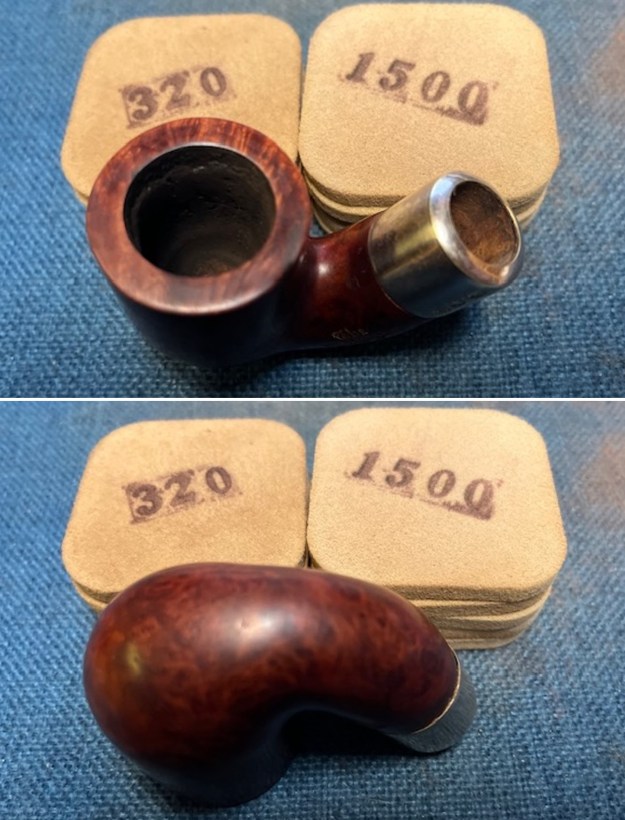
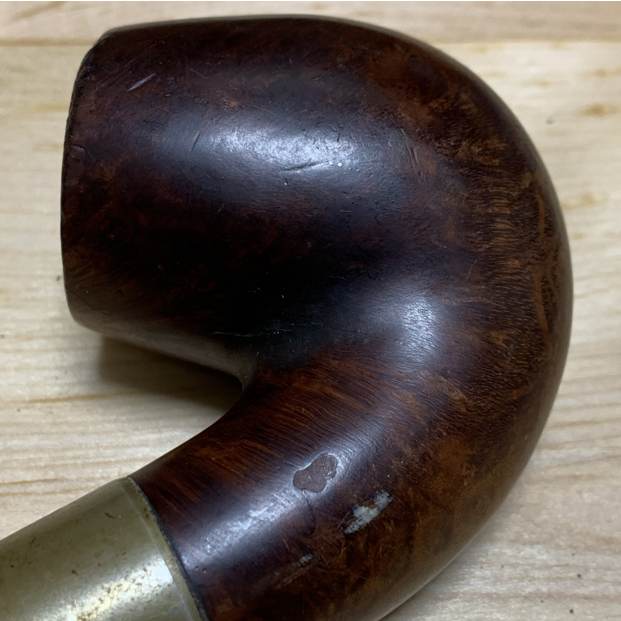
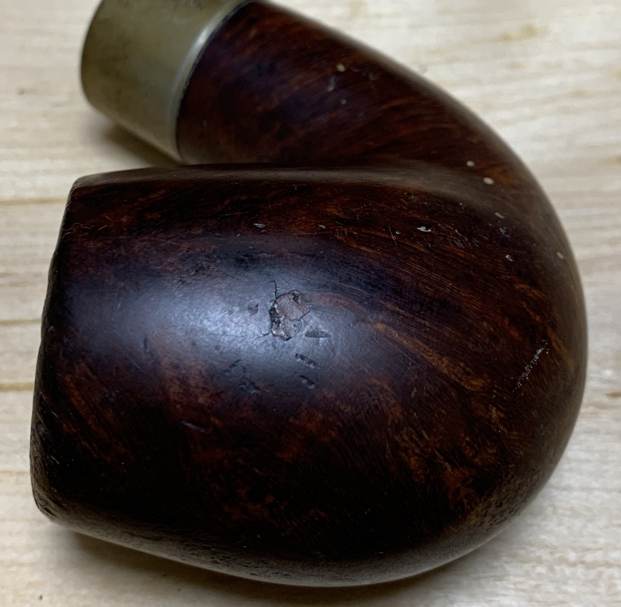
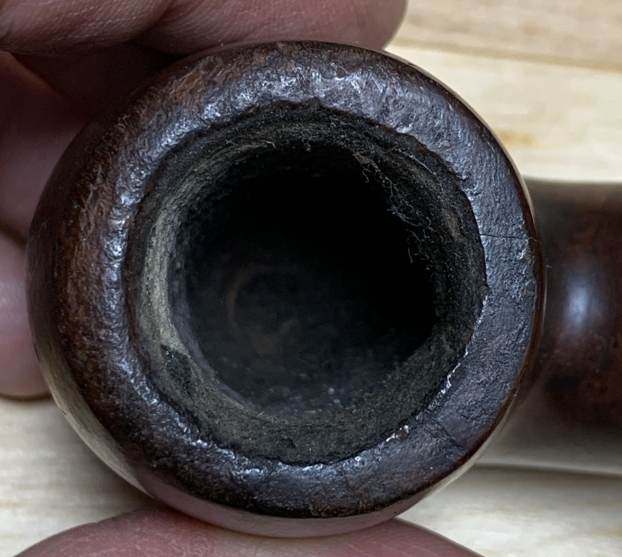
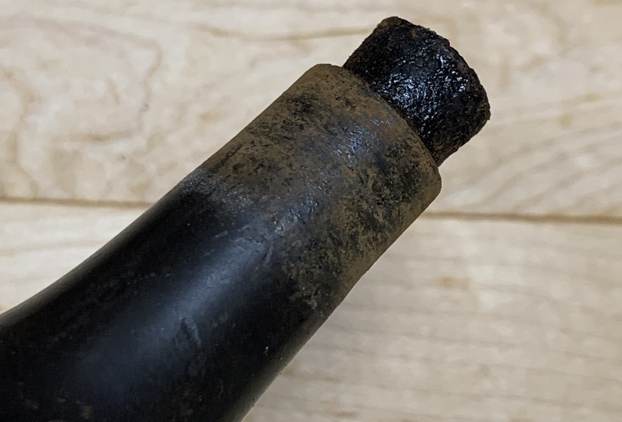
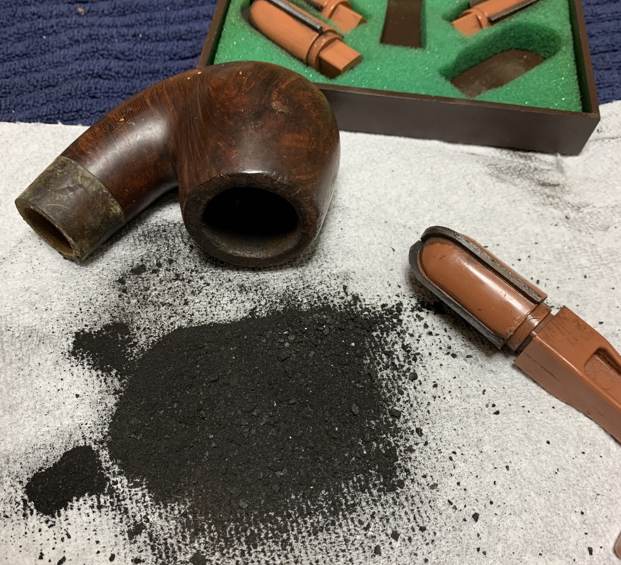
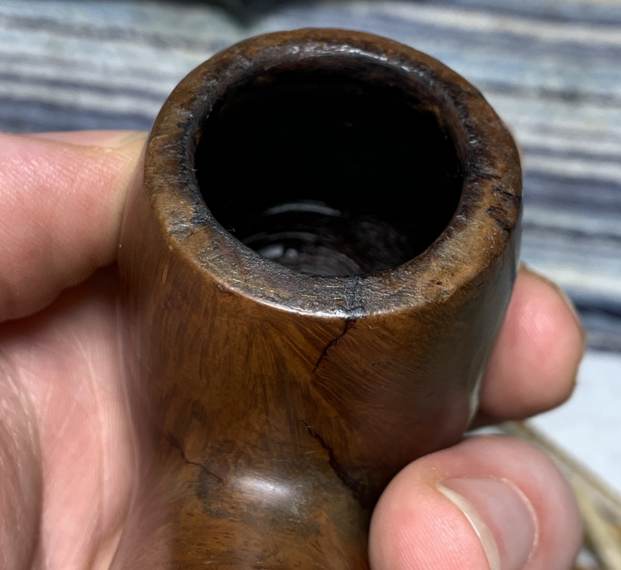
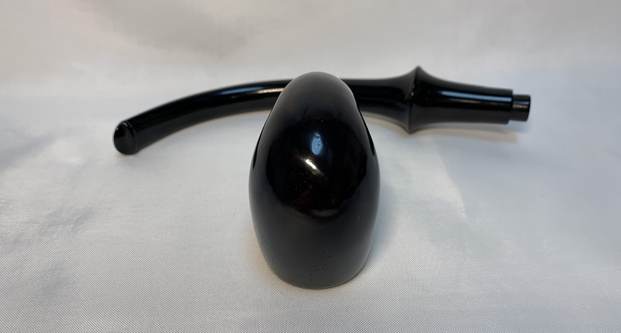
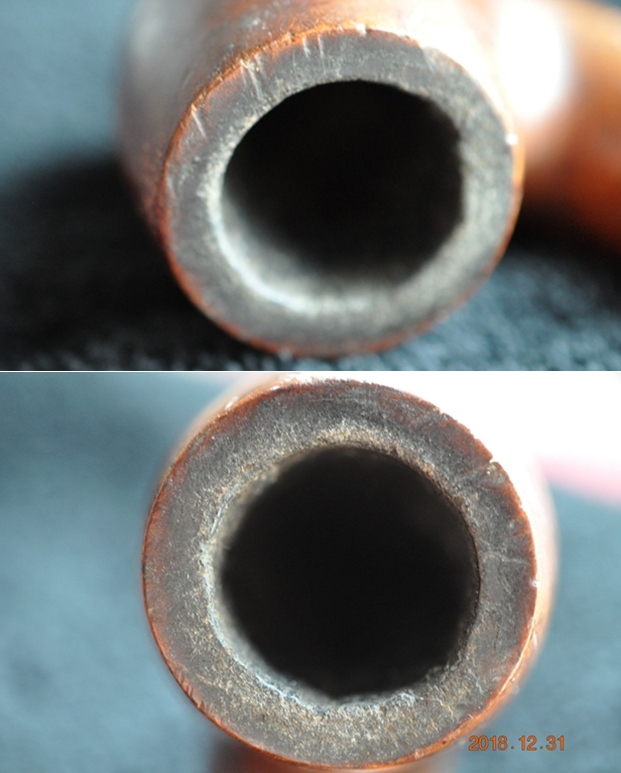
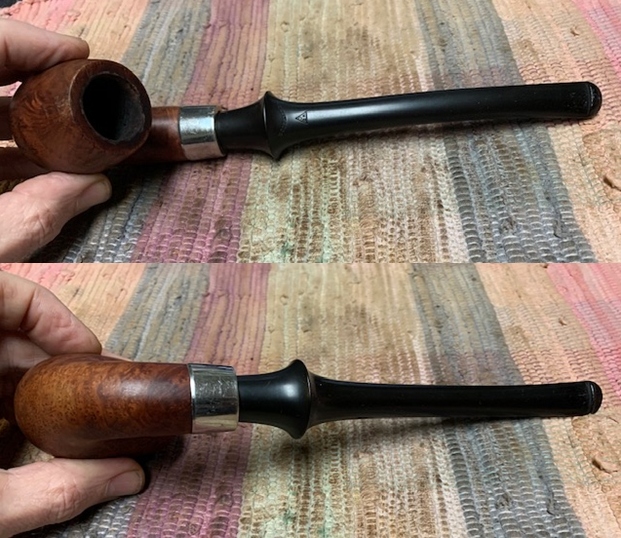
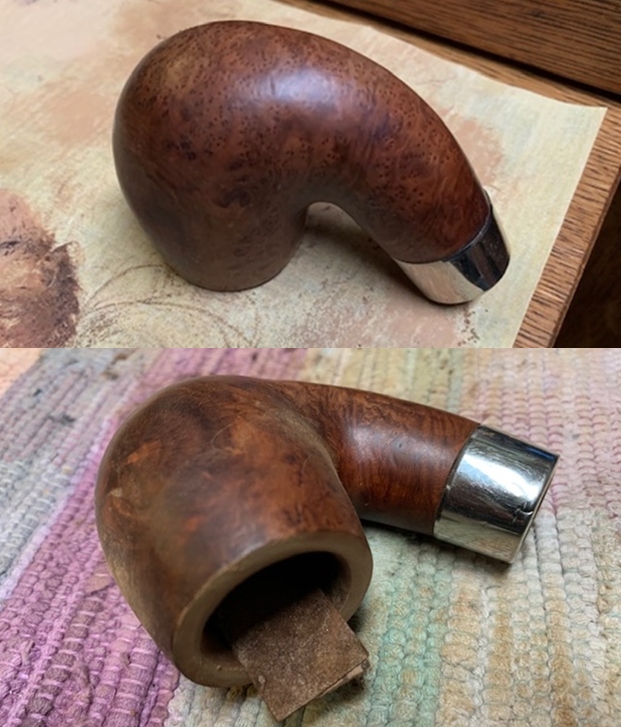
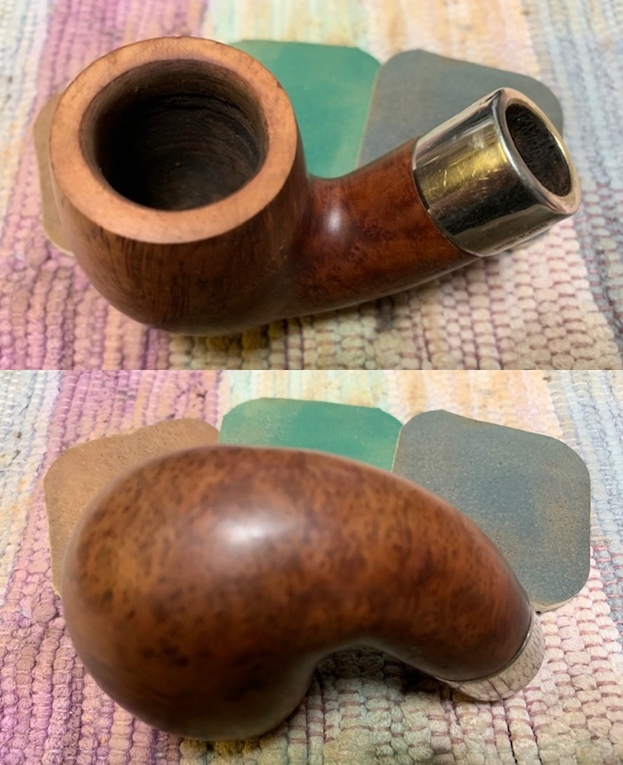
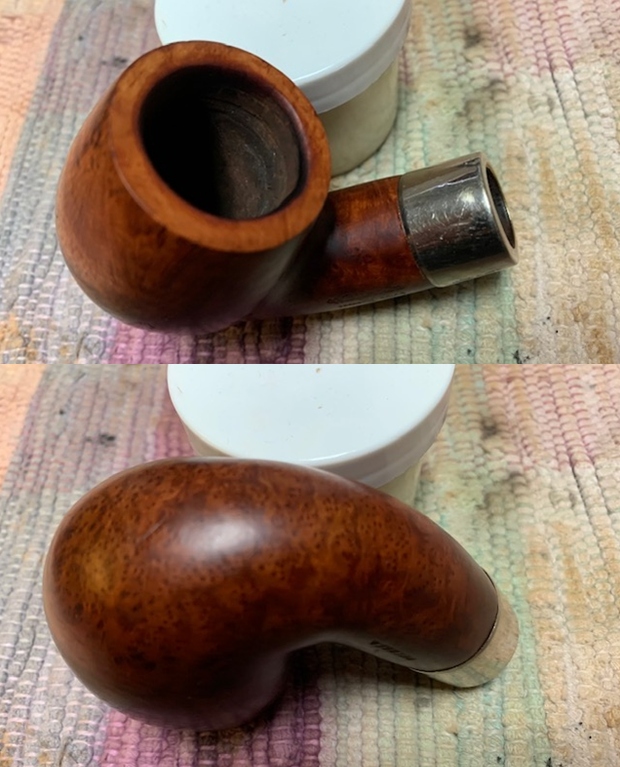
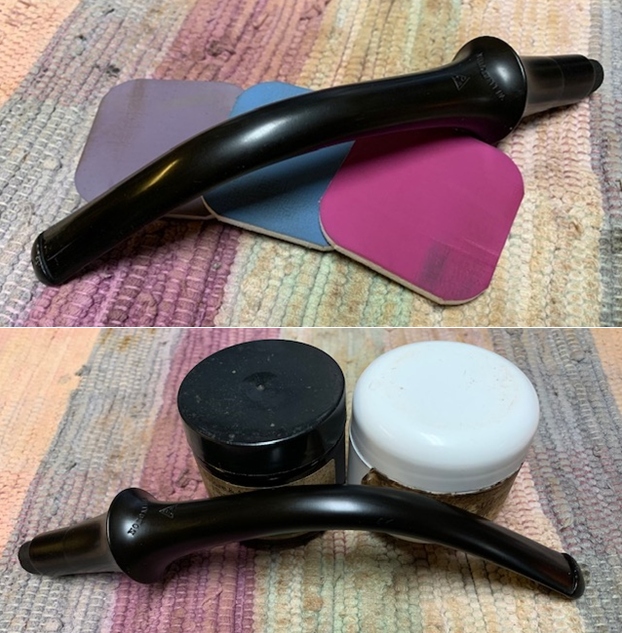
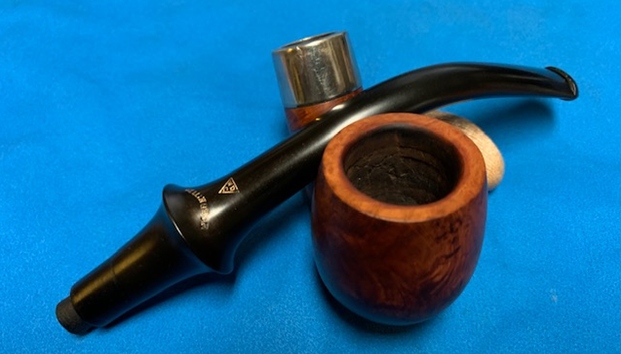
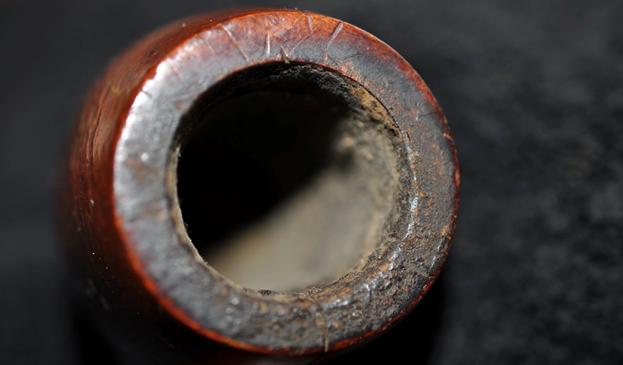
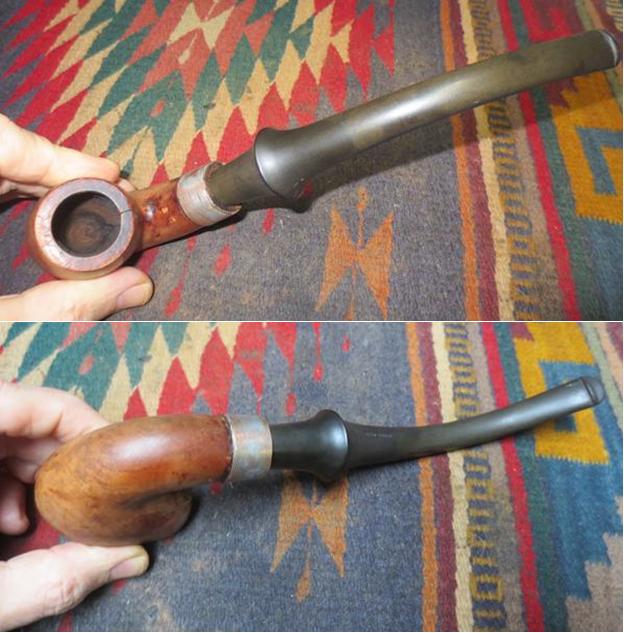
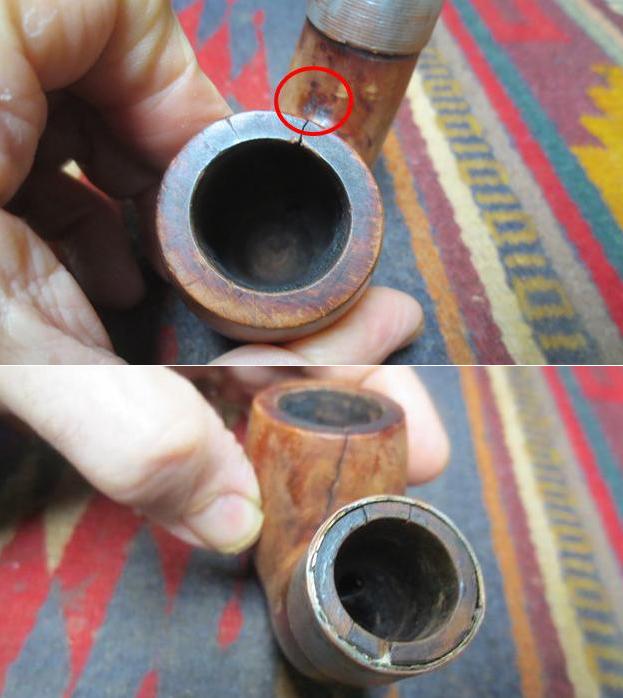
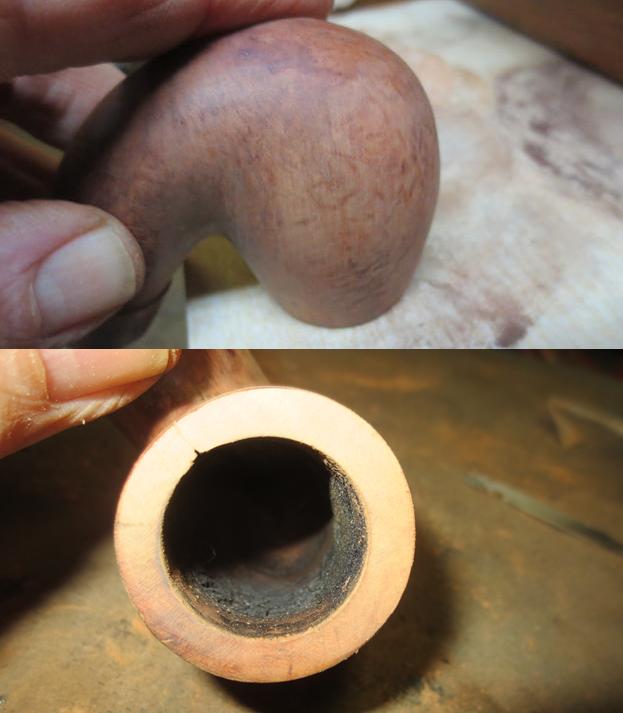
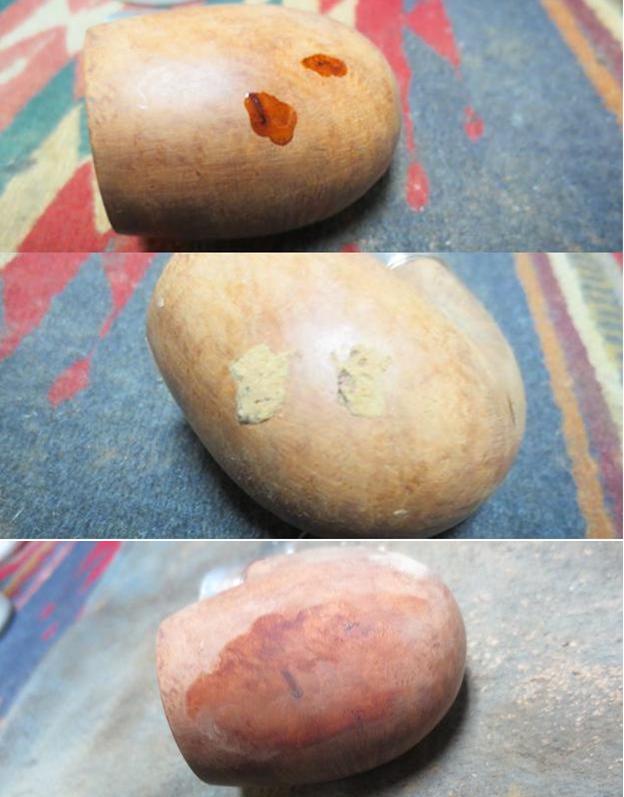
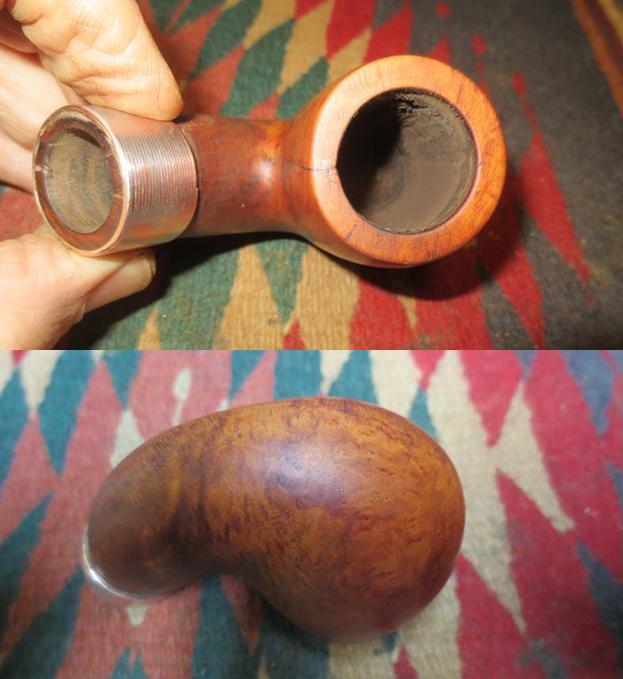
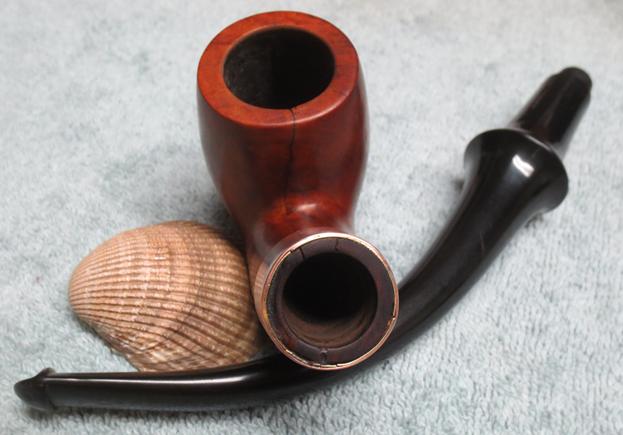
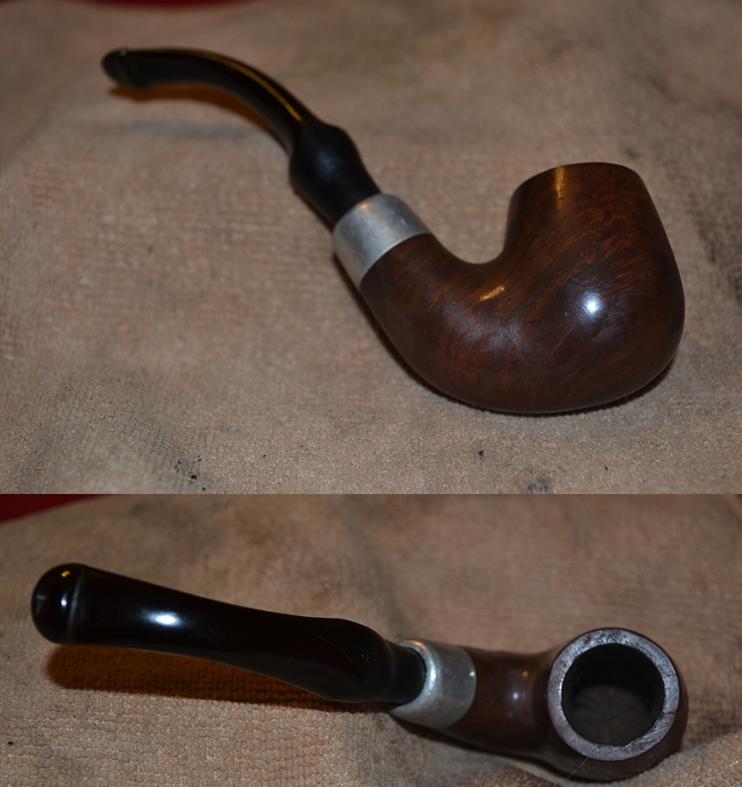
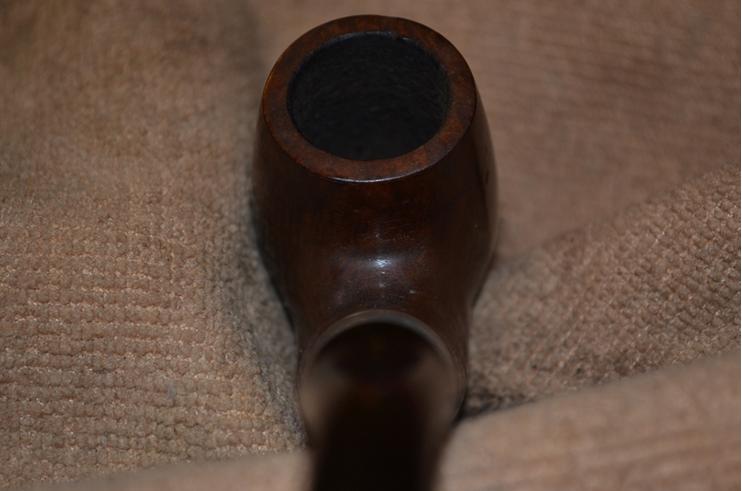
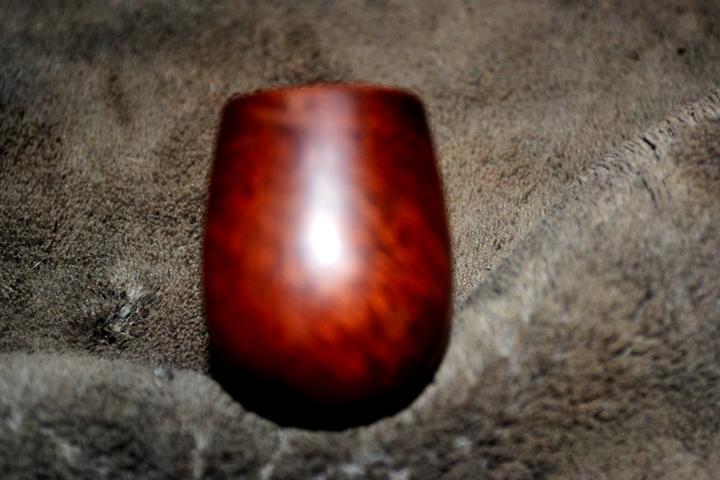
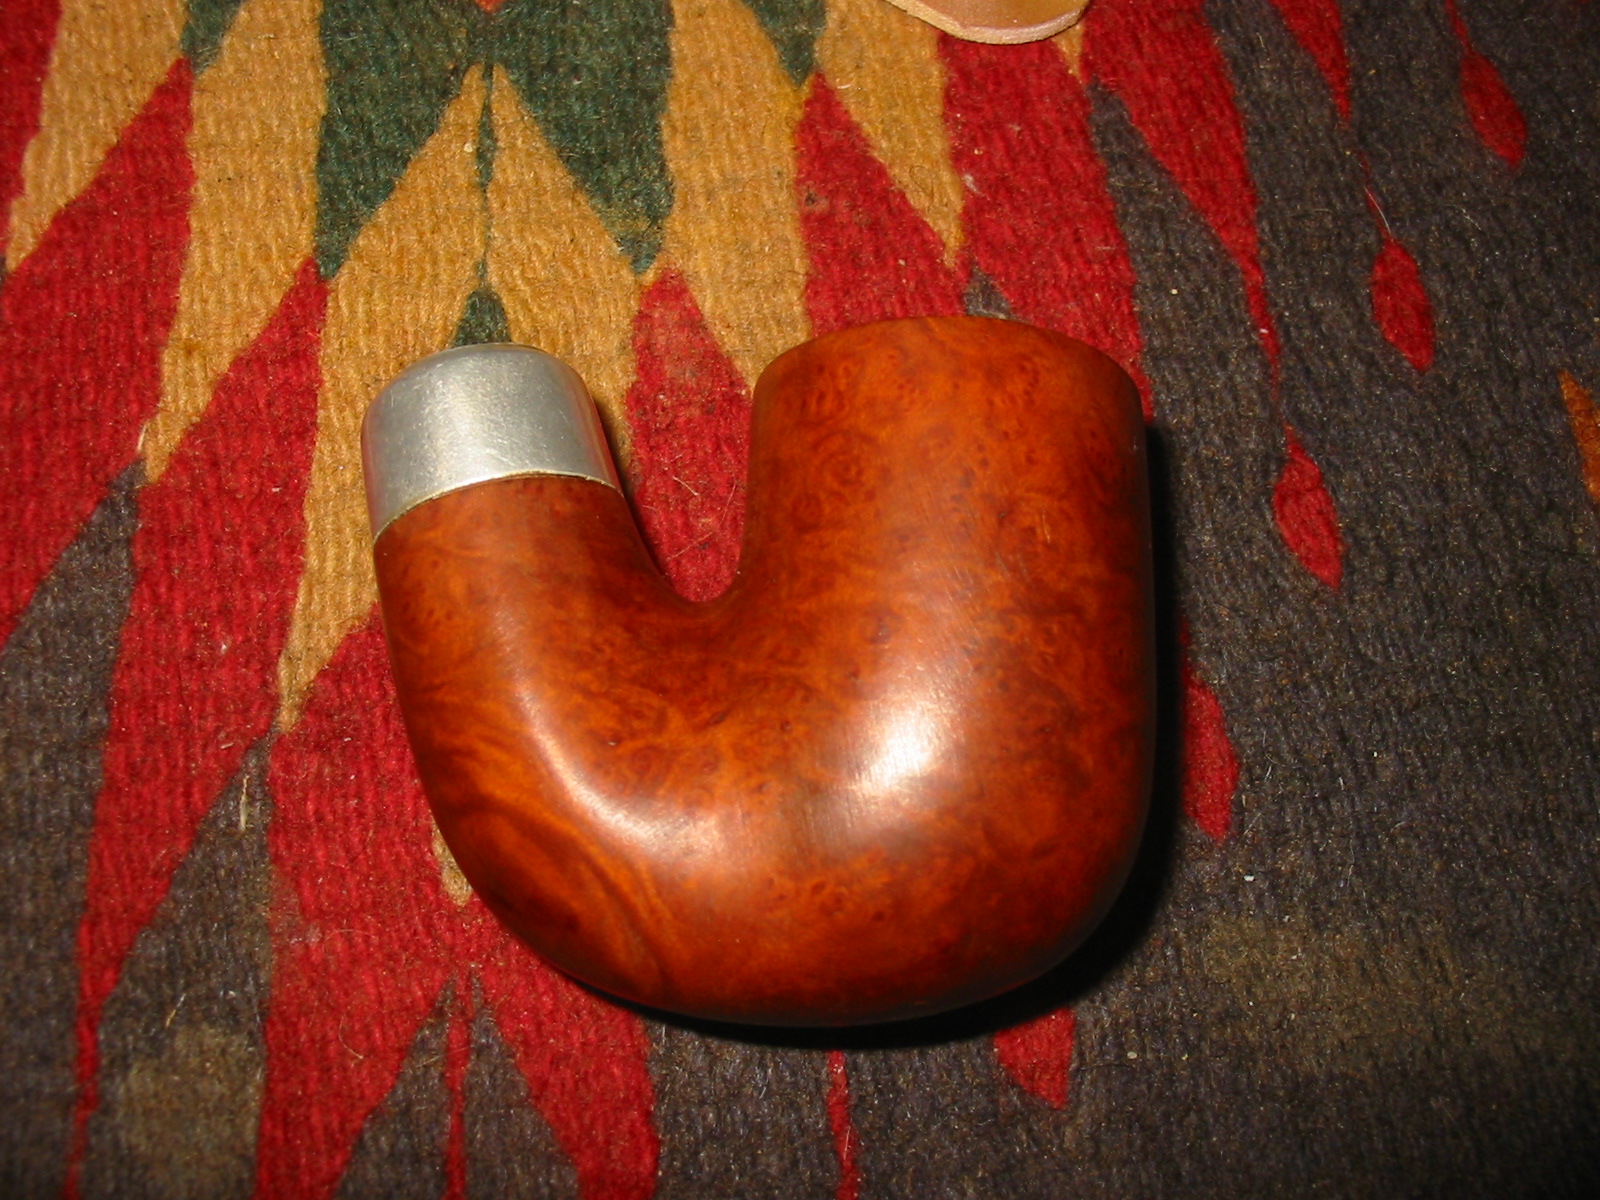
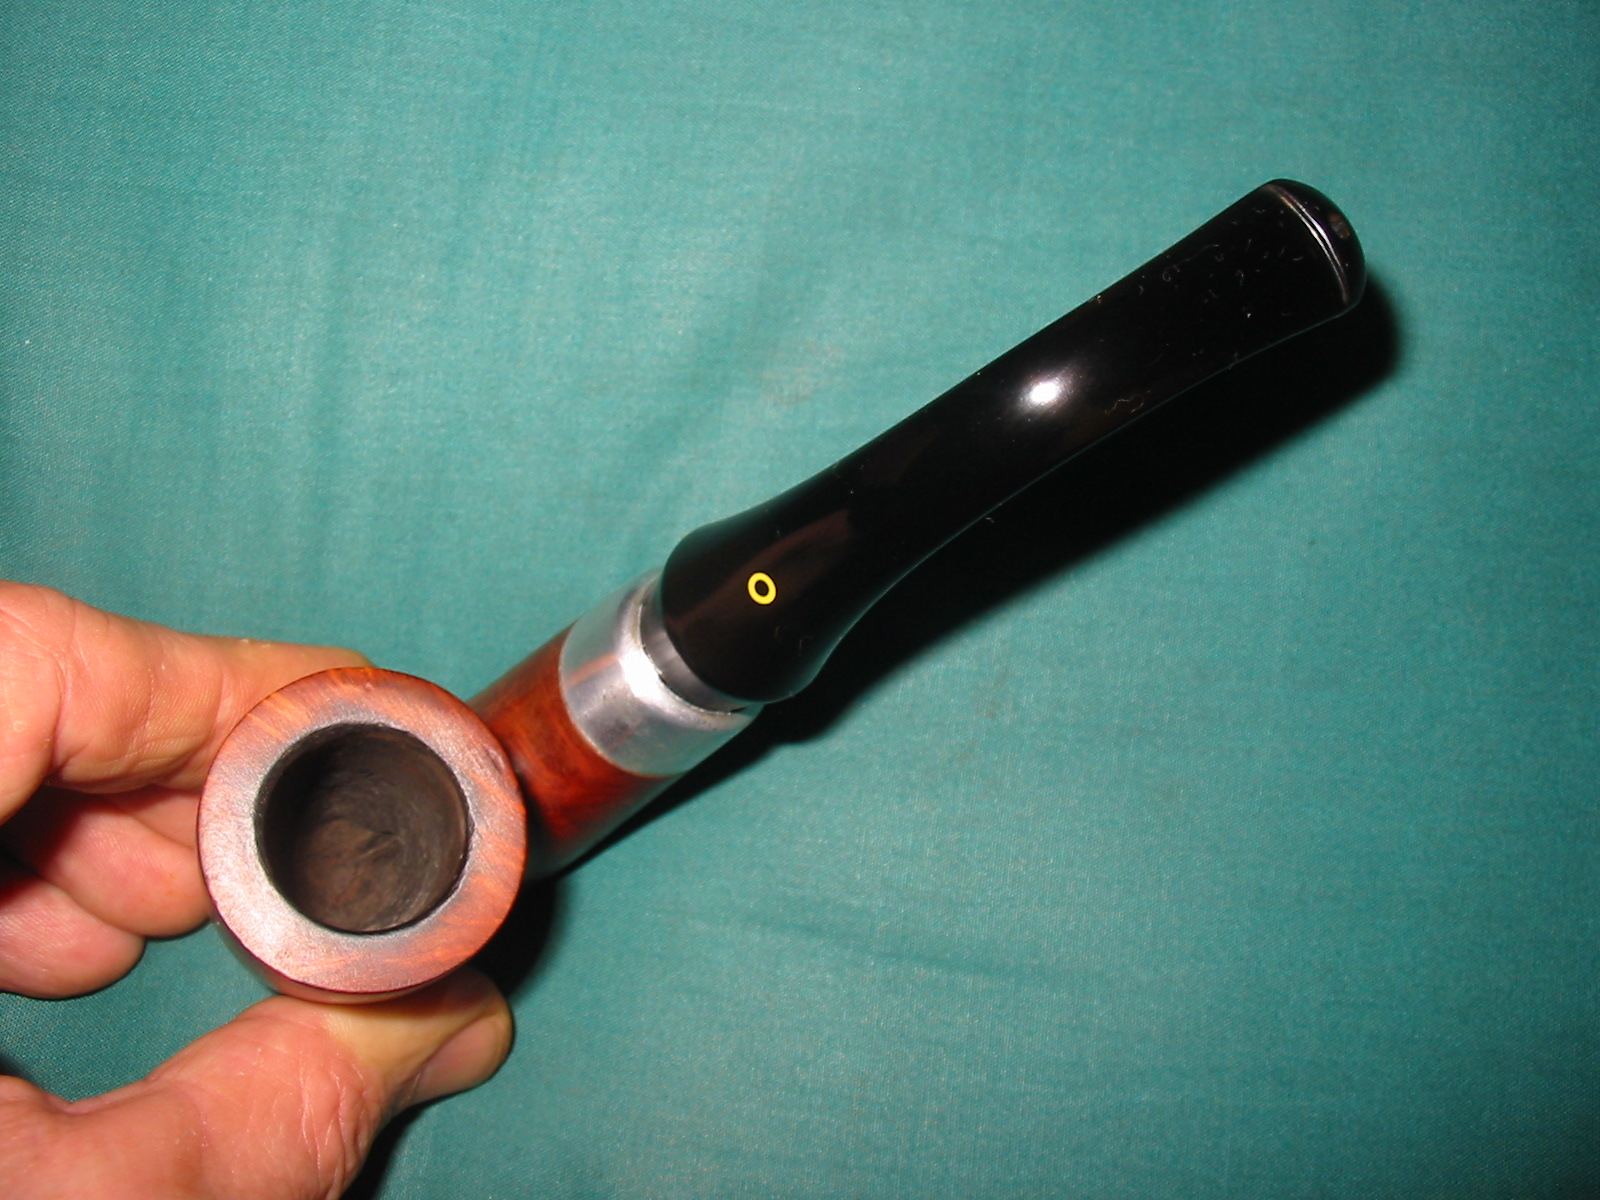
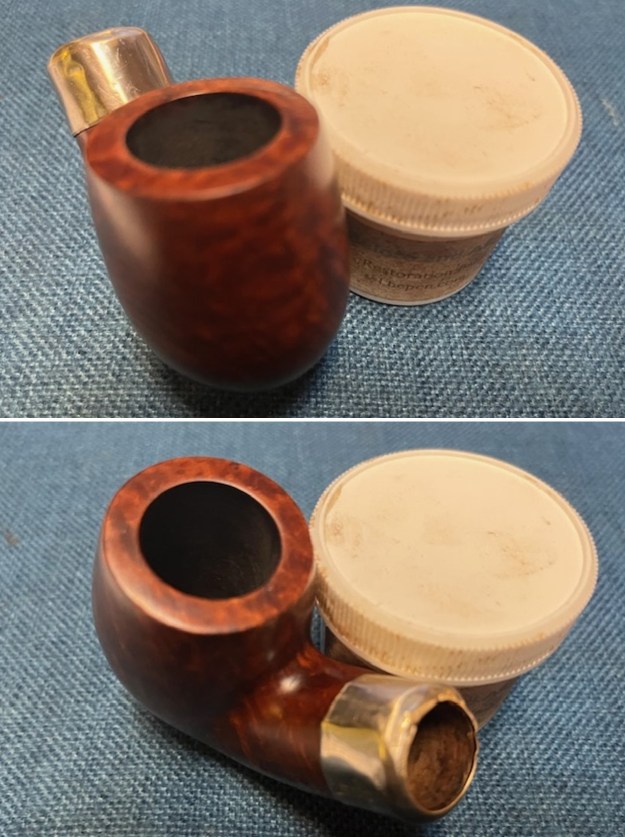
 Jeff took close up photos of the bowl and rim top to show the condition of the bowl and the rim top. You can also see the lava on the rim top, inner edge and the cake in the bowl.
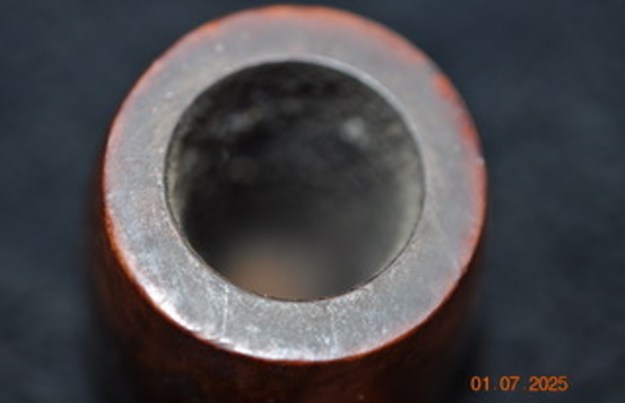
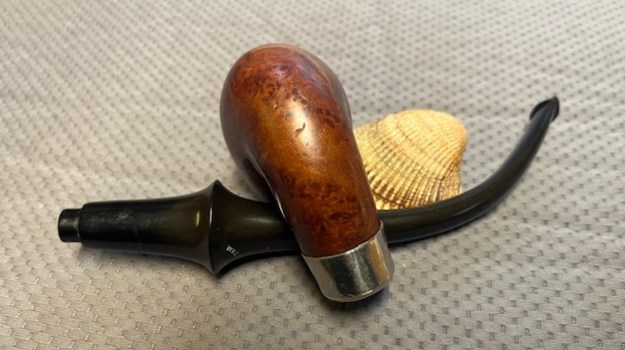
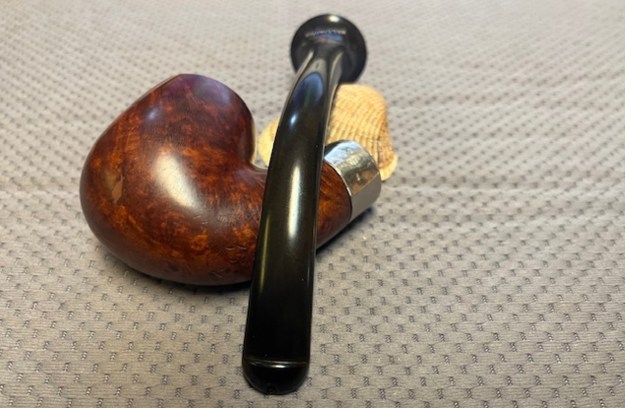
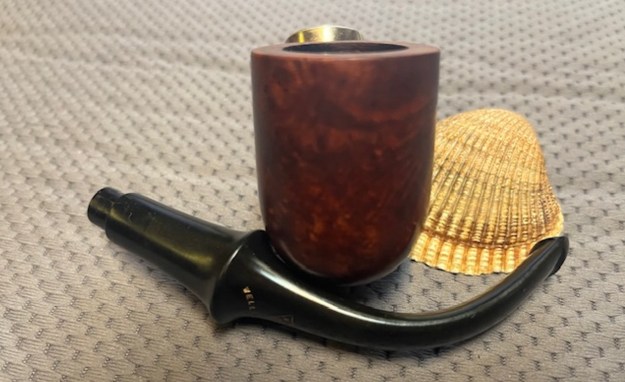
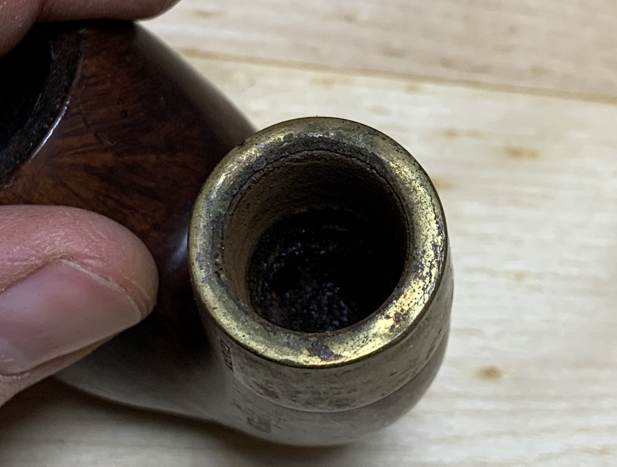
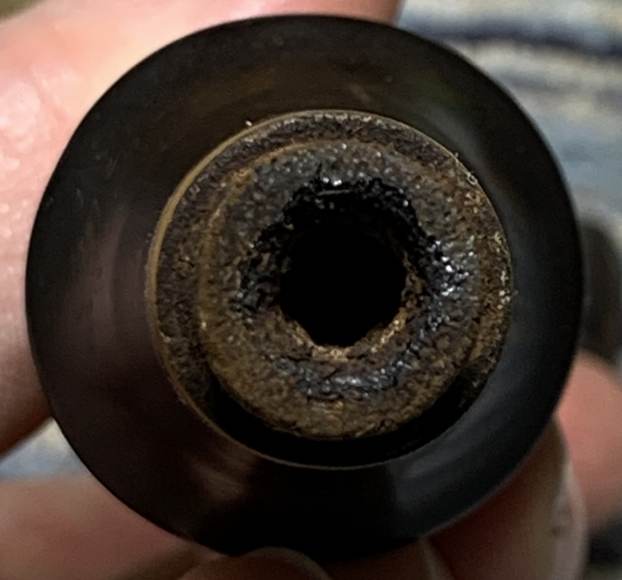
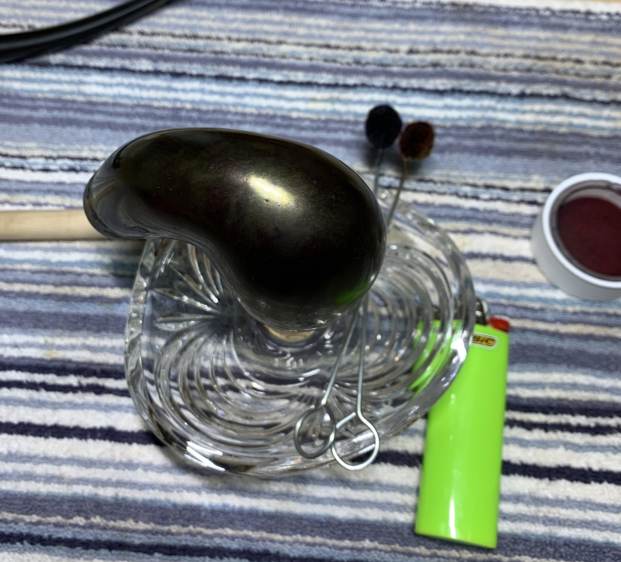
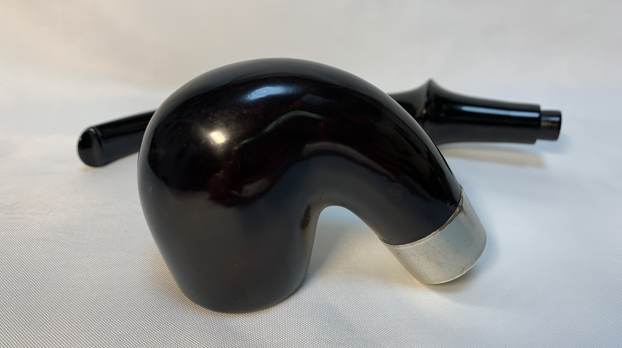
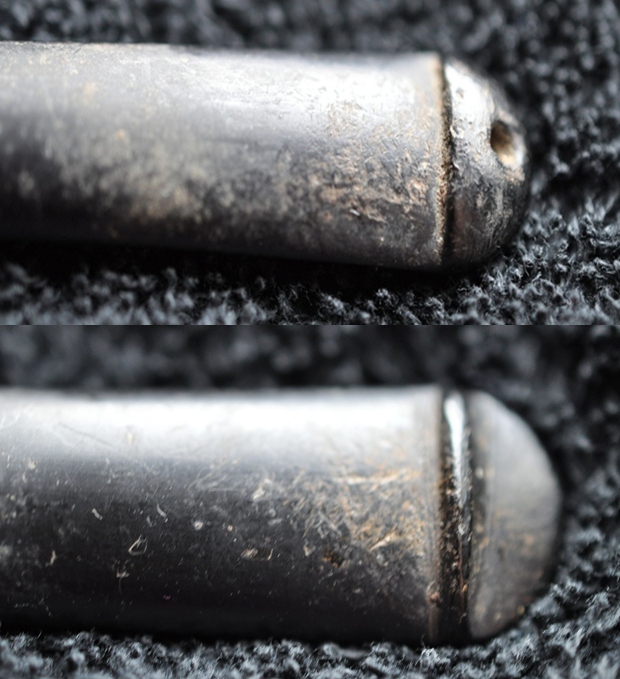
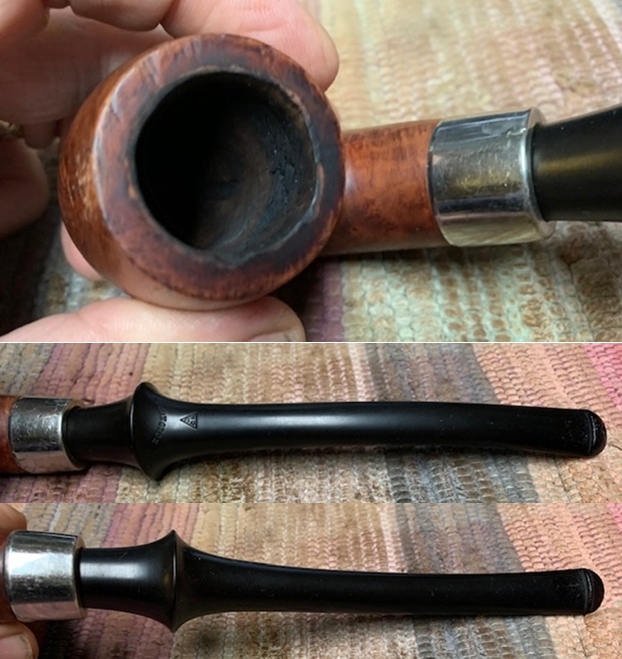
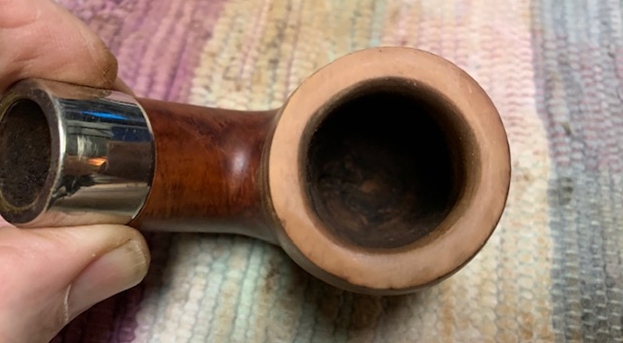
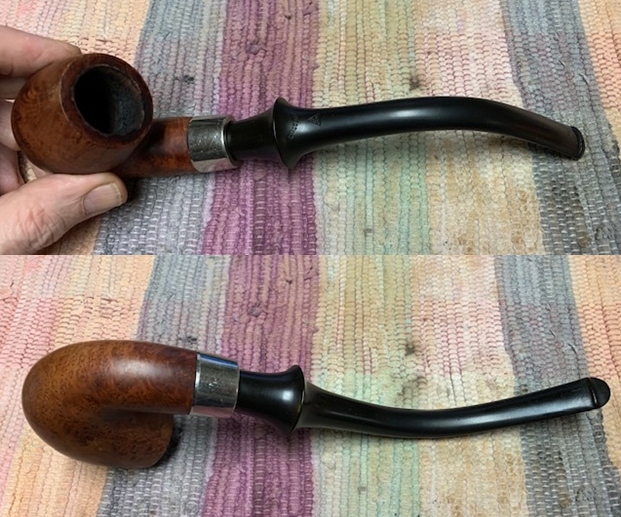
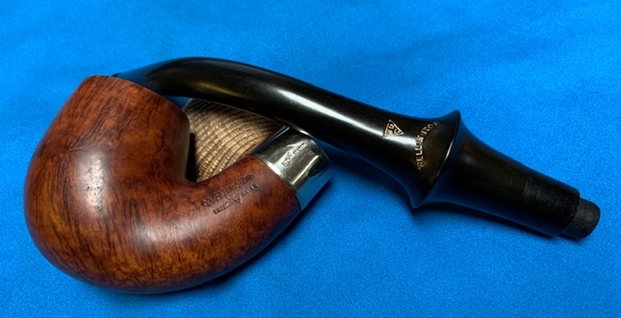
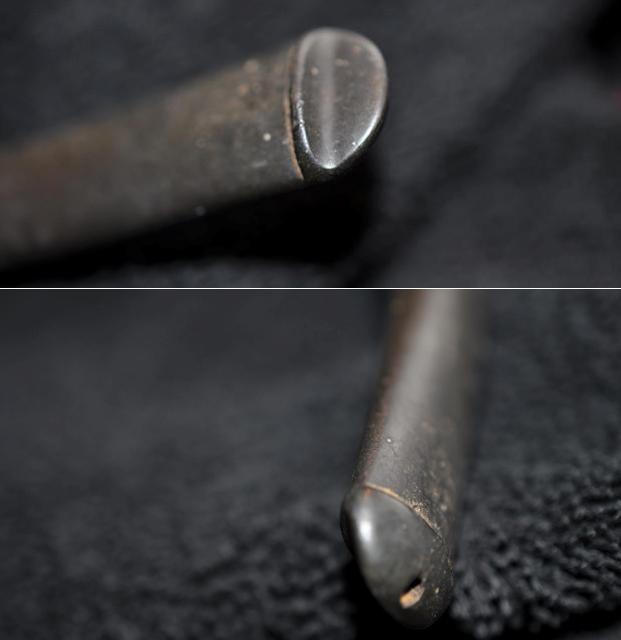
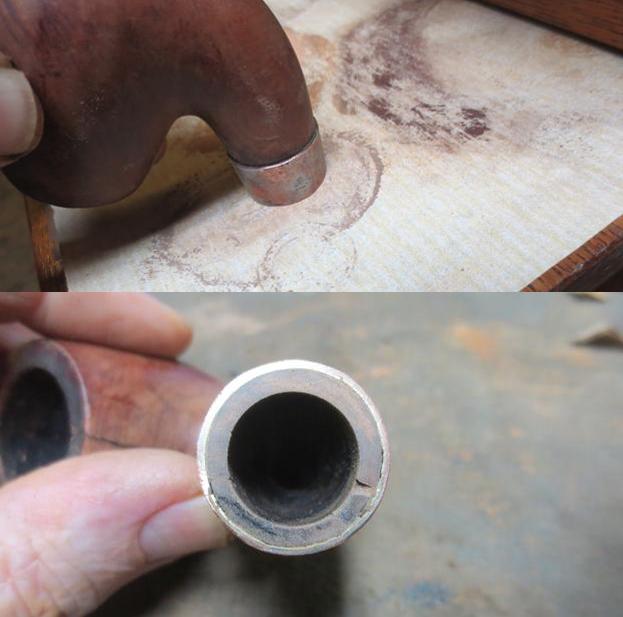
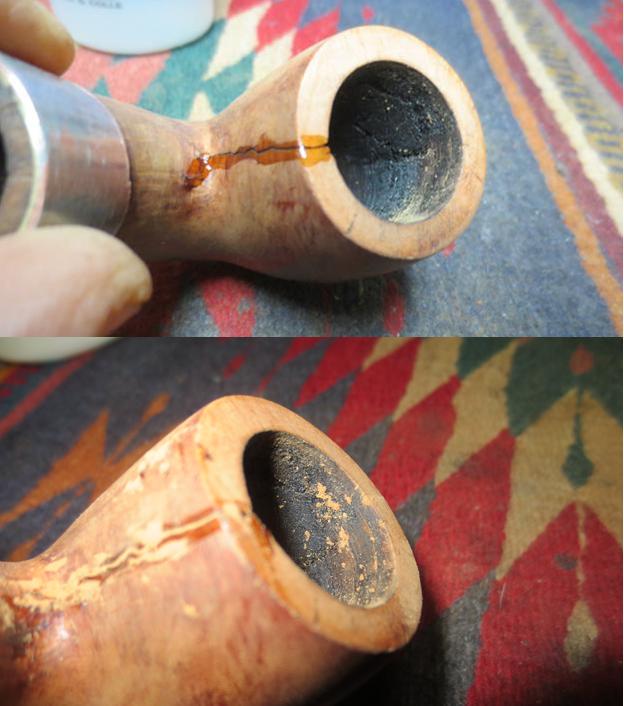
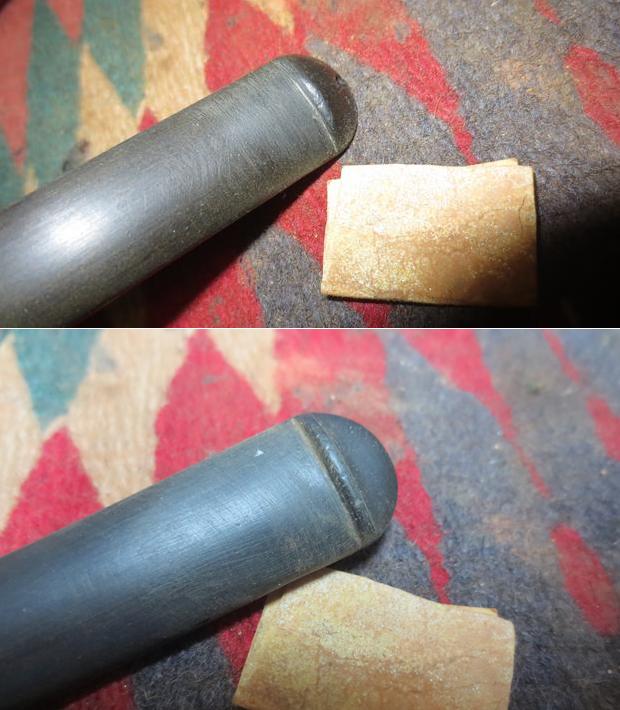
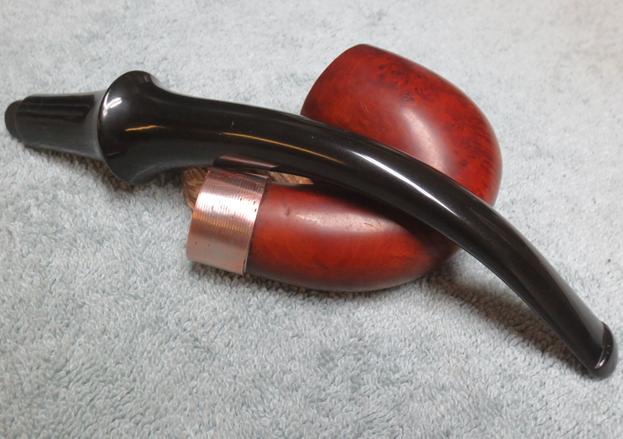
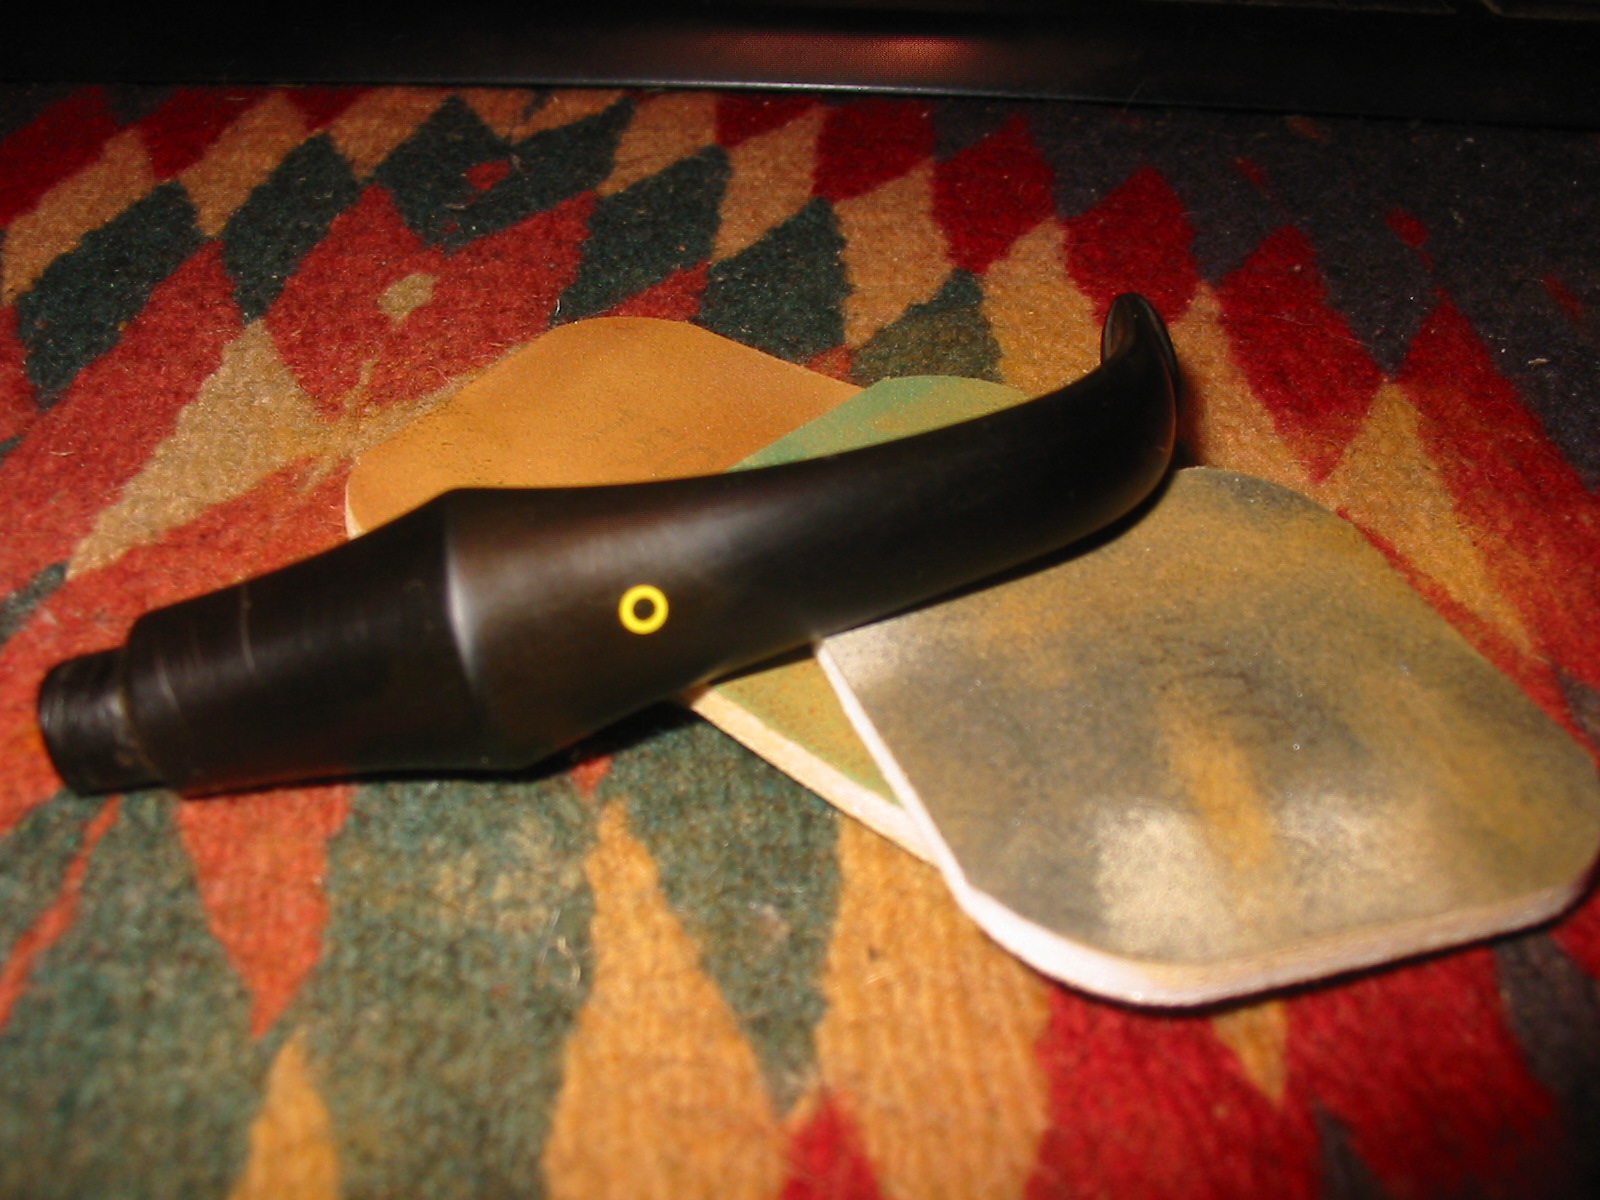
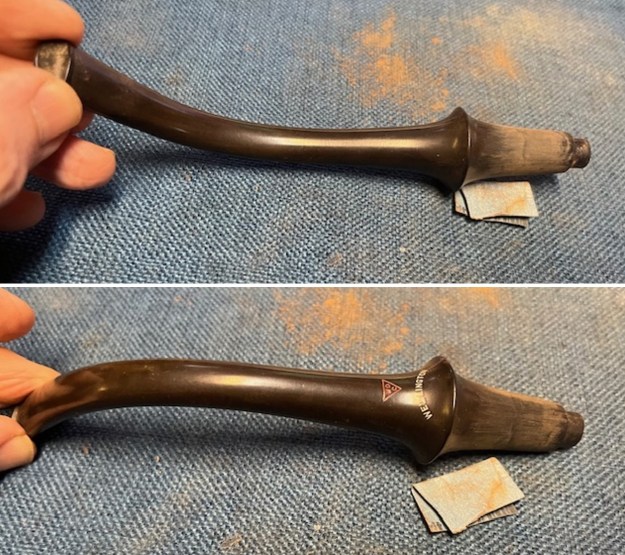
 He also took photos of the nickel ferrule to show the condition of the metal. You can see the nicks and dents in the metal sides and shank end.
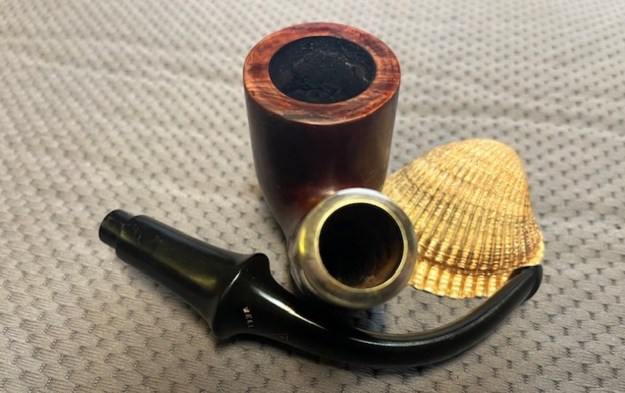
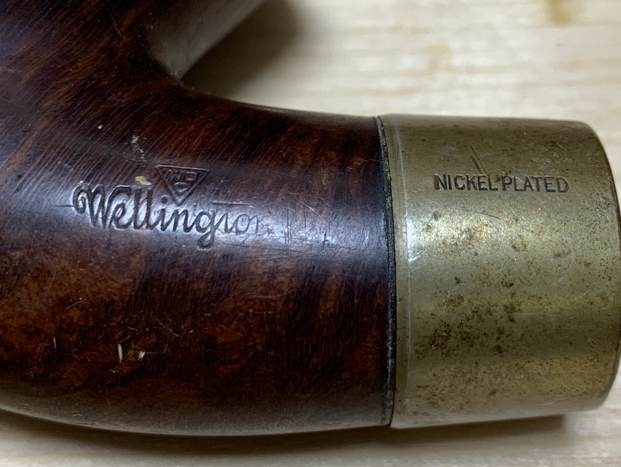
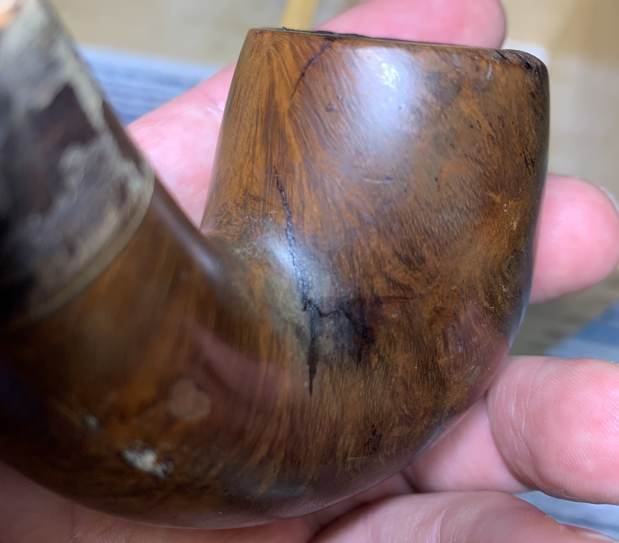
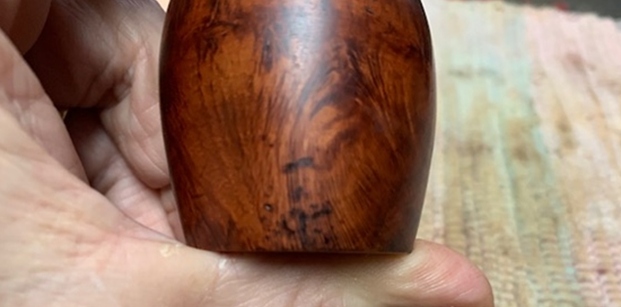
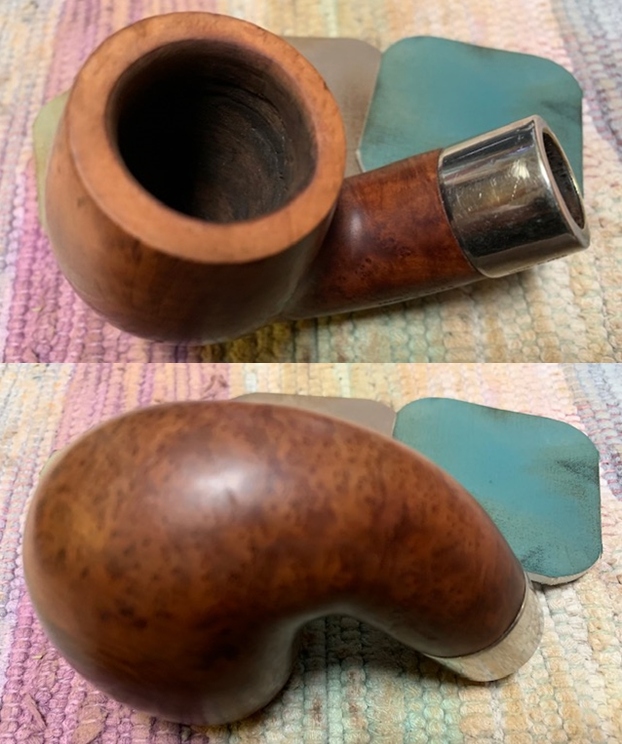
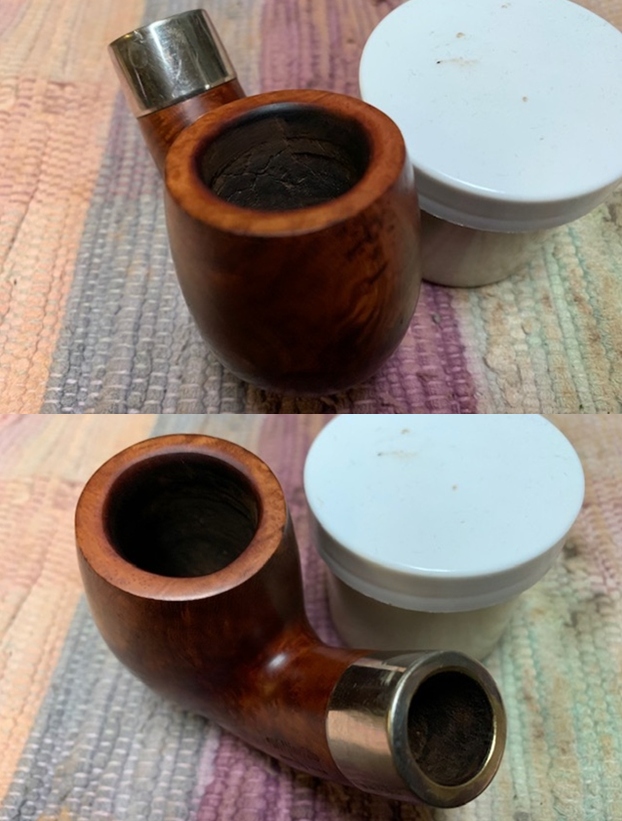
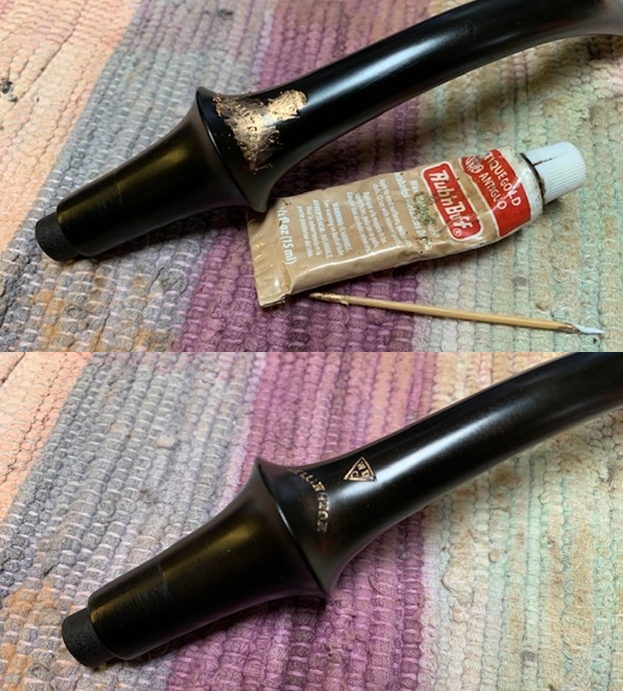
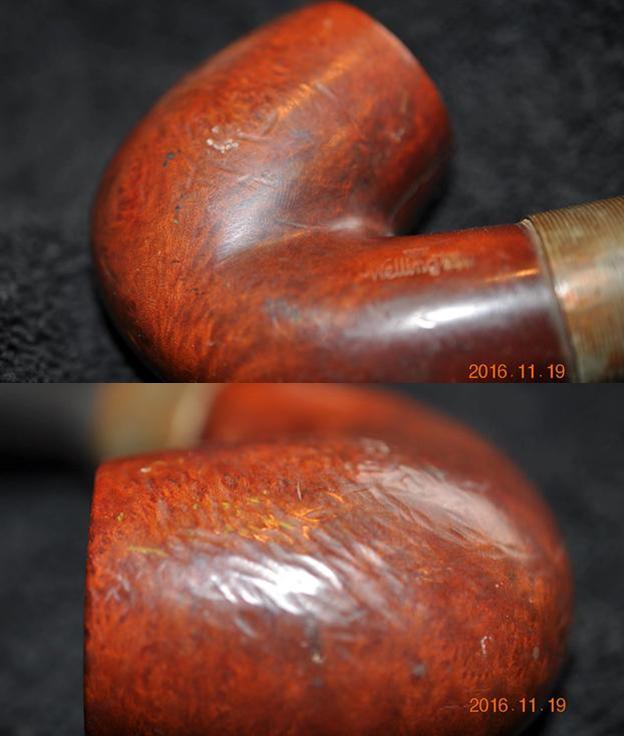
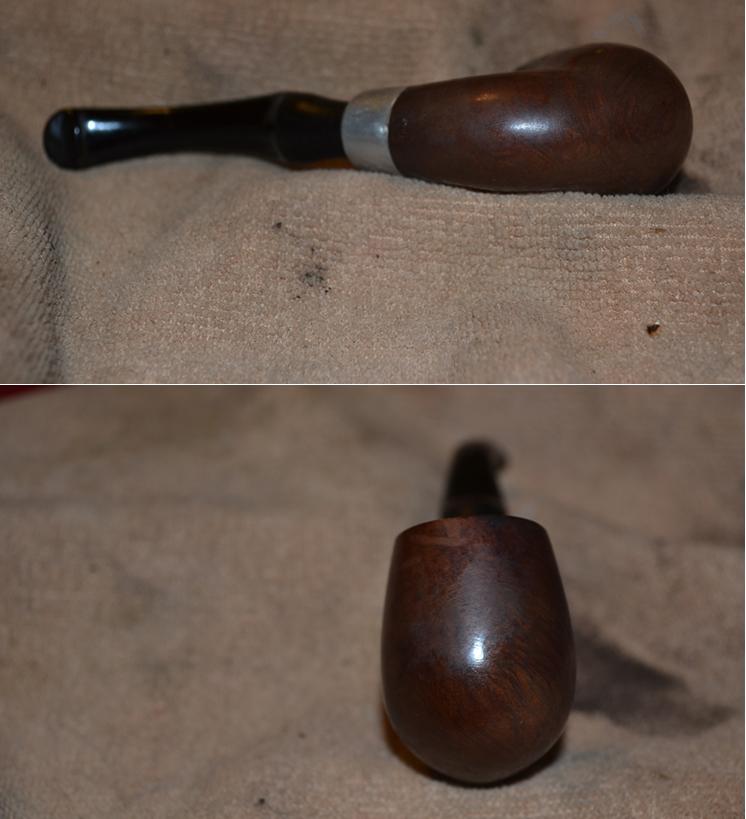
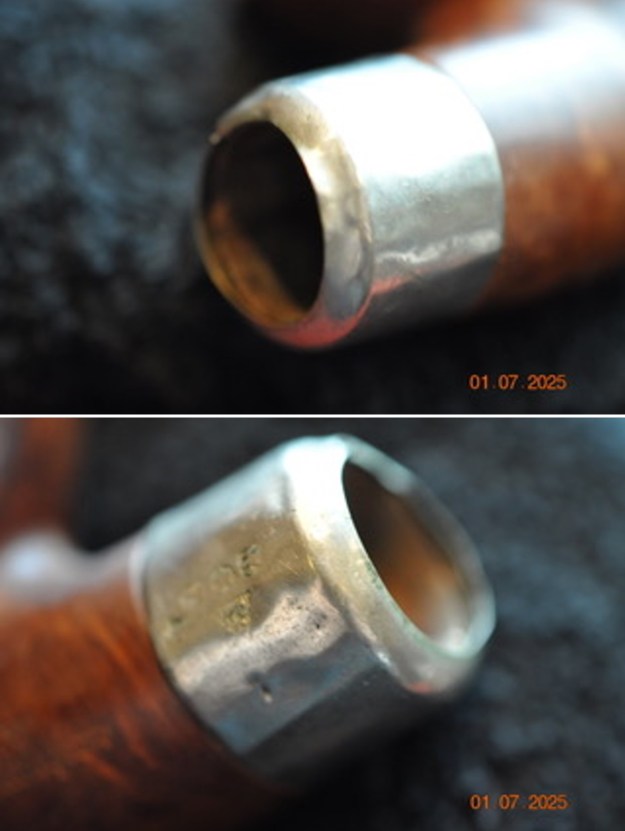 He took a photo of the stamping on the left side of the shank. It is clear and readable as noted above. The second photo shows the nicks and scratches in the finish on the bowl heel.
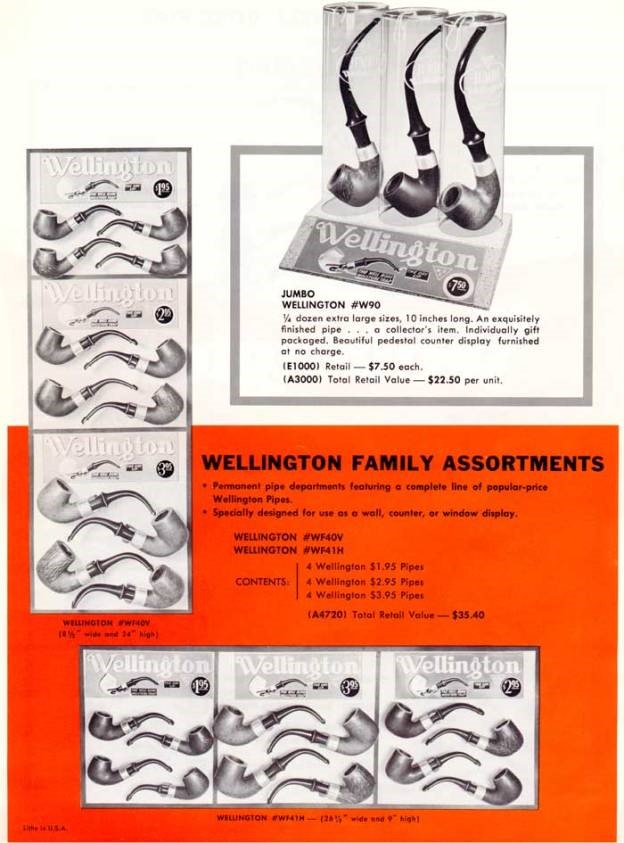
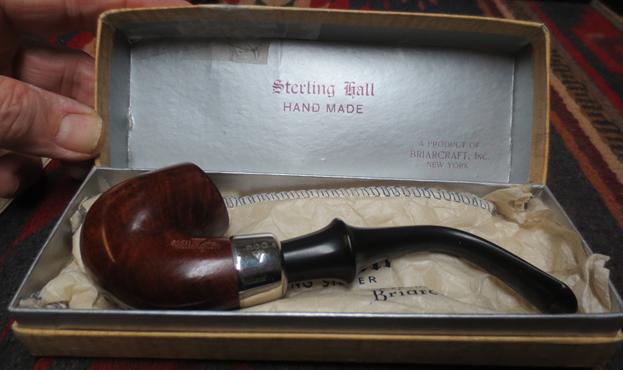
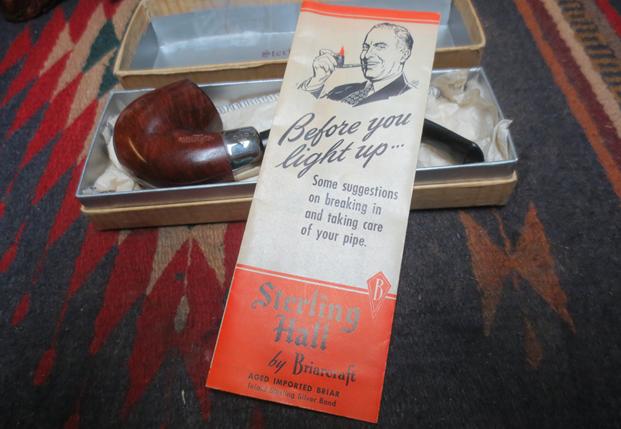
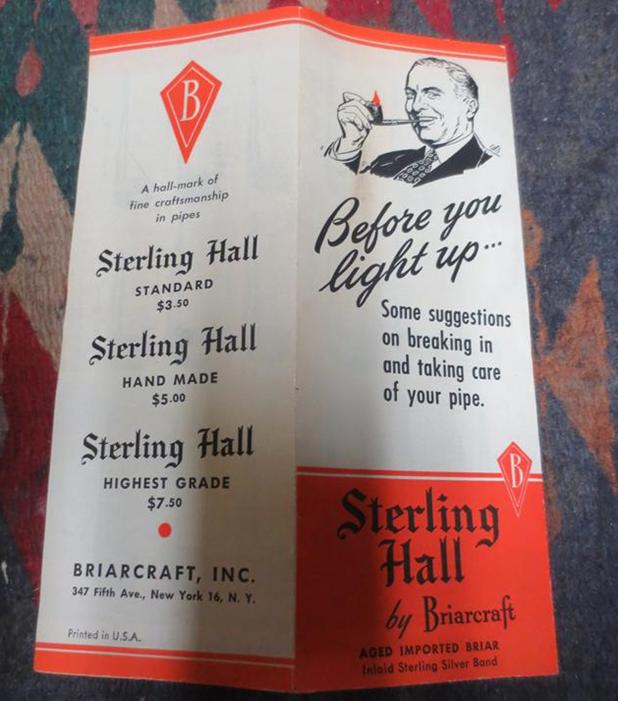
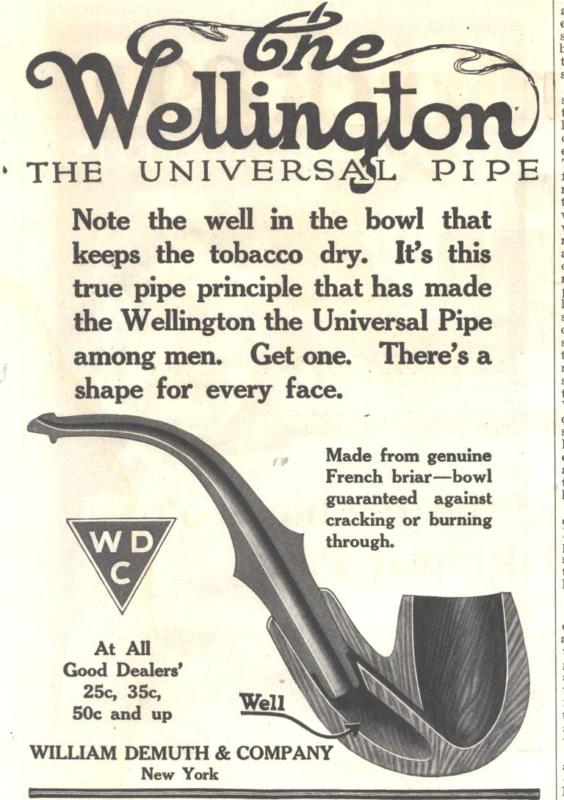
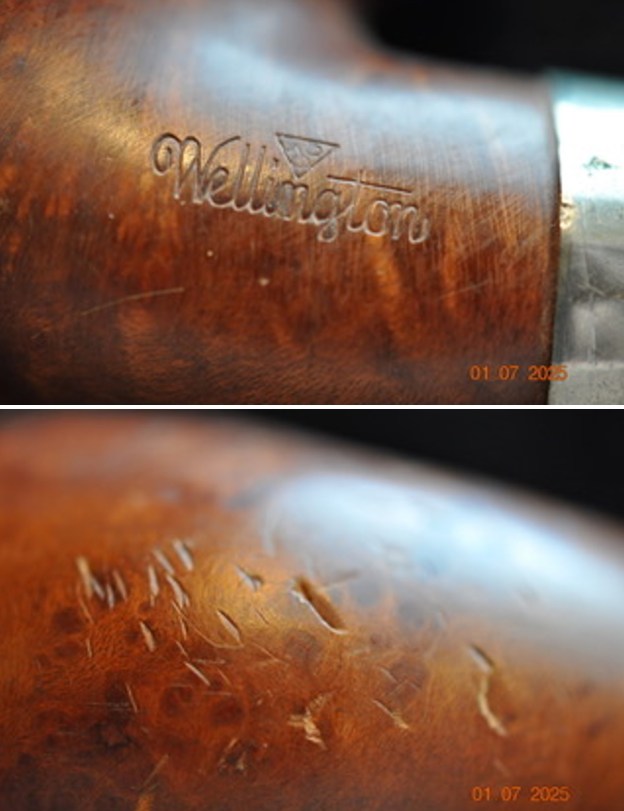 I turned to Pipedia’s article on WDC (William Demuth) pipes. It is a great read in terms of the history of the brand (https://pipedia.org/wiki/William_Demuth_Company). I have included one of the advertising flyers on the Wellington Jumbo below. Look at the price of this pipe when was sold.
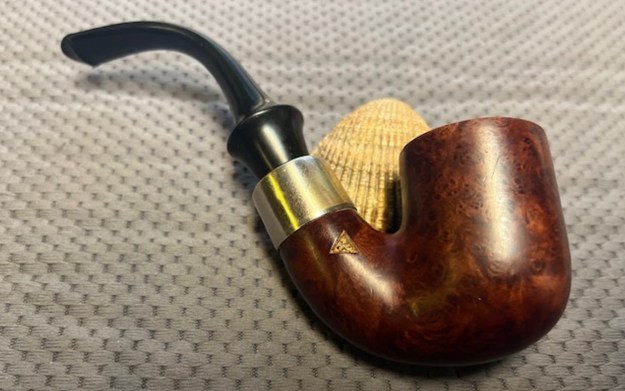
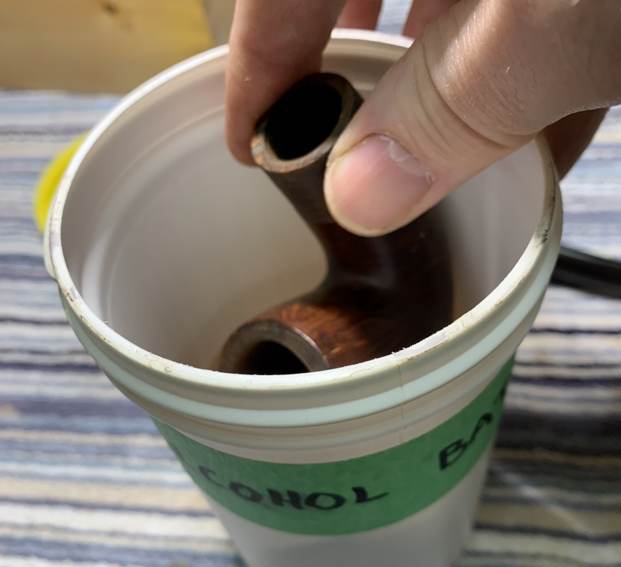
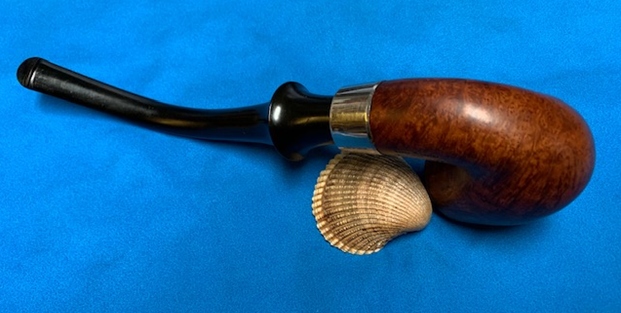
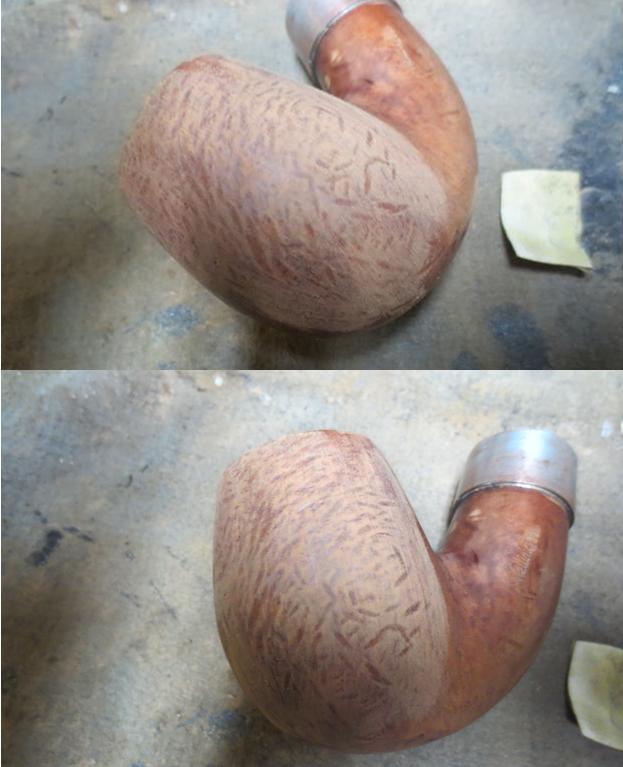
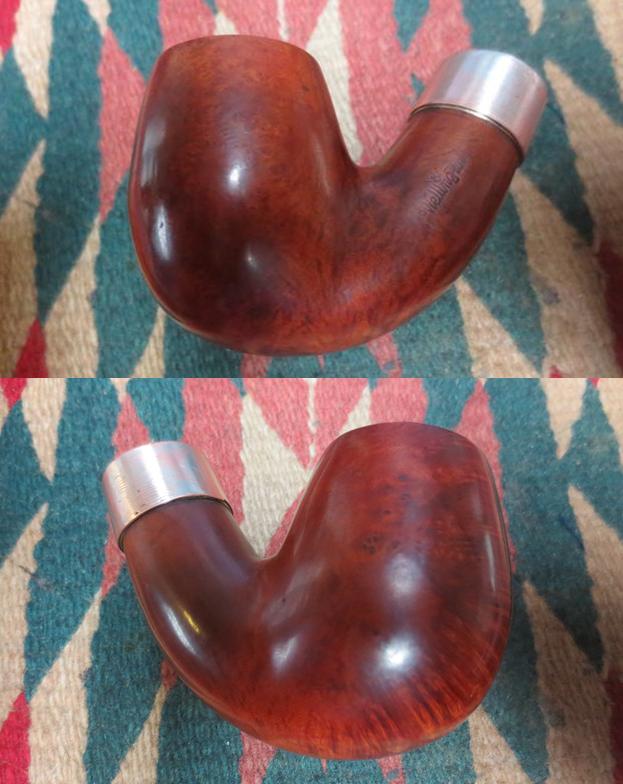
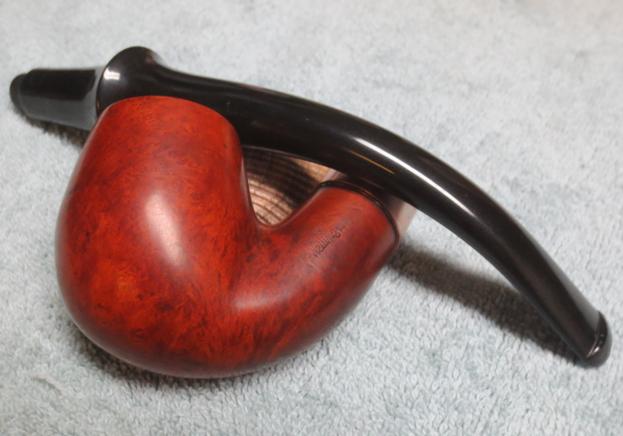
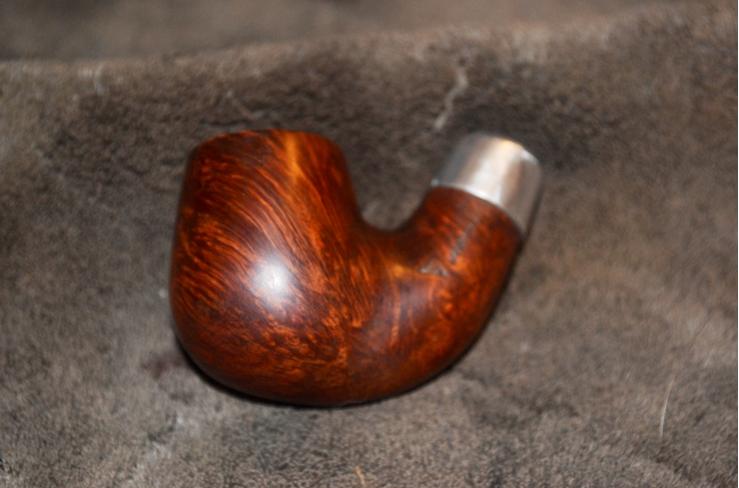
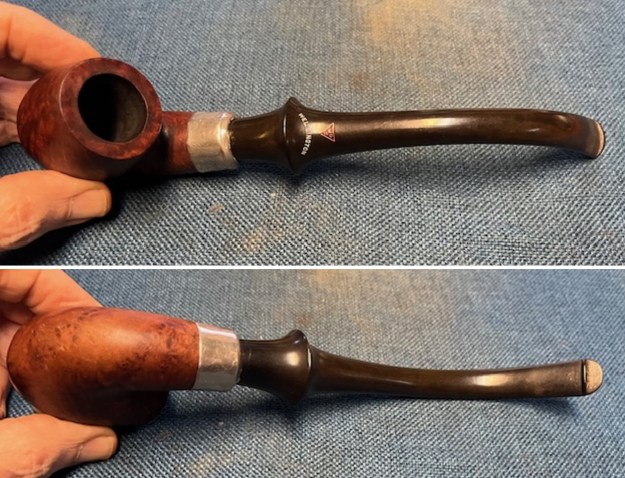
 Armed with the information above, I turned my attention to the pipe itself. Jeff had cleaned the pipe with his usual penchant for thoroughness that I really appreciate. He reamed it with a PipNet pipe reamer and cleaned up the reaming with a Savinelli Fitsall Pipe Knife. He scrubbed out the internals with alcohol, pipe cleaners, shank brushes and cotton swabs until the pipe was clean. He scrubbed the exterior of the bowl with Murphy’s Oil Soap and a tooth brush to remove the grime and grit on the briar and the lava on the rim top. The finish looks very good with good looking grain around the bowl and shank. I went through my stems and found a relatively new Wellington stem that was in excellent condition. I have a few here that I have set aside for use on the bowls that come across our path. I fit it in the shank and took photos of the bowl with its new stem. Have a look below.
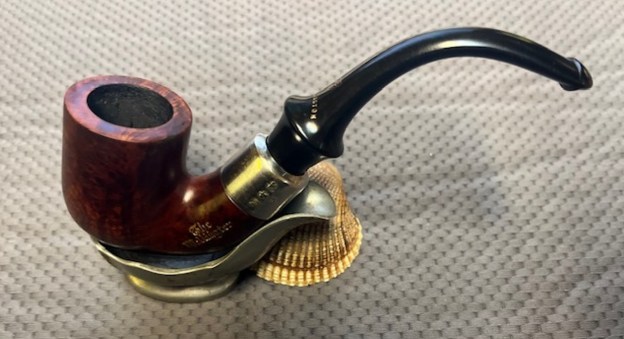
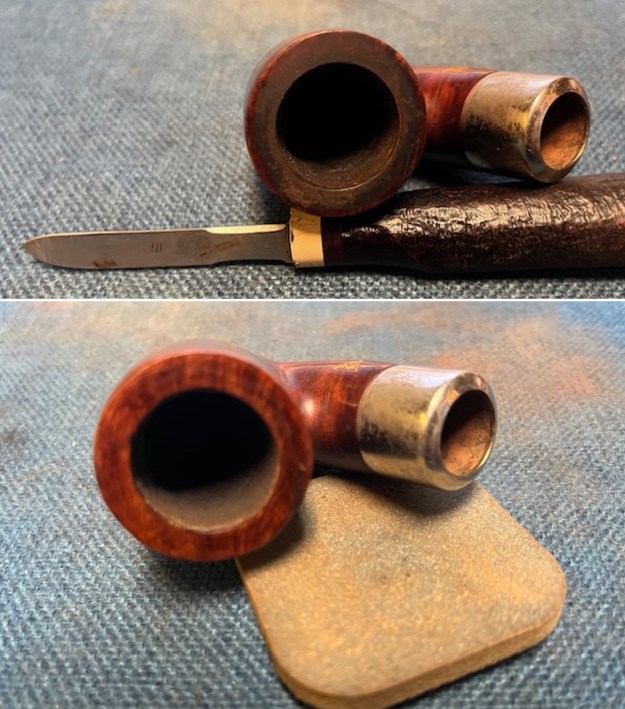
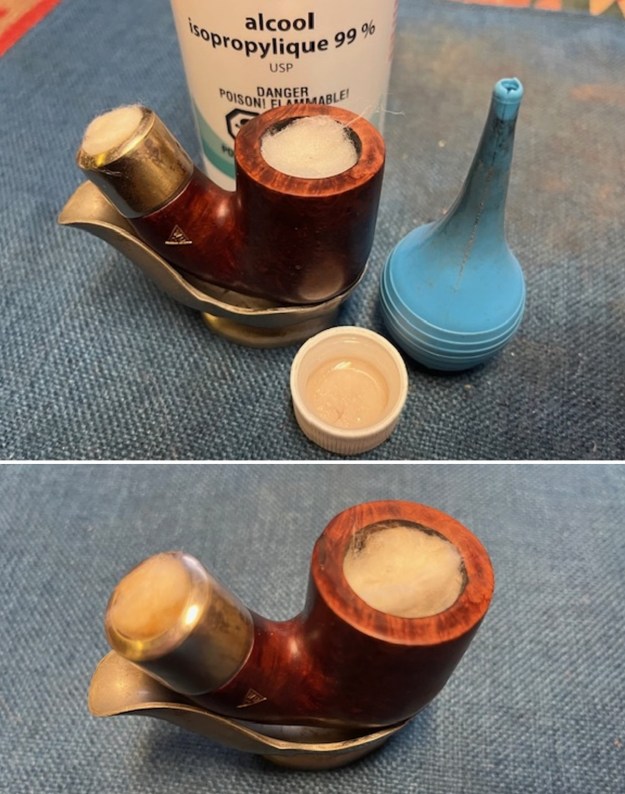
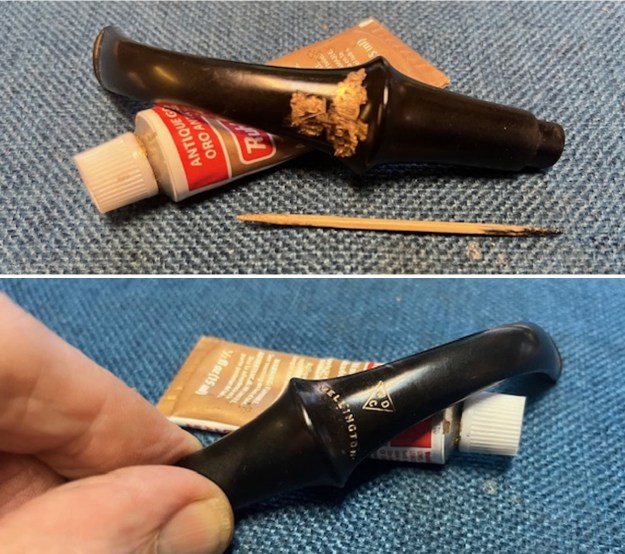
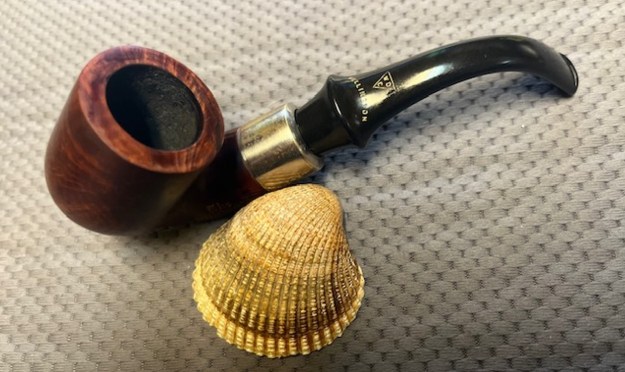
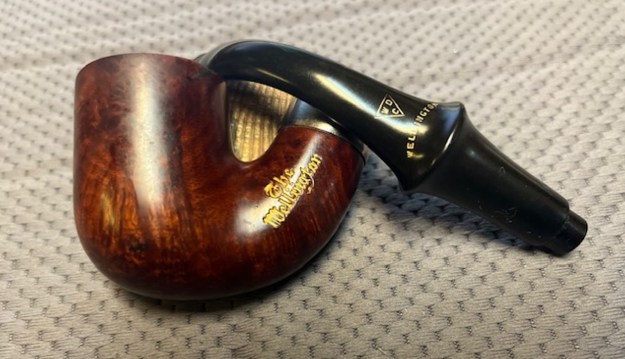
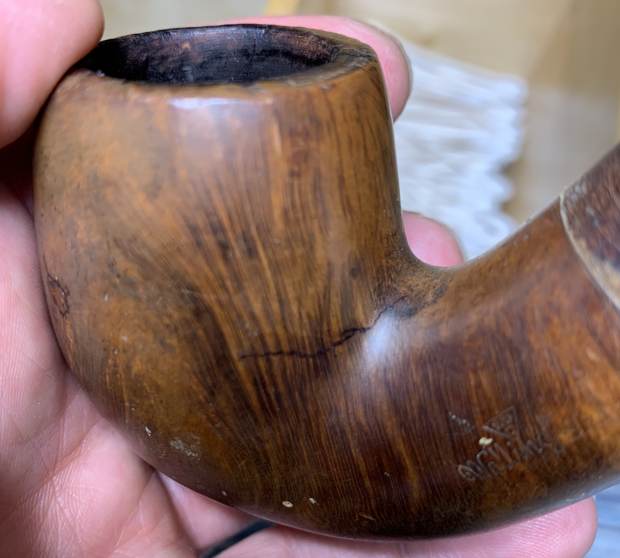
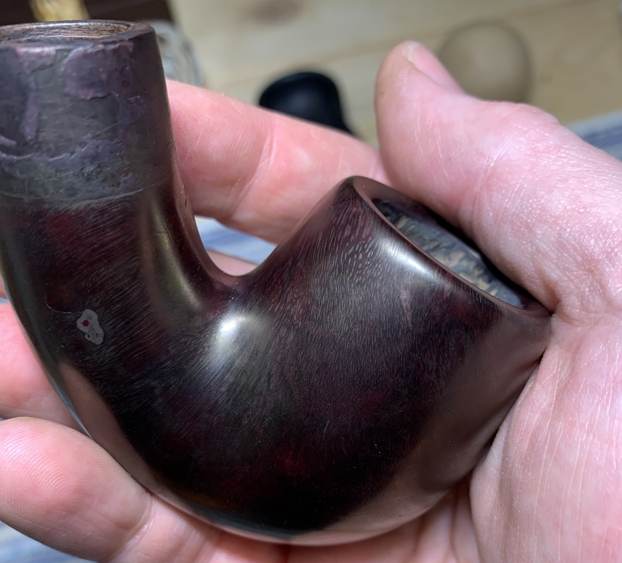
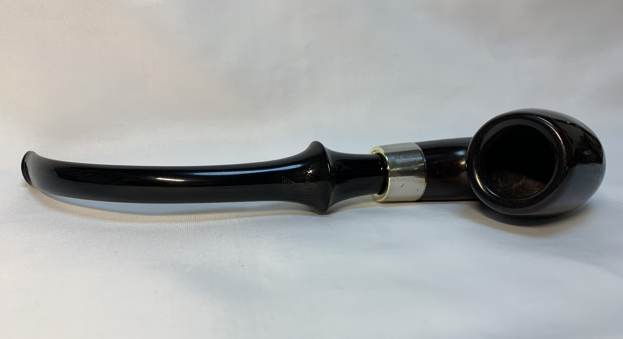
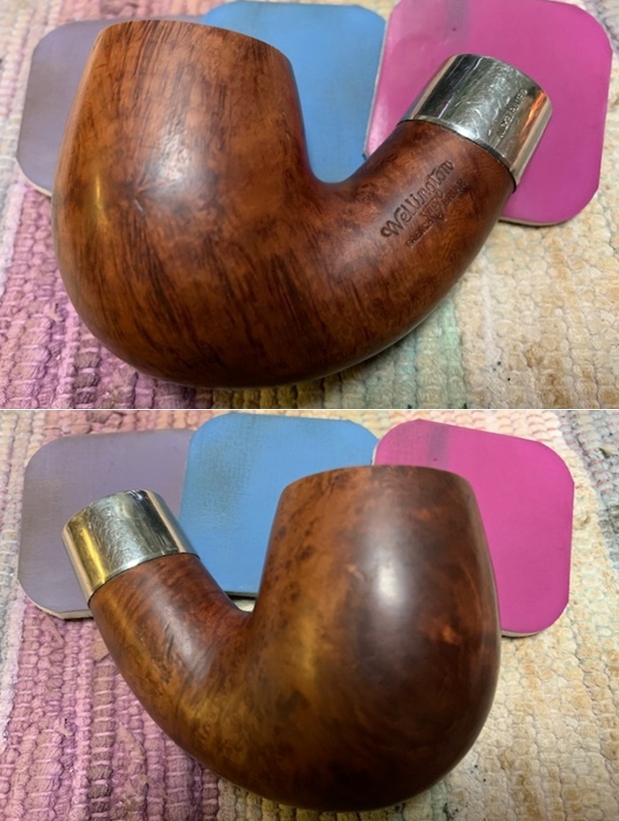
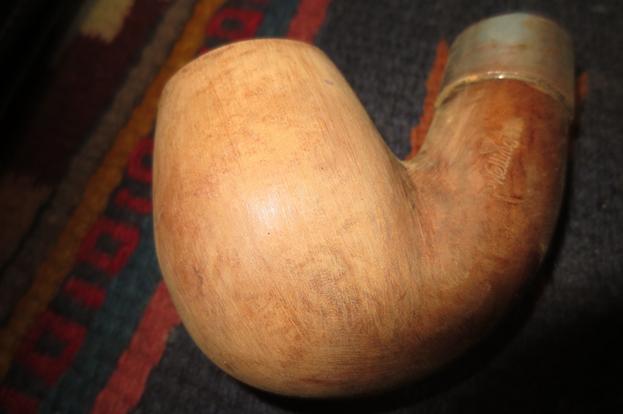
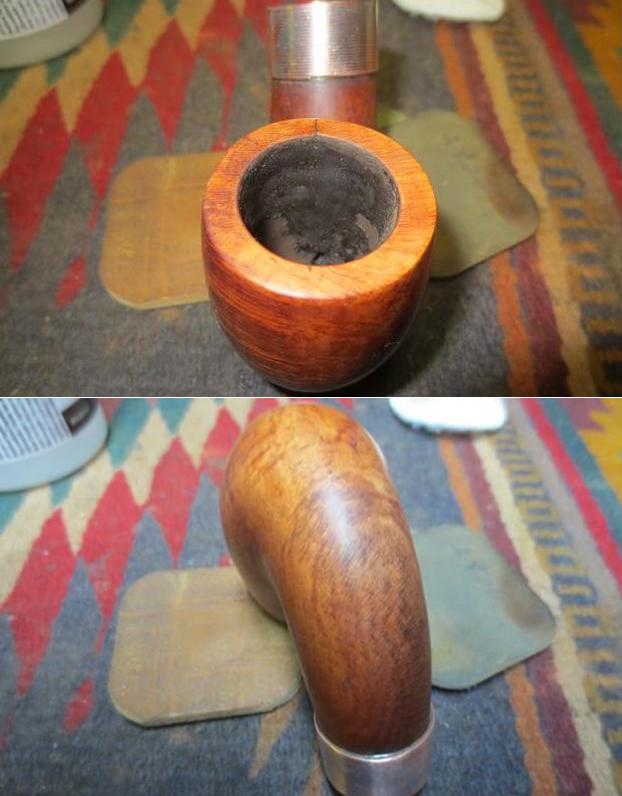
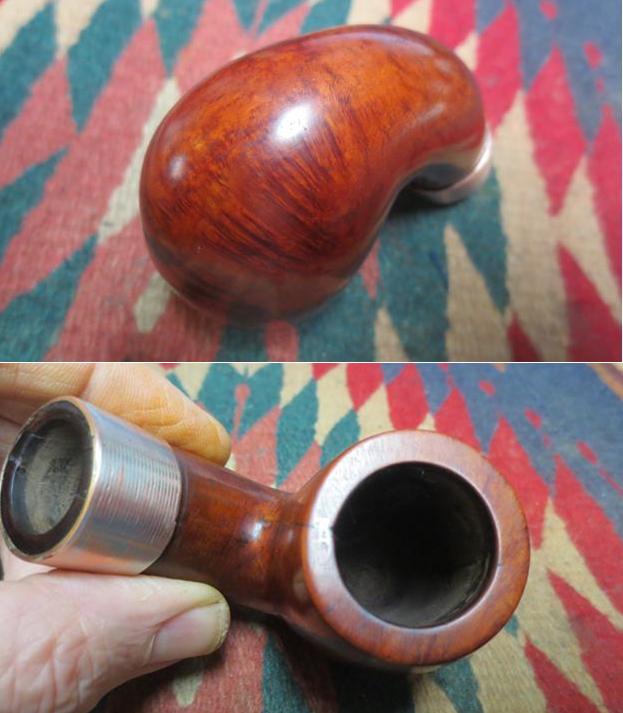
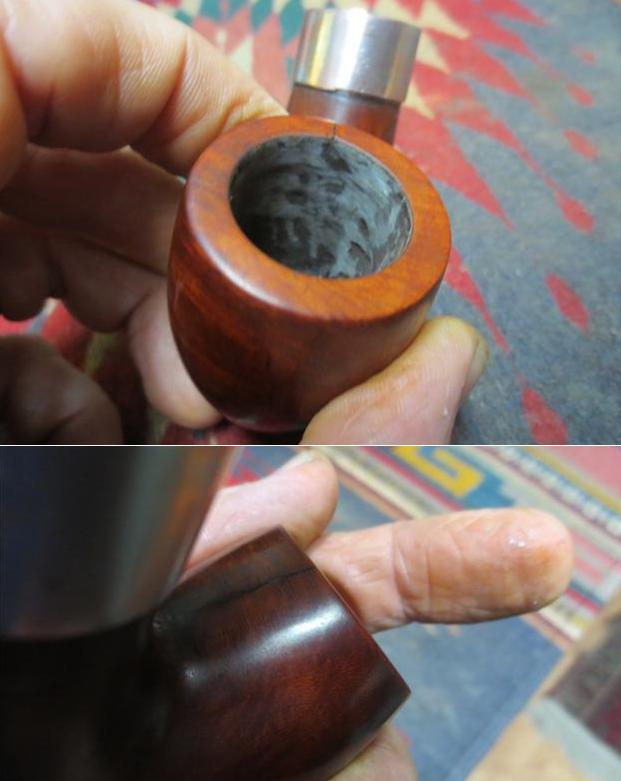
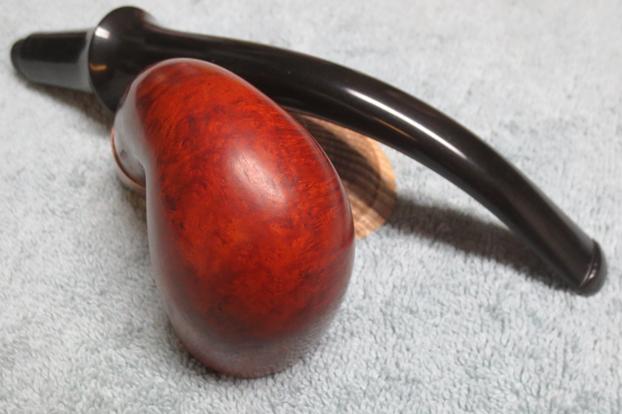
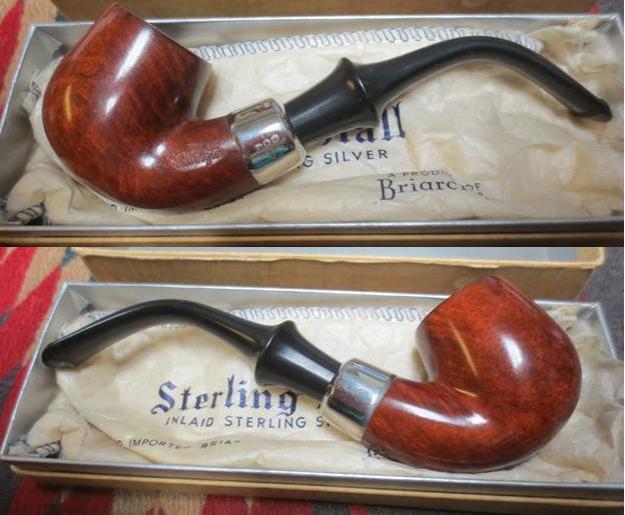
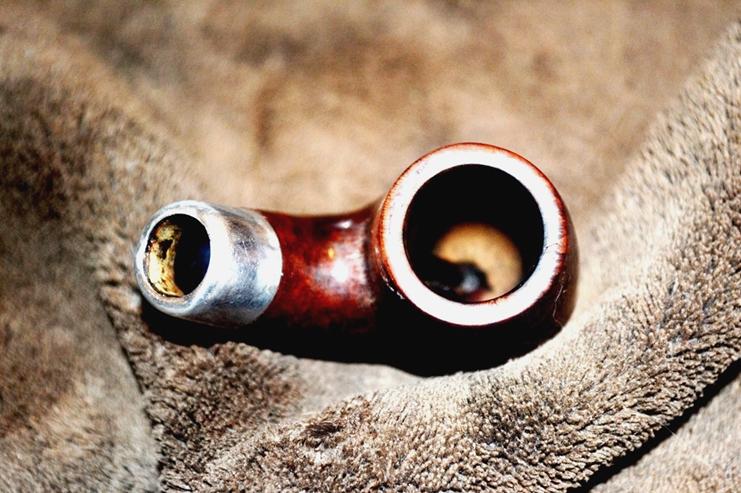
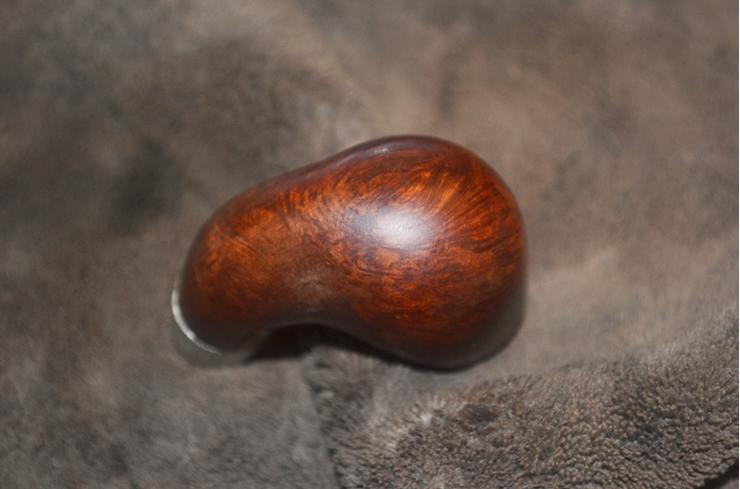
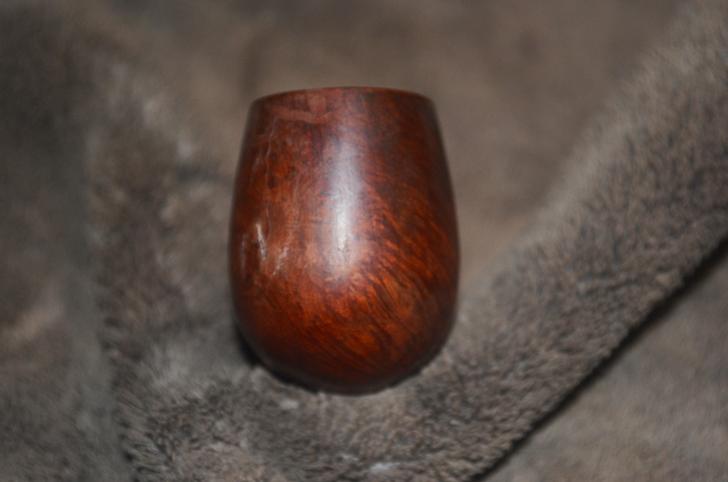
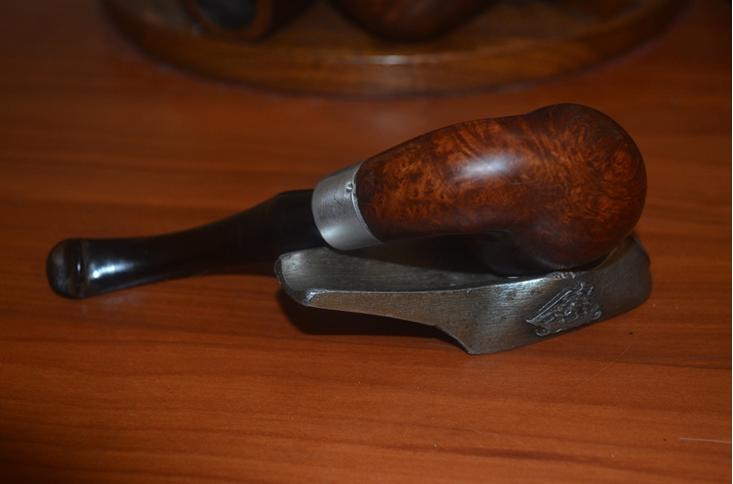
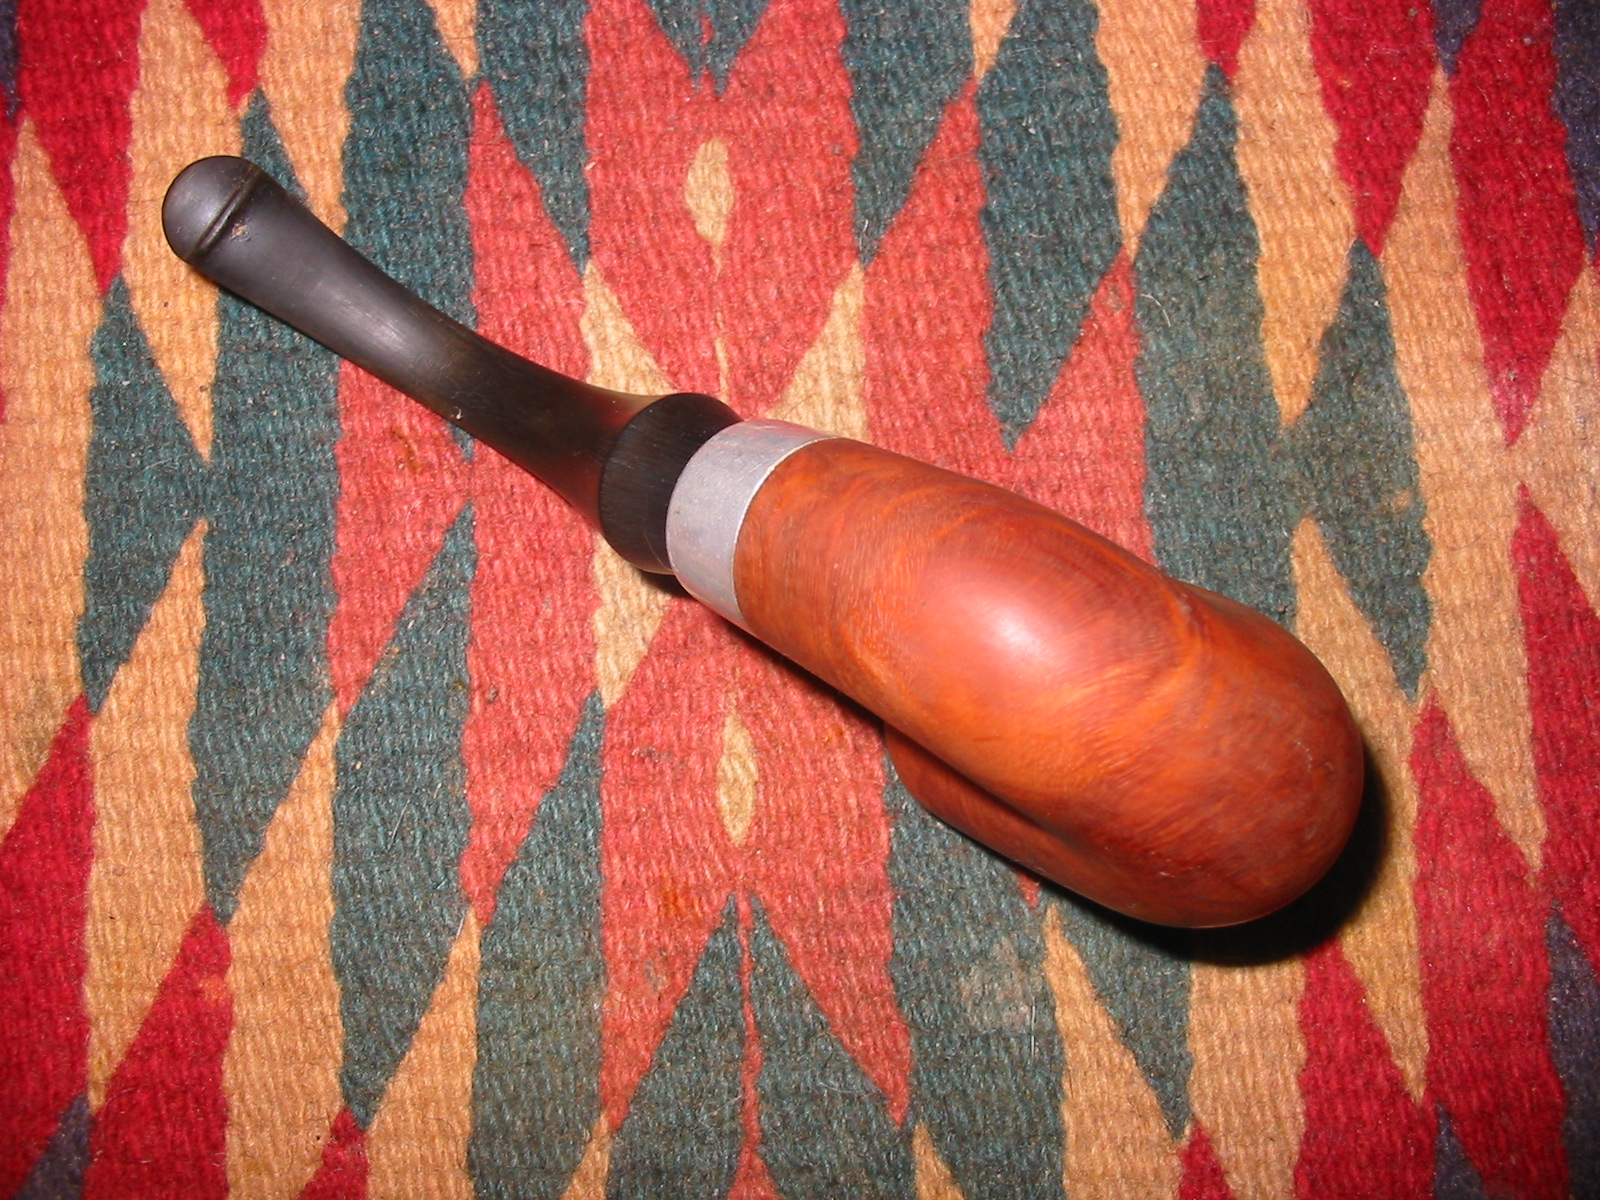
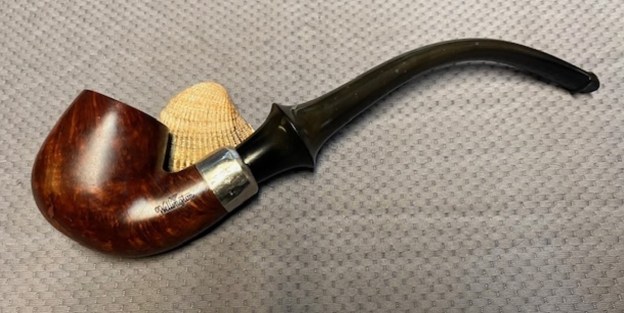
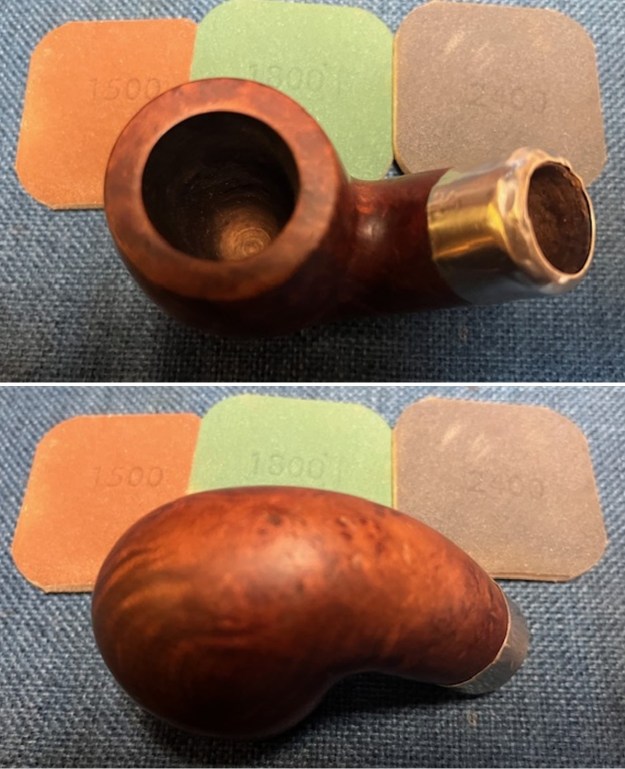
 I took close up photos of the bowl, rim top and stem to show how clean the pipe was. The bowl was clean and the rim top and the inner edge looked good. The stem was clean on the outside but I would need to clean the internals. There was light tooth chatter on both sides and some spots of oxidation.
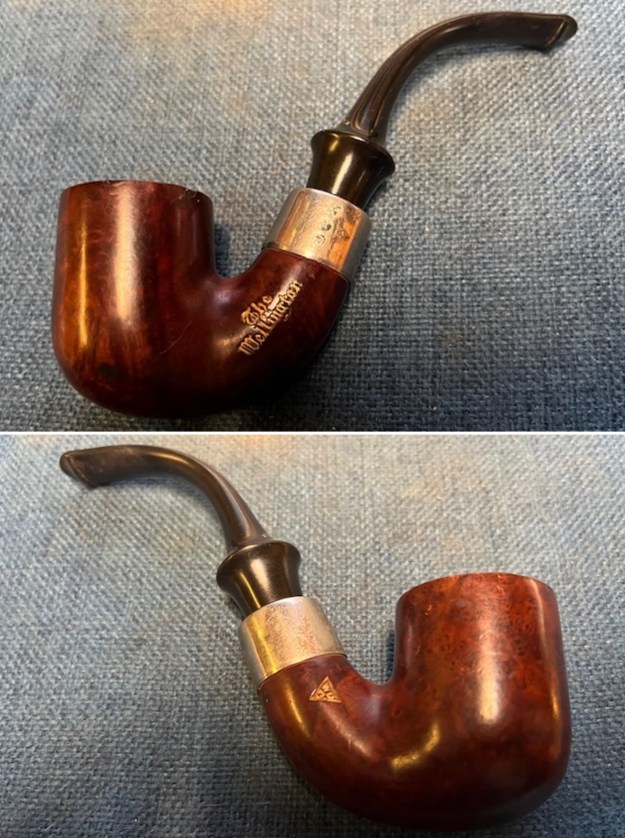
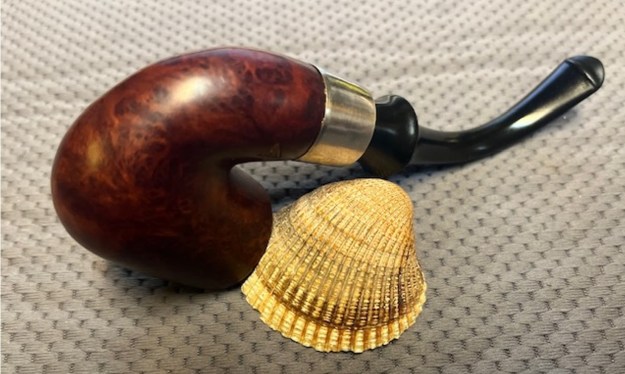
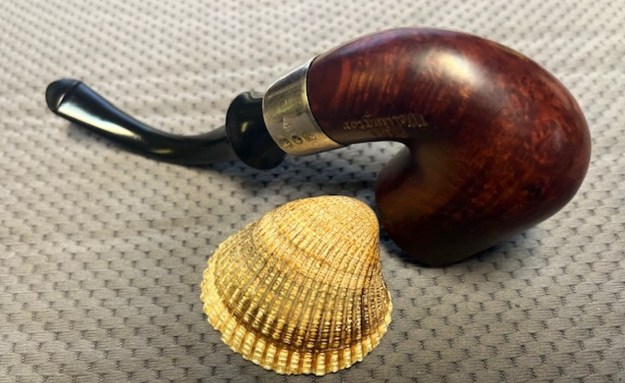
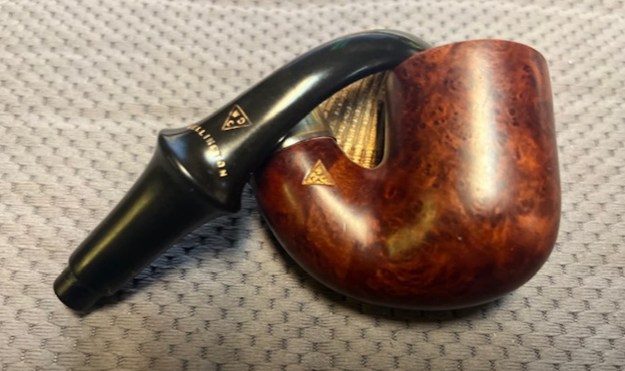
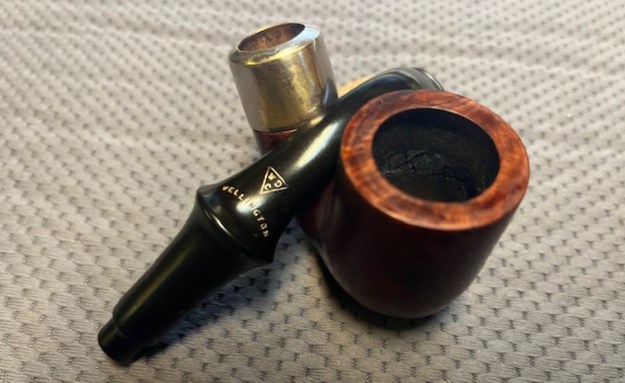
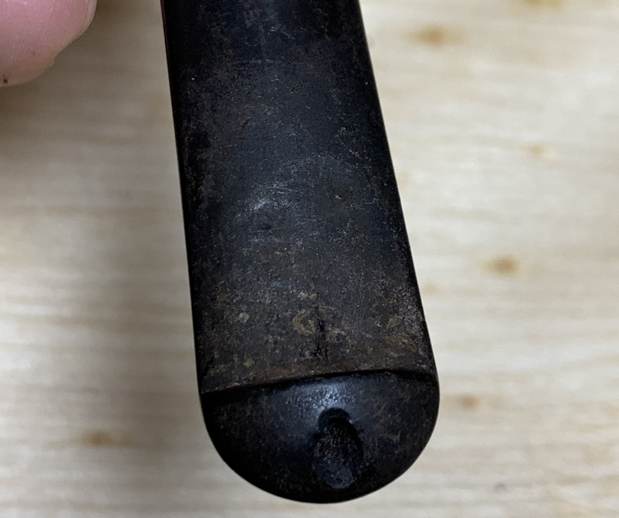
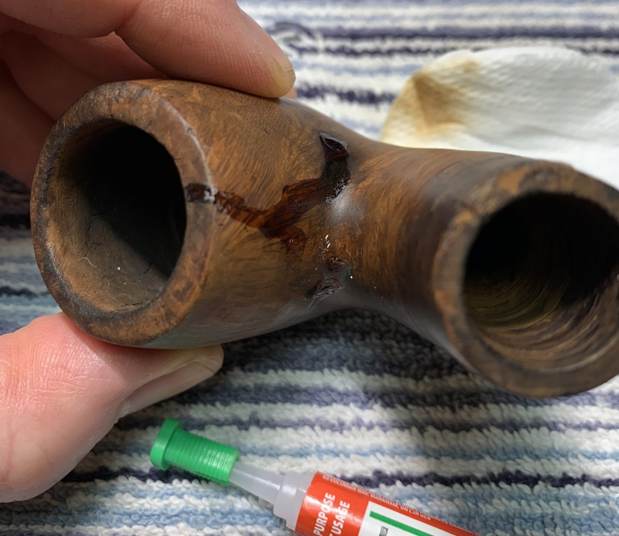
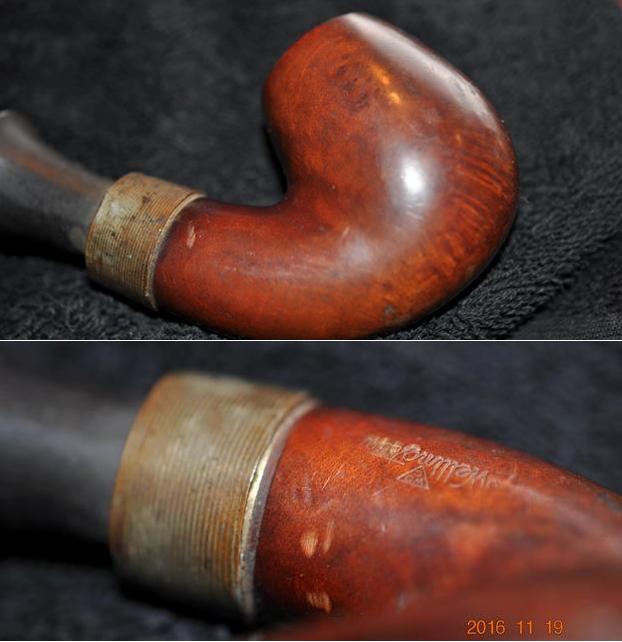
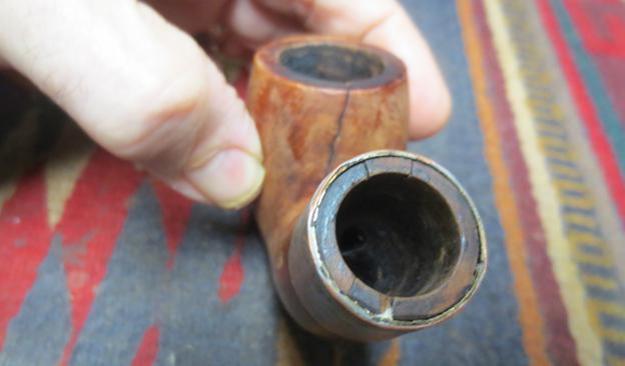
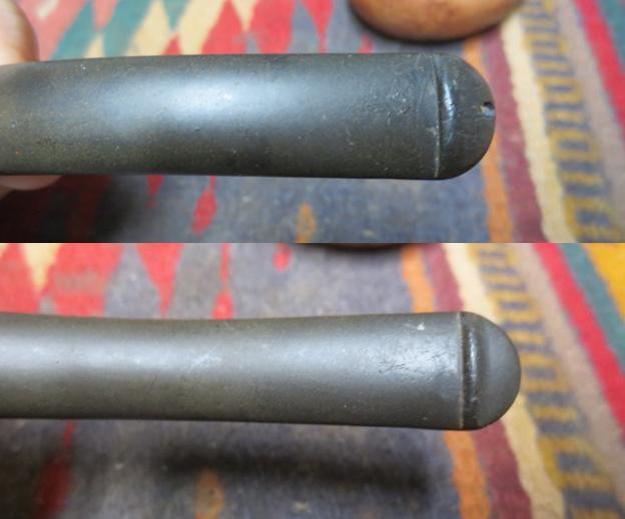
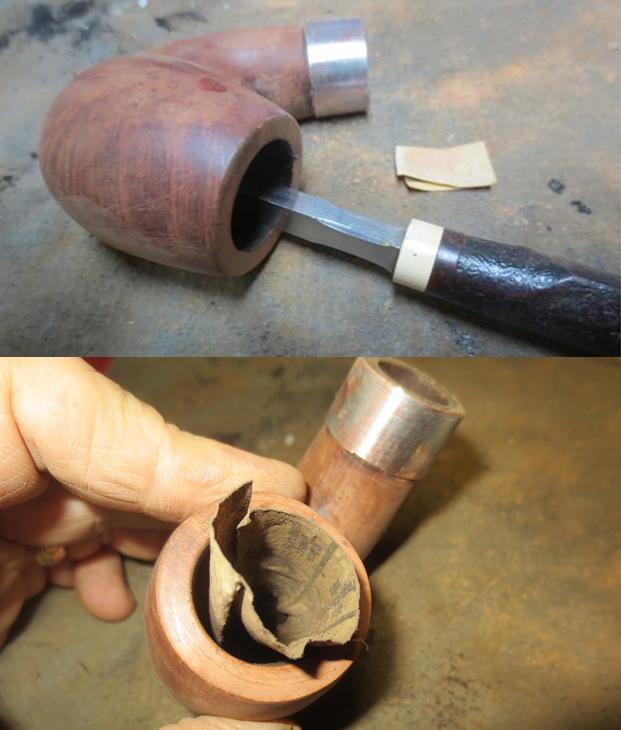
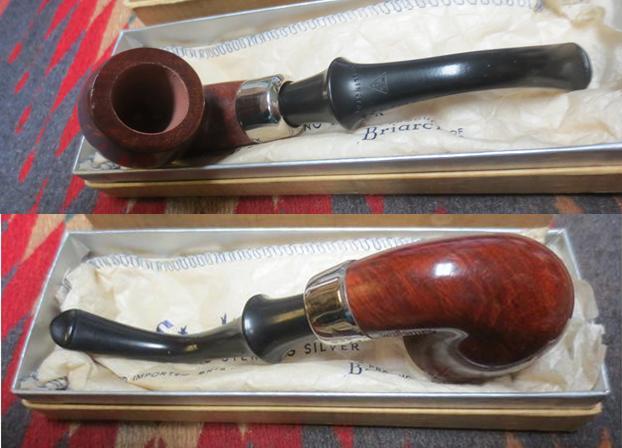
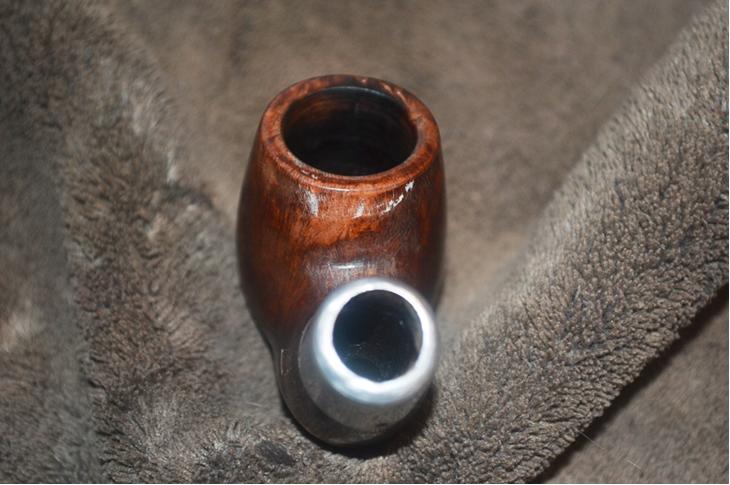
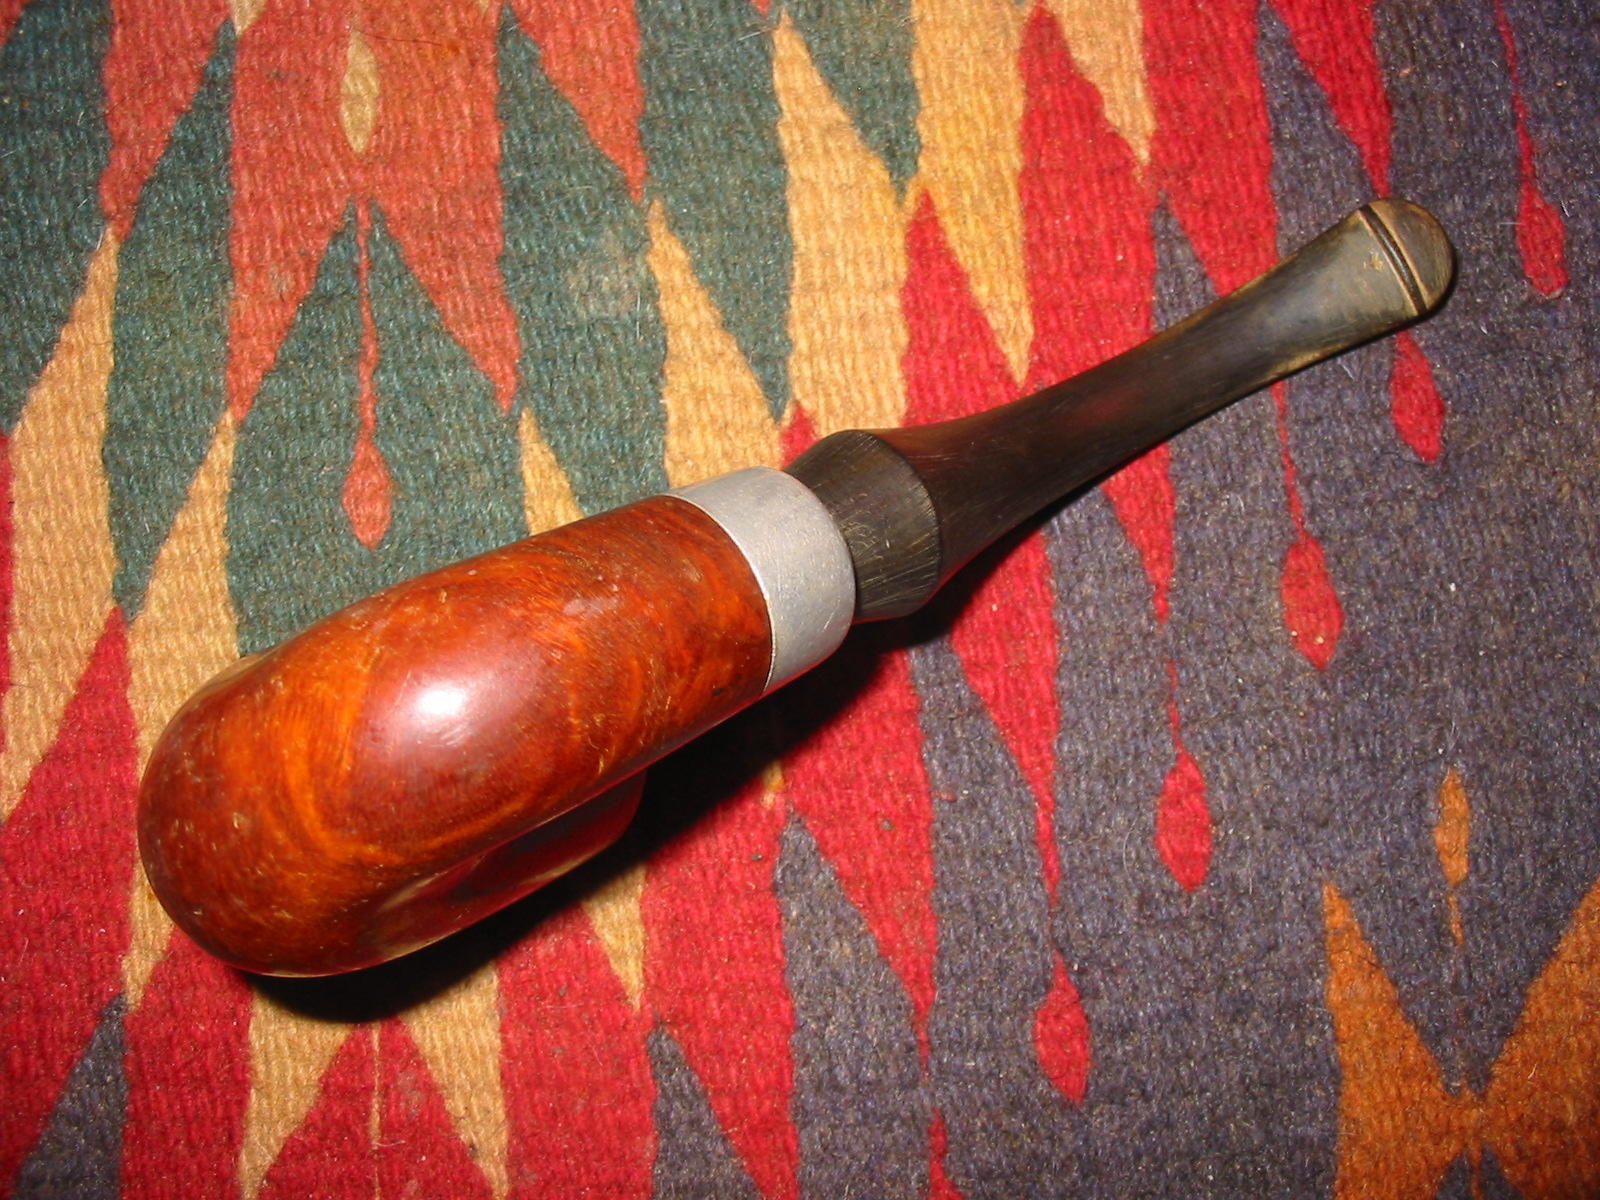
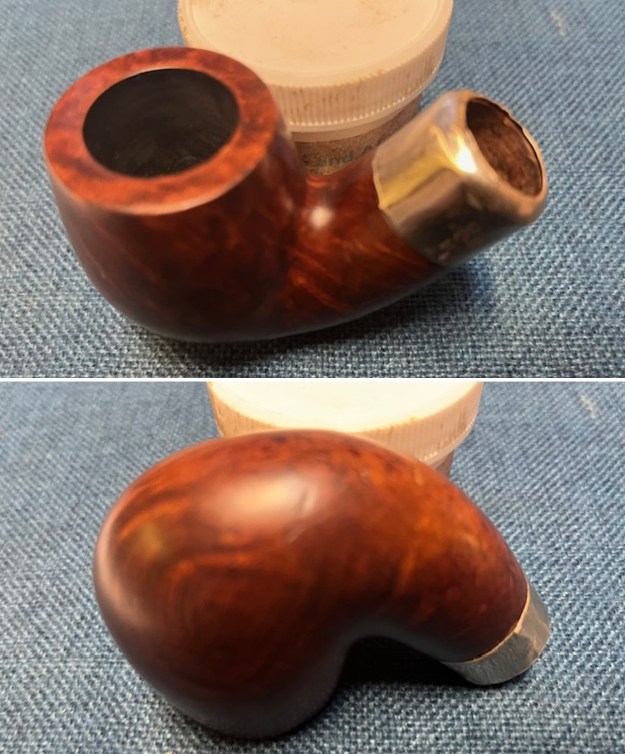
 I took a photo of the stamping on the left side of the shank. It is readable and read as noted above. I also removed the stem from the shank and took a photo of the shank end to show some of the damage on the nickel ferrule.
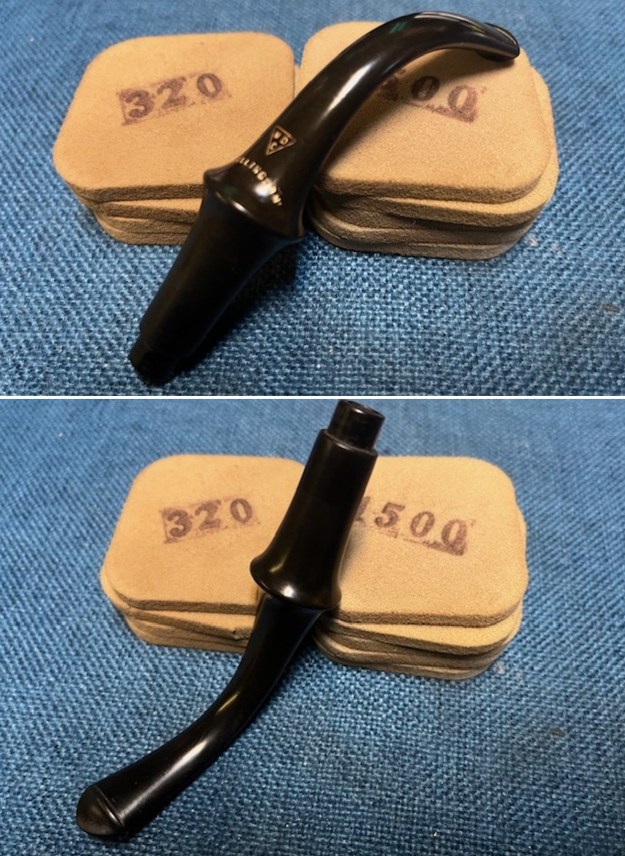
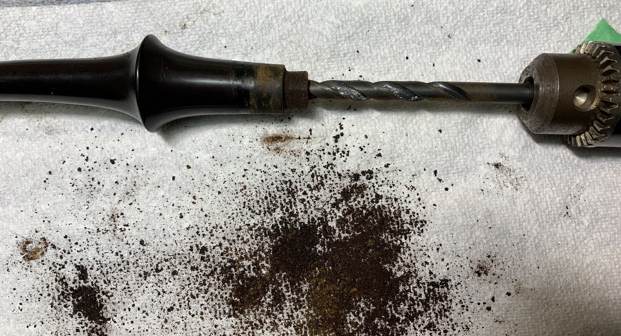
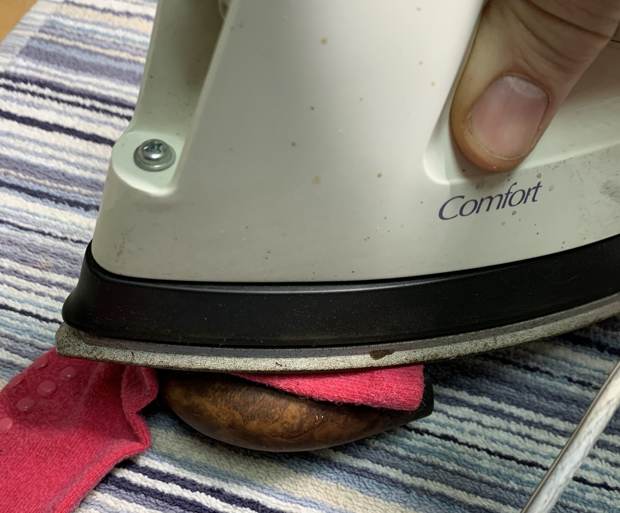
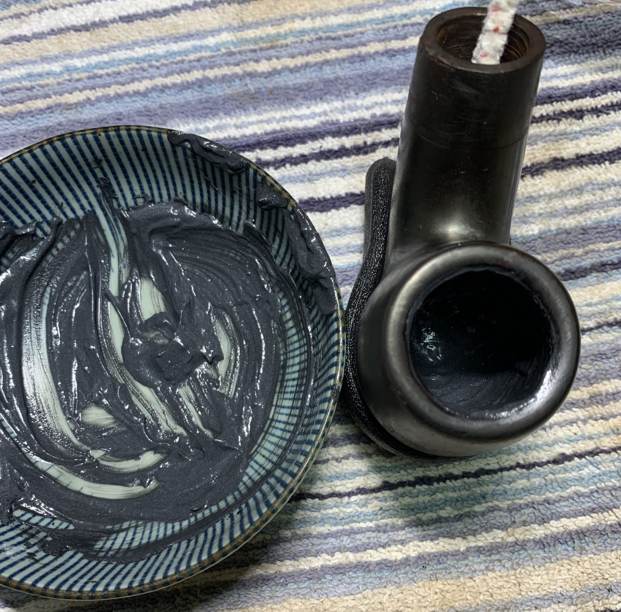
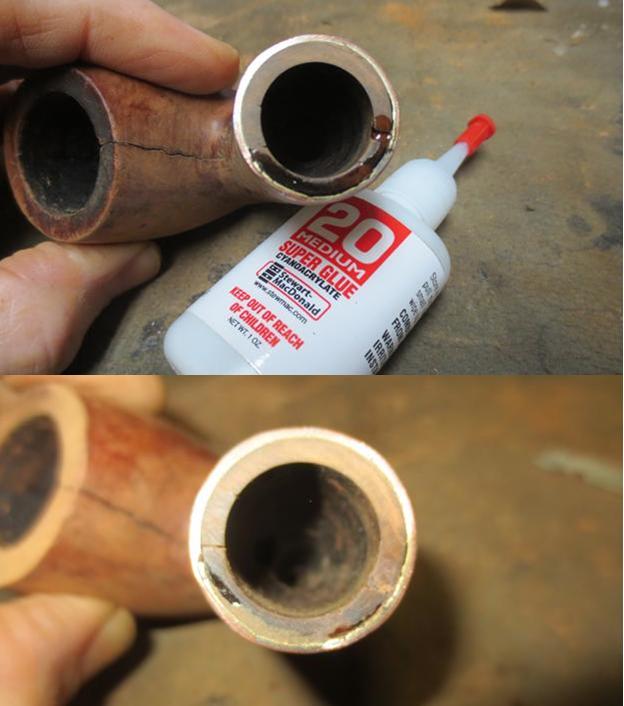
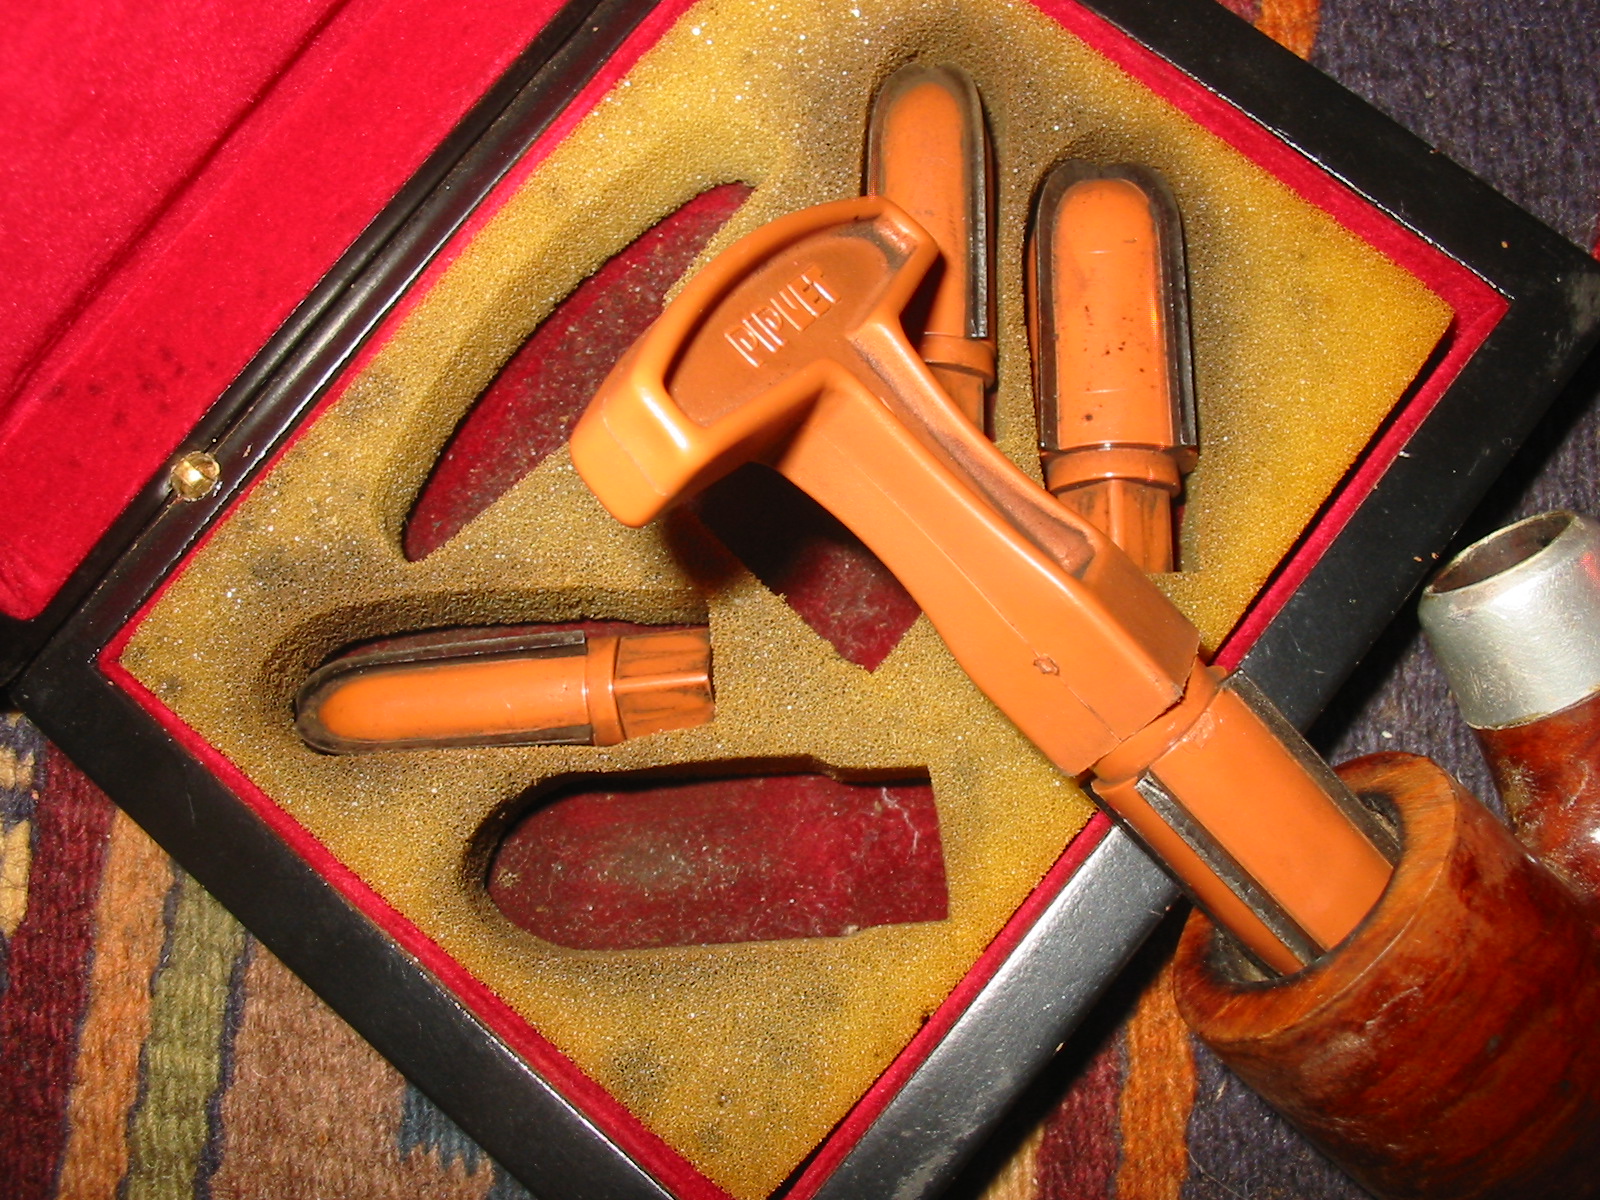
 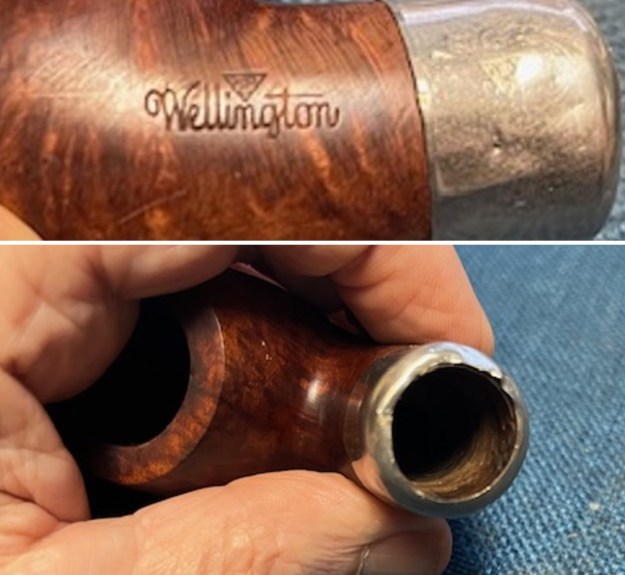 I heated the ferrule with a lighter and was able to remove it from the shank. I used a small furniture tack hammer and probe to tap out the larger dents in the metal. I fit it back on the shank end and tapped the shank end to carefully smooth out the damaged areas. I sanded the inner edge of the ferrule with a folded piece of 220 grit sandpaper to smooth out the sharp edges. While not perfect, it certainly was an improvement.
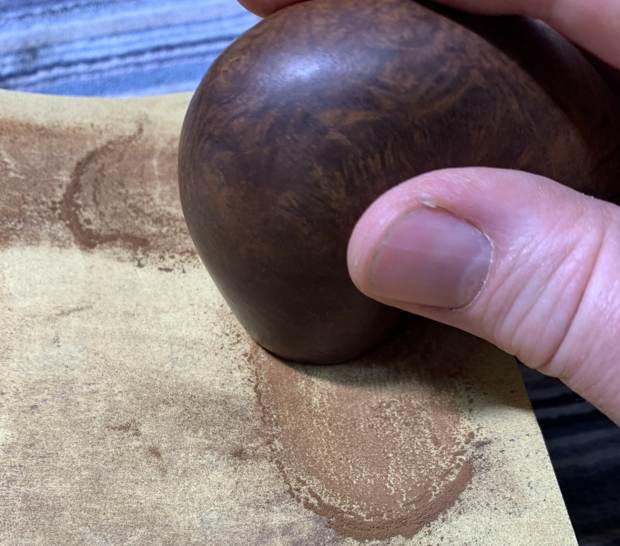
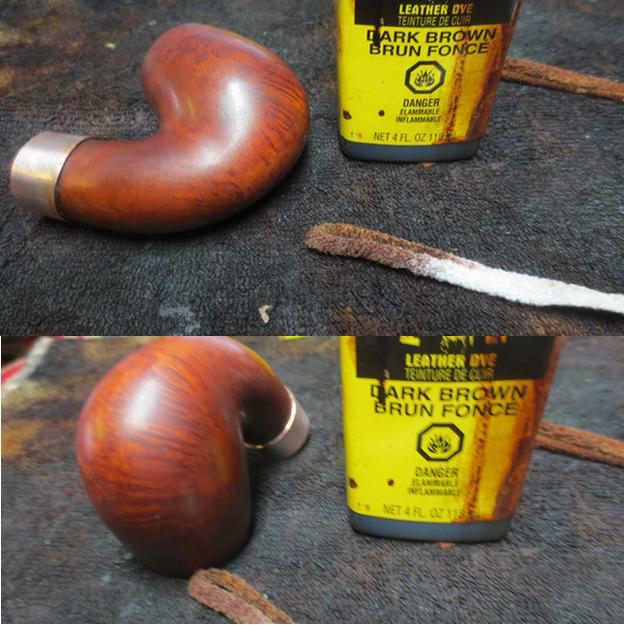
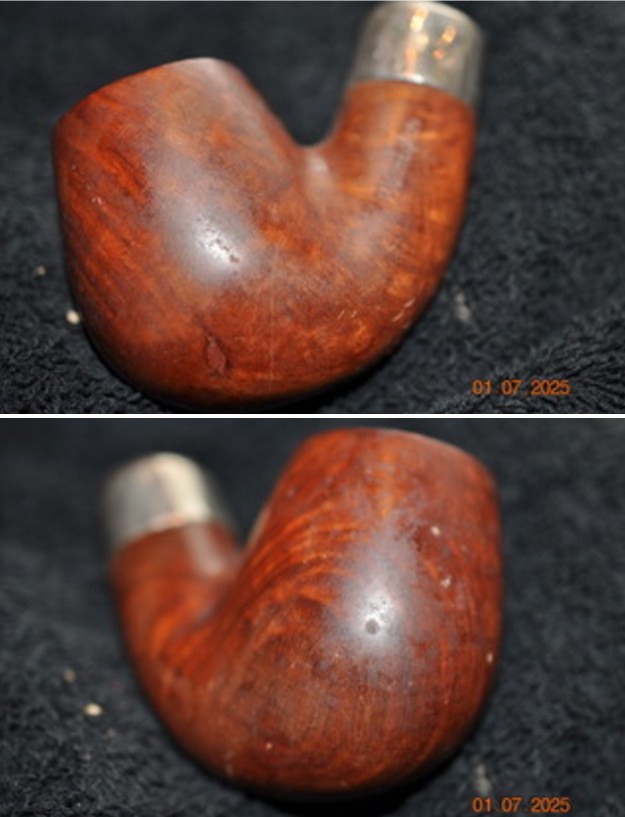
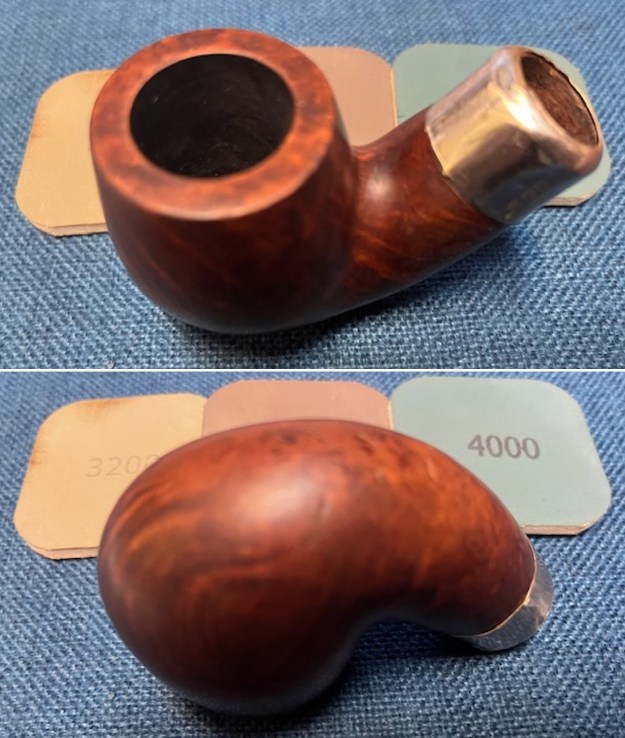
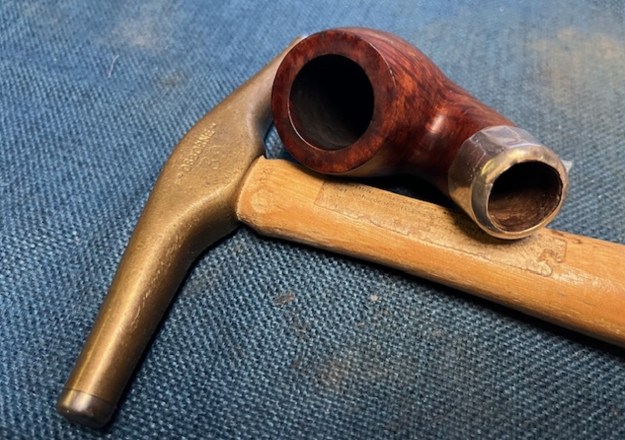 I turned my attention to the briar. I sanded the bowl with 320-3500 grit sanding pads to try and minimize the scratches in the wood. I wiped the bowl down with a damp cloth after each sanding pad and by the end the briar was smoother and had begun to take on a shine. There were some fills in the briar but there was also some nice grain that stood out.
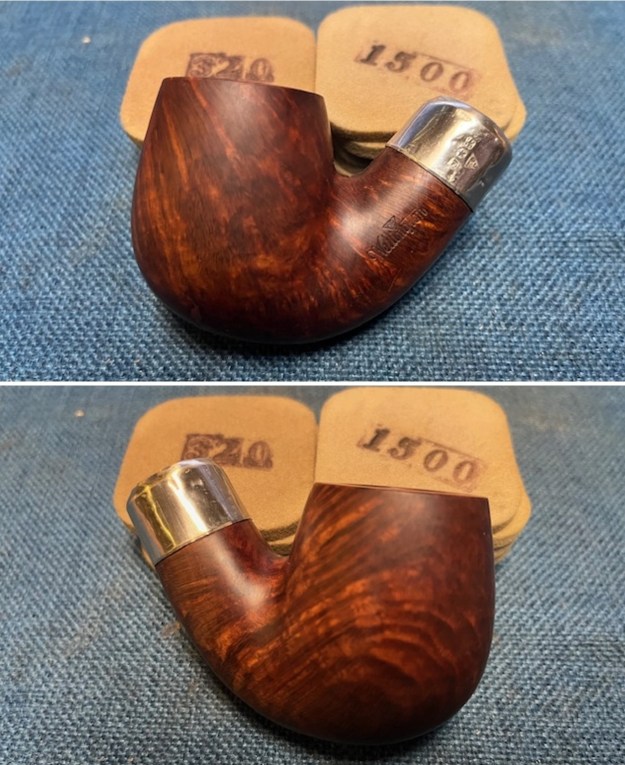
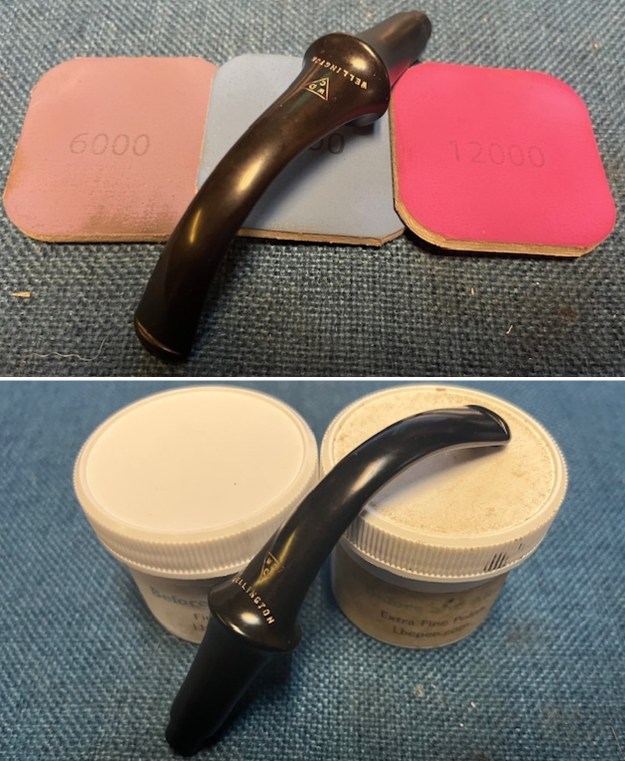
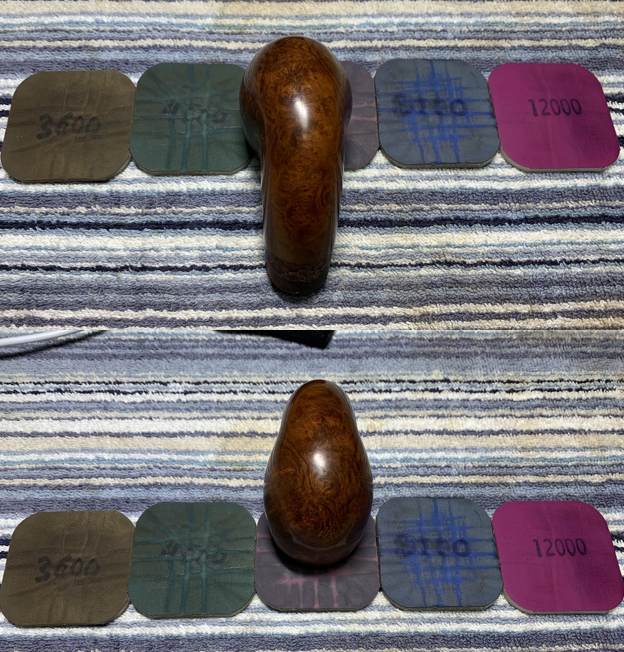
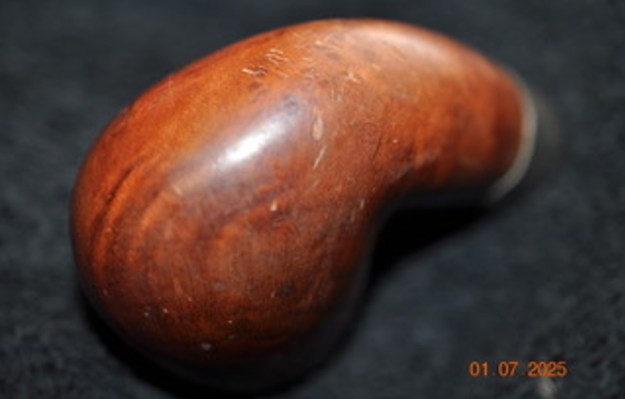
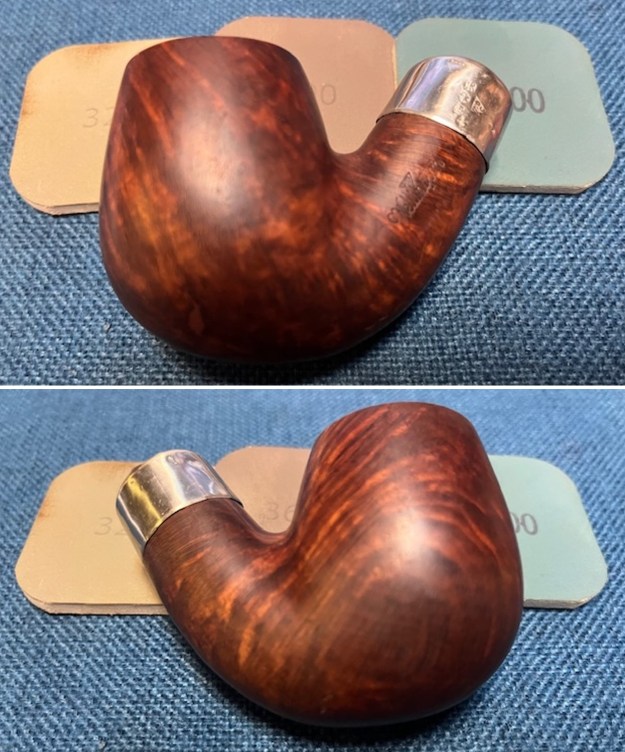
 I polished the briar with micromesh sanding pads – dry sanding with 1500-12000 grit sanding pads. I wiped it down after each pad with the cloth. The bowl continued to develop a deeper shine.
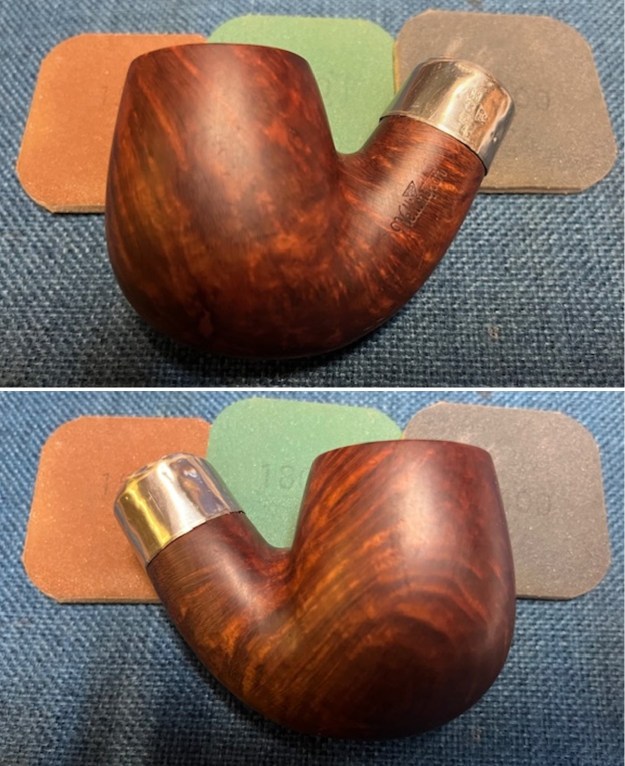
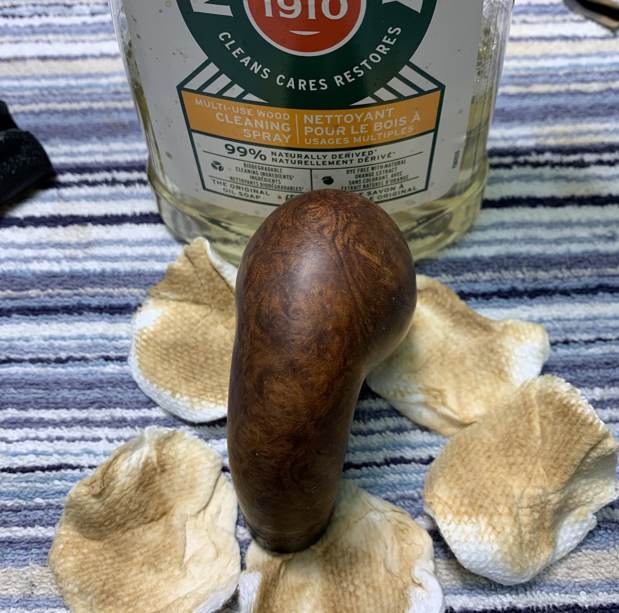
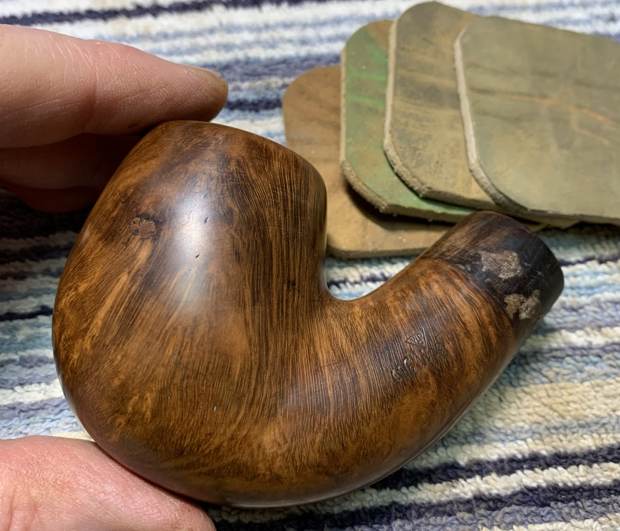
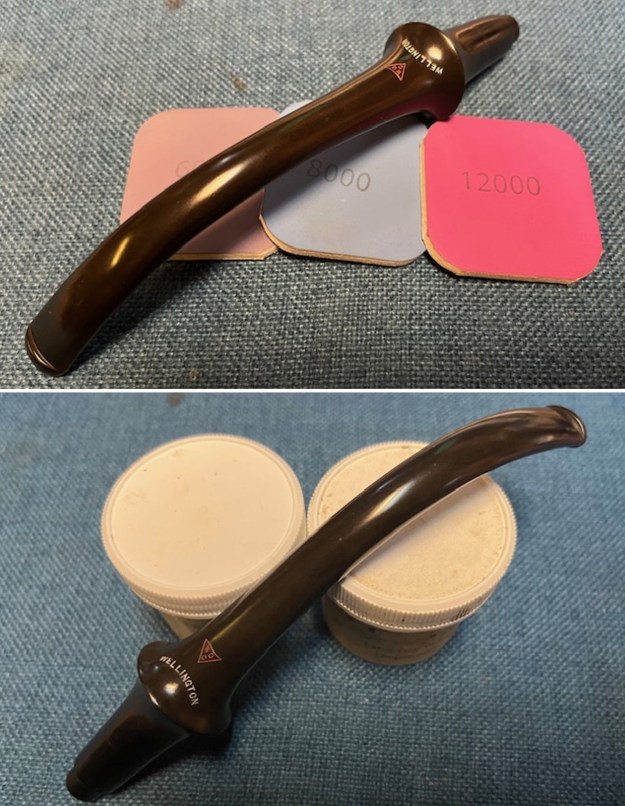
 I worked some Before & After Restoration Balm into the briar with my finger tips. I let it sit on the bowl for 10 minutes and then buffed it off with a paper towel and soft cloth. The product is a great addition to the restoration work. It enlivens, enriches and protects the briar while giving it a deep glow. It is a product I use on every pipe I restore.
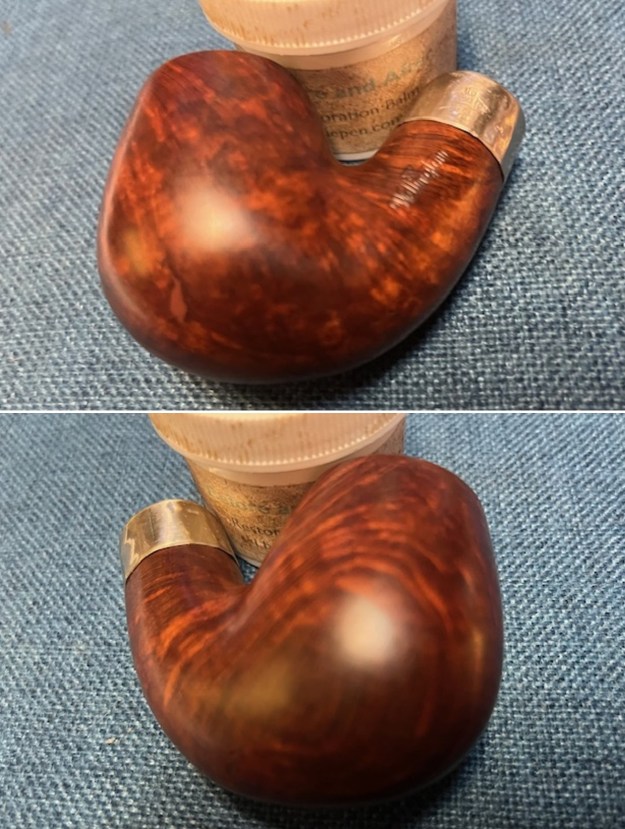
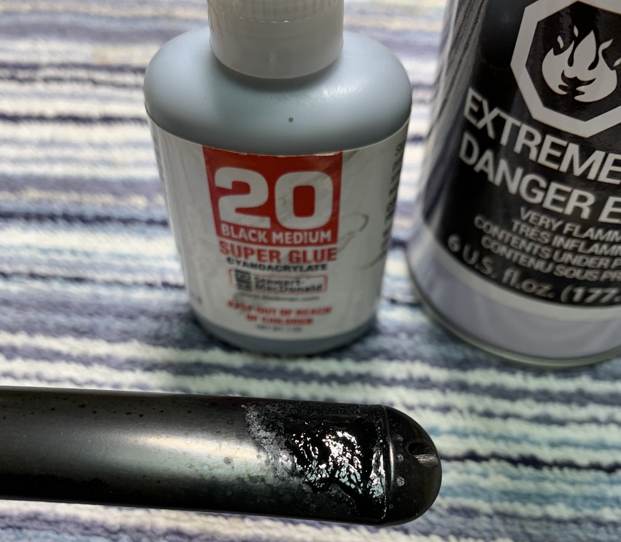
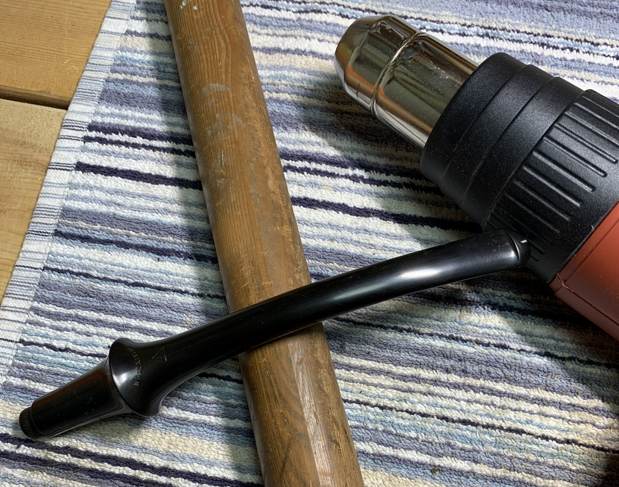
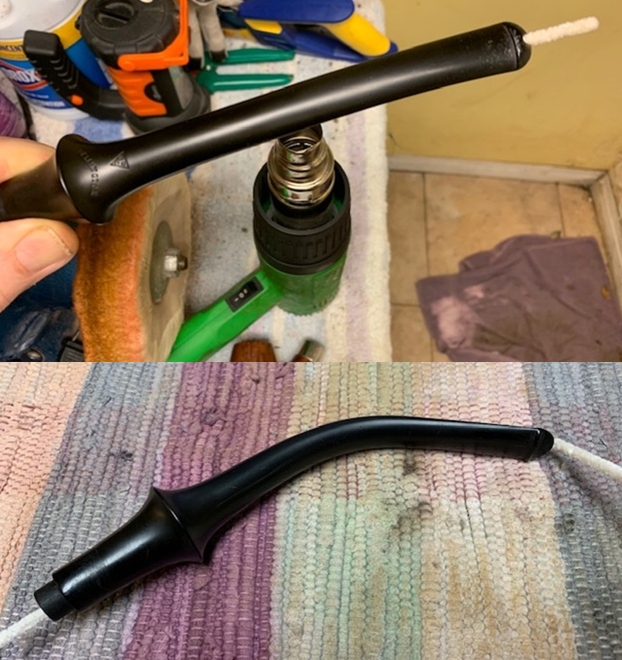
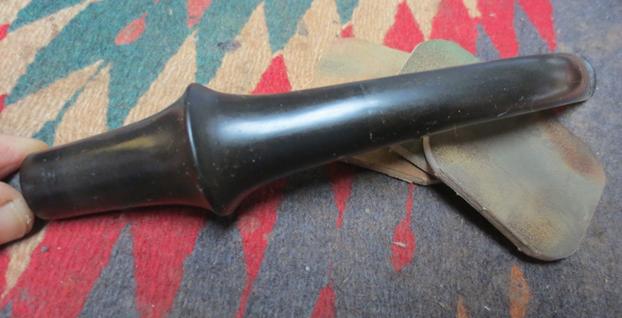
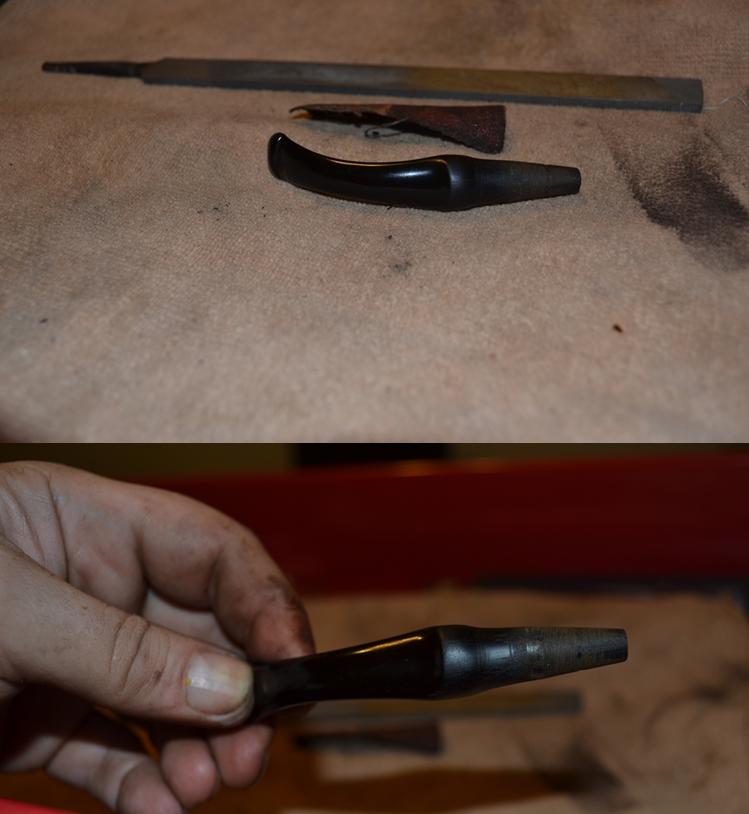
 I set the bowl aside and turned my attention to the stem. I sanded the light chatter on the stem surface and the scratches on the shank end of the vulcanite with 220 grit sandpaper. It looked better. Polishing would finish the work.
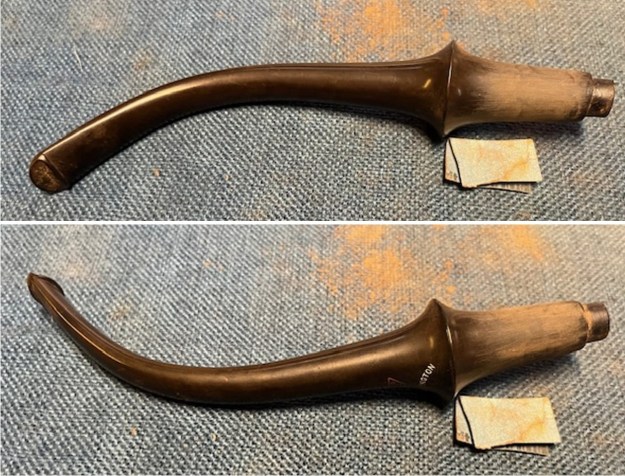
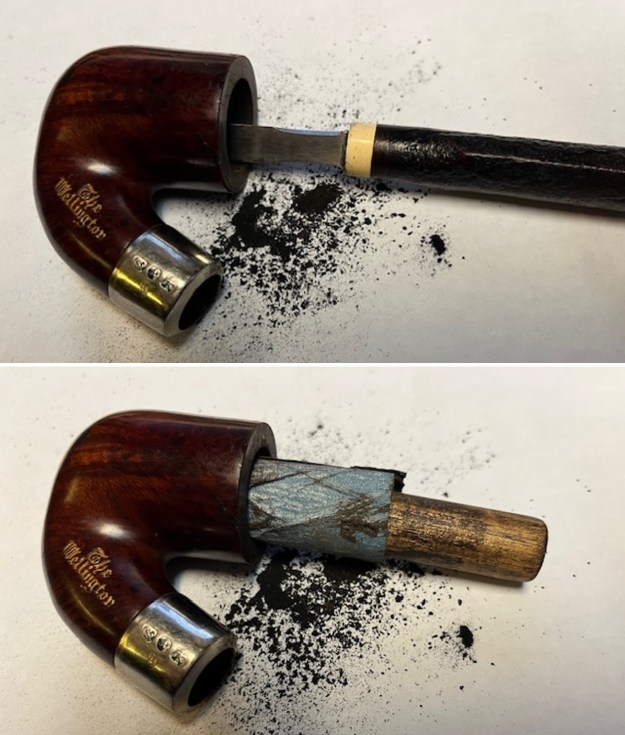
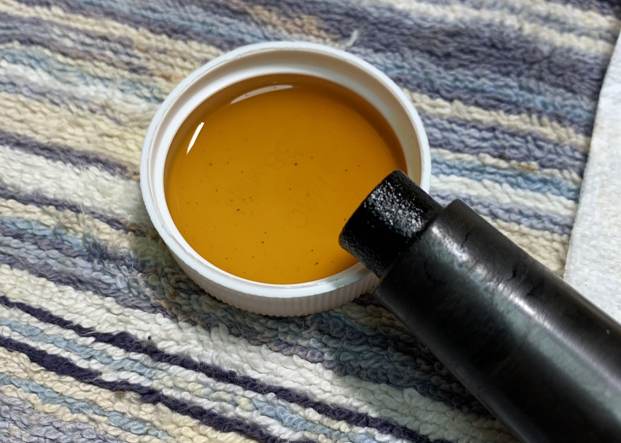
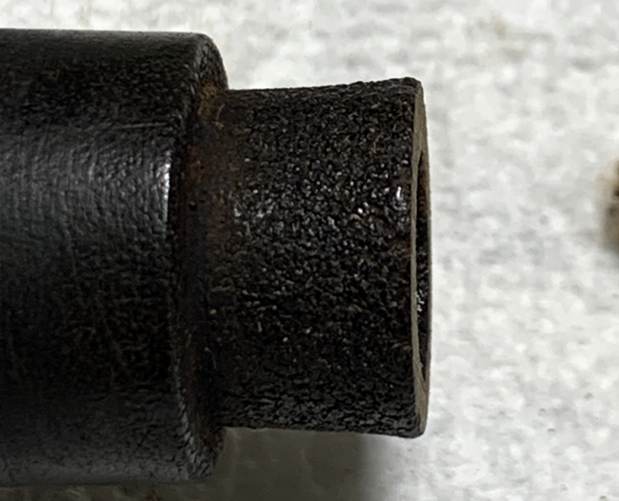
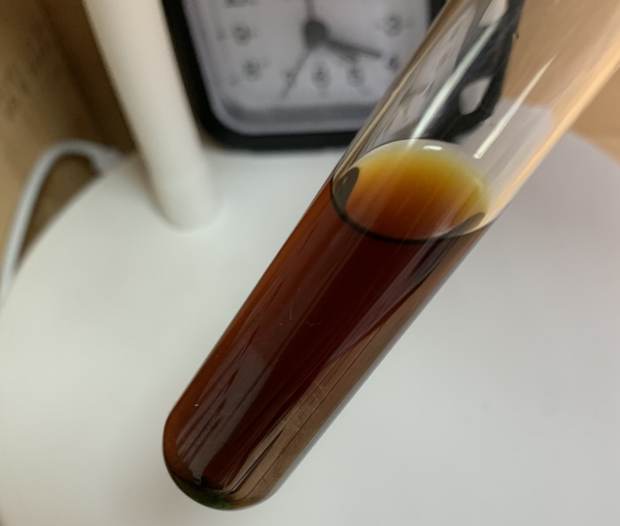
 I paused the polishing for a bit to clean out the airway in the stem. I immediately felt something in the airway that was blocking and reducing the diameter of the airway. It took a bit of work with long pipe cleaners but I eventually removed a Medico/Grabow style paper filter that had migrated up the stem inside. It came out and was very dirty. I cleaned out the inside of the stem with long pipe cleaners and used them straight and then repeated the process with them folded. I cleaned from both directions and it is clean and smells better.
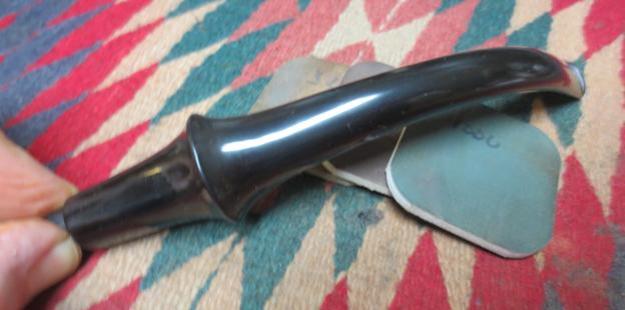
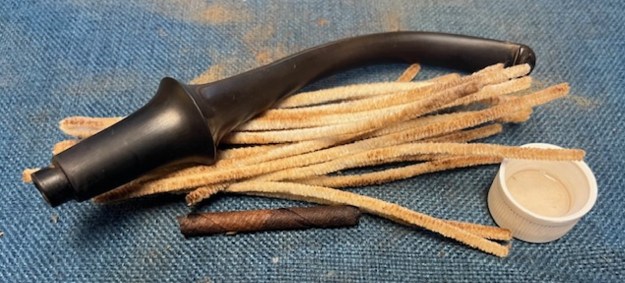 I continued the sanding process with 320-3500 grit sanding pads. After each pad I wiped the stem down with some Obsidian Oil to clearly show me the scratches and areas that still needed work. It was really looking good.
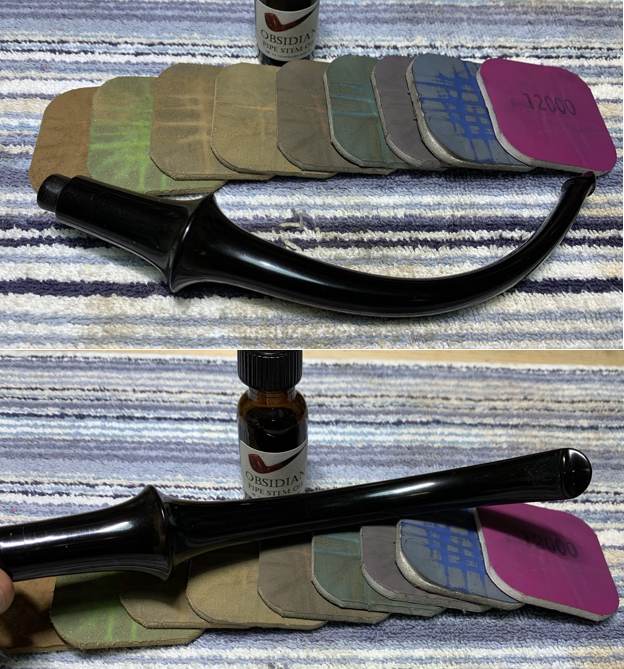
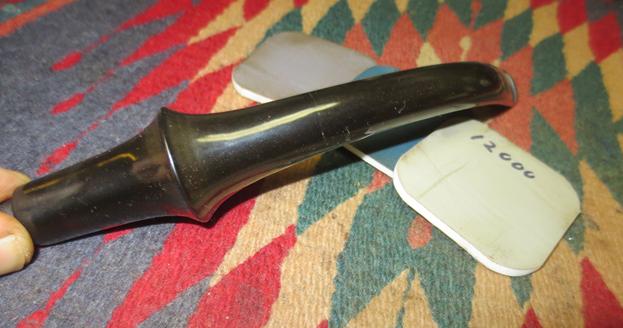
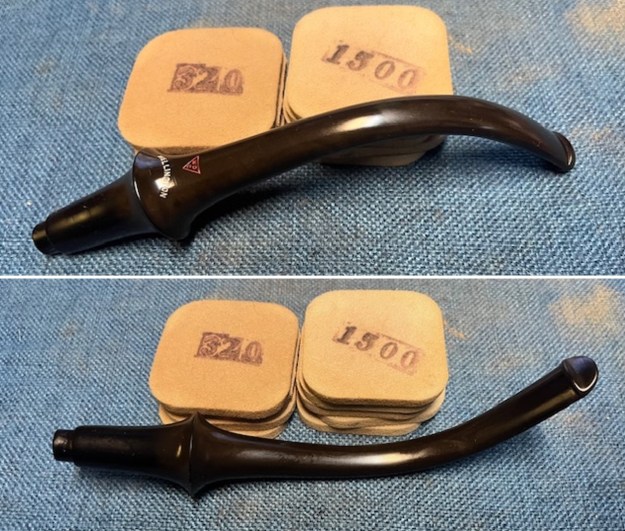 I polished the stem with micromesh sanding pads – dry sanding with 1500-12000 grit pads. Once again, I wiped it down between each pad with Obsidian Oil. I further polished it with Before and After Stem Polish – both Fine and Extra Fine. I gave it another rub down with Obsidian Oil. It looked very good.
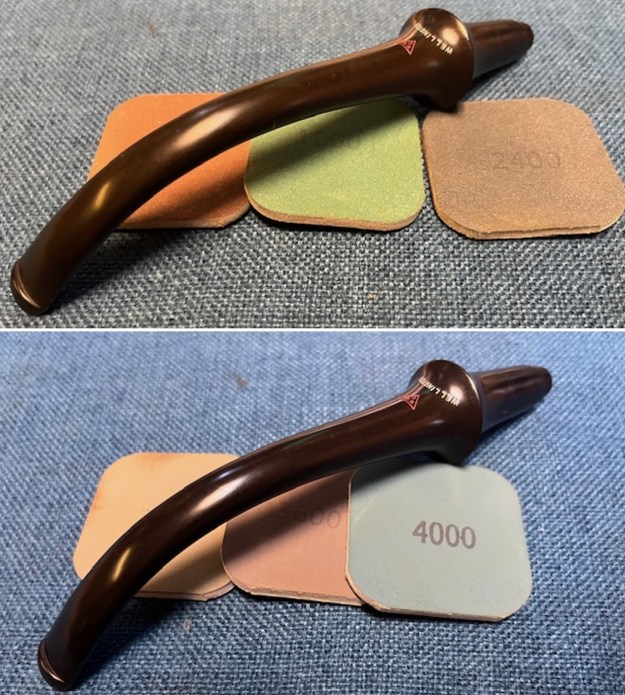
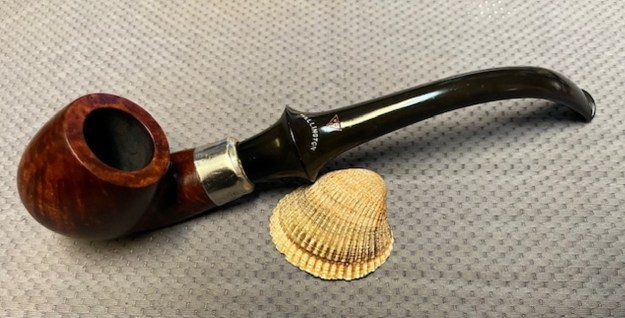
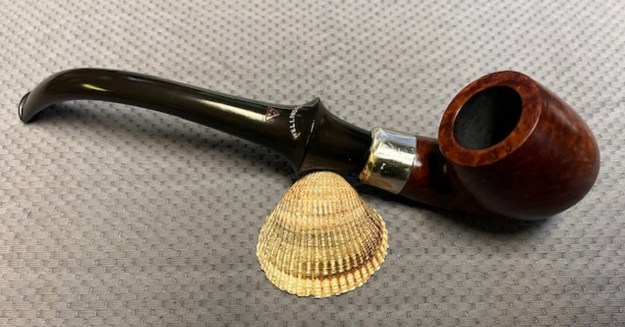
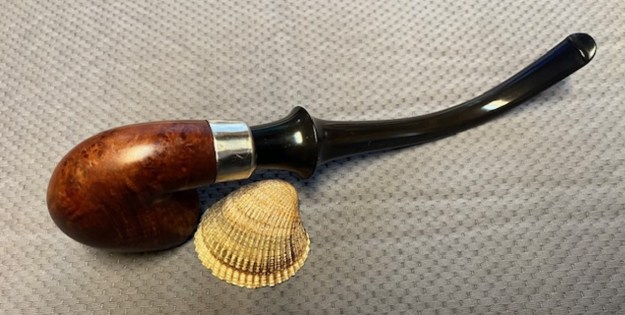
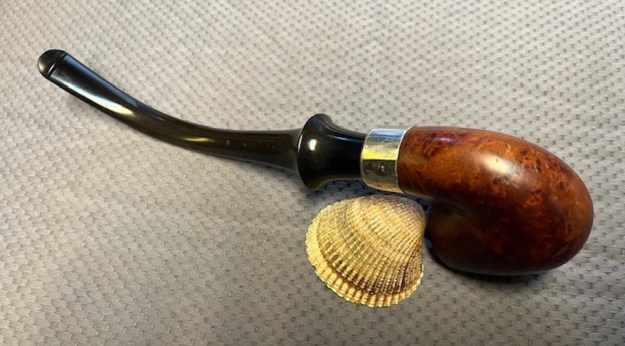
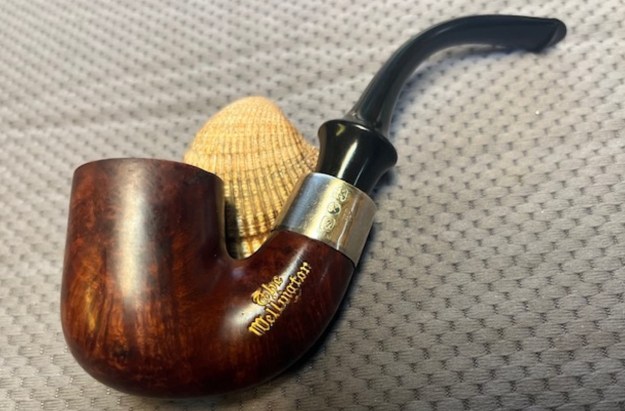
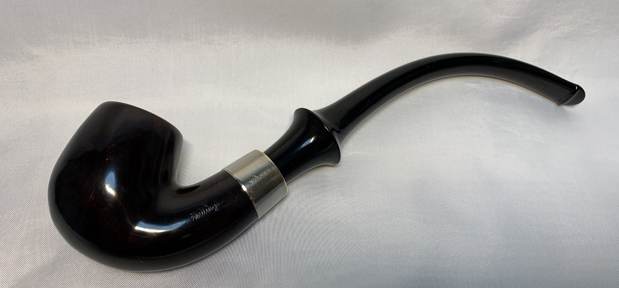
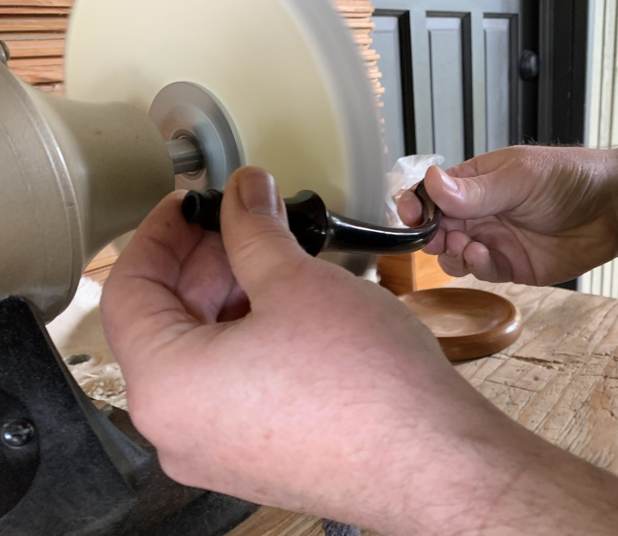
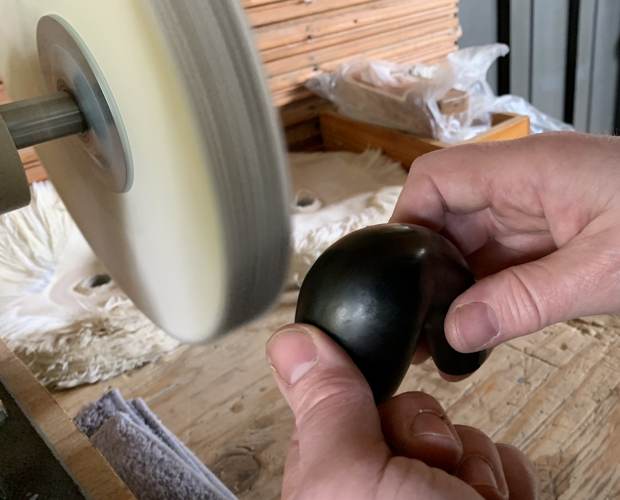
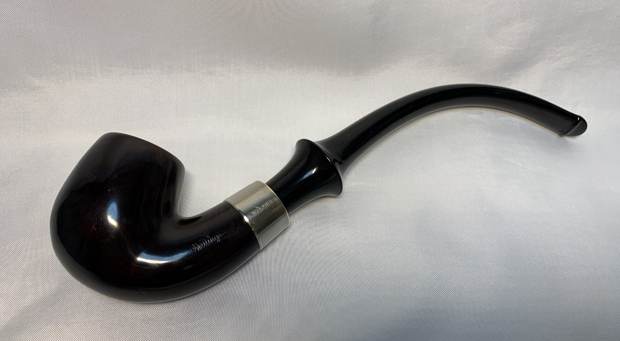
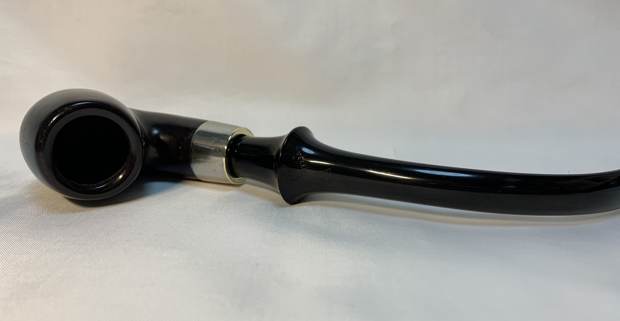
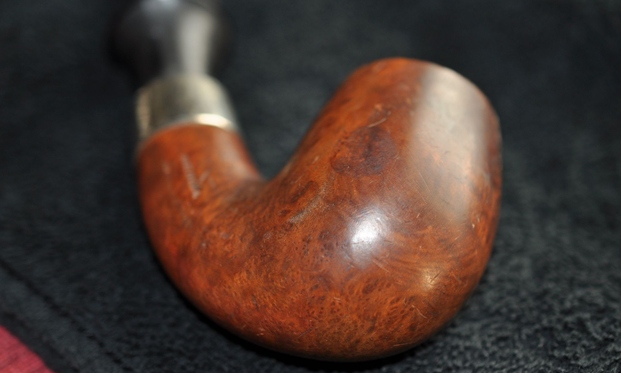
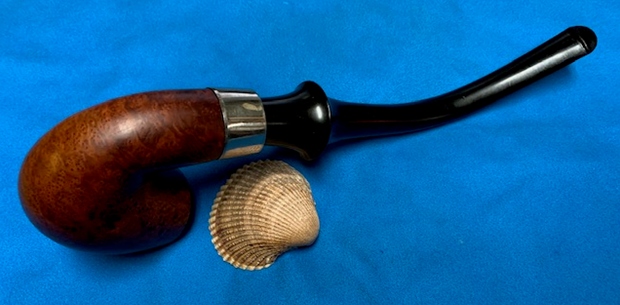
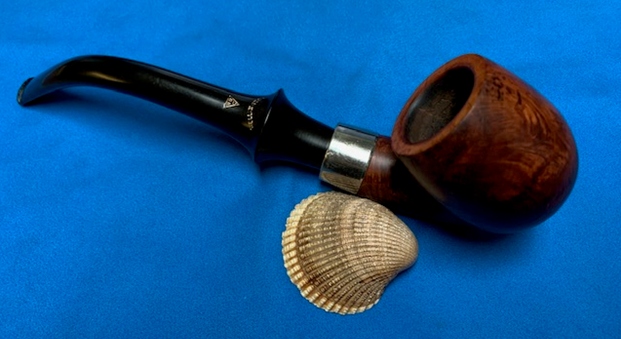
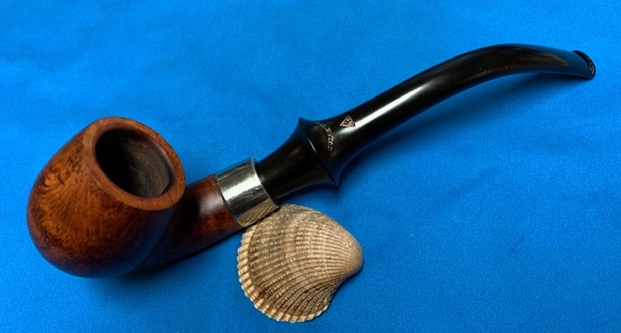
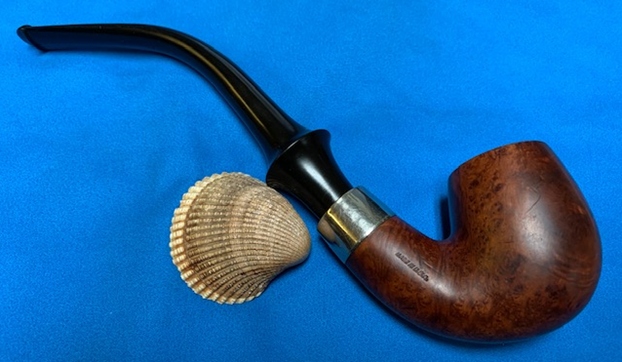
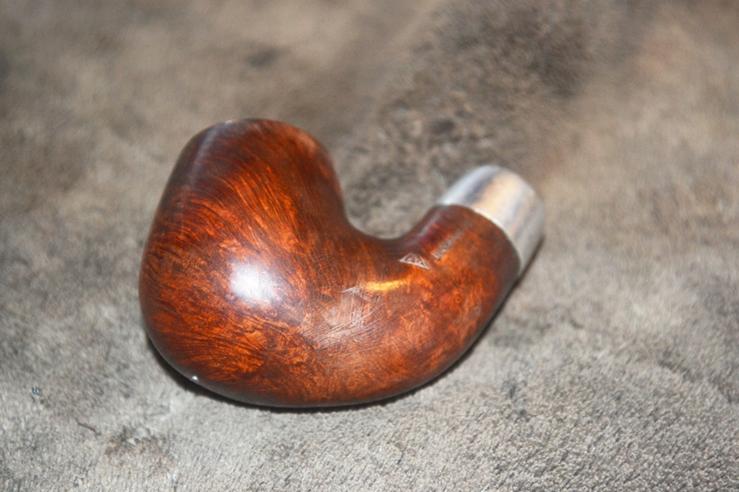
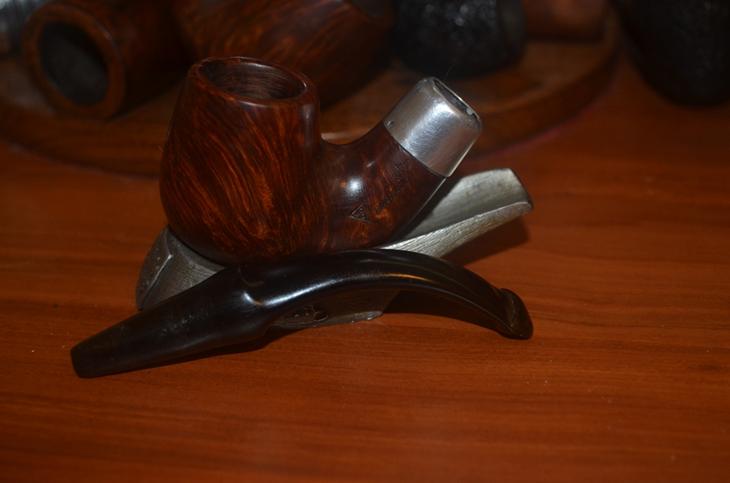
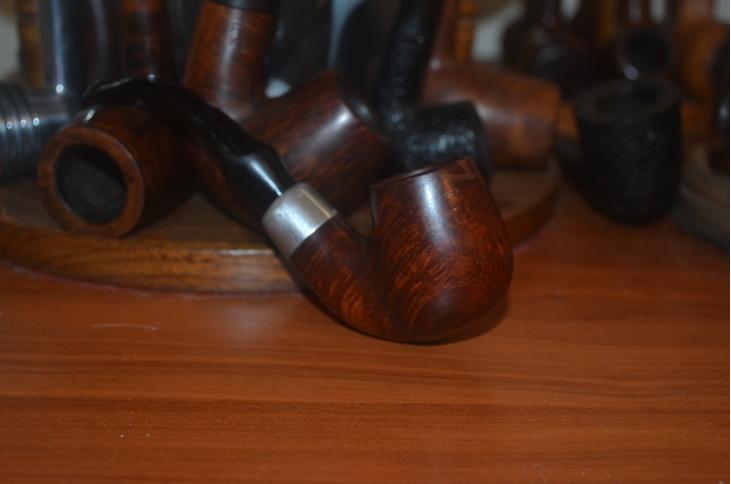
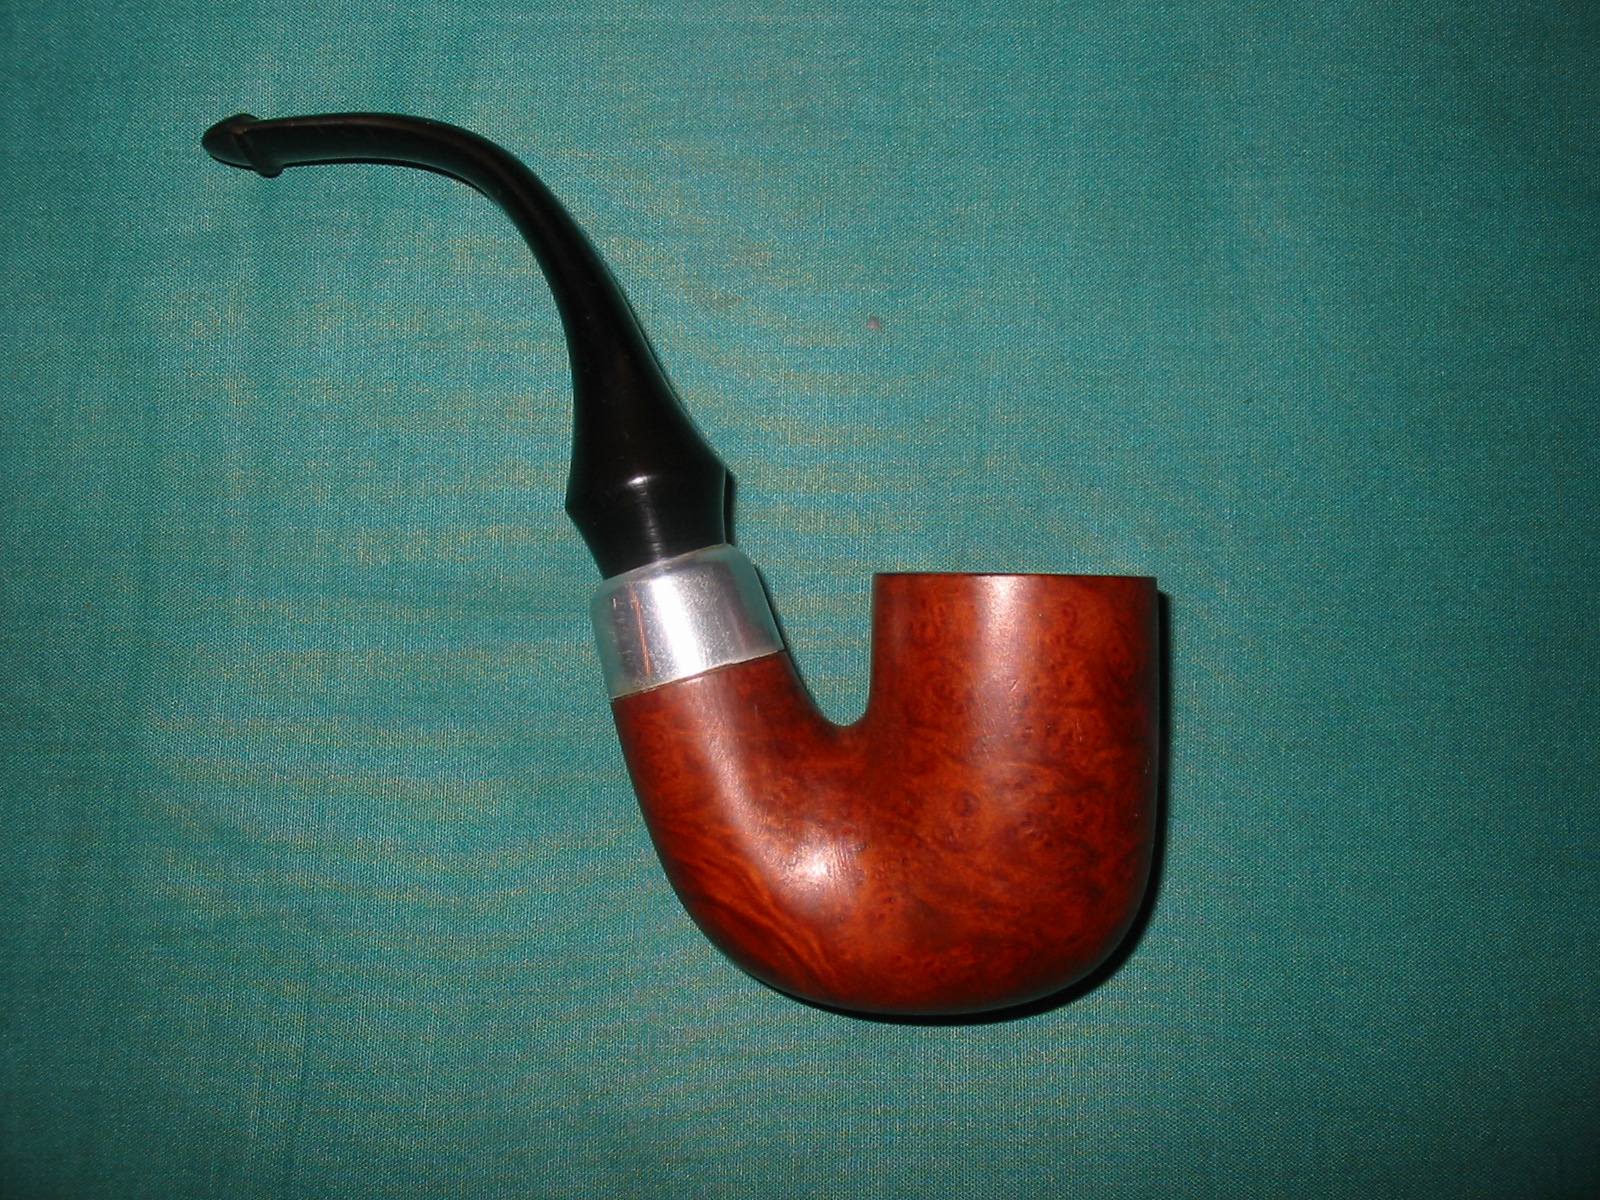
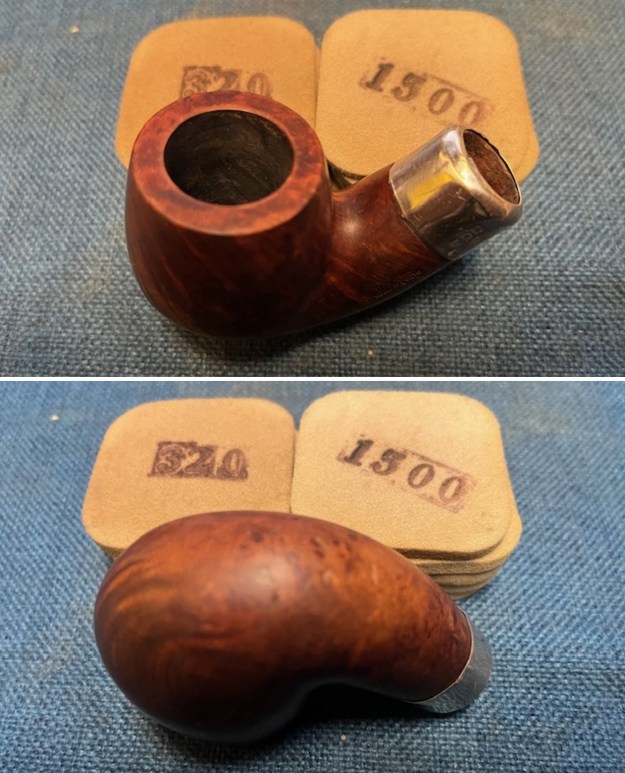
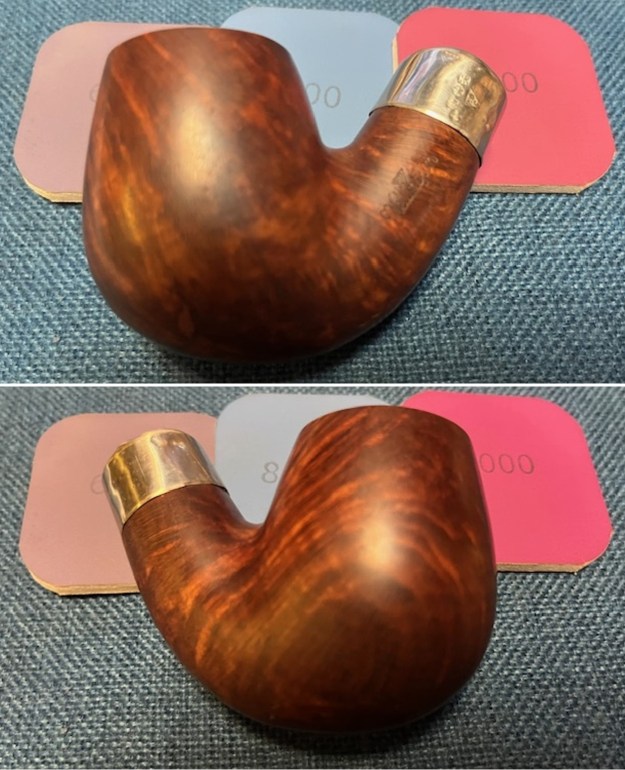
 I am really happy with the way that this WDC Wellington Jumbo Bent Billiard turned out. It really is a beautiful looking pipe with a unique shape and combining a smooth bowl, a nickel ferrule and a vulcanite stem. The briar really came alive with the buffing. The rich brown stains of the finish gave the pipe a sense of depth with the polishing and waxing. I carefully buffed the pipe with Blue Diamond on the buffing wheel using a light touch on the briar. I gave the bowl and the stem multiple coats of carnauba wax on the buffing wheel. I buffed the pipe with a clean buffing pad to raise the shine. I hand buffed the pipe with a microfiber cloth to deepen the shine. The finished Wellington Jumber Bent Billiard really is a beauty and feels great in the hand and looks very good. Give the finished pipe a look in the photos below. The dimensions of the pipe are Length: 9 inches, Height: 2 inches, Outside diameter of the bowl: 1 3/8 inches, Chamber diameter: 7/8 of an inch. The weight of the pipe is 95 grams/3.32 ounces. The pipe will be going in the mail to the pipe man who will carry on the trust with this old pipe. I think he will enjoy smoking it for years to come. Thanks for reading this blog and my reflections on the pipe while I worked on it. It was a fun one to work on!