Blog by Steve Laug
A few weeks ago, I received an email from a friend in Salmon Arm, BC. We have worked together on pipes over the past few years either ones that I have sold to him or those he has picked up on auctions or sales that I have restored. He wrote that he had some pipes that needed restoration.
I also have some of those old estates I still need to send to you for restoration. Hopefully I will be able to pack them up and get them off to you this week. Thank you again, Steve! – Sonny
He followed that up with another email regarding what he wanted done on the various pipes. I have included it below.
I would like the Vauen bent ball shape to have no band on it. It looks like it may have had a band there at one time and I’m not sure why. And if any of them needs to be stained again, I would like them to be black, especially the Peterson 309 and that ball Vauen. Let me know what you think.
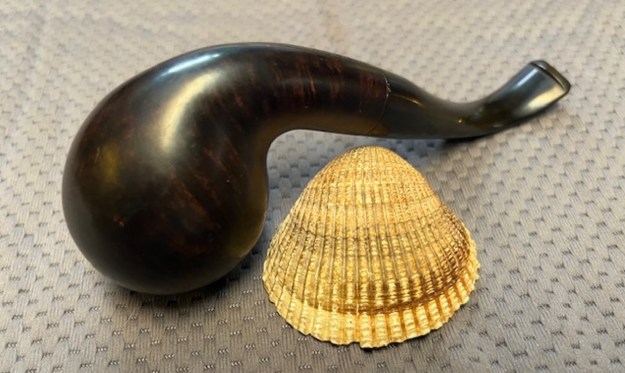
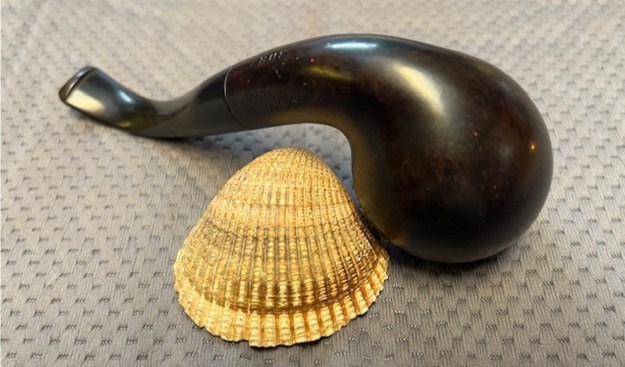
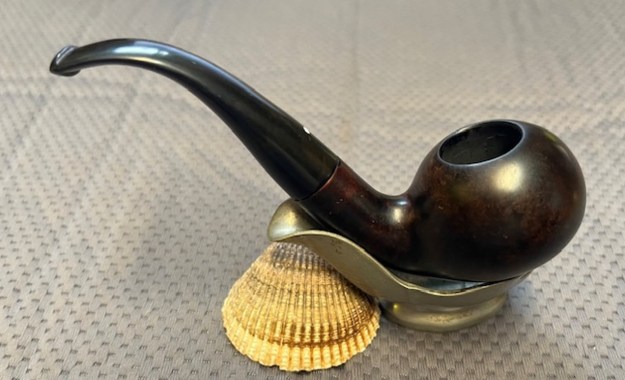
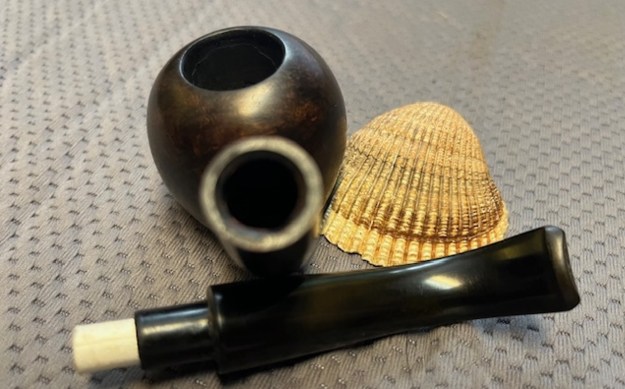
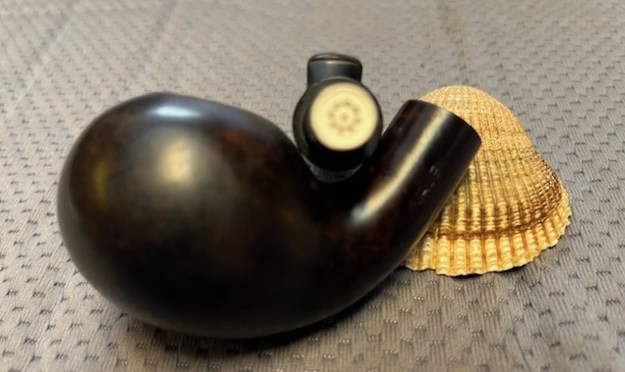
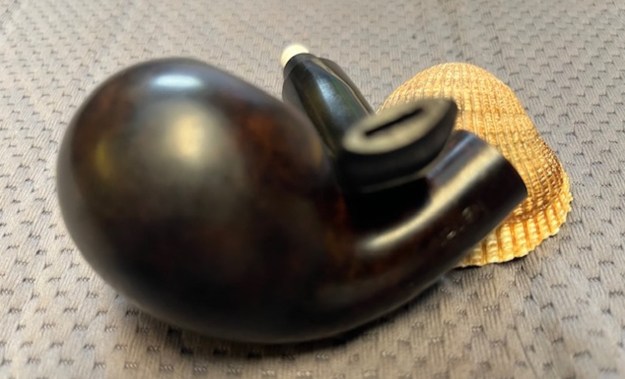
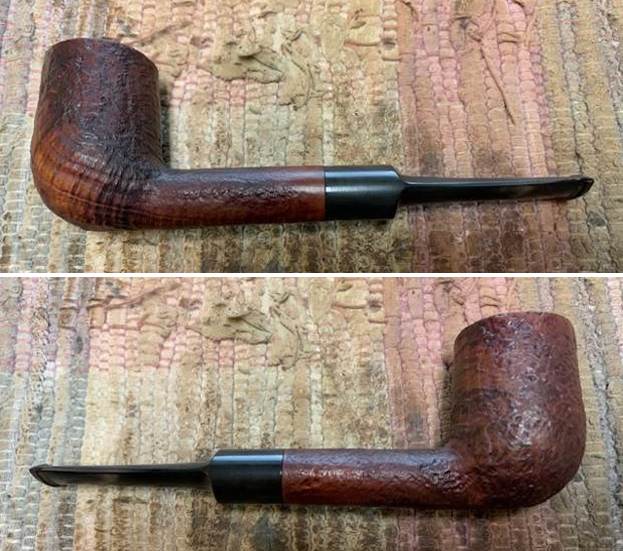
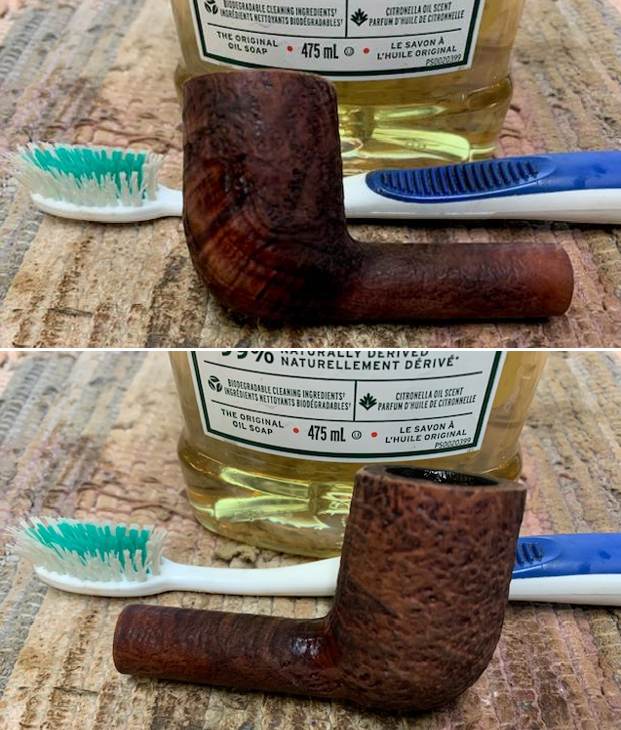
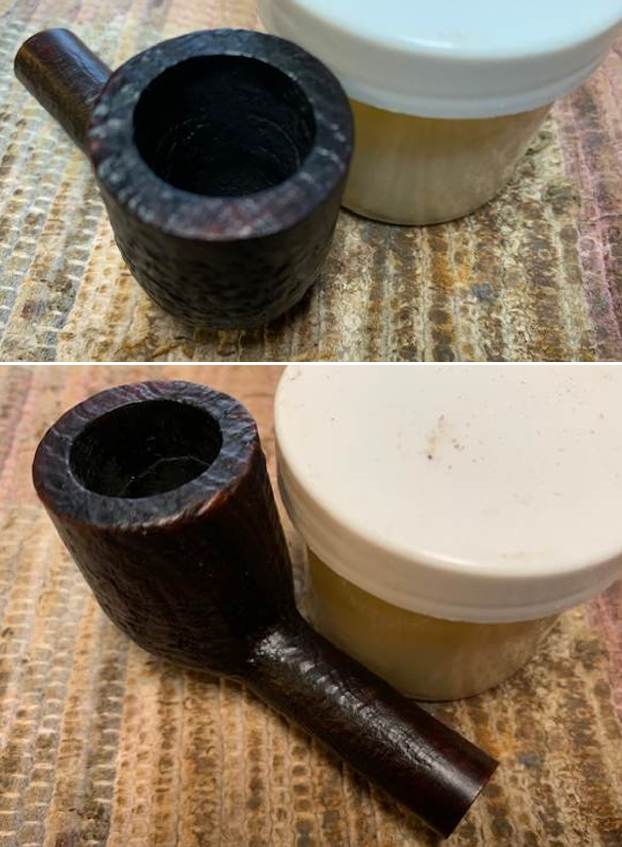
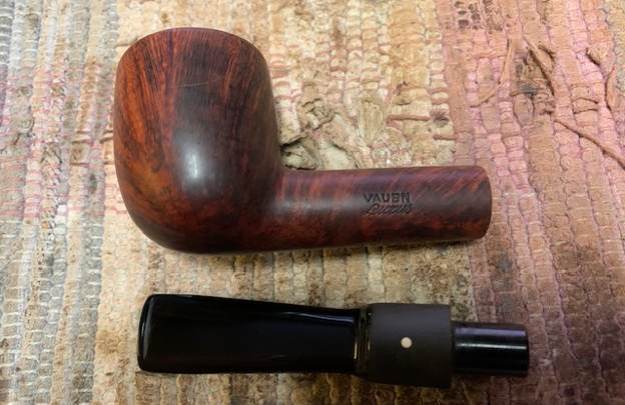
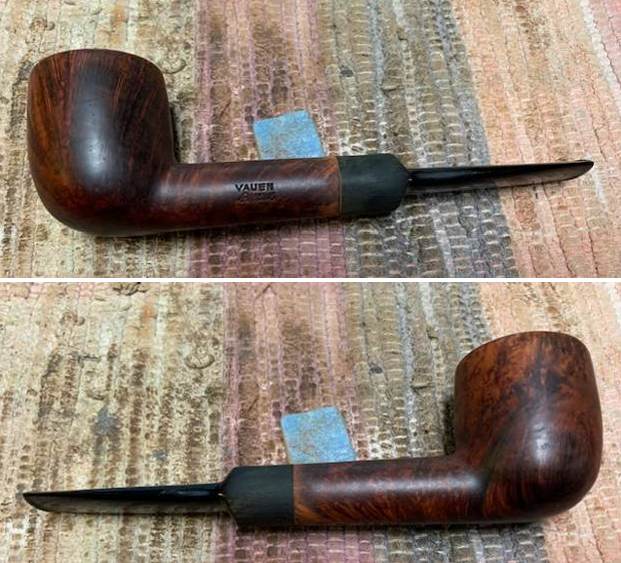
I took a photo of the box of six pipes once I unwrapped them. There were 6 interesting pipes – a Vauen Luxus Bent Ball, a Vauen Dr. Perl Billiard, a Sand Blast Vauen Dr. Perl Pot, a Parade News Briar Shop Oom Paul, a Bari Pearl Bamboo shank Ball and Peterson’s System Premier 309 Bent Billiard. All were in need of various degrees of restoration.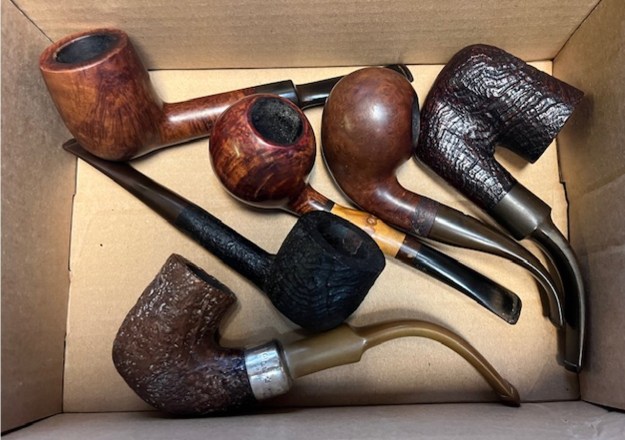 The first pipe I chose to work on was the Vauen Bent Ball. It is stamped on the left side and reads Vauen [over] Luxus. On the underside is the shape number 3083. The pipe was dirty and the shank appeared to have had band on it at one time. There were no cracks or damages on the shank end or sides so it was cosmetic. Where the band had been there was some dried glue and debris on the shank. The finish was very dirty with lots of grime ground into the surface of the briar. The bowl had a thick cake in it and there was some lava on the rim top. The stem was a 9mm filter stem and it was very dirty in the tenon and the airway in the stem was plugged. The airway in the shank was heavily tarred and there were light tooth marks and chatter on both sides ahead of the button. I took these photos before I started my work on the pipe.
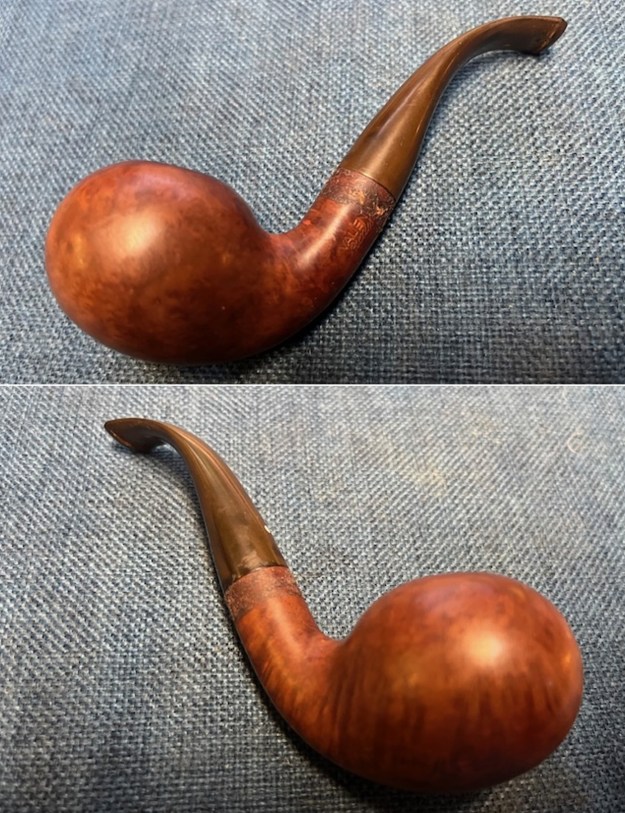
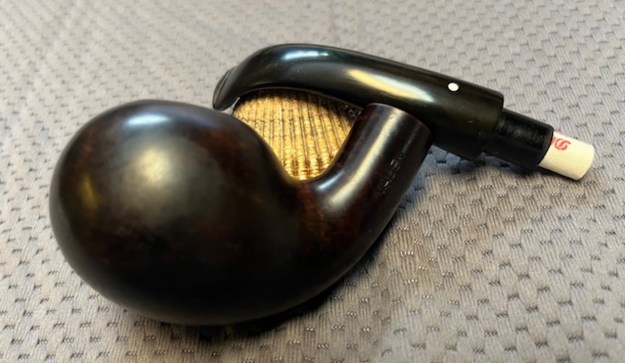
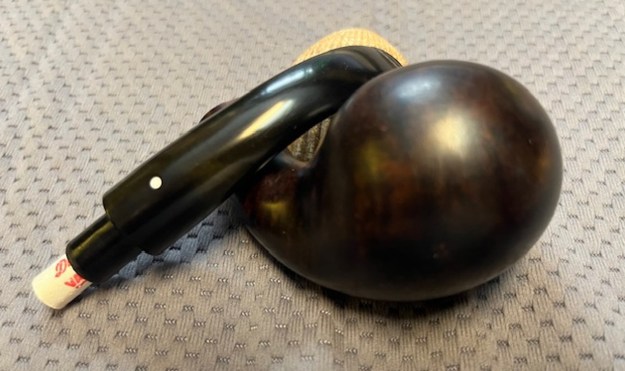
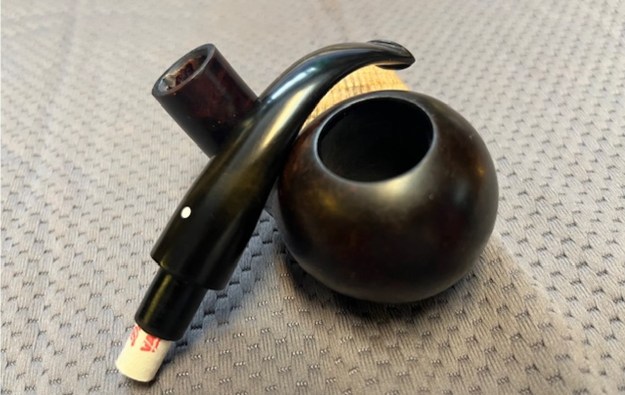
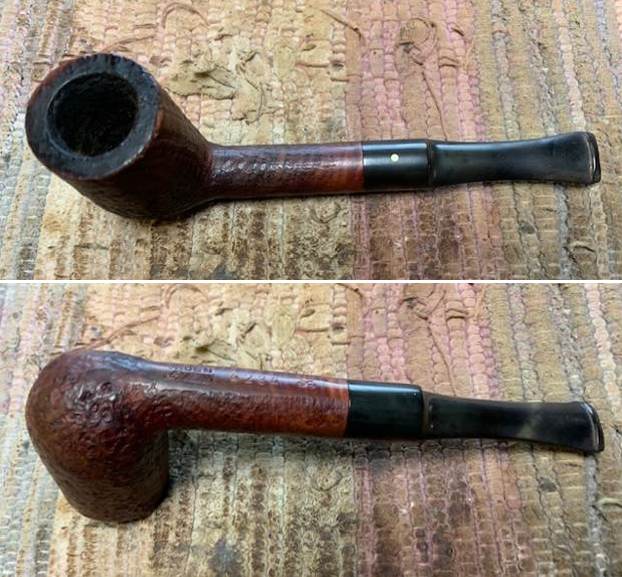
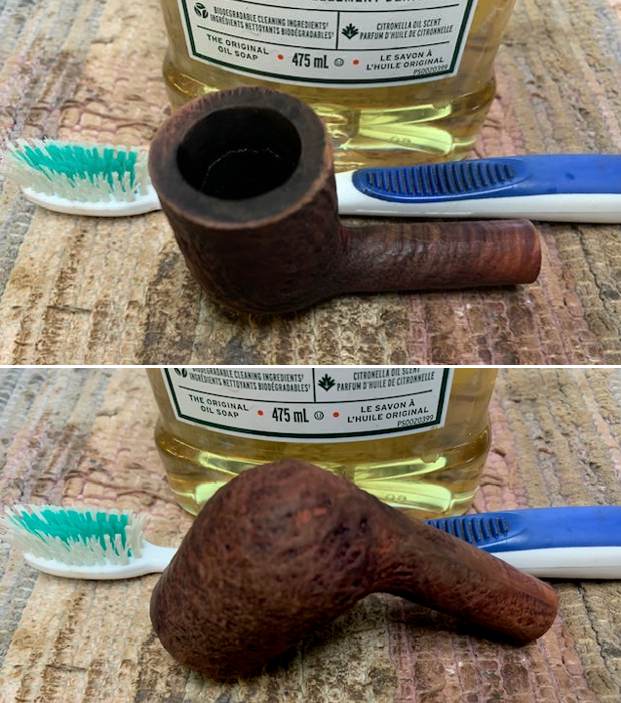
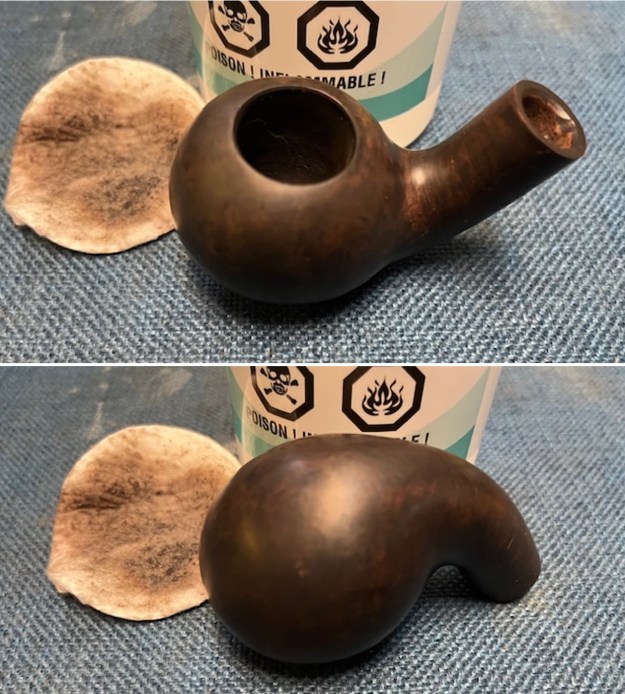
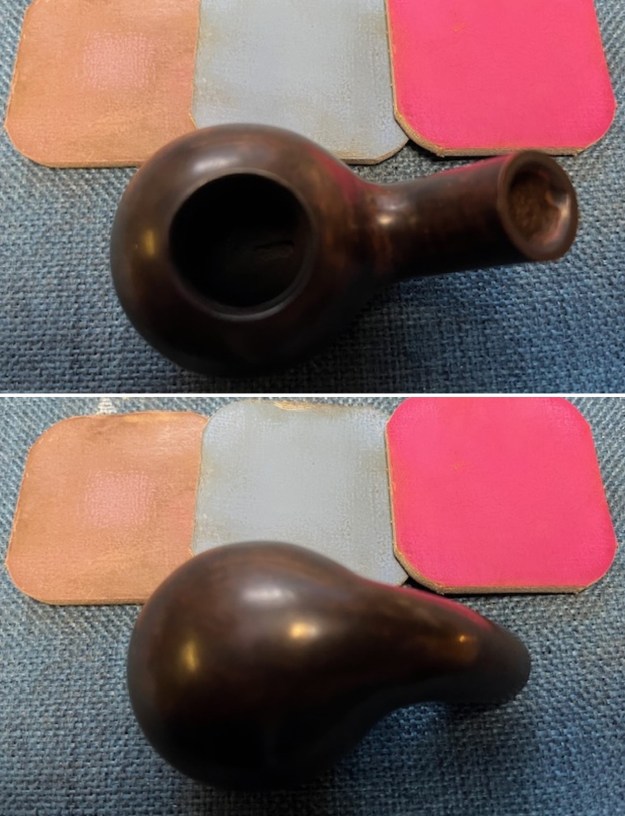
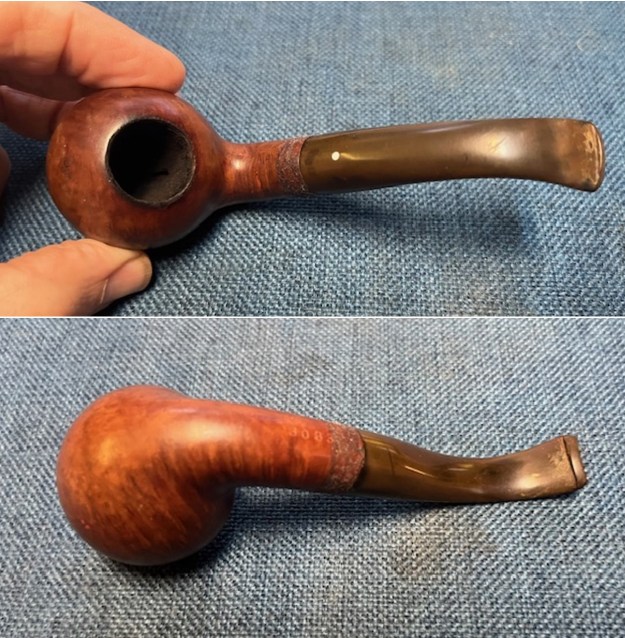 I took a photo of the rim top and bowl to show the condition of both of them. You can also see the debris where the shank band had been. The photos of the stem show the oxidation and tooth marks/chatter on both sides ahead of the button.
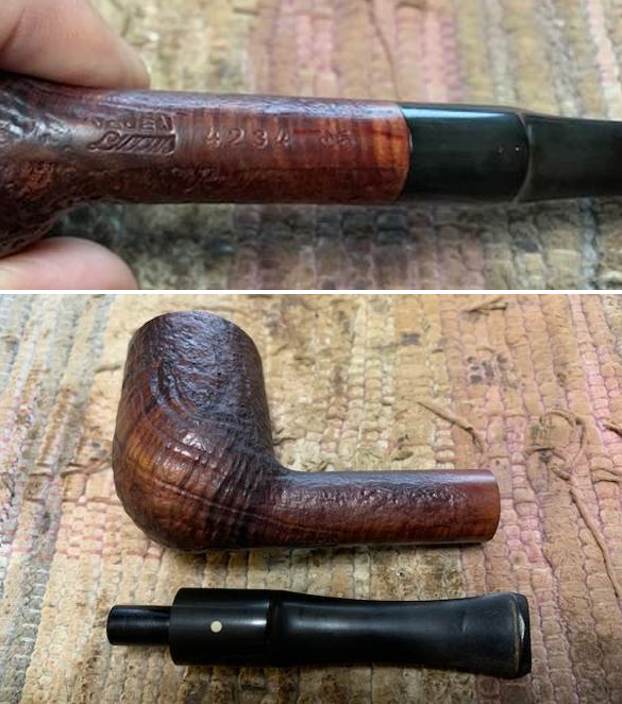
 I took photos of the stamping on the left side and underside of the shank. The stamping was clear and readable as noted above.
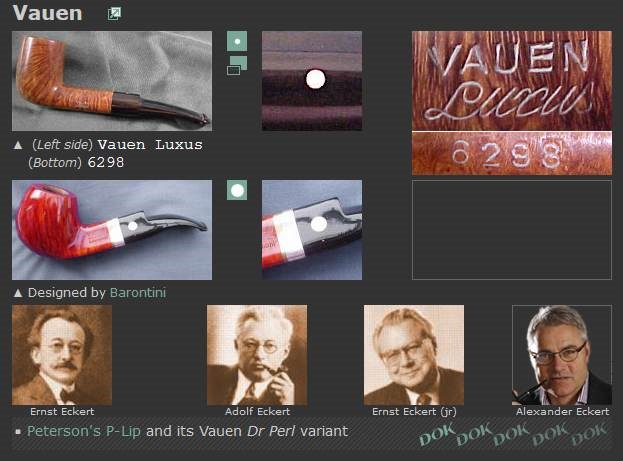
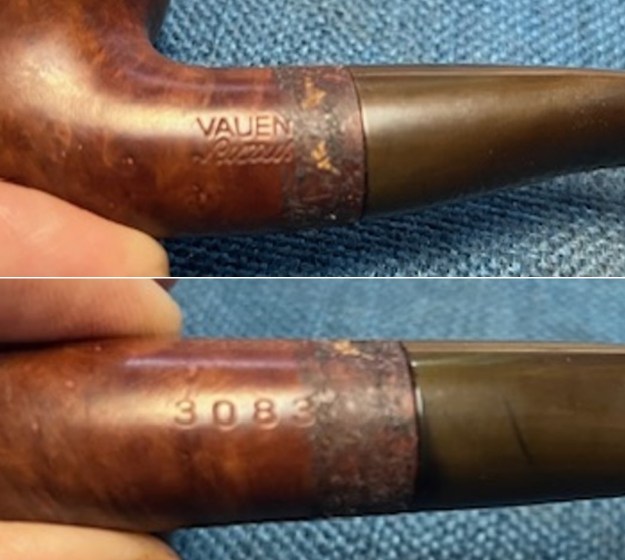 As usual I do some background reading to remind myself of the background on the Vauen brand before I started my work on the pipe. It is an important part of the restoration to me as it adds colour to the pipe I am working on. I turned to Pipephil’s site (http://pipephil.eu/logos/en/logo-v1.html). I did a screen capture of the information on the site. There was a great sidebar that gave some history of the brand. I include both of them below.
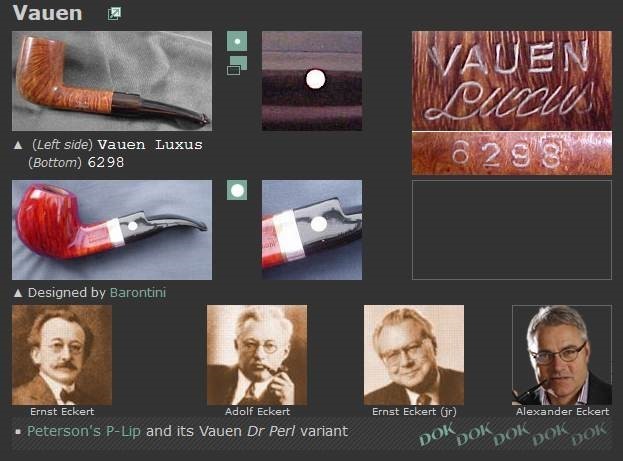 In 1848, Karl Ellenberger and his partner Carl August Ziener establish a pipe factory in Nuremberg. In 1901 they merge with Gebhard Ott an other factory in town and they create a firm named Vereinigten Pfeifenfabriken Nürnberg (abbreviated : VPFN*). Shortly after Ernst Eckert, a member of the Ott family became manager of the society. During the 20th century Adolf, Ernst (jr) and Alexander Eckert (CEO in 2012) followed one another at Vauen’s head.* VPFN : “V” is said VAU in German (pronounce faou) and “N” becomes EN. Hence VAUEN.
Dal Stanton (Pipesteward.com) wrote a great piece on the history of the brand on a Vauen pipe that he worked on. I reread that and quote a section from the blog below that gives a great sense of the history of the German brand and some photos from the website (https://rebornpipes.com/2021/04/27/breathing-new-life-into-a-german-vauen-6294-p-lip-saddle-billiard-for-a-special-young-lady/).
… I turn to the question of the history of the VAUEN name? I look to the History section of the VAUEN website and again, I am impressed with the presentation. Whenever I work on a pipe, and especially when a pipe name is new to me, I enjoy looking at its history to appreciate the pipe more fully now on my worktable. From VAUEN’s website: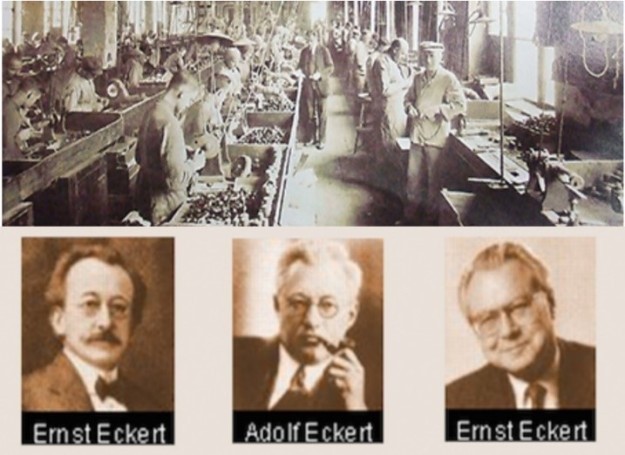 Quality and a wealth of ideas have a long tradition at VAUEN. 160 years of VAUEN: that means 160 years of skilled workmanship and modern technology and 160 years of experience in fulfilling the individual wishes of today’s pipe lovers, and those of tomorrow.
In Nuremberg in 1848, Karl Ellenberger and his partner Carl August Ziener turned an idea into reality: Germany’s first pipe manufacturer produced tobacco pipes for connoisseurs around the world using a selection of the best wood. In an amalgamation with the Gebhard Ott pipe factory, which was founded in 1866 in Nuremberg, the Vereinigten Pfeifenfabriken Nuremberg (United Pipe Factories Nuremberg, or VPFN) was born in 1901. Under the management of Ernst Eckert, a descendent of the founding Ott family, a company was born whose products and services would shape the tobacco and smoking culture in Europe and overseas for the next 160 years and counting.
The question about the name, VAUEN, not being a name of a person and why it is capitalized throughout is explained:
In his search for a name that would be easily remembered by all pipe lovers, Ernst Eckert’s son, Adolf Eckert, coined a new name for the company in 1909: VAUEN – a composition of the first letters V (pronounced vow) of Vereinigte Pfeifenfabriken and N (pronounced en) of Nuremberg. A brand for the future was born.
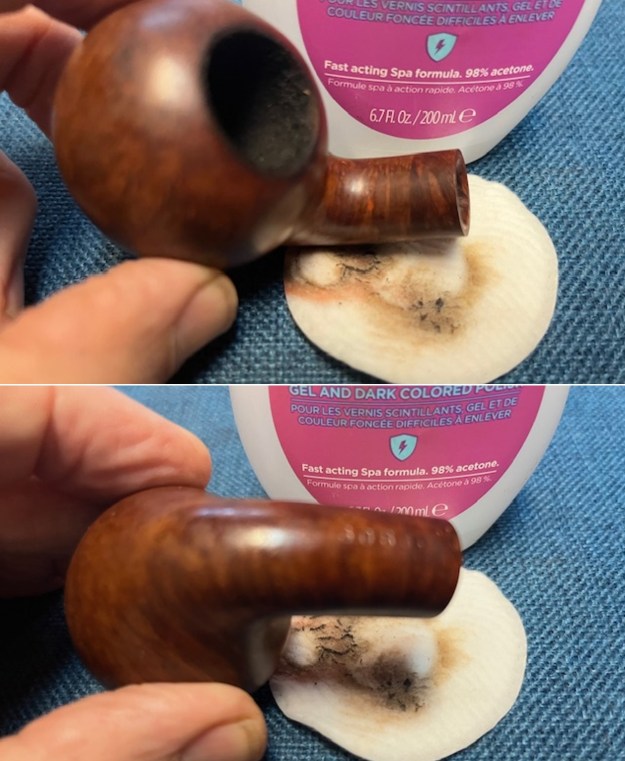
Armed with that information I turned my attention to the pipe itself. To clean up the hardened glue and debris on the shank end I washed it off with acetone on a cotton pad. I was able to remove the debris and glue as well the shiny varnish coat on the bowl. It looked much better than when I started.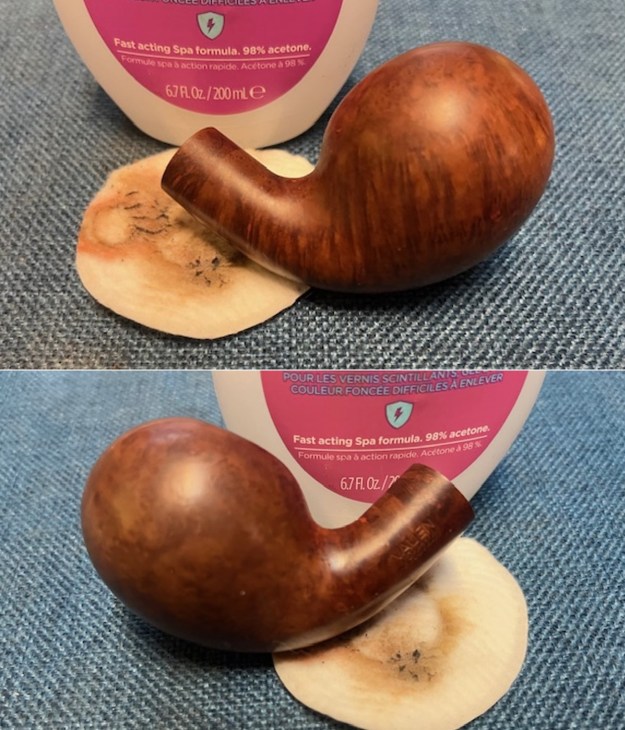
 I reamed the bowl with a PipNet reamer to remove the cake. I cleaned up what remained with a Savinelli Fitsall Pipe Knife. I sanded the walls of the bowl to remove any remnants of cake with 220 grit sandpaper wrapped around a piece of dowel. Once finished the inside of the bowl was smooth.
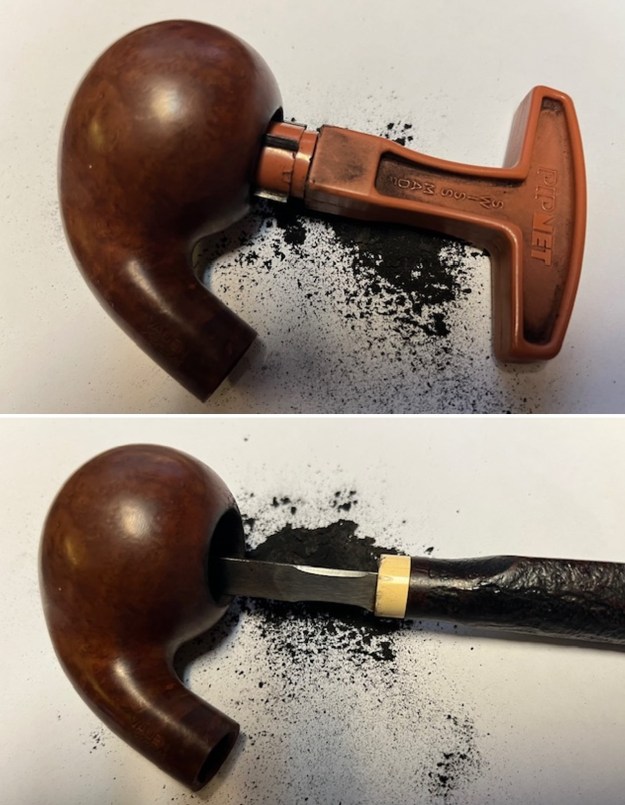
 Once the pipe was reamed and clean I took the opportunity to work on the internals – the mortise and airway in the shank and stem. I cleaned out the airway to the bowl, the mortise and the airway in the stem with pipe cleaners, cotton swabs and alcohol.
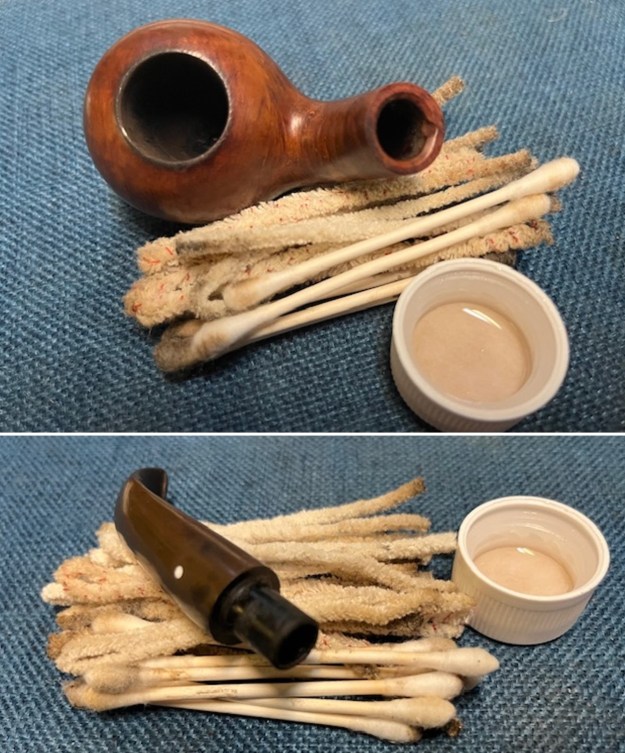 I sanded the bowl with 2 inch sanding pads using grits 320-3500 to remove the lava on the rim top and the remaining finish on the bowl. All of it was done to prepare the bowl for a restaining.
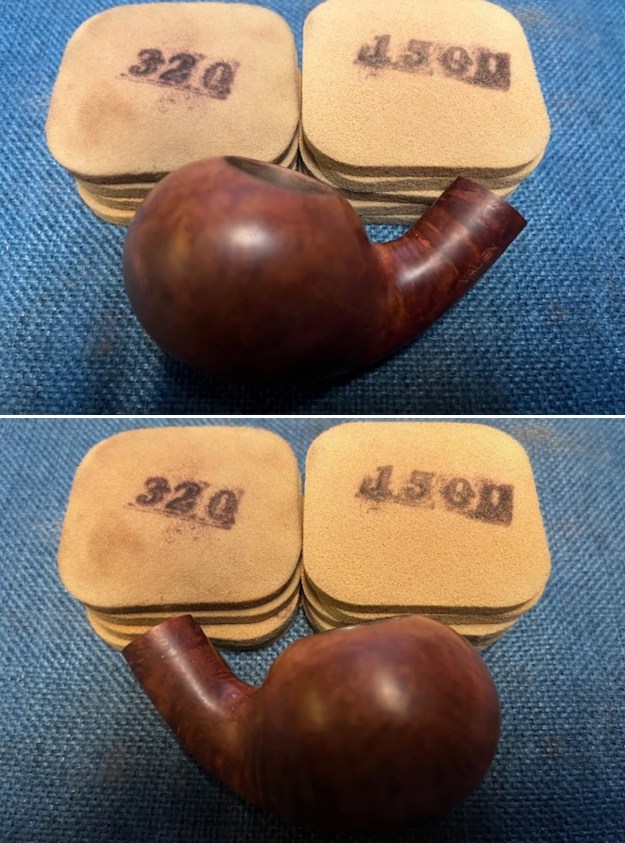
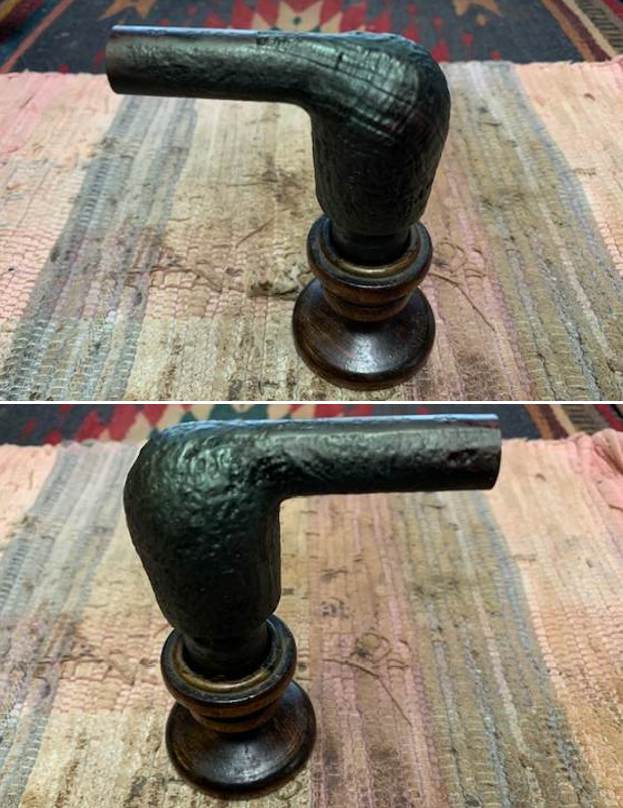
 Sonny had asked that once the pipe was cleaned up if I would stain it black for him. He also did not want the and in place on it. I stained it with a black aniline stain – Feibing’s Black Shoe Dye. I applied it with a dauber and flamed it with a Bic lighter to set the stain in the briar. I set it aside to dry.
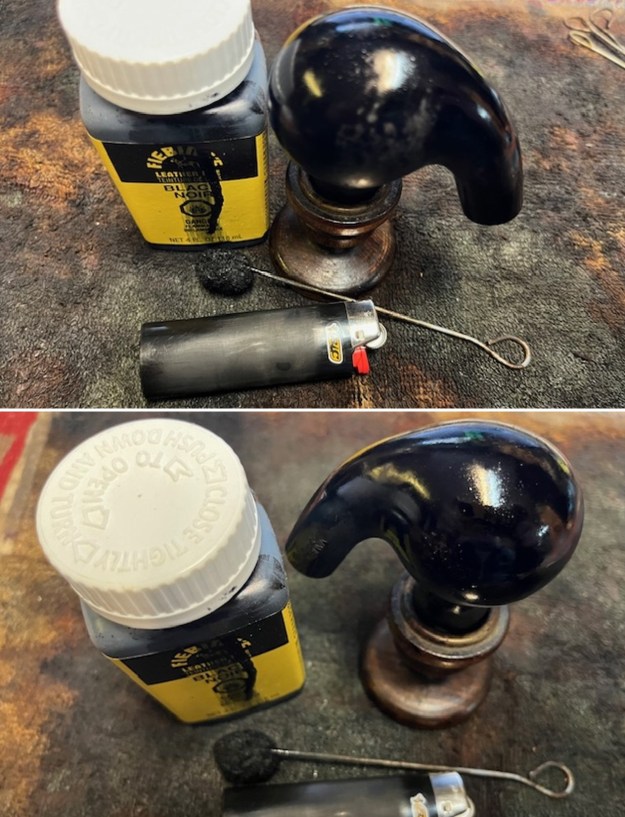 I set the bowl aside to let the stain cure. I turned my attention to the stem. I worked it over with cotton pads and Soft Scrub cleanser. I was able to remove the oxidation and the stem began to look very good at this point.
 I sanded the stem with 320-3500 grit sanding pads to break up the remaining oxidation. I wiped it down after each sanding pad with a soft cloth. It began to look good.
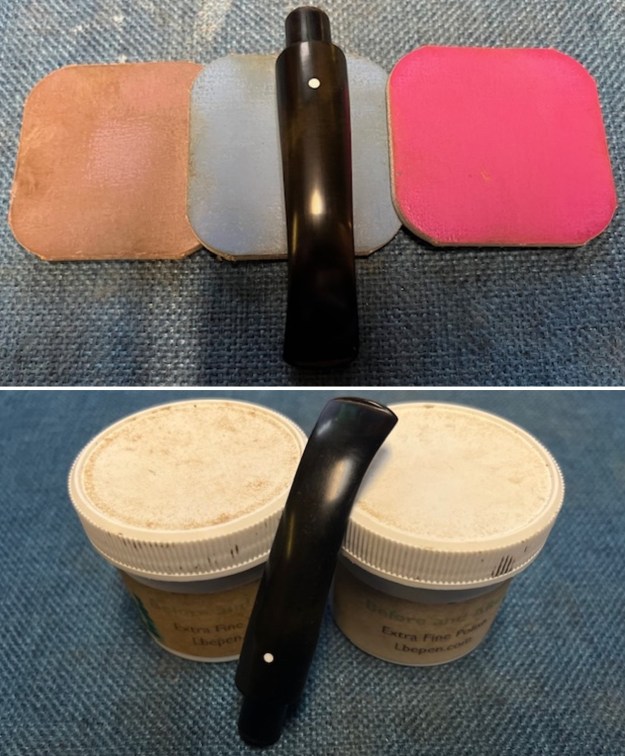
  I polished the stem with micromesh sanding pads – dry sanding with 1500-12000 grit pads. I wiped the stem down after each sanding pad with Obsidian Oil. I polished it with Before & After Pipe Stem Polish – both Fine and Extra Fine. Once I had finished the polishing I gave it final coat of Obsidian Oil and set it aside to dry.
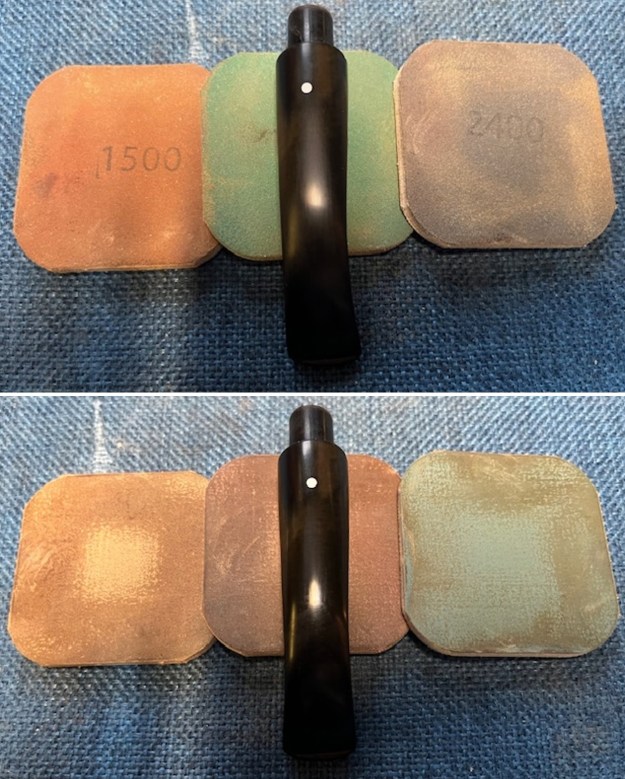
 Once I finished the stem, I fit it with a clean 9mm filter. I have a small box of Vauen Dr. Perl Junior filters that I have here and they fit the stem perfectly.
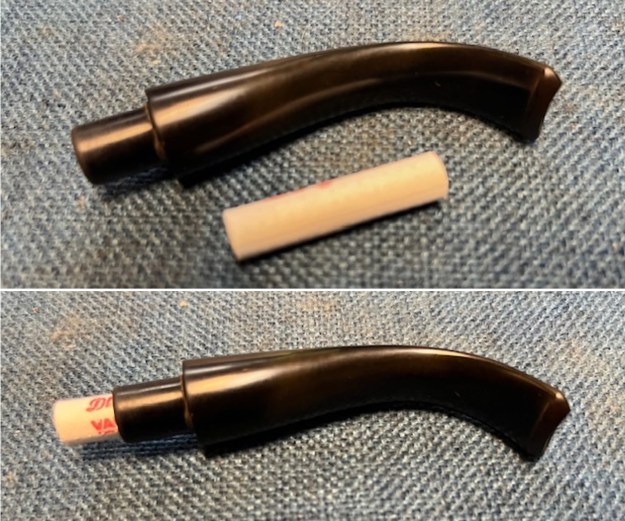 From there I moved to polishing the briar with micromesh sanding pads. Before I sanded the bowl, I wiped it down with isopropyl alcohol on a cotton pad to make the stain a bit more transparent. Then it was ready for sanding.
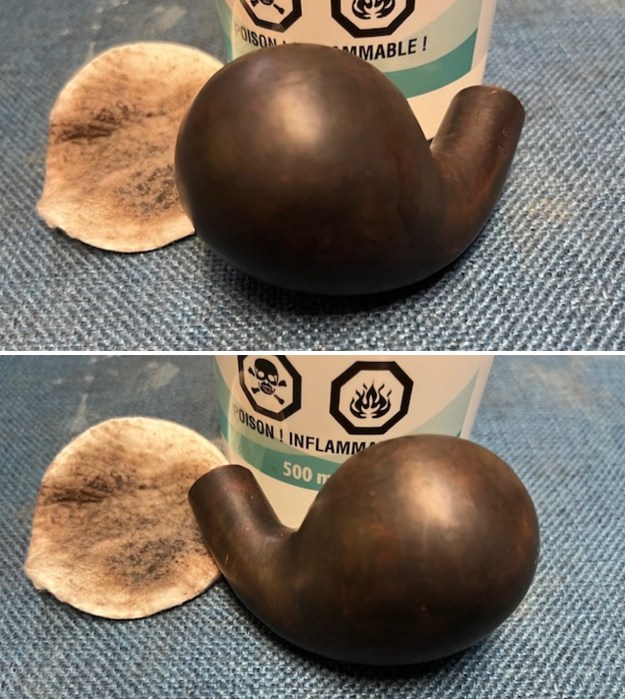
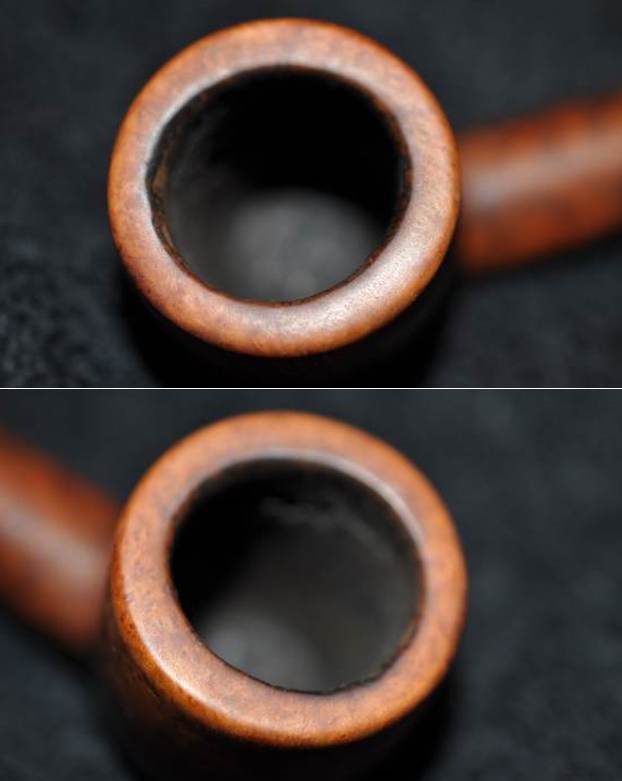
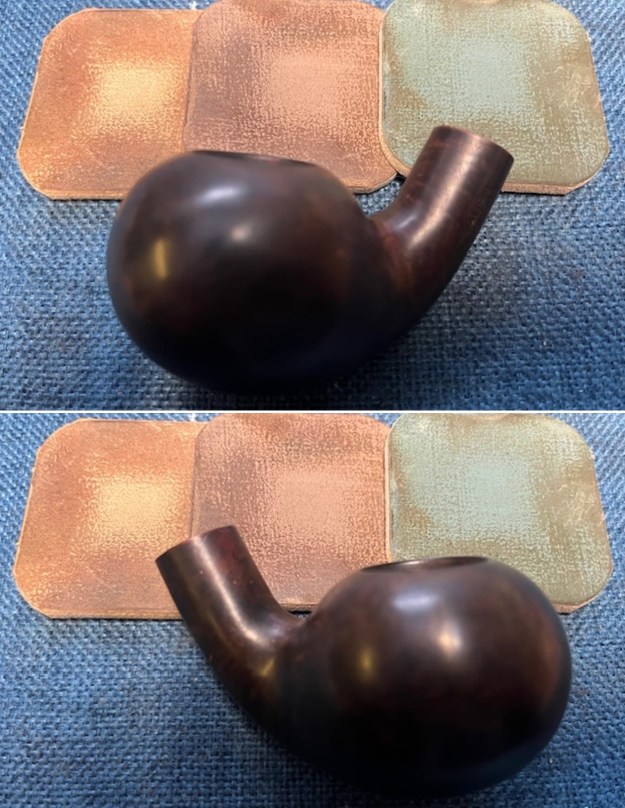
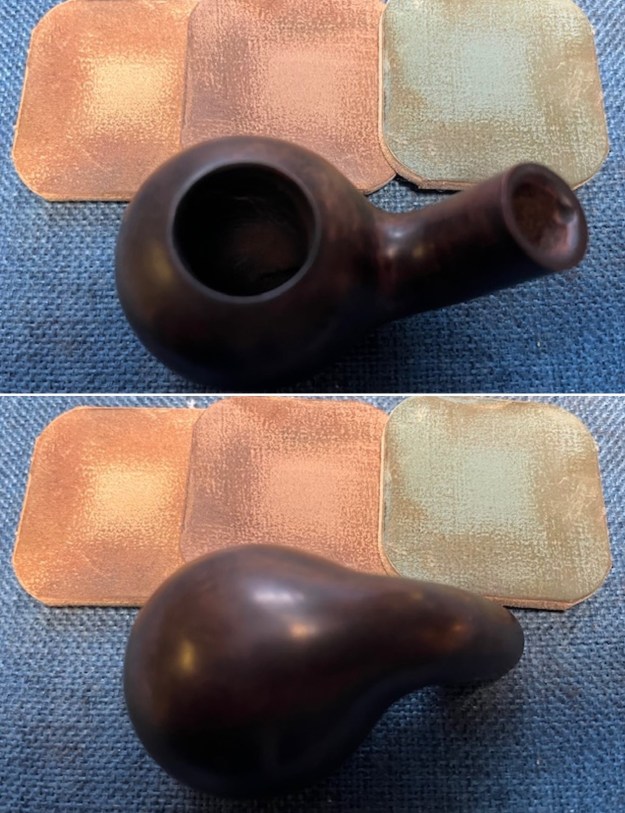
 I sanded the newly stained bowl to allow the grain to stand out clearly. I dry sanded the briar rather than wet sand it. Again, it is a matter of personal preference. I prefer to use the pads dry and find they work very well on the briar. I sand with each pad (9 in total) and group them by threes for ease of reference. I wipe the bowl down with a damp cloth after each pad to remove the sanding debris and check the briar. I love seeing the developing shine on the briar as I move through the pads. I include the many photos of various angles of the bowl so you can see the change. Pay attention to the changes in the briar in these photos as you work through them.
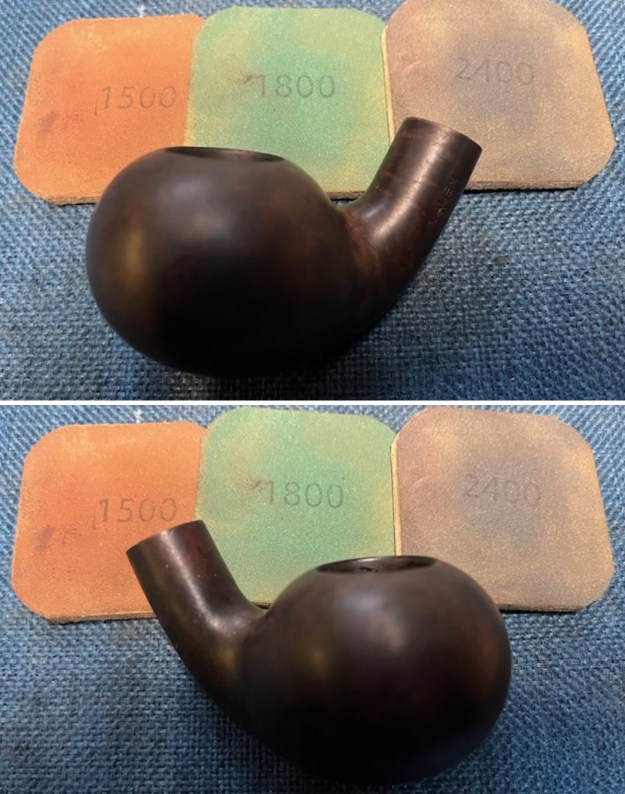

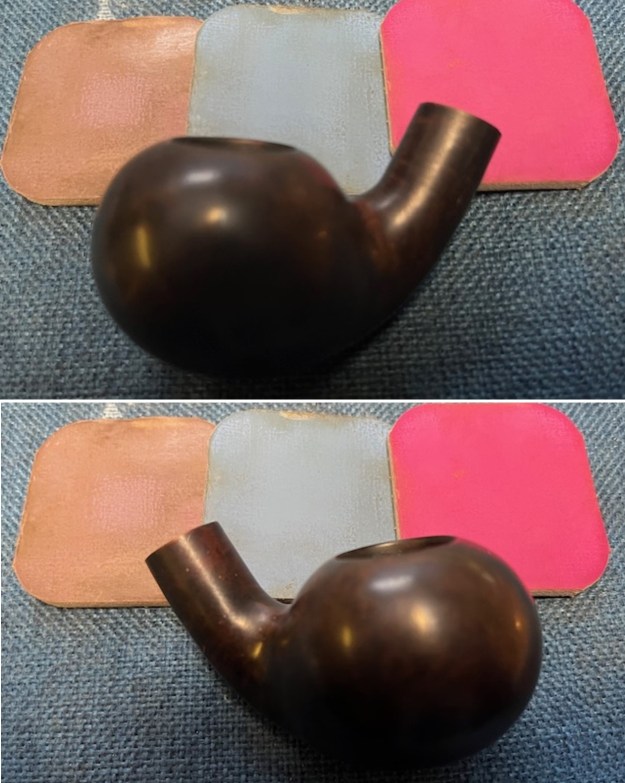
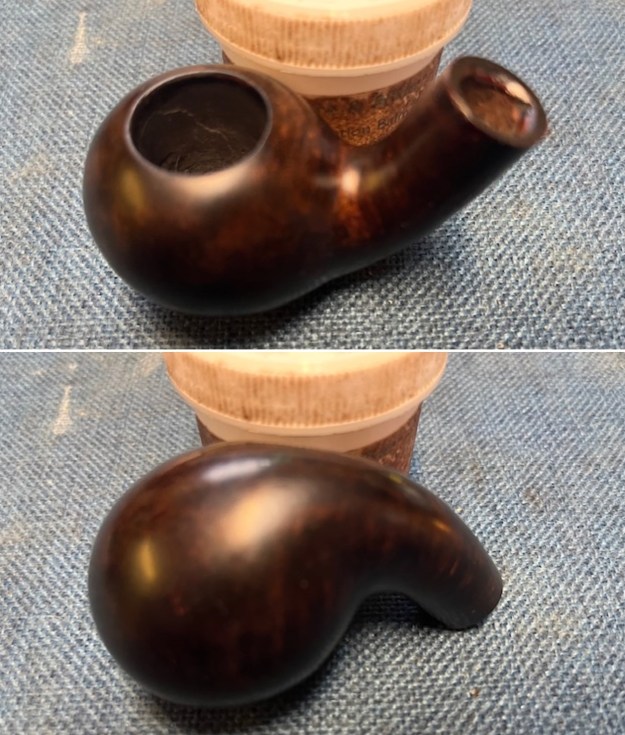
 When I get the bowl to this point in the process I use Before & After Restoration Balm. It is a paste/balm that works to deep clean the finish, enliven and protect the briar. I work it into the briar with my finger tips to make sure that it covers every square inch of the pipe. I set it aside for 10 minutes to let it do its work. Once the time has passed I wiped it off with a soft cloth then buff it with a cotton cloth. The briar really began to have a deep shine. The photos I took of the bowl at this point mark the progress in the restoration. You see the shine that the briar has taken on and the way the grain just pops. It is a gorgeous pipe.
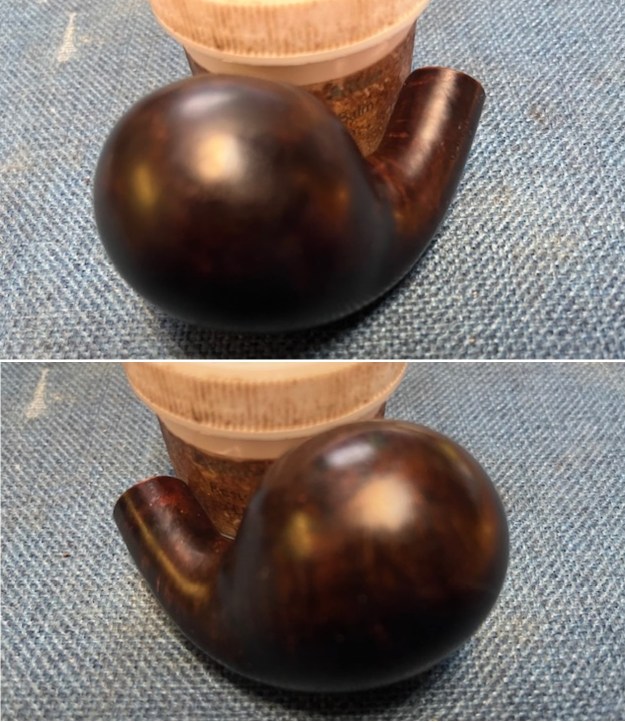
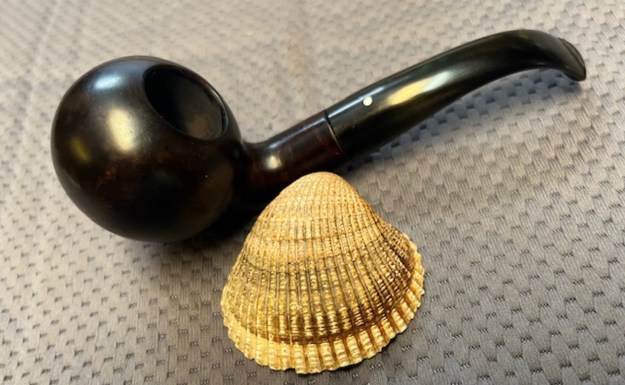
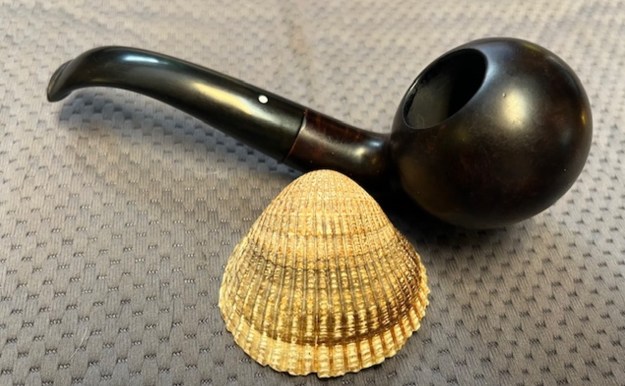
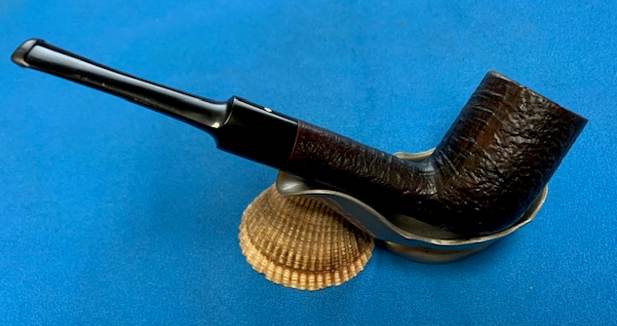
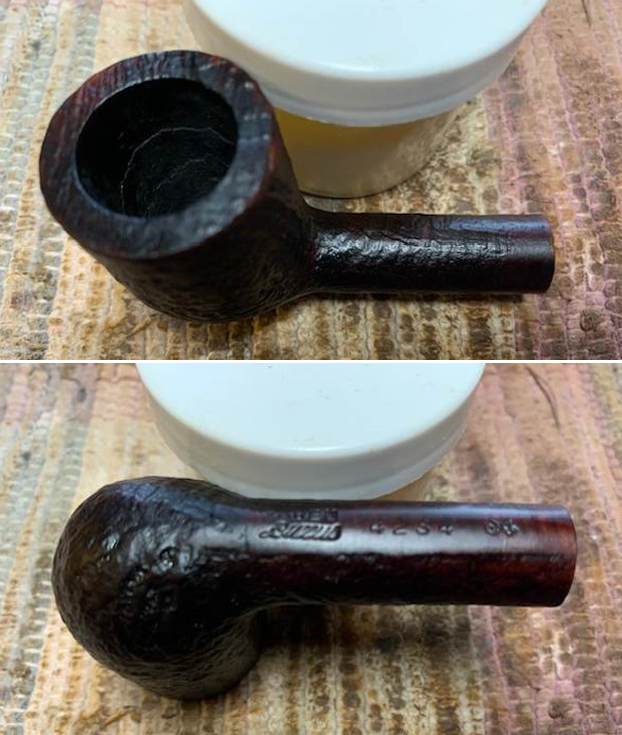
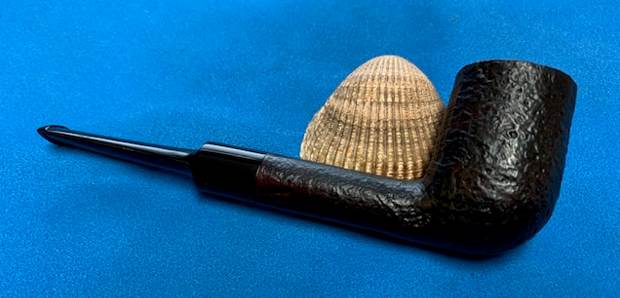
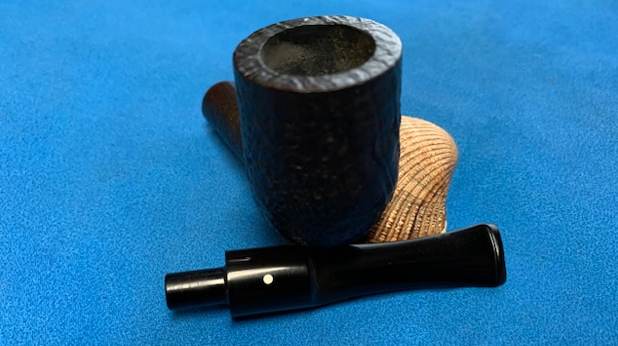
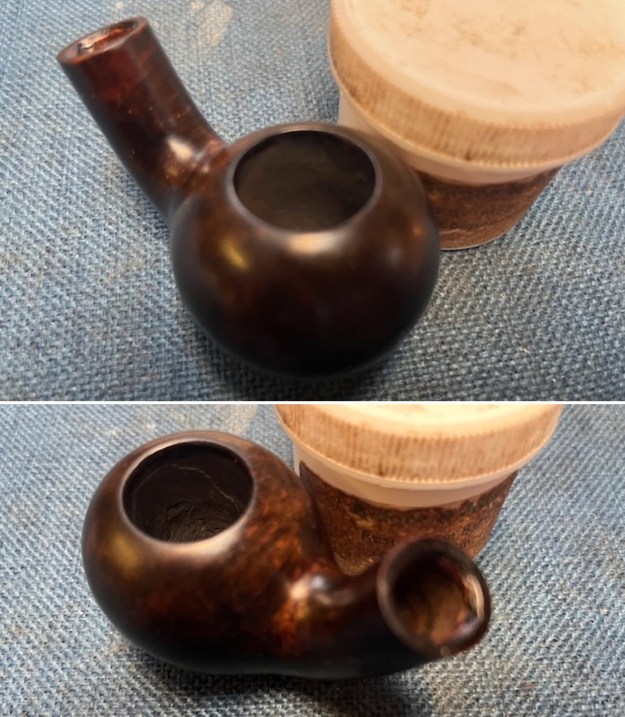 I finished with the Blue Diamond and moved on to buffing with carnauba wax. Once I have a good shine in the briar and stem I always give the bowl and the stem multiple coats of carnauba wax. I have found that I can get a deeper shine if I following up the wax buff with a clean buffing pad. It works to raise the shine and then I follow that up with a hand buff with a microfiber cloth to deepen the shine. It is always fun for me to see what the polished bowl looks like with the polished stem. It really is a beautiful pipe. The smooth finish around the bowl sides and shank show the grain shining through the polished black stains on this Vauen Luxus 3083 Filter Ball and the polished stem is a great addition. The finished pipe feels great in my hand. It is light and well balanced. Have a look at it with the photos below. The dimensions are Length: 5 ¾ inches, Height: 1 ¾ inches, Outside diameter of the bowl: 1 ¼ inches, Chamber diameter: 7/8 of an inch. The weight of the pipe is 1.20 ounces/34 grams. It is a beautiful pipe that I will be sending to a friend of mine who is collecting older Vauen pipes. I look forward to hearing what he thinks of it. As always I encourage your questions and comments as you read the blog. Thanks to each of you who are reading this blog. Remember we are not pipe owners; we are pipemen and women who hold our pipes in trust until they pass on into the trust of those who follow us.