Blog by Steve Laug
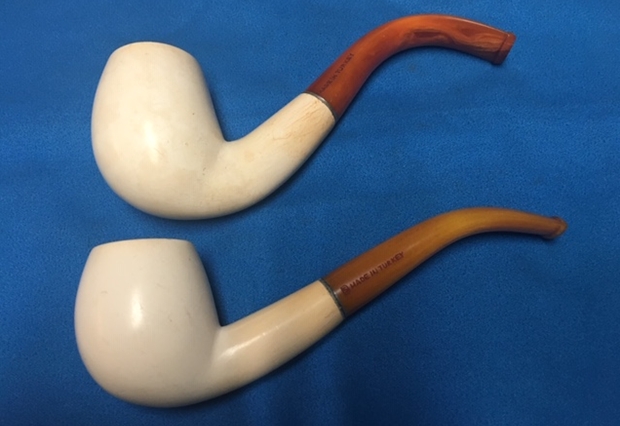
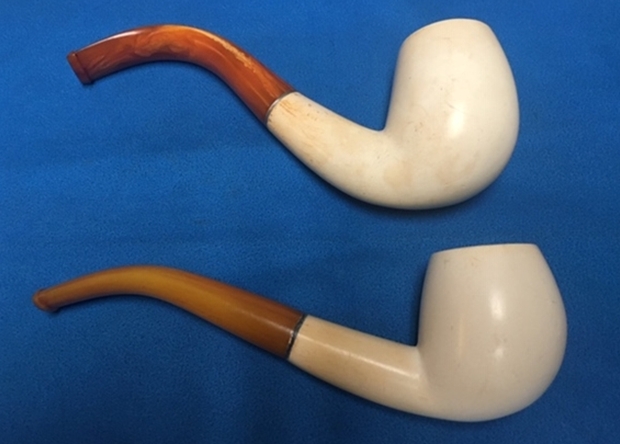
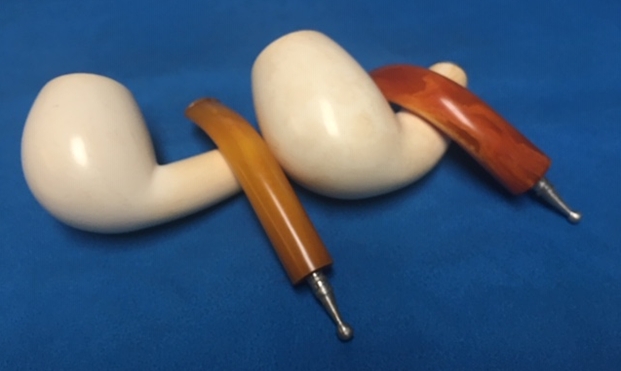
As you might have figured out from the title I am working on a pair of Turkish Meerschaum pipes – two bent eggs with no stamping or identifying marks regarding the maker. Both have similar shapes and stems. The stems both are stamped on the left side – Made in Turkey. The smaller of the two has a small S in a box. The bowls were very dirty on the outside of the bowl. There was a lot of marks on the meer and sticky substances that made the bowls feel and look dirty.The larger bowl was unsmoked and the smaller one is lightly smoked. Both had been sitting a very long time unused as there were cobwebs in the bottoms of the bowl. The shanks both had a metal mortise insert much like Kaywoodie metal inserts. The tenon on the stems was a metal single unit aluminum stinger and tenon. The Bakelite stems were in excellent condition and did not have any tooth chatter or marks in the surface. They were dirty but otherwise in good condition. The alignment of the stems in the shank was perfect. I took photos of the pipes before I started my work on it.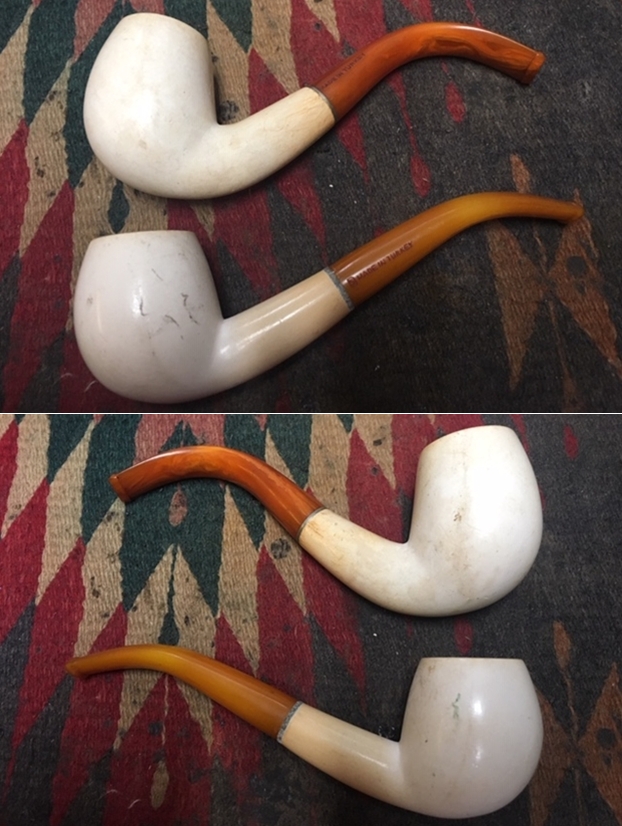
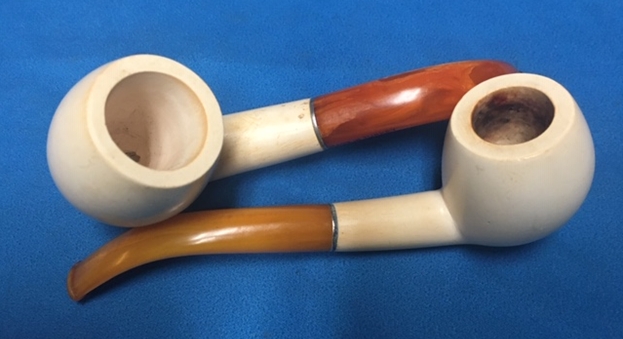
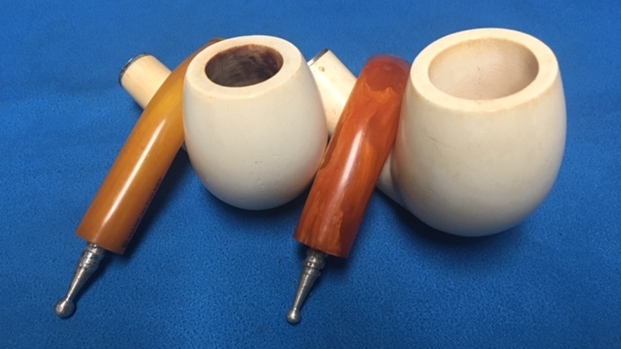
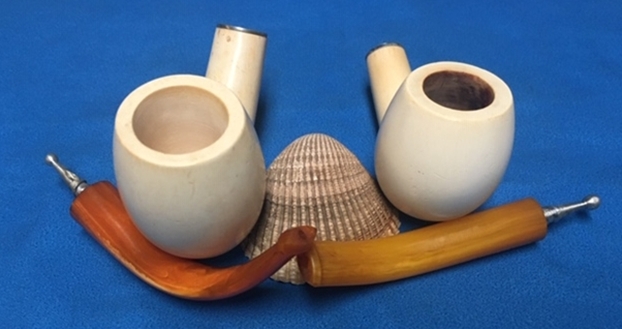
 I took a close up photo of the bowls and rim tops to show the condition of the pipe before I started my cleanup work. Both bowls were dirty but there was no cake. The larger of the two was unsmoked and you can see that the smaller one has been lightly smoked. The rim tops were both dirty but undamaged. The stems look pretty good with no tooth chatter and marks on either the top or underside. Metal spacer on the smaller pipe was oxidized and dirty.
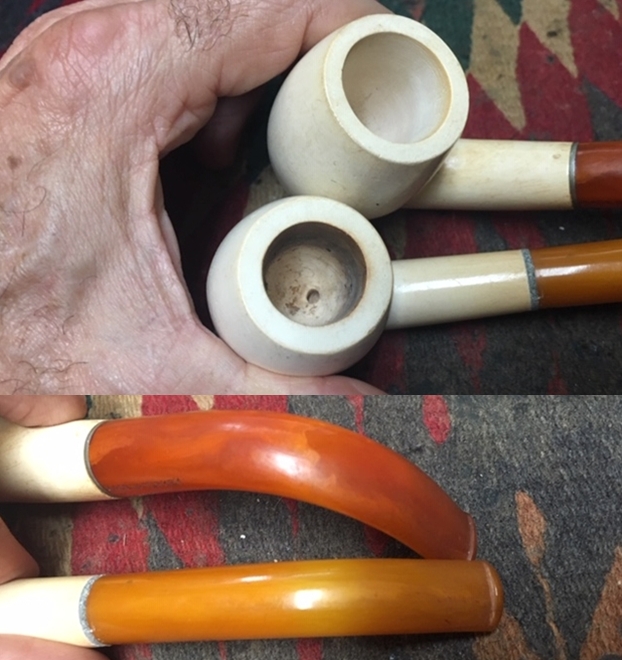
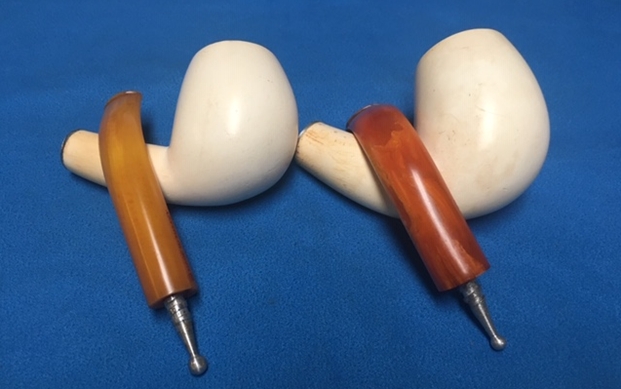
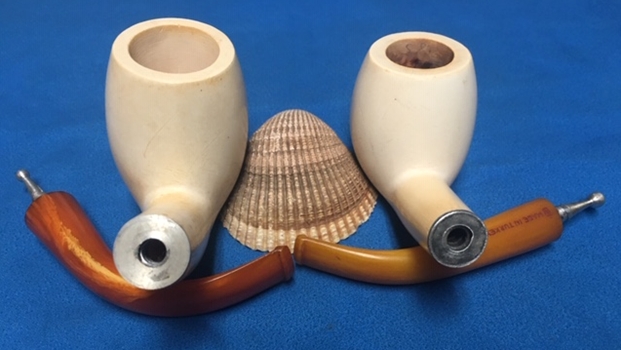
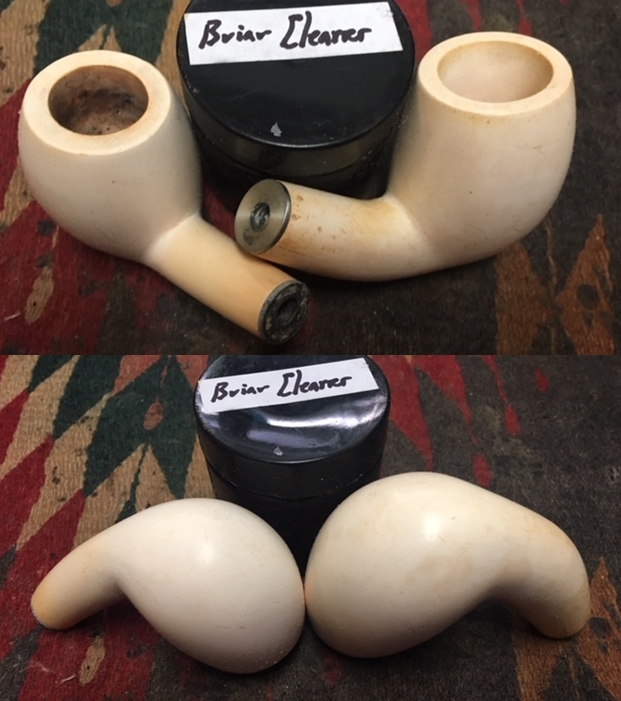
 I took a photo of the stamping on the stems of both pipes. The top pipe (larger one) is stamped MADE IN TURKEY. The bottom pipe stem is stamped with an S in a box followed by MADE IN TURKEY. Both stems have an older style orifice button that can either speak of age or of precast unshaped stems.
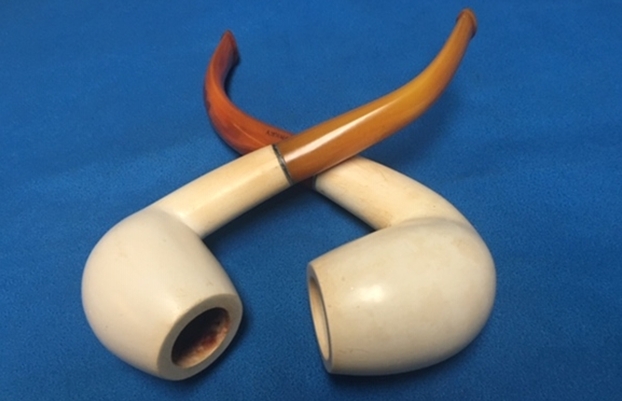
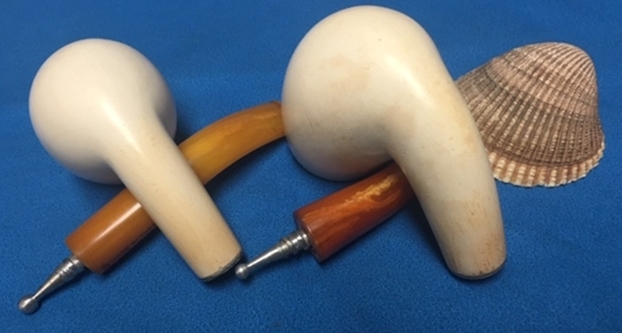
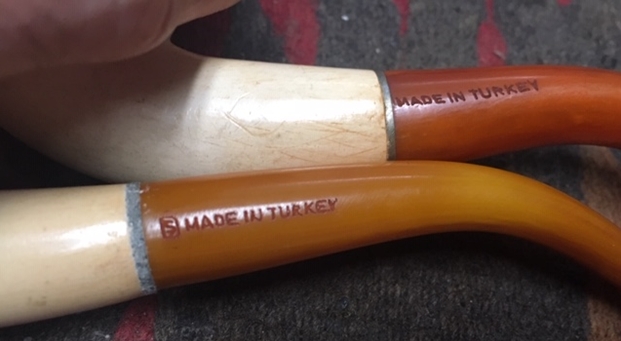 I took the stems off the bowls and took photos of the parts. The metal tenon on the larger of the two eggs (one on the left below) was very clean and unused. The metal tenon on the second pipe (one on the right) was lightly used and had a little tobacco stain.
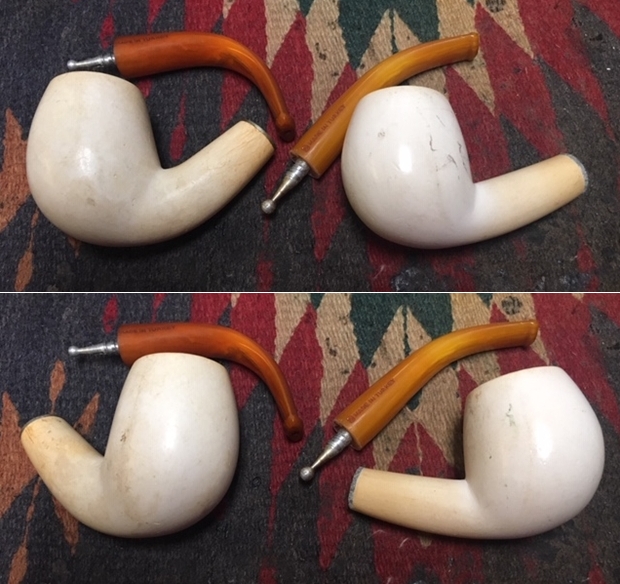 I decided to try cleaning the meerschaum a little differently this time around. I am currently experimenting with a new product from Mark Hoover of Before & After Products. This one is a product he labels briar cleaner and it has the capacity of absorbing grime and dirt from the surface of briar. I decided to try it out this pair of meerschaum pipes. I rubbed the bowl down with some of his Briar Cleaner to see how it would work in this setting. In speaking to Mark he noted that the product is completely safe to use. The main product is even FDA approved edible. I rubbed it onto the bowl with my finger tips and worked it into the grime and grit on both bowls. I rubbed it on the second bowl while letting the product sit on the first bowl. It worked the whole time I was applying it to the second bowl. It probably sat about 2-3 minutes before I went back and rubbed it off with a microfibre cloth. The second bowl sat the whole time I was rubbing down the first bowl with the cloth. Again the time lag was 2-3 minutes minimum. I rubbed down the second bowl with the cloth and was pleasantly surprised by how clean the surface on both bowls looked when I was finished.
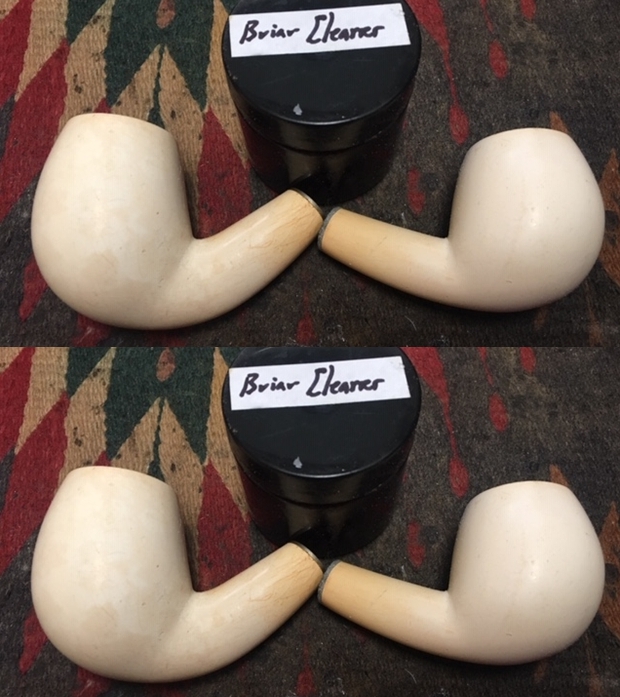
 Since the cleaner had worked so well I decided to try out the Restoration Balm on the meerschaum as well. I rubbed the bowl down with Before & After Restoration Balm. I worked it into the meerschaum and let it sit for a short time. I buffed it off with a microfibre cloth to bring it some life. Once again I was very surprised at how well it worked. I sent Mark Hoover a note about this experiment. He was pretty amazed at the results and said he had not thought of using it for meerschaum but was not surprised as it was made to absorb grit and grime from the surface of a pipe.
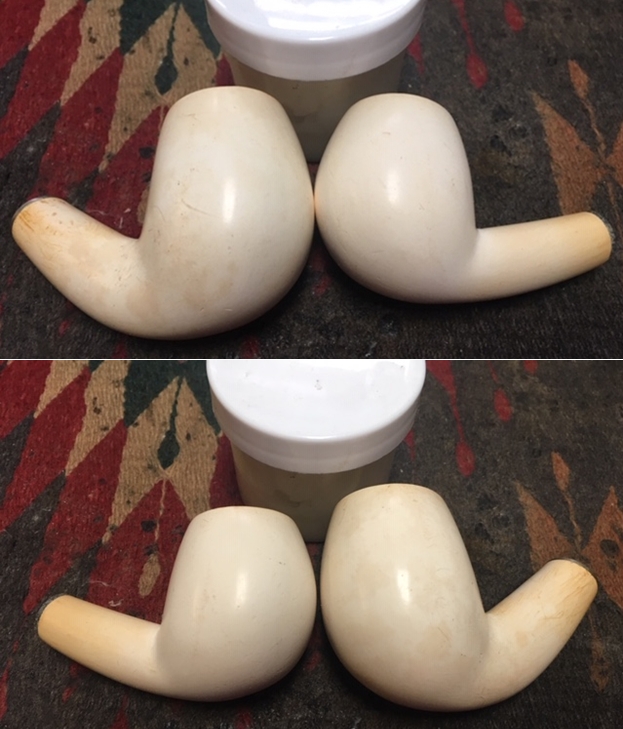
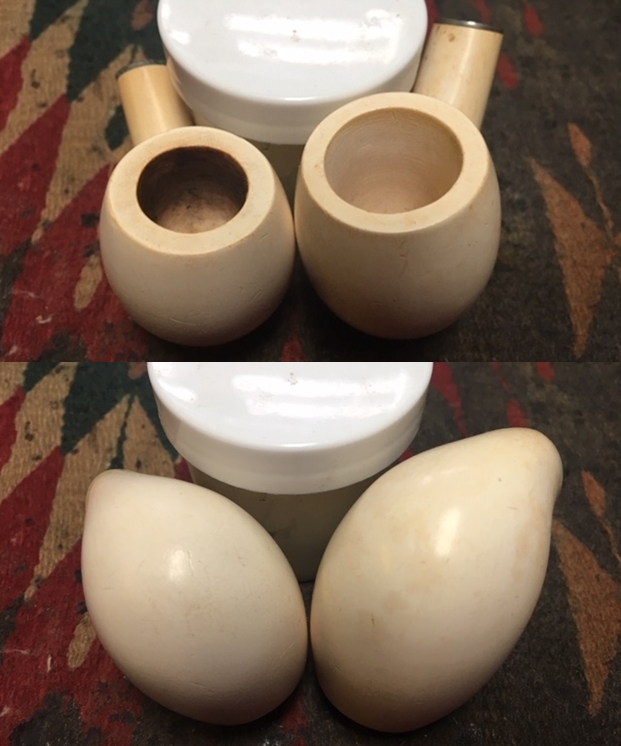 I scrubbed the internals of the bowls, shanks and stems with alcohol, cotton swabs and pipe cleaners. They were surprisingly clean and the dust and debris came out quickly on the pipe cleaners and the cotton swabs. The smaller pipe that had been presmoked was also quite clean.
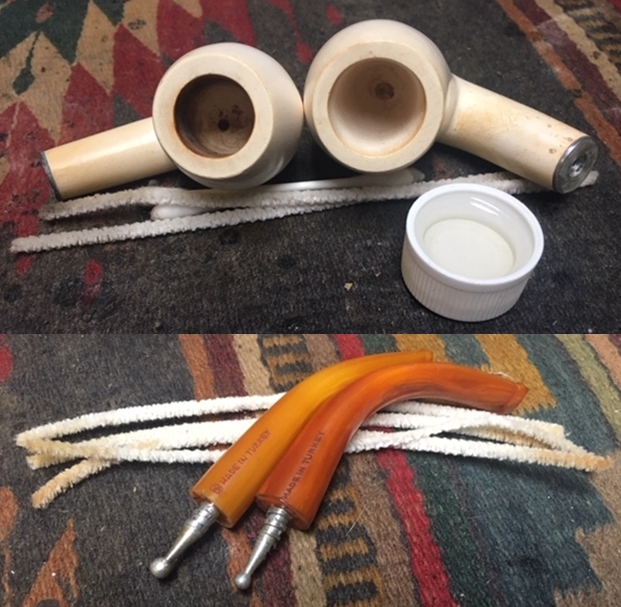 I polished the metal spacer on each shank end with 1500 micromesh sanding pads. I was able to remove the oxidation and leave the spacers both shiny.
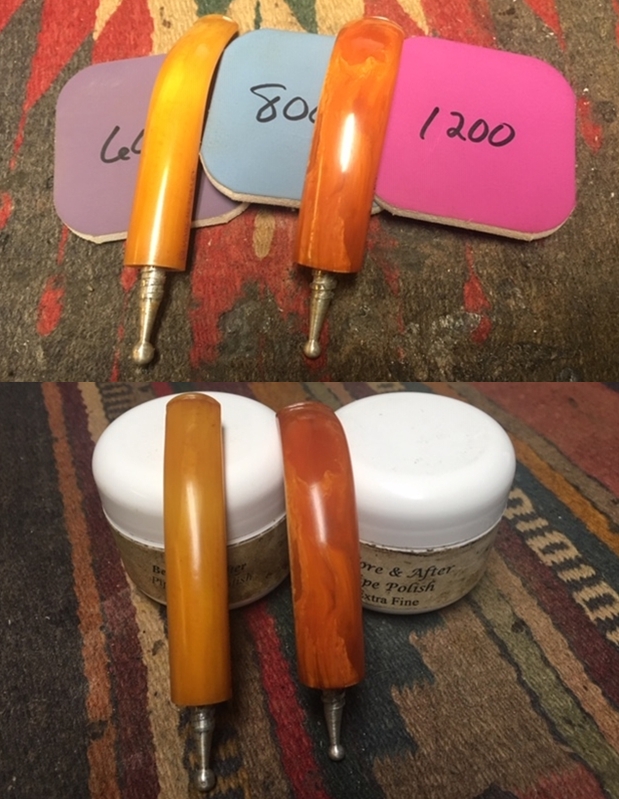
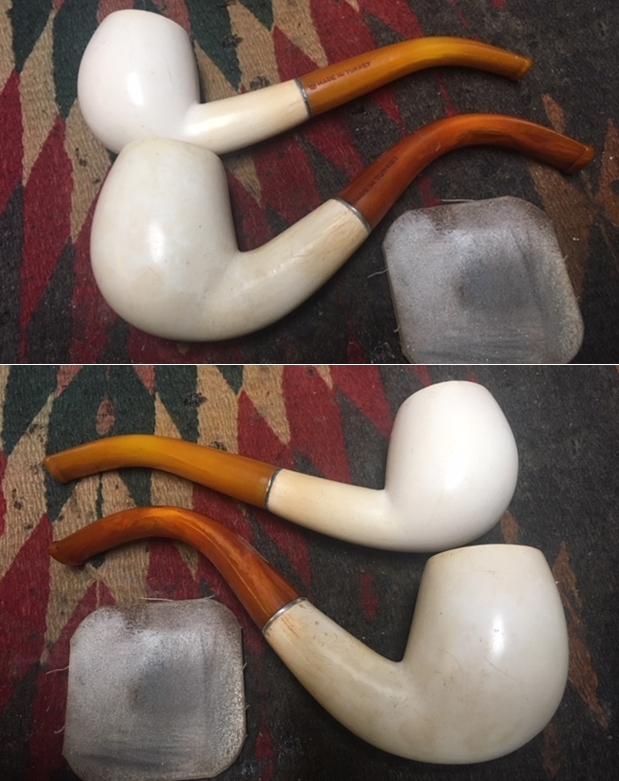 I set the bowls aside and worked on the stems. I sanded the surface of both stems with 1500 -12000 grit micromesh pads to polish it. I wiped it down with Obsidian Oil on a cloth after each sanding pad. I finished polishing the stem with Before & After Pipe Polish – both Fine and Extra Fine polishes. I wiped the stem down with Obsidian Oil afterwards and buffed it on the buffing wheel with Blue Diamond and the finished it with a soft microfiber cloth.
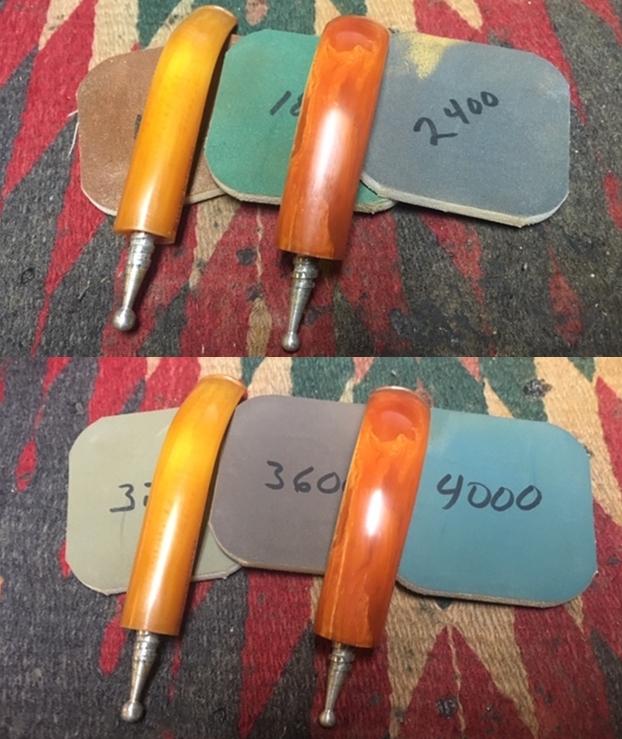
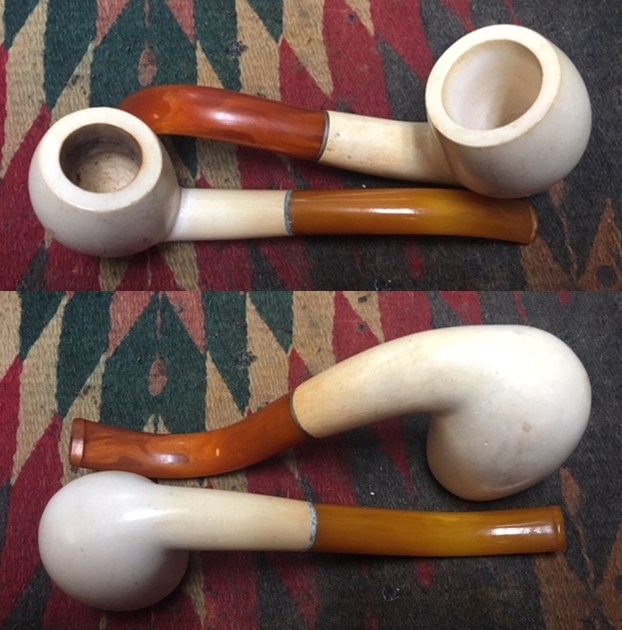
 I put the bowls and stems back together. I polished them with Blue Diamond to polish out the scratches in the briar and the Bakelite. I gave the bowls and stems of both multiple coats of Conservator’s Wax and buffed the pipes with a clean buffing pad to raise the shine. I hand buffed them with a microfiber cloth to deepen the shine. The pipes polished up pretty nicely. The contrast of the beautiful clean meerschaum with light colouring of age and the polished golden Bakelite stems looked amazing. These are beautiful egg shaped Meerschaum pipes that will only get better with age. The finished pipes are shown in the photos below. The dimensions of the larger egg shaped pipe with fuller bent stem (upper pipe in the first two photos below) are Length: 6 inches, Height: 2 inches, Outside diameter of the bowl: 1 1/4 inches, Chamber diameter: 3/4 of an inch. The dimensions of the smaller egg shaped pipe with lesser bent stem (lower pipe in the first two photos below) are Length: 5 3/4 inches, Height: 1 3/4 inches, Outside diameter of the bowl: 1 1/4 inches, Chamber diameter: 5/8 of an inch. I have restored quite a few meerschaum pipes over the years this pair though not particularly high end still have a special beauty. I will be putting them on the rebornpipes store shortly. Thanks for walking through the restoration with me. Cheers.