Blog by Kenneth Lieblich
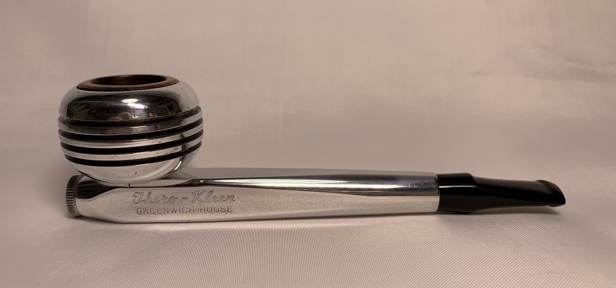
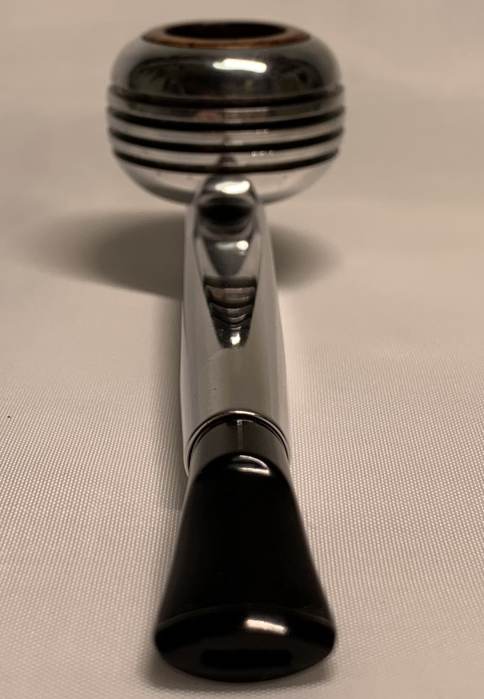
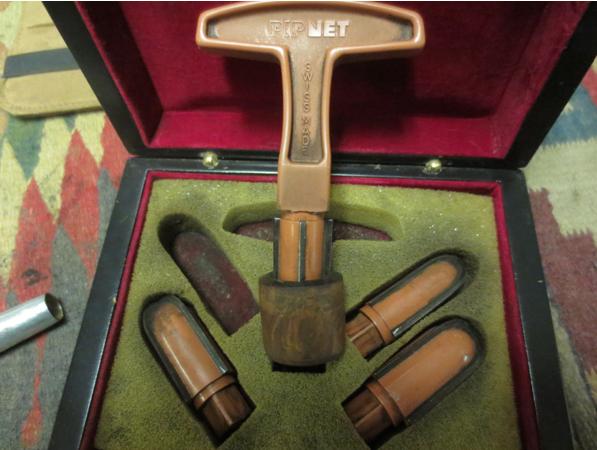
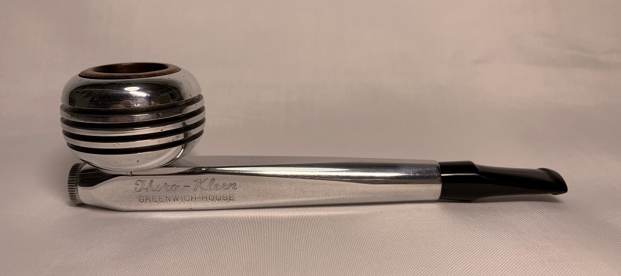
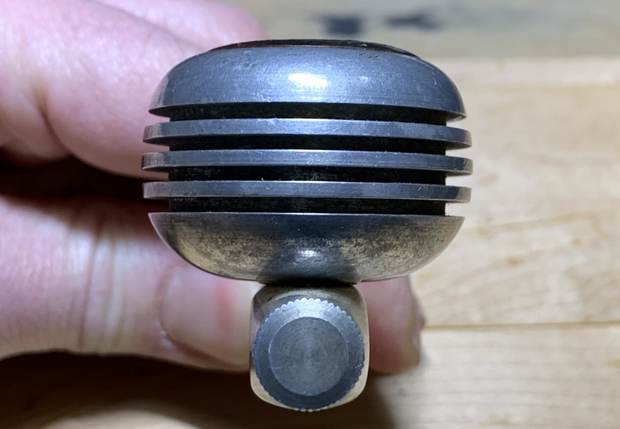
Next on the chopping block is one of those pipes that makes you raise an eyebrow and wonder. It is the Thoro-Kleen made by the Greenwich House Corporation of New York. I acquired it from a lady who found a shoebox of pipes in her late-grandfather’s closet, so we can presume this pipe to be his. When Steve last restored one of these, more than seven years ago, he described it as reminding him of the Jetsons from Saturday morning cartoons! It certainly does have a futuristic, out-of-this-world look. To me, it is a striking example of mid-twentieth-century design. 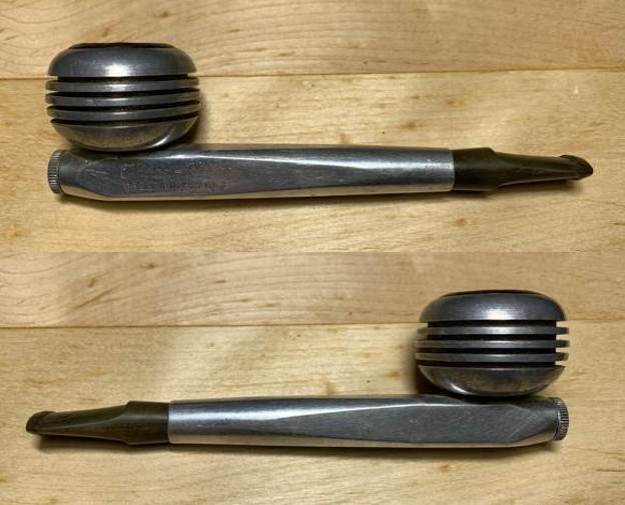
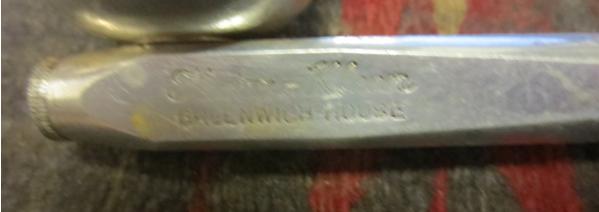
 The only markings on the pipe were on the left side of the shank. They read: ‘Thoro-Kleen [over] Greenwich-House’.
 Our friends at Pipedia have a brief writeup on the Thoro-Kleen, which I copy here in its entirety:
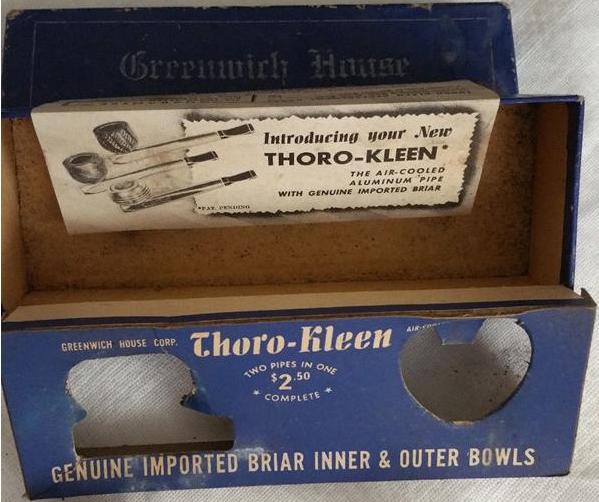
The Greenwich House Thoro-Kleen was a metal pipe system sold with both a metal outer bowl with a briar insert and a full briar bowl. They are from the same family as the Roybrooke, Comet, and Original Gridiron pipes, and parts from all are believed to be interchangeable. The pipes were sold by the Greenwich House Corporation, located in 1947 at 939-M 8th Avenue, N.Y. 19, N.Y. The pipe set sold for $2.50 in 1947.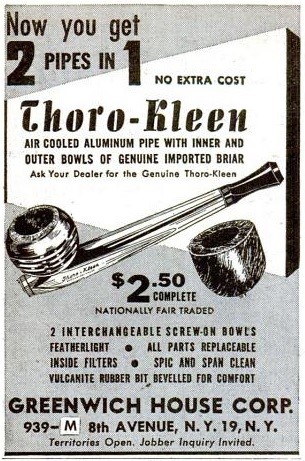 Similarly, Smoking Metal (a website dedicated to metal pipes) also has a short writeup:
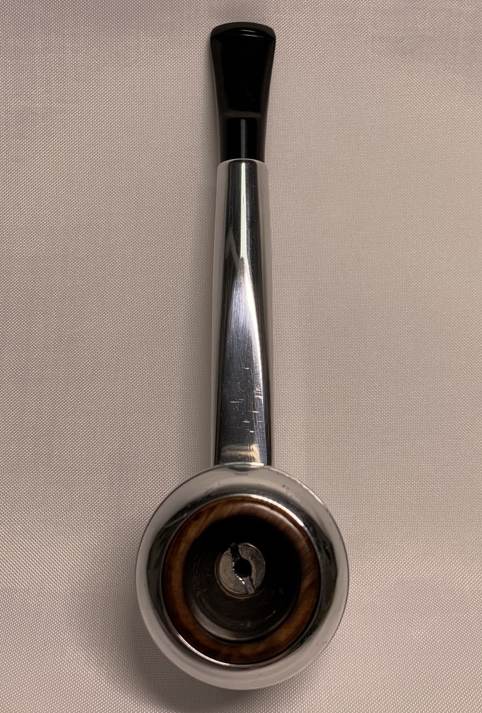
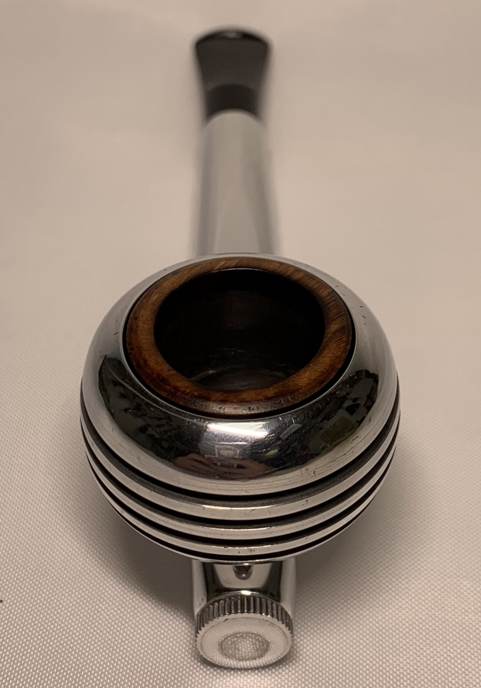
This family of pipes have been seen as Knowles Air Lite (believed to be Canadian version), Roybrooke, Comet, Original Gridiron and the Greenwich House Thorokleen. Seemingly sold in sets that comprised a normal briar bowl as well as the metal outer with a briar insert. The body of the pipe can be hexagonal, square (Thoro Kleen only seen this shape) or circular in cross section. Regardless of variant all parts are interchangeable. The unmarked version tends to be regarded as the COMET, all the others being stamped with a name.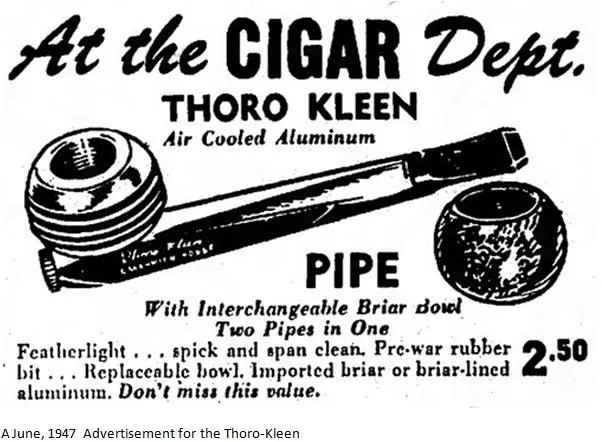 Some instances of this pipe appeared with an entirely-briar bowl, and some came with a metal bowl and briar insert. Some sources indicate that the pipes came with both bowls, and you could take your pick, but the one I have pipe has only the metal bowl and briar insert.
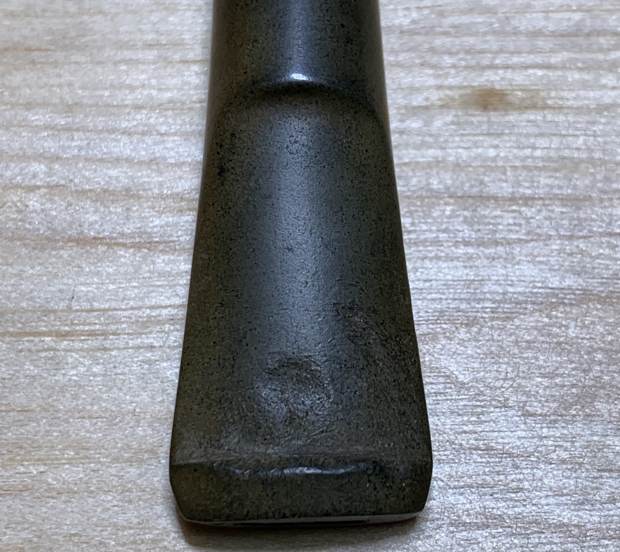
Time to get to work. This pipe was a mess from every perspective. The stem had some serious dents in it. The metal was dirty and dull, and the insides were filthy.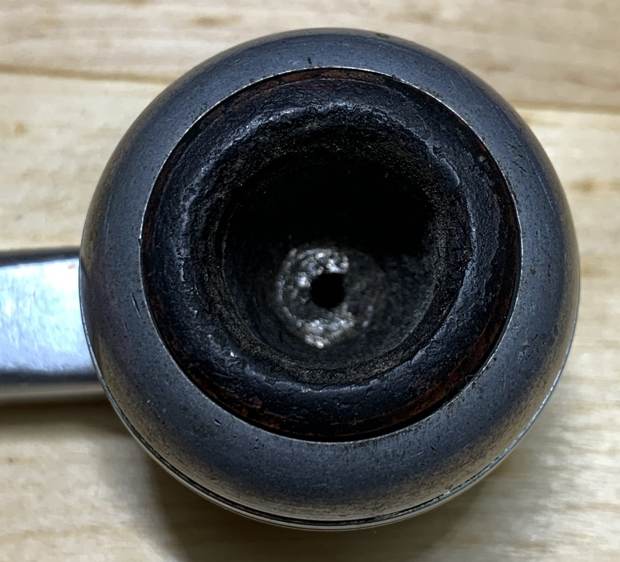
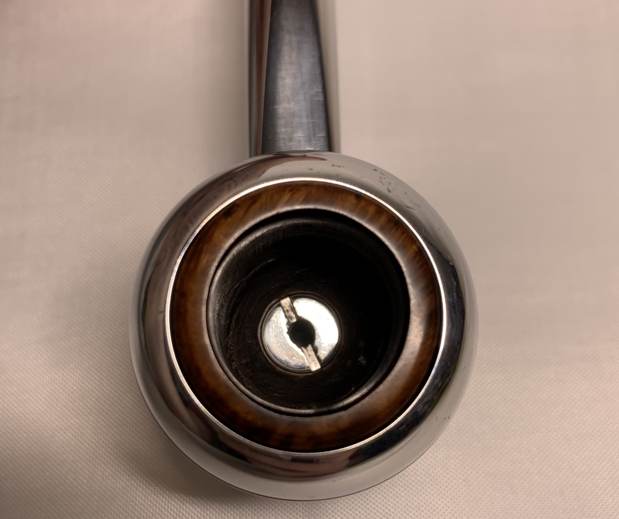
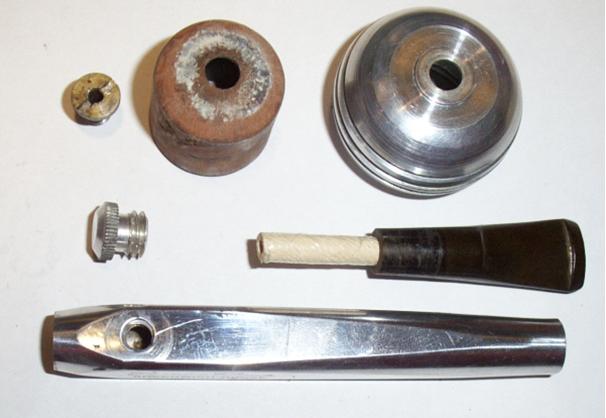
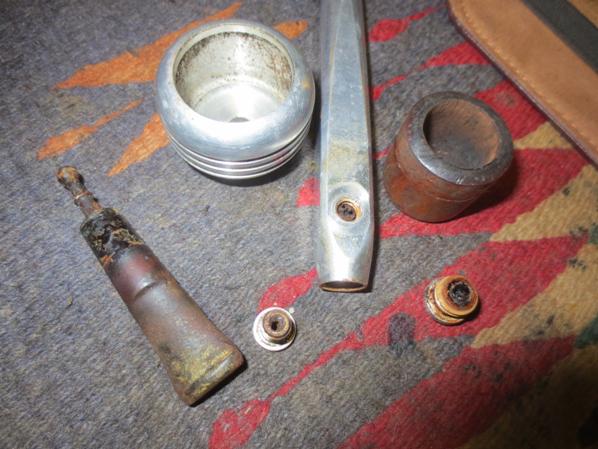
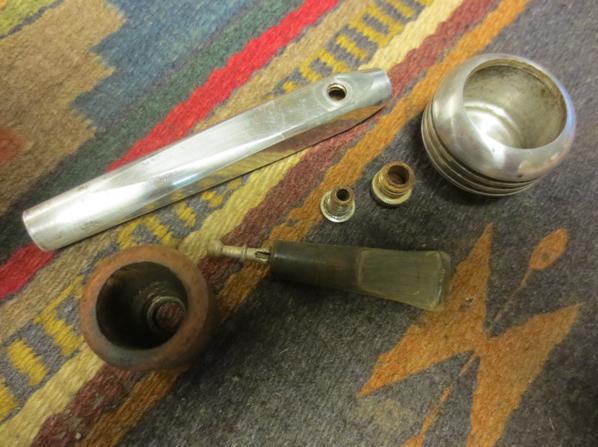
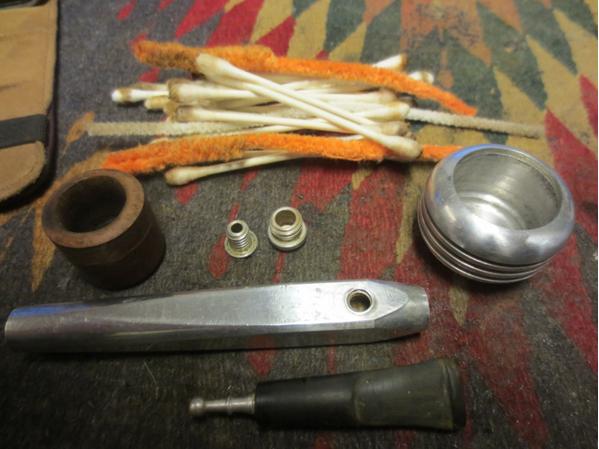
 In the following picture, you can see the pipe as I disassembled it; there are seven pieces: the stem, the shank (or main section of the pipe), the metal outer bowl, the briar inner bowl, a screw that attached the bowls to the main part of the pipe, a valve screw at the far end, and a washer to go along with it. I don’t think this pipe had ever seen a cleaning! There was crud everywhere.
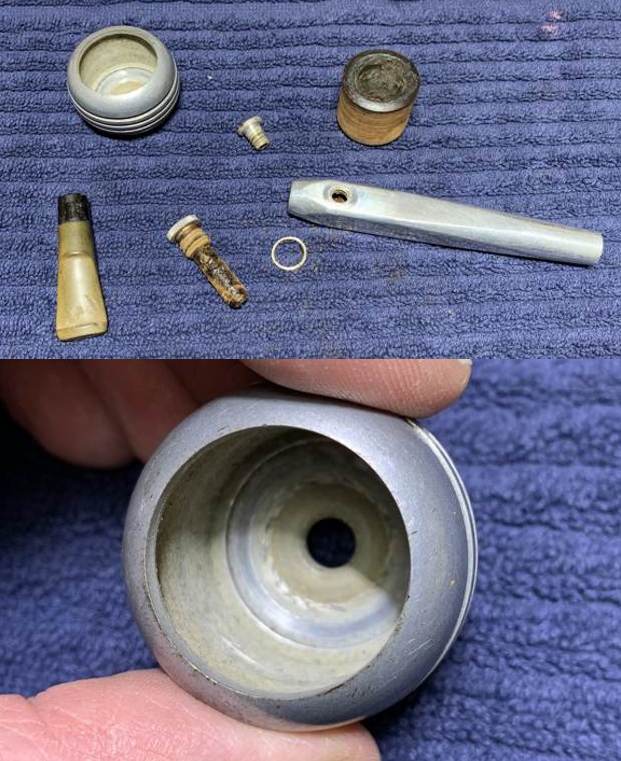
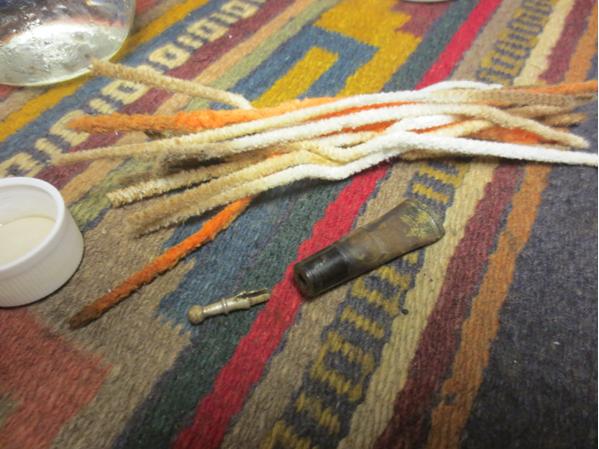
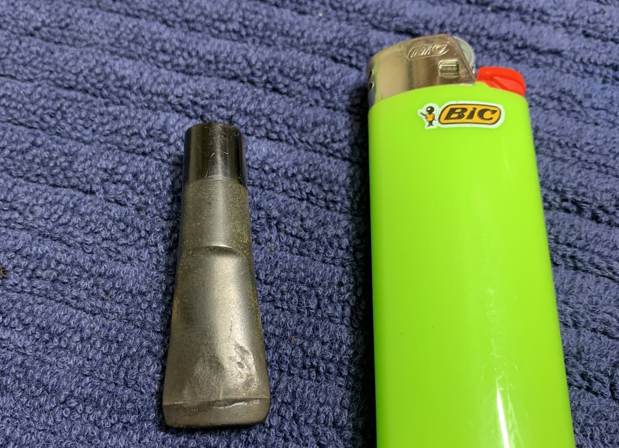
 The stem was first on my list. As usual, I wiped the outside down with Murphy’s Oil Soap on some cotton pads. I also took a BIC lighter and ‘painted’ the stem with its flame to lift the bite marks and dents. This did help, but the dents were so substantial it would need much more than just waving a flame around. Then I cleaned out the inside with pipe cleaners and isopropyl alcohol. It was pretty darn dirty.
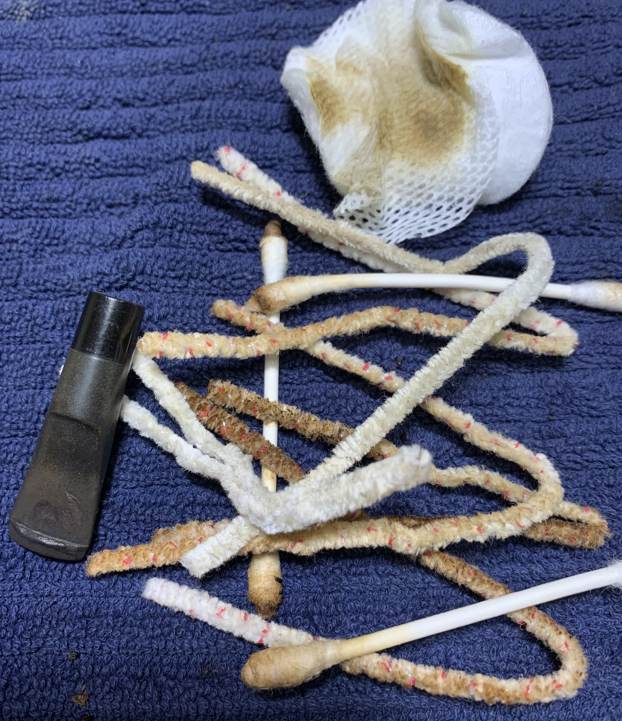
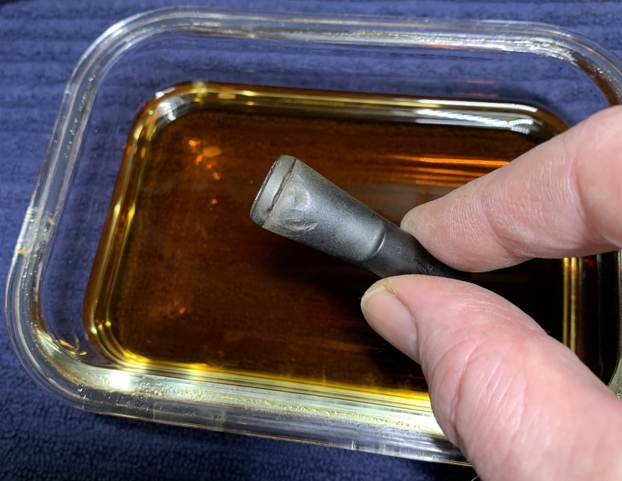
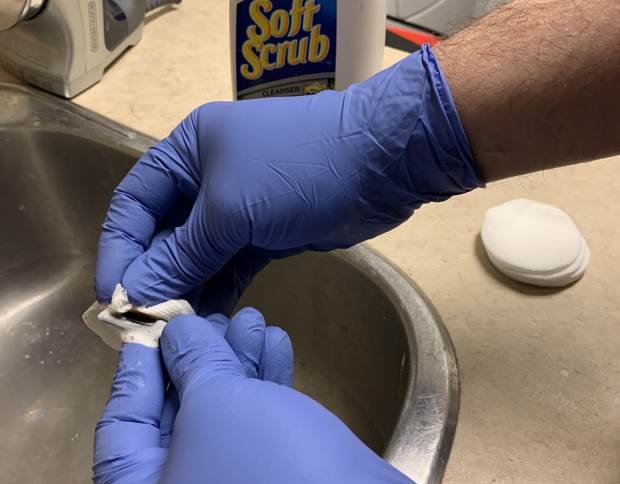
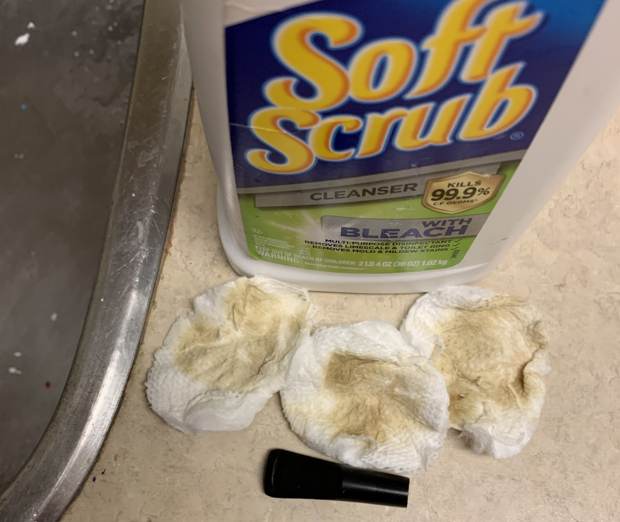
 Next, the stem went for an overnight soak in the Pipe Stem Oxidation Remover. The following day, I cleaned the de-oxidizing mess off with alcohol, pipe cleaners, et cetera. The oxidation had migrated to the surface and would be pretty straightforward to remove. I scrubbed with SoftScrub on some cotton pads to remove the leftover oxidation.
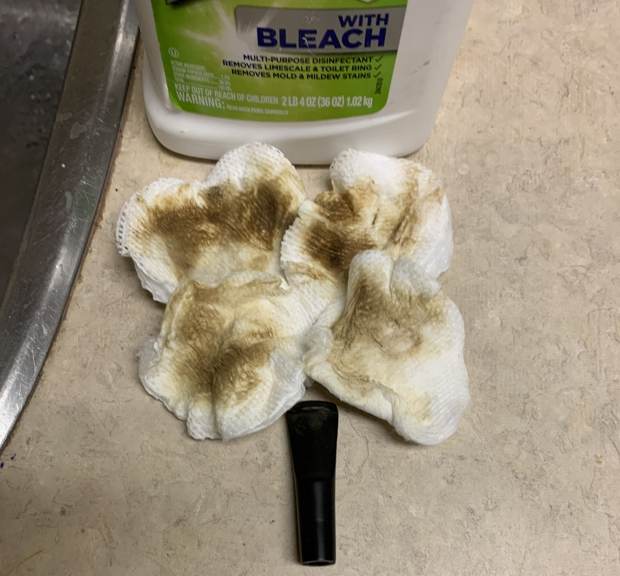
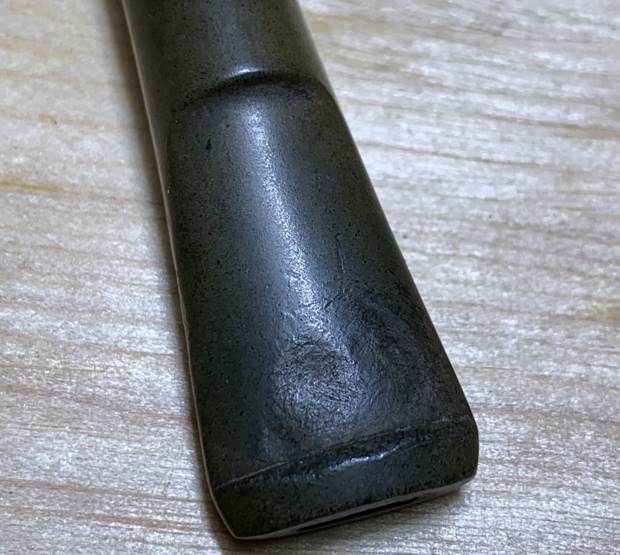
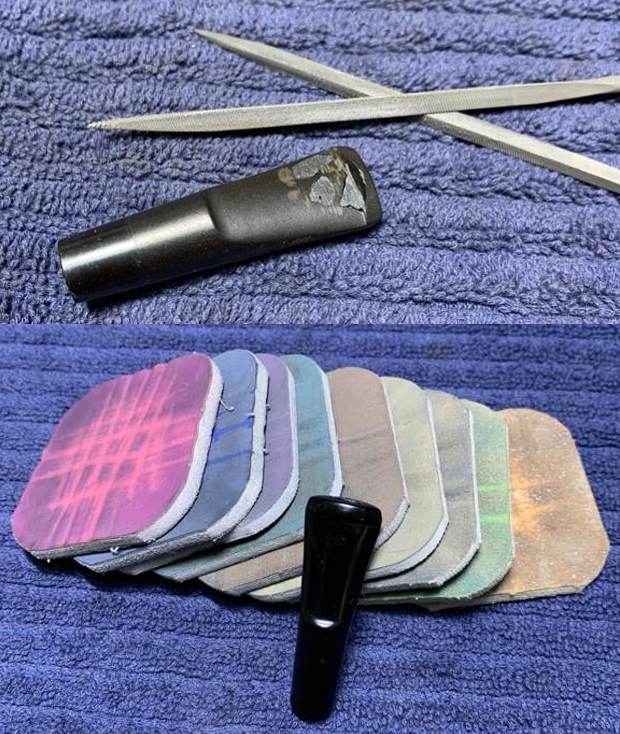
 I built up the dents on the stem with black cyanoacrylate adhesive and let them fully cure. I then sanded the adhesive with some needle files, then 220-, 400-, and 600-grit sandpapers to meld seamlessly into the stem. I then used all nine Micromesh pads (1,500 through 12,000 grit) to smooth everything and highlight the lovely black lustre on the stem. I also used Obsidian Pipe Stem Oil in between each pad scrubbing.
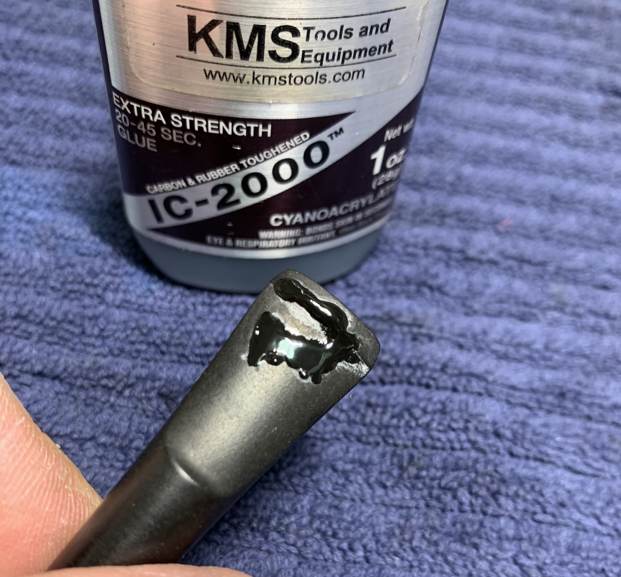
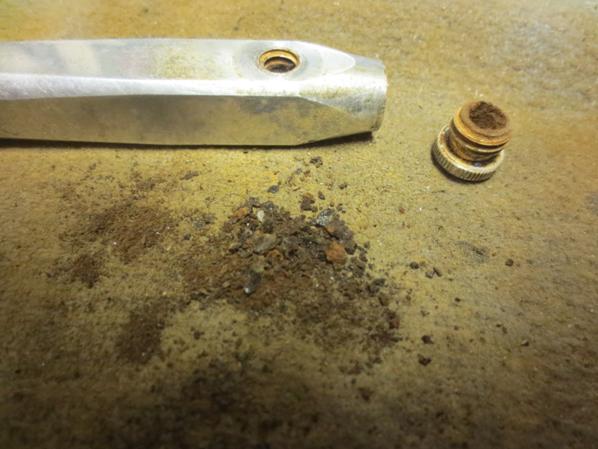
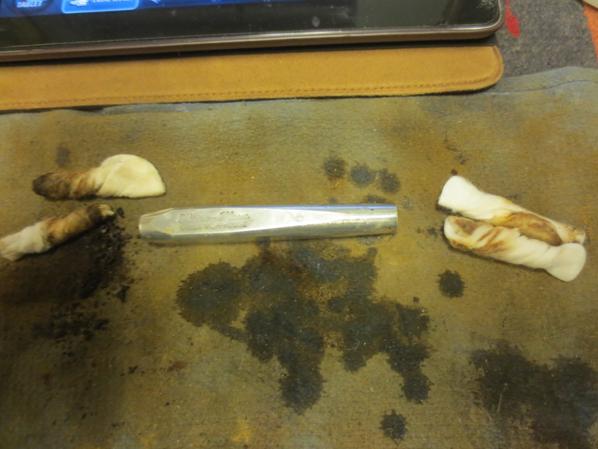
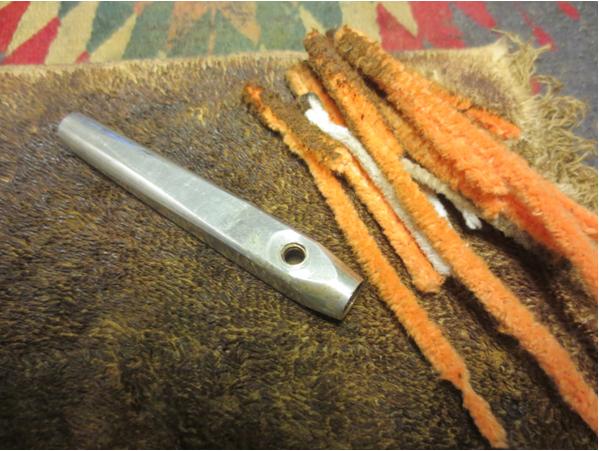
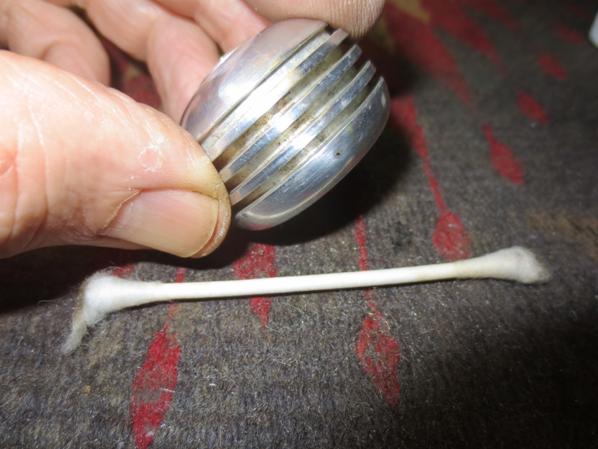
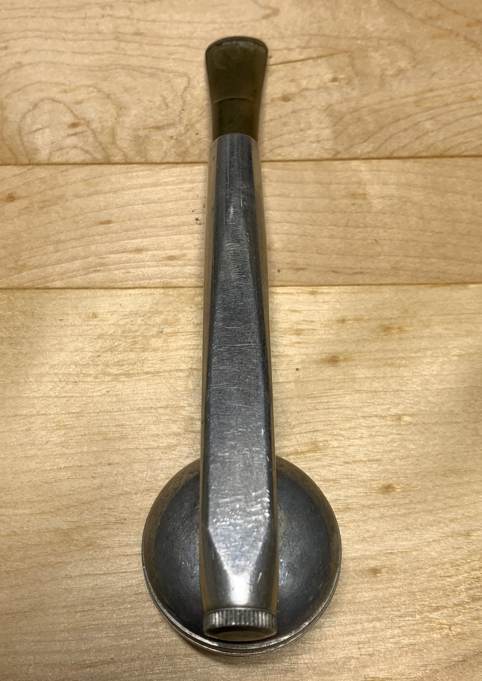
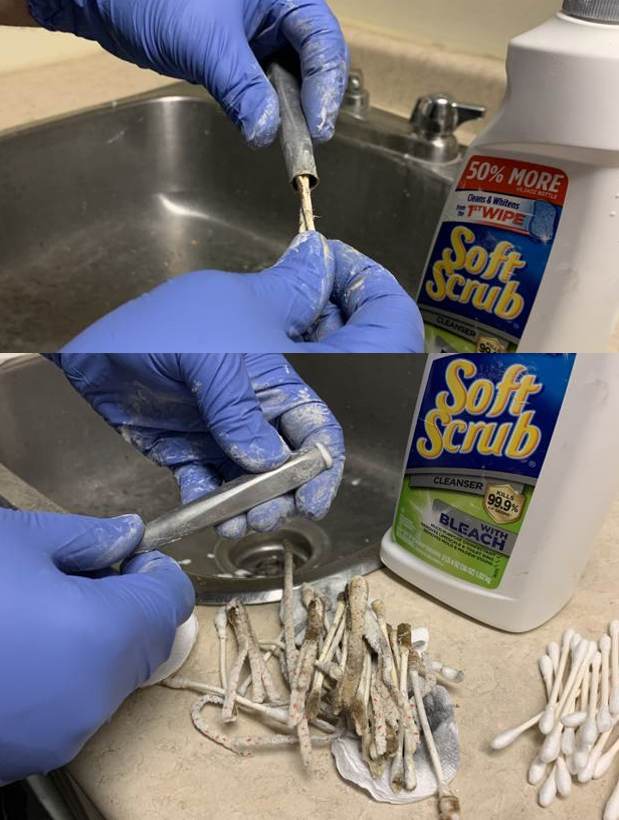
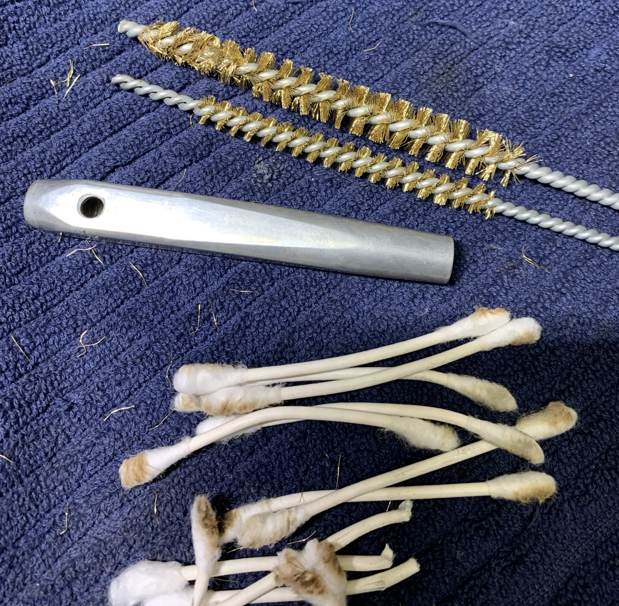
 Since most of the pipe was made of aluminum, the cleaning procedures were different than usual. The inside of the shank was much more ‘cavernous’ than normal, too. I started with pipe cleaners and Q-tips for the inside, but that only worked so well. I ended up using SoftScrub to clean the metal shank, including the interior – and I made extensive use of some metal tubes brushes because the gunk was really tough. Since there was so much grime, it created a foul-smelling and foul-looking paste, which was revolting but satisfying to remove from the pipe. The metal bowl was also cleaned with SoftScrub, but it wasn’t so bad, as it hadn’t been in contact with the burning tobacco.
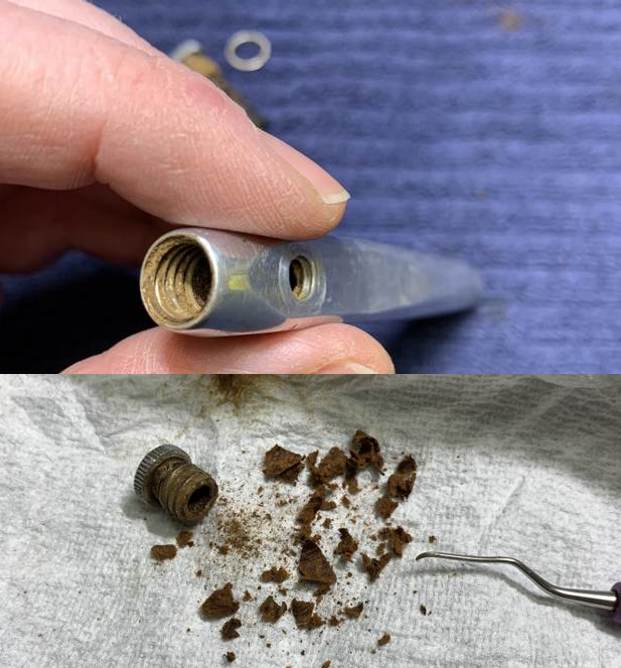
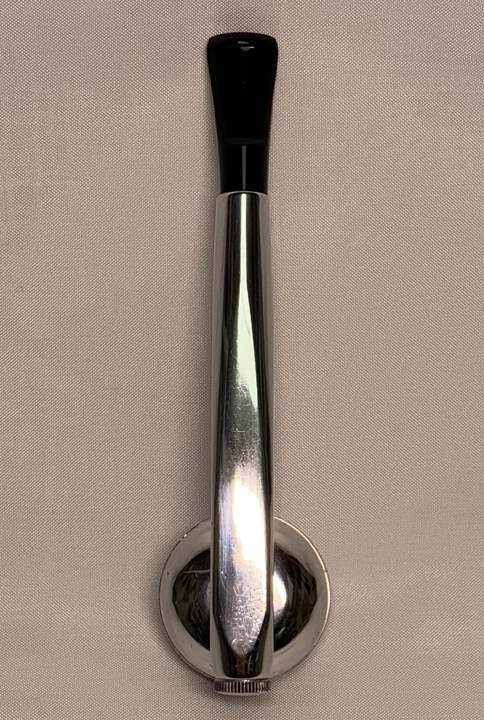
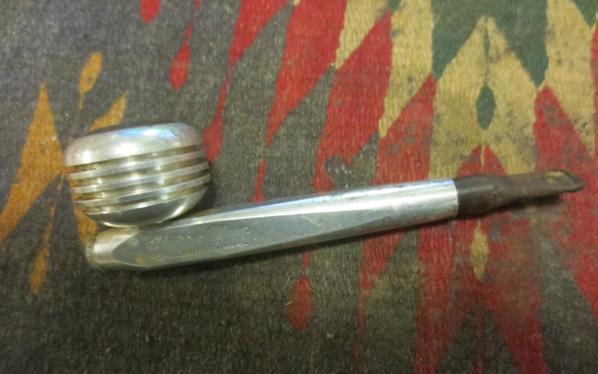
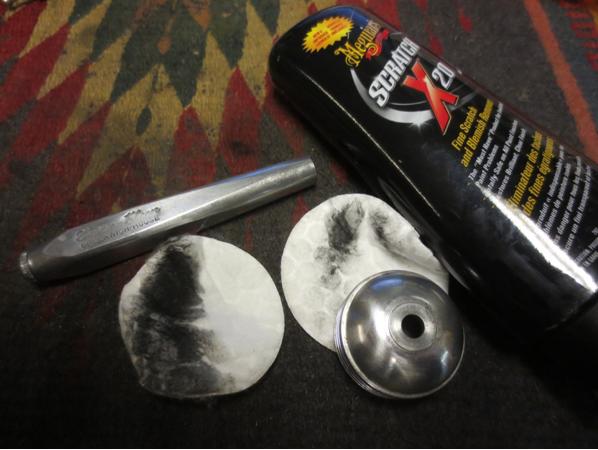
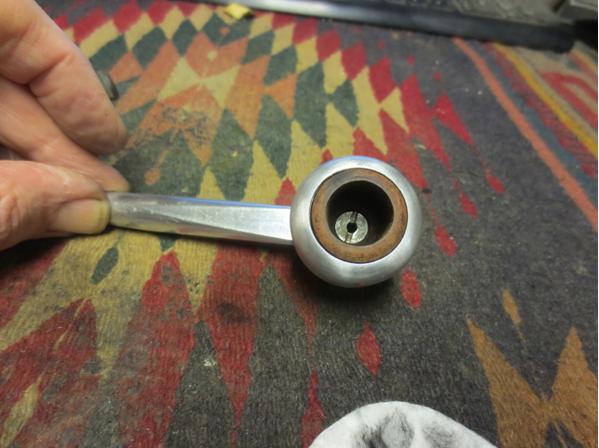
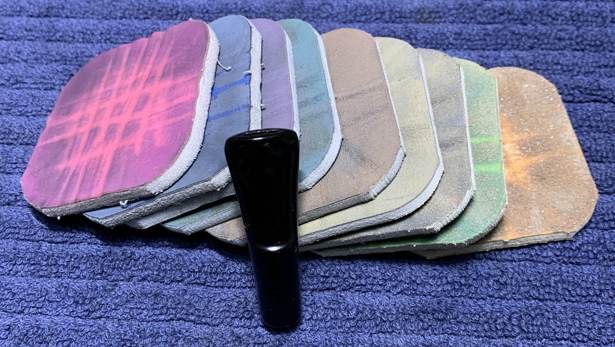
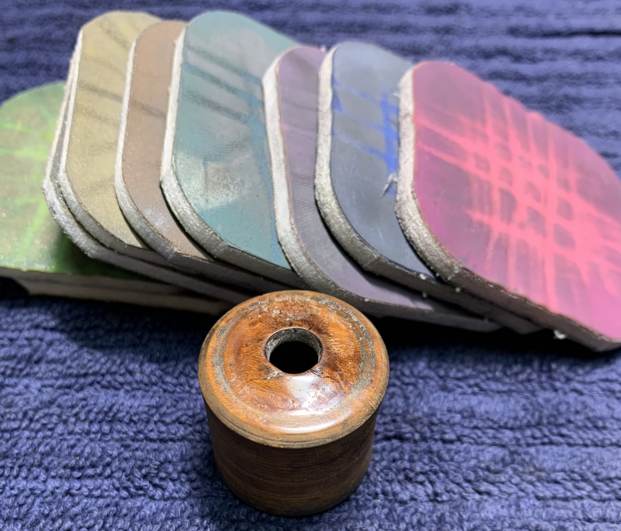
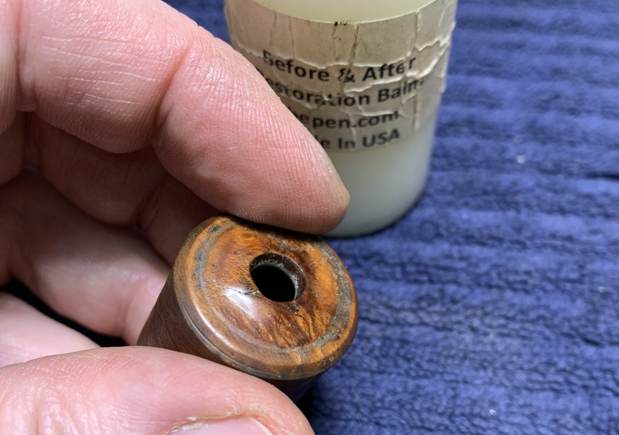
 I used my Micromesh pads to polish up the metal. This worked splendidly to shine it, but it’s important to note that the metal had received some battle wounds over the years, which wouldn’t be removed by the pads. They were to be left as part of this pipe’s life story. I also sanded and polished the two screws and the metal bowl. Below, you can the difference between the MicroMeshed bowl and the unworked shank.
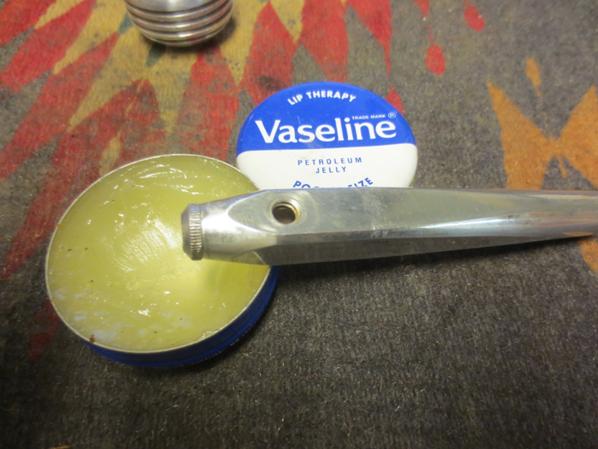
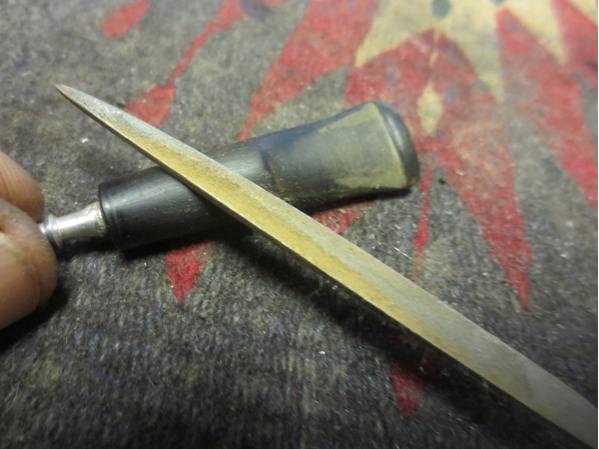
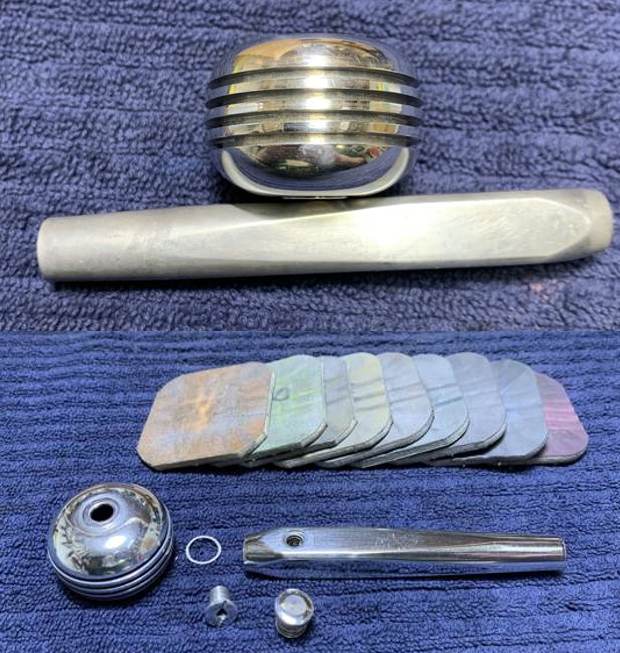 Now for the briar insert. This is more standard fare, since I’m working with wood again. I took a small wedge of machine metal and, holding it at a 45-degree angle, gently scraped the lava and carbon off the rim.
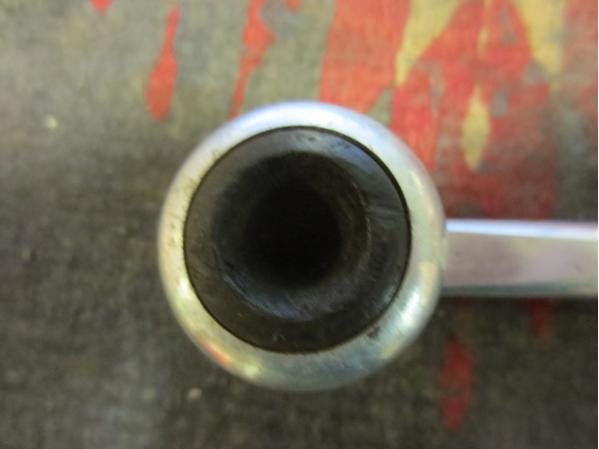
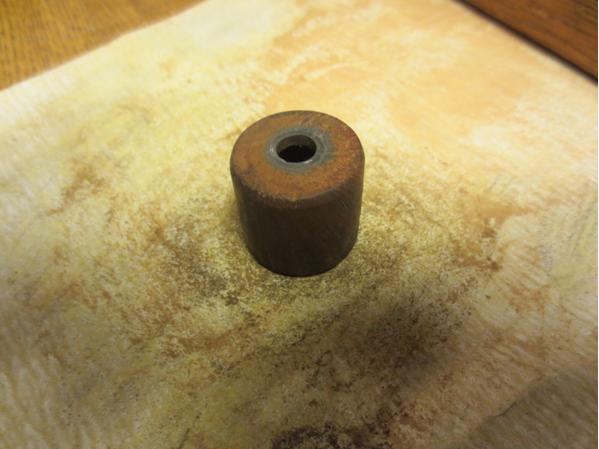
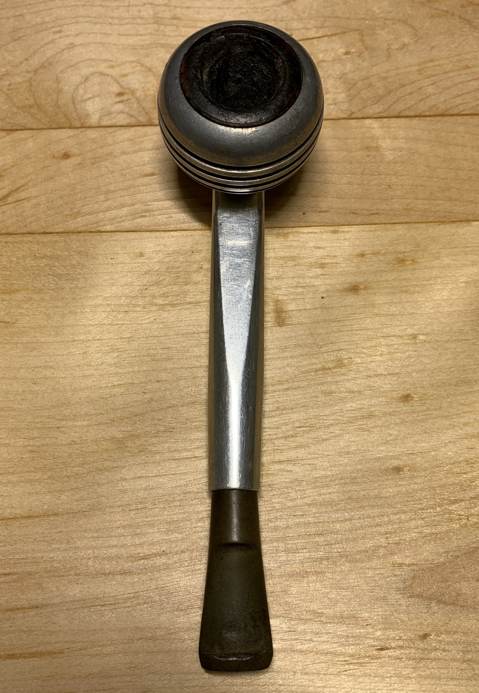
 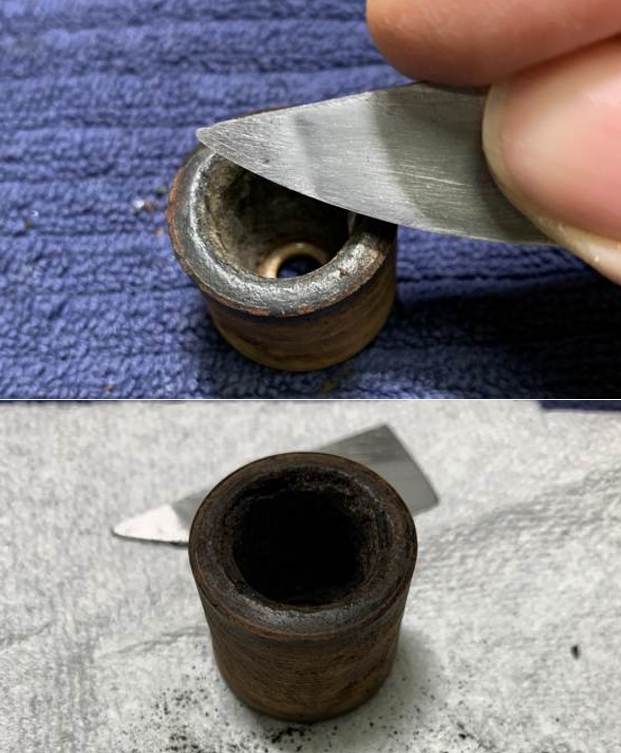 I reamed it with the KleenReem, and 220-grit sandpaper taped to a dowel to eliminate as much build-up as possible. I took the chamber down to bare briar to ensure there were no hidden flaws in the wall. Fortunately, there were none. Then I used cotton rounds and some Murphy’s Oil Soap to scrub the outside.
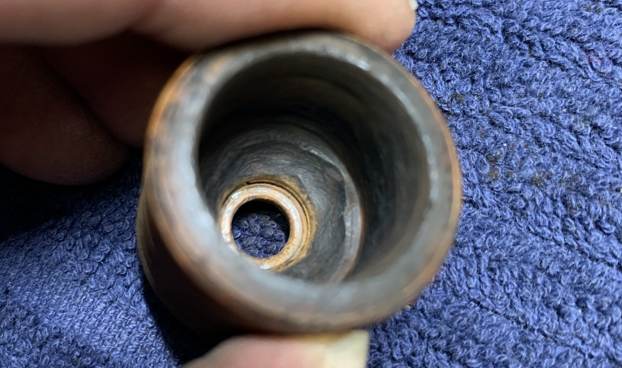
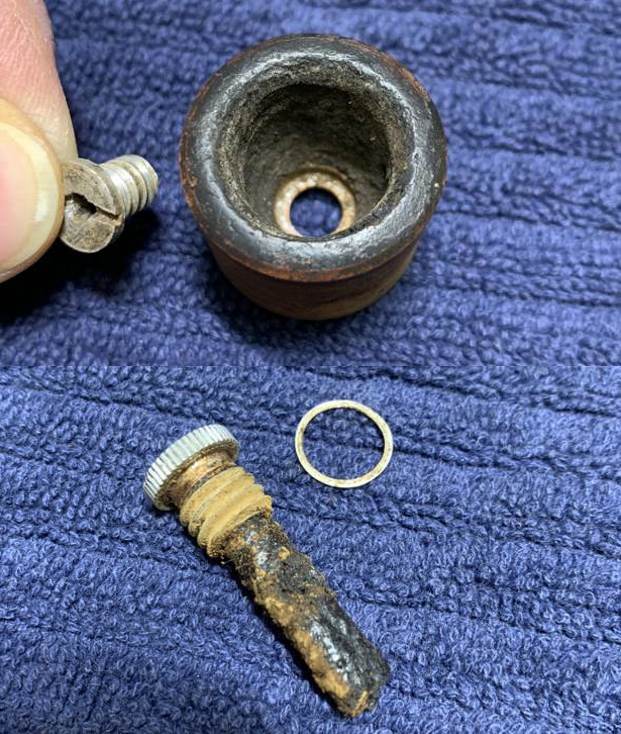
 The underside of the insert had some small cracks in the wood, presumably from overtightening of the screw, which attached it to the rest of the pipe. I repaired this by applying some cyanoacrylate adhesive to the cracks, letting it cure and sanding it down.
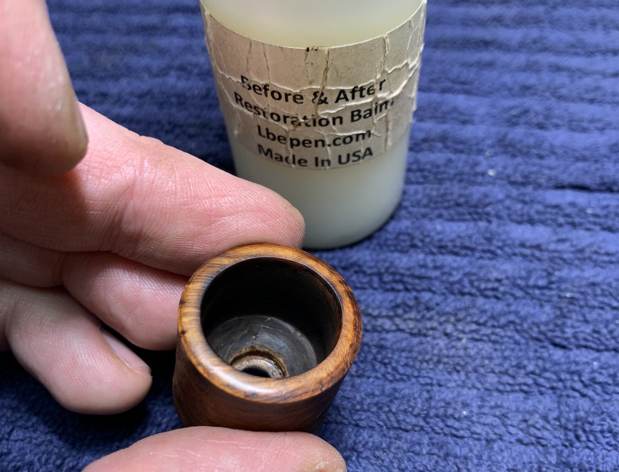
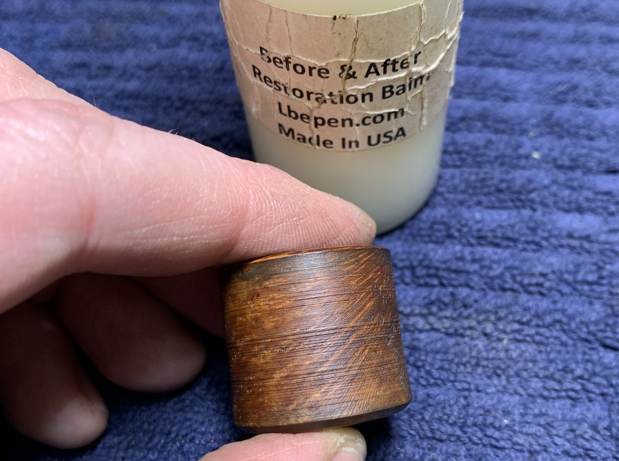
 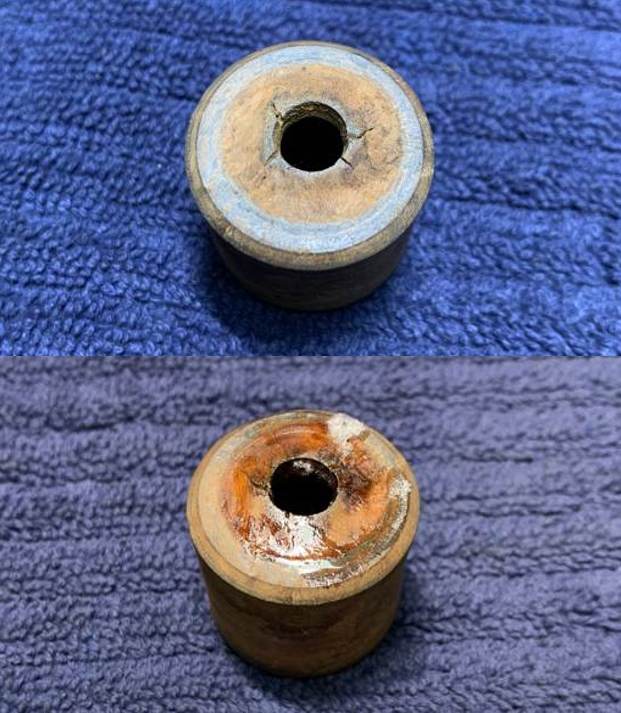 I also used the Micromesh pads on the rim and bottom but not on the sides, as I thought they were fine as they were. Obviously, I didn’t apply the Before & After Restoration Balm on the metal, but I did for the briar insert.
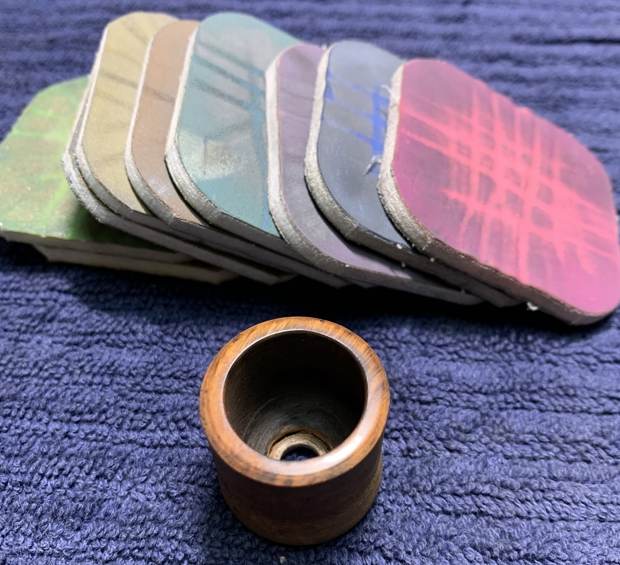
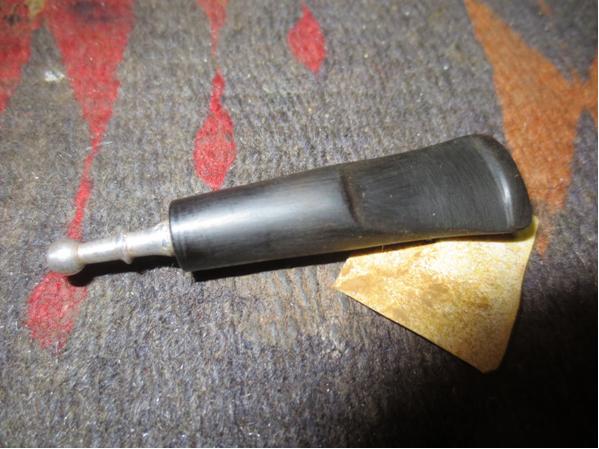
 The buffing procedure was different because of the metal. I used Red Tripoli, but before I started down that path, I decided to protect the grooves on the side of the bowl from being filled with polishing compound. I wrapped four pipe cleaners around the bowl, in the grooves, which did the trick.
 I used Red Tripoli and White Diamond to polish the metal nicely. I then took a microfiber cloth to wipe off the remaining compound and finished the metal parts of the pipe with a jewelry cloth to make it shine and sing!
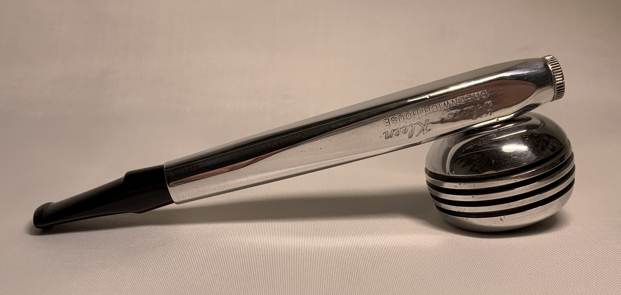
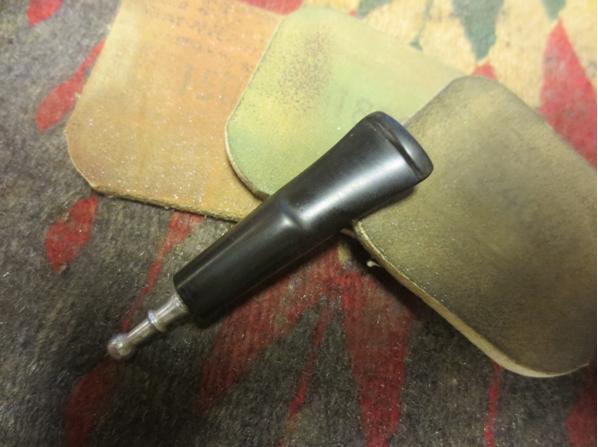
 This Thoro-Kleen looks fantastic again and is ready to be enjoyed by the next owner! I am pleased to announce that this pipe is for sale! If you are interested in acquiring it for your collection, please have a look in the ‘American’ pipe section of the store here on Steve’s website. You can also email me directly at kenneth@knightsofthepipe.com. The approximate dimensions of the pipe are as follows: length 5⅜ in. (137 mm); height 1½ in. (38 mm); bowl diameter 1⅜ in. (35 mm); chamber diameter ⅝ in. (16 mm). The weight of the pipe is 1⅝ oz. (48 g). I hope you enjoyed reading the story of this pipe’s restoration as much as I did restoring it. If you are interested in more of my work, please follow me here on Steve’s website or send me an email. Thank you very much for reading, and, as always, I welcome and encourage your comments.