Tag Archives: superglue

A Creative Pipe Maker’s Anonymous Attempt at a Cool, Dry Smoke


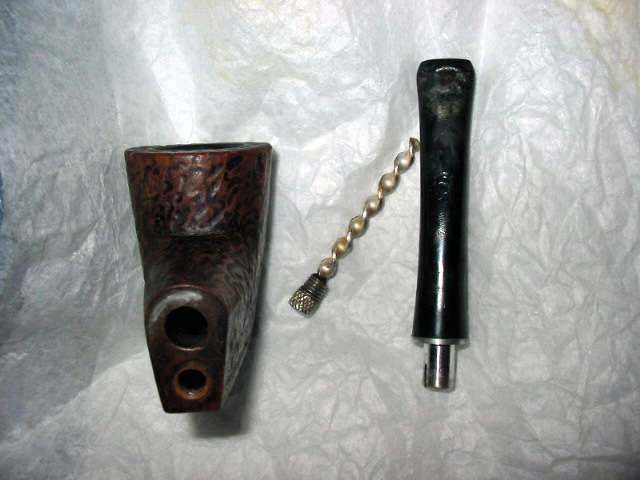
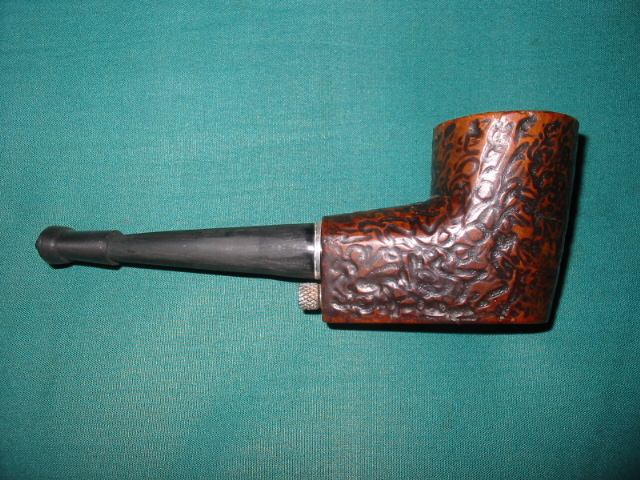
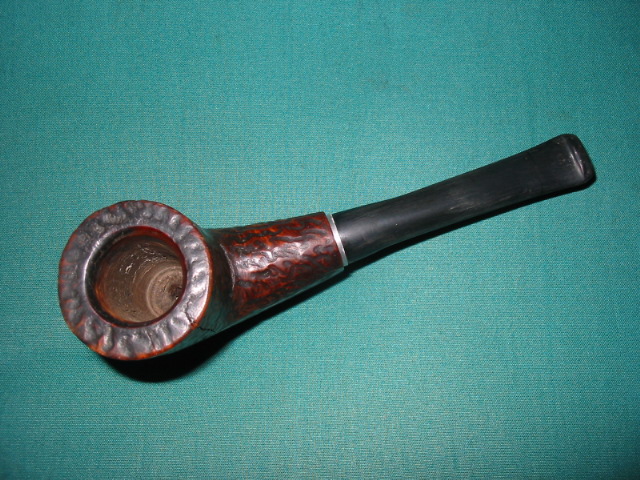
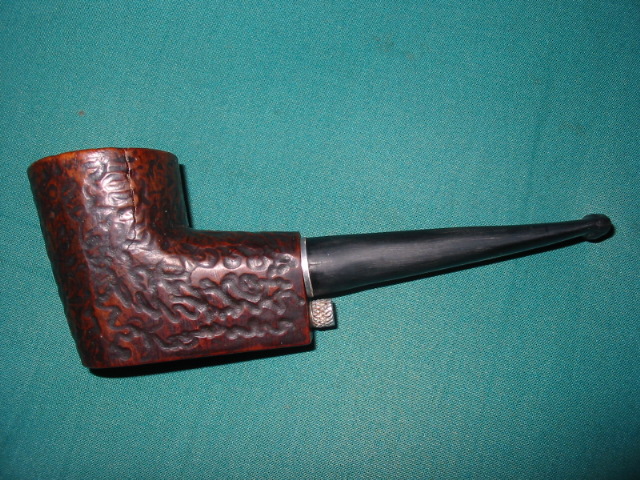
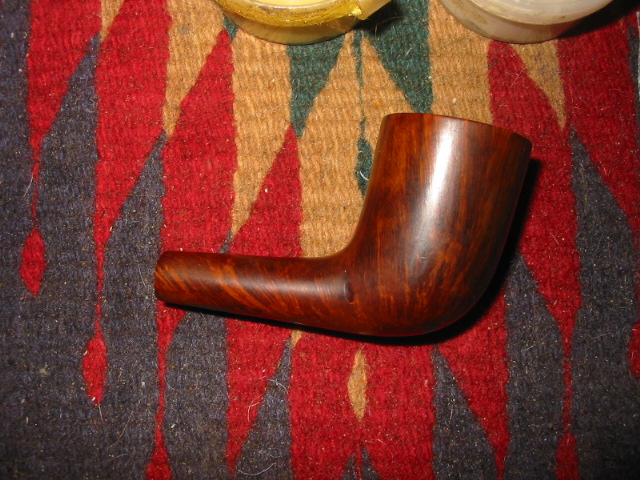
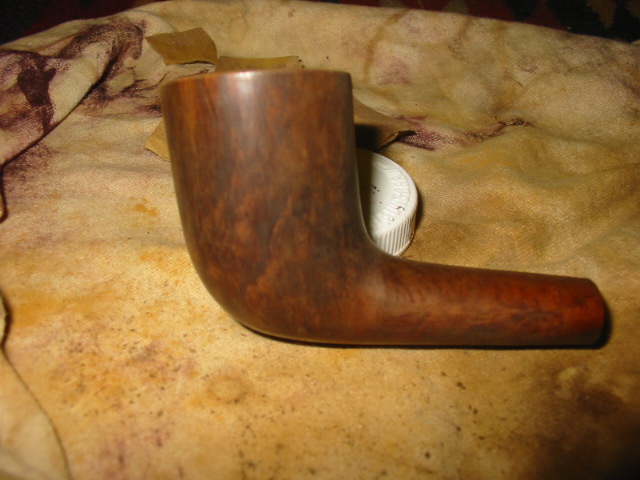
This is another interesting piece of pipe history. I seem to have trouble passing up odd and creative pipe making attempts. I have no idea who designed or made this one or what the patent information is as there is absolutely no stamping or identification on the pipe itself. I remember seeing one on EBay awhile ago but somehow missed keeping the information. If anyone has any information on it please leave a comment in response to this post.

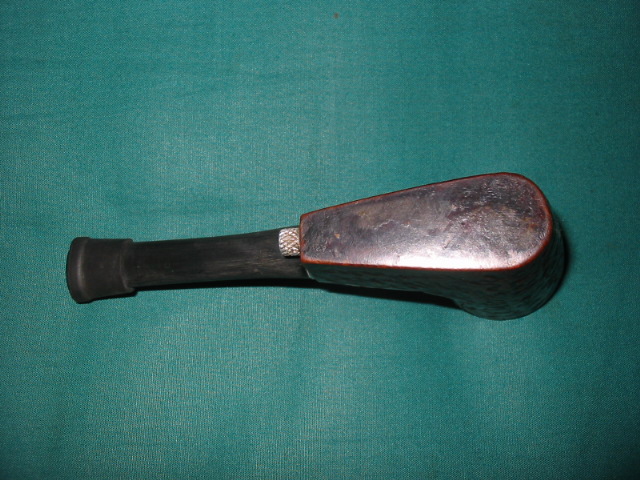
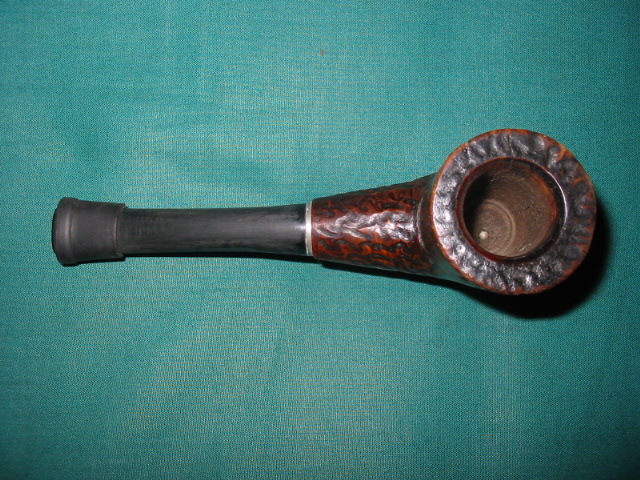
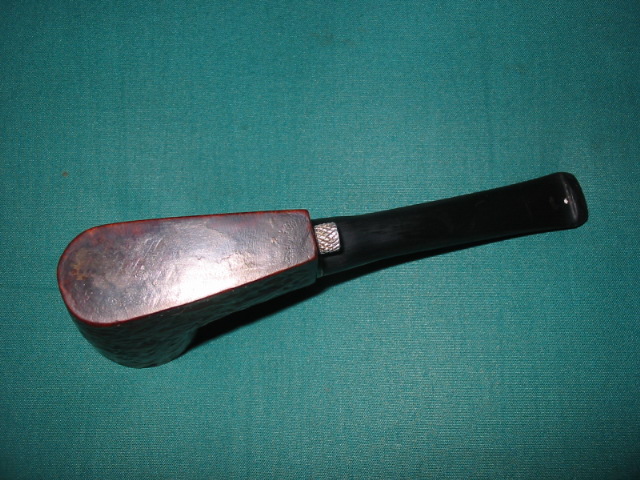
The pipe itself was in rough shape when I got it. The stem is chewed up badly and I have not taken the time to rework the stem. It is the dreaded nylon stem so it always leaves me cold in wanting to work on it. It is probably the most unforgiving stem material there is in my opinion. You can sand and sand it and it does not seem to change the damage. The heat gun and boiling water do not seem to lift the dents and tooth marks at all. What is there seems to be permanent. The bowl was badly caked – in fact so badly caked that it had a split in the side of the bowl. The finish is strange – best I can say about it almost little worm trails in the briar. The stem was stuck in the shank. I thought at first it was a screw tenon it was so tight. Under the stem was the flat base with what looked like an adjustment screw of some kind. It was also stuck tightly.

I reamed the bowl and found that the draught hole was in the bottom of the bowl – like a calabash. I opened that with a dental pick and cleaned it out. I packed the bowl with cotton bolls and filled it with isopropyl alcohol. I use 99% as it has little water content and seems to work well in drawing out the oils and tars. It took quite a bit of alcohol as it filled the reservoir below the bowl. I put a pipe cleaner in the stem and laid it aside overnight. My hope was that the alcohol would not only draw out the tars and oils but loosen the adjusting screw on the bottom of the shank as well as the stem.

In the morning I removed the cotton bolls. They were almost black with the tars and oils that they drew out. The stem was actually loose – that happens so little that I was surprised when I turned on it and it came out. I was expecting a screw tenon and found that it was not at all. It was an aluminum tenon made to hold a Medico style paper filter. The one in the tenon was almost black with grime and now it was soggy as well. I am still trying to figure out the airflow on this pipe. I also was able to turn the adjusting screw under the stem and it came out as well. I expected that it would adjust the airflow somehow (kind of like a Kirsten). But it was not an adjusting screw at all; instead it was a stinger like apparatus with a long twisted blade on it. Now the airflow was becoming clearer. The smoker pulled the air through the bowl down through the air hole in the bottom of the bowl. Once there it entered the chamber that ran the length of the shank and bowl and contained the twisted stinger. That apparatus would pick up the liquids and oils of the tobacco. The smoke would go up through a hole in the top of the chamber and enter the shank where the paper filter would trap the remaining debris of the smoke (and in my opinion whatever flavour still remained) before delivering it out the slot at the end of the stem.

I cleaned out the chamber and the shank by filling them with isopropyl and plugging the holes and shaking the fluid for several minutes. I would unplug and dump the dirty alcohol down the drain. I repeated this until the fluid came out clear. Then I cleaned the chamber and shank with a shank brush and bristle and ordinary pipe cleaners and more isopropyl alcohol until they came out clean and fresh. The stinger soaked in alcohol and I scrubbed it with 0000 steel wool until it shone. The stem needed a lot of cleaning though it was more dirt and grime that came out rather than tars. I was able to polish the tenon inside and out and clean up the stem. The dents and tooth marks I left alone. One day I will have to work them over and see if I can remove them. But not that day!

I scrubbed the outside of the bowl with a bristle tooth brush and Murphy’s Oil Soap to remove all of the grime from the bowl surface. I cleaned out the crack in the bowl with my dental pick. I then wiped it down with acetone and restained it with a medium brown aniline stain, flamed it and then buffed it with Tripoli and White Diamond. Once it was polished and clean I coated it with several coats of carnauba wax and then buffed it with a clean flannel buff.

I finished up the pipe and put it back together. I added a pipe softee bit to cover the bites and dents on the stem and make it more comfortable in the mouth. I packed a bowl of nice Virginia in it to try it out. I decided to leave out the paper filter and just smoke it as it was. It was an interesting and cool smoke though it pretty much removed the flavour of the Virginias that I chose to smoke. This one will sit in the cupboard as a memorabilia item but will not enter the rotation.


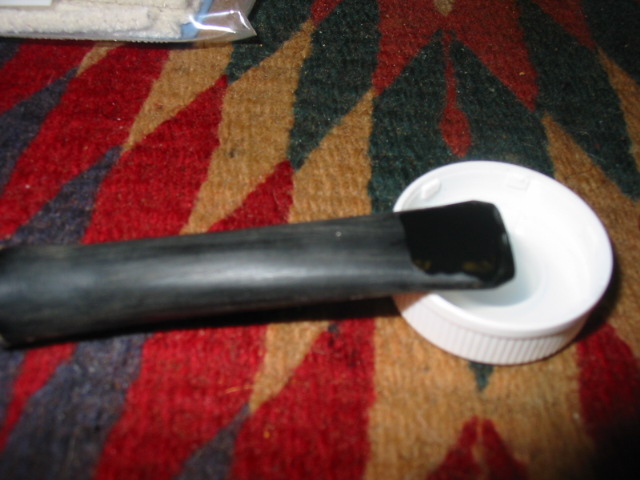
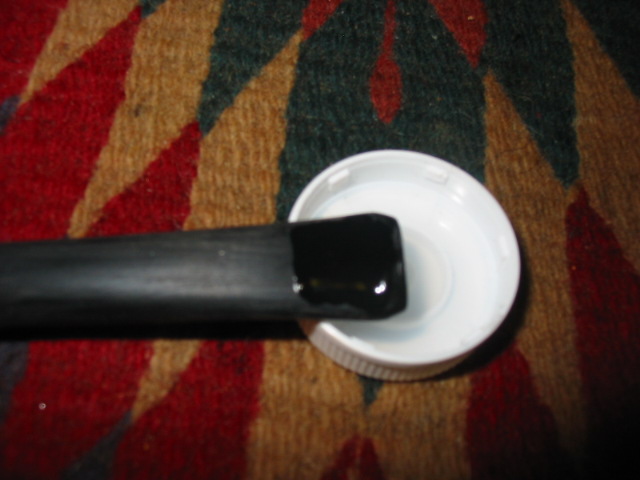
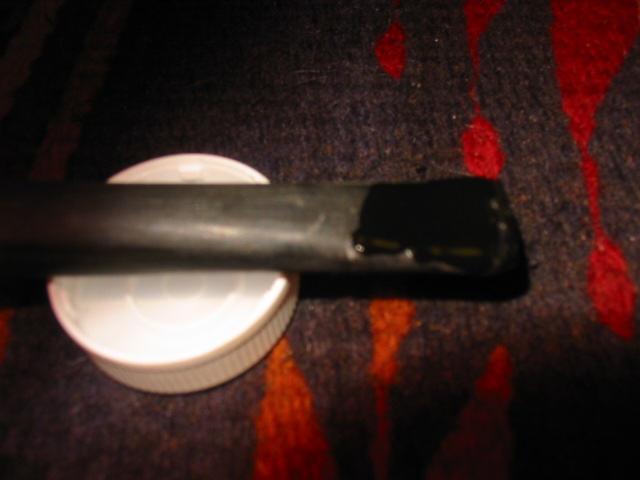
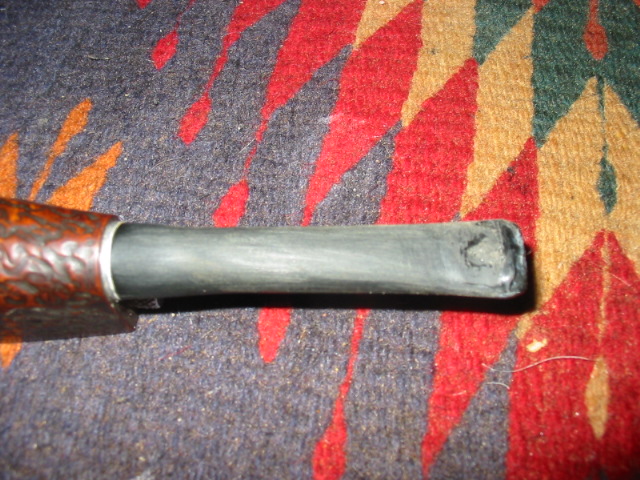
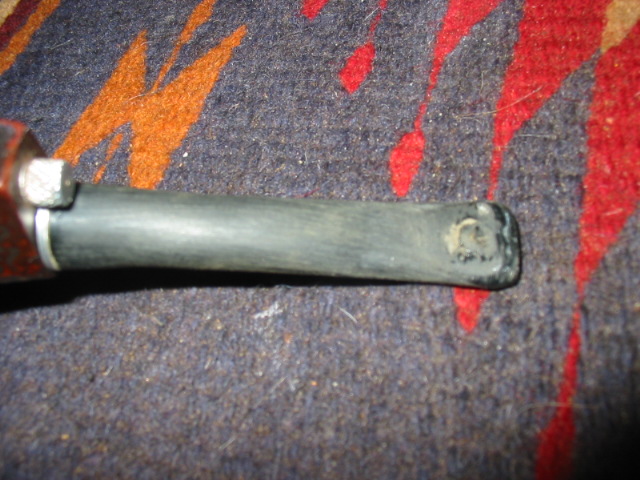
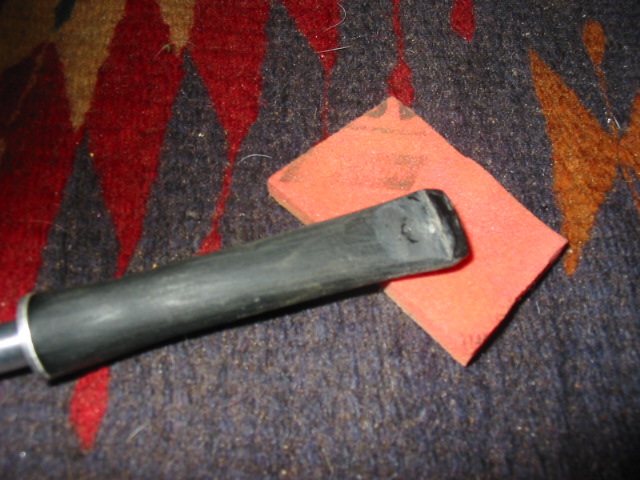
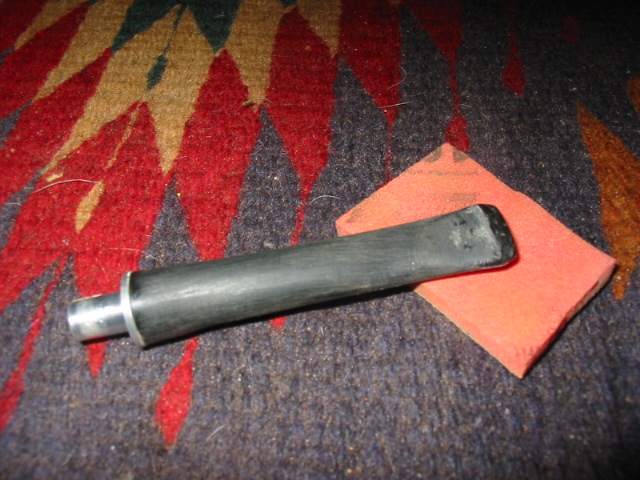
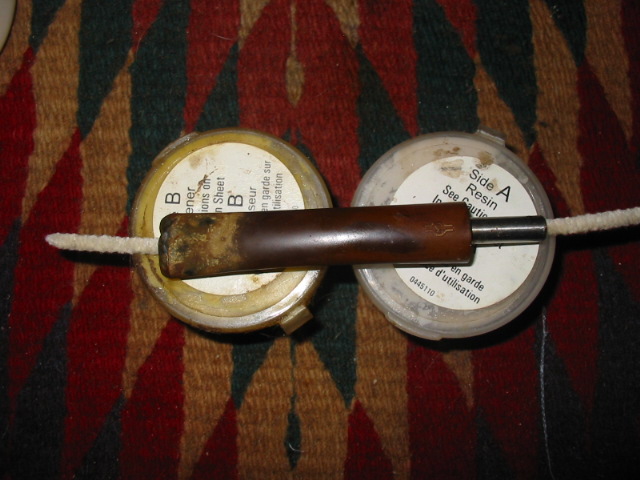
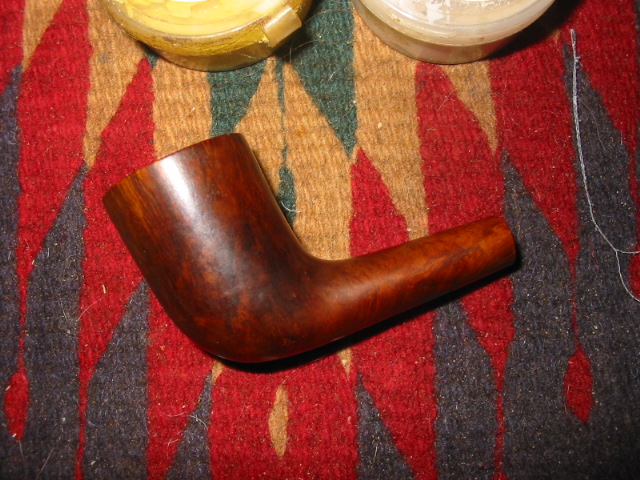
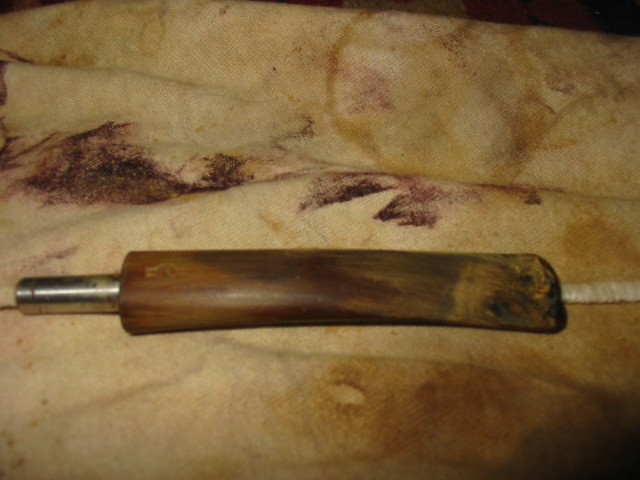
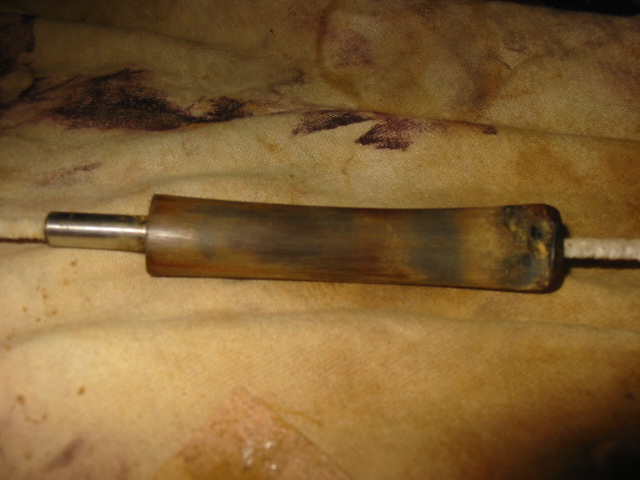
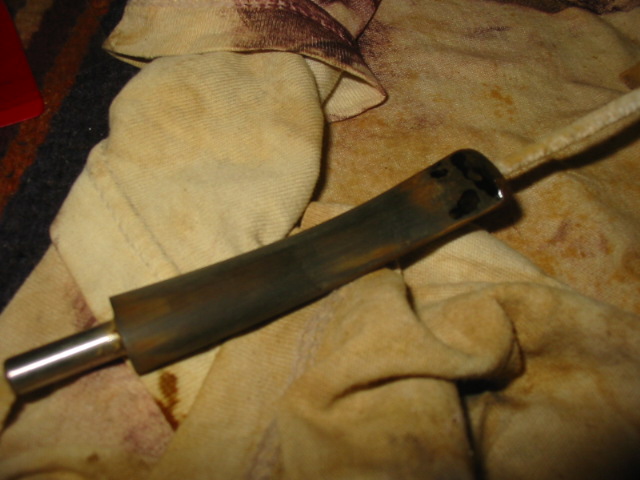
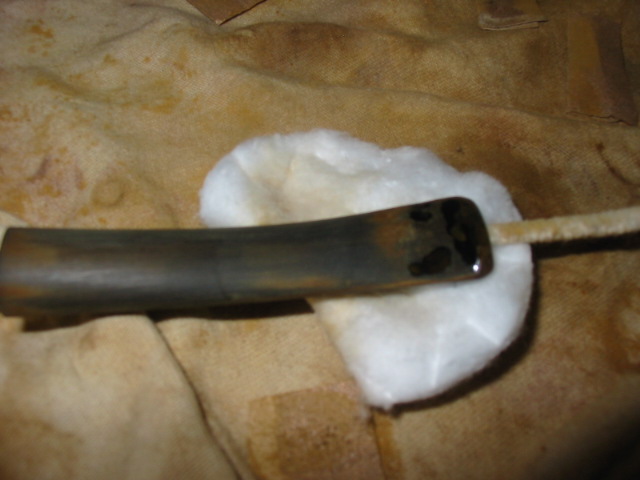
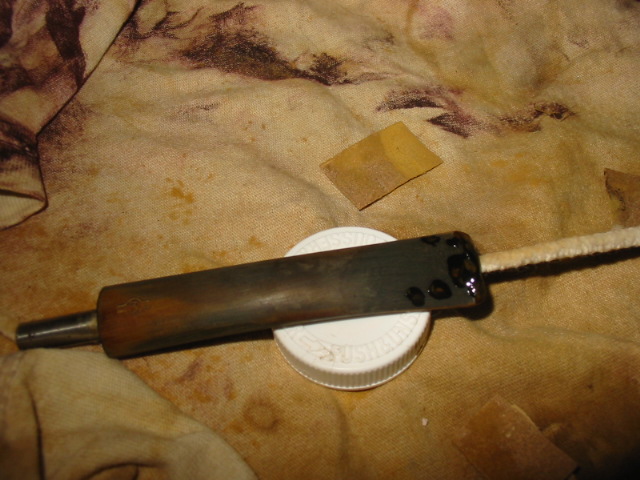
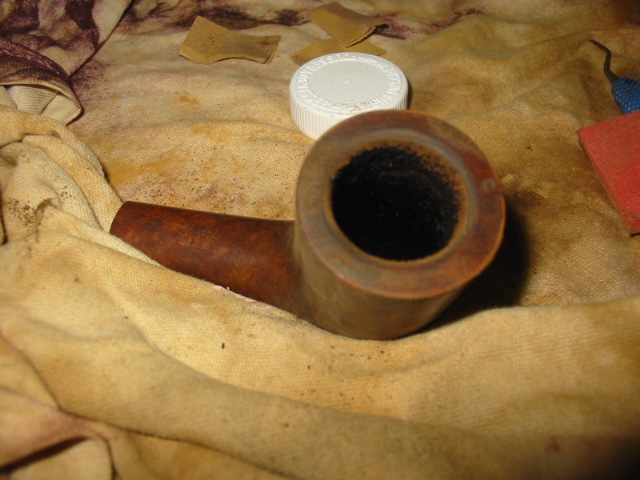
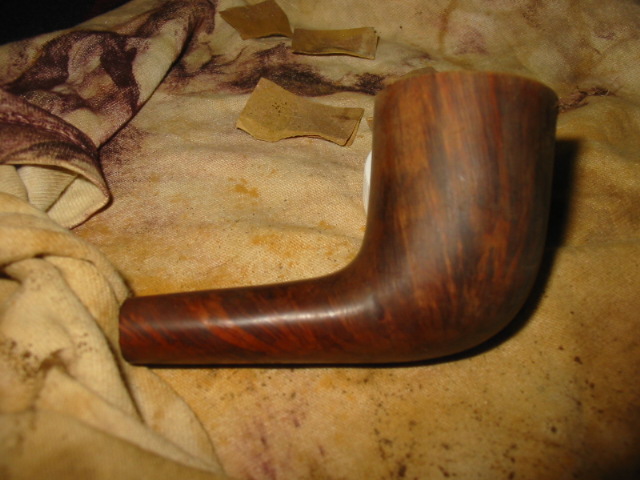
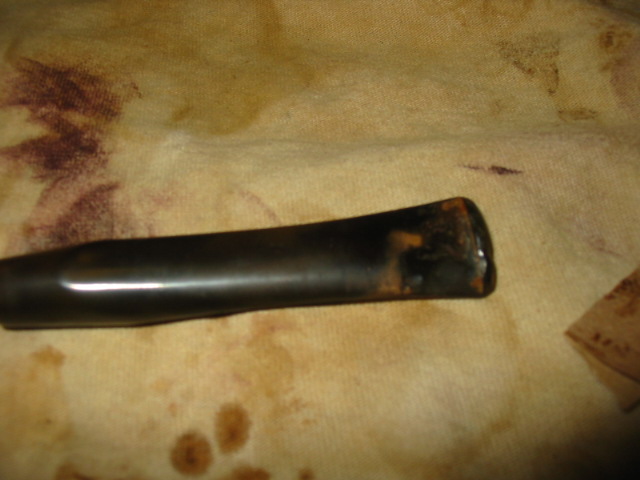
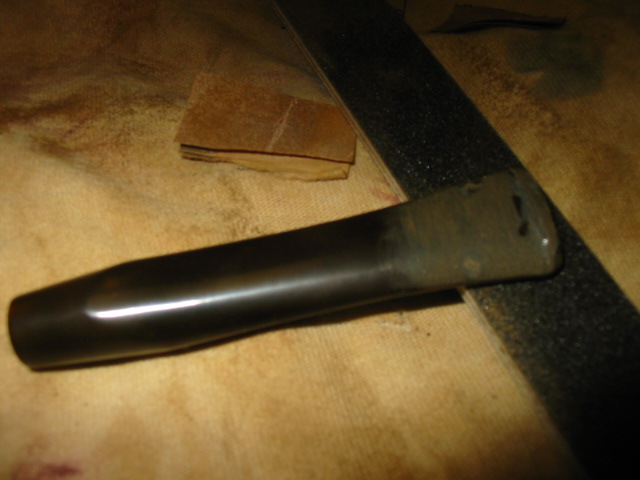
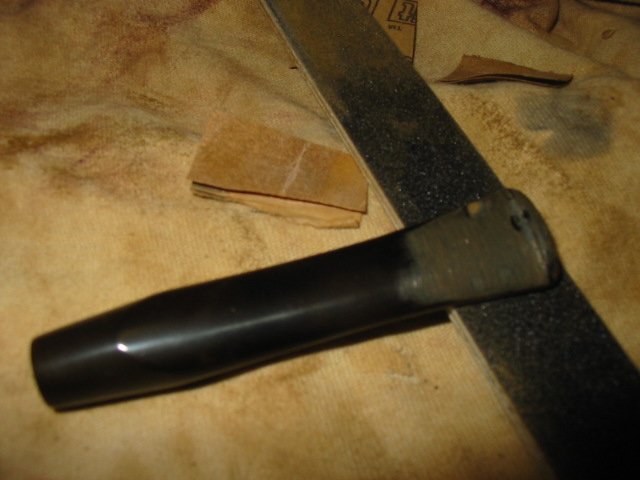
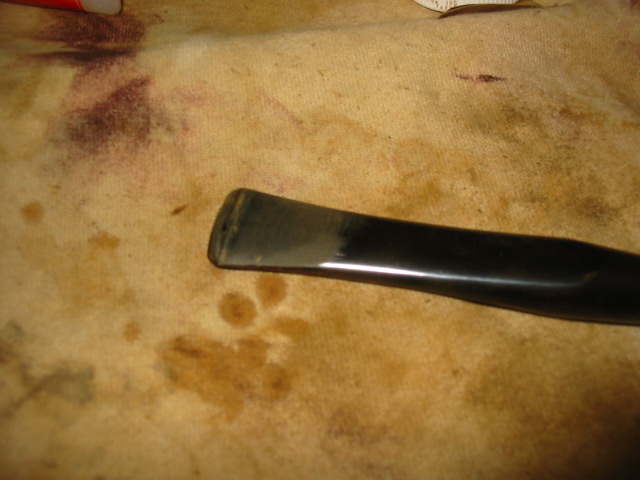
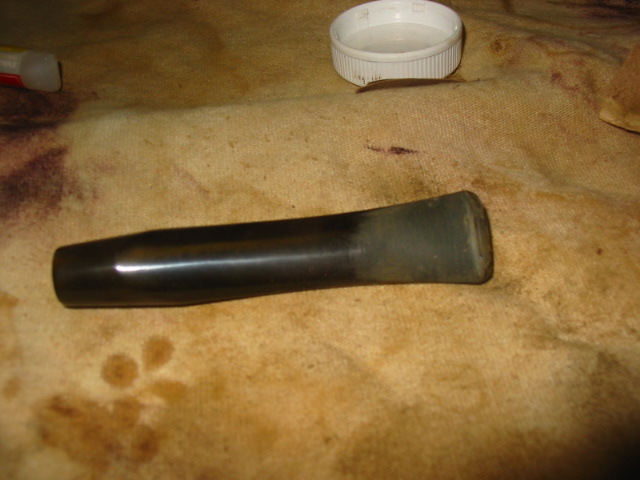
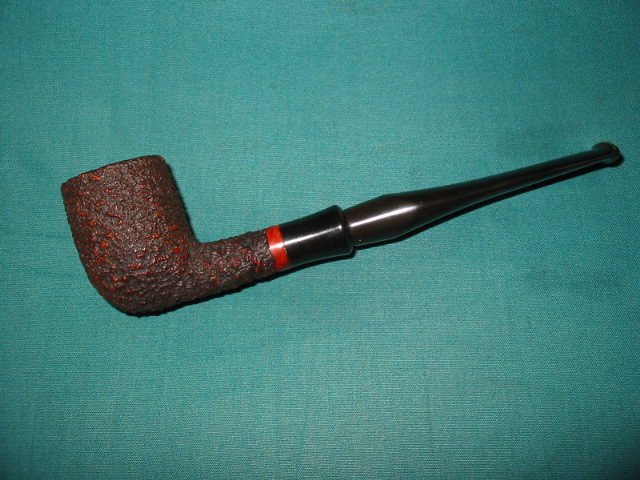
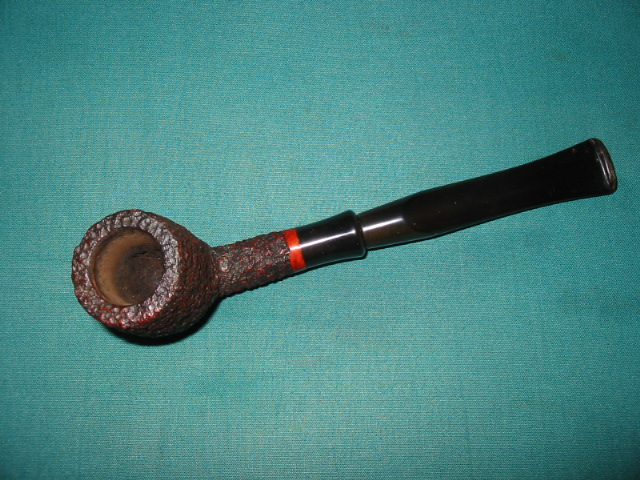
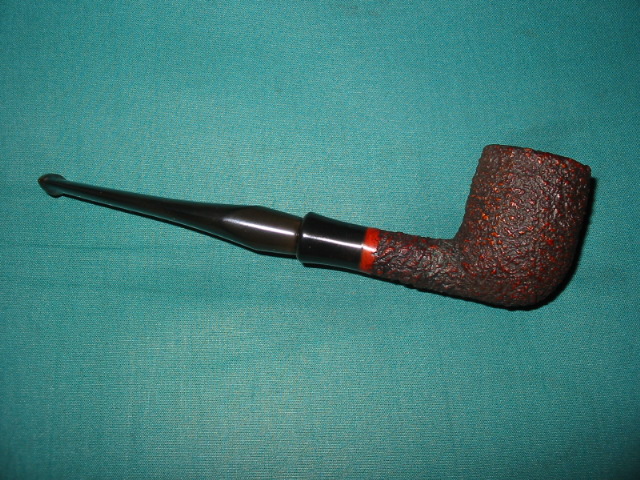
Here are the pictures of the process of repair. I patched it with black super glue and built up the angle of the stem to give a clean flow. I filled the dents and bite throughs on both sides of the stem. I sanded and sanded with 240 grit sandpaper and micromesh 1500 through 12,000 grit. Then gave it a coat of Obsidian Oil and finally several coats of wax. The last four photos show the final product.
Reworking an Imperial Treble Zulu – Stainless Steel Tenon


I picked up this older Imperial Tobacco Co pipe – a Zulu shape number 354. The shape number makes me wonder if the pipe was made by Comoy’s. Maybe someone here knows for sure. The number is missing on the Comoy’s shape number chart on Pipedia. The pipe is interesting to me for several reasons. It is the third in a group of three pipes by Imperial that came to me in an EBay lot. The first two were Two-Points and this one a Treble. I had not heard or seen this line before these came my way. The other reason is that several pipes in this lot had stainless steel tenons! The Treble has one and at first I thought it was original – the stem did not fit well as the tenon was stuck in the bowl and the stem would not seat all the way to the shank. The bowl was in pretty nasty shape. With lots of darkening and the grain virtually obscured under dirt. The rim was caked and tarred. The bowl was full of broken cake and cobwebs. The stem was gnawed with deep bite marks, the button destroyed and the tenon stuck in the shank.
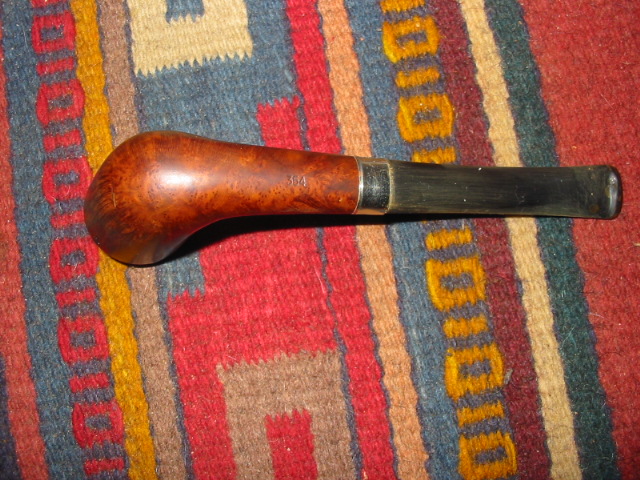
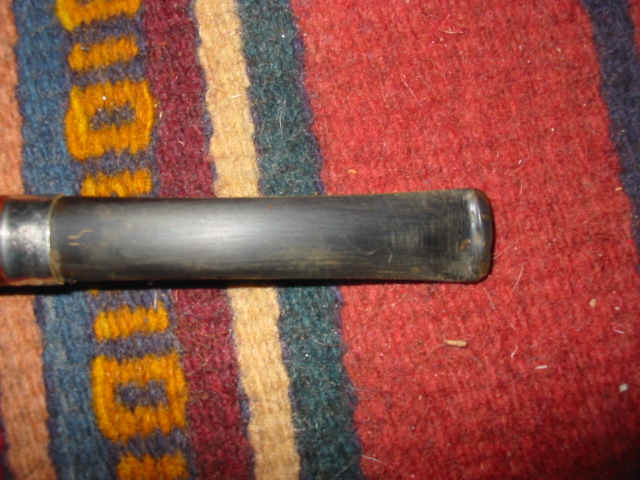
I was able to remove the tenon from shank with a big pair of channel locks and some serious twisting and turning. I filed the end of the tenon and cut grooves in it so that the epoxy would have something to bite into when I pushed it into the stem. I then slid a pipe cleaner into the stem and threaded the tenon on the cleaner. When I got down to the stem I mixed some epoxy (two part mix) and painted it on the tenon. I let it set for a few moments and then pushed it into the stem. I wiped off the excess around the stem and tenon junction. I set it aside and worked on the bowl. ImageImage

I reamed the bowl and cleaned both it and the shank. Then I used a fine grit sanding pad that I have here to work on the lava on the top of the bowl. Once that was done I wiped down the bowl with isopropyl alcohol to remove the grime and the finish. The next photos show the bowl after the initial cleanup. From there I put it in the alcohol bath and went back to work on the stem. ImageImageImage

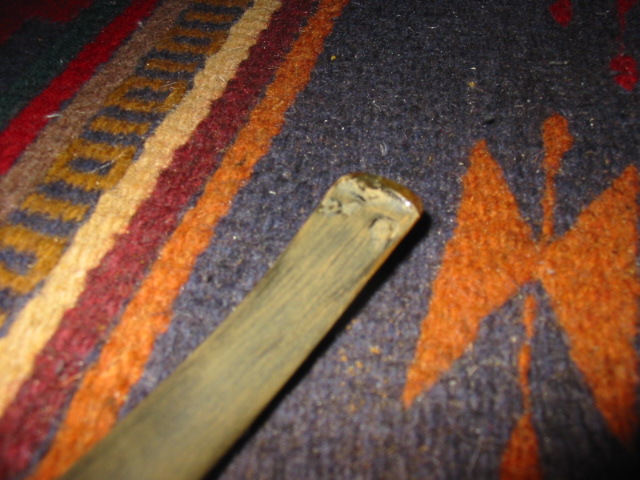
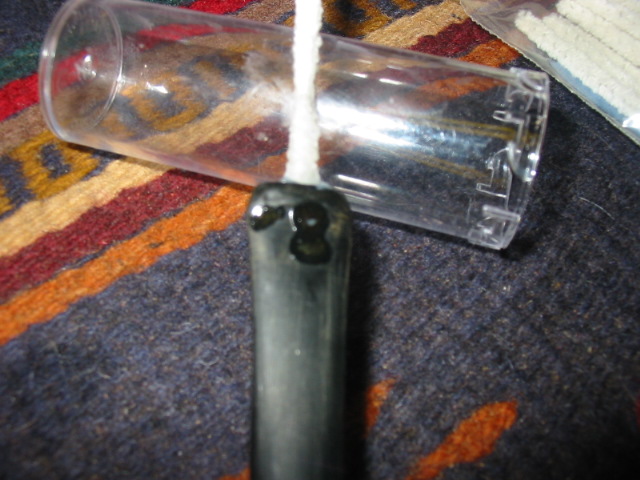
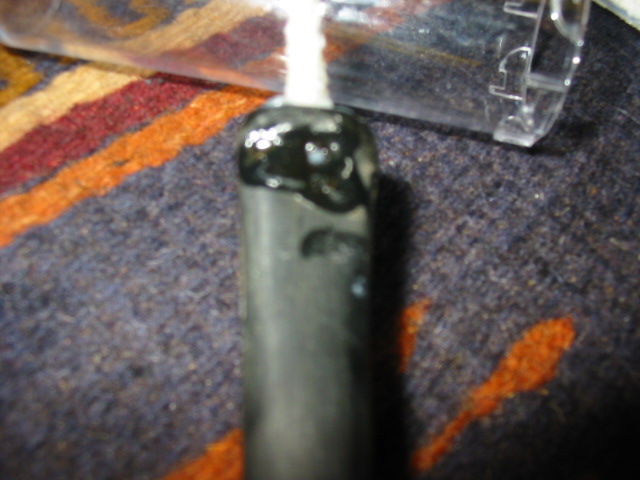
The next series of two photos show the bite marks on the stem and the state of the button. The bite marks were very deep and some were actually cuts in the stem material rather than just dents. I used my heat gun to raise the dents as much as possible but honestly they did not come up very much at all. This one would be a bit of a challenge. I used sanded the stem around the button and the dents with 240 grit sandpaper to get the oxidation off that area. I was going to use the superglue to repair these bite marks and needed a clean surface to work with. Once I had sanded the area clean I used a dental pick to pick away the brown left in the dents. I wanted to clean out the dents as much as possible and roughen the surface in the dent for a good bond with the glue. The first picture shows the top of the stem, the second shows the bottom. ImageImage

Once they were clean and ready I washed the area down with some isopropyl alcohol to remove any remaining sanding dust. Then I put drops of superglue in the holes on the underside of the stem first. Once they were dry I did the same with the dents on the top side of the stem. The three photos below show the glue in place – they appear as shiny black spots in the photos.ImageImageImage

I set the pipe stem aside to thoroughly dry and took the bowl out of the alcohol bath. I dried it off and then sanded the top of the bowl with the fine grit sanding pads that I have. The top is showing some nice grain and the tars are coming off nicely. ImageImageImage

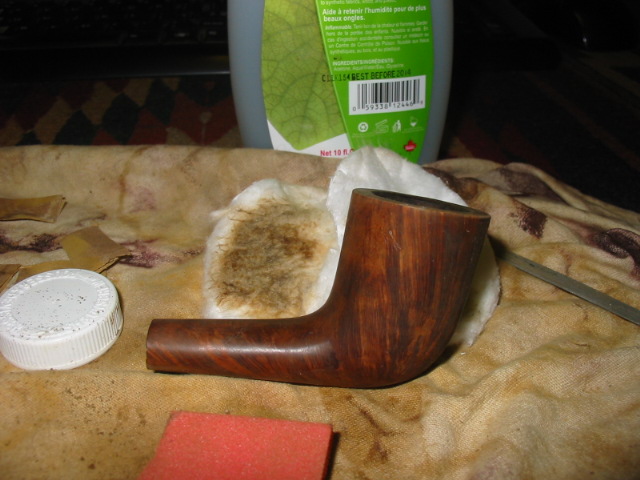
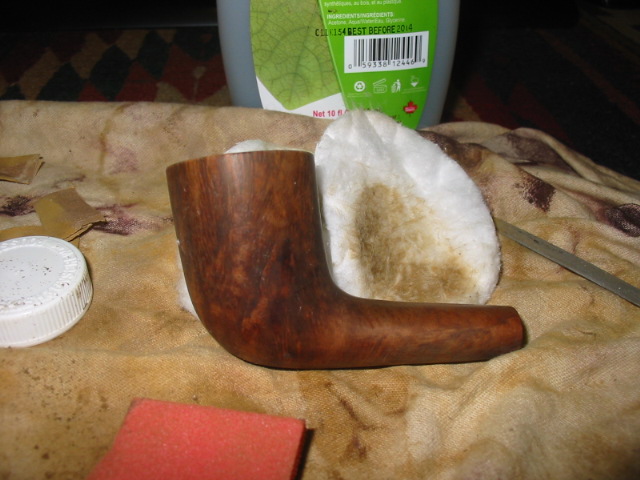
I wiped down the bowl and rim with acetone (fingernail polish remover) to remove the remaining finish and grime. The white cotton pads in the background of the next three photos show what still remained on the bowl after the alcohol wash. I wanted to get the bowl down to bare briar so that I could refinish it and then give it a new coat of stain. My goal was to highlight the beautiful grain on this one. ImageImageImage

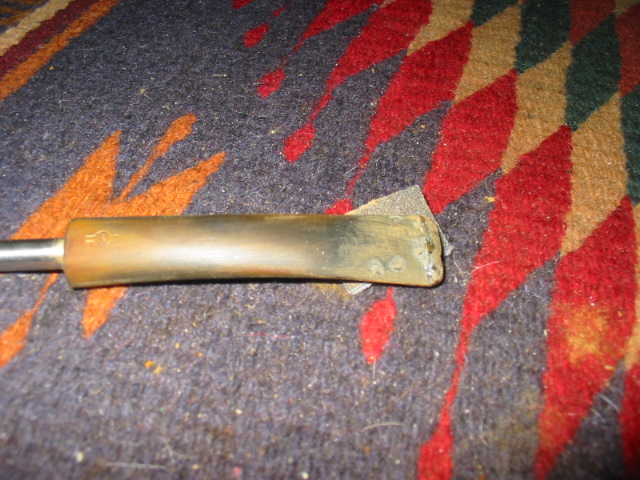
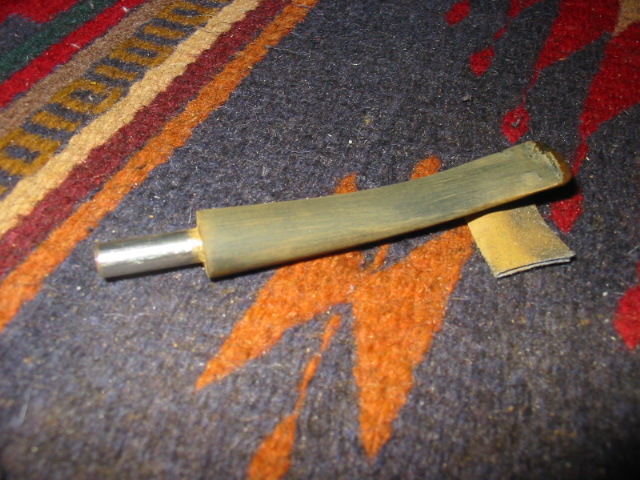
I guess I must get a bit bored doing the same thing or something, because I went back to the stem to sand the patches that I had made. I used emery cloth to get the patches even with the surface of the stem. The next series of three photos show the progress on cleaning up the stem and evening out the stem surface. The patches are beginning to fade and blend into the stem. ImageImageImage

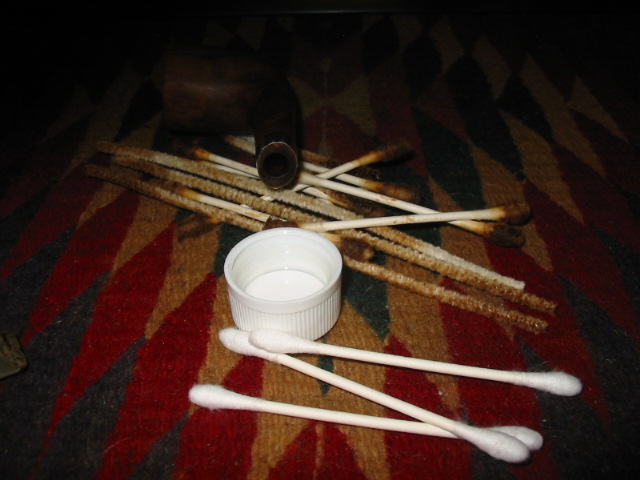
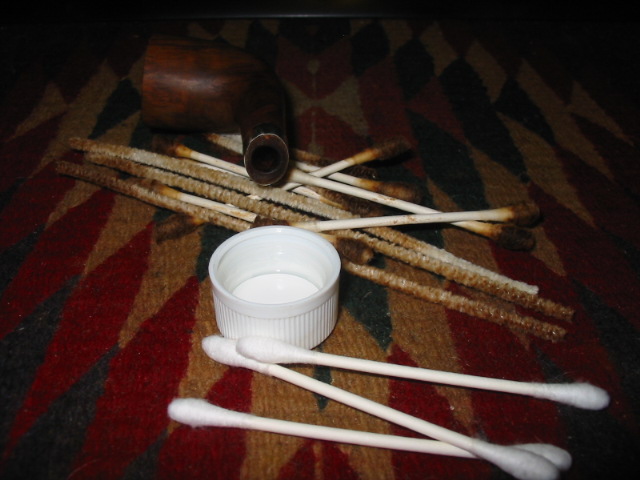
After sanding the stem I cleaned out the stem and the shank. It was a dirty process. The first picture below shows just a few of the many pipe cleaners and cotton swabs. I dip them in the cap filled with isopropyl that is pictured in the photos and swab out the stem and shank with them. ImageImage

I reinserted the stem in the shank and wiped the entirety down with an alcohol soaked cotton pad. I wanted to see where I was at with the stem and the bowl. You will notice the addition of a band in the photos below. Once I refit the stem I could see that the stainless tenon was indeed a replacement and that it was misdrilled – it was set in the stem too high making the match at the tenon impossible. I decided to work on the shank rather than pull the tenon, redrill the hole in the stem and reinsert a bigger tenon. I could still do that should I desire. I sanded the shank a little to reduce the gap between the stem and shank. Then I pressure fit a band on it to guide the stem to the proper fit. It worked well actually and the stem lines up nicely now. ImageImageImageImage

I took the next two photos to show the state of the stem patches at this point in the repair process. You can see that they are virtually invisible on the top of the stem and just slightly visible on the underside. At this point I continued to sand the stem and work at the area around the button to redefine it and to blend in the patches. I used a fine grit sanding pad and an extra fine grit pad to remove the scratches and to make the button area more defined. I then worked over the stem with the usual list of micromesh pads from 1500-6000 grit. ImageImage

I restained the bowl with an oxblood stain and buffed the entirety with White Diamond and then gave the pipe several coats of carnauba wax and buffed with a soft flannel buff to bring out the shine to the pipe. You can see from the profile shots that the button is more clearly defined and the flow of the stem looks correct from the bowl to the button. The patches on the stem have blended quite well and though still visible if you look closely are smooth and black. ImageImageImageImage

Refurbishing another Mystery Pipe


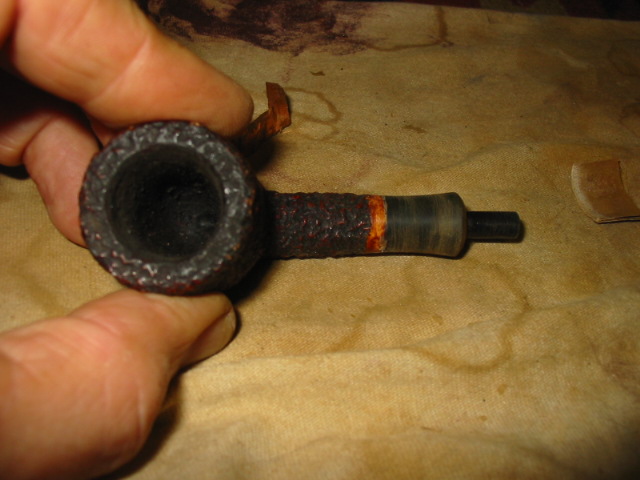
I picked up this pipe in an EBay lot recently. The other pipes were older Barlings and Bewlays. I know that it belonged to the same gent originally because all the stems have matching tooth marks. This guy must have had jaws of steel. His bite marks showed a repeated pattern of biting down in an identical place on each pipe. The amazing thing on this one is that though the bites were deep they did not break through the surface of the stem.

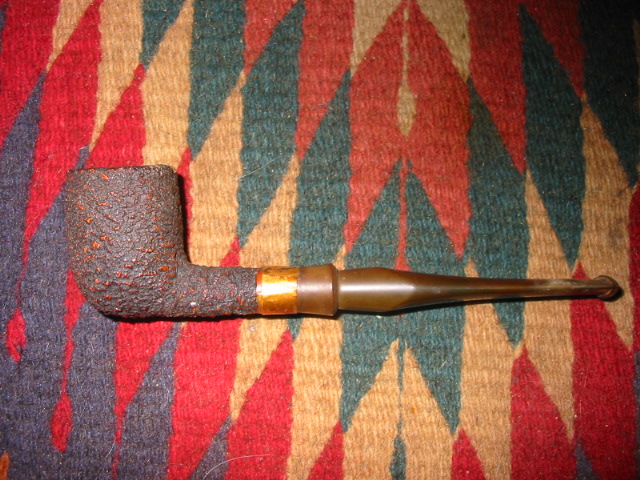
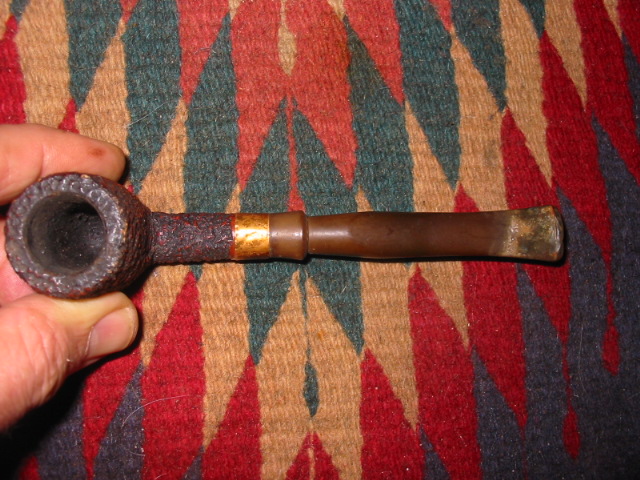
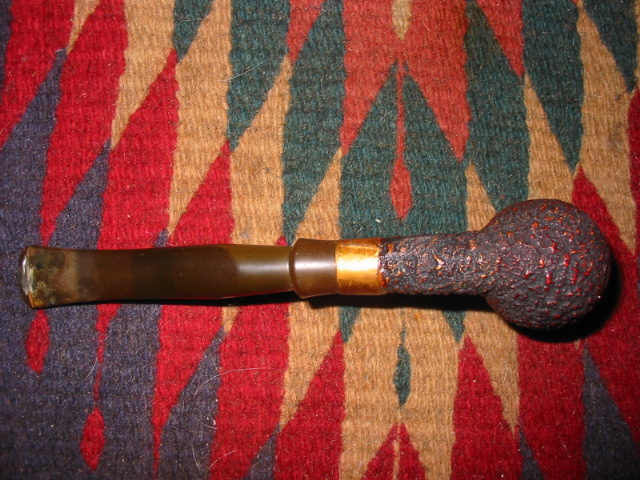
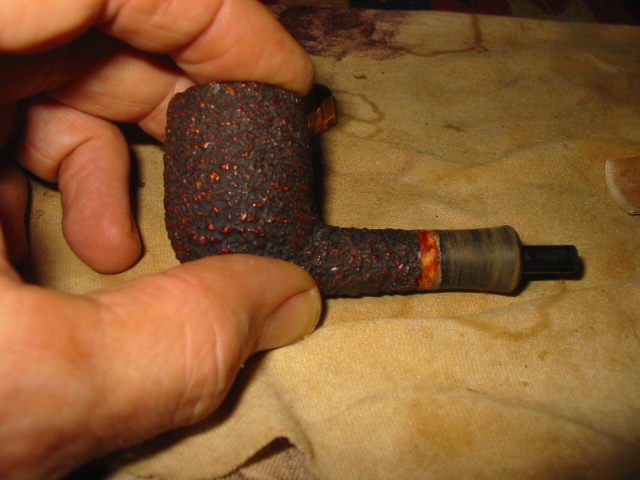
The first series of pictures below show the pipe as it came to me in the lot. Rim had some tars and cake build up. The bowl was dirty but not caked. The exterior of the pipe was also dirty but not damaged. The mystery to me is the material that this bowl is made of. It is very light weight and a bit odd. There is some resemblance to Laxley meers from the Isle of Mann. They made meers for Peterson, Nording and Barling as well as some under their own brand. I have found that those I have worked on and now own are uniformly heavy and thick bowled. This one is not that way at all. This little guy – and I say little as in 1 1/2 inch tall and a bowl outer diameter of 1 1/8 inches and bore of 3/4 inches – is somehow incredibly light weight. Think in terms of a featherweight briar and you are close. The stem is heavier than the bowl… Those are the things that leave me mystified with this one. I wonder if it is not some sort of resin????

The copper coloured band on the shank is actually copper tape. It was covered with a coating of glue to give it some resilience I would guess. The shank extension is vulcanite as is the stem. The stem is badly bitten but no bite throughs. It will take a bit of work to take care of those and to remove the deep oxidation. The tenon is also a reverse tenon. It extends from the shank like a Carey Magic Inch tenon. The stem slides over the tenon.

ImageImageImageImage

Using my dental pick as a lever I pried away the tape on the shank. I wanted to see what was underneath to know if I was dealing with a separated shank extension or what. As can be seen in the next photo it appears that the tape was merely cosmetic. The shank extension and the joint of the two parts were liberally coated with glue. It appeared to have been wood glue and it was very hard. I was able to peel away bits and pieces of the glue by picking at it with the dental pick and my finger nail. Note also the reverse tenon on the shank that I spoke of above. It is anchored in the shank and is not removable. It seems to be an integral part of the shank extension.Image

The next two photos show the junction of the shank and the shank extension with the glue removed. I used some 180 grit sandpaper to work on it and then finished with 220 and 240 grit to remove the remaining bits. The junction appeared to be sound. There were no cracks and once the glue was removed the connection was tight and smooth.ImageImage

I continued sanding the shank and extension through 400 and 600 grit wet dry sandpaper as well as the usual micromesh pads from 1500-6000 grit. The three photos below show the finished shank. You will note that the band between the bowl and the extension is also sanded clean. The glue was so built up on it that it needed to be sanded to clean away the build up.ImageImageImage

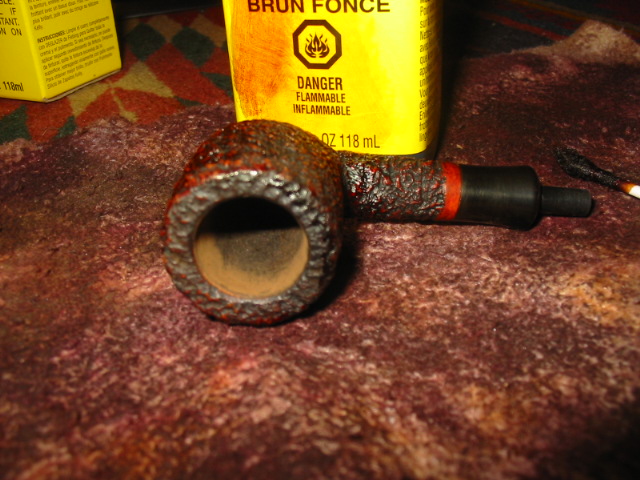
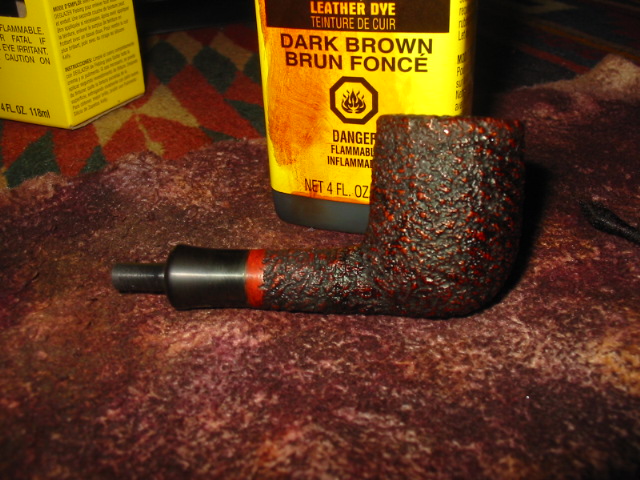
Once the bowl had reached that point I cleaned the rim with a brass tire brush to remove the tars and buildup that was in the rustication on the rim. I wiped it down with a soft alcohol dampened cloth to remove the dust and remnants after brushing. I decided to restain the rim and the band on the shank. While I was at it I also freshened the stain on the bowl. The odd thing to me was that the stain was not absorbed when I put it on the bowl. It literally sat on the surface until it was dry. To get the coverage to do any good at all involved repeated applications of stain to the band and the rim edges. If the pipe had been briar or meer the stain would have quickly absorbed into the heated surface. This is yet another piece of the mystery of this pipe. What is this material that does not accept the stain?ImageImageImage

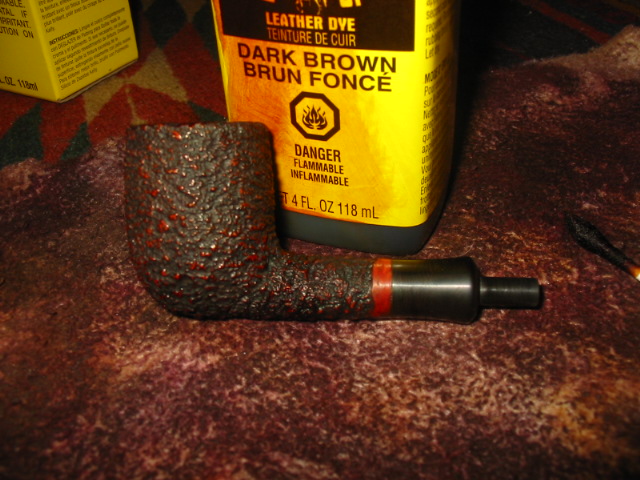
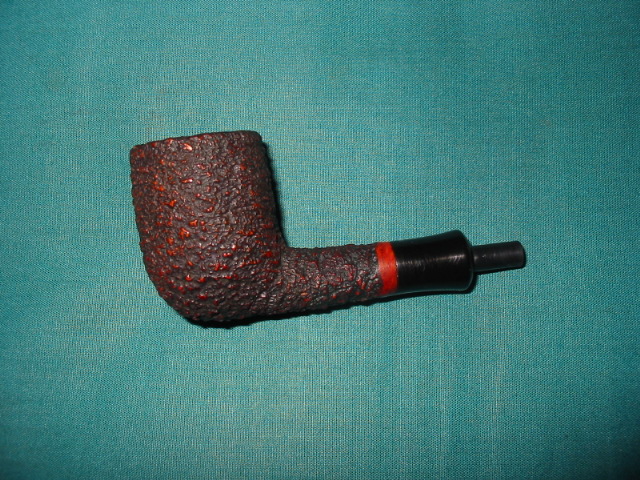
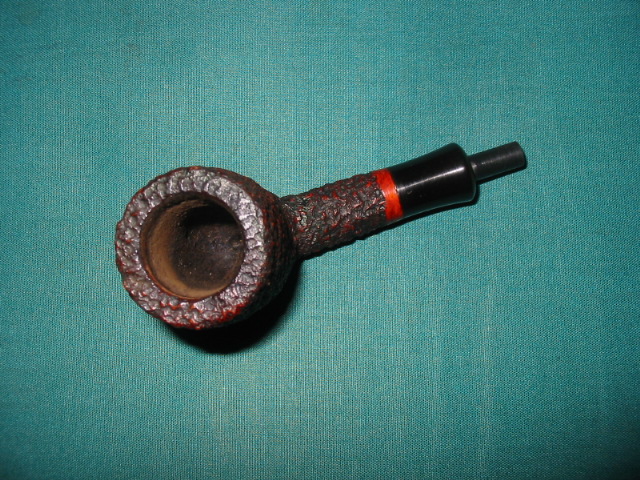
Once the stain was dry I did not buff the pipe at all with my buffer but wiped it down with a soft cotton cloth and hand buffed it with a soft bristle shoe brush. In the pictures below you can see the finished bowl. The band and the highlights in the bowl are almost a reddish brown. It is an attractive pipe when all is said and done. You can see the inside of the bowl after I sanded it down to clean it. It appears to be a brownish colour and feels like briar to the touch and yet there is something different in the feel of it.ImageImage

From the earlier pictures above you can see the state of the stem with the bite marks on the top and bottom near the button. I used my heat gun to raise them as much as possible before sanding the stem to remove the remaining marks. The first two photos below show the stem after heating and sanding with the 240 grit sand paper. The top photo is the top side of the stem. There were four remaining marks as can be seen – three on the surface of the stem and two along side of the button edge. There was also damage to the button surface that is visible. The second photo shows the bottom side of the stem – it was a bit better after the heating than the top side. It still had two bite marks and the button was dented.ImageImage

I sanded the marks to smooth them out and then cleaned the surface of the stem with an alcohol wipe to remove the dust. The first photo below shows the spots of super glue on the surface filling the dents in the stem surface. I do not use much glue, just a spot. When it hardens it is not easily sanded so the less I use on the surface the better in my opinion. I also did a bit of work rebuilding the button edge and surface with the glue. When I am using the glue I work on one side at a time in order to have the glue set without running and making a mess of things.Image

The next two photos show the repairs to the top (first photo) and the bottom (second photo) of the stem after the initial sanding. I used an emery board that I picked up at a local department store to sand the surface at this point. It is sold in the area where they sell beauty supplies and is used for fingernails. I learned the usefulness of these by “borrowing” one from my daughters and really like the usefulness. Both photos show the patches disappearing into the surface of the stem.ImageImage

The next two photos show the patches on both the top (first photo) and the bottom (second photo) of the stem after sanding with 220 and 240 grit sandpaper. The patches are getting to the point where they are invisible. I continued sanding both sides of the stem until I was ready to work on the sheen and polish.ImageImage

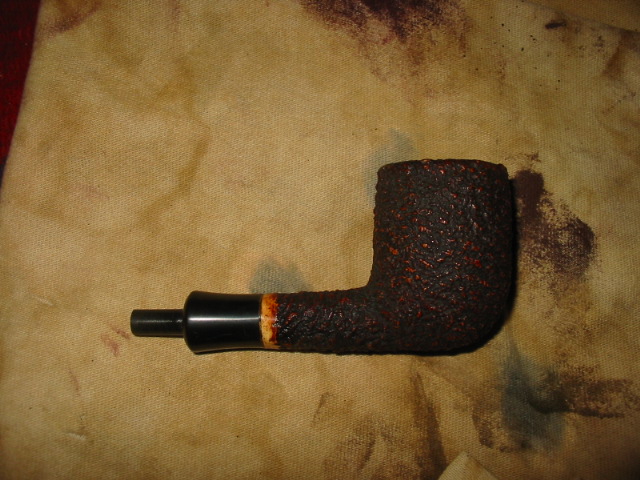
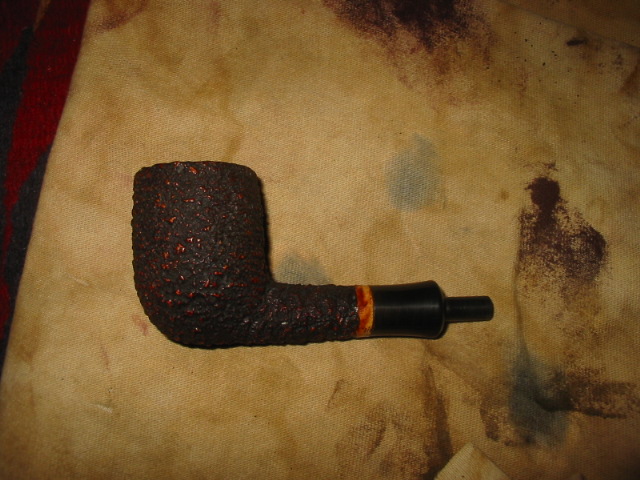
From this point I sanded the stem with 400 and 600 grit wet dry sandpaper until the patches disappeared into the smooth surface of the stem. I then progressed through the usual regimen of micromesh pads from 1500-6000 grit to polish the surface. Several times in the process I took the stem to the buffer to polish it with Tripoli and White Diamond to see where I needed to do more work on the scratches. I resanded the stem until the scratches were gone – each time using the buffer in between to see the progress. Once it was completed I put it on the pipe and used White Diamond to polish the shank and stem. I coated the stem and shank extension with Obsidian Oil and rubbed it in once it had soaked in. I then gave the entirety several coats of carnauba wax. I did not wax the bowl or use the buffer on it as I wanted to maintain the appearance and cragginess of the finish. In the four photos below you can see the finished pipe. The patches are virtually invisible unless you know where to look. The surface is shiny and black. There is still a bit of oxidation that I need to remove on the stem at the shank extension but overall it is like a new pipe.ImageImageImageImage

The mystery remains, what is it made of? Is it meer? Is it clay? Don’t know. I plan on smoking it later today so maybe the way it handles the heat of the burning tobacco may add some information to the mix.