Tag Archives: super glue and briar dust fill replacement

Giving an Ugly, Worn Billiard a Makeover


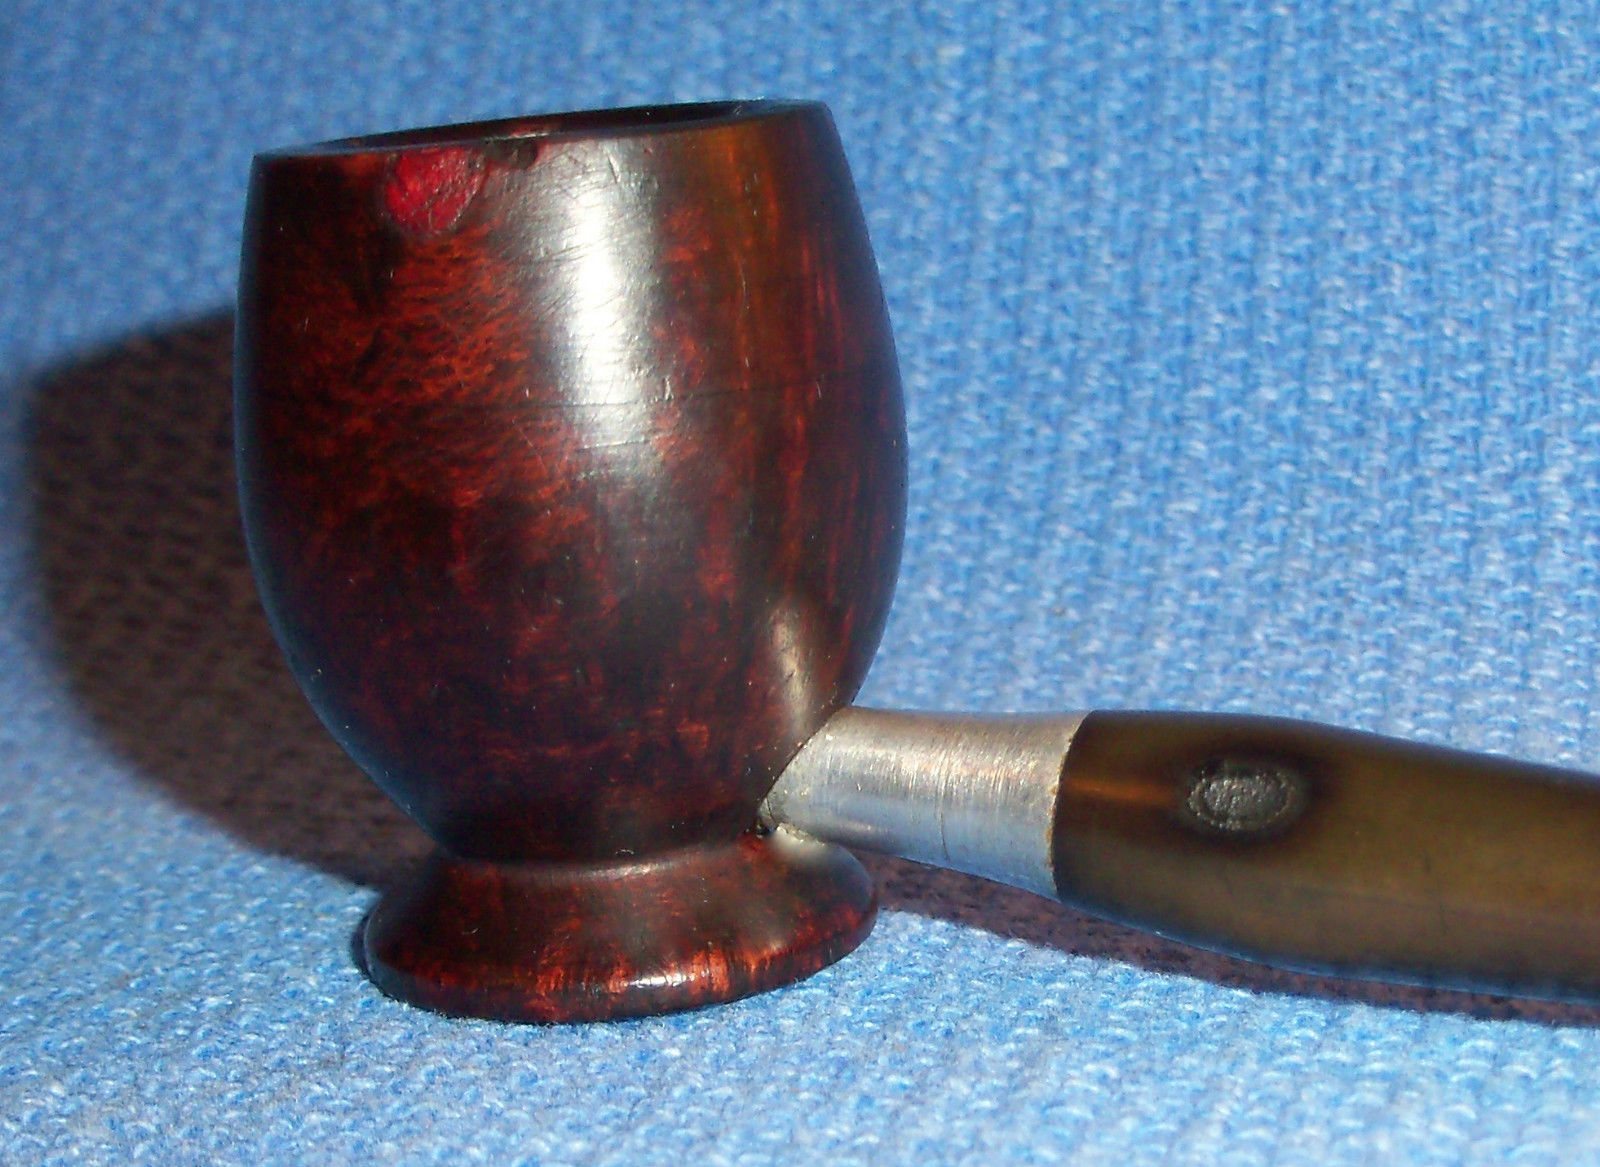
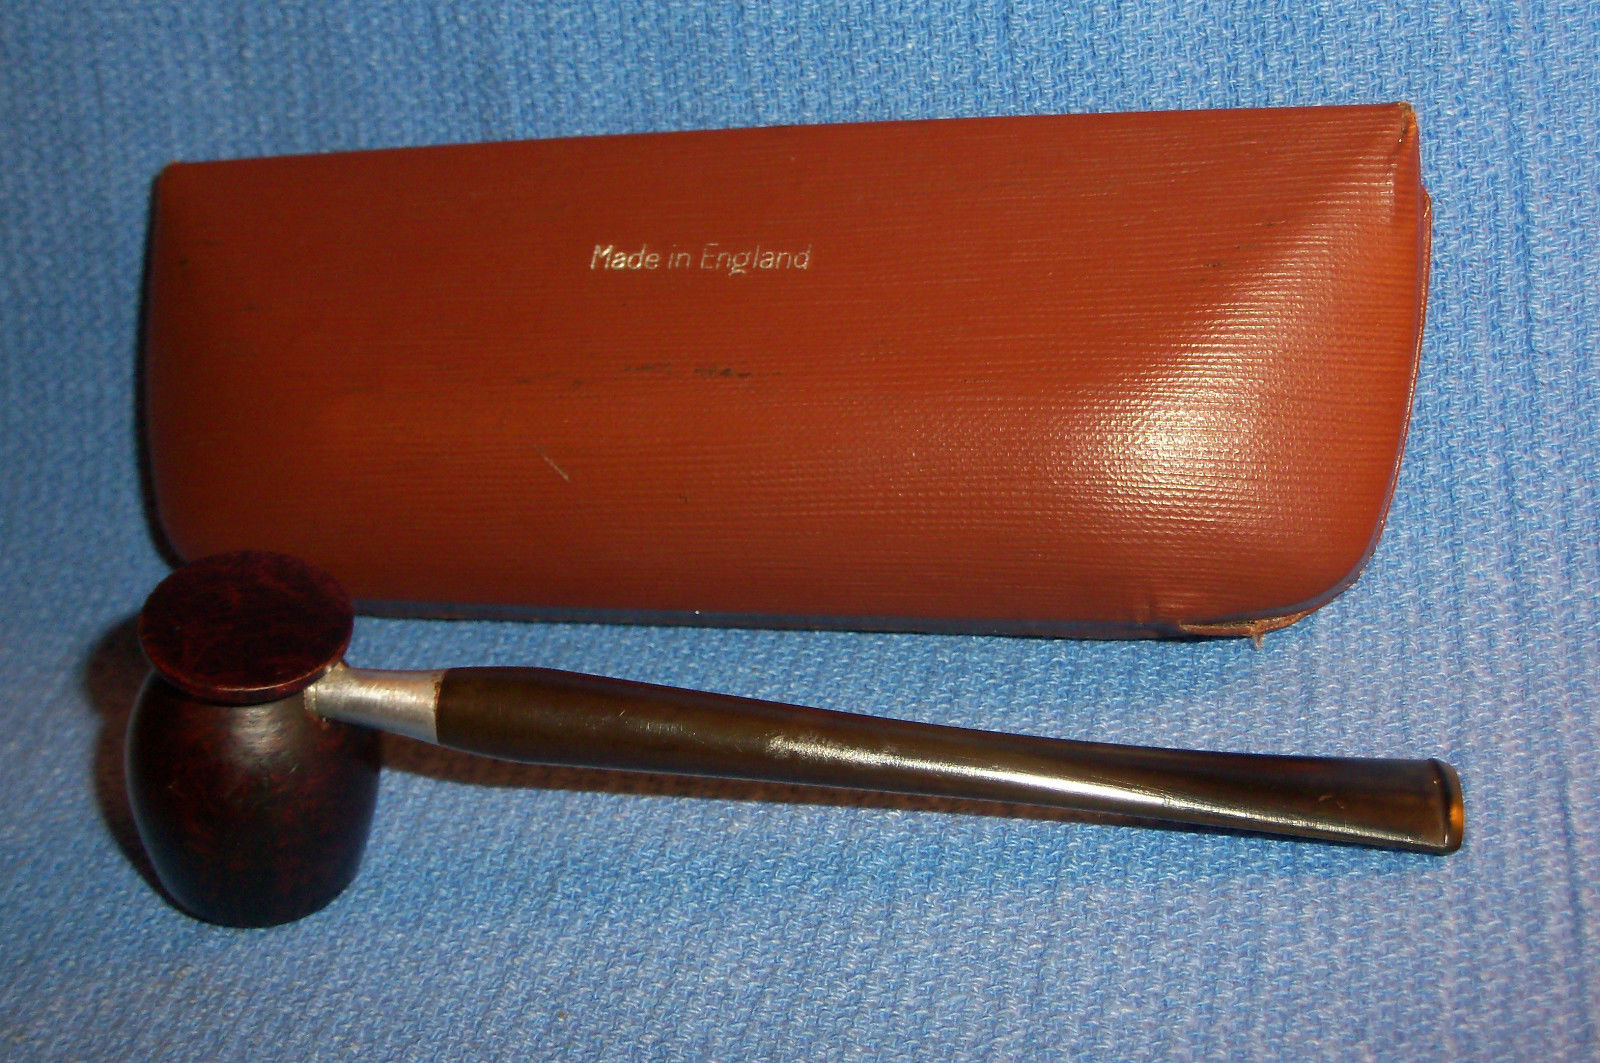
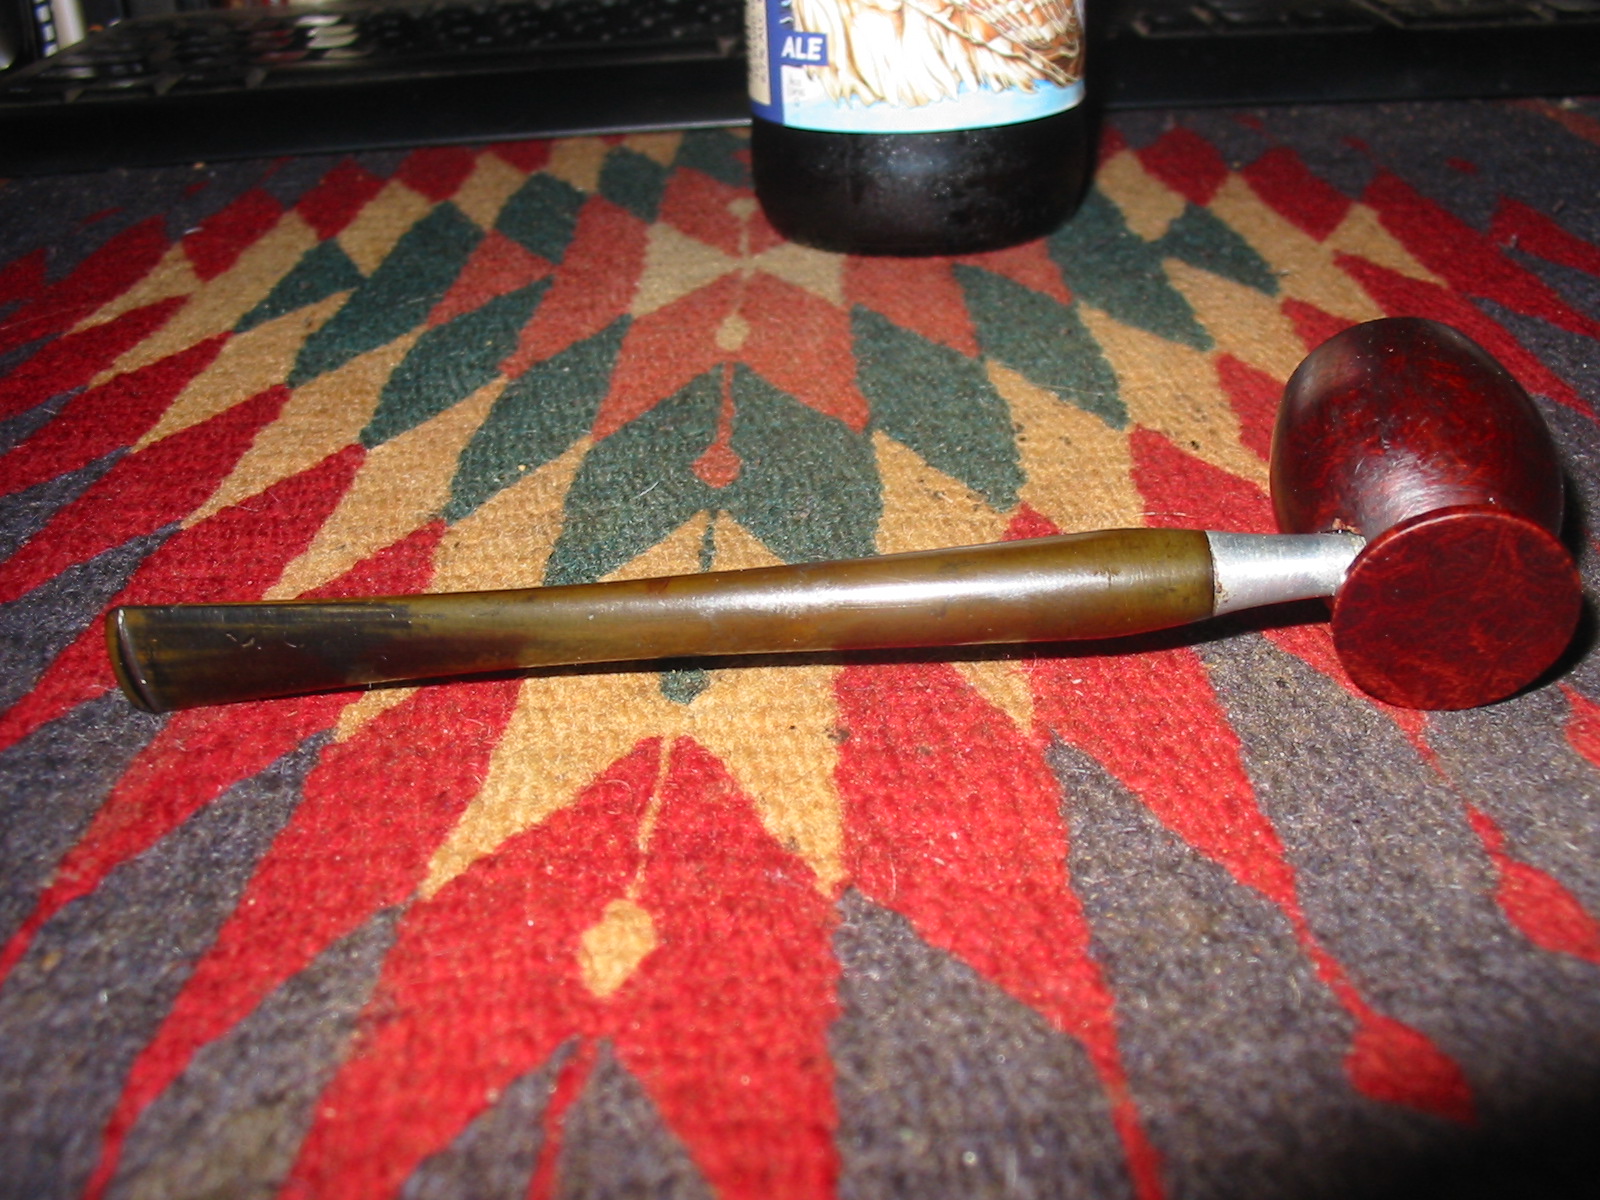
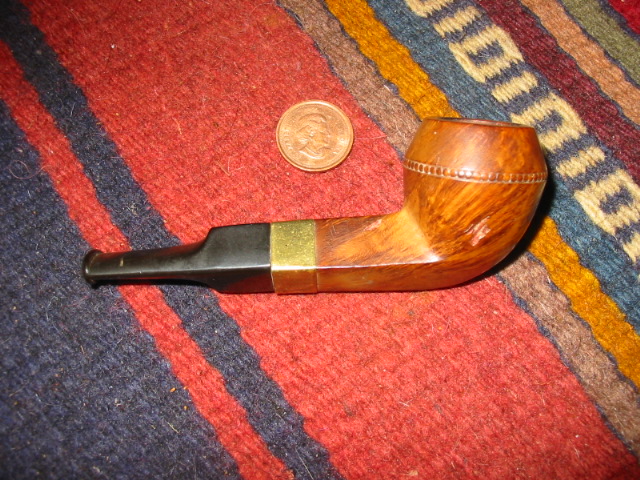
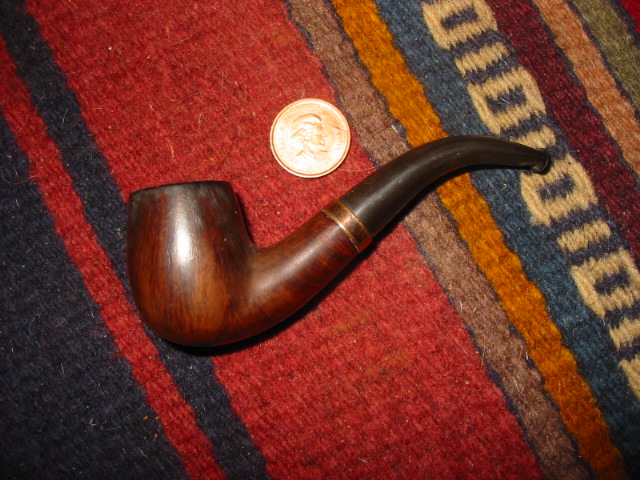
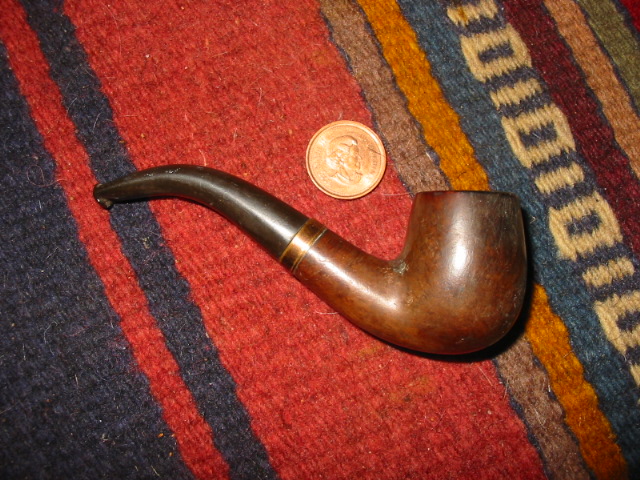
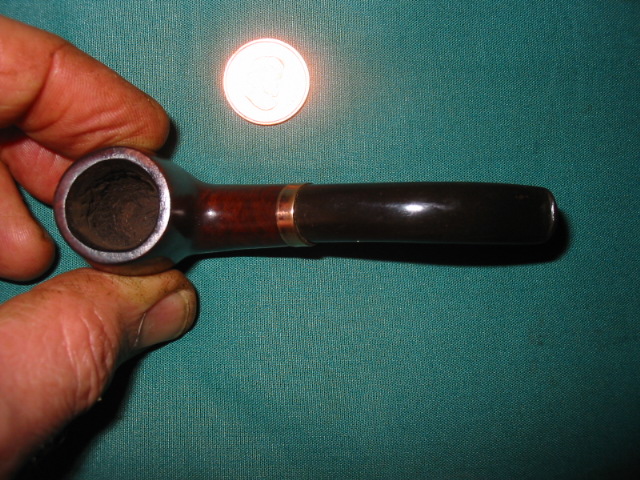
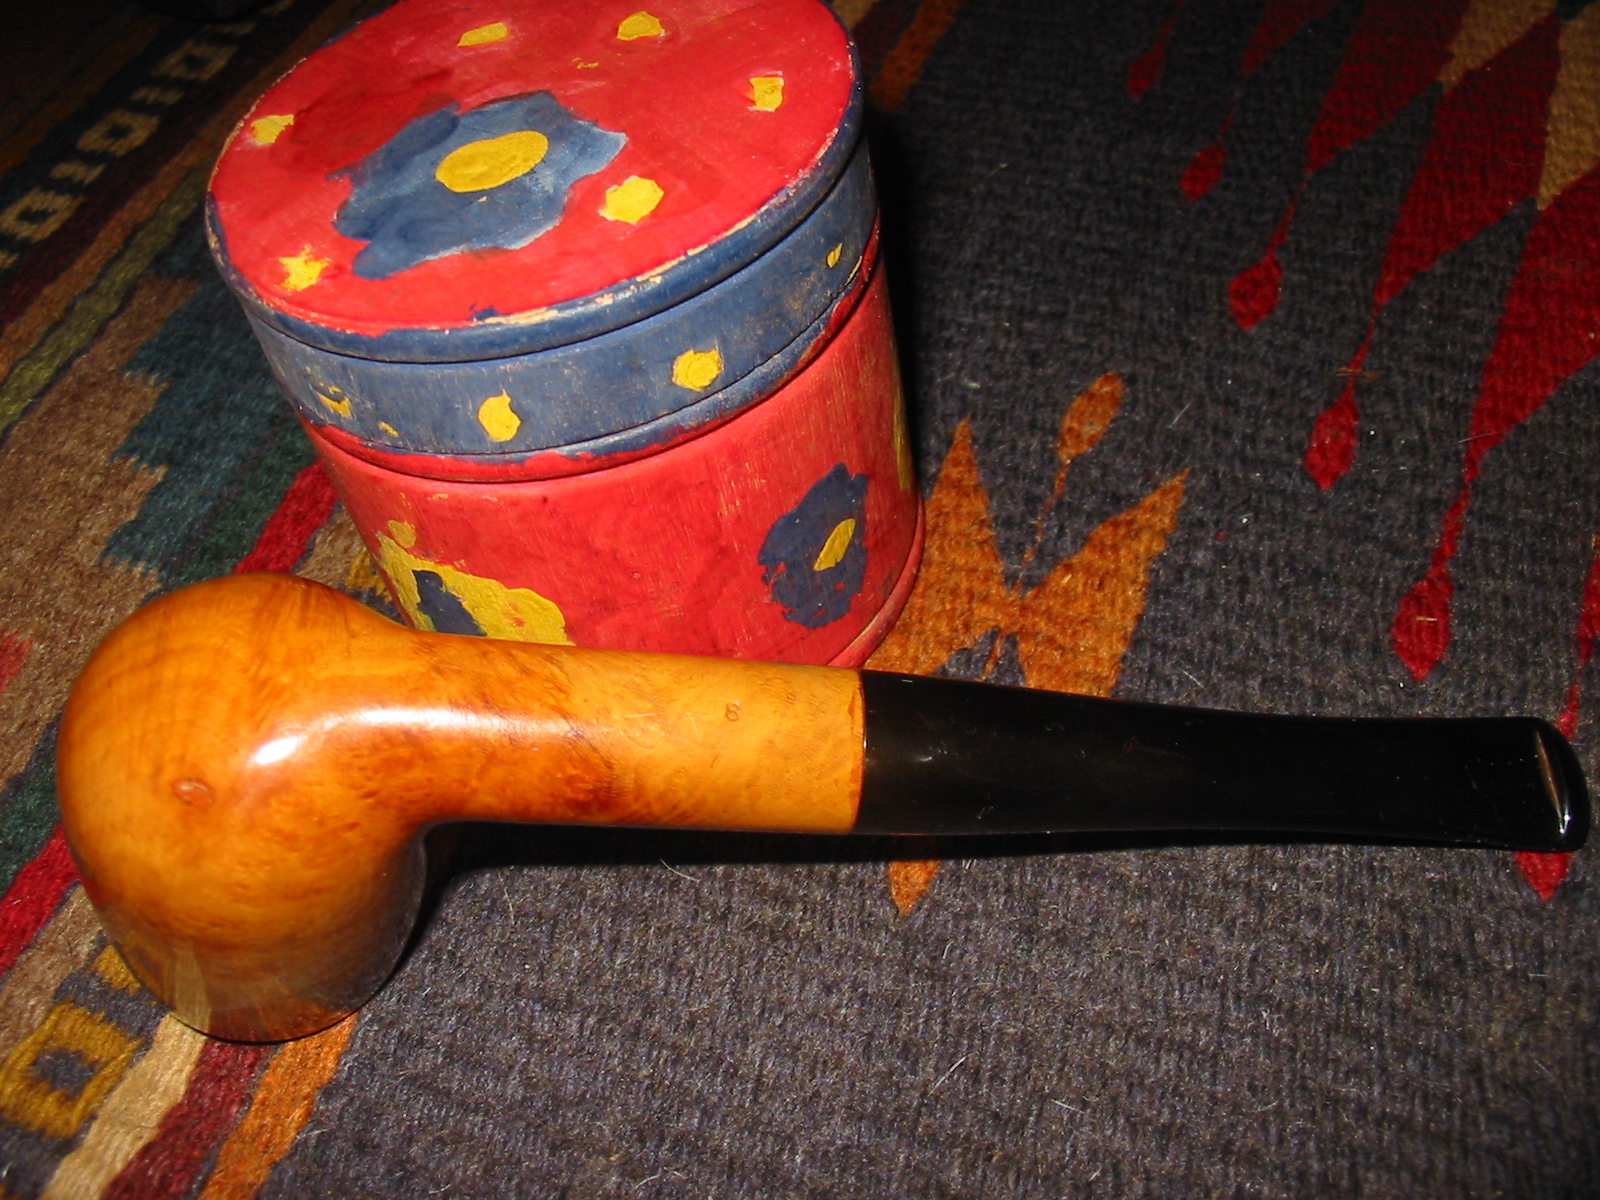
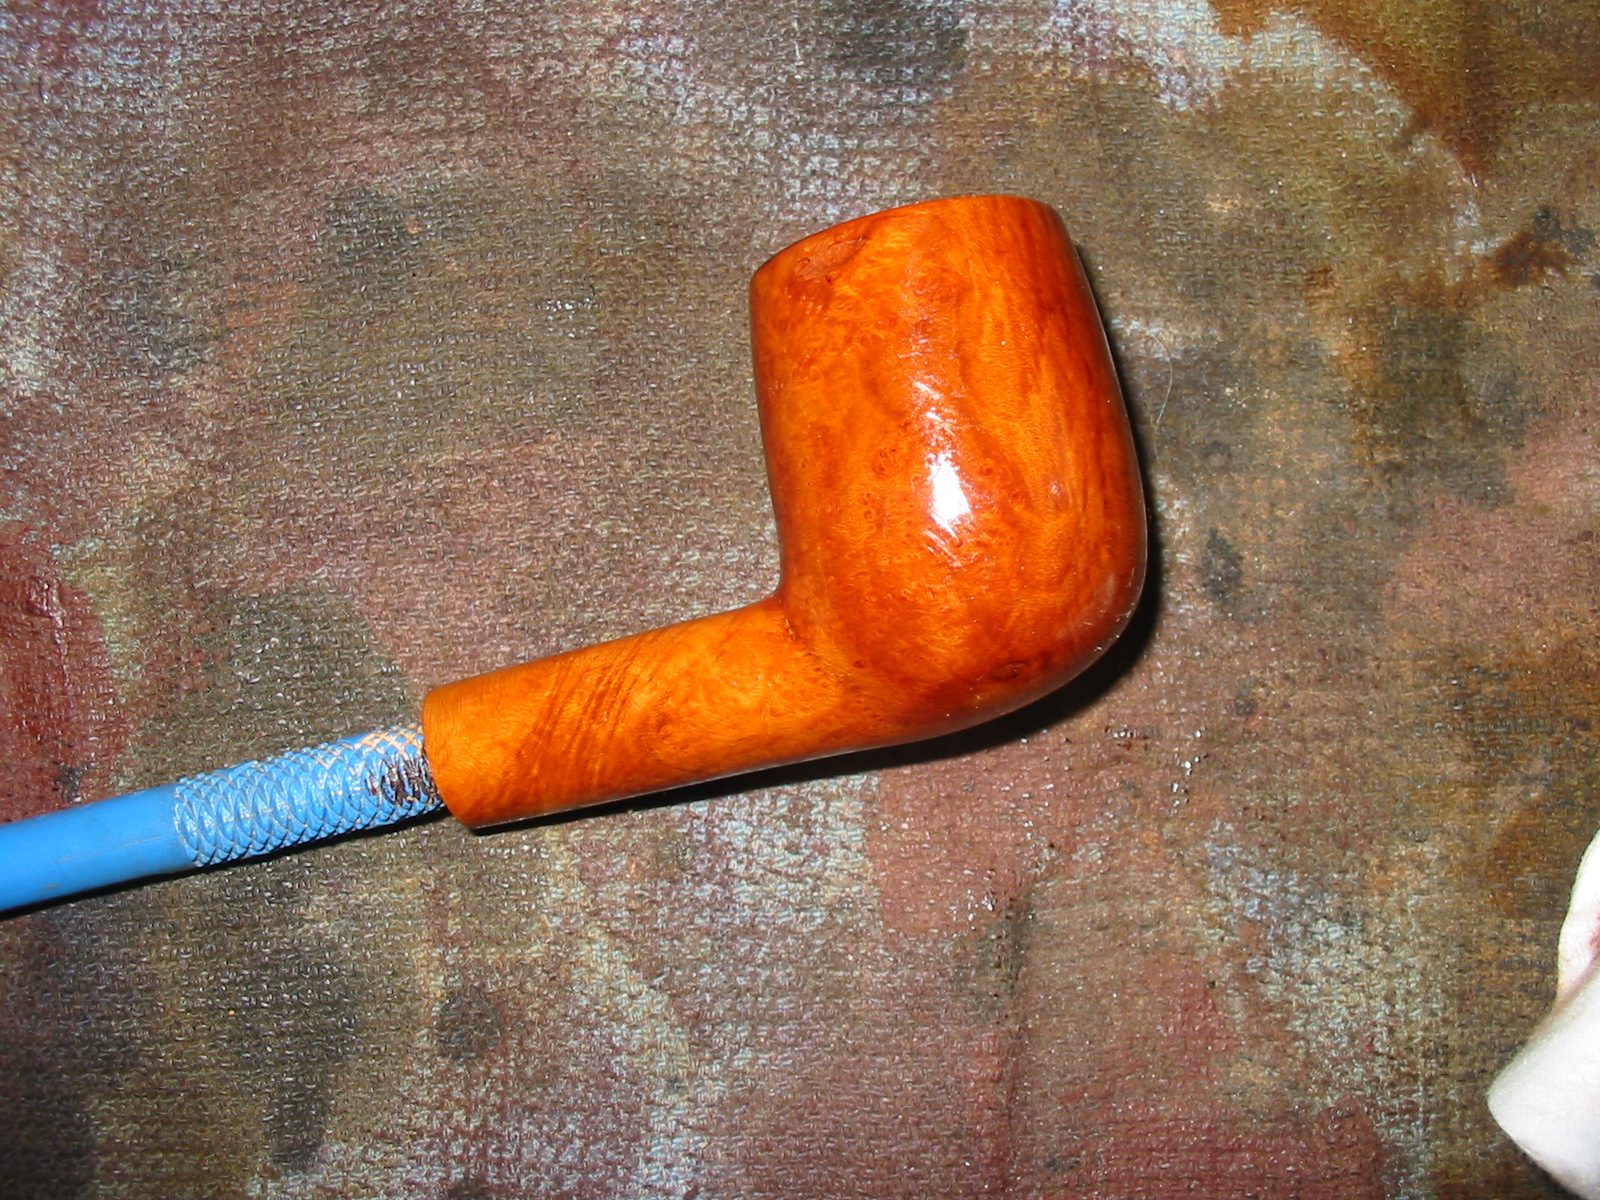
I was given this older, truly ugly pipe a bit ago. It is stamped Astoria De Luxe on the left side of the shank and on the underside the number 8 is stamped near the shank/stem junction. The stem has the letter “A” stamped in the vulcanite. The bowl was coated with a thick coat of something like urethane that gave it a plastic feel. It also seemed to be an opaque coating that was a yellow tan colour. The coating complete hid the grain and the numerous fills on the sides of the bowl. The rim had been damaged from a knife wielding person who tried to ream the bowl. The inner edge had a slight bevel that was damaged and the outer rim had damage from a torch lighter. This time the heavy coating on the bowl protected it from charring but the coating had darkened to black and was pitted. The top of the rim was badly damaged from tapping the bowl out against something hard. This pipe was certainly one that normally I would not have bothered to work on, but there was a challenge there to see if I could do something with it. This one will also go in the box of pipes for the Vancouver Pipe Club.
IMG_4455

IMG_4456

IMG_4457

IMG_4458

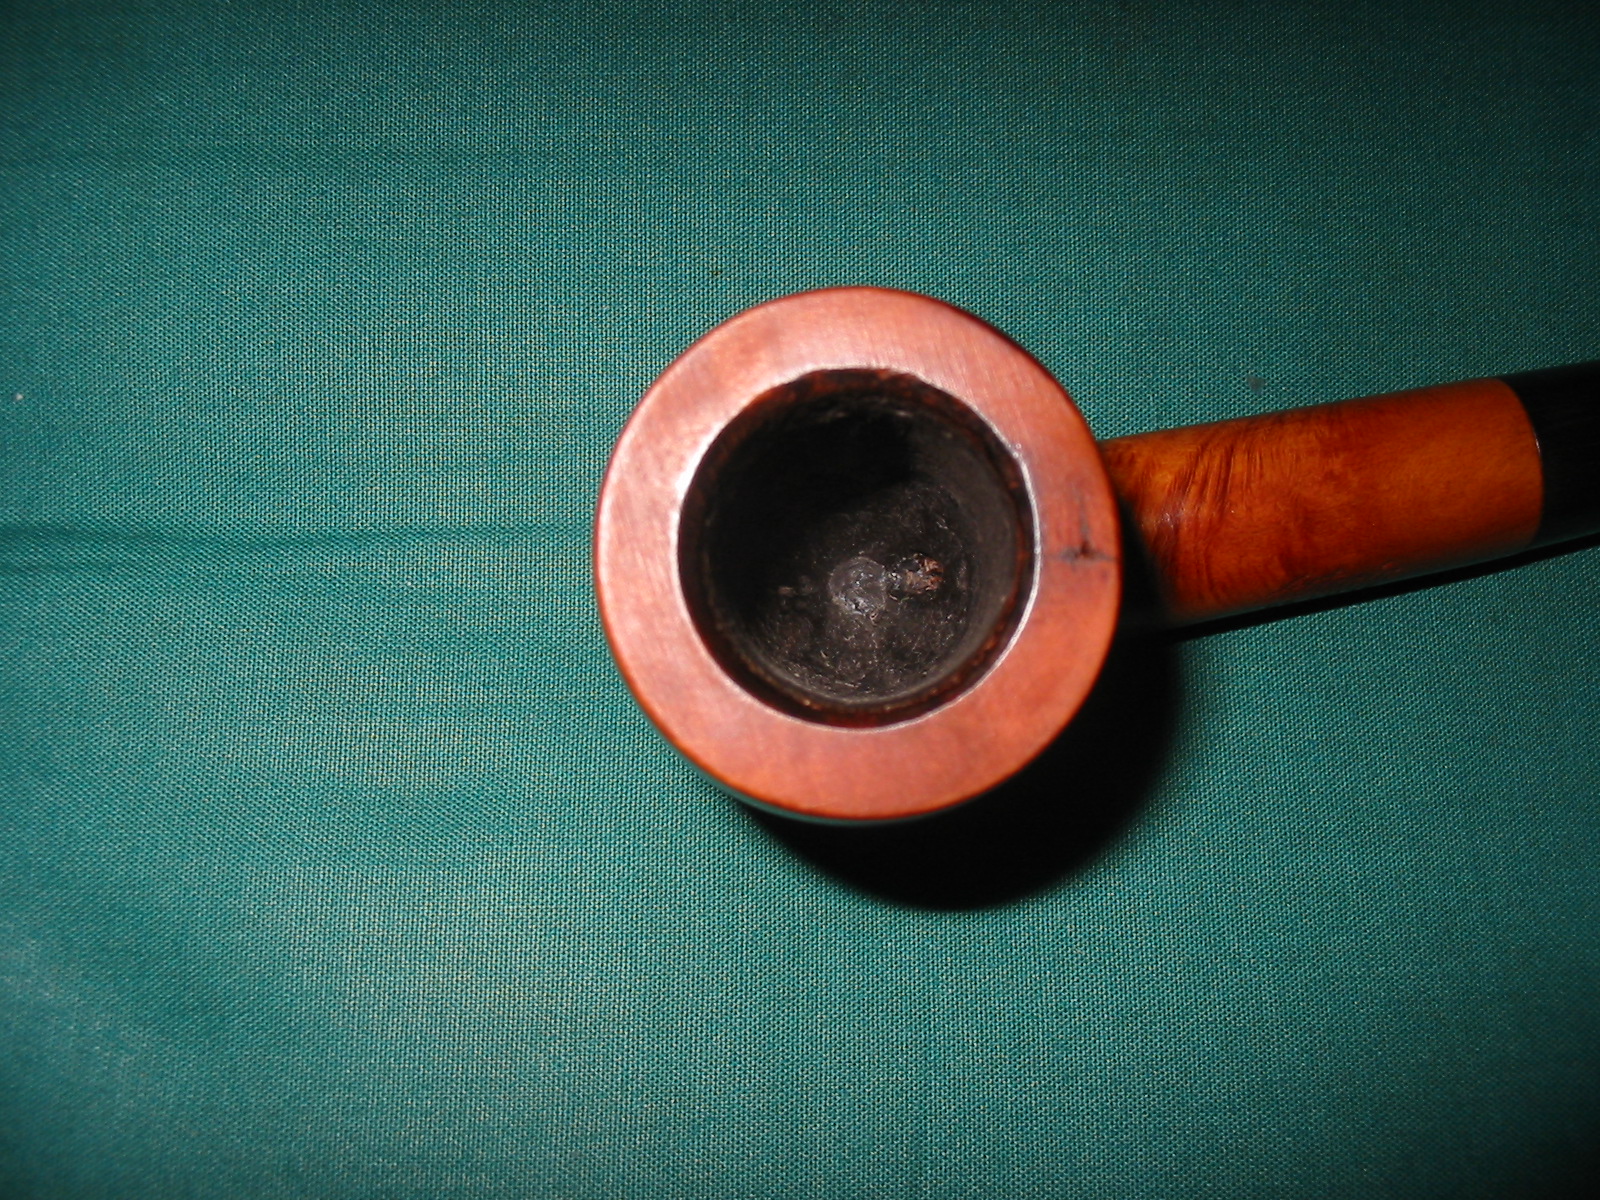
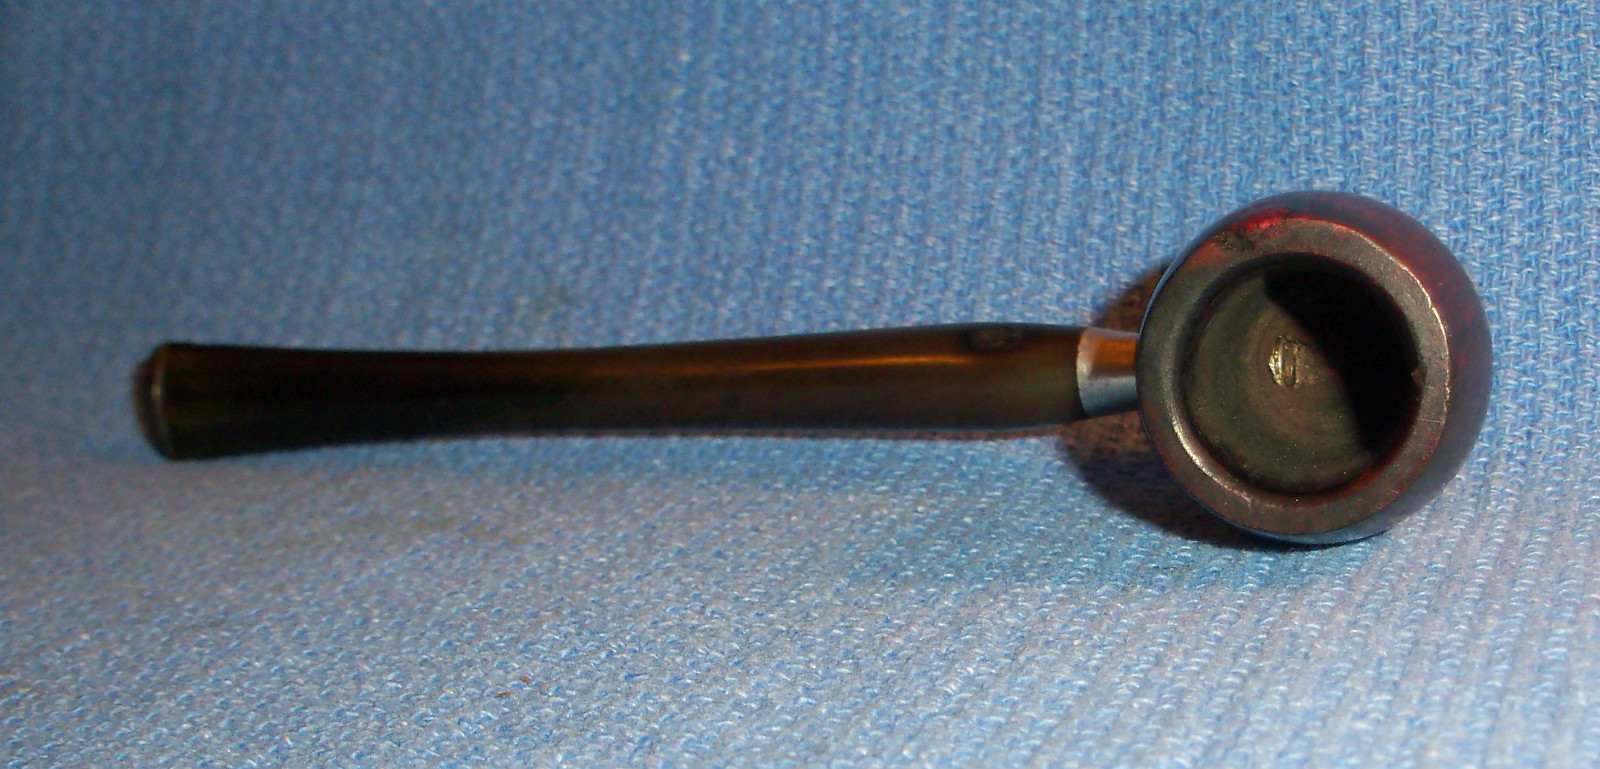
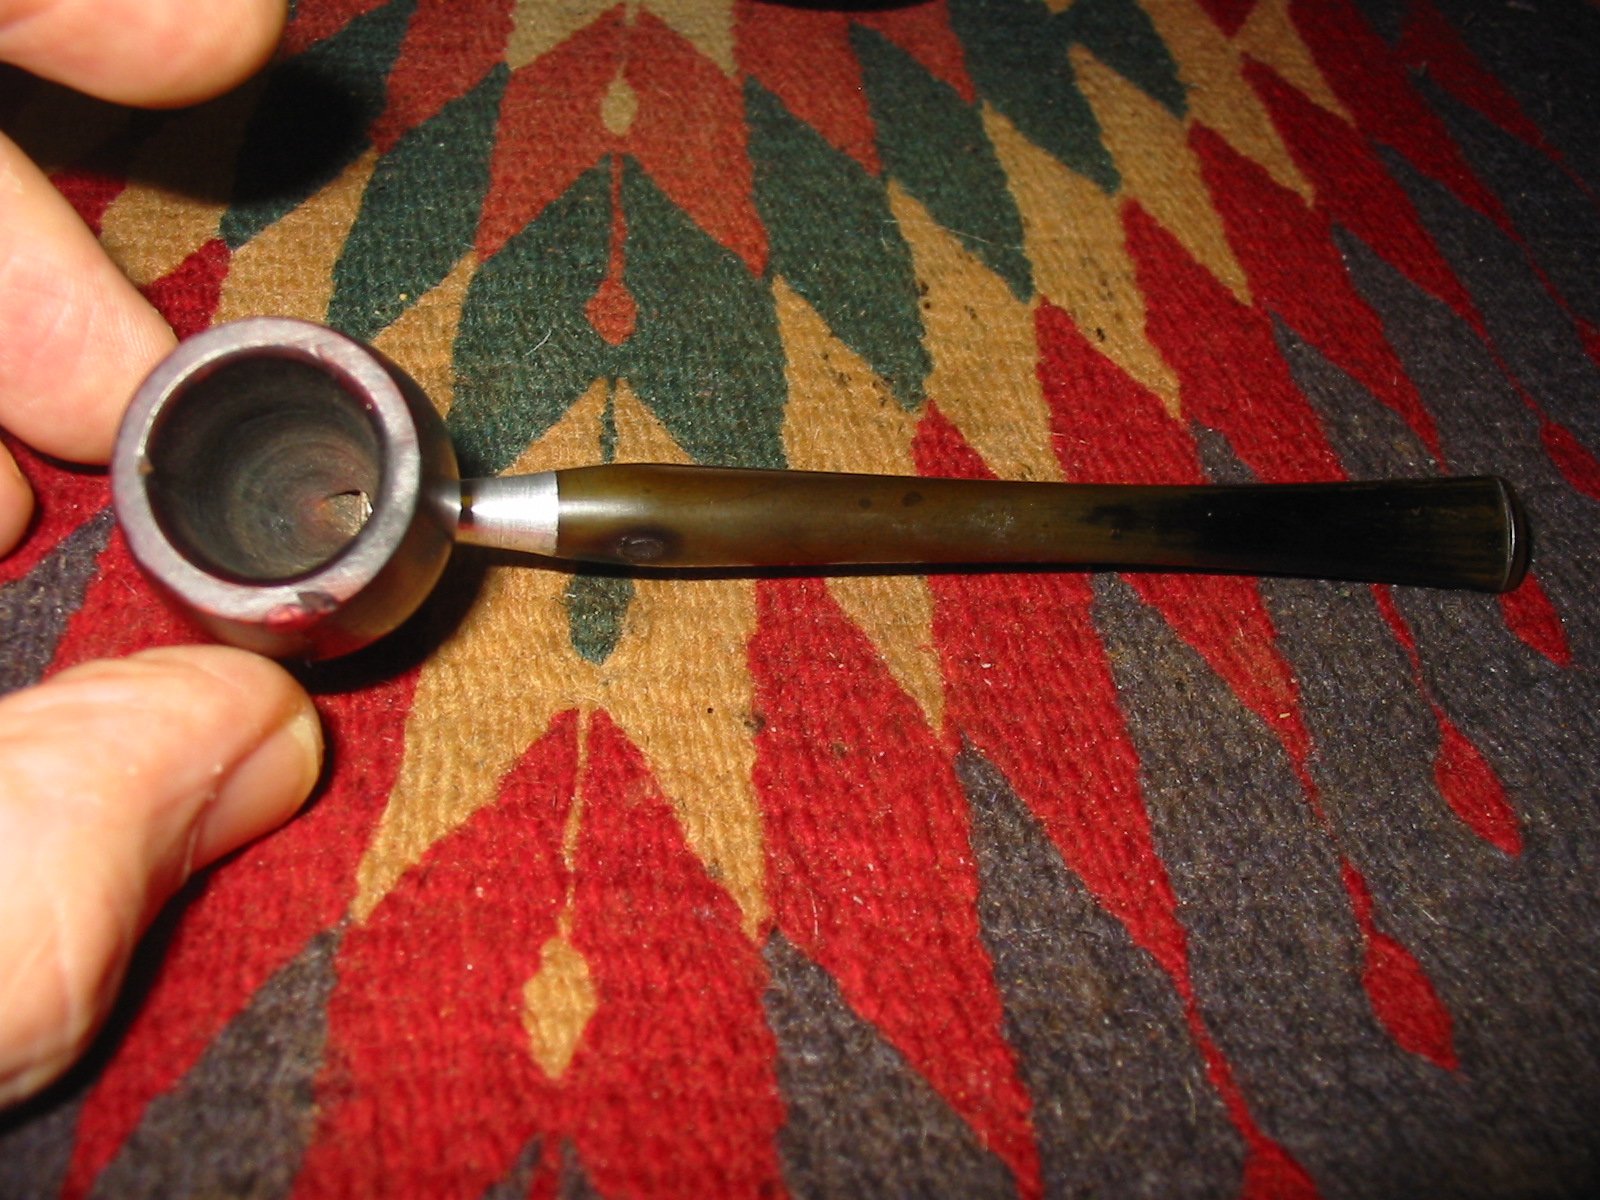
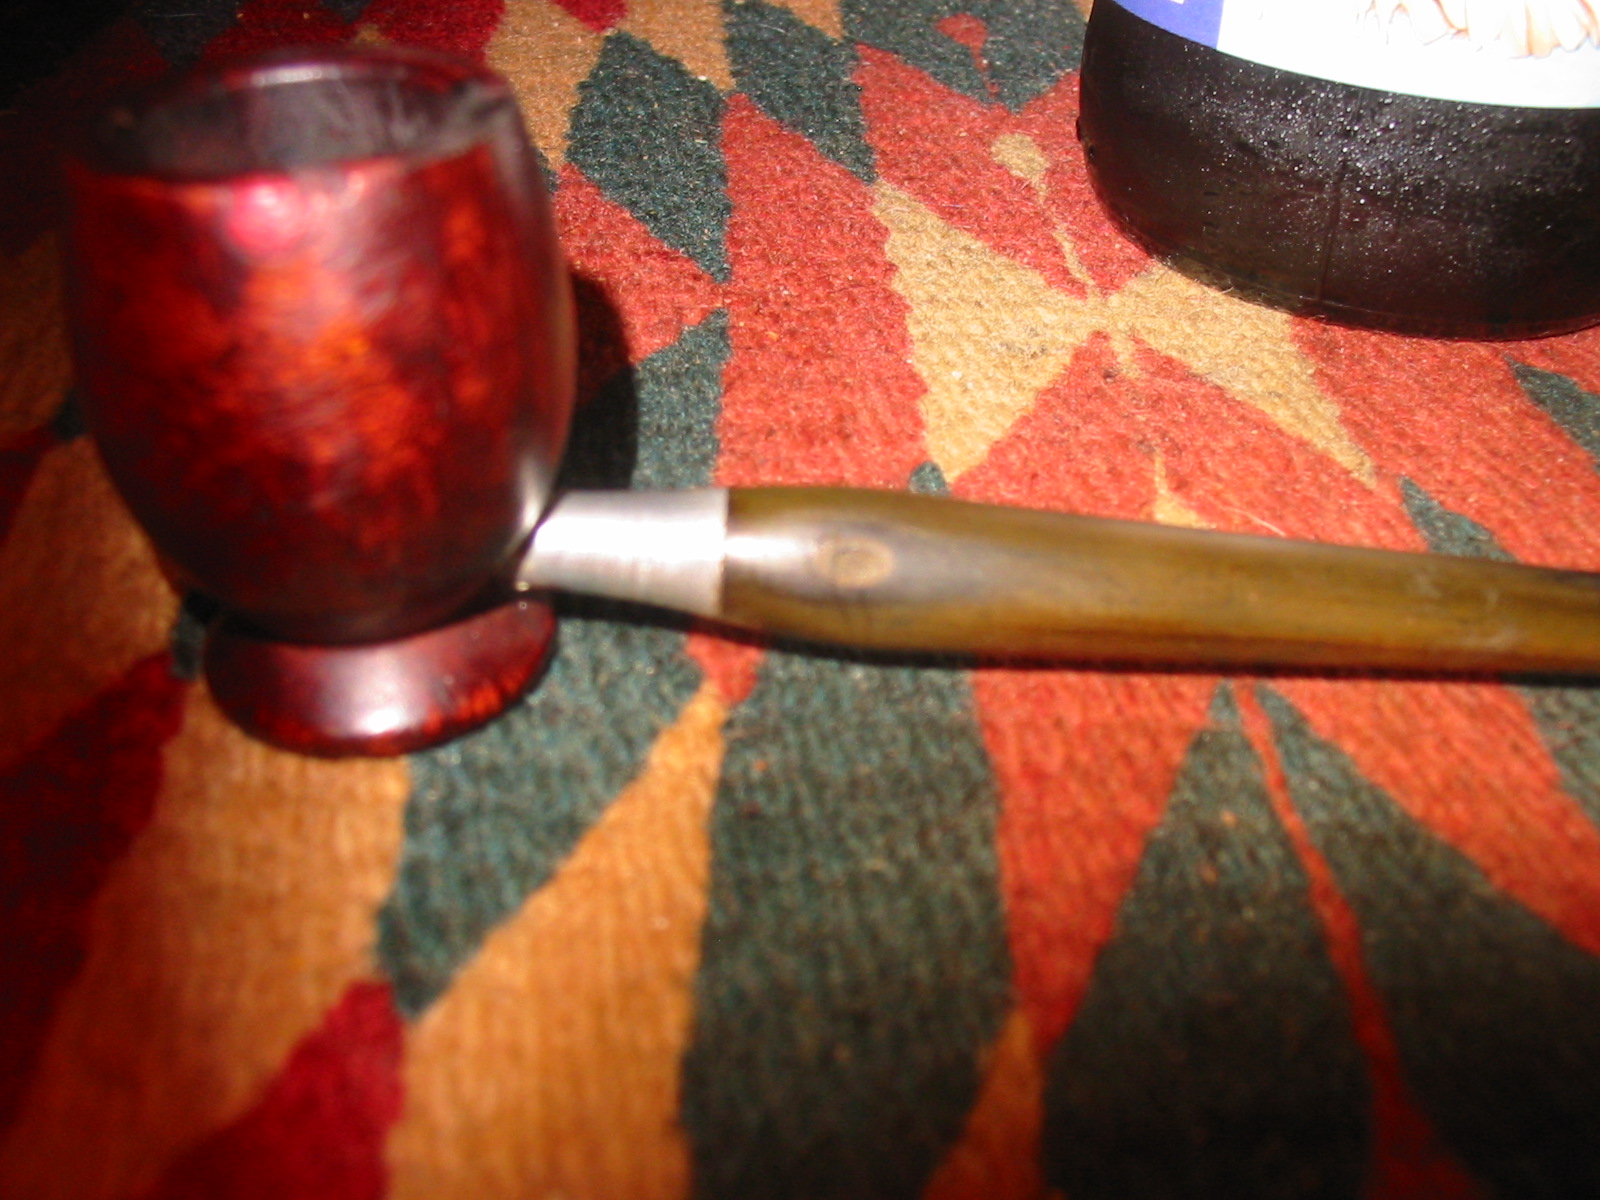
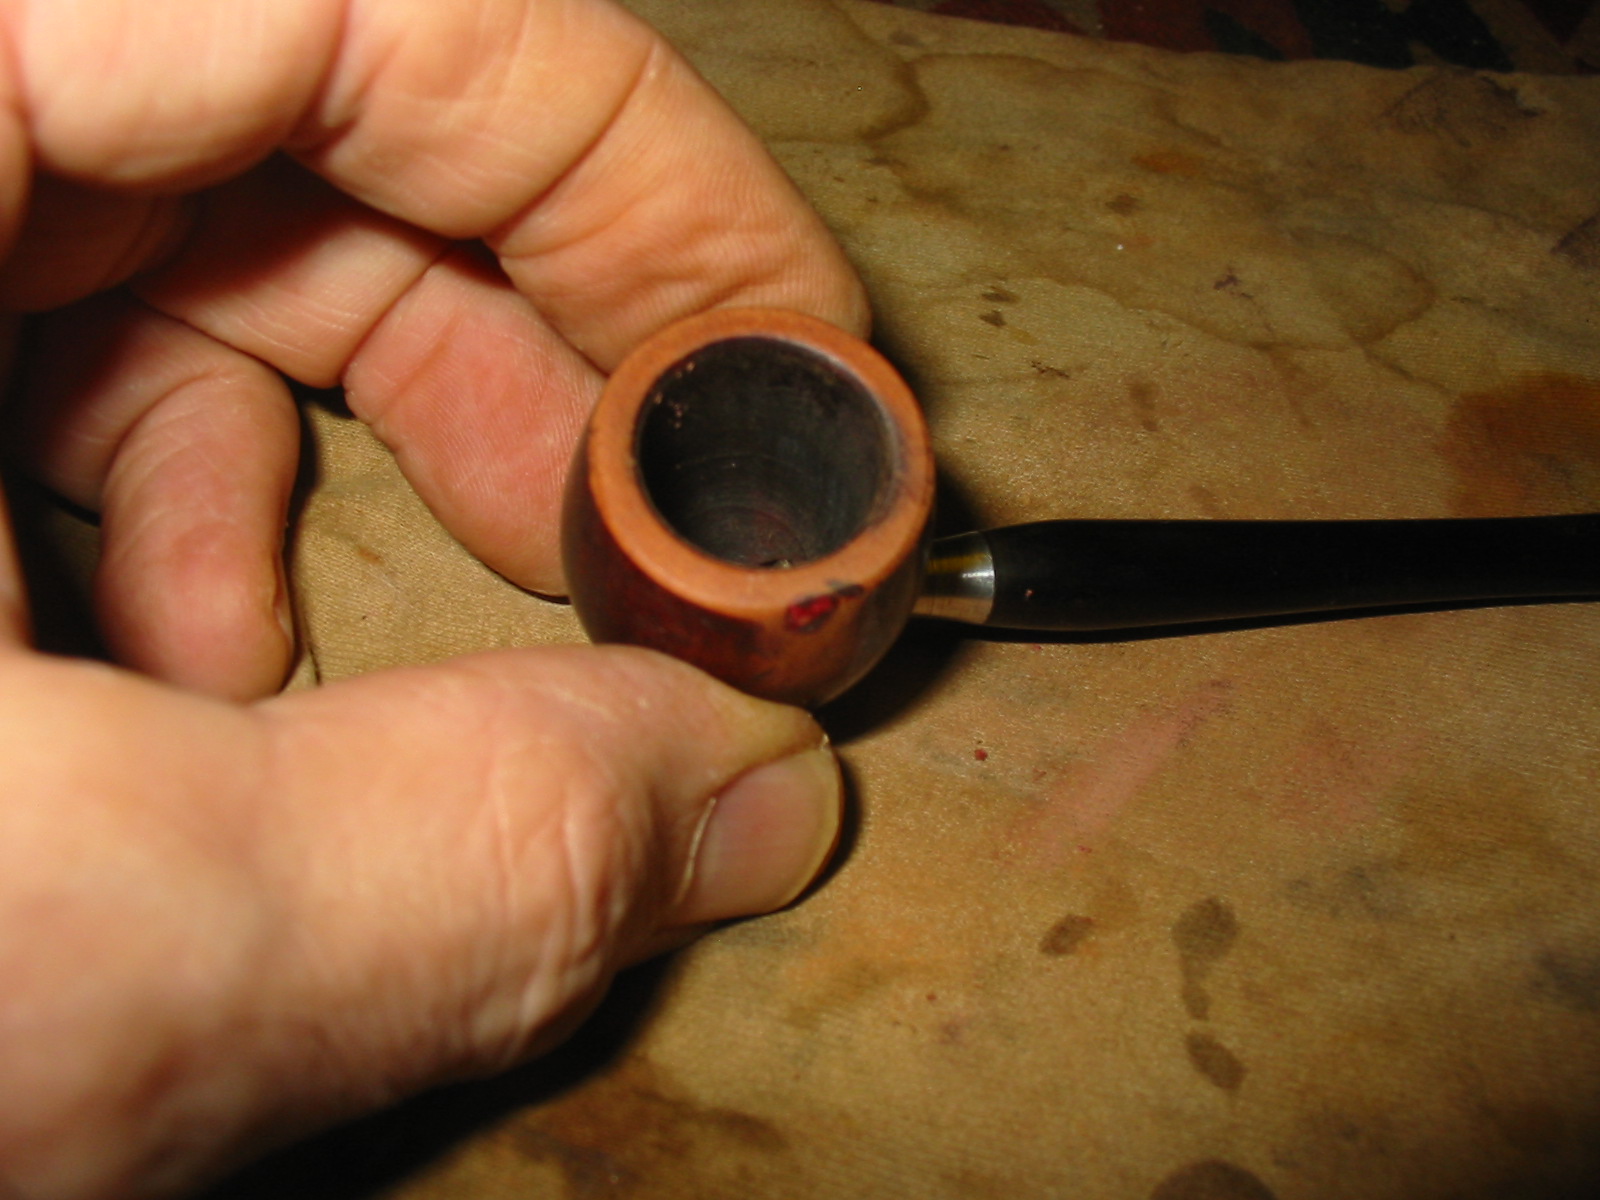
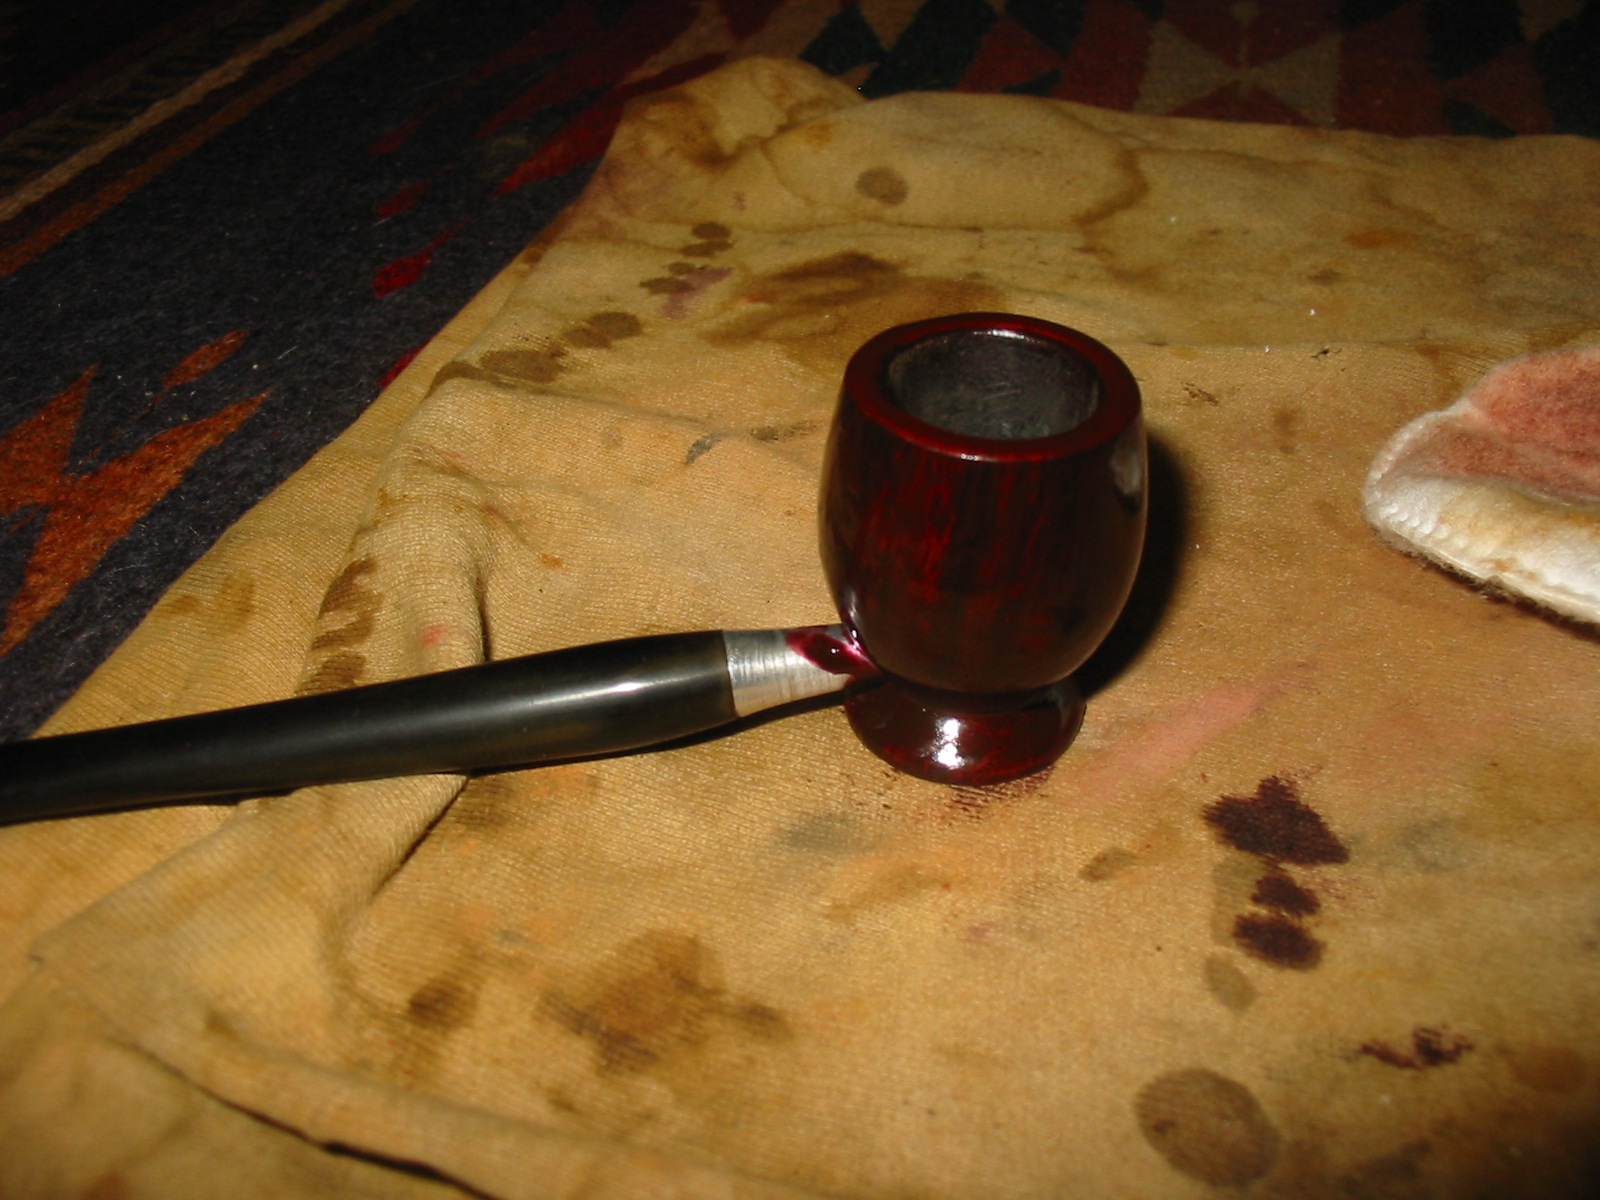
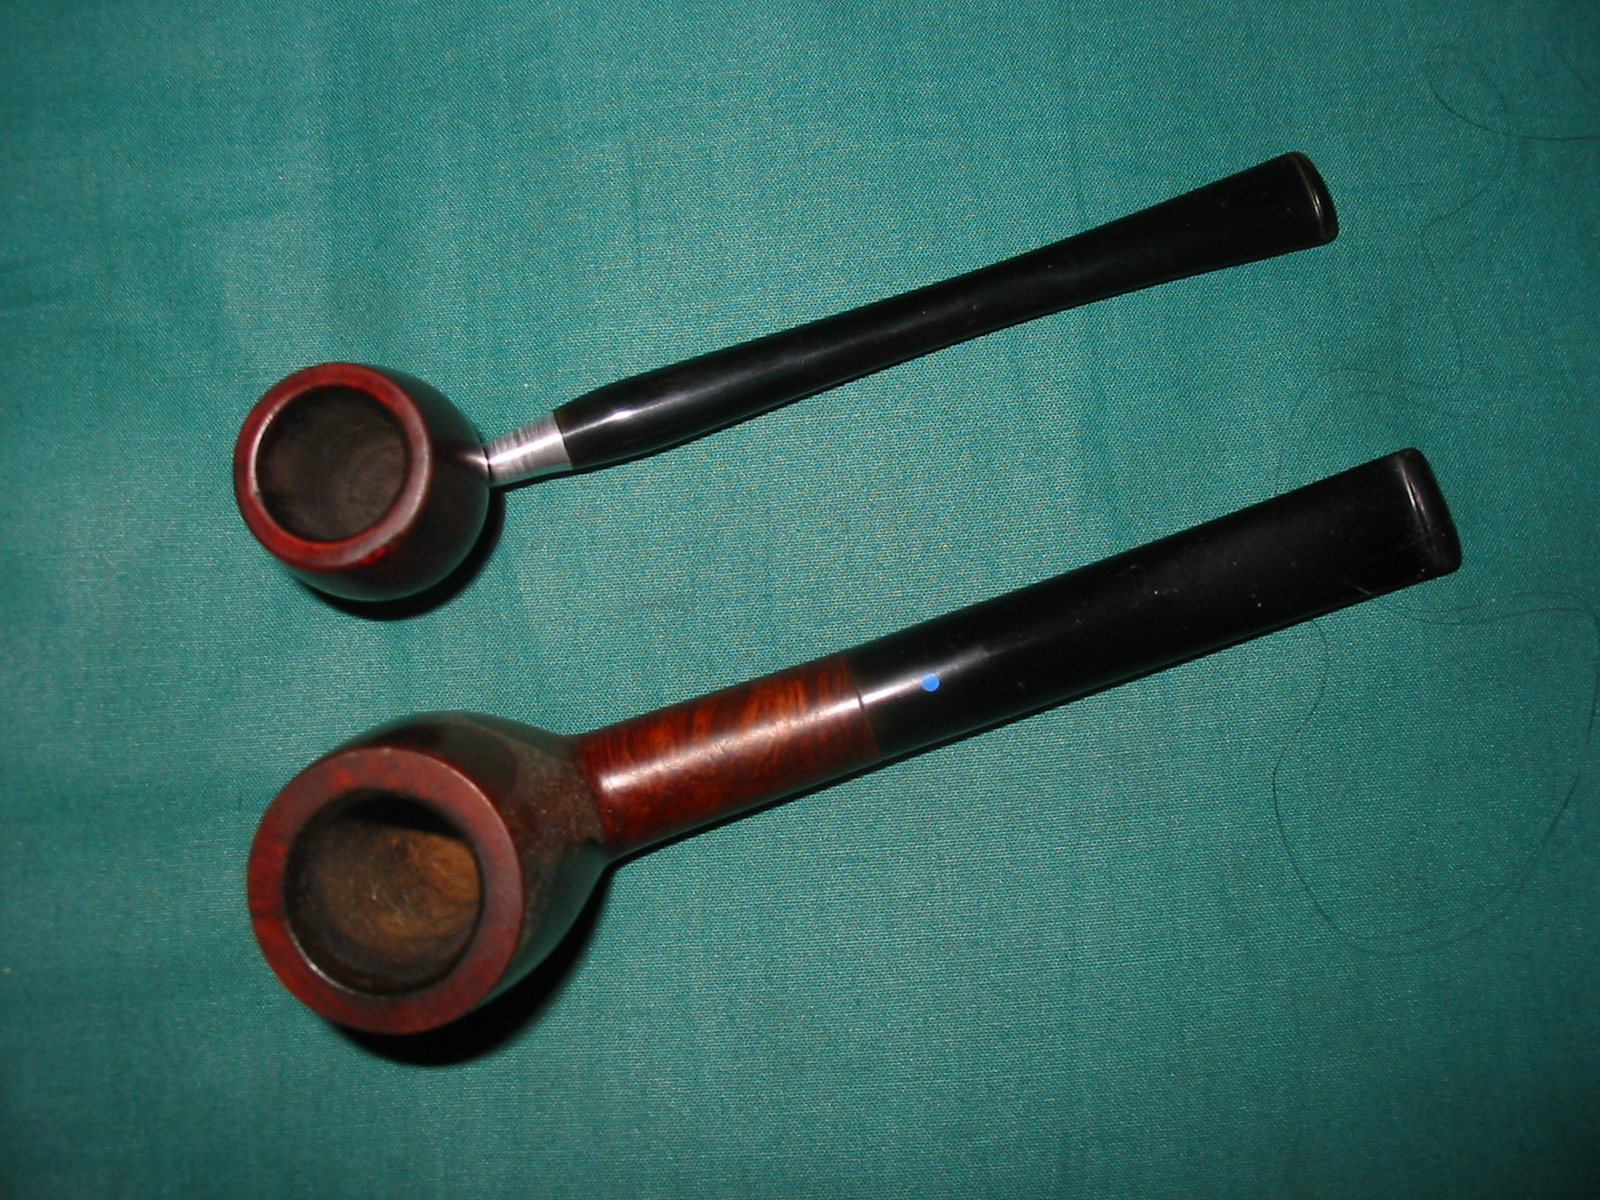
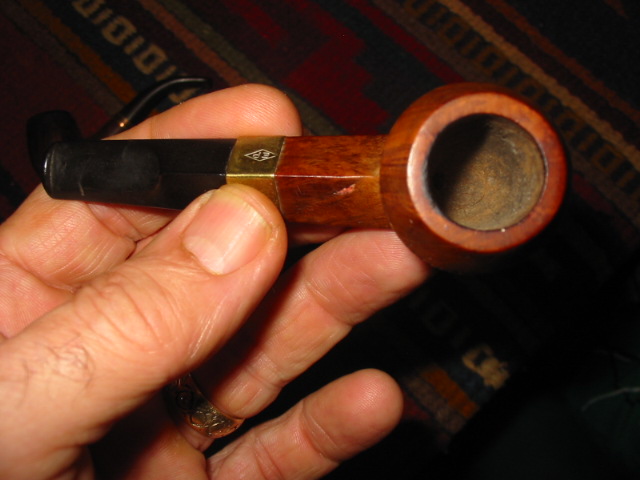
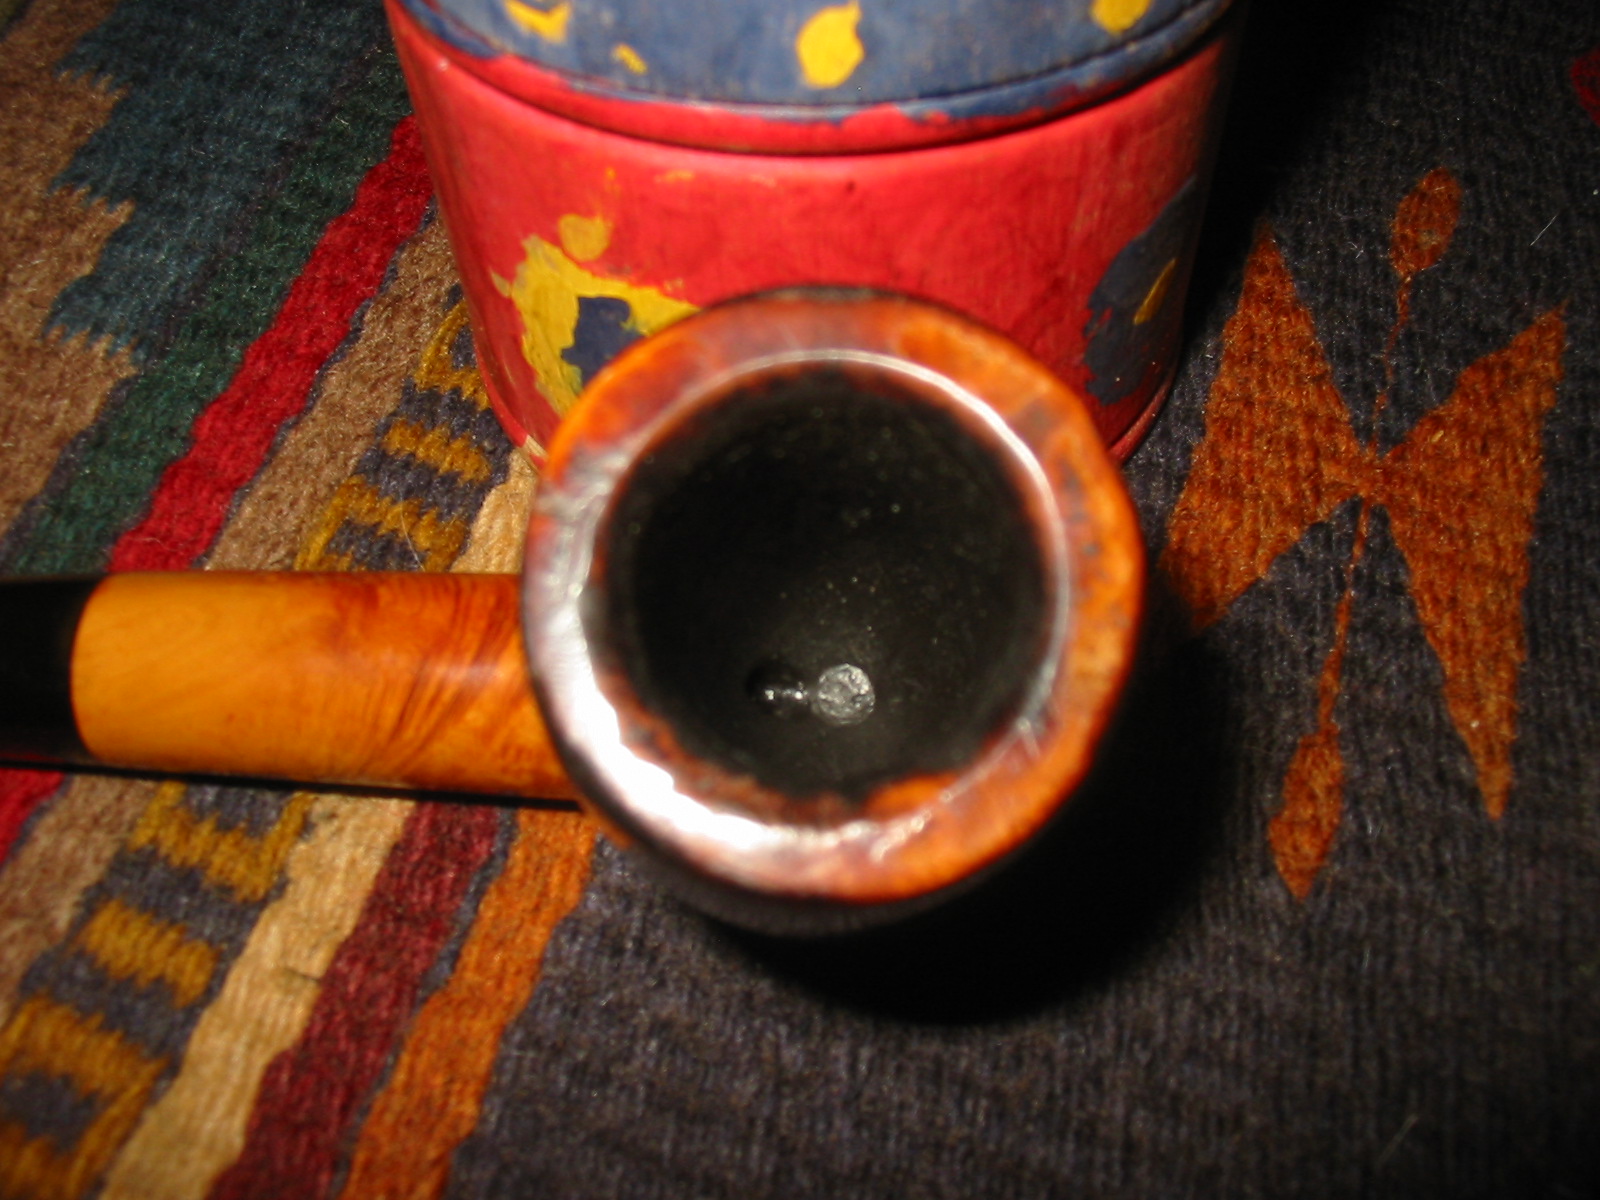
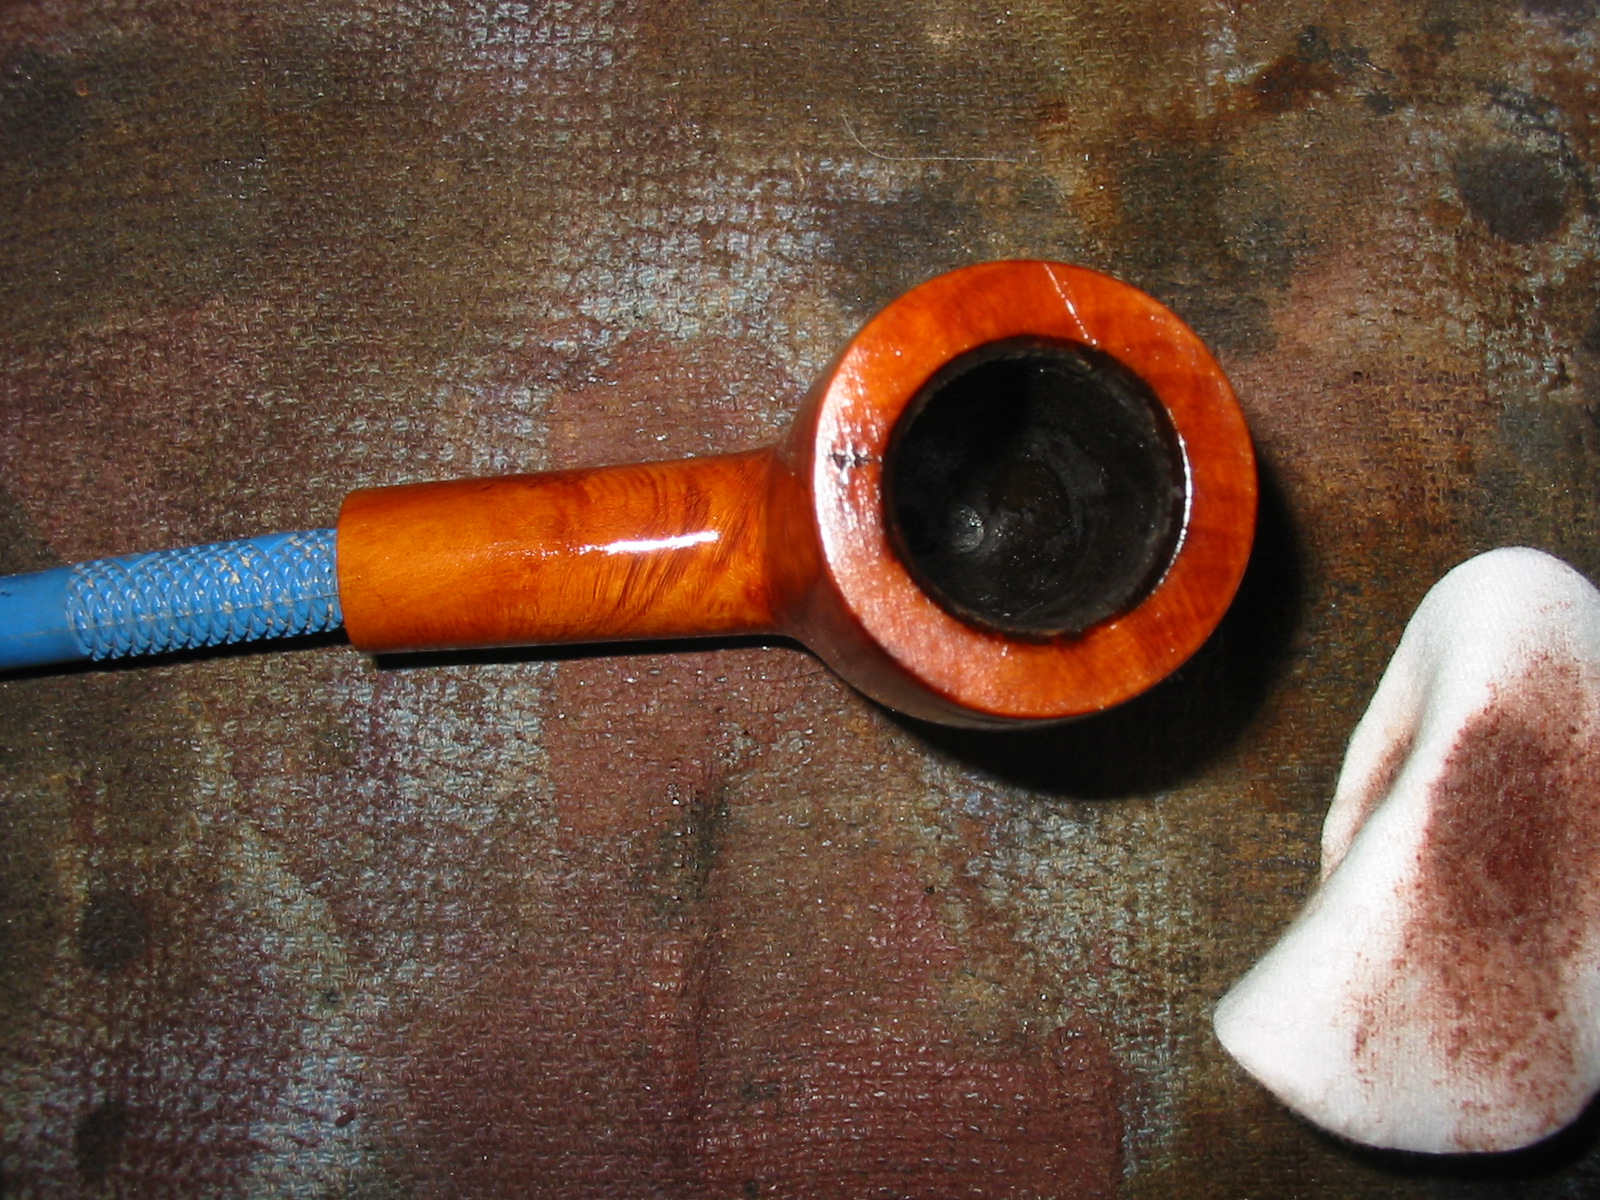
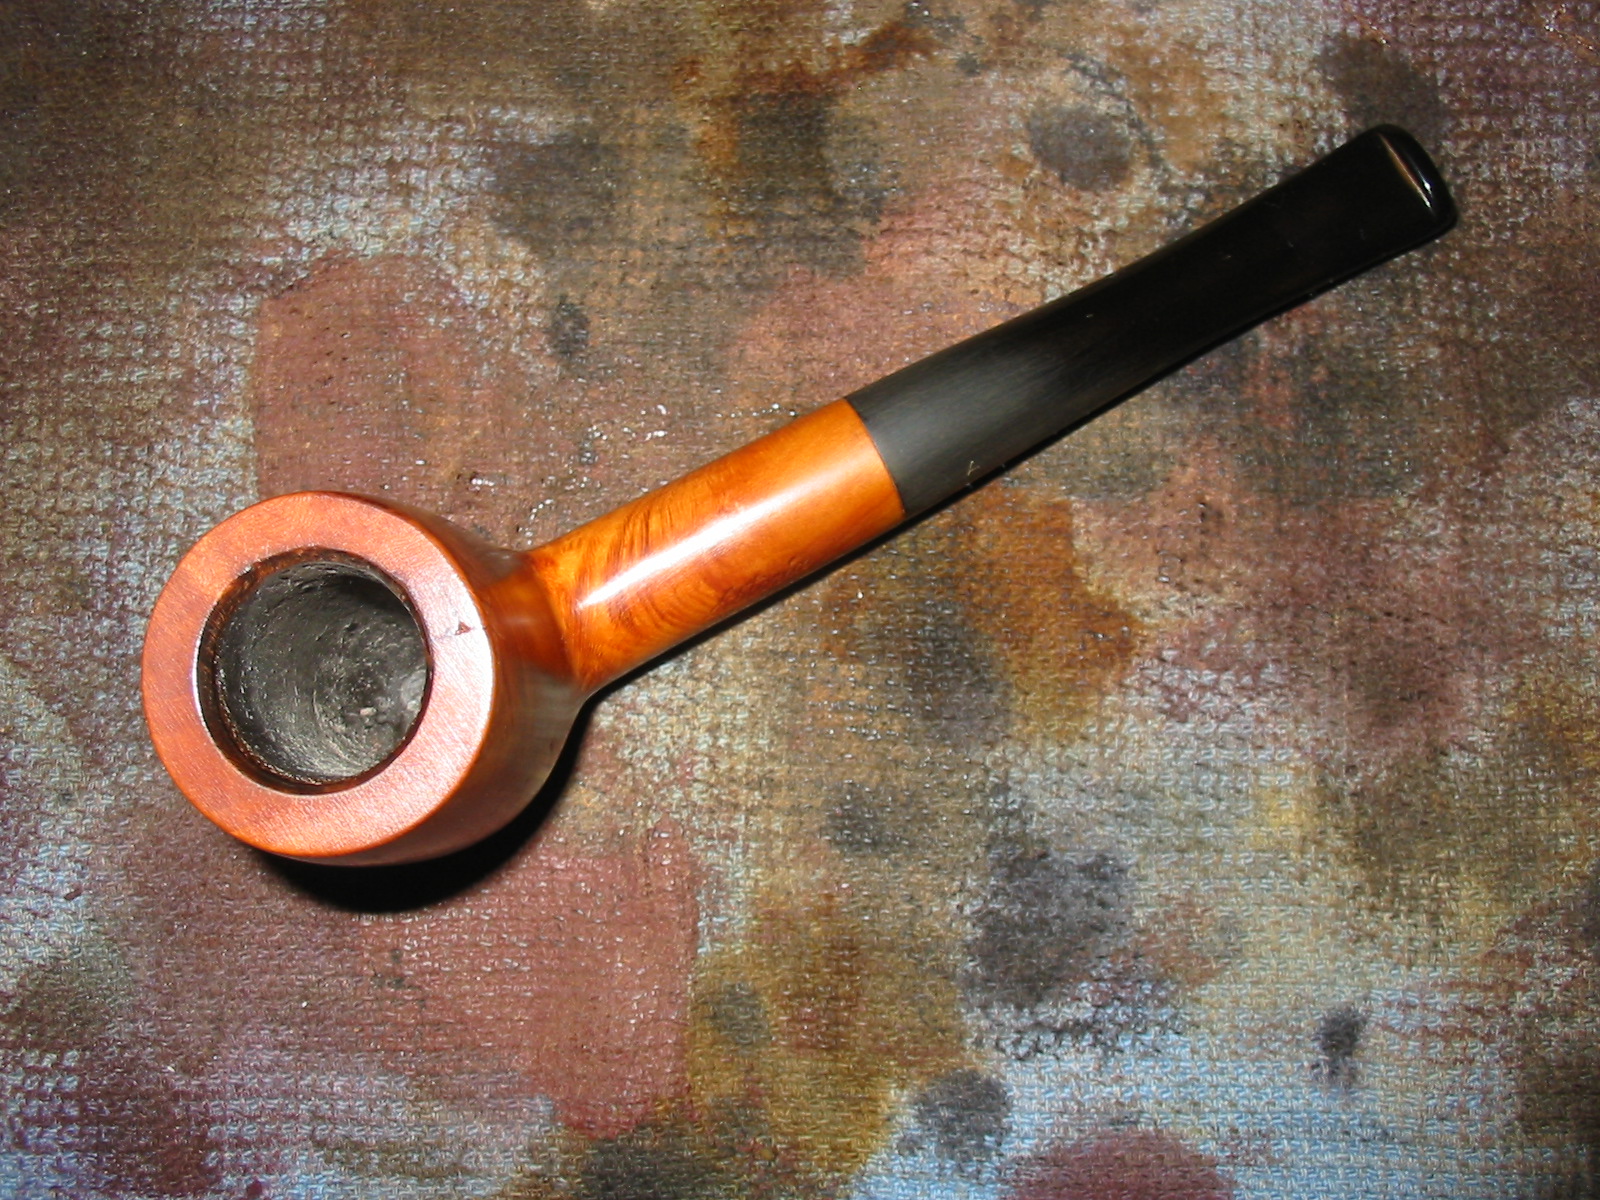
I took a close-up photo of the top of the bowl to highlight the rim damage before I went to work on repairing it.
IMG_4459

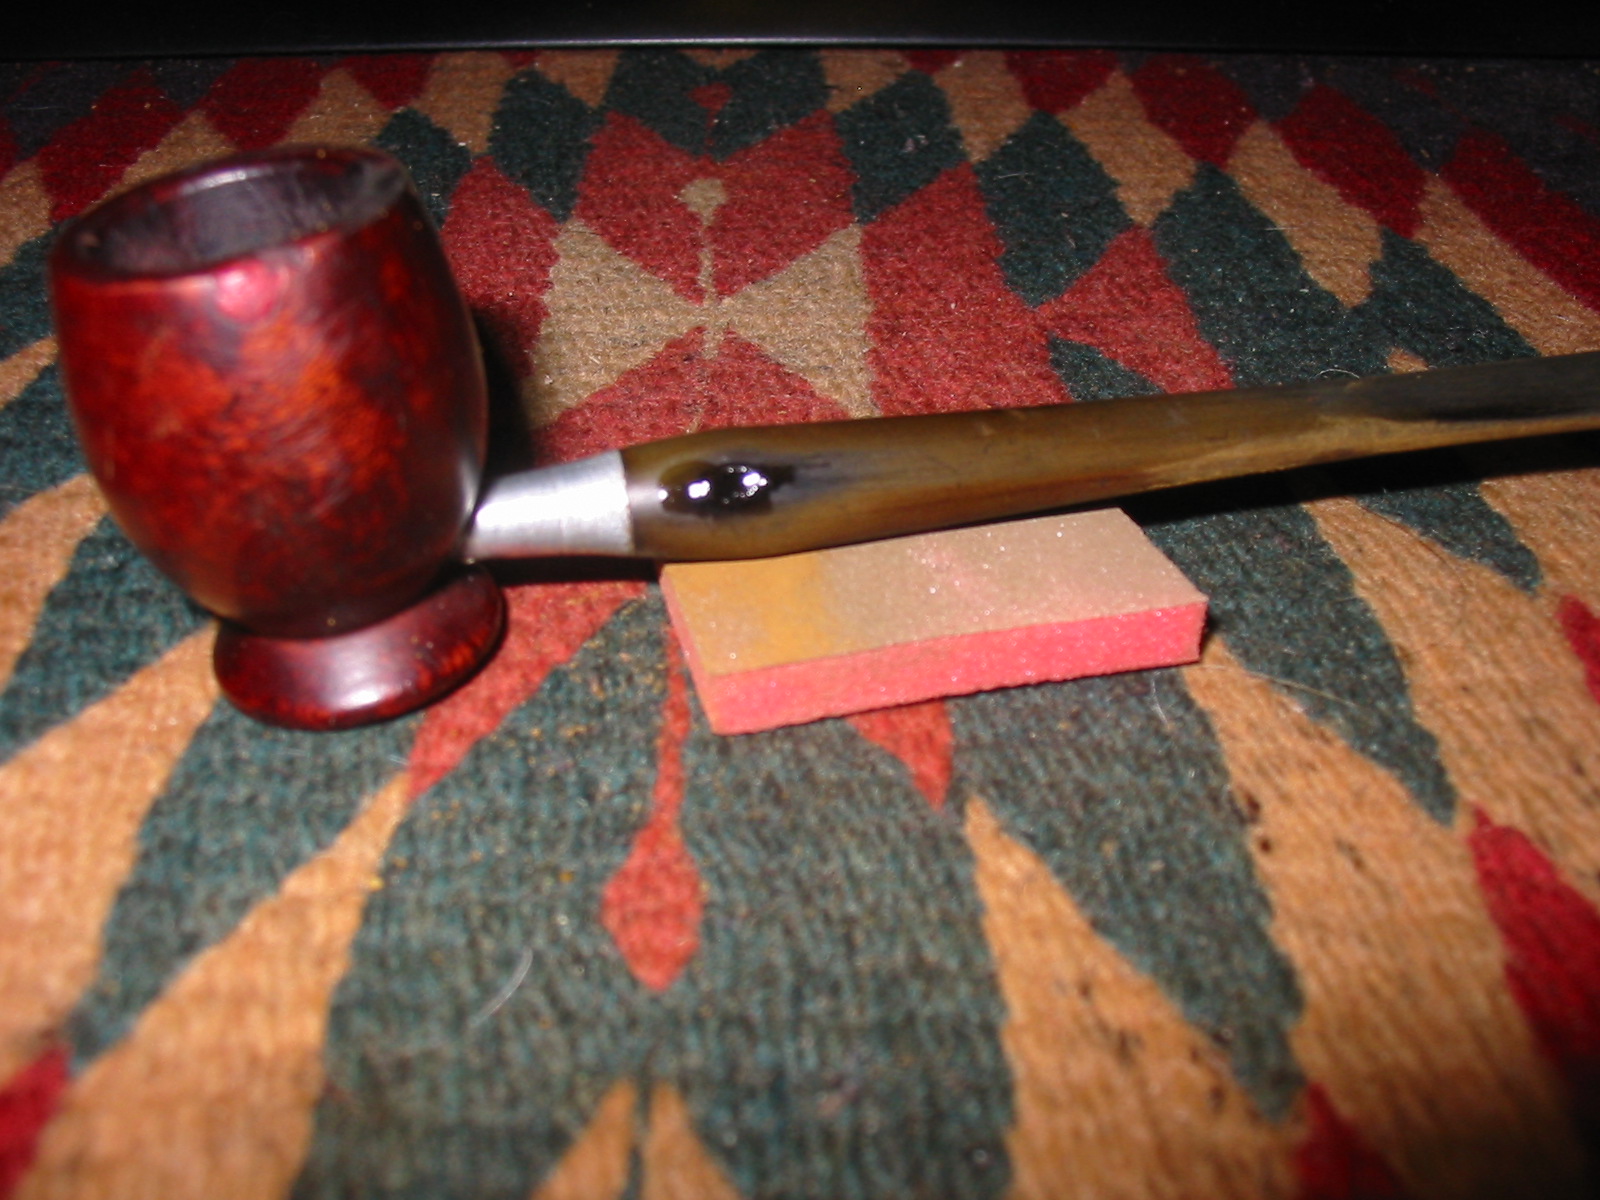
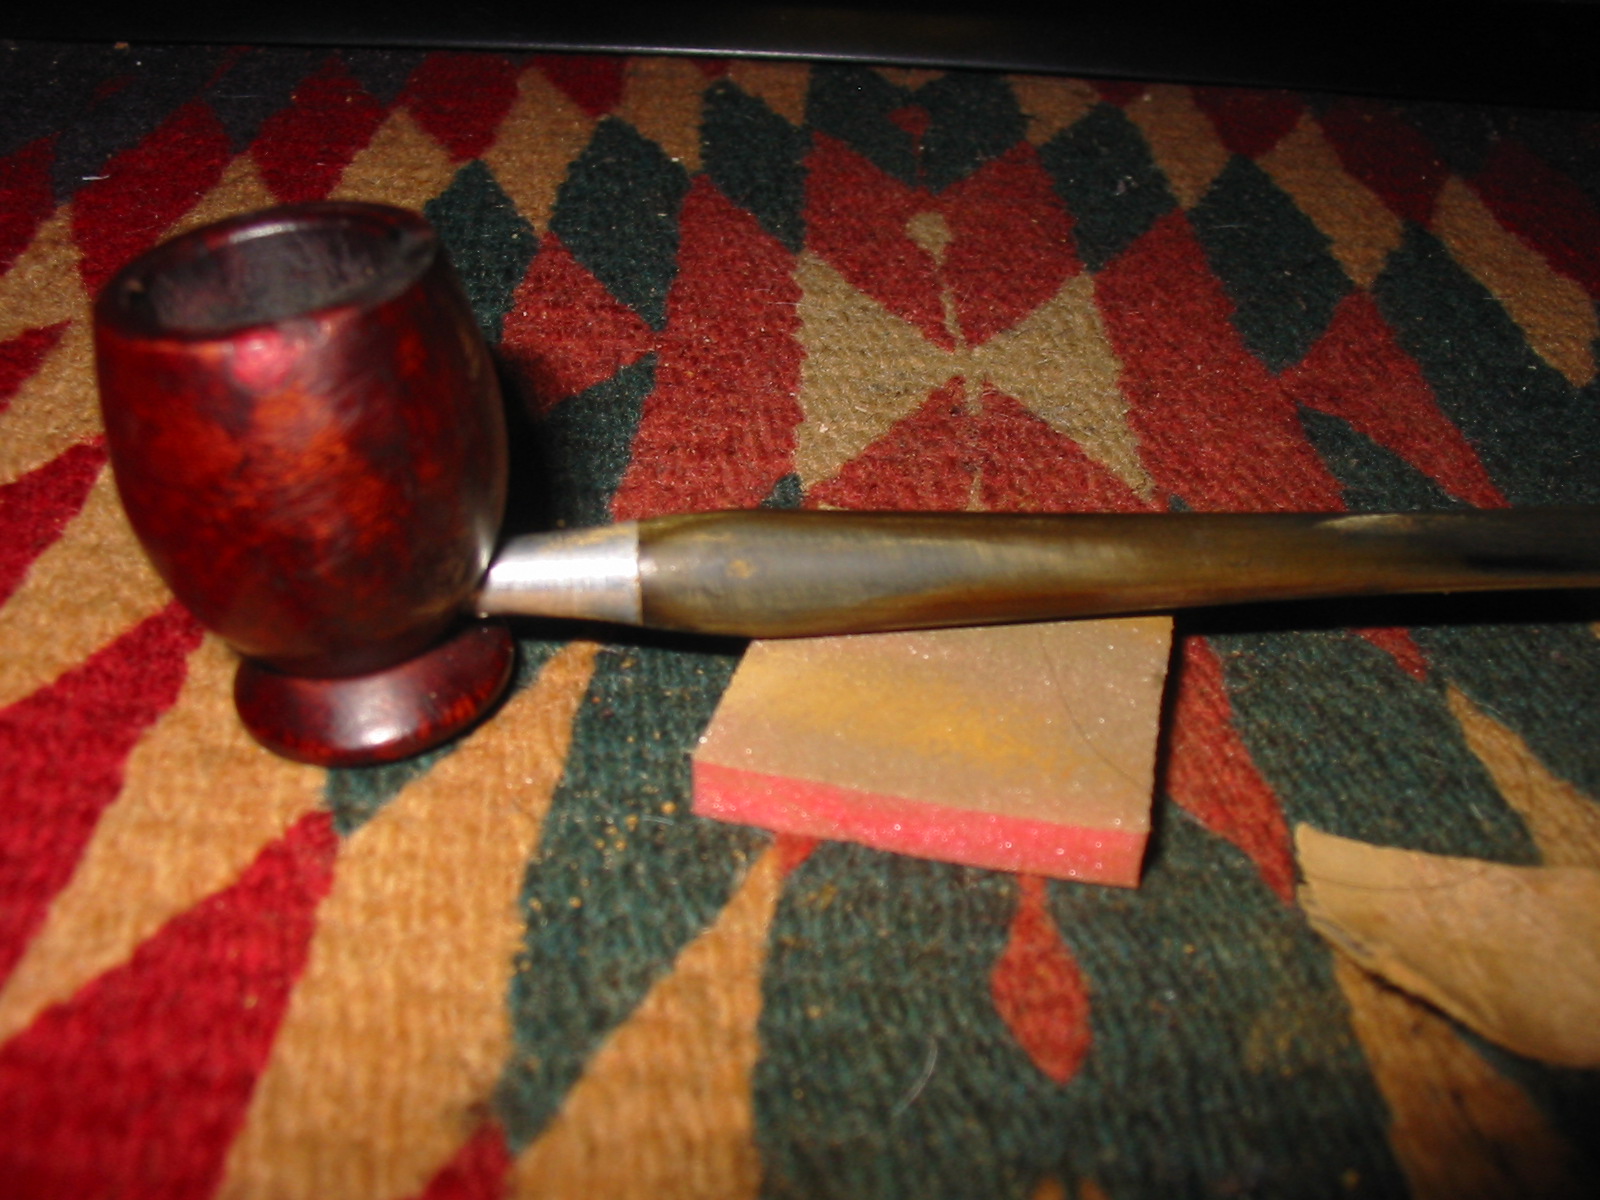
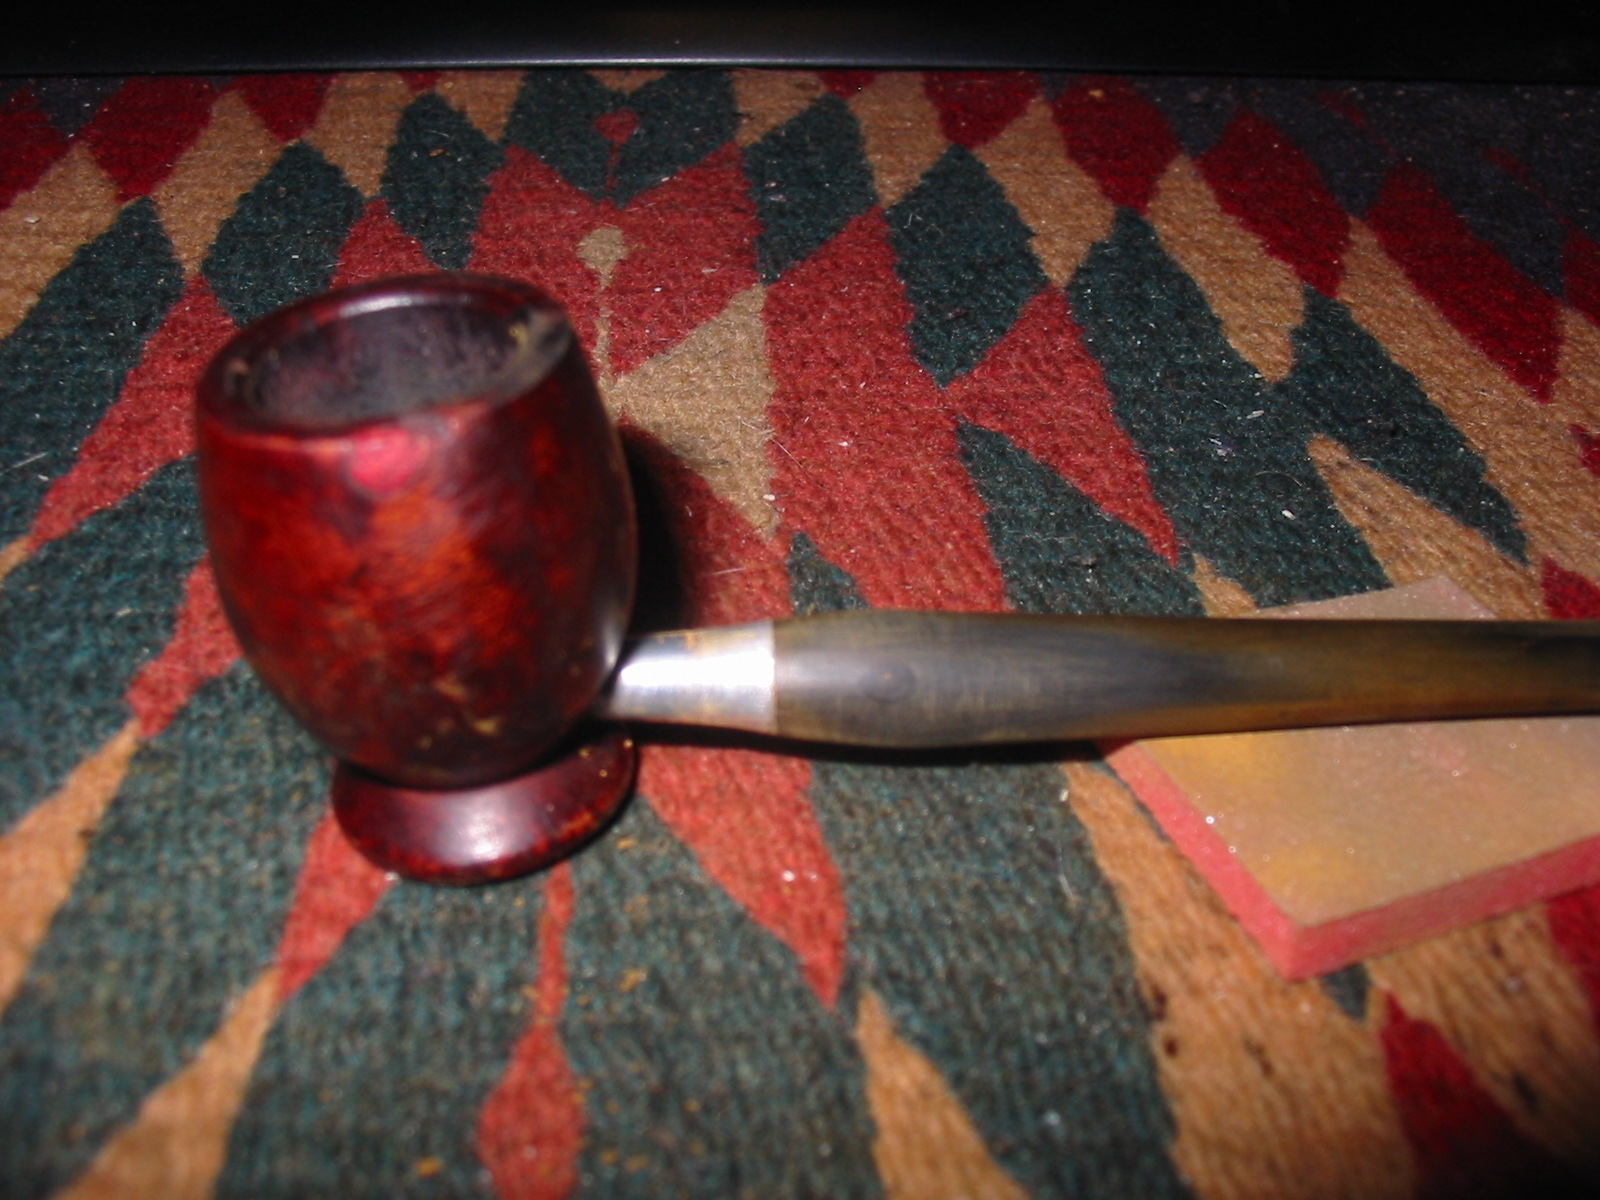
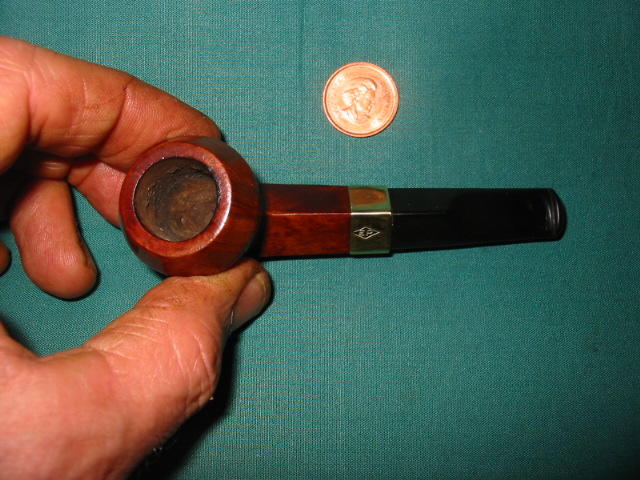
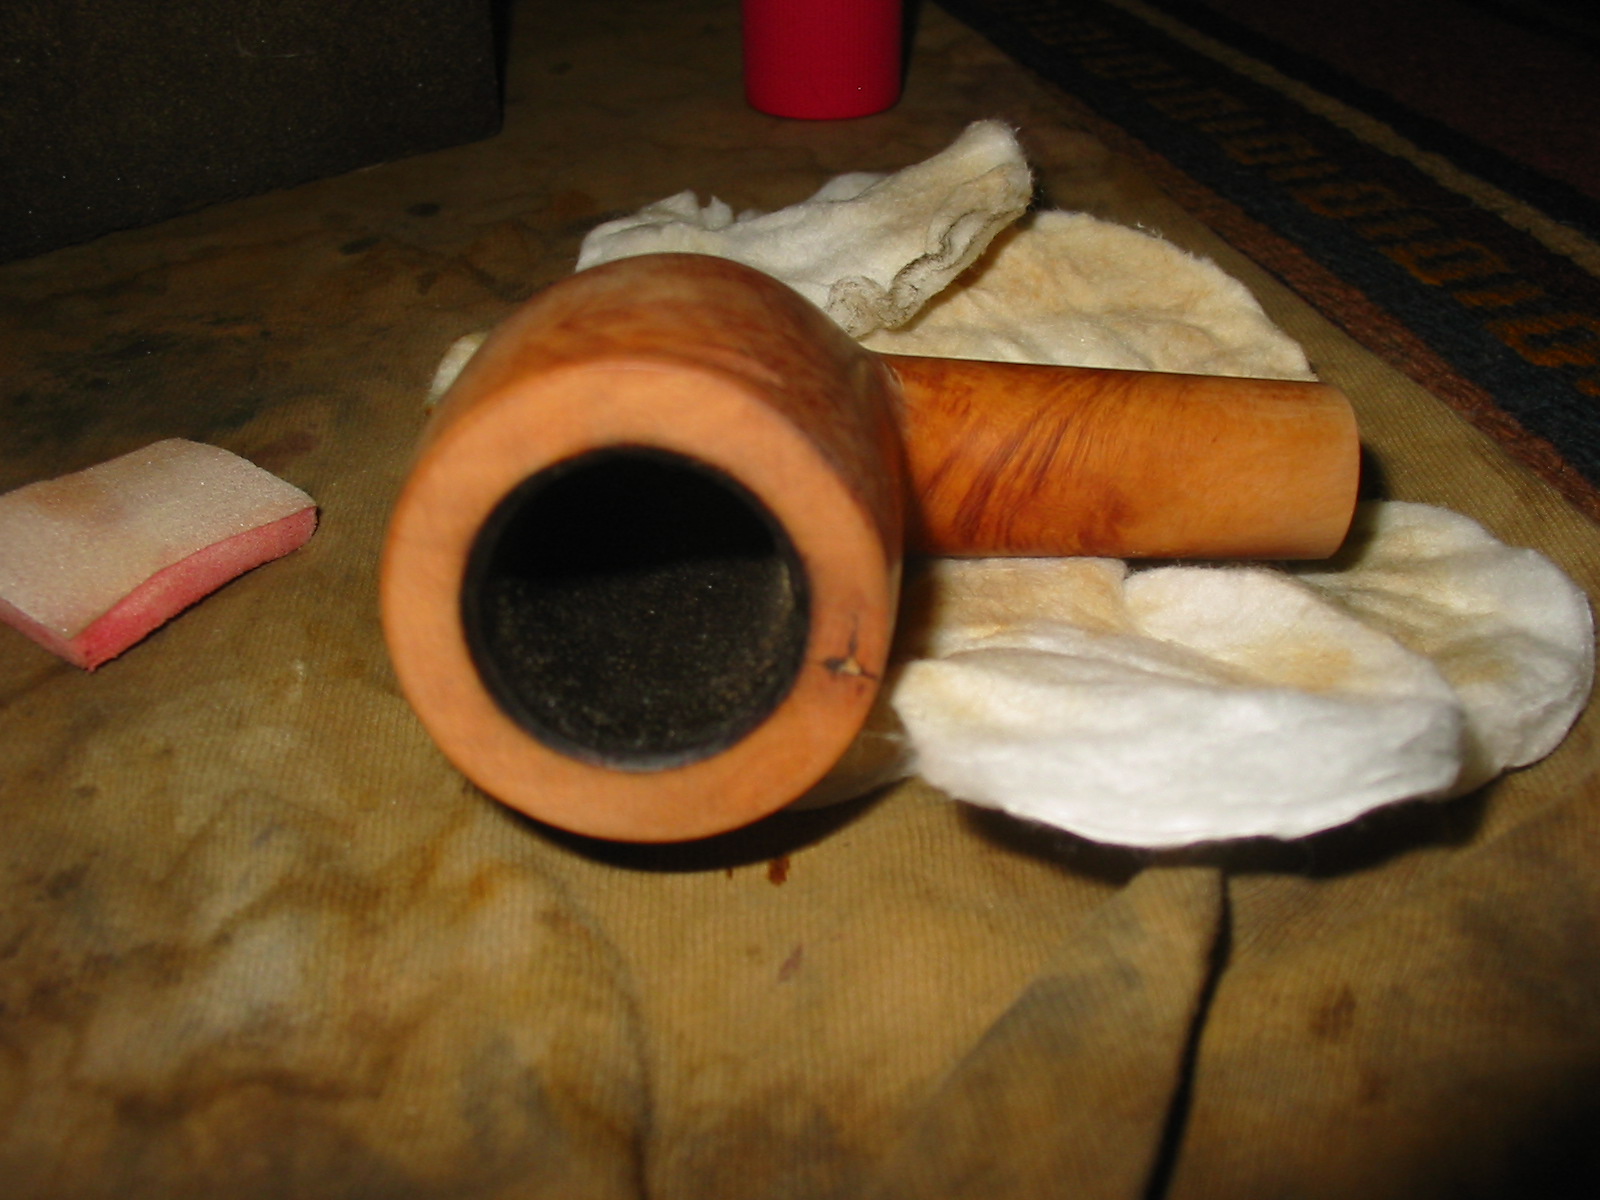
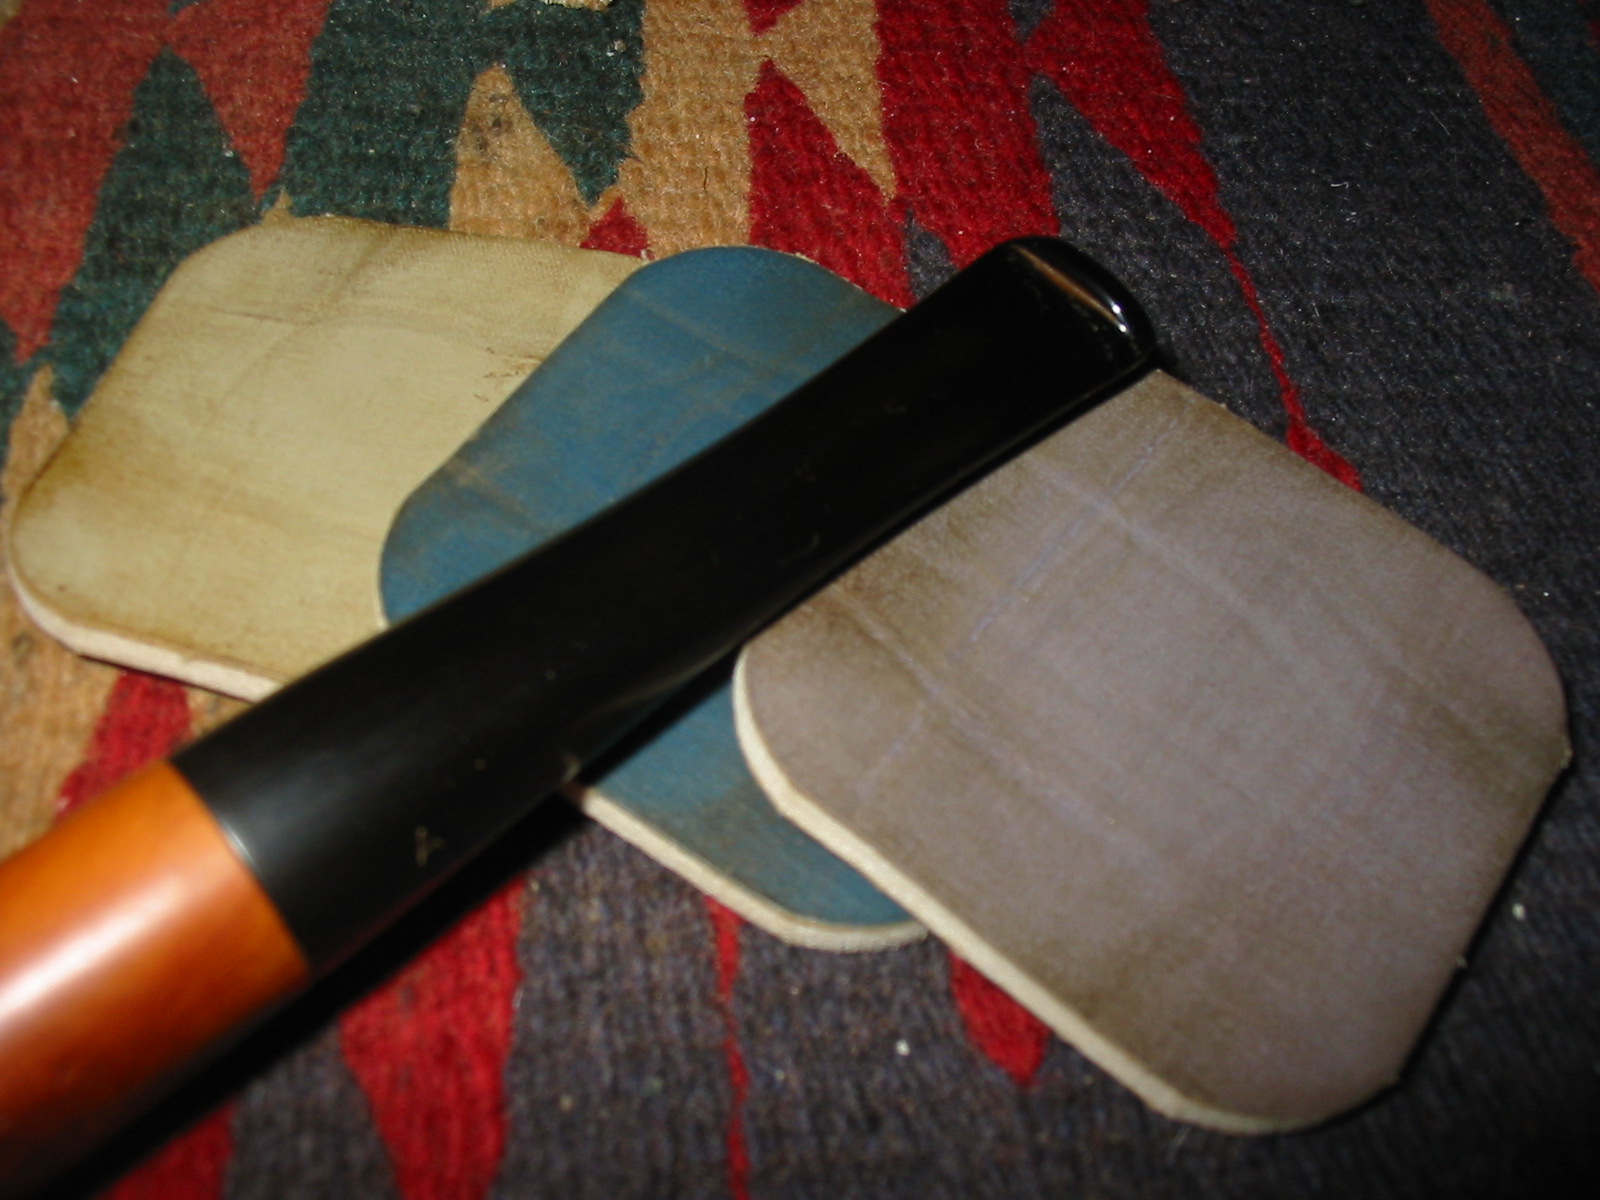
I set up my topping board and sandpaper and sanded the top of the rim. I press it against the board and work it in a circle to remove the damaged briar. I continue until the top is once again flat and the damage minimized. In doing so I was able to remove much of the gouging of the inner edge of the rim and flatten the rim. It also removed the burn damage to the outer edges of the bowl. However, it also revealed a flaw in the top of the rim. I filled the flaw with briar dust and superglue and when dry topped it slightly more to remove the excess fill that I had made.
IMG_4460

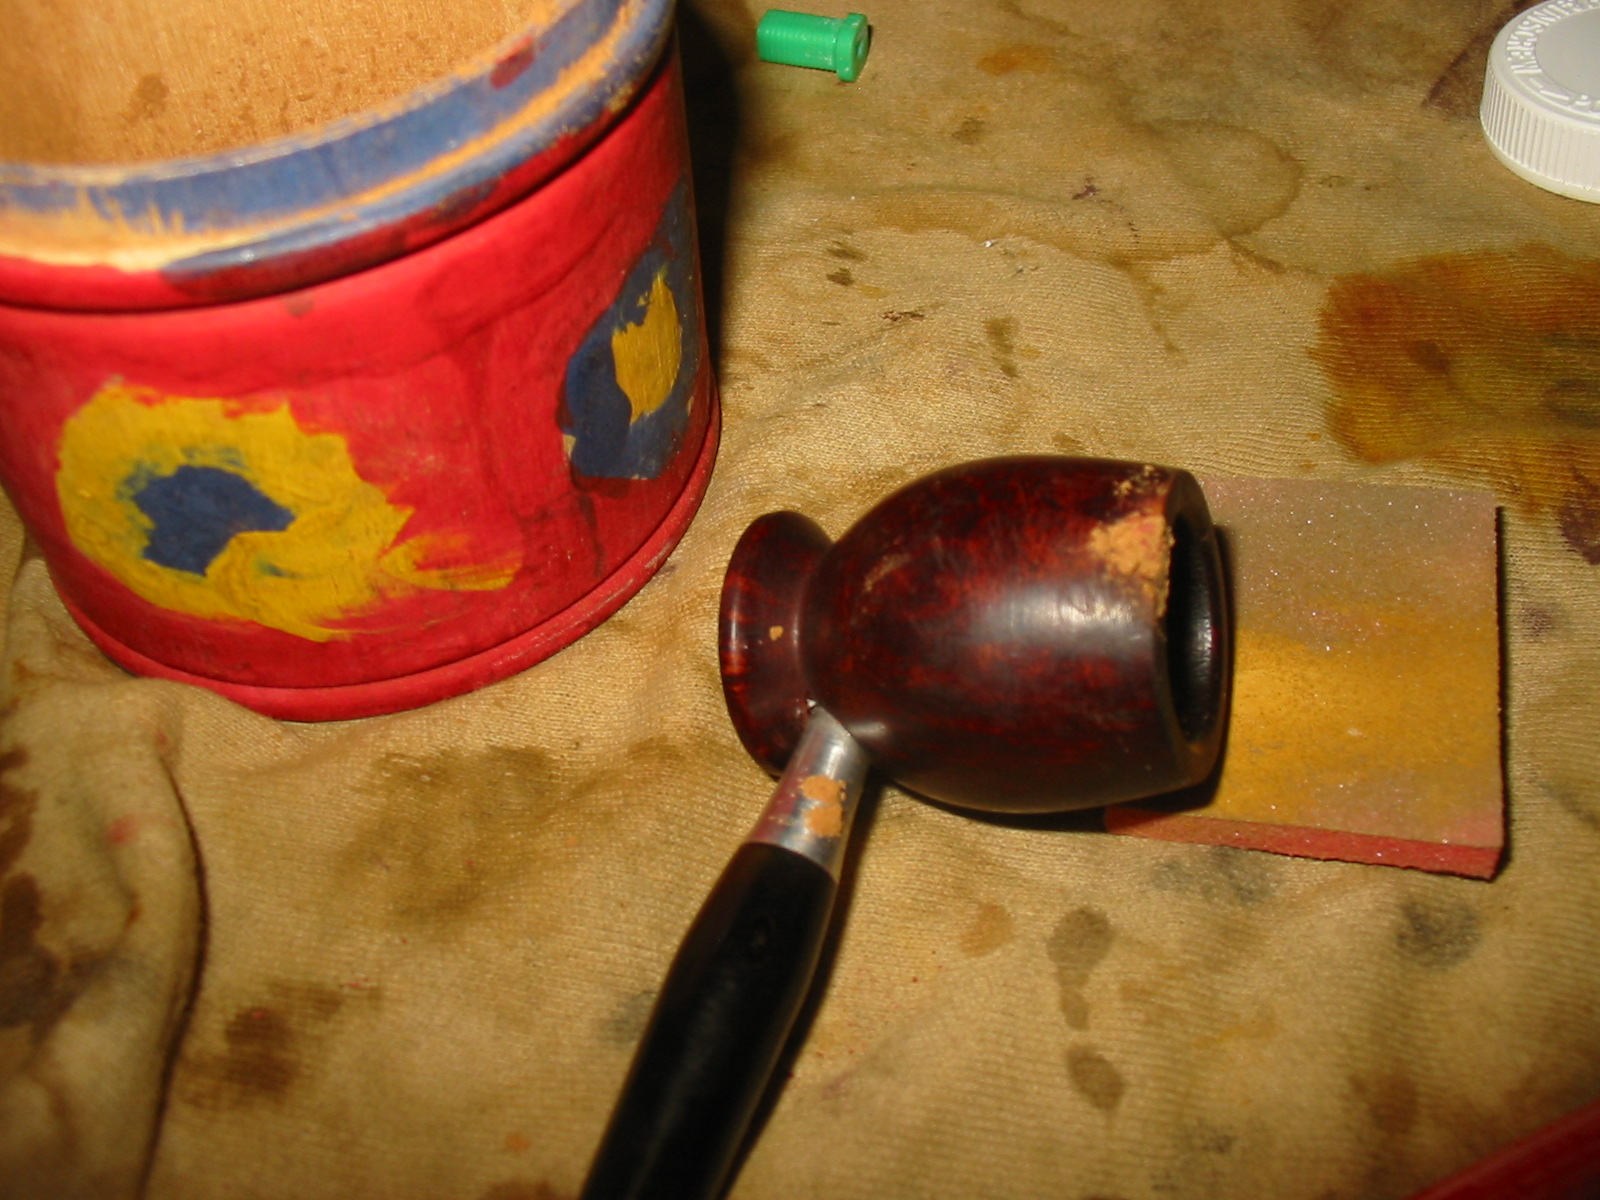
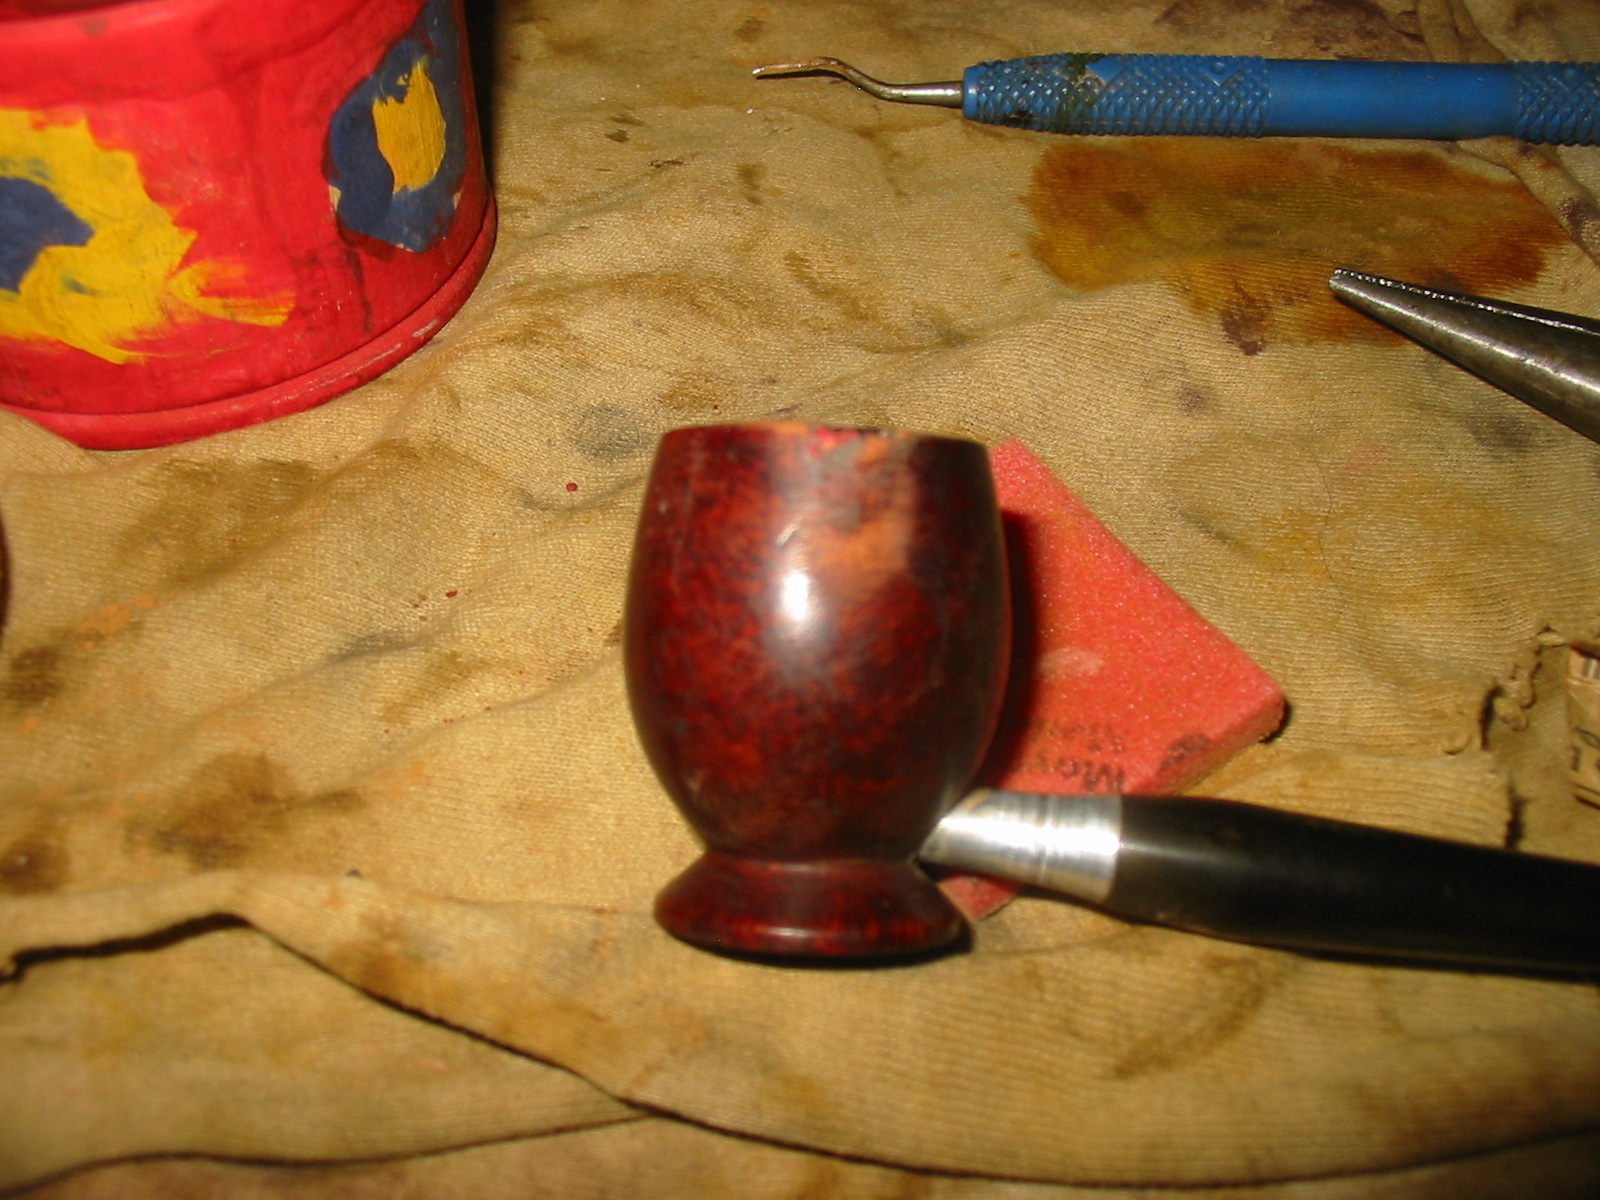
I scrubbed bowl down with acetone on cotton pads but the coating did not come off. I sanded the bowl with a sanding sponge and broke the top seal on the coating and then continued to wipe it down with acetone and then sand repeatedly until the finish was virtually gone.
IMG_4461

IMG_4462

IMG_4463

IMG_4464

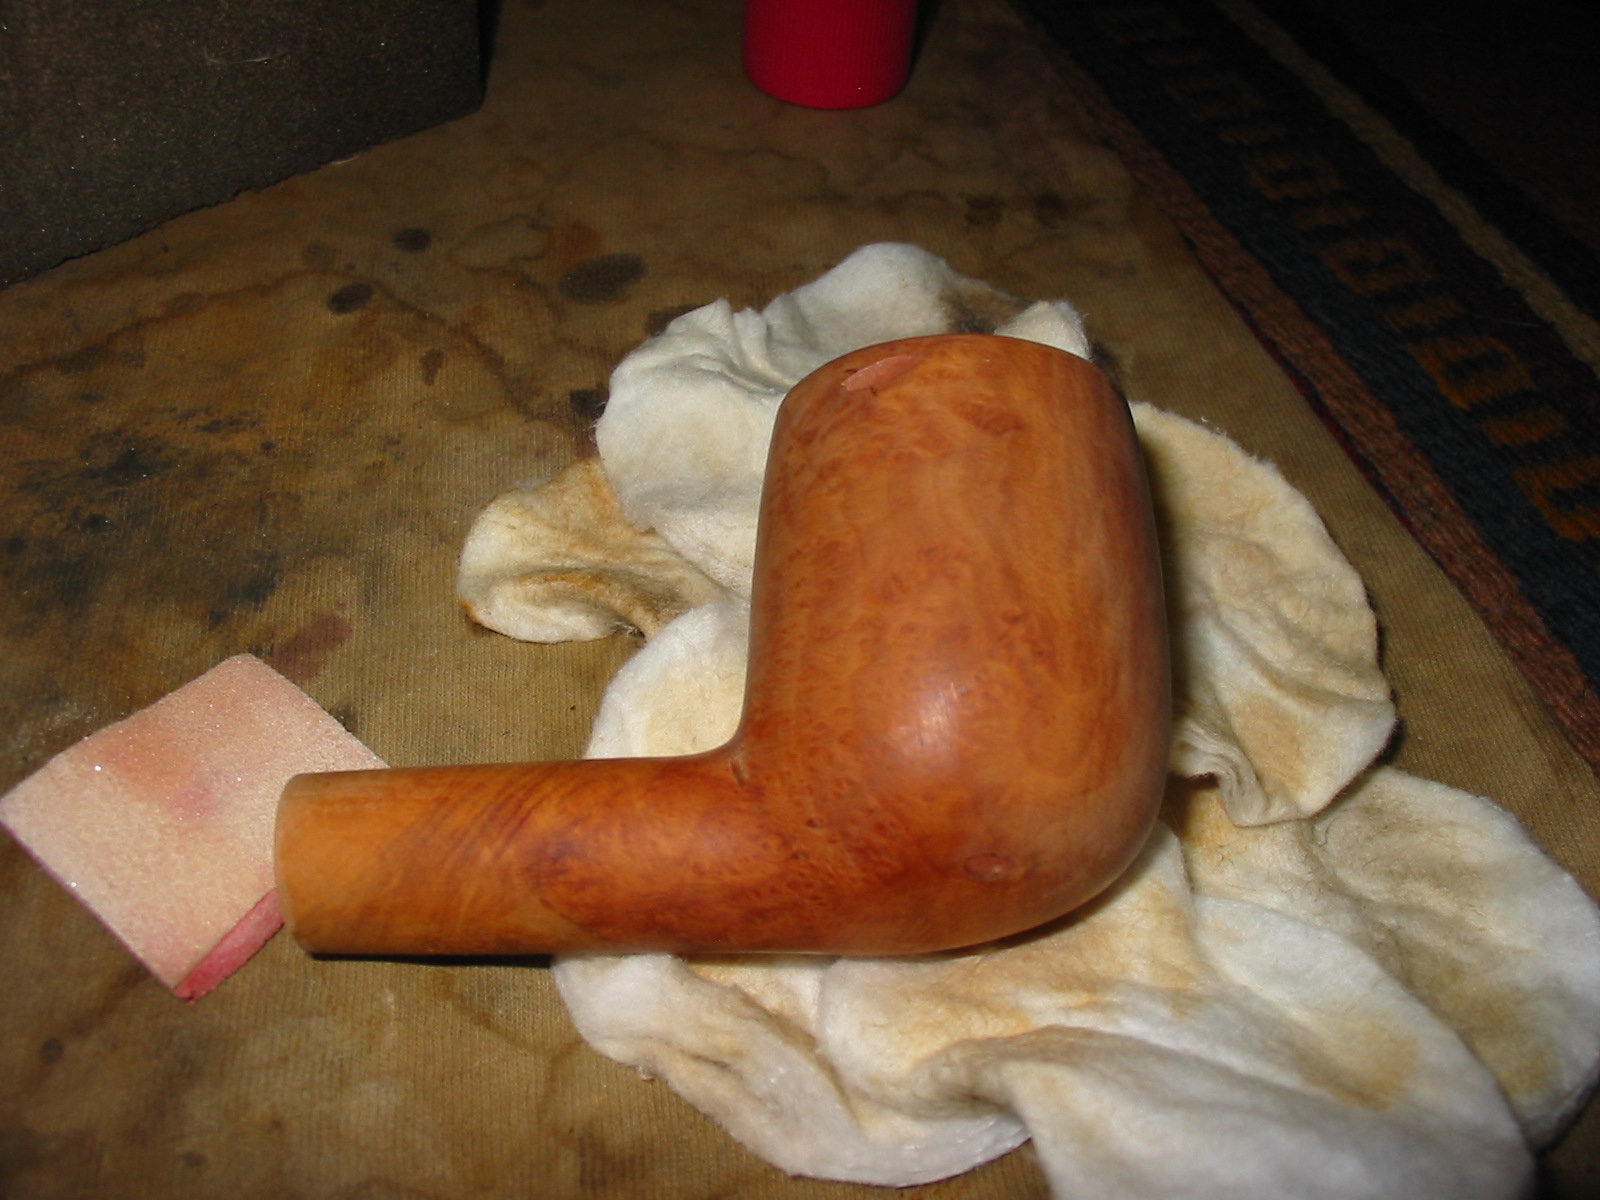
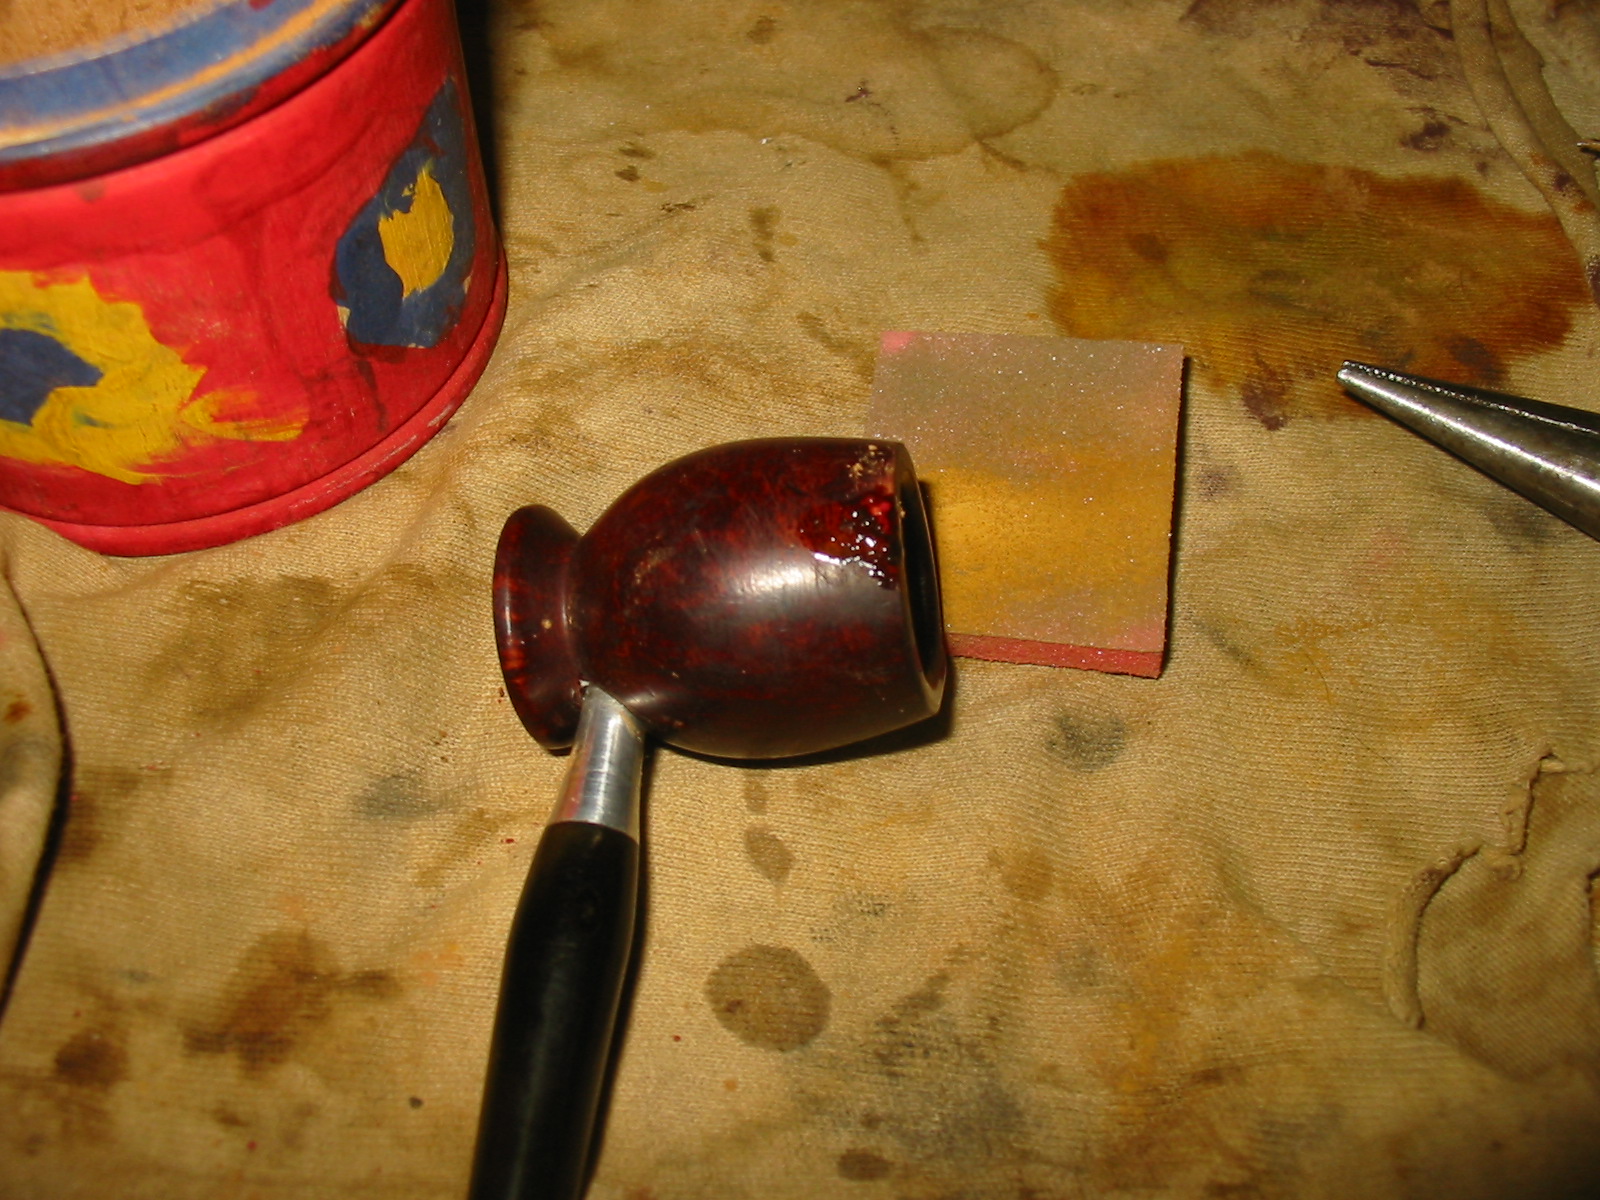
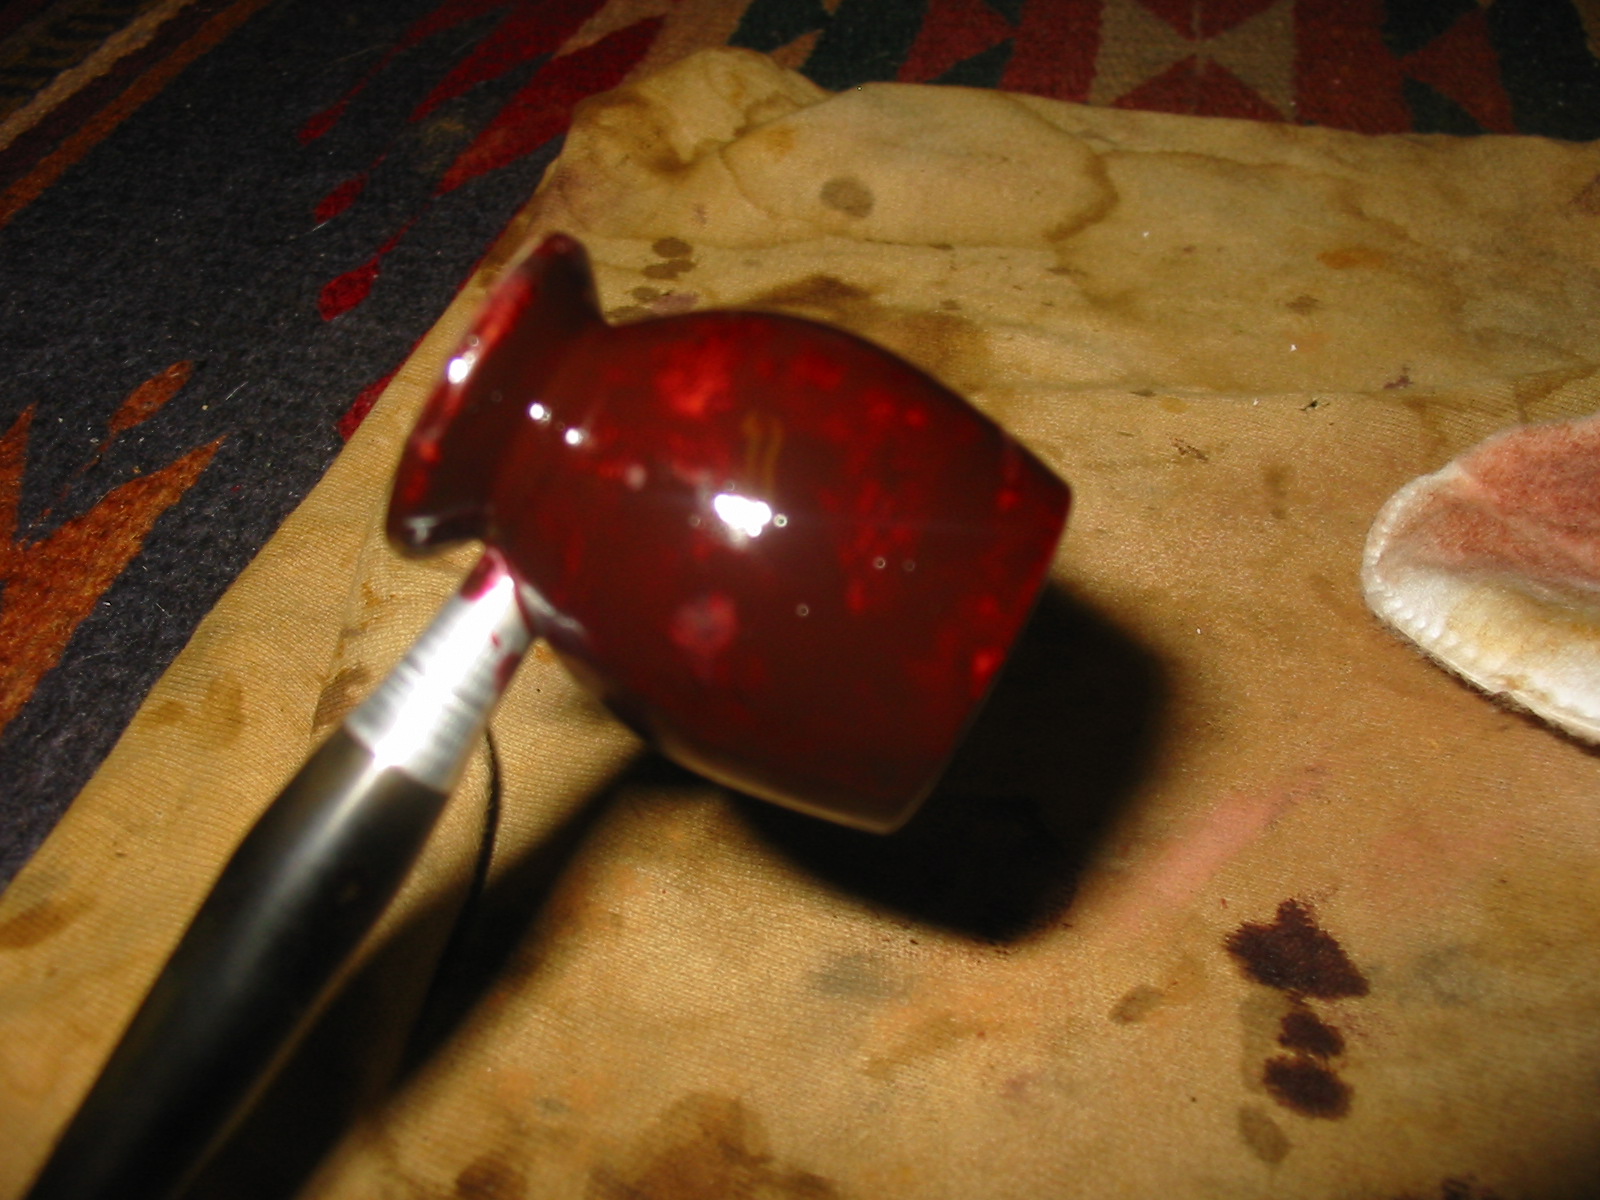
Last evening when I finished for the night I dropped the bowl in an alcohol bath overnight to further remove some of the stubborn spots on the coating. These were at the bowl shank union and at the end of the shank. There were spots on both sides of the bowl and the front that also resisted the combination of sanding and acetone. When I took it out of the bath this morning the finish was gone. I rubbed the bowl dry and gave it a quick buff with Tripoli to remove any remnants of the coating. I cleaned out the shank with cotton swabs and Everclear to remove the tars and oils that were inside. When it was clean, I wiped it down a final time with a cotton pad and Everclear and prepared it for staining. I decided to once again use the MinWax and gave the bowl a coat of Red Mahogany and then a coat of Medium Walnut stain. I hand buffed the bowl and then took it to the buffer and buffed it with Red Tripoli and White Diamond.
IMG_4465

IMG_4466

IMG_4467

IMG_4468

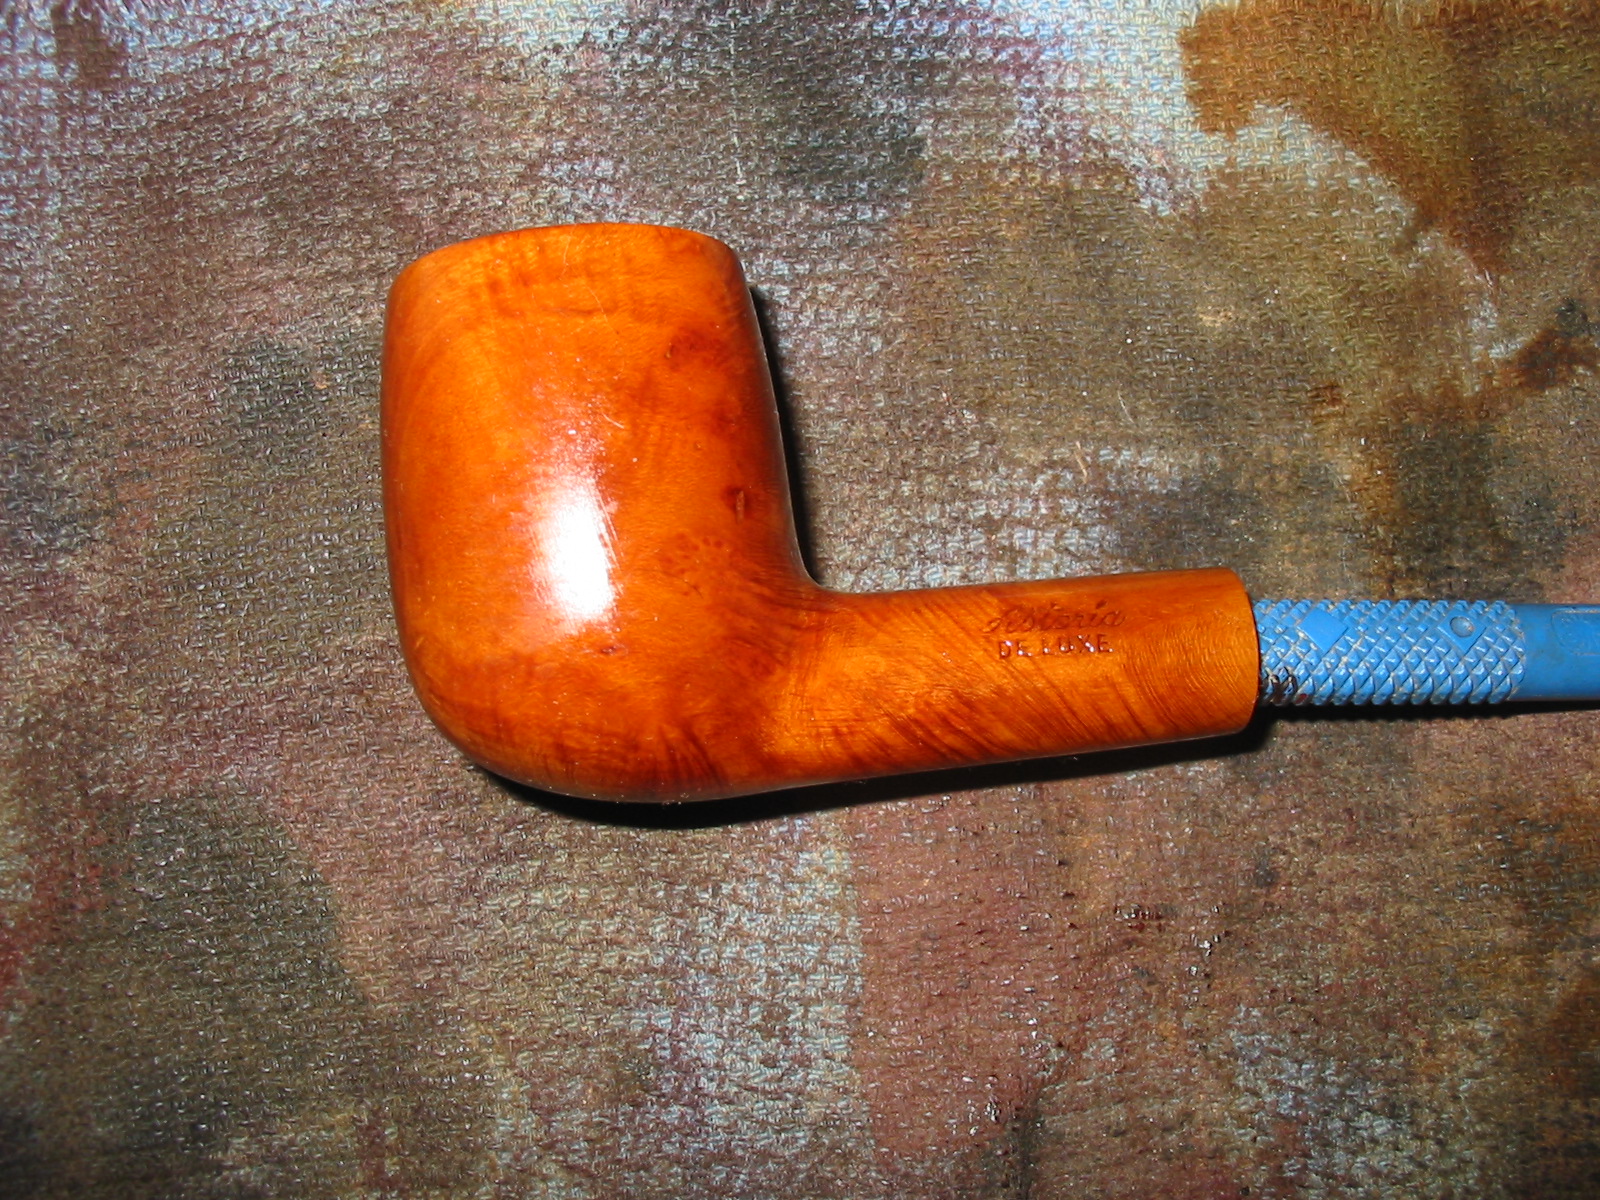
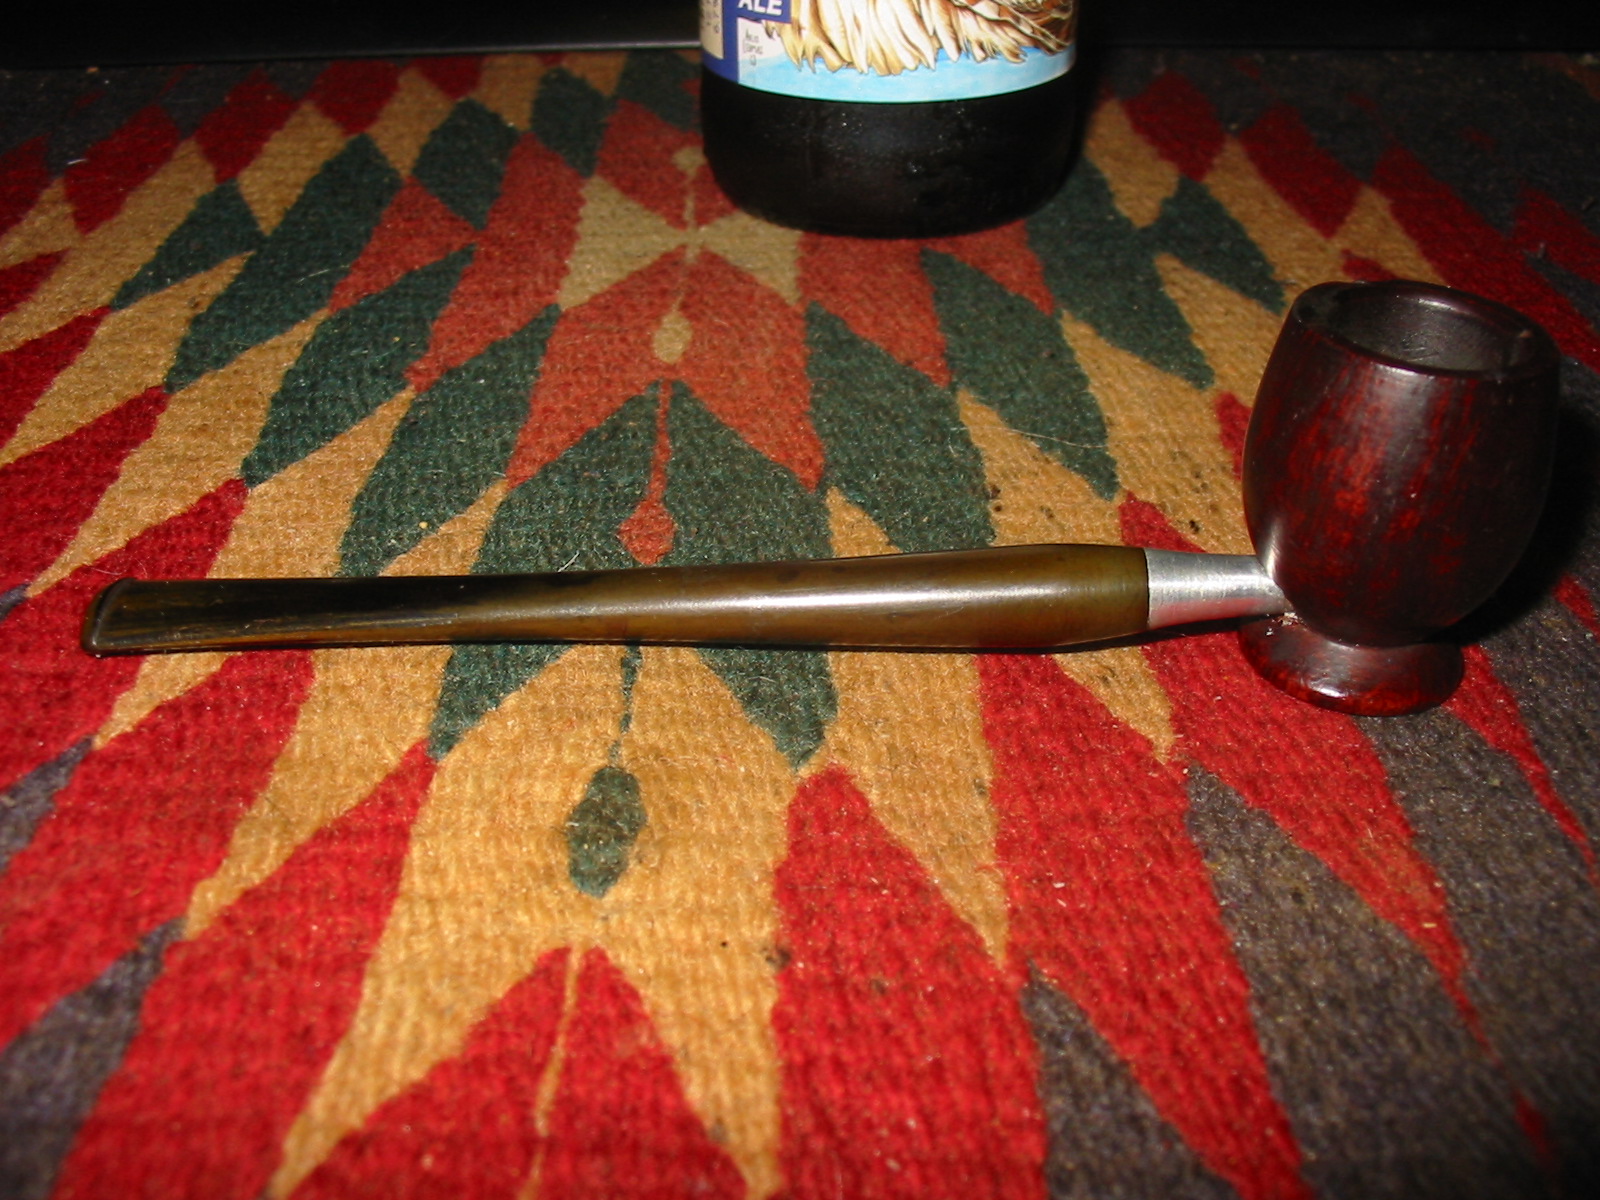
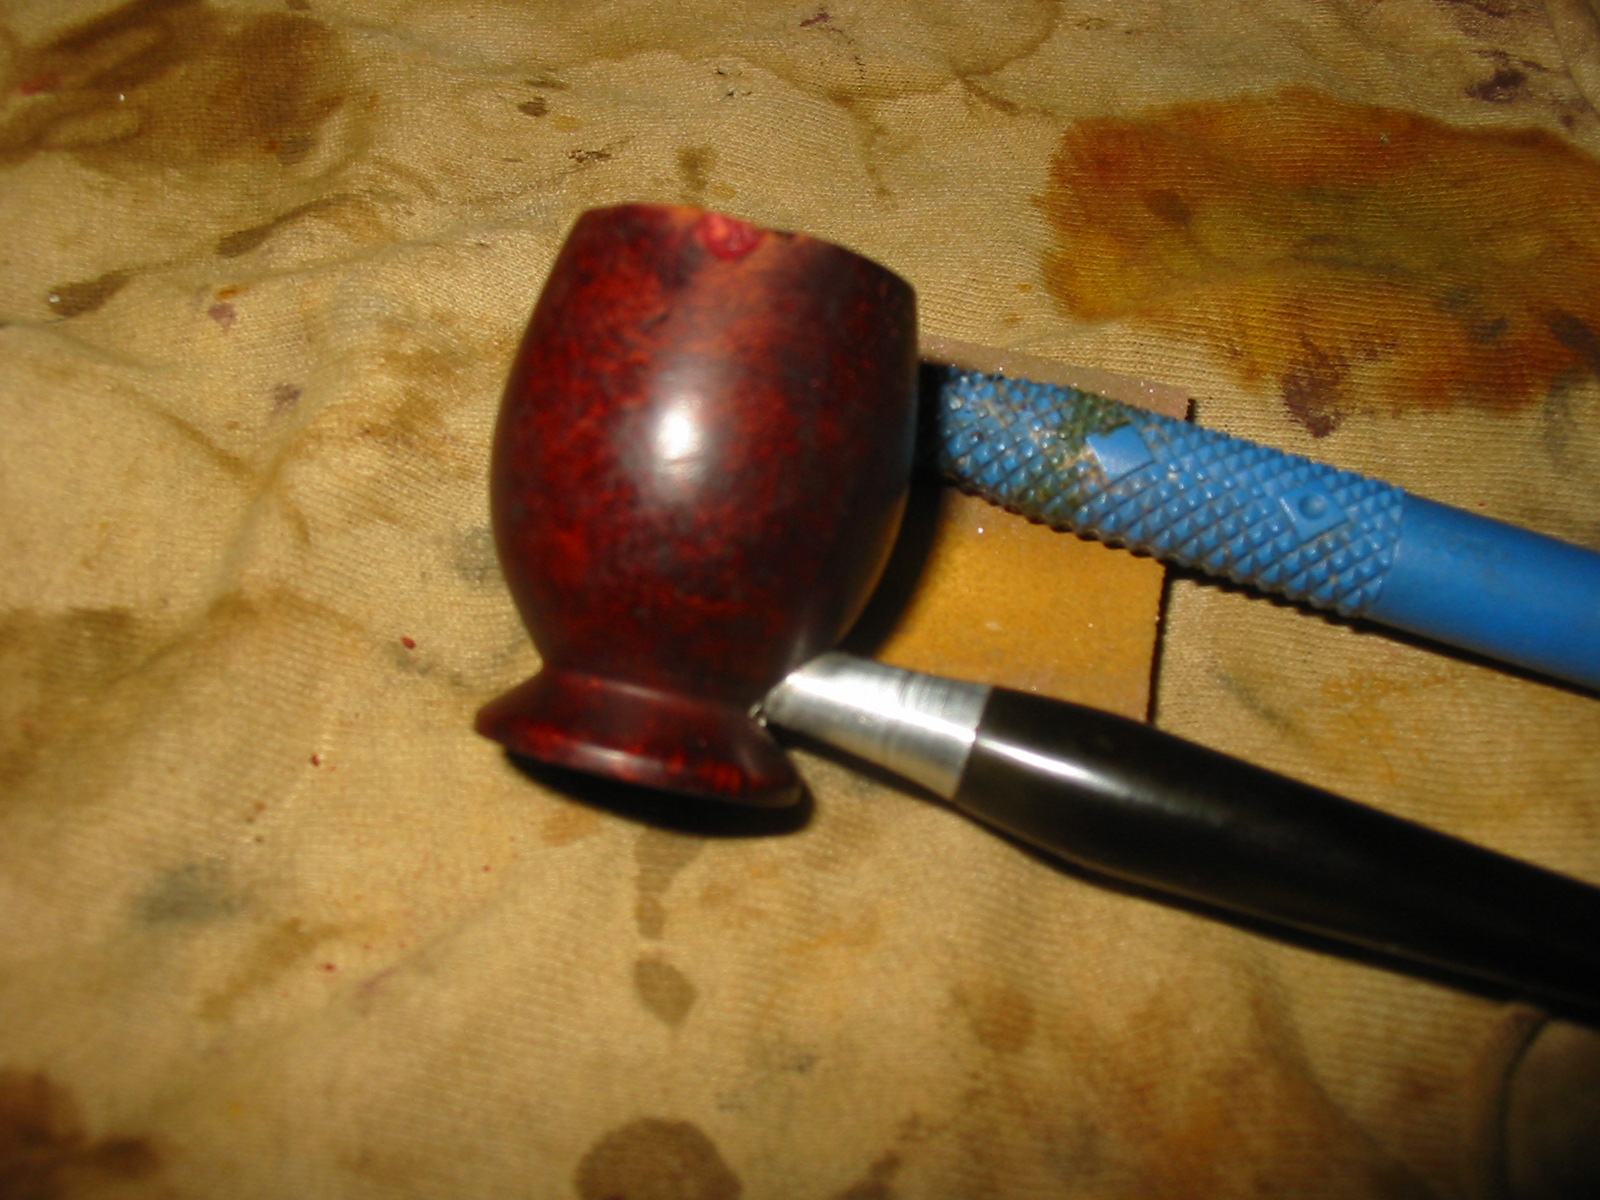
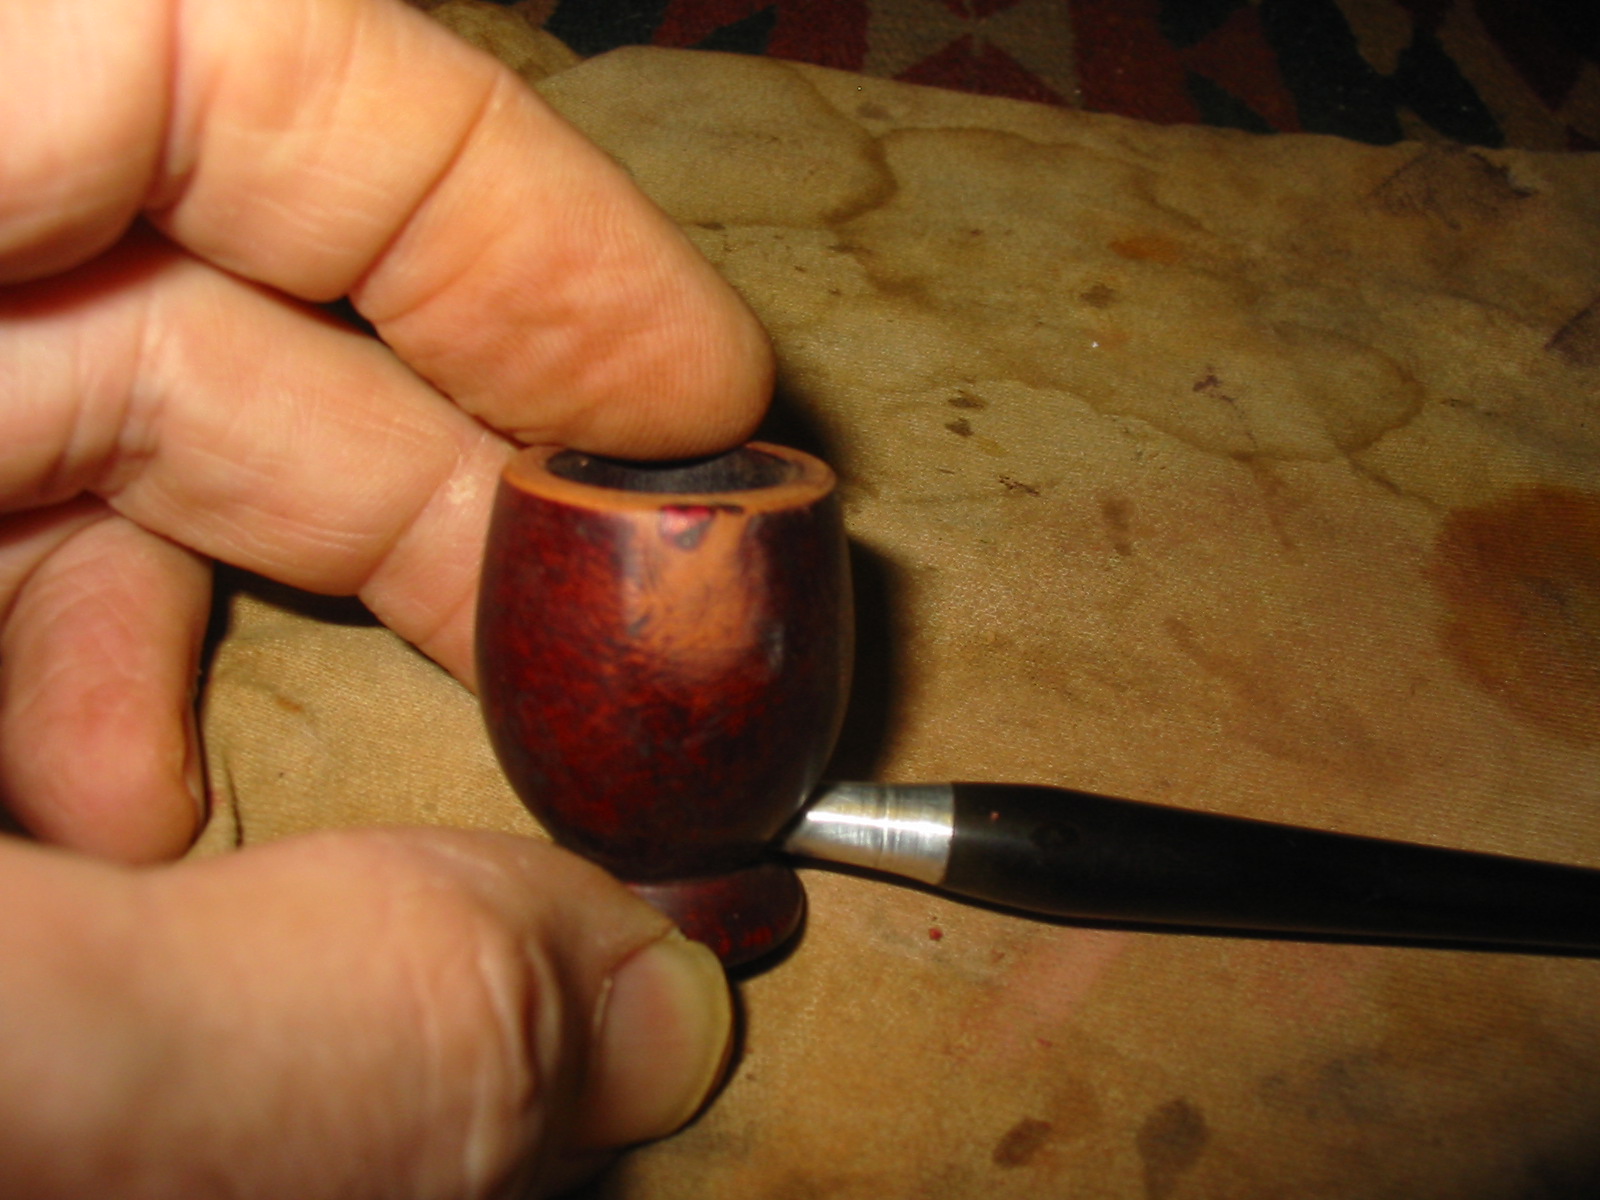
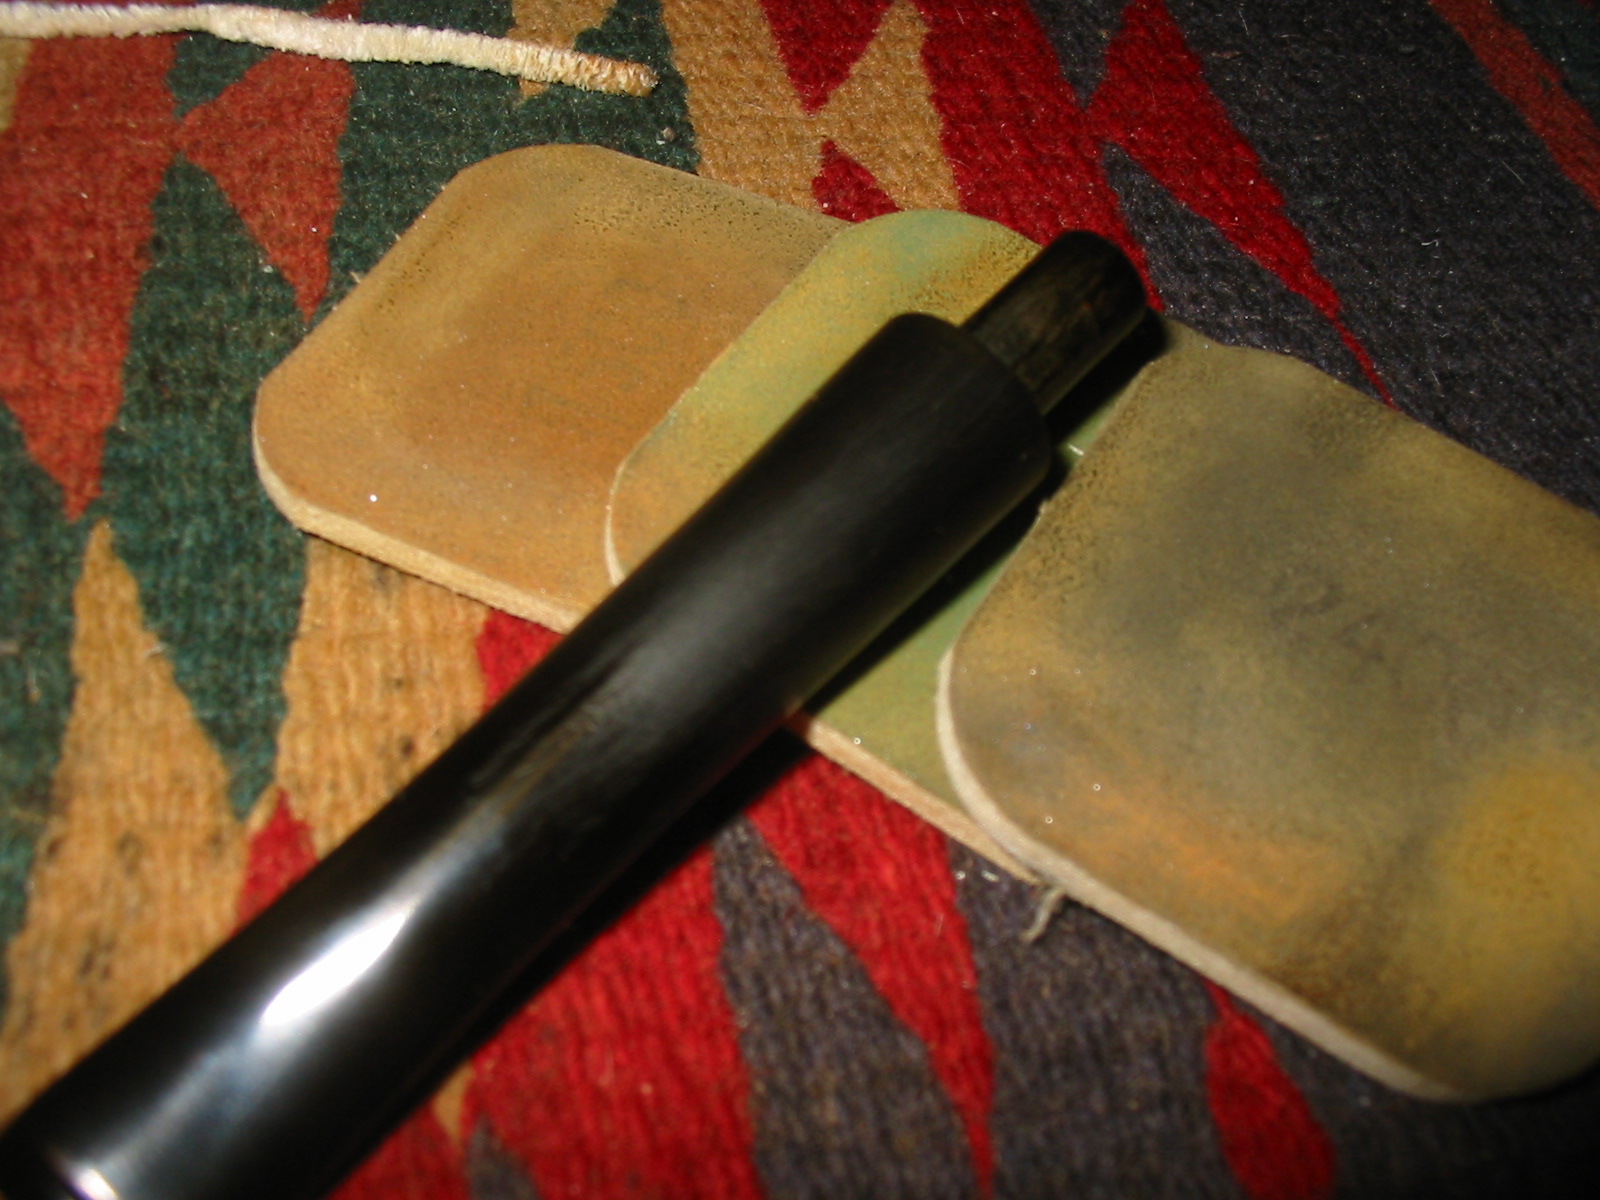
The combination of the two stains worked well and minimized the ugly fills that stood out around the bowl. Combined they gave the pipe a light reddish brown hue. The stem had some damage around the shank area so I sanded it lightly with a medium grit sanding sponge to remove those markings.
IMG_4469

IMG_4470

IMG_4471

IMG_4472

I further sanded the stem with the usual array of micromesh sanding pads – wet sanding with 1500-2400 grit pads and dry sanding with 3200-12,000 grit pads. I rubbed the stem down with Obsidian Oil and then buffed it with White Diamond.
IMG_4473

IMG_4474

IMG_4475

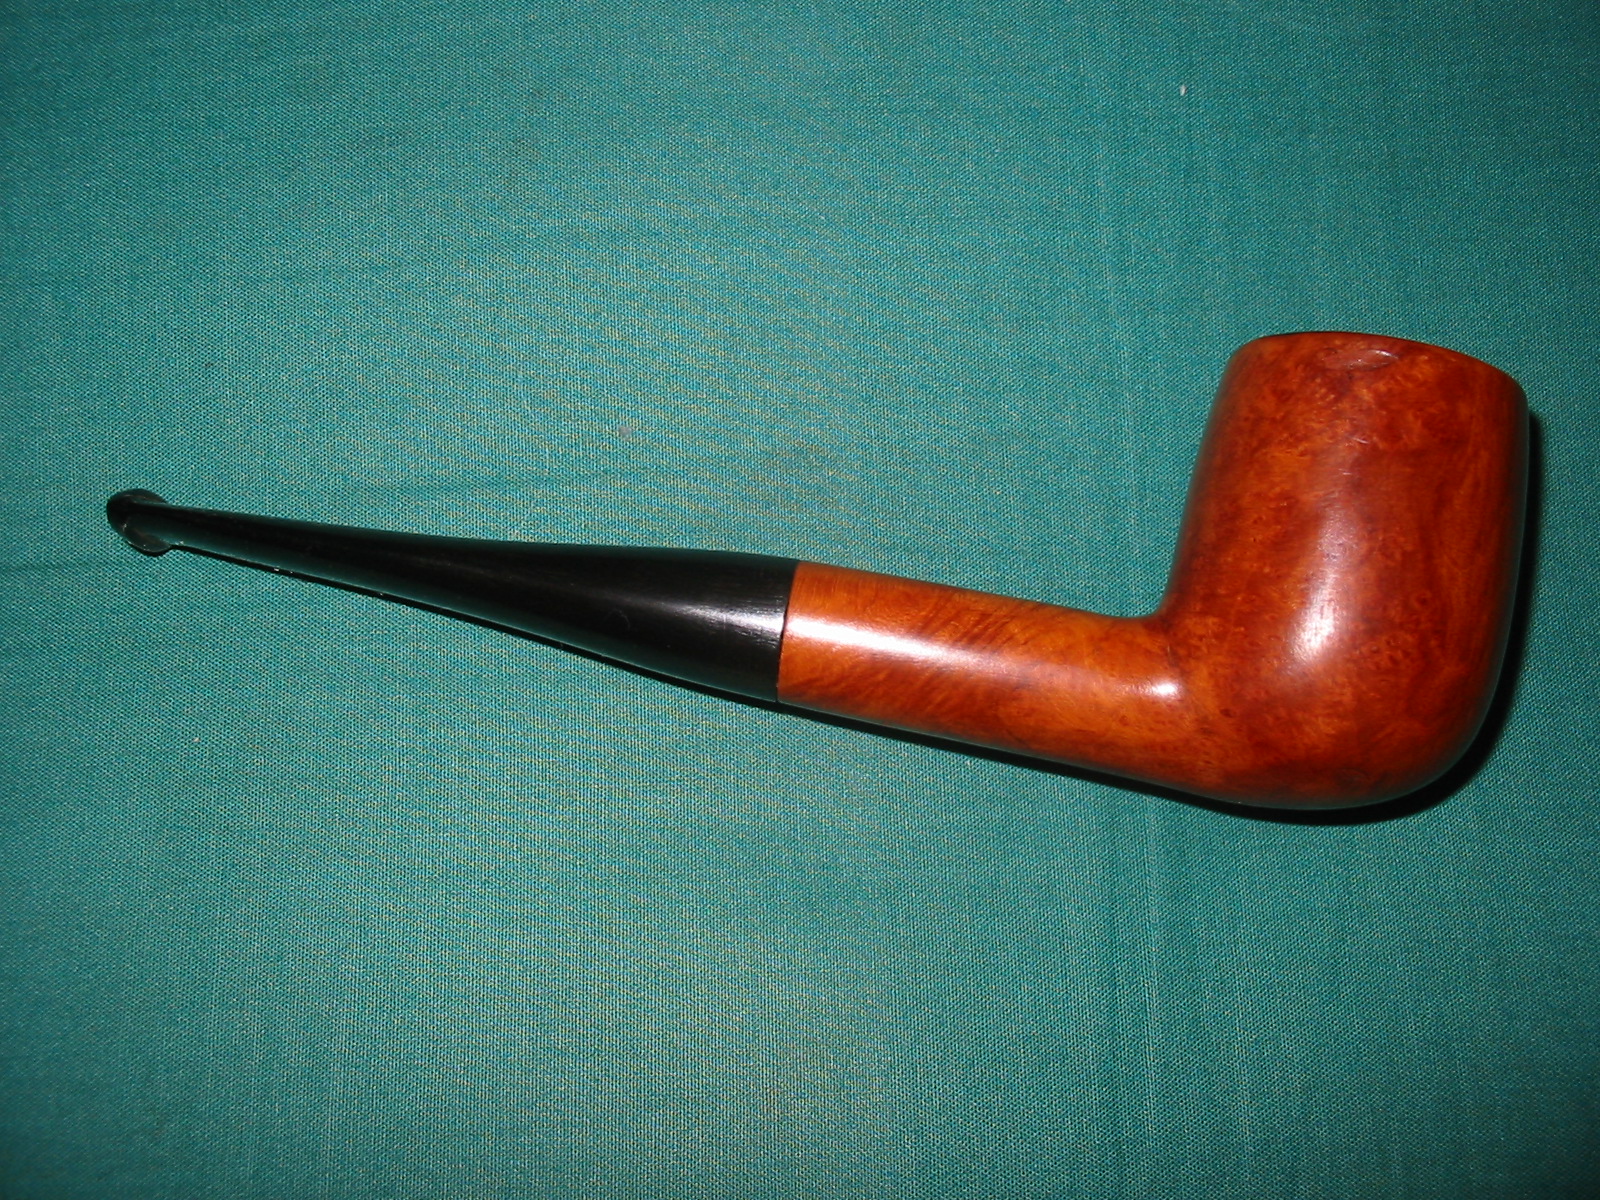
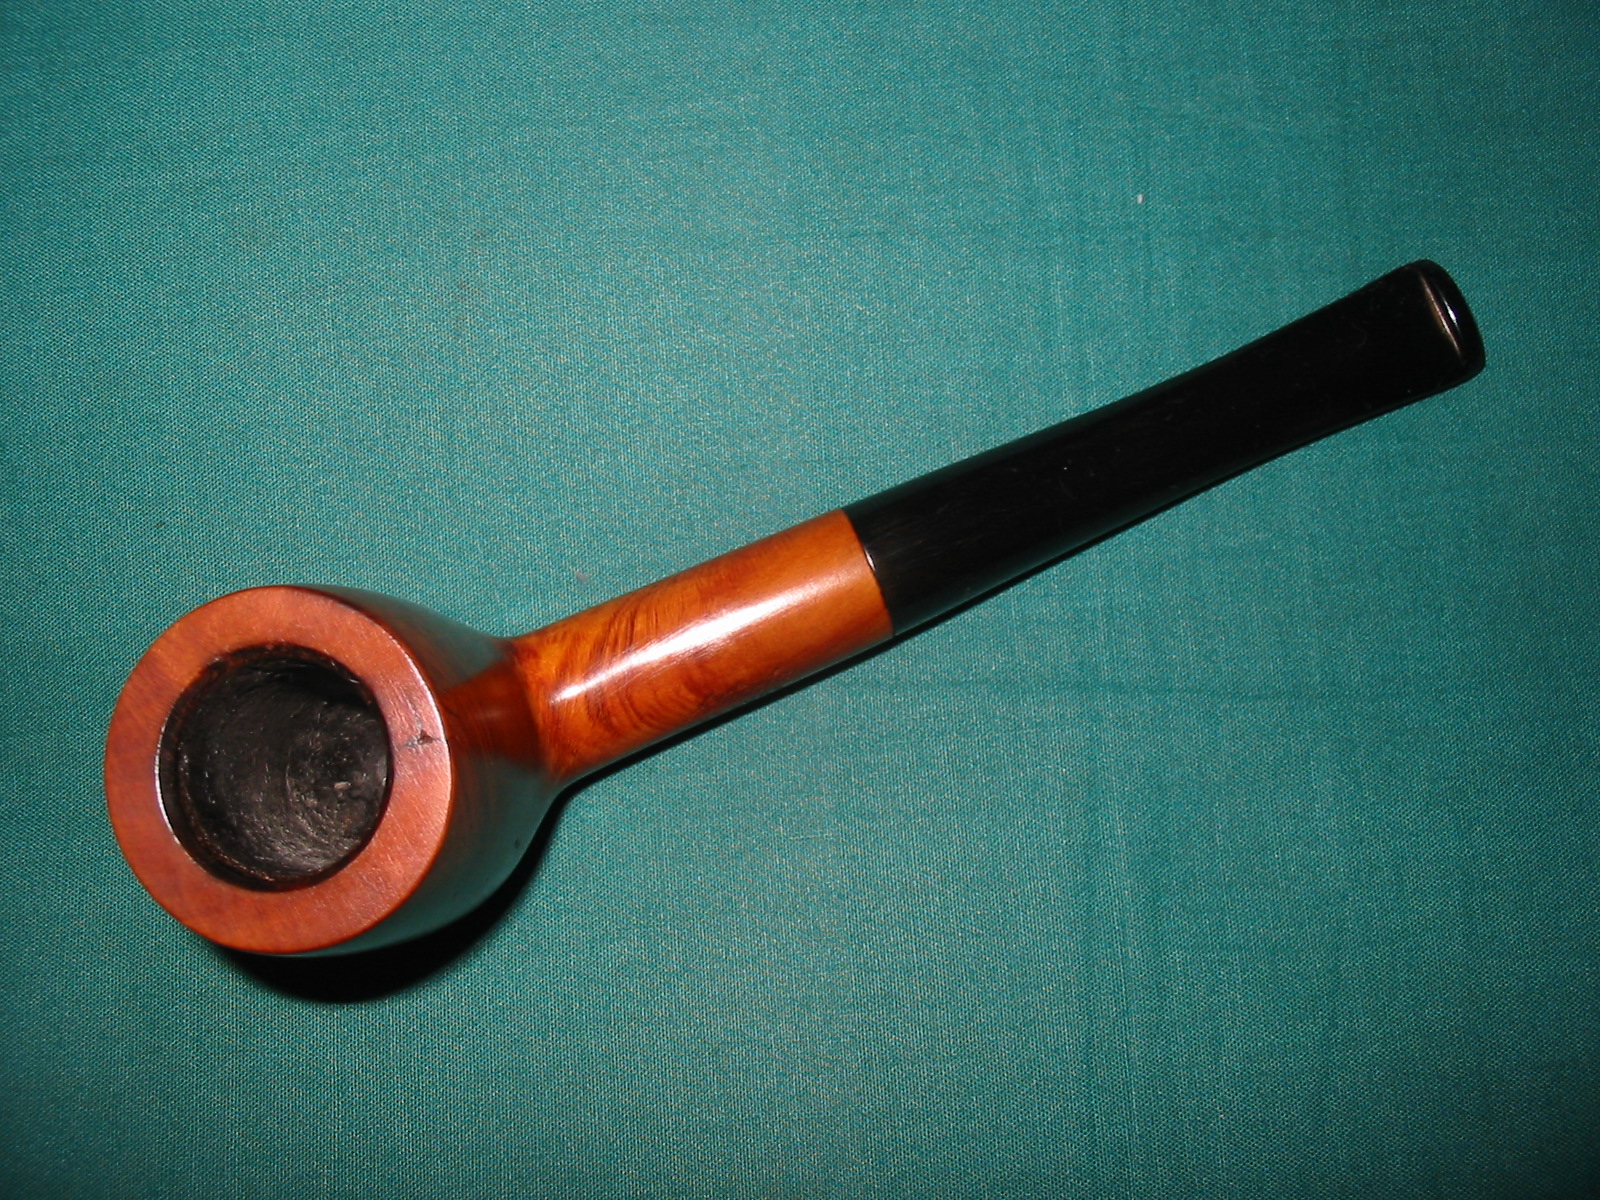
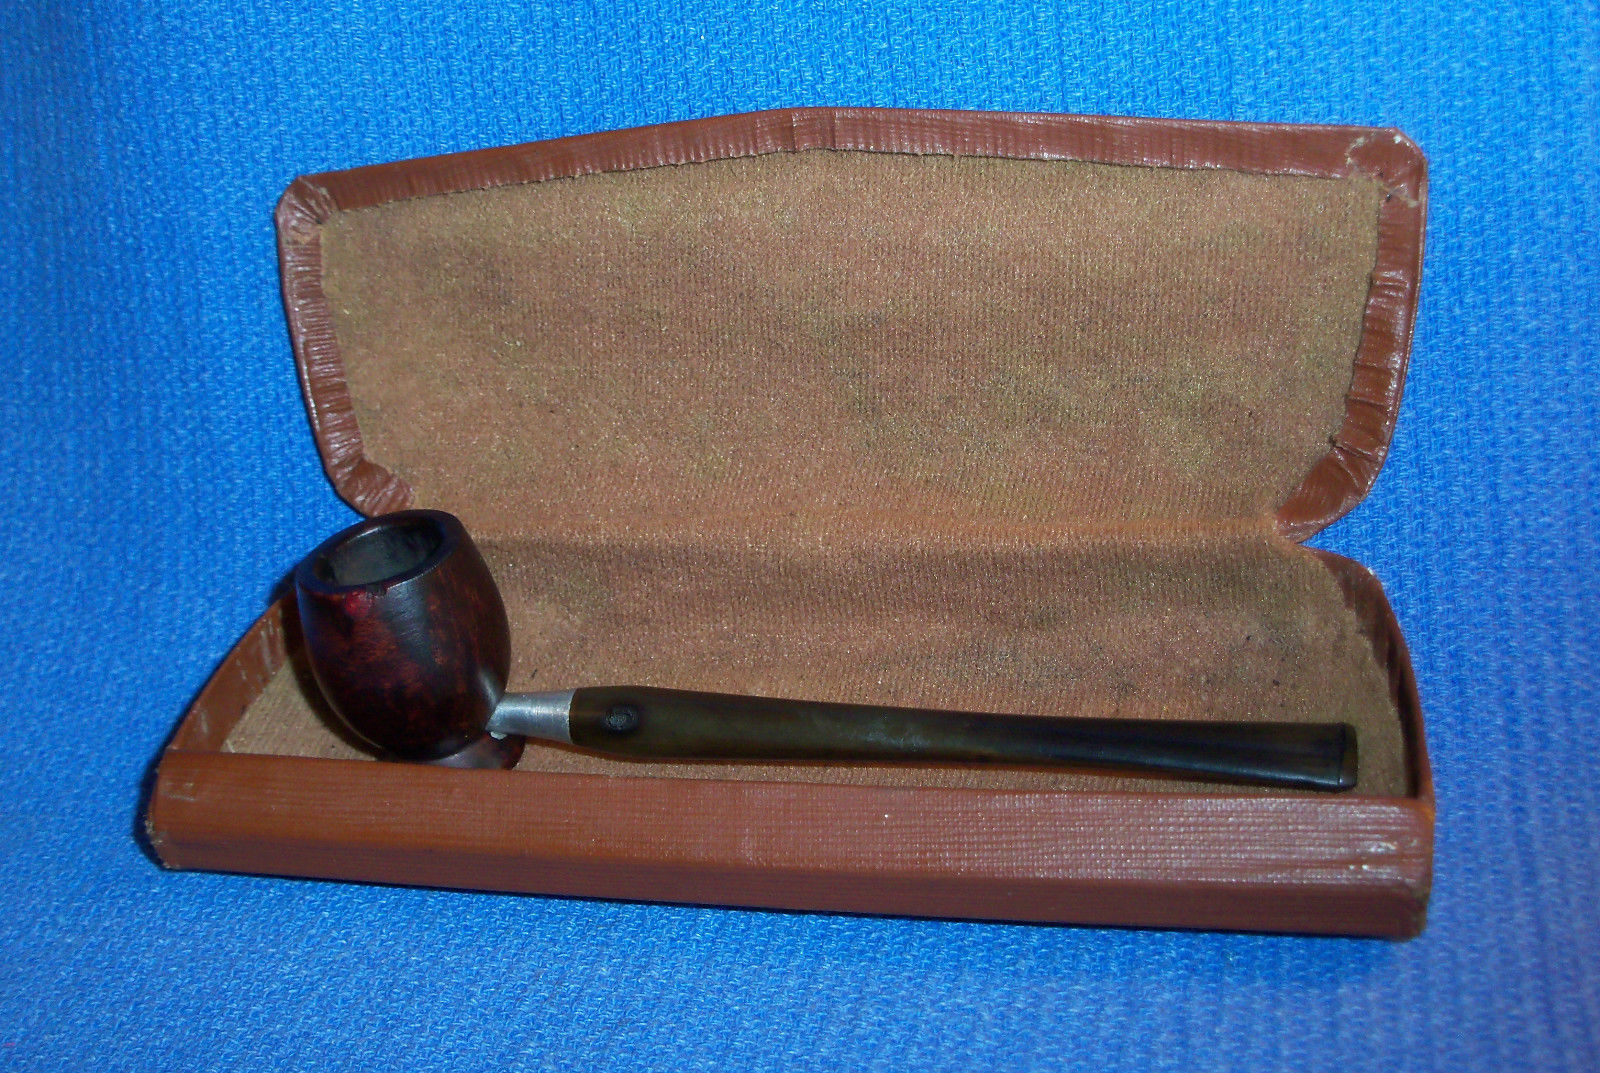
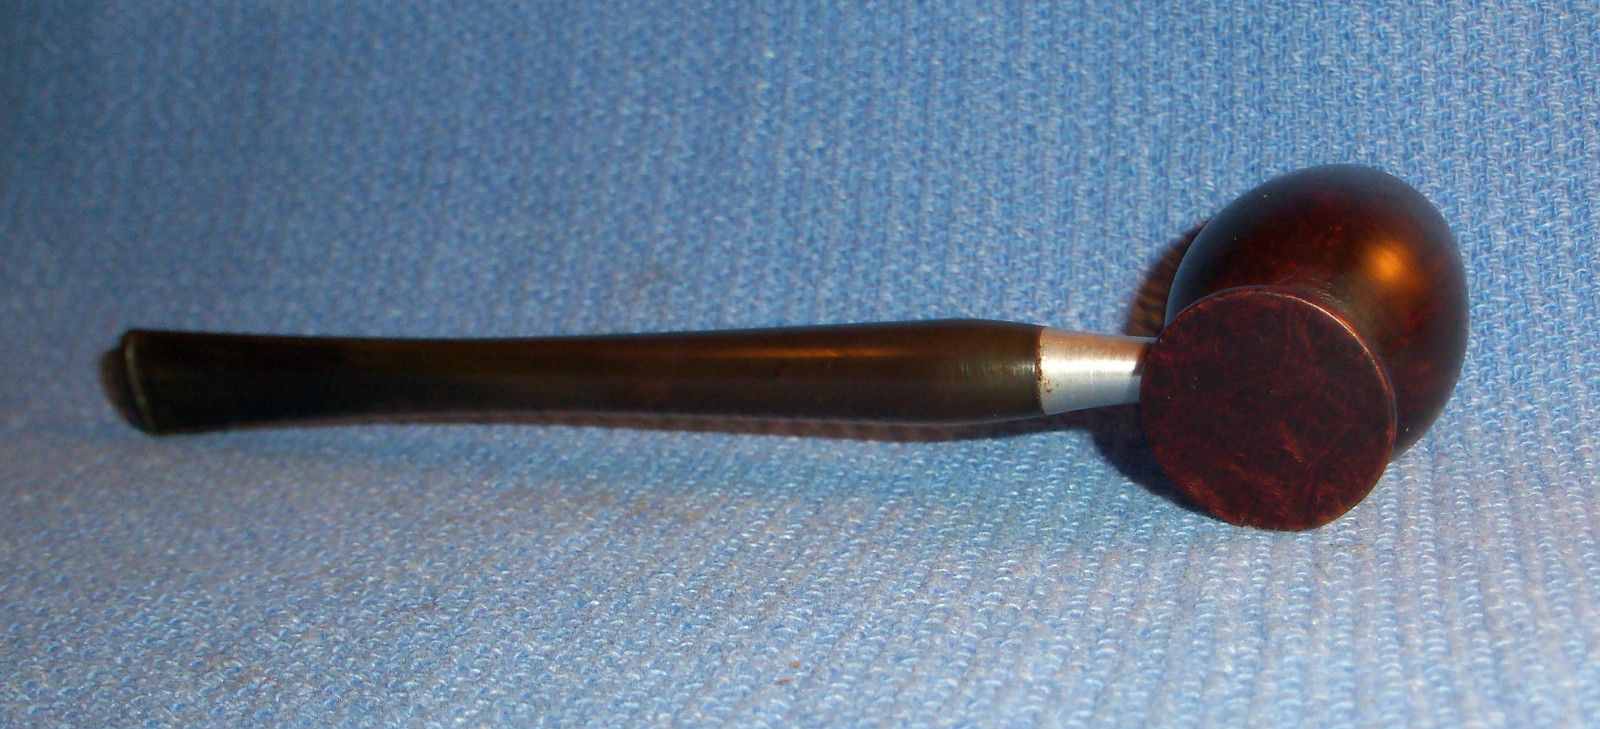
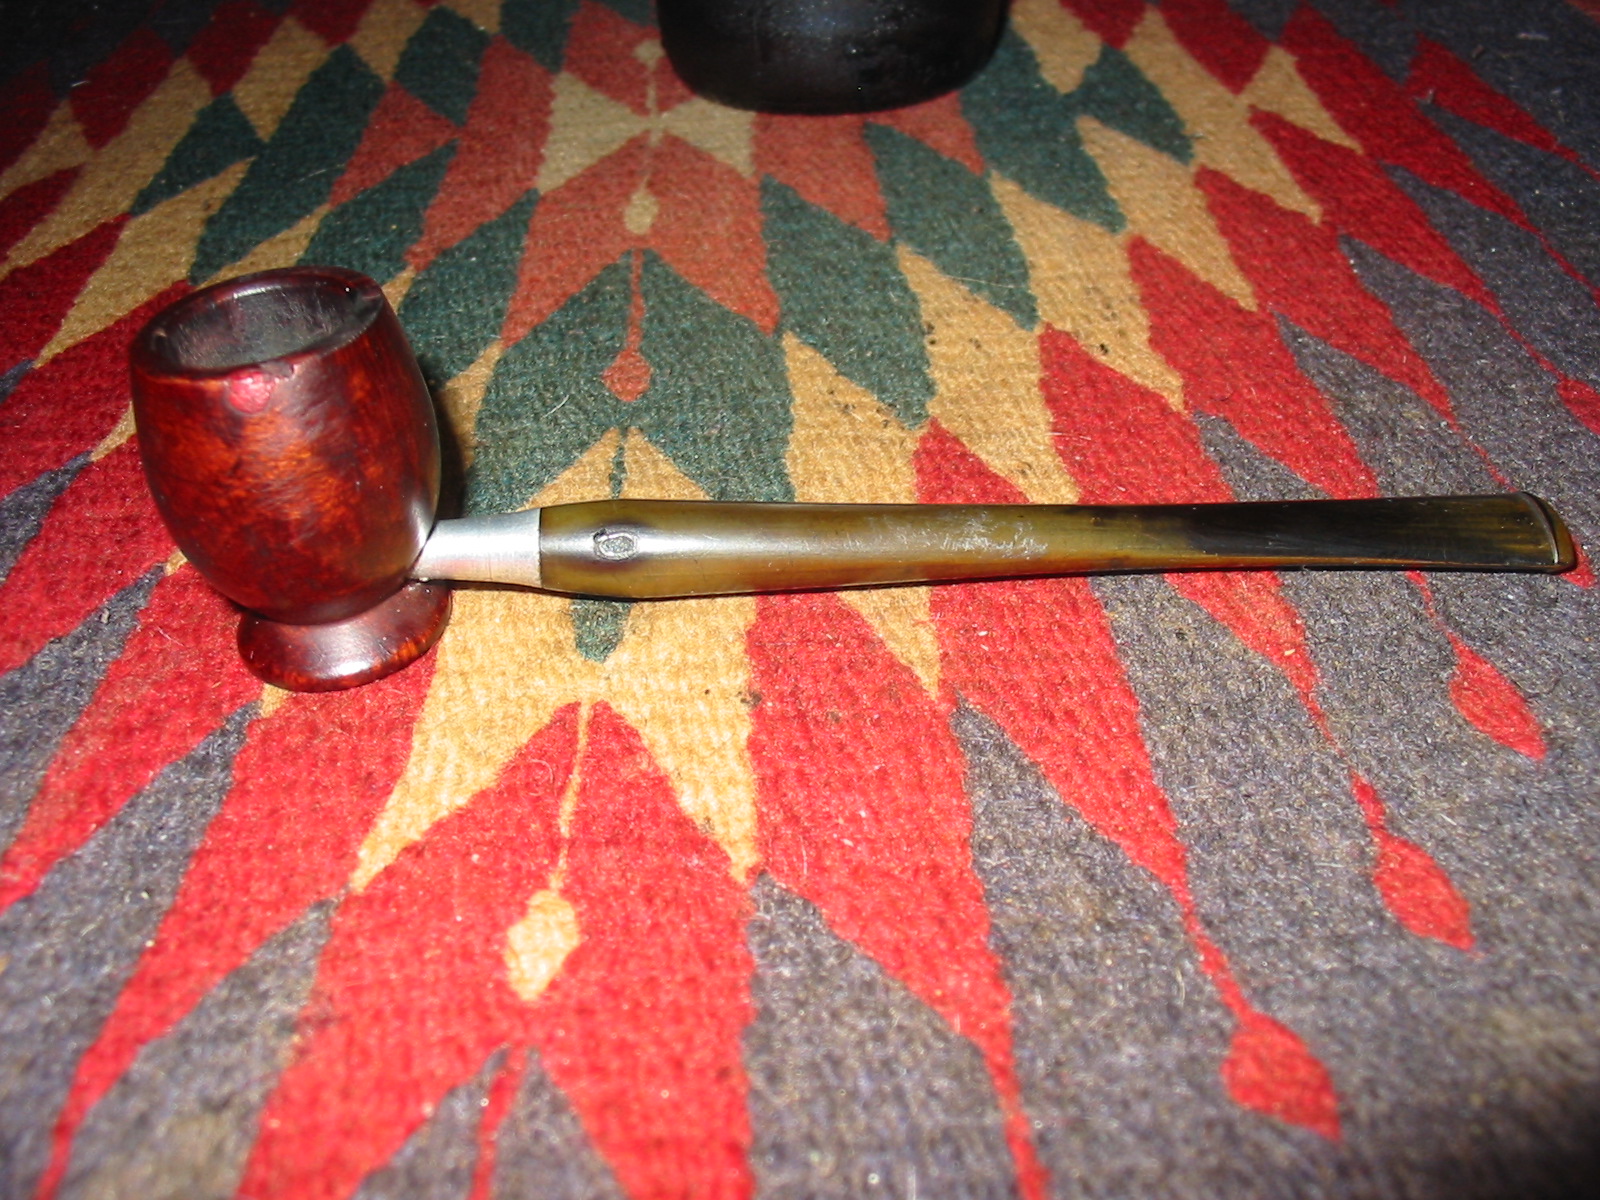
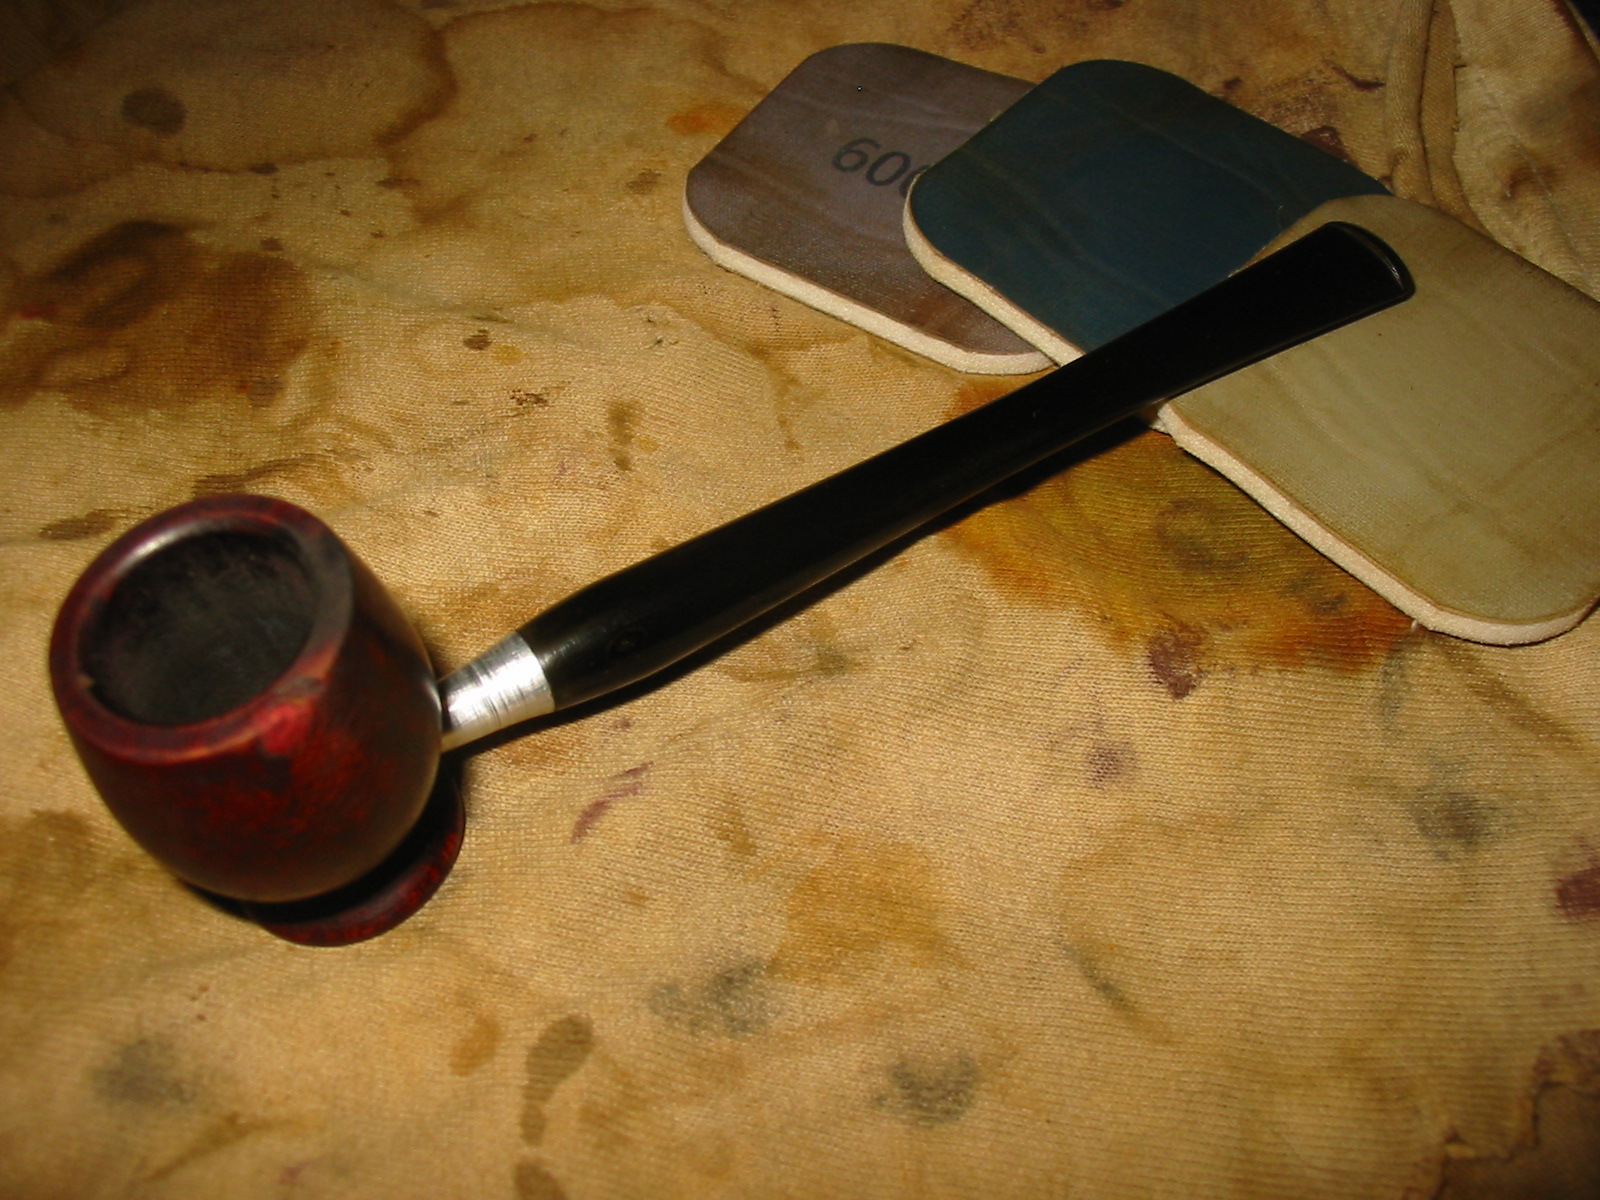
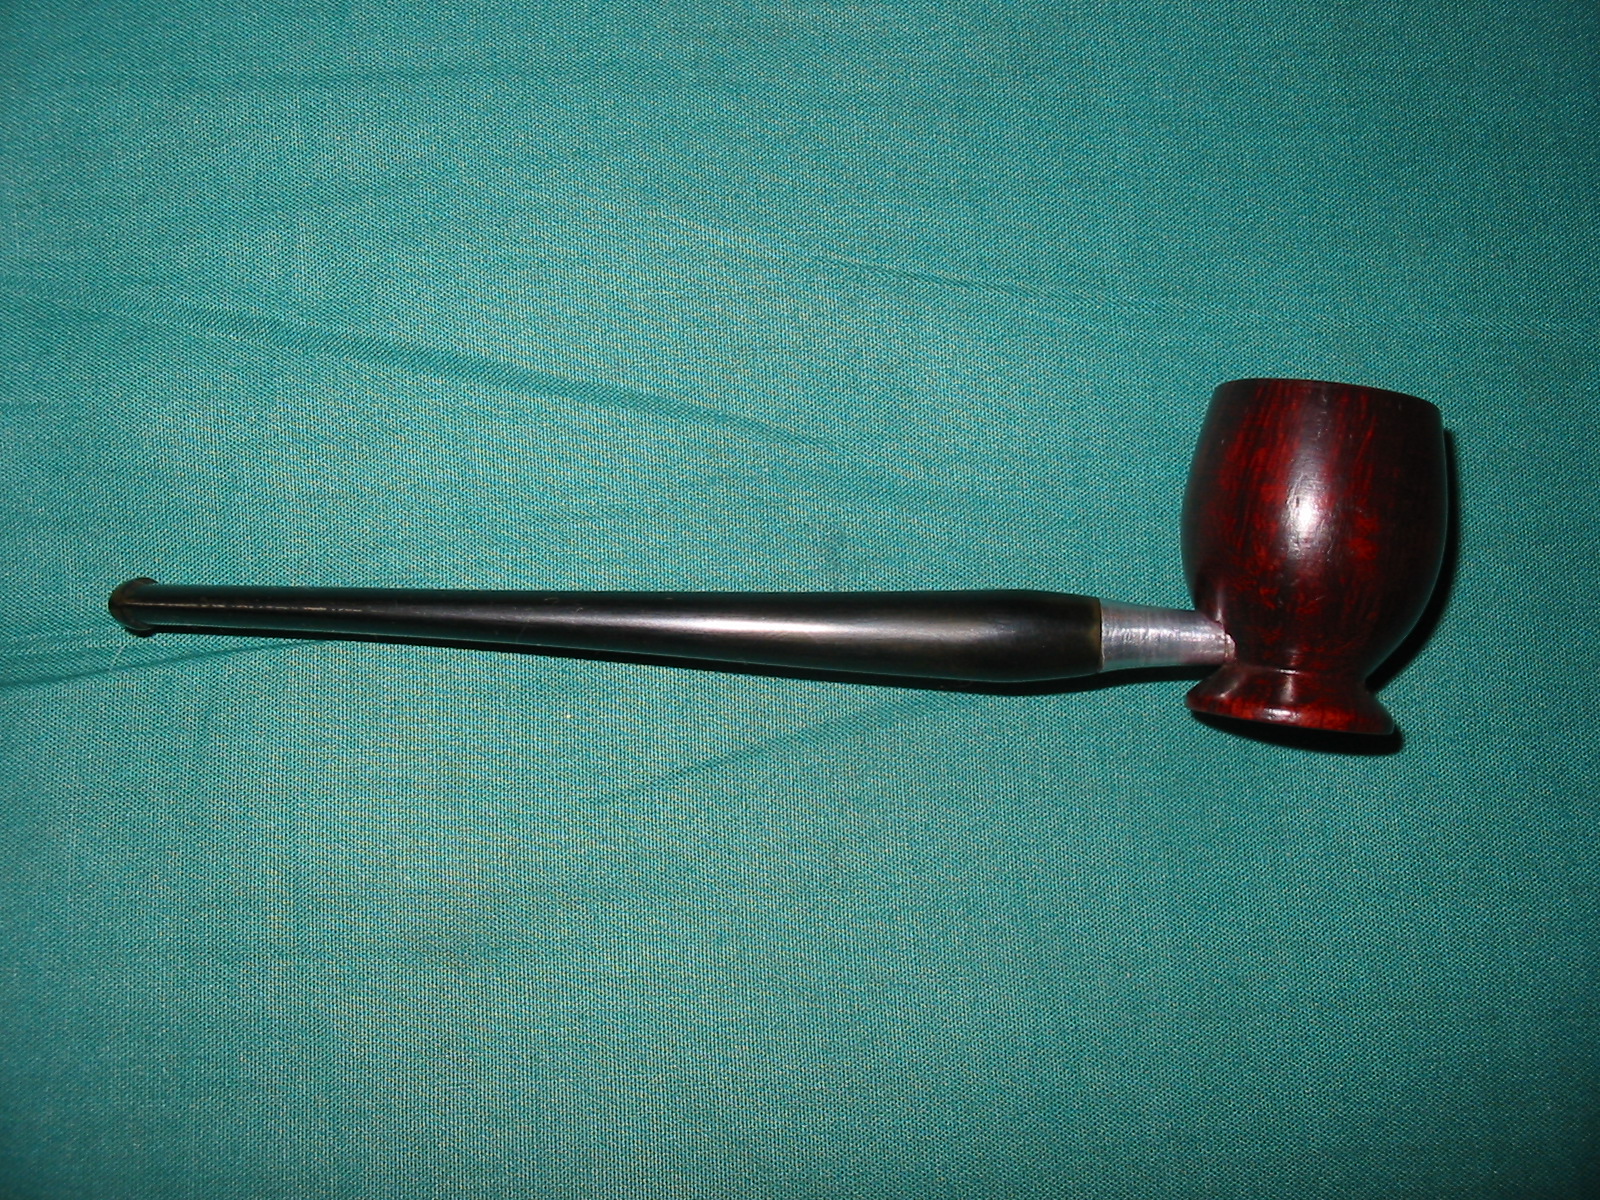
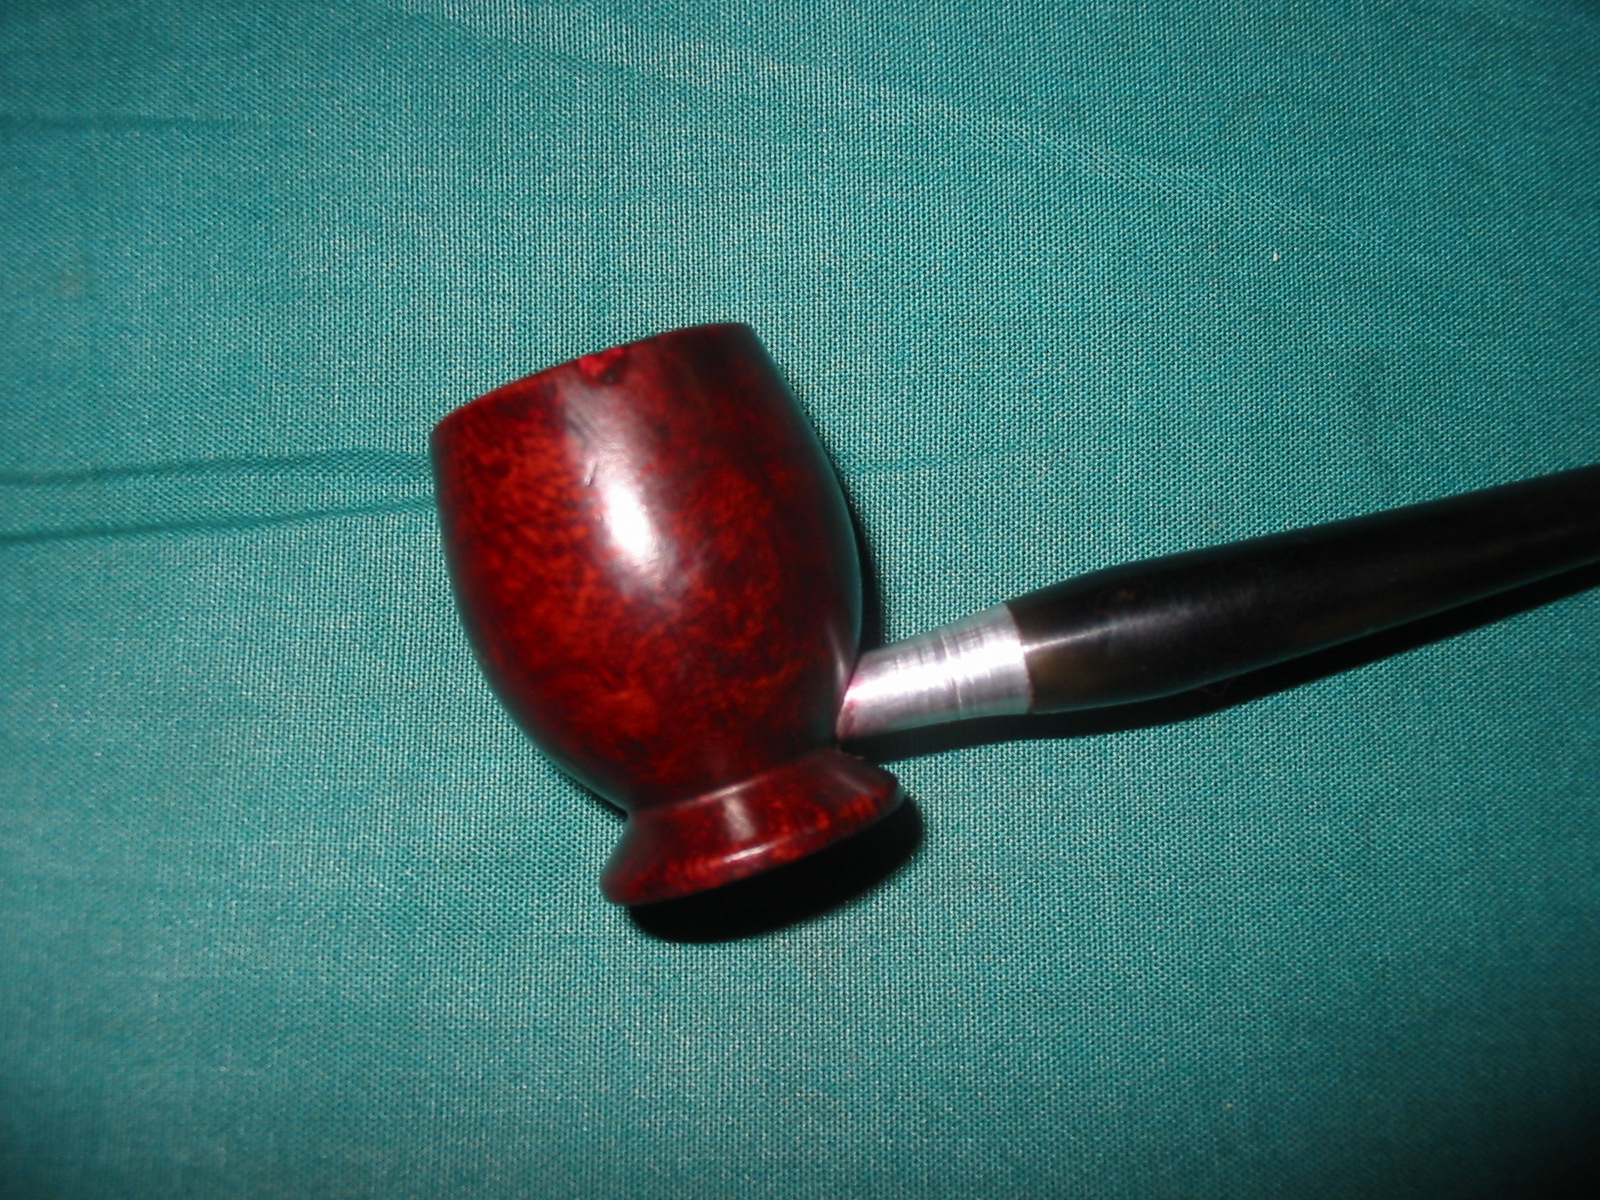
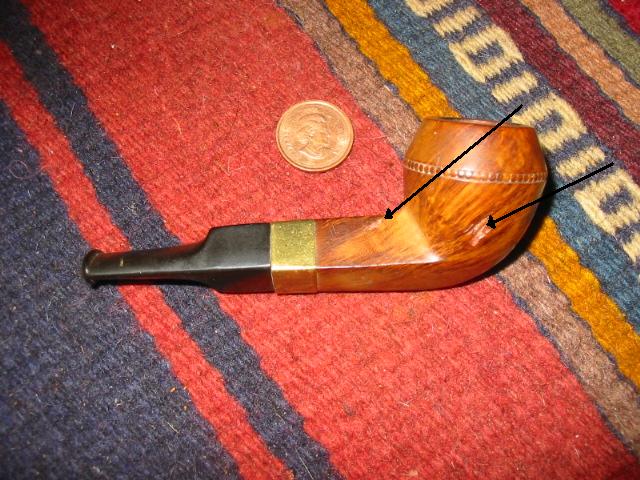
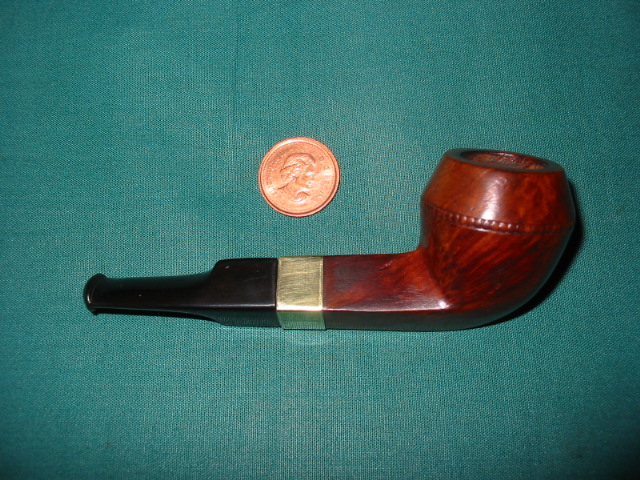
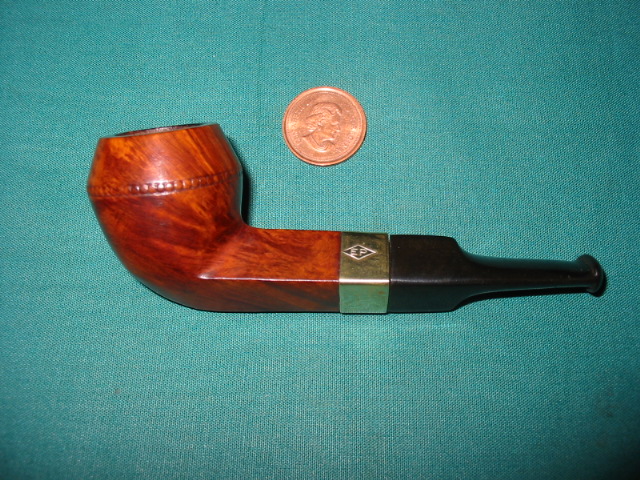
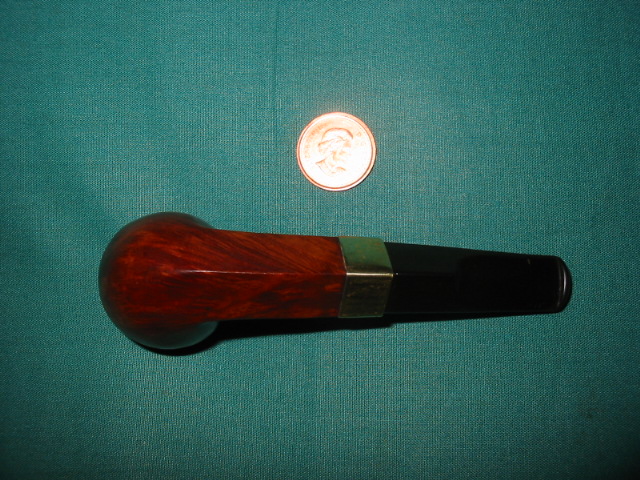
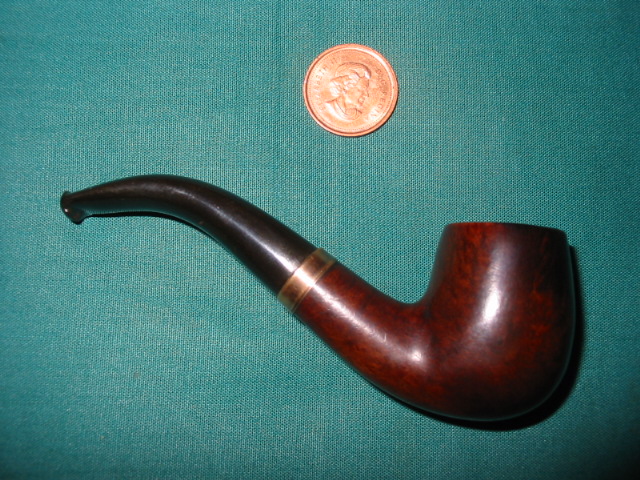
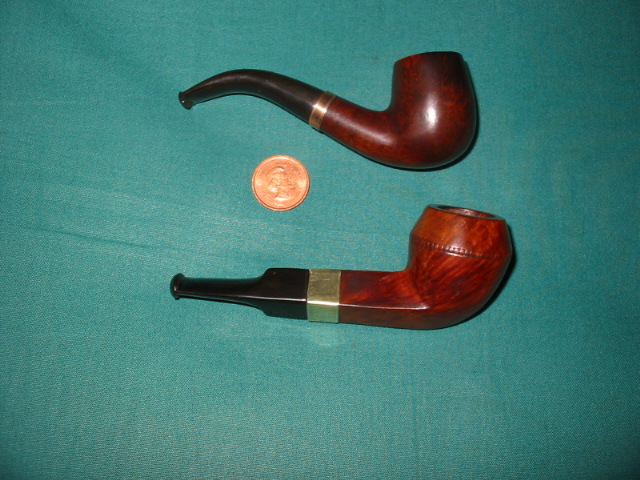
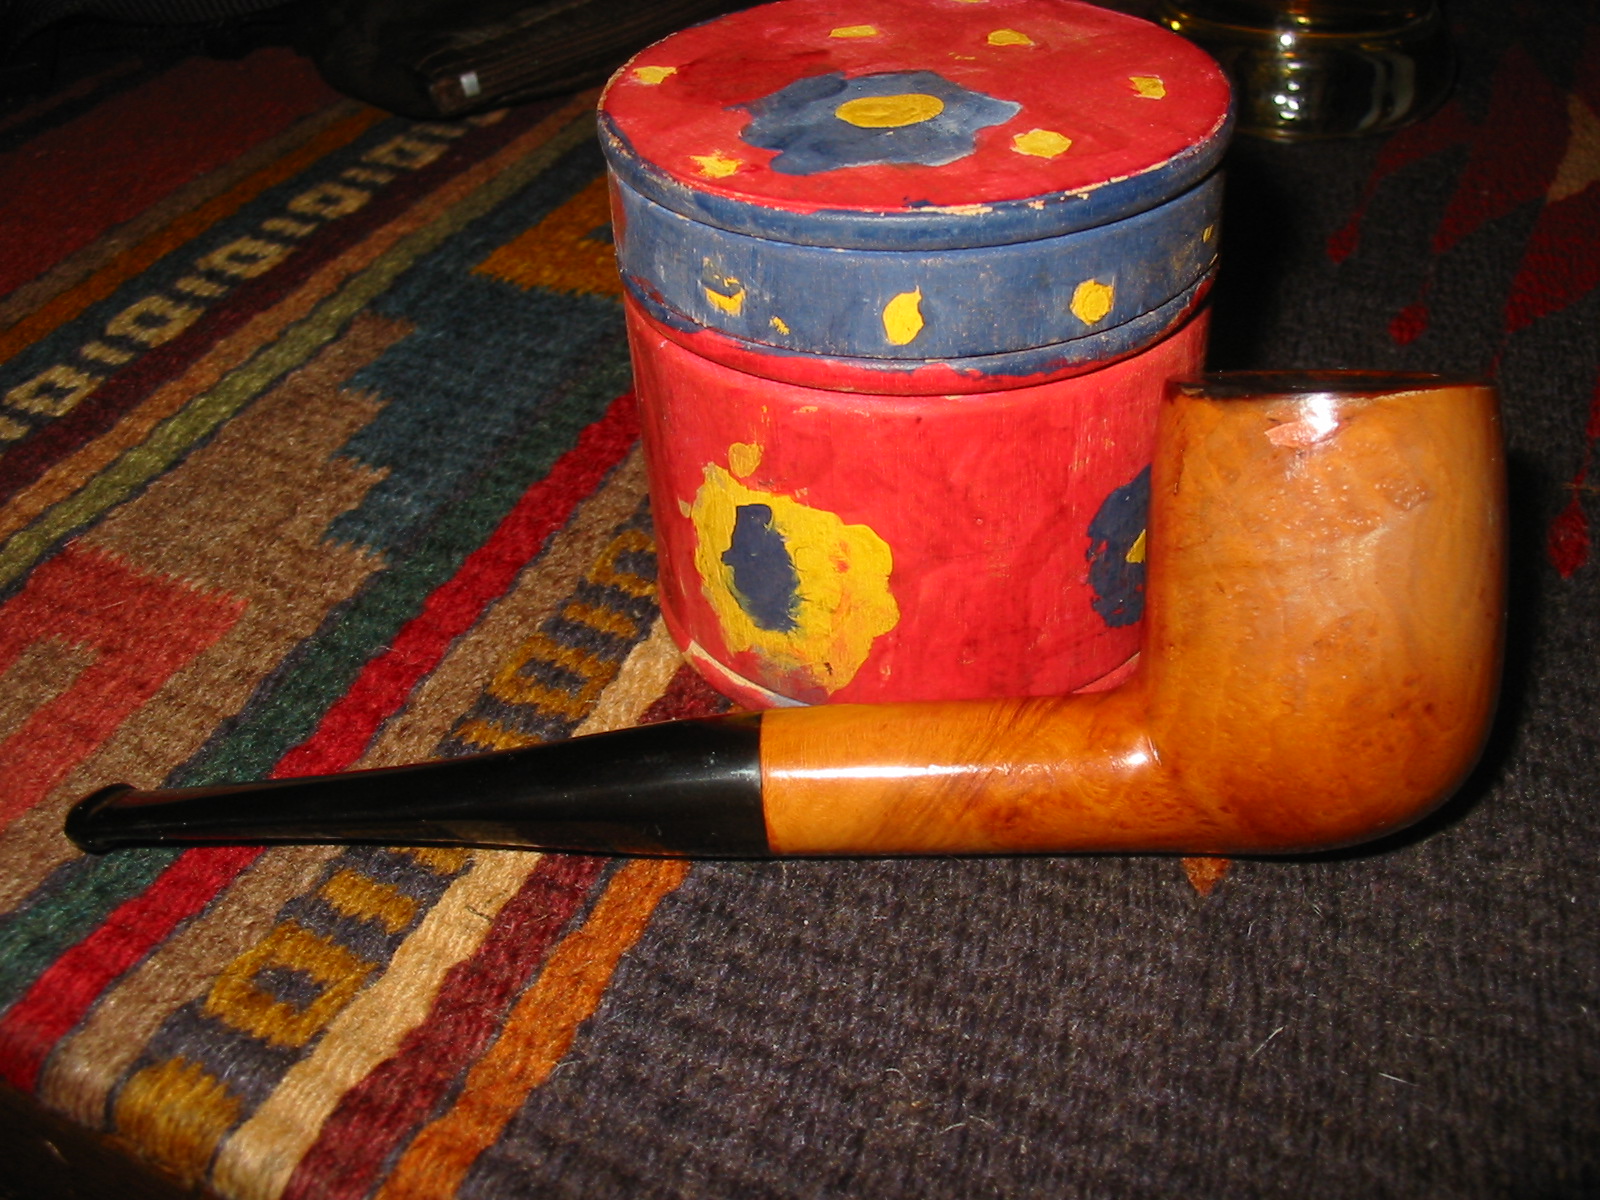
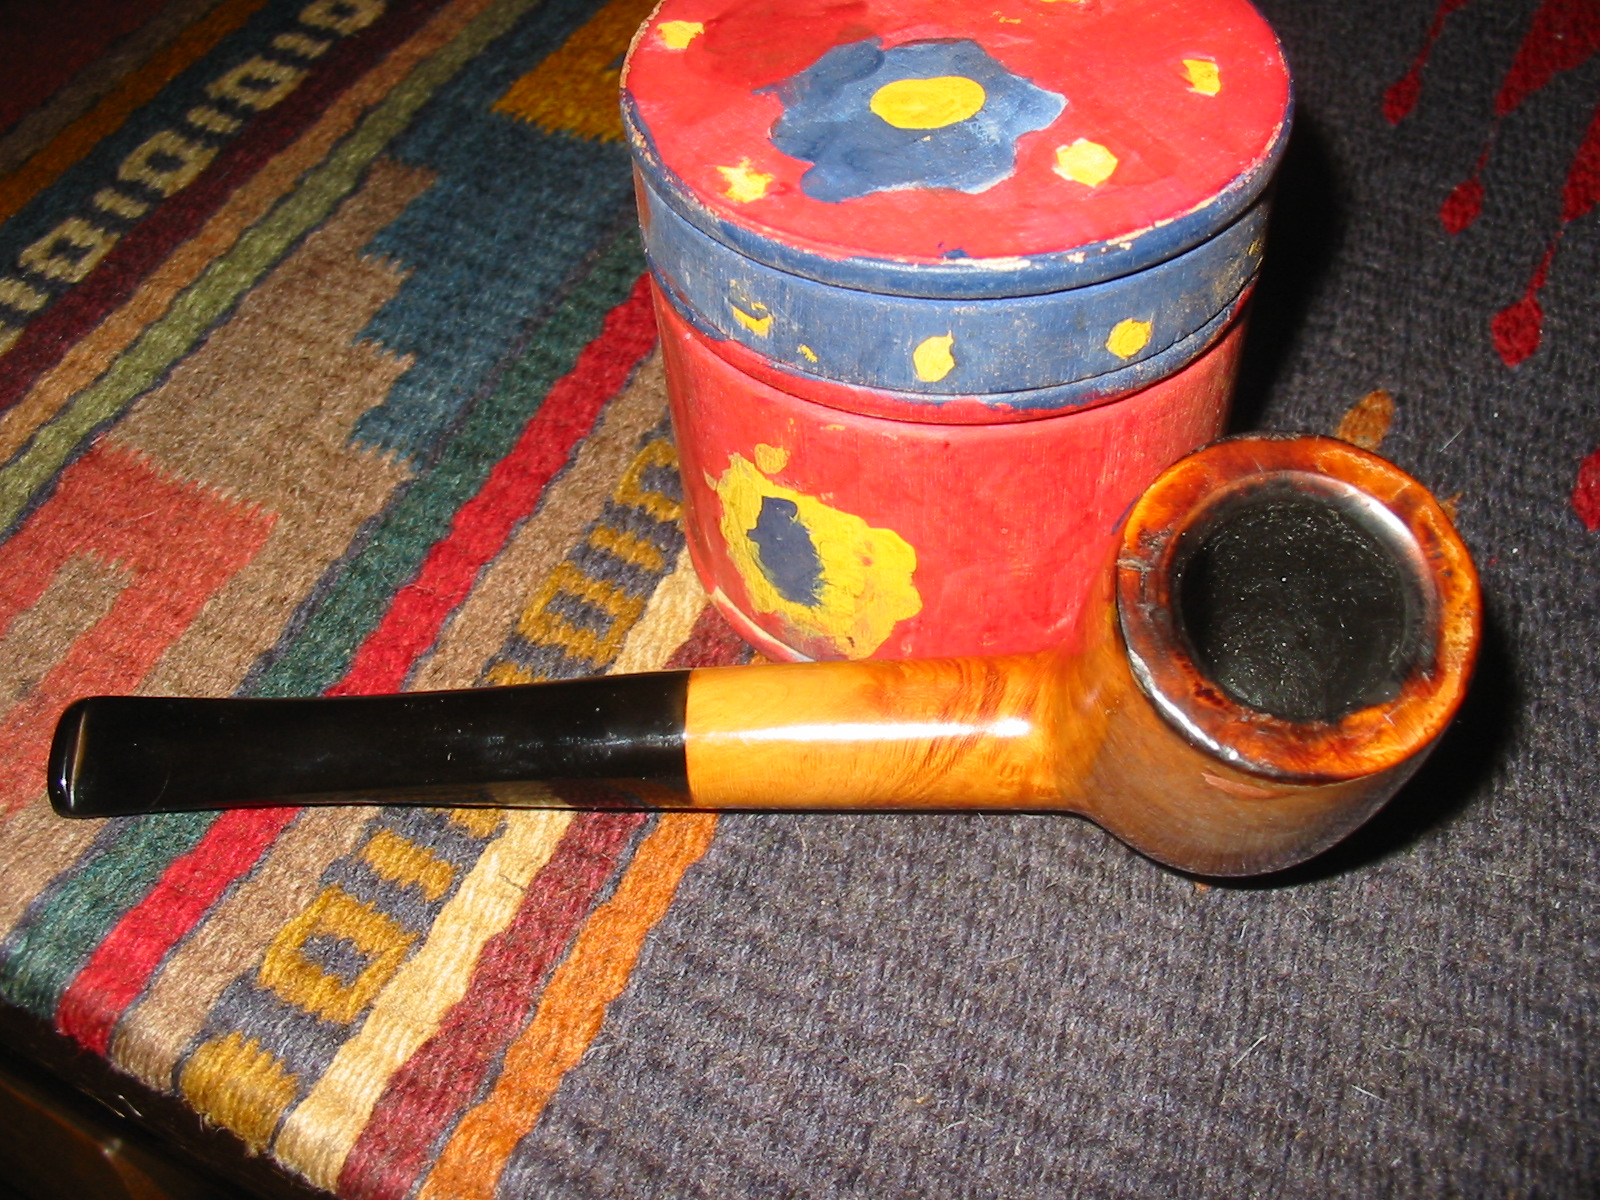
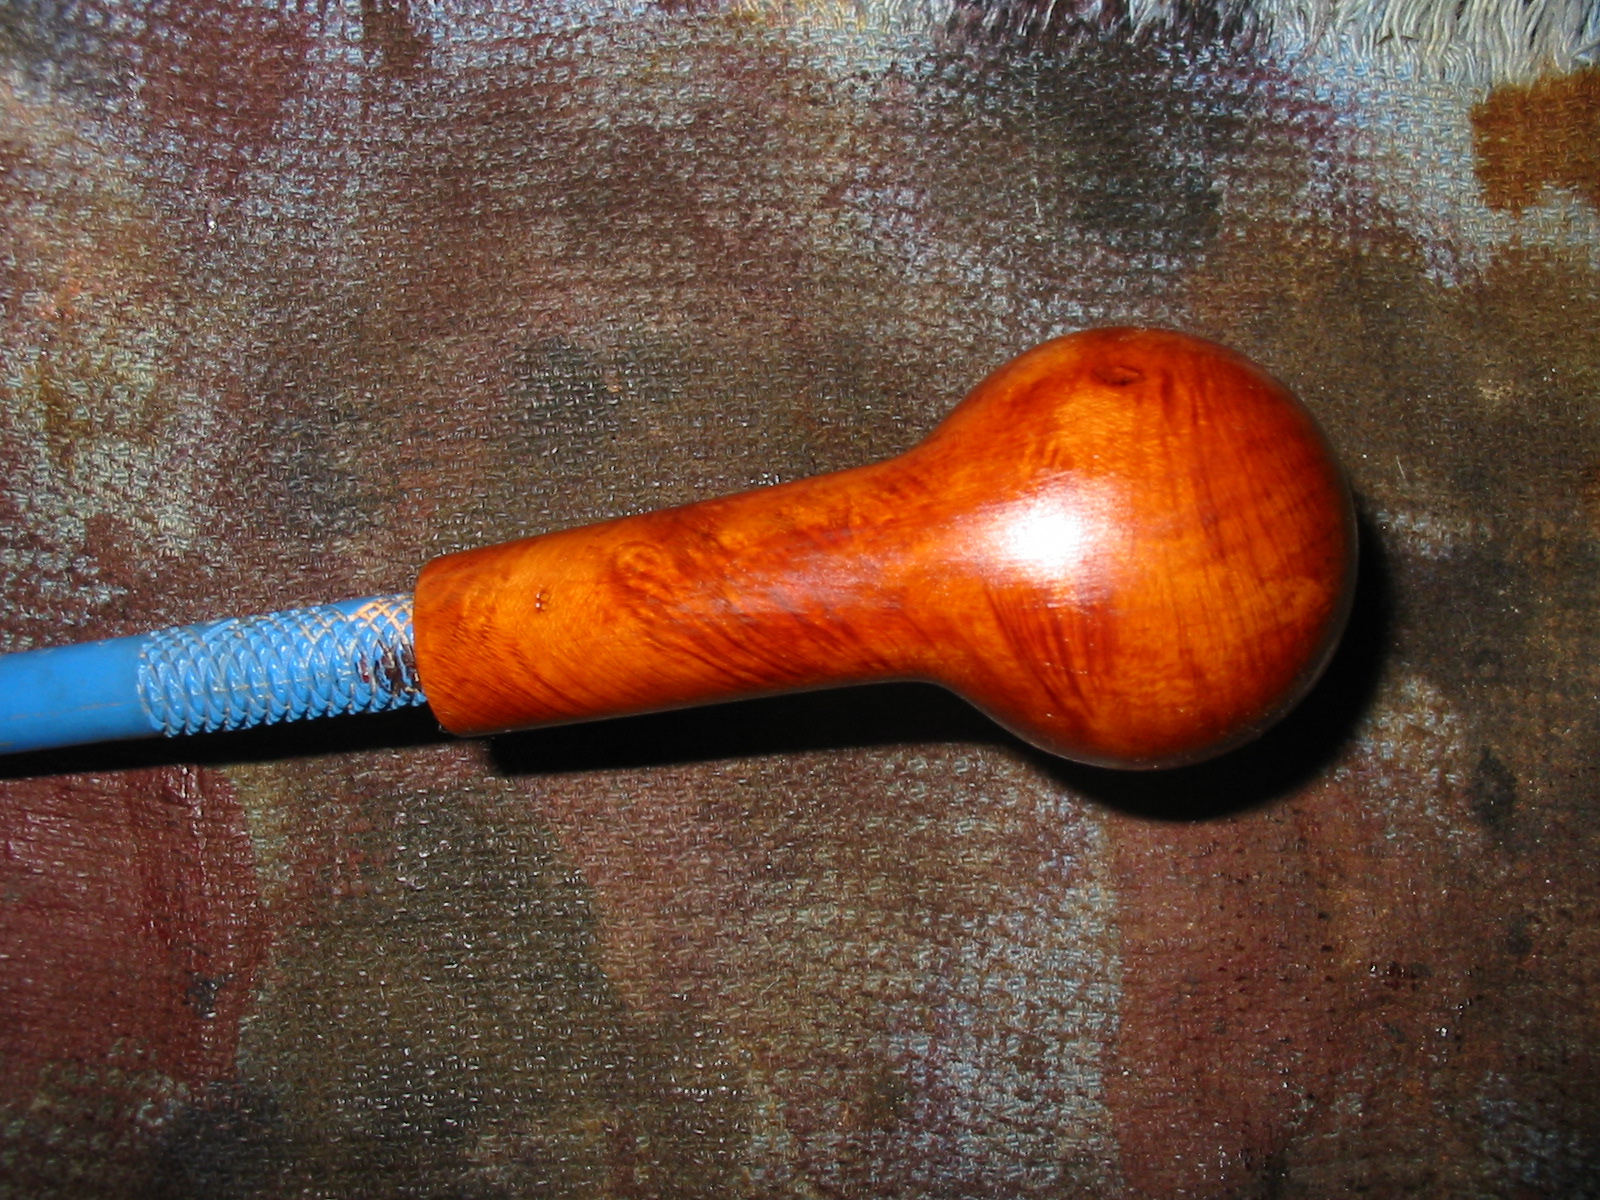
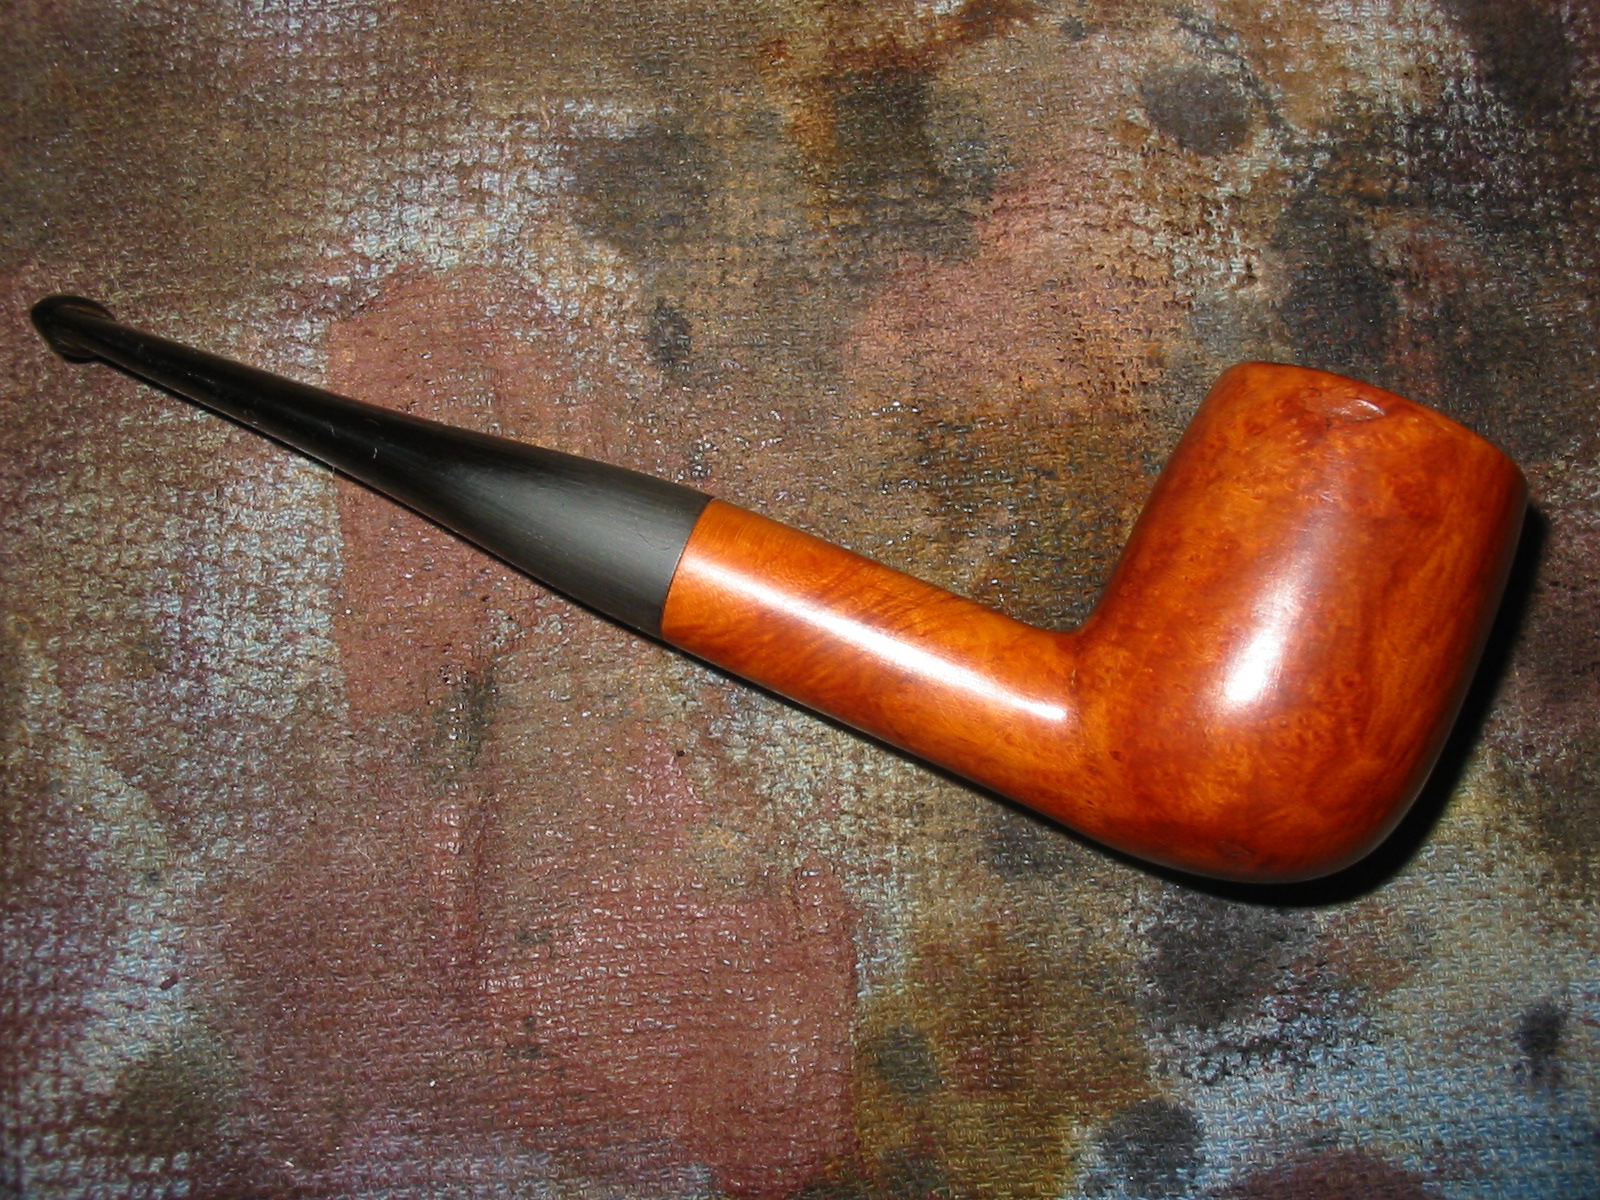
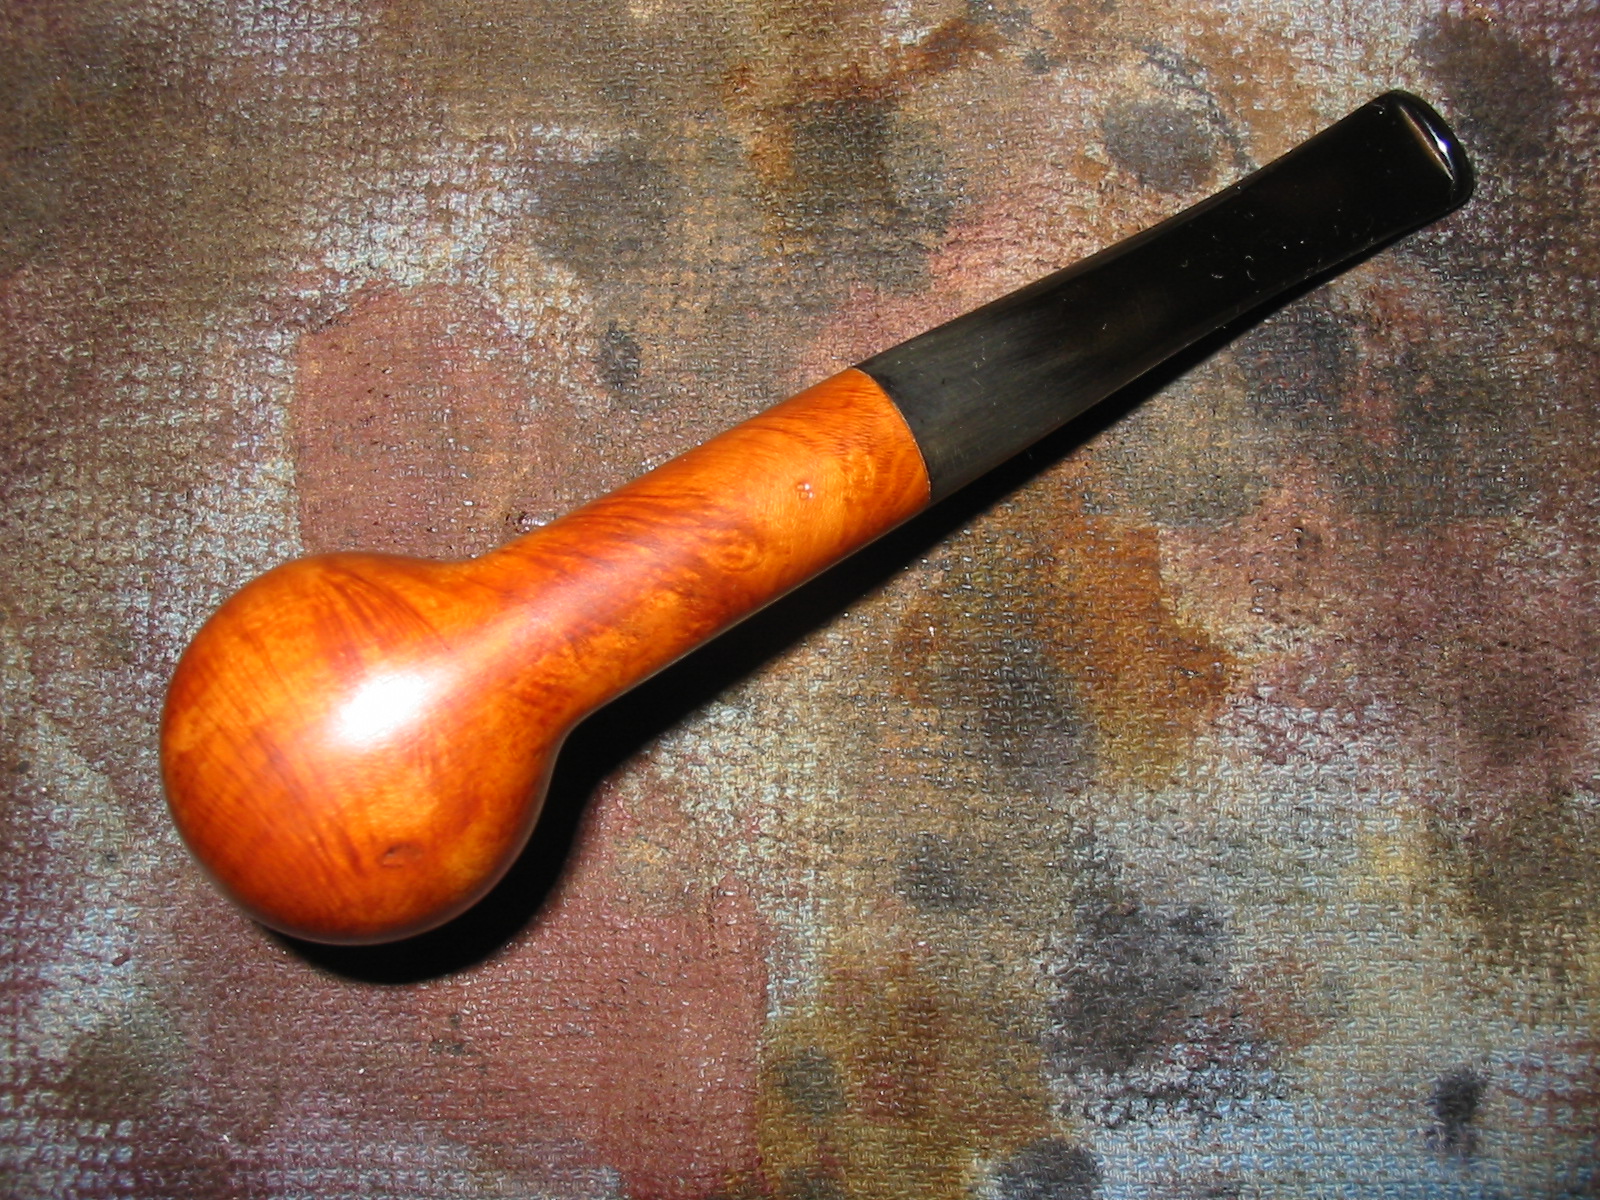
I reinserted the stem in the pipe and gave the entire pipe a final buff with the White Diamond and finished by giving it multiple coats of carnauba wax. I buffed the pipe with a clean flannel buff to raise a shine in the stem and bowl. The result of the work can be seen in the photos below. The old, ugly duckling billiard had a facelift and now was far more attractive than previously in my opinion. It is ready to go in the box for the pipe club. Hopefully the pipeman who takes it home eventually will get good use out of it and enjoy the Astoria De Luxe. The challenge was worth doing and in doing so I learned some more tricks on removing a thick urethane coating.
IMG_4476

IMG_4477

IMG_4478

IMG_4480

IMG_4481

A Petite Egg Cup Sitter – (English Made?) Repaired


This pipe is a total mystery to me, but the shape and form of it caught my eye and I put a bid on it. The case that came with the pipe did not appear to be a pipe case at all but rather a case for a pair of glasses. The case thus did not lend any information to the maker of the pipe. The pipe itself looked to be quite small and petite. The dimensions given by the seller were a great help in determining whether this pipe was a miniature or not. Its overall length was 5 ¼ inches (which is not a small pipe). The bowl was 1 3/8 inches tall and the inner diameter of the bowl was 5/8 inches. The outer diameter of the bowl was 15/16 inches. The stem appeared to be attached to the bowl by a metal tip that was anchored in the bowl much like the insert in a cob – though way more elegant. The stem looked delicate and pencil like.
sitter1

The bowl was like an egg cup – a round, egg shaped bowl sitting on a flat pedestal. The finish looked to be in good shape. There was a chip out of the top edge of the bowl, outside edge of the rim that had been repaired with a red putty of some sort that had bubbled. The rim was clean and undamaged. The bowl was very clean and the finish was a dark oxblood/dark brown combination that looked nice. The stem seemed to be in excellent shape. There were no bite marks of consequence. It was oxidized and brown but intact. In the photos the oxidation did not look too bad. There was a mark on the right side of the stem near the metal insert into the bowl. It did not look too deep but it was visible. The seller thought it may have once held a logo/medallion or some kind of identifying mark. It does not look like it did; rather it looks like an accidental burn (the burn mark and the bowl repair are visible in the seller’s photo below).
sitter7

The next five photos below are the remainder of those posted by the seller.
sitter2

sitter3

sitter4

sitter5

sitter6

When it arrived it was more delicate looking than it was in the pictures. Even though the measurements were correct it gives the illusion of being much smaller. My observations above drawn from the photos provided by the seller were correct. The case was indeed made for eye glasses and not the pipe. The stem was in excellent shape in terms of dents or bite marks. The mark on the side near the front was indeed a burn mark left by a match or cigarette in the ashtray. The aluminum was scratched and oxidized. The stem itself was more oxidized than the photos showed. The bowl finish was not bad and would not need to be refinished but would need to be touched up when I repaired the divot on the side of the bowl and rim. The next four photos show the pipe when I took it from the box and put it on my worktable.
IMG_2468

IMG_2469

IMG_2470

IMG_2471

The next photo below shows the burn mark on the stem. It is slightly blurry and I apologize for that but the burn itself is very visible. I cleaned out the burn mark with a dental pick to remove any of the damaged vulcanite around the mark. I sanded the stem with 220 grit sandpaper and a medium grit sanding sponge to clean up the vulcanite. I wiped it down with Everclear to remove and sanding debris and prepared it for a superglue patch.
IMG_2472

The next series of three photos show the patching of the burn mark. I put a drop of superglue in the burn mark and let it dry. When it dried I sanded it with the medium grit sanding sponge to even out the surface and remove the excess glue. The center of the patch was still concave so once I cleaned the surface of the stem again I put another drop of black superglue on the mark and set it aside to dry.
IMG_2475

IMG_2476

IMG_2477

The superglue dried over night and was hard in the morning. I sanded it with 220 grit sandpaper and the sanding sponge to blend it into the surface of the stem. This is done carefully so as to not change or damage the profile of the stem. The next two photos show the progress of the blending. The first one was done with 220 grit and the second with the sanding sponge.
IMG_2479

IMG_2480

Once the initial sanding was done with the sponge I moved on to sanding the stem with micromesh sanding pads. I wet sanded with 1500, 1800 and 2400 grit micromesh and dry sanded with the remaining grits of pad from 3200-12,000. When I had finished sanding and polishing the stem with the micromesh I rubbed it down with Obsidian Oil. When it had dried I polished the stem with a soft cotton cloth.
IMG_2481

IMG_2482

IMG_2483

With the stem finished I worked on the chip and repair on the bowl and rim. I carefully picked out the putty fill with a dental pick. It only covered half of the chip so it was necessary to clean it out enough to repair the whole chip with one solid patch. I also sanded the rim in that area as the chip also extended into the surface of the rim. I wiped down the bowl and the area of the chip with acetone on a cloth to clean up the surface for the superglue and briar dust repair.
IMG_2484

I packed briar dust into the chipped area with a dental pick and tamped it in place. I over filled the area on the side and on the rim of the bowl. Once it was solidly packed in place I dripped clear superglue into the briar dust on the side and the rim. The glue dries very quickly so it is a good idea to pack the dust in well the first time. If it sinks you can refill it and reapply the glue. It can be done in layers to build up the chip or fill area.
IMG_2485

IMG_2486

As the clear superglue dries quickly, the patch can be sanded soon after the application. I sanded it first with a corner of 220 grit sandpaper to remove the excess of patching material. I then sanded it with the sanding sponge to clean up the scratches and remaining surface grit. I also used a sanding sponge to top the bowl. The aim was not to remove much of the rim but to blend the patch into the rest of the rim.
IMG_2487

IMG_2488

I sanded the rim and the side of the bowl with micromesh sanding pads to smooth out the surface and to prepare it for staining. The next two photos show the patch after sanding and cleanup. It is ready for staining at this point in the process in terms of smoothness of the bowl. The red of the original putty patch came through the briar dust and superglue fill. It is evident in the photos below but should blend fairly well into the stain of the bowl once it is finished.
IMG_2489

IMG_2490

Before staining the pipe I wiped it down with acetone to even out the stain and to remove any remaining dust left behind by sanding.
IMG_2491

I applied an oxblood aniline stain to the rim and bowl of the pipe. I flamed it and reapplied it as necessary. The rim and the repair took more coats of stain than the rest of the bowl which is to be expected.
IMG_2492

IMG_2493

Once the stain had set, I hand buffed the bowl with a cotton cloth and a buffing brush. I then gave the bowl and stem a hand applied a coat of carnauba wax and buffed it again by hand. I then took it to the buffer and gave it a buff with White Diamond and several coats of carnauba. I buffed the pipe with a soft flannel buff to give it a shine. The finished pipe pictured below. I have also included a close shot of the area of the stem and the bowl that were repaired.
IMG_2494

IMG_2495

IMG_2496

IMG_2497

IMG_2498

Al asked in a comment below that I post a picture of the pipe with a regular pipe to give an idea of the size. The pipe I have in the picture is the blue dot billiard that I posted earlier. It is about a group four sized pipe.
IMG_2499

IMG_2500

Using Super Glue to Repair or Replace Putty Fills


Blog by Steve Laug

On one of the forums another member and I were chatting bemoaning the red putty fills that so often are a part of old time pipes. I have no idea why they choose to use the red putty but as the pipe ages and the stain mellows with age the putty sticks out in all of its awfulness! I really do not like the look of red putty fills. They have a look like pink/reddish bubble gum. On smaller ones I used to pick them out and refill them with briar dust and wood glue. I always over filled them a bit as the glue shrunk as it dried and I found that the wood glue did not take the colour of the stain well. I left that discussion behind and went to work the next day with other things on my mind. I came home that evening and a PM was waiting for me. Another member remembered that an old pipe repairman friend of his used to use superglue and briar dust to repair fills. He asserted that once the glue was dry it was invisible and the stains would cover it as well.

I had this old bulldog in my pipes to be repaired box. There were two large fills on it that had more or less fallen out over time. What remained were two rather large holes or divots in the right side of this old pipe. The top arrow points to the one on the shank about mid way between the bowl and the band. The lower arrow points to the on the lower portion of the bowl.

Image

I used a dental pick to clean out the remaining red putty from the pits. I wanted the holes to be clean of any remnant of the putty. I also used cotton swabs and Isopropyl alcohol to wash out the areas where there was any putty left. Between the pick and the swabs the holes were cleaned out and open as they appear in the picture above.

I then took a tin of briar dust I have saved from pipes I have worked on over the past months. I keep some on hand for patches like these. I wet the end of the dental pick and dipped it into the briar dust and move it around to form a ball of the dust on the end of the pick. I used my finger to move the dust ball into the hole on the shank and the bowl. I patted the dust into the hole with the tip of a knife blade as I wanted a good tight fill. I then squeezed a few drops of super glue into the dust in the hole. As I did this the dust would shrink a bit and I added more dust and more super glue. When I was done the holes were filled and both had a small bump over where they used to be. I always over fill the holes so that when I sand them down they are smooth and I can feather in the fills with the rest of the briar. I was fortunate in this case that the holes were lined up with the grain marking around them. Once the glue dried (very quickly by the way) I sanded and checked to see if I had missed any spots. I wanted the entire surface smooth to the touch and under a jewelers loop. I sanded the spots down and blended them into the bowl surface. Once that was done I wiped the bowl down with a cotton cloth dampened with Isopropyl alcohol to remove any remaining dust.

I then set up my stain area and stained the pipe with an oxblood aniline stain. In this case I did not let it dry but wiped it on and wiped it off. I wanted to make sure that I was getting good coverage on the fills. I repeated the staining until the colour was what I was aiming for. The picture below is of the same pipe after staining and buffing with White Diamond. It was finished with several coats of carnauba wax. Can you see the fills that were evident above? I assure you that in person it is just as hard to see them.

Image

A Tiny Pair – Refurbishing and repairing an old couple


Blog by Steve Laug

This morning I decided to work on these two old timers – a little mini bulldog and a mini bent billiard. Both are old as is clear from the orific button on the stems and the shape of button on both (the round hole in a crowned surface of the button – see the photo below).

Image

The first is a no name bulldog with a gold band on it. It has EP on the band which I believe means Electro Plated. The stem was in pretty fair shape though the previous owner had cut a small groove in the stem about a 1/8 inch ahead of the button on the top and the bottom. The bowl was in pretty good shape though it was darkened near the band and there was a deep cut on the shank about mid way along toward the bowl and on the bowl side – both on the right side and visible below. The photo with a penny (1 cent piece) gives a good picture of the size of this little dog. The bowl was pretty clean so all I needed to do was wipe it out with a cotton swab and isopropyl alcohol. I did the same with the shank and the stem as well. It was pretty black and tarry on the inside of the stem and shank. I had to use a paper clip to break through the clog that was in the shank about mid way to the bowl and also in the stem.

ImageImageImage

I worked on the bowl and shank exterior with sand paper to remove the finish around the two cuts in that I was going to work on. I washed off the surface after sanding with acetone to clean off the briar dust and the remaining finish. Once it dried I decided to fill the cuts with clear super glue. The process is pretty straight forward – I drip a drop in both holes and lay it aside until it dries. Then I add another drop, lay it aside and repeat until the cut is filled. I find that the clear super glue is a great way to fill the cuts or pits as it allows the briar to show through clearly and once it is stained it virtually disappears. Once the super glue dried I sanded the spots with 240 grit sandpaper and then with 400 and 600 grit wet dry and water to smooth off the spots and remove any of the over flow around the spots. I want the super glue to fill only the spot and not carry over onto the clean briar so I sand it down level with the surface it is filling. I then sanded the entire bowl with micromesh pads from 1500-6000 grit and then wiped the bowl down with isopropyl alcohol on a soft cloth.

I then worked on the stem and sanded down the grooves to make the stem smooth once again. I used the same pattern of sanding – 240, 400, 600 grit sandpaper and micromesh – 1500, 1800, 2400, 3200, 4000 and 6000 grit. Once I had the grooves and the stem clean and pretty polished I took it to the buffer and used White Diamond on both the stem and bowl. I took it back to the work table and gave it a coat of Obsidian Oil and set the stem aside while I stained the bowl. I wanted to keep a lighter look to the bowl so I used some oxblood stain and wiped it on and off before it had time to dry. I gave it two coats and then flamed it. I buffed the bowl with White Diamond and then gave it a coat of carnauba wax. I also polished the band and gave it a coat of wax. Here is the finished pipe. The two cuts or pits have disappeared on the right side of the bowl (top picture).

ImageImageImageImage

I finished it and put it aside to work on the bent billiard. It was in a bit rougher shape than the bulldog. It is also a no name old timer with a gold band – very tarnished. The bowl was very grimy on the outside and the finish was cloudy and dark. The stem was grooved in the same manner as the bulldog – probably same owner making his own comfort bit to enable him to clench these little guys.

ImageImage

I scrubbed the bowl down with acetone on a cotton boll and removed the finish and the grime. The top was a bit dented so I gave it a very light topping and then sanded out the inside of the bowl and worked on the roundness of the inner rim as it was a bit out of round.  I used a small piece of sandpaper to bevel the edge enough to repair the roundness. I cleaned out the shank and the stem. This pipe was also clogged in both the stem and the shank so I use a paper clip in the shank and to open the end of the stem from each end. I then used small pipe cleaners soaked with alcohol until they came out clean. I set the bowl aside to work on the stem.

Image

The stem needed the same treatment as the one on the bulldog to remove the grooves from the previous owner. Fortunately on both pipes they were not very deep so it did not change the profile of the stem. I sanded the entirety of the stem down and used the same pattern of sandpaper and micromesh as above. I buffed this one with Tripoli before finishing with the micromesh. I gave it a coat of Obsidian Oil and set it aside to stain the bowl.

I cleaned the bowl exterior one last time and then stained it with oxblood stain – wipe on and wiped off pretty quickly several times to get good coverage. I polished the gold band with the highest grit micromesh pad (6000) and then gave the bowl and band a coat of wax by hand and once it dried buffed it by hand with a soft cloth. I put the stem back on and took it to the buffer and buffed the entirety with White Diamond followed by carnauba wax.

ImageImageImageImage

Here is a picture of the pair together so their diminutive size is clearly seen. They are incredibly light with group one sized bowls. They are clean and ready to smoke.

Image