Blog by Steve Laug
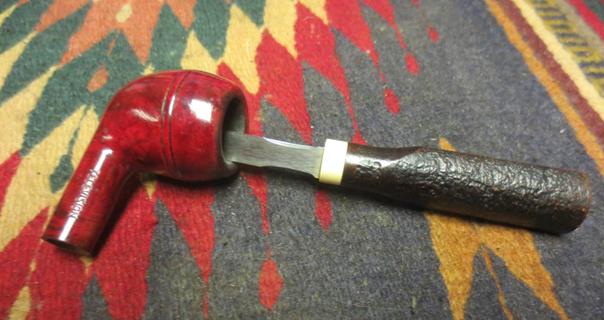
The fifth pipe from the lot left to me for cleanup by the fellow on holiday was this little no name Bulldog. When he showed it to me, it was later in the evening and in the twilight of my dim living room, I did not notice that it was a meerlined pipe and he neglected to tell me. Once I had the pipe on my worktable and examined it under the light I could see that it was meerlined and that the meerschaum lining extended all the way to the bottom and was thus a cup insert into the briar and not a lining that ended above the airway. Knowing that changed my cleanup routine in that I do not like reaming meerschaum lined bowls because it is too easy to damage the walls and the bottom of the bowl if they are soft or cracked. I use a Savinelli Pipe Knife to carefully scrape the walls clean and wipe it down with a wet paper towel.
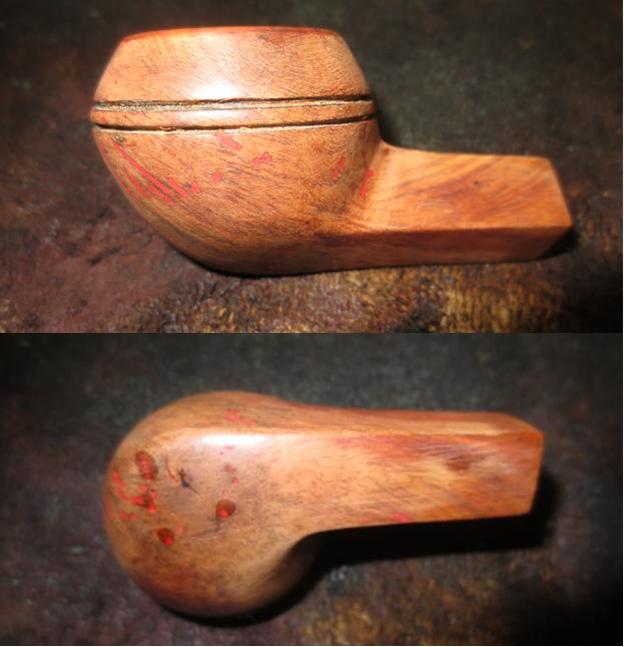
The pipe really was a mess in more ways than even the photos show. The finish was a thick varnish/urethane coat that had bubble and cracked on the heel of the bowl. The rim had a thick dark cake of tar that almost hid the proverbial line that separates the meerlining from the briar that holds it. The rings around the bowl were almost filled in with grime and grit. Looking at the bowl in the light I saw more pink/red fills than I have ever seen on a pipe. It seemed like there were fills between every darkened line of grain on the front and left side of the bowl and there were spot fills on the right and backside of the bowl. The inside of the bowl was caked with a thick, sticky tar that made me think that it had never been cleaned. The stem was hard to remove from the shank the goop (technical term here) was so thick and sticky. The metal spacer was attached to the stem not to the shank and it was oxidized and dirty. The surface of the stem was as sticky as the bowl surface and the button end had been chewed to the point that button was almost non-existent and the slot was virtually pinched closed. I have no idea how the owner was able draw smoke from the bowl to his mouth with this pinched and clogged mouthpiece.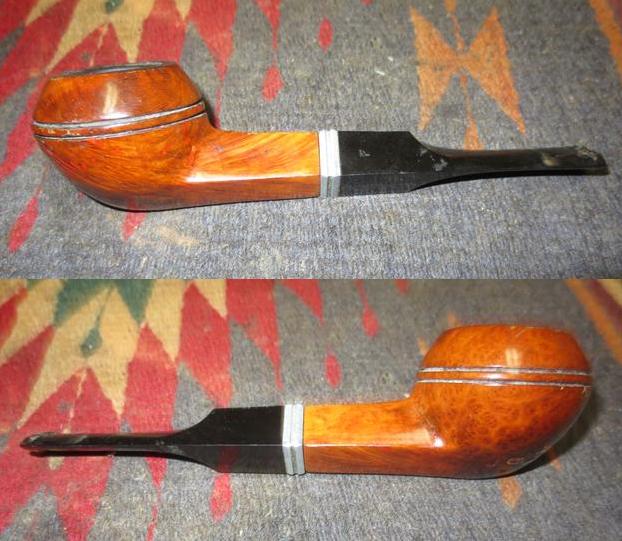
 The pipe was truly a mess and one that would take some time to clean up and restore. Sometimes when I work on a pipe like this one I seriously question whether it is worth restoring. The only thing that keeps me at it is not the worth or condition the pipe is in when I get it, but obviously, it was a favoured pipe and quite possibly a great smoker to the one who wanted it restored. That is what makes it worth it to me – perhaps I can bring it back to some of its former glory and make it smokeable once more.
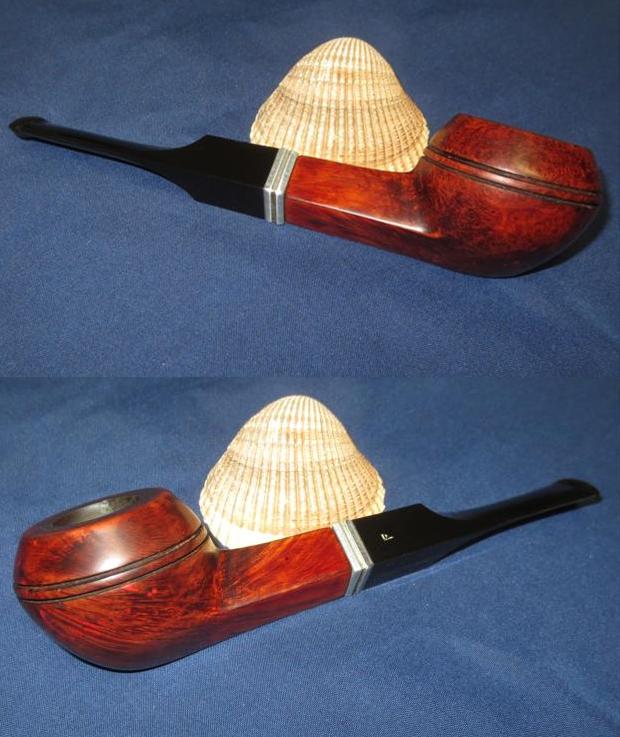
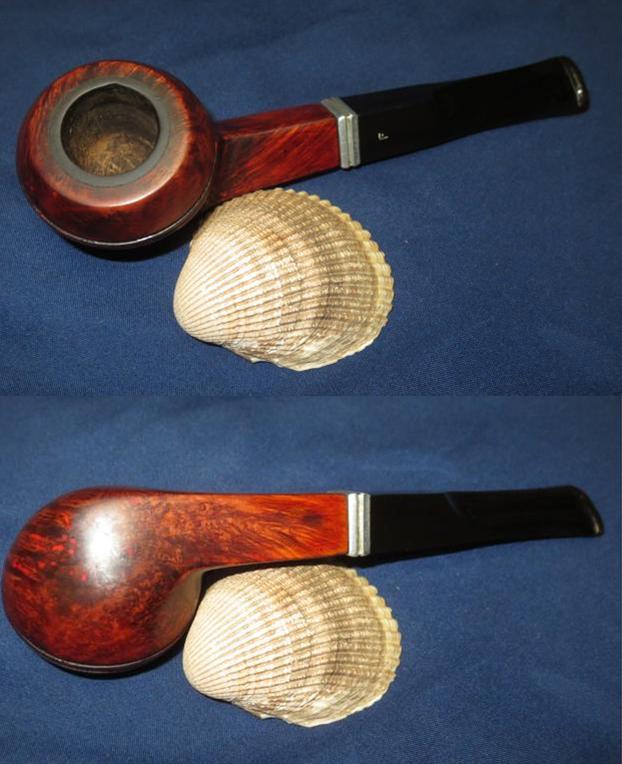
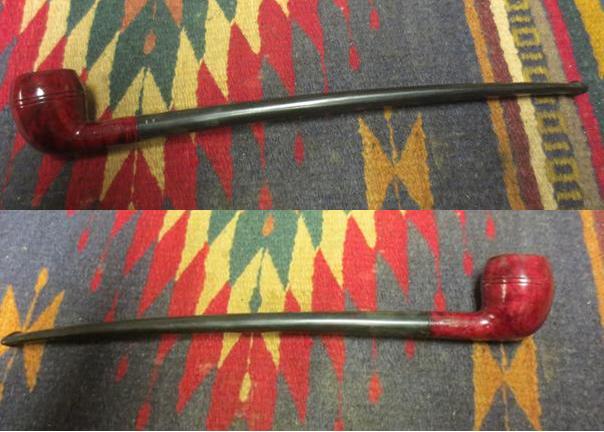
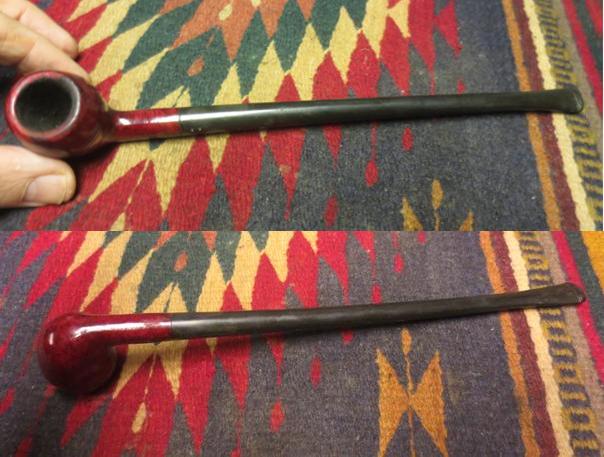
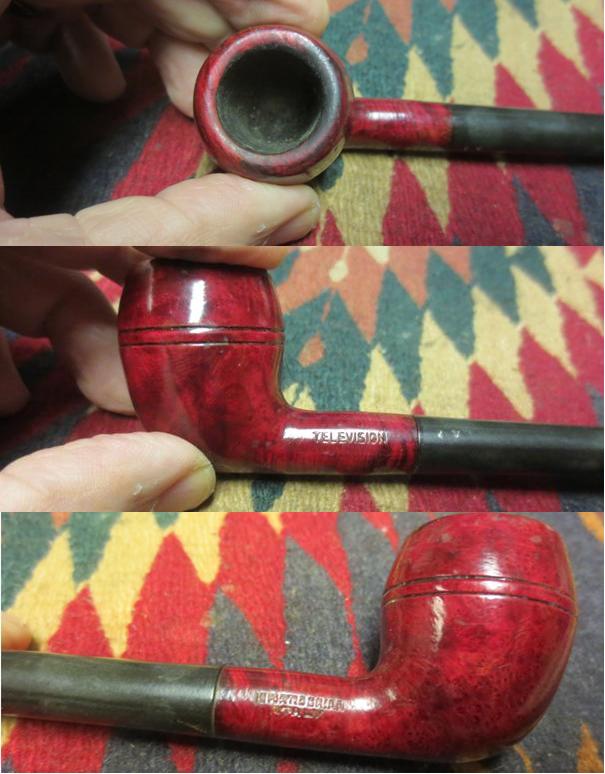
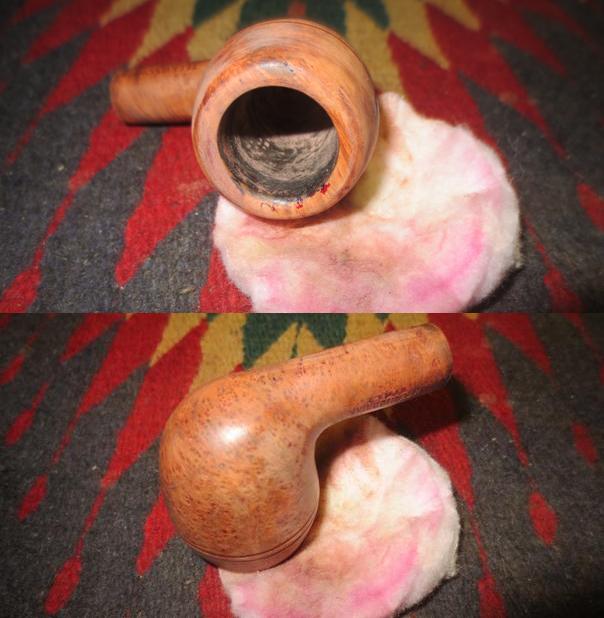
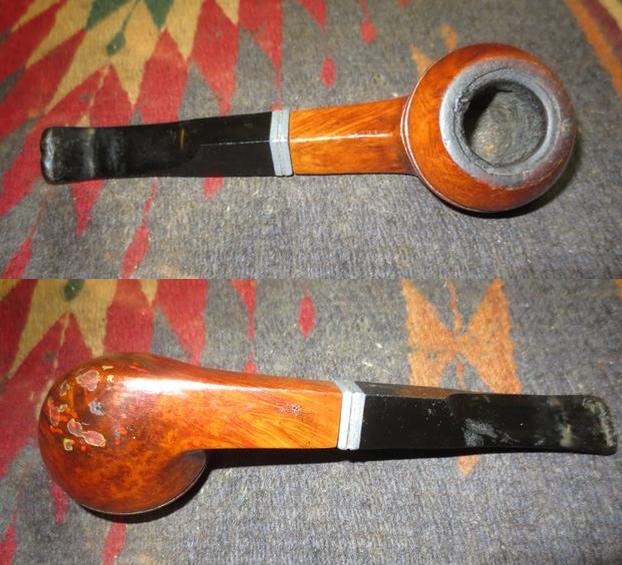
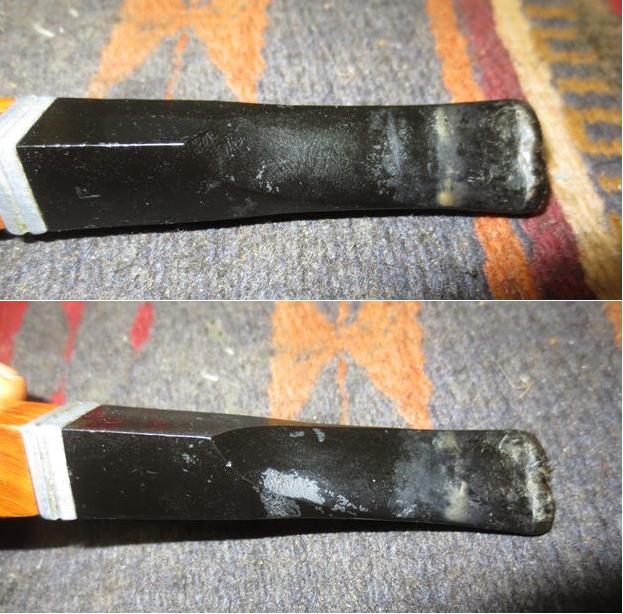
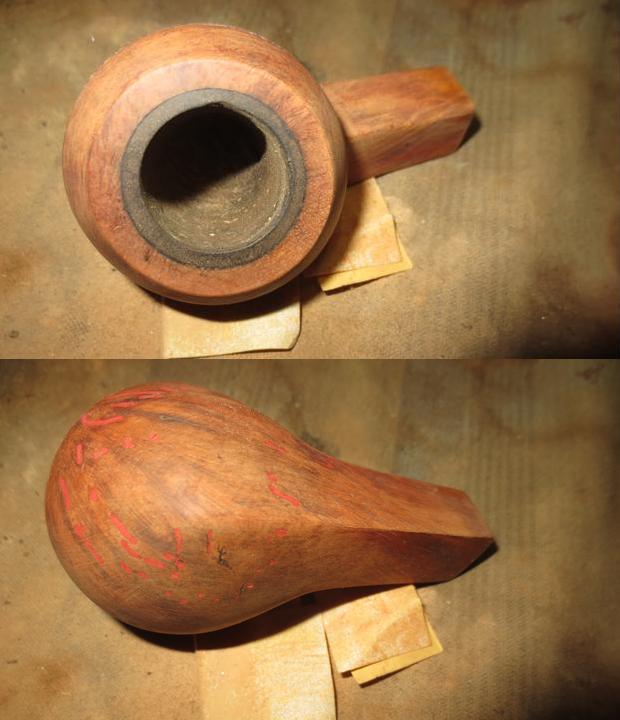
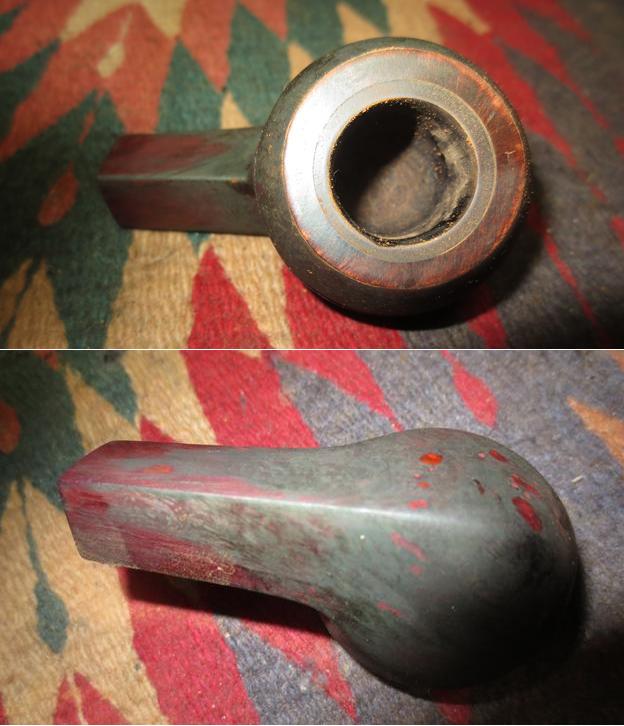
I took some close up photos of the state of the pipe before I started the restoration process. The first one shows the telltale inner ring on the bowl that signaled a meerlined bowl to me. The build up cake that flowed out of the bowl and over the rim is visible. The only thing you cannot experience is touching the stickiness and smelling the stink of a very dirty pipe. The second photo shows the heel of the pipe with the bubbled finish, missing fills and partial fills that will need attention. The last two photos show the condition of the stem – note the tooth marks and collapsed button visible in both photos. What is amazing is that the stem did not have any bite marks going through into the airway. On the one hand this pipe is a mess, but on the other it provides me with a challenge.
 The urethane/plastic coat on the bowl was impervious to acetone and alcohol. All it did was remove the dirt and grime but it did not faze the finish – even in the bubbled area on the heel. So much for the easy route of stripping the finish. I would have to resort to a more intrusive approach and sand the bowl. Fortunately, there were no stampings on the shank so I could sand the entire pipe. I sanded the urethane finish off the pipe and used a dental pick and sharp penknife to scrape out the grime in the twin rings around the bowl cap (fortunately the plastic coat did not go into the rings). Once I had broken through the finish I scrubbed the surface of the briar with acetone on cotton pads to remove the stain that was underneath the plastic coat. The red/pink putty fills are evident now that the finish is removed.
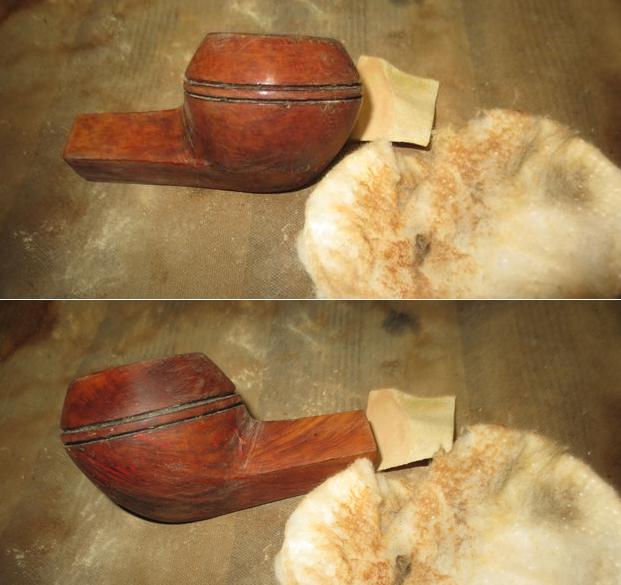
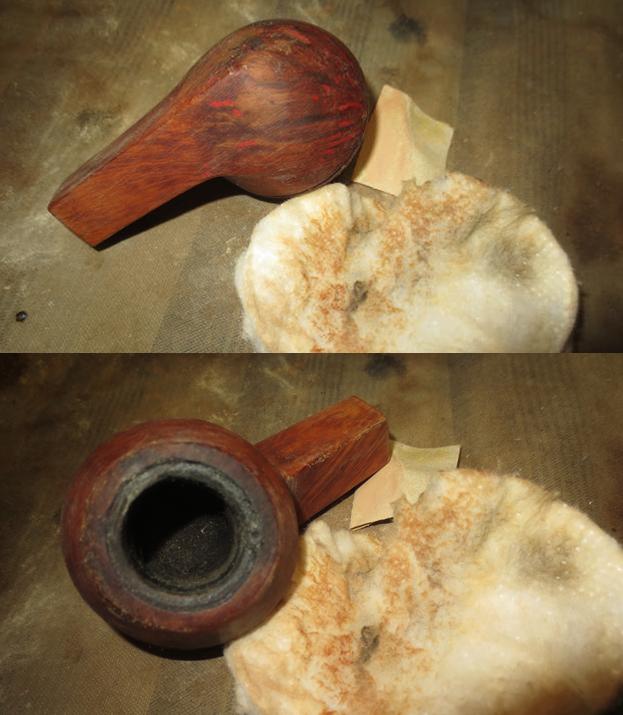 I scraped the cake out of the bowl with the Savinelli Fitsall Pipe Knife. I took the cake back to the meerschaum lining. The meerschaum was darkened from the tobacco stains and fire but it was solid and undamaged! I am thankful for that little bit of reprieve. I scraped some of the build up from the rim at the same time to see if there was damage underneath.
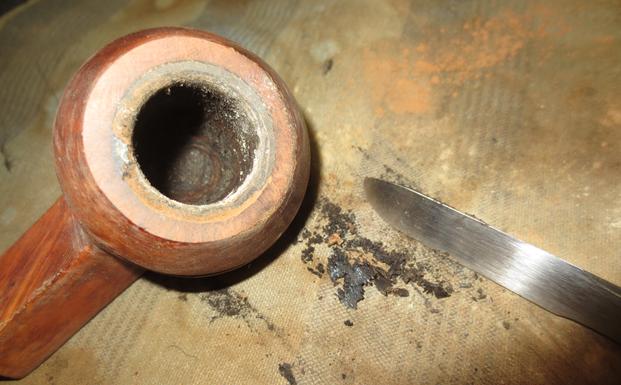 I decided to lightly top the bowl to remove the damage to the briar on the front outer edge of the rim cap and some of the deeper gouges in the rim top. I topped it on the topping board using 220 grit sandpaper. I wanted to have a smooth transition between the briar and the meerschaum insert. The topping achieved that goal.
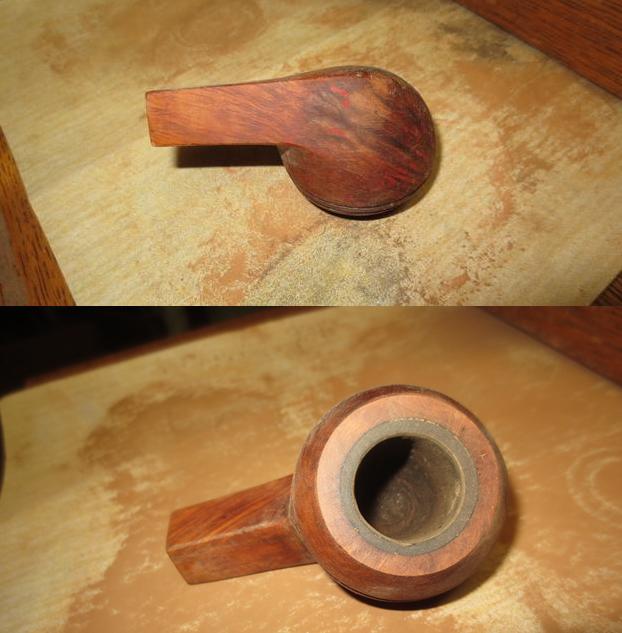 I sanded the exterior of the bowl with 220 grit sandpaper to smooth out the rest of the finish in preparation for repairing the damaged fills on the bottom of the bowl and to assess the other fills to see what needed to be done with them. I wiped the bowl down with alcohol on a cotton pad before I took the following photos.
 With the externals cleaned up it was time to turn my attention to the internals. I blew air through the end of the shank and found that pipe was clogged with just a trickle of air slipping through the shank. I pushed a metal rod through the airway to the bowl and worked it around to remove the build up that constricted the airway. I used a dental spatula to scrape out the walls of the mortise and the end of the mortise and remove the hardened, sticky mess that had formed along the walls making the stem fit very tight. I scoured out the airway in the shank and the mortise with pipe cleaners, cotton swabs and alcohol until the shank and mortise were clean. At this point the pipe was smelling far better.
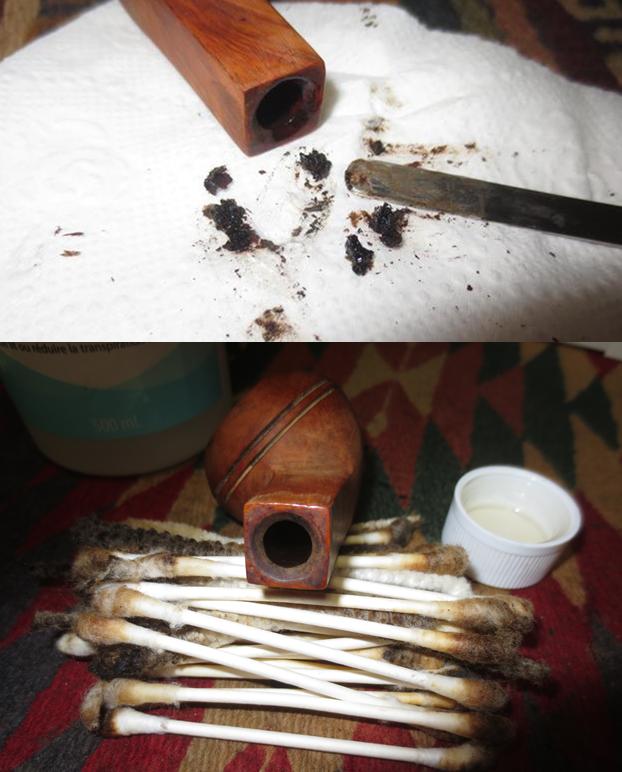 The stem needed the same treatment. I could not push a pipe cleaner through because of the build up of debris and the pinched button and slot. I used a dental pick to scrape out the metal tenon that had been made for a paper filter. It was so full of thick black tars and oils that it took a while to get that part clean. I worked the pick around in the slot until I was able to open the slot and airway enough to be able to push a pipe cleaner through it. I scrubbed out the tenon and the airway with alcohol, cotton swabs and pipe cleaners until it was clean.
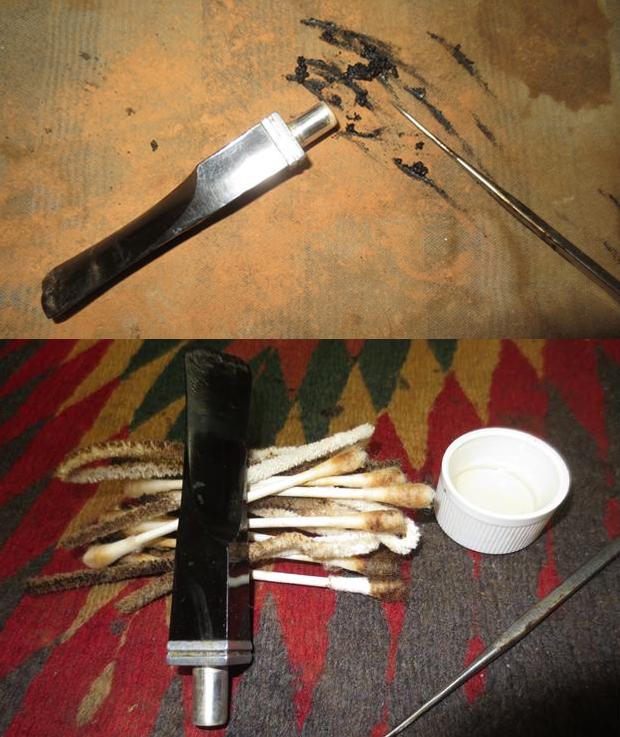 I used a file to smooth out the top of the existing button and the area one inch in front of the button on both sides of the stem. Once I had cleaned up with the file I sanded it with 180 grit sandpaper to smooth it further. I wiped it down with an alcohol dampened pad to remove the dust. I filled in the tooth marks in the stem and button with black super glue and set the stem aside to cure.
 I filled in the damaged fills in the heel of the bowl with clear super glue and set it aside to dry. Once glue had dried on the fills on the heel and cap I sanded the repairs with 220 grit sandpaper and blended them into the surrounding briar surface.
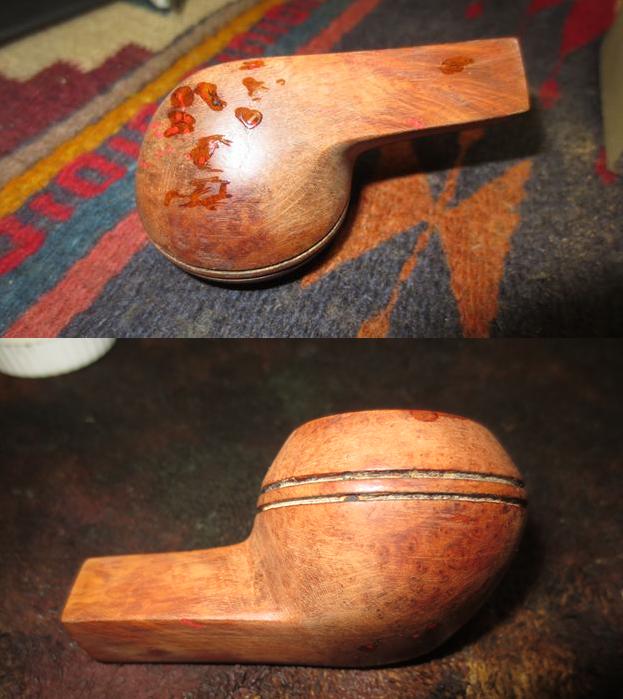
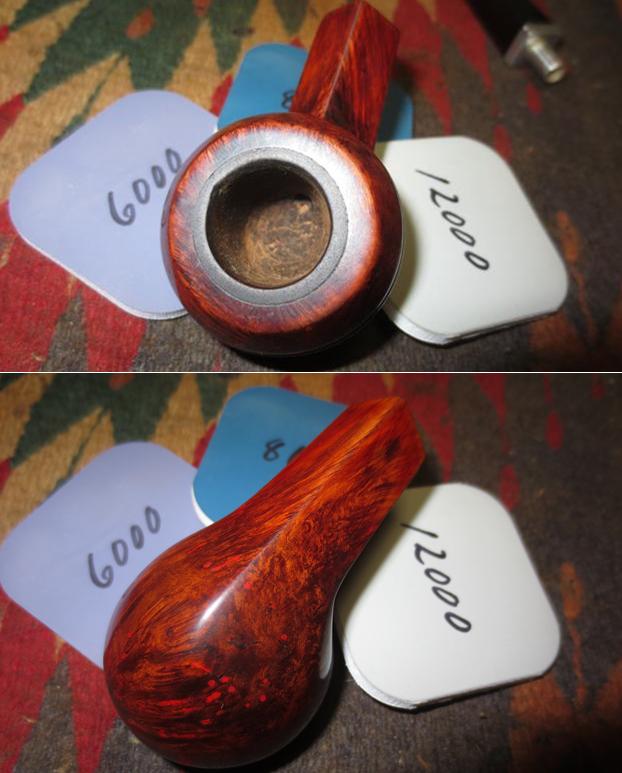
 I wrapped a piece of 220 grit sandpaper around a dowel and then my finger and sanded out the rough spots on the interior walls of the bowl. I wanted the surface of the bowl to be smooth meerschaum so that I could encourage the owner to not allow the cake to build up in this one but to wipe it down with a paper towel after each smoke.
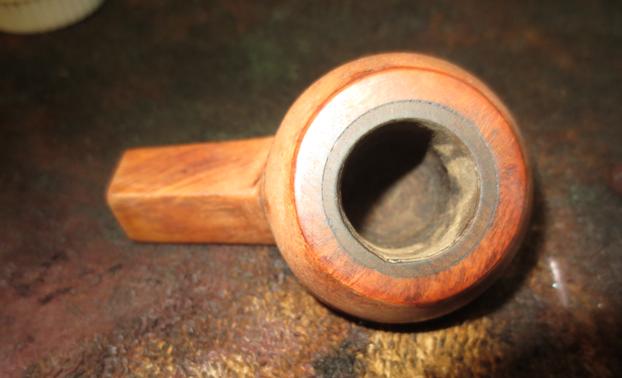 I sanded the bowl with a medium and a fine grit sanding sponge and with 1500-4000 grit micromesh sanding pads. Once it had a shine I stained it with a new bottle of dark brown aniline stain undiluted. I was hoping to get some coverage or blend in on the dark red fills on the bowl. I flamed the stain to set it and repeated the process until the coverage was even.
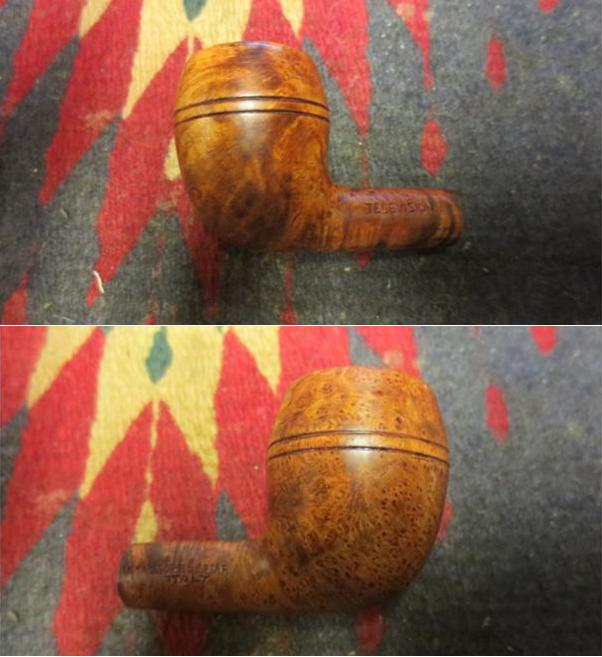
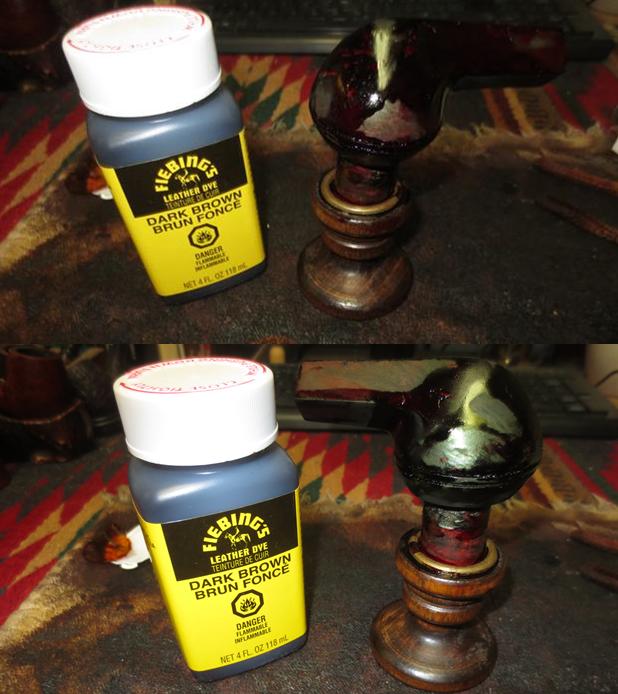 I let the stain dry overnight and once it was dry I took some photos of what Dal calls the crust of the fired stain covering the bowl. You can really see the fills stand out through the stain in these photos.
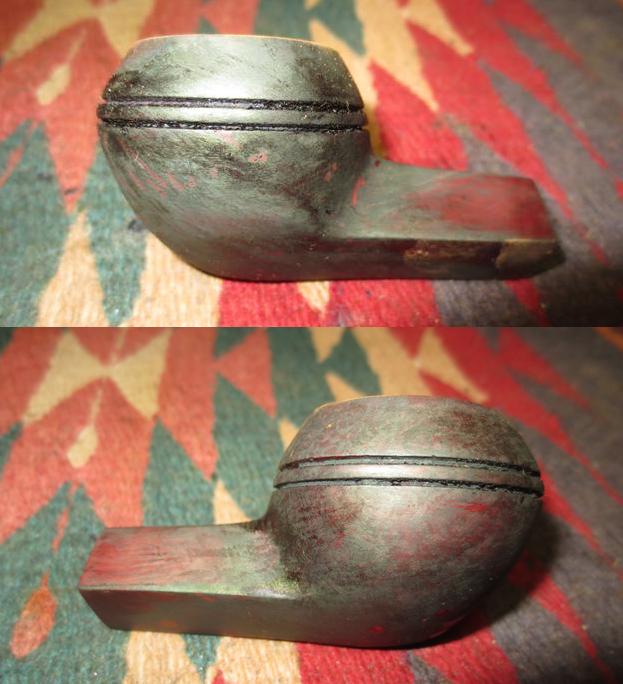
 I wiped off the crust coat with alcohol on a cotton pad to get it back to the stain coat so I could examine what I was going to work on.
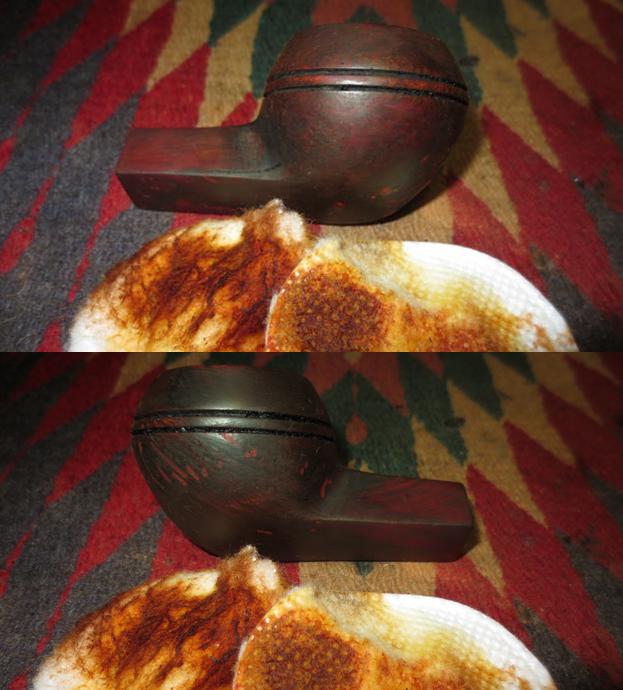
 I sanded the bowl with 220 grit sandpaper and remove the dark coat. To me the dark really made the red fill material stand out on the bowl and the fact that there were so many of them it looked like freckles. I sanded it back with the sandpaper which left behind some sanding marks and scratches that would need to be worked on.
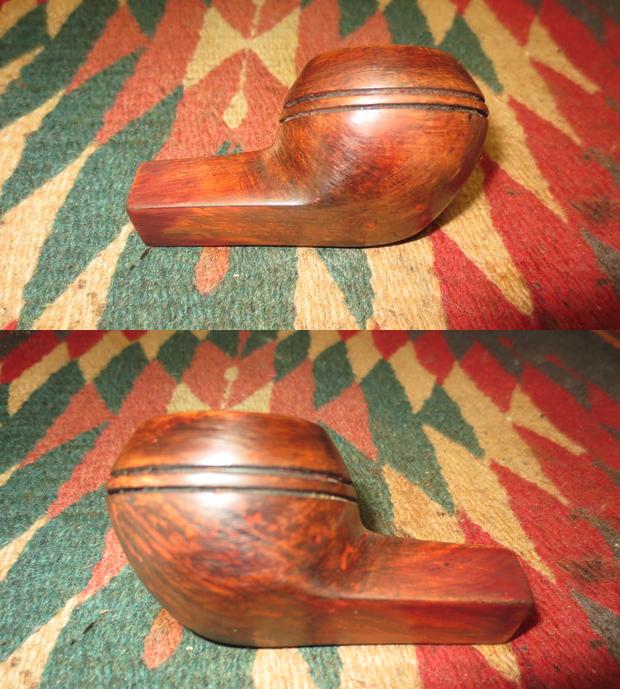
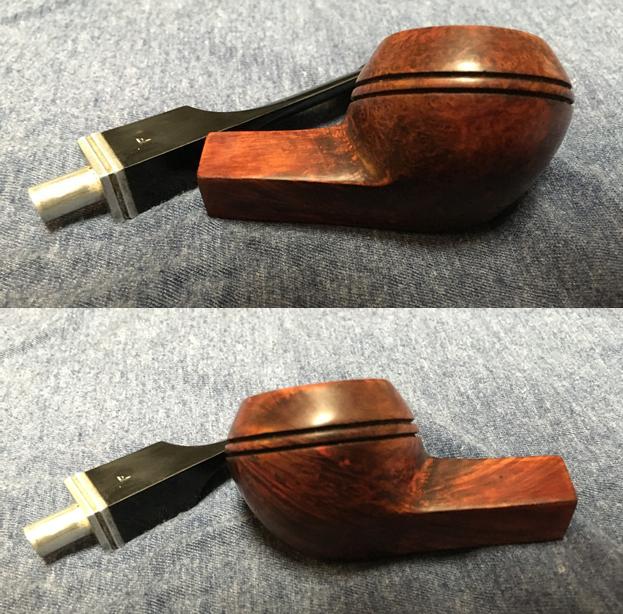
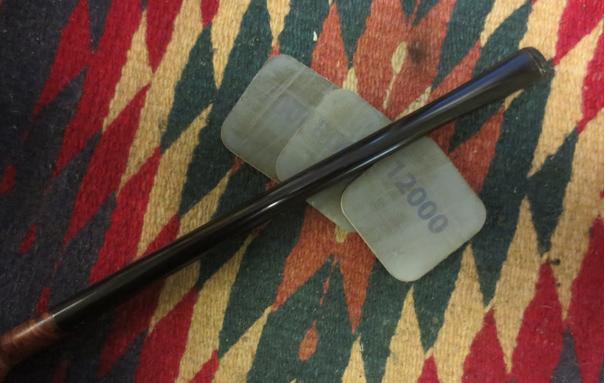
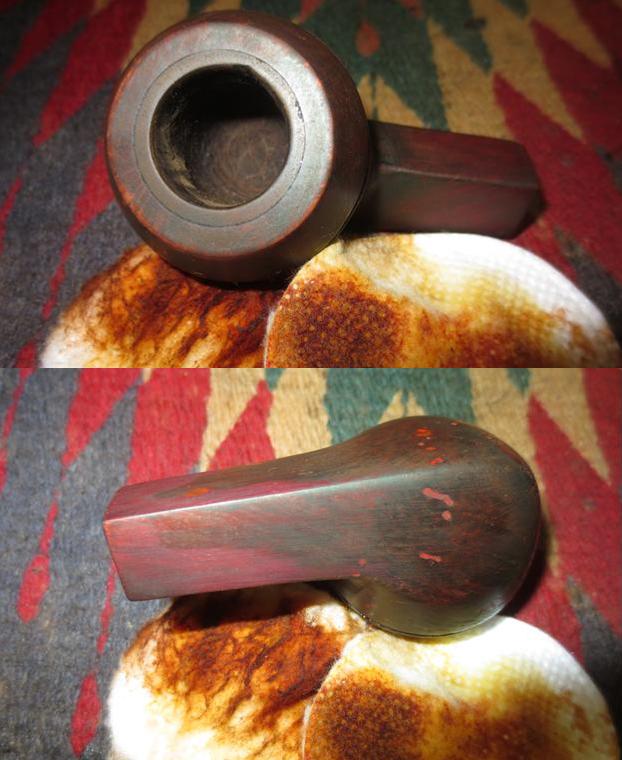
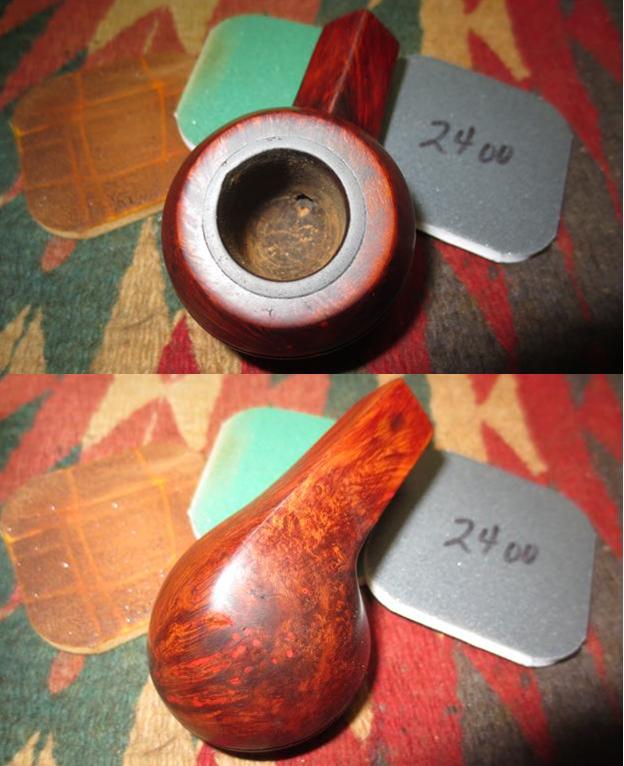
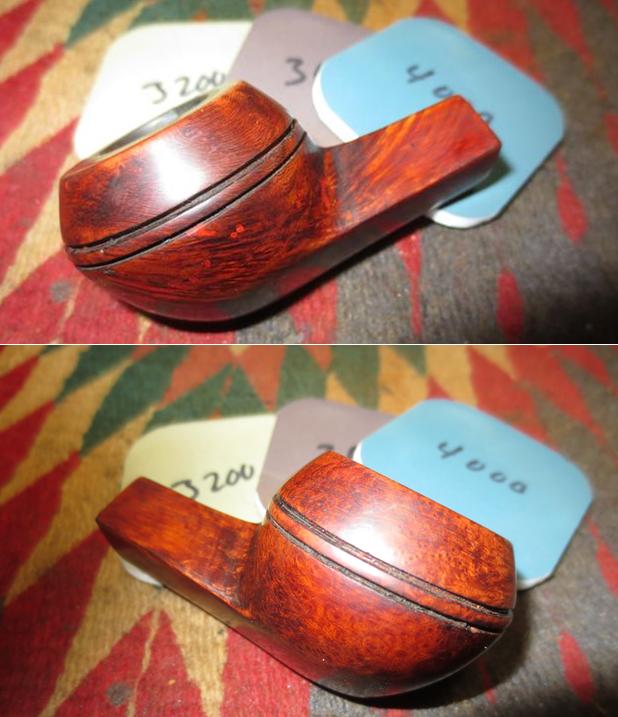
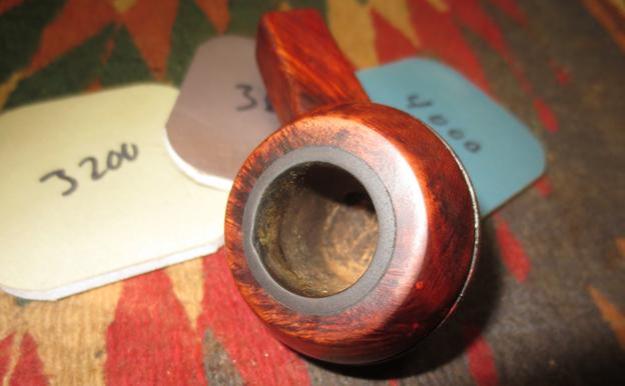
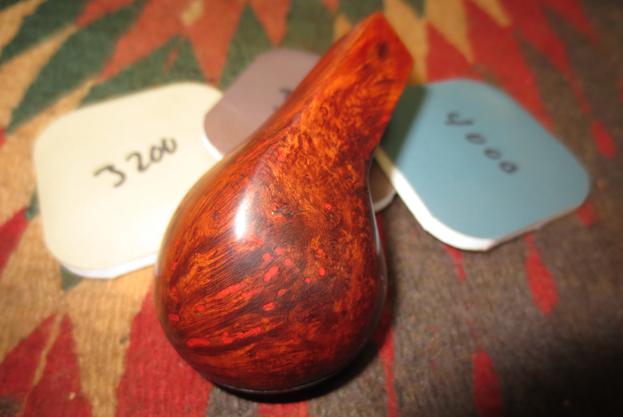
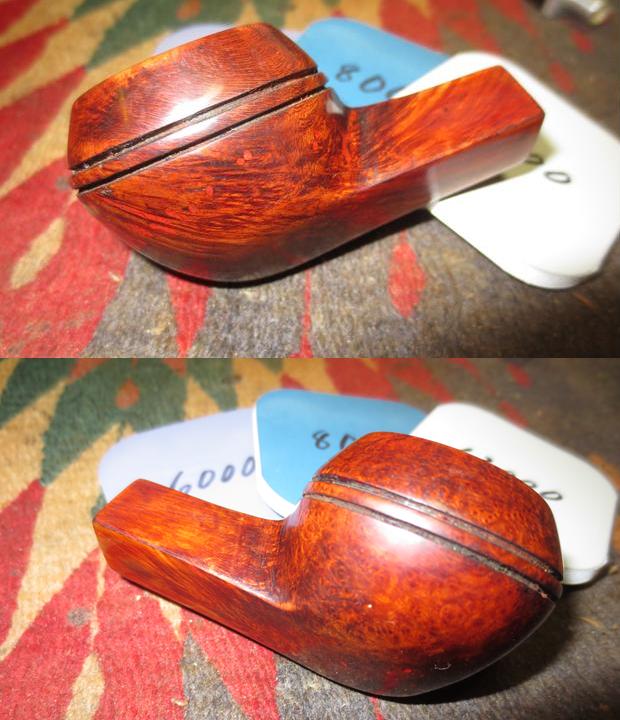
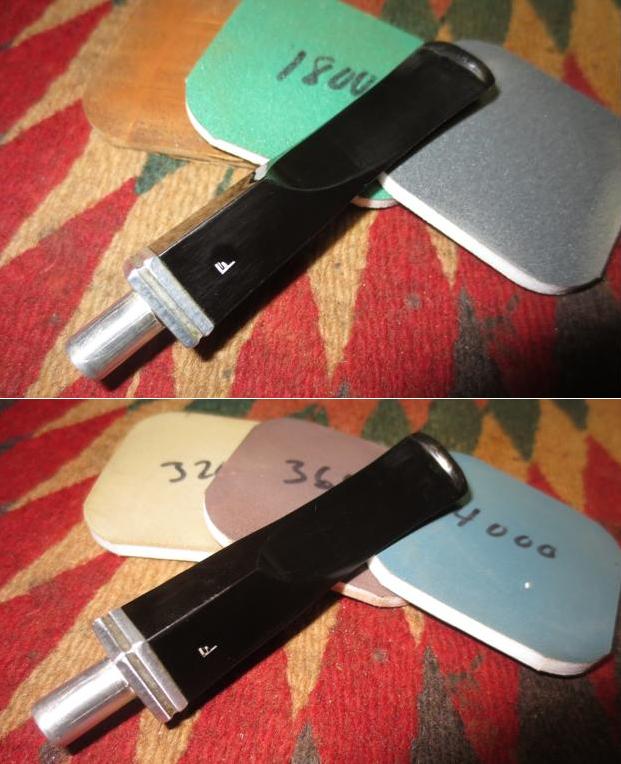
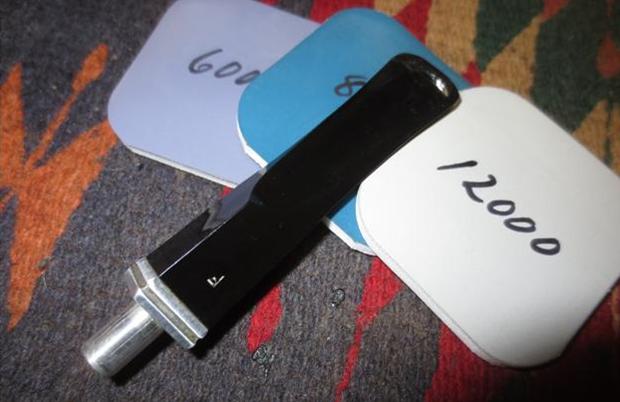
 I polished the sanding marks out by buffing it with red Tripoli and then sanding it with micromesh pads. I wet sanded the bowl with 1500-2400 grit pads (I opened a package of new pads to sand with). I dry sanded with 3200-12000 grit pads. The photos below show the progress. While the fills stand out to me the polishing tends to hide them a bit. The pictures below tell the story.
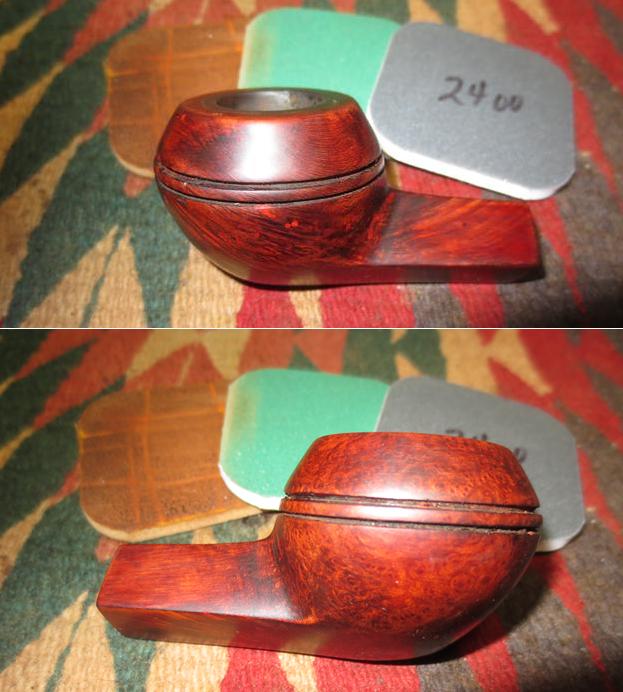
 The stem repairs had cured so I sanded the repaired areas with 220 grit sandpaper to smooth them out and blend them with the surface of the stem. I shaped the button with a needle file to make the edges cleaner and sharper. I touched up the repaired areas with a clear super glue and filled in the airholes in the cured super glue. I polished the stem with micromesh sanding pads – wet sanding it with 1500-2400 grit pads and dry sanding it with 3200-12000 grit pads. I rubbed the stem down with Obsidian Oil to enliven the stem surface. I hand buffed it with a microfibre cloth to raise the shine. I filled in the stamping on the stem with White Acrylic Paint and when it had dried I sanded it off.
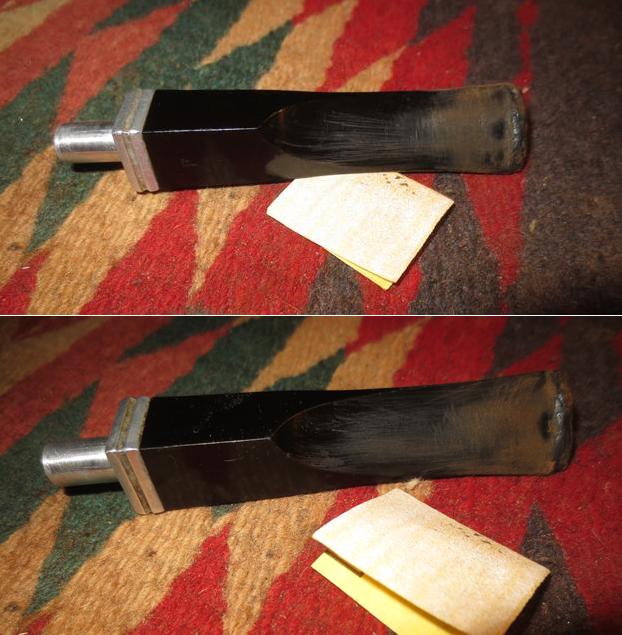
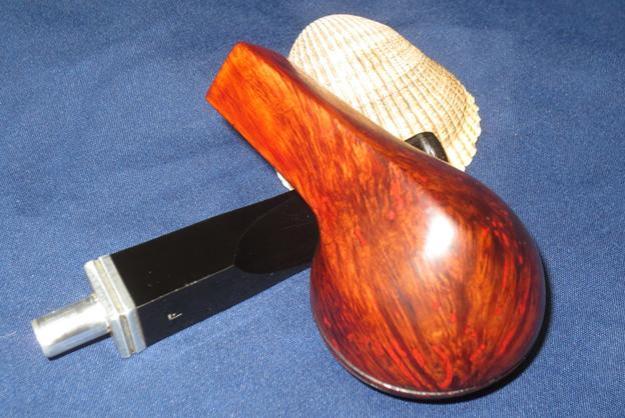
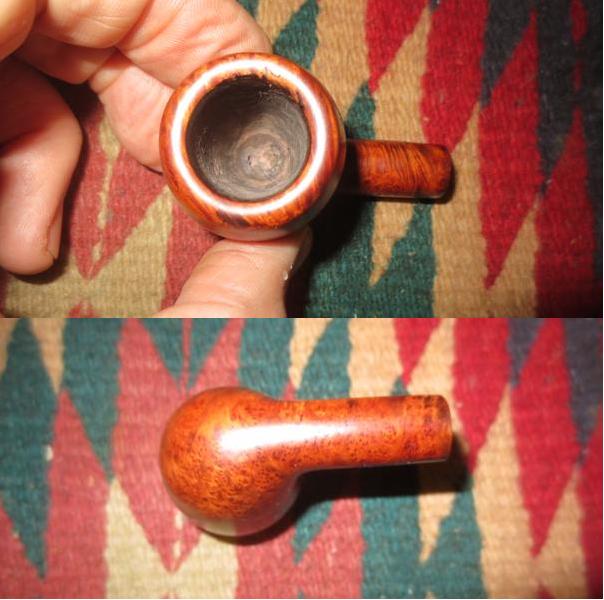
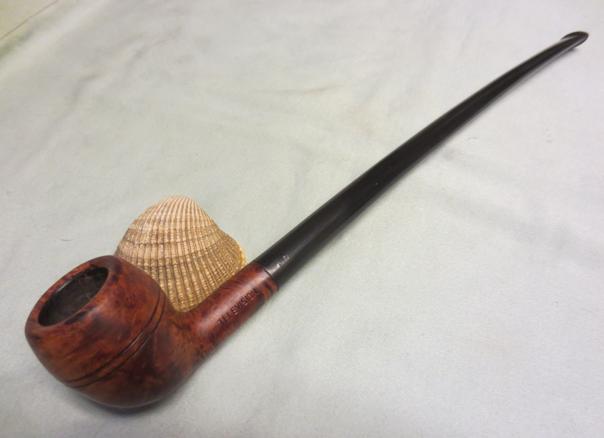
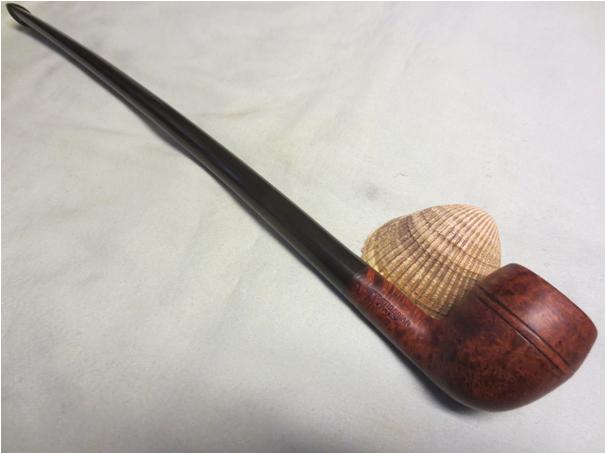
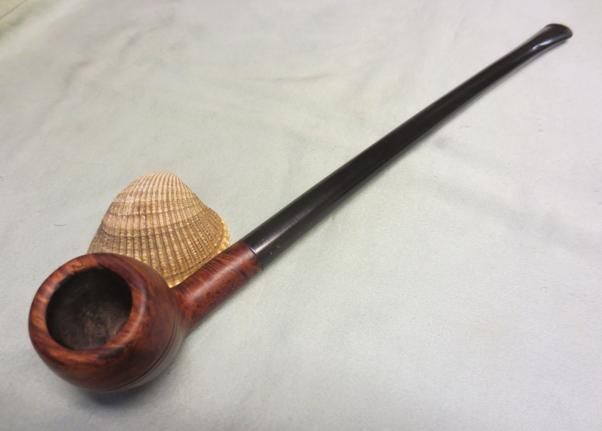
 I buffed the bowl with Blue Diamond polish to raise a shine. I buffed until the scratches were blended in to the surface. I gave the bowl and stem multiple coats of carnauba wax to protect the surface of the briar and stem. I buffed it with a clean buffing pad to raise the shine. I hand buffed it with a microfibre cloth to deepen the shine. I polished the metal decorative band on the stem with a silver polishing cloth.The photos below show the finished pipe. It looks far different from the pipe that I started with. The stain and wax blend the fills into the briar, and though still visible, they look far better than they did before. This is the seventh pipe I have restored and repaired for the gentleman who asked me to refurbish them for him. I look forward to seeing what he thinks when he sees this one.