Blog by Steve Laug
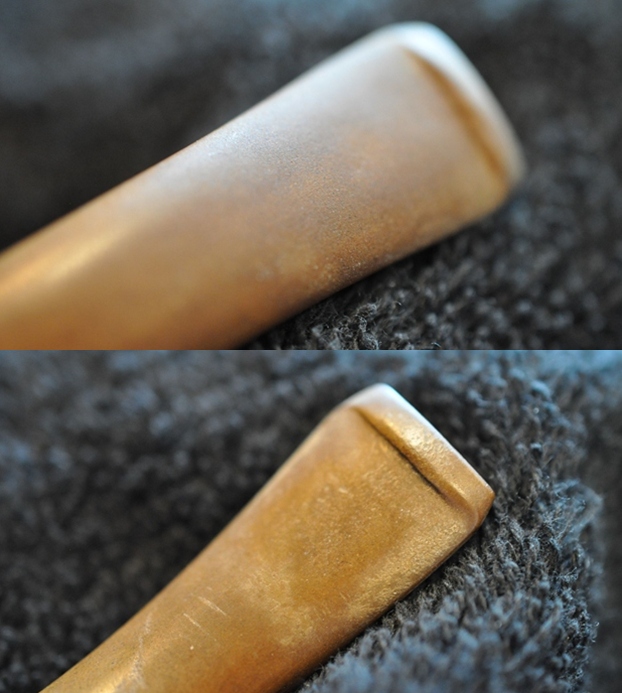
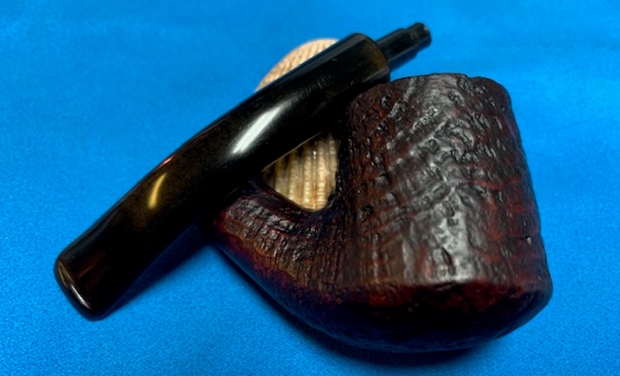
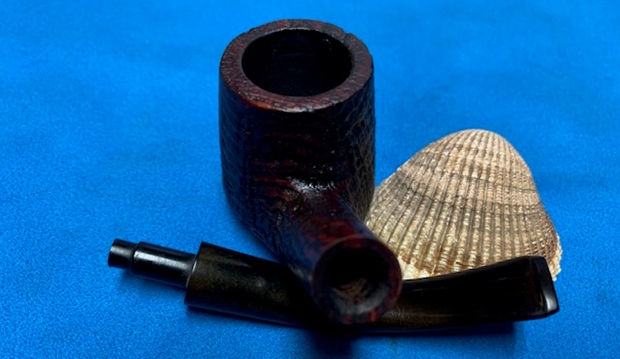
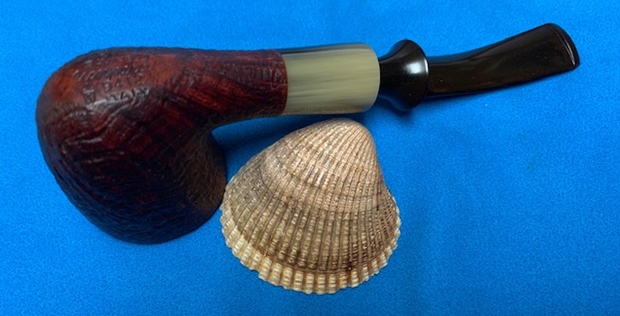
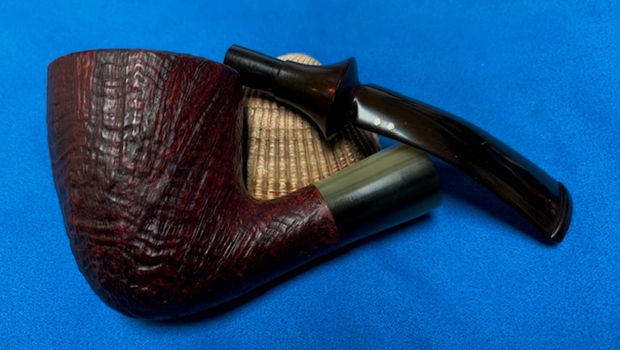
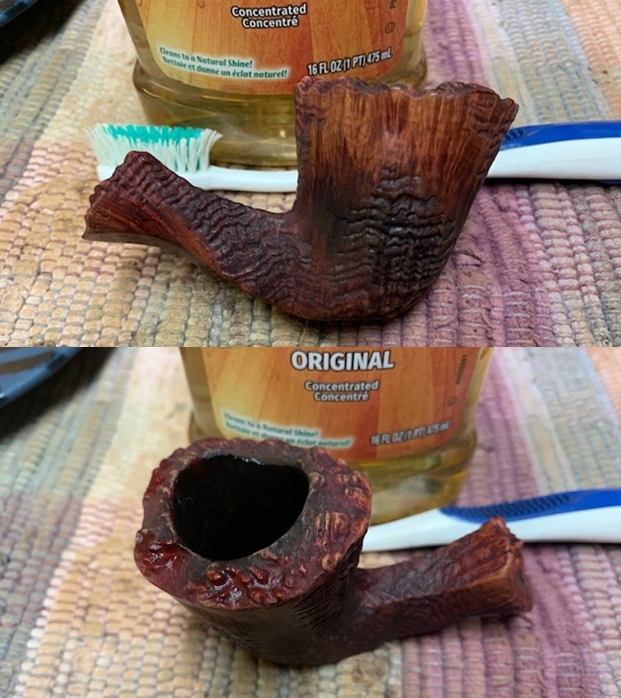
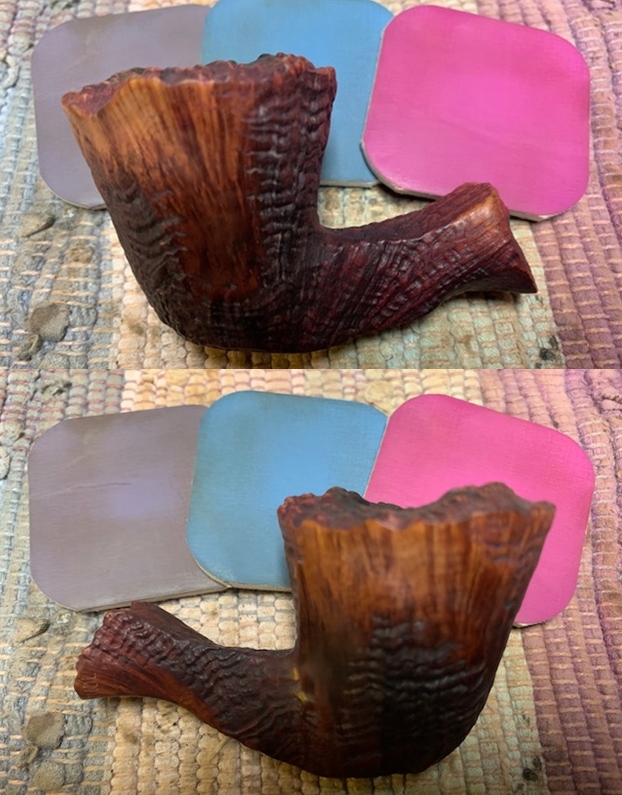
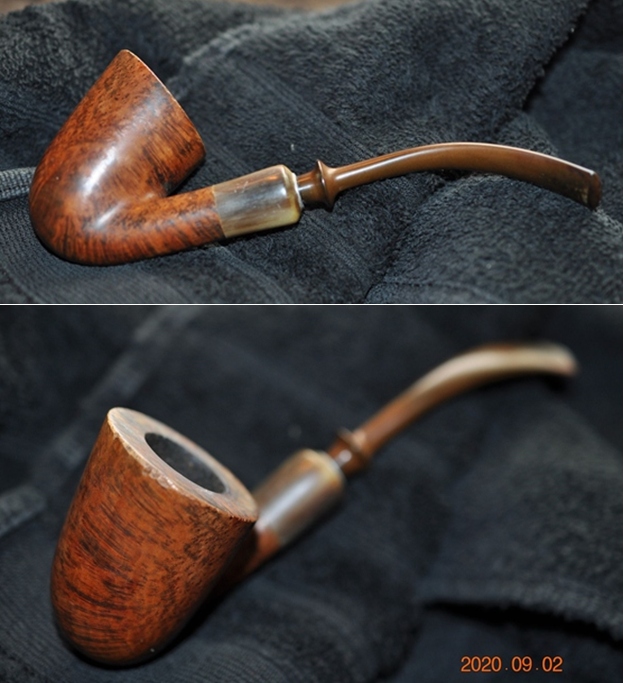
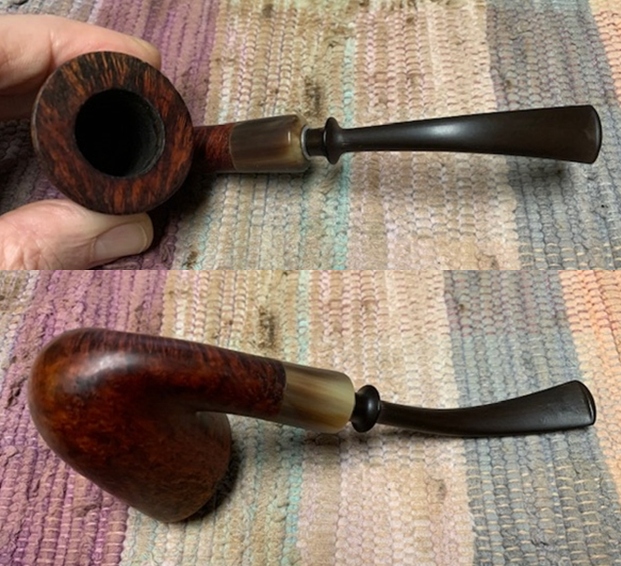
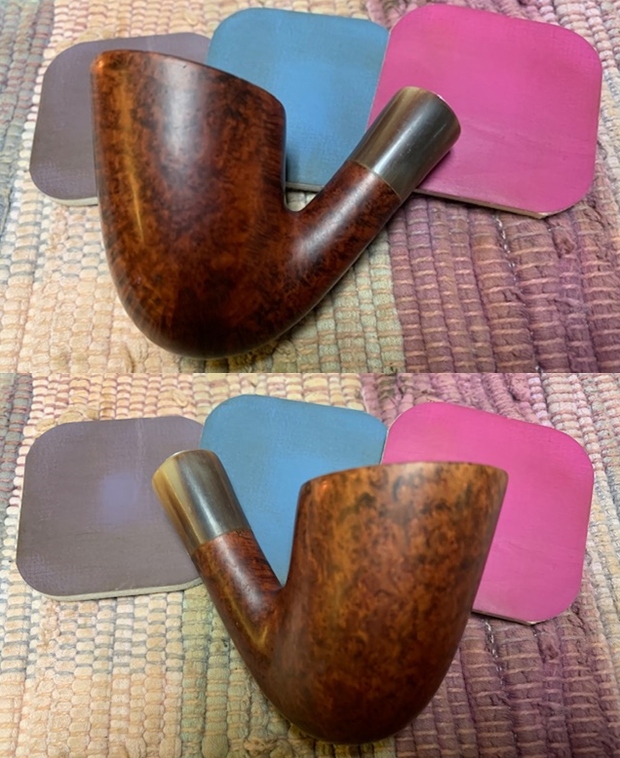
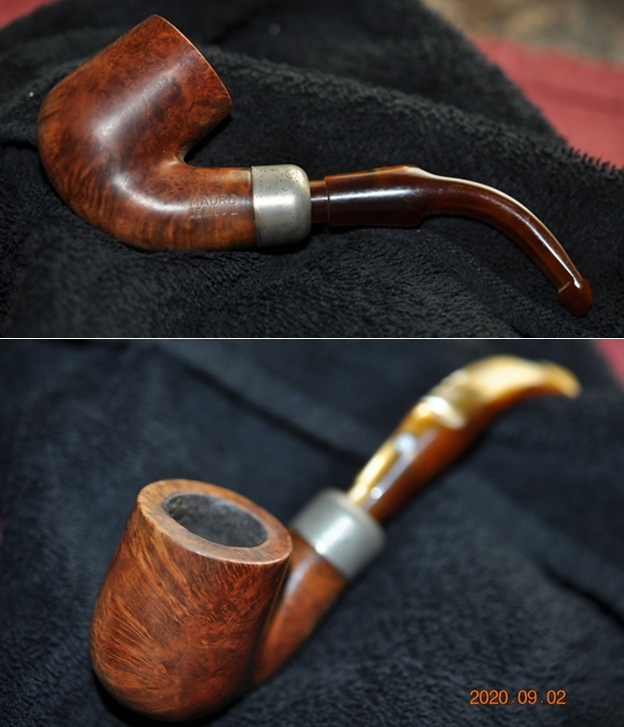
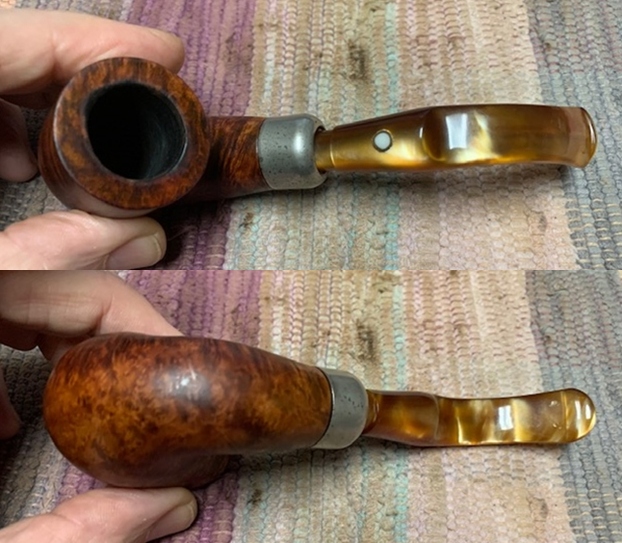
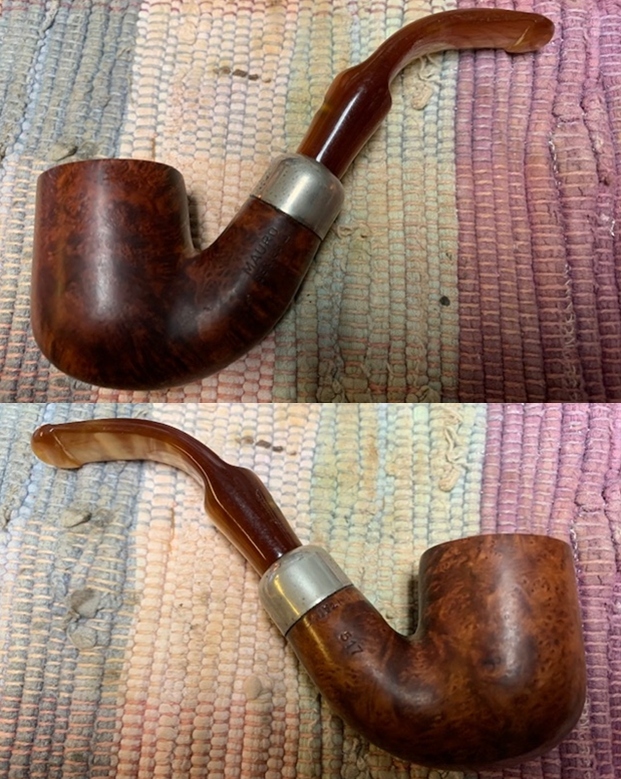
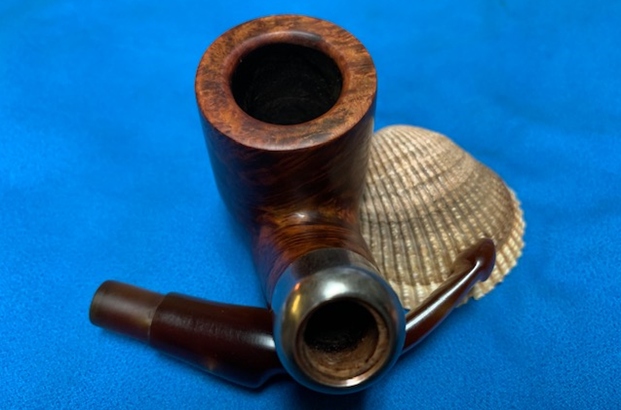
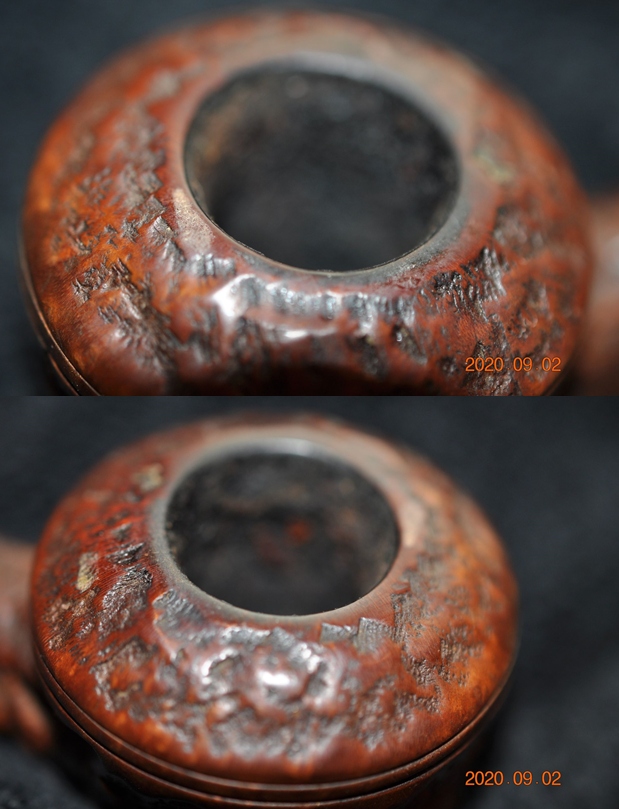
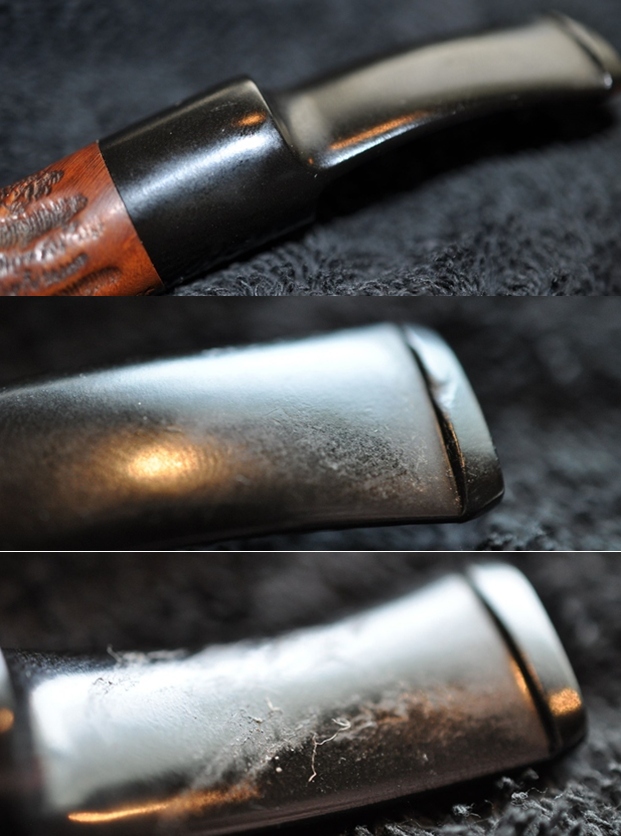
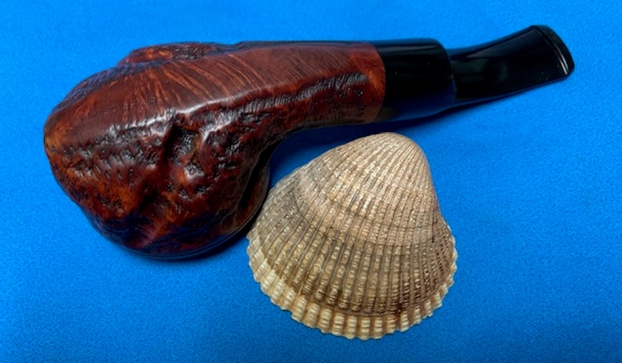
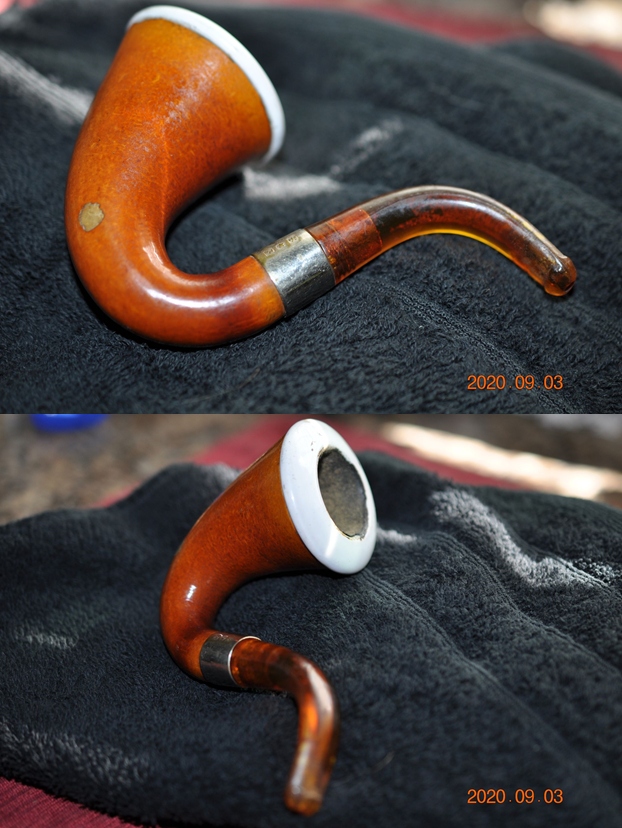
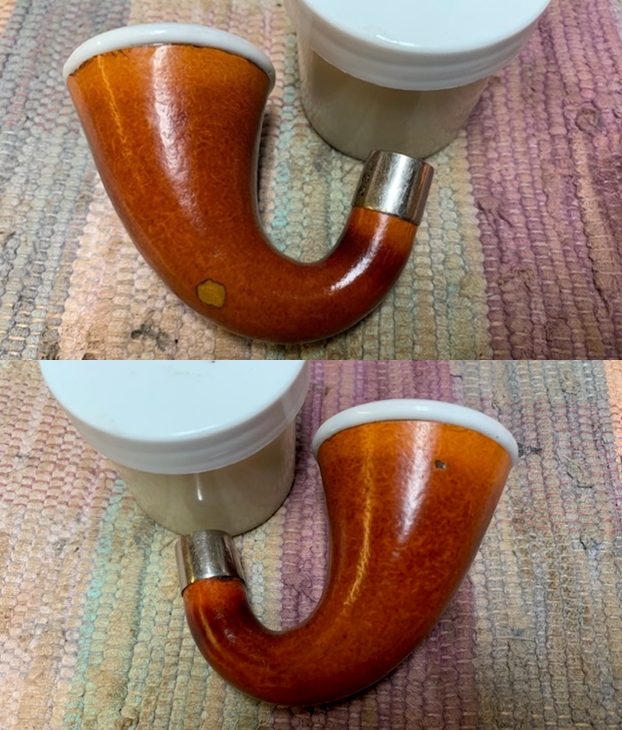
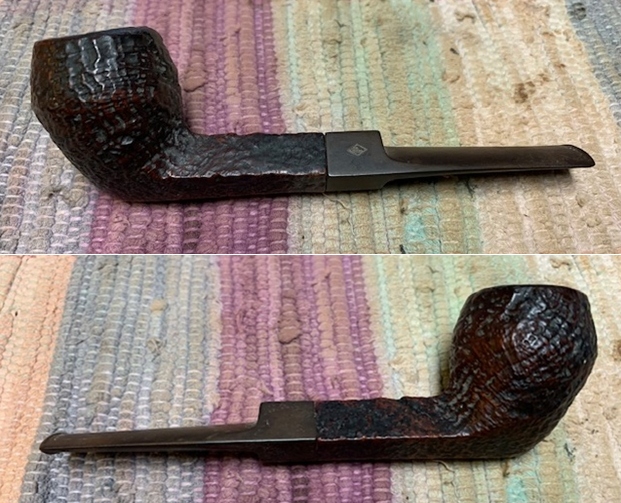
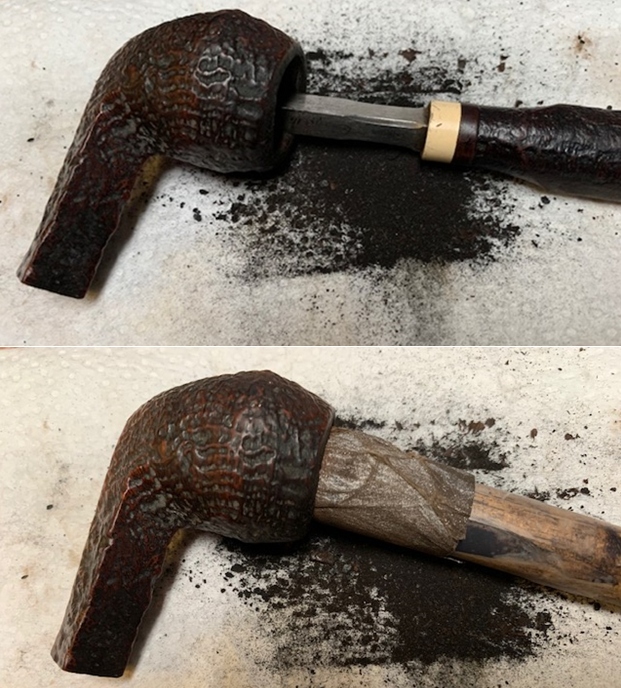
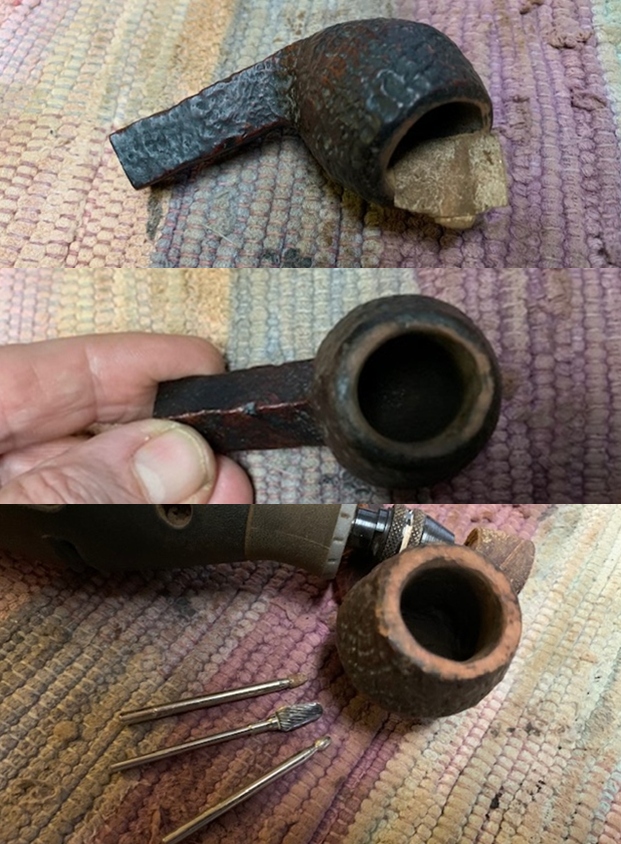
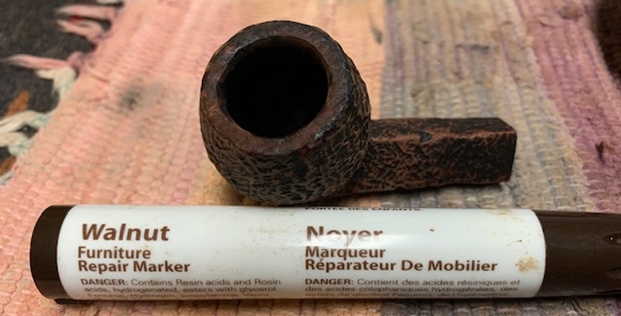
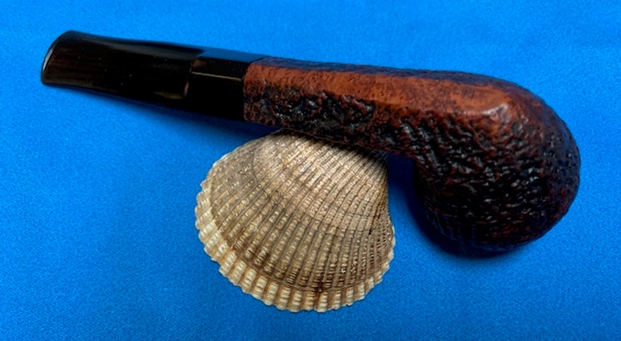
The next pipe on the work table came to us from a pipe hunt that Jeff and his wife recently did in Utah, USA. The pipe is an interesting looking Sasieni Sandblast pipe with a vulcanite taper stem. The pipe is well shaped and has nice sandblasted grain around the bowl. The pipe is stamped on the underside of the bowl and reads Sasieni [over] Four Dot [over] “Ruff Root” [over] London Made [over] “Richmond”. There was grime and dust ground into the nooks and crannies of the sandblast on the briar. The bowl was heavily caked with lava flowing over the sandblast rim top and edges. The inside edge looks like it may actually be undamaged under the lava coat. The outer edge looks very good. The taper vulcanite stem was oxidized, calcified and had tooth chatter and marks on the top and underside near the button and on the button edge. There were four light blue dots on the left side of the taper in a diamond pattern. The pipe showed a lot of promise but it was very dirty. Jeff took some photos of the pipe before he started his cleanup work. 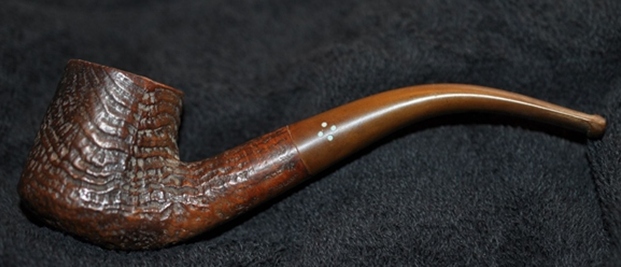
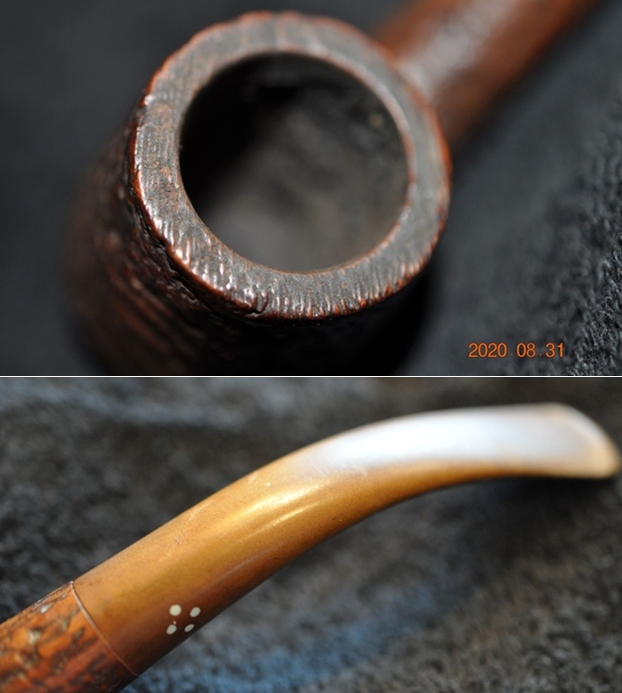
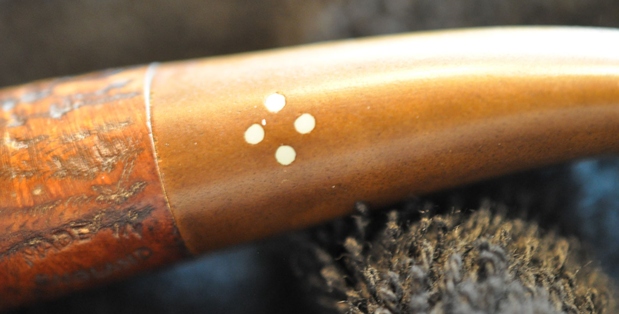
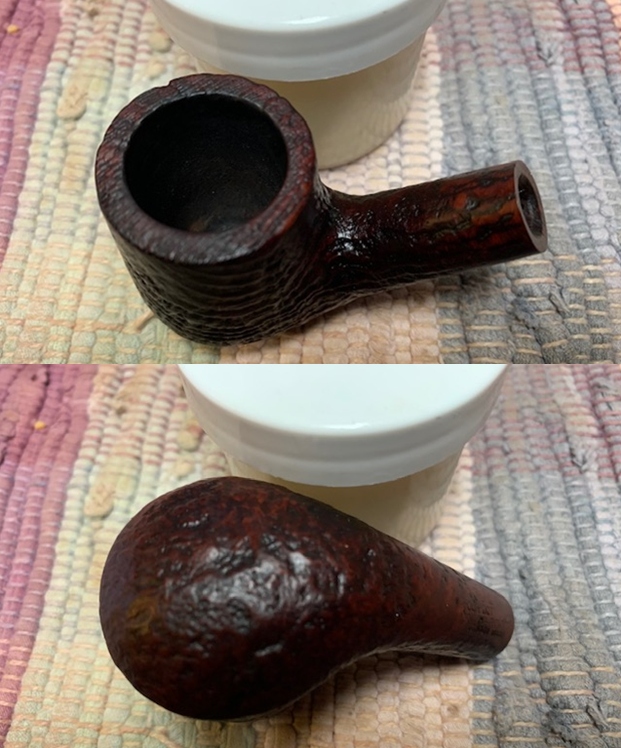
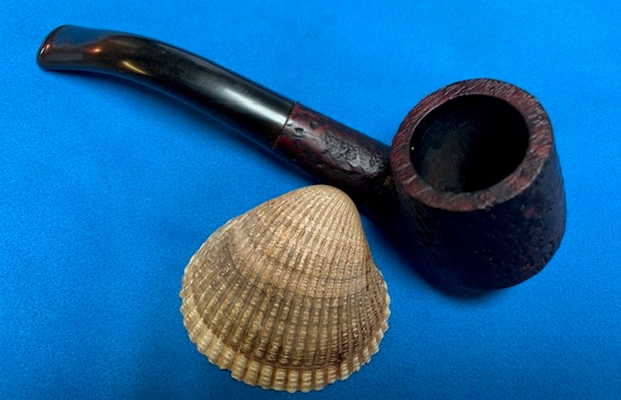
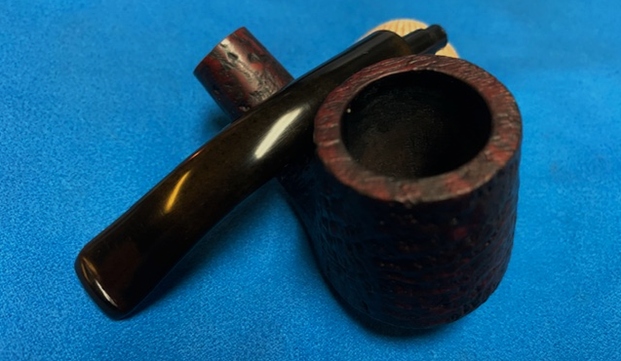
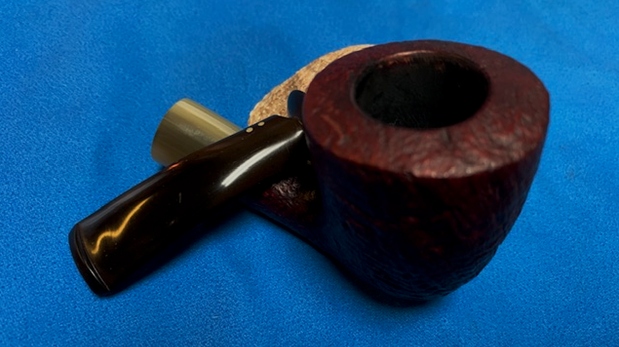
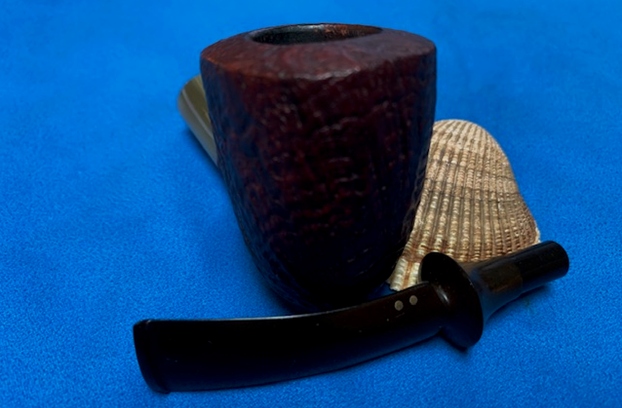
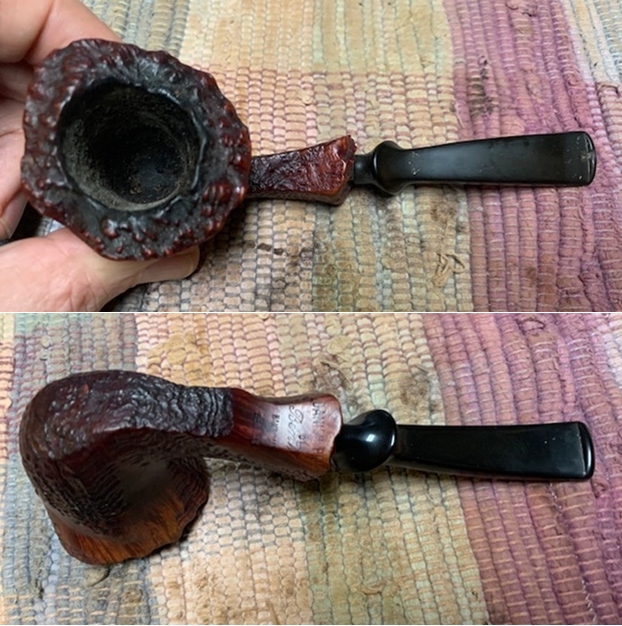
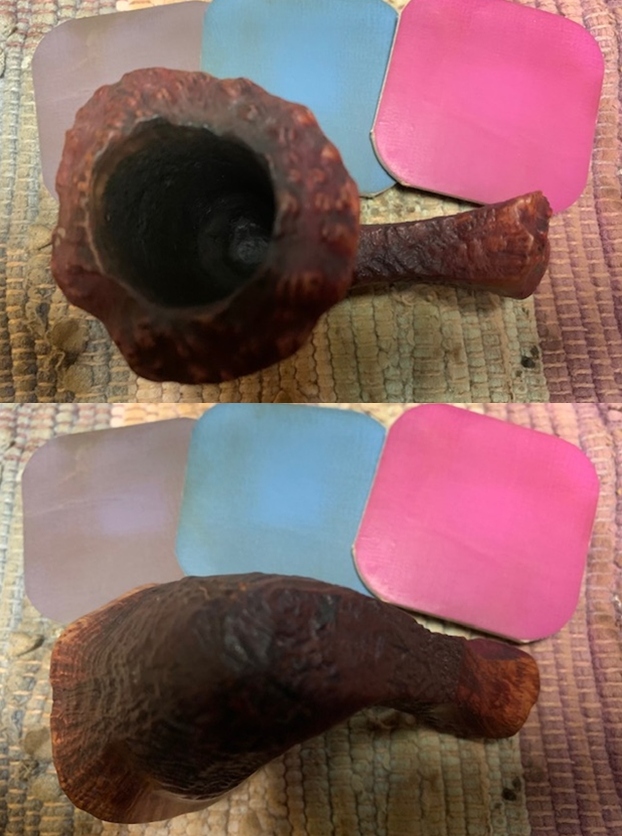
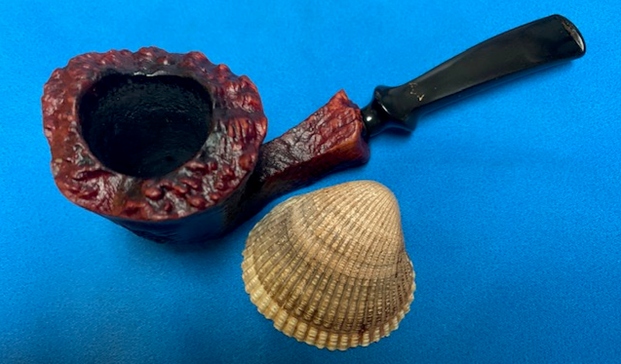
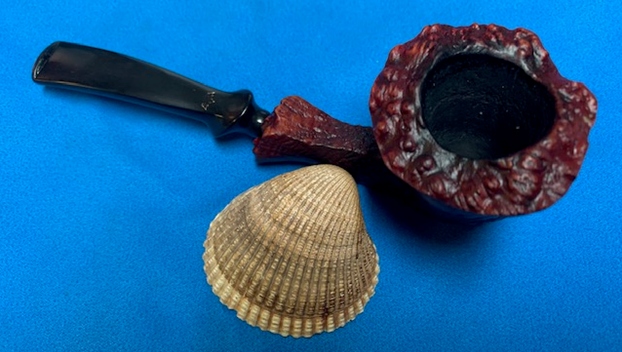
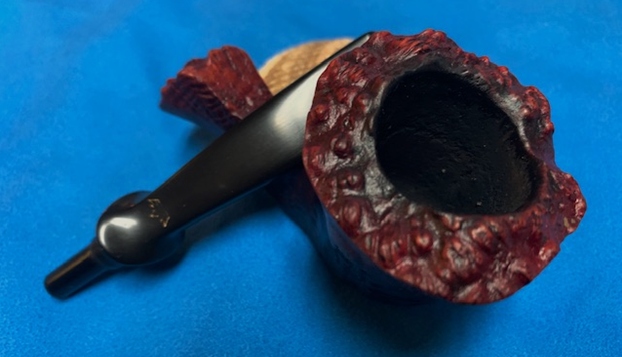
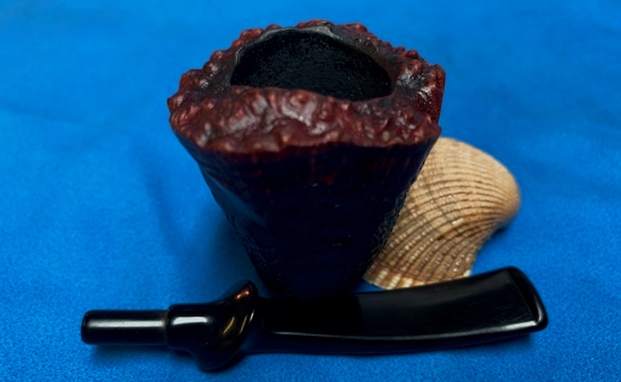
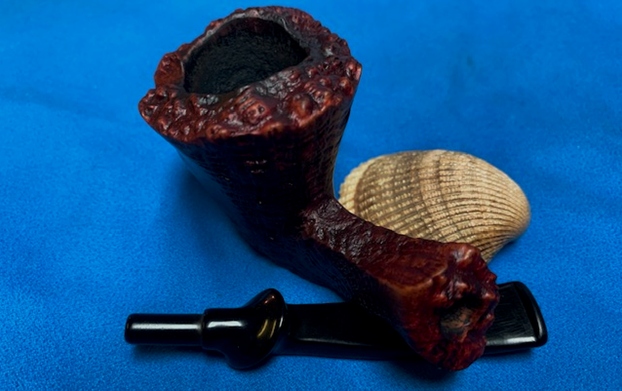
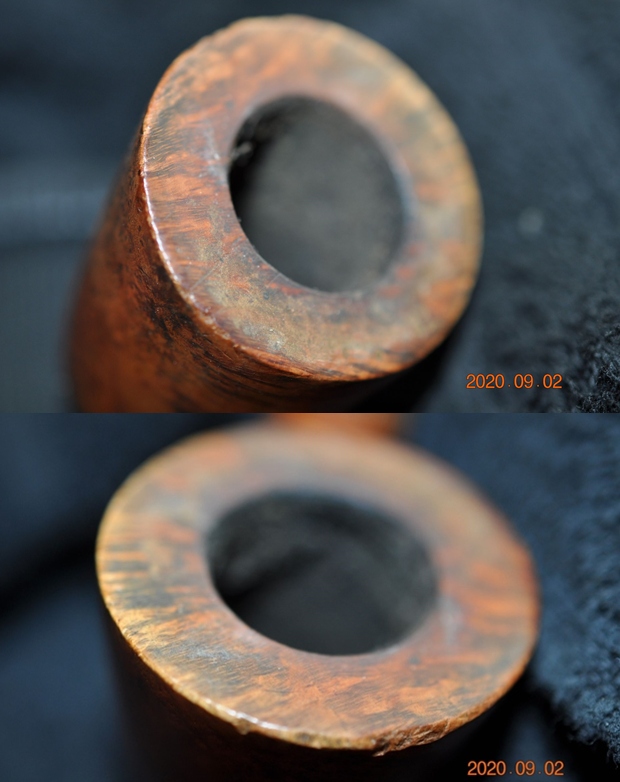
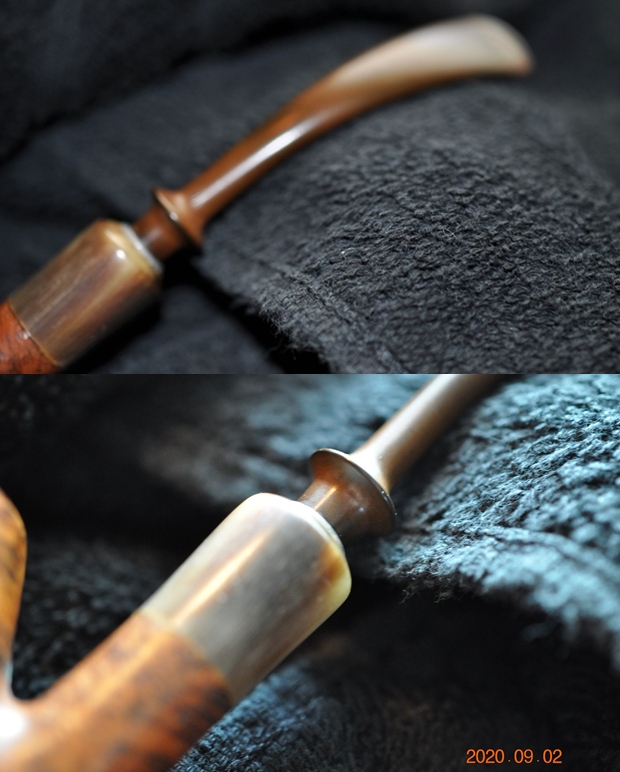
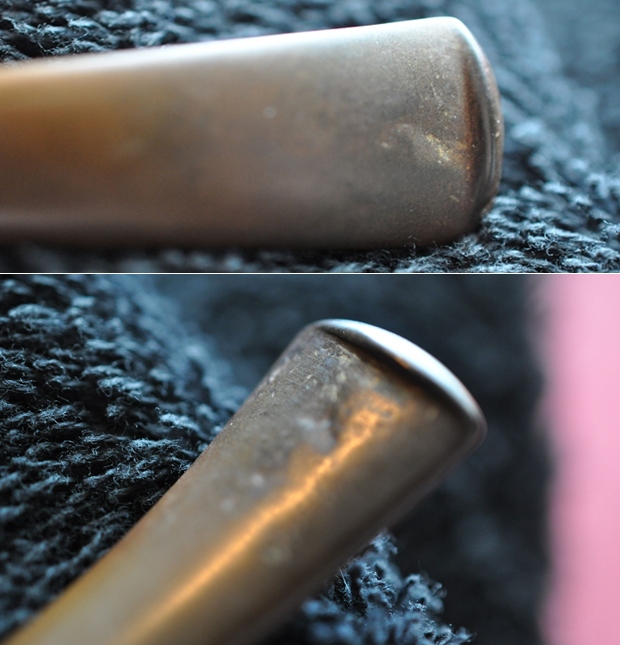
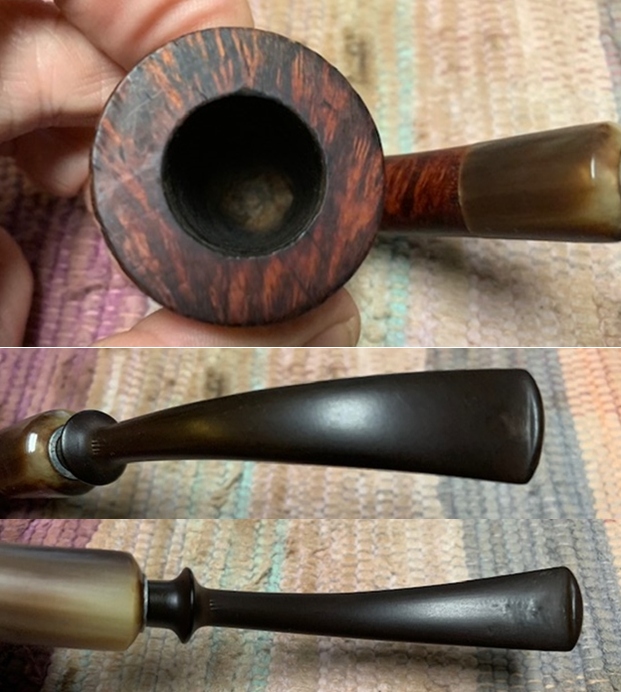
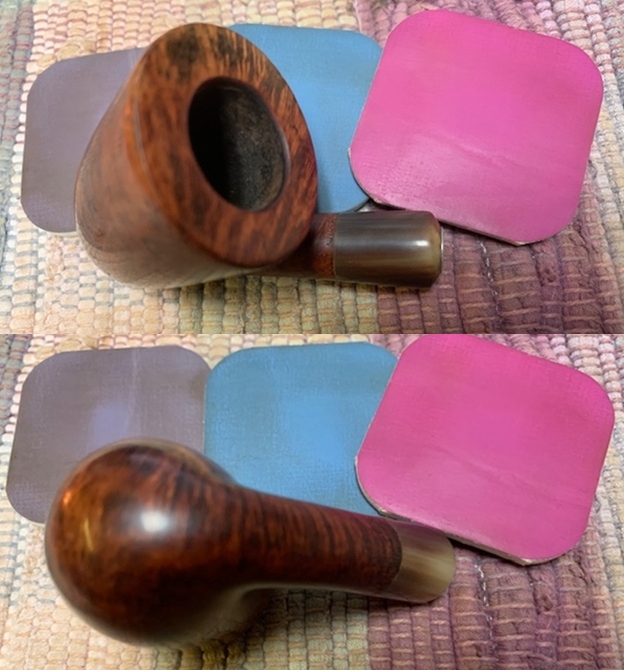
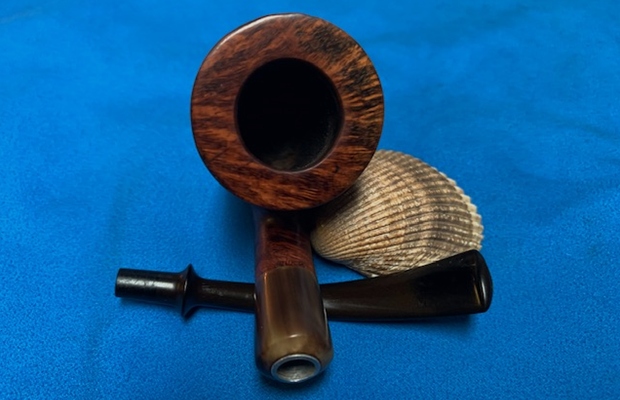
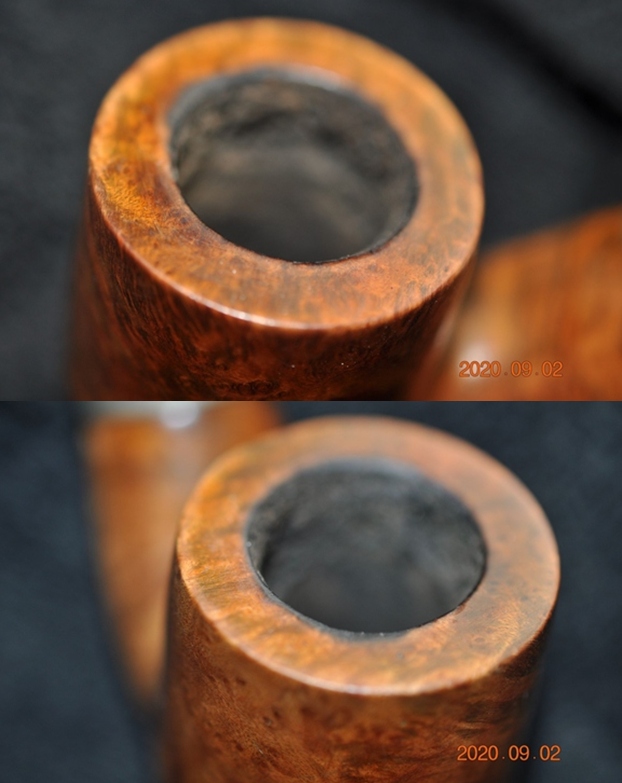
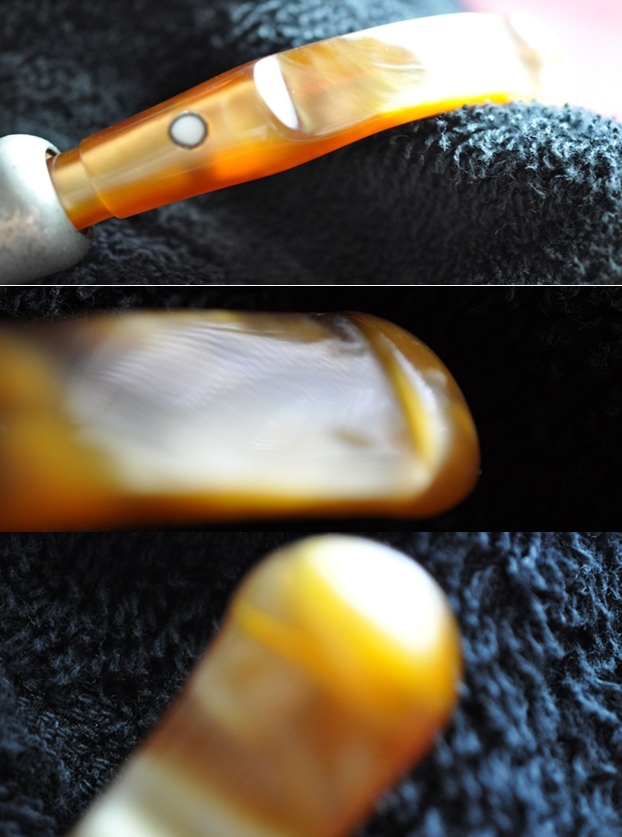
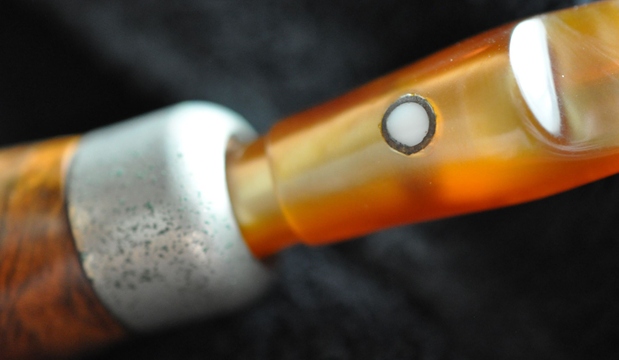
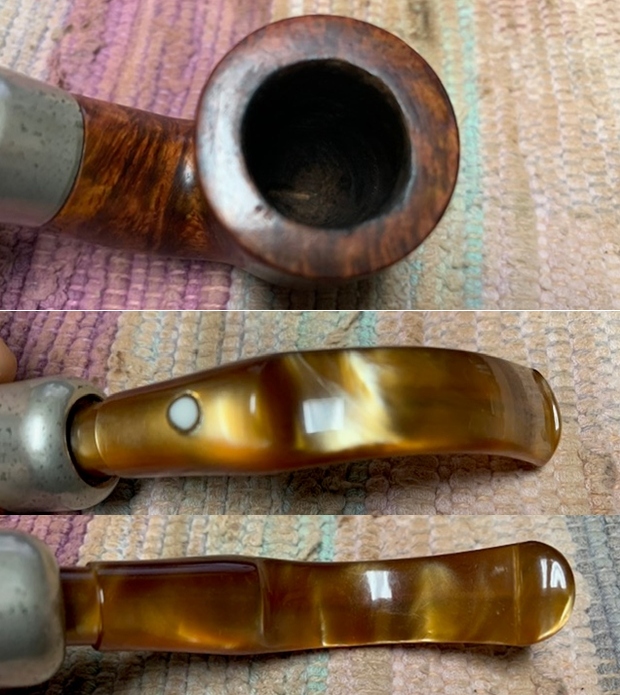
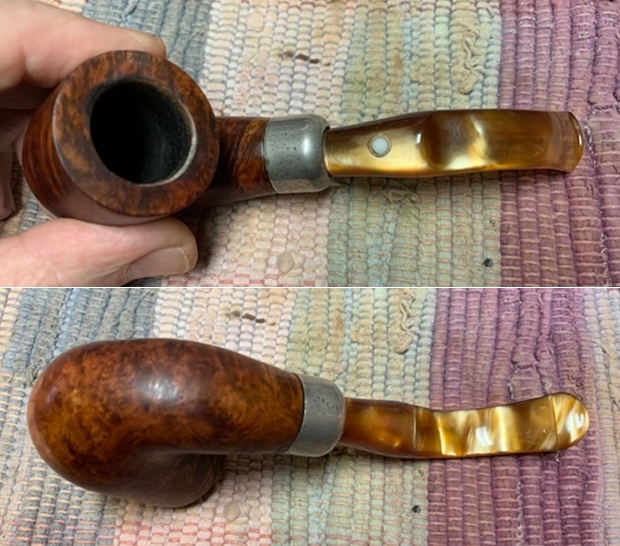
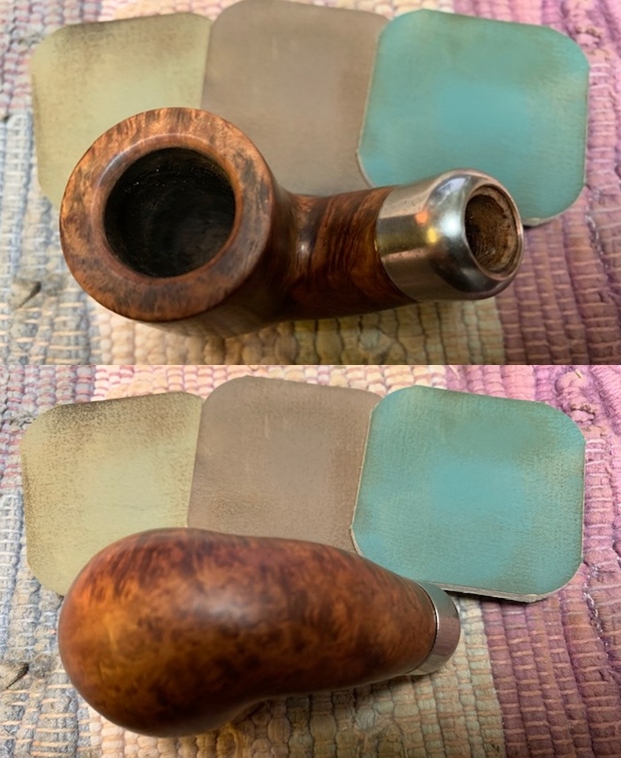
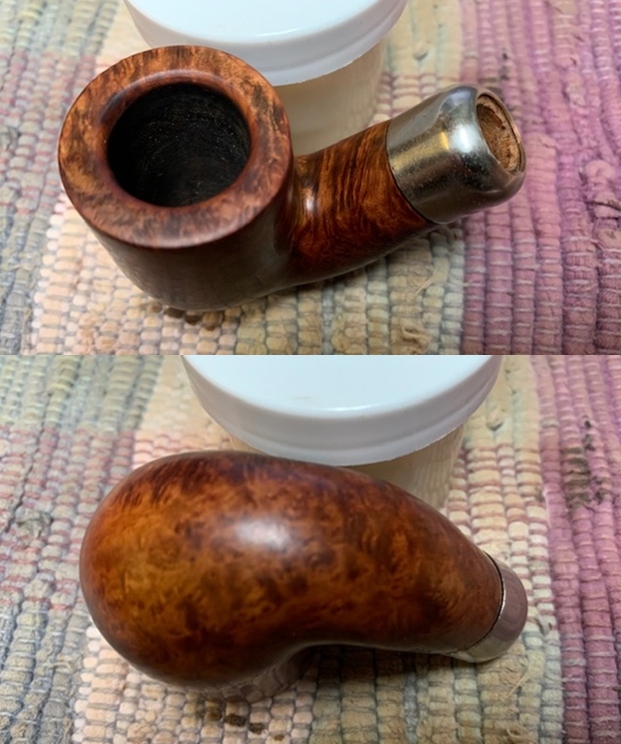
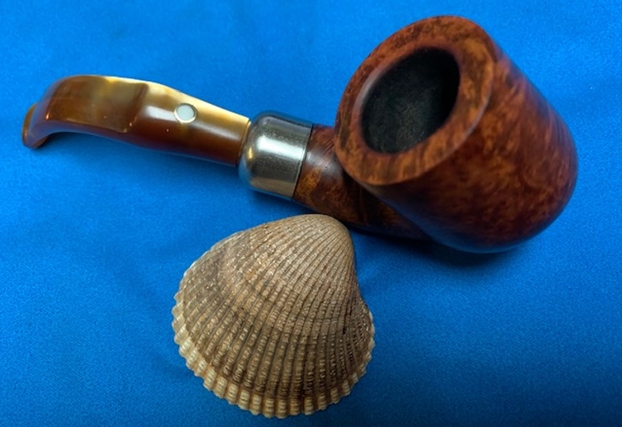
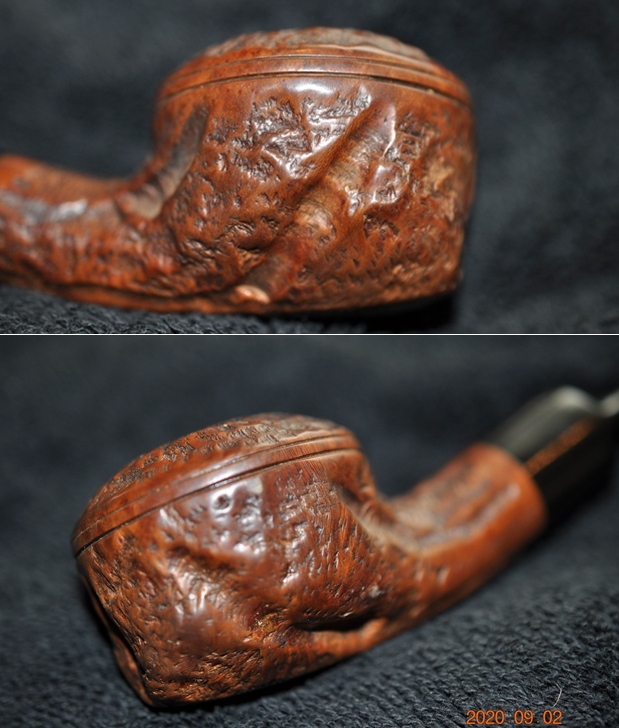
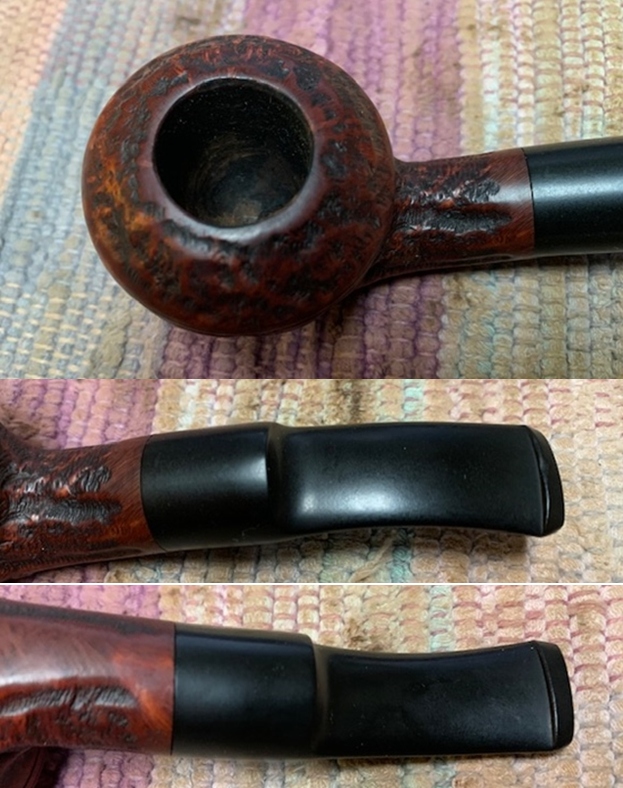
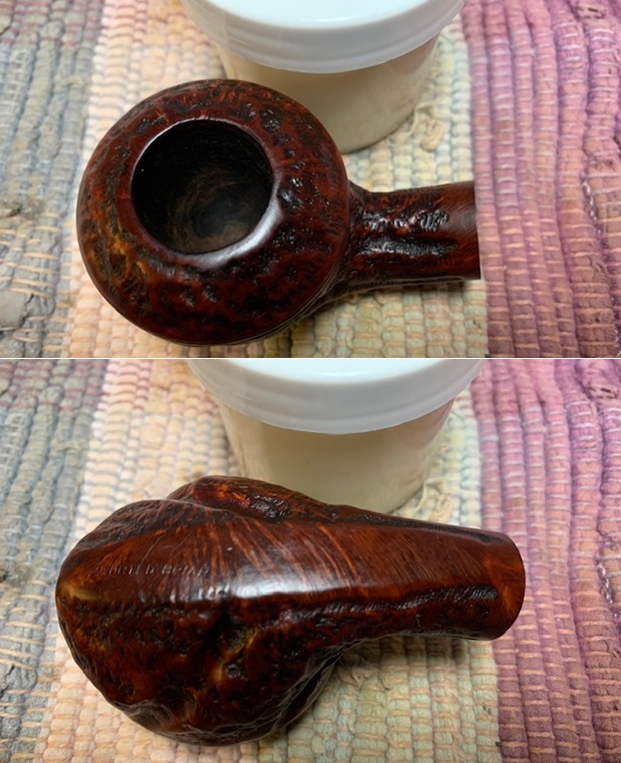
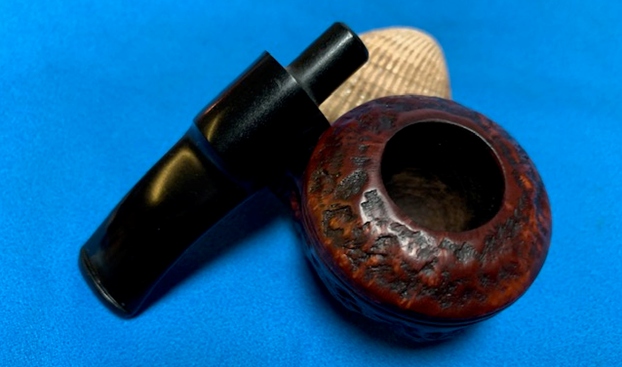
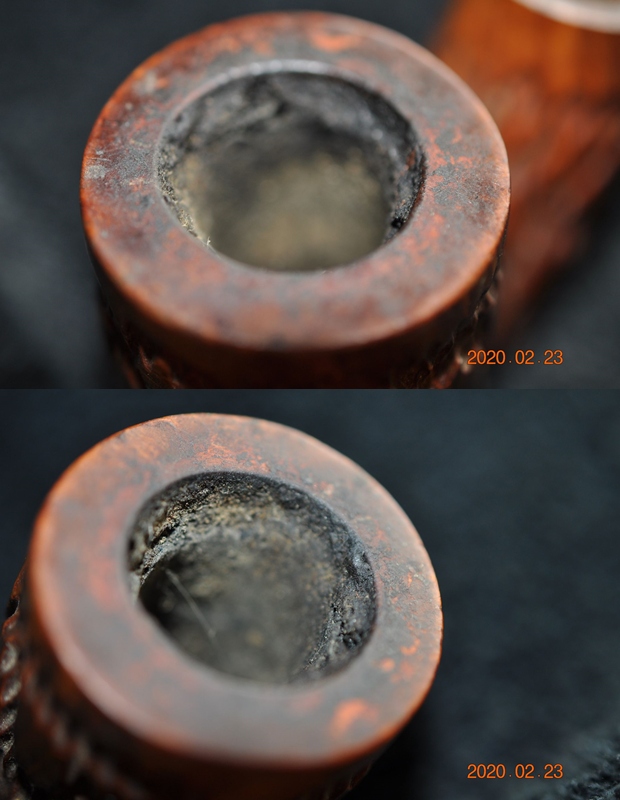
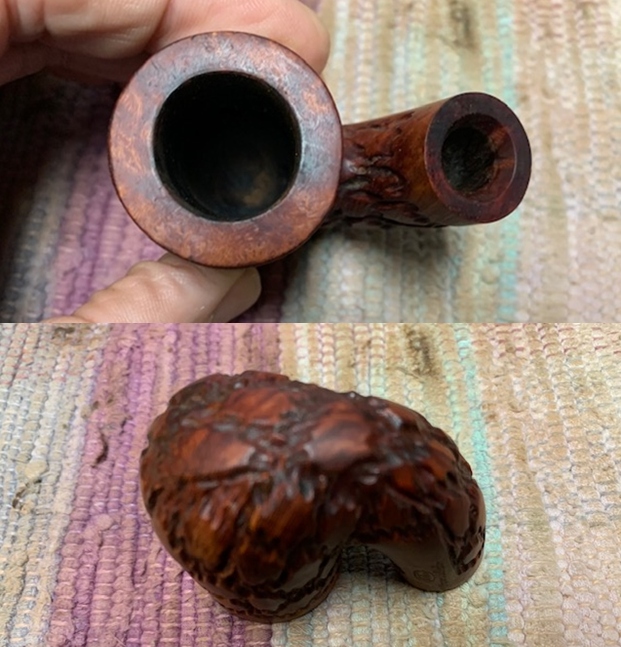
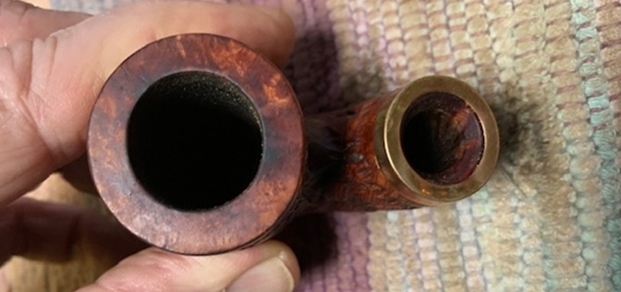
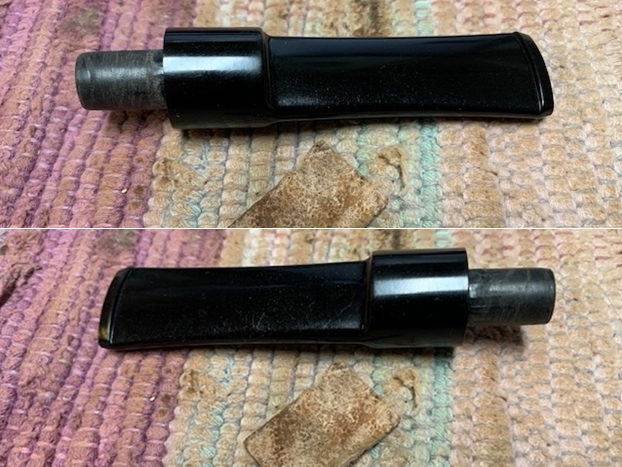
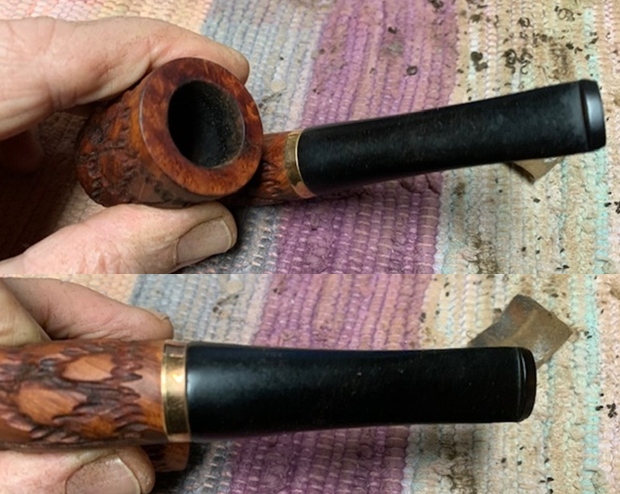
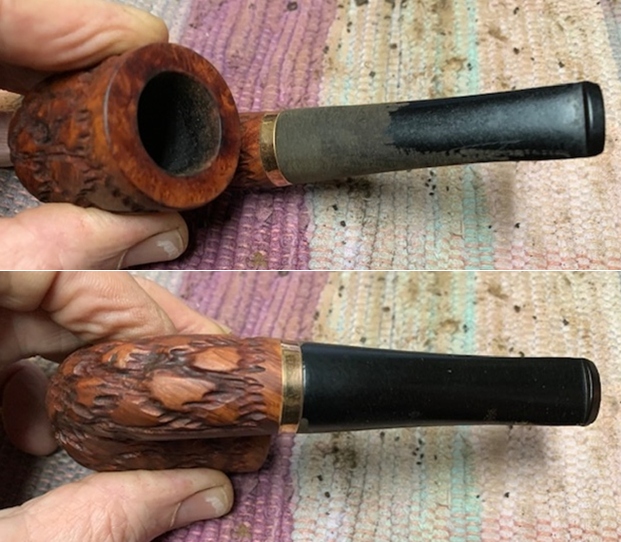
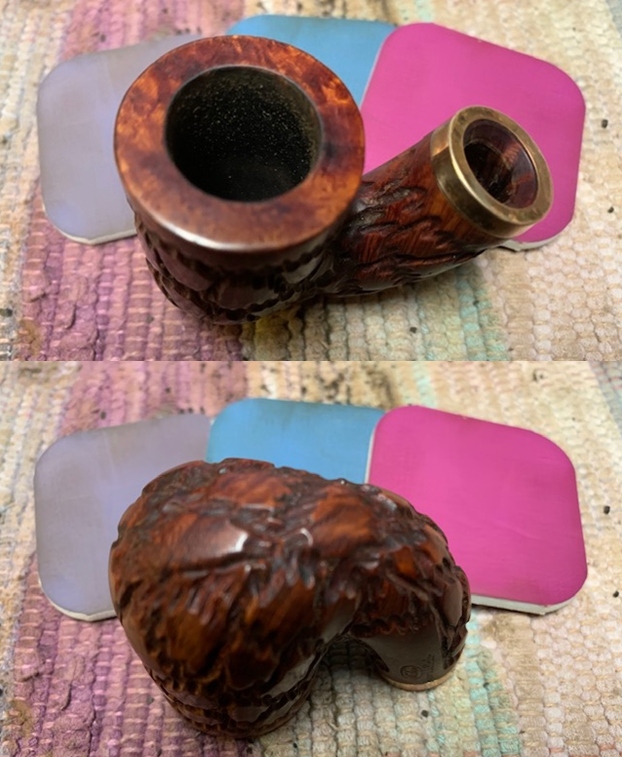
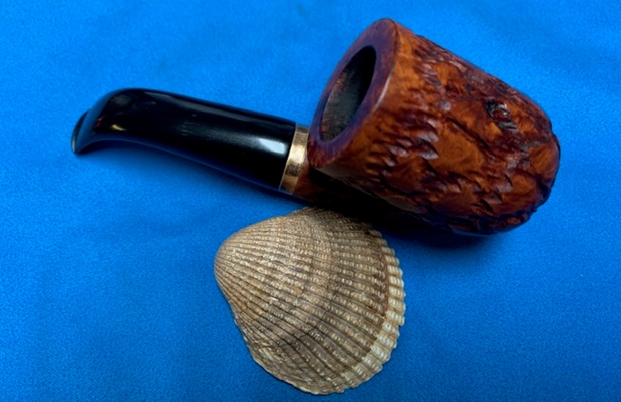
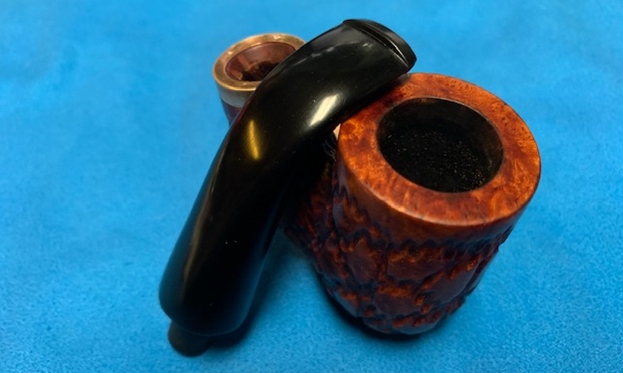
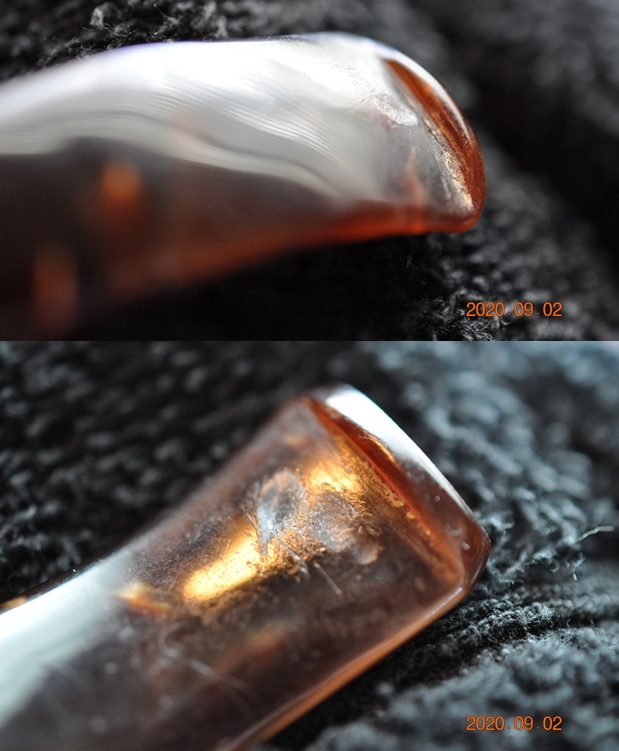
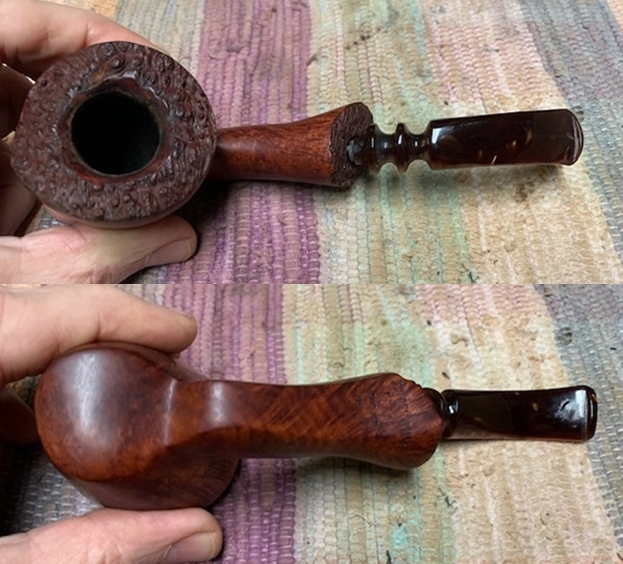
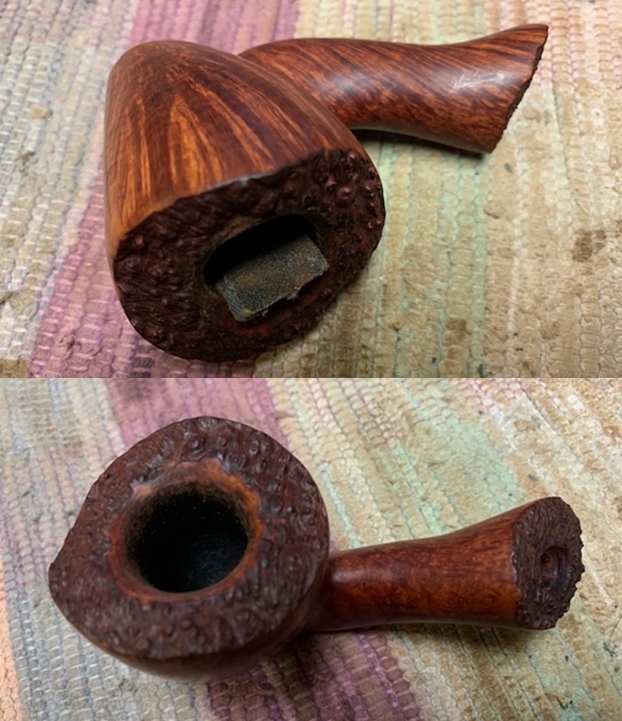
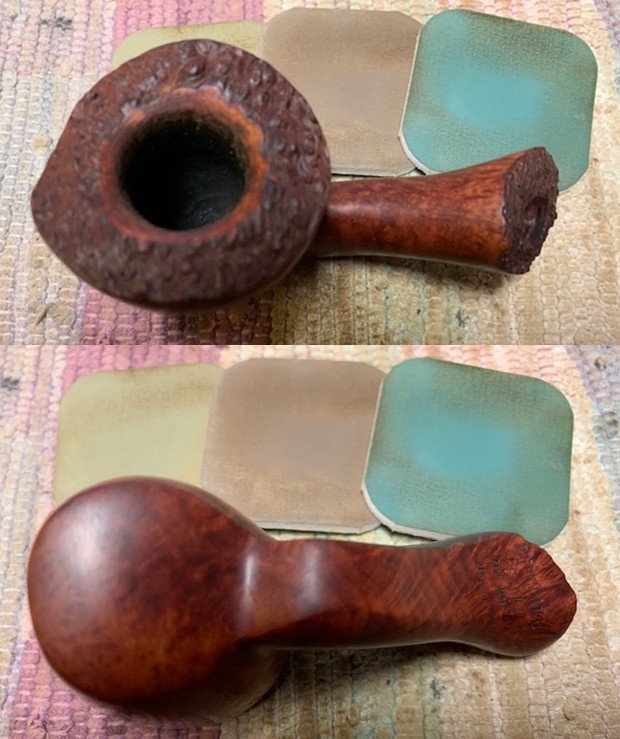
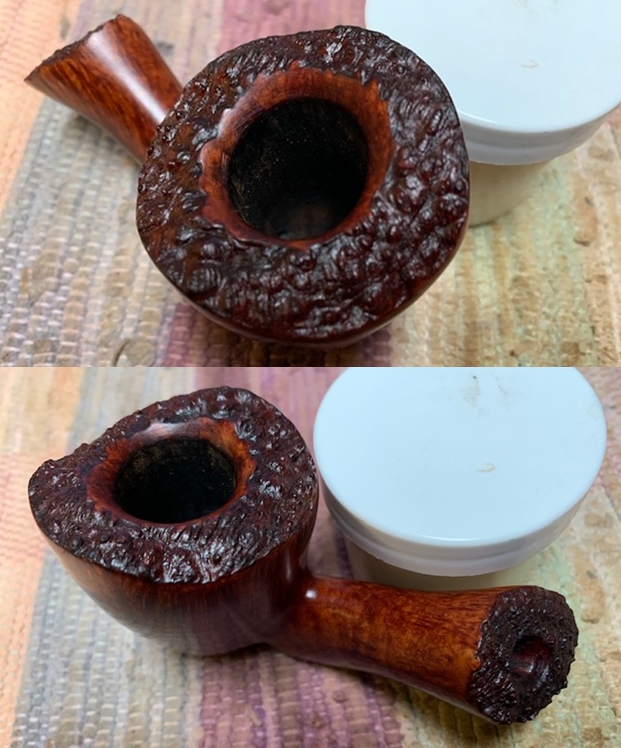
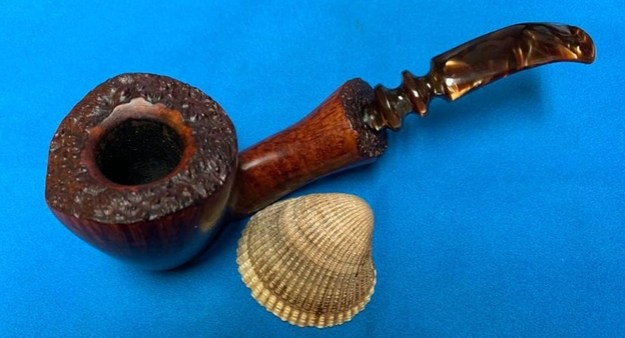
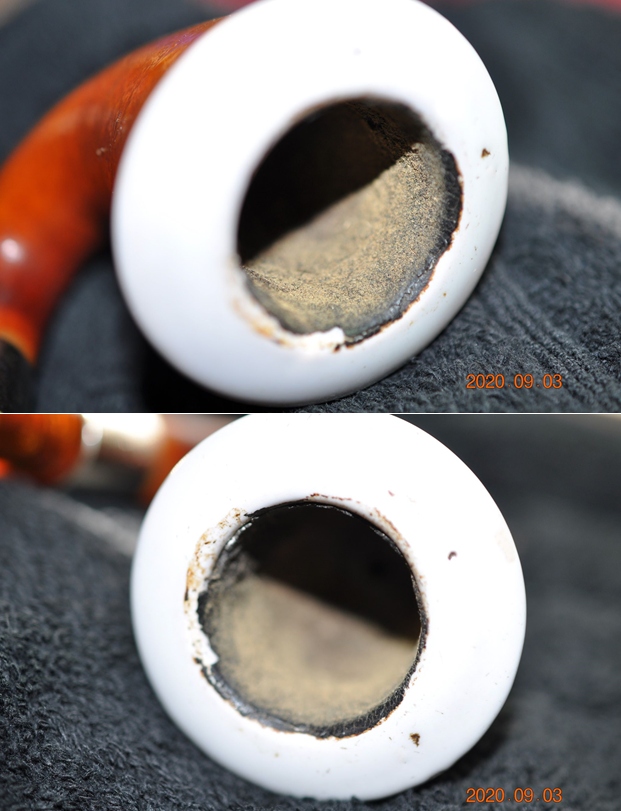
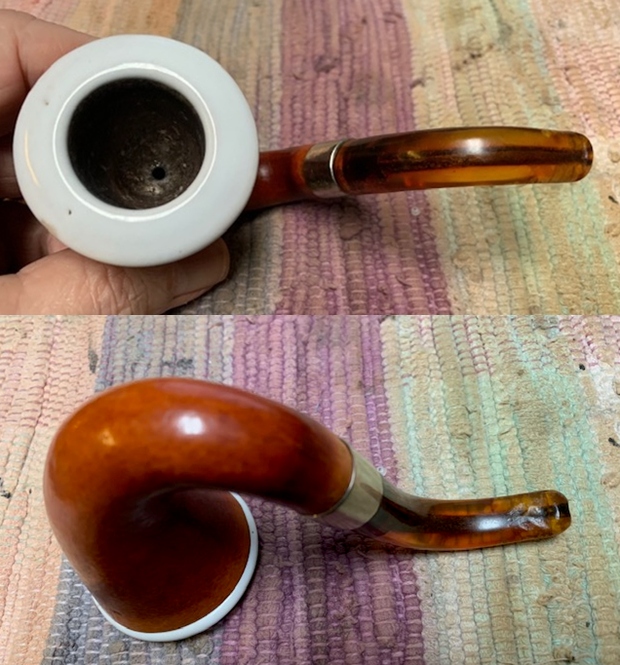
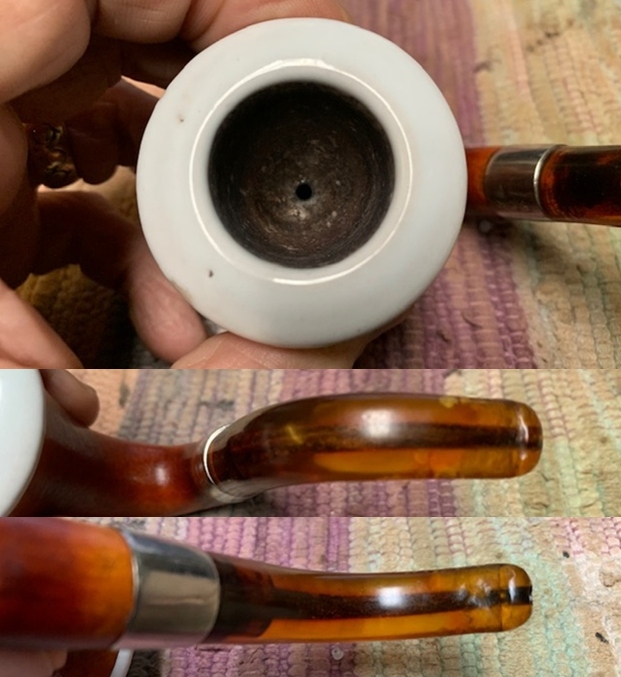
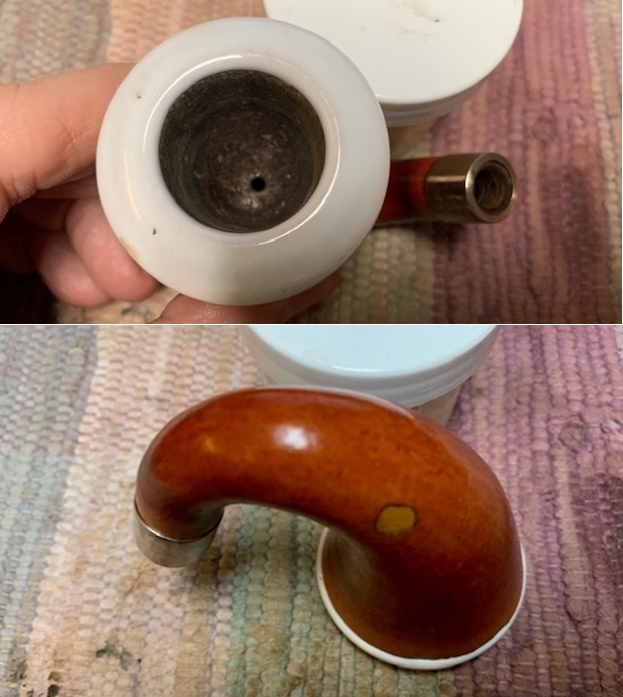
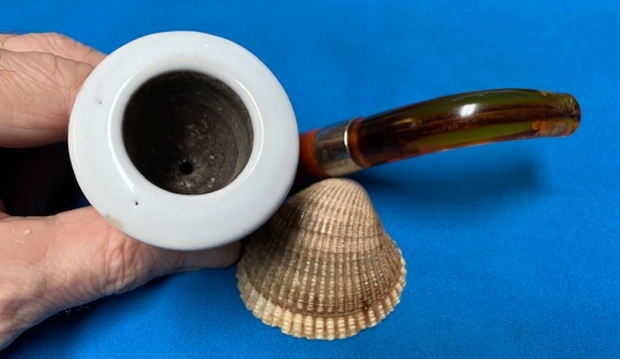
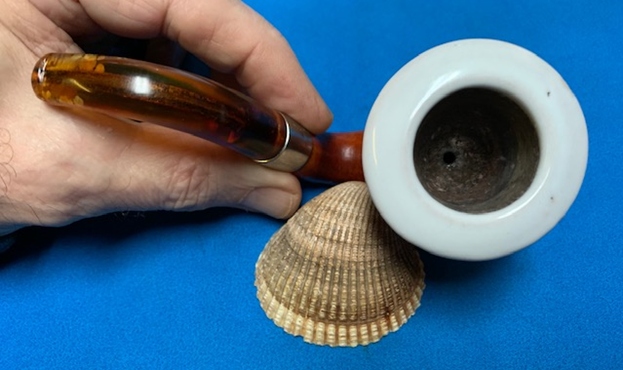
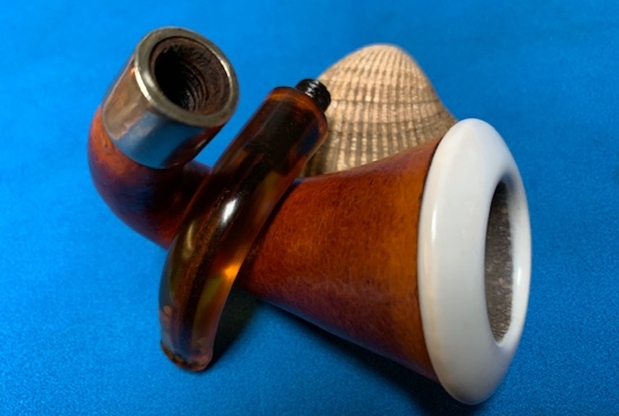
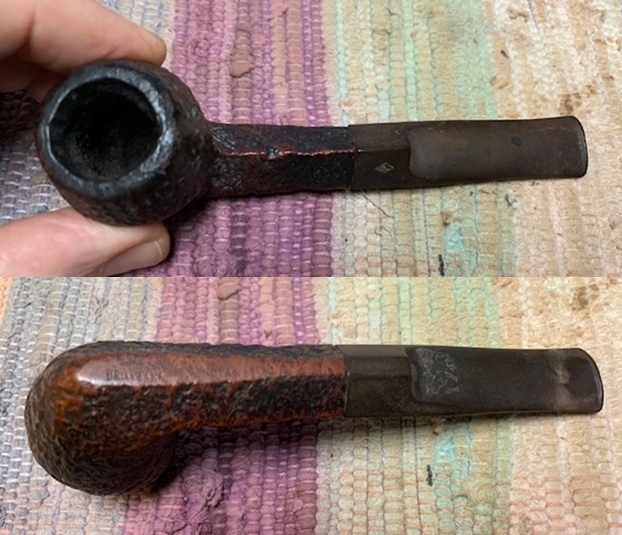
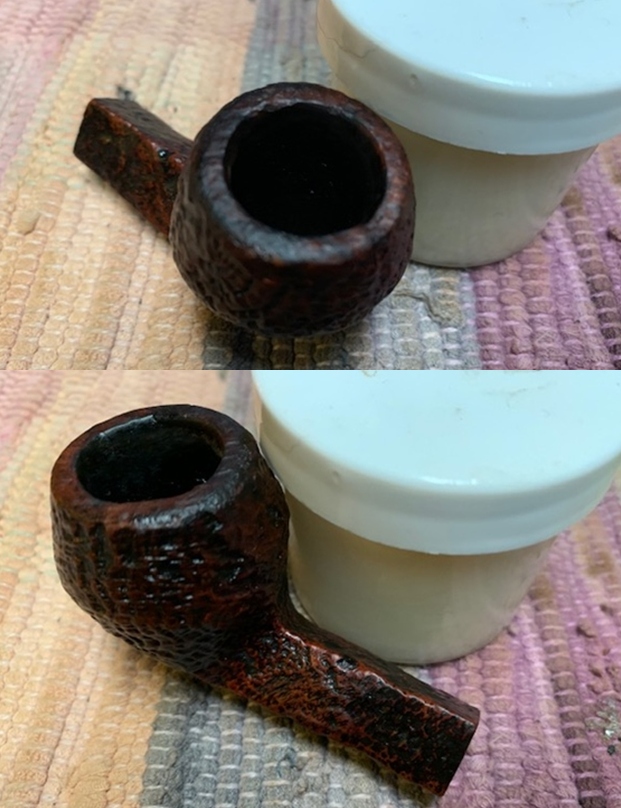
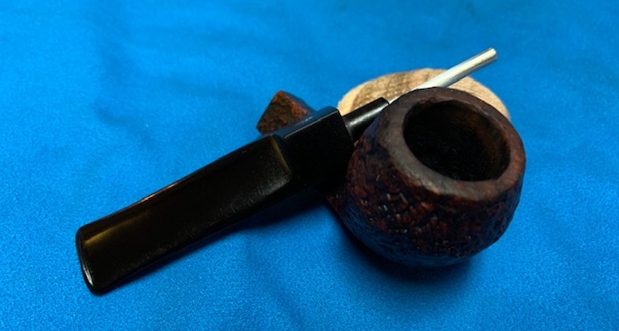
 He took photos of the rim top and bowl to give a clear picture of the thickness of the cake and tobacco debris as well as the inner edge of the rim. He also took photos of the top and underside of the stem. The photos show the overall condition of the stem. The stem had four light blue dots on the left side of the taper.
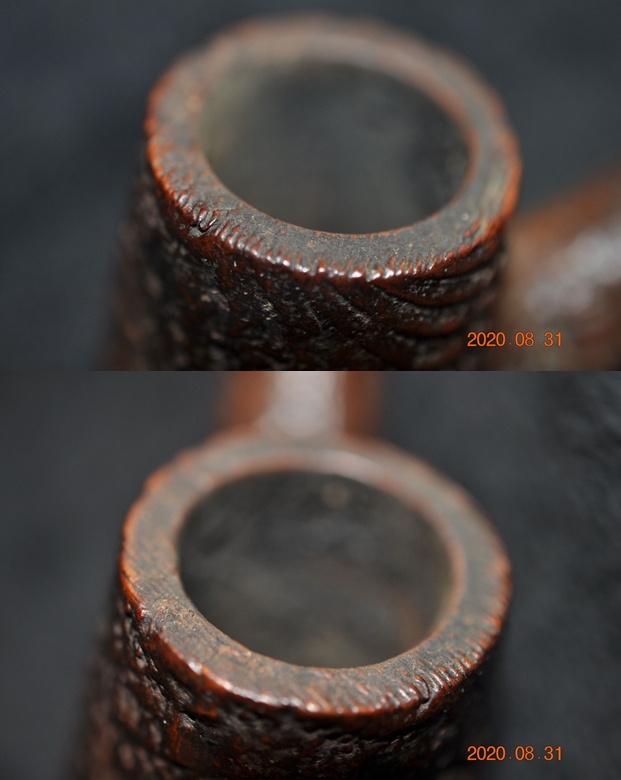
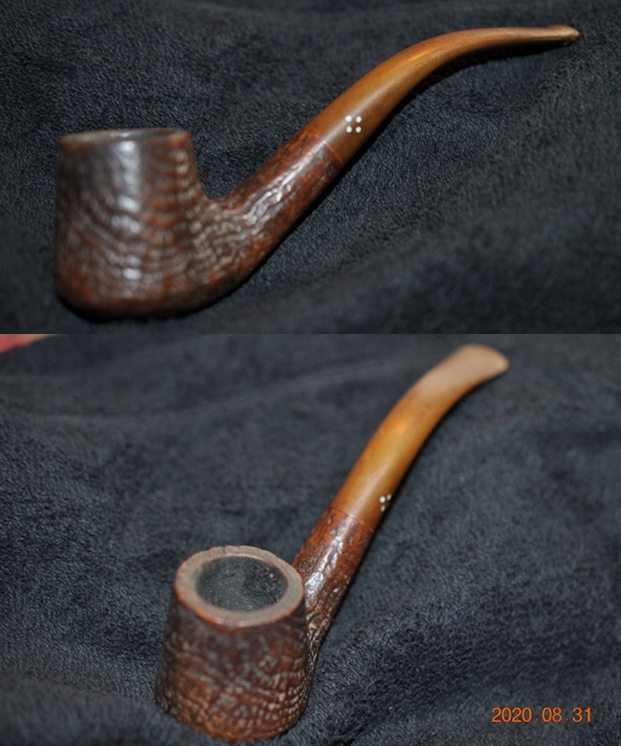
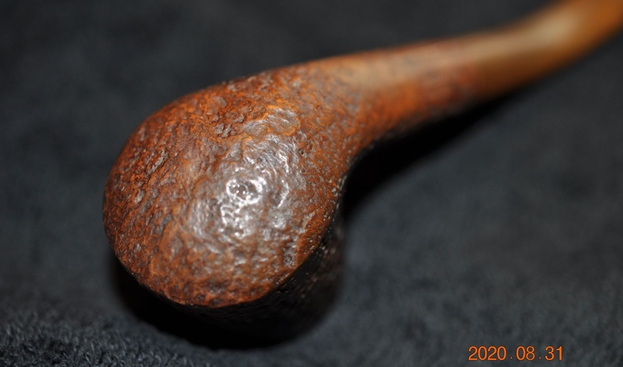
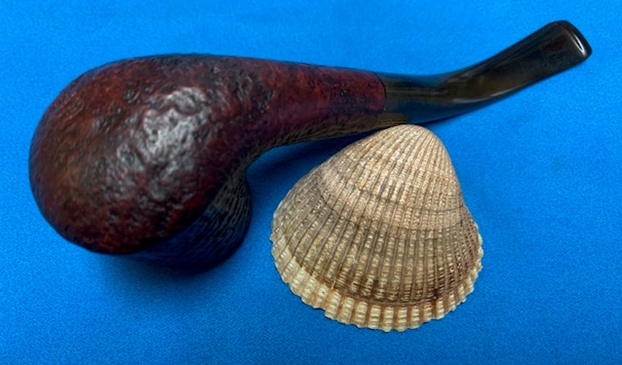
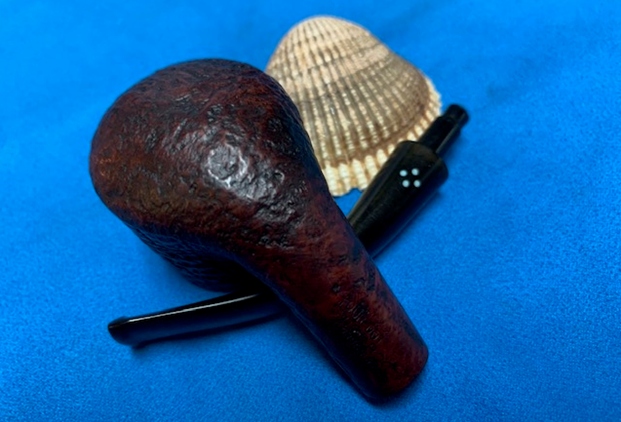
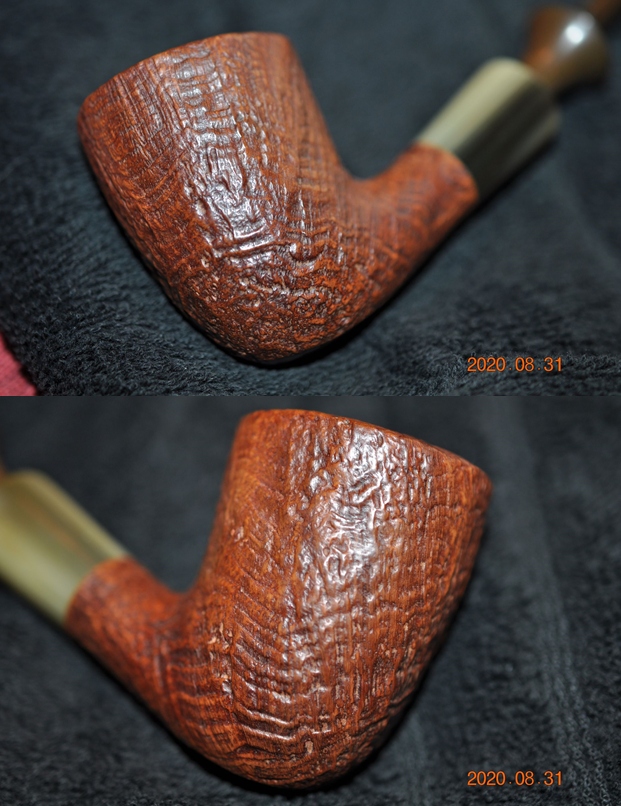
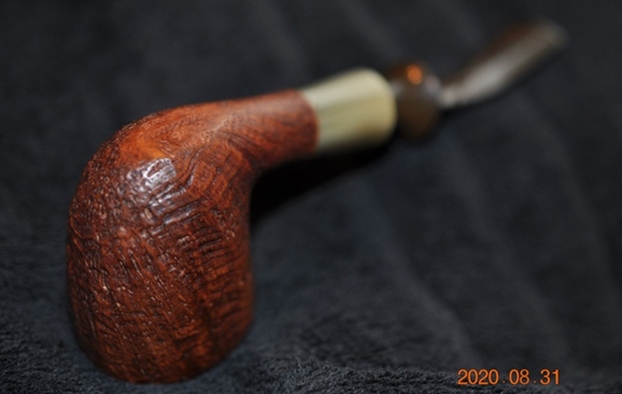
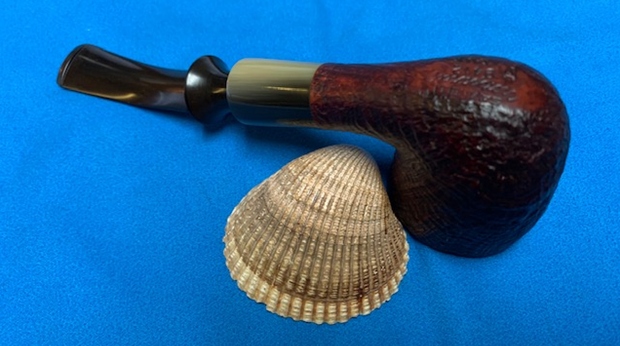
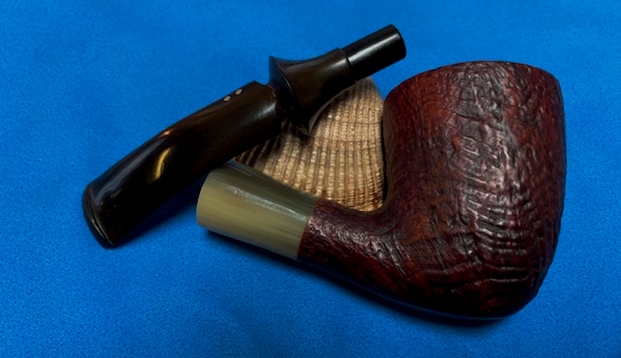
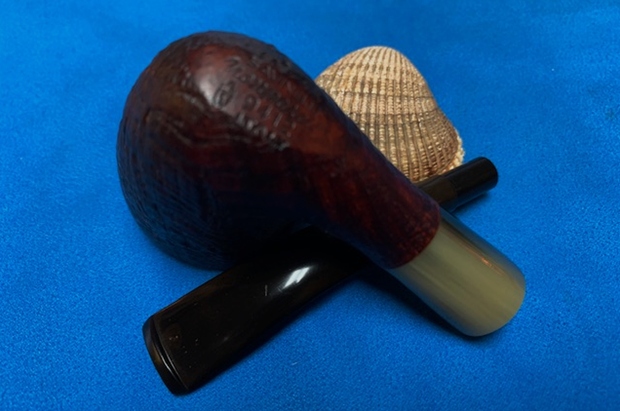
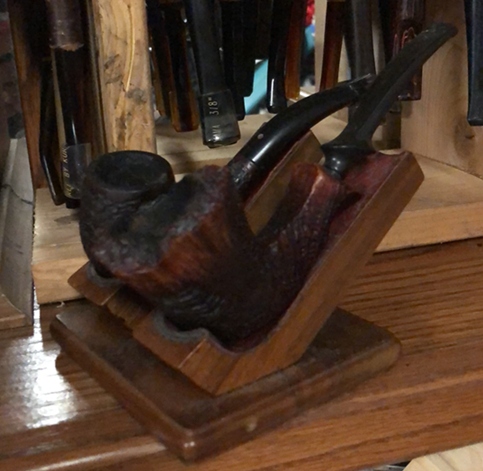
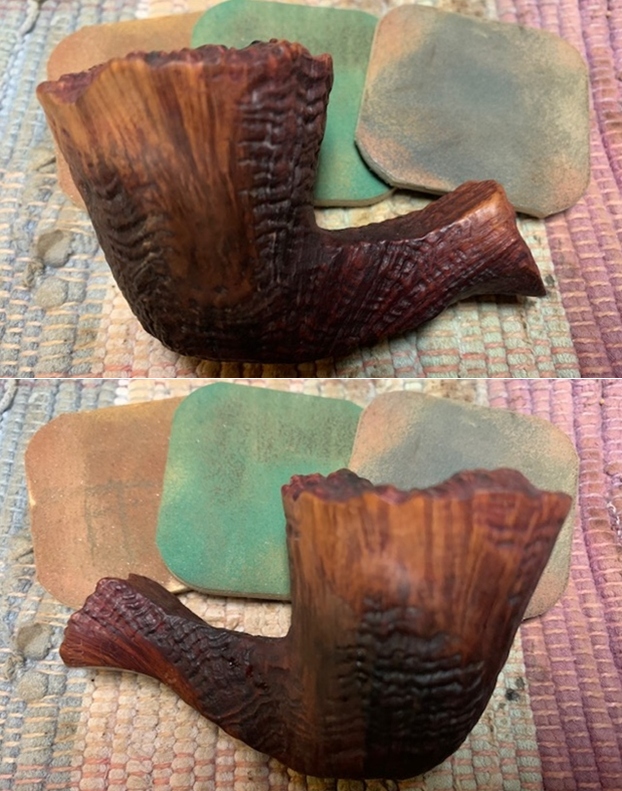
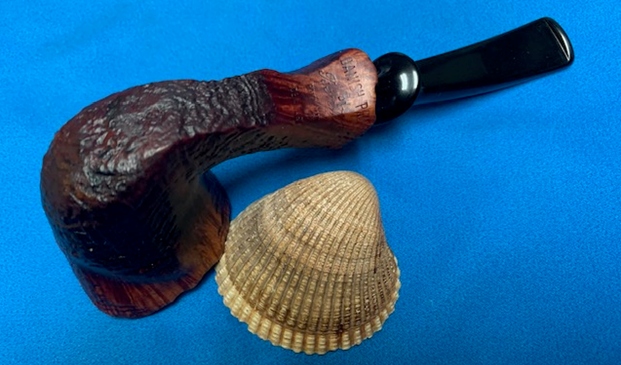
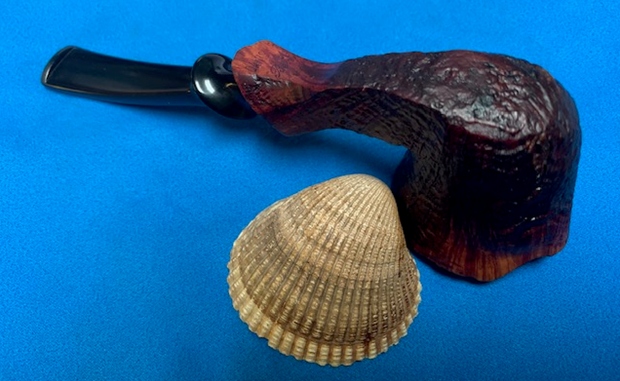
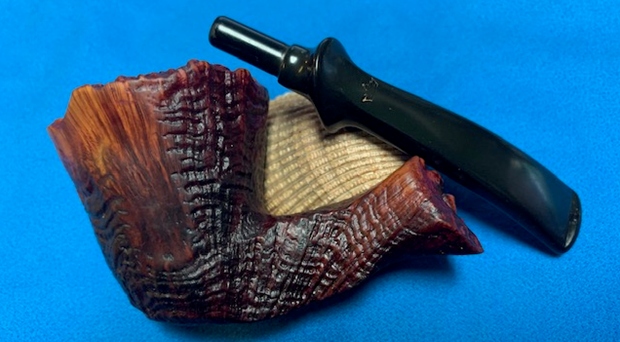
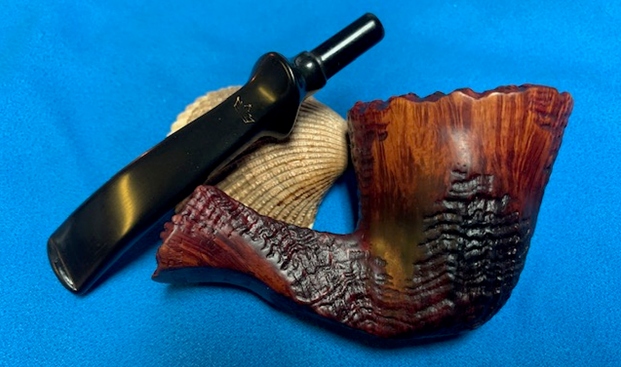
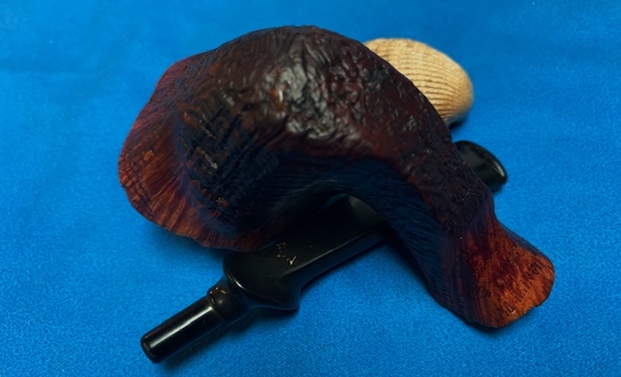
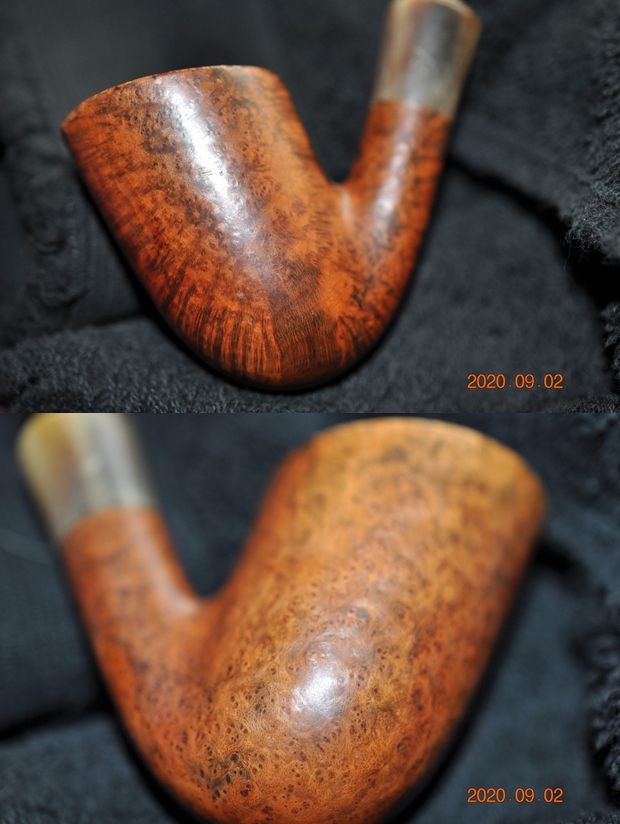
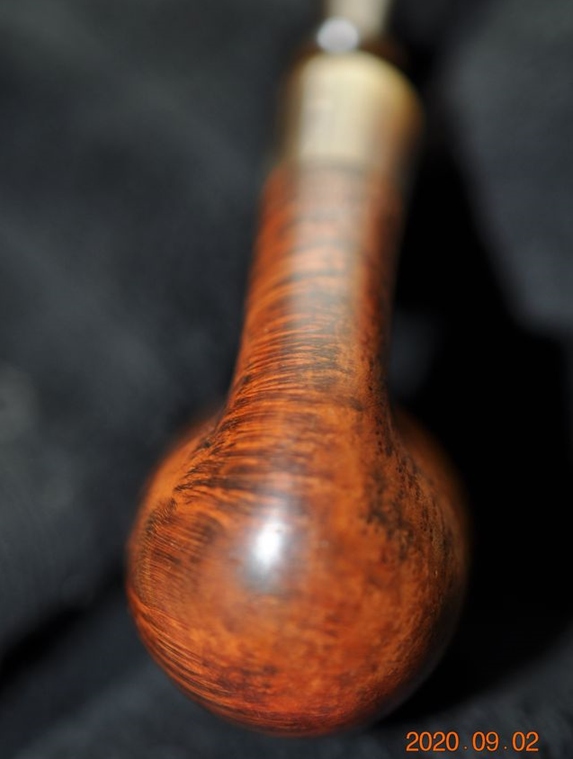
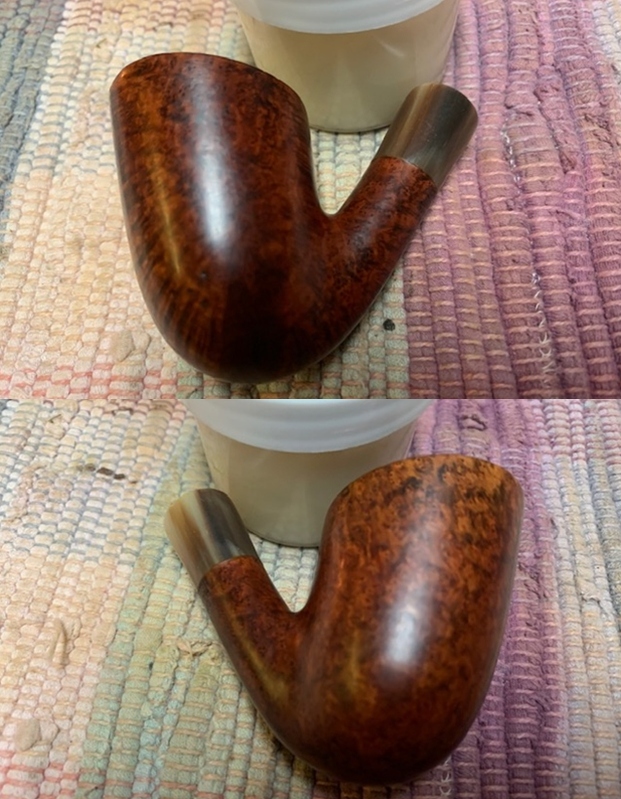
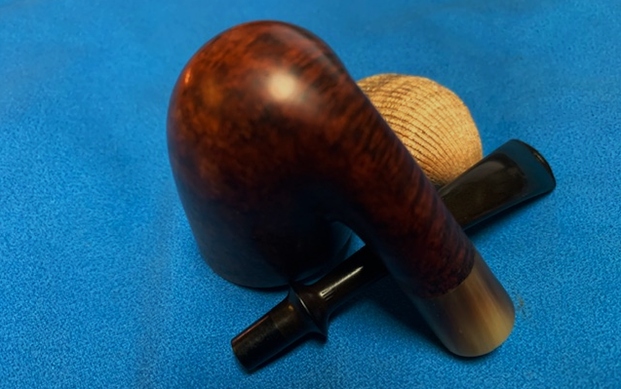
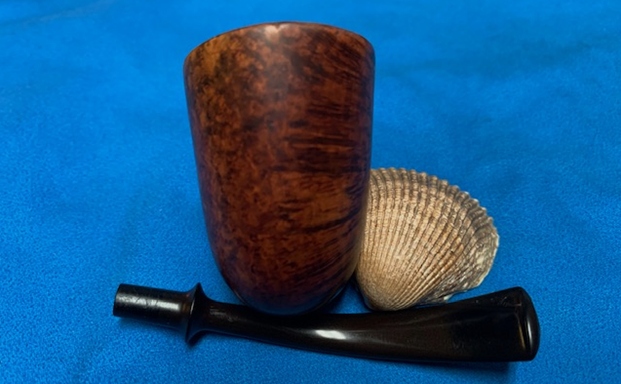
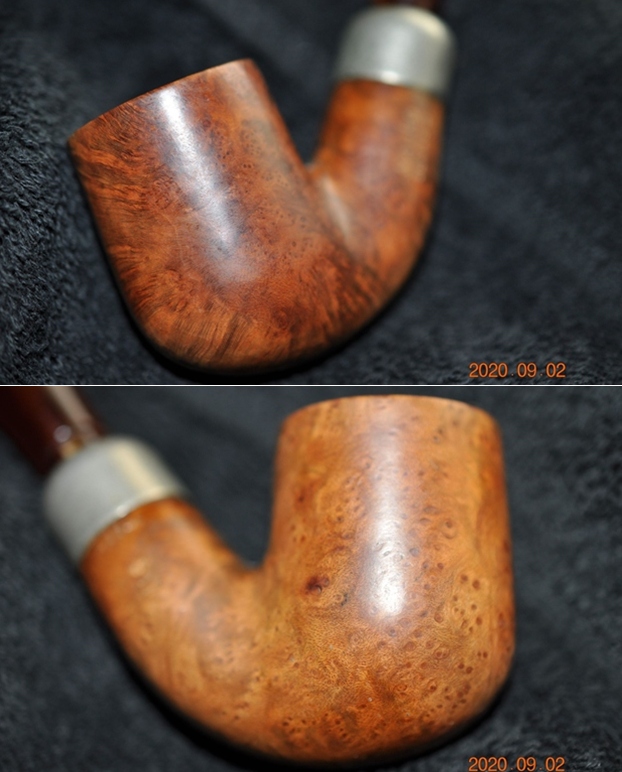
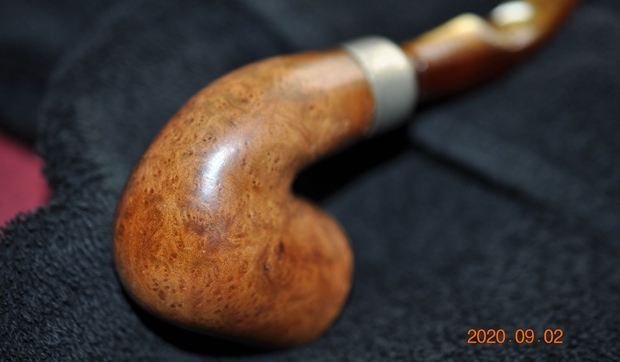
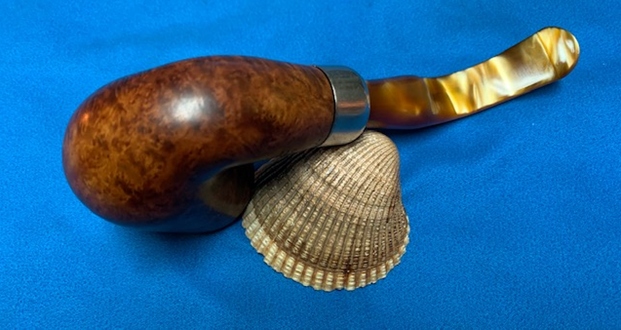
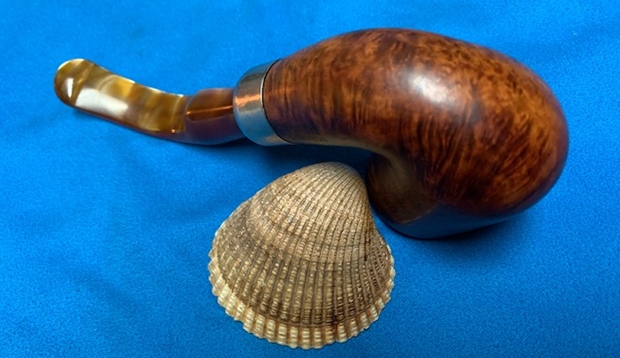
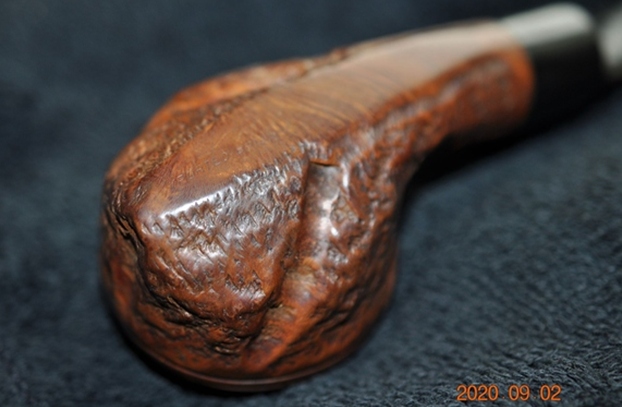
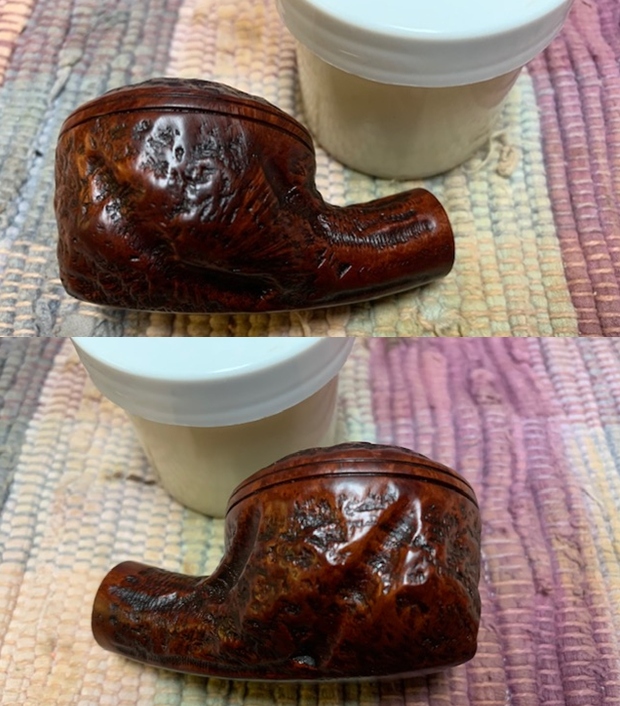
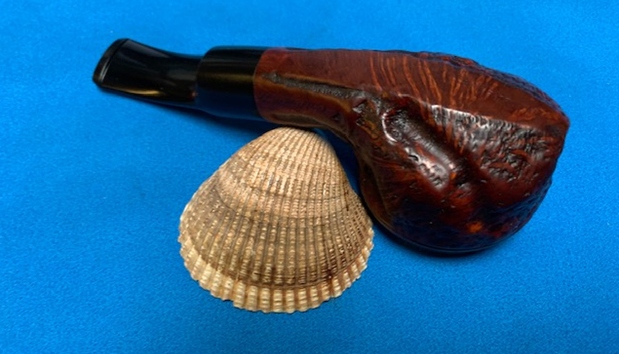
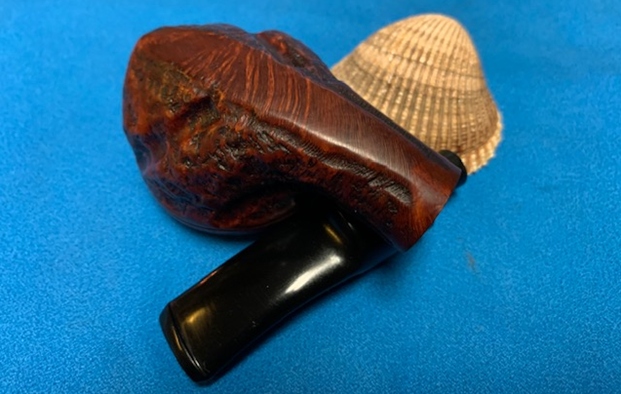
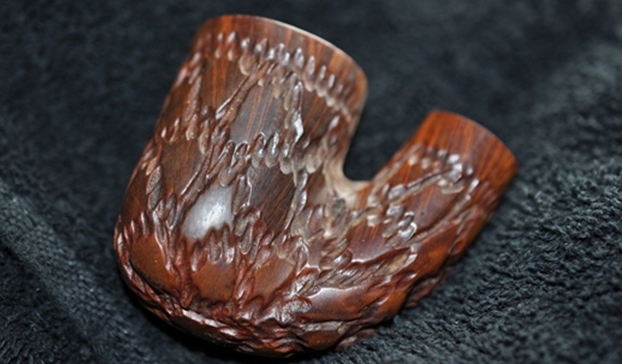
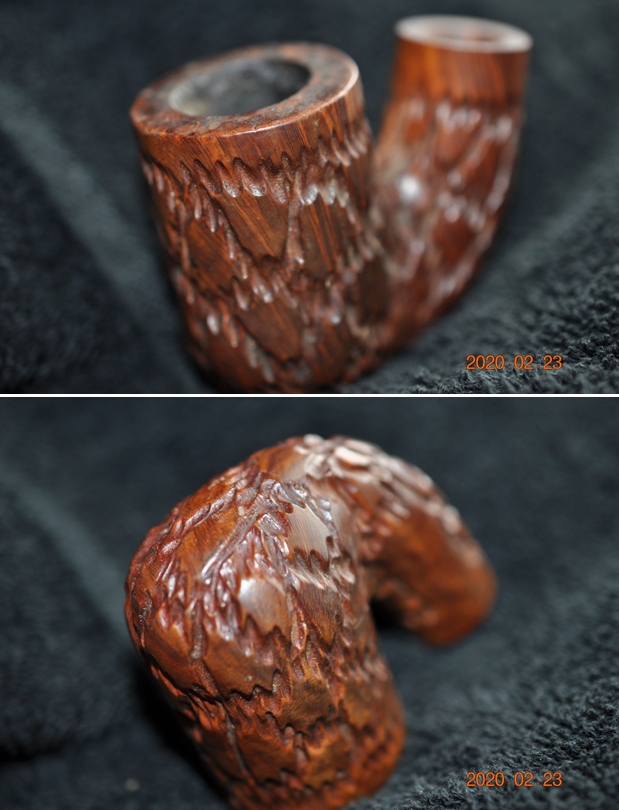
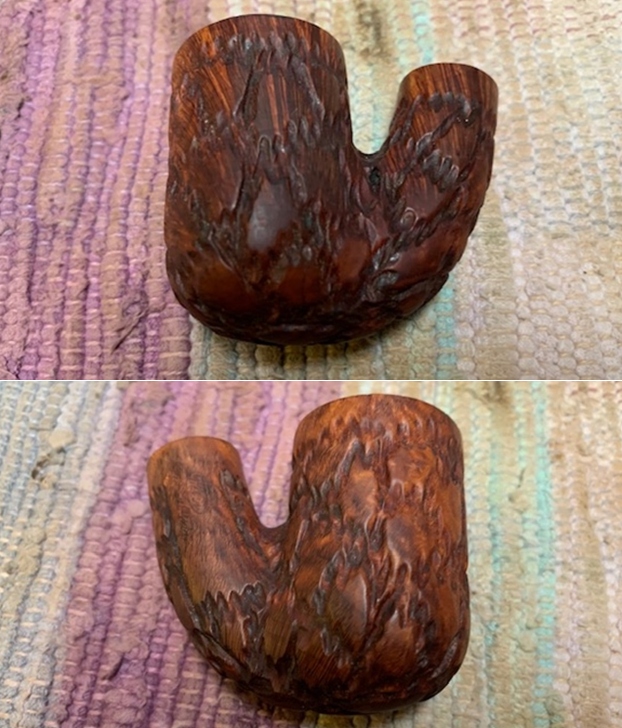
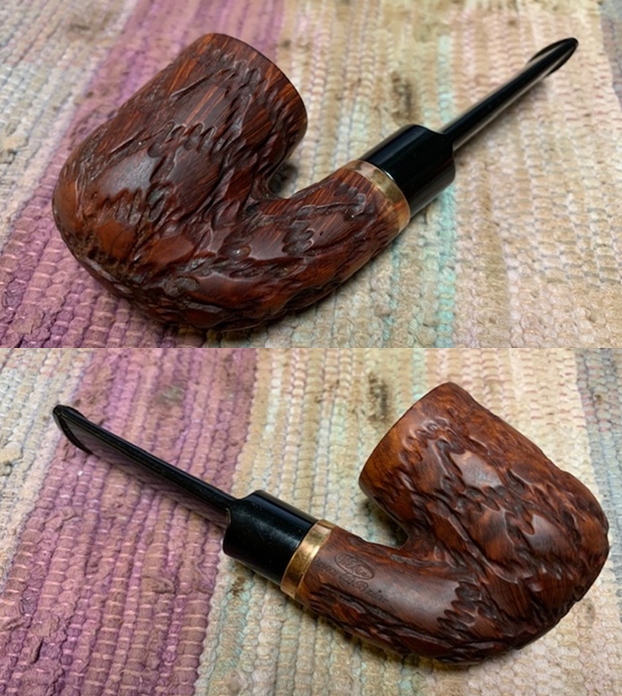
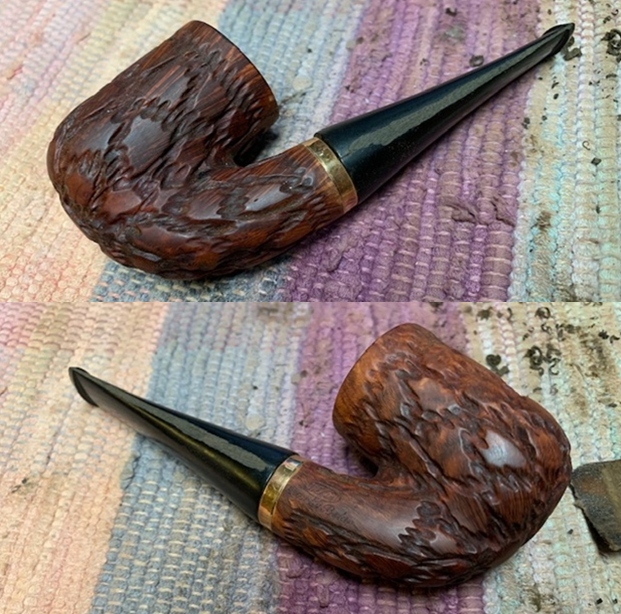
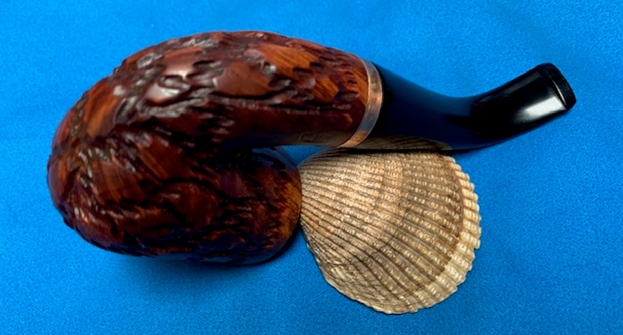
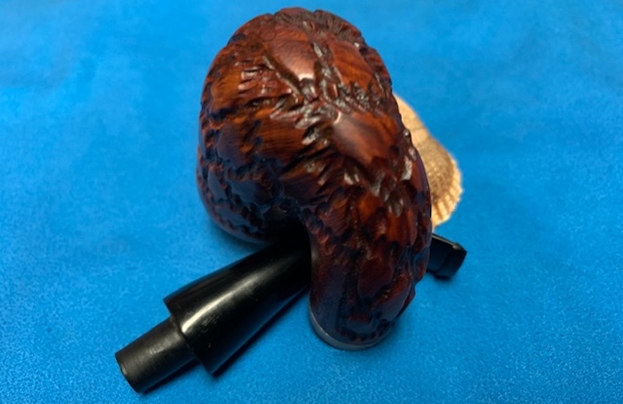
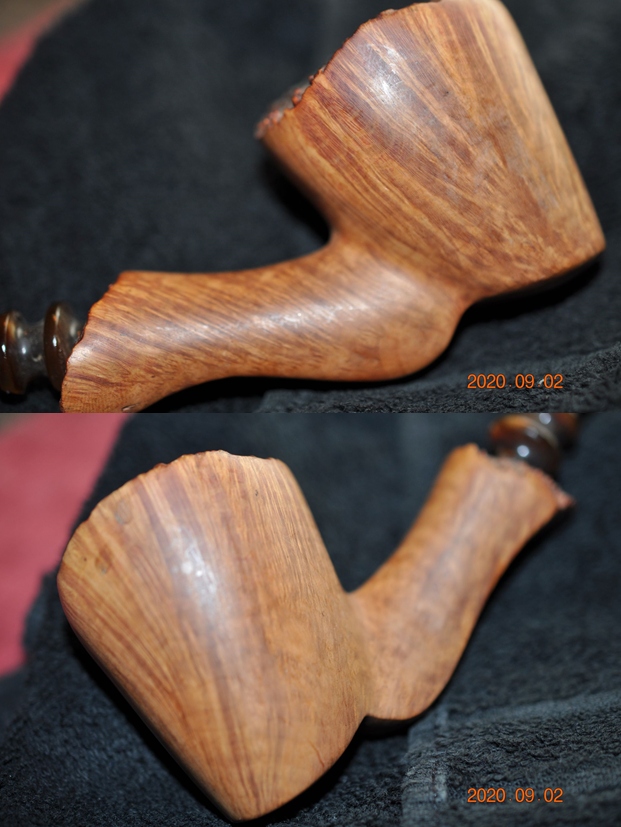
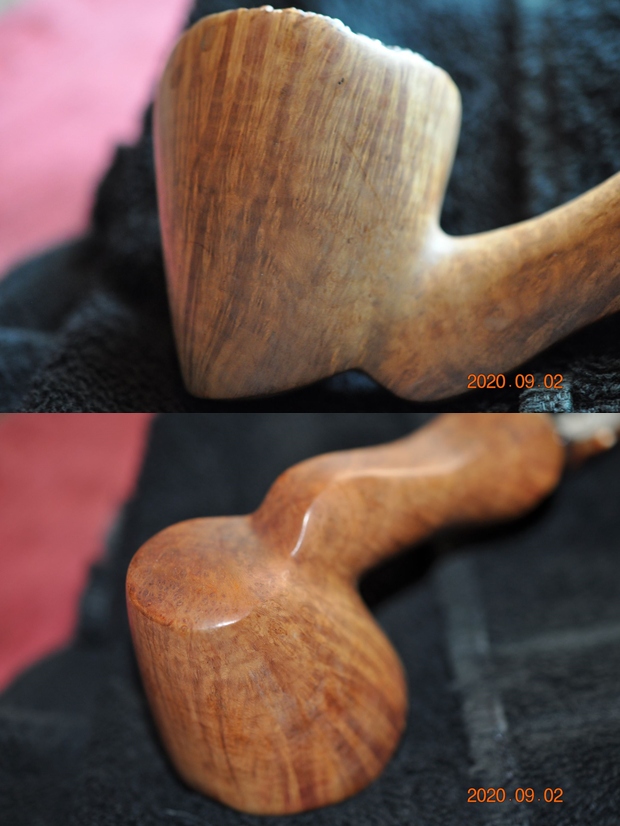
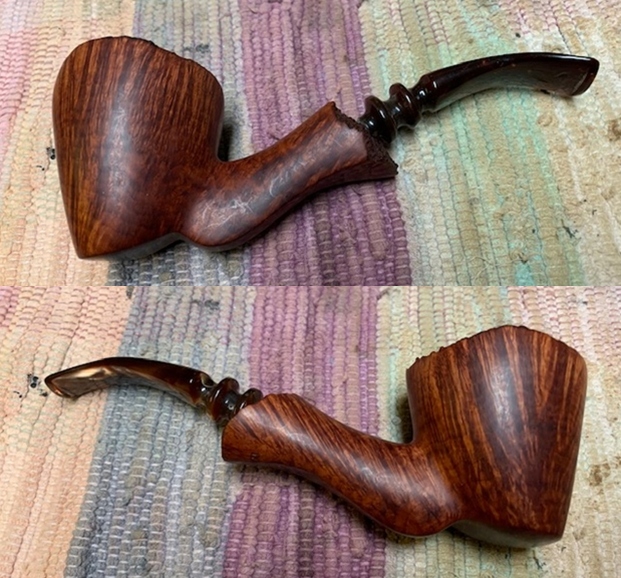
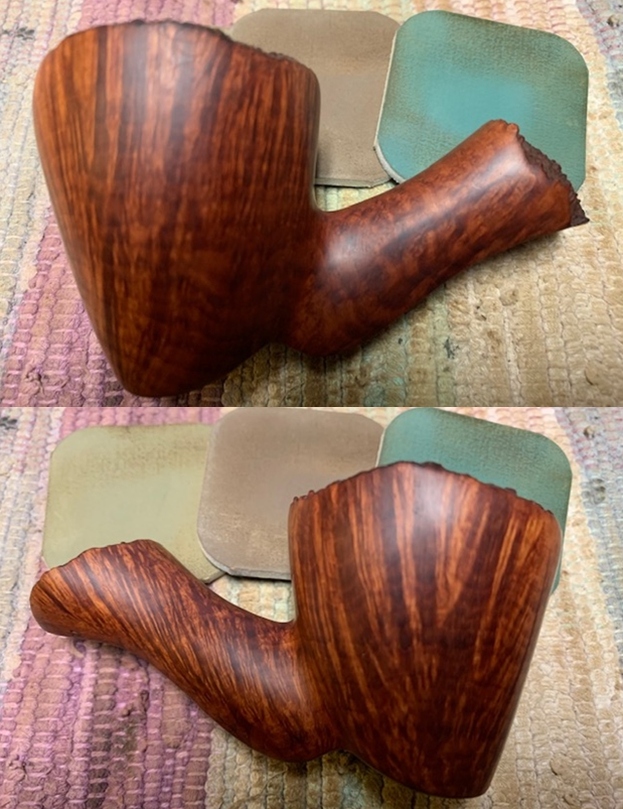
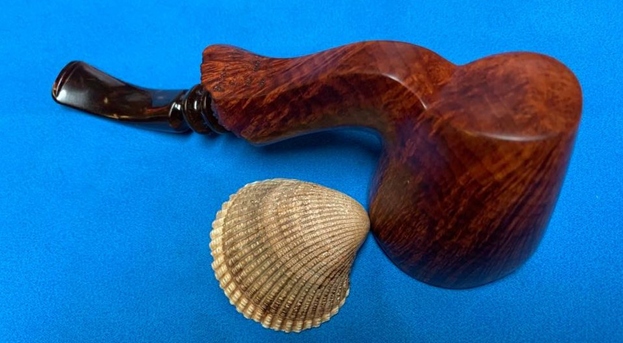
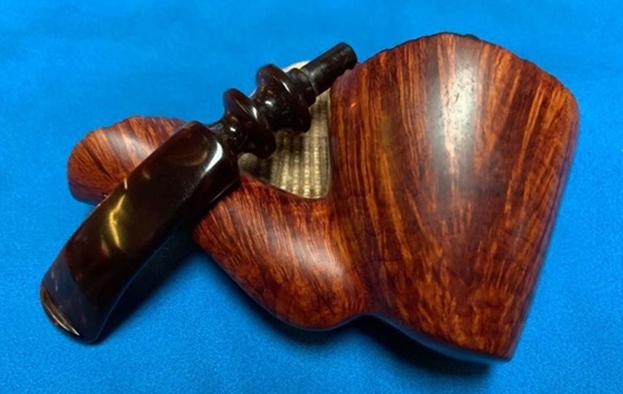
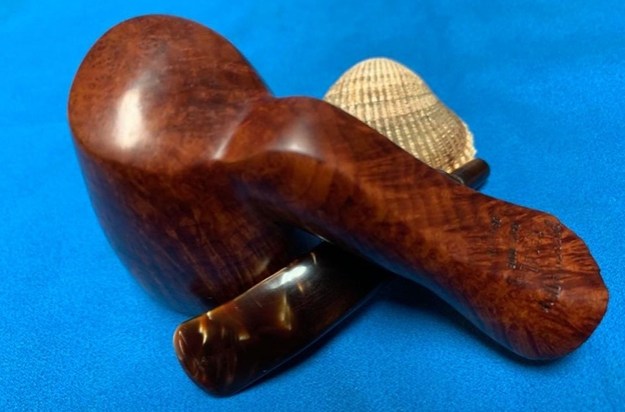
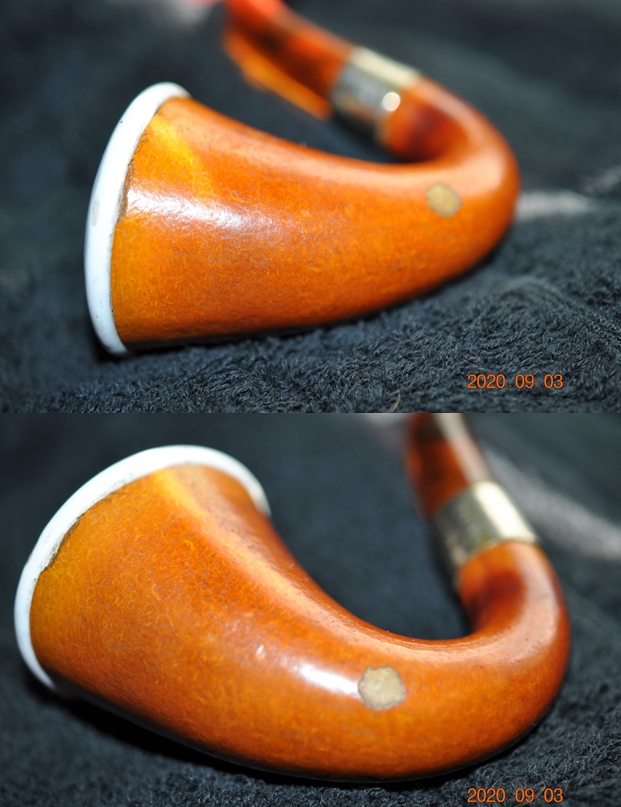
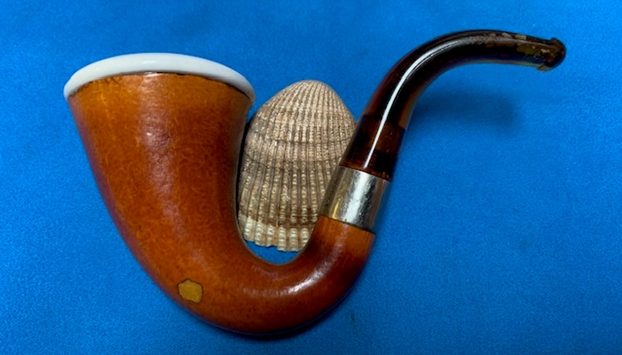
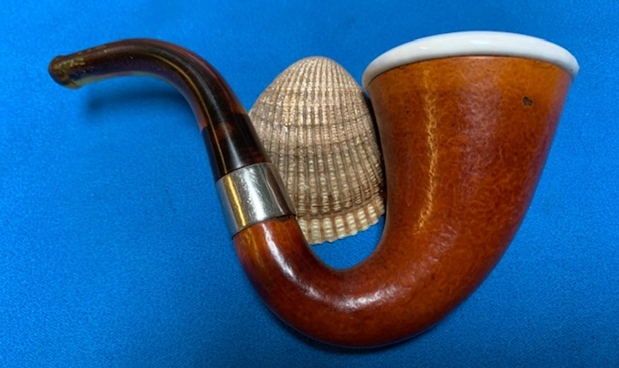
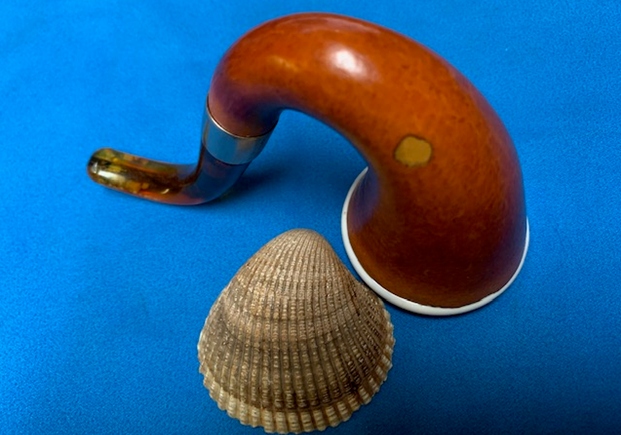
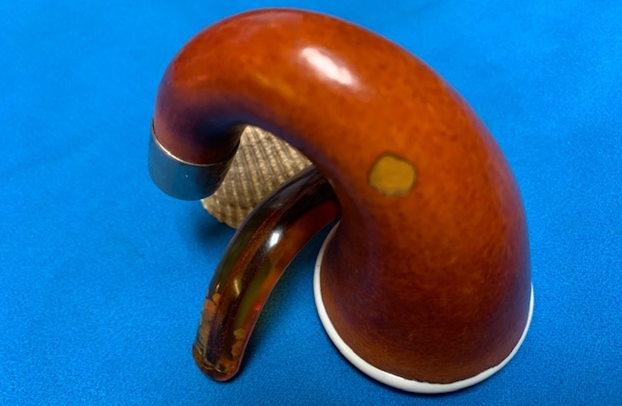
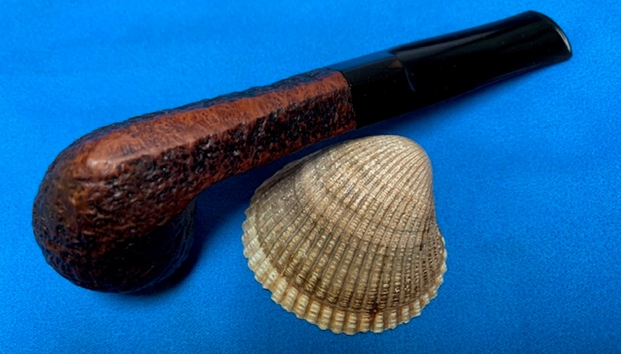
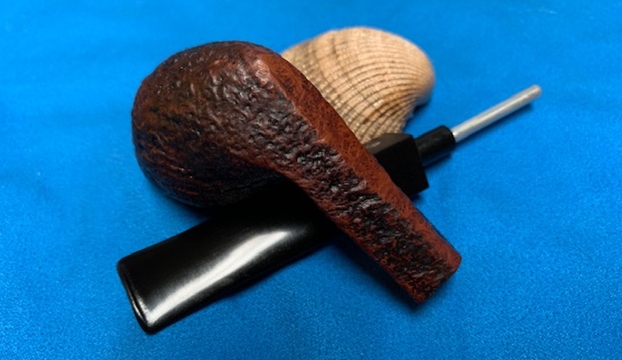
 Jeff took photos of the sides and heel of the bowl to give a picture of what the briar looked like. It truly has some nice sandblasted grain around the bowl and shank.
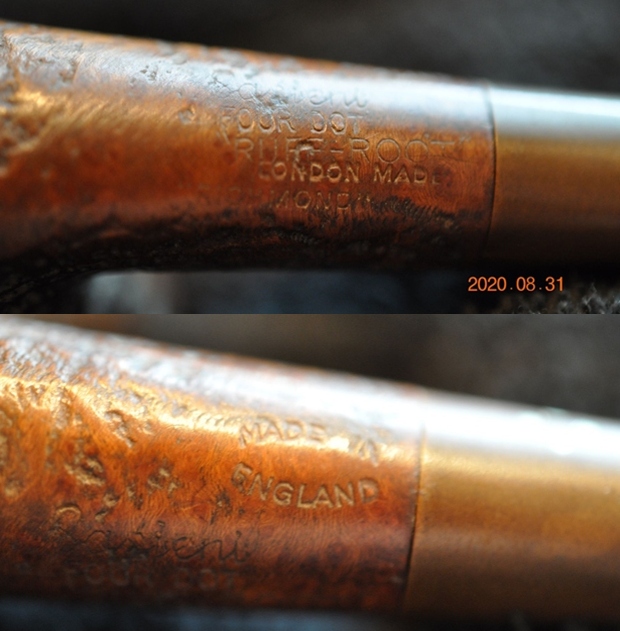
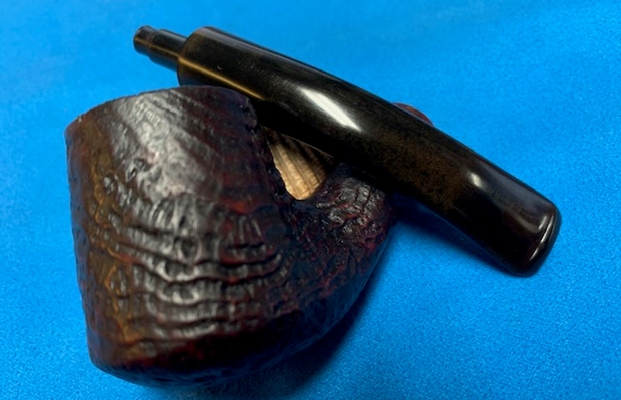
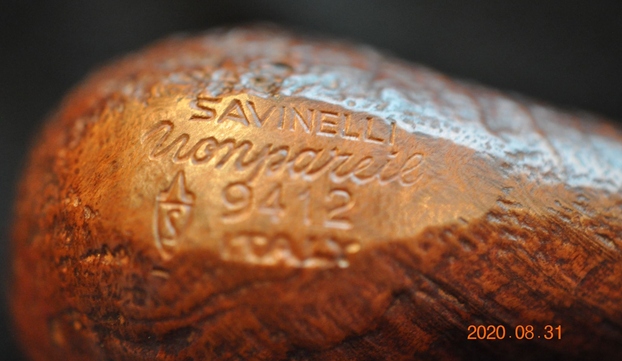
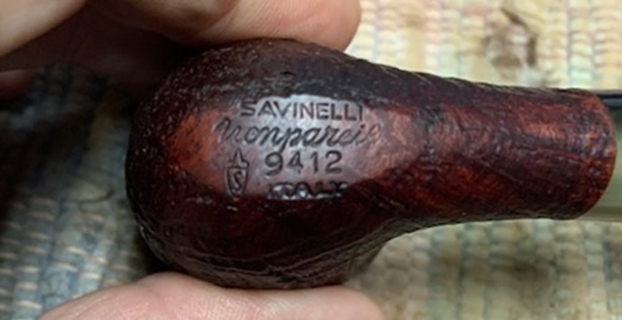
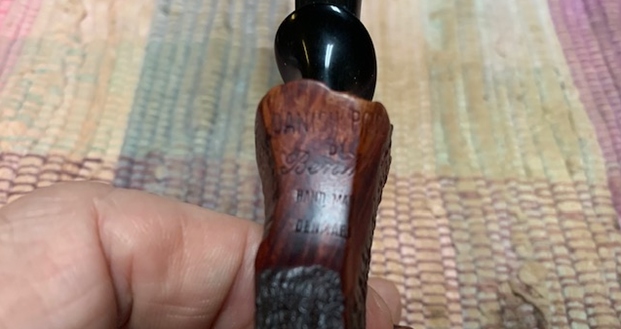
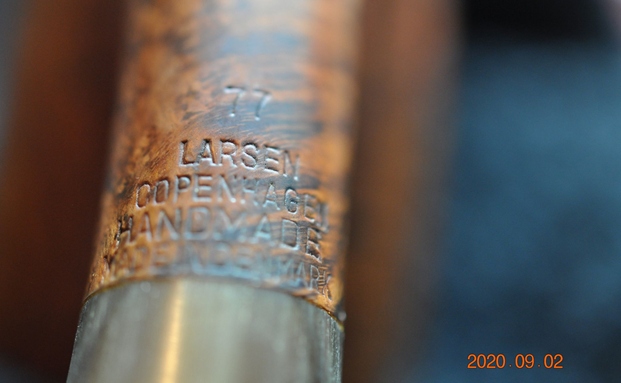
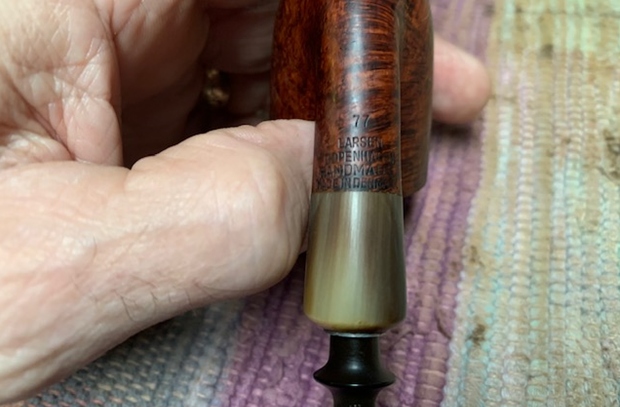
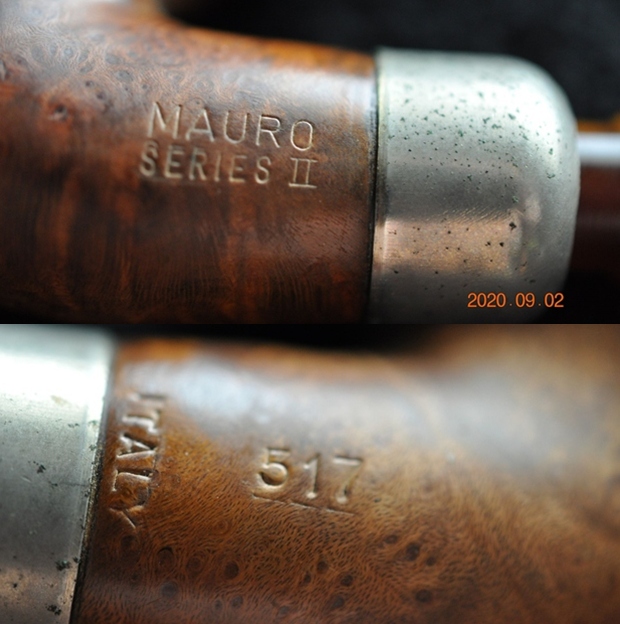
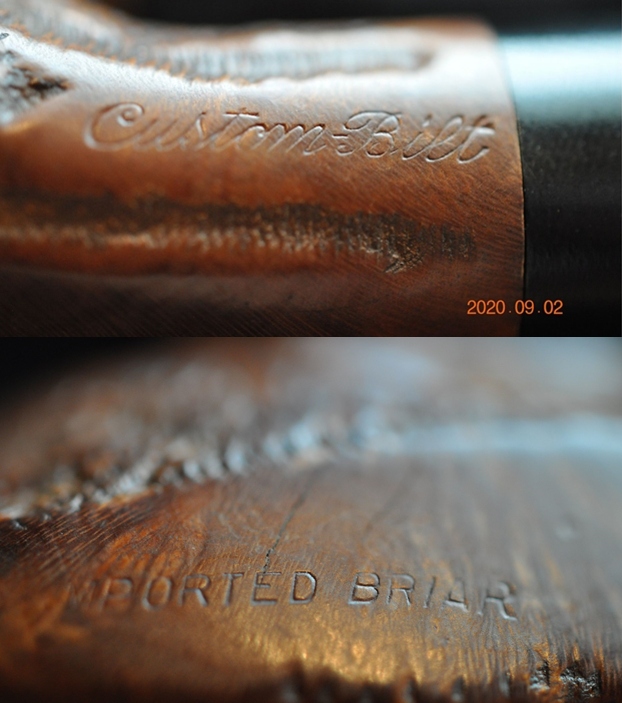
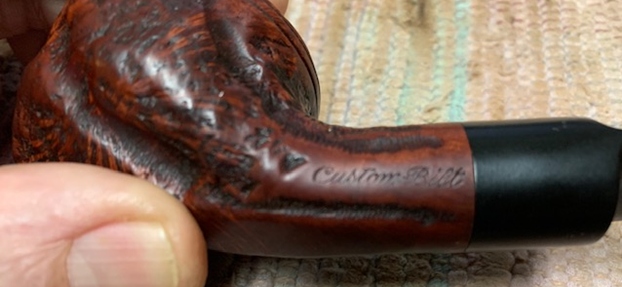
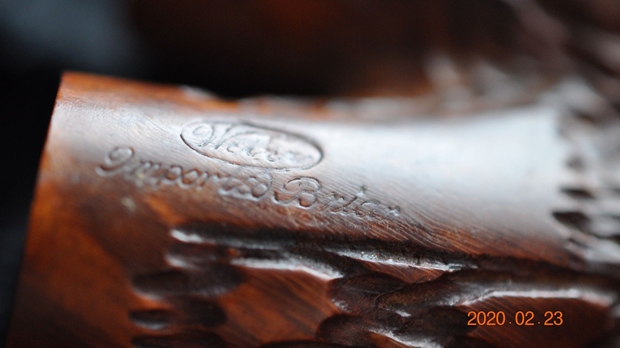
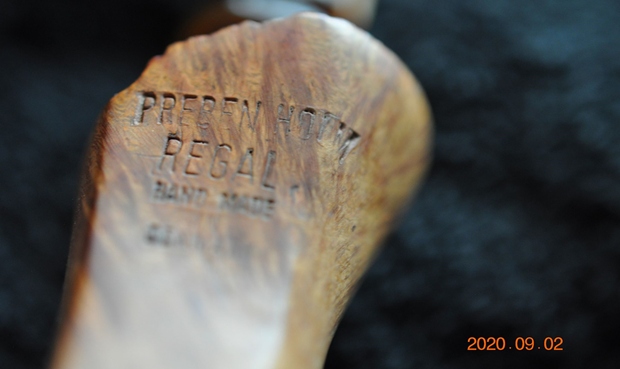
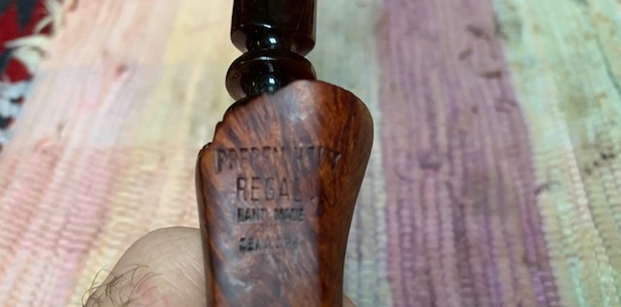
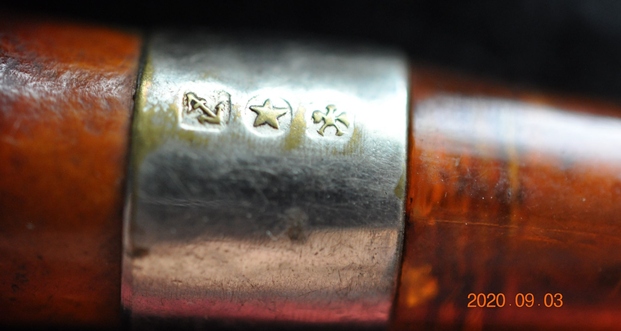
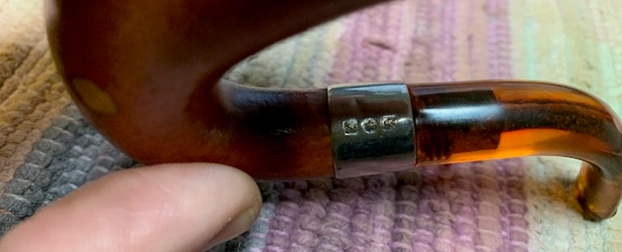
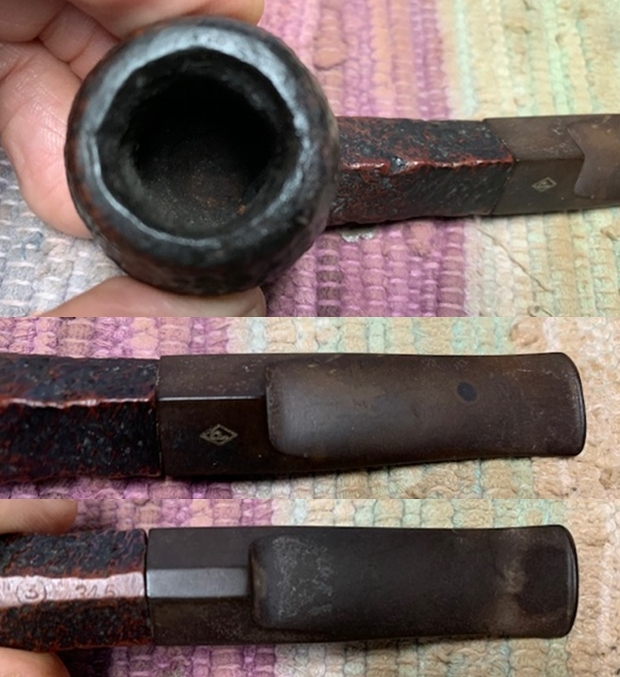
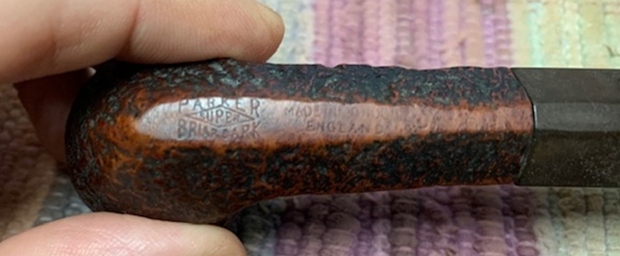
 The stamping on the underside of the shank is clear and readable and read as noted above. Jeff took several photos to capture the stamping on the underside of the shank.
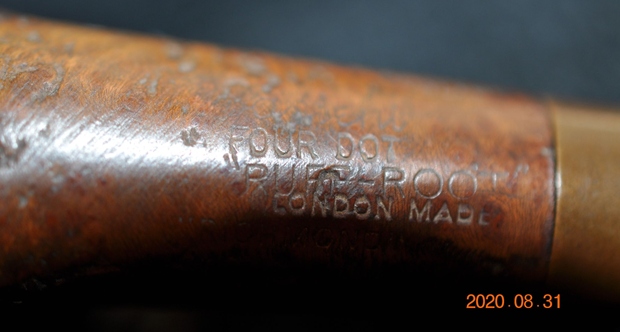
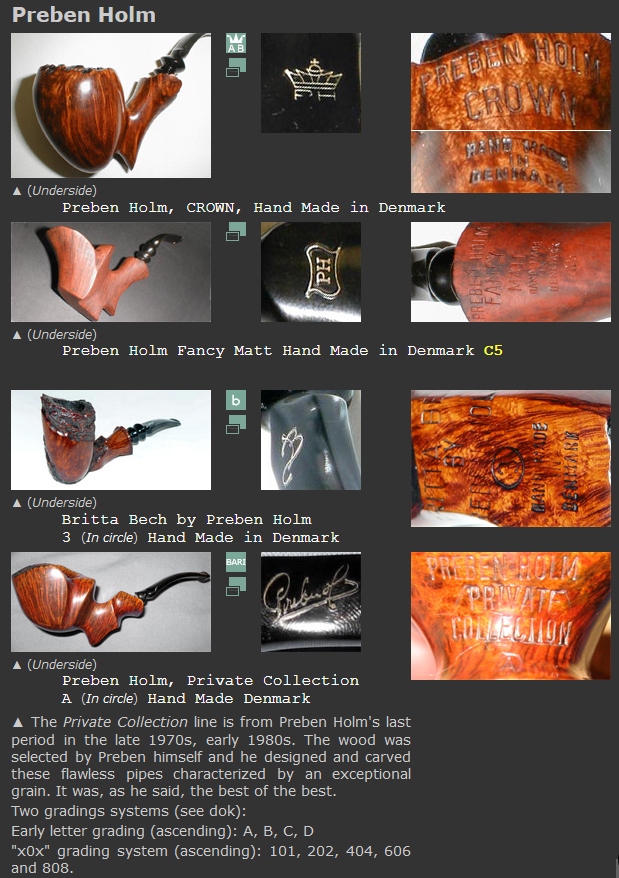
 I turned to Pipephil (http://www.pipephil.eu/logos/en/logo-sasieni.html) to get a quick view of the Sasieni Four Dot “Ruff Root” pipes. I did a screen capture of the site’s information on the Four Dot line. There was nothing on the Richmond pipe but the data provided by the site helped understand the stamping.
  It appears that the pipe I am working on is a Pre-Transition pipe (1946-1979). It is stamped Four Dot Richmond (shape name (Town)). The Ruff Root finish is the name of the sandblast finish on the pipe.
I turned to Pipedia (https://pipedia.org/wiki/Sasieni) for a quick read.
Furthermore, by 1935 Sasieni began stamping pipes, based on the shape, with their own names, which were usually, but not always, English towns. For example, apples were stamped “Hurlingham”, bulldogs were “Grosvenor” or “Danzey”, and panels were “Lincoln”. One rare and interesting variation of this was the large bent, dubbed “Viscount Lascelles”. Even in this soft Sasieni market, these pipes regularly sell for $150 in their rare appearances in mailers.
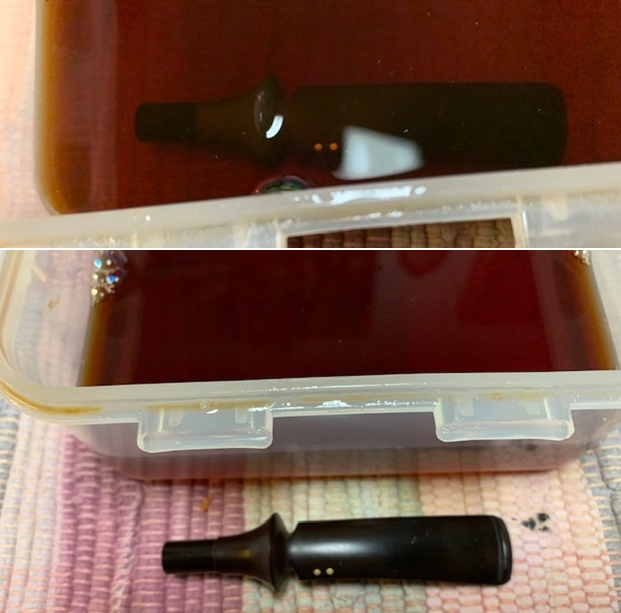
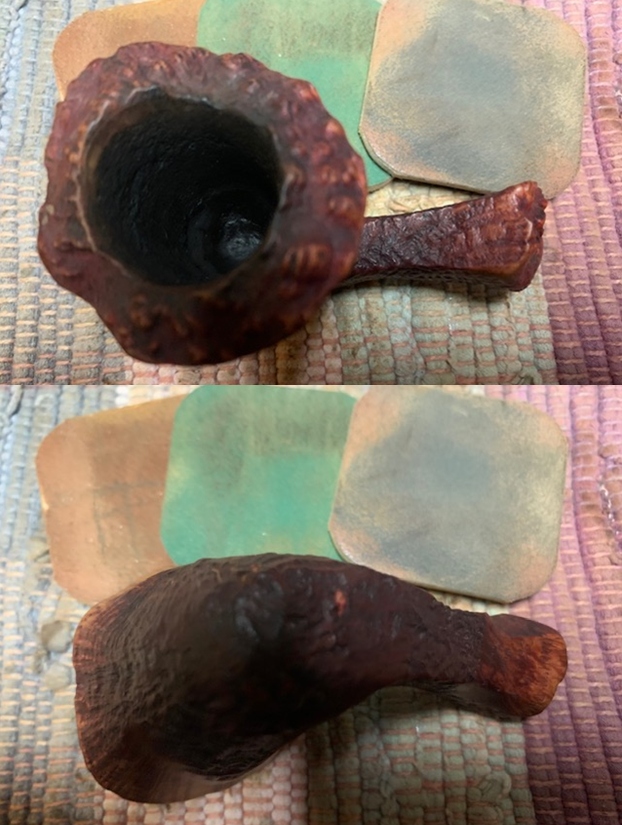
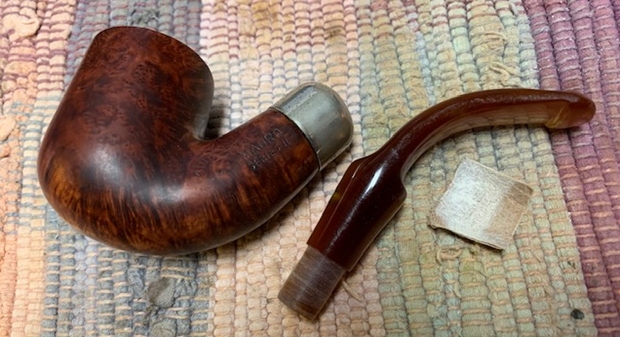
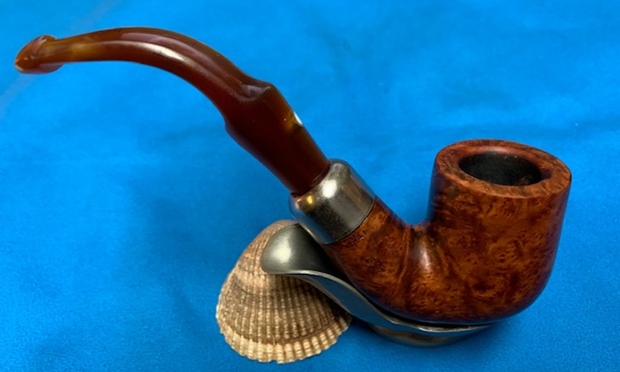
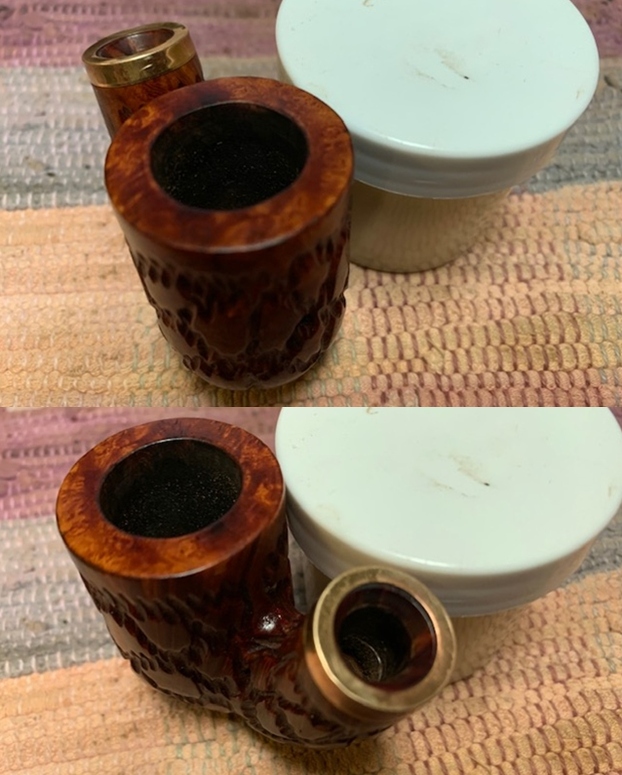
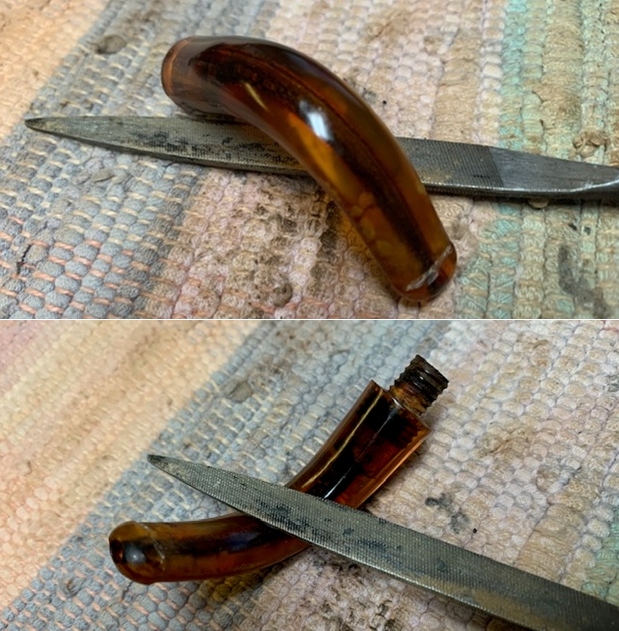
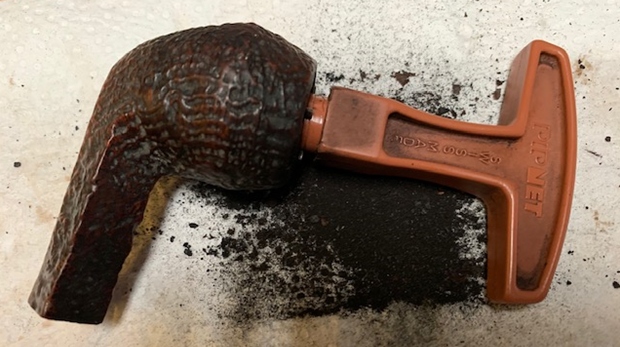
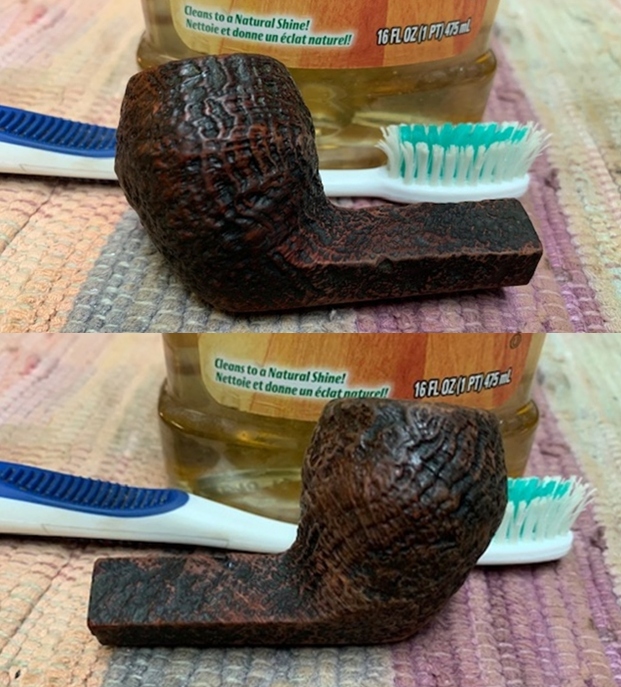
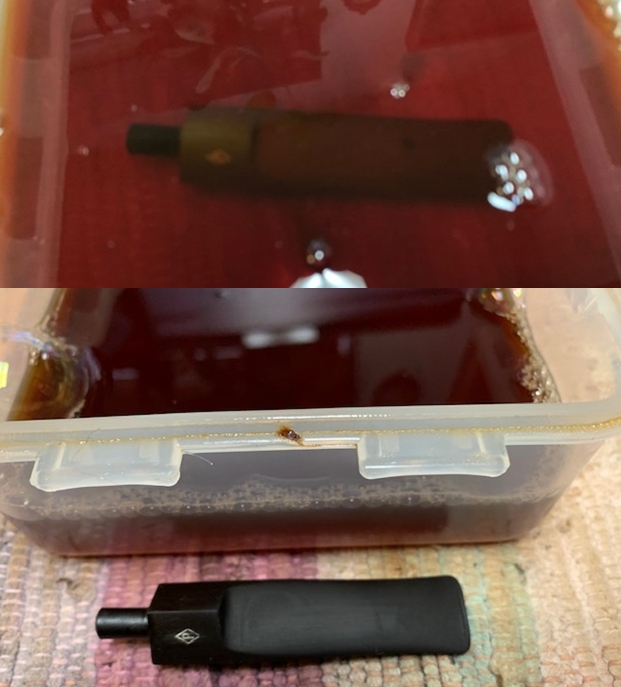
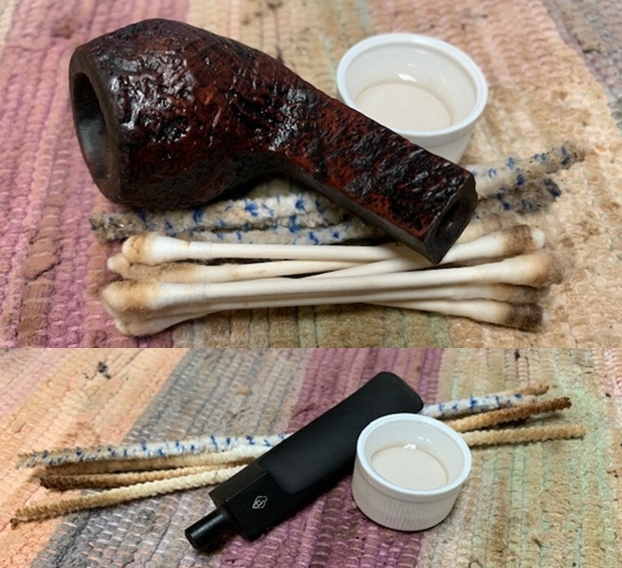
Jeff had cleaned up the pipe with his usual penchant for thoroughness. He reamed the pipe with a PipNet pipe reamer and removed the rest of it with a Savinelli Fitsall Pipe Knife. He scrubbed the bowl with undiluted Murphy’s Oil Soap with a tooth brush. He rinsed it under running warm water to remove the soap and grime. He cleaned out the inside of the shank and the airway in the stem with alcohol, cotton swabs and pipe cleaners. He soaked the stem in a Before & After Deoxidizer bath and rinsed it off with warm water. I took photos of the pipe before I started my part of the restoration work. 
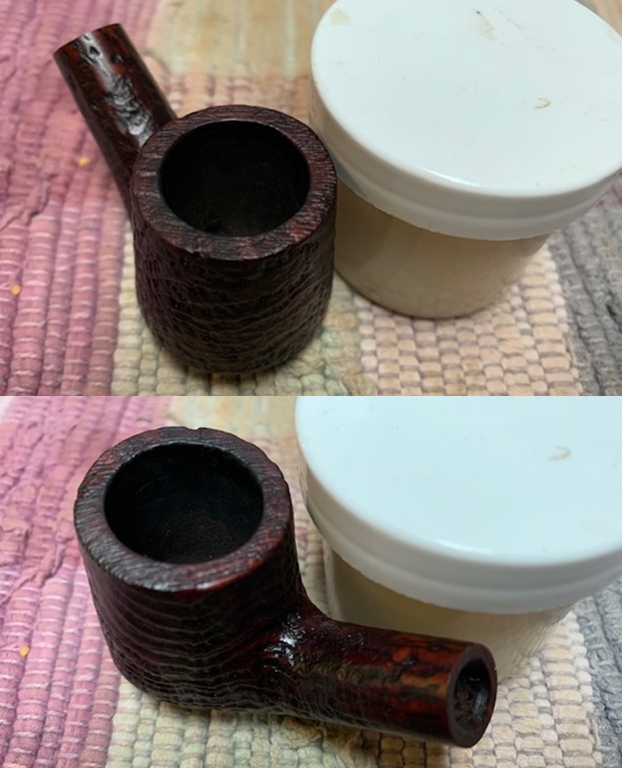
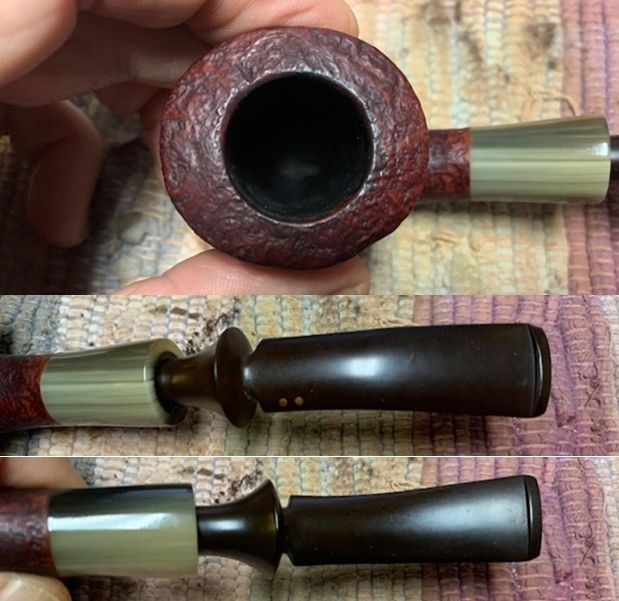
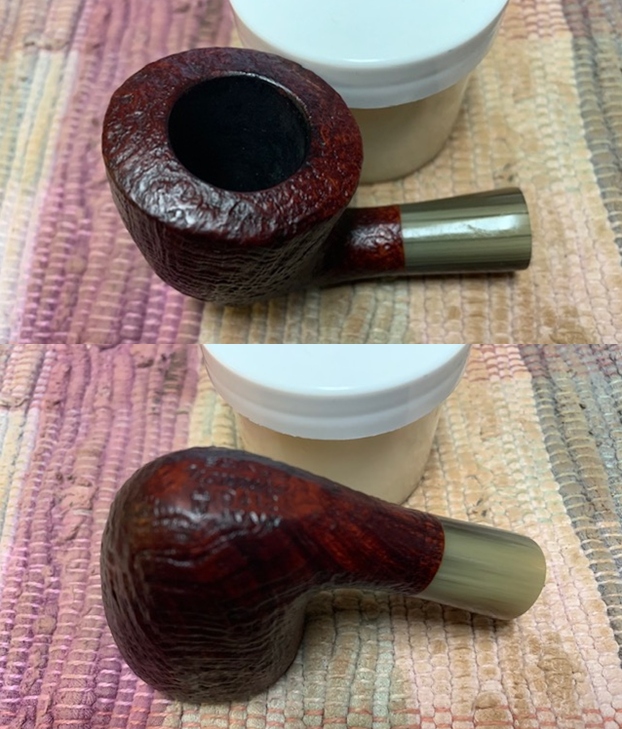
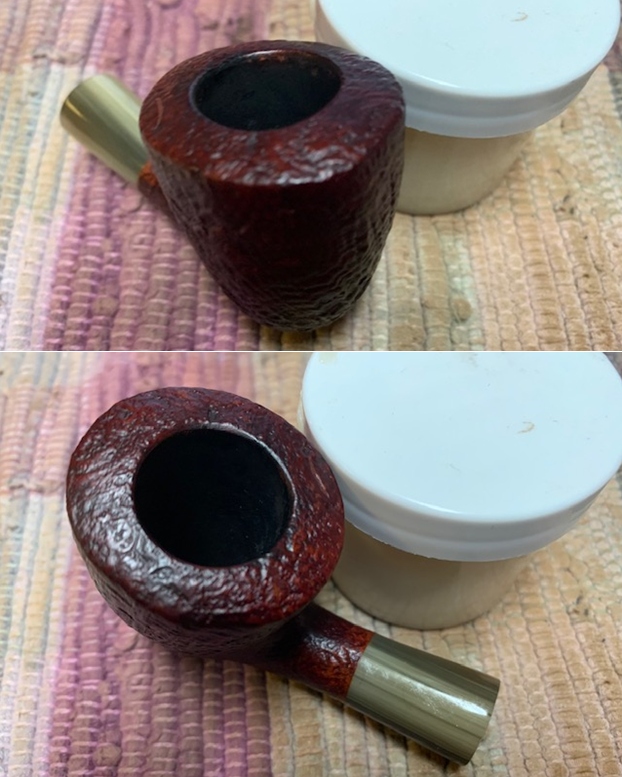
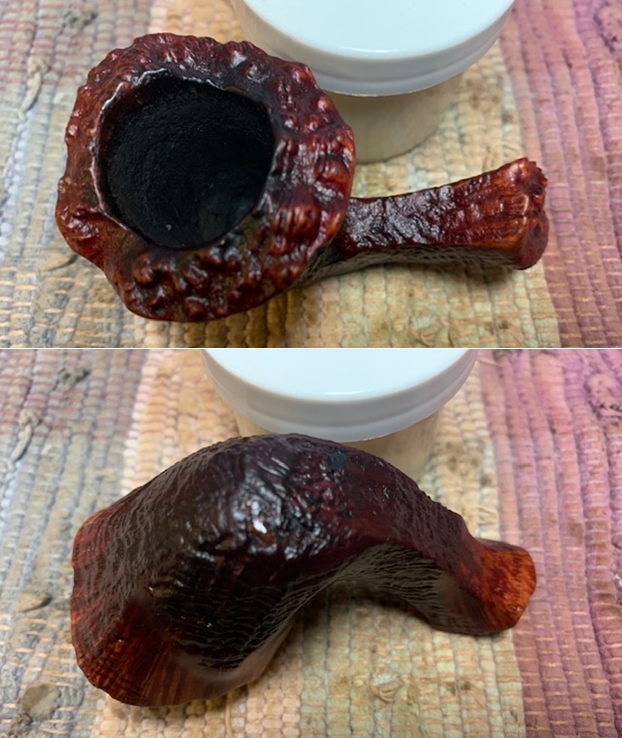
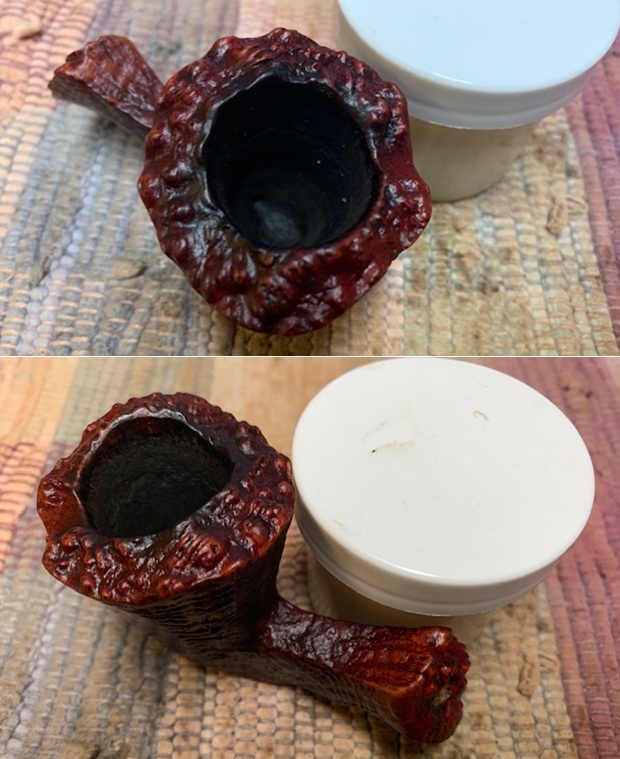
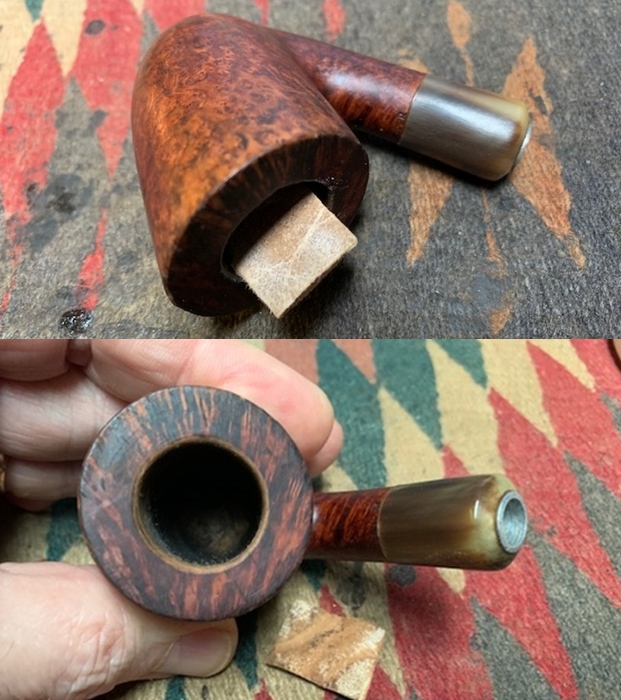
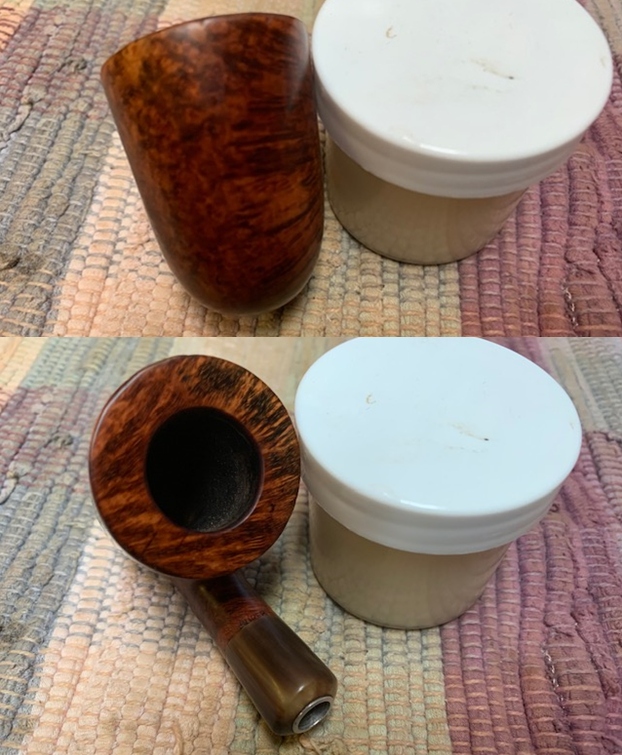
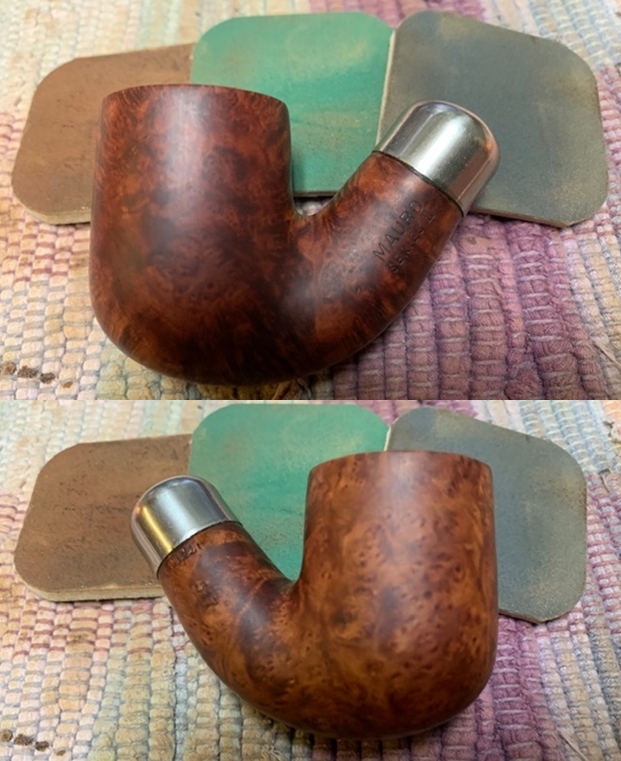
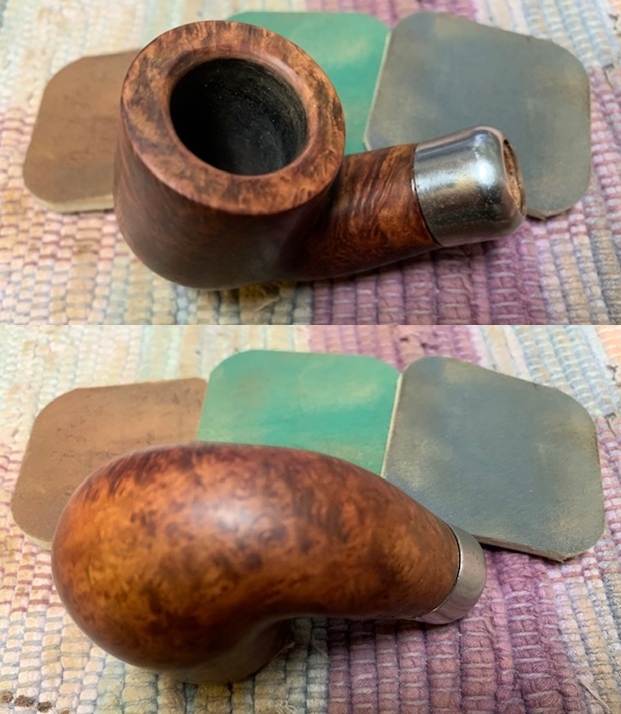
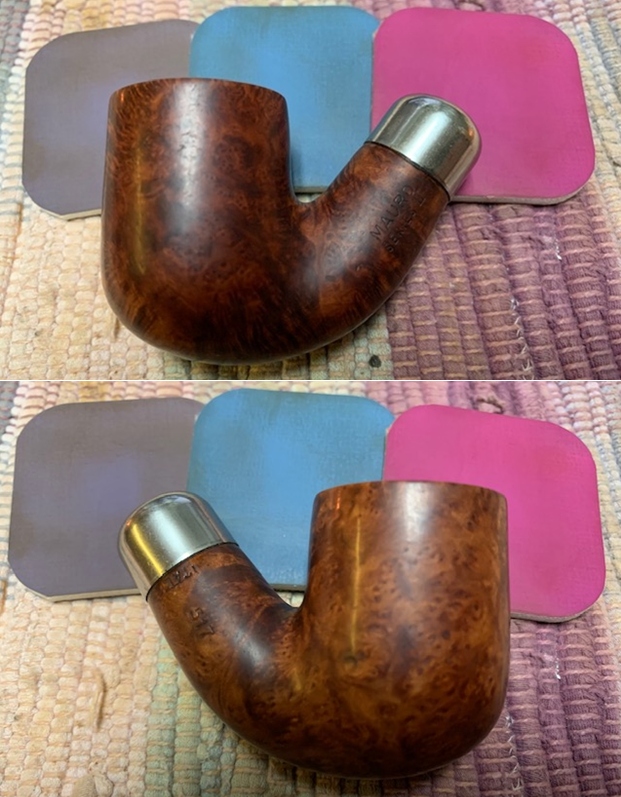
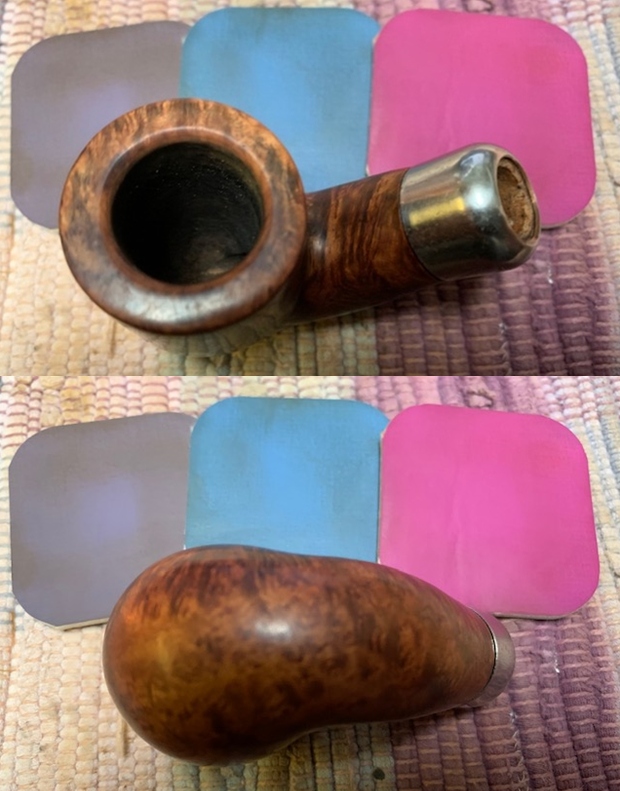
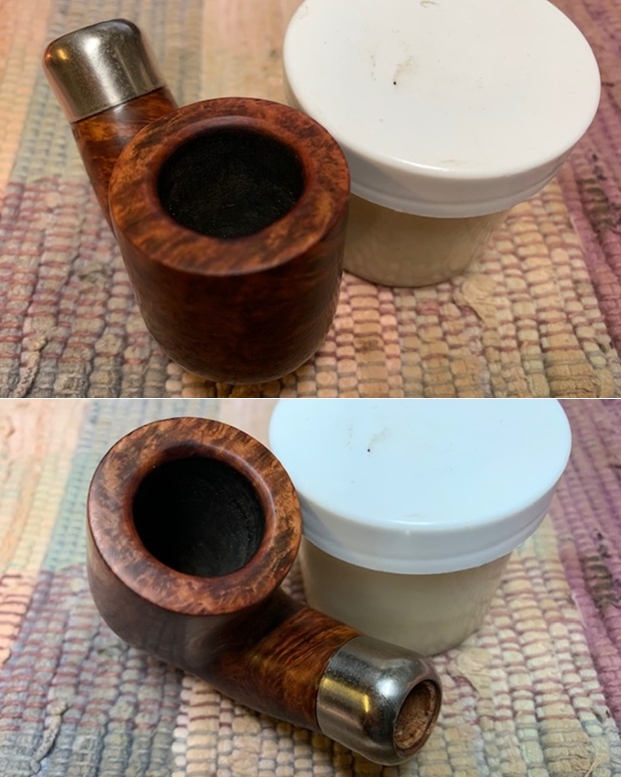
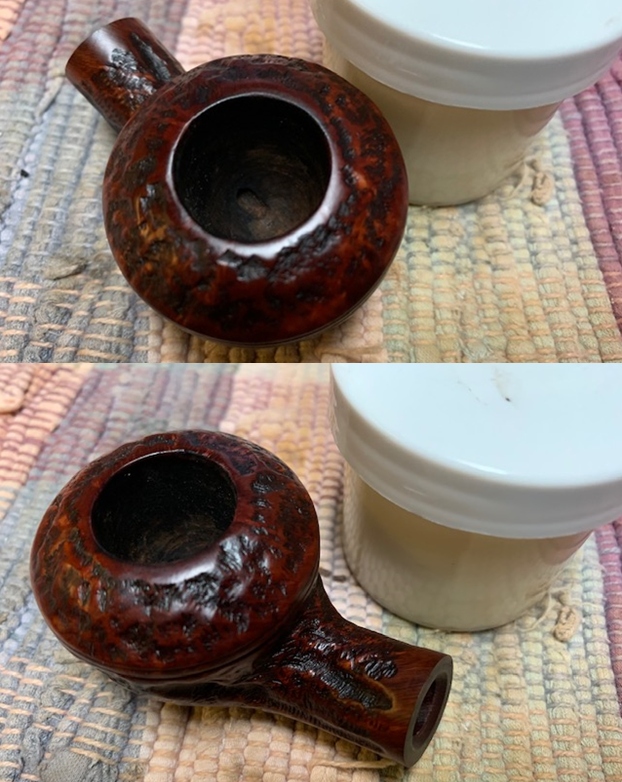
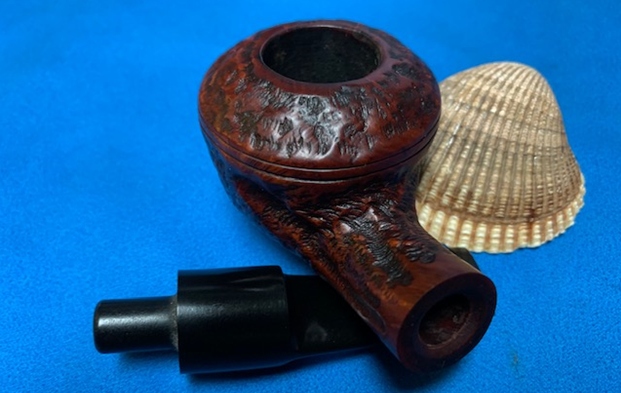
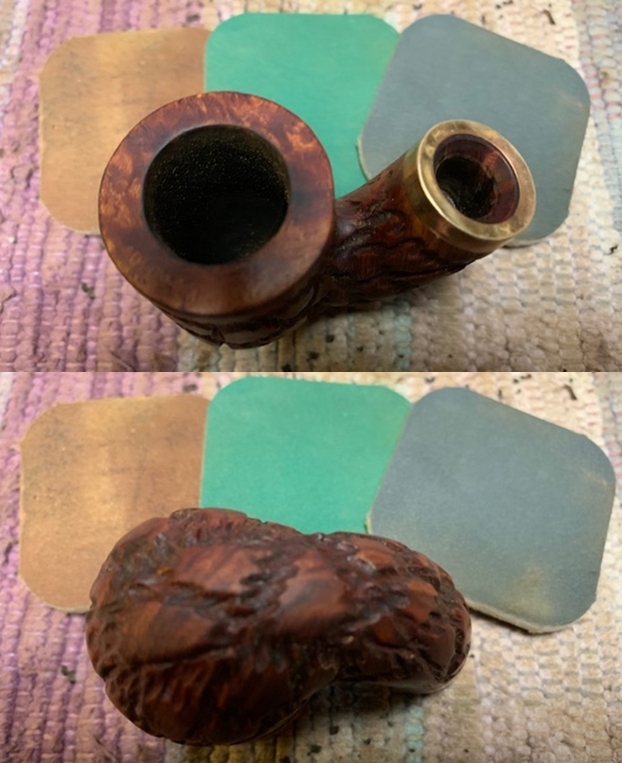
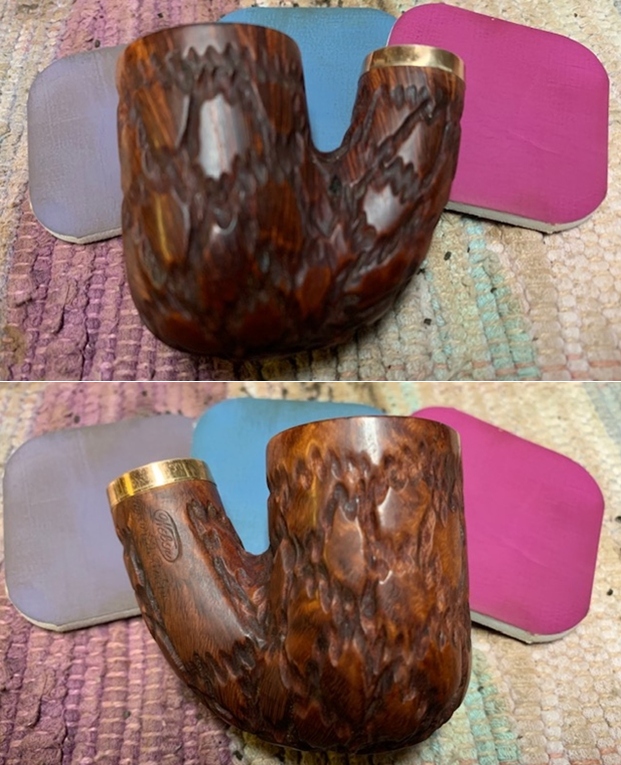
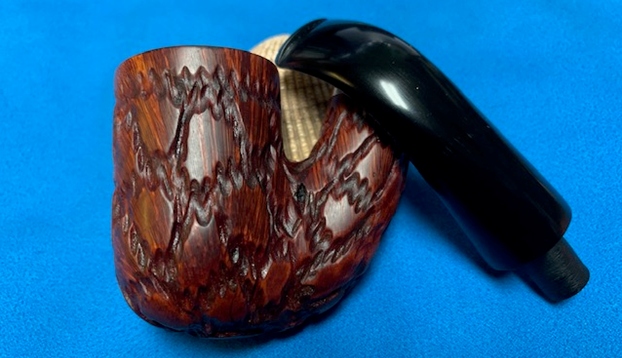
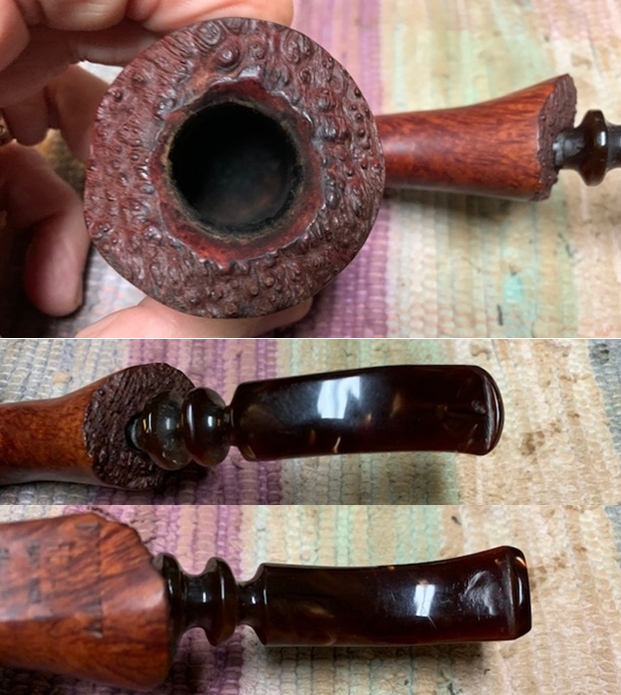
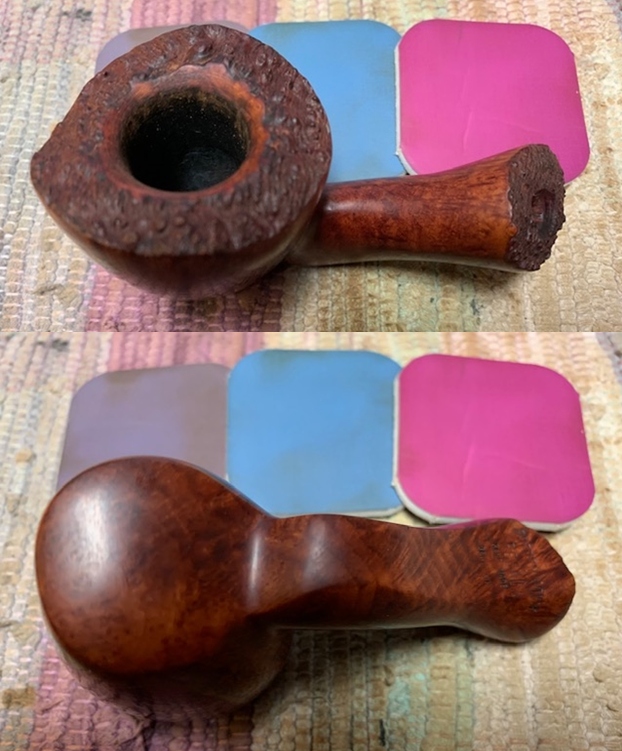
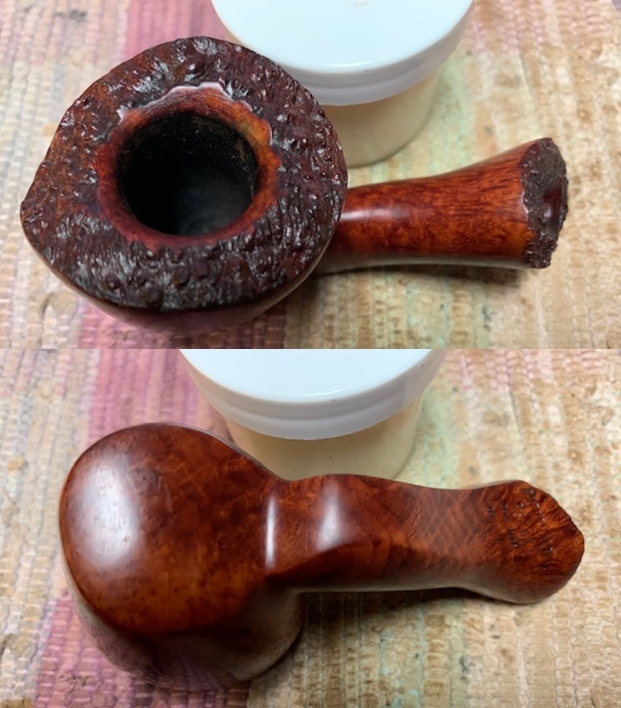
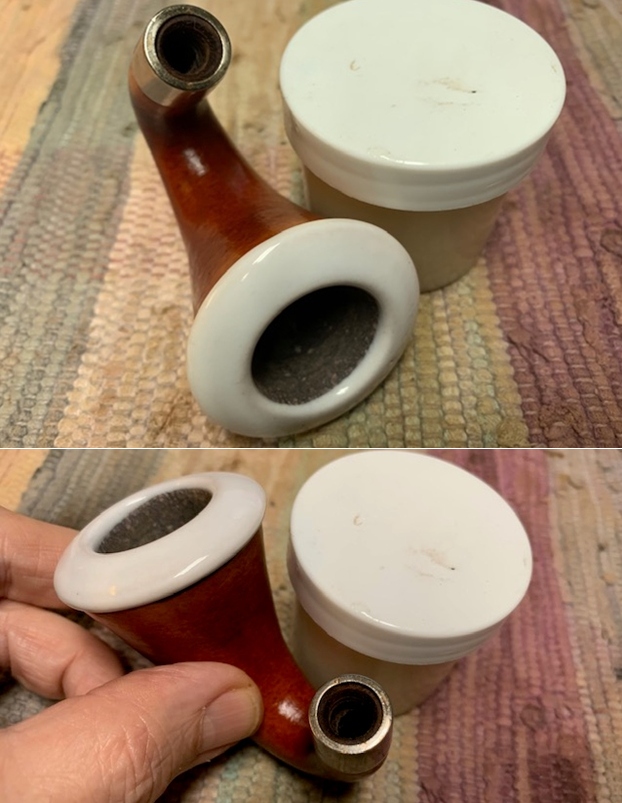
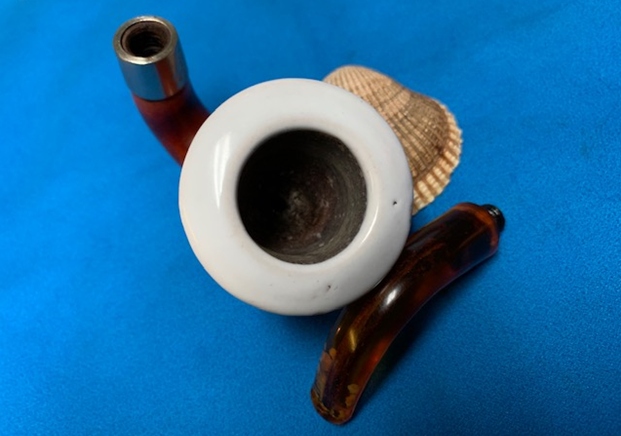
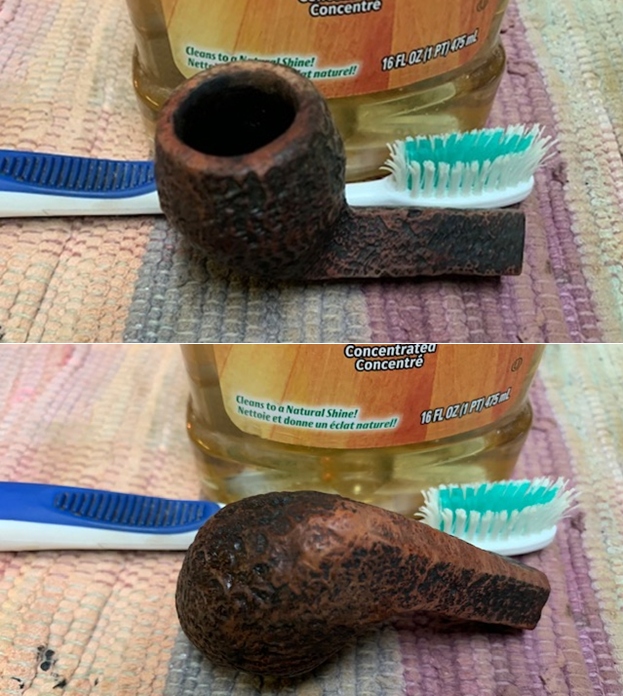
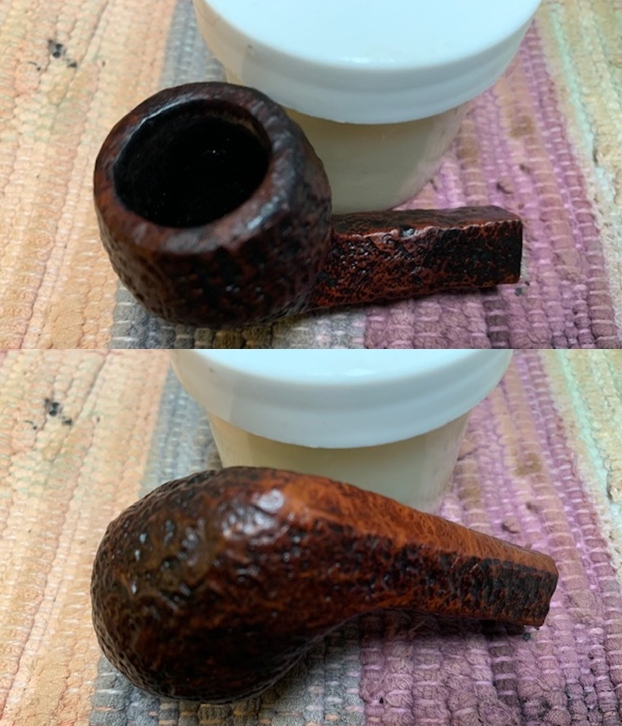
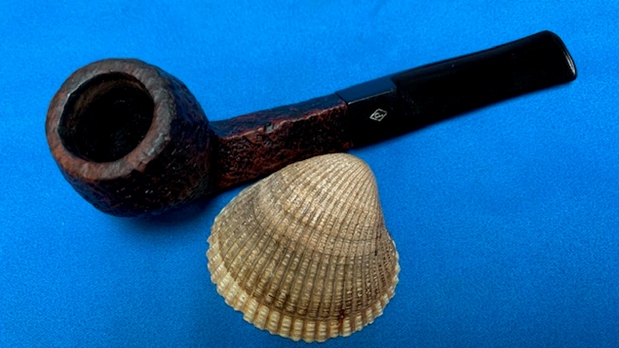
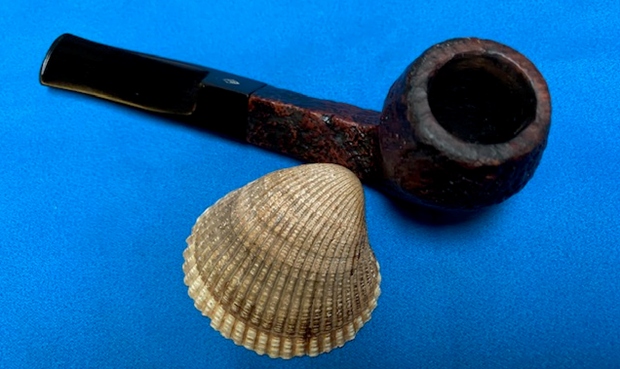
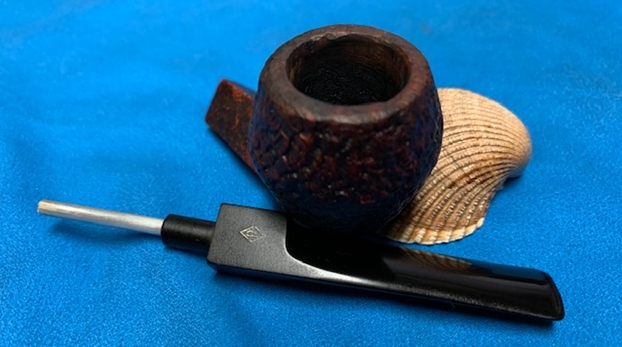
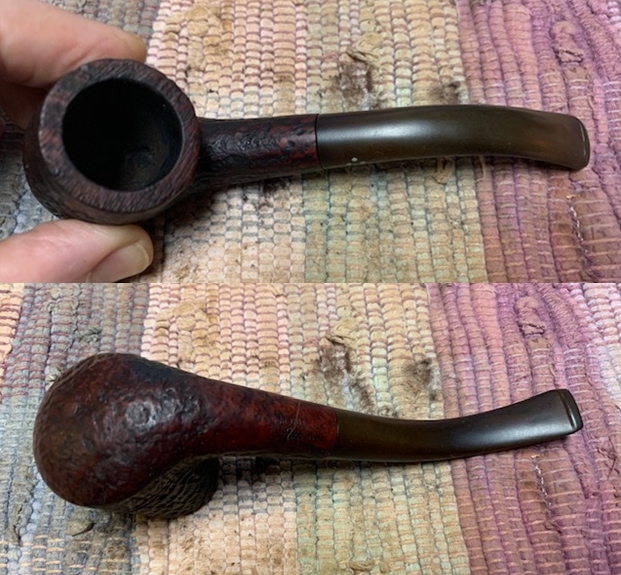 The rim top cleaned up really well. The rim top, inner and outer edge of the bowl is in excellent condition. The stem surface looked very good with a few tooth marks and chatter on both sides near the button. There was also some remaining oxidation.
 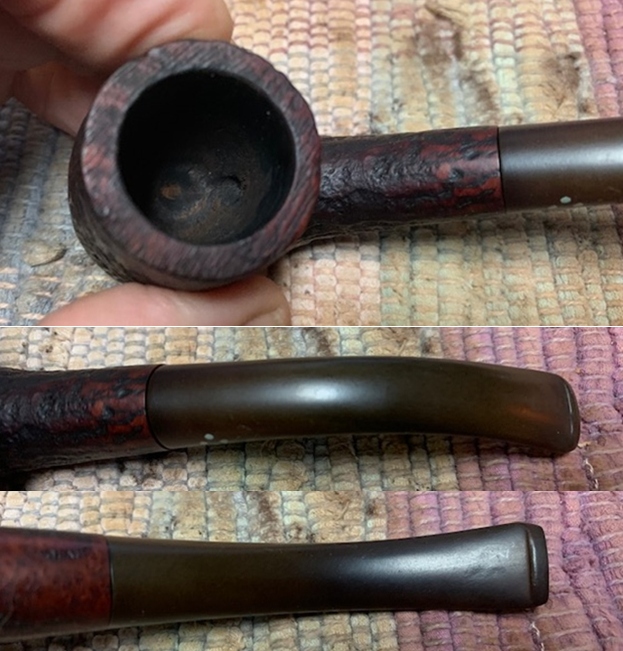 The stamping on the shank sides is clear and readable. It is stamped as noted above.
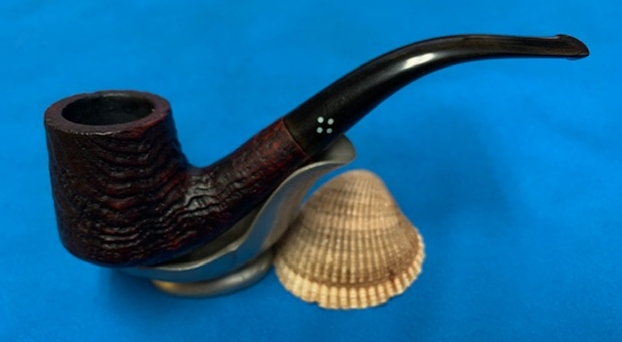
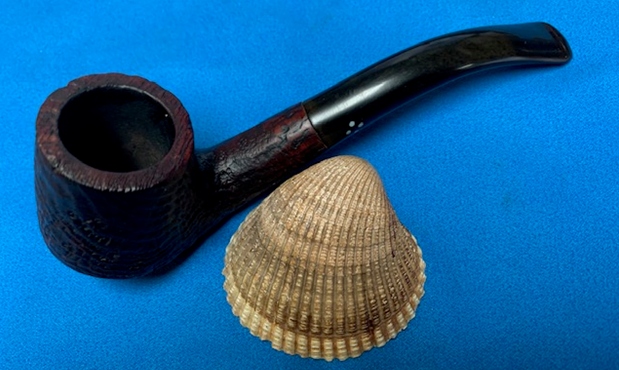
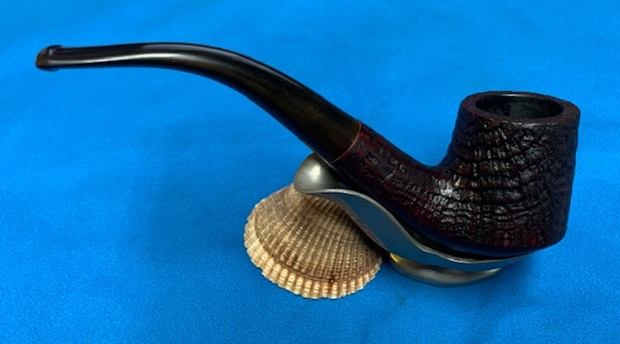
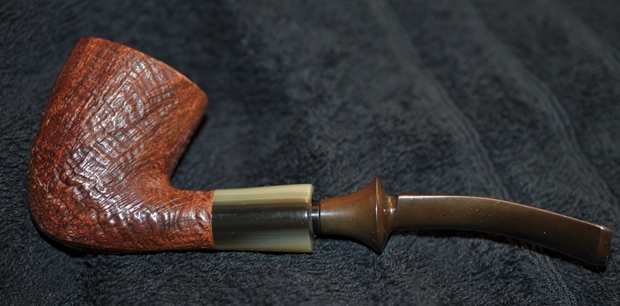
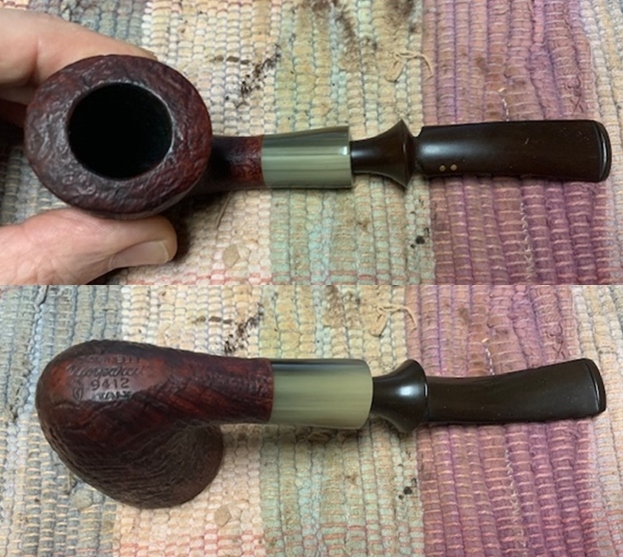
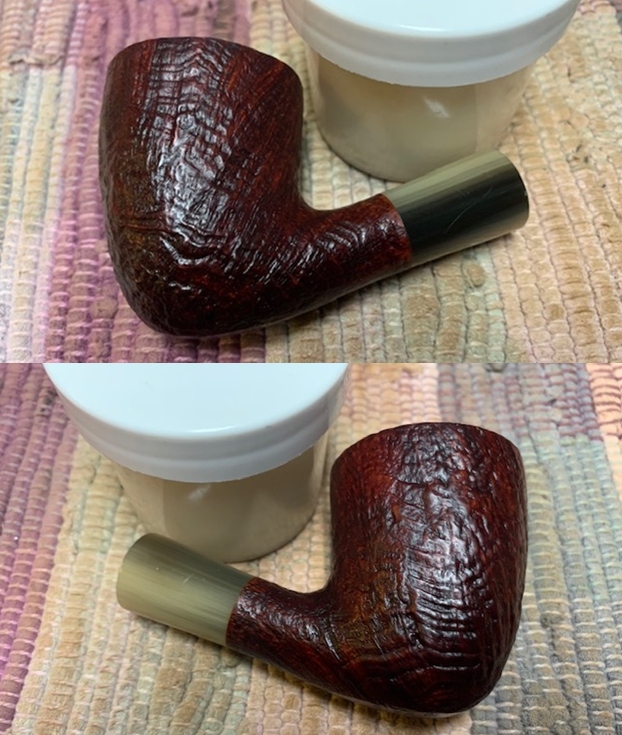
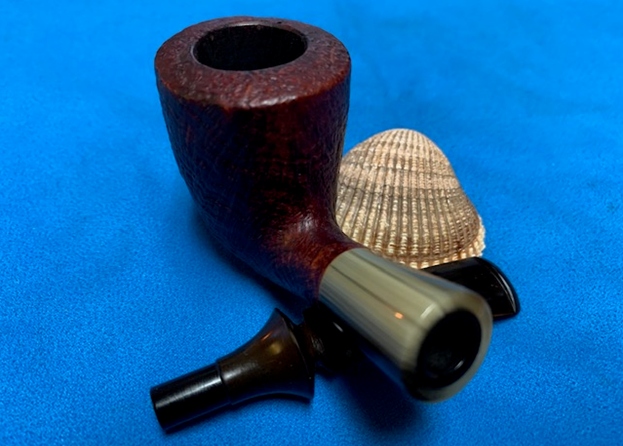
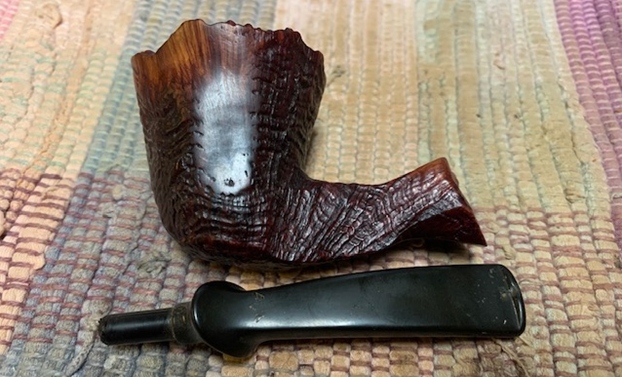
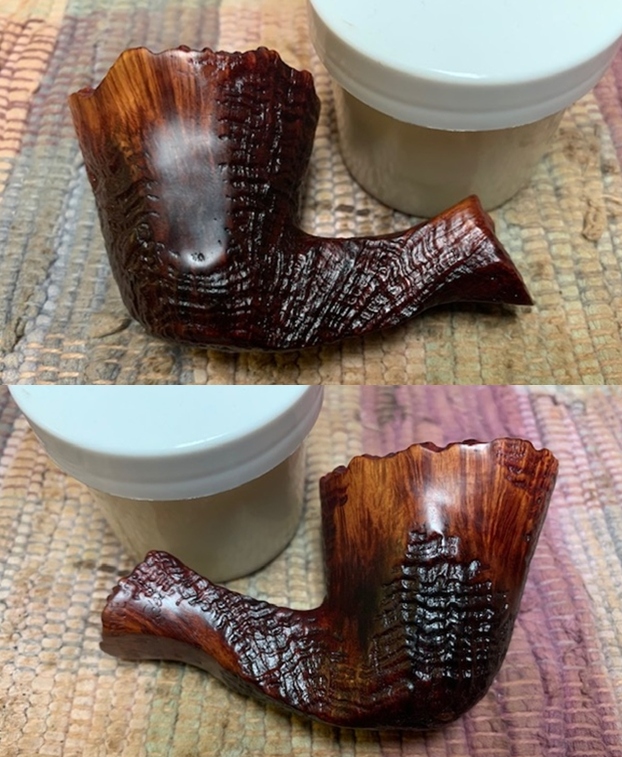
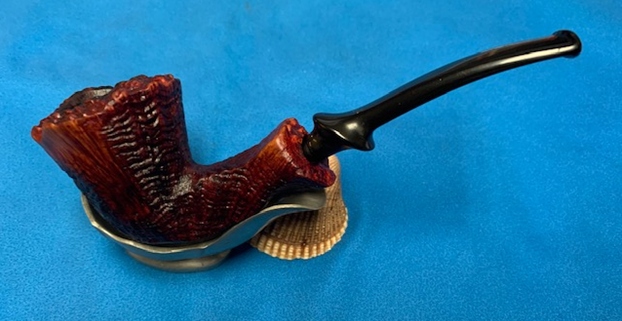
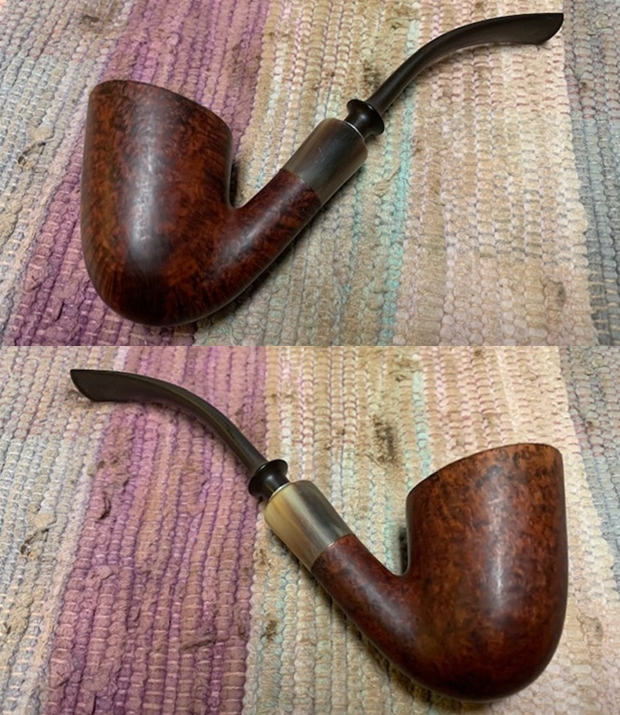
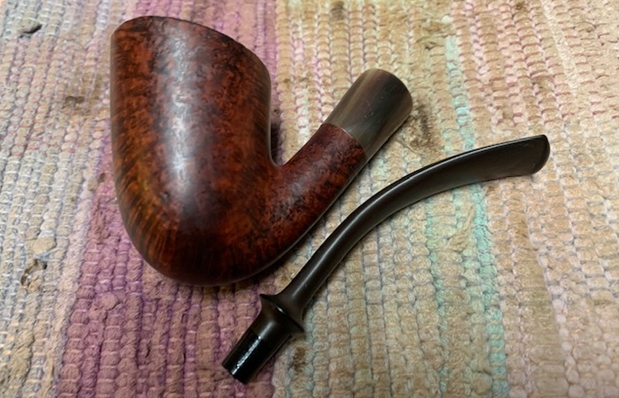
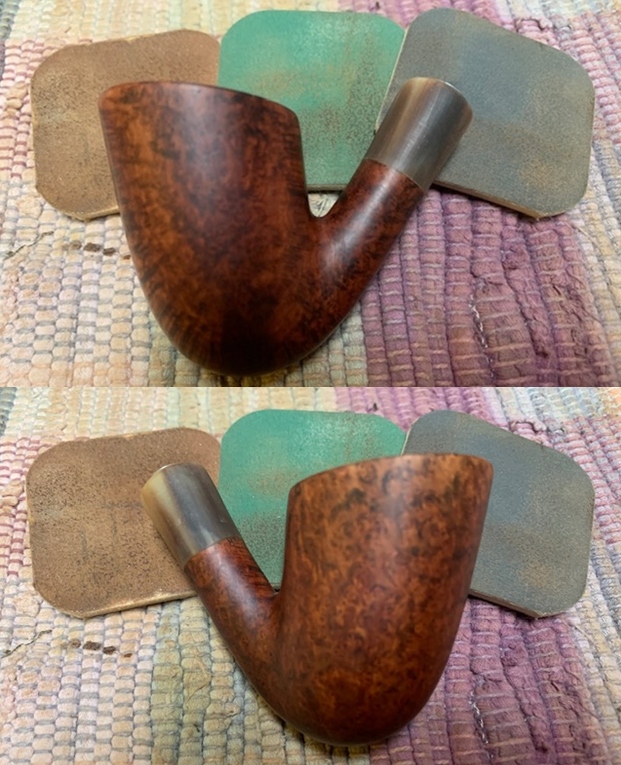
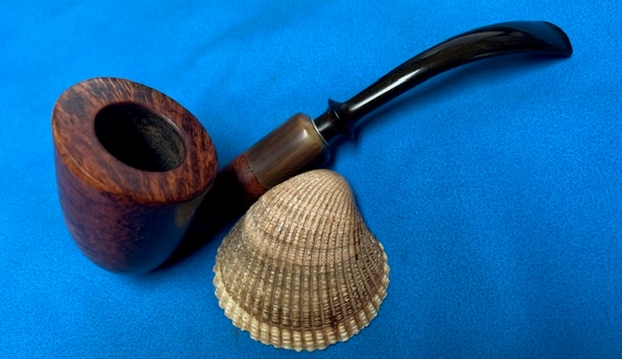
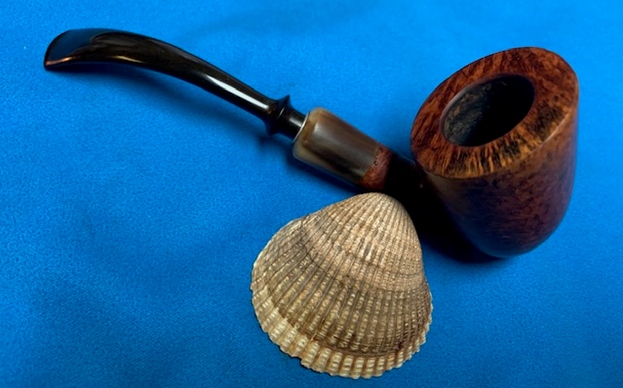
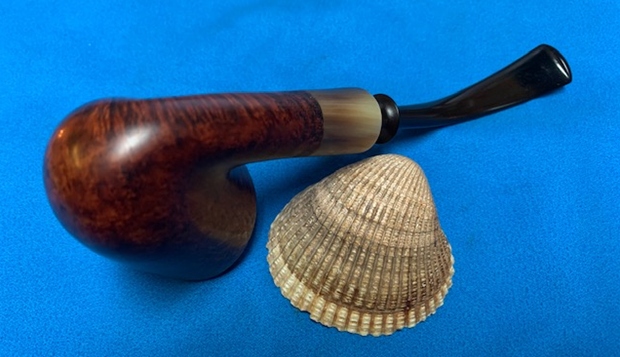
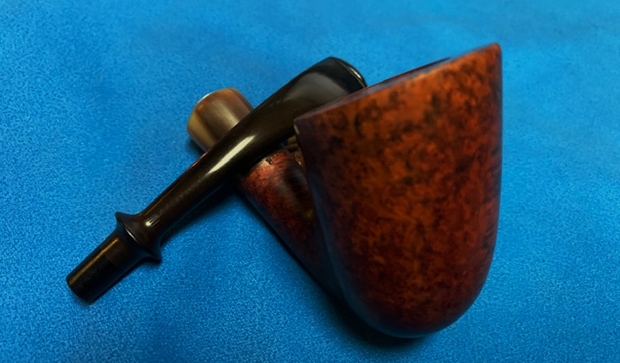
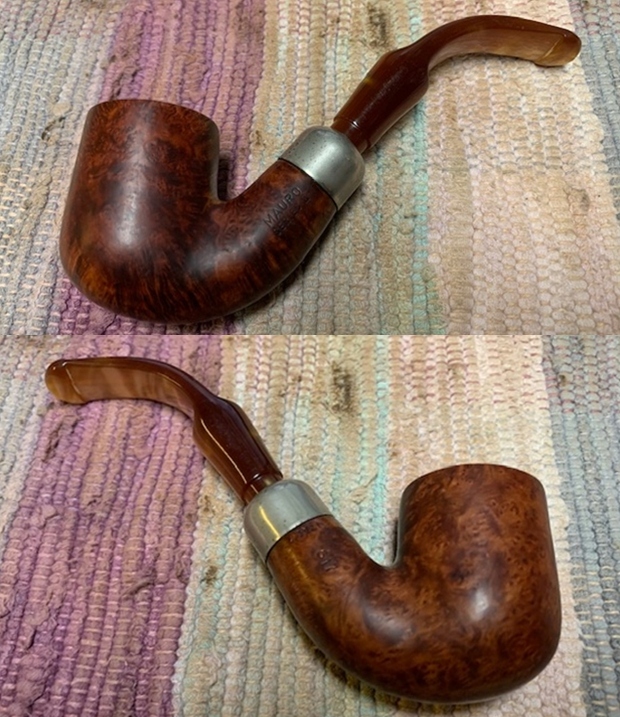
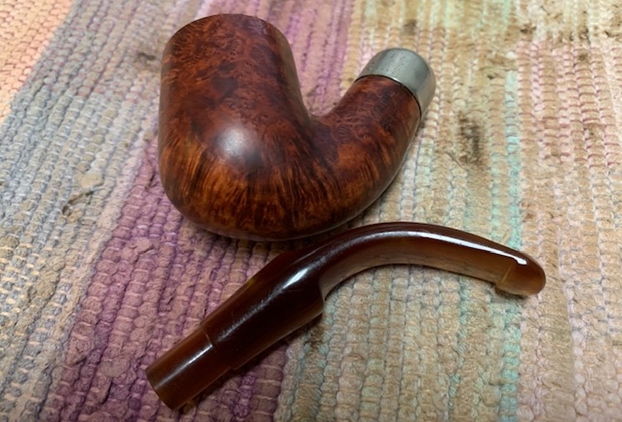
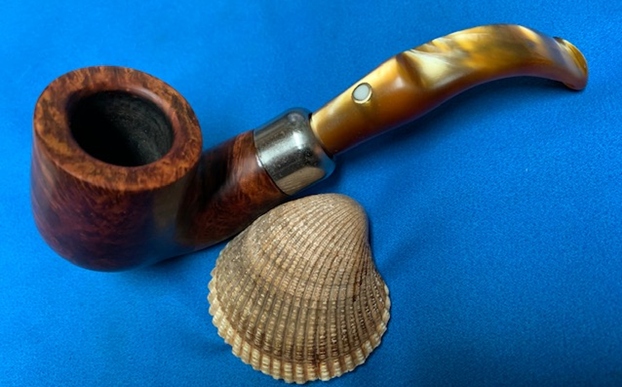
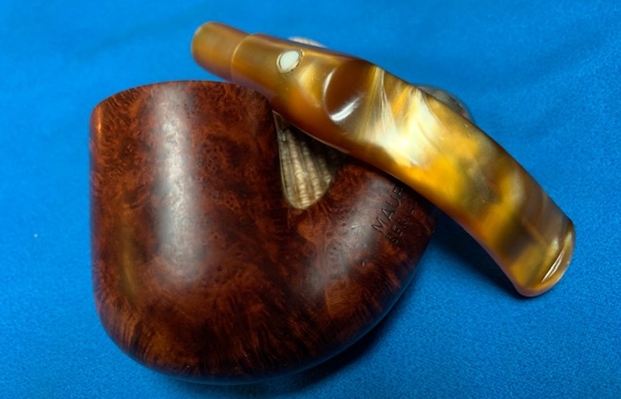
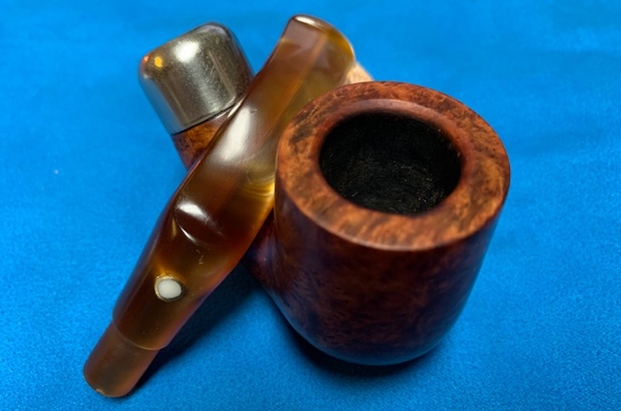
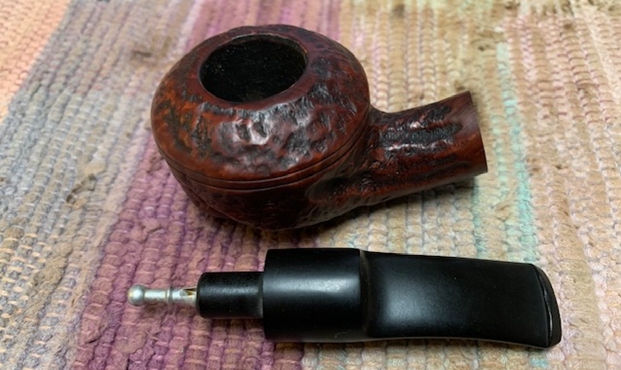
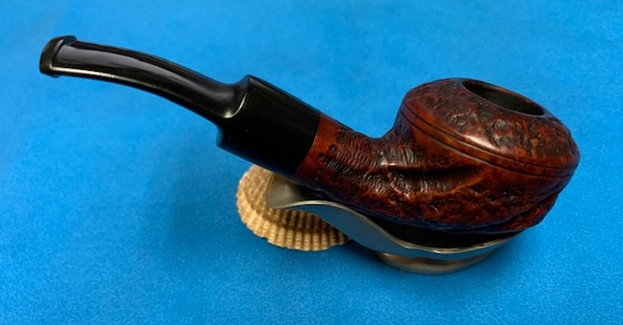
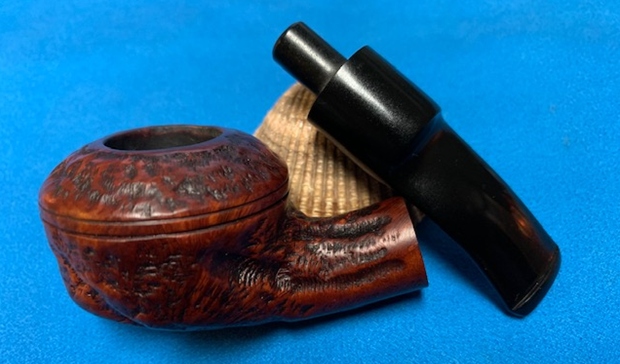
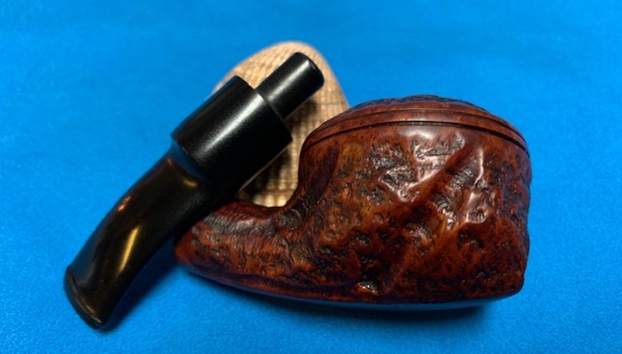
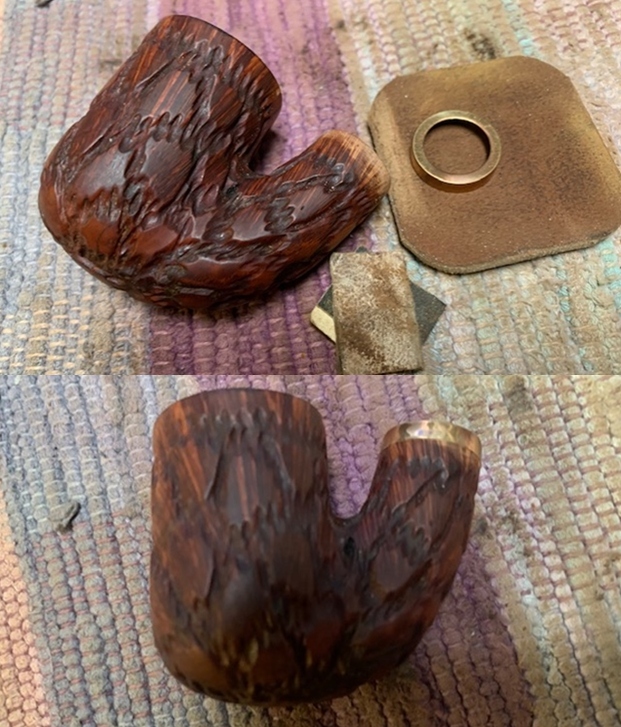
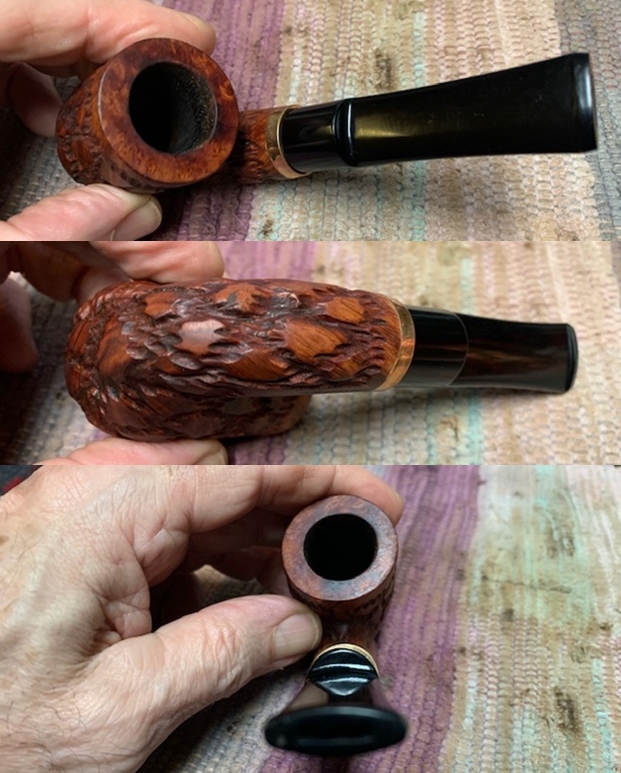
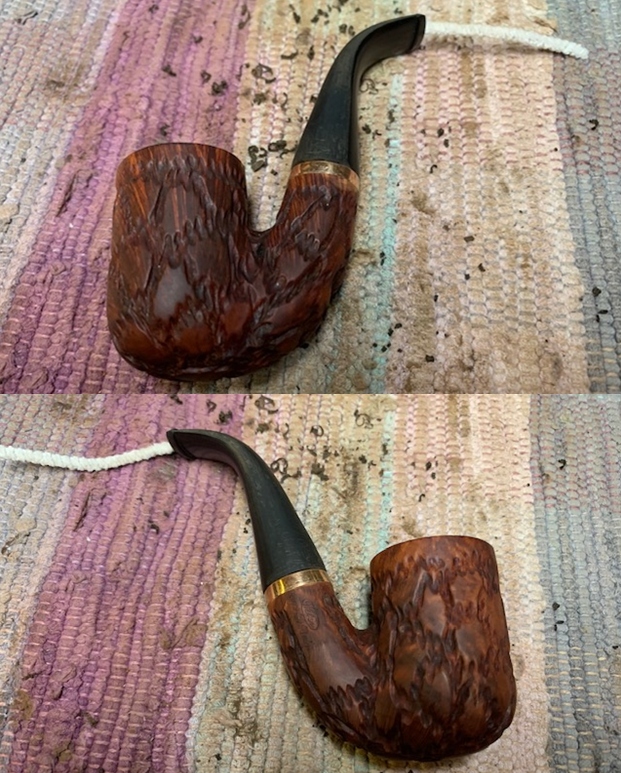
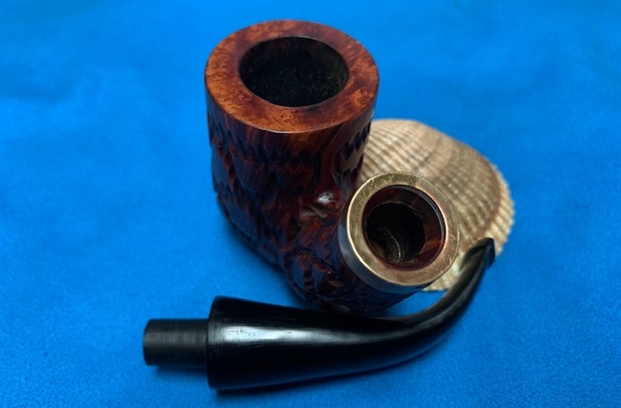
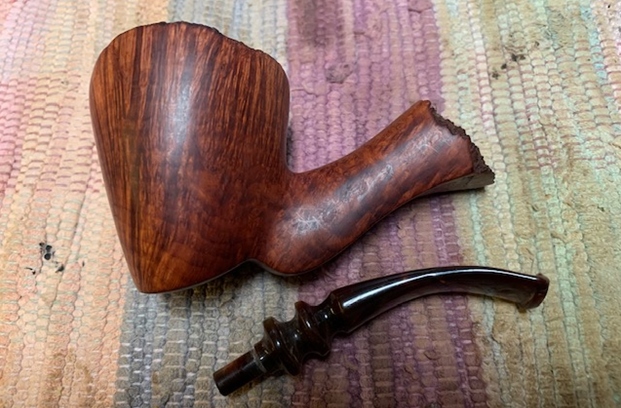
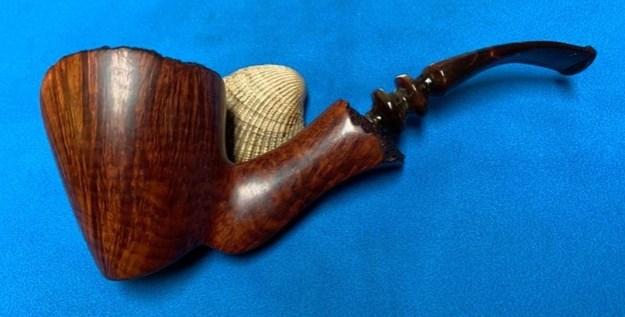
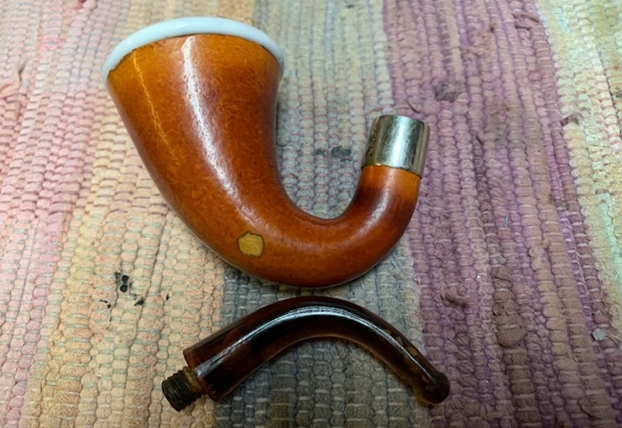
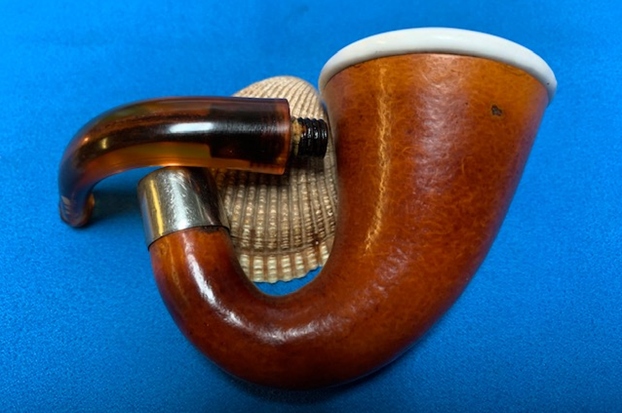
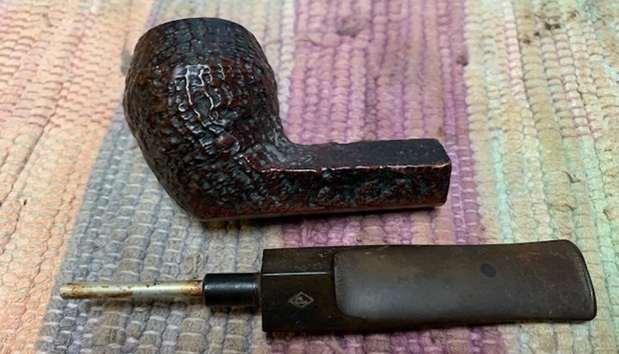
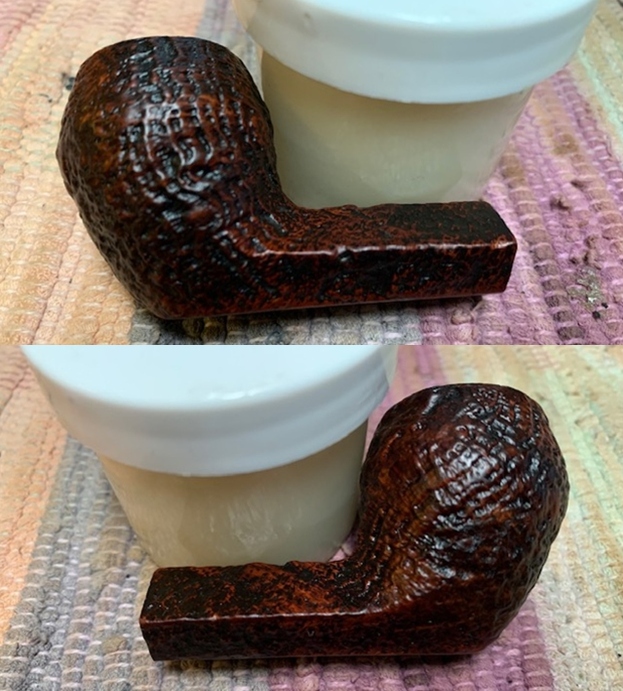
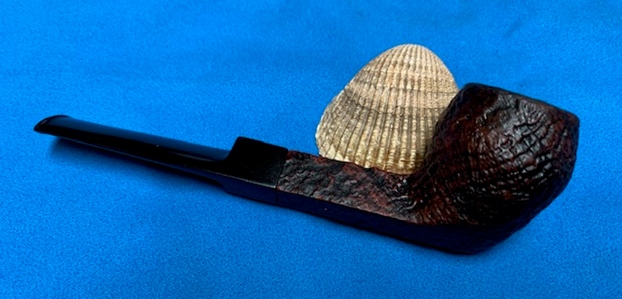
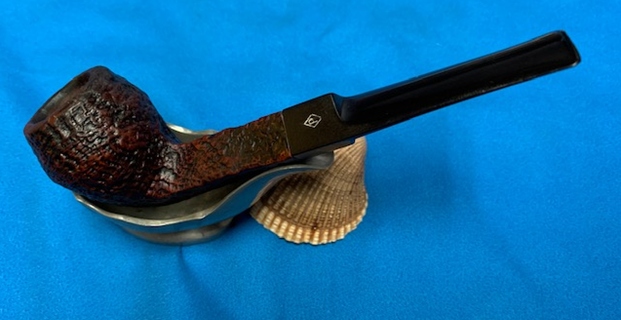
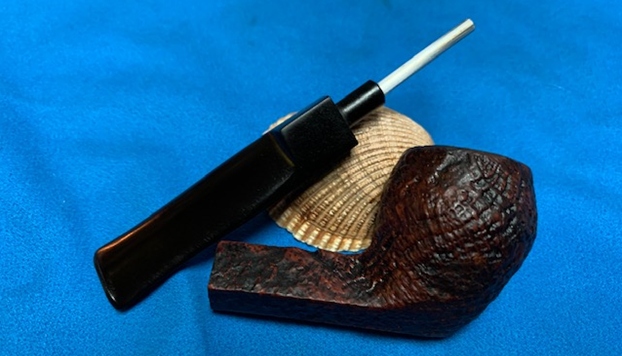
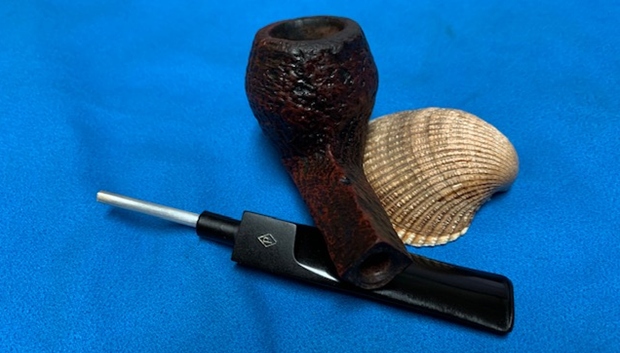
 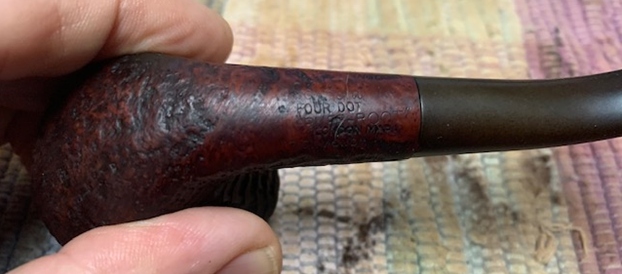 I removed the stem and took a photo of the pipe to give a sense of the whole. The taper stem is nice and the photo gives a sense of what the pipe looks like.
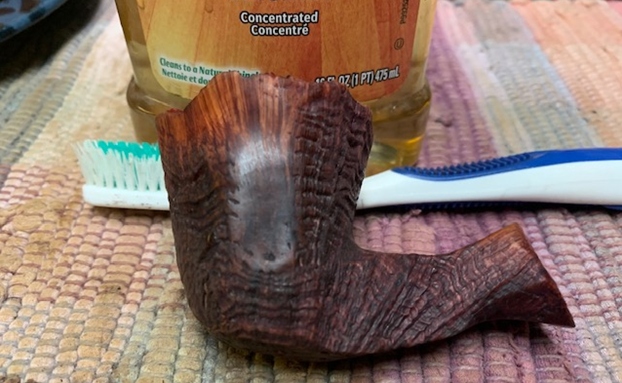
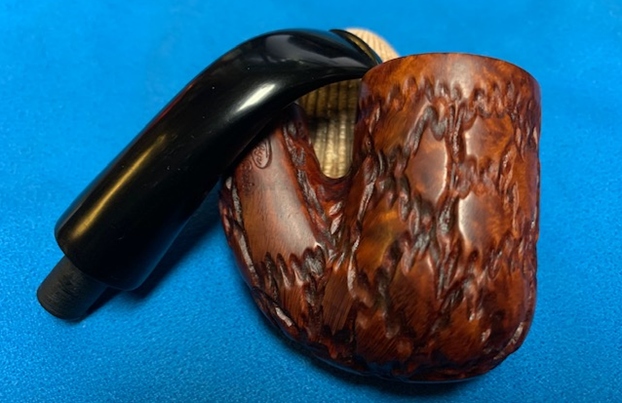
 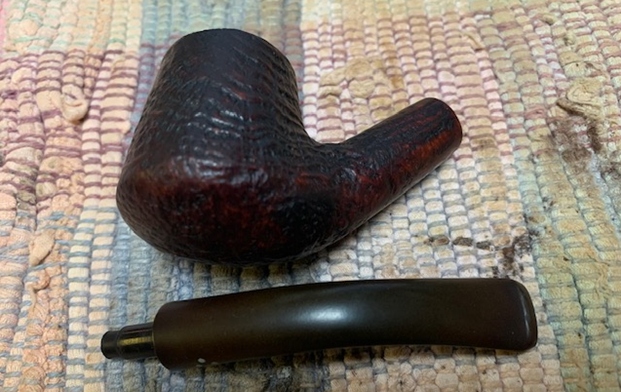 The bowl was in such great condition after Jeff’s cleanup that I did not have a lot to do with it. I rubbed the bowl and shank down with Before & After Restoration Balm. I worked it into the surface of the bowl sides and shank with my fingertips to clean, enliven and protect the briar. I let the balm sit for about 10-15 minutes and buffed with a cotton cloth to raise the shine. The grain came alive and the fills while visible look better than when I began.
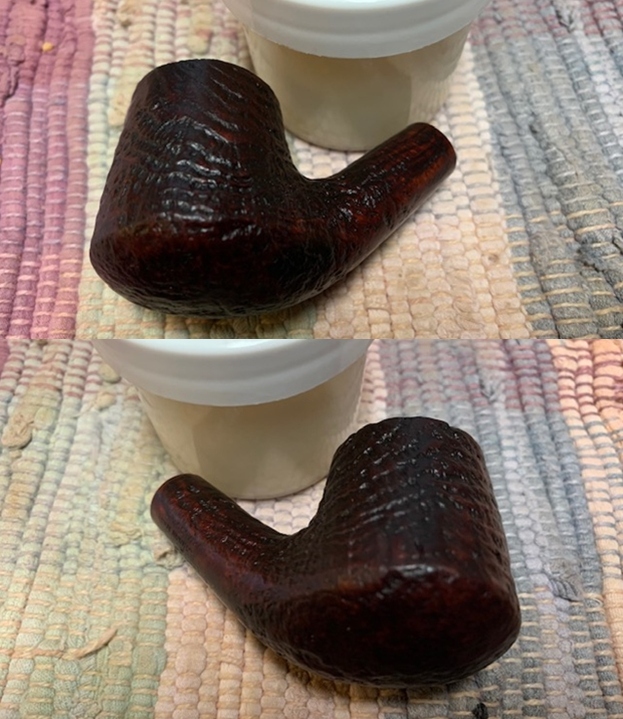
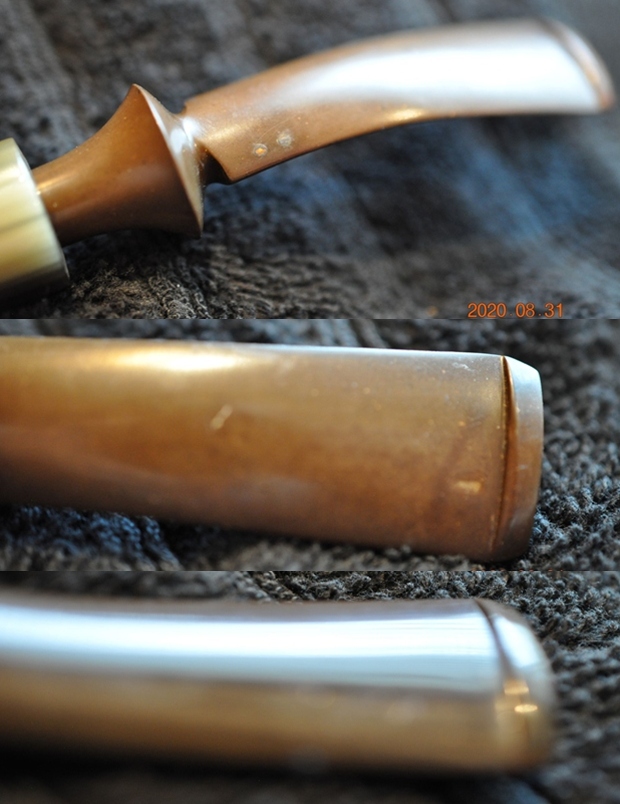
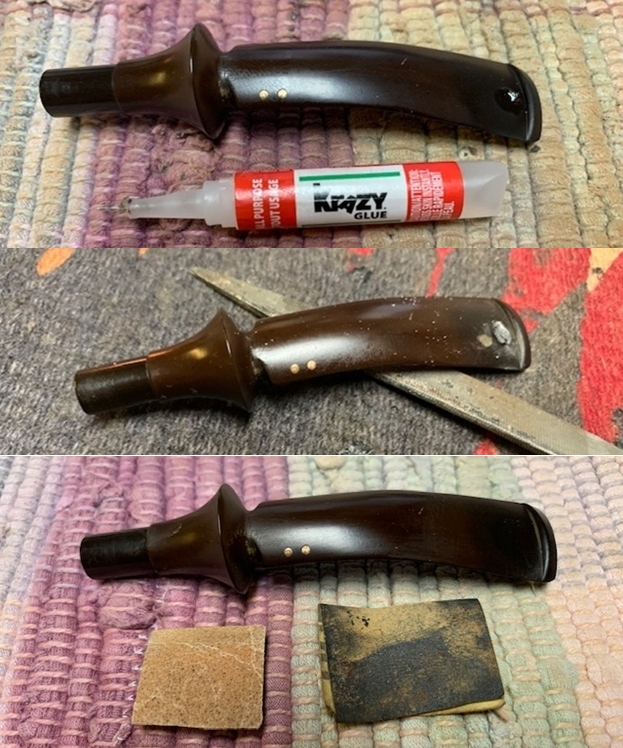
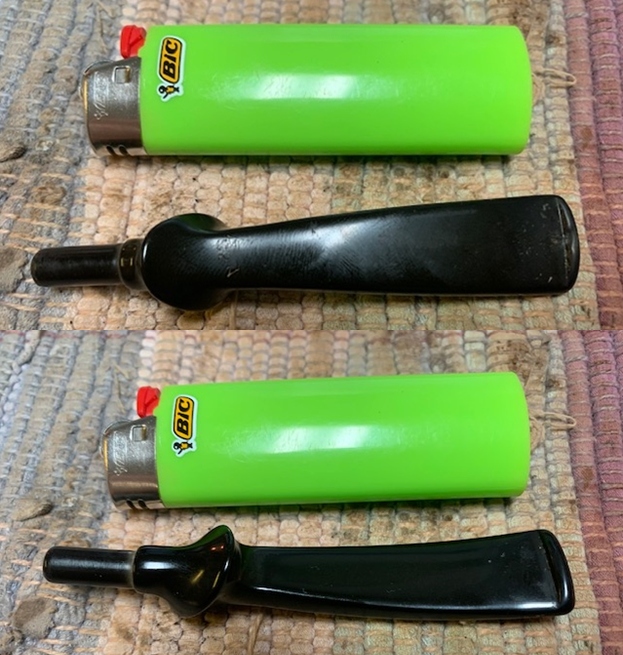
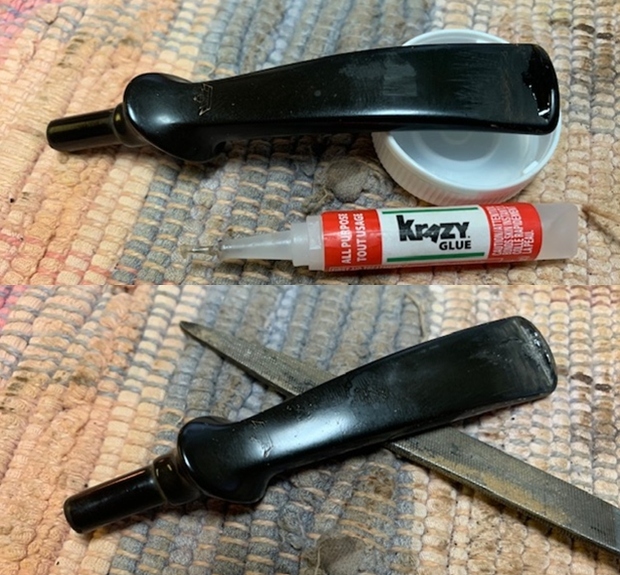
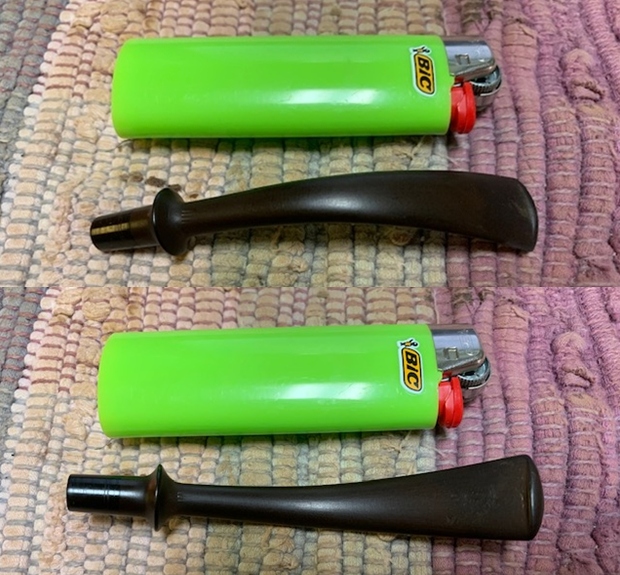
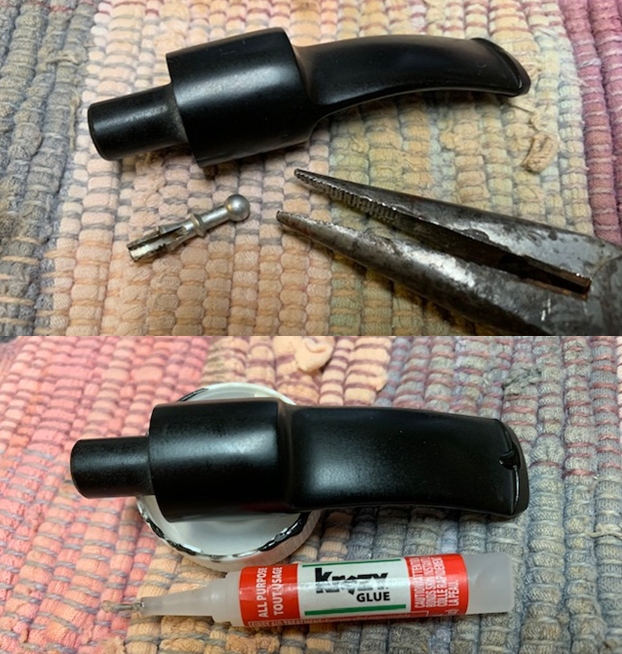
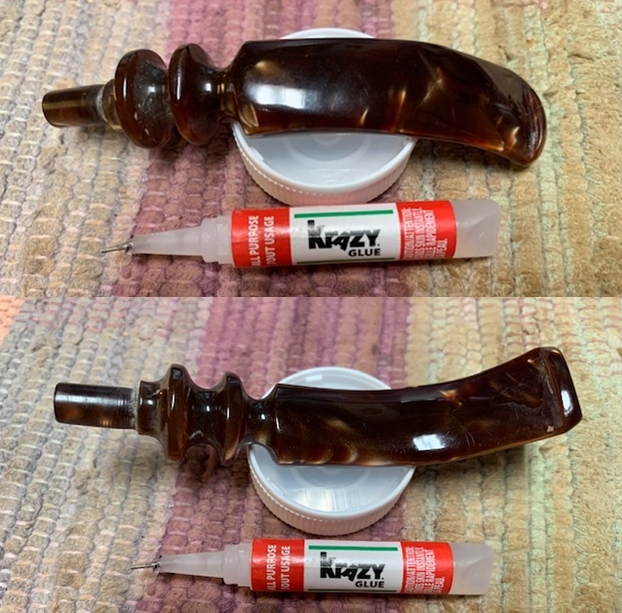
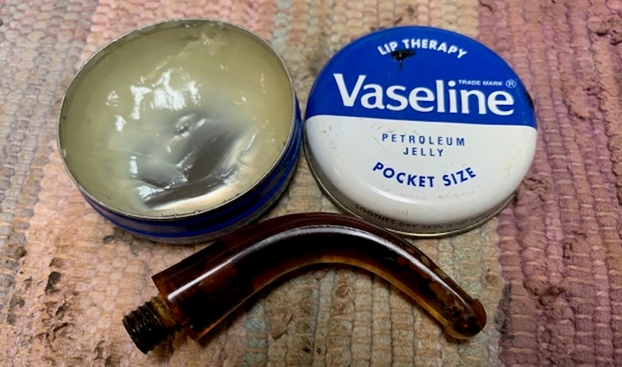
 I set the bowl aside and turned to work on the stem. I “painted” the stem surface with the flame of a lighter and was able to lift out most of the tooth marks on the top surface ahead of the button. There were several small marks on the top and underside of the stem. I filled them in with clear super glue. Once the repair cured I sanded them with 220 grit sandpaper. I started polishing the stem with 400 grit wet dry sandpaper.
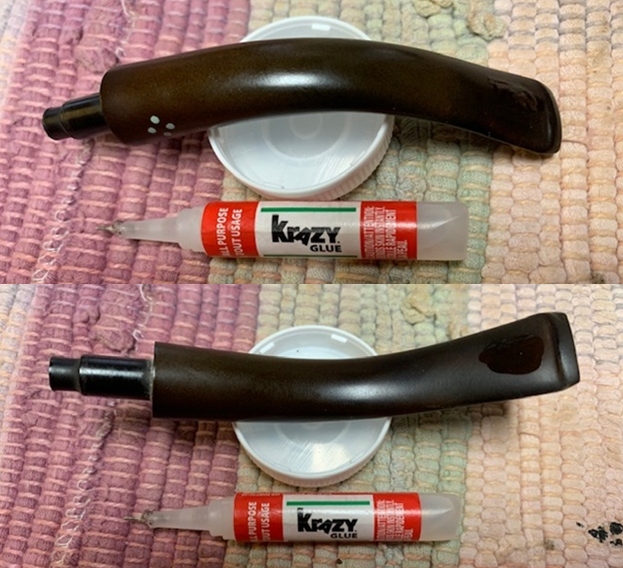
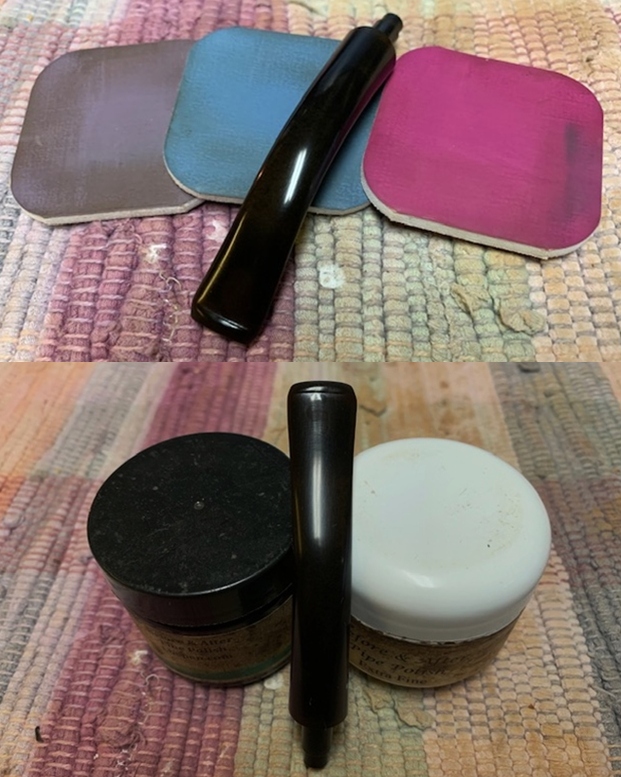
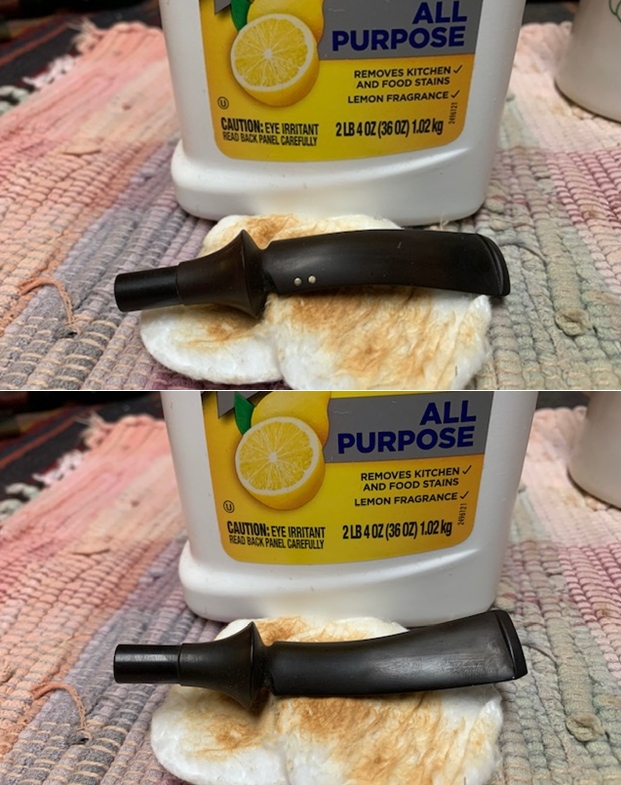
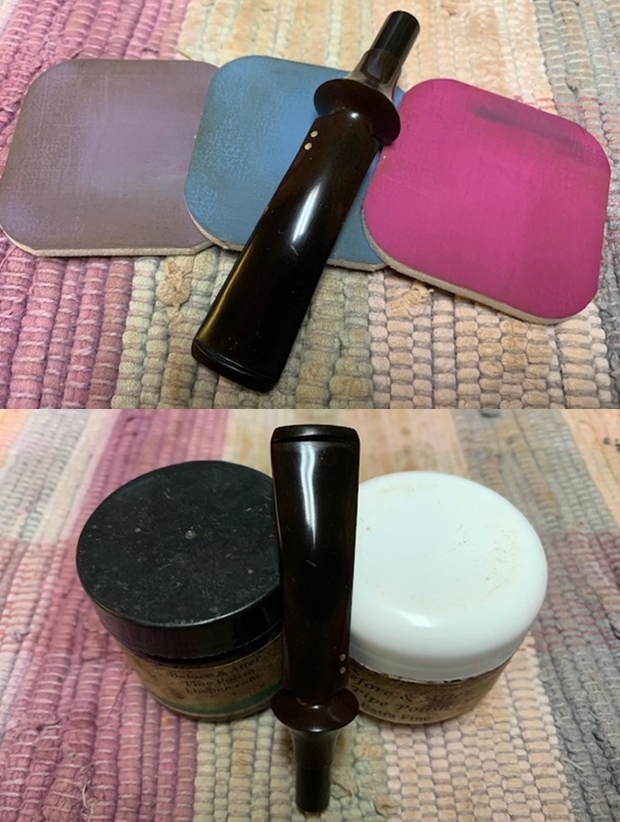
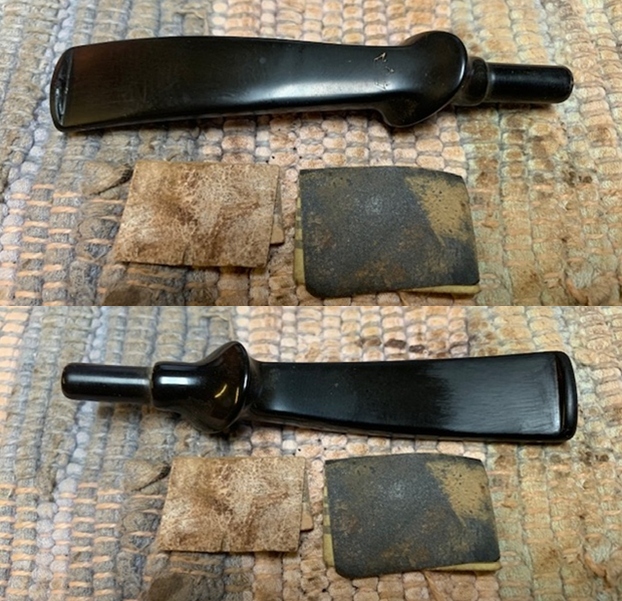
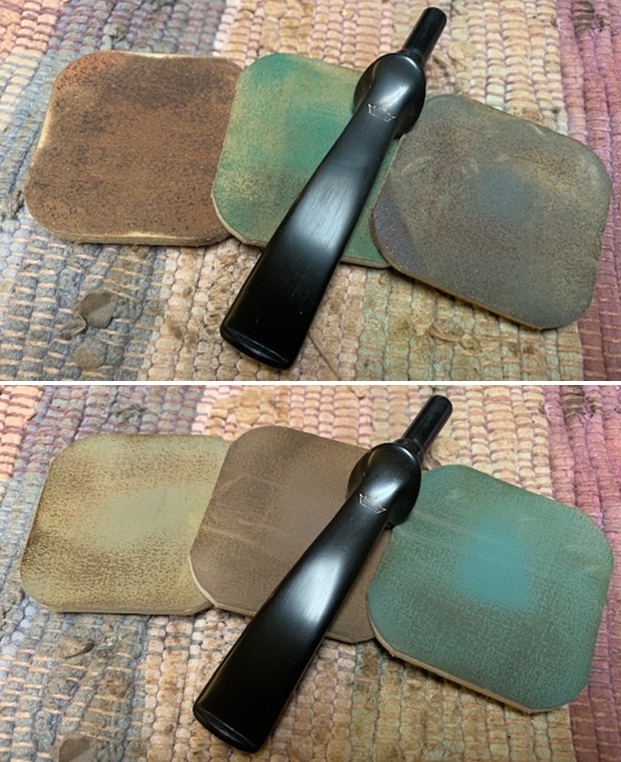
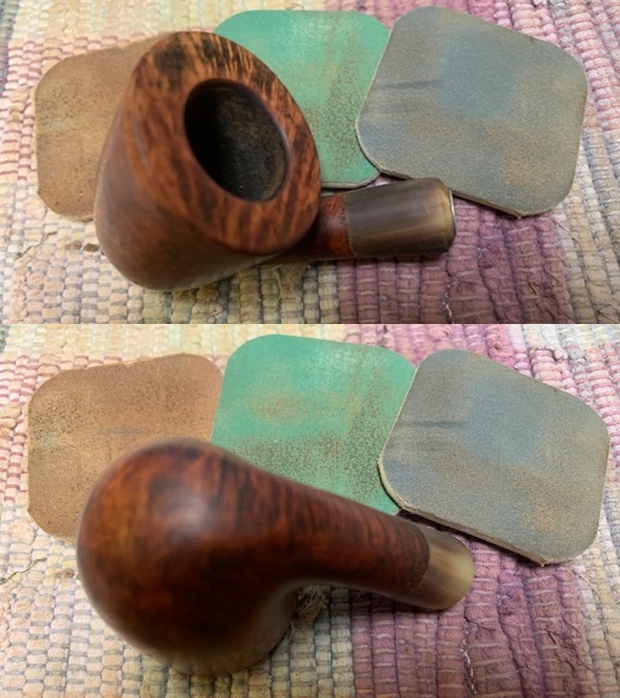
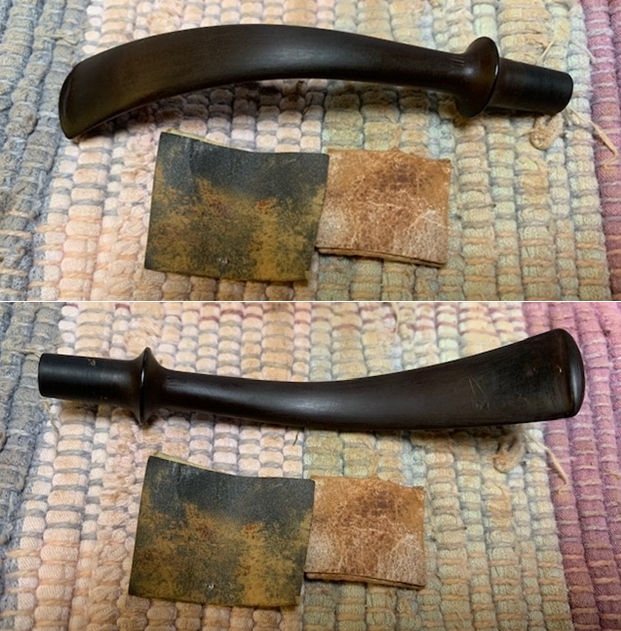
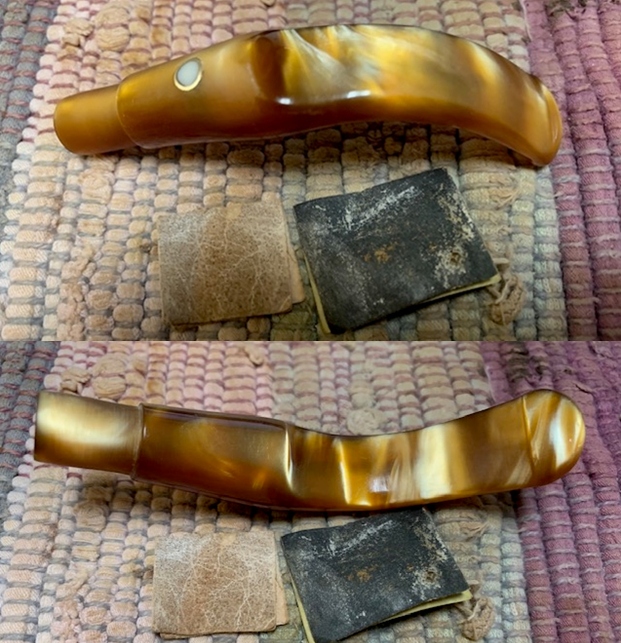
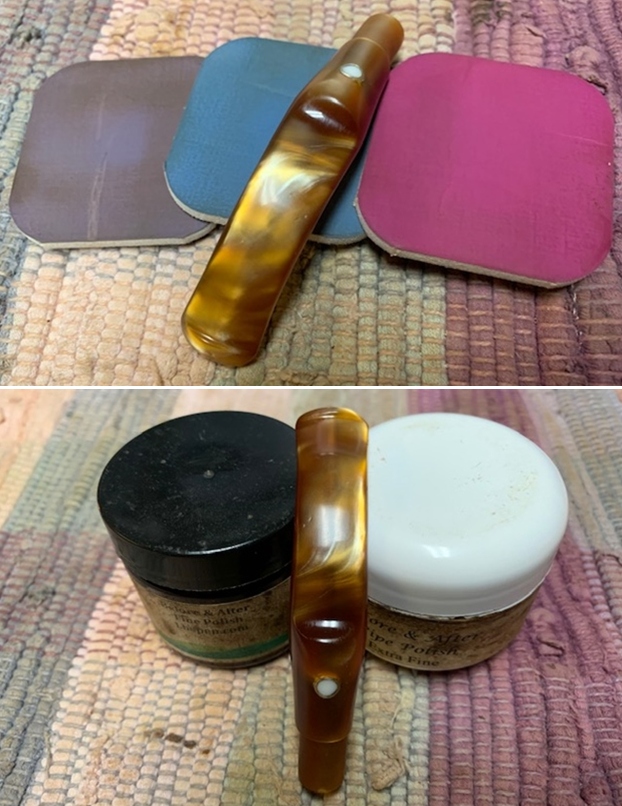
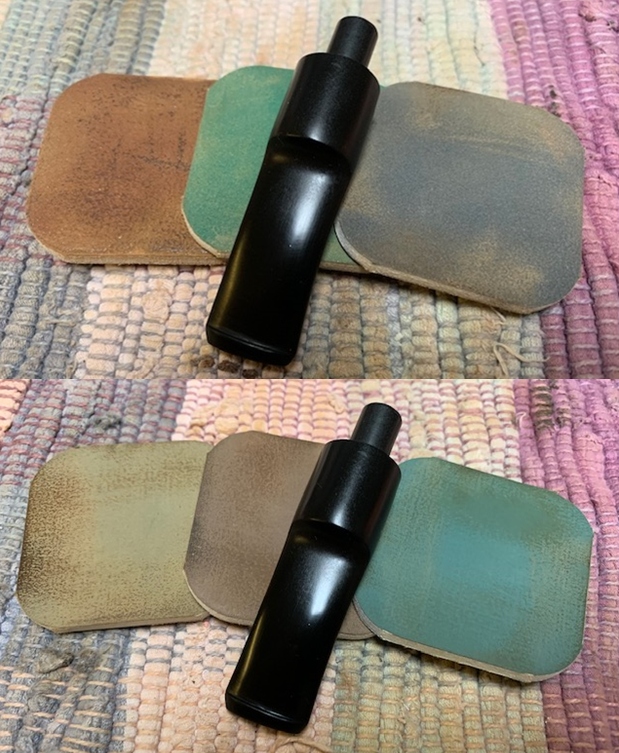
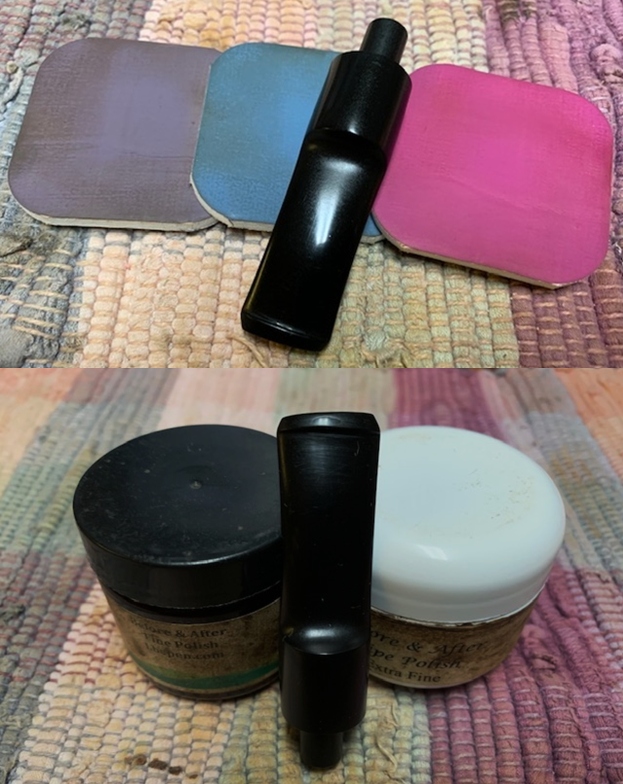
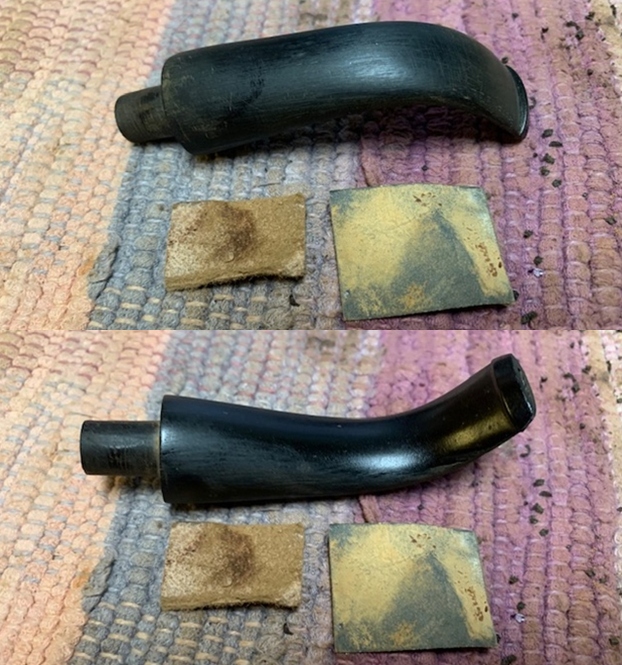
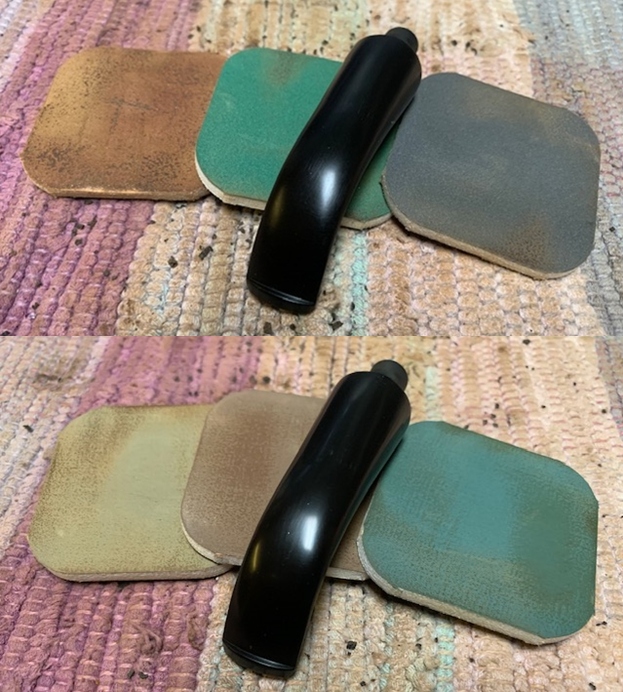
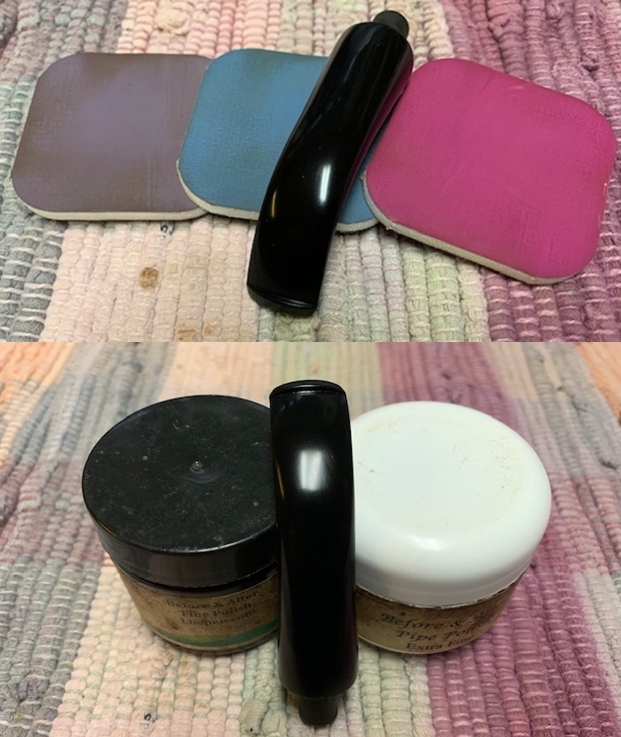
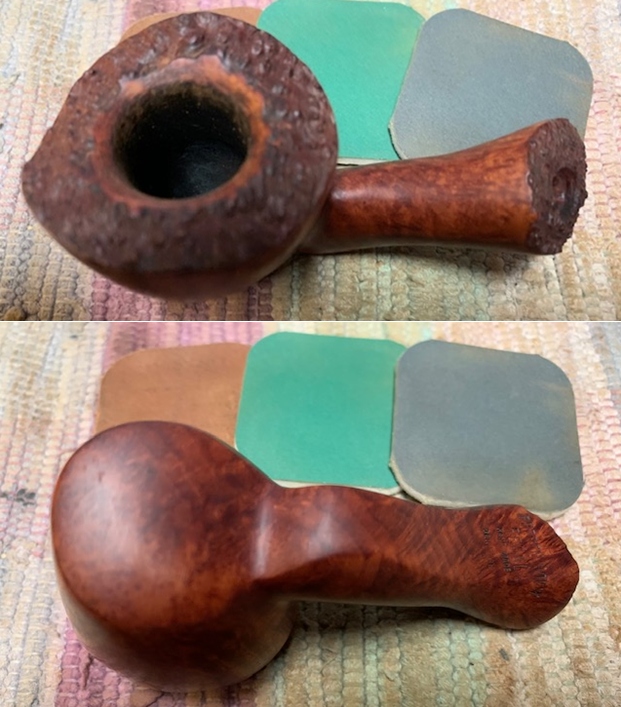
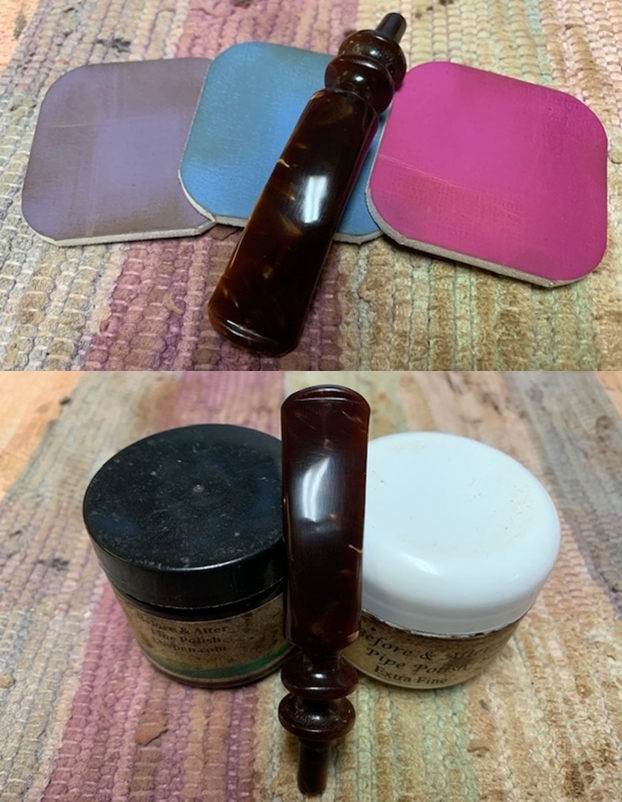
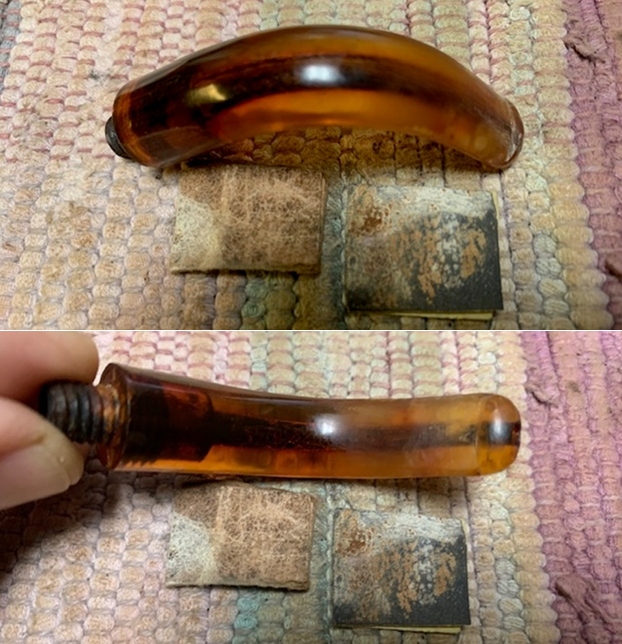
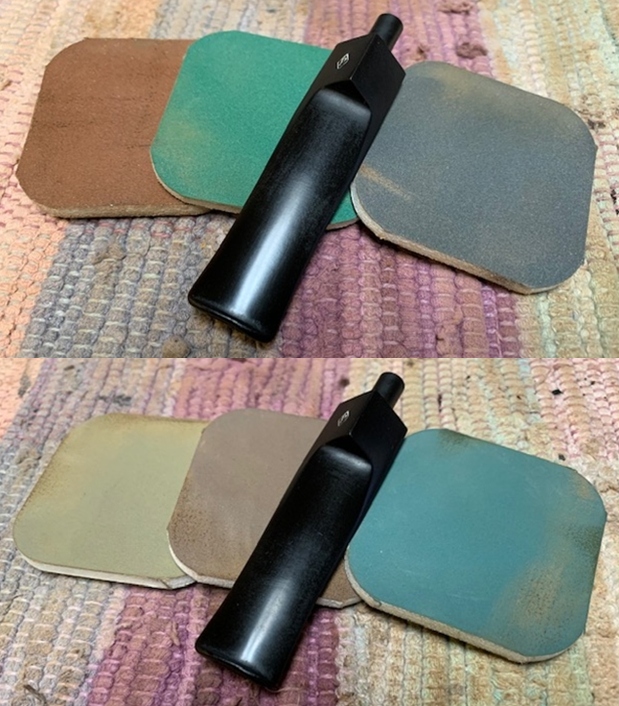
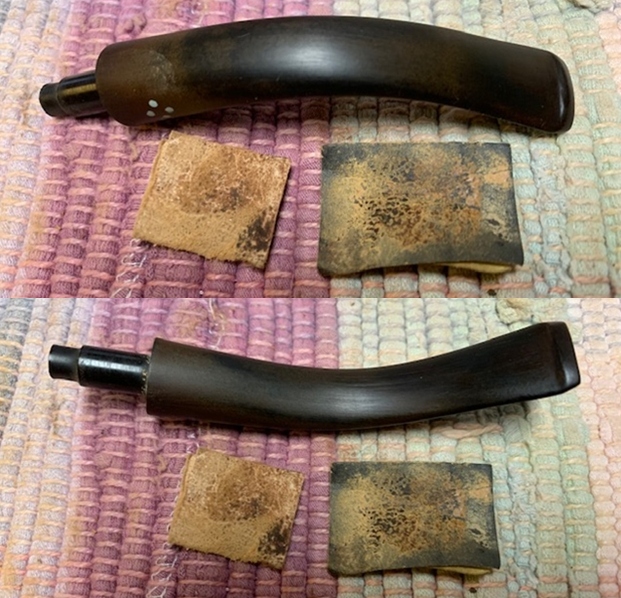 I scrubbed the stem with Soft Scrub All Purpose cleanser to remove the remaining oxidation. I have found that a good scrub with this product removes the oxidation left behind by the other methods. You can see it on the cotton pads underneath the stem.
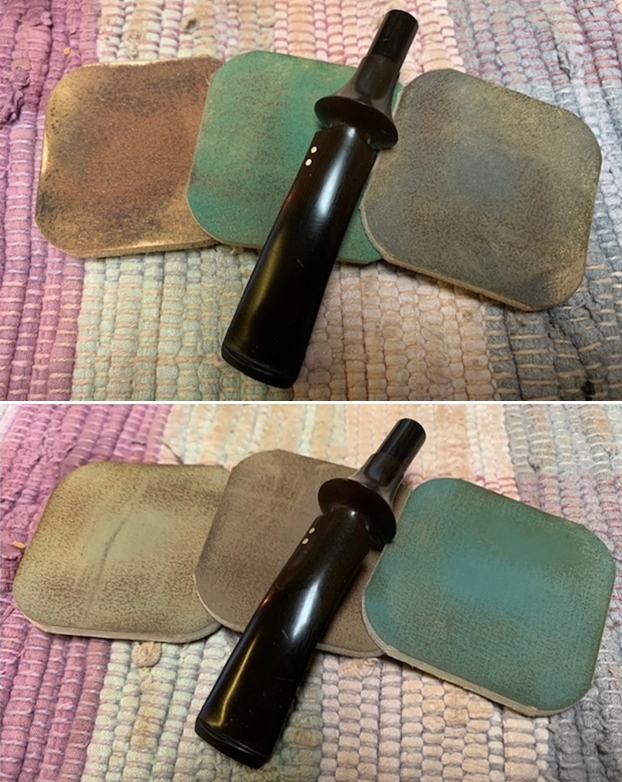
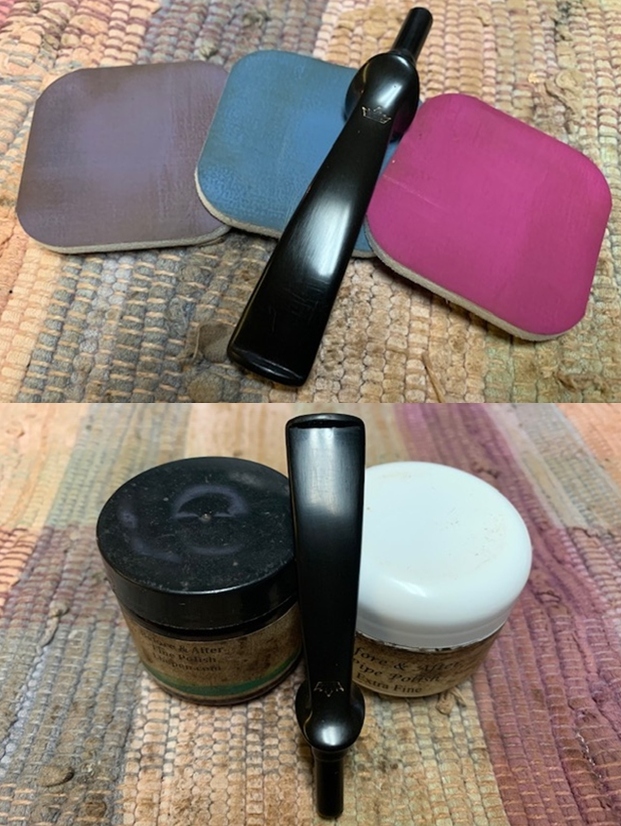
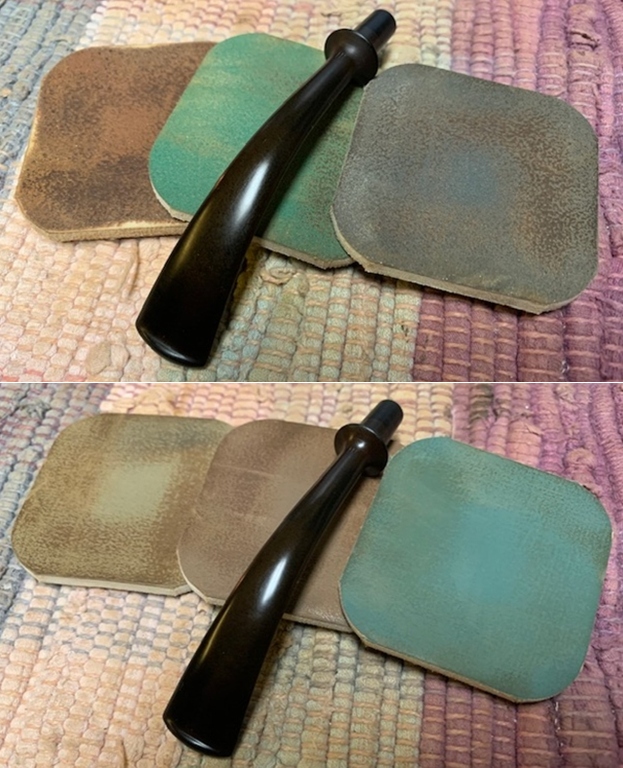
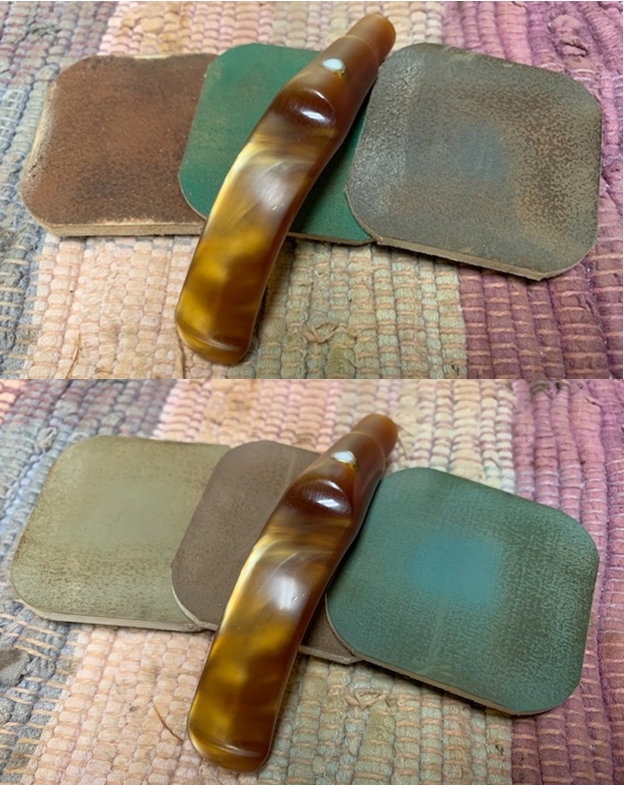
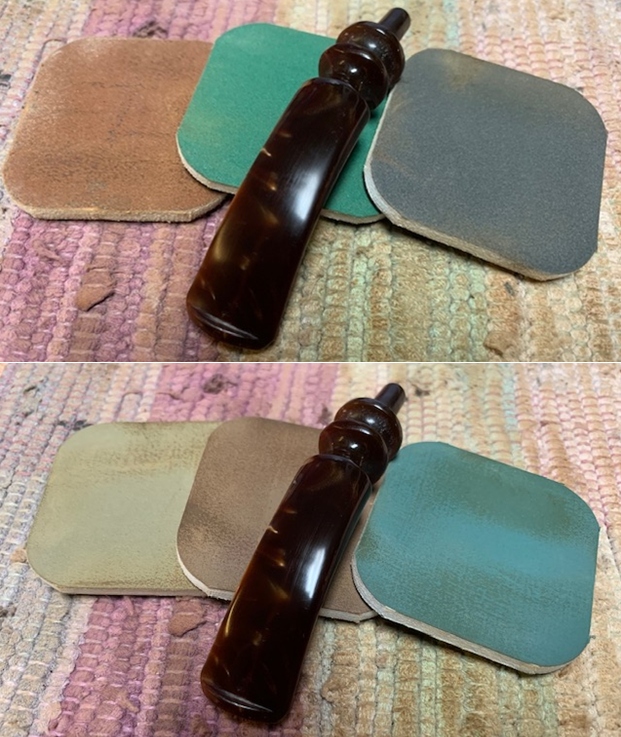
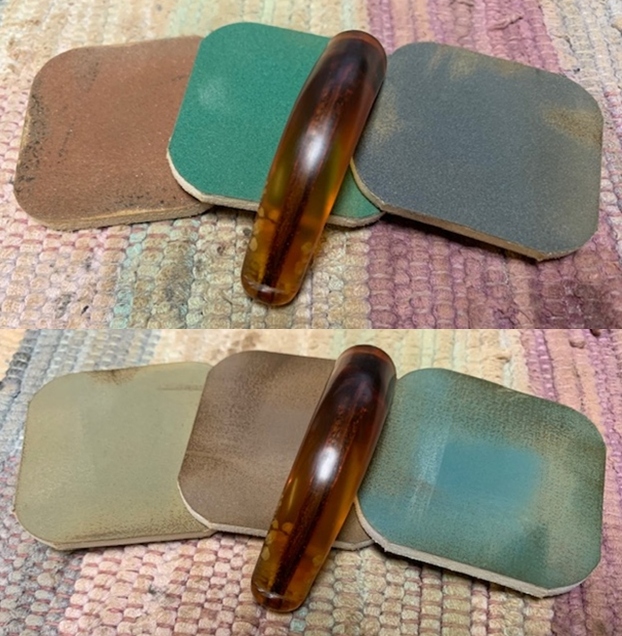
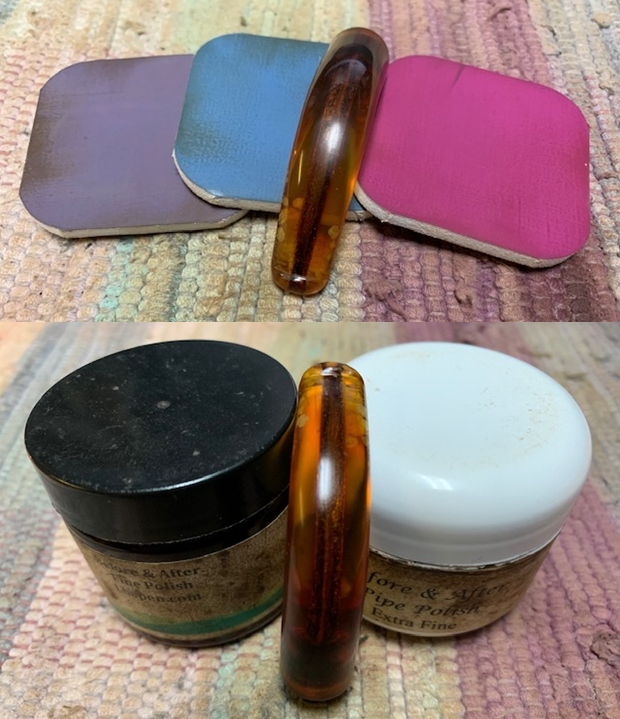
  I polished the vulcanite stem with micromesh sanding pads – 1500-12000 grit pads. I wiped it down with Obsidian Oil after each sanding pad. I used Before & After Pipe Polish – both Fine and Extra Fine to further polish the stem.
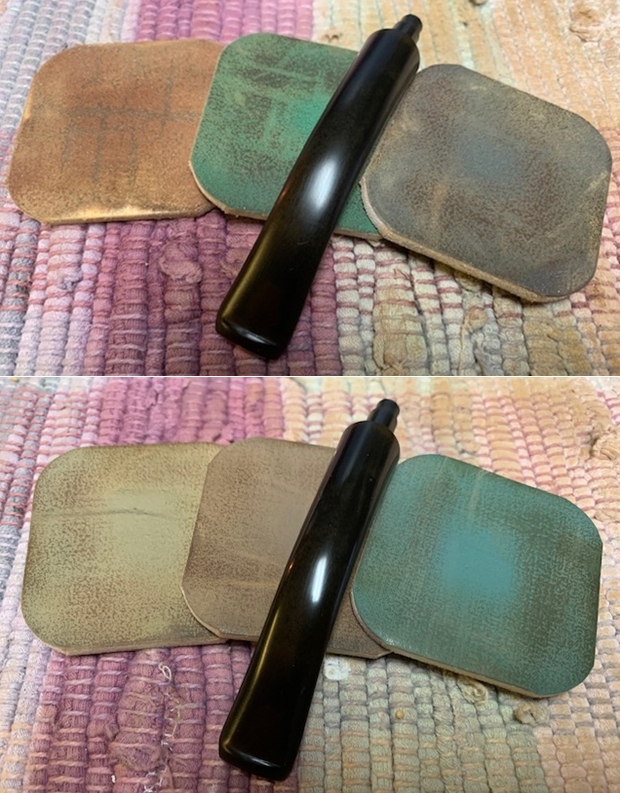
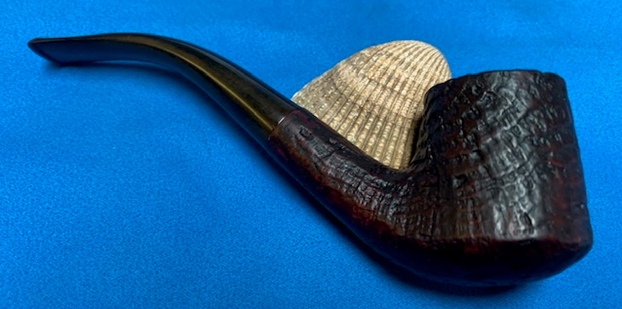
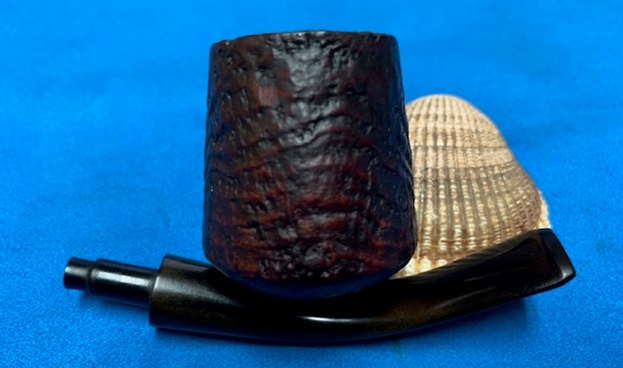
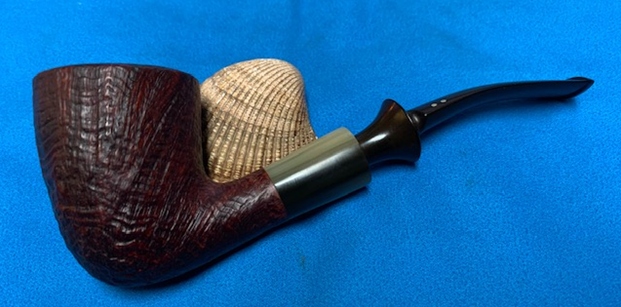
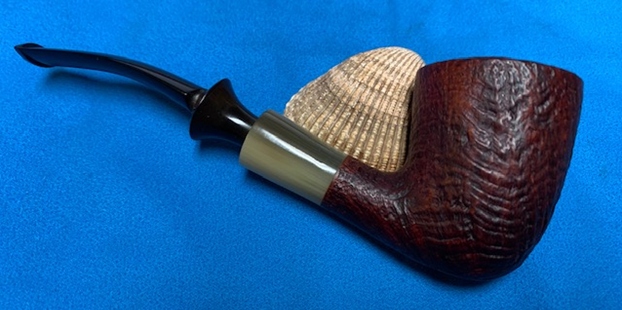
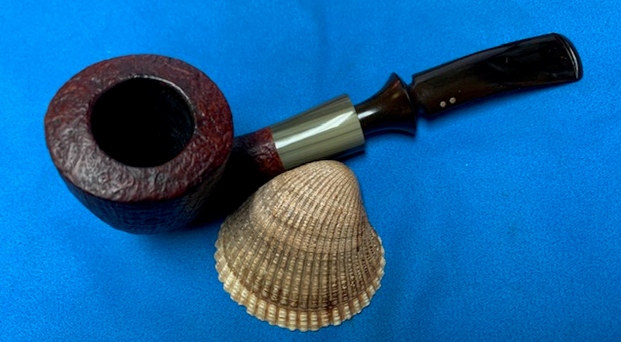
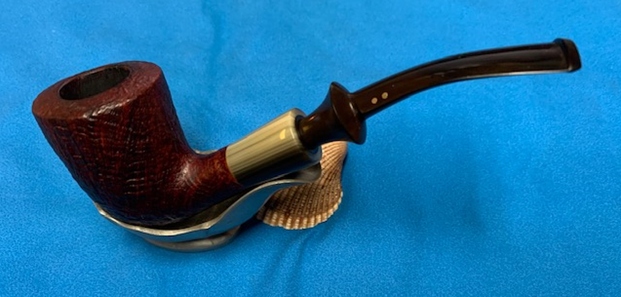
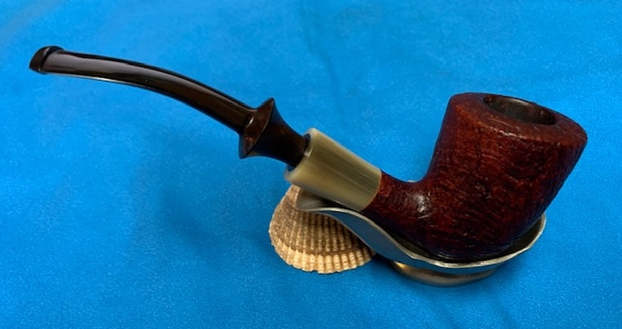
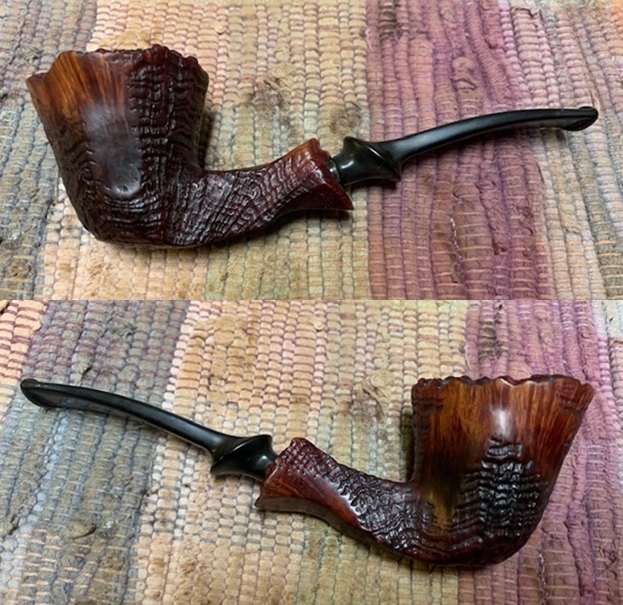
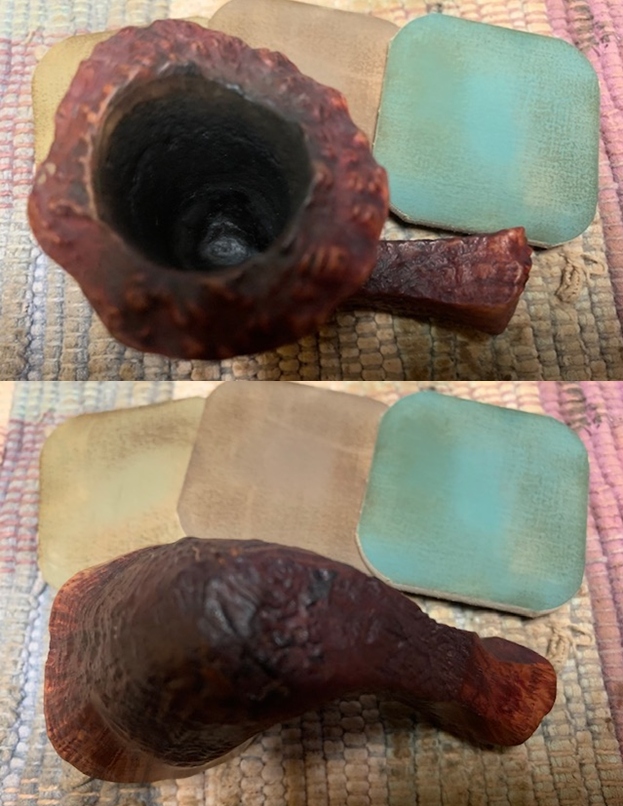
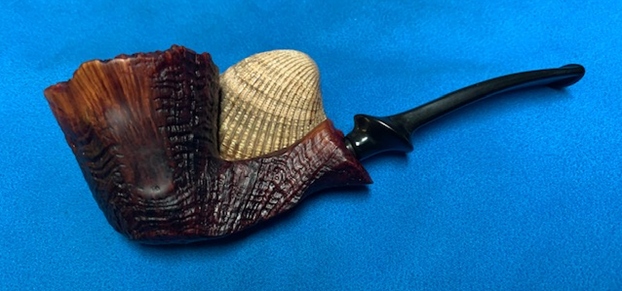
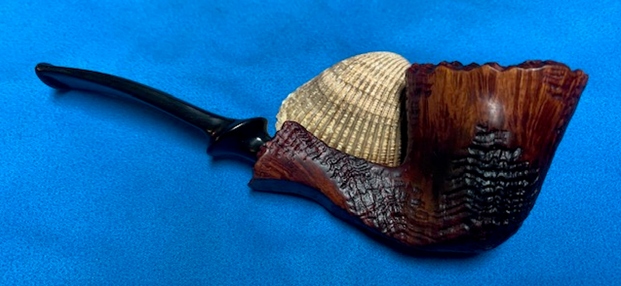
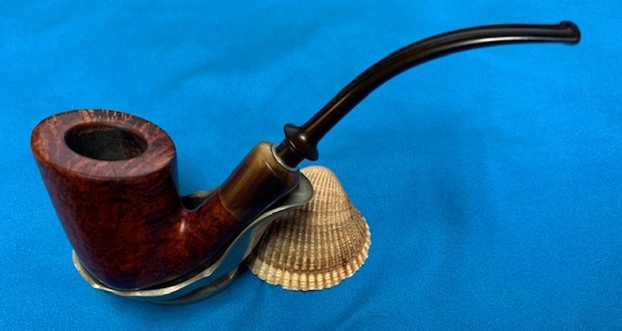
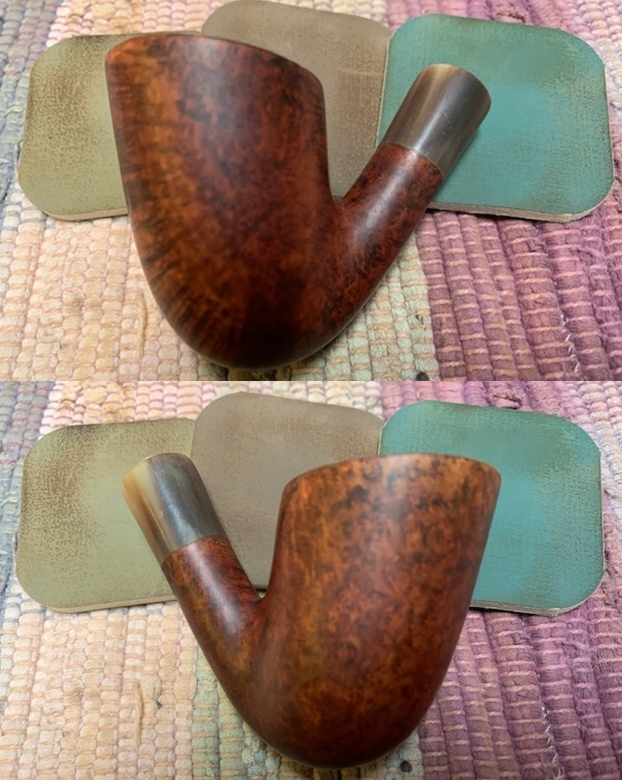
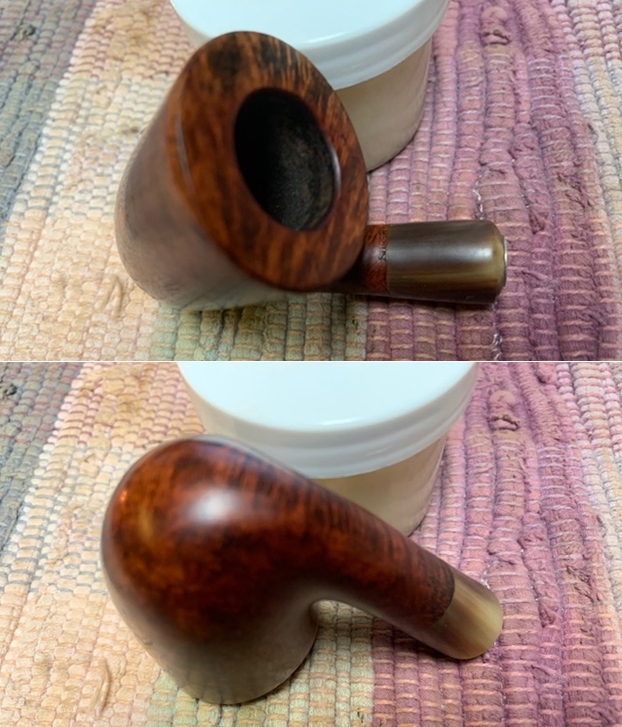
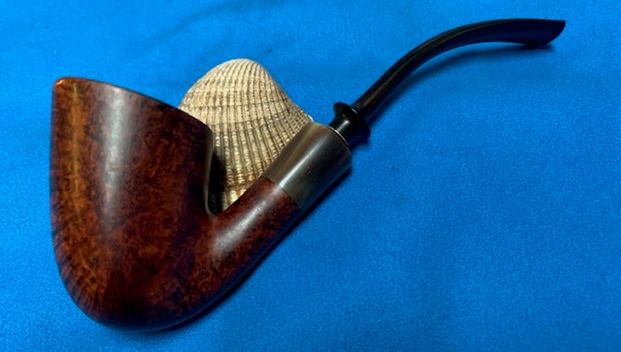
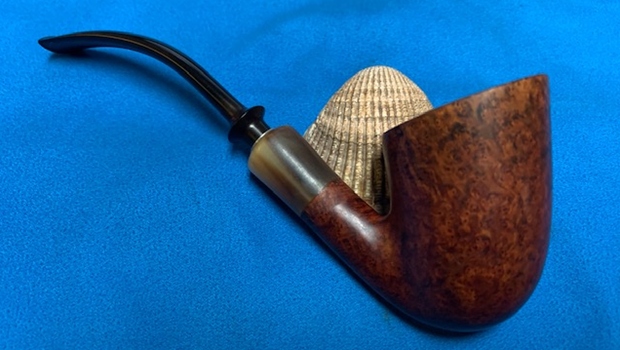
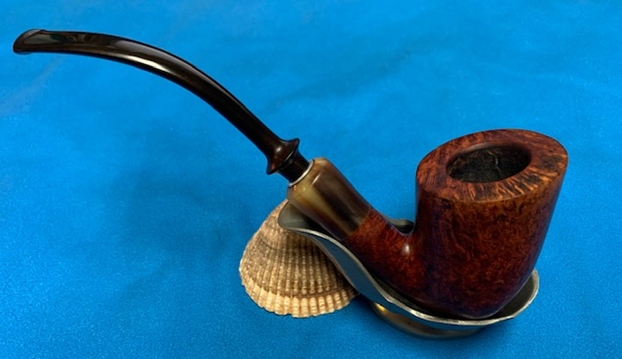
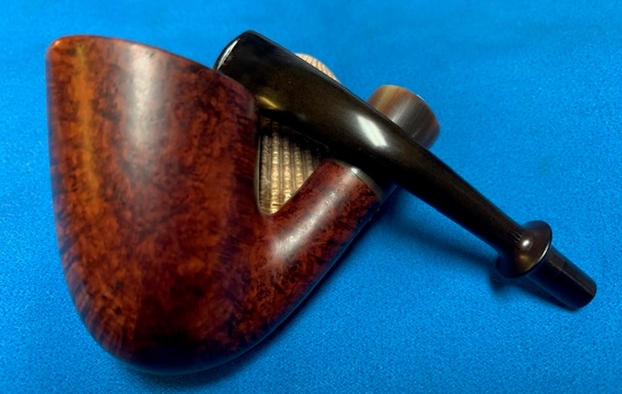
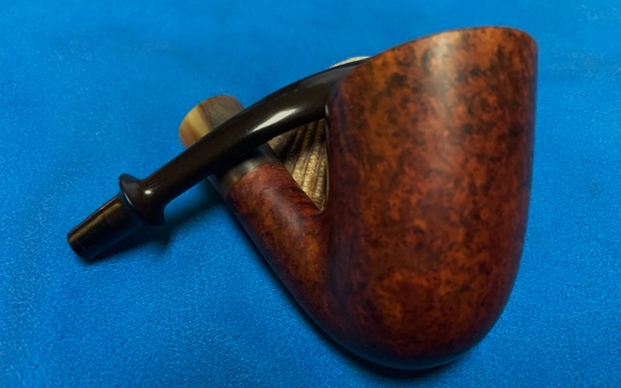
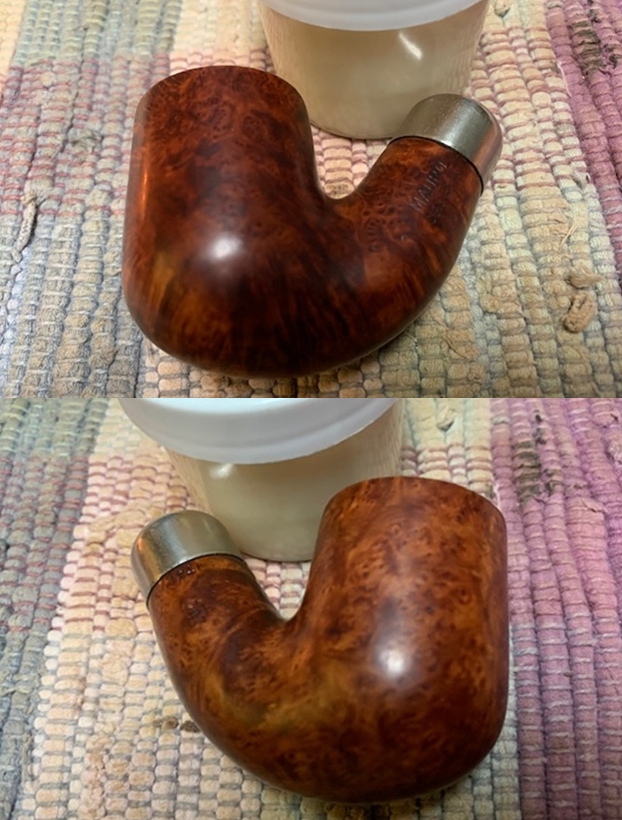
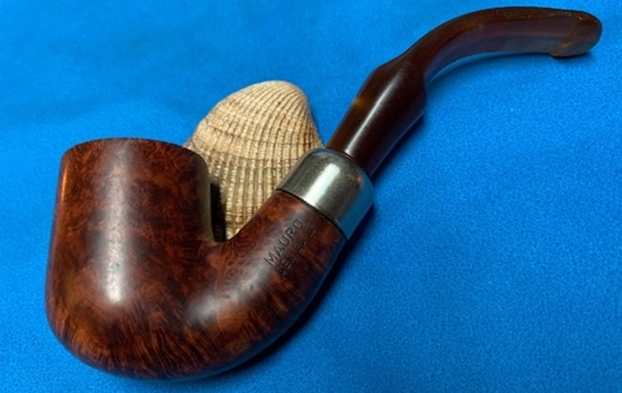
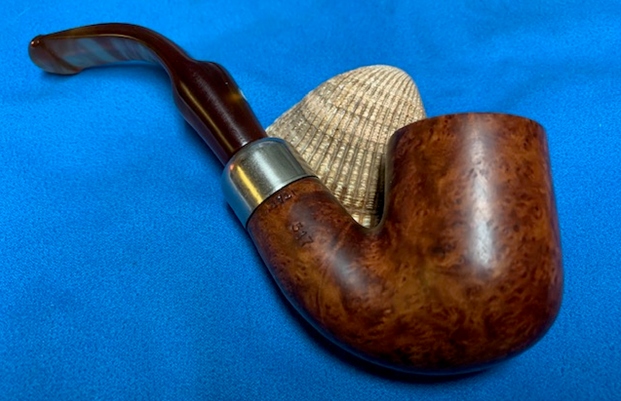
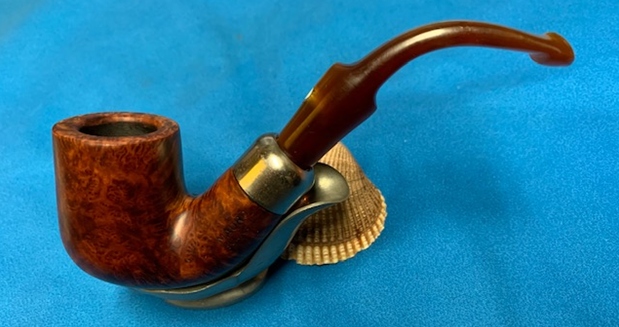
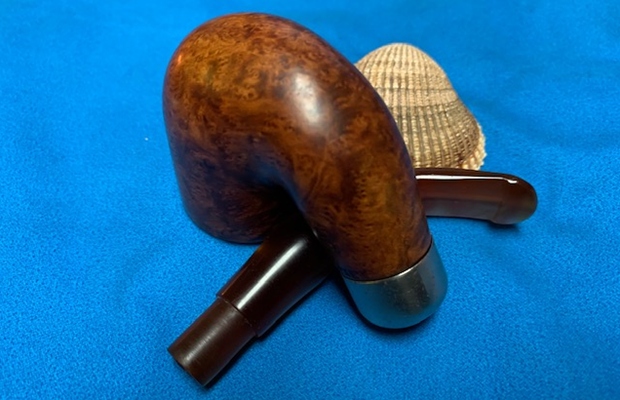
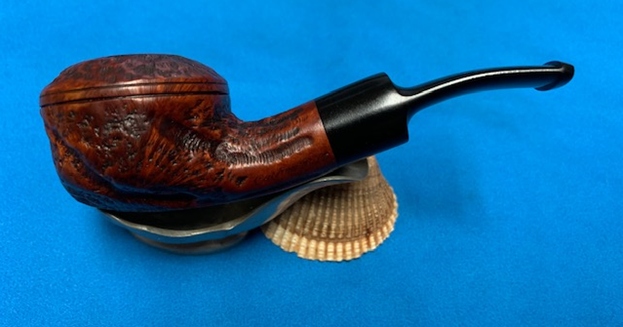
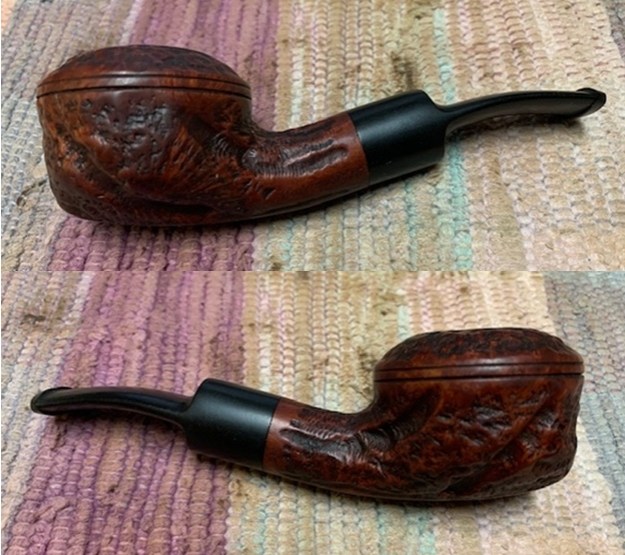
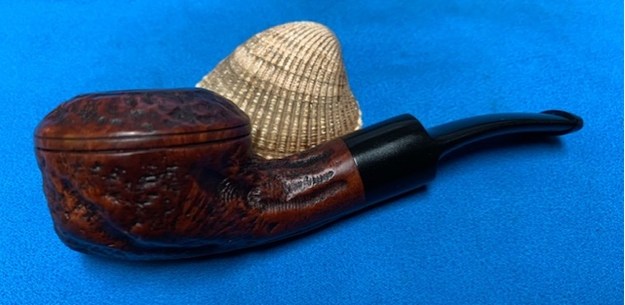
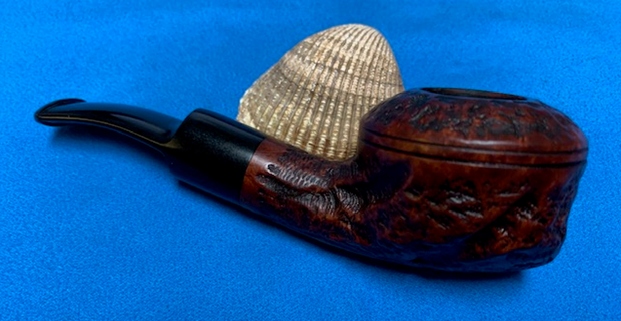
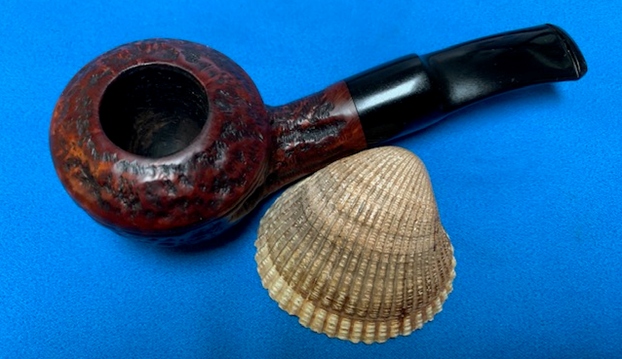
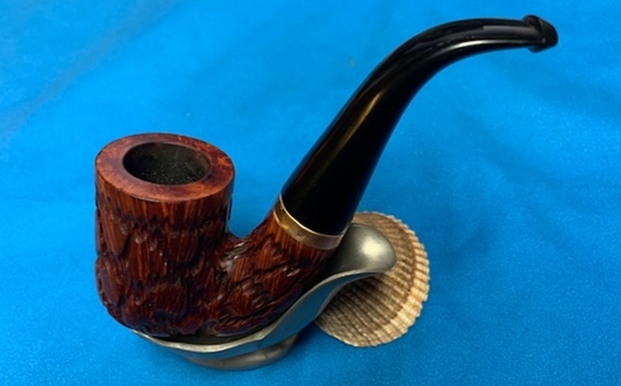
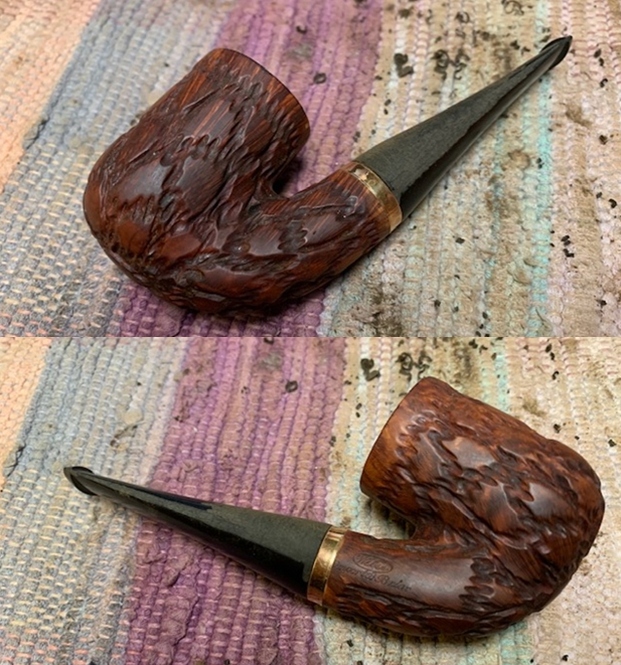
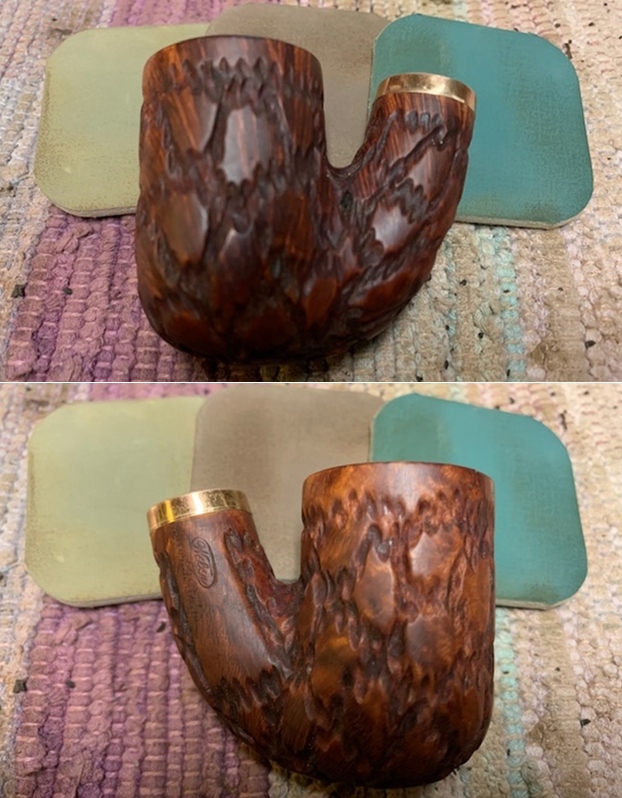
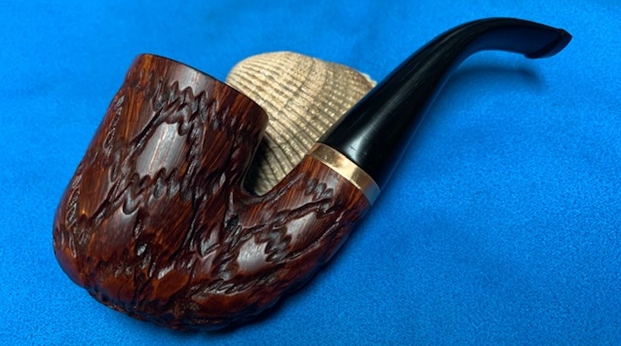
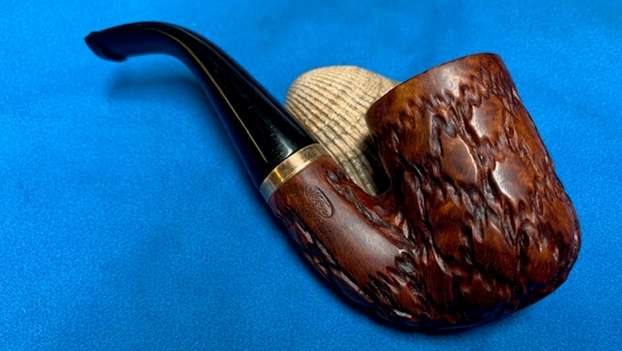
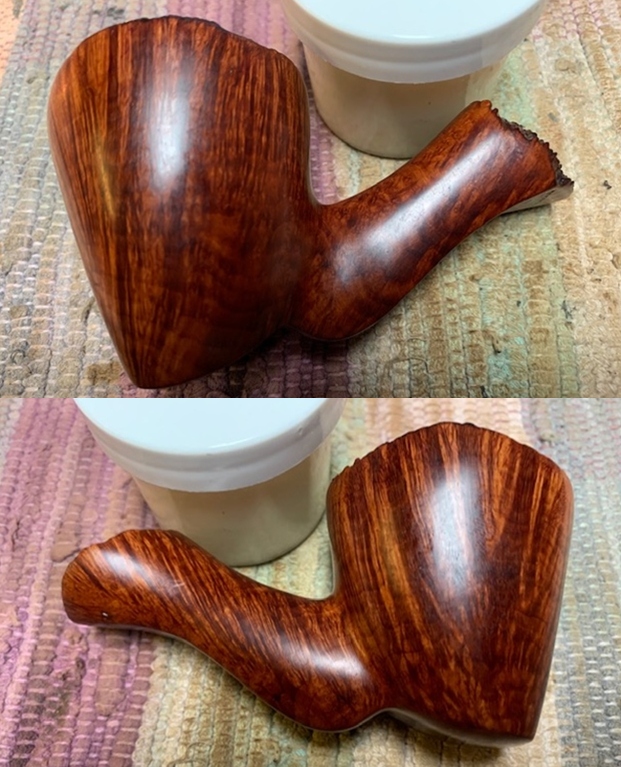
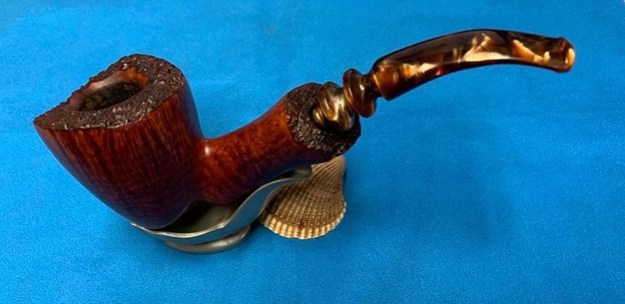
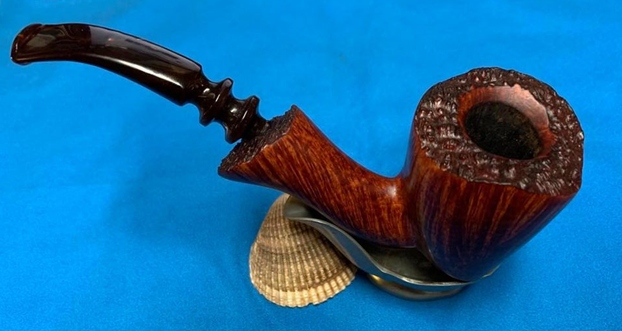
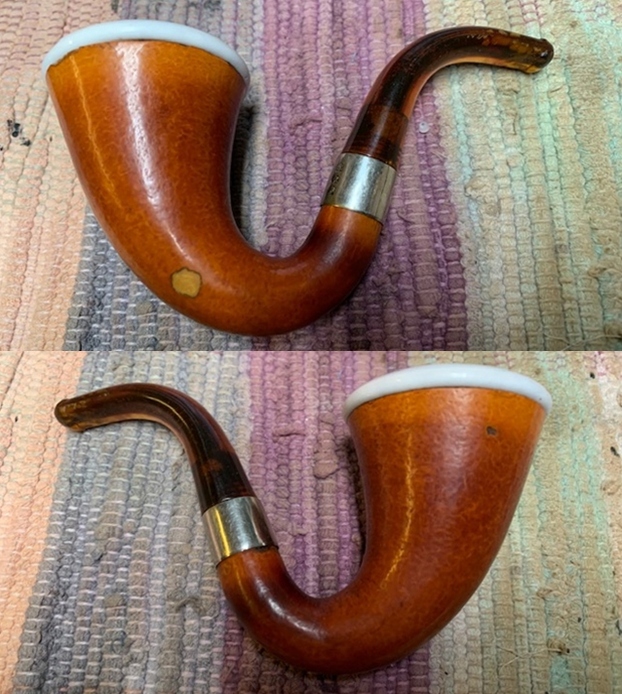
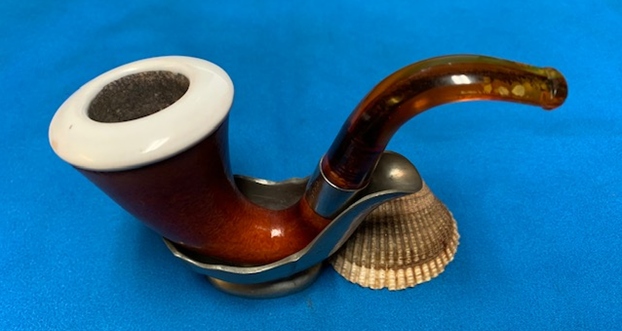
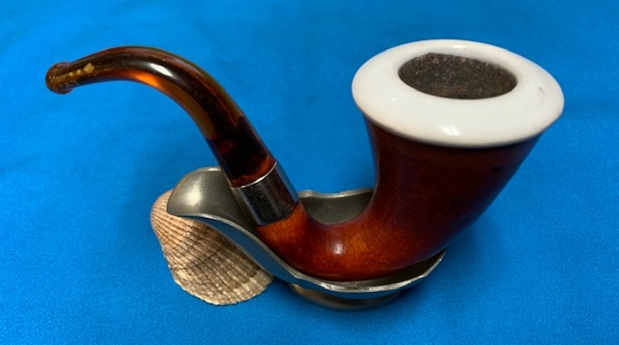
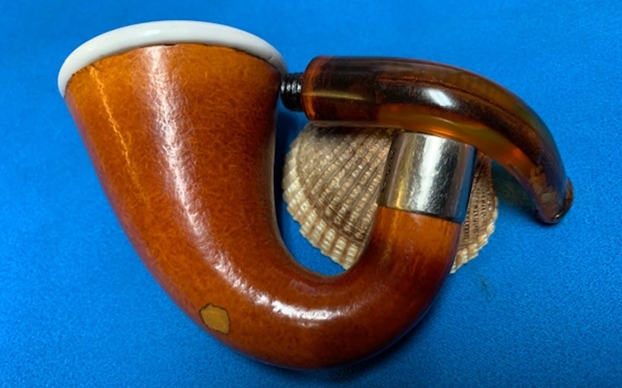
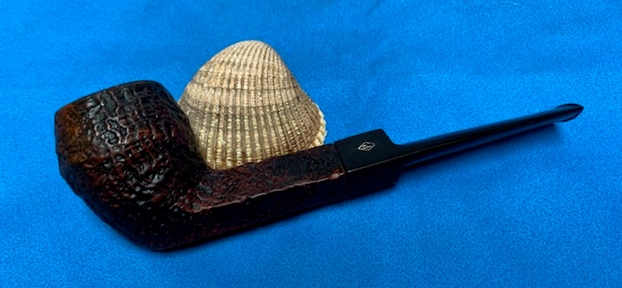
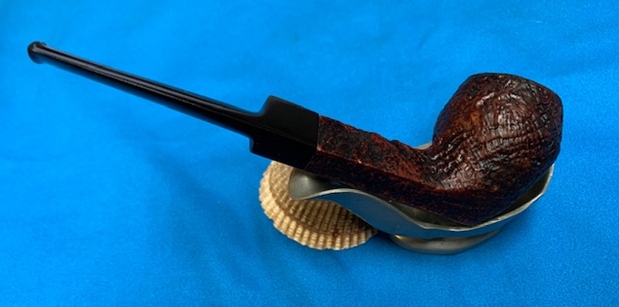
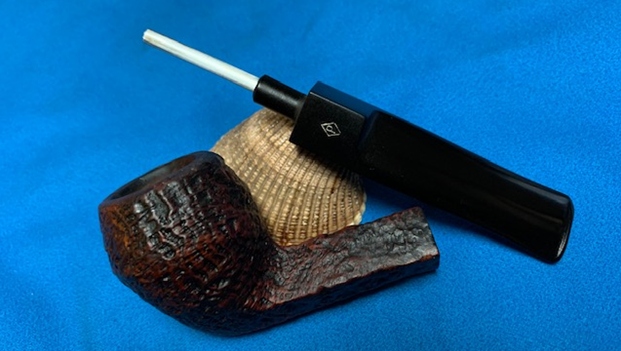
 This Sasieni Four Dot “Ruff Root” Richmond Volcano is a great looking pipe now that it has been restored. The sandblasted finish gives the shape an elegant look. The flow of the bowl and stem are well done make for a great hand feel. I put the stem back on the bowl and carefully buffed the pipe with Blue Diamond on the buffing wheel using a light touch on the briar. I gave the bowl multiple coats of Conservator’s Wax and the stem multiple coats of carnauba wax on the buffing wheel. I buffed the entire pipe with a clean buffing pad. I hand buffed the pipe with a microfiber cloth to deepen the shine. The finished Sasieni Four Dot “Ruff Root” Richmond fits nicely in the hand and feels great. Give the finished pipe a look in the photos below. The dimensions of the pipe are Length: 5 ½ inches, Height: 1 ½ inches, Outside diameter of the bowl: 1 ¼ inches, Chamber diameter: ¾ of an inch. The weight of the pipe is 39grams/1.38oz. It is a great looking and light weight pipe. I will be putting it on the rebornpipes store shortly. If you are interested in adding this pipe to your collection send me a message or an email. Thanks for reading this blog and my reflections on the pipe while I worked on it. There are many more to come!
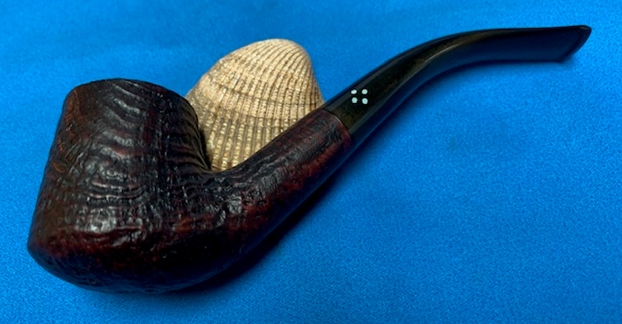


