Blog by Steve Laug
I don’t know when I learned that the Rungsted line of pipes was another line that Preben Holm carved. But I learned that he made several lines outside the Ben Wade contract pipes he was producing for Snug Harbor/Lane. This was confirmed when I looked online and found a thread on PipesMagazine.com. The discussion covered a brand called Britta Bech and one of the members there happened to mention and confirm what I already knew about the Rungsted line. From my memory and the speaker’s the pipes were mostly carved in the mid to late 70’s or early 80’s during the height of the Danish Freehand pipe craze in the US. The speaker there said that though some refer to these as seconds he did not think that was accurate and that really it was a totally separate line from Preben Holm. I would agree with his assessment on this. I am pretty certain looking at the various Rungsted pipes that I have worked on that there are no flaws. They all combine both smooth and sandblast finishes and present a really interesting finished pipe. (mlaug on pipesmagazine.com http://pipesmagazine.com/forums/topic/preben-holm-info-needed).
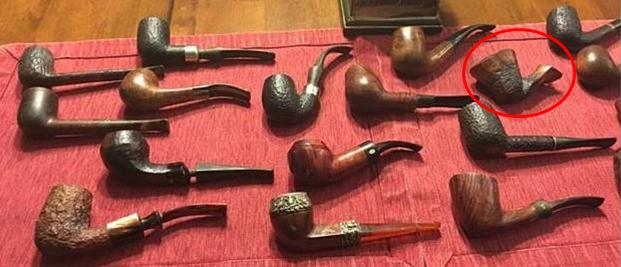
This particular pipe came in a lot that Jeff and I purchased from a fellow in Idaho. Jeff had purchased the pipes shown in the photo below from him. The Rungsted is circled in red at the top right side of the photo. The photo came because I asked Jeff to send me a picture of the pipes he picked up. I have written about the find on a previous blog that you can read if you are interested at the link that follows: https://rebornpipes.com/2016/10/07/a-good-day-hunting-orchestrated-between-british-columbia-and-idaho/
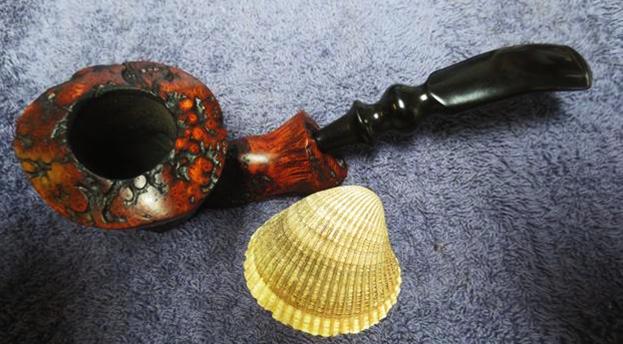
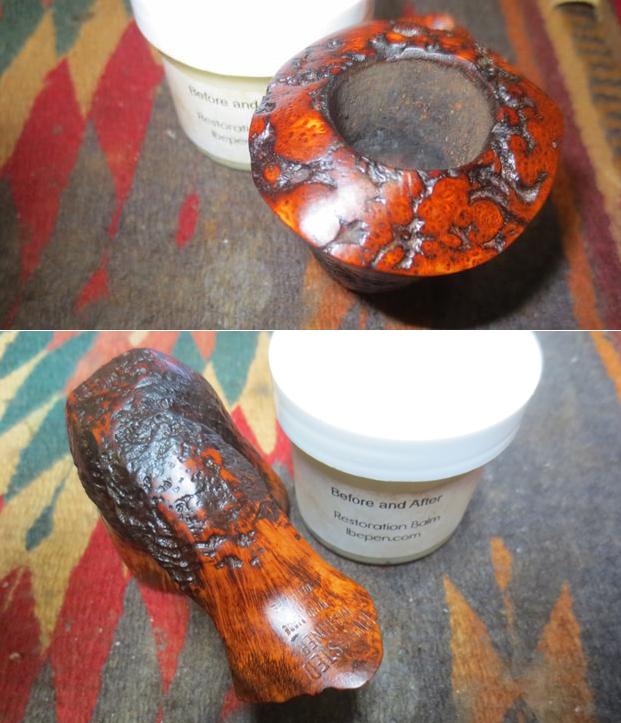
 Jeff did a great job cleaning off the debris and grime on this old bowl. It did not have a stem when it came to us, one would have to be made to fit it. He reamed it with a PipNet reamer and smoothed the walls of the bowl with a Savinelli Fitsall pipe knife. He scrubbed out the mortise and the airway in the shank and the stem with alcohol, cotton swabs and pipe cleaners. He scrubbed the exterior of the bowl, rim and shank with a tooth brush and Murphy’s Oil Soap to the oils and tars on the bowl, rim and shank. He rinsed it under running water. He dried it off with a soft cloth. Once the grime was removed the finish underneath was in stellar condition. The rich patina of the older briar was a variegated finish of smooth and sandblast looked great. I took photos of the bowl to show its condition before I started my work on it.
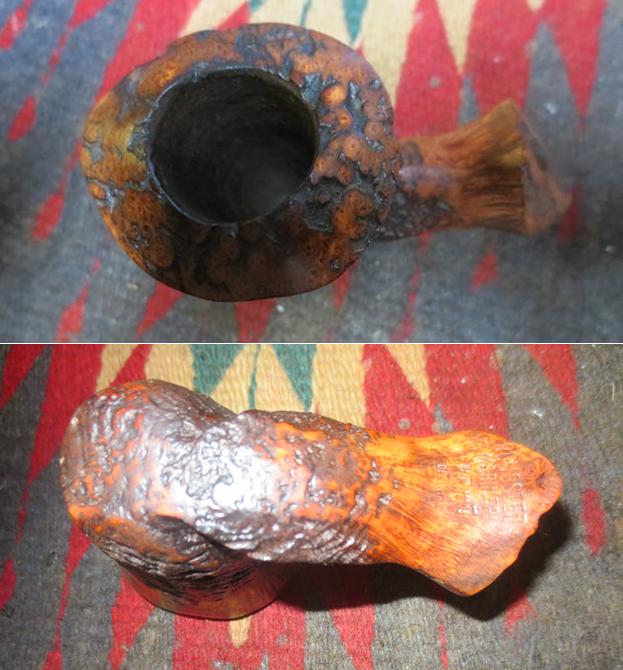 The shank of the pipe was stamped on the smooth underside. It read RUNGSTED over MARINER over Hand Made in Denmark. The stamping was quite legible, though the lower portion was lighter than the upper.
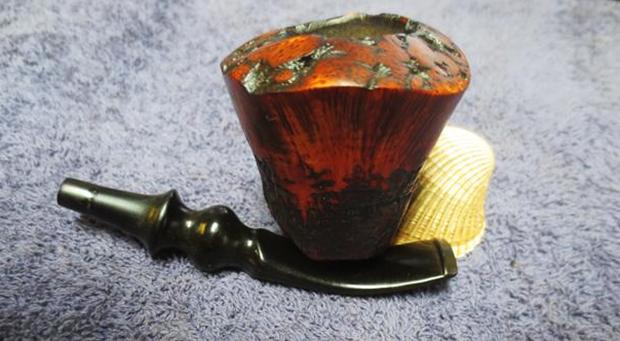
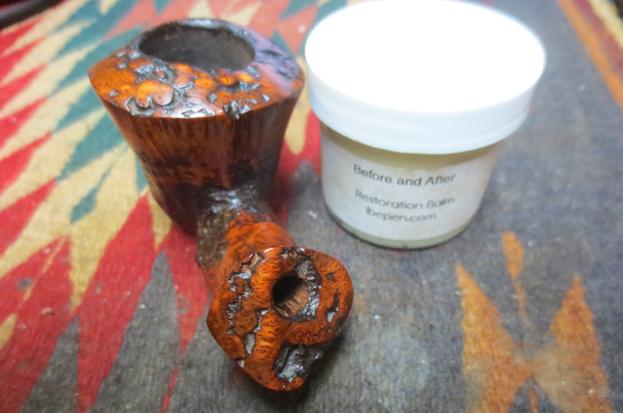
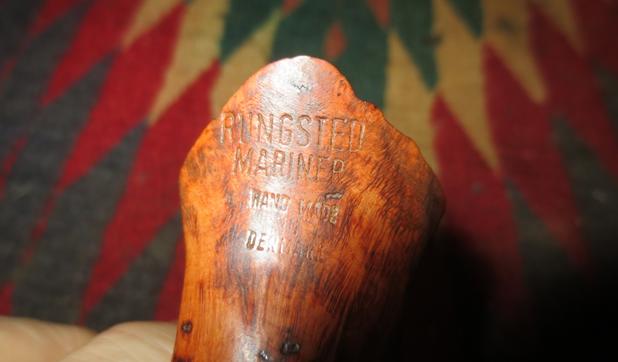 I had a stem in my can of stems that I had started shaping for another pipe some time ago and abandoned. It needed to have a little more of the tenon end taken down to fit in the mortise but it had the correct look for the pipe. I took pictures of the stem before I did the work to make it fit.
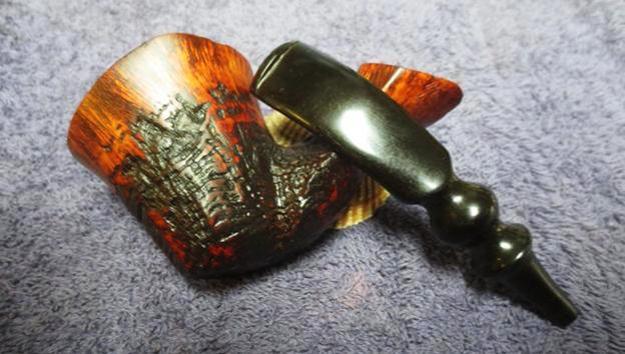
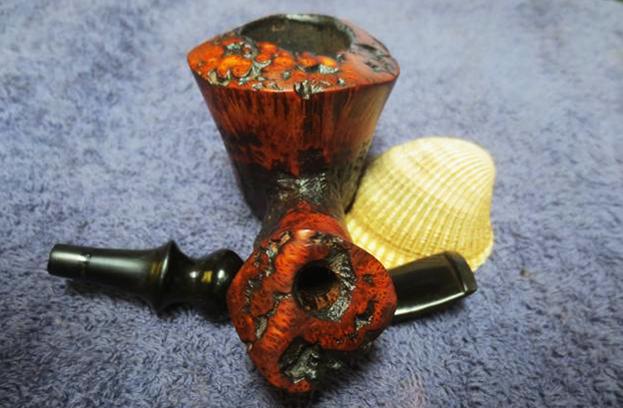
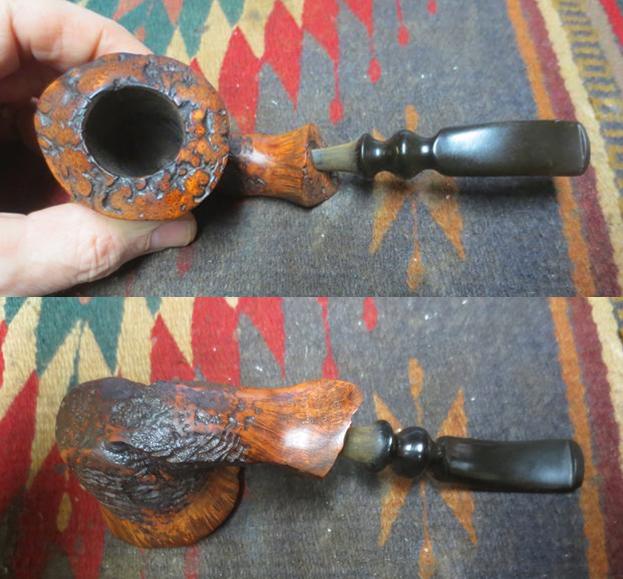
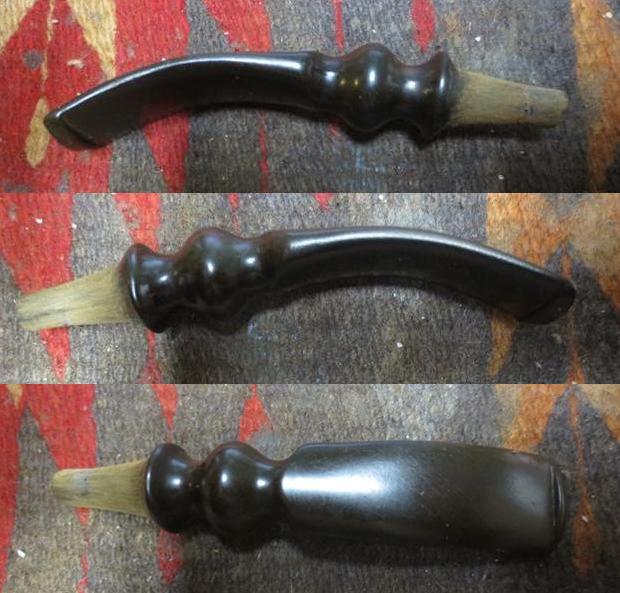 I sanded the tenon end down with 220 grit sandpaper until it fit snugly in the shank. I put it in place on the pipe and took the next set of photos. Lots of sanding to do, but it gives an idea of what the pipe will look like when it is finished.
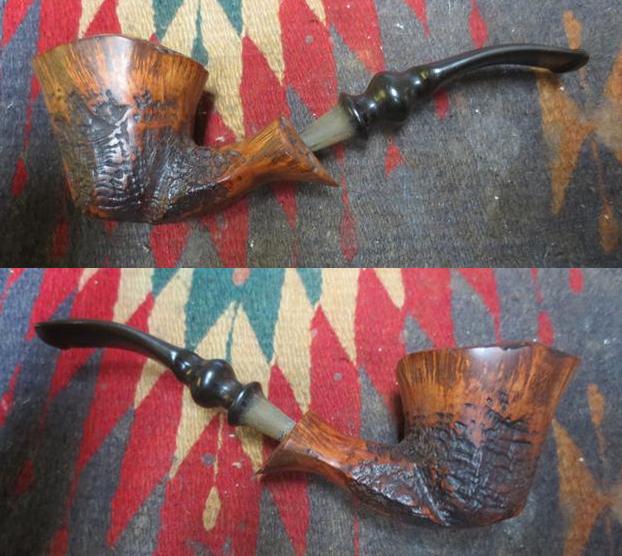
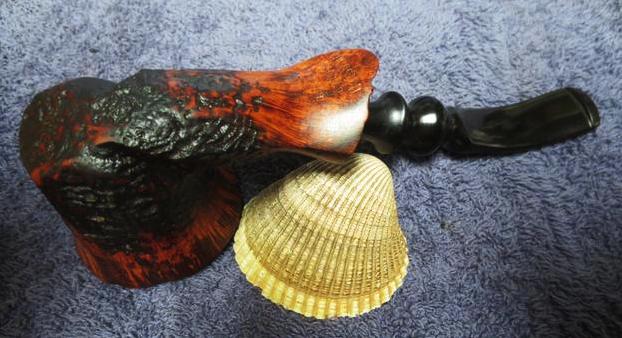
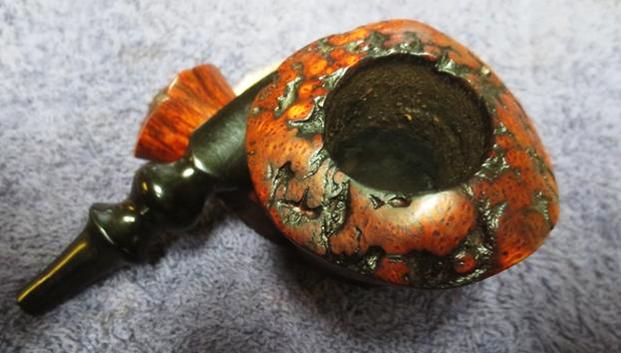
 In my ongoing experiment with Mark Hoover’s Before & After Restoration Balm I am using it on this mixed finish pipe. It should be a good test of how it works in the transitions between the smooth and sandblast portions as well as on the plateau on the rim and the shank end. I have used it individually on each of those finishes but not on a pipe that had all three features. Mark describes the product being designed for use on briar or stems – whether vulcanite, acrylic or horn. It was formulated to pull the dirt off of the briar as well as polish it at the same time. It includes anti-oxidants to keep the briar from getting damaged from UV rays and water as well as something that enlivens the briar. I worked it into the sandblast portions with my fingers and rubbed it on the smooth portions. I wiped it down with a cotton pad to see if it pulled out the dirt. It worked very well on all the different parts of this bowl. I took the following photos to show the results. As always, I will continue using it for a while and see how it works in a variety of settings before I give an opinion of the product.
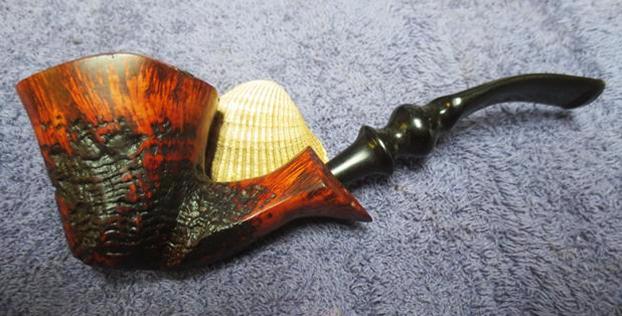
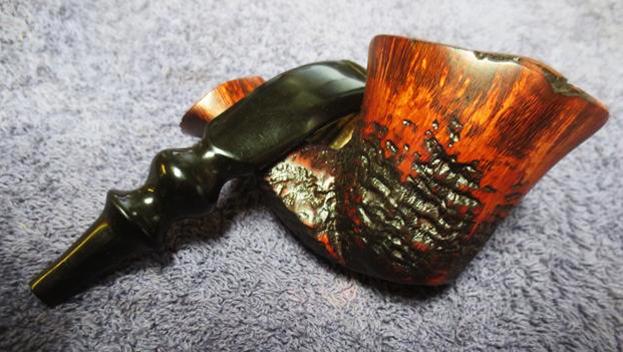
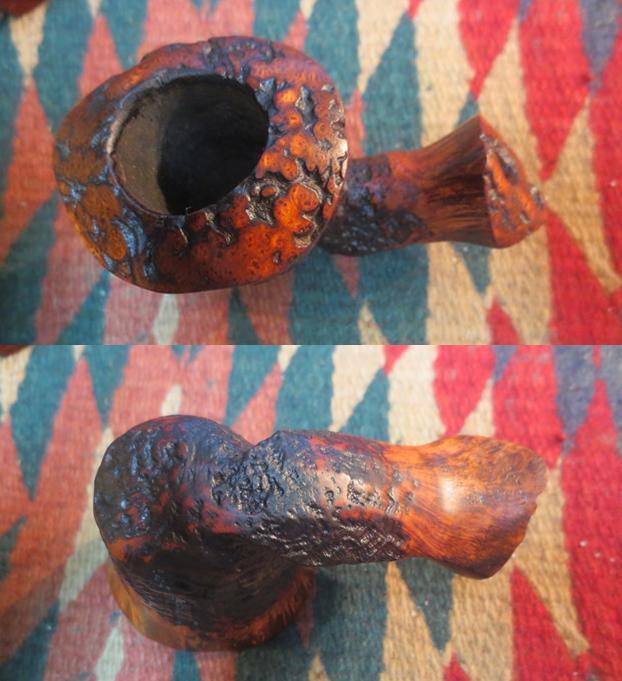
 I buffed the bowl with a clean buffing pad to polish the briar and see what the finished bowl would look like and if areas that needed a bit more attention. The buffed bowl can be seen in the photos that follow. It has a rich patina that really has a deep glow to it. The two finishes really flow into each other and give the pipe a warm look.
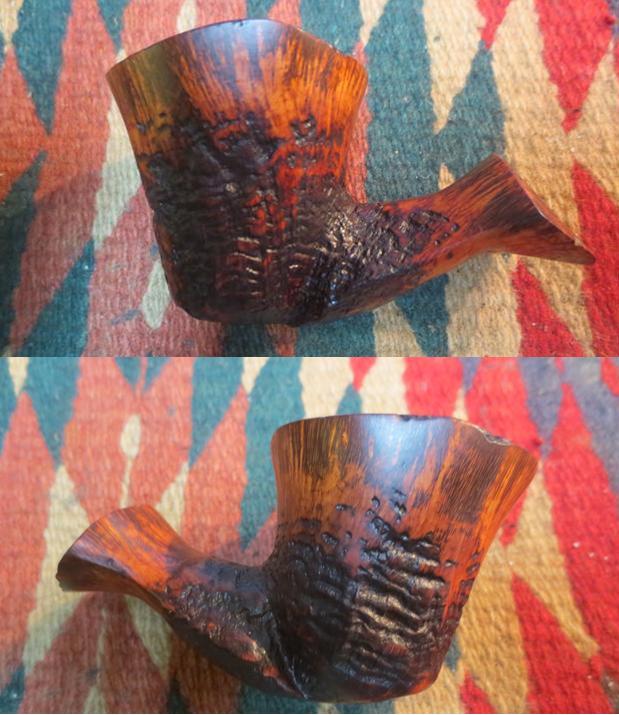
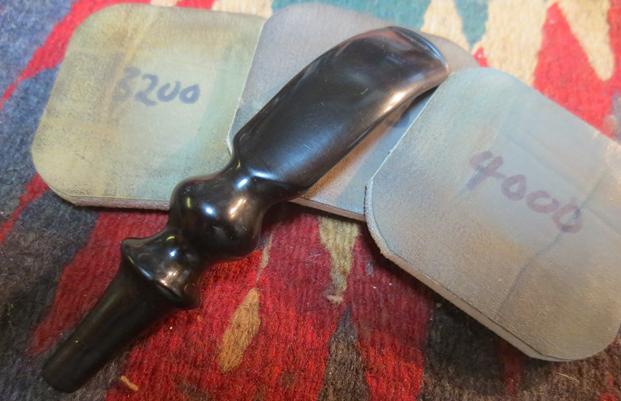
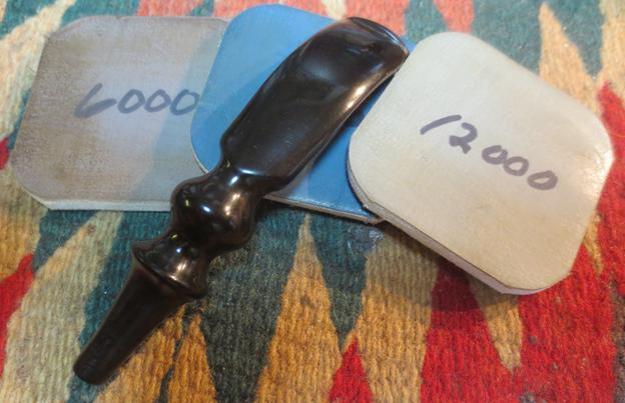
 I sanded out the casting marks and scratches on the stem with 220 grit sandpaper. I opened the slot in the end of the button with needles files and sandpaper to make it easier to push a pipe cleaner into the stem and shank. I polished it with micromesh sanding pads – wet sanding it with 1500-2400 grit pads and wiping it down after each pad with Obsidian Oil to give the next pad more bite when I sanded. I dry sanded it with 3200-12000 grit pads and again wiped it down with the oil after each pad. After the final pad I wiped it down with a final coat of oil and set it aside to dry.
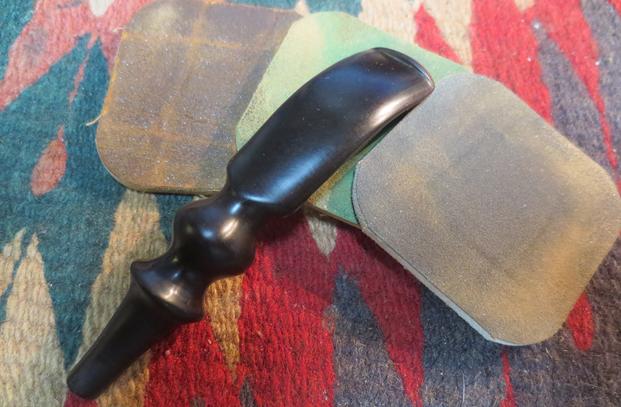
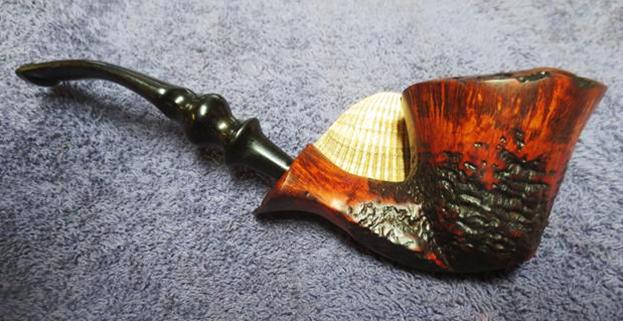
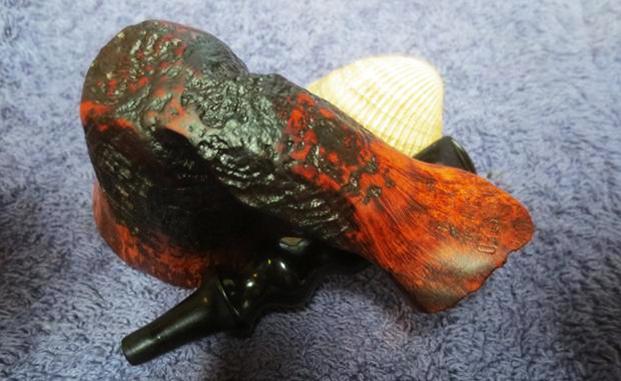
 I put the stem back on the bowl and buffed it with Blue Diamond on the buffing wheel to polish the stem and the smooth portions of the briar. I used a soft touch around the stamped areas as I did not want to flatten them polish them away even more that they already were. I gave the stem multiple coats of carnauba wax buffed it with a clean buffing pad to raise a shine. I gave the bowl multiple coats of Conservator’s Wax and rubbed it into the sandblast and the plateau areas. I buffed it with a shoe brush and then with a clean buffing pad to raise the shine. I hand buffed the pipe with a microfiber cloth to deepen the shine. The variegated finish on the bowl and stem combine to present a beautiful pipe. The pipe really does look fresh and new to me and I like the finished look with the new stem. The dimensions of this pipe are Length: 6 1/2 inches, Height: 2 inches, Bowl diameter: 2 inches, Chamber diameter: 7/8 inches. The finished pipe is shown in the photos below. I will soon be adding it to the rebornpipes store if you are interested in adding to your collection. It is a beauty and will serve someone very well. Email me at slaug@uniserve.com or send me a message on Facebook. Thanks for looking.