Blog by Greg Wolford
This stummel was gifted to me by a friend from Louisiana. We met via one of the pipe smokers forums probably near a year ago and he recently sent me two stemless pipes, this one and one I have yet to get to, to restore. These are interesting pieces, in my opinion, because of their history, a little of which I will share with you before I get into the “meat and potatoes” of the work.
RJ, my friend, inherited a large quantity of pipes, near 100 if memory serves me. They were given to him by an aunt, I think it was, after her father passed away. Her father was Major in the US Army and served overseas in World War 2 (again, some of these details may be a tad off but they are close enough for our purposes). He was an avid pipe smoker and acquired many of his pipes while deployed overseas.
The Major’s wife was involved in a serious car accident many years ago. Her injuries were serious, leaving her with diminished mental, and to a lesser extent, physical capabilities. THe Major, as they affectionately called the man, took care of her himself after this accident. Sadly, the Major began to develop Alzheimer’s with dementia in his latter years, though he continued to care for his beloved wife; they were separated from their daughter, who gave the pipes to RJ, by miles, geographically.
The Major called his daughter the day after Valentine’s Day, 2005, and told her, quite confusedly, that her mother had gone missing. After much questioning, she called the police, local to her parents, and they dispatched a unit to the couple’s home. Shortening the story some, the Major had, in a state of mental confusion brought on by his disease, killed his wife. He was never found competent to stand trial for the killing of his wife 50-years. As far as I understand it, he was in a mental hospital for the rest of his life. A tragic story to be sure but an interesting one to go along with these unique pipes!
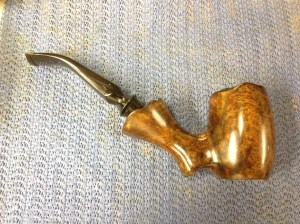
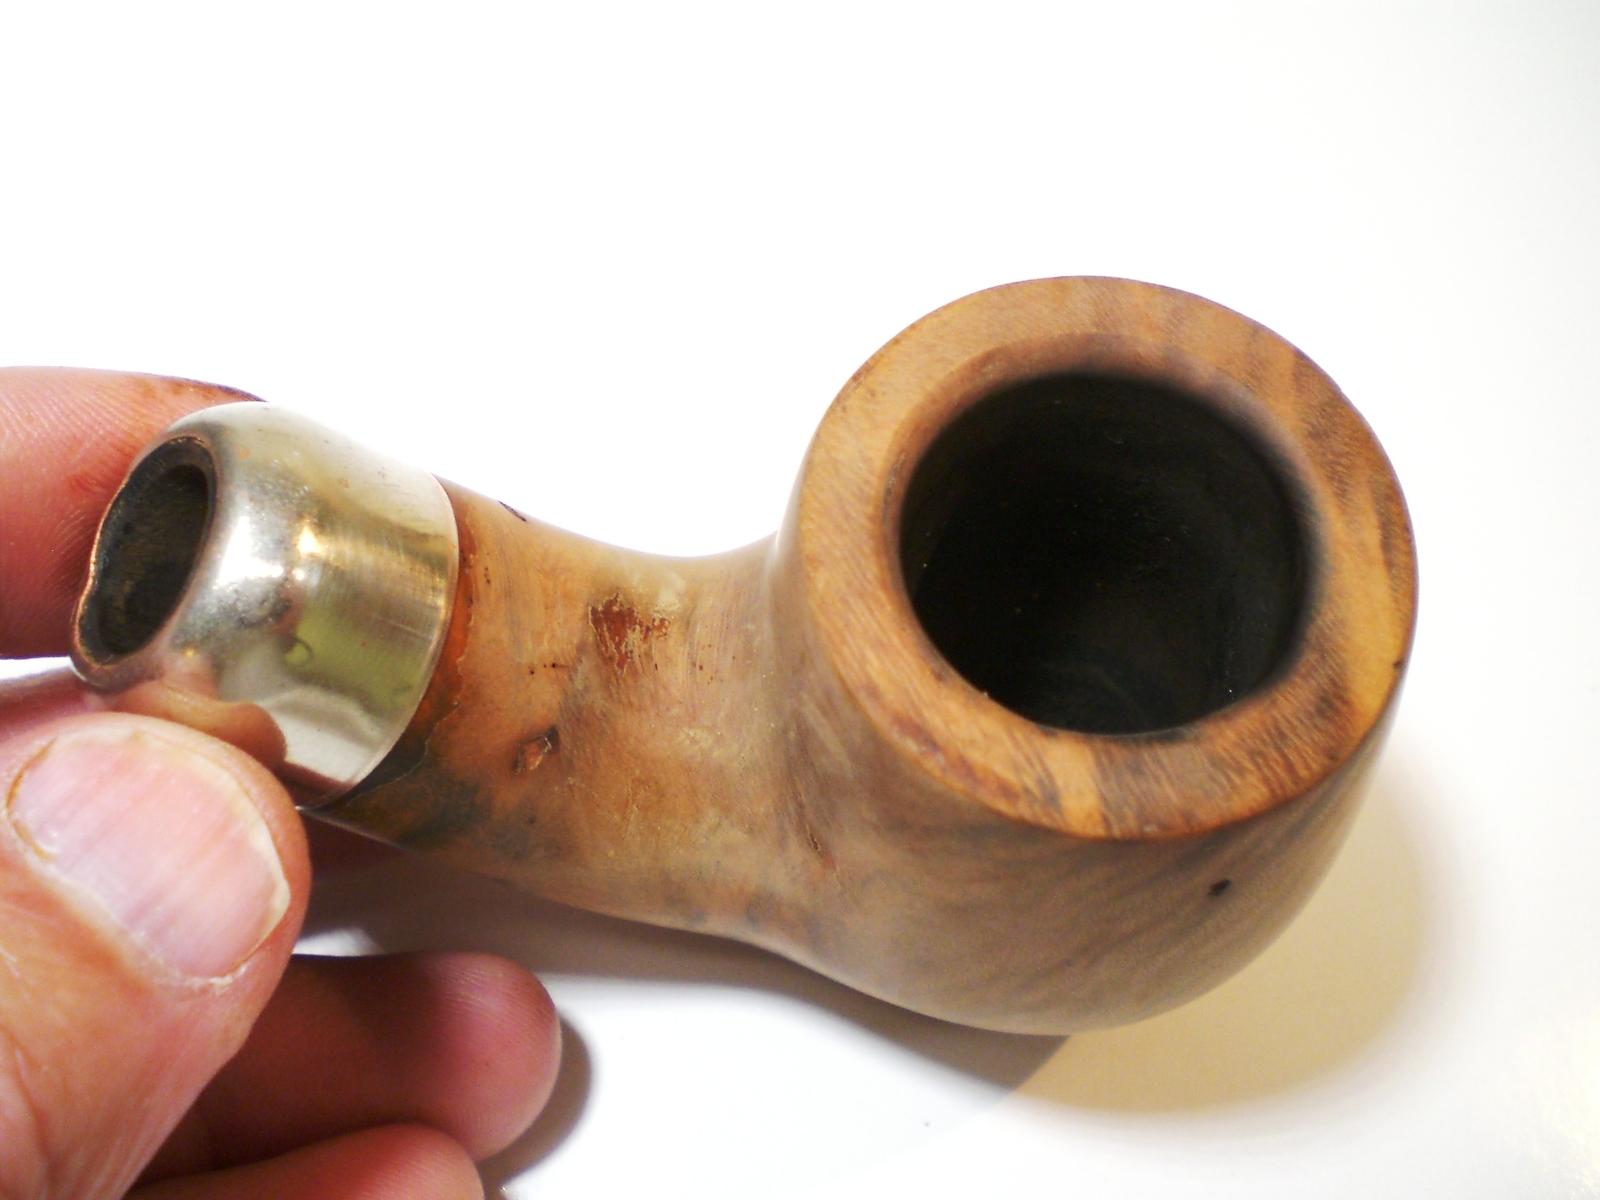
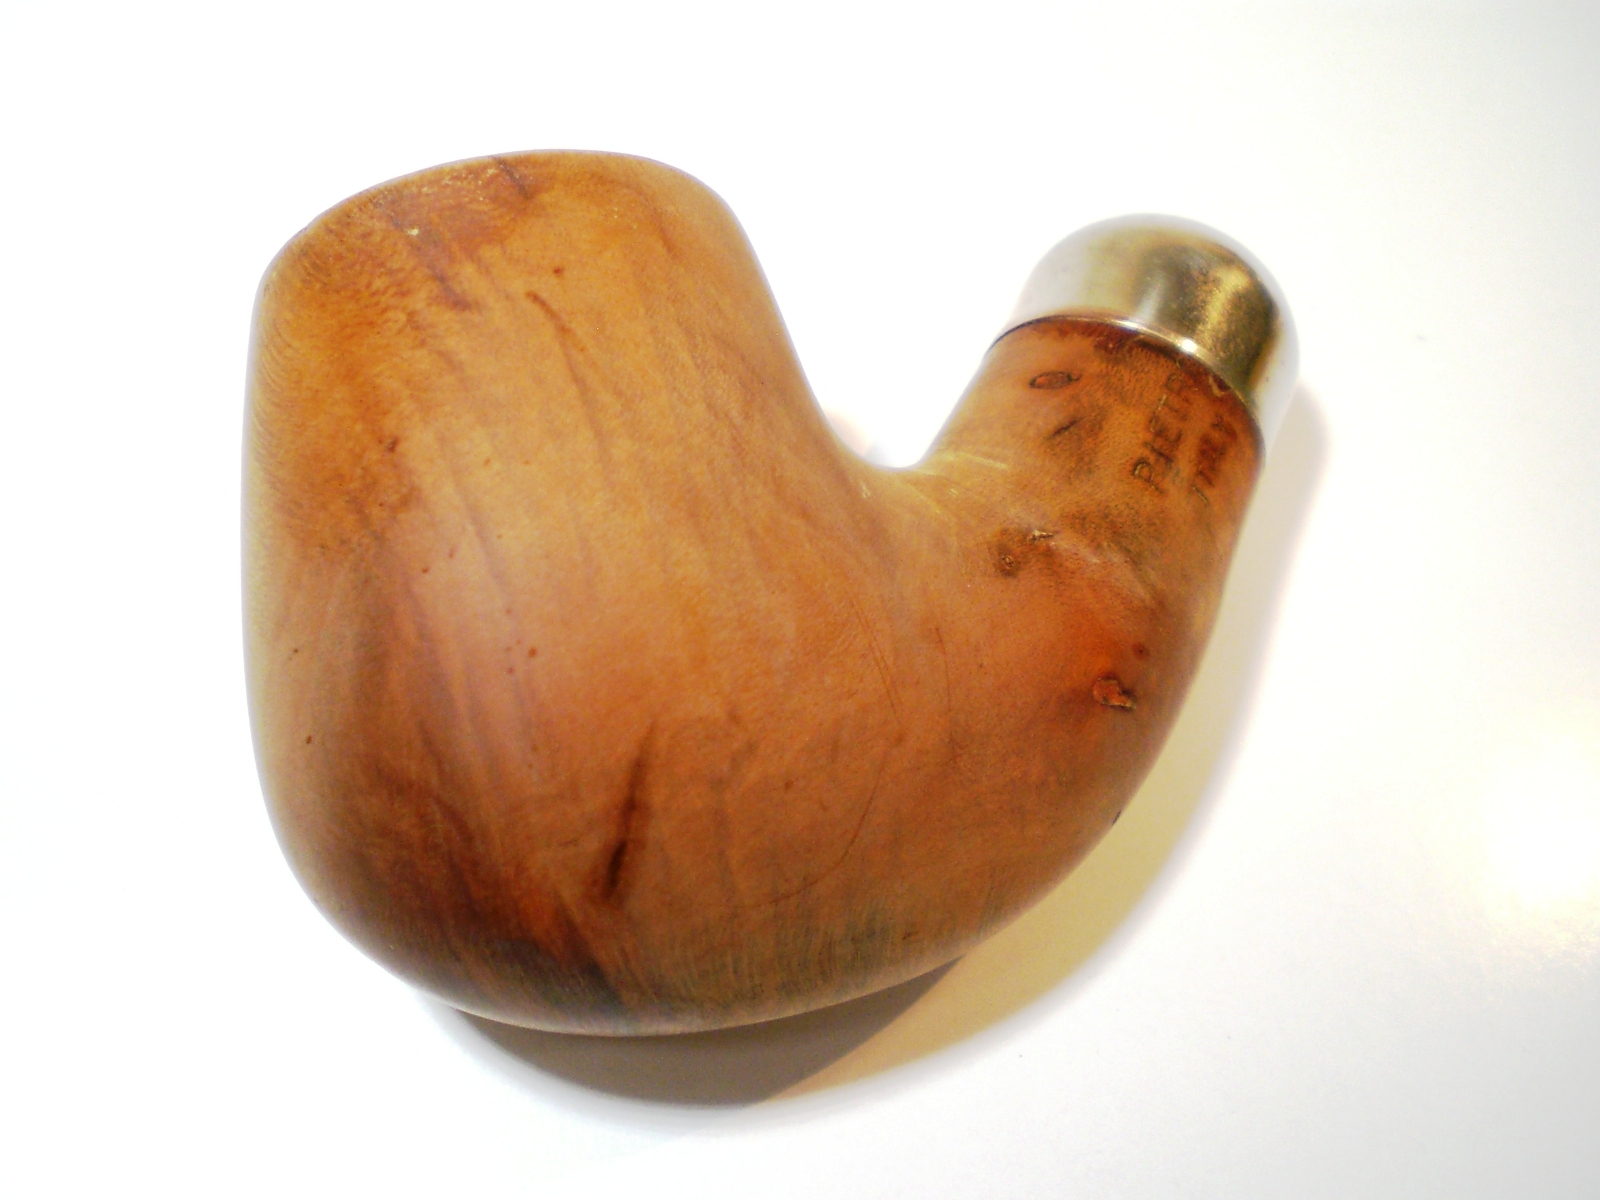
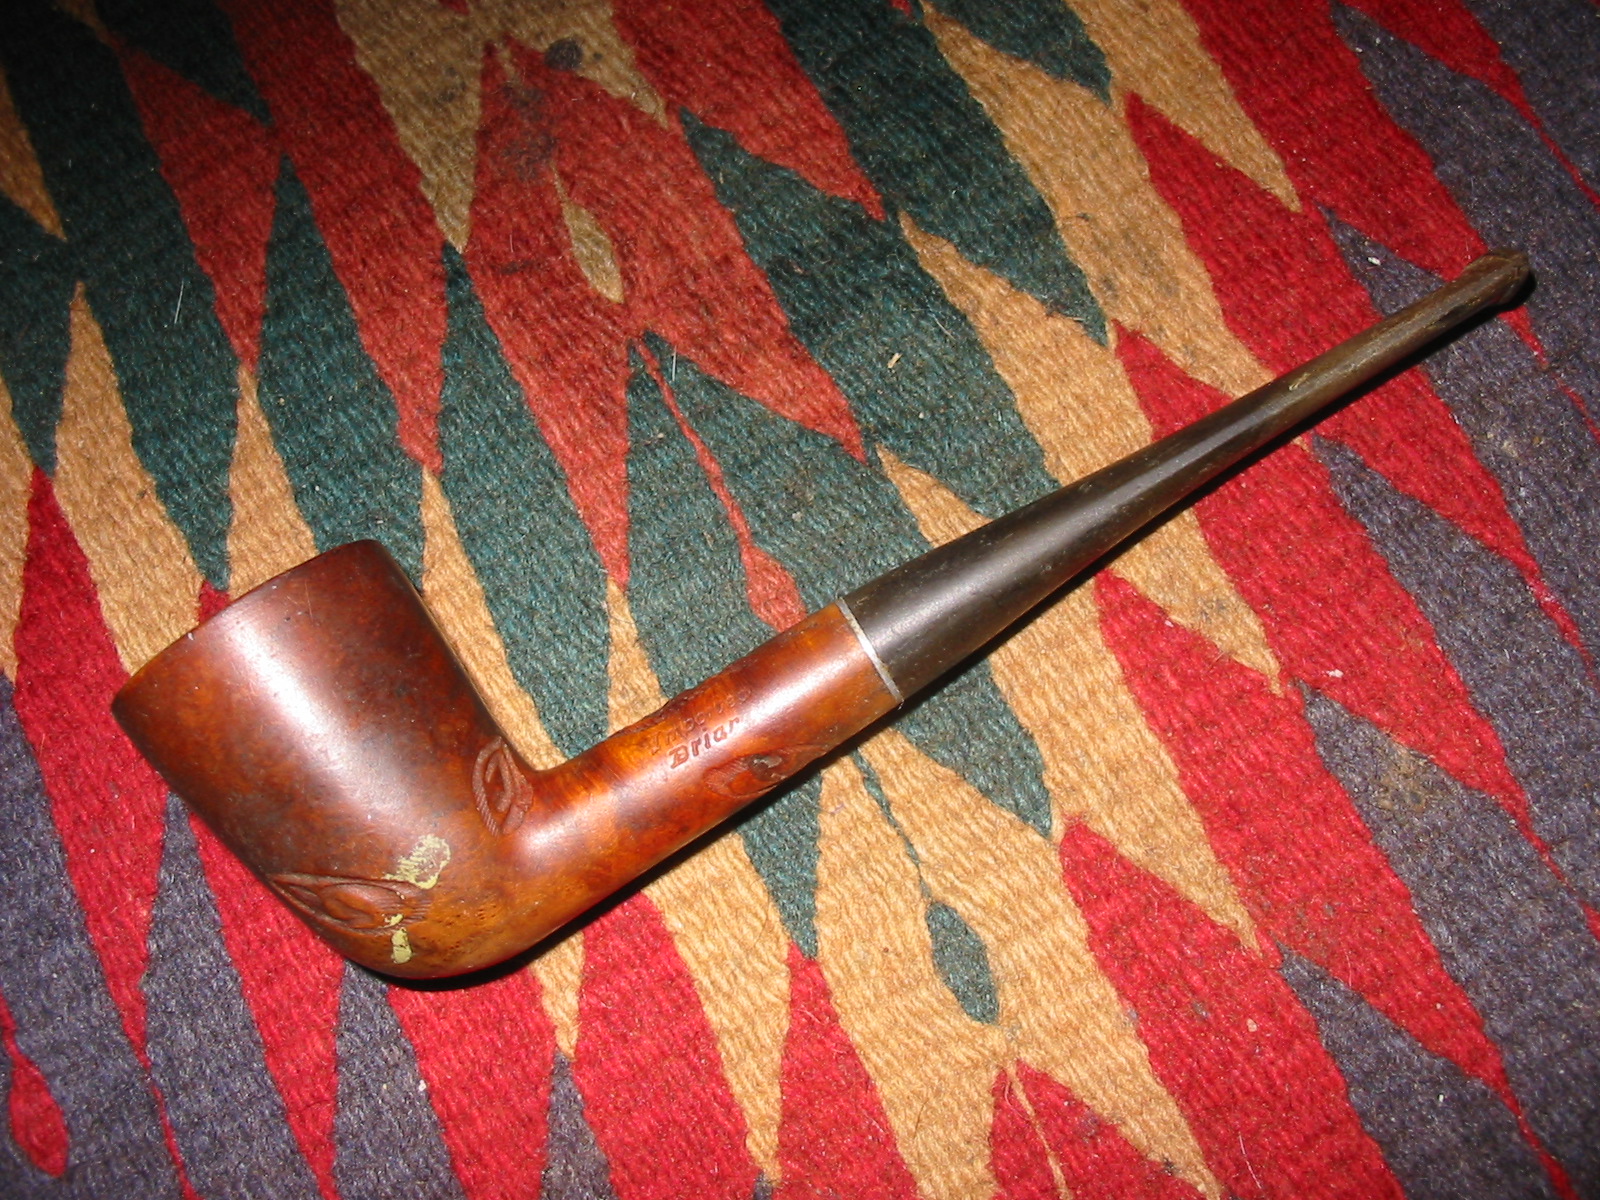
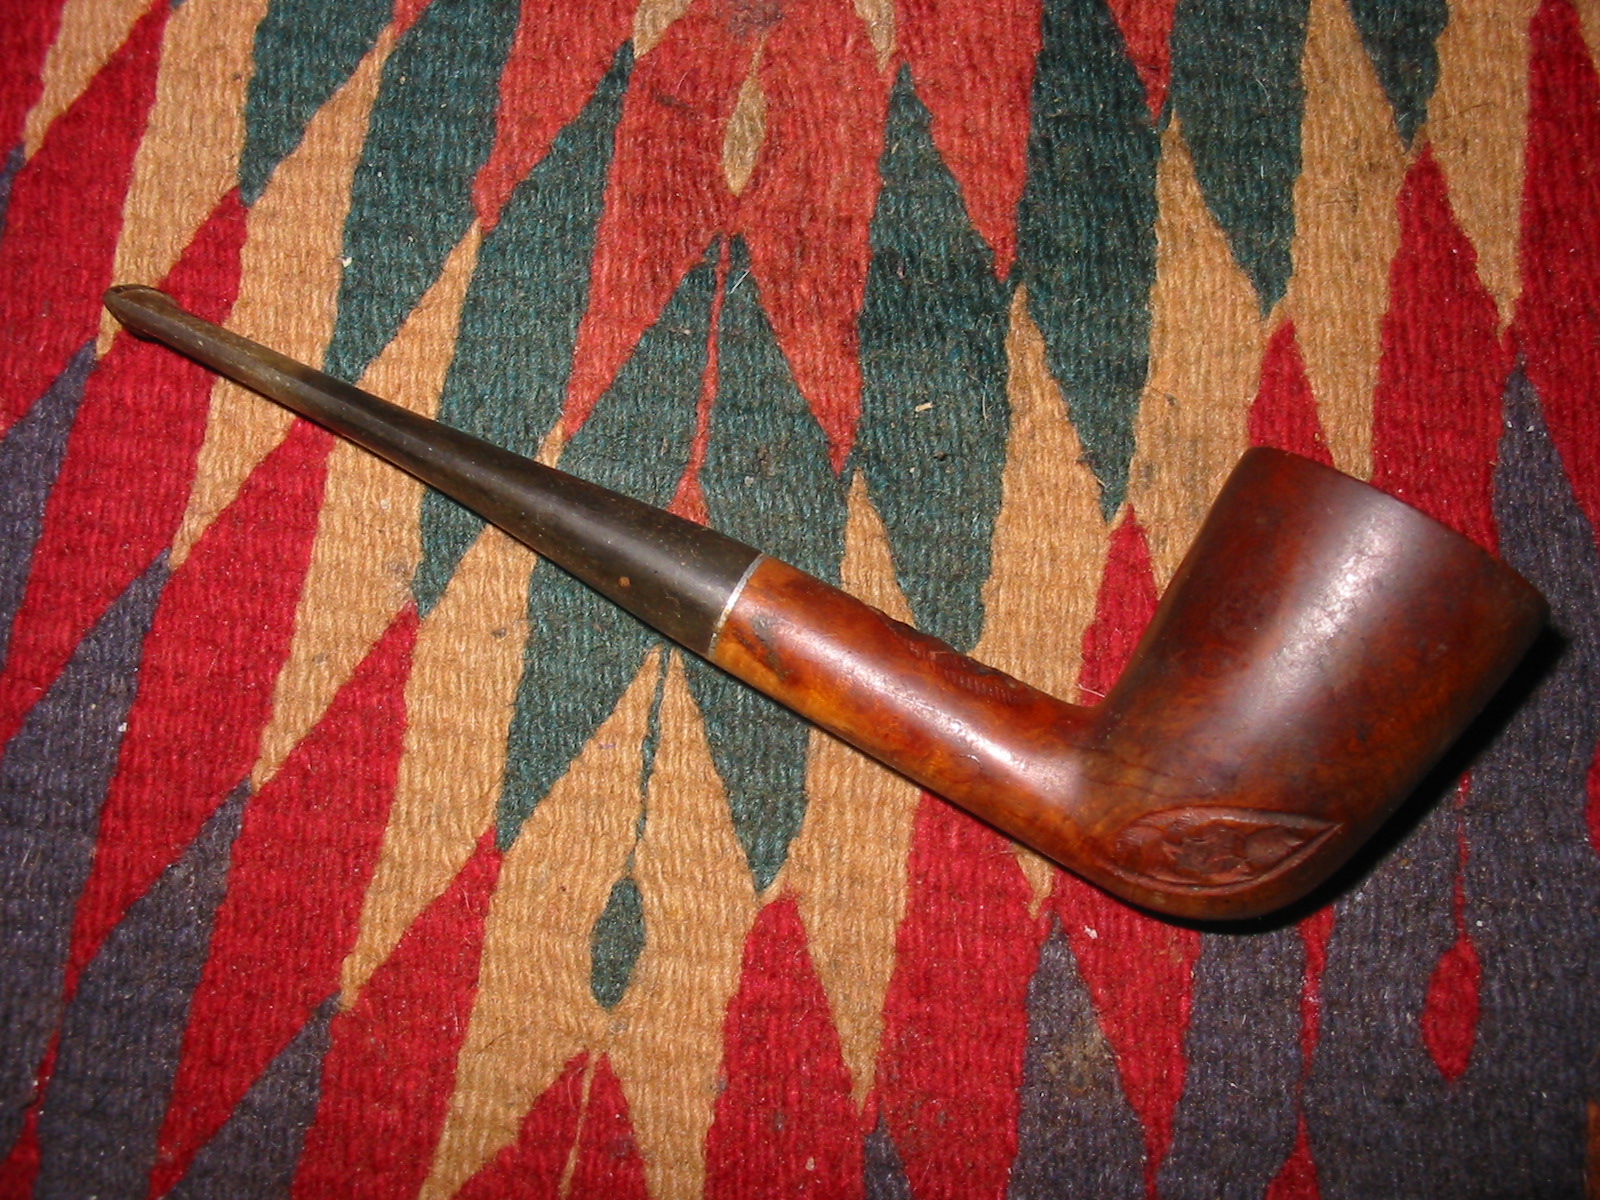
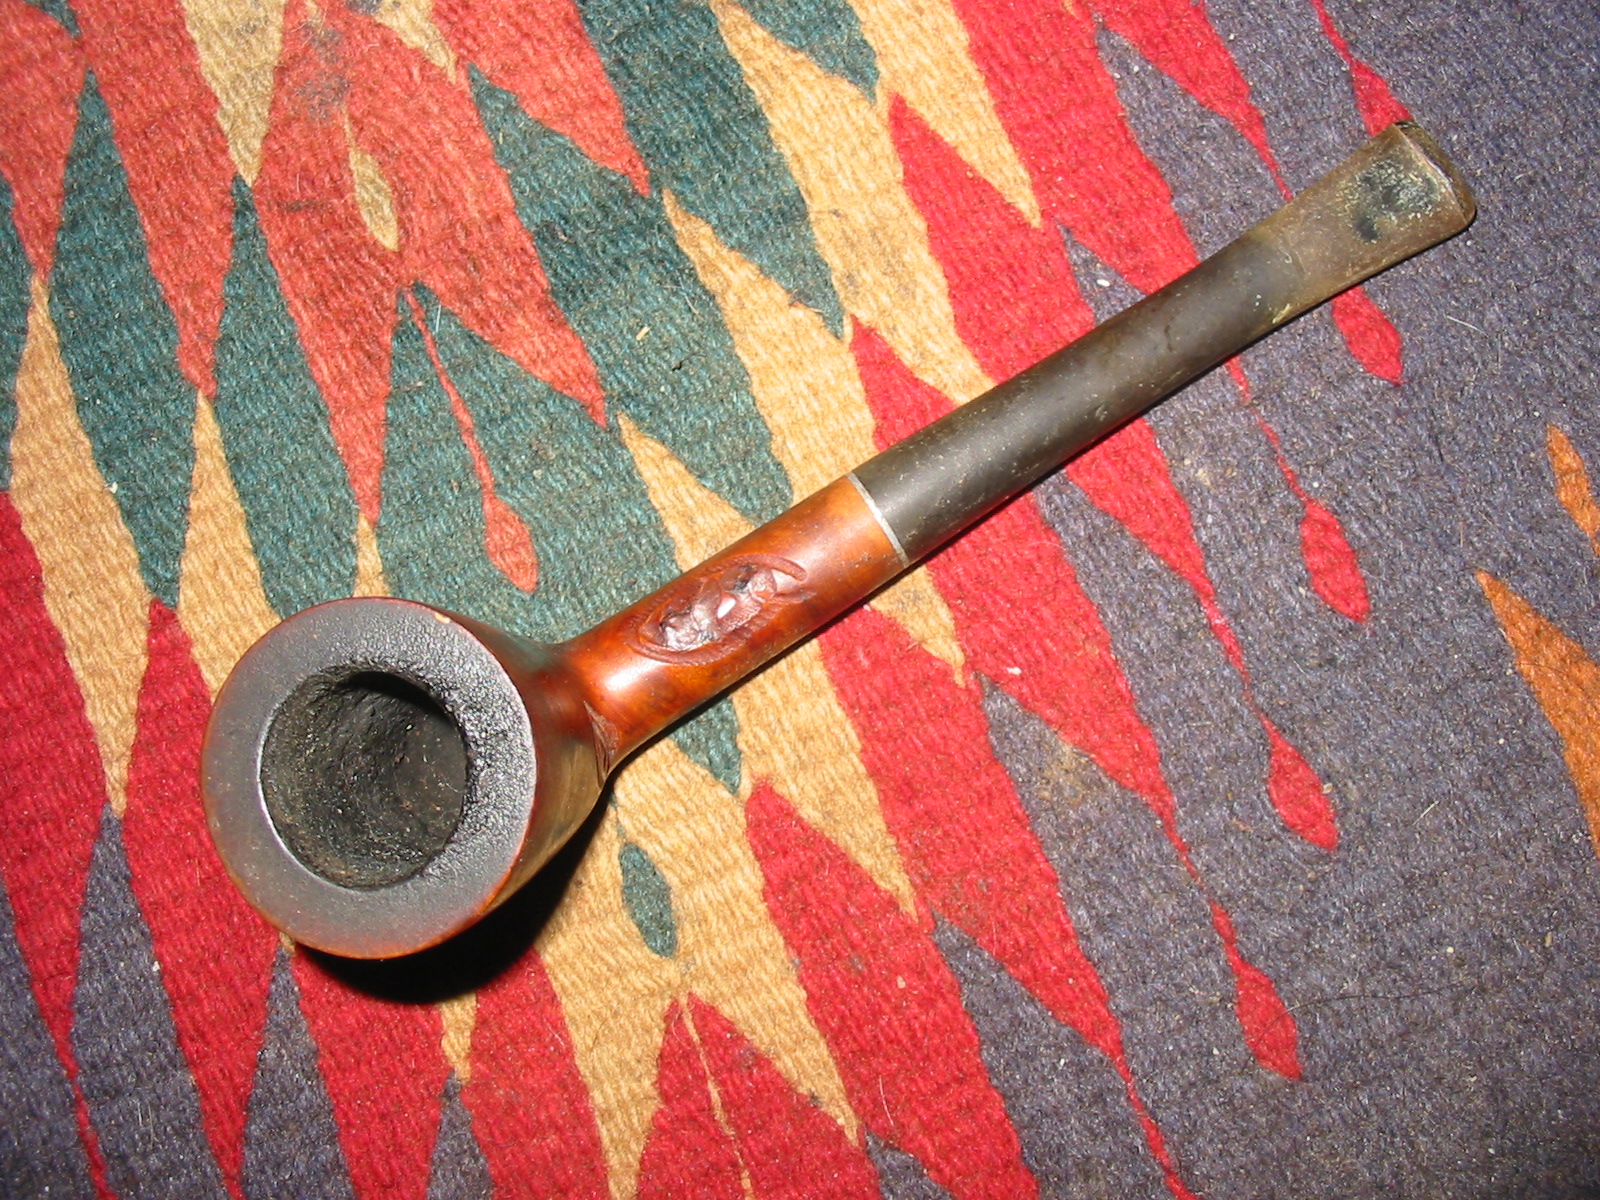
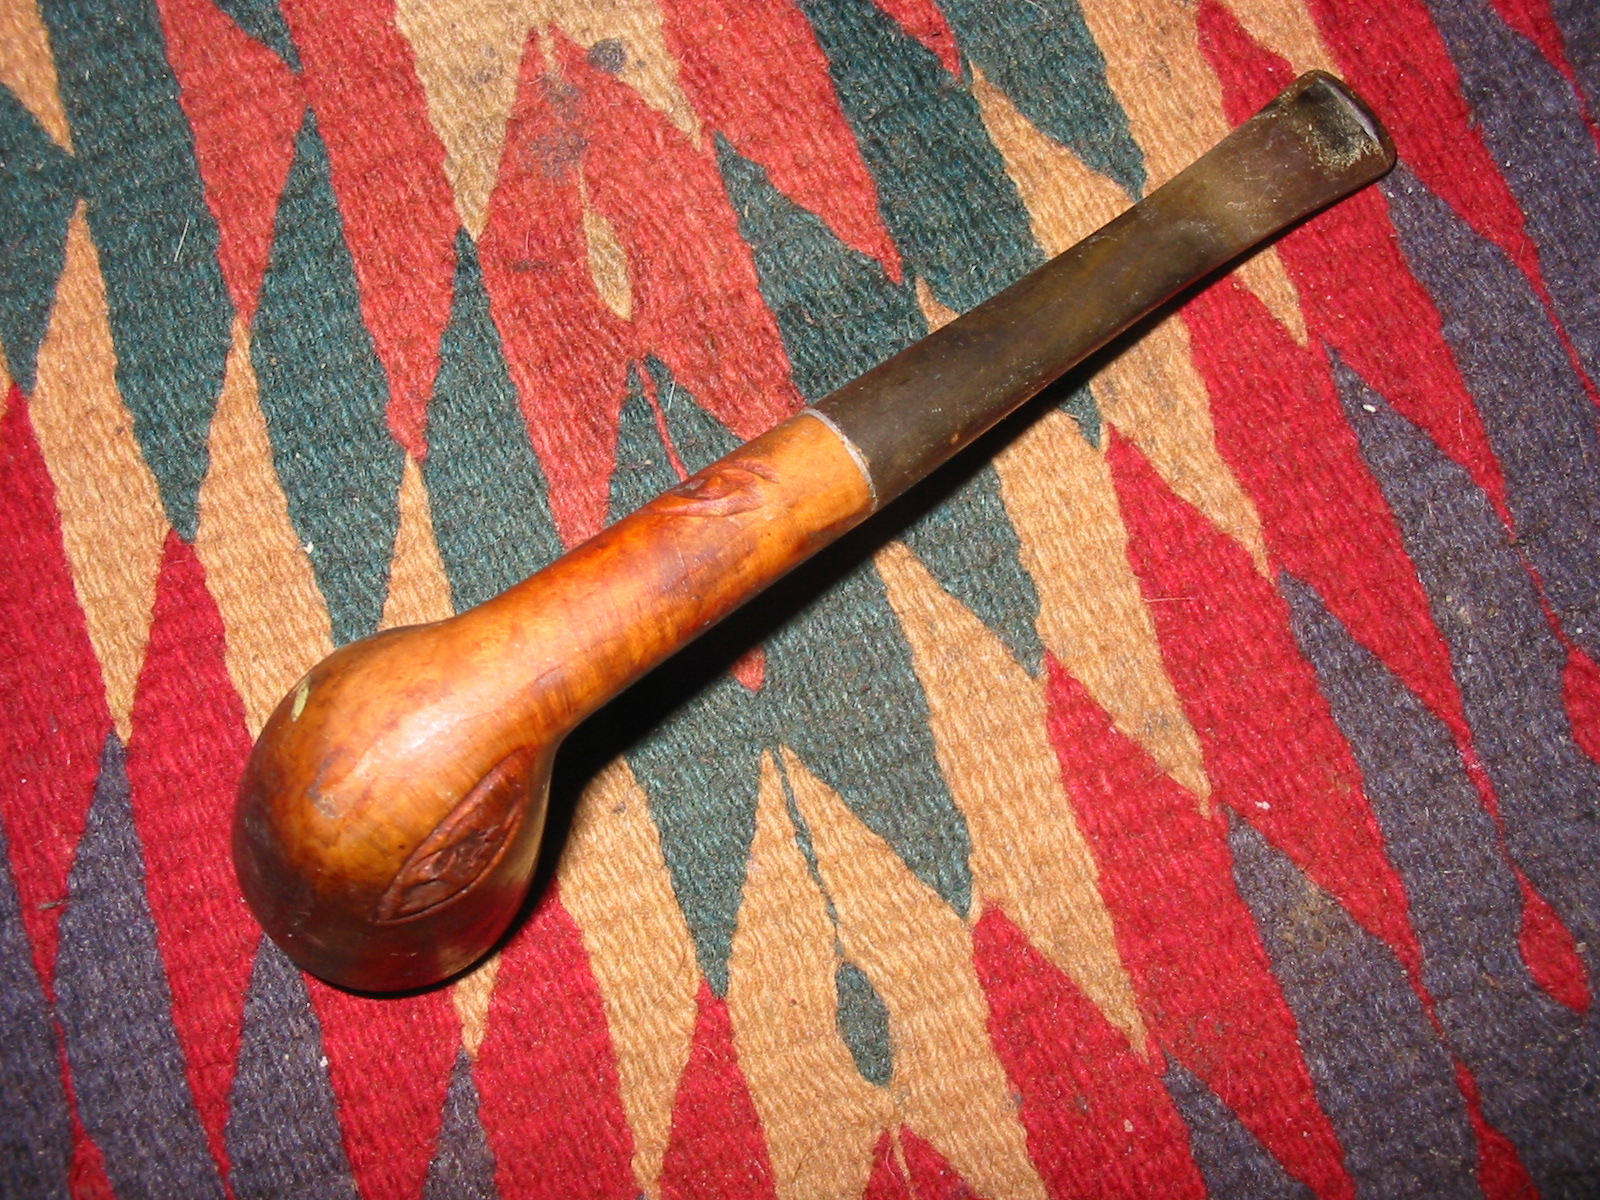
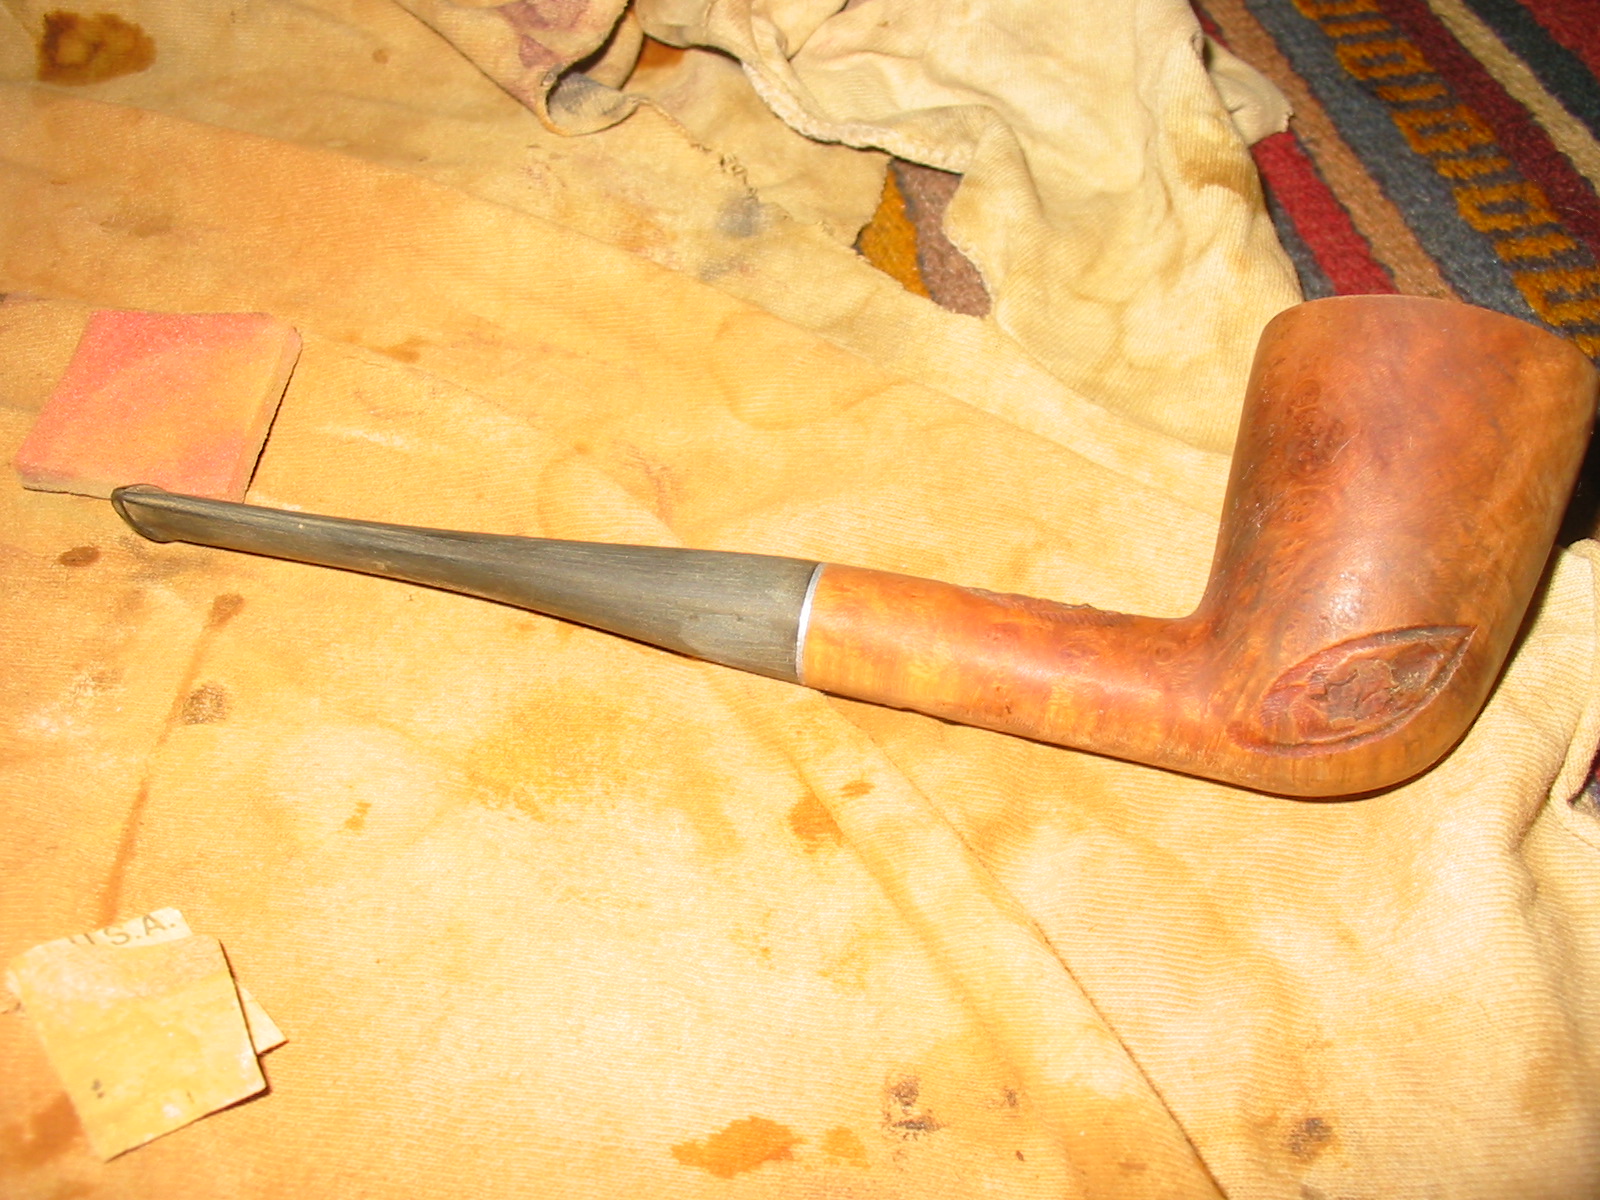
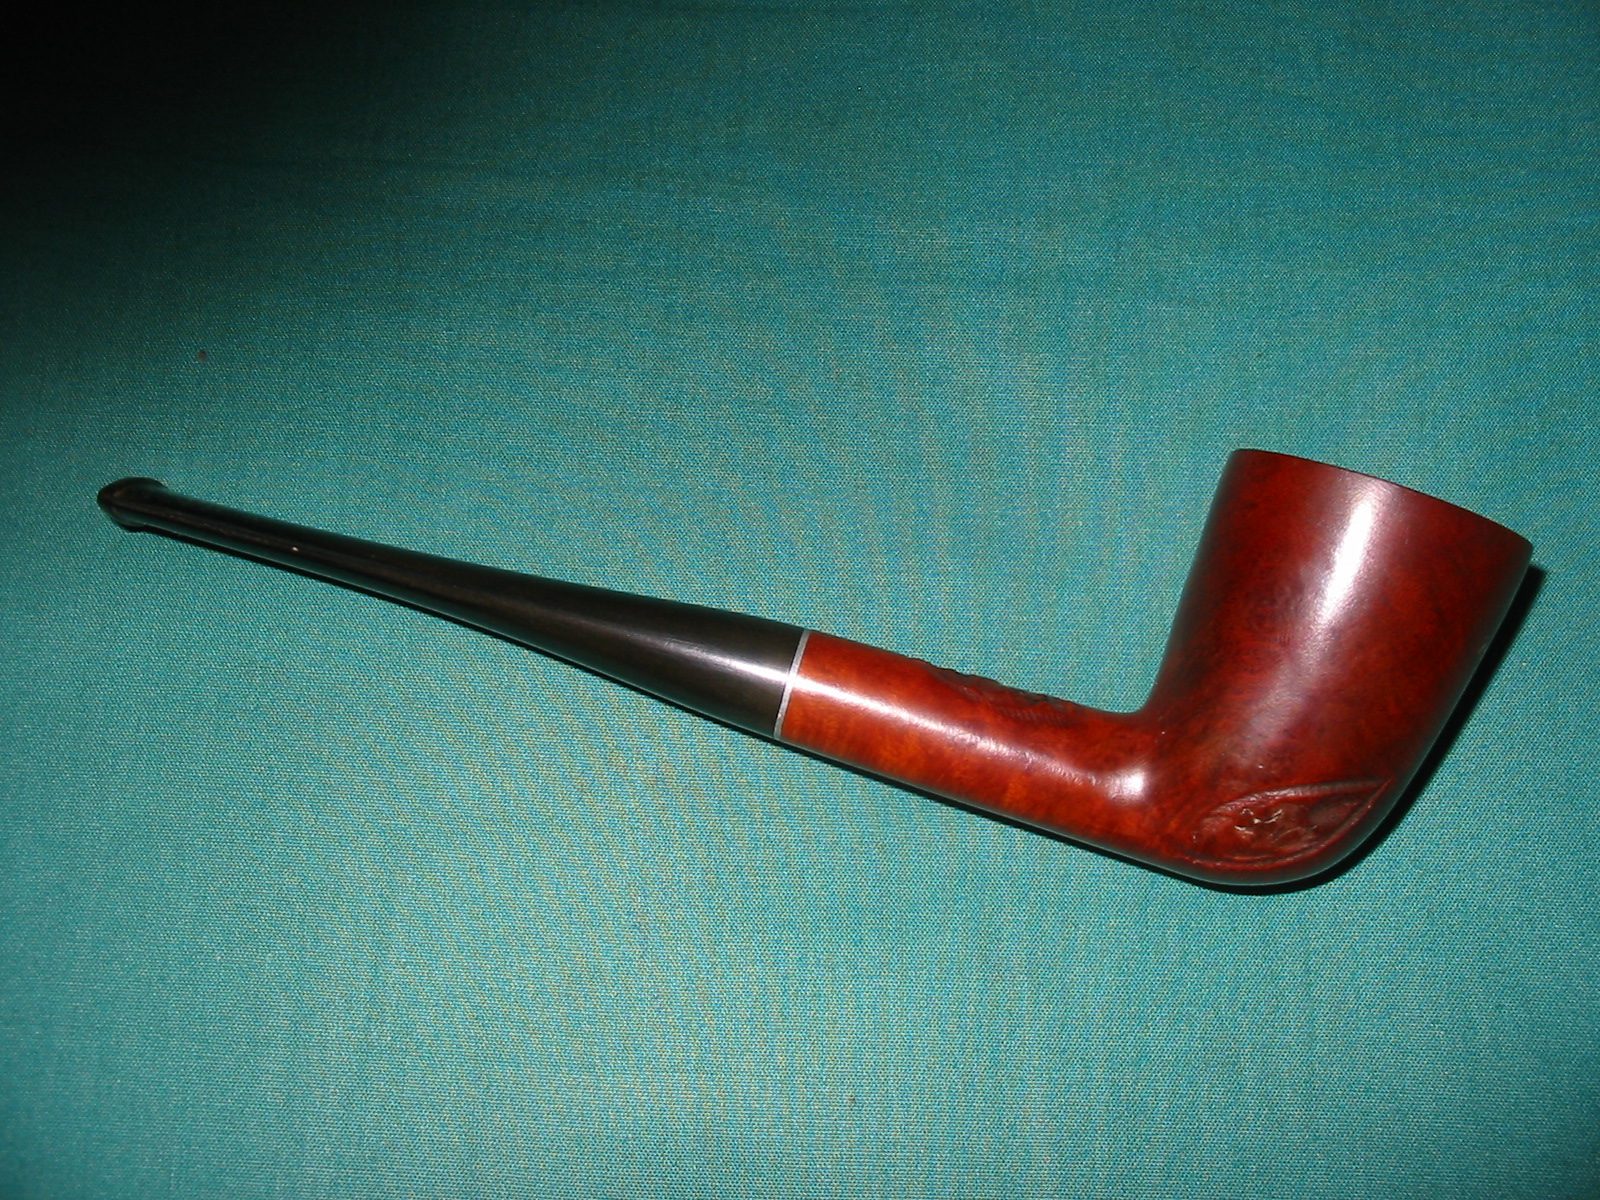
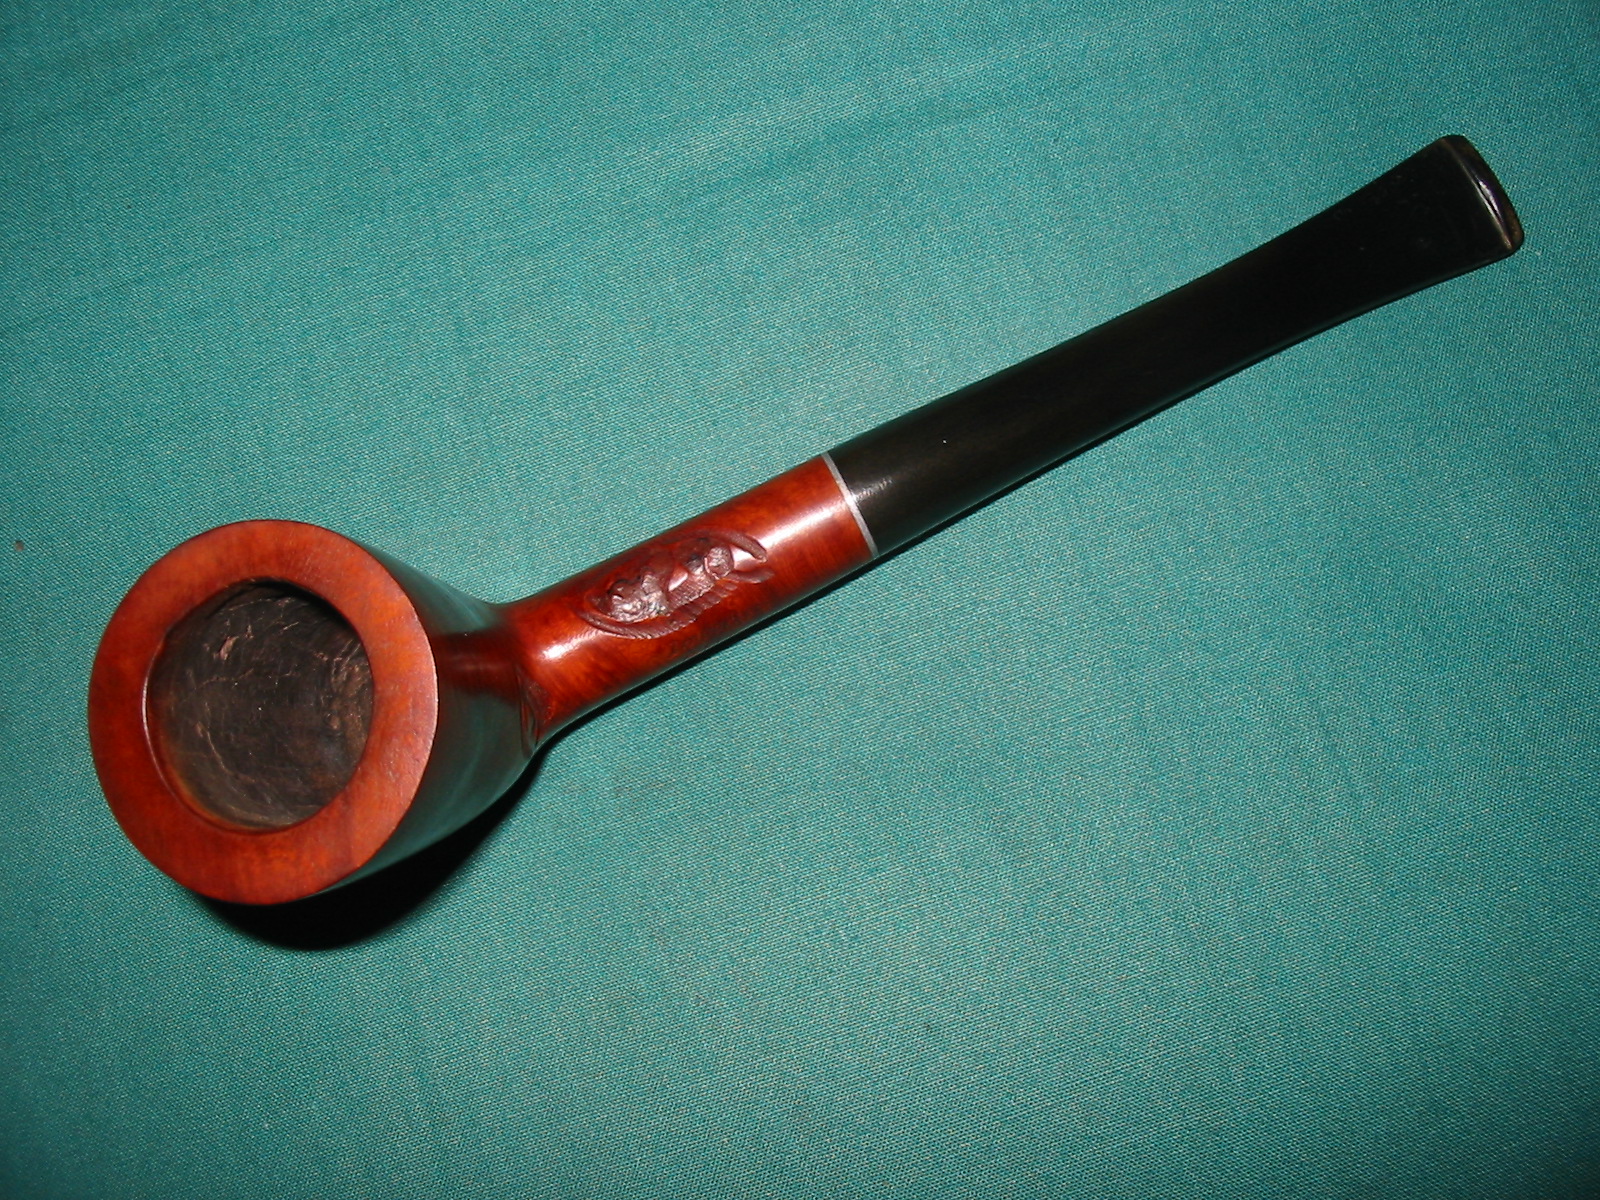
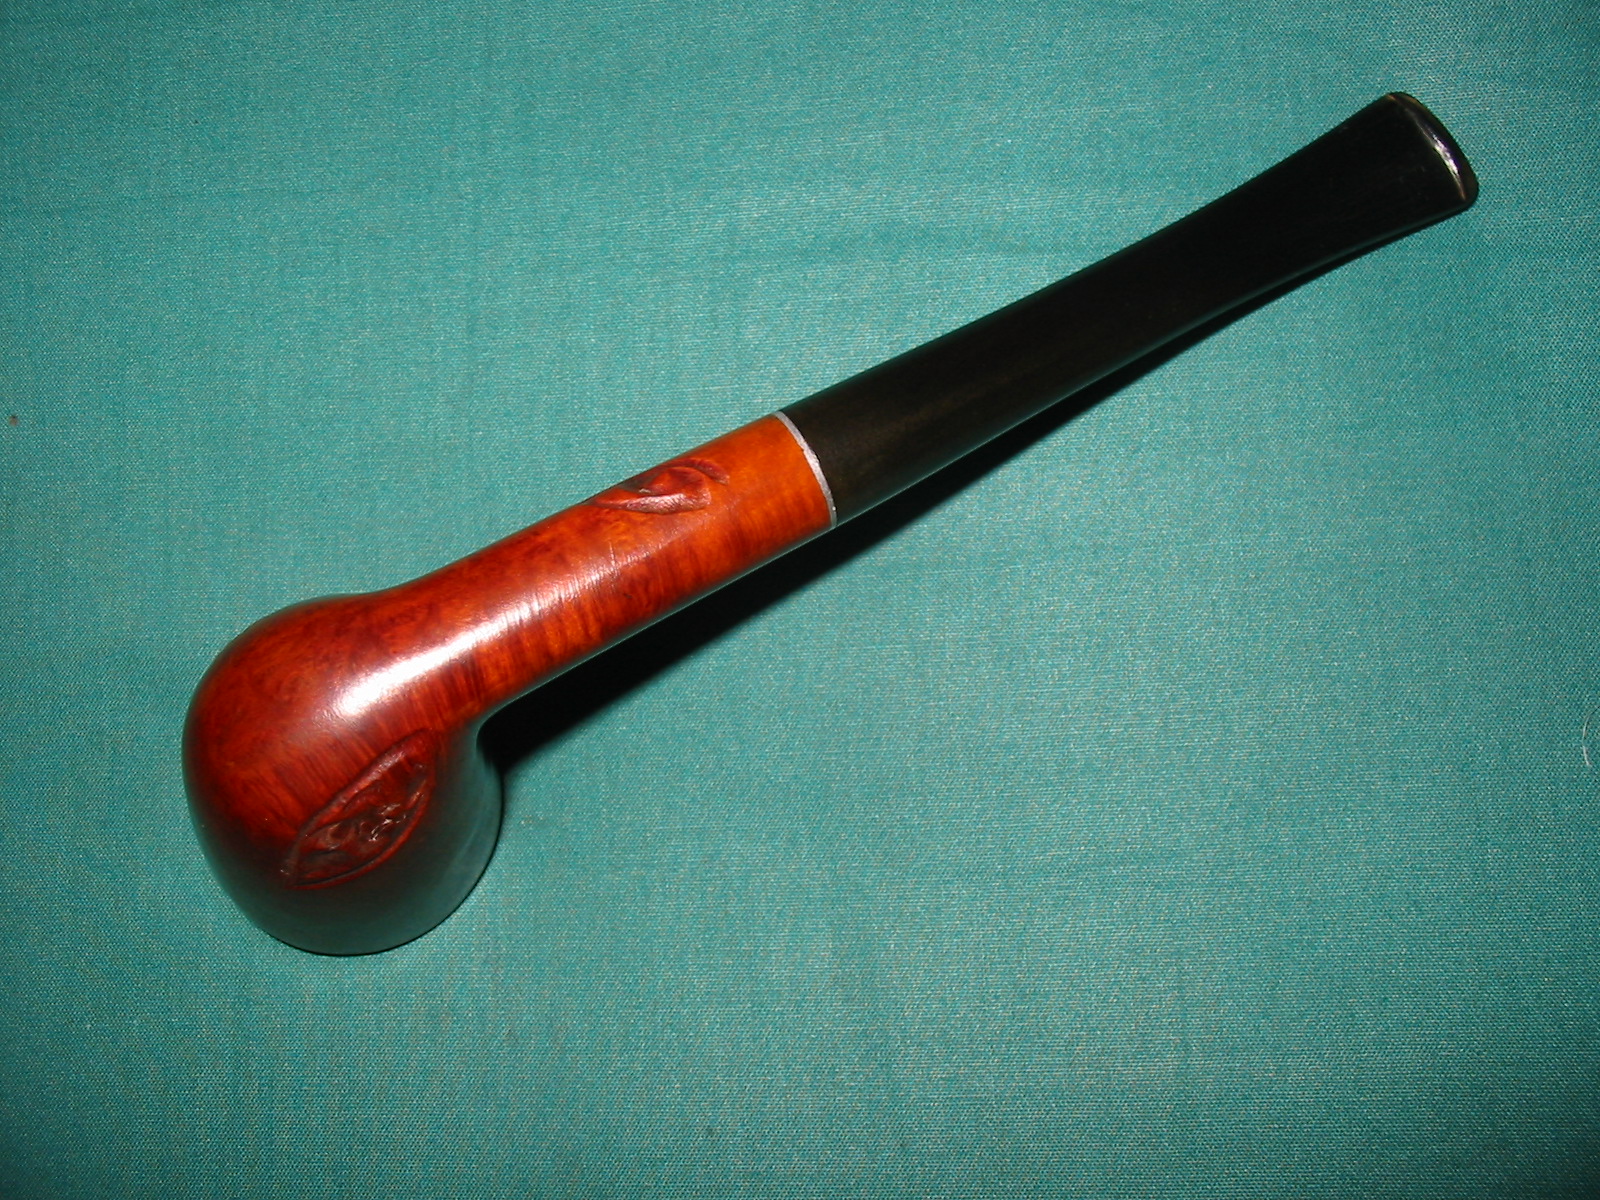
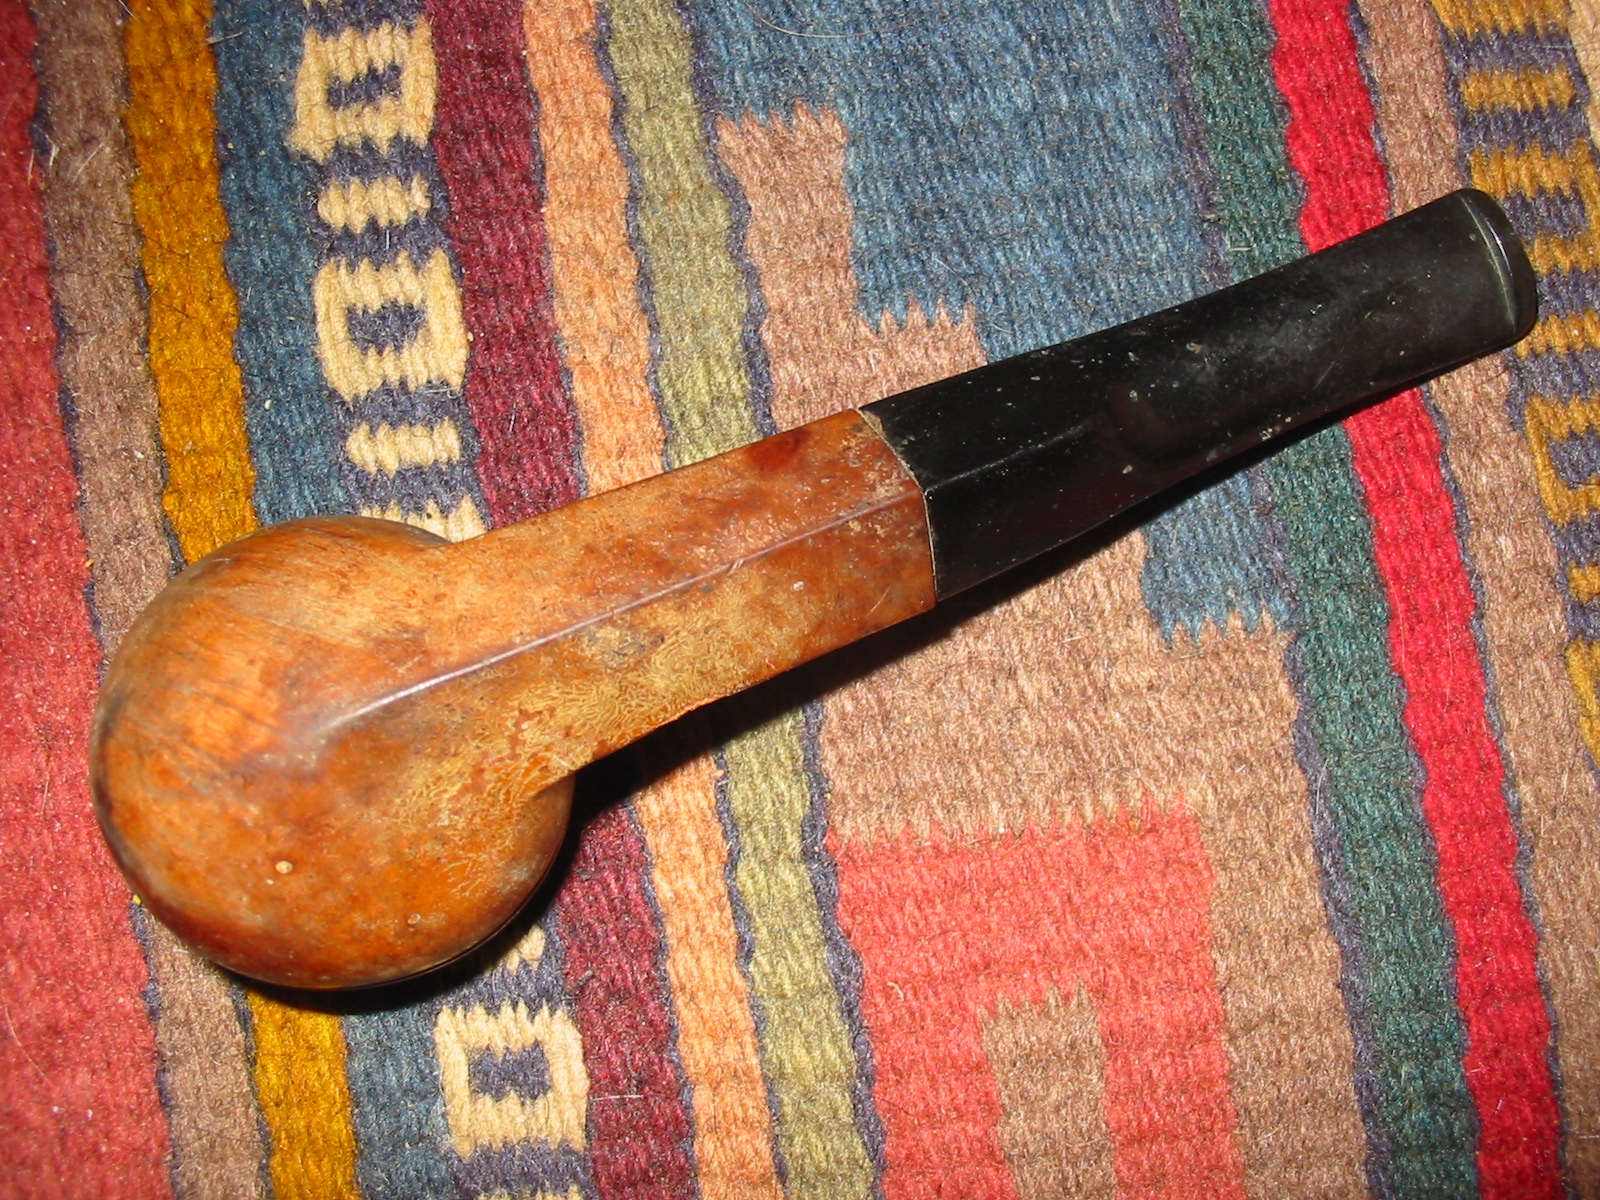
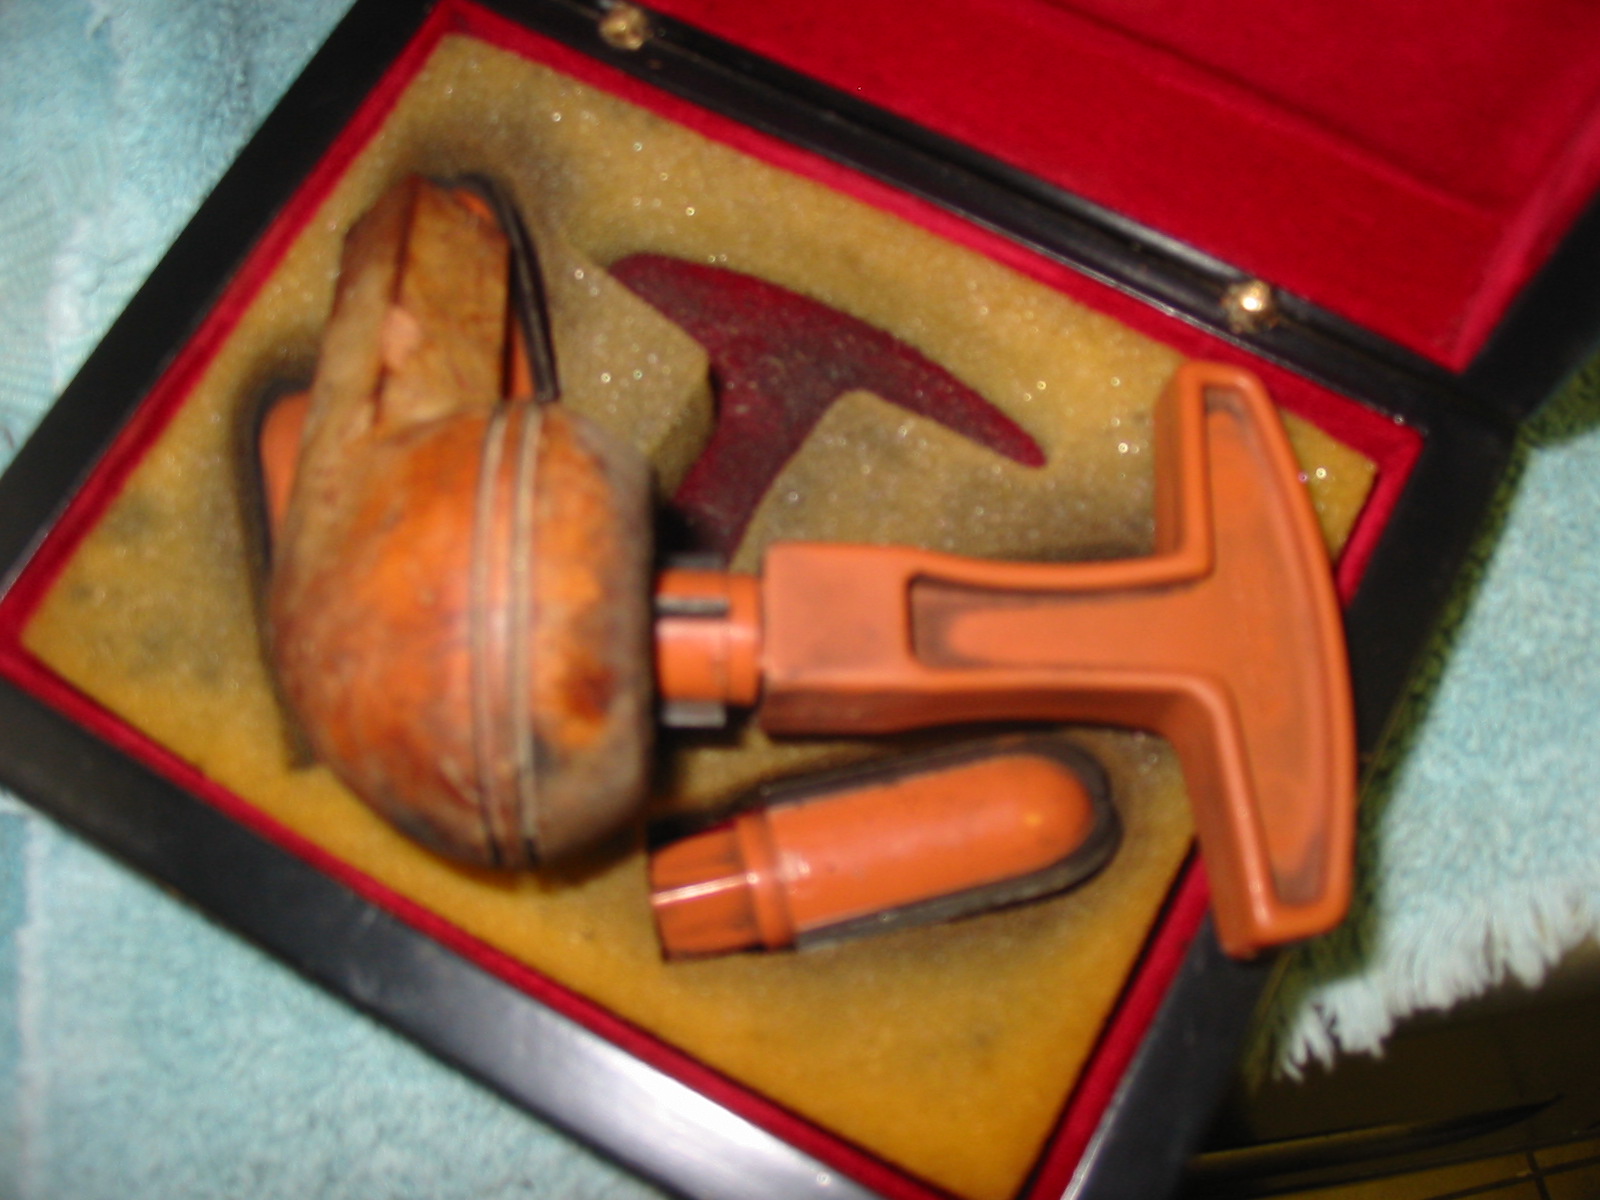
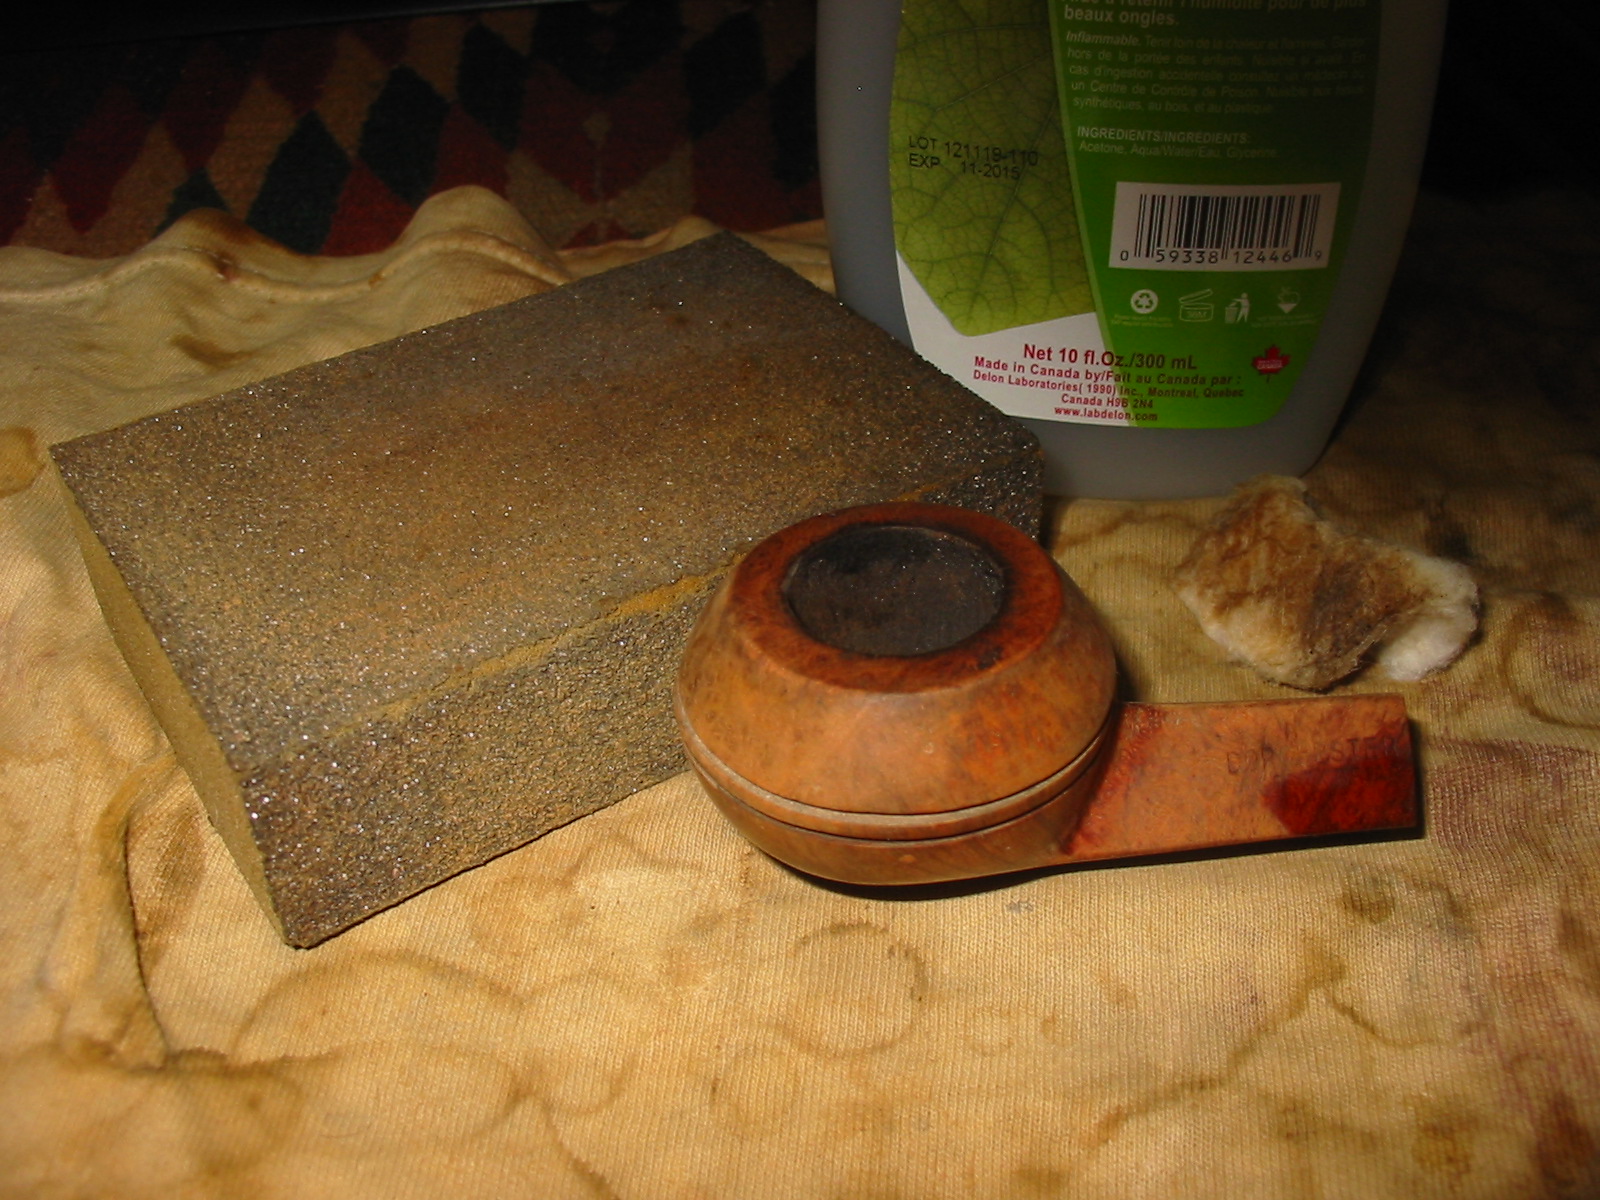
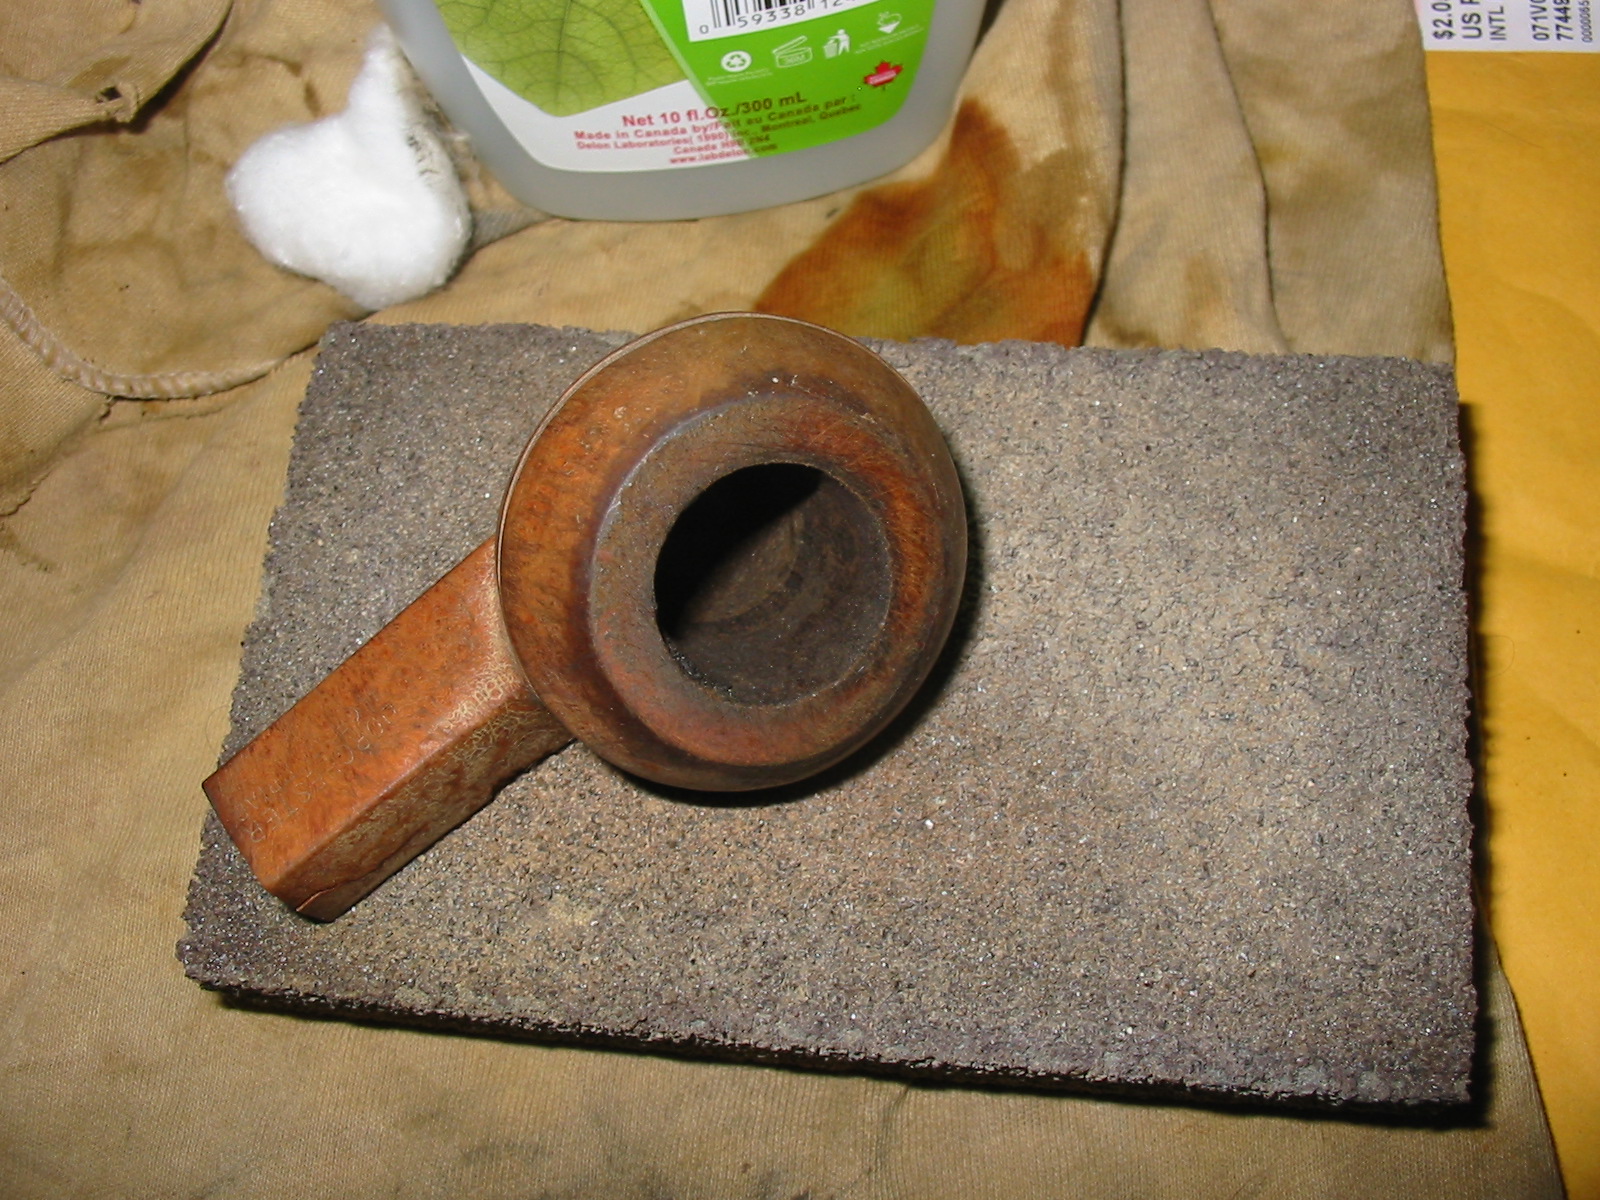
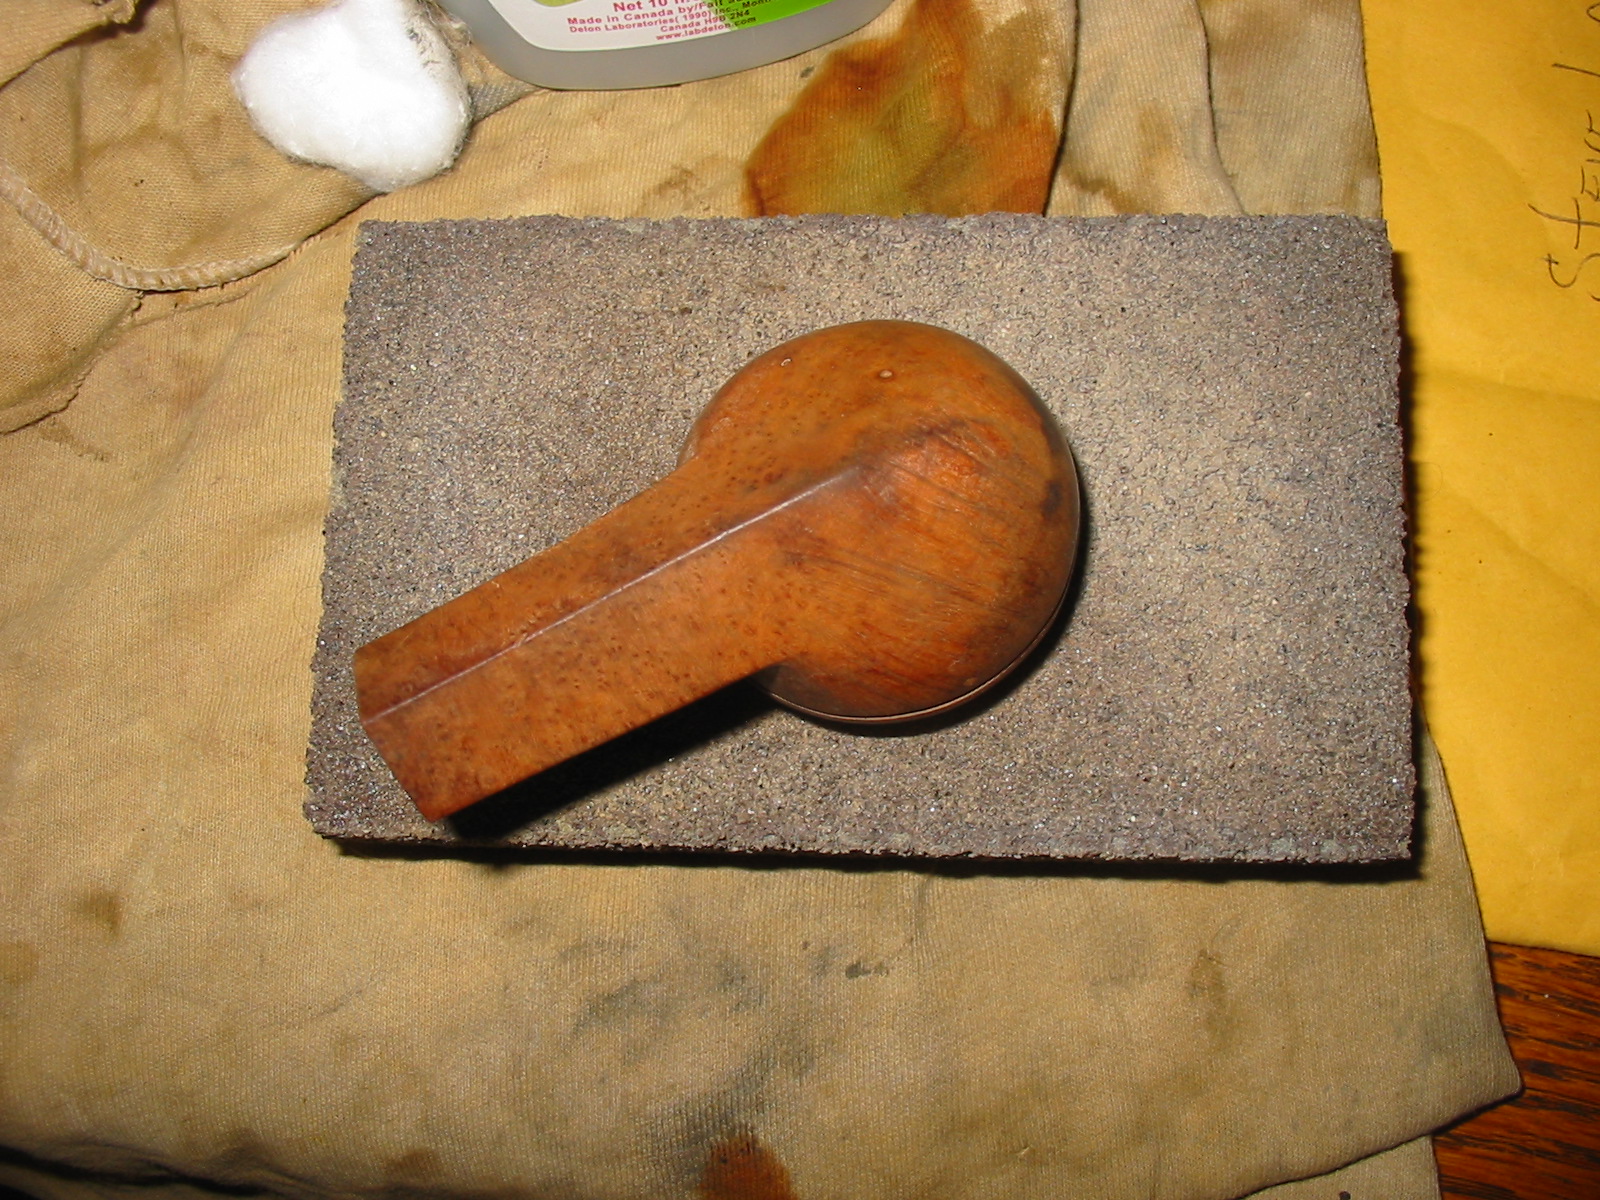
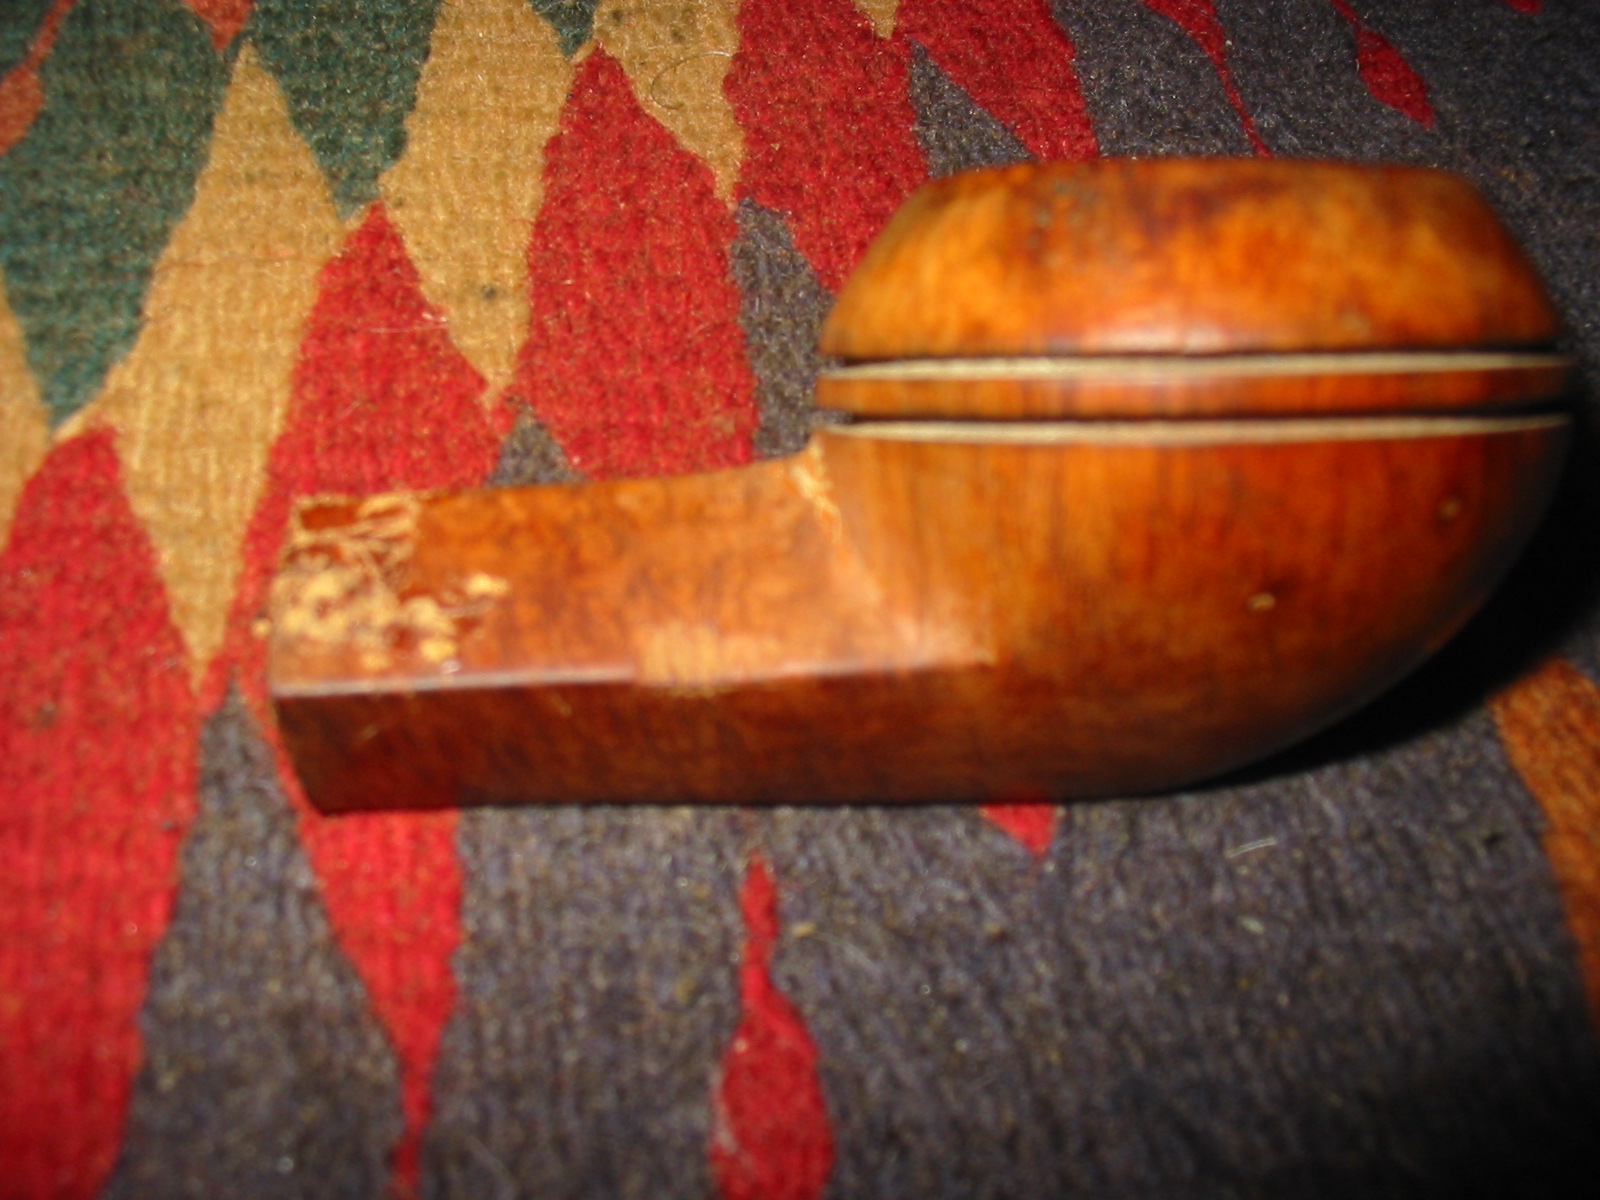
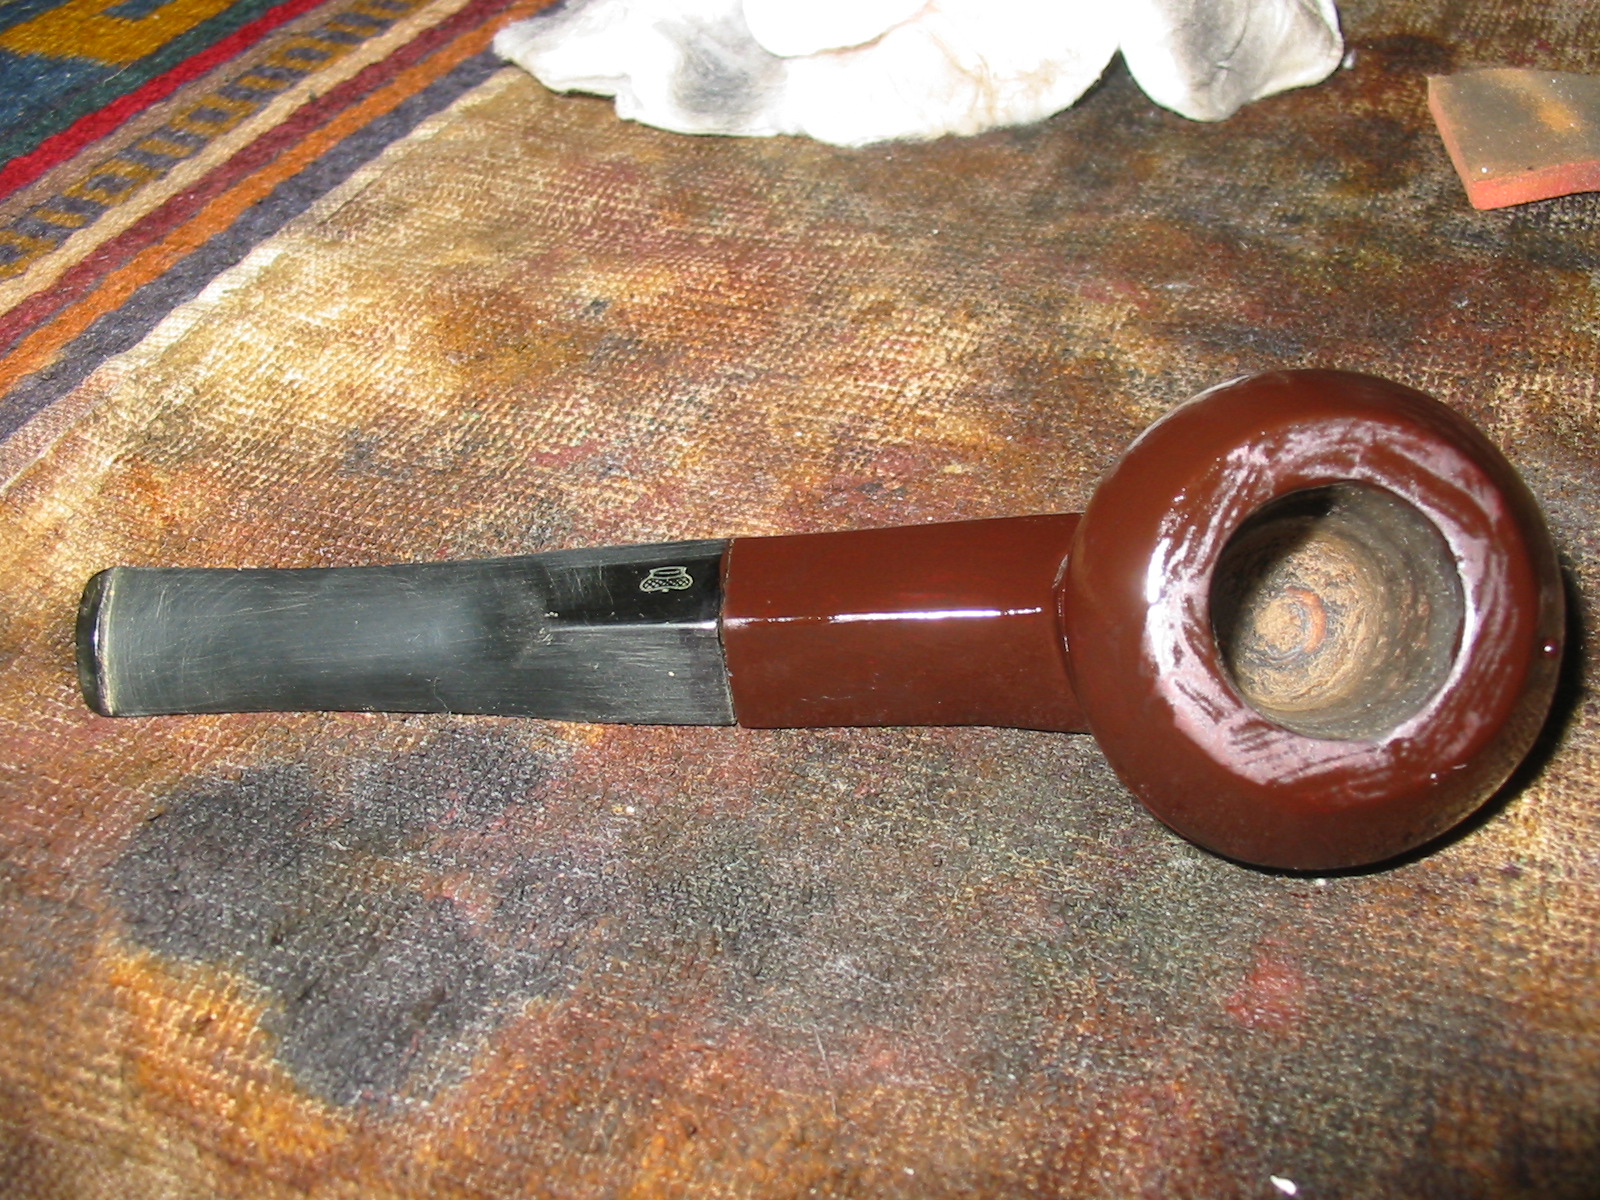
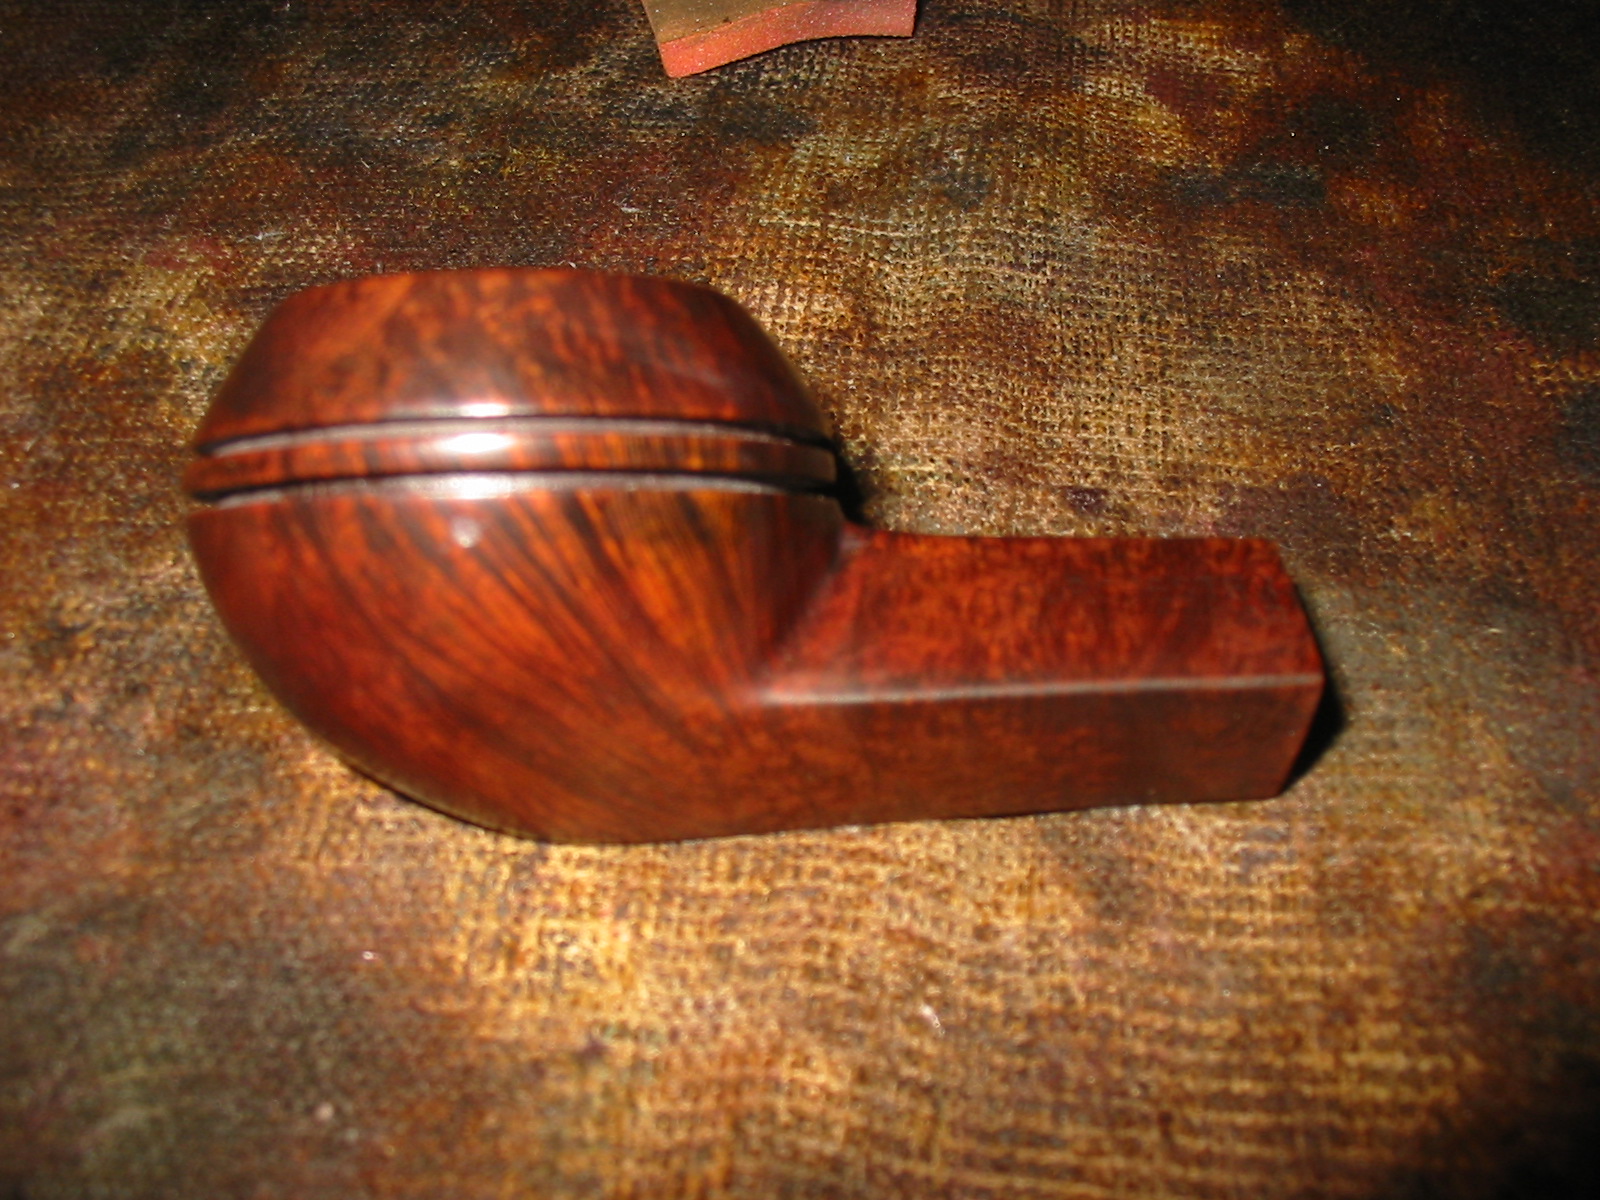
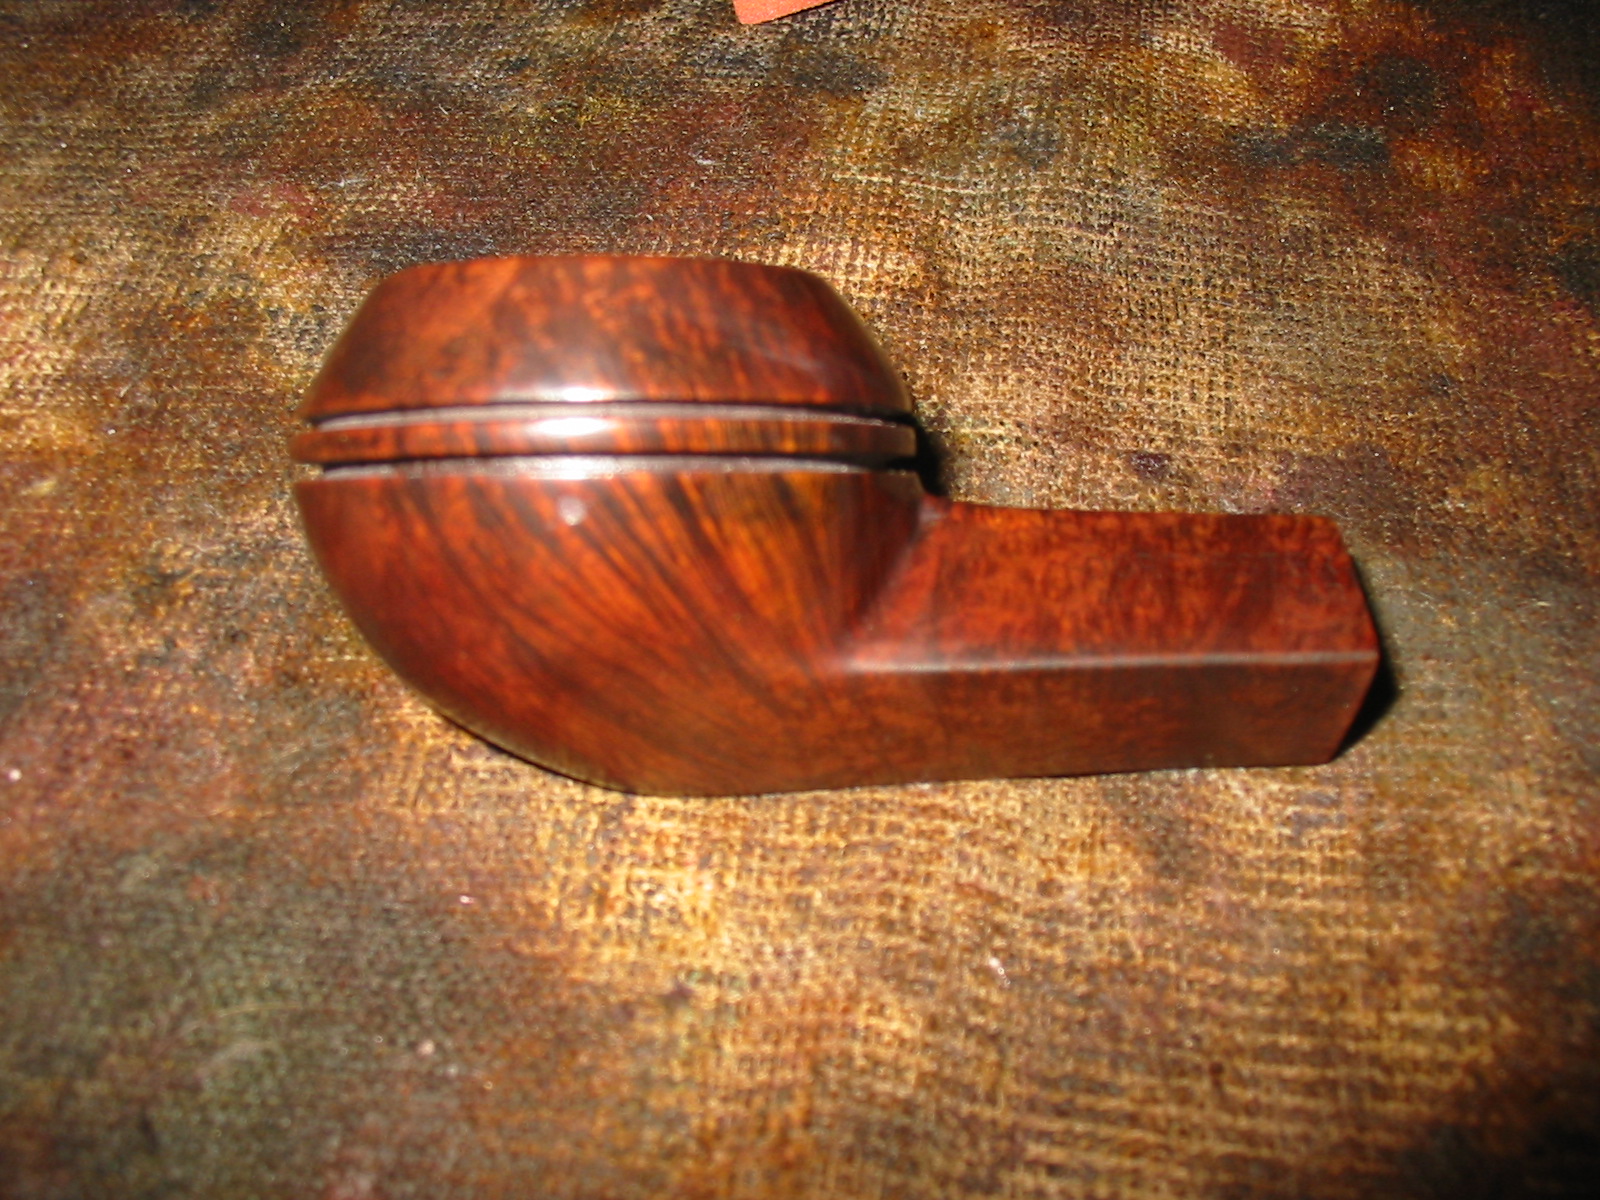
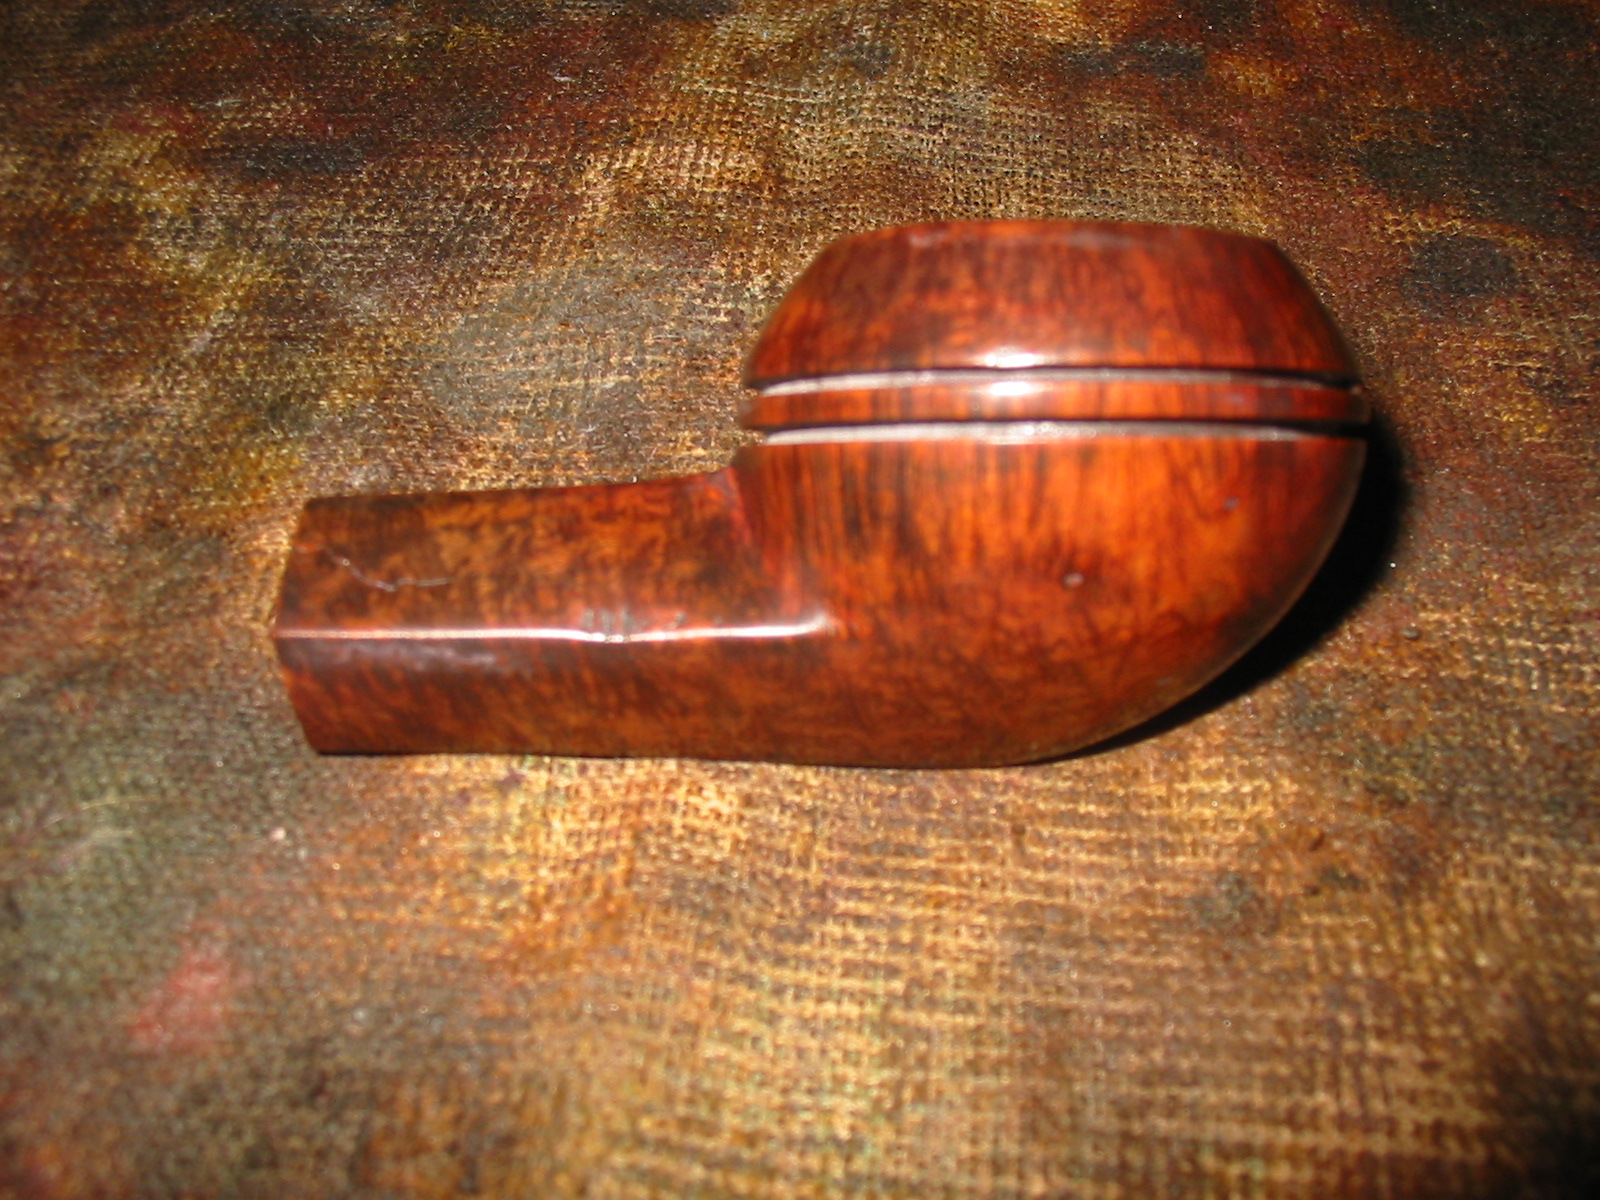
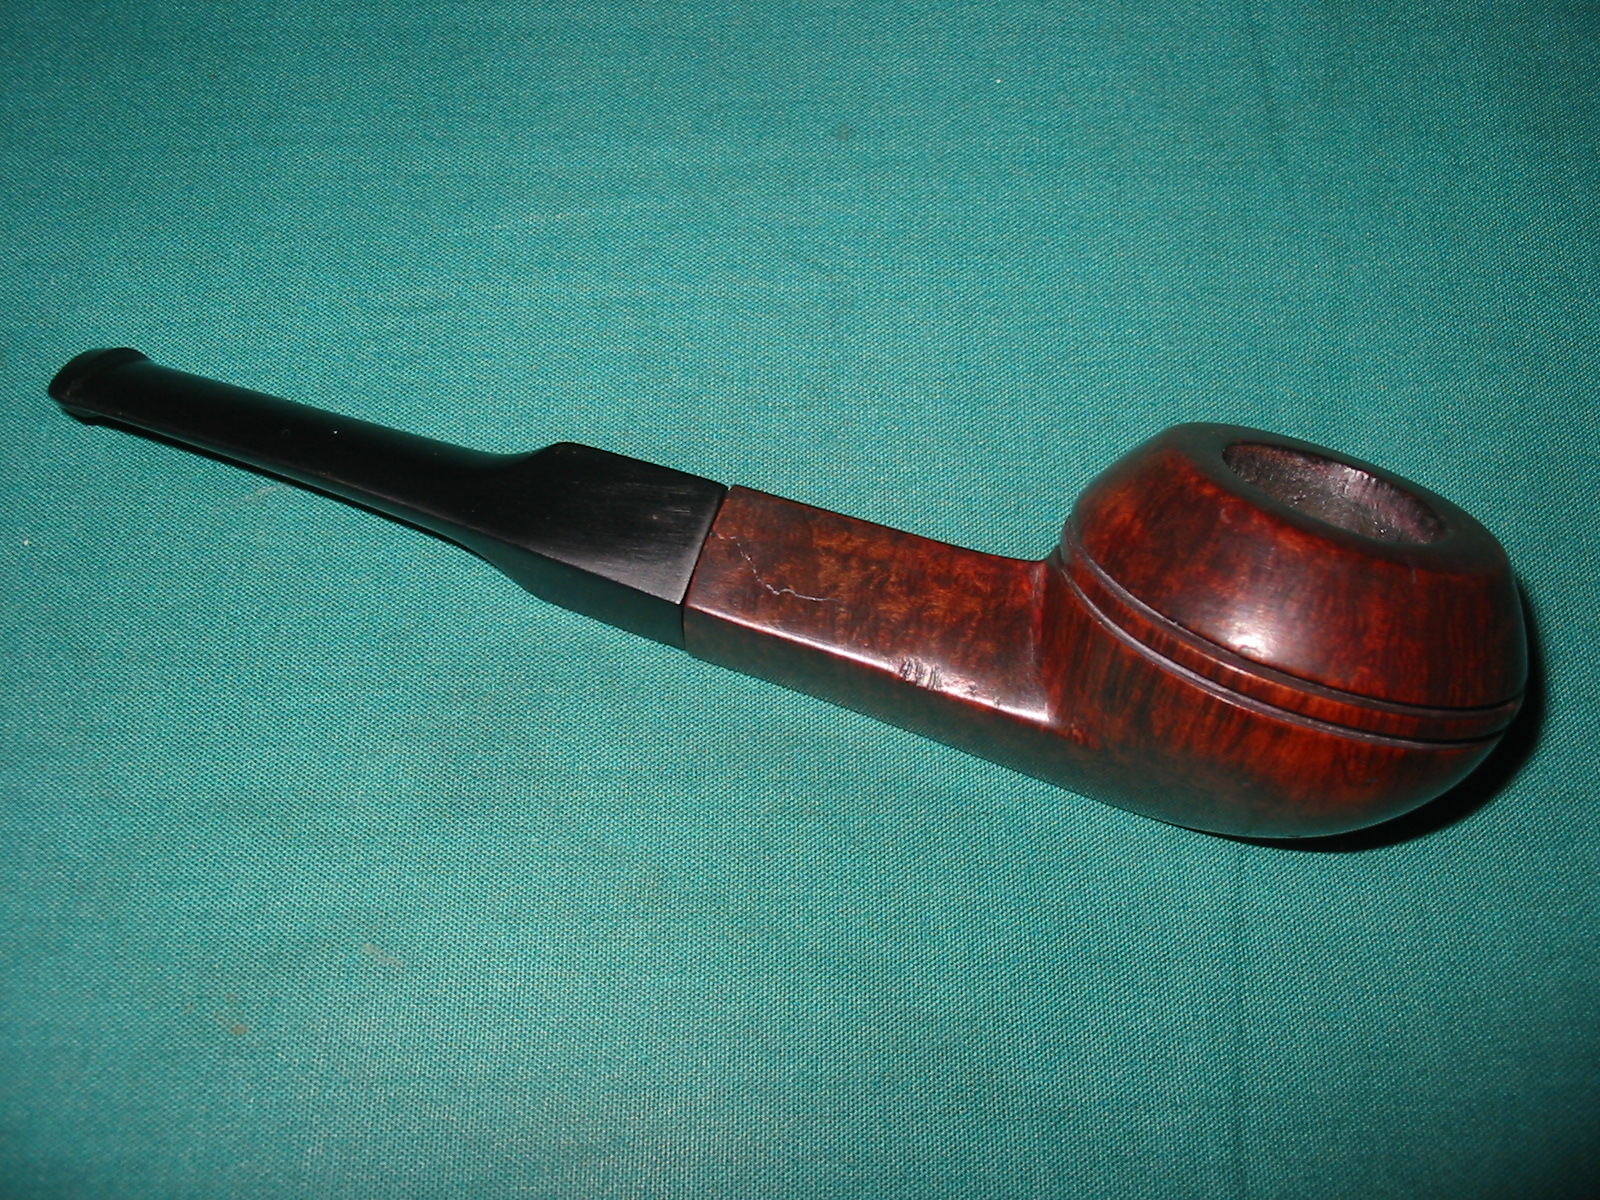
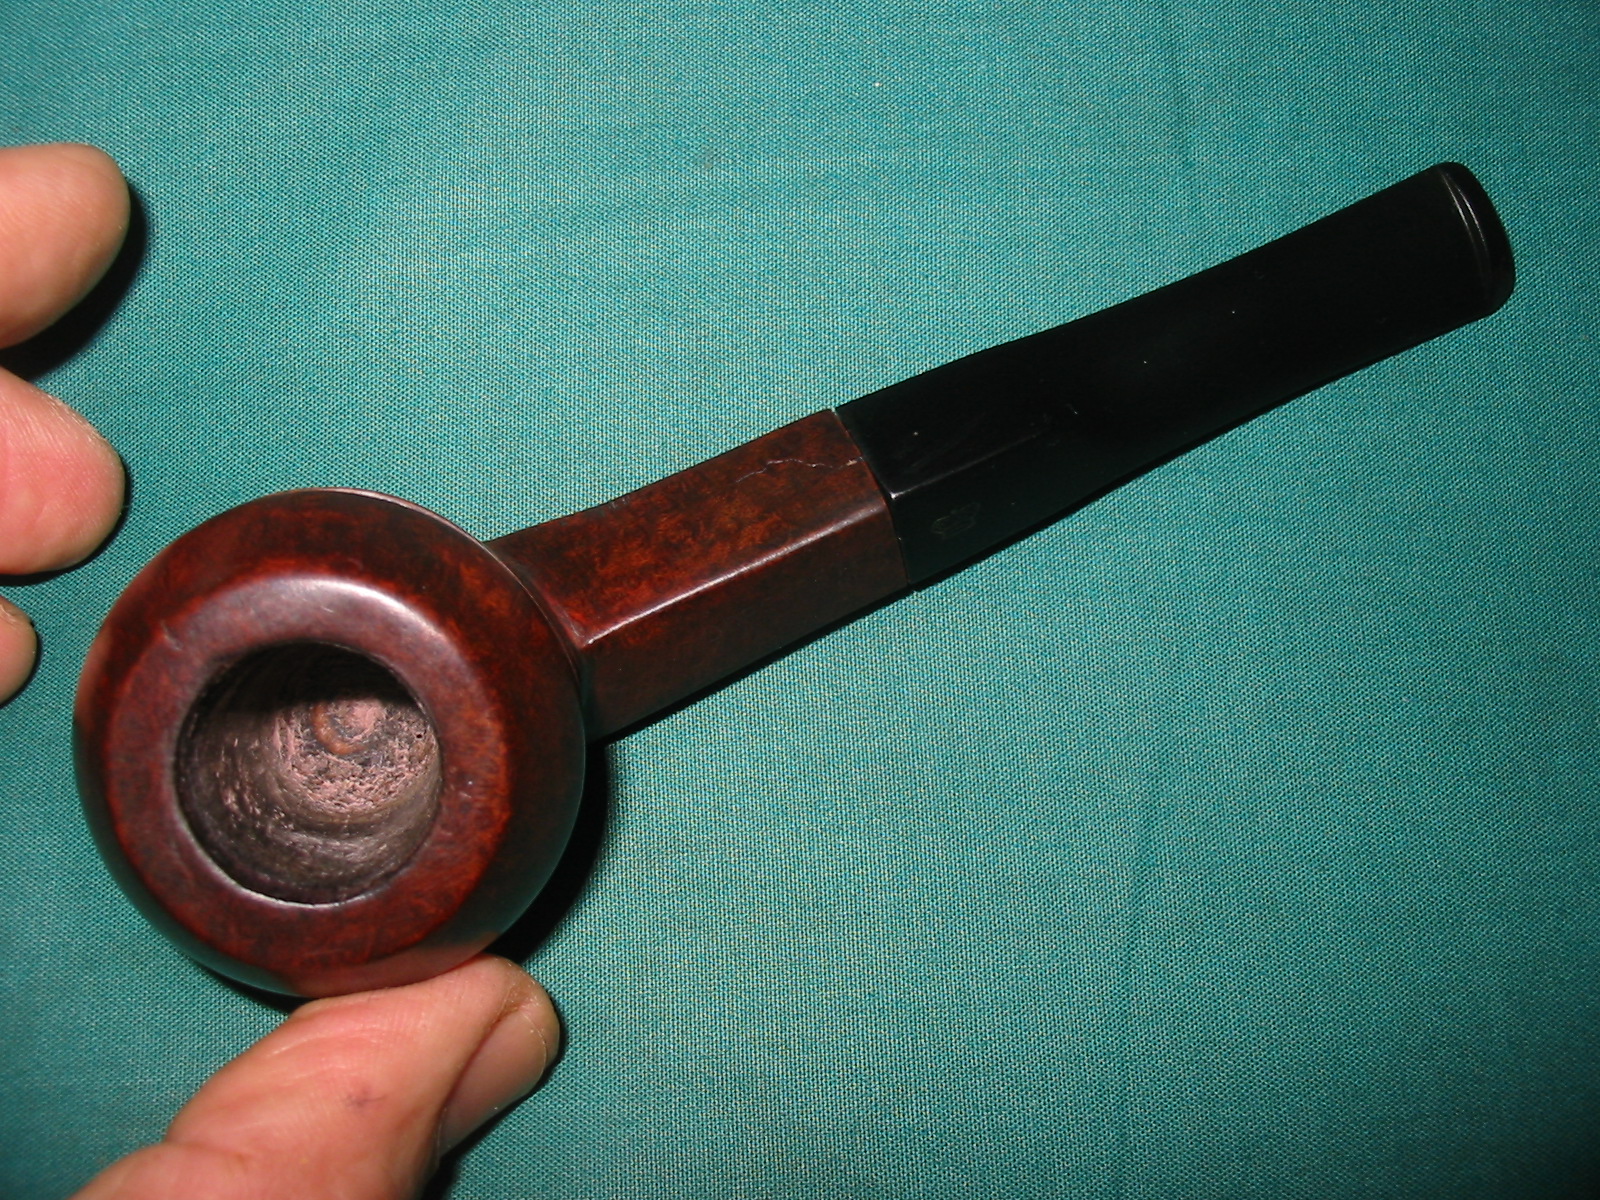
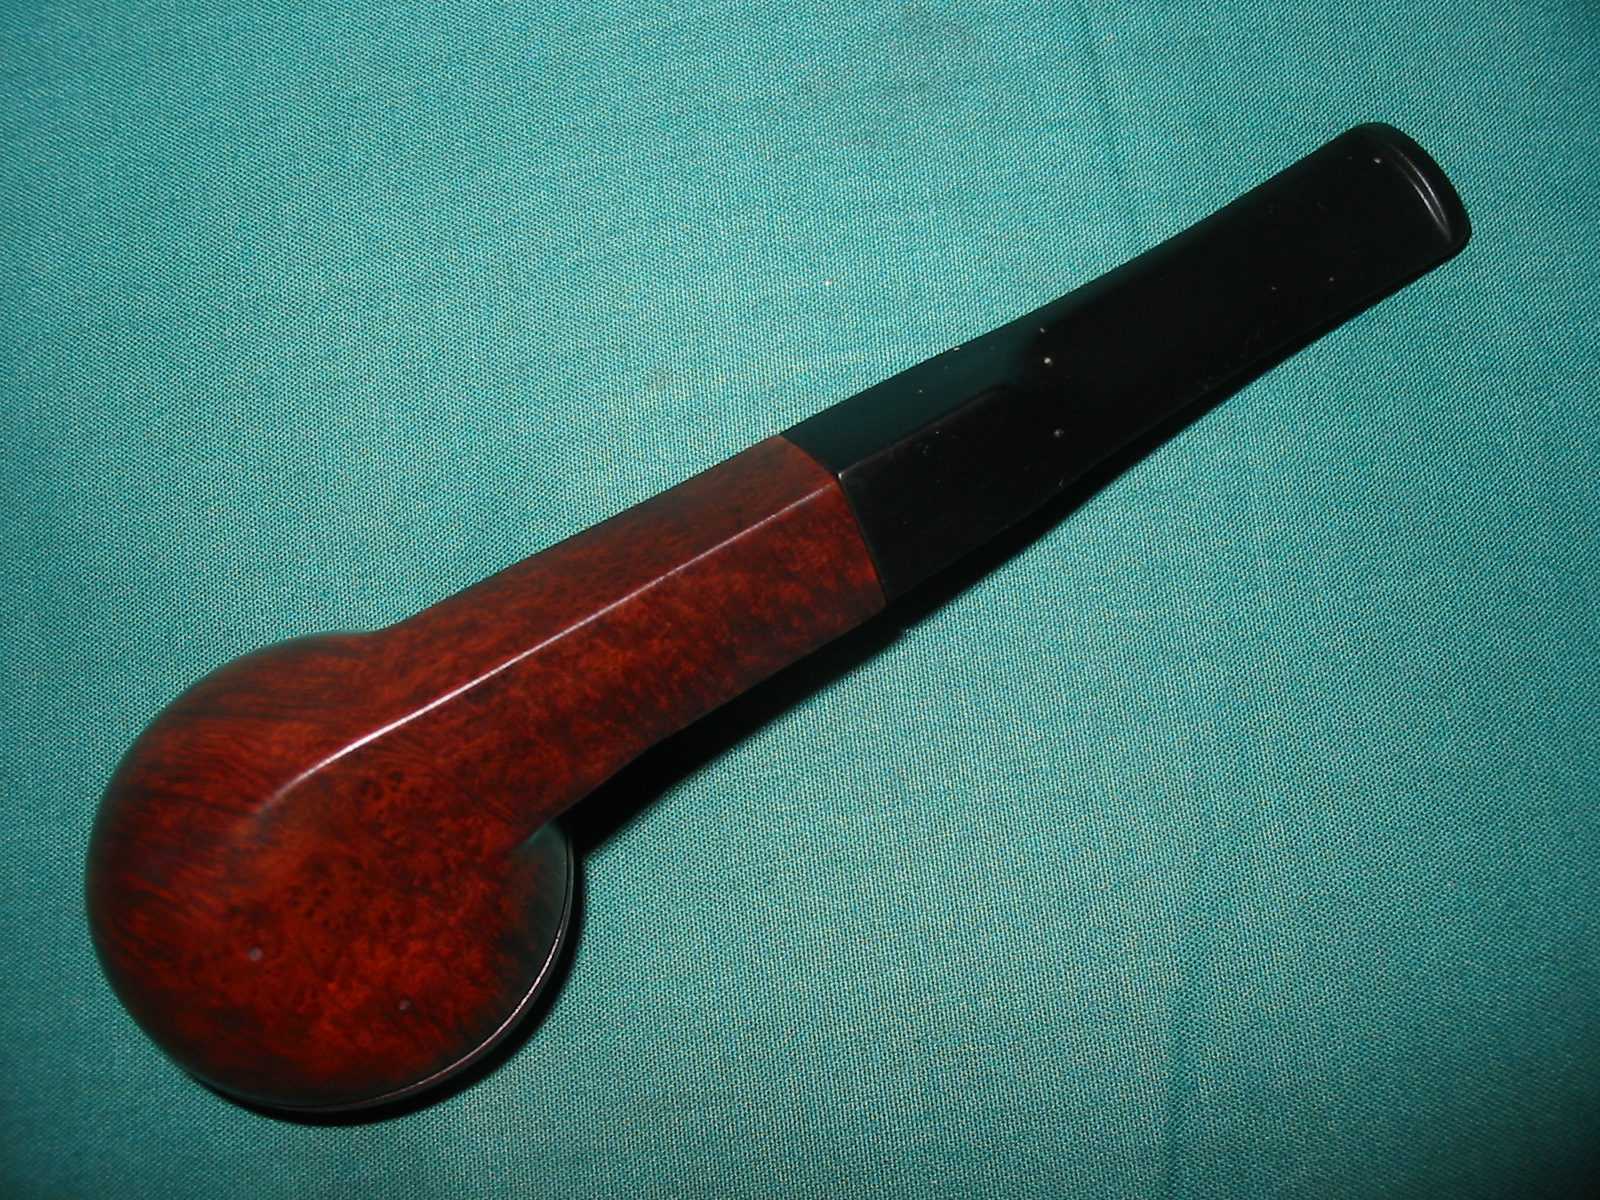
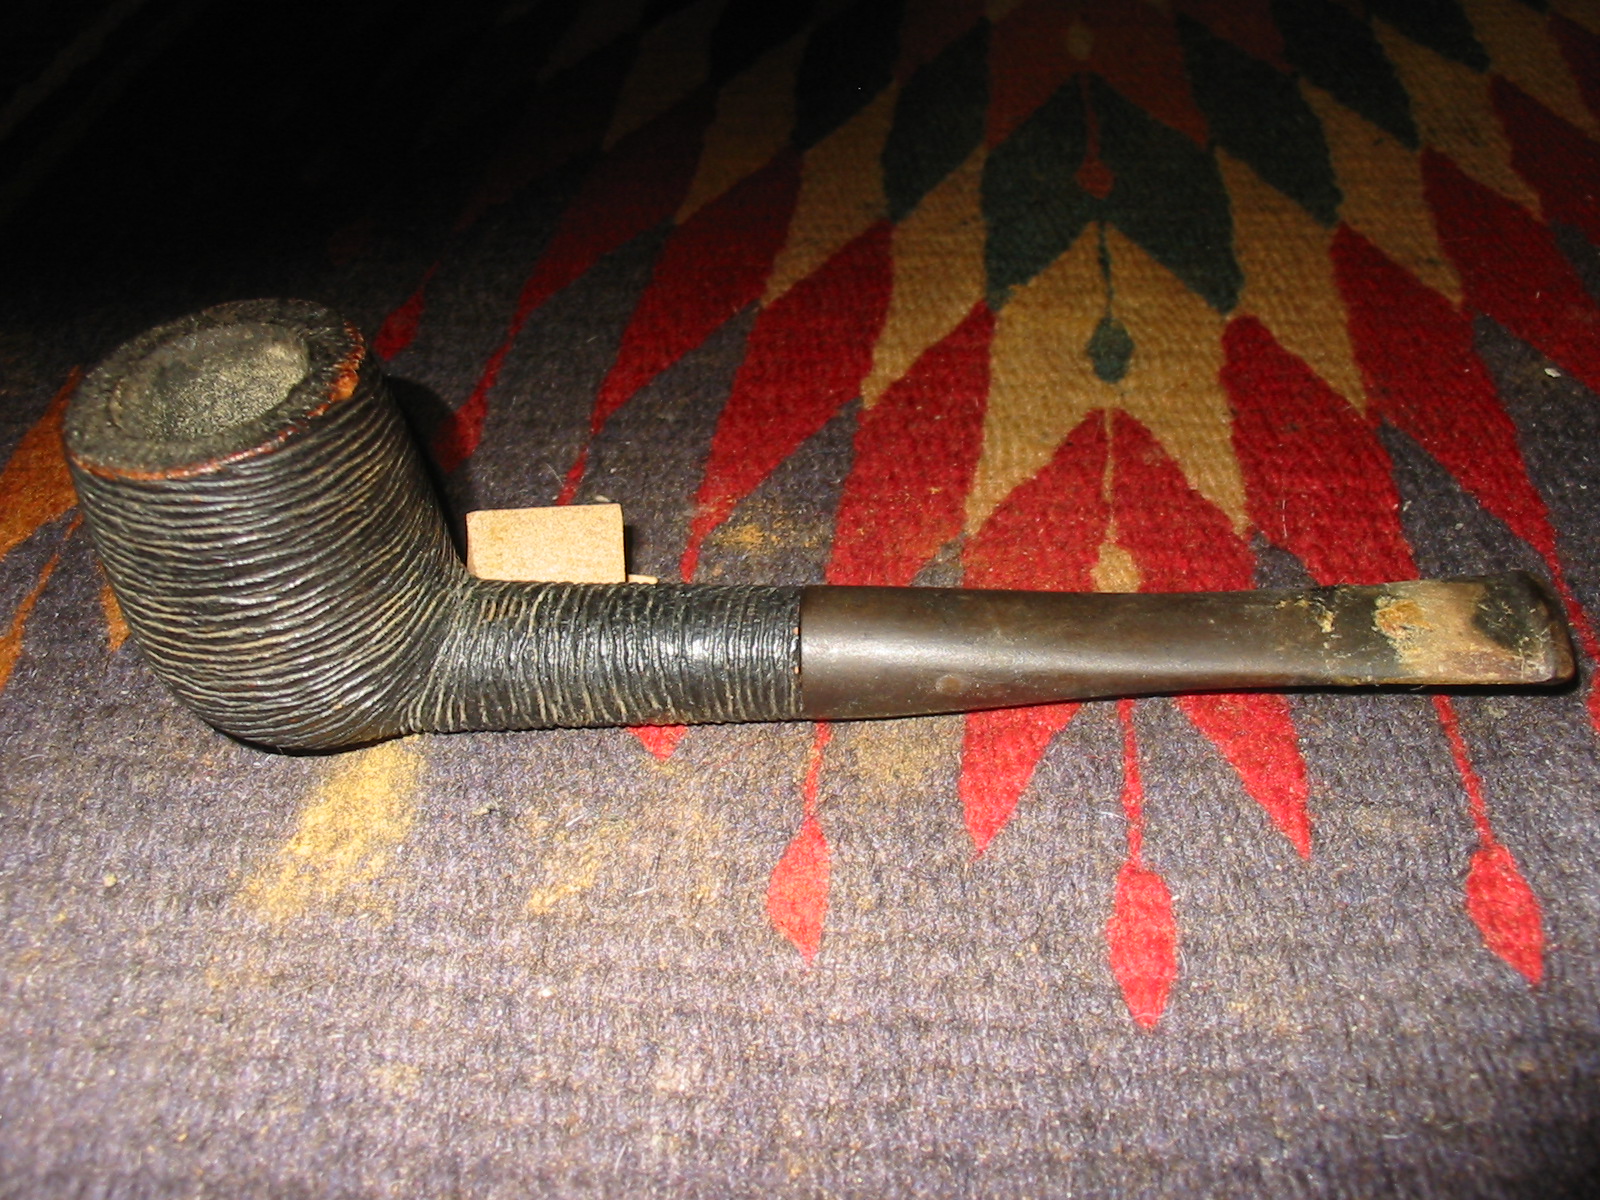
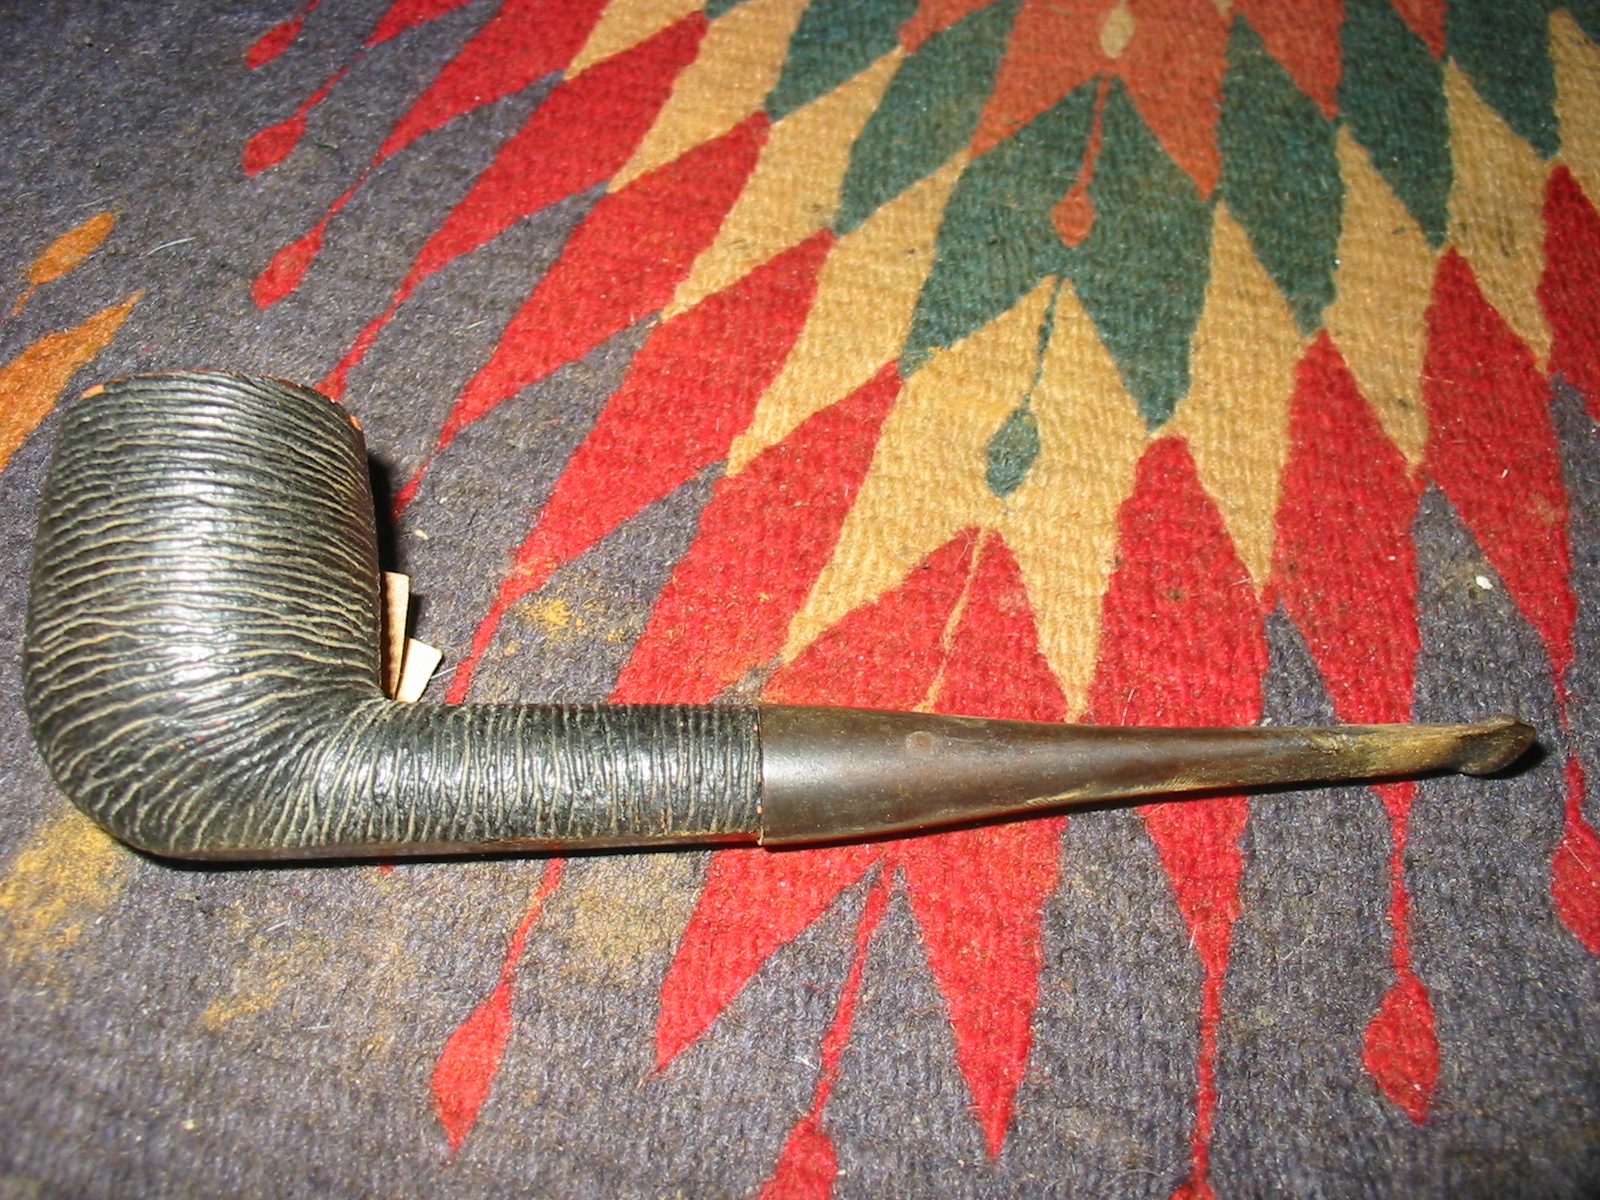
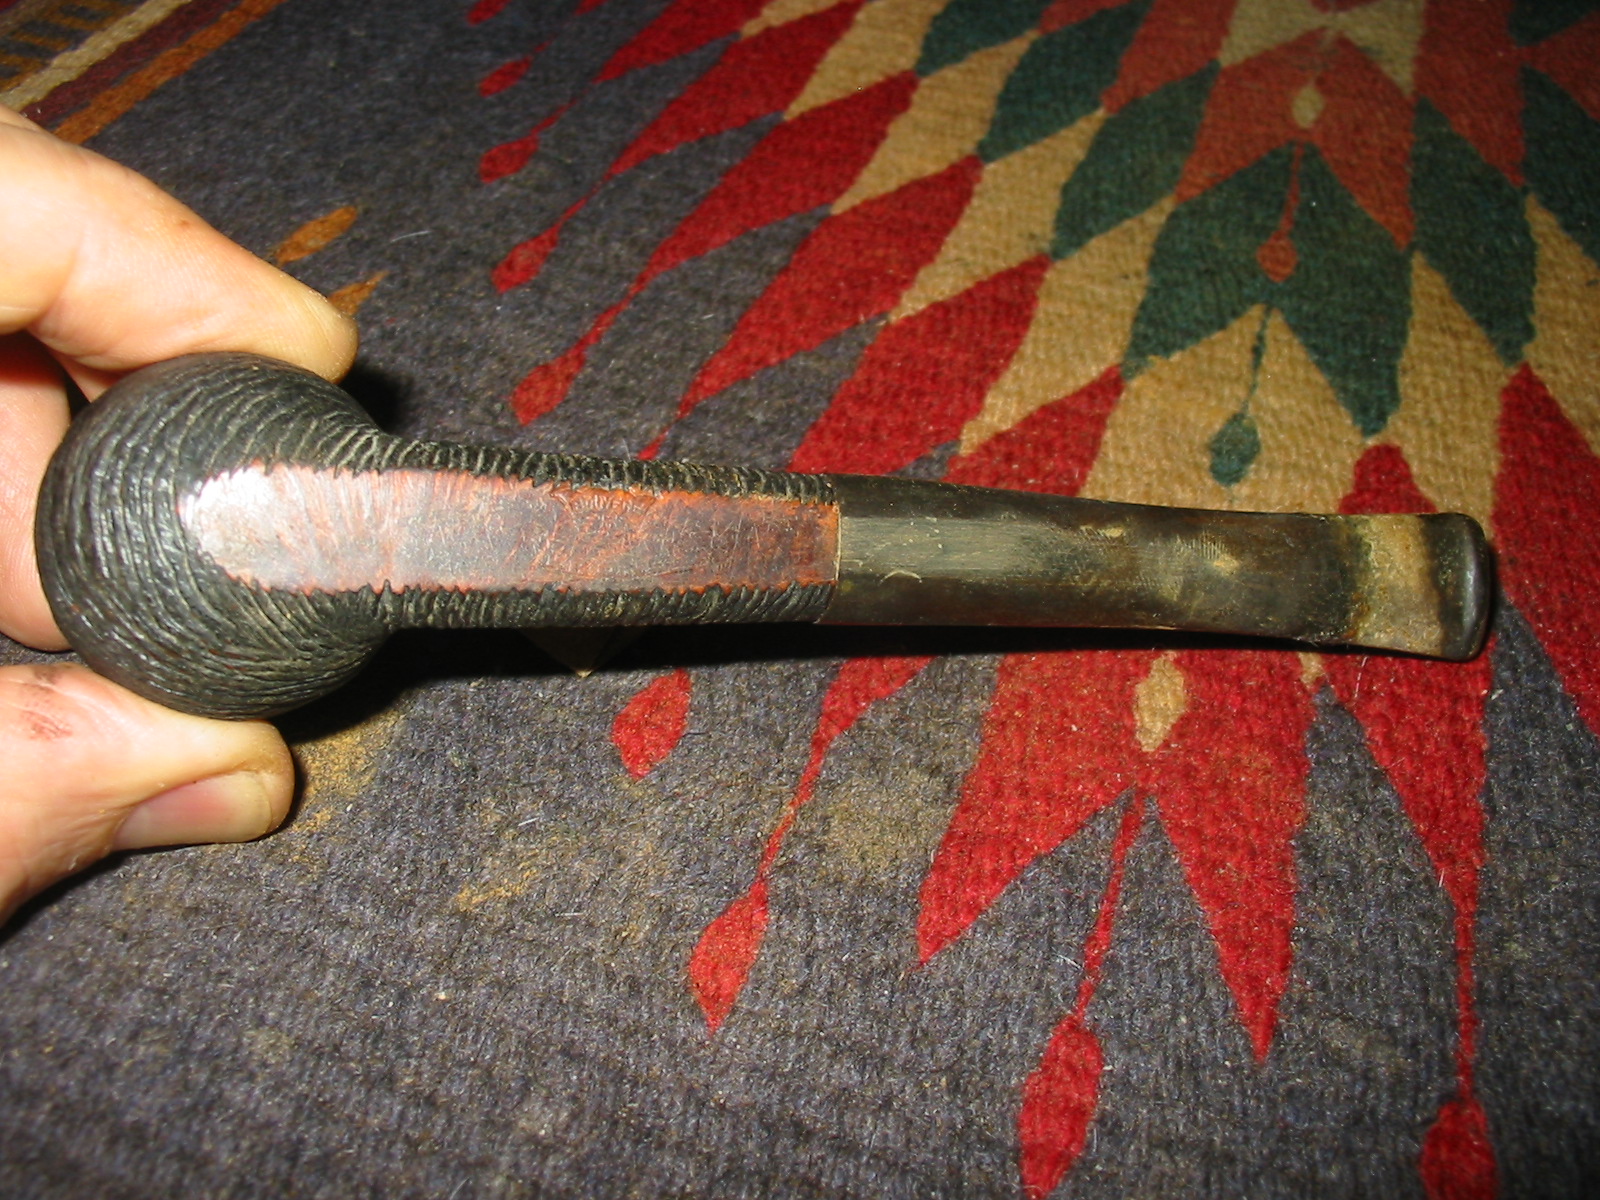
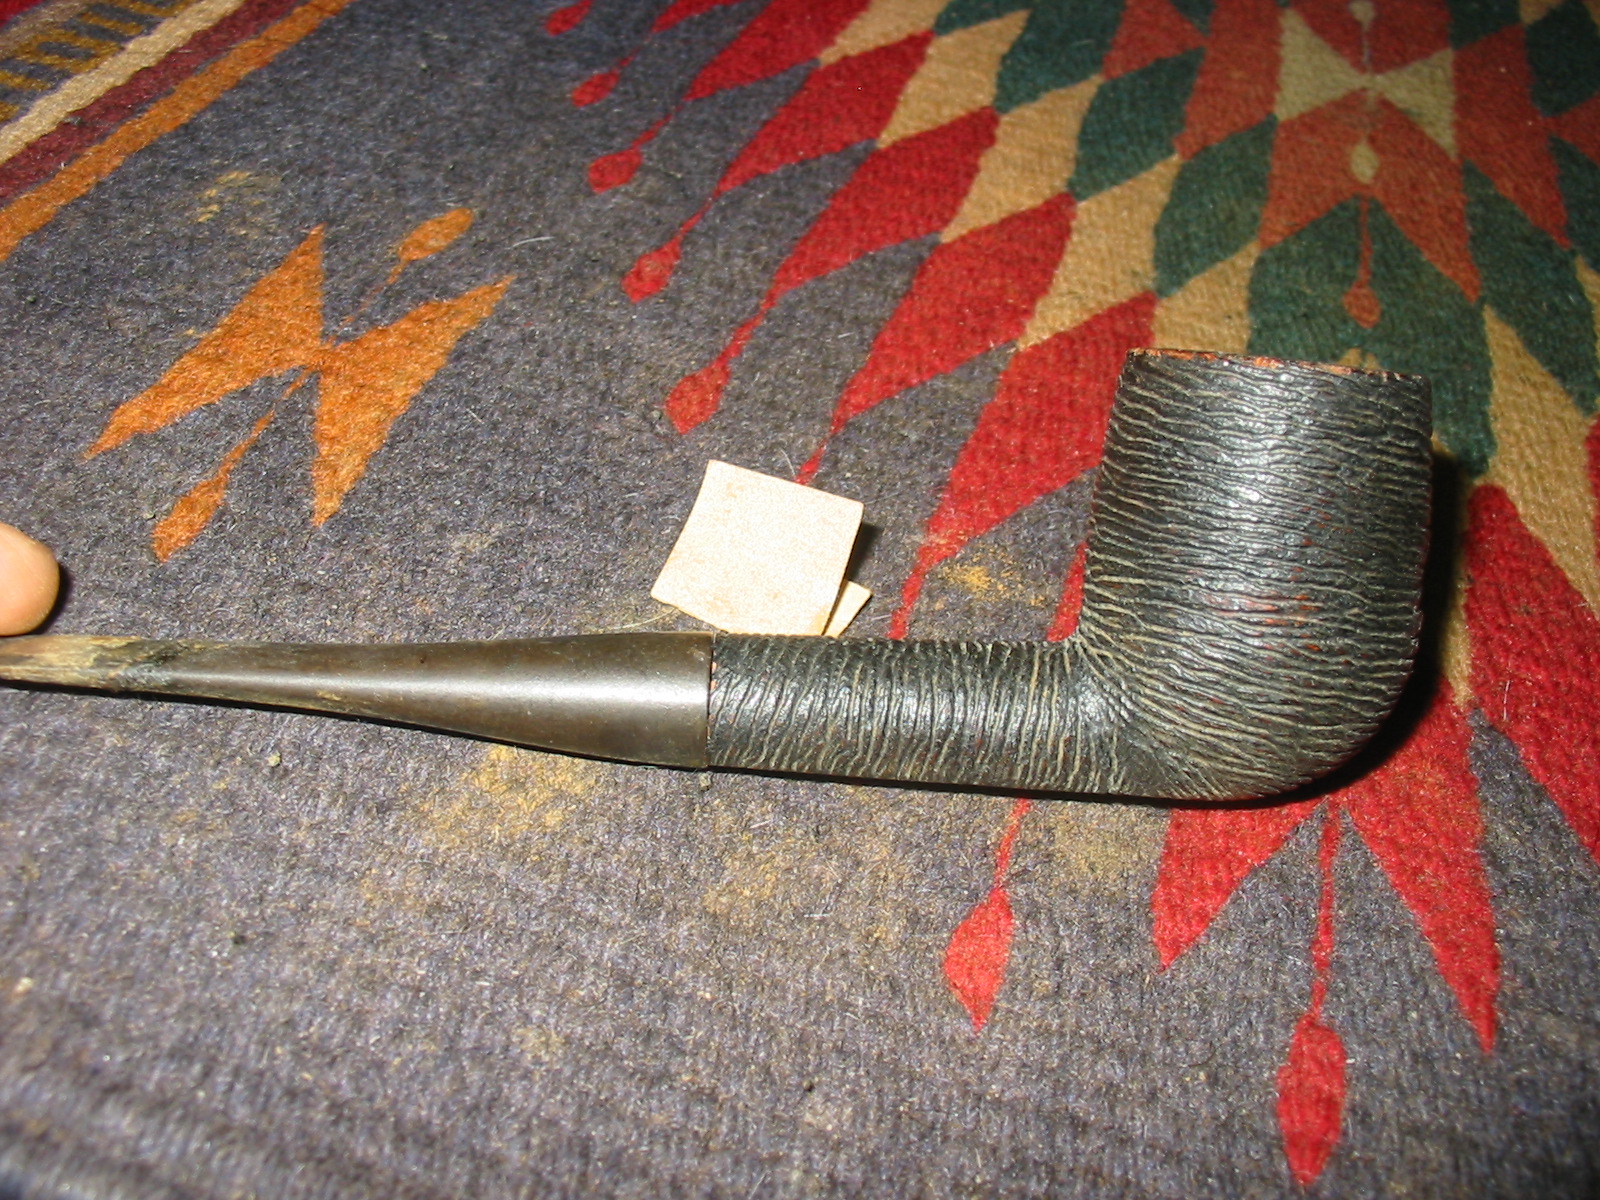
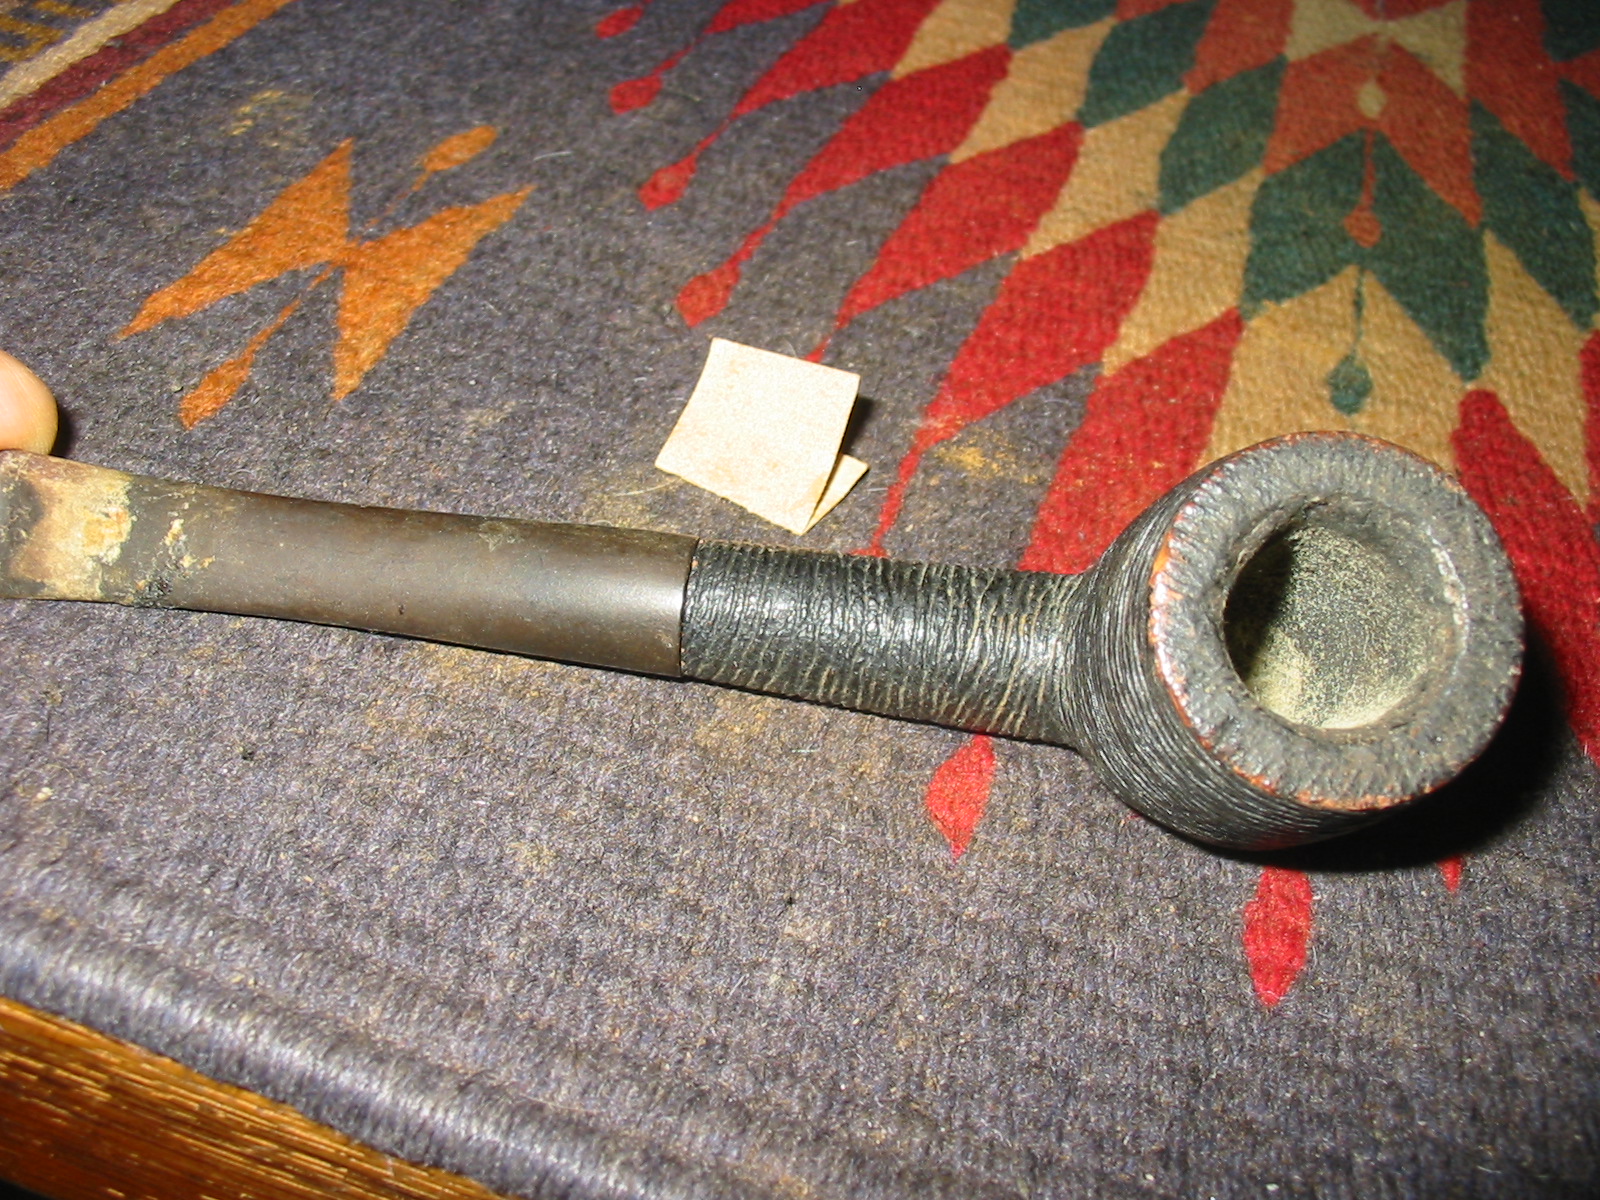
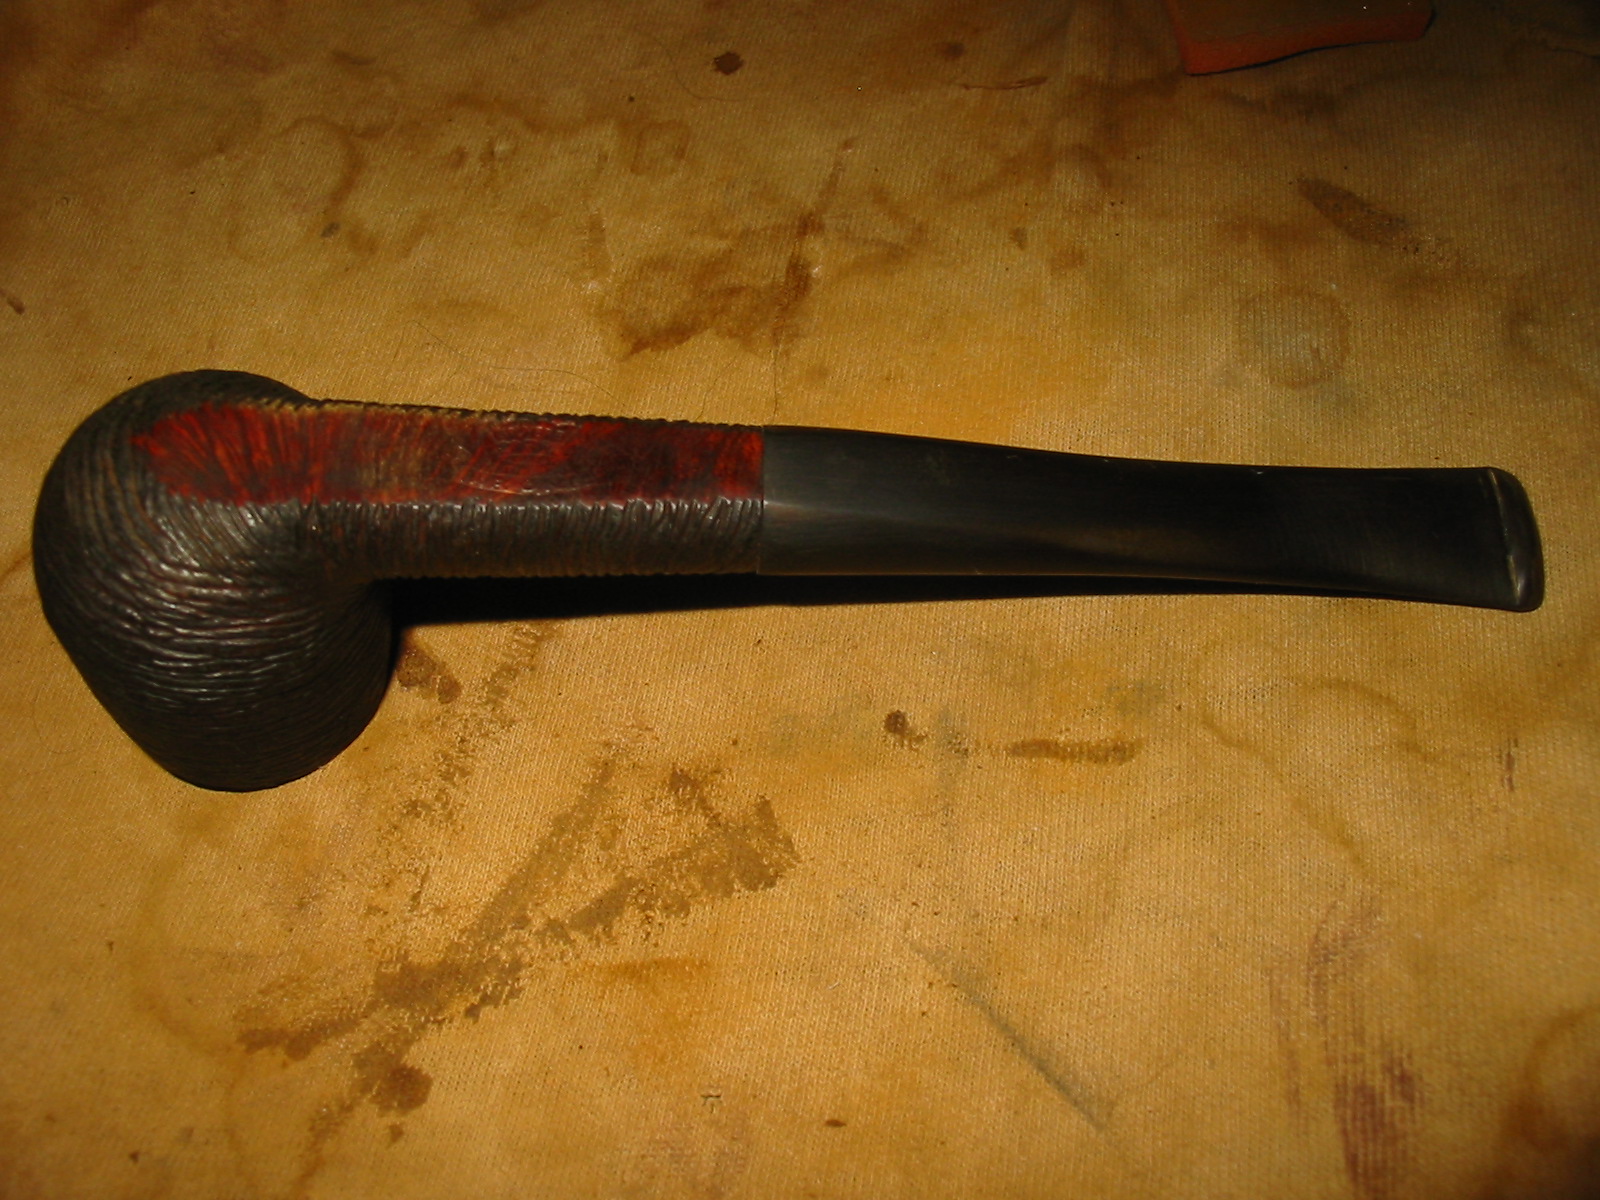
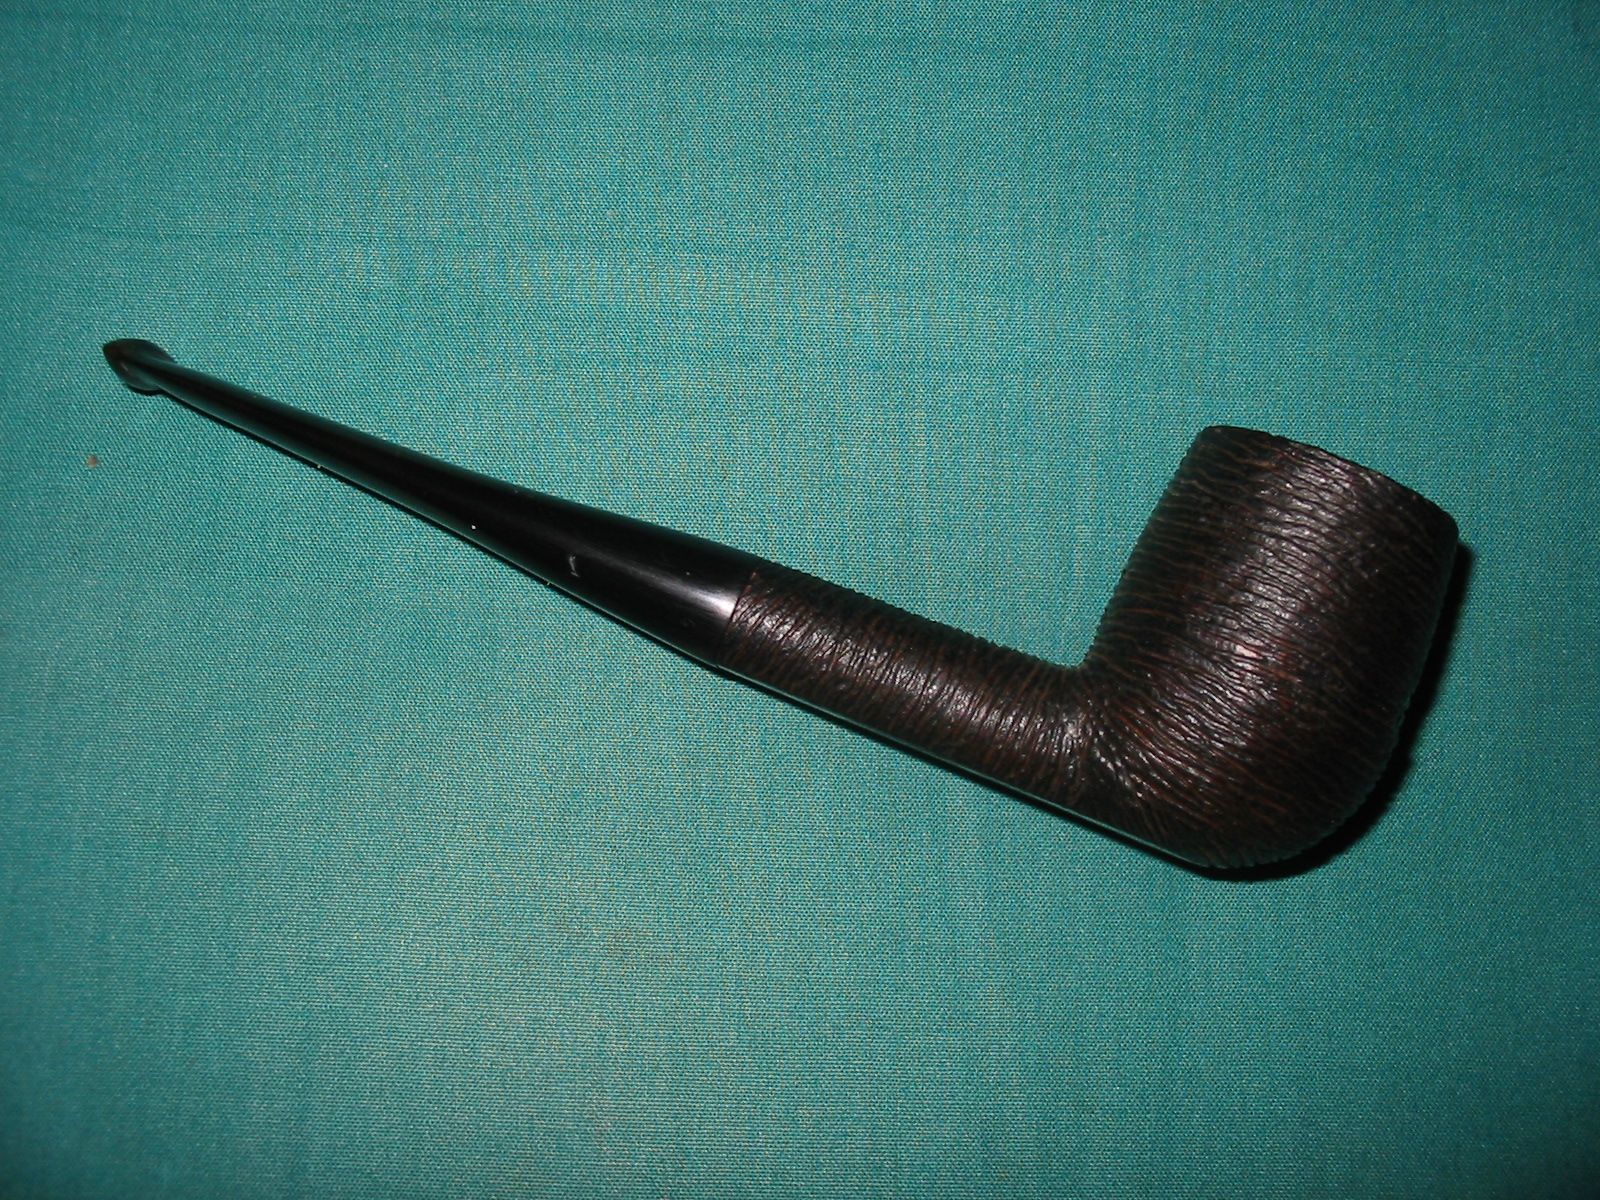
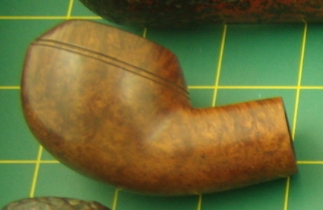
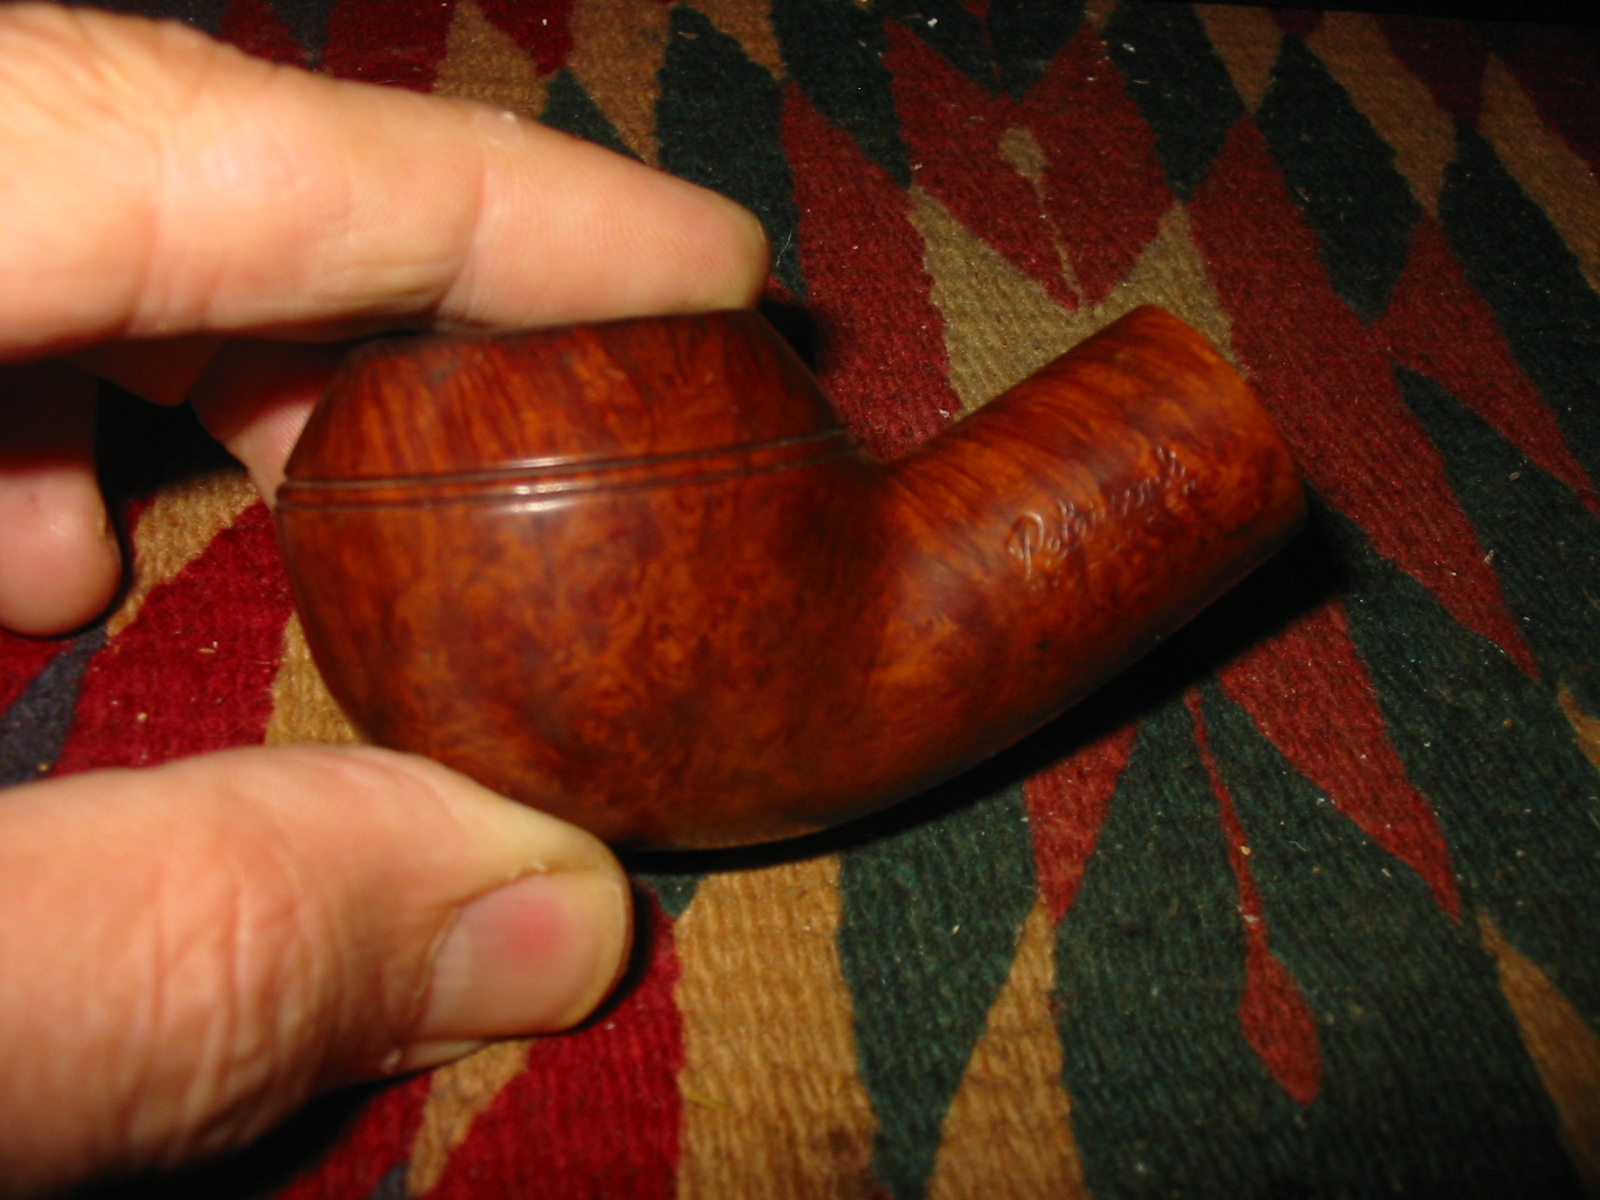
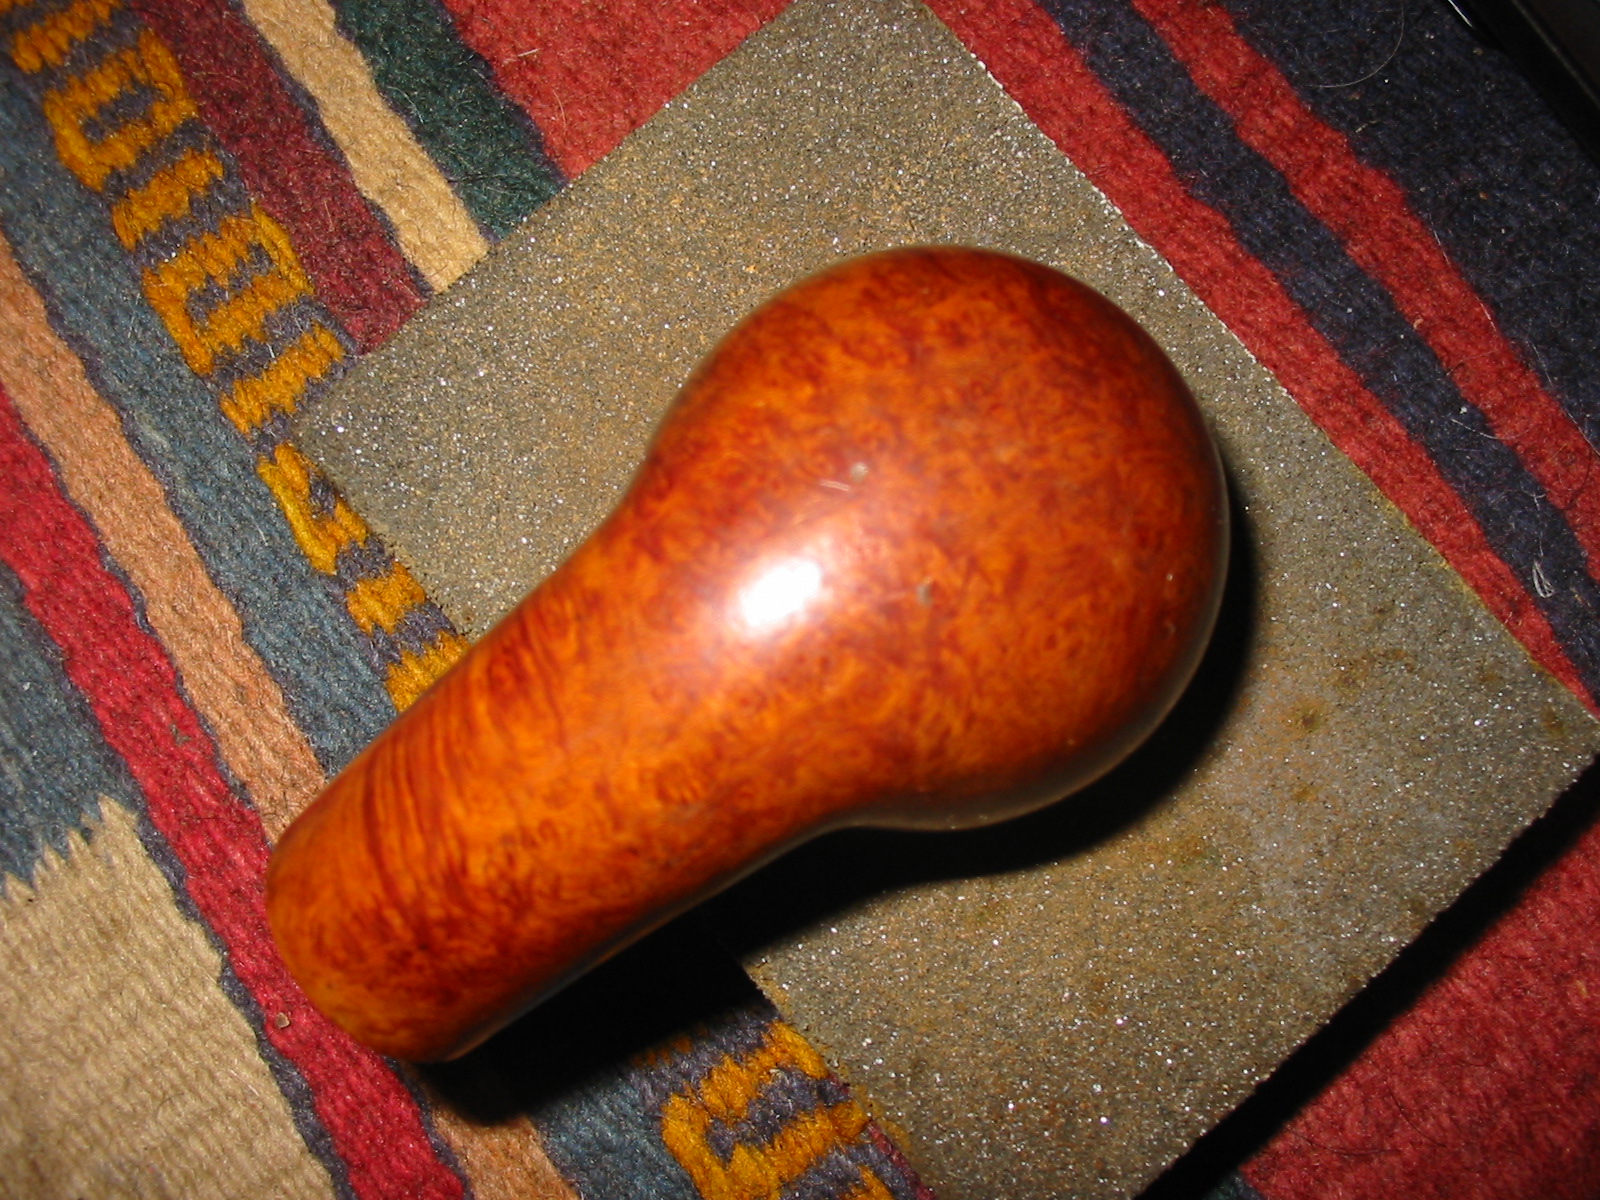
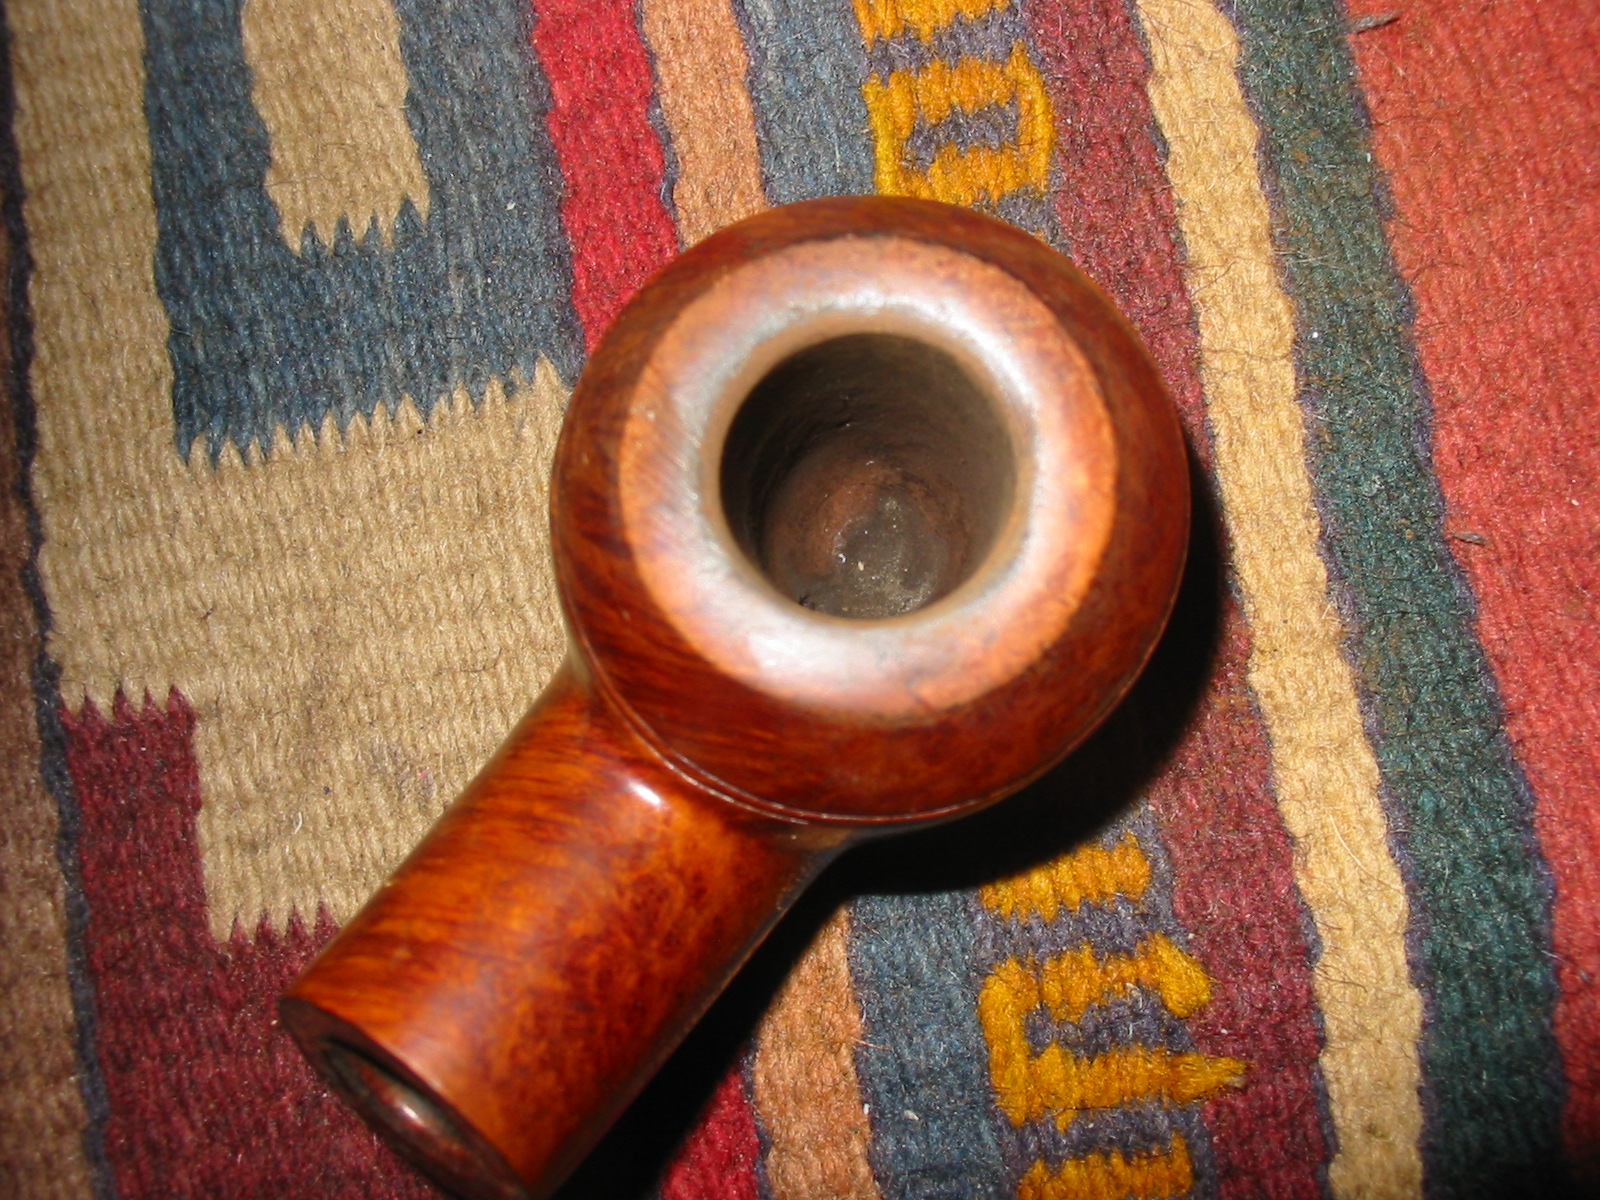
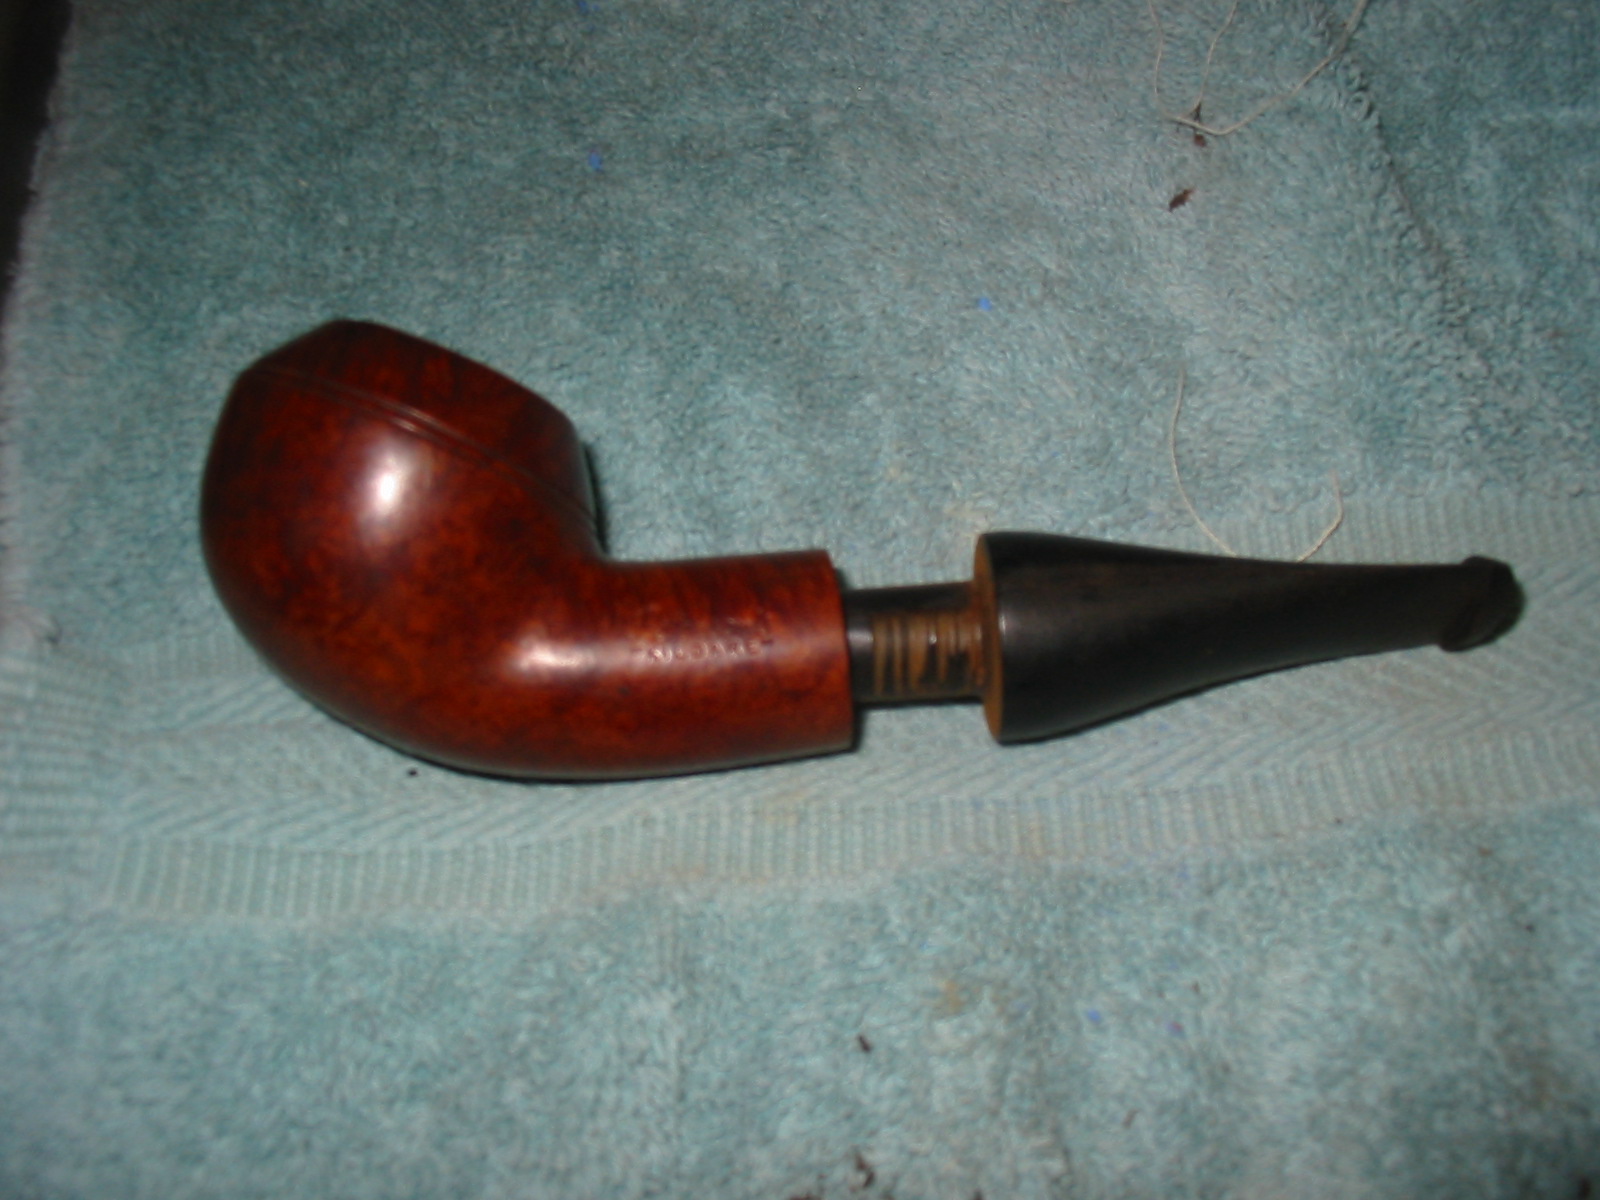
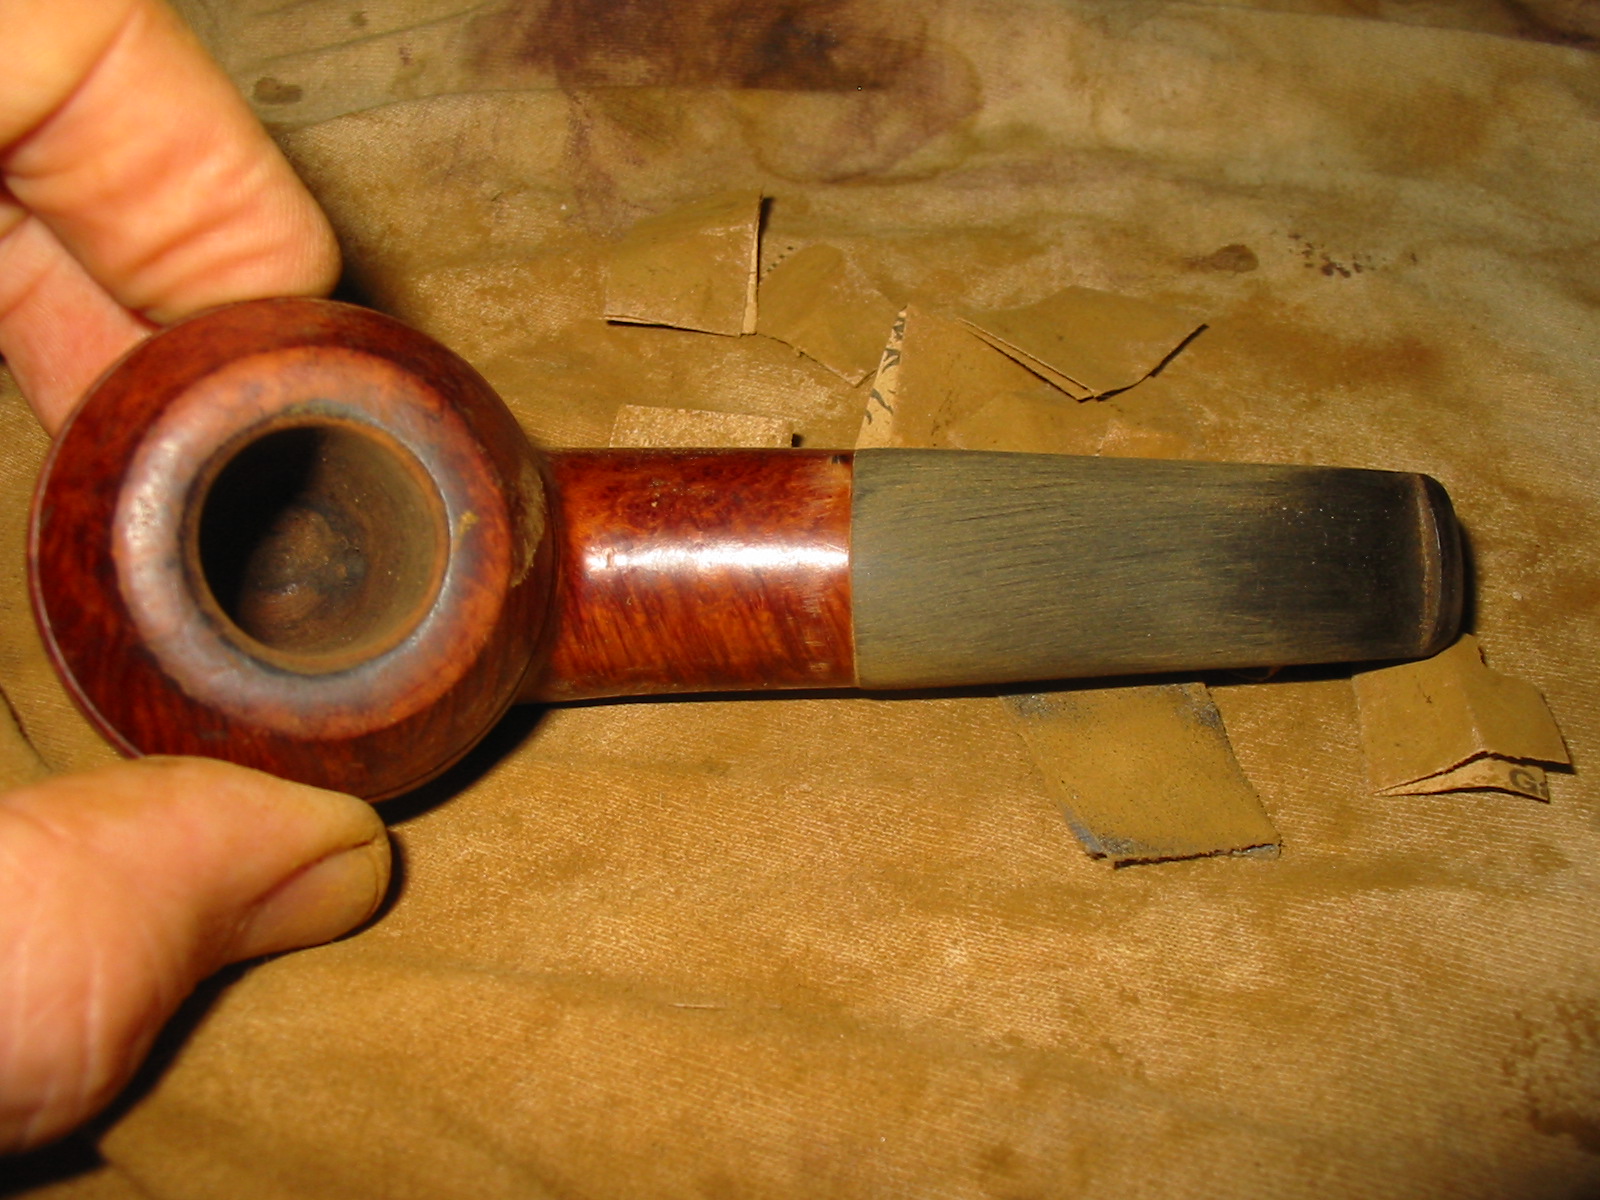
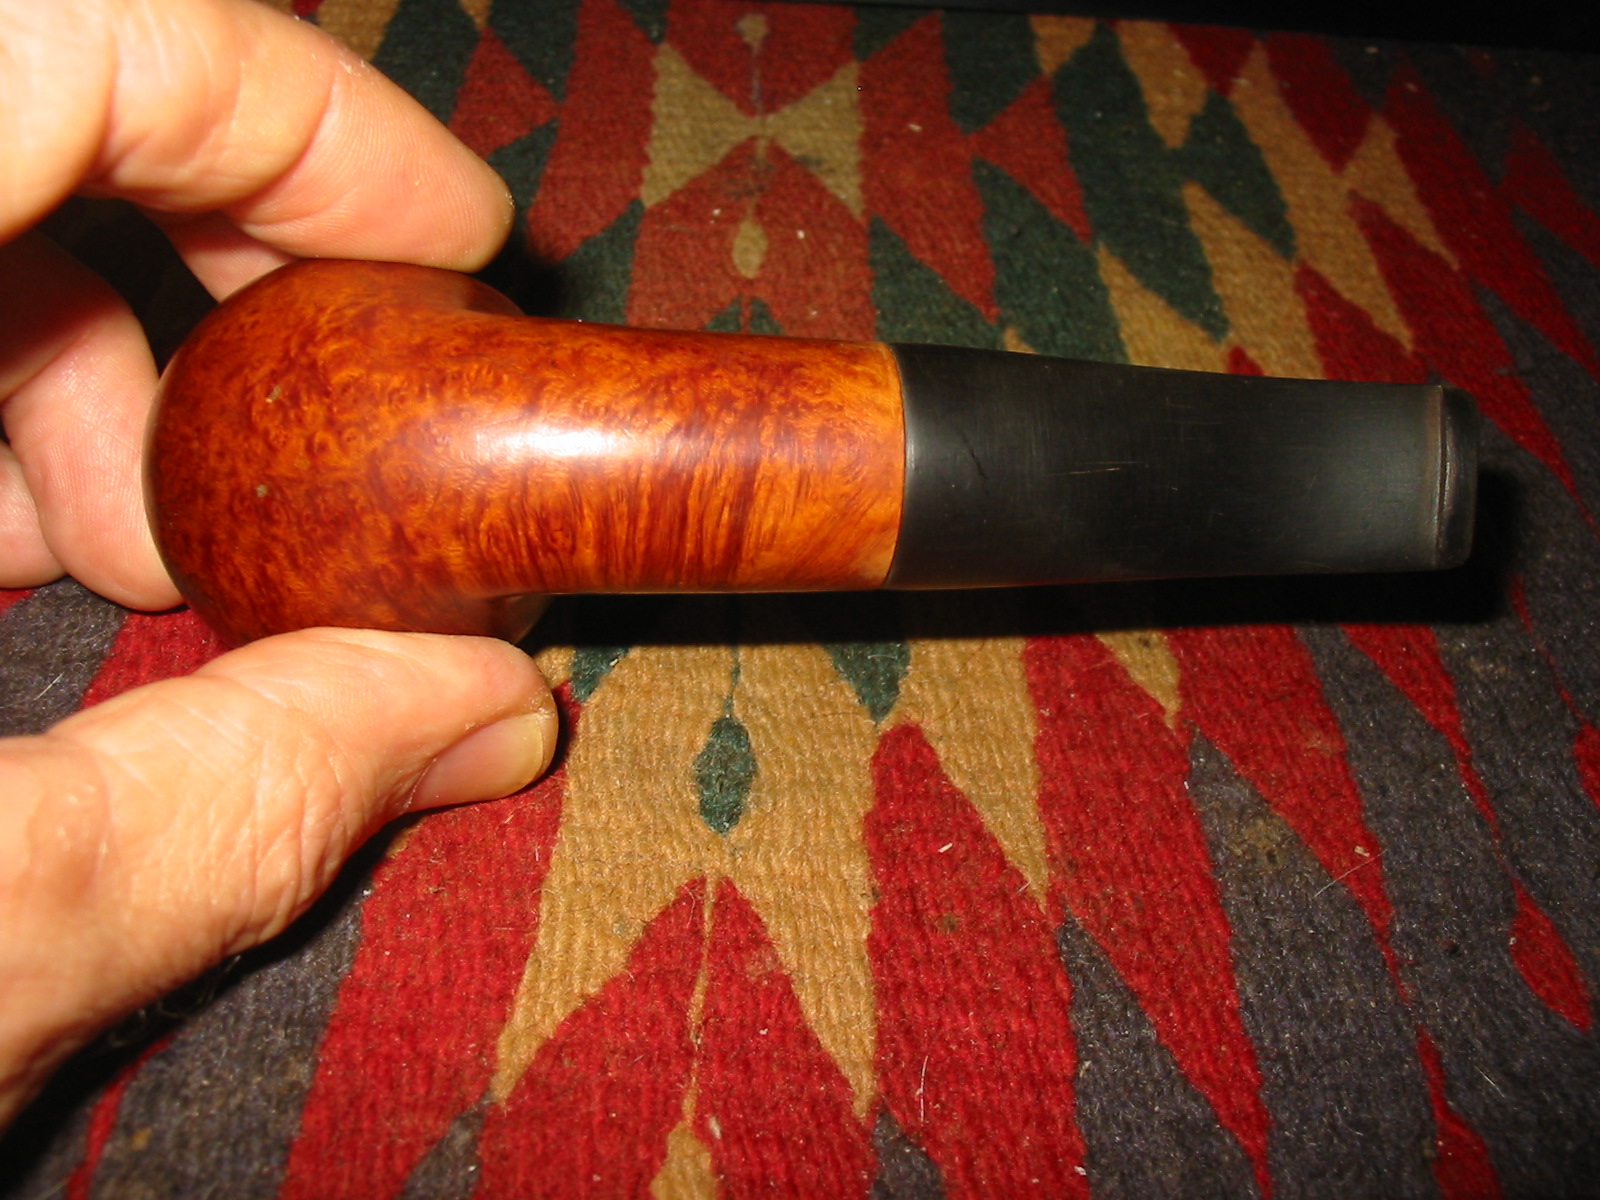
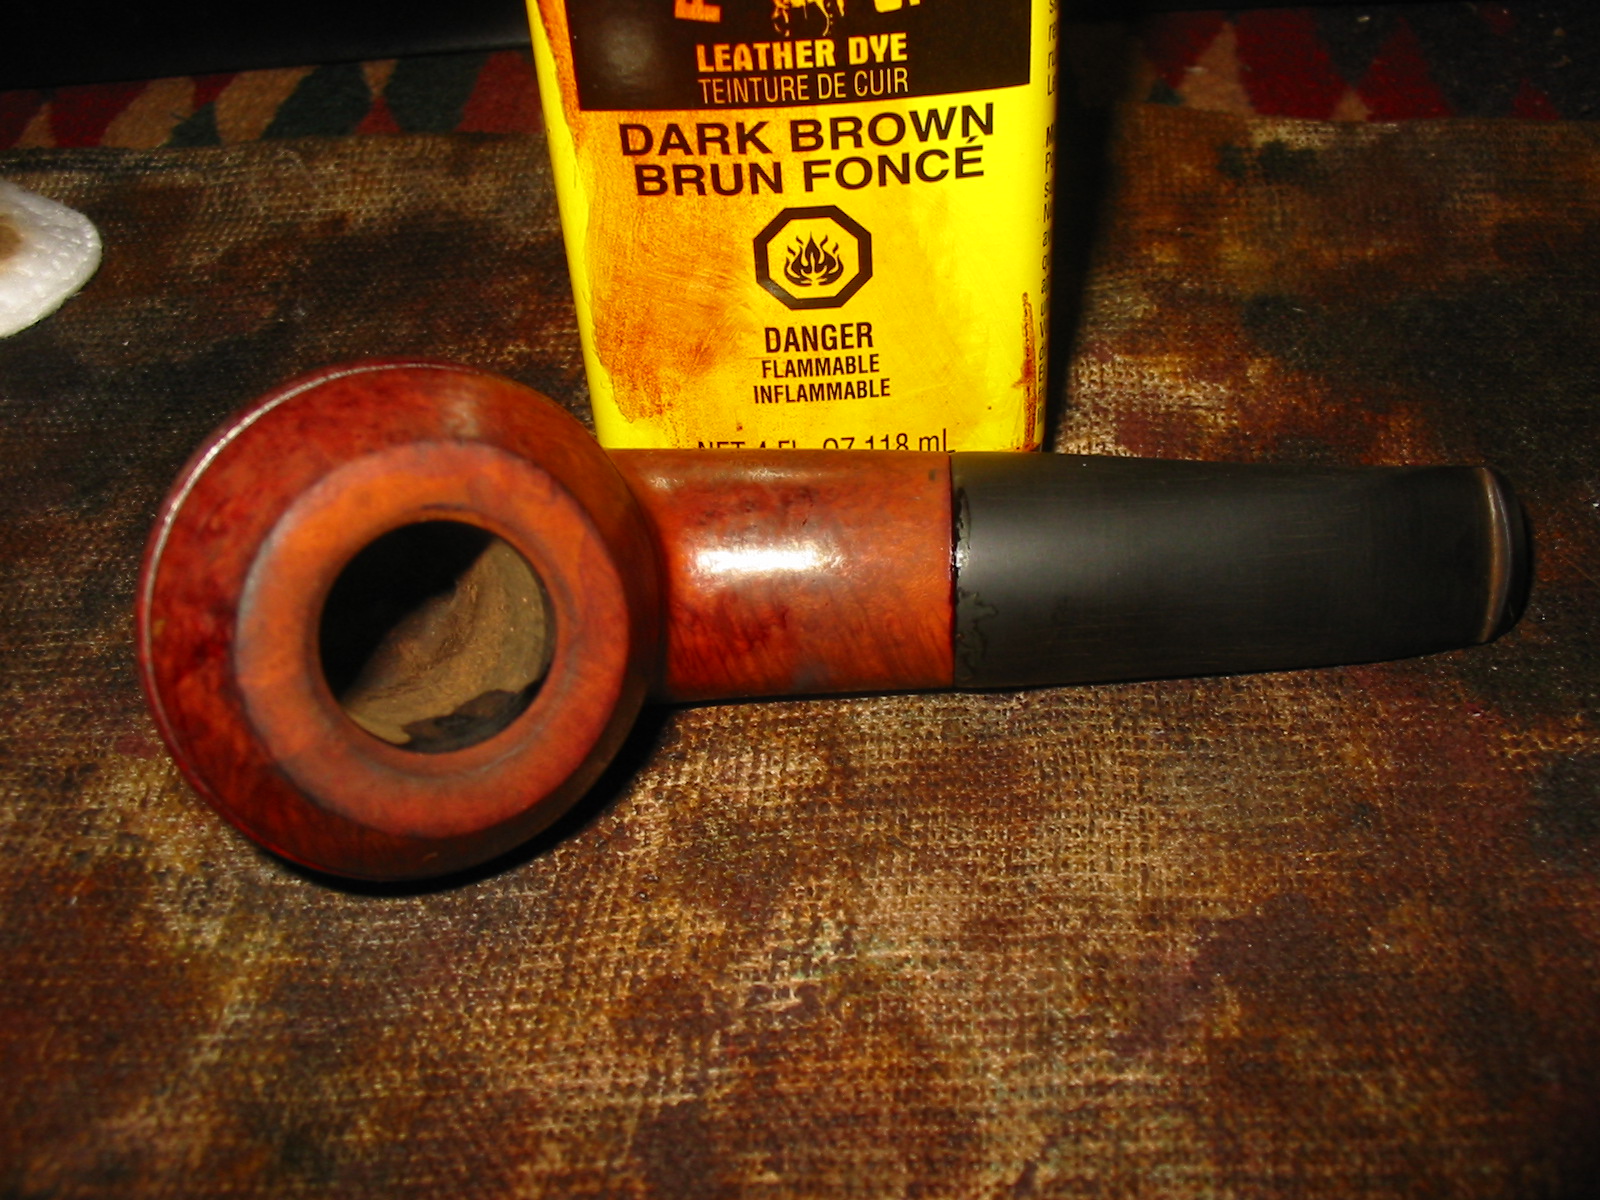
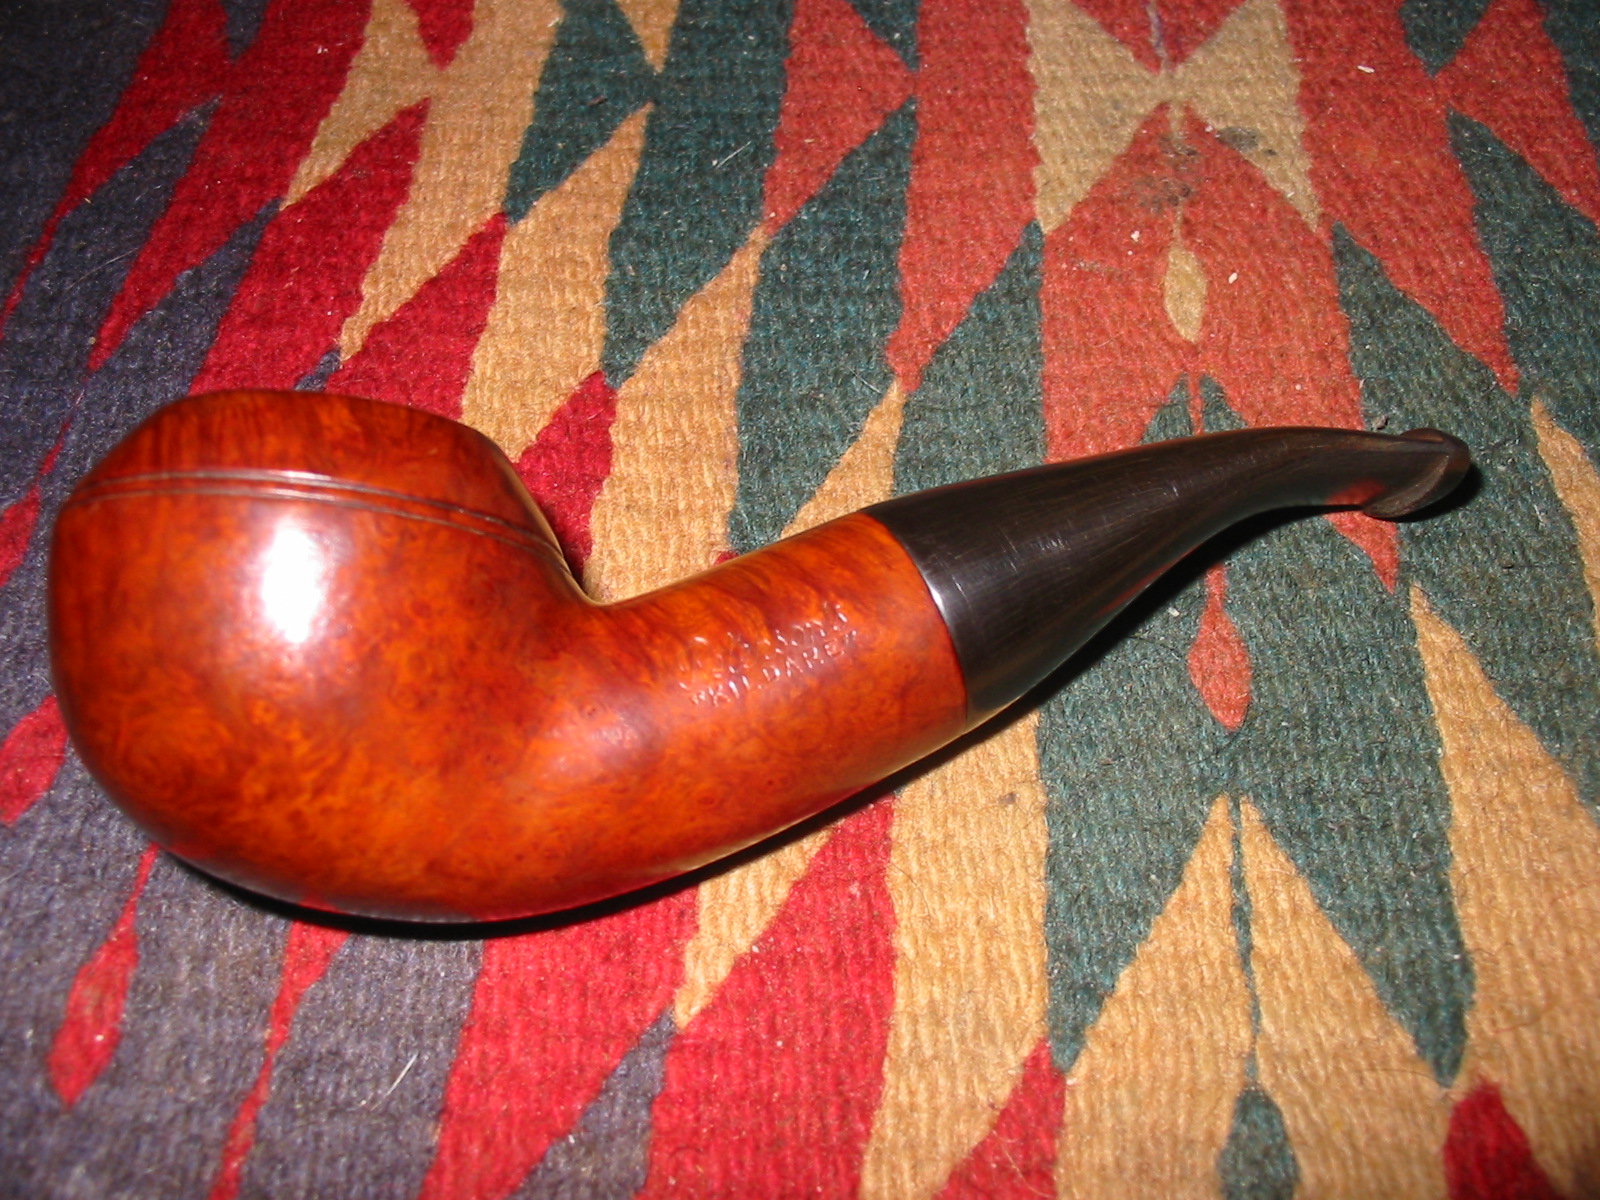
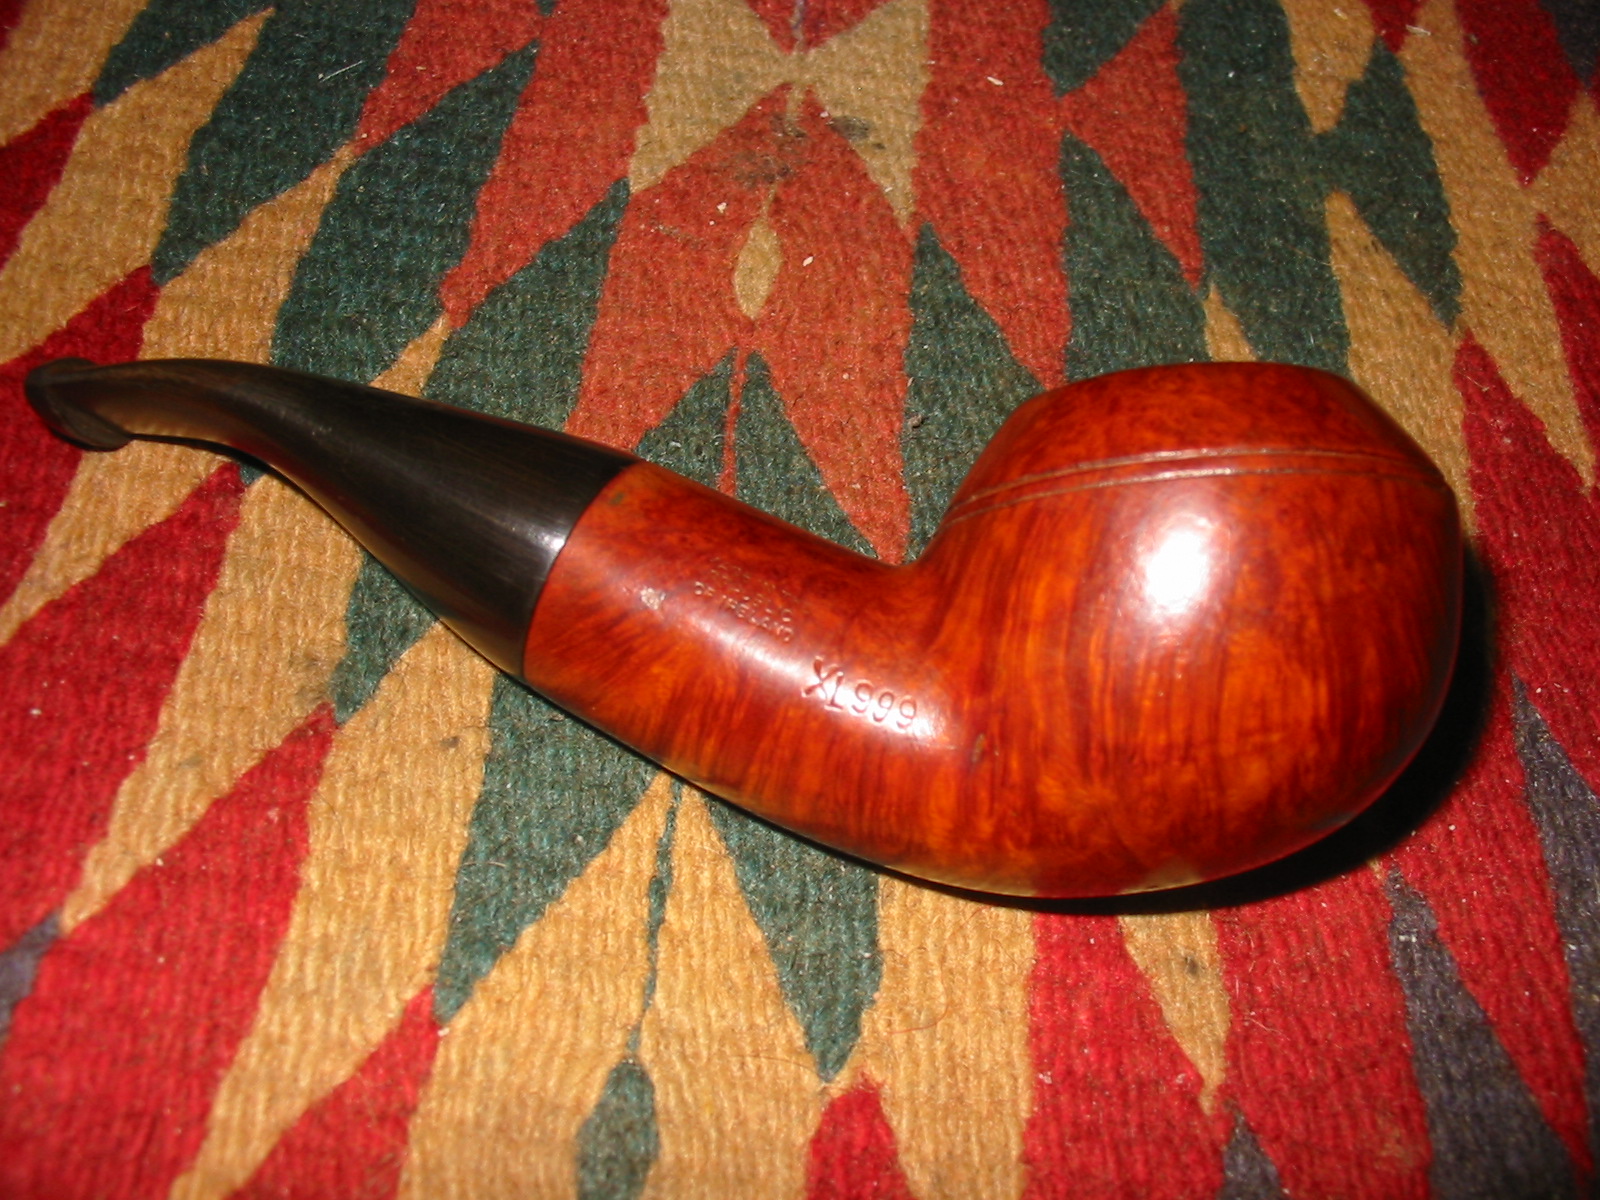
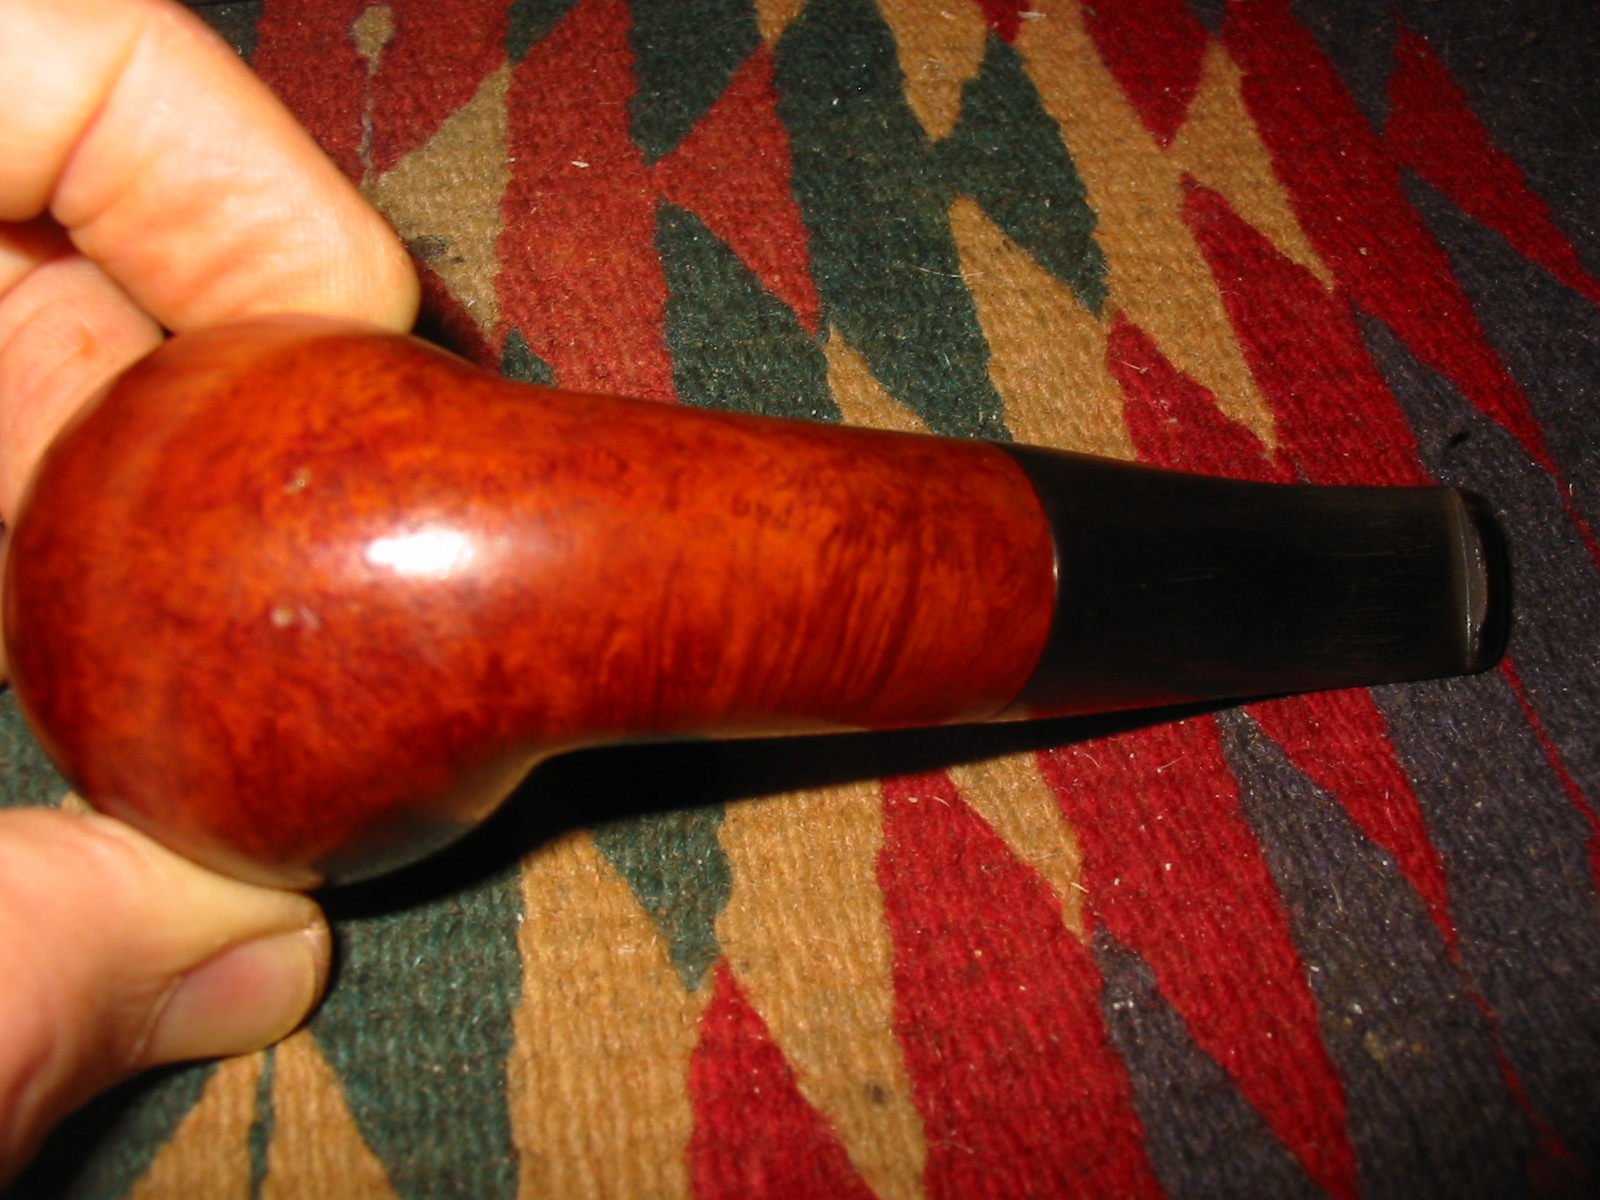
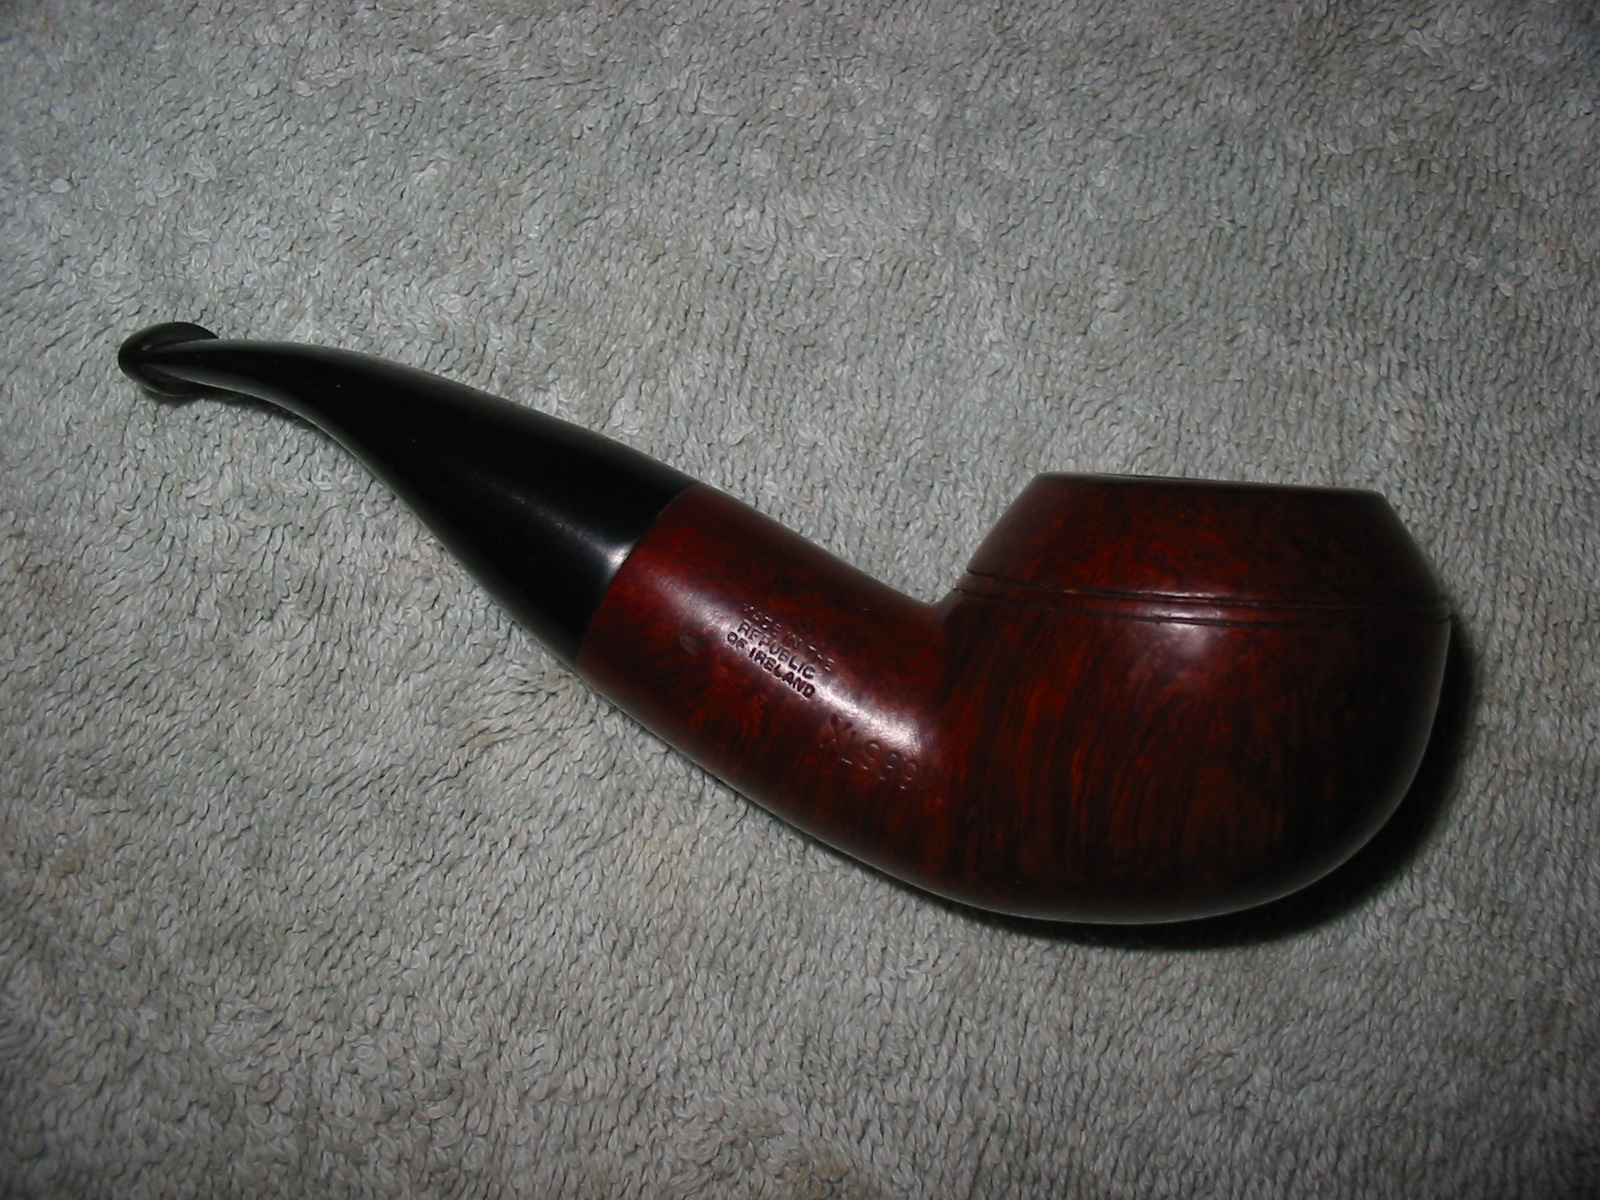
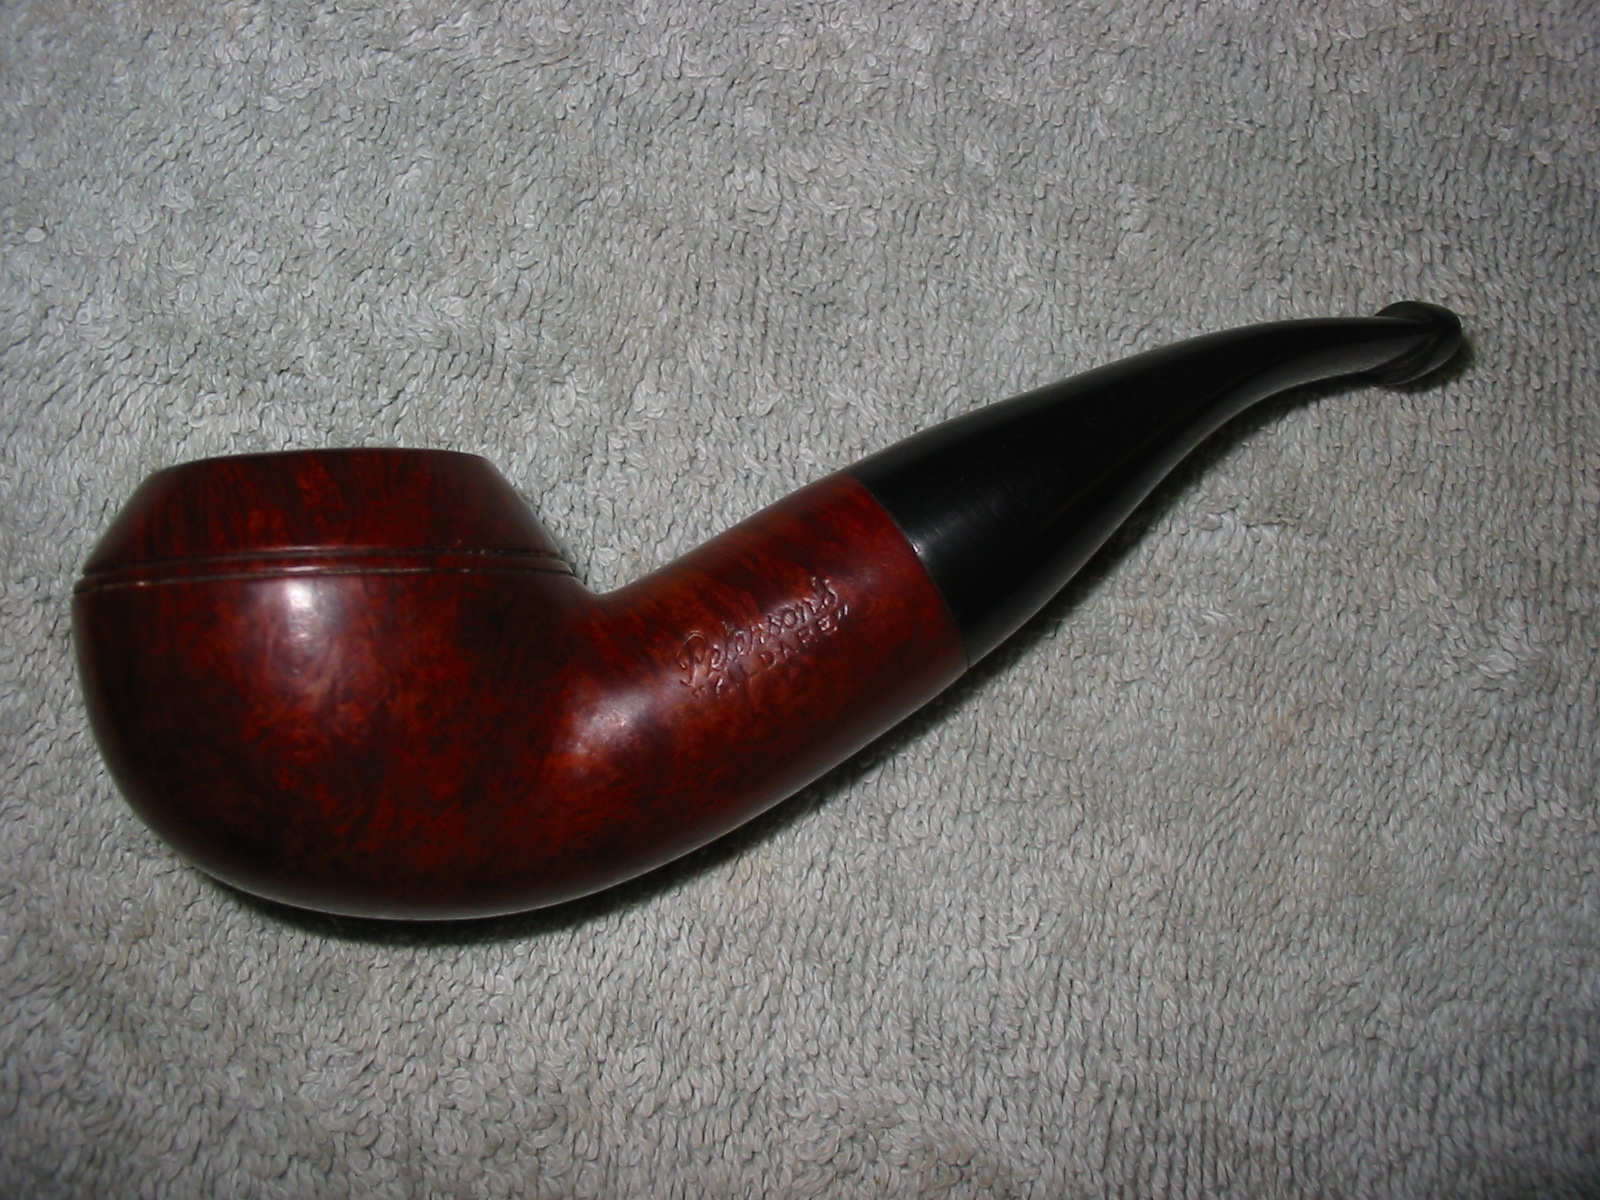
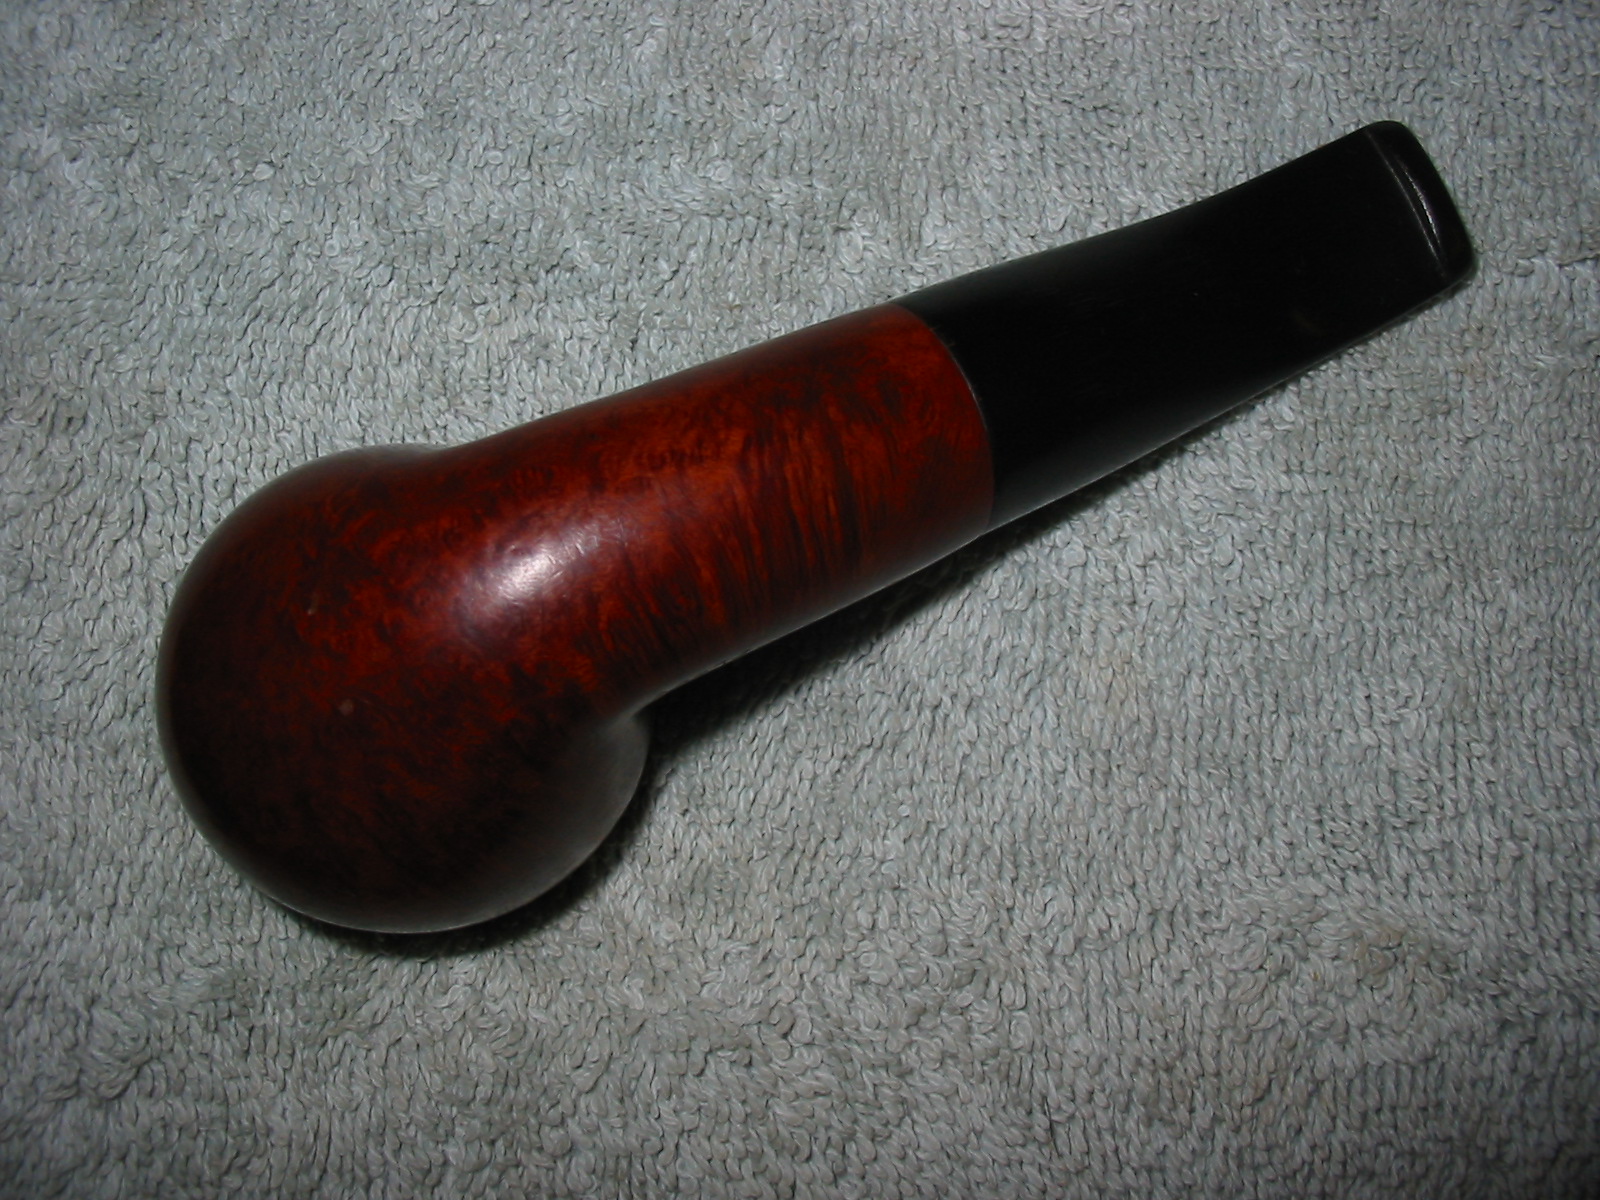
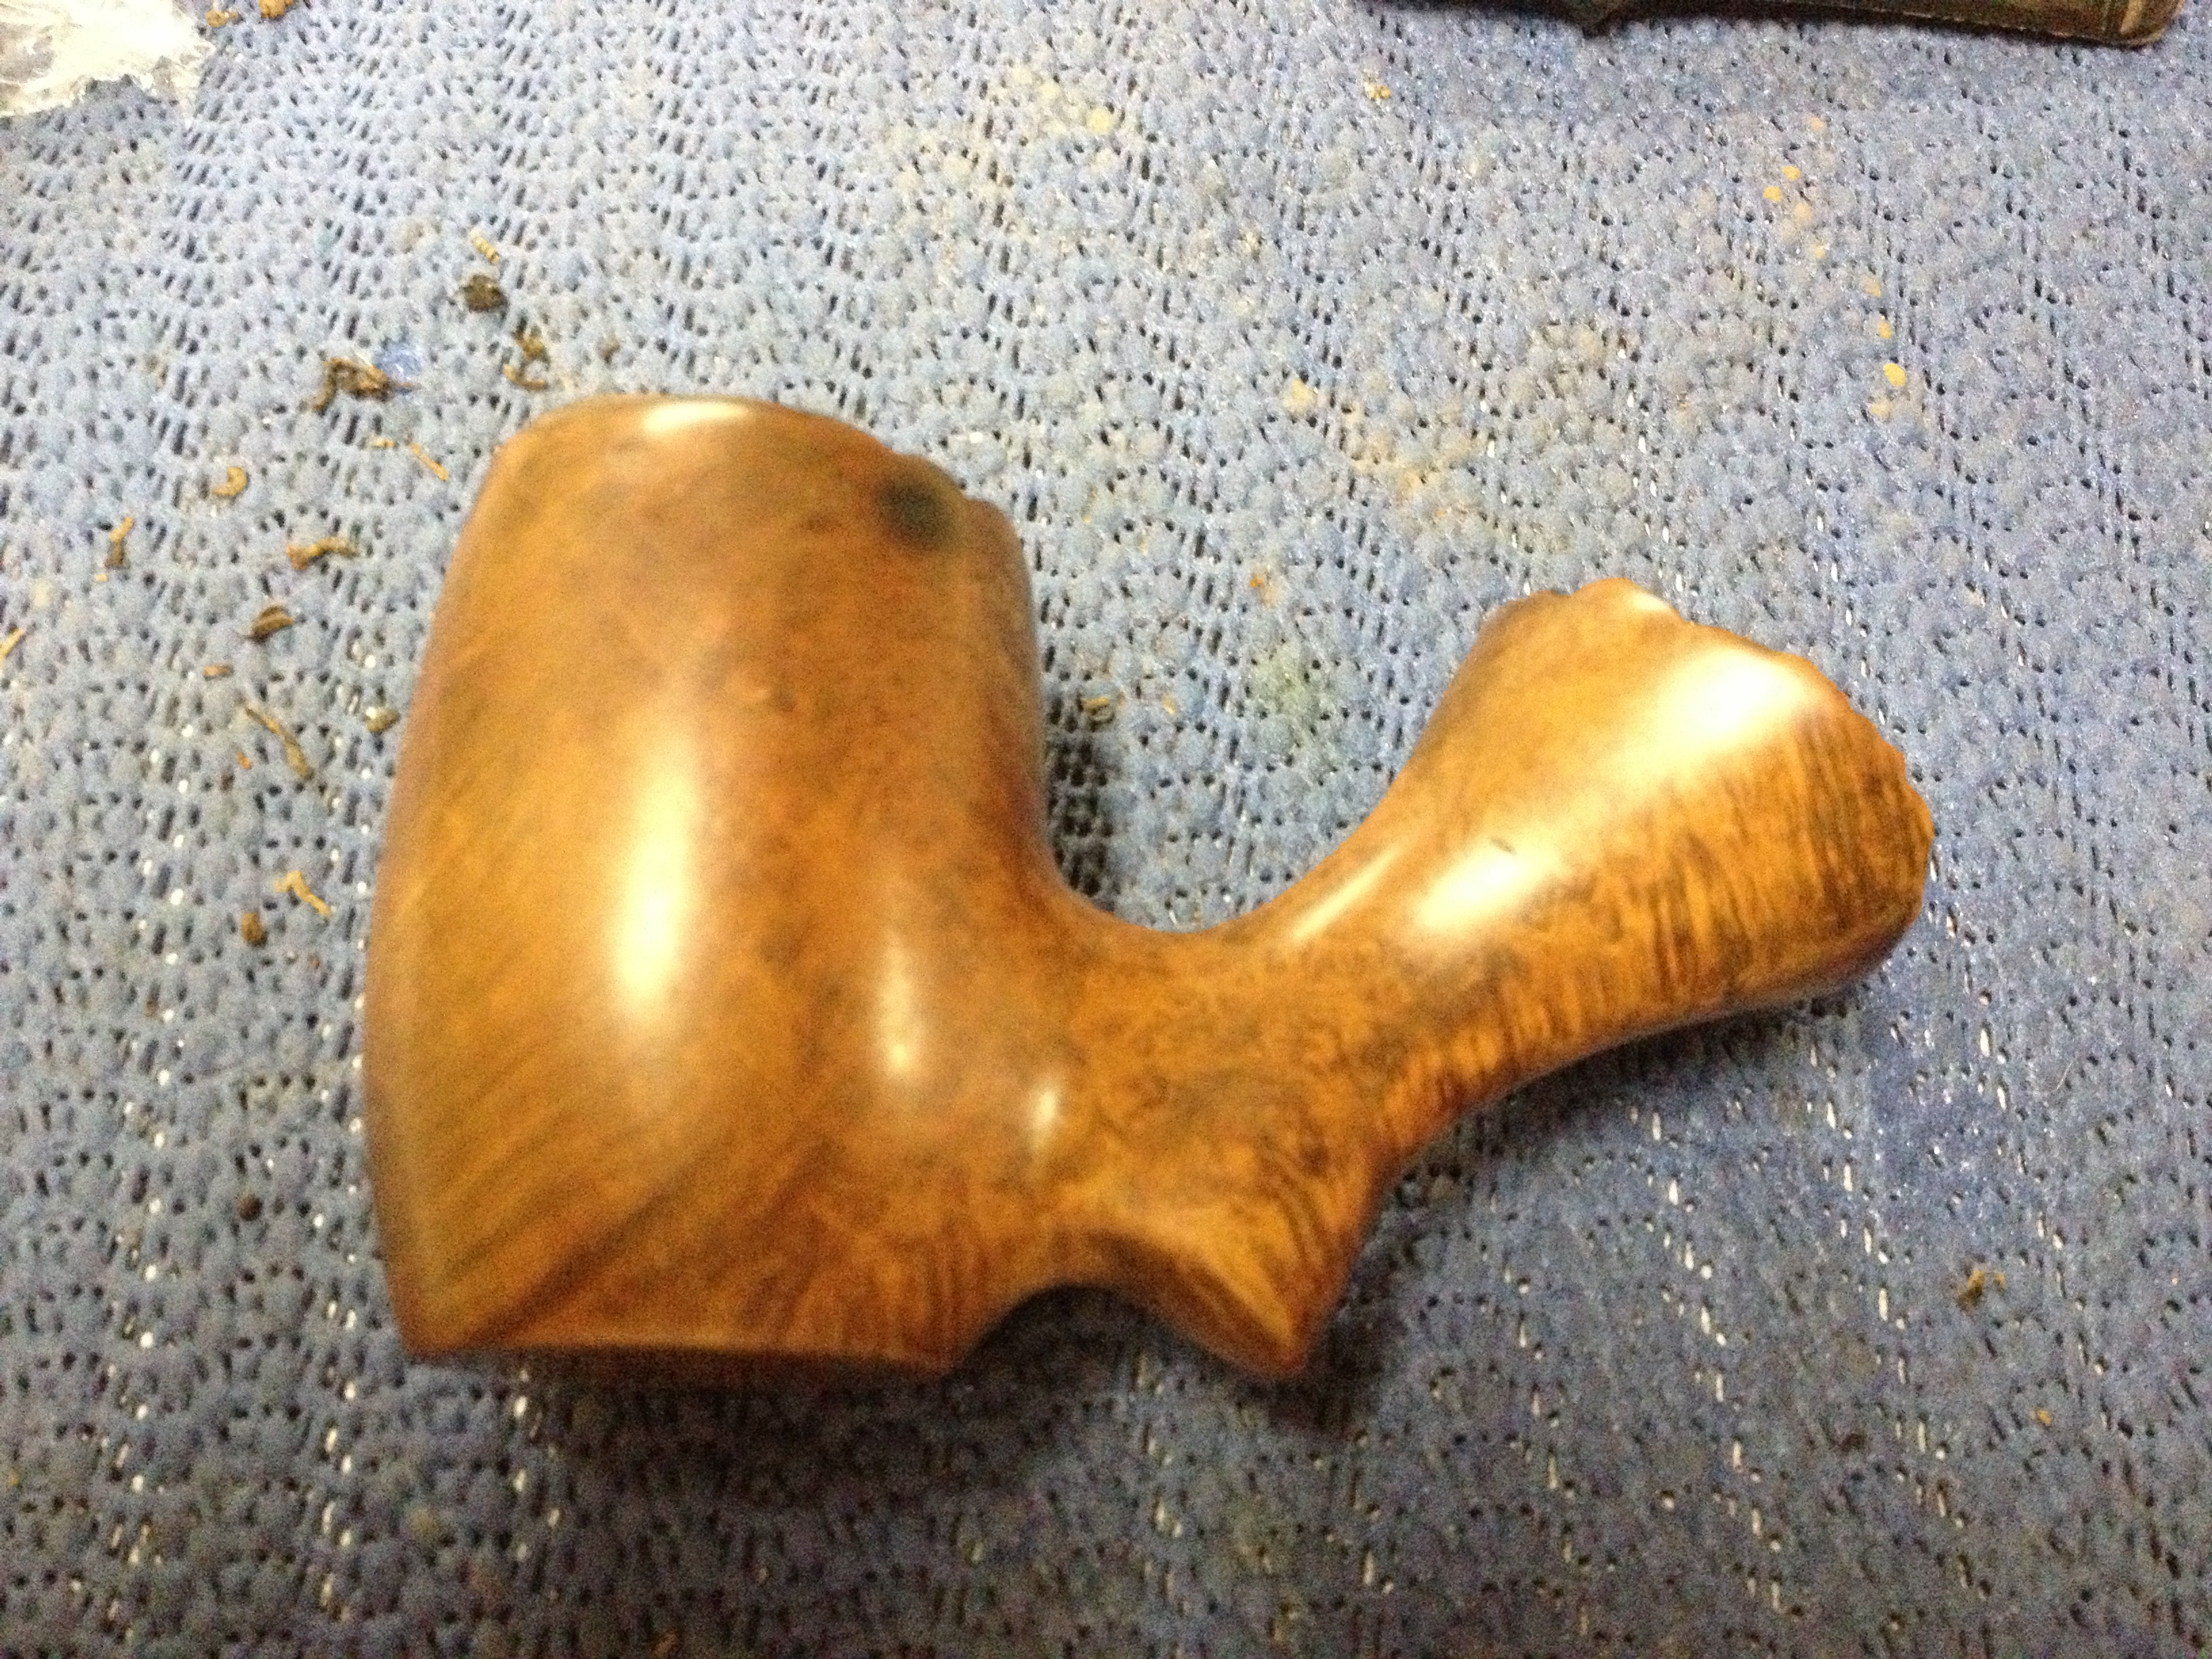
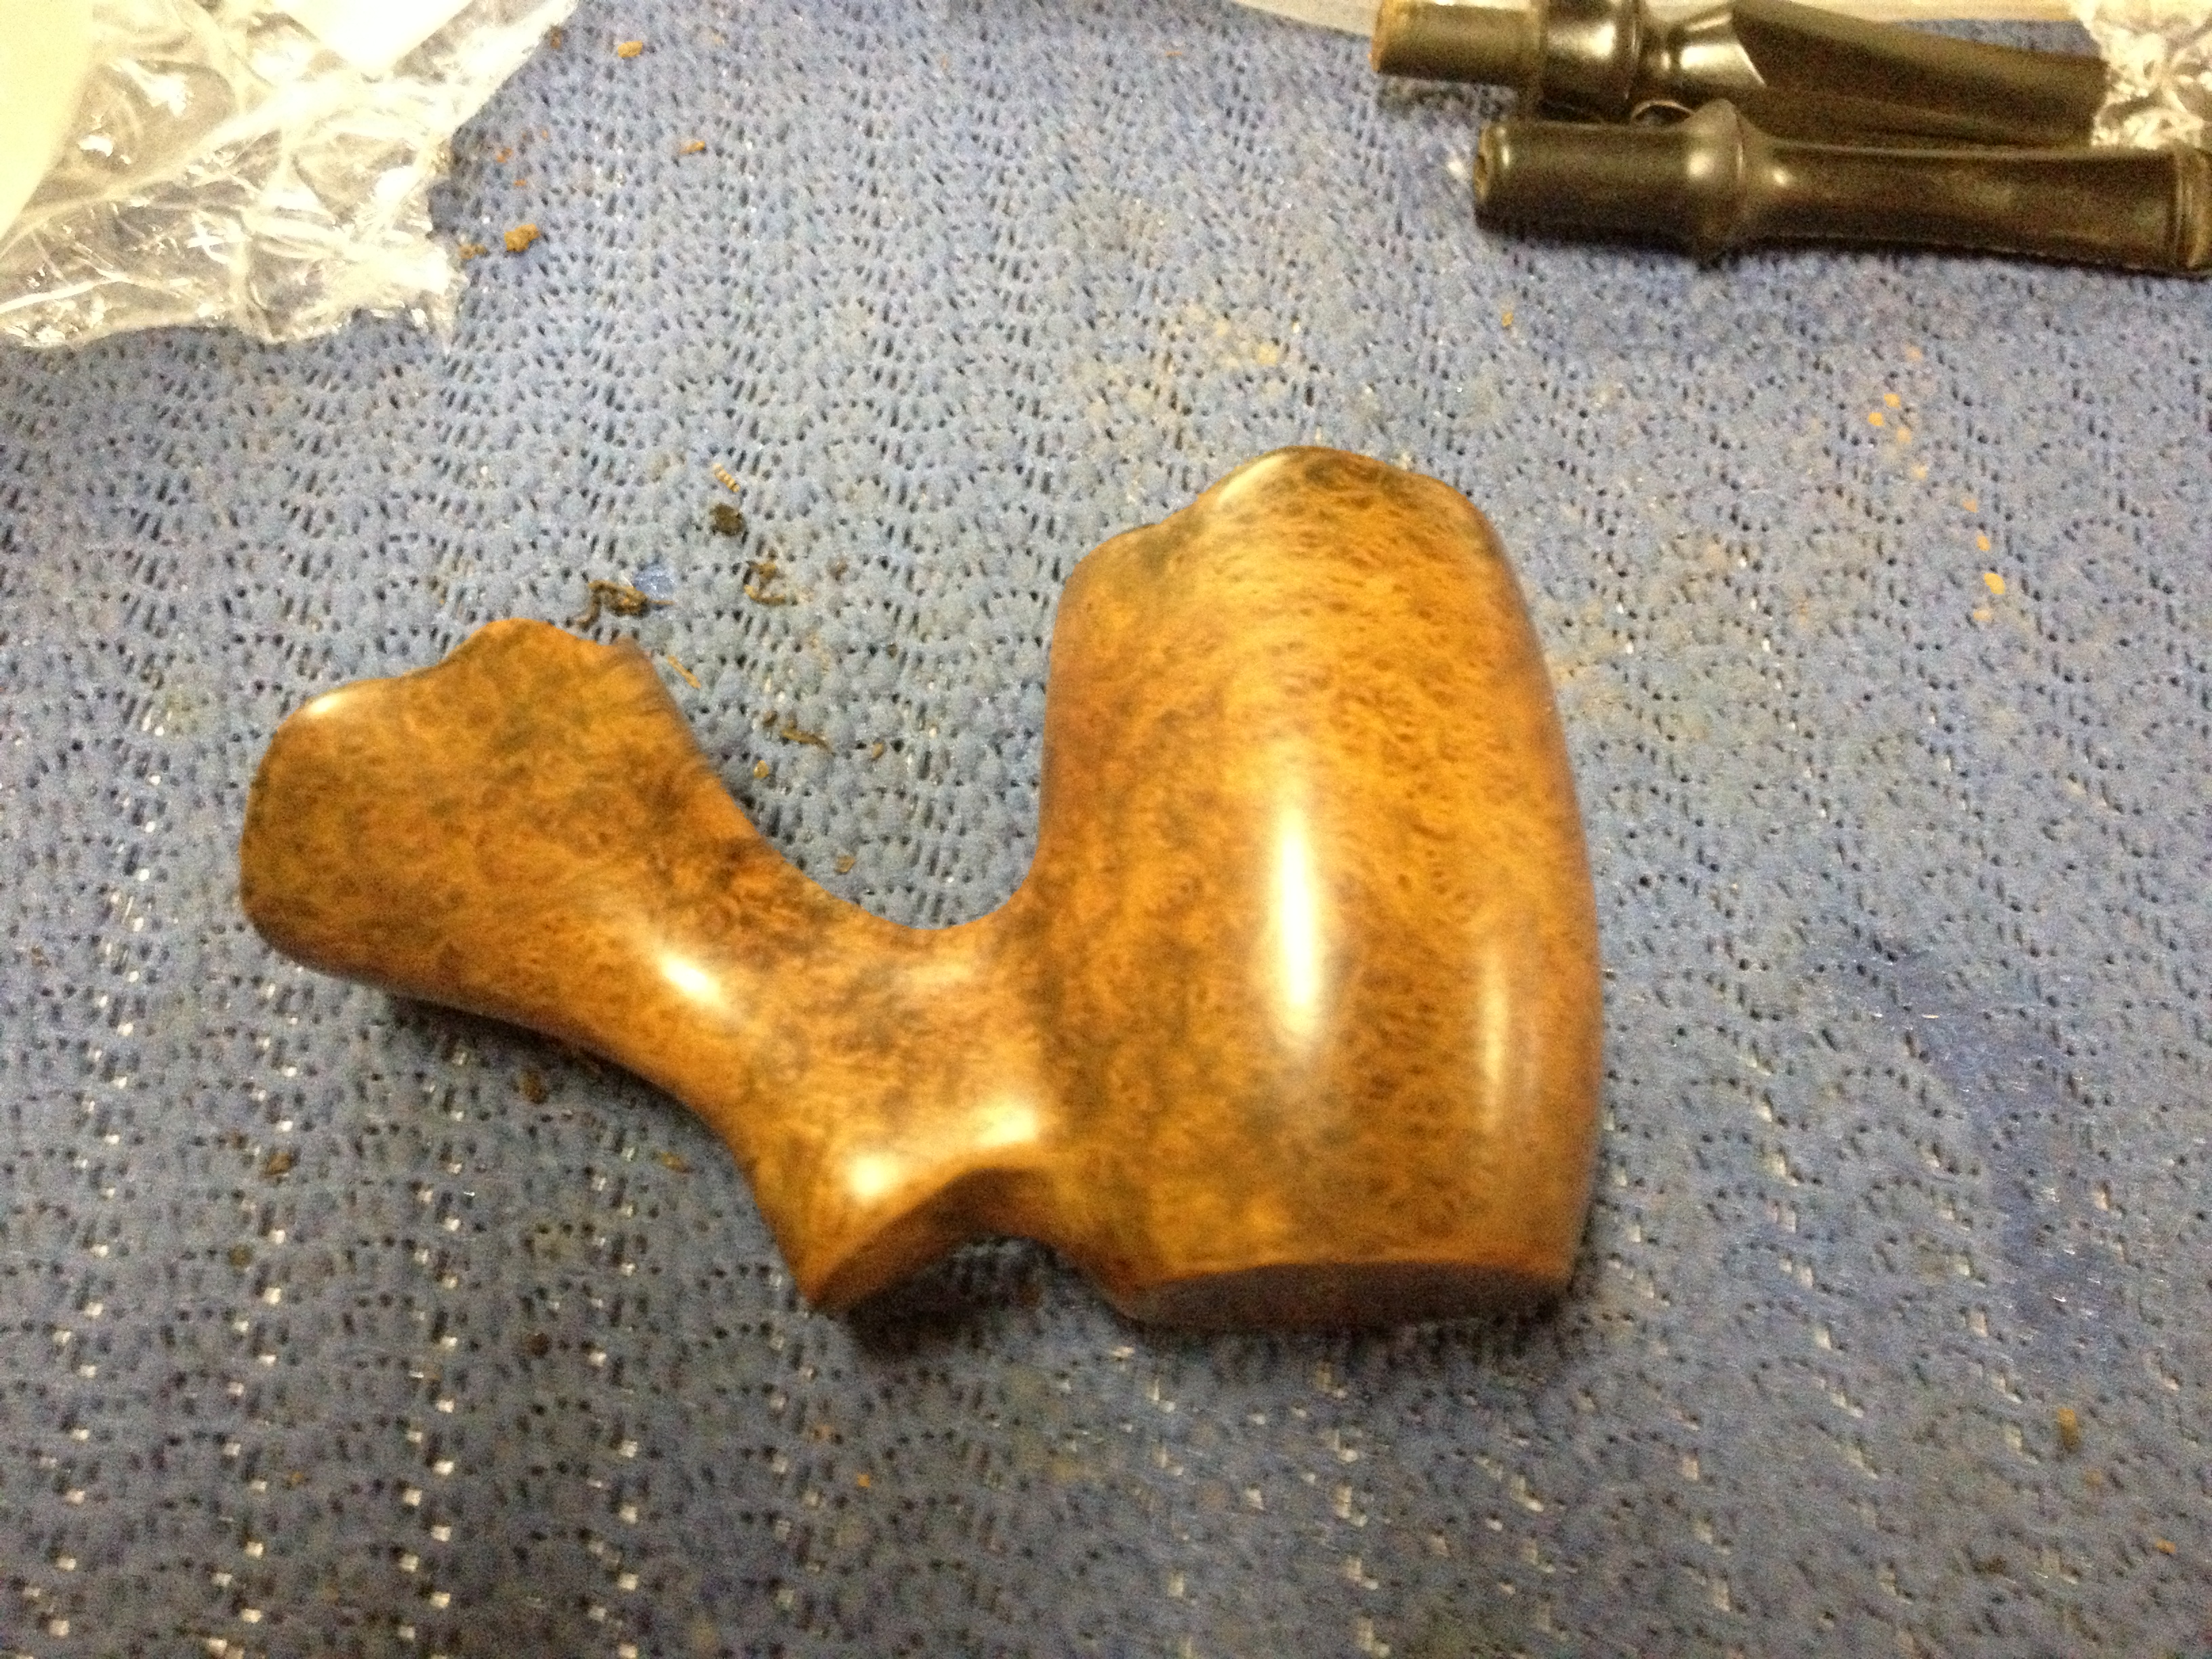
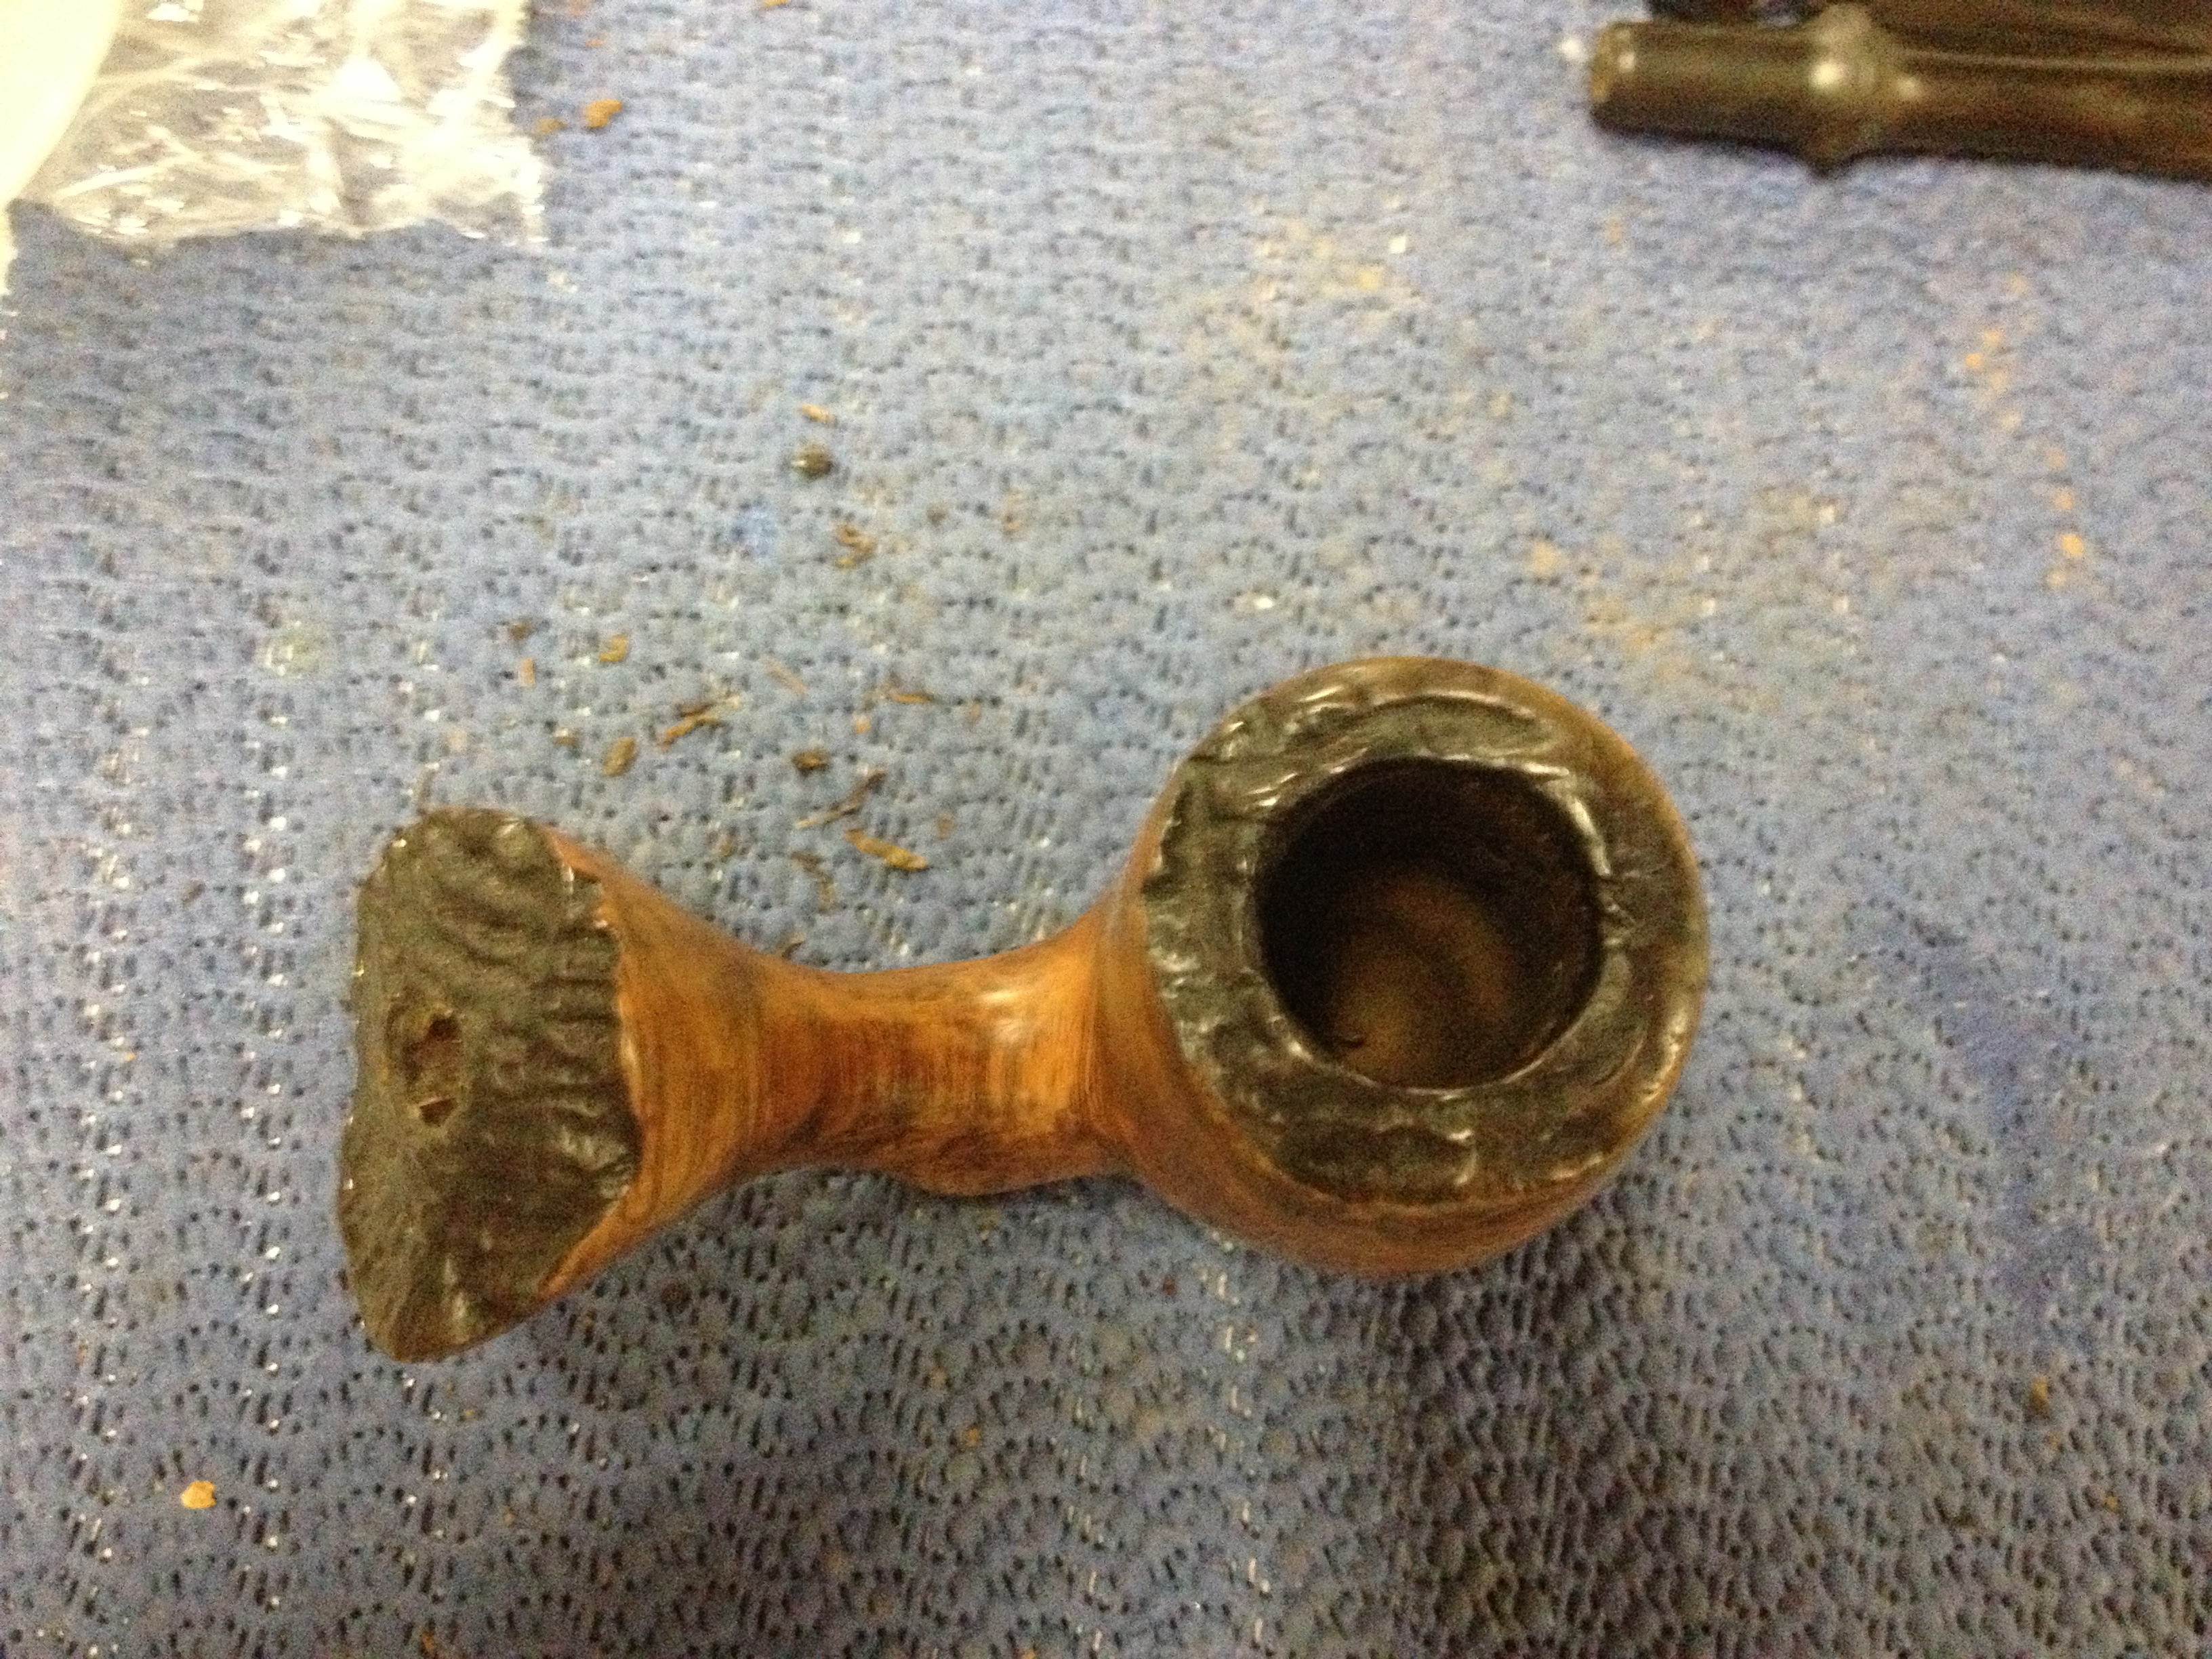
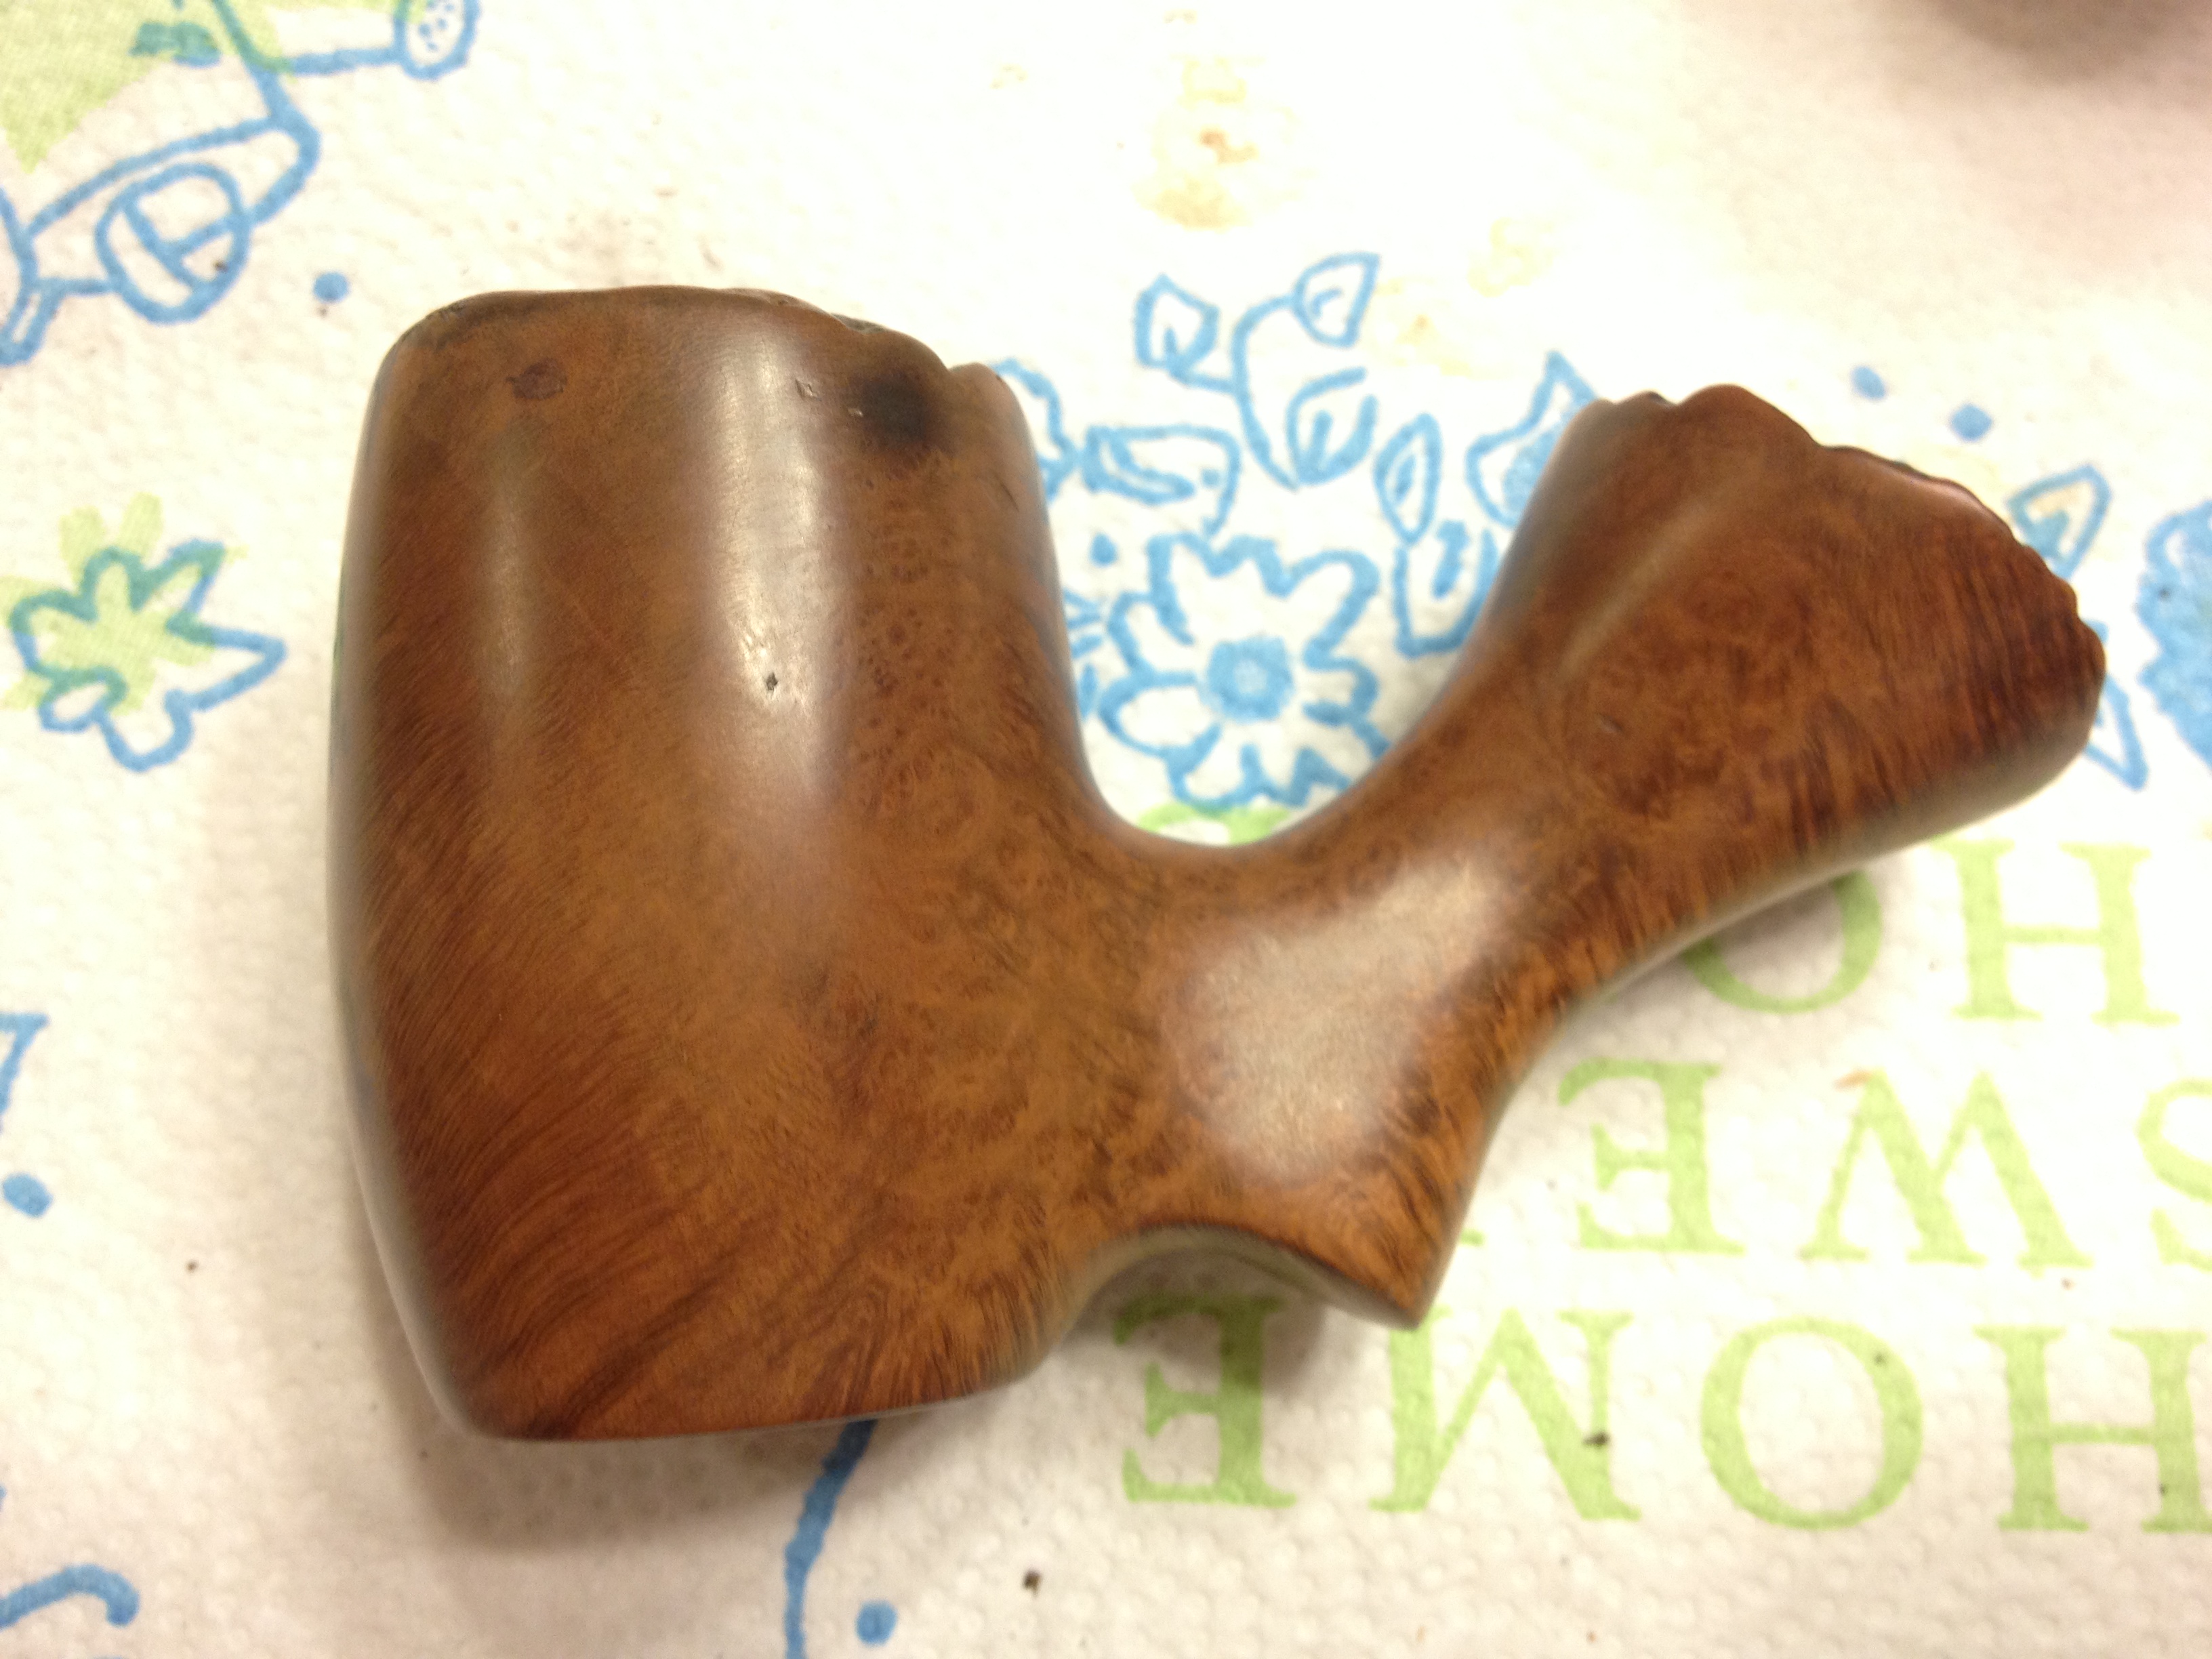
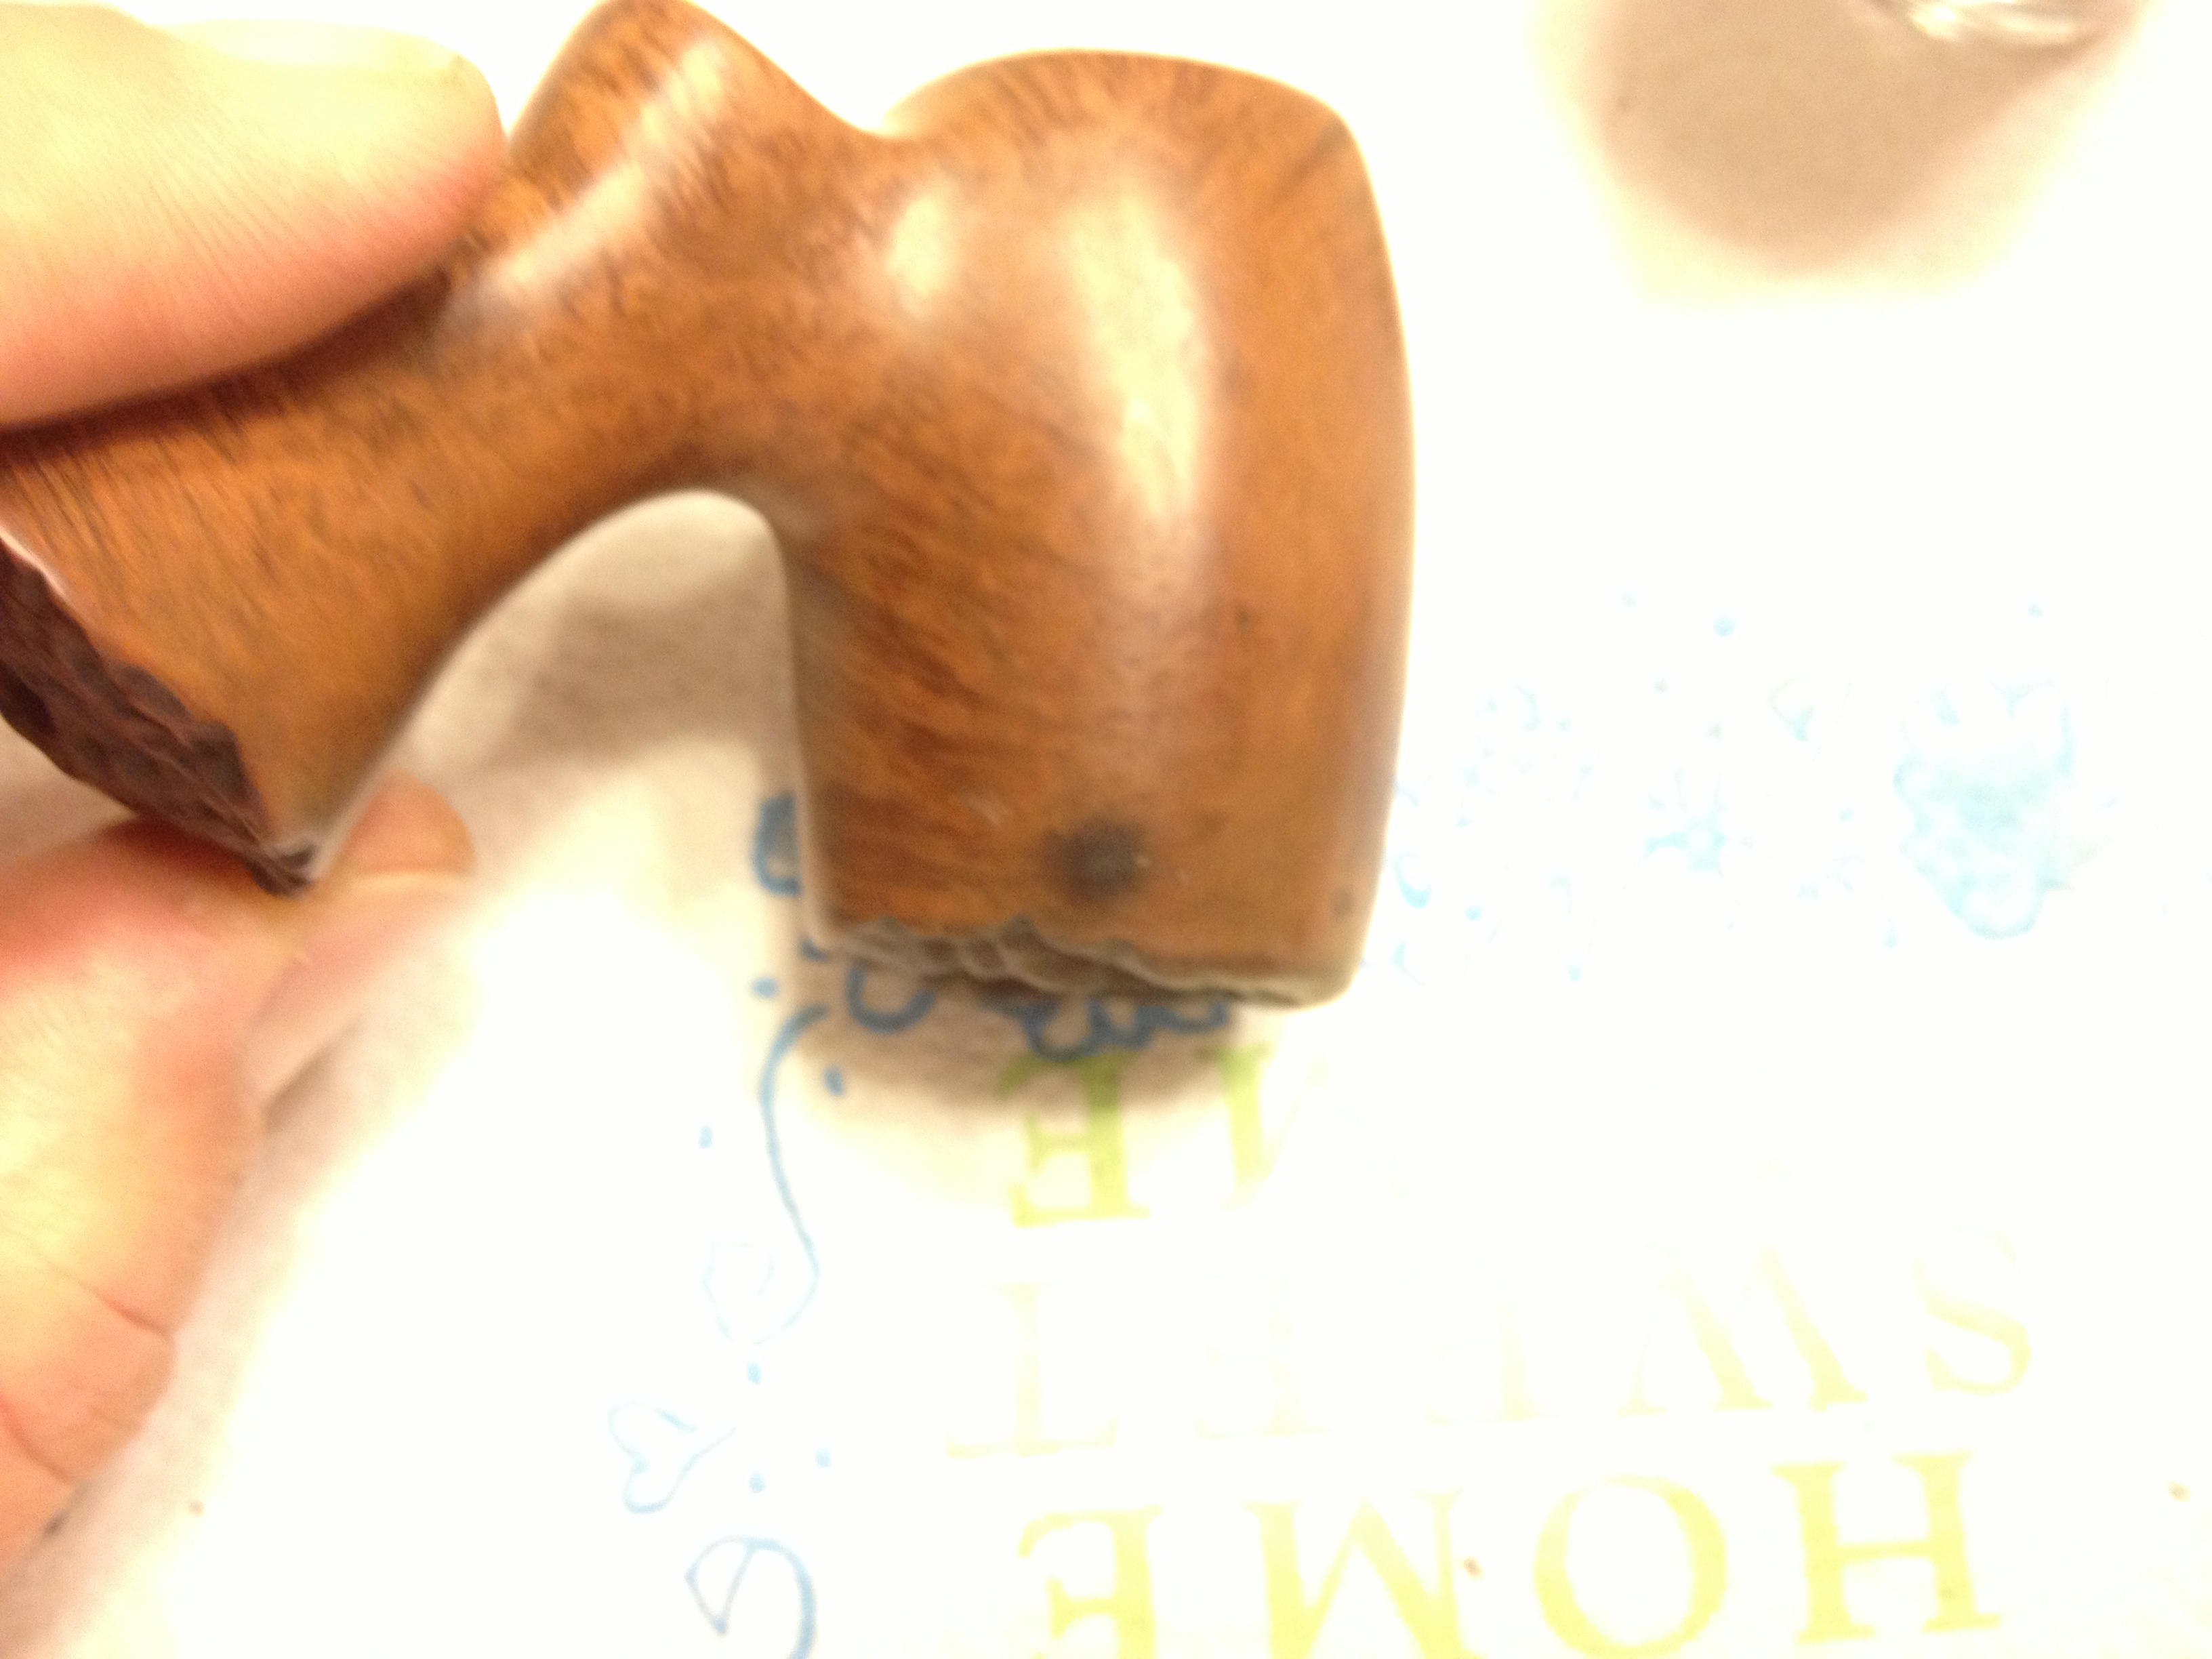
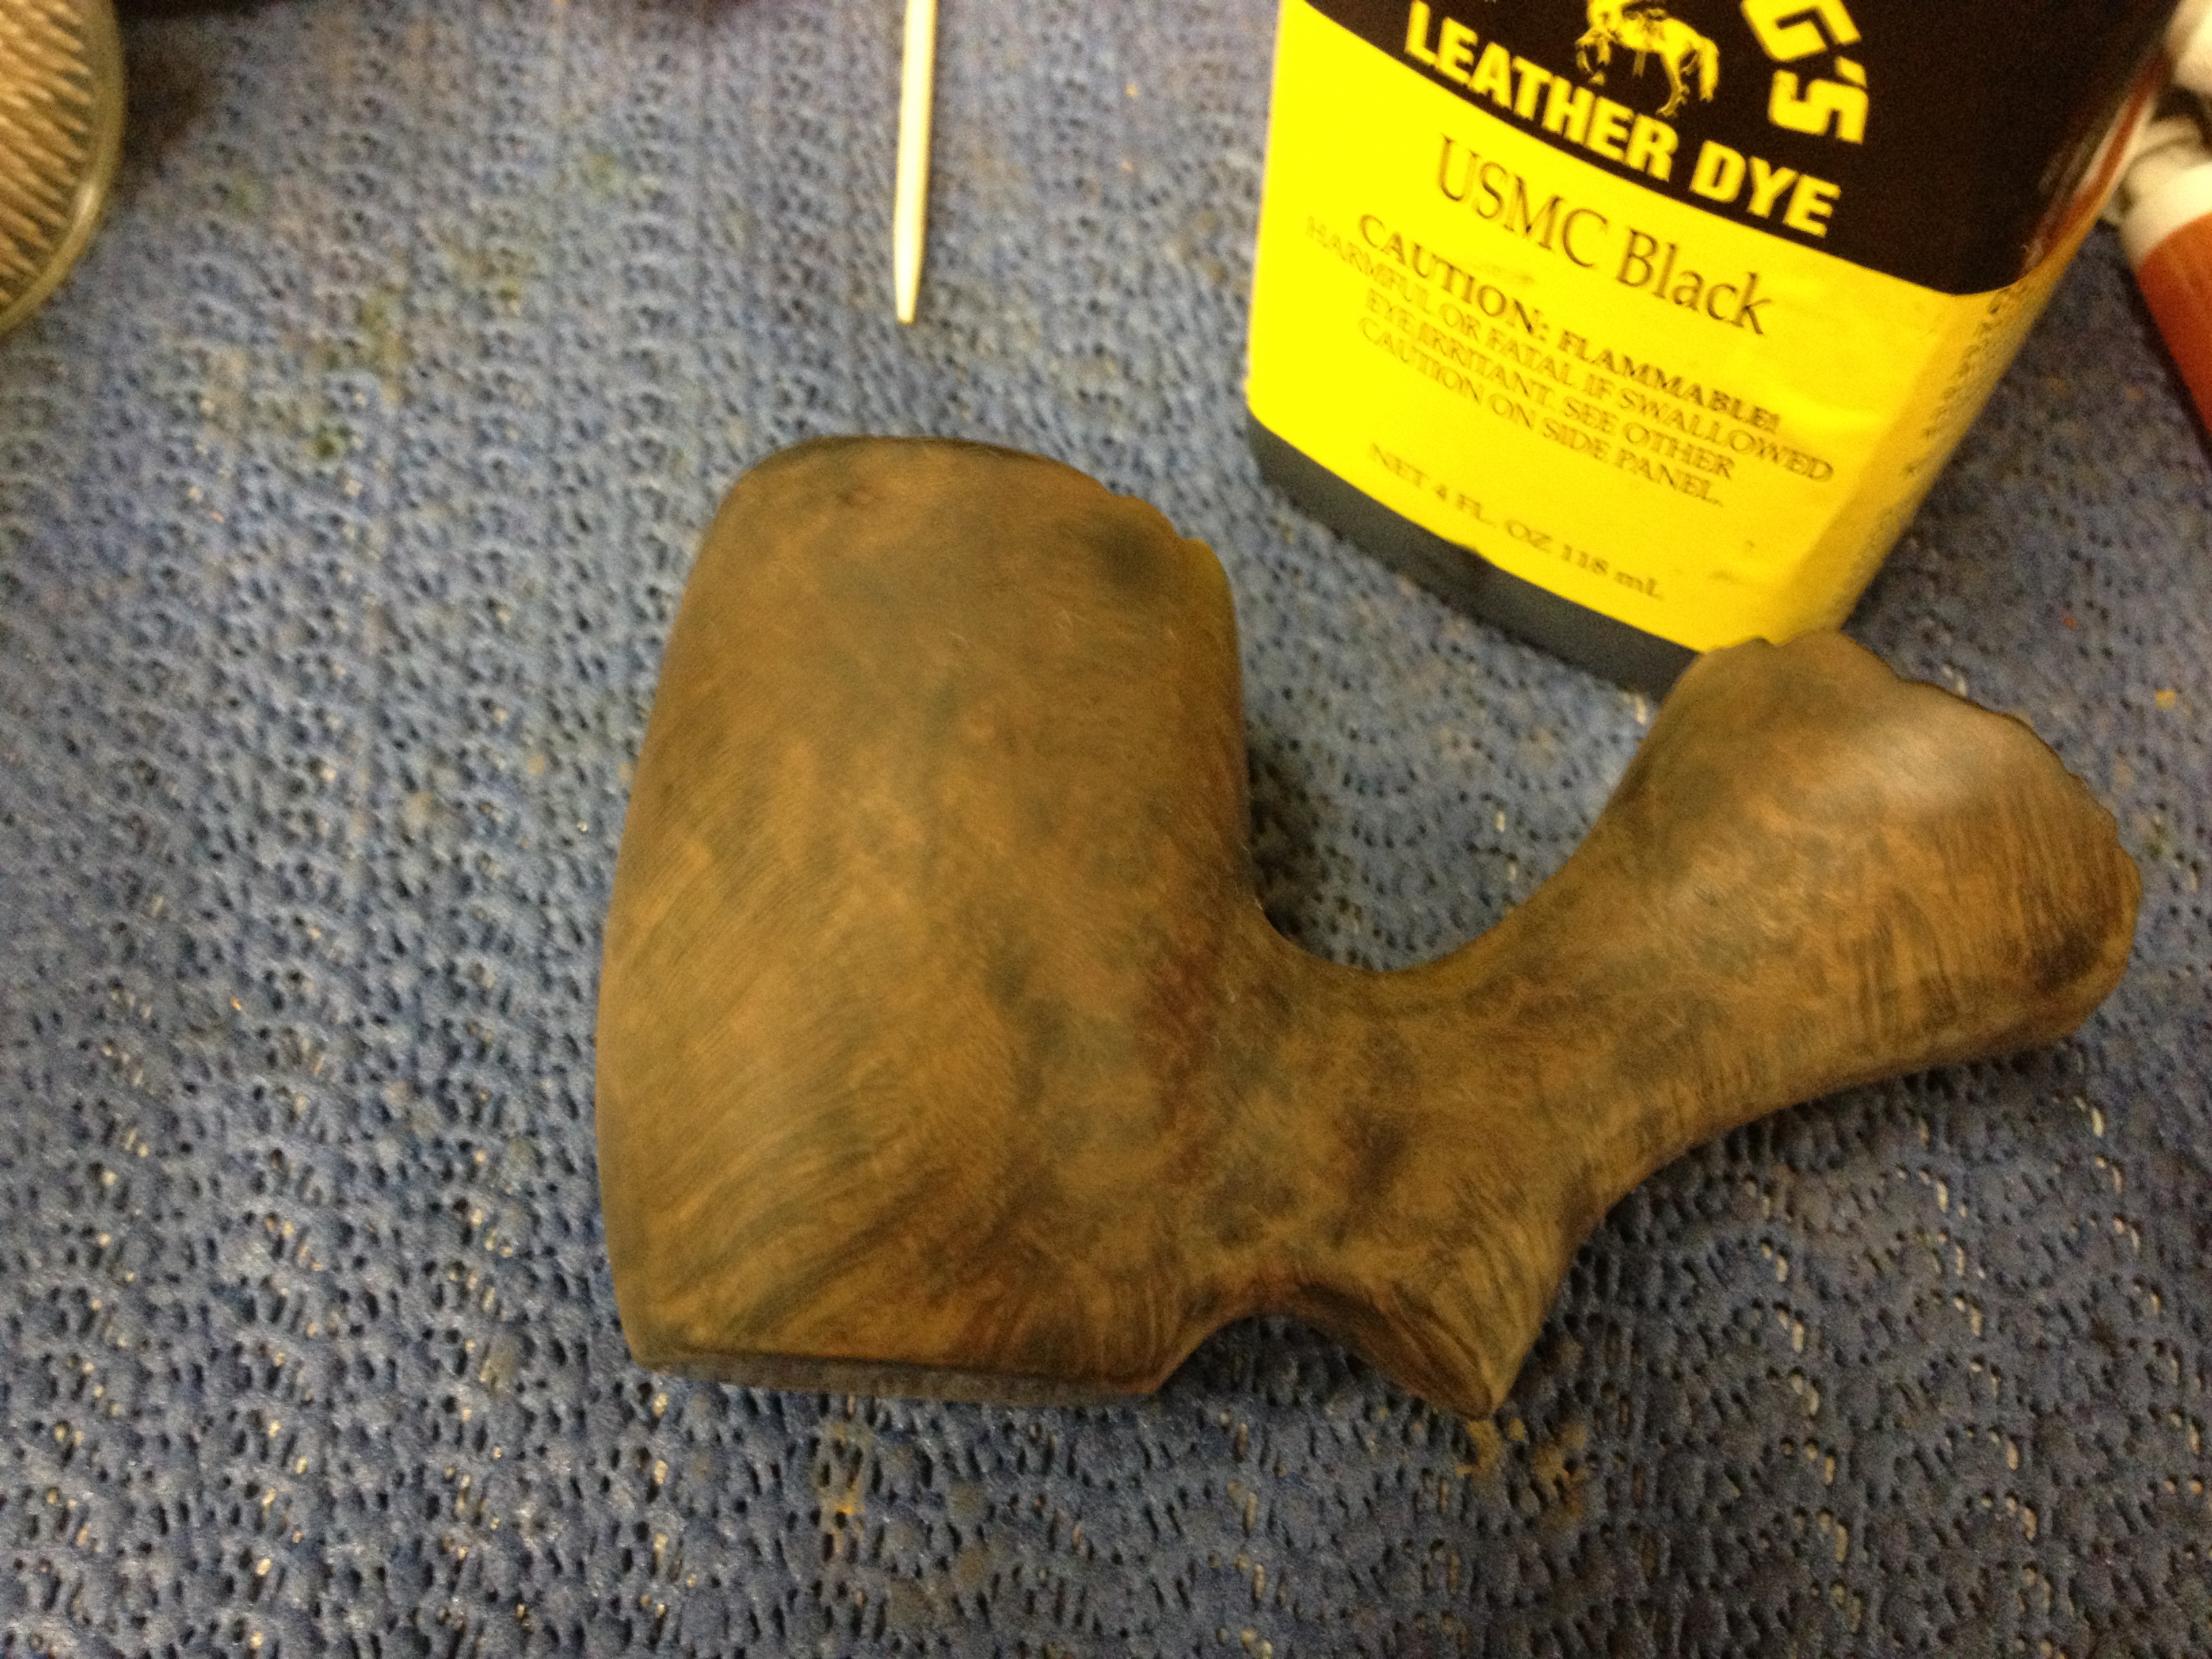
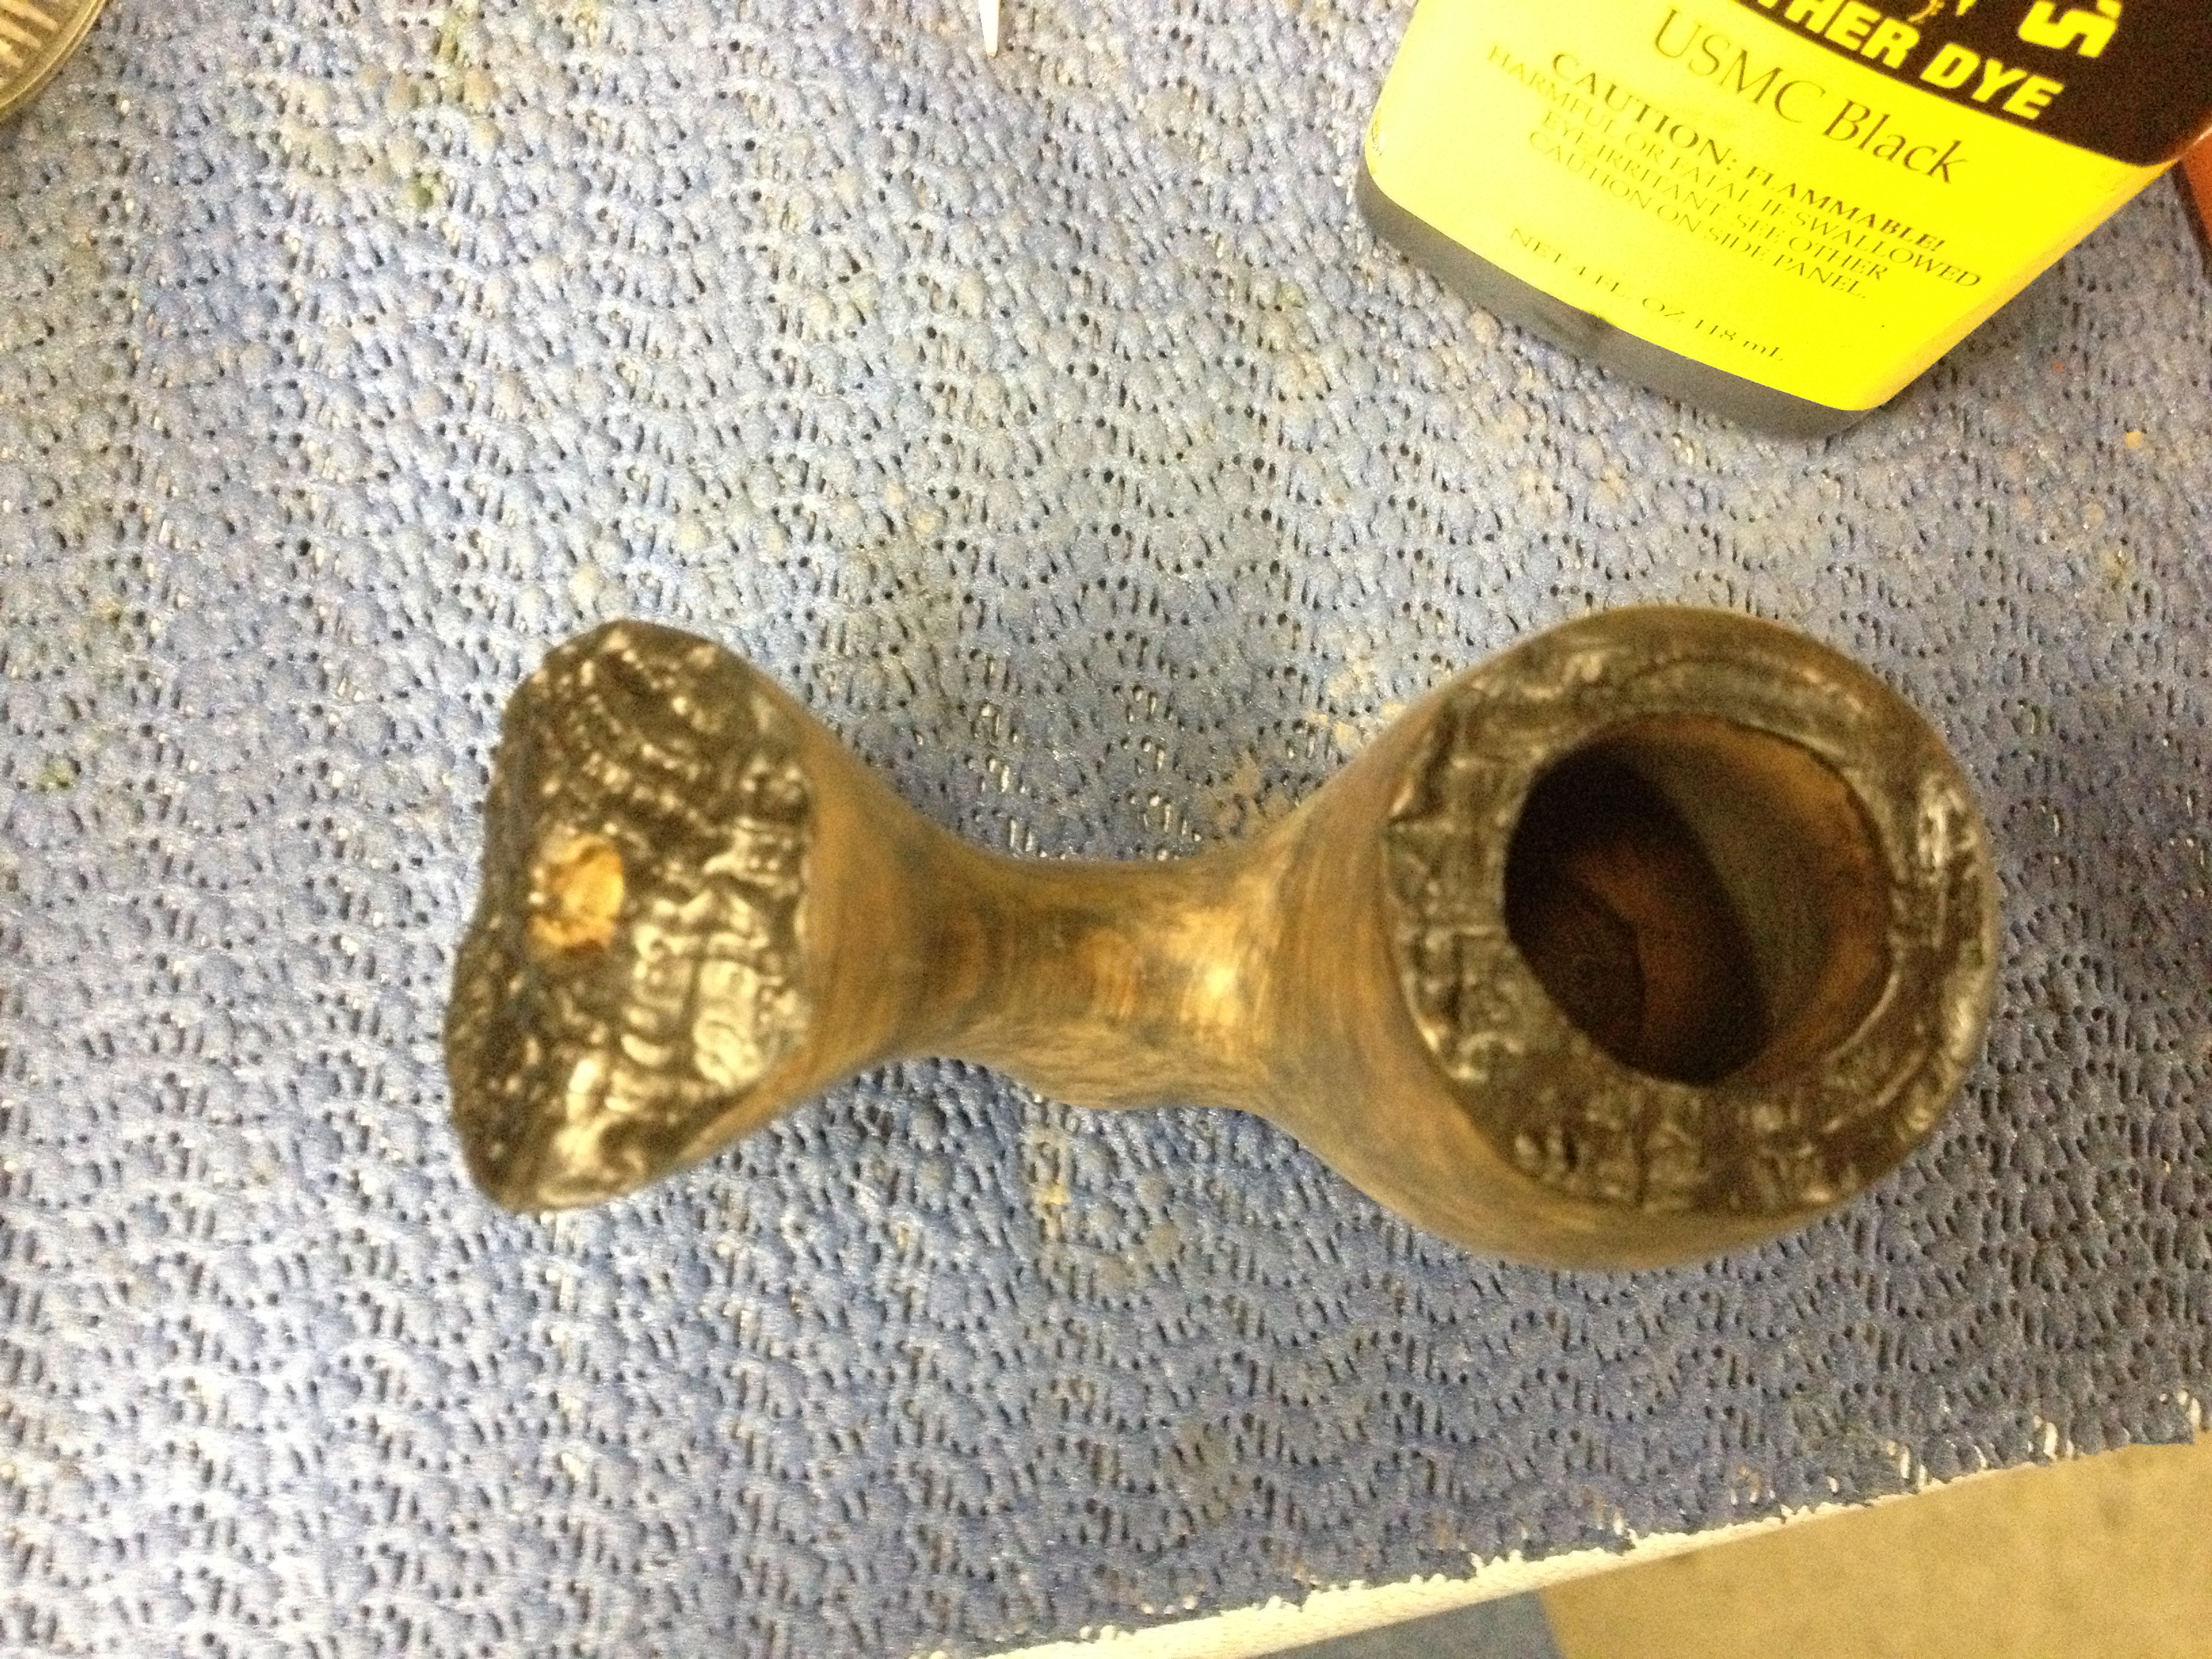
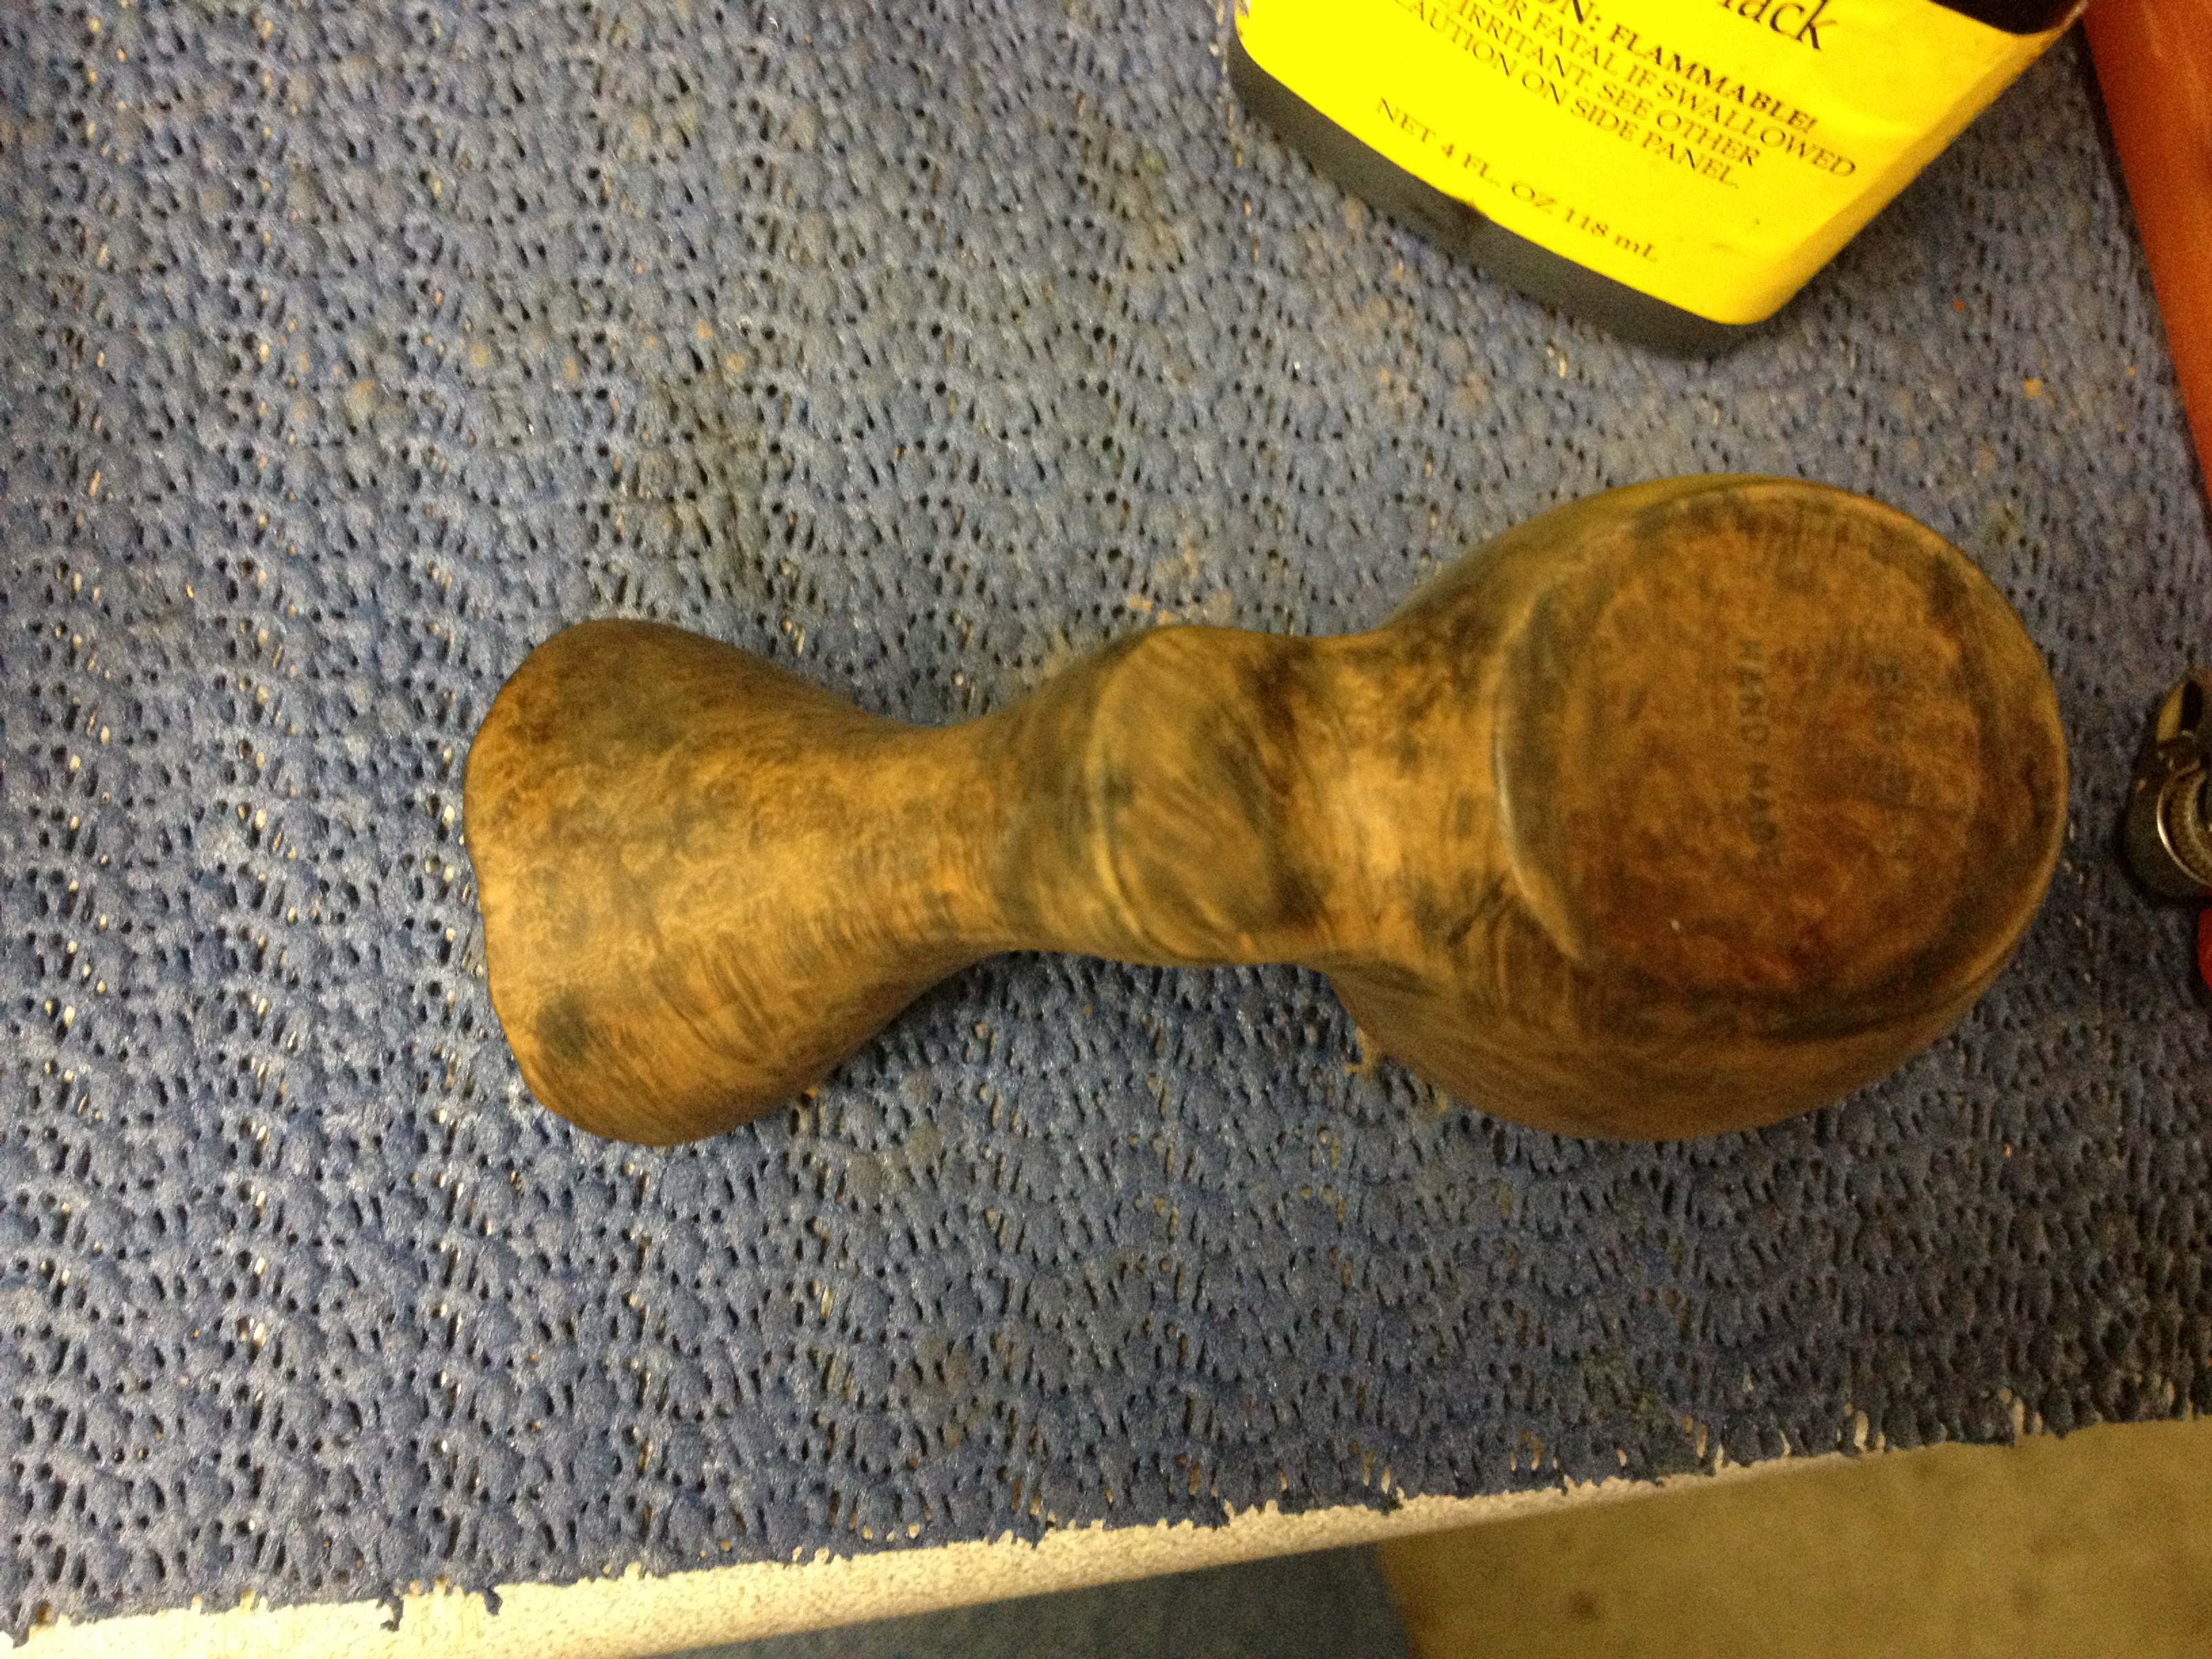
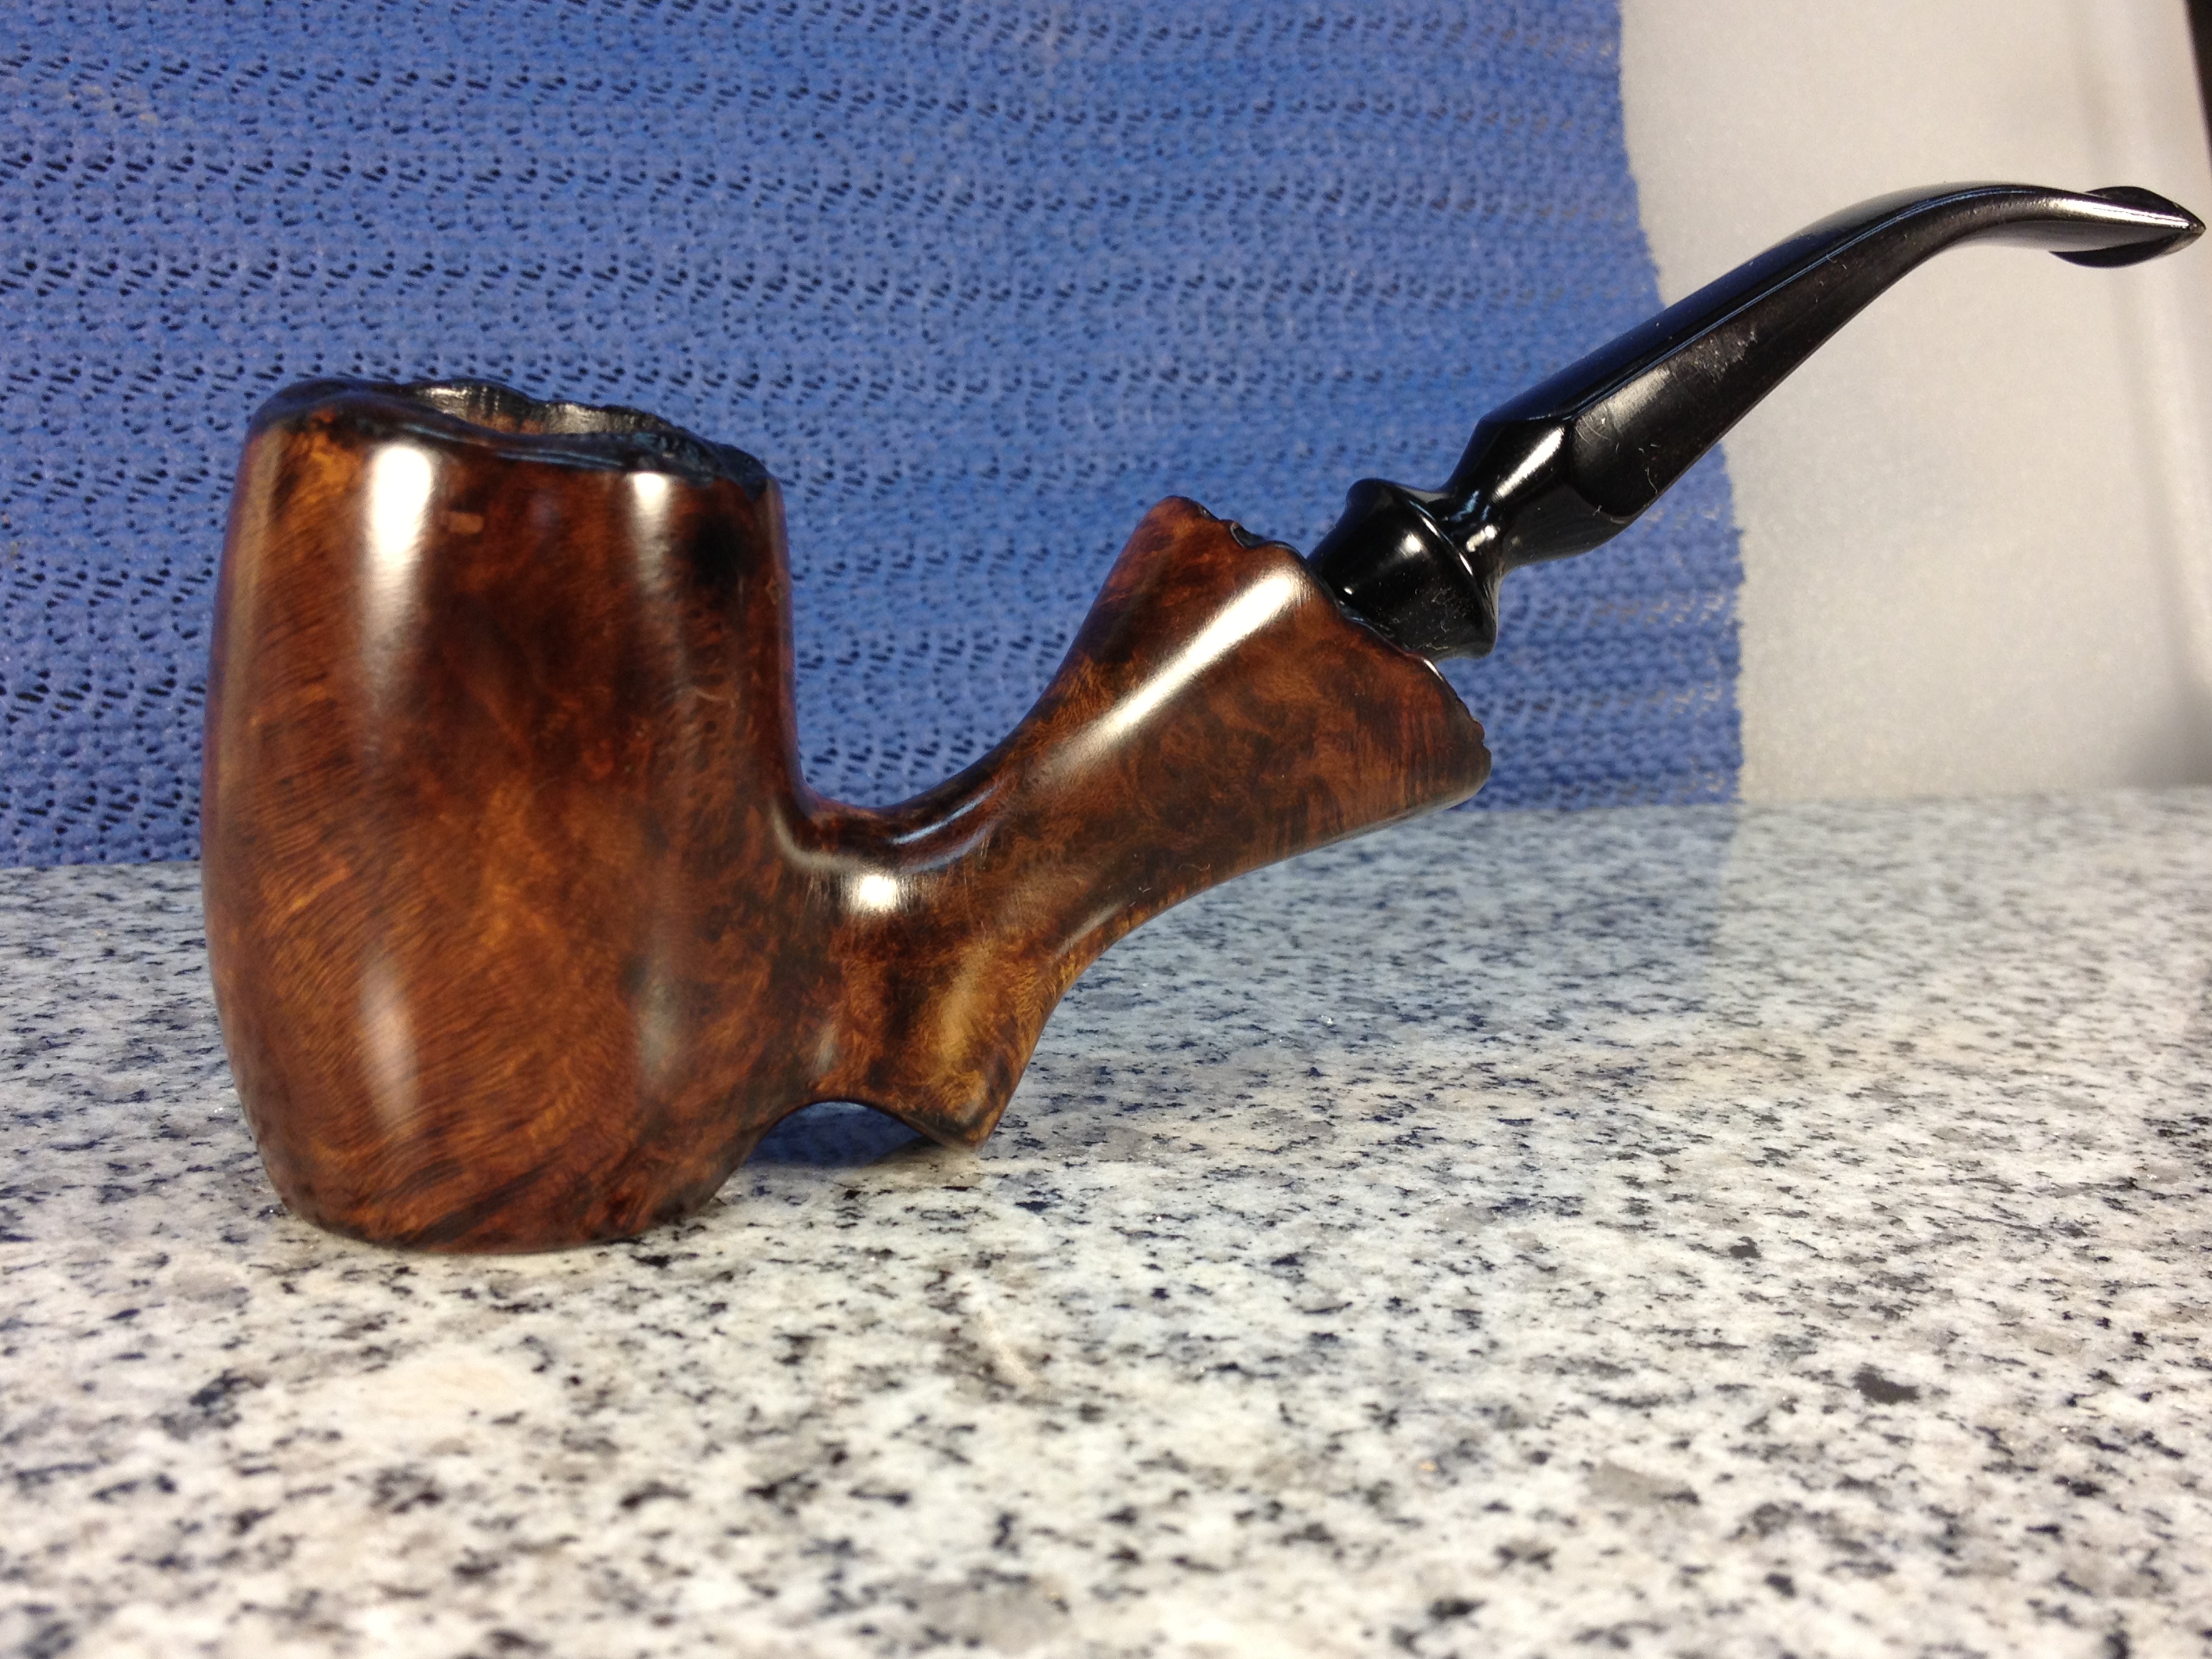
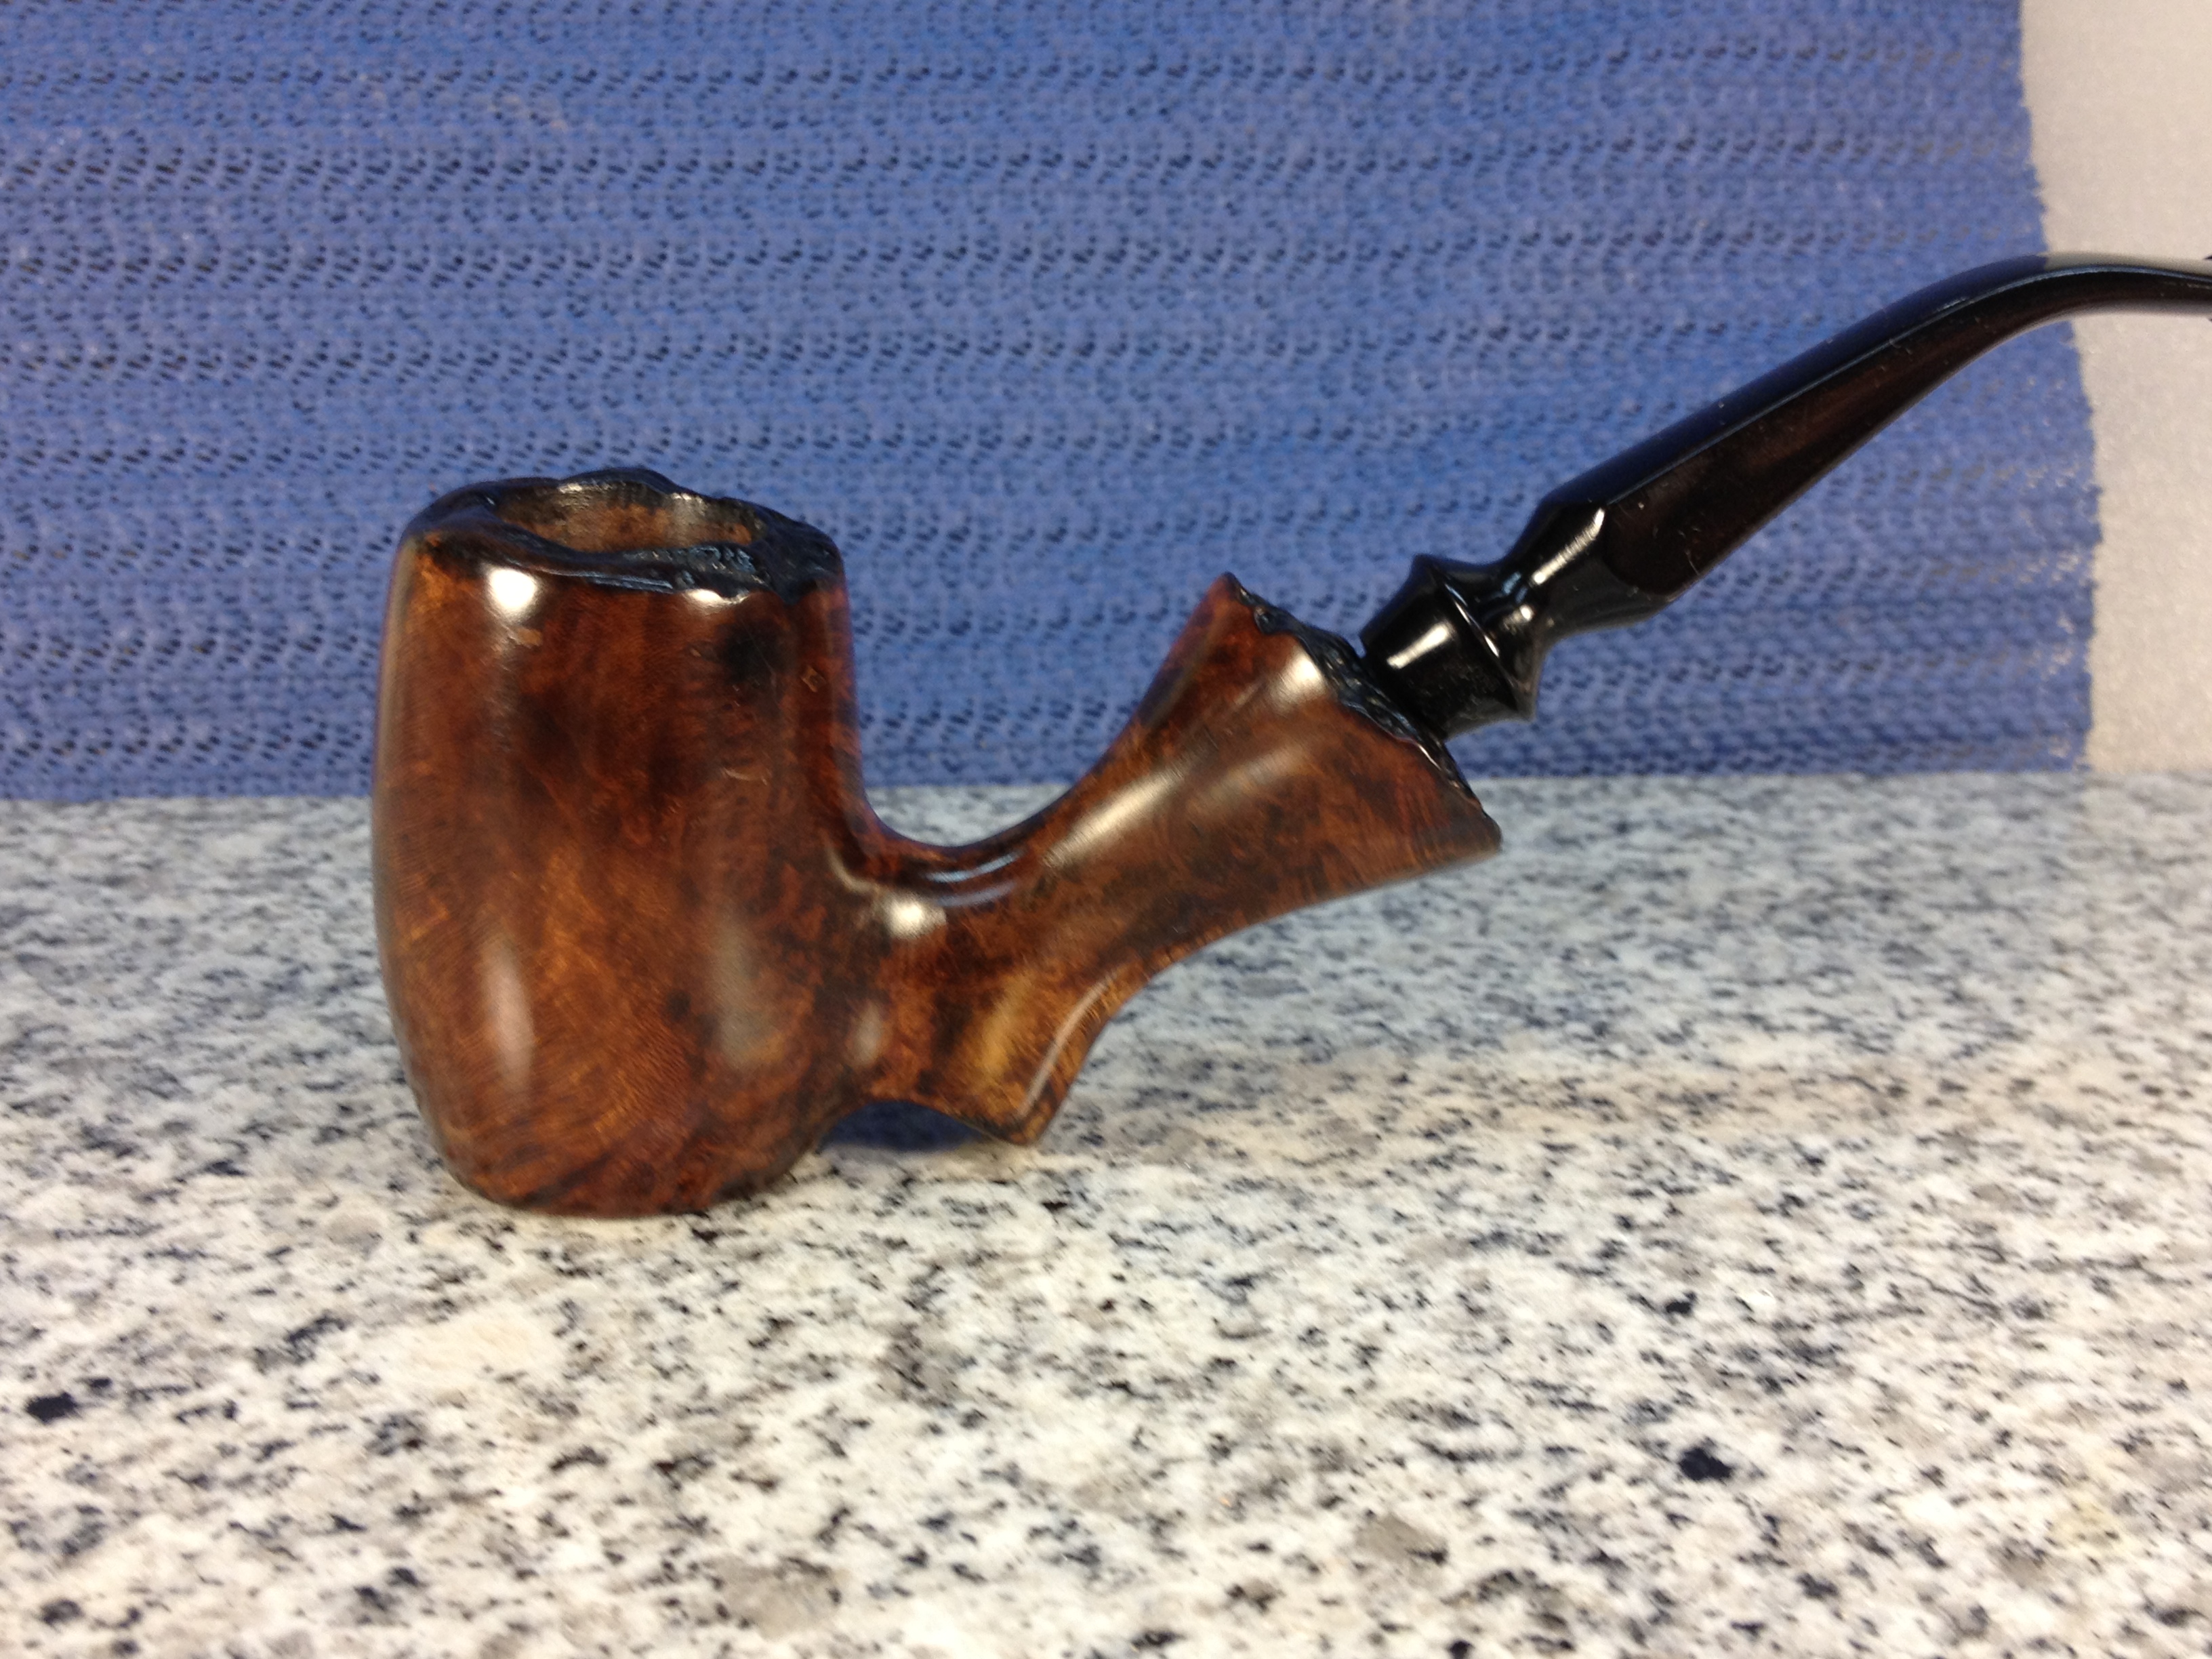
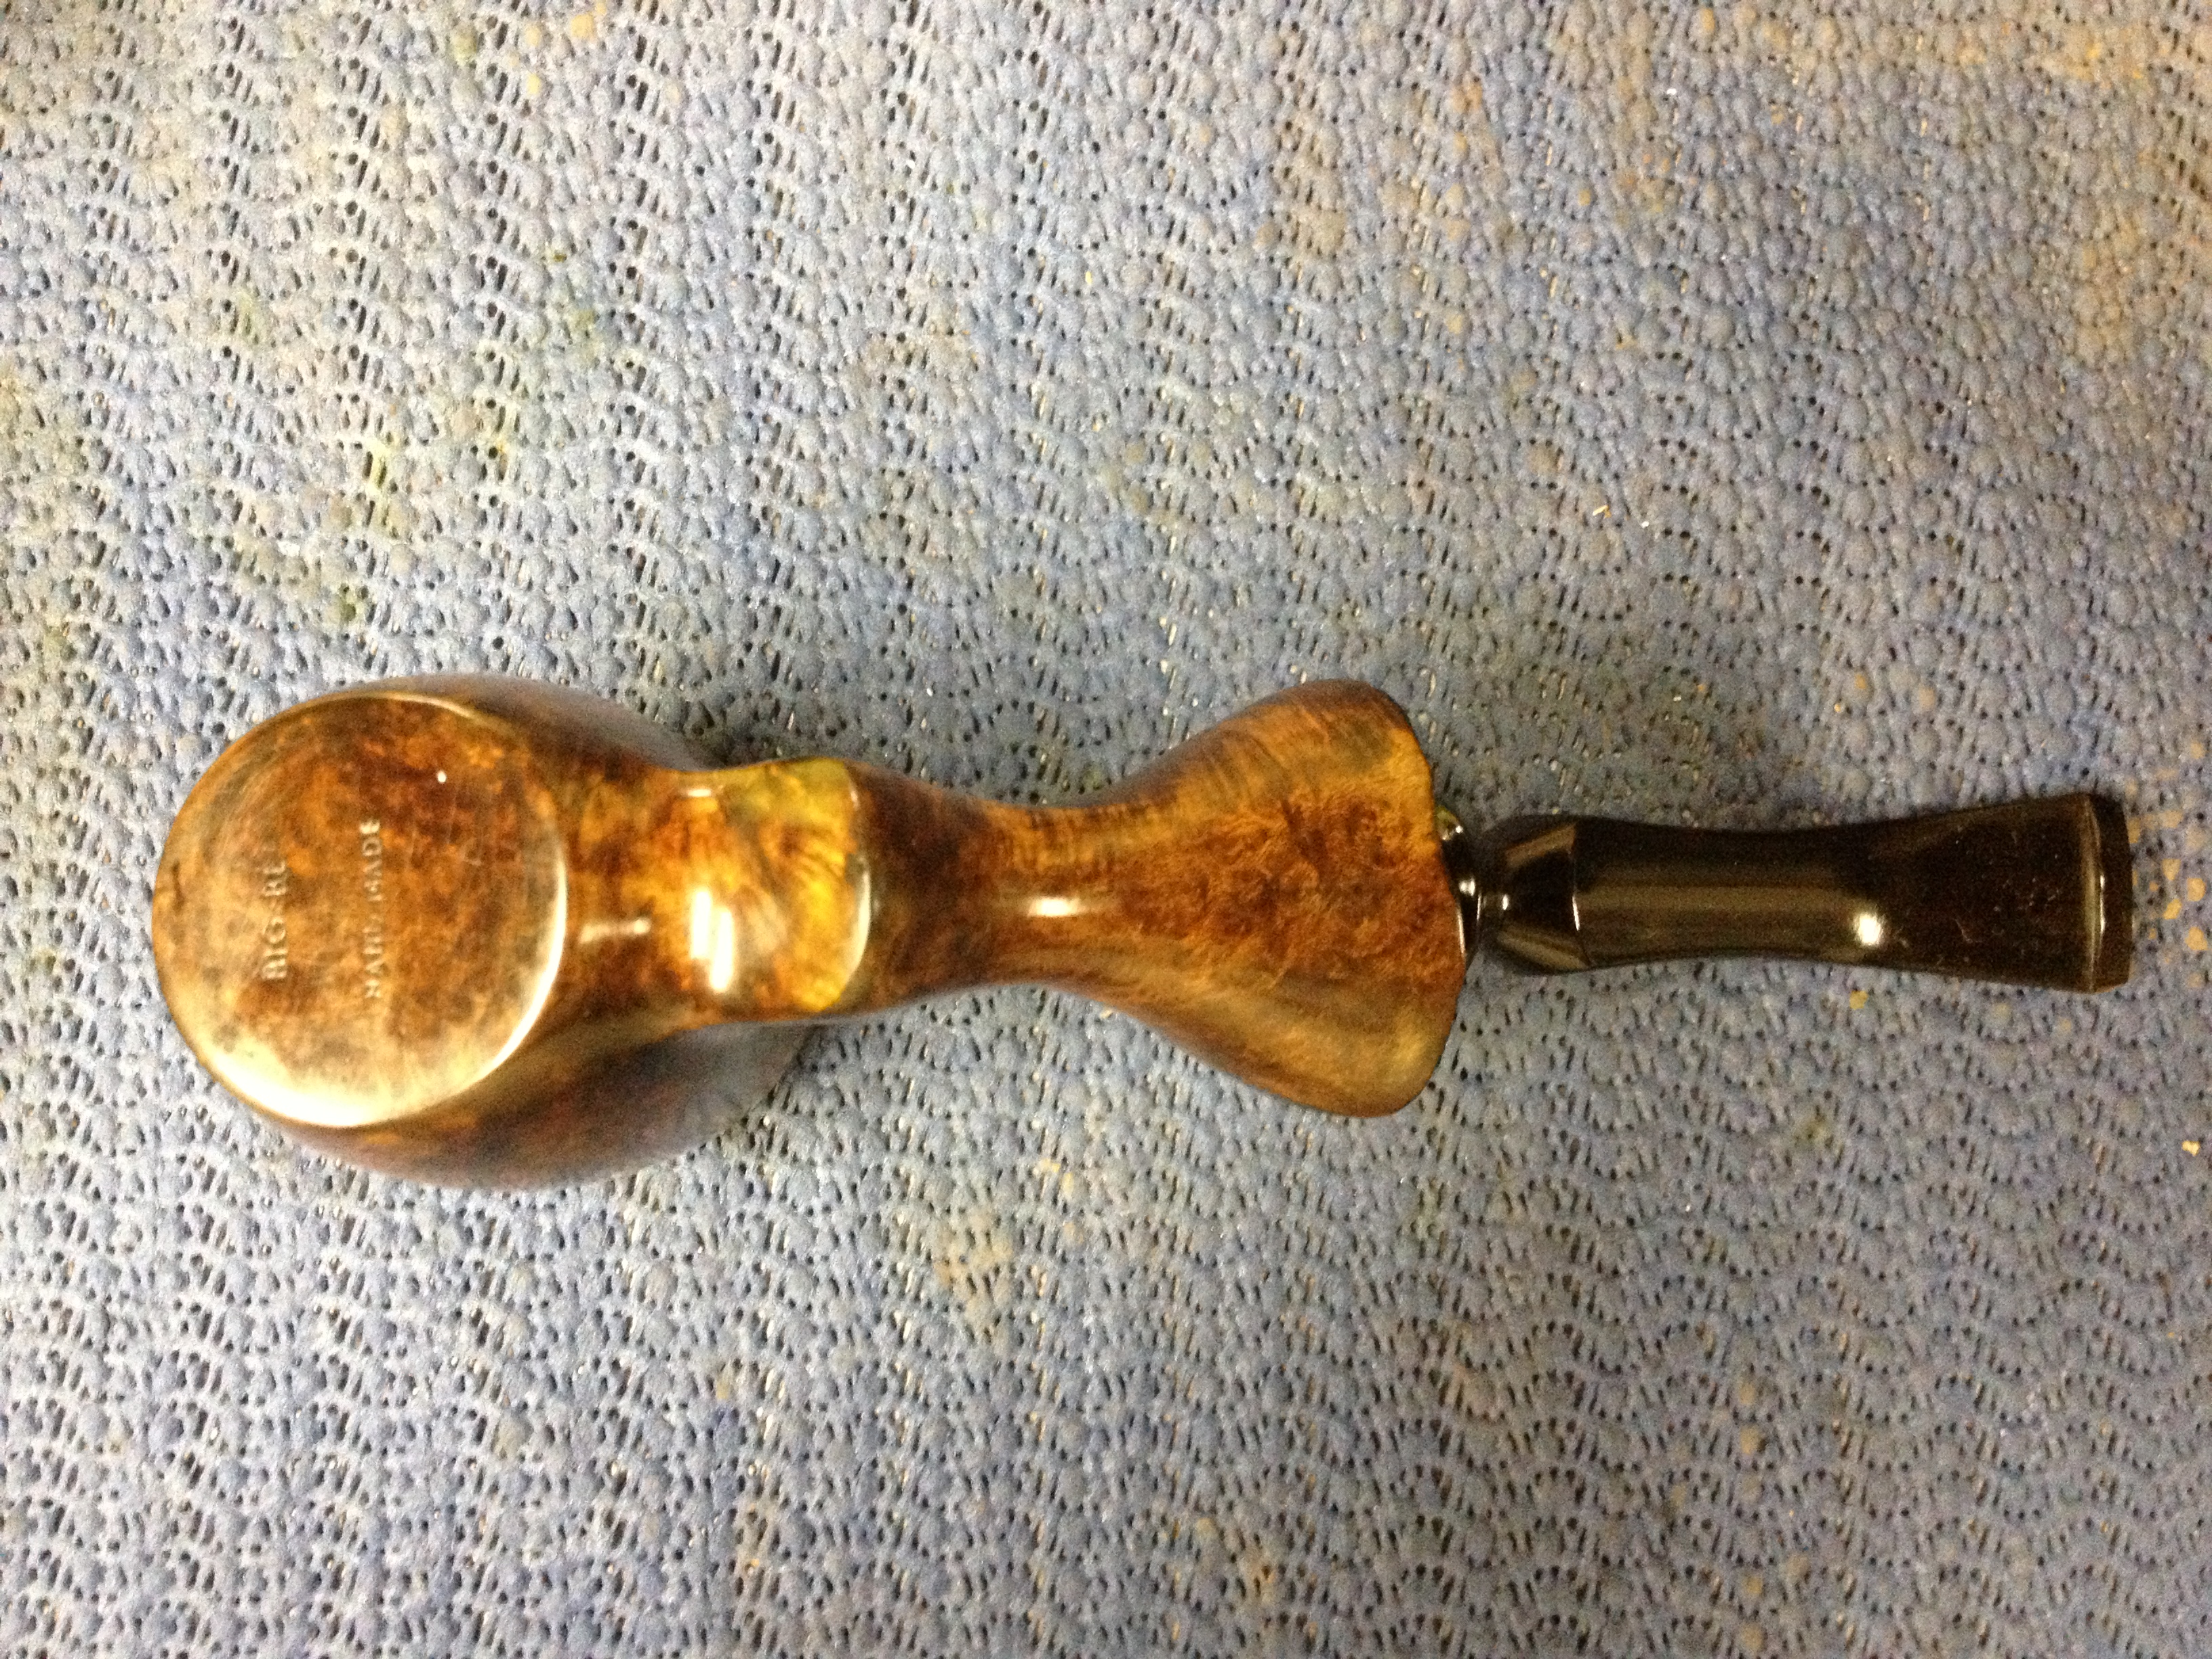
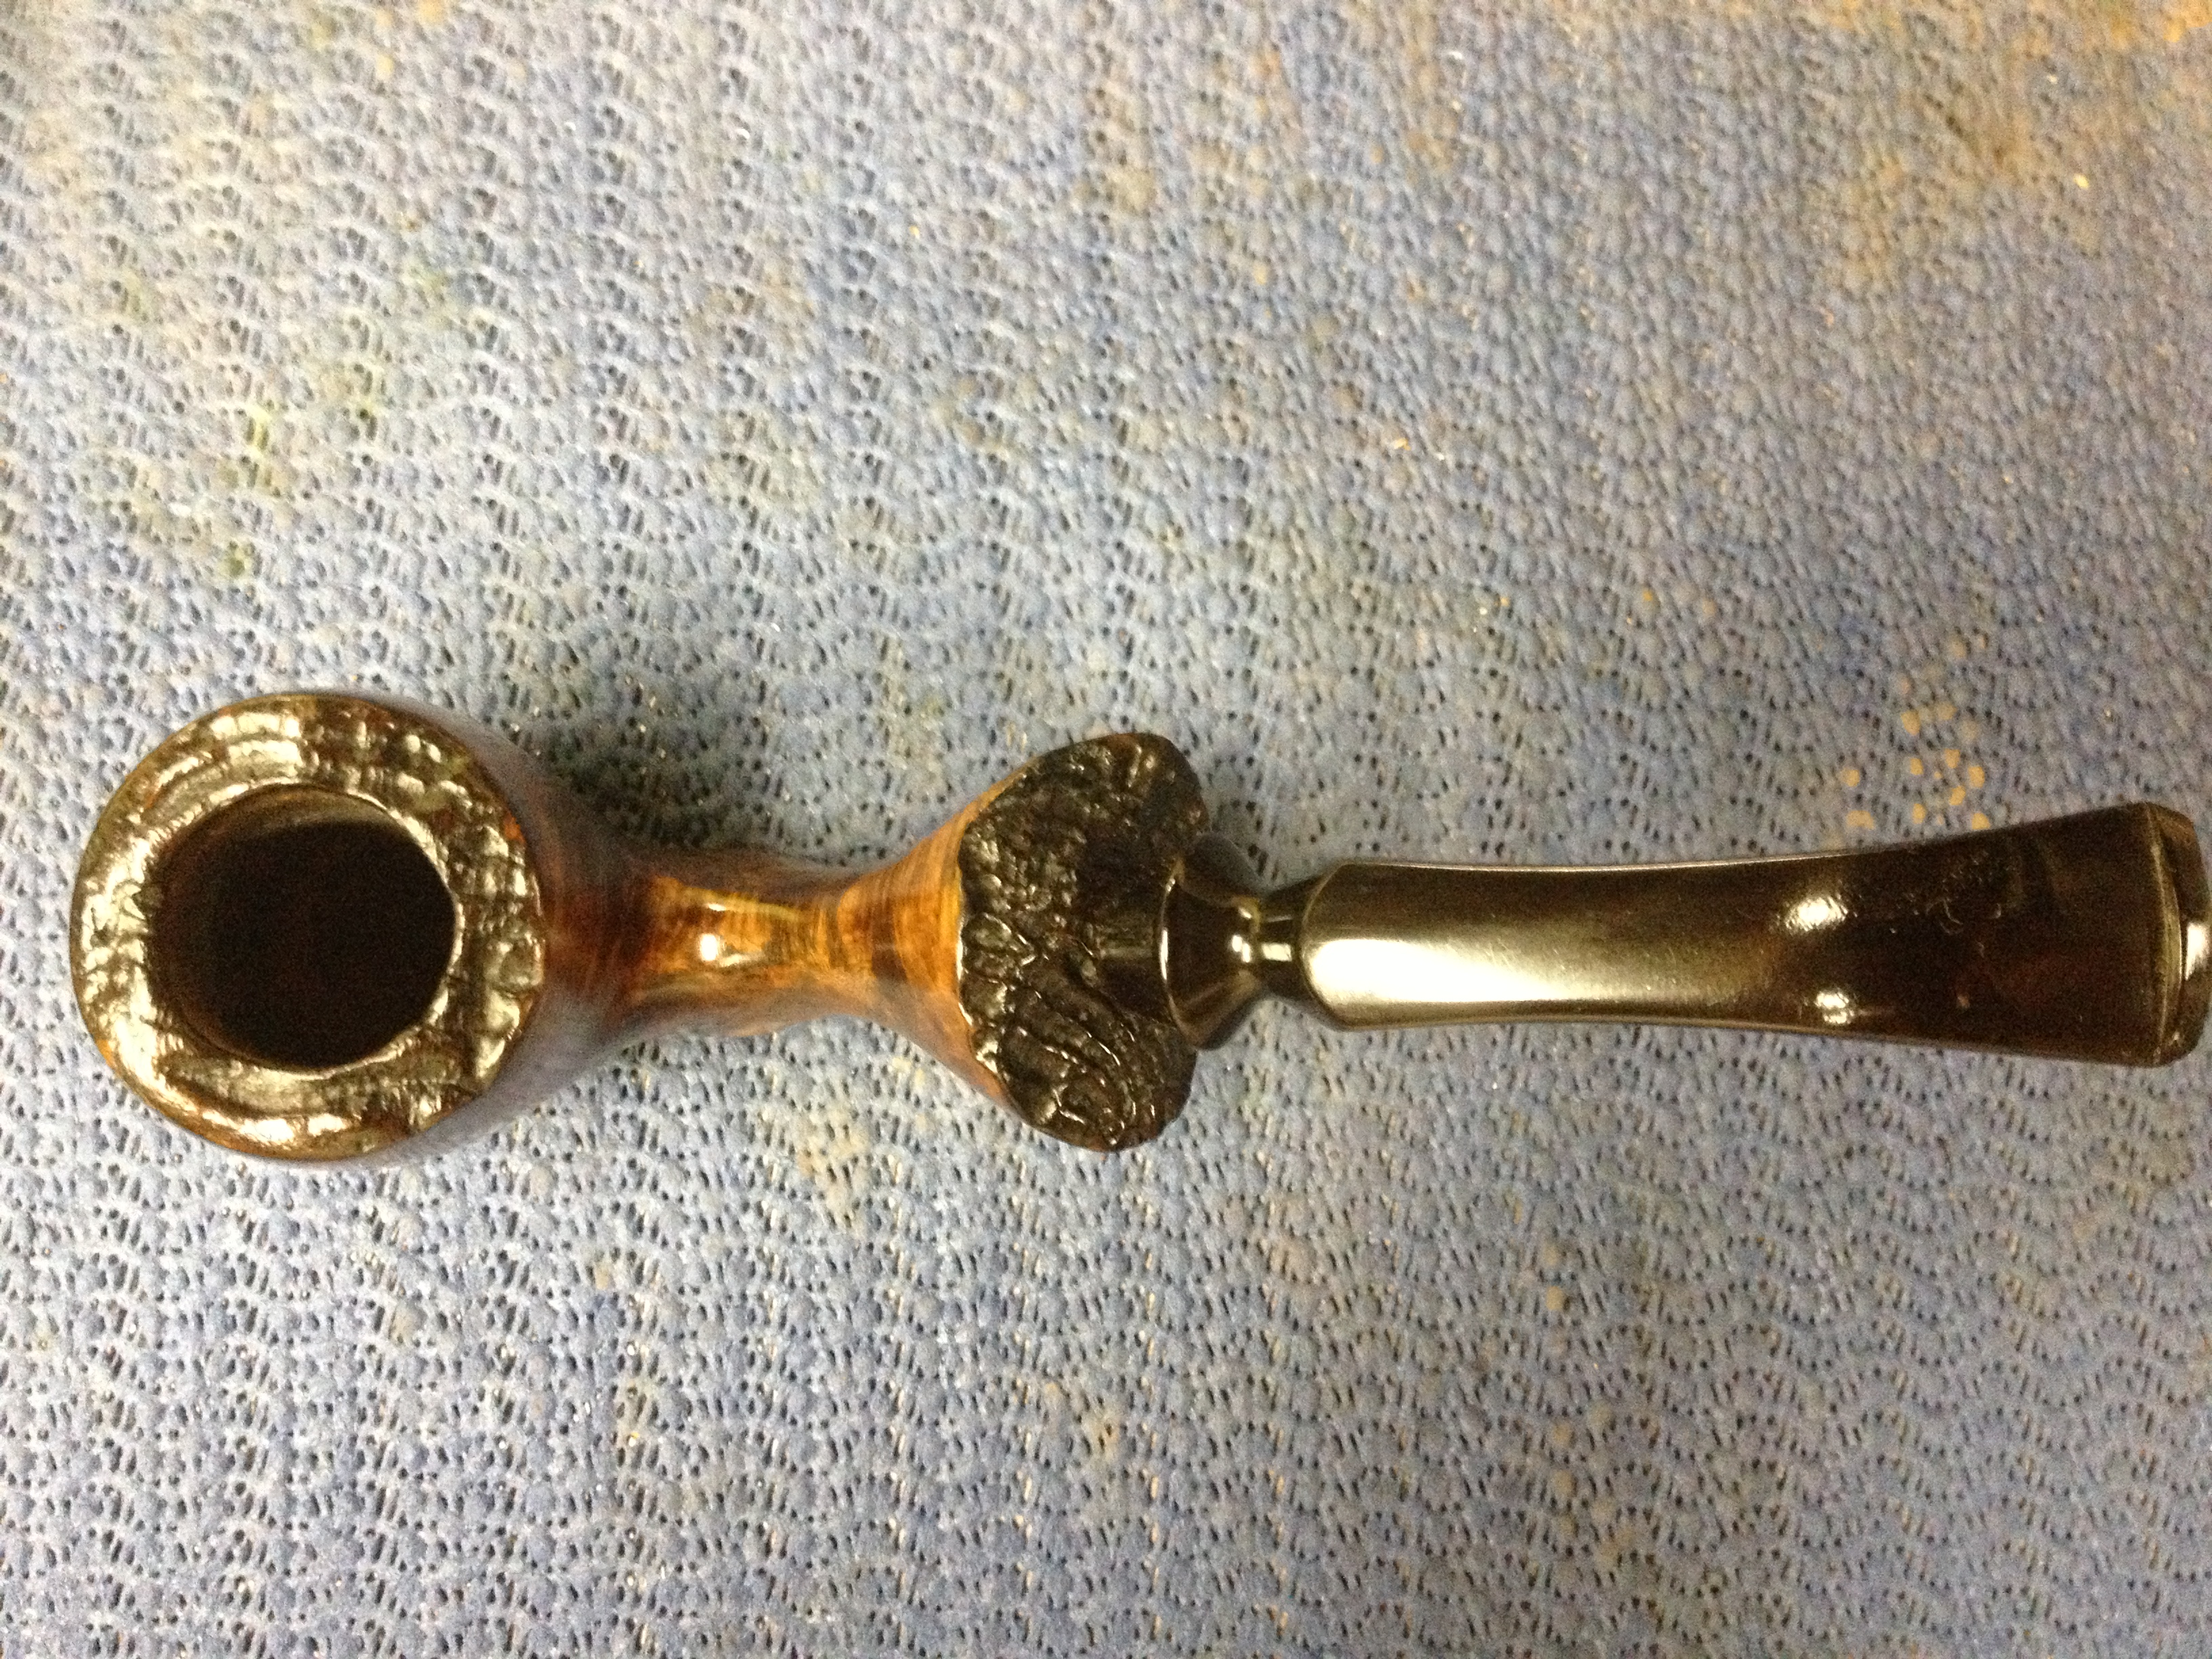
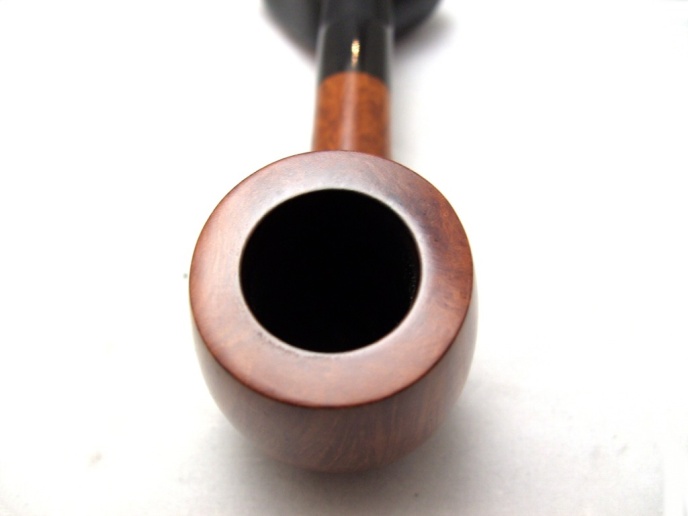
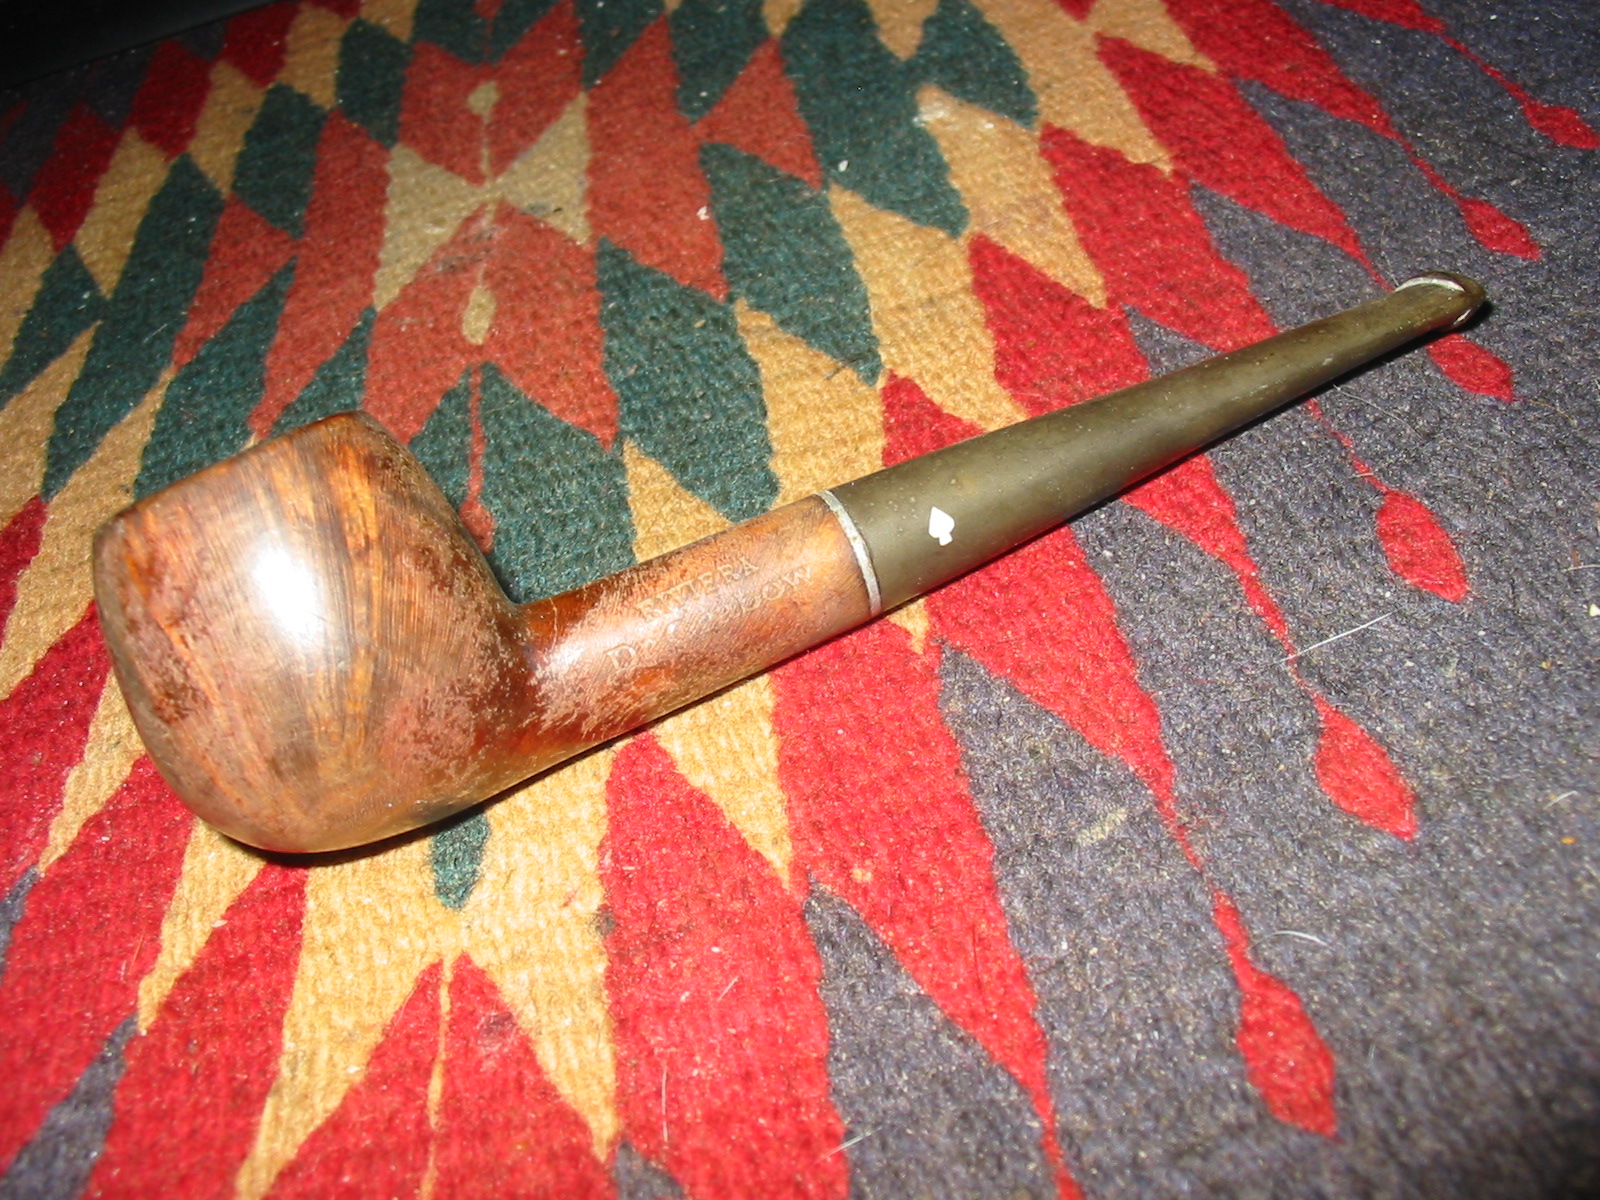
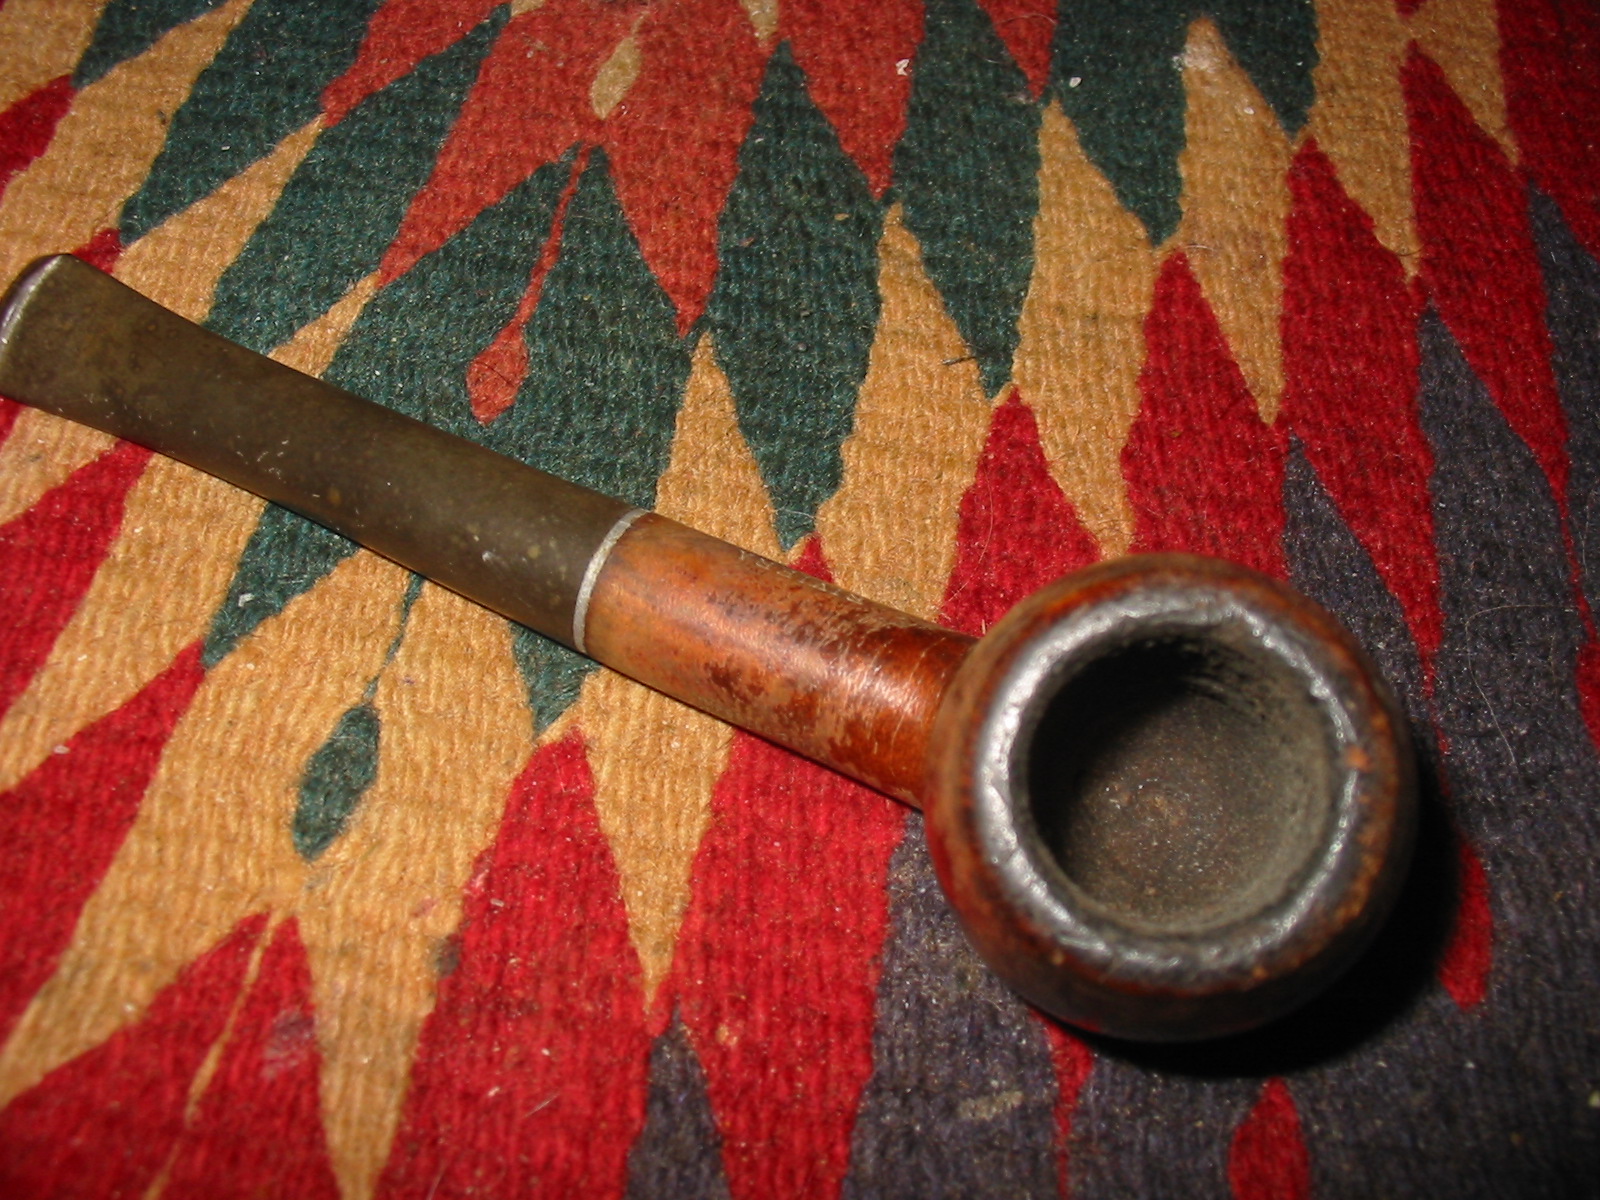
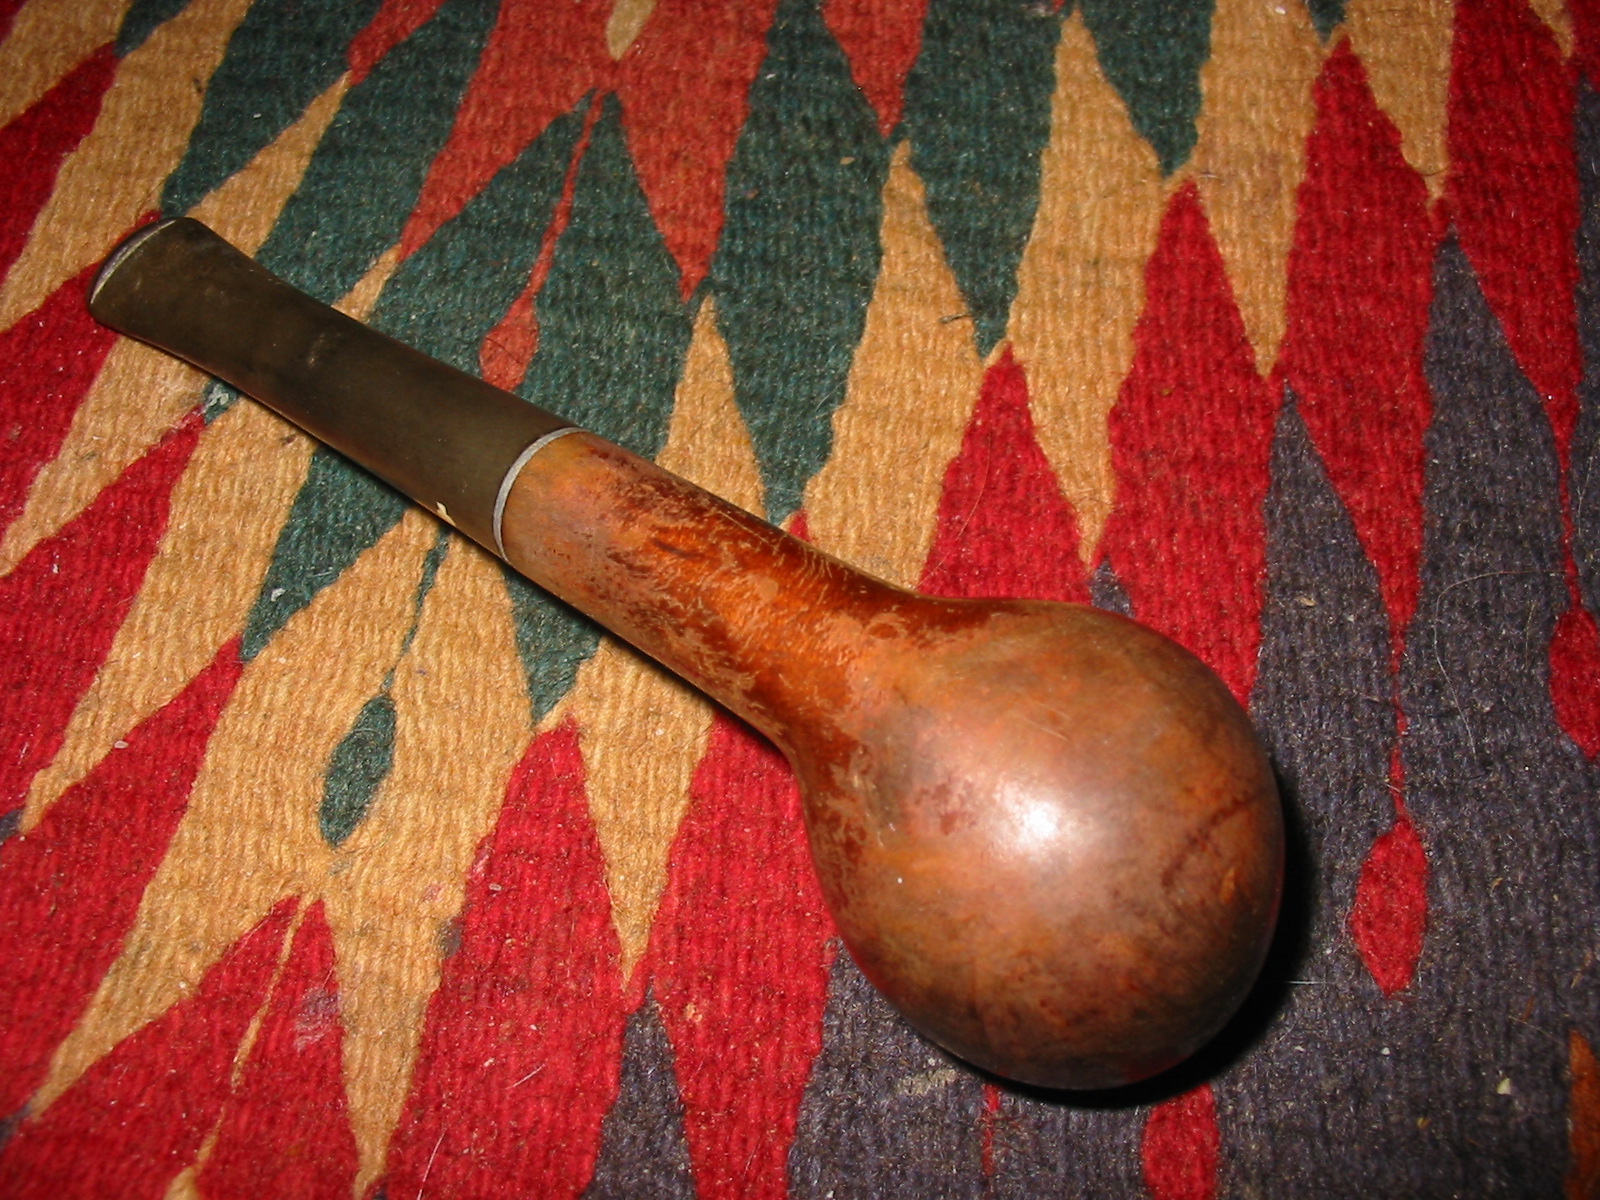
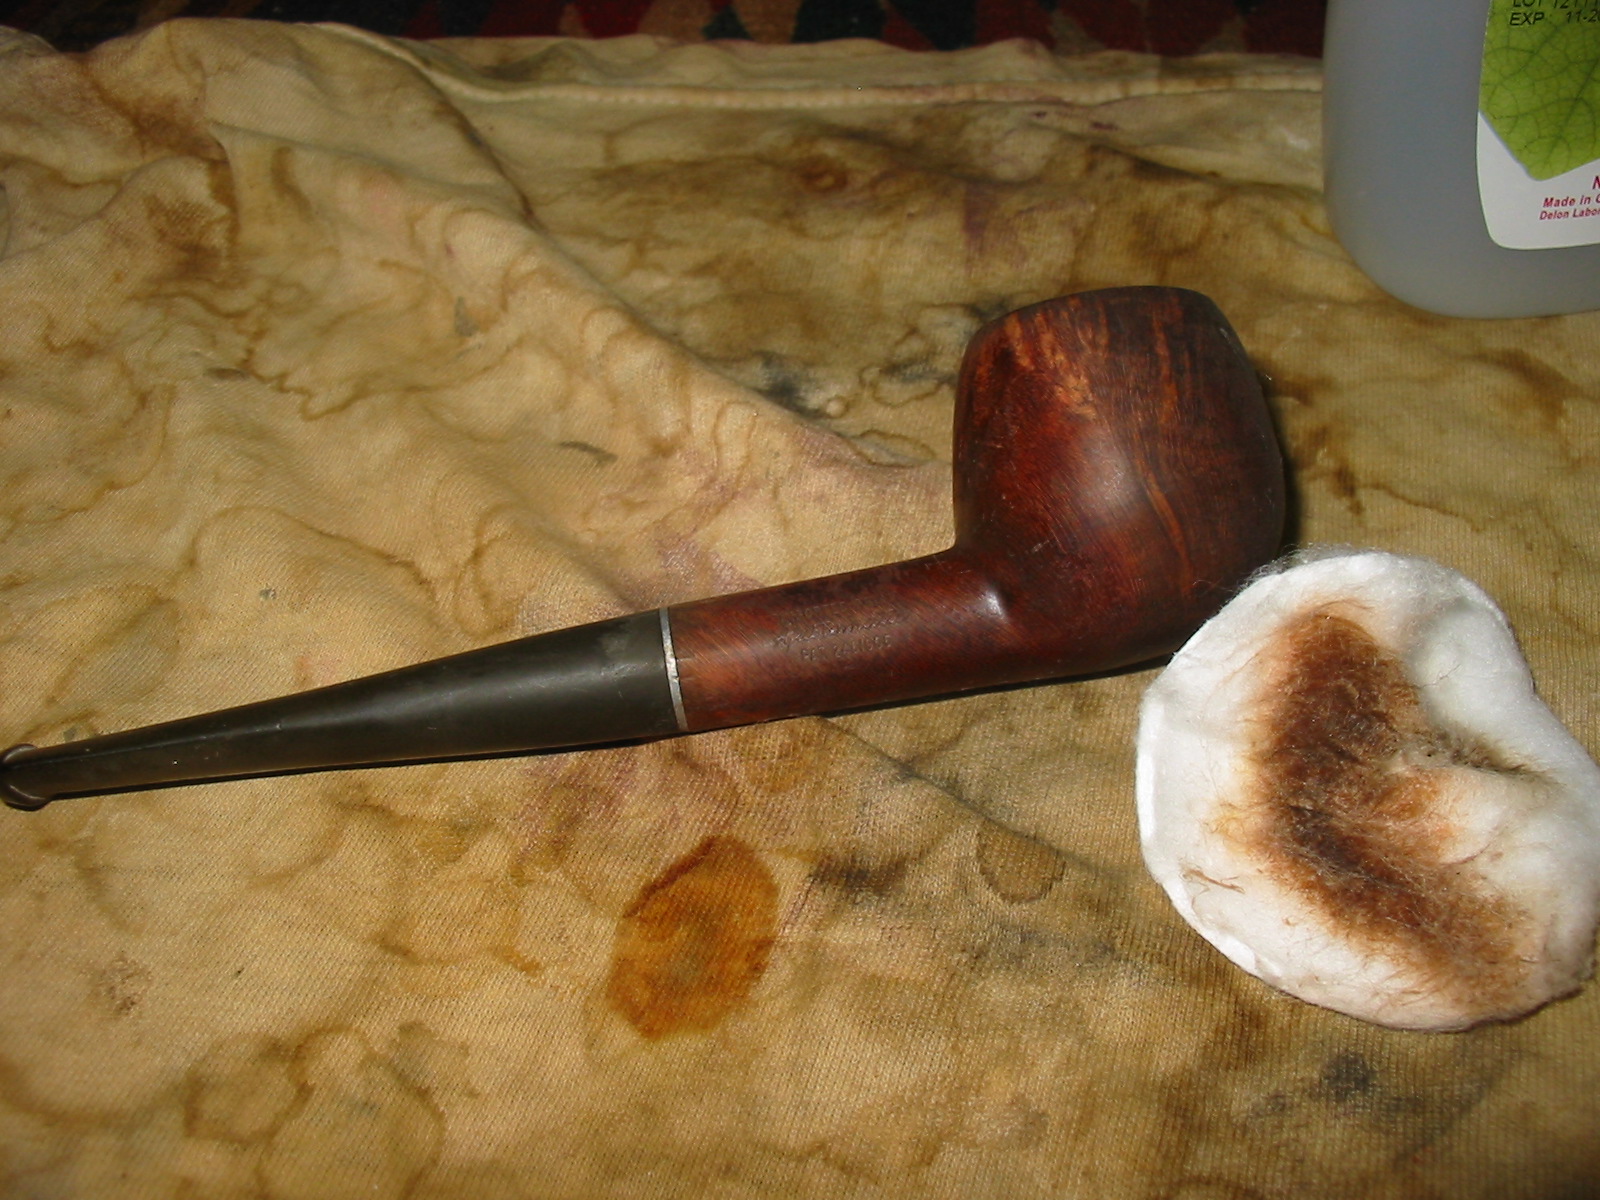
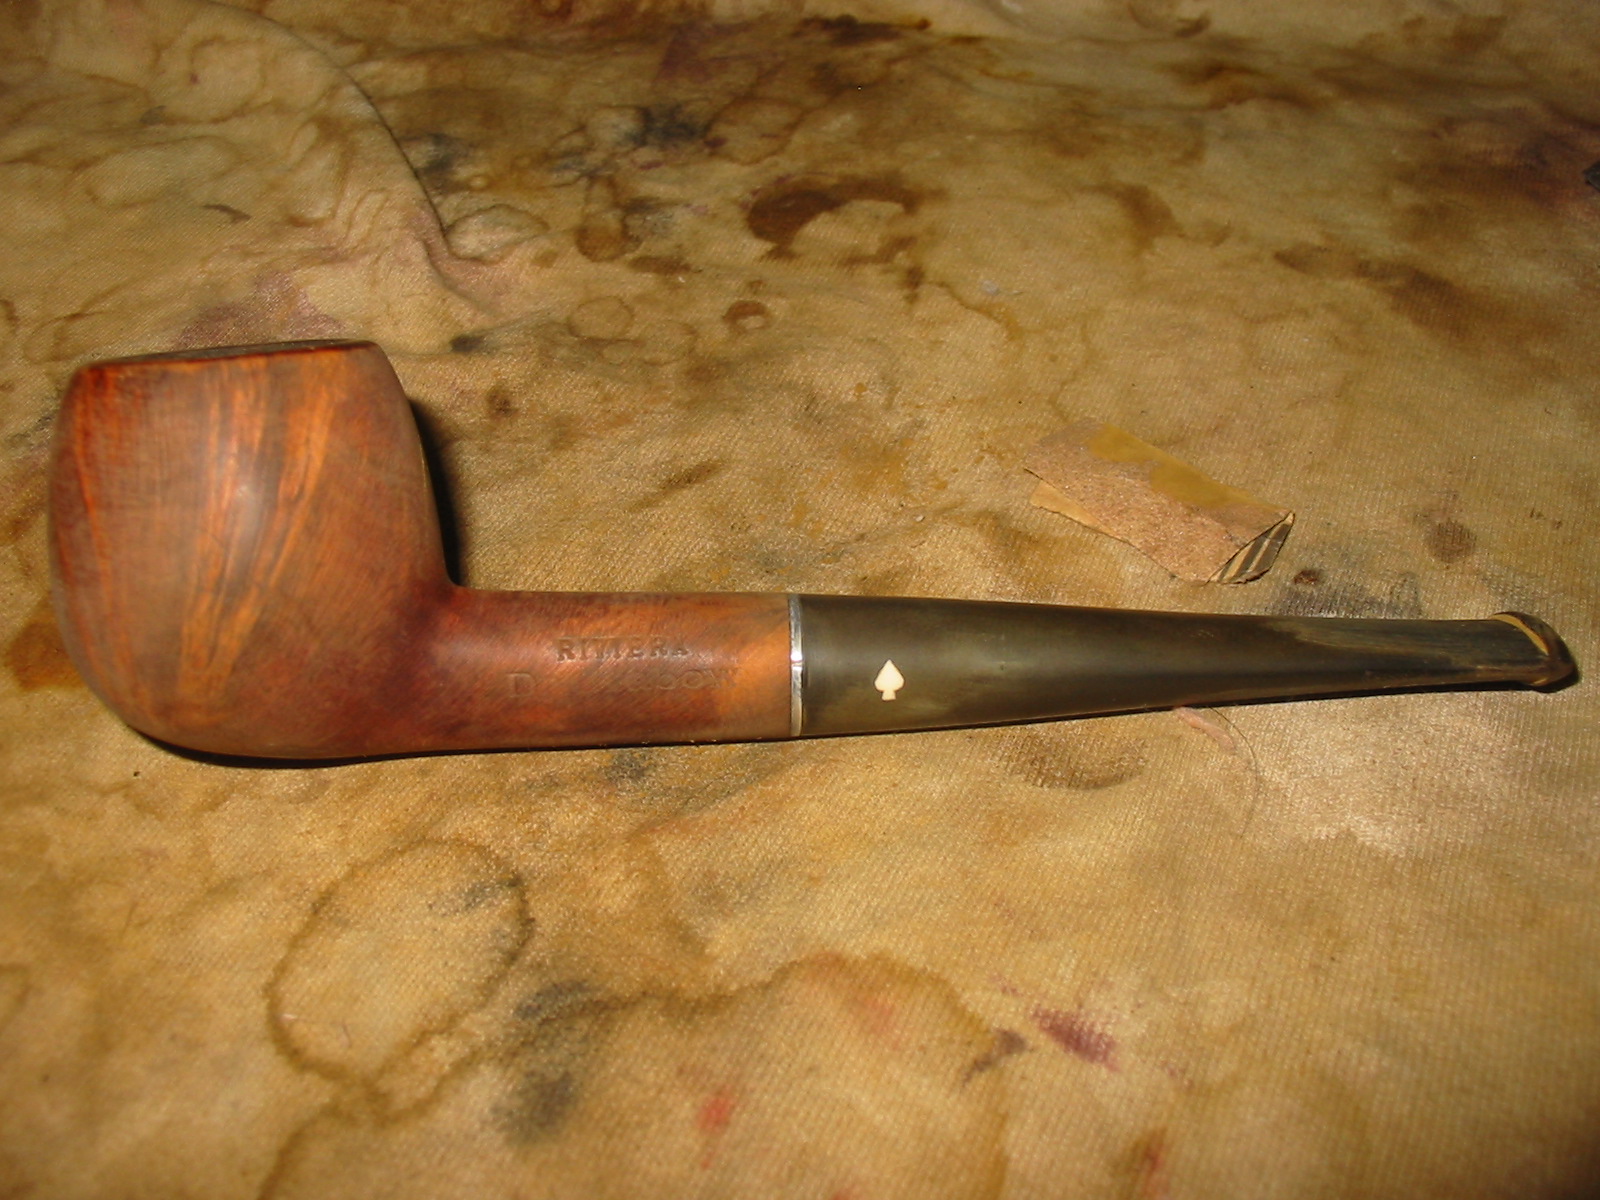
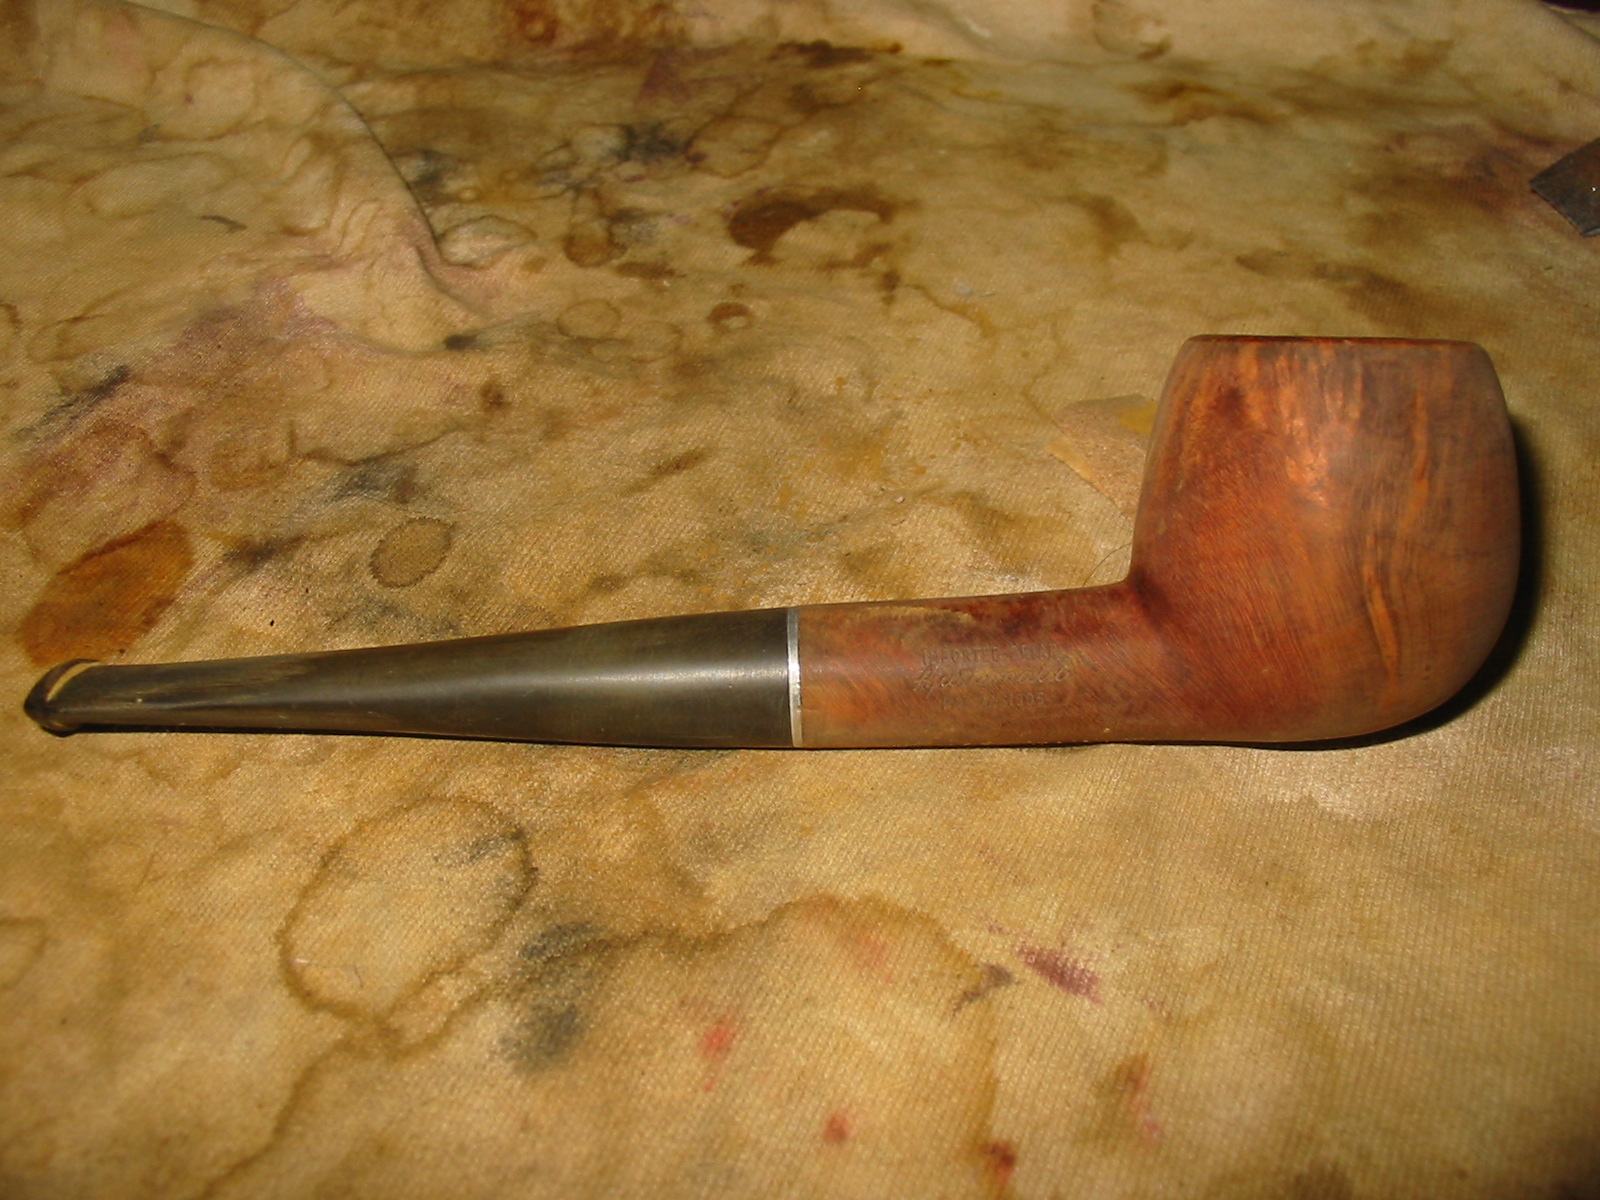
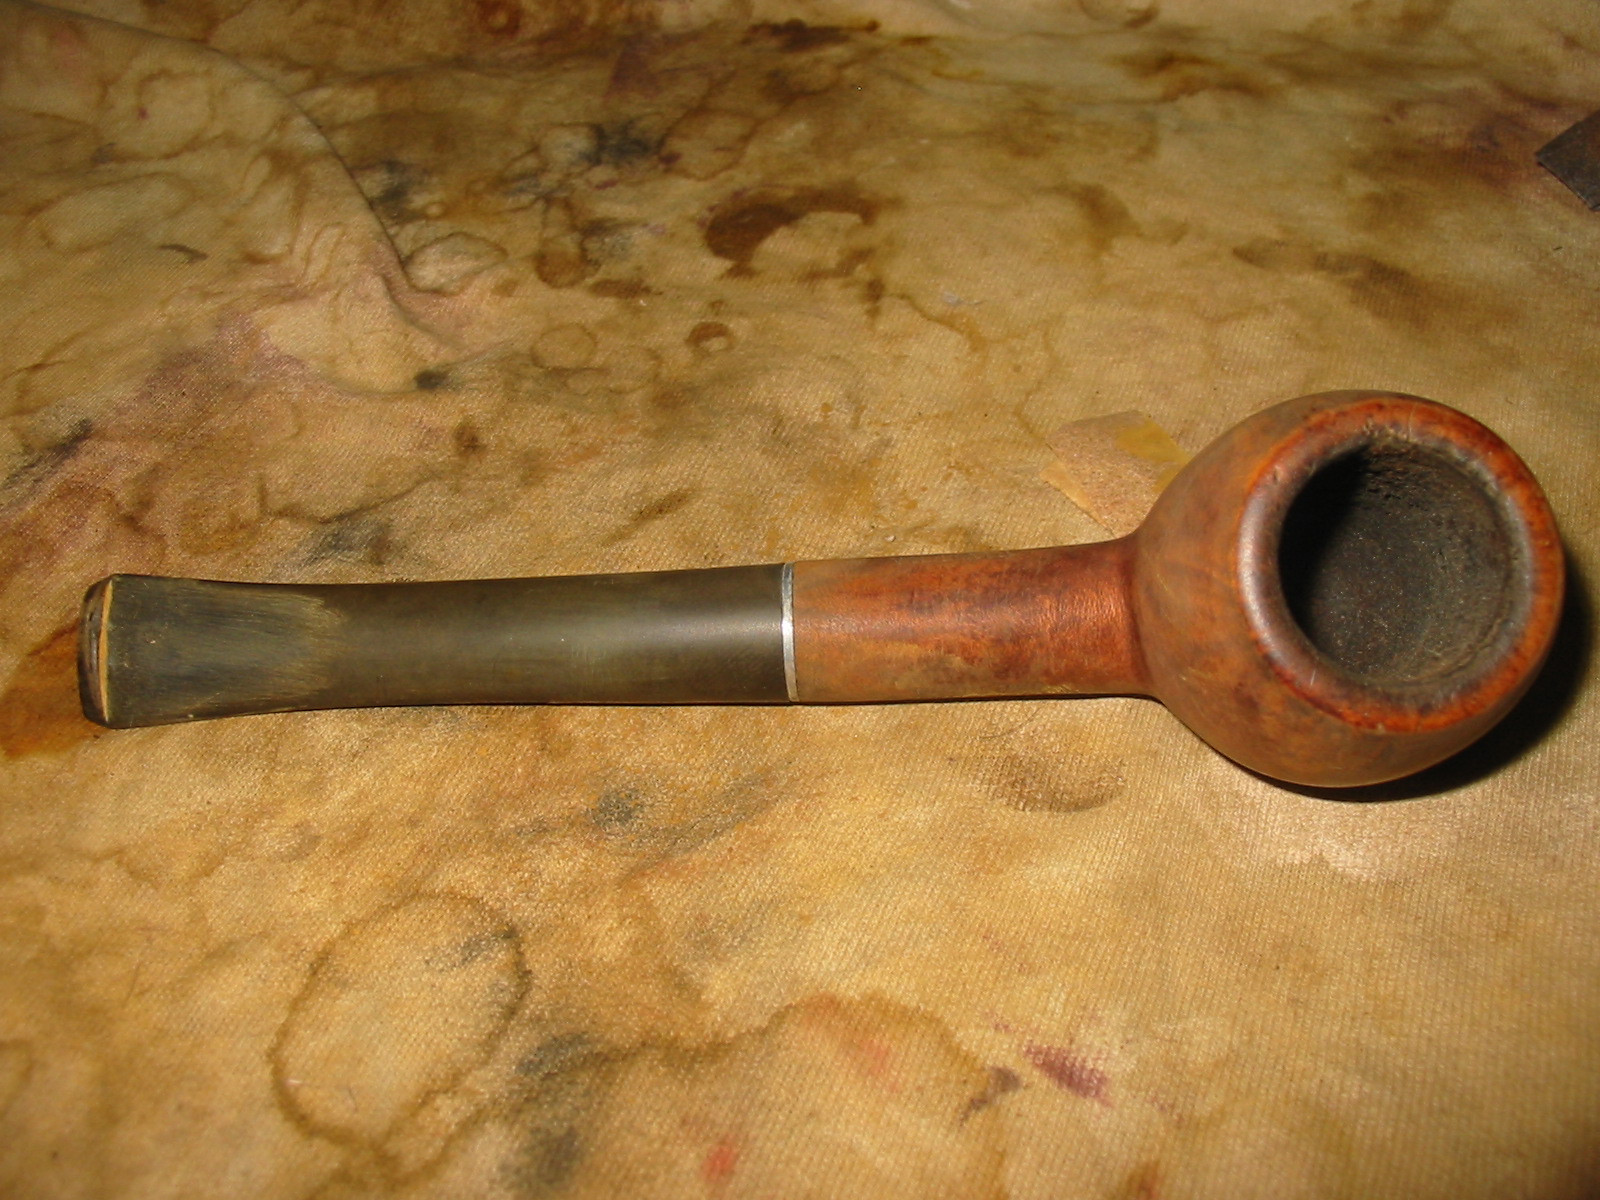
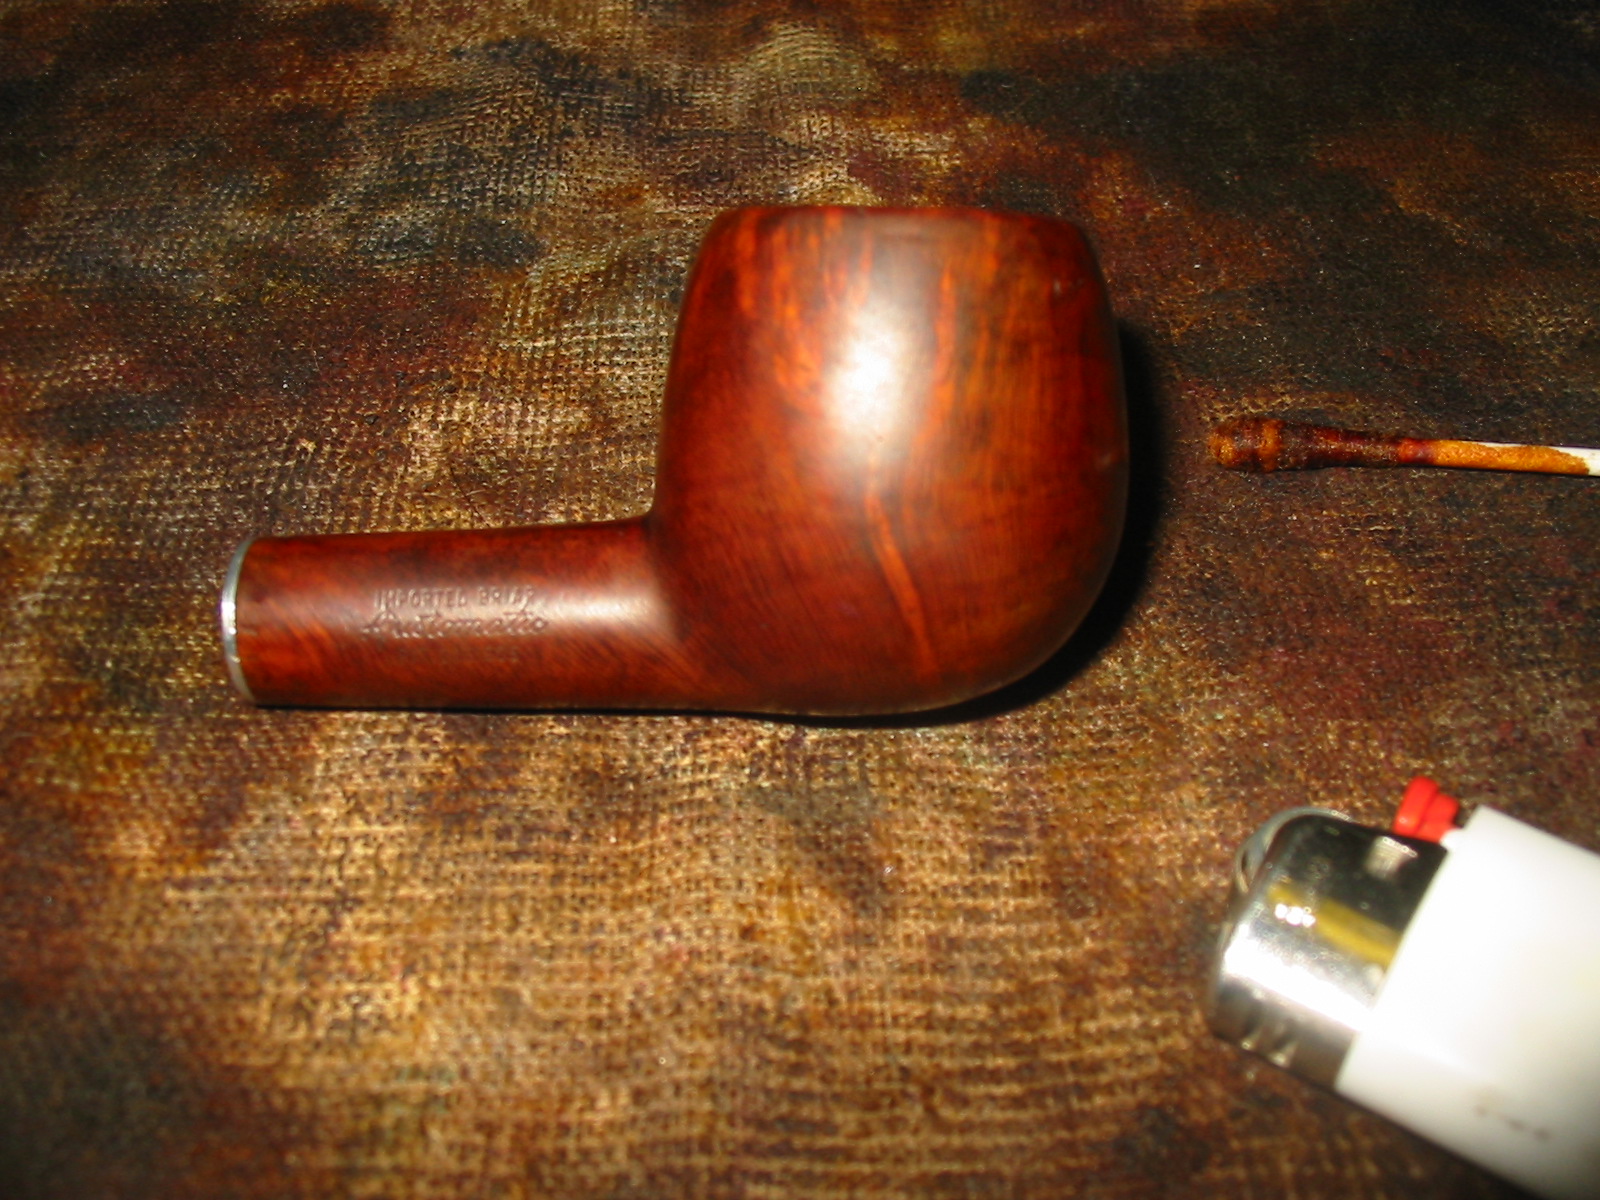
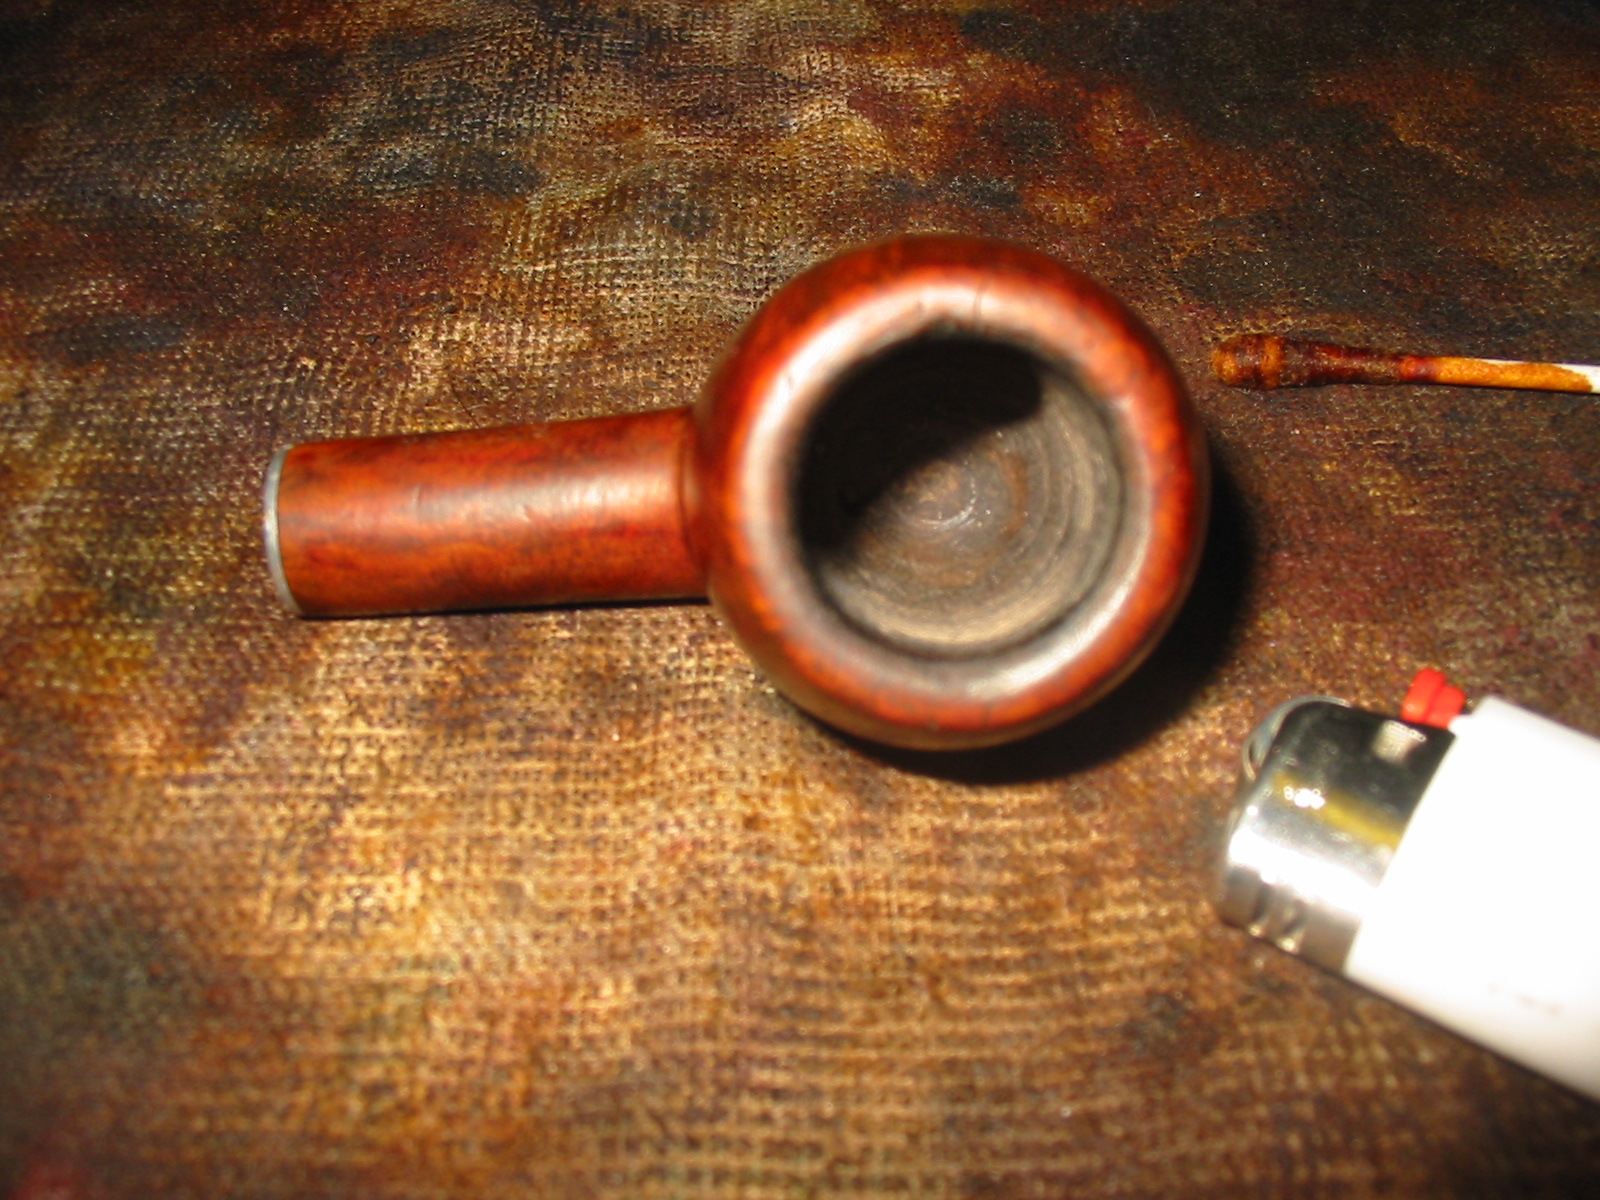
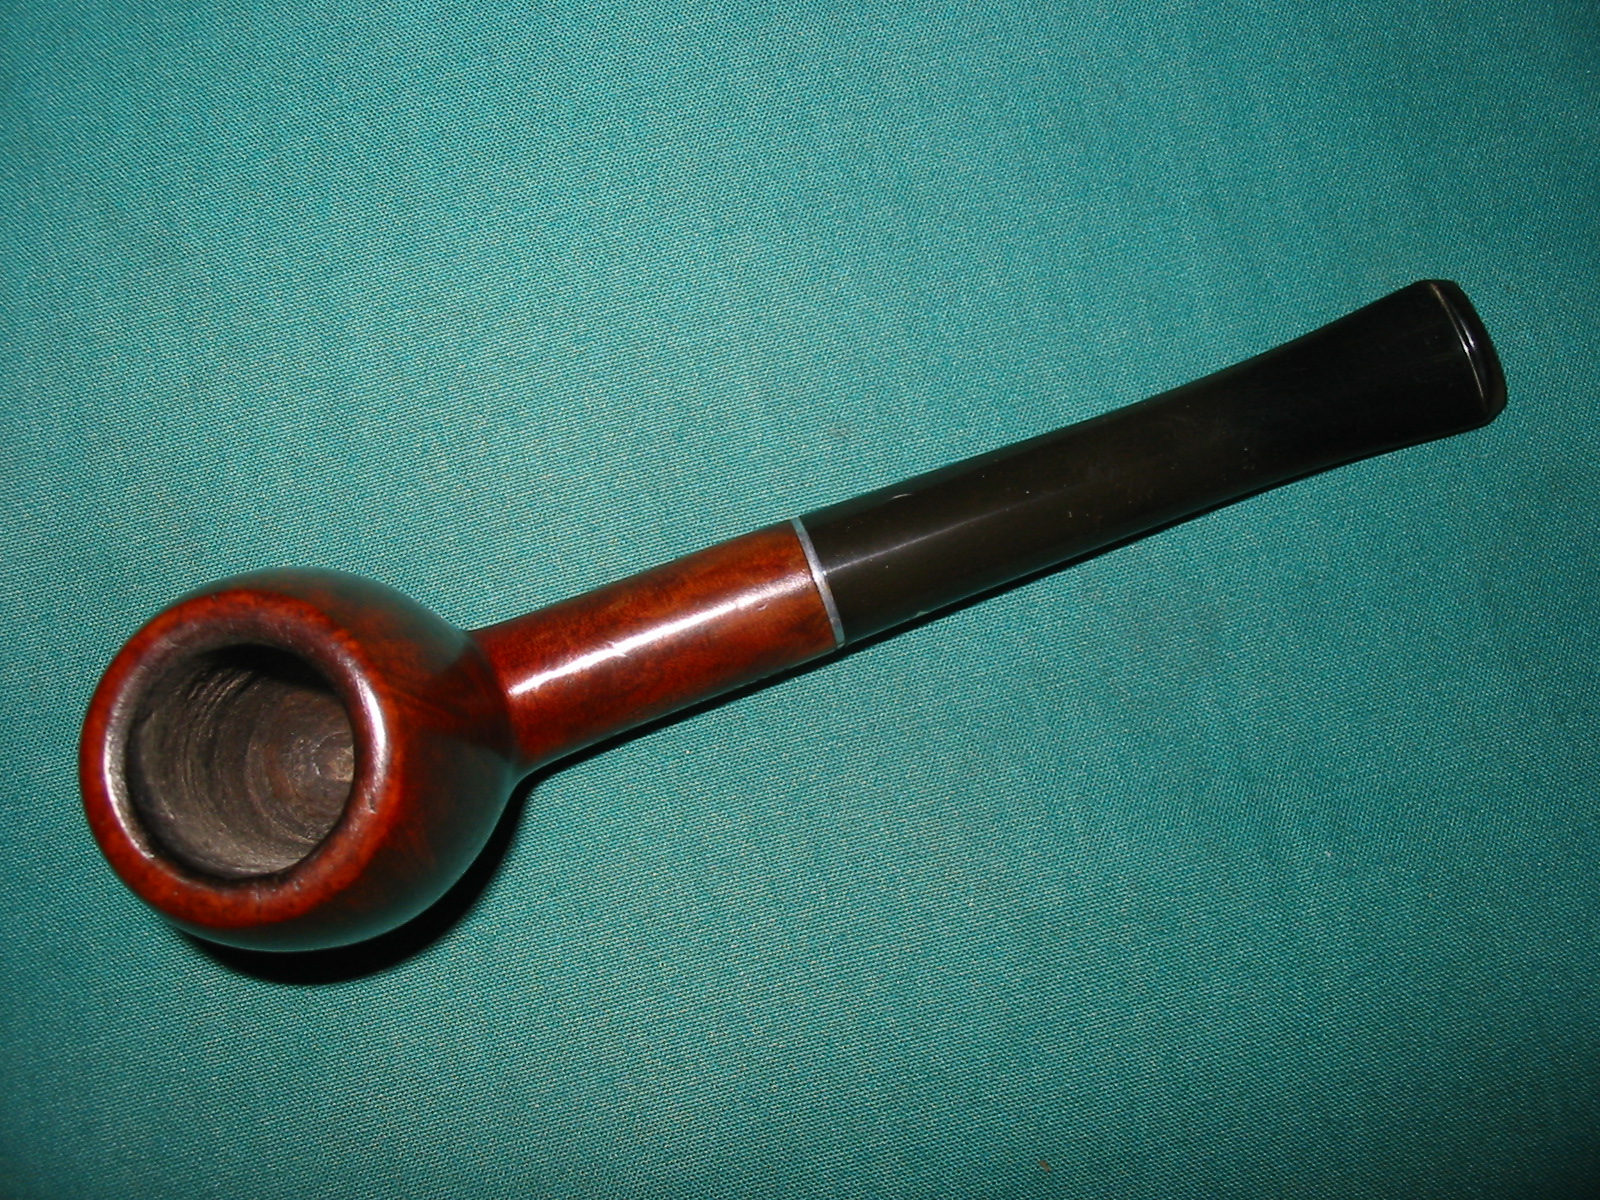
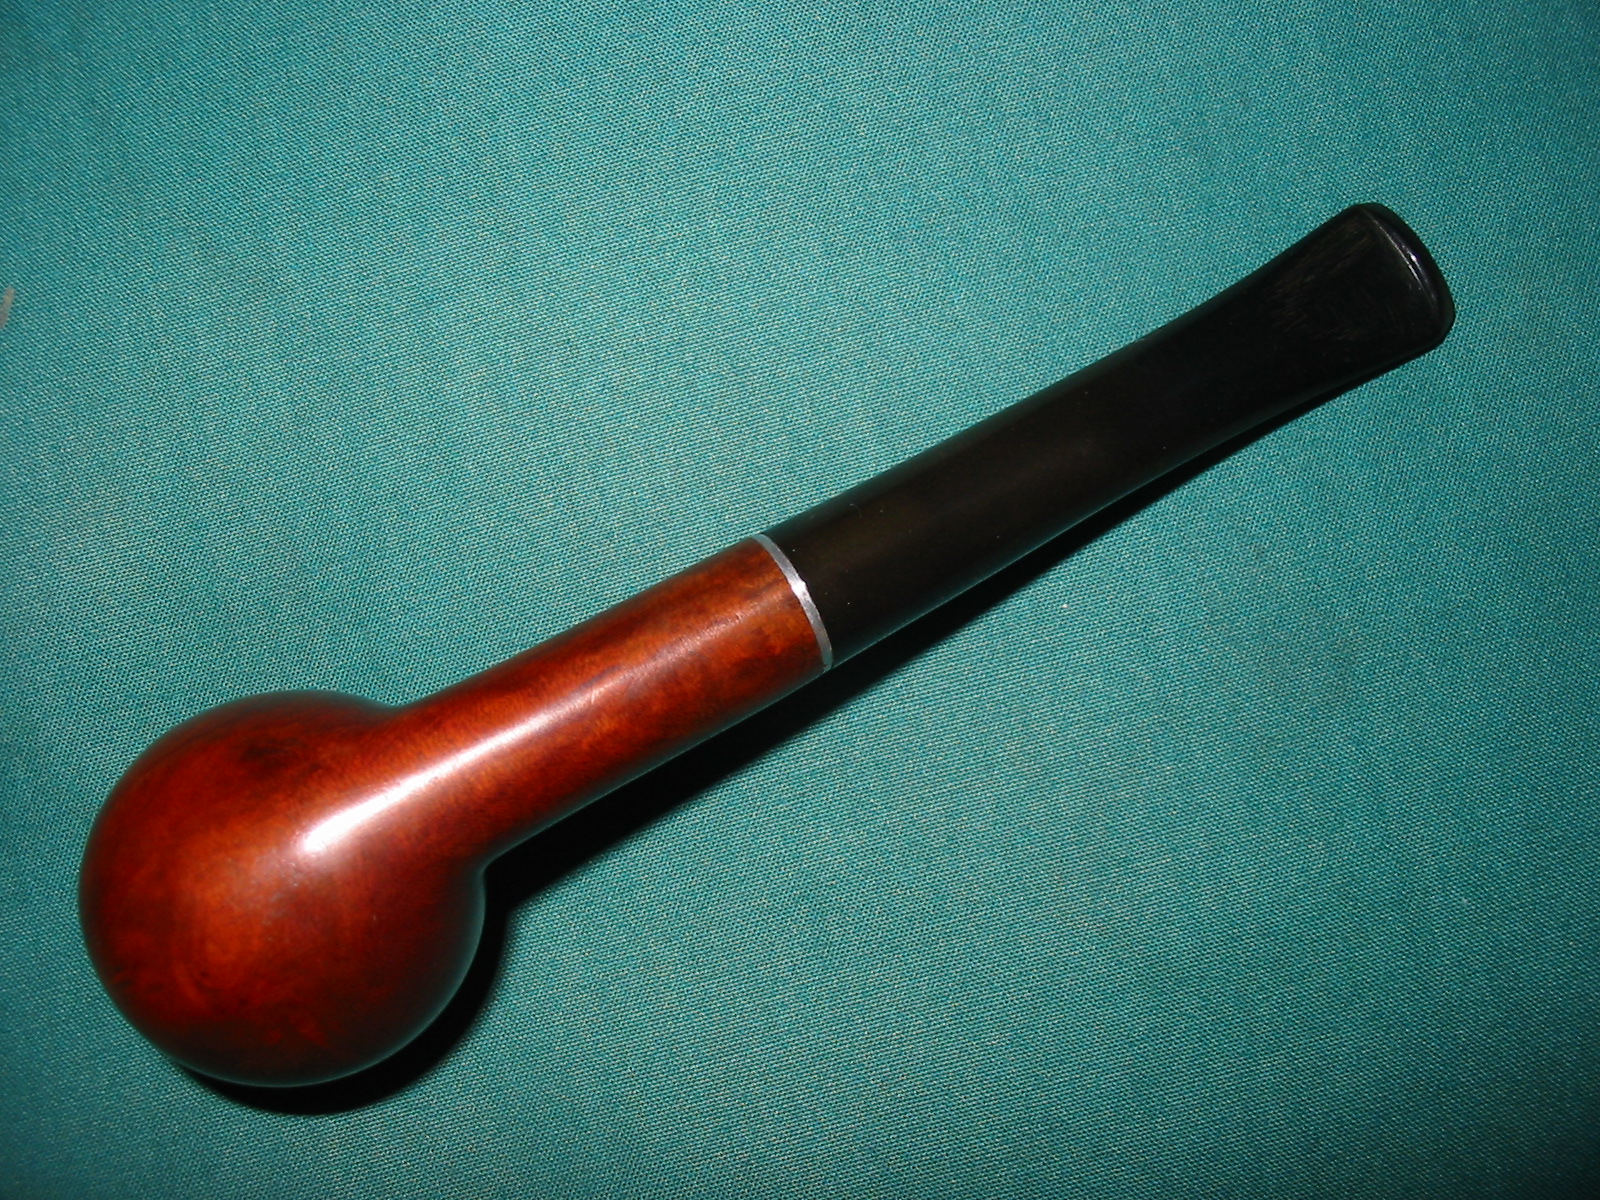
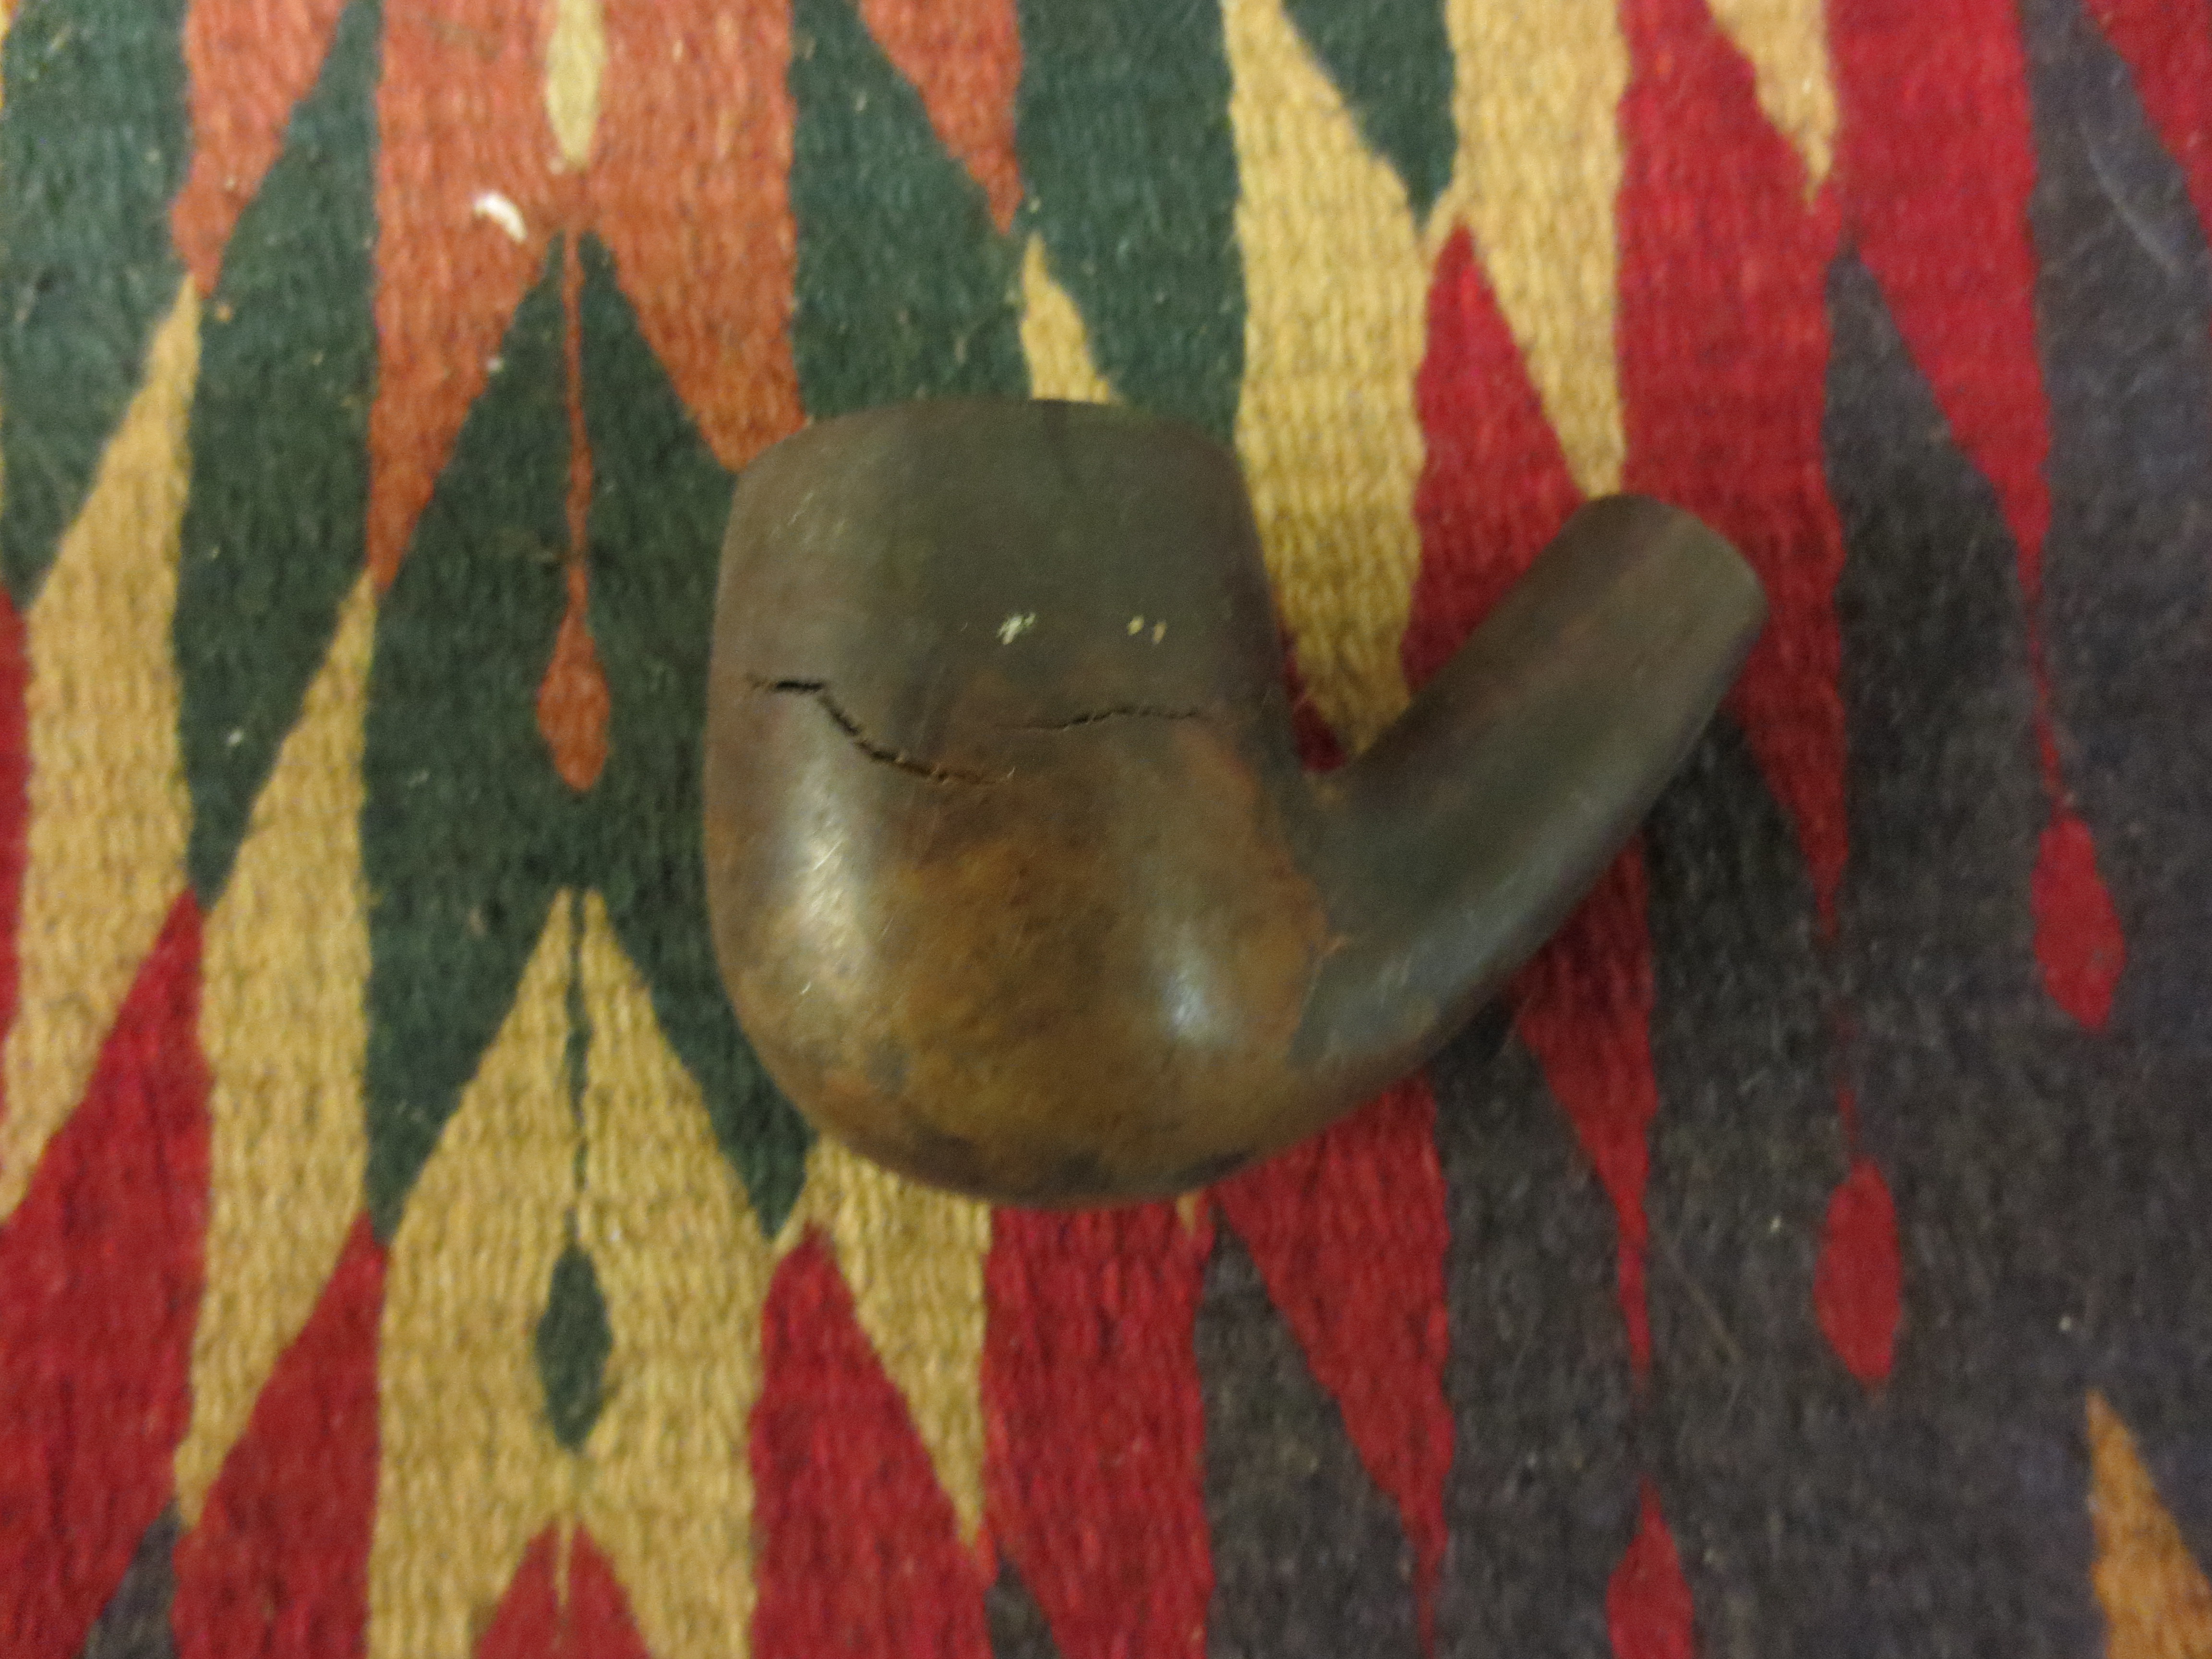
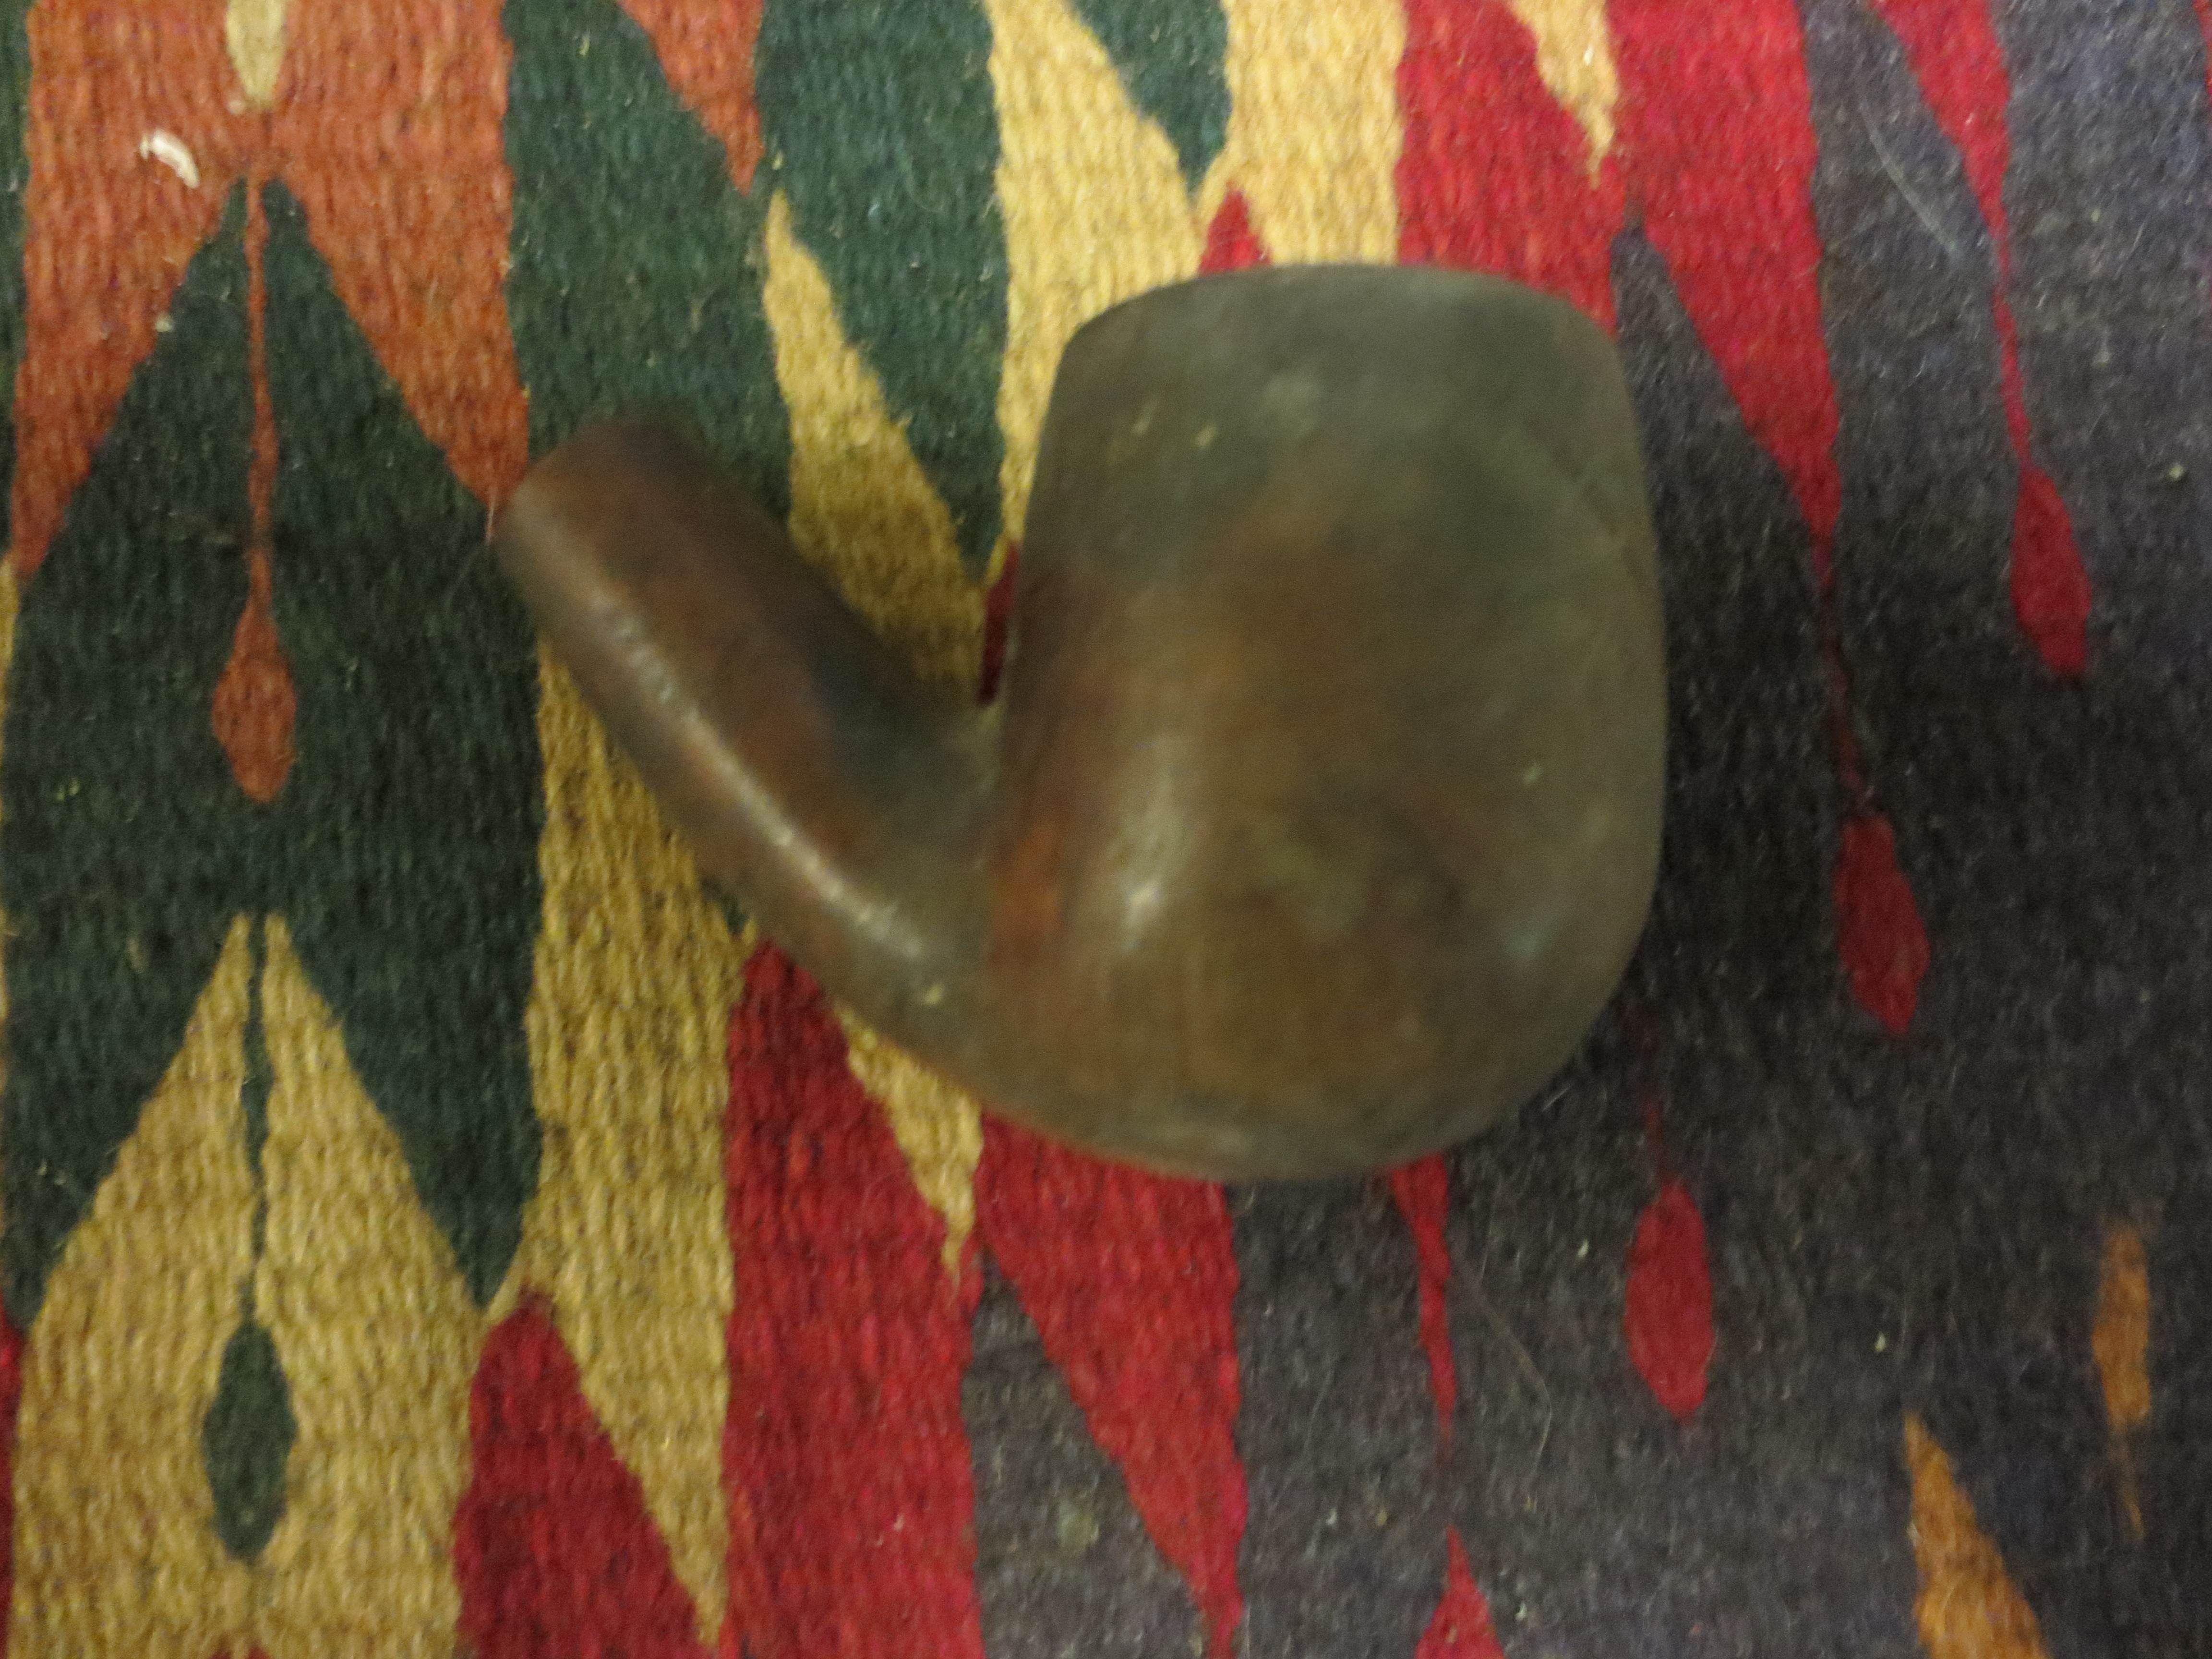
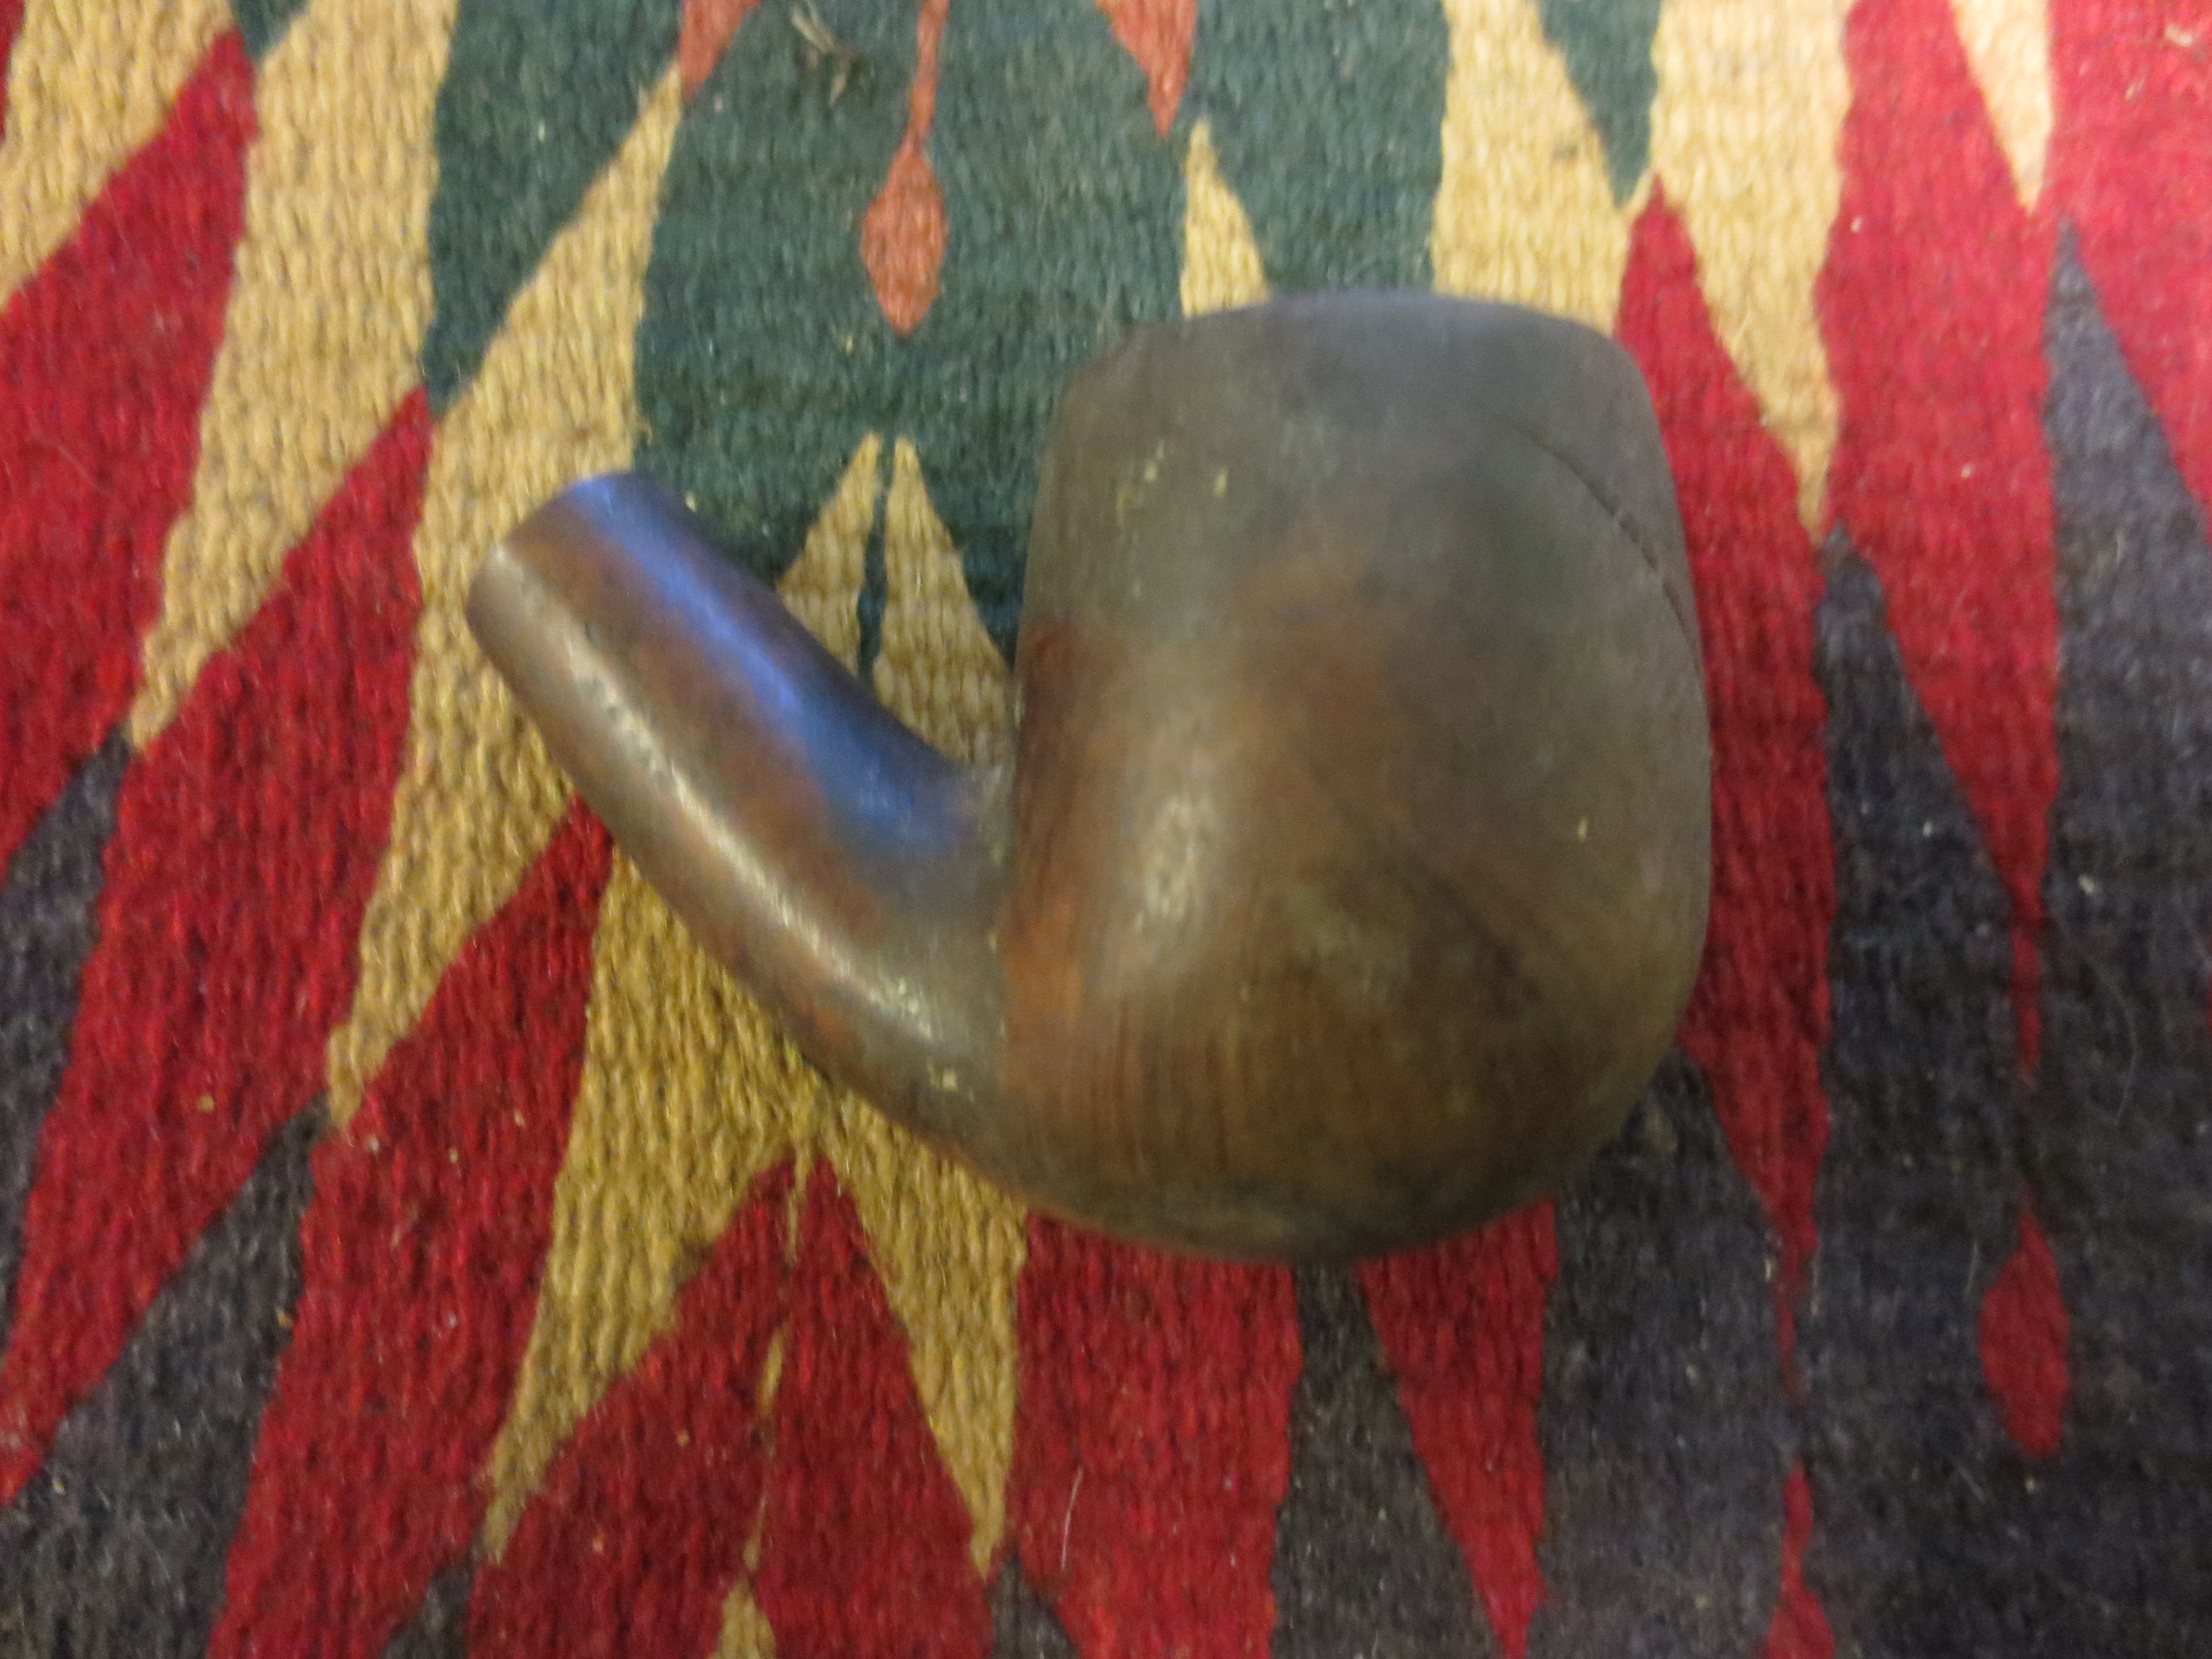
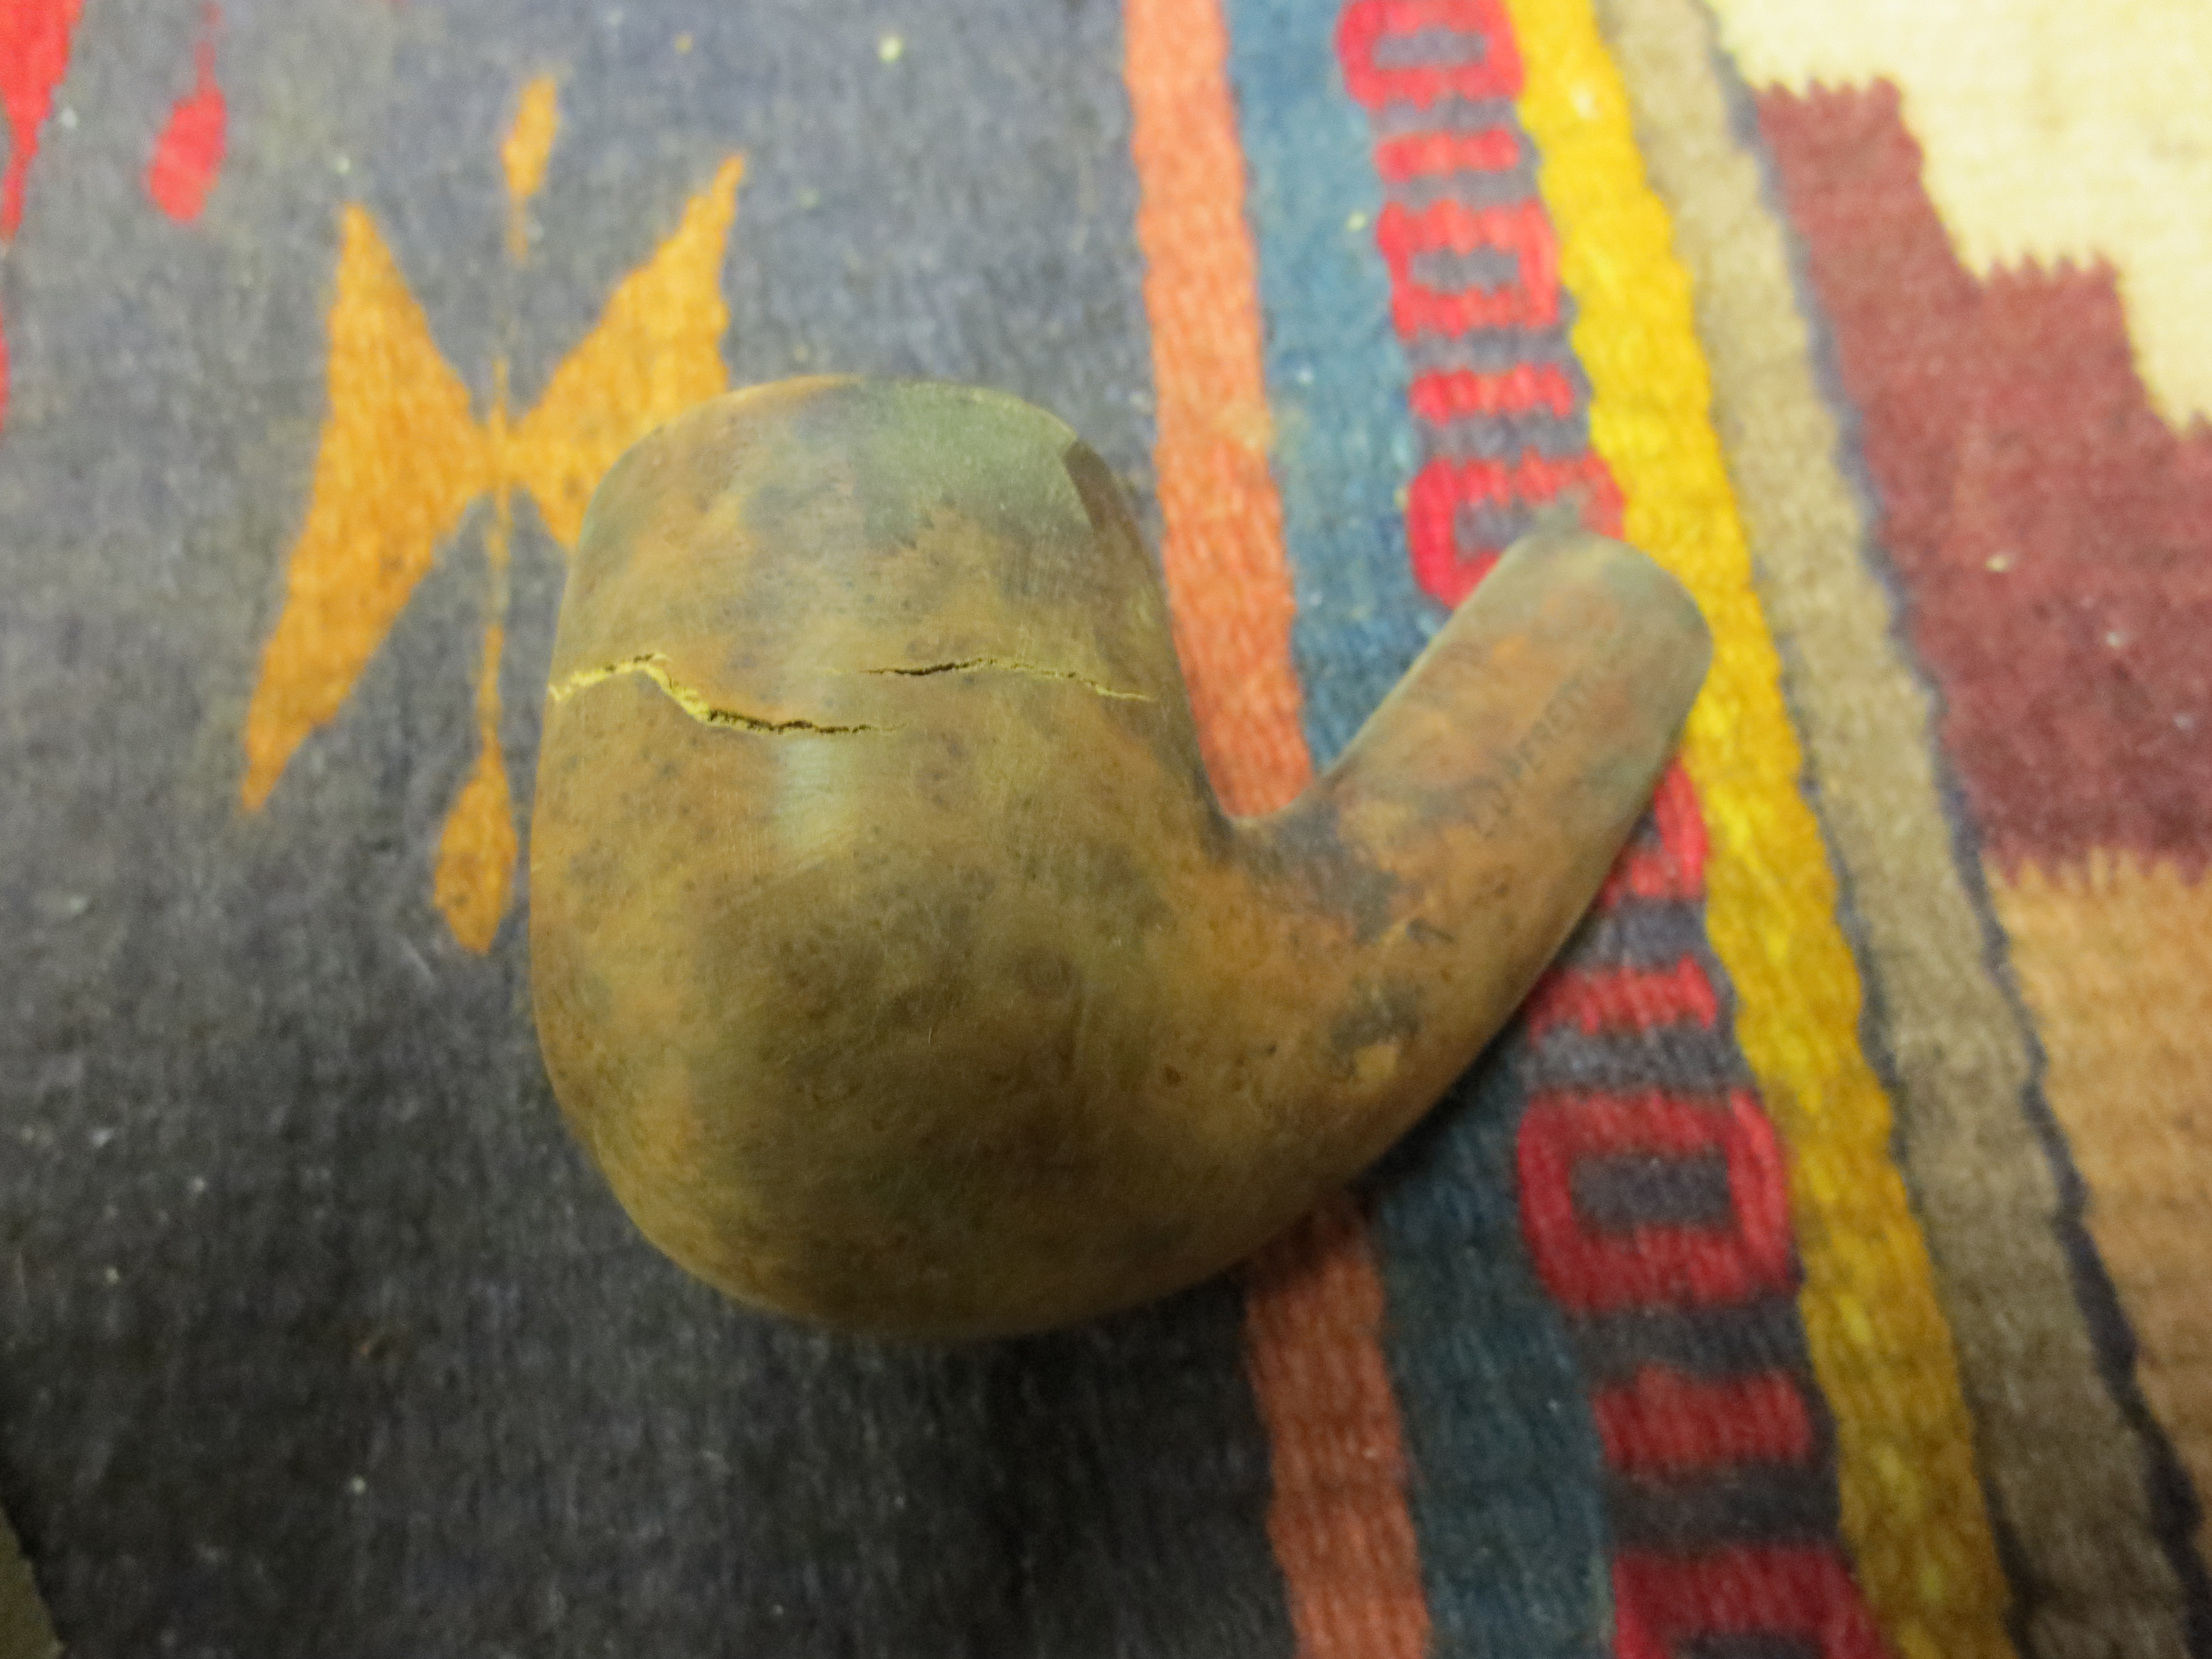
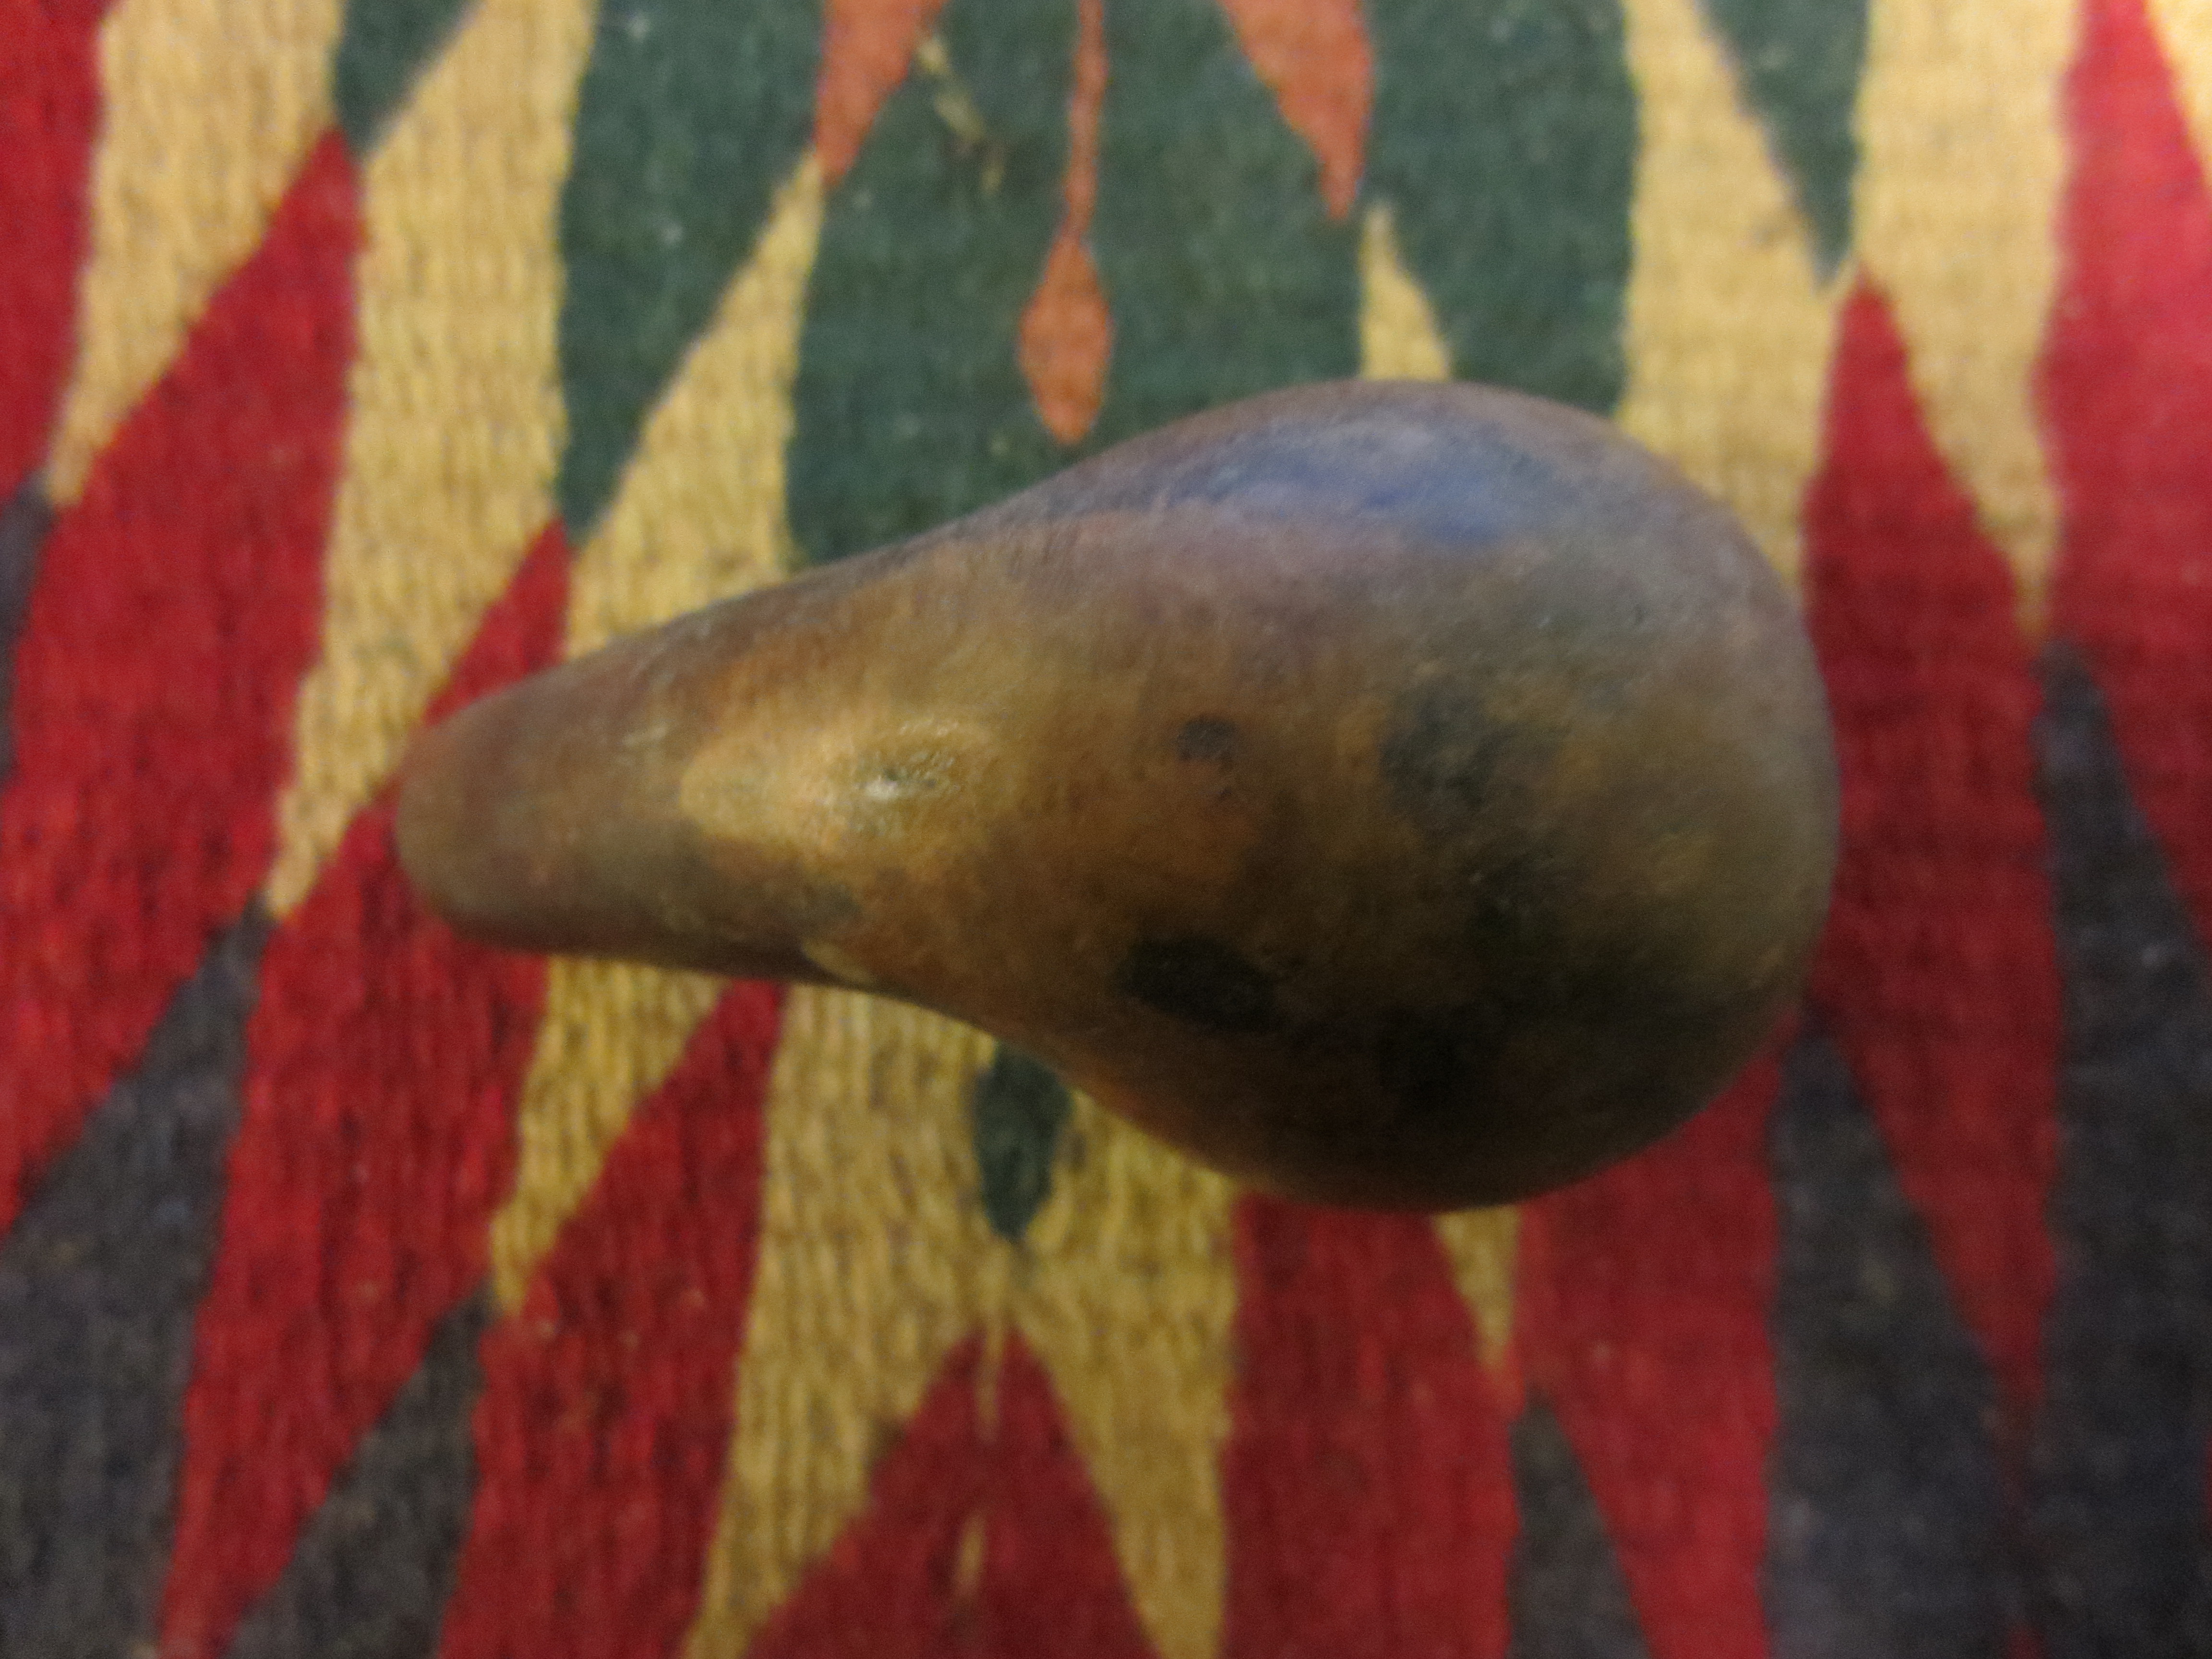
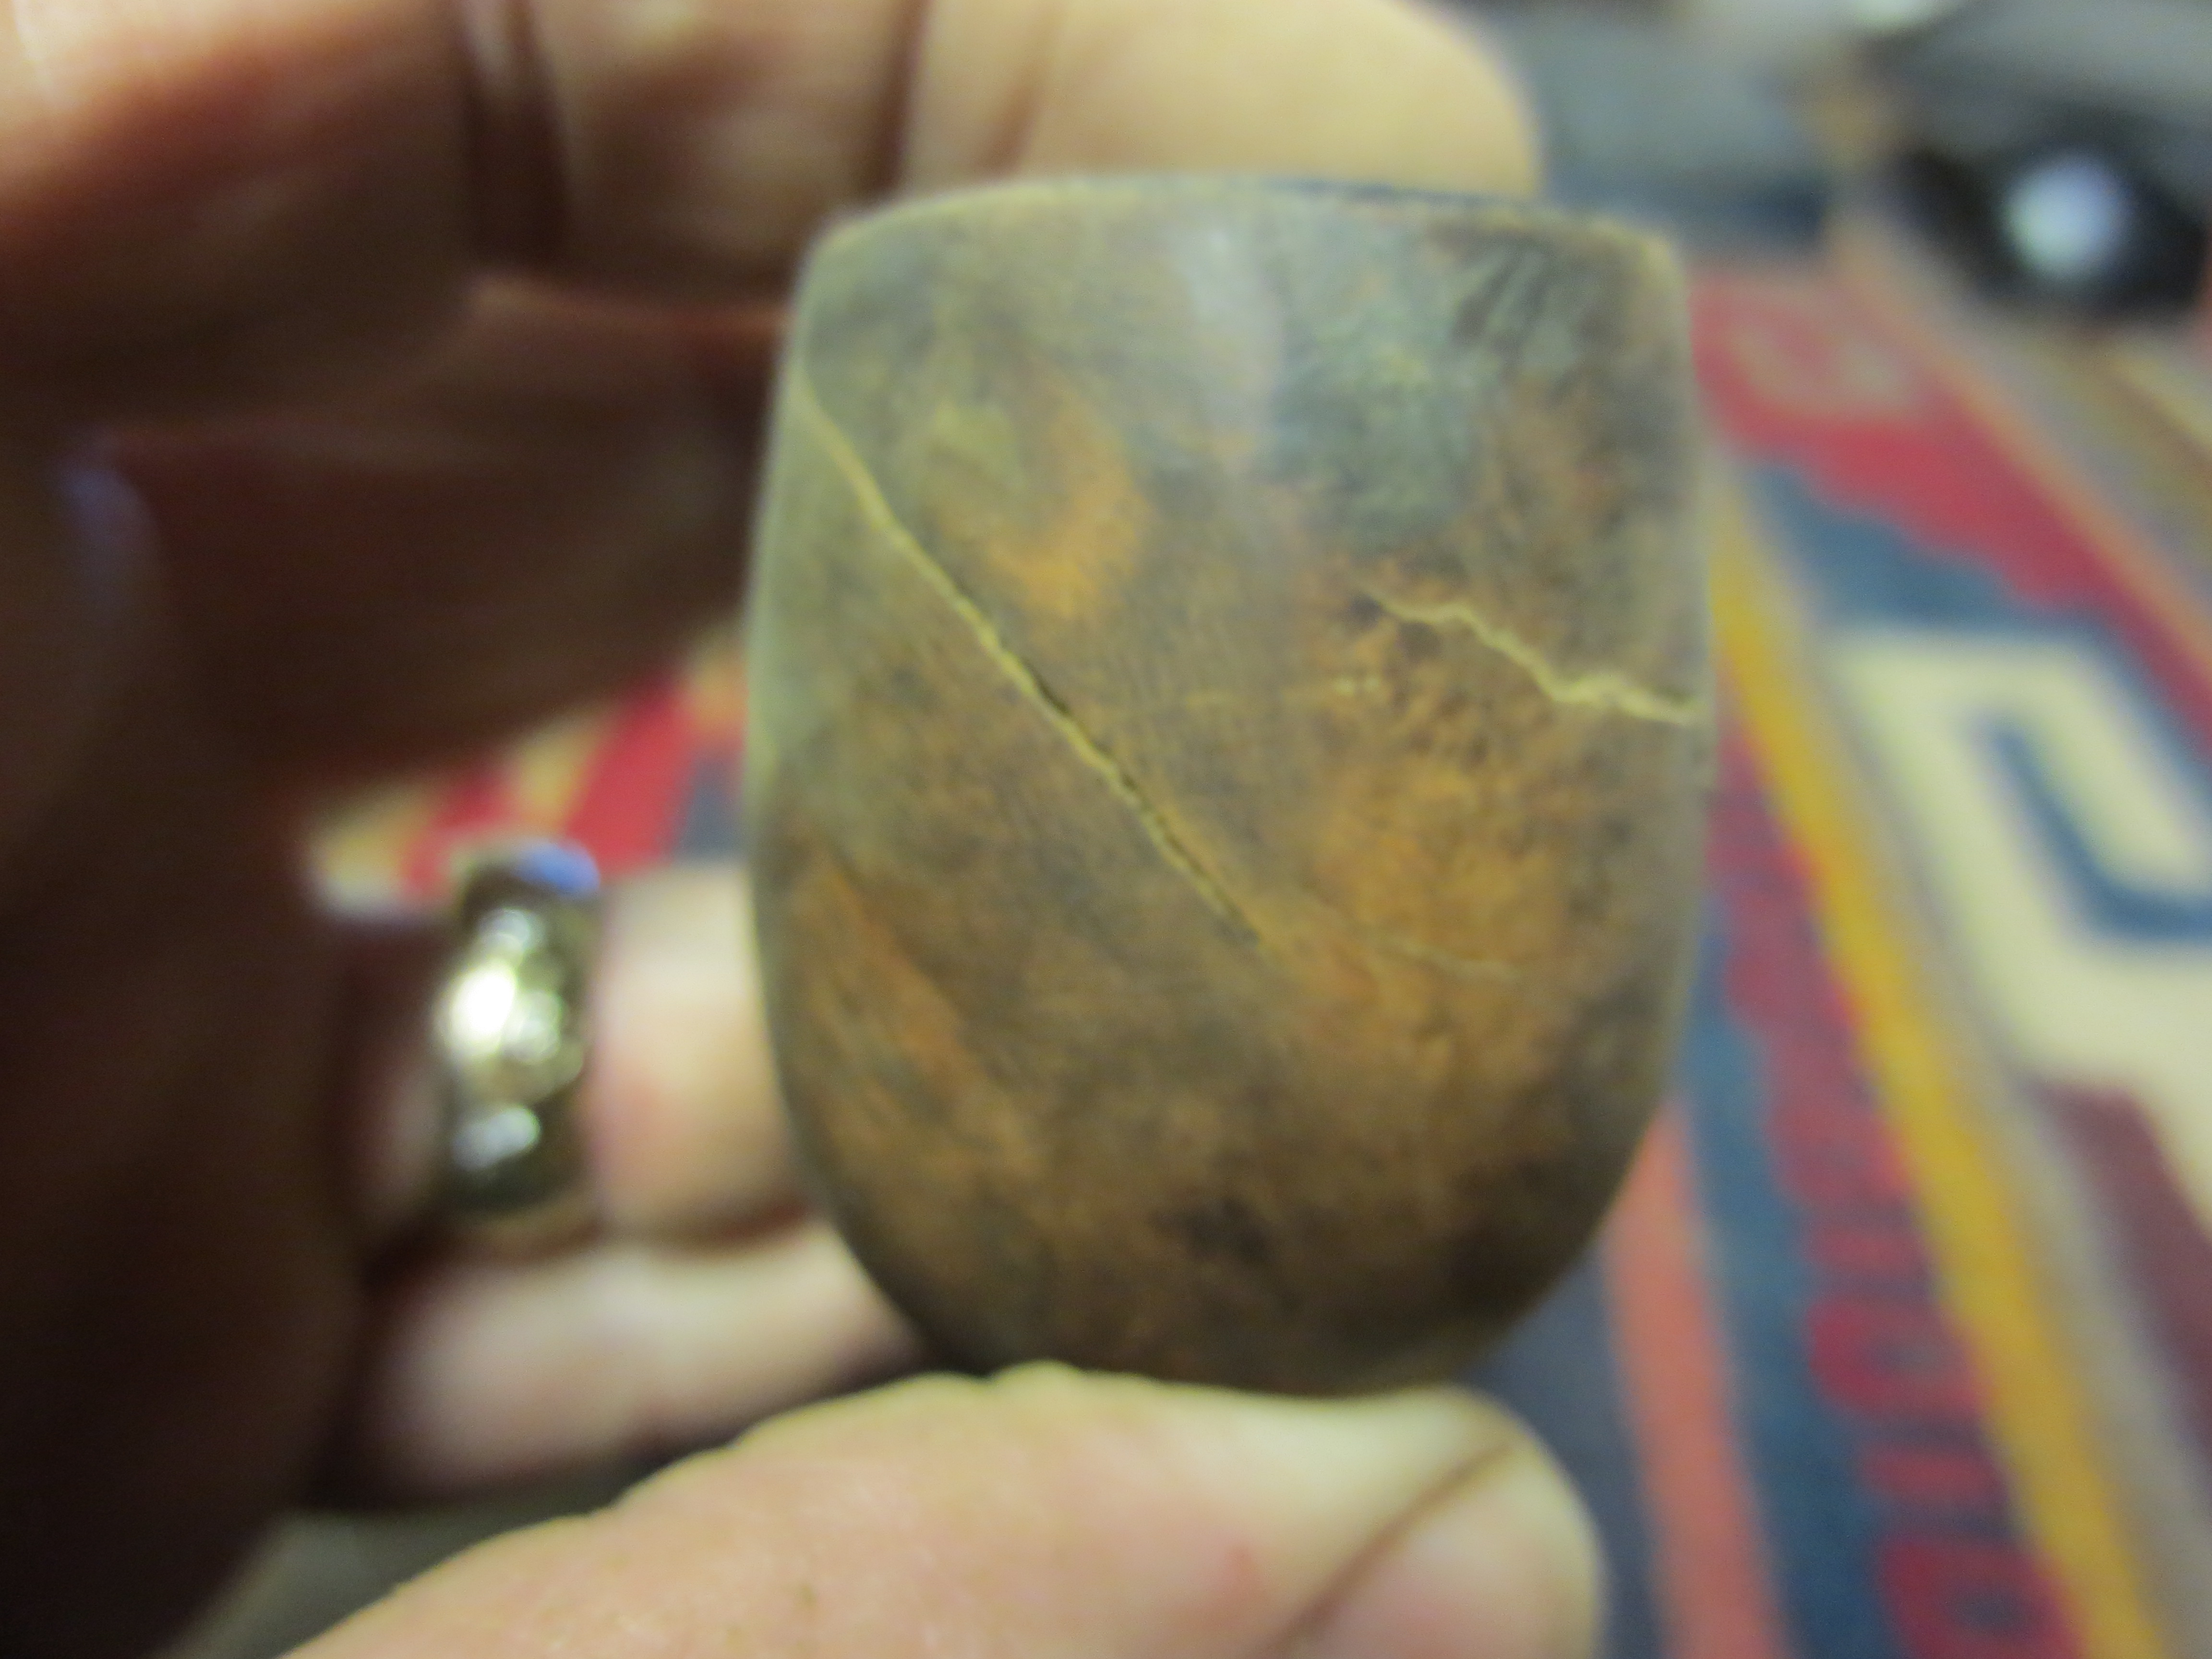
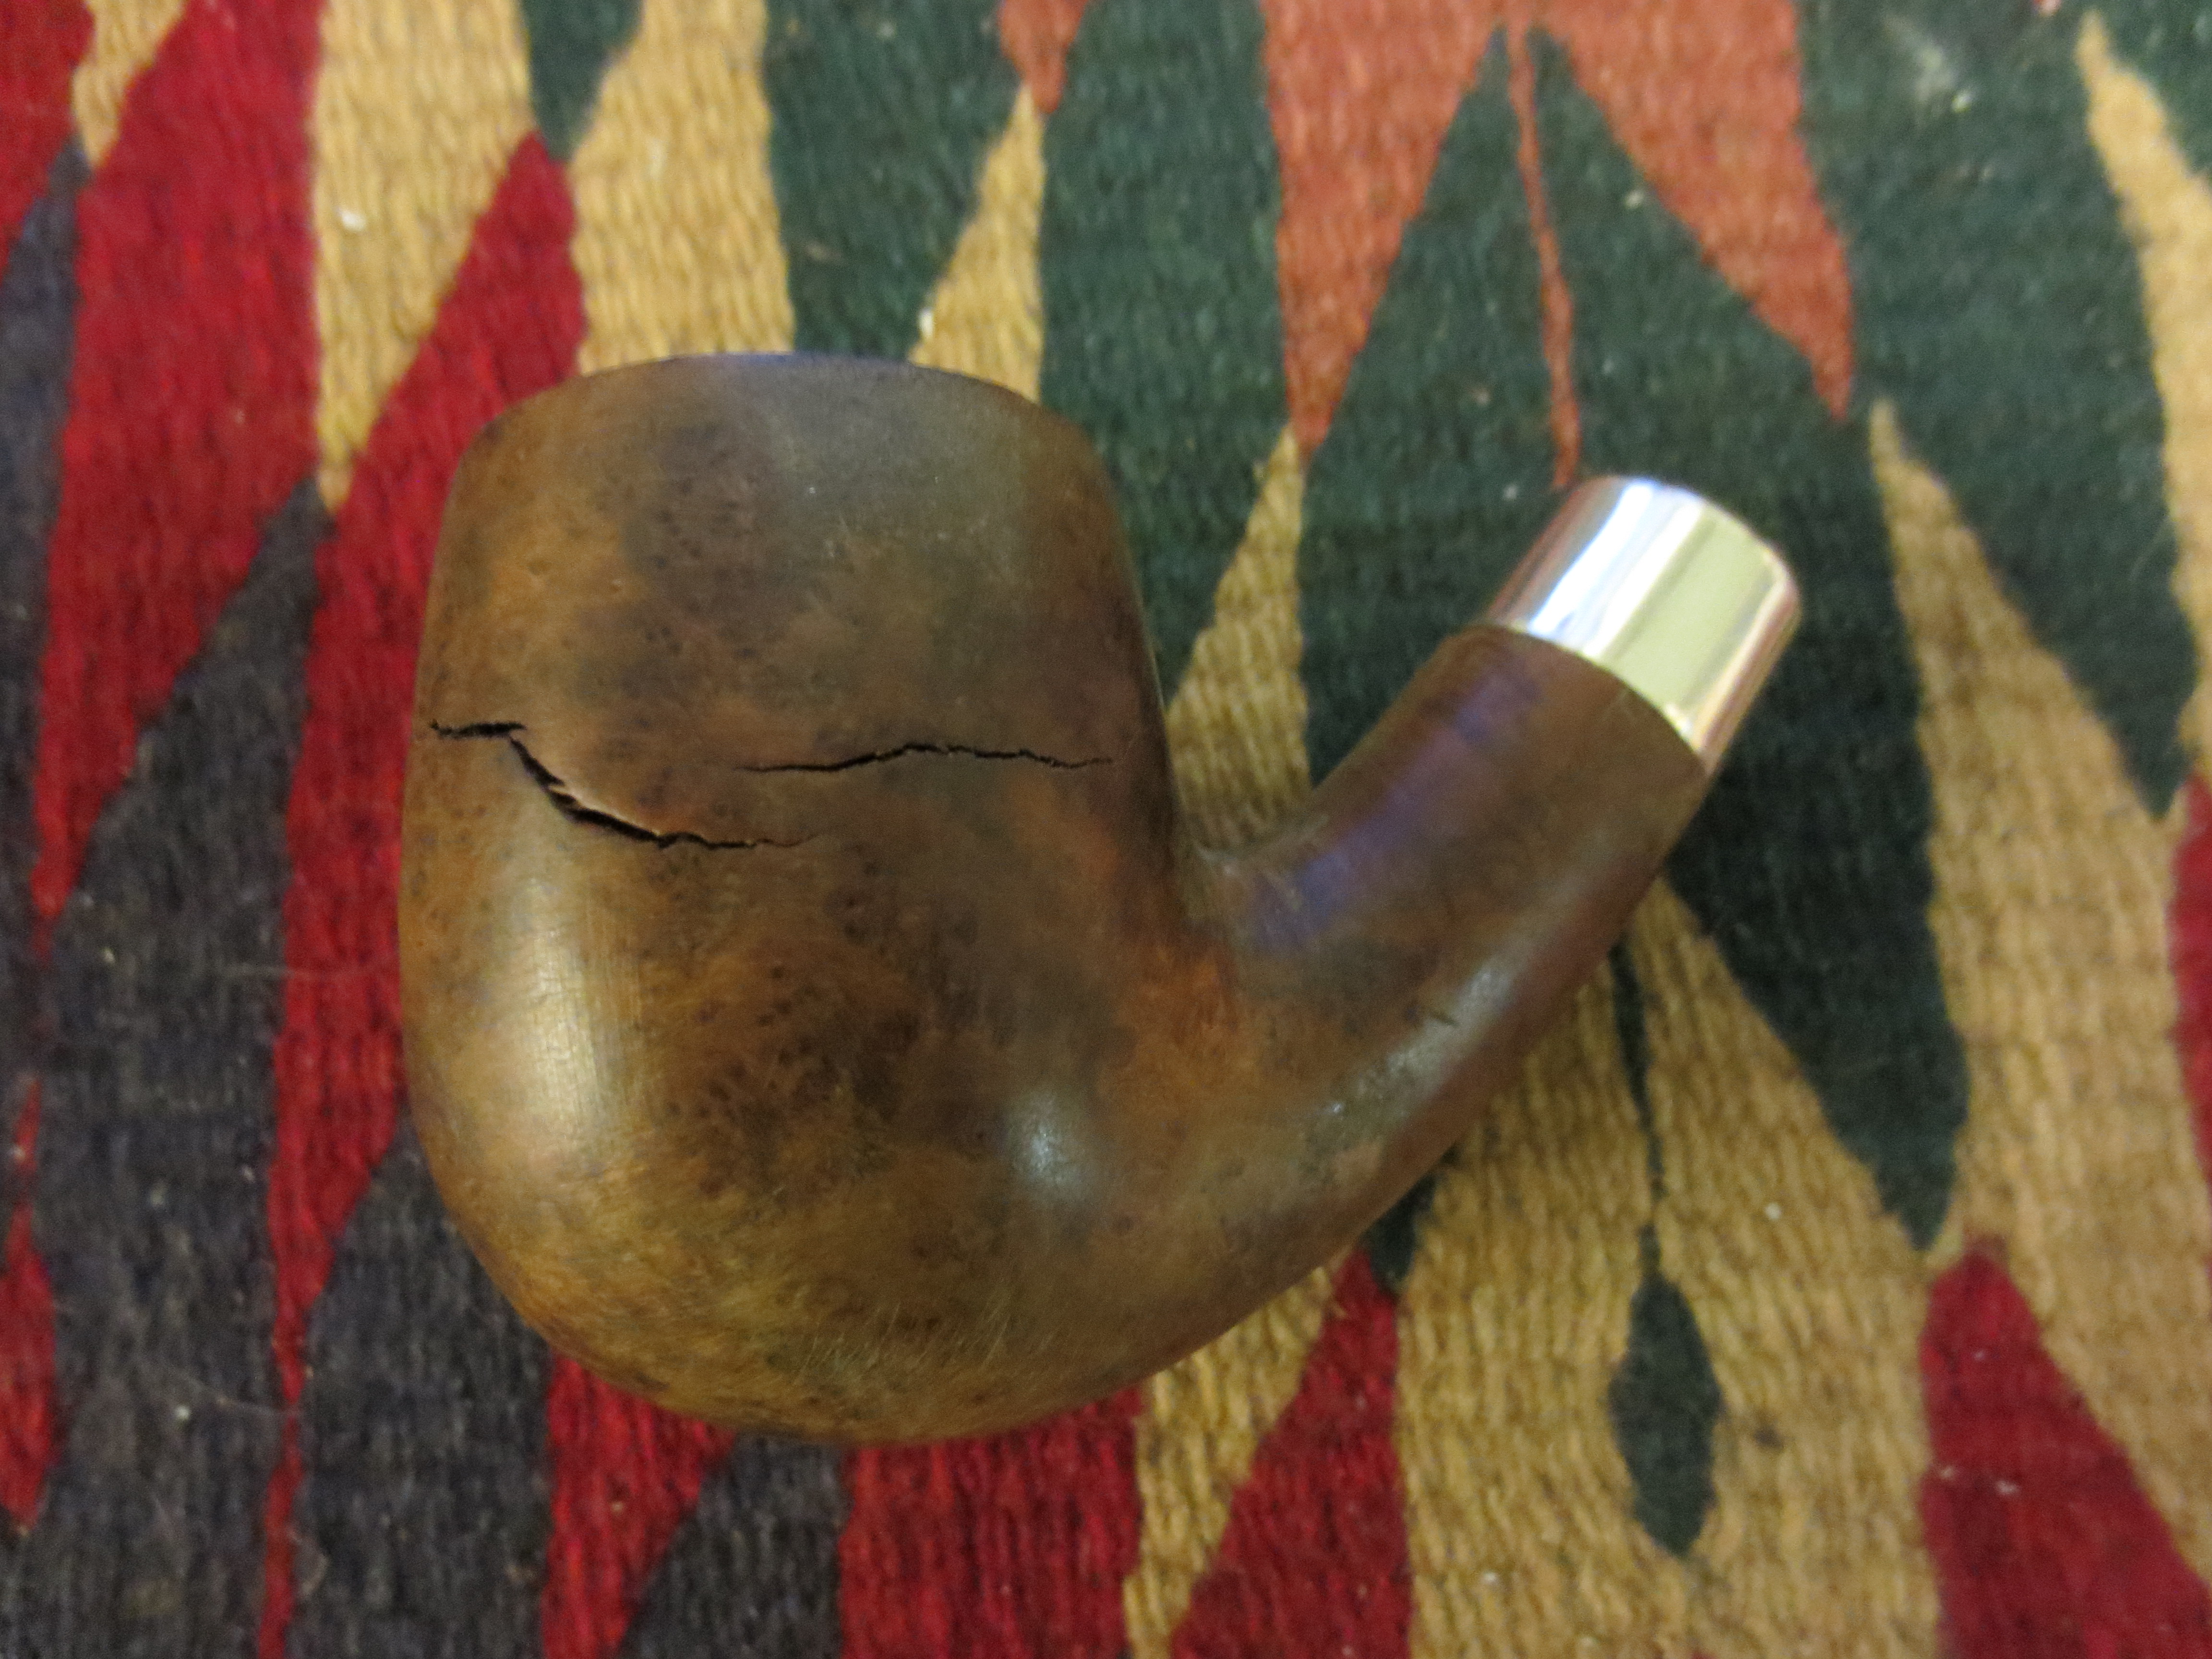
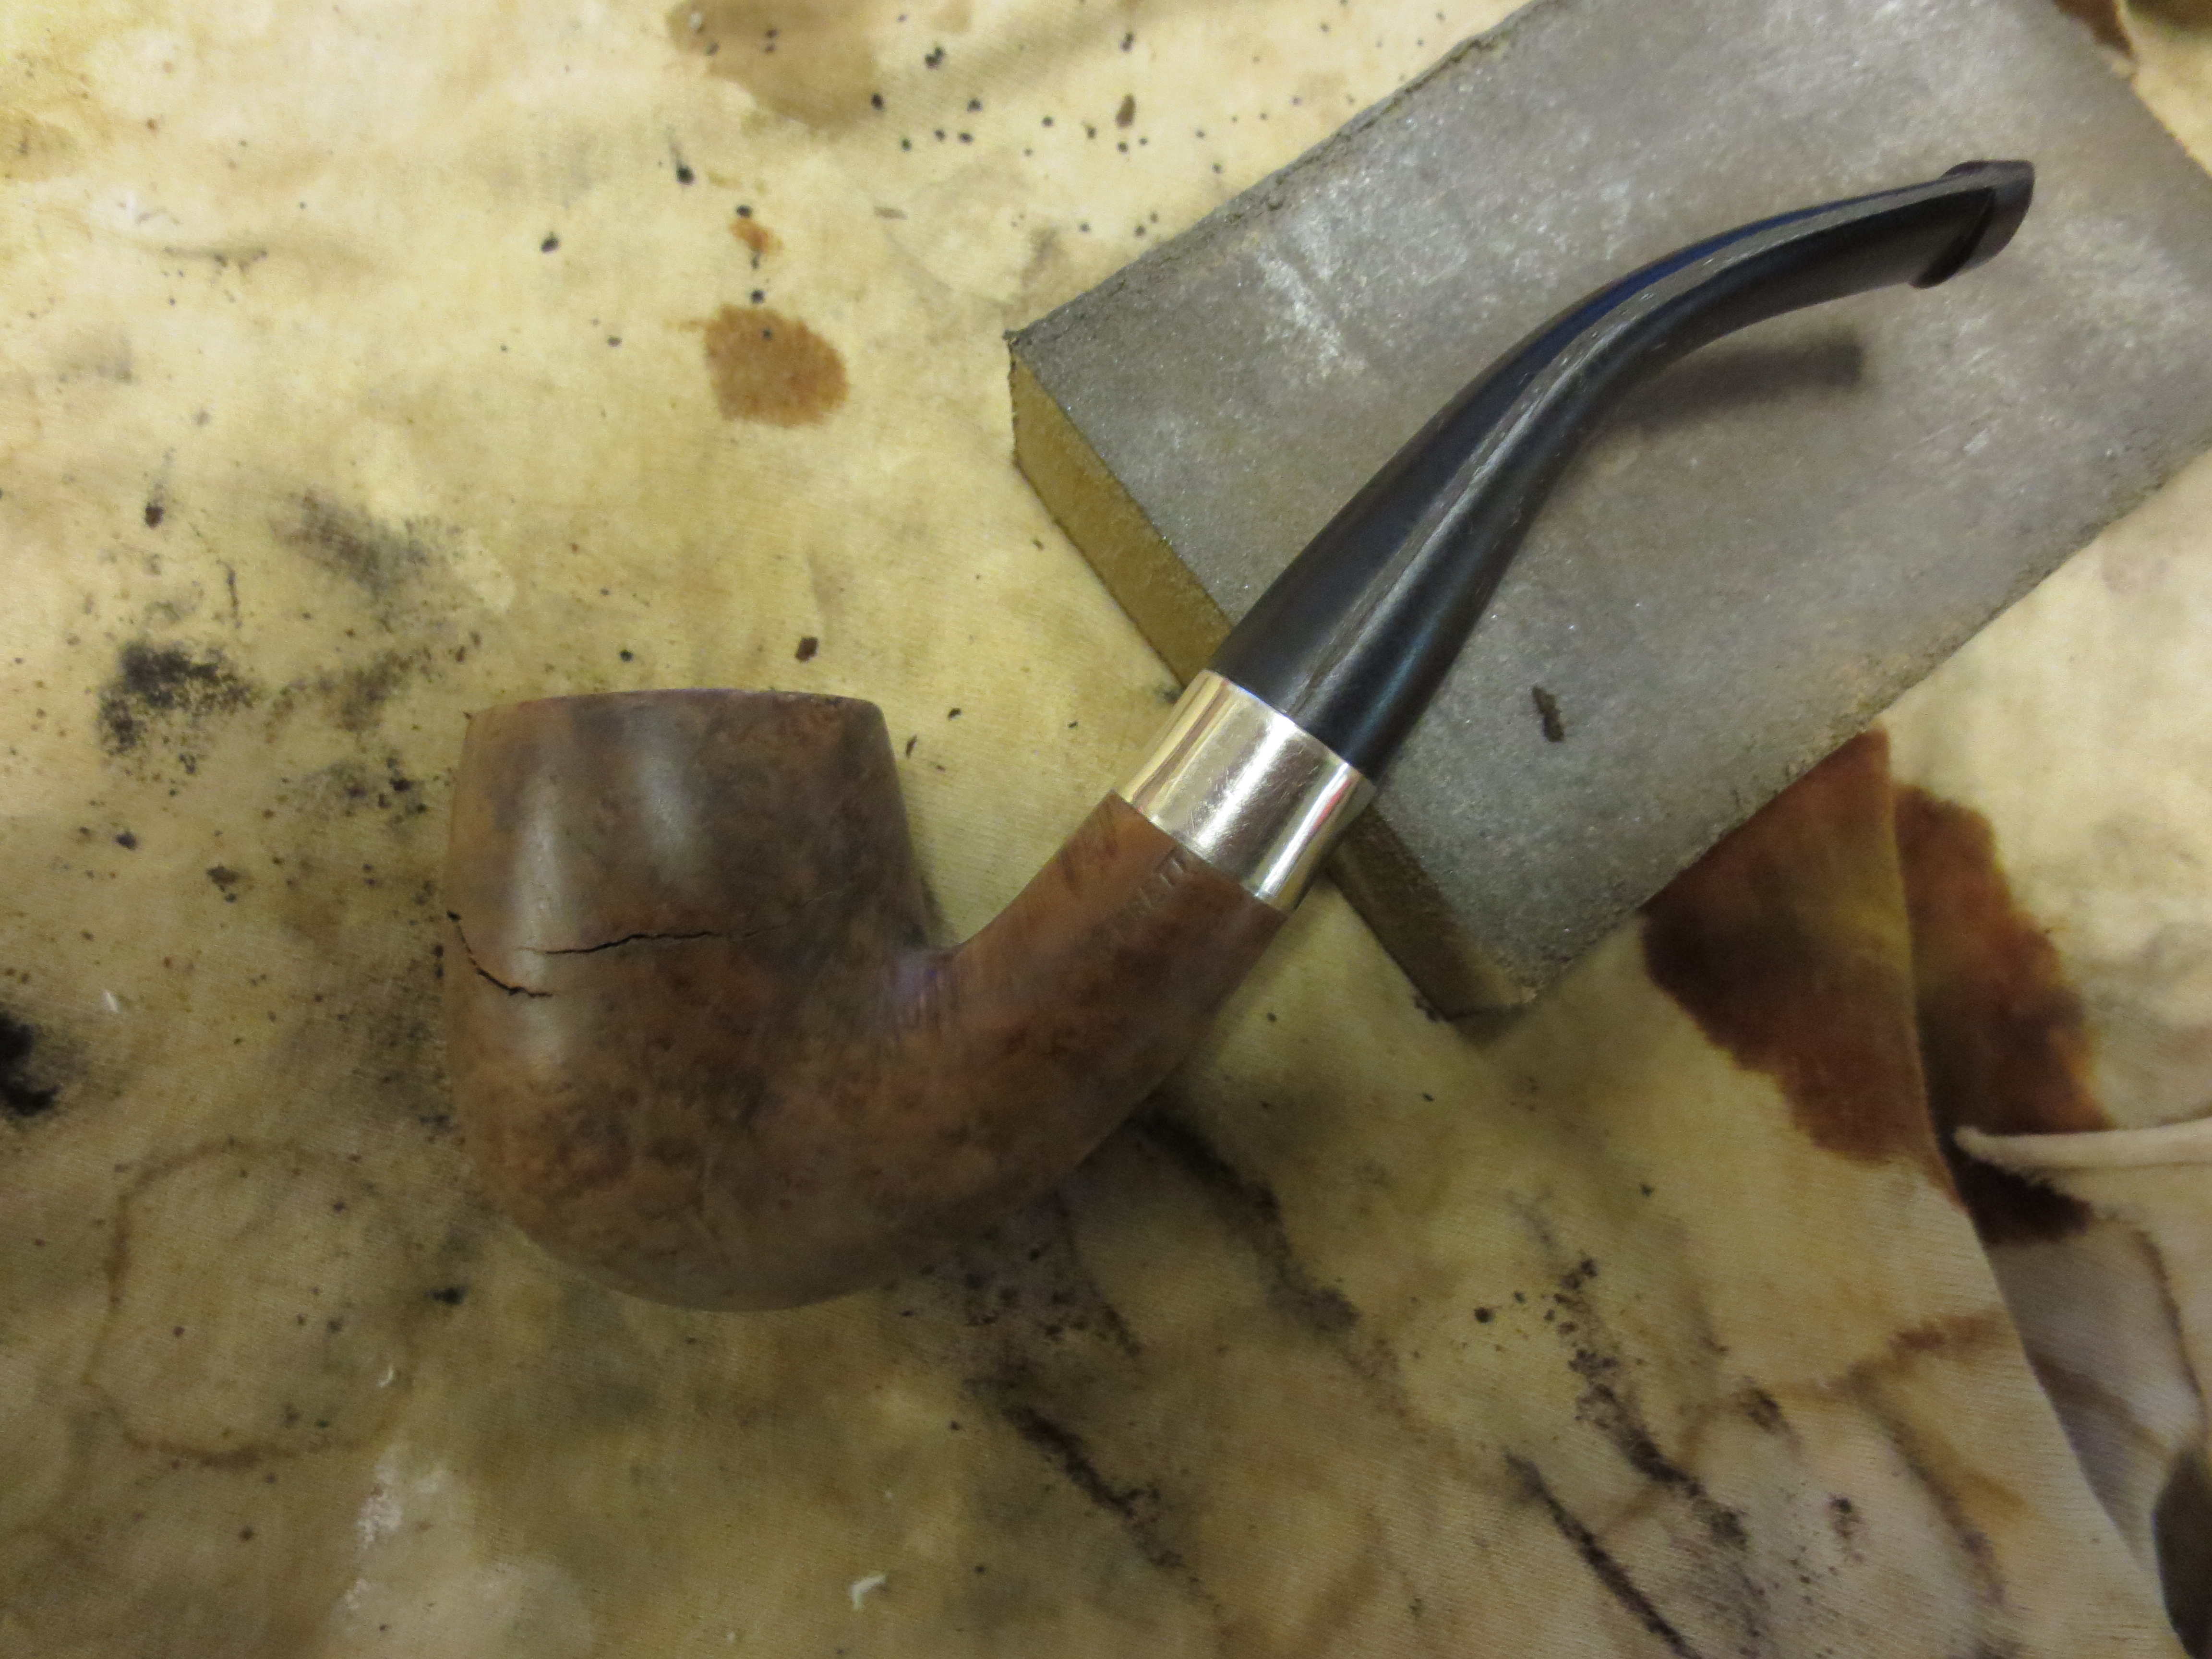
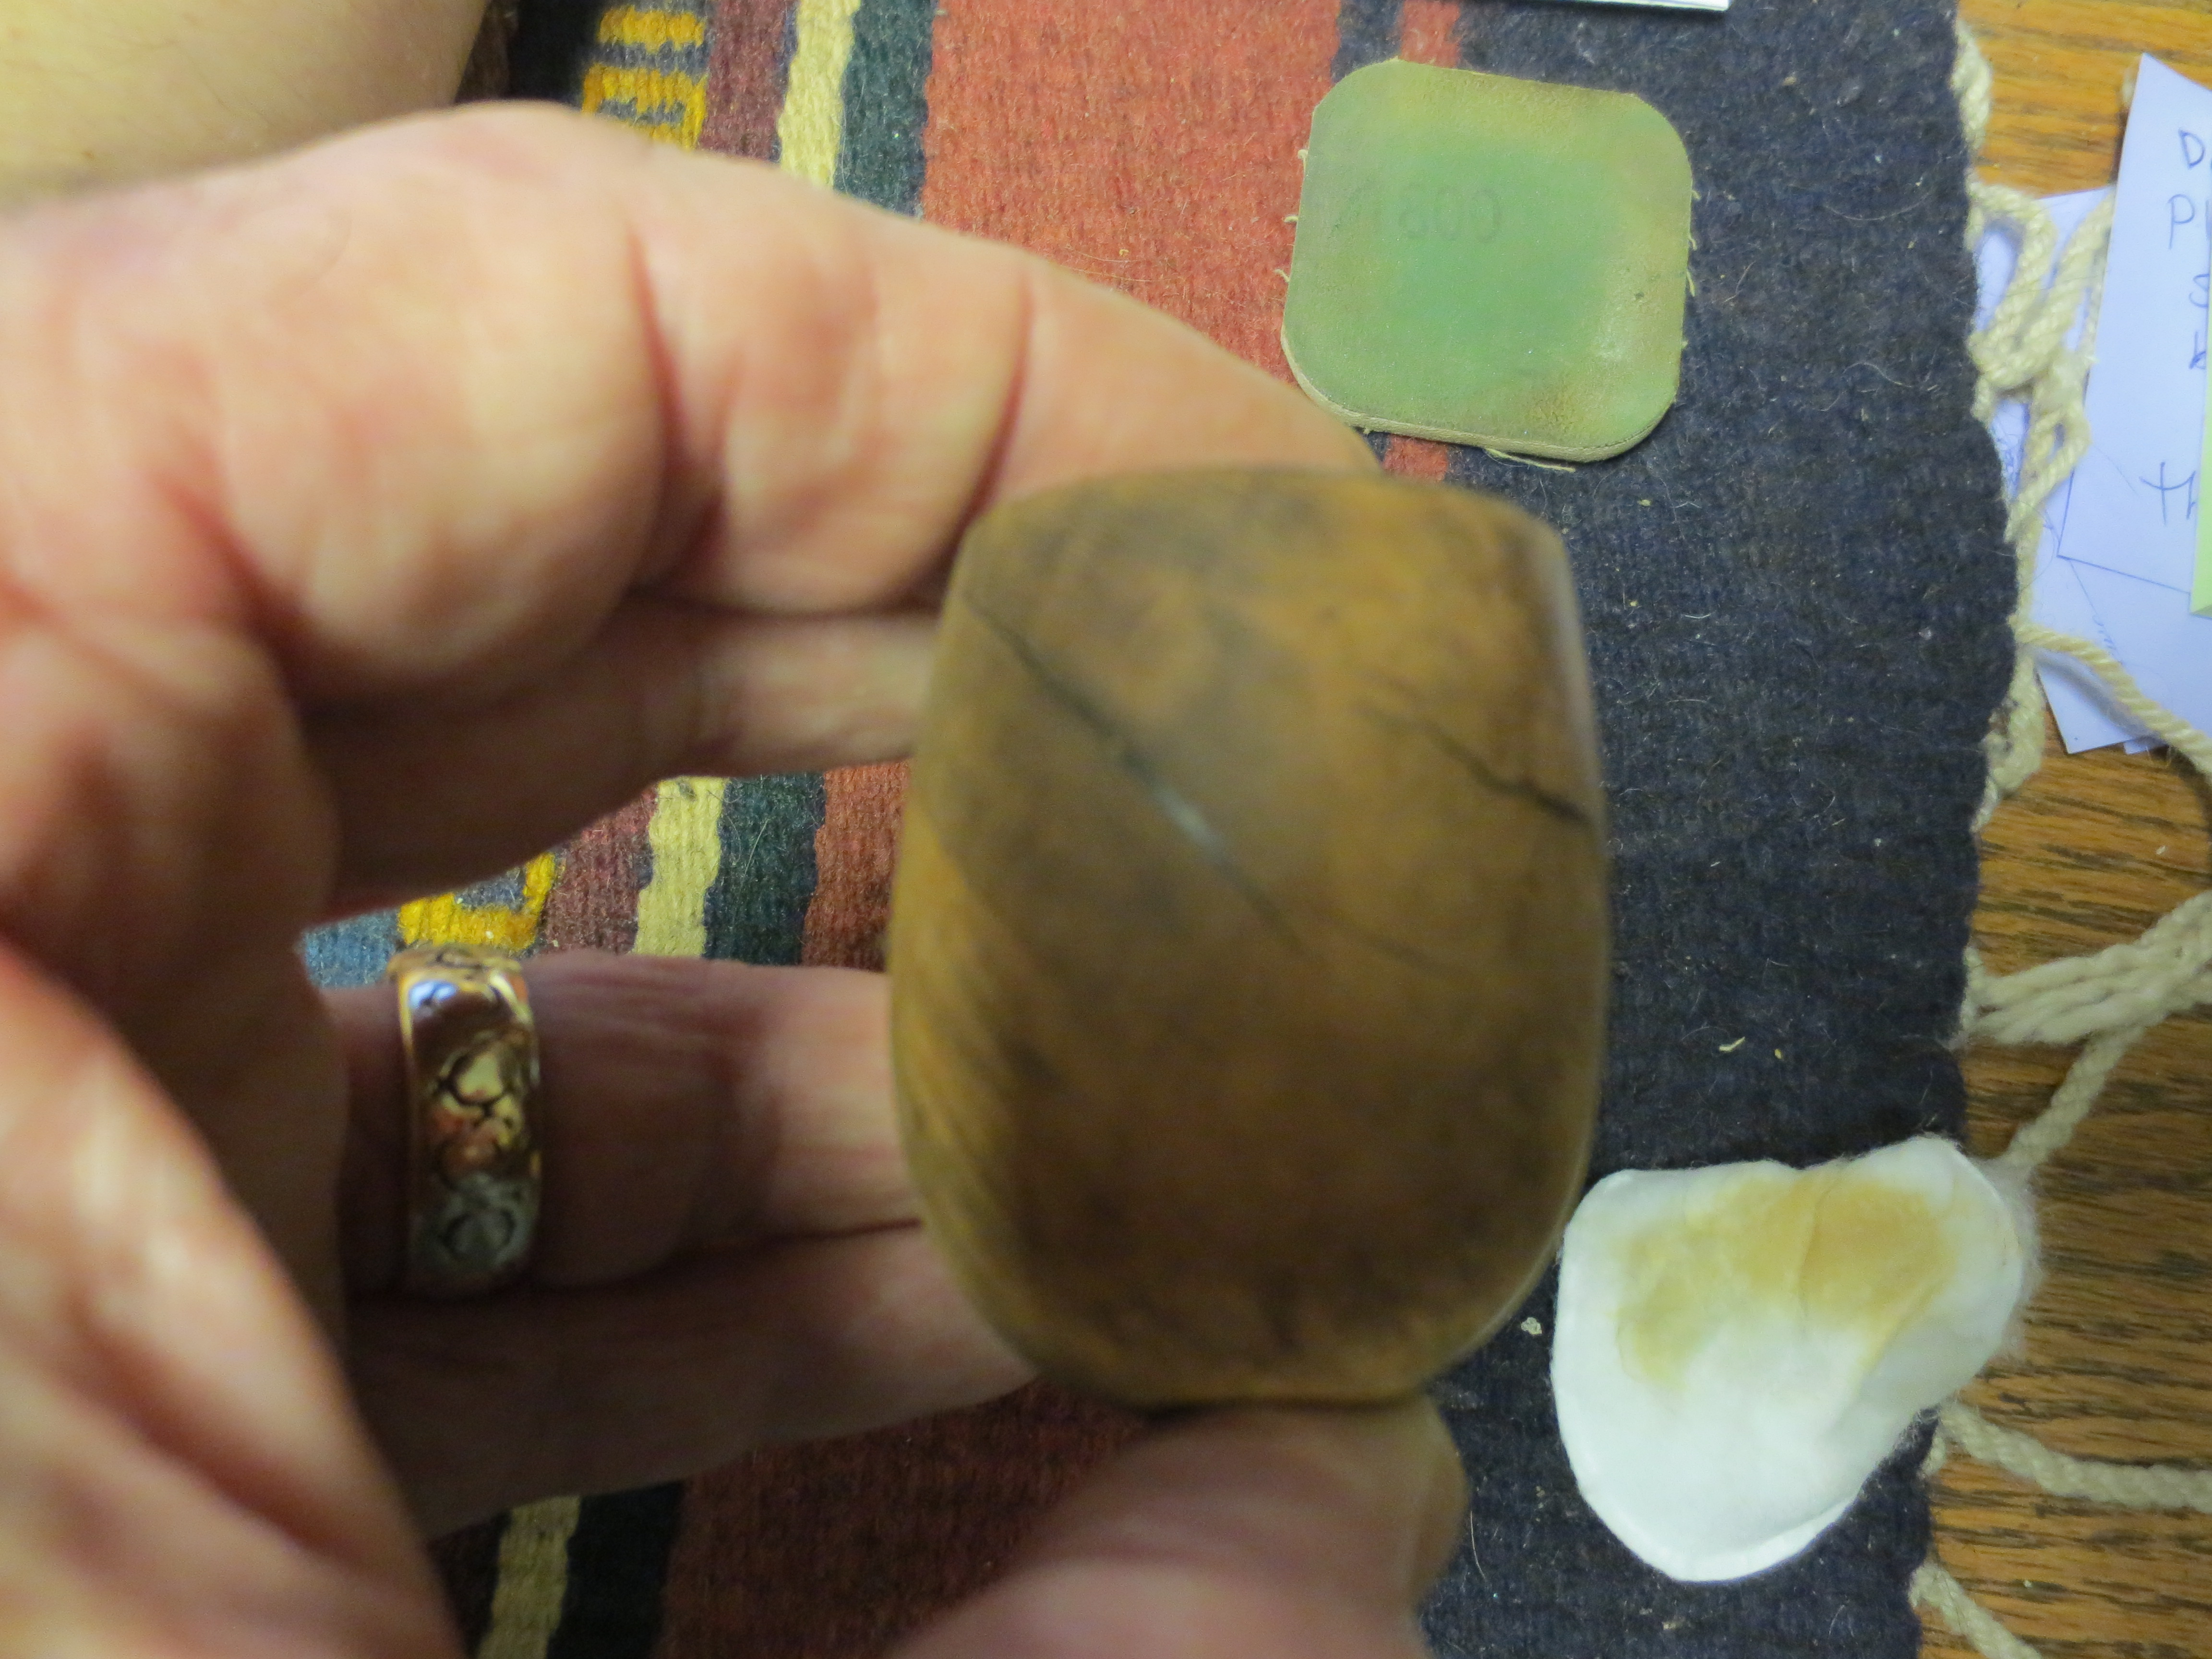
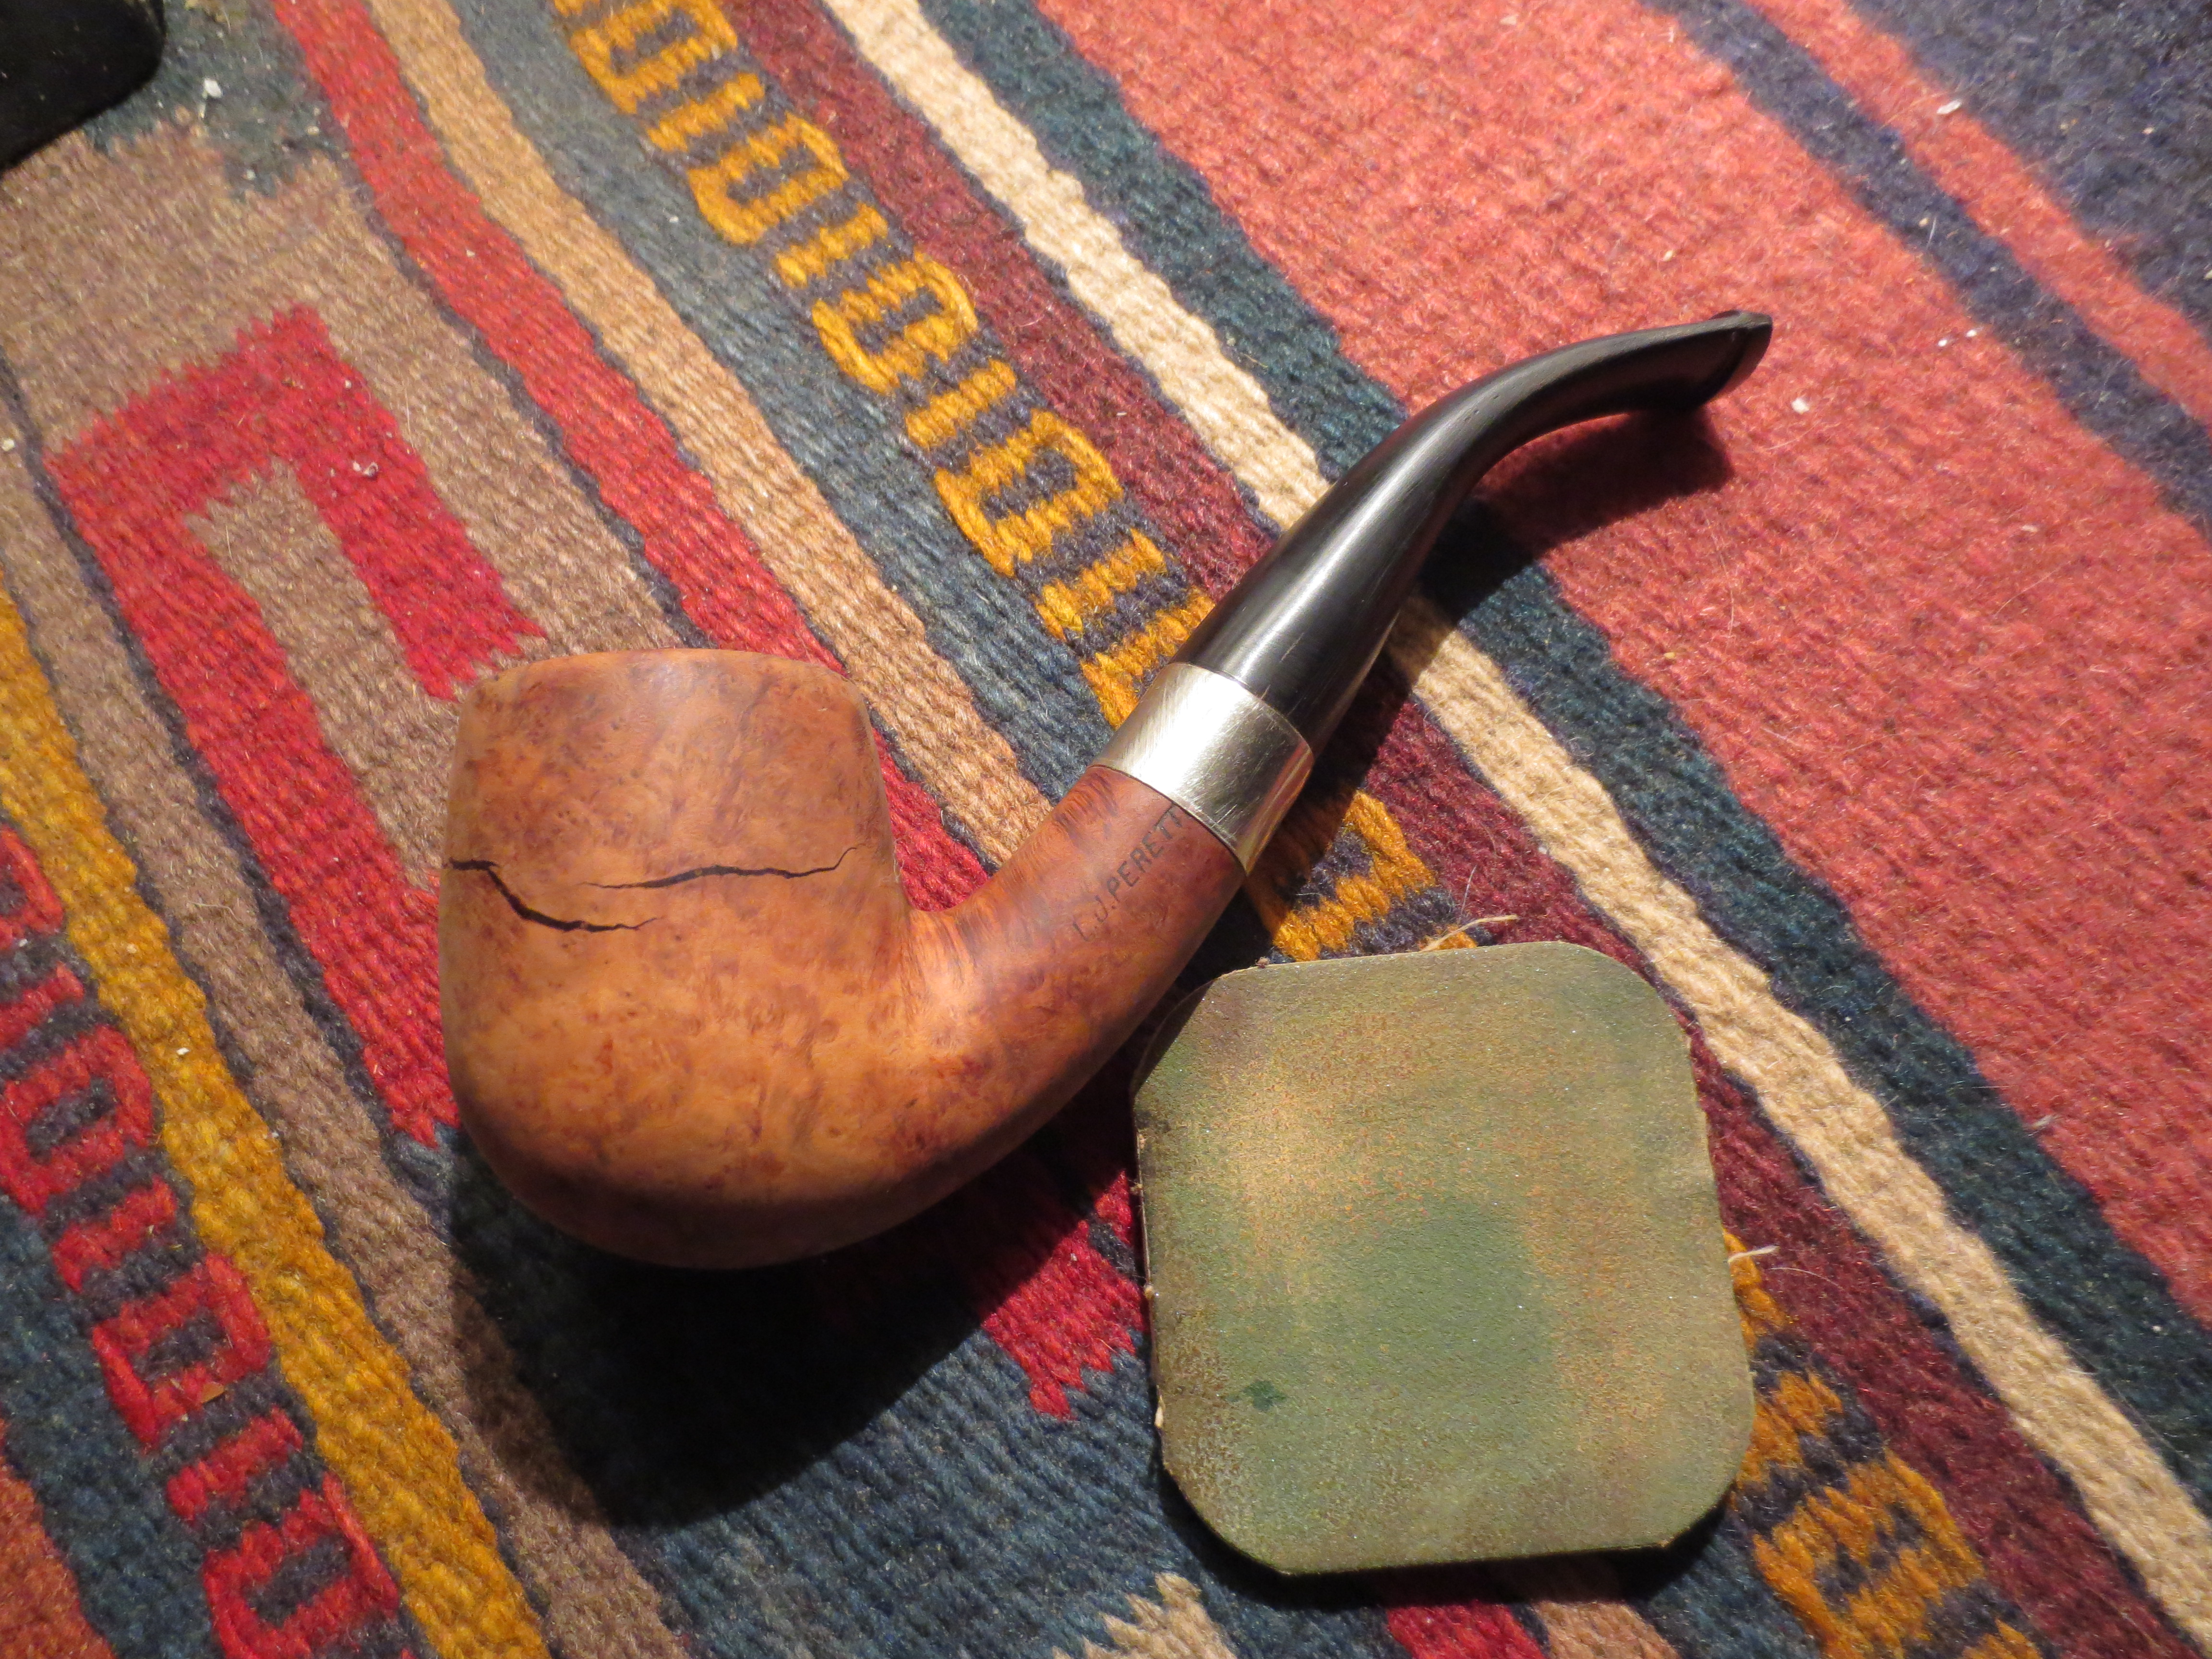
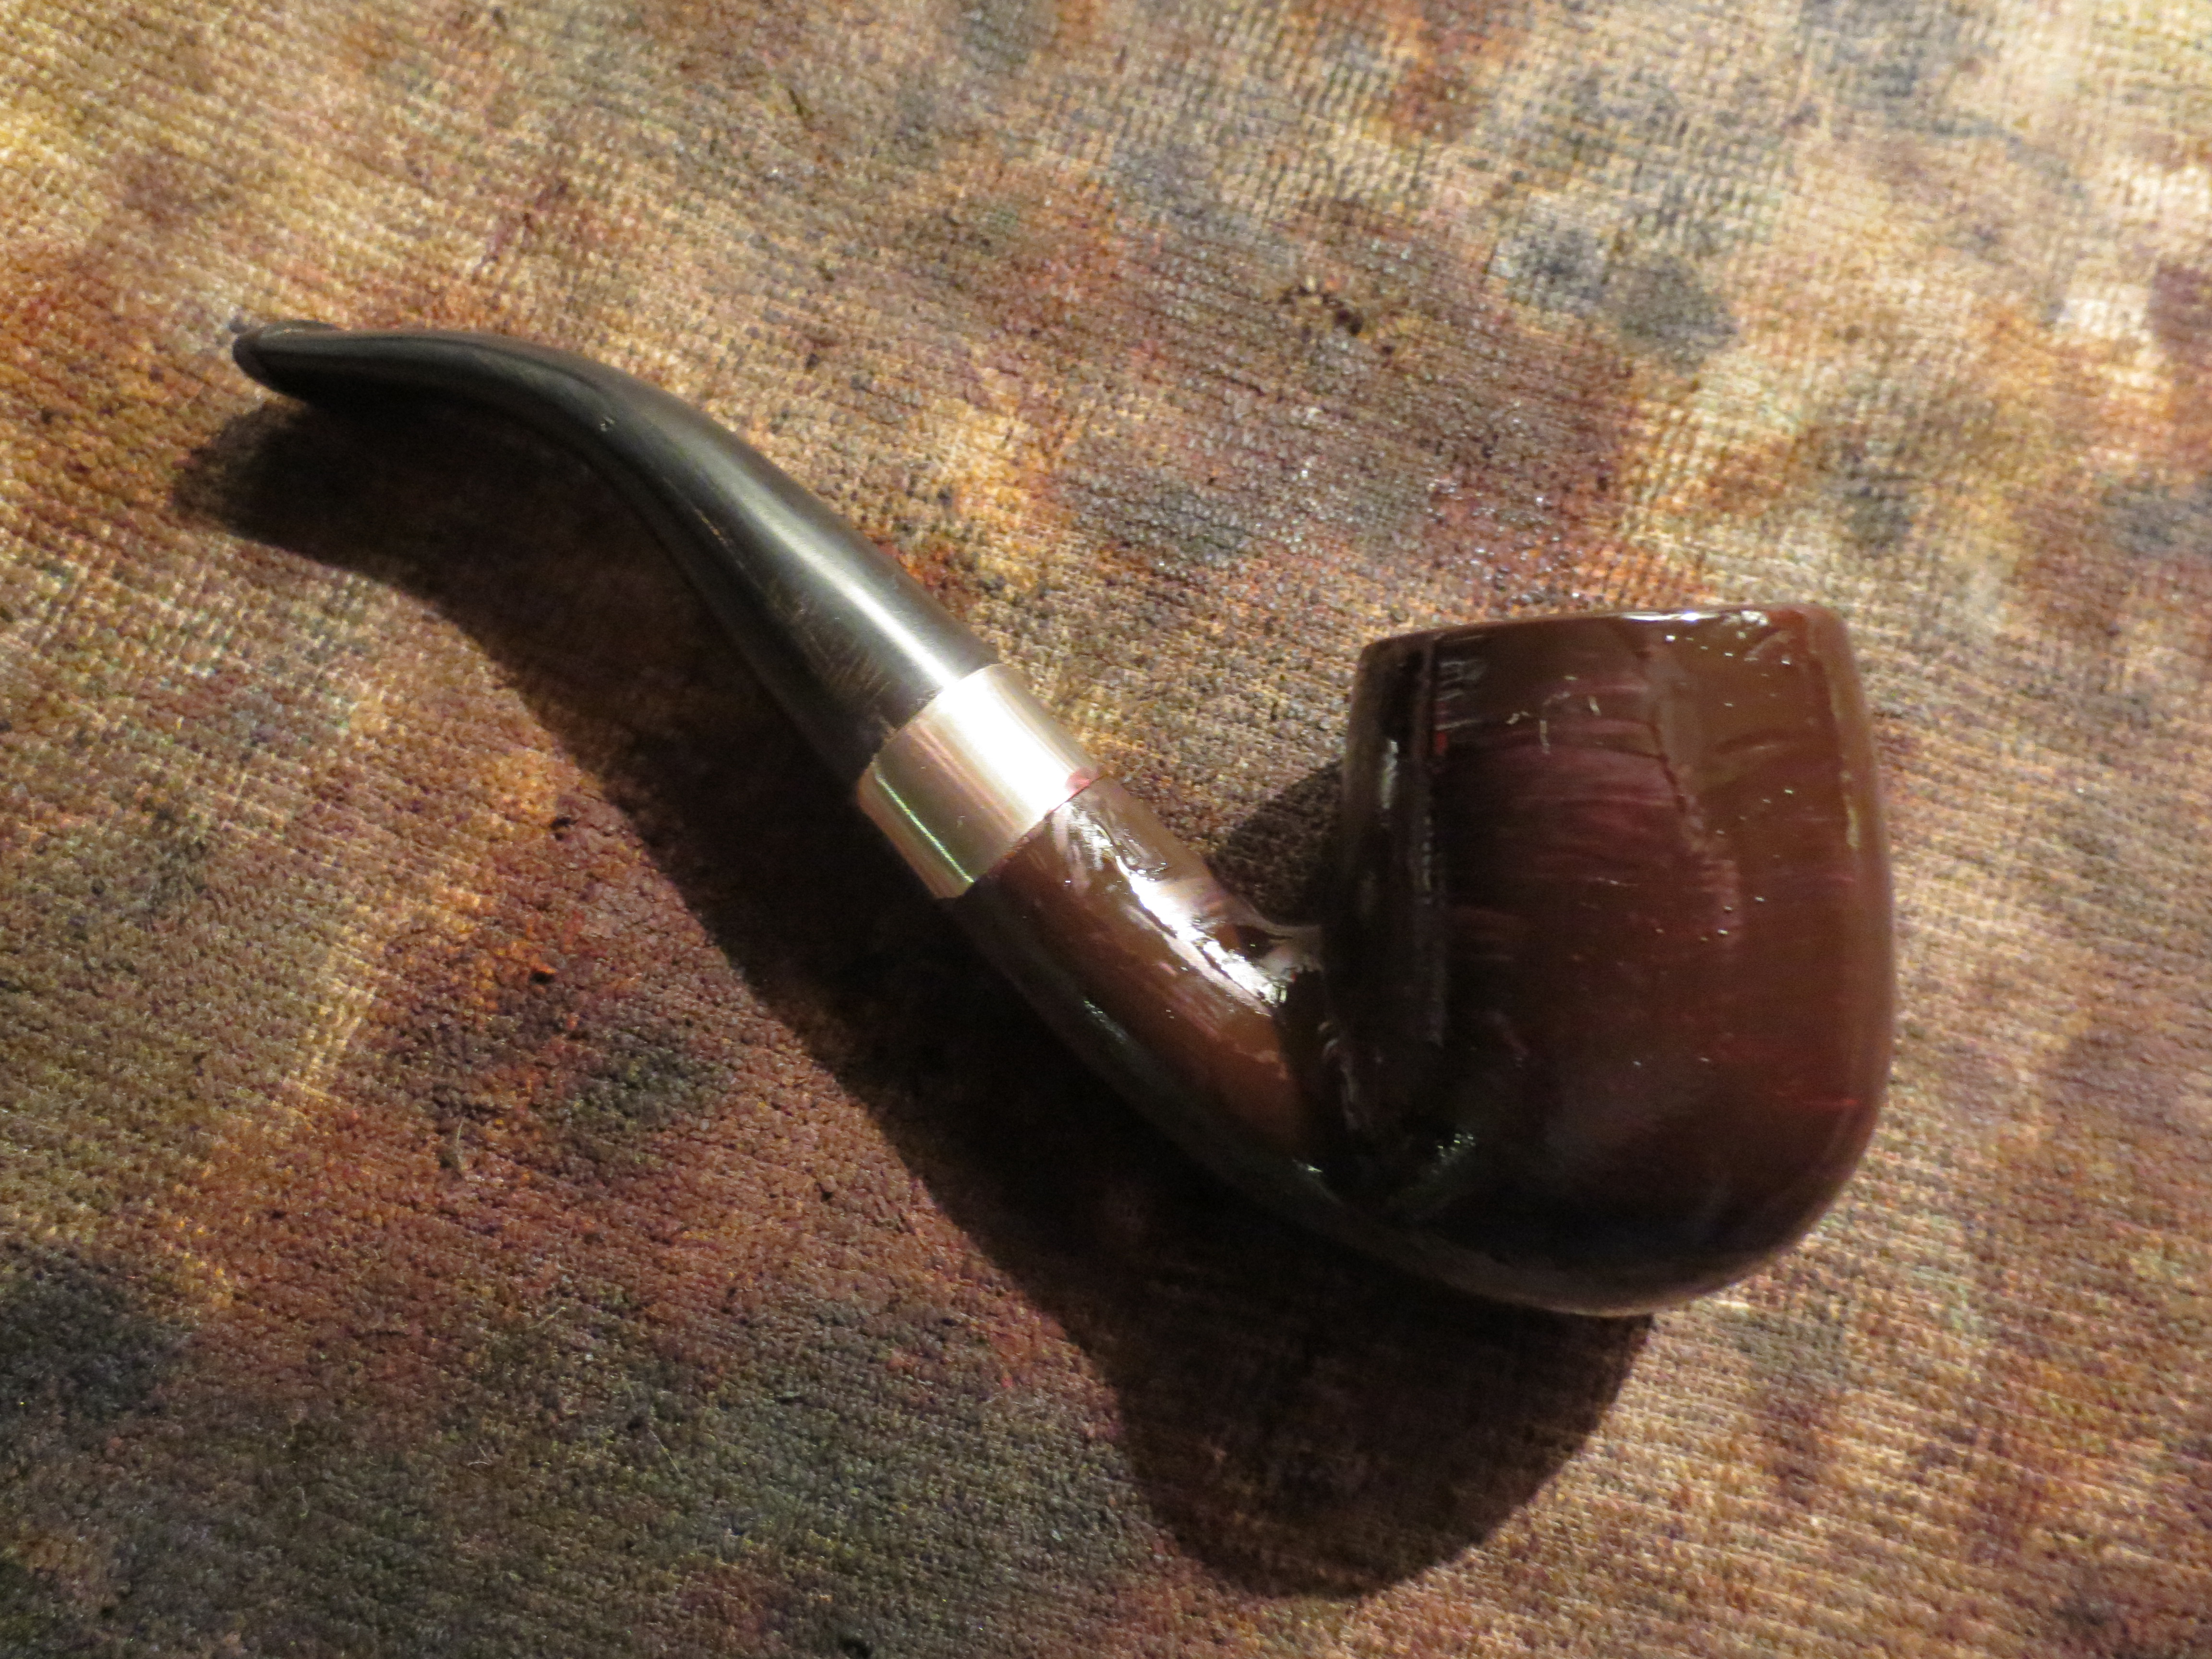
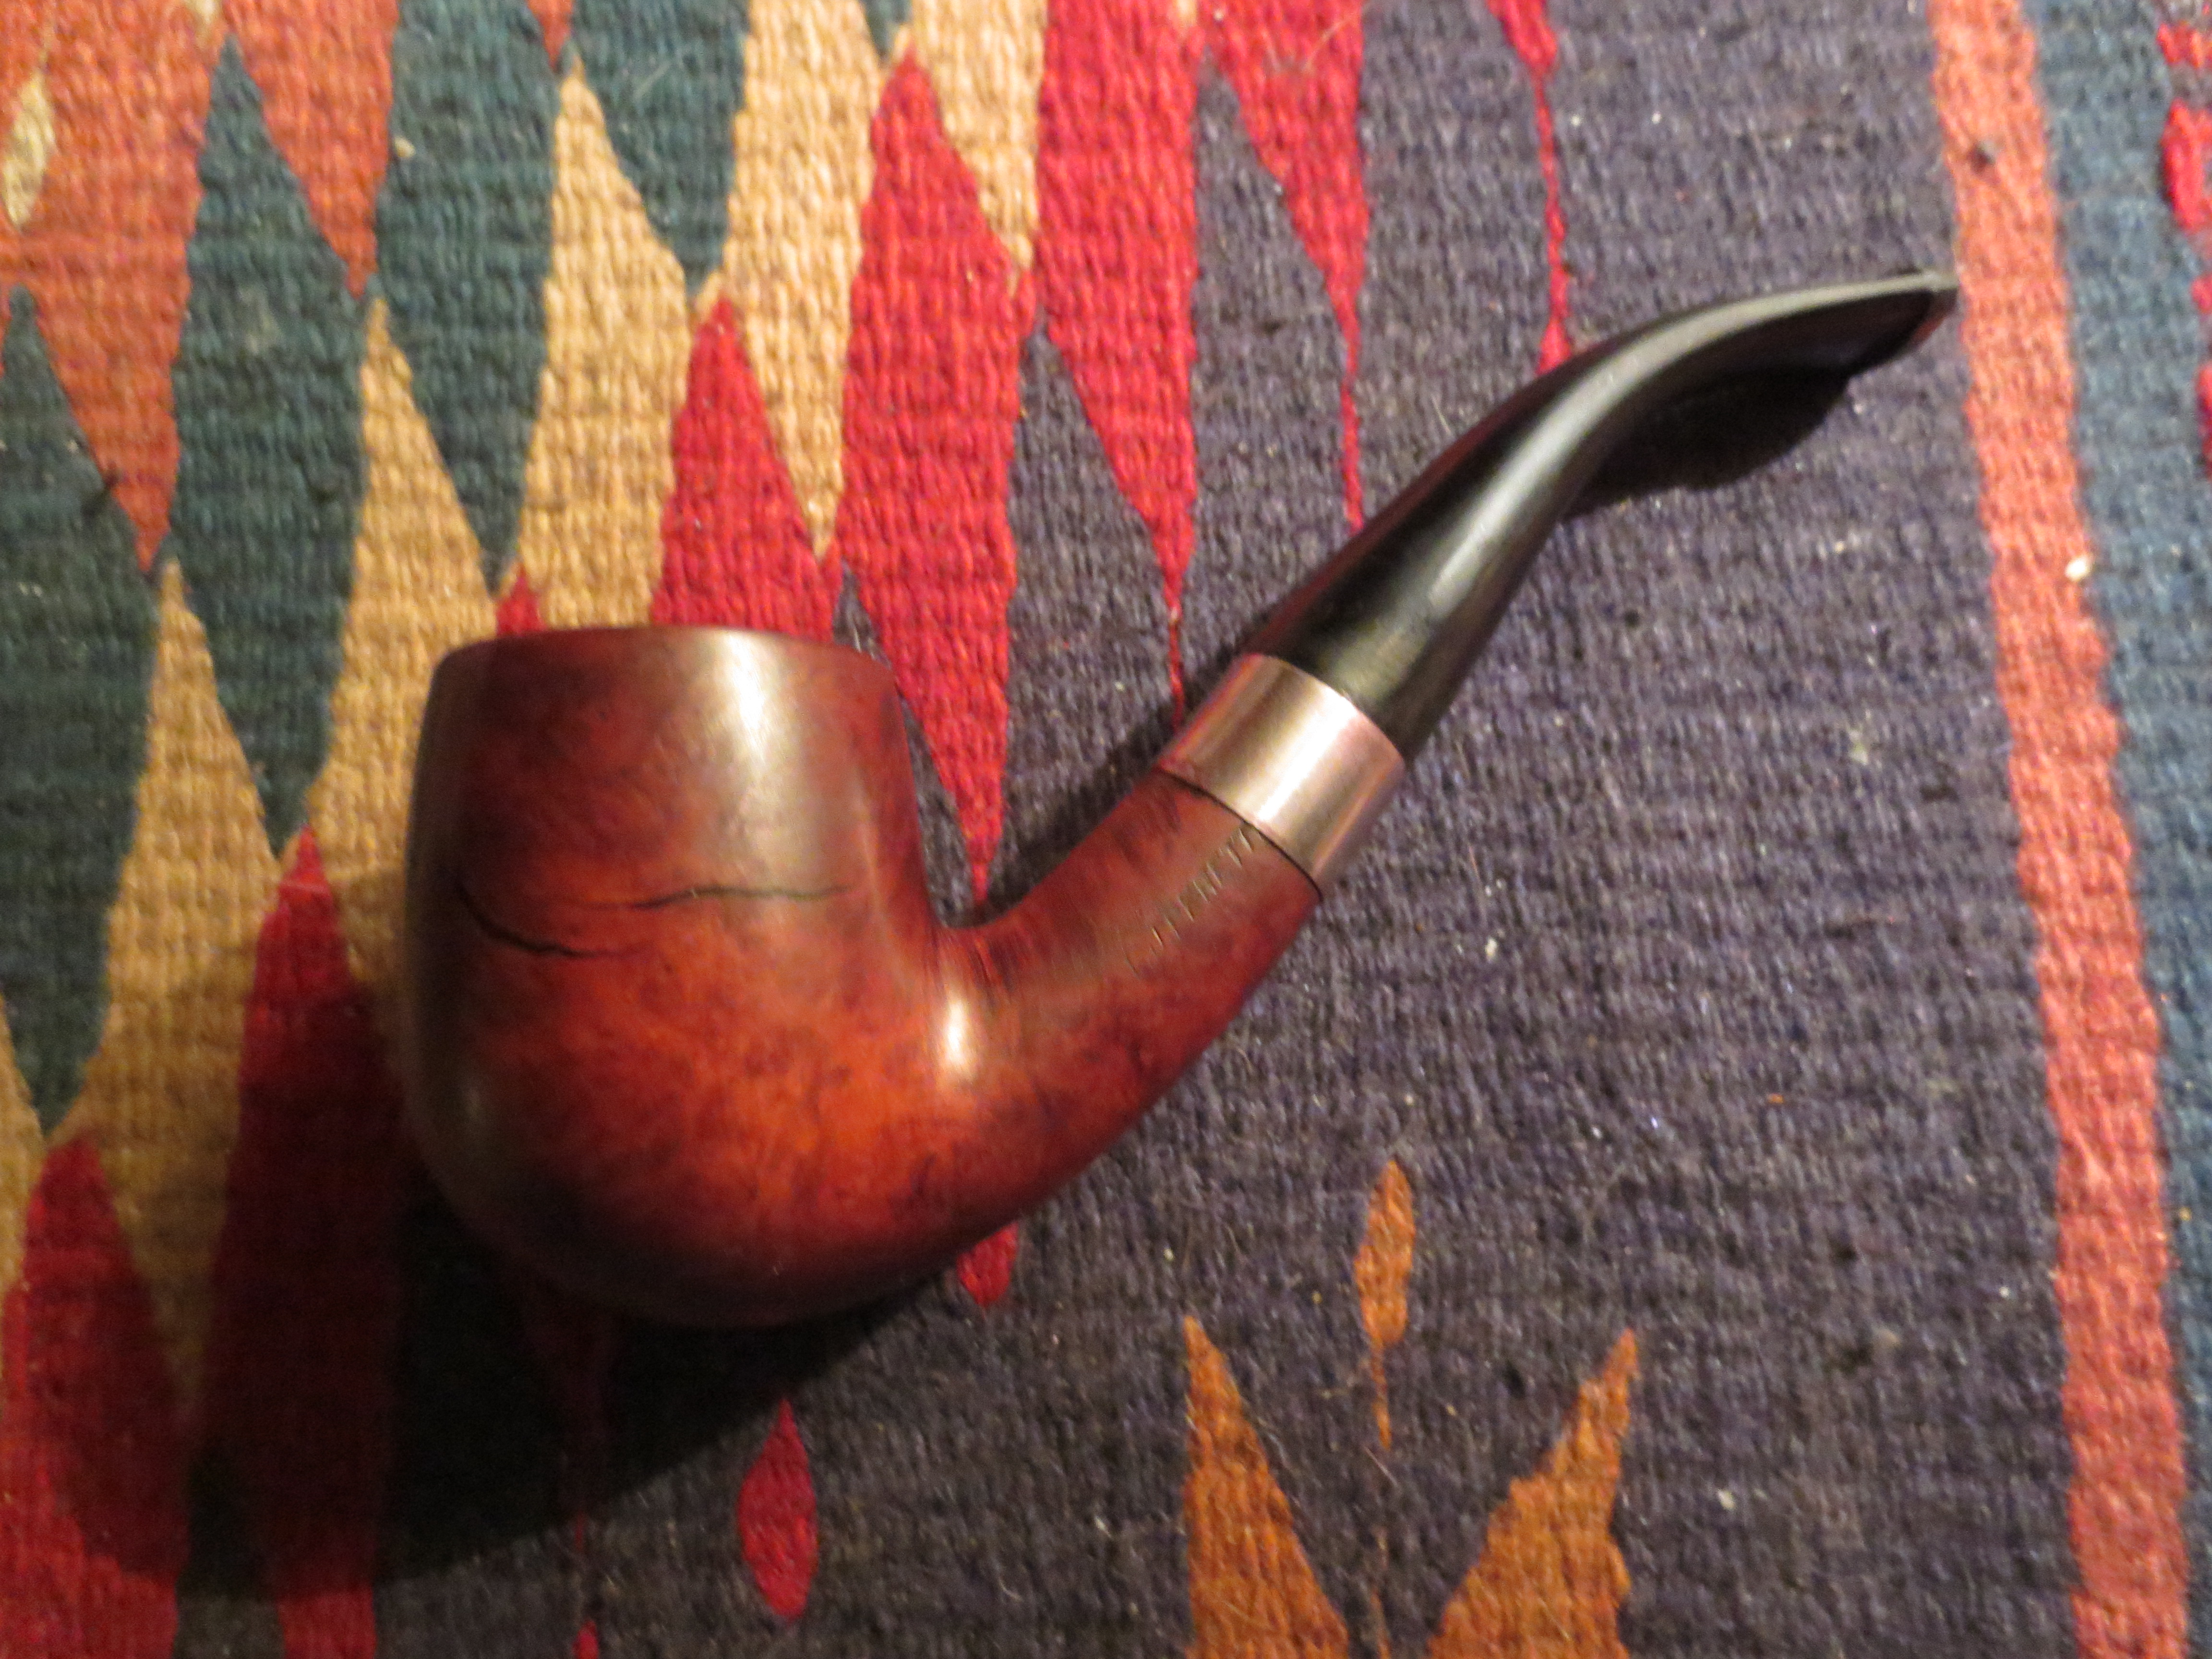
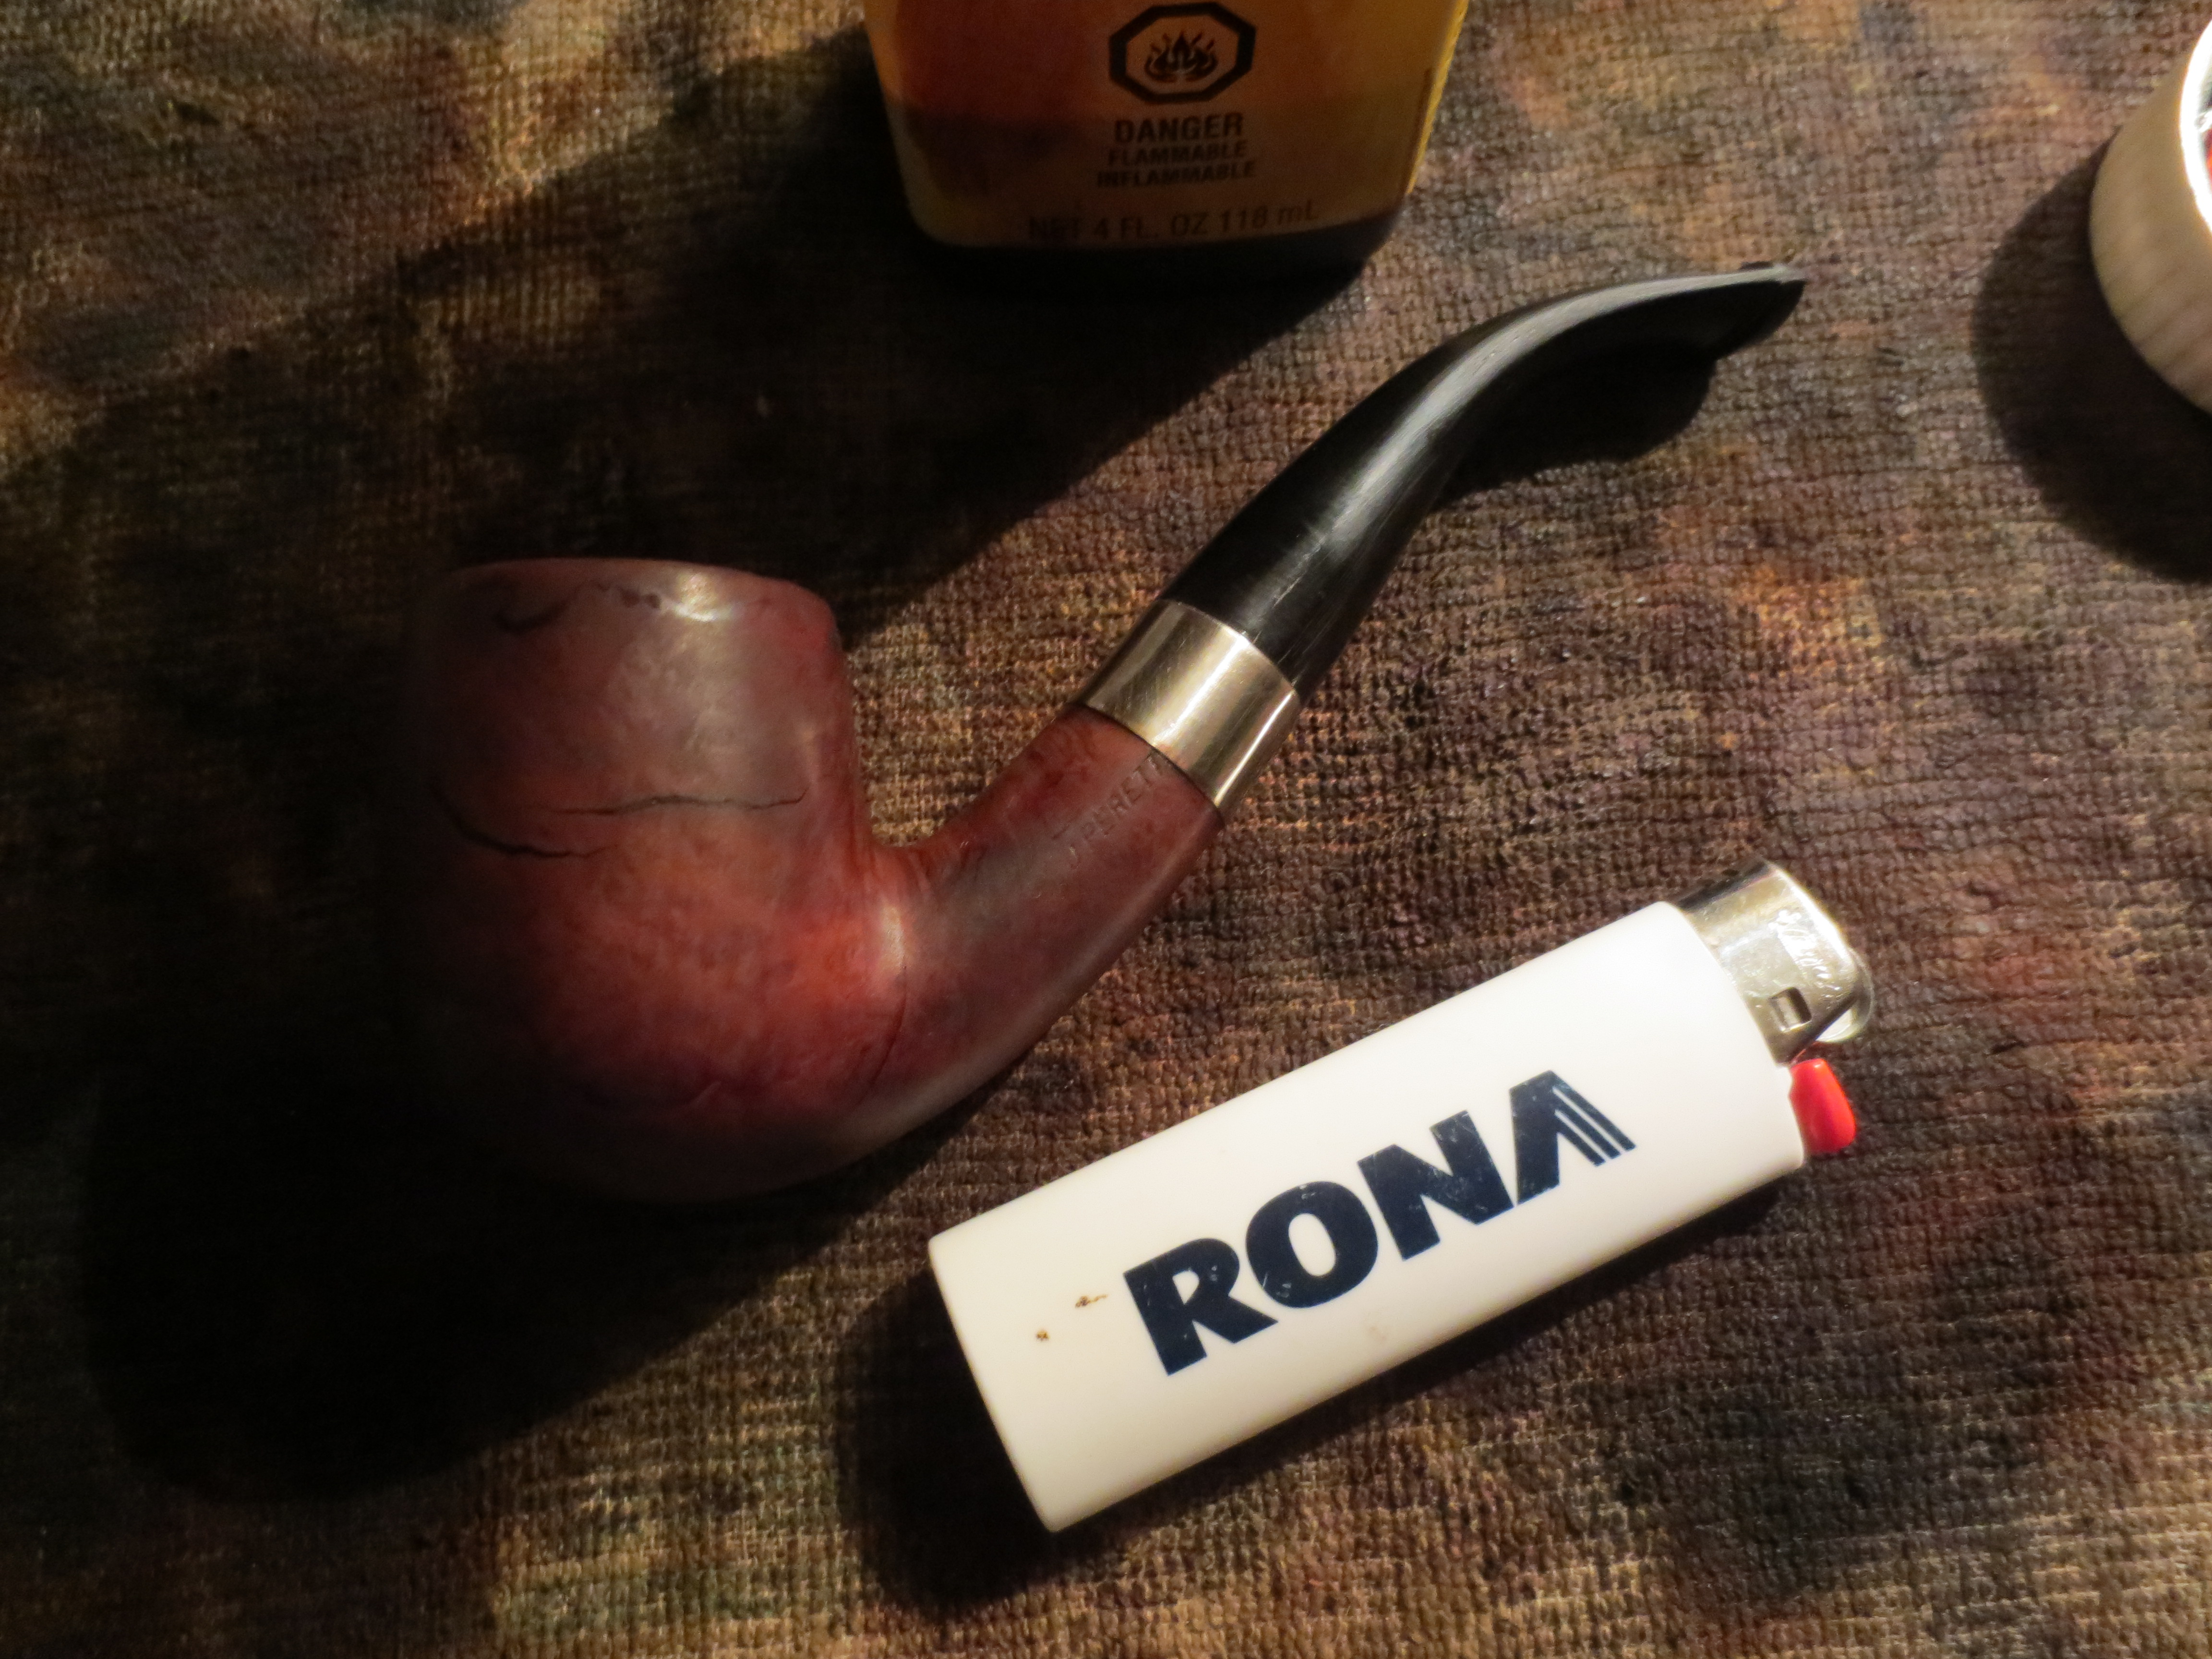
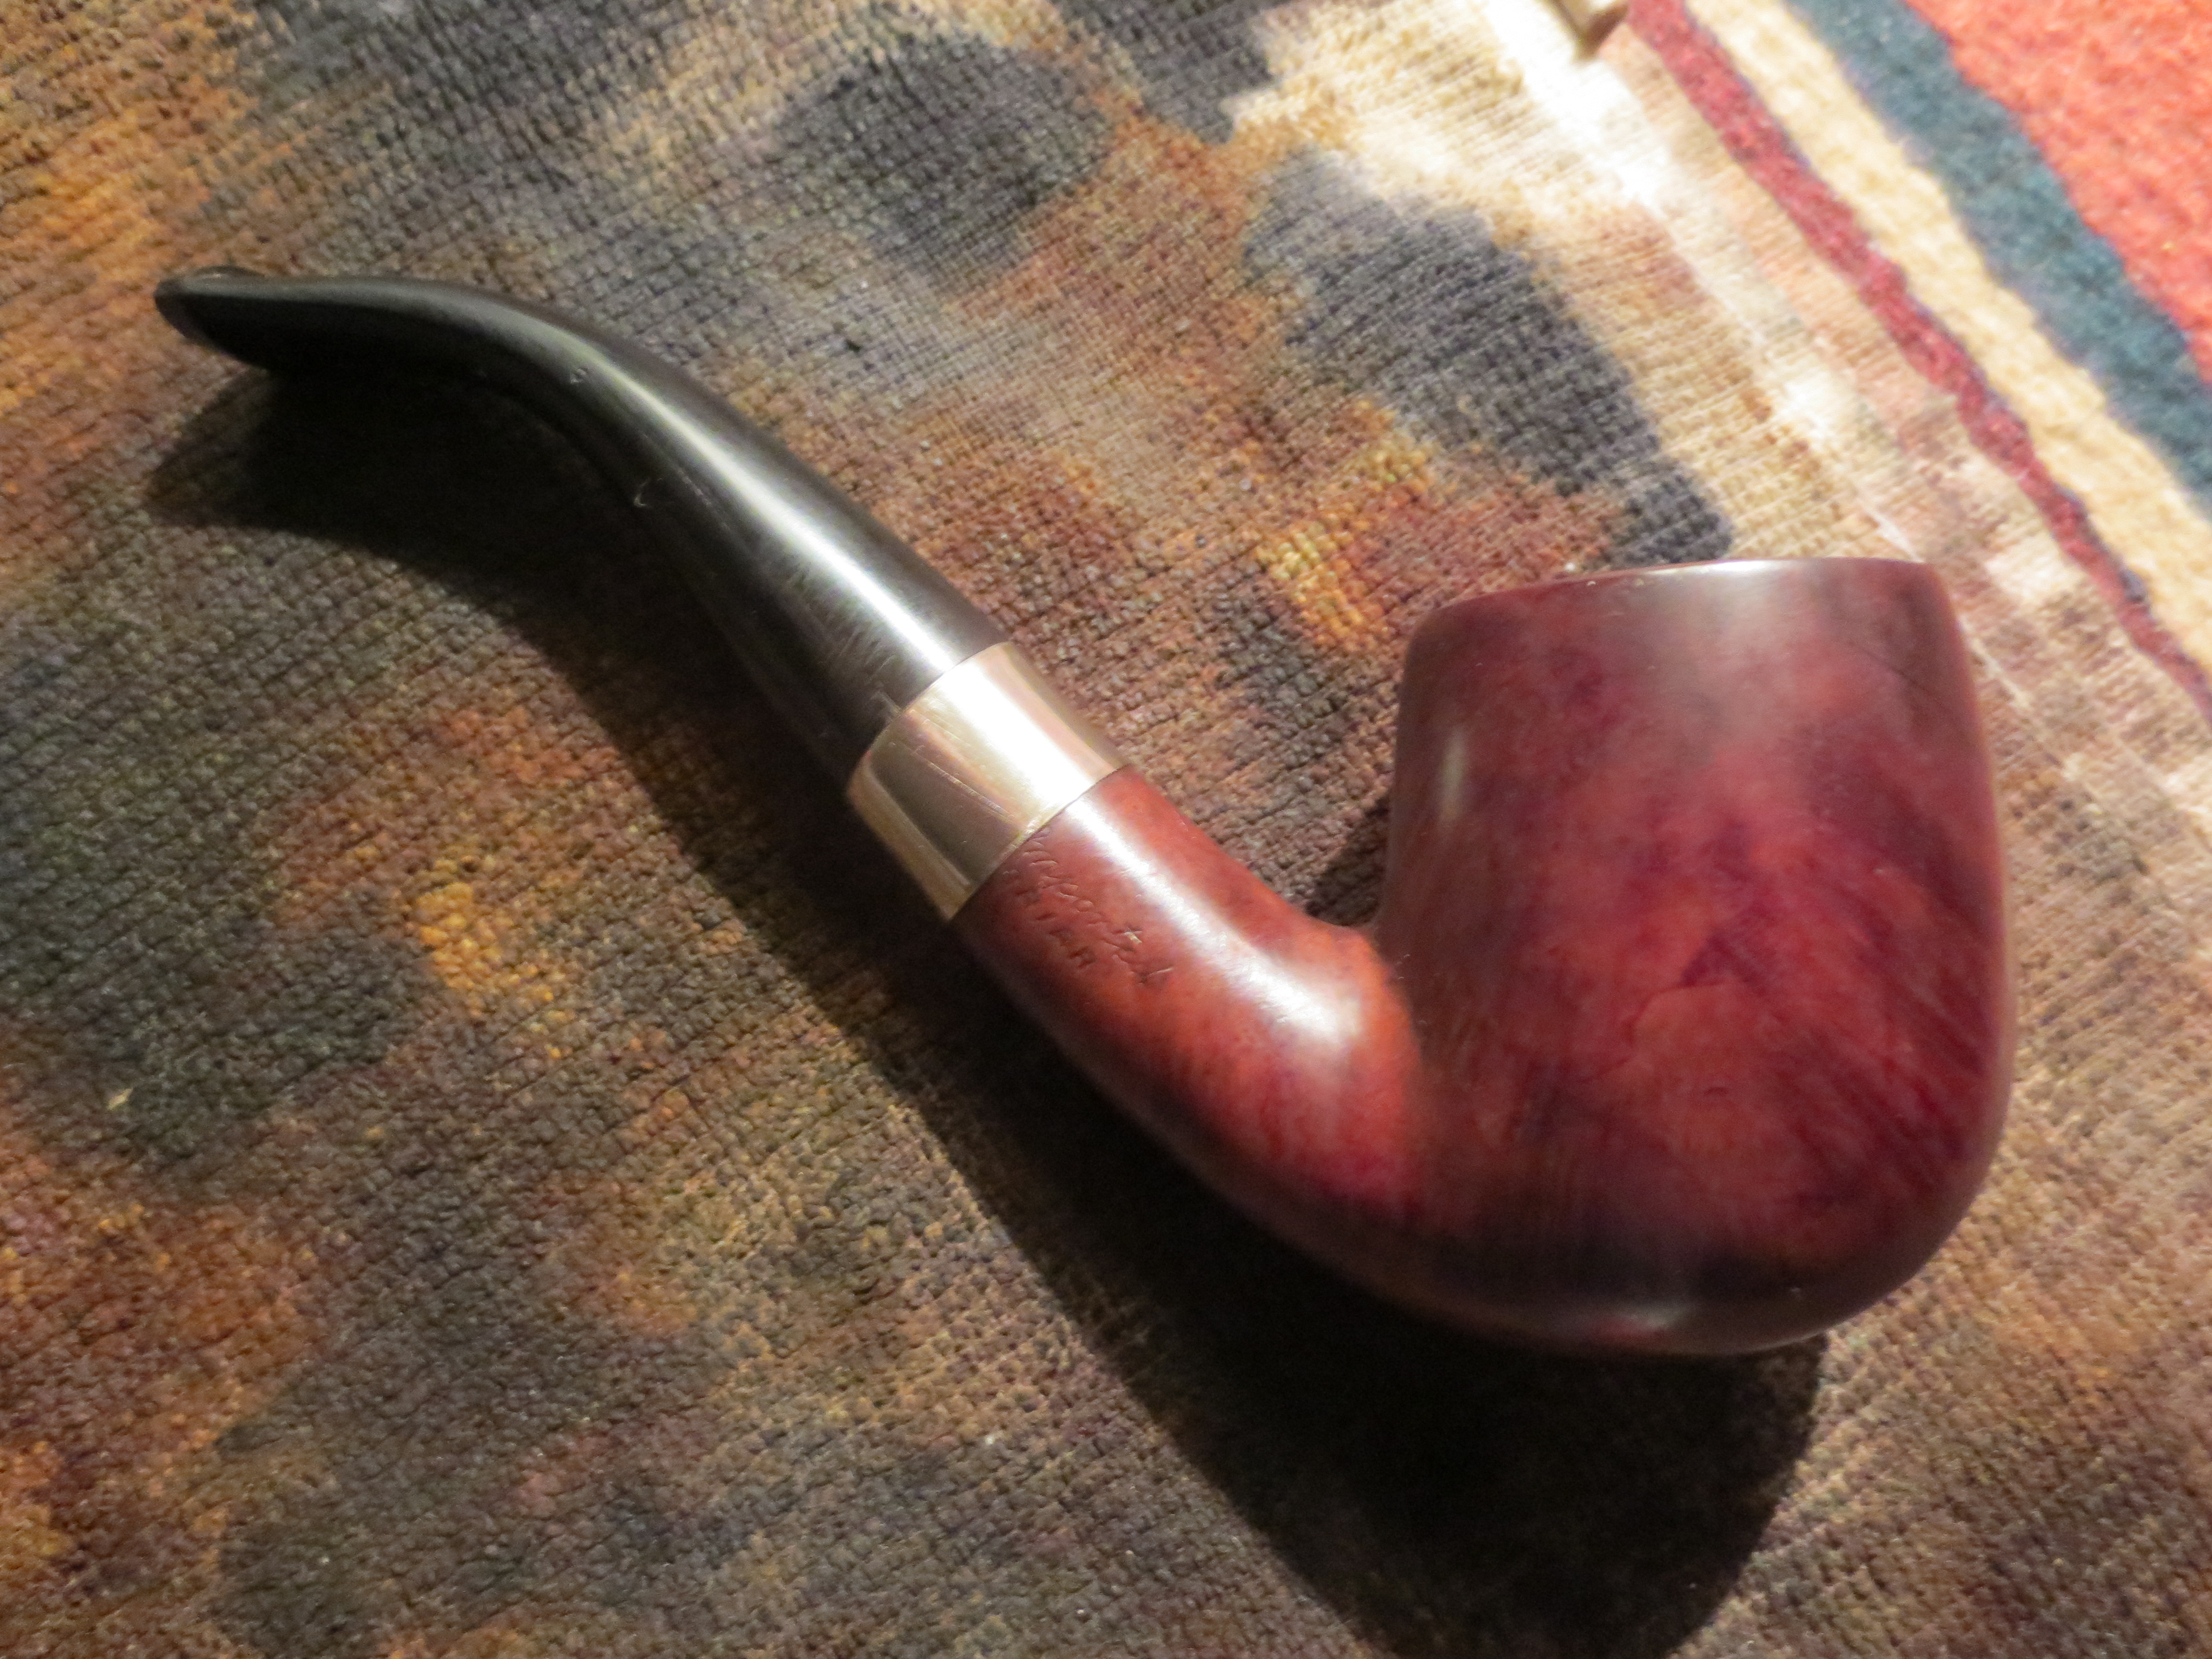
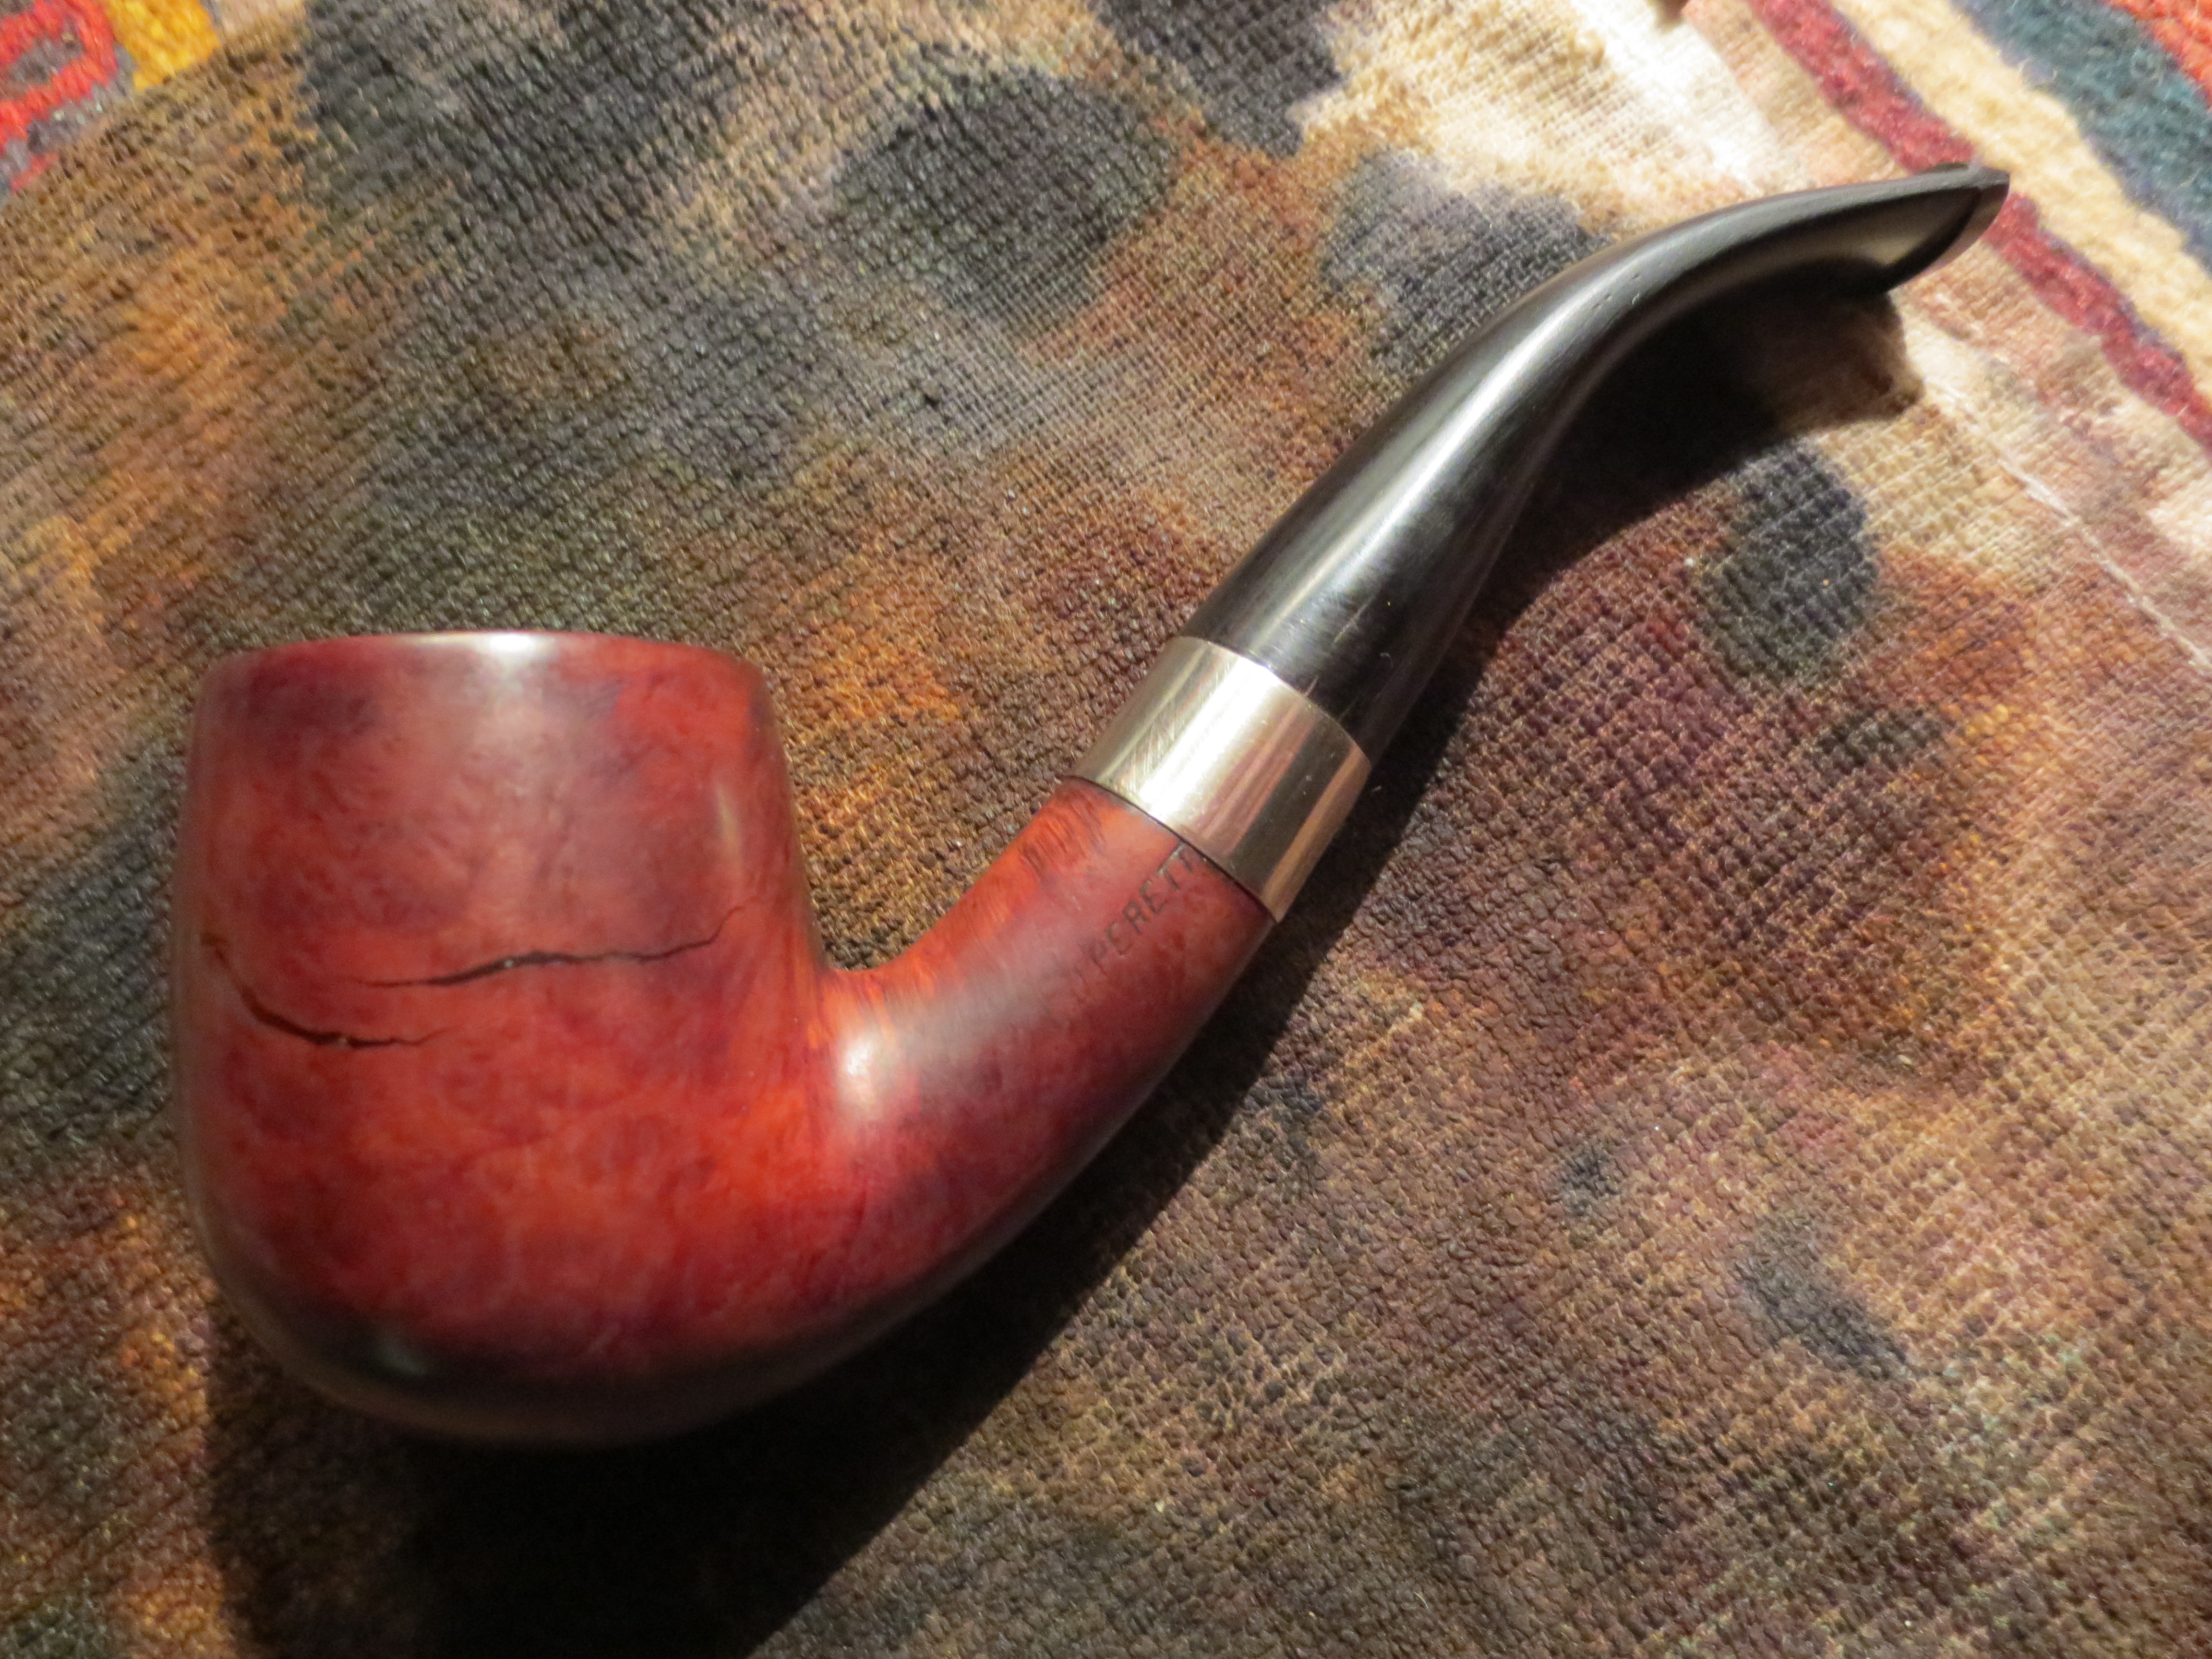
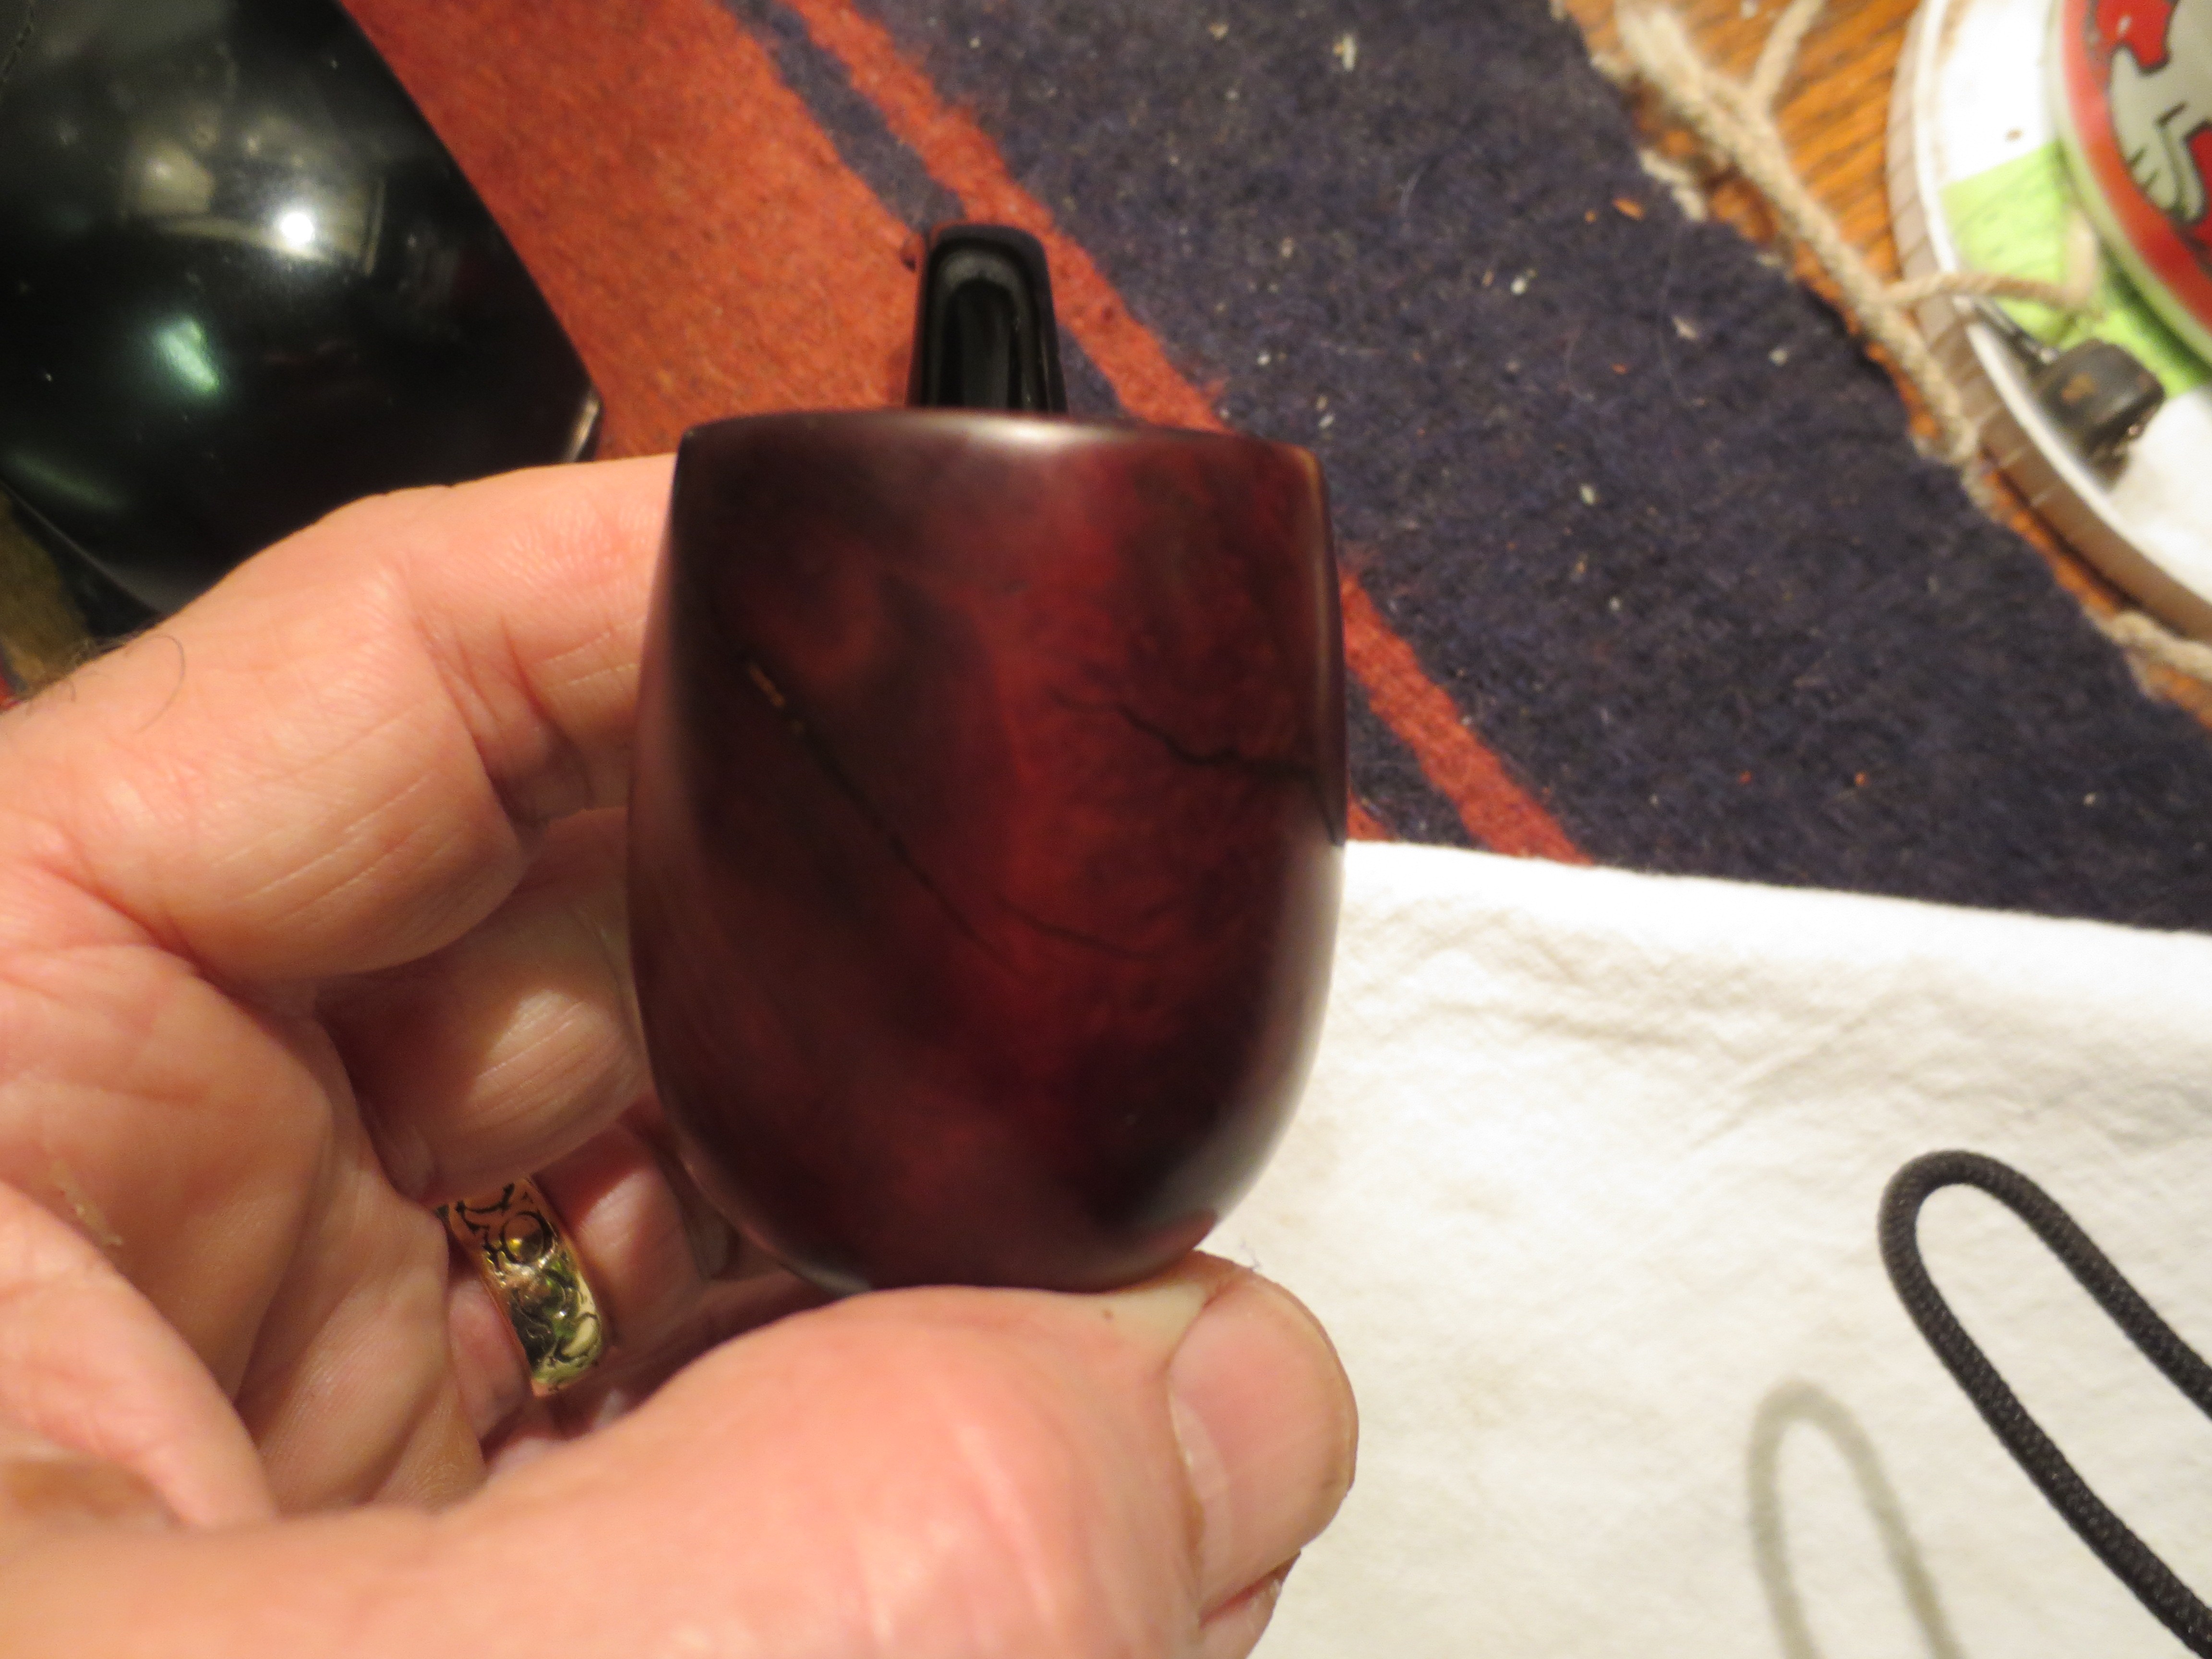
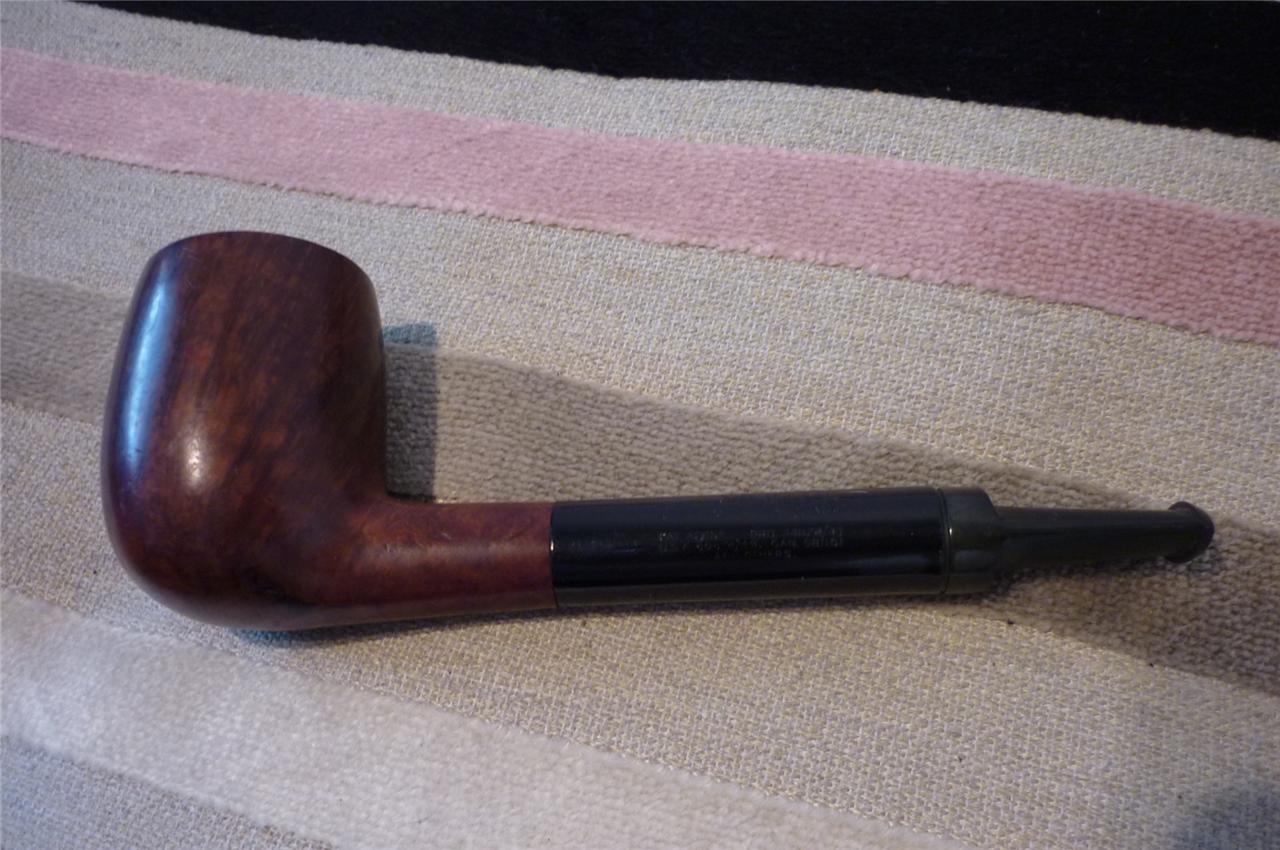
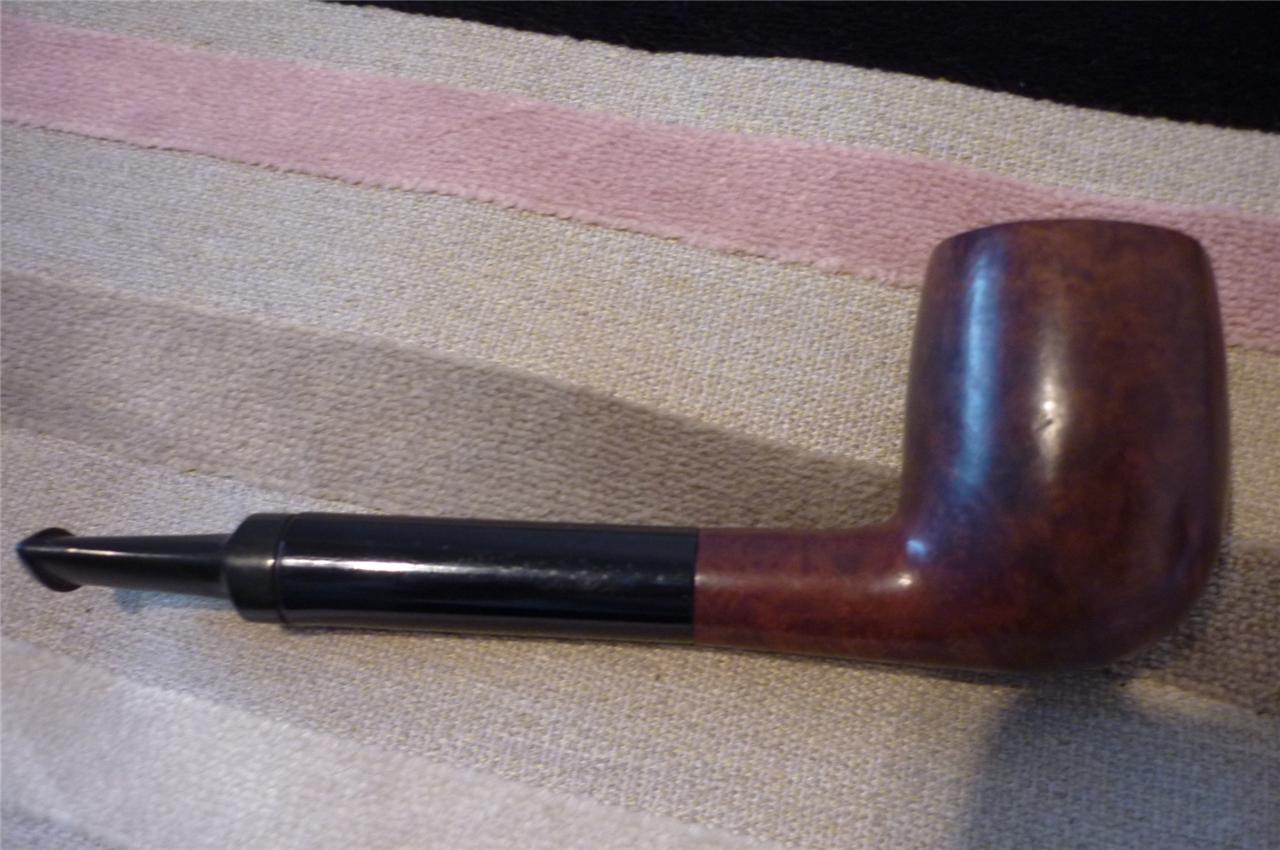
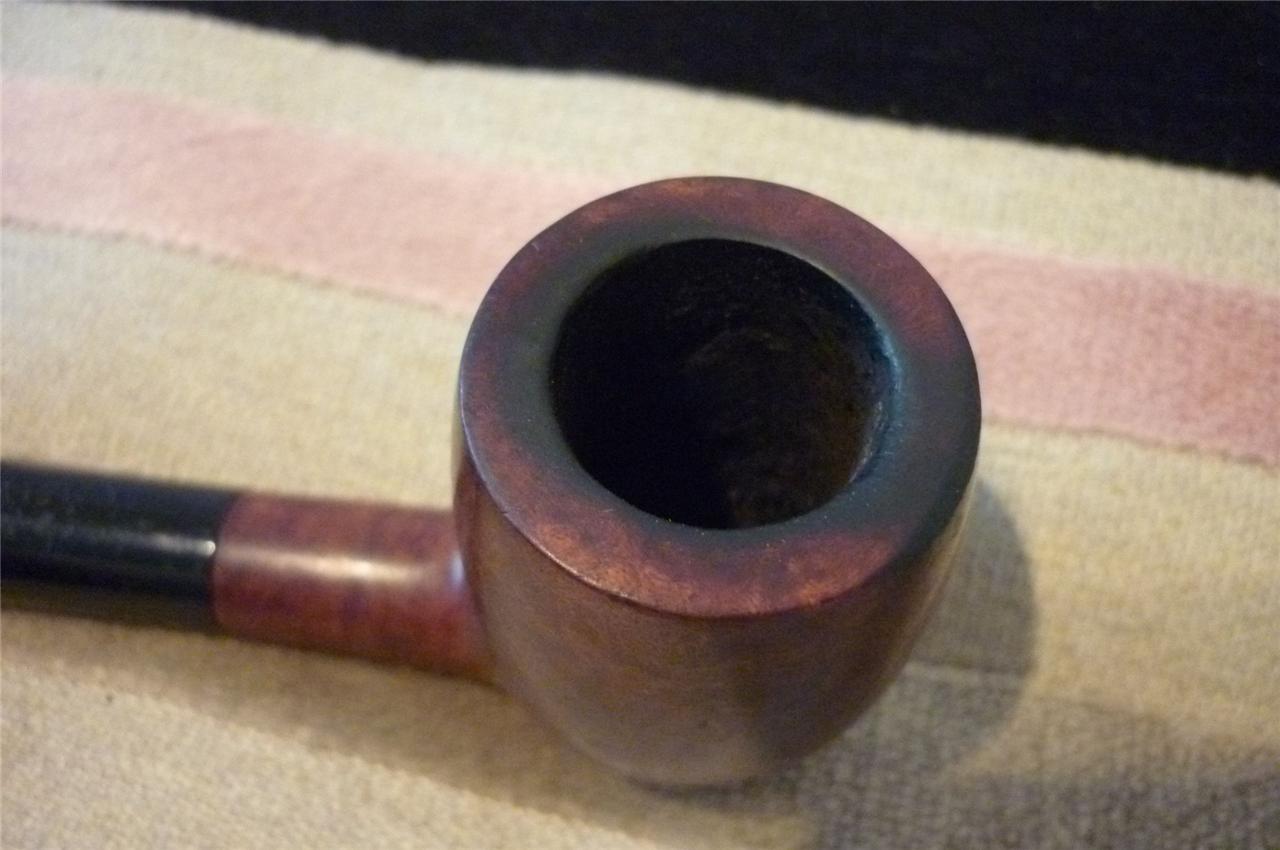
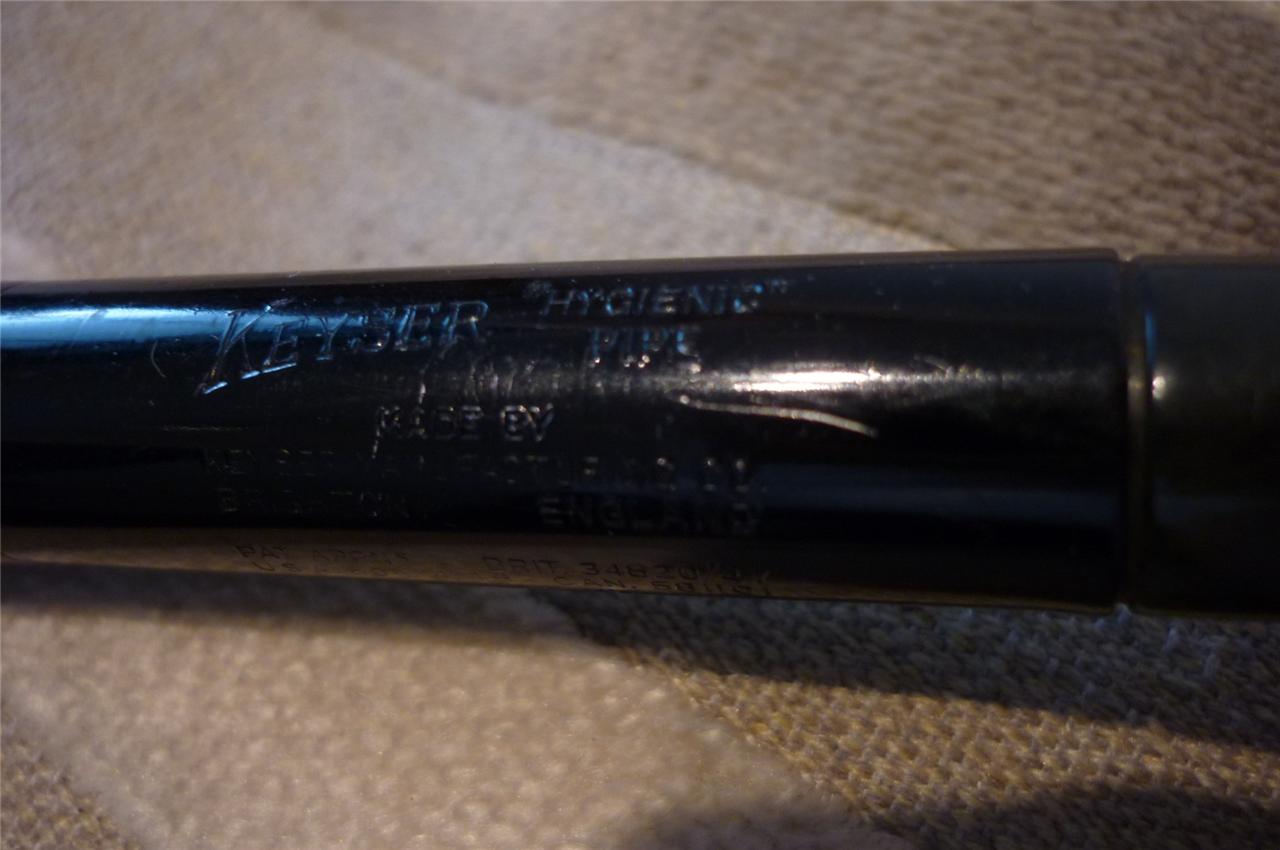
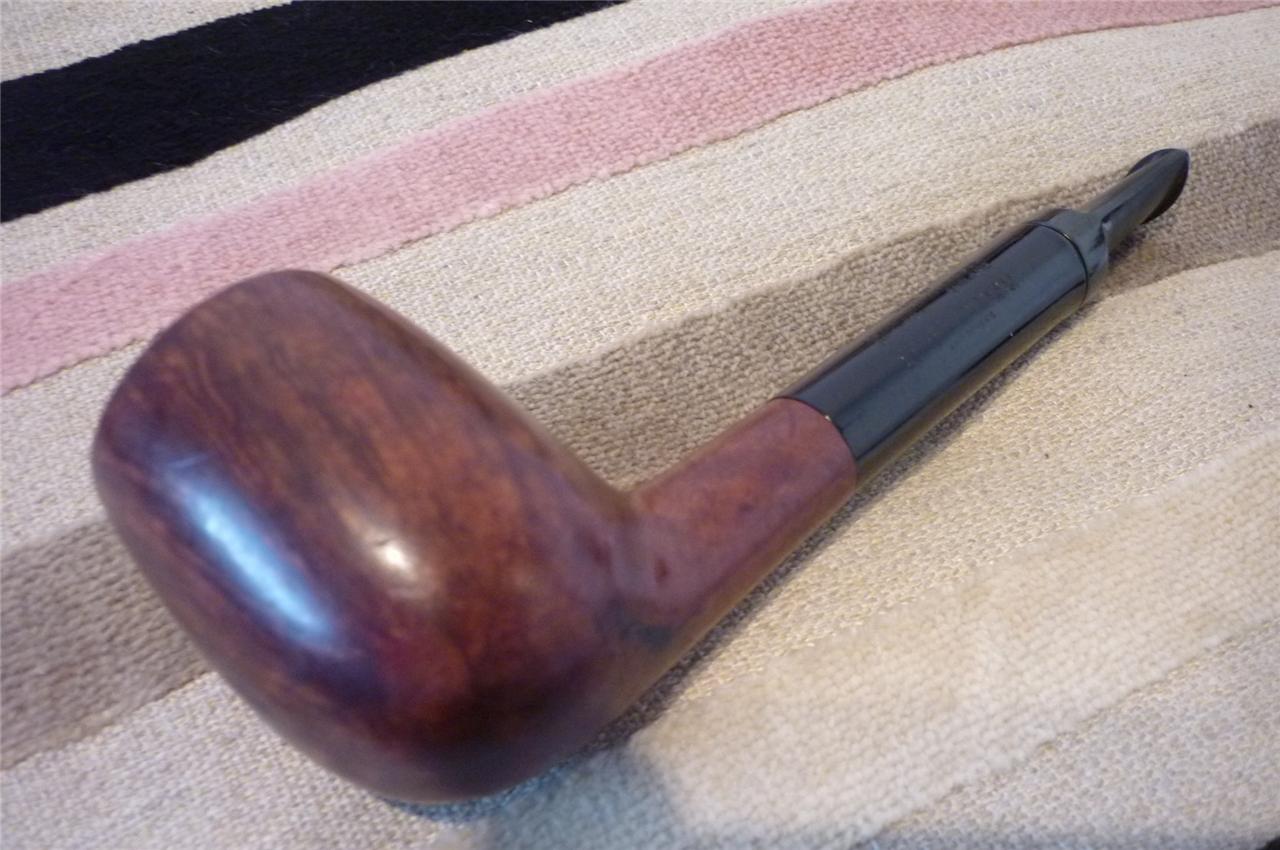
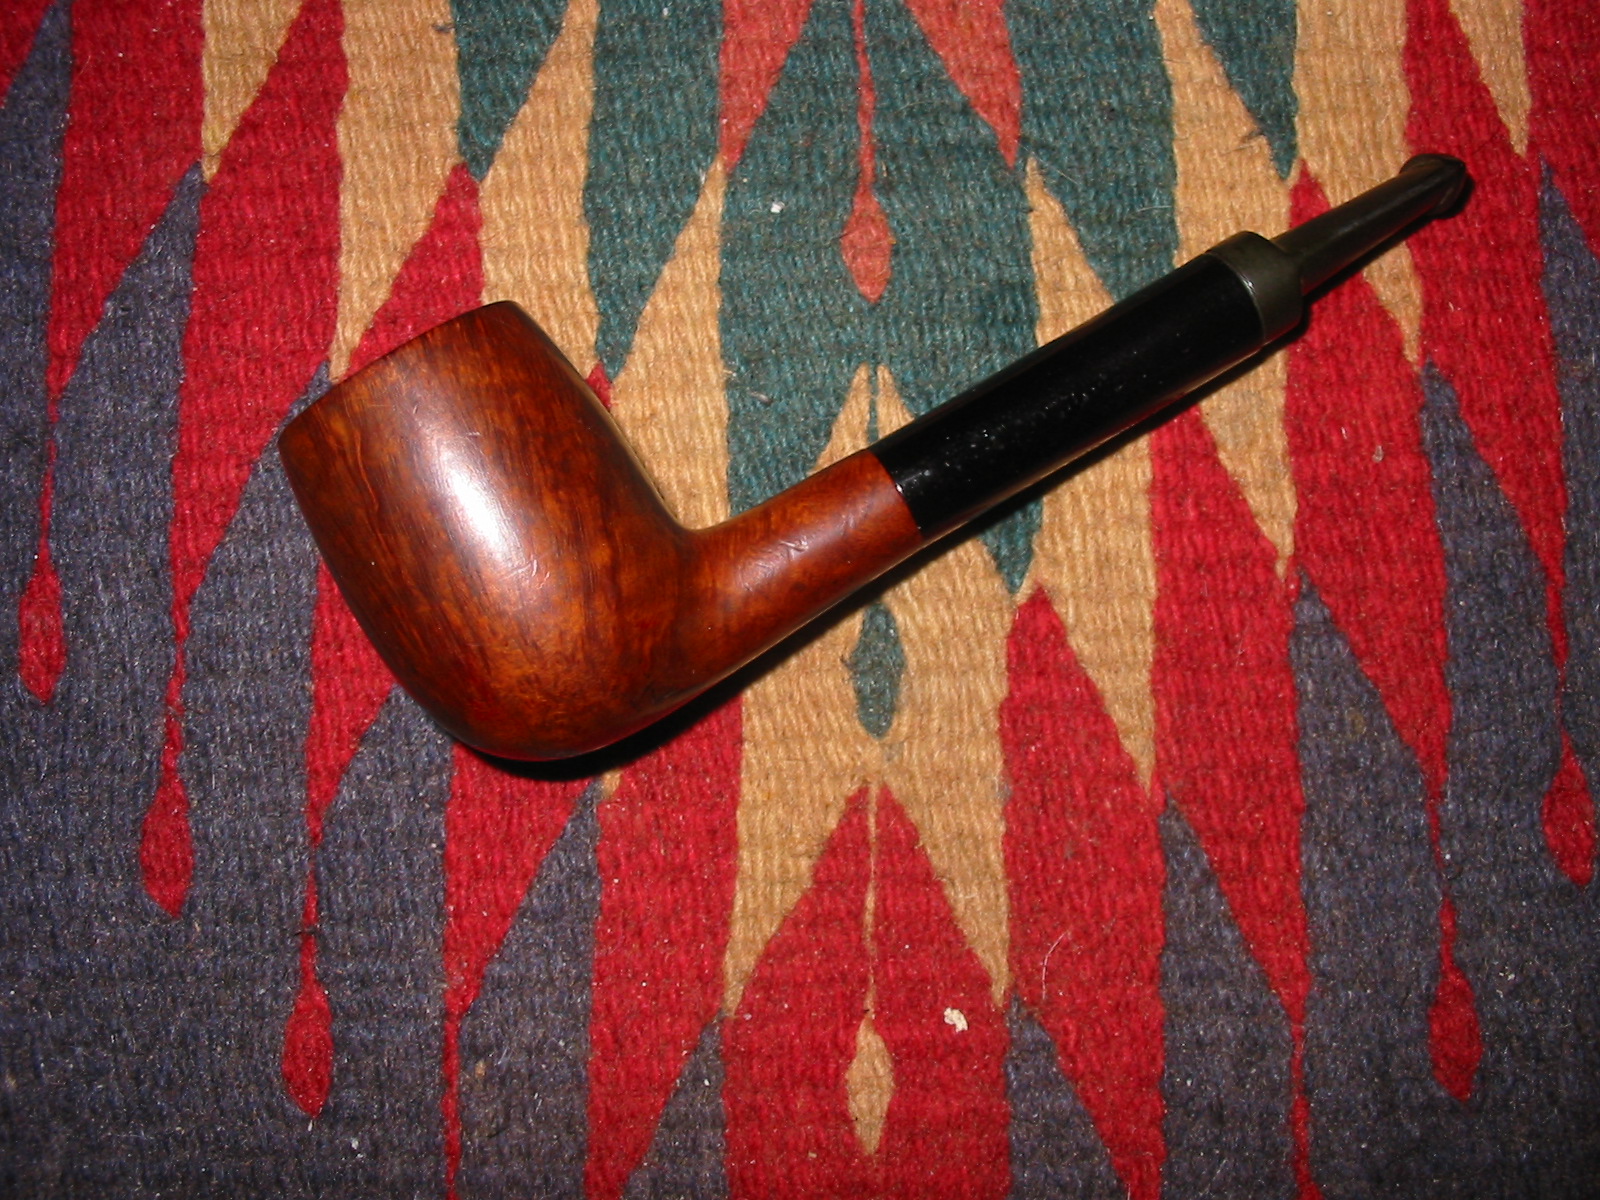
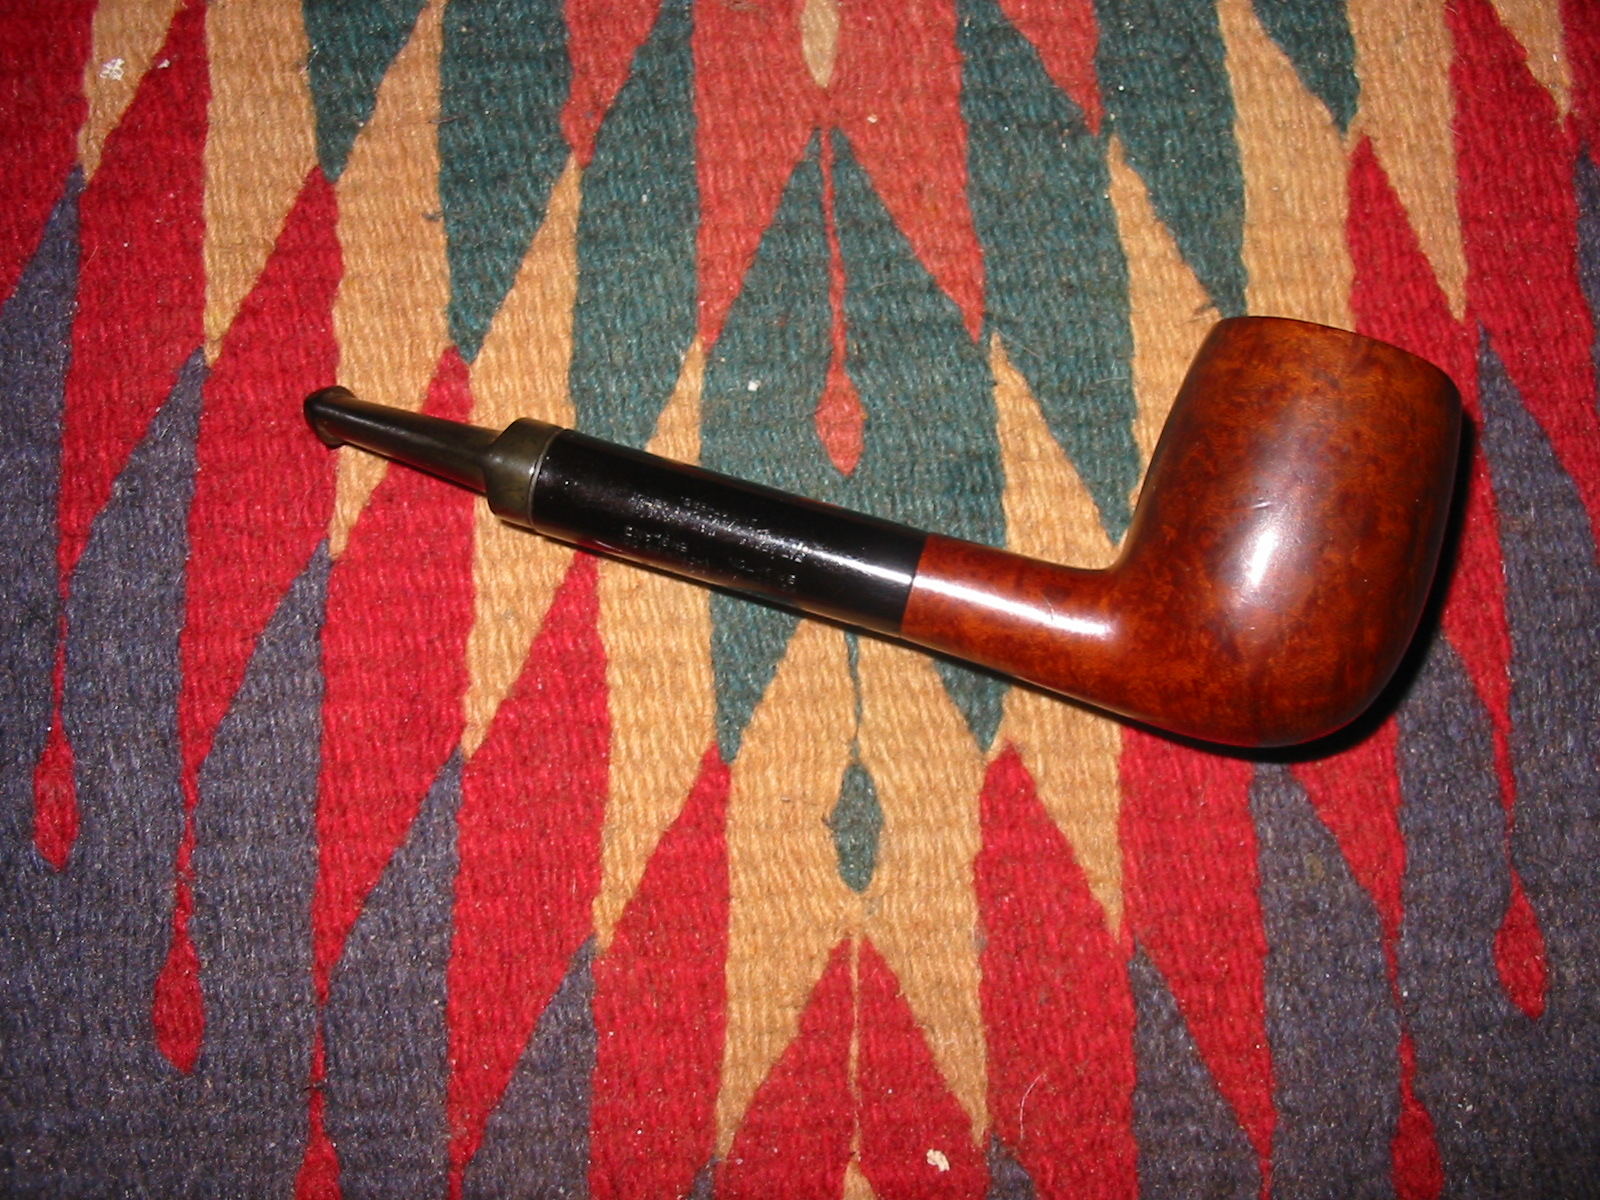
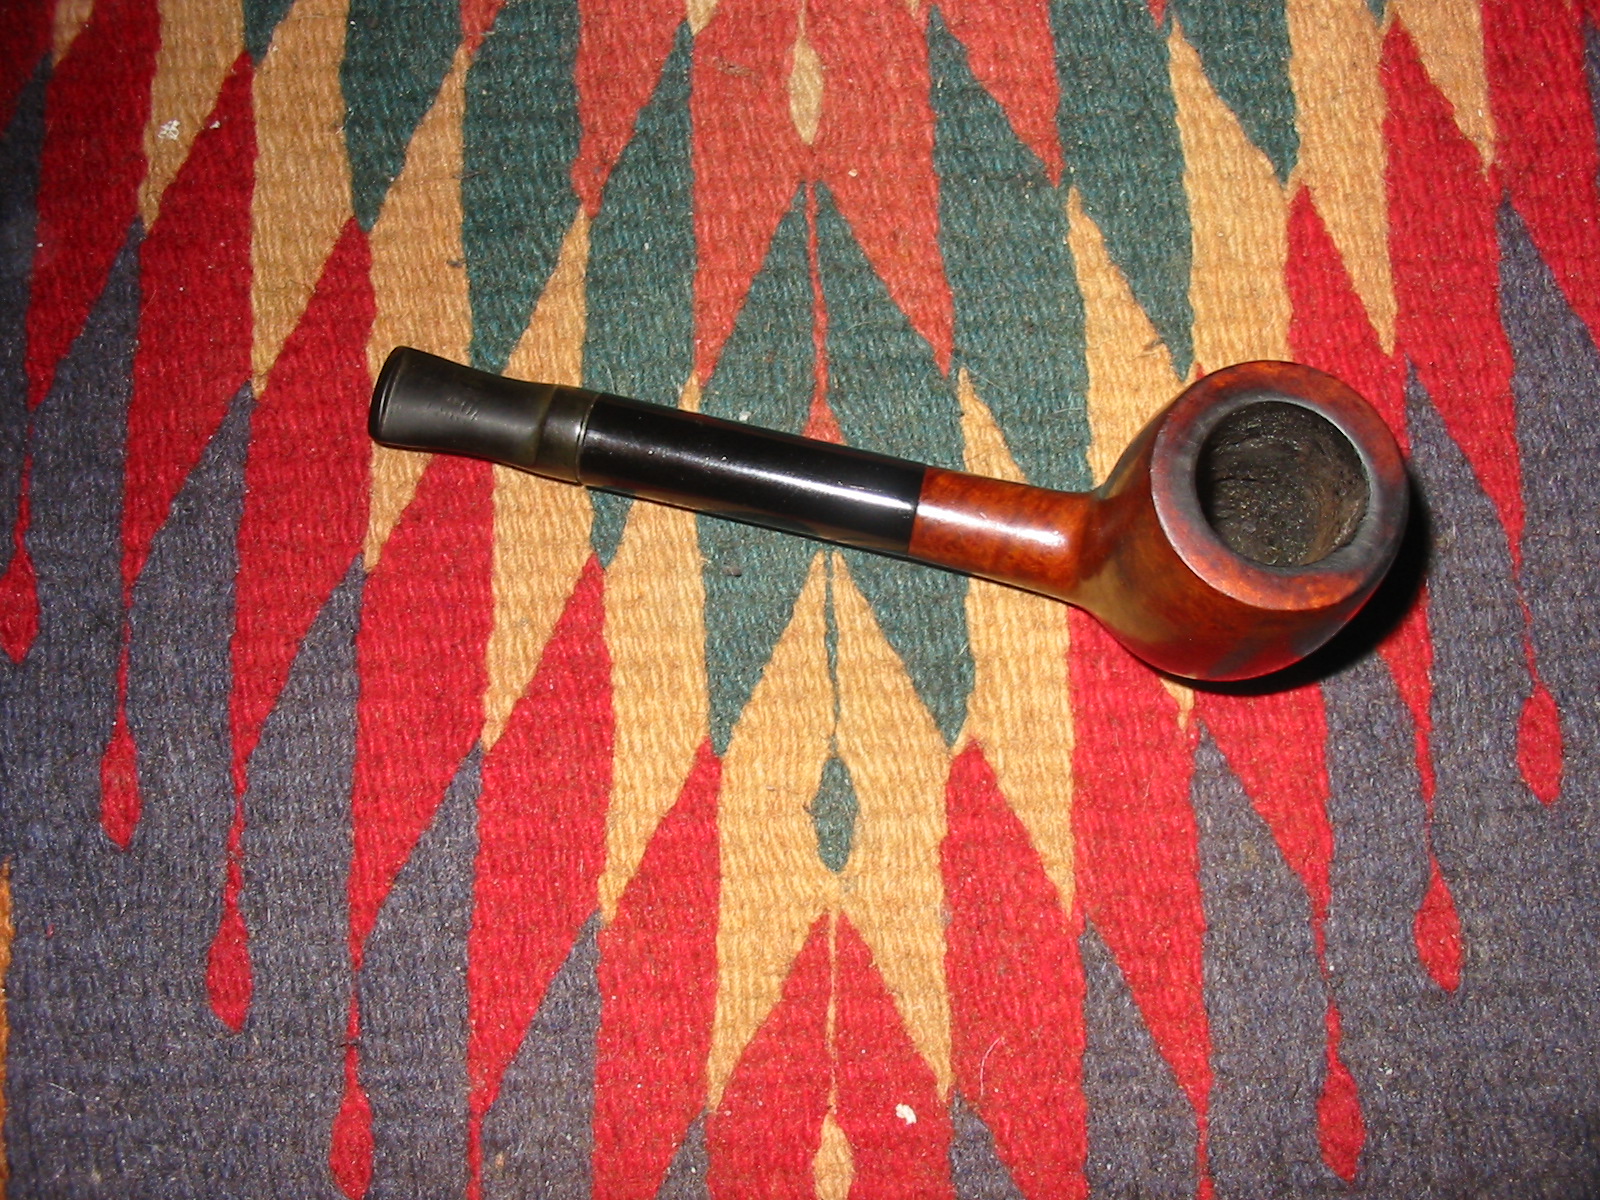
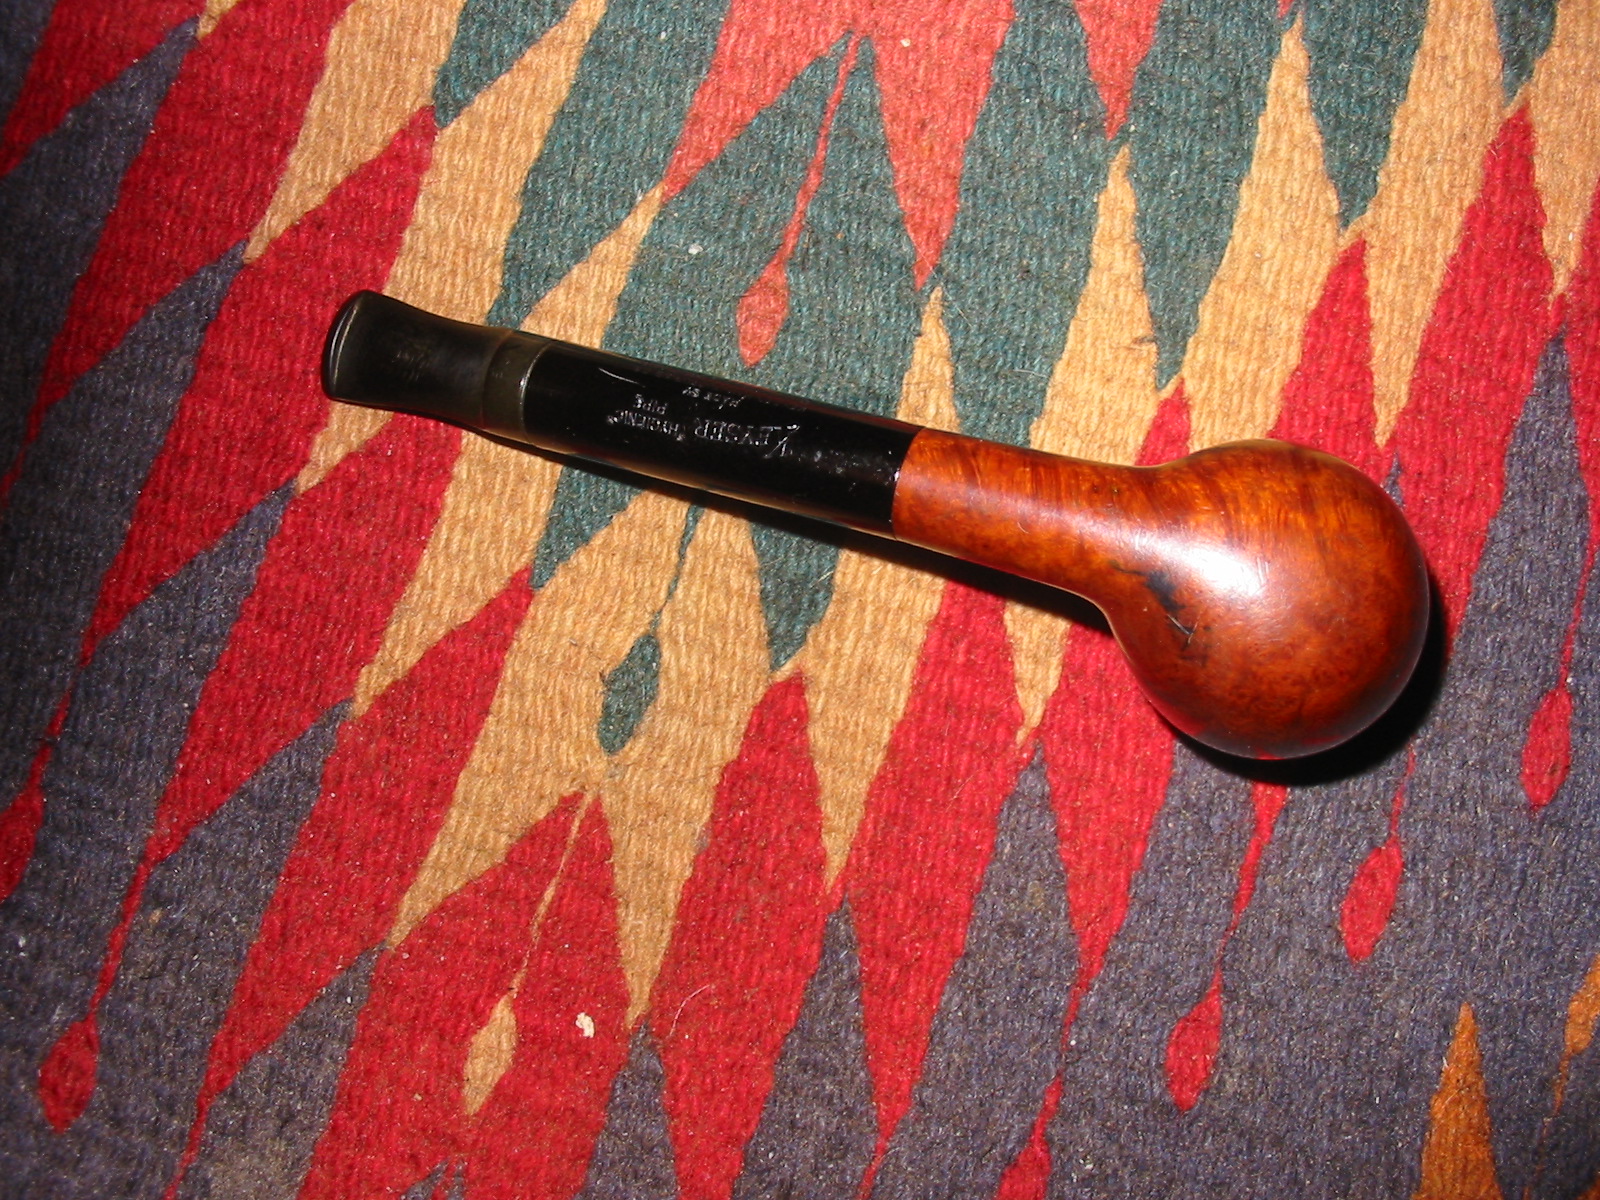
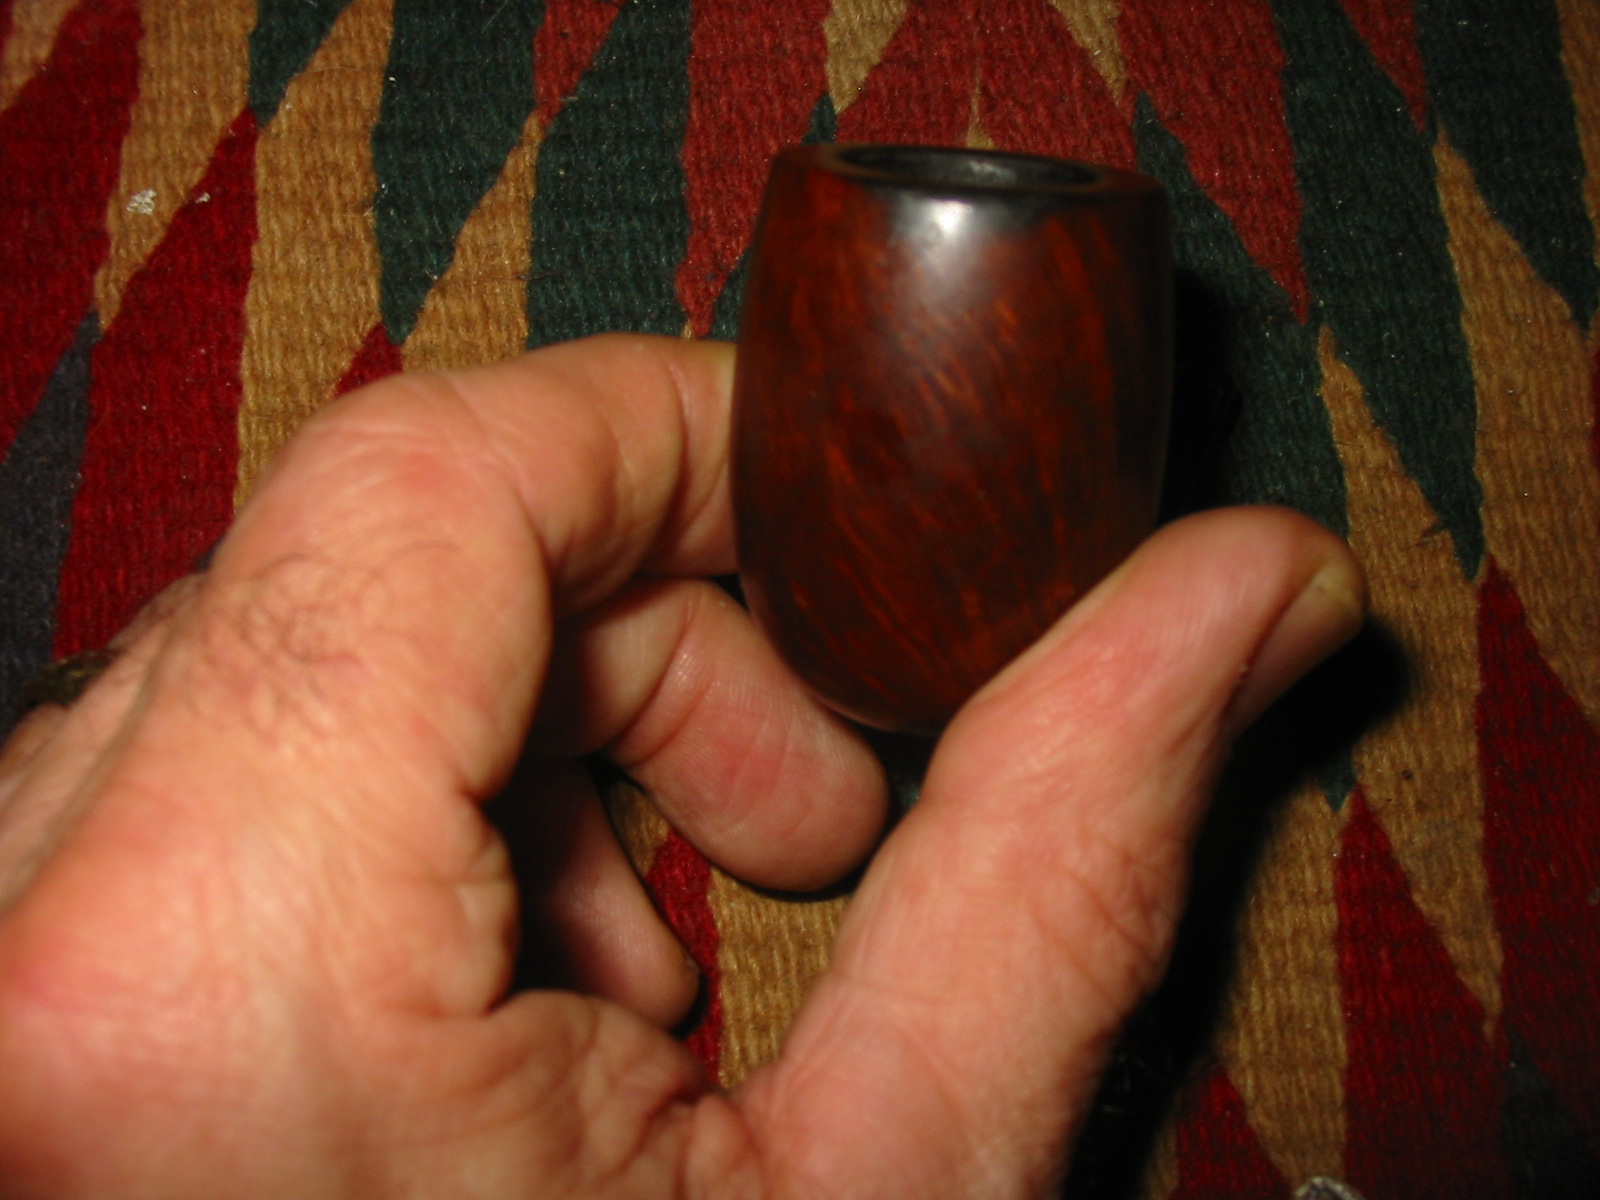
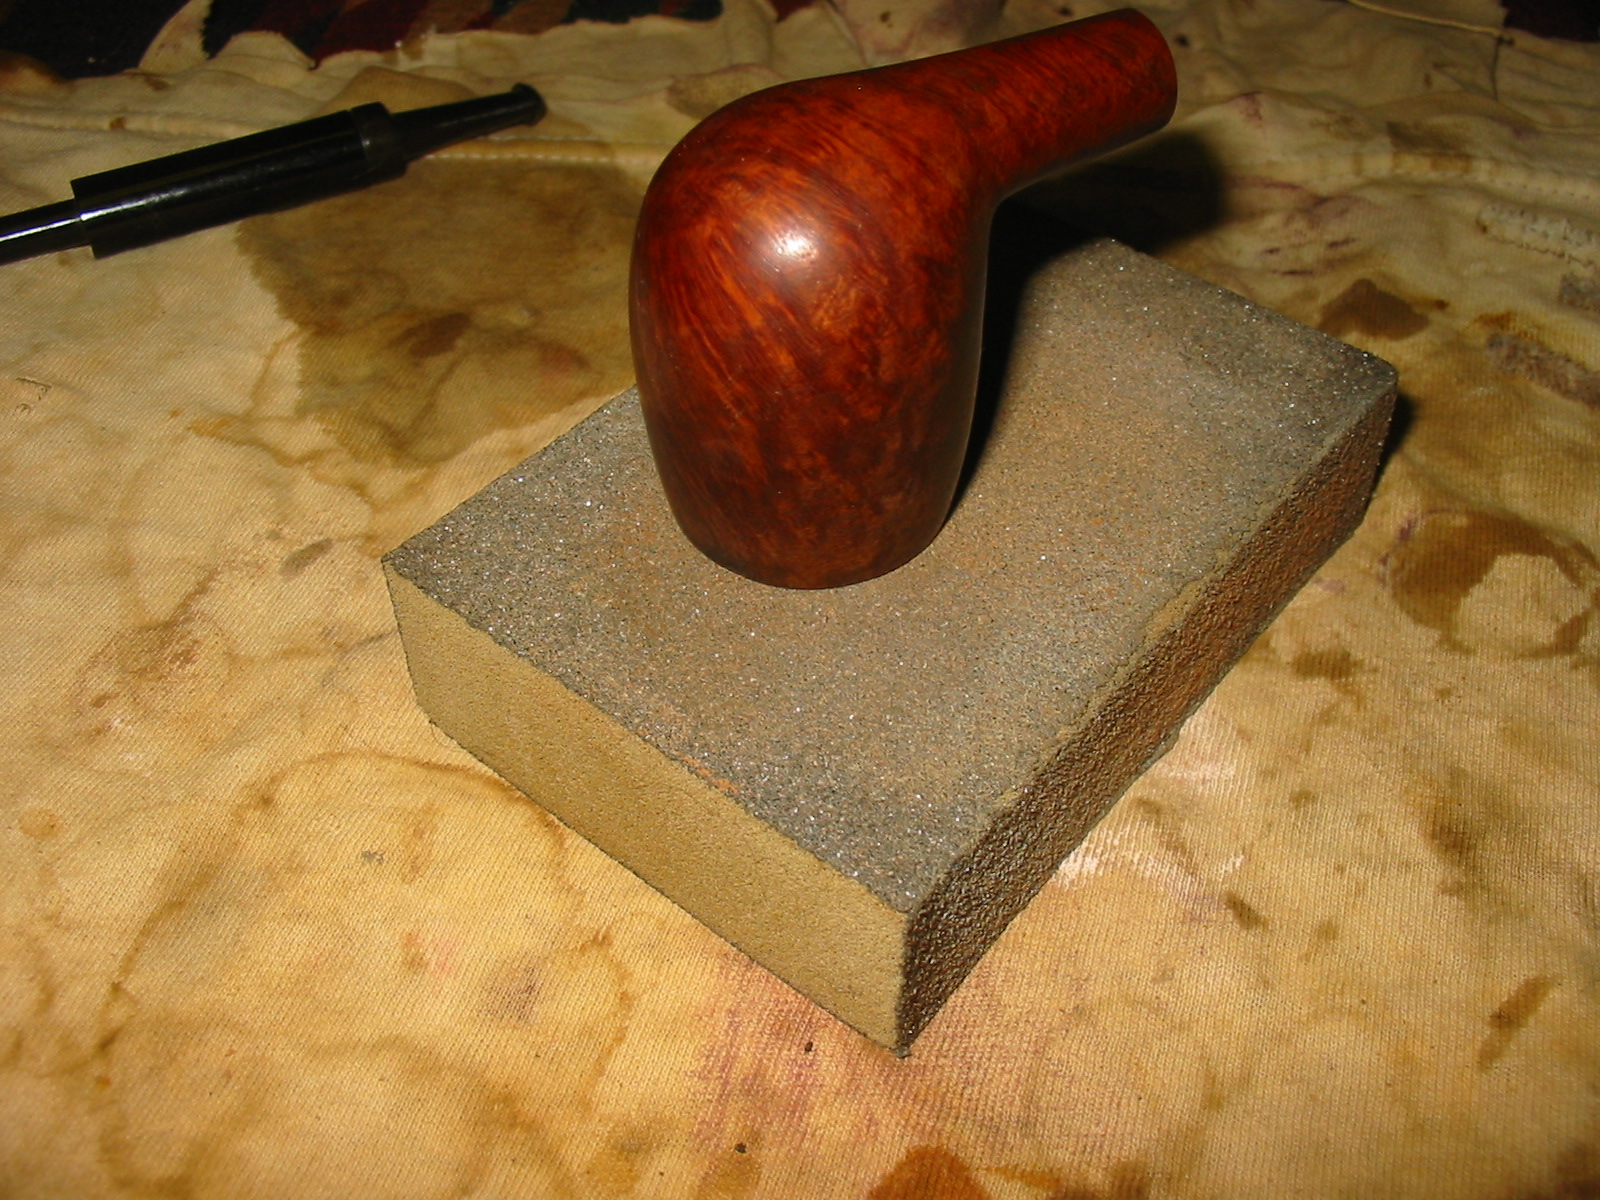
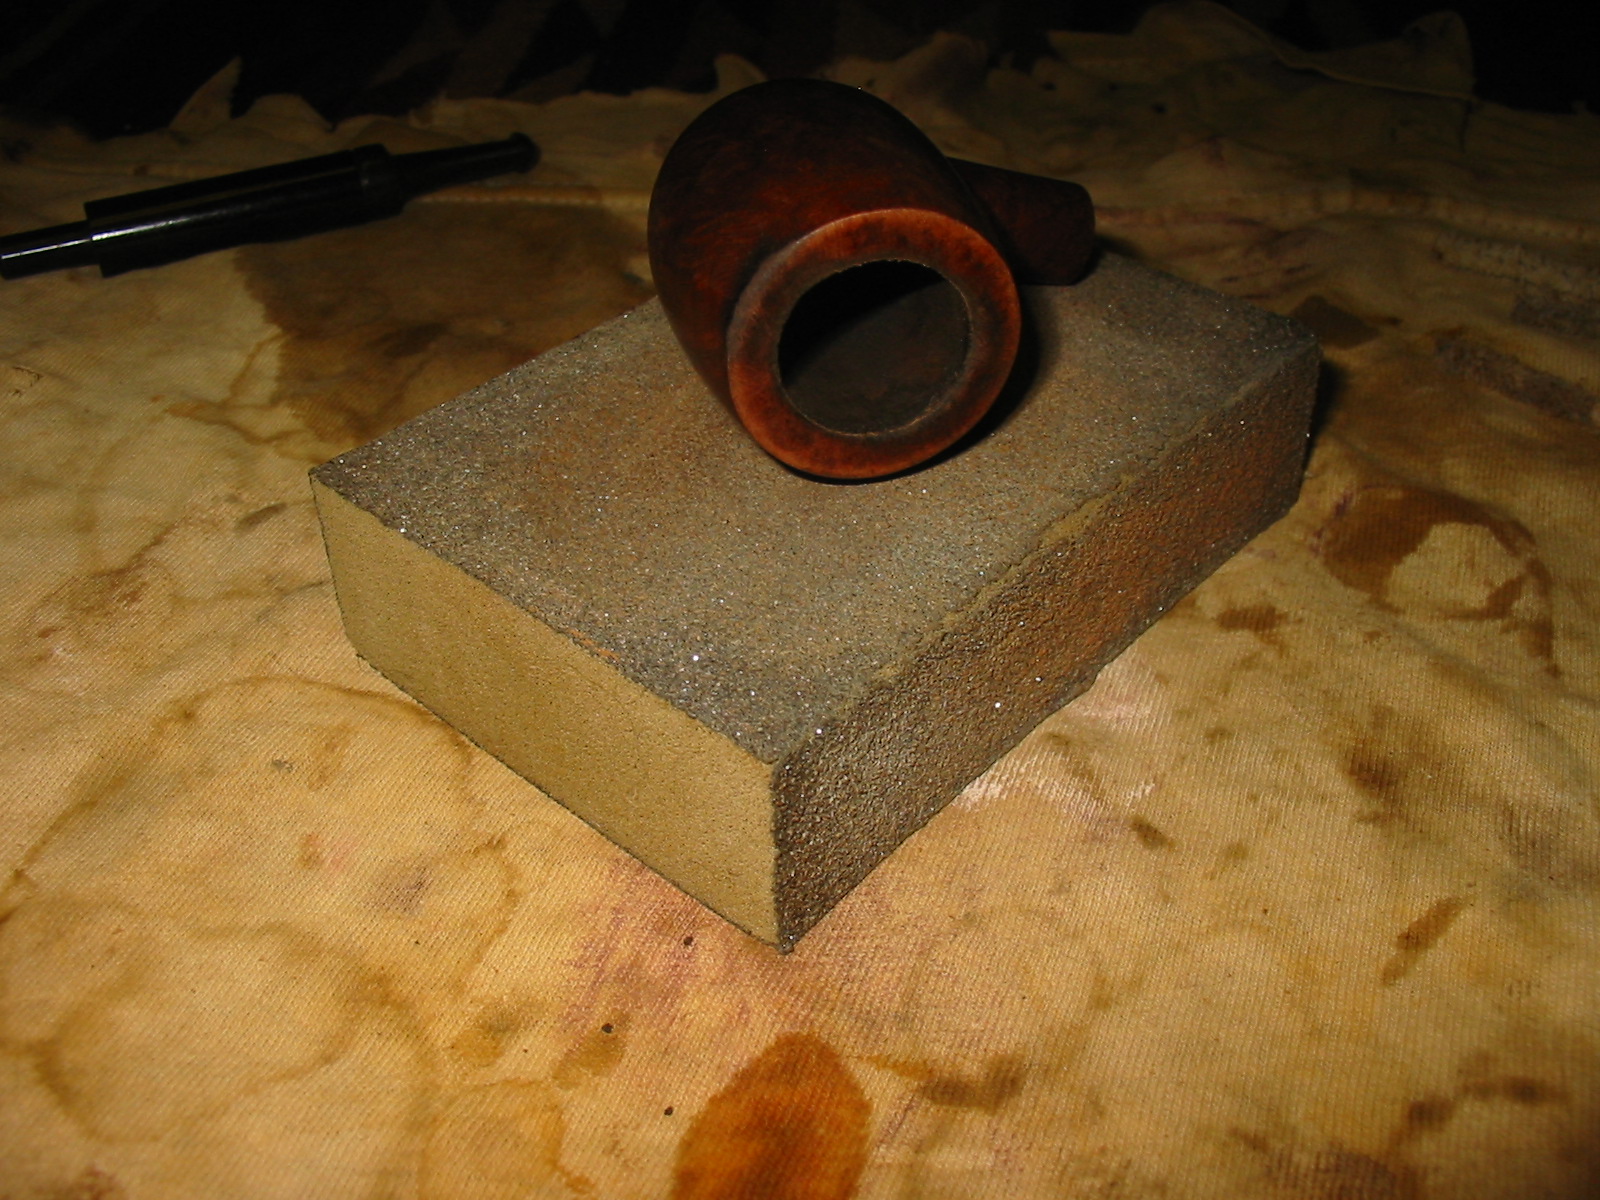
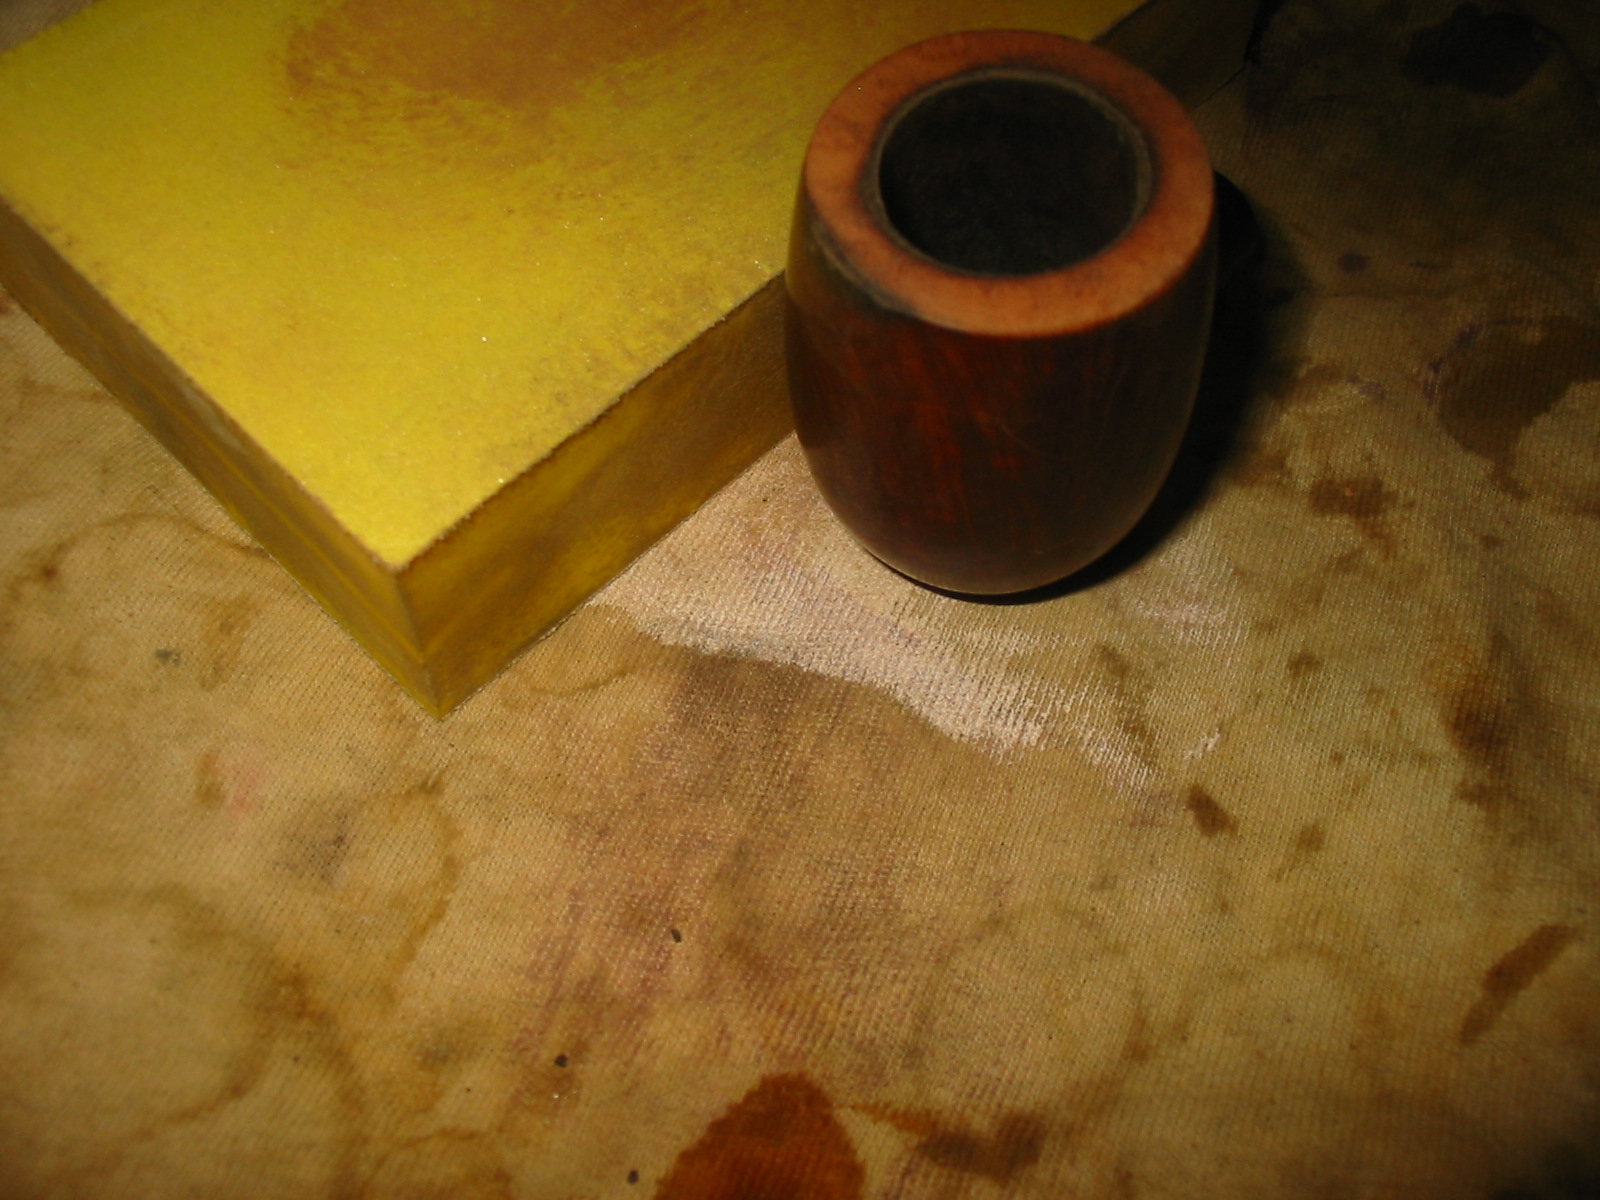
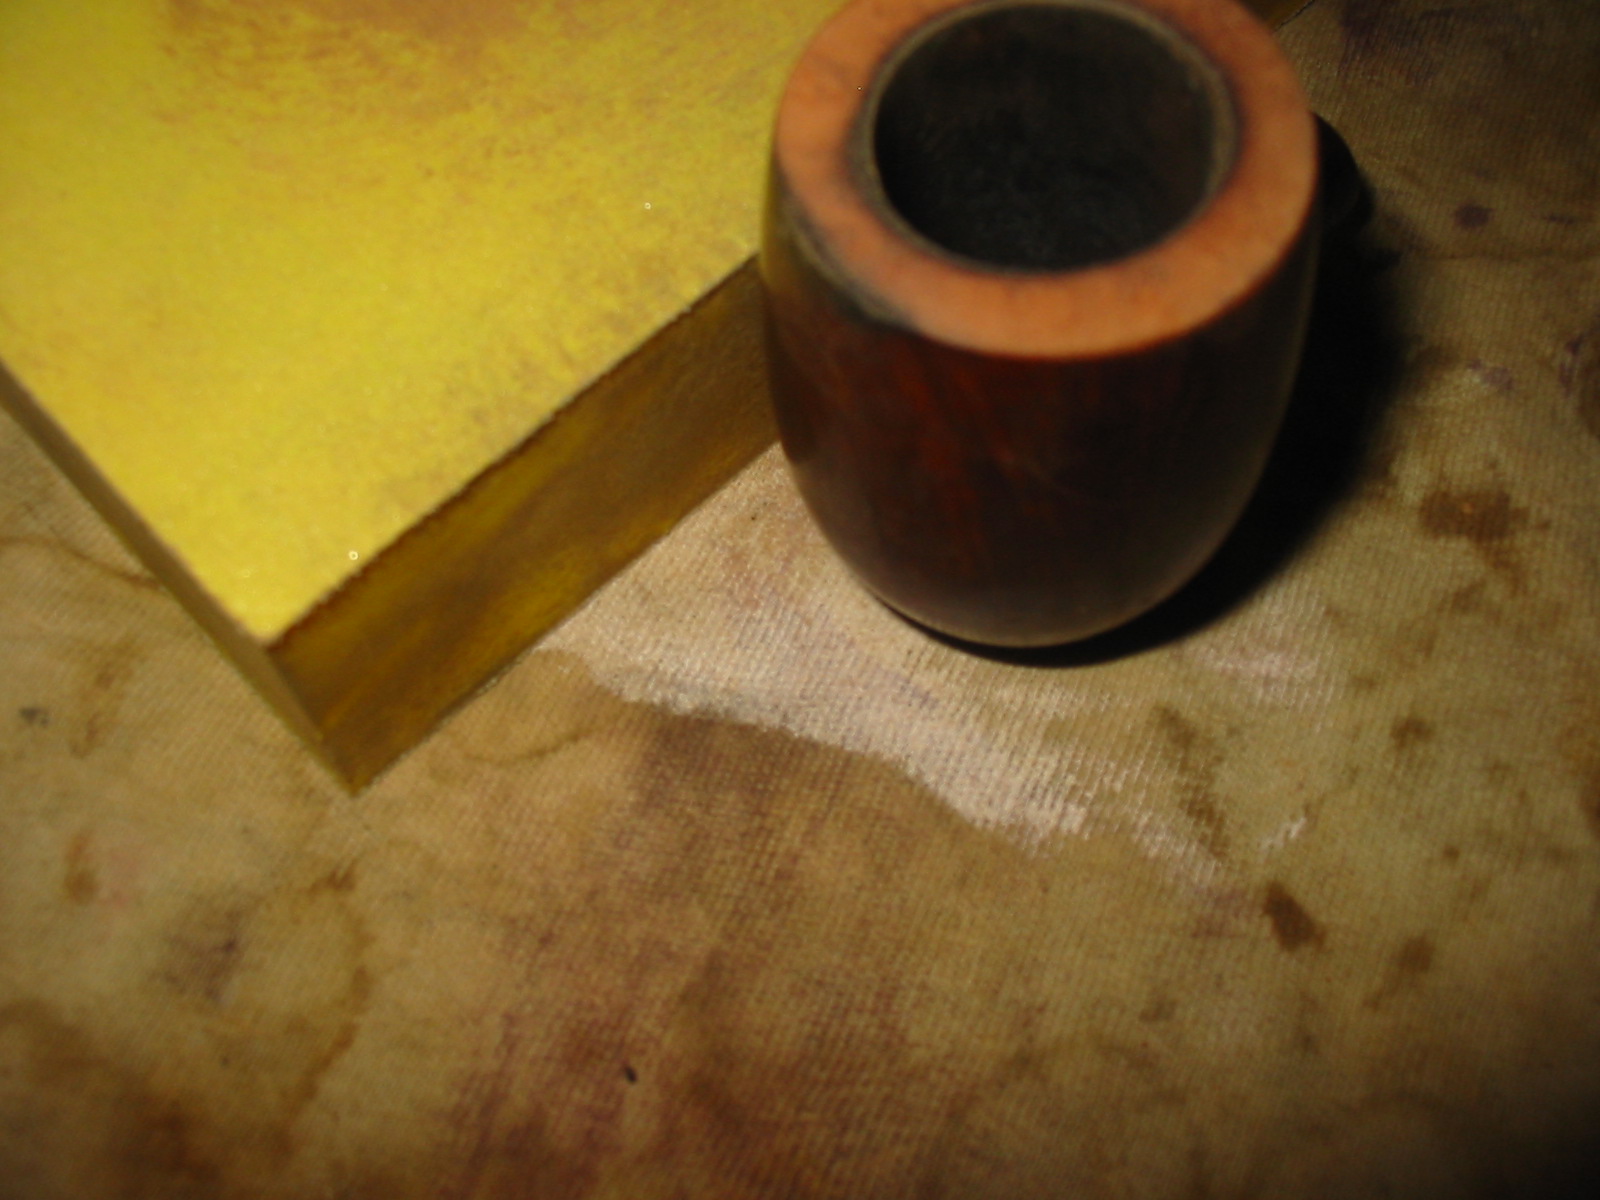
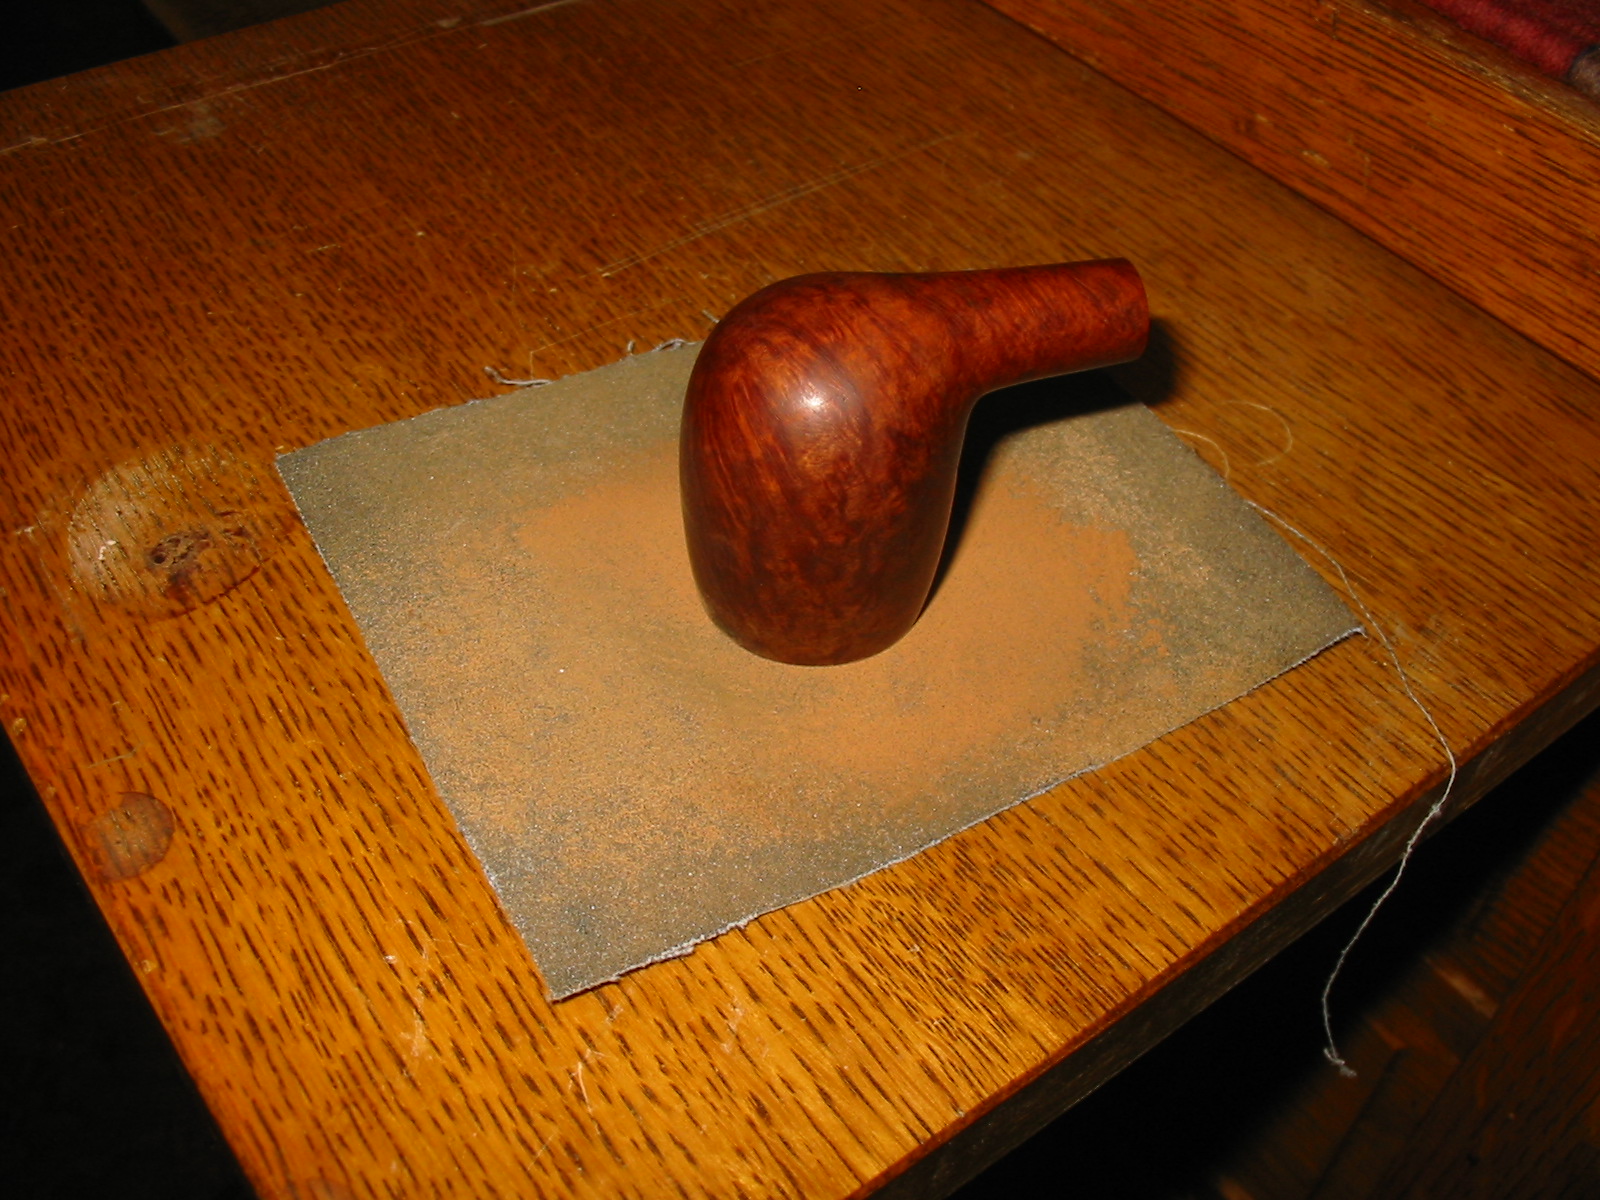
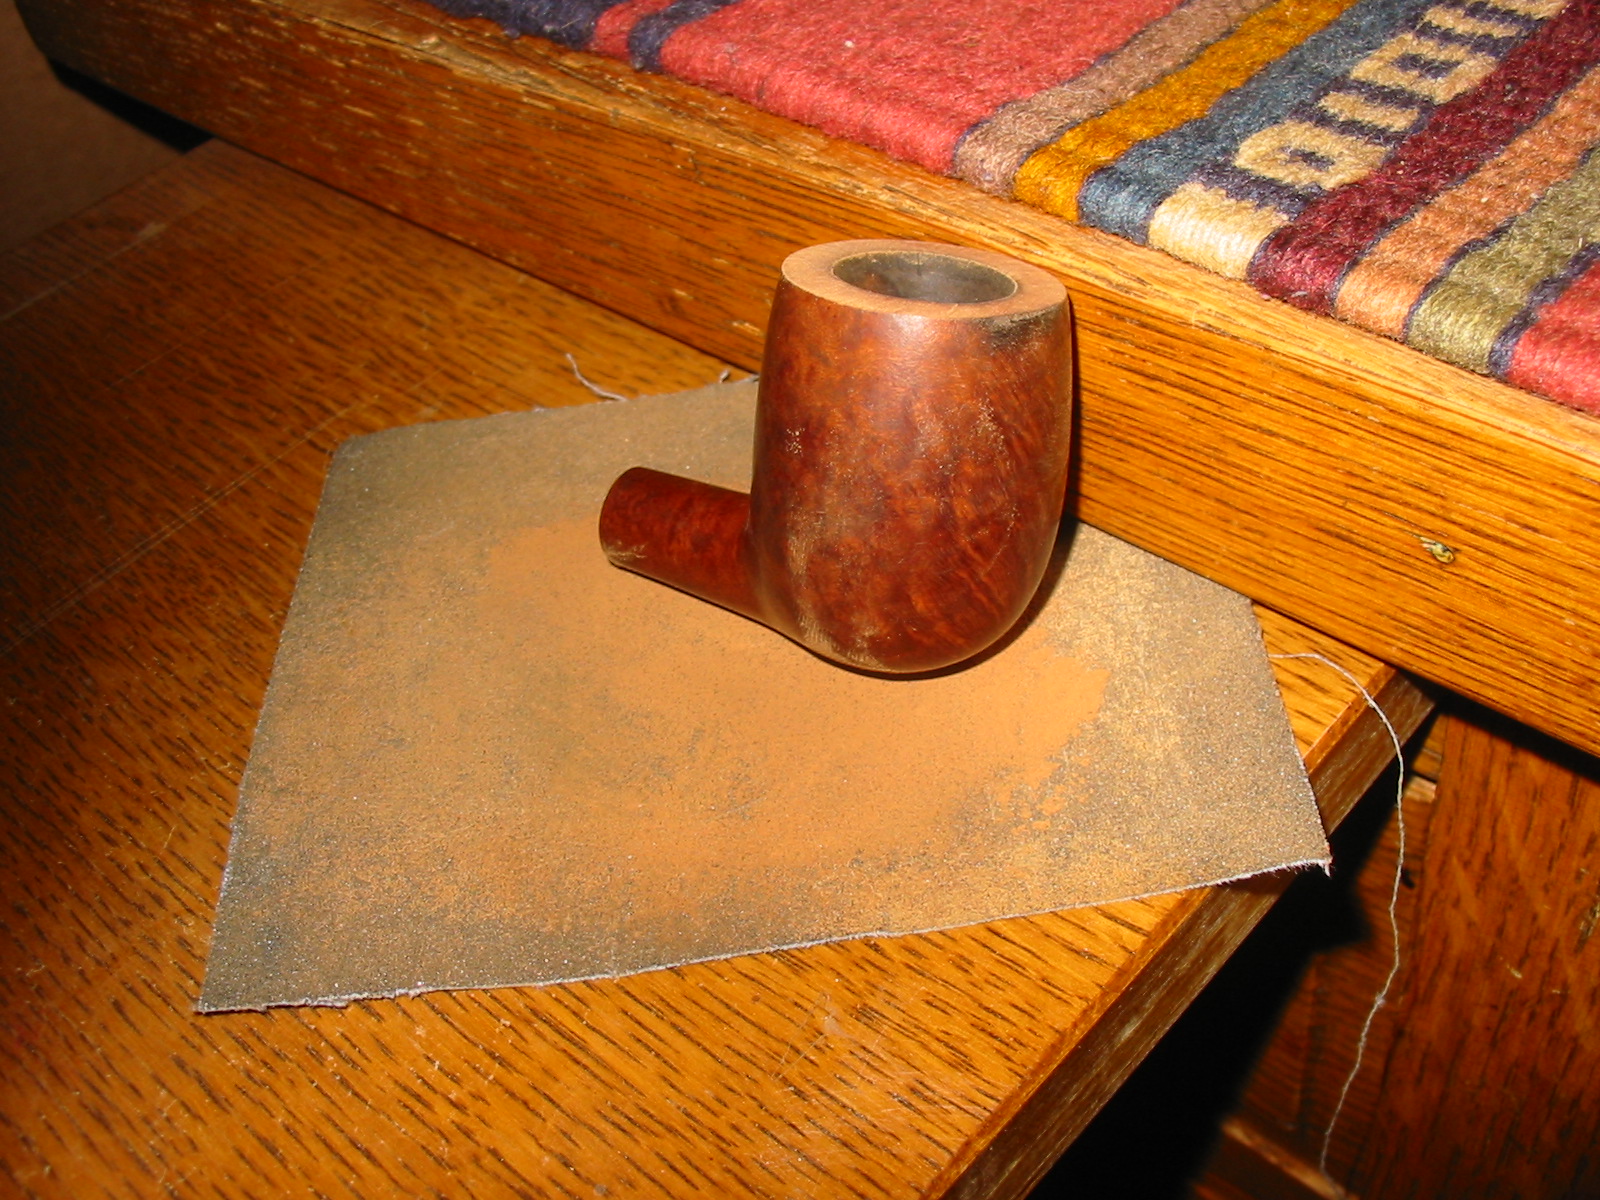
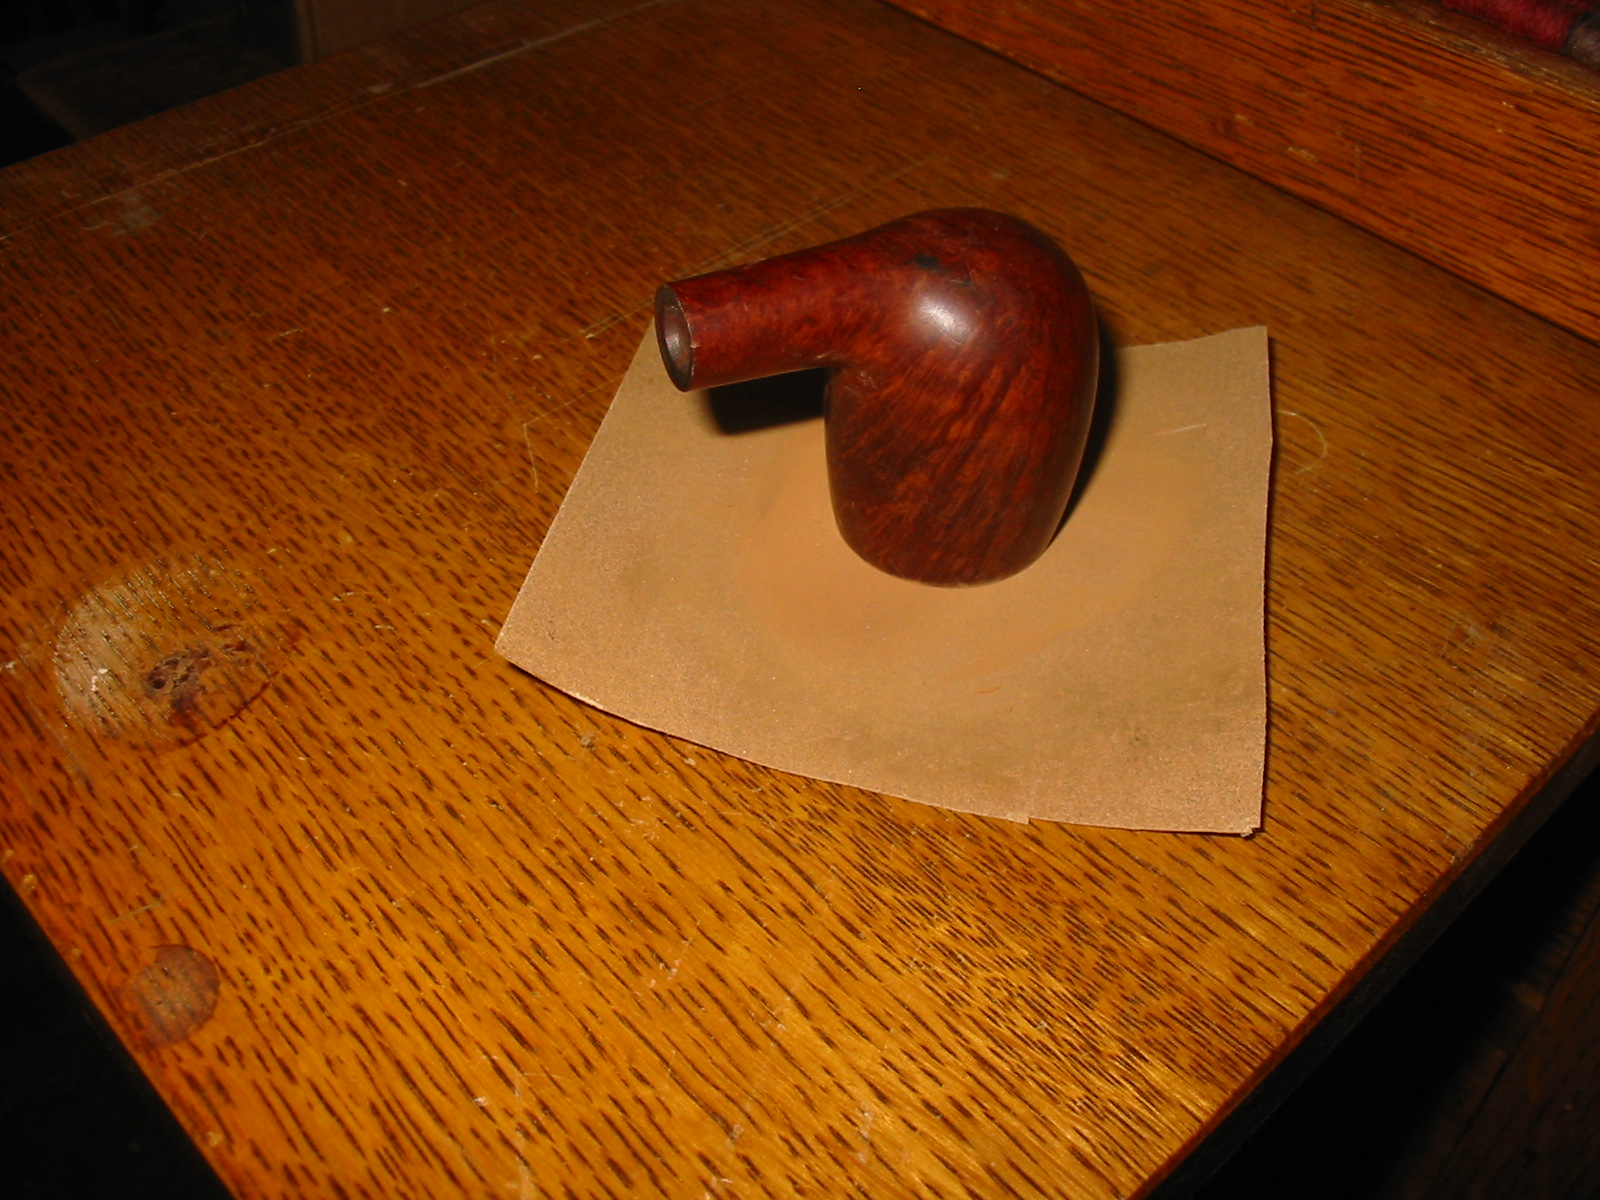
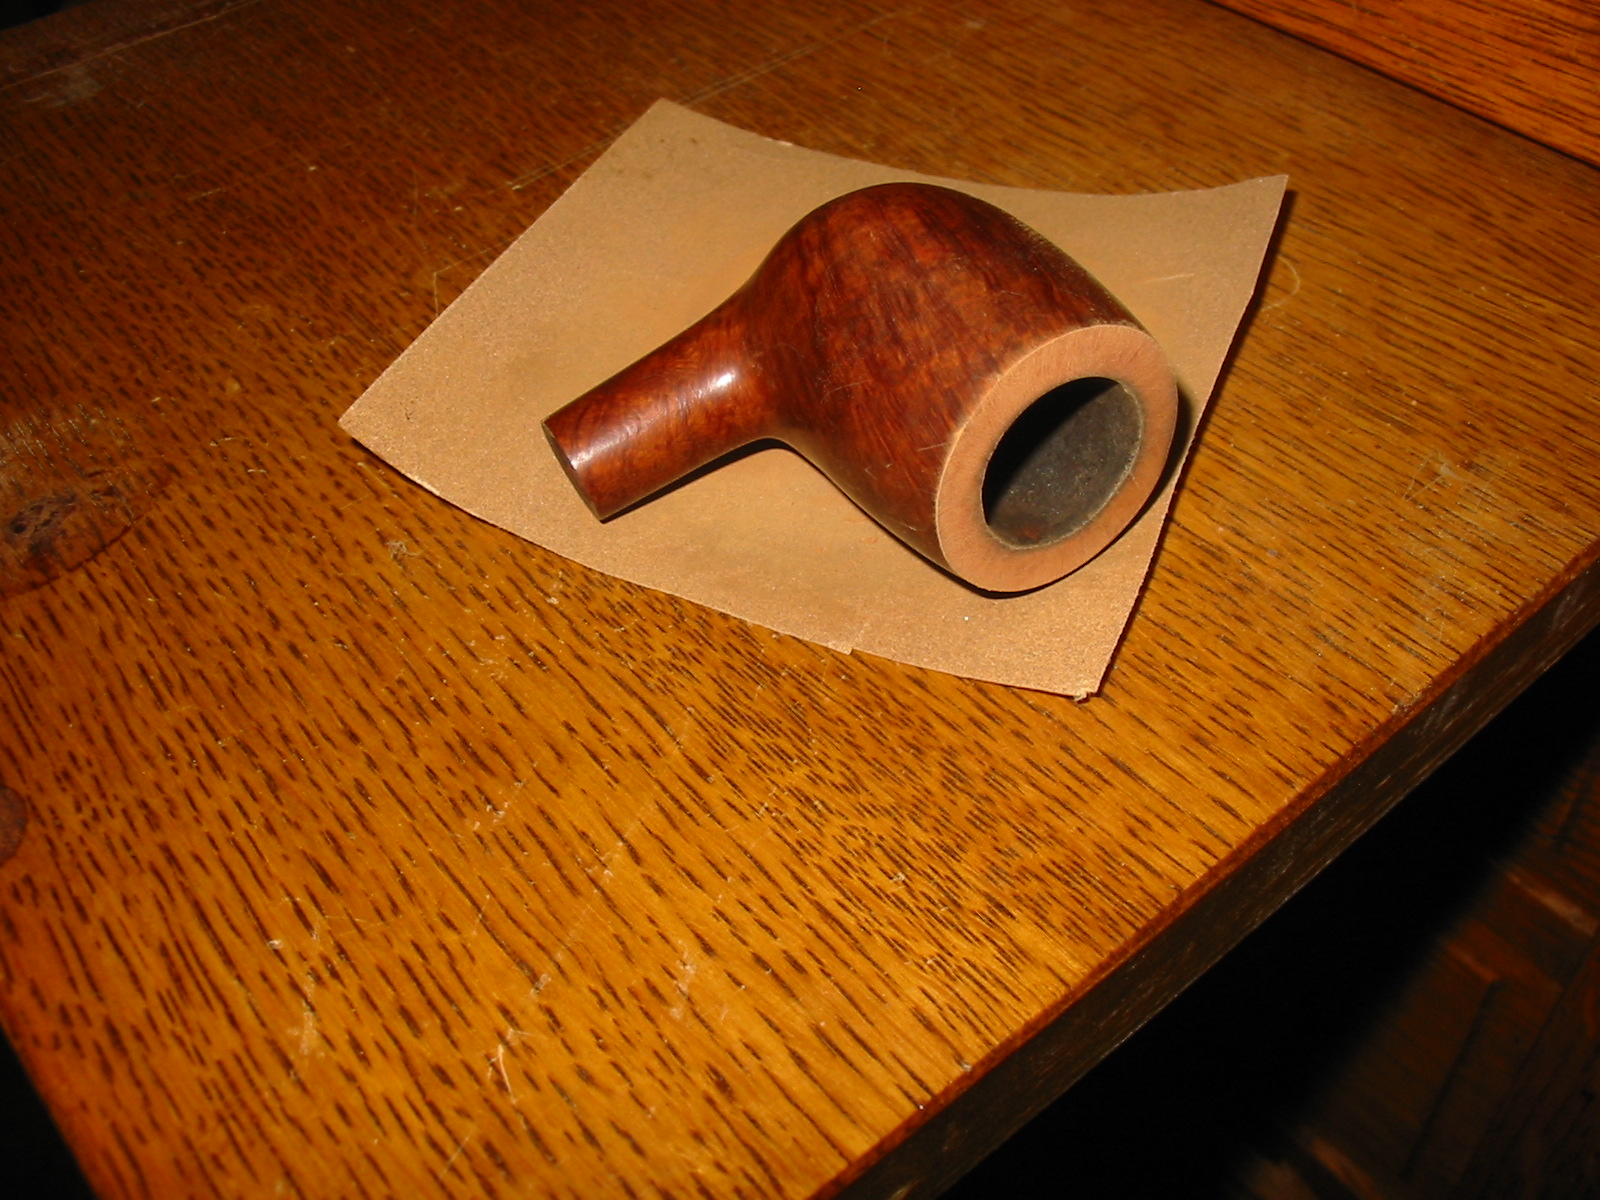
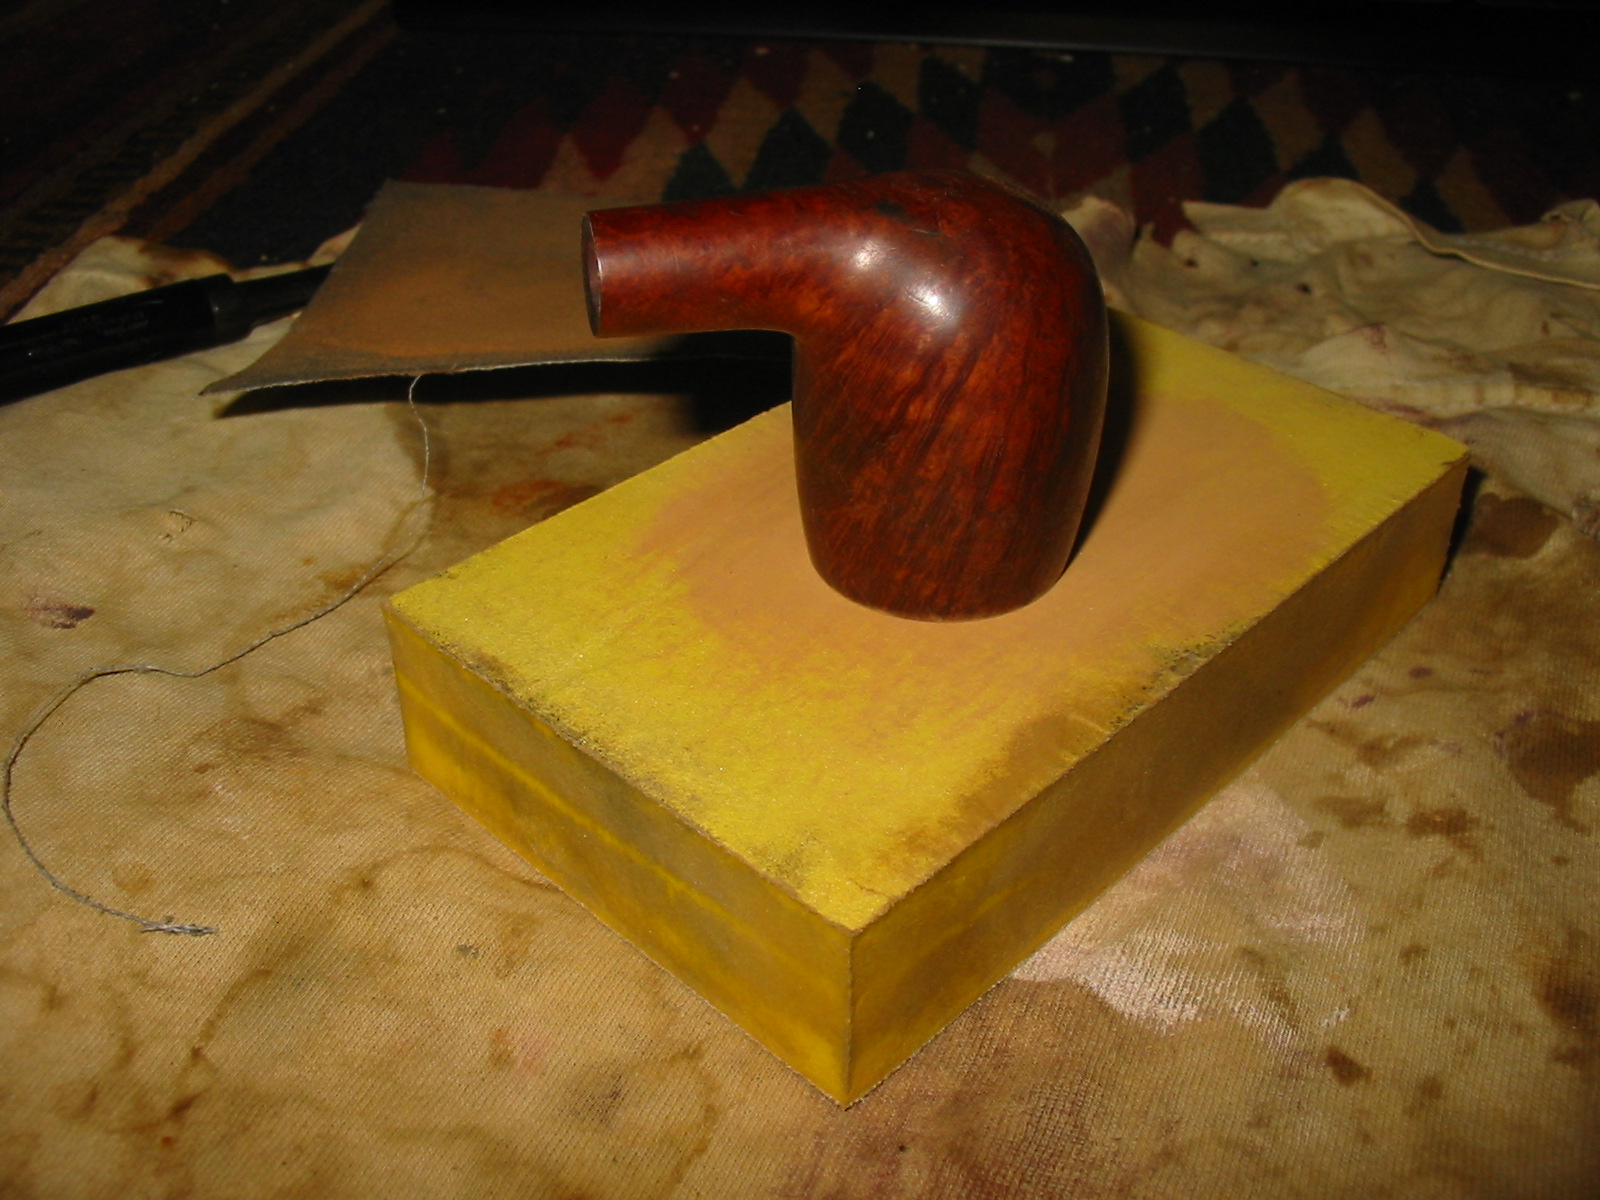
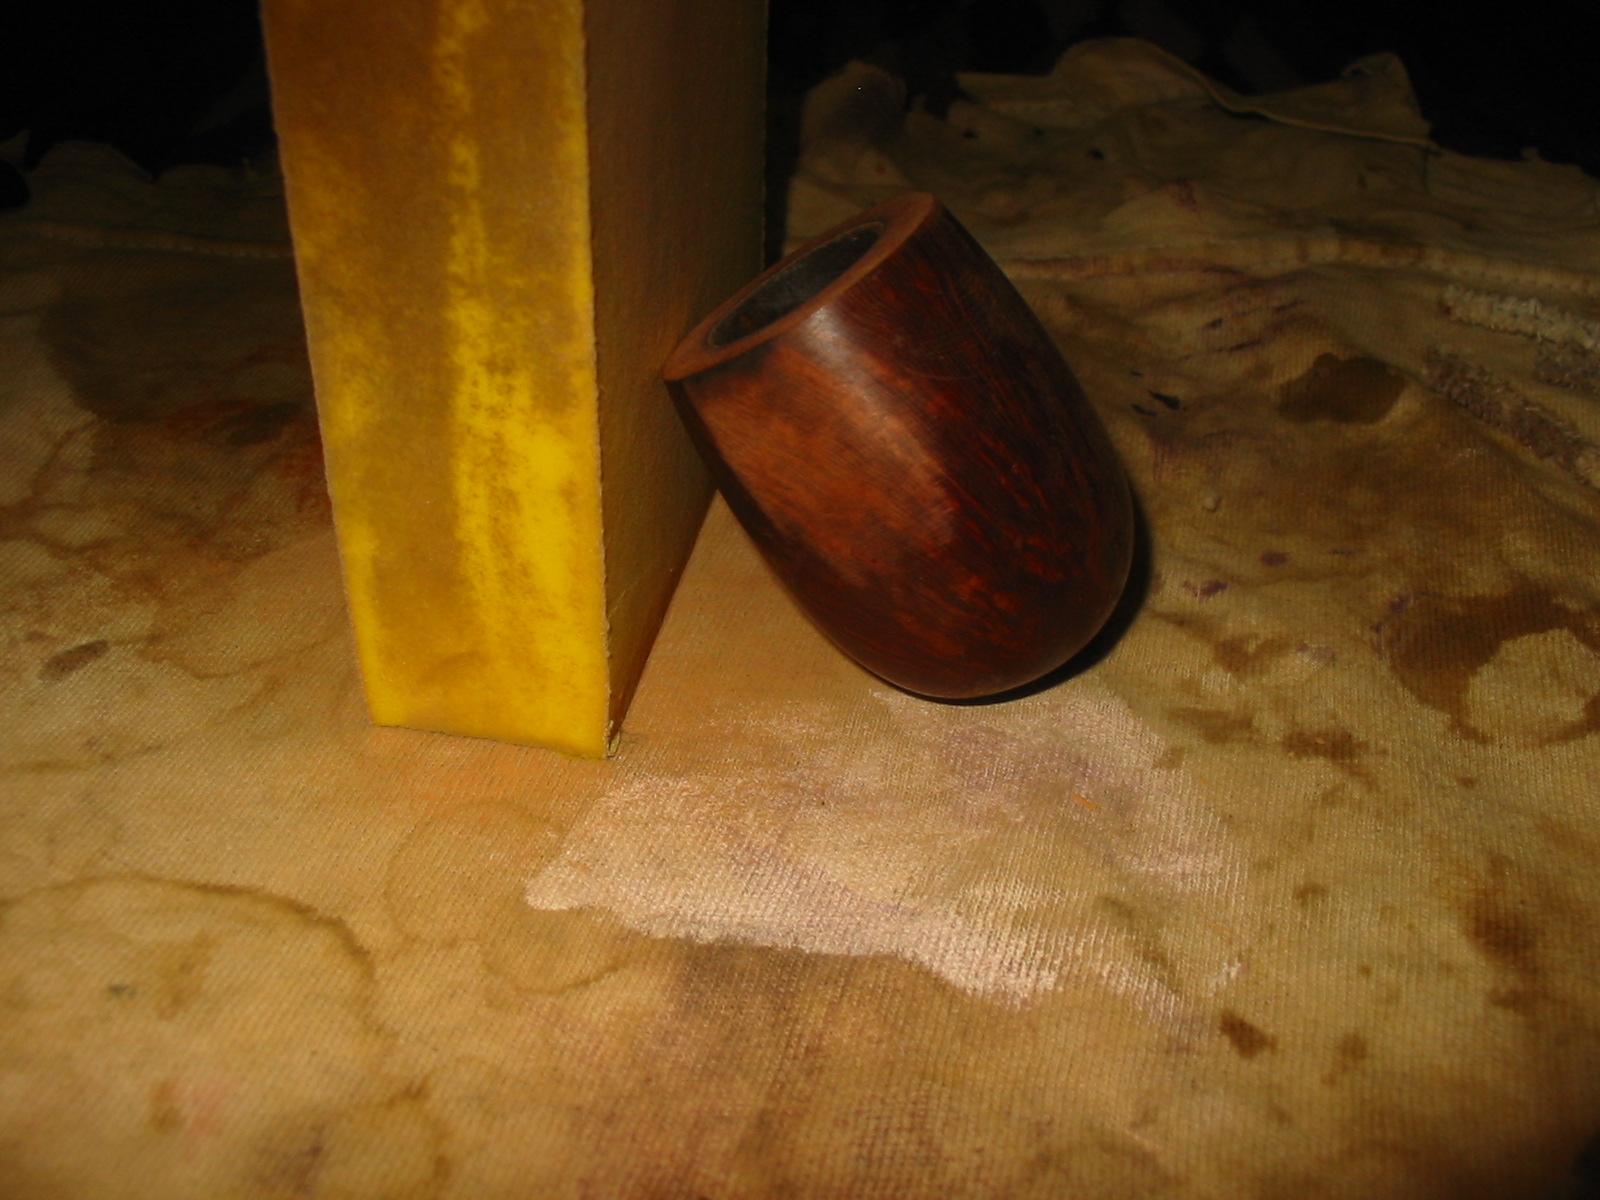
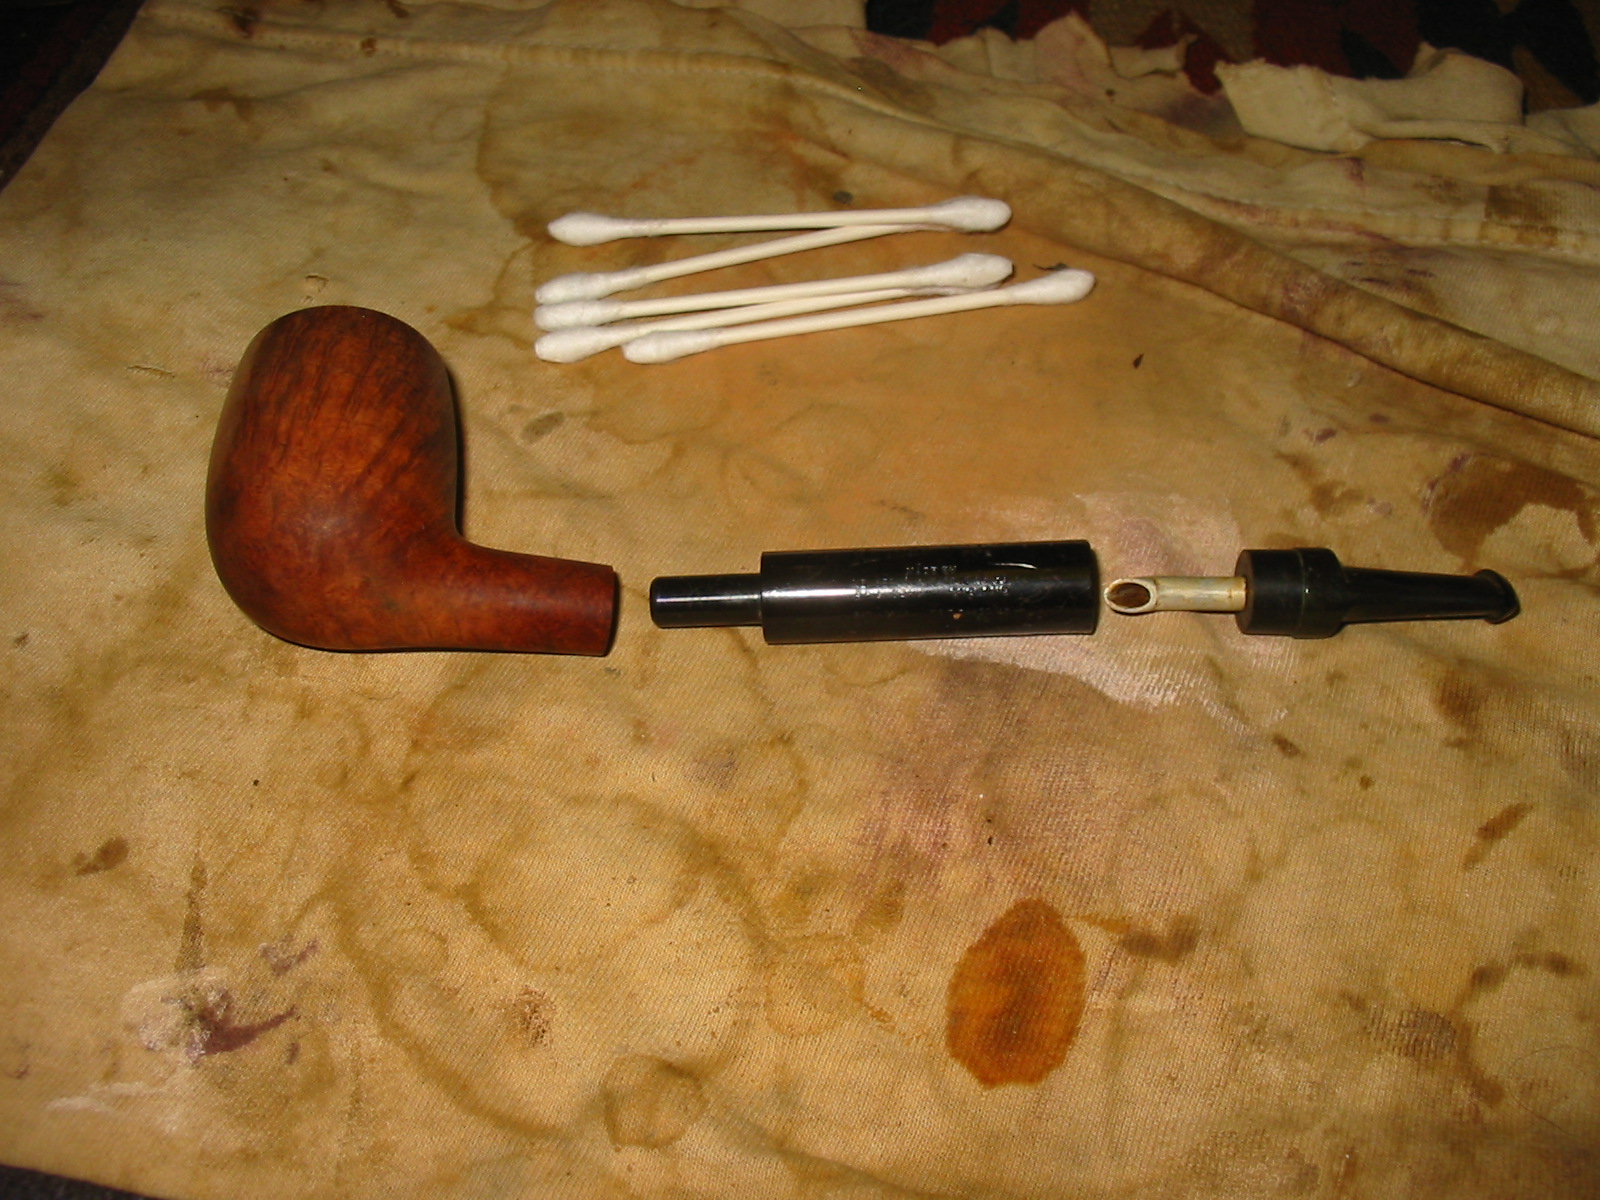
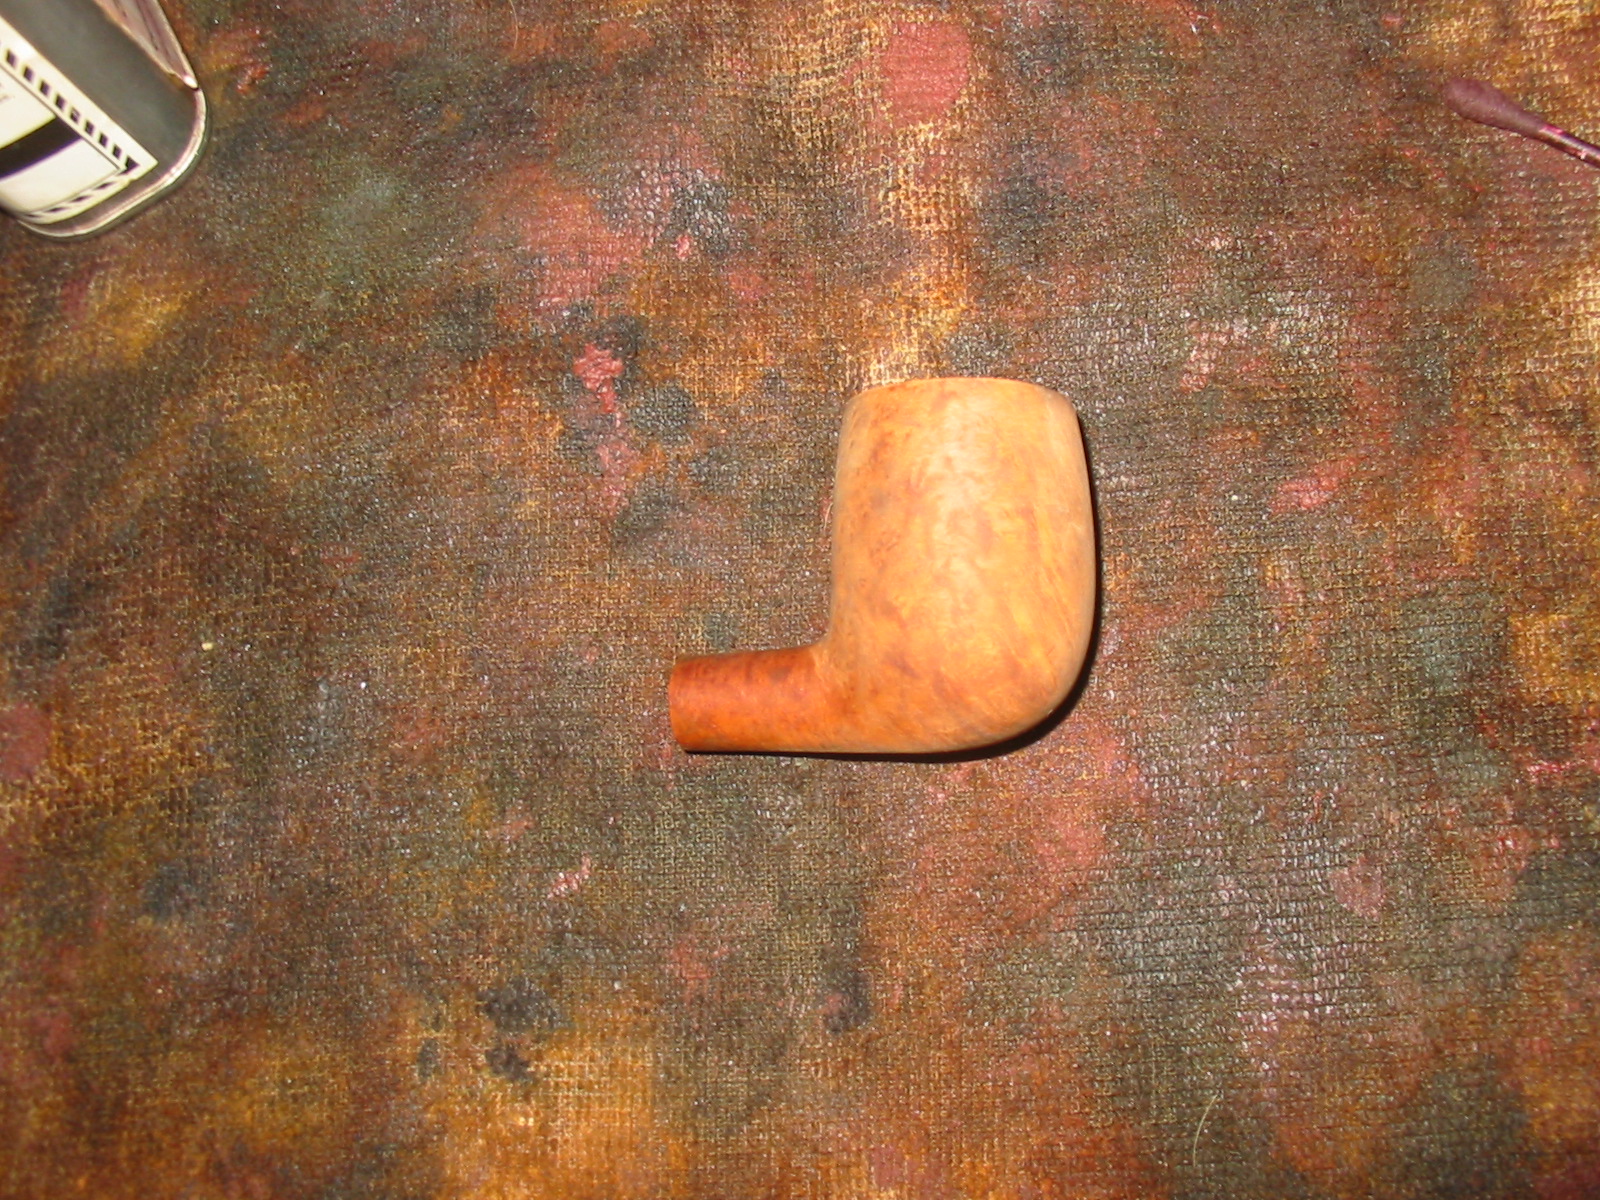
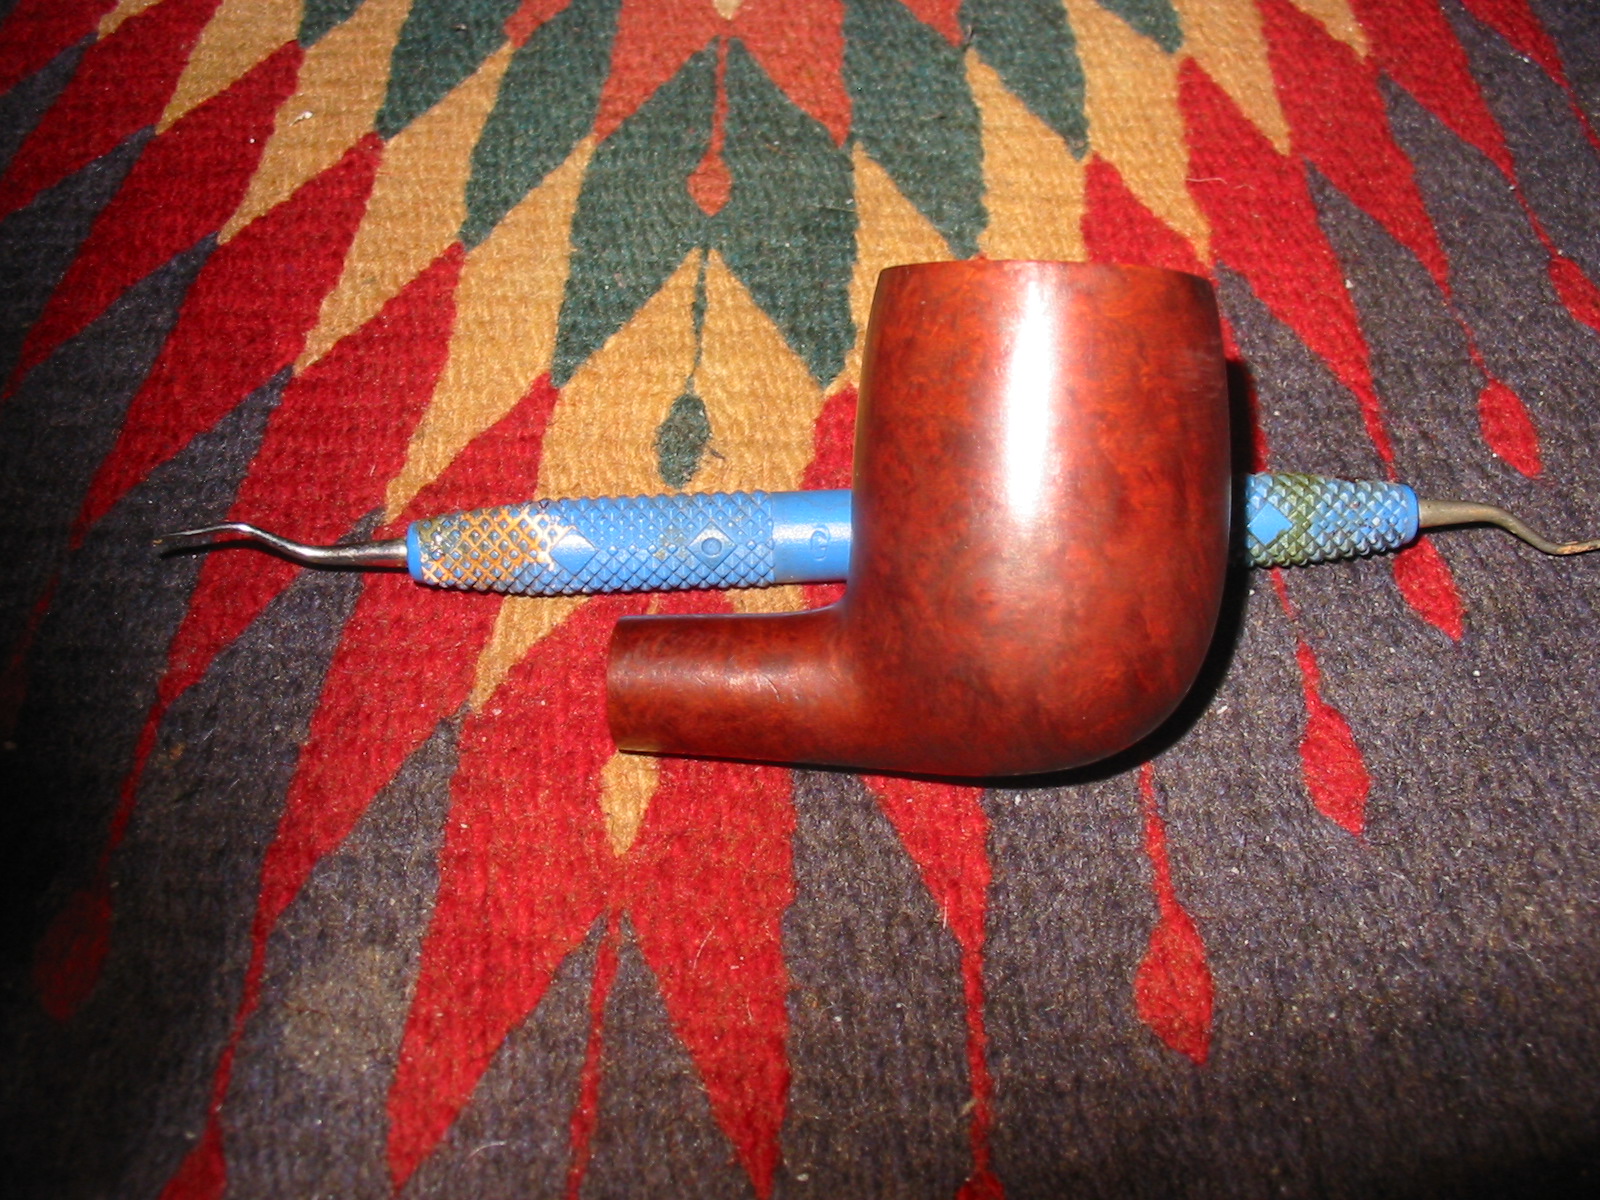
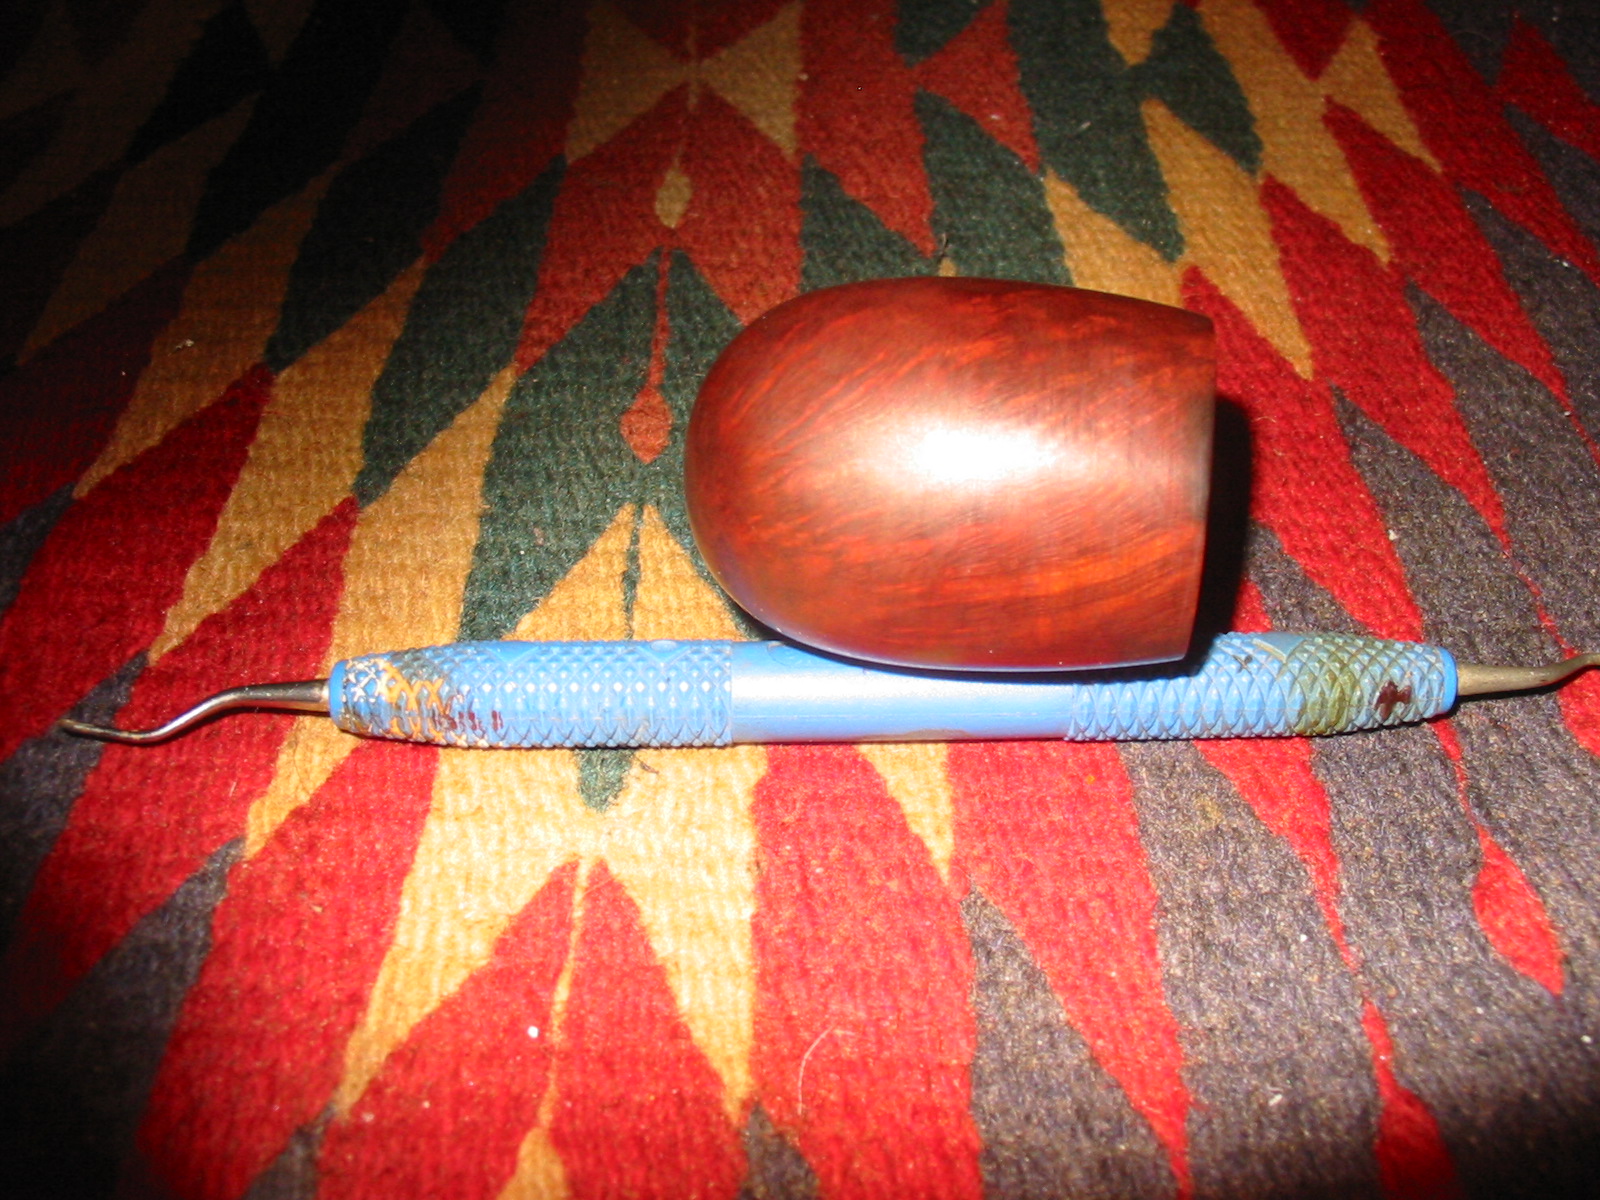
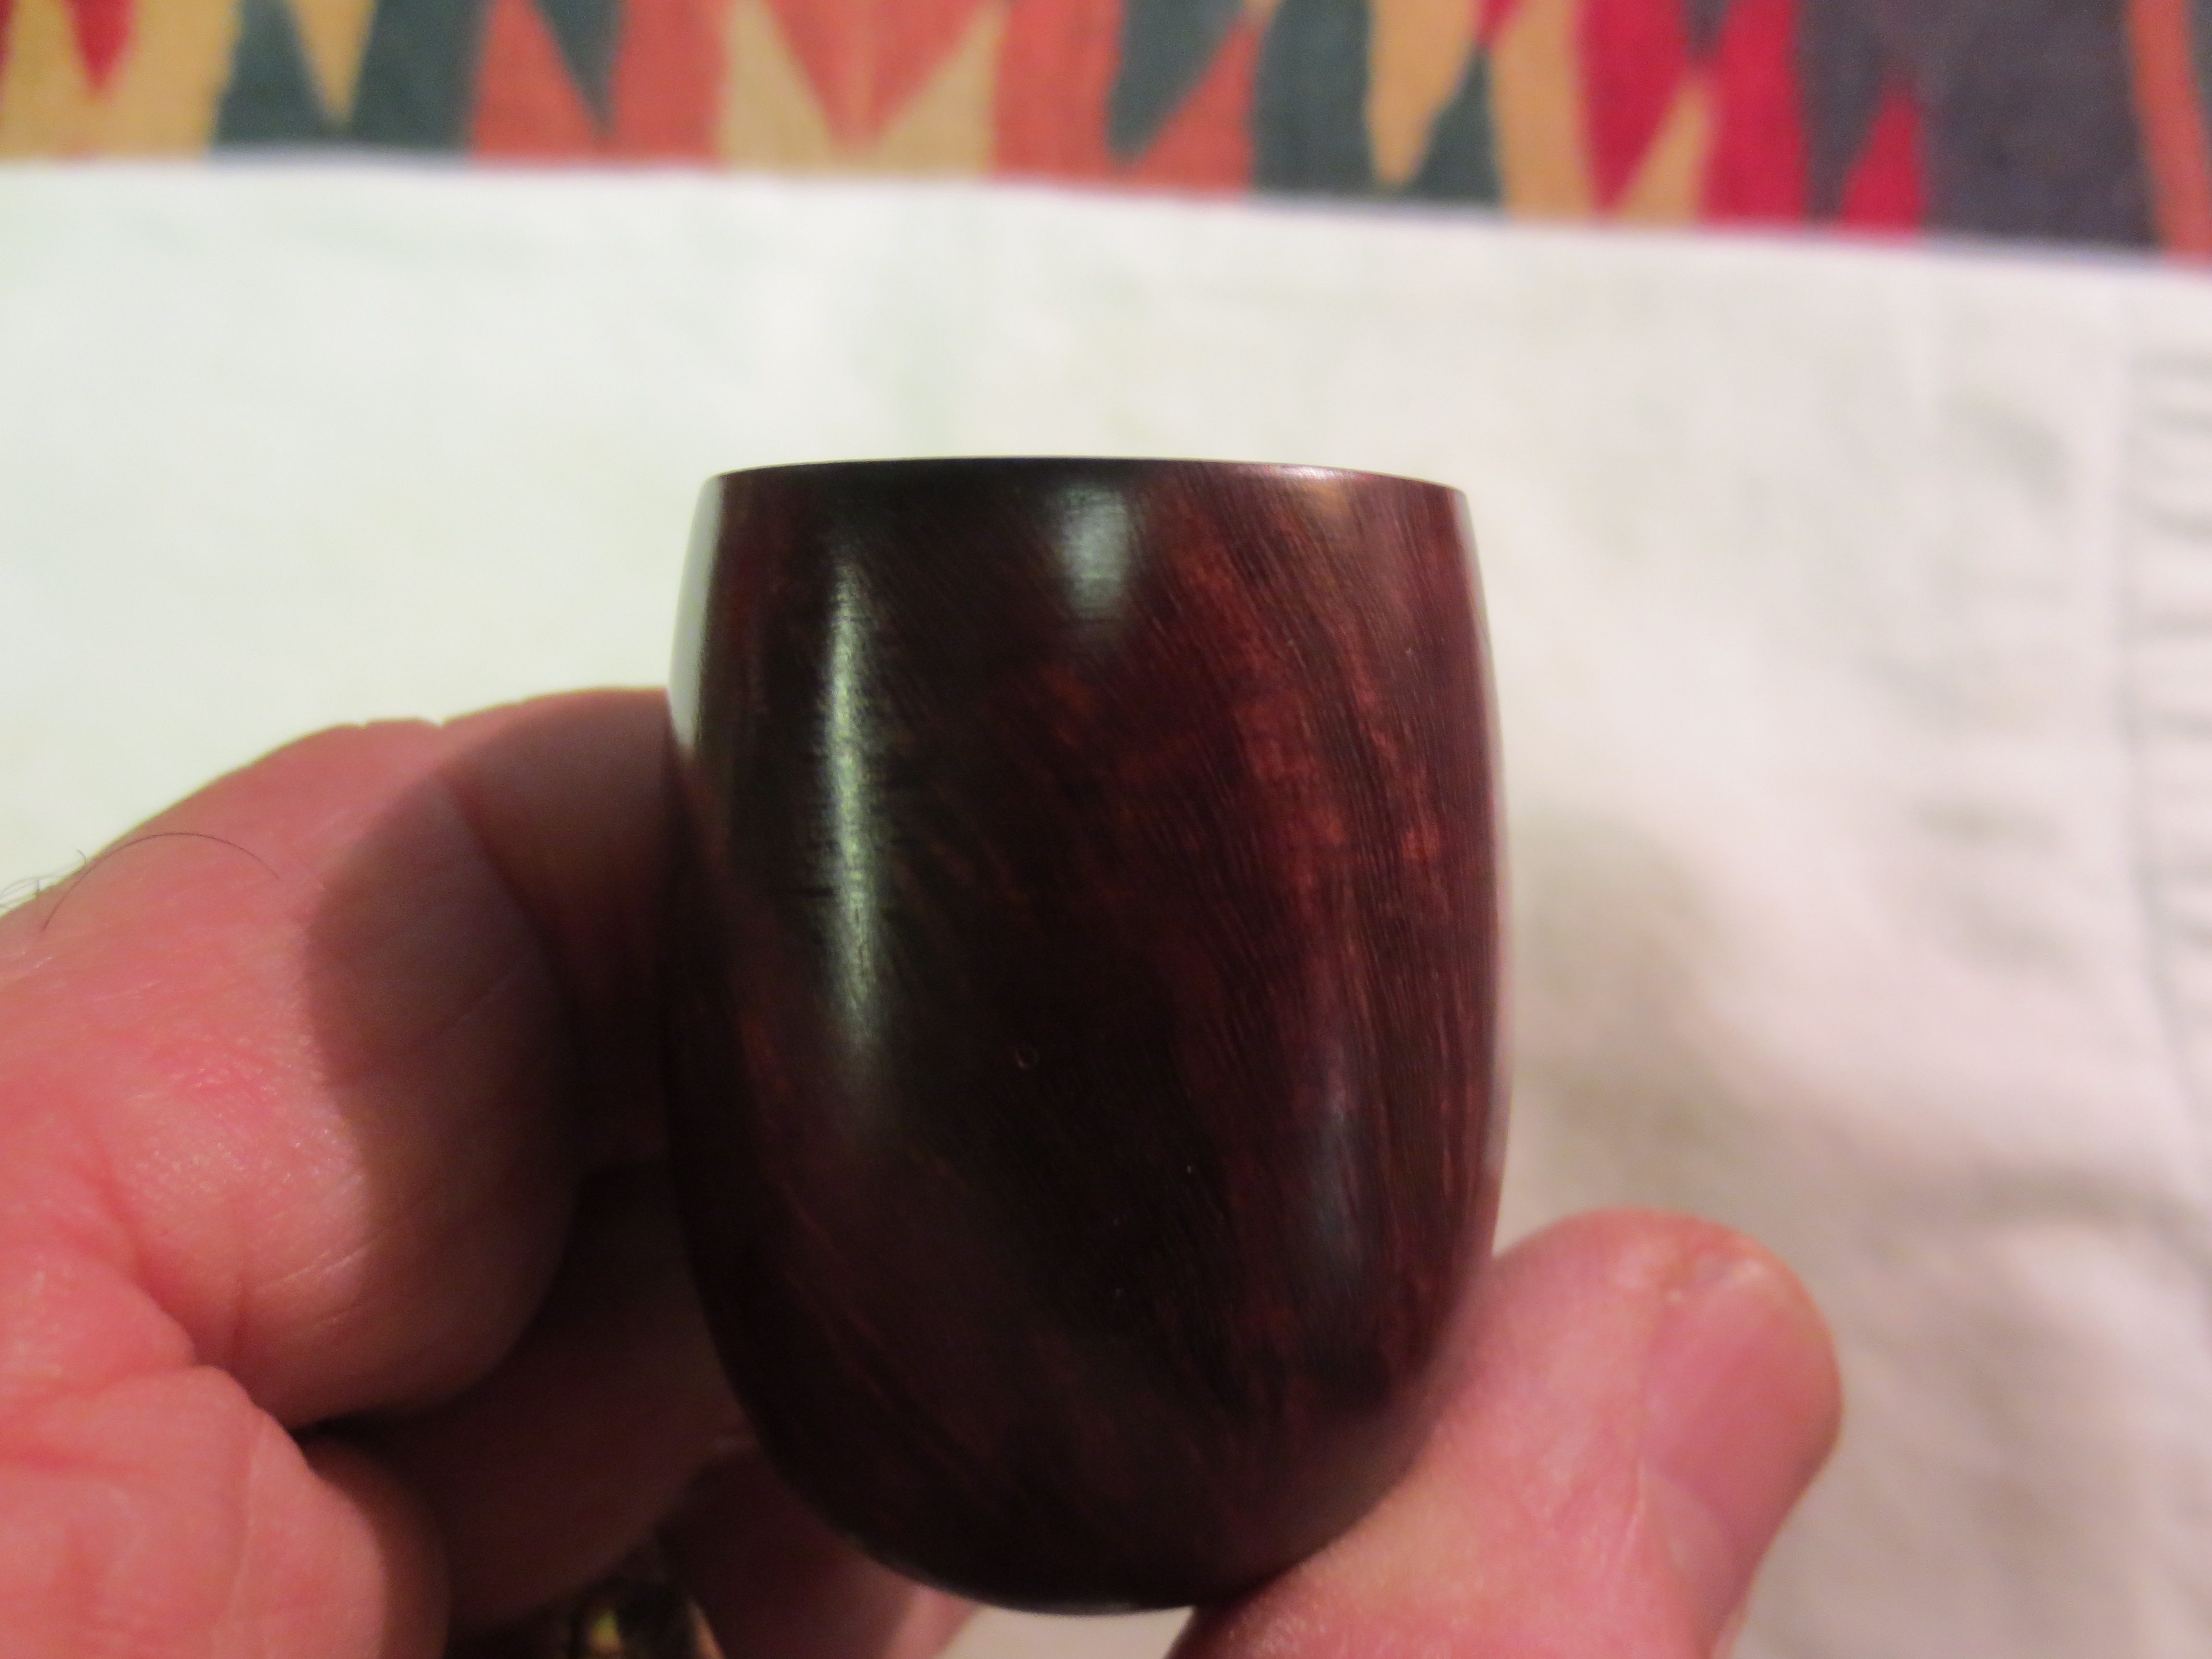
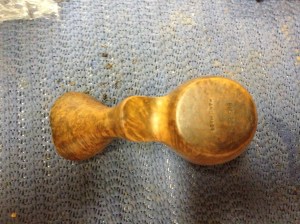
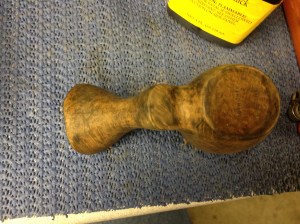
When the stummel arrived it was dull and dirty and, as I said, without a stem. The bottom of the pipe is stamped “Big-Ben” over “Handmade” and the stamping is pretty good overall. Doing a quick search on http://pipephil.eu, it seems that the Big-Ben brand is a brand of the Elbert Gubbels & Sons -Royal Dutch Pipe Factory. Here are a few photos of it before I began any work.


I actually began this restoration with the stem, finding the pipe a new one that is. I had planned on using an acrylic stem but changed my mind for a couple of reasons: I was turning my first tenon with my brand new Pipe Makers Emporium tenon turner and know that acrylic is more finicky than vulcanite and I thought, after looking at it, that the rubber stem would look better on this stummel.
The PME tenon tool is, by all accounts, essentially the same tool as the one offered by PIMO. I chose the PME tool because it was about $10 cheaper and they happened to have a couple of acrylic stems I liked on clearance for cheap. I plan on writing about my thoughts on the tool in a separate article.
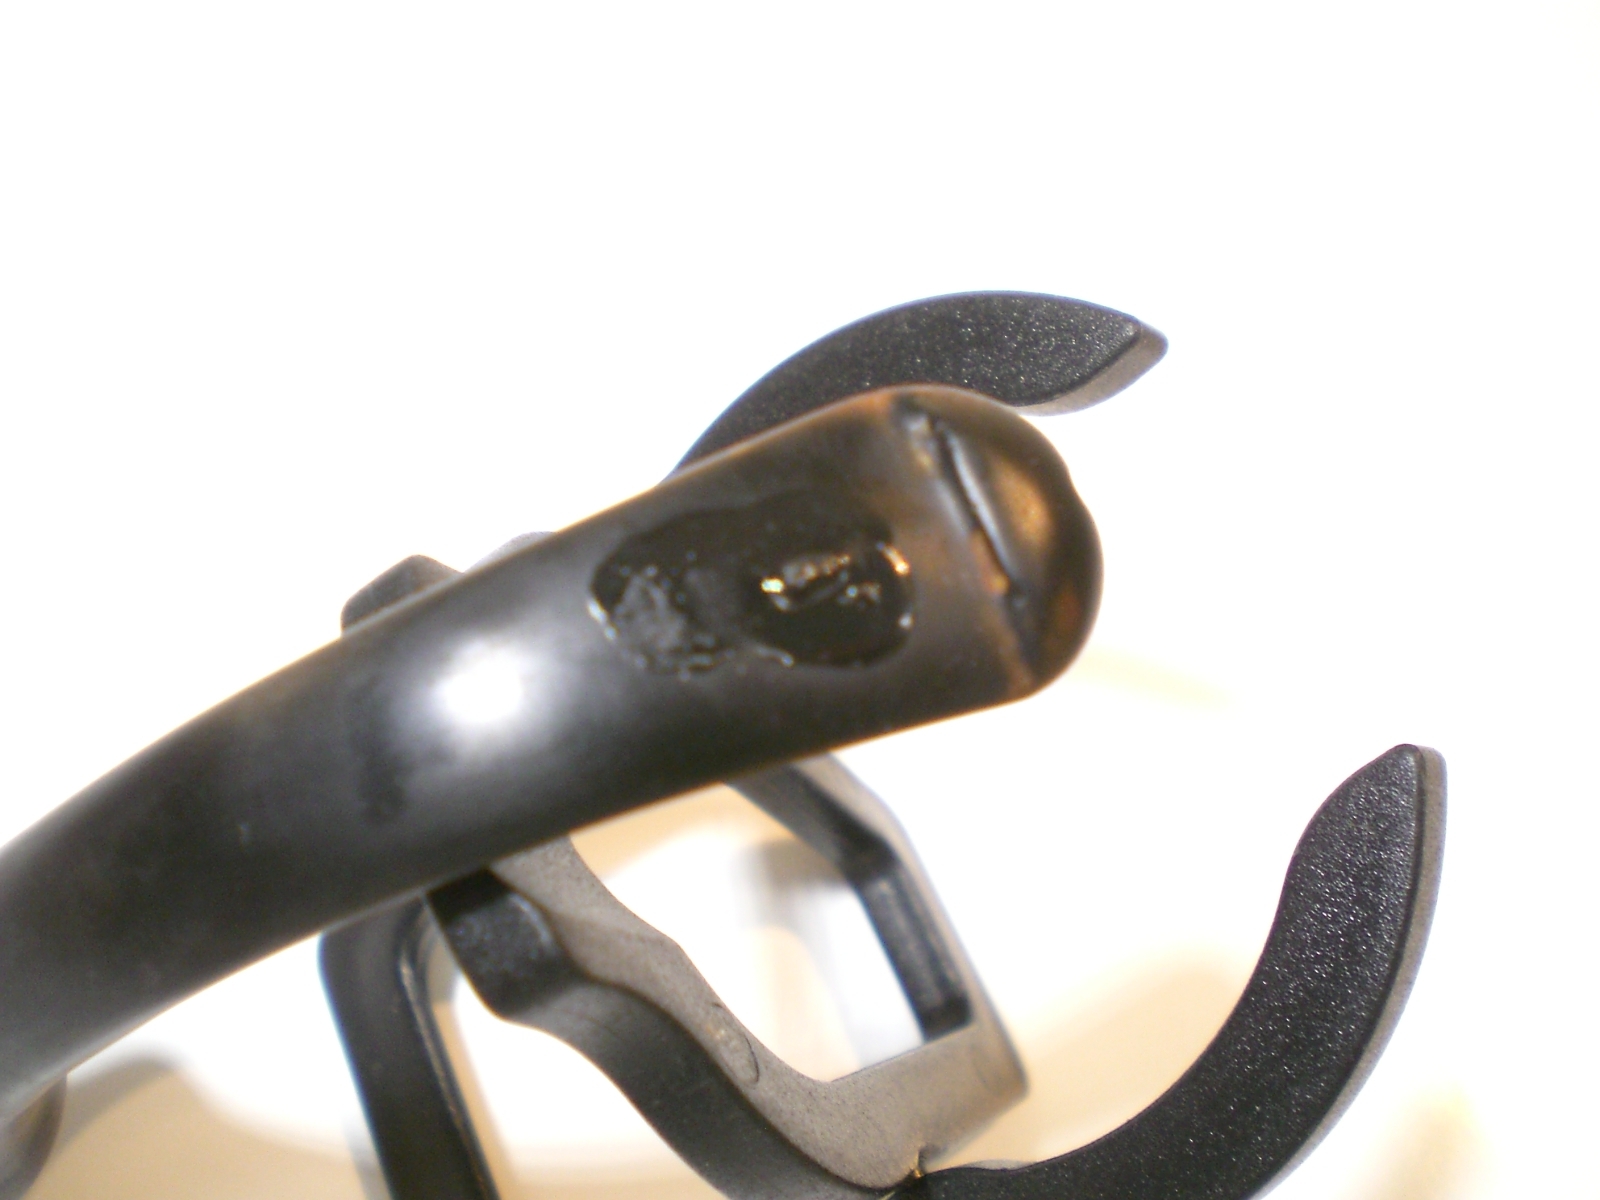
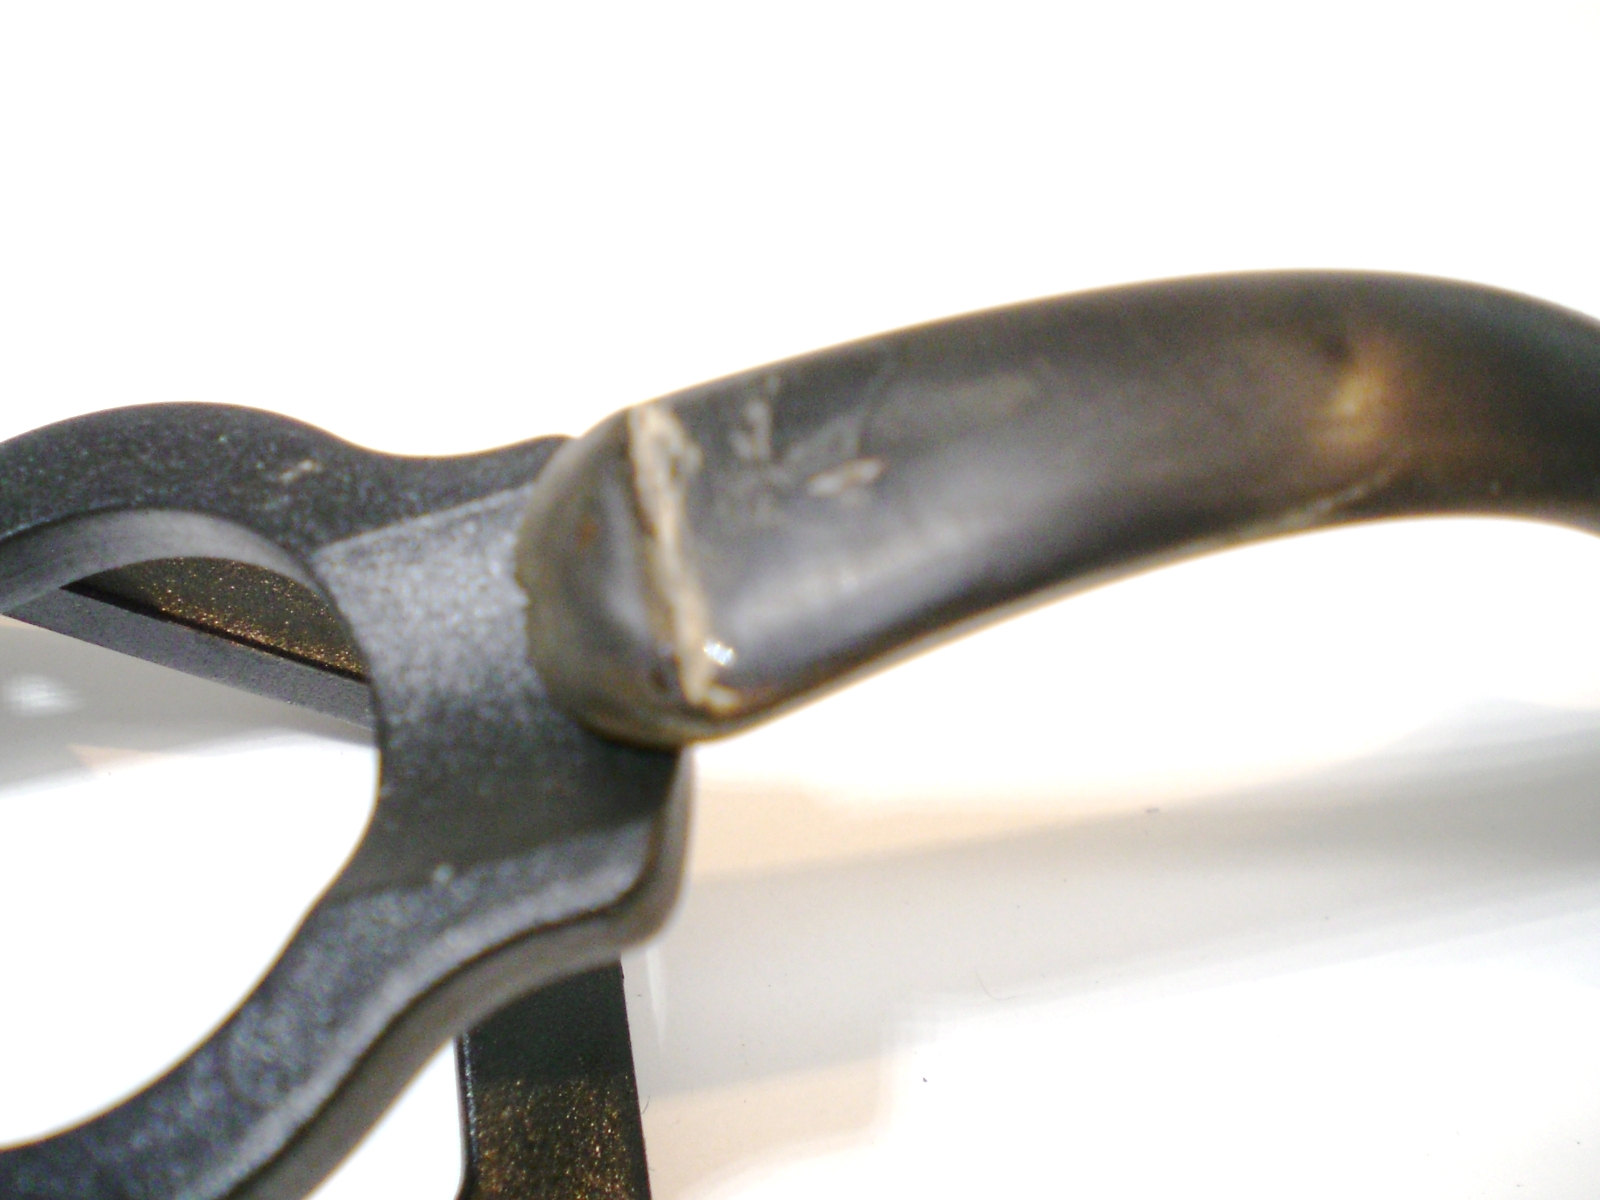
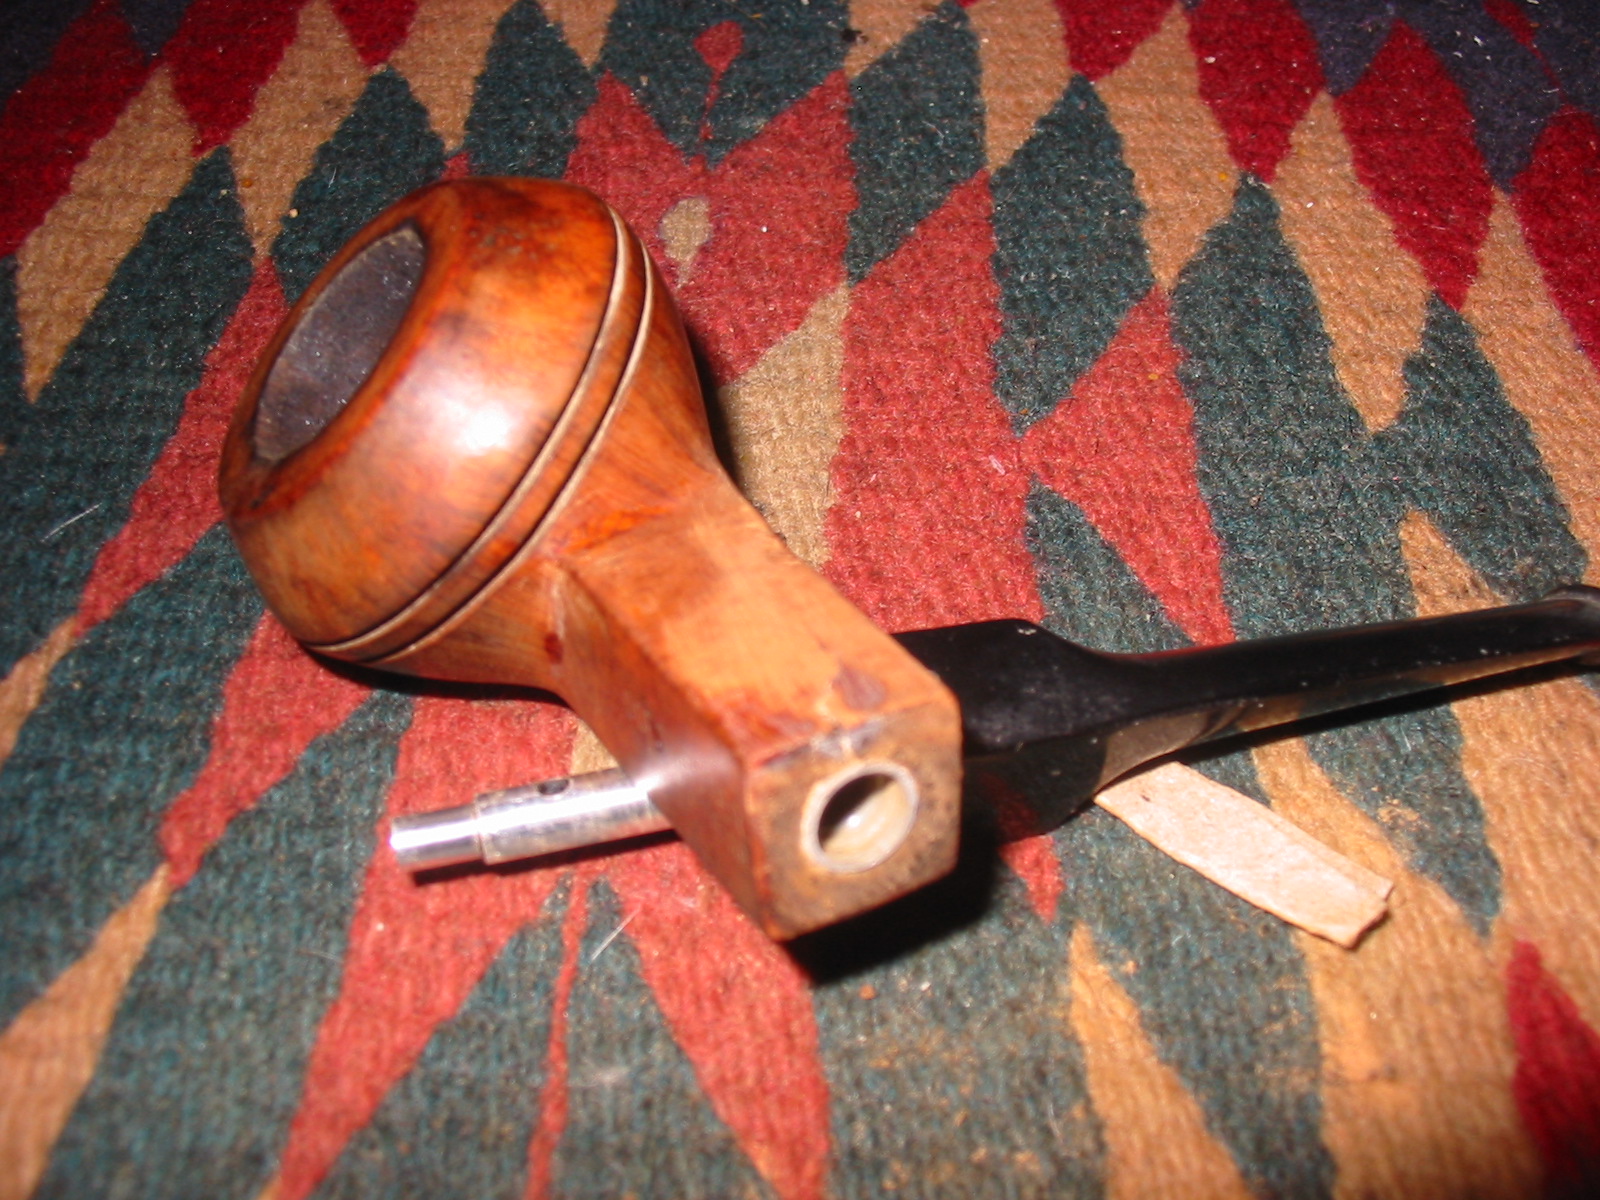
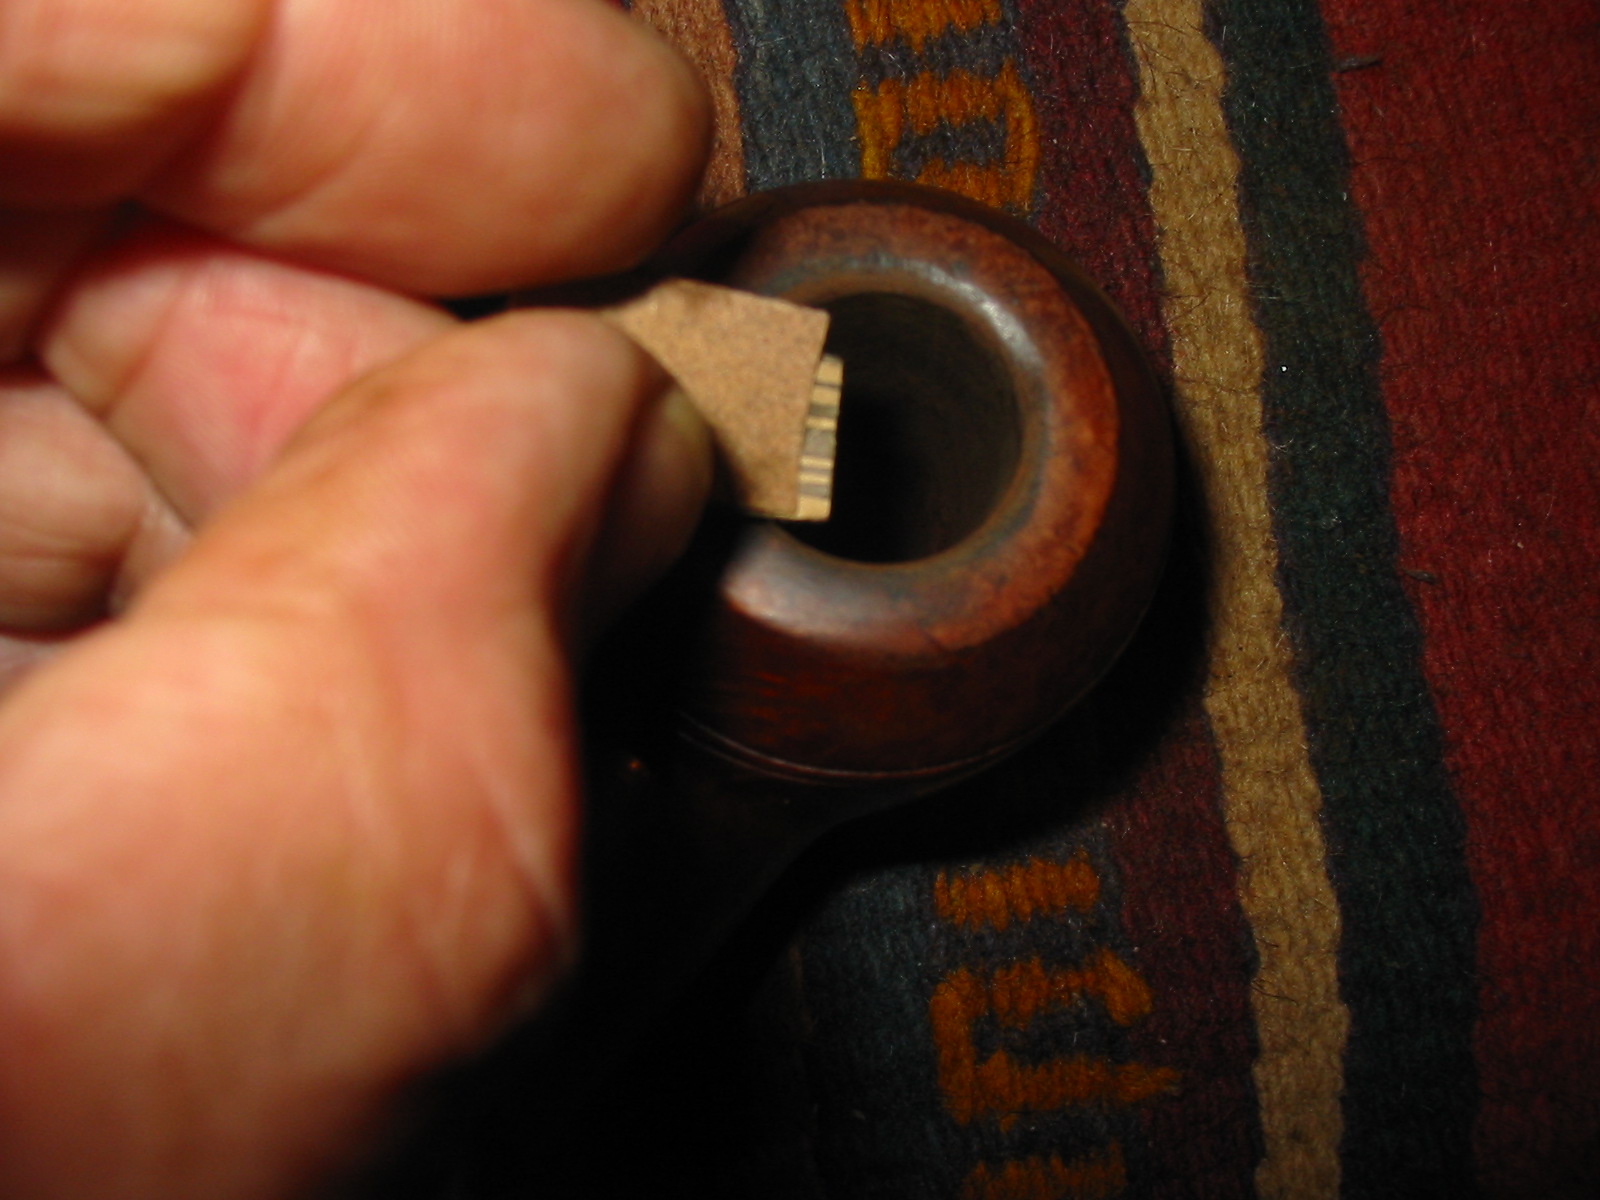
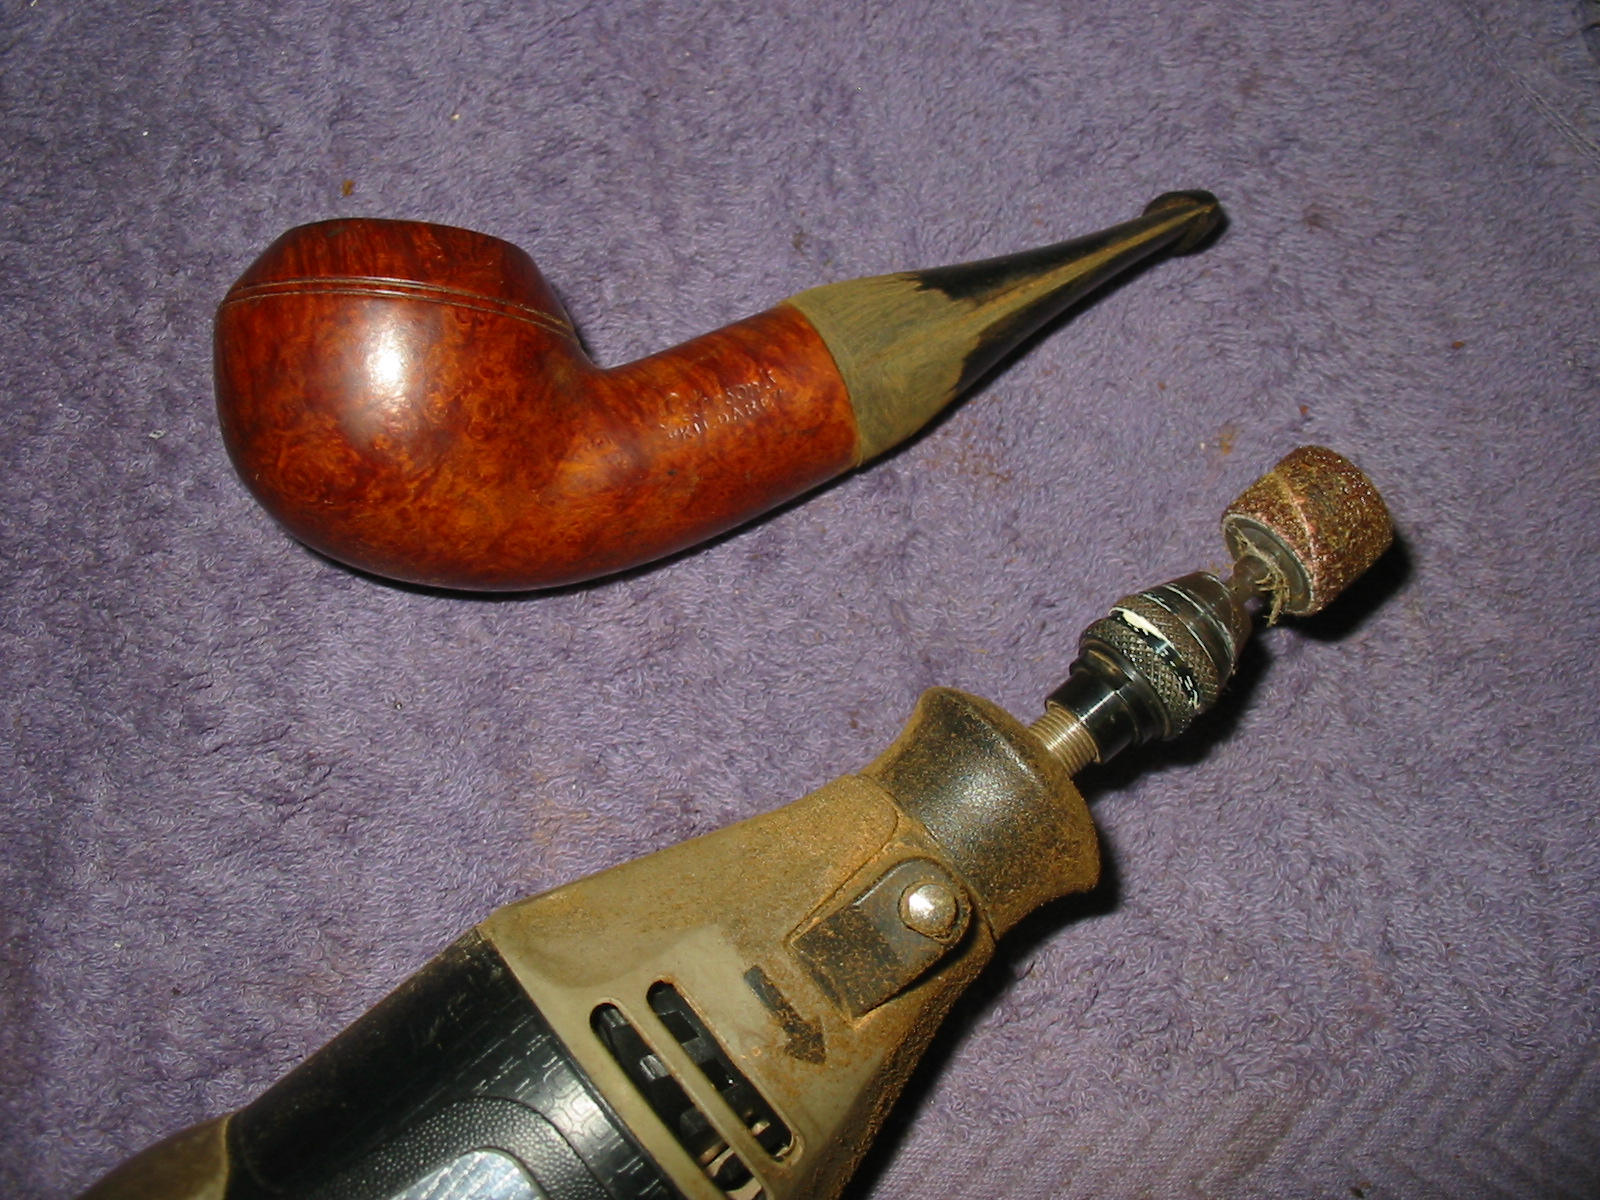
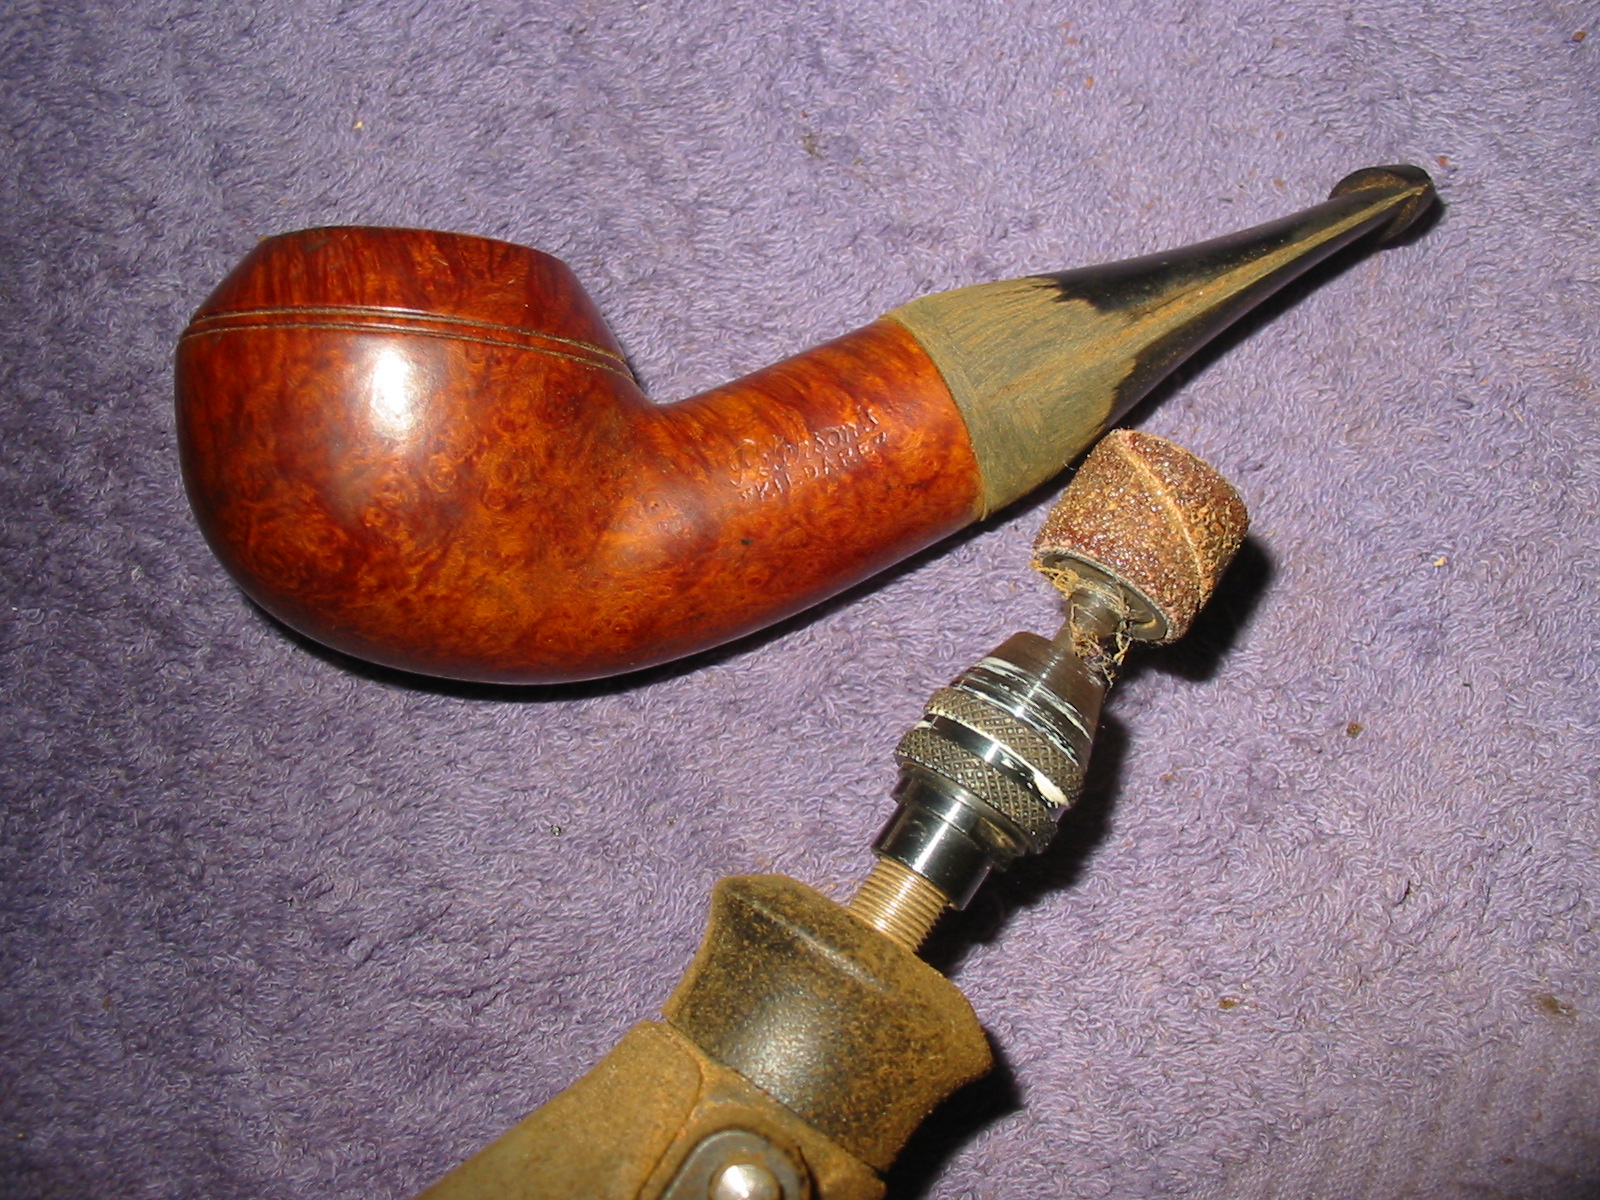
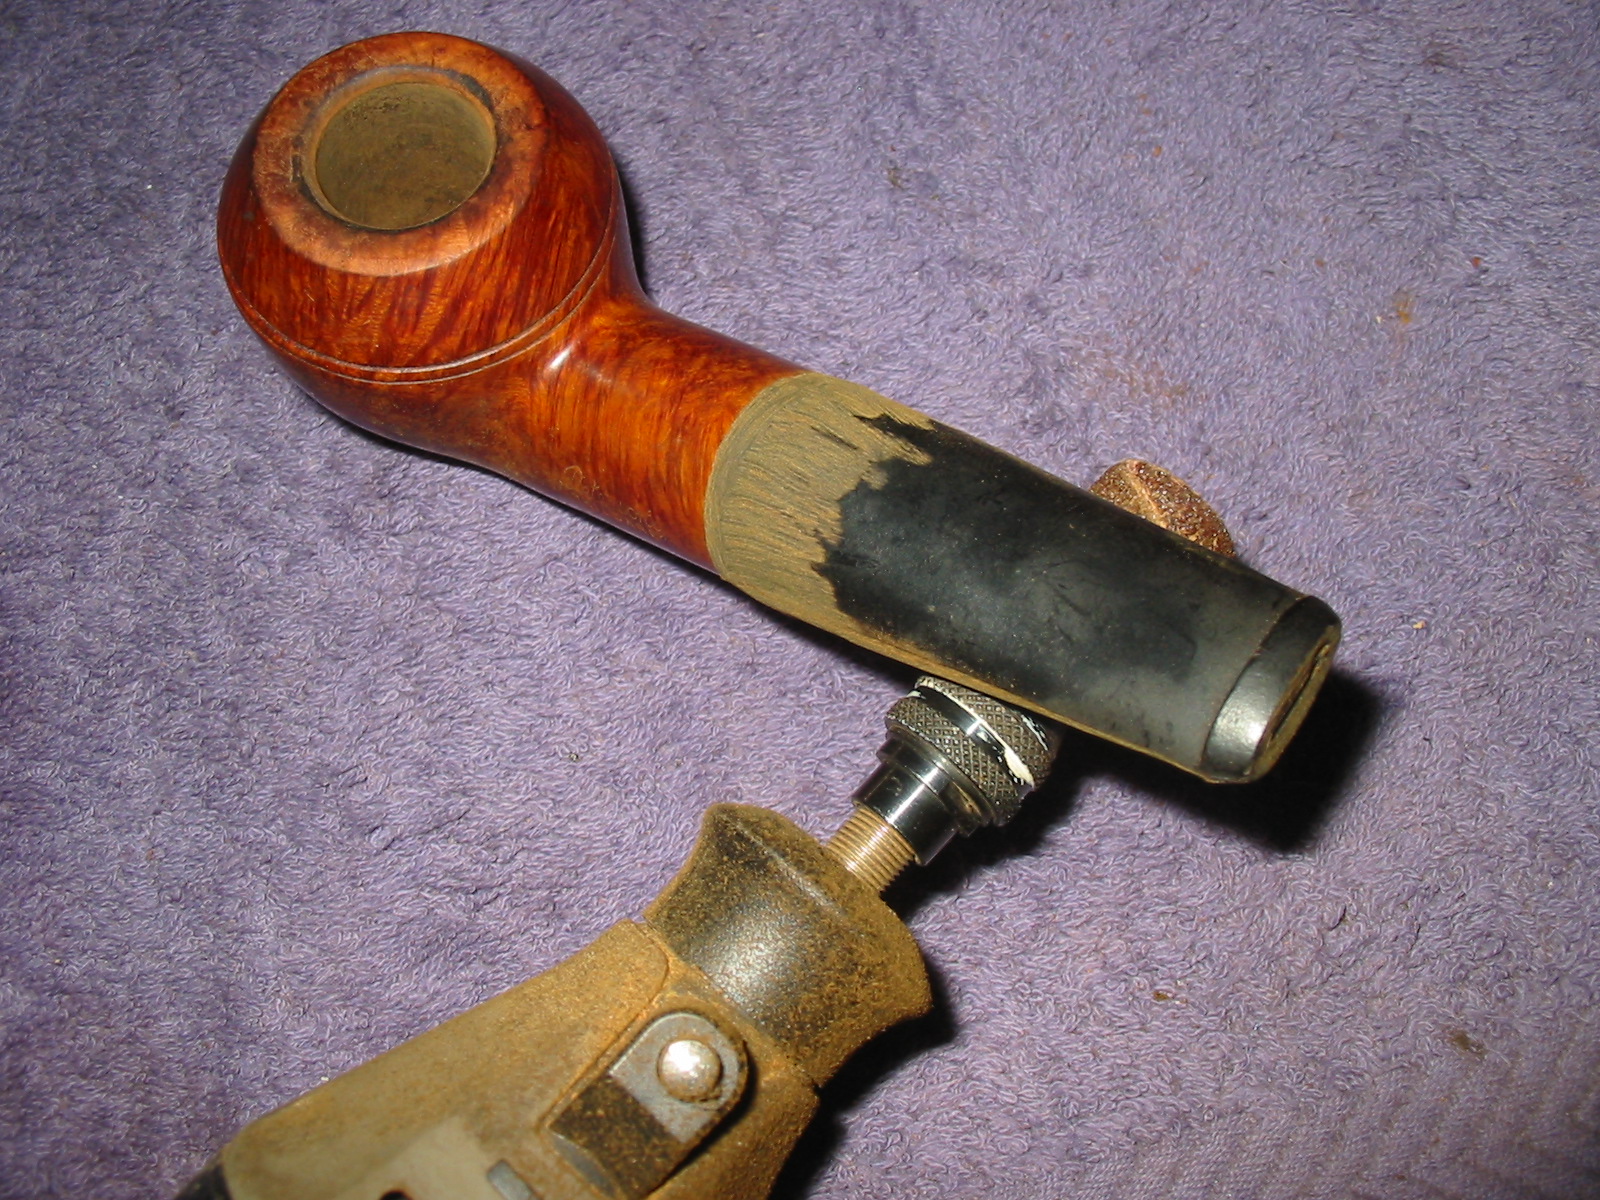
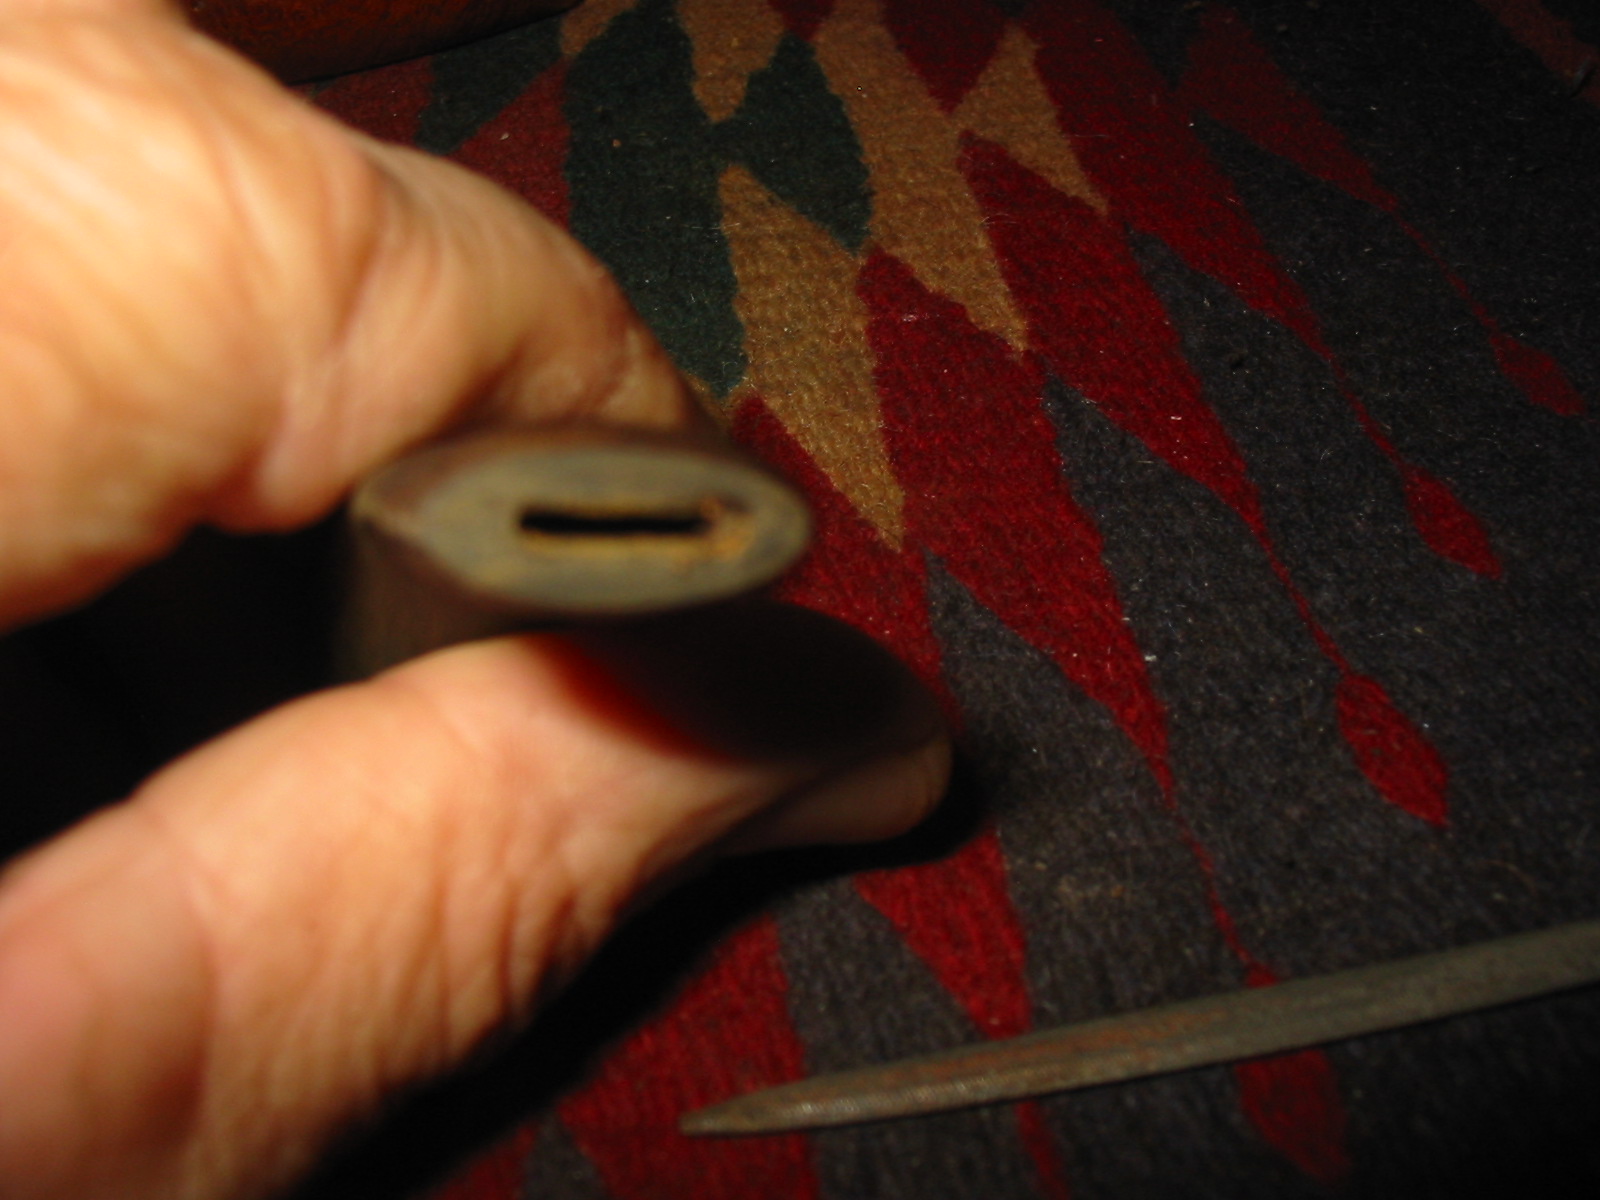
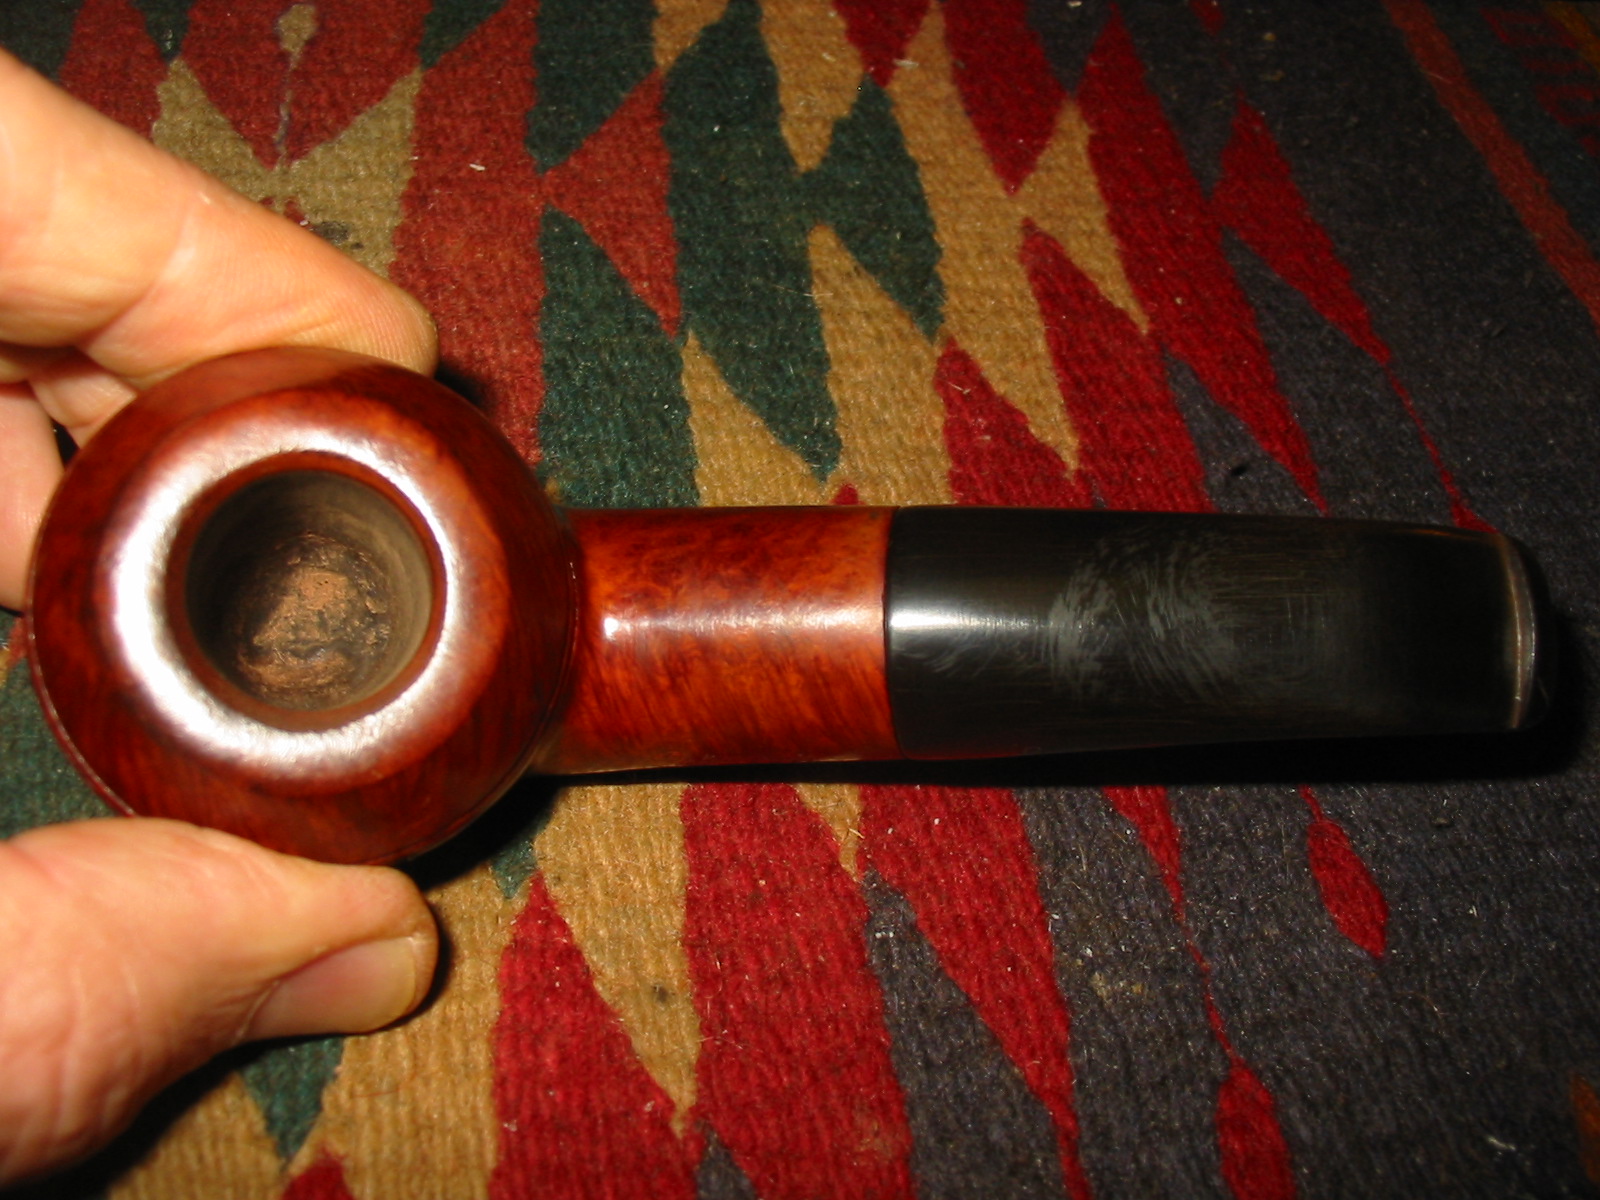
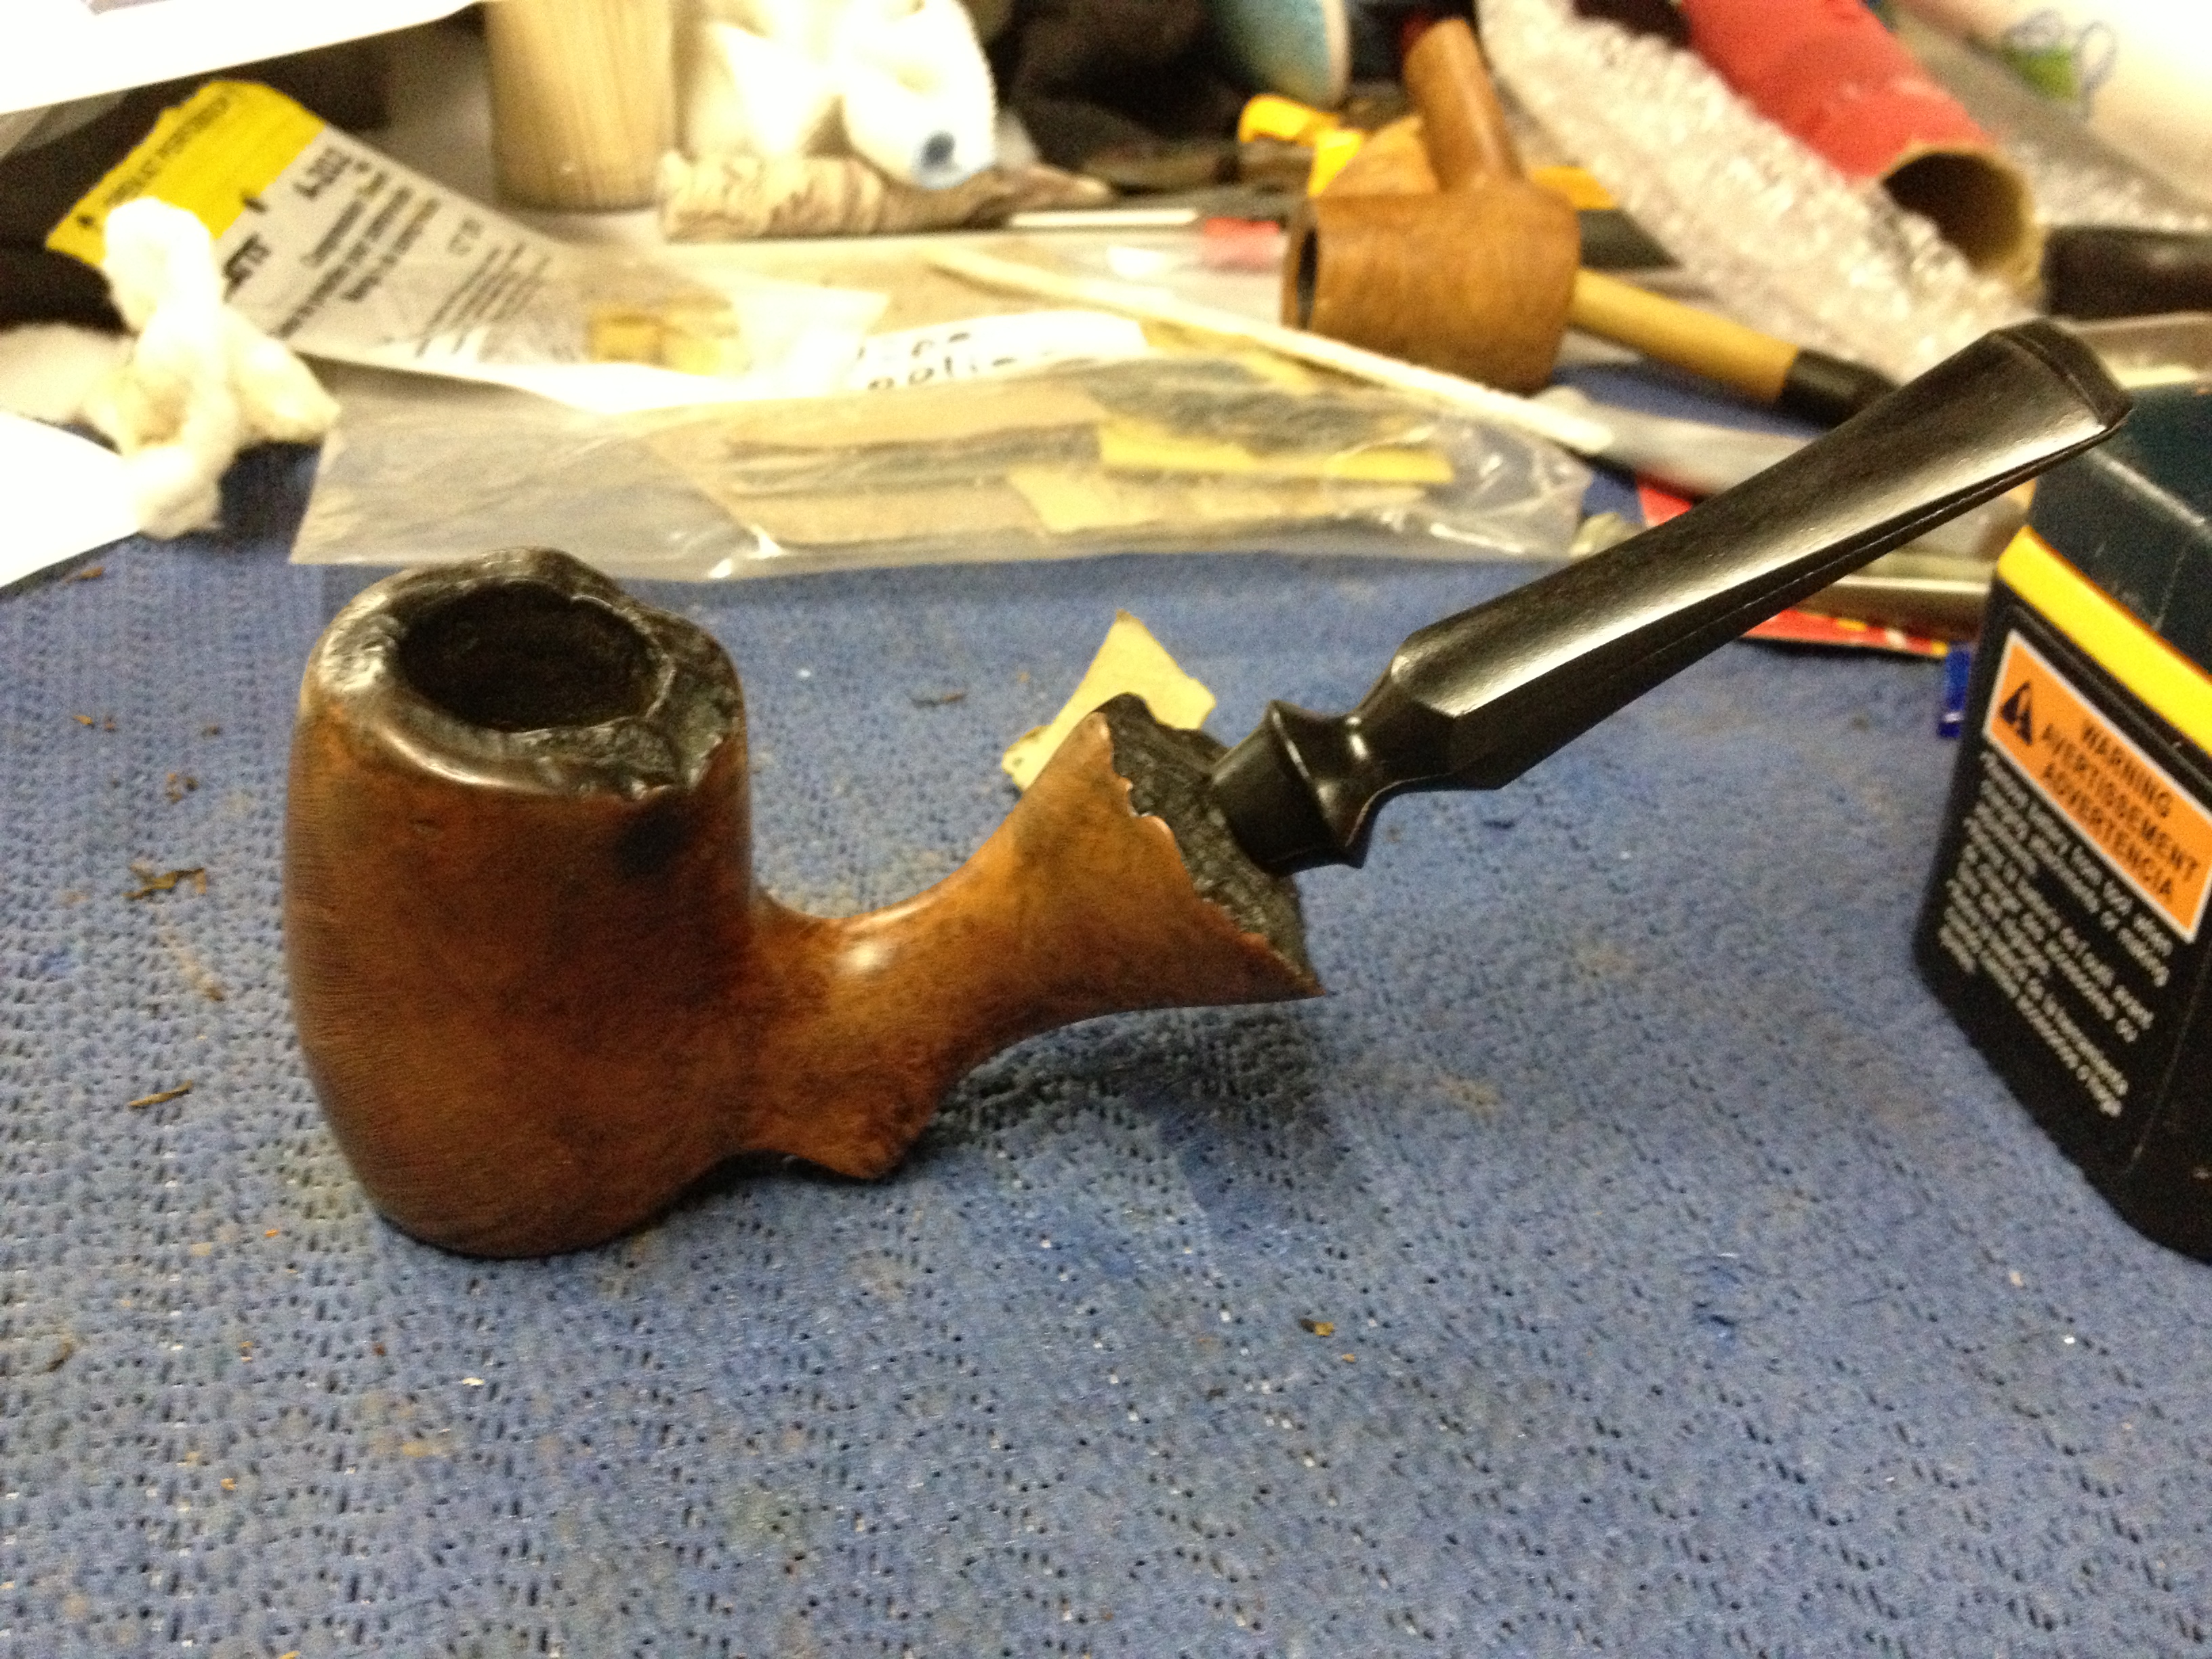
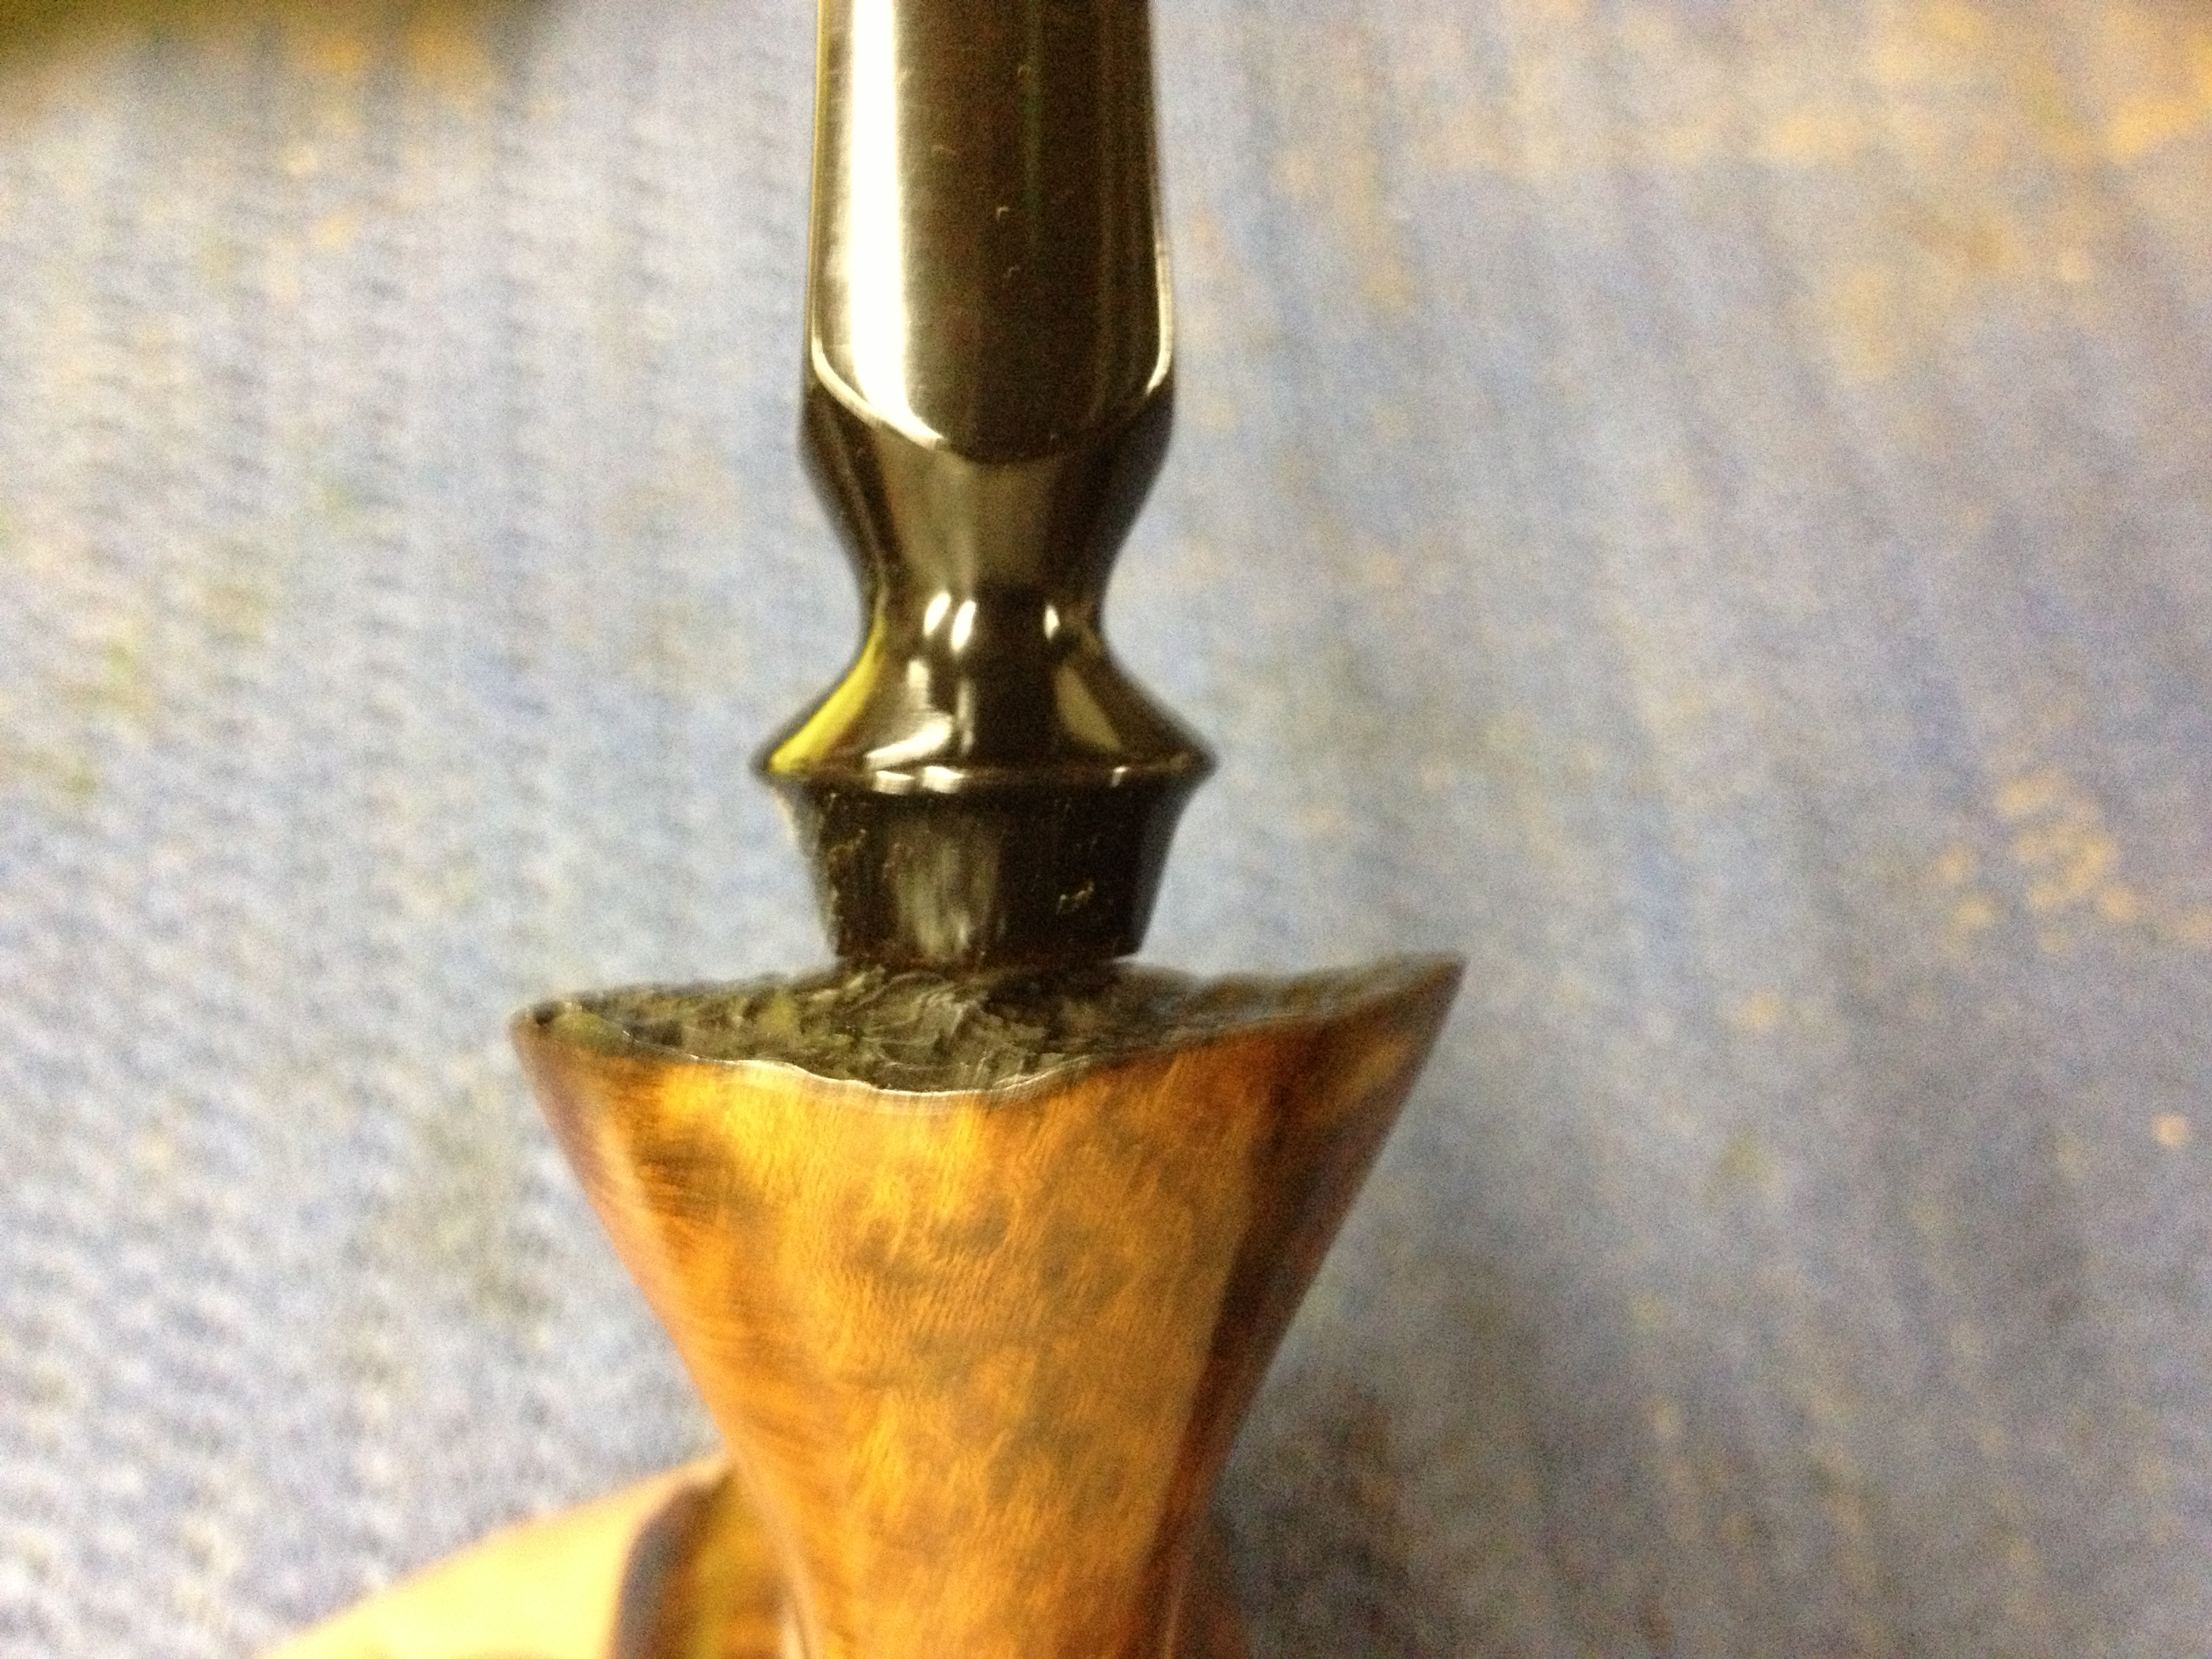
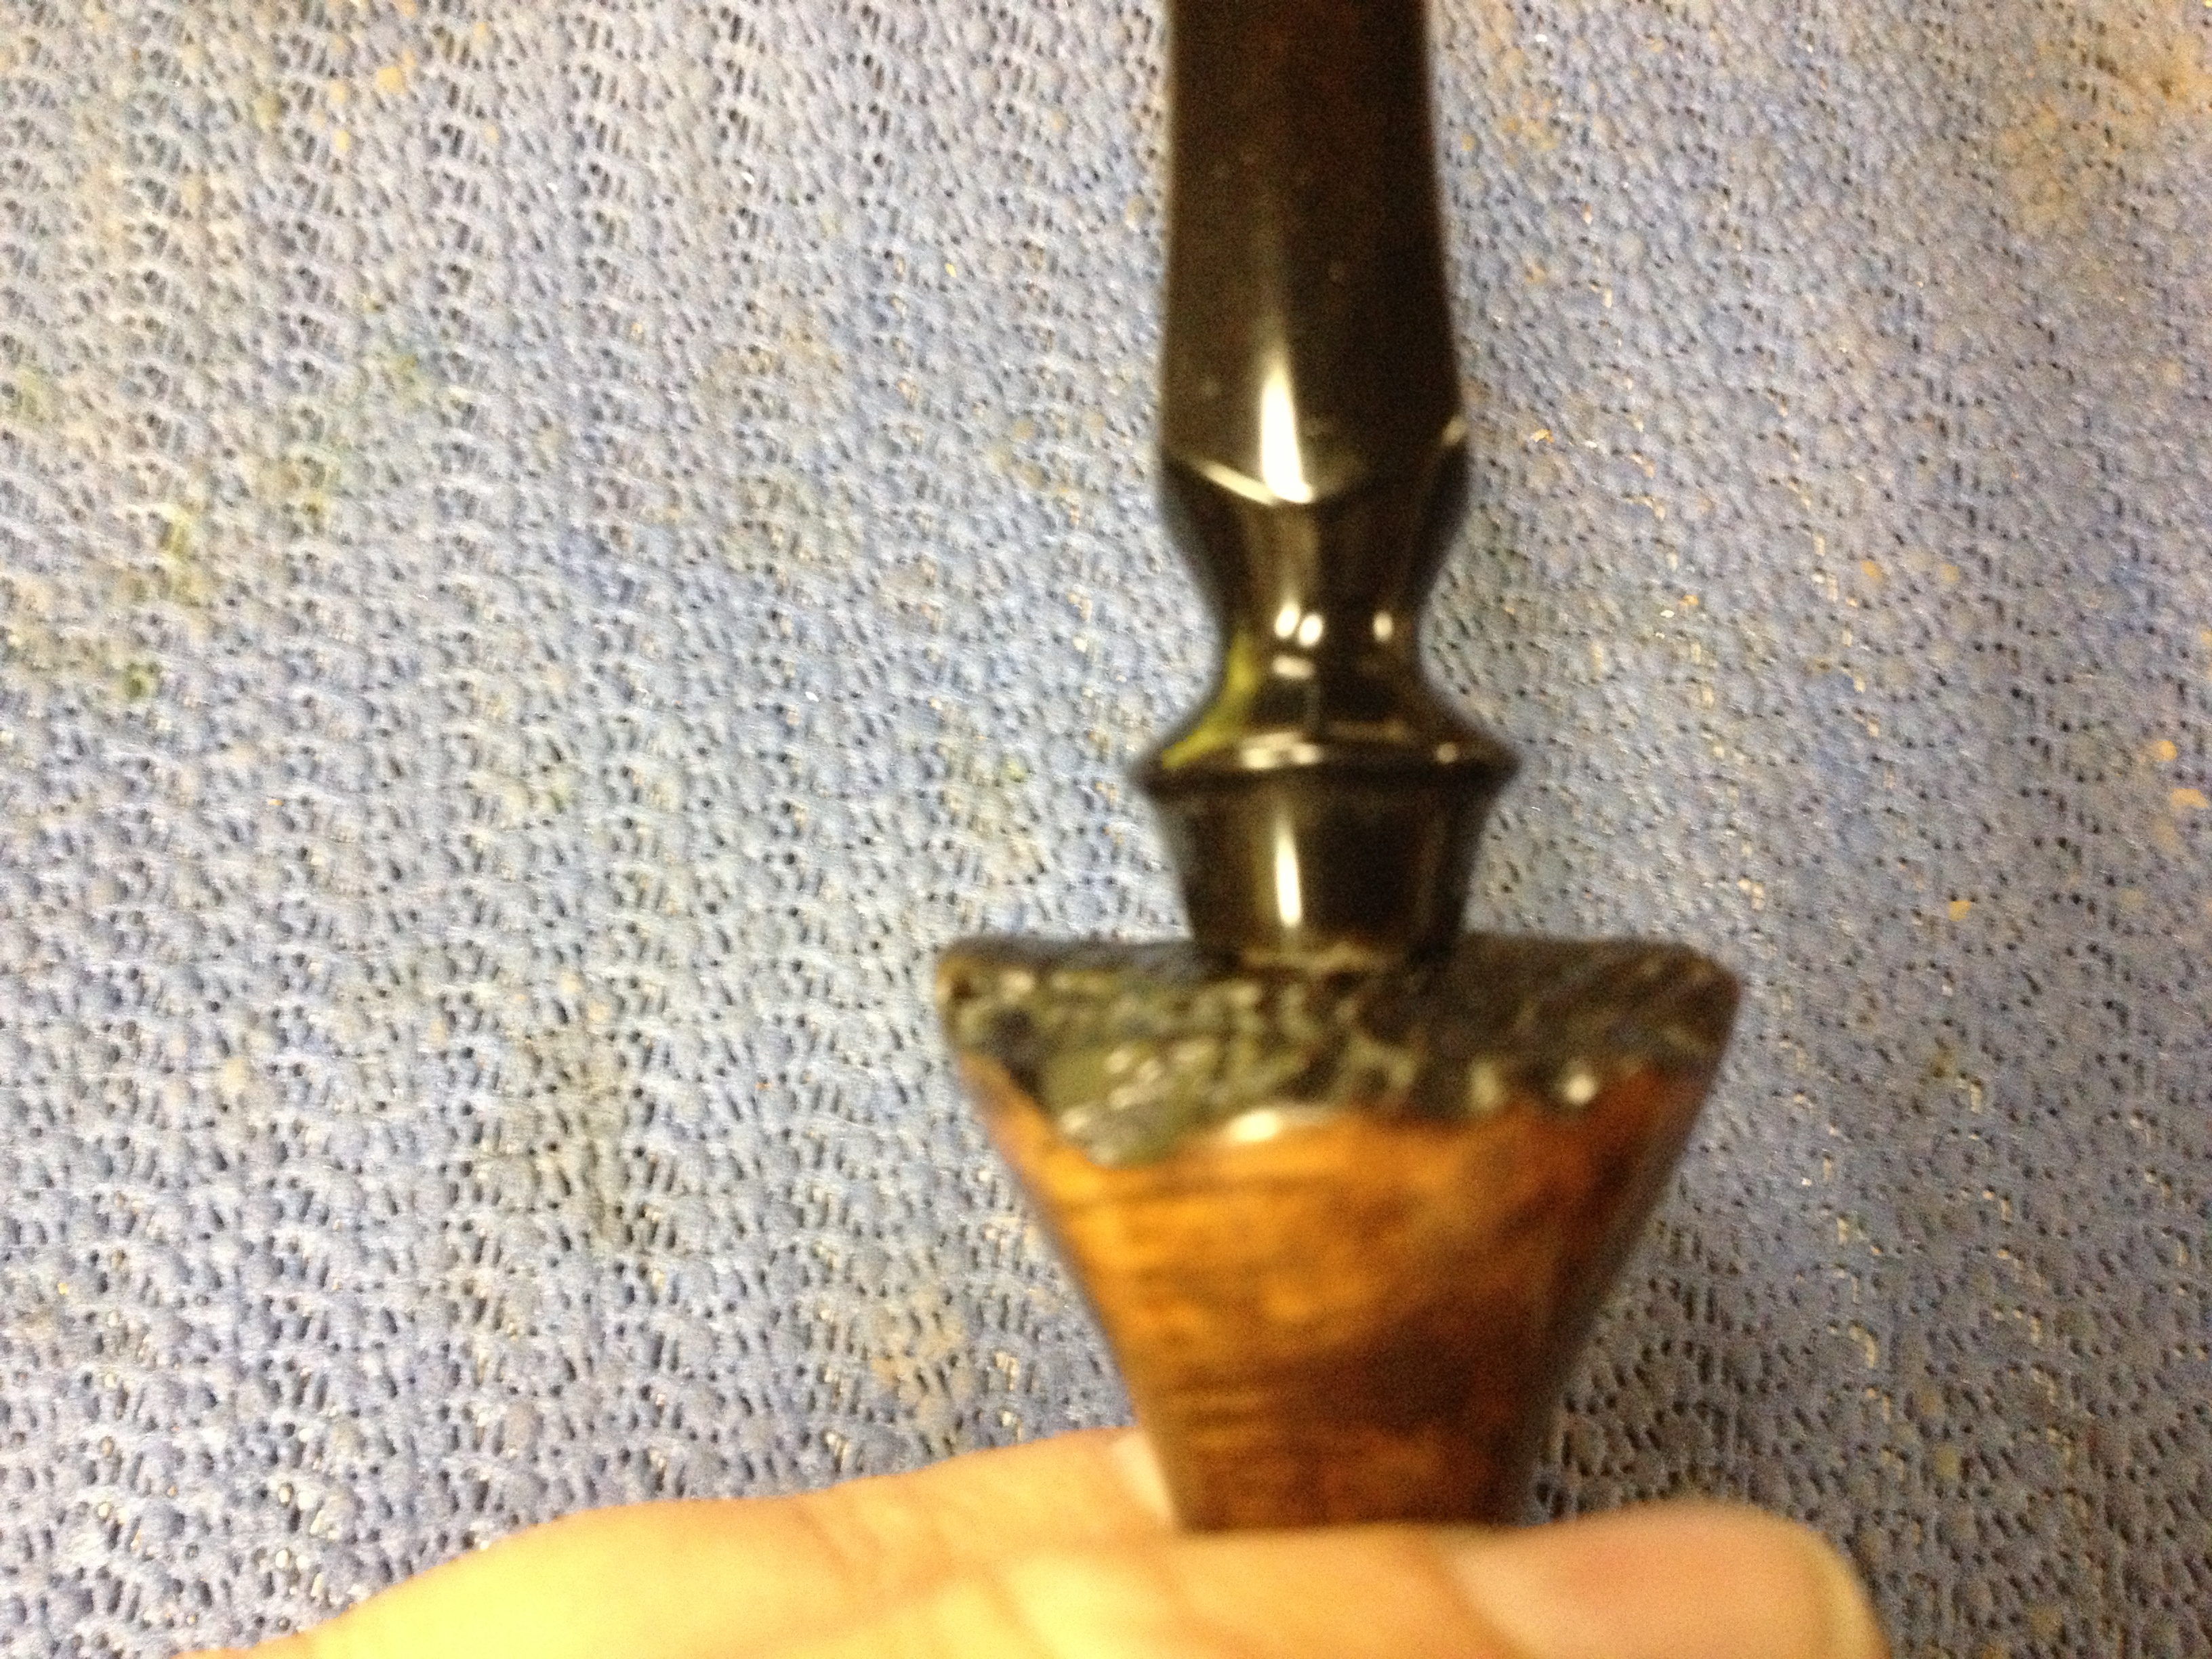
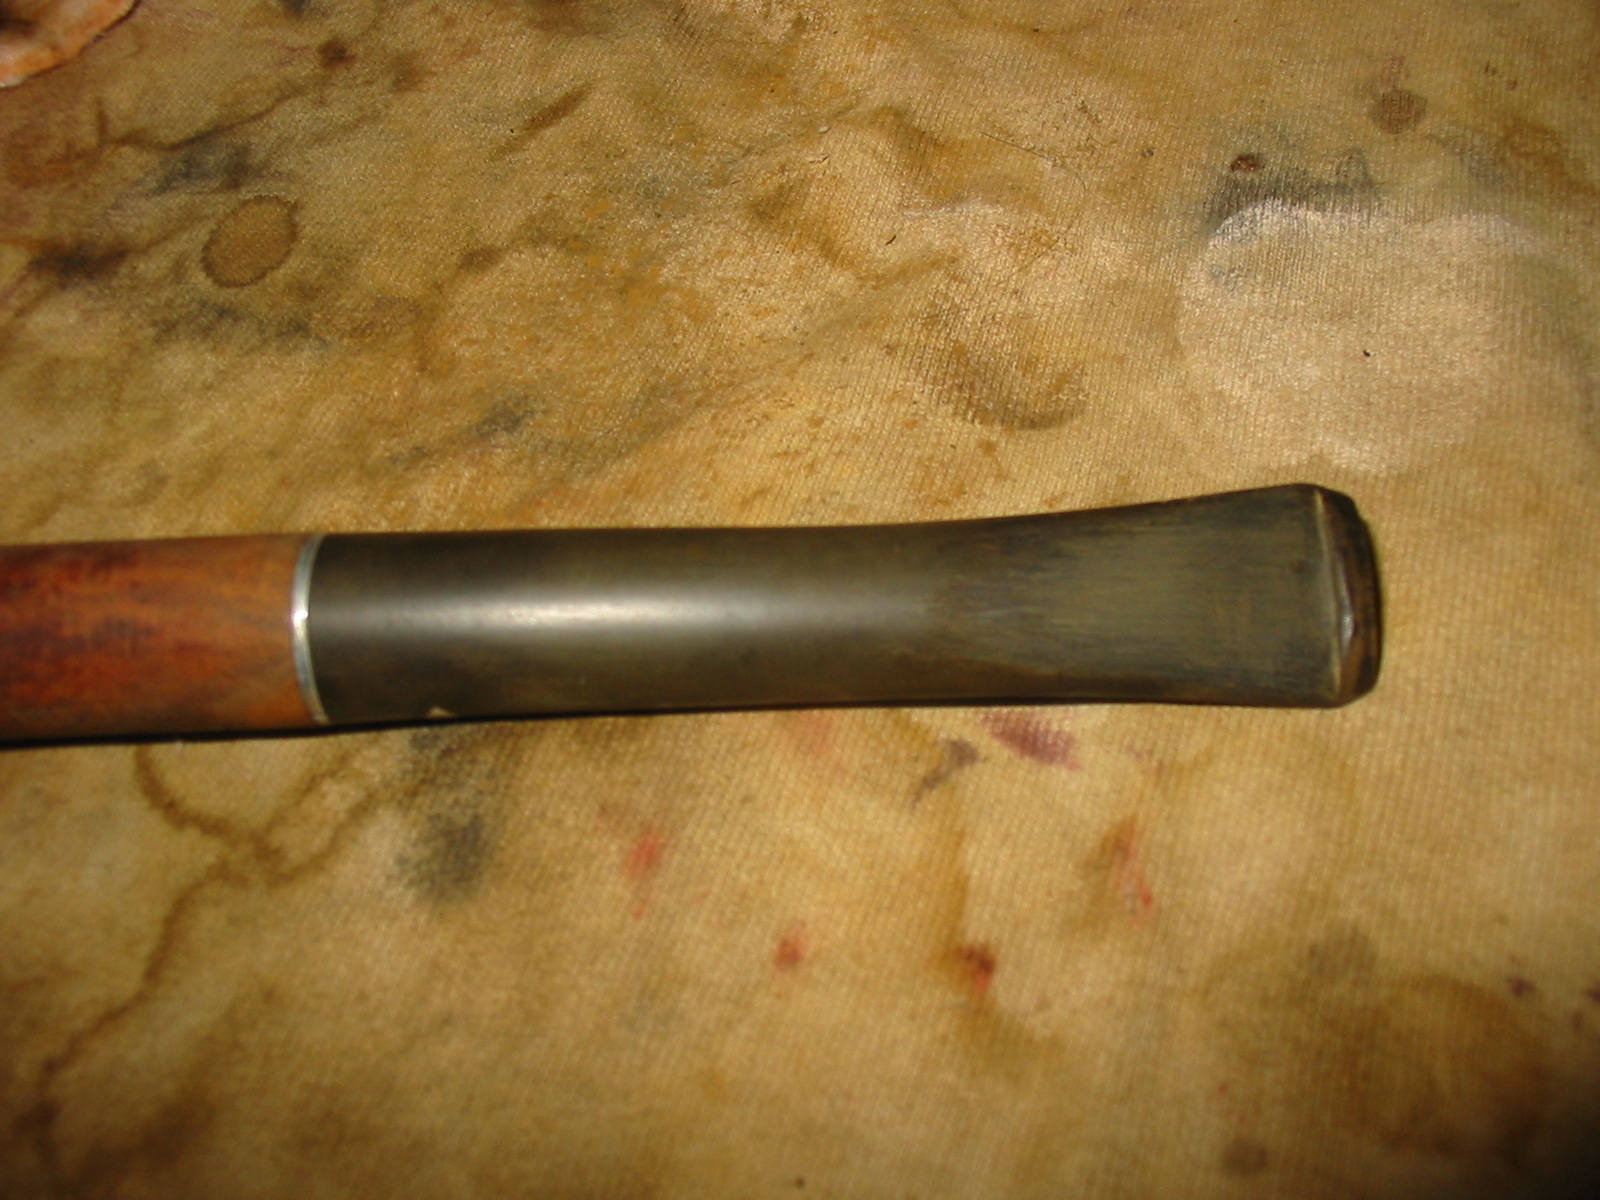
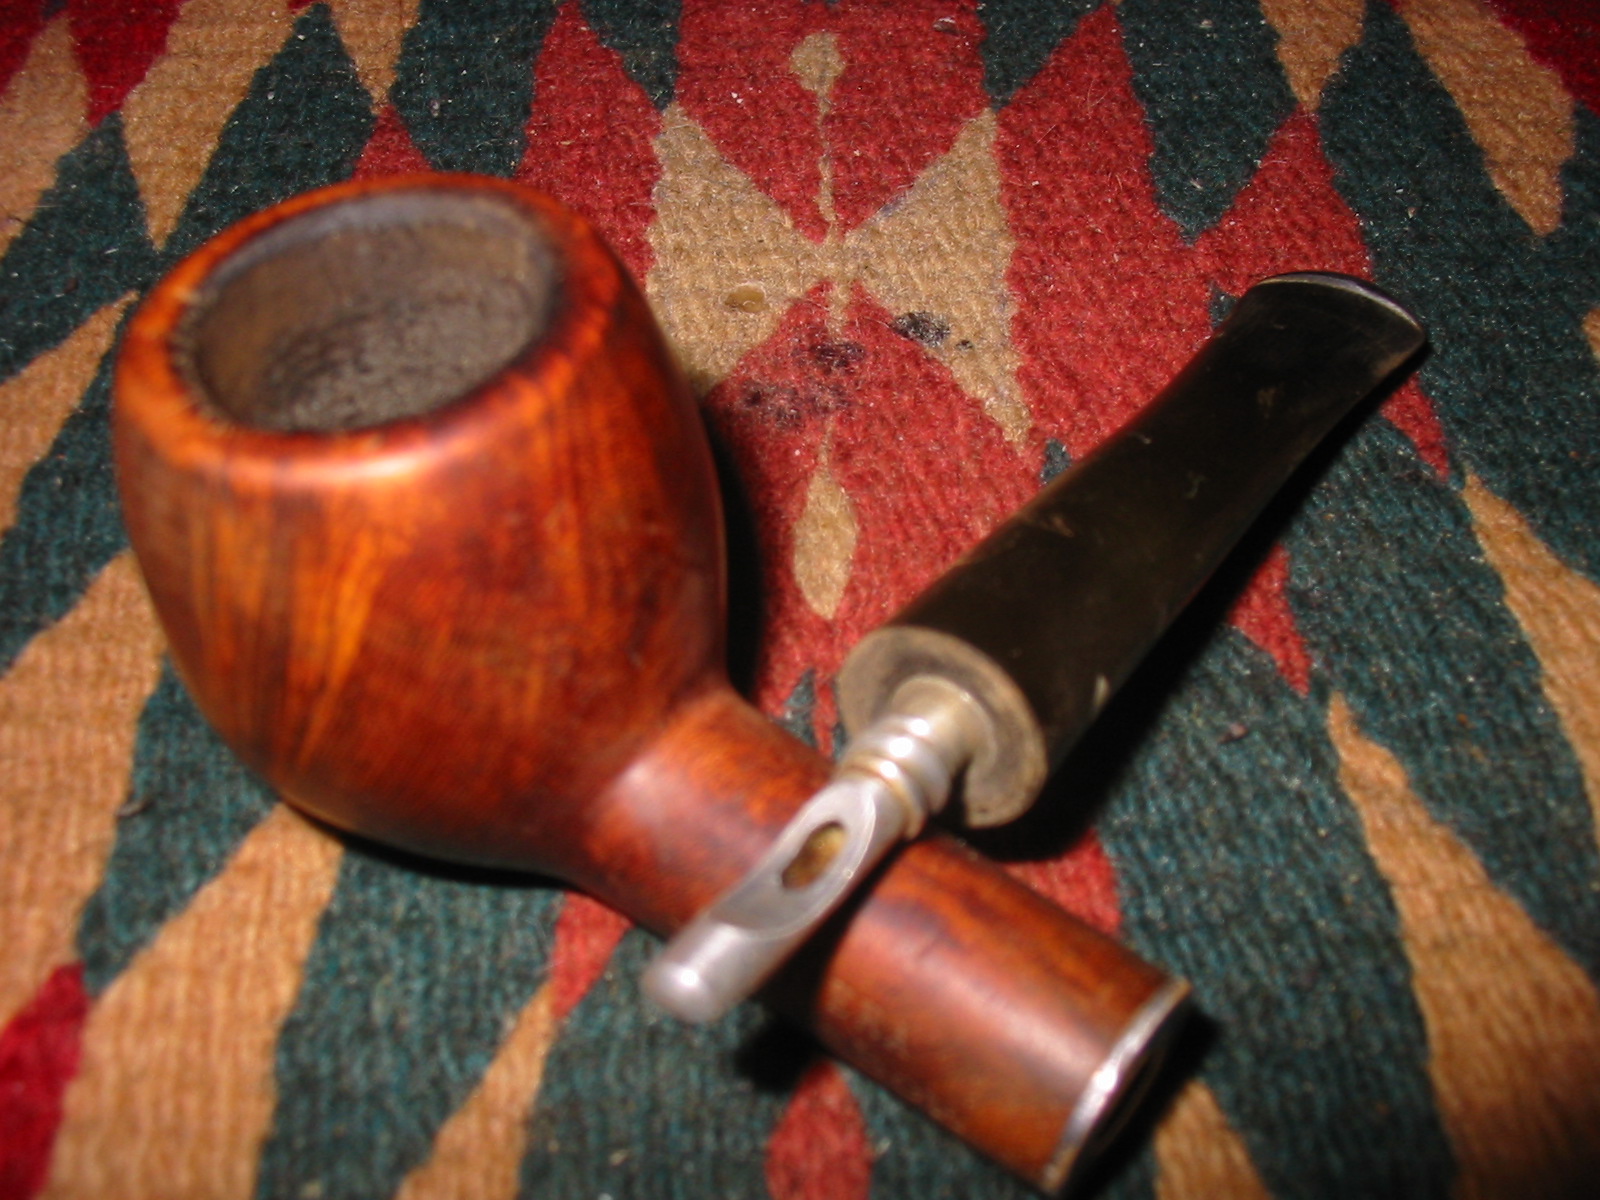
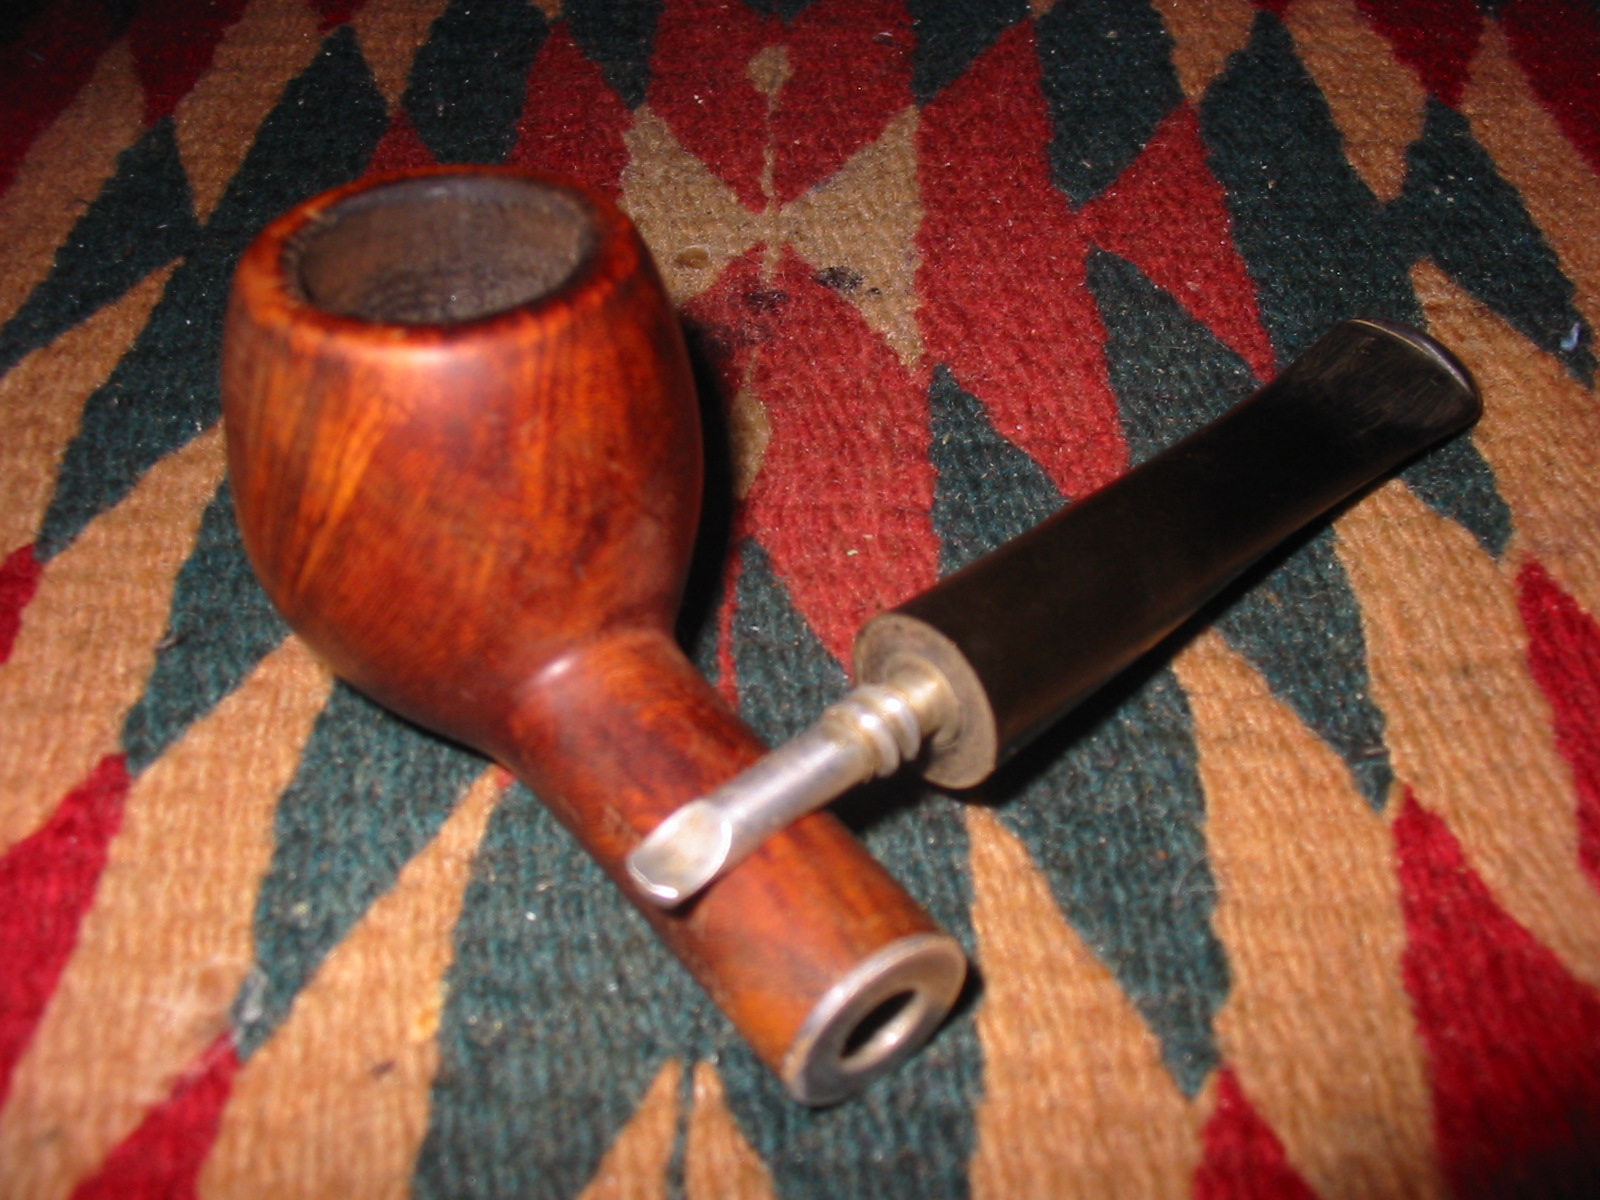
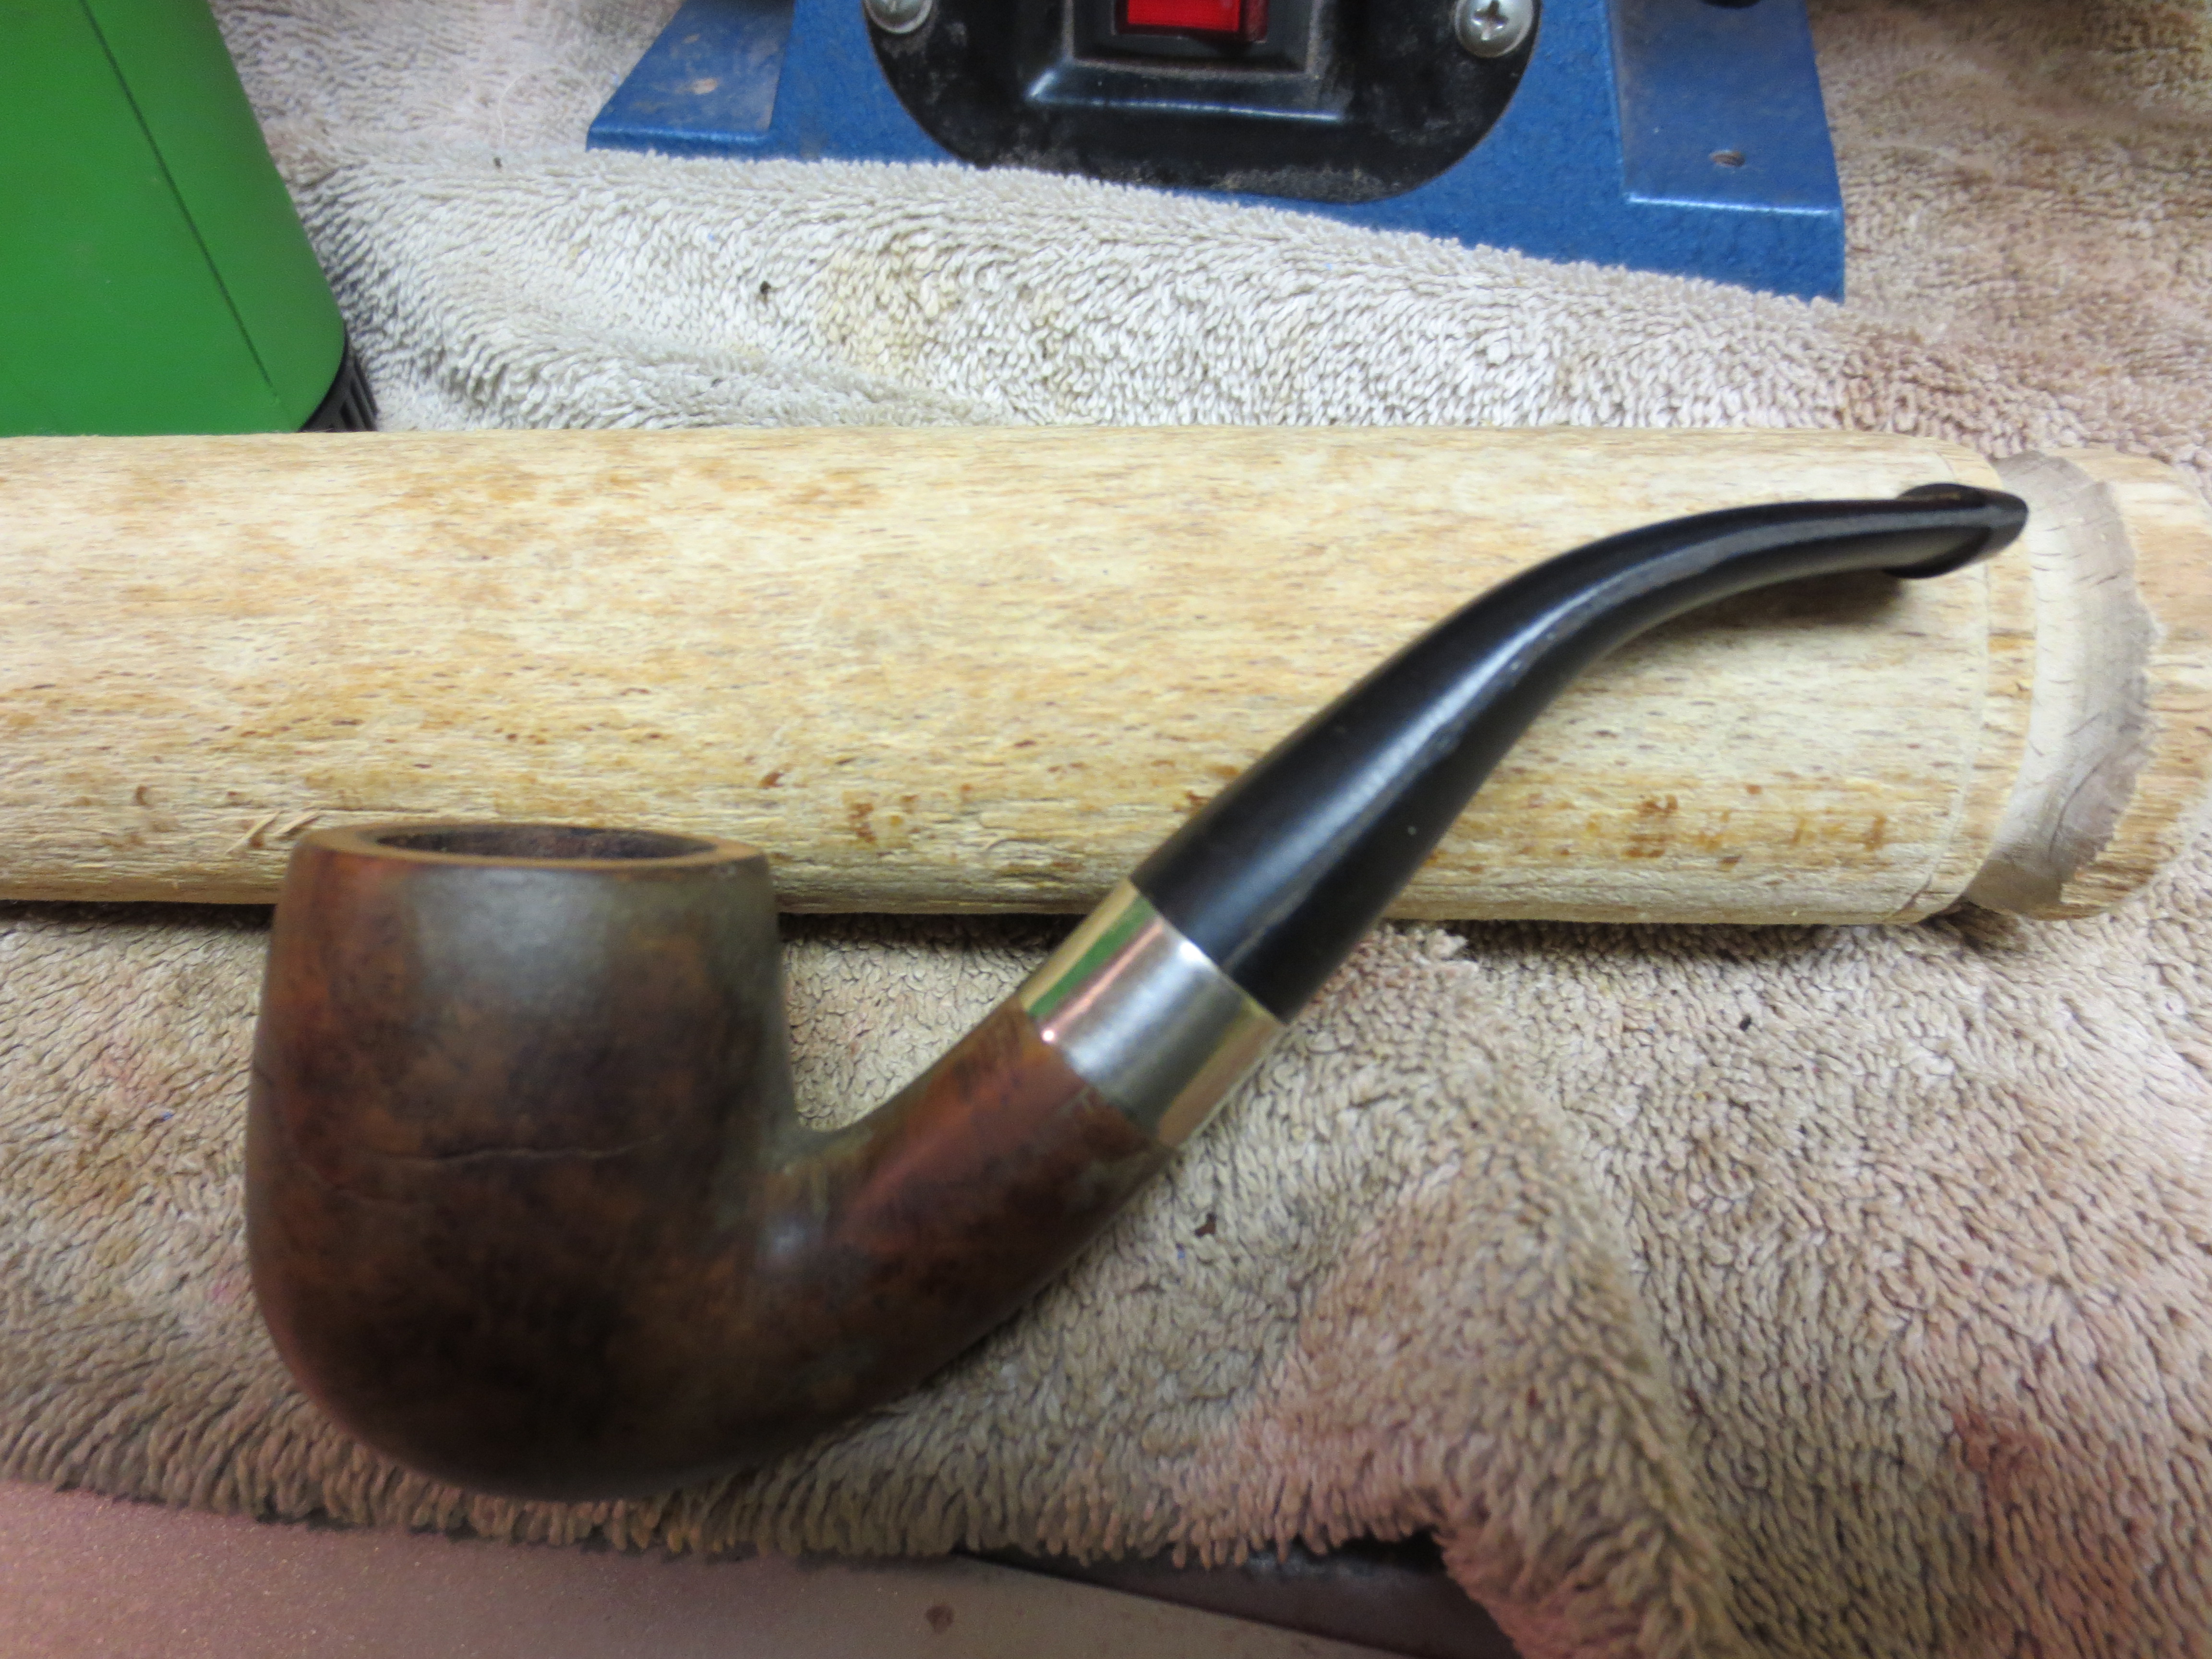
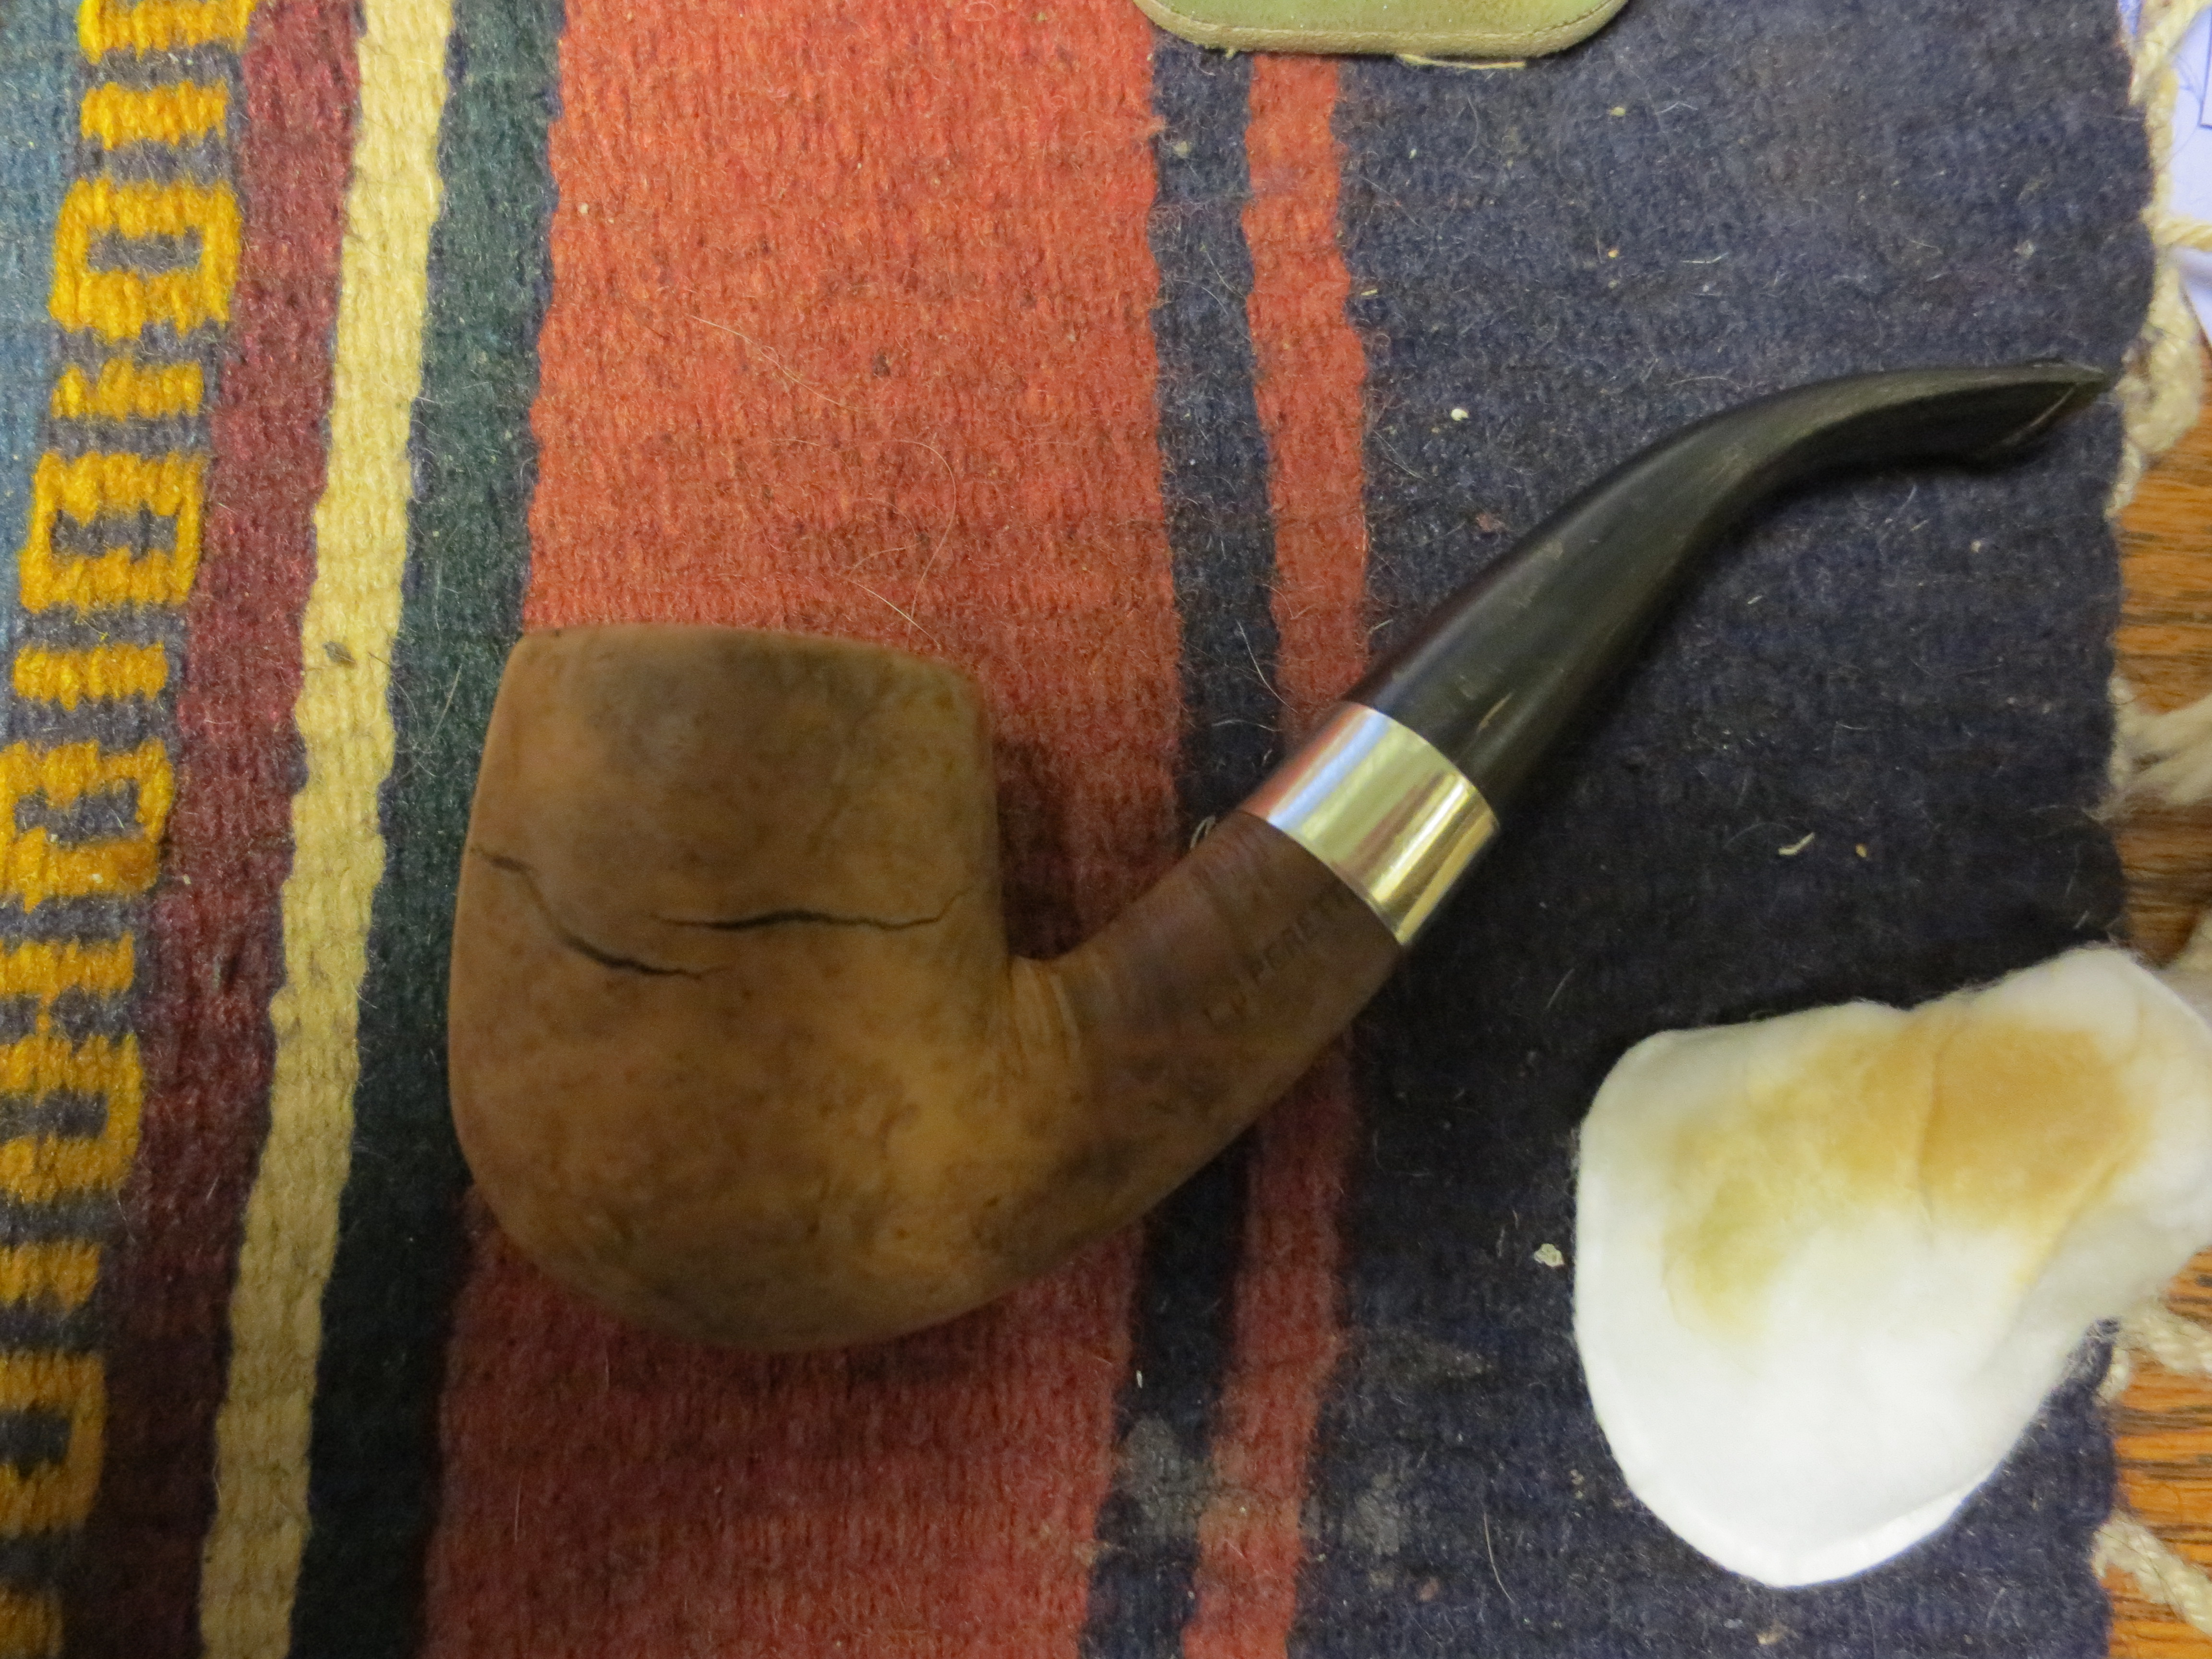
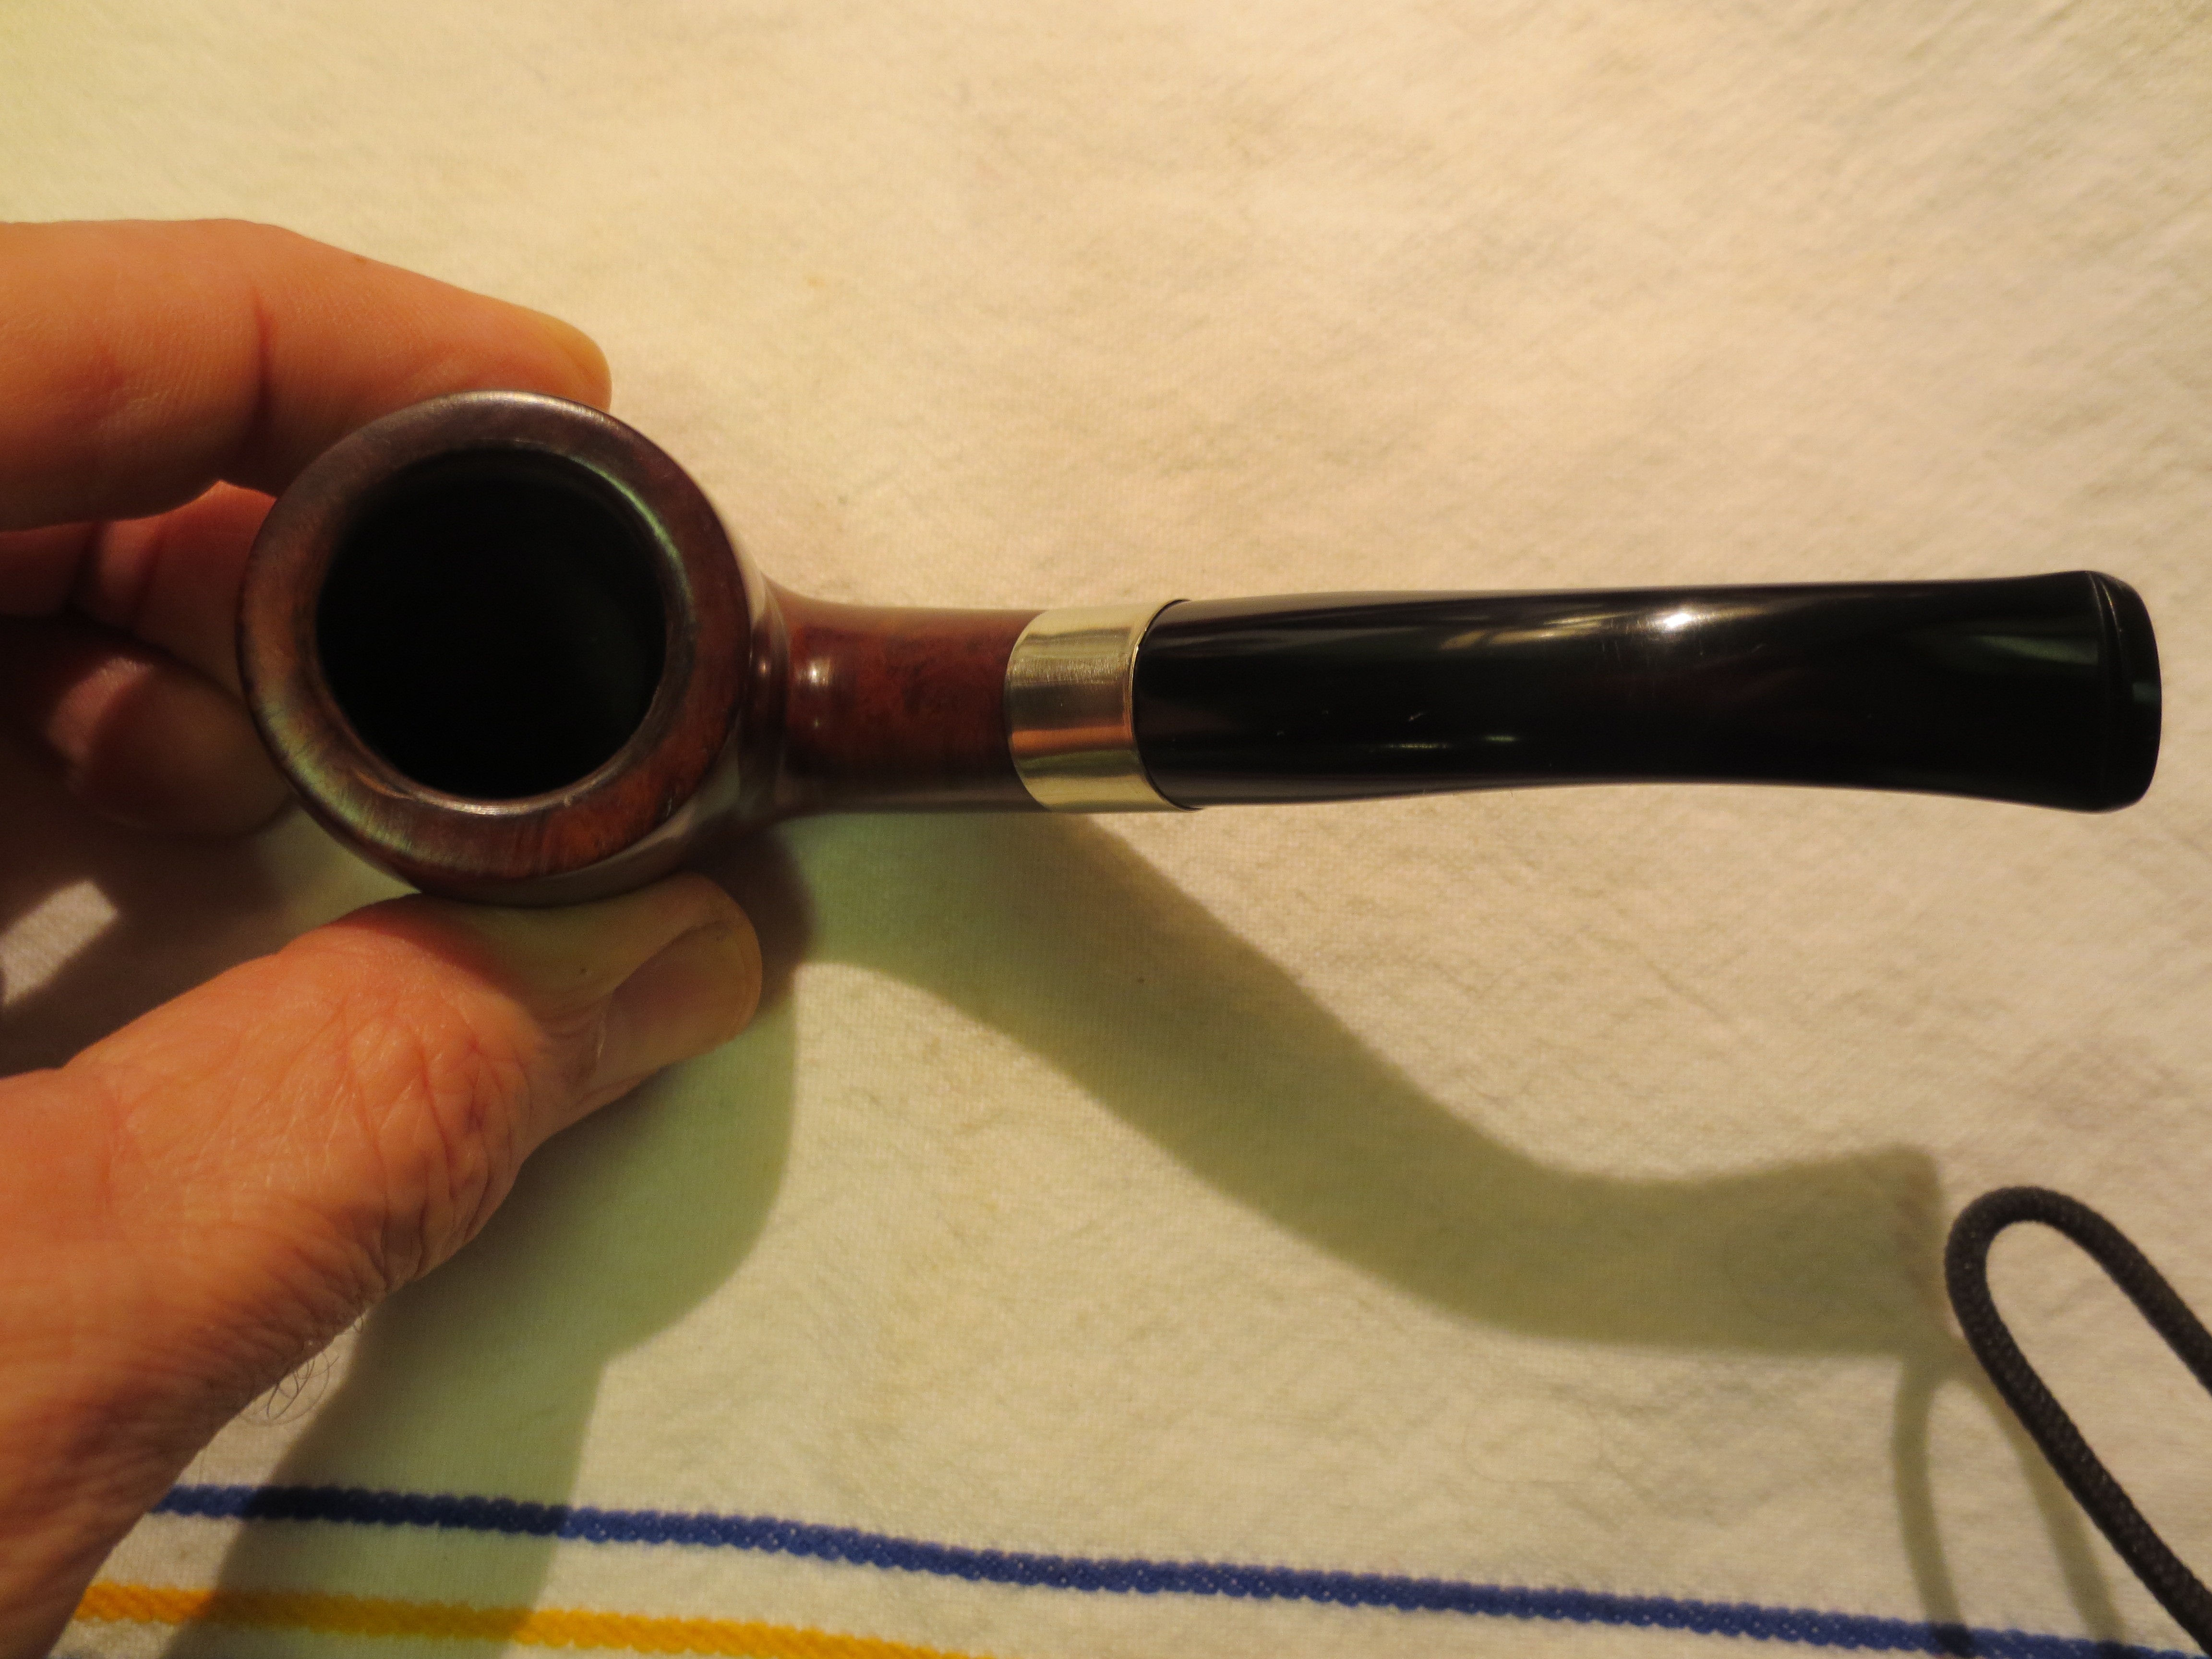
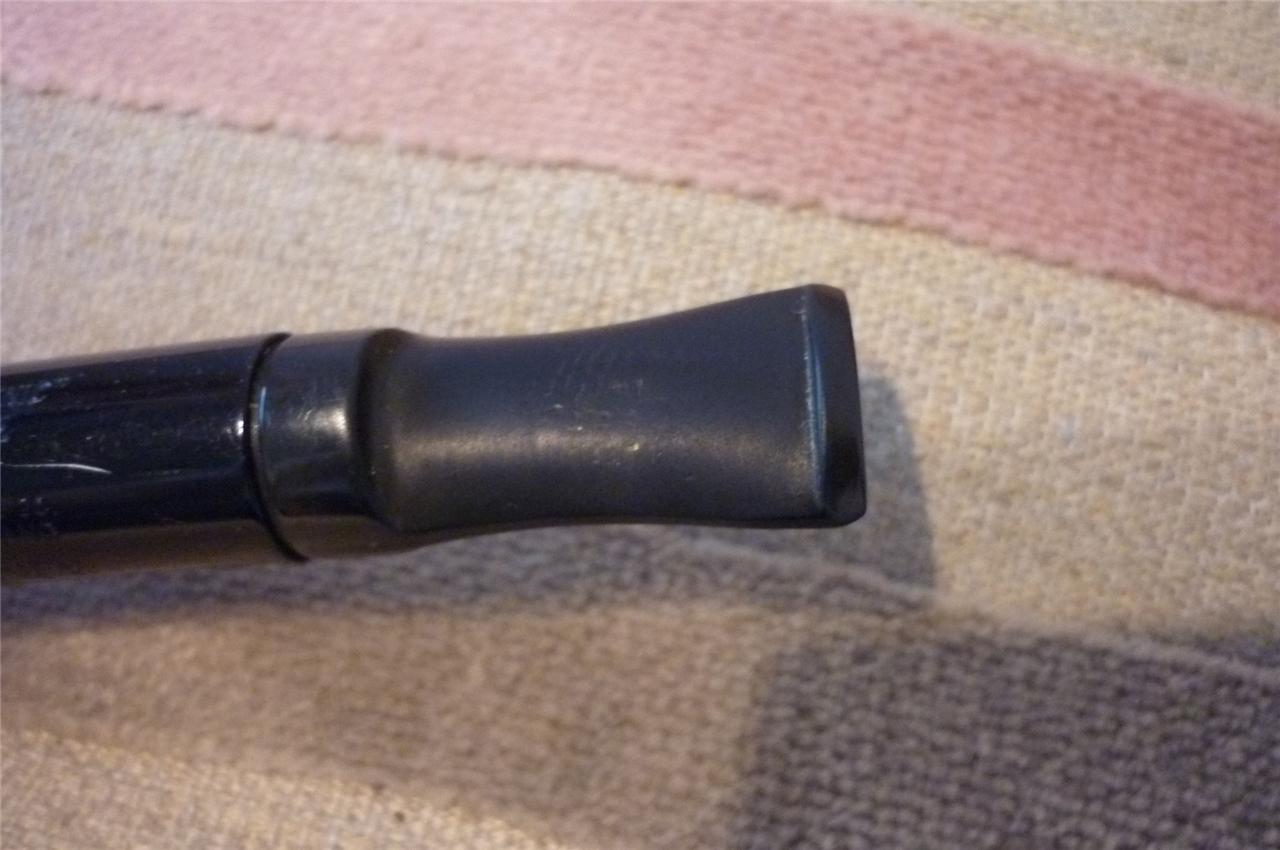
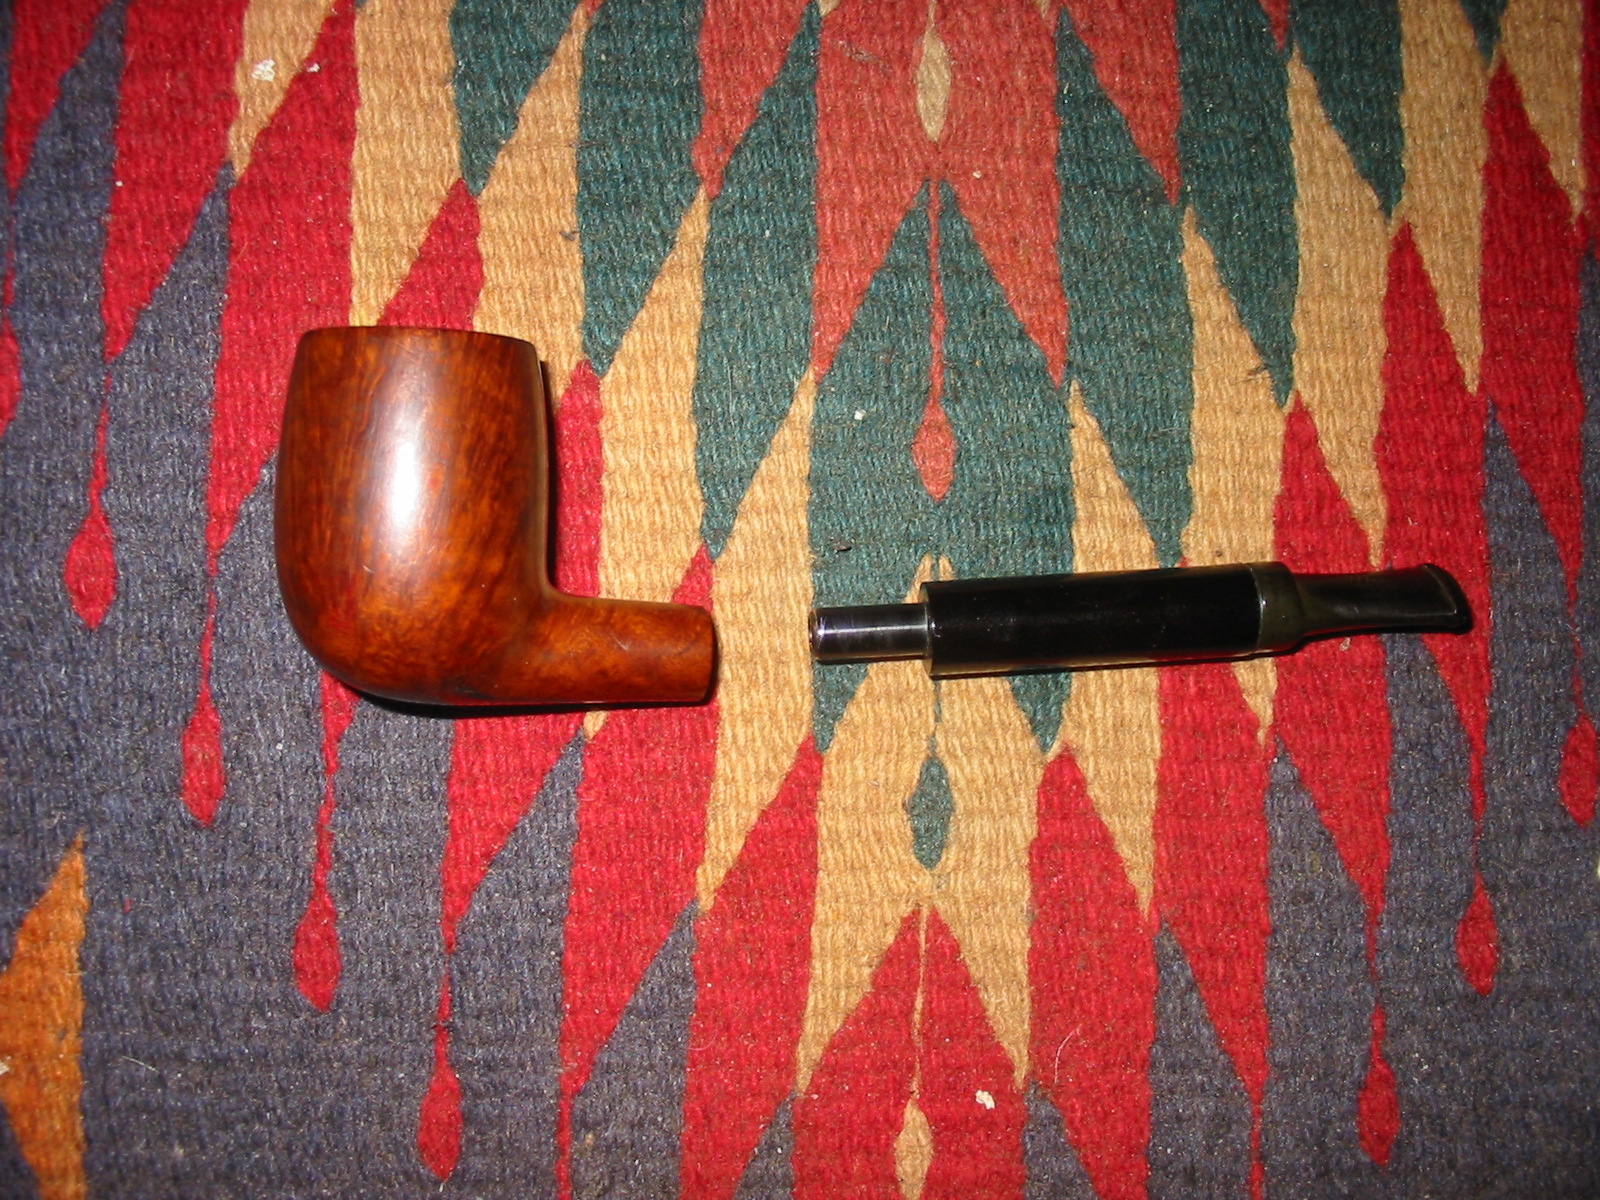
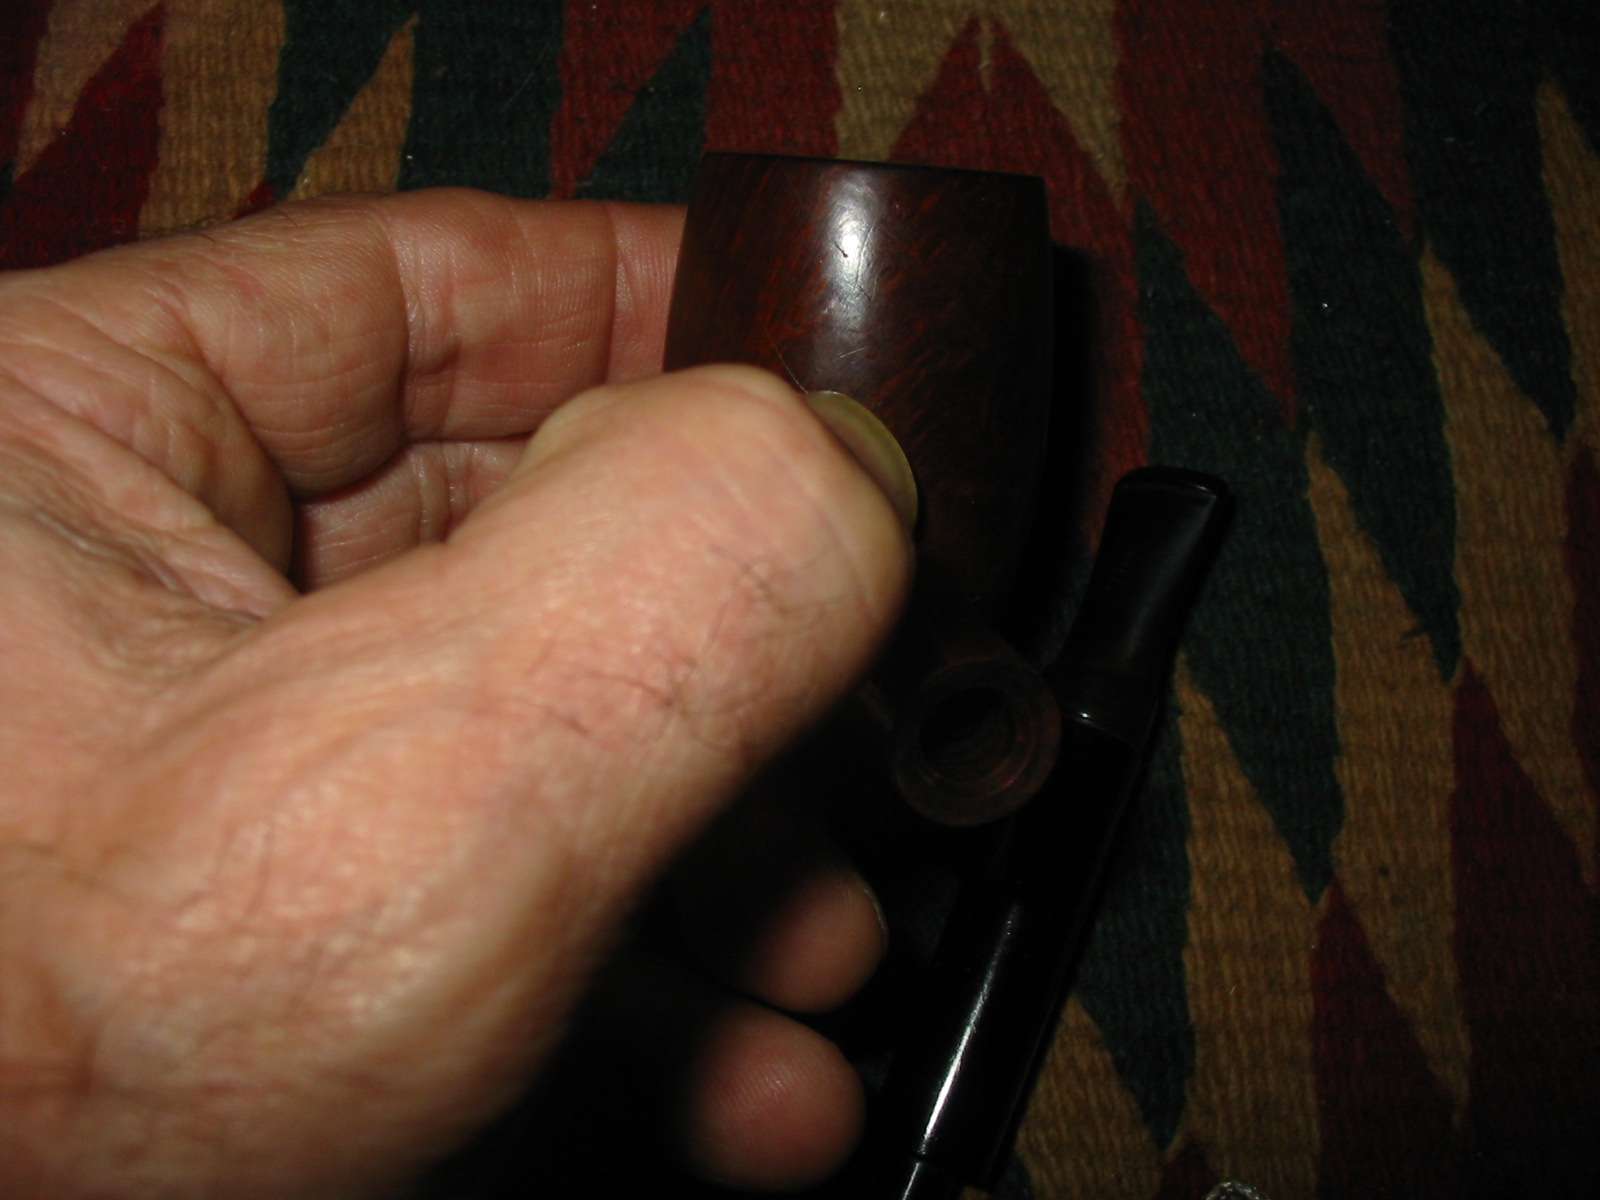
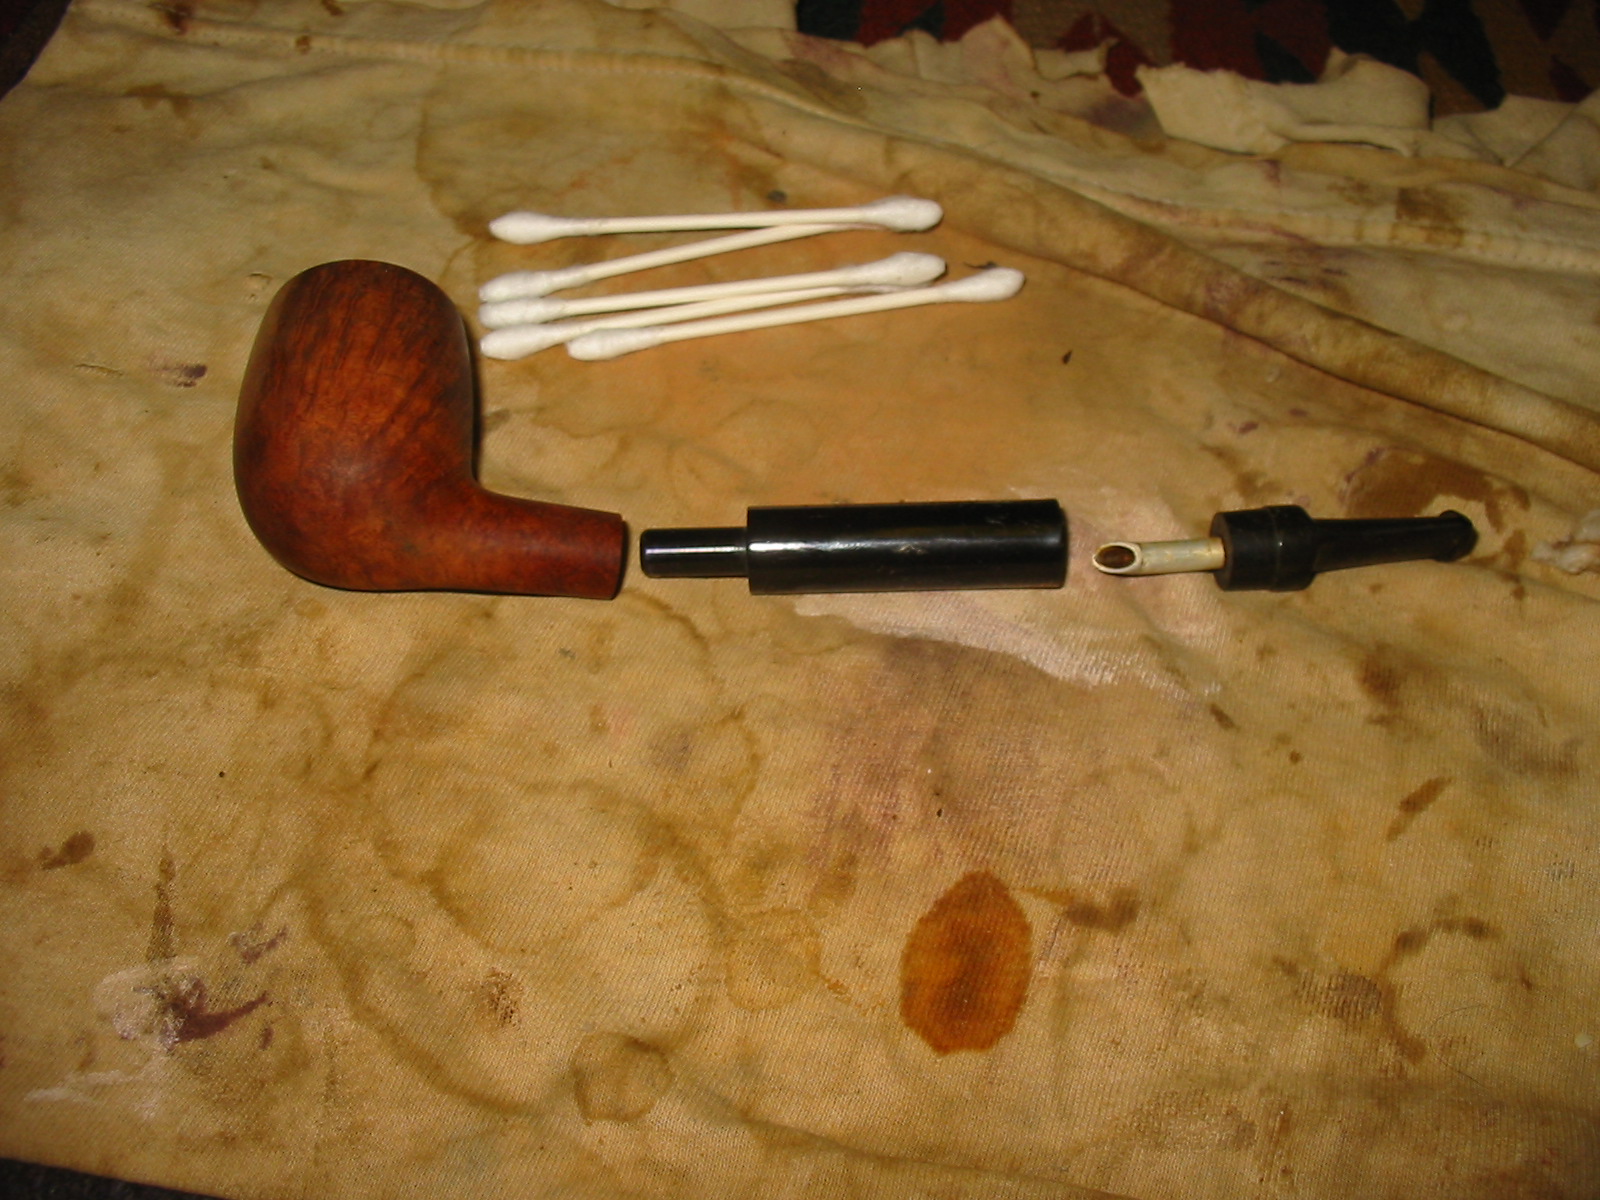
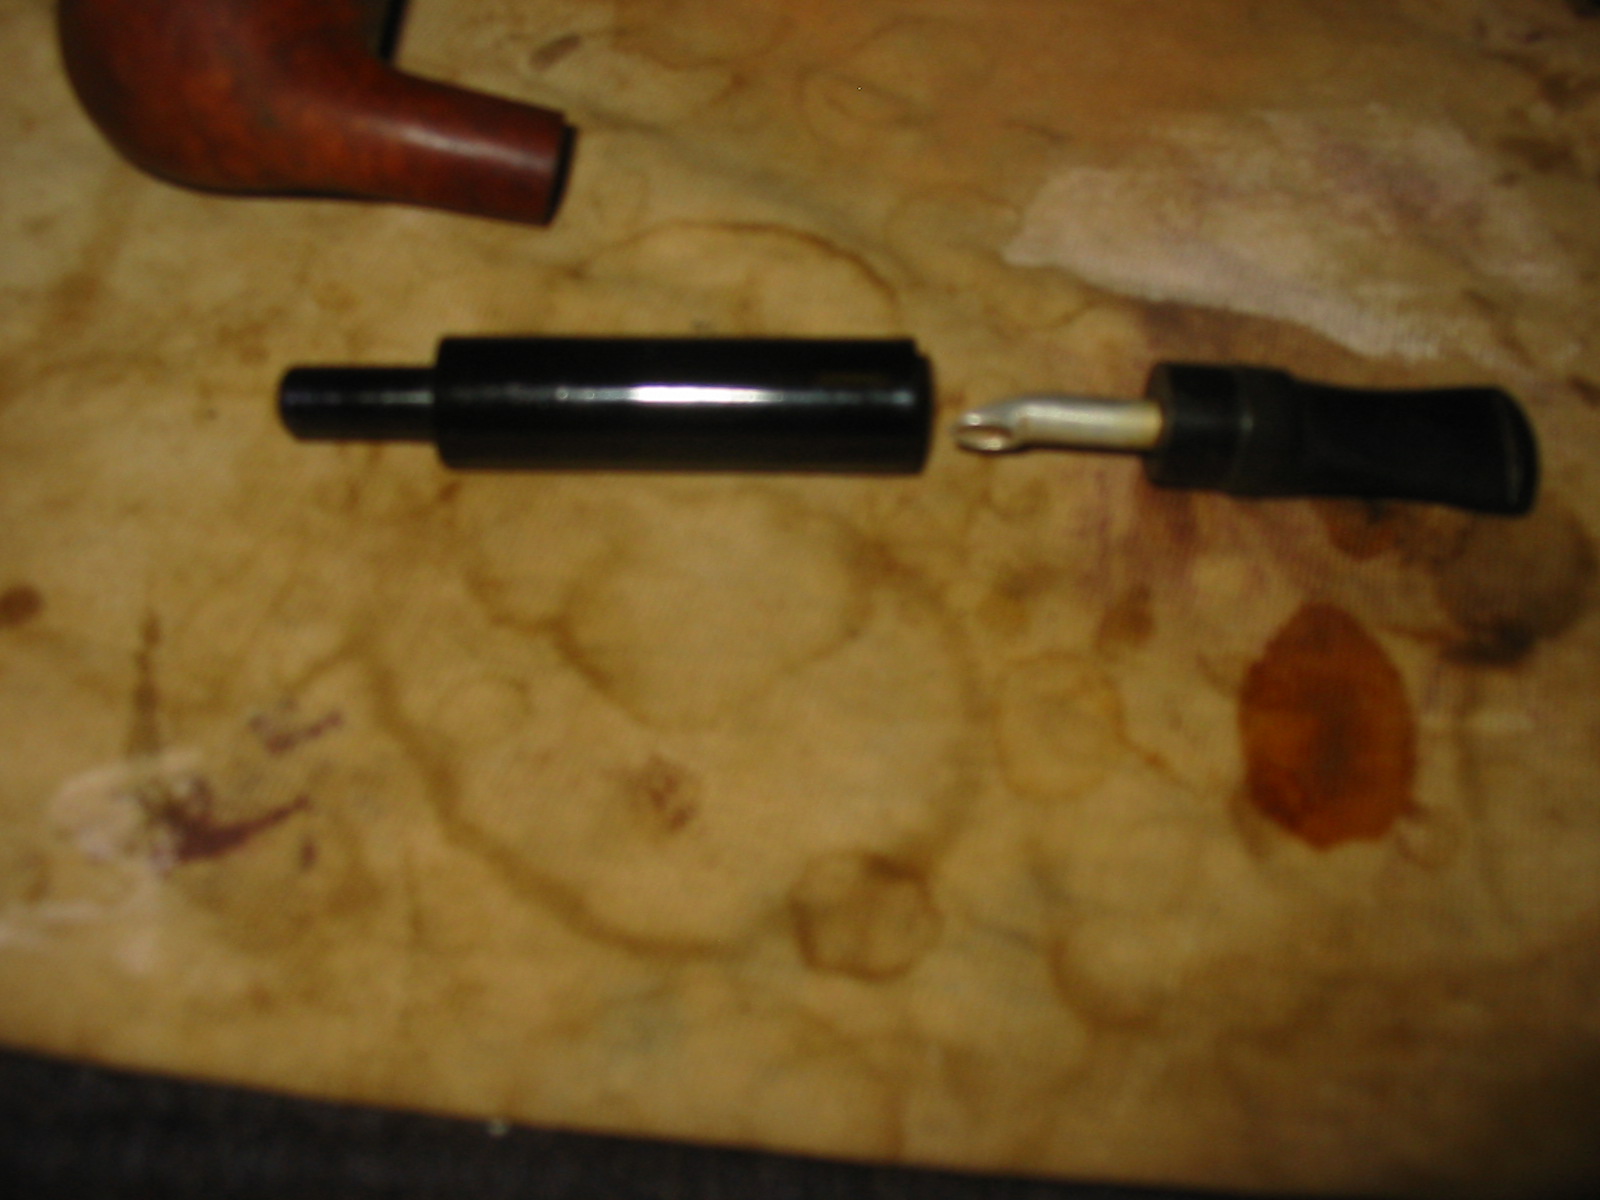
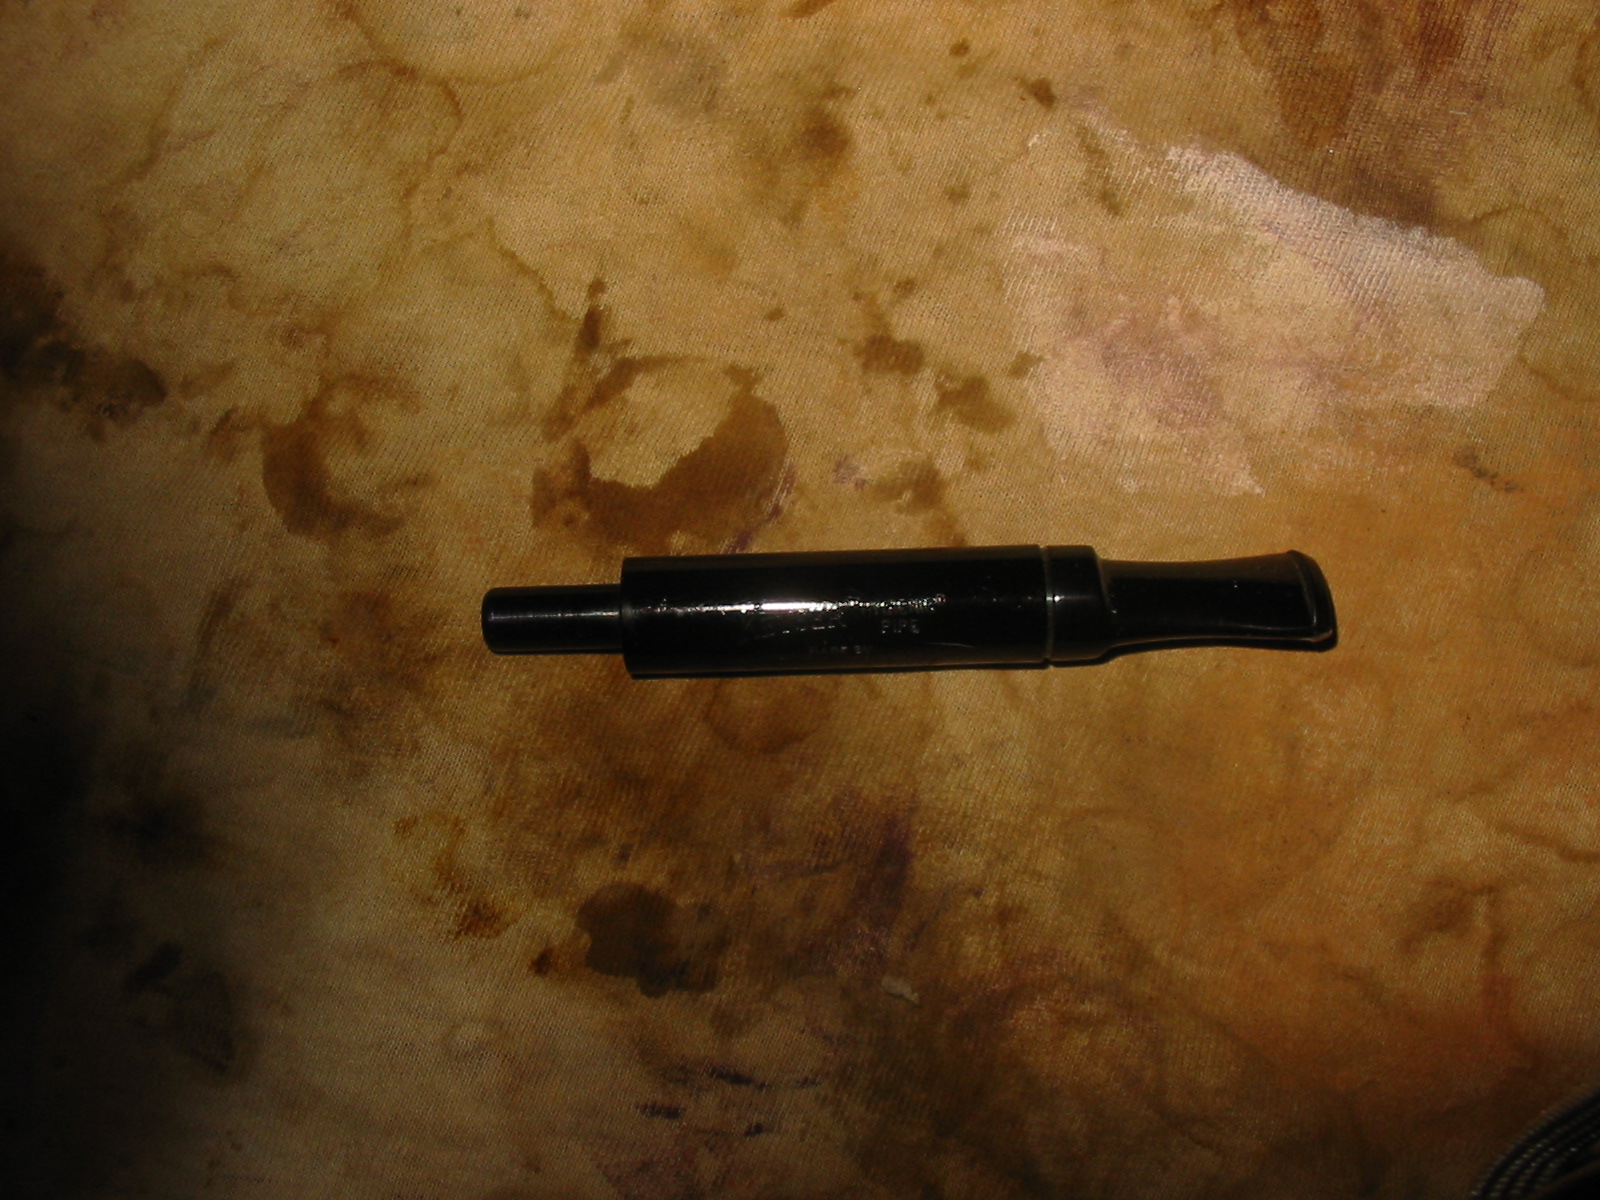
I choose a pre-formed Italian ebonite freehand-style stem for this stummel. To my eye it looked like it would be something very close to what the pipe would have originally had. I took my time turning the tenon down to fit since it was the first time I had done this and I didn’t have another stem like this one to use if I fouled up. After I got the tenon very close with the tool I hand sanded the tenon to get to the final fit; I know from reading Steve’s articles that it is easy to over-turn a tenon and you can’t put the material back on once it is gone! Here is a photo of the stem placed in the stummel after getting it fit:

I decided to not bend the stem until after I had sanded and polished it. In retrospect, I probably should have bent it before I did all the sanding; there are some very small “marks” on the stem where the bend is now that I had not anticipated. Next time I will bend after the initial sanding is done I think,
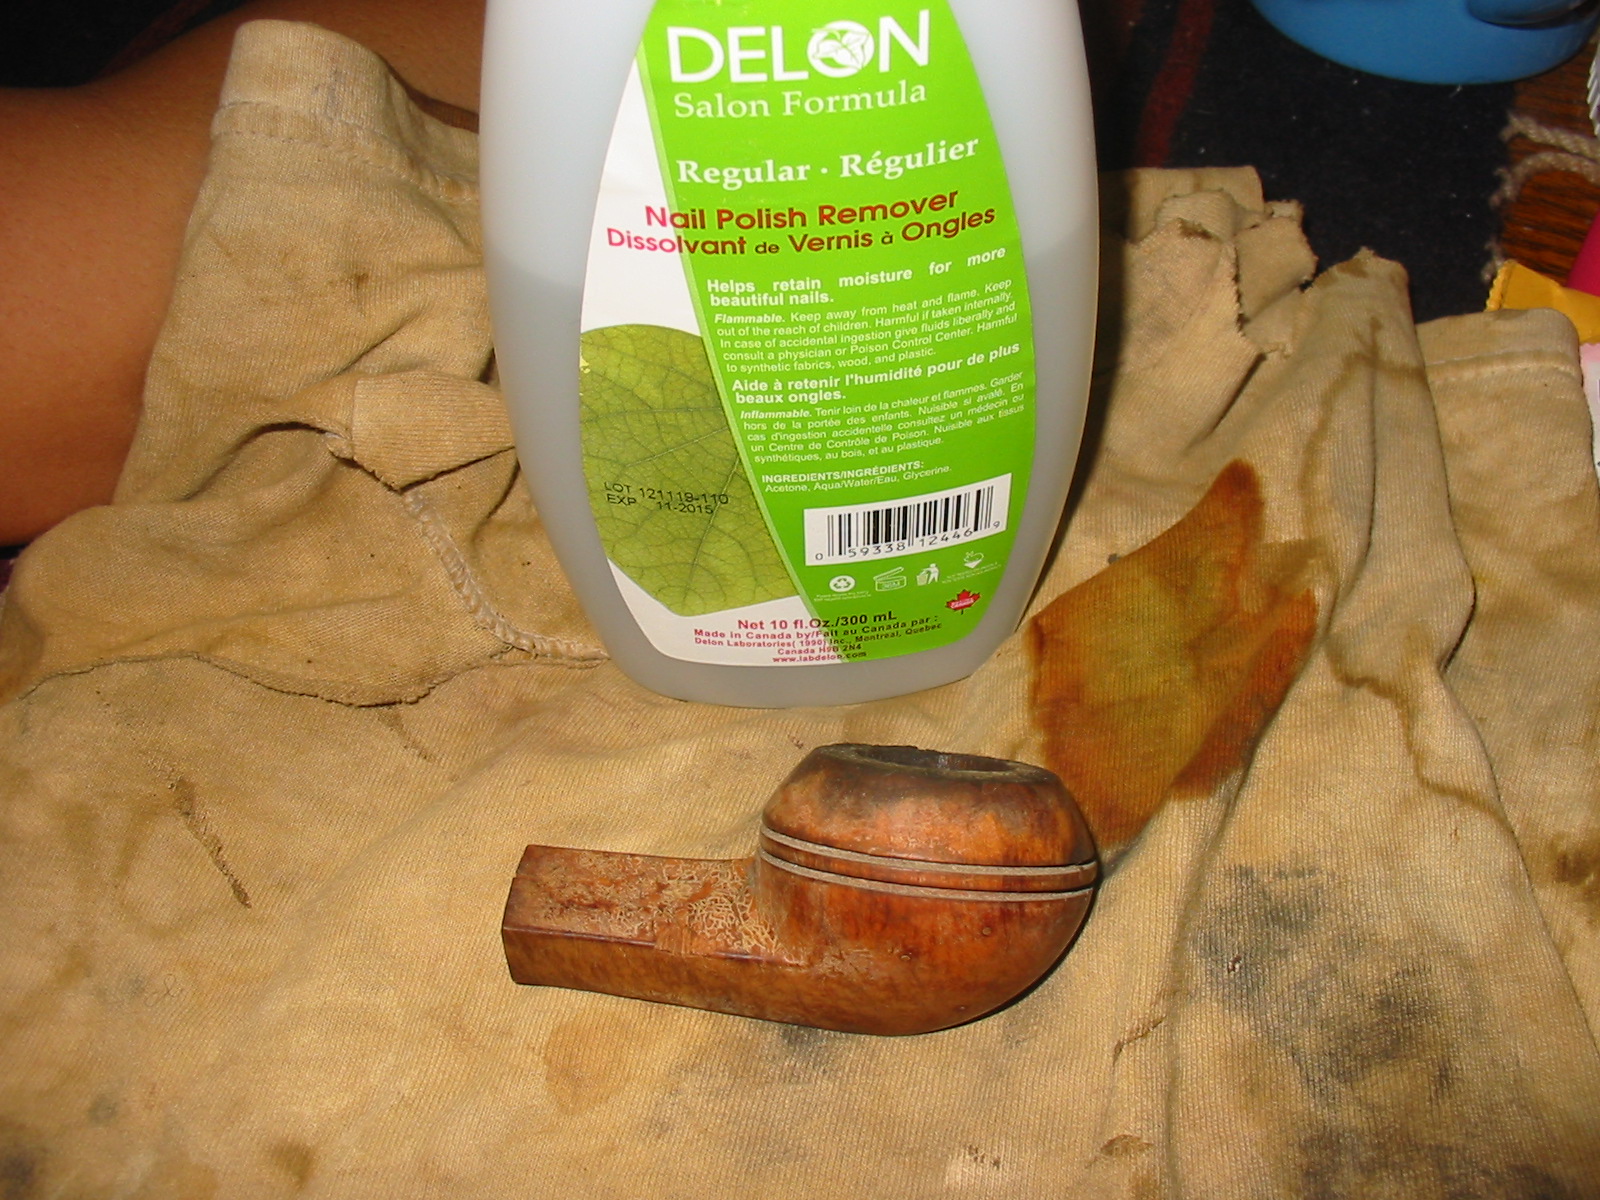
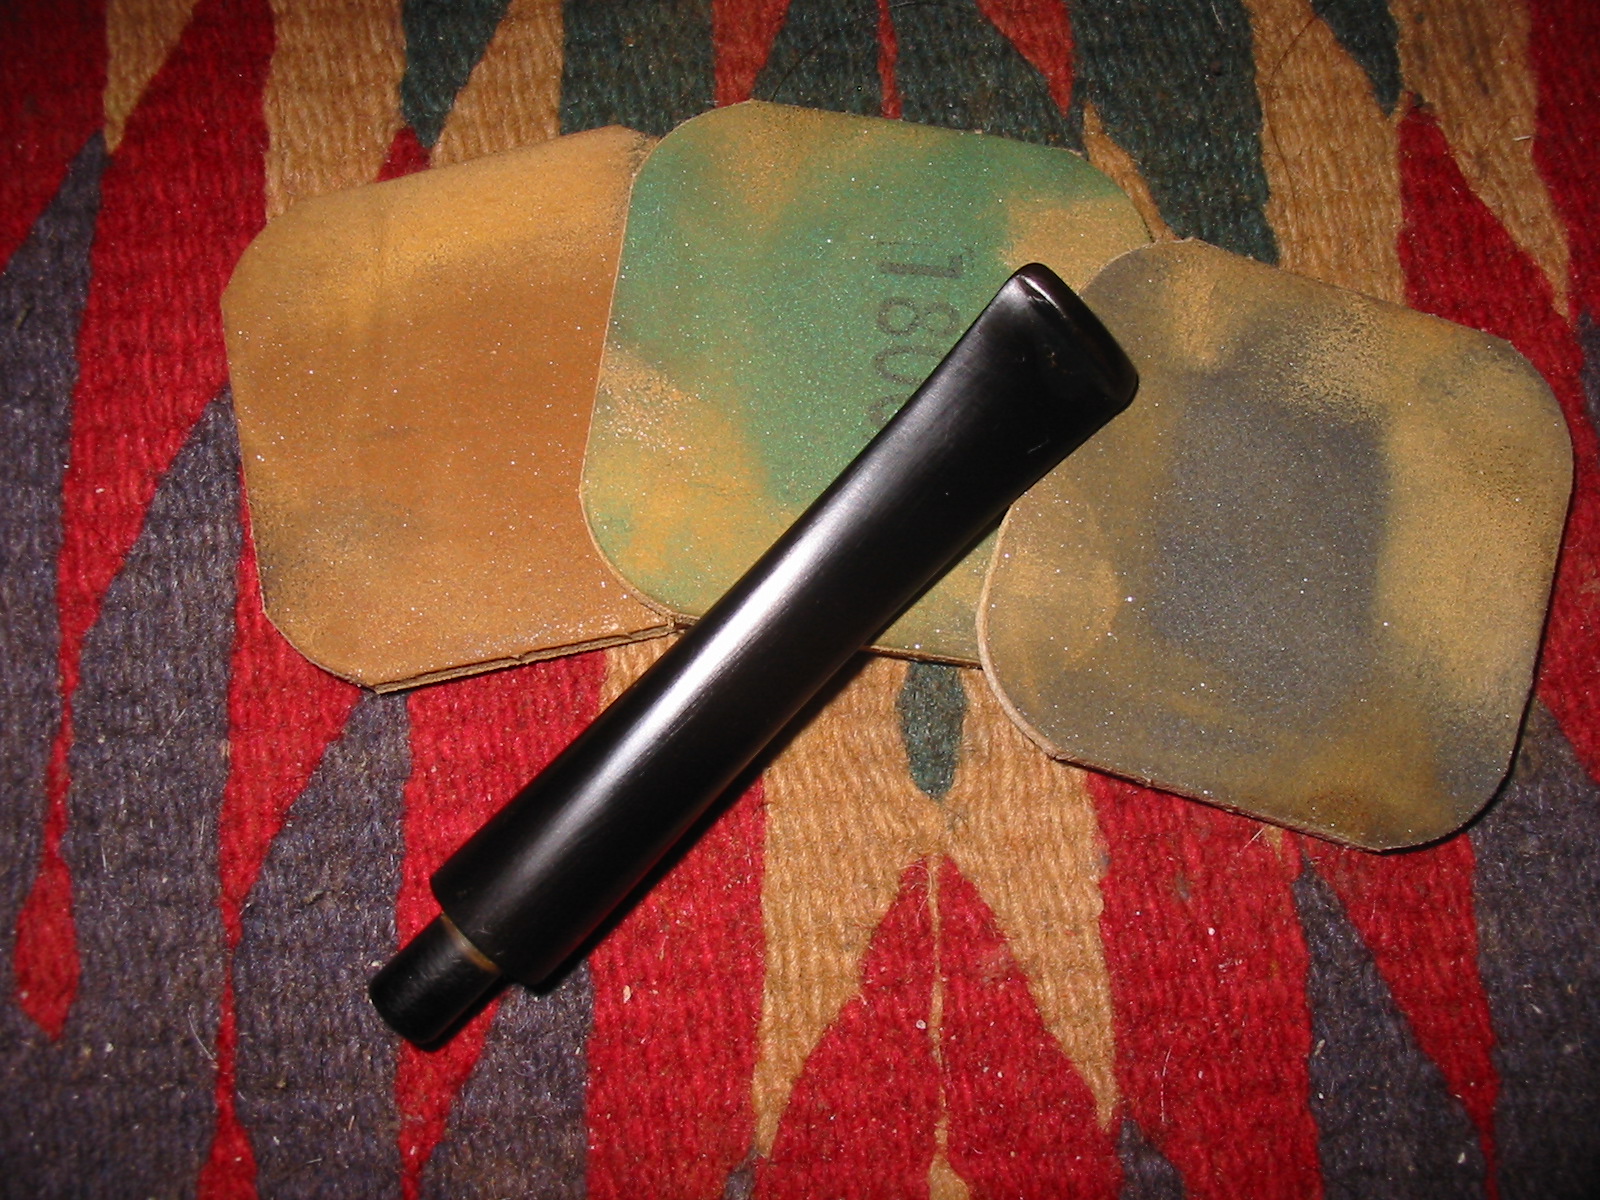
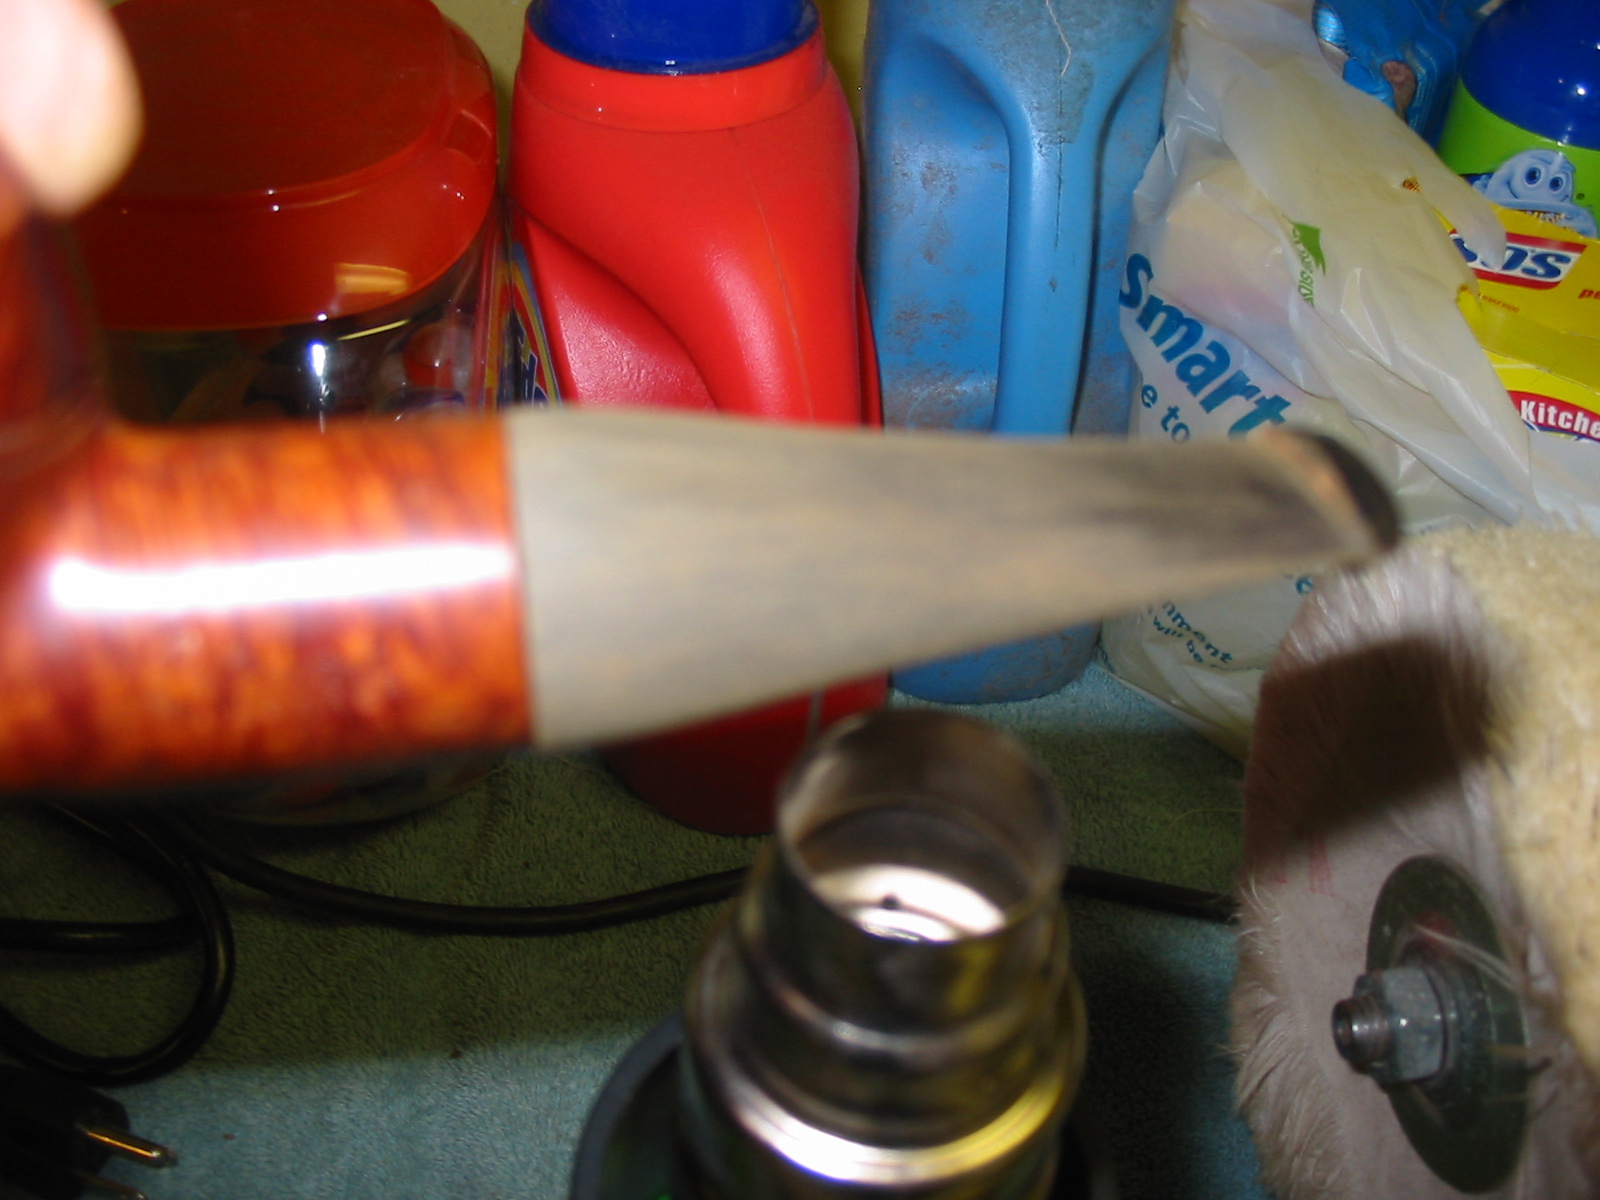
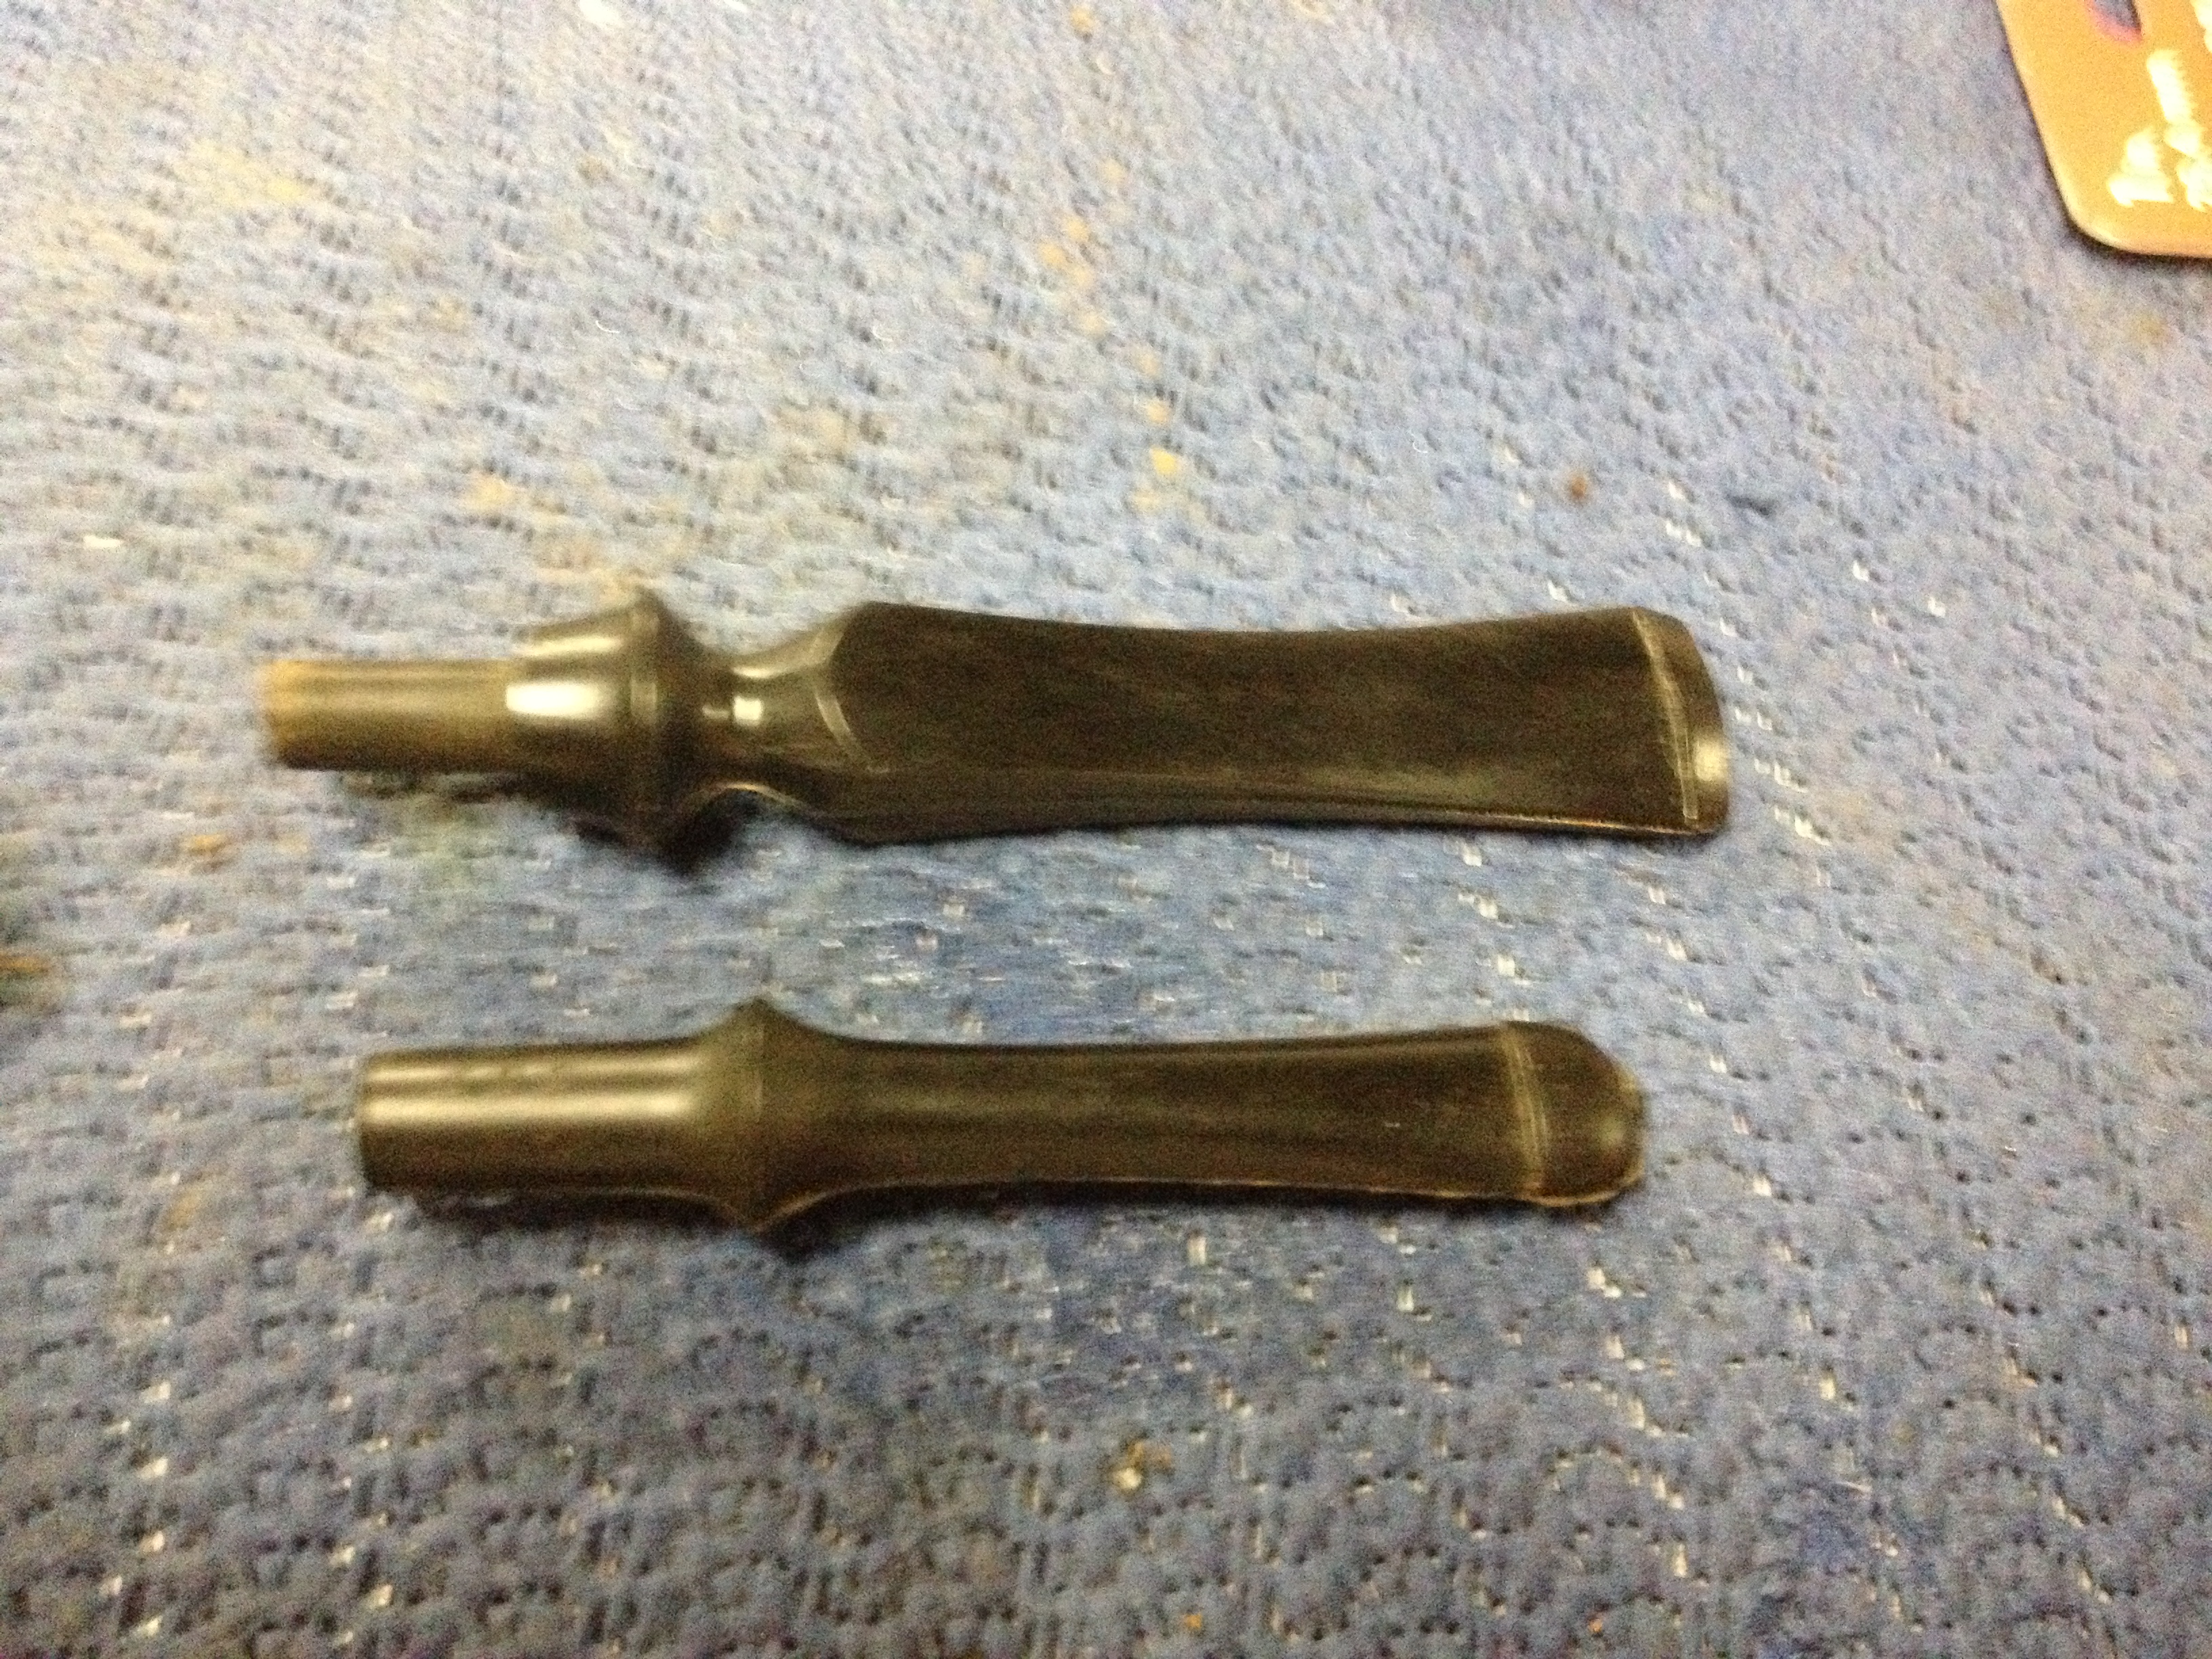
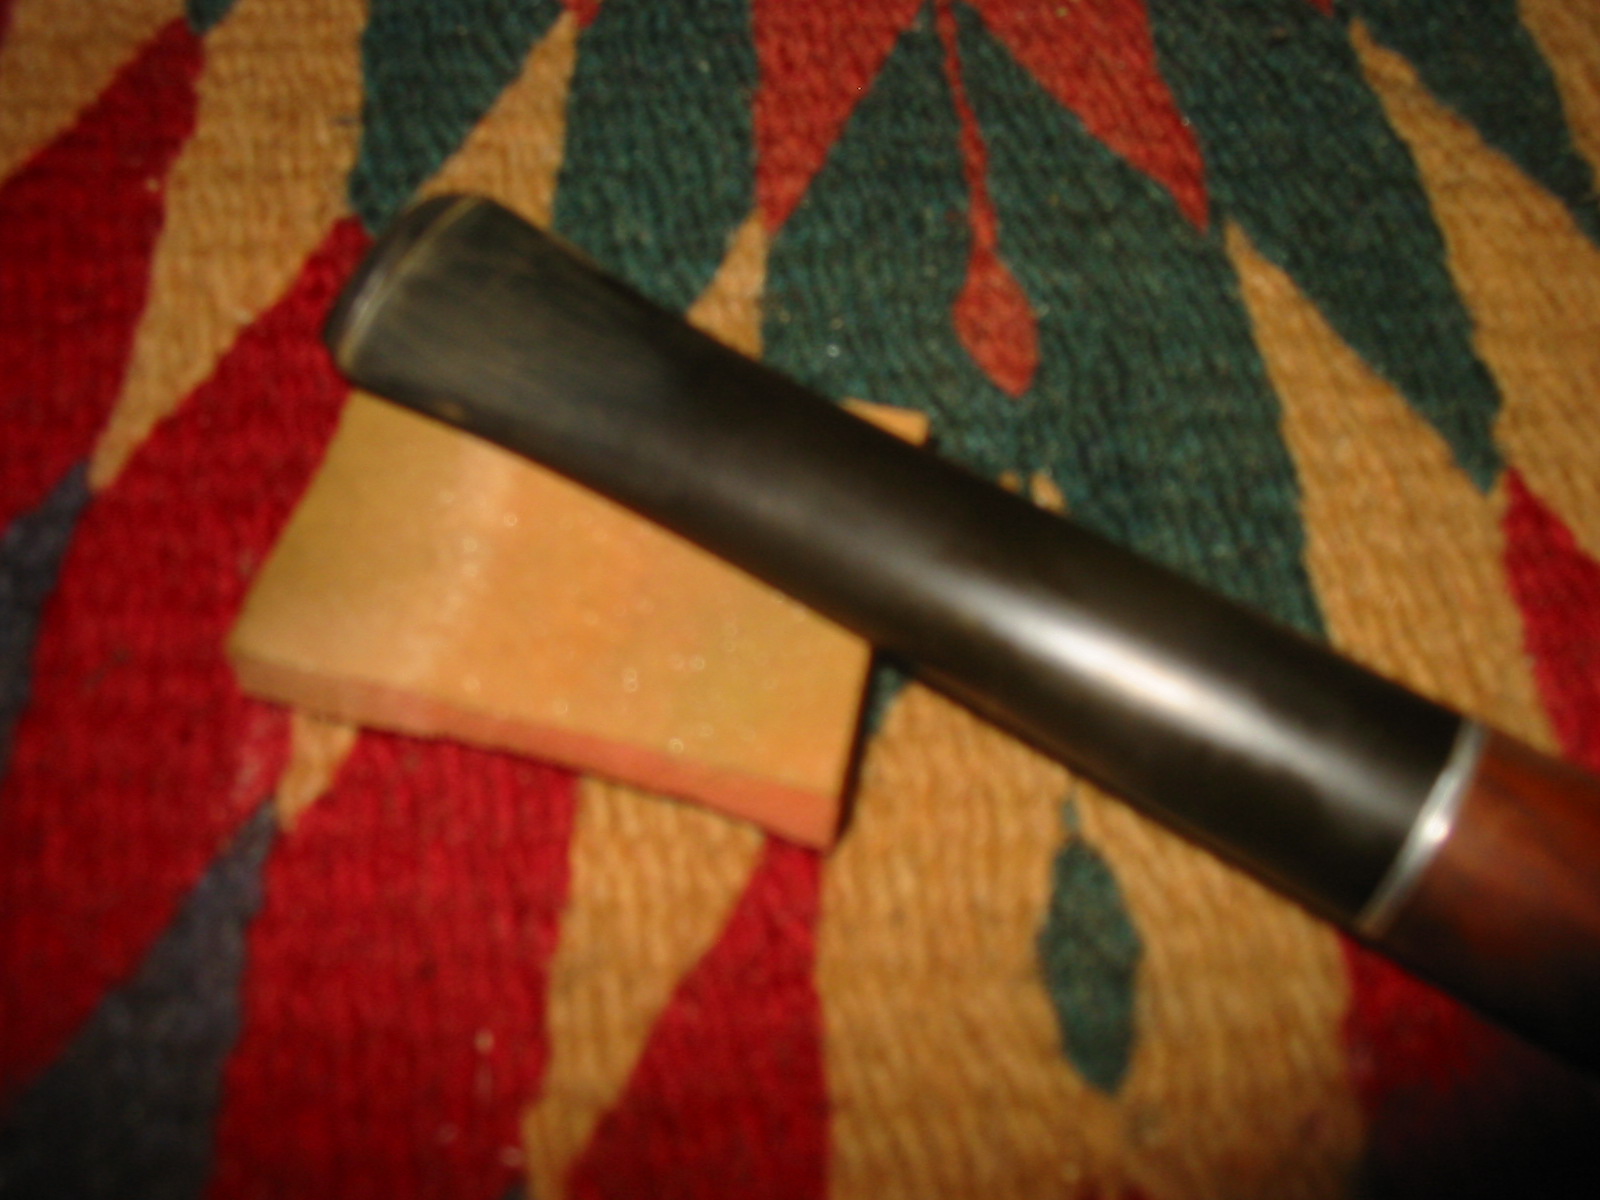
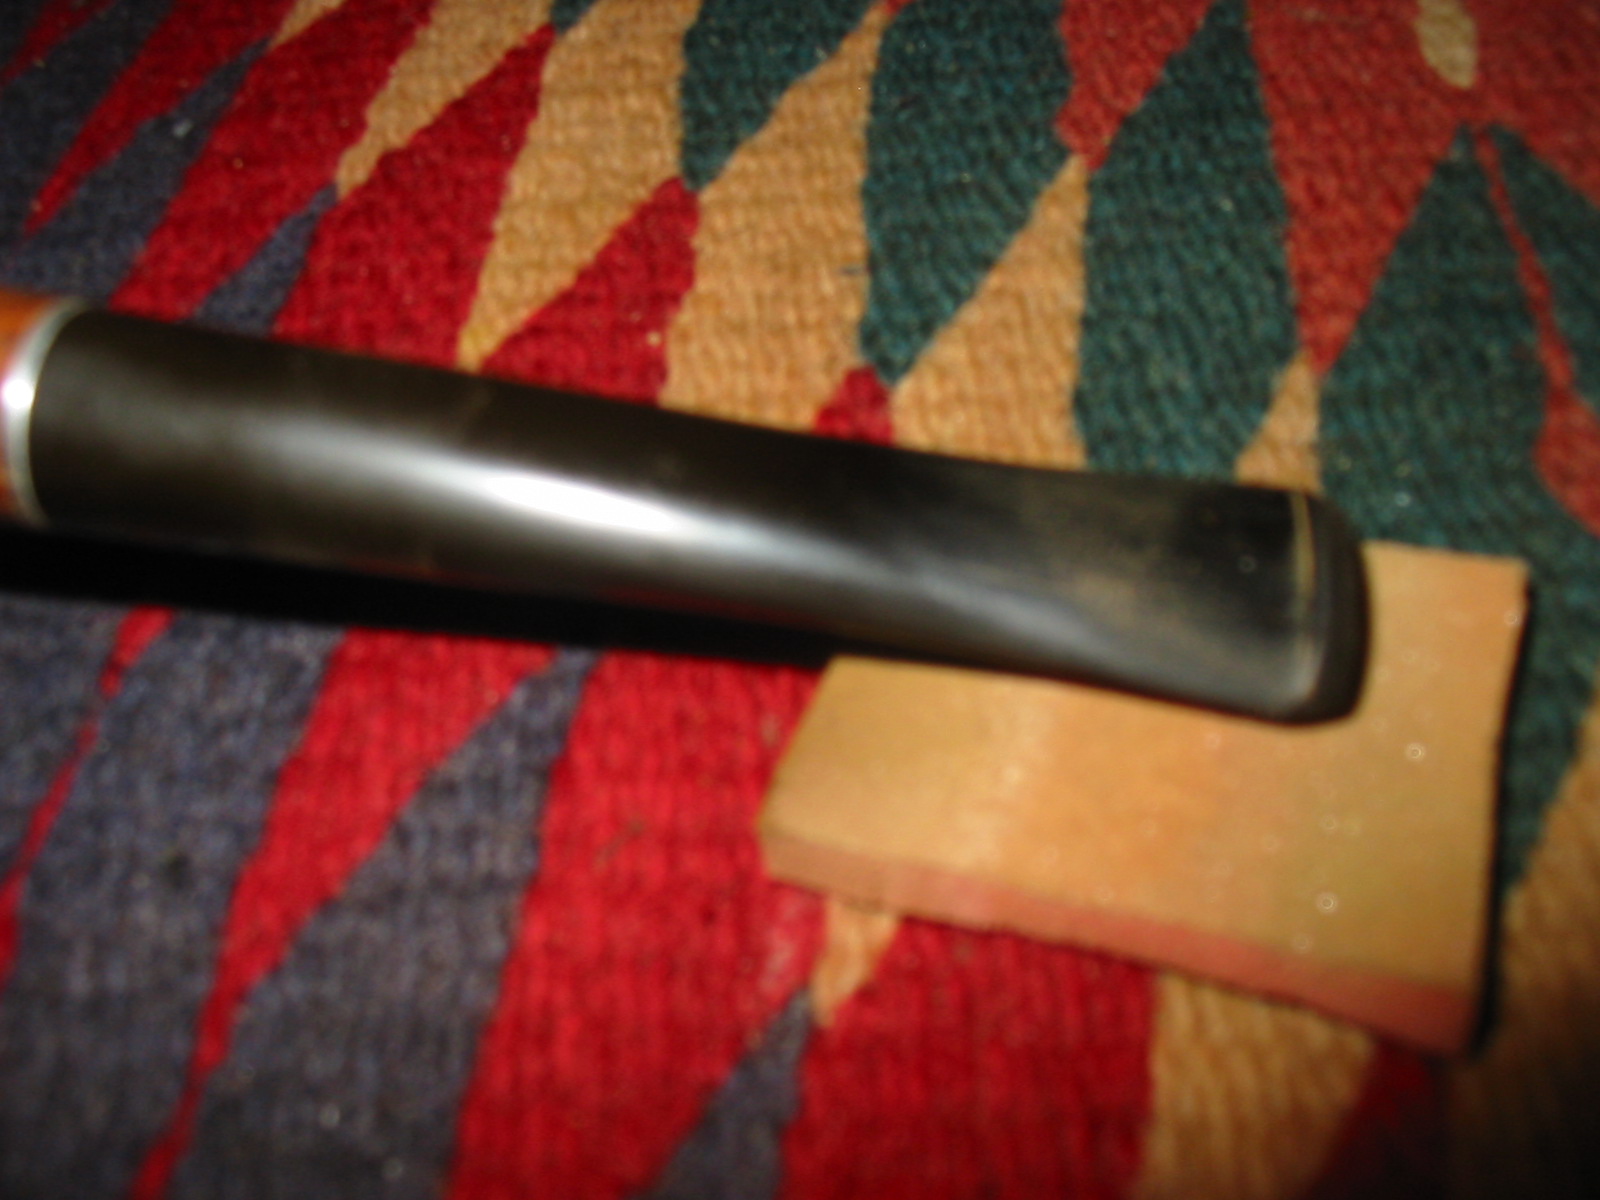
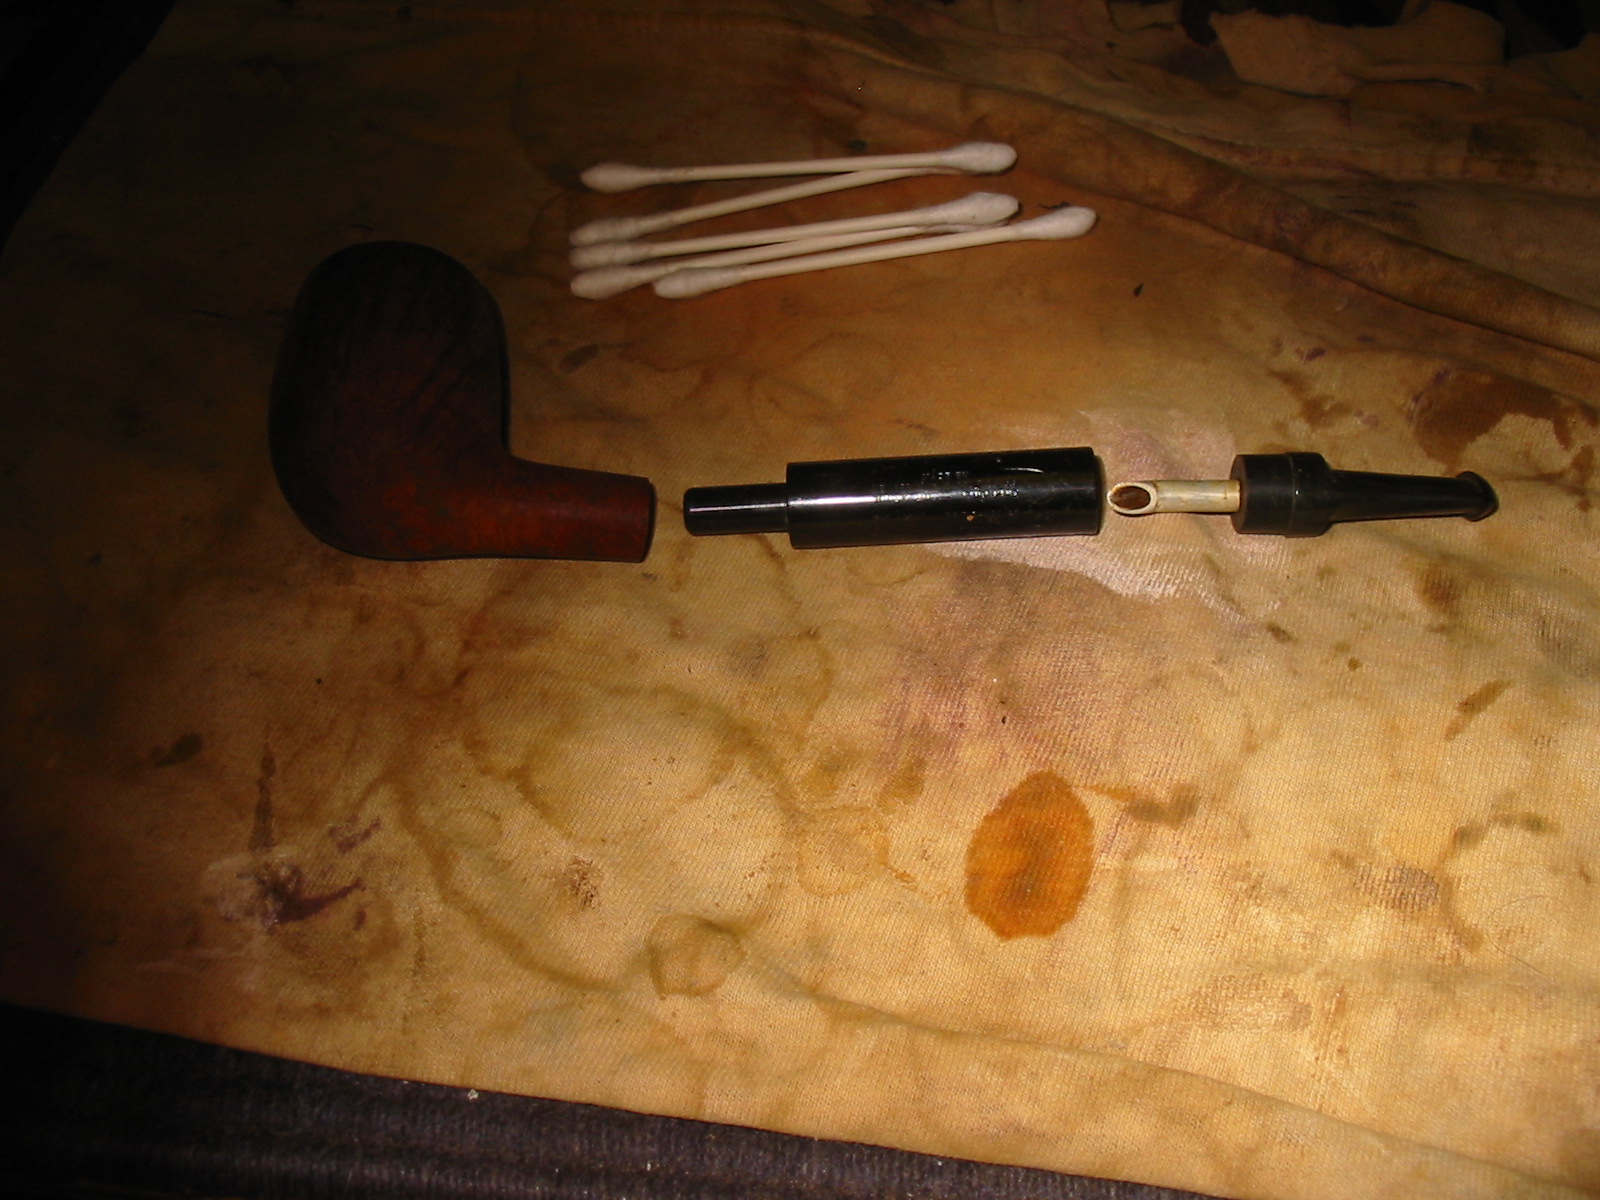
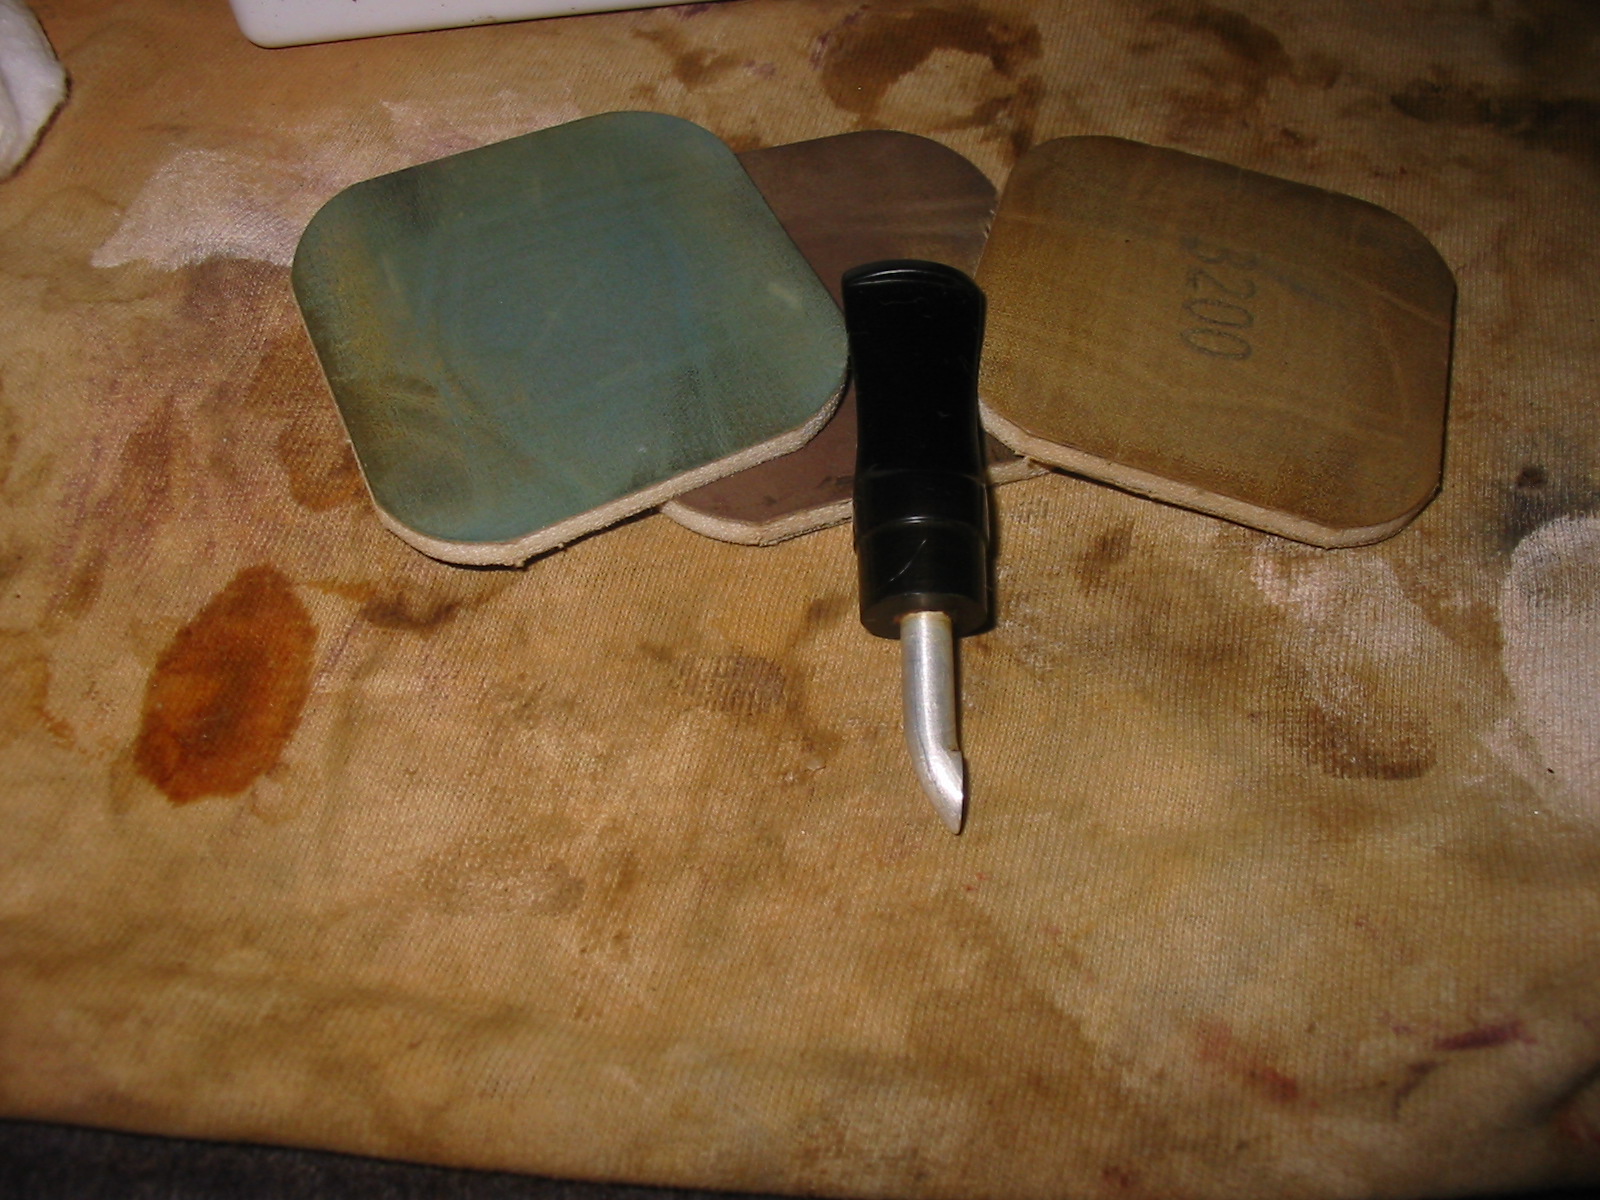
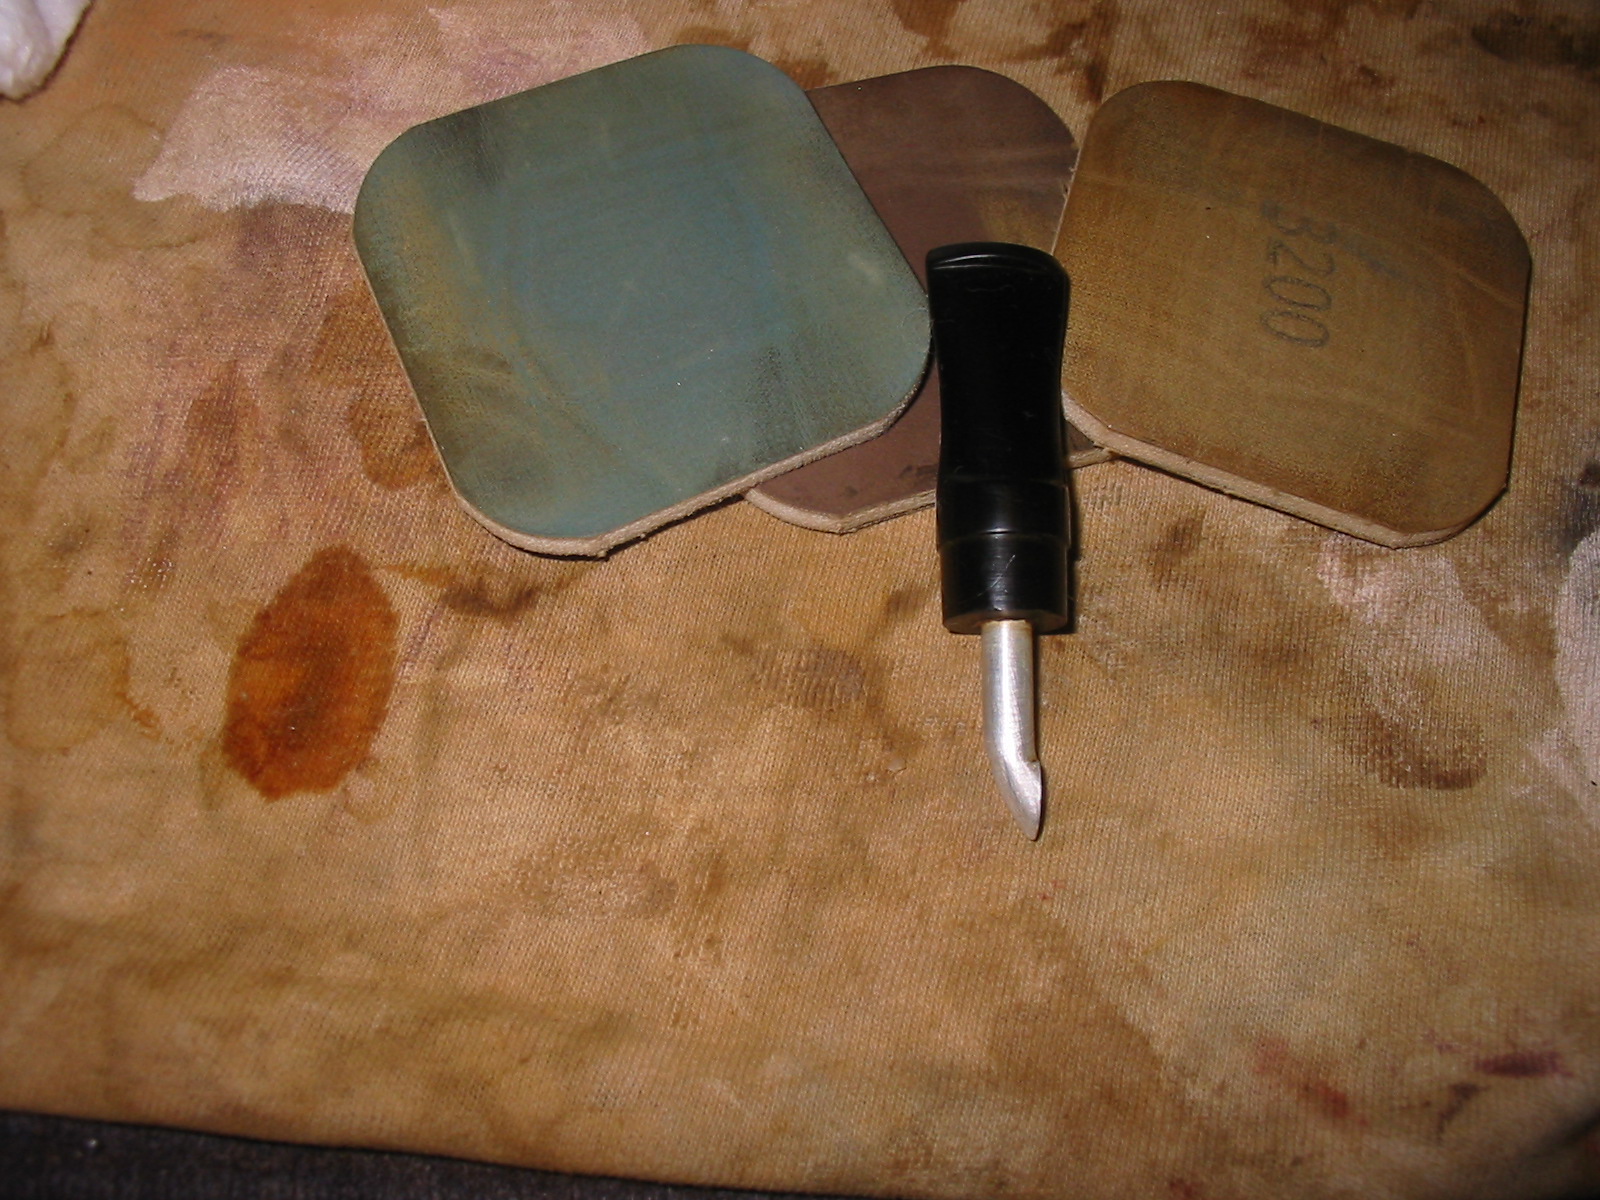
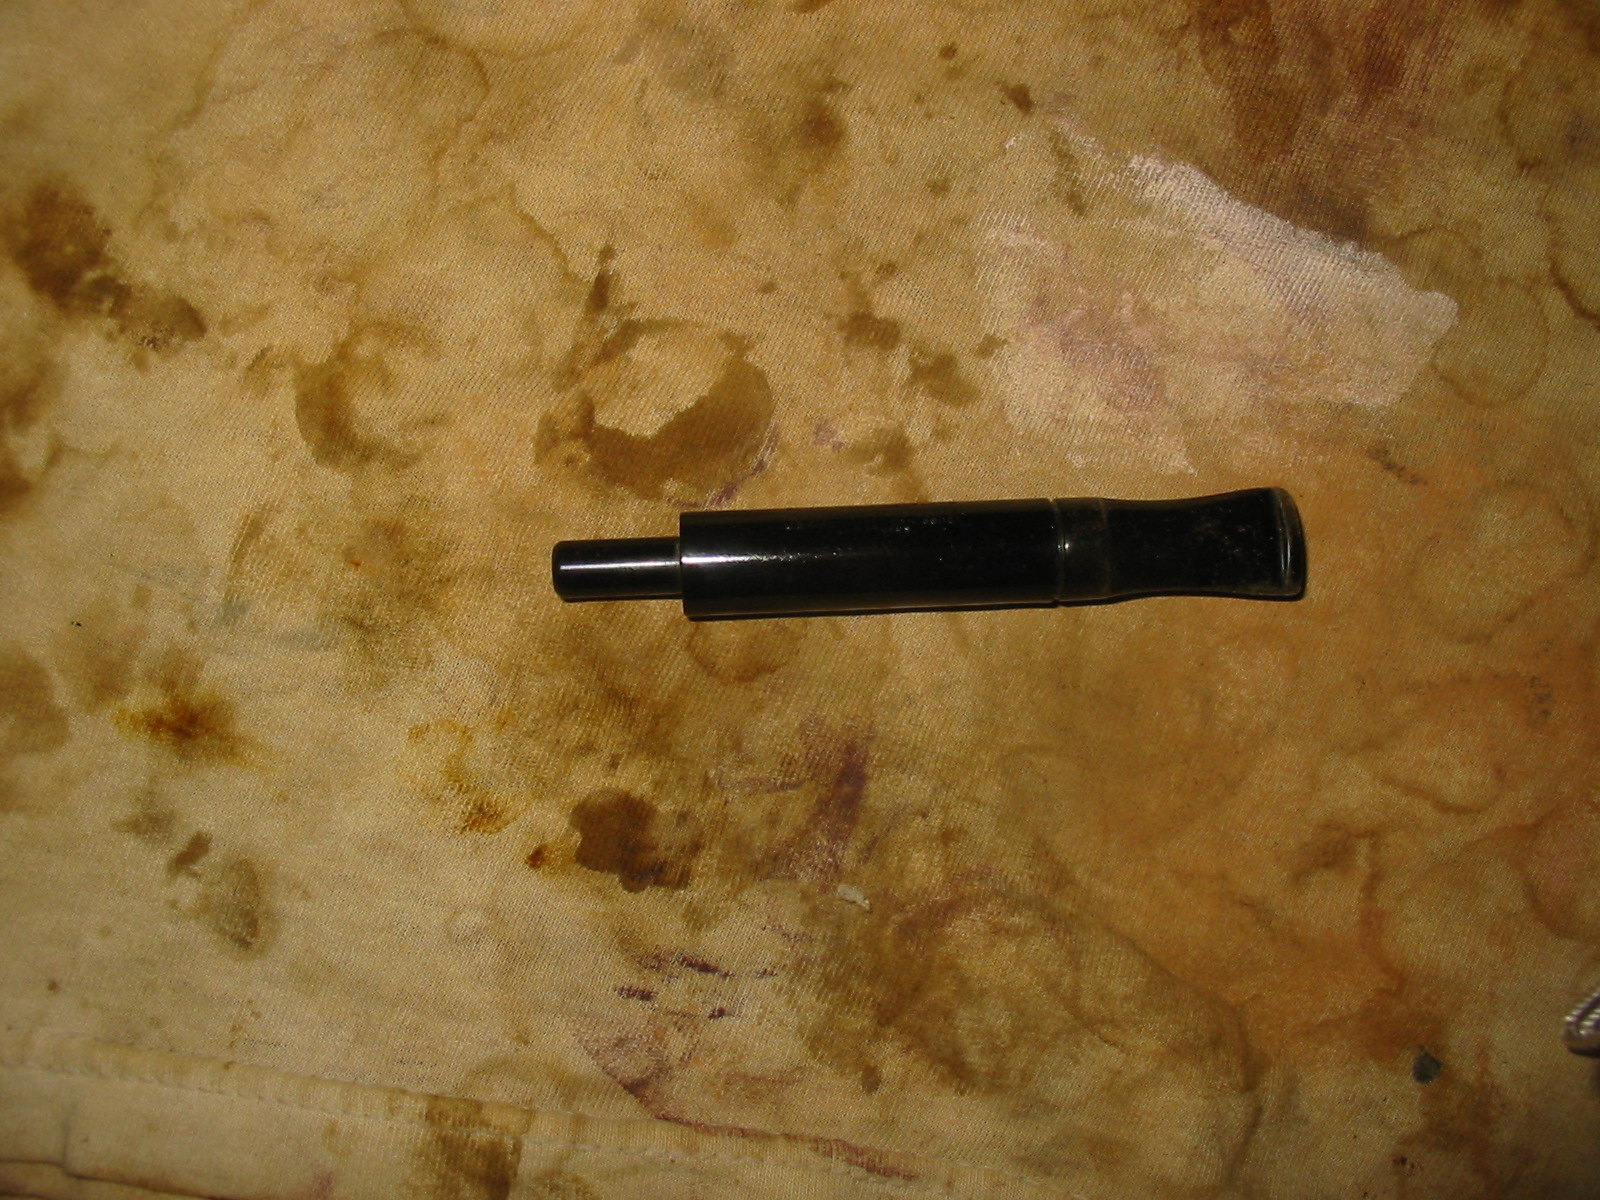
I began the sanding with 220 grit sandpaper to take out the casting/molding lines on the sides. I forgot to photograph the stem before I had started to sand it. This shows it early on and beside a smaller ebionite stem from the same lot to try to give you an idea of what the lines looked like from the start:

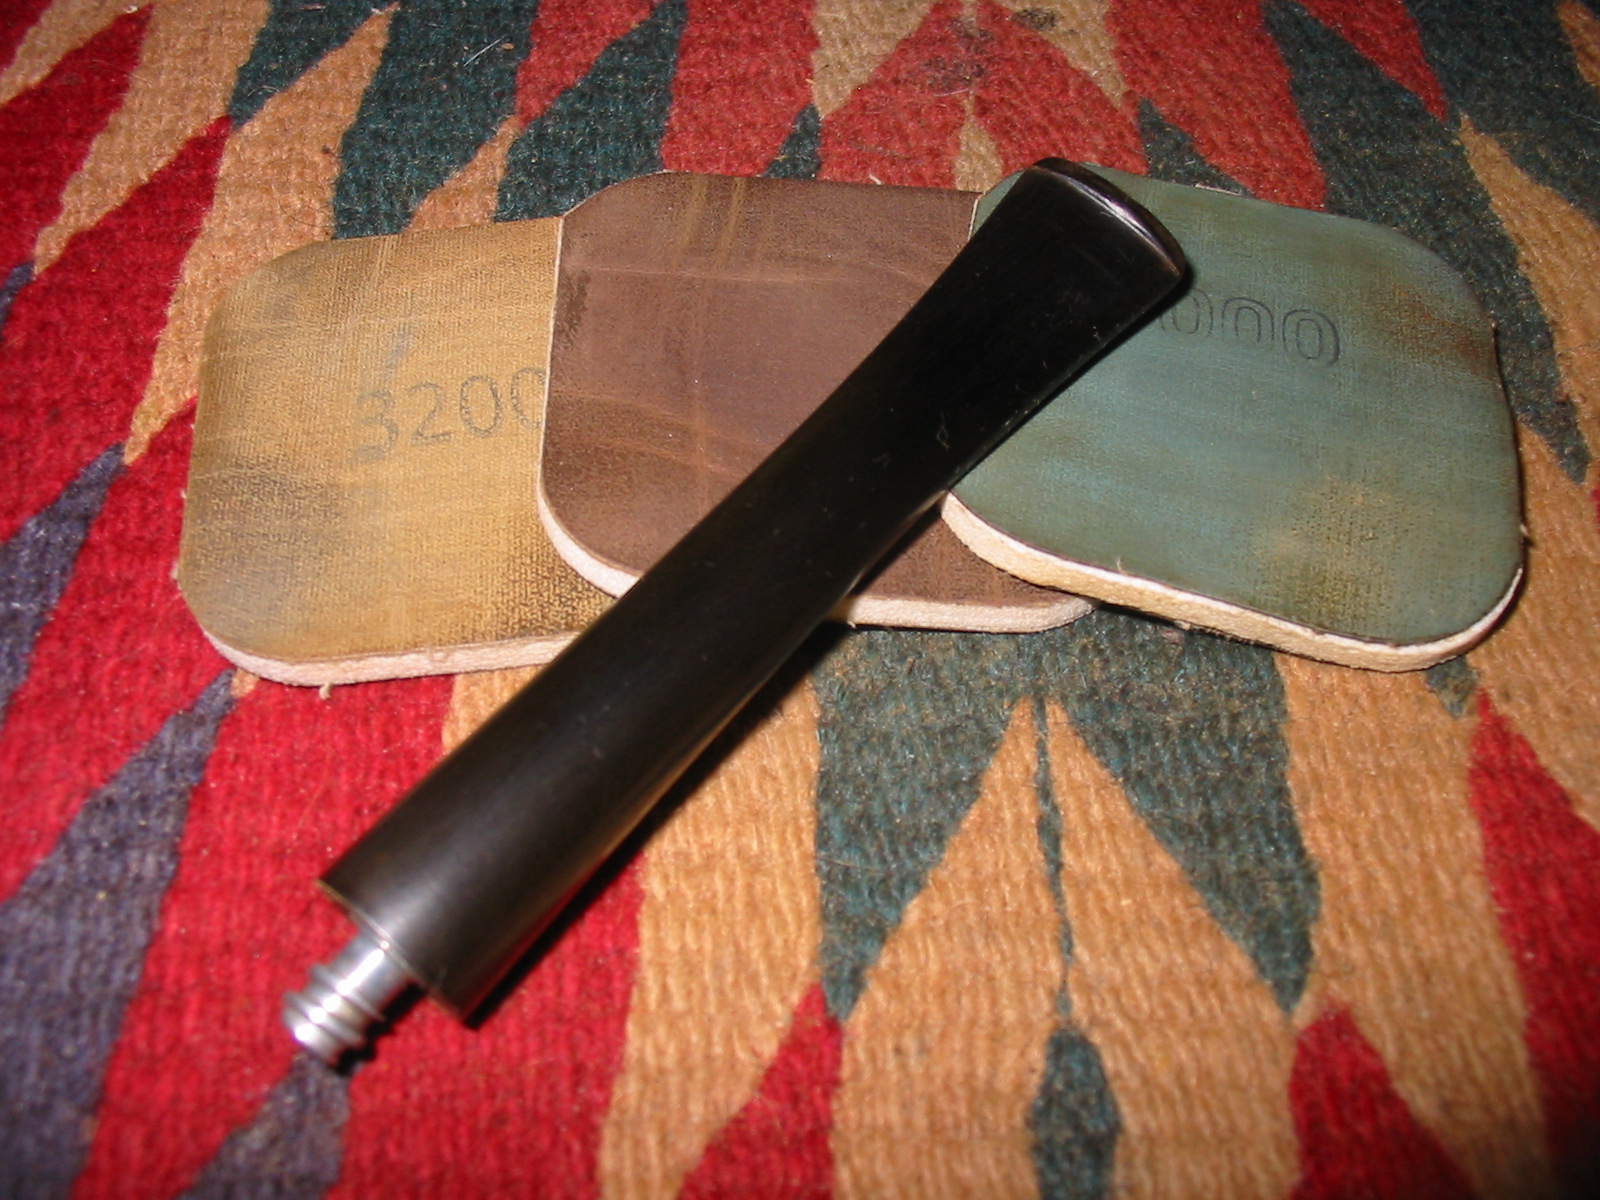
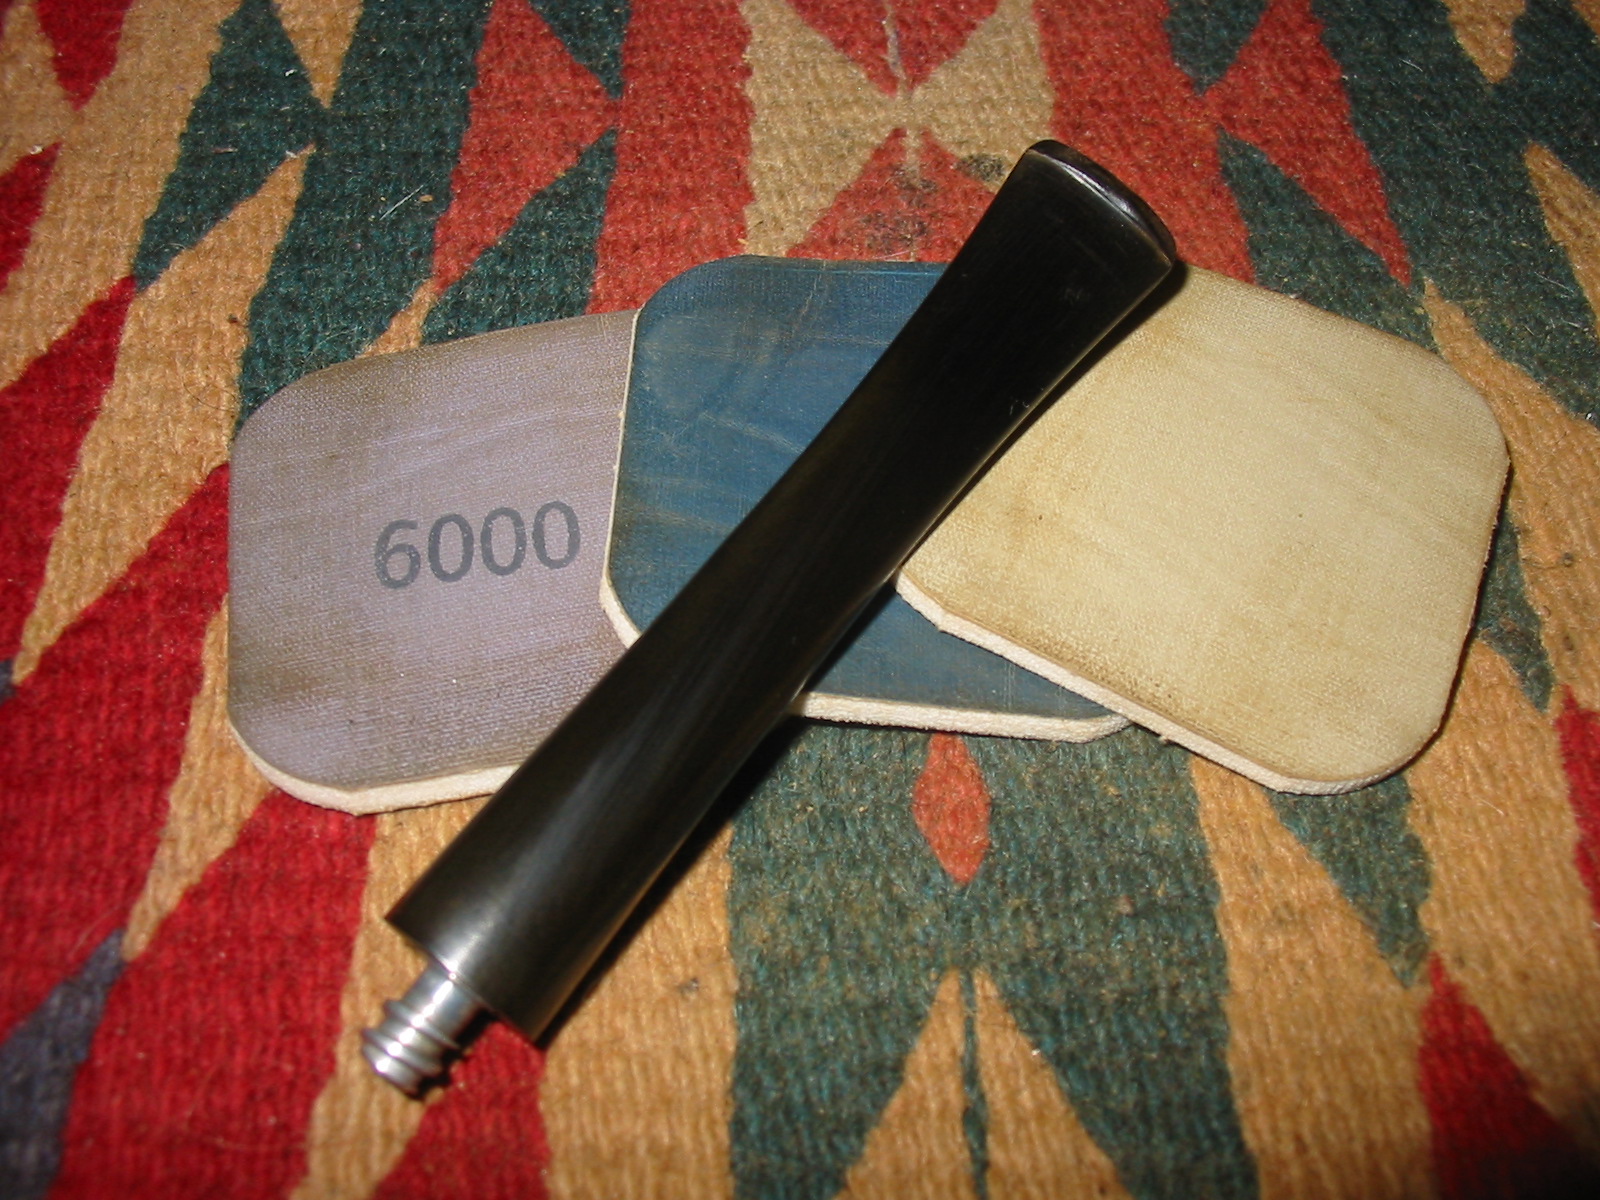
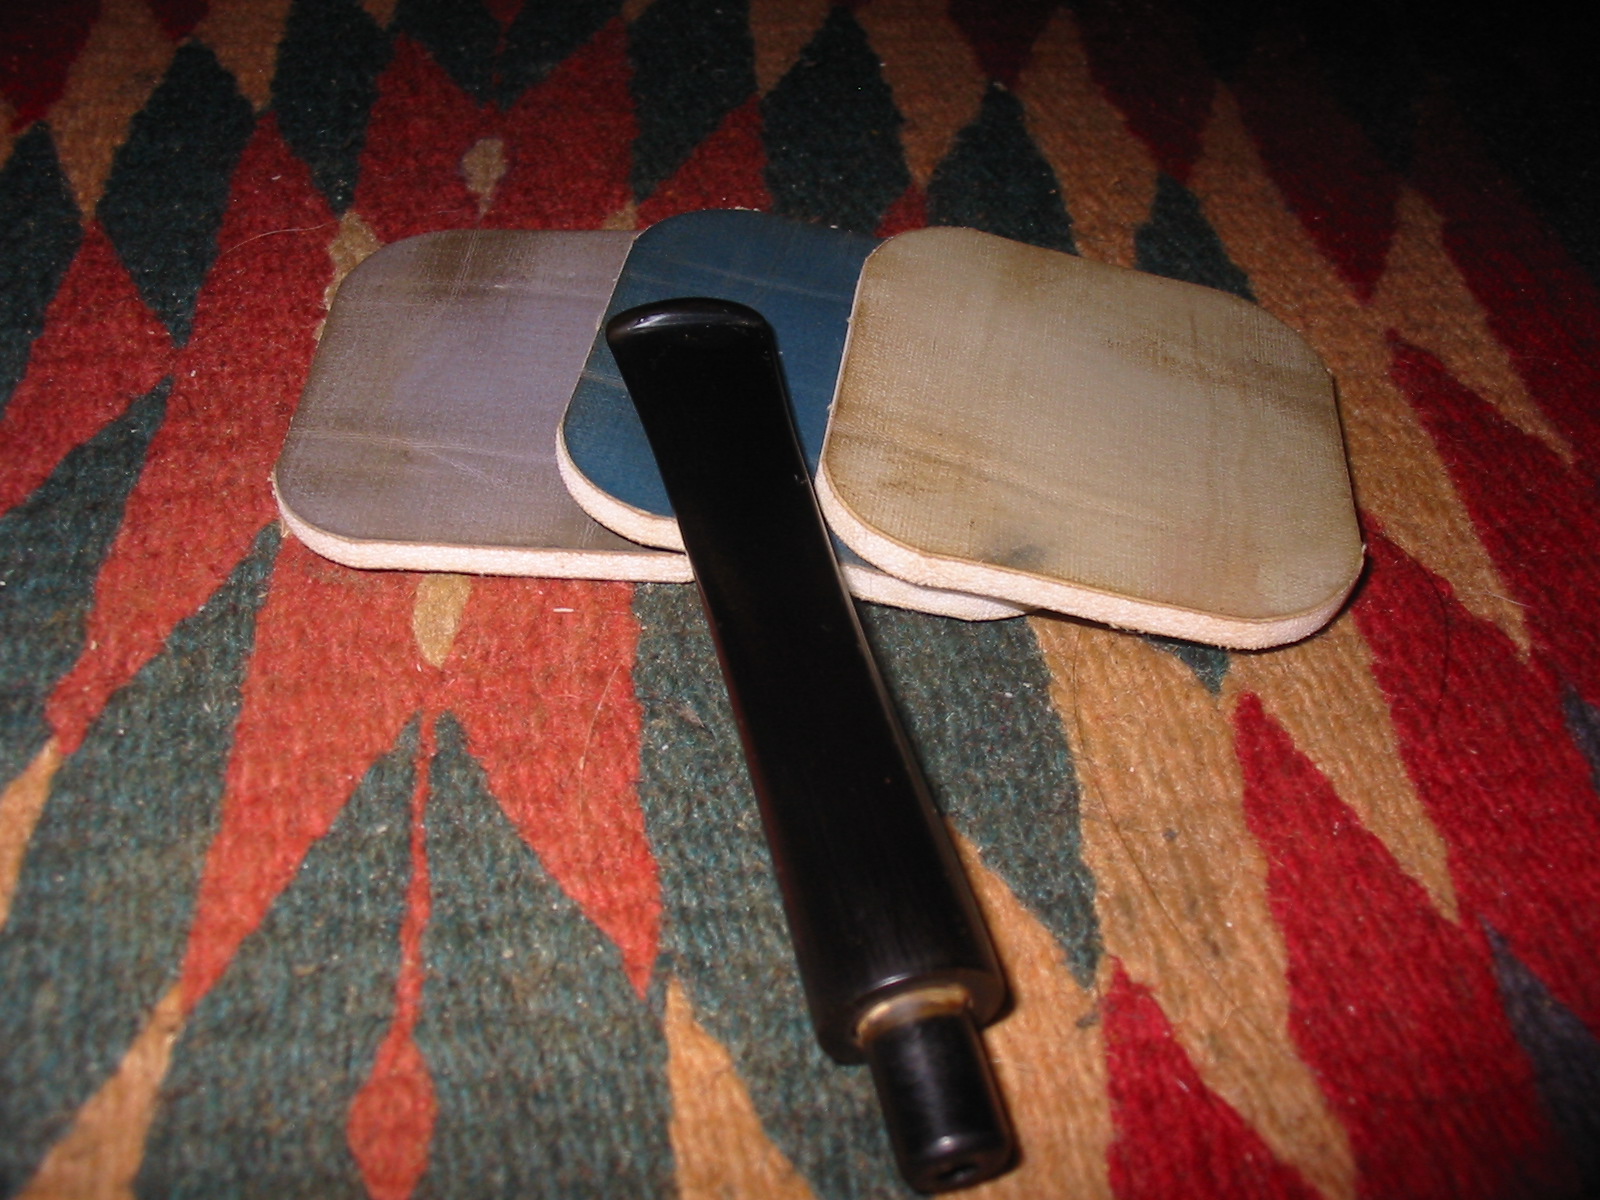
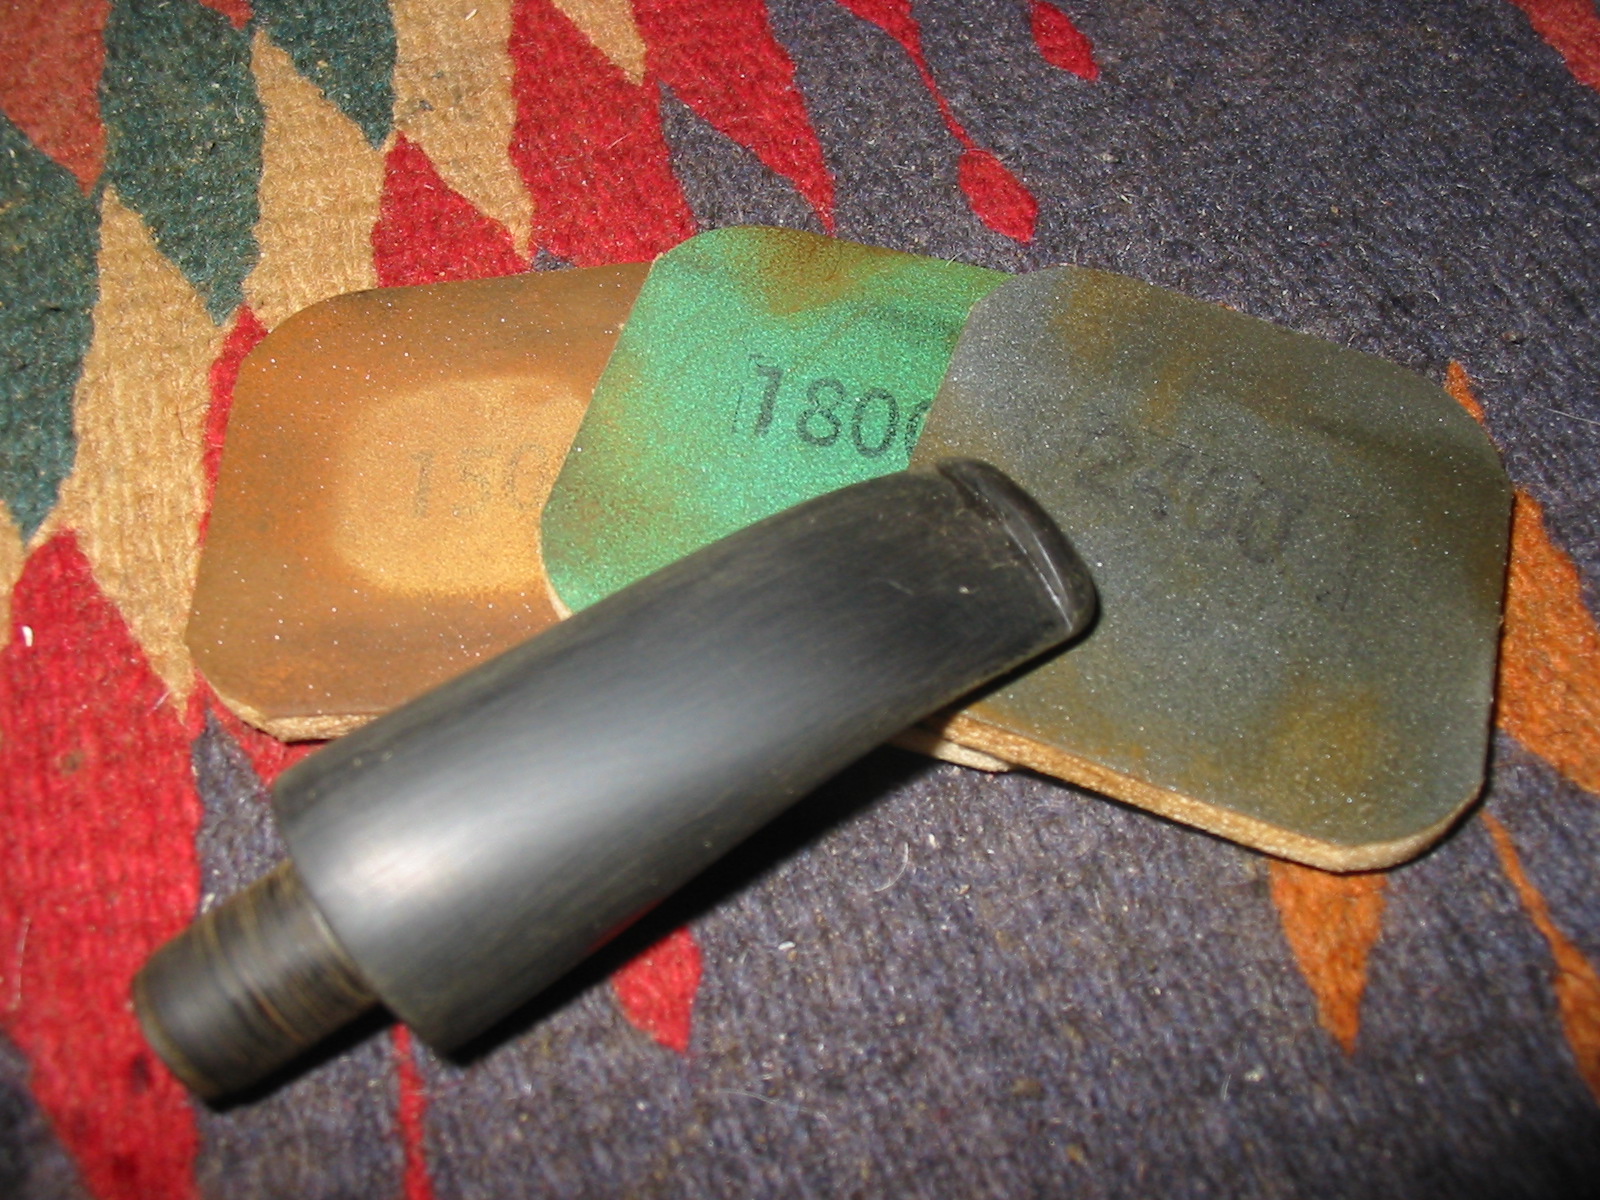
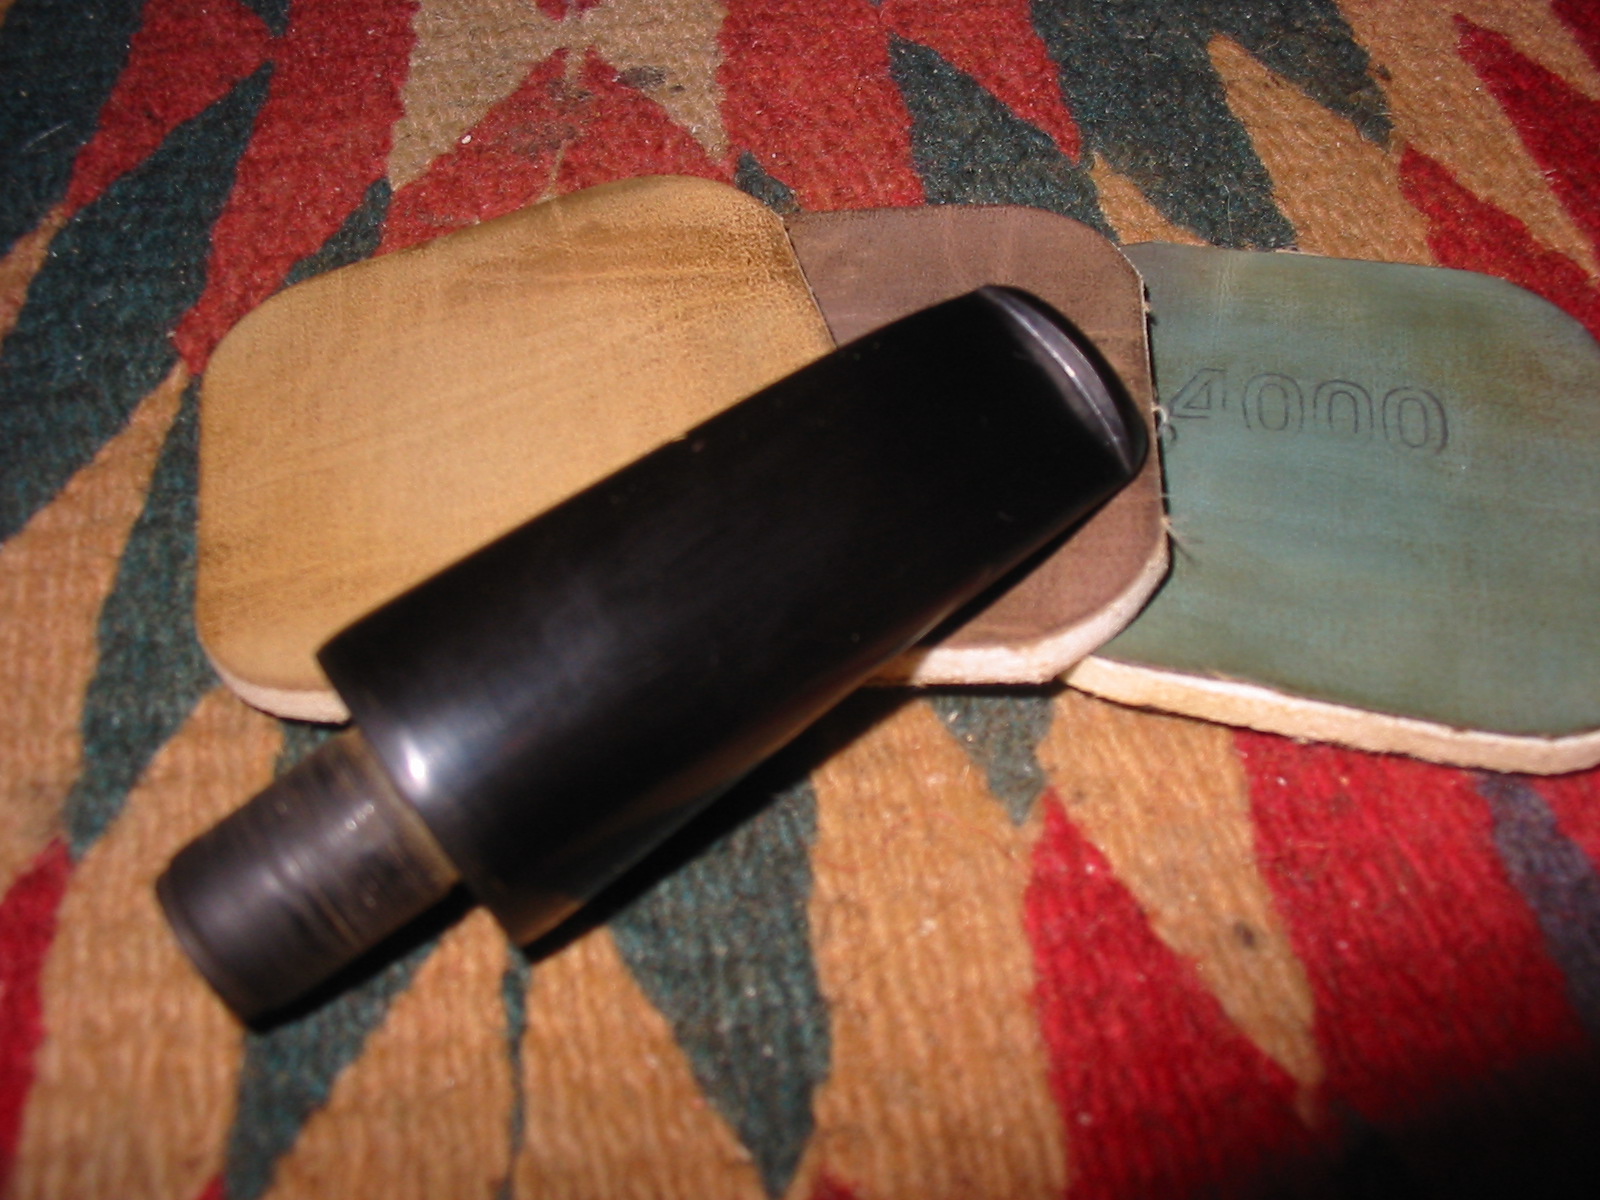
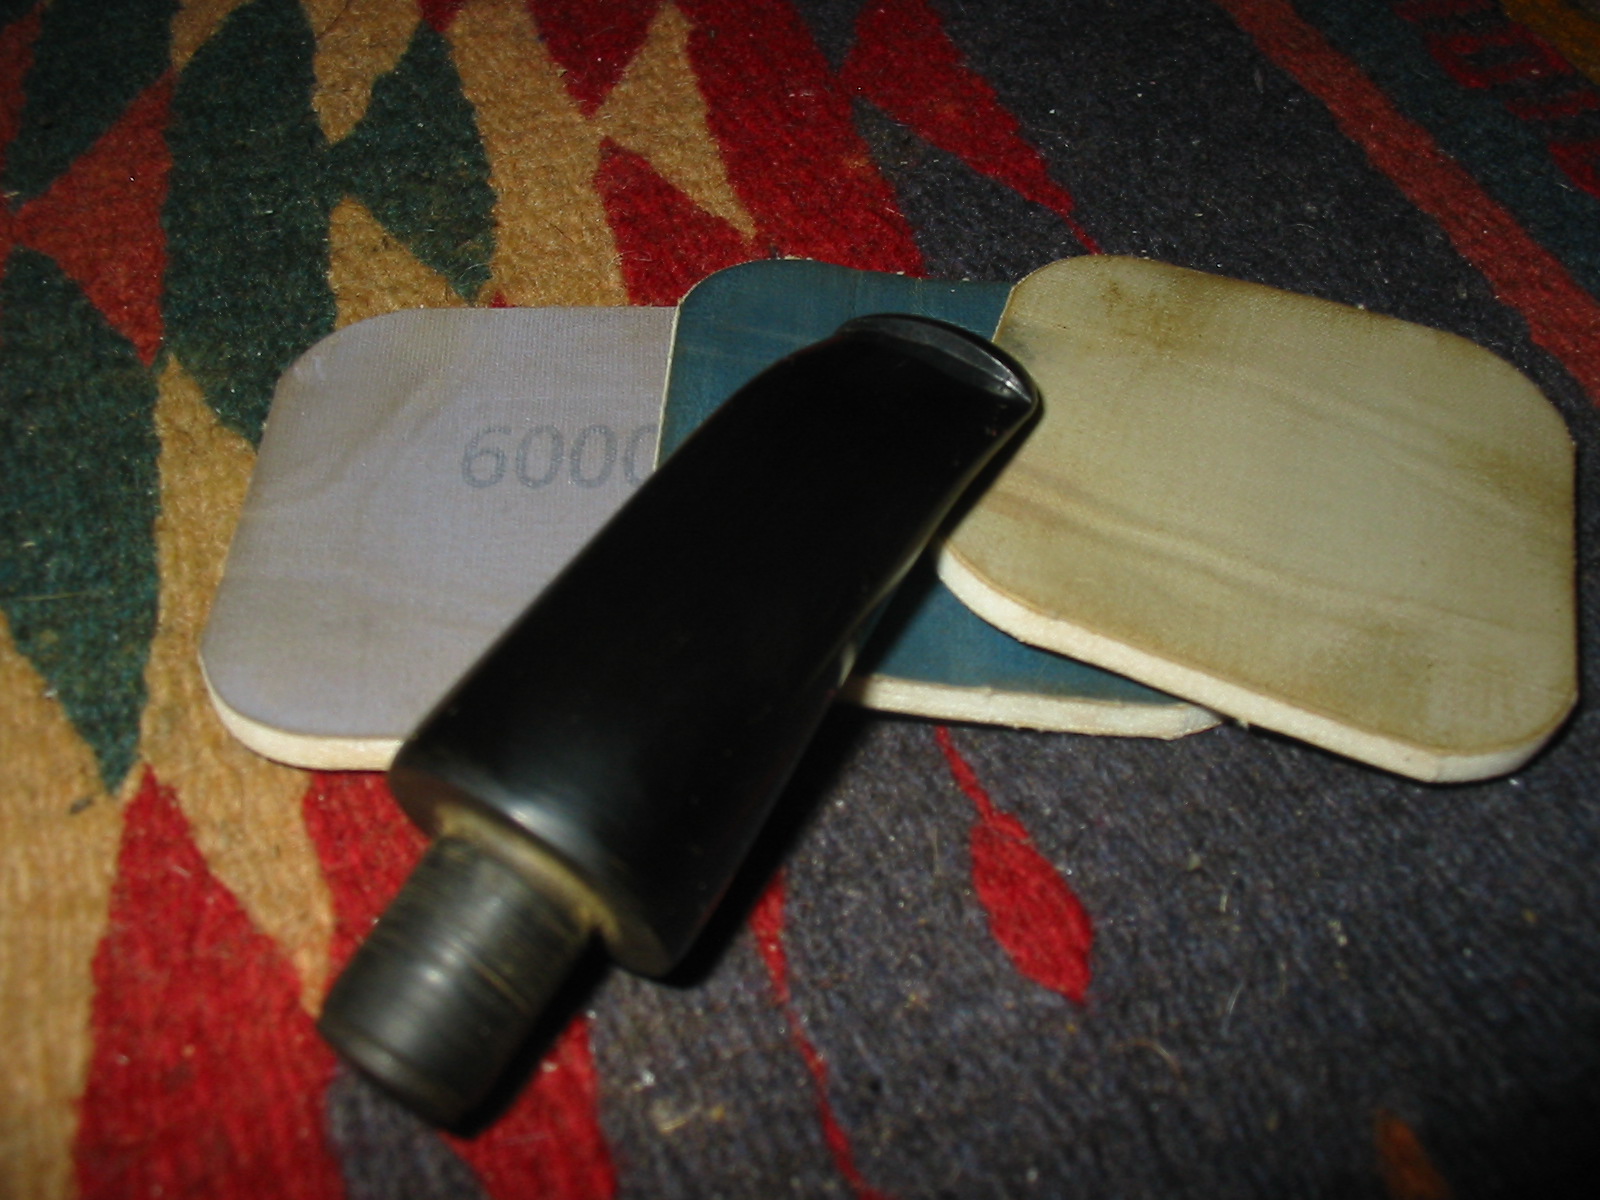
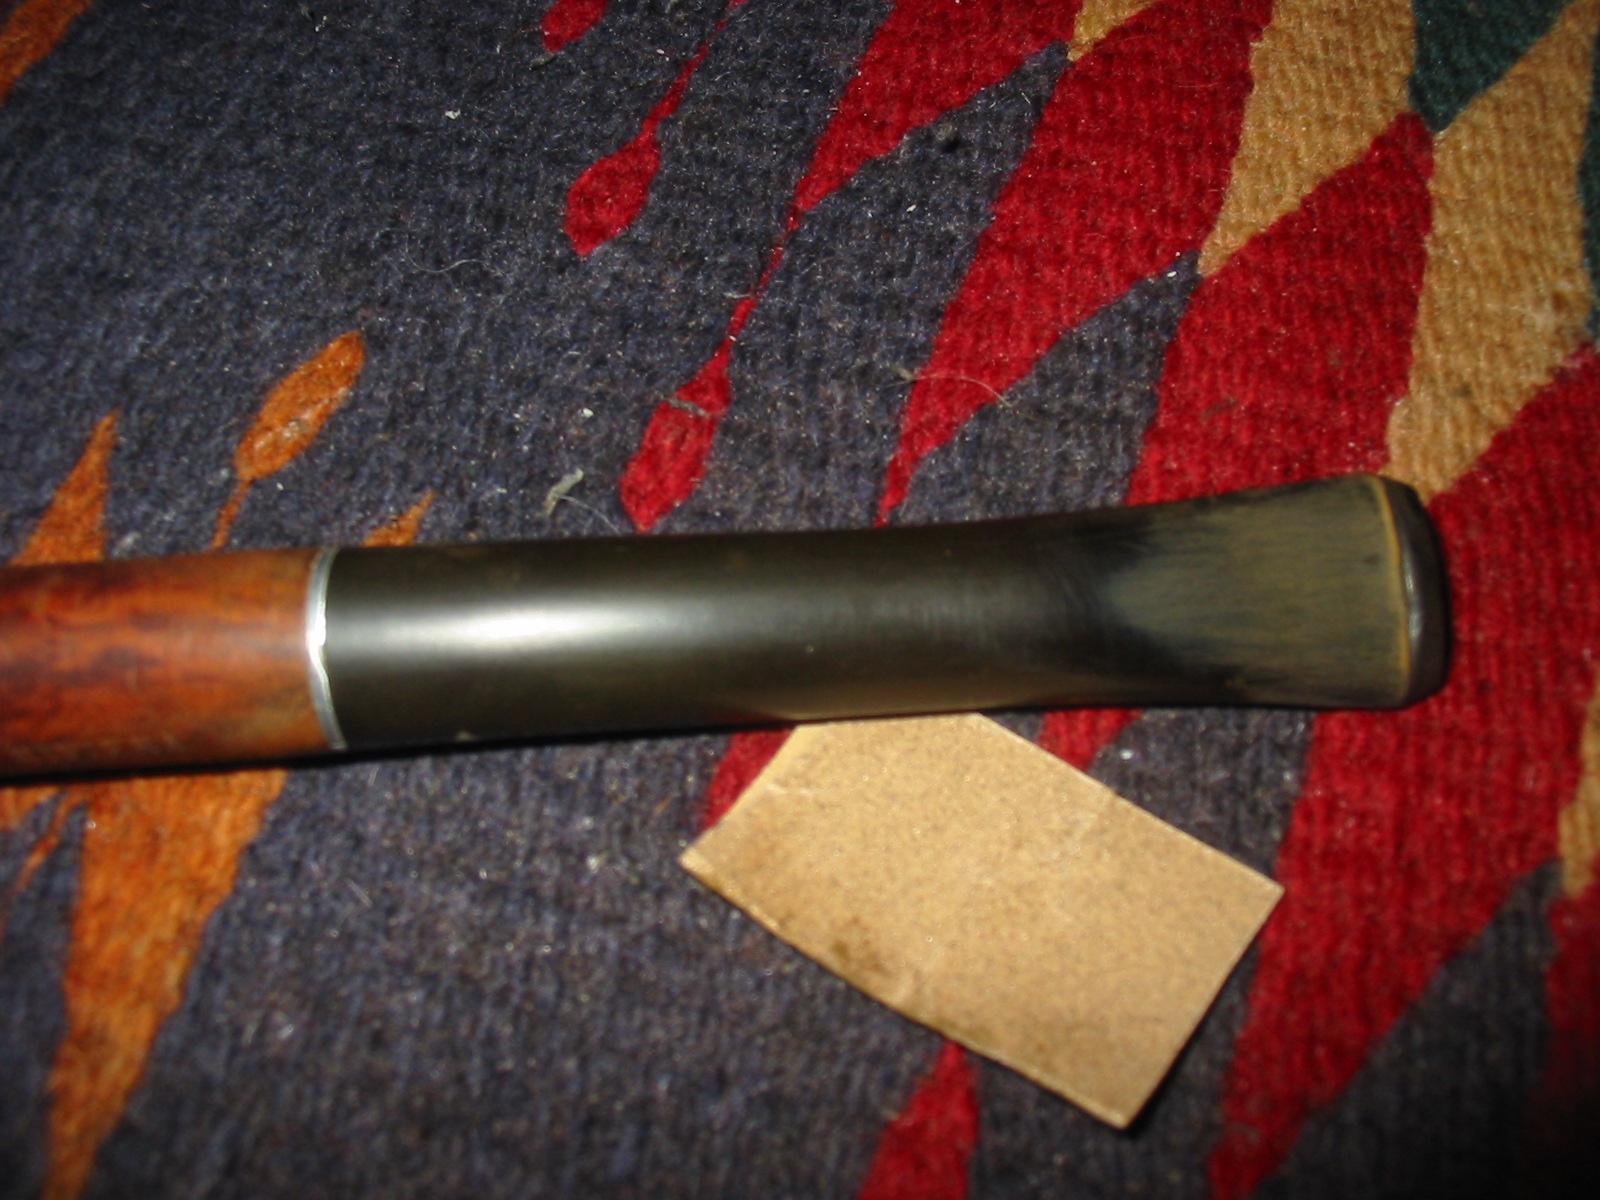
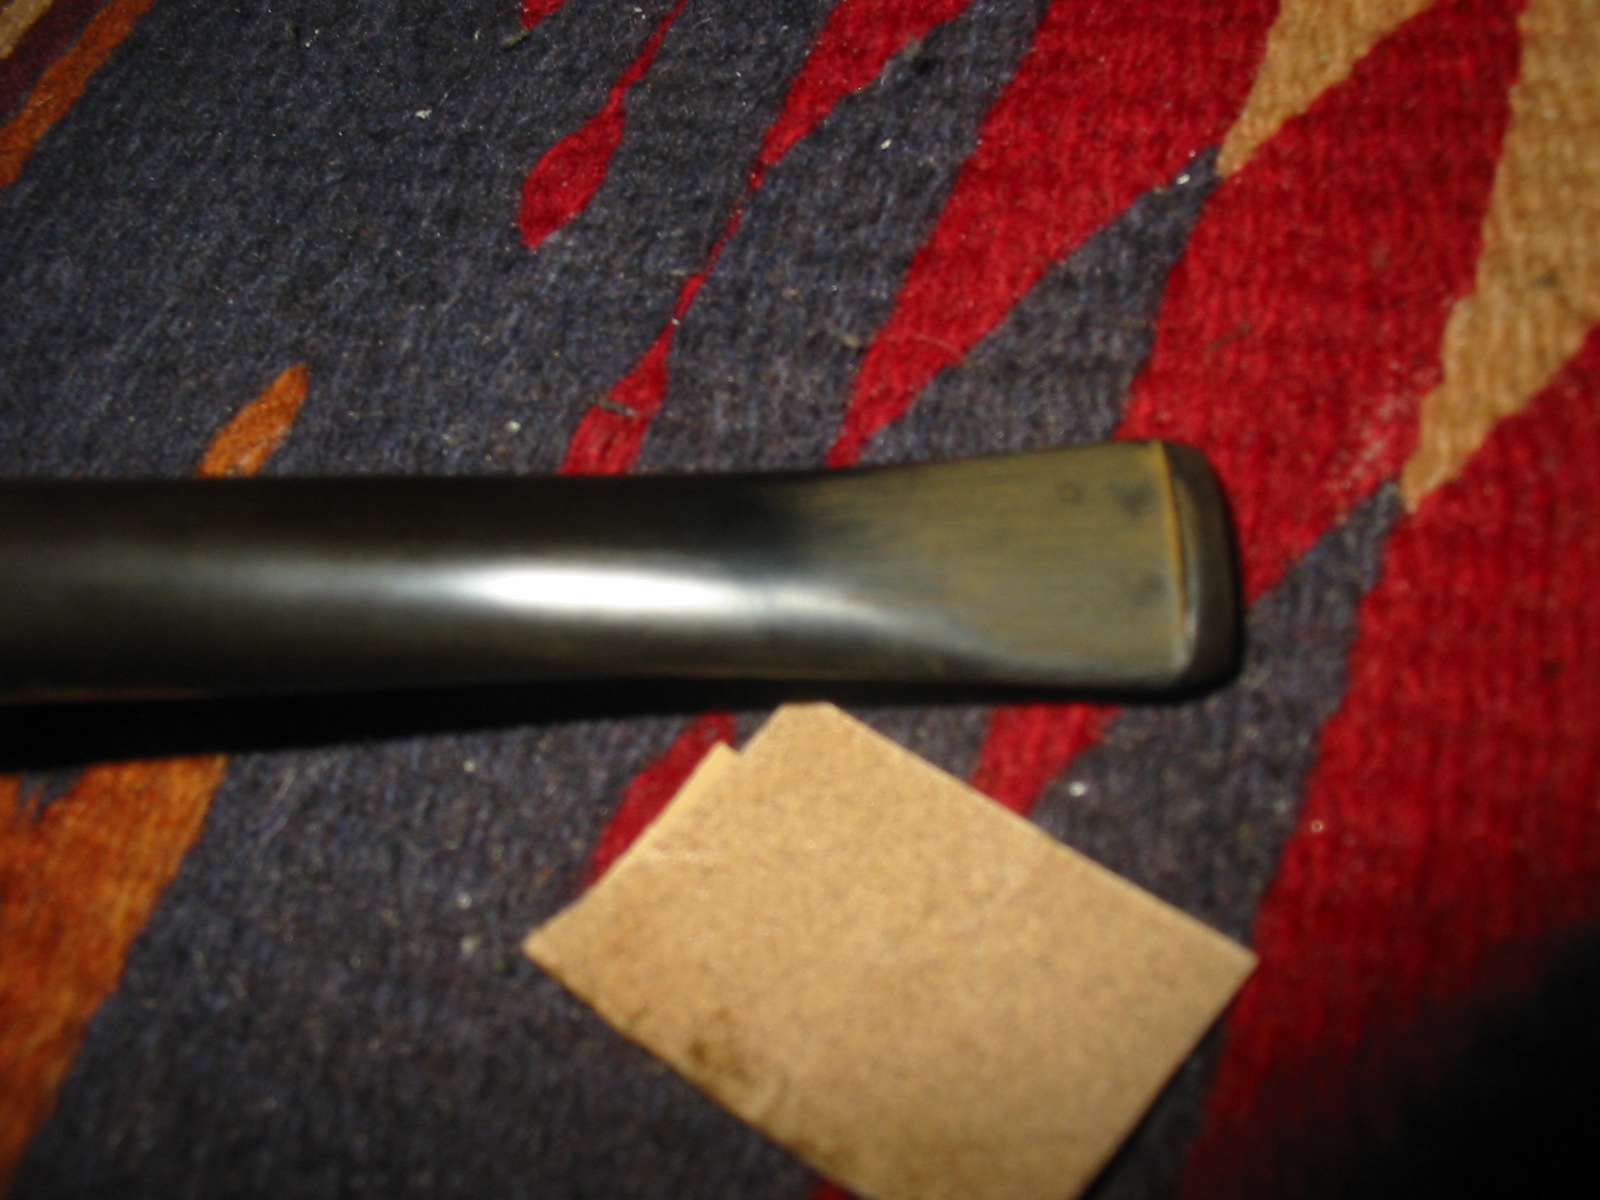
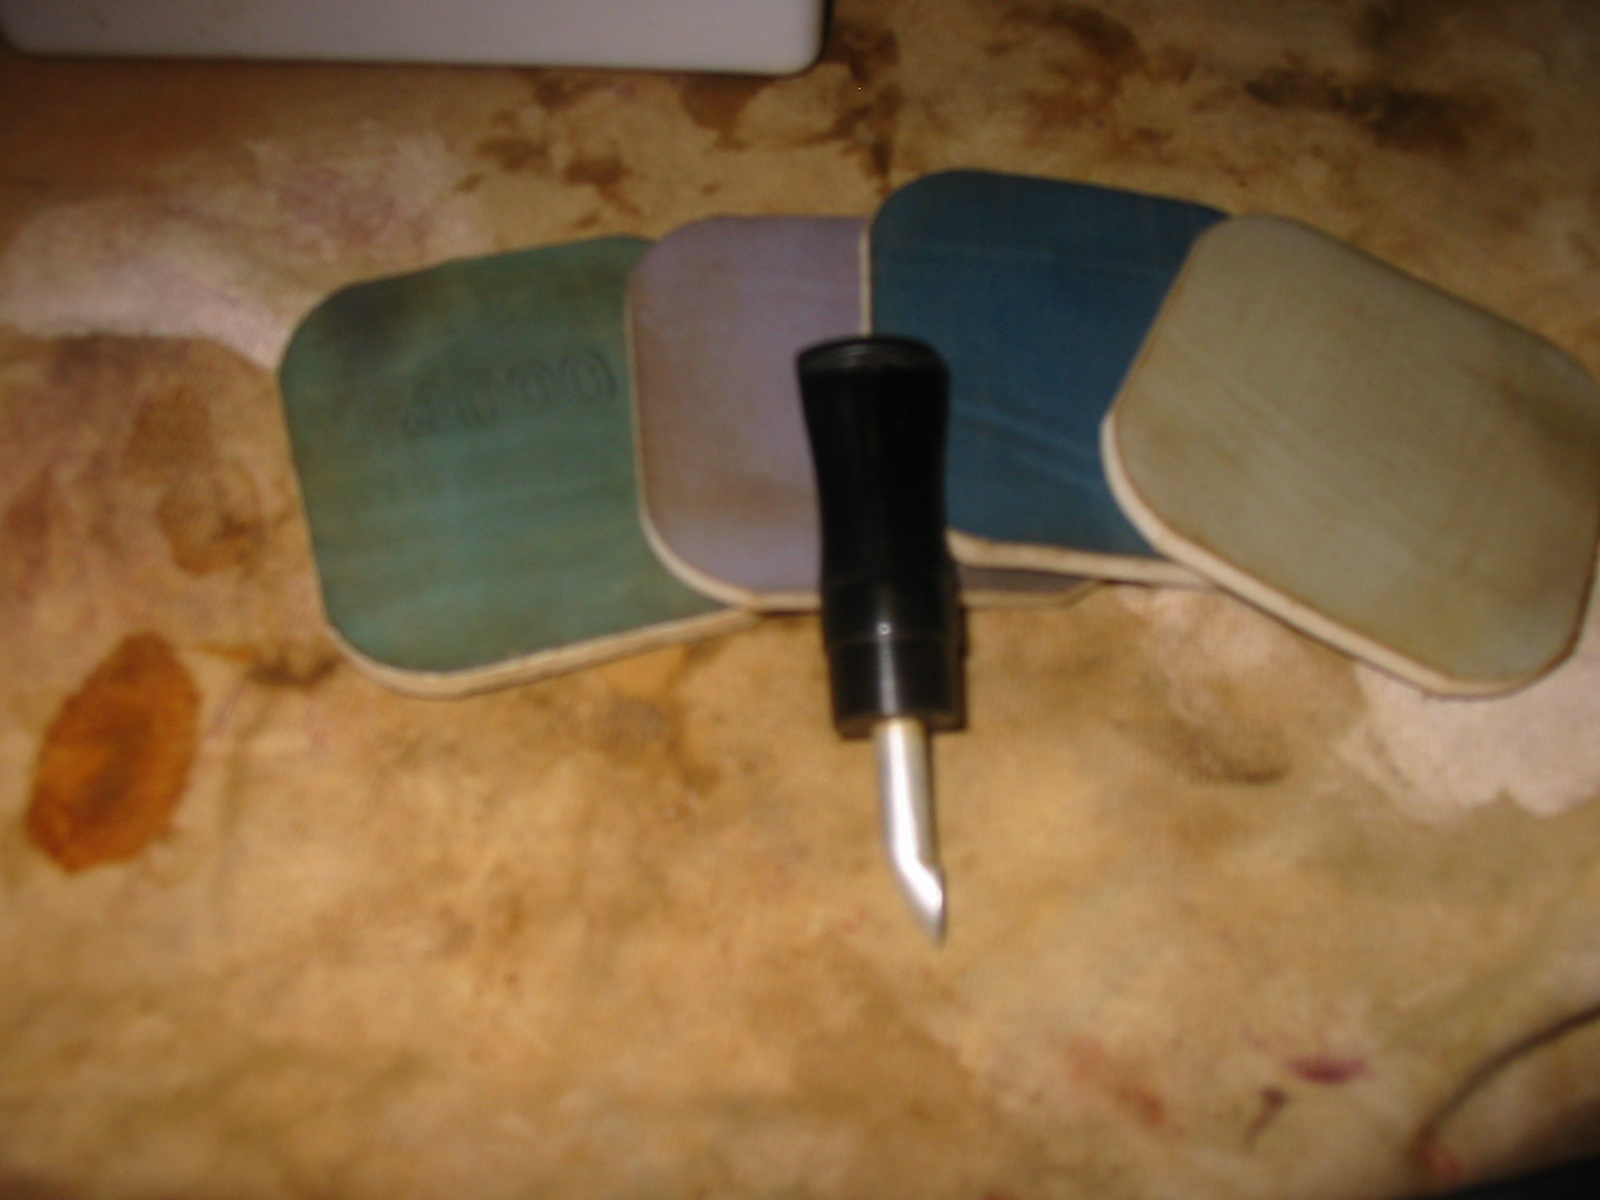
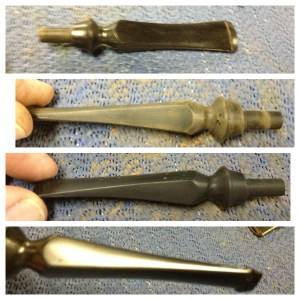
I sanded out the marks with 220 then 320 grit paper. The stem had some, but not many, small sots on it that made me decide to go head and use the 320 wet/dry paper on the entire stem. I progressed to 400 grit wet/dry and then micro mesh 1800 through 12000 (I also used the plastic polish several times between grits to make sure I wasn’t missing any scratches). Here is a progressive photo along the way from rough through 12000 grit micro mesh.
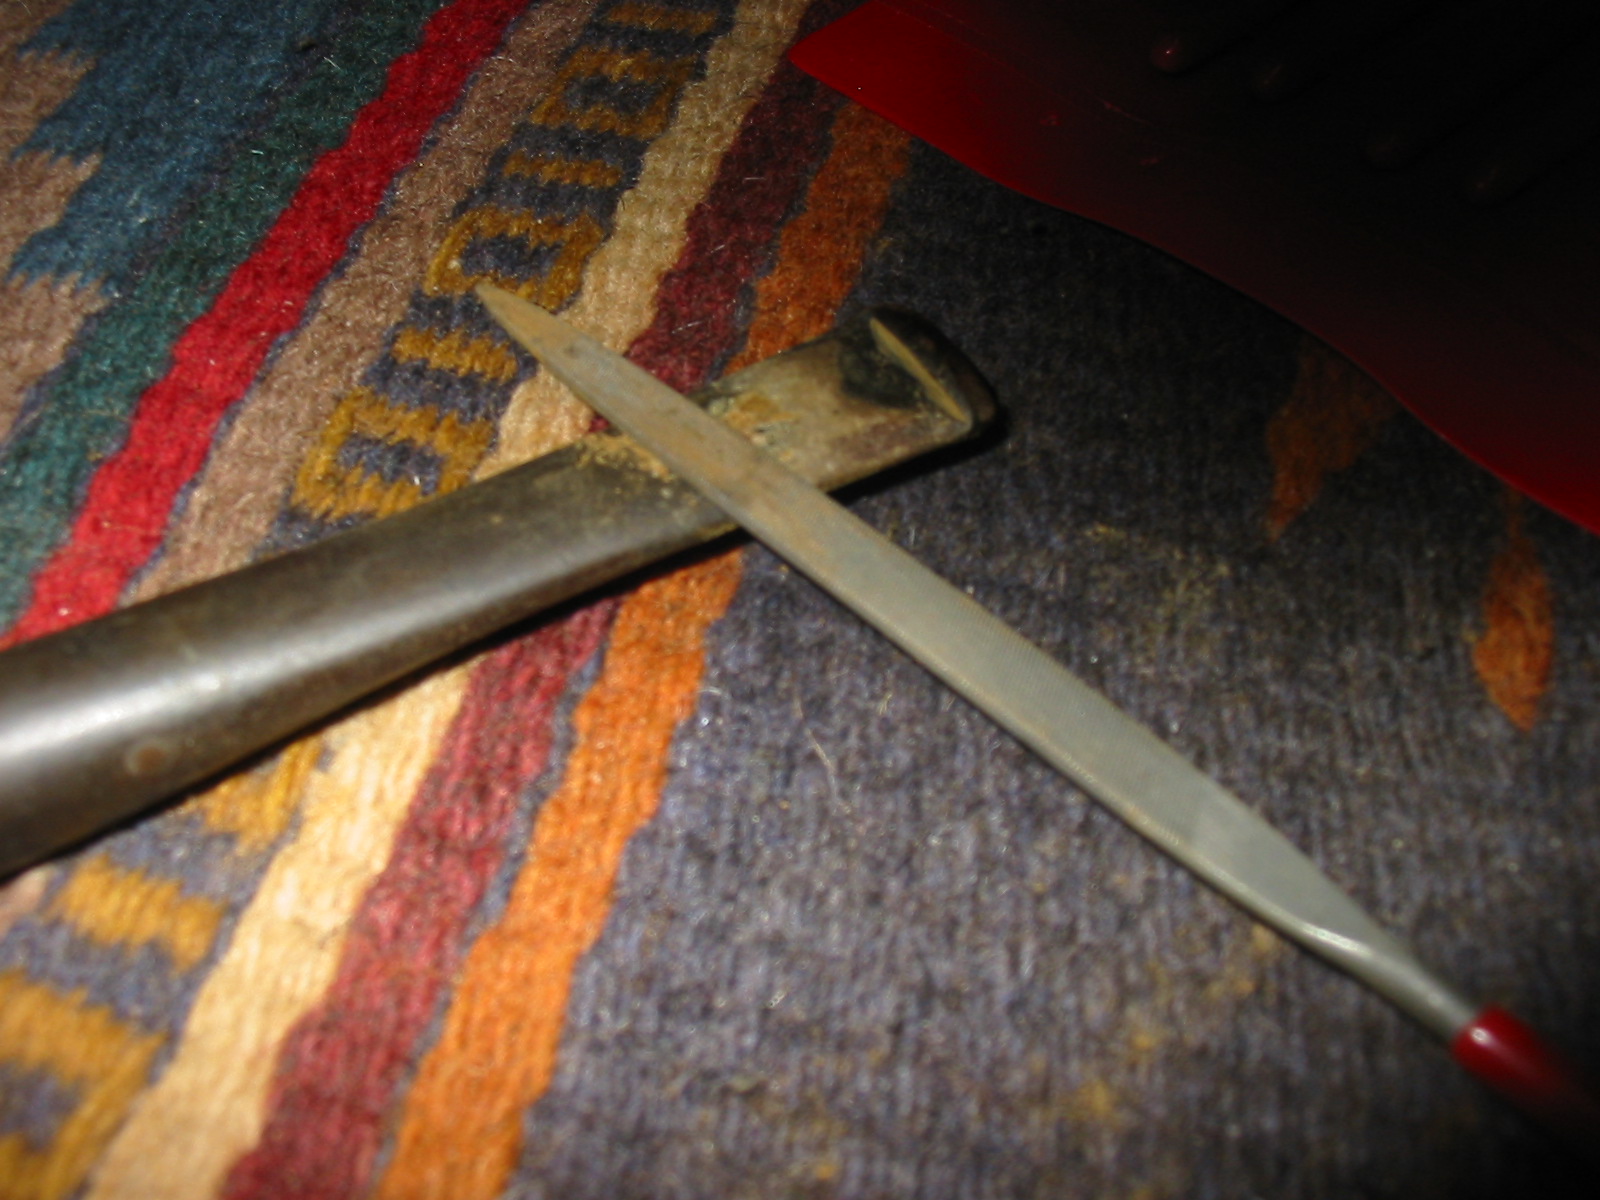
The stem didn’t fit flush at the top and bottom due to the angle of the shank so I had to do a considerable amount of file work to get it almost completely flush to the shank on the top and bottom. At this point I stopped working on the stem and turned my attention to the stummel.
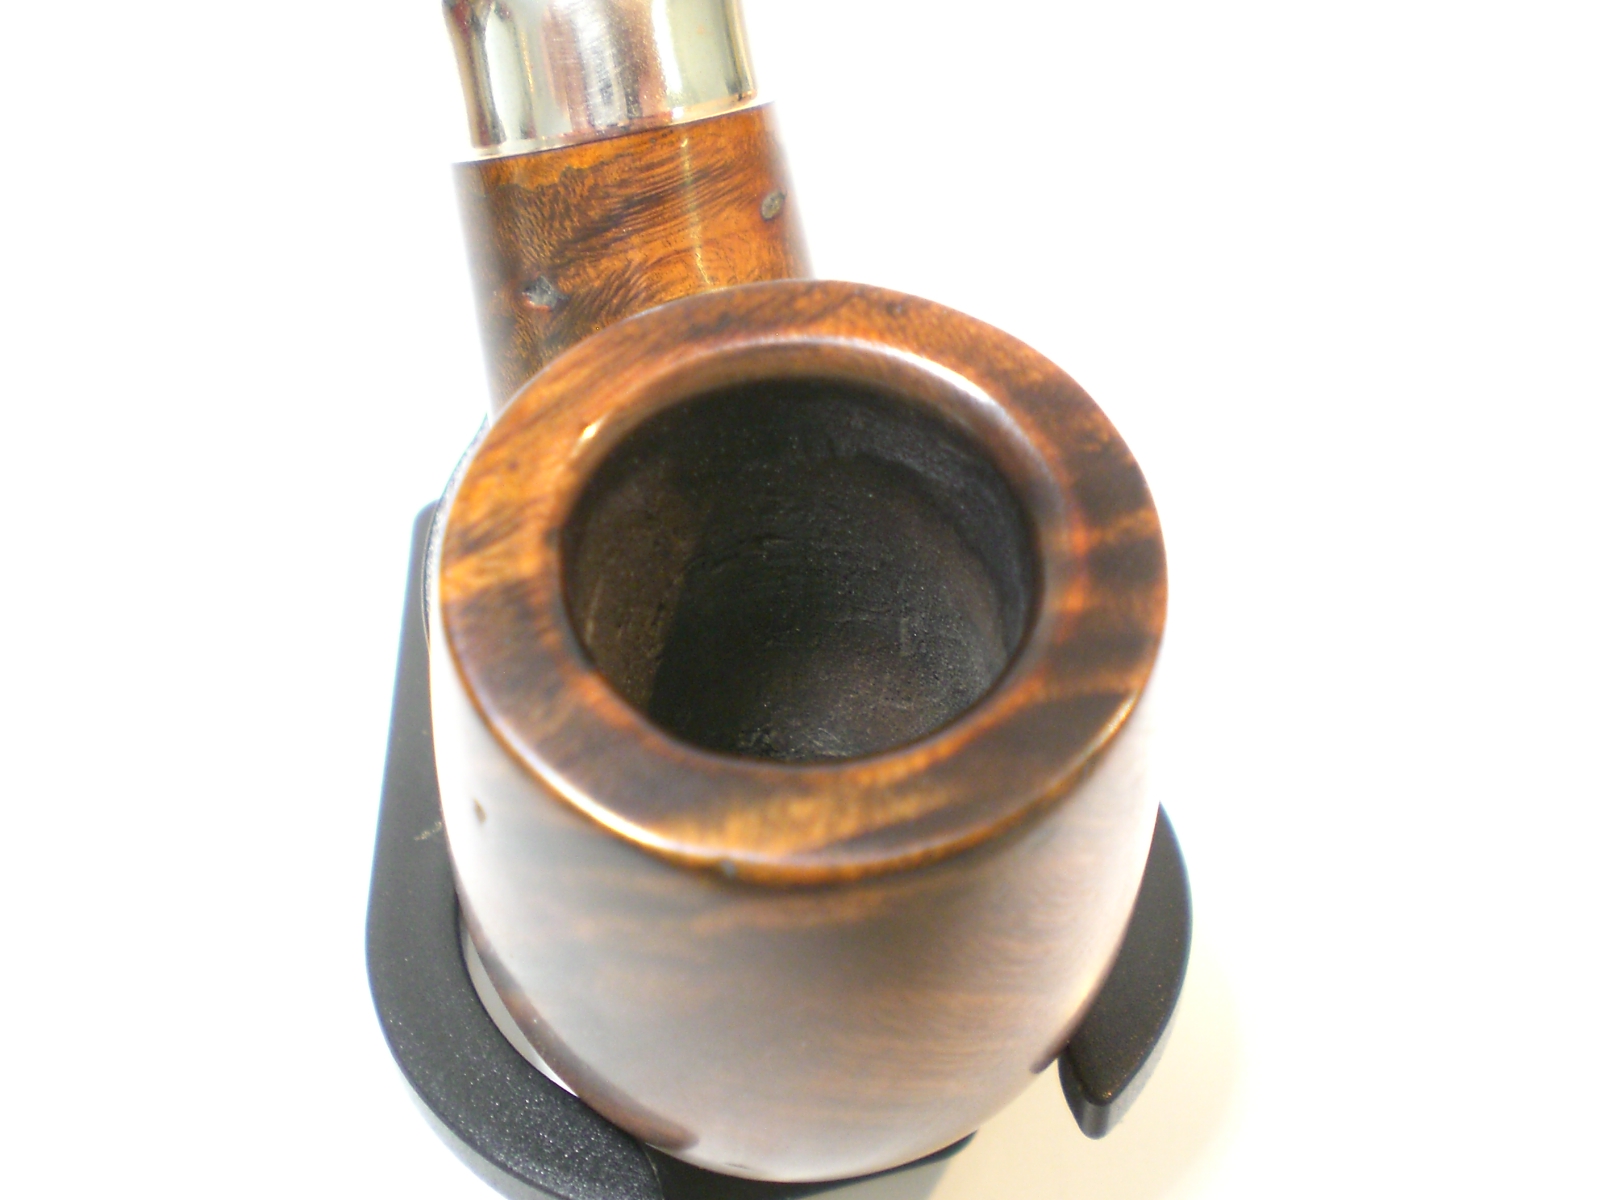
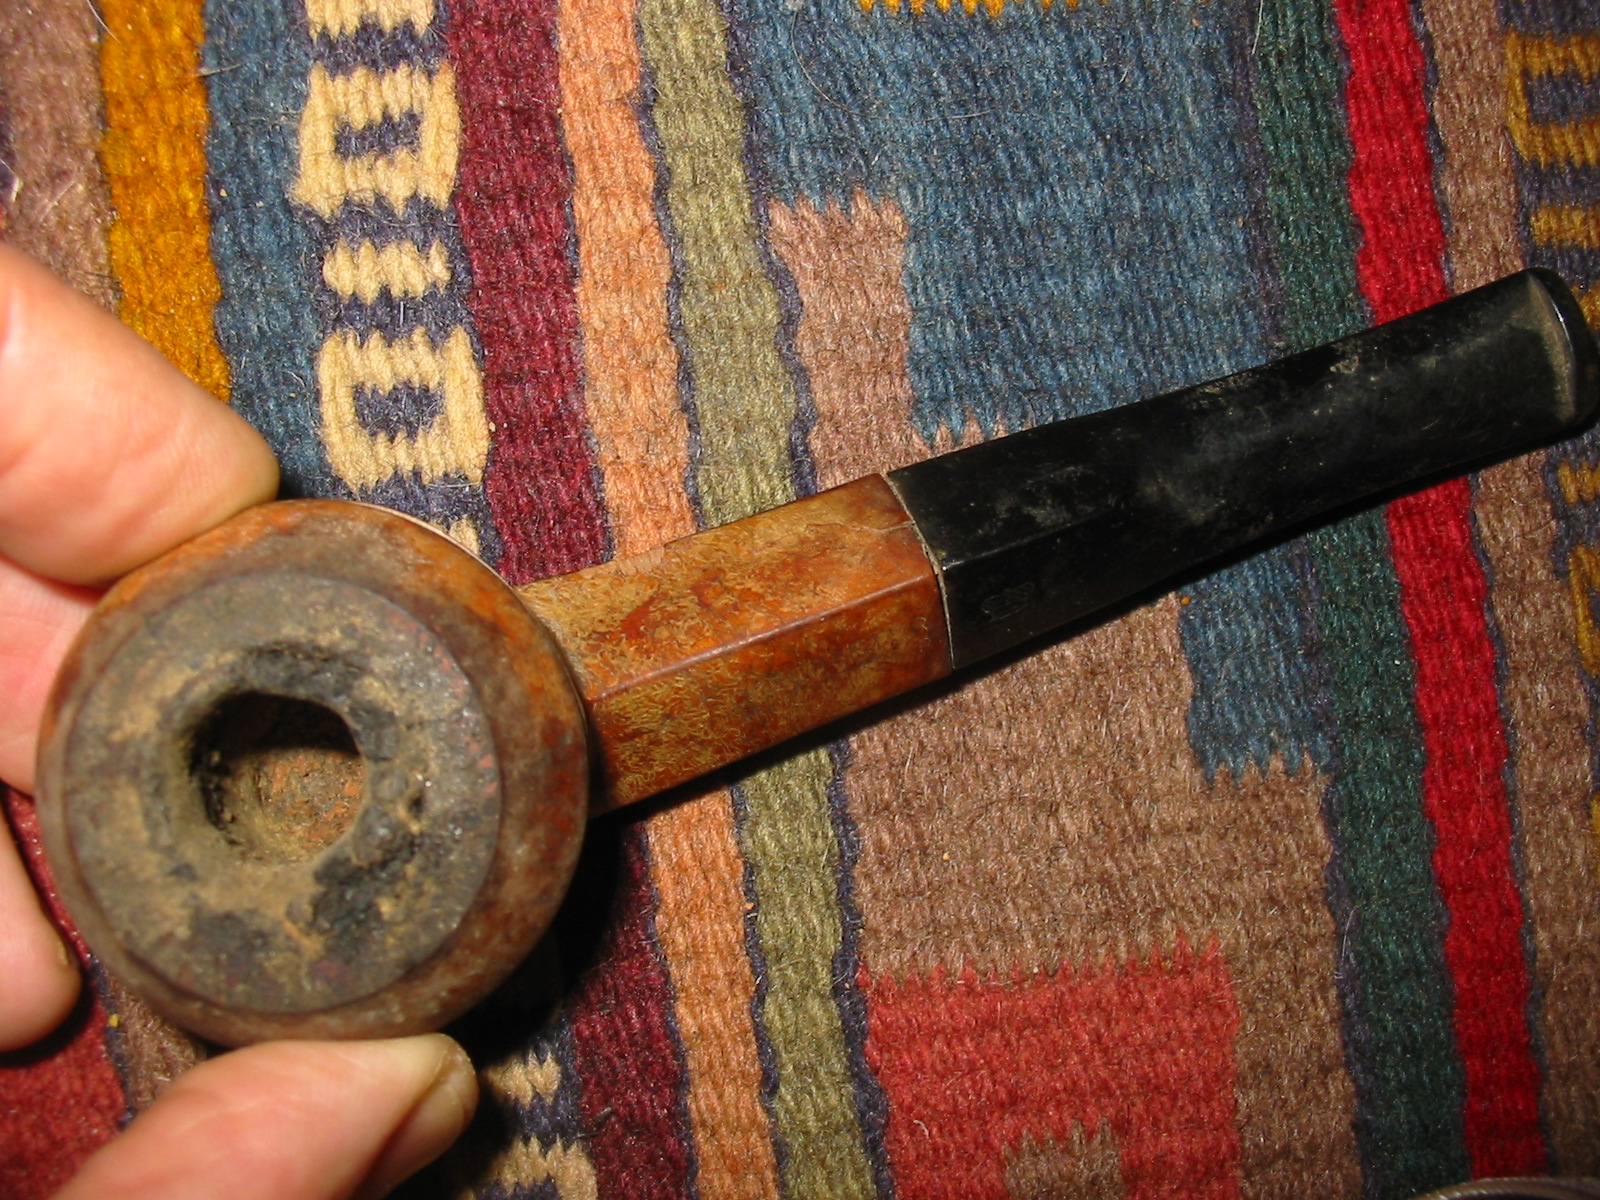
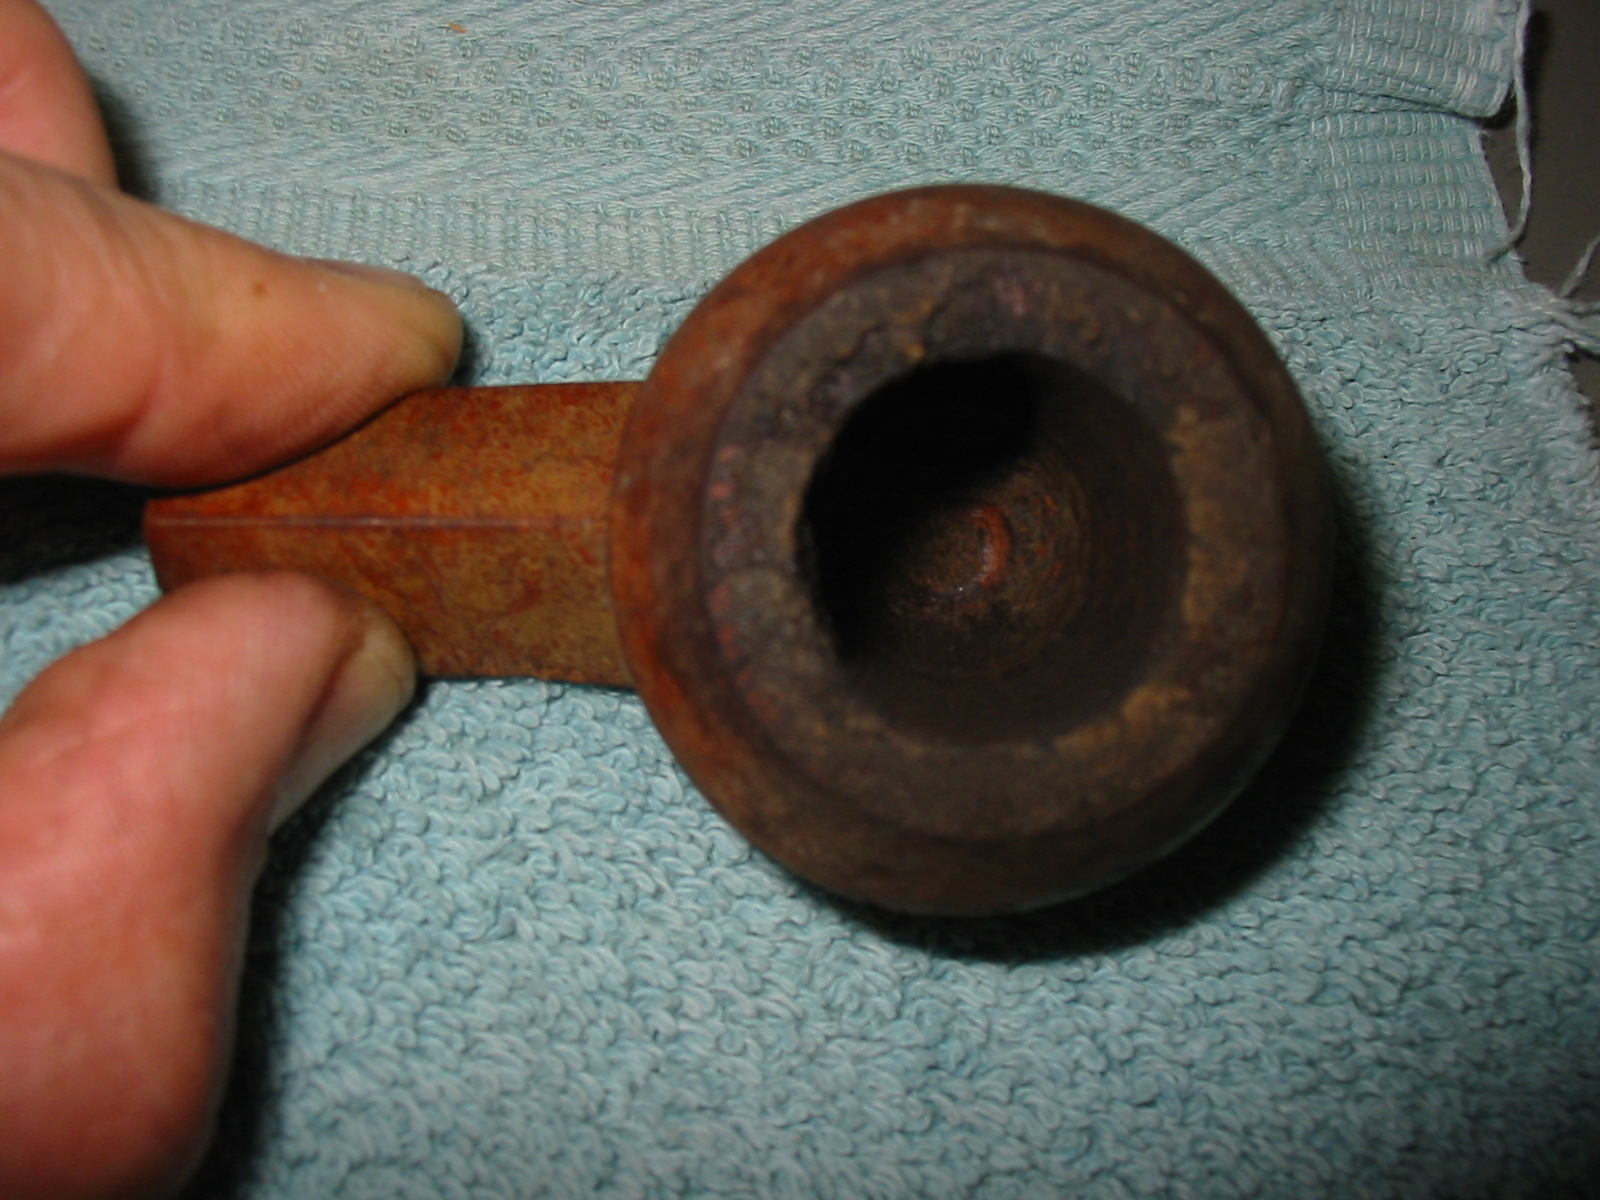
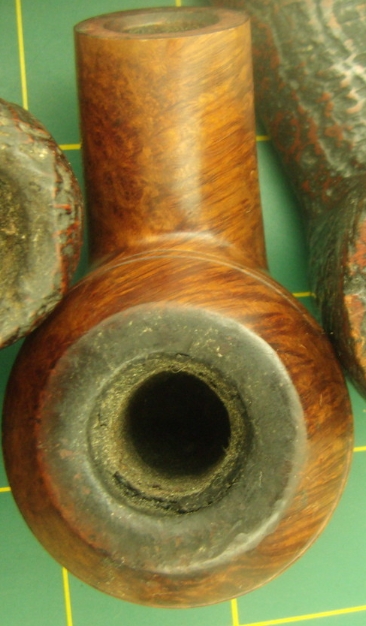
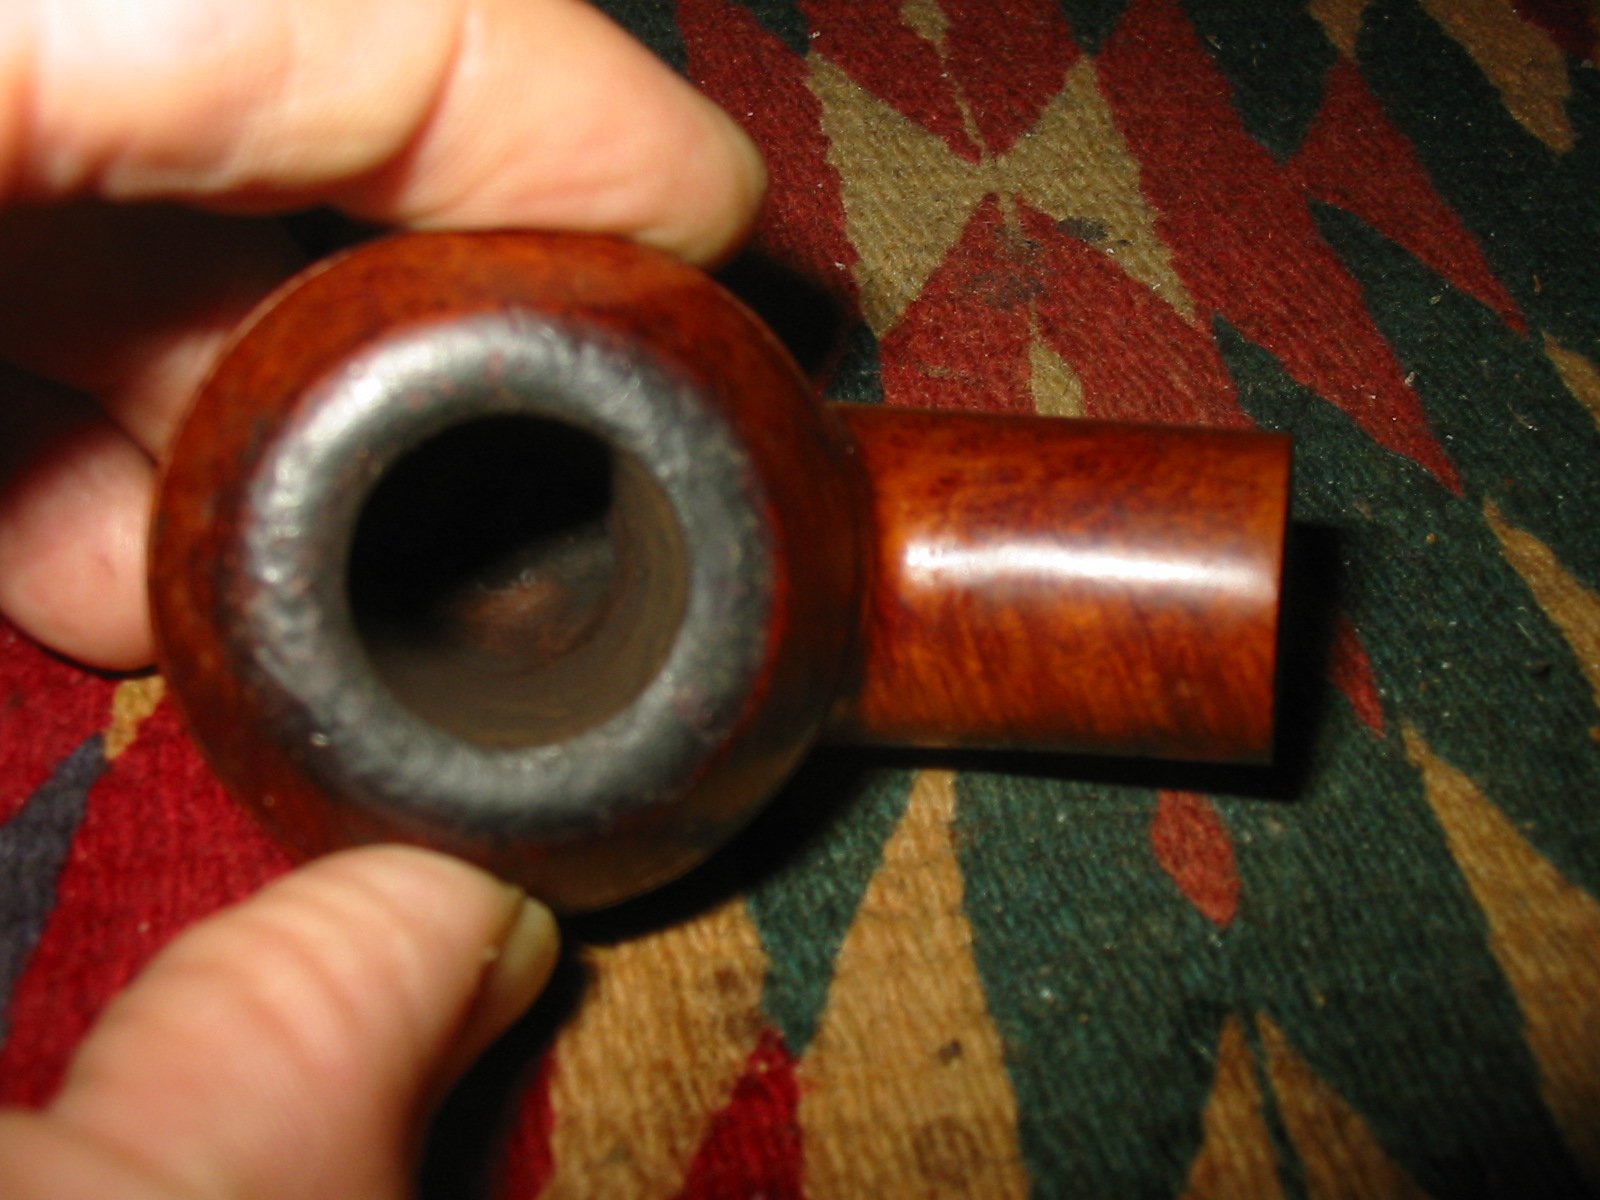
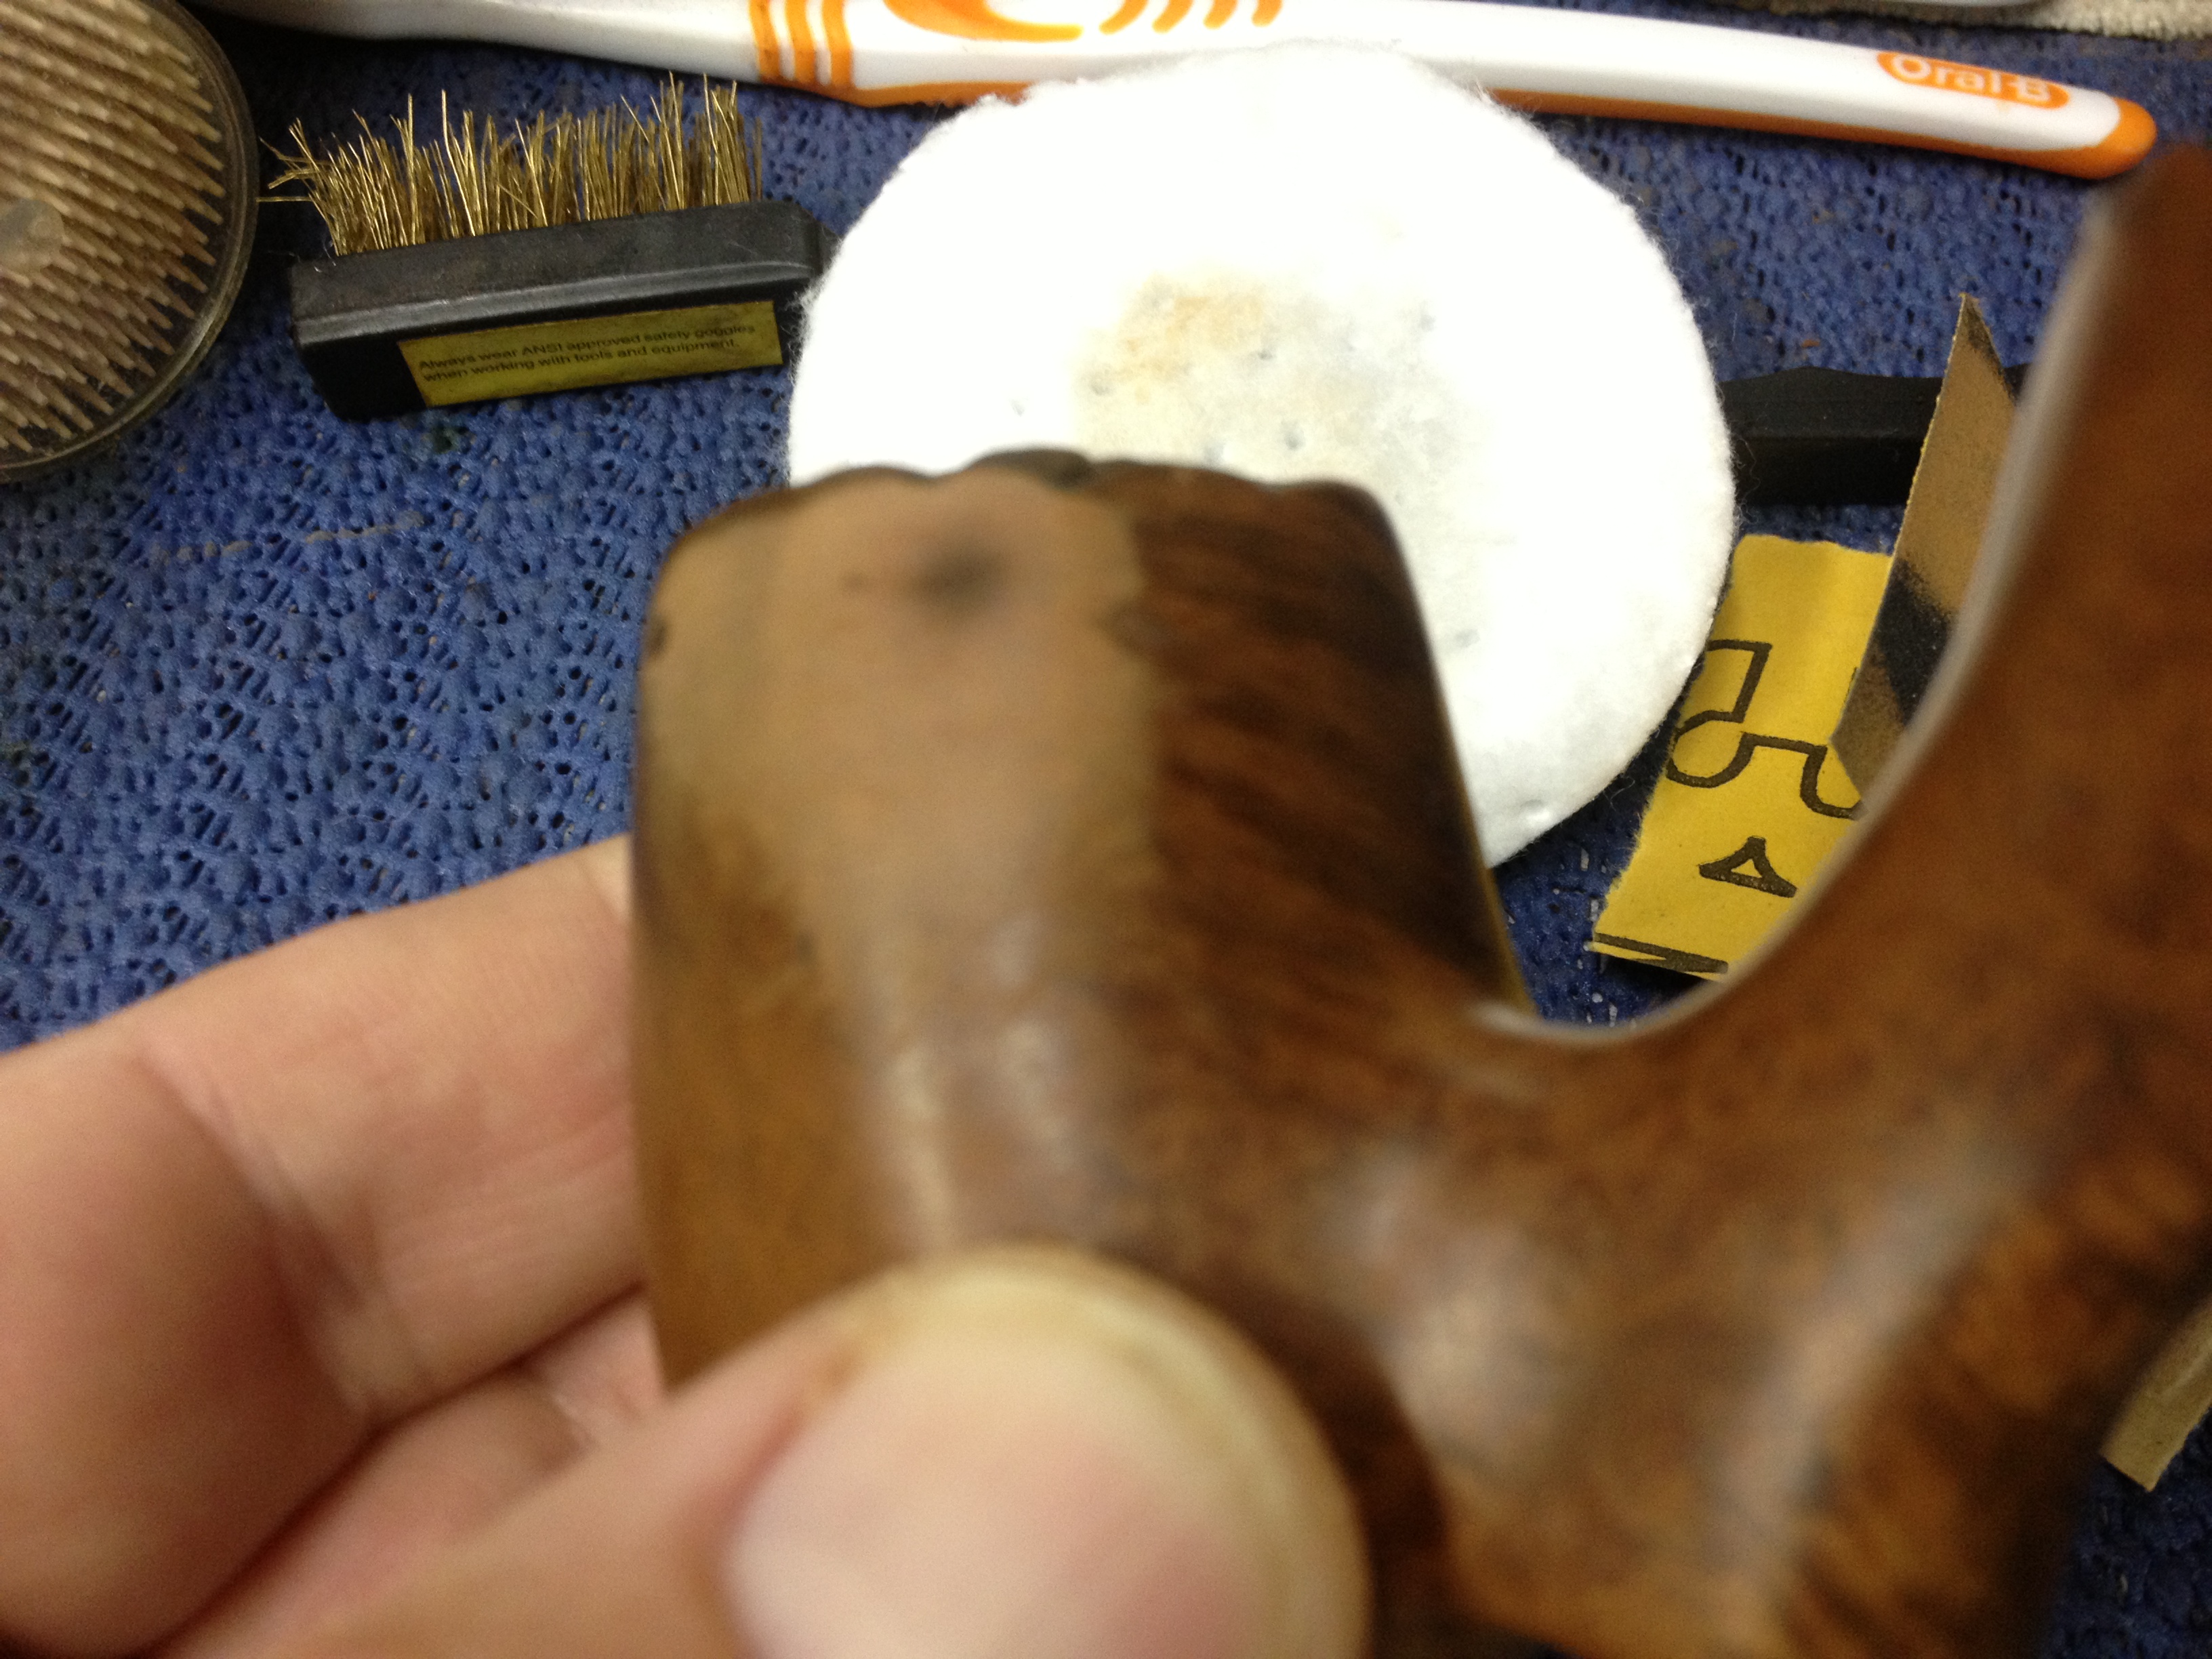
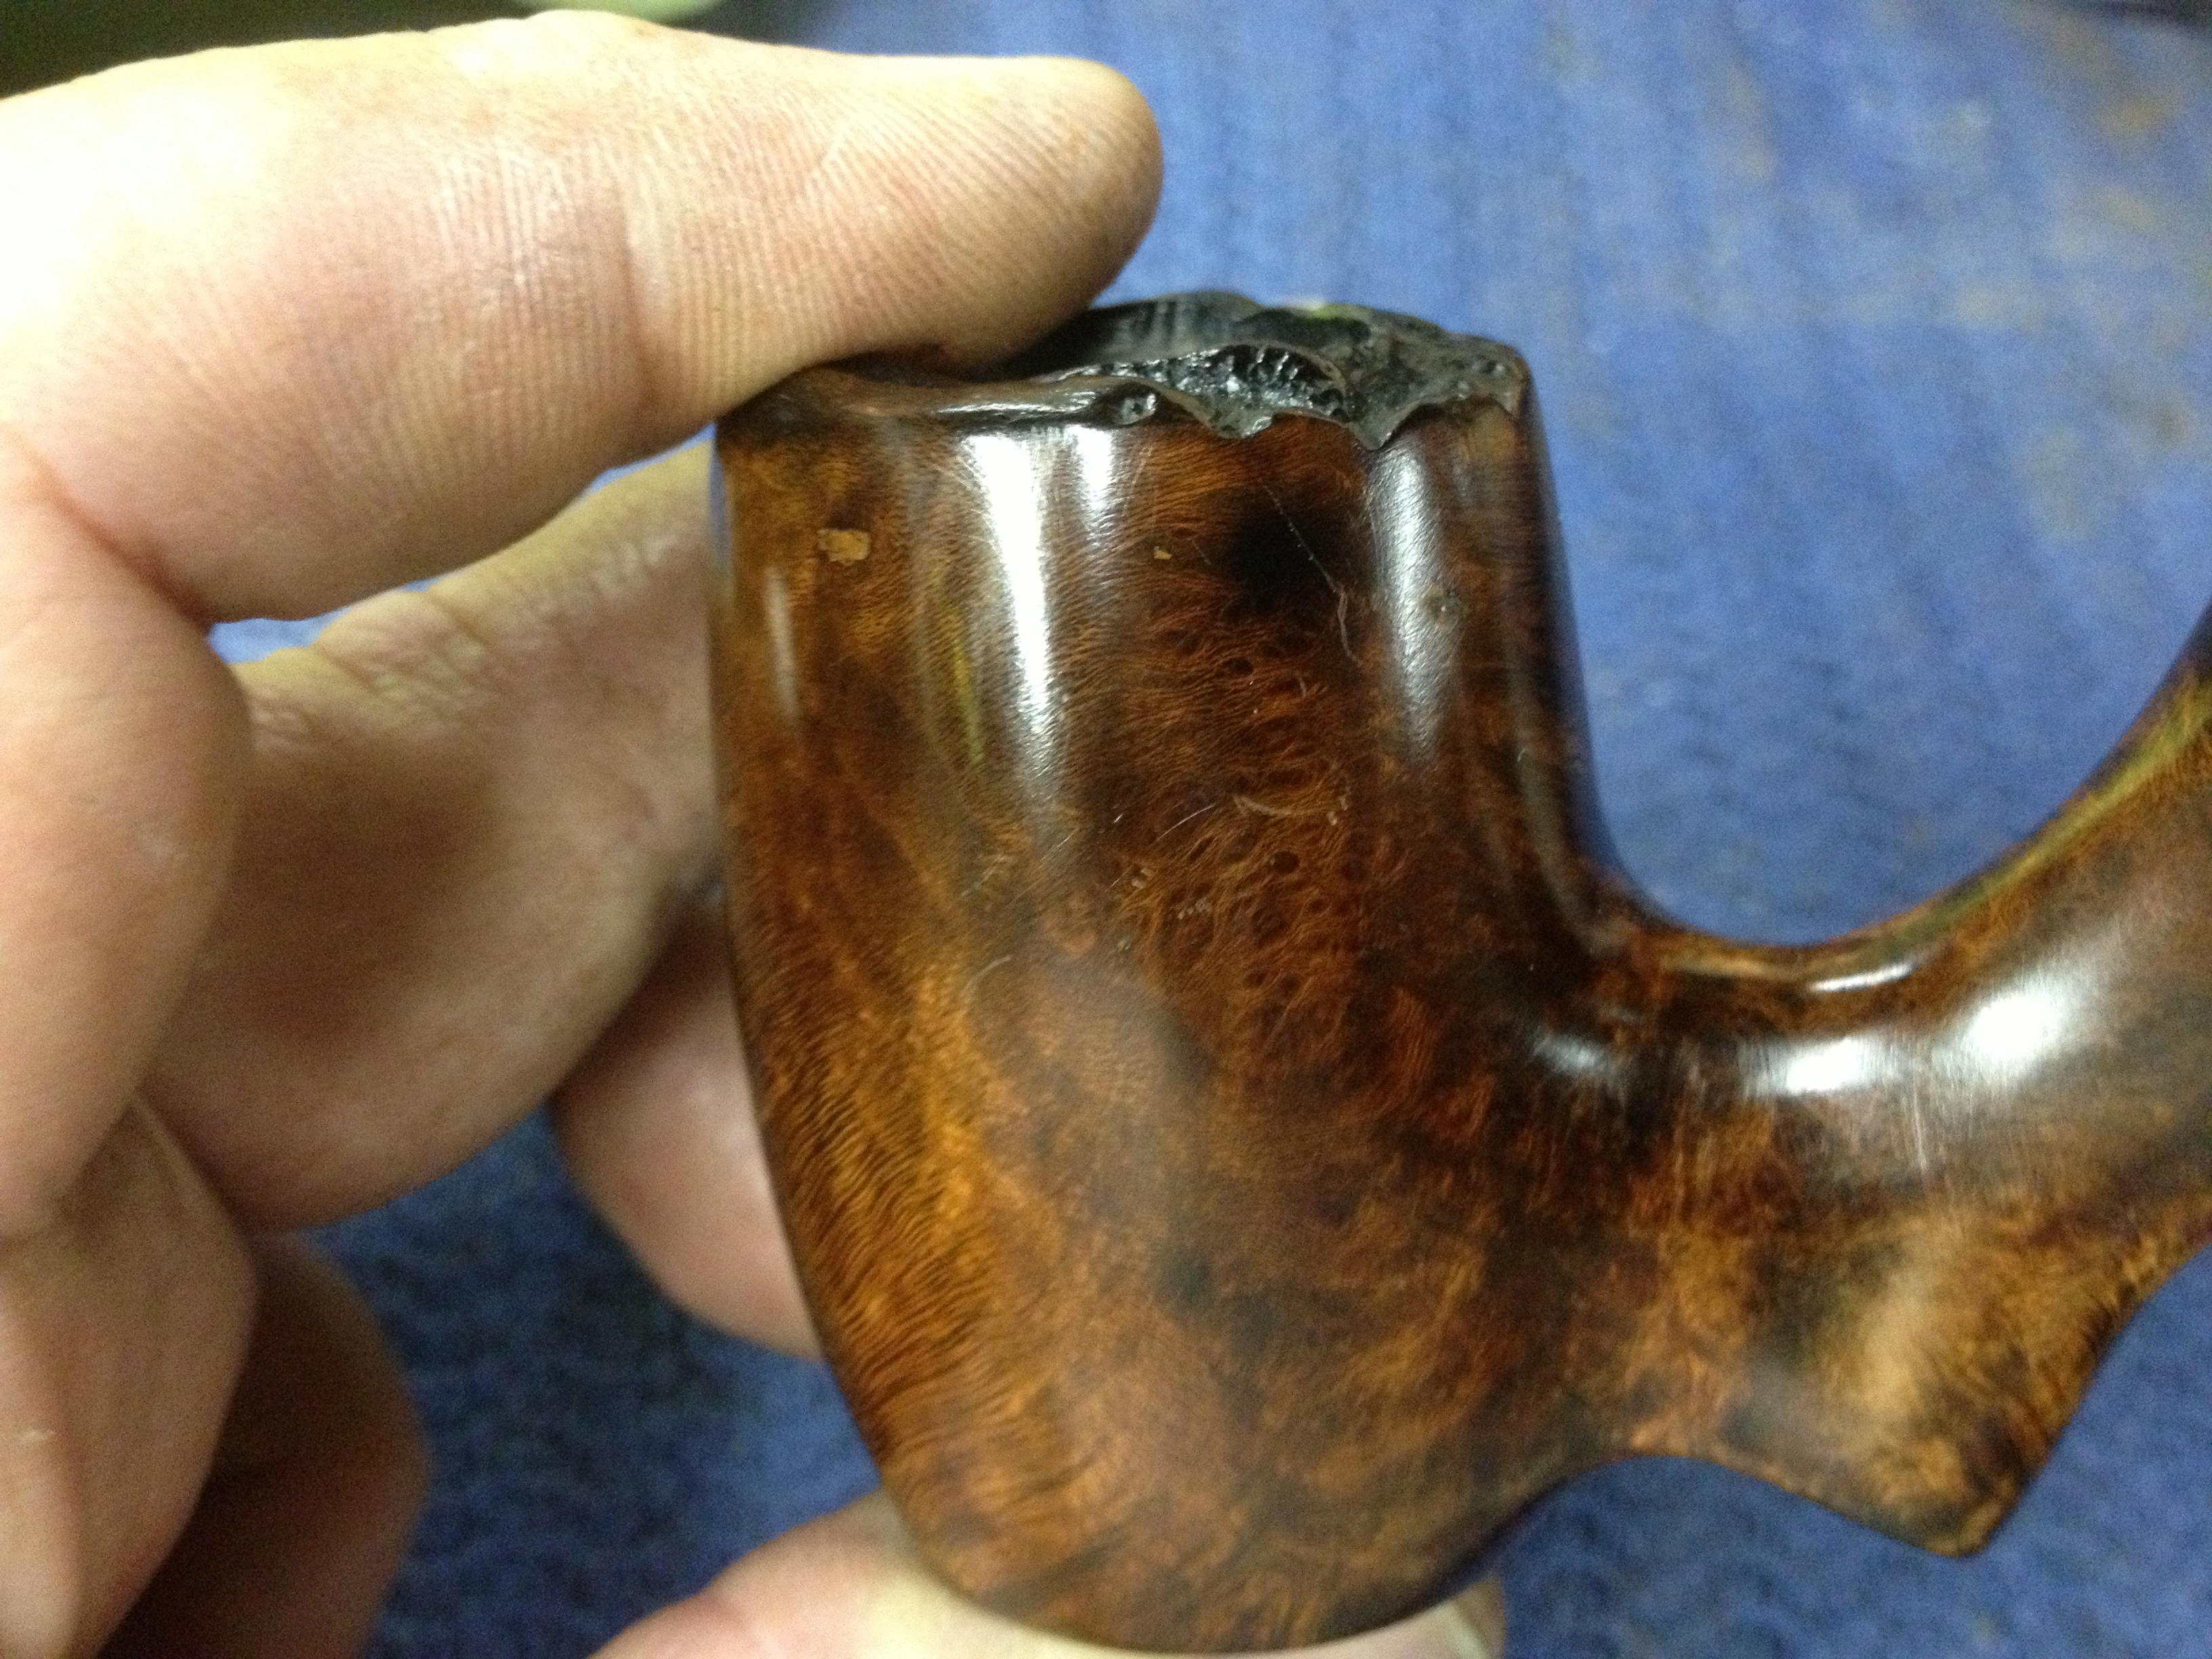
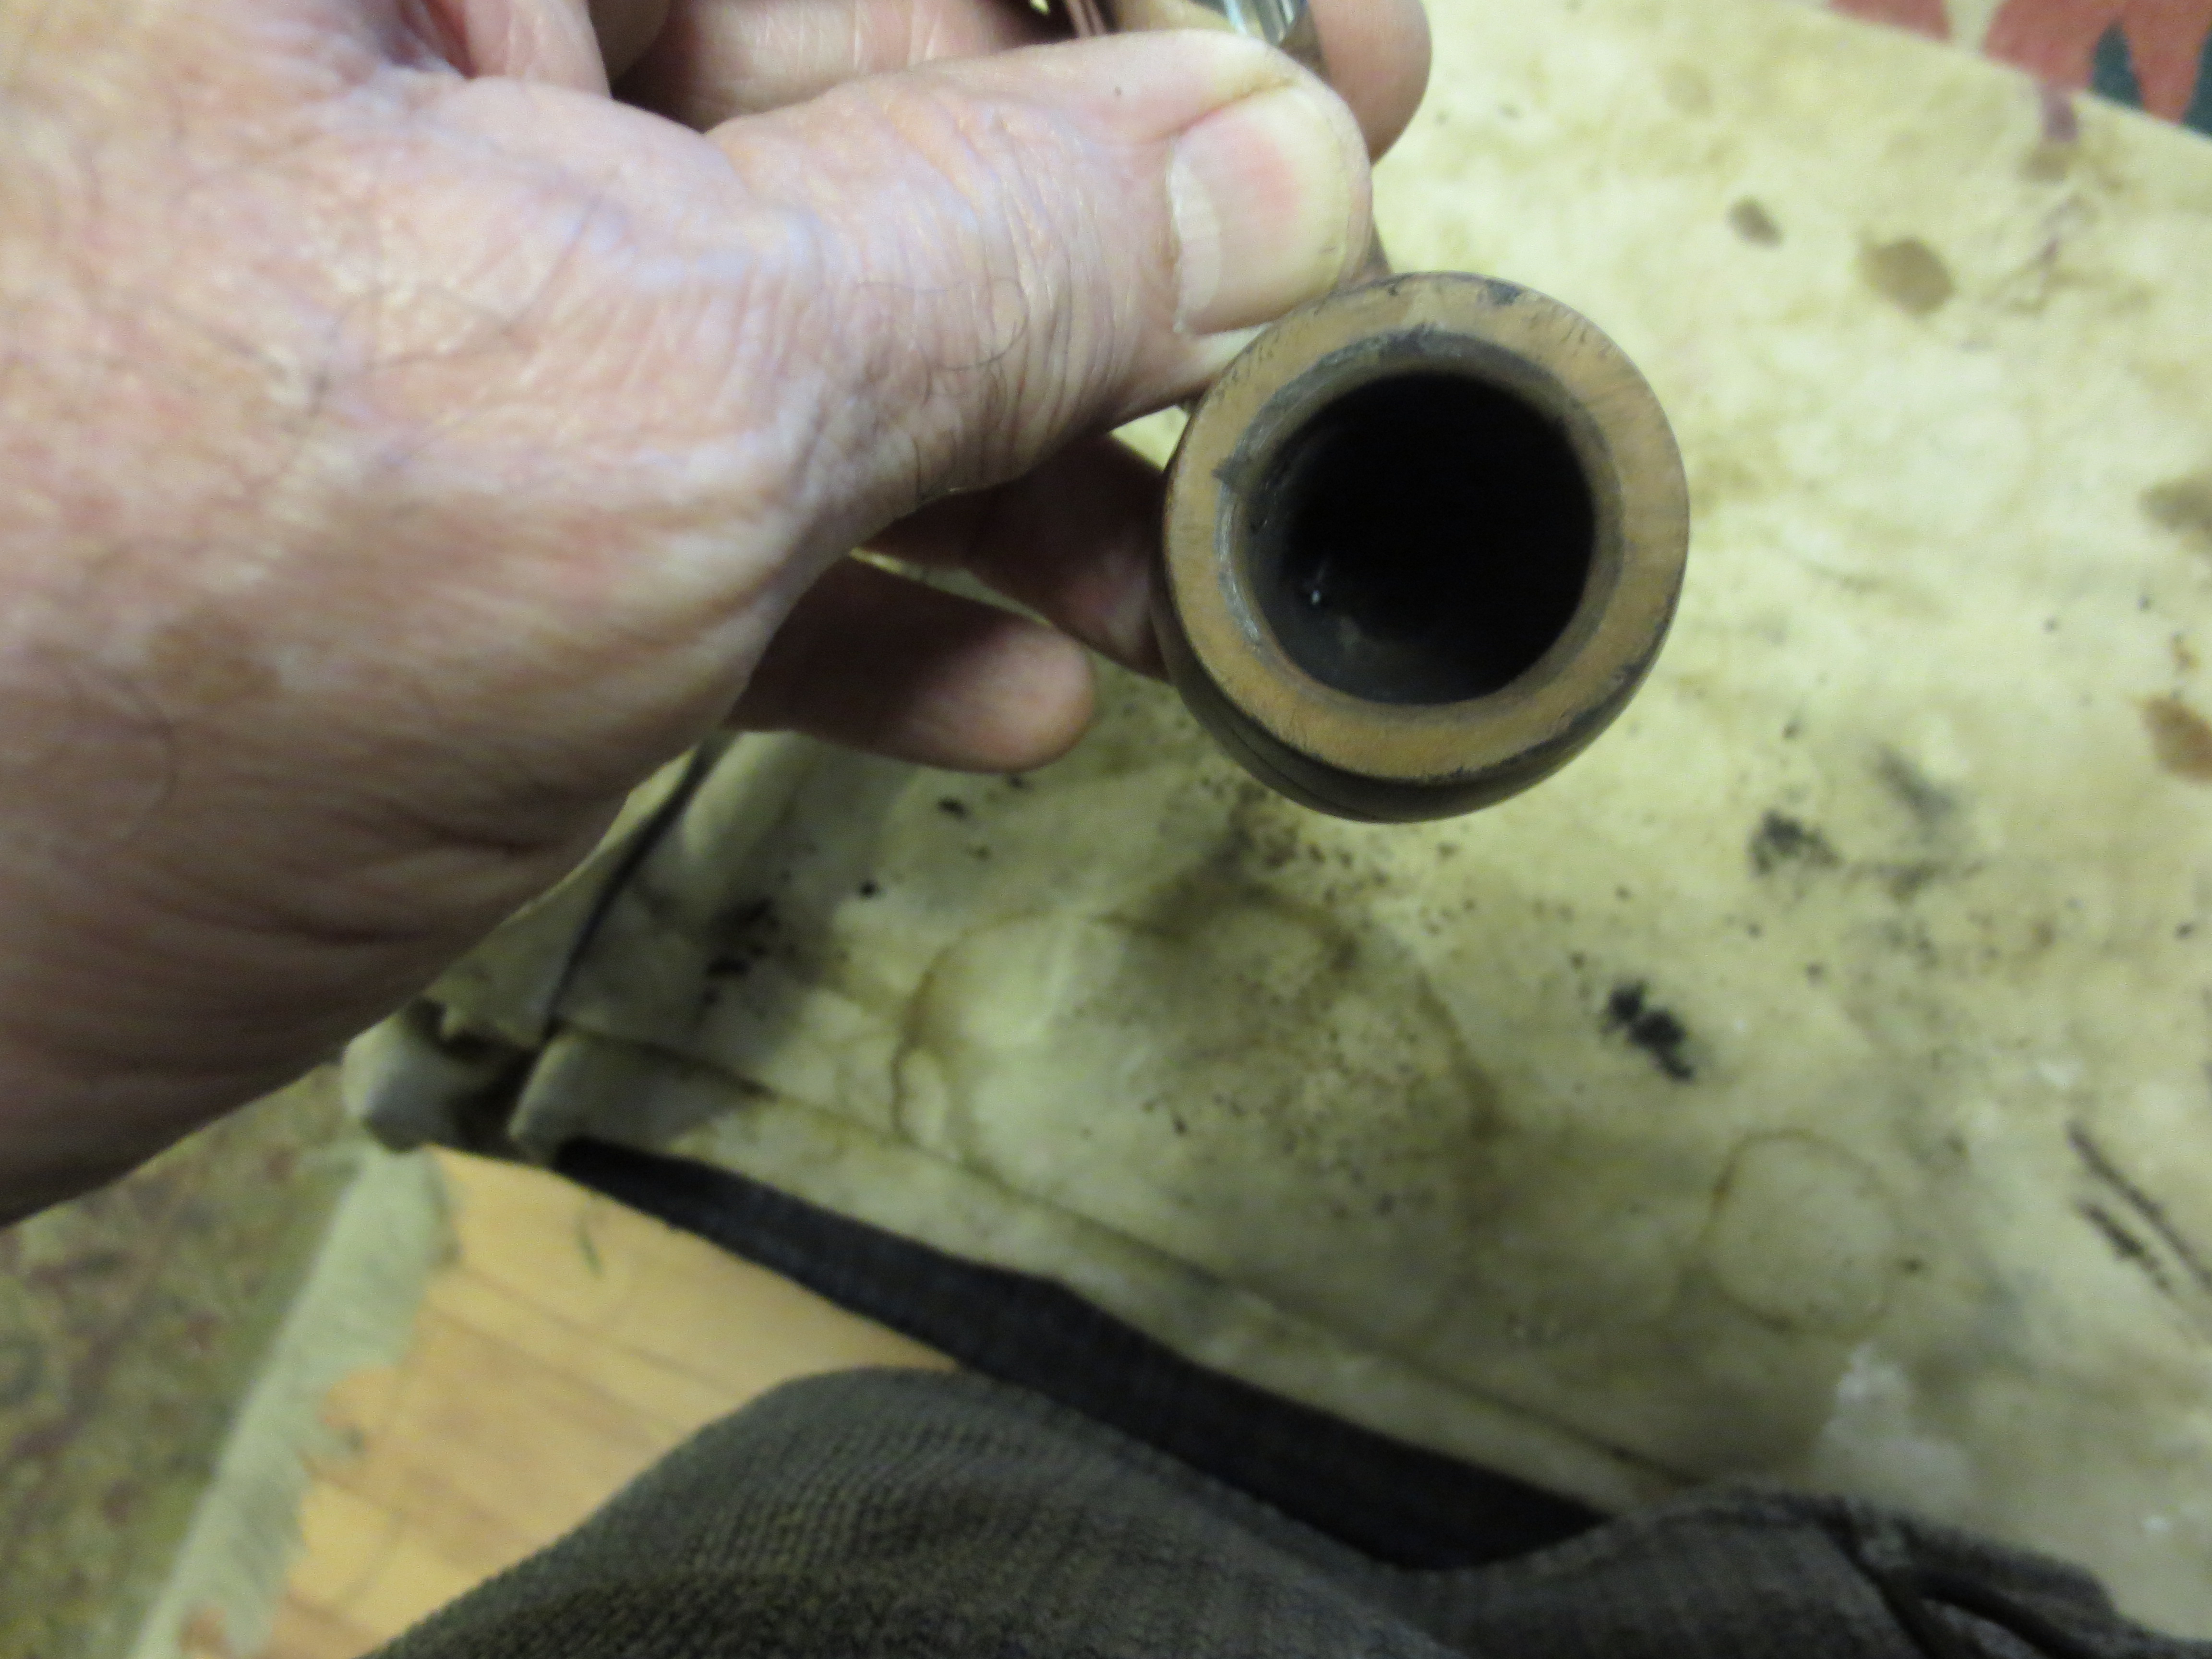
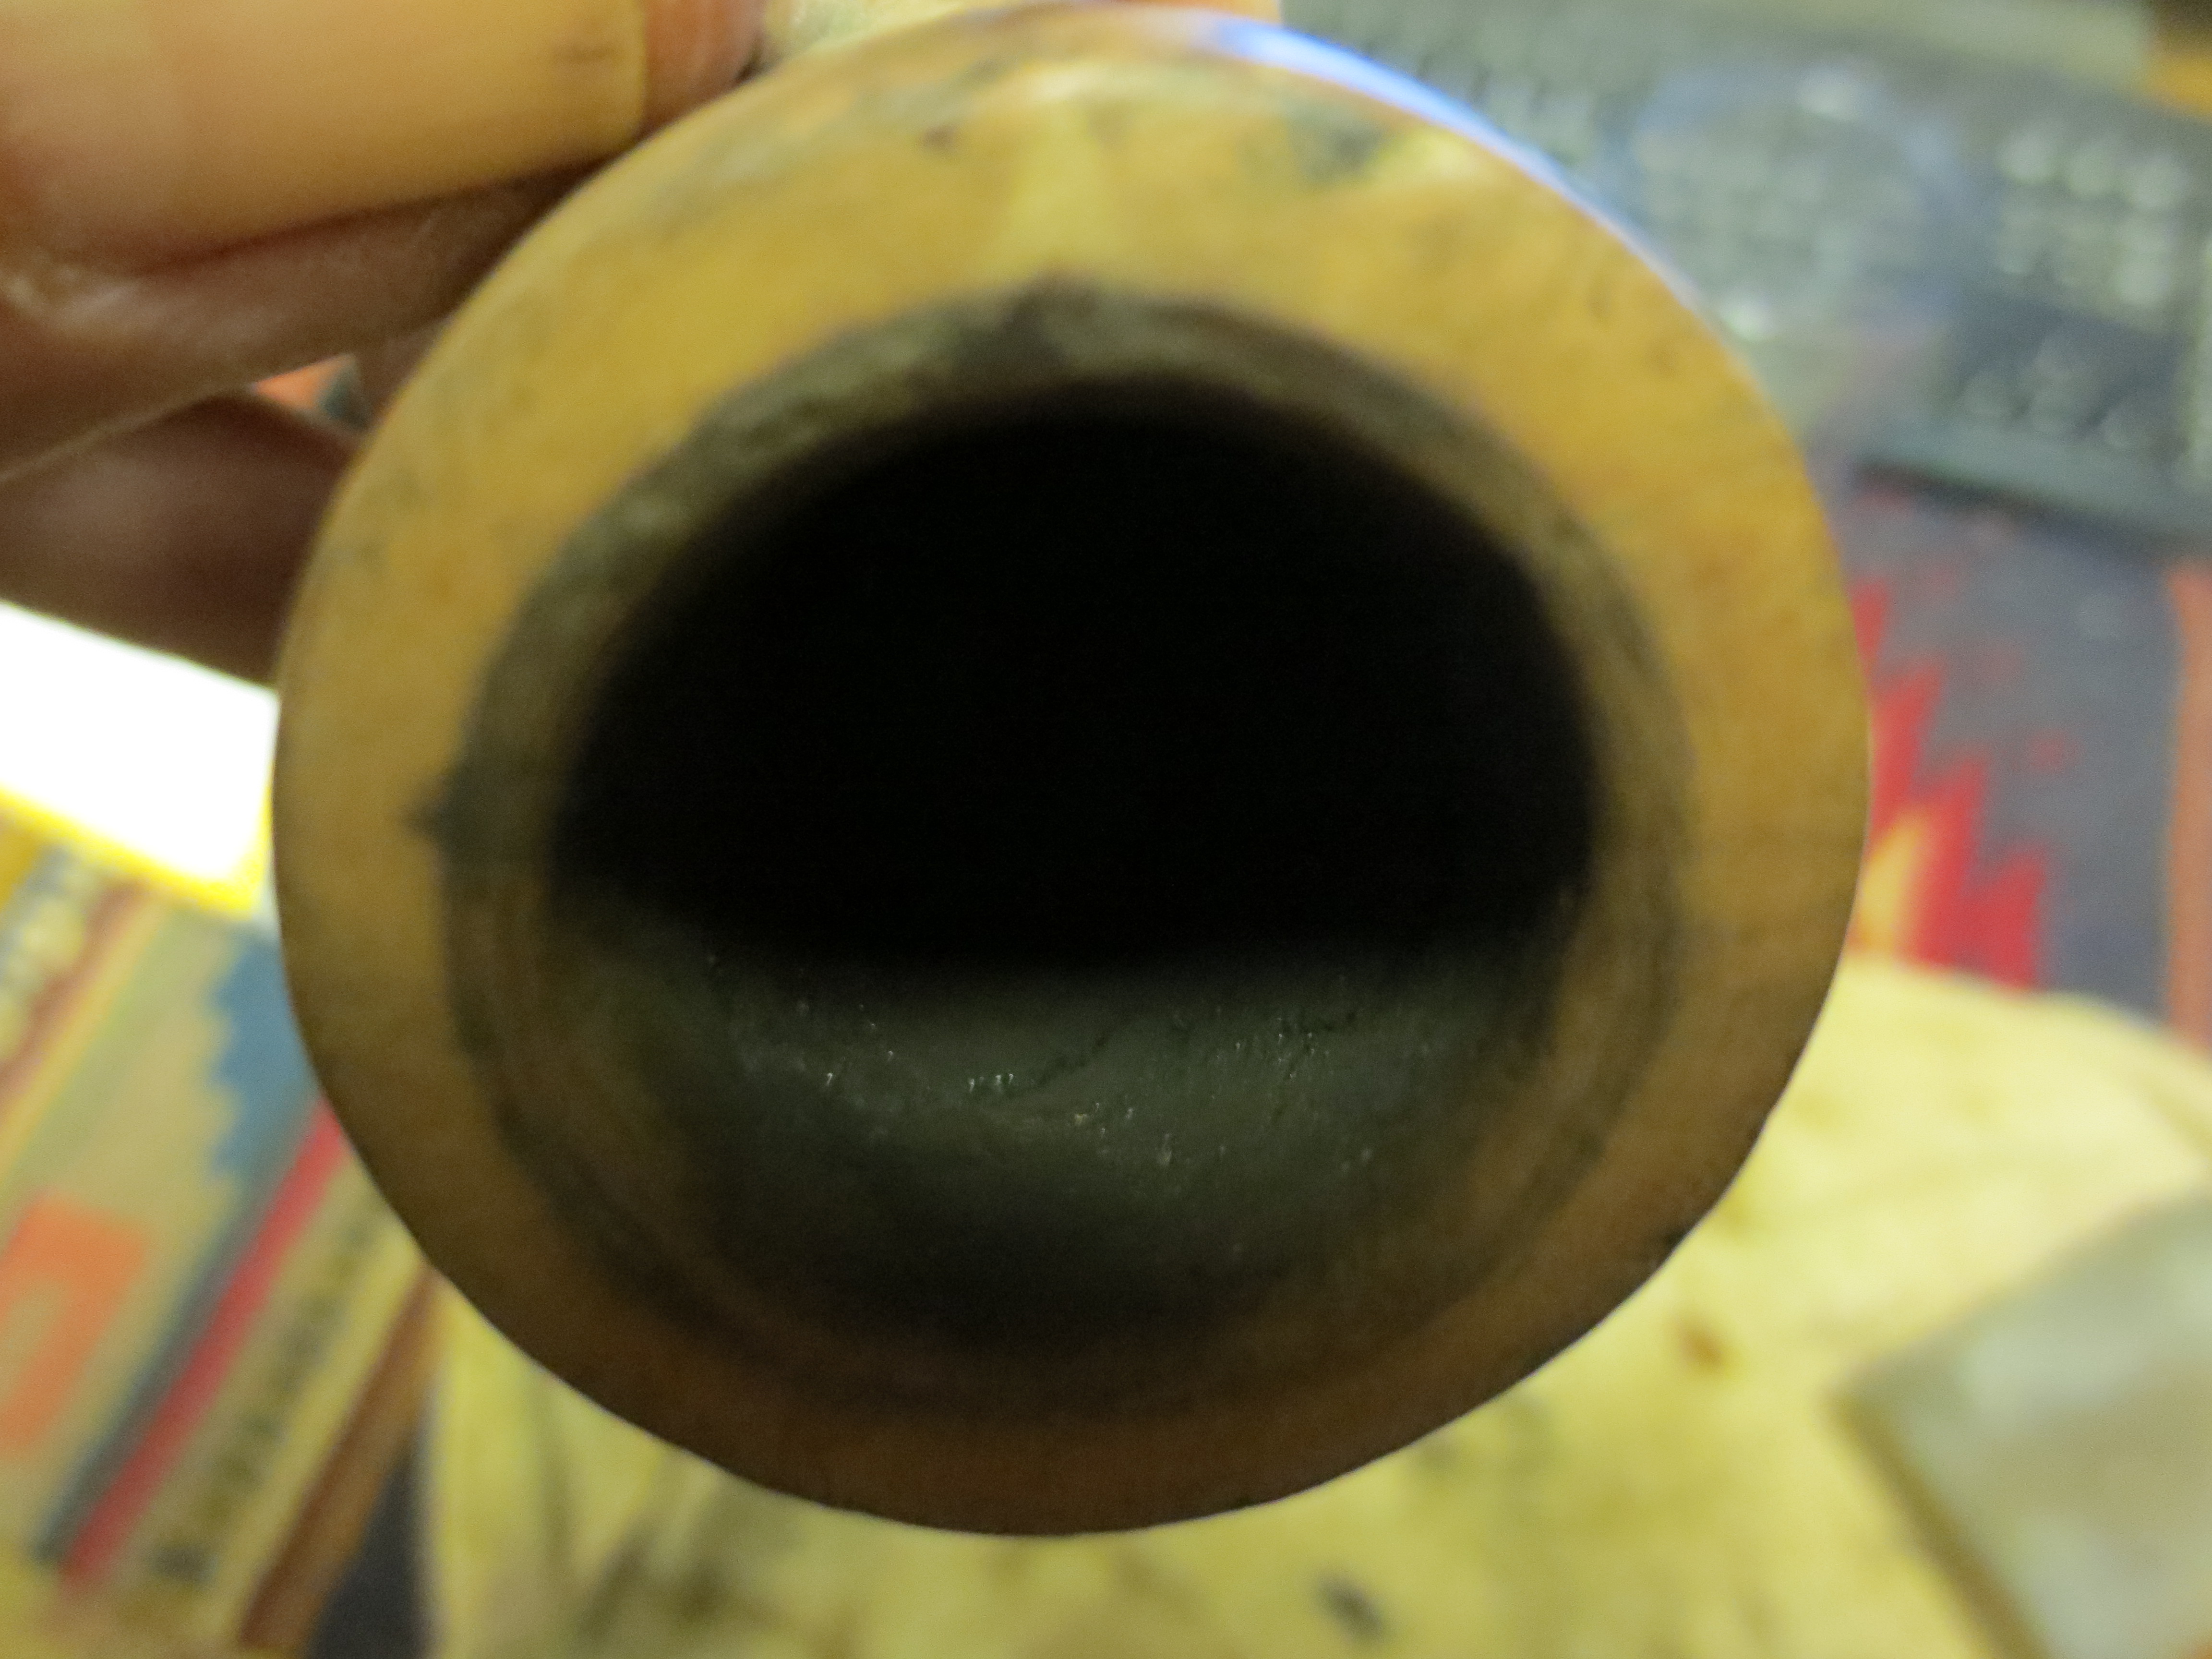
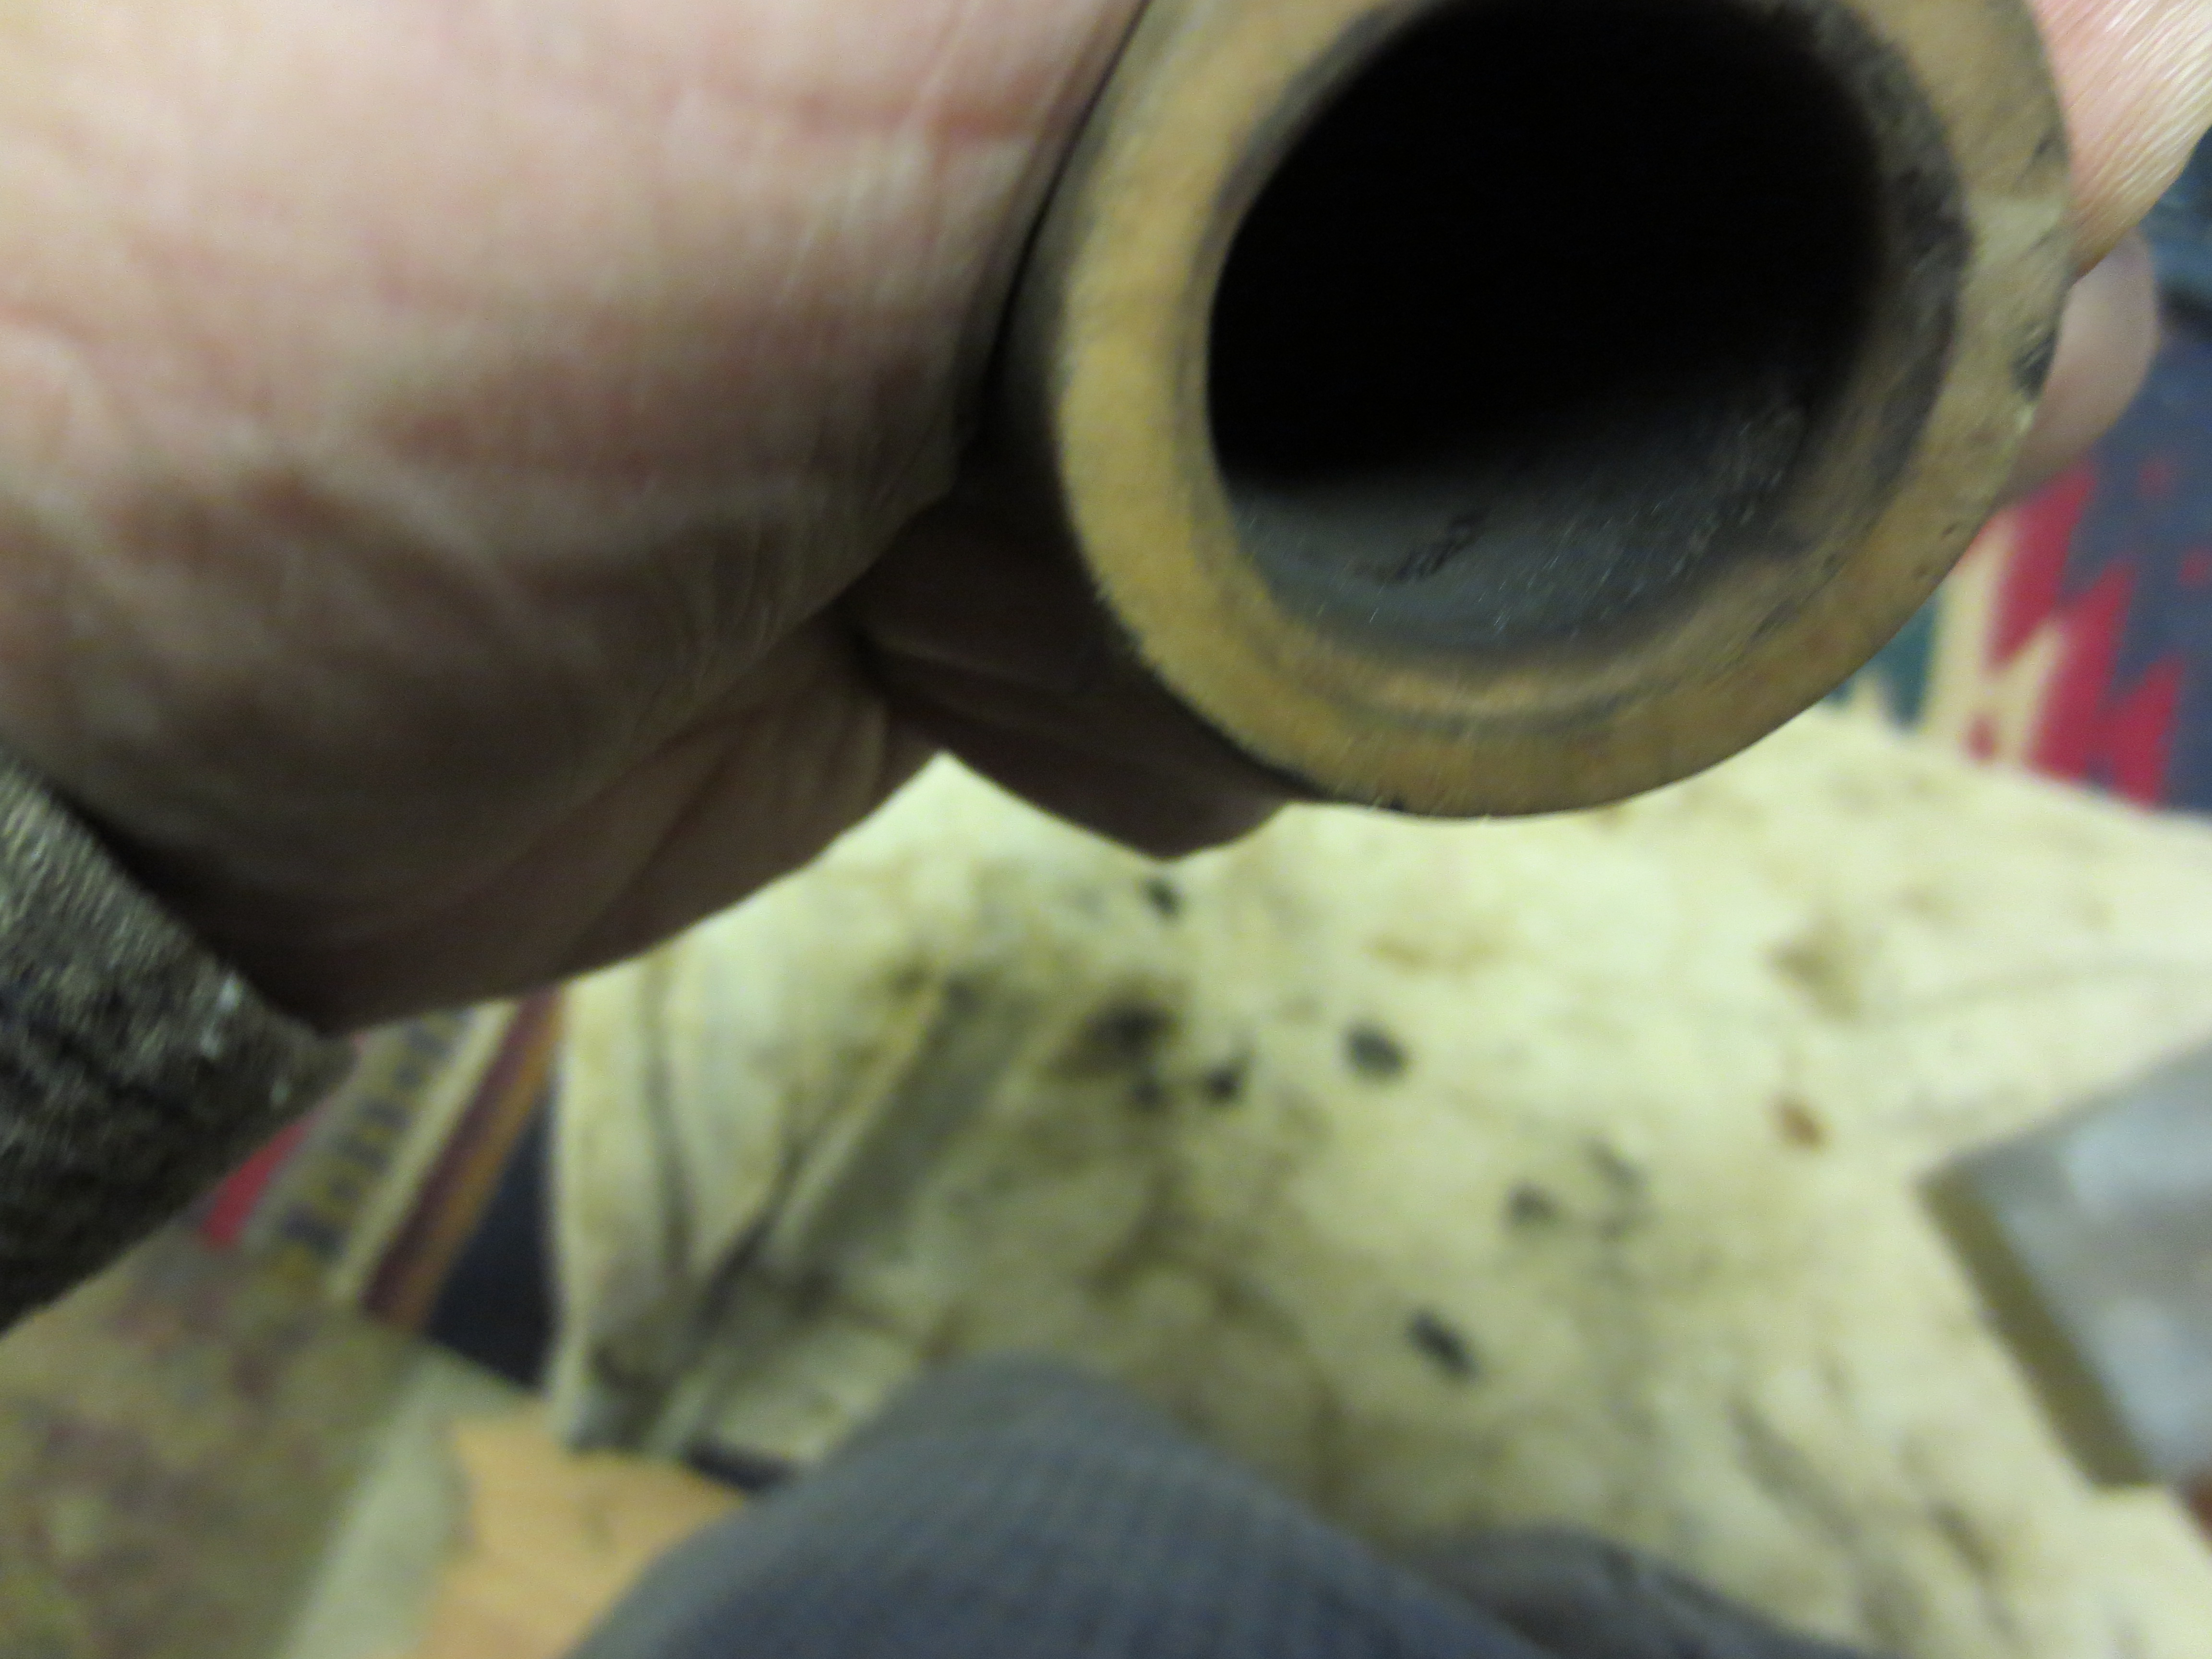
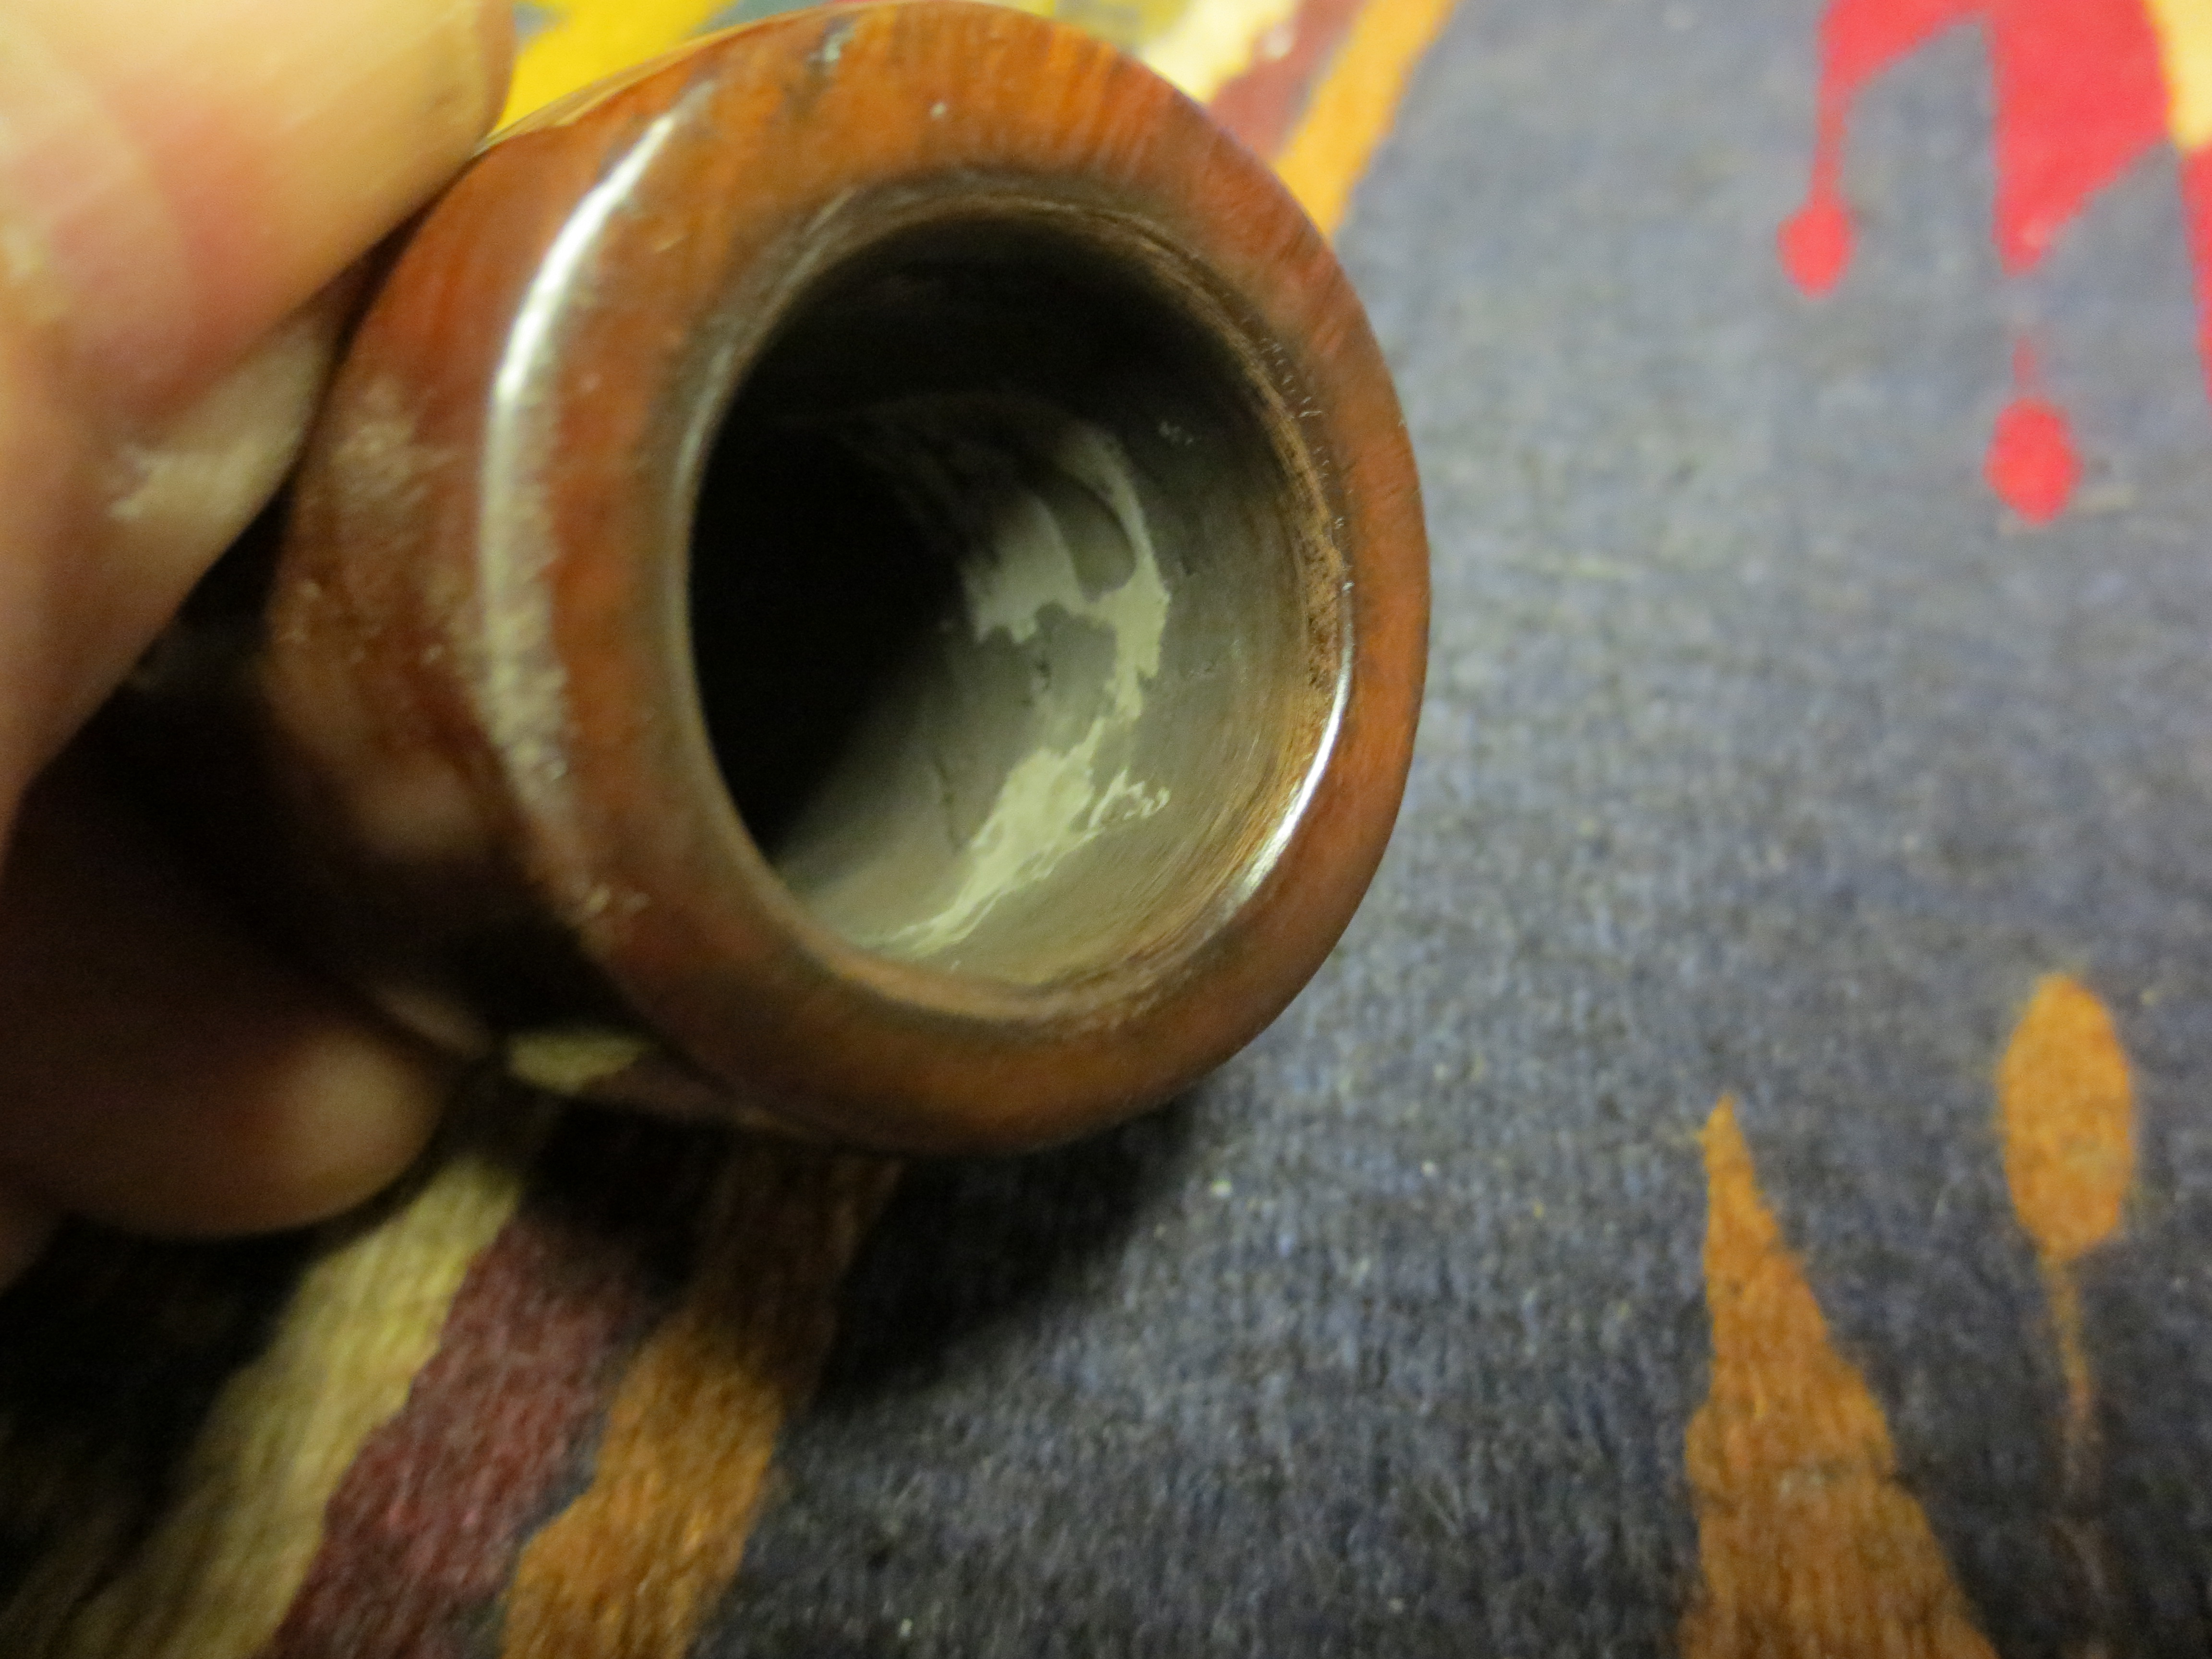
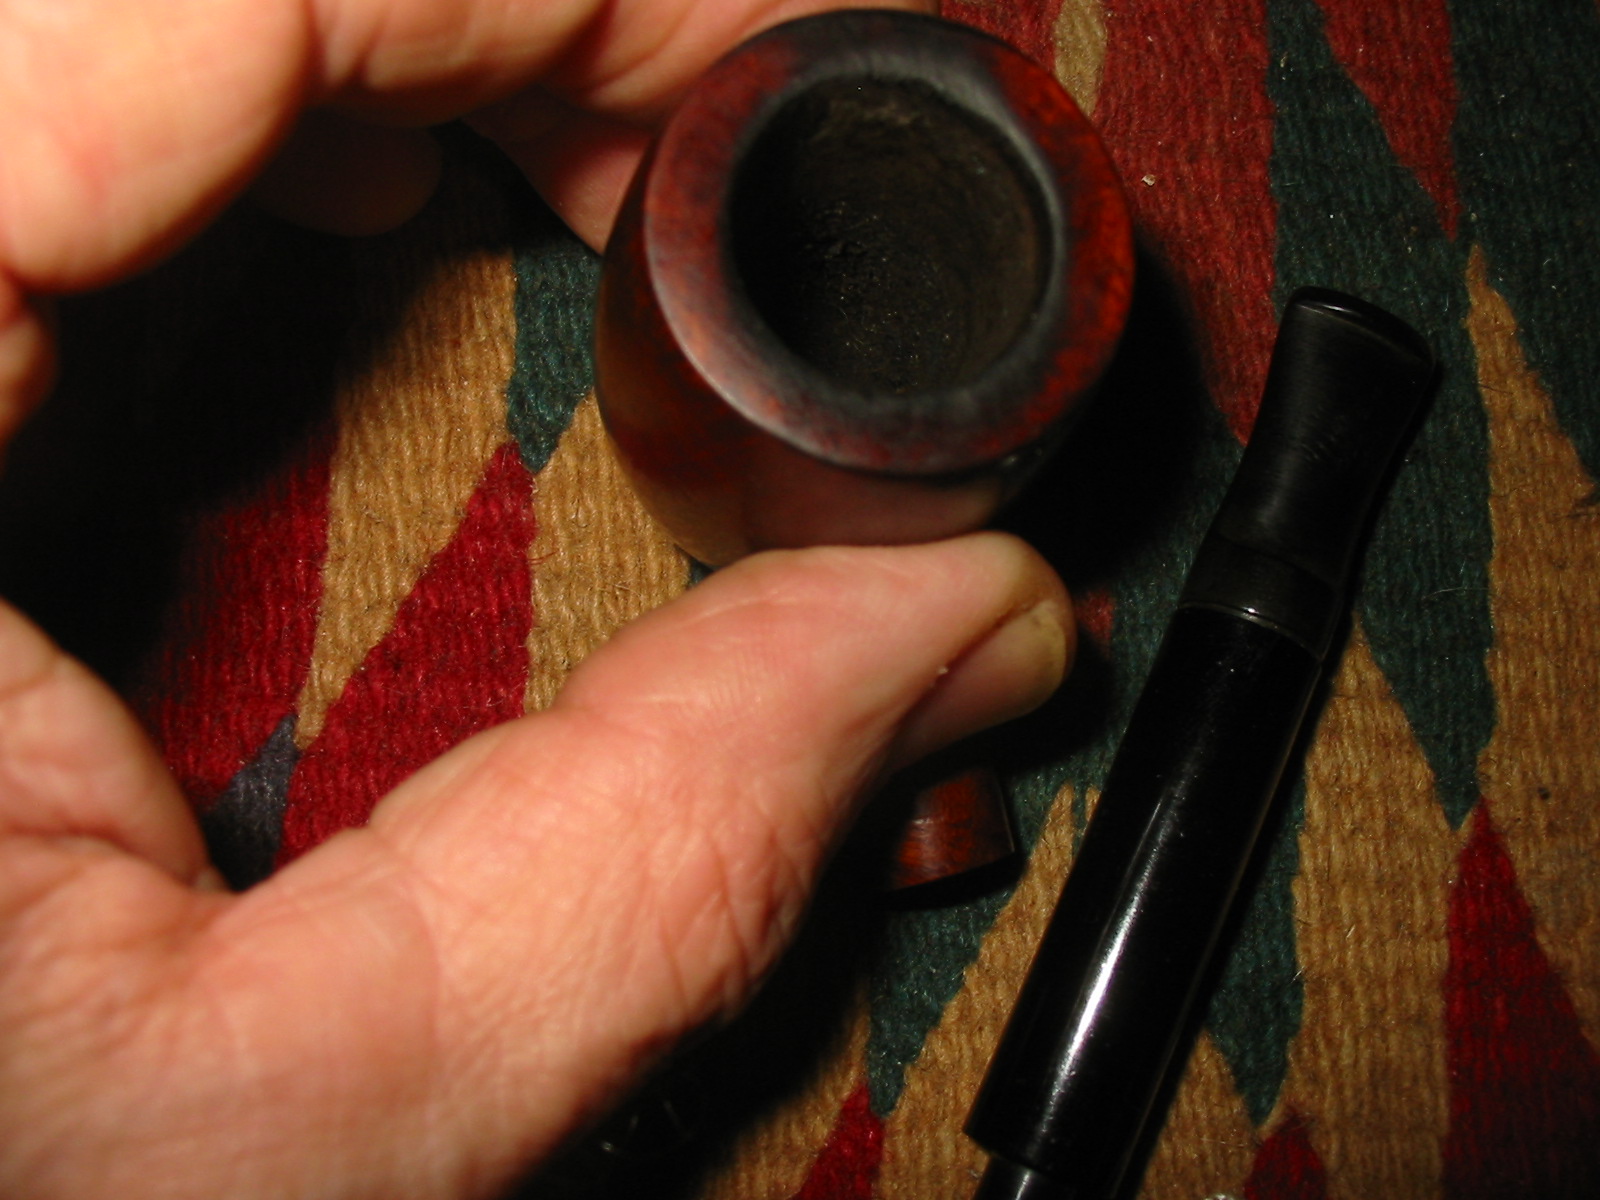
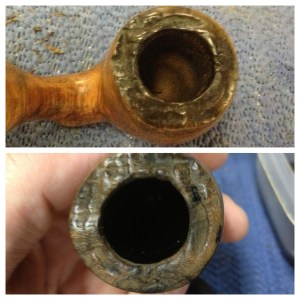
I wiped the pipe down with an alcohol soaked cotton pad. There was little wax left on the pipe and the wipe down removed what remained as well as some surface dirt. While the pipe was wet with the alcohol I could see there was a nice grain hiding under there, one that I hoped to bring out with a contrast stain. But first it would need an alcohol bath. So, I soaked the stummel a couple of in an alcohol bath. When I removed it I realized that the rim had a lot of build up on it; the rim, I thought, was stained black but that was just dirt, grime, and tar, and it was actually not stained black. I then scrubbed the rim with a brass bristle brush lightly to loosen the grime, with not a lot of success so I put the pipe back in the alcohol bath and left it overnight. The next afternoon I removed it from the bath and wiped it down then took it over another container of alcohol that I use for cleaning and dipped in my wire brush and started to scrub gently again. This time I saw much more removal of grime; the extra time in the alcohol has paid off in really softening the buildup. I switched to a toothbrush and scrubbed out all the remaining grime. I found that there were some rim char under there that the gunk had hidden. Below is a photo of before and after the 12-plus hour soak and scrubbing.
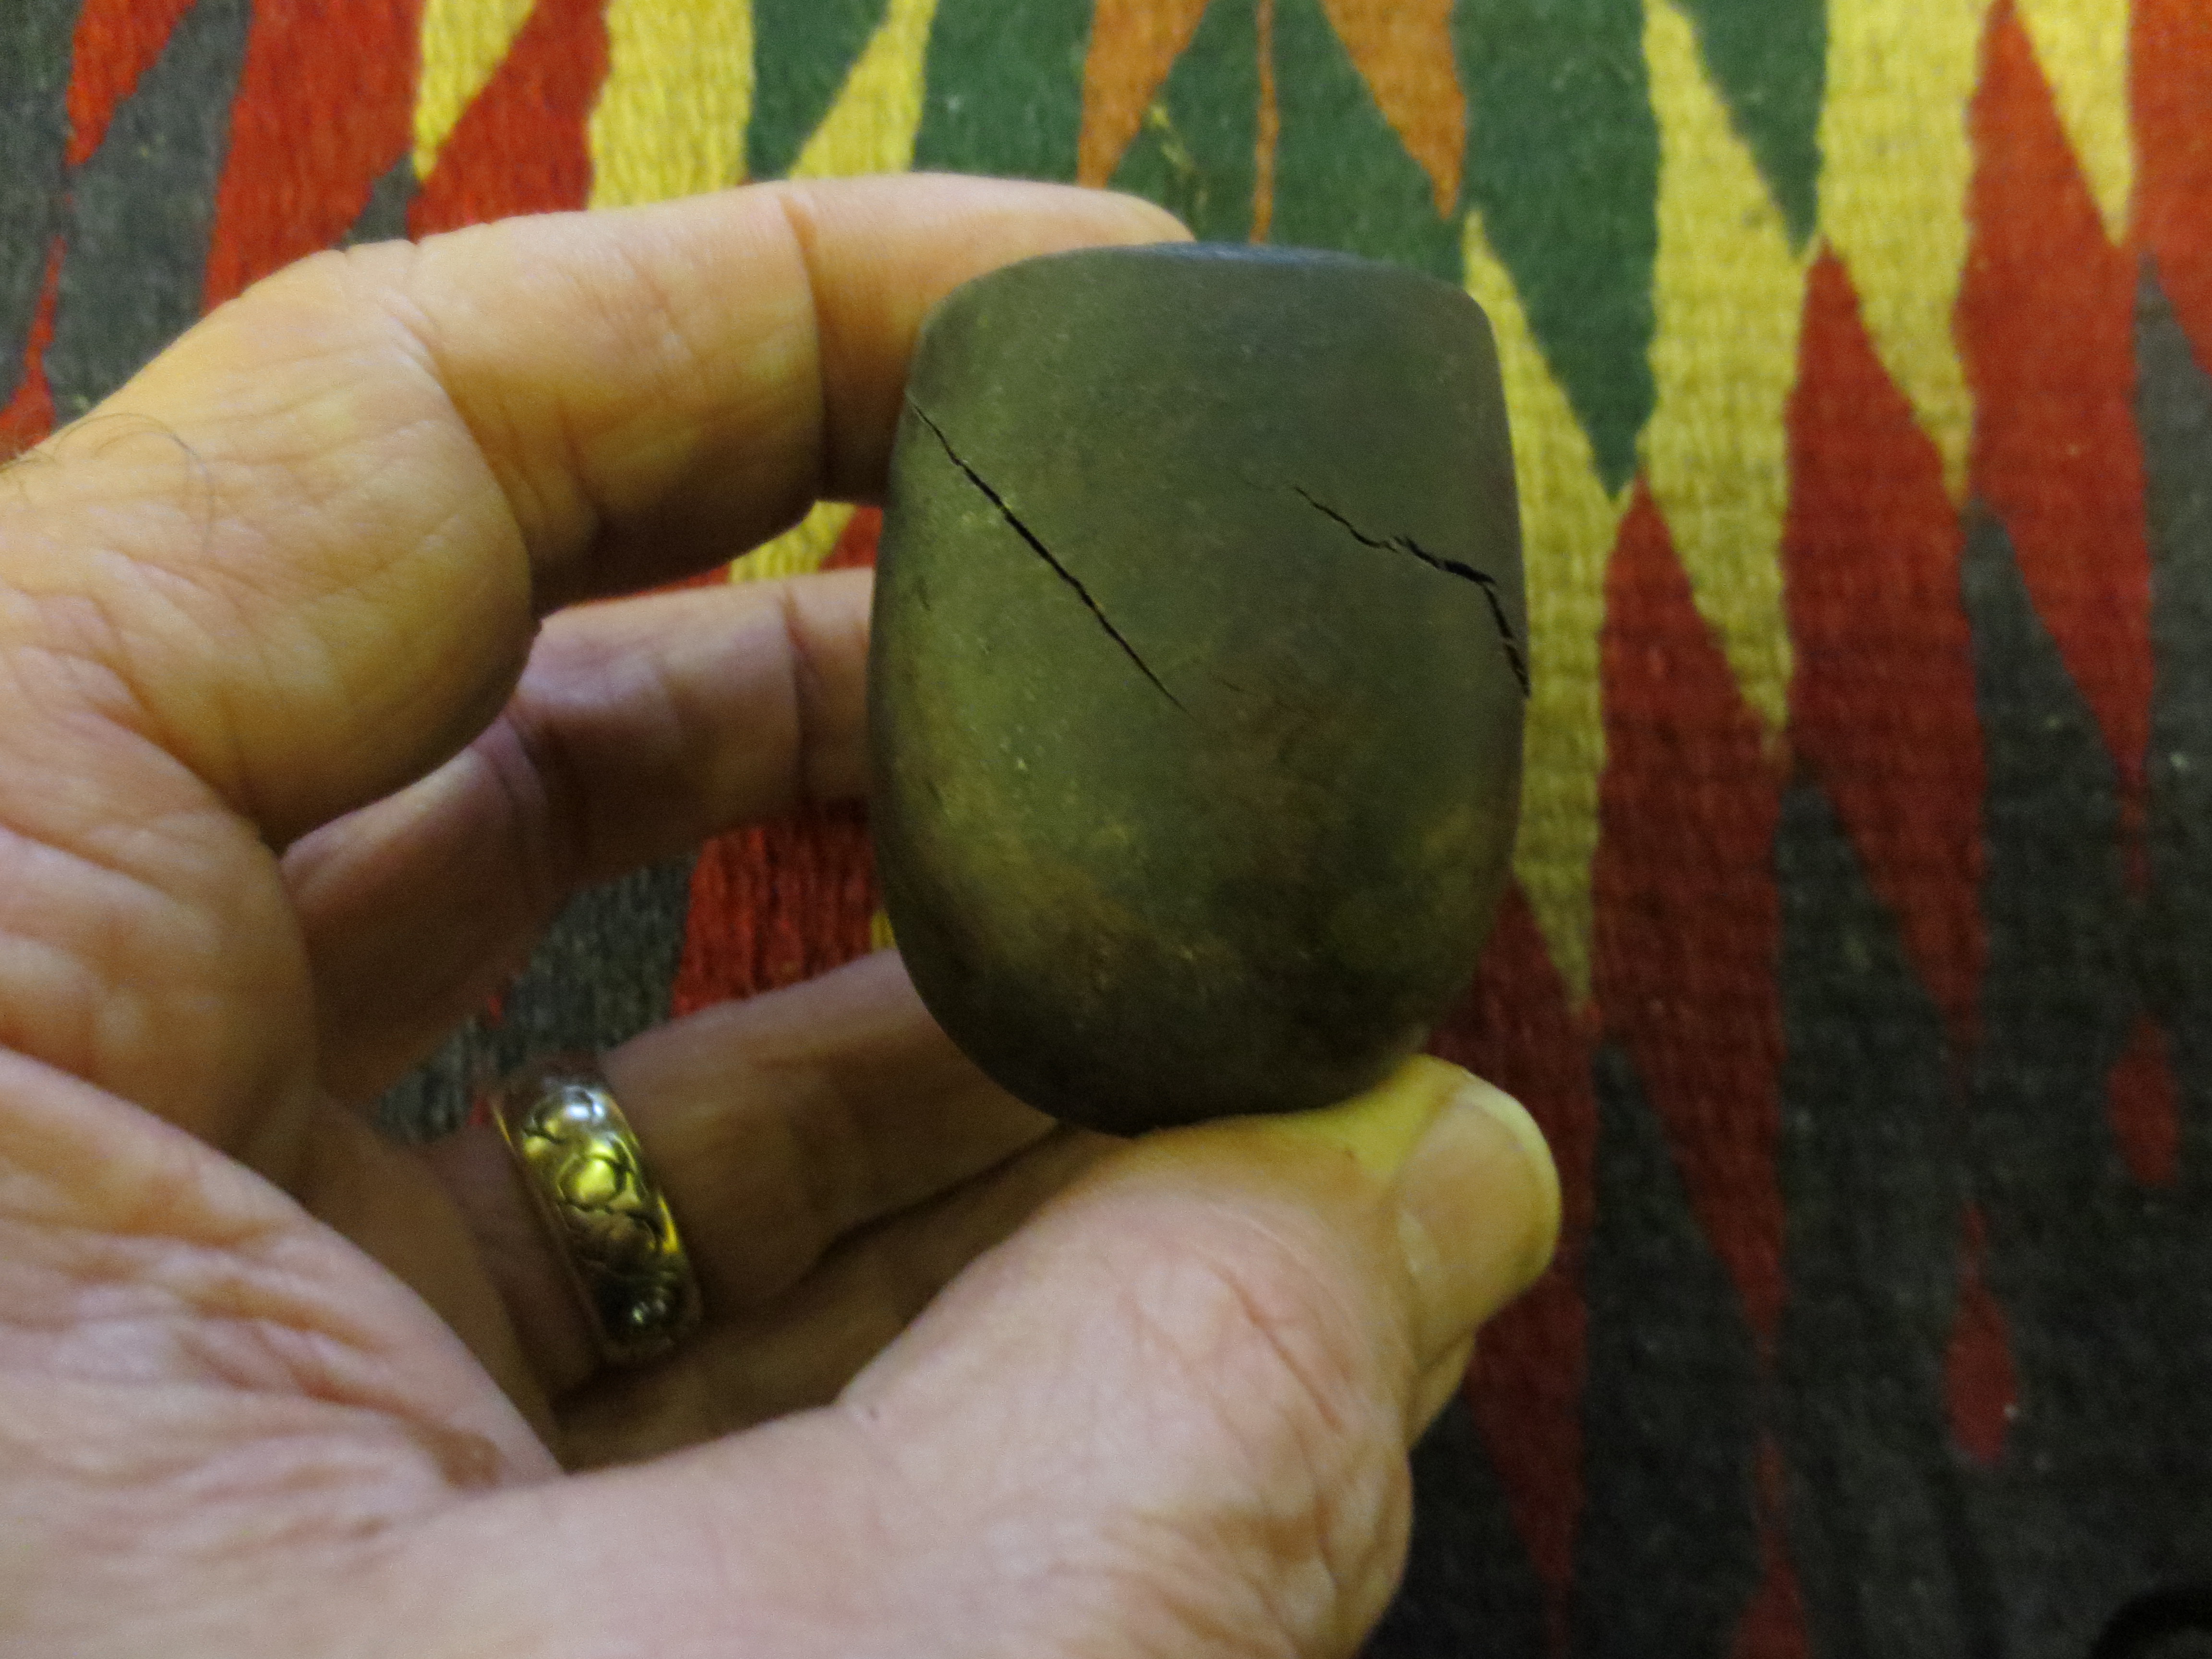
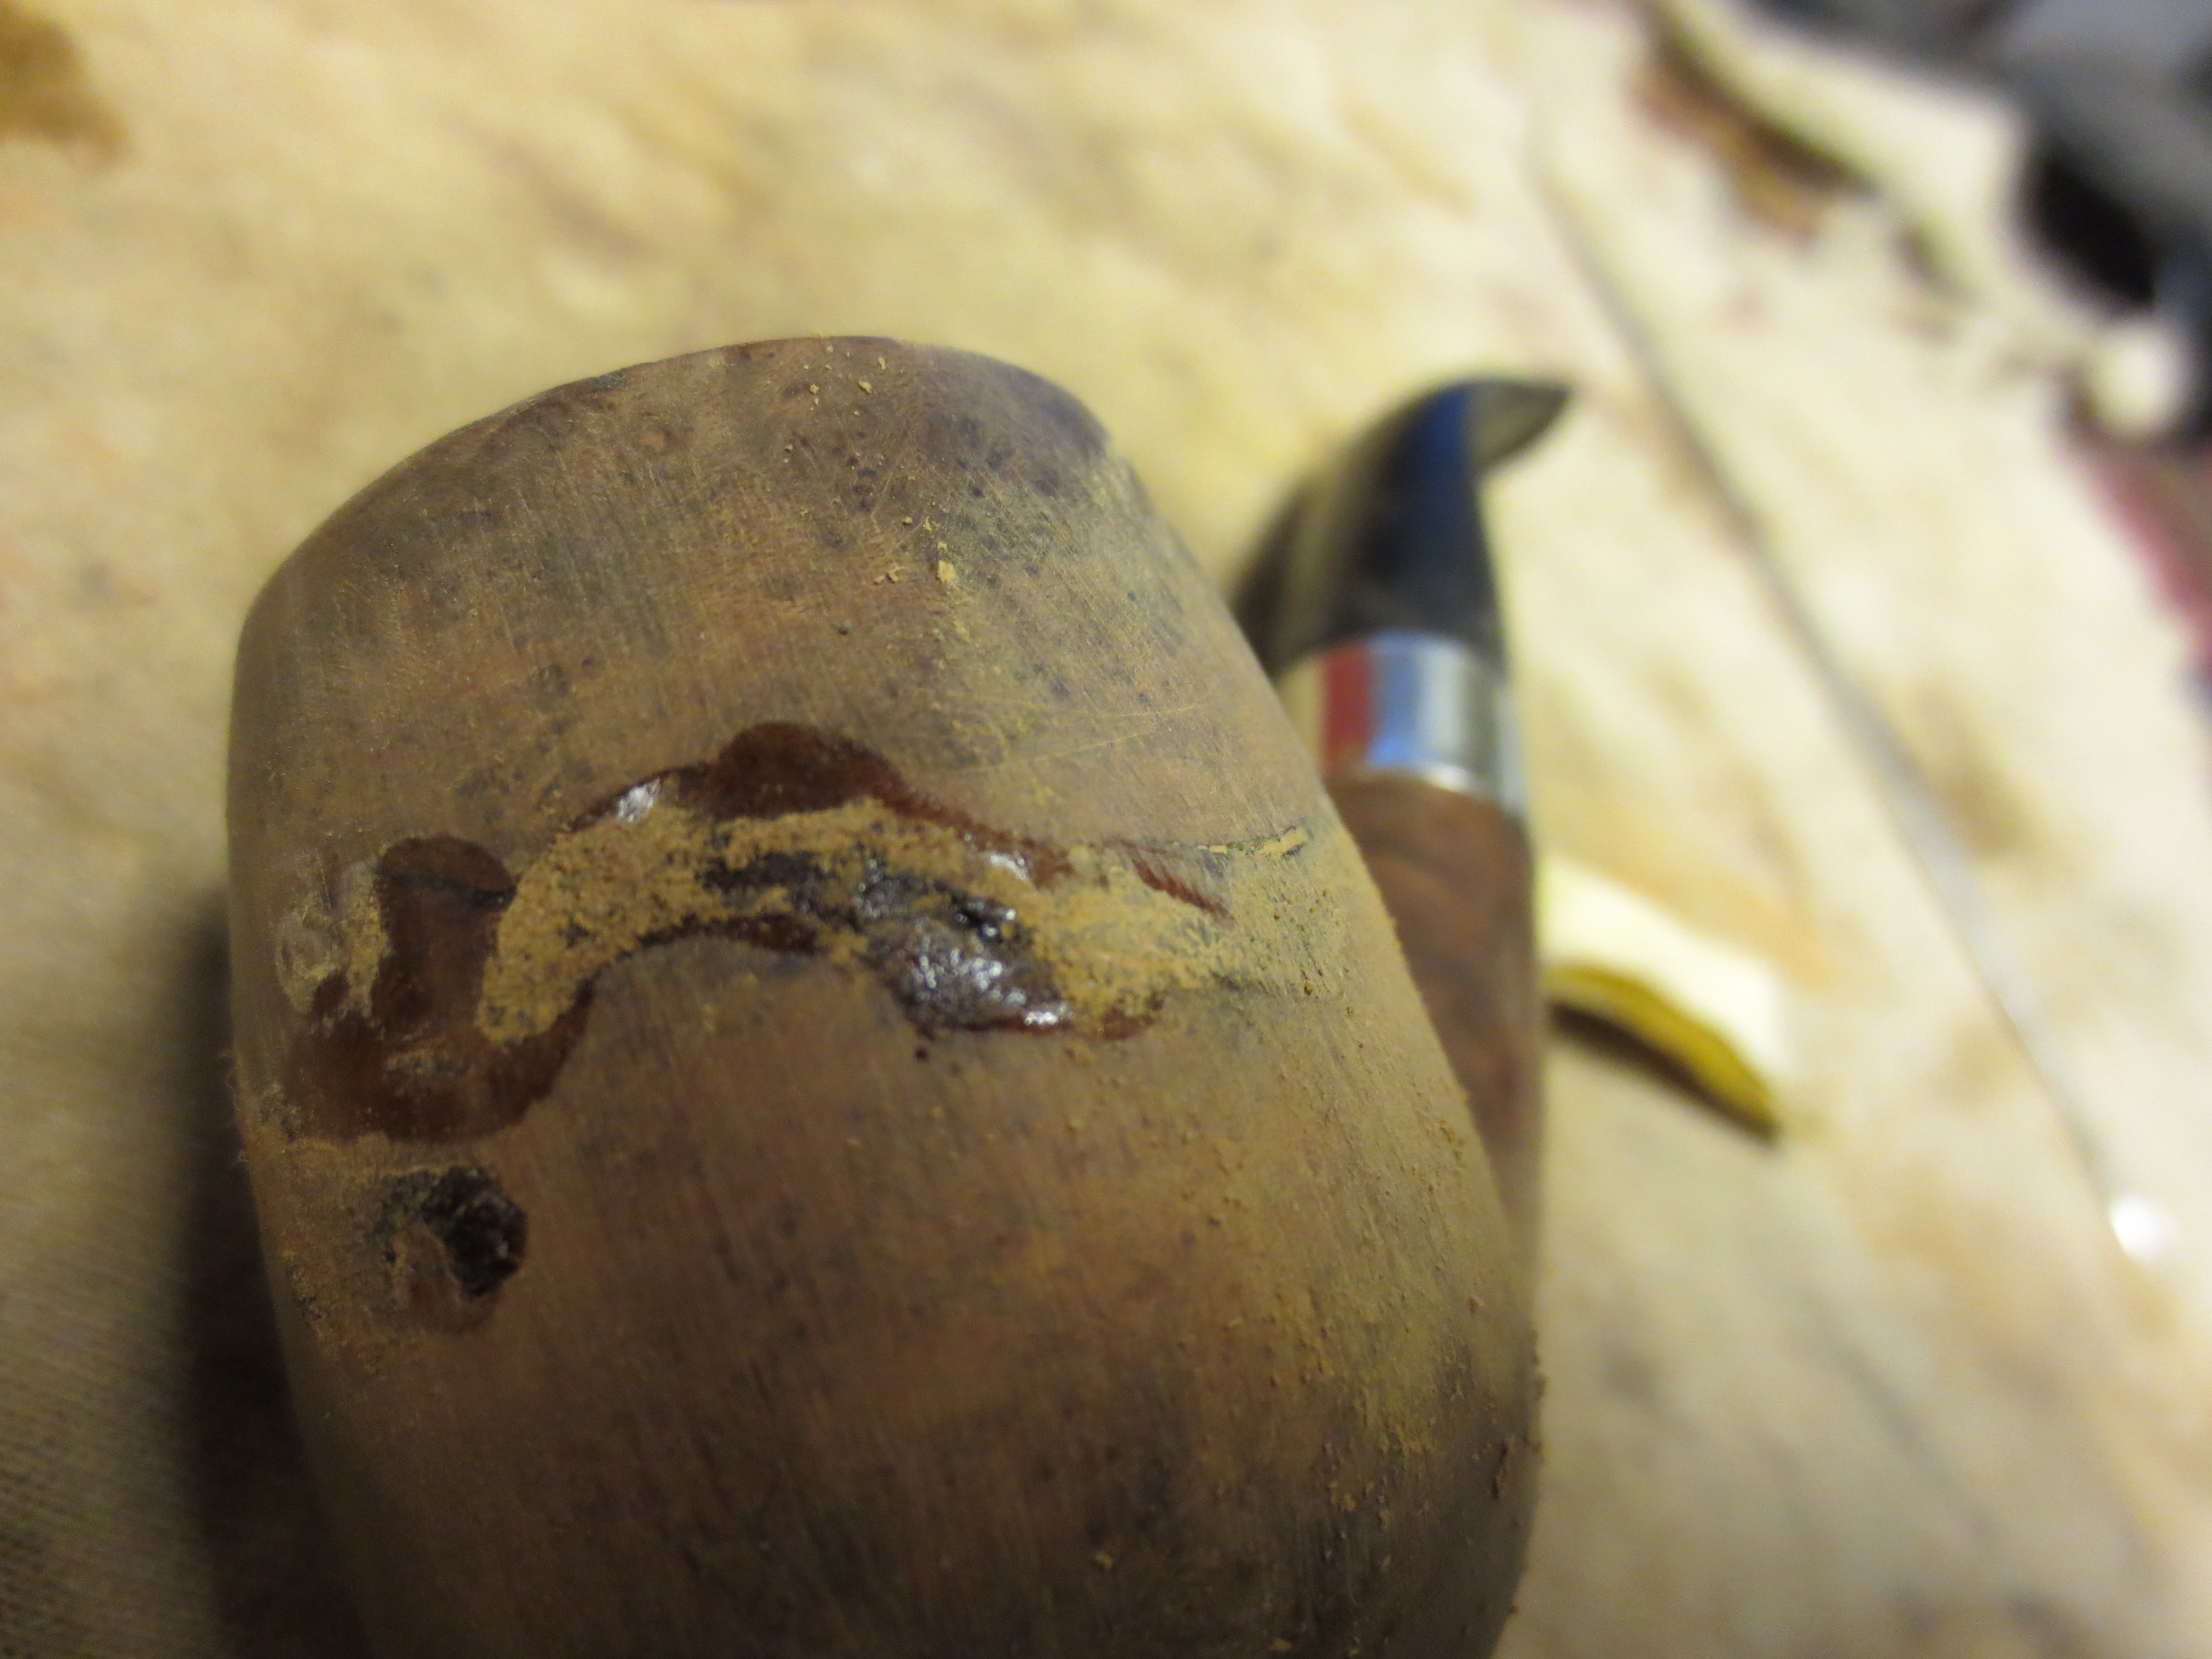
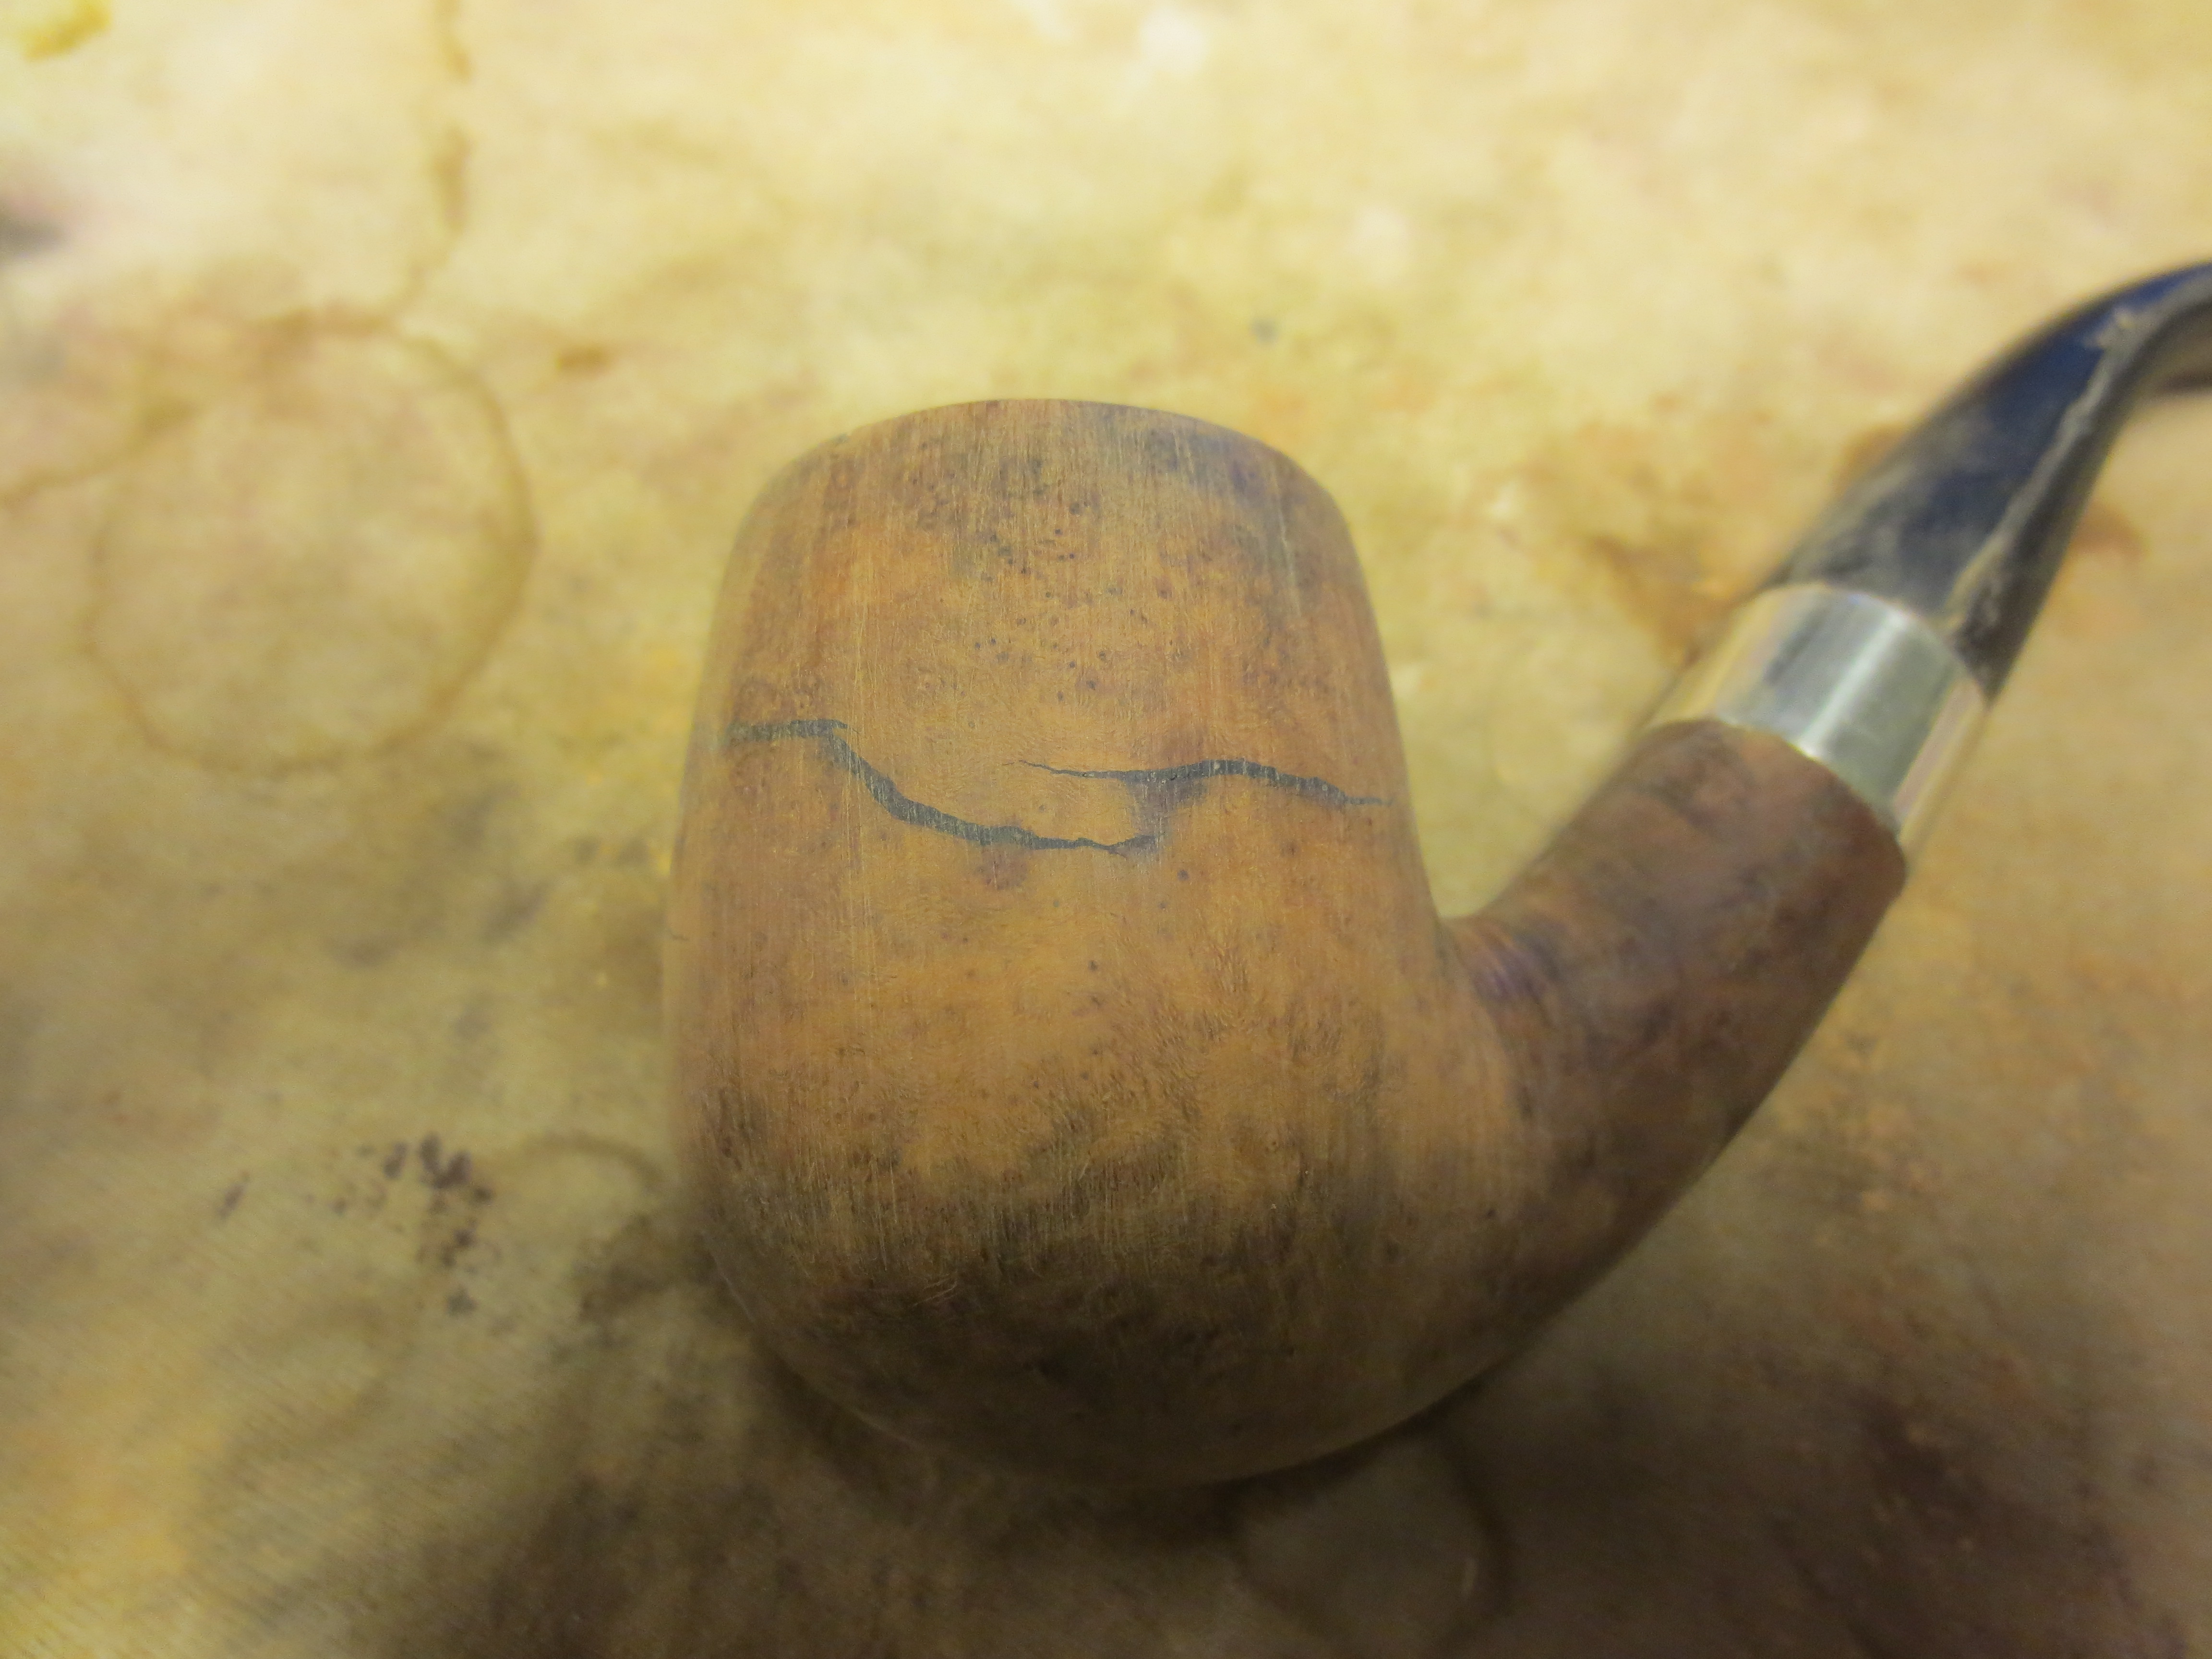
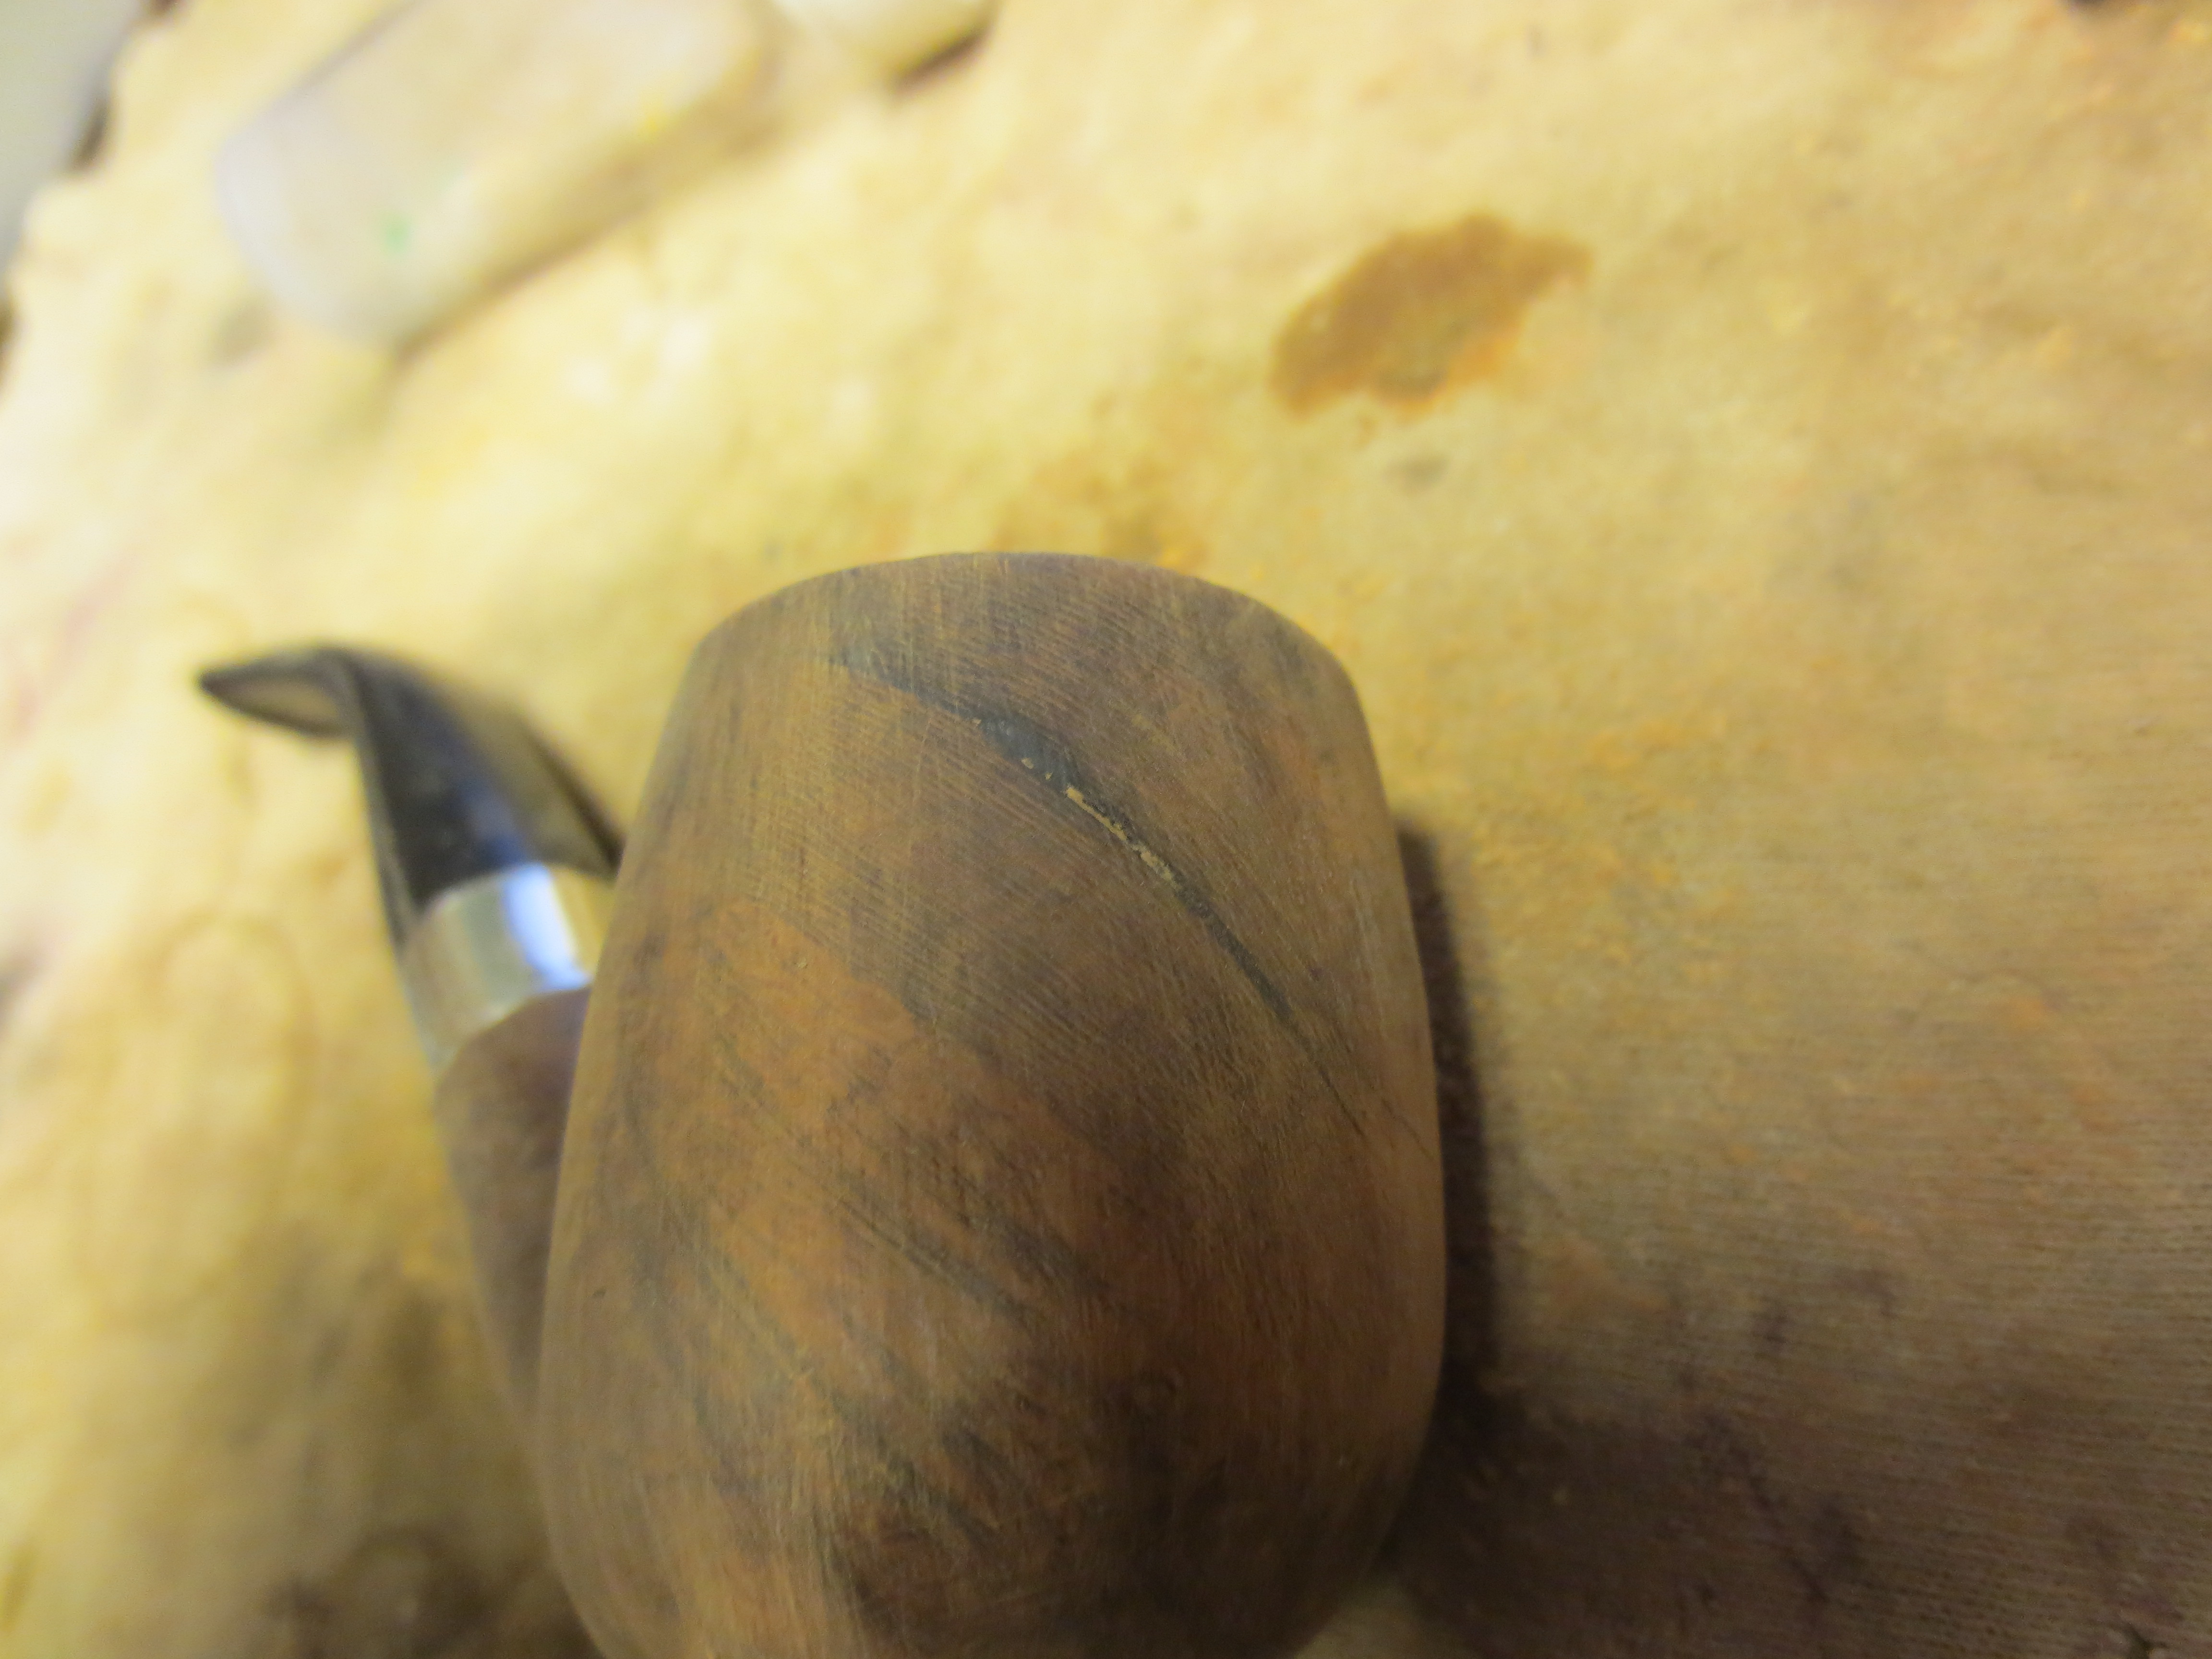
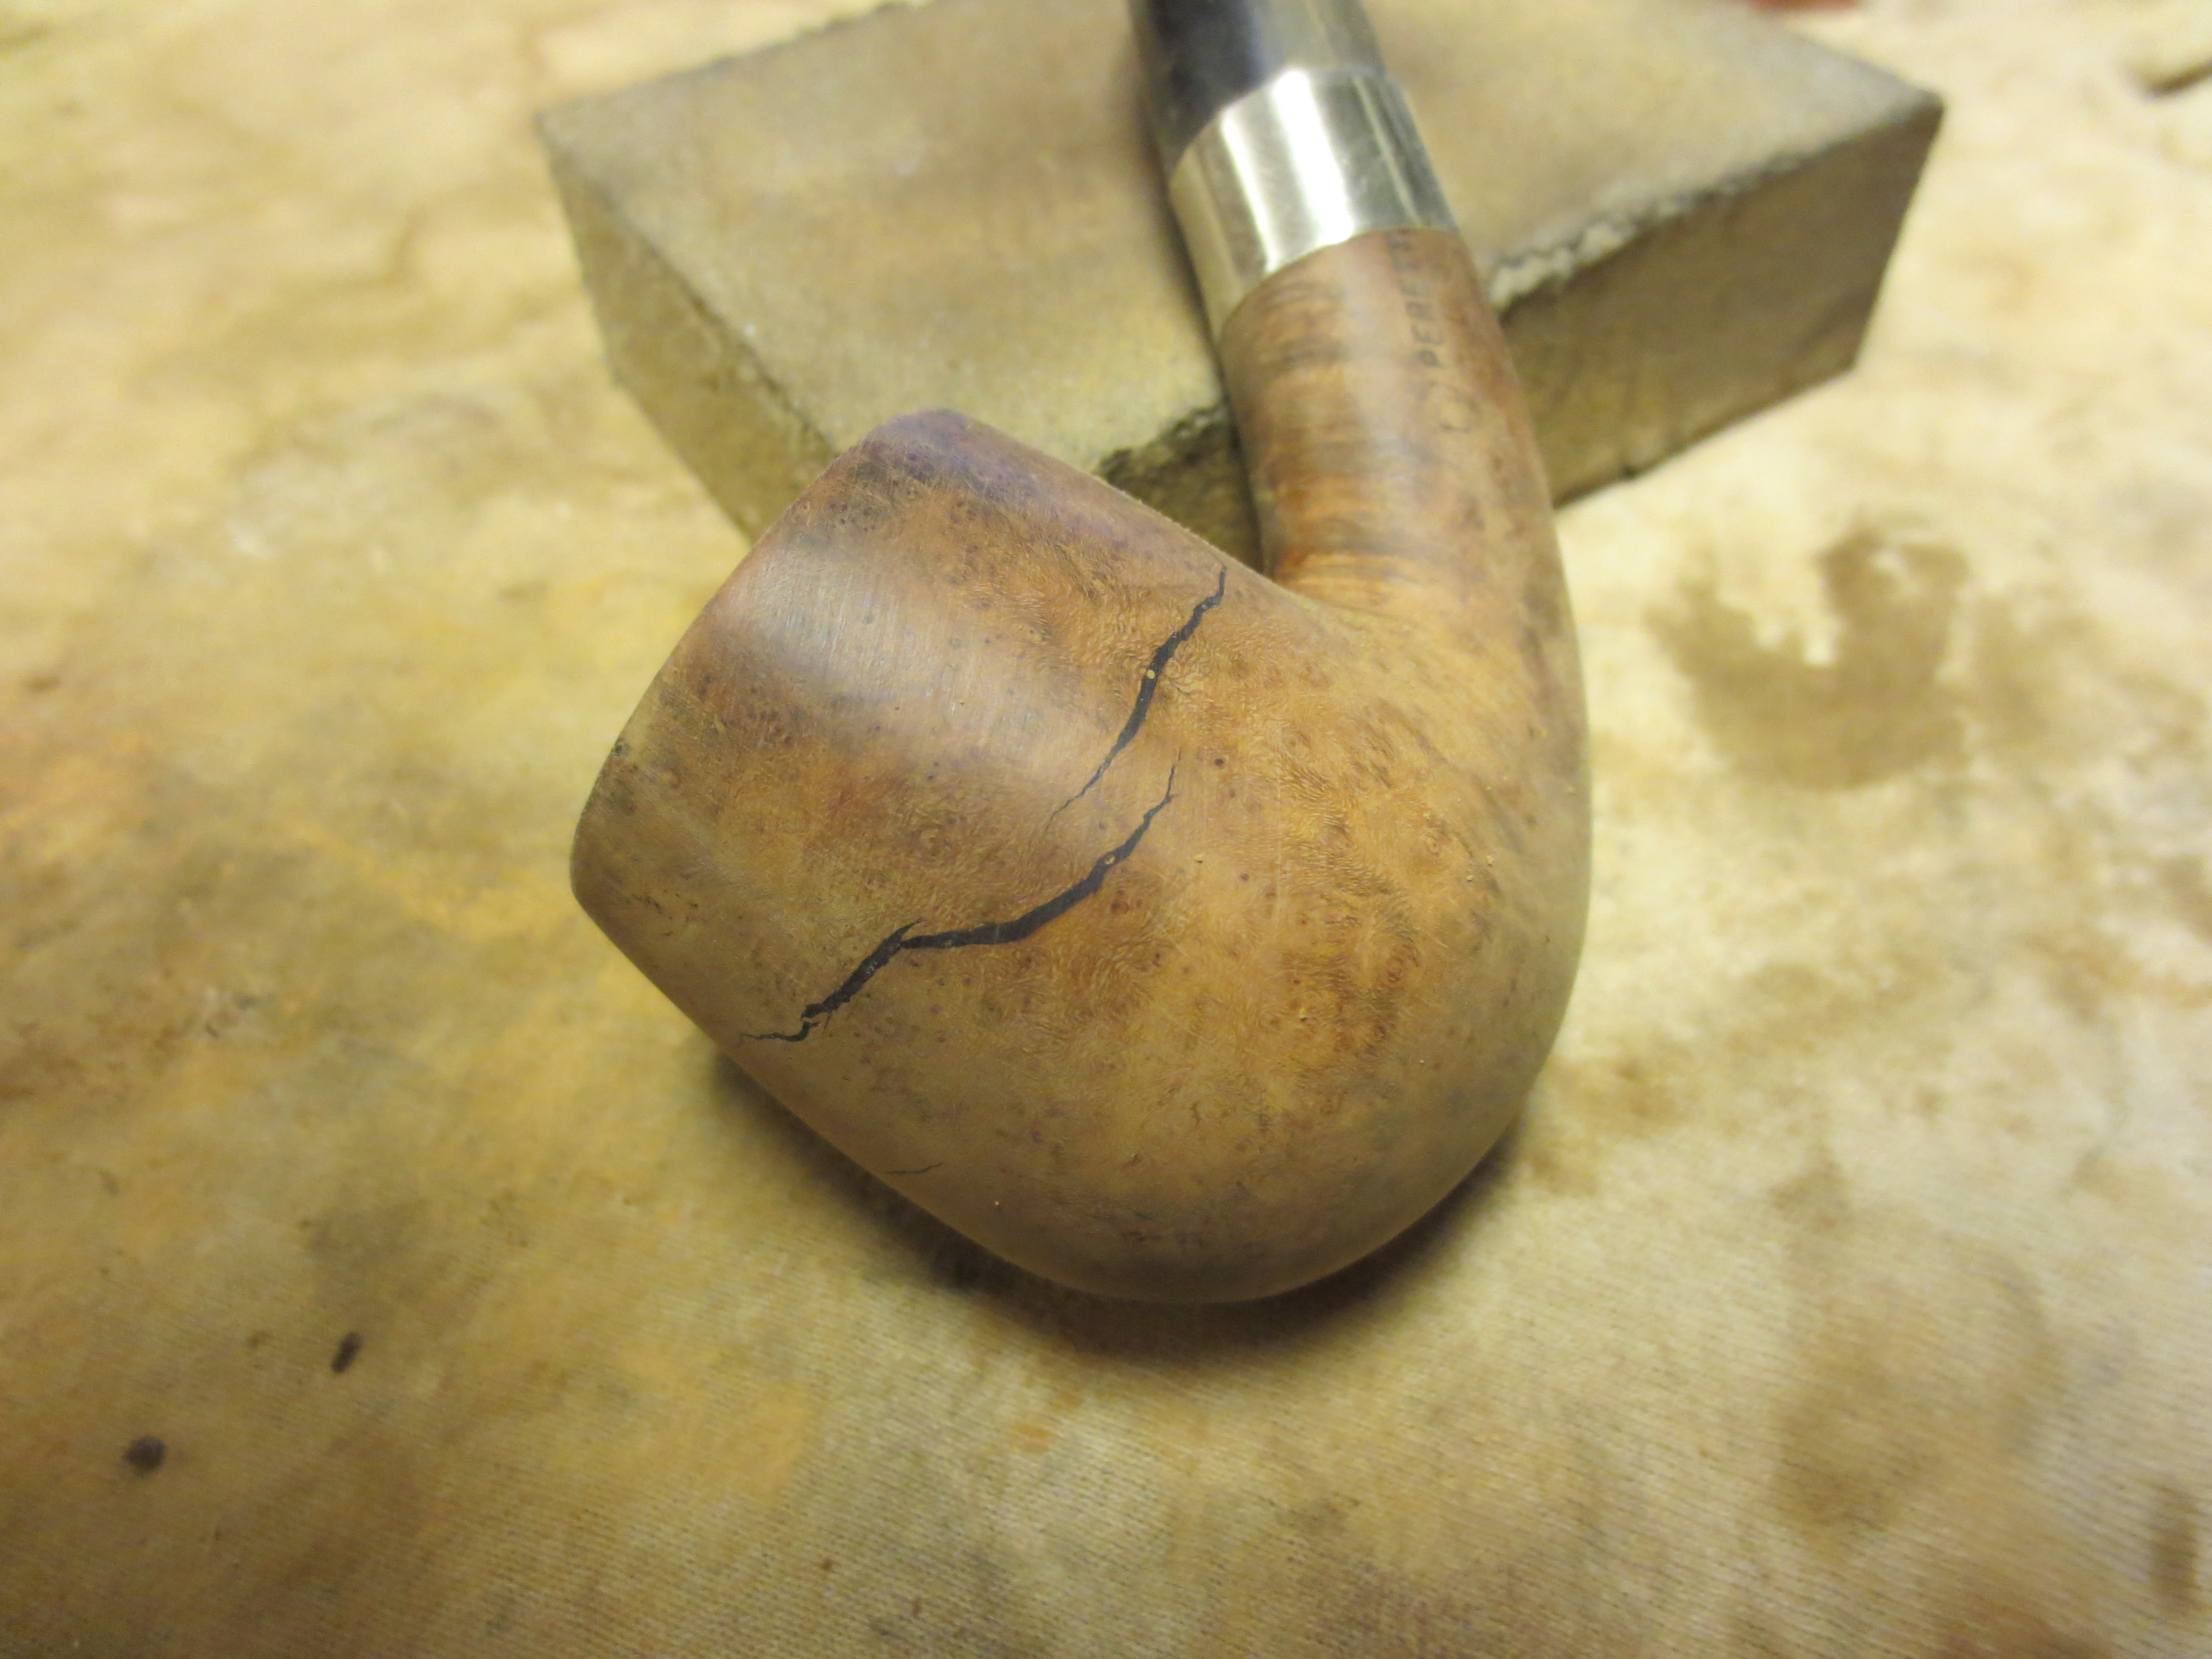
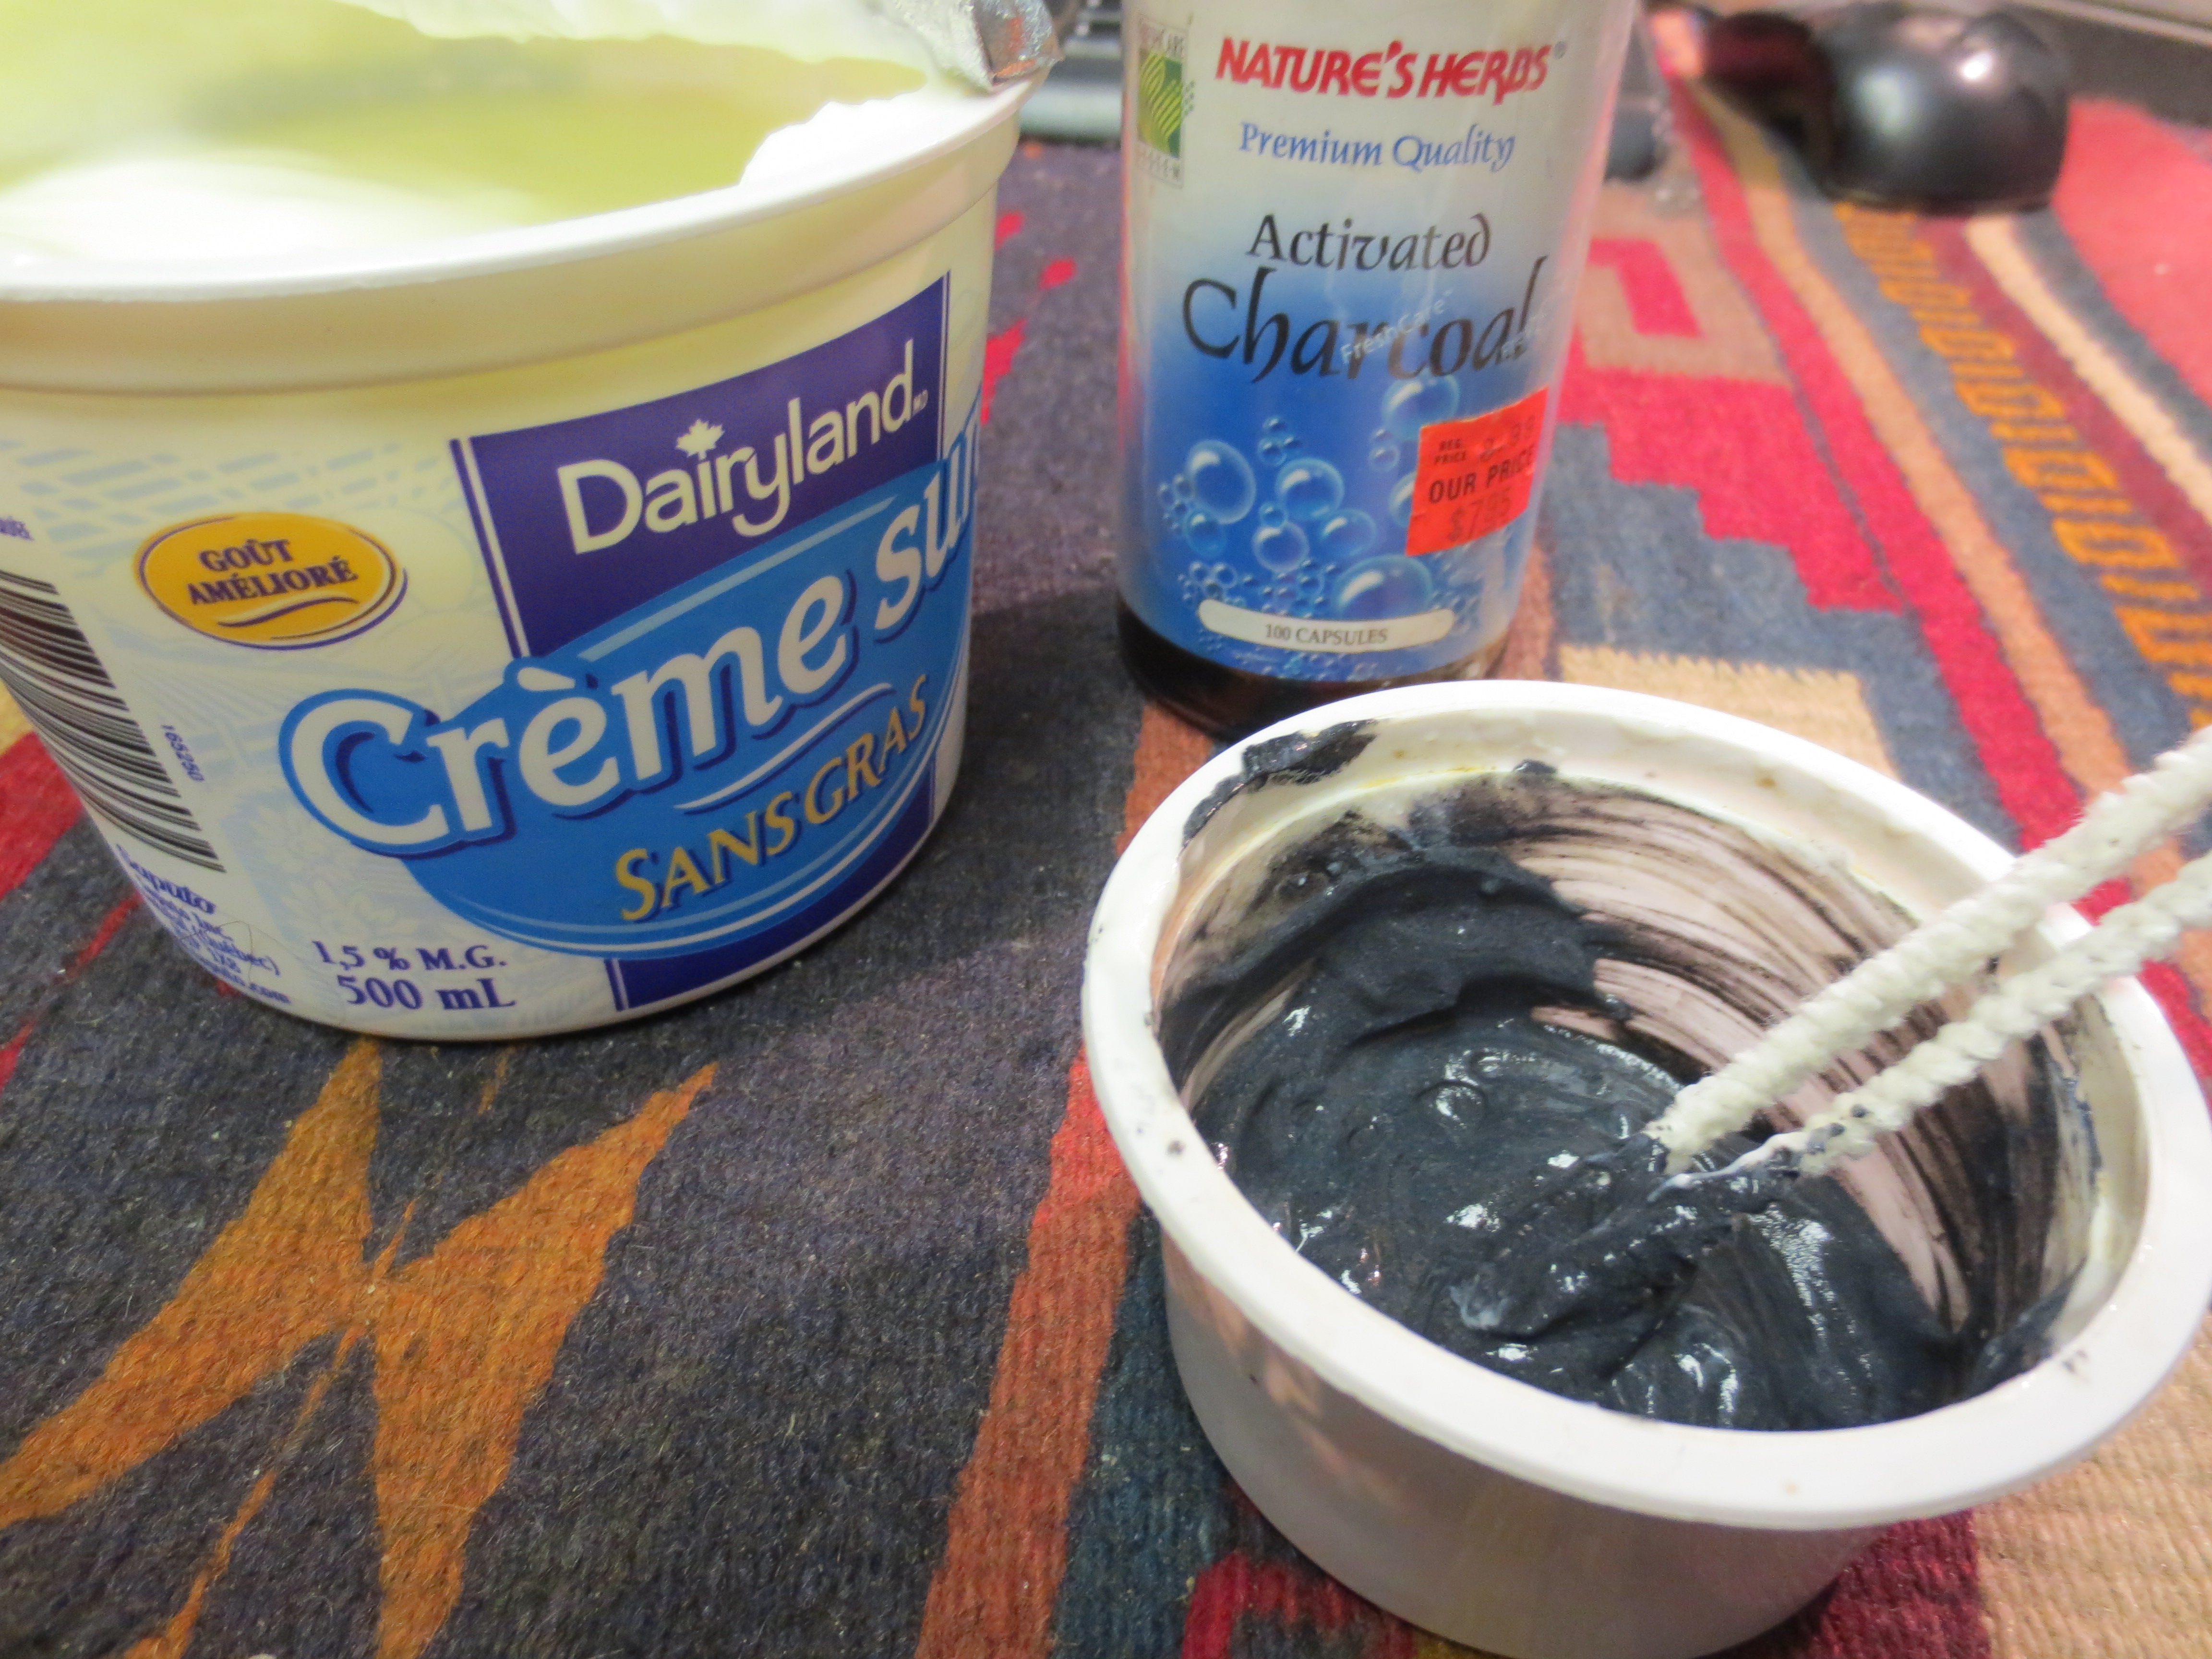
The charring made me decide that the rim would need to be stained black now. The large shank end was stained black so this would match and look good I was sure. But there was also a fairly large burn on the back, left side of the bowl that would have to be addressed. There were two fairly large fills near the burn but I didn’t plan on removing and/or refilling them; I planned on leaving them and seeing how they covered with the contrast stain. I had recently read a post suggesting that fills should be done with carbon dust, not briar dust, and super glue. The idea was that the pipe would darken over time with use and the black fills would blend in more naturally. I don’t know if that is a fact but I thought on this pipe I would stain the existing fills black and see how it ended up looking. Here are a few photos:


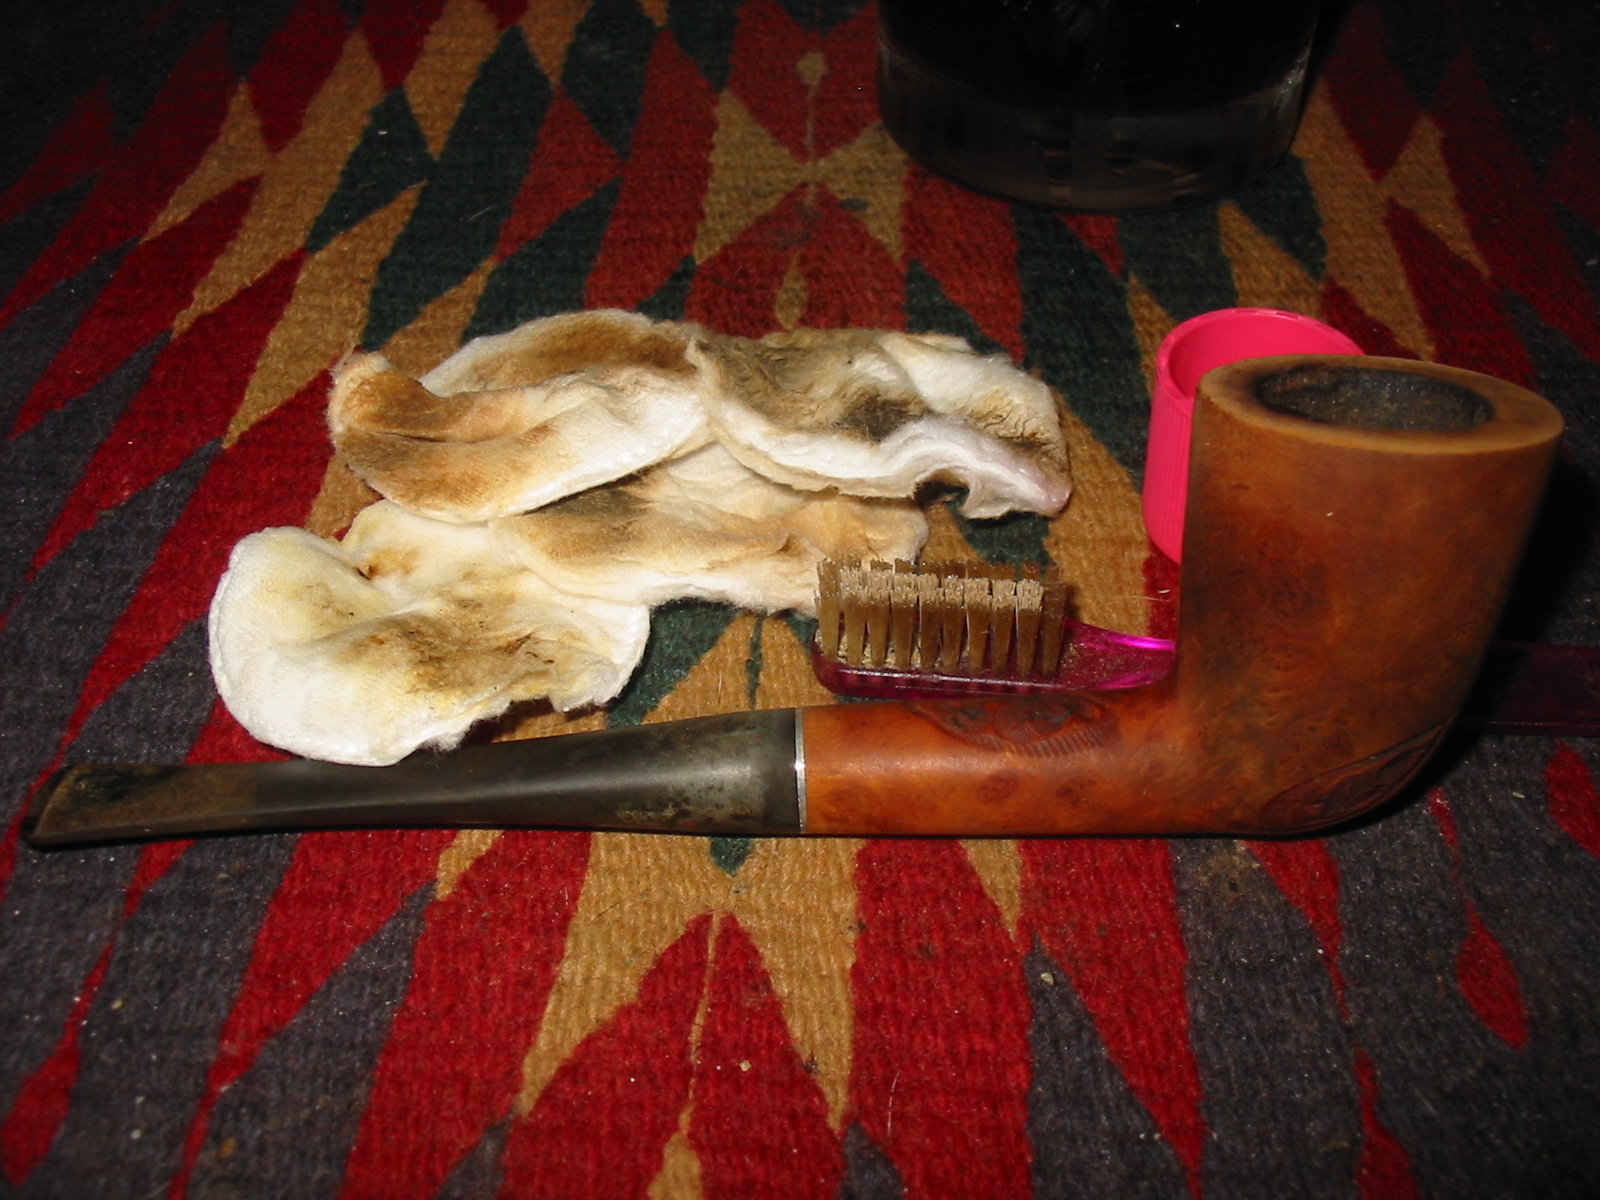
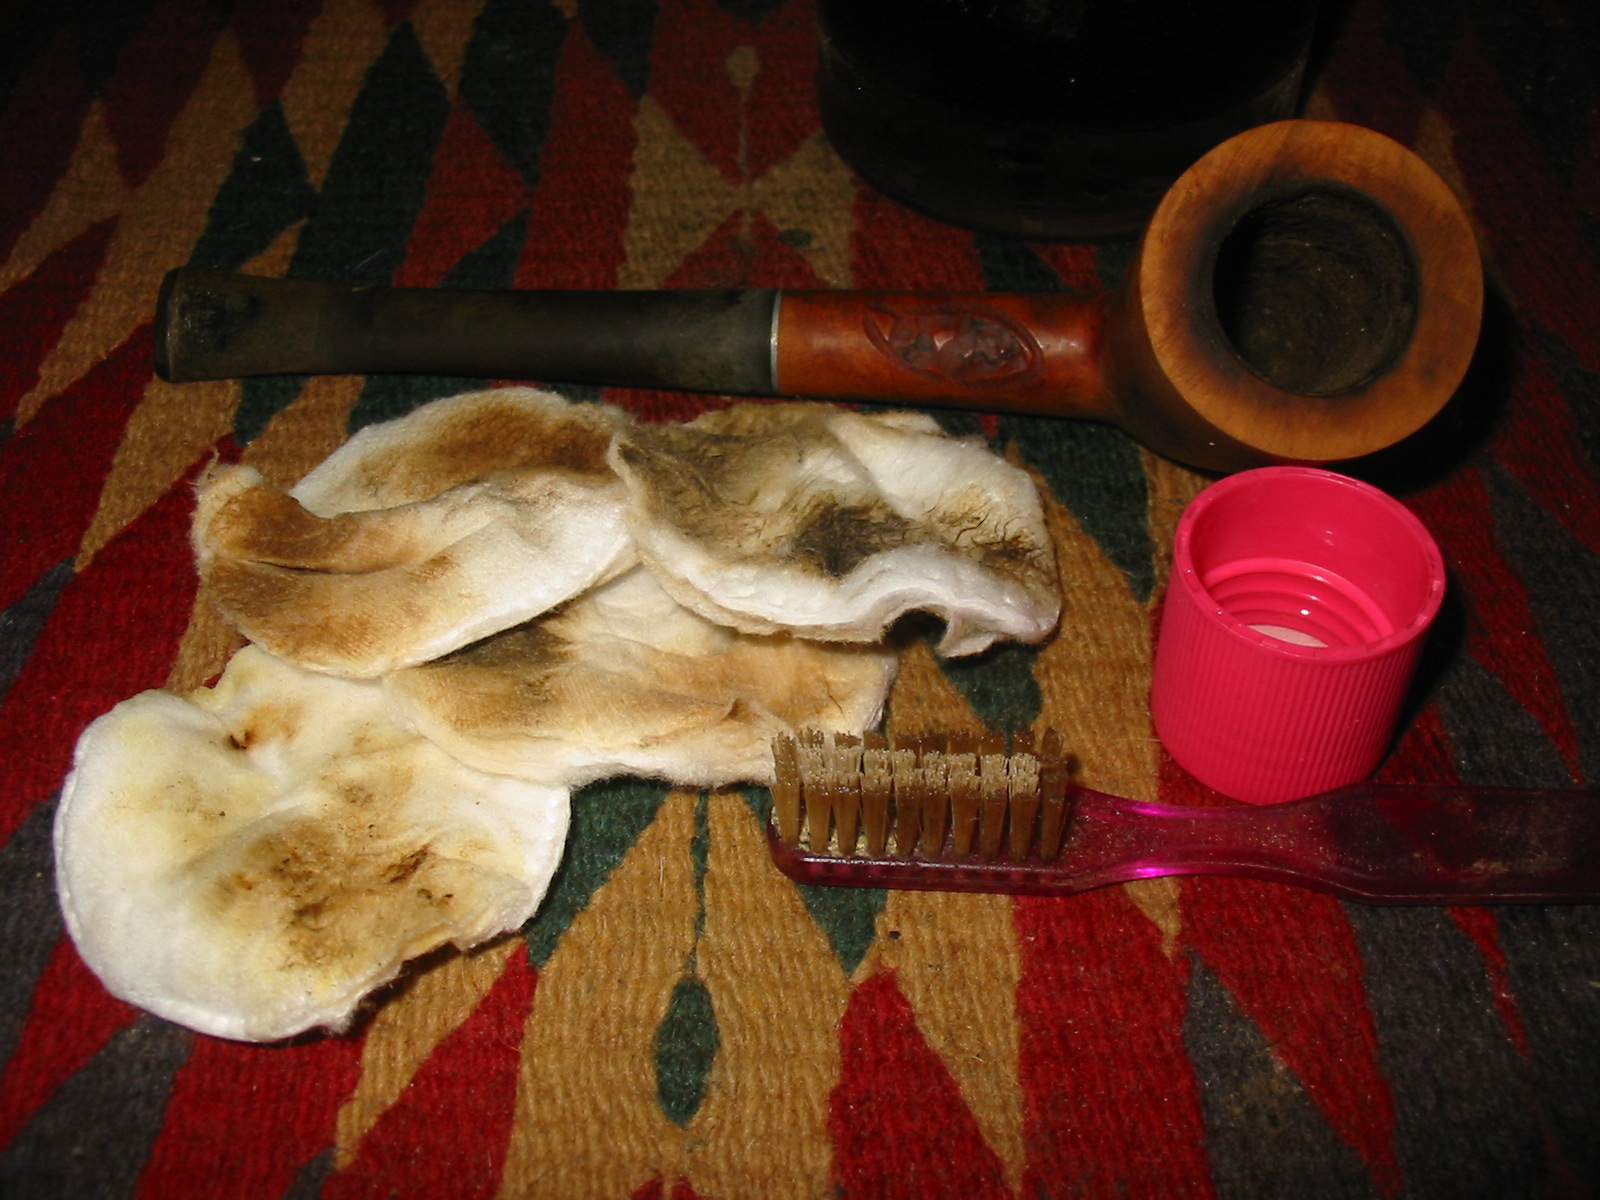
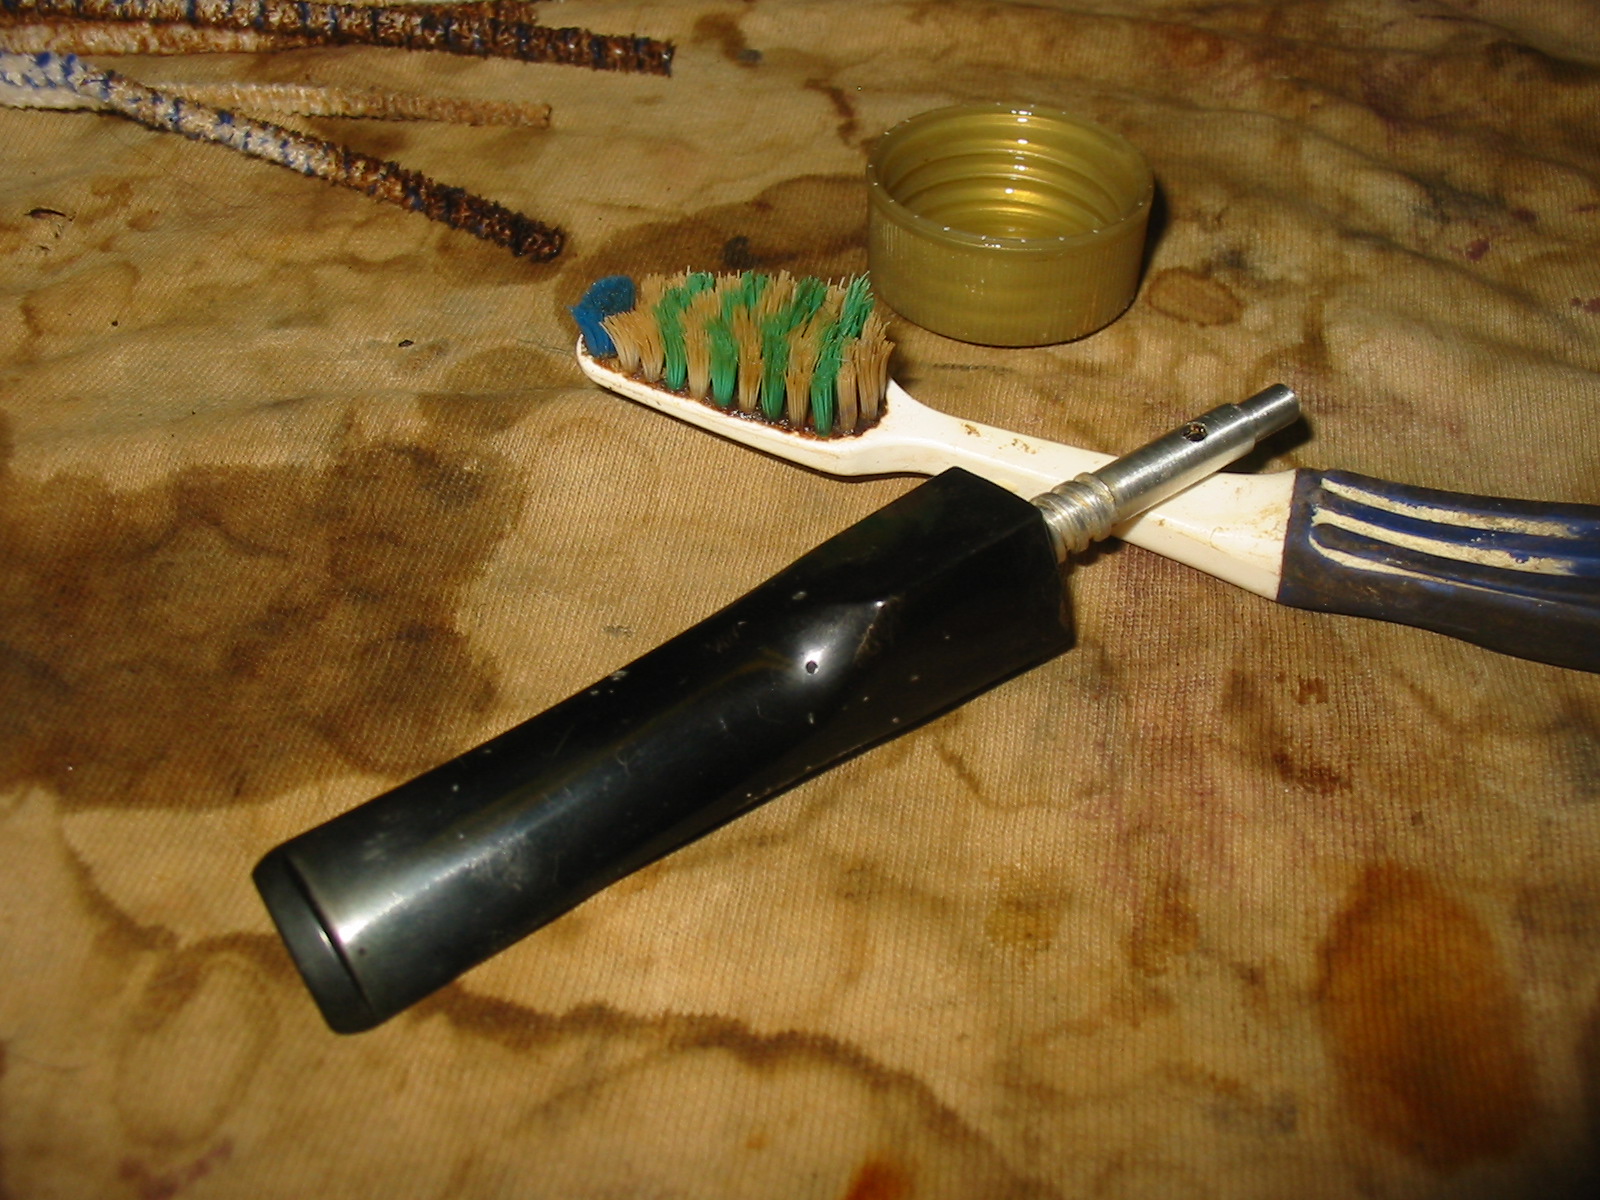
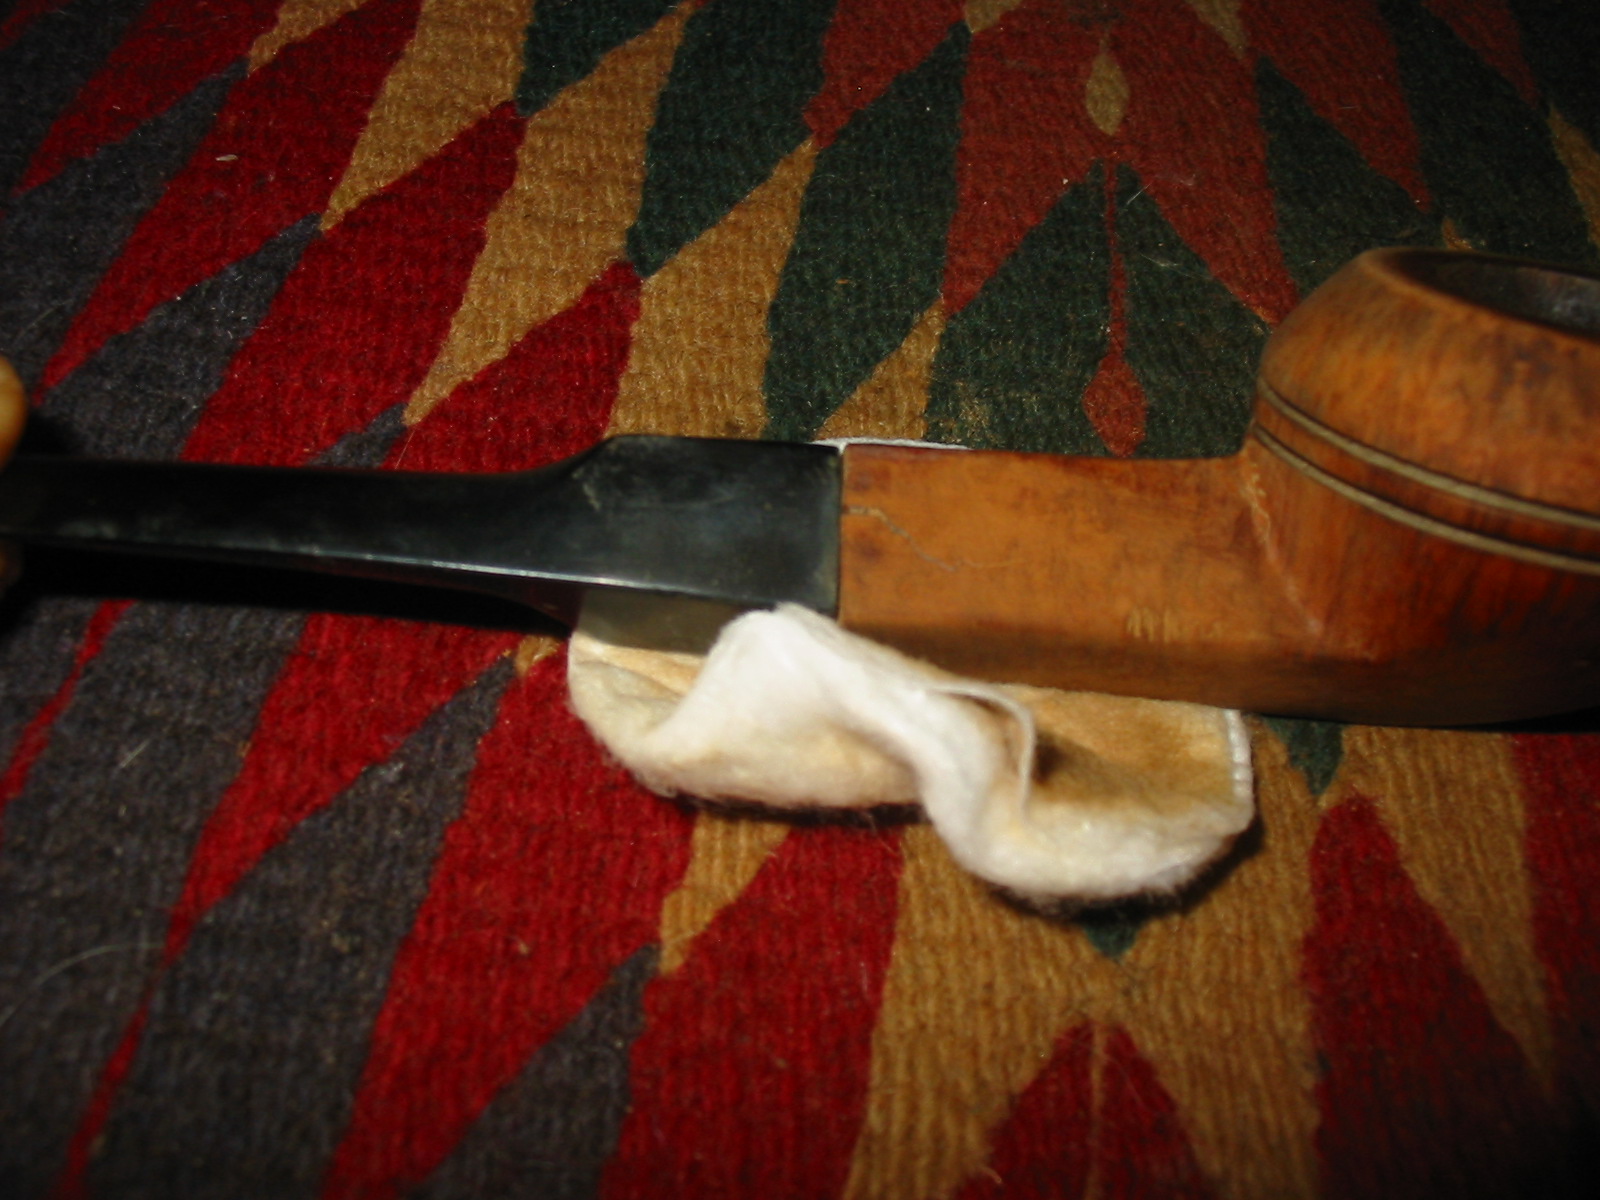
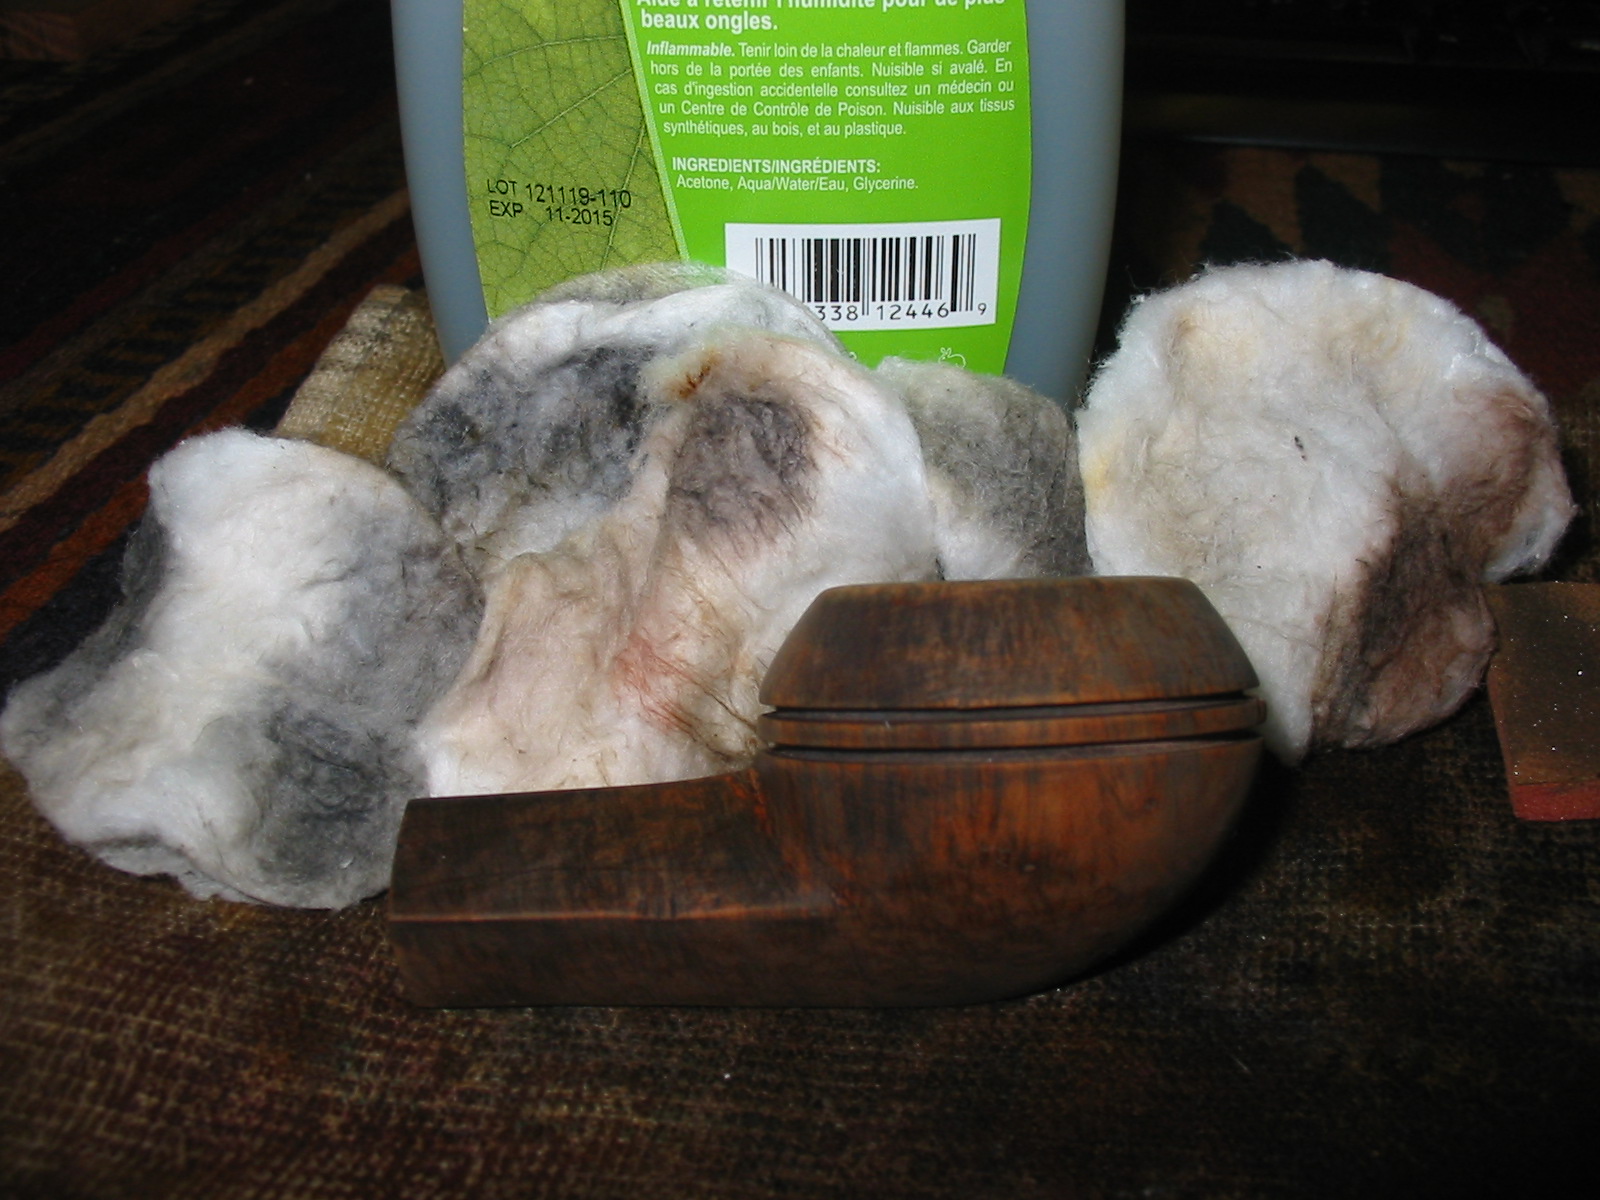
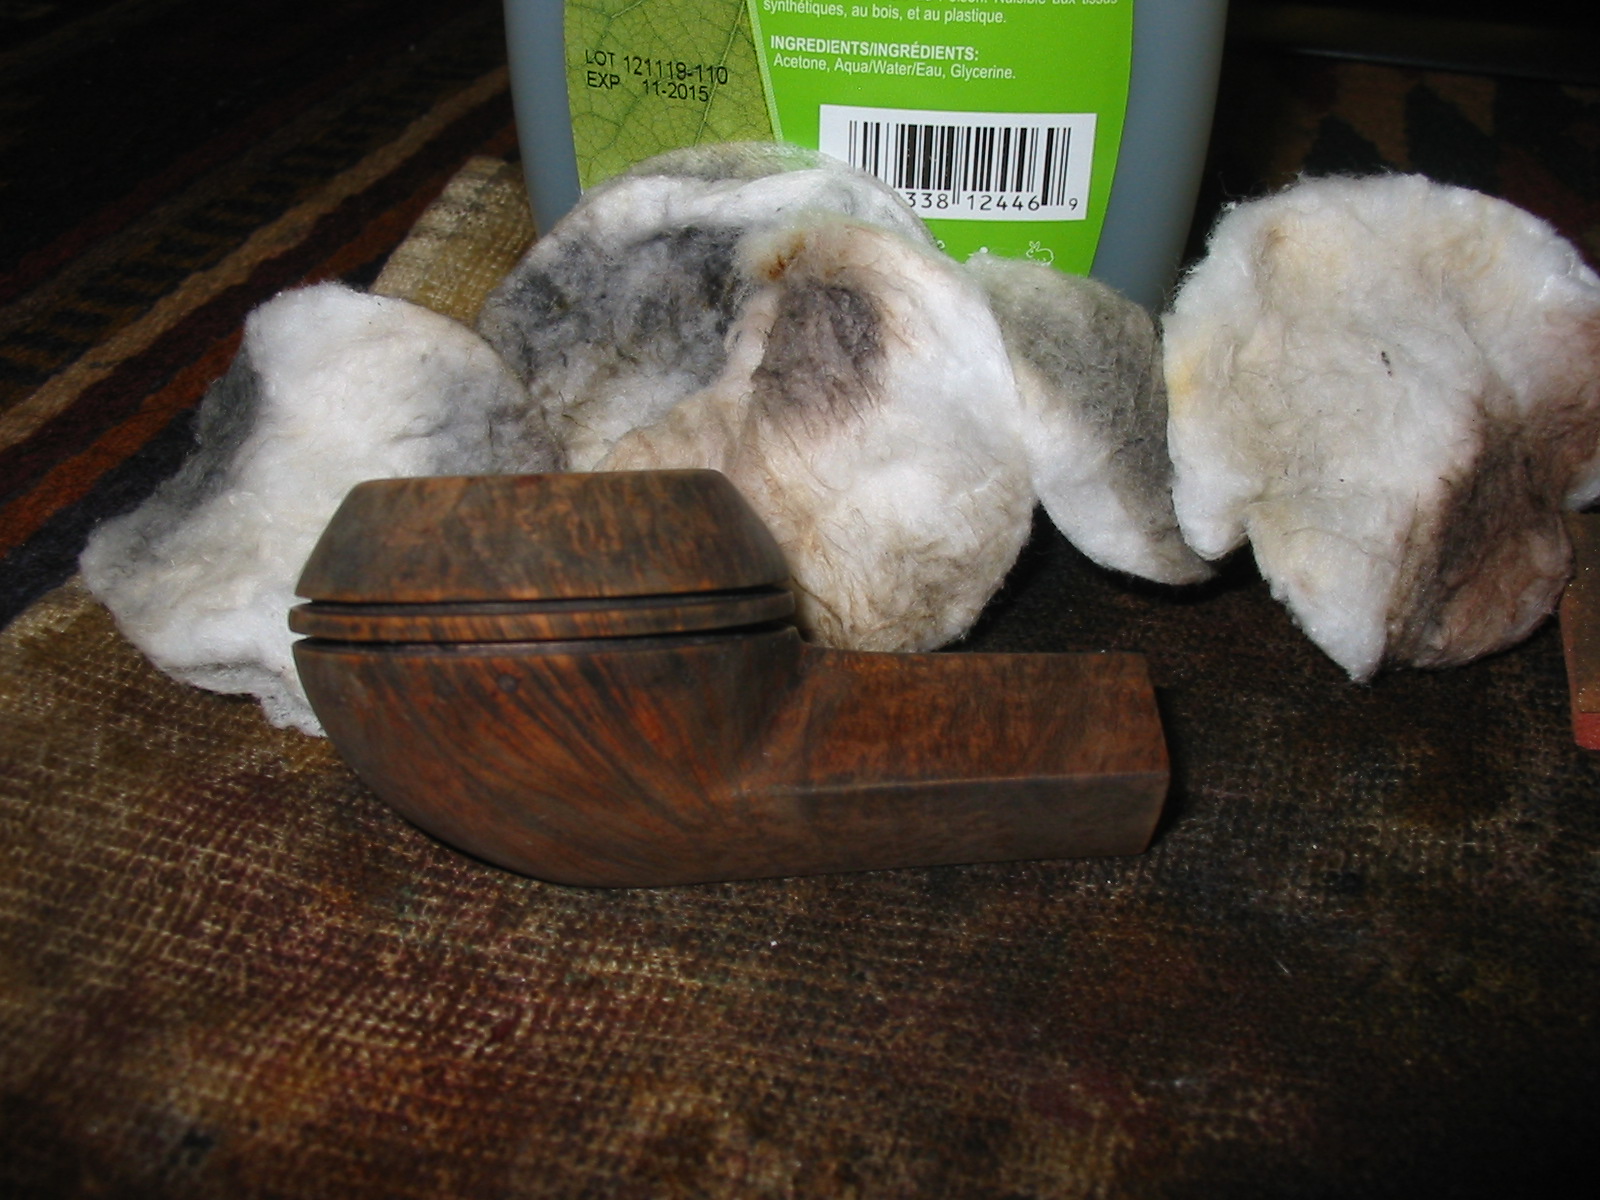
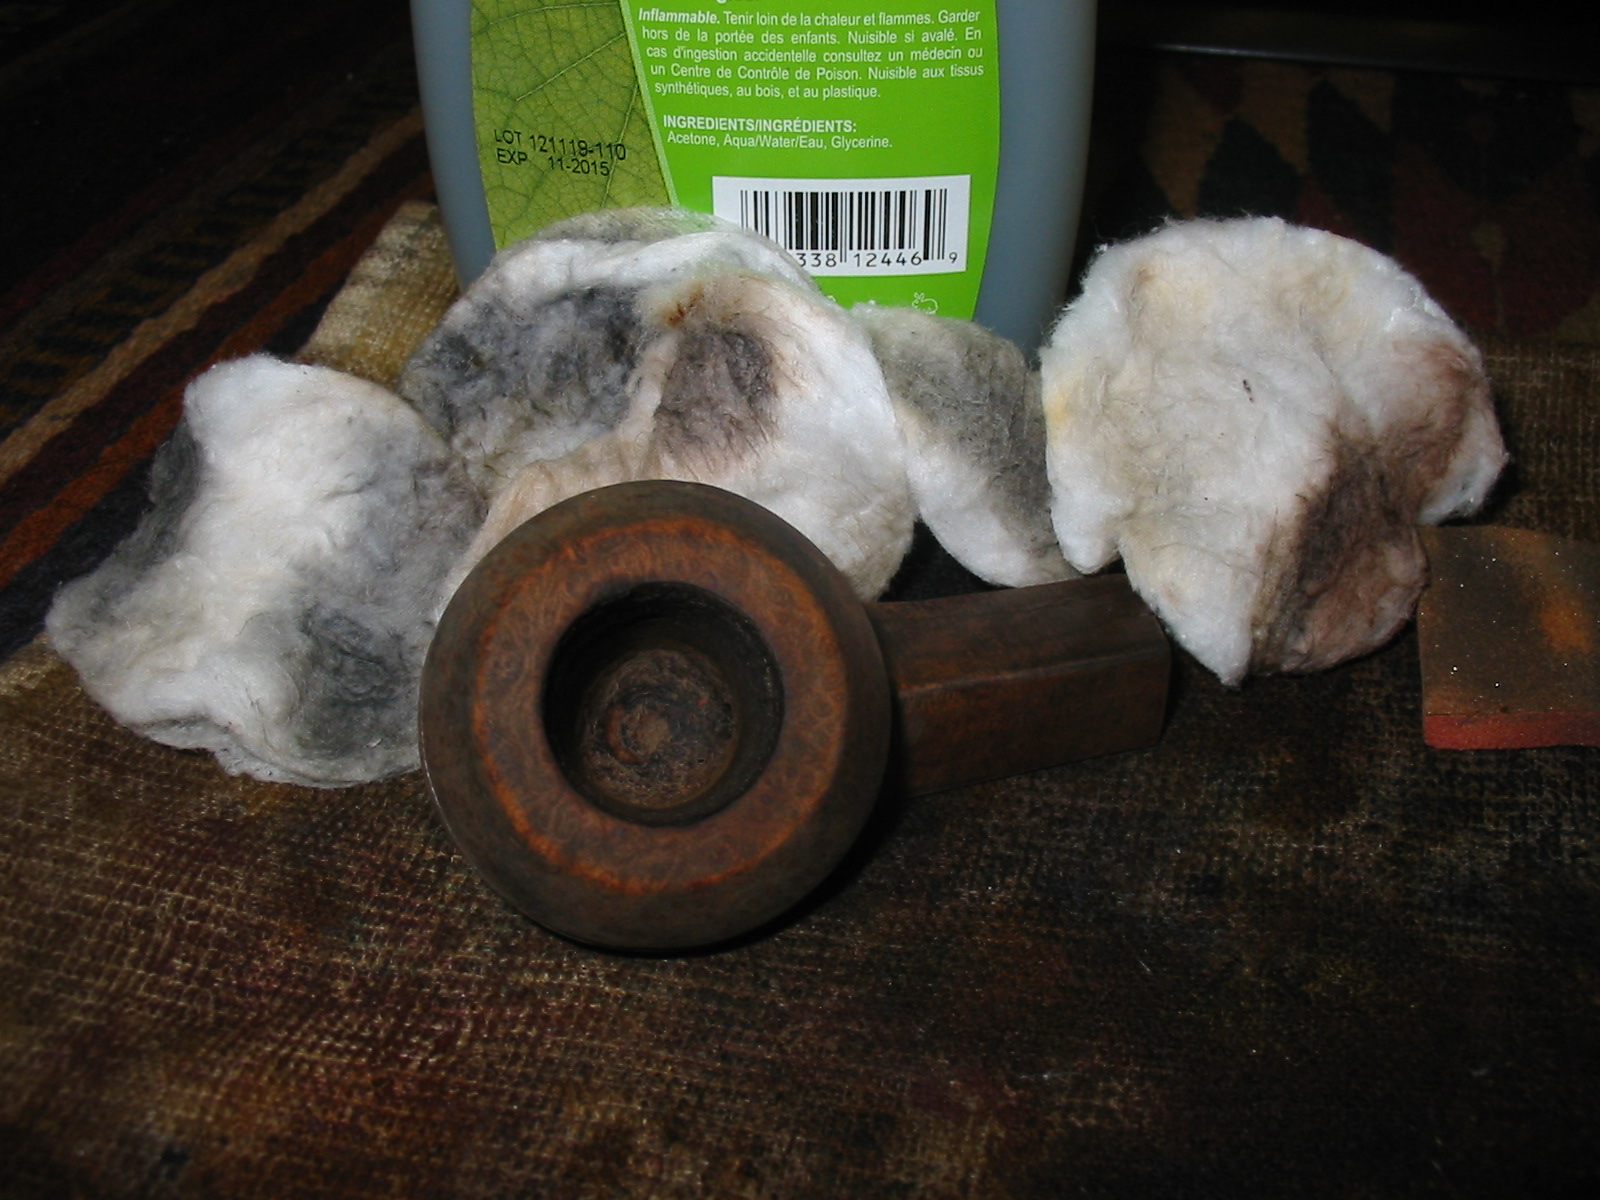
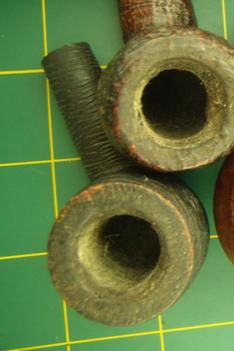
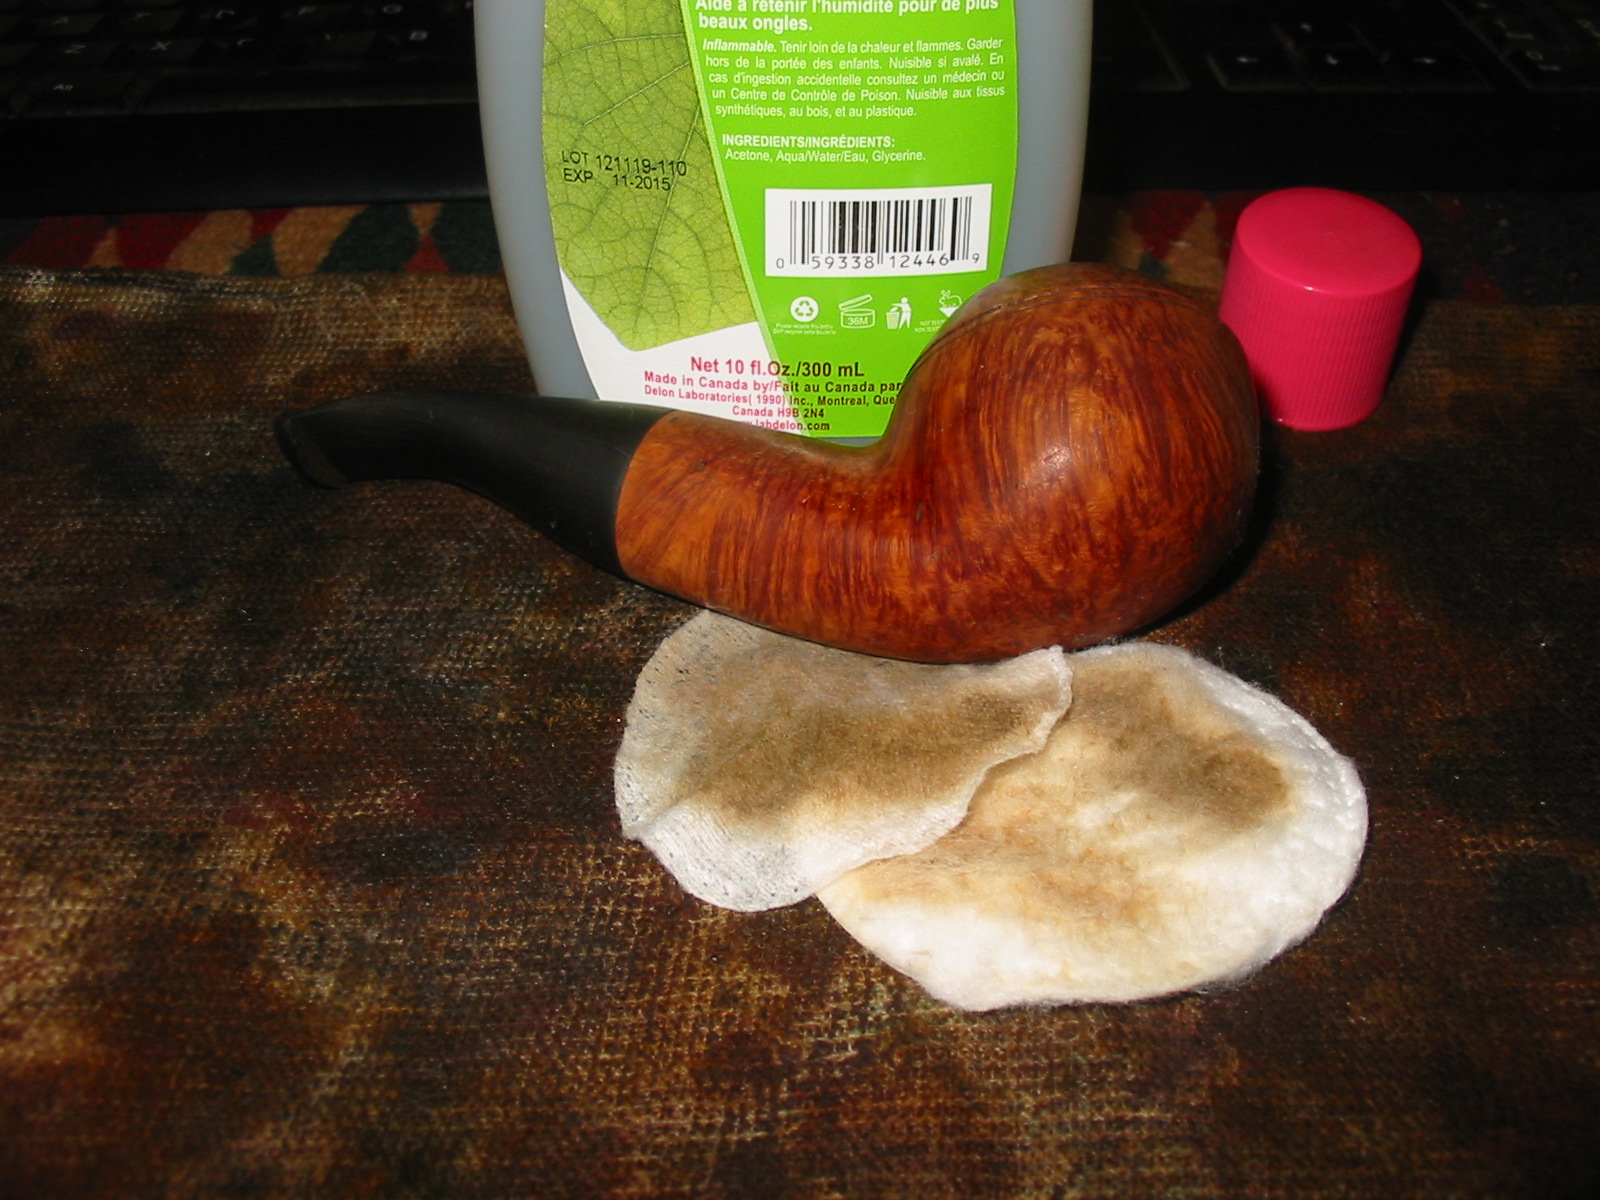
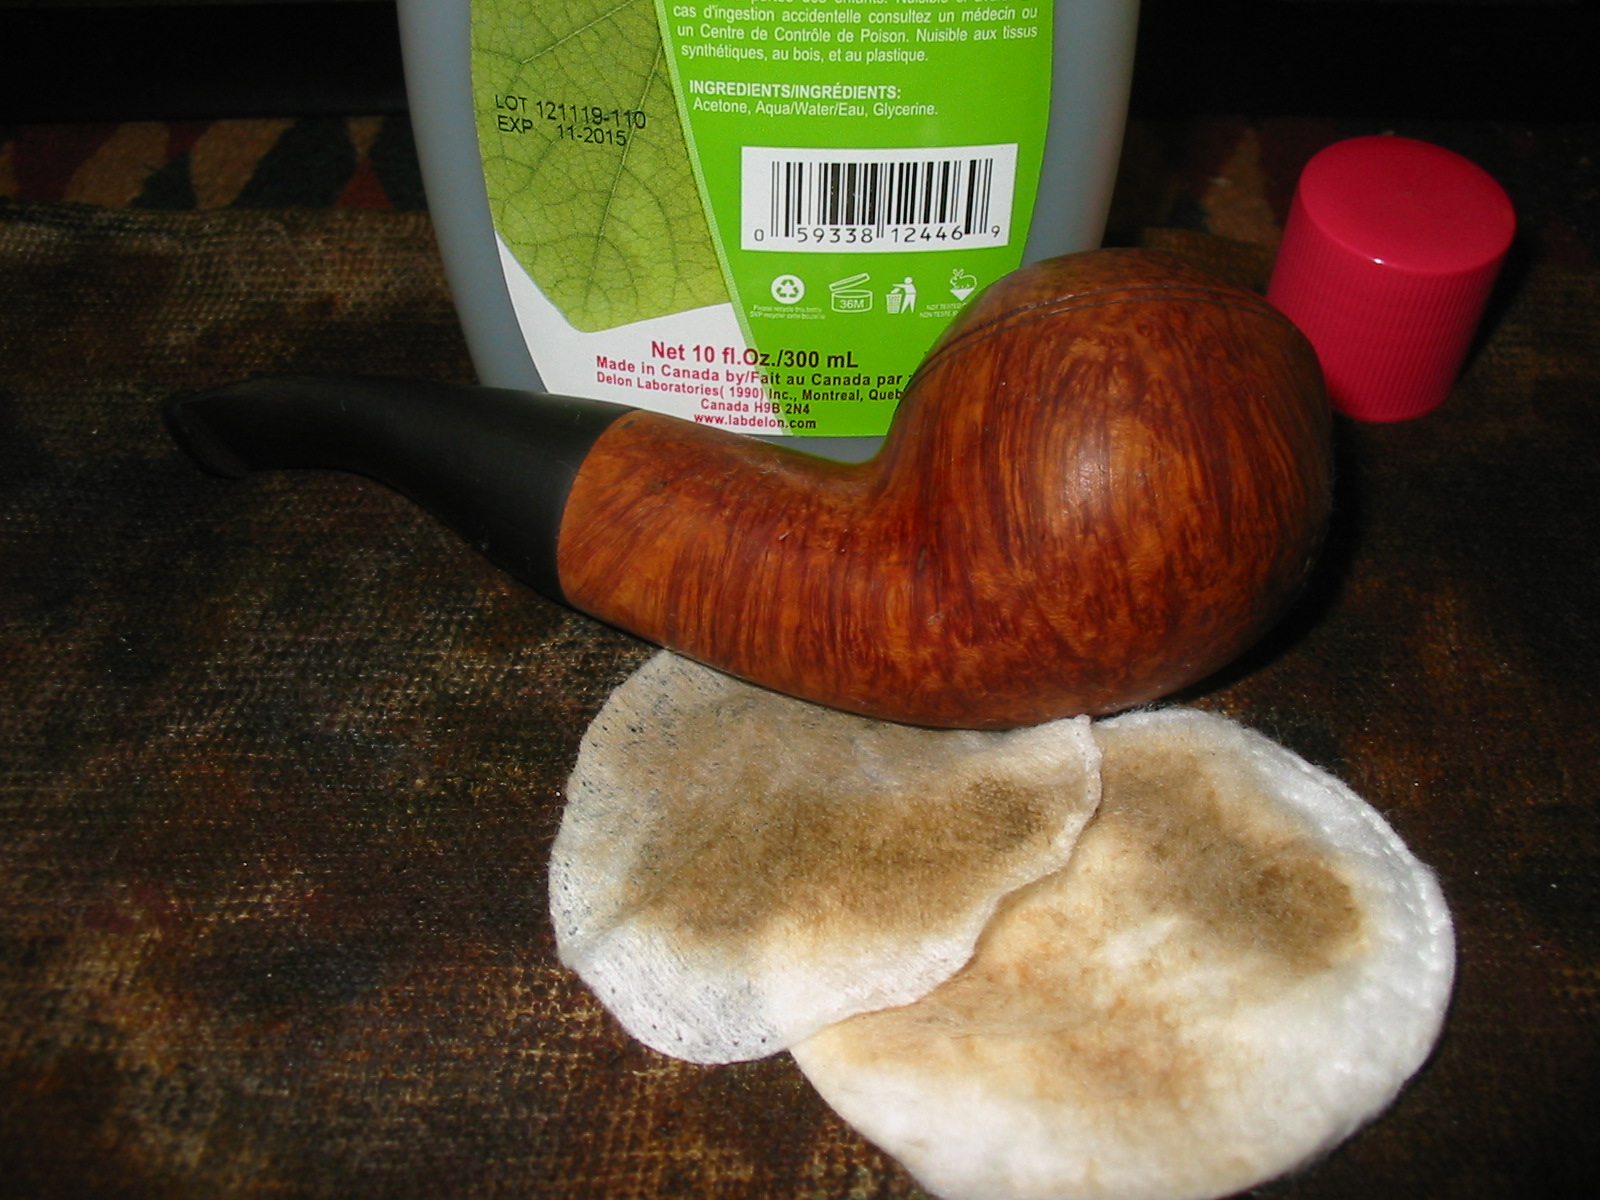
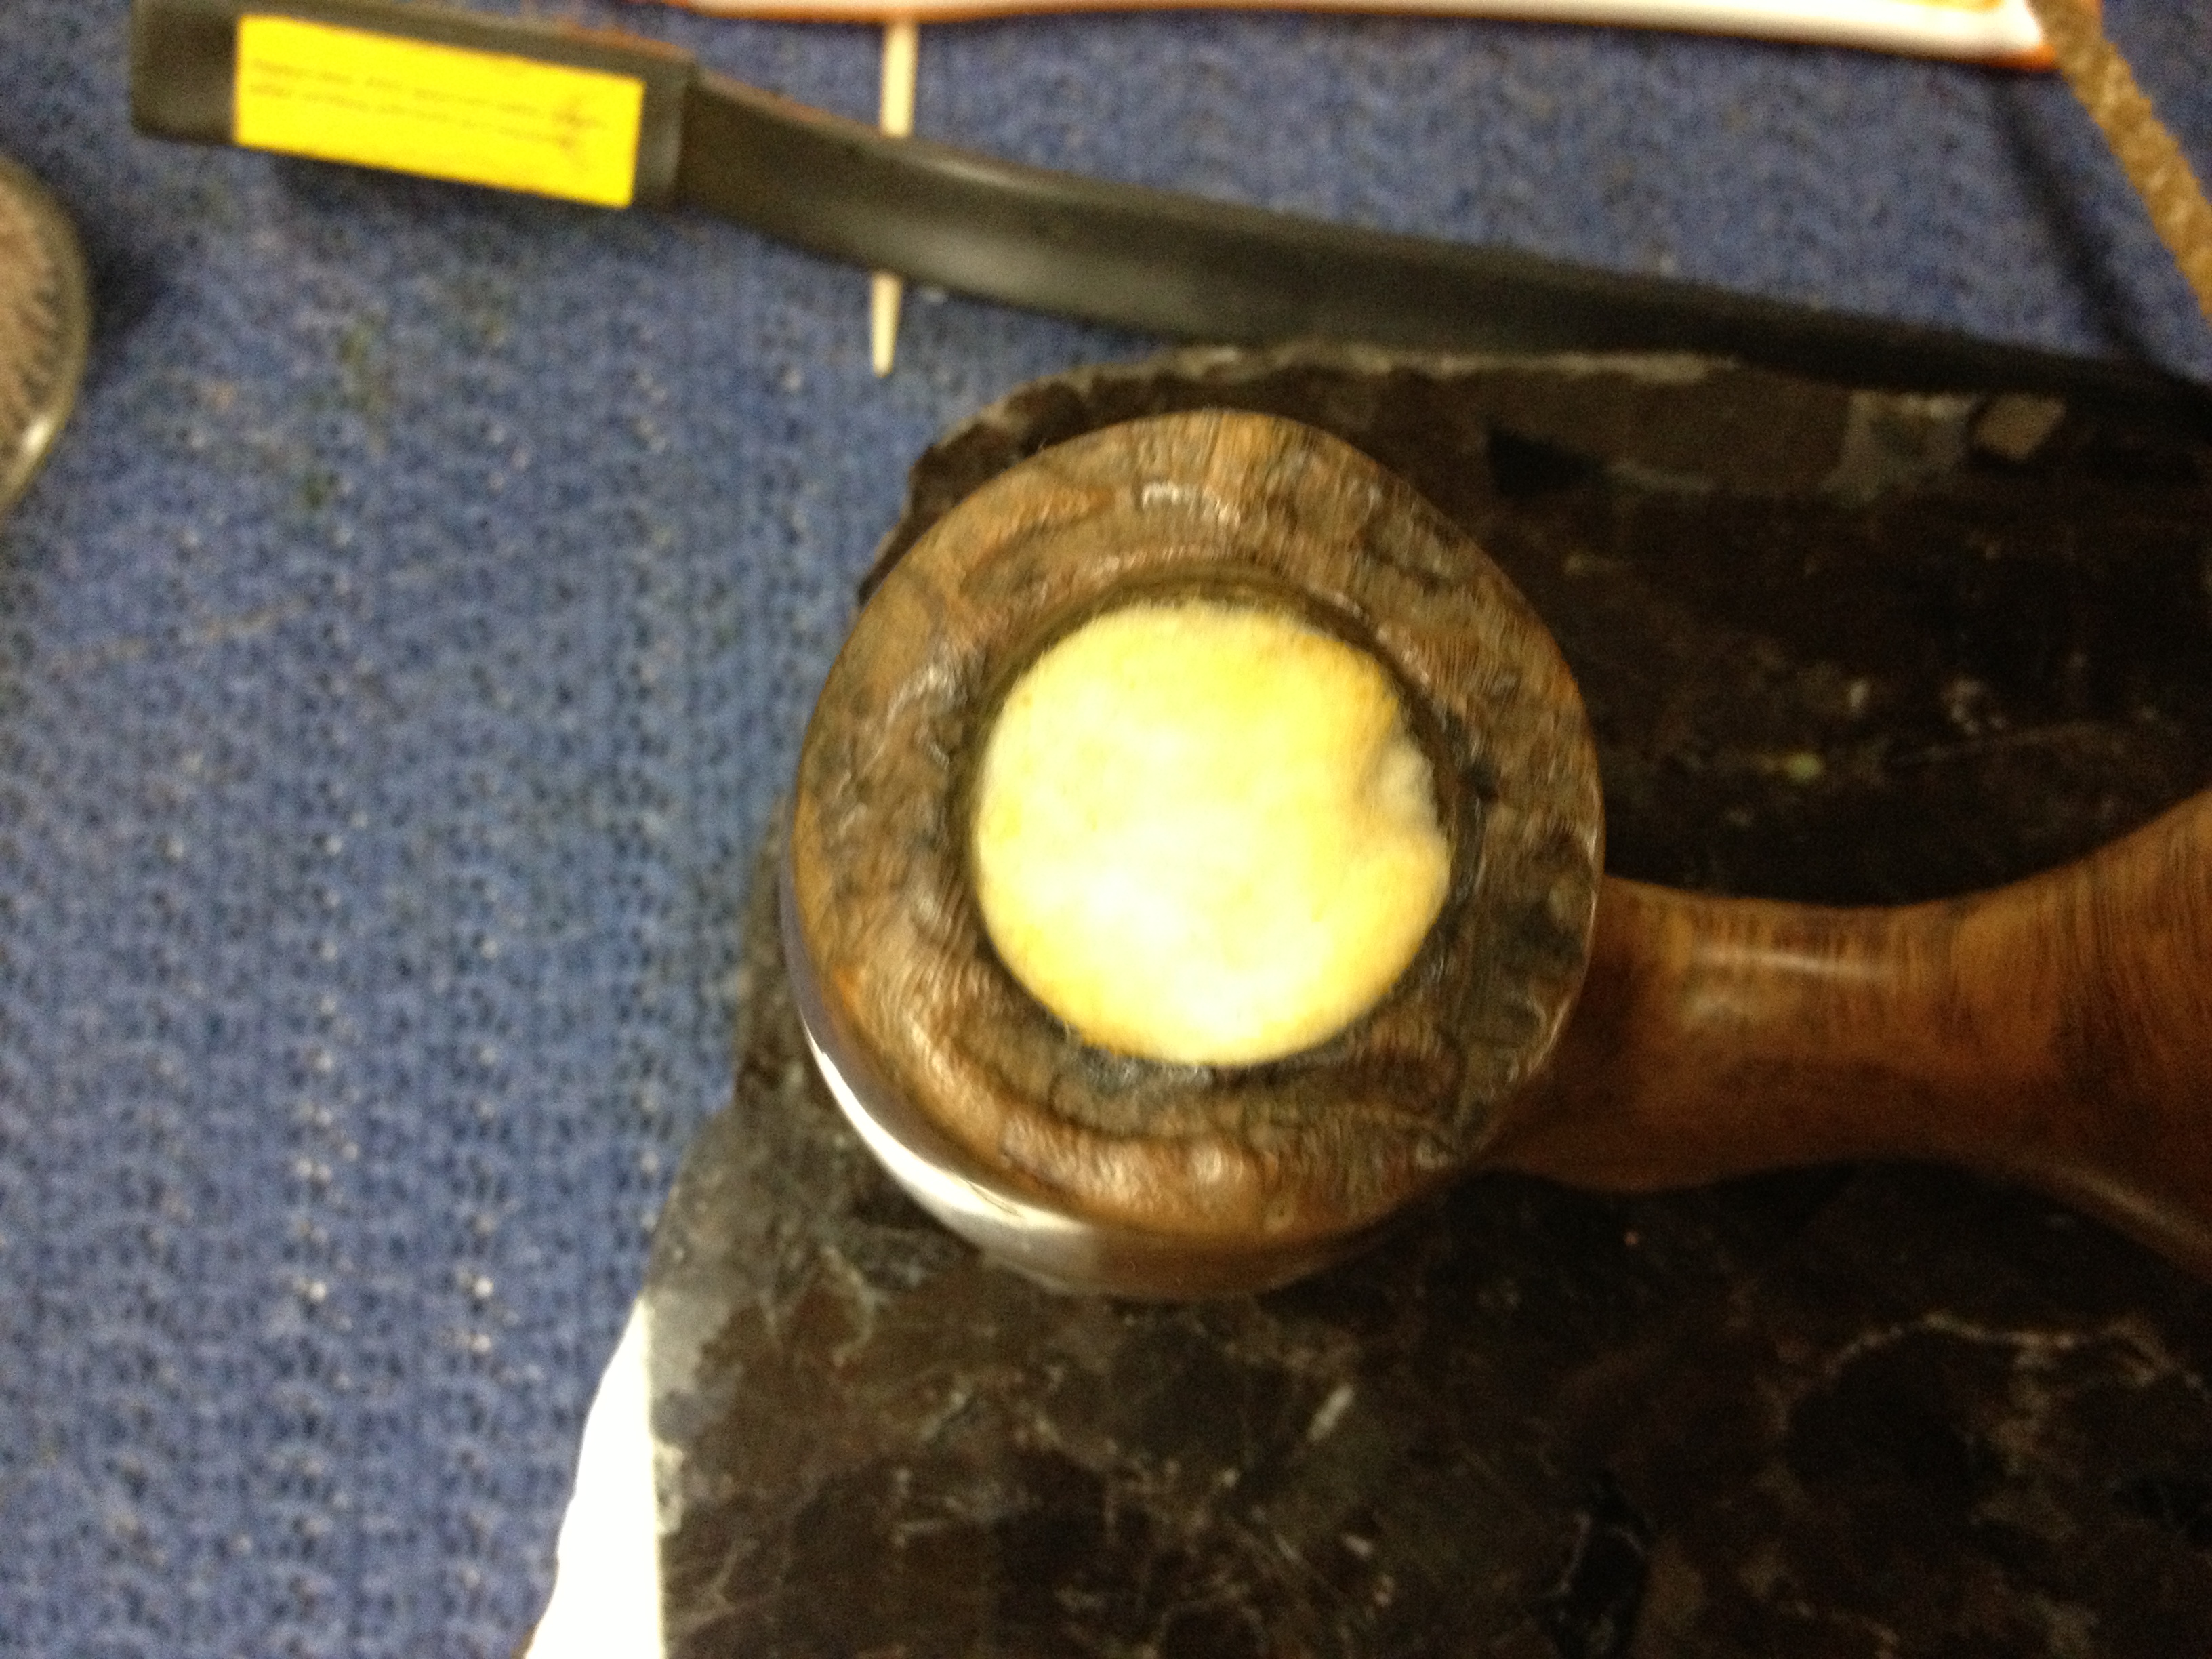
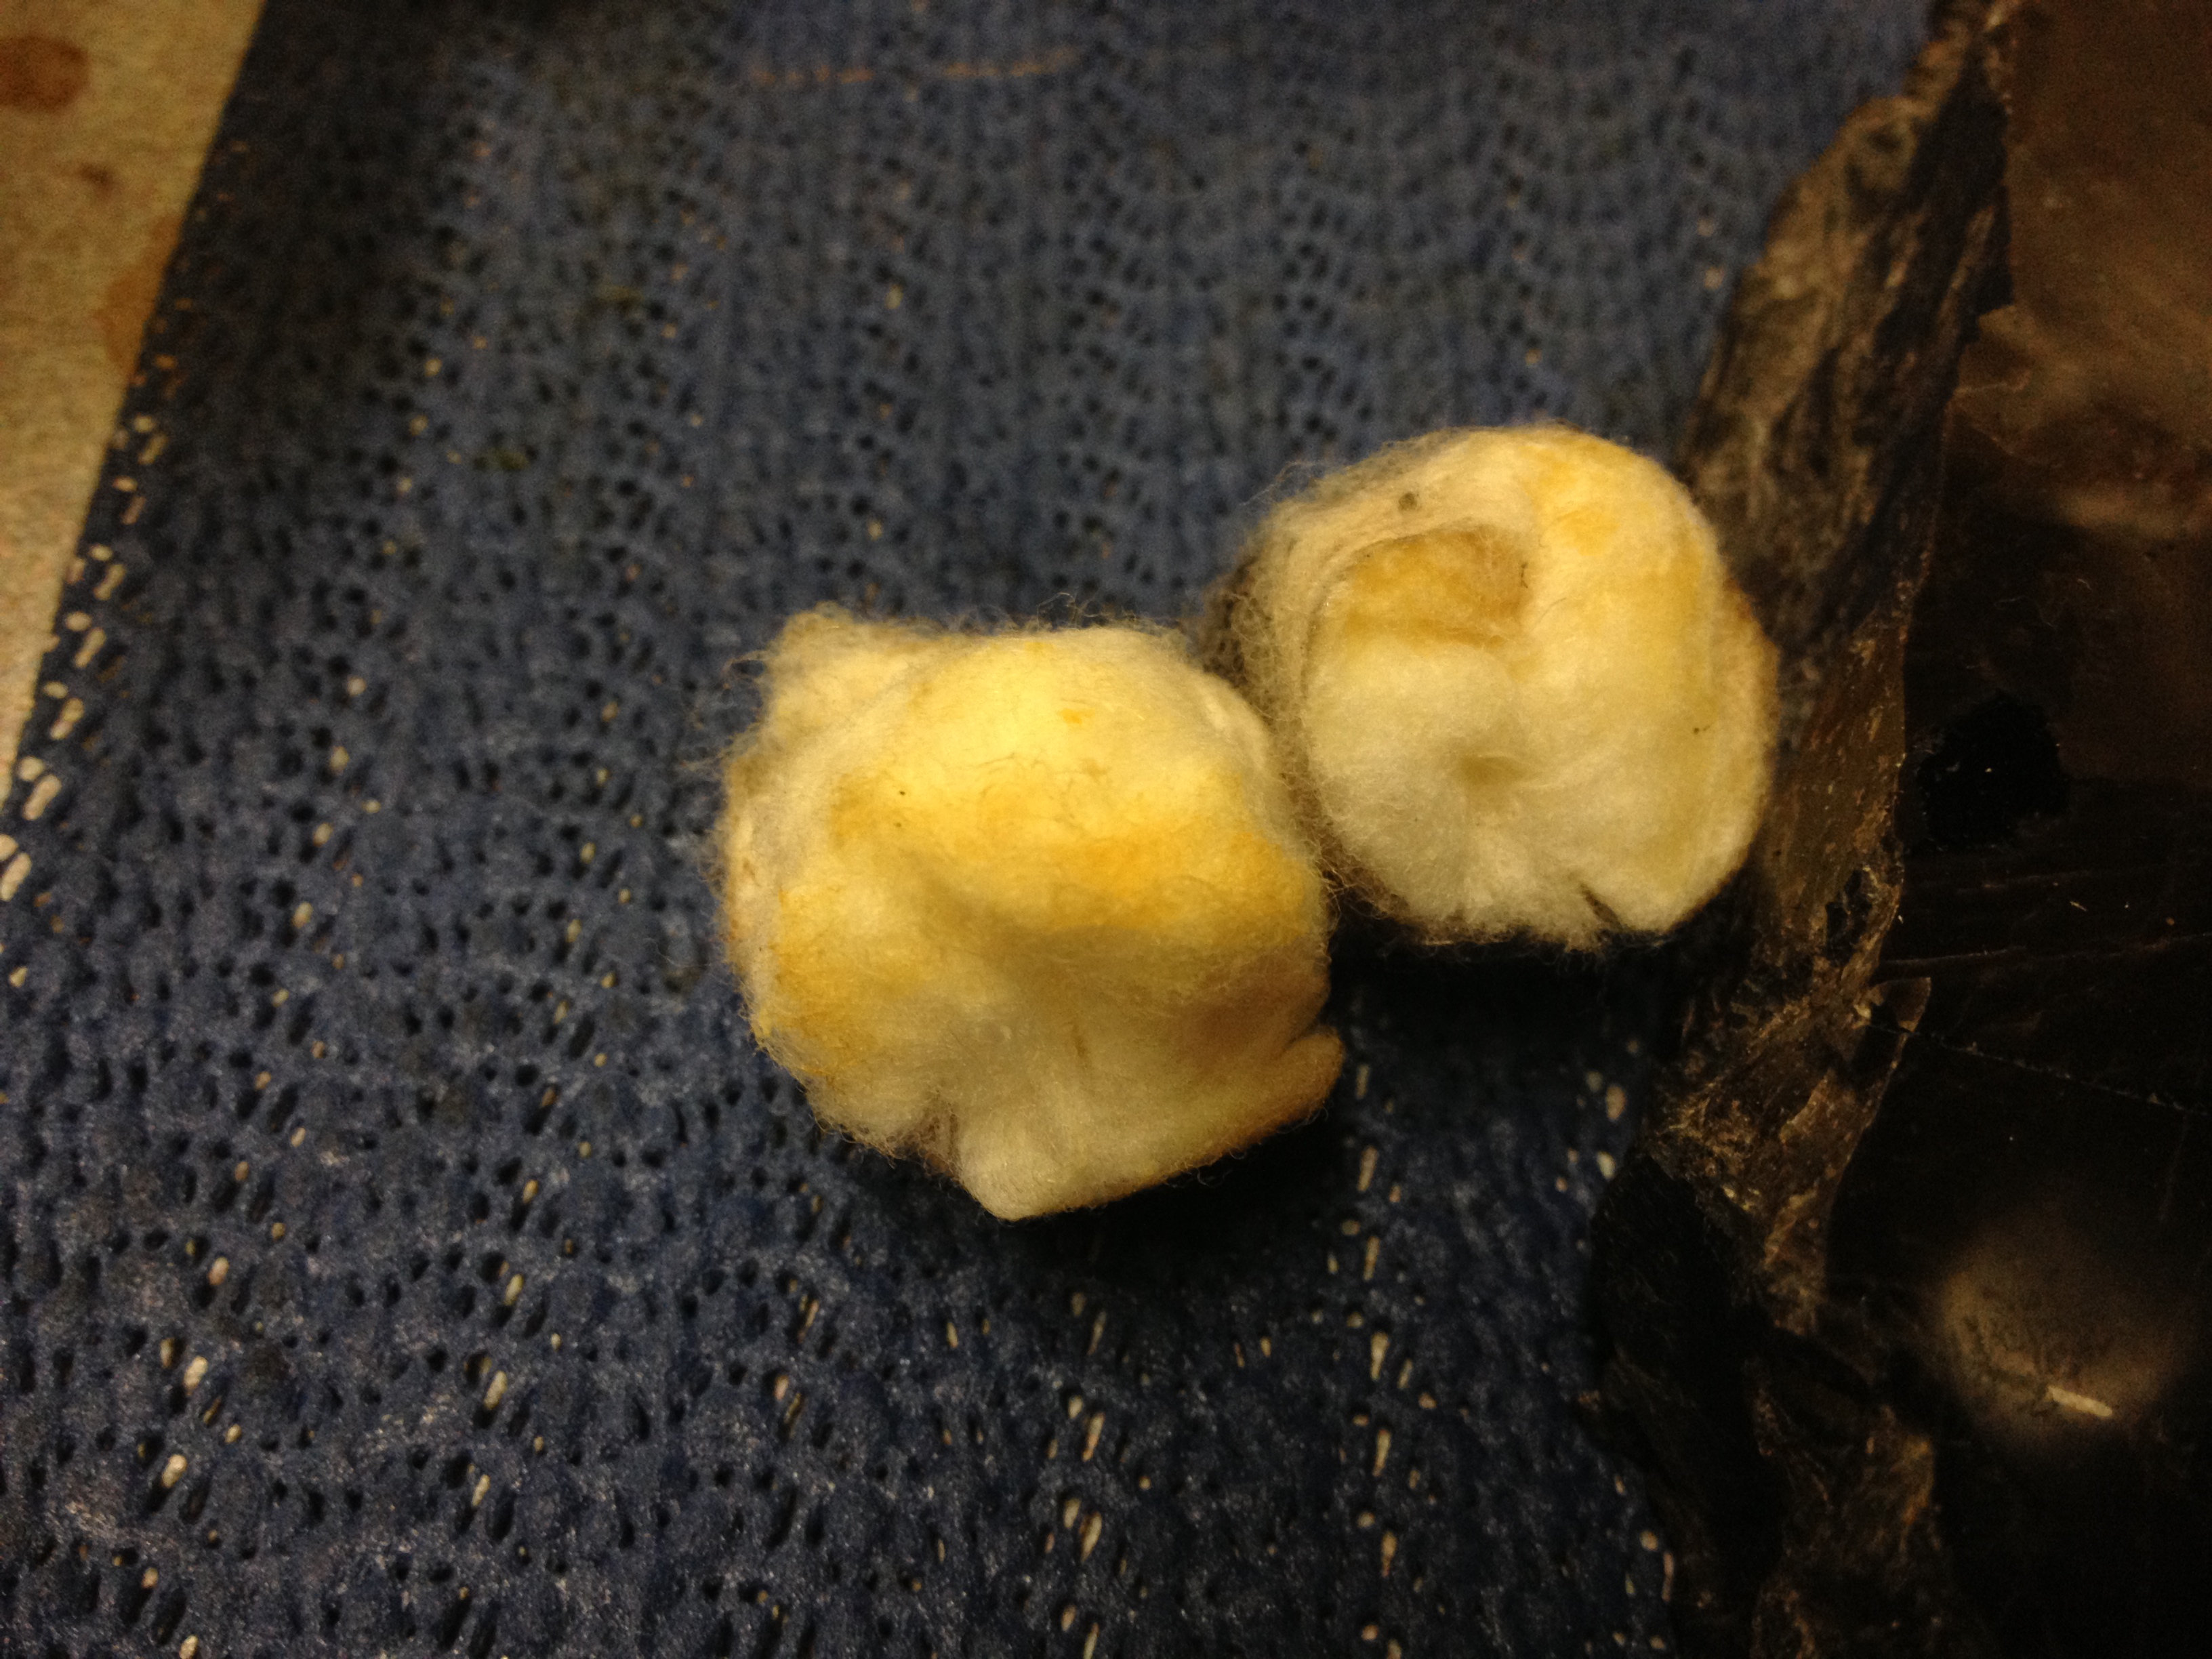
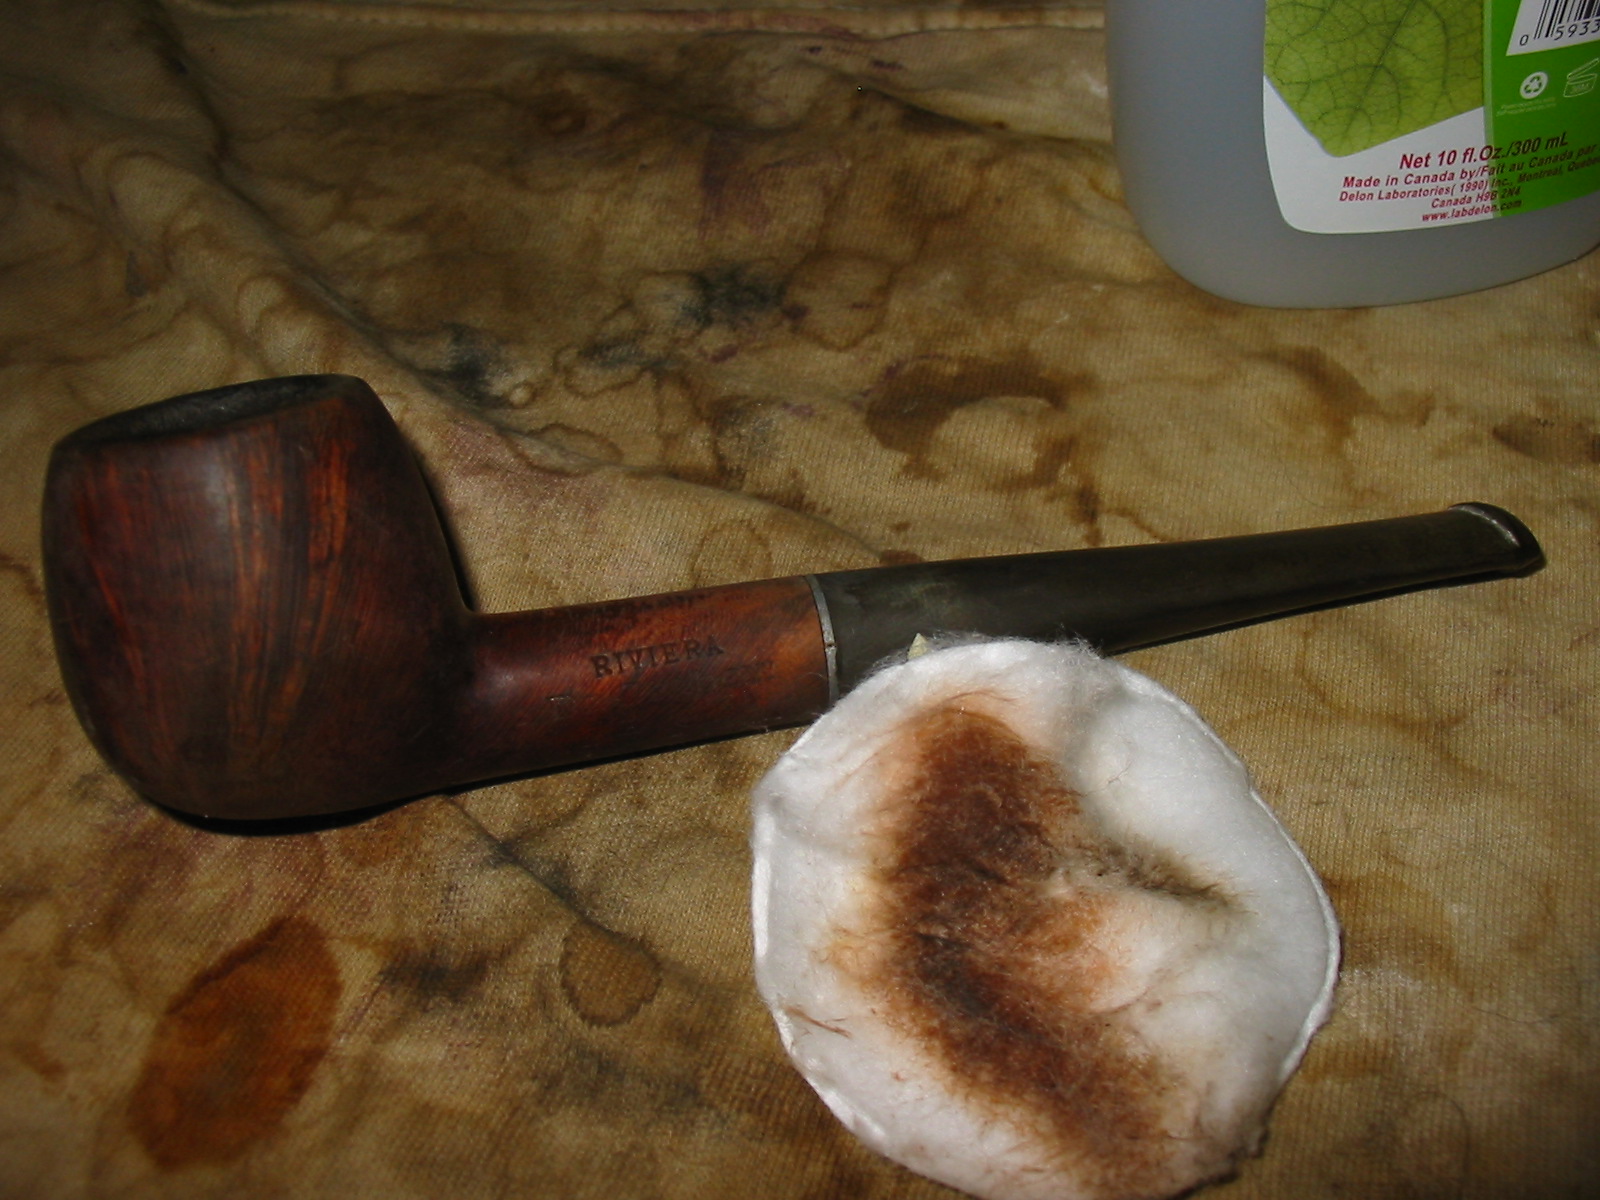
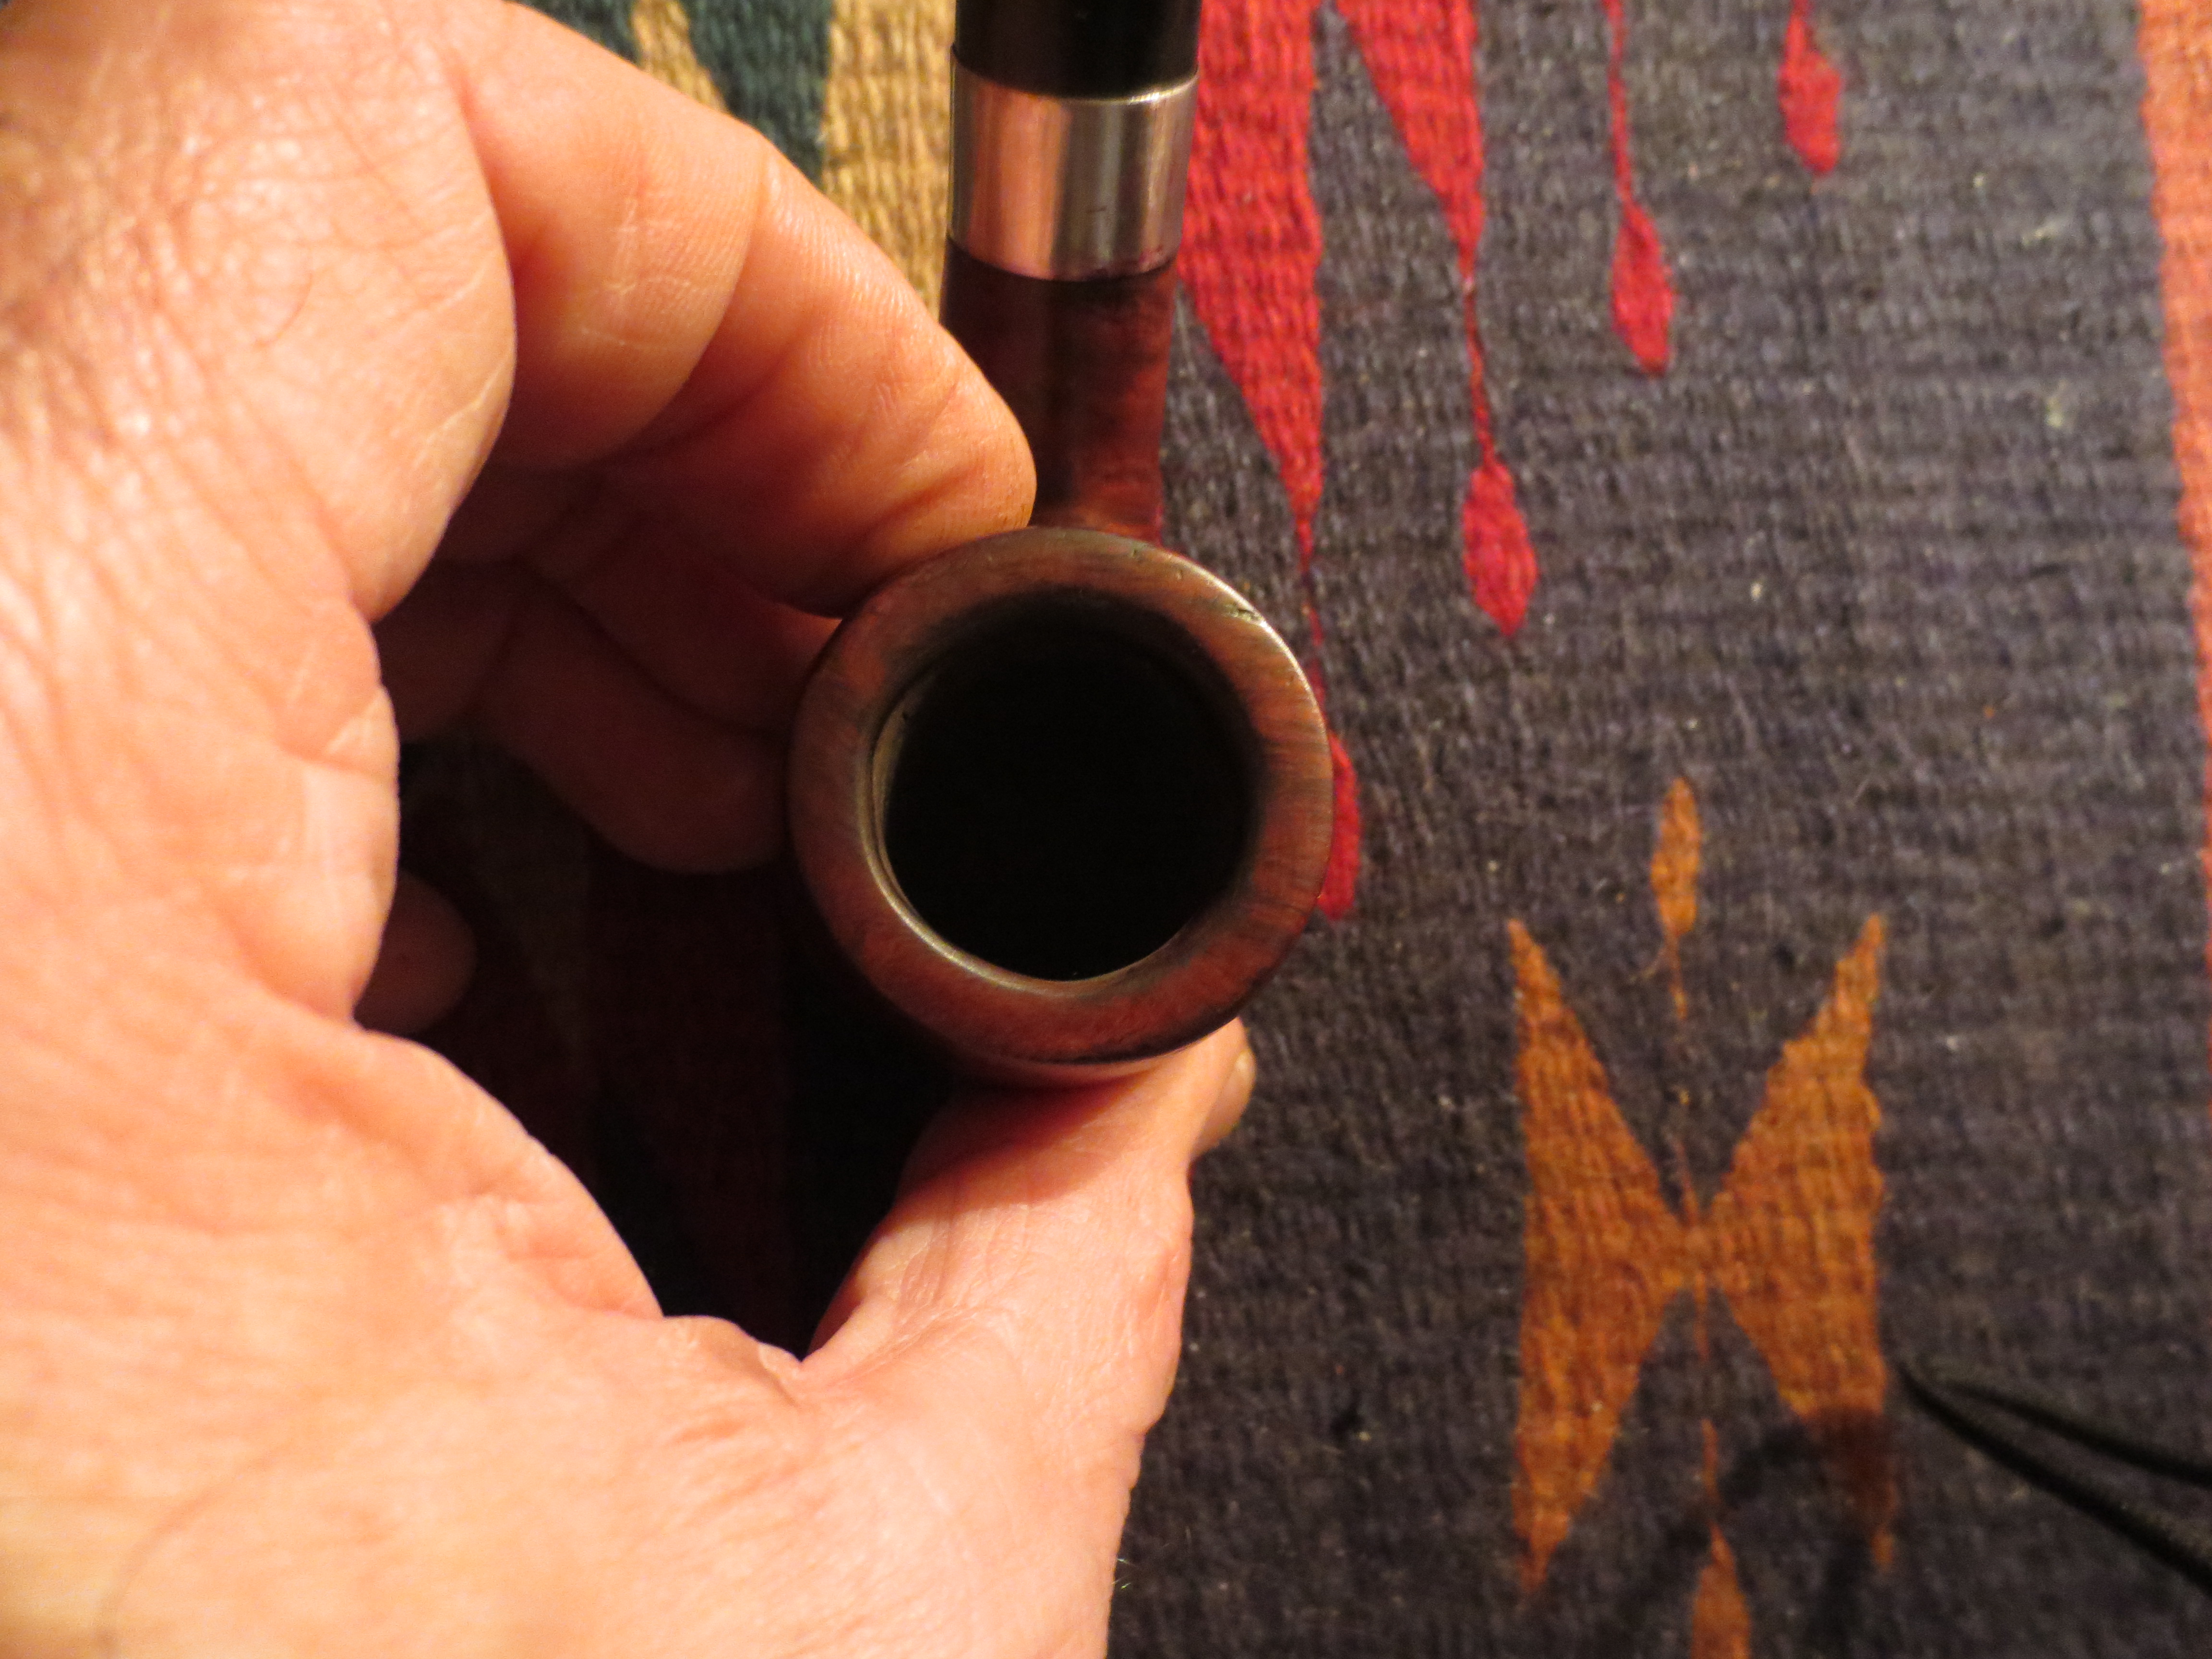
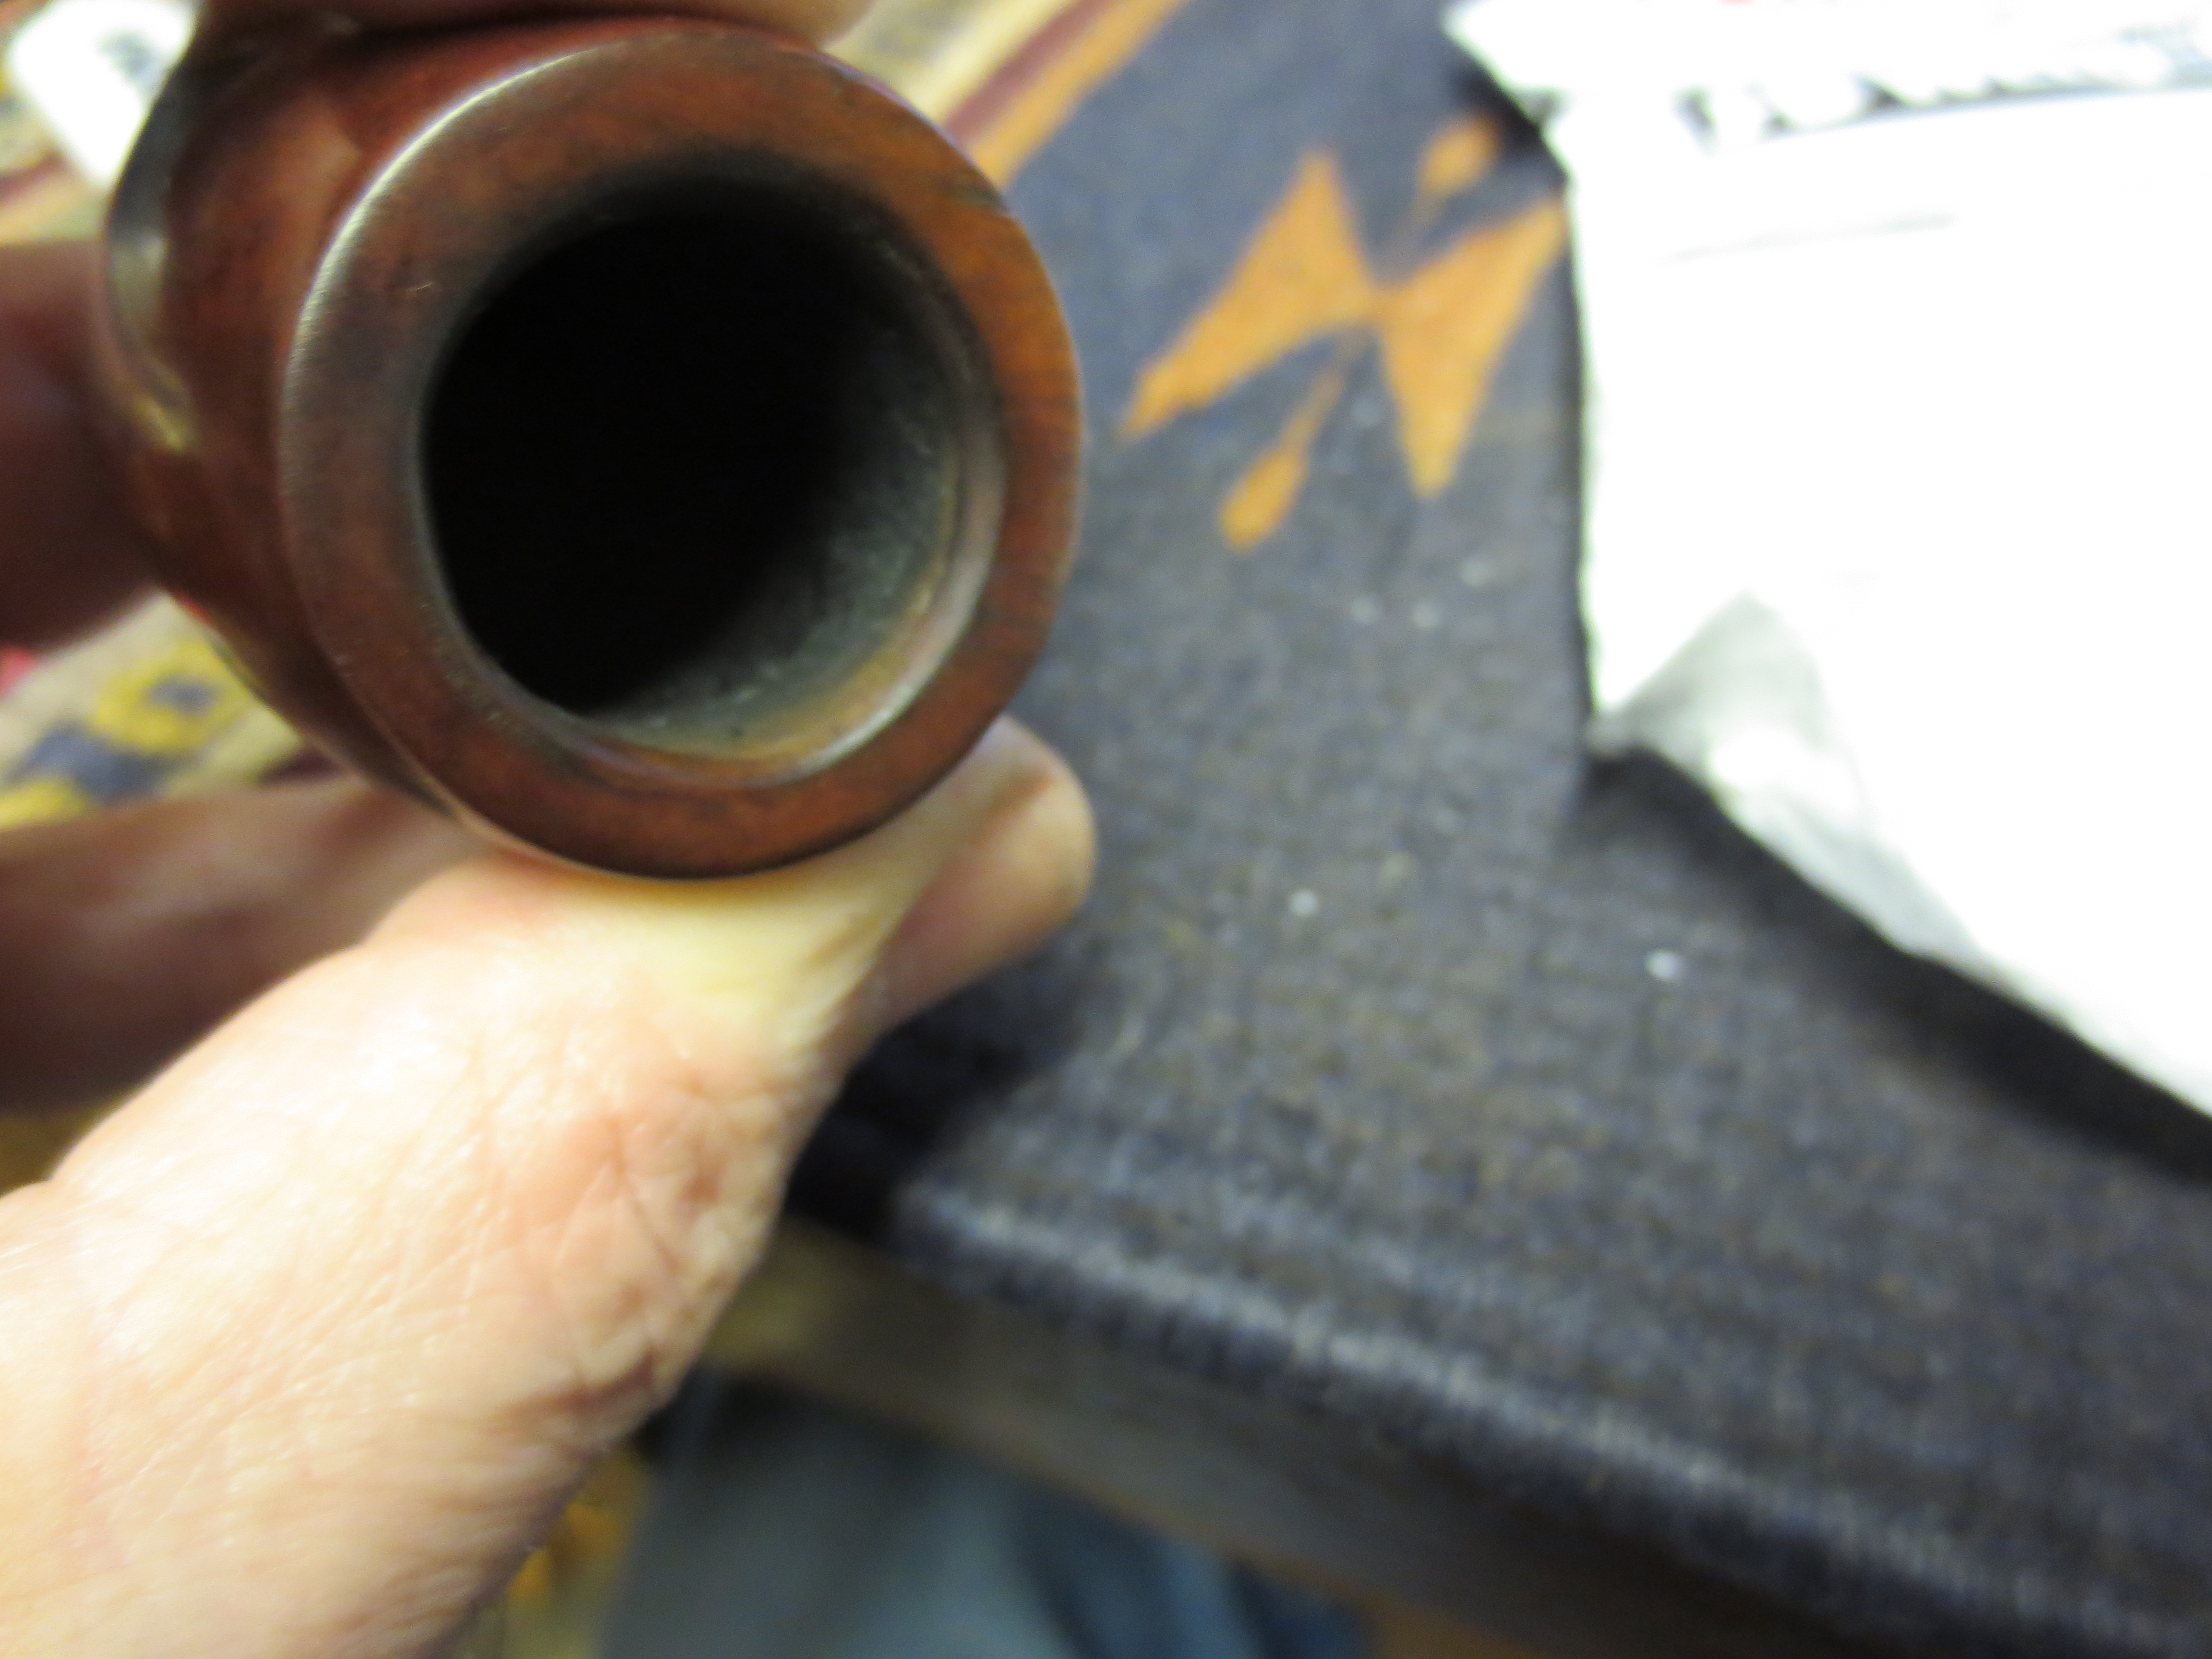
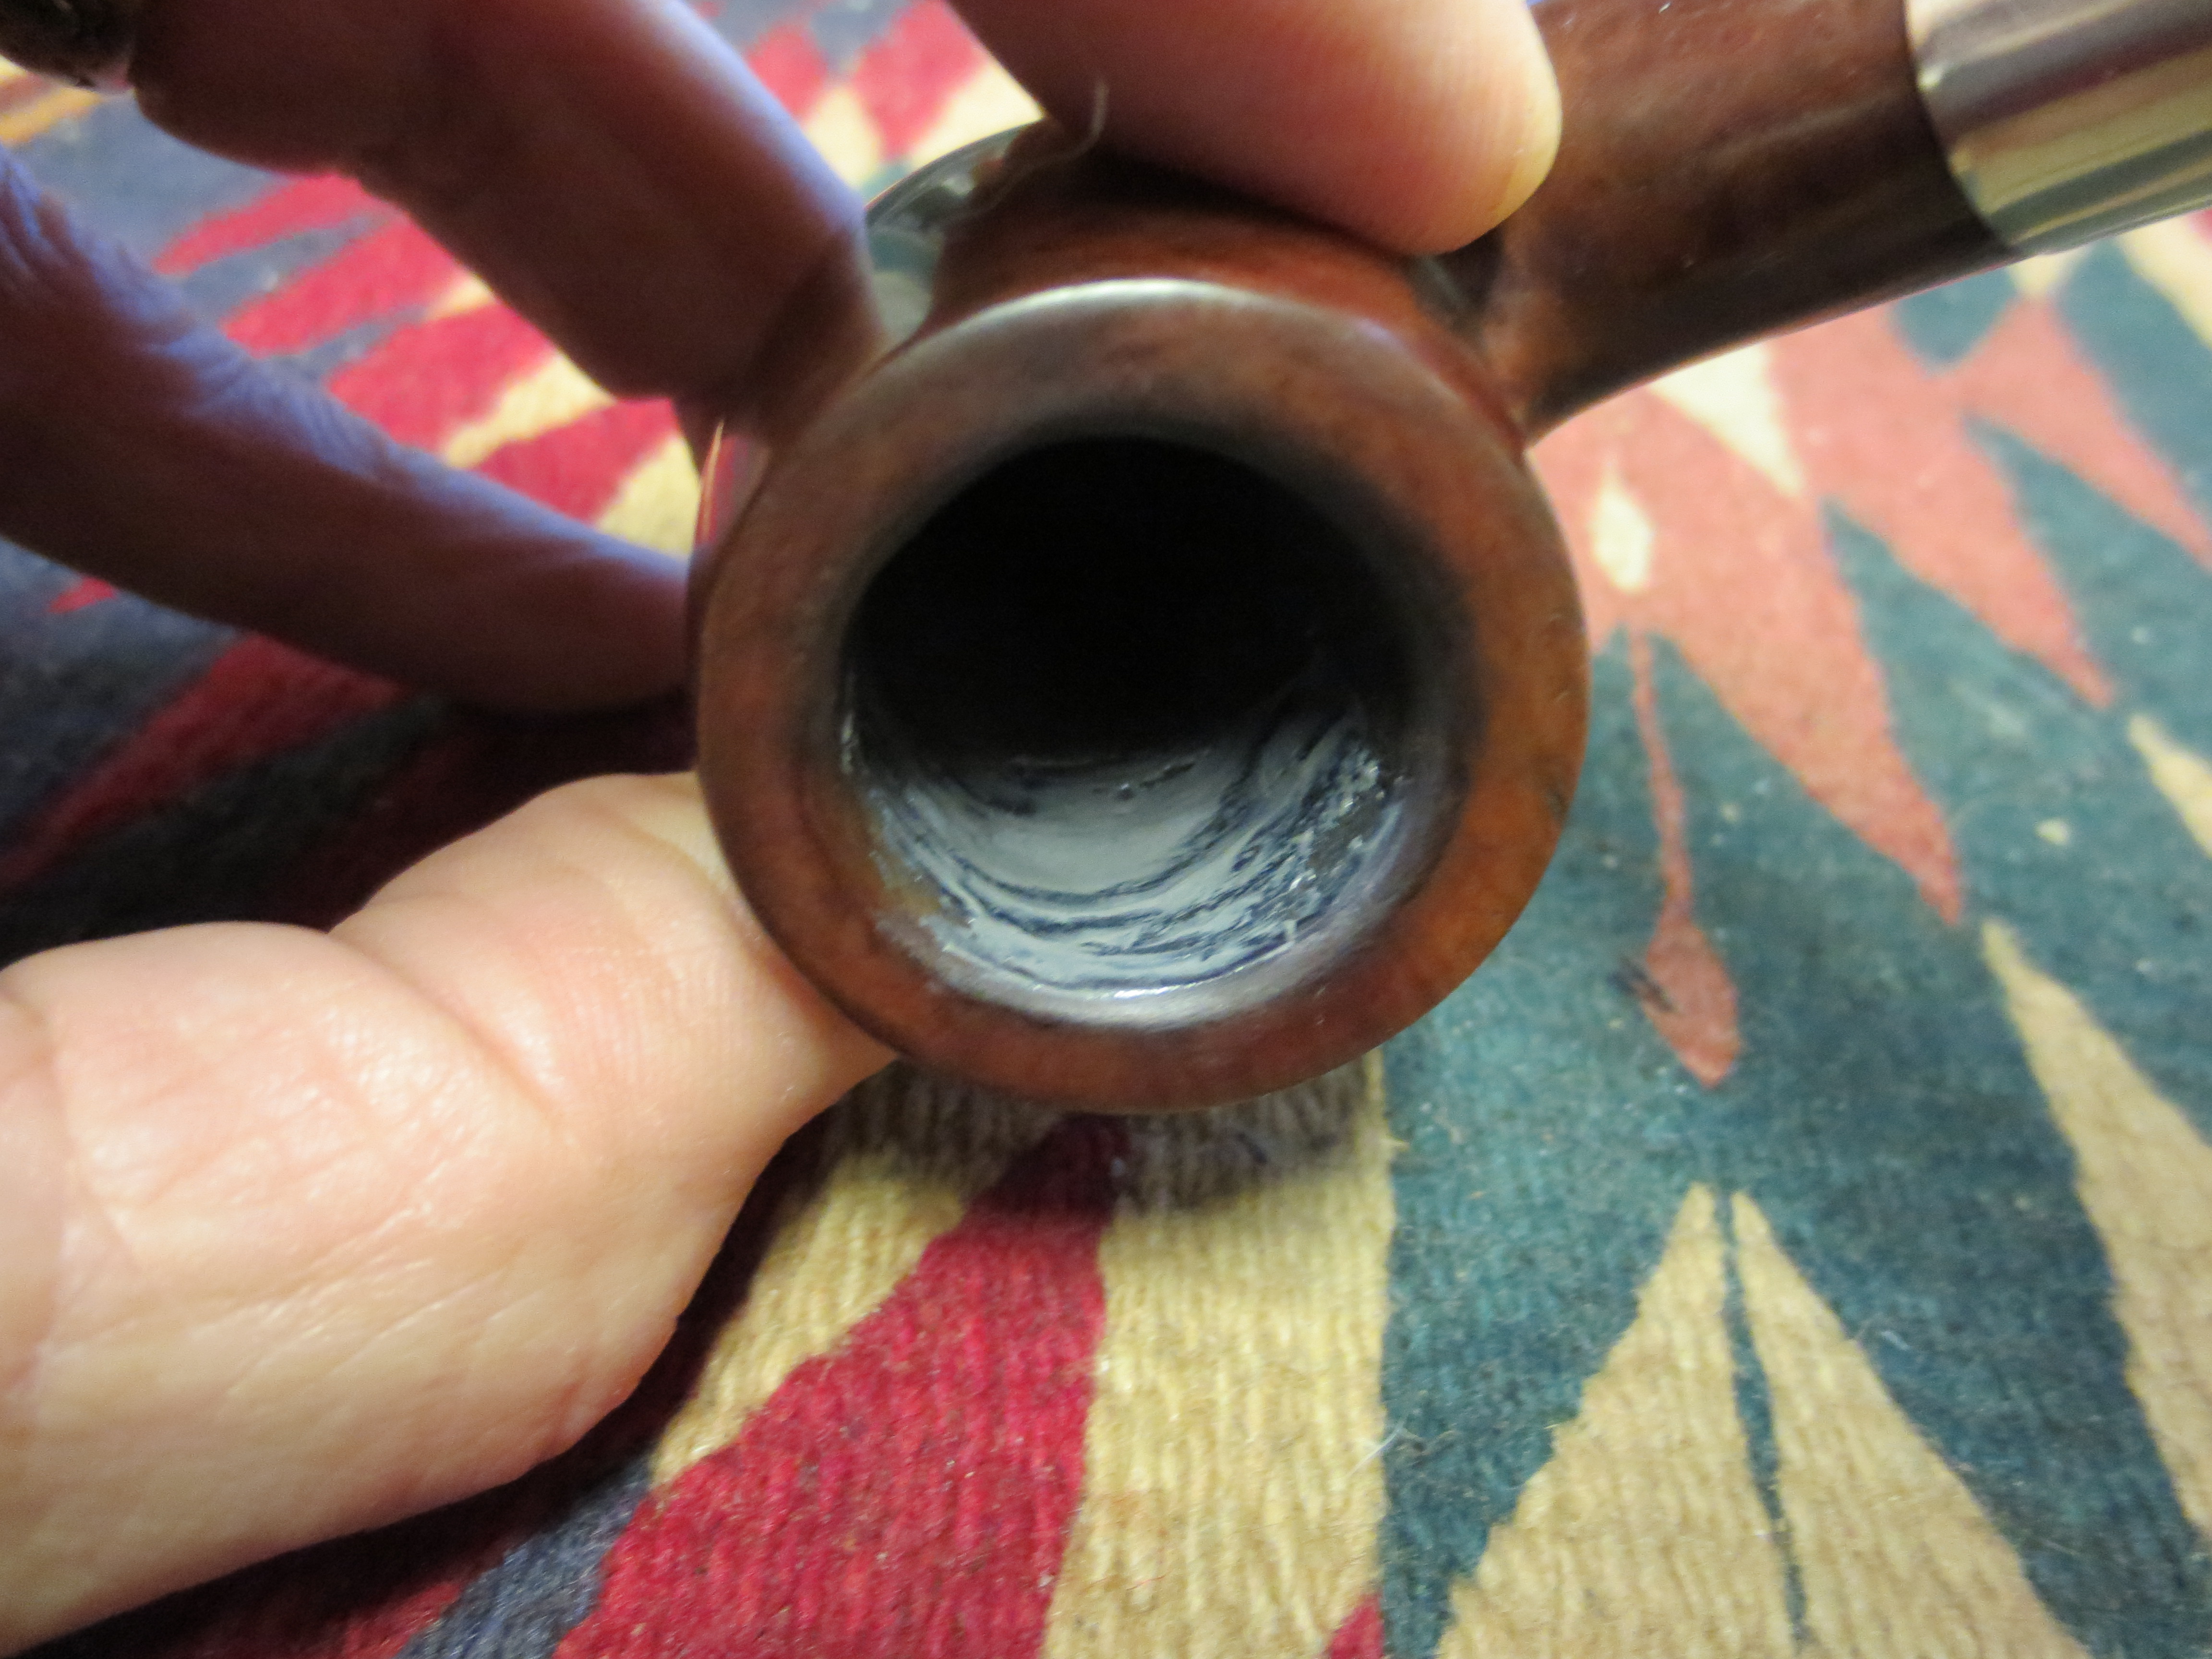
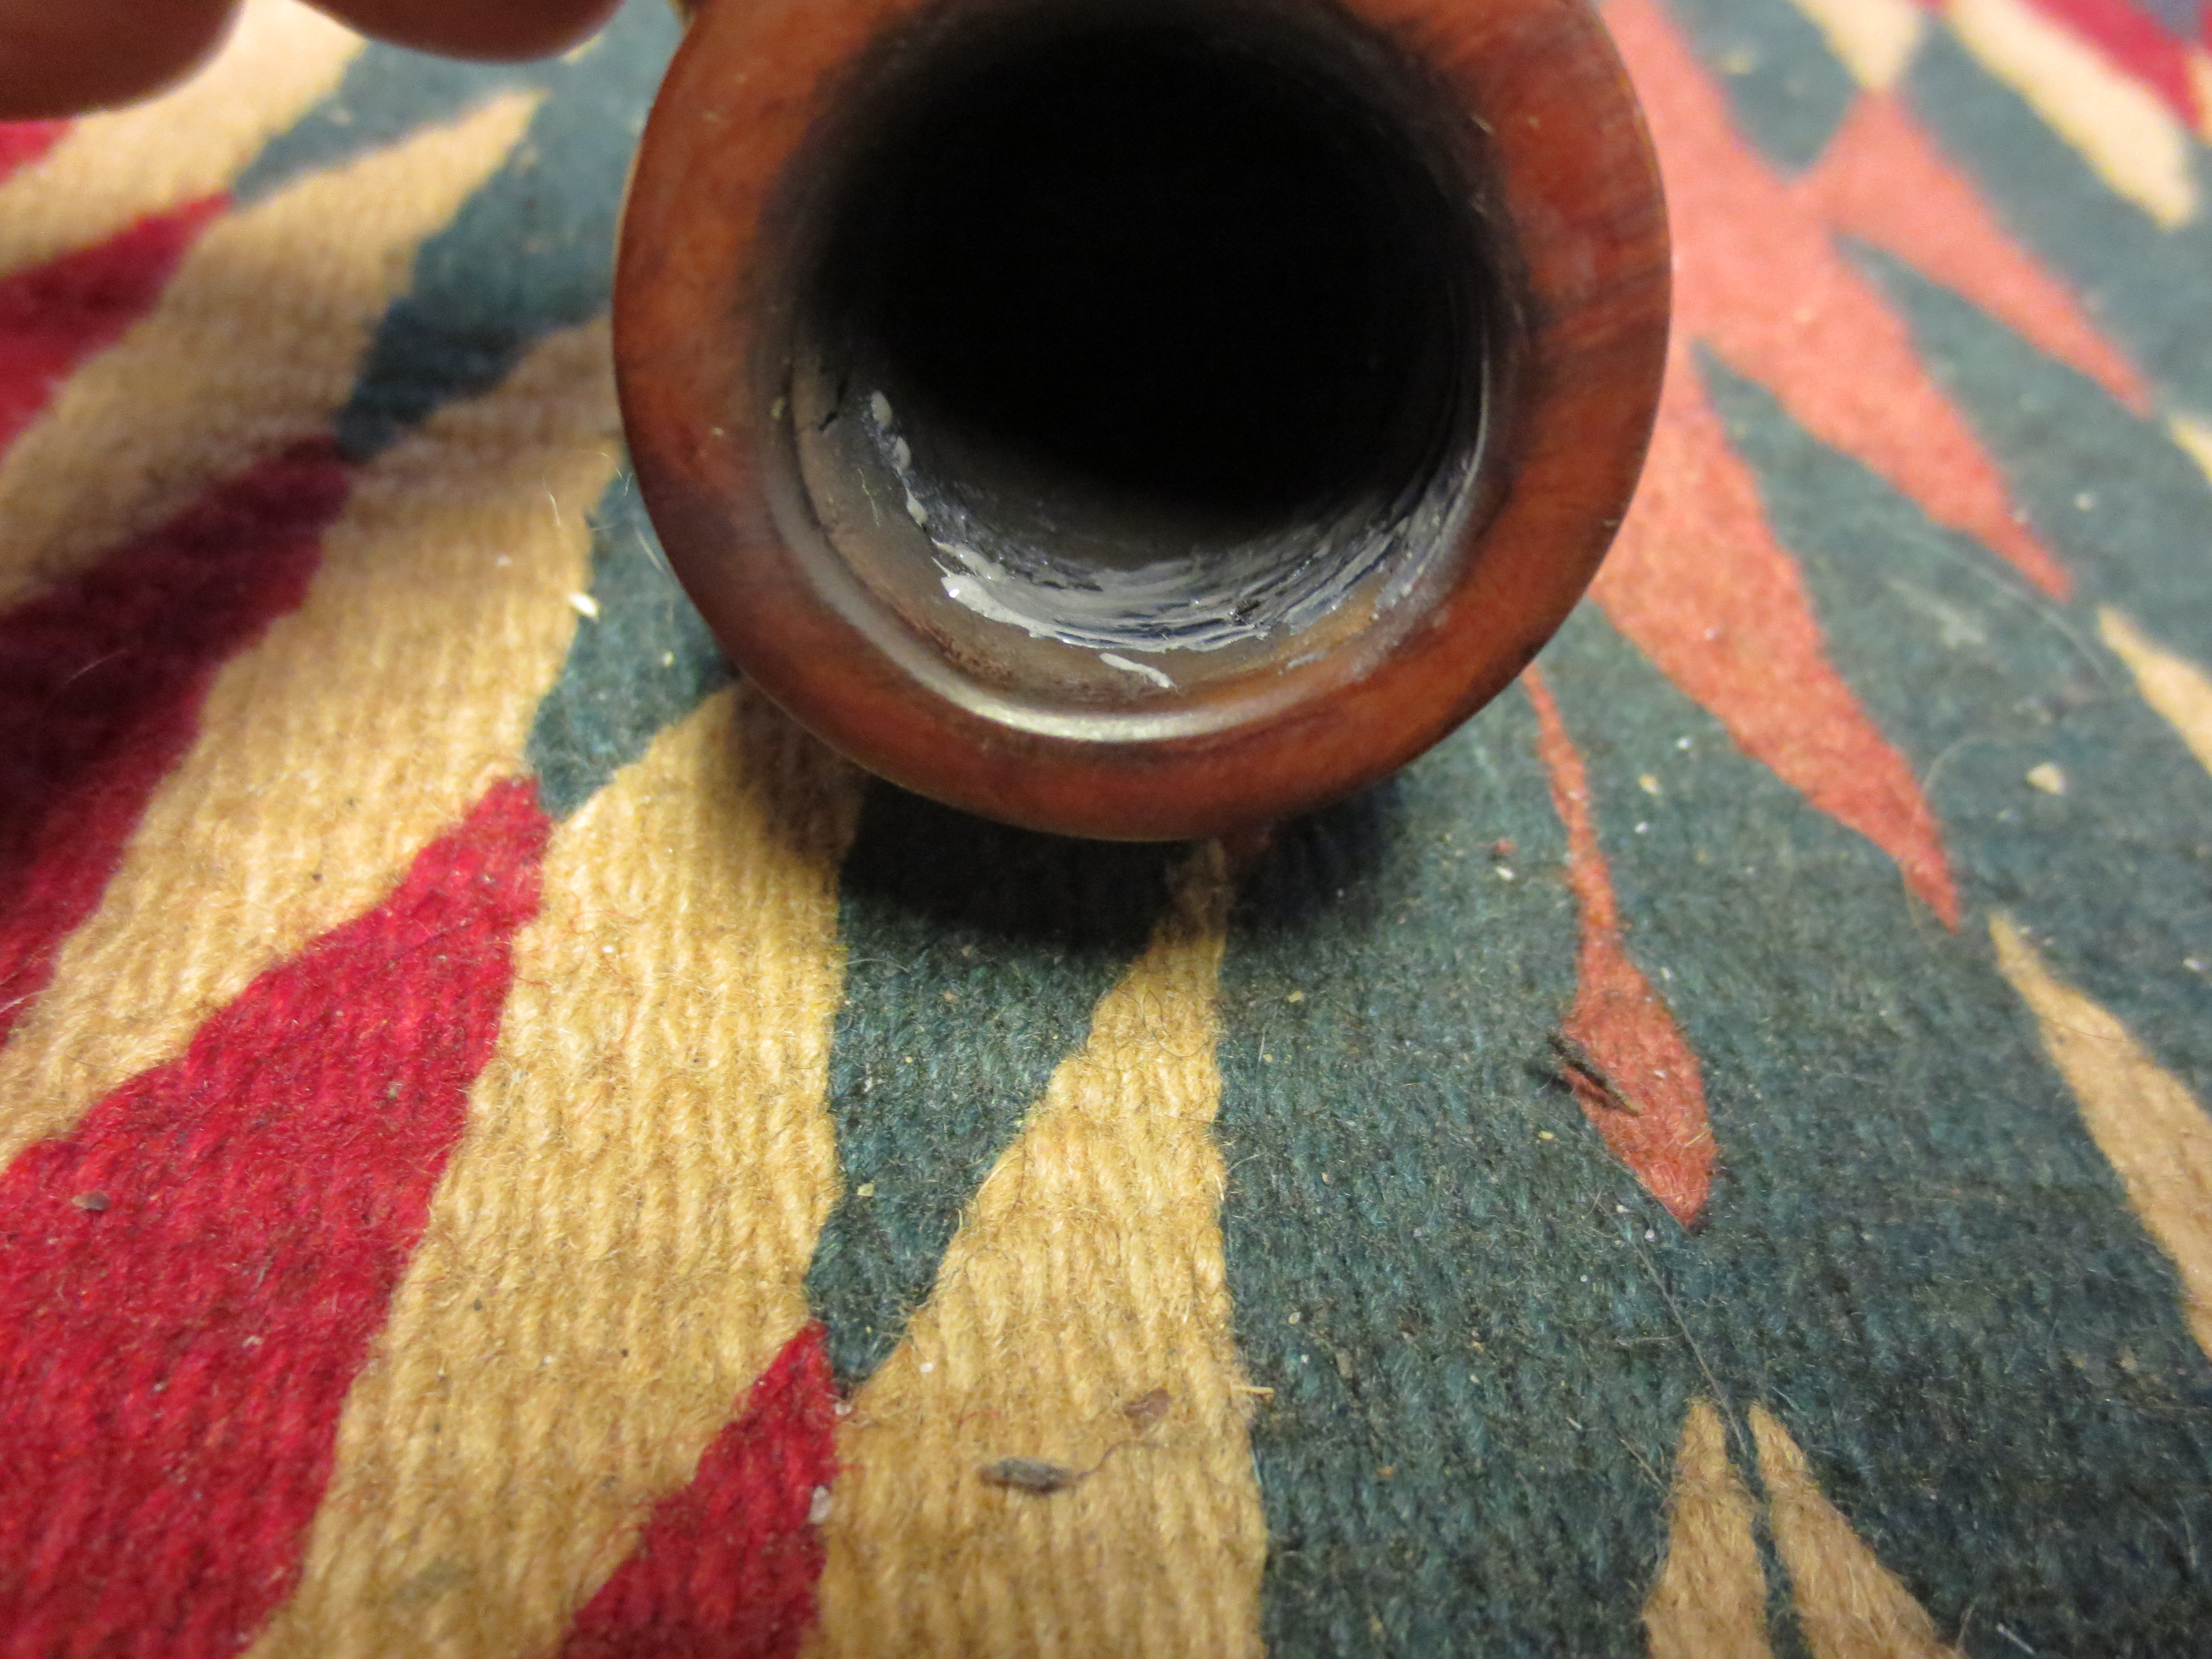
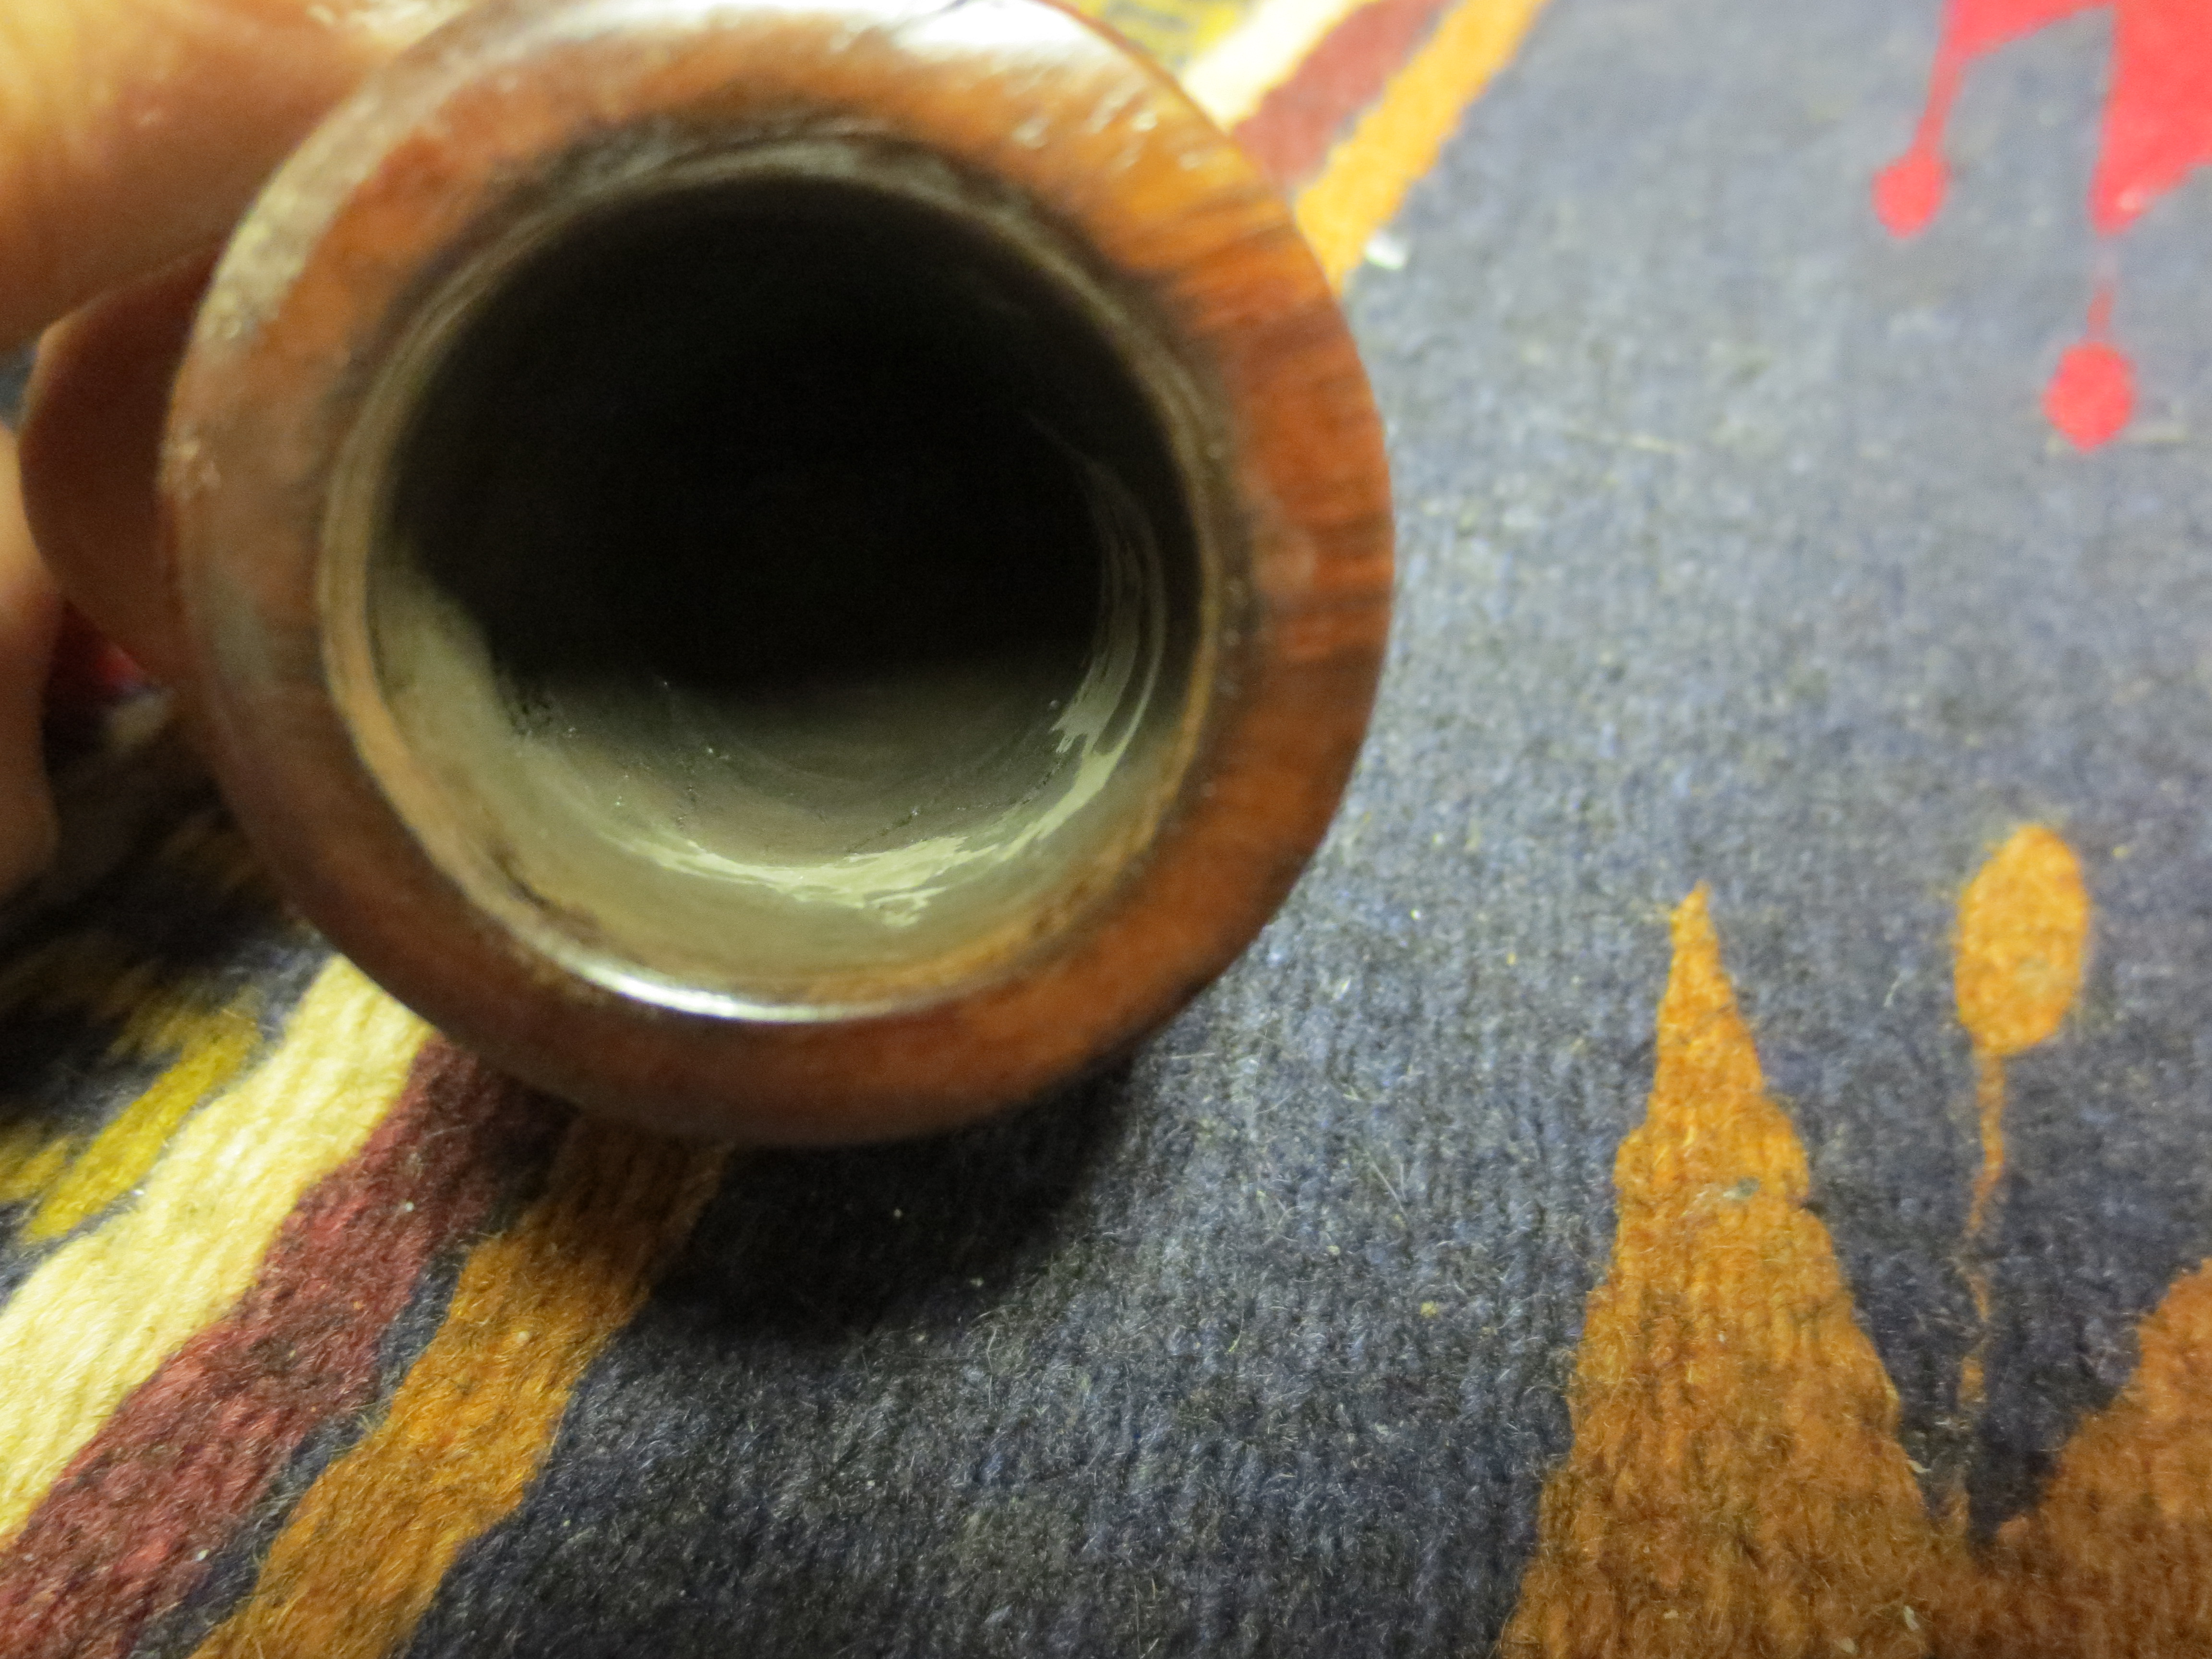
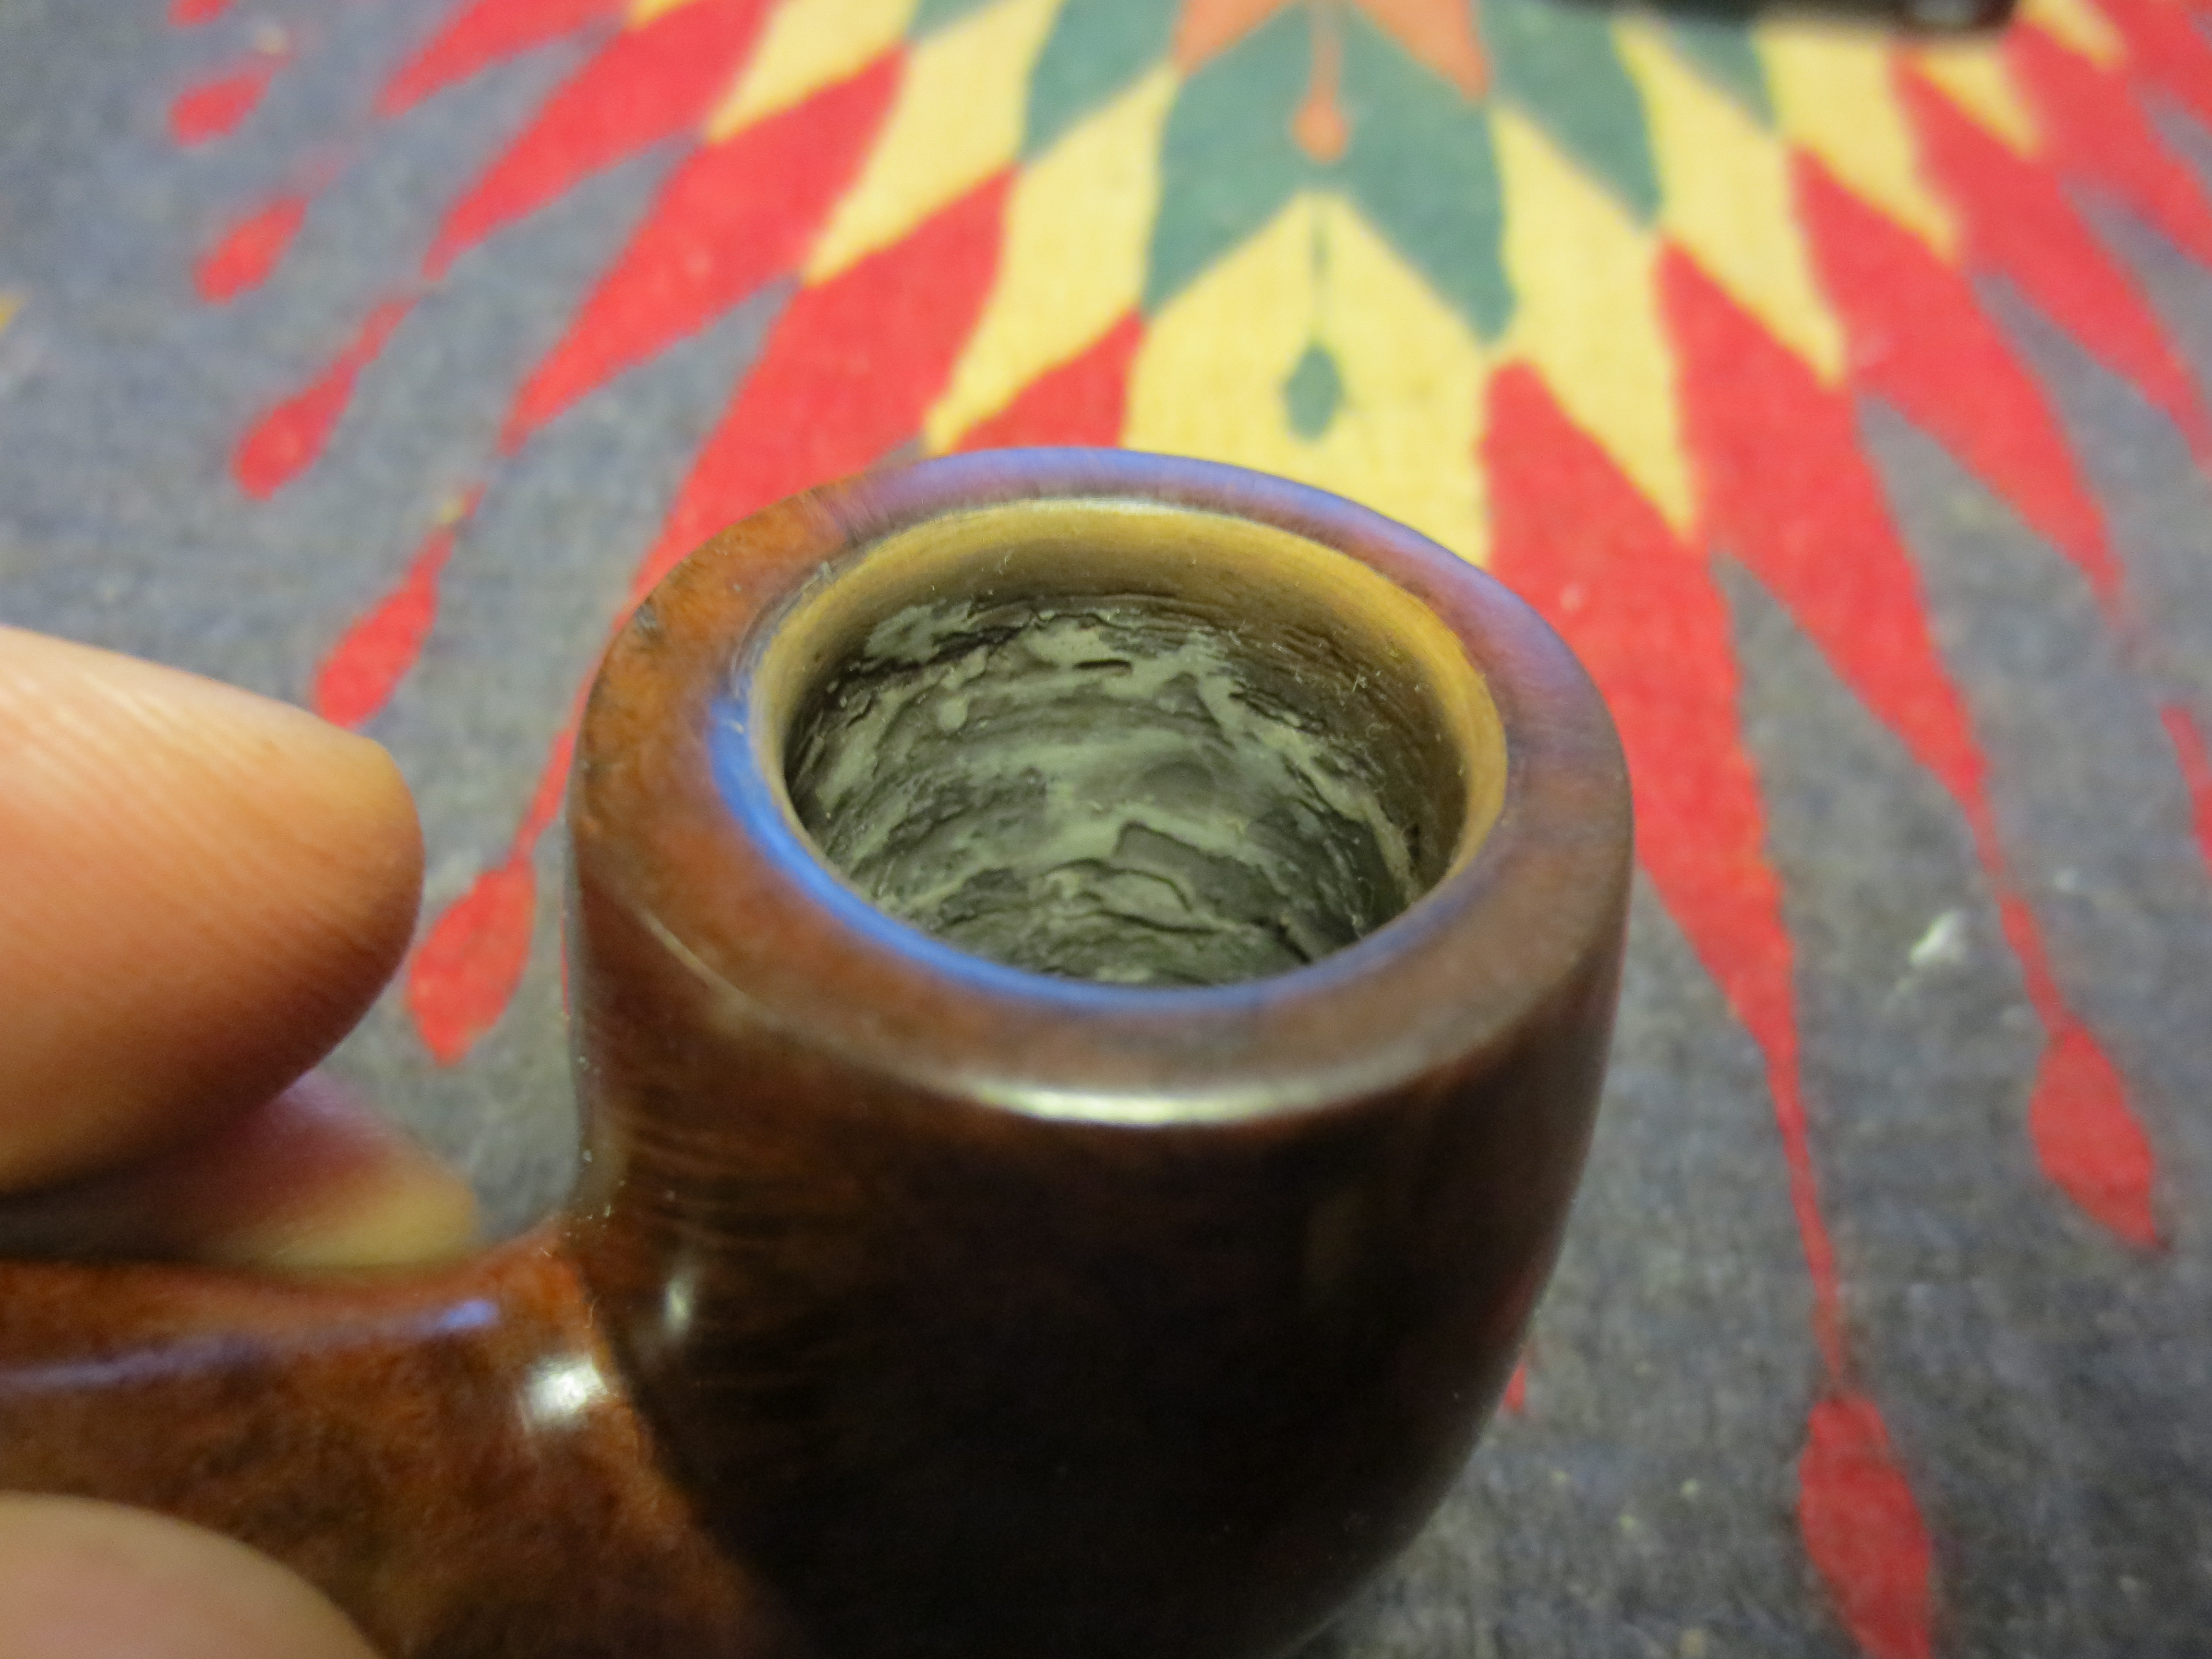
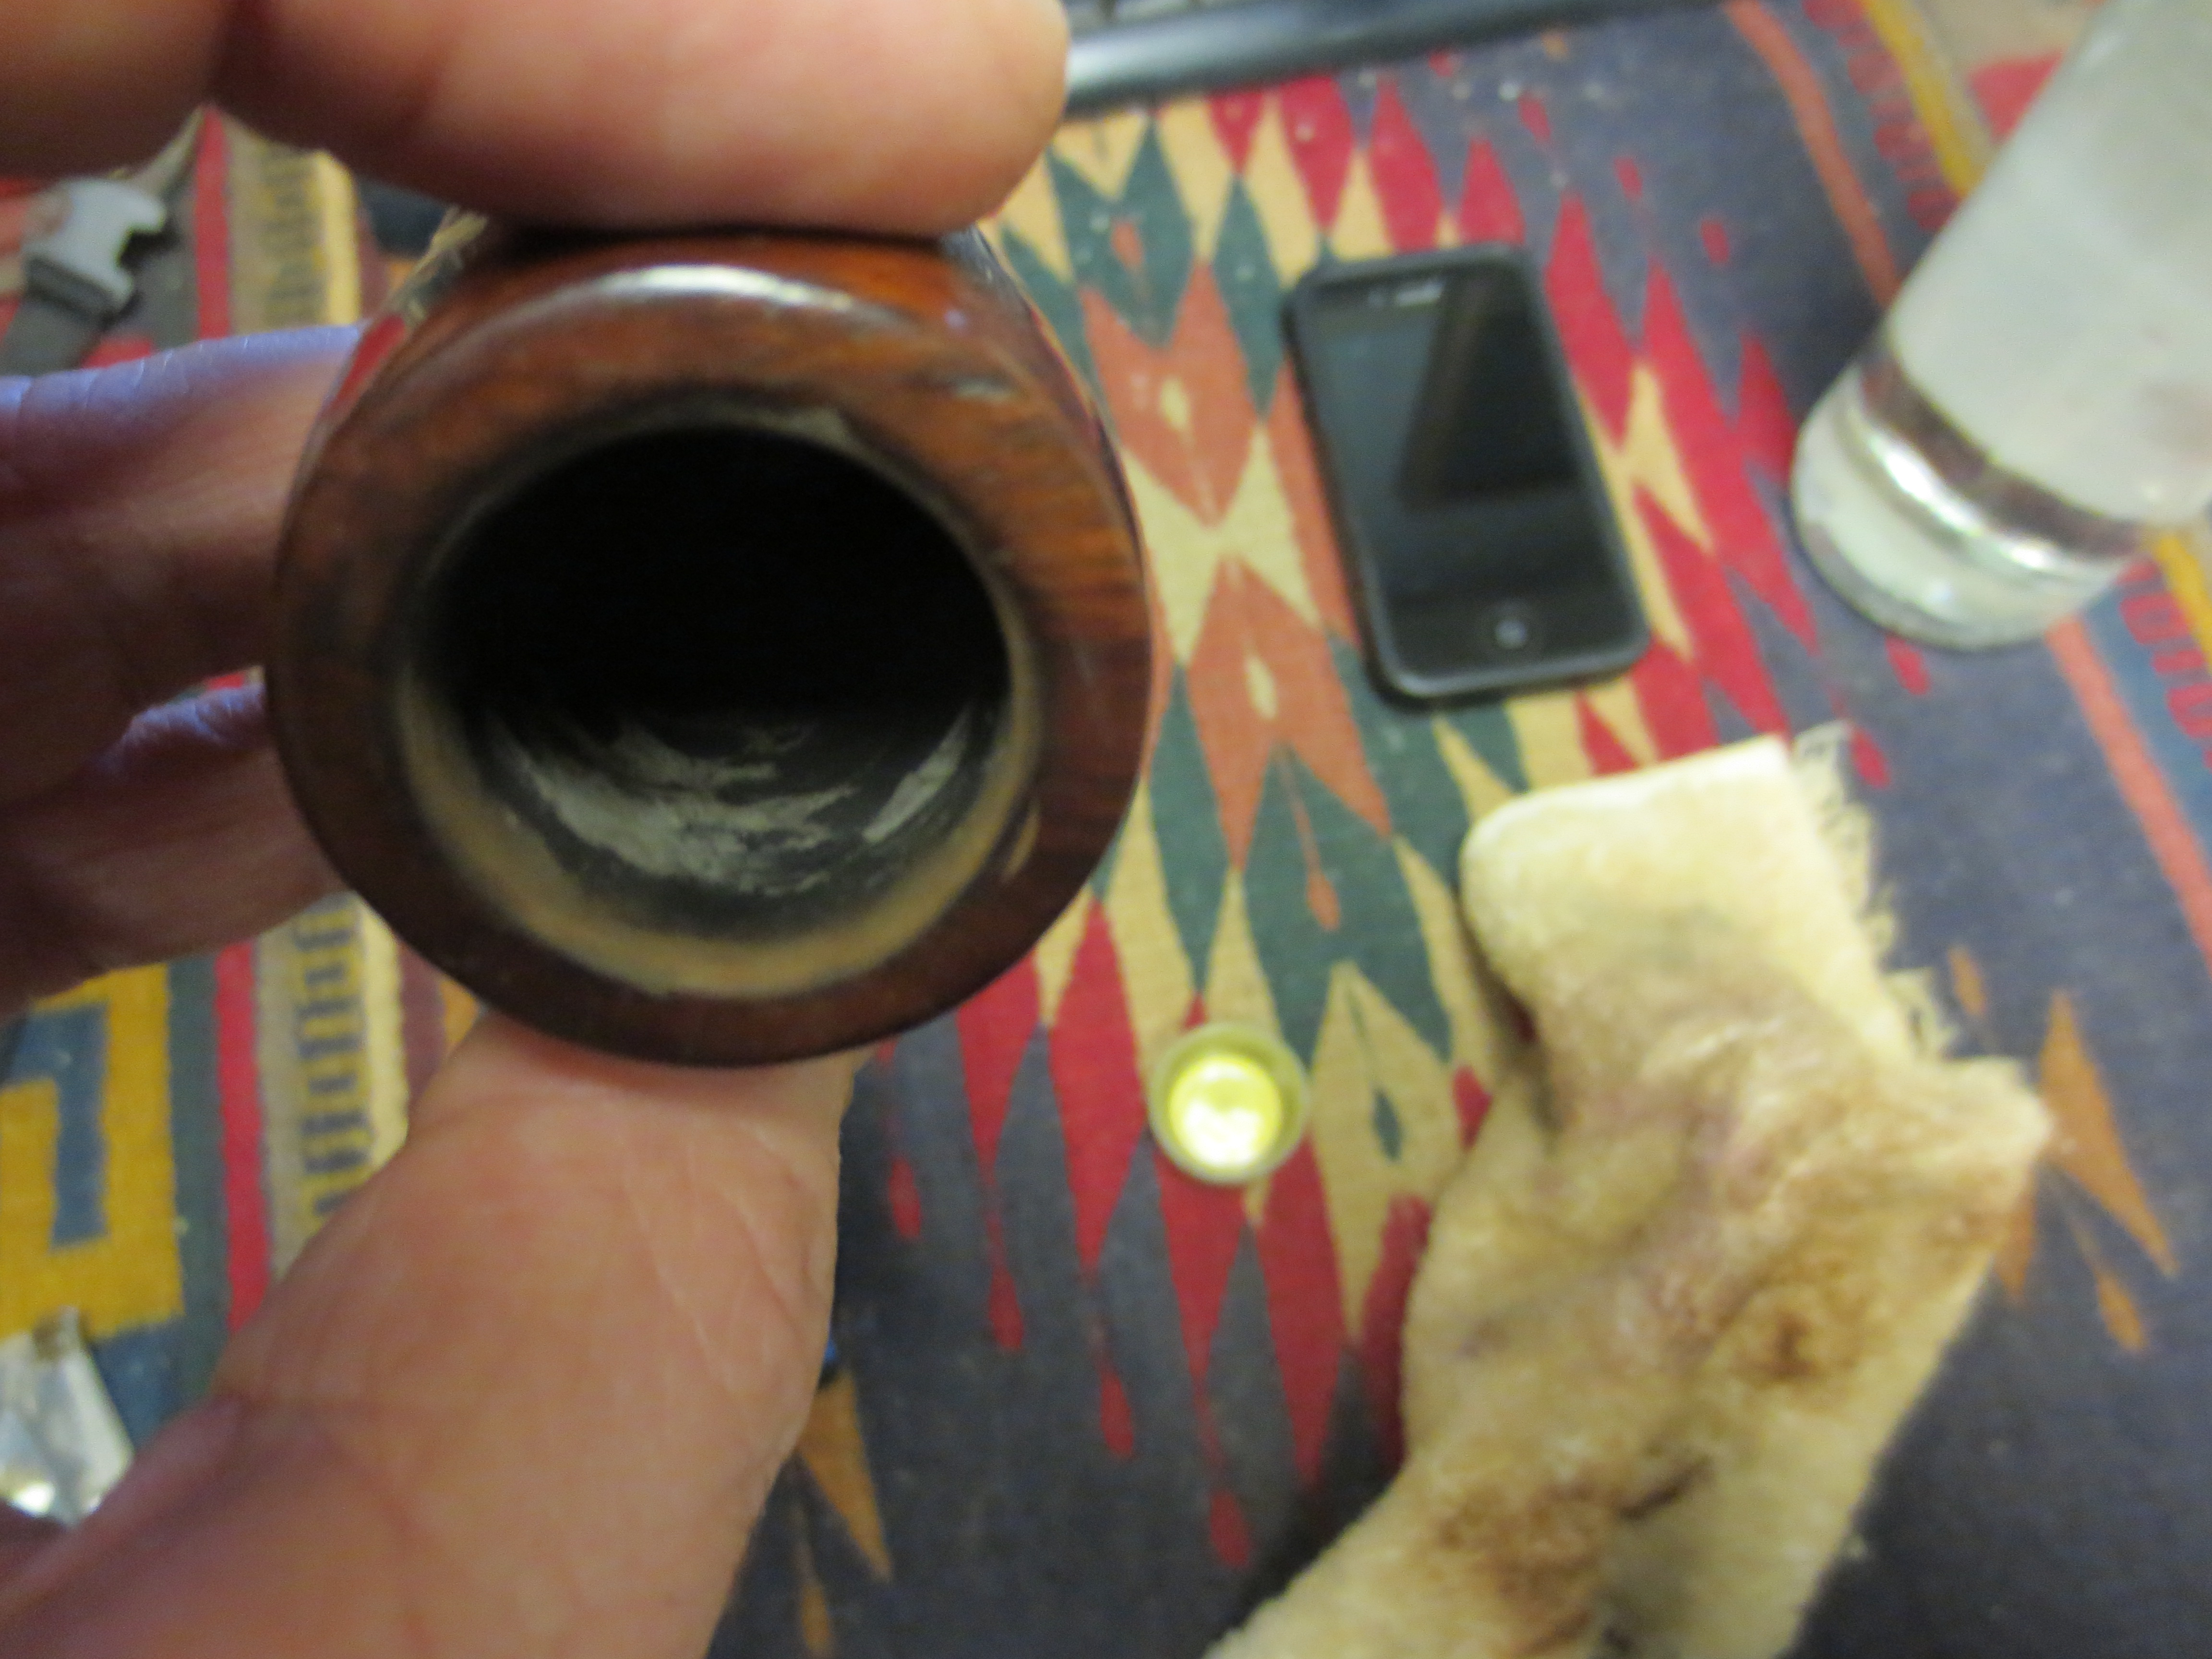
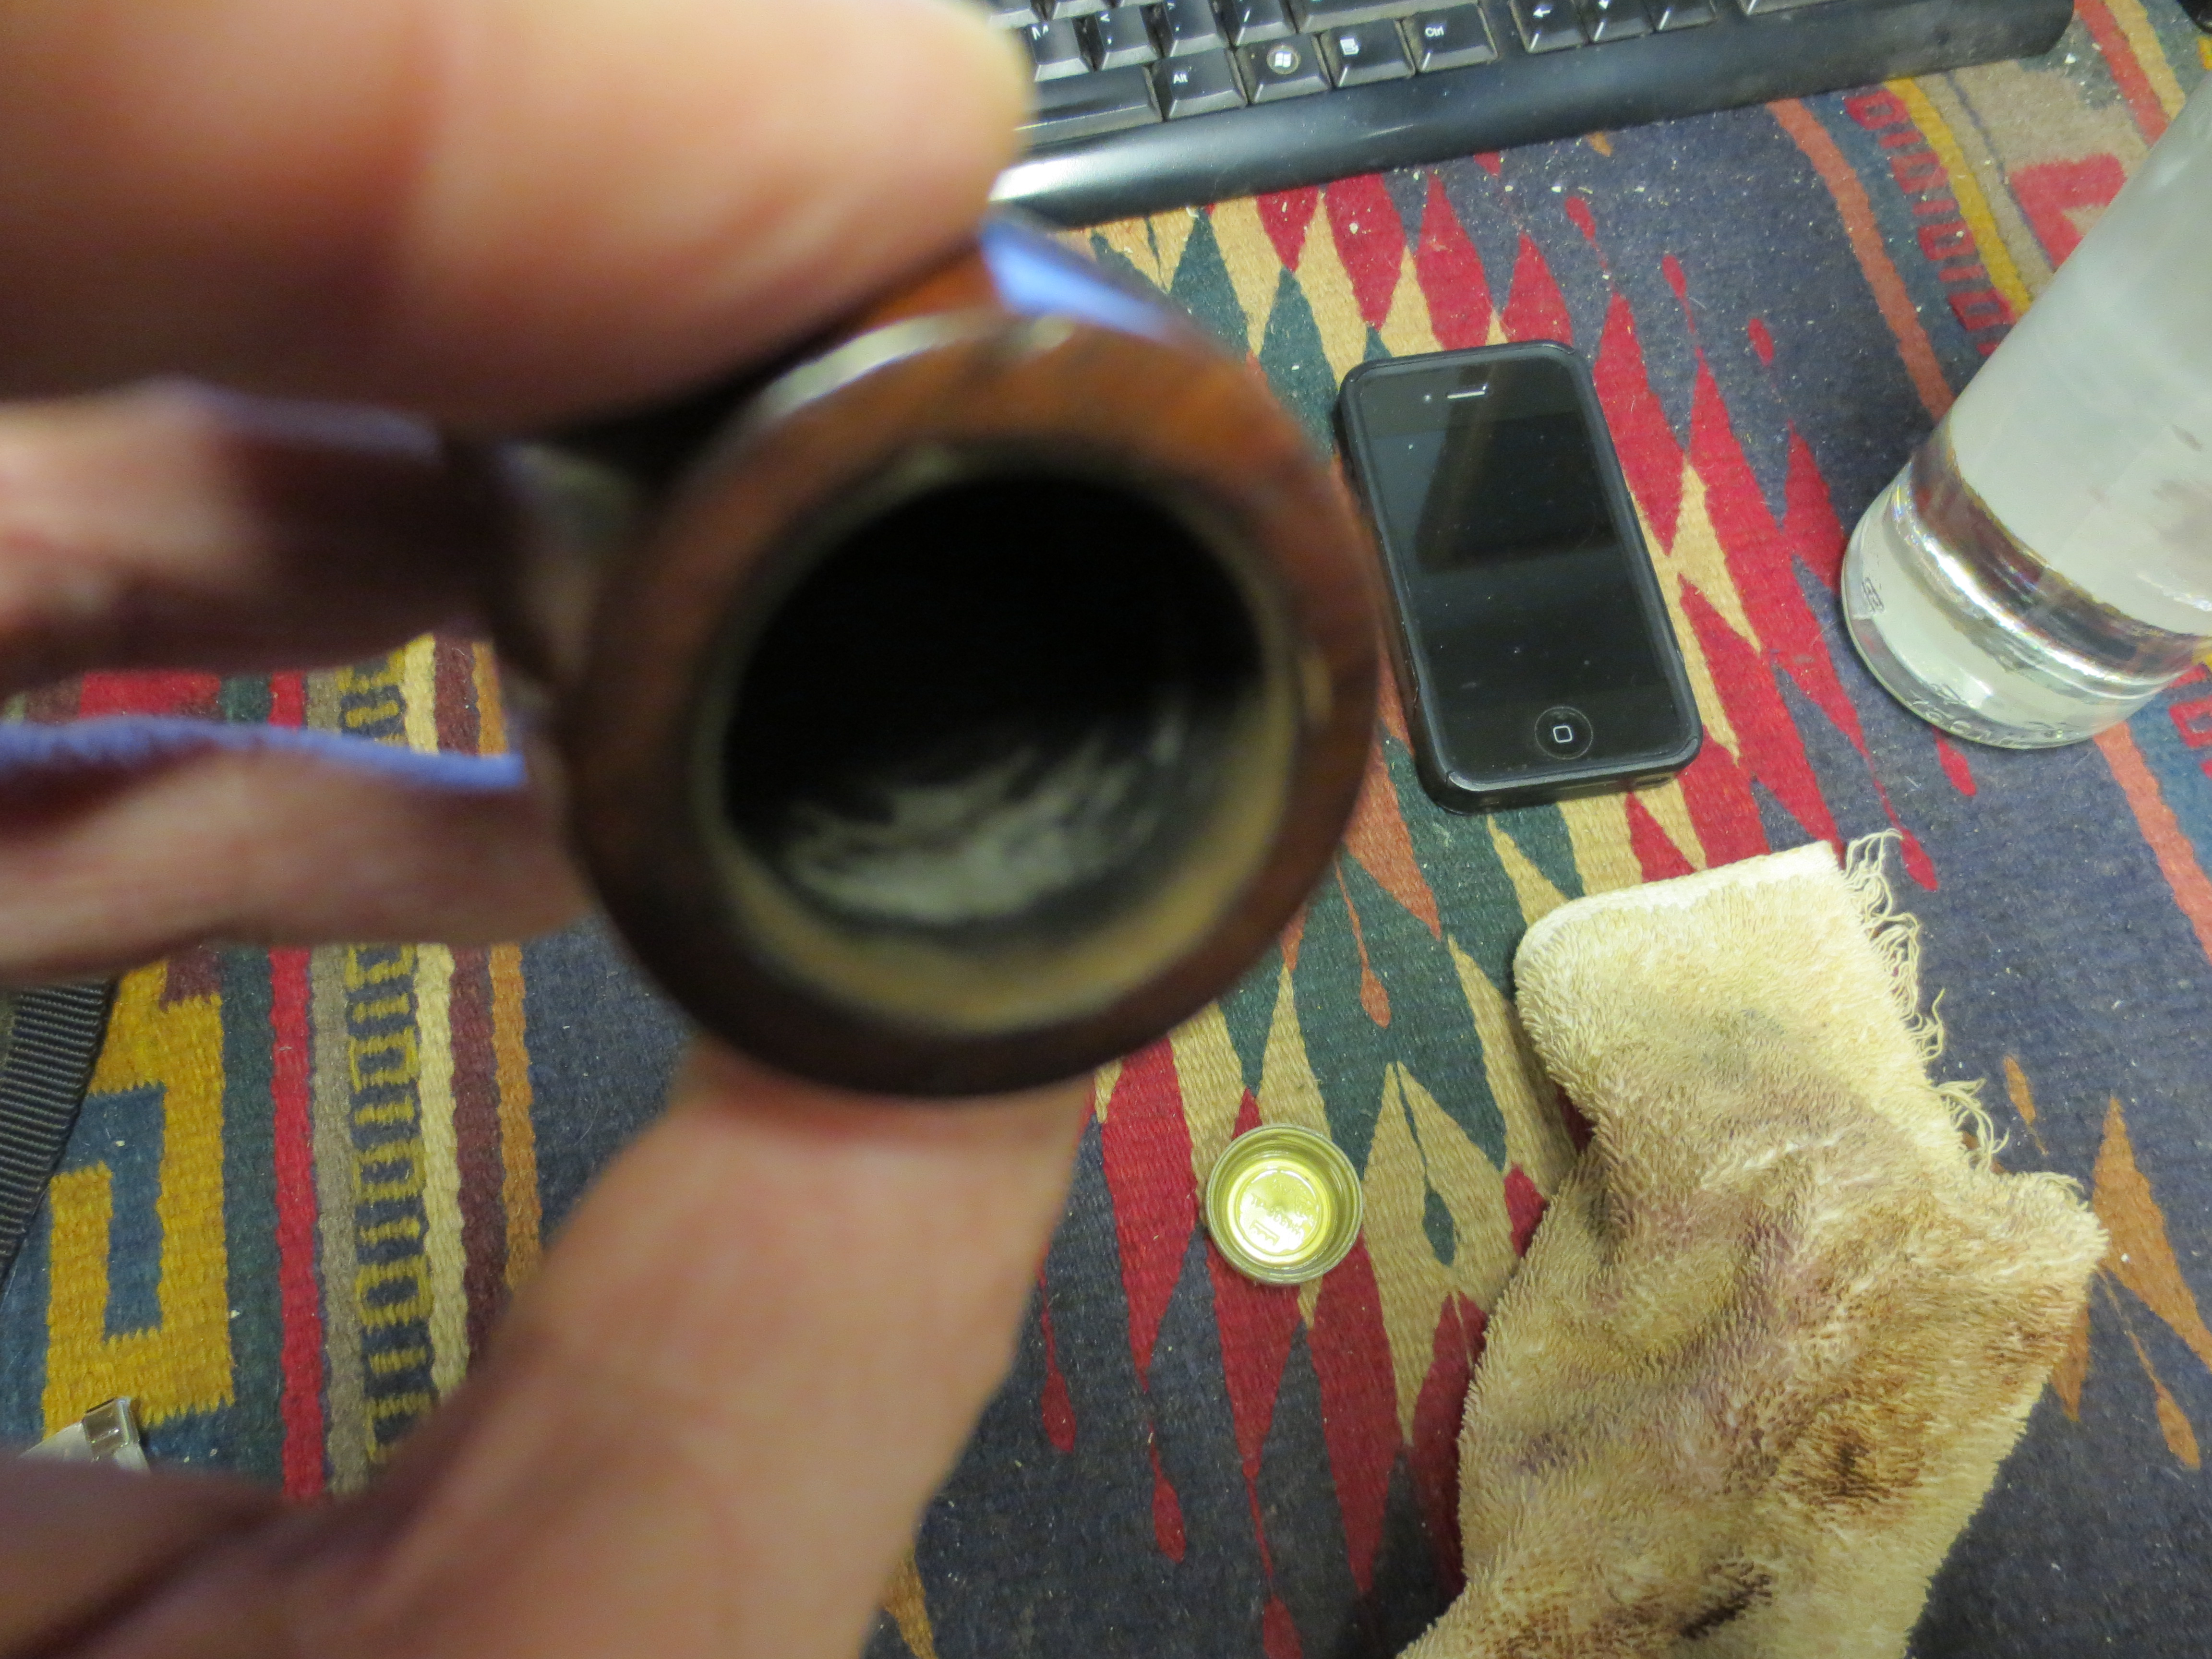
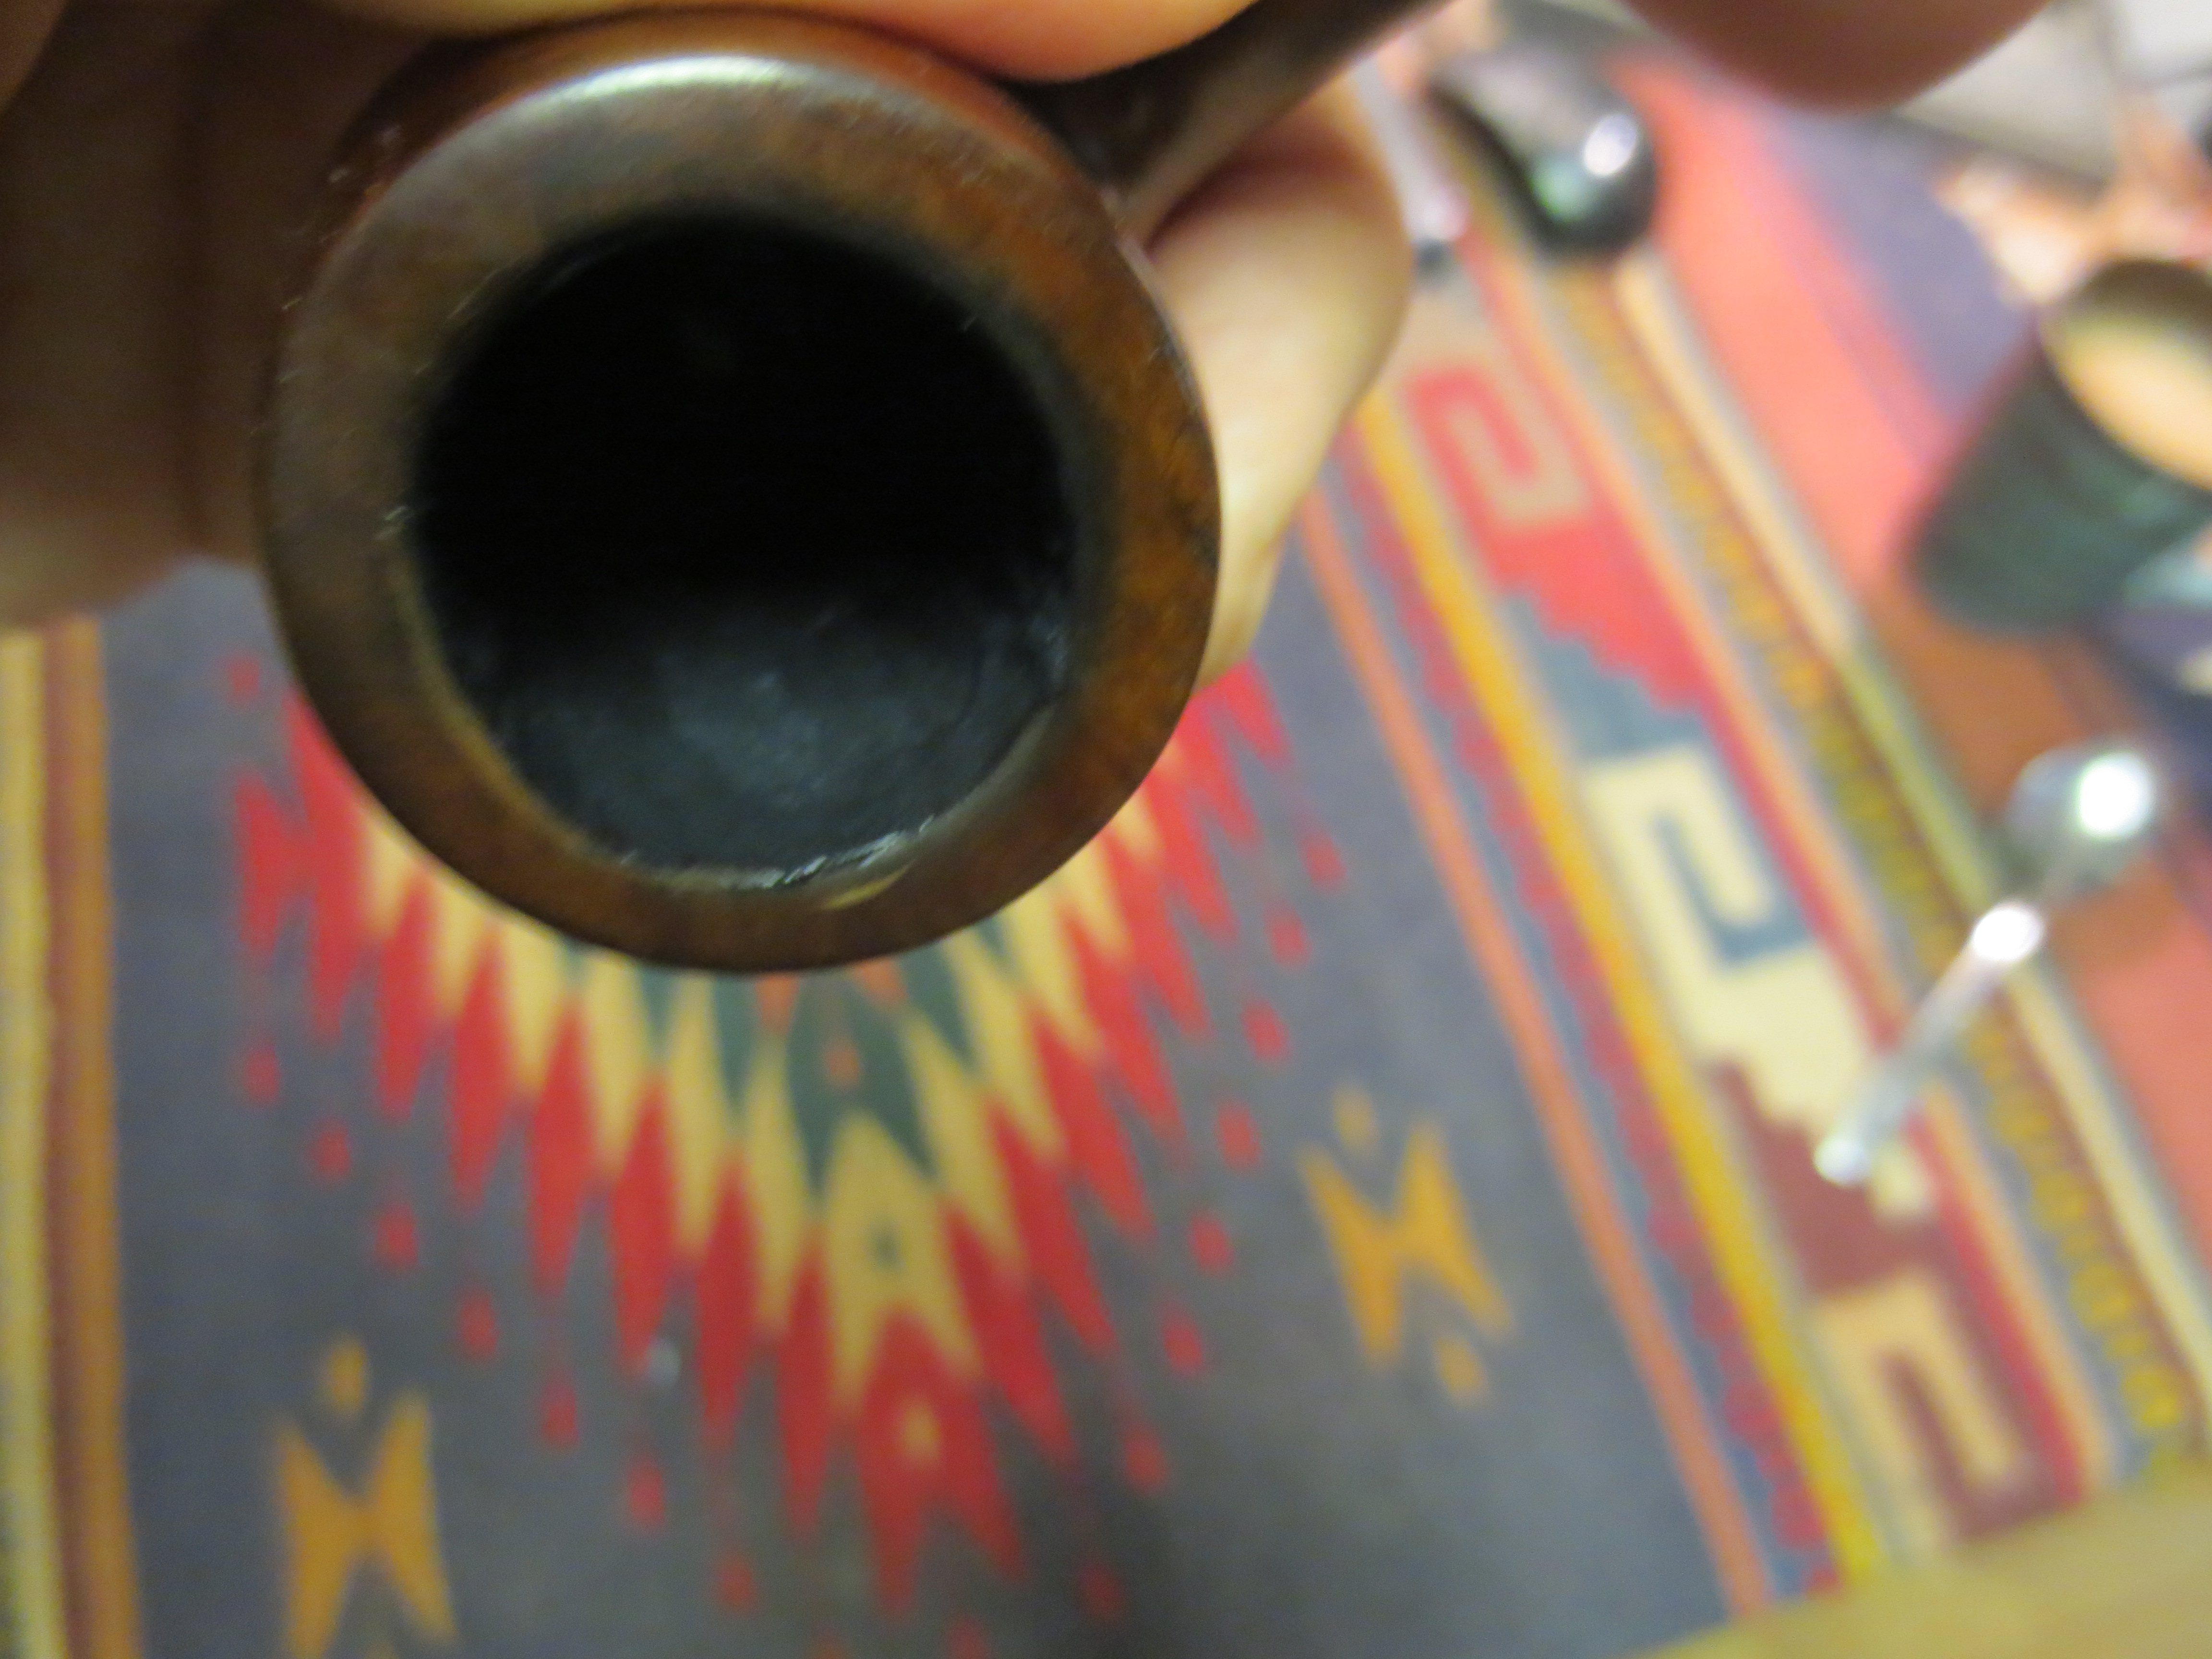
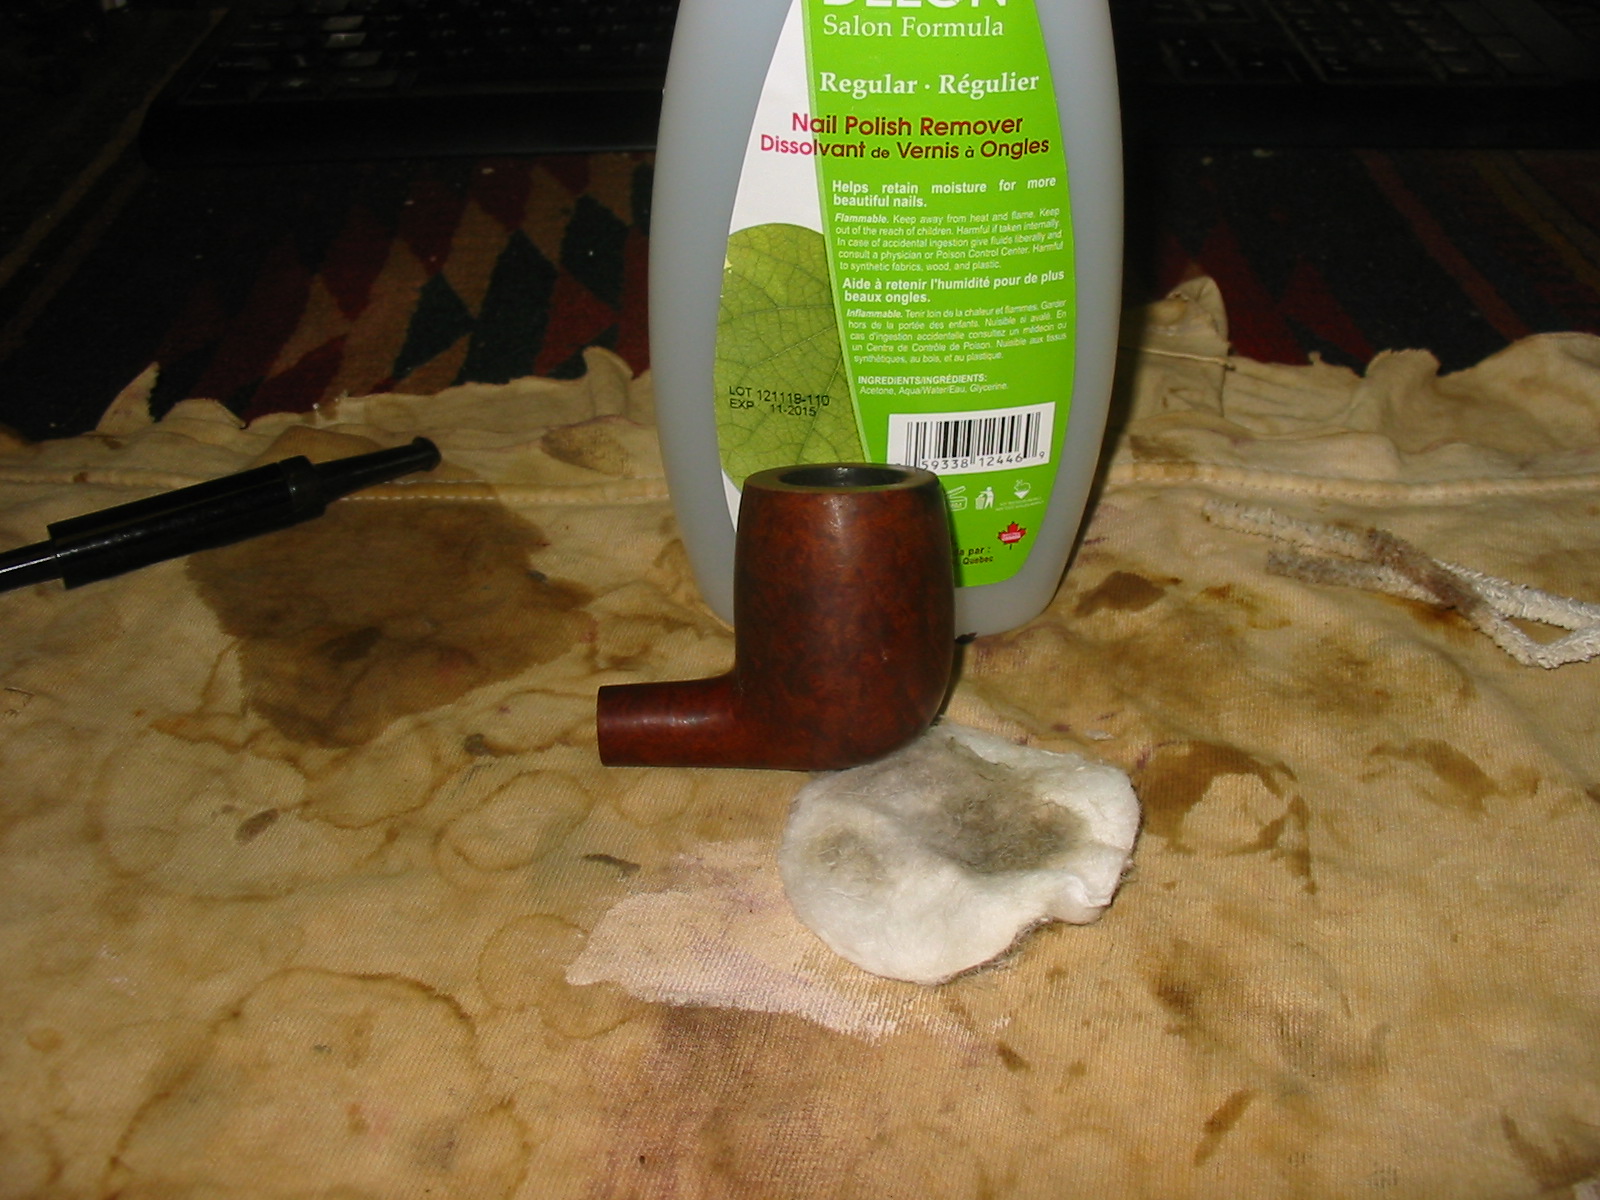
It was at this point that I decided to clean and ream the pipe. Knowing this pipe had more or less been in retirement for almost a decade, I expected it probably would be fairly dirty; I was right. The alcohol bath had softened the cake some, I suspect, and it was fairly thick and not very even so reaming was definitely in order. I used a Castleford reamer to do the job, using the second largest bit to ream the bowl; the two smaller sizes didn’t touch the cake in this large bowl. After reaming I began to clean the shank, which was terribly gunked up. I used the drill bit-tool on my Kleen-Reem to open up the shank, both with and without pipe cleaners on it. After many pipe cleaners, both on the drill bit and doubled over off of the bit, I finally decided that I needed to do an alcohol and cotton ball treatment; this is the same as a salt and alcohol treatment only you use cotton balls instead of salt. I put two large cotton balls in the bowl and, using an old medicine syringe, I filled the bowl with 91% isopropyl alcohol. Then I took the syringe and filled the shank; since this pipe is a sitter with such a large shank this idea worked very well and was quite easy to do. I topped off the bowl with a bit more alcohol and left it till morning. This is what the cotton balls looked like when I came back the next day:


The photos don’t really show how much tar leached out into them; they were really quite brown. The shank was much cleaner now as I went back to it, only taking less than a dozen pipe cleaners to get it clean now.
Back to the burn on the bowl, I started out with some course emery boards to remove some of the charred area. I had three different grits, from a package I bought at the local dollar store, and I worked through all three grits on it. The burn mark was reduced in size a fair amount but would need more, which I planned on doing with sandpaper. I thought the emery boards would be a good way to keep the more coarse sanding confined to a smaller area and it seemed to work fairly well.
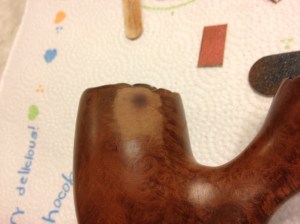

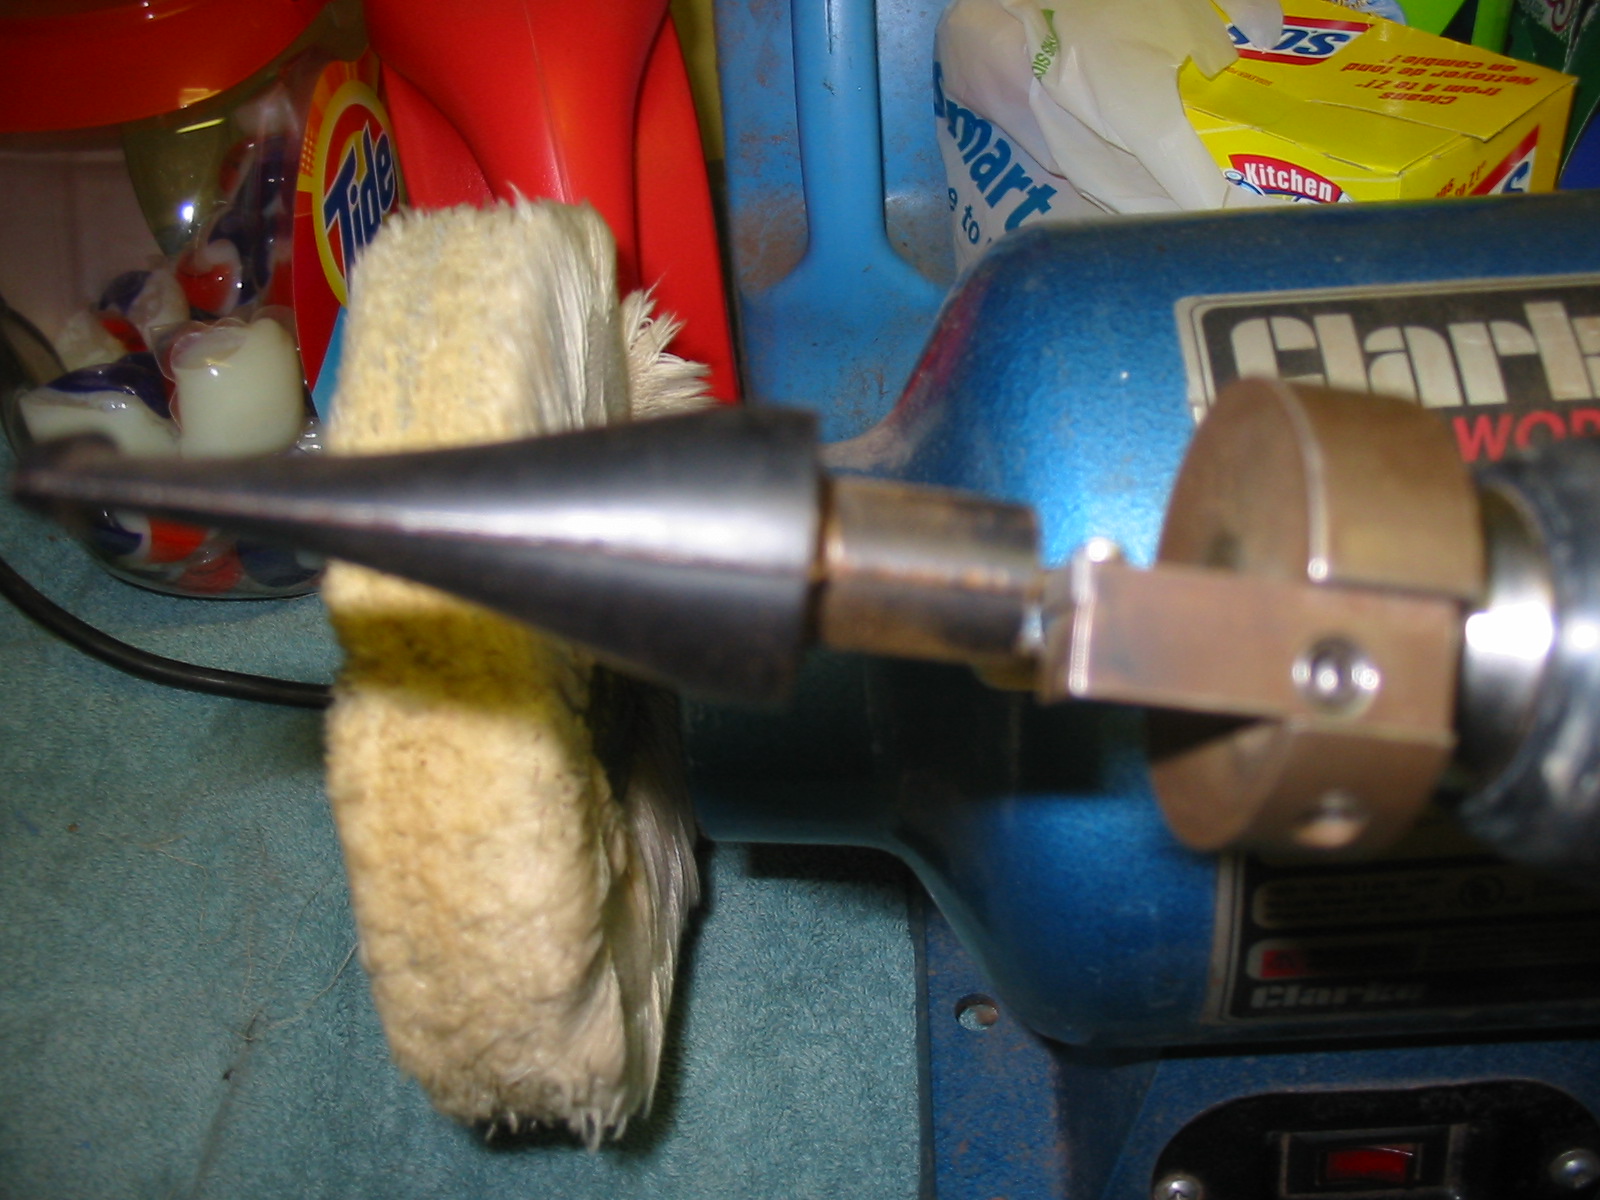
From here I went to 220 grit paper and got out the biggest part of the burn, feathering out the sanding a little, too. I then went to 320 wet/dry paper and sanded the entire pipe, except for the bottom; I didn’t want to sand any where the nomenclature was if I could keep from it. I then moved up to 400 wet/dry paper, wiping ever so often with an alcohol pad to see how the pipe looked, making sure it was smooth and scratch free. After I got the pipe to where I thought it would be good I took it to the buffer and buffed it with black compound; I find that this buffing highlights any small scratches or dents that may have been missed during the sanding. Here is what the pipe looked like at this point:

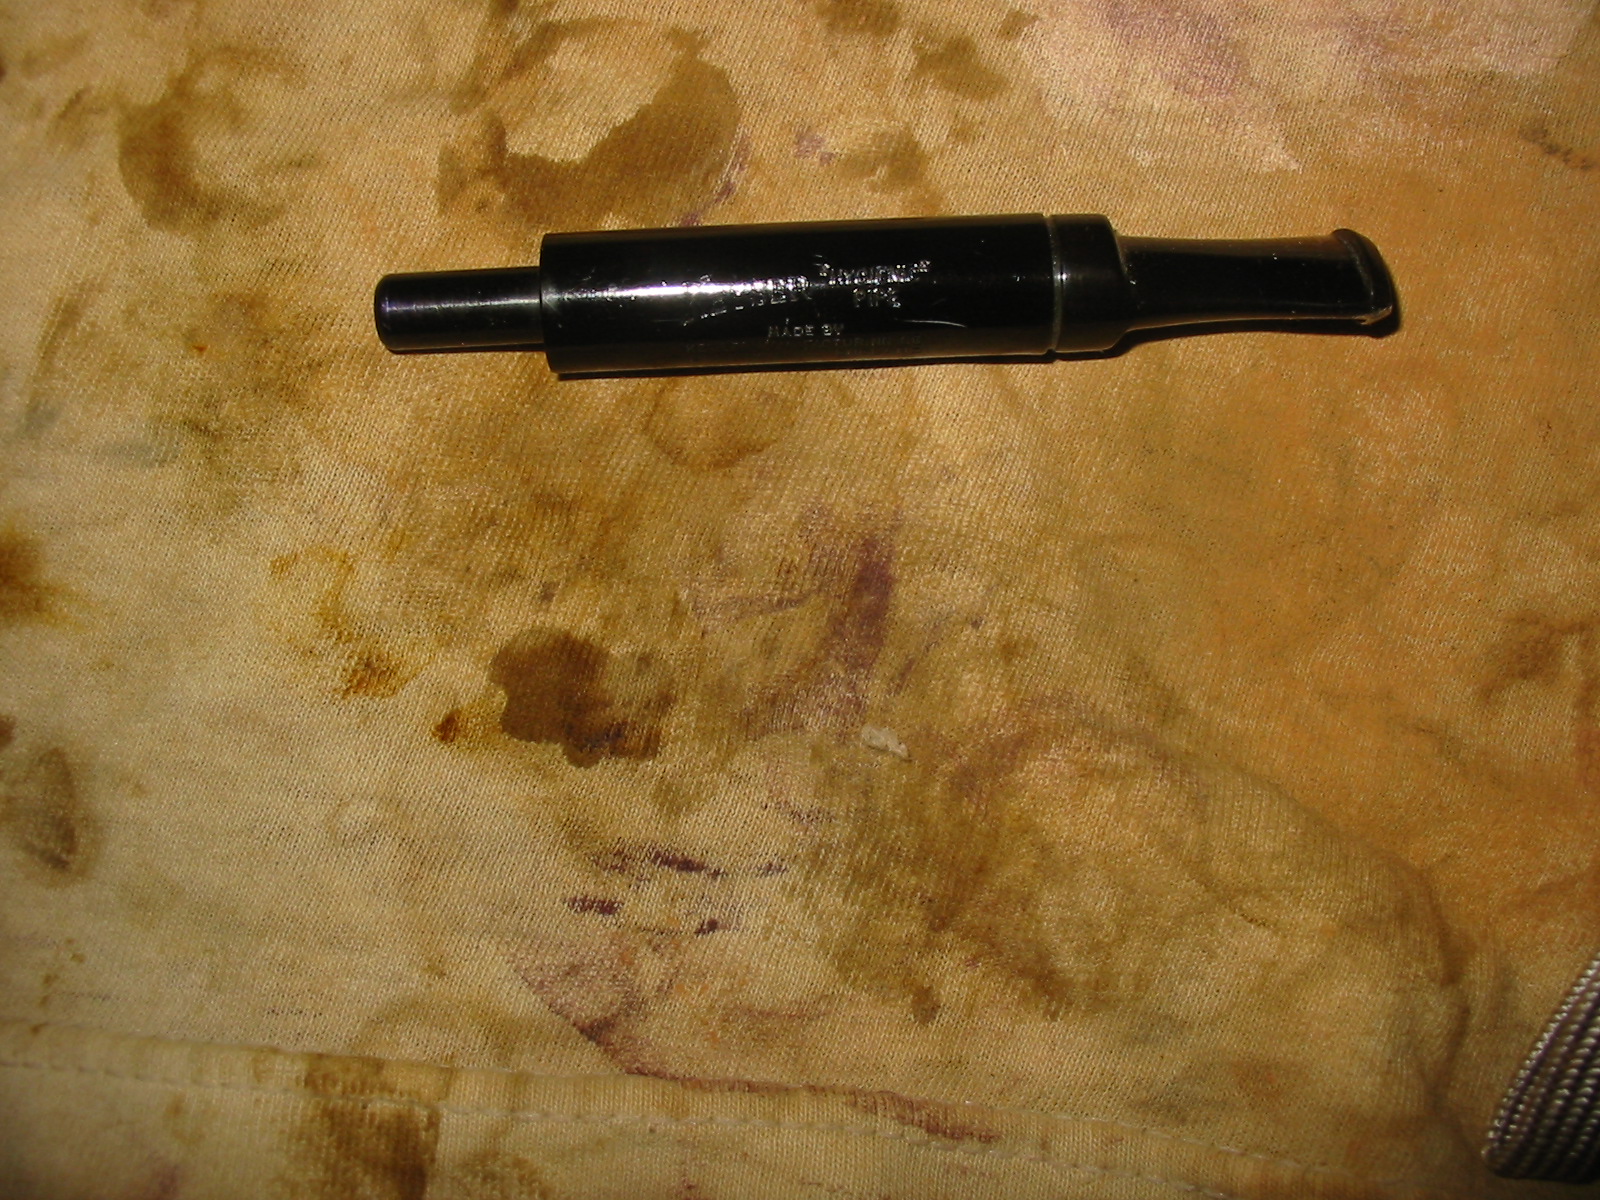
I saw one small scratch I had missed so I took the 400 grit paper to it and got that one out, along with lightening the burn mark a bit more. Now it was time to bend the stem.
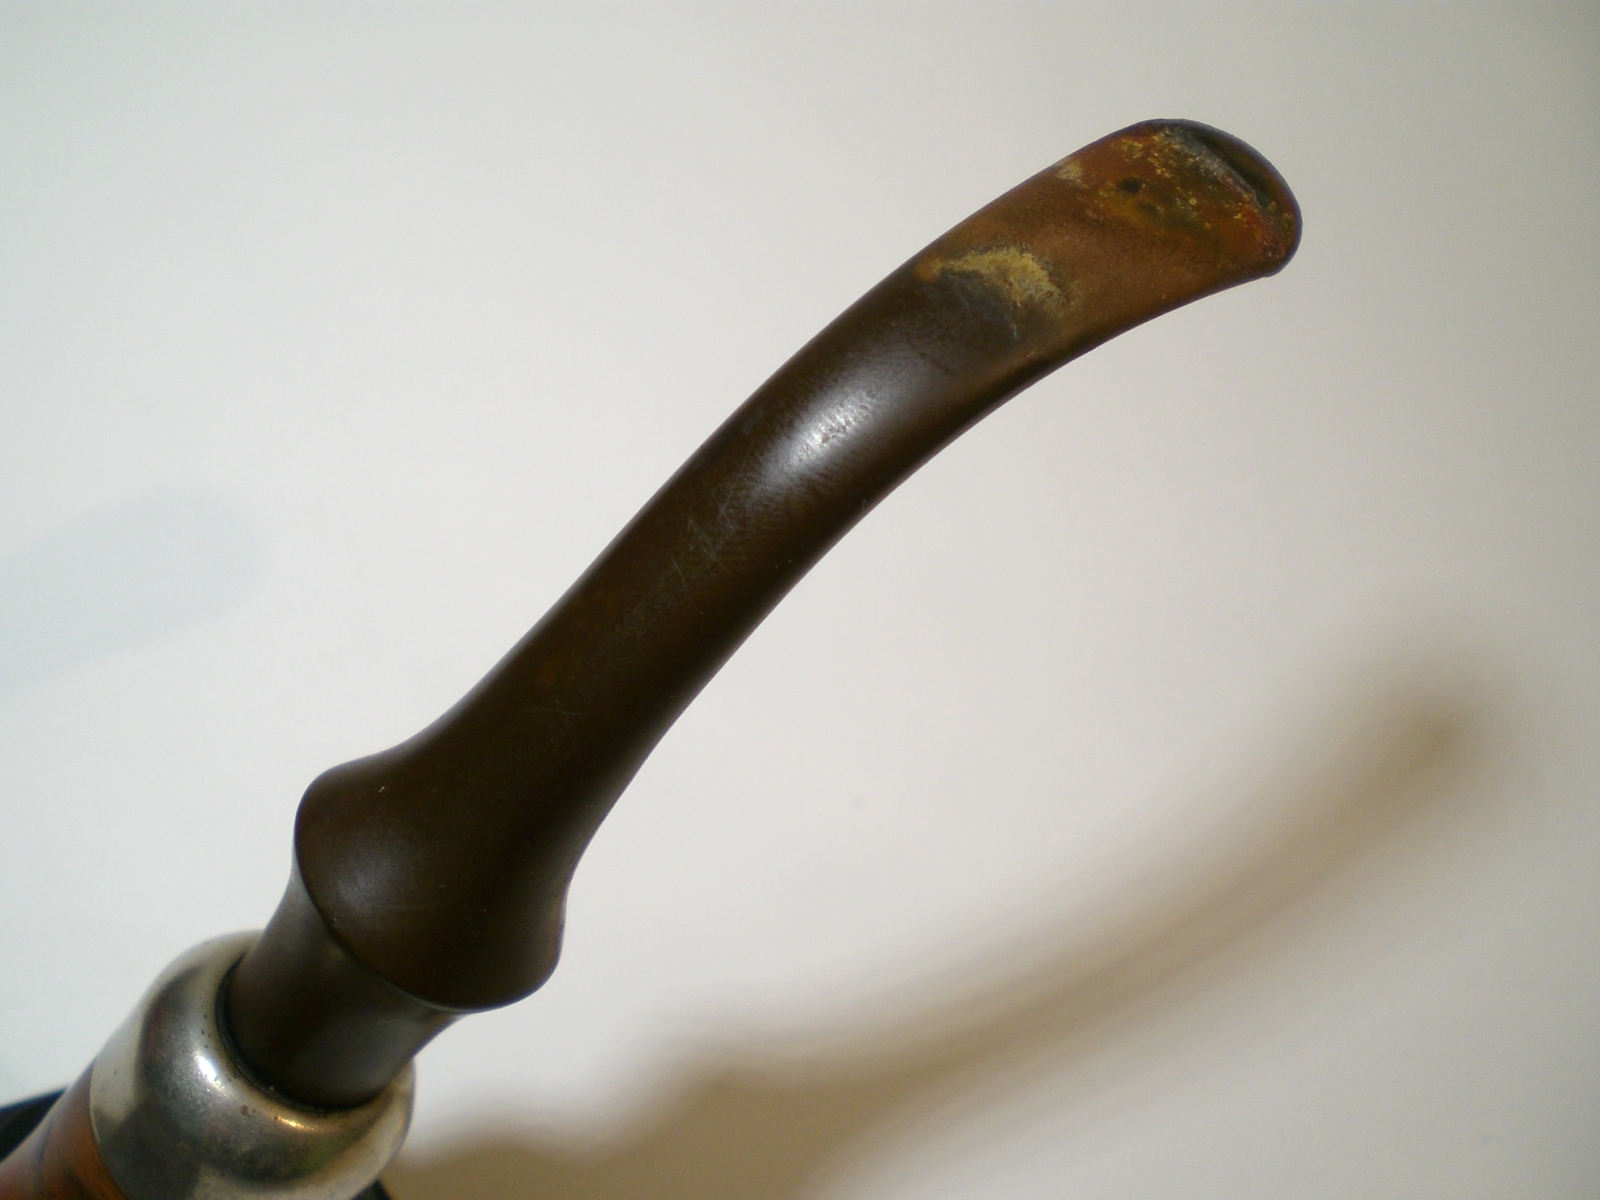
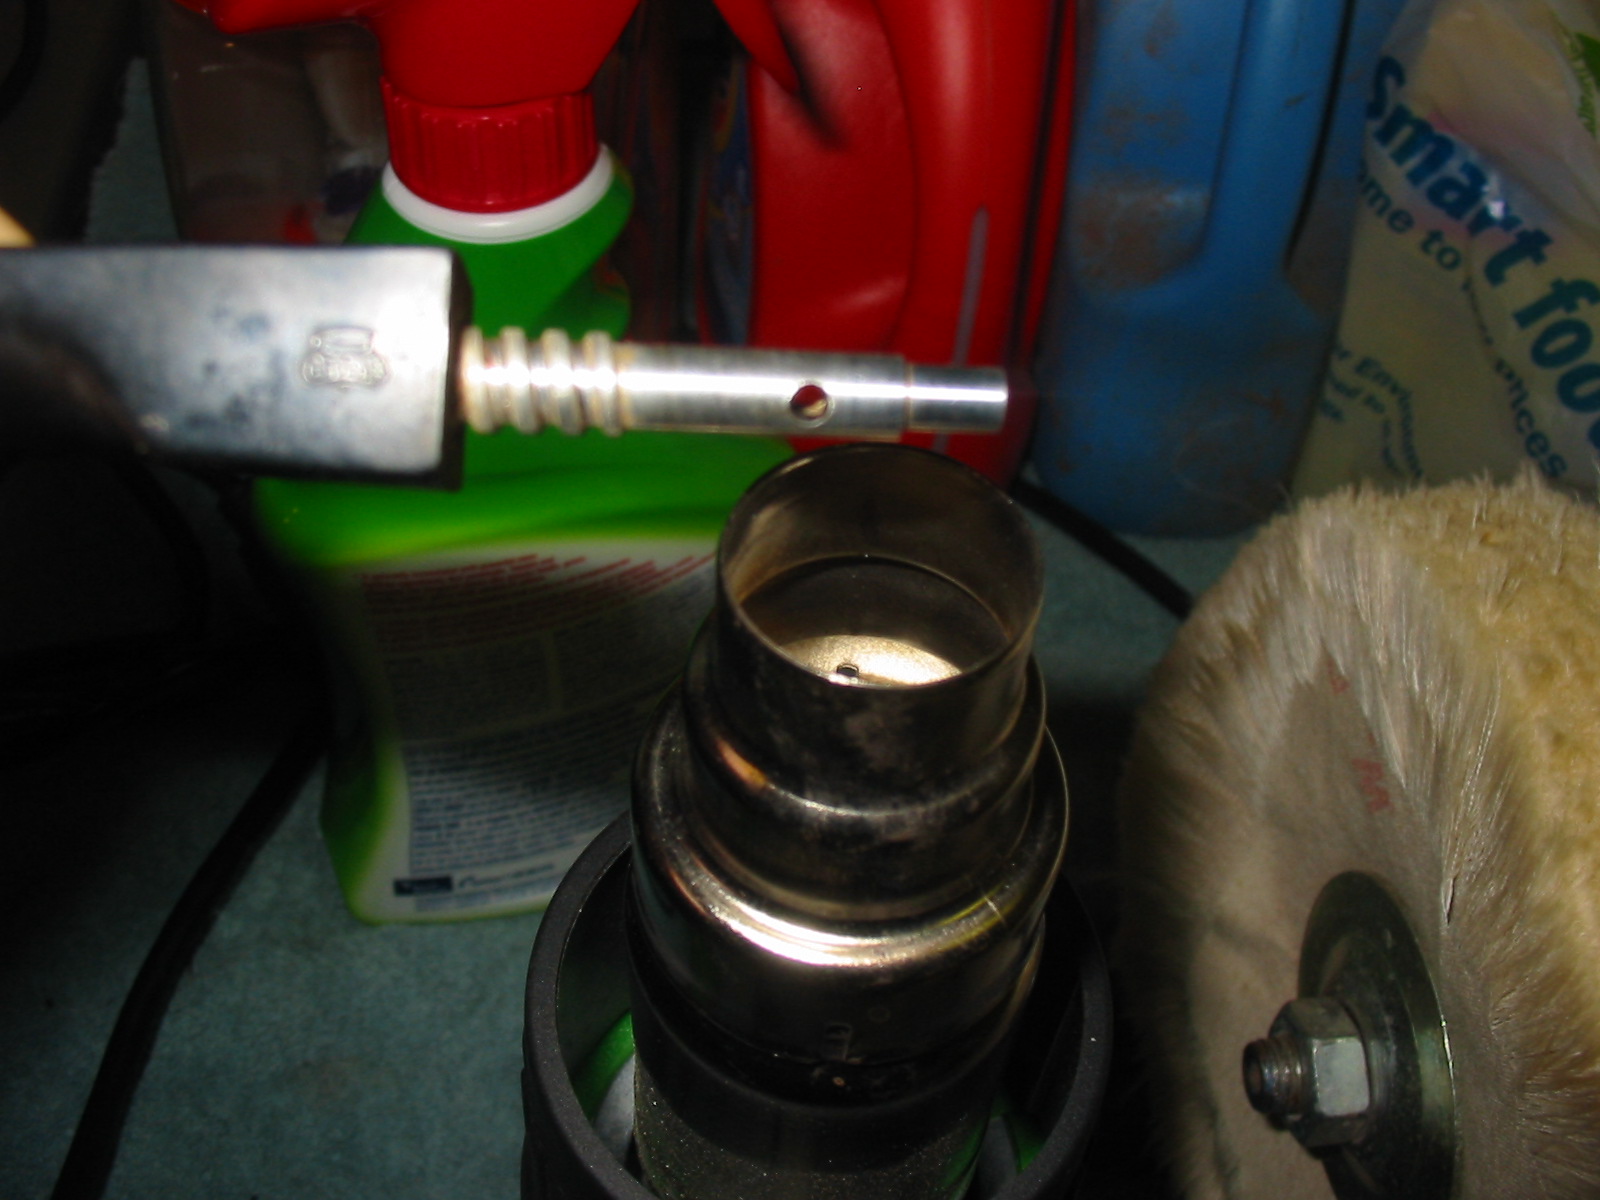
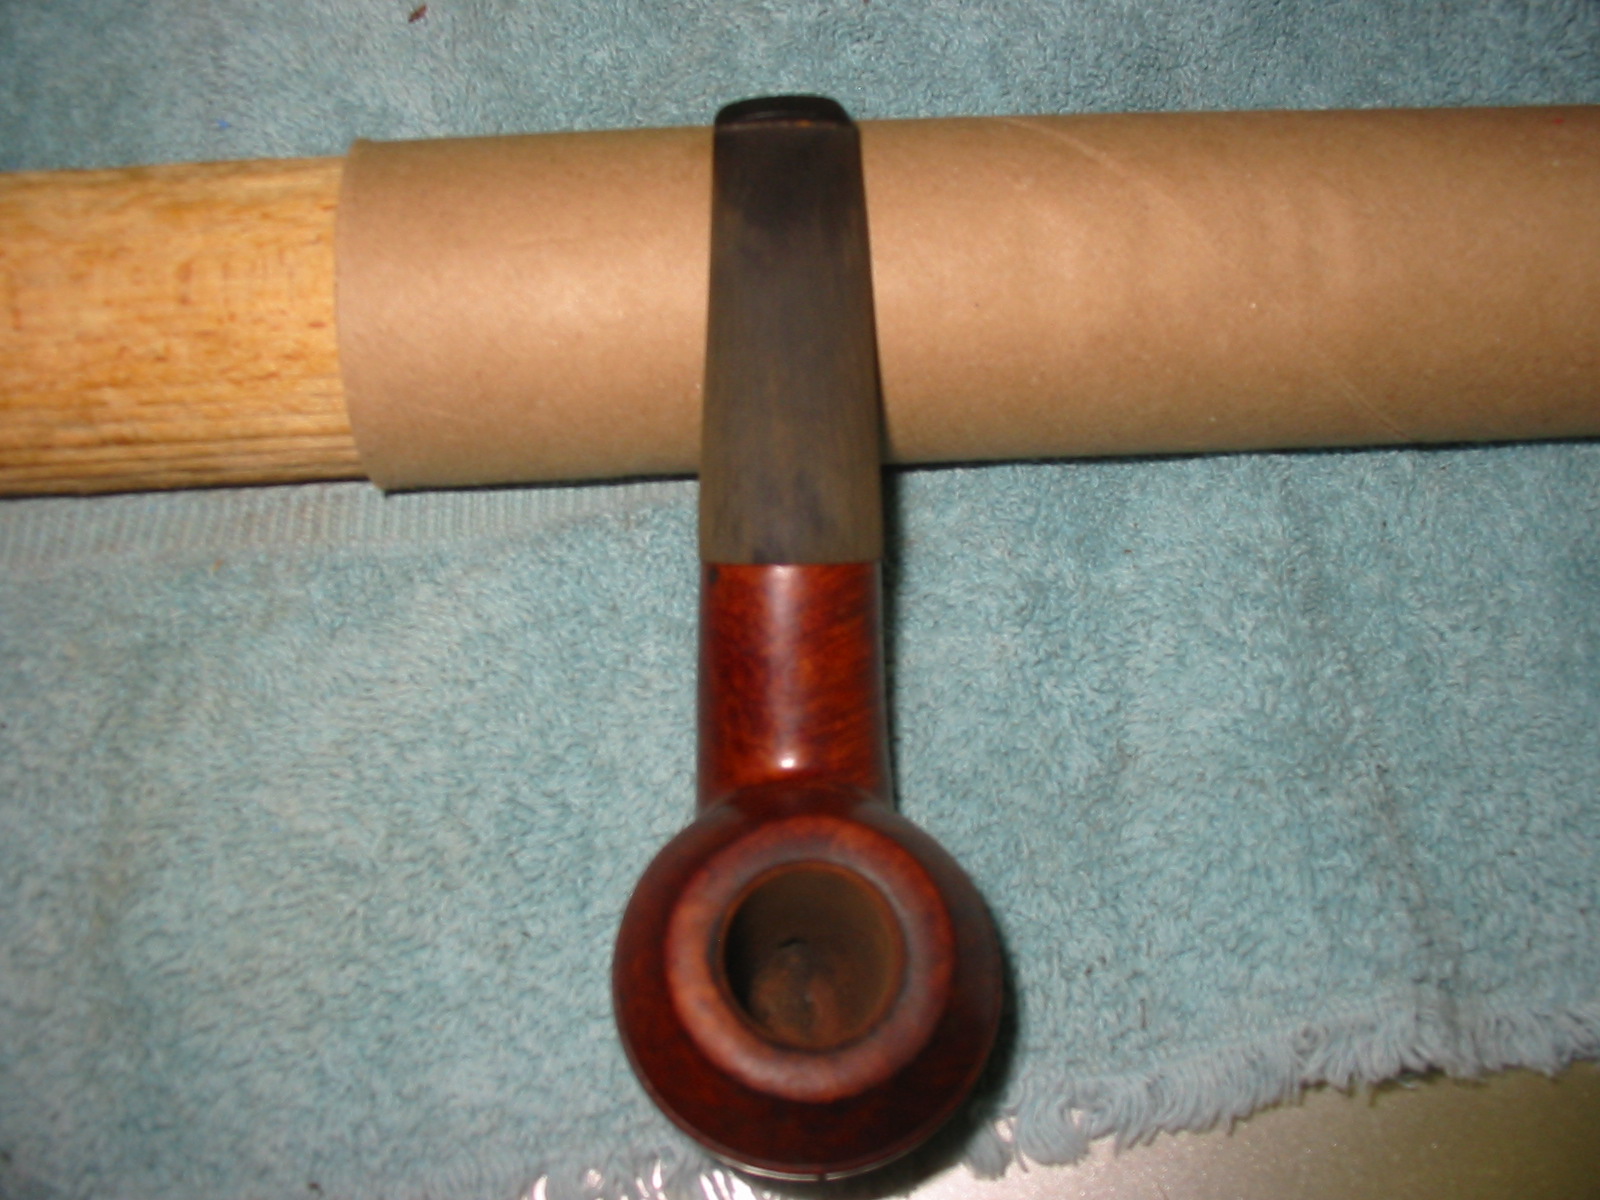
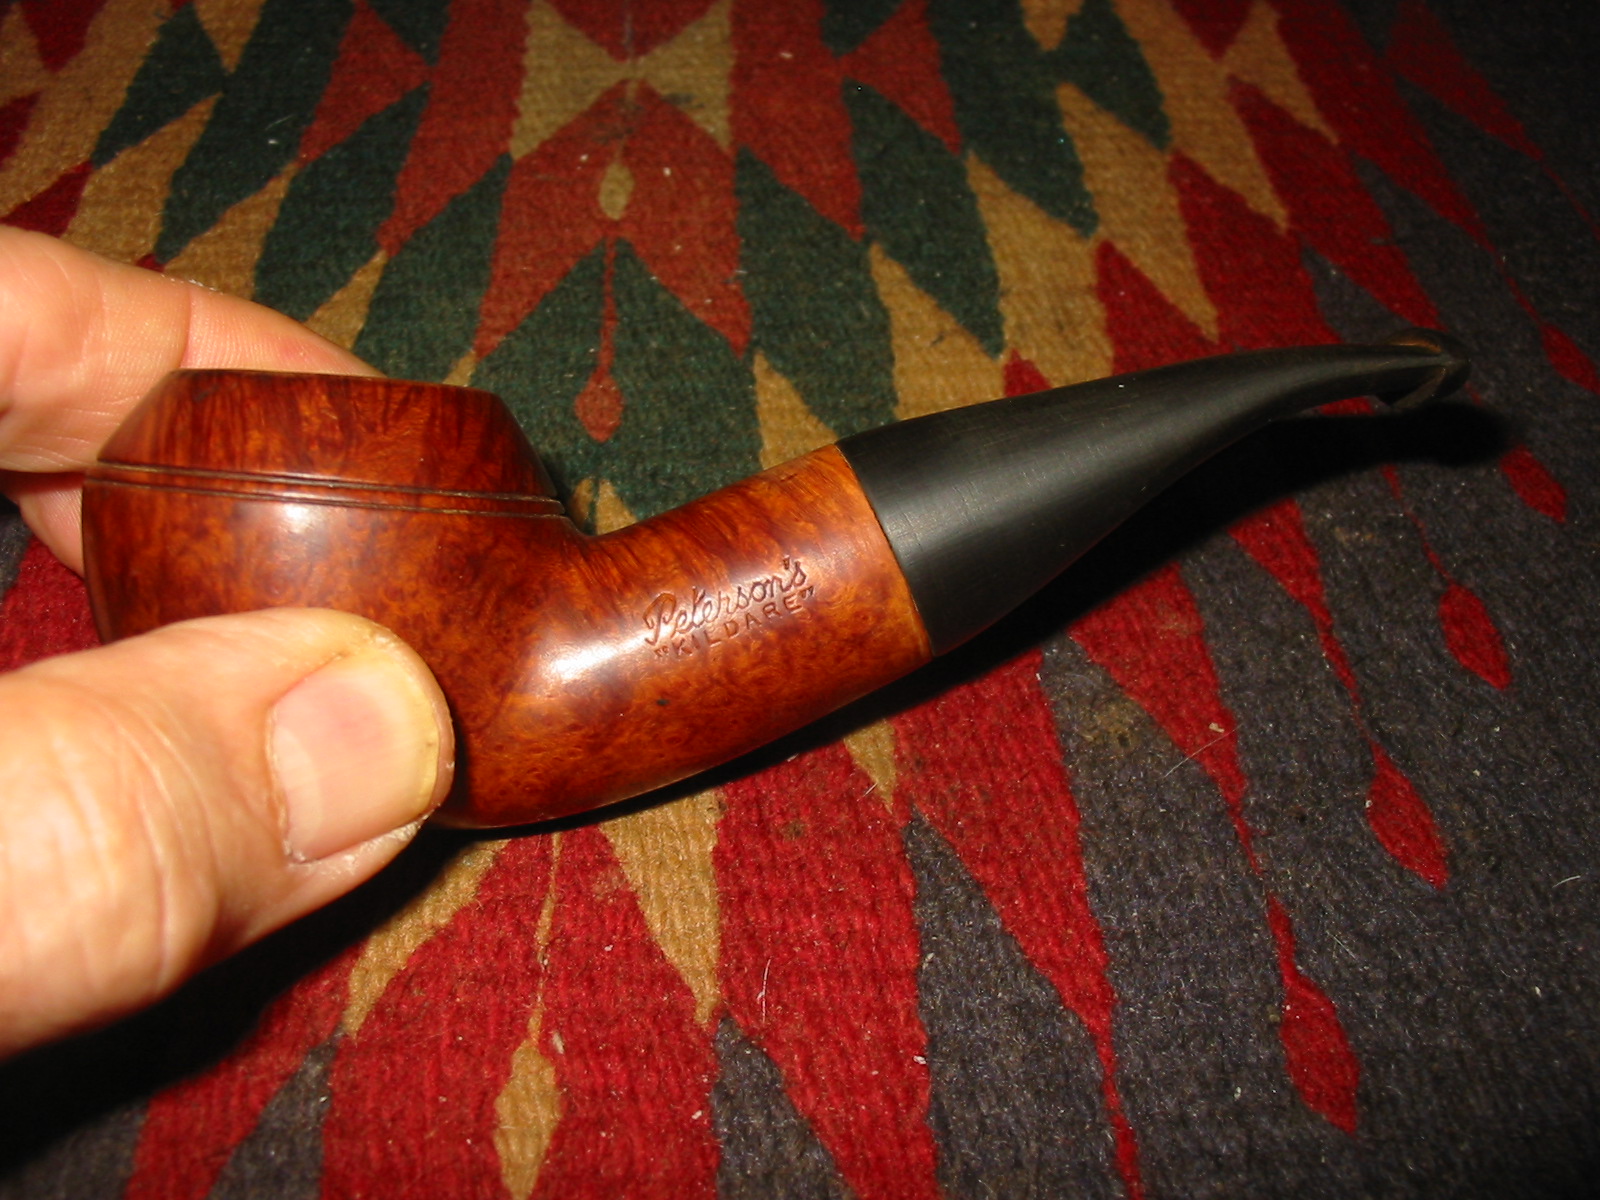
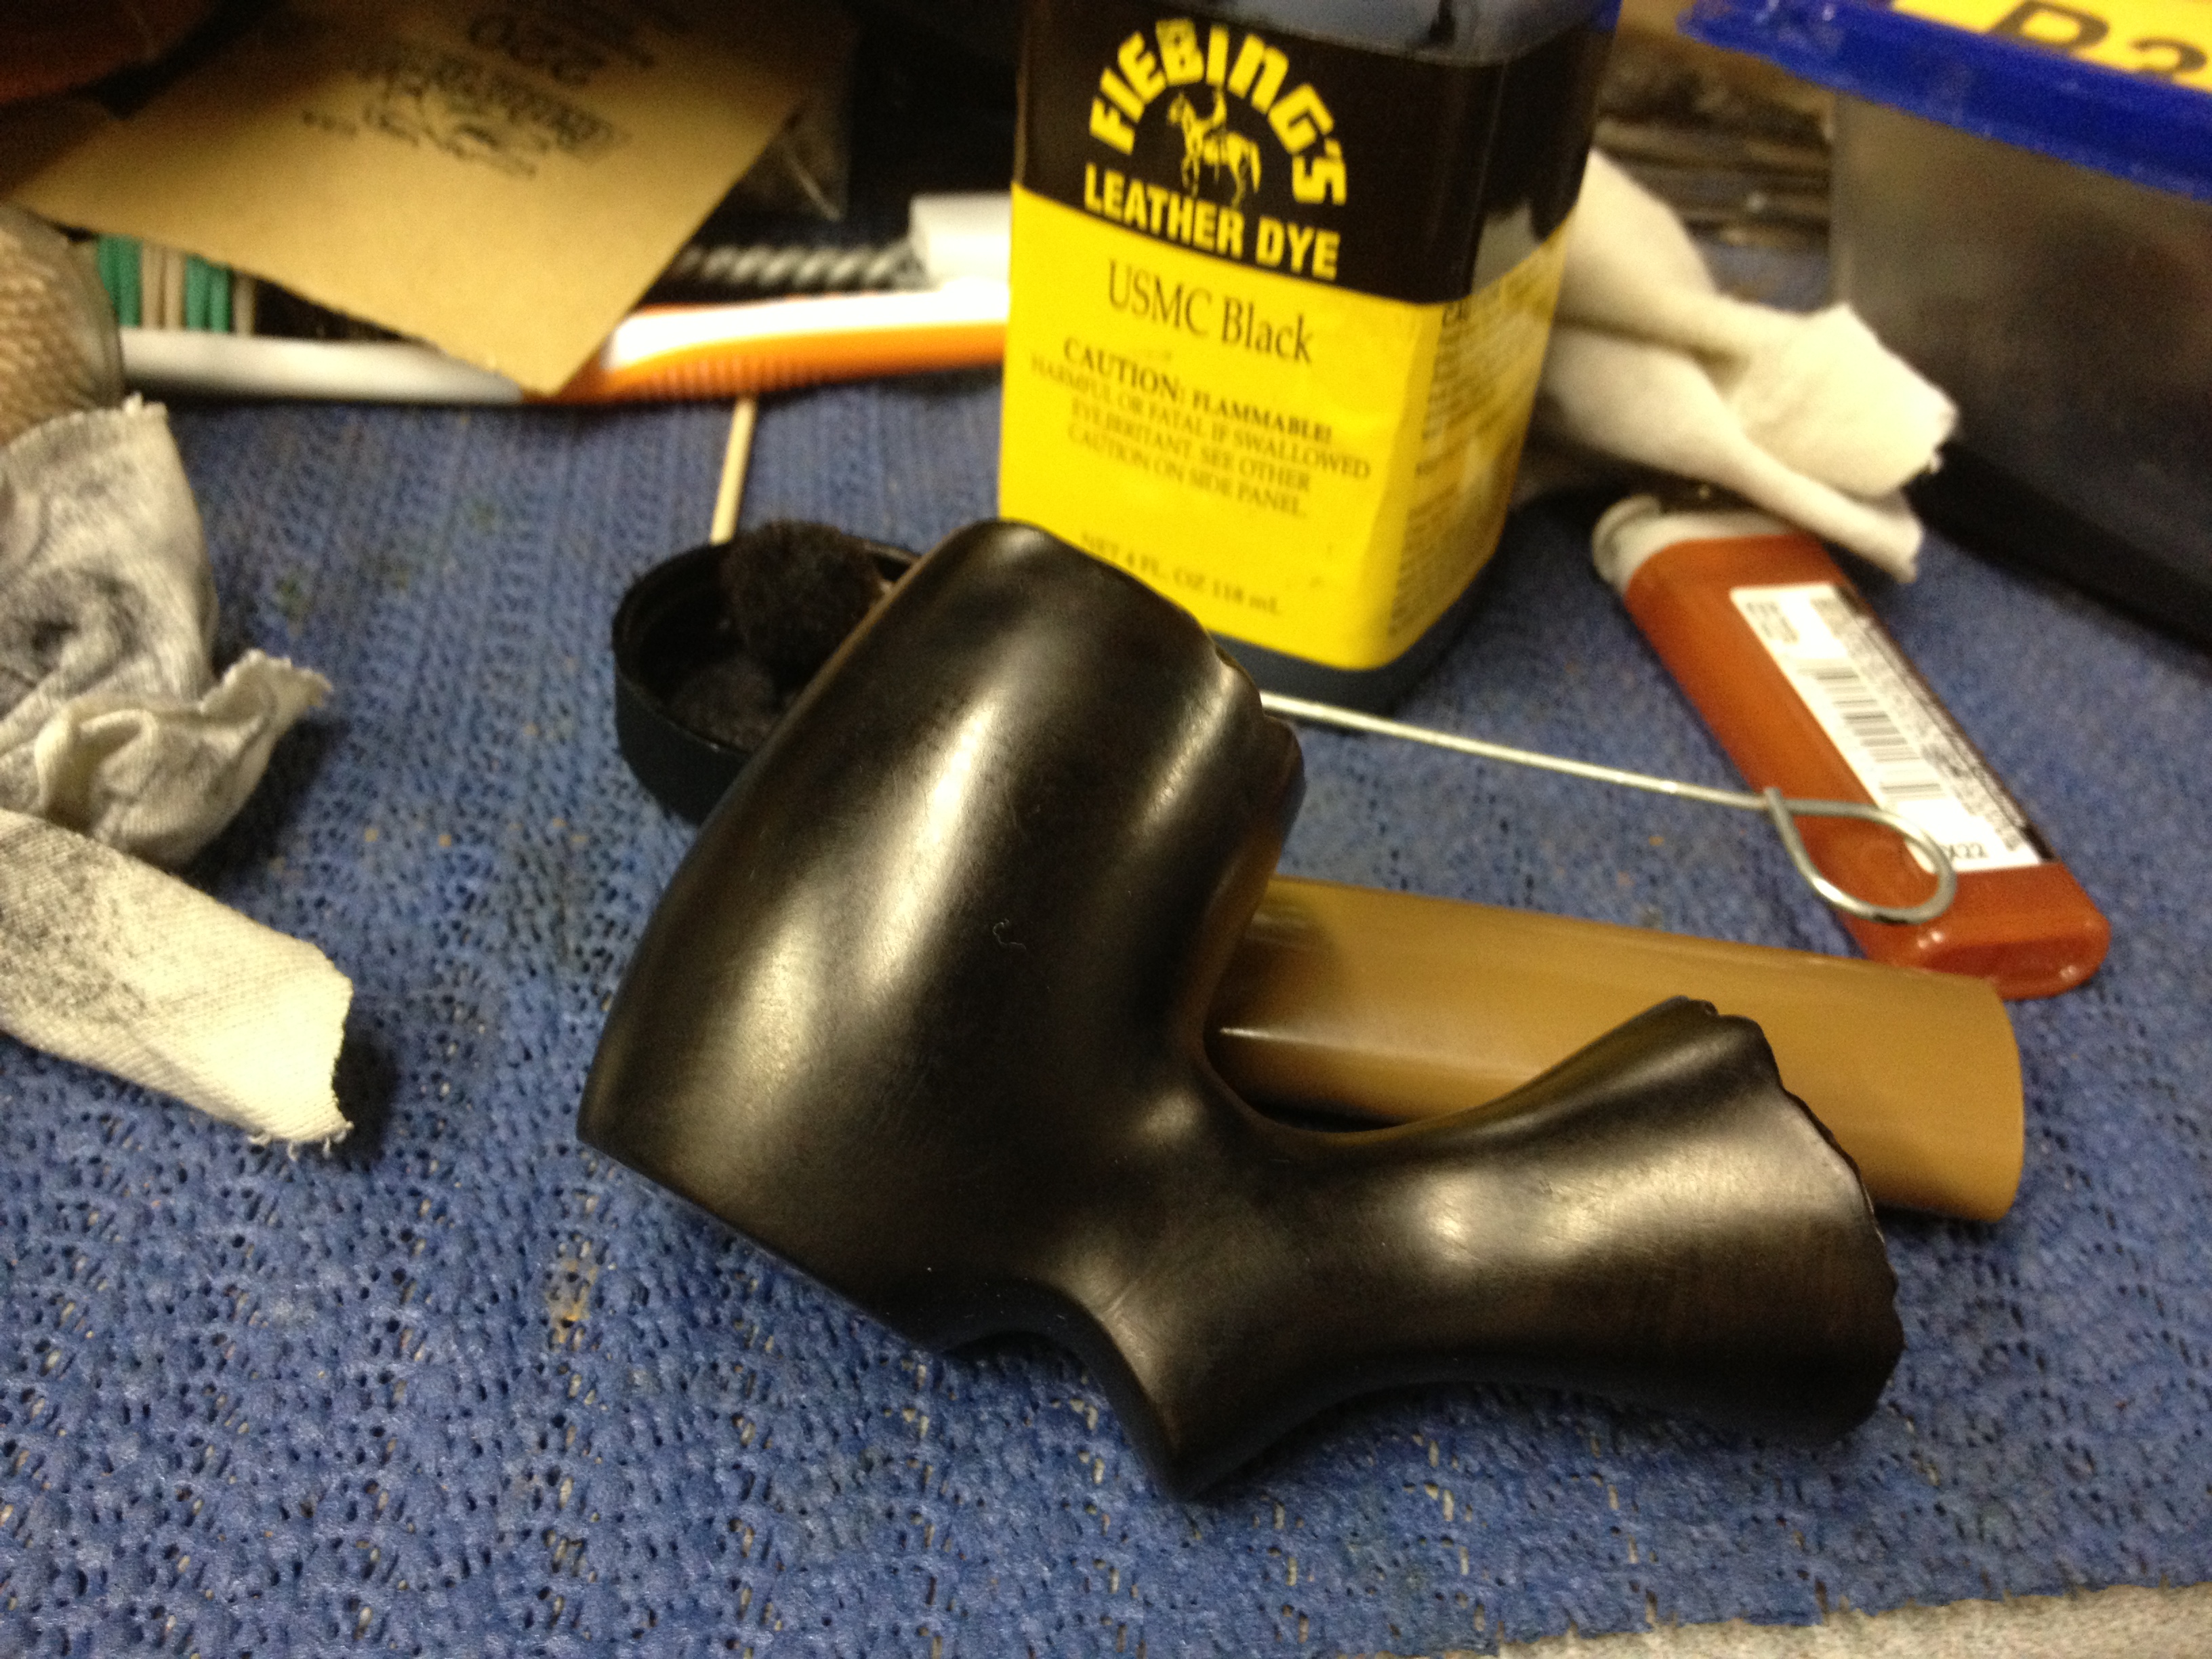
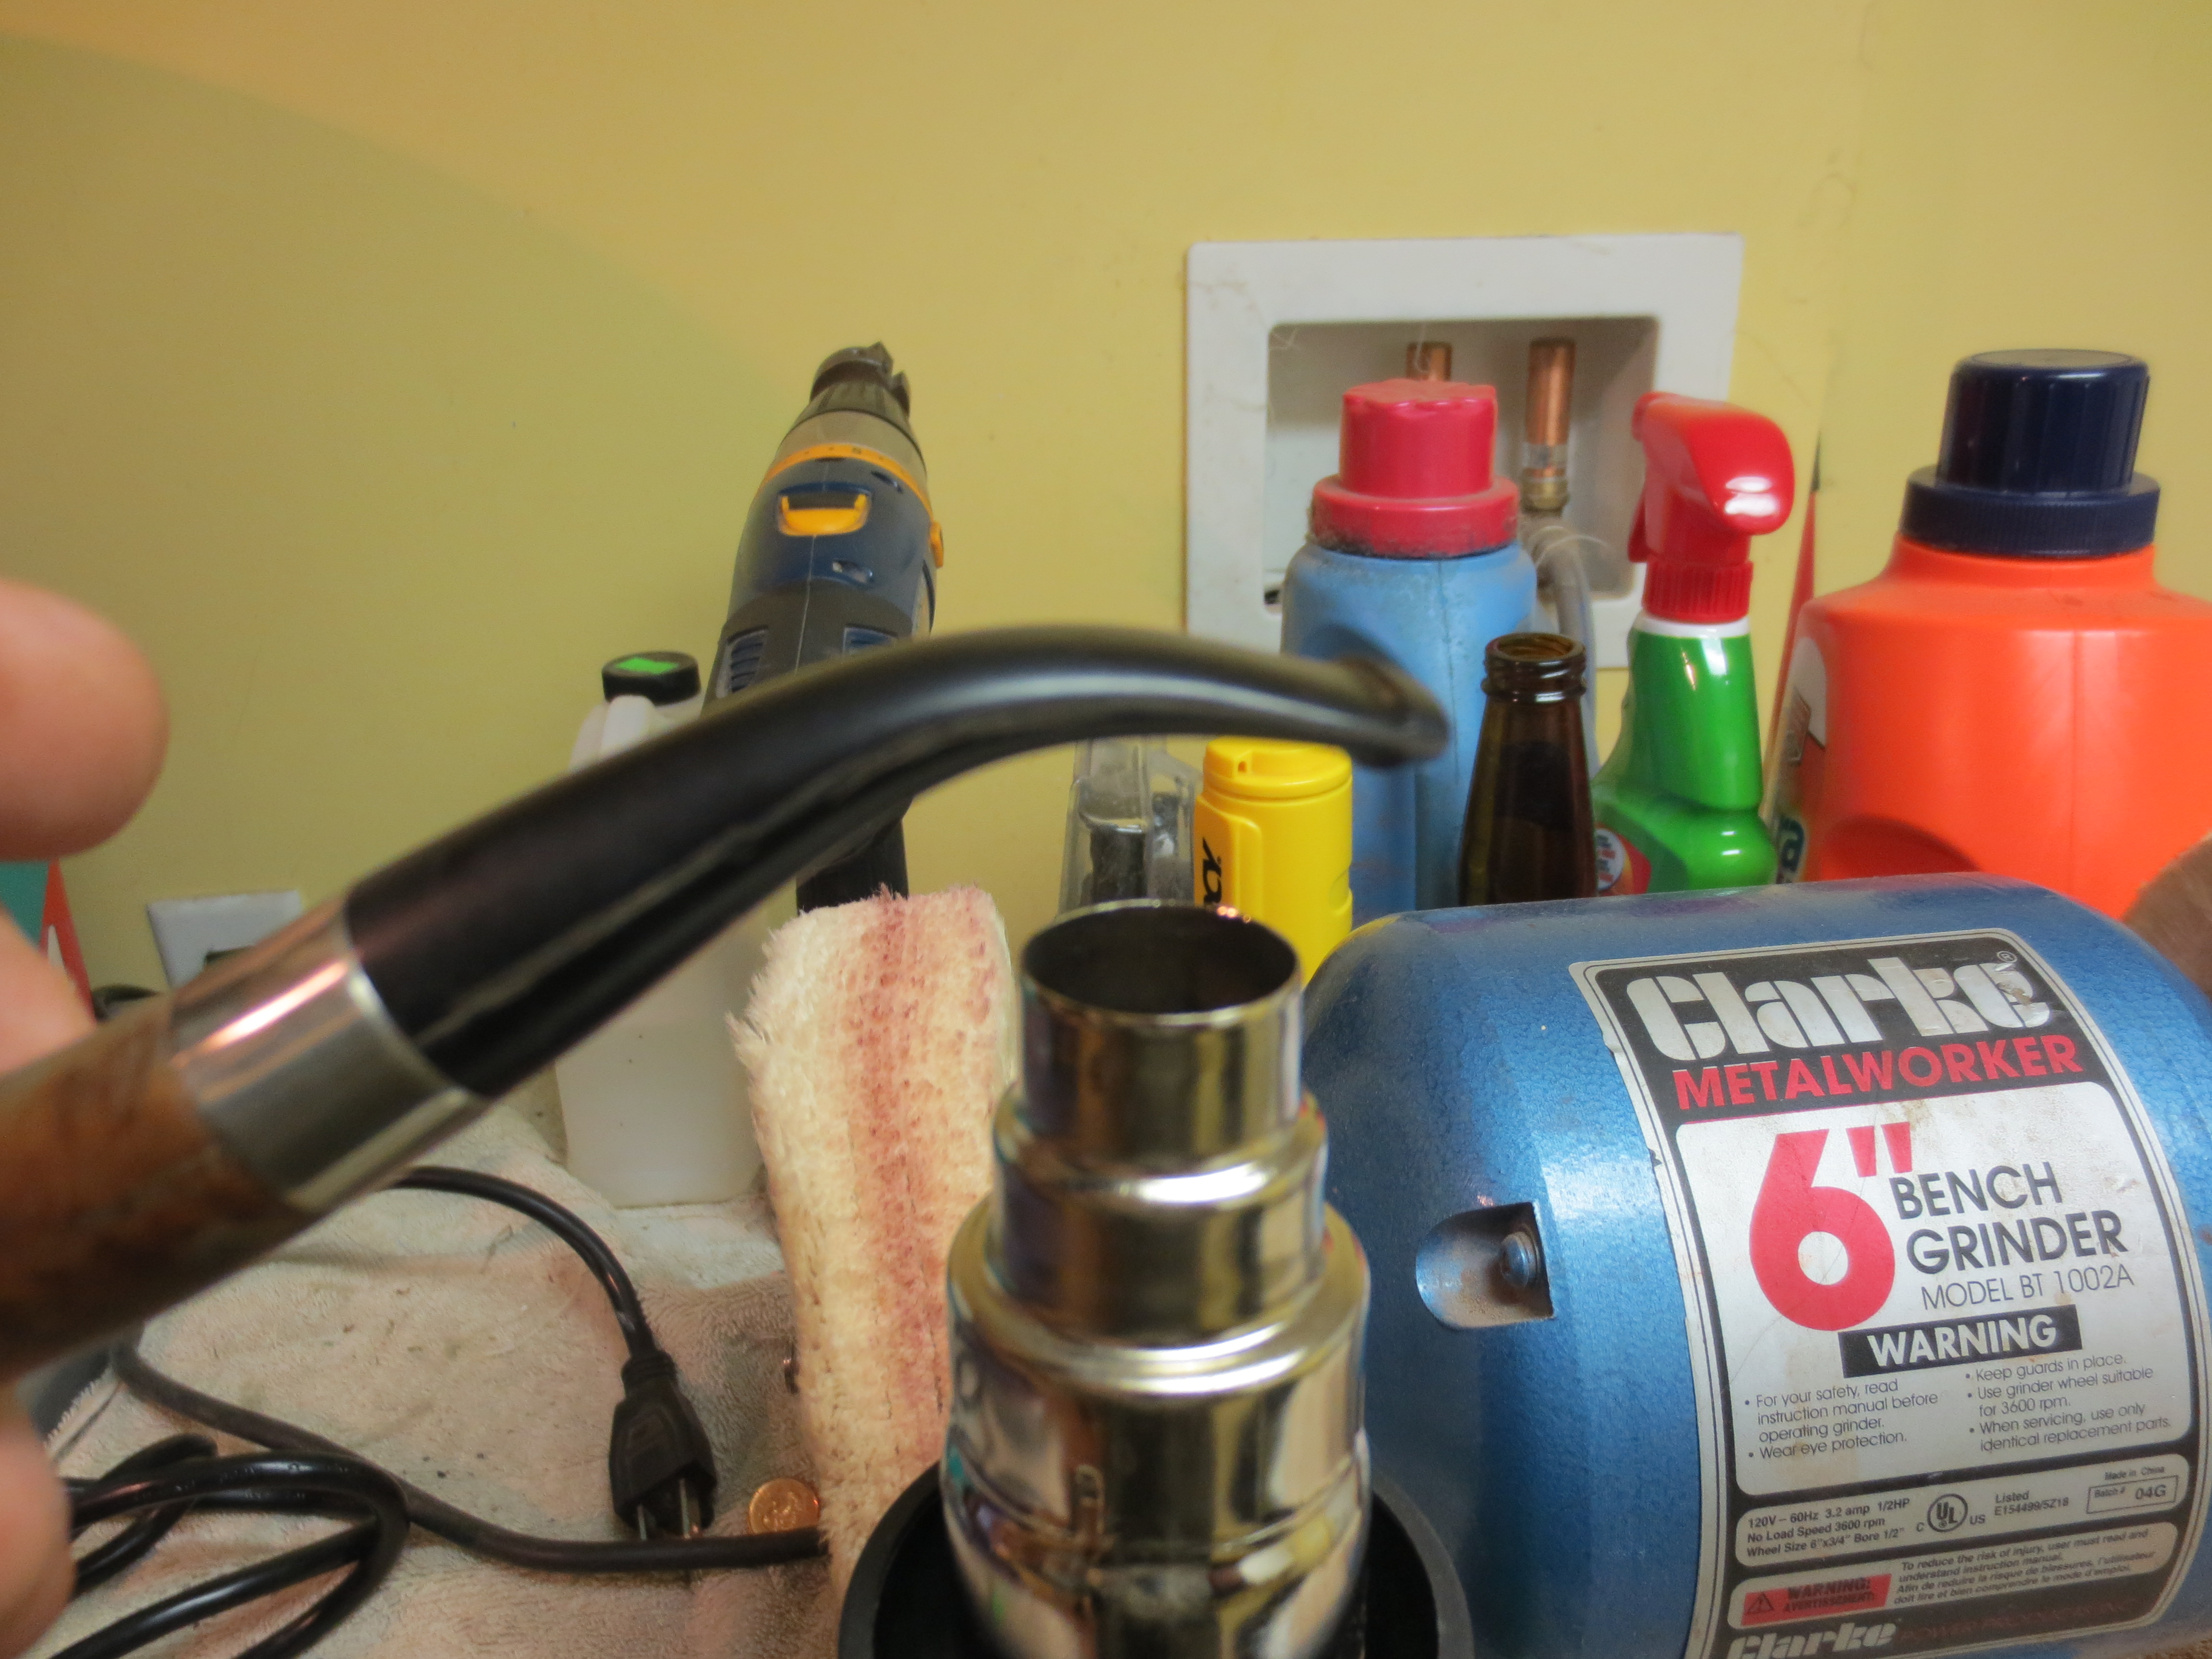
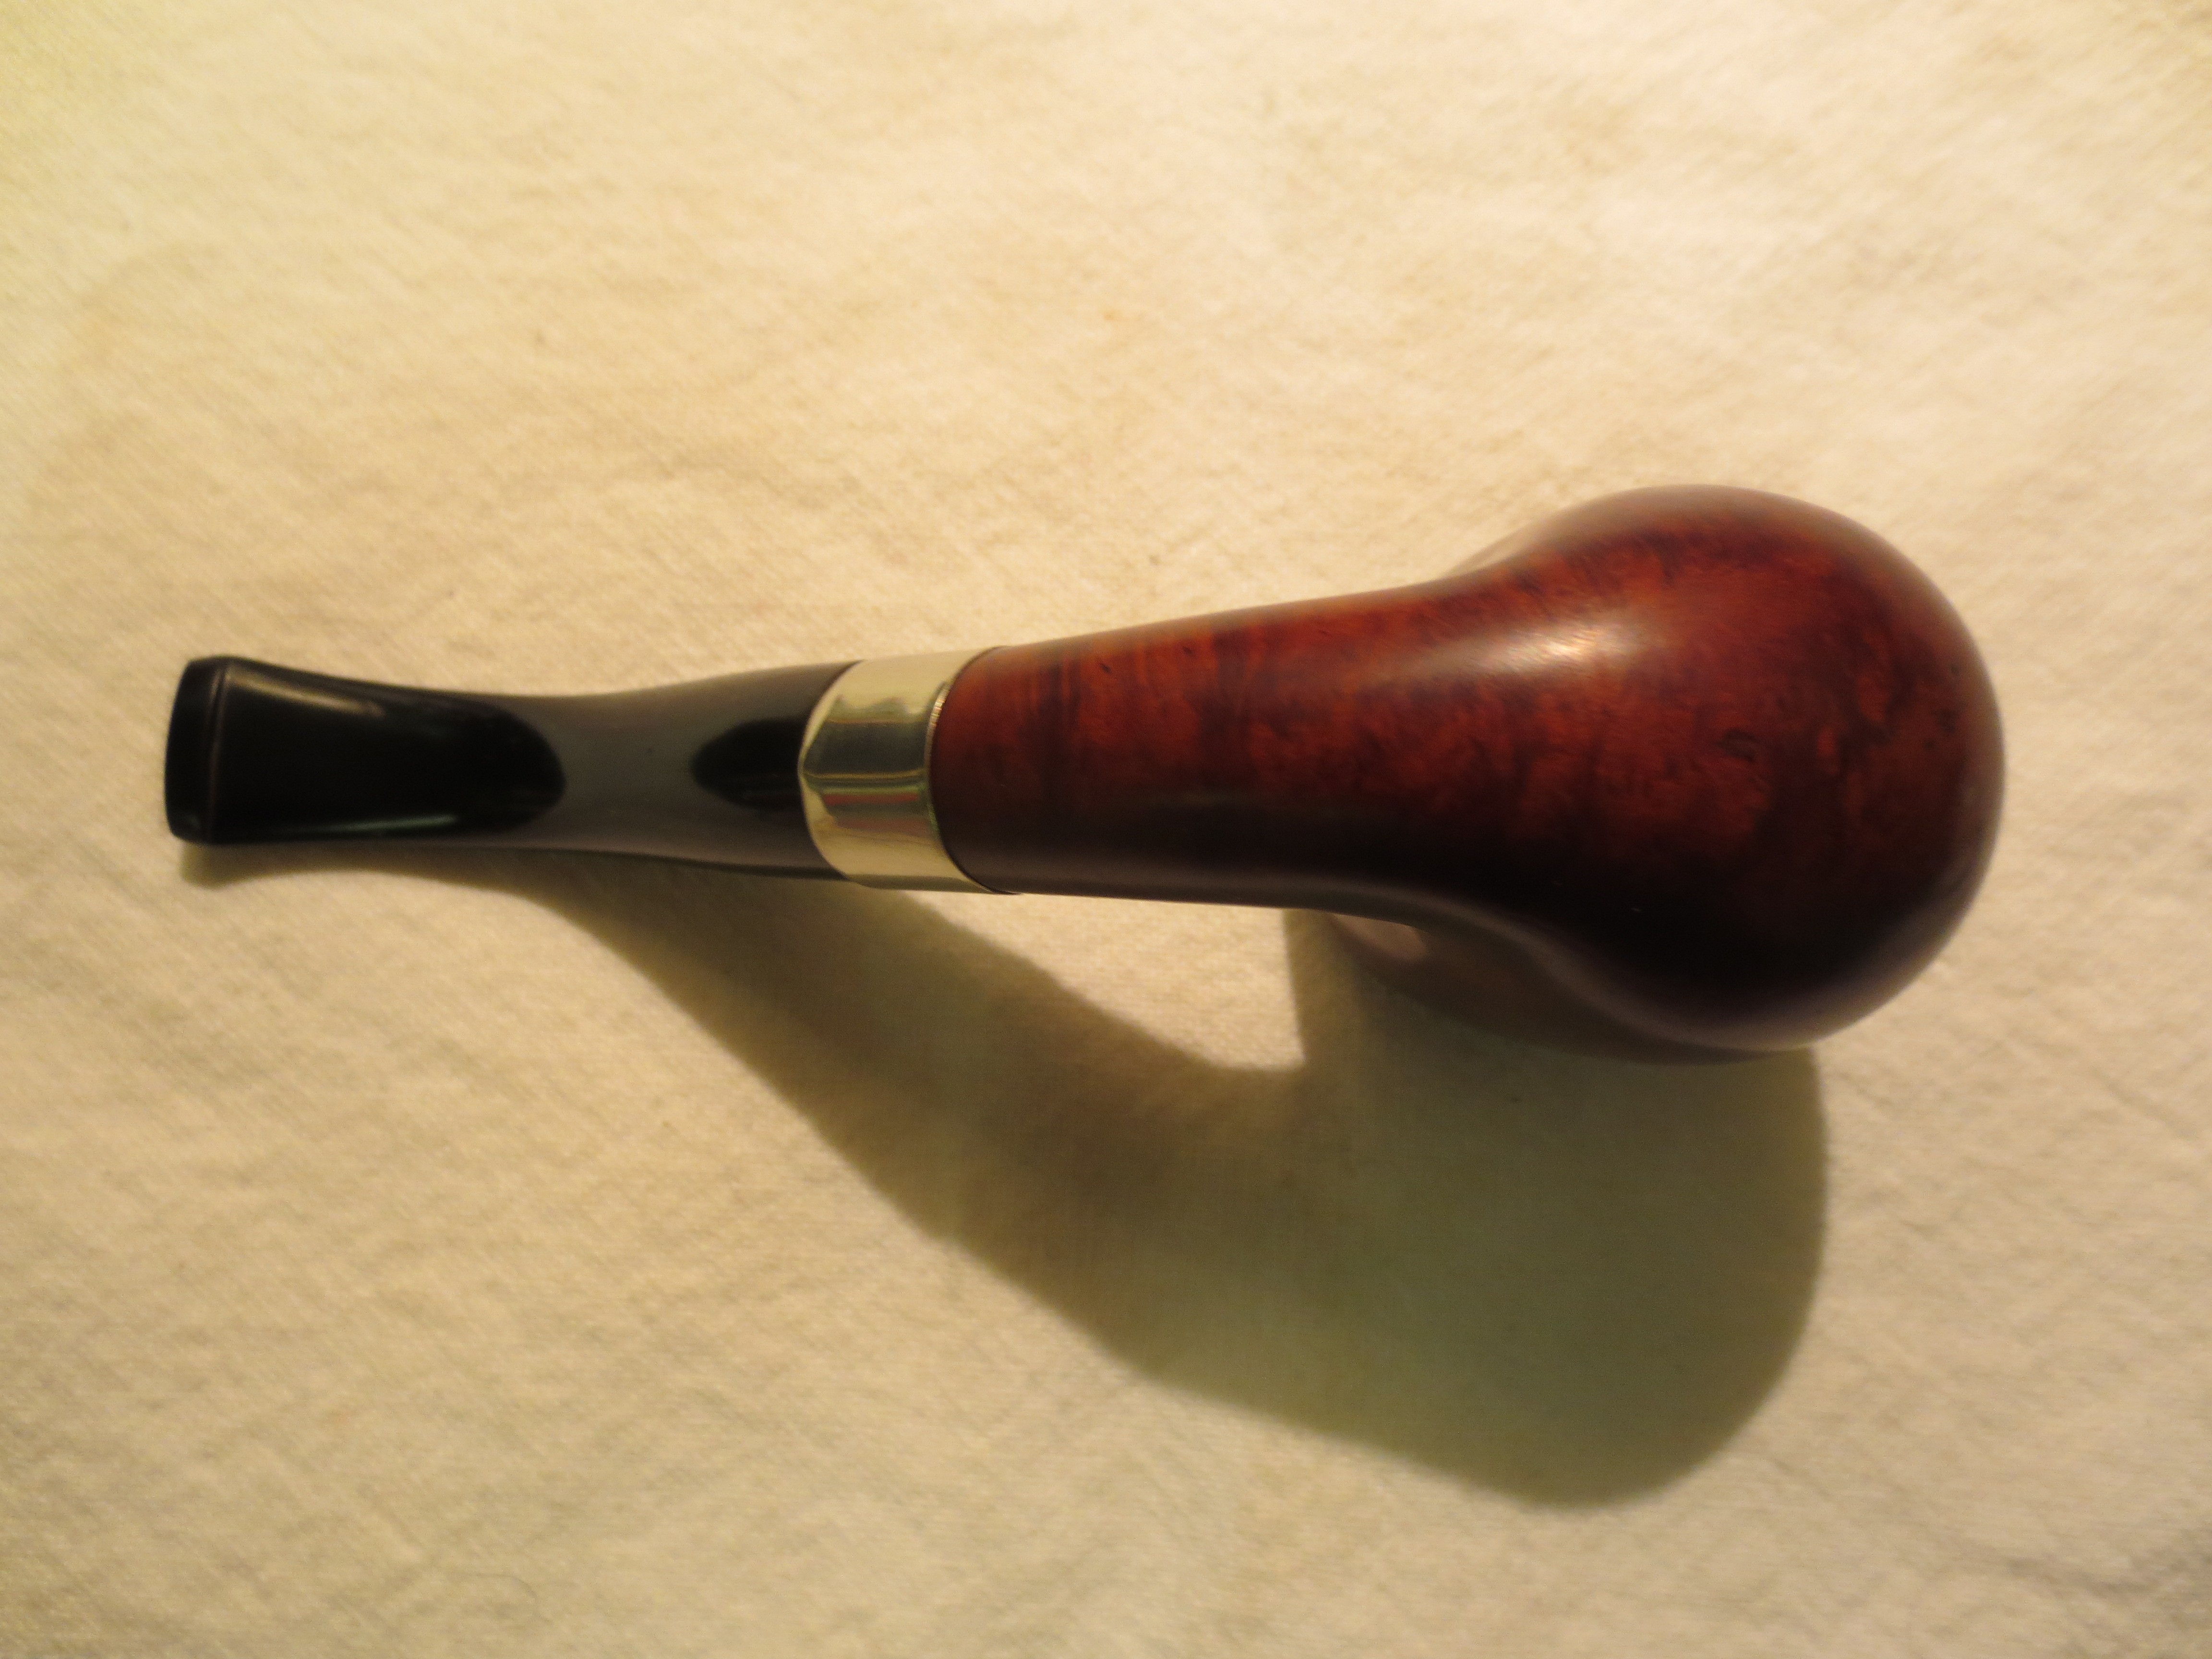
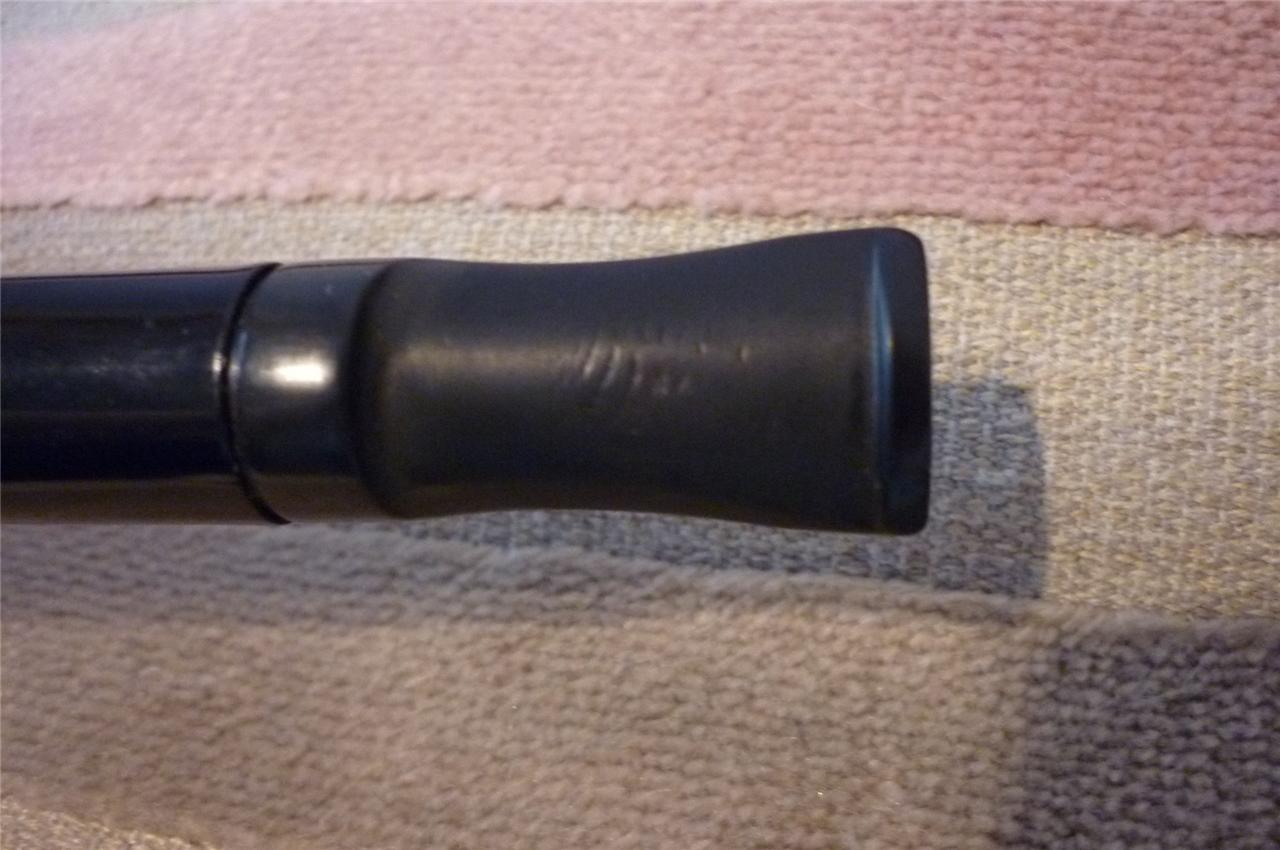
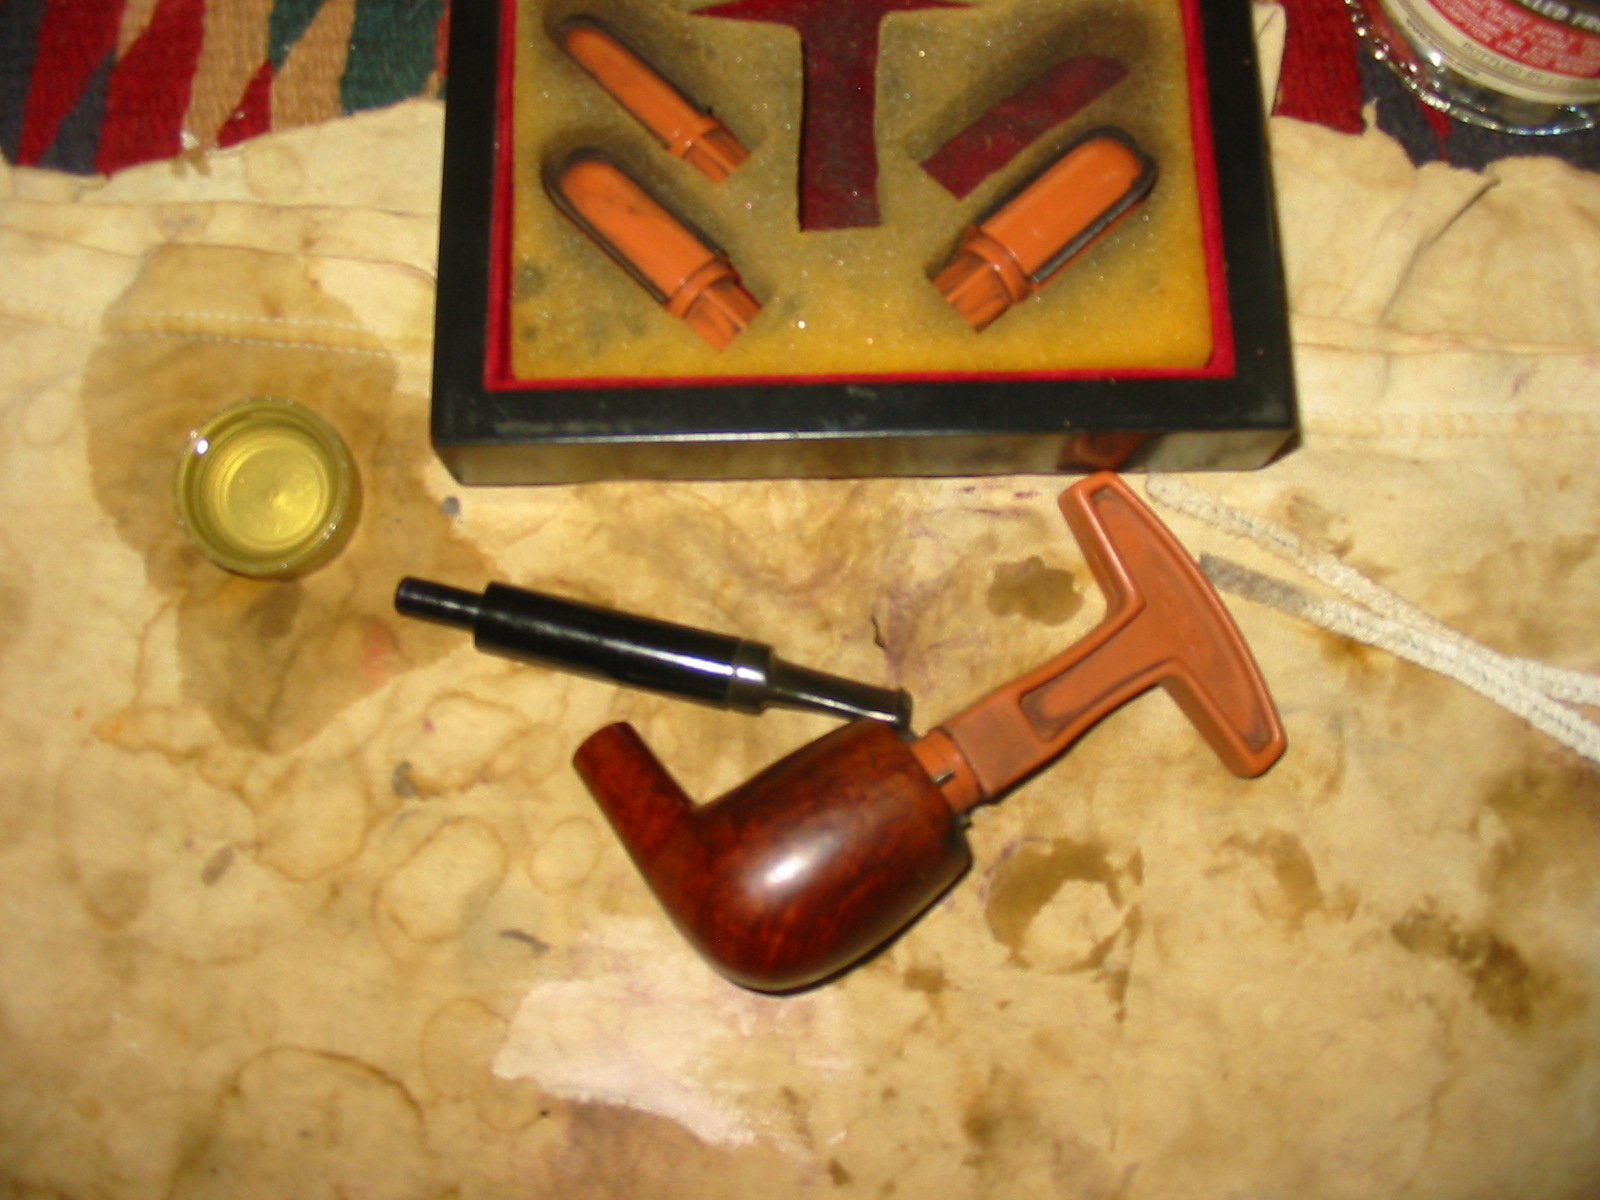
I heated the stem with my heat gun on low until it was pliable, after putting a pipe cleaner in the stem to keep from closing off the airway accidentally. I had set up my maul as my bending guide on my table. I heated and bent it and eyeballed it; it wasn’t quite what I wanted. So, I heated it again and bent it a little more and looked it over carefully; now it was more to my liking:

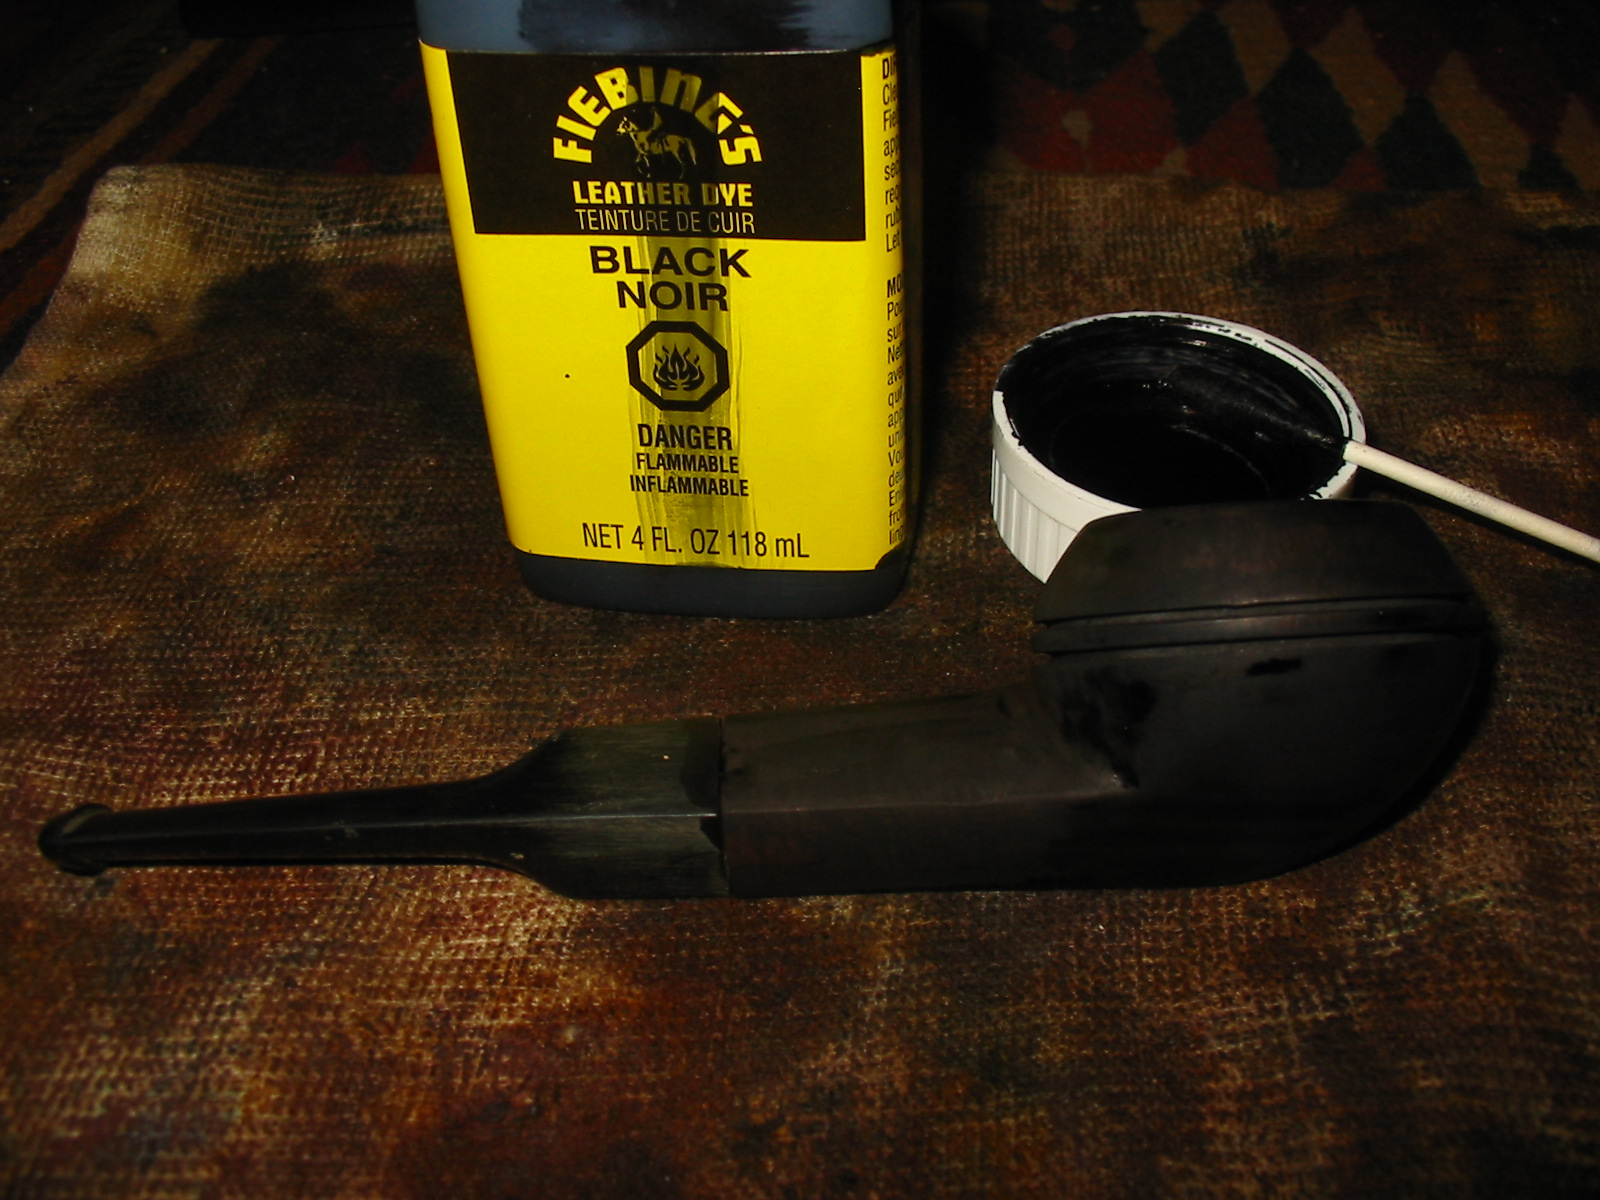
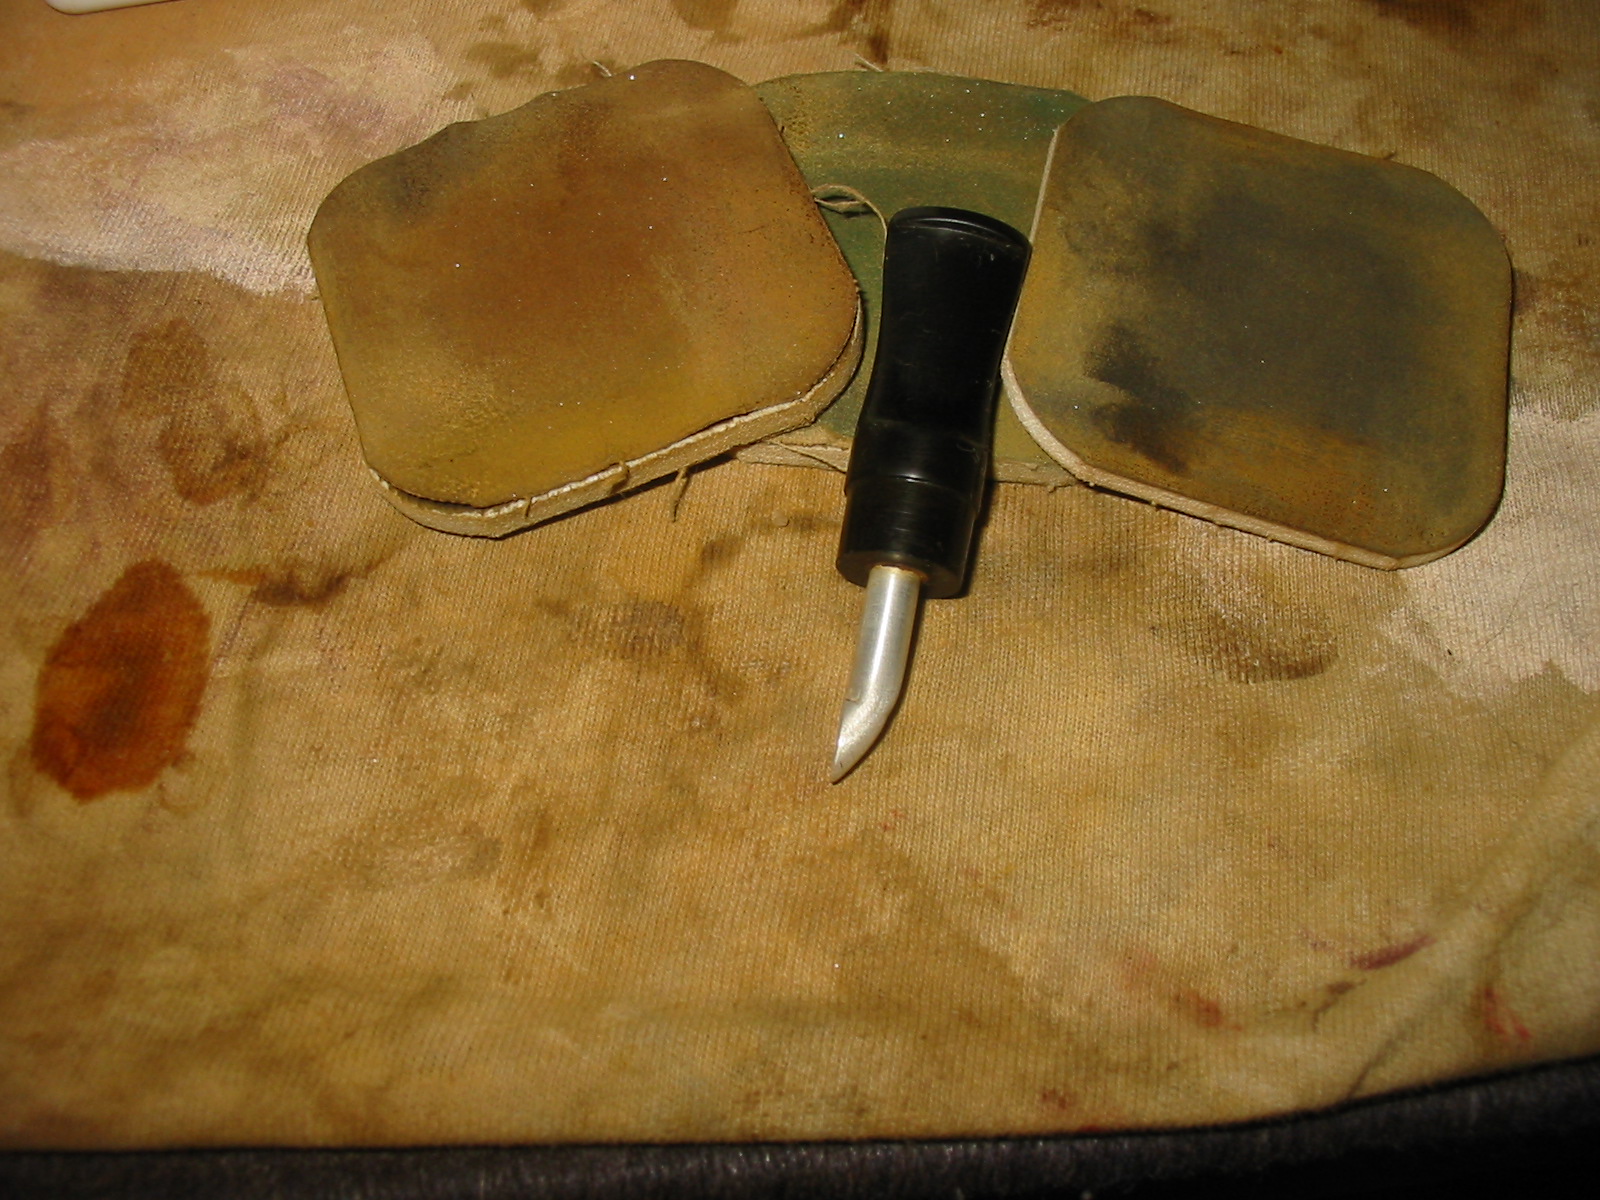
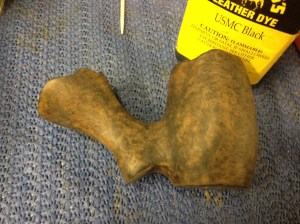
I used Fiebing’s USMC Black leather dye to the rim and shank end, since I knew these would need deeper penetration of color since they would remain black. I applied the stain, flamed it in and then repeated. I then heated up the stummel, setting the stem aside, to start the contrast staining. I got the stummel nice and warm, wearing leather gloves to protect my hand. I then applied the dye to the entire pipe, flamed and repeated. Next I hand buffed the pipe with an old cotton t-shirt leaving it at this point:

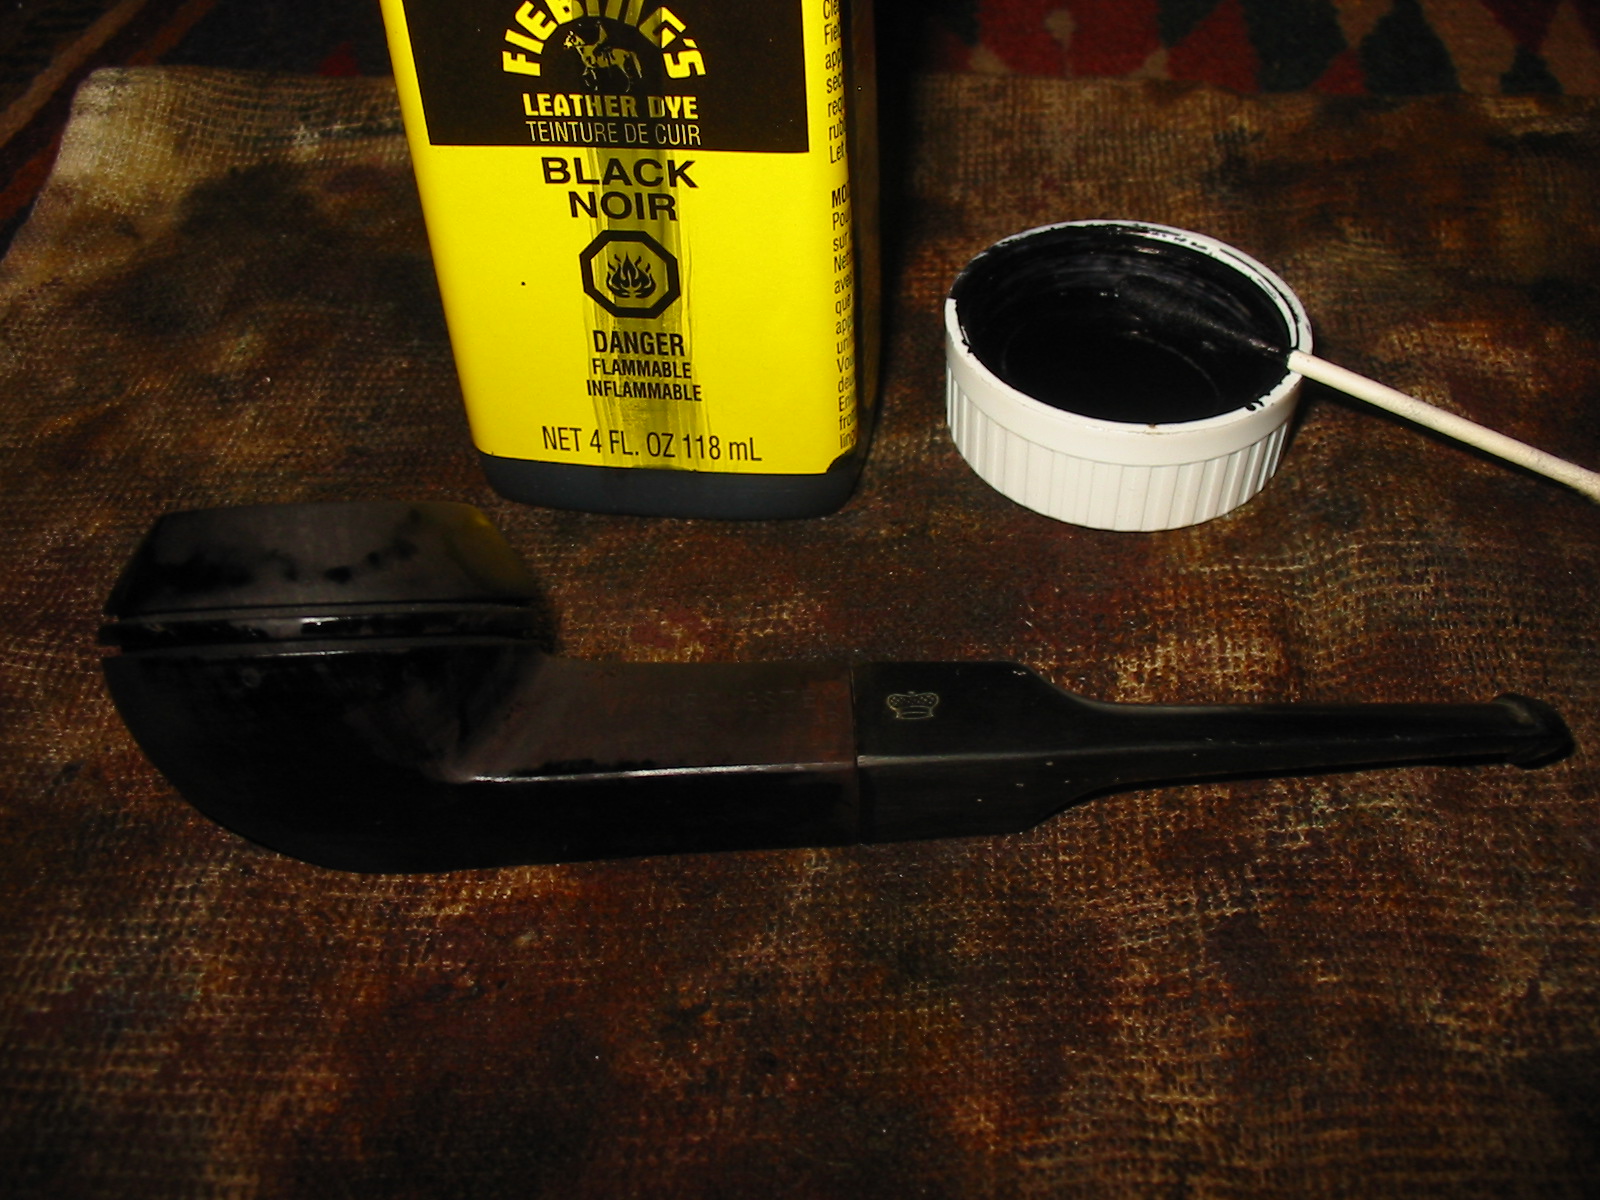
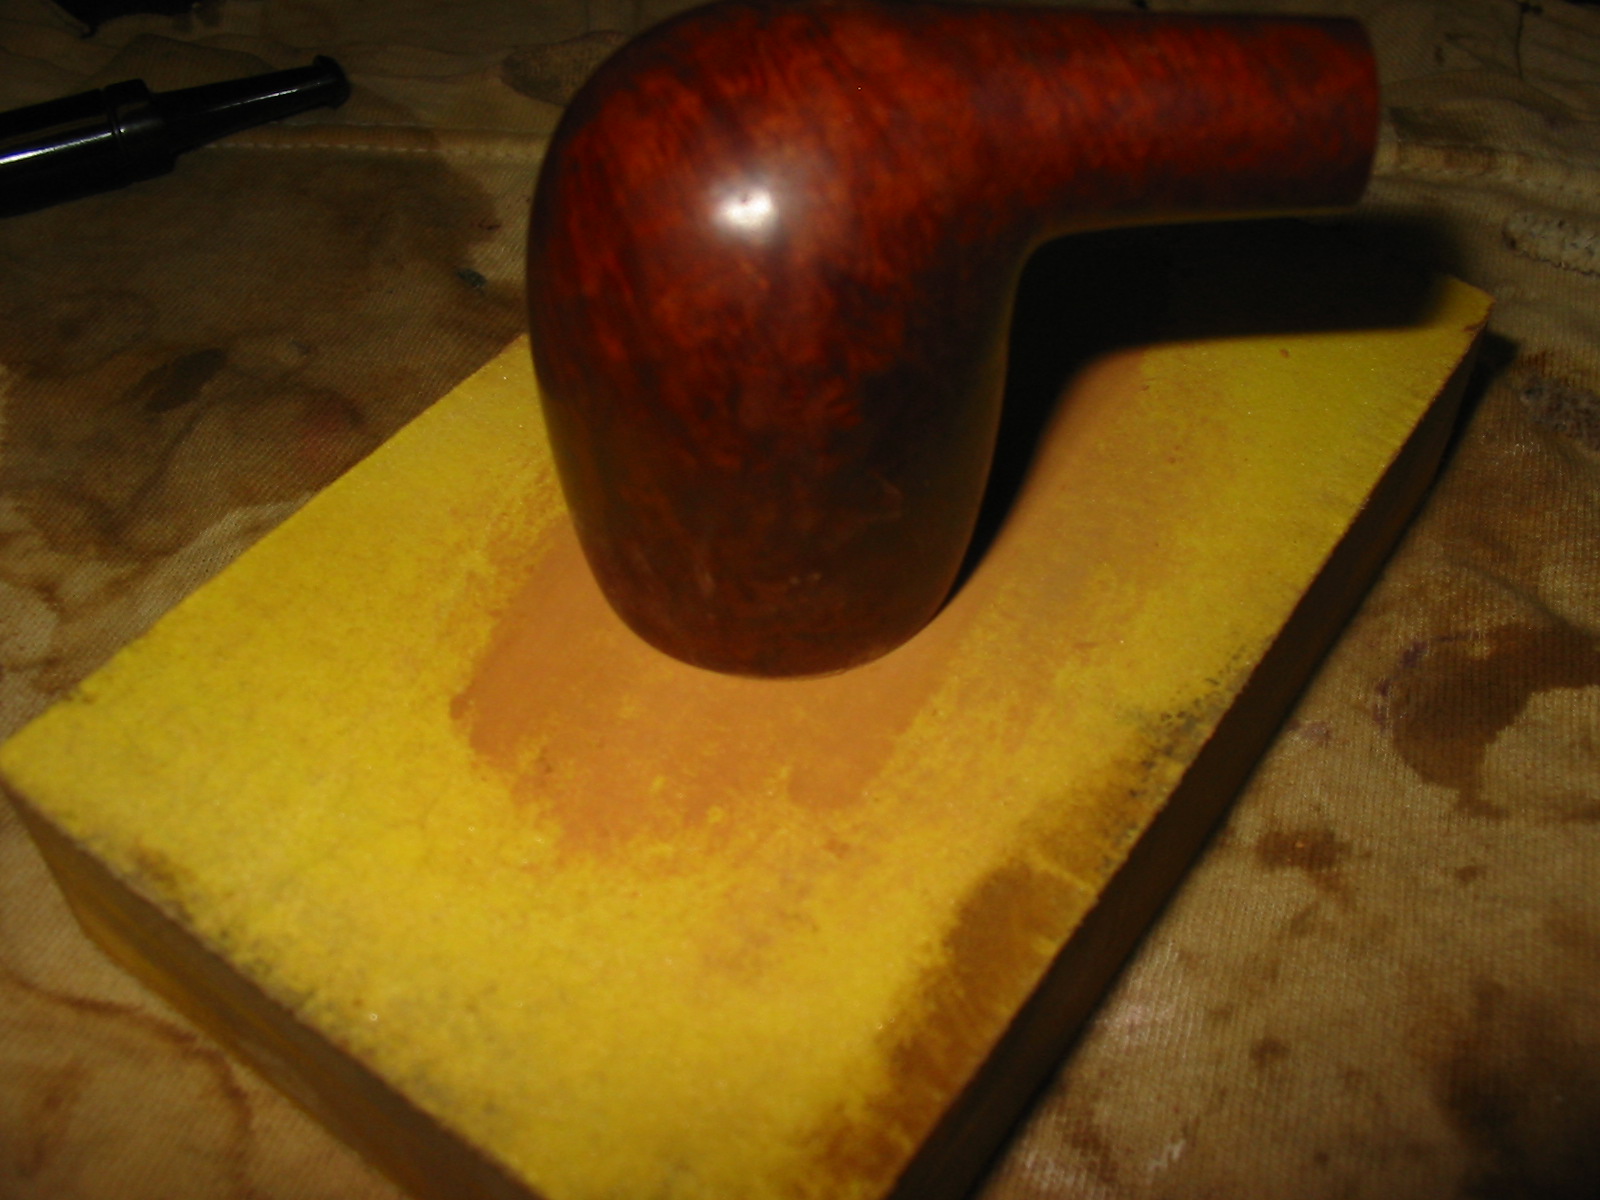
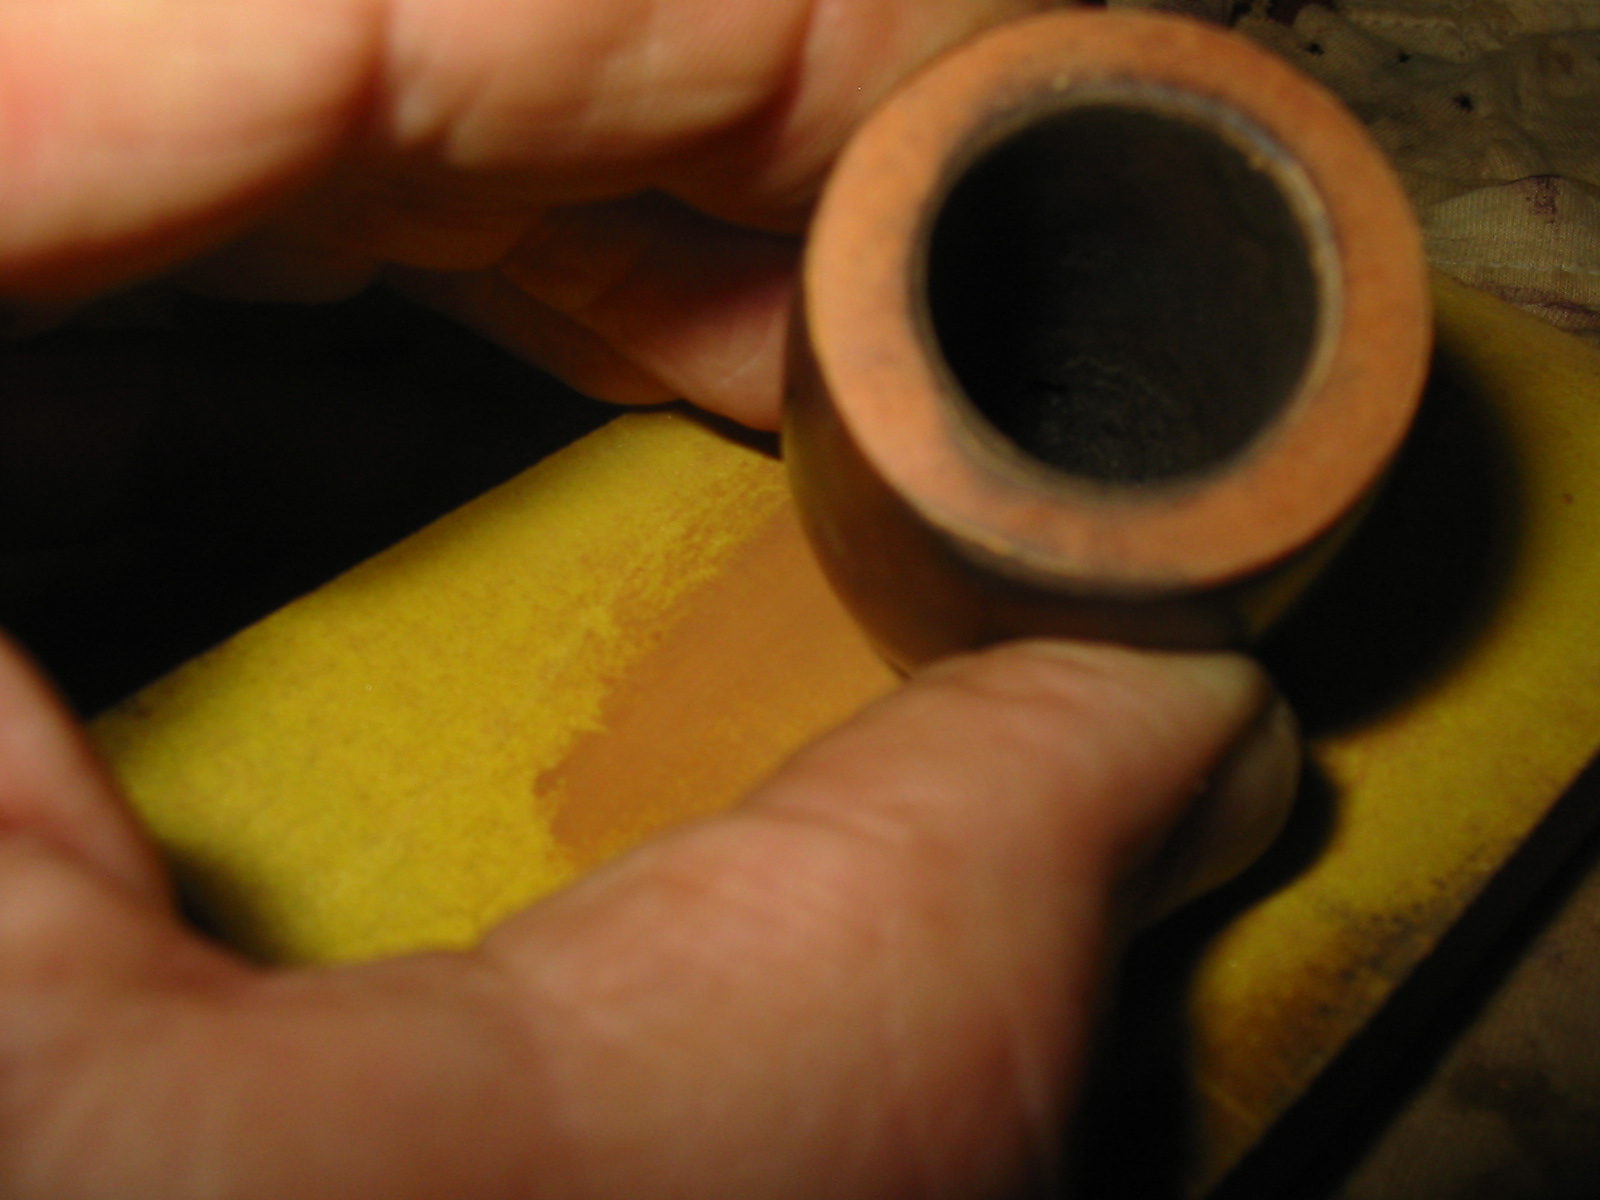
After the pipe had cooled for 10-15 minutes and was no longer warm I began to sand off the black; I wanted to remove the majority of the black but leave it in the grain areas as much as possible. I also wanted to try to blend in the burn as much as possible. I sanded and wiped it clean with a dry cotton pad until I thought I was getting close to where I wanted it to be; I didn’t want to use an alcohol pad until I had to in order to not lift any stain that I wanted left on the pipe. I think I sanded it over about three times before I wiped it with an alcohol pad. As the dust came off the alcohol wet pipe began to look more like what my mind’s eye had thought it would:


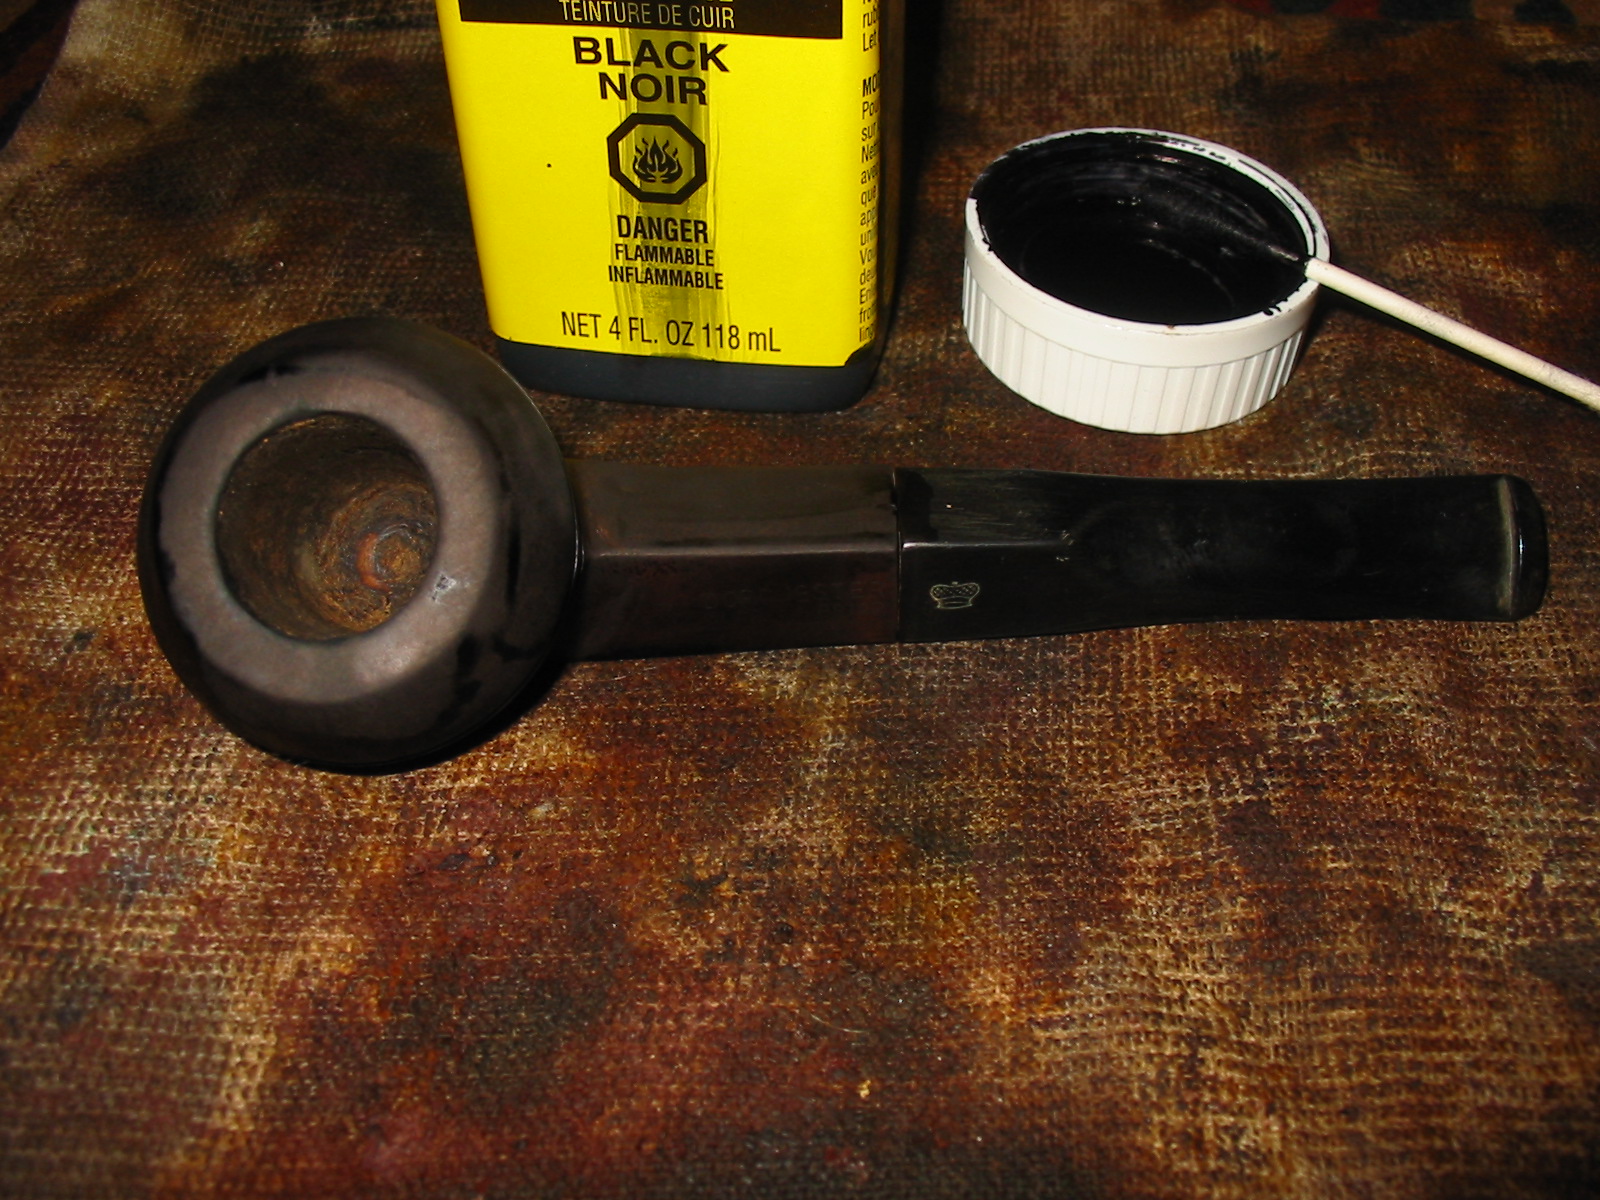
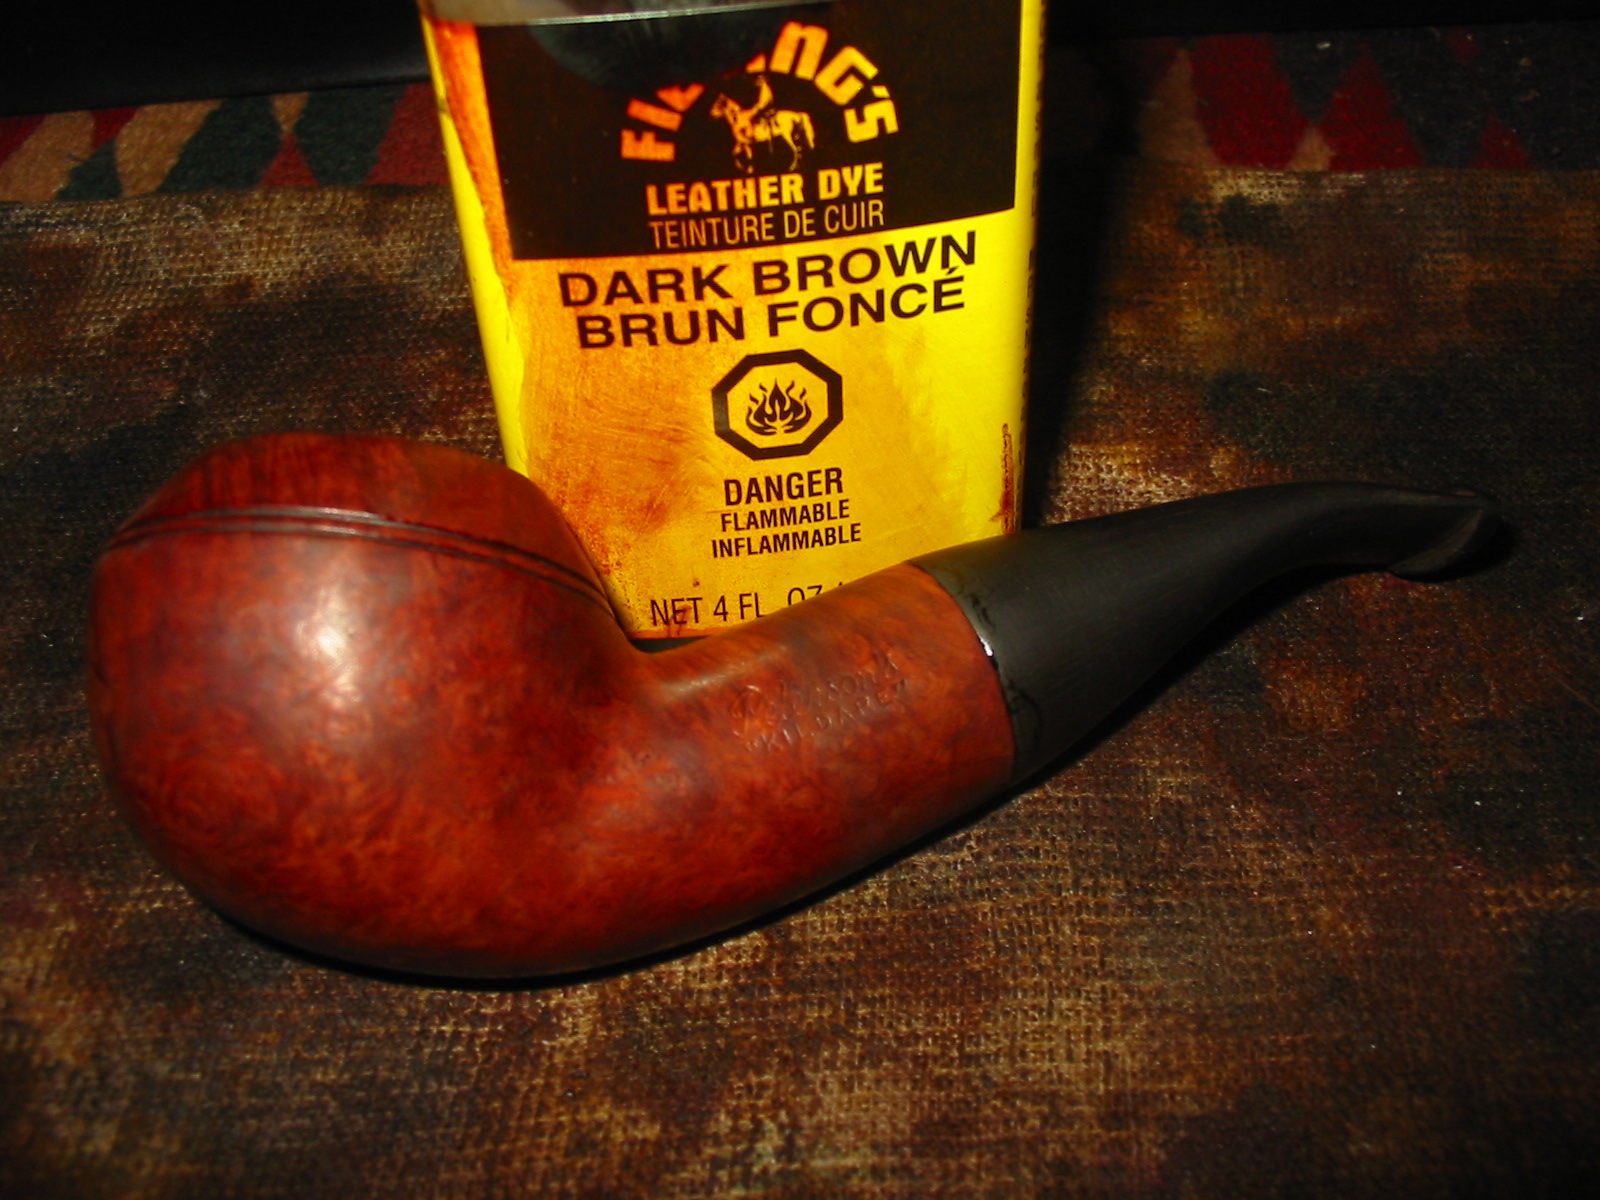
Now I applied a brown stain that I had mixed up earlier for another project; to be honest, I don’t recall what color I used or what I diluted it to. I applied the stain, flamed and repeated. After buffing it off with the old t-shirt I realized it was too dark for what I had wanted so I took an alcohol pad to it and removed some stain. But it was still too dark so back to the 400 grit I went. I sanded it over, wiped with an alcohol pad, and repeated until I was happy with the color; I think it took about four cycles to get it where I left it. I then buffed it off with the t-shirt one last time before heading to the buffer.
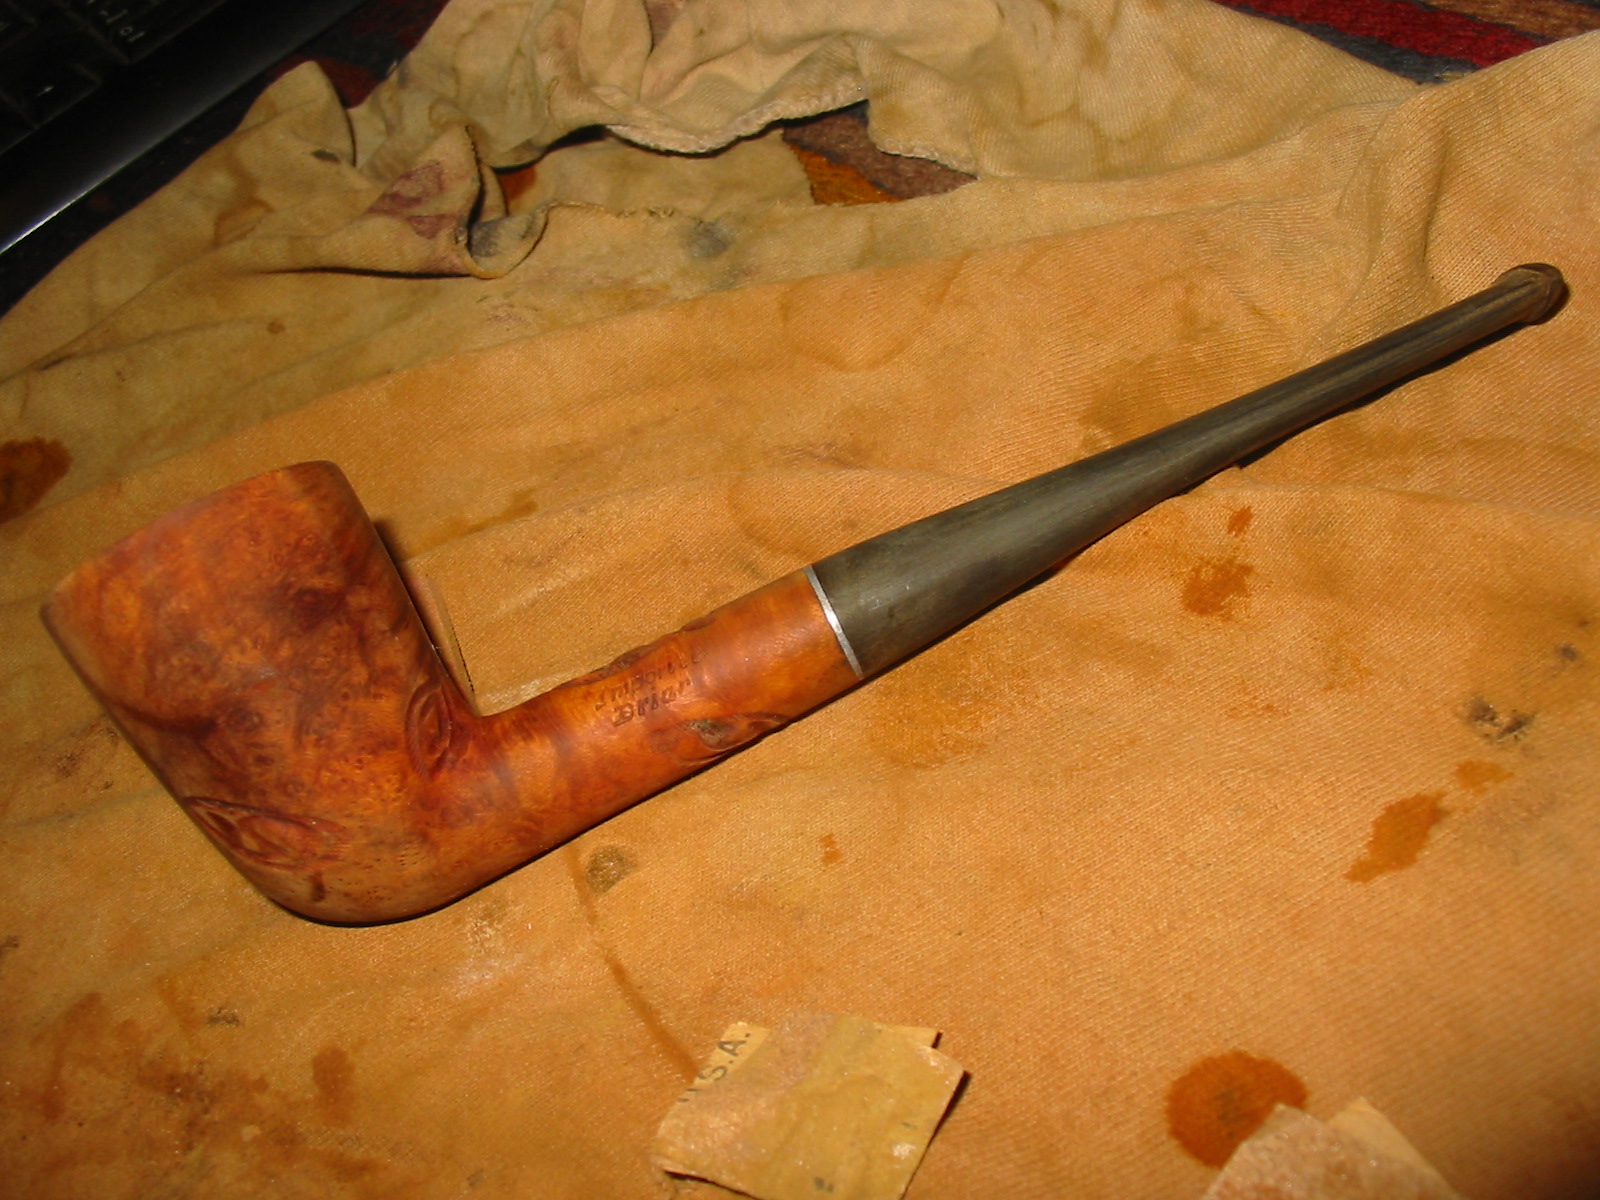
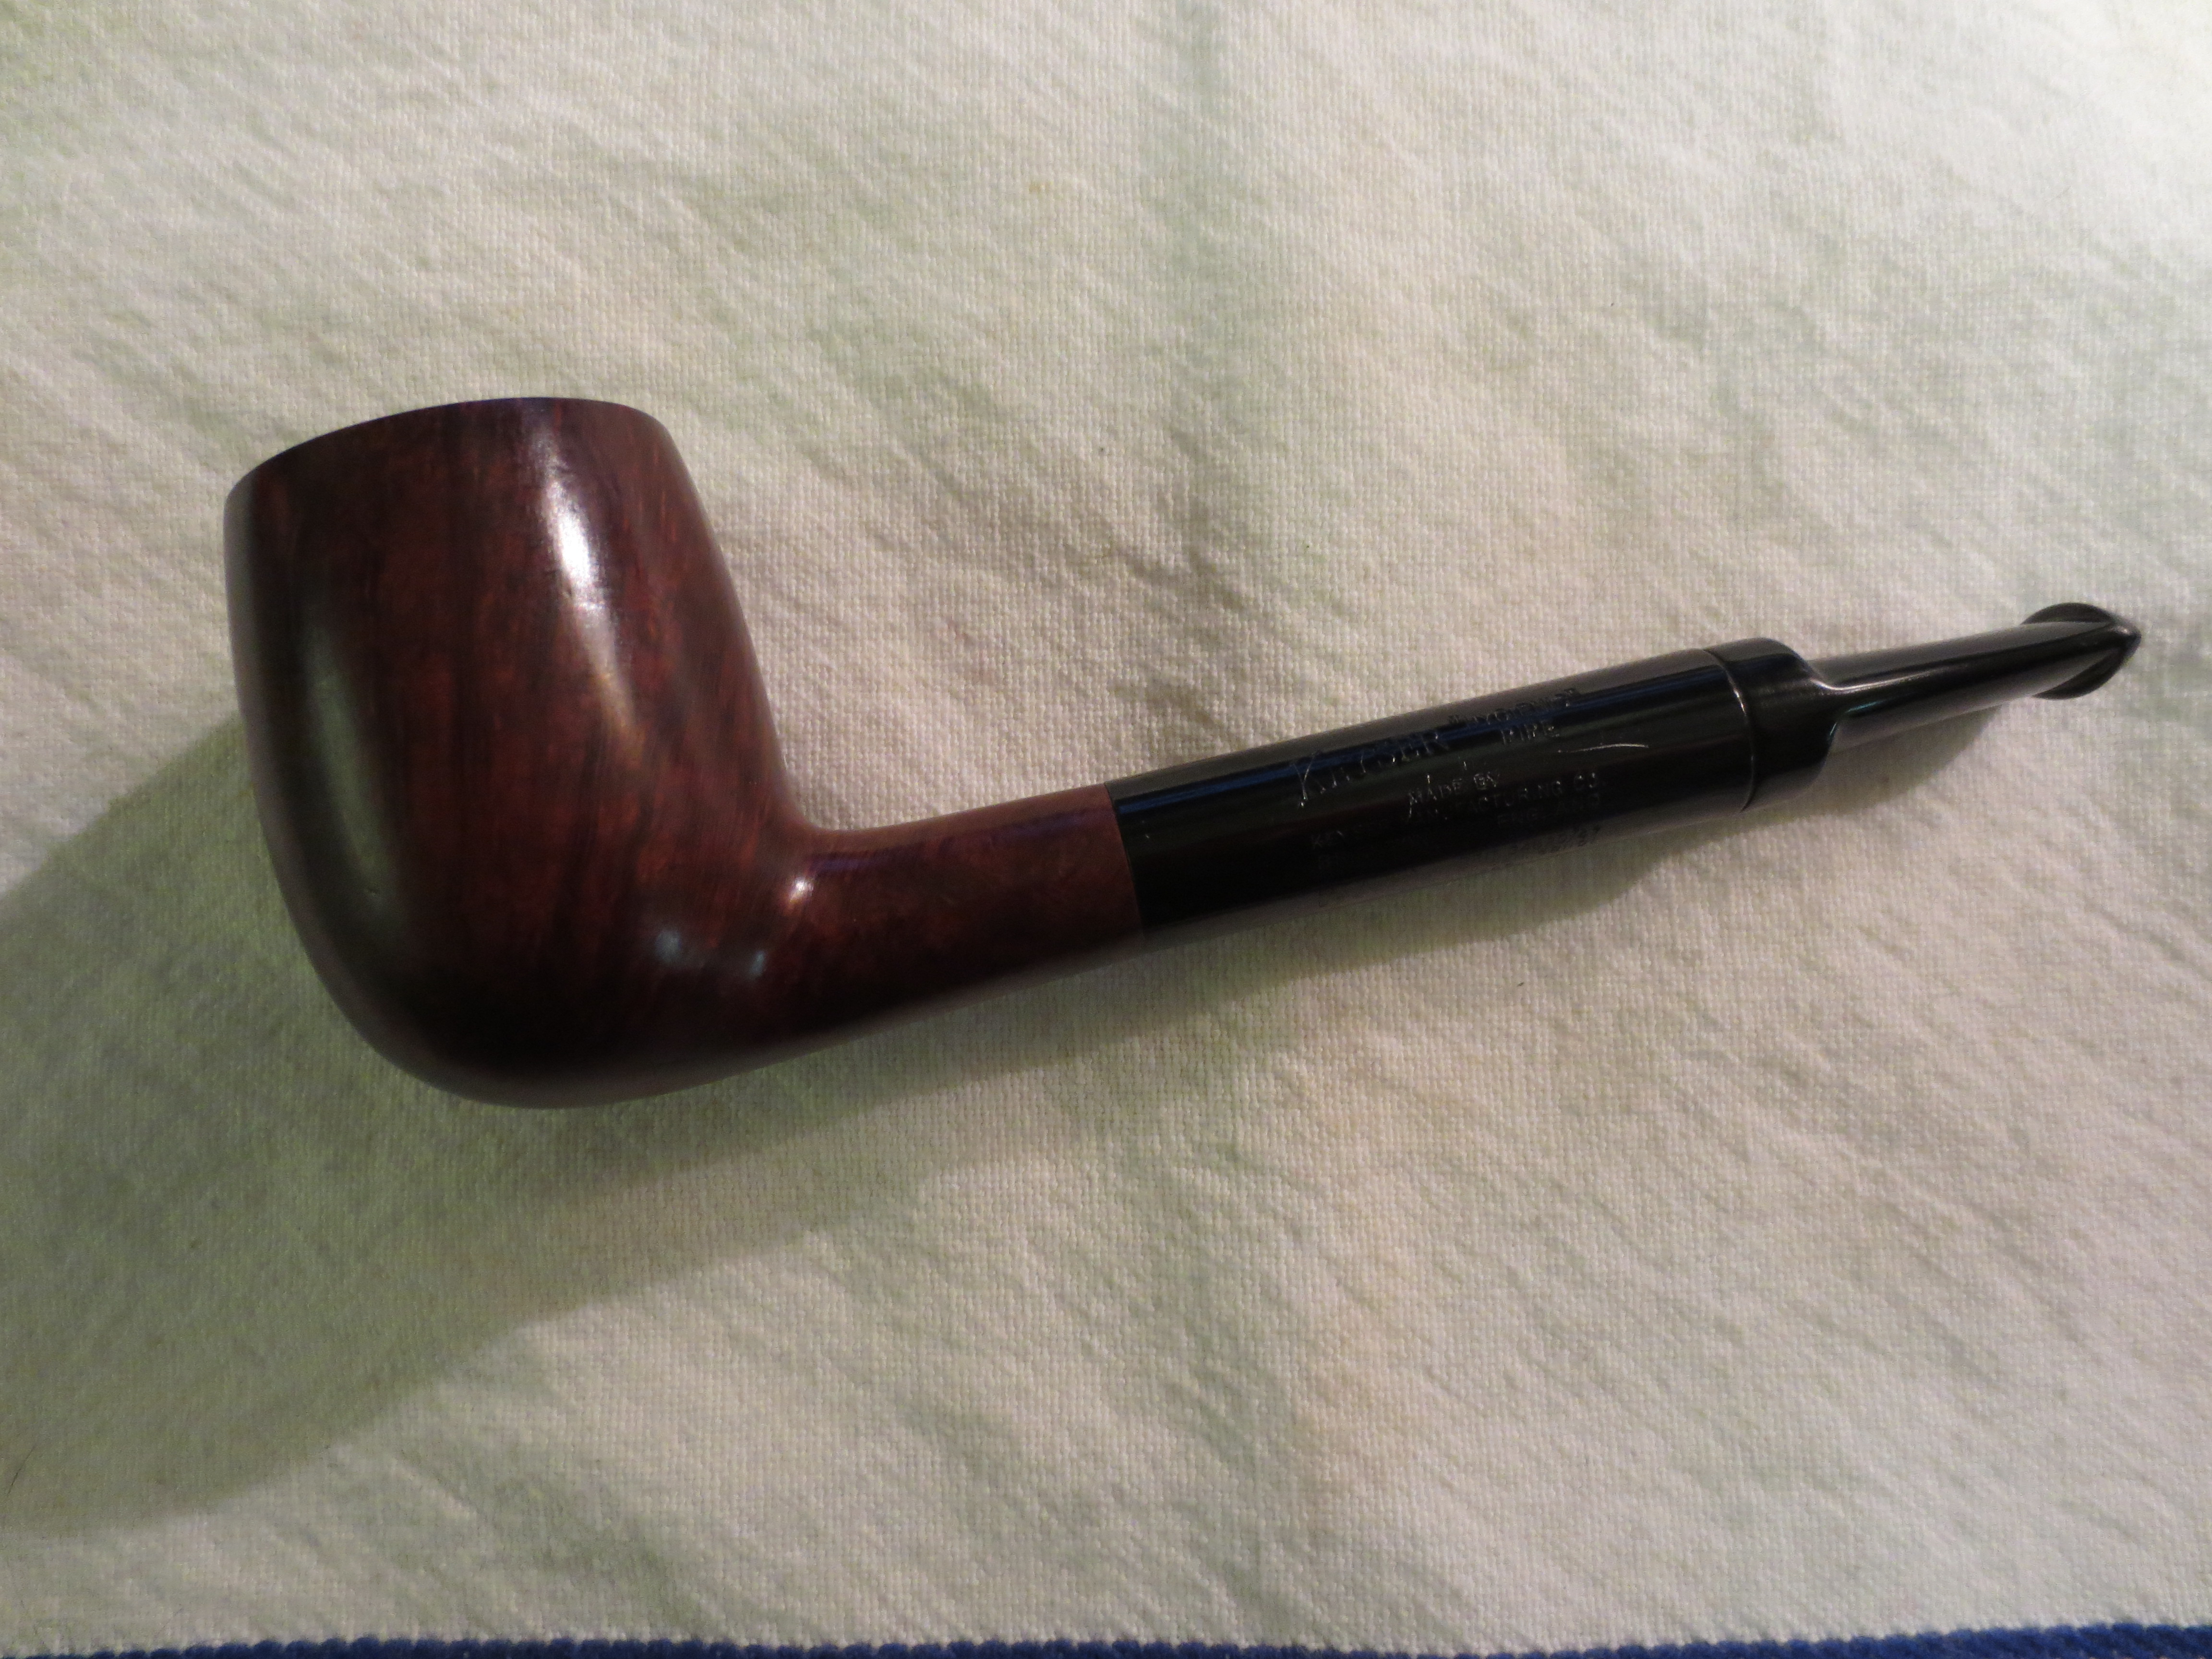
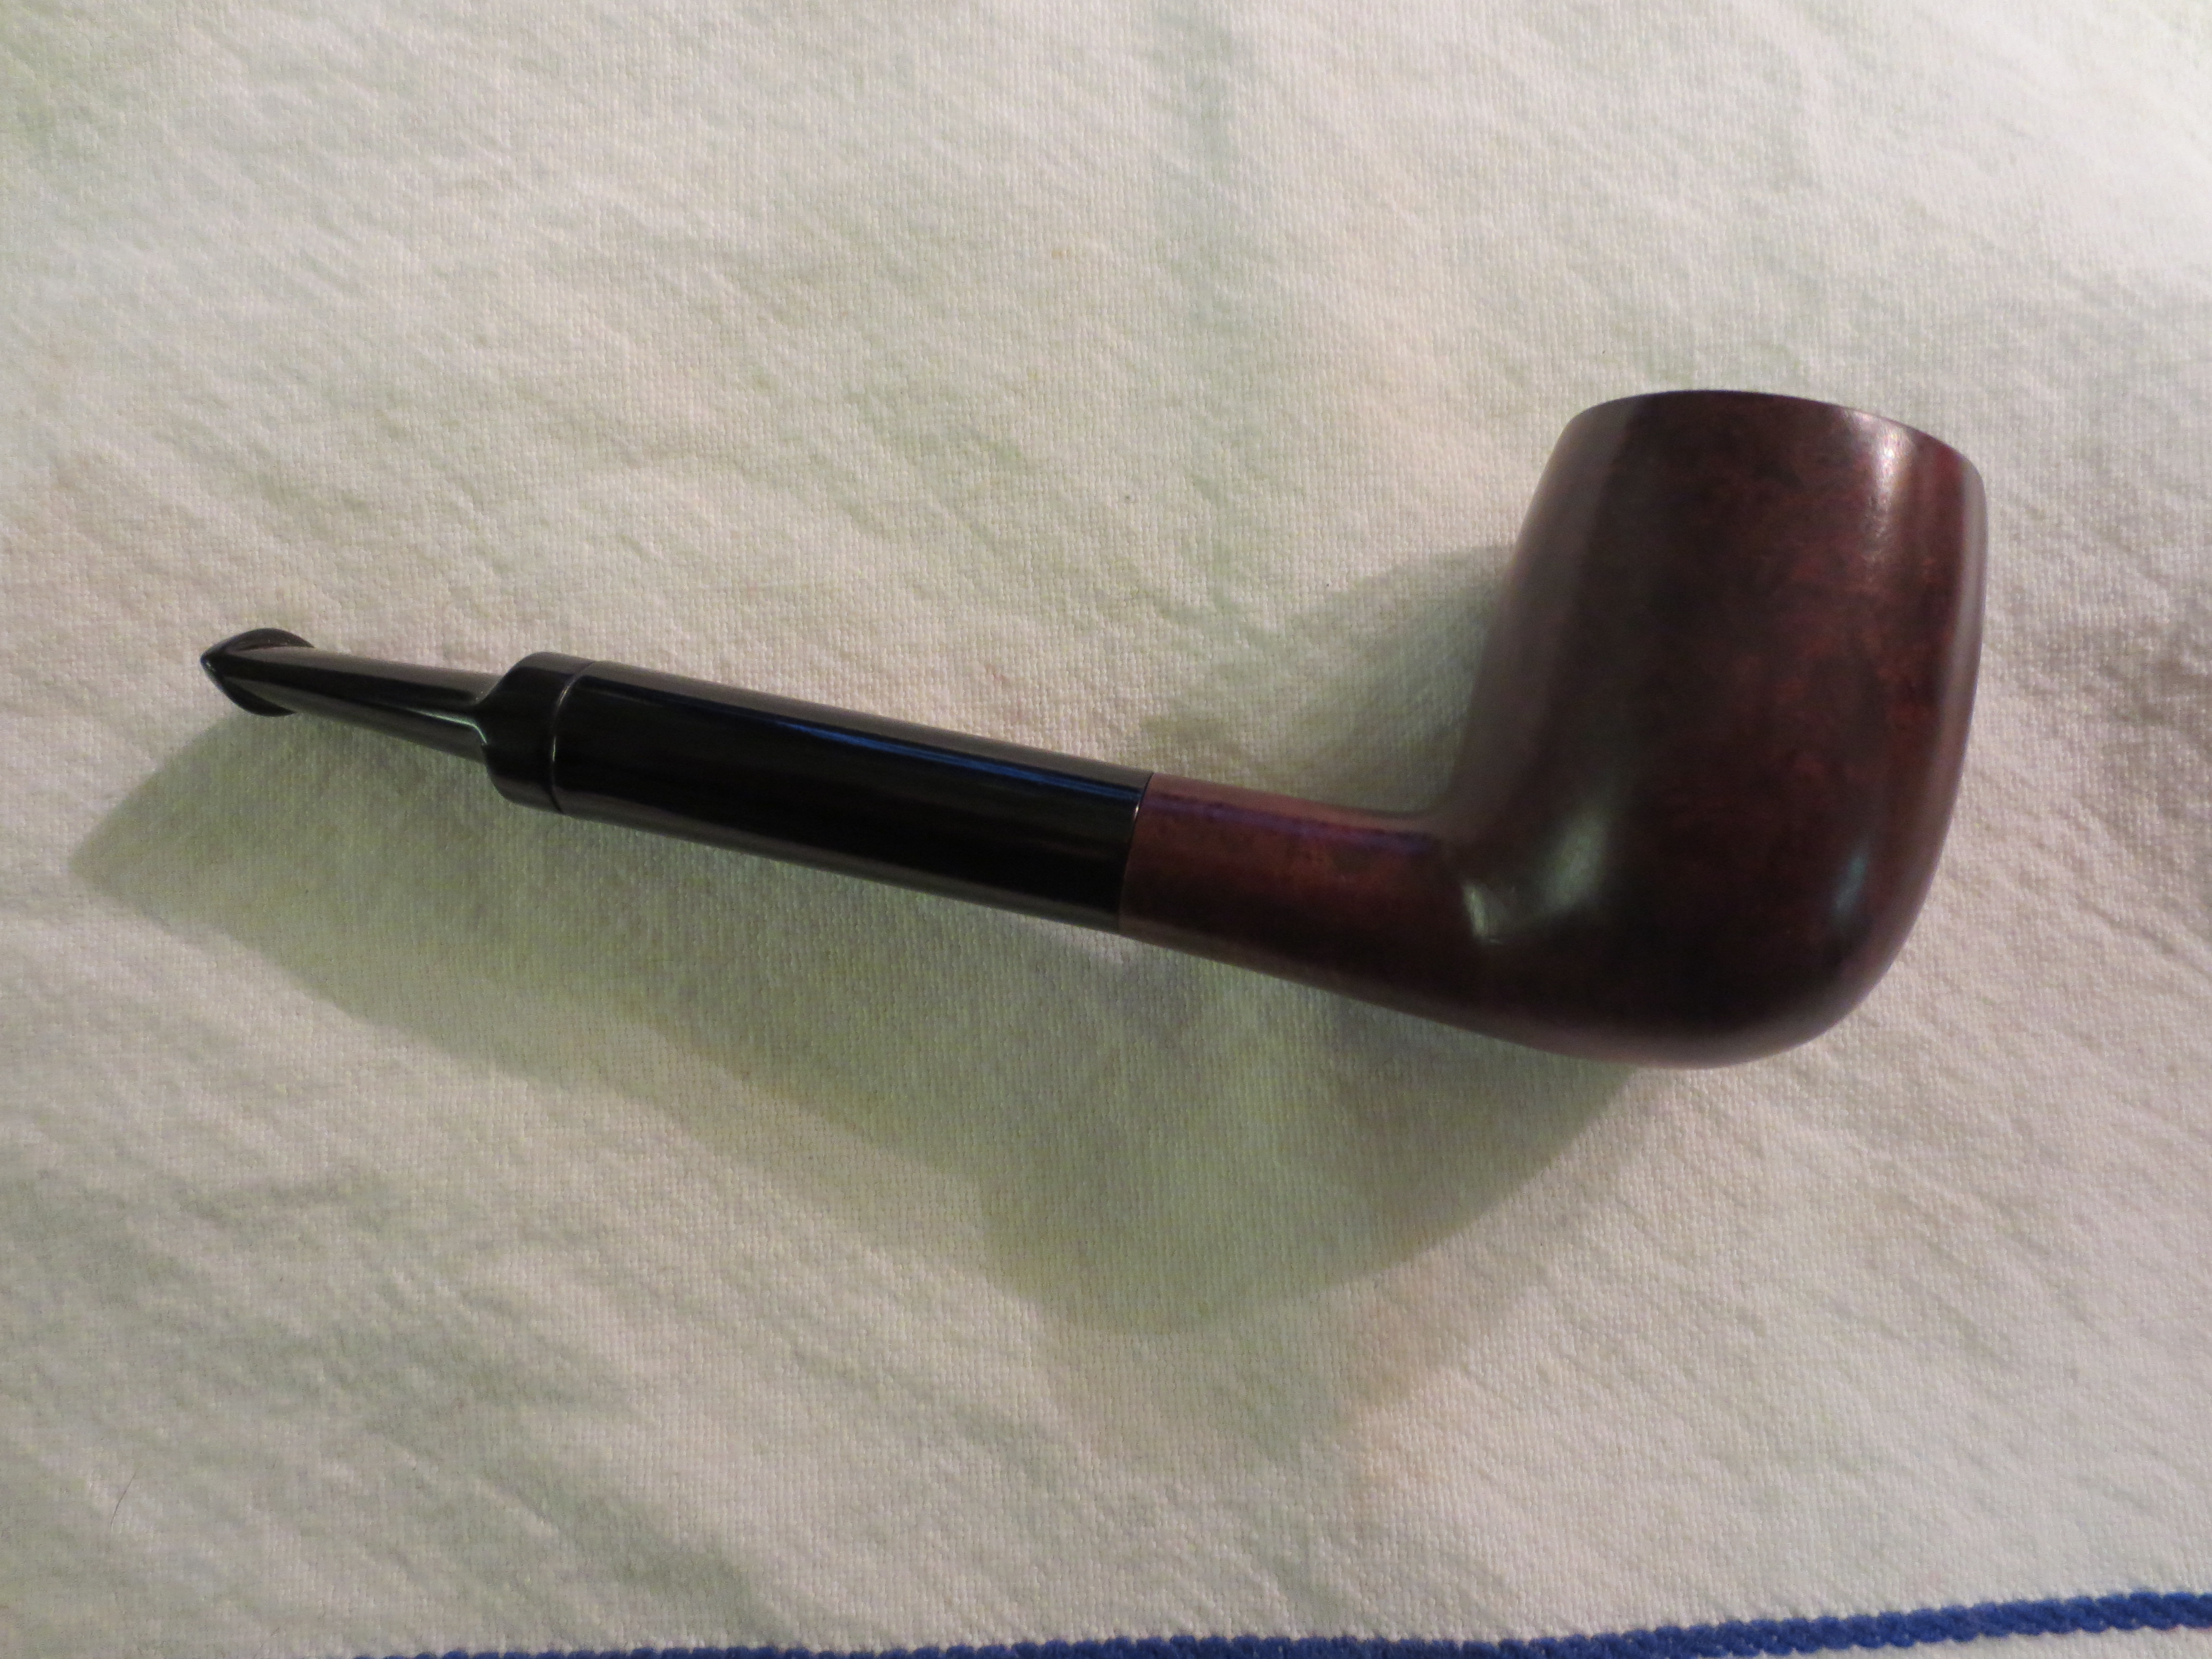
I buffed the stummel with Tripoli and then the stummel and stem, separately due to the way this pipe is made, with white diamond. Both parts then got several coats of carnauba wax, buffed on a clean soft wheel and finally hand buffed with my flannel gloves; I don’t know the flannel glove-buff is needed but it seems it adds a little “something” though it may only be in my head. But since it only takes a few extra minutes, and gets any stray threads of the pipe that the wheel may have left, I almost always finish this way.
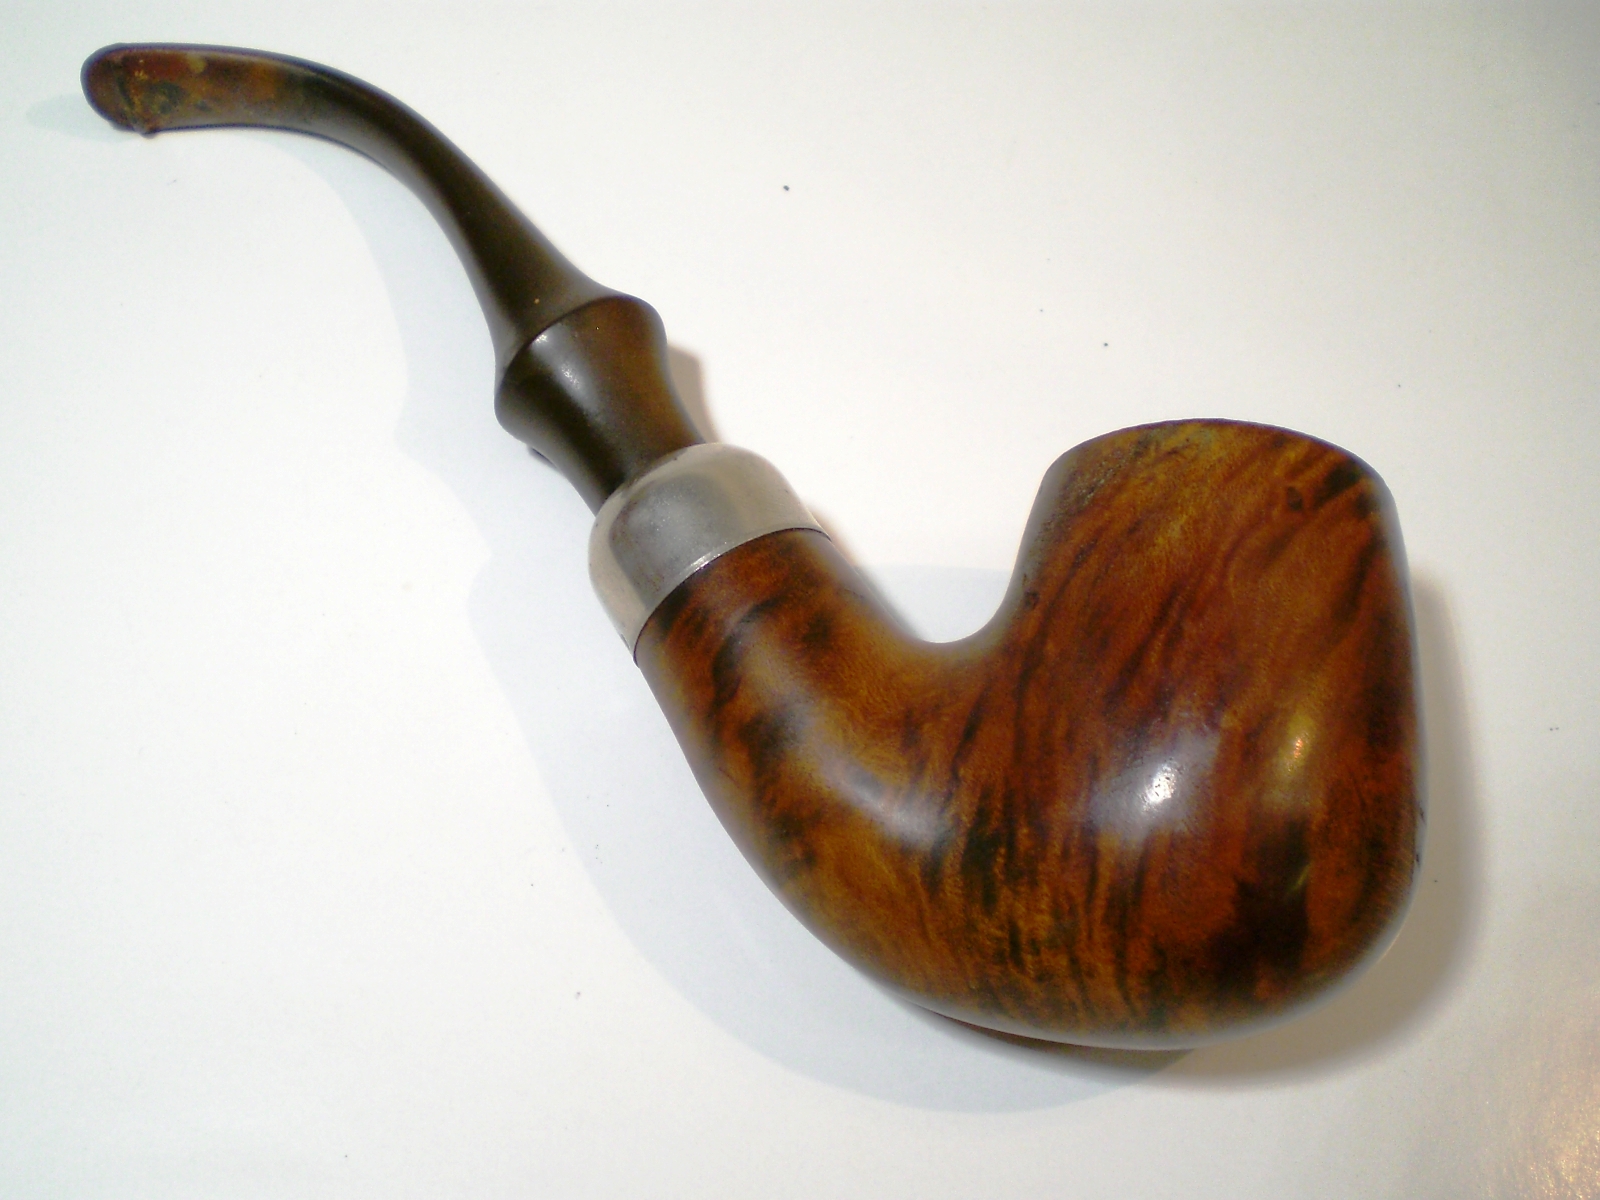
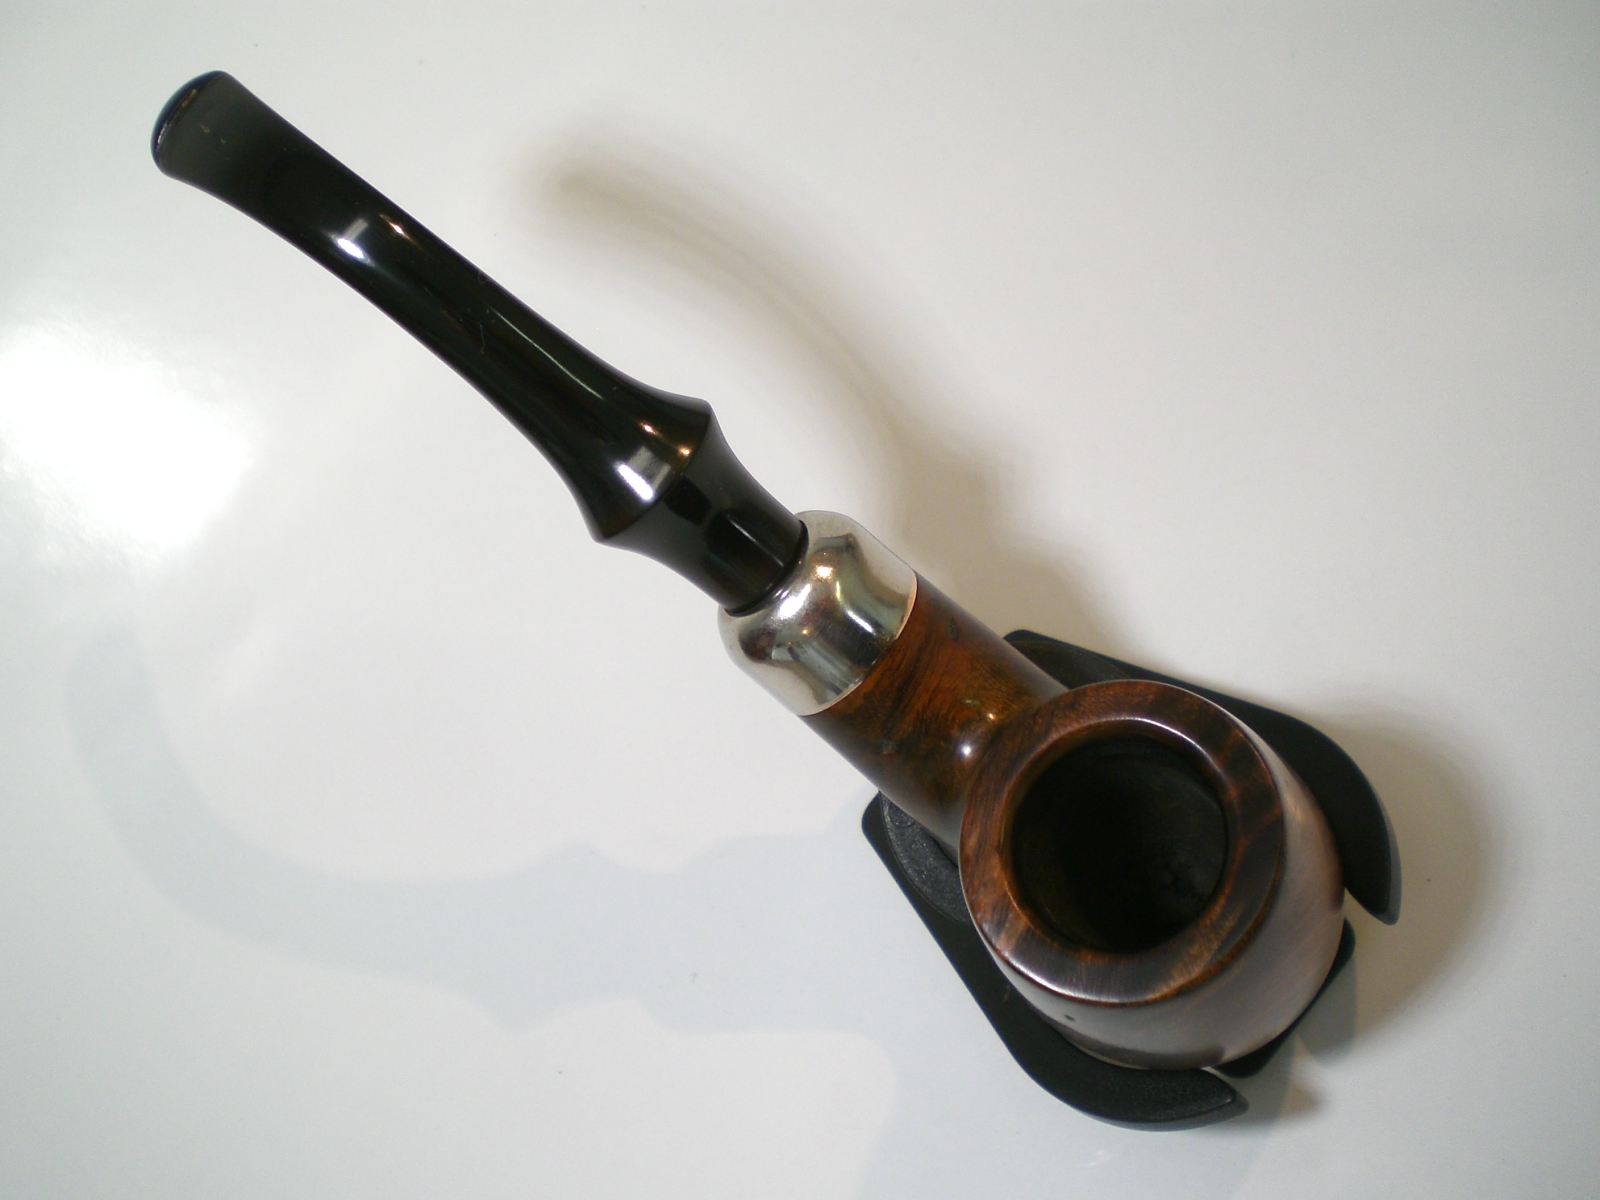
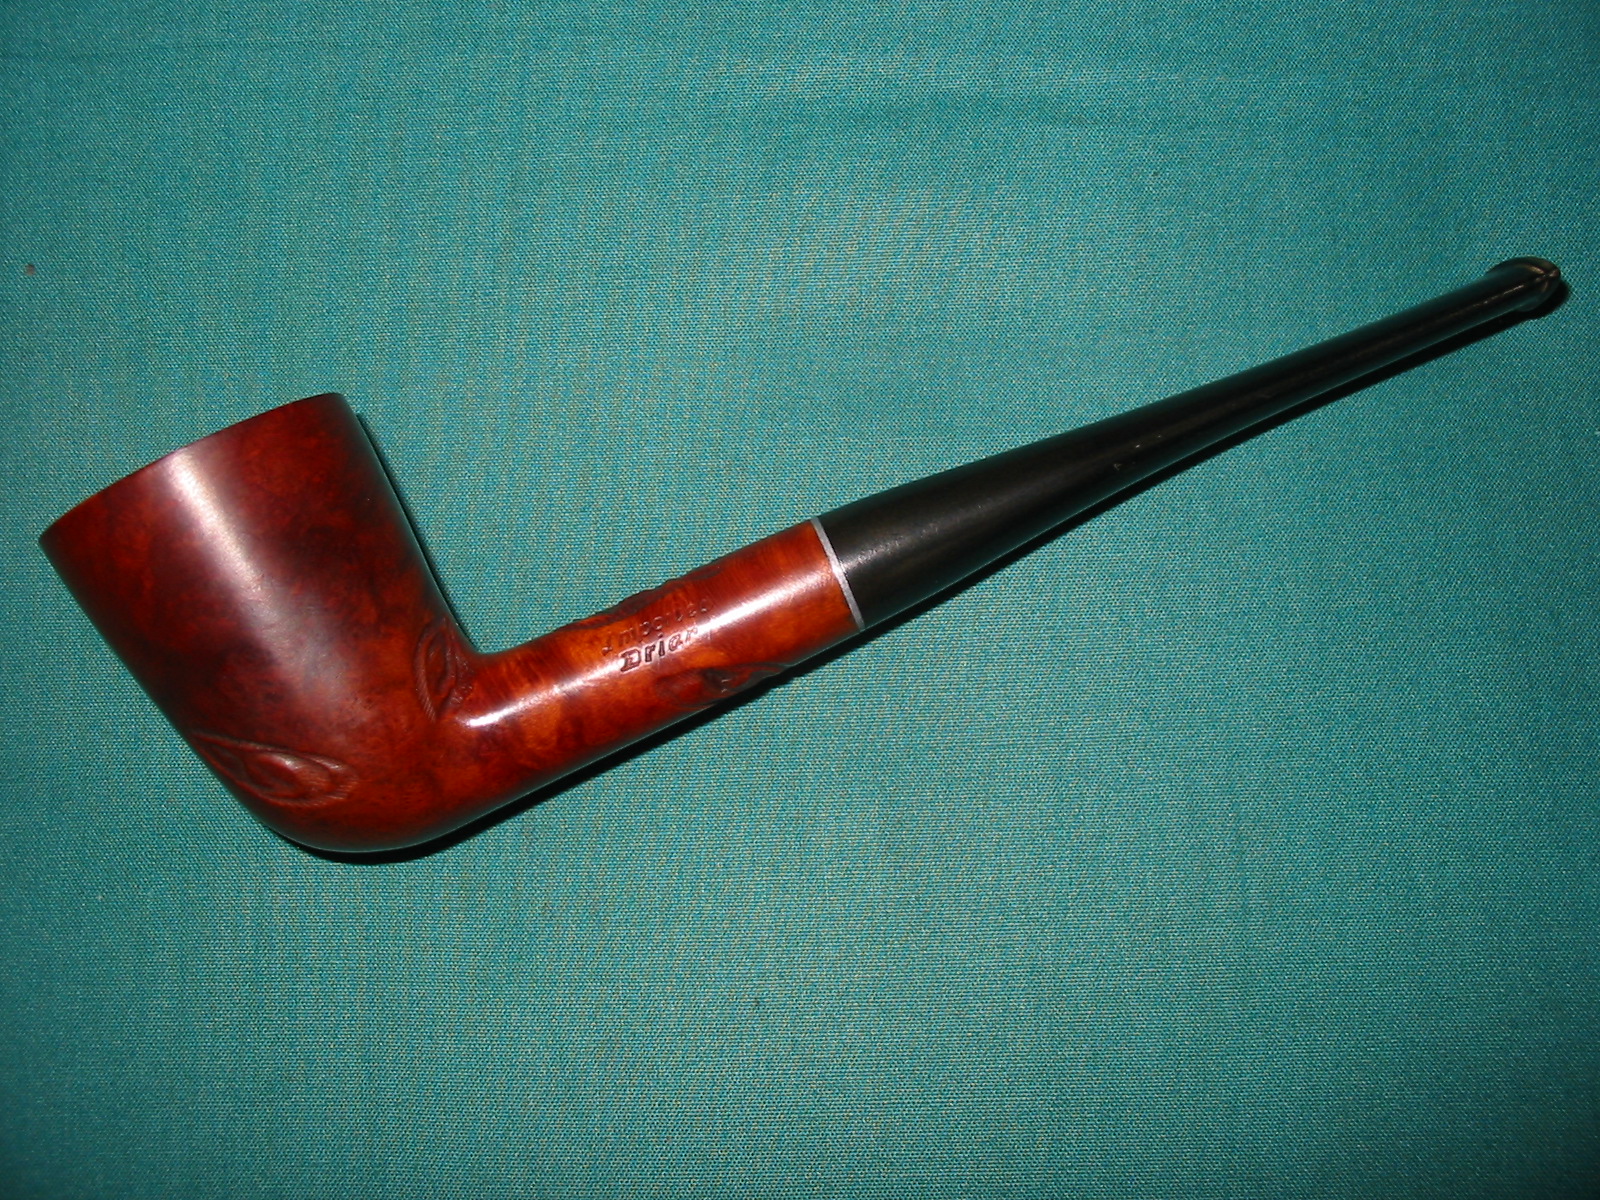
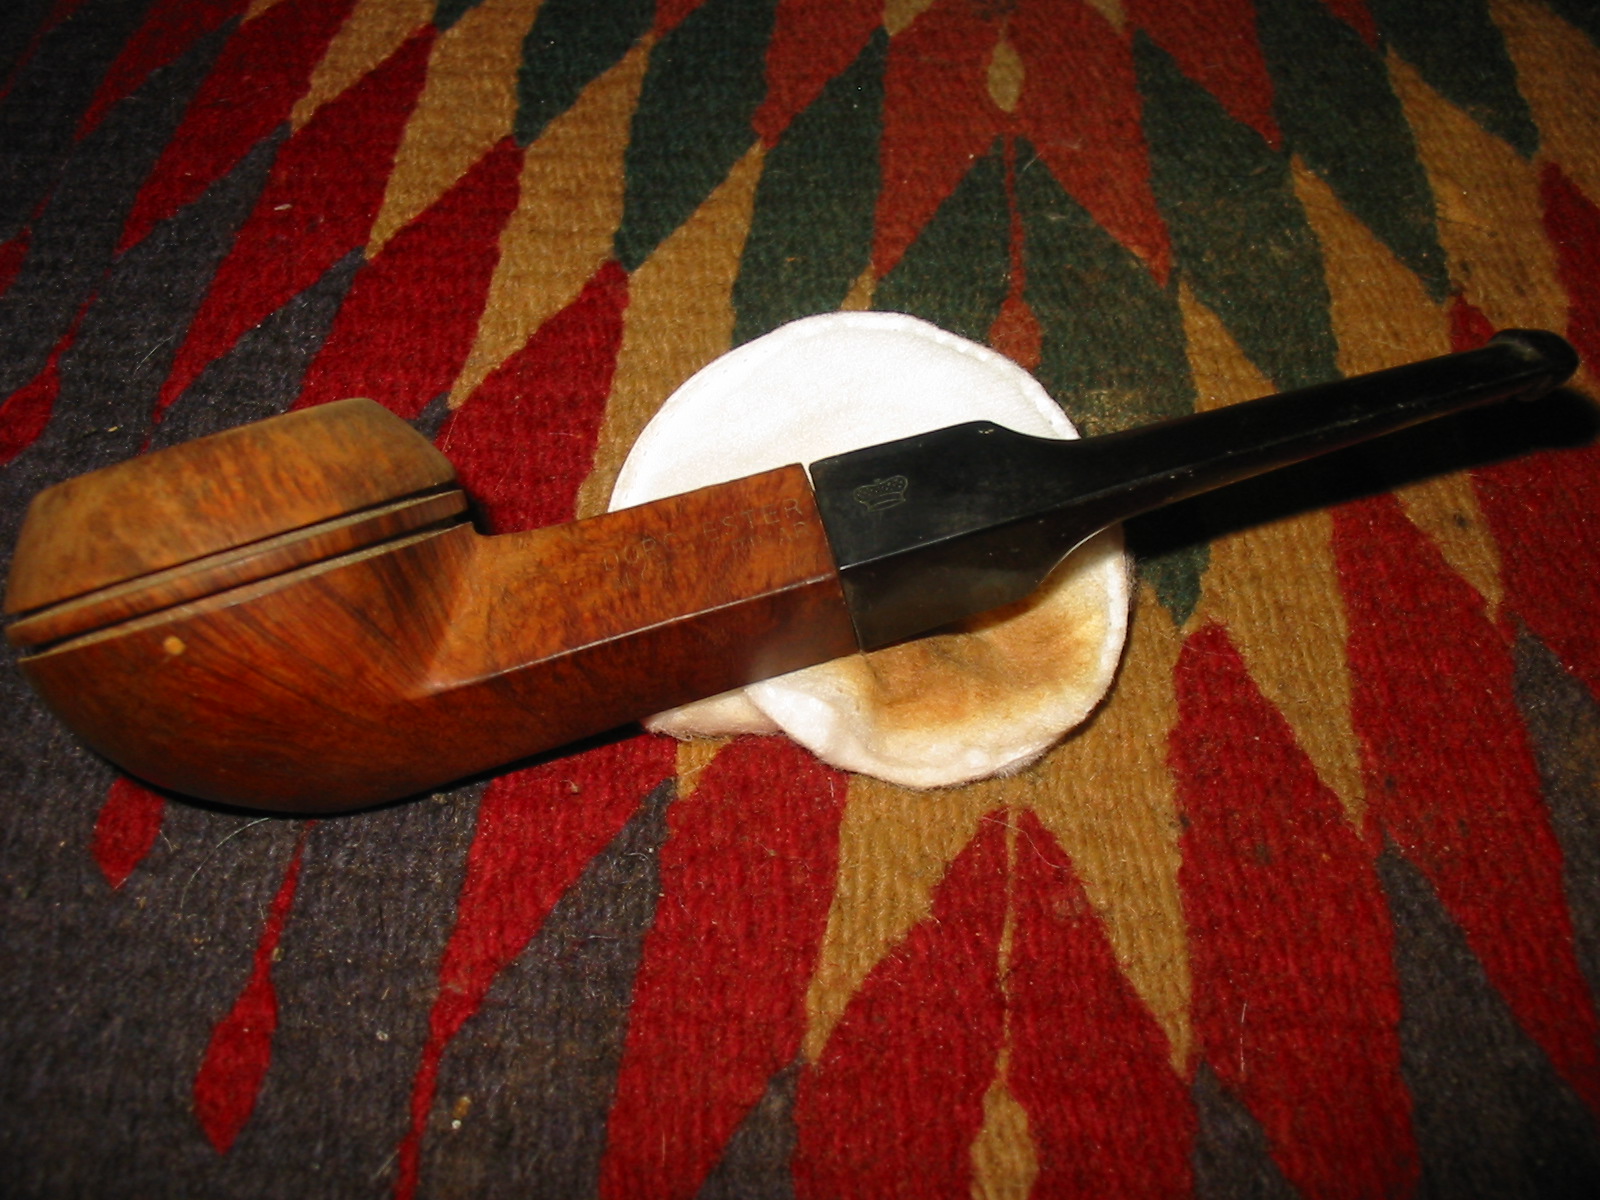
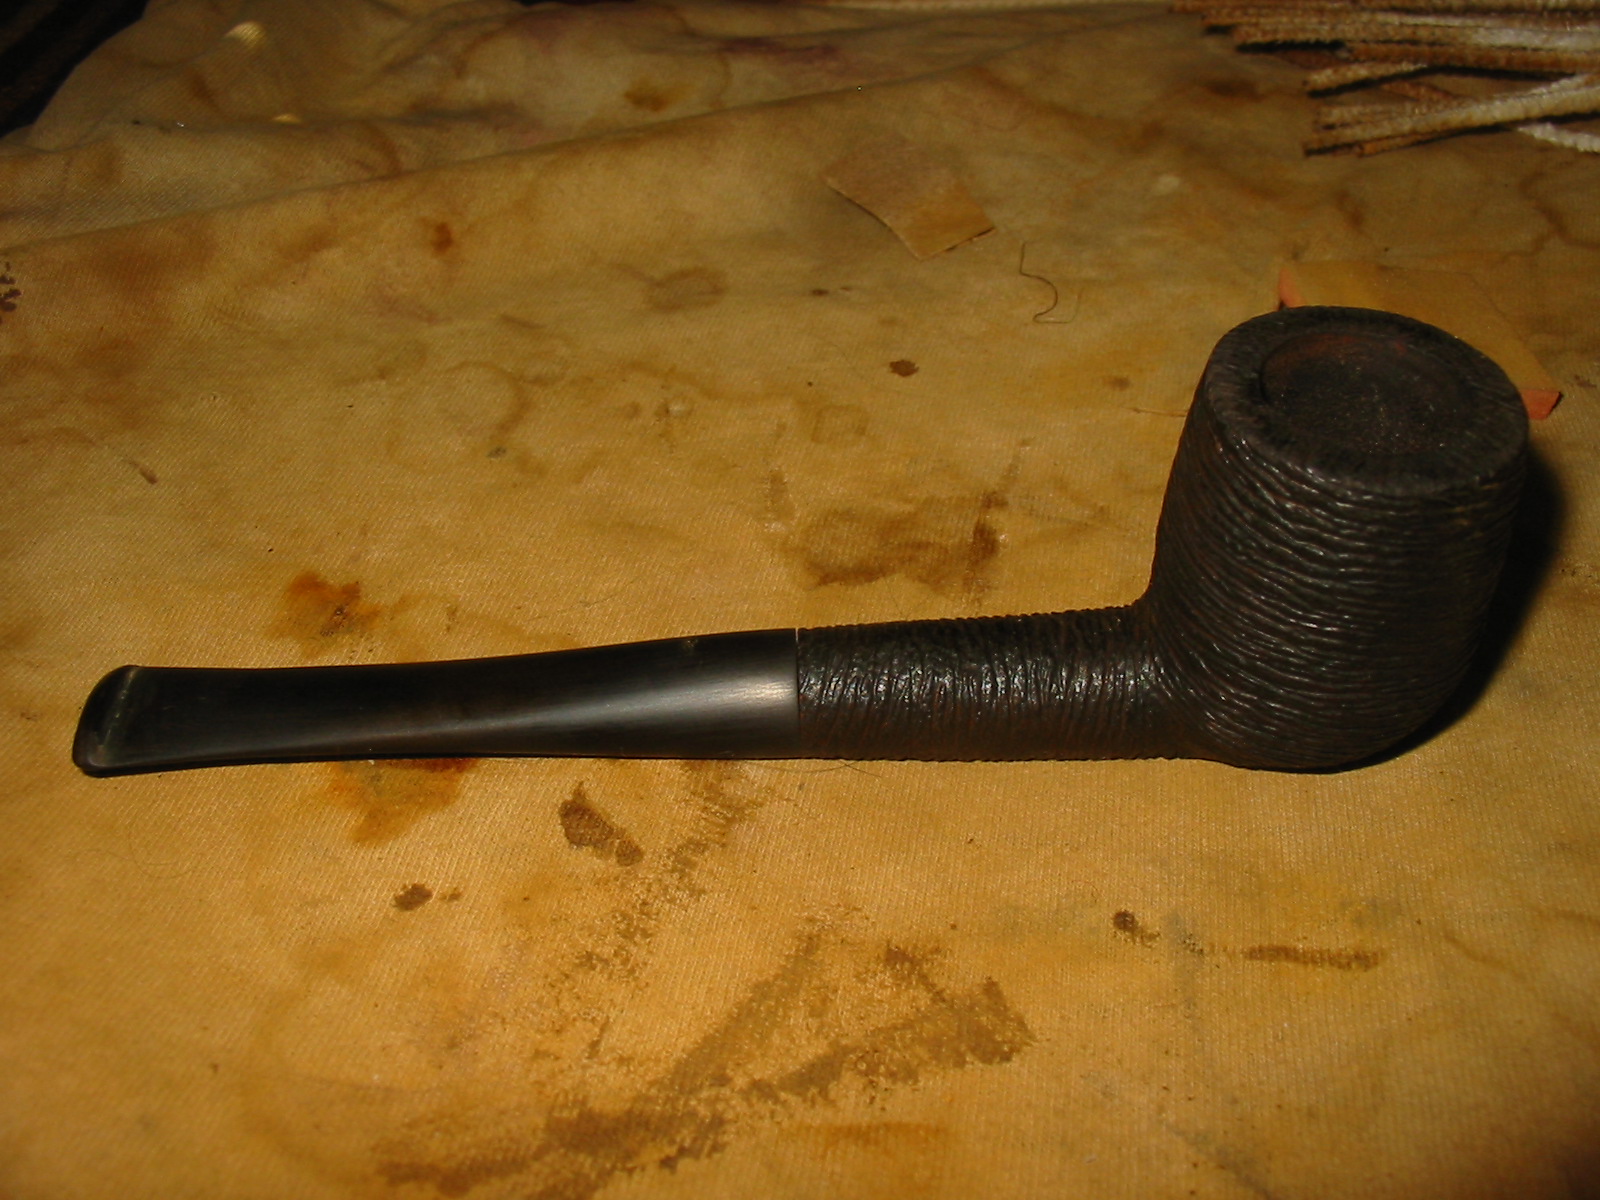
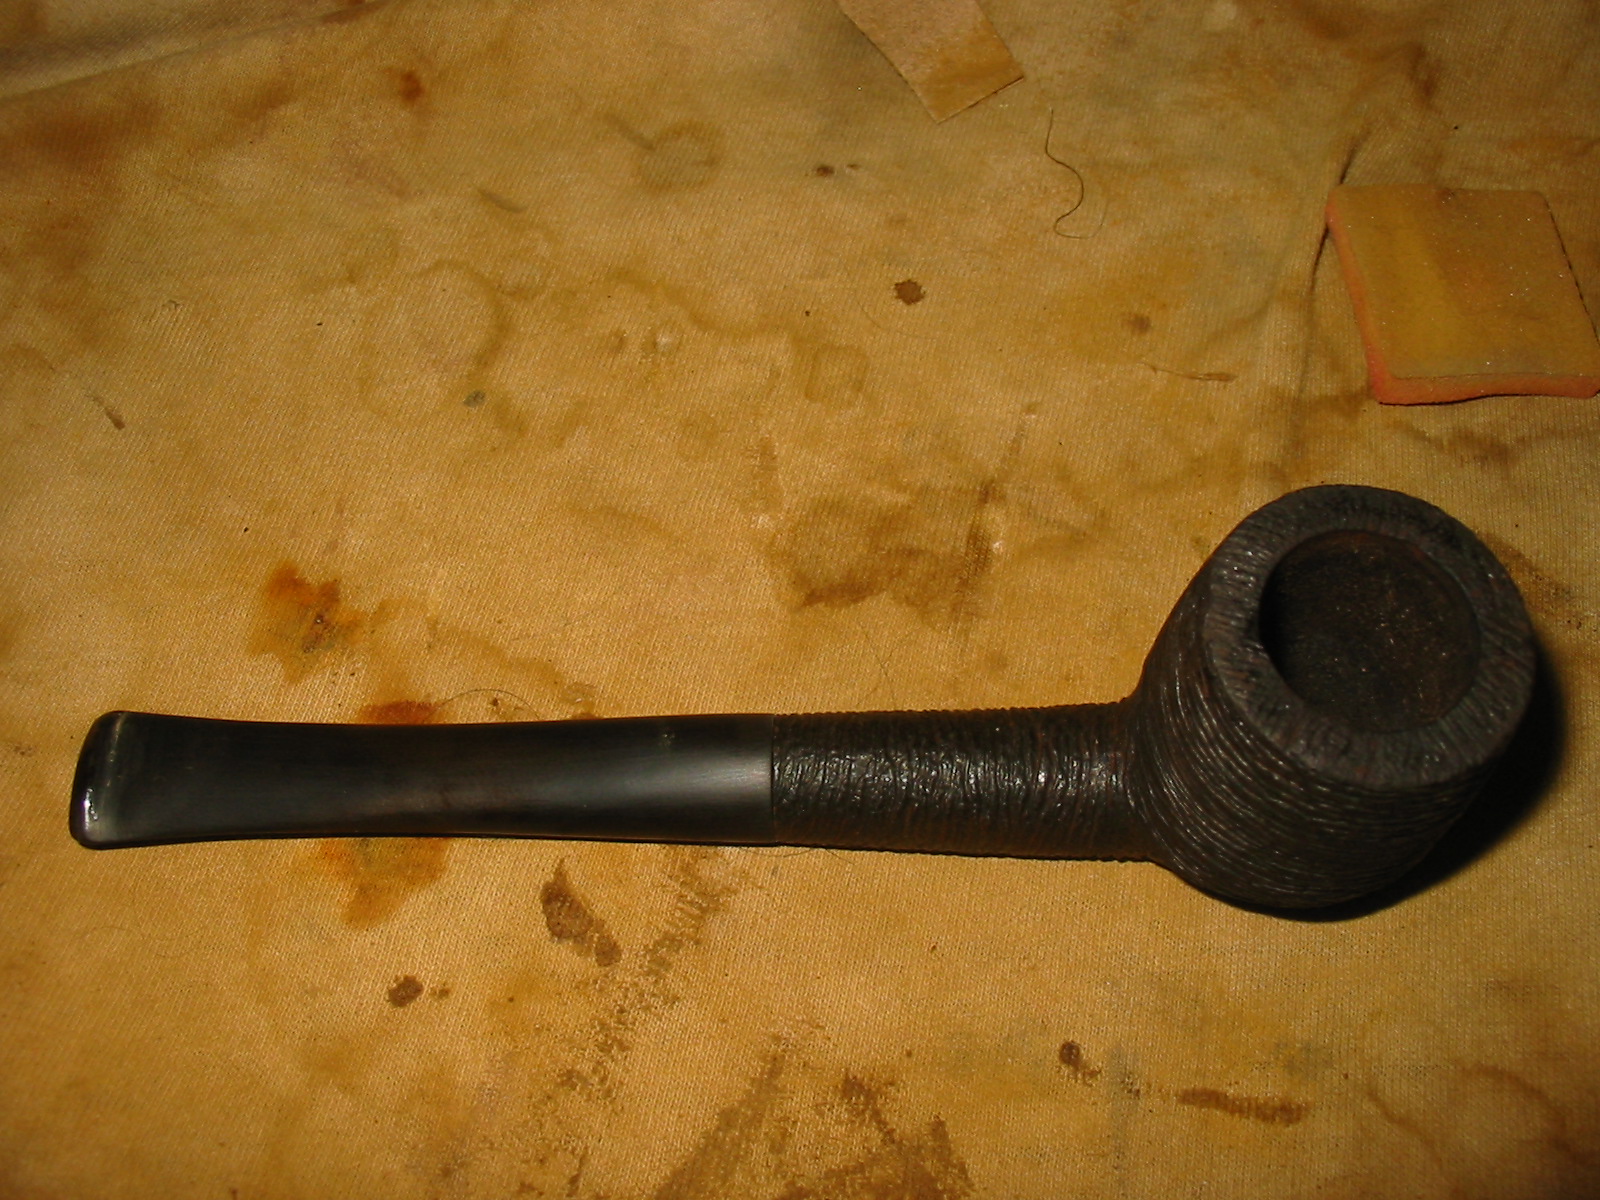
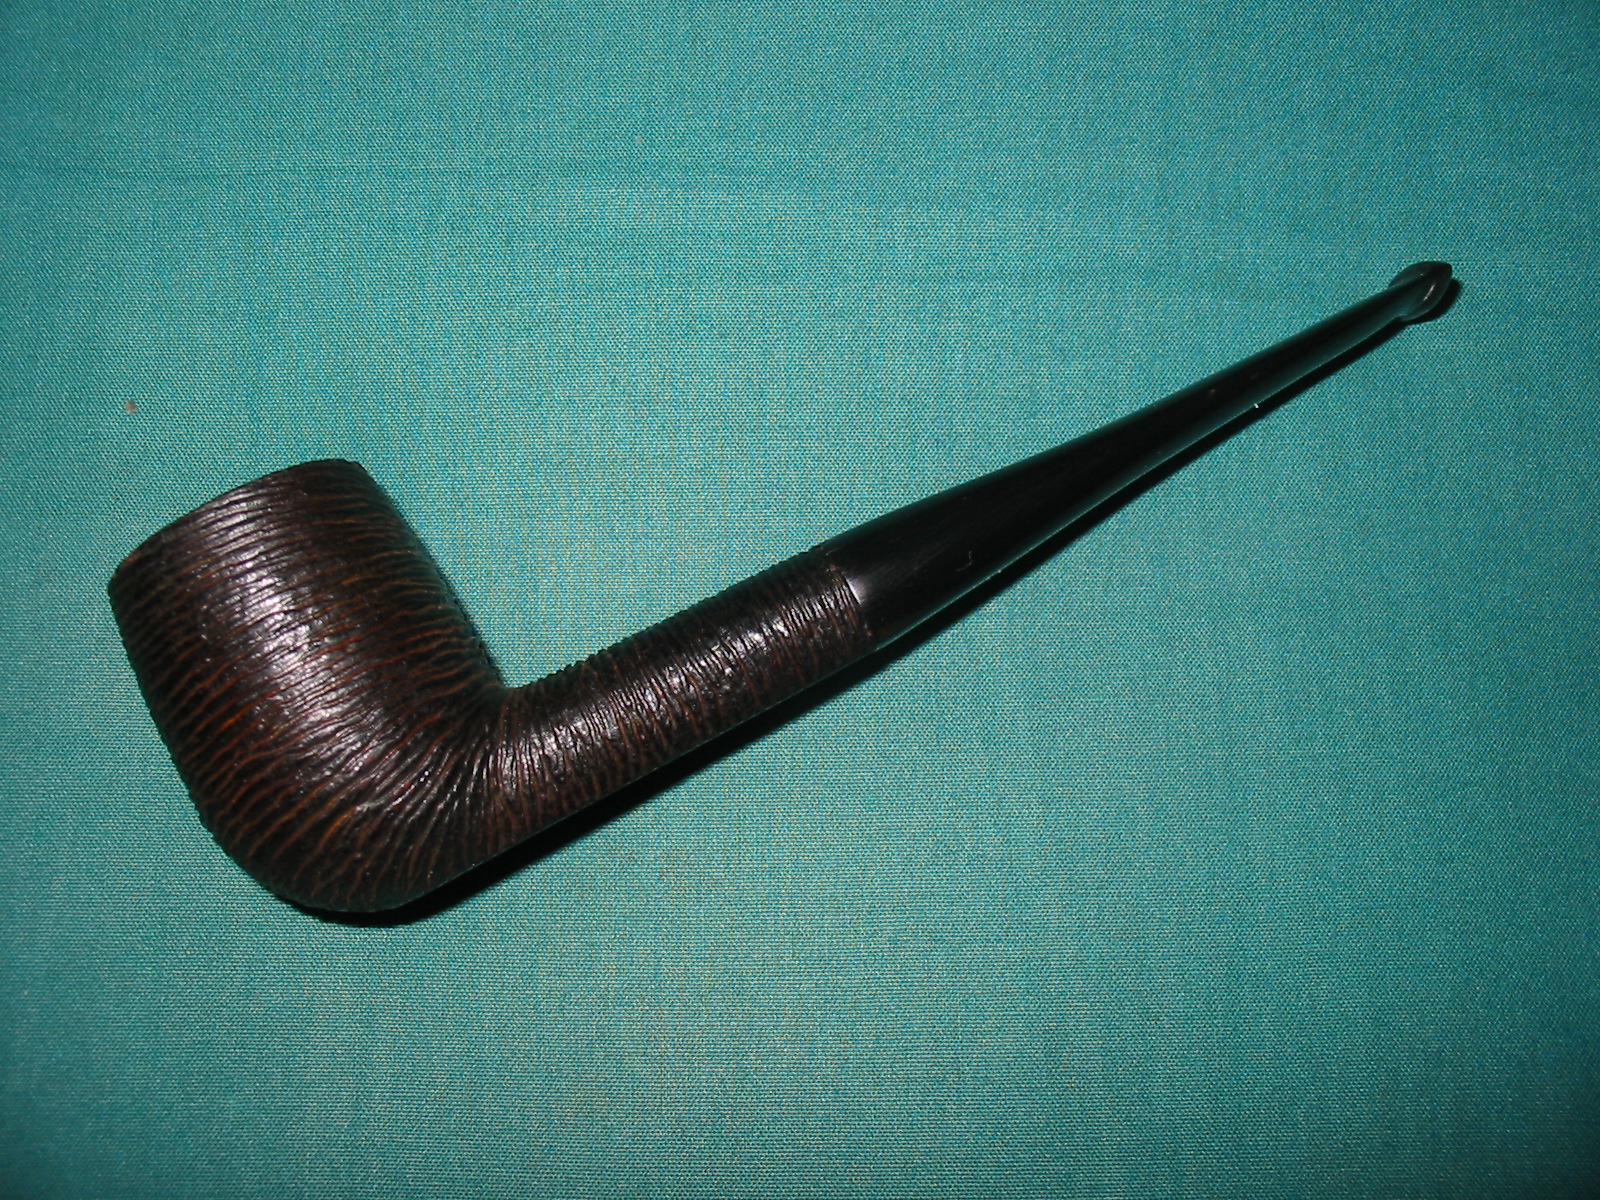
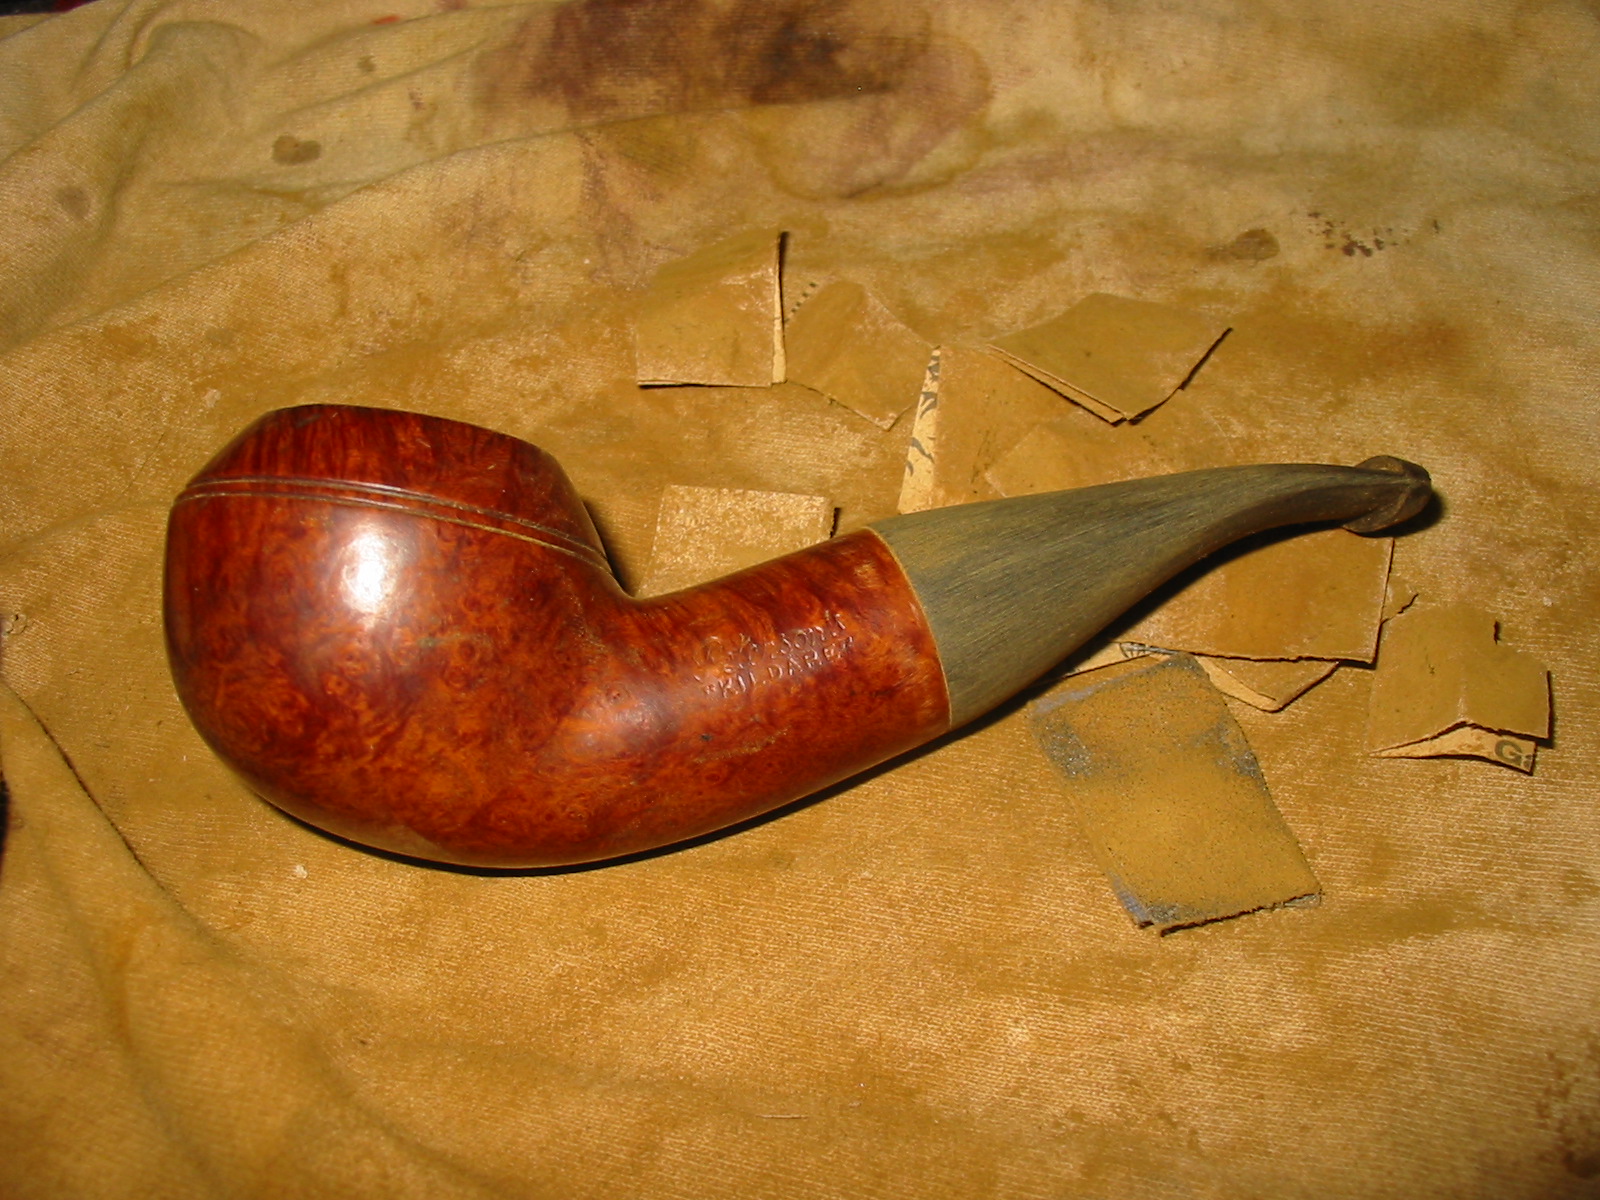
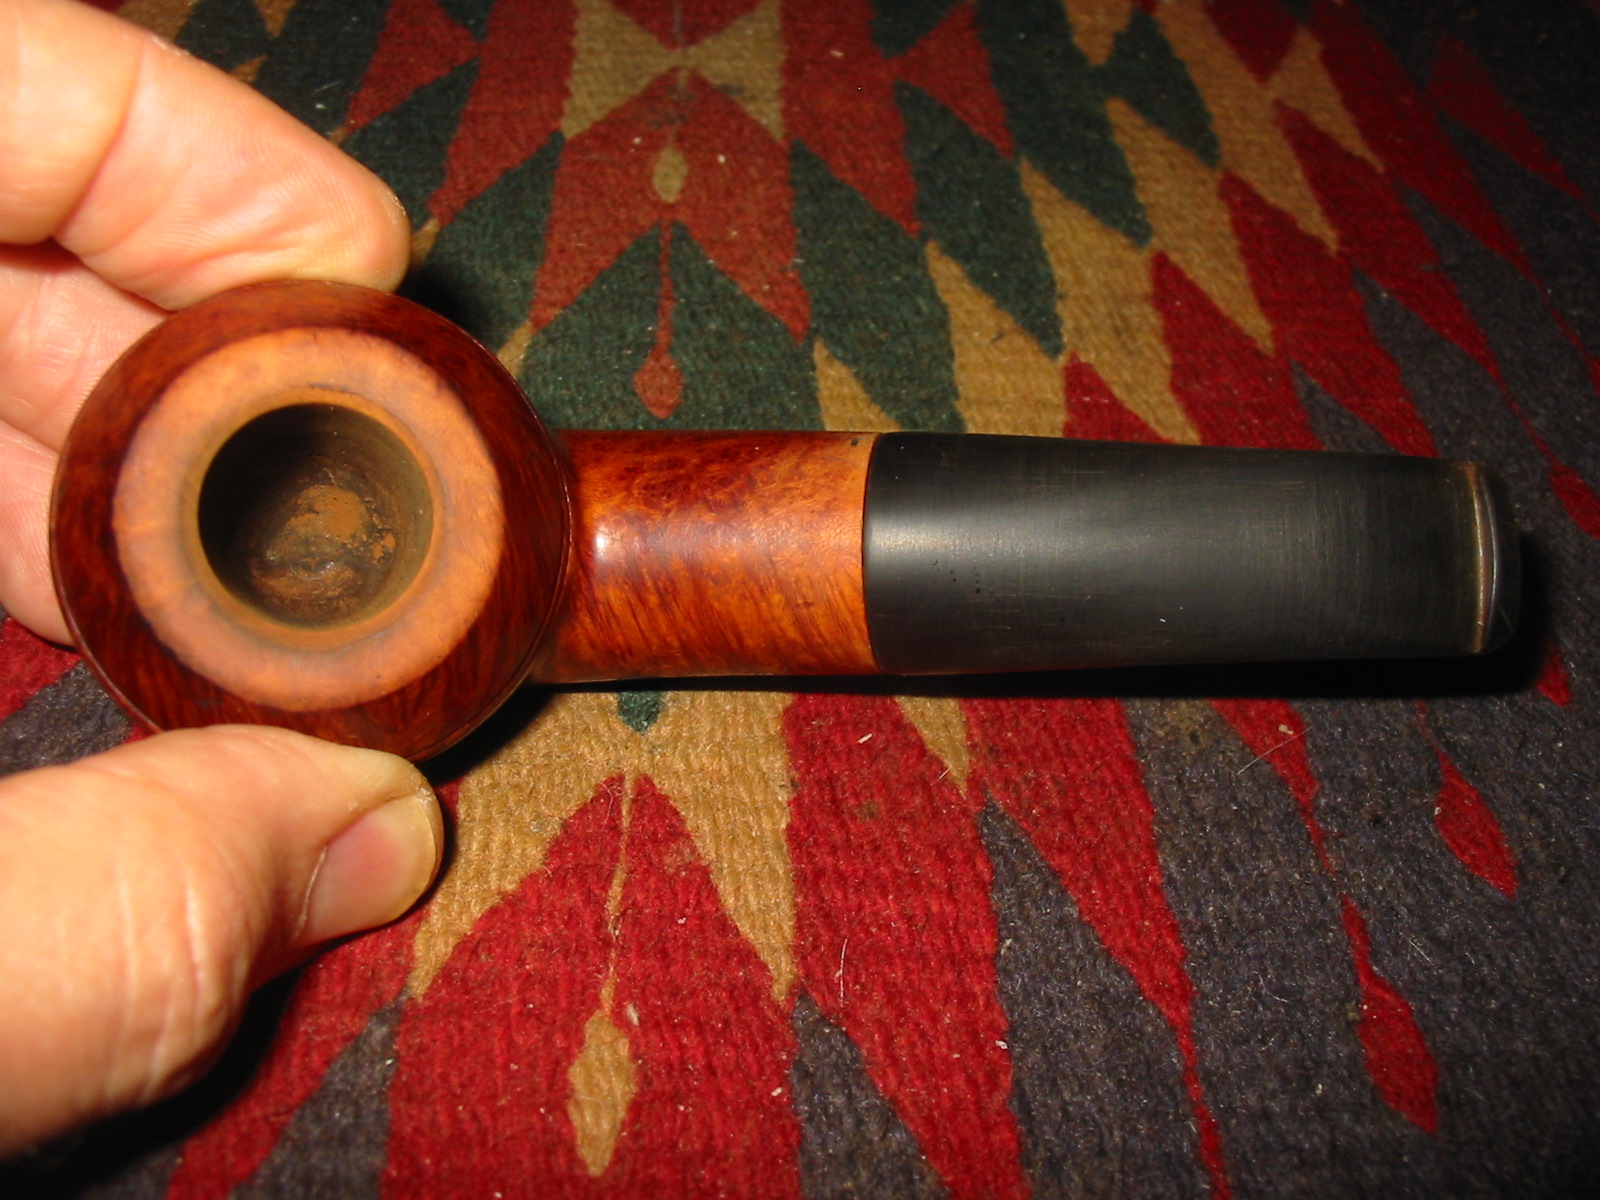
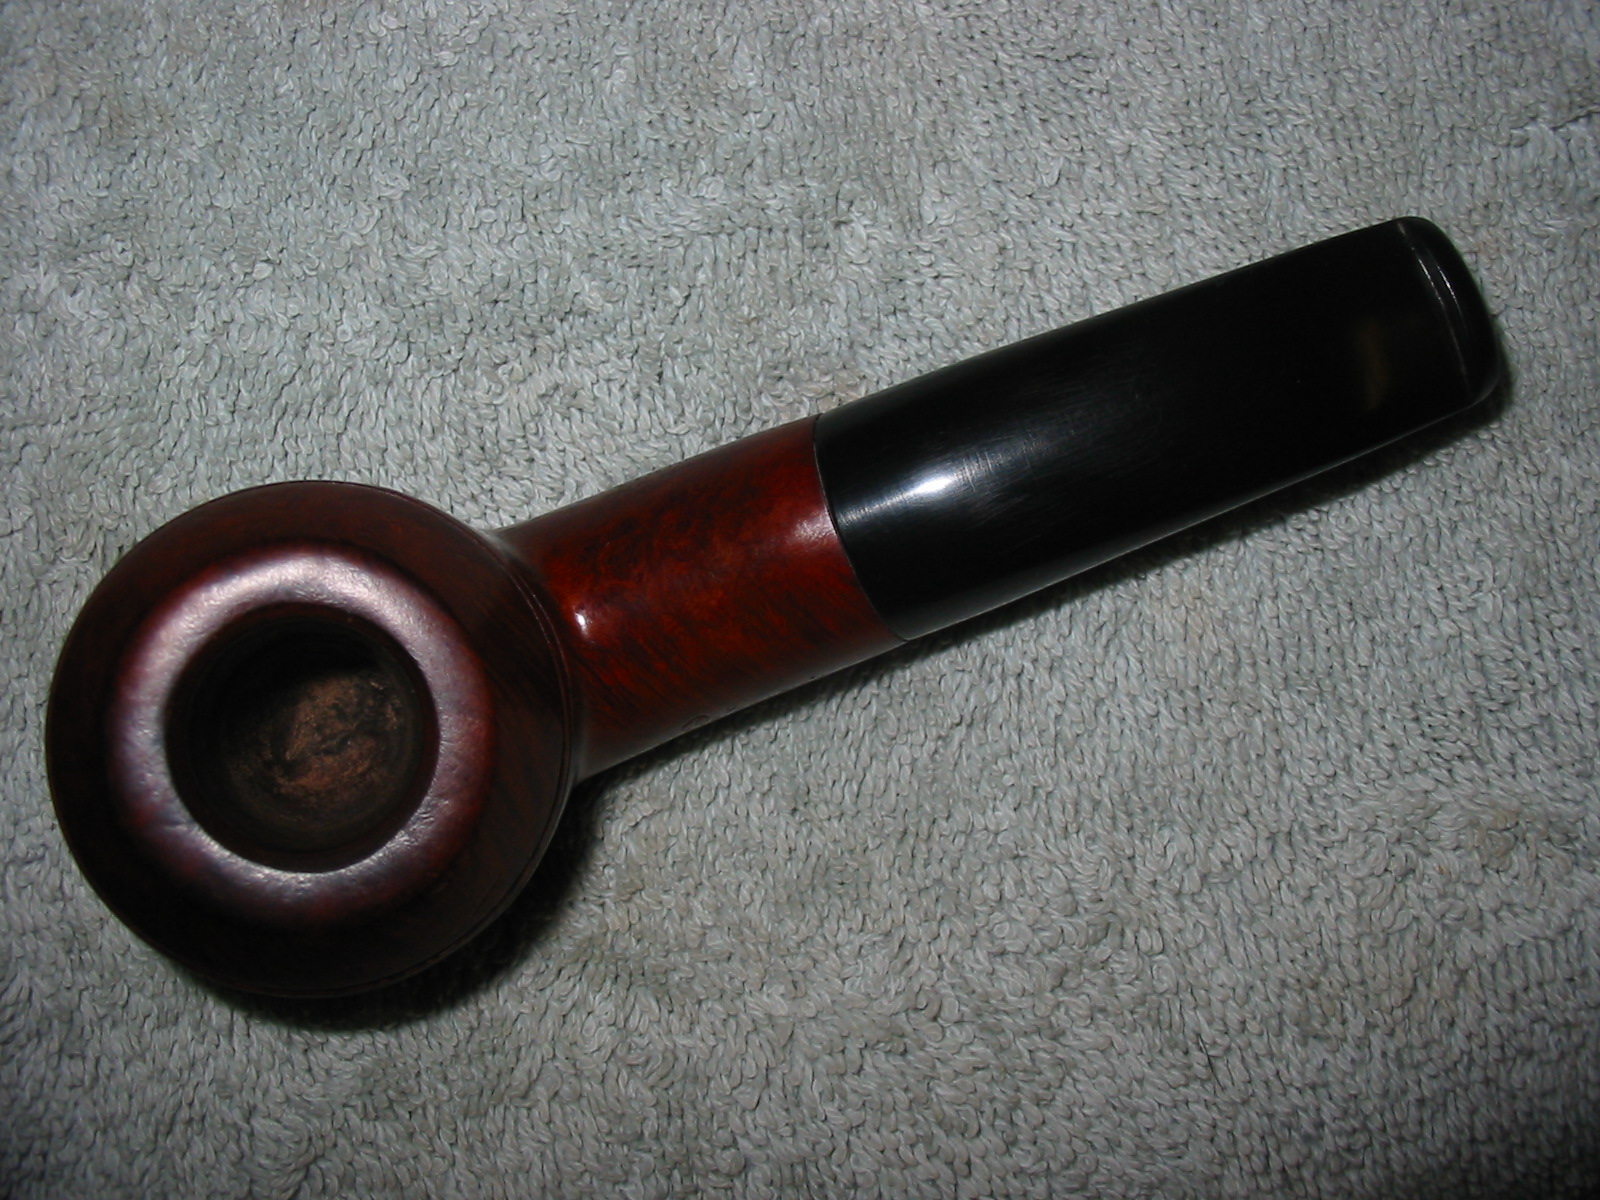
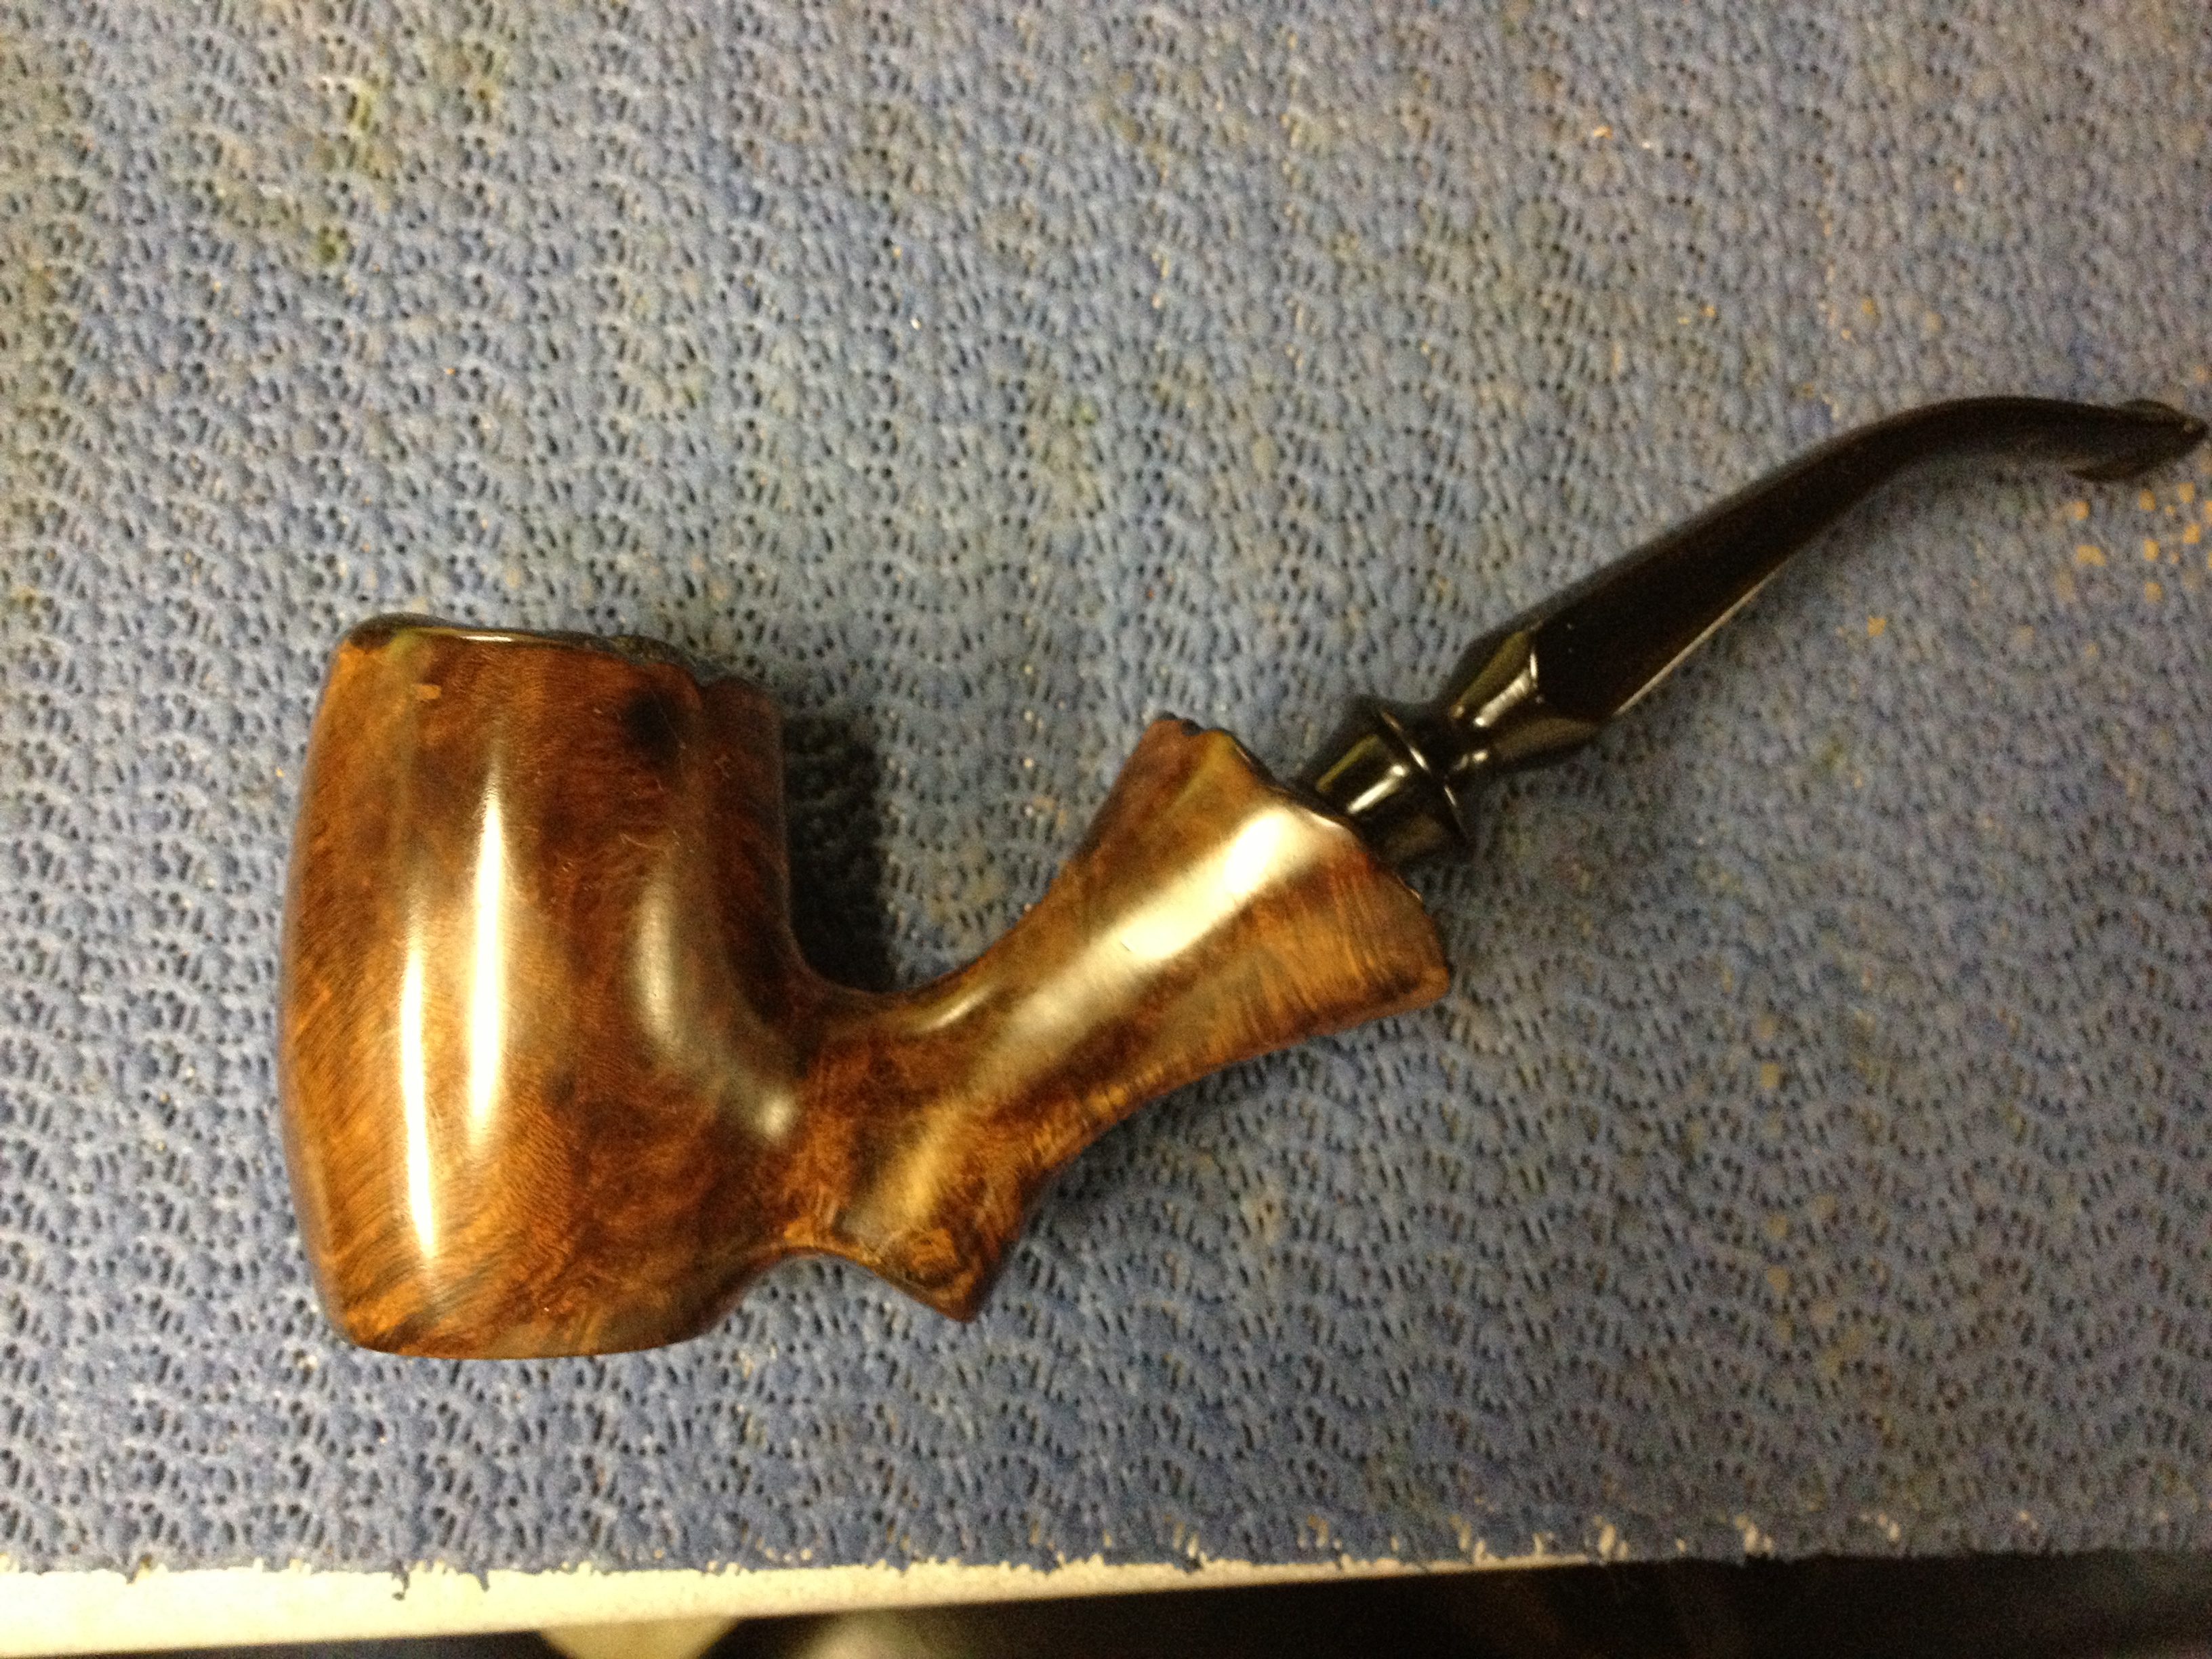
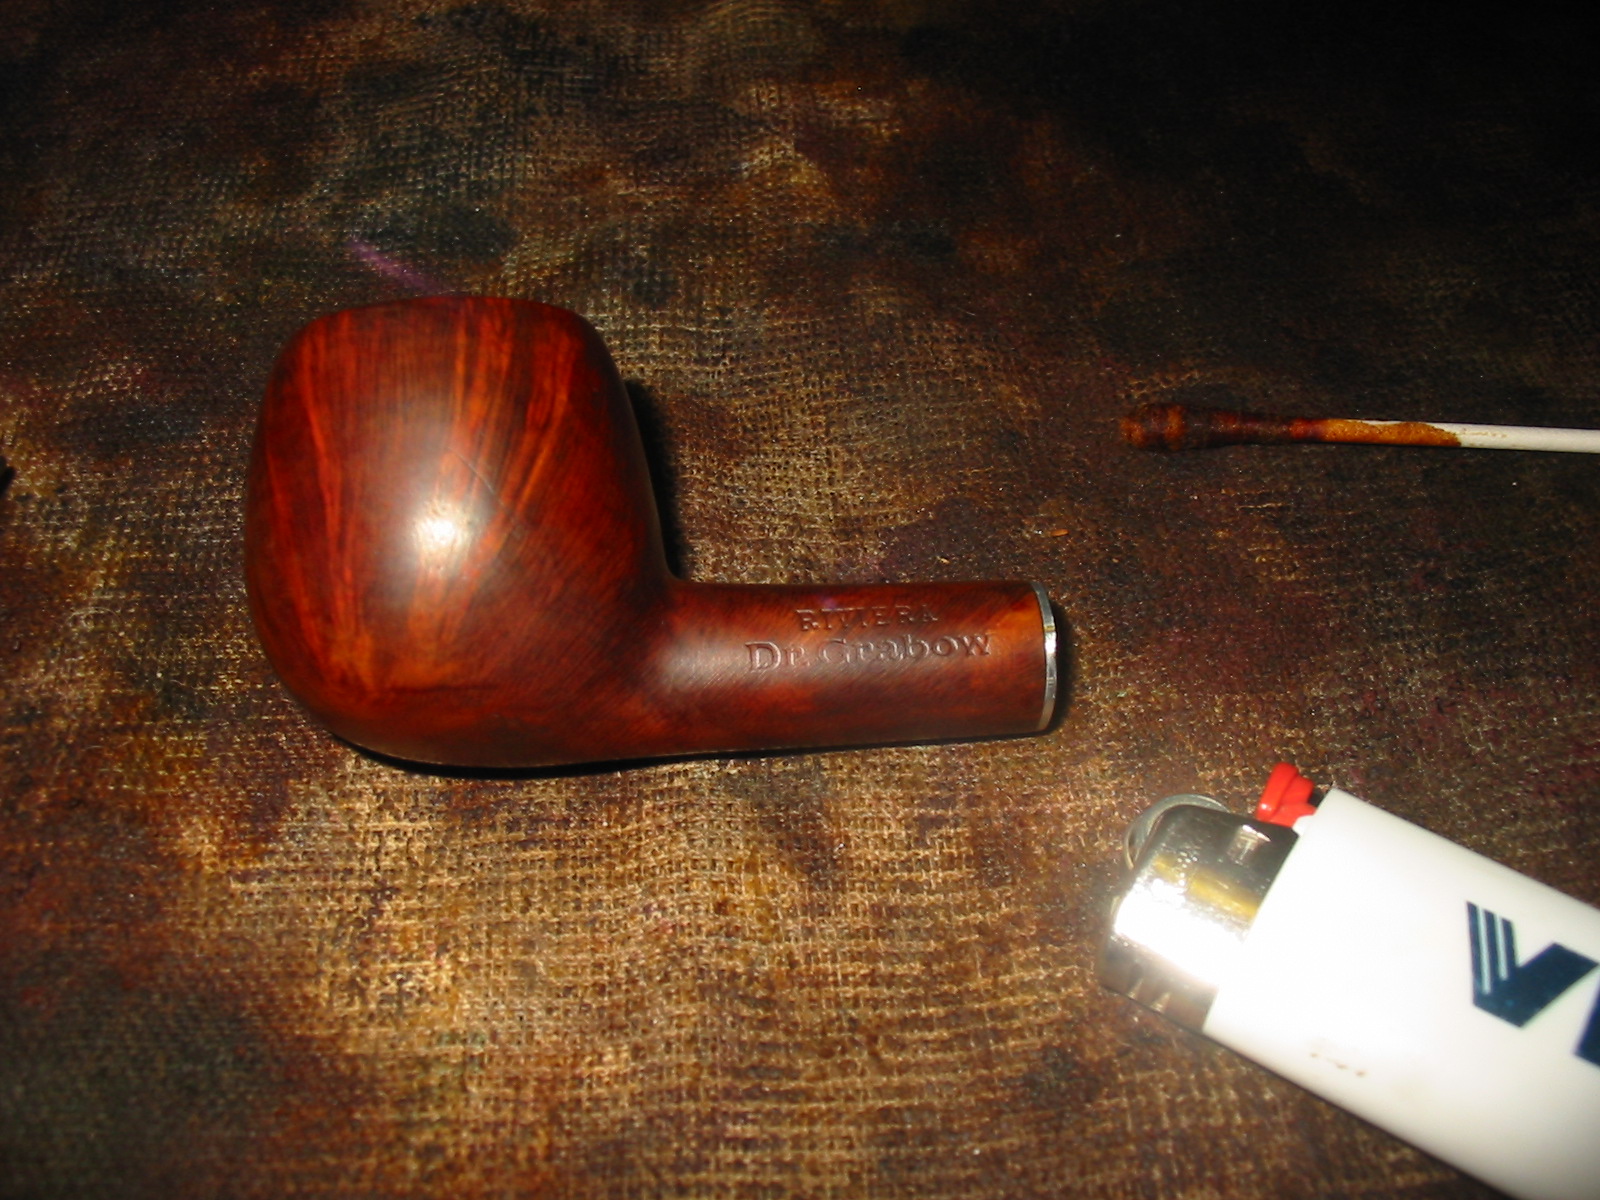
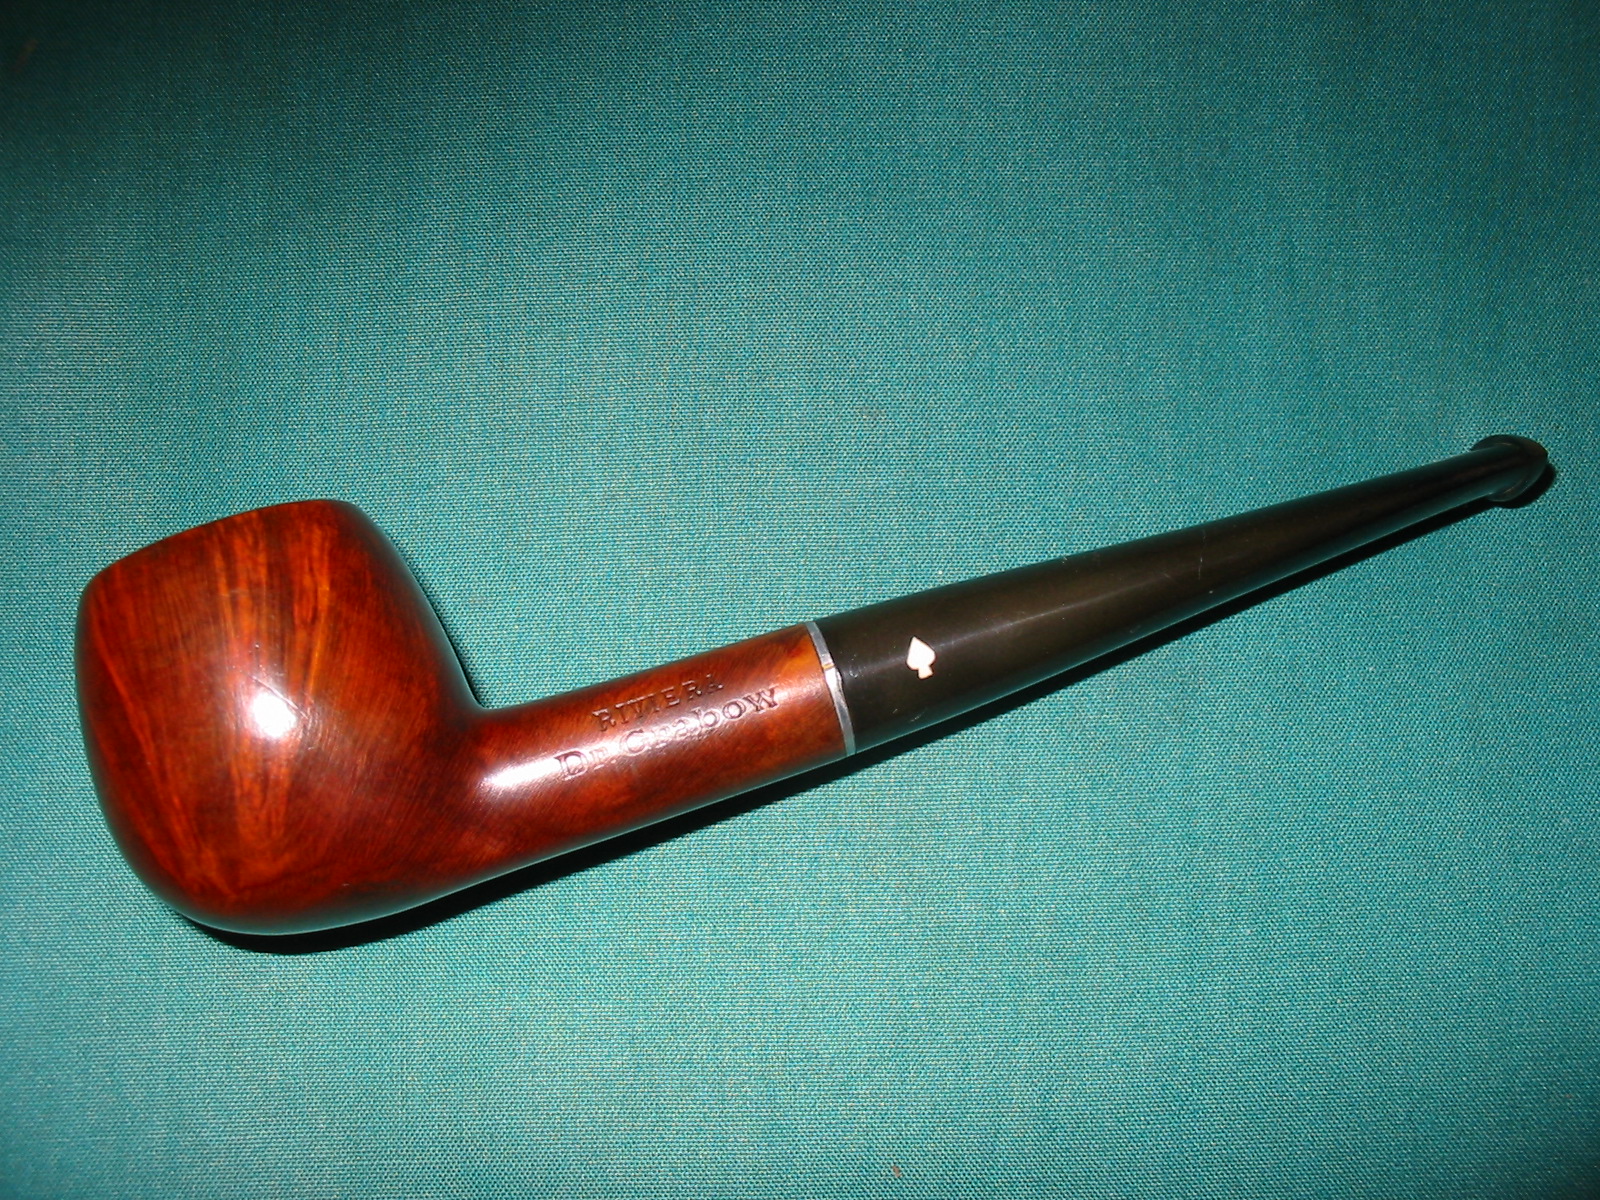
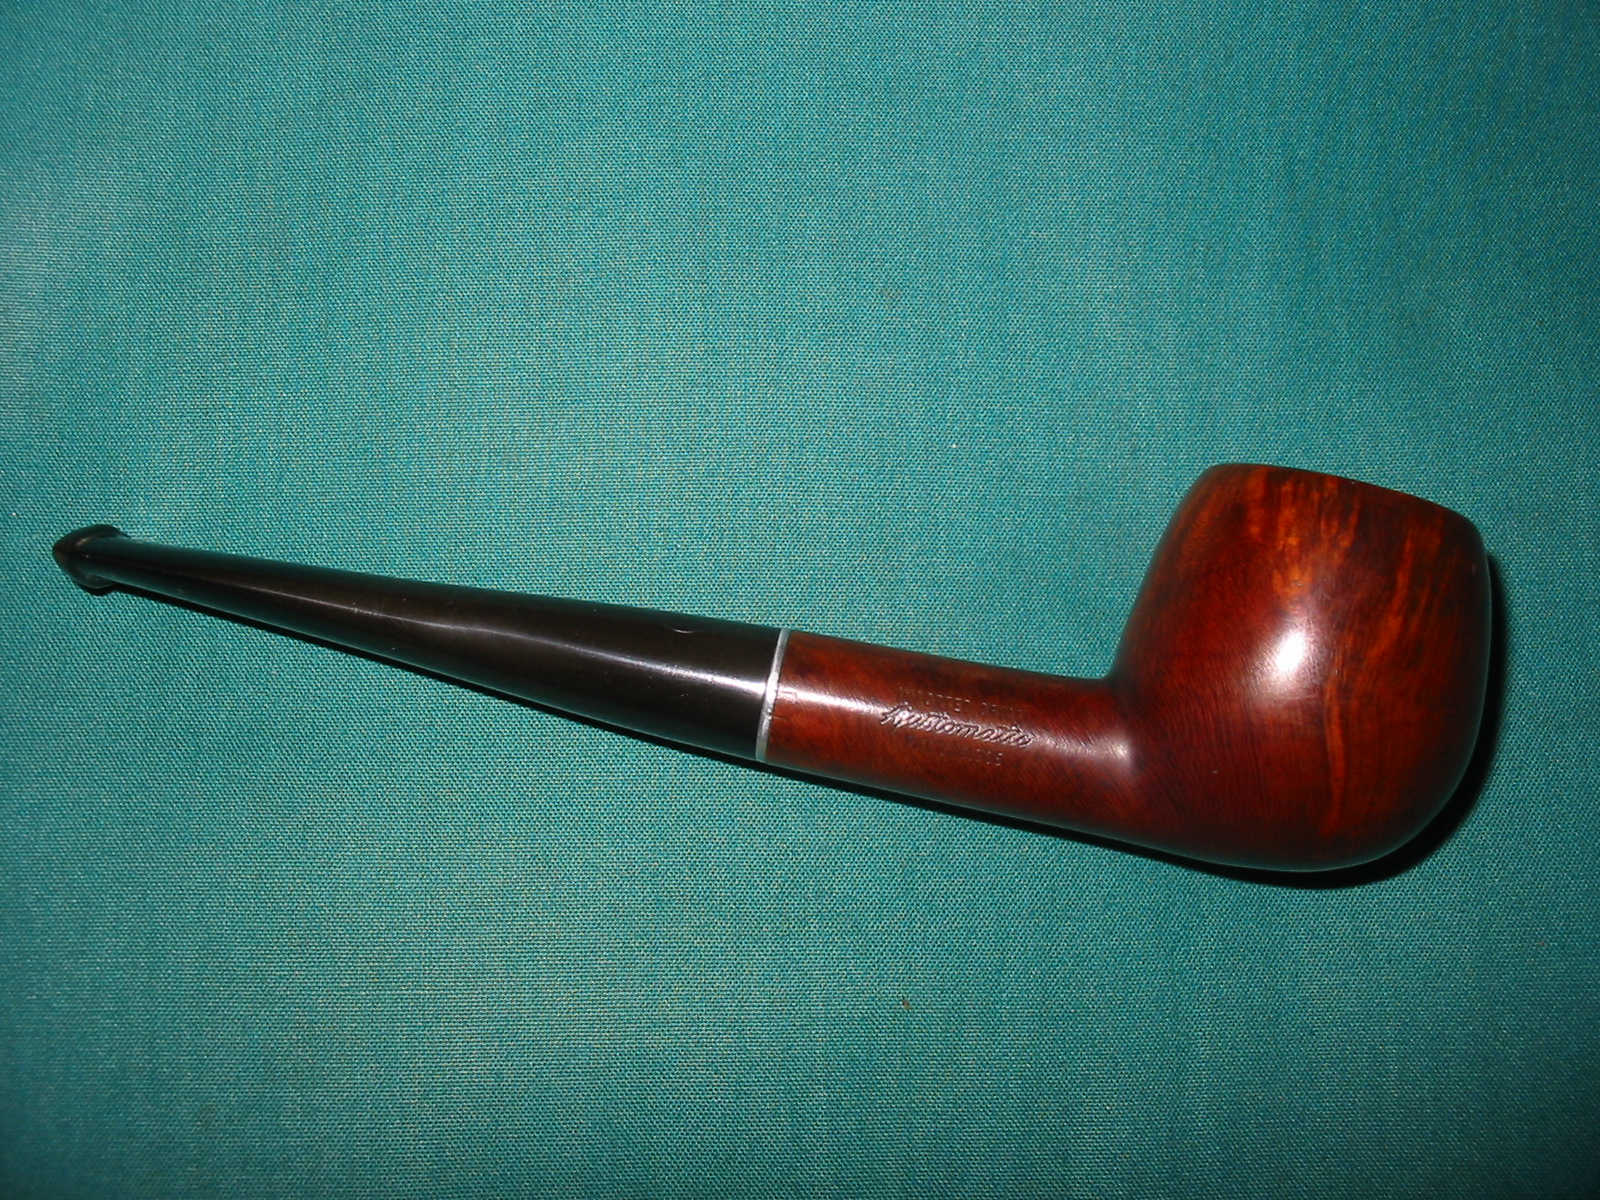
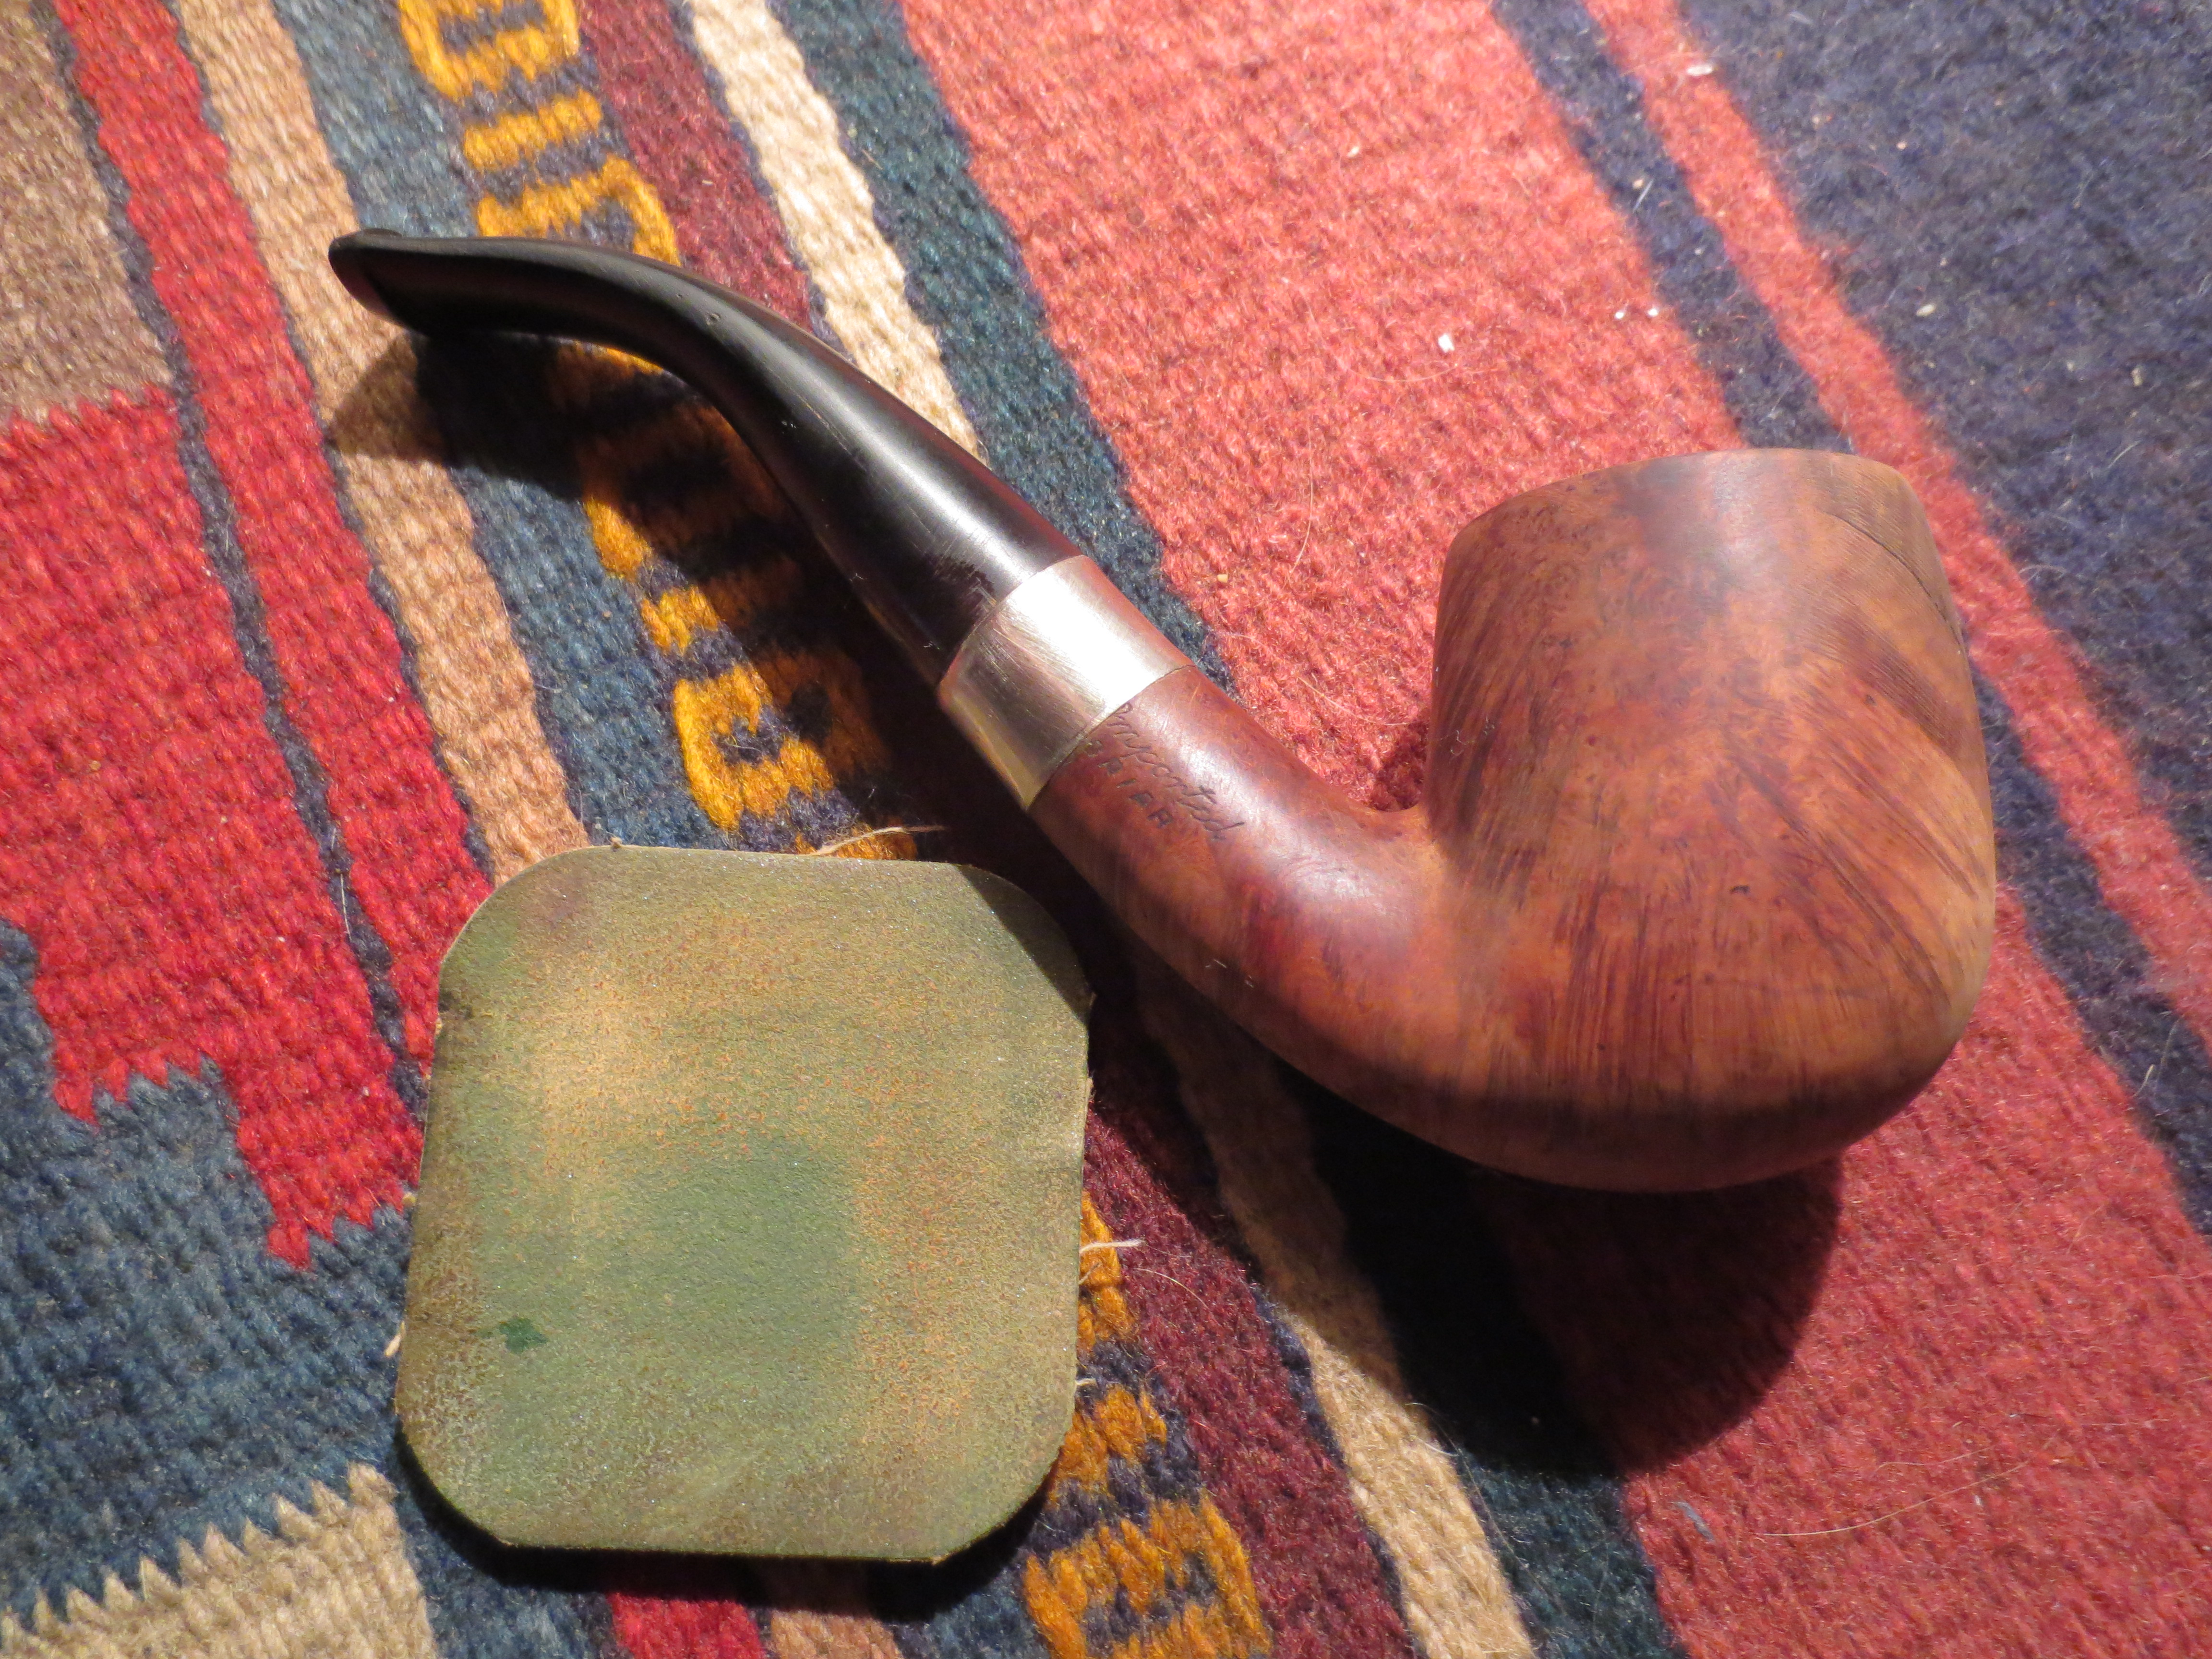
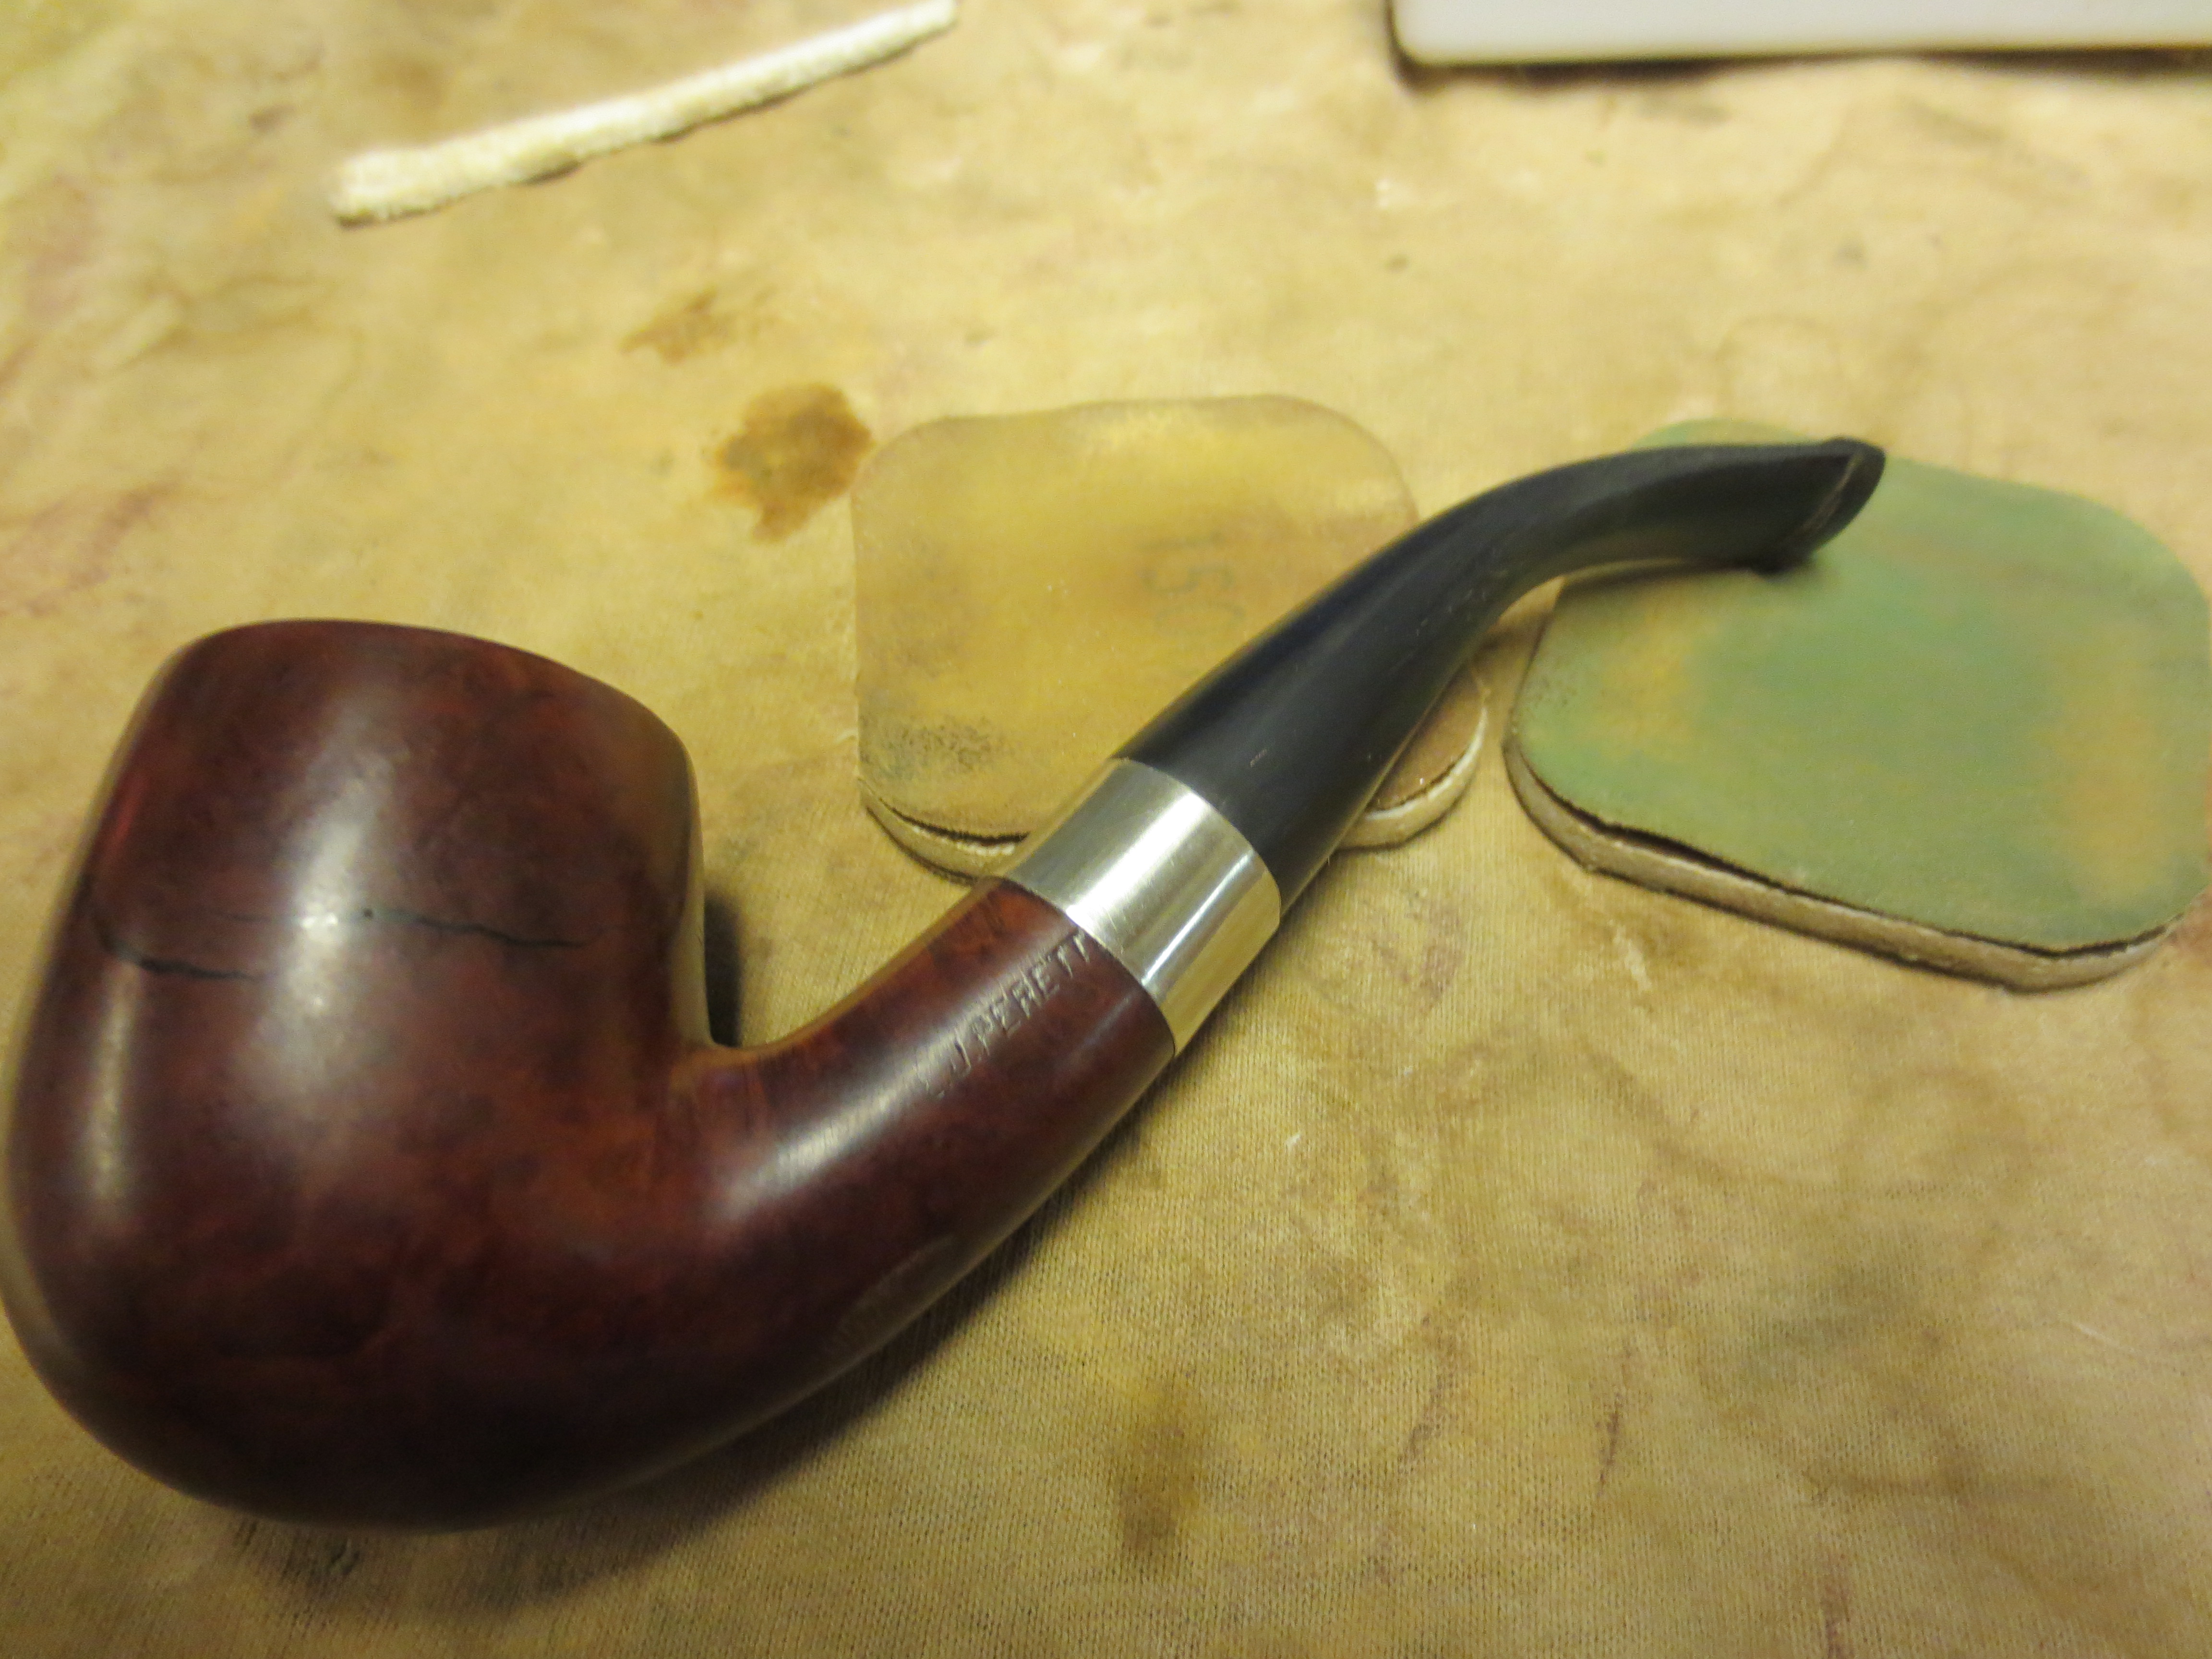
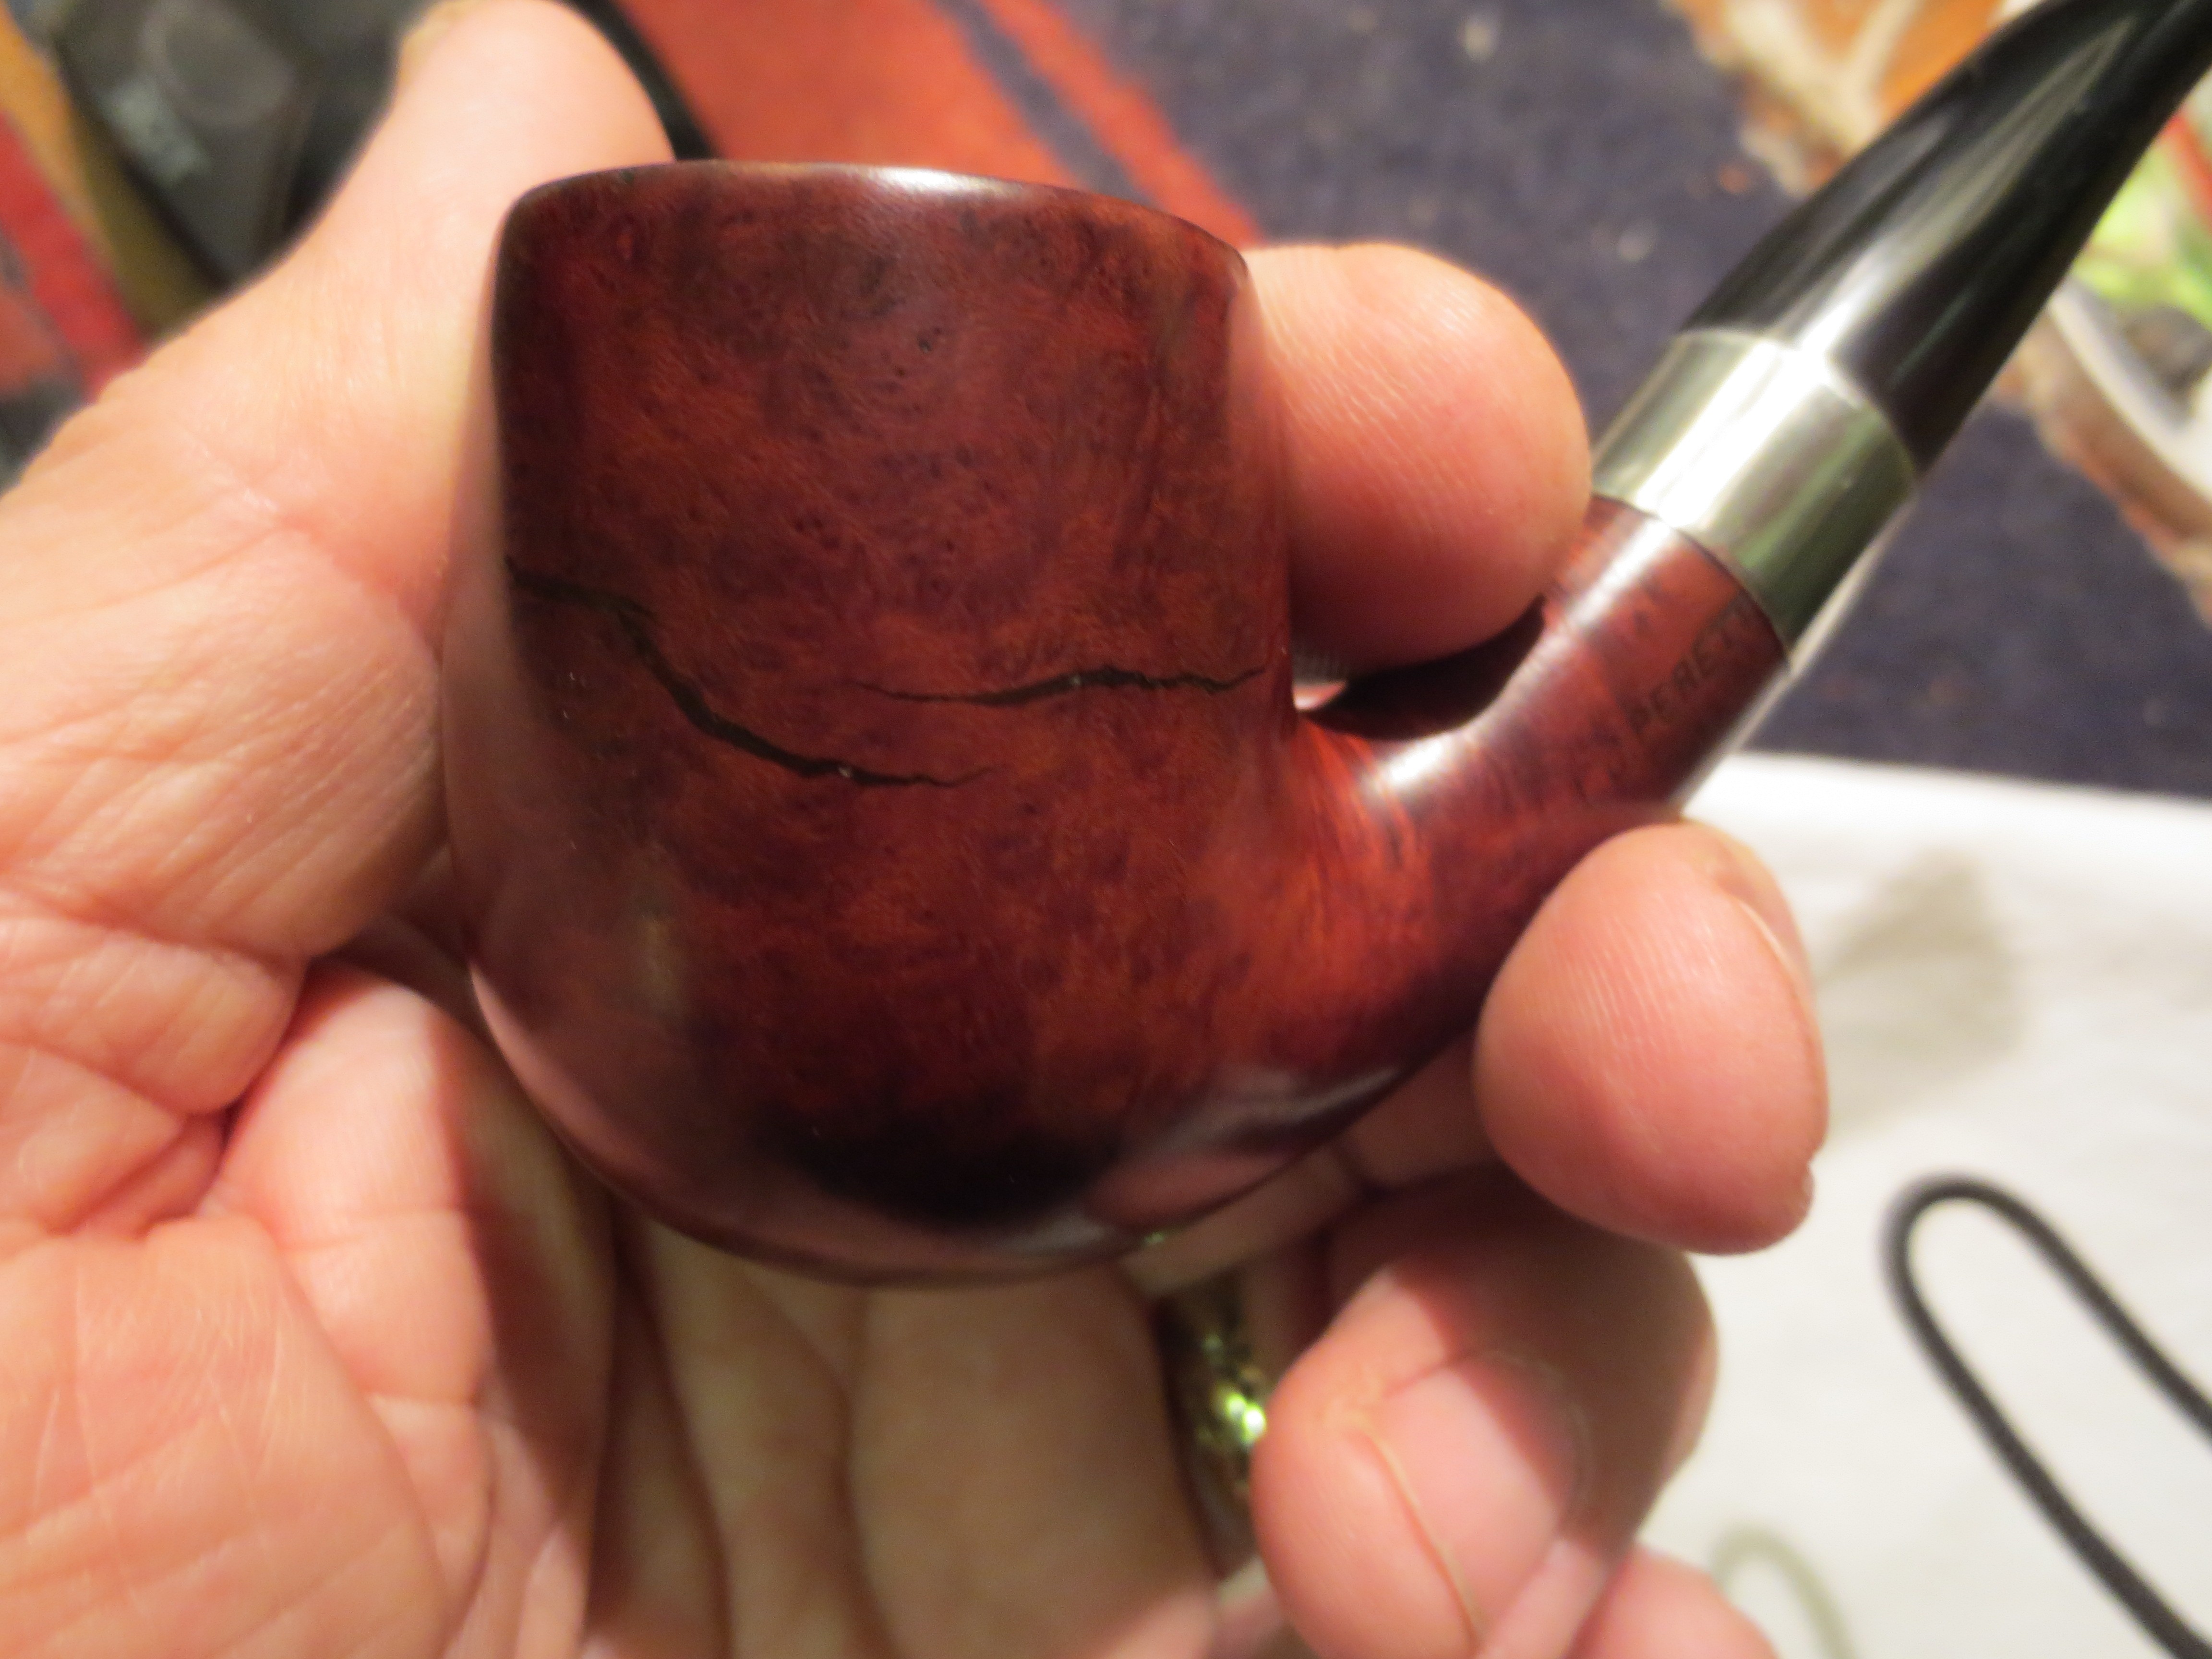
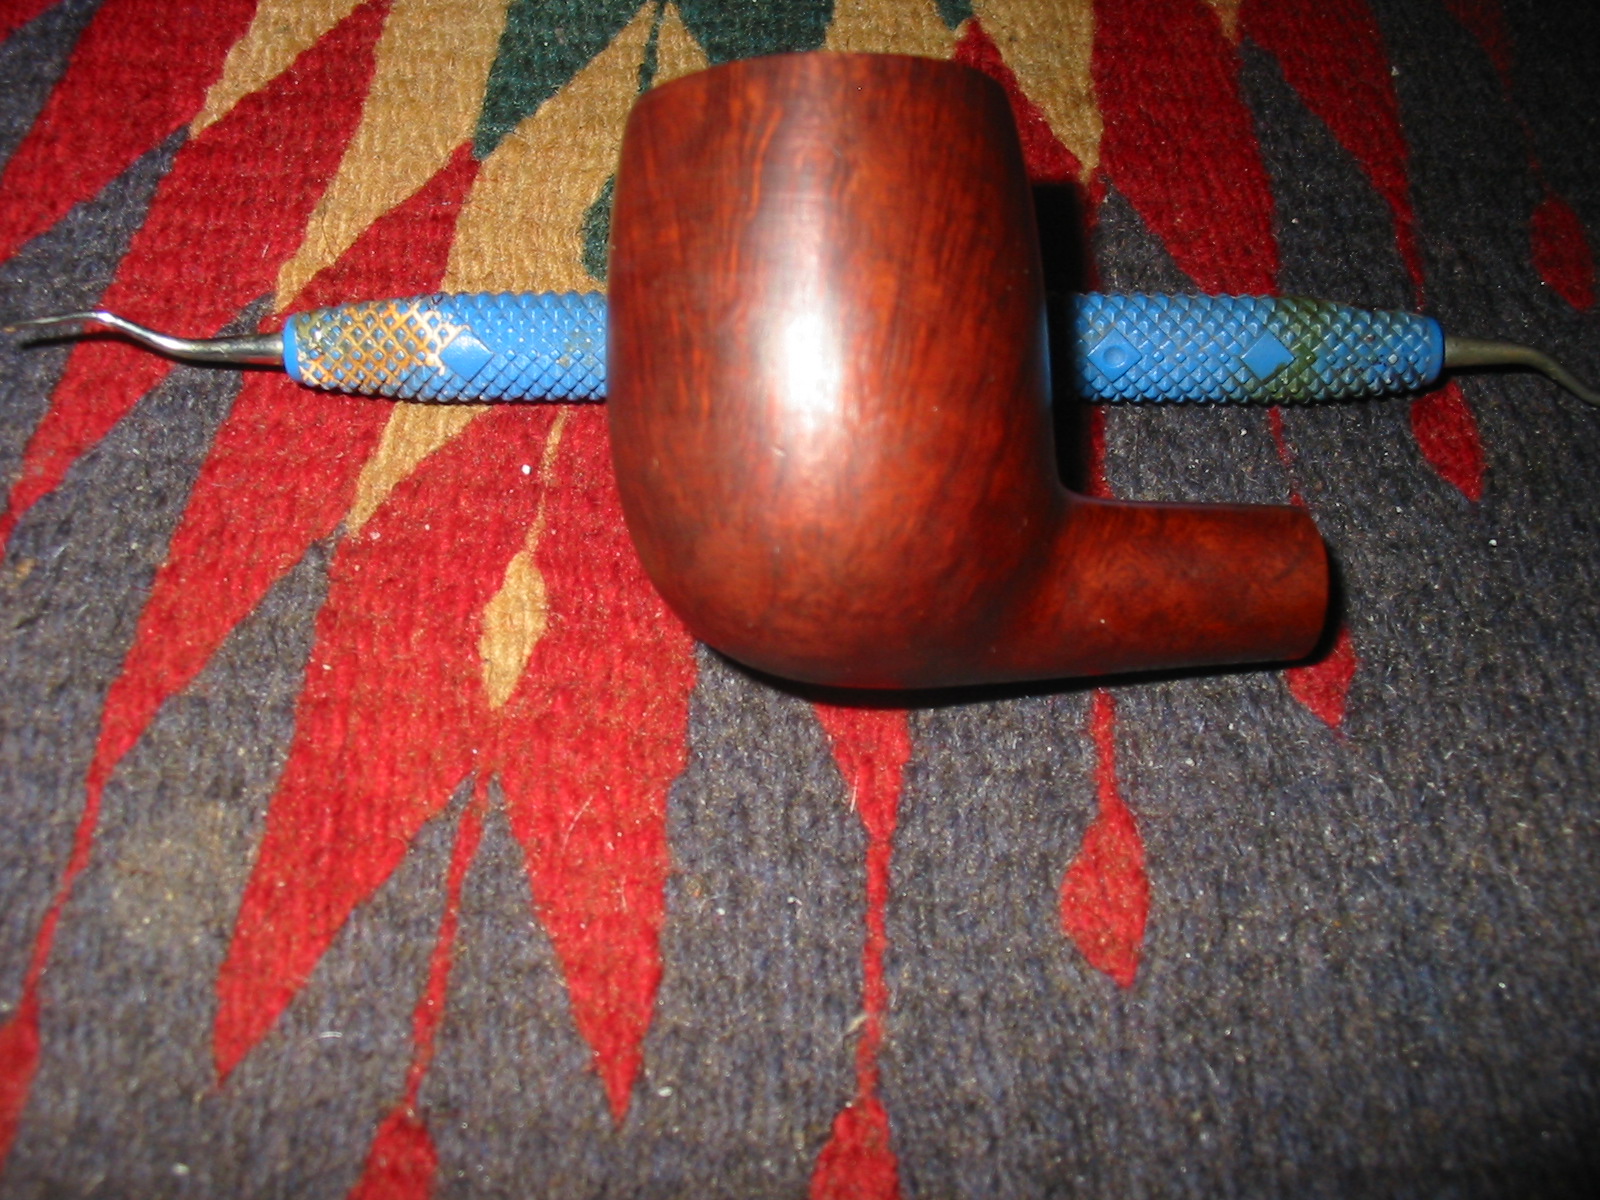
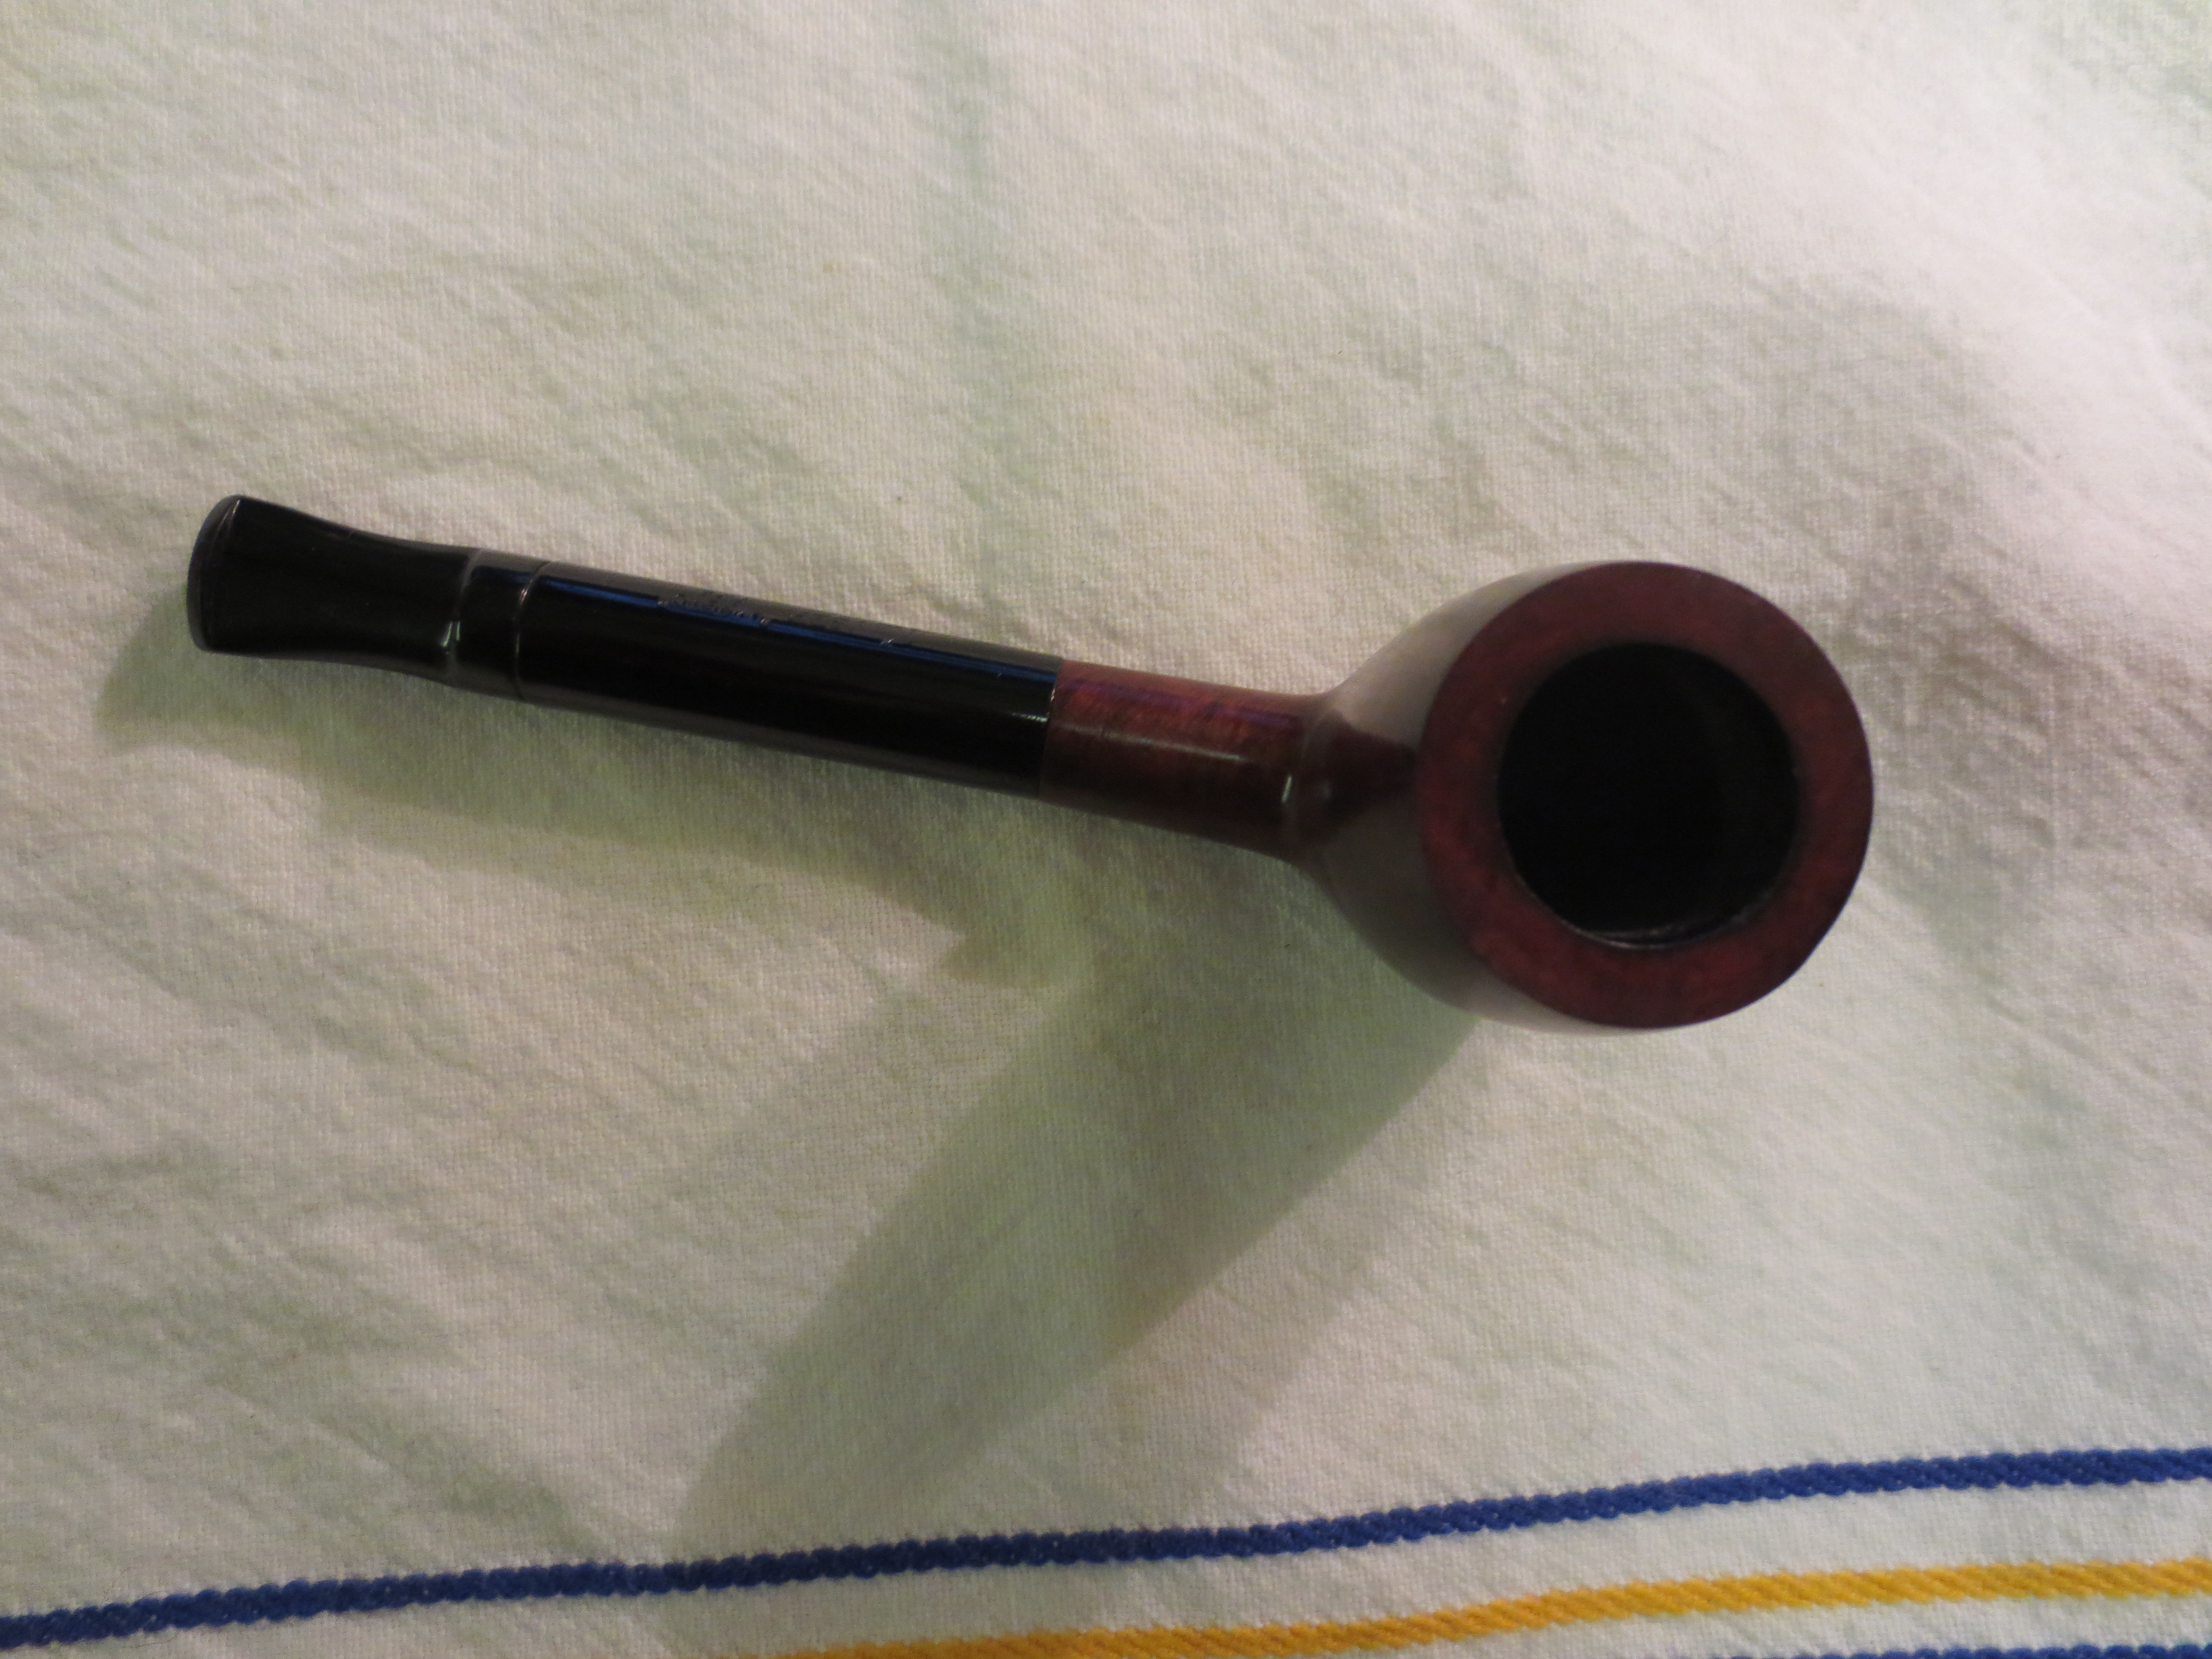
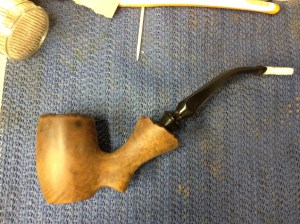
I am really happy with how this old pipe came out. The new stem was a success, both in fitting it and in the look, and I really like how the contrast staining came out. The rim looks much better now stained black with dye not tar. The fills didn’t hold the stain as well as I’d hoped but are much less noticeable now. And the and burn mark is almost invisible, which really pleases me. The only thing that I am not happy about, really confused about more than unhappy, is that the stem has loosened from the tight fit it had the day I turned it. I don’t know if the humidity (it had been extremely humid here the last two weeks), the alcohol soak, the extended time of separation for stem and stummel or what caused that. Hopefully a few days seated together and/or some use will remedy that. If not, I’ll likely heat and gently expand the tenon a tad to get the fit better. At any rate, here is the final result: