By Steve Laug
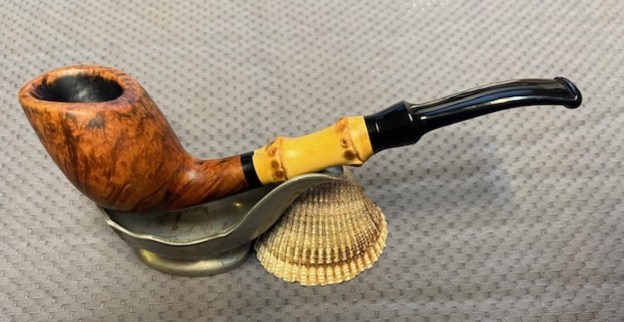
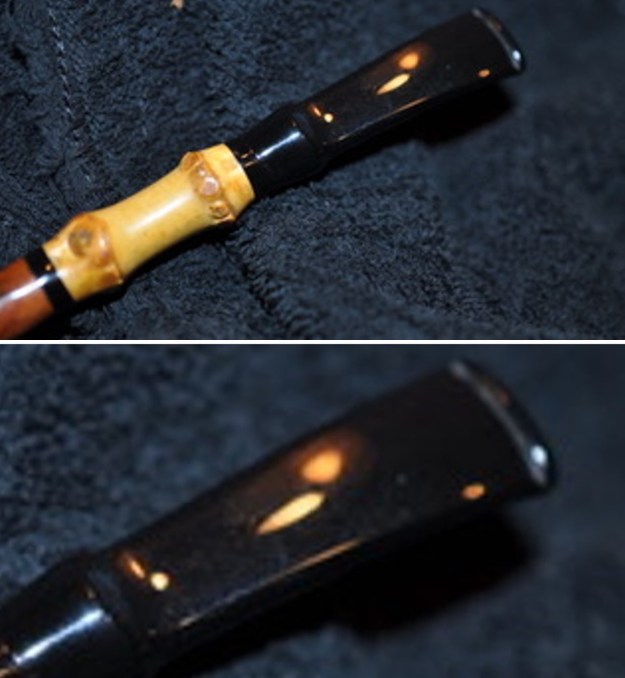
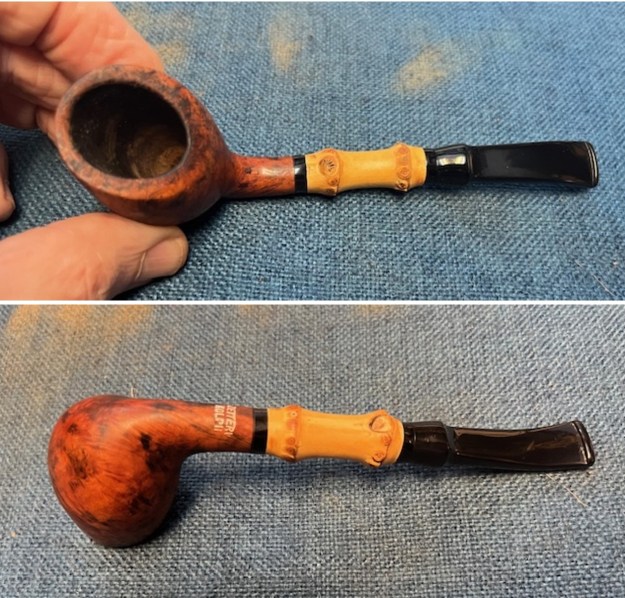
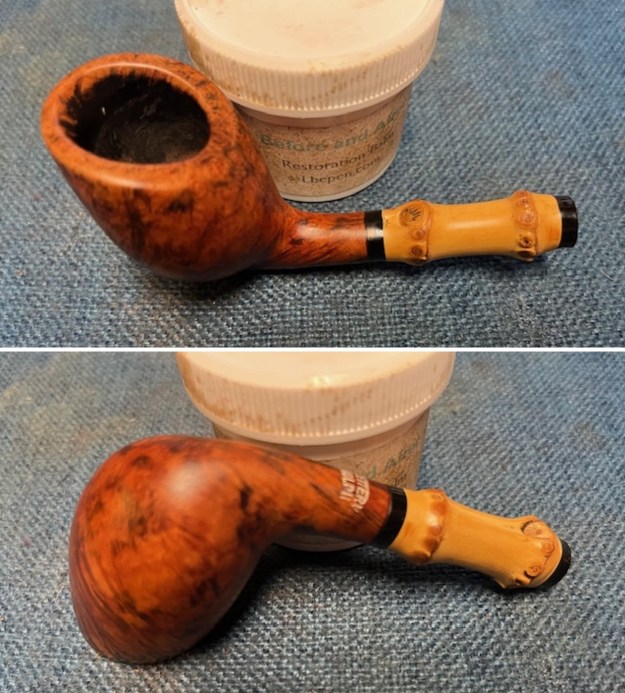
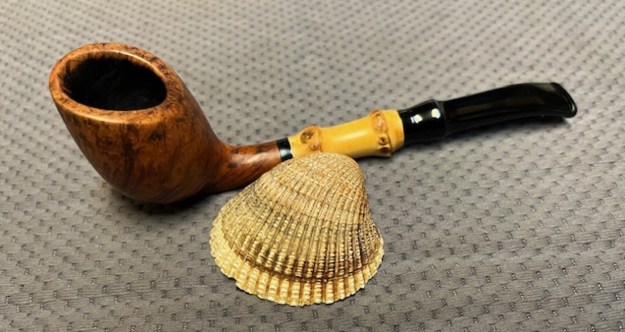
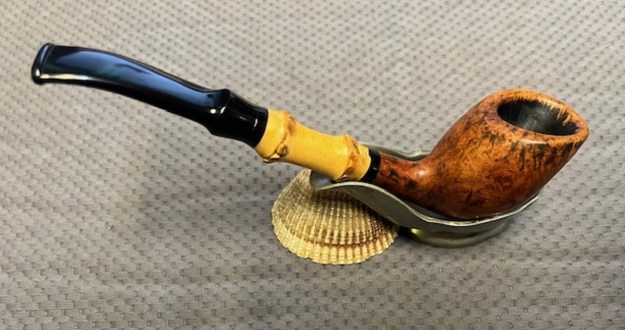
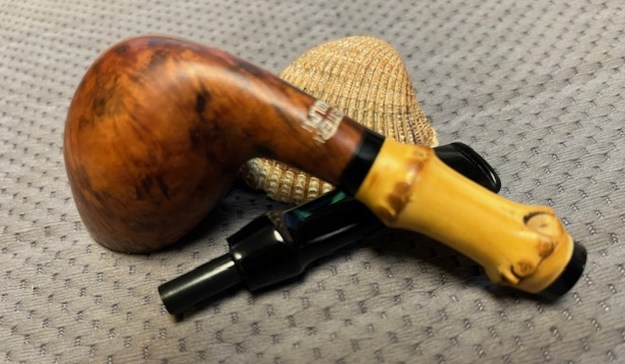
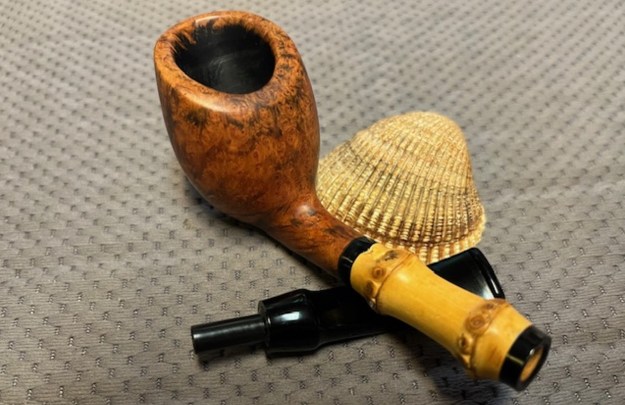
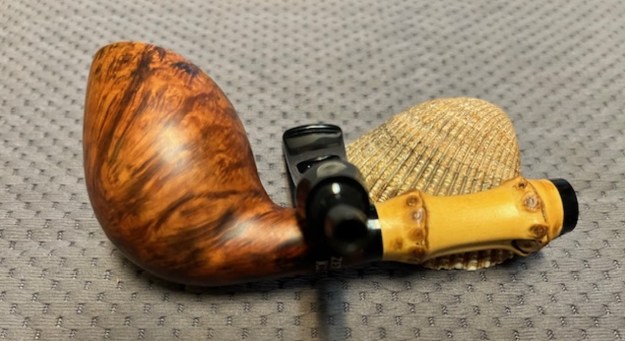
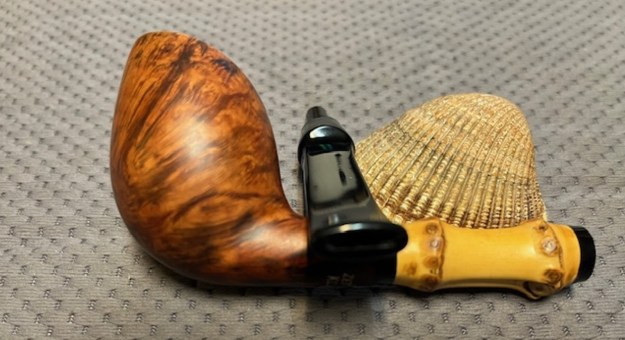
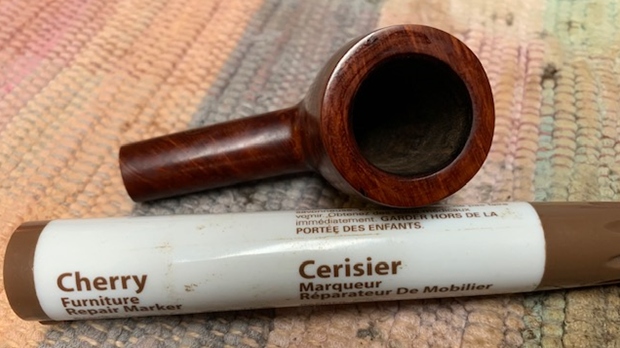
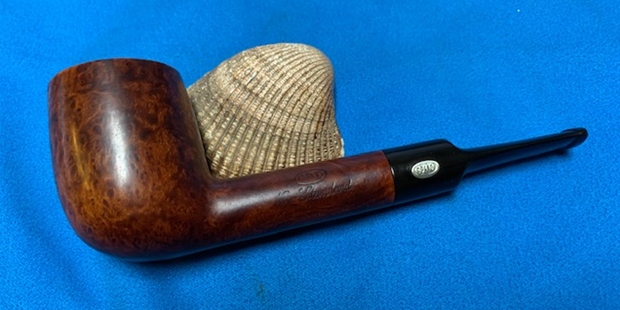
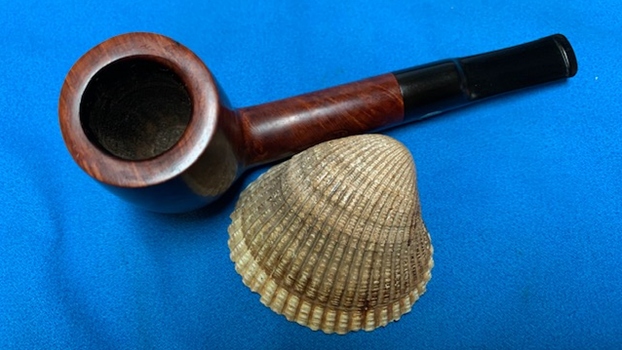
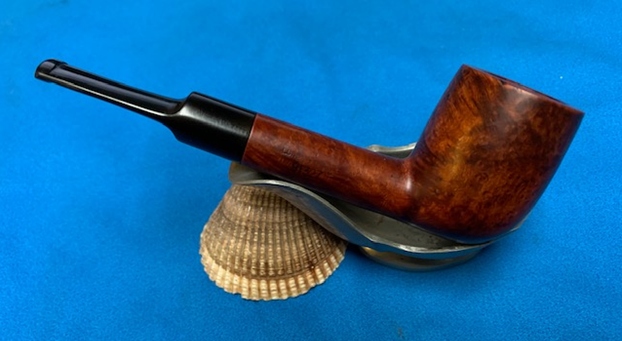
The next pipe on the table is one that we picked up in the lot from our contact in Copenhagen, Denmark on 02/16/2023. The shape/size, grain, finish and the bamboo caught our eye. It is stamped on the underside of the shank and reads Zettervig [over] Kolding. The shape is a scoop with a two knuckle bamboo shank extension. It is capped on both ends with a black acrylic spacer. The bowl has a smooth finish that is stained reddish/brown that highlights the beautiful grain around the bowl and short shank. Both go well with the acrylic saddle stem. The bowl is conical and the airway enters at the bottom. It appears to be moderately caked and the inner edge and the top show some lava overflow and damage. The acrylic stem is dirty and there are light tooth marks and chatter on the top and underside ahead of the button. There is no stamping or logos on the stem. Jeff took some photos of the pipe to show the general condition of the pipe before he started his clean up.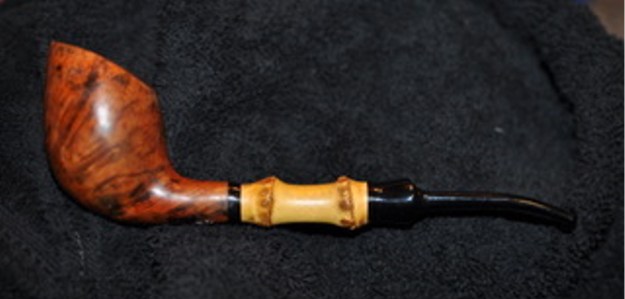
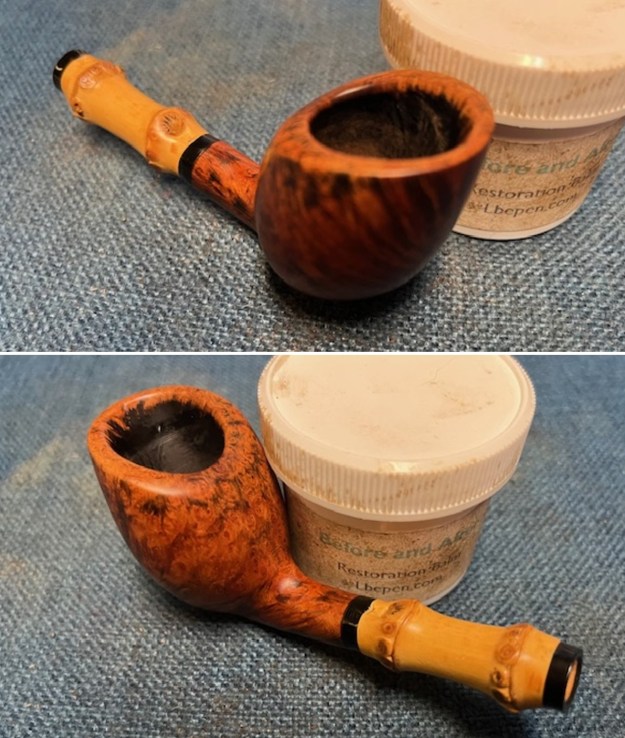
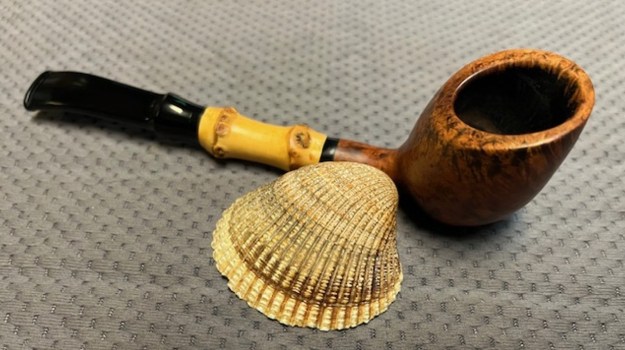
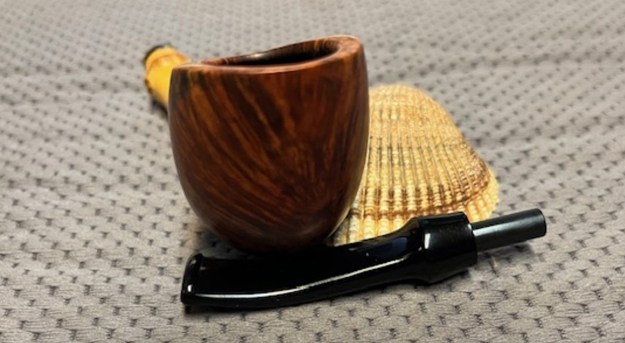
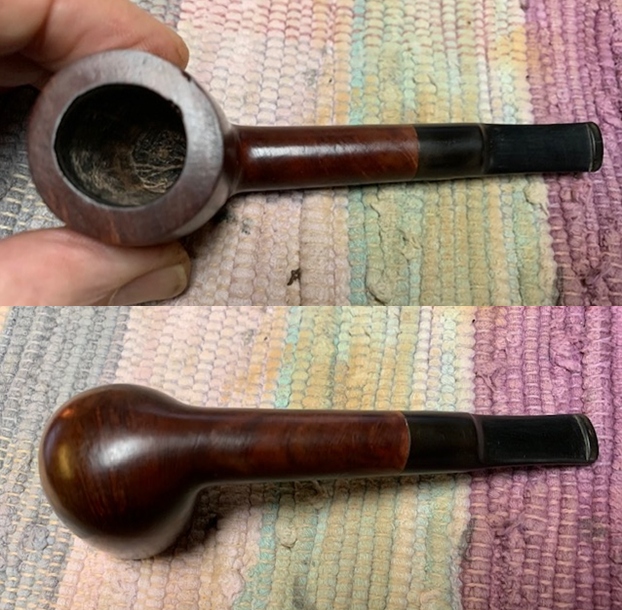
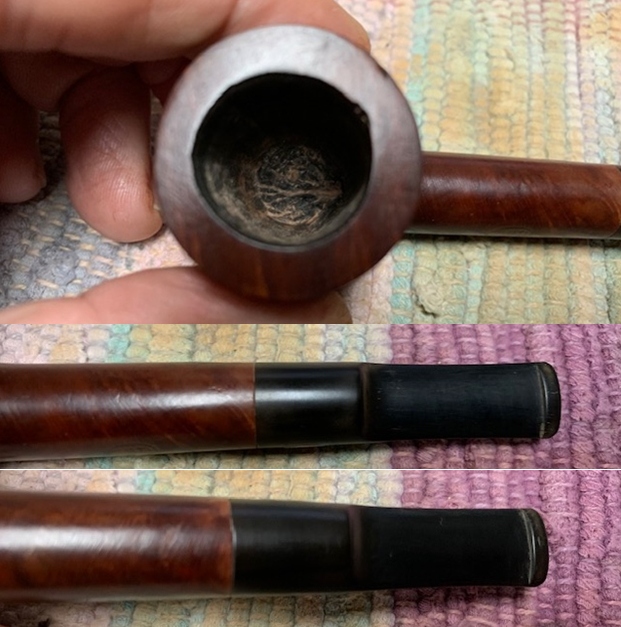
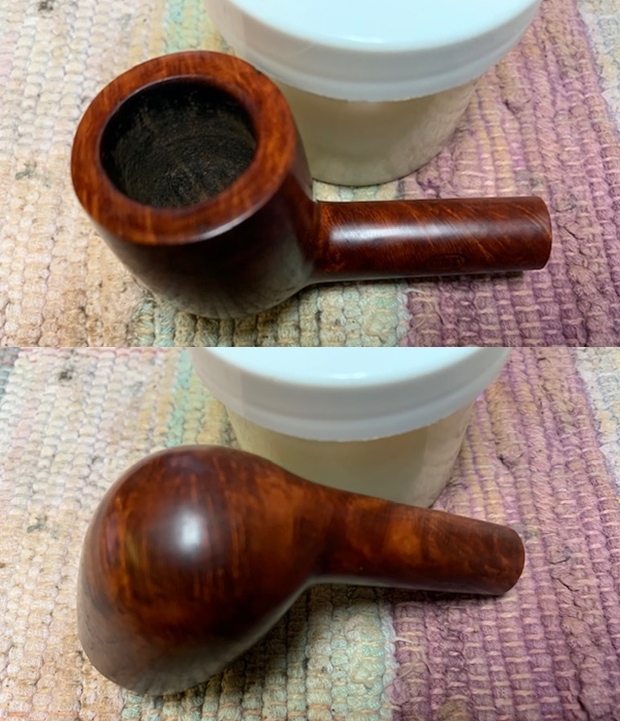
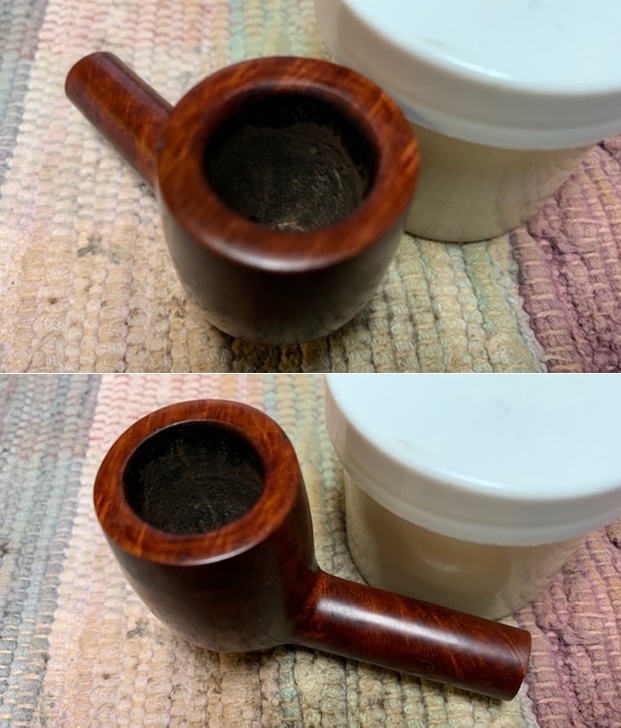
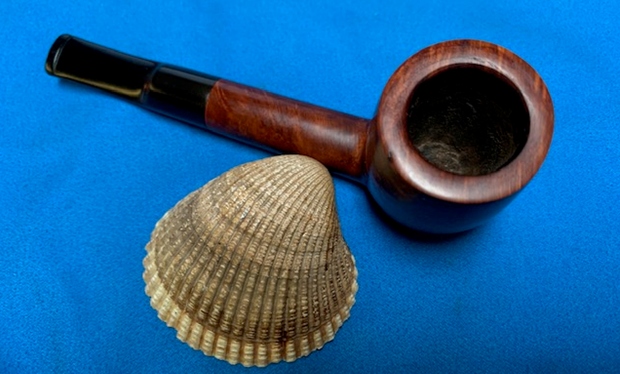
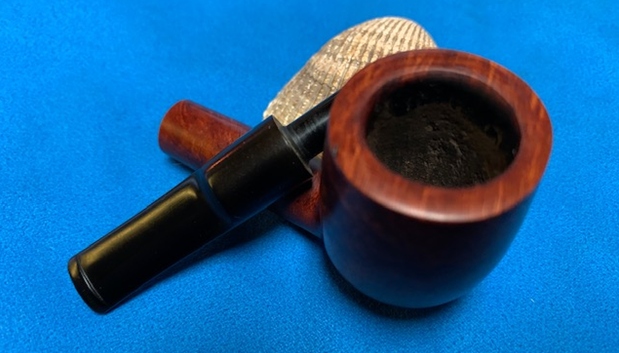
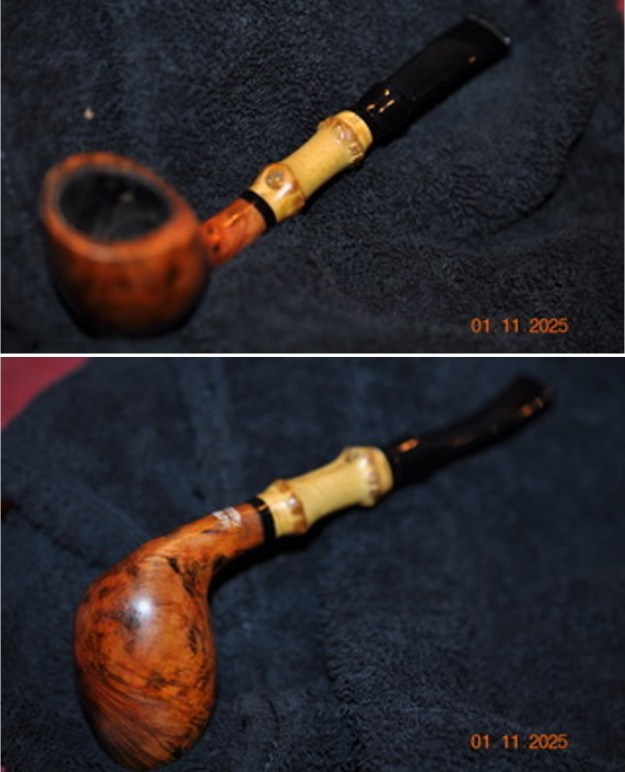 He took some photos of the rim top and bowl from various angles to give me a clear picture of the condition of the rim top and bowl. You can see the lava and damage on the rim top and inner edge of the bowl. The cake is visible as well but is thicker on the top half of the bowl. He included photos that show the top and underside of the stem. It is as described above.
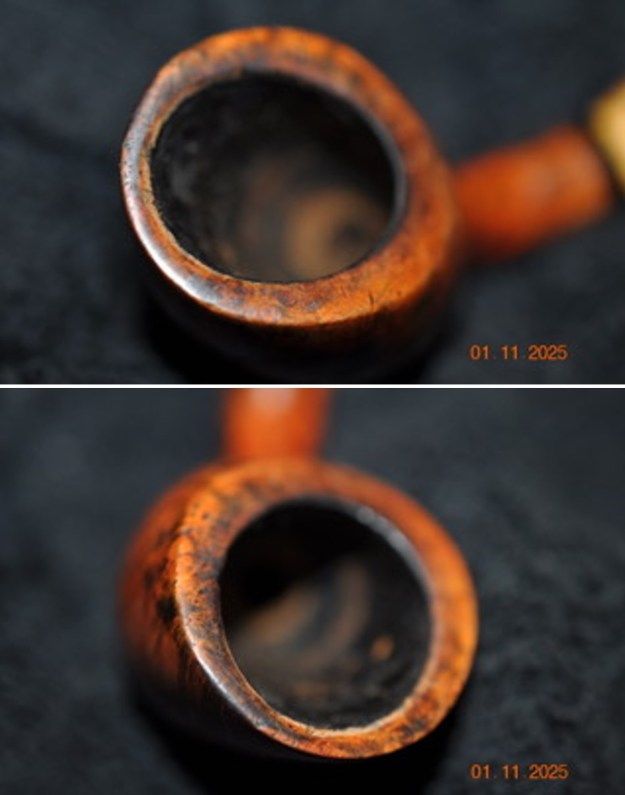
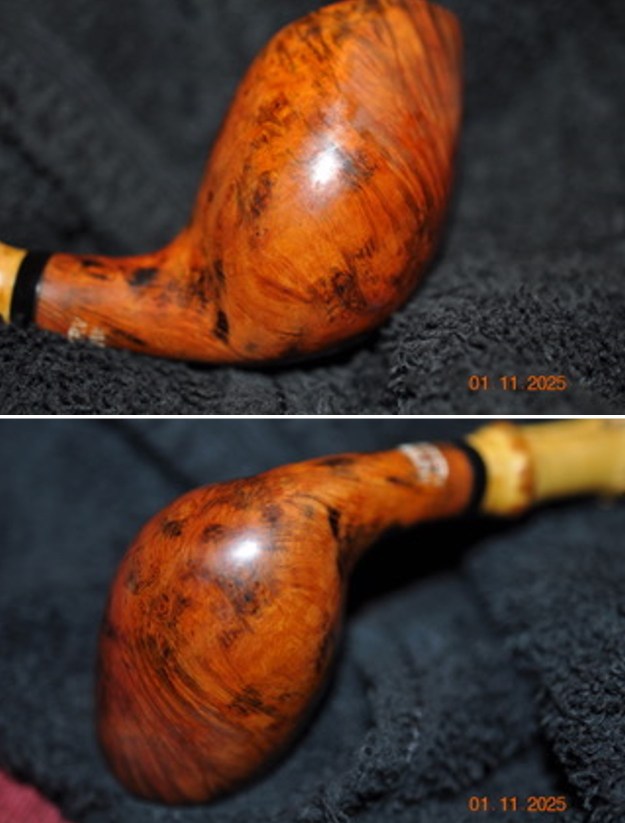
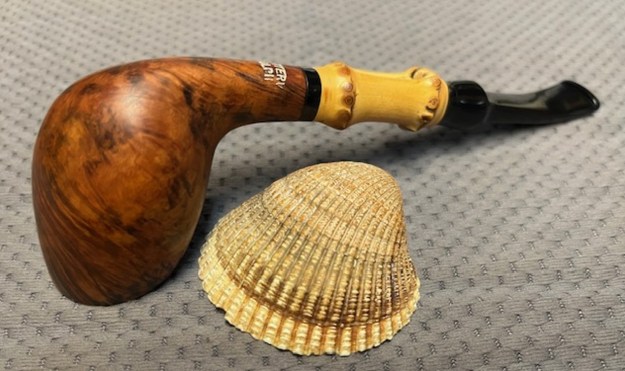
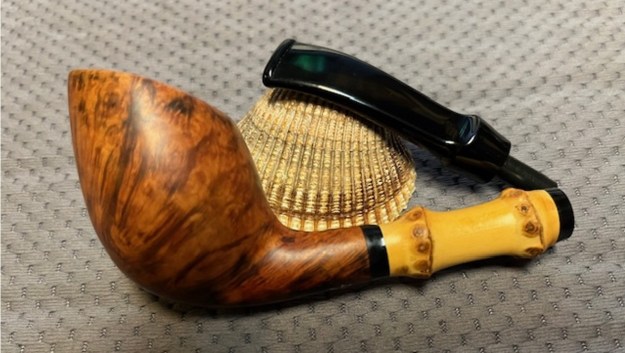
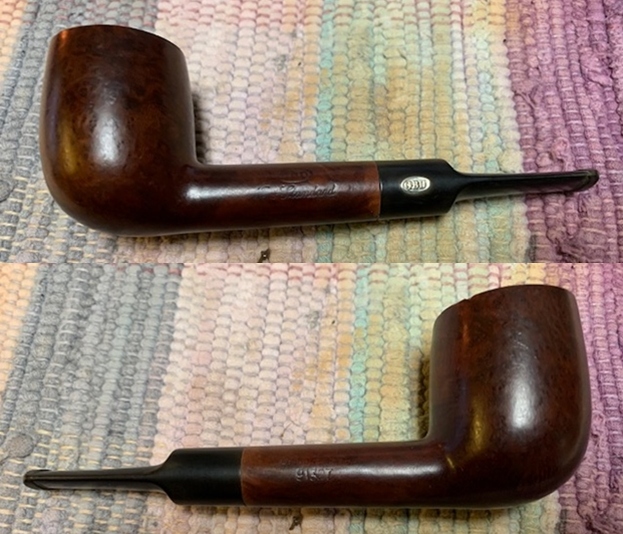
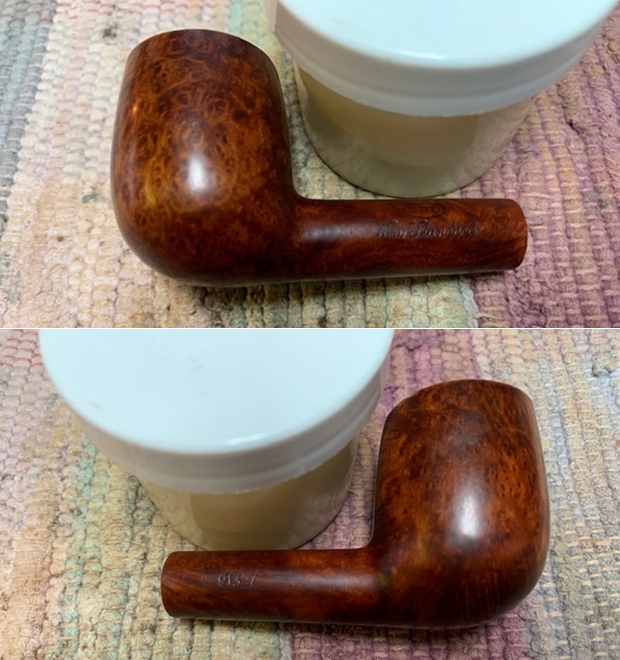
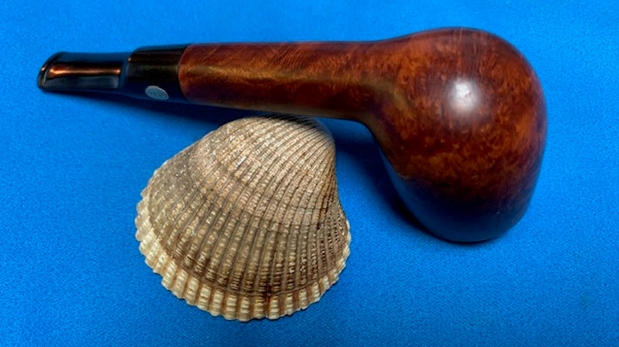
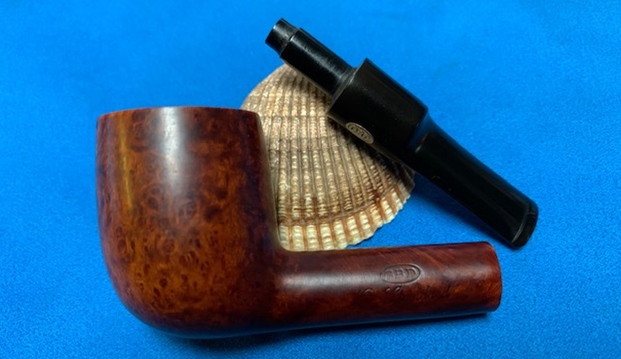
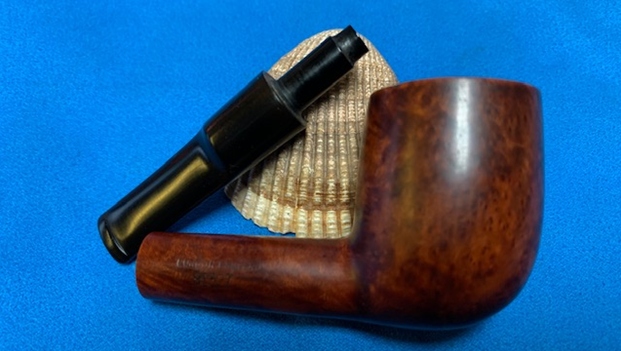
 Jeff took some photos of the sides and heel of the bowl to show the condition of the finish on the pipe. The photos showed some great grain around the bowl and shank under the dirt and grime of use. It is a great looking piece of briar.
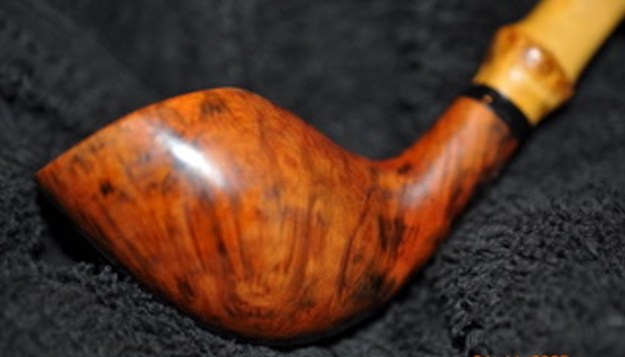
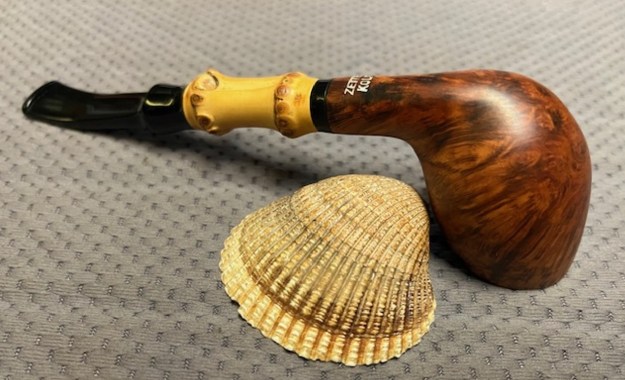
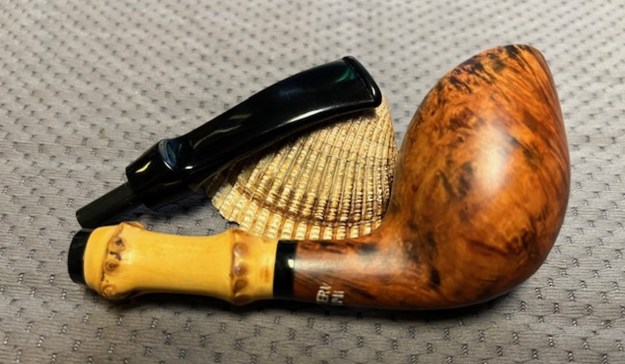
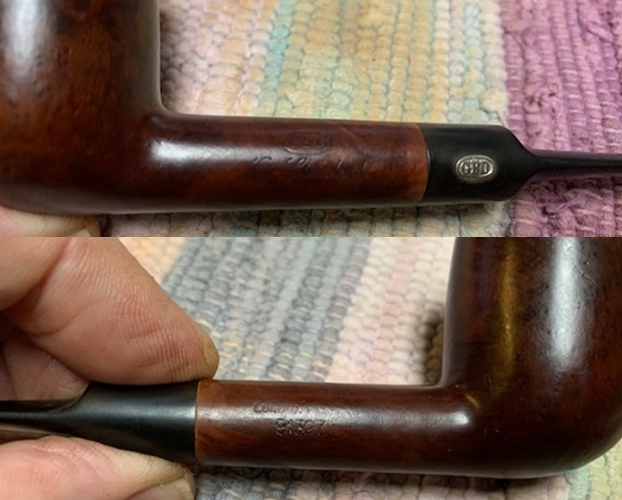
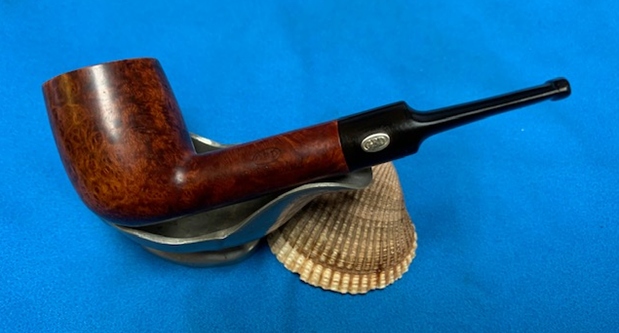
 He took a photo of the stamping on the underside of the shank. The stamping was clear and readable as noted above.
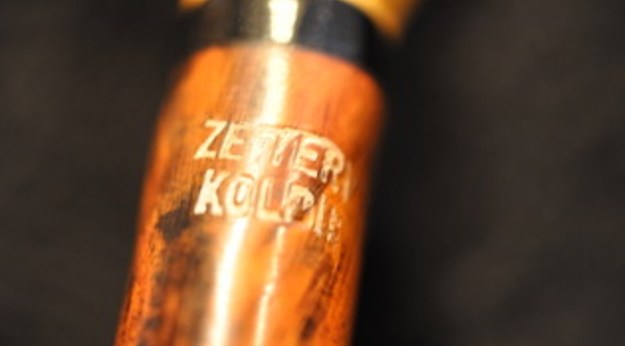 I turned to Pipedia to see what I could find out about this stamping. It is a very short article and I have included the link and the article in its totality (https://pipedia.org/wiki/Zettervig).
In the 1960s and into the early 1970s Ole Zettervig had a shop in Copenhagen, Denmark where he was carving high quality pipes equal to Stanwell, Jørgen Larsen, Anne Julie, Bjørn Thurmann, Bang and others. These early pipes were marked “Copenhagen” and are very collectible. He sold his shop at some point in the 1970s and moved to Kolding and continued to produce pipes as a hobby, but the quality of briar and workmanship is said to not equal the early production. The later pipes he now marked as Kobenhaven rather than Copenhagen, and these were sold by Ole at flea markets throughout Europe.
The stamping on the pipe told me it came from the shop that Ole started in Kolding and was one that he had produced as a hobby. However, that being said it is a beautiful pipe nonetheless.
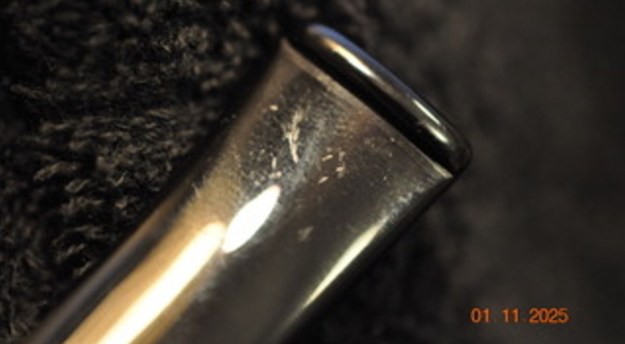
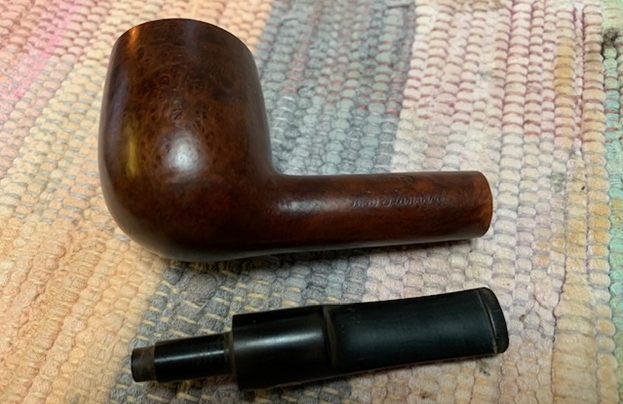
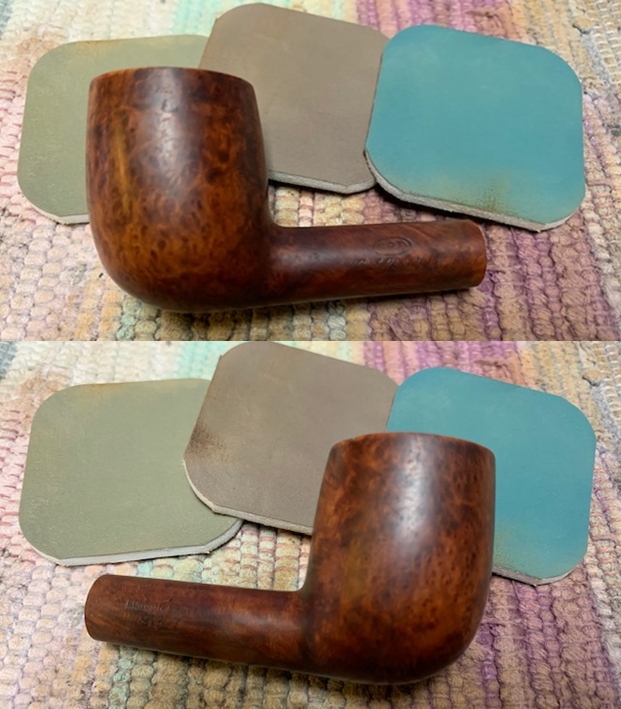
Armed with that information I turned to work on the pipe itself. Jeff had done a great job cleaning up the pipe as usual. He cleaned up the inside of the bowl with a PipNet reamer and a Savinelli Fitsall Pipe Knife. The rim top and the inner edge of the bowl look much better. The damage on the inner edge and top are visible. The bowl walls looked very good. The conical bowl is clean. He scrubbed the interior of the bowl and shank with pipe cleaners, shank brushes, cotton swabs and alcohol to remove the tars and oils. He scrubbed the exterior of the pipe with undiluted Murphy’s Oil Soap and a tooth brush to remove the grime from the finish. He worked on the rim top lava and darkening with the soap and tooth brush. He scrubbed the inside of the stem with alcohol and pipe cleaners. He scrubbed the exterior with Soft Scrub and then soaked it in Briarville’s Pipe Stem Deoxidizer. He washed it off with warm water to remove the deoxidizer. The stem looked good with only light chatter on both sides ahead of the button. I took photos of the pipe when I received it before I started working on it.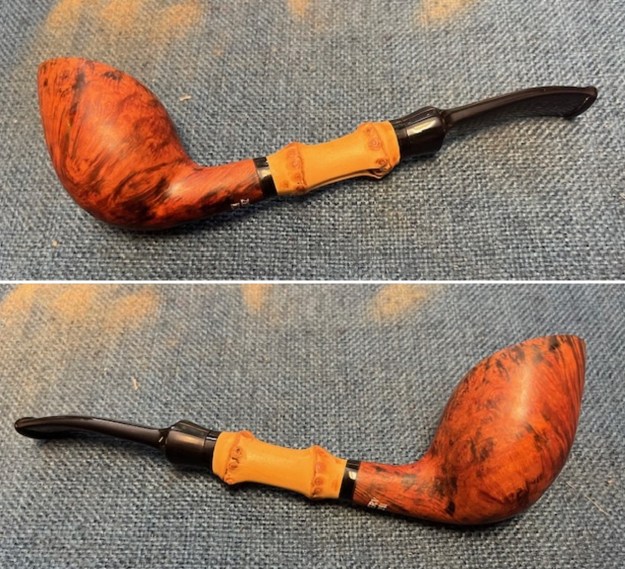
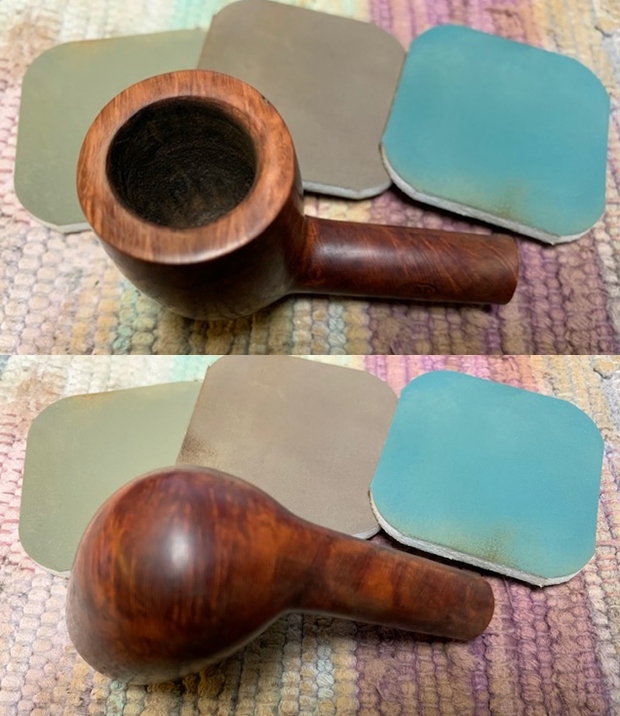
 I took close up photos of the bowl, rim top and stem to show how clean the pipe was. The bowl was clean and the rim top and the inner edge show some damage. The inner edge is rough and the top has some marking that need to be cleaned up. The stem was clean and the light tooth marks and chatter can be seen in the photos.
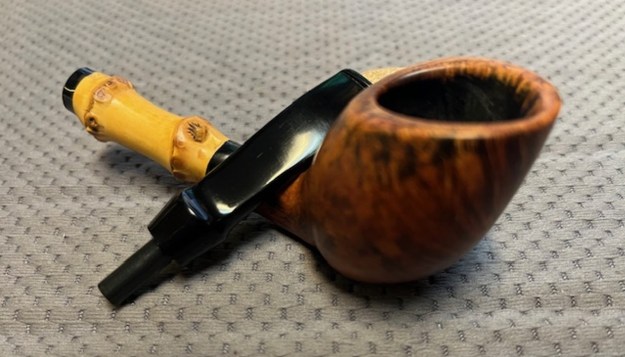
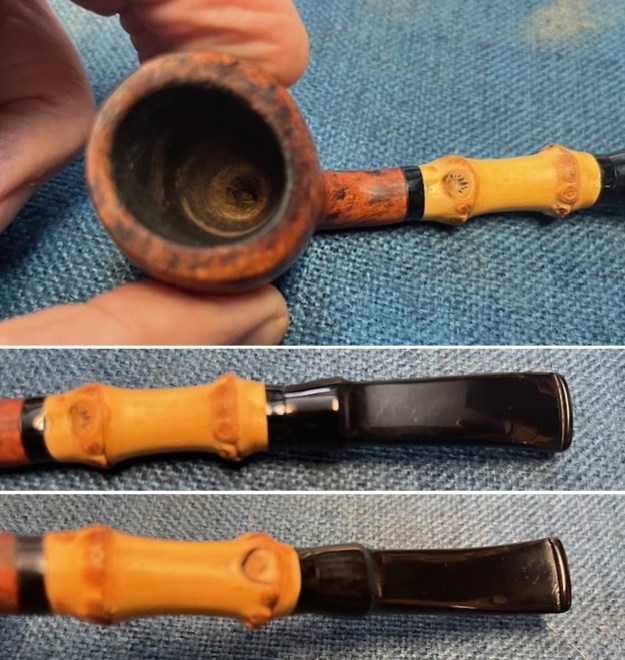 I took a photo of the stamping on the underside of the shank. It is very clear and readable for the most part. The last letters of the Zettervig are faint as are those of Kolding. However, it clearly read as noted above. I also removed the stem from the shank and took photos of the pipe to show the look of the parts.
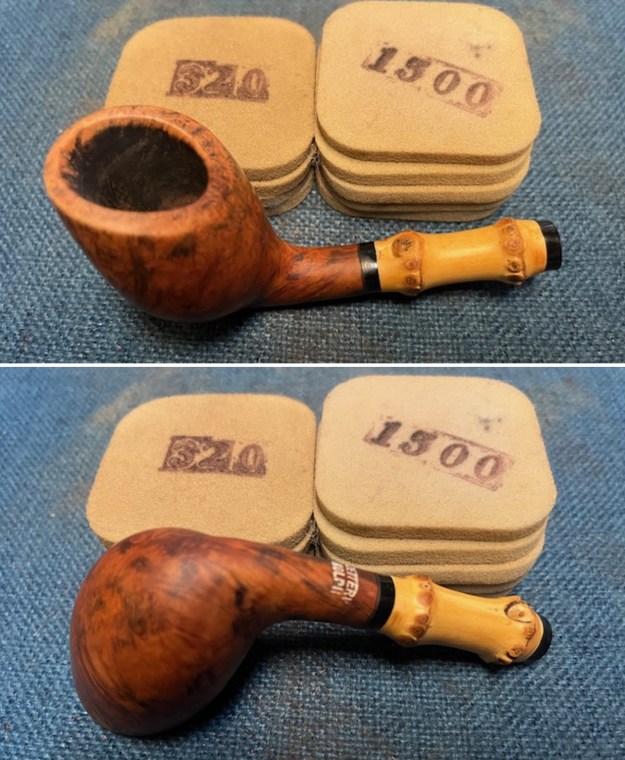
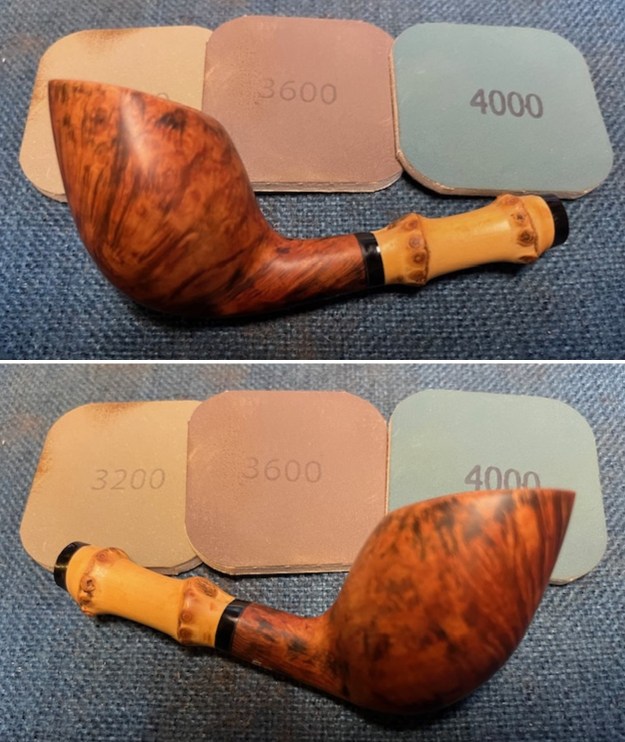
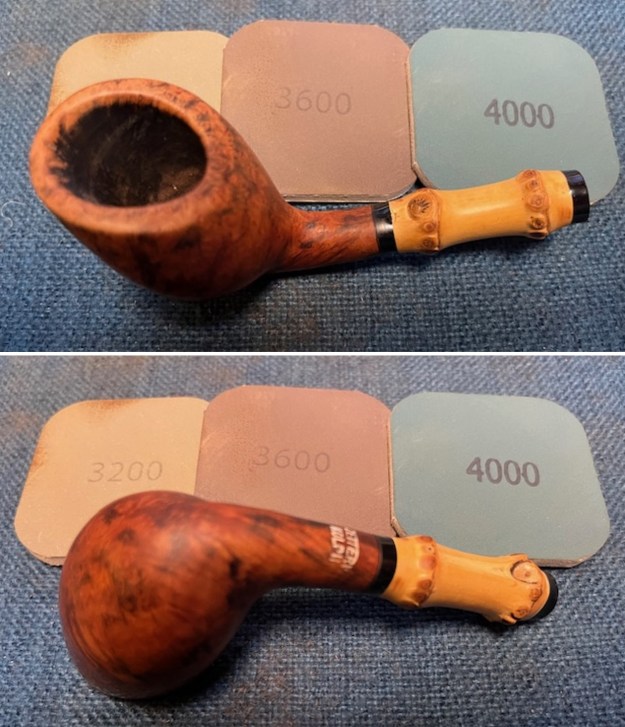
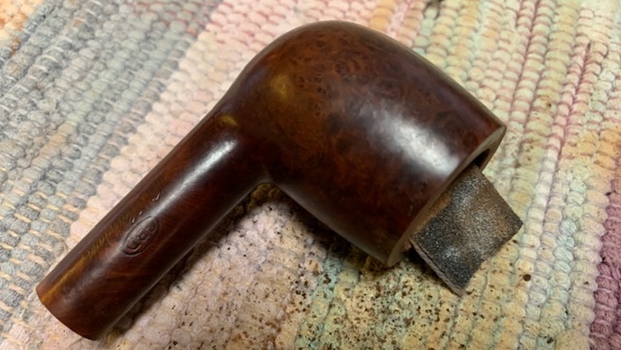
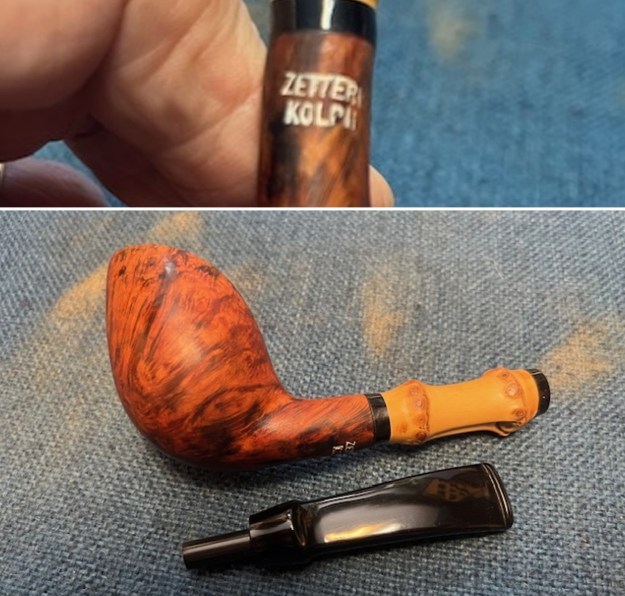 I started my work on the pipe sanding the bowl and rim top with 320-3500 grit sanding pads. I wiped the bowl down after each pad with a damp cloth. The pipe cleaned up very well with the sanding and the grain began to stand out.
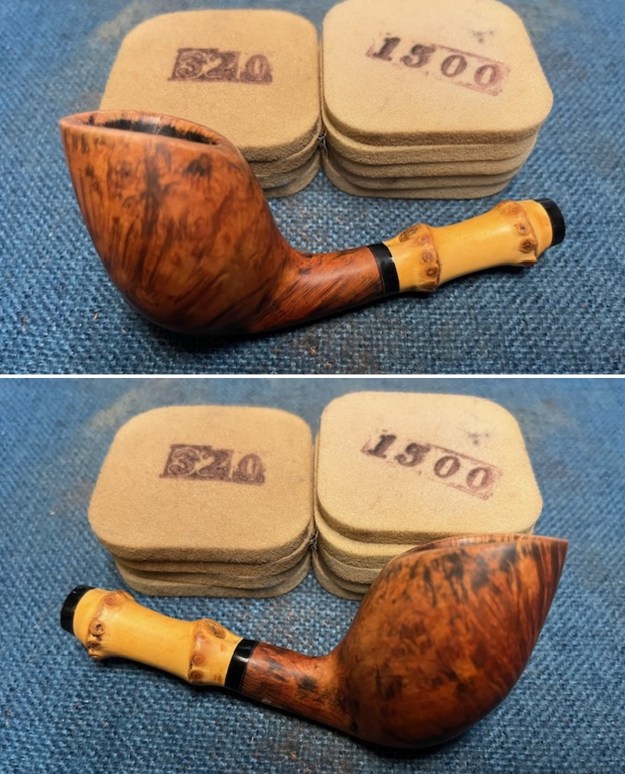
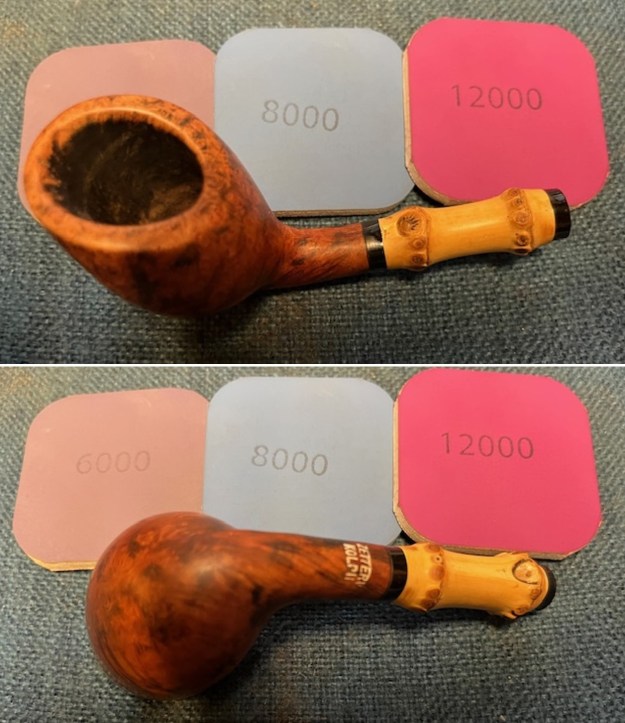
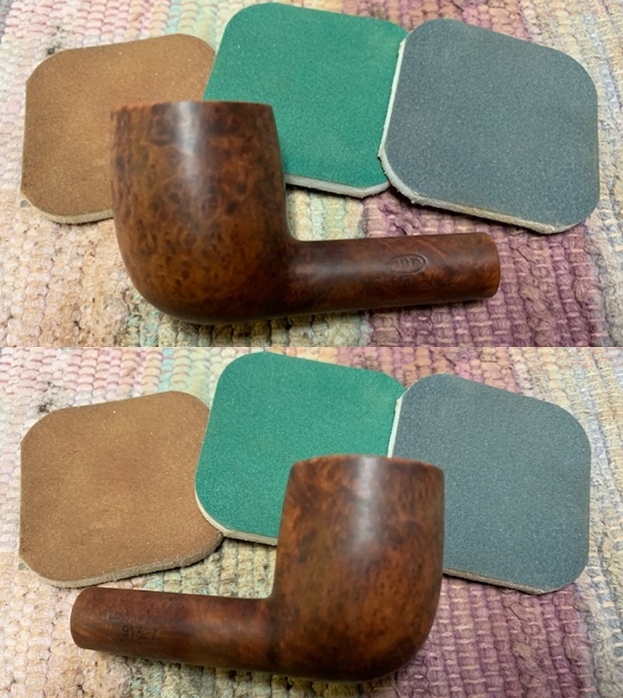
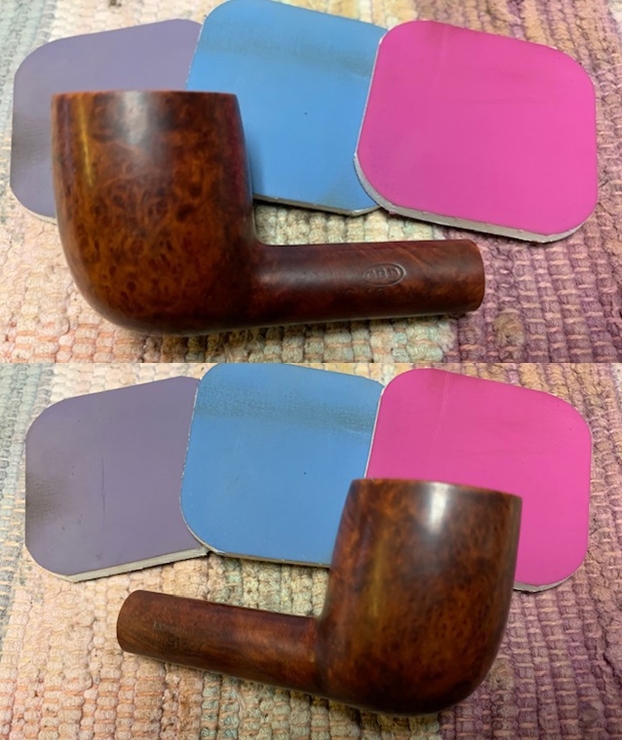
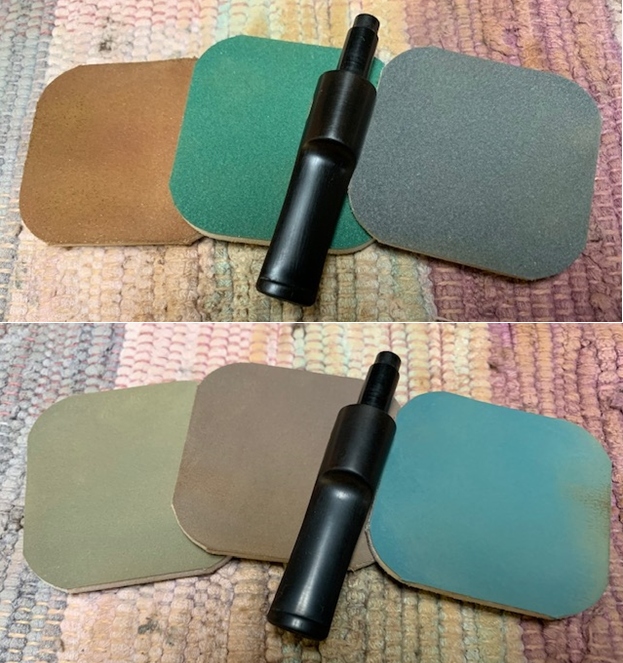
 I polished the briar with micromesh sanding pads – dry sanding with 1500-12000 grit pads. I wiped the bowl down between pads and was happy with the rich shine.
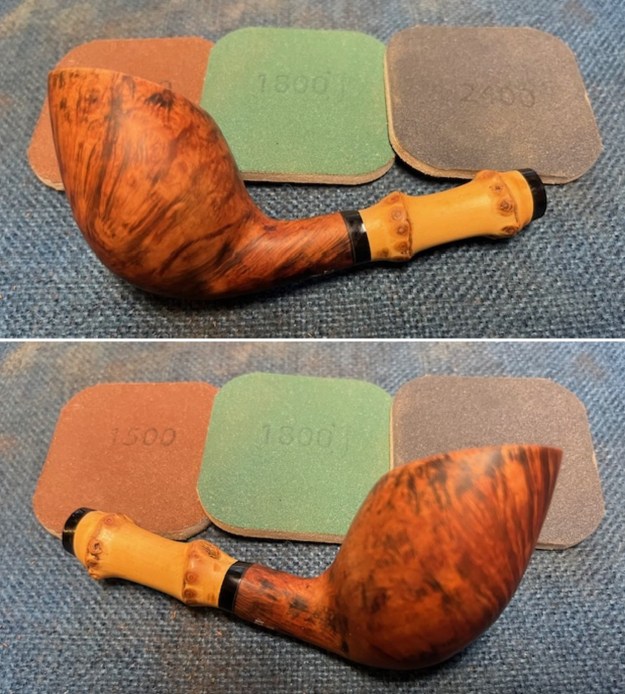


 The exterior of the bowl look better after the polishing with micromesh. I worked some Before & After Restoration Balm into the briar and the bamboo with my finger tips. I let it sit on the bowl for 10 minutes and then buffed it off with a paper towel and soft cloth. The product is a great addition to the restoration work. It enlivens, enriches and protects the briar while giving it a deep glow. It is a product I use on every pipe I restore.
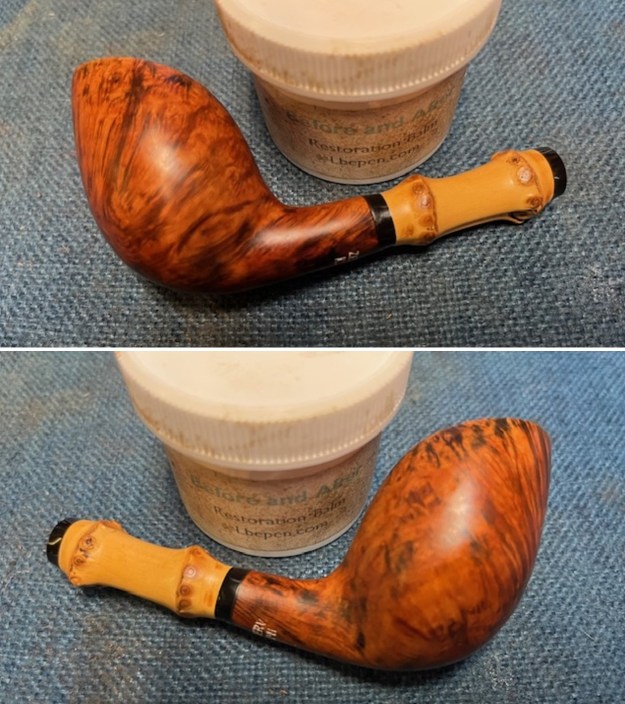
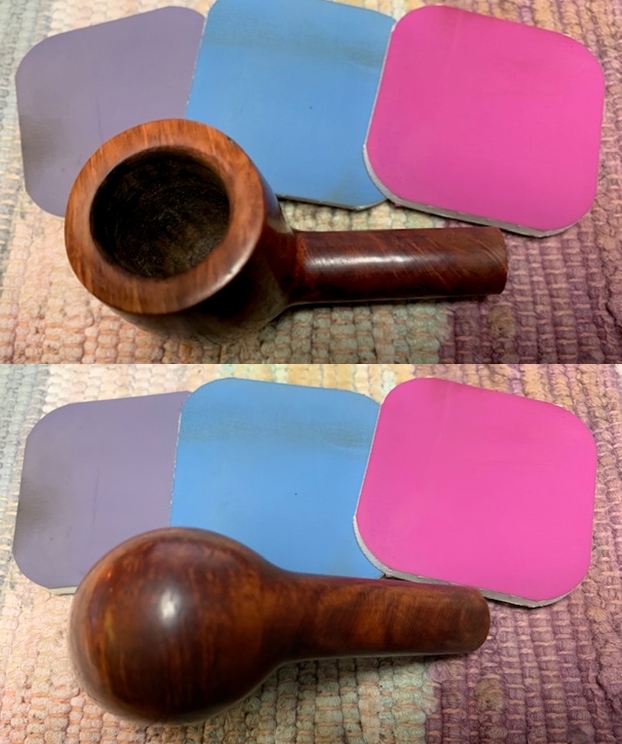
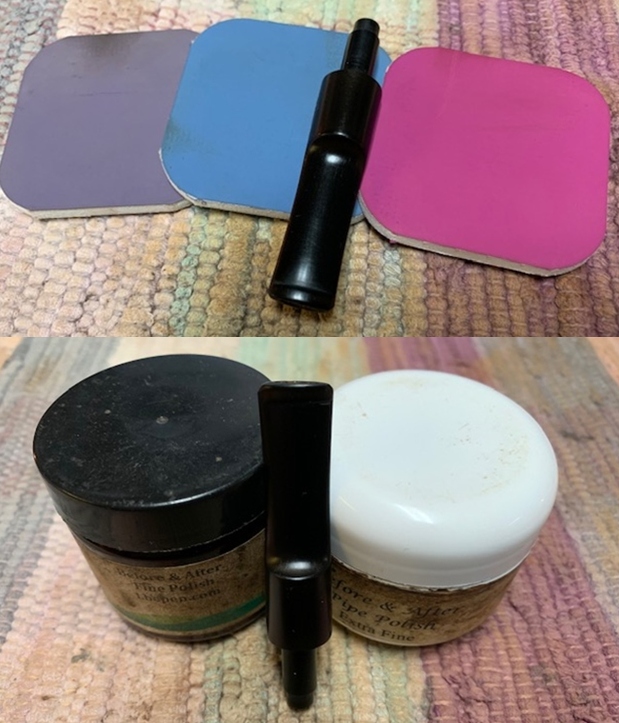
 It set the bowl aside and turned to the stem. I really like Zettervig’s stems as they are comfortable and thin to my liking – not chunky as can often be the case with acrylic stems. I polished it with micromesh sanding pads – dry sanding with 1500-12000 grit pads and wiping the surface down with Obsidian Oil after each sanding pad. It is really shining. I polished it further with Before & After Stem Polish – both Fine and Extra Fine. I gave it another coat of Obsidian Oil to finish this step.
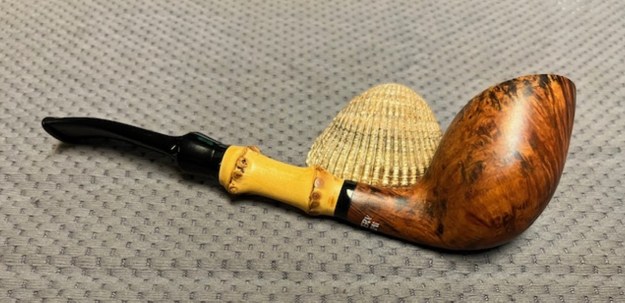
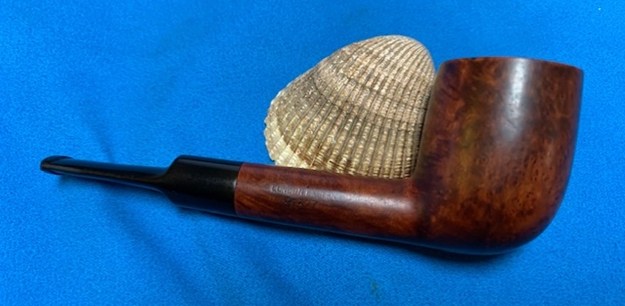
 I put the Zettervig Kolding Bamboo Shank Scoop back together and worked the pipe over on the buffing wheel using Blue Diamond to lightly polish the stem. I buffed the bowl with a light touch so as not to get any of the buffing compounds in the grooves of the bamboo. I buffed the stem to raise the gloss on the acrylic. I gave the bowl and the stem multiple coats of carnauba wax. I buffed the entire pipe with a clean buffing pad to raise the shine. I hand buffed it with a microfiber cloth to deepen the shine. The finished Zettervig Bamboo Scoop looked beautiful with the briar, the bamboo and the black of the acrylic stem. The dimensions of the pipe are: Length: 6 inches, Height: 1 ¾ inches, Outside Diameter: 1 ¼ inches, Diameter of the chamber: ¾ inches. The weight of the pipe is 1.20 ounces/34 grams. This on will be joining the other Danish Made pipes in the Danish Pipe Makers Section of the rebornpipes store. If you want to add it to your collection let me know. Thanks for walking through the restoration with me.
As always, I encourage your questions and comments as you read the blog. Thanks to each of you who are reading this blog. Remember we are not pipe owners; we are pipe men and women who hold our pipes in trust until they pass on into the trust of those who follow us.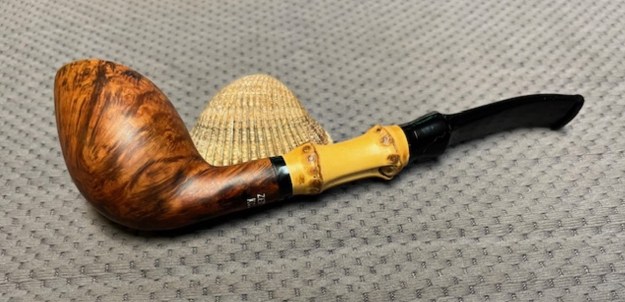


