Blog by Steve Laug
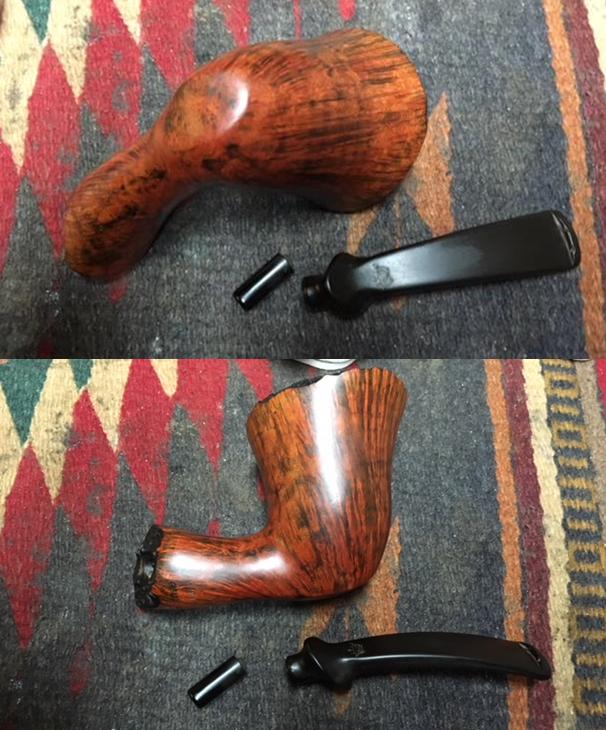
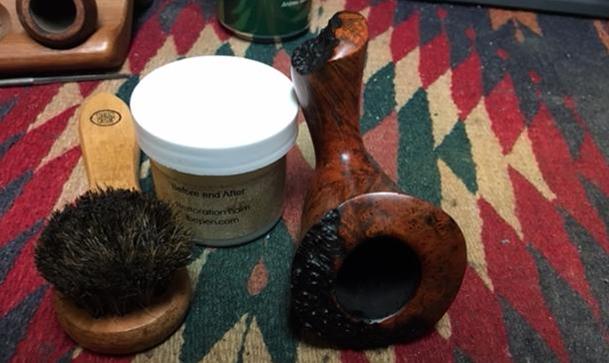
When Mark sent me his uncle’s seven pipes to restore, he also sent several of his own pipes to be restored. The first pipe was the Italian made acorn with a sea rock style finish that I worked on earlier (https://rebornpipes.com/2018/01/20/breathing-new-life-into-an-italian-made-%c2%bc-bent-acorn/). The second pipe was a very nice looking Ben Wade Golden Walnut Freehand. It had some great grain on the sides, front and back. It had a flat area on the bottom of the bowl and could stand up without the stem. The shank end and the top of the rim had areas of plateau that were stained darker than the rest of the pipe. It is stamped on the underside of the shank Ben Wade over Golden Walnut. Underneath that it is stamped Hand Made in Denmark. The briar was dirty and there was grime into the grooves and crevices on the plateau top and end of the shank. There was grime and oils ground into the sides of the bowl and shank. The original stem with the broken tenon came in the bag that he sent the pipe in. It had snapped off cleanly at the flare in the stem. The stem itself was oxidized and had tooth chatter and marks on the top and underside near the button. There were scratches around the golden crown on the top of the stem. The crown was faded and worn.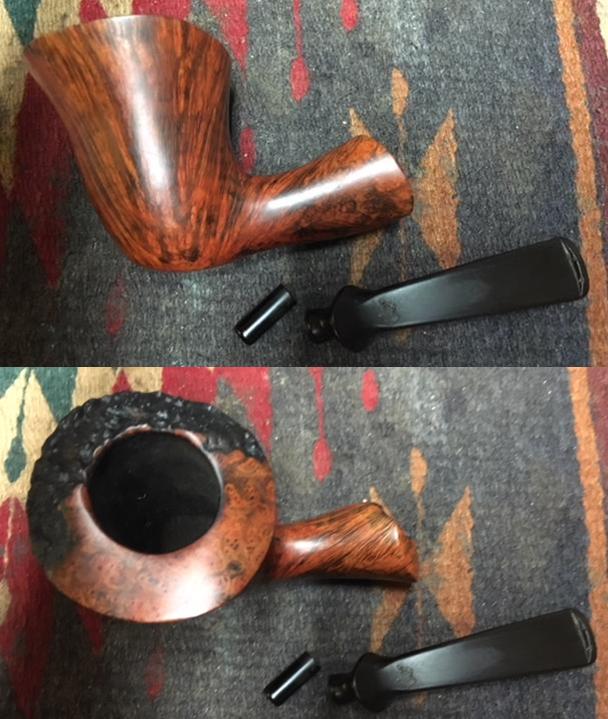
 I decided I was going to try to put a new tenon on the original stem so I dropped it in the Before & After Deoxidizer bath to soak. I figured it would be easier to work on cleaned up. I added it to the photo after I took the photo below but it sat with the rest of the stems from the uncle’s pipes in the soak over night.
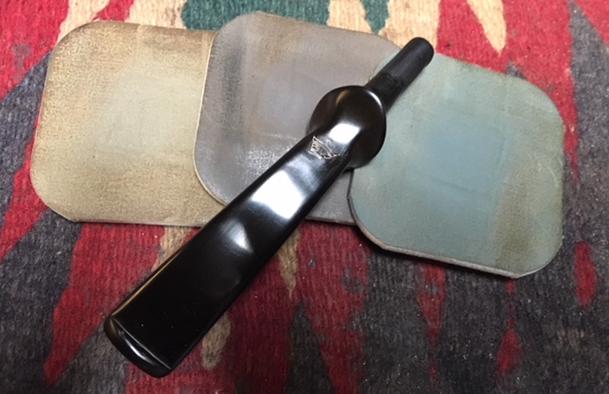
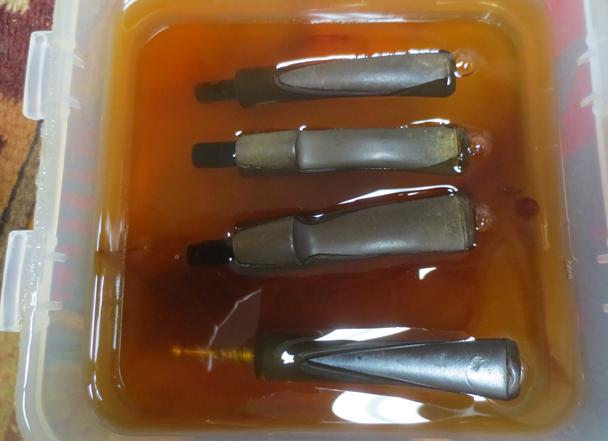 While the original stem soaked I worked on an acrylic stem that Mark had chosen. I had sent him a photo of several options and he liked the brown and cream swirled acrylic. I used the PIMO tenon turner to reduce the diameter of the tenon to fit in the shank. It did not take too much to remove the excess material. The photos below show the stem on the tenon turner and the finished stem after turning.
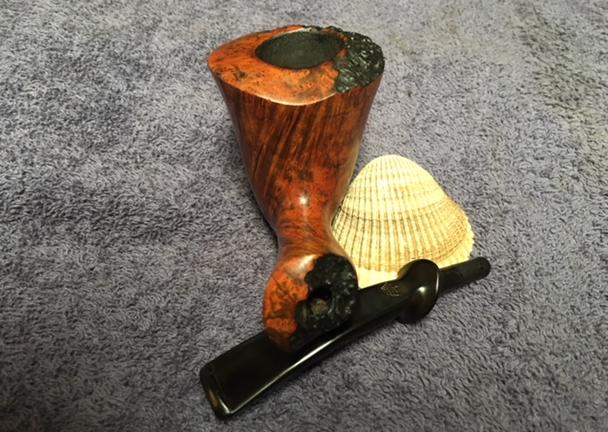
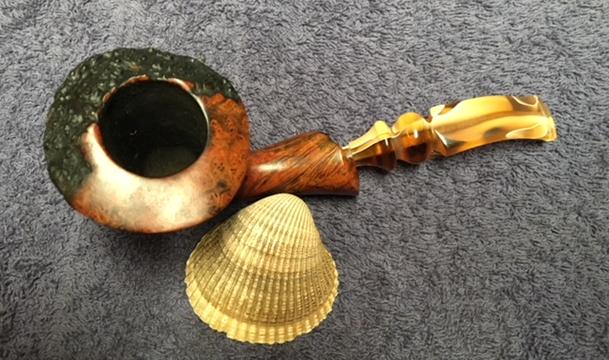
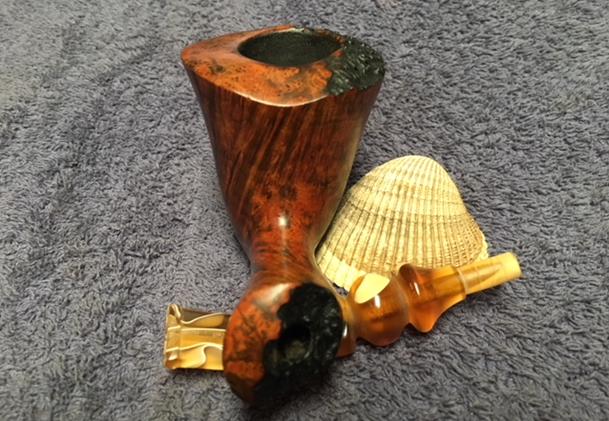
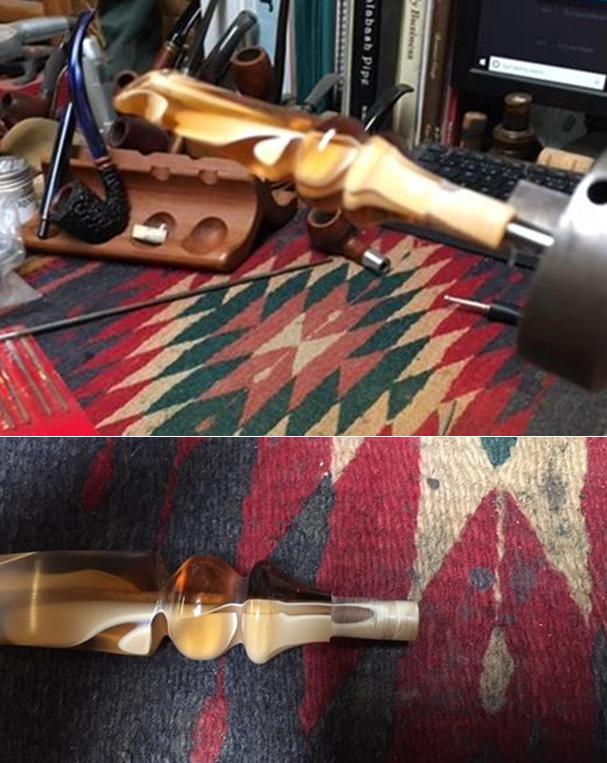 I took the stem out of the bath and rinsed it under warm water and rubbed it down with a coarse cloth to remove the oxidation. I took a photo of the two stems and the bowl to get a send of how the stem would look.
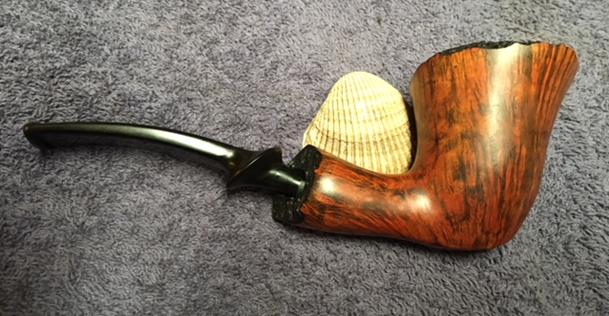
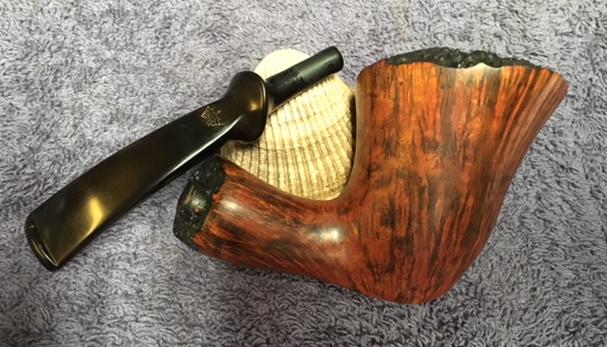
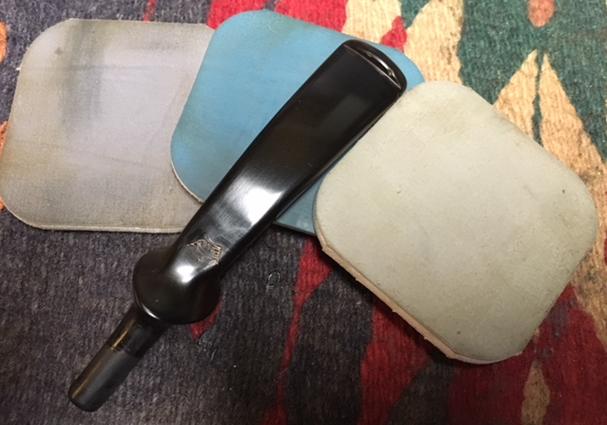
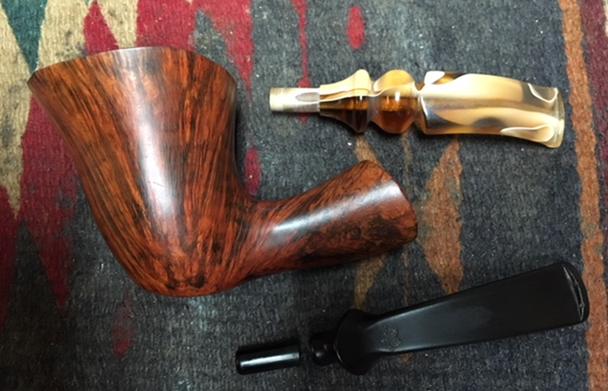 I inserted a pipe cleaner in the airway and used a heat gun to soften the stem enough that I could bend it. I bent it at the same angle as the original stem. I cooled it with running water to set the bend in the stem. The photos below show the process and the final bent stem. I took some photos of the pipe with the new stem in place. The colour and the shape look good with Ben Wade.
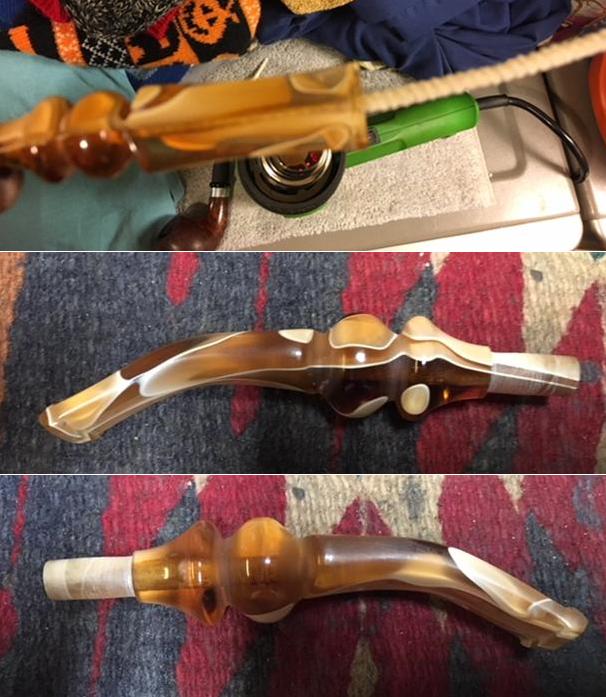
 With the new stem fitted it was time to work on the cleanup of the briar. I worked on the insides of the bowl and shank to remove the tars and oils. I scraped out the inside of the mortise with a pen knife to remove the buildup in that area. I cleaned out the mortise and the airway in the shank with alcohol, pipe cleaners and cotton swabs.
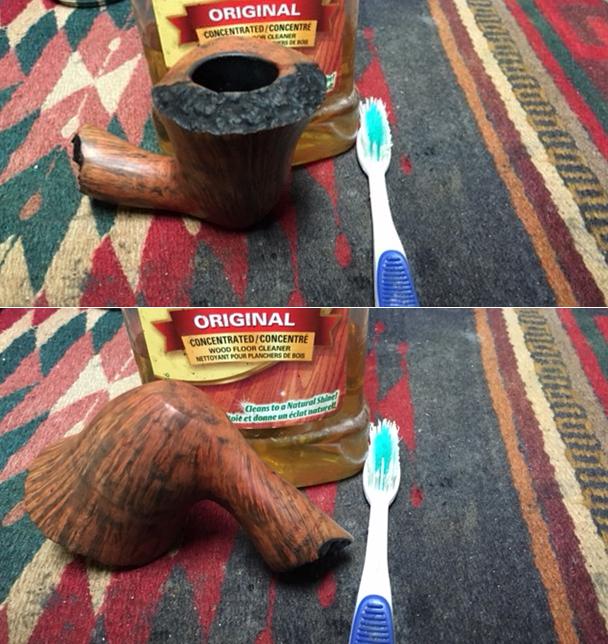
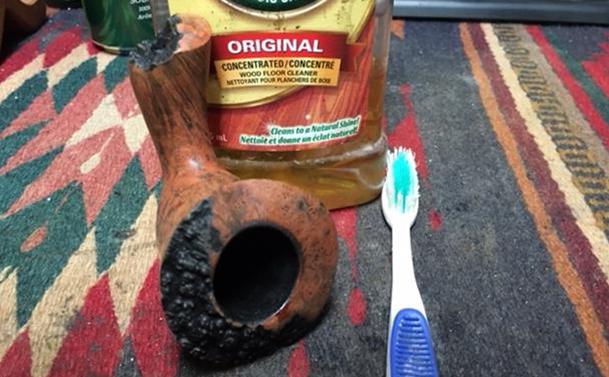
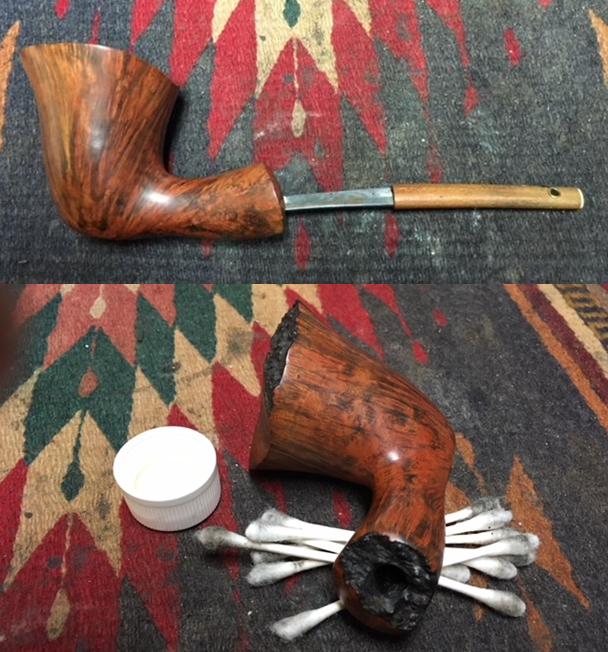 I scrubbed the exterior of the bowl and rim with a tooth brush and Murphy’s Oil Soap to remove the buildup of grime and oils in the briar and in the plateau areas of the shank and rim top. I rinsed it off the pipe under running water and scrubbed it under the water flow. I dried it off with a cotton cloth and buffed it lightly to raise a shine.
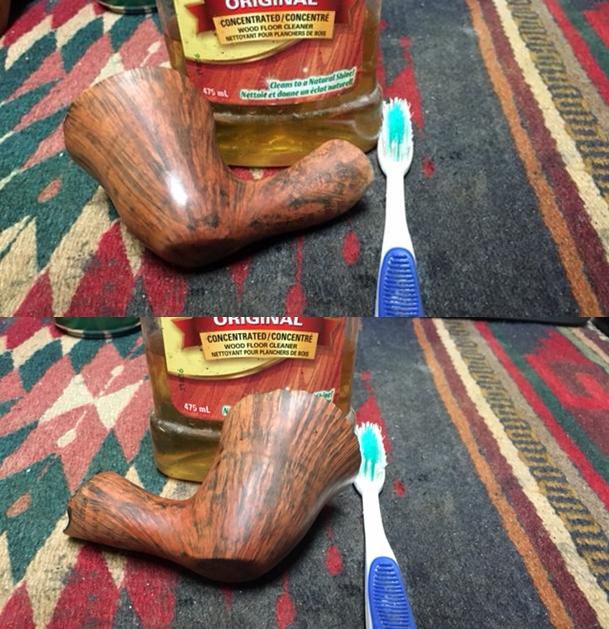
 I sanded the buildup on the inner edge of the rim on the back of the bowl with 1500-2400 grit micromesh sanding pads to remove the tars that remained in those areas. I polished the rim top with 3200-6000 grit pads.
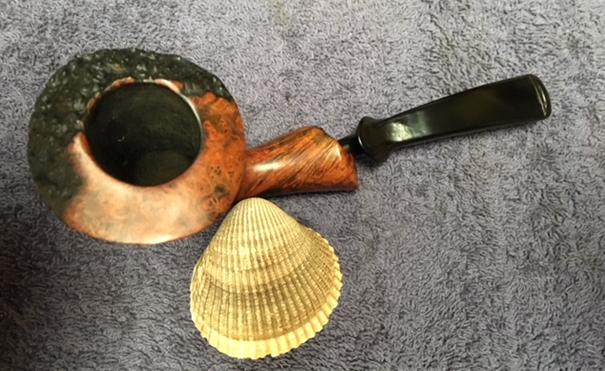
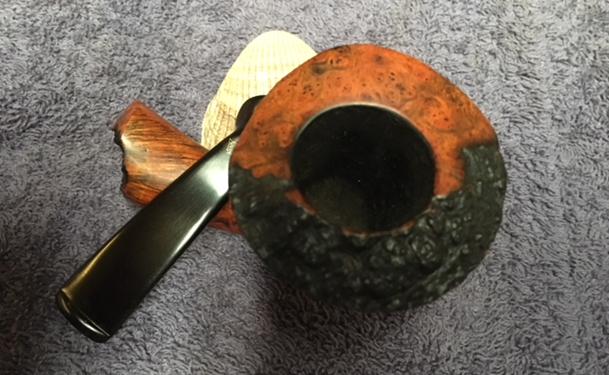
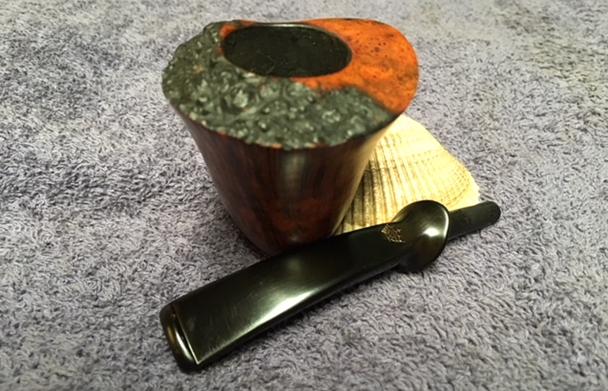
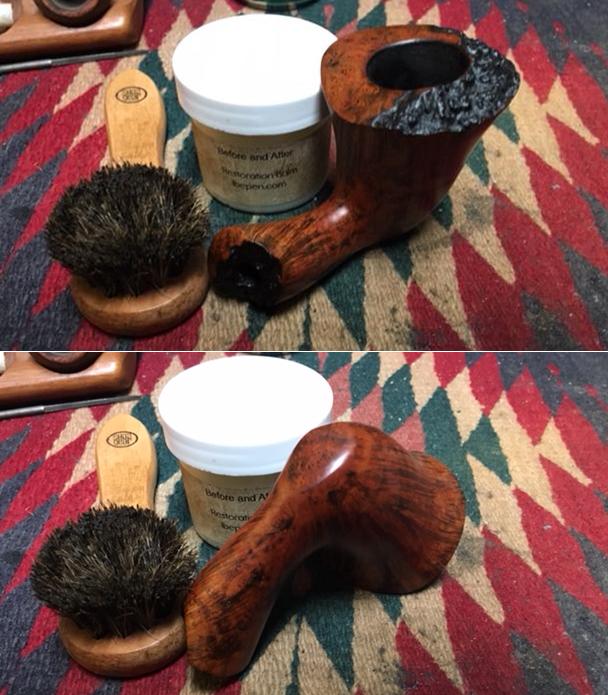
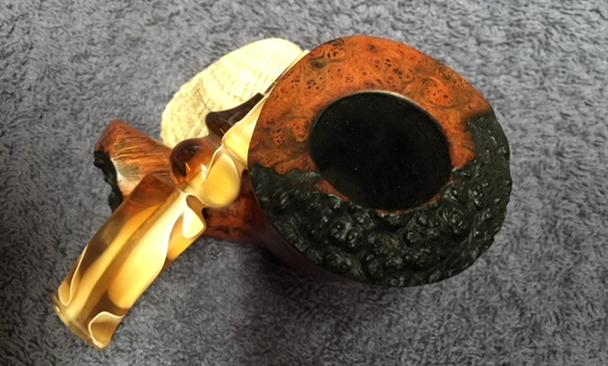
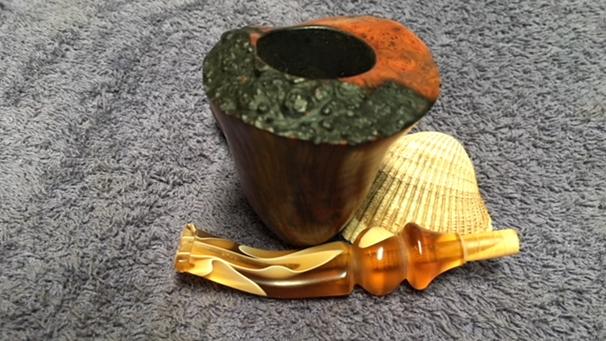
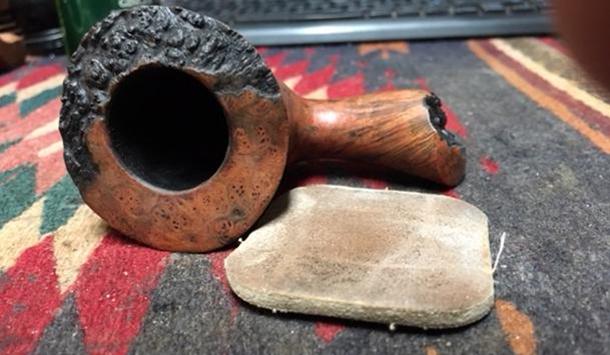 I worked some Before & After Restoration Balm into the surface of the briar with my finger tips to deep clean the finish, enliven and protect the wood. I worked the balm into the plateau on the rim top and the end of the shank to polish the cleaned up area. I buffed the pipe with a horsehair shoe shine brush to get it into the grooves of the plateau. I let it sit for a few minutes and then buffed it with a cotton cloth. The grain in the wood came alive and there was a rich shine to the briar. I took some photos of the bowl at this point to mark the progress in the restoration.
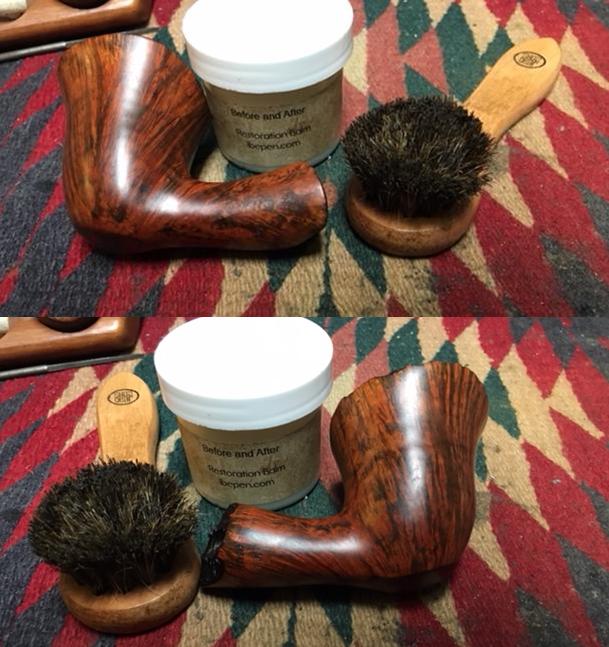
 Ah now I was making progress. I had finished the acrylic stem and the cleaning and polishing of the bowl. It was time to address the original stem and see if I could put a new tenon on the freehand stem. I used the topping board to flatten the broken end of the stem using 220 grit sandpaper. I set up my cordless drill, put in a bit that was slightly larger than the airway in the stem. I slowly drilled the airway larger. I slowly moved up to larger bits to make the opening the same size as the threaded end of the new Delrin tenon.
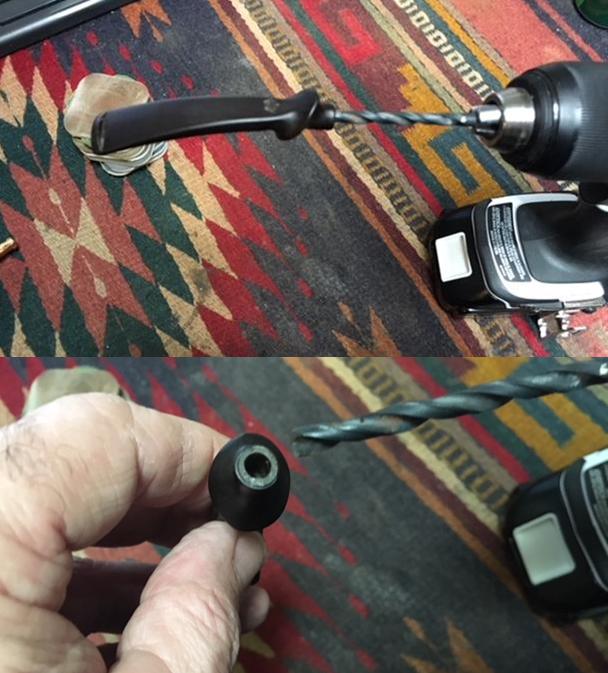 I used a needle file to clean up the opening in the end of the stem and even out the sides so that when the new tenon was in place it would align all the way around. I used the Dremel and sanding drum to take down the threads on the end of the new tenon to fit right in the hole. I did not want to drill it further and affect the structure of the stem. Once the threads were smoothed out slightly, it fit in nicely. I had to be careful in drilling the stem to not go to deep and drill through the top or underside of the stem. I also reduced the diameter of the rest of the tenon with the Dremel and sanding drum to fit in the mortise of the pipe.
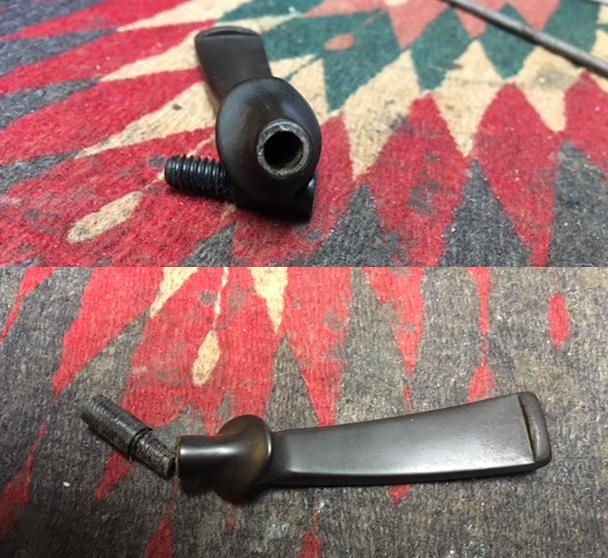 I pushed the tenon into the shank and smoothed out the transition between it and the rest of the stem with 220 grit sandpaper. Once I had it smooth I glued the tenon in the stem with super glue.
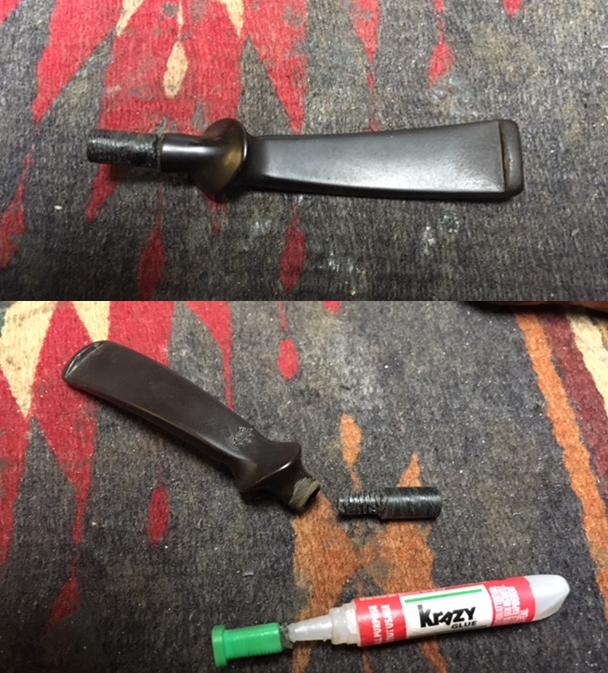 I inserted the tenon into the stem a little less than previously to match the length of the original tenon. I mixed a batch of charcoal powder and super glue to fill in the gap between the new tenon and the stem.
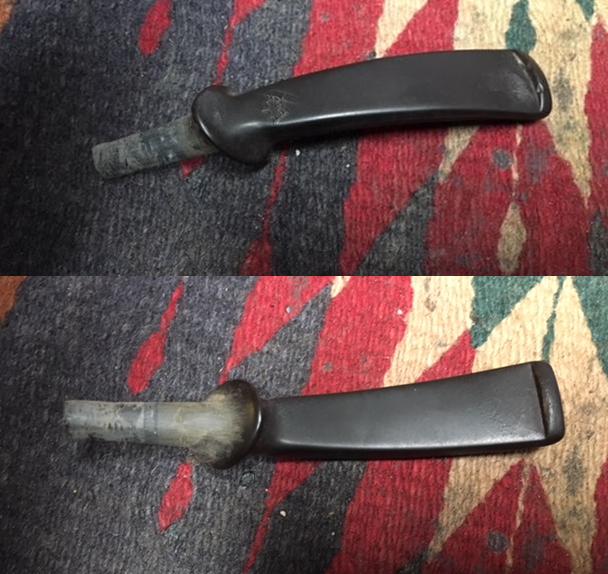
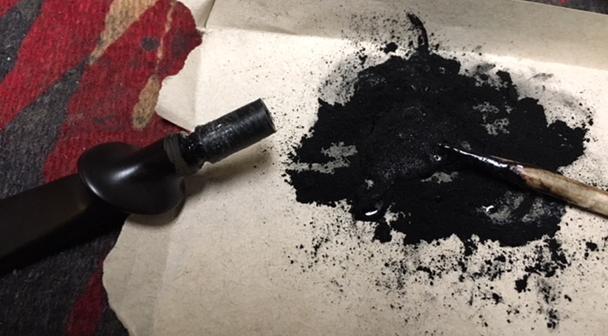 When the repair had cured I used a rasp and file to smooth out the repair to the connection. I sanded the repaired area with 180 and 220 grit sandpaper and was able to make the transition taper correctly. It would take more sanding but you can see the progress in the next photos.
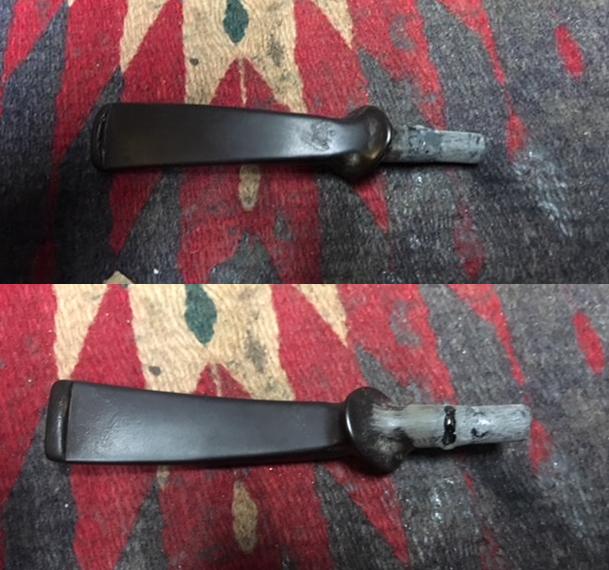
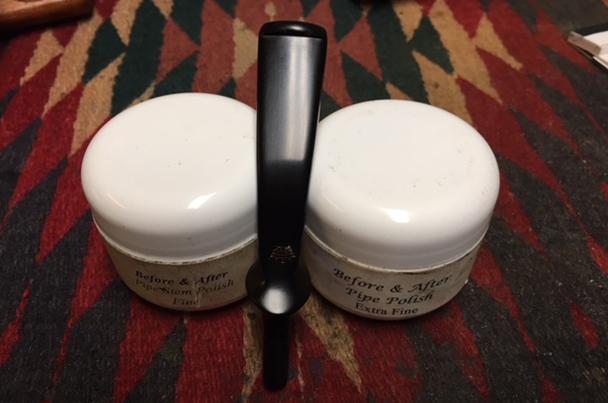
 I worked over the stem with micromesh sanding pads. I polished out the sanding scratches and marks in the vulcanite and the rebuilt tenon area – wet sanding it with 1500-2400 grit pads and wiping it down with Obsidian Oil. After the 2400 grit pad I applied some Rub’n Buff Antique Gold gold to the crown stamp on the top of the stem. I rubbed it on and off leaving the gold in the stamping. I dry sanded the stem with 3200-12000 grit pads and wiped it down with Obsidian Oil after each pad. When I finished with the 12000 grit pad I gave it a final coat of oil and let it dry. Once it had dried, I polished it with Before & After Pipe Stem Polish Fine and Extra Fine. I rubbed it down with final coat Obsidian Oil and took the following pictures.
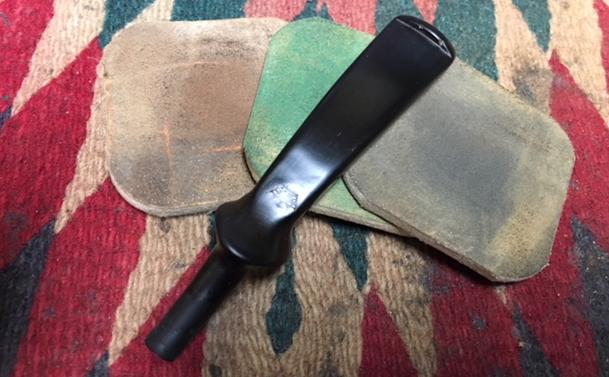

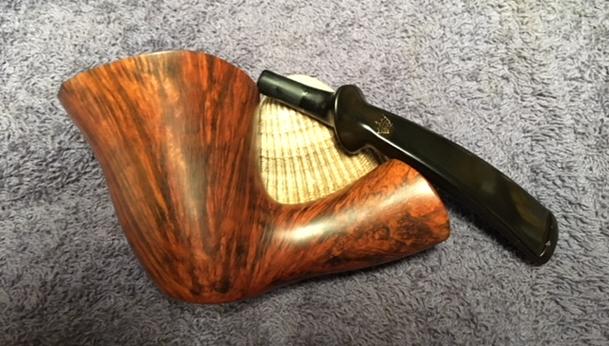
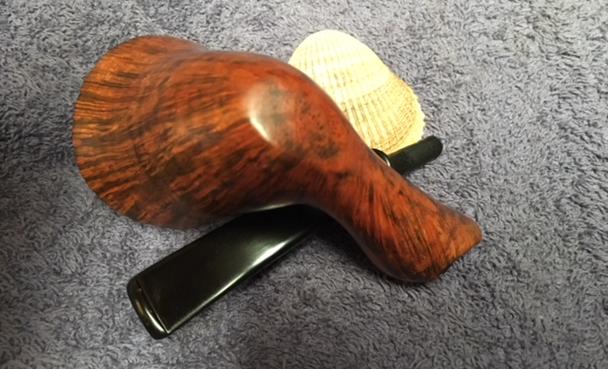
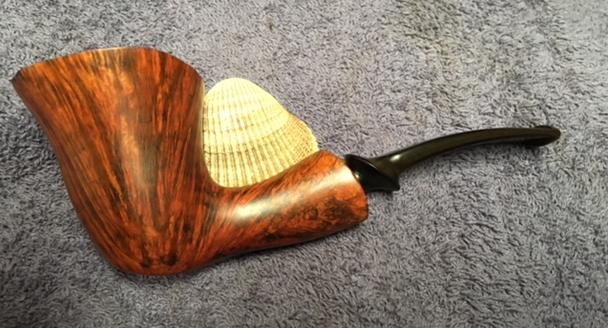
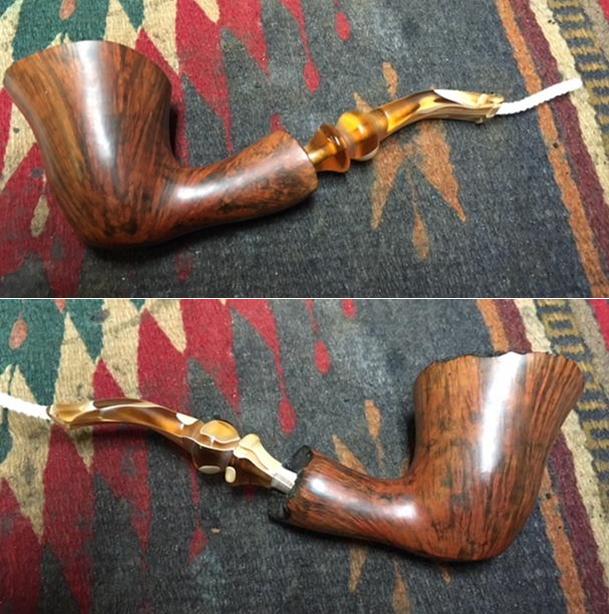
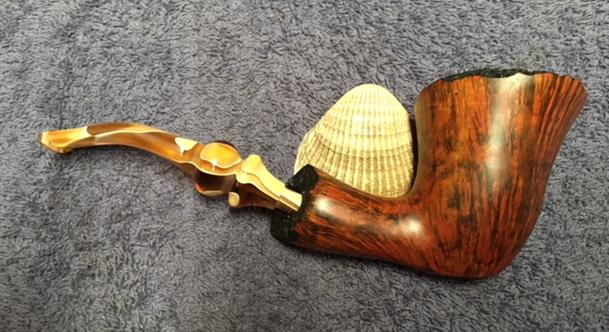
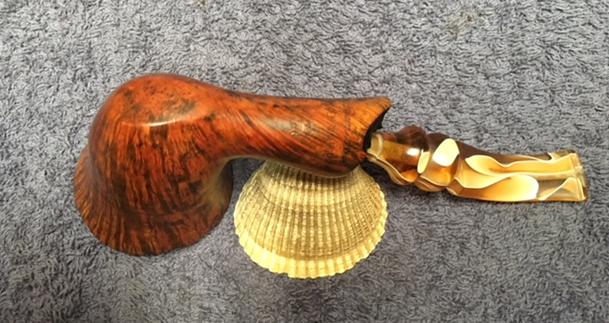
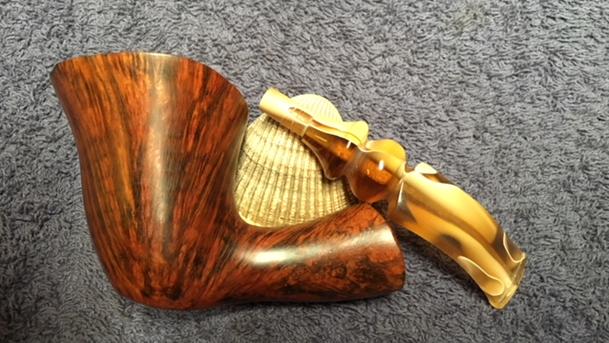
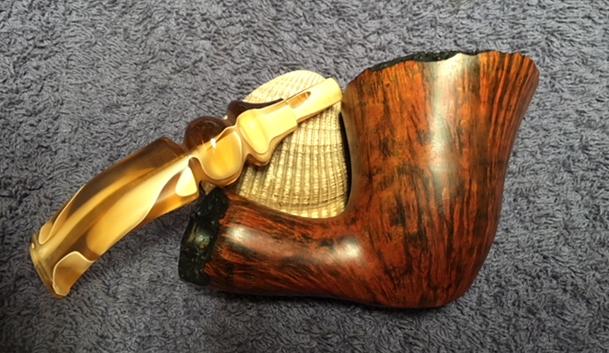
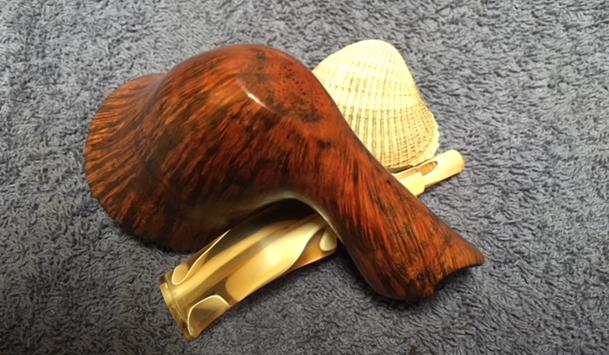
 Since I had polished the bowl and the acrylic stem I decided to put it all together. I took photos of the finished pipe with the acrylic stem. The golds, browns and cream coloured swirls work well with the grain on the briar. The old Ben Wade Hand Made Golden Walnut looks good with a different kind of stem. It will give Mark an option to have both an acrylic and the original stem to choose from – almost like having two different pipes. Here are the photos of the pipe with the acrylic stem.
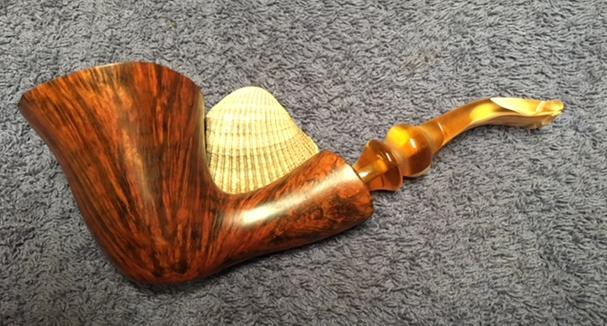
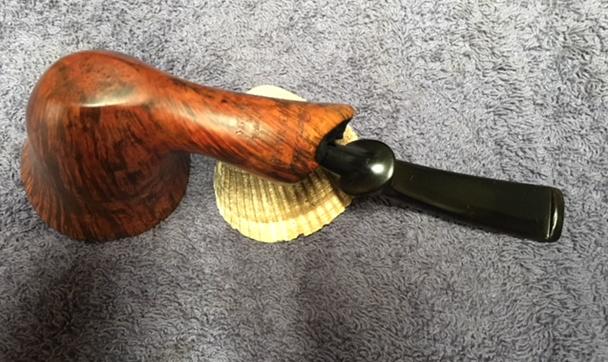
 I finished the repairs on the original stem, repaired and polished it. I put it back on the pipe and buffed the entire pipe again with Blue Diamond polish on the buffing wheel. I gave the entire pipe several coats of carnauba wax and buffed it with a clean buffing pad to raise the shine. I hand buffed it with a microfibre cloth to raise the shine. The new stem and the original stem looked good to me and the bend was just right. The bowl polished up pretty nicely. The finished pipe is shown with the original stem in the photos below. I will be adding to Mark’s package along with his uncle’s pipes when I have finished all of them and send it to him shortly. Thanks for looking.