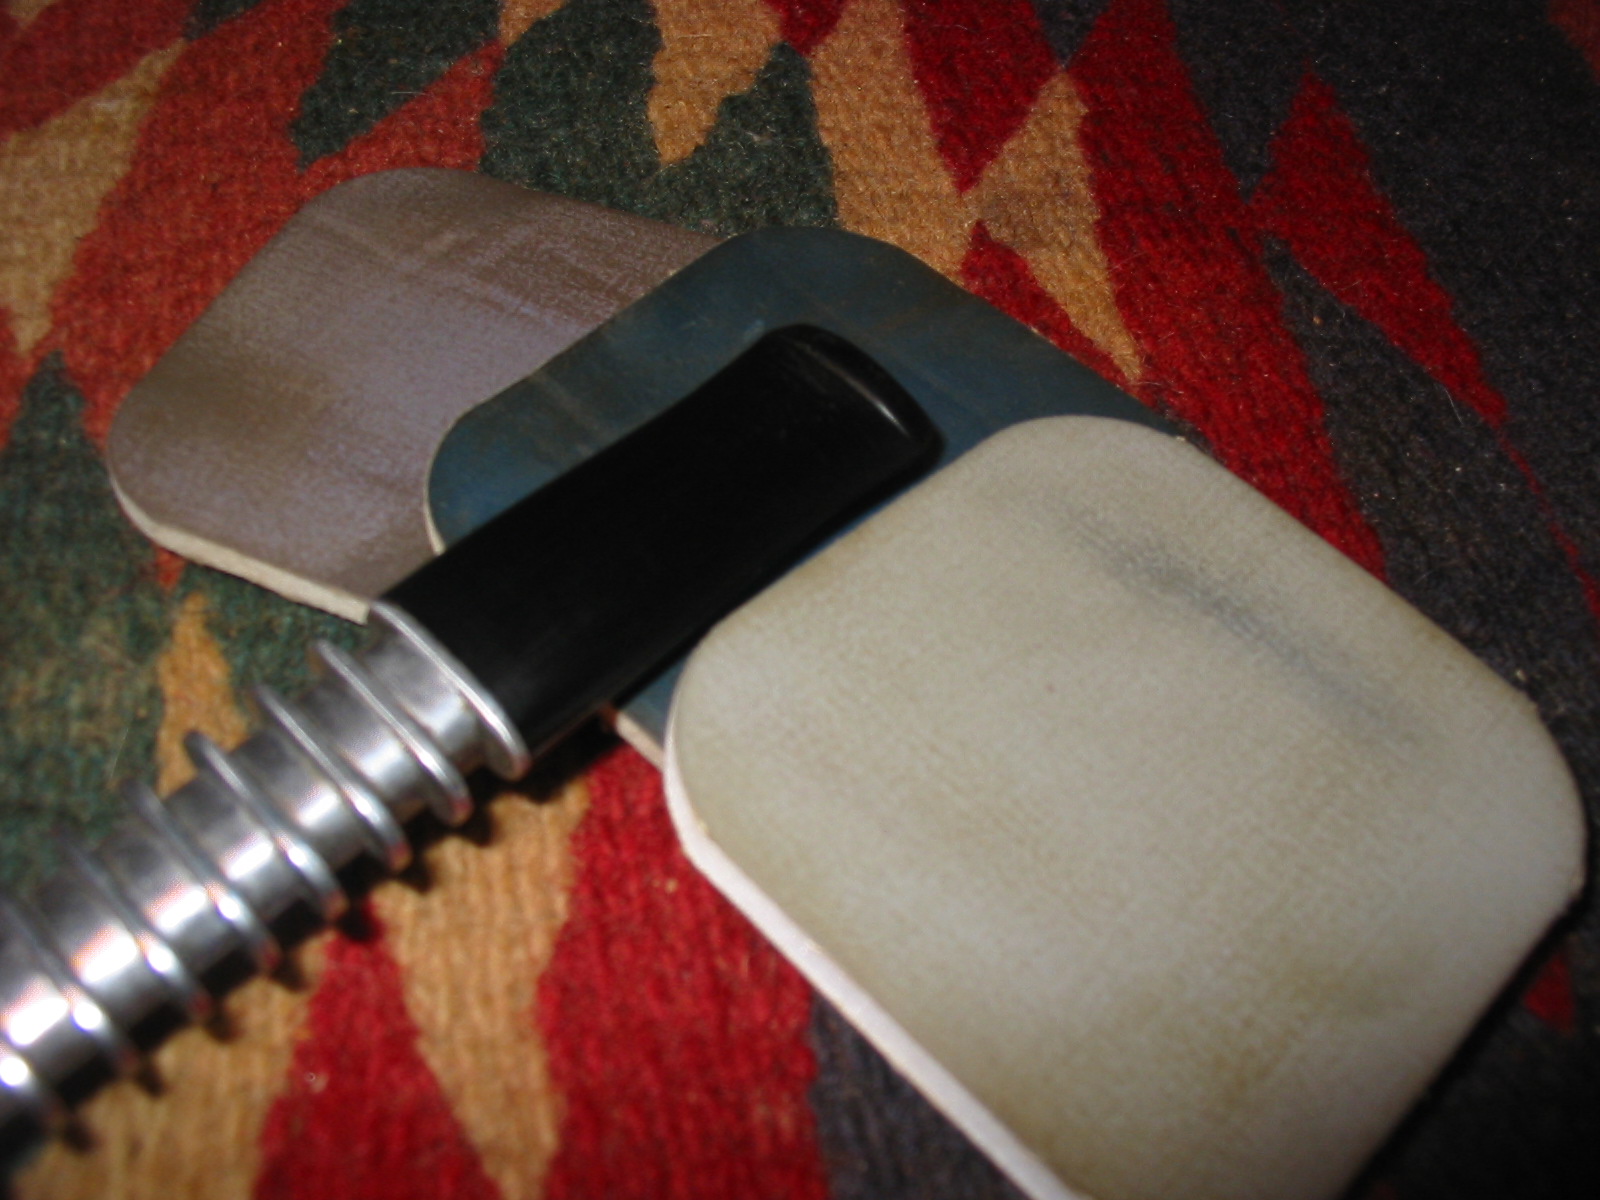
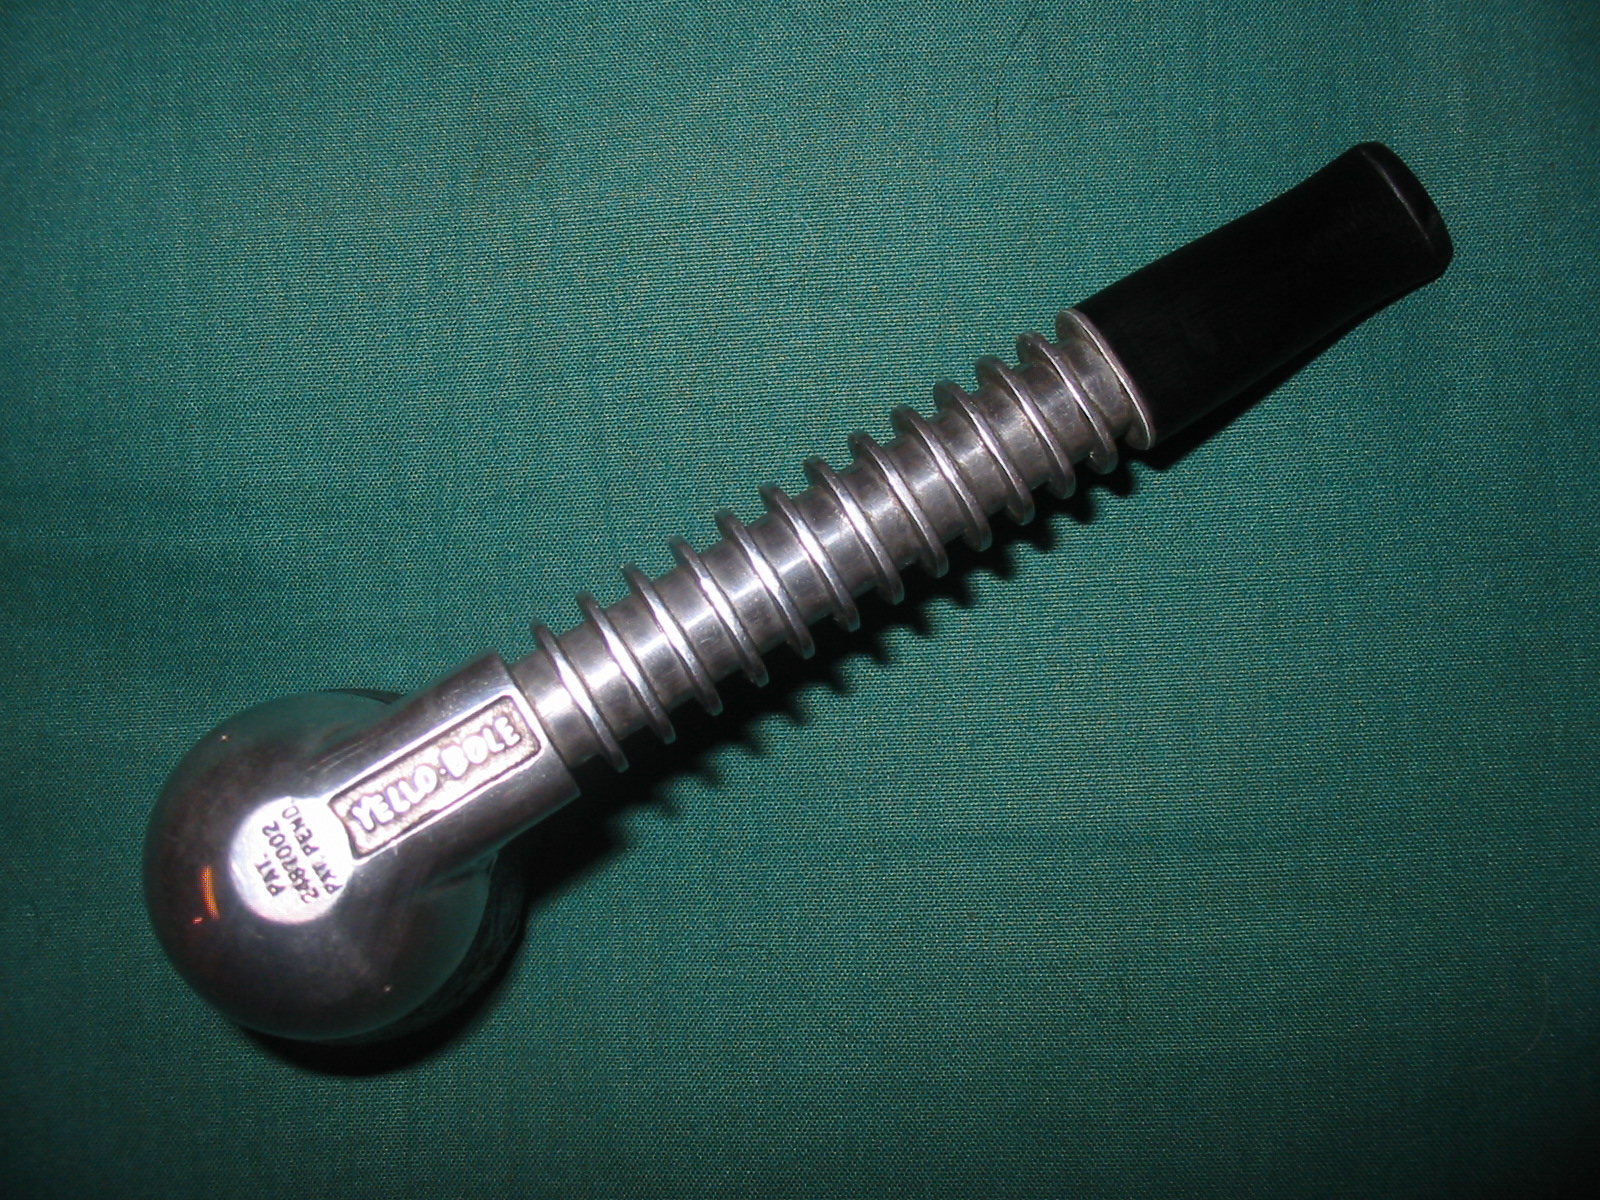
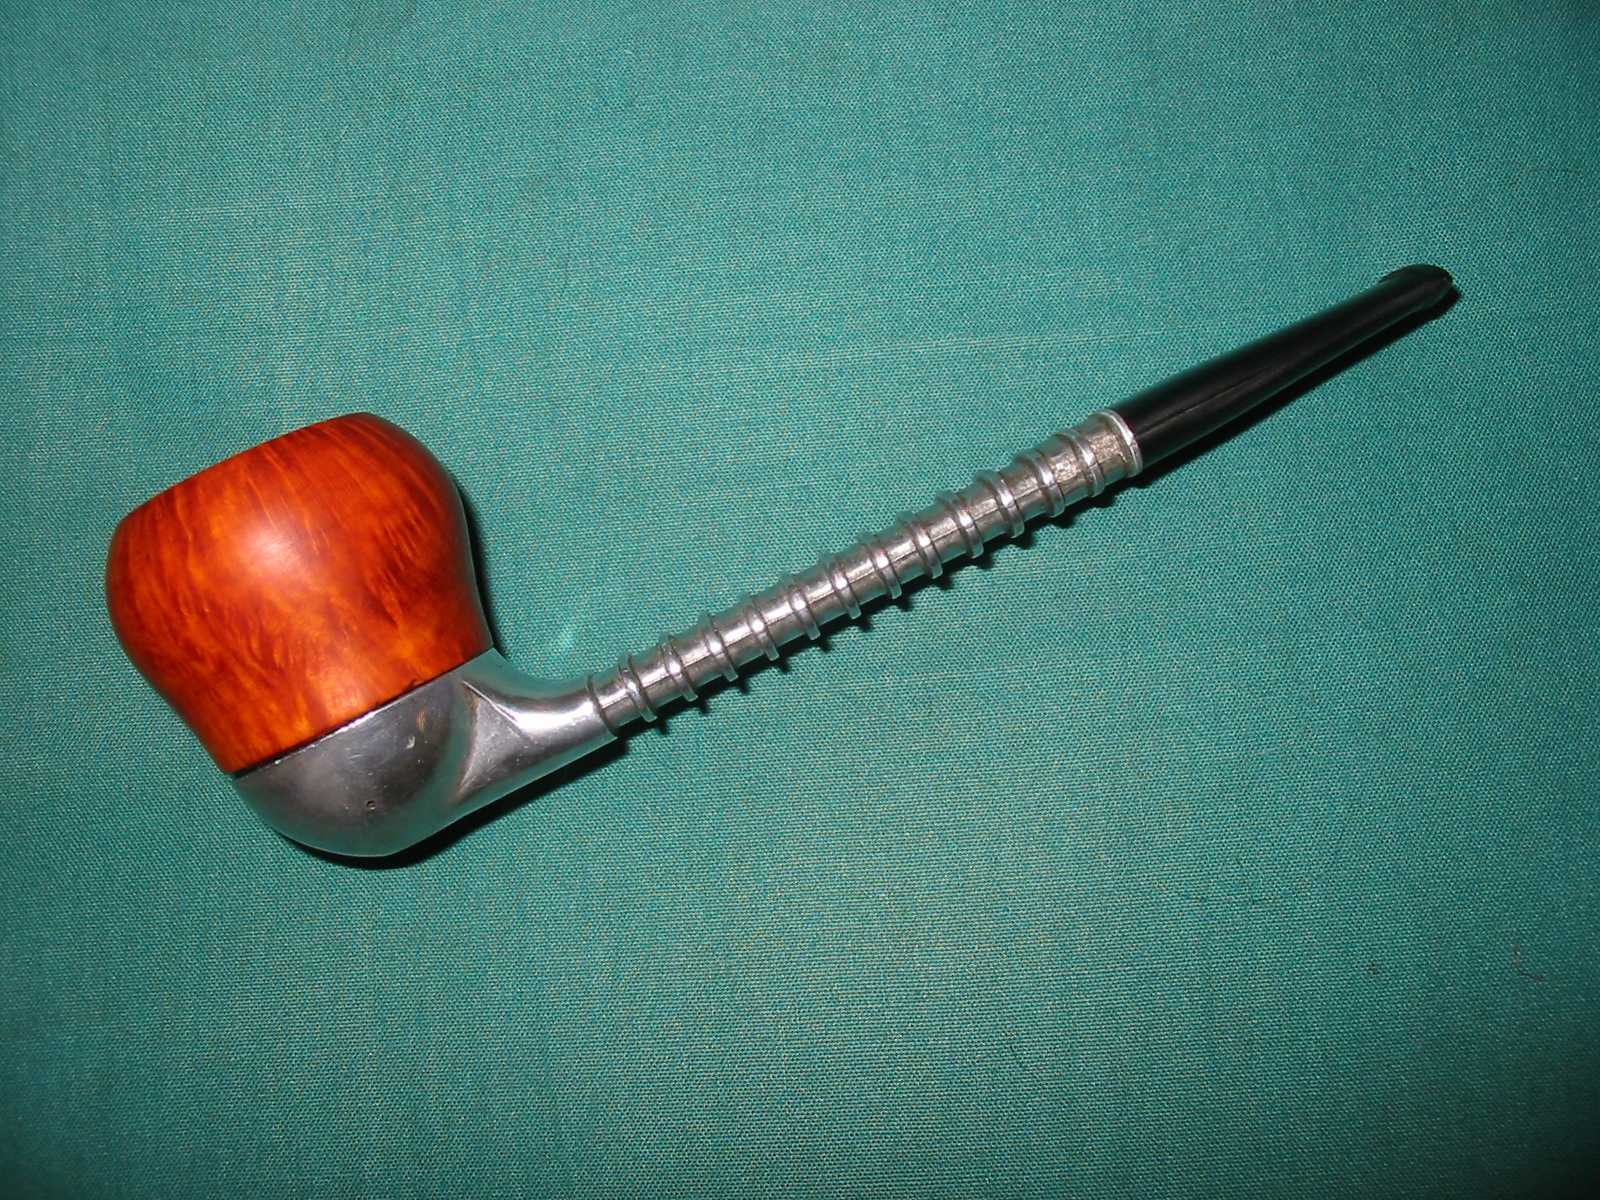
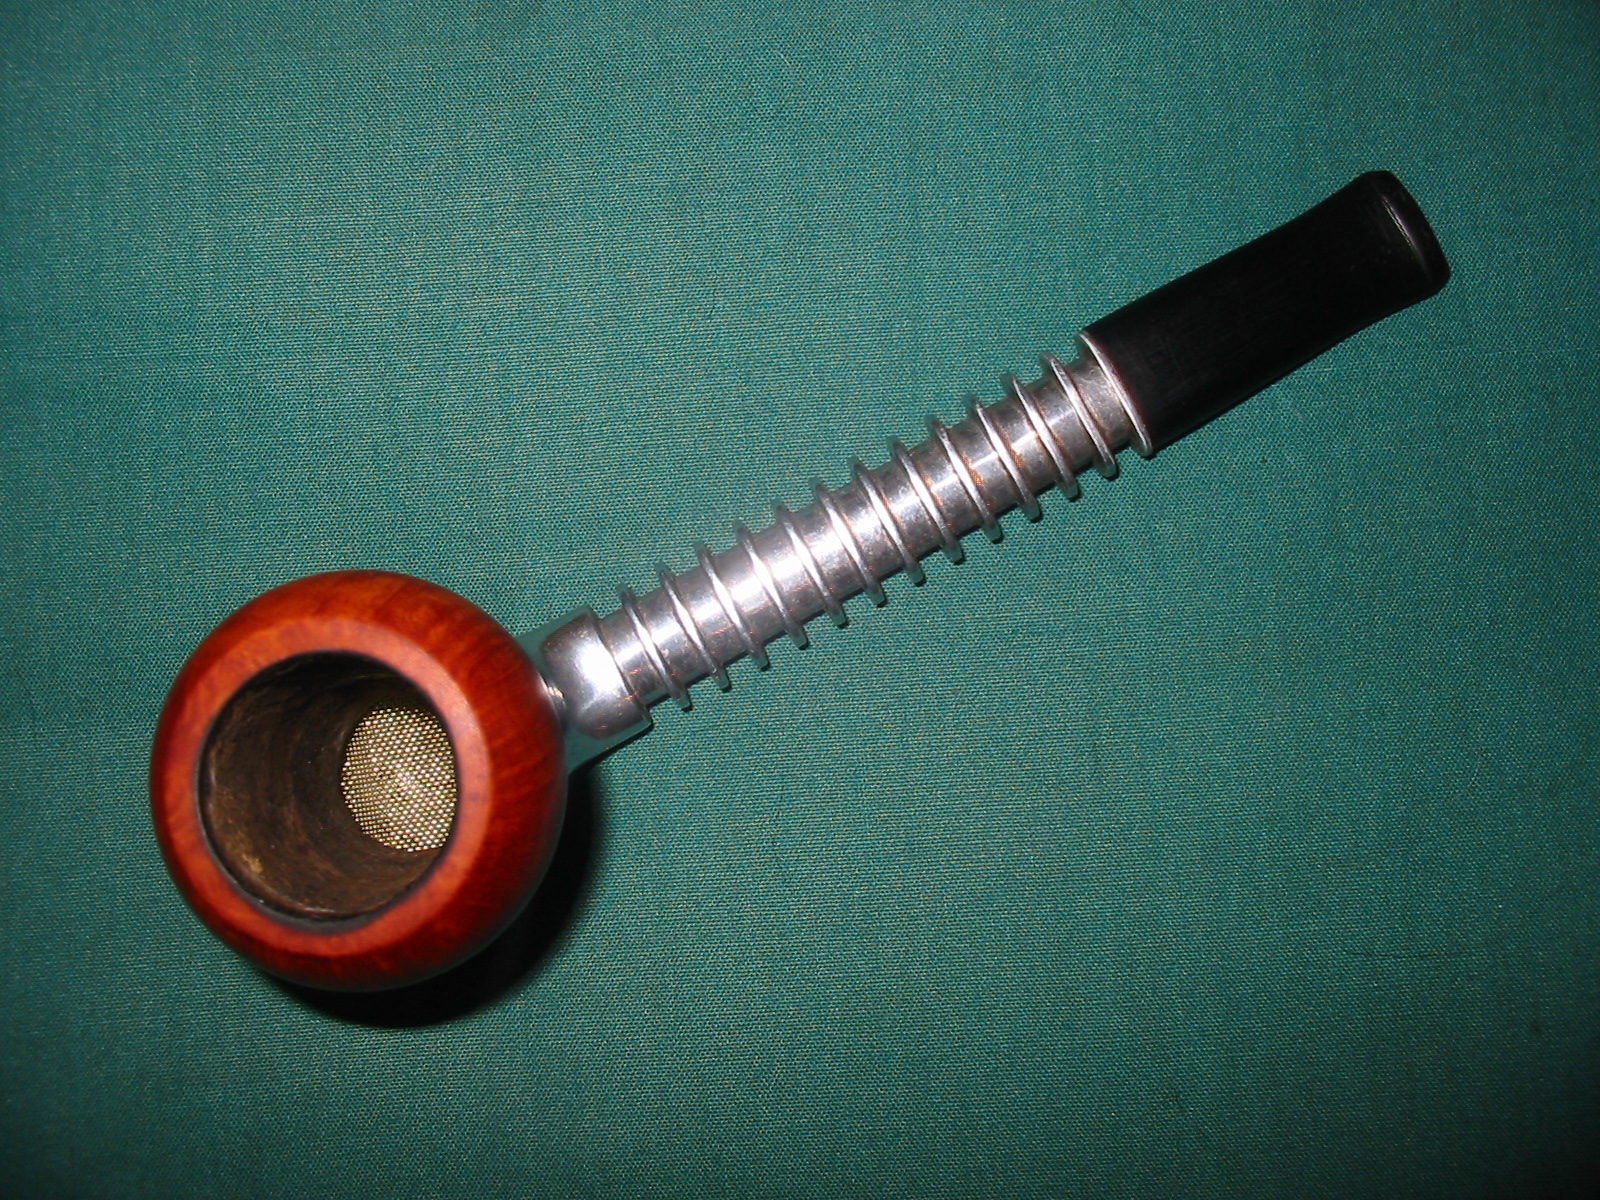
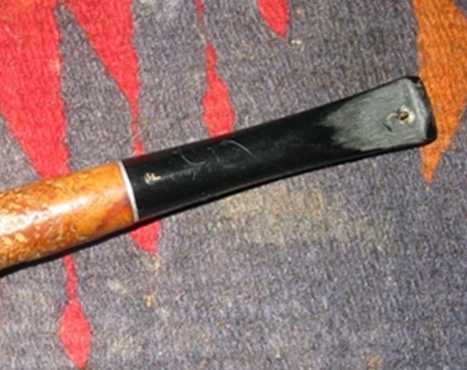
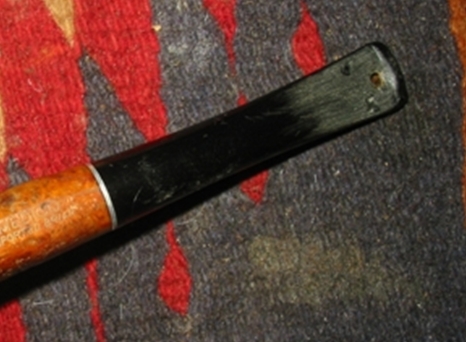
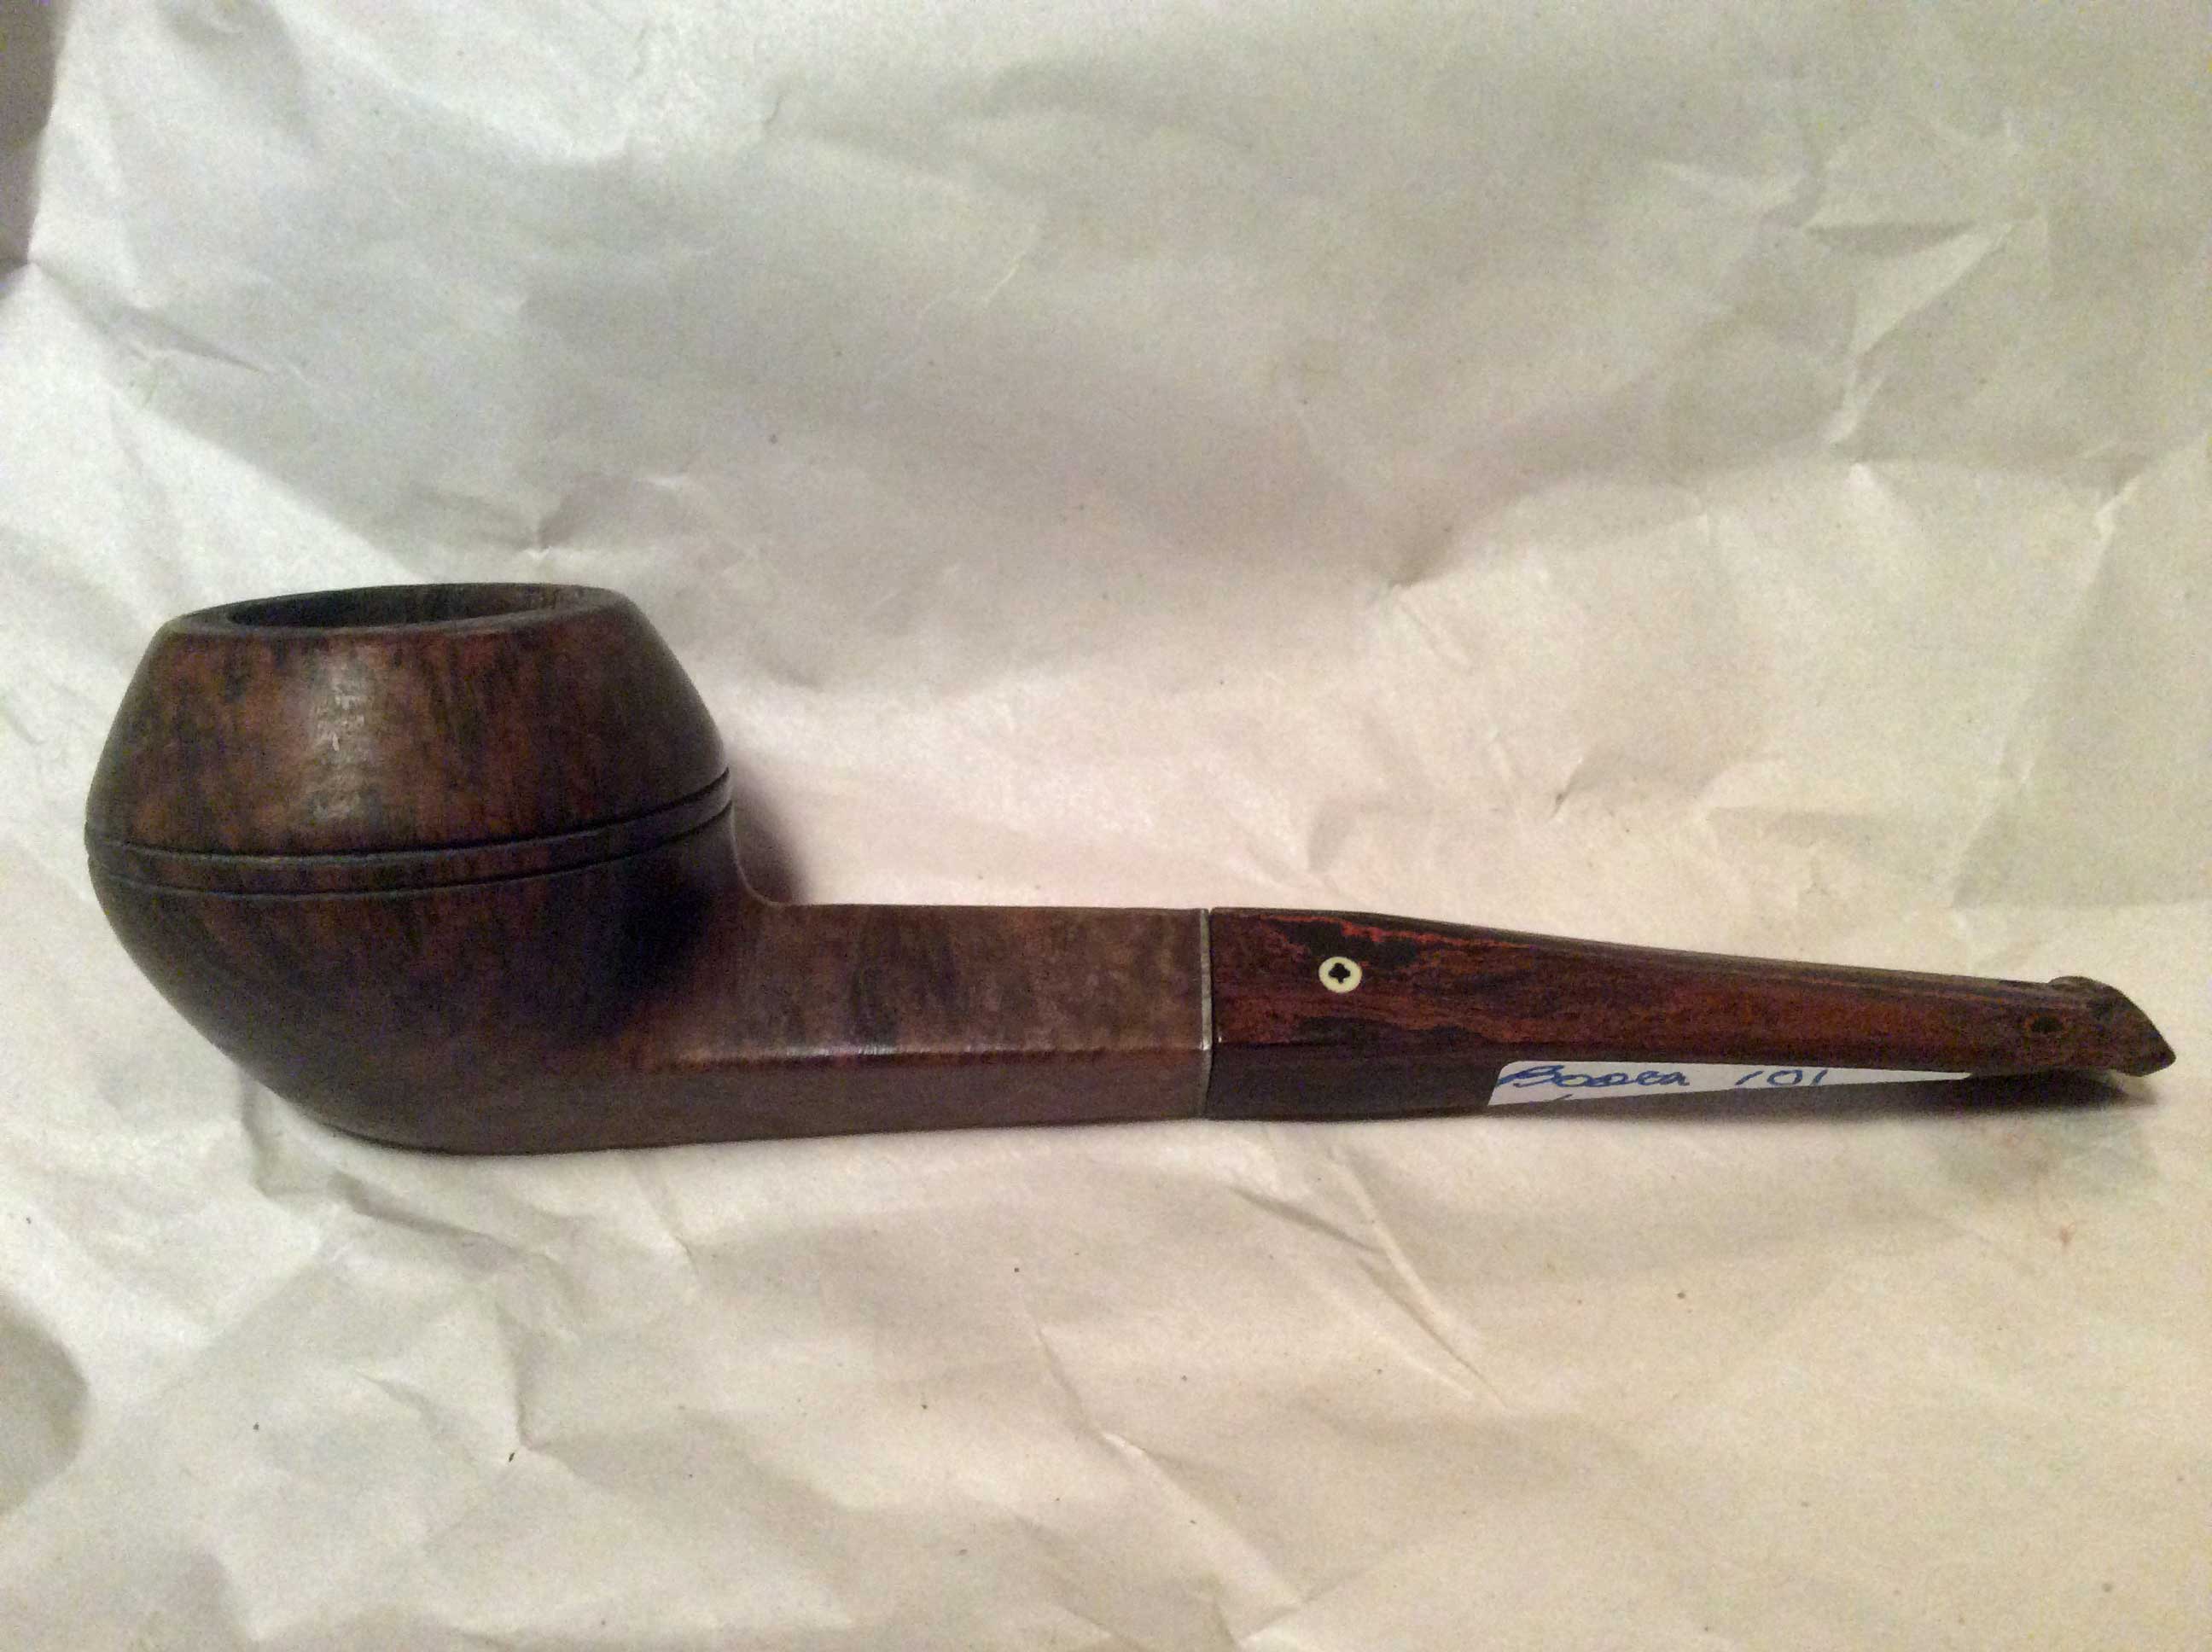
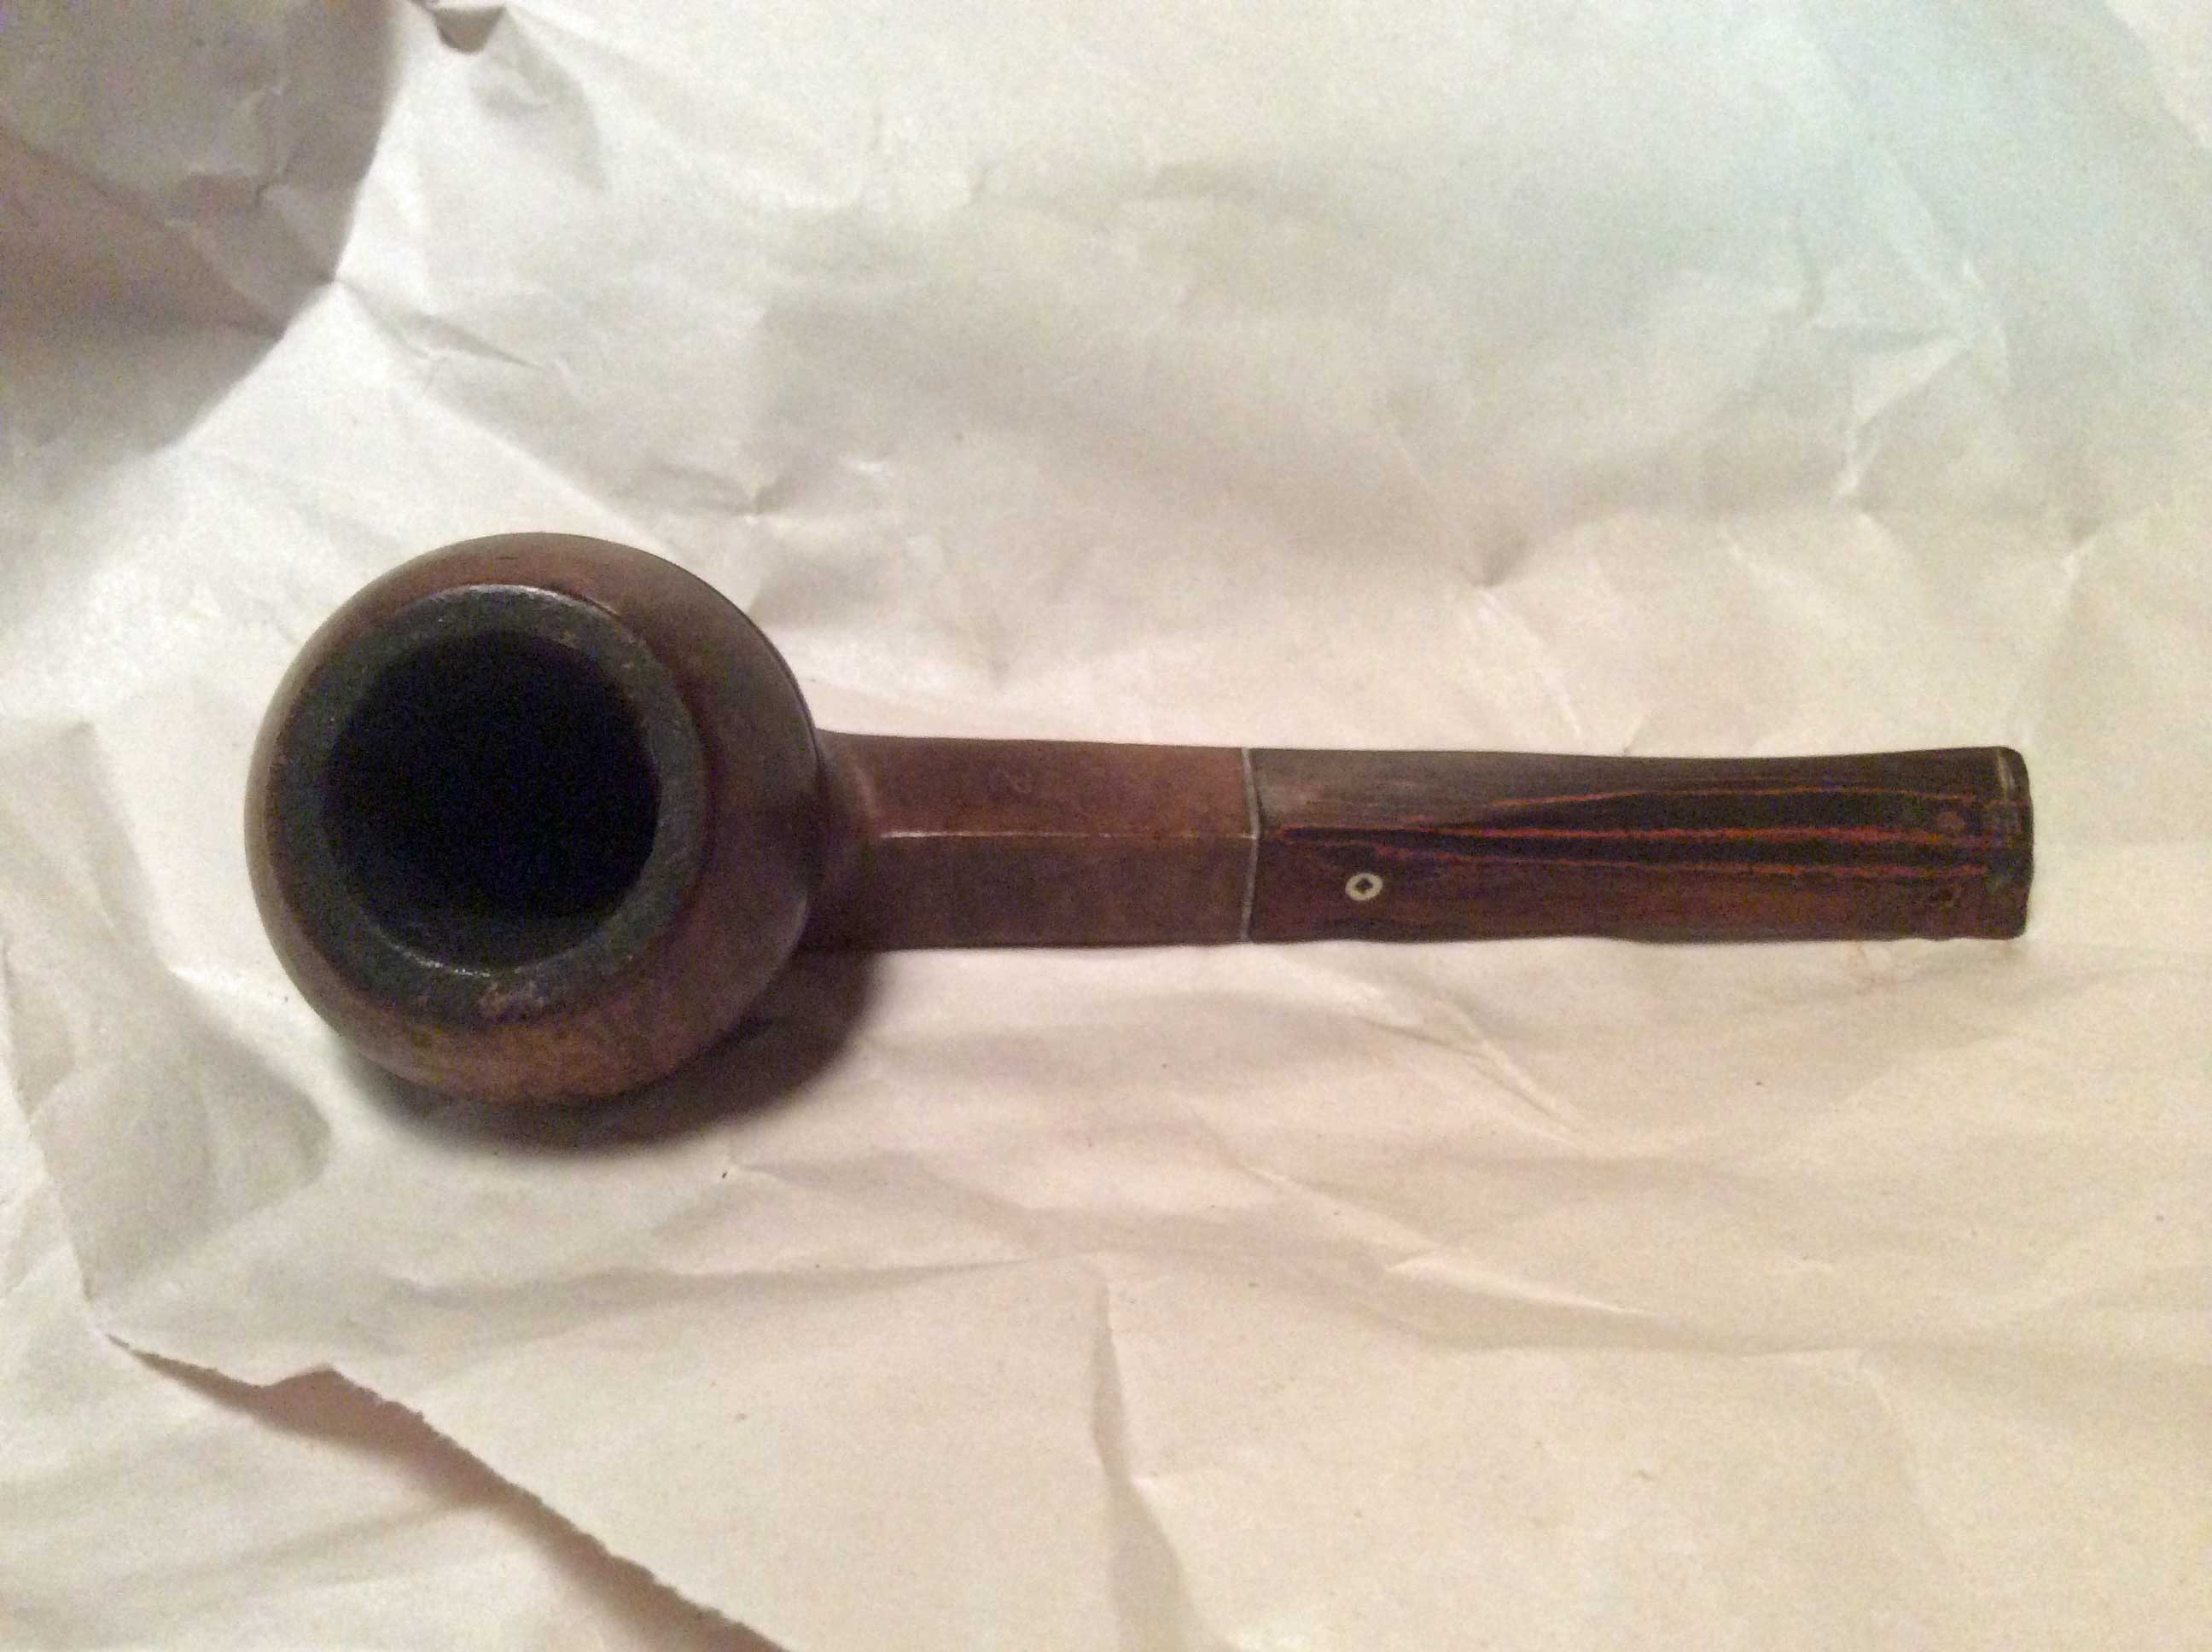
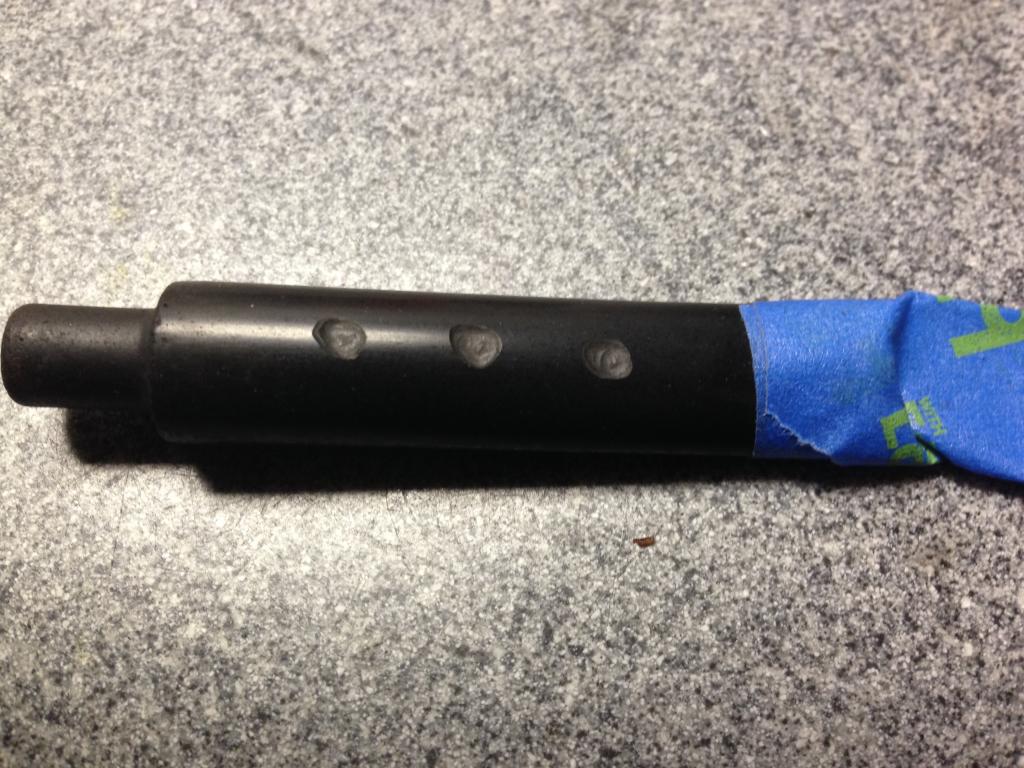
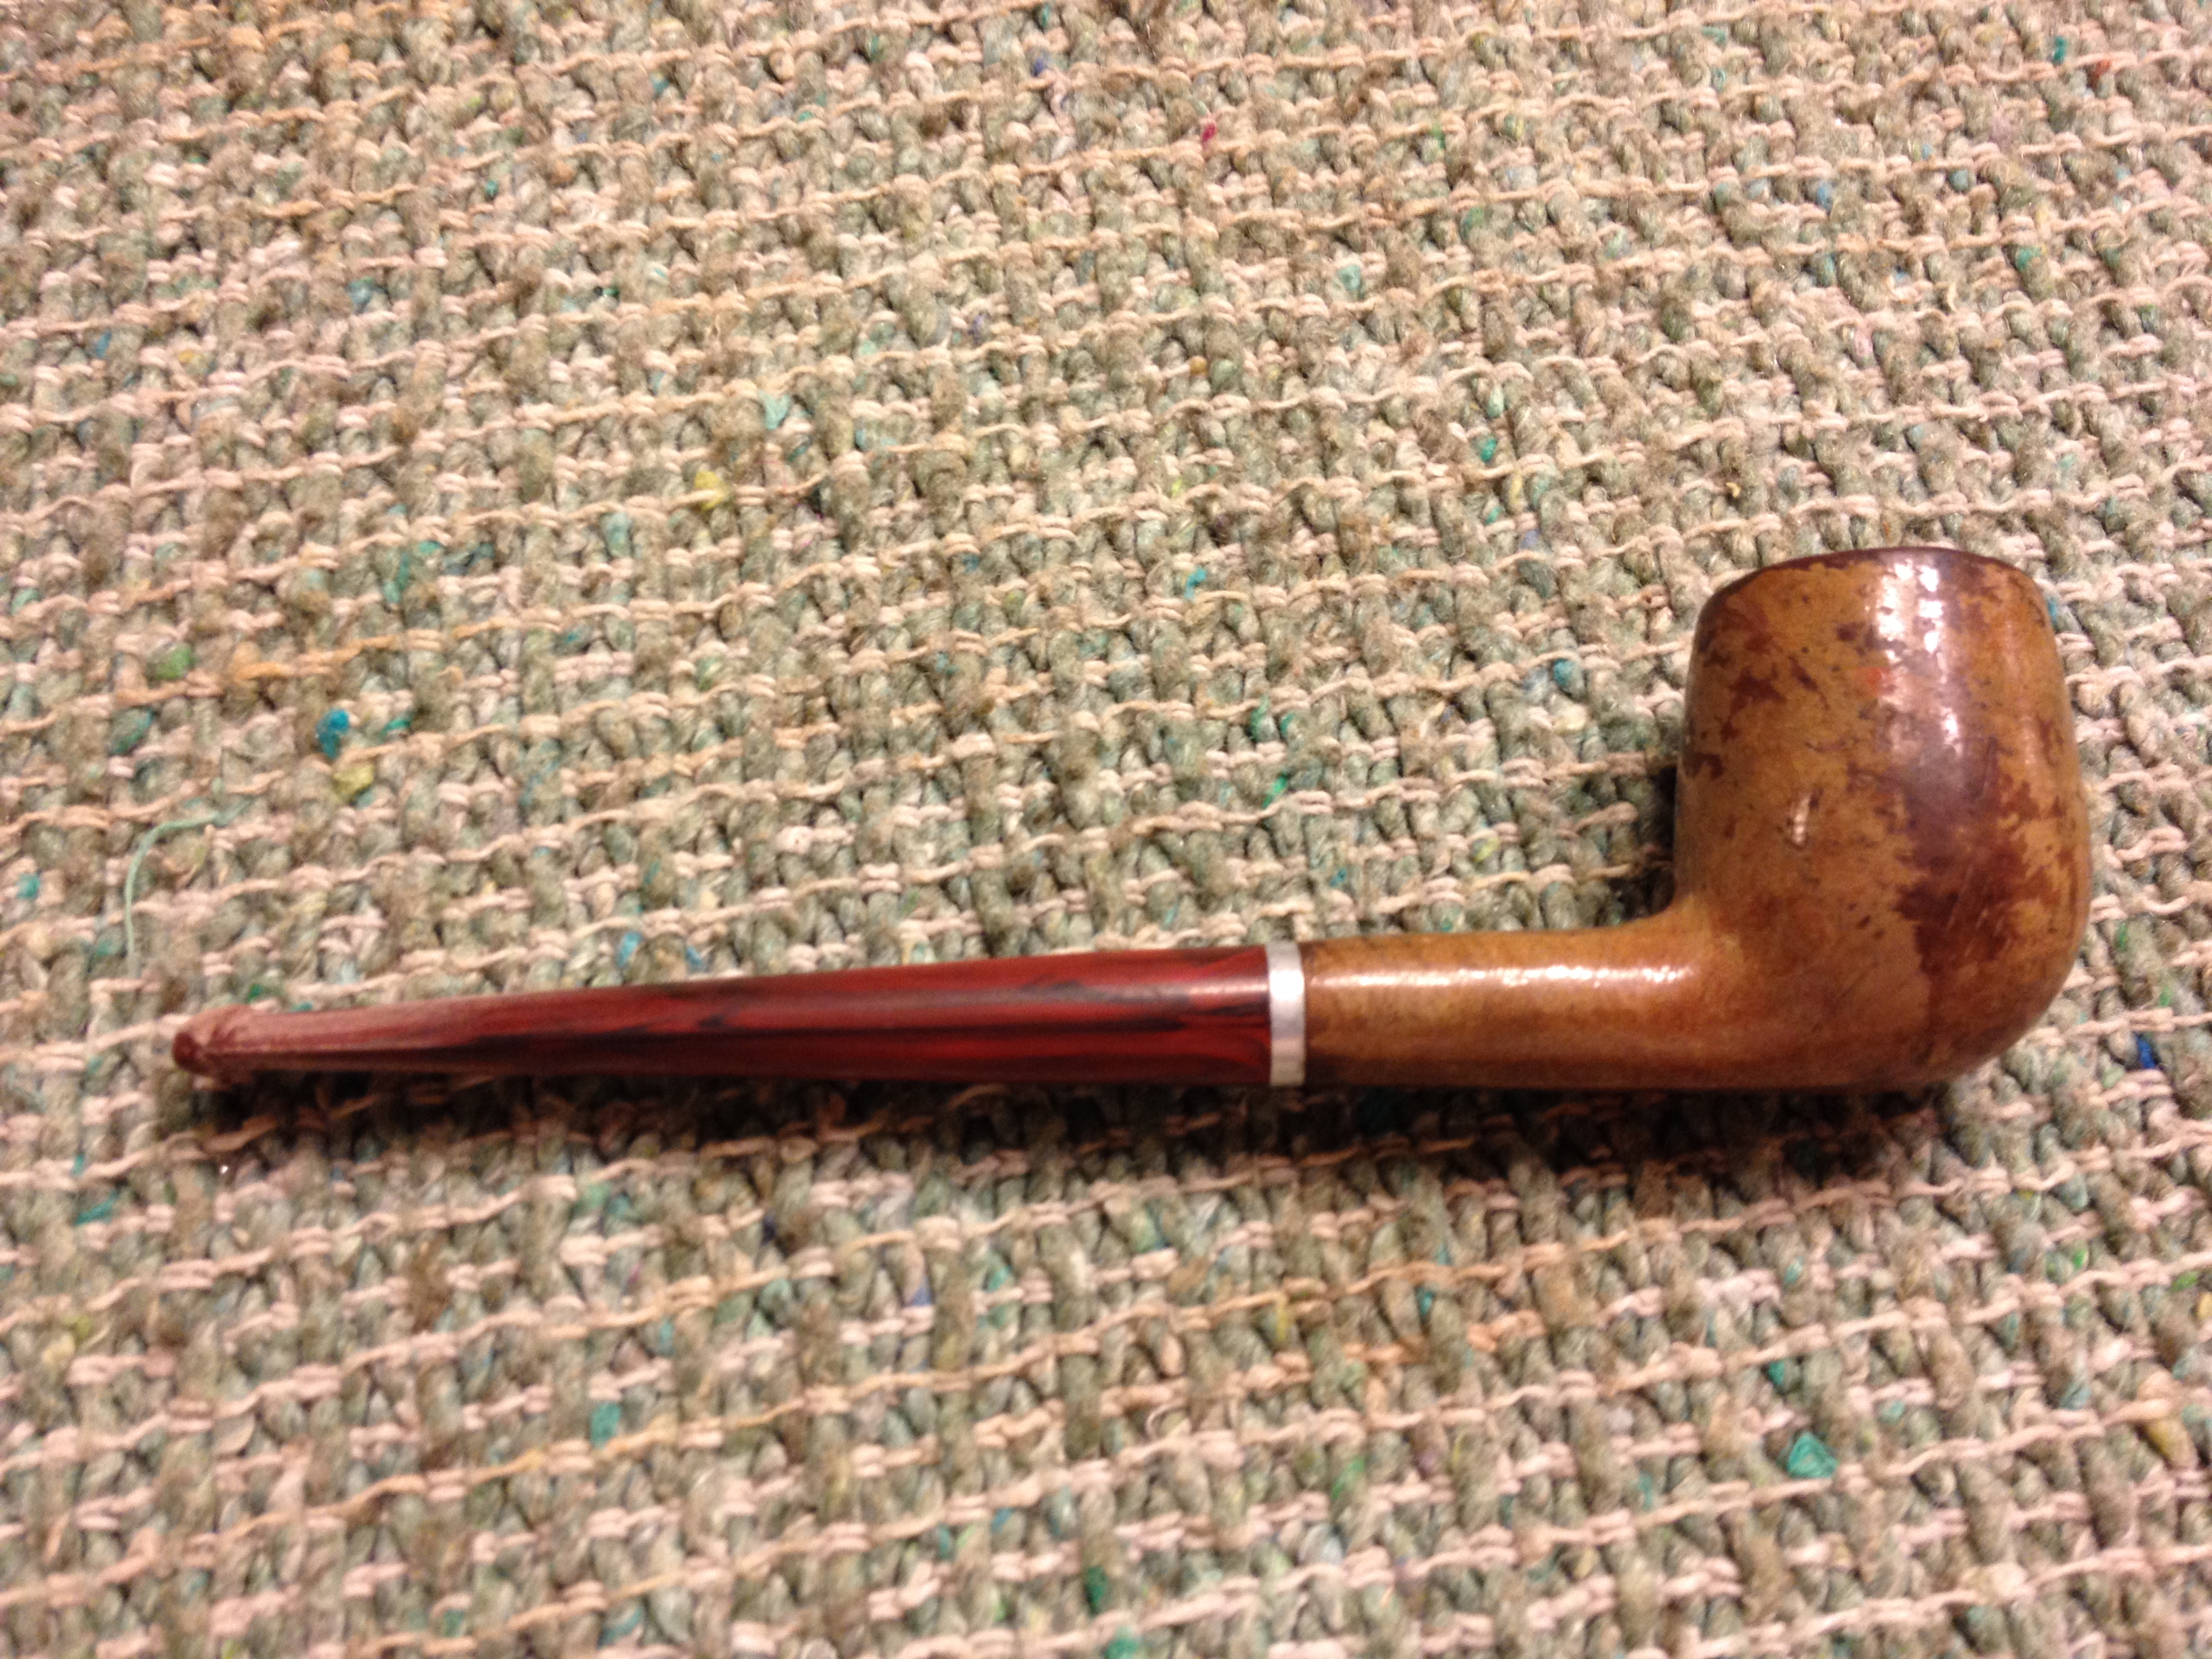
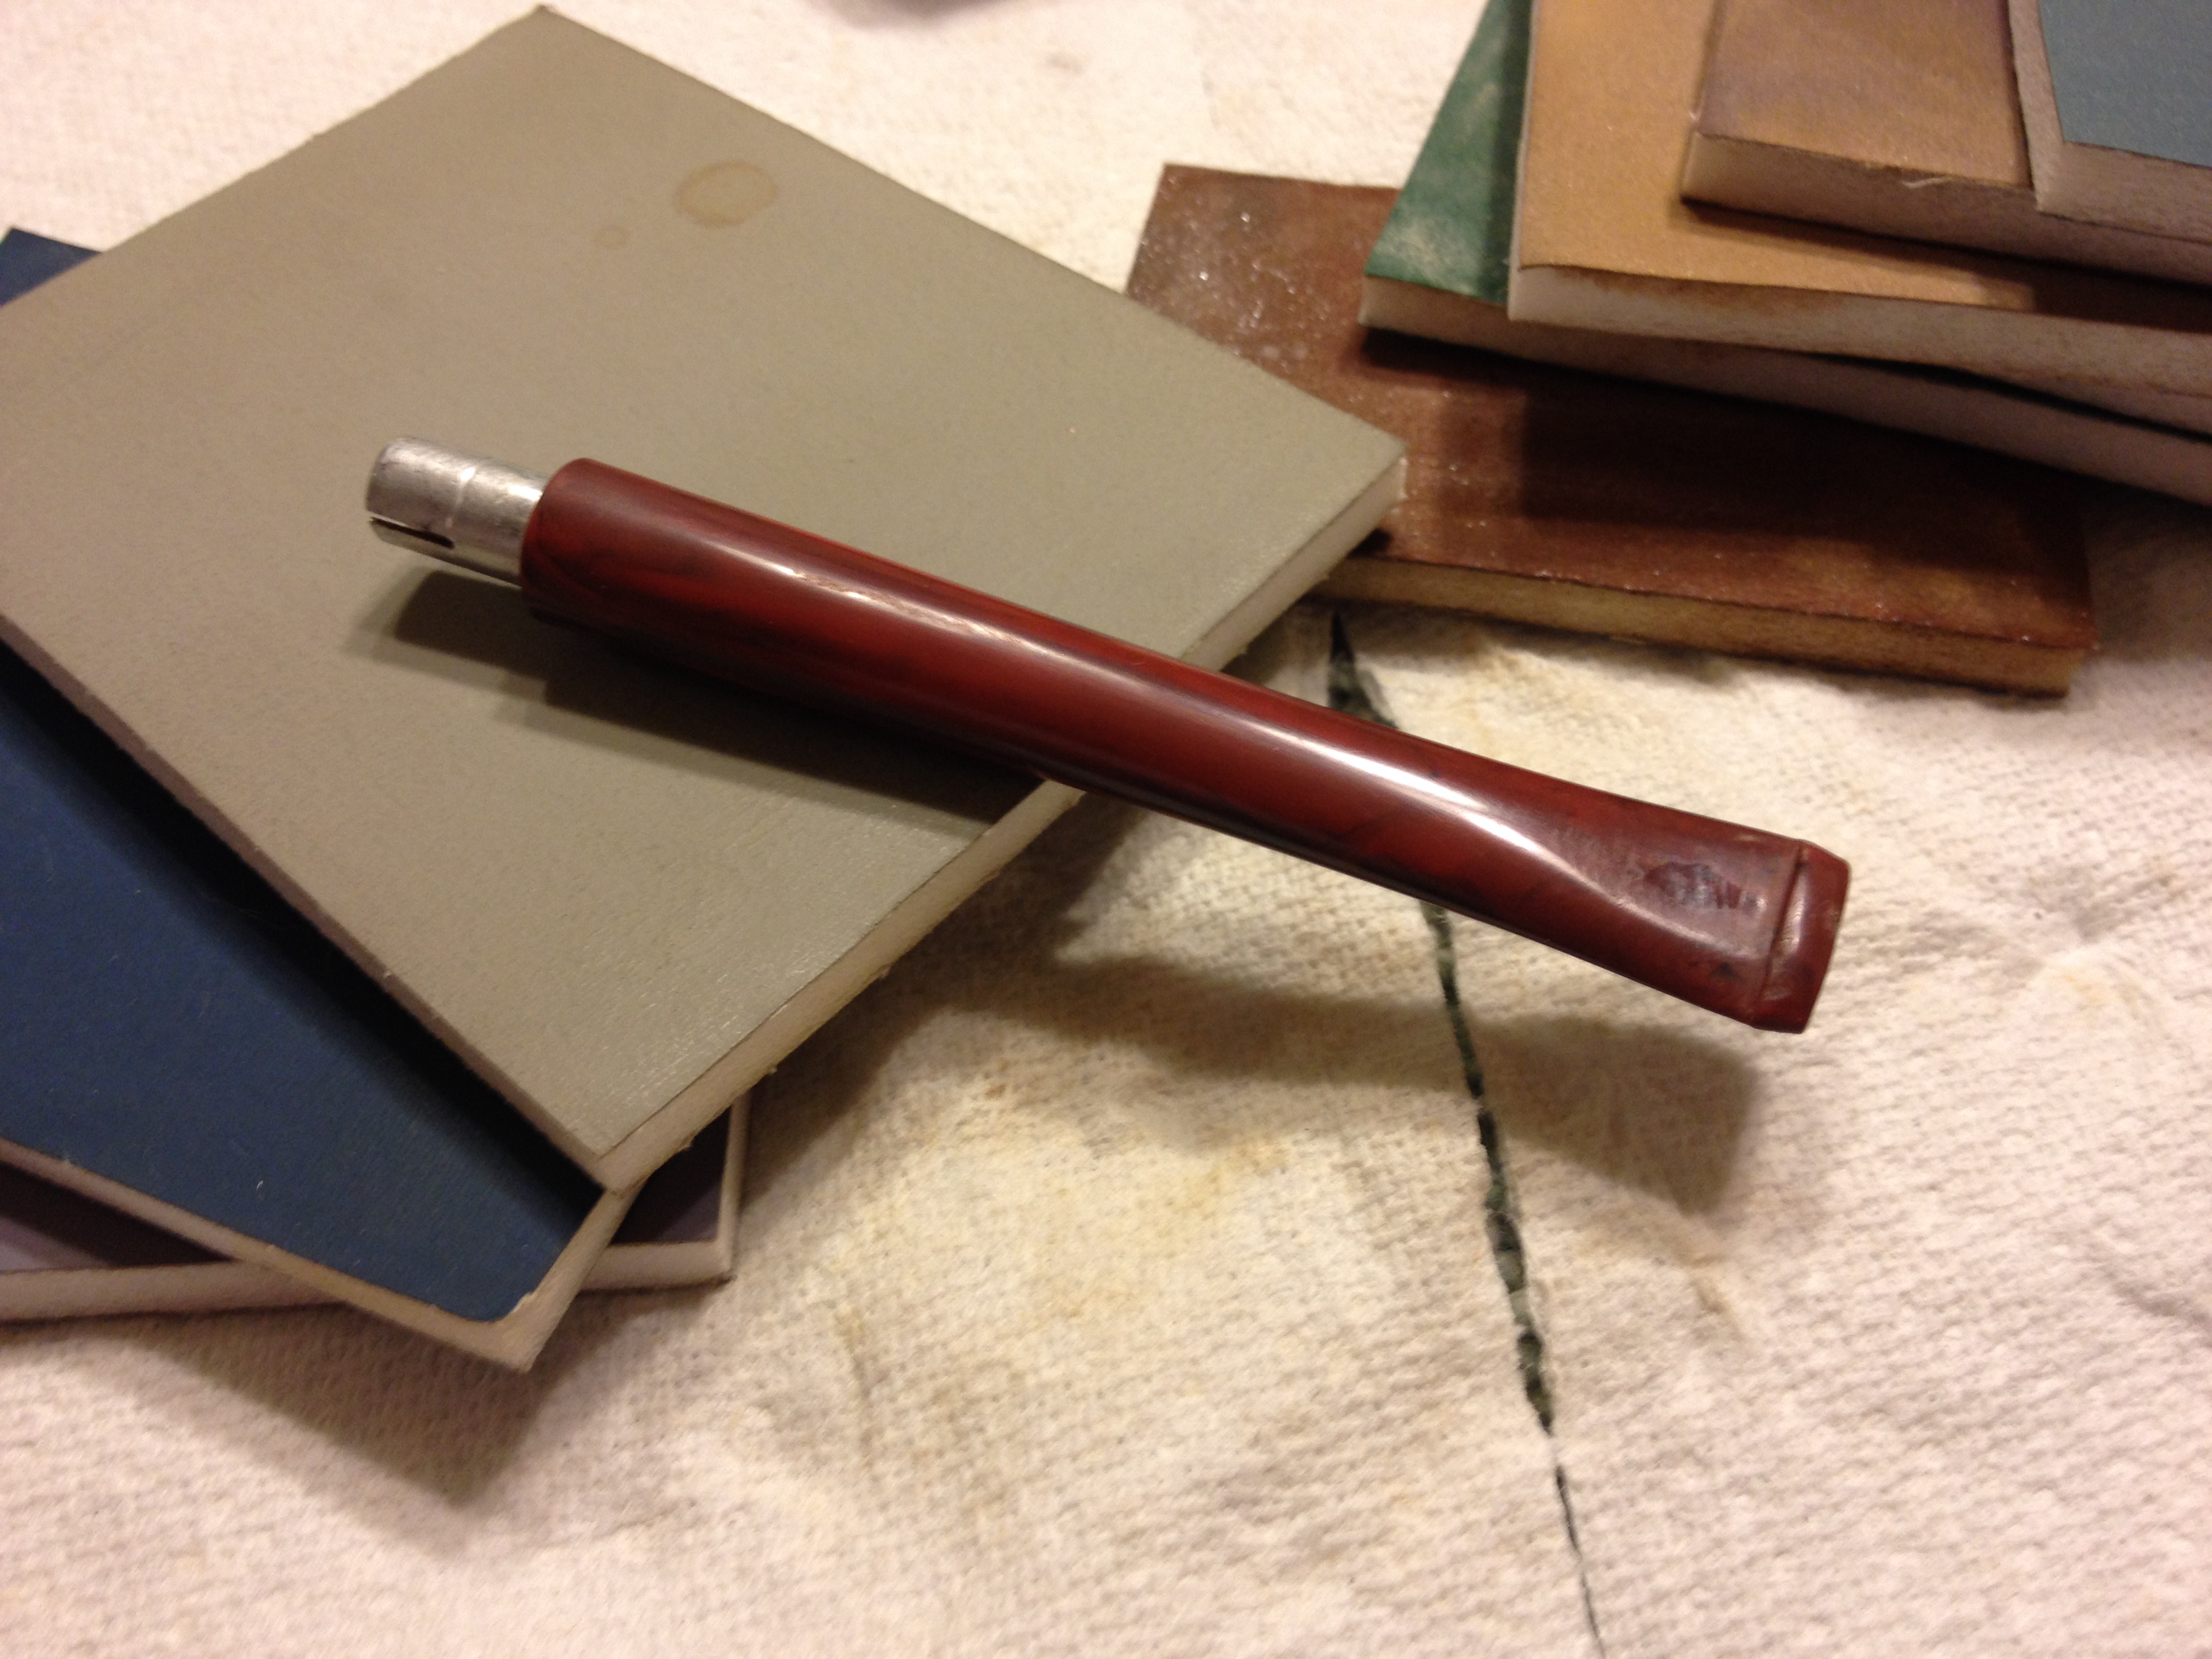
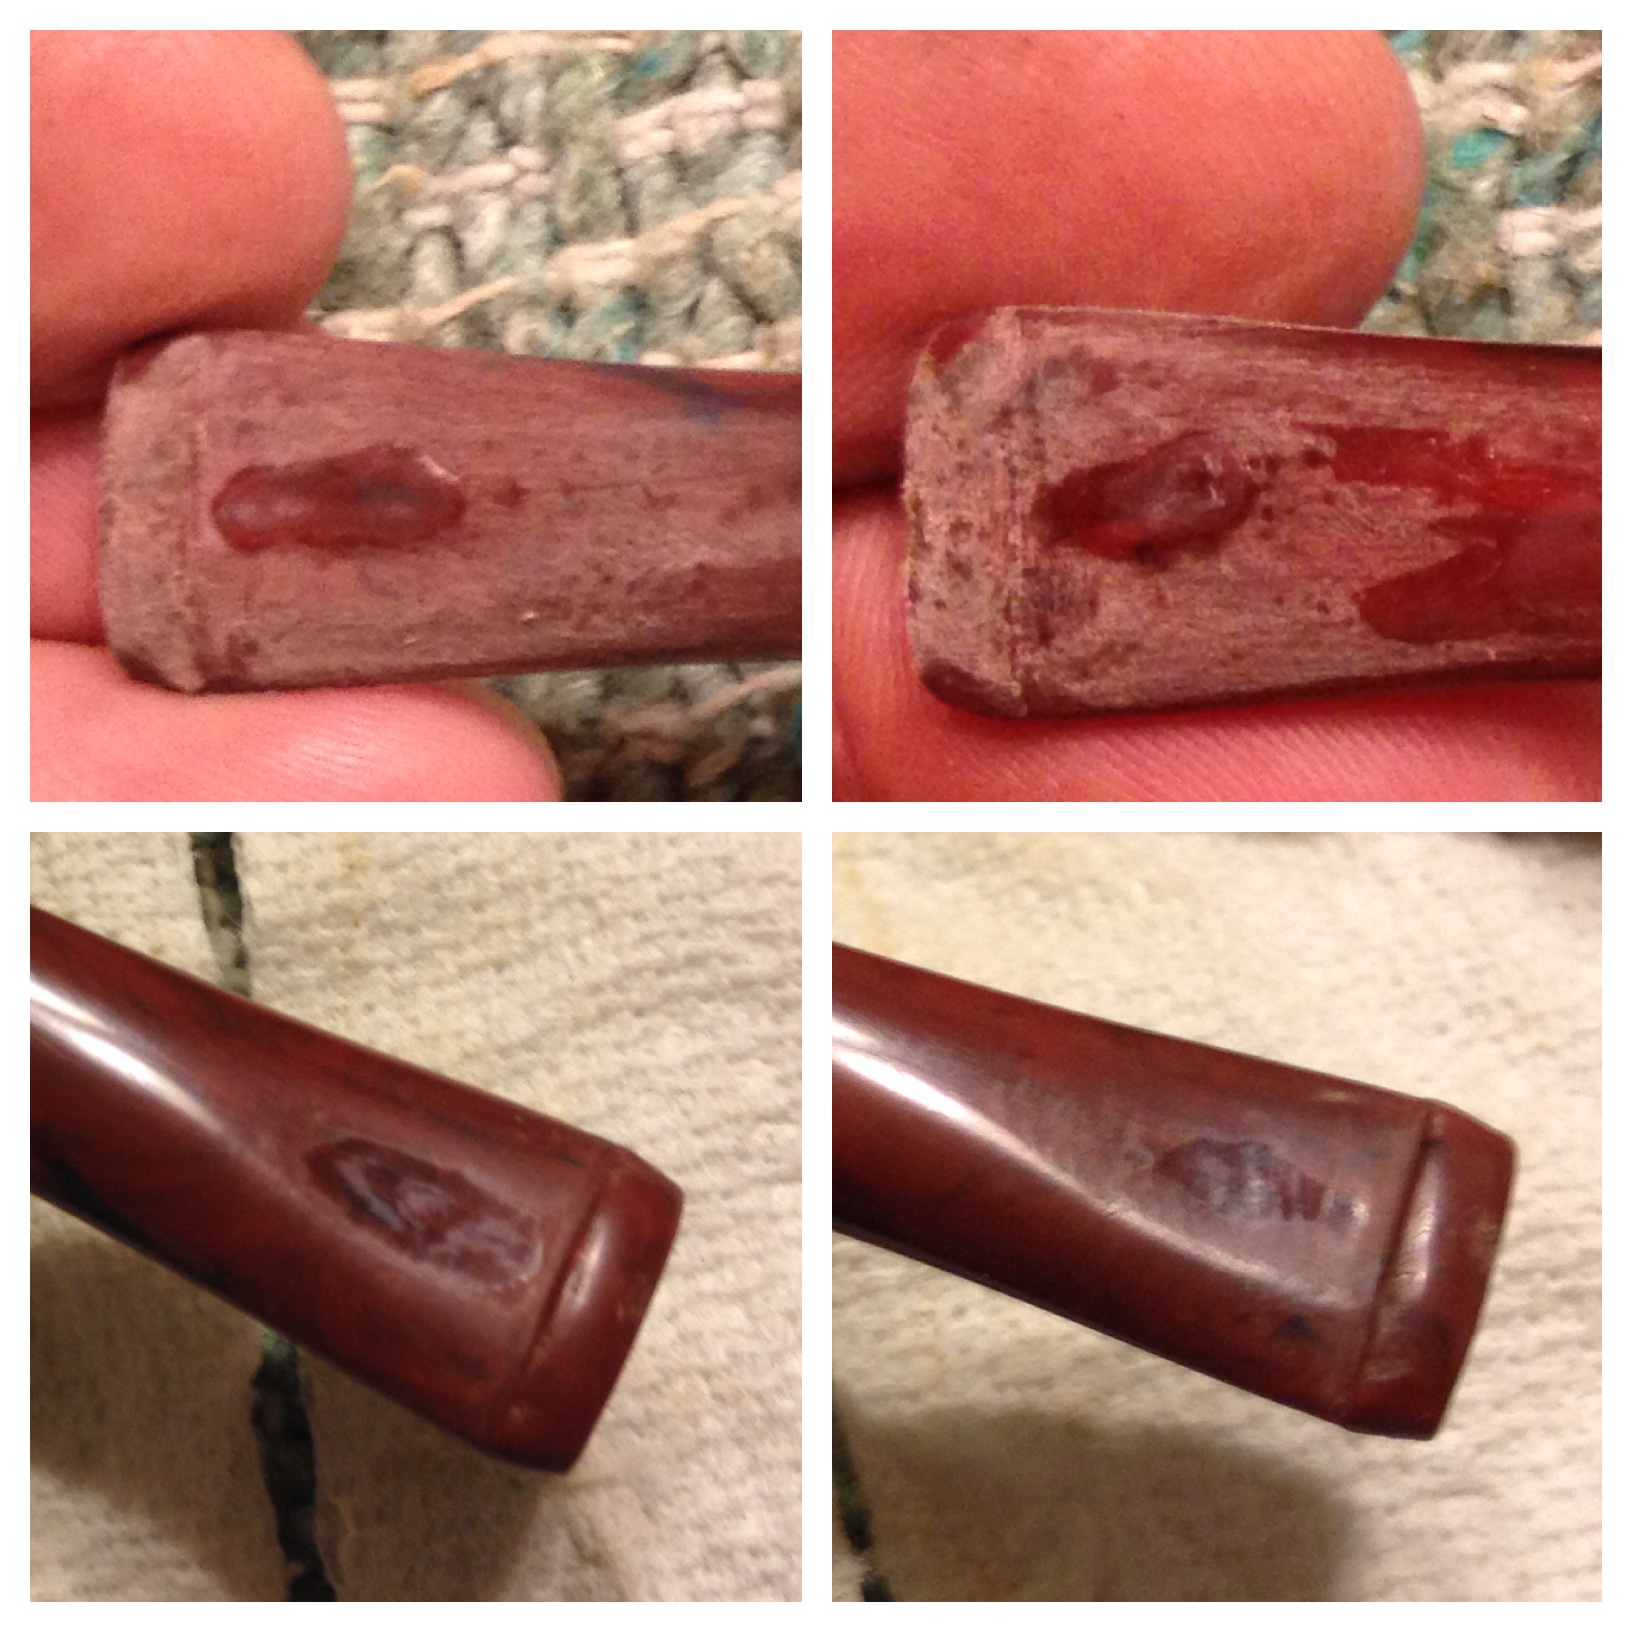
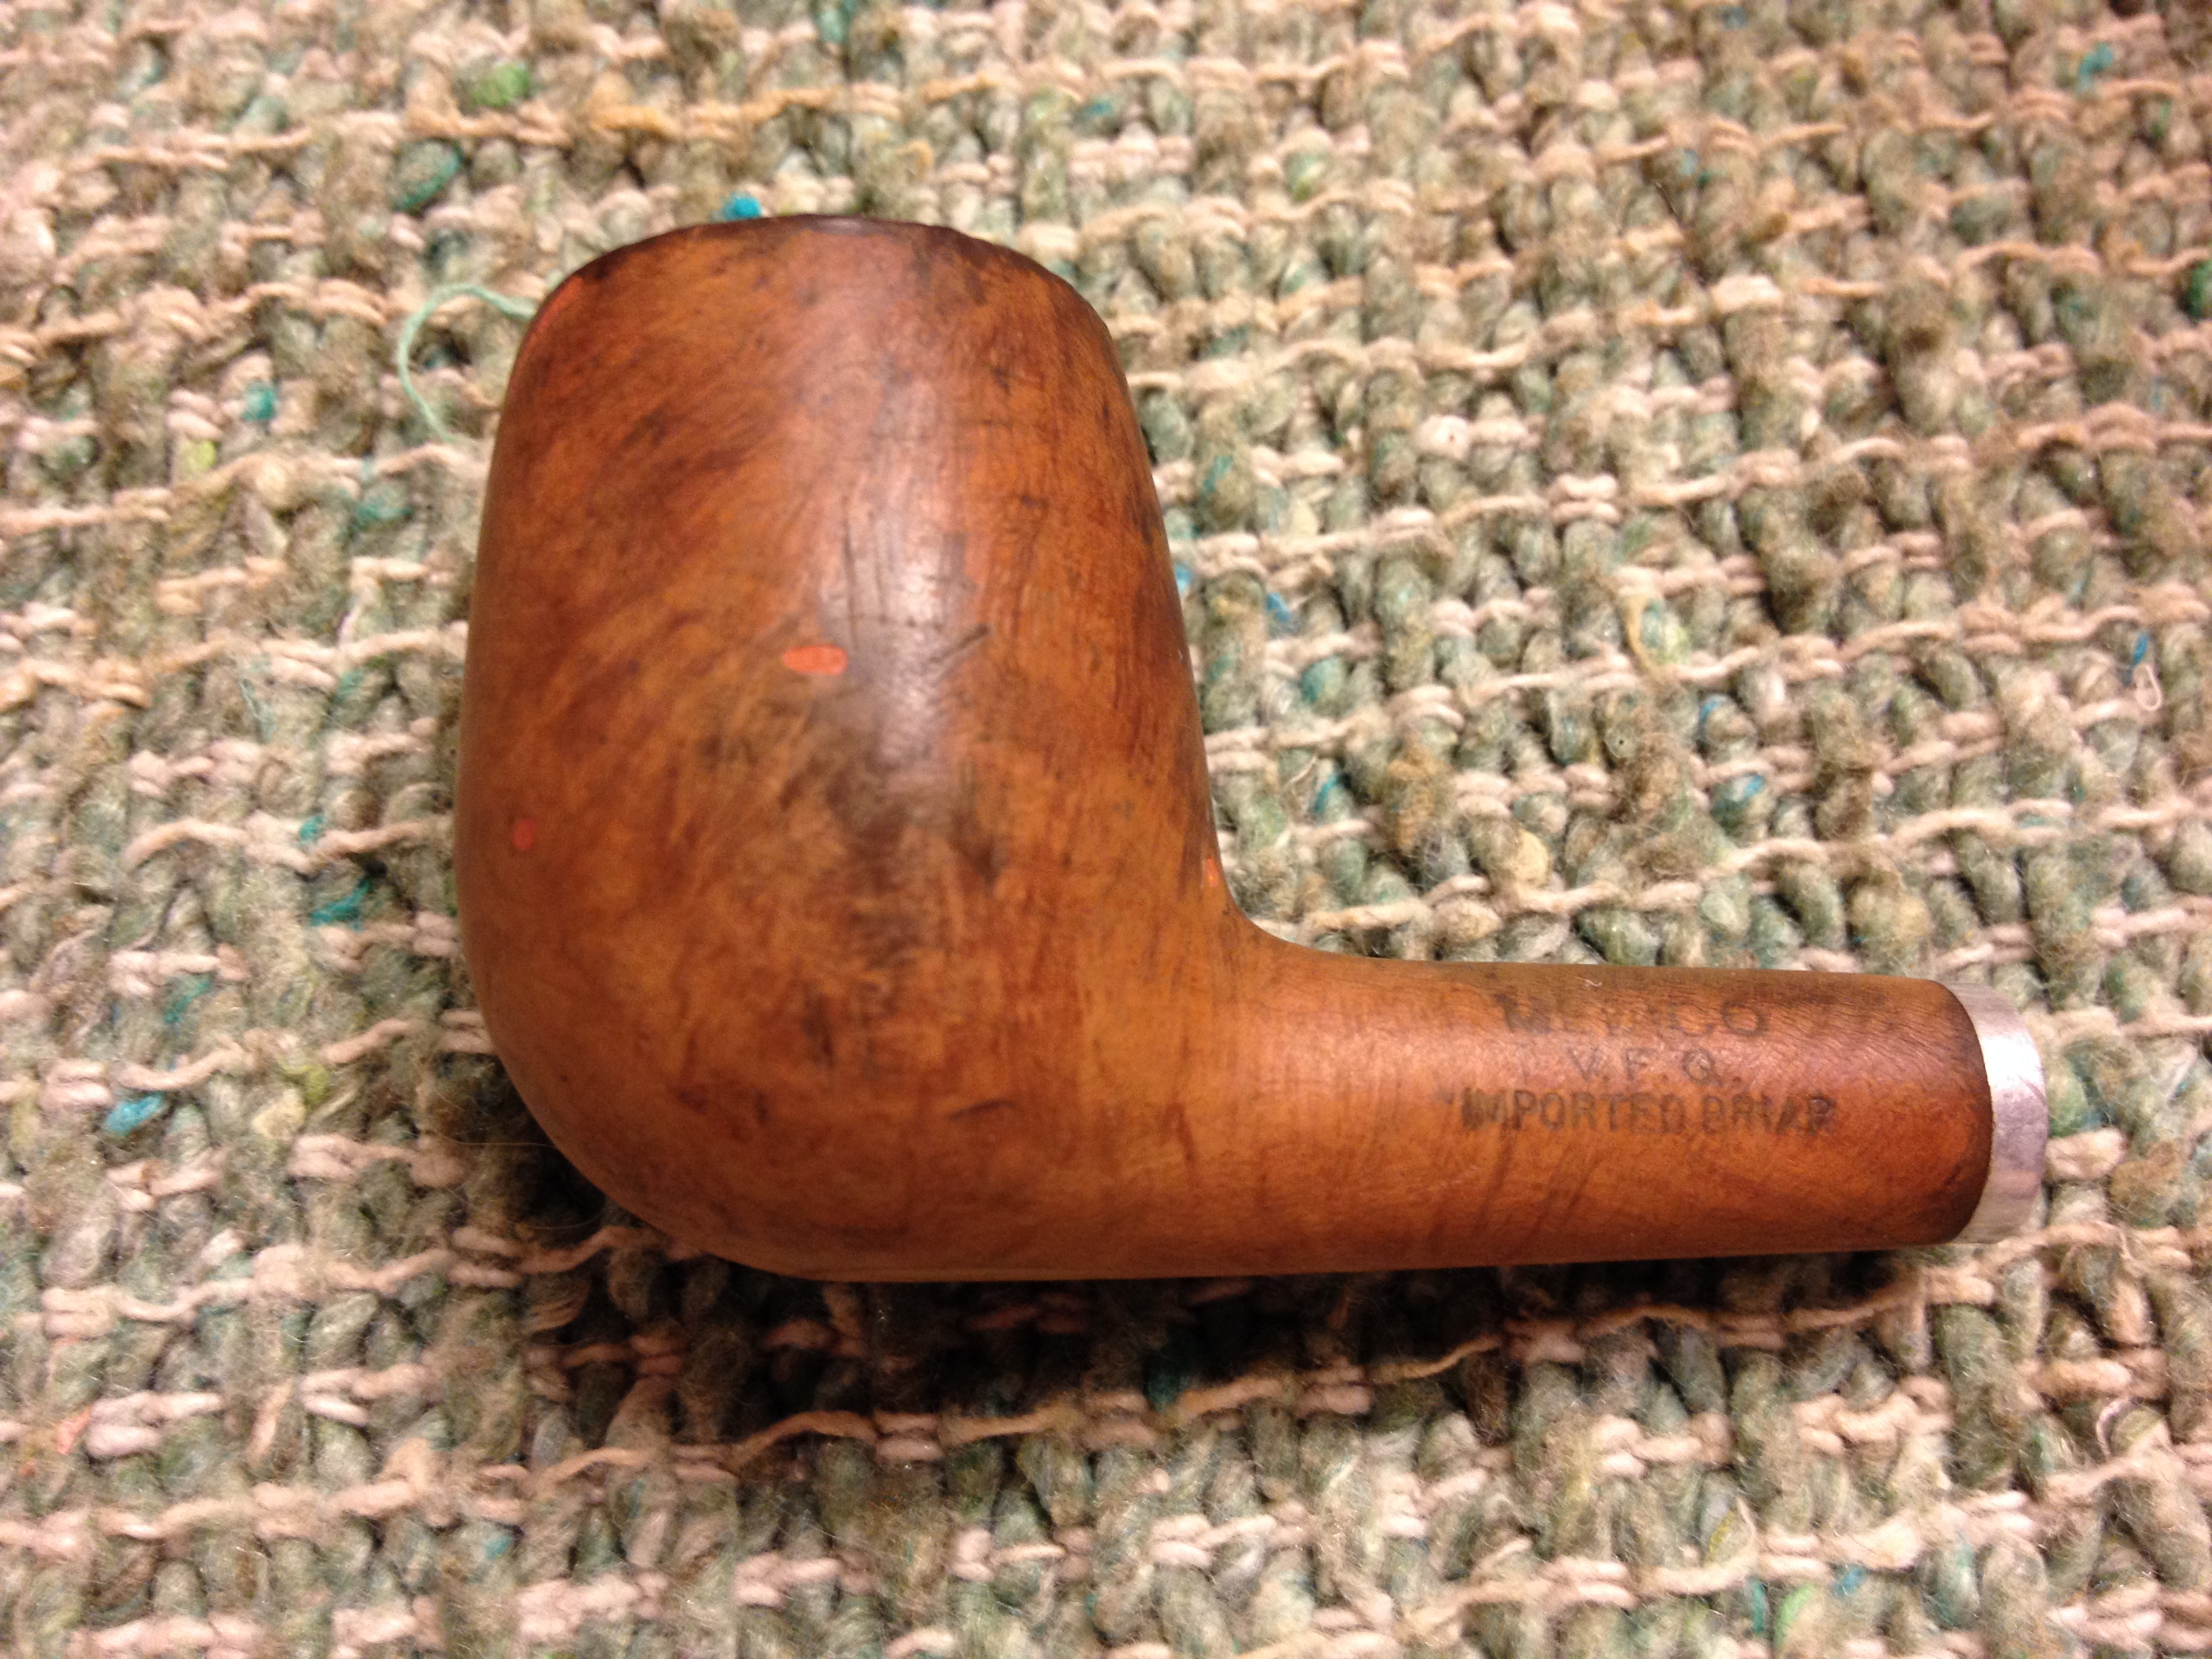
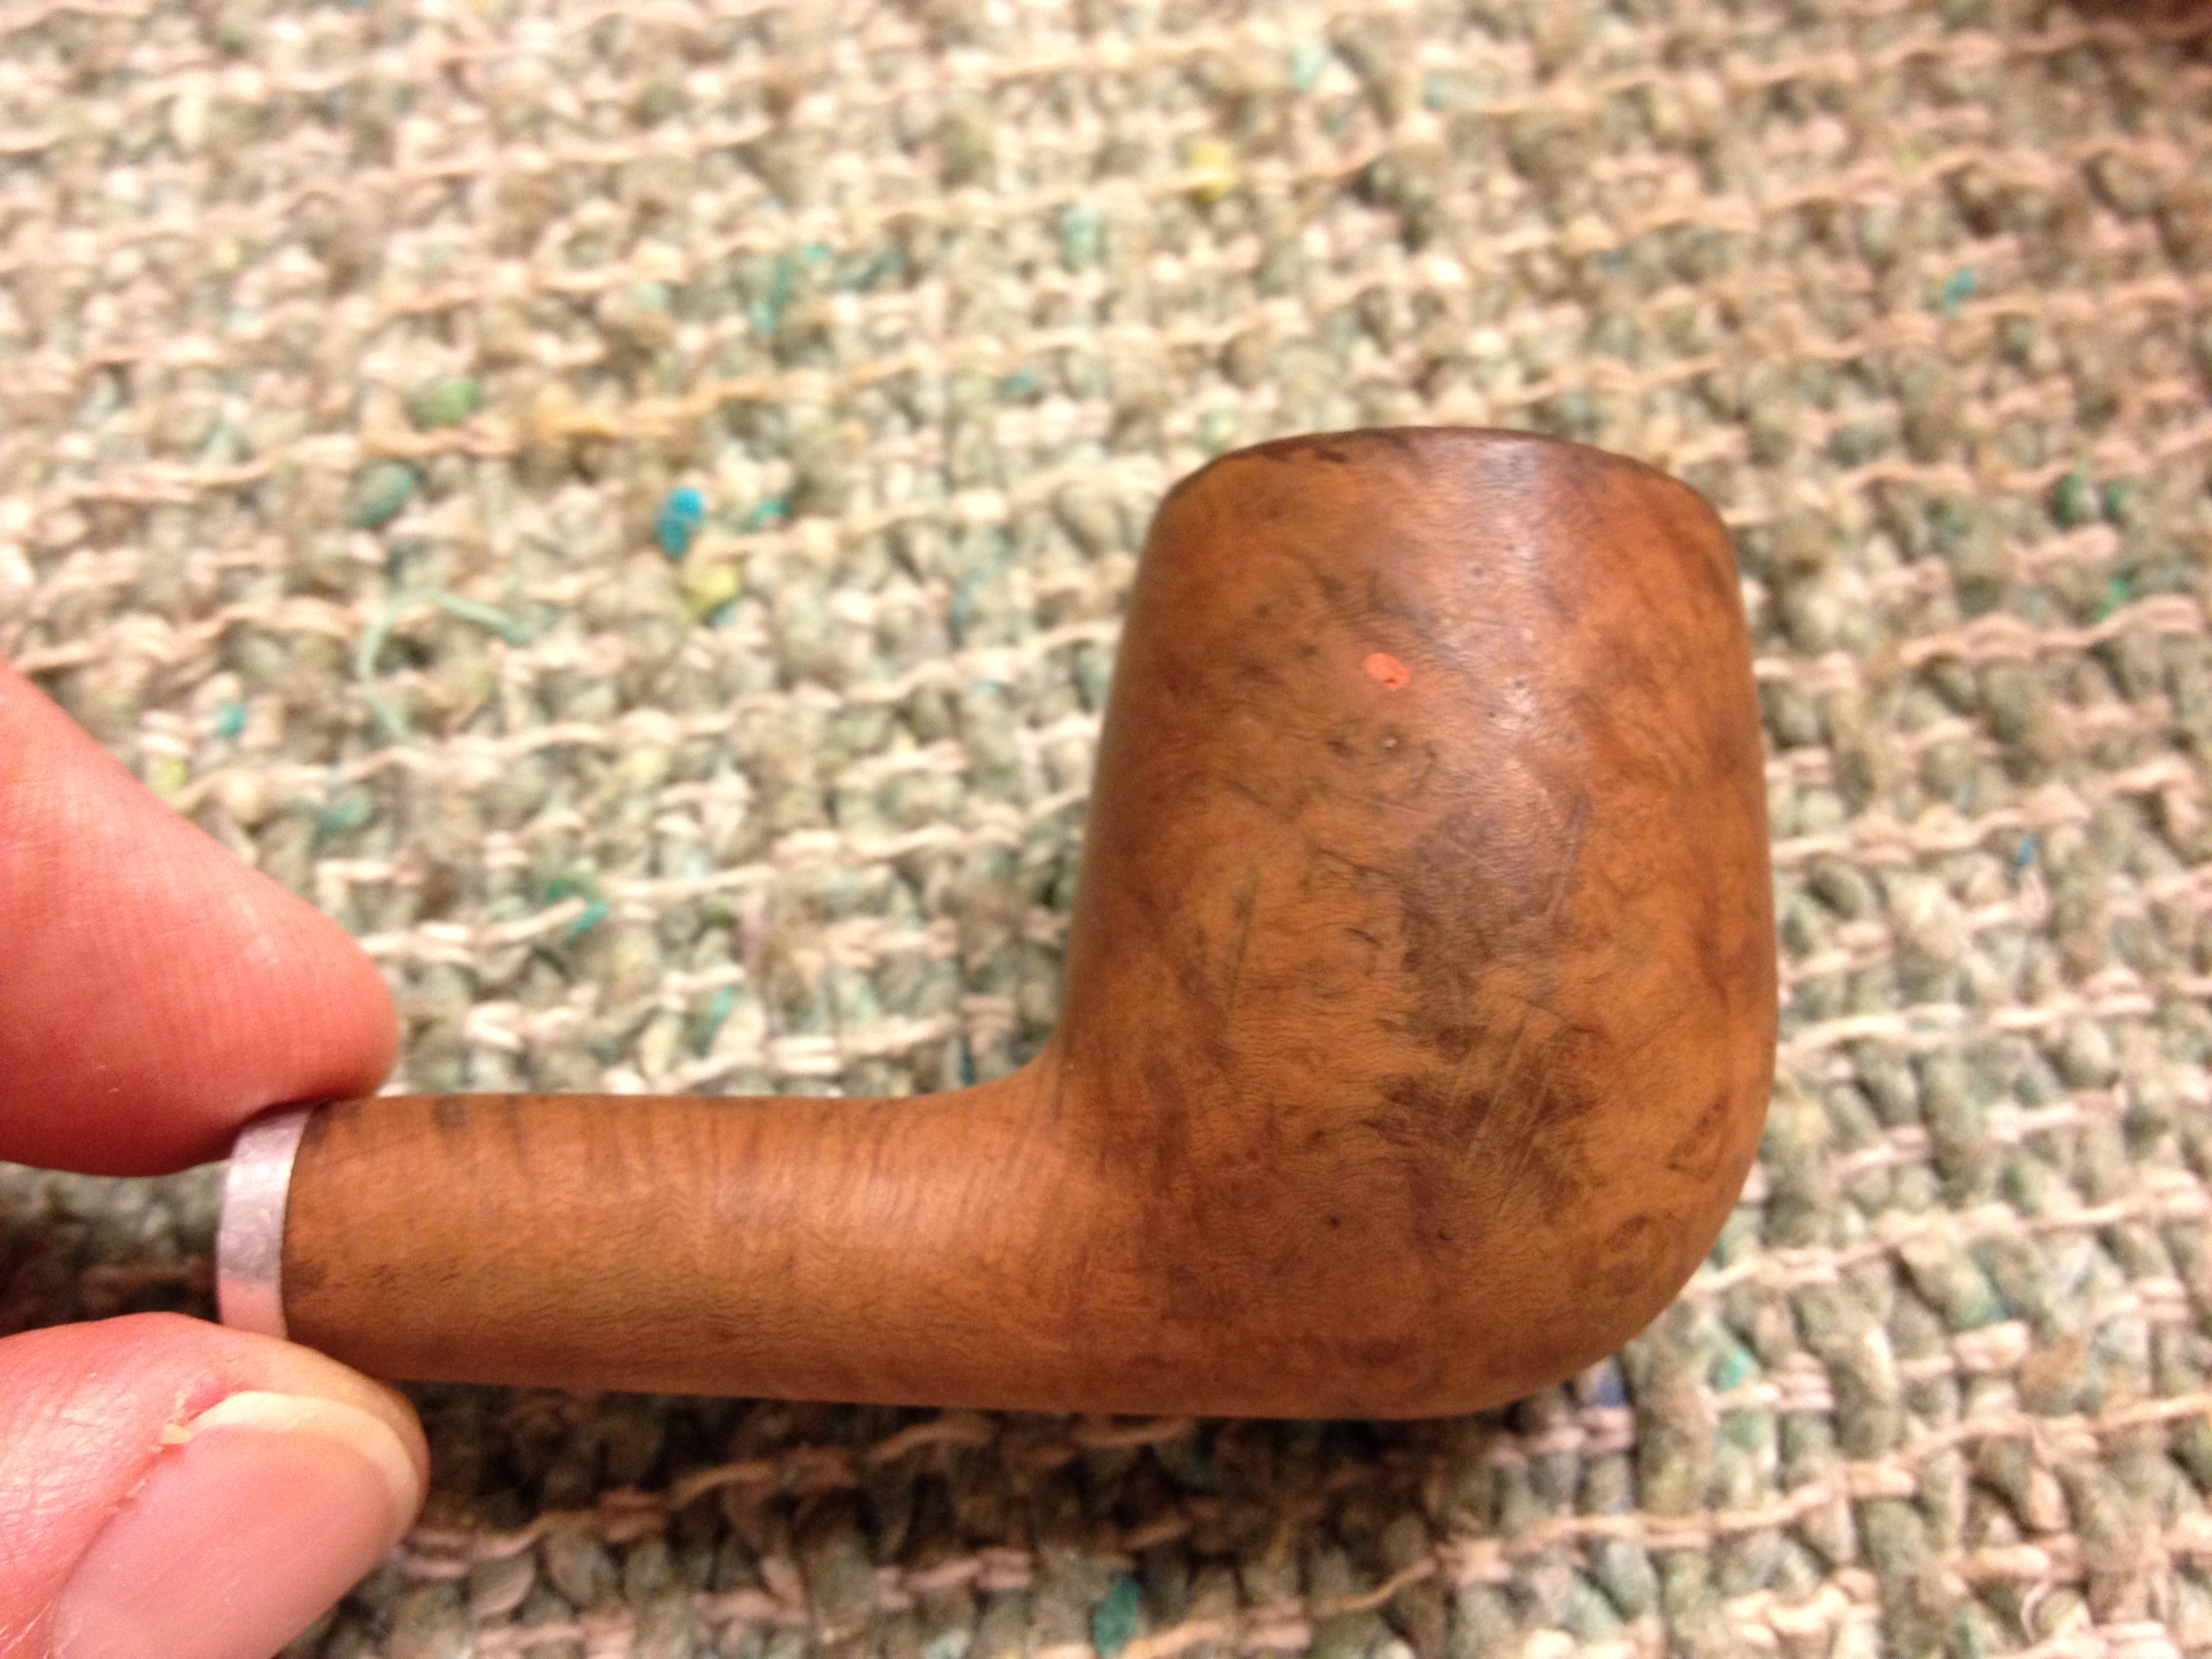
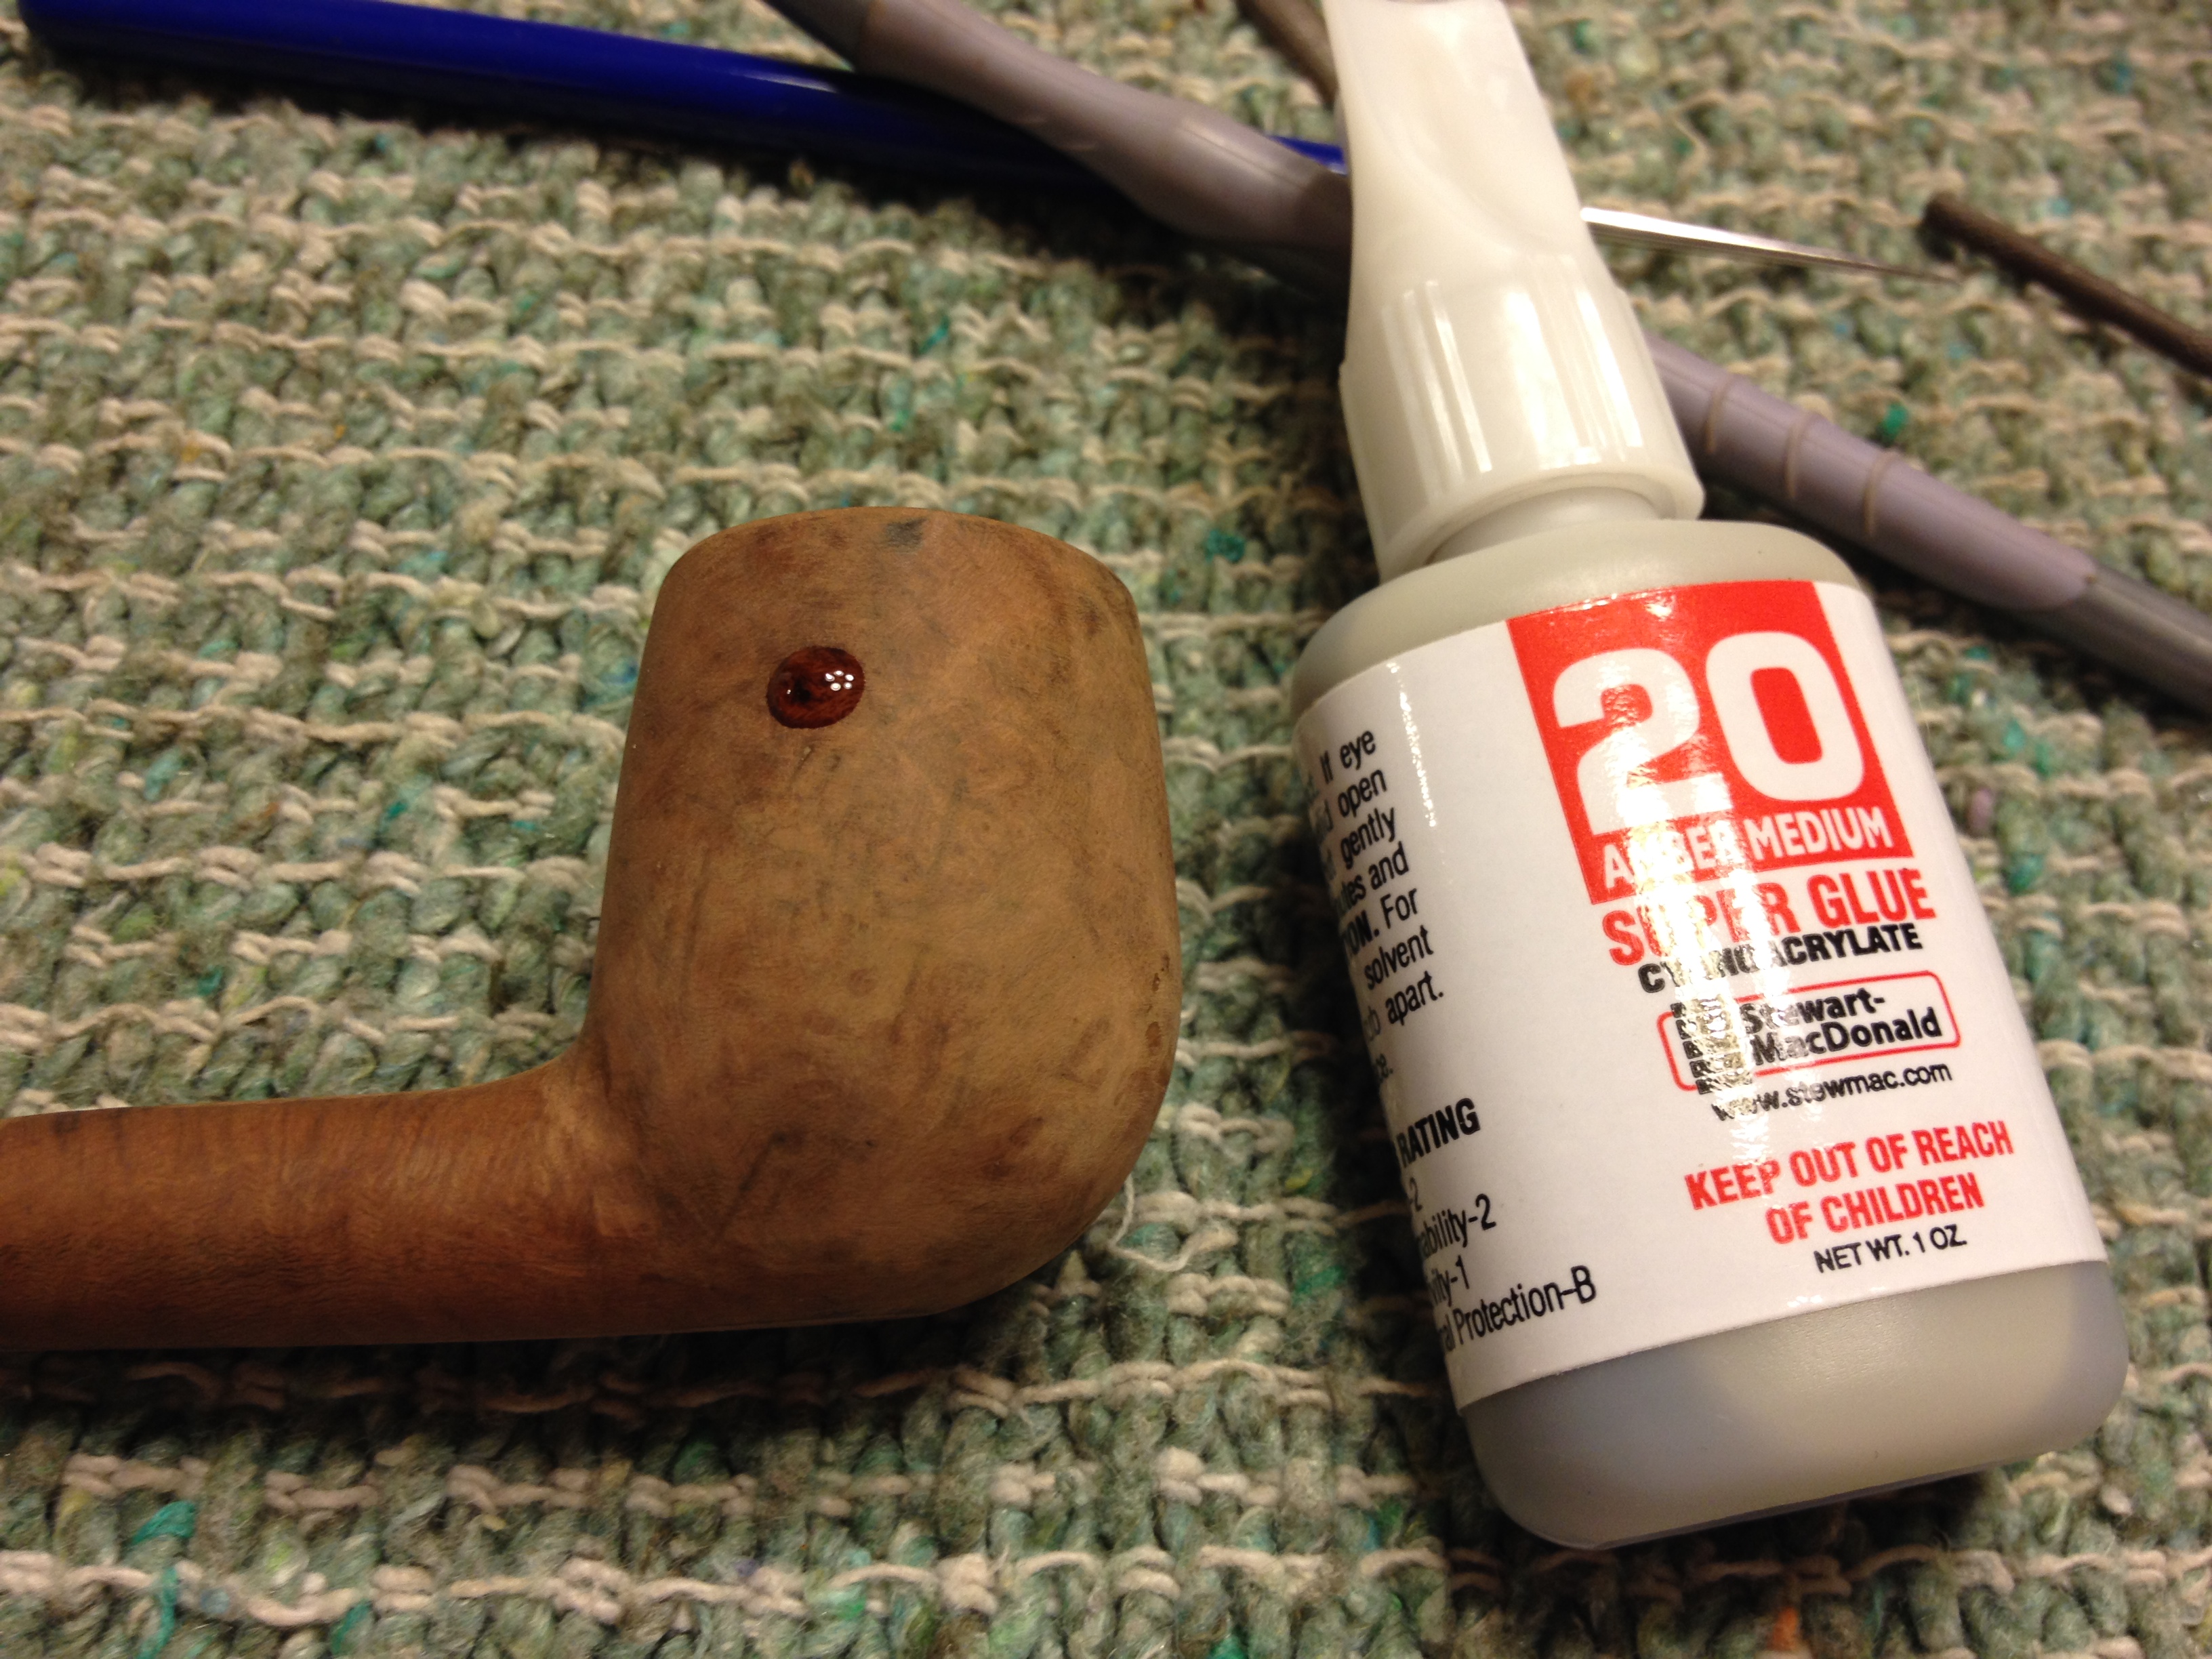
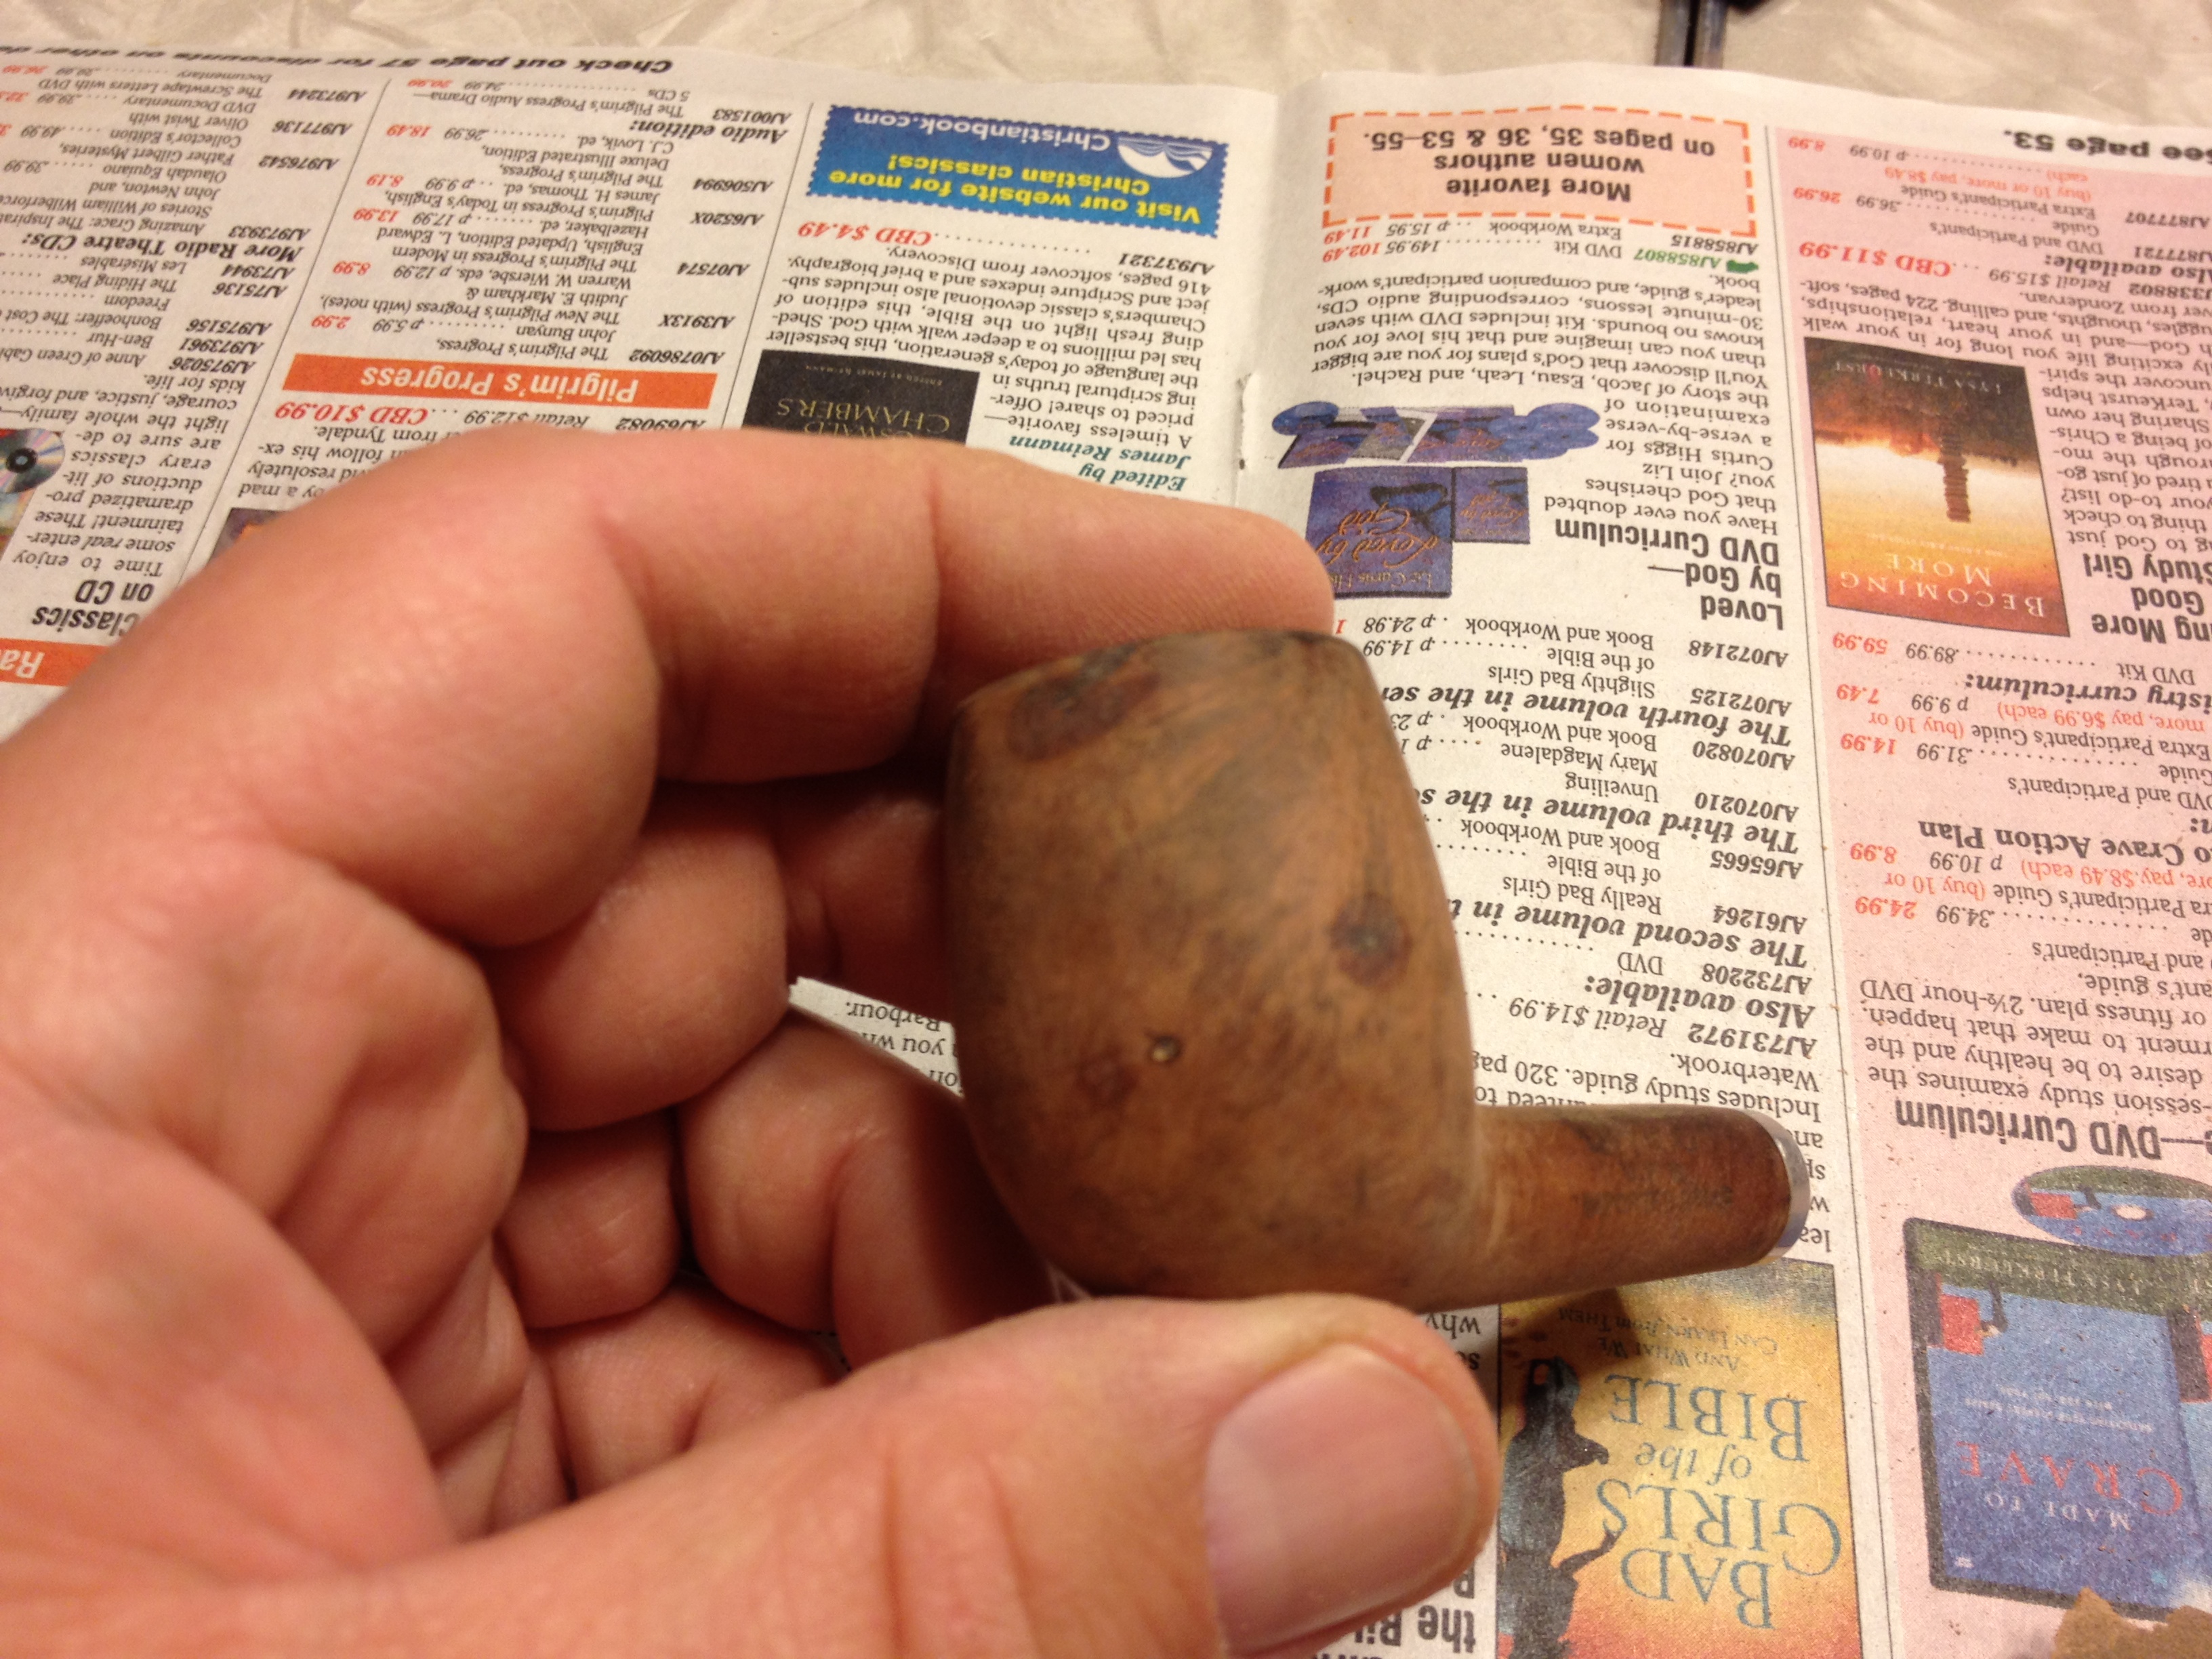
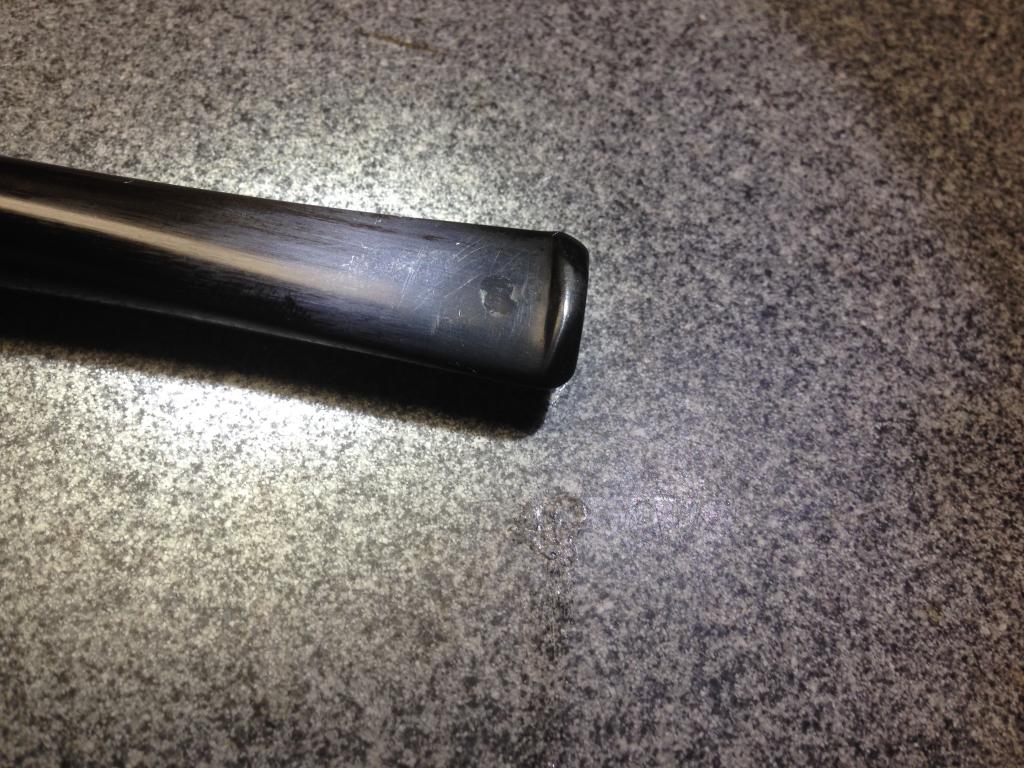
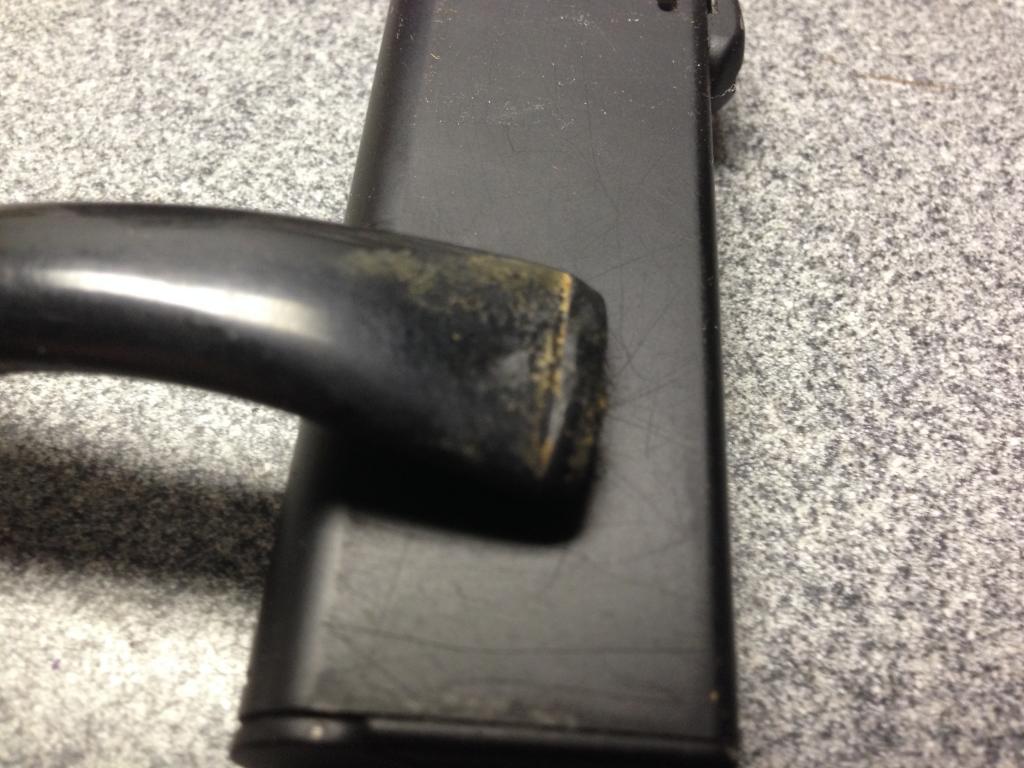
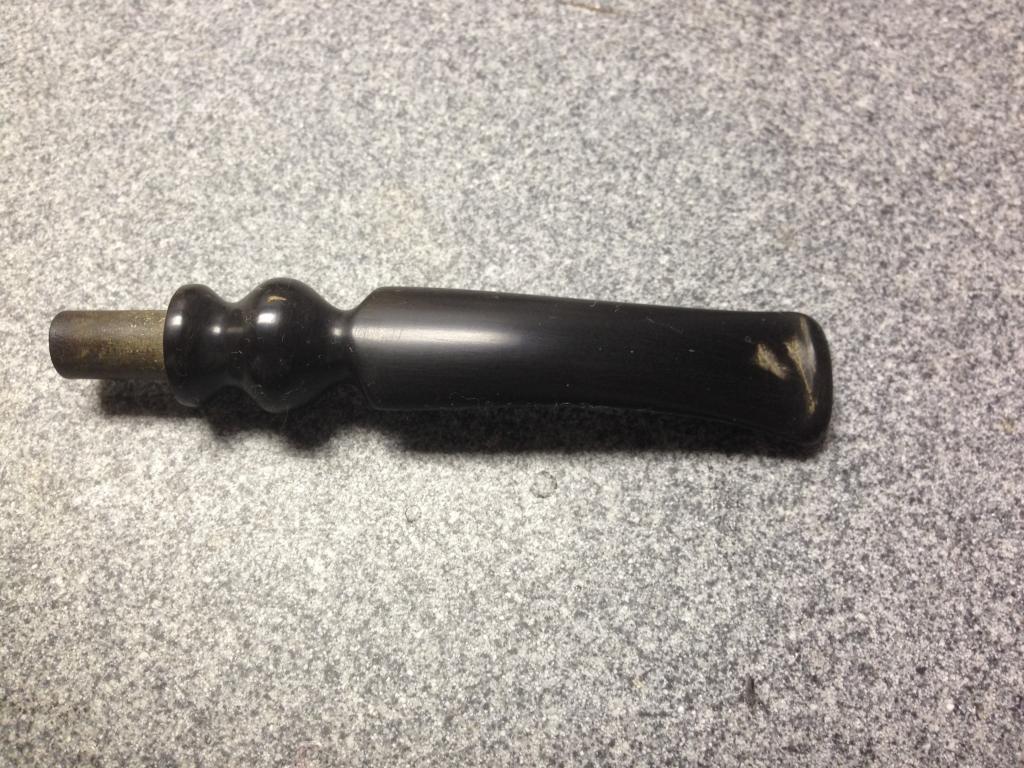
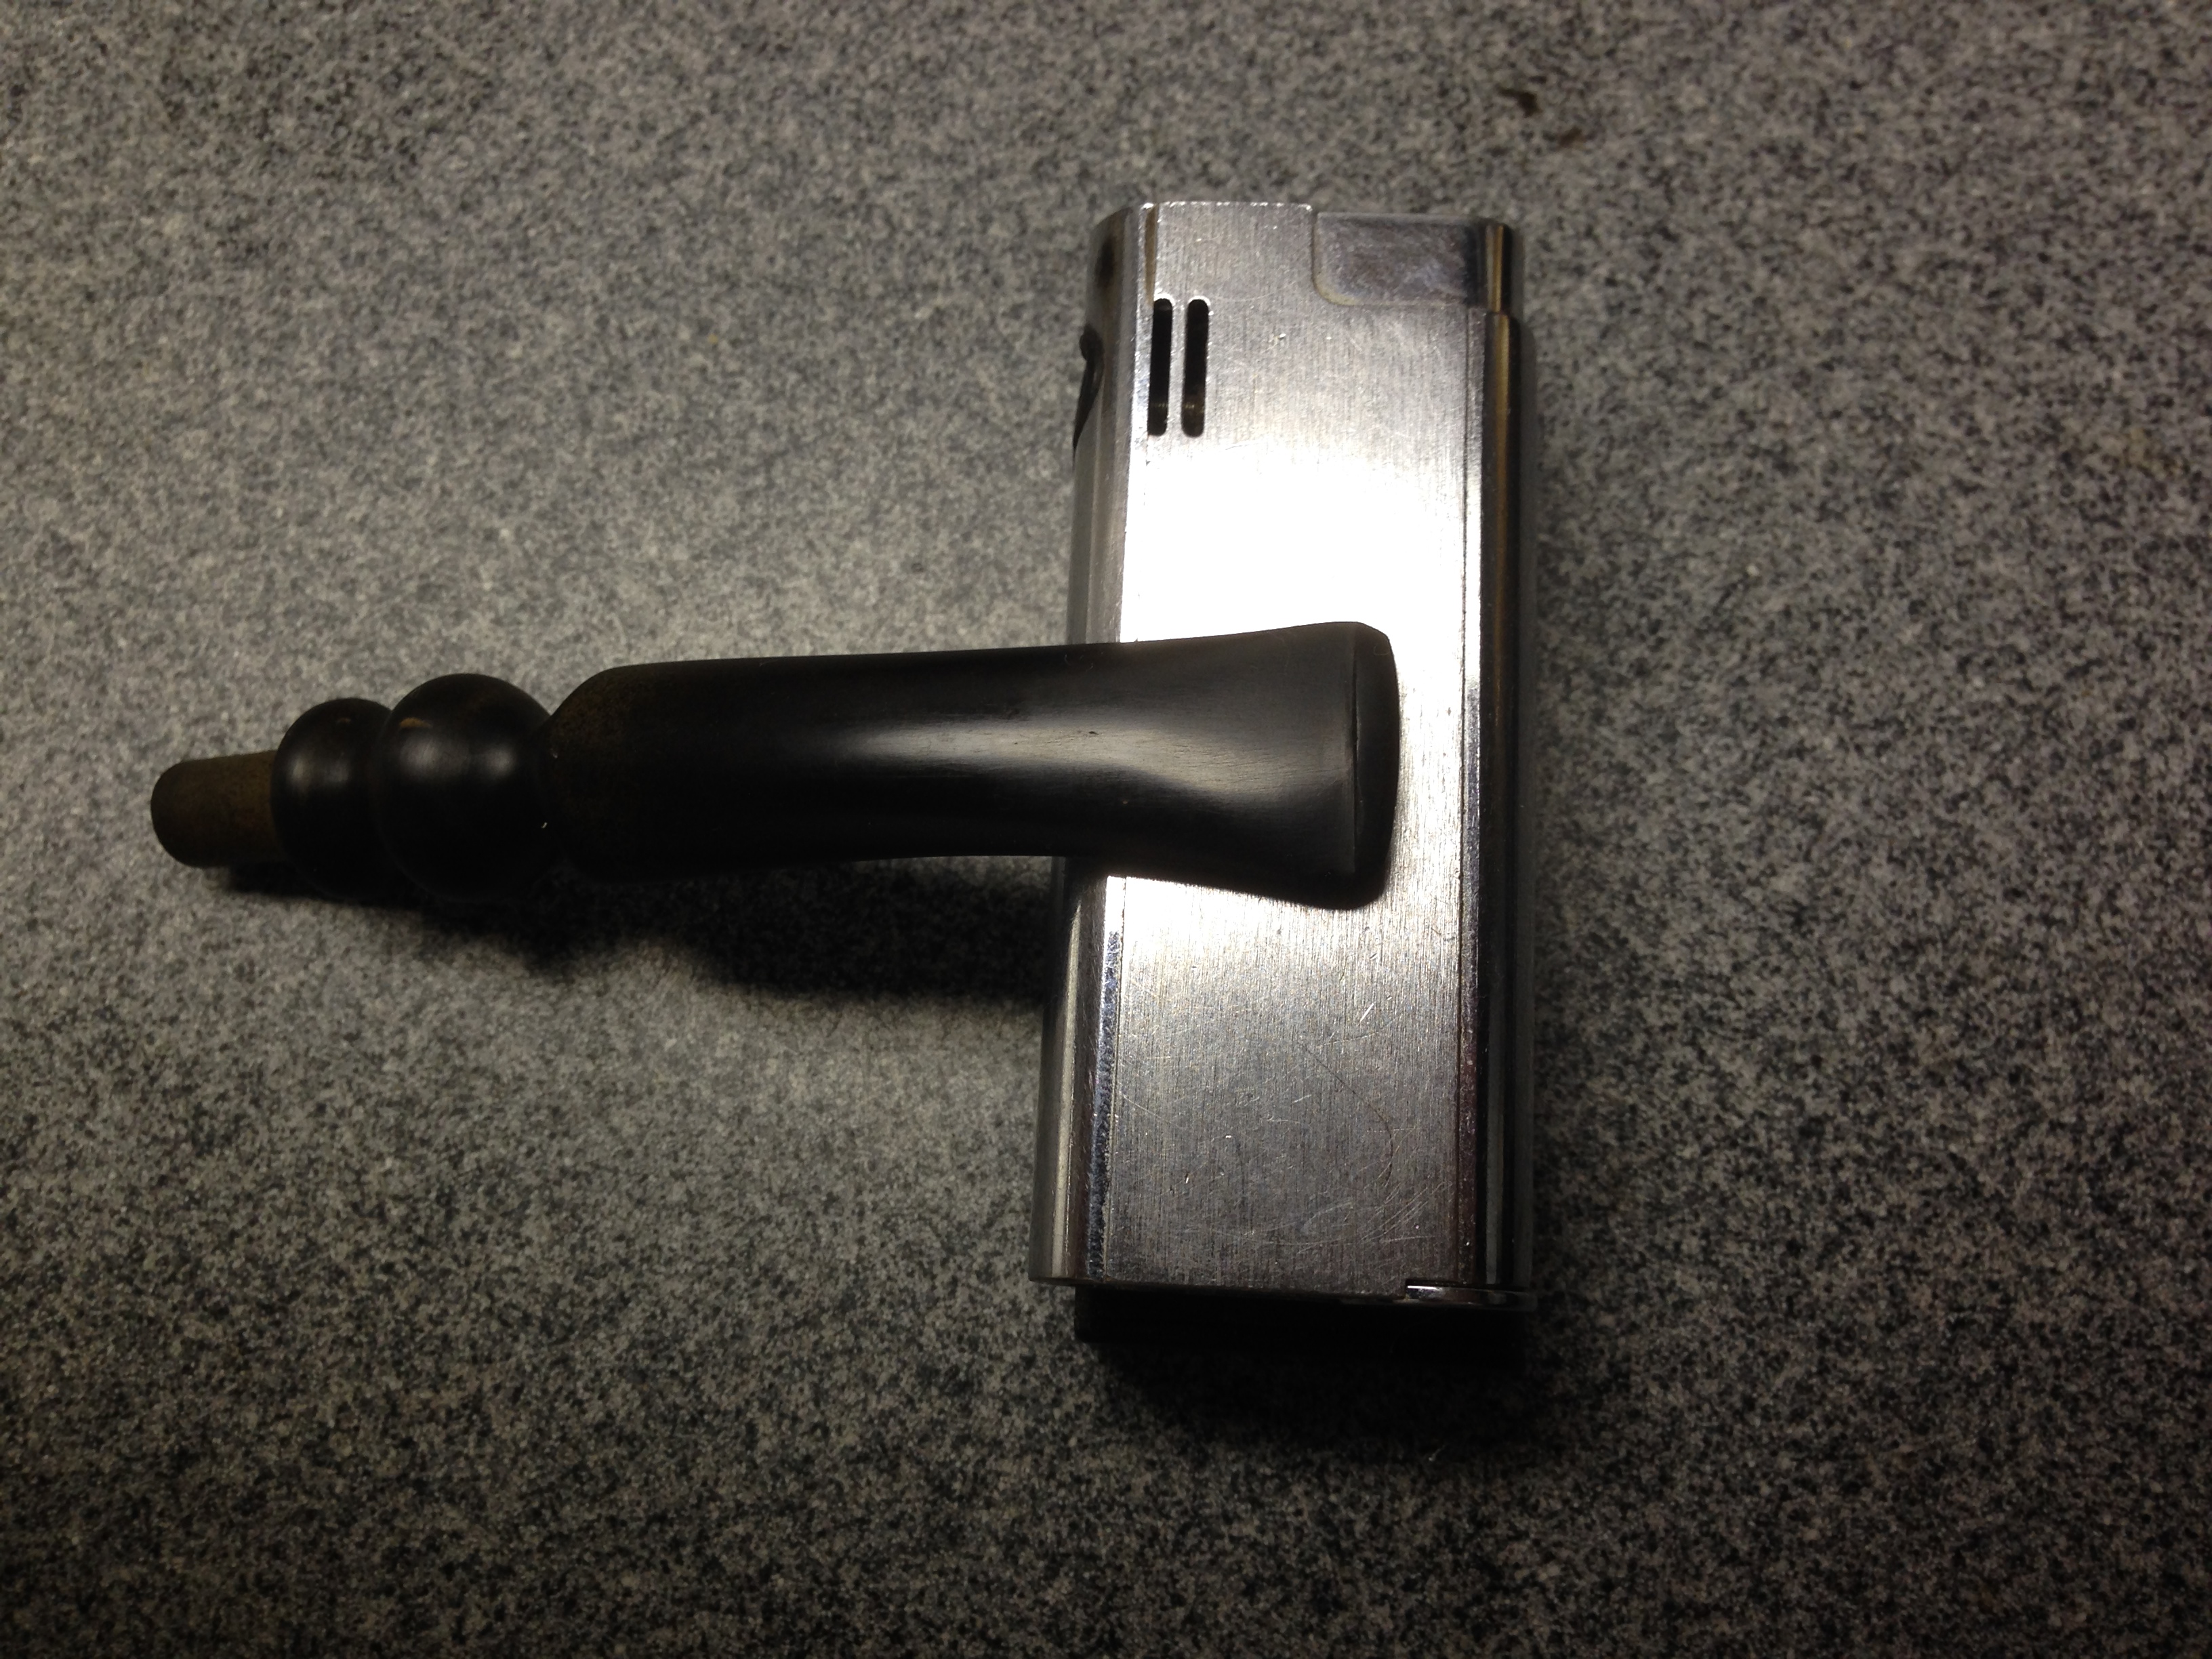
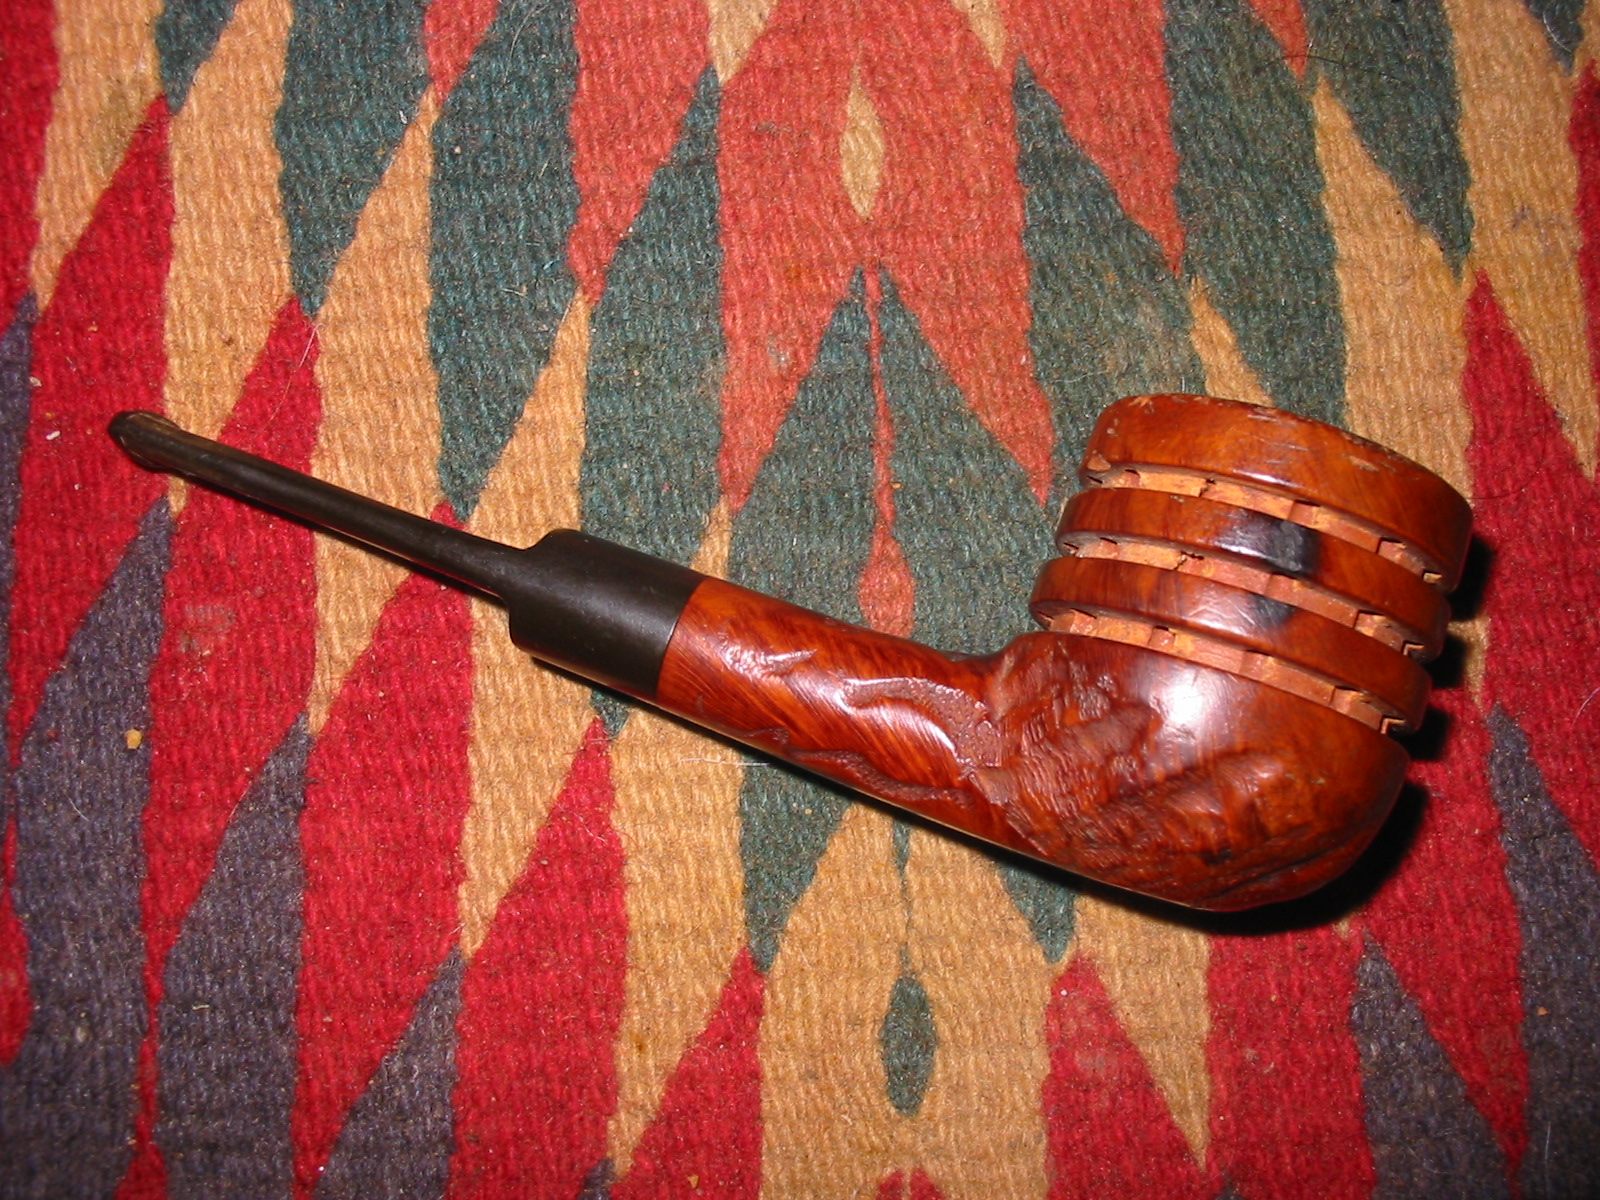
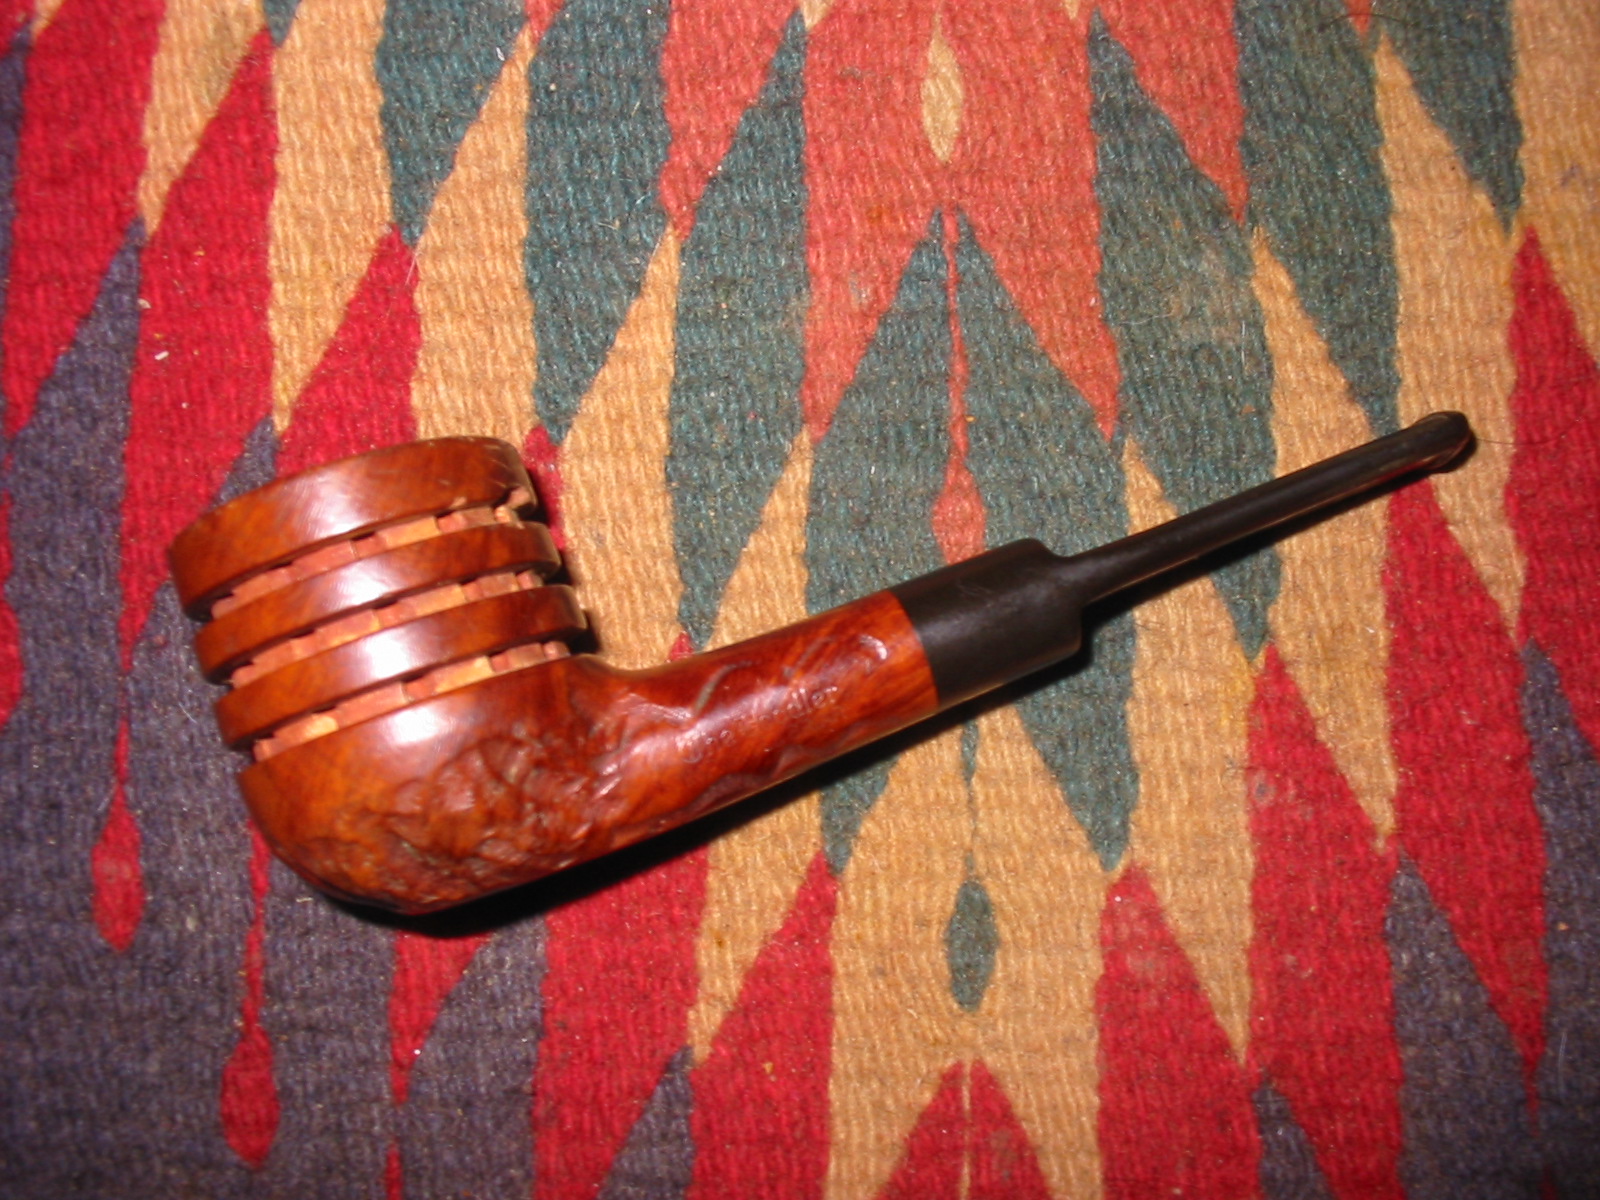
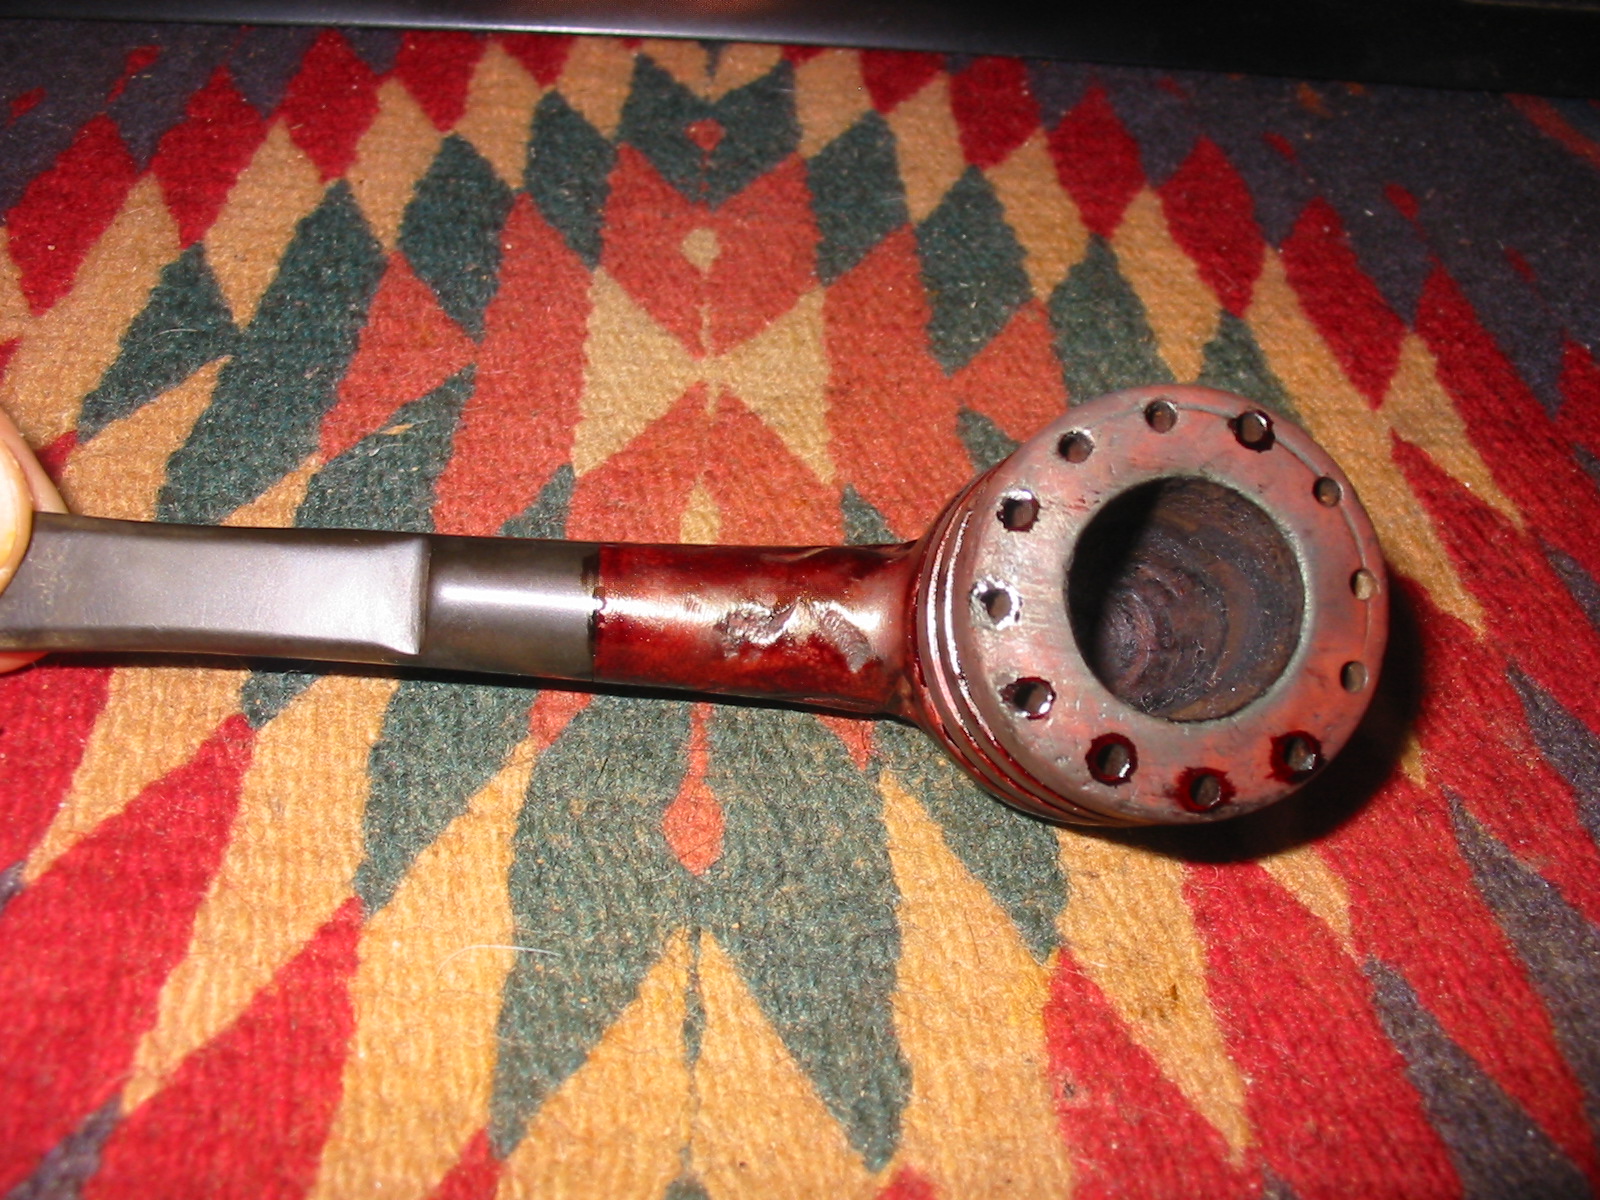
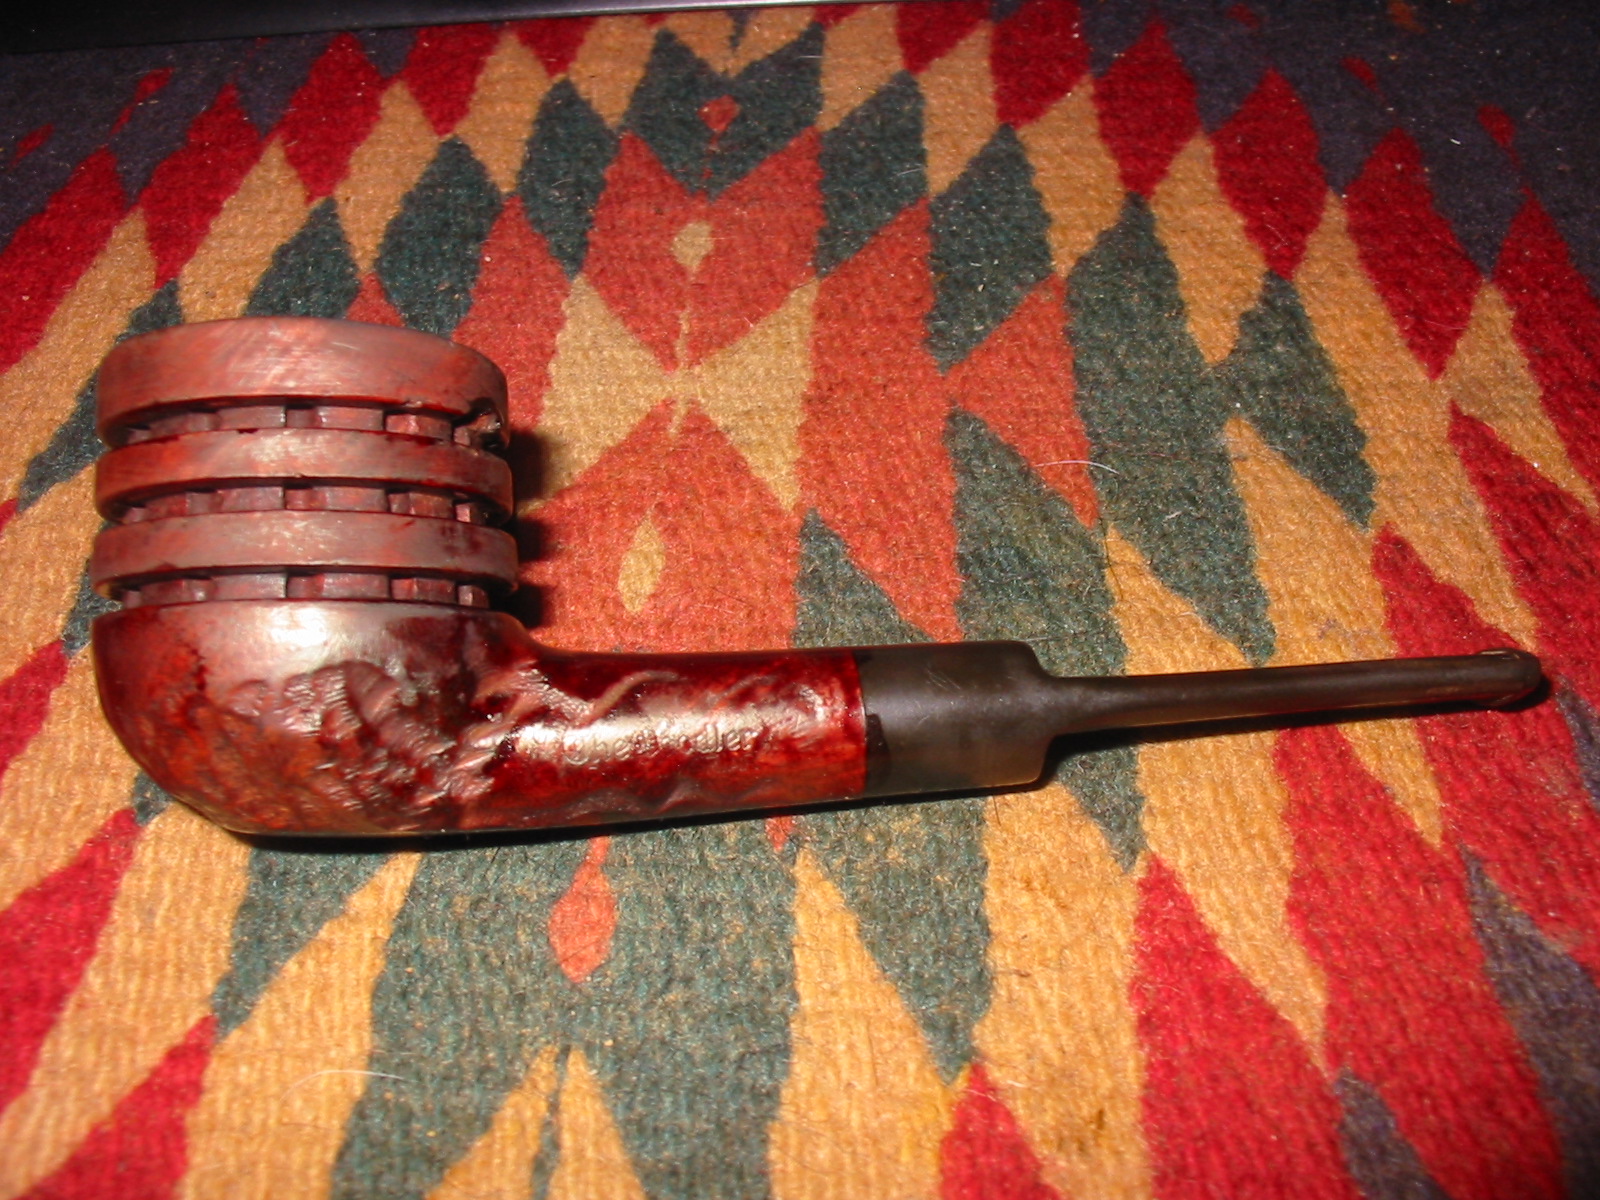
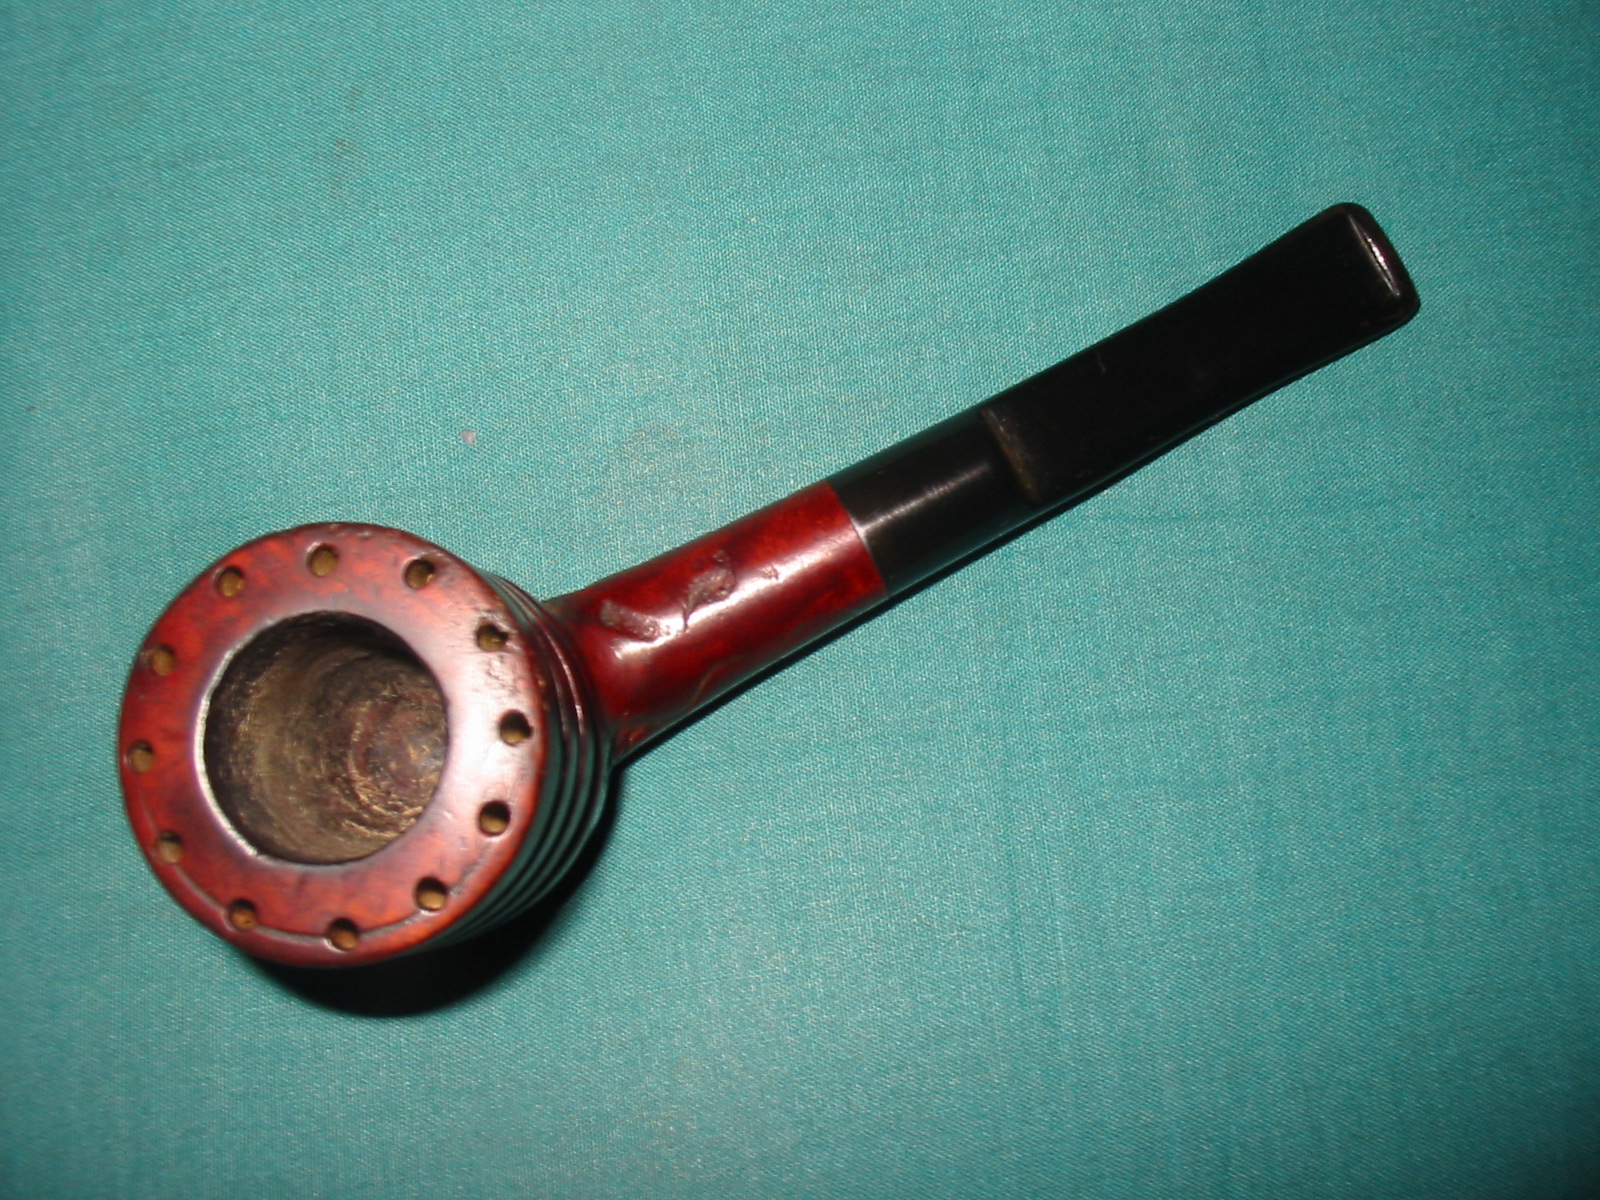
A pipe I picked up on a recent trip to La Conner, Washington was a billiard that has the drilled flutes from the top to the bowl of the bowl all the way around. It is stamped “The Doodler” over Imported Briar on the left side of the shank. On the right side of the bowl is a burn mark that covered two of the rings. The finish was in good shape. The outer edge of the rim had cuts and broken edges from hitting the bowl to empty it. On the back side of the bowl one of the rings have two notches out of the lower edges. The inside rings of the bowl were unstained. Usually on a Doodler there is a scoring ring around the top of the rim. On this rim that was missing on most of the rim. The bowl had a poorly developed cake and the shank was dirty. The rustication on the bottom of the bowl was rough in the grooves and smooth on the surface. The stem was original and had a stepped down tenon. There was also some oxidation on the stem and tooth chatter on both sides near the button.
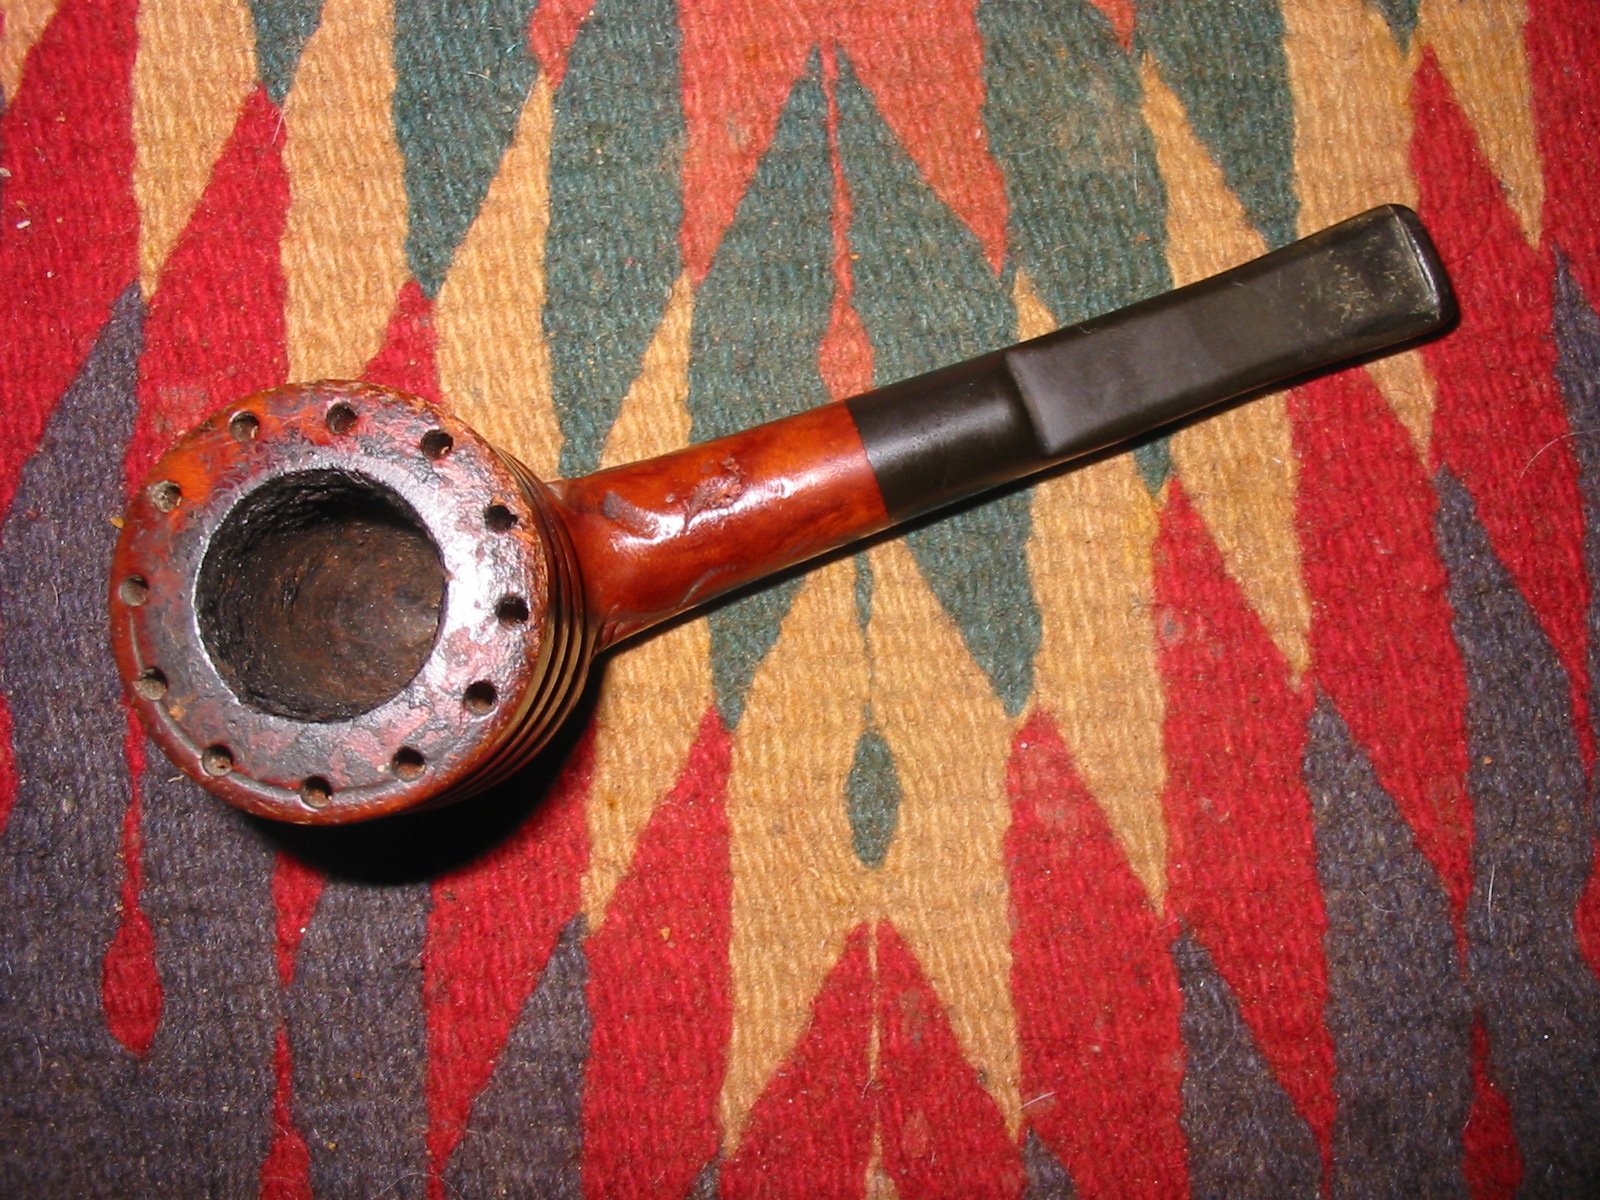
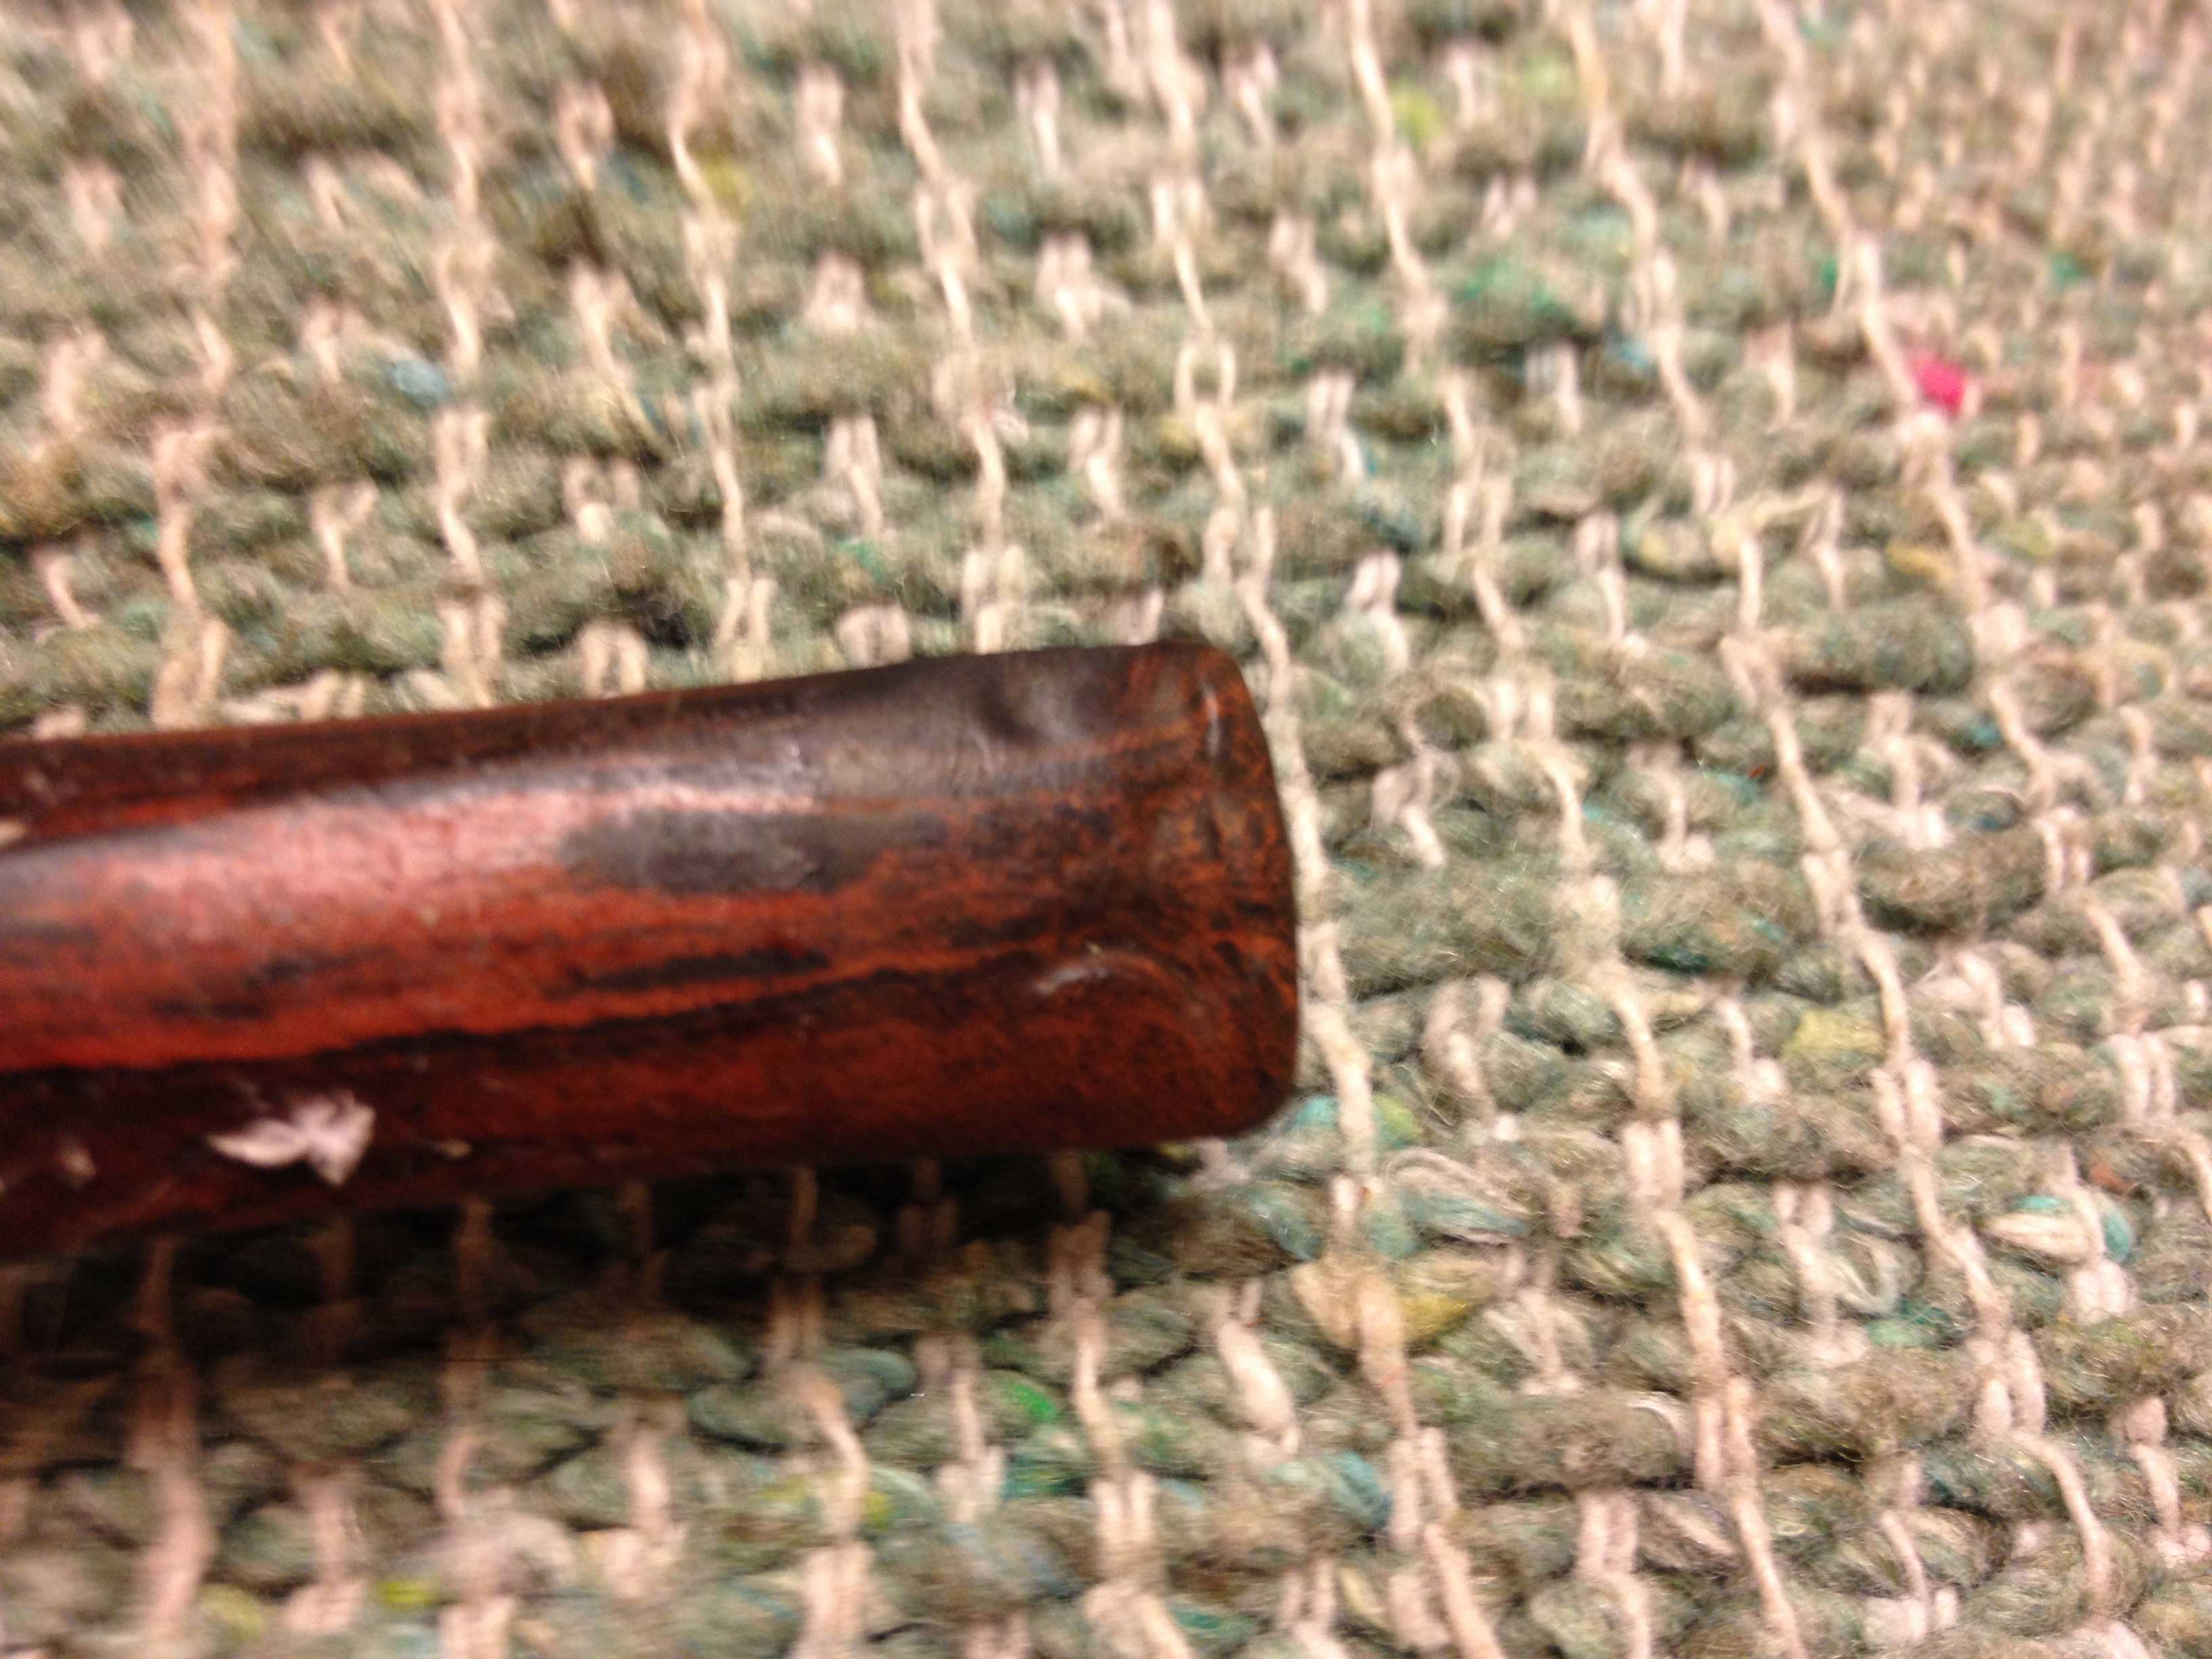
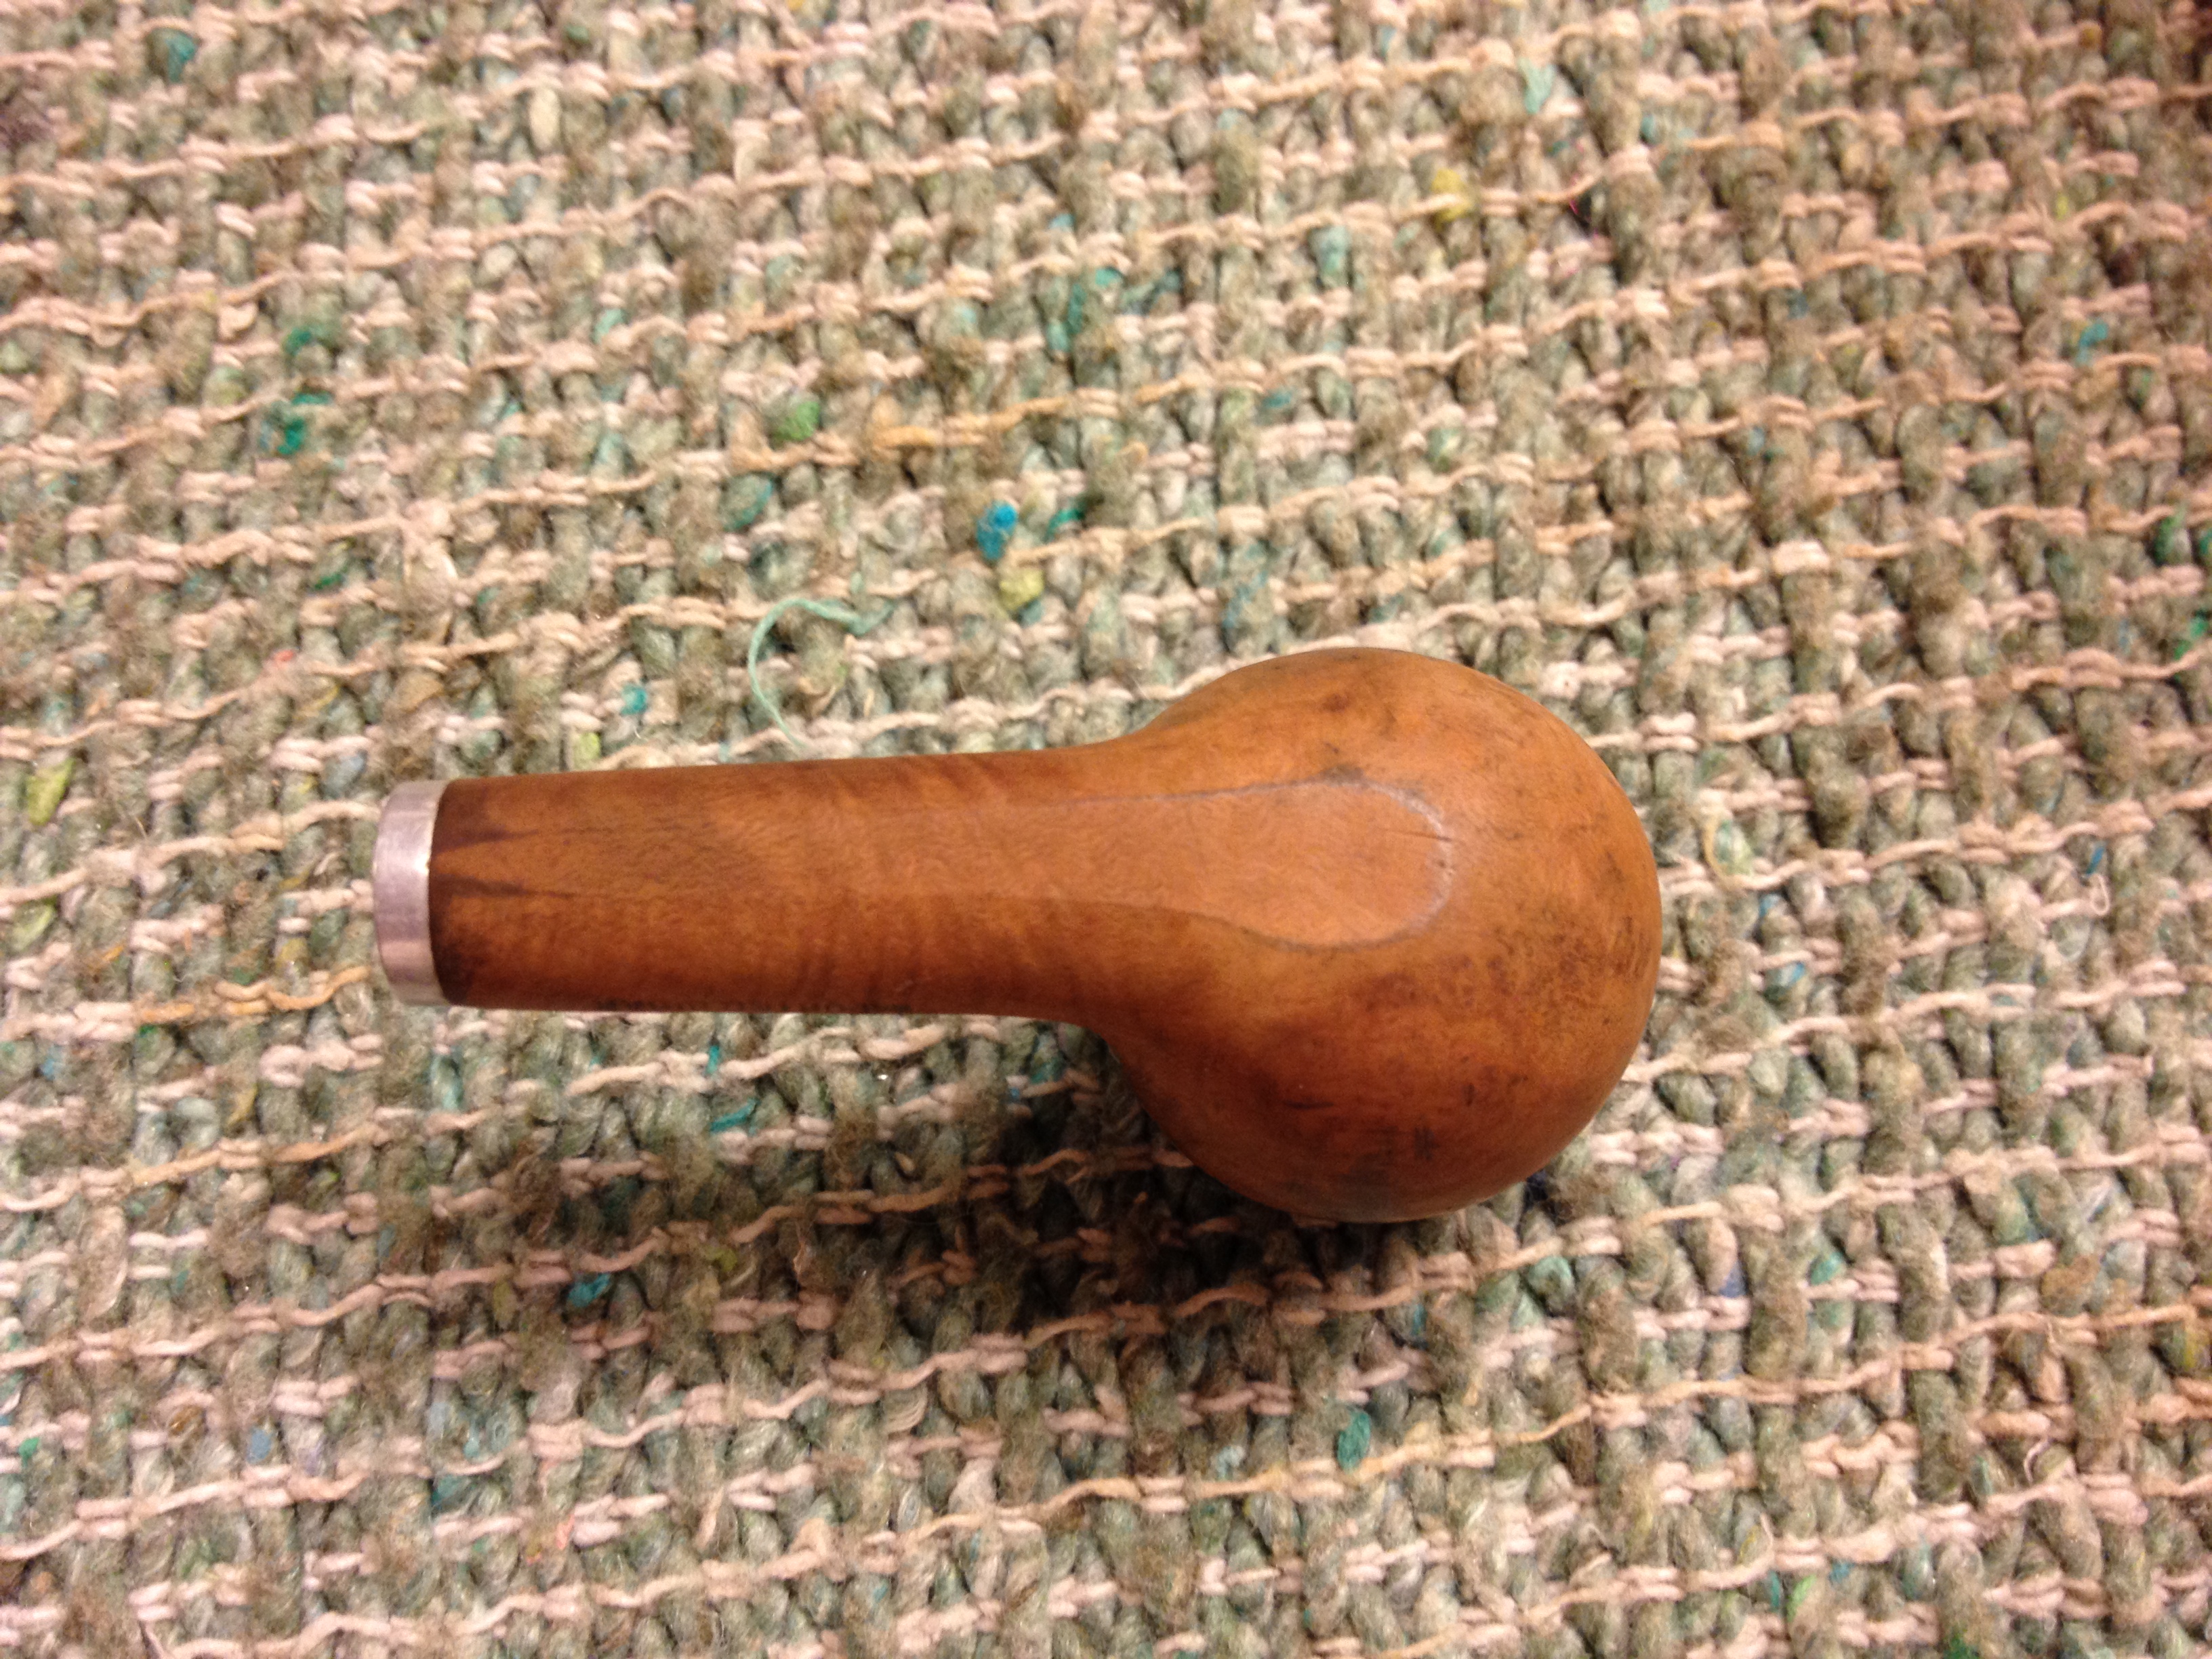
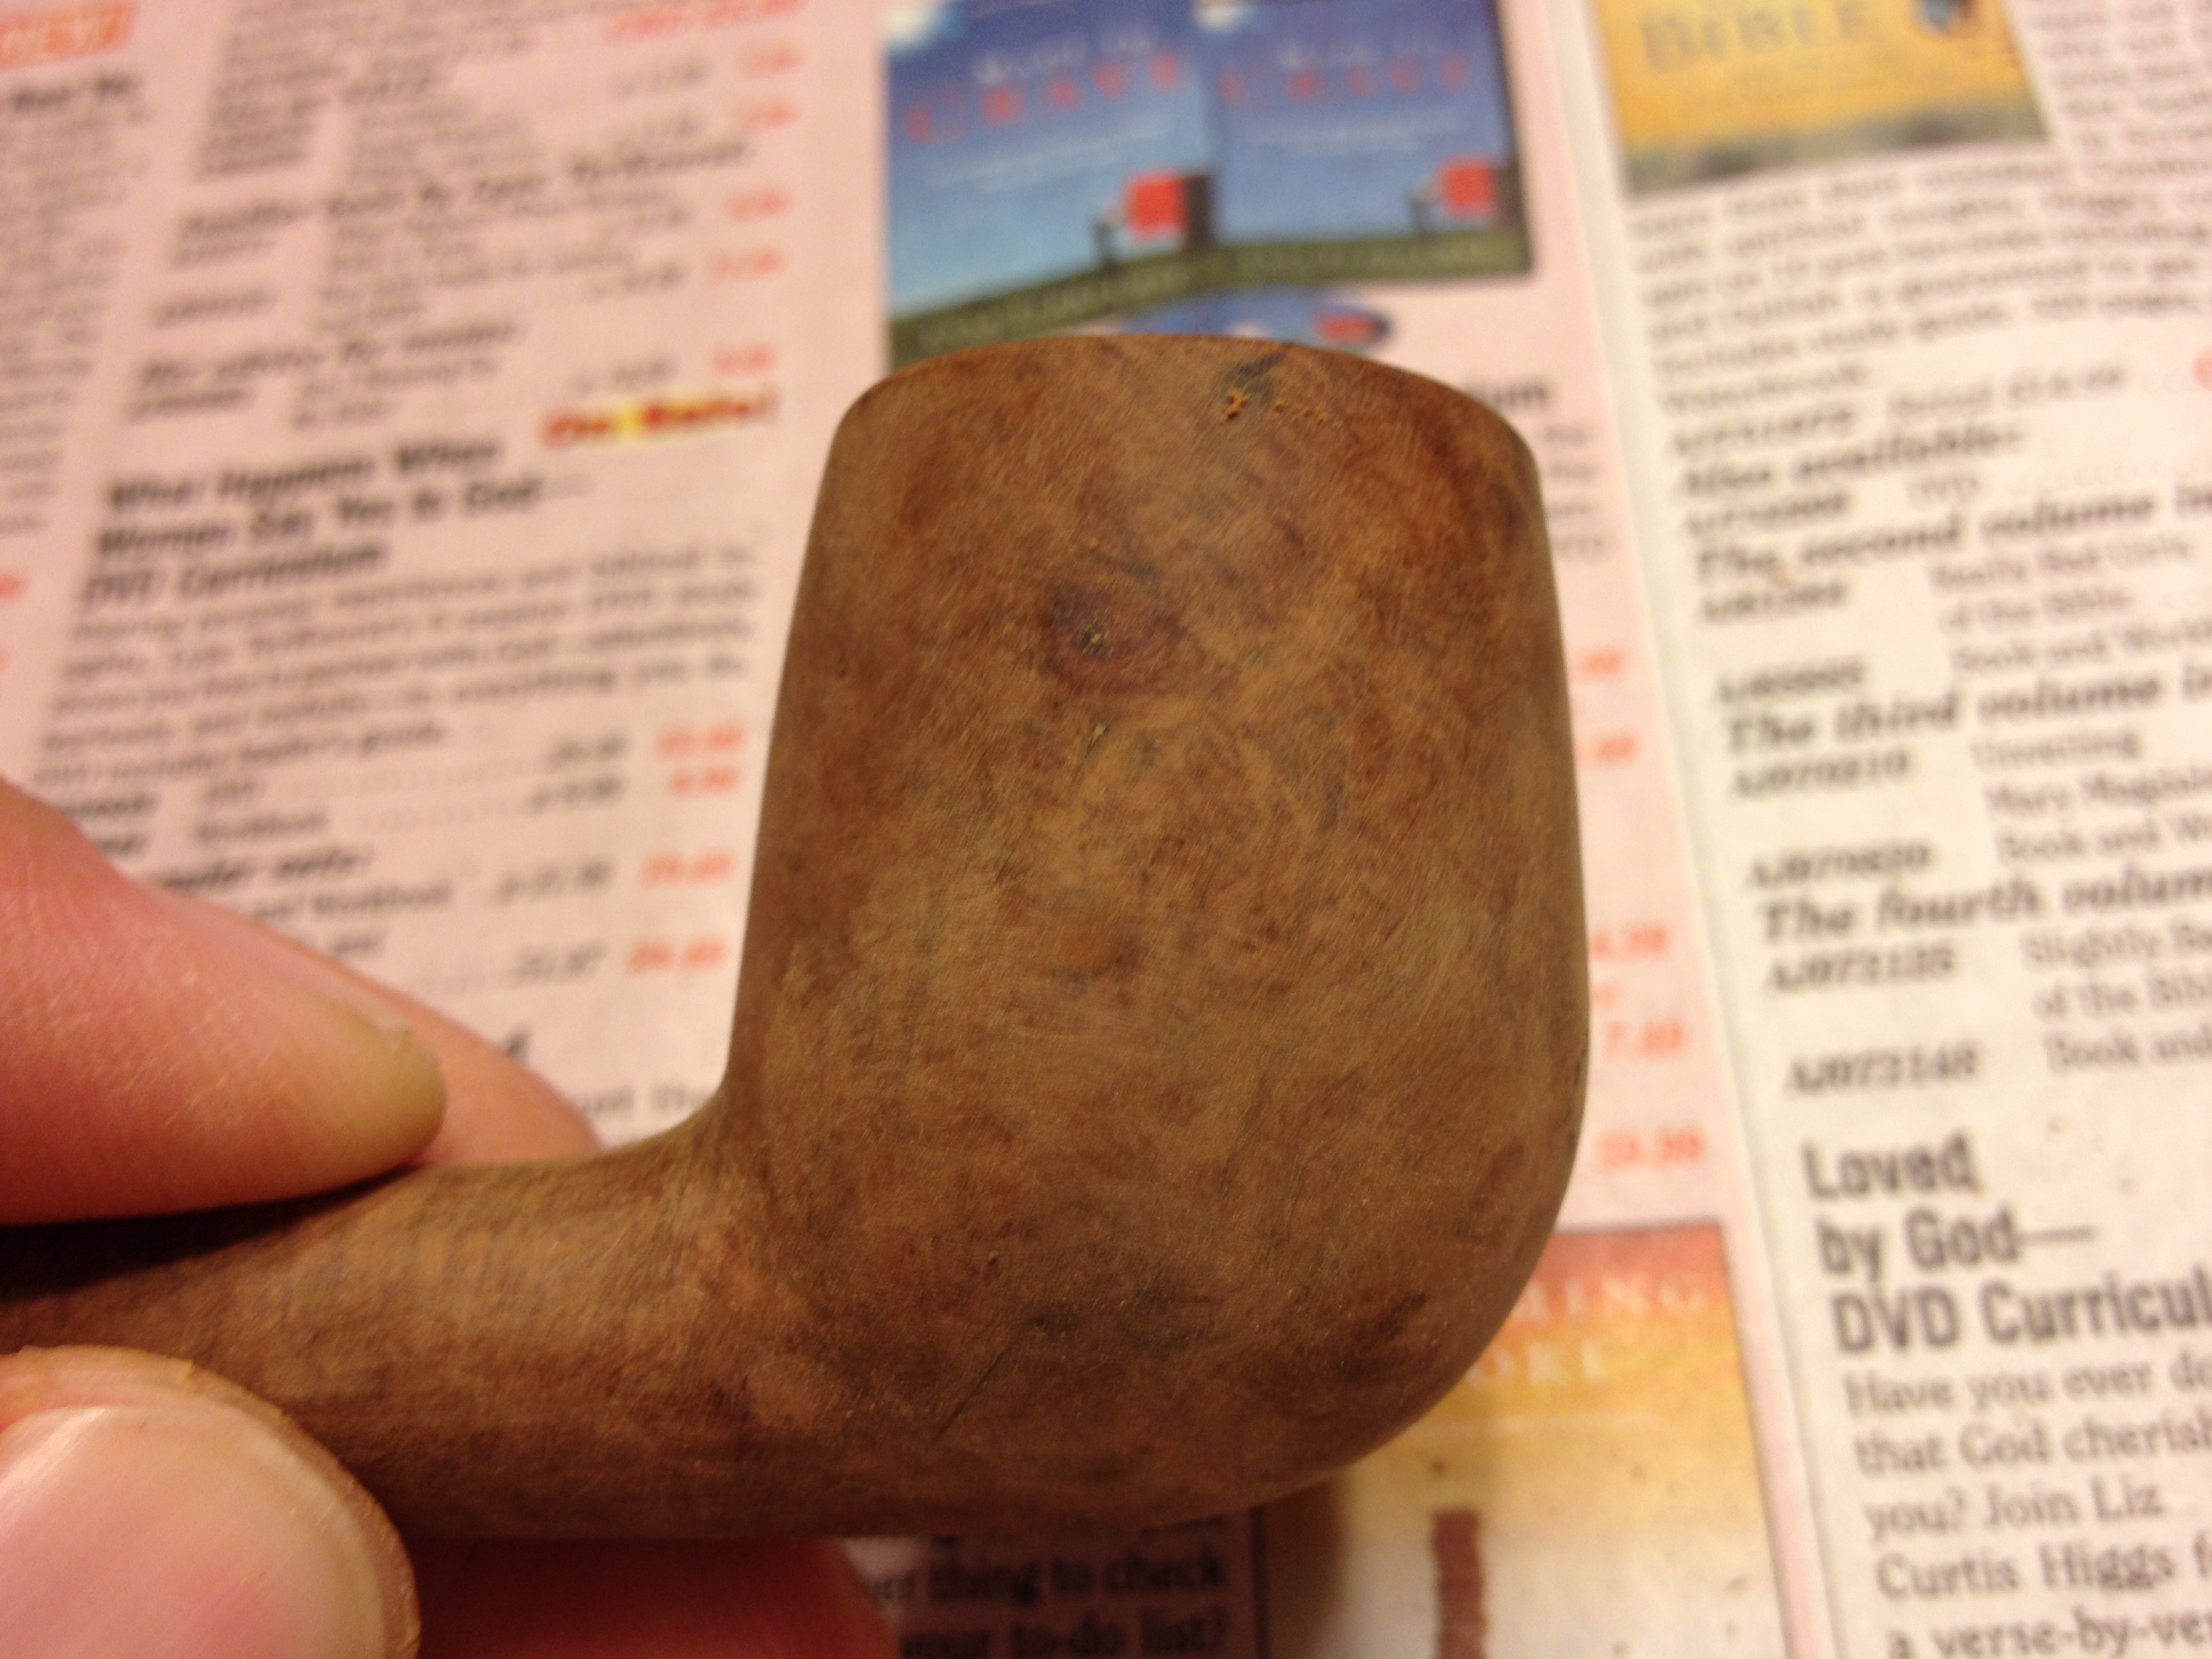
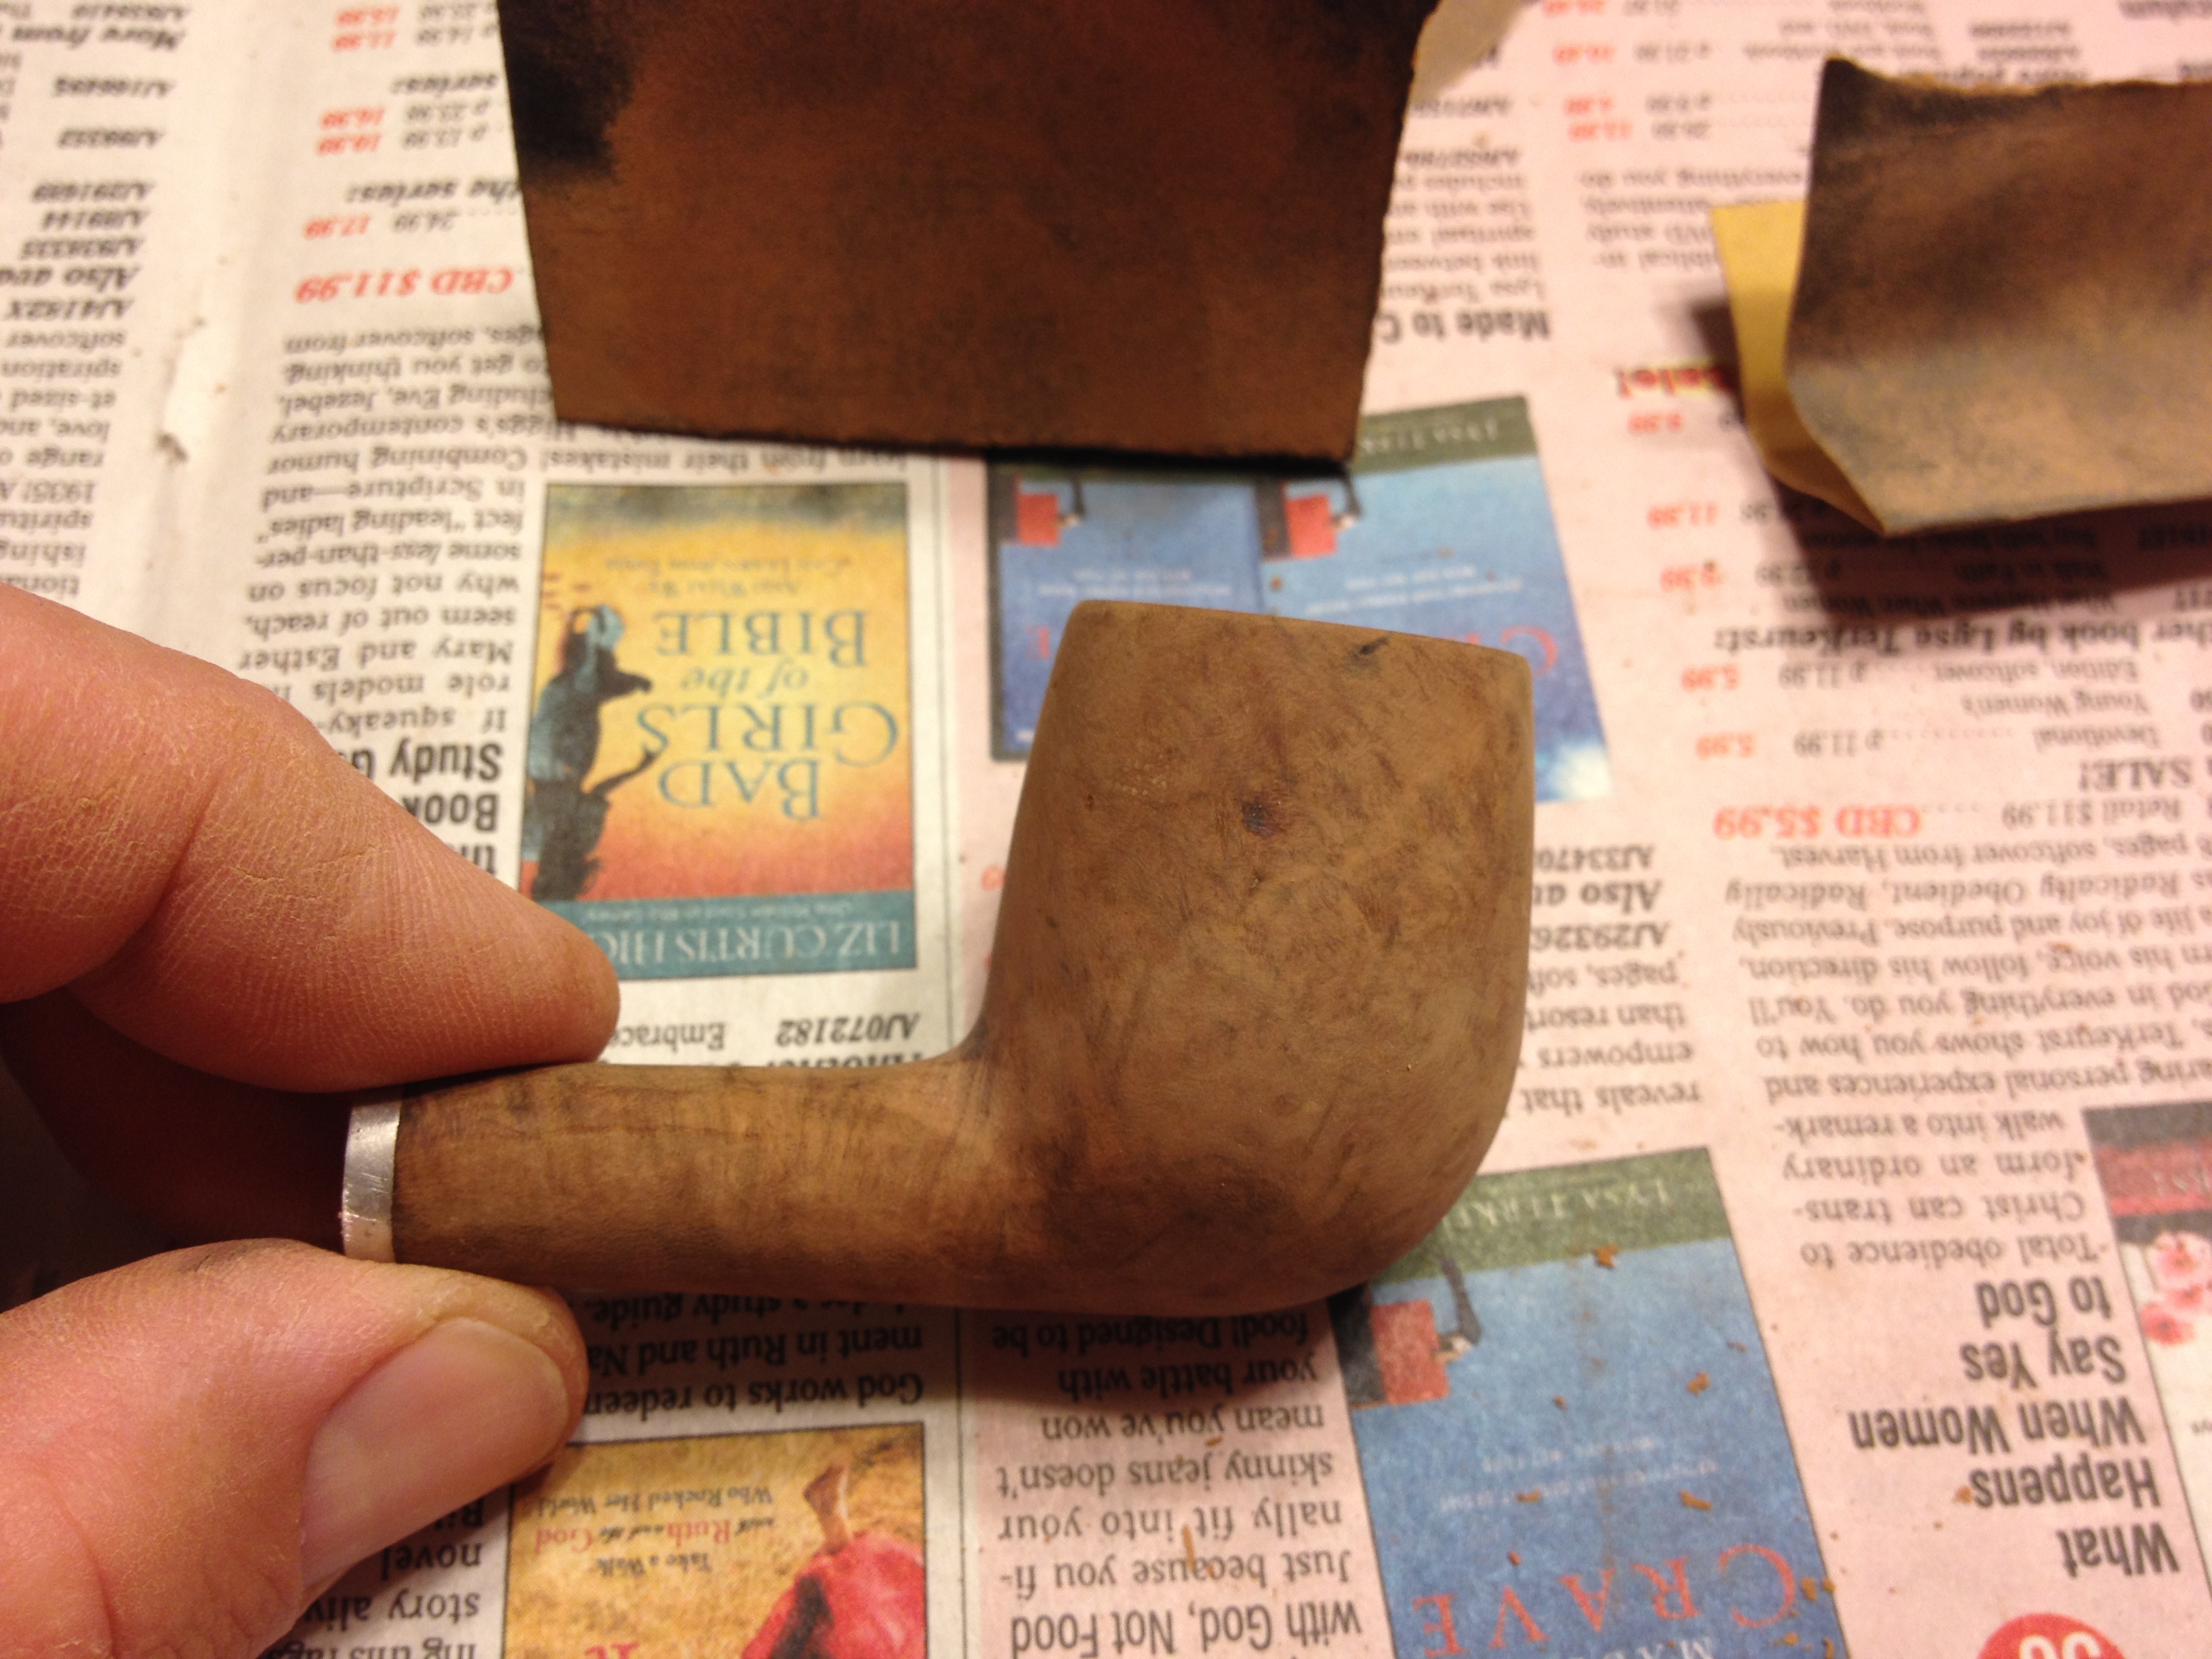
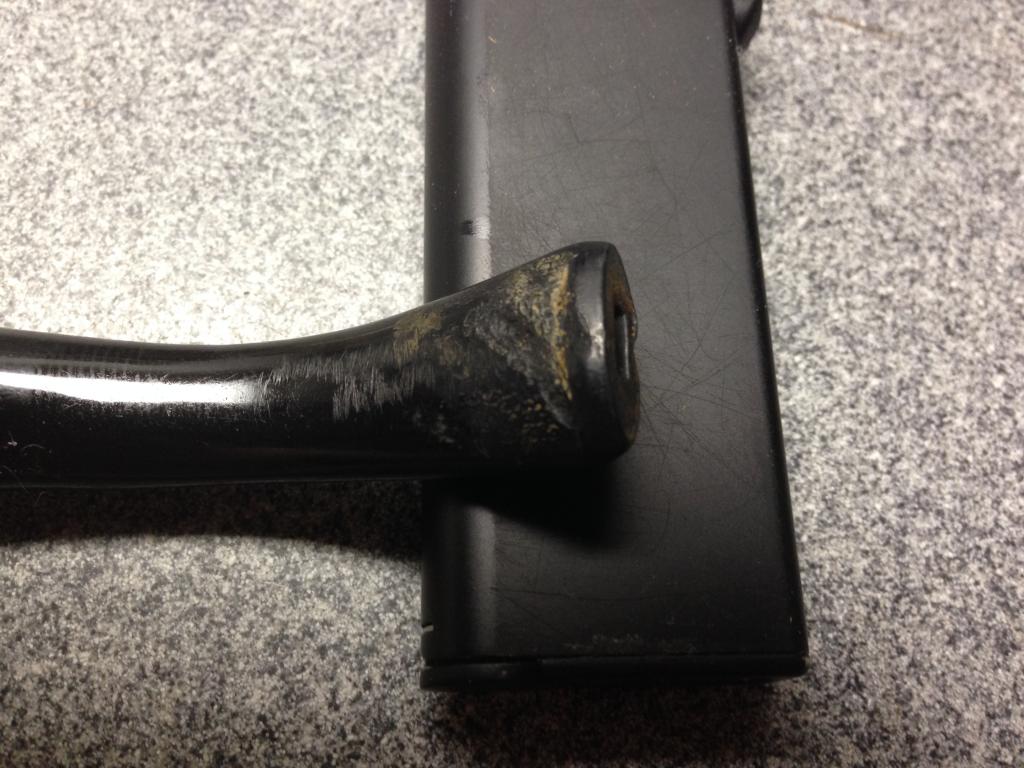
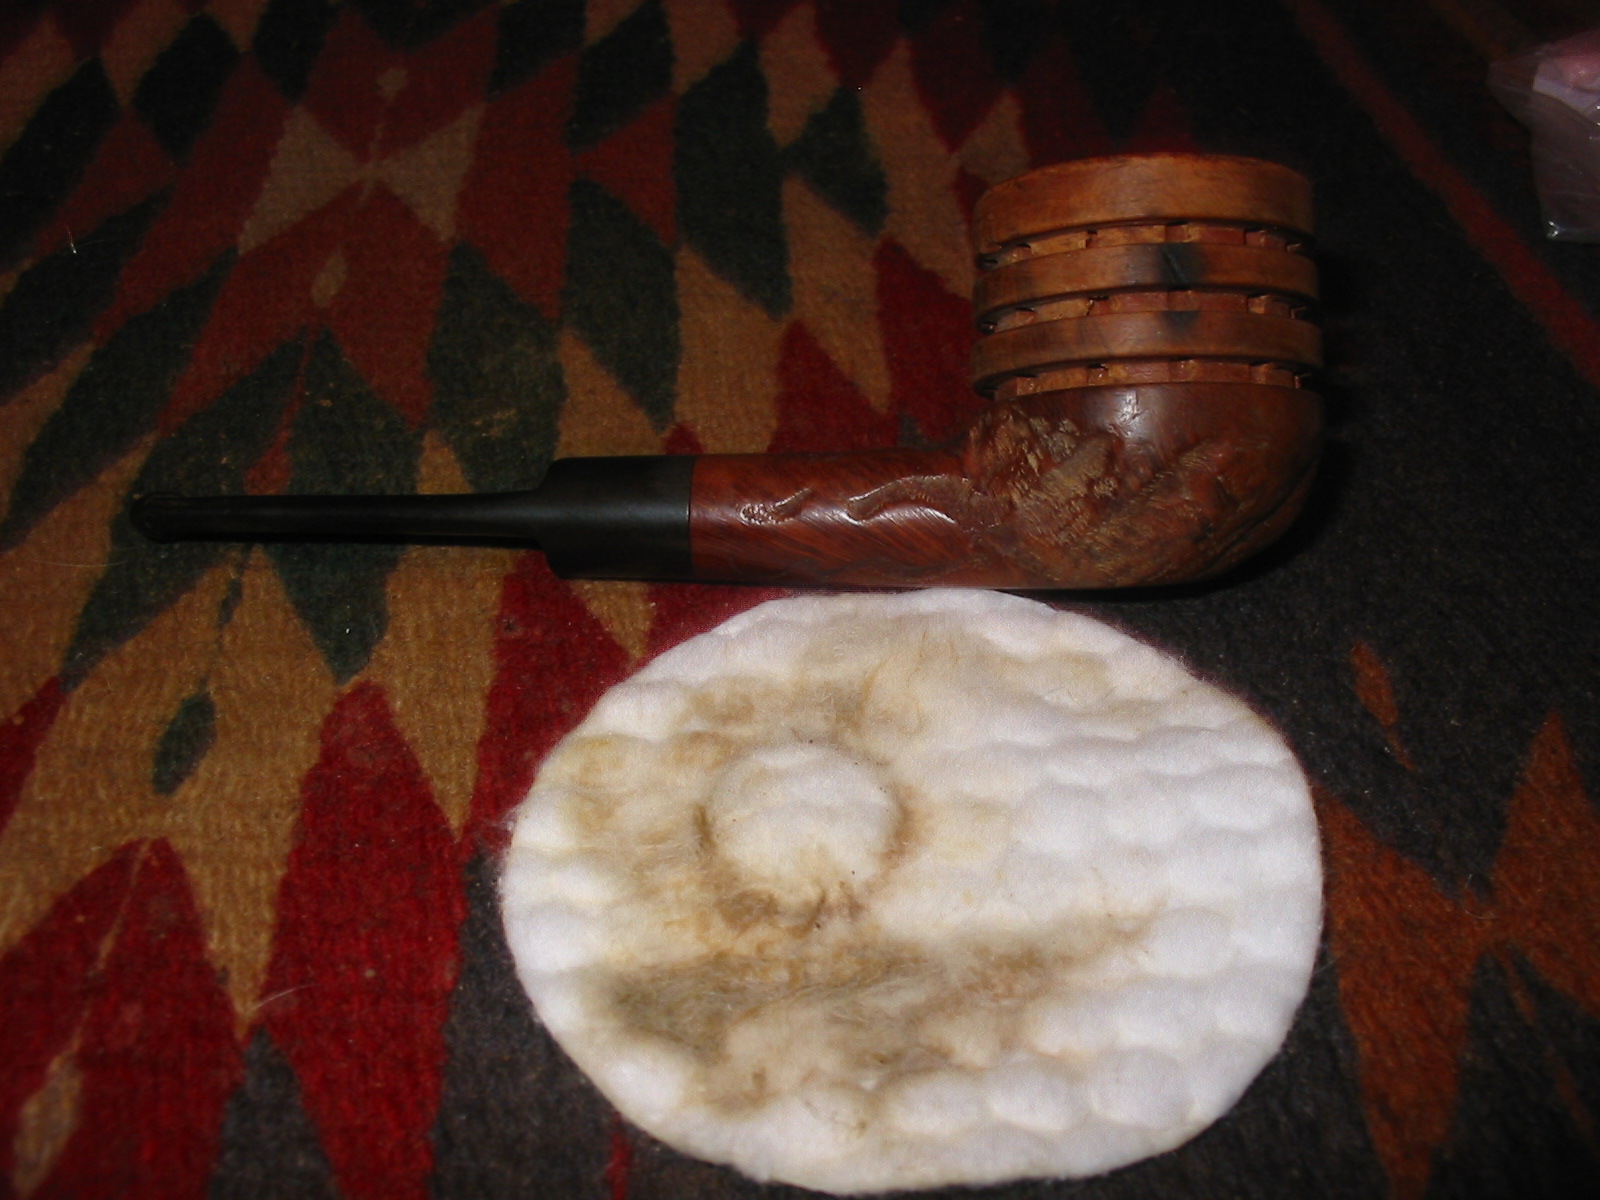
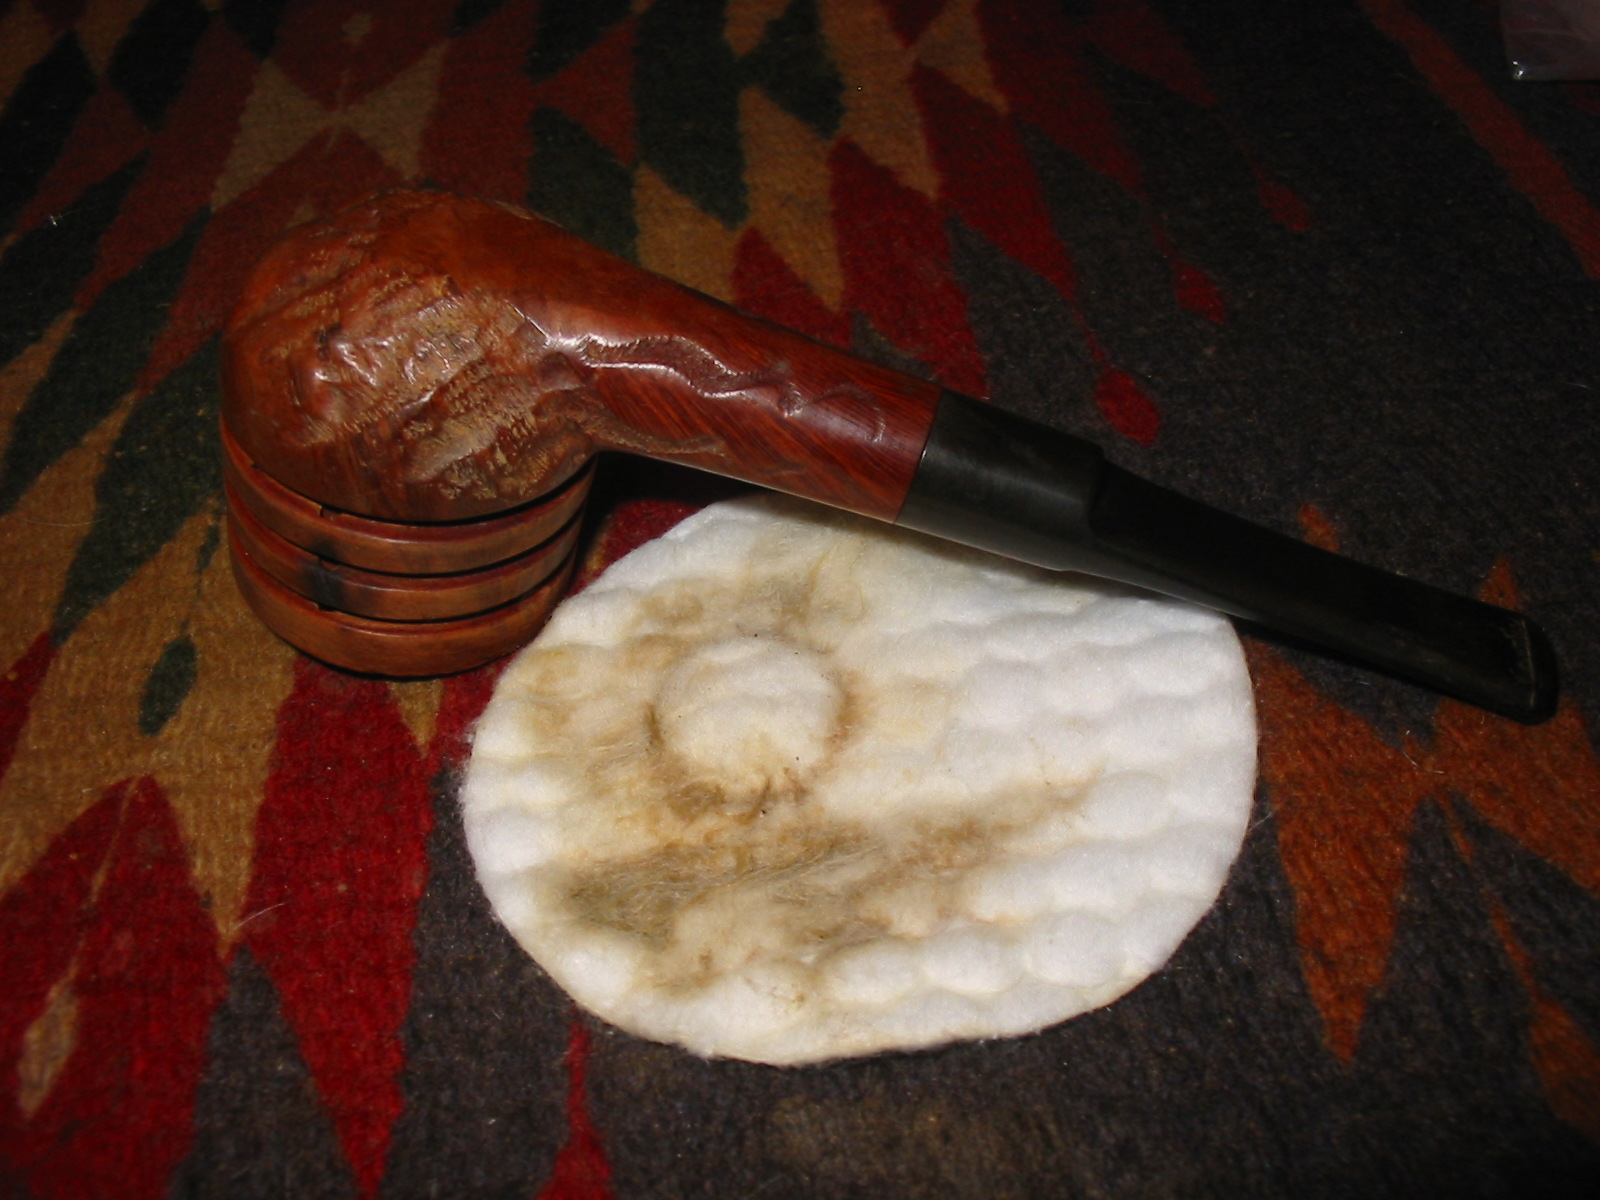
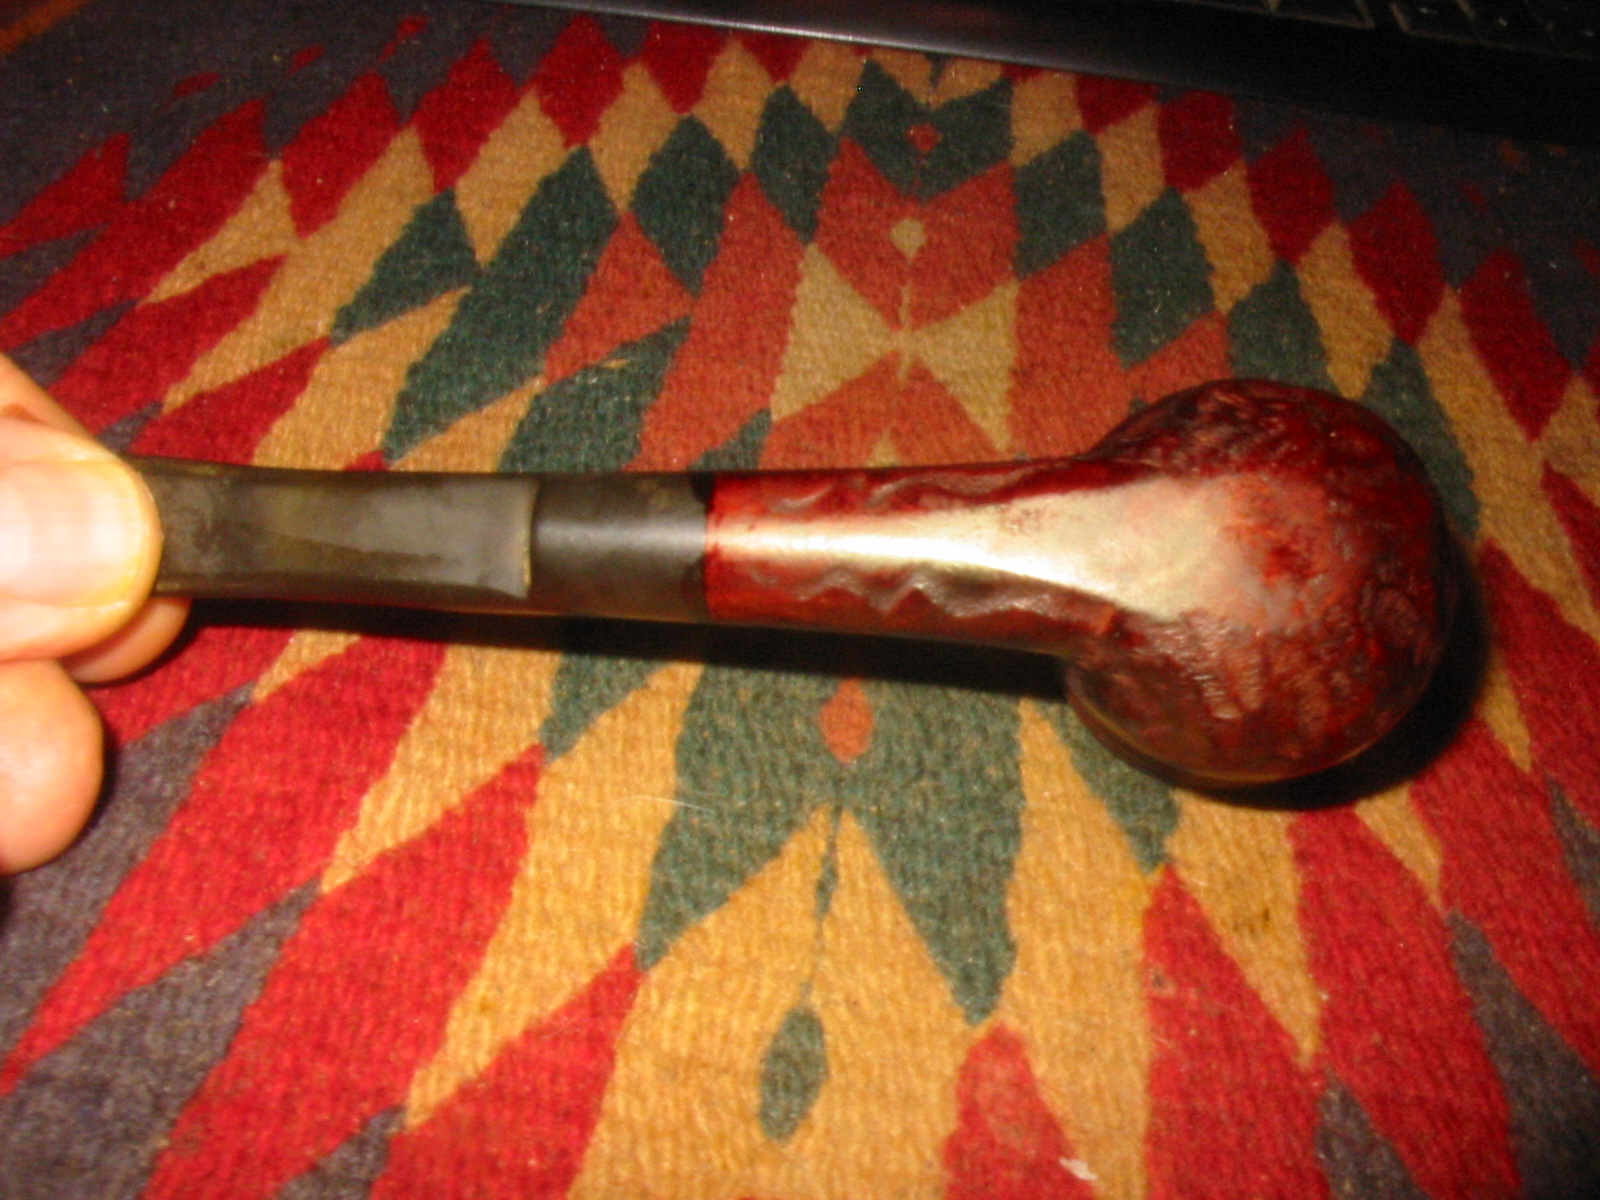
I wiped down the bowl with acetone on cotton pads to remove the finish. It took some scrubbing to remove the finish and the buildup on the rim. Once the finish was removed the burn on the right side was very clear. It fortunately was not too deep in the briar and would be less problematic to minimize when I refinished the bowl.
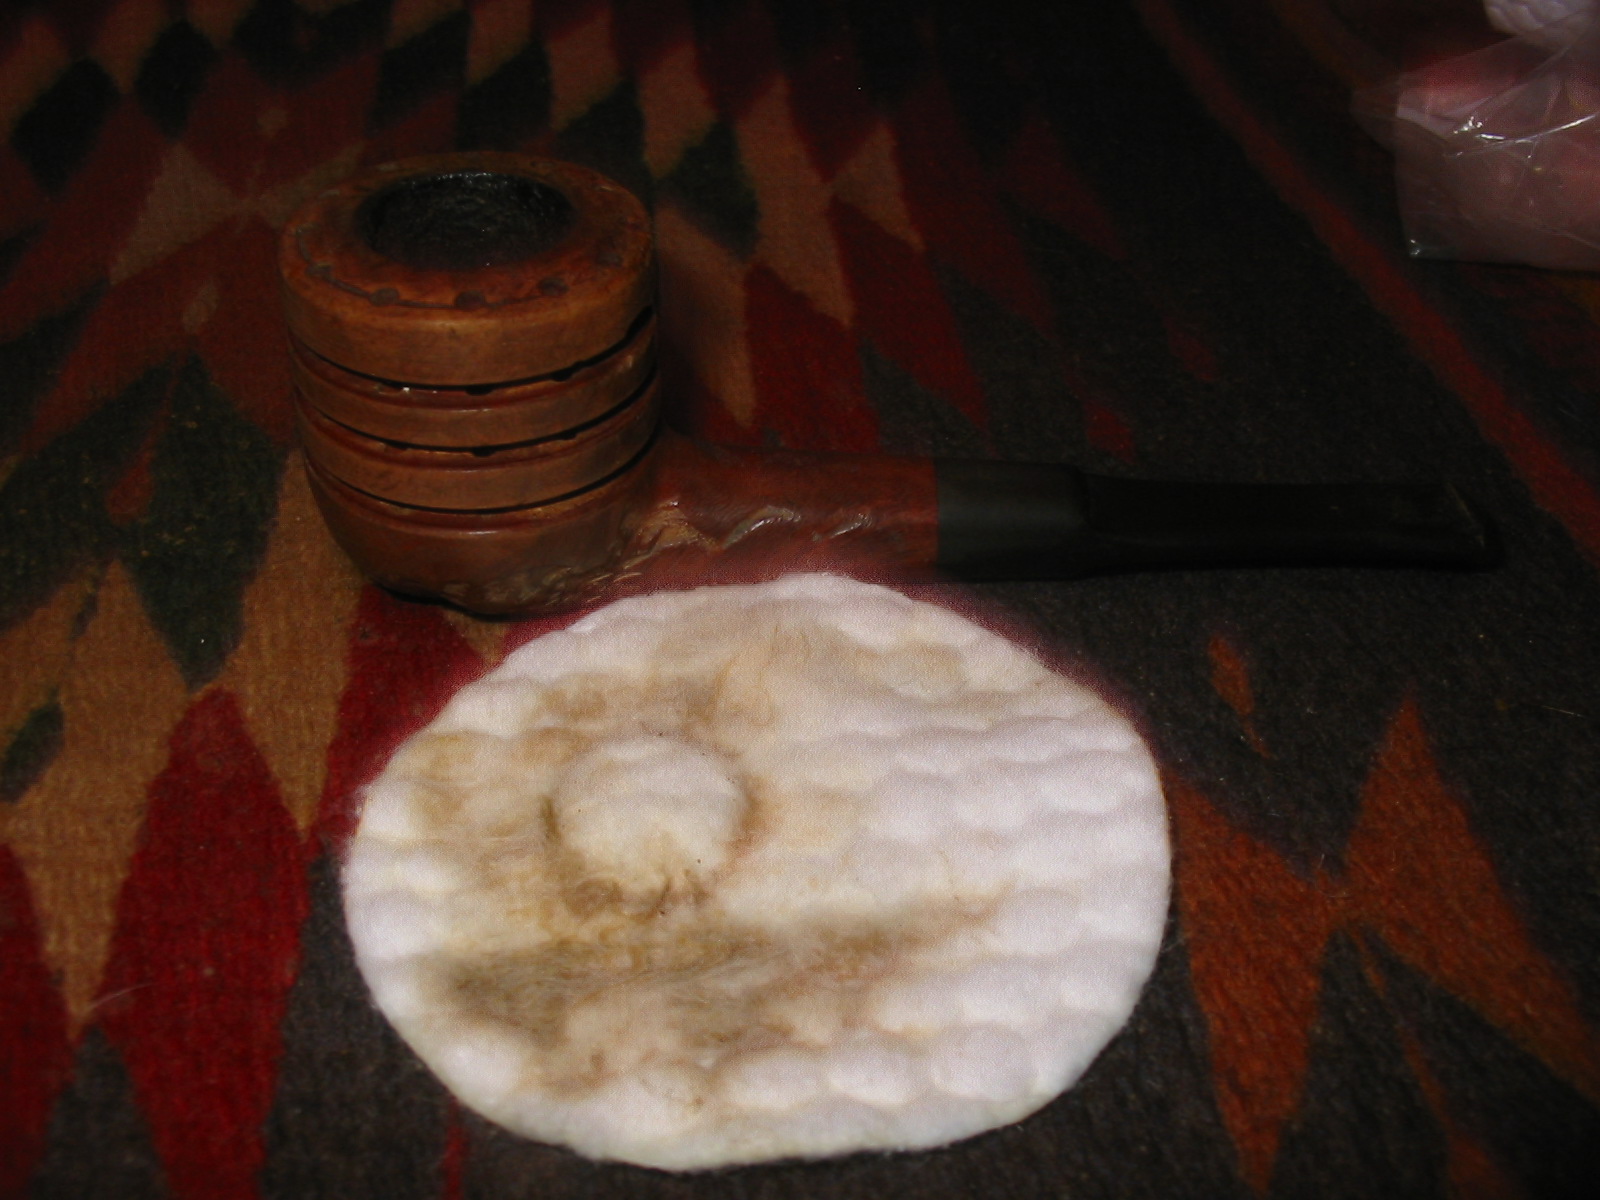
I reamed the bowl with a PipNet reamer. I used the third cutting head and took back the cake to the bare briar. I had to also use the second head to remove the cake from the bottom of the bowl.
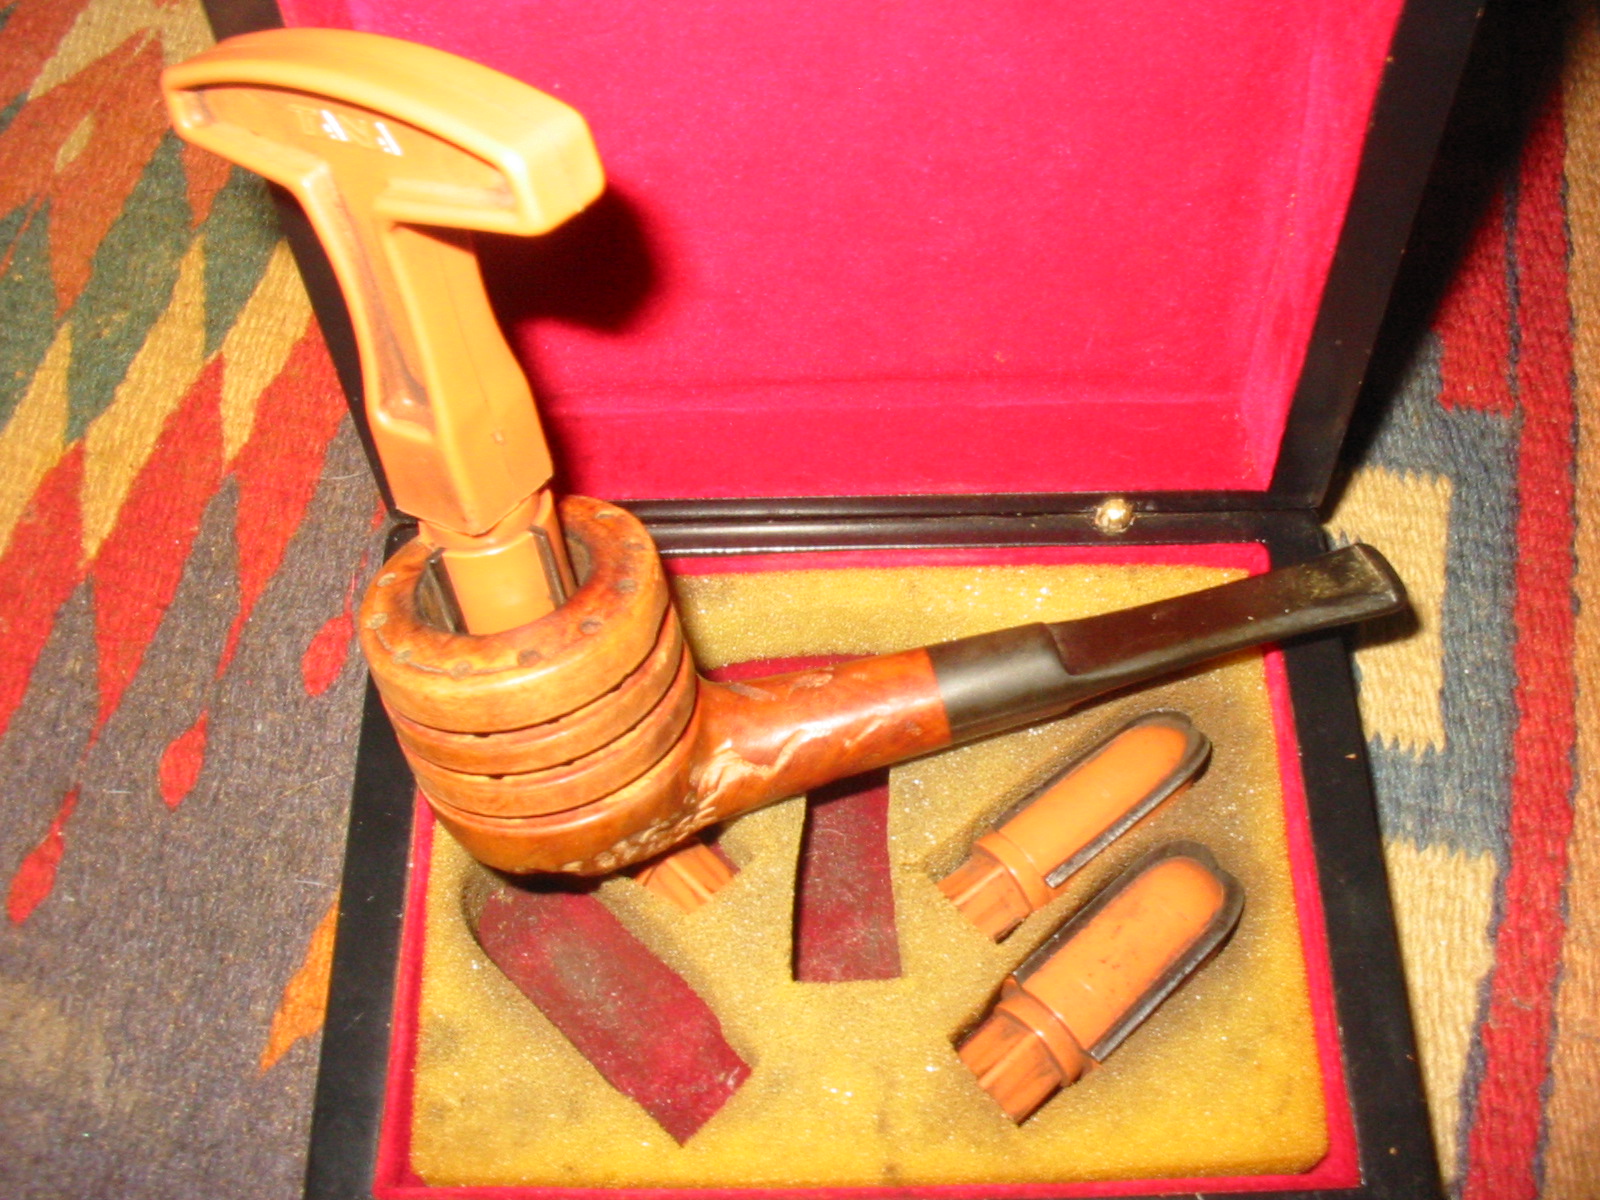
I cleaned out the shank and the bowl with isopropyl alcohol and cotton swabs and pipe cleaners. I used many of each and was able to remove much of the tars and oils in the shank.
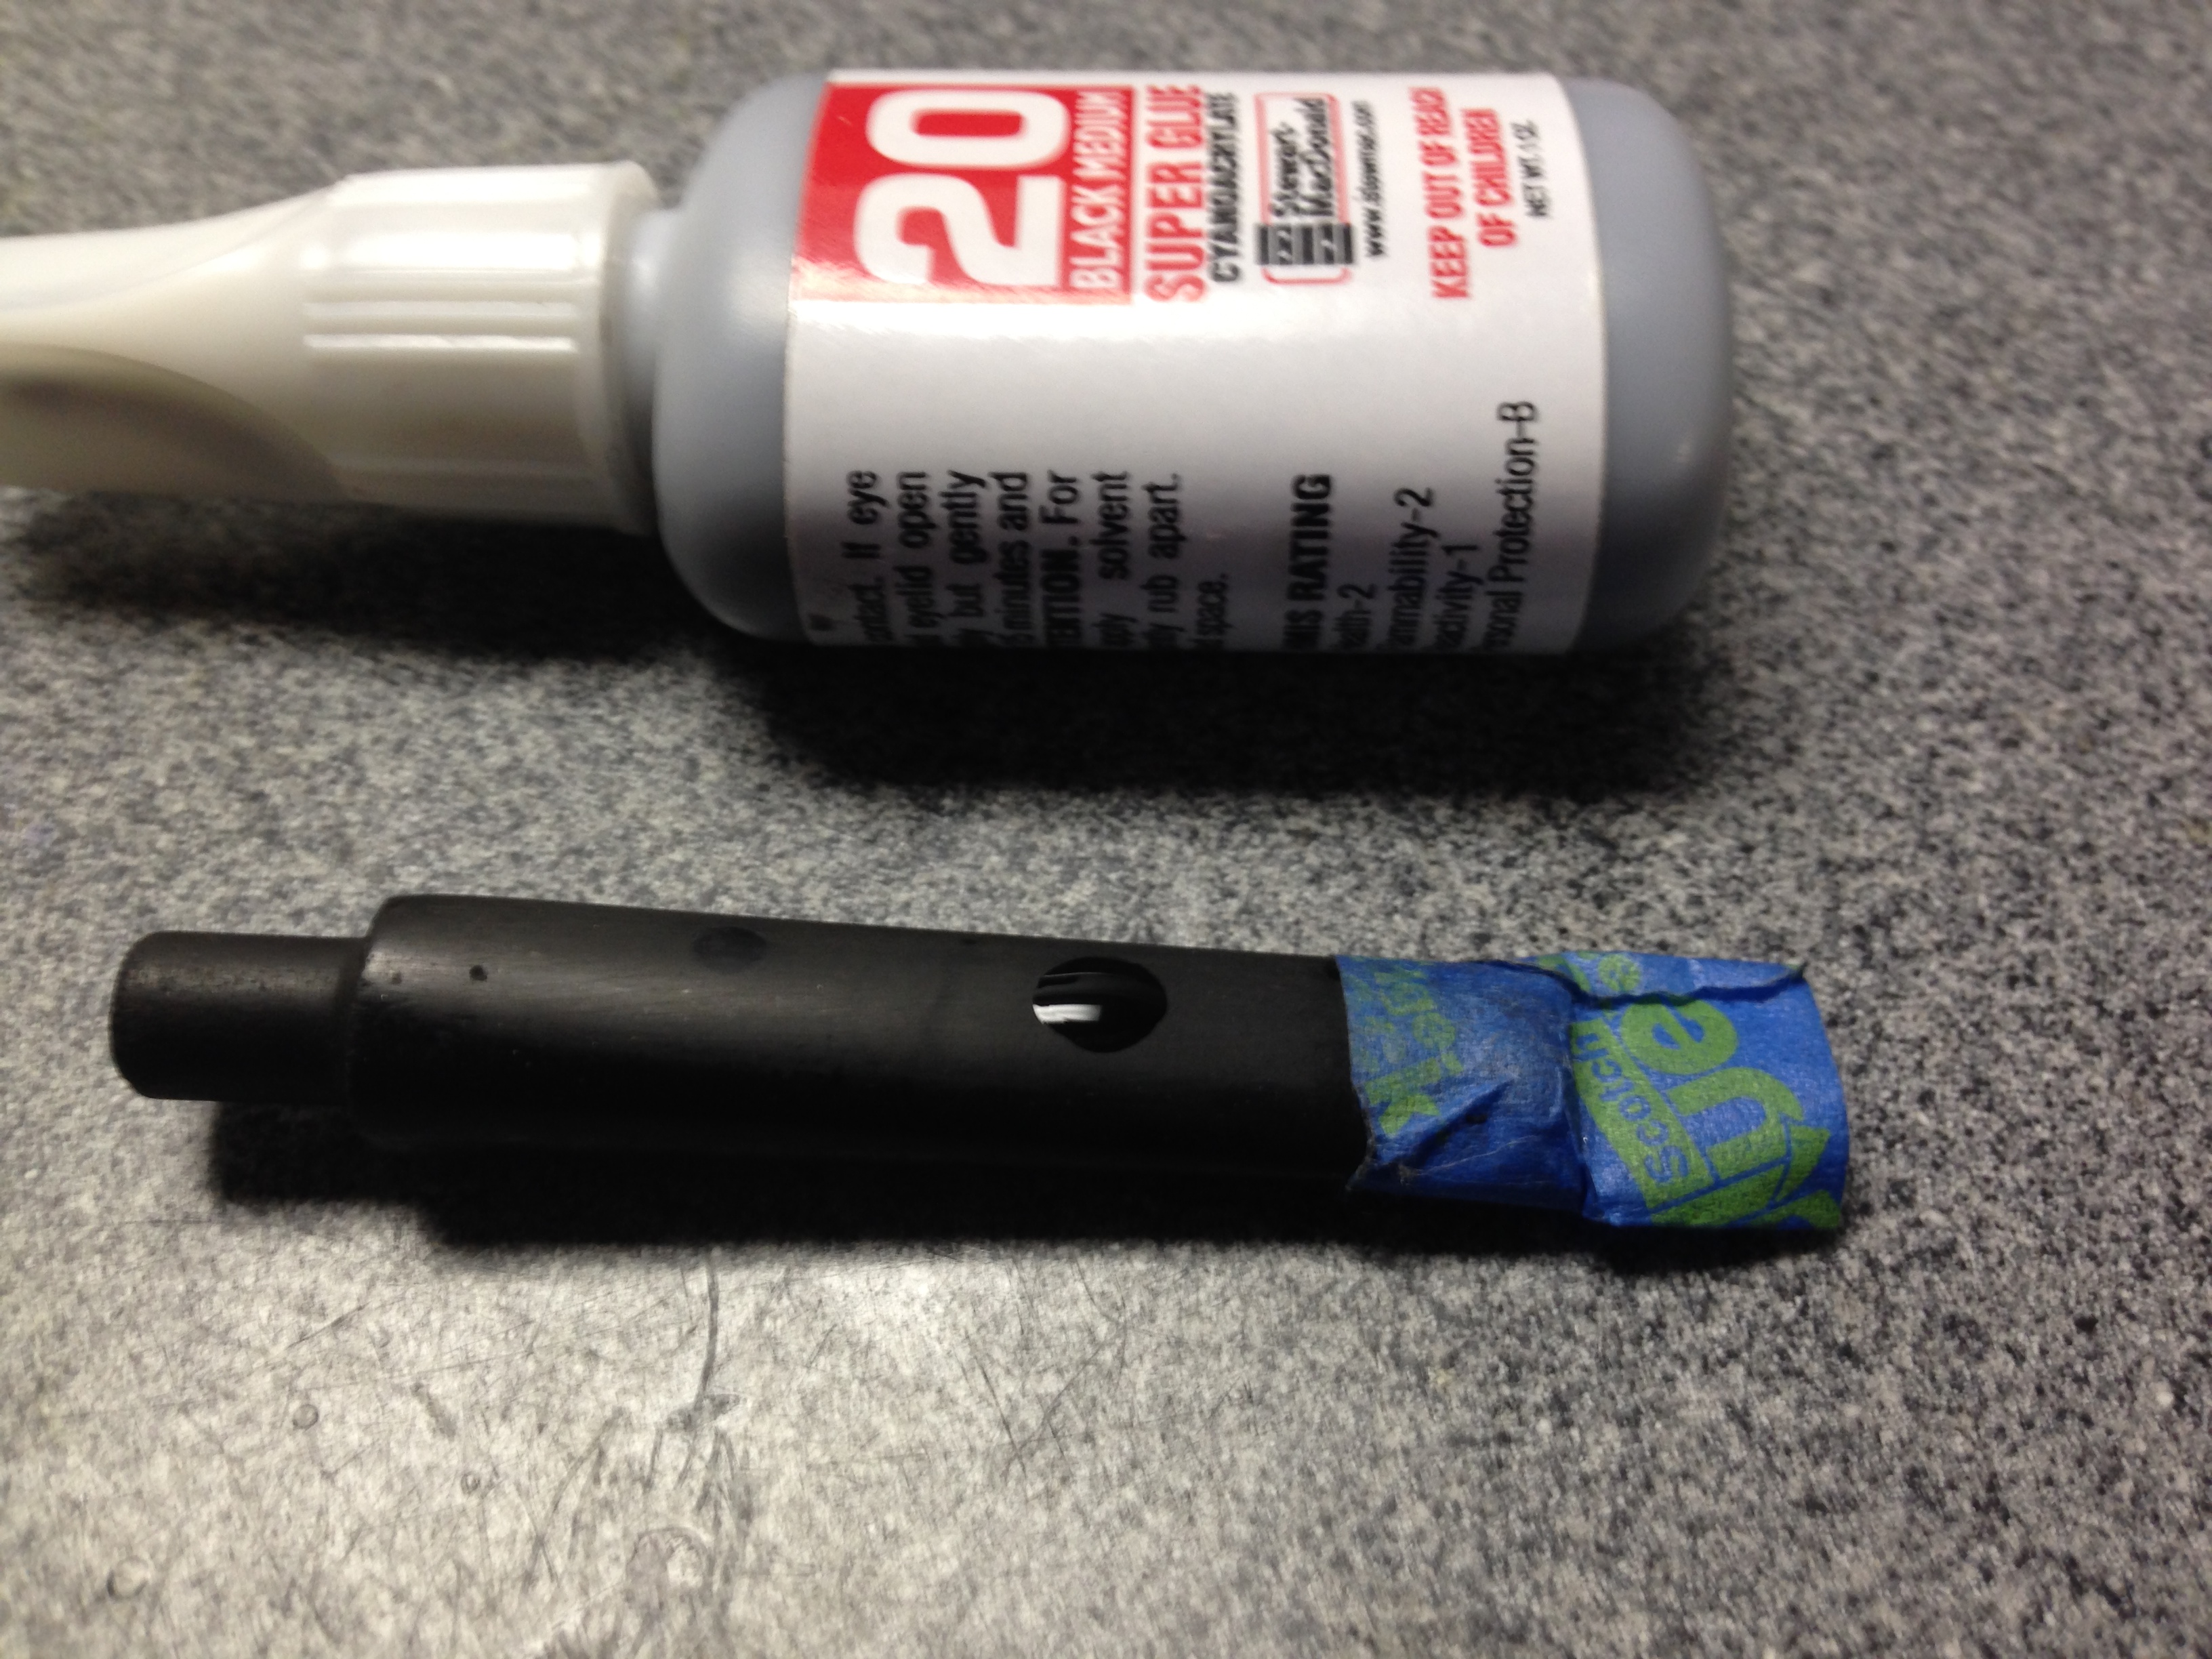
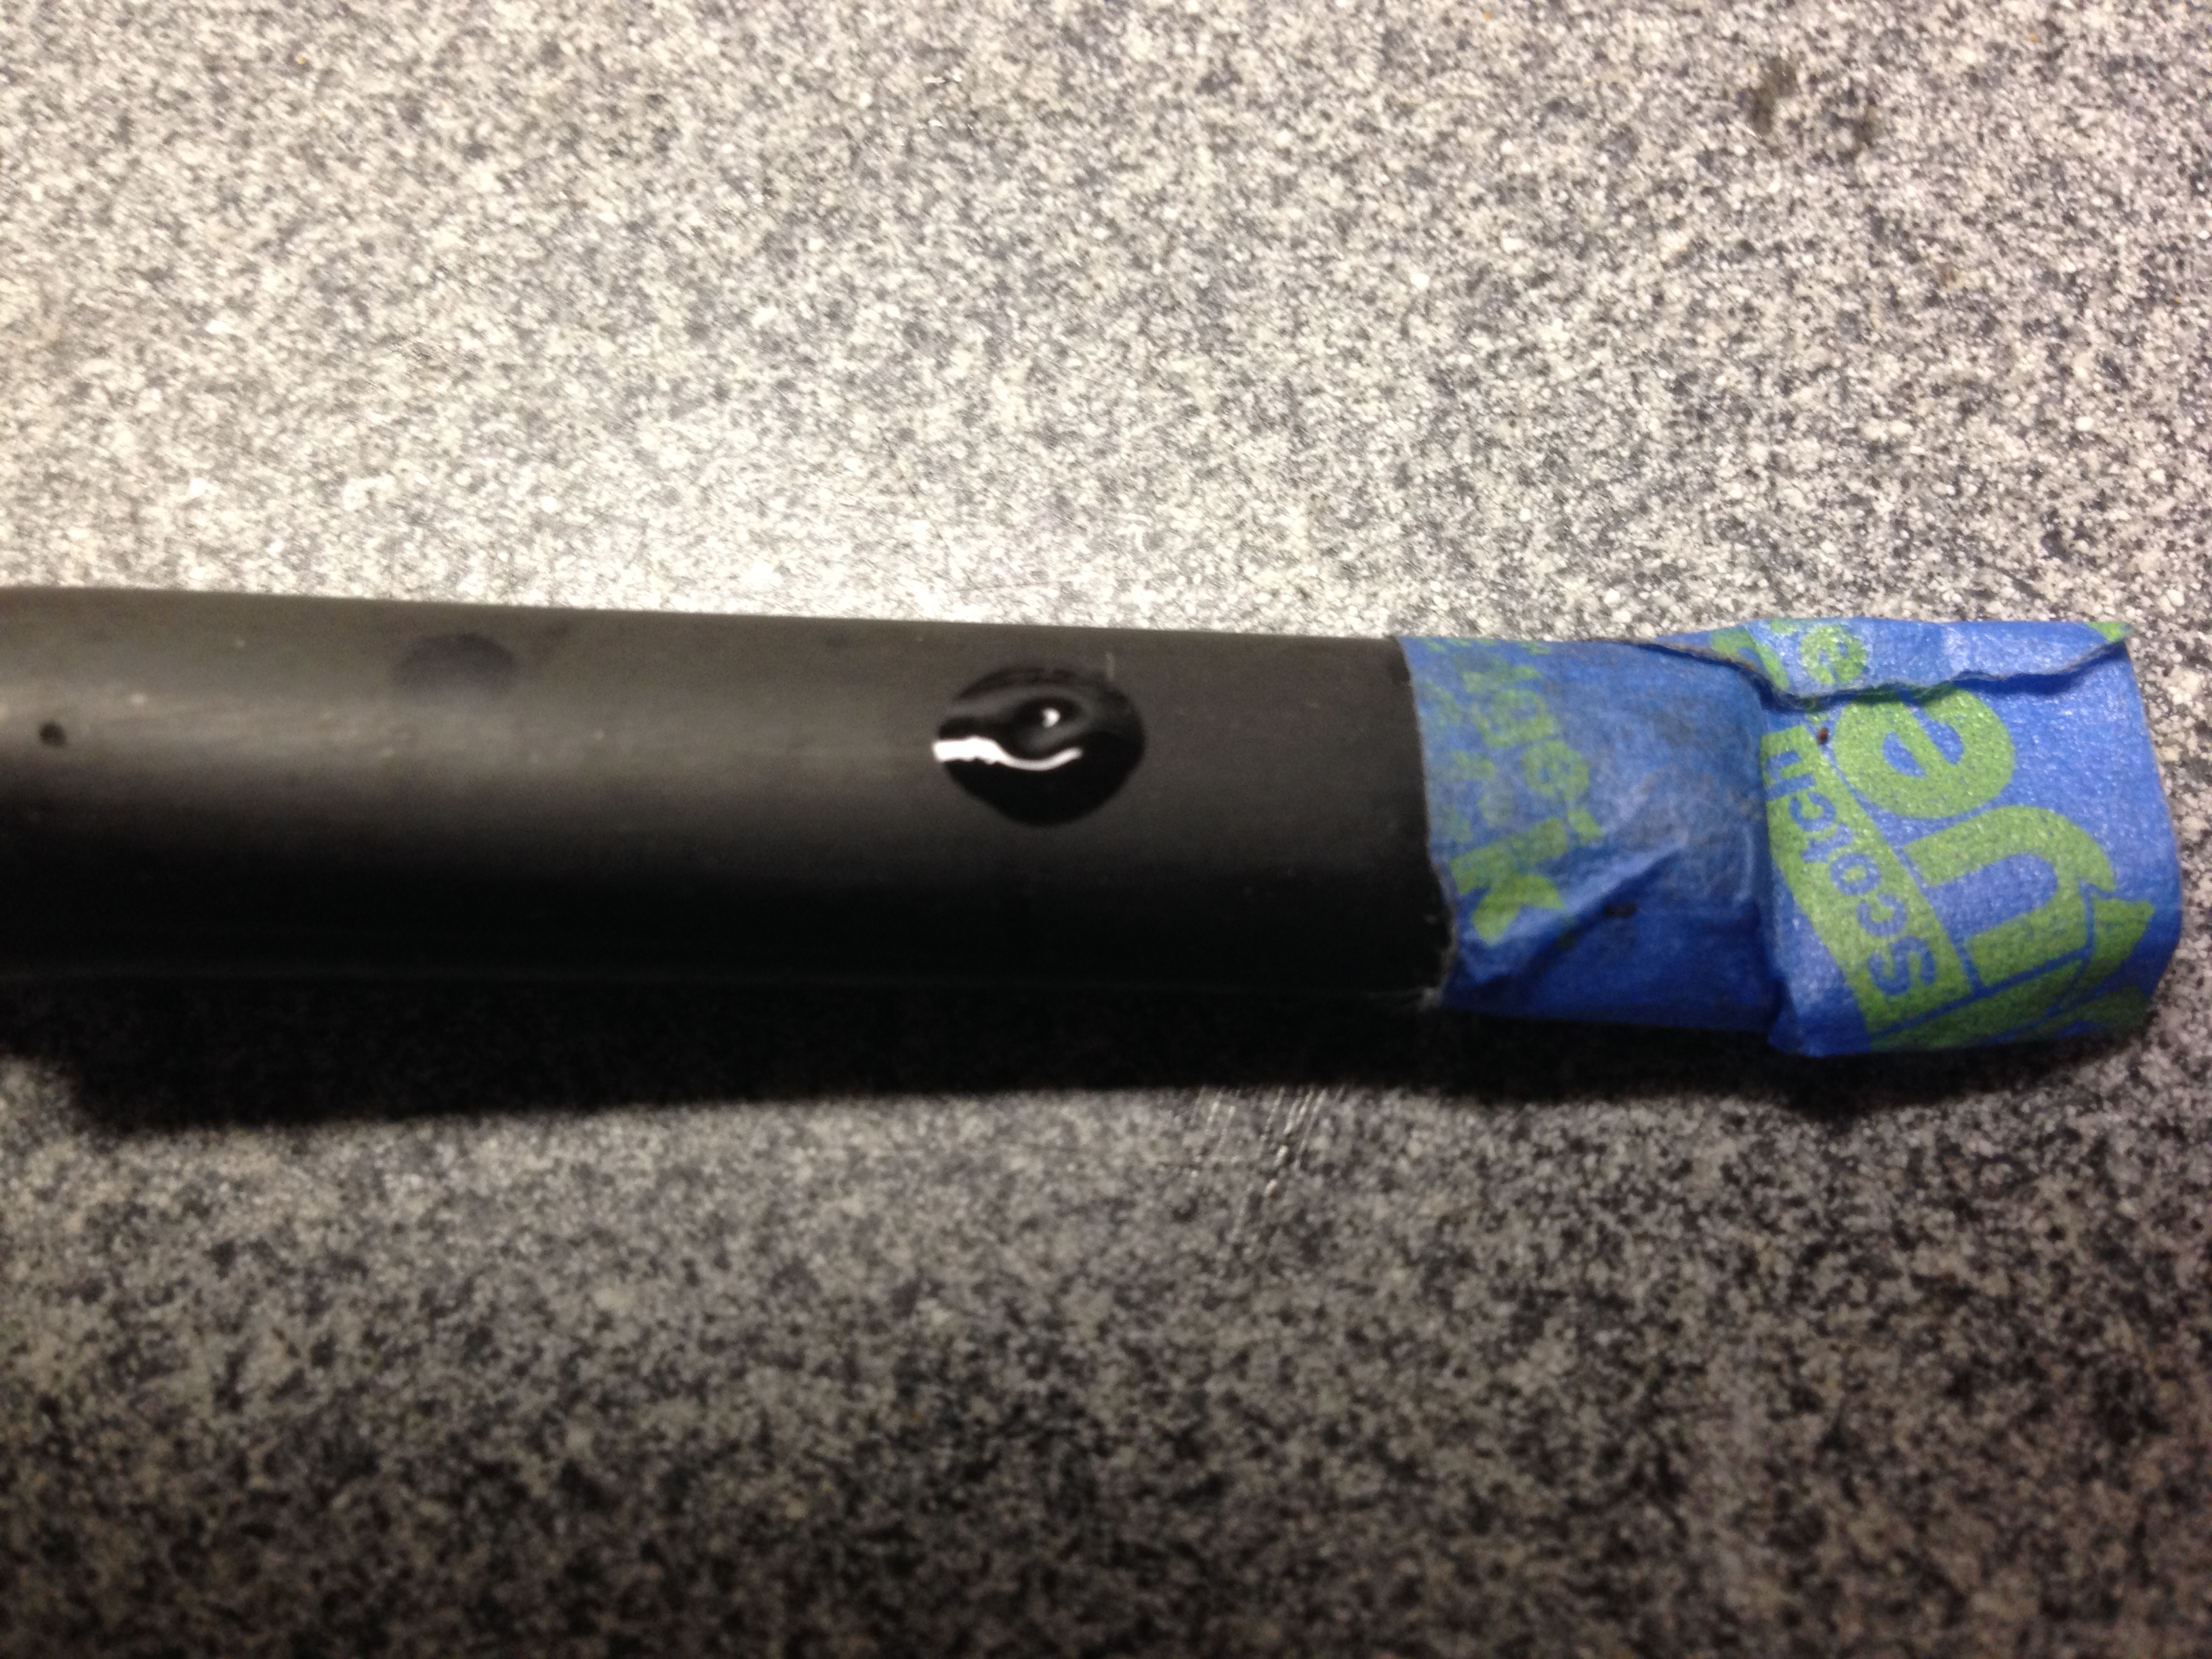
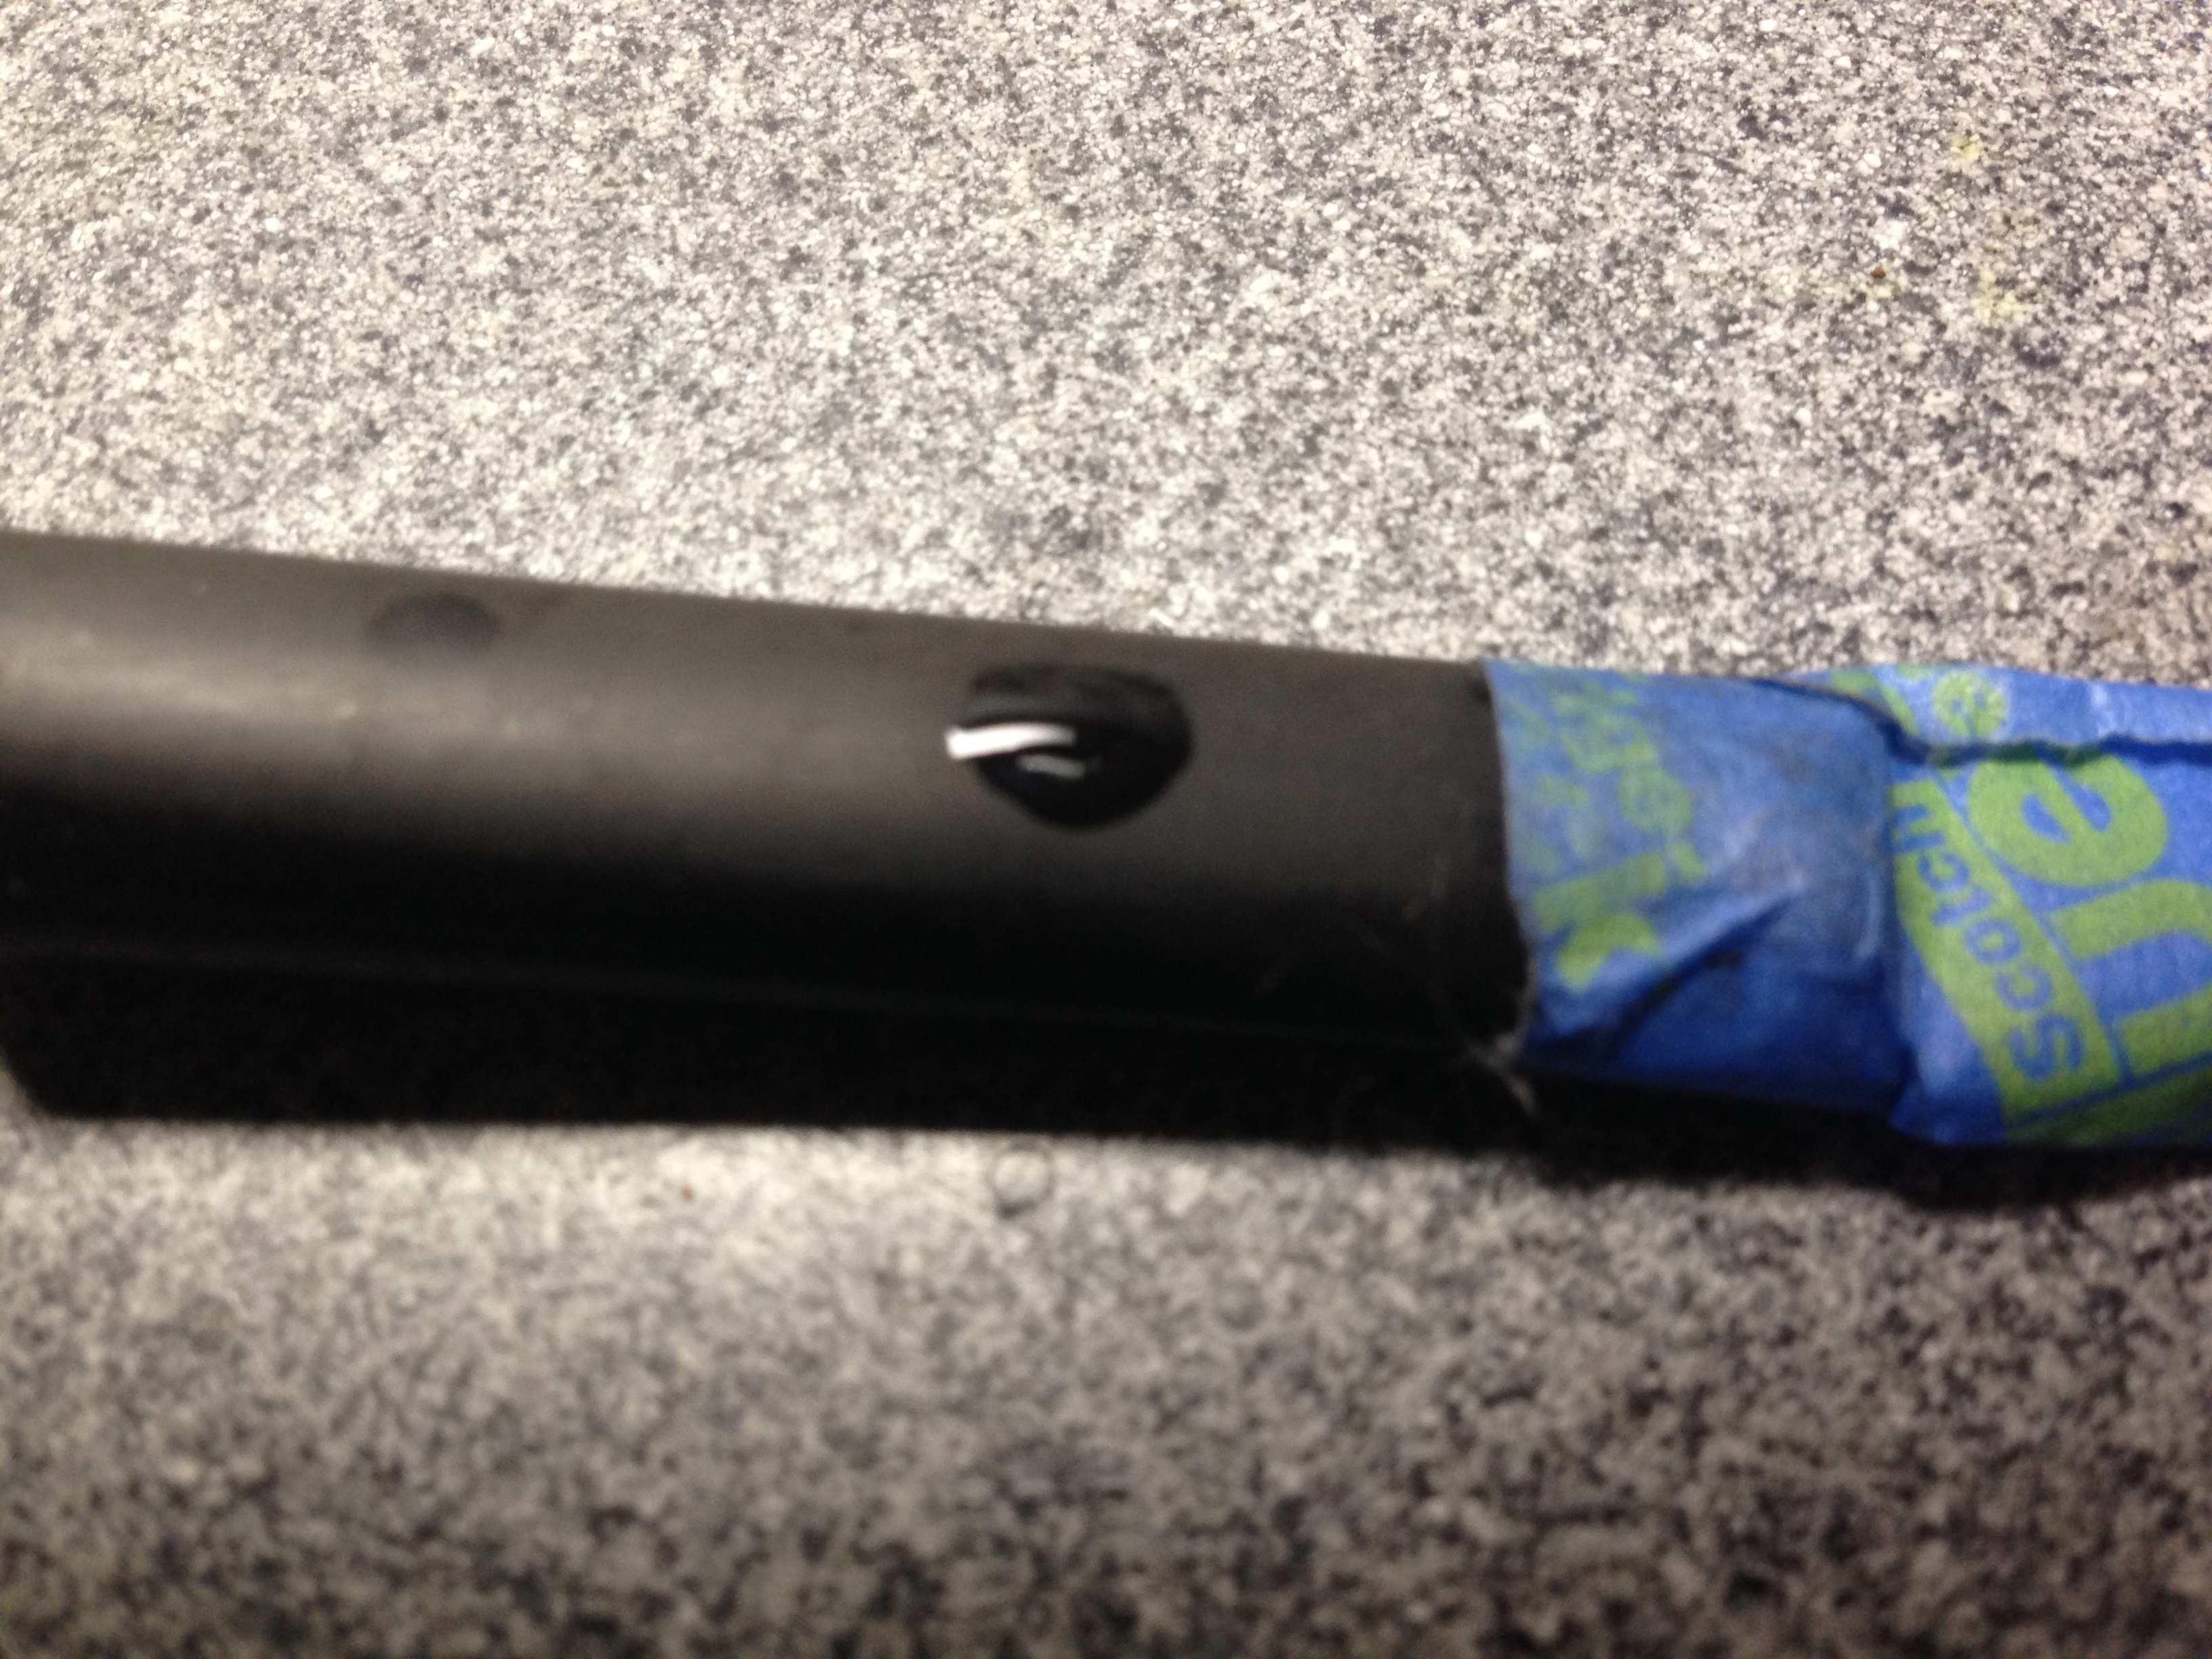
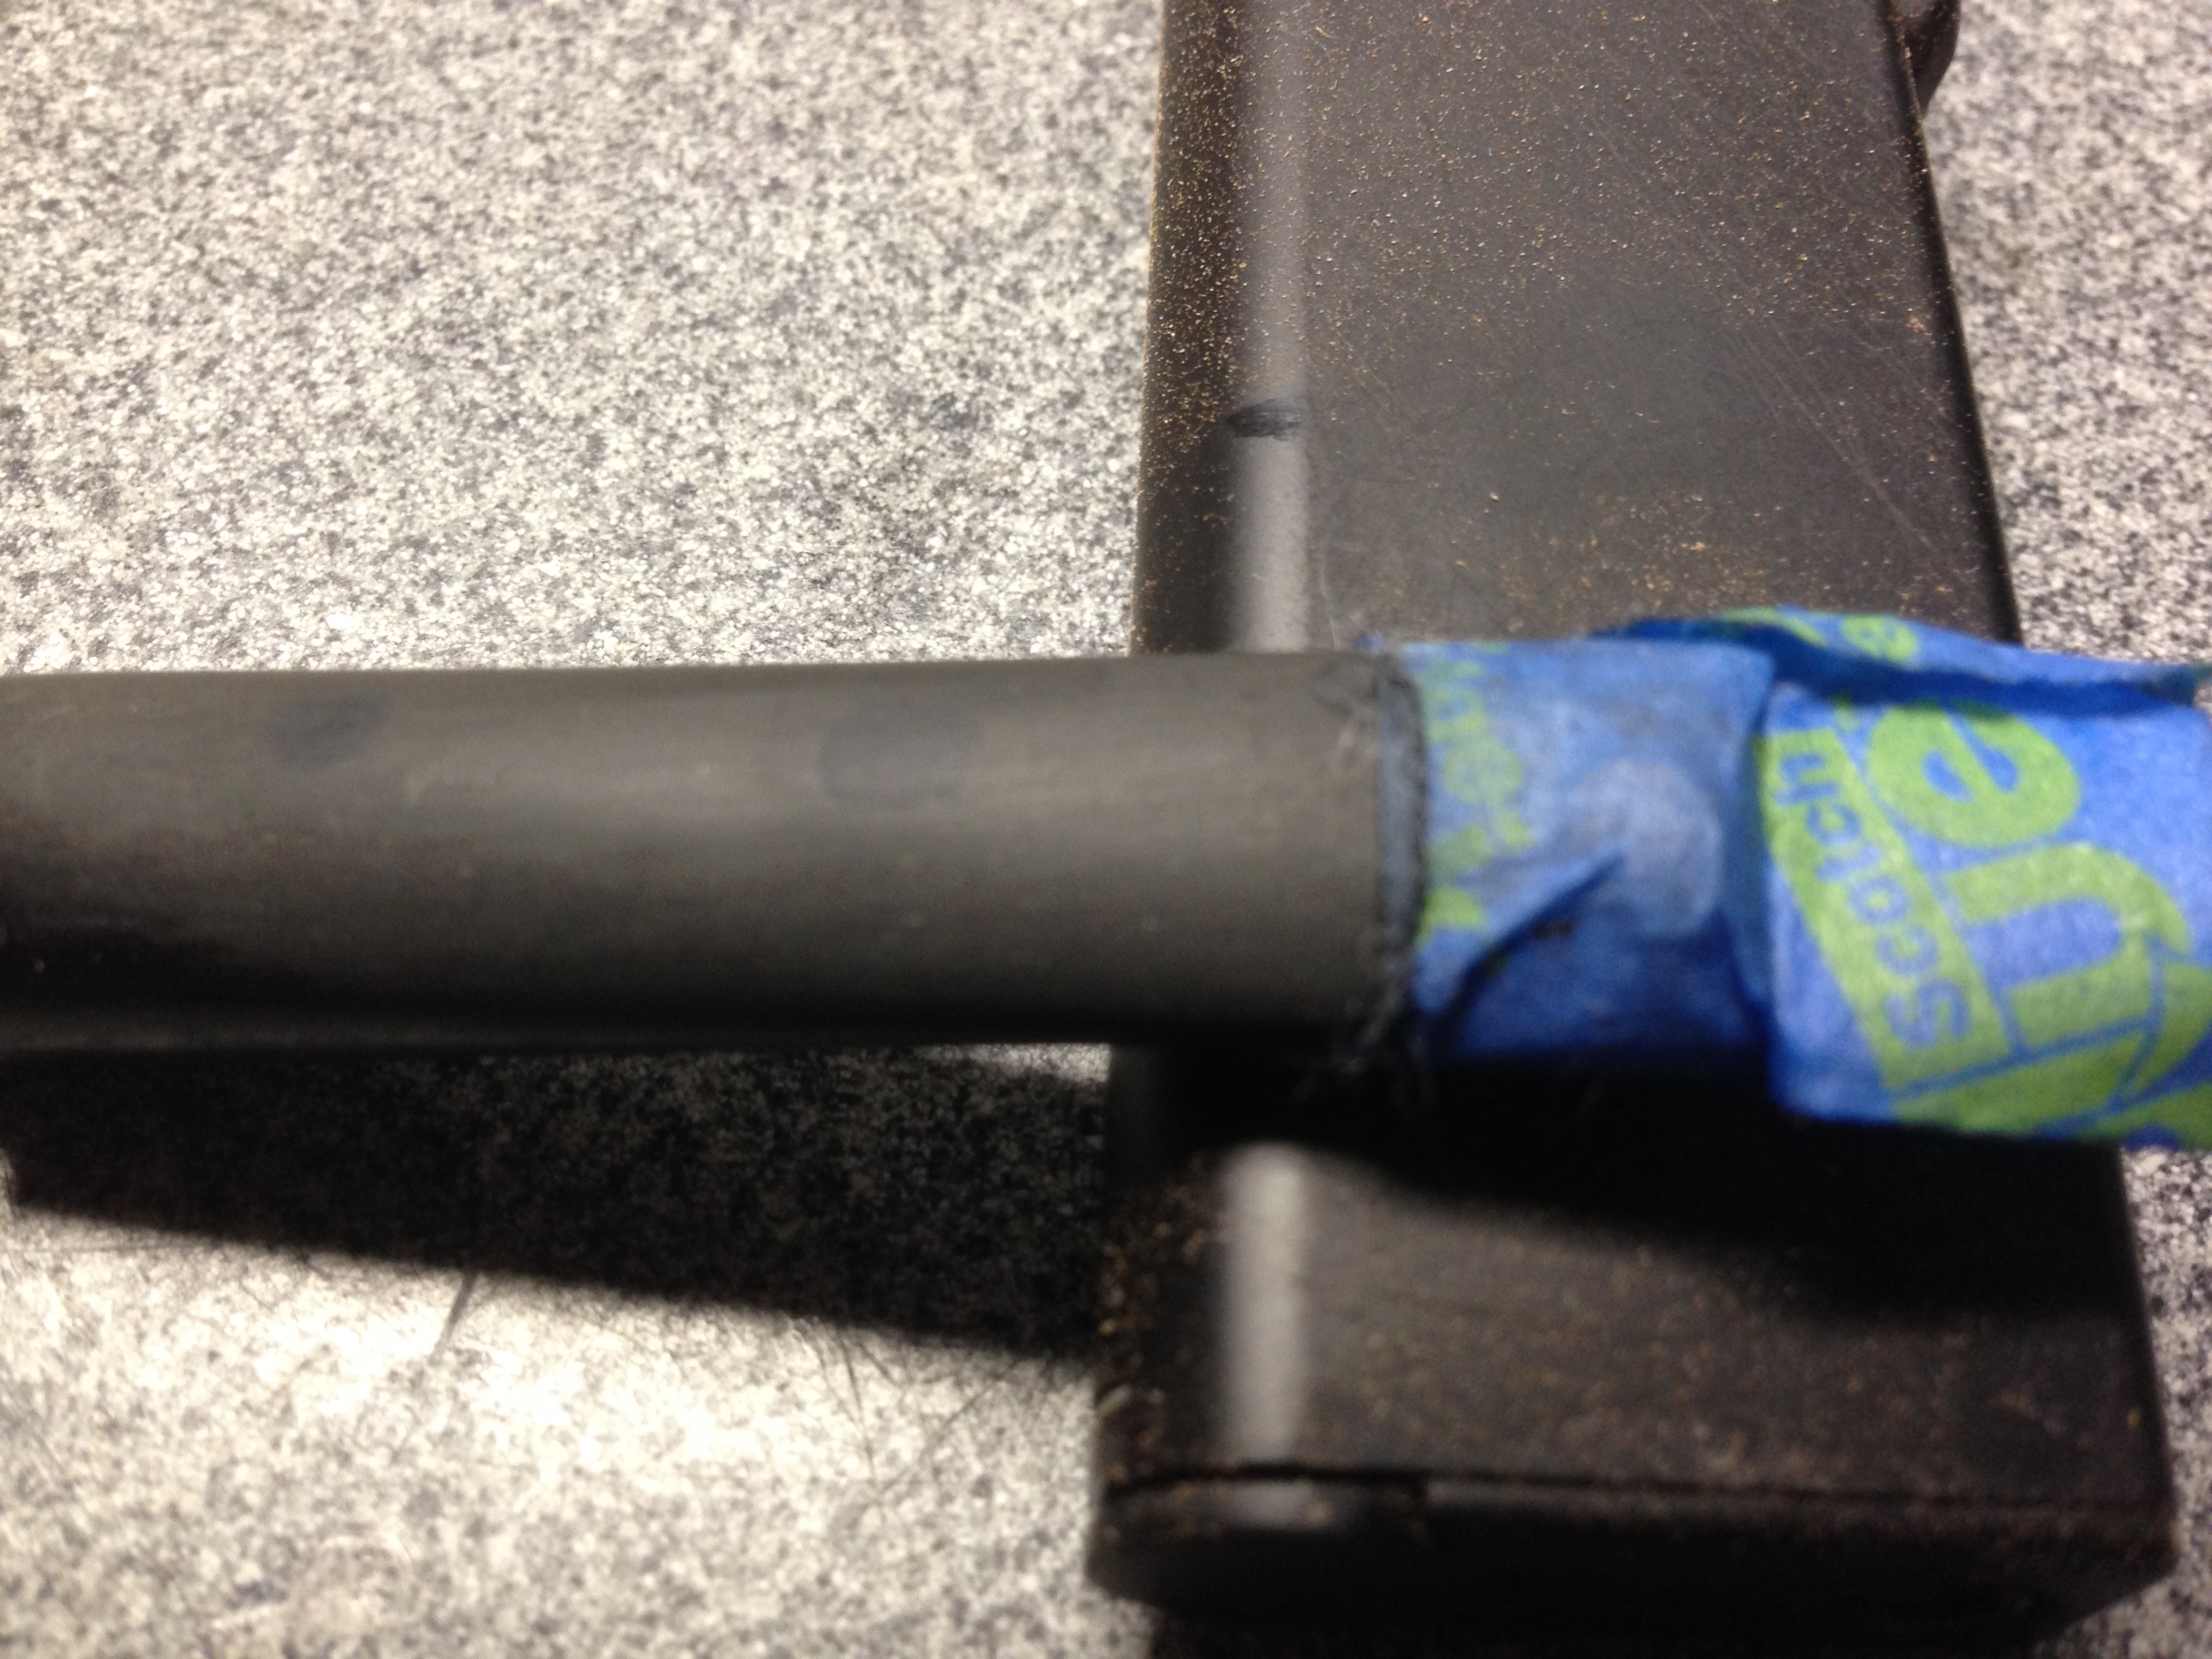
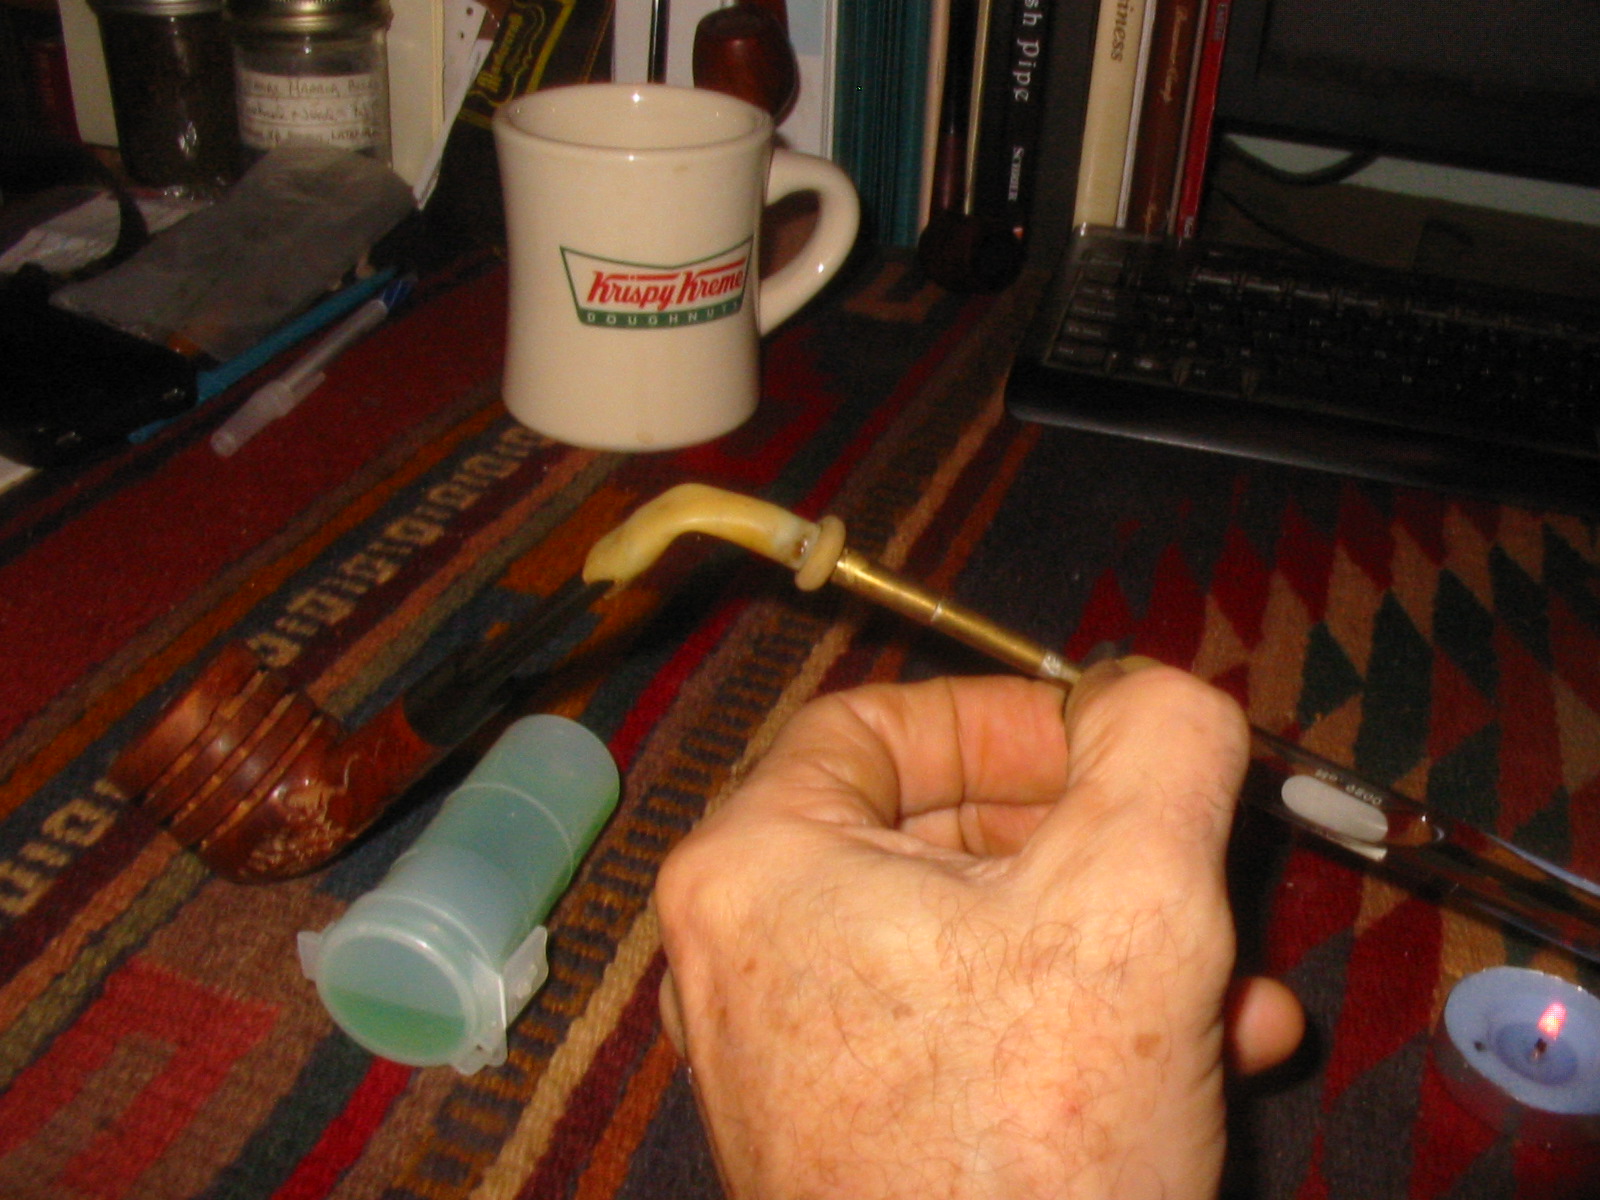
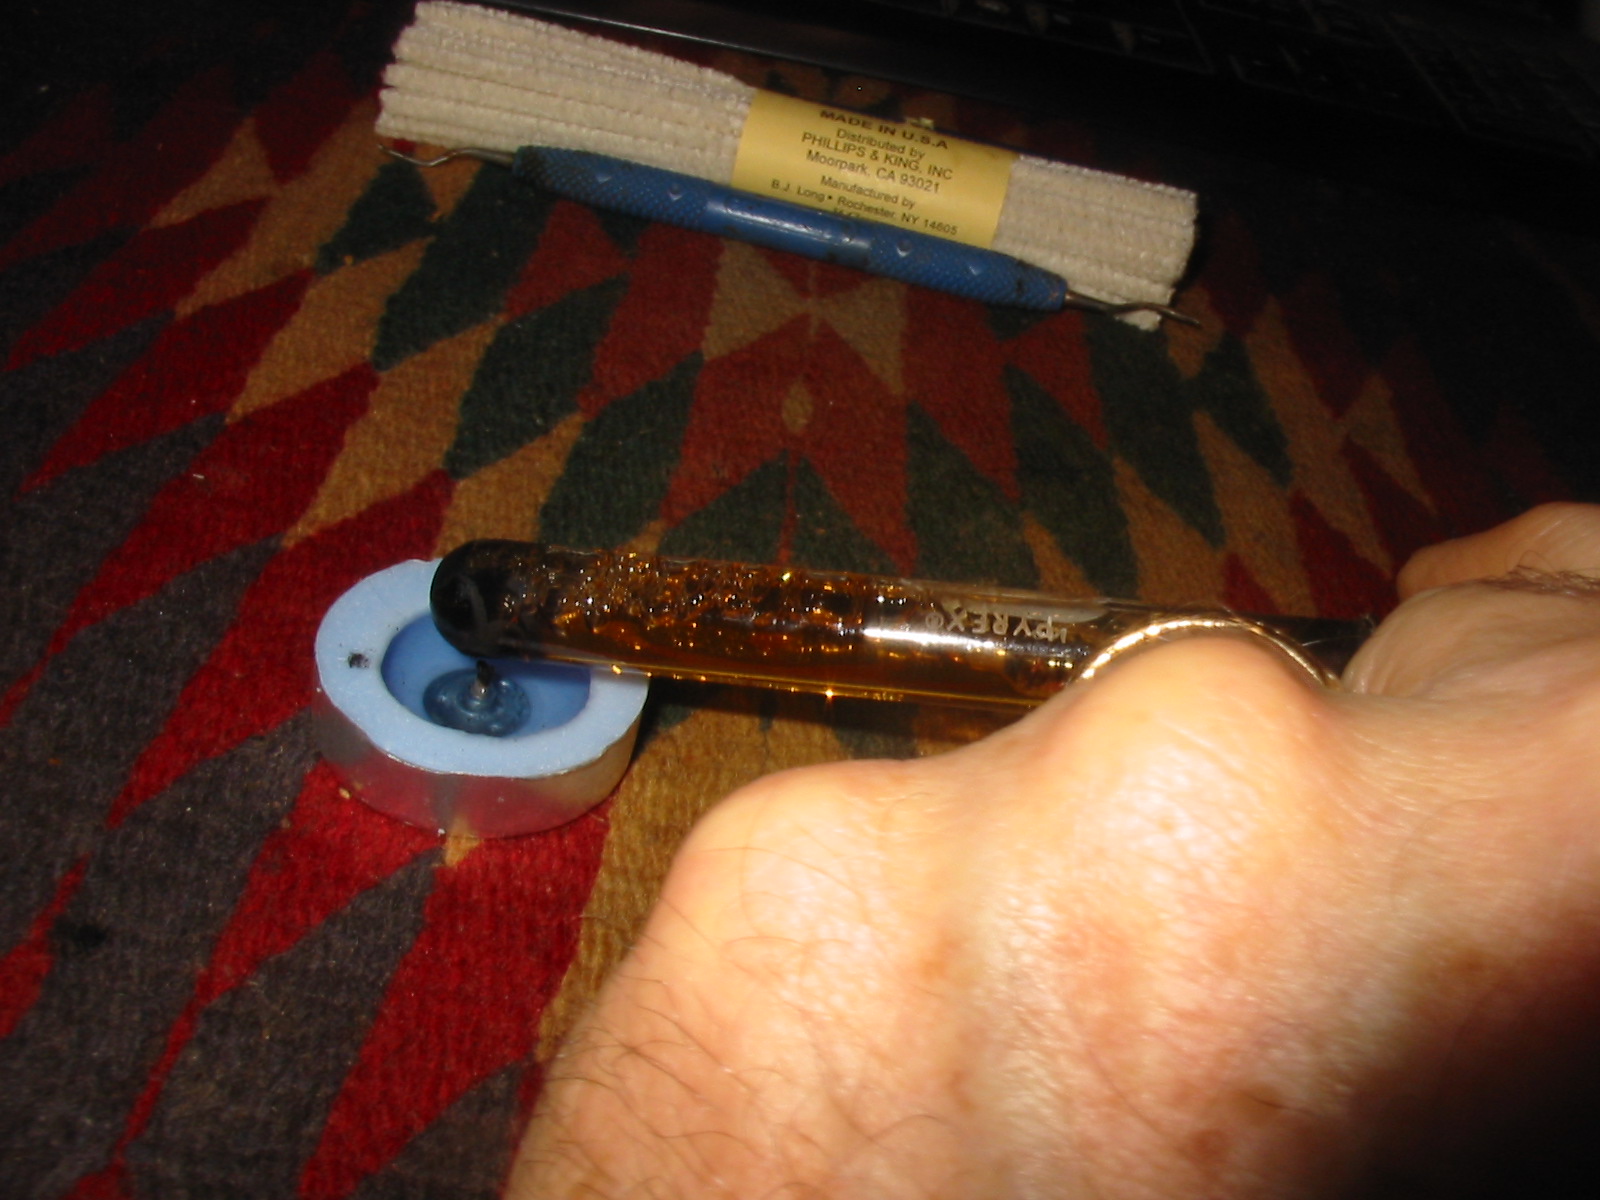
The pipe cleaners and cotton swabs came out very dirty so I decided to set up a retort and boil out the shank and airways with hot alcohol. The alcohol in the test tube was heated with the votive candle and the boiling sent the hot alcohol into the shank. I had plugged the bowl with a cotton pad. I repeated the process until the alcohol came out clean.
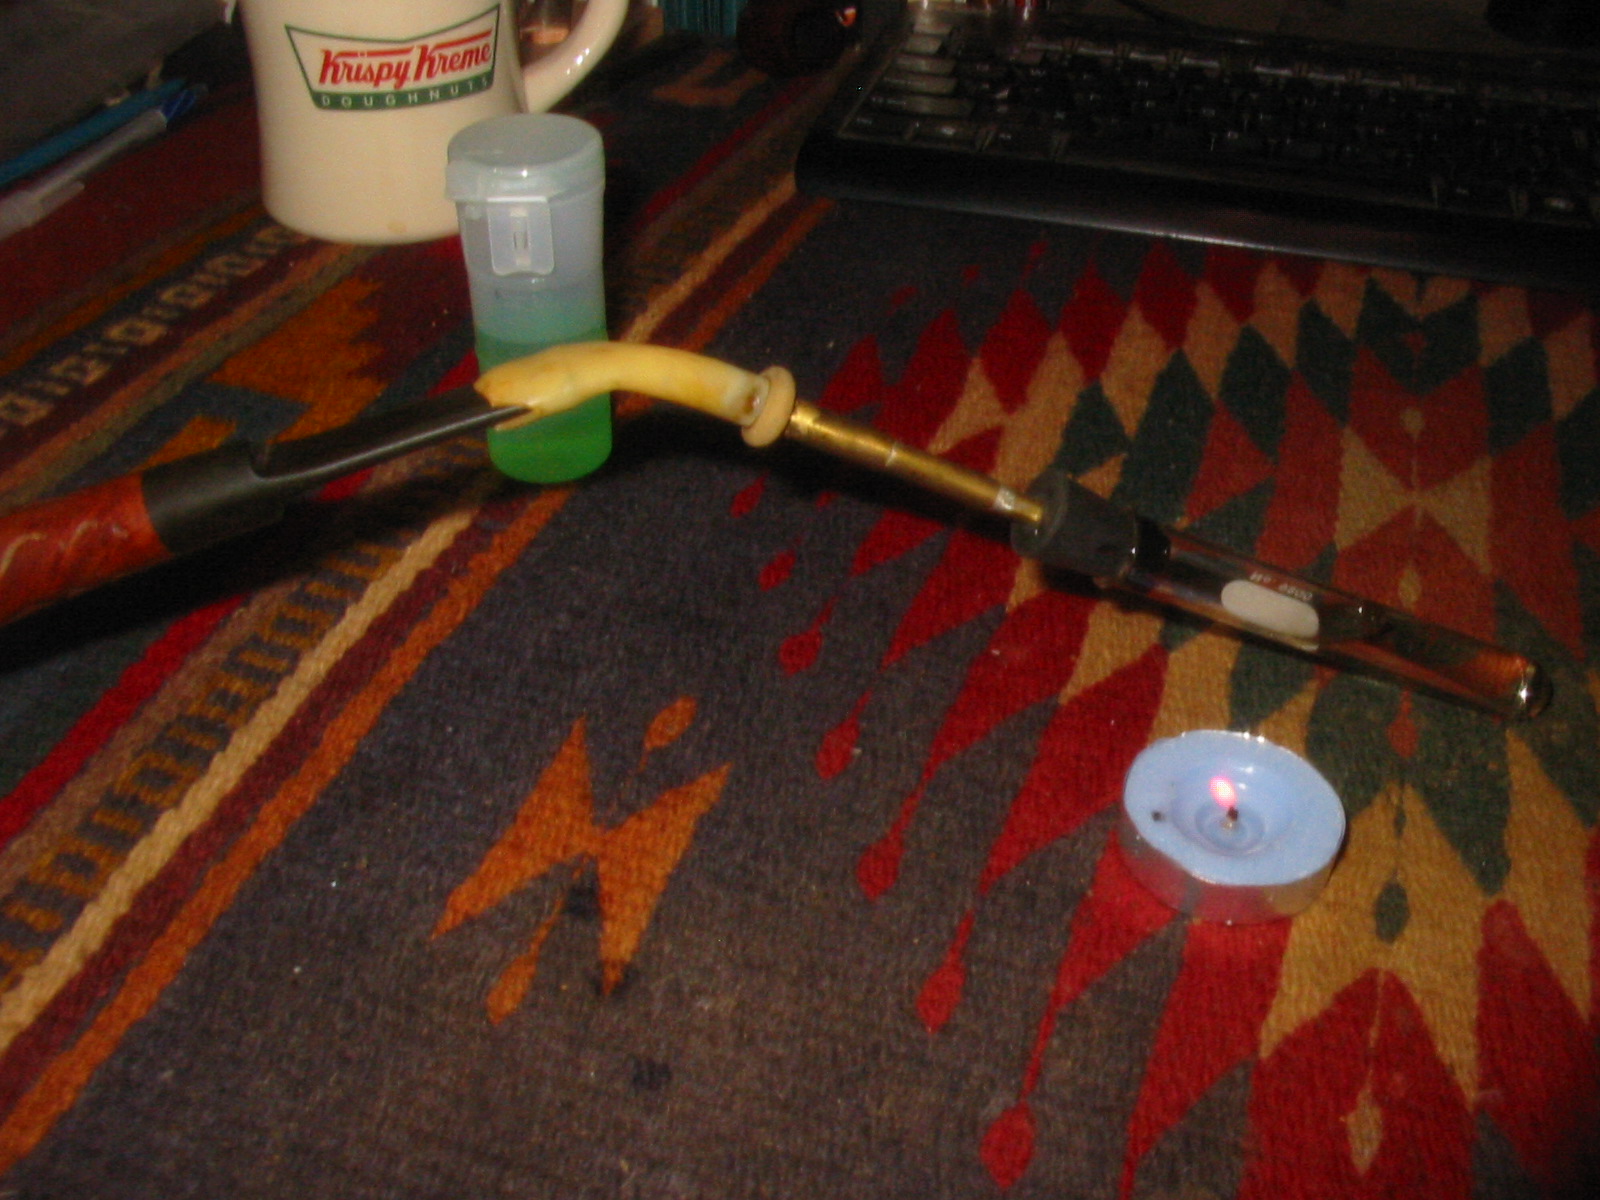
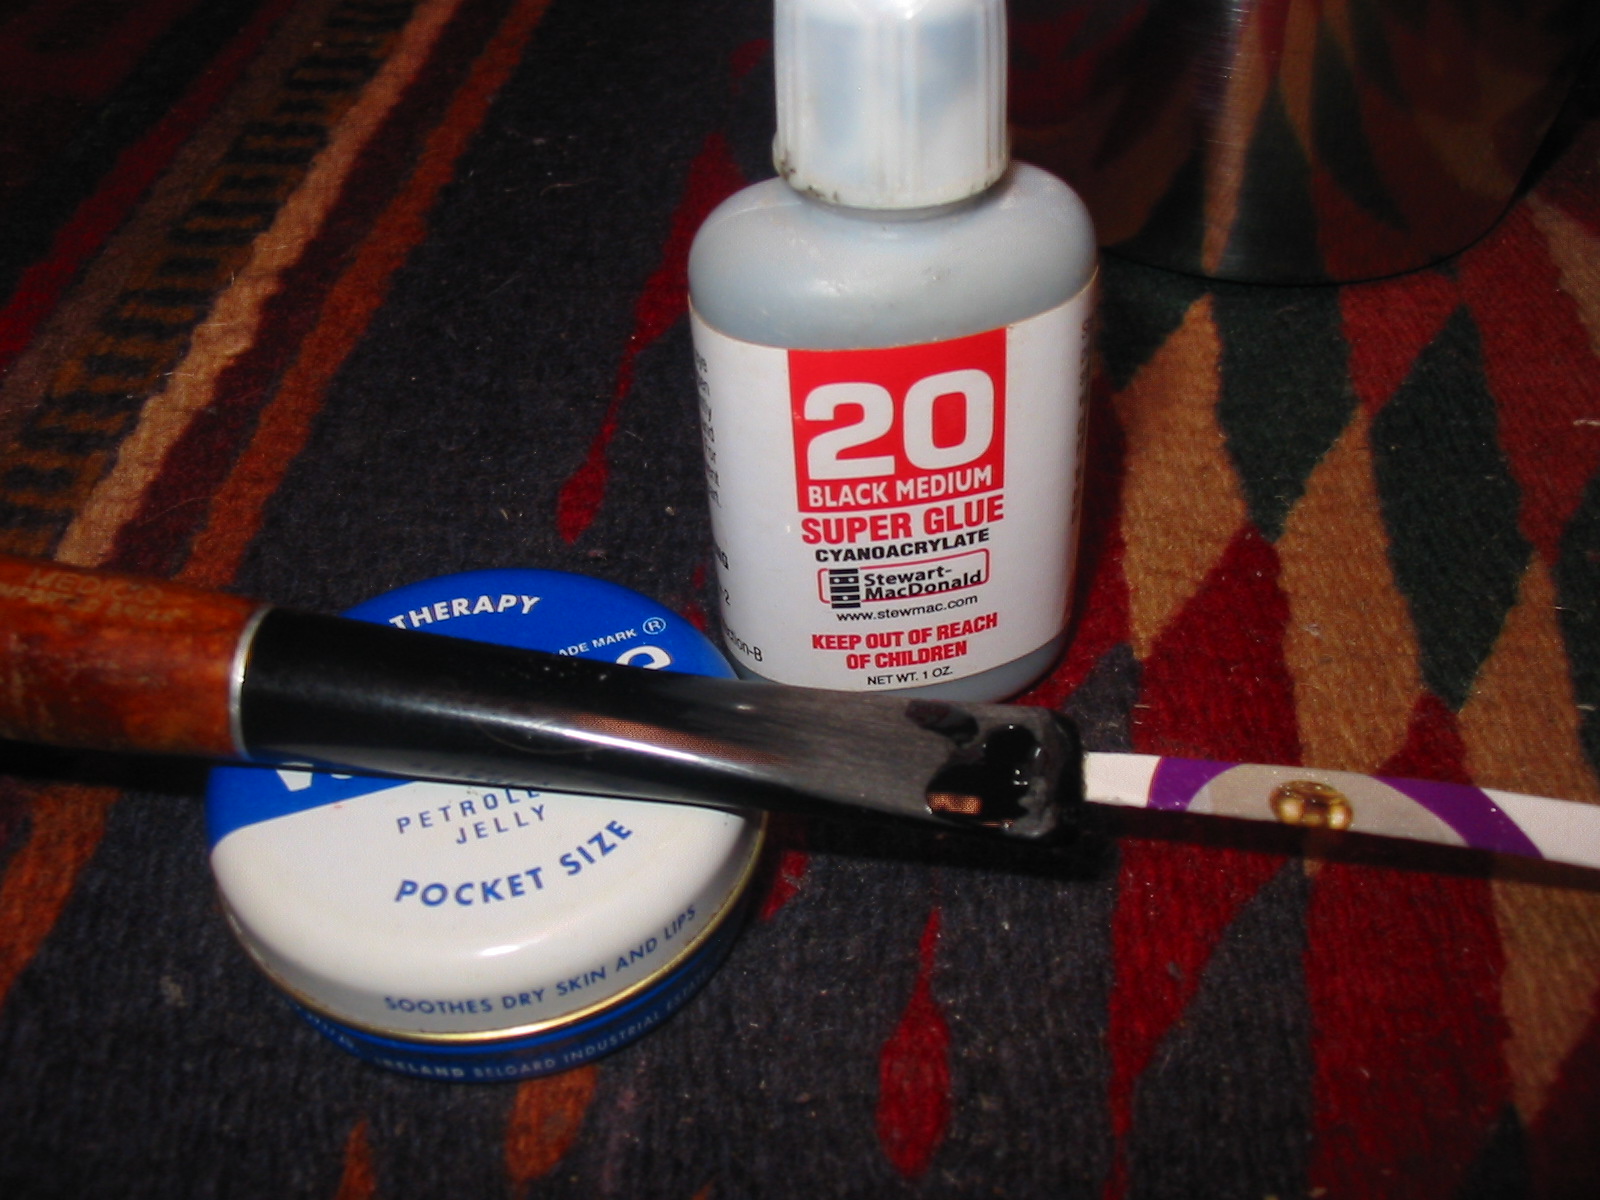
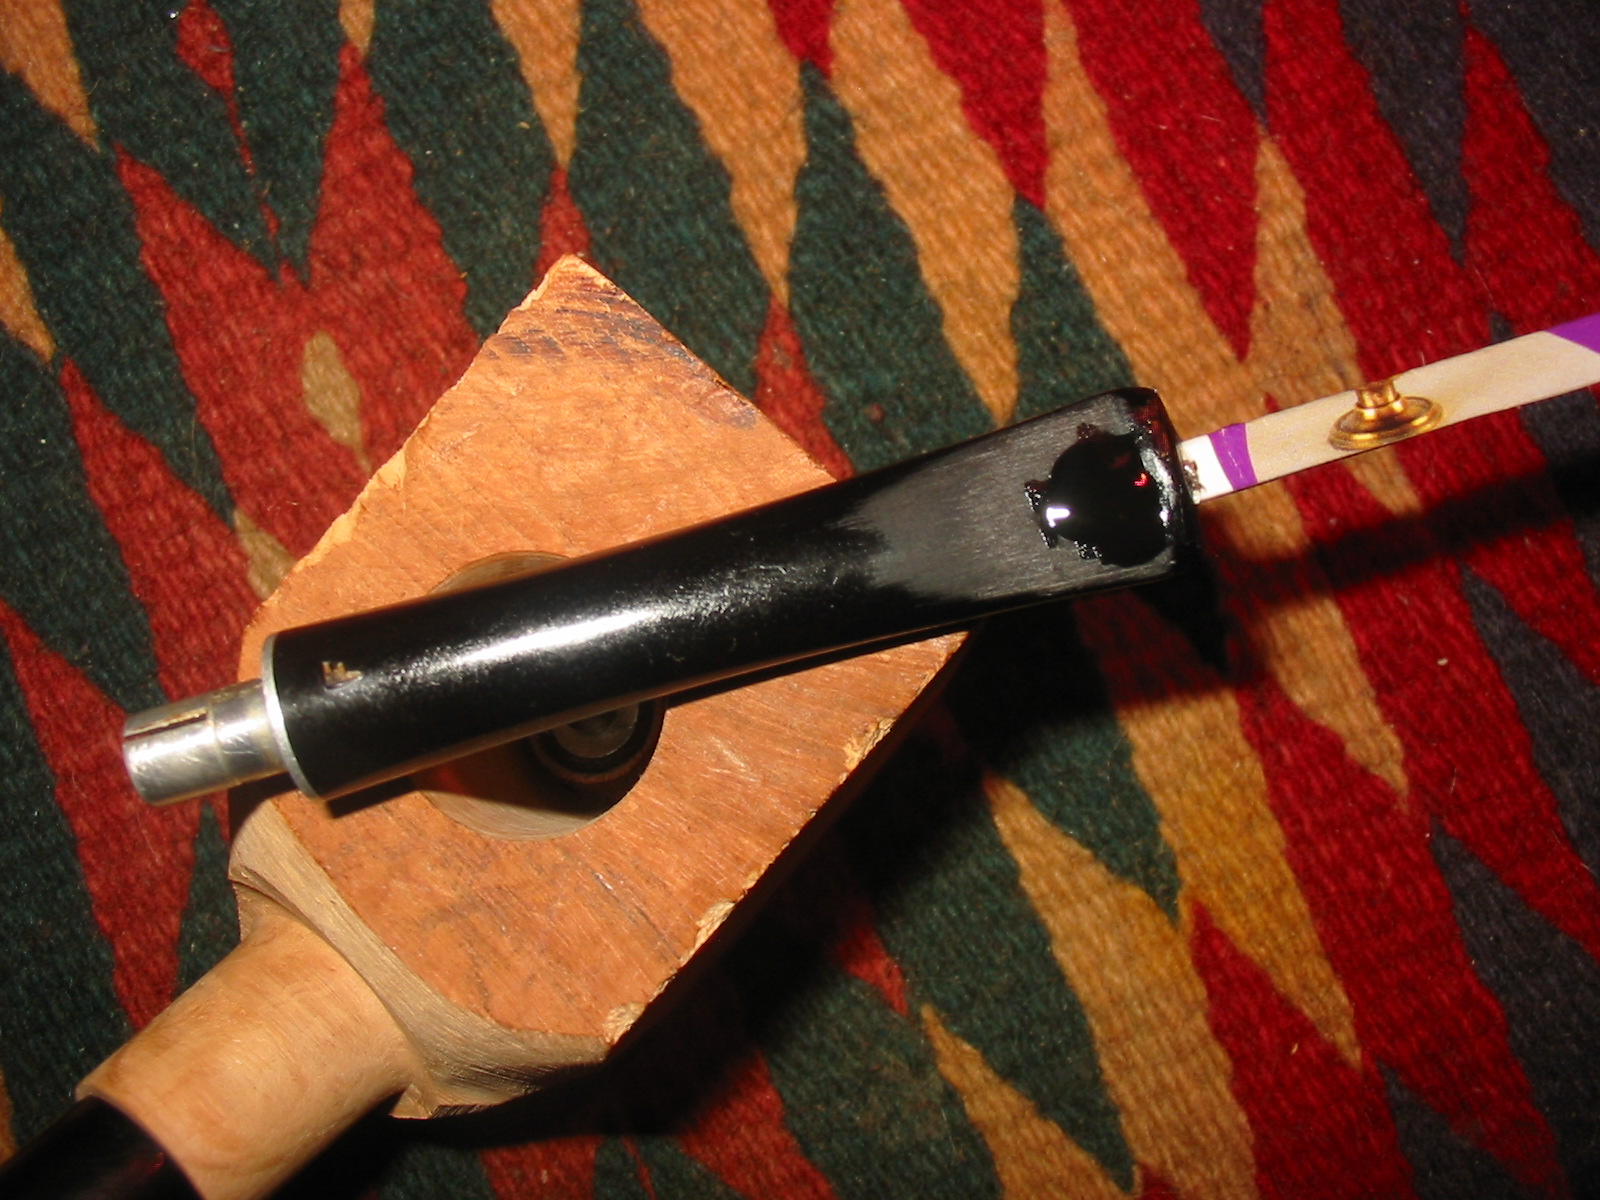
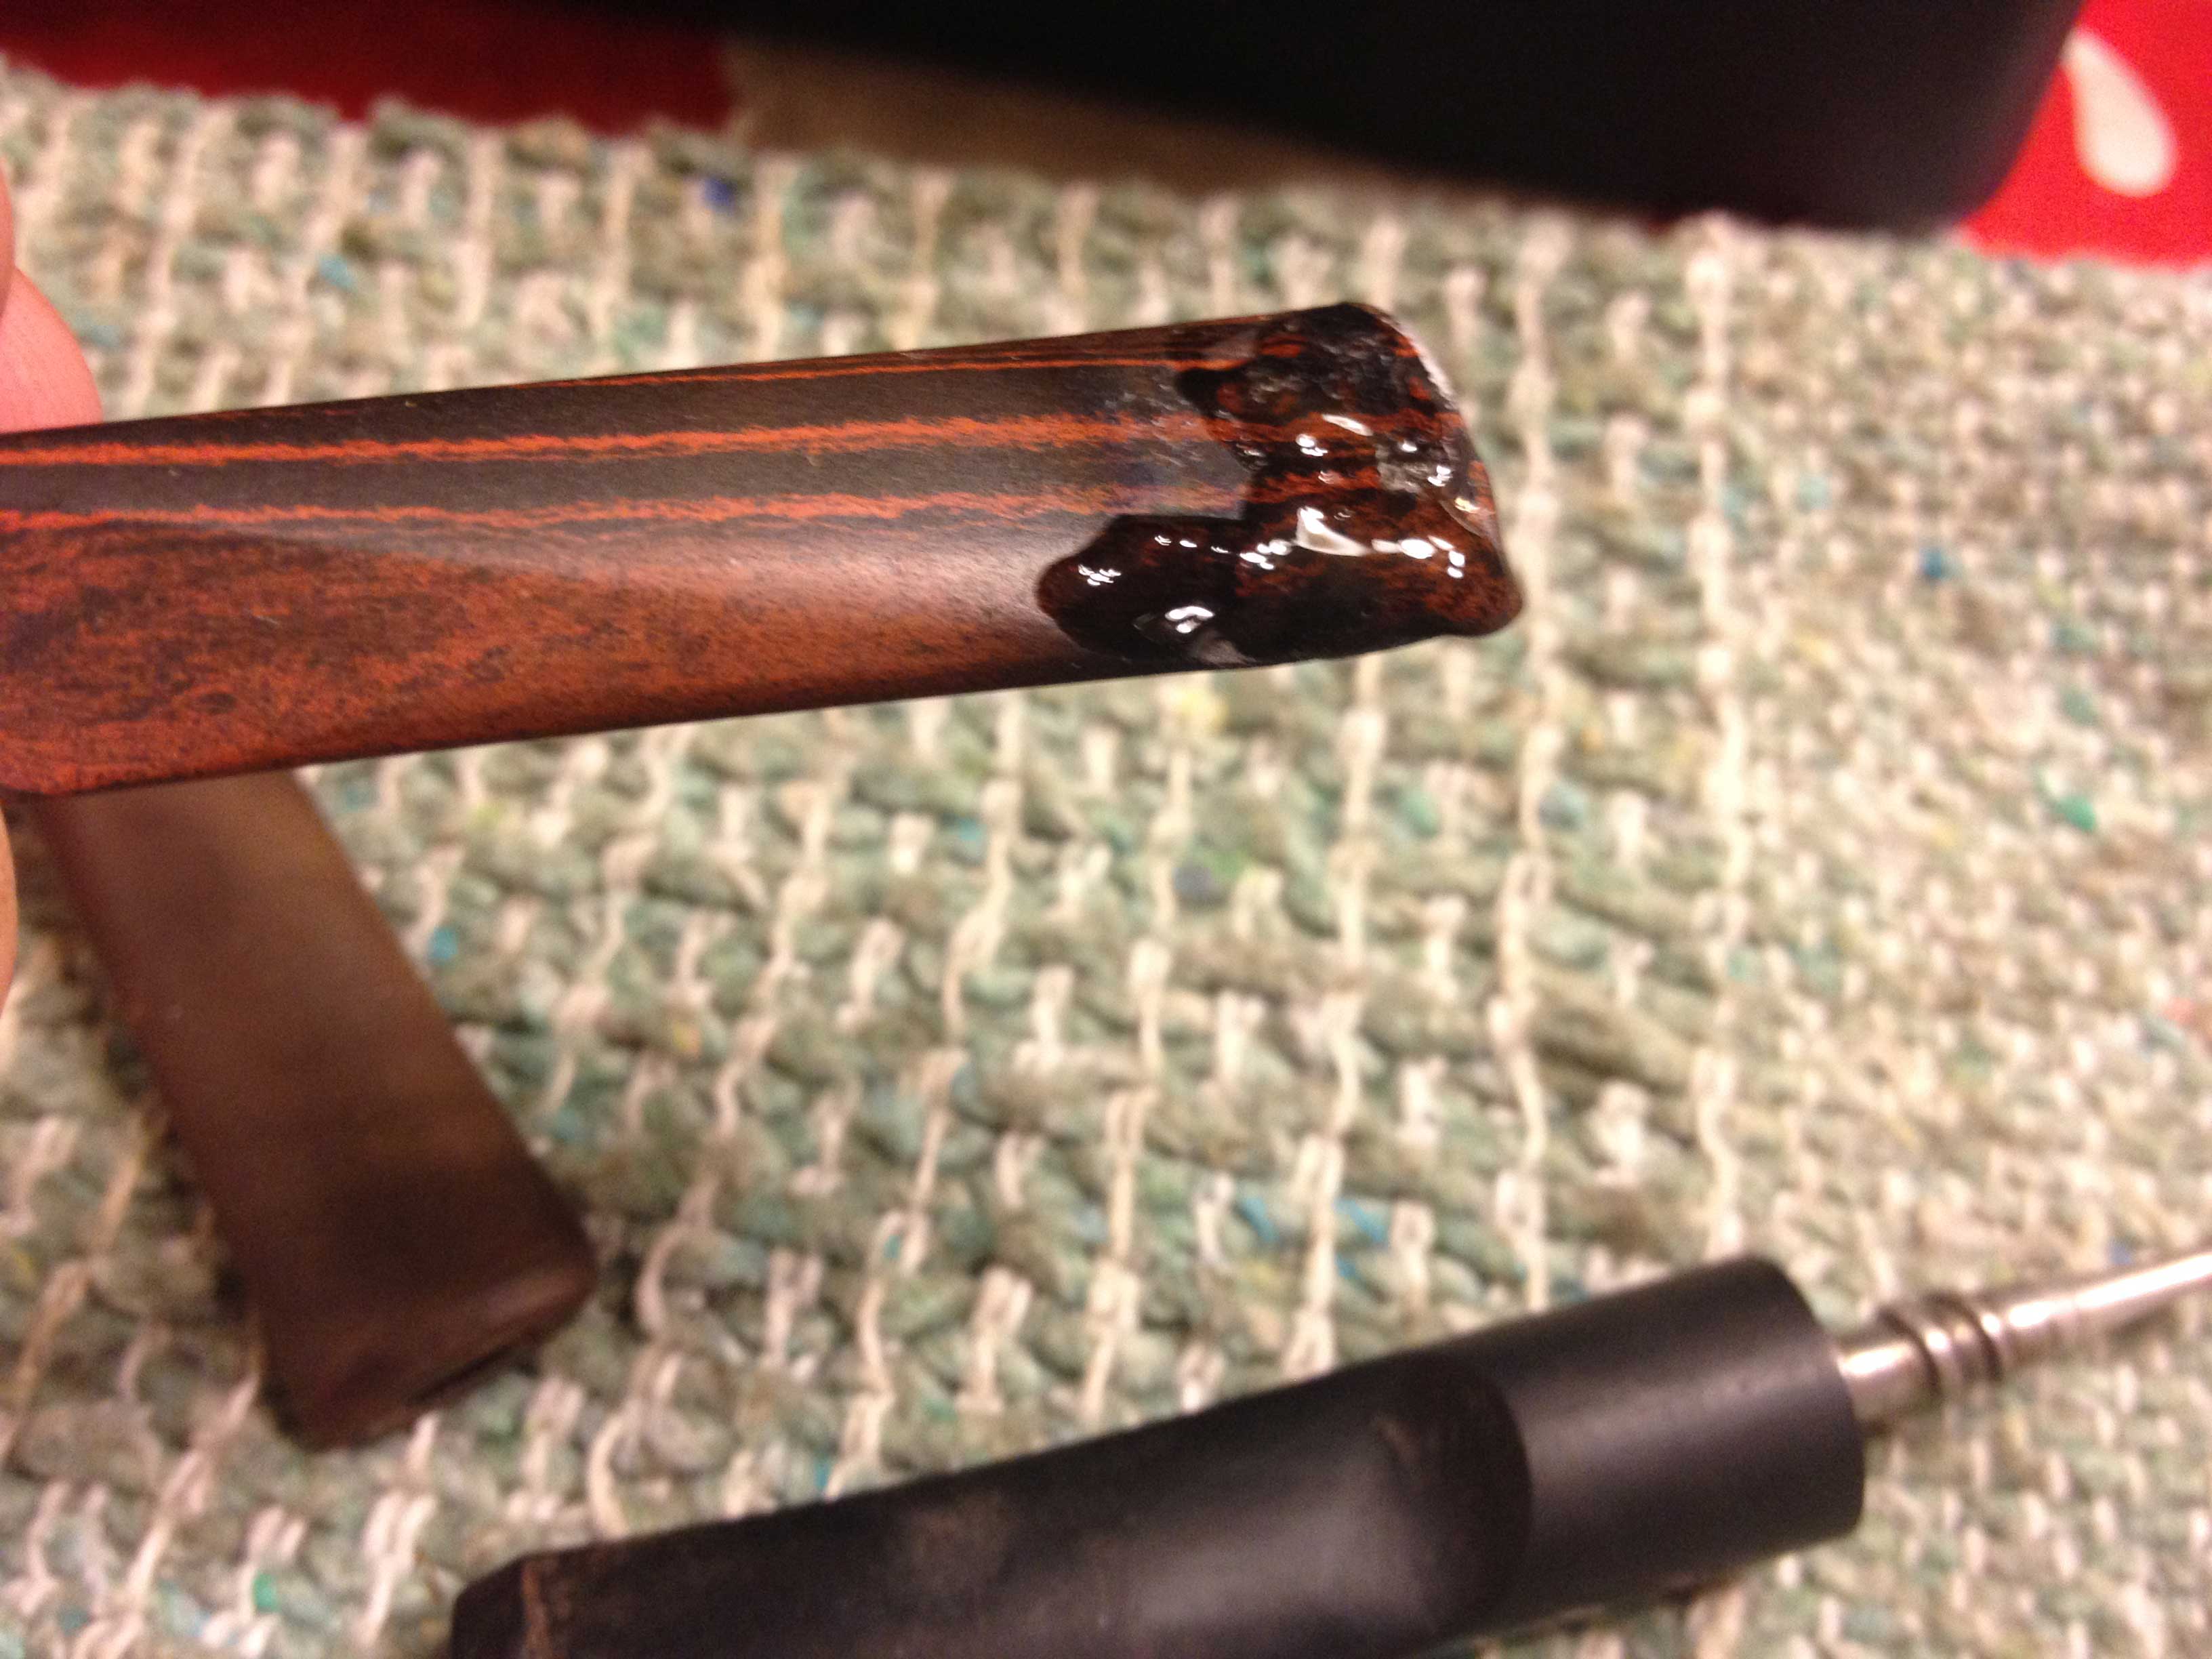
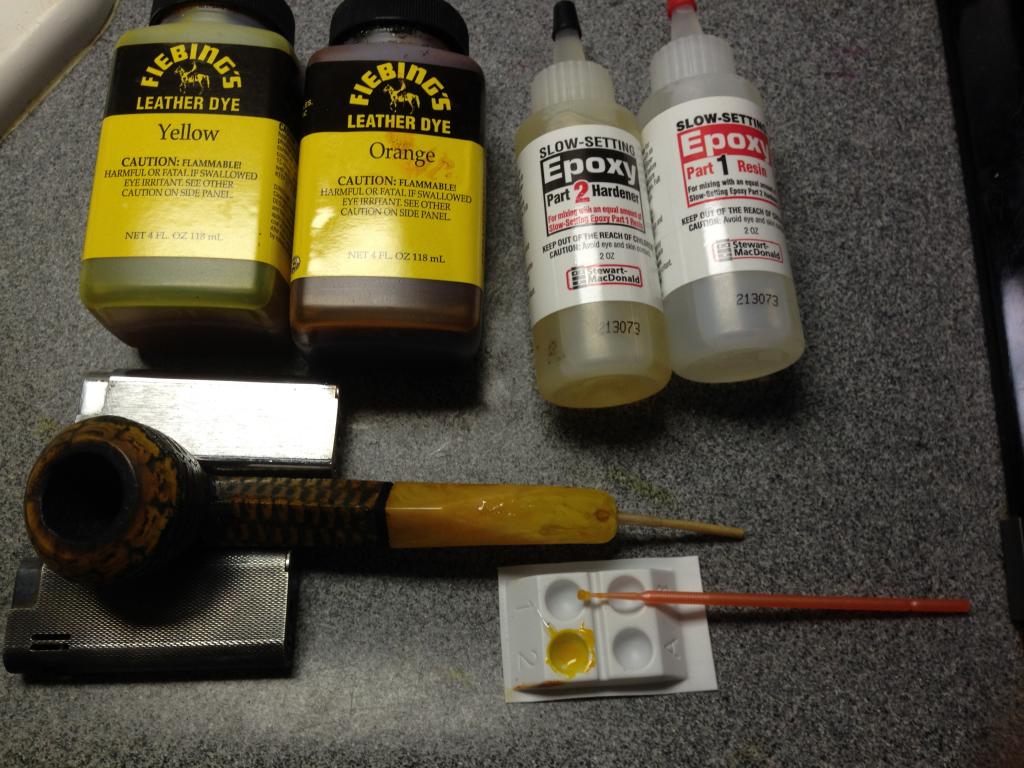
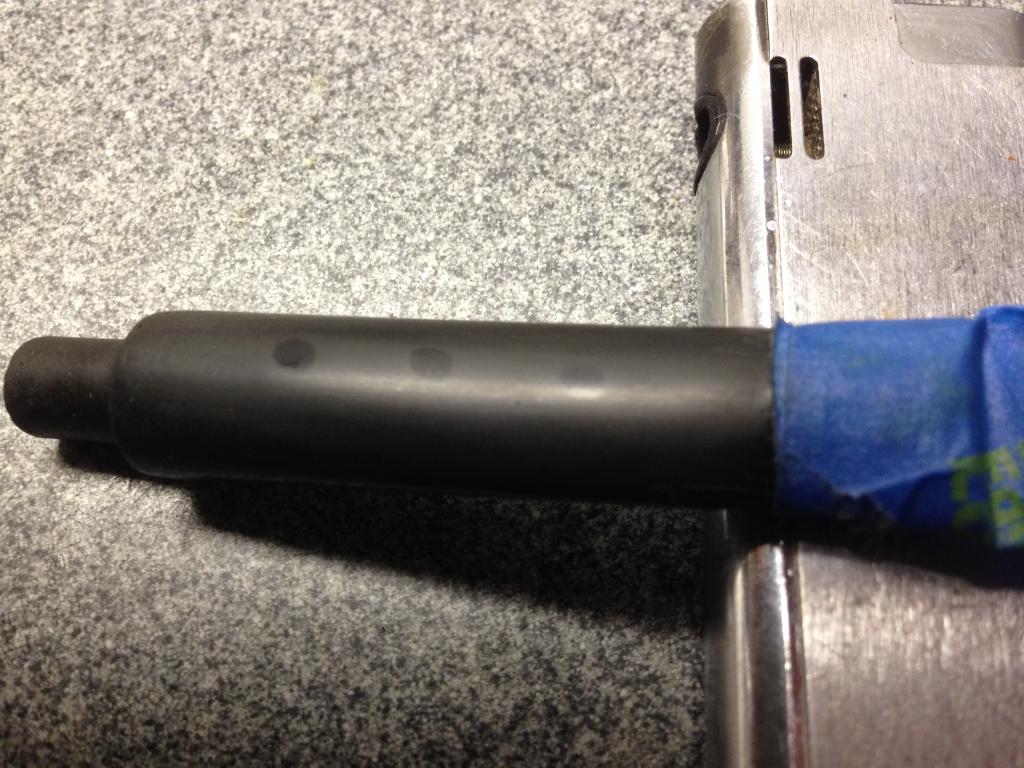
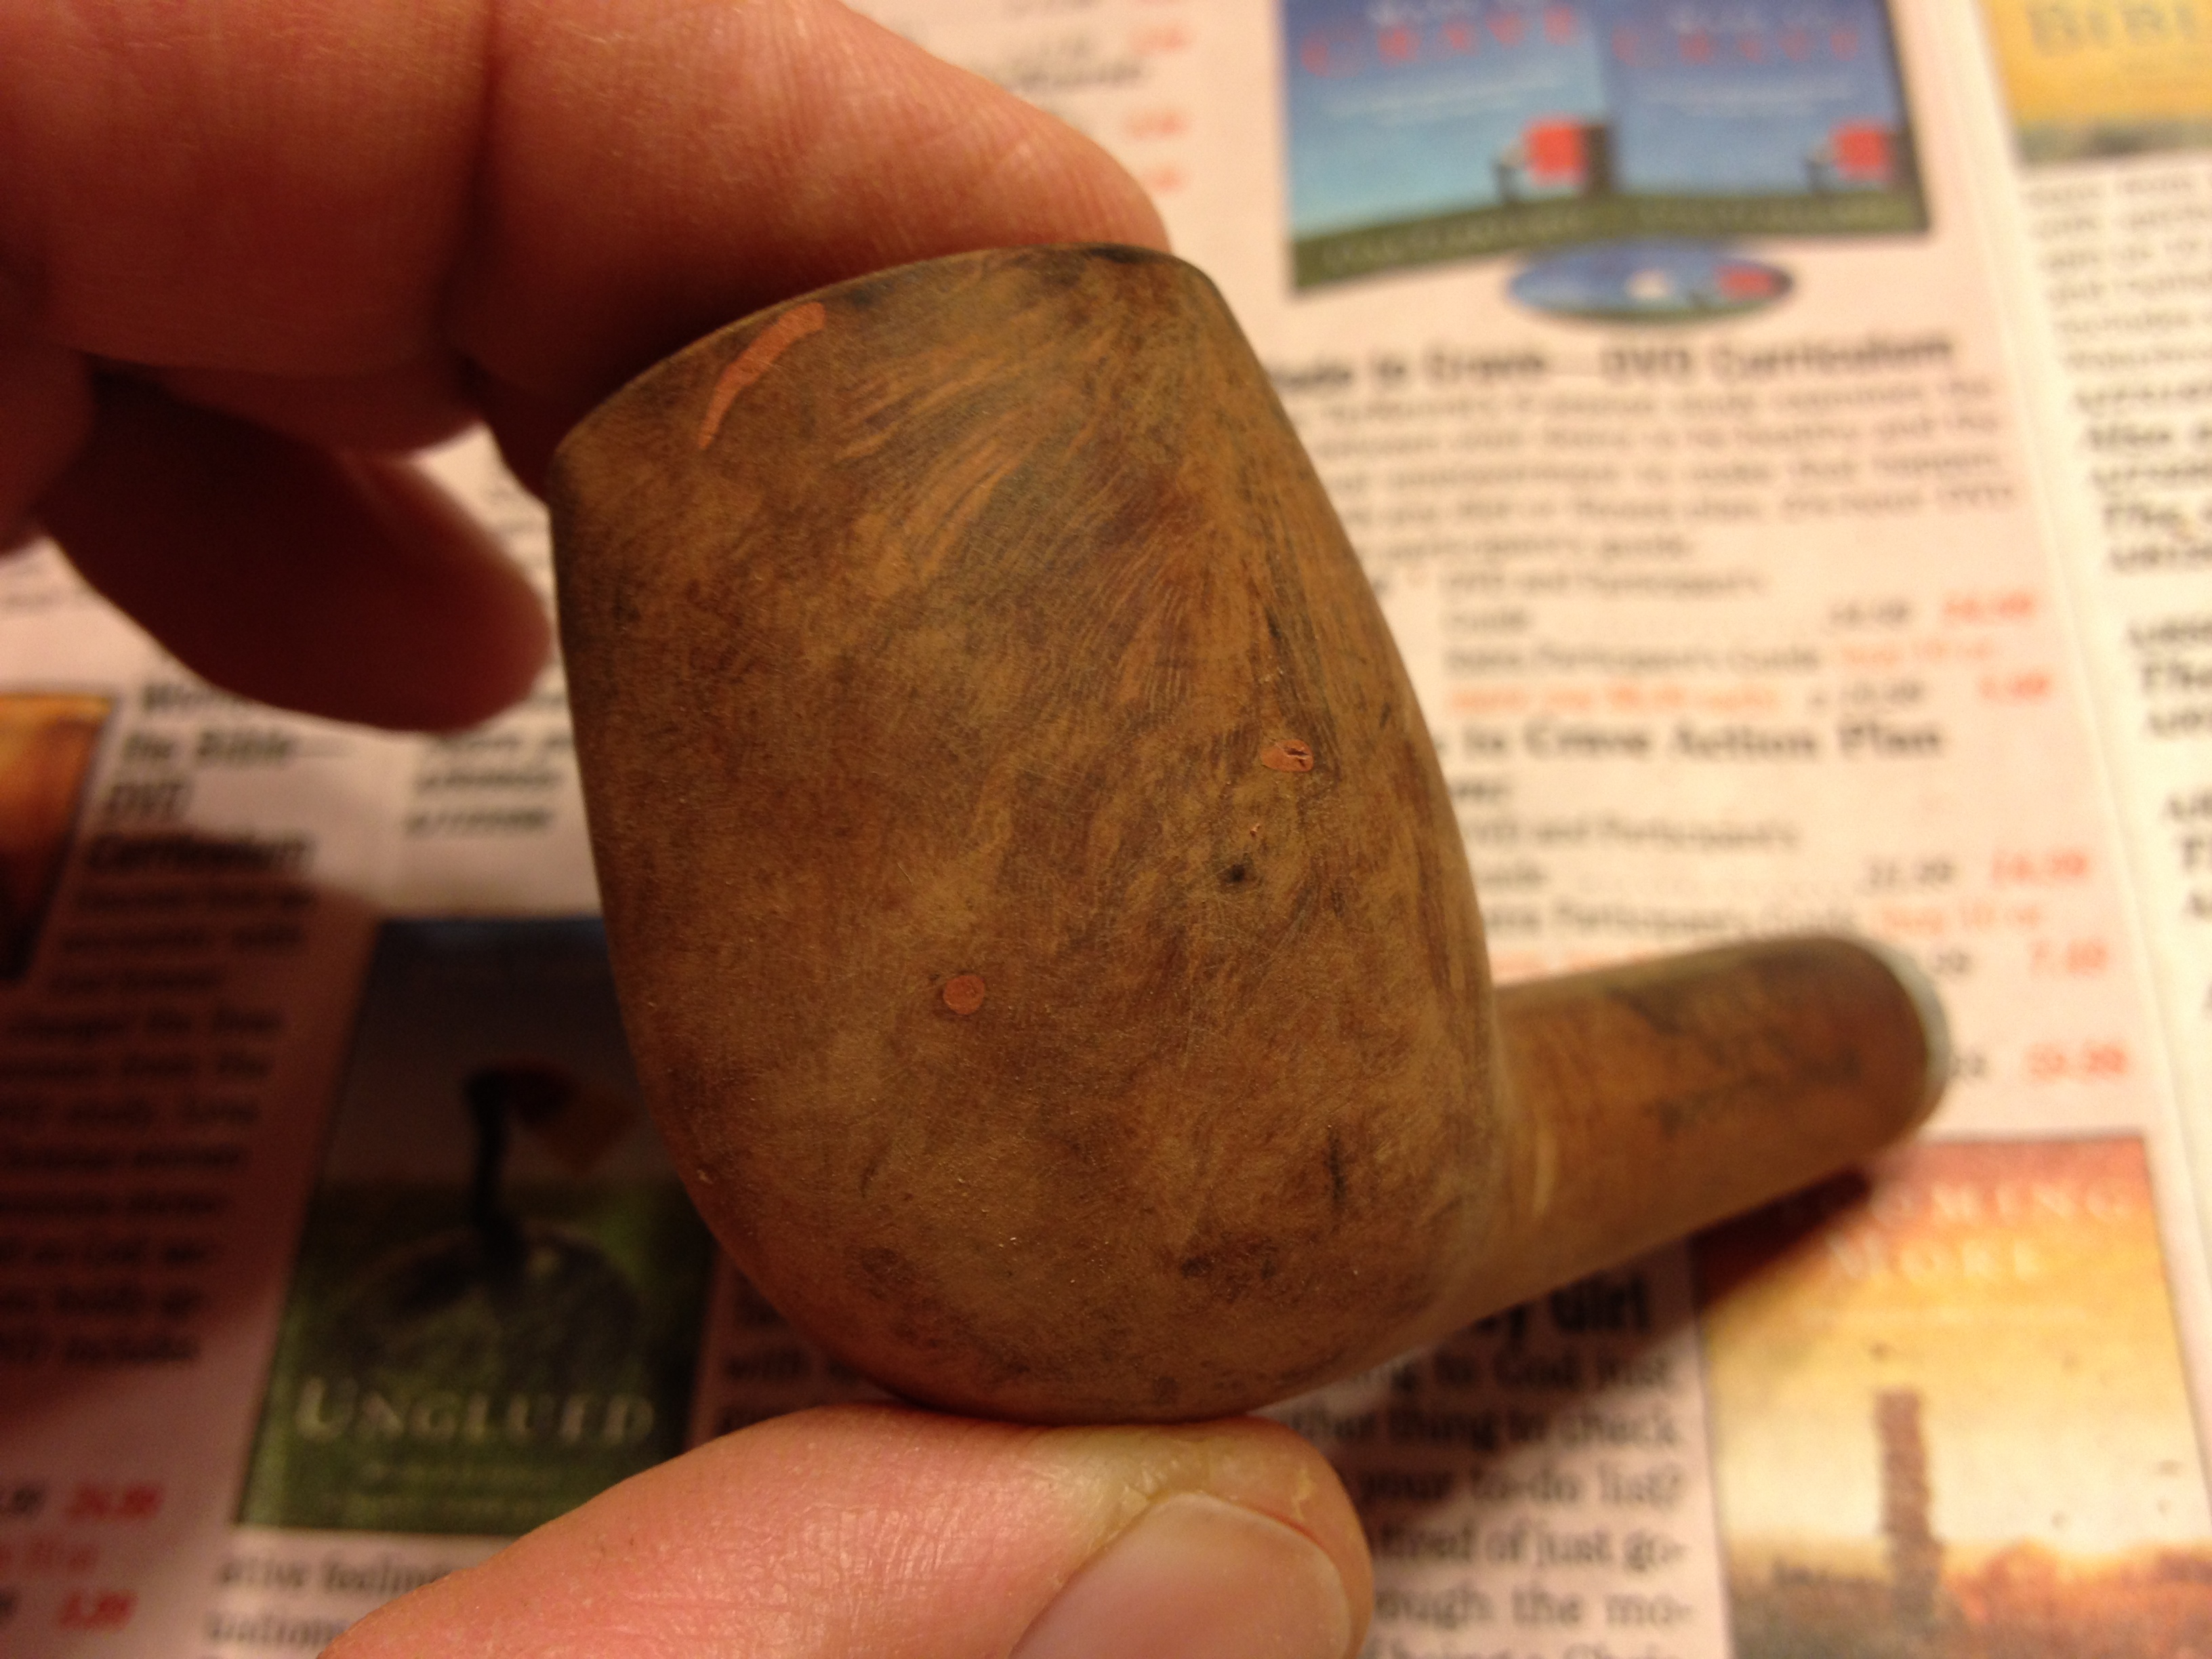
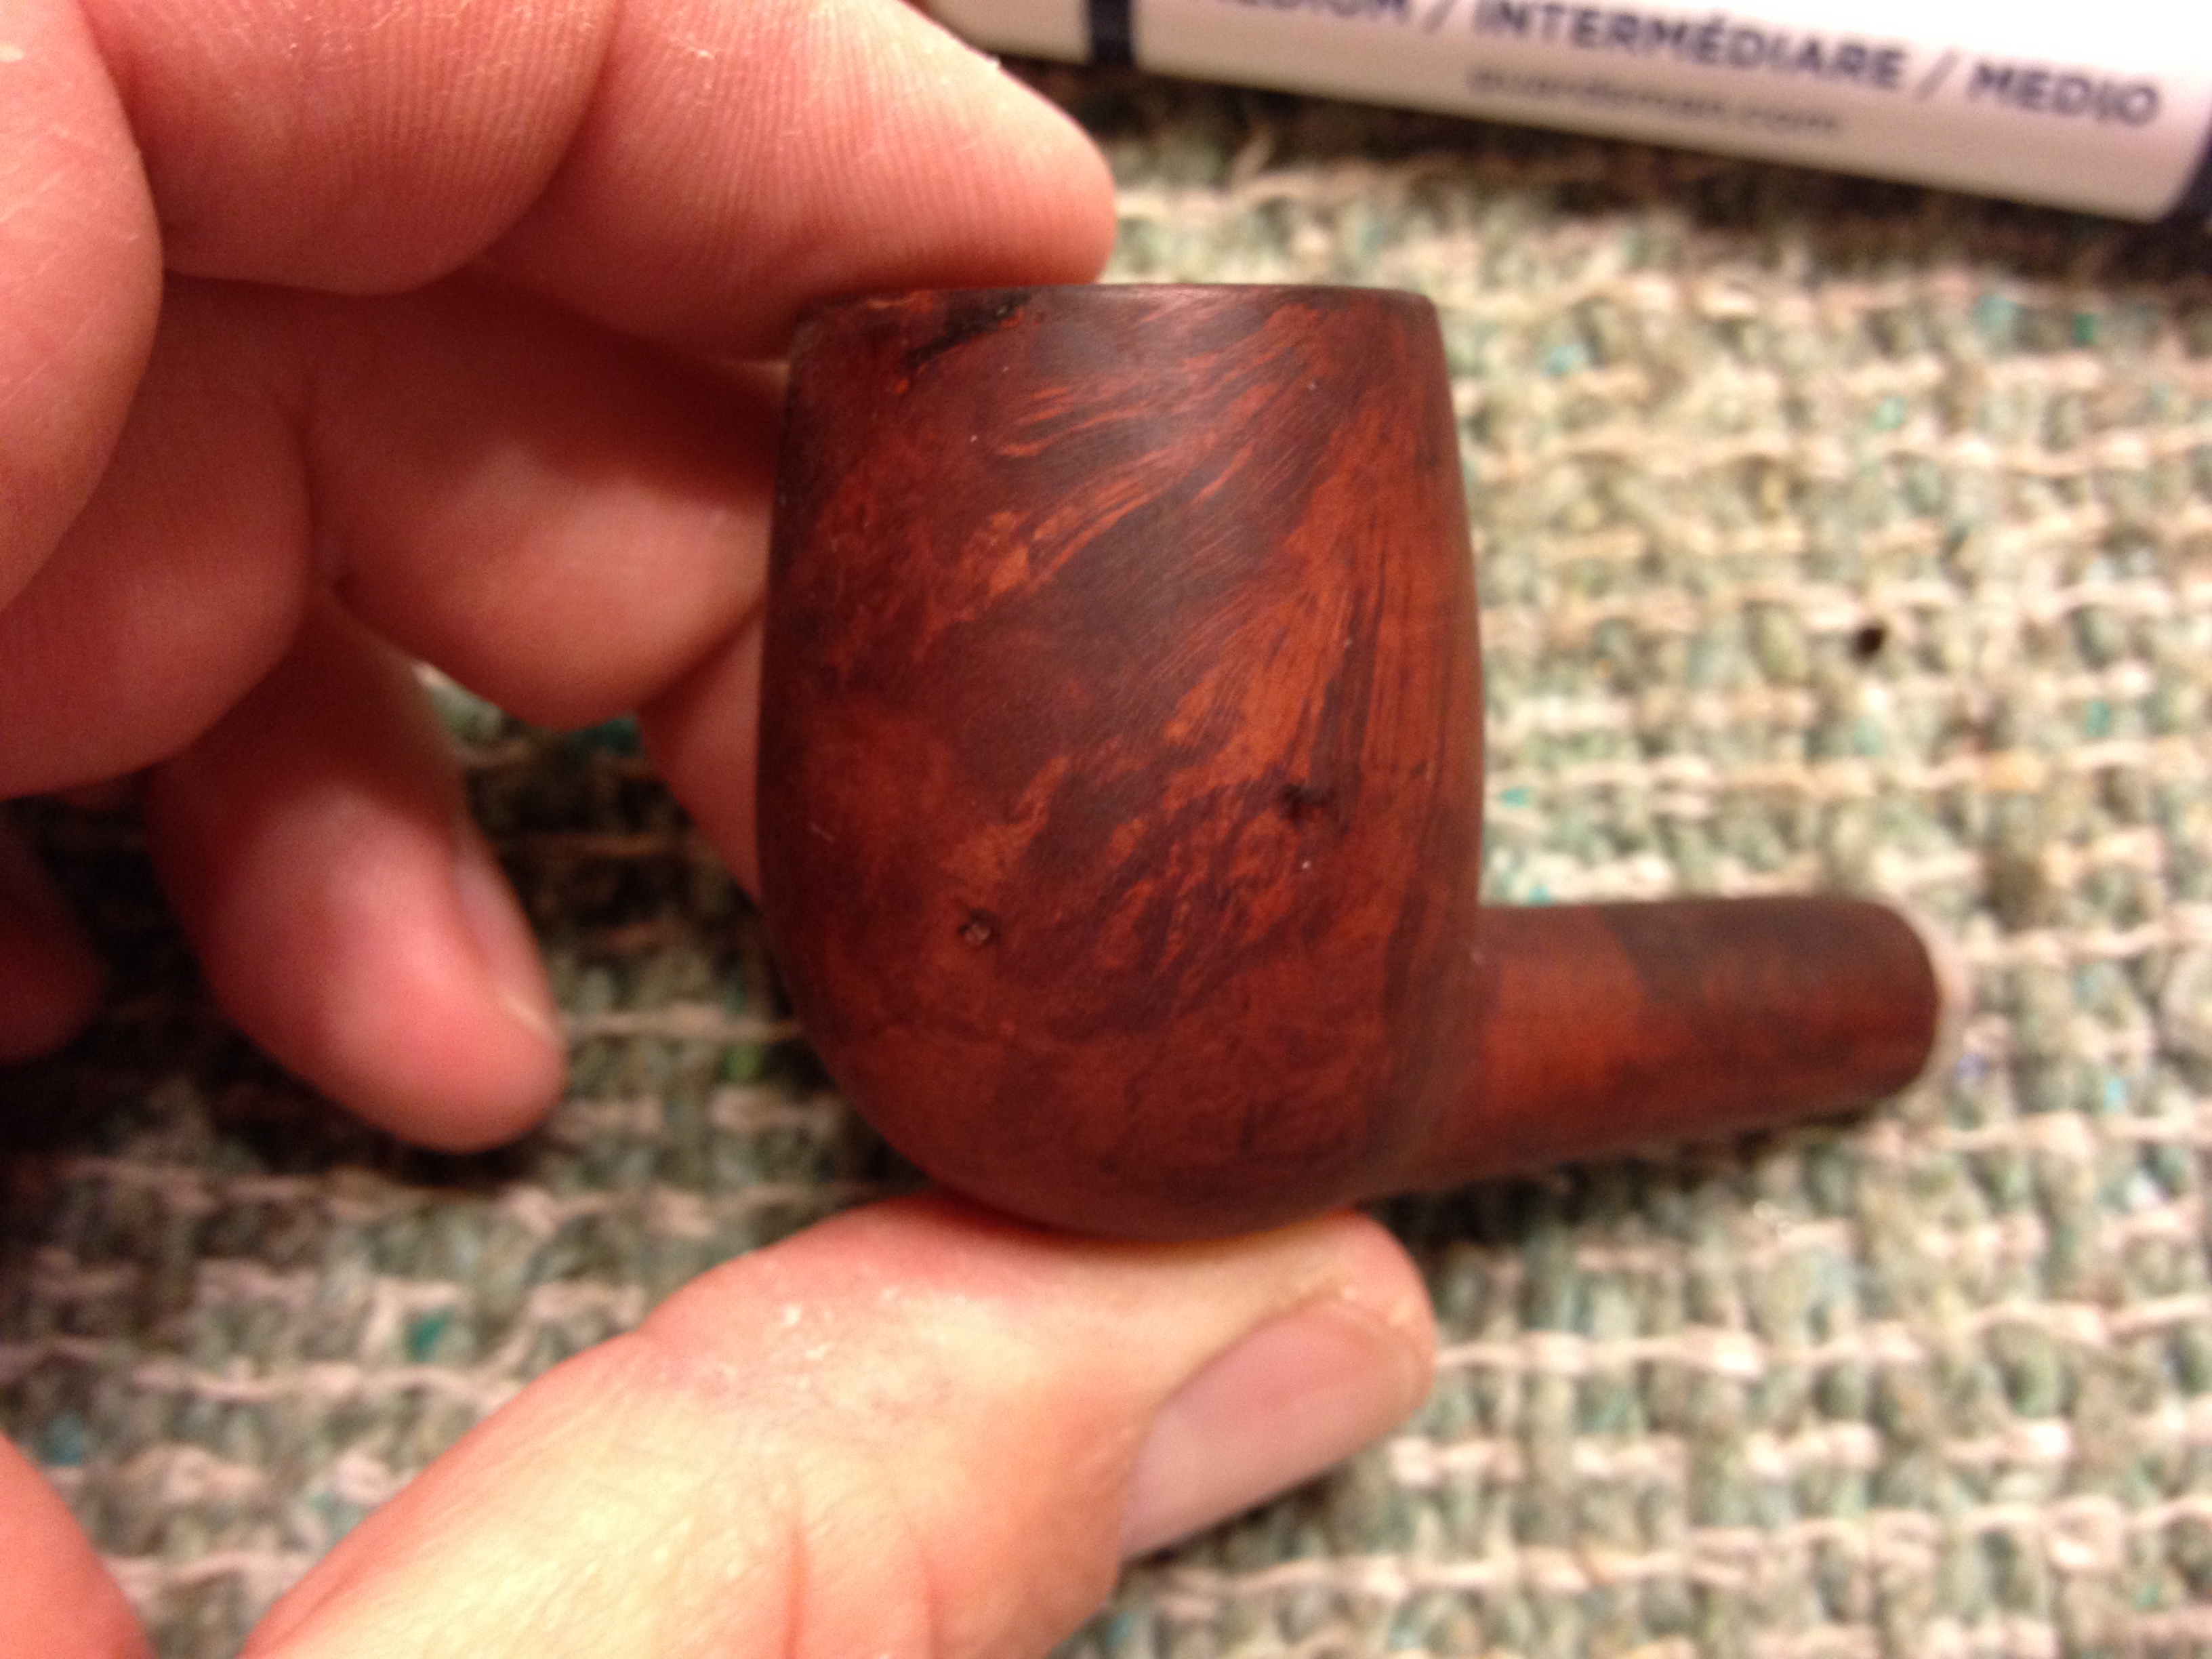
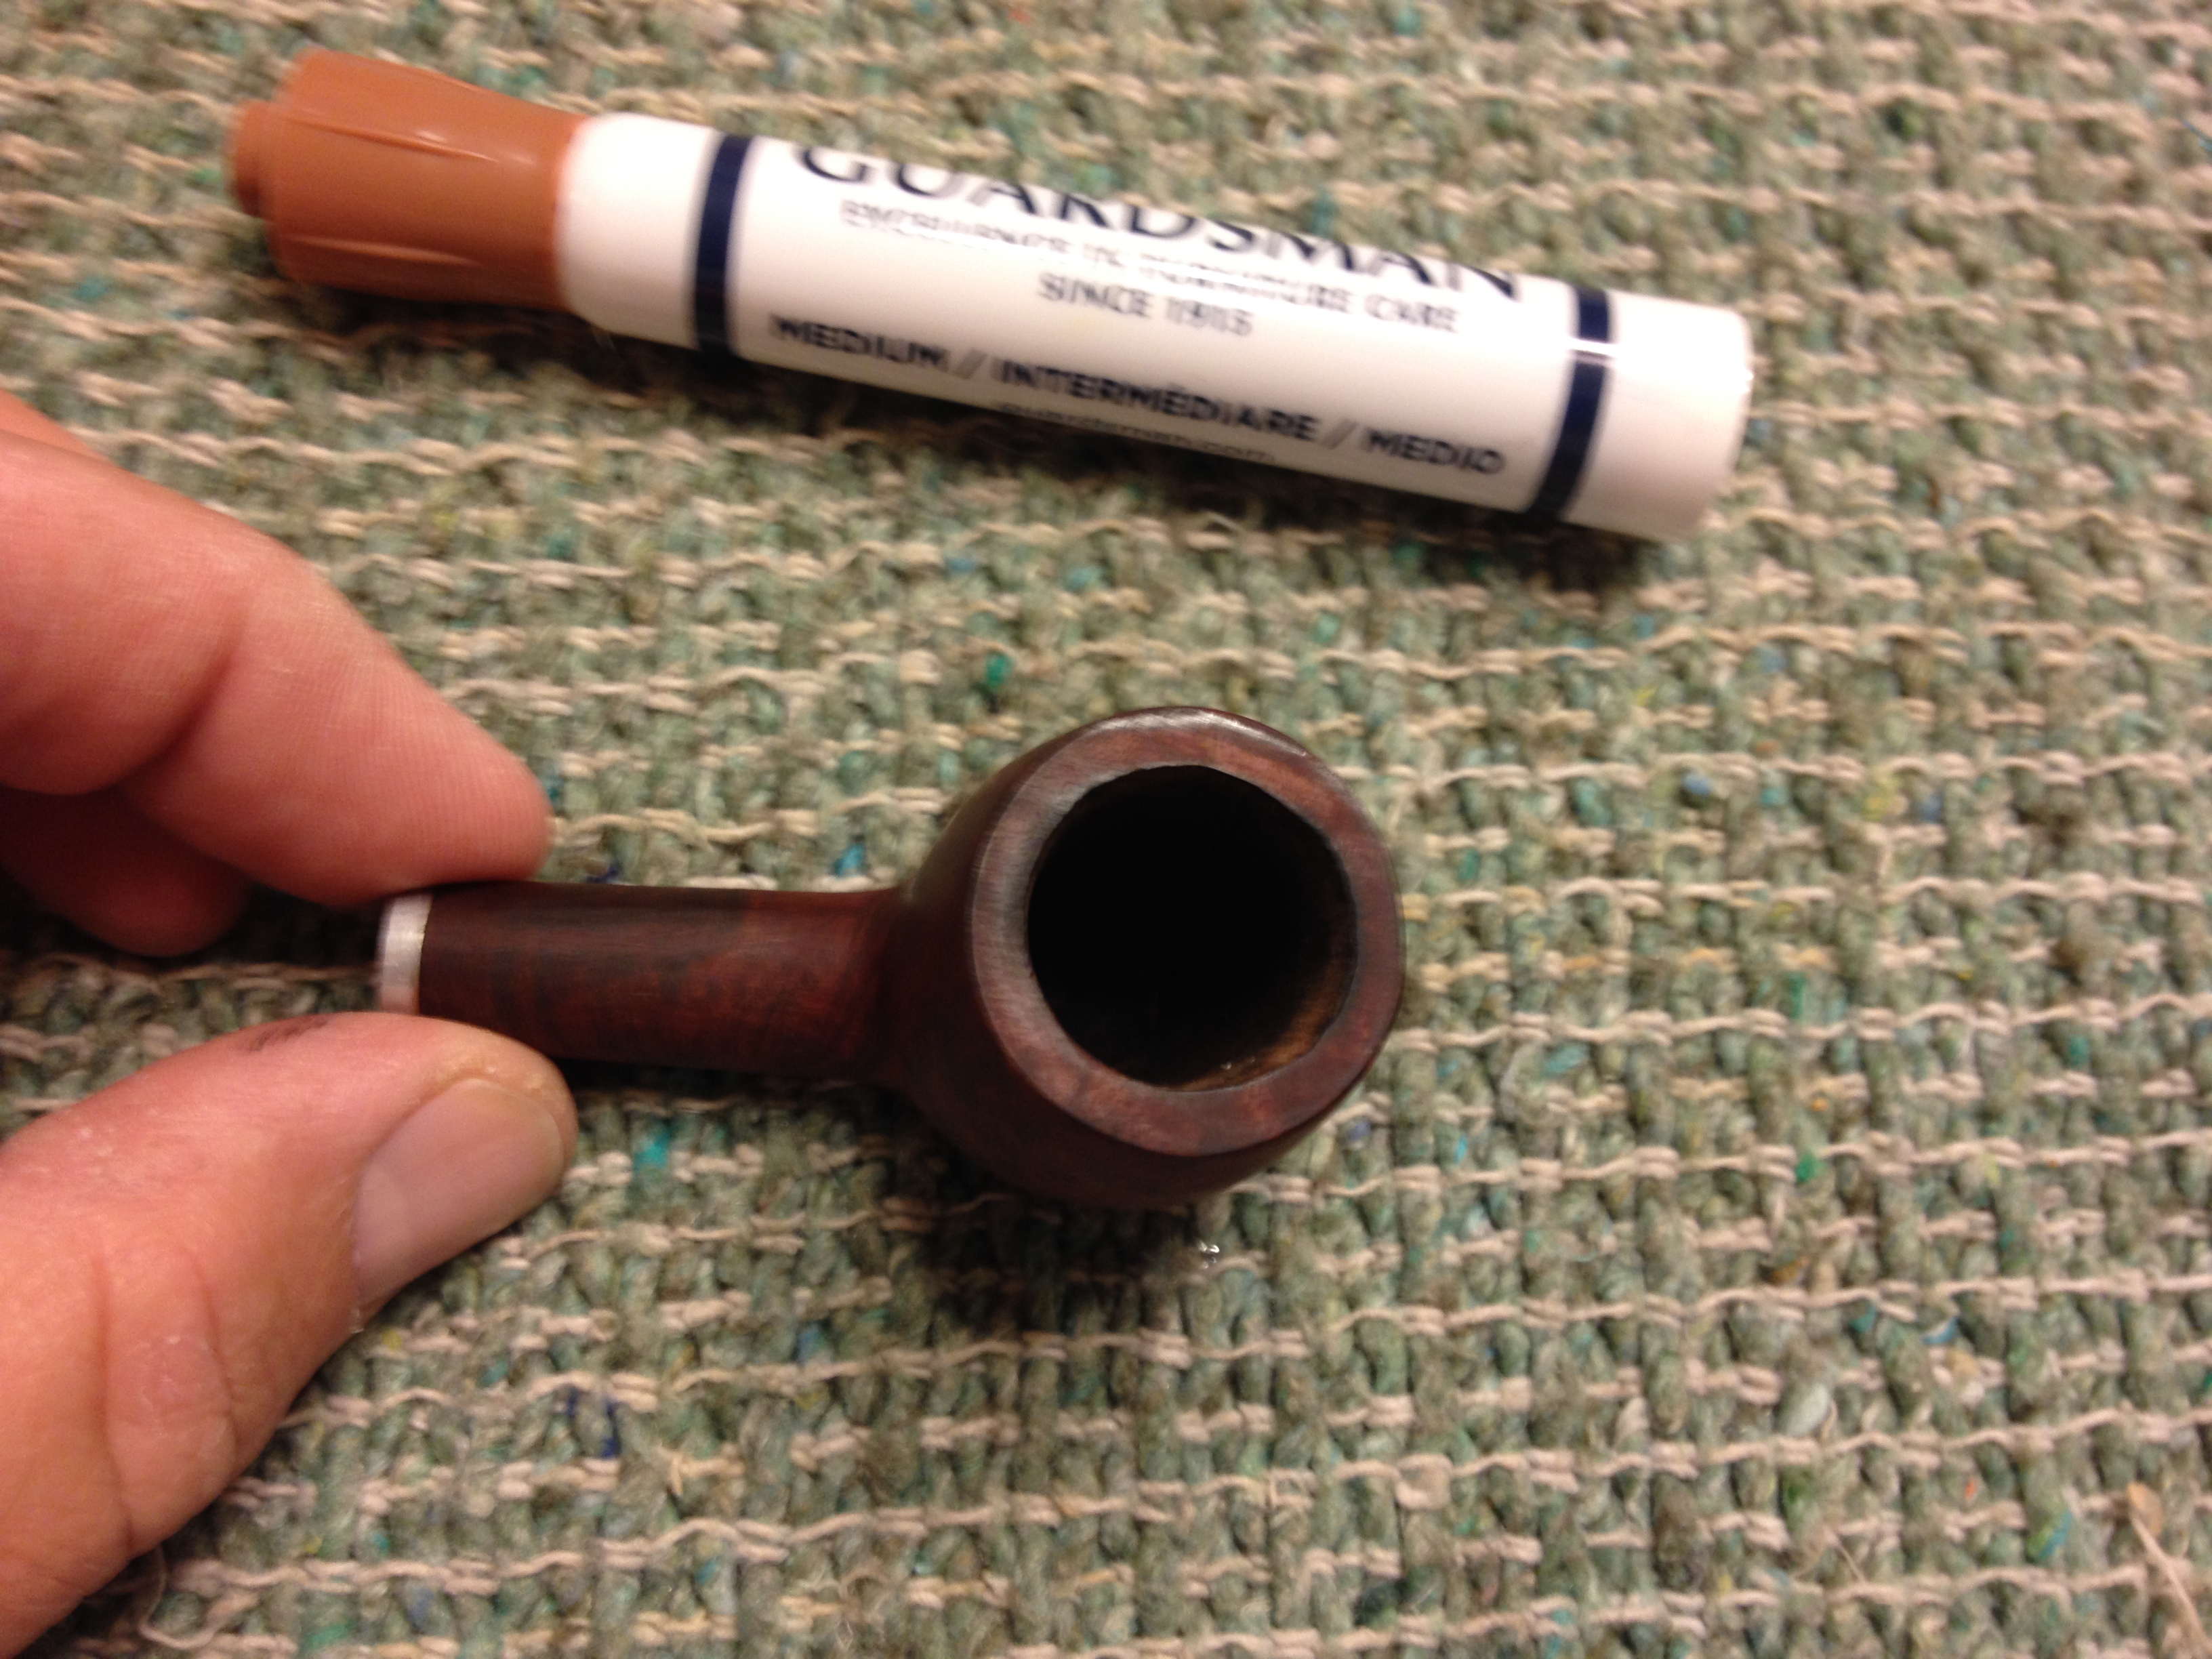
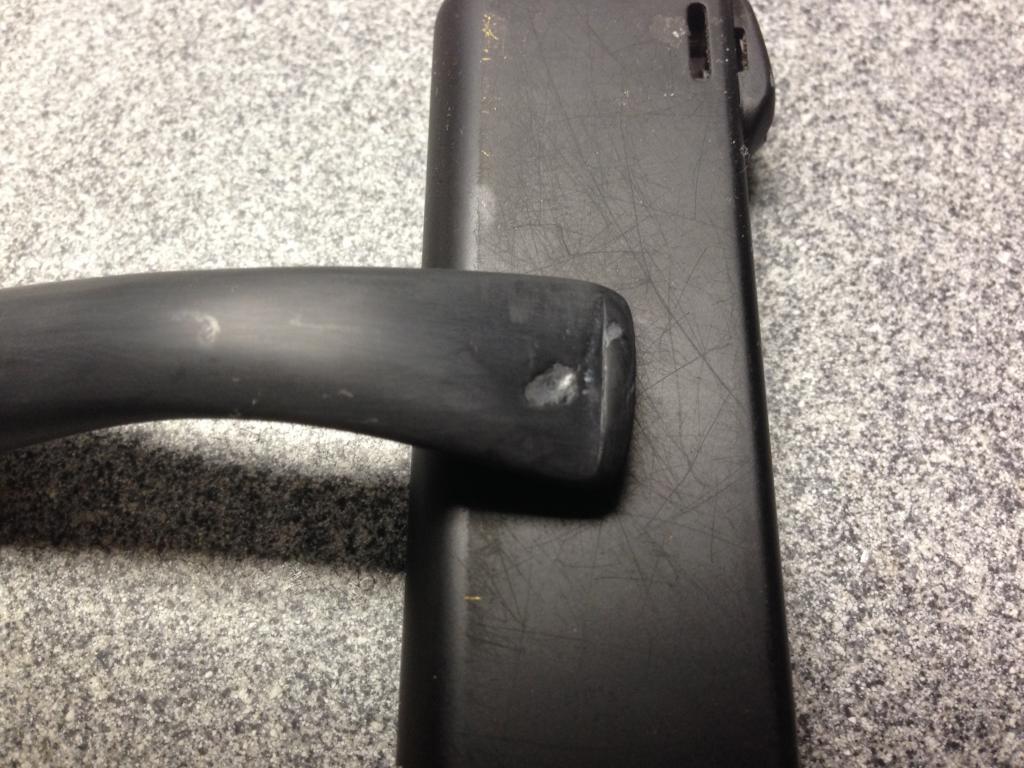
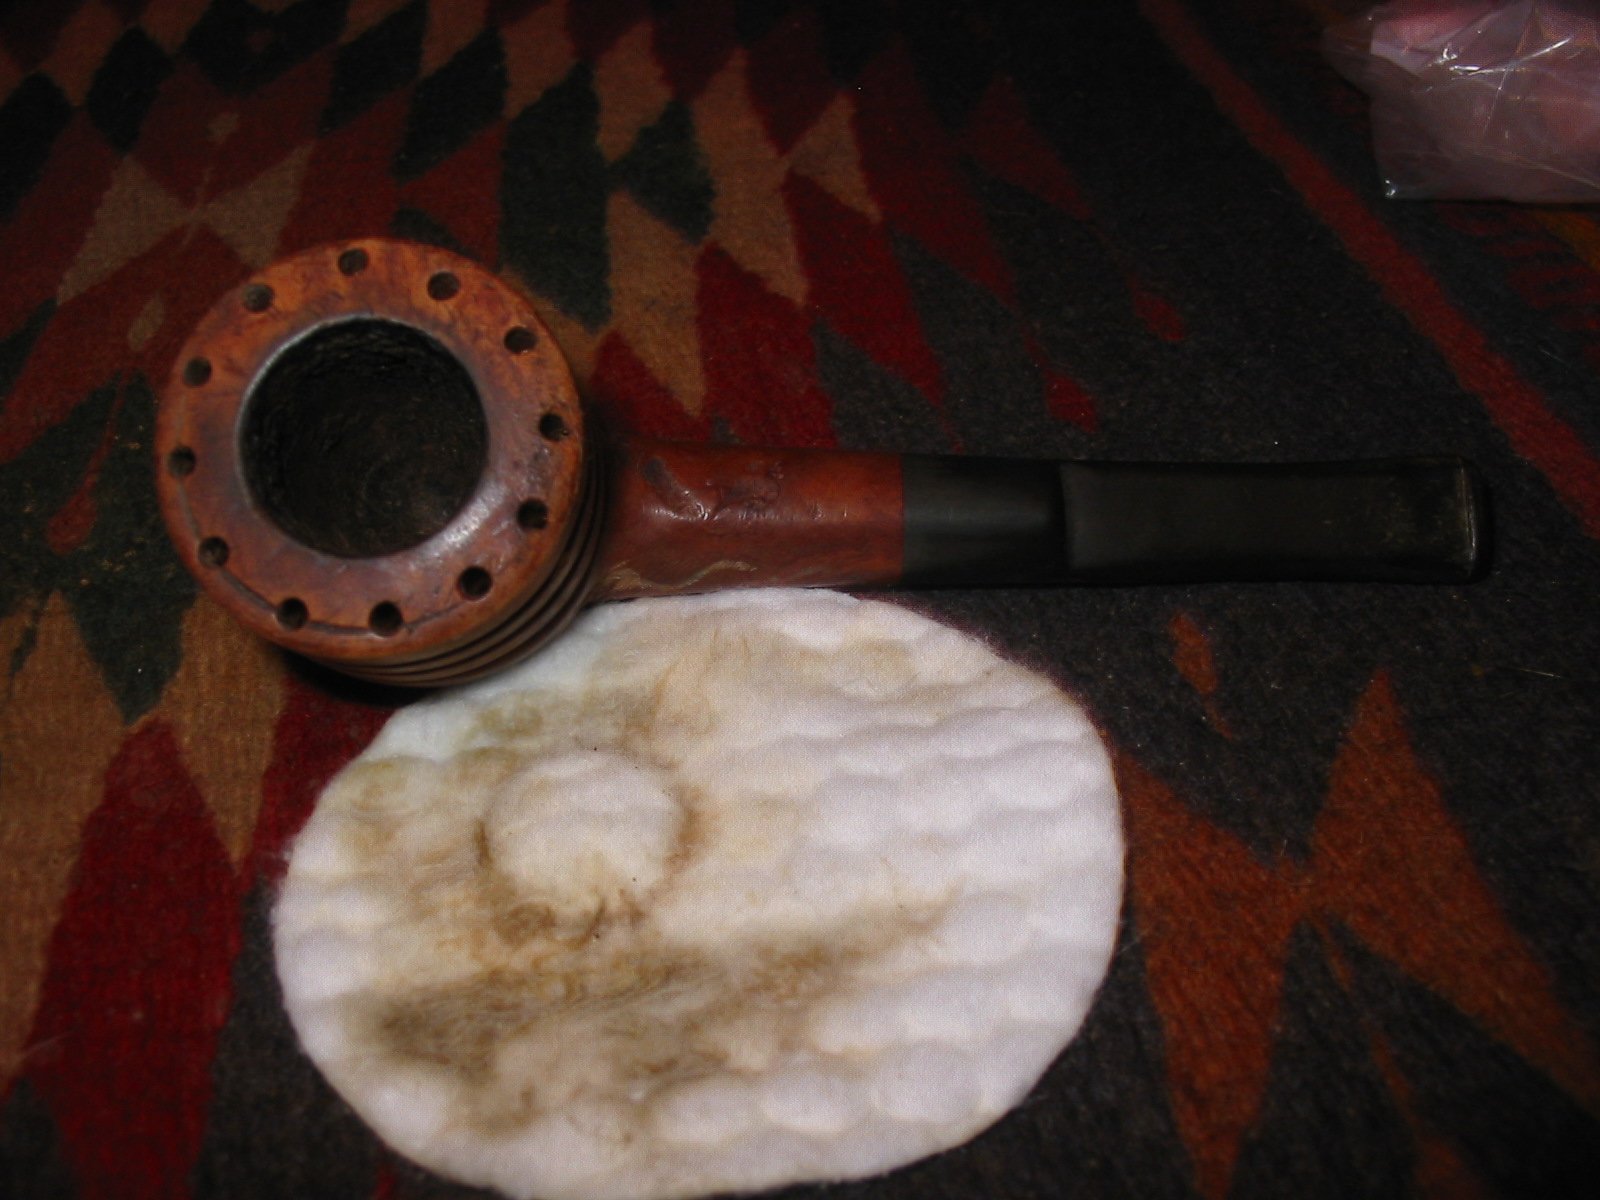
Once I removed the retort I cleaned out the interior of the stem and shank with pipe cleaners and cotton swabs and more isopropyl. The remainder of the oils came out with this cleaning. I sanded the bowl with a medium and fine grit sanding sponge to smooth out the damage to the rim and the burn area. I followed that with 1500-2400 grit micromesh sanding pads. After sanding I wiped it down with isopropyl alcohol on a cotton pad. I stained the bowl and shank with a dark brown aniline stain thinned 2:1 with isopropyl. I flamed the stain and then repeated the process until the coverage was even.
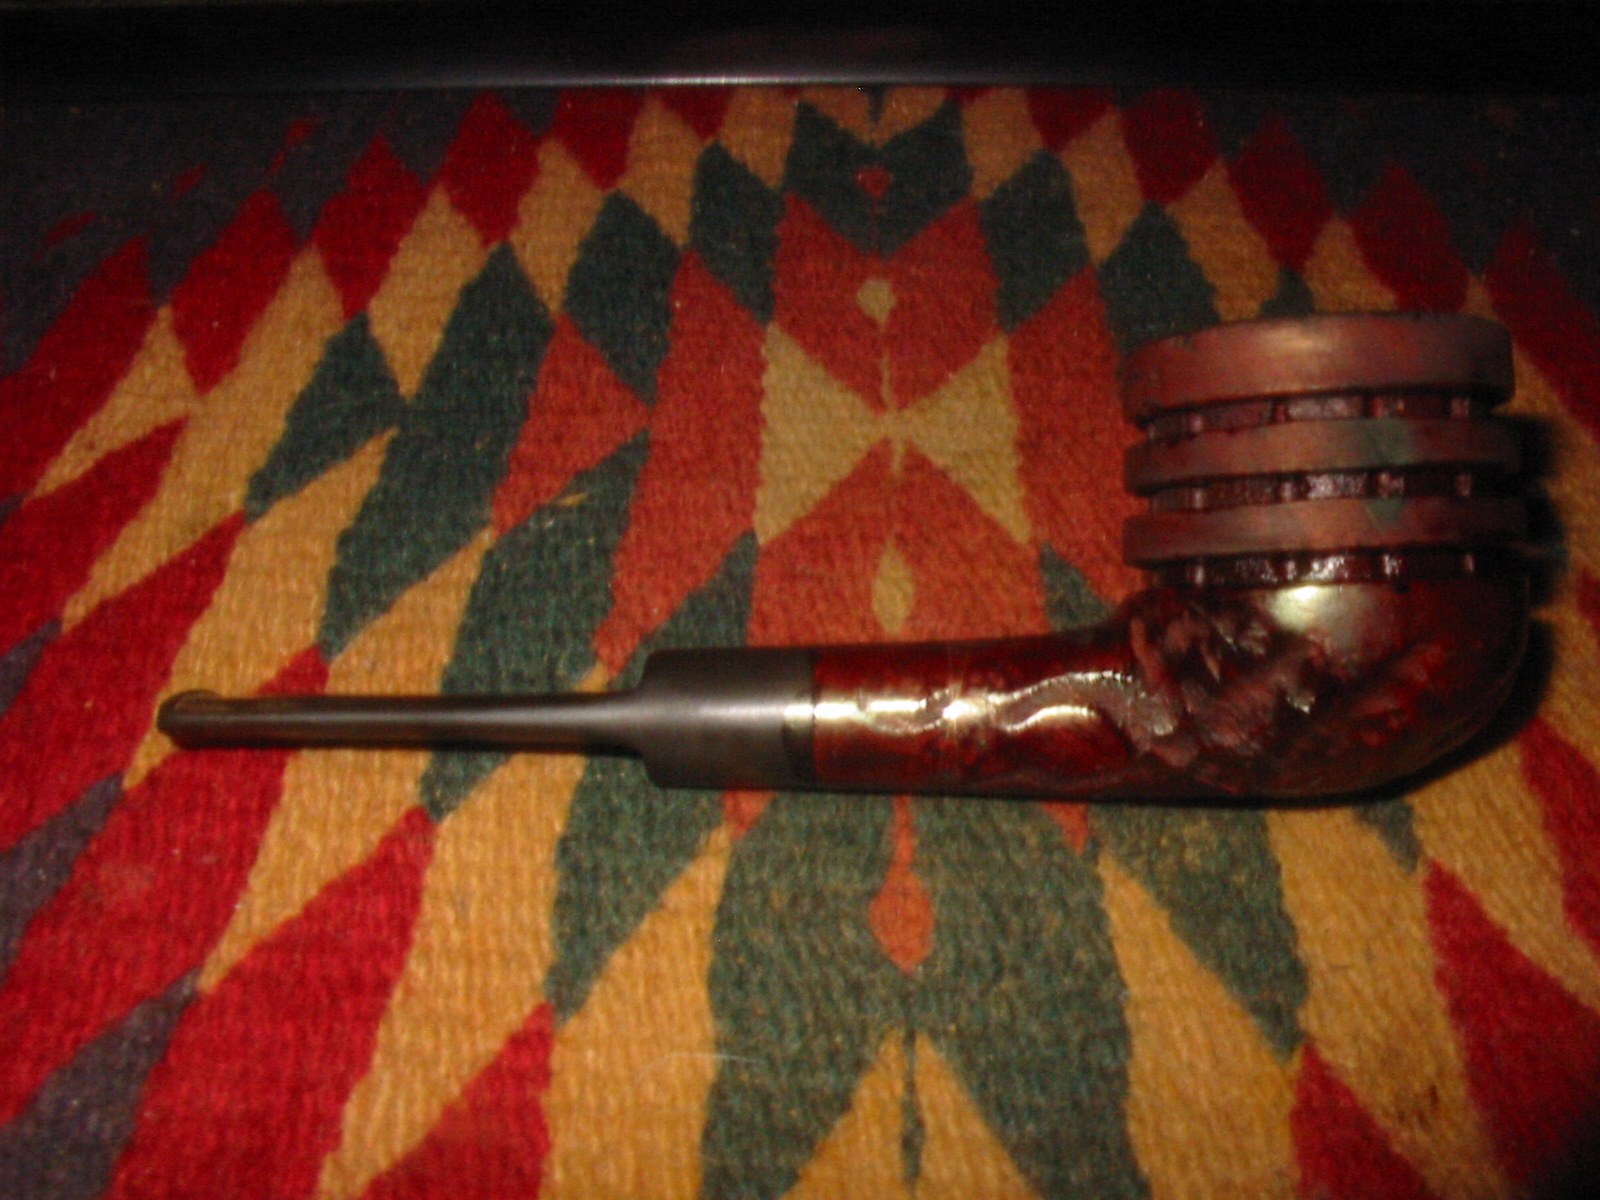
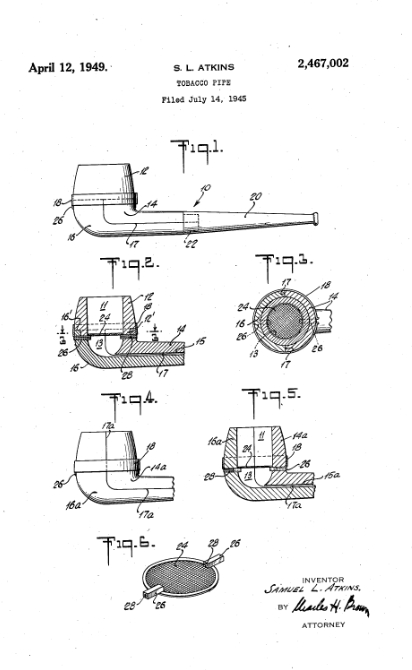
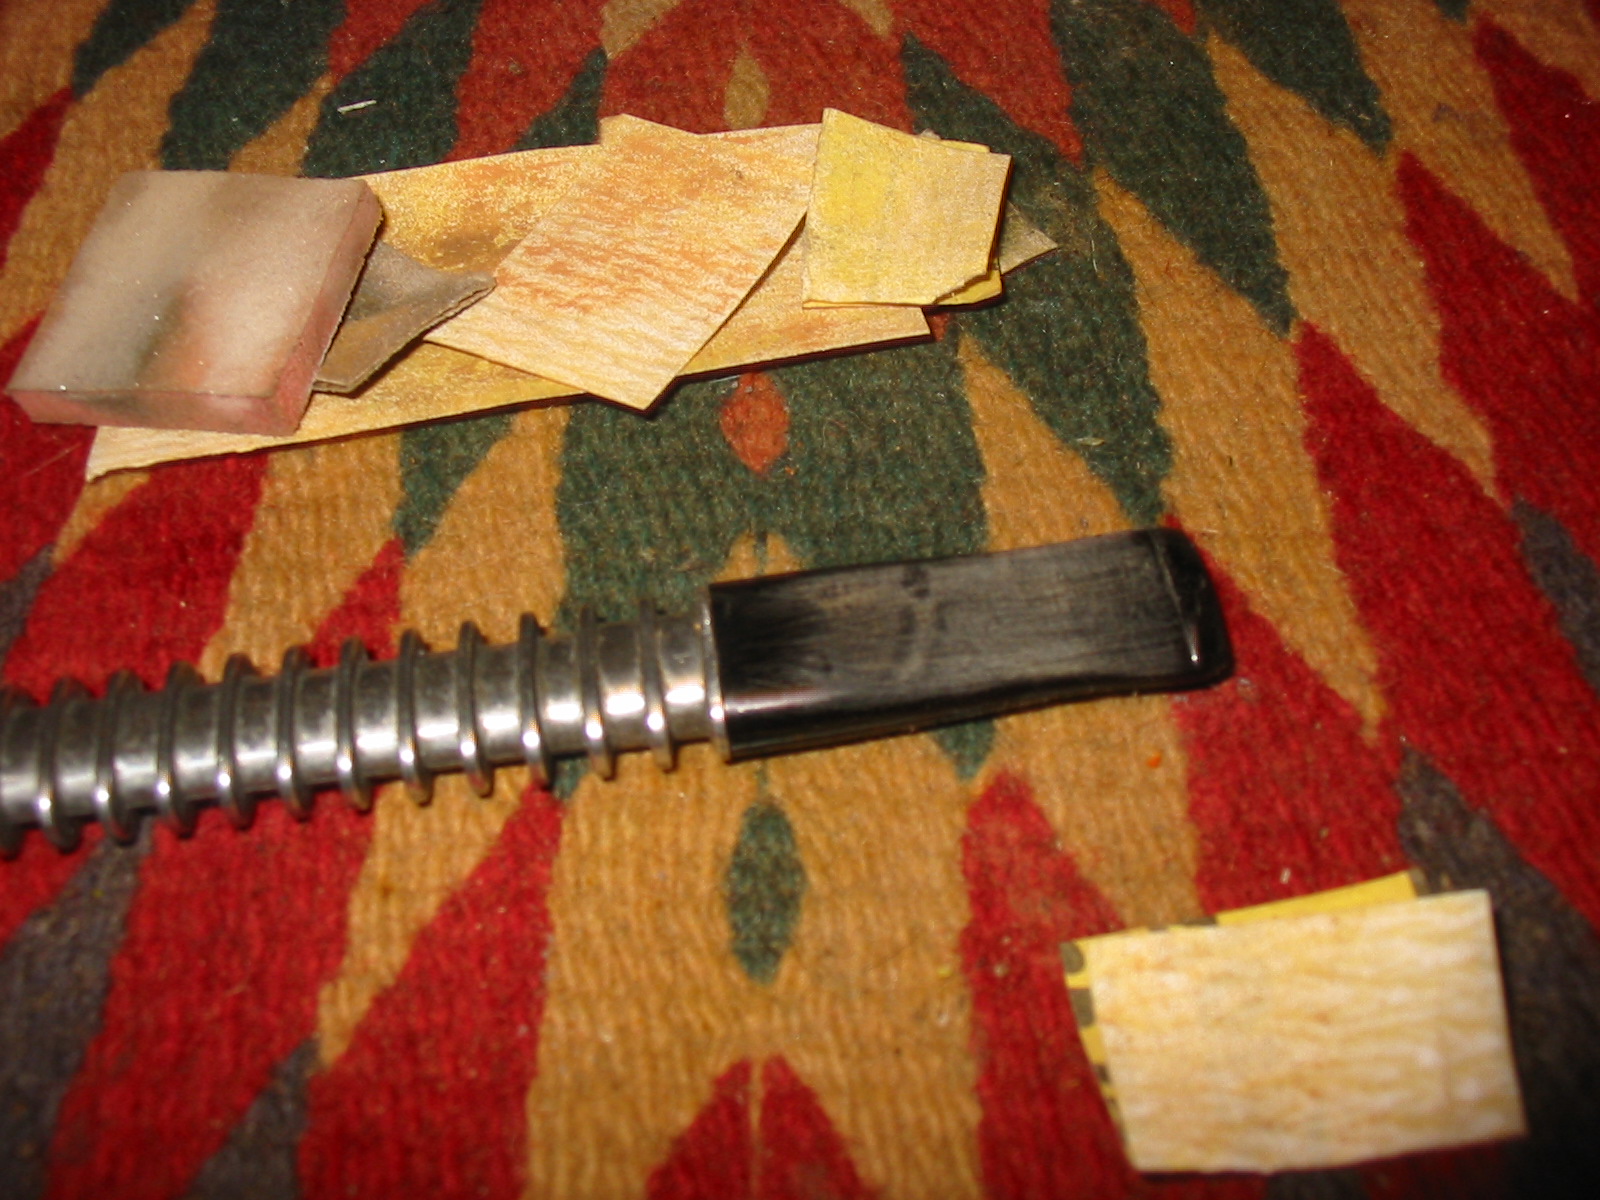
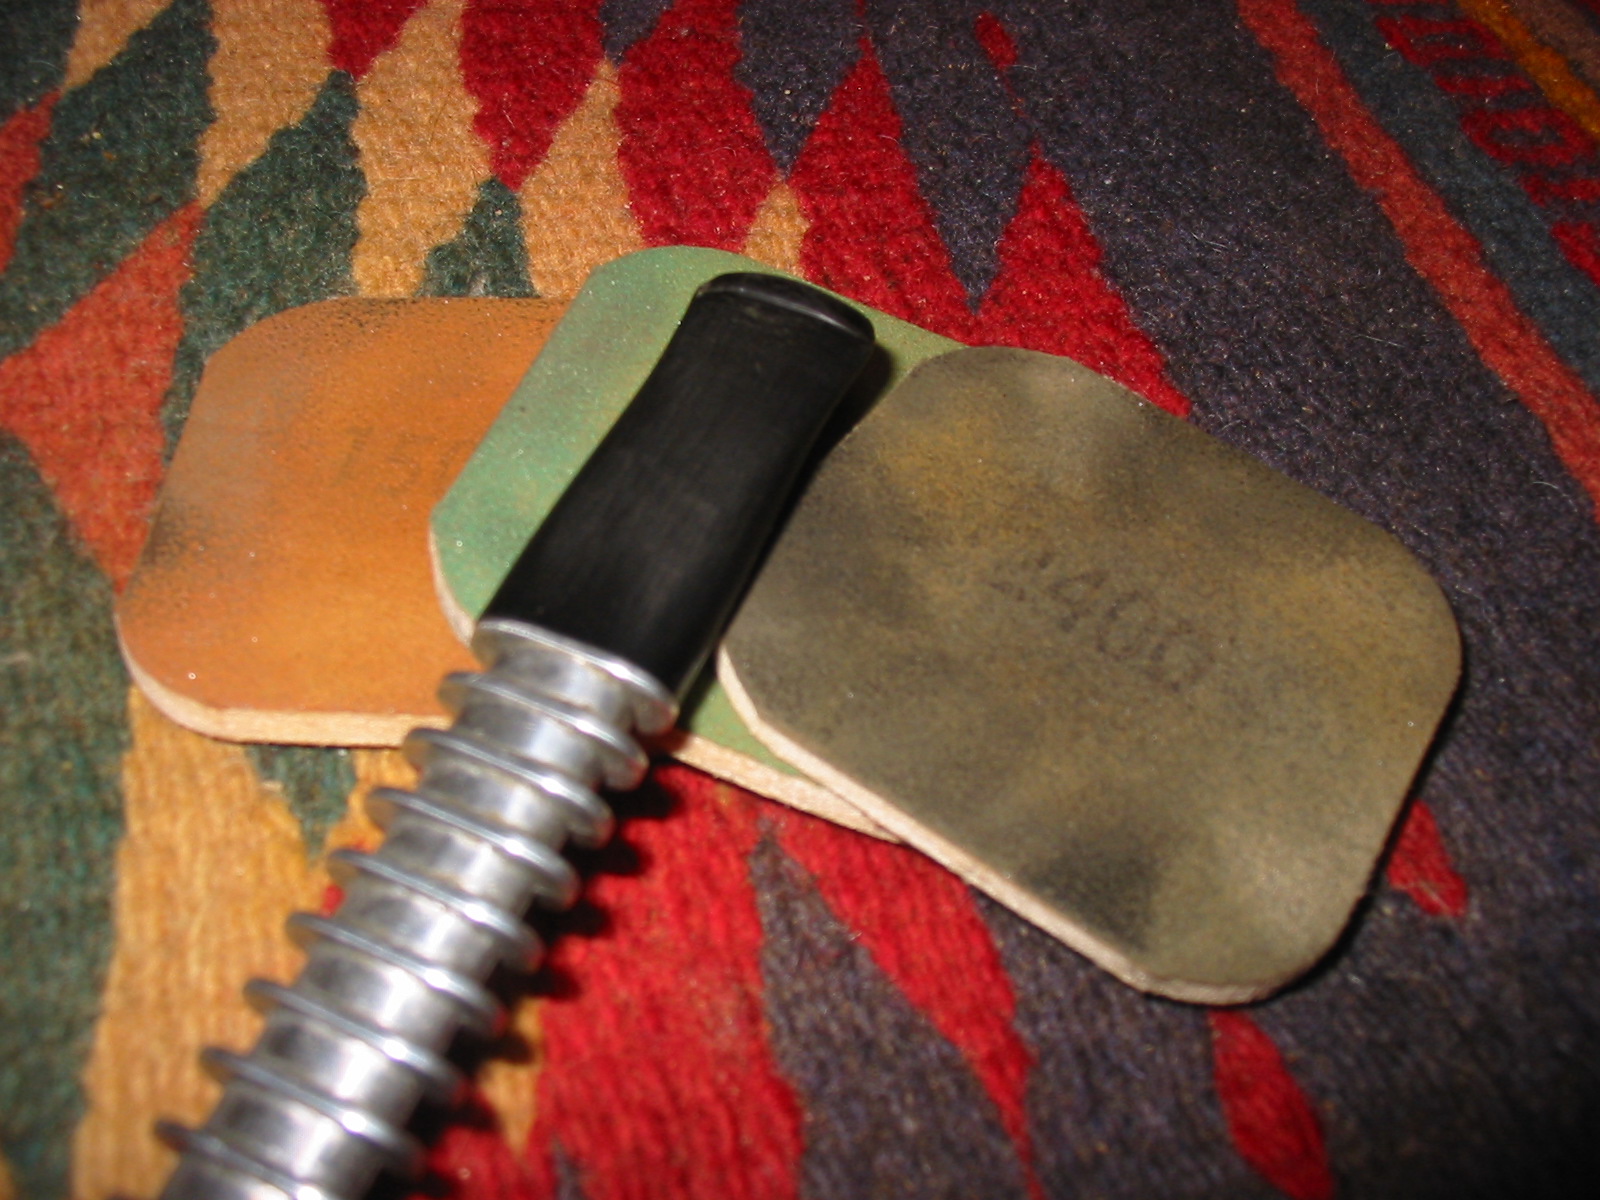
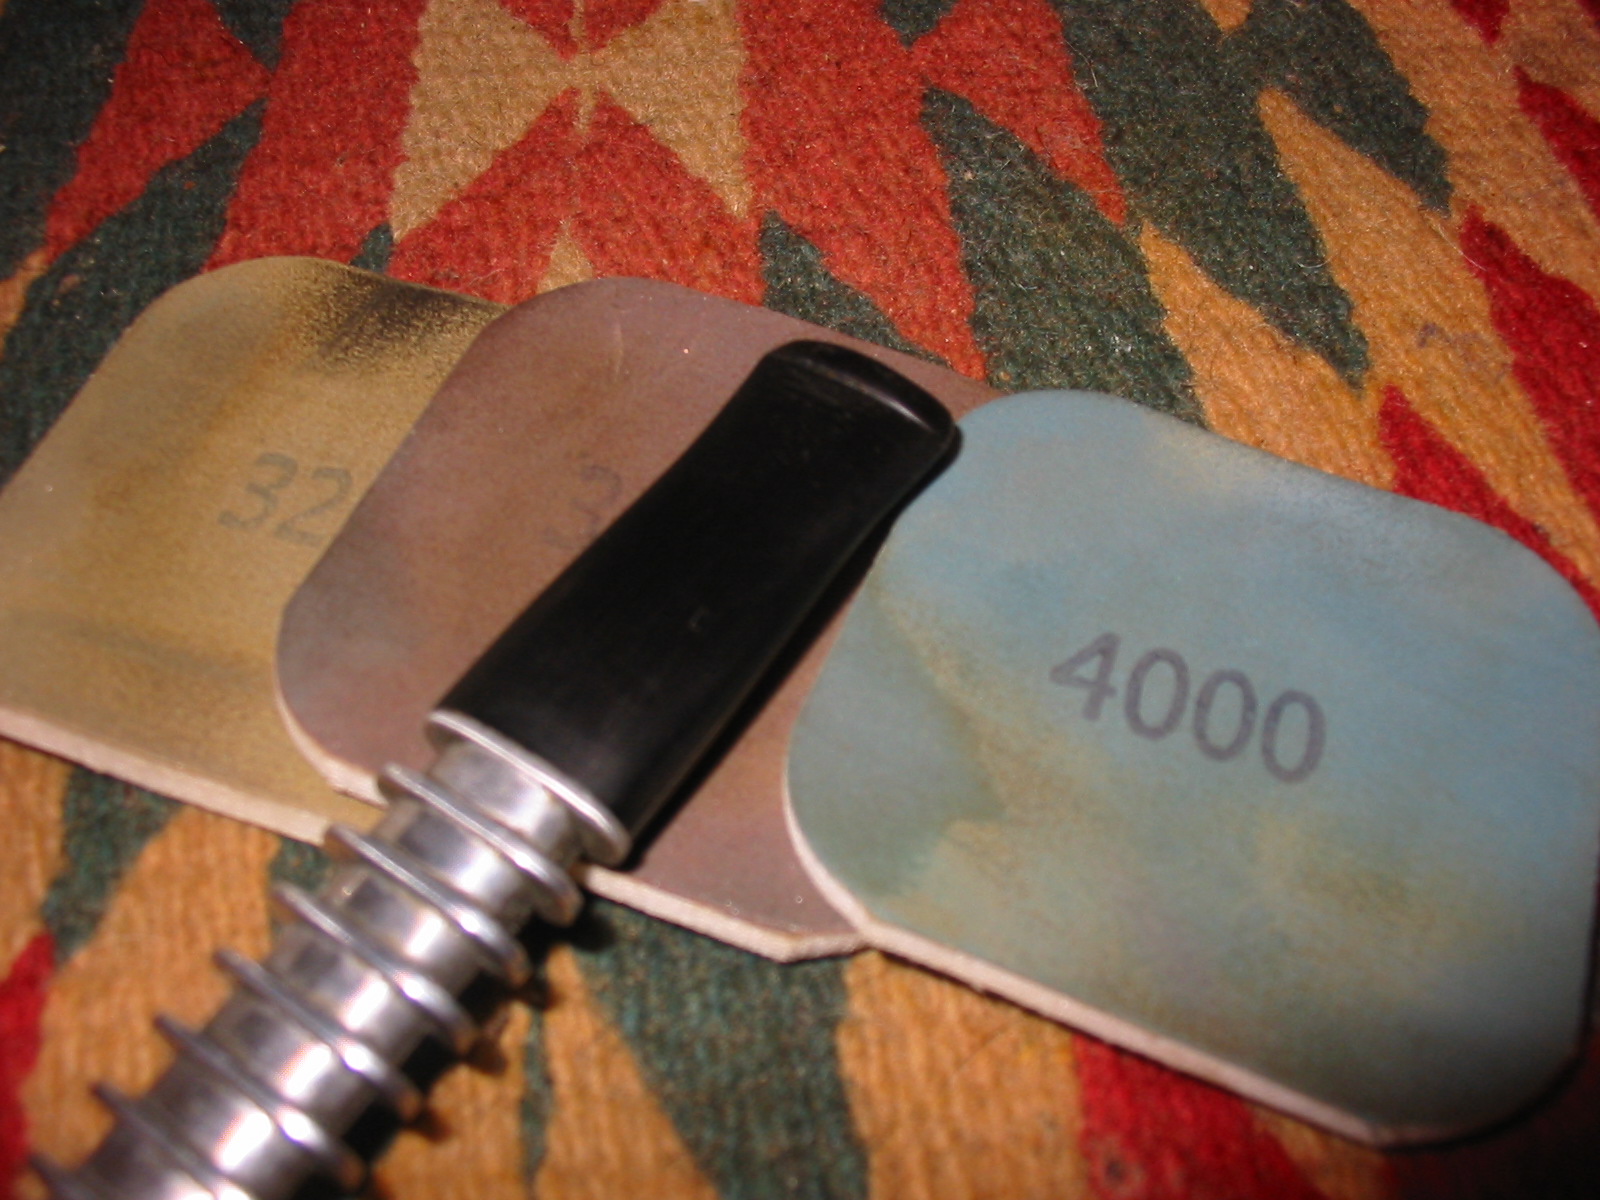
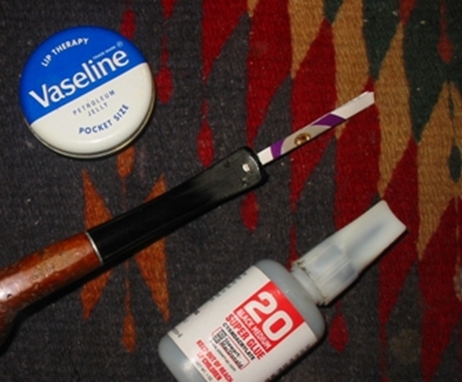
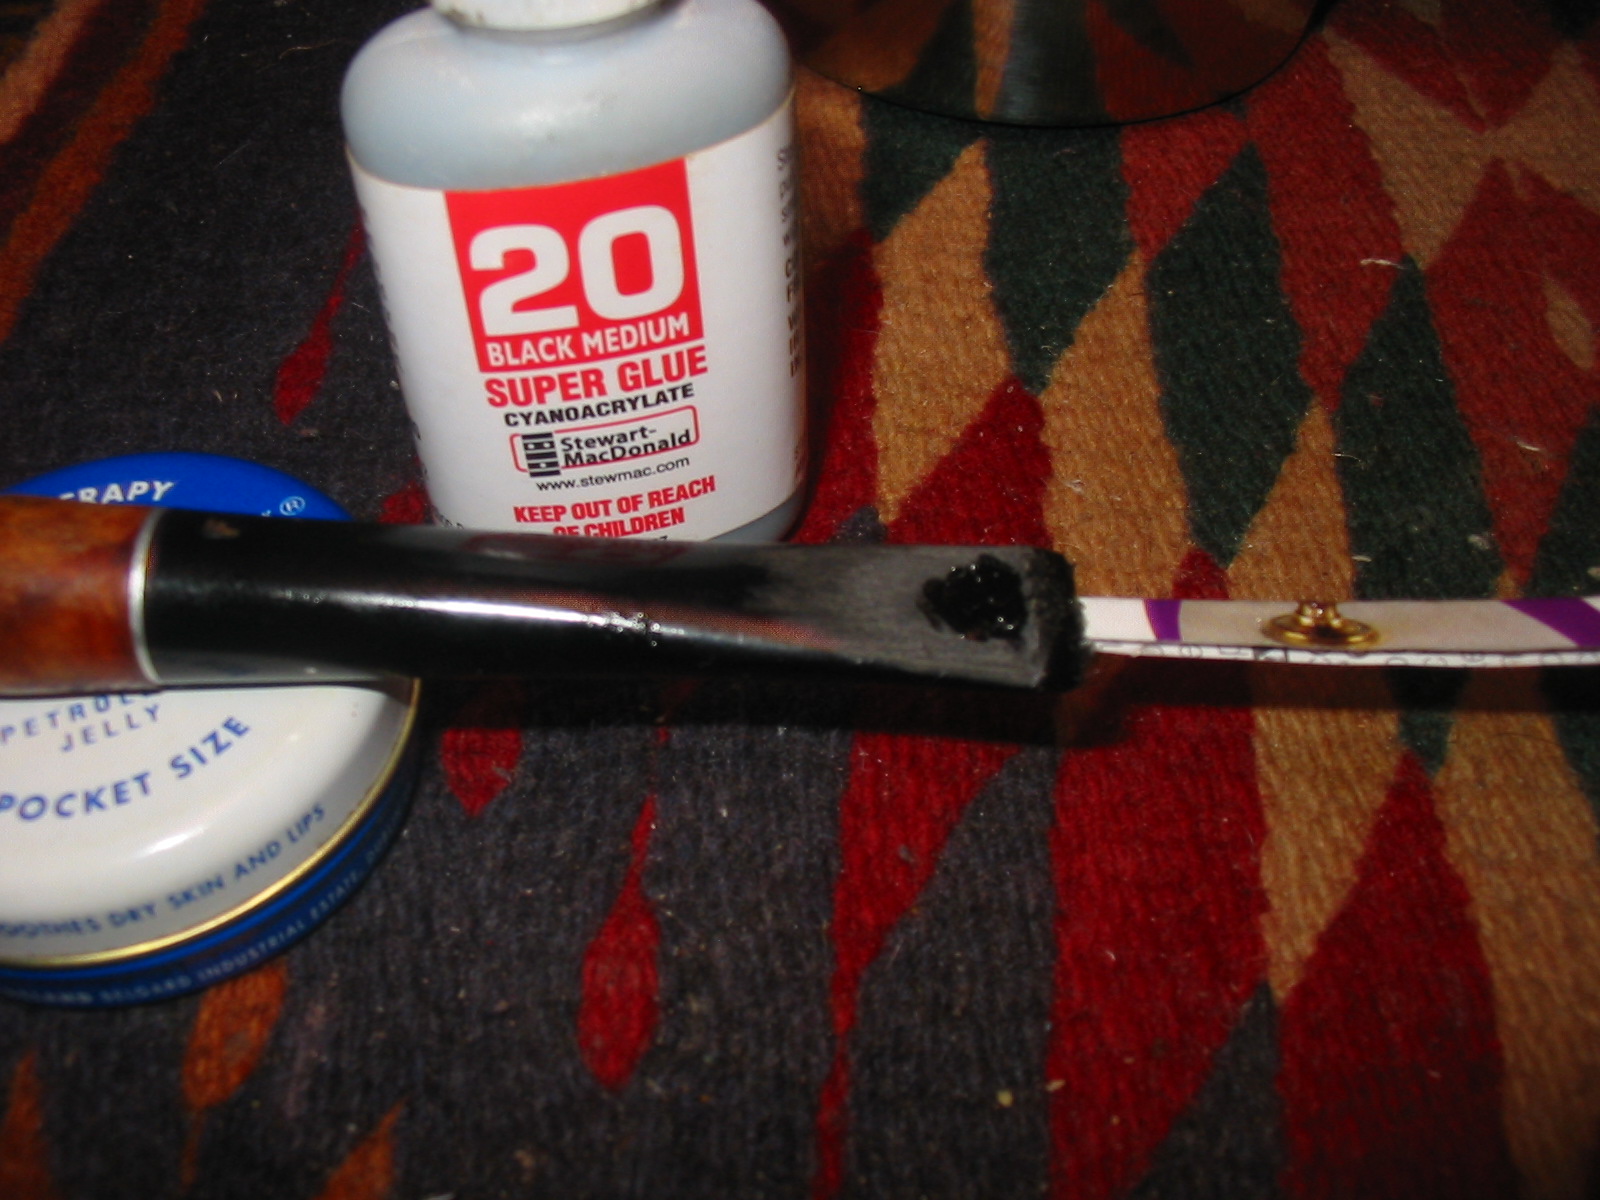
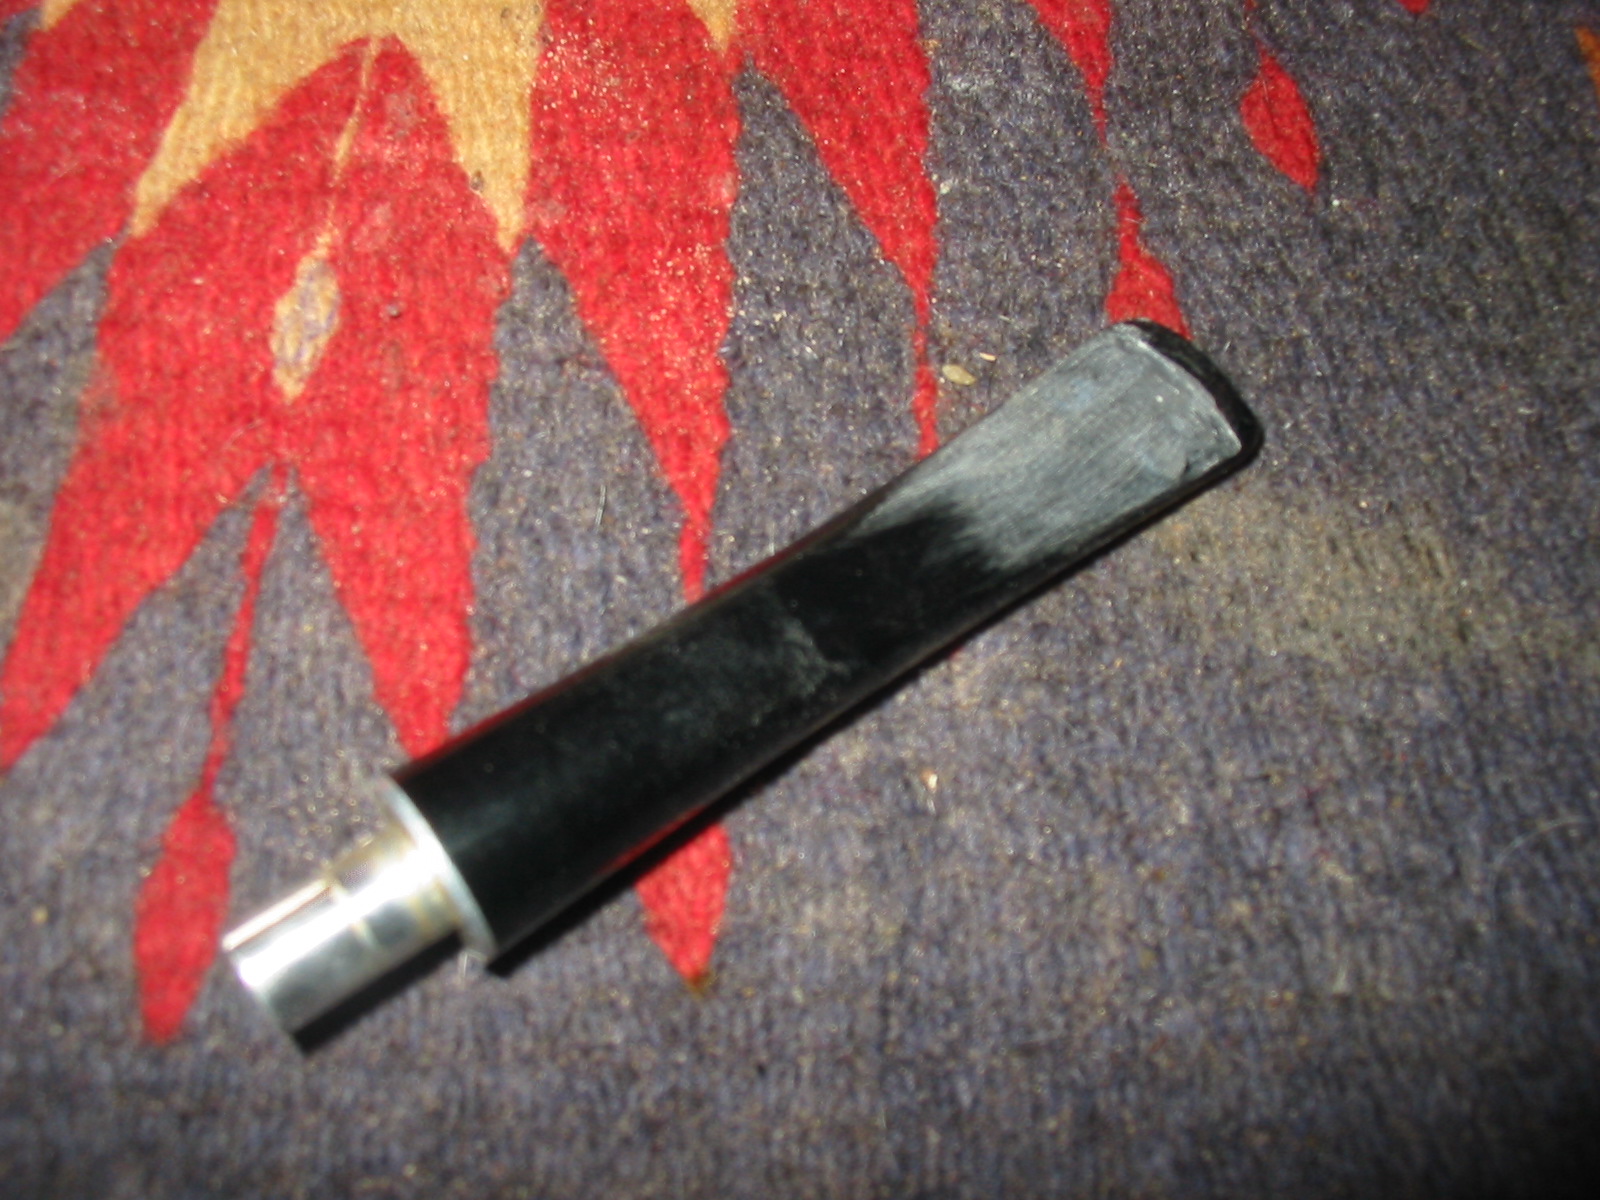
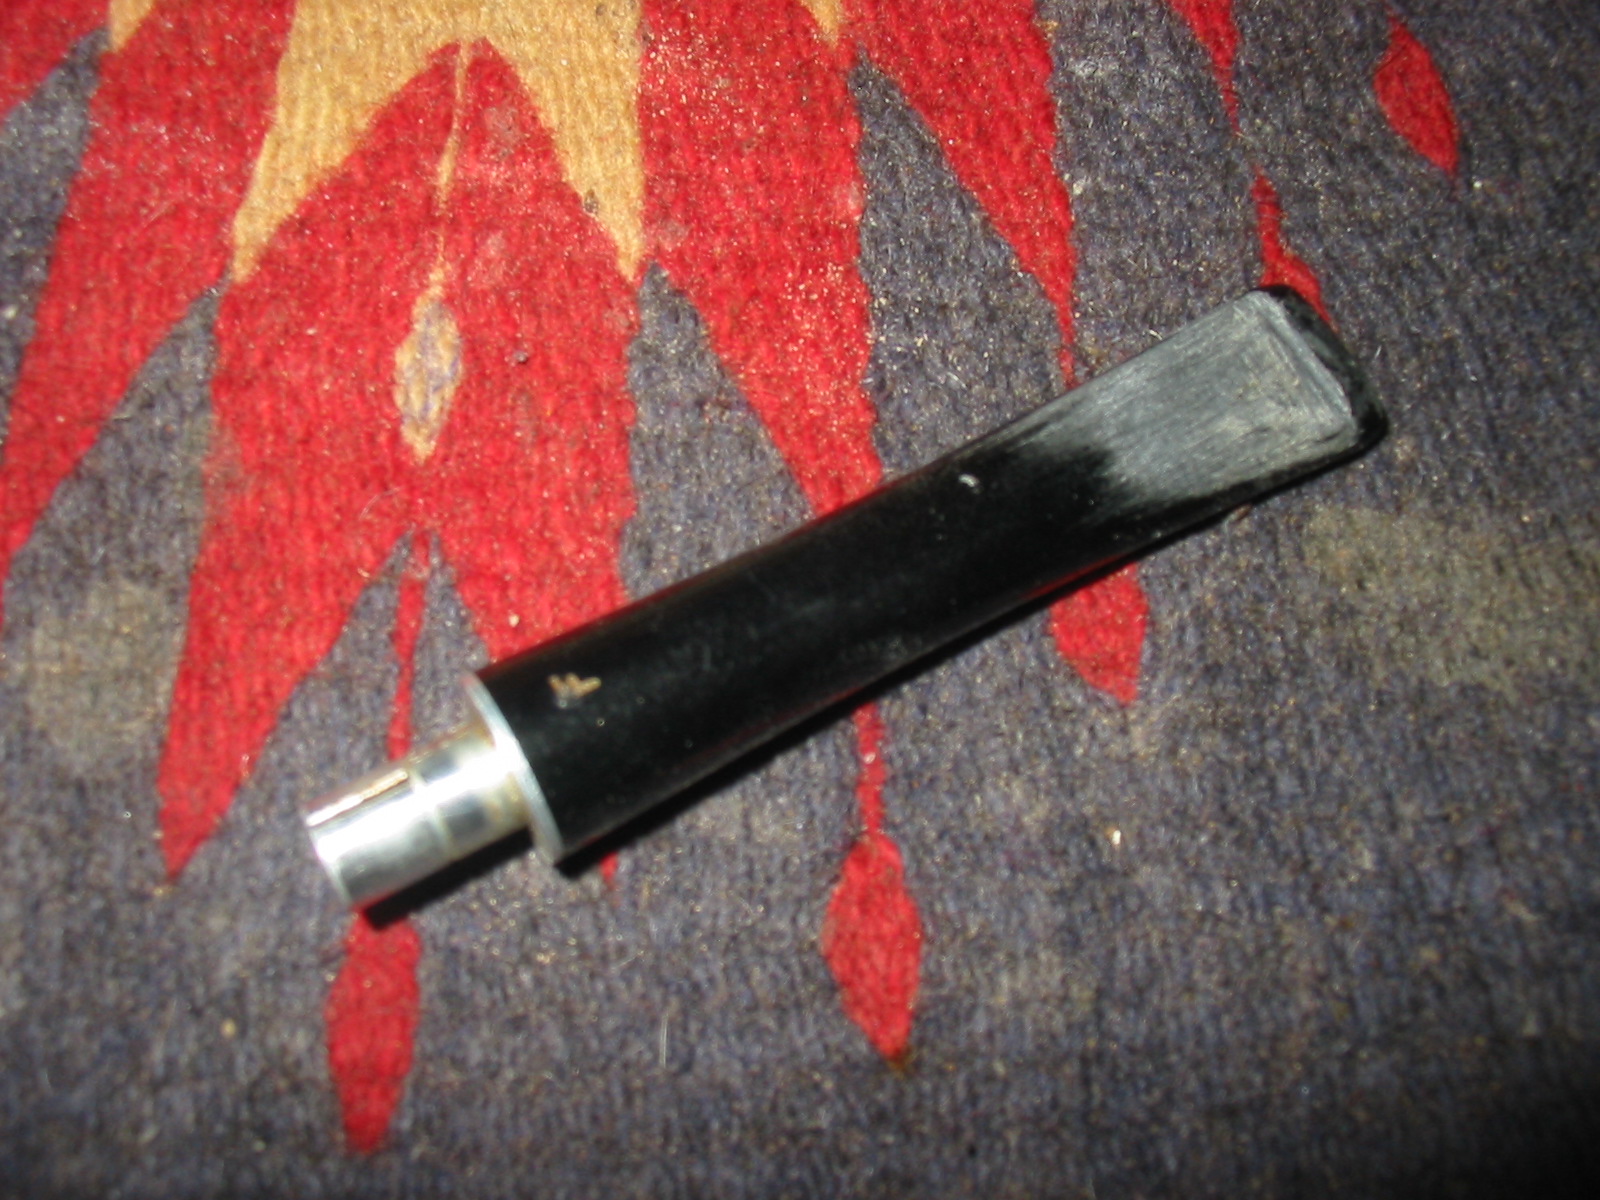
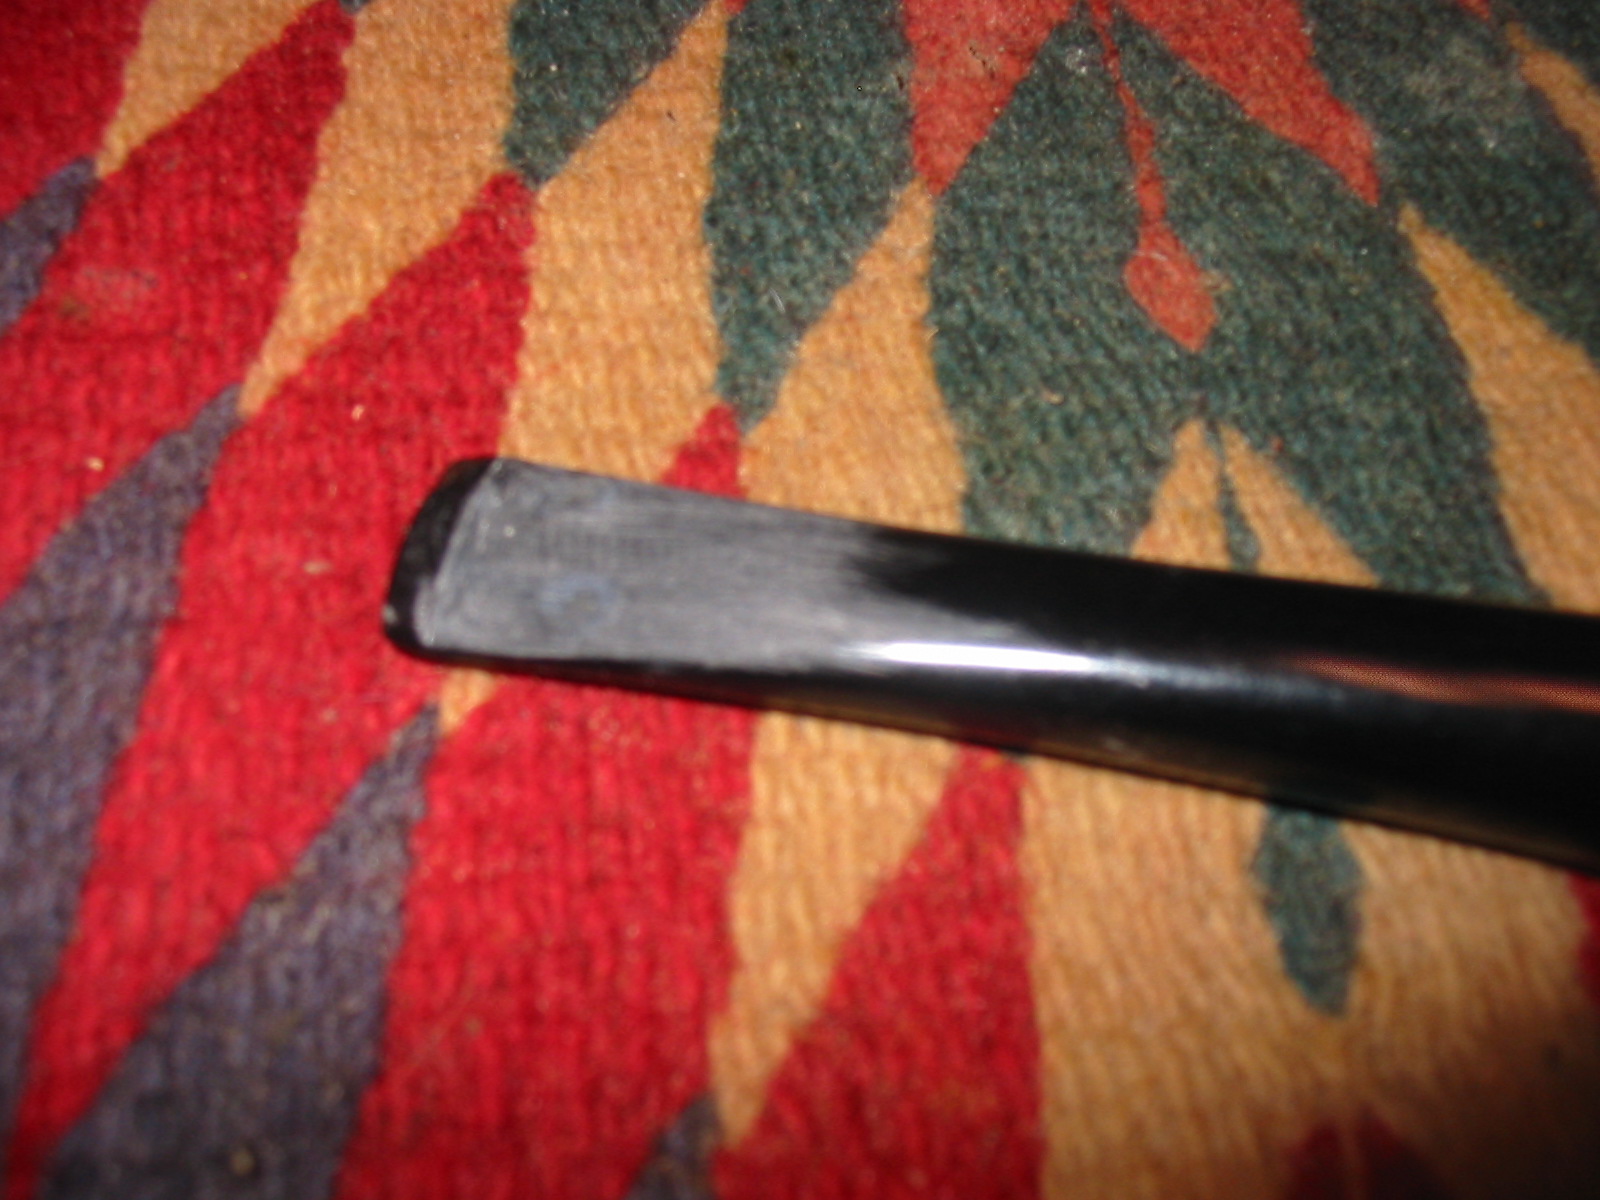
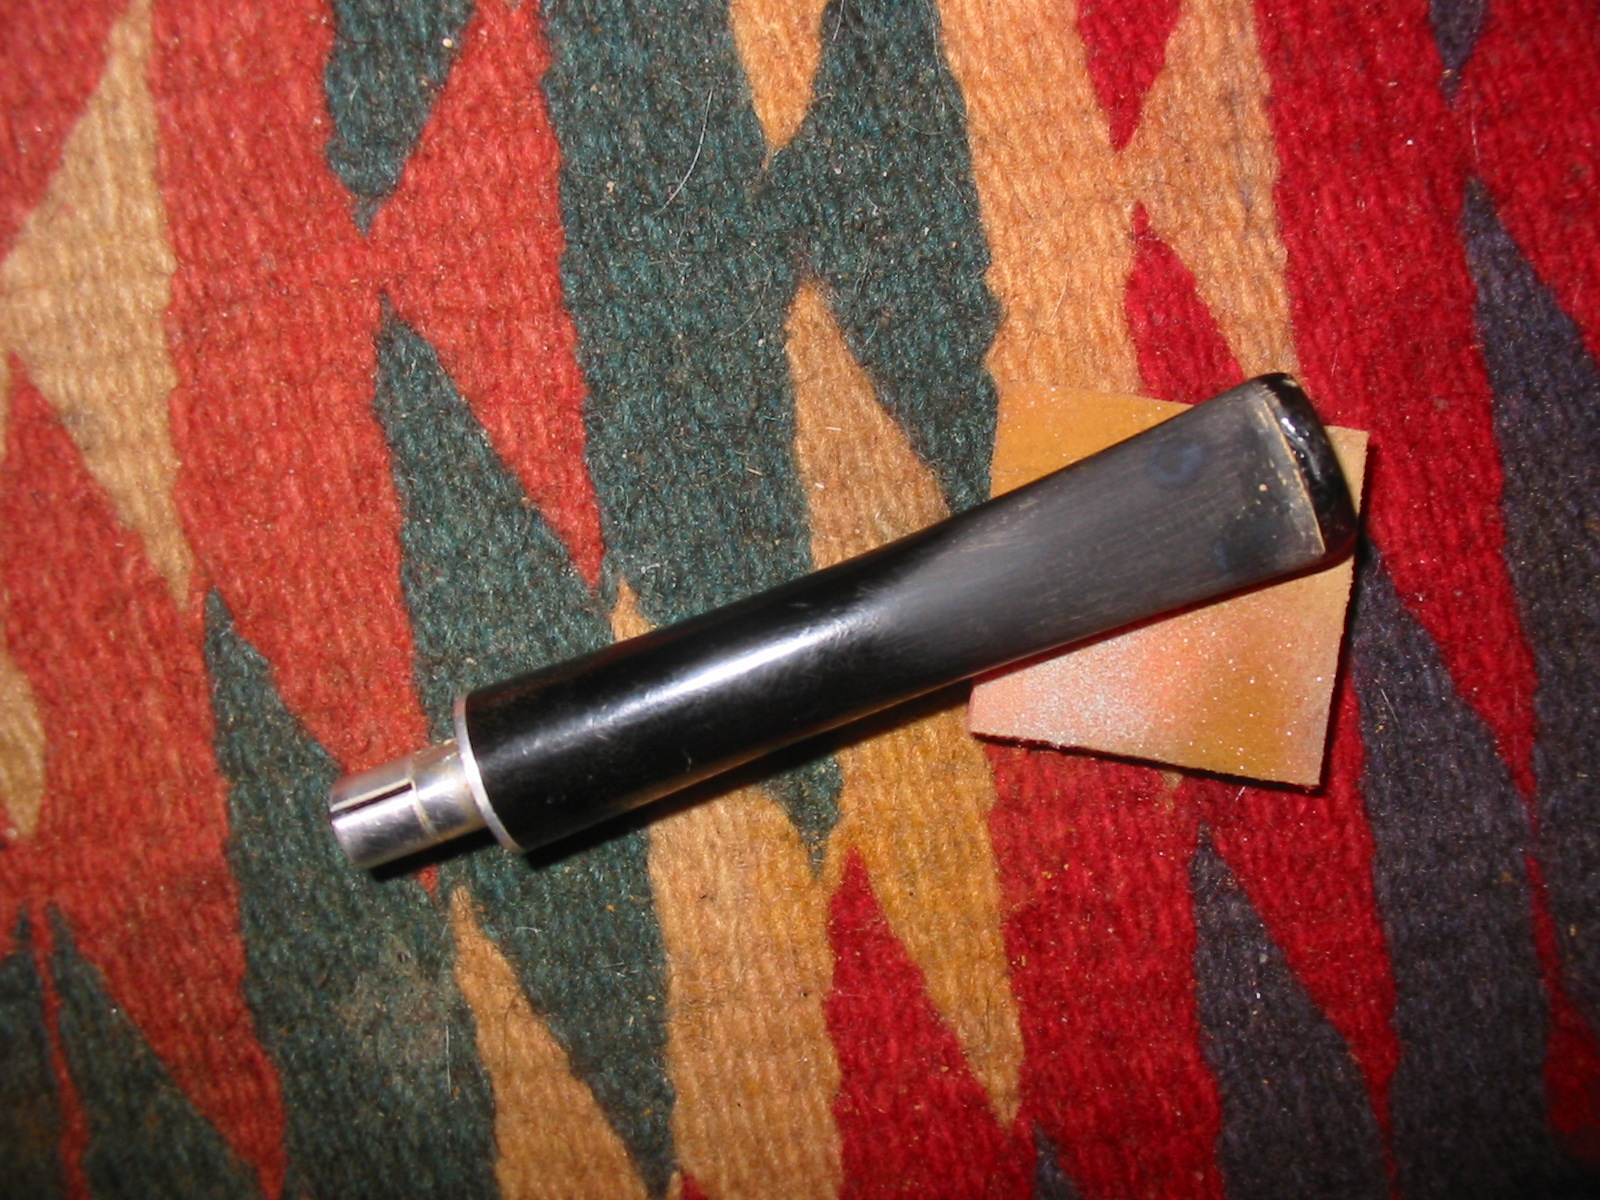
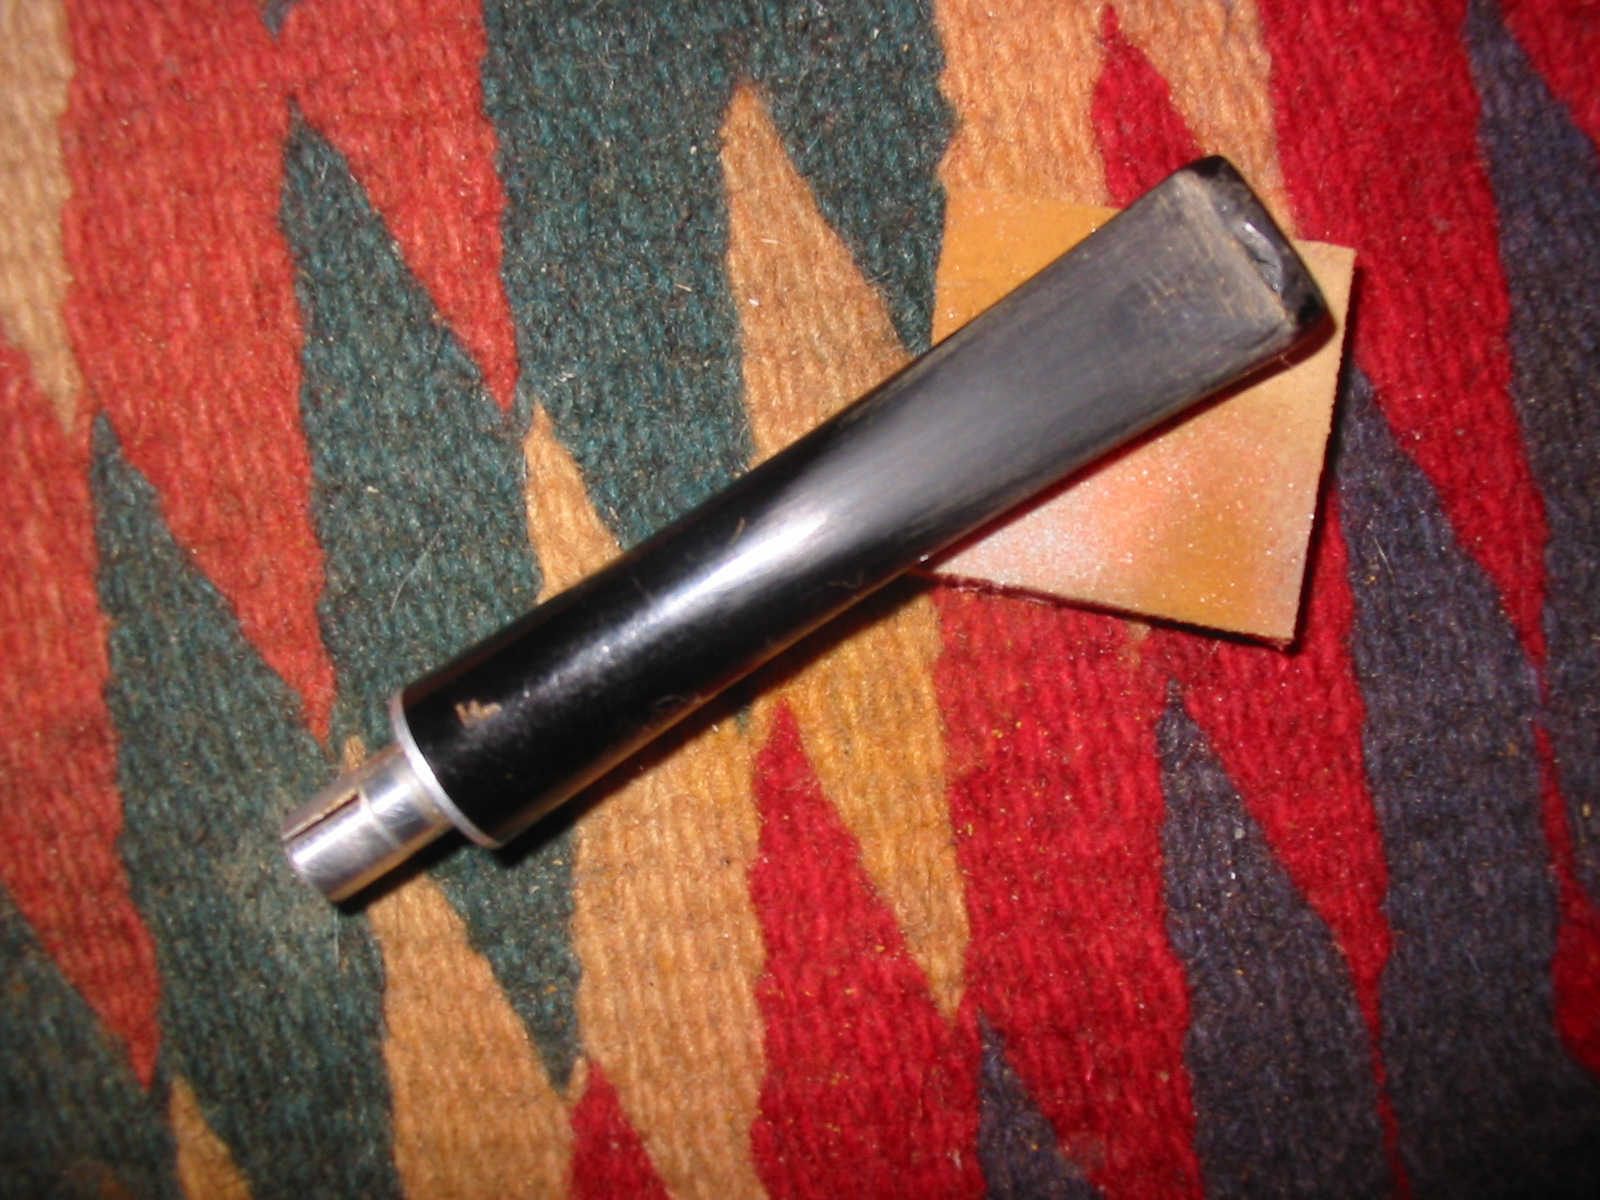
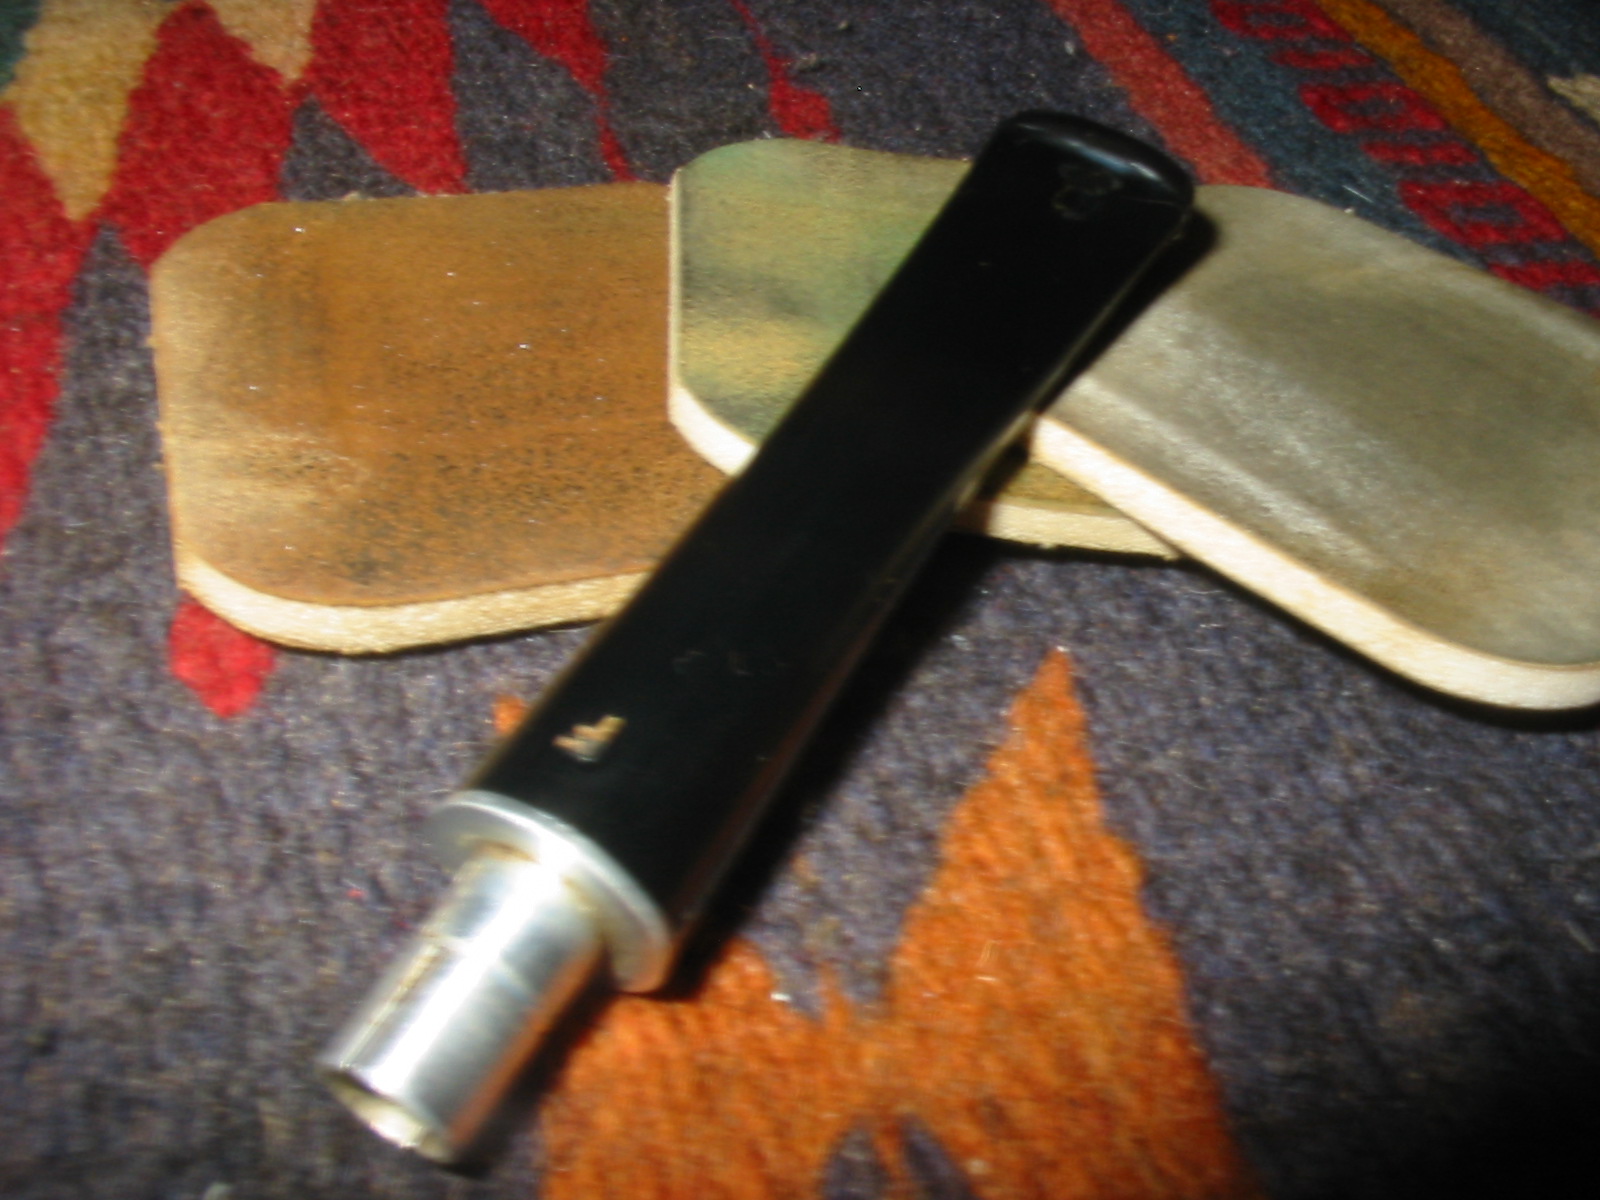
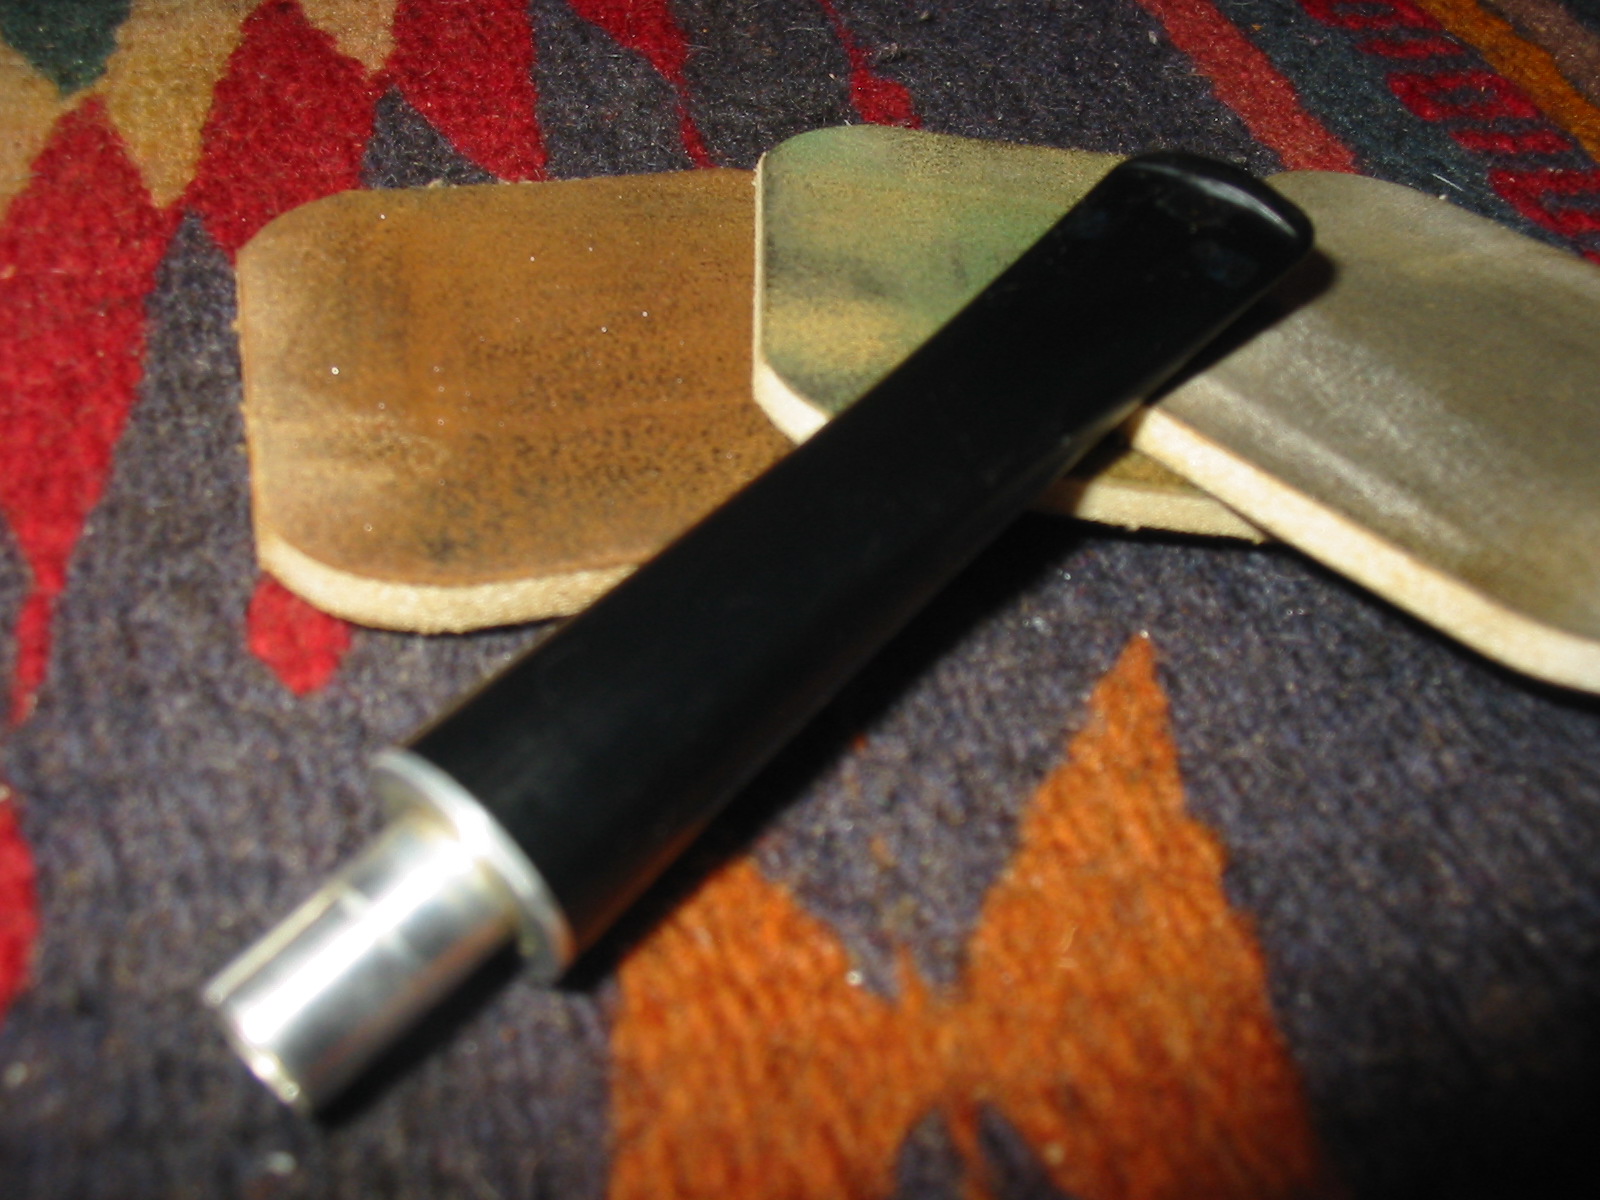
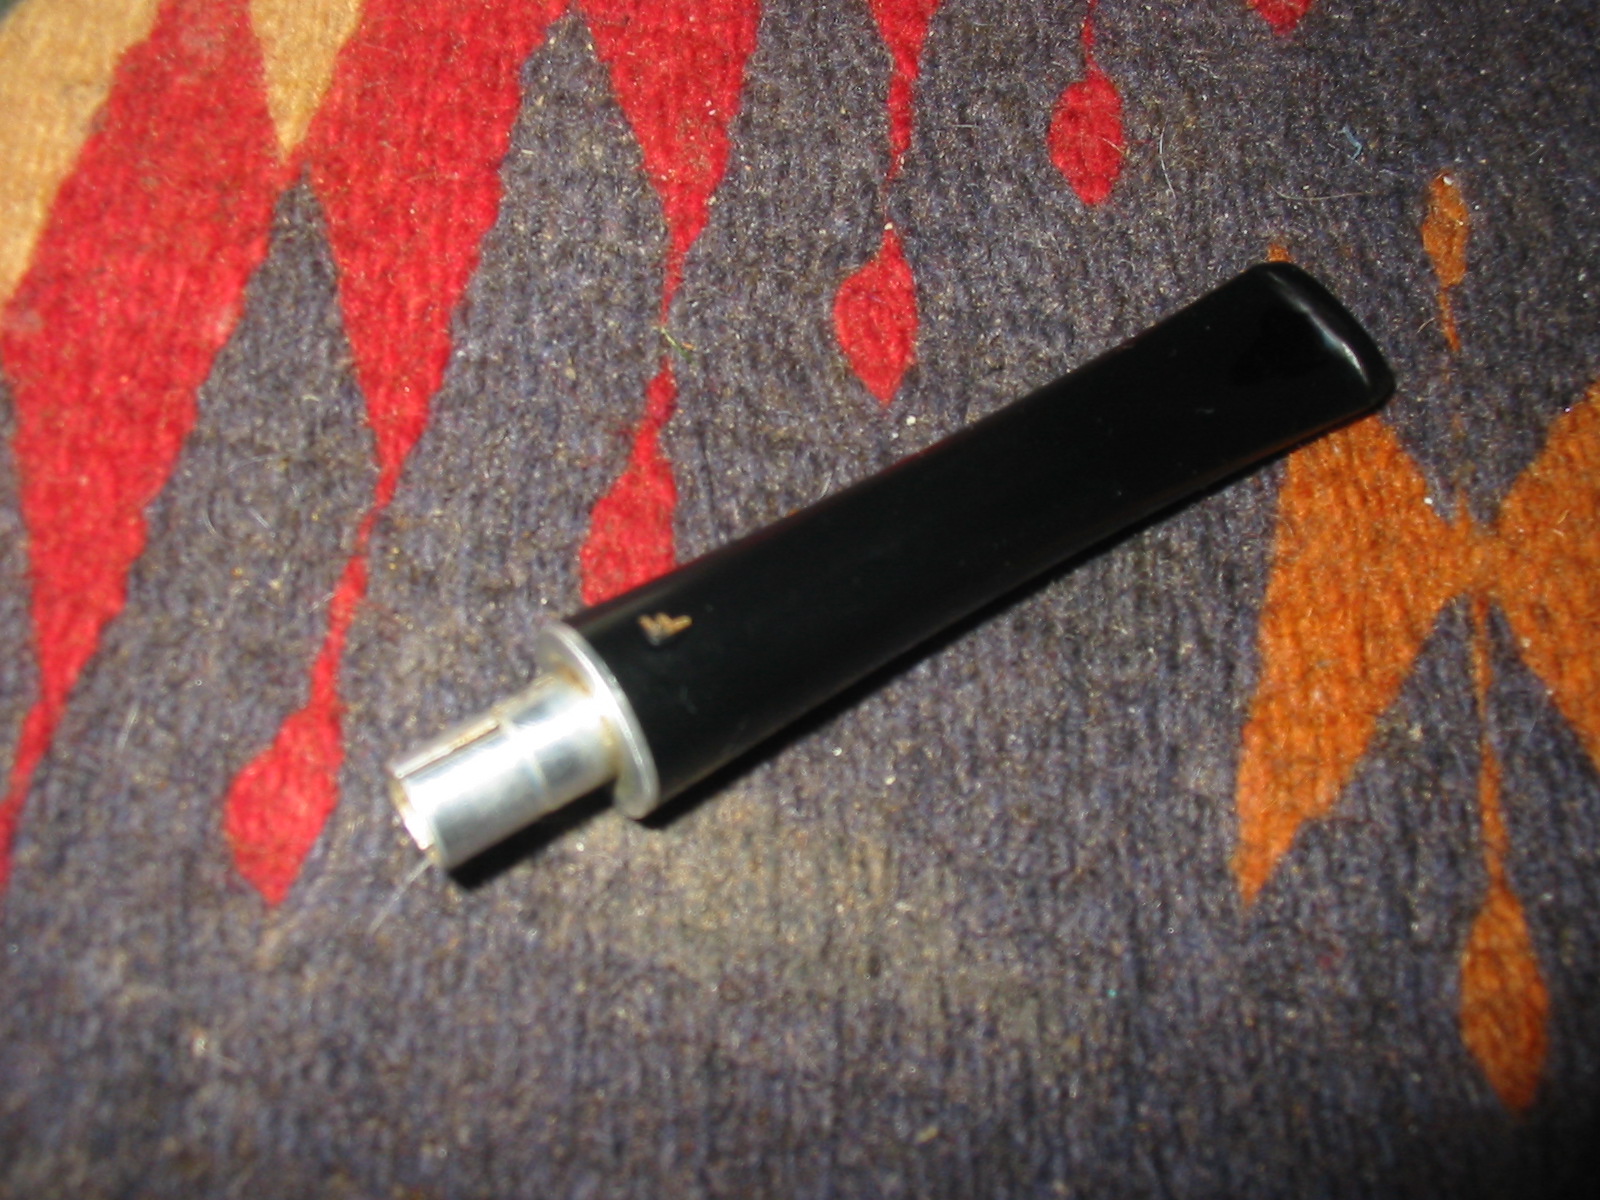
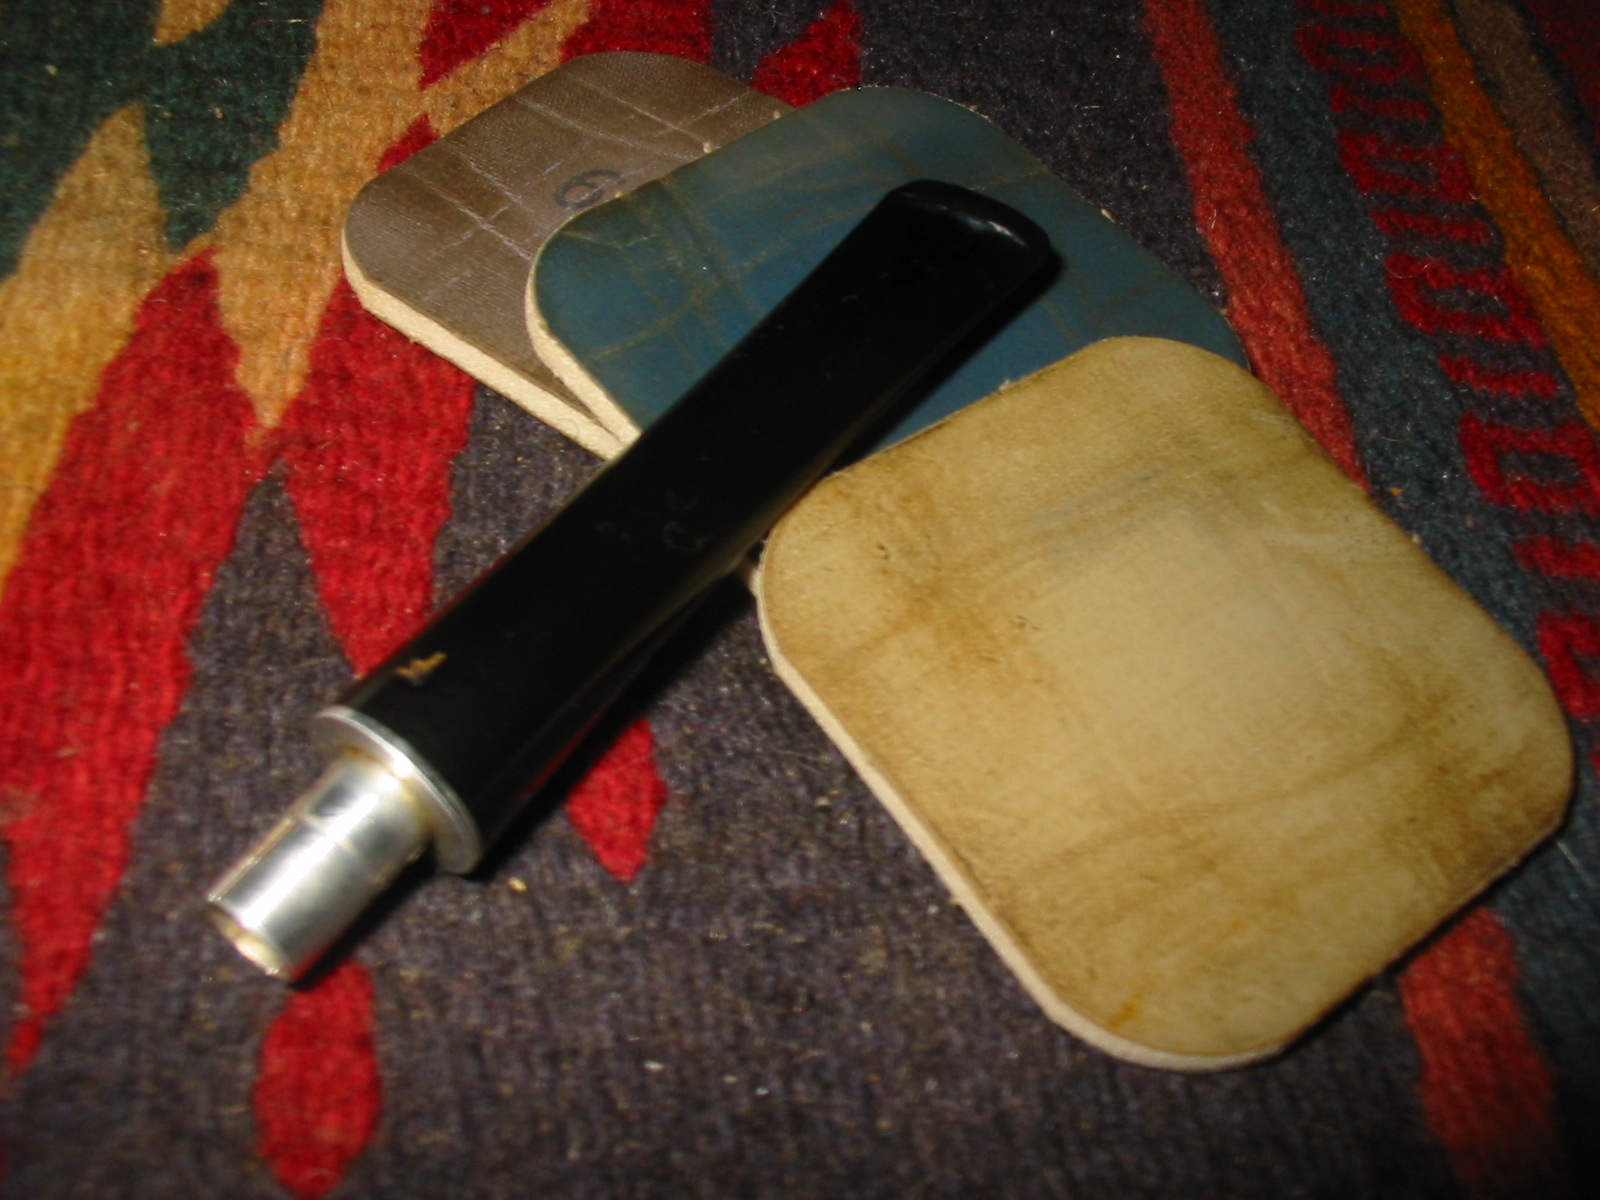
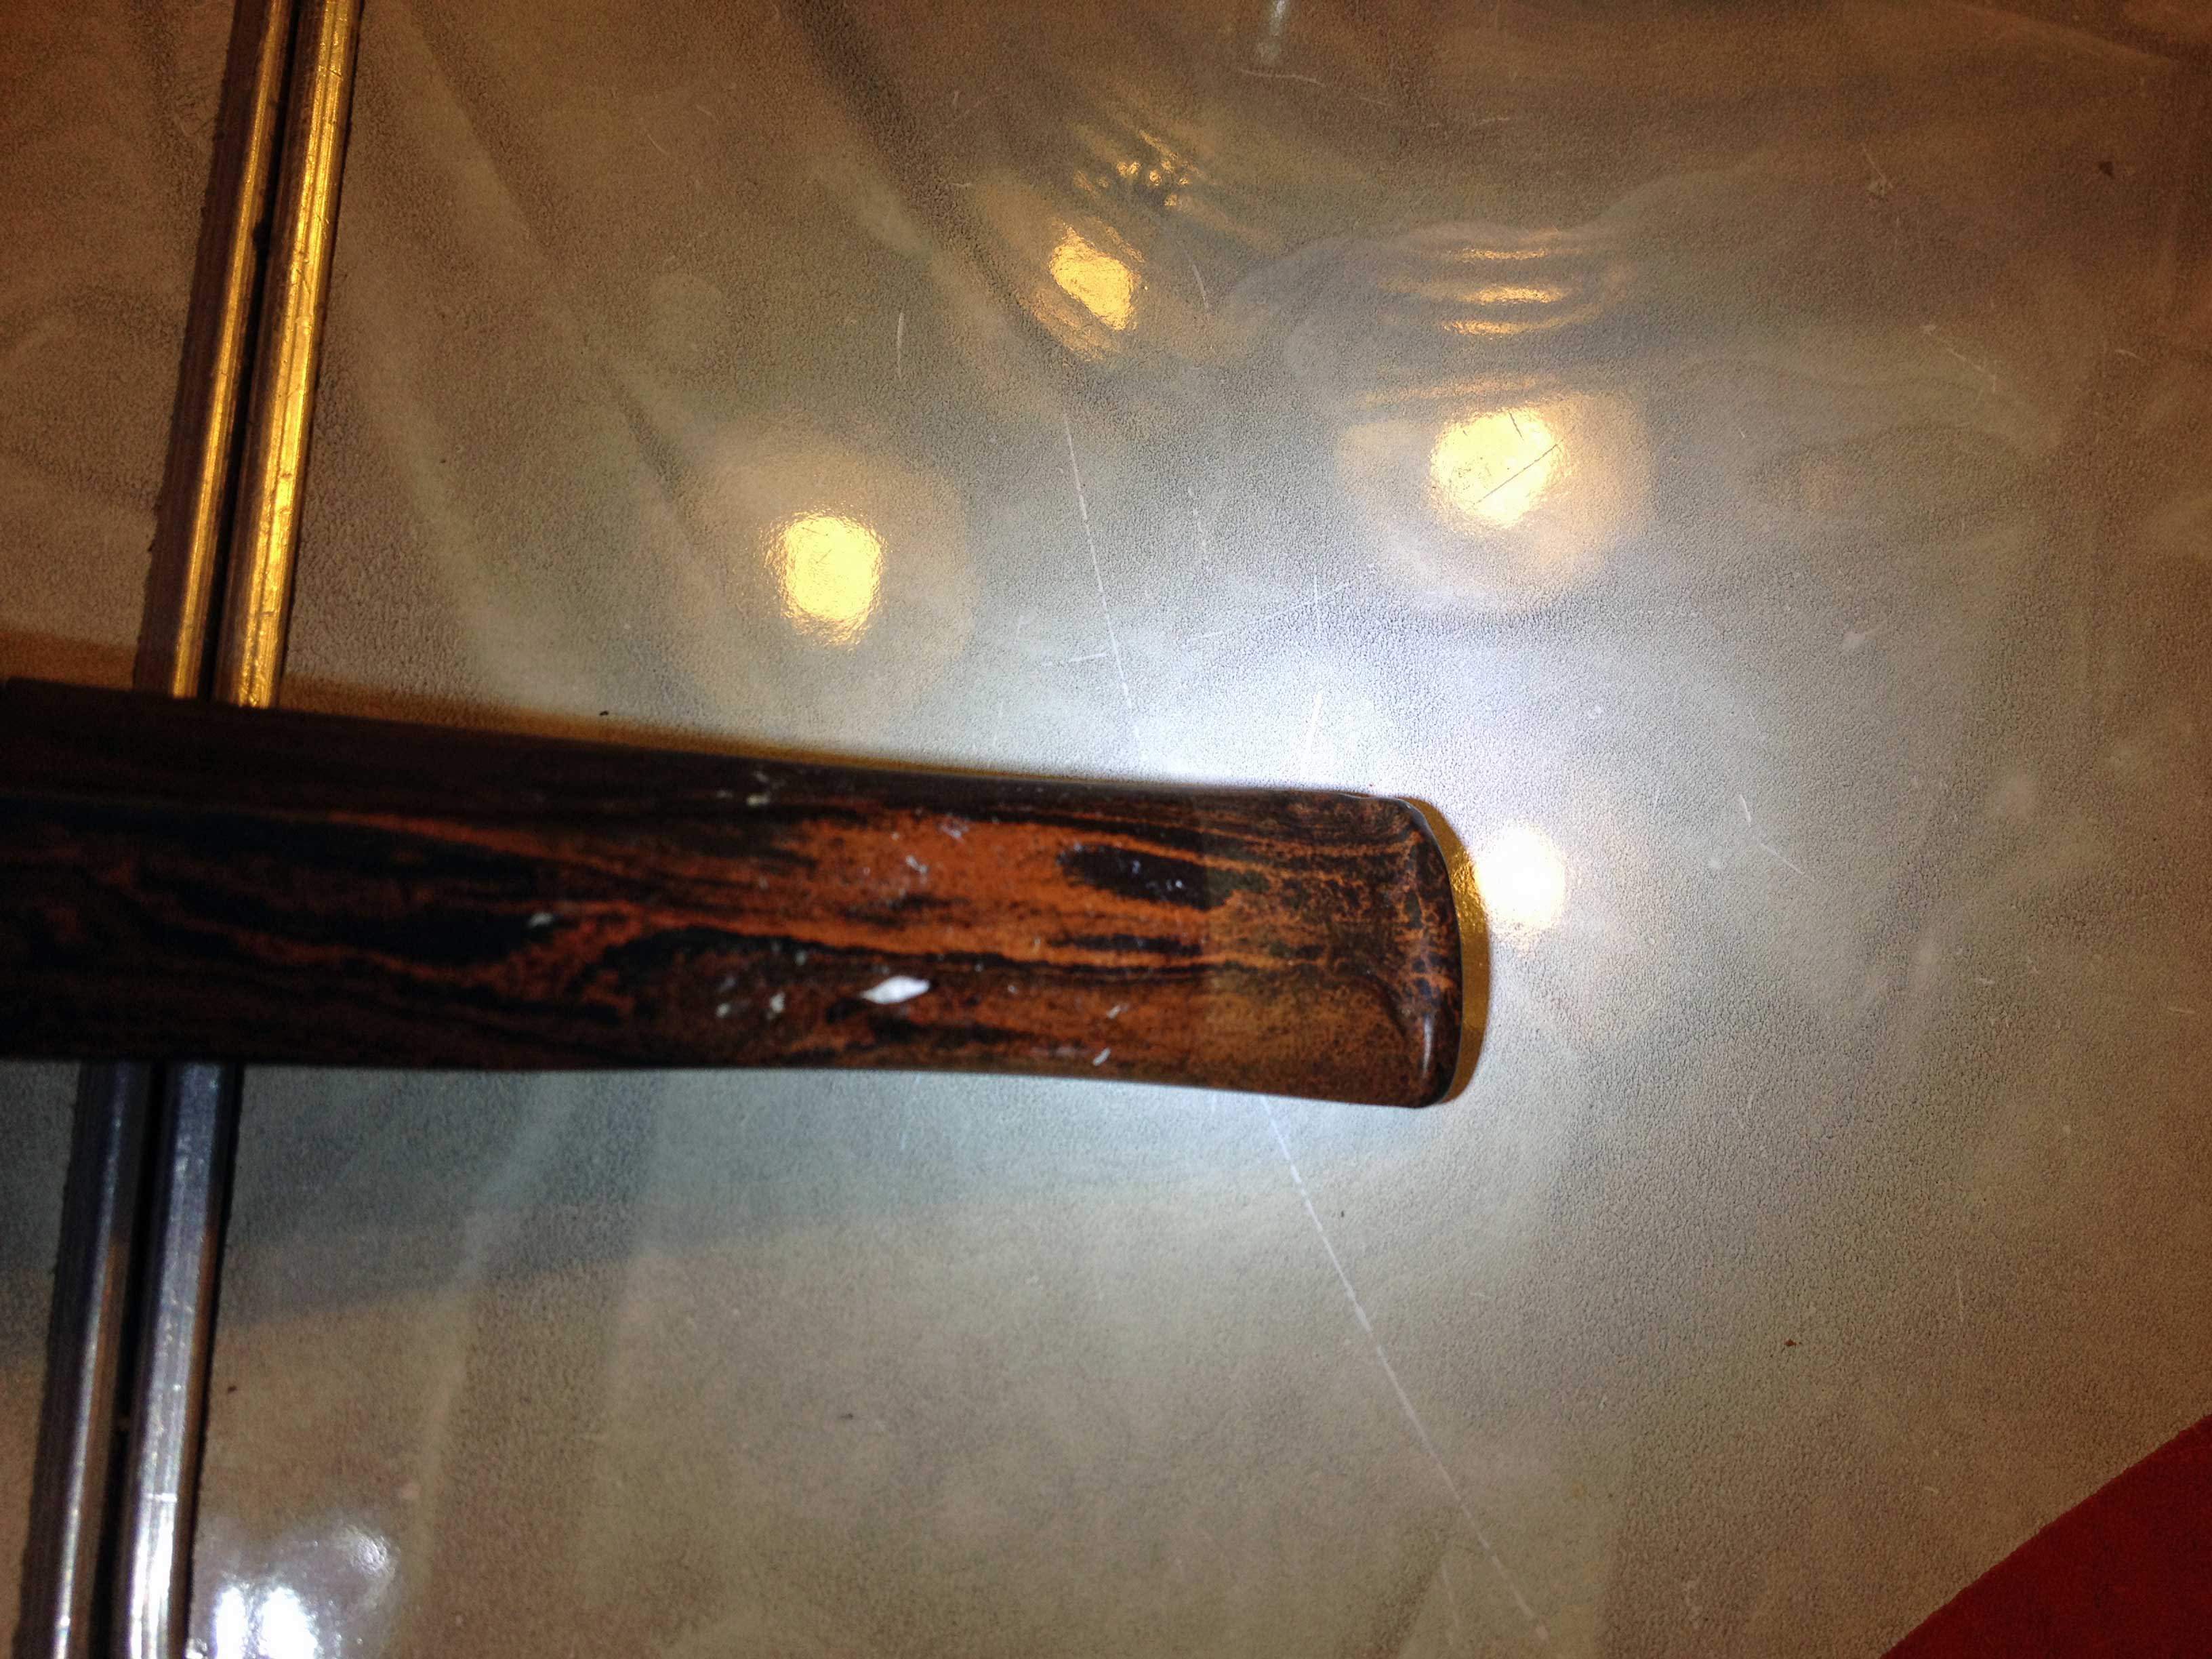
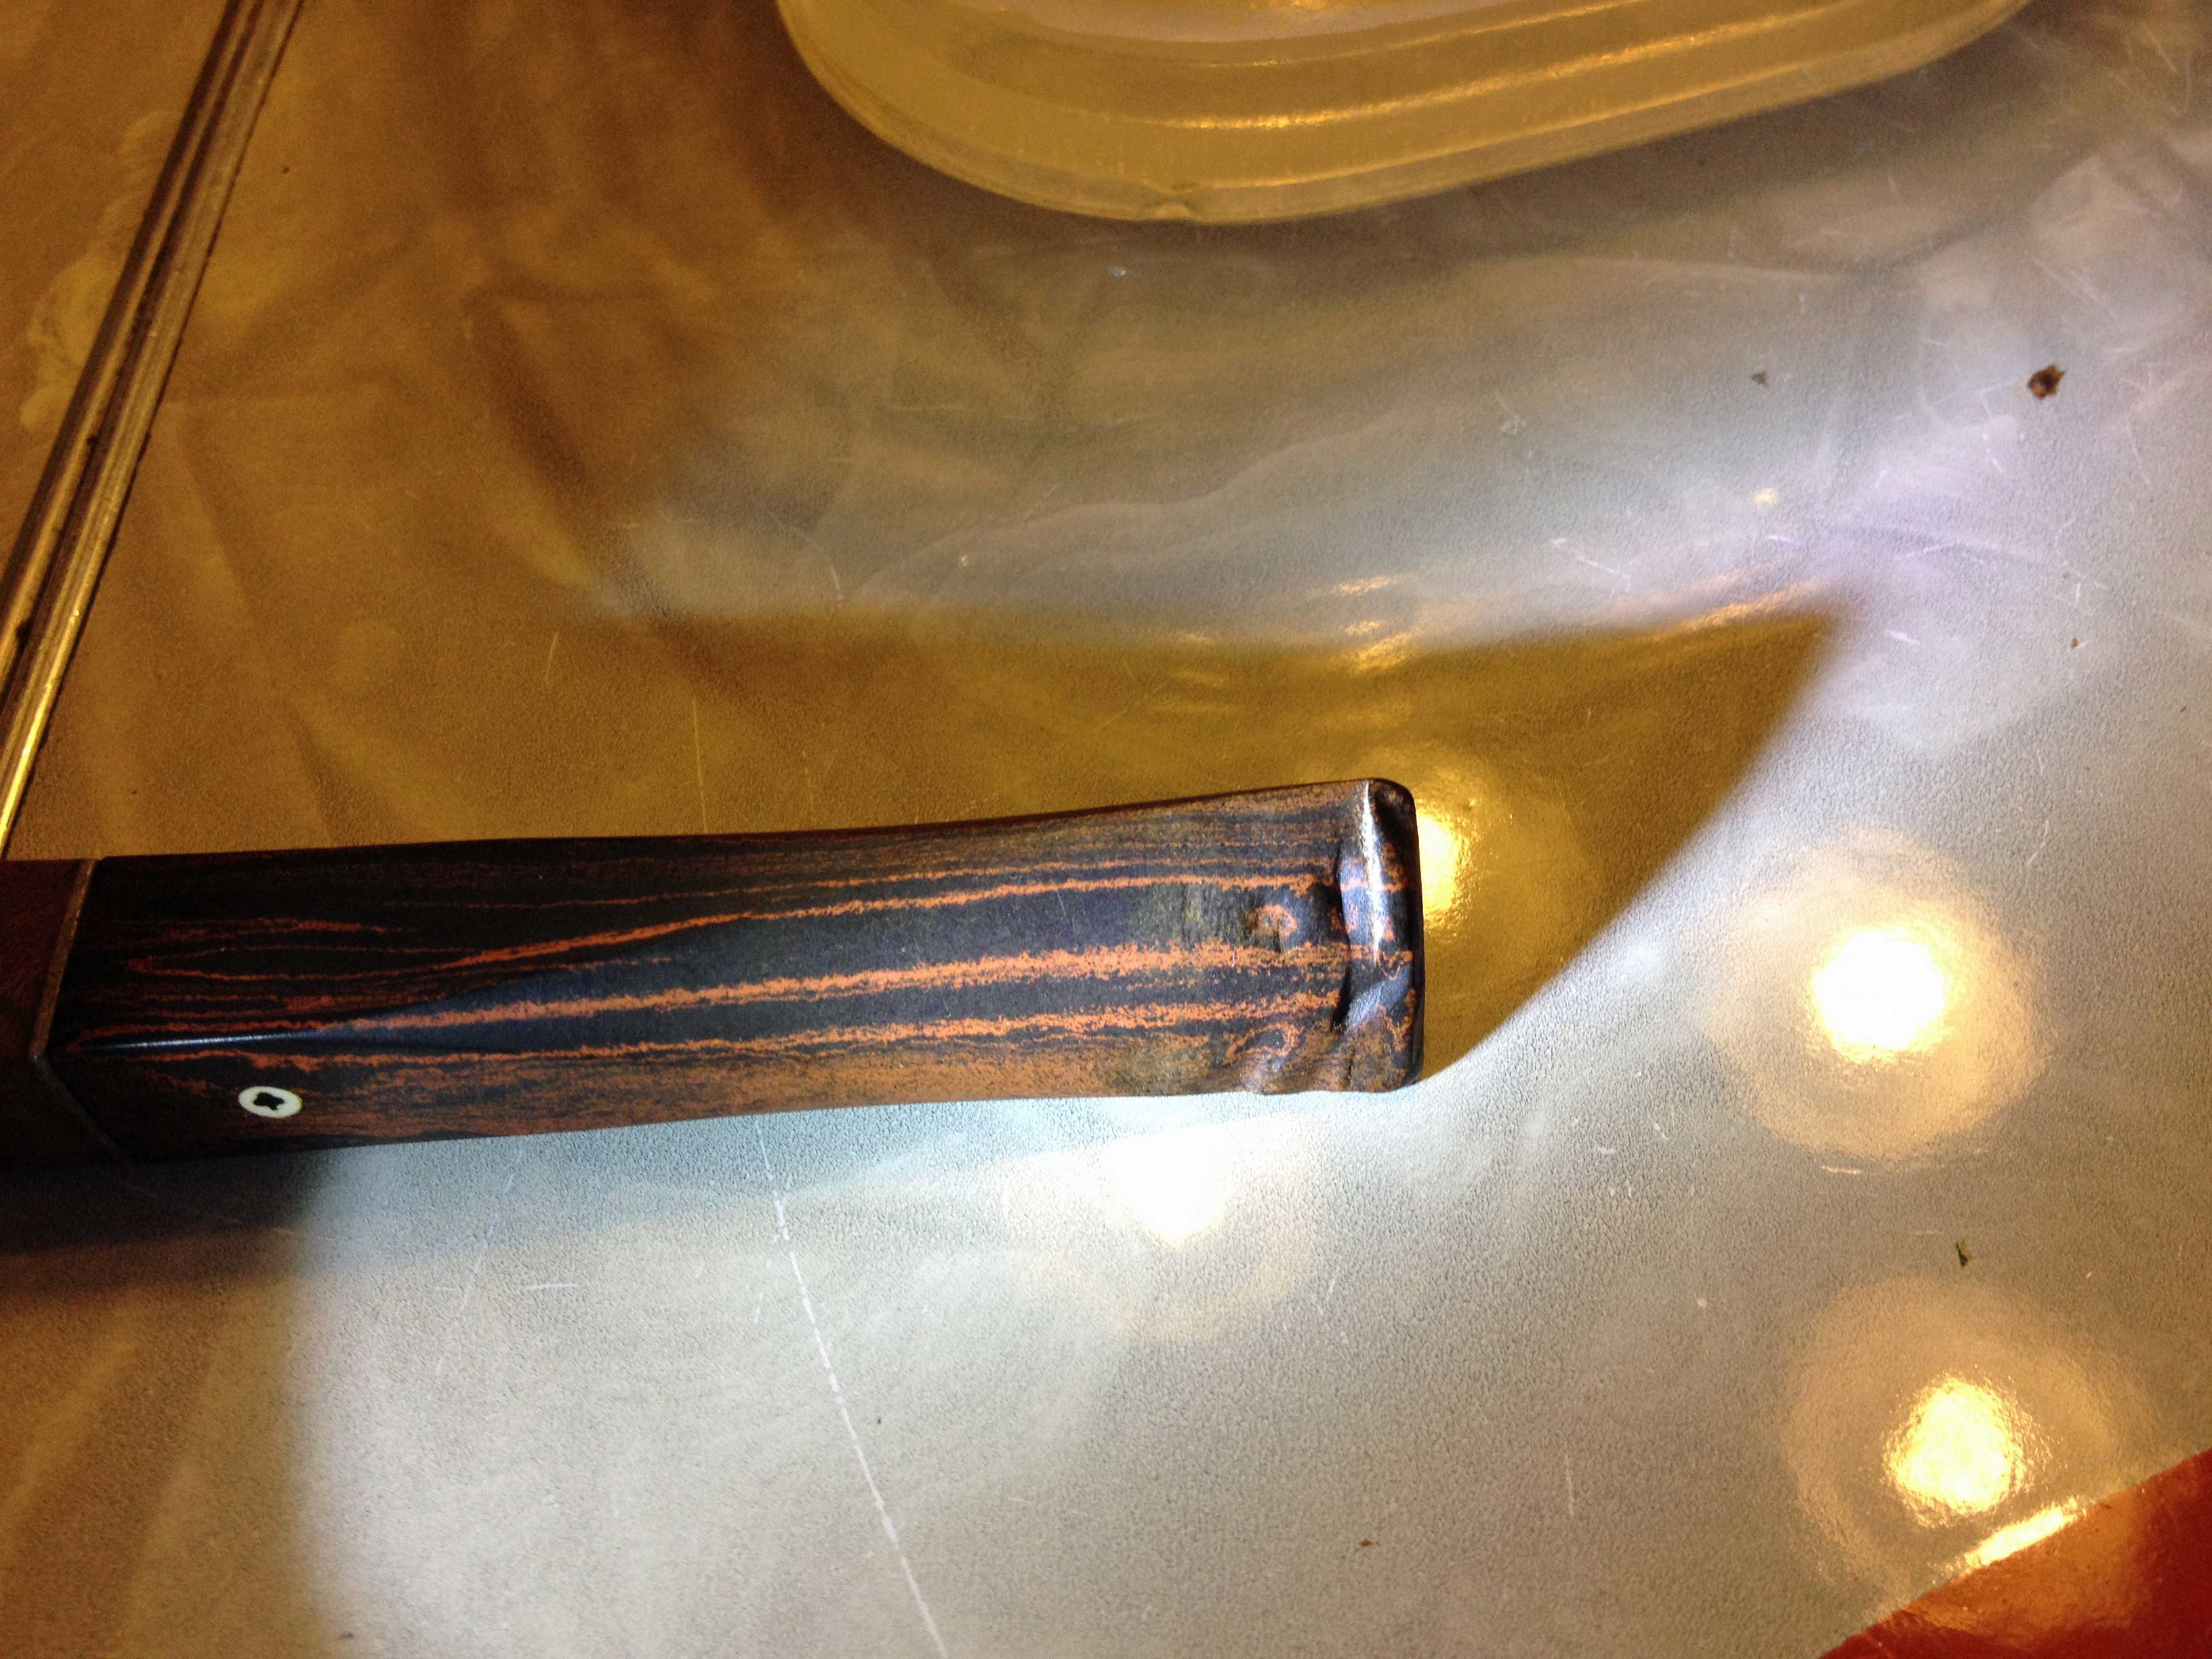
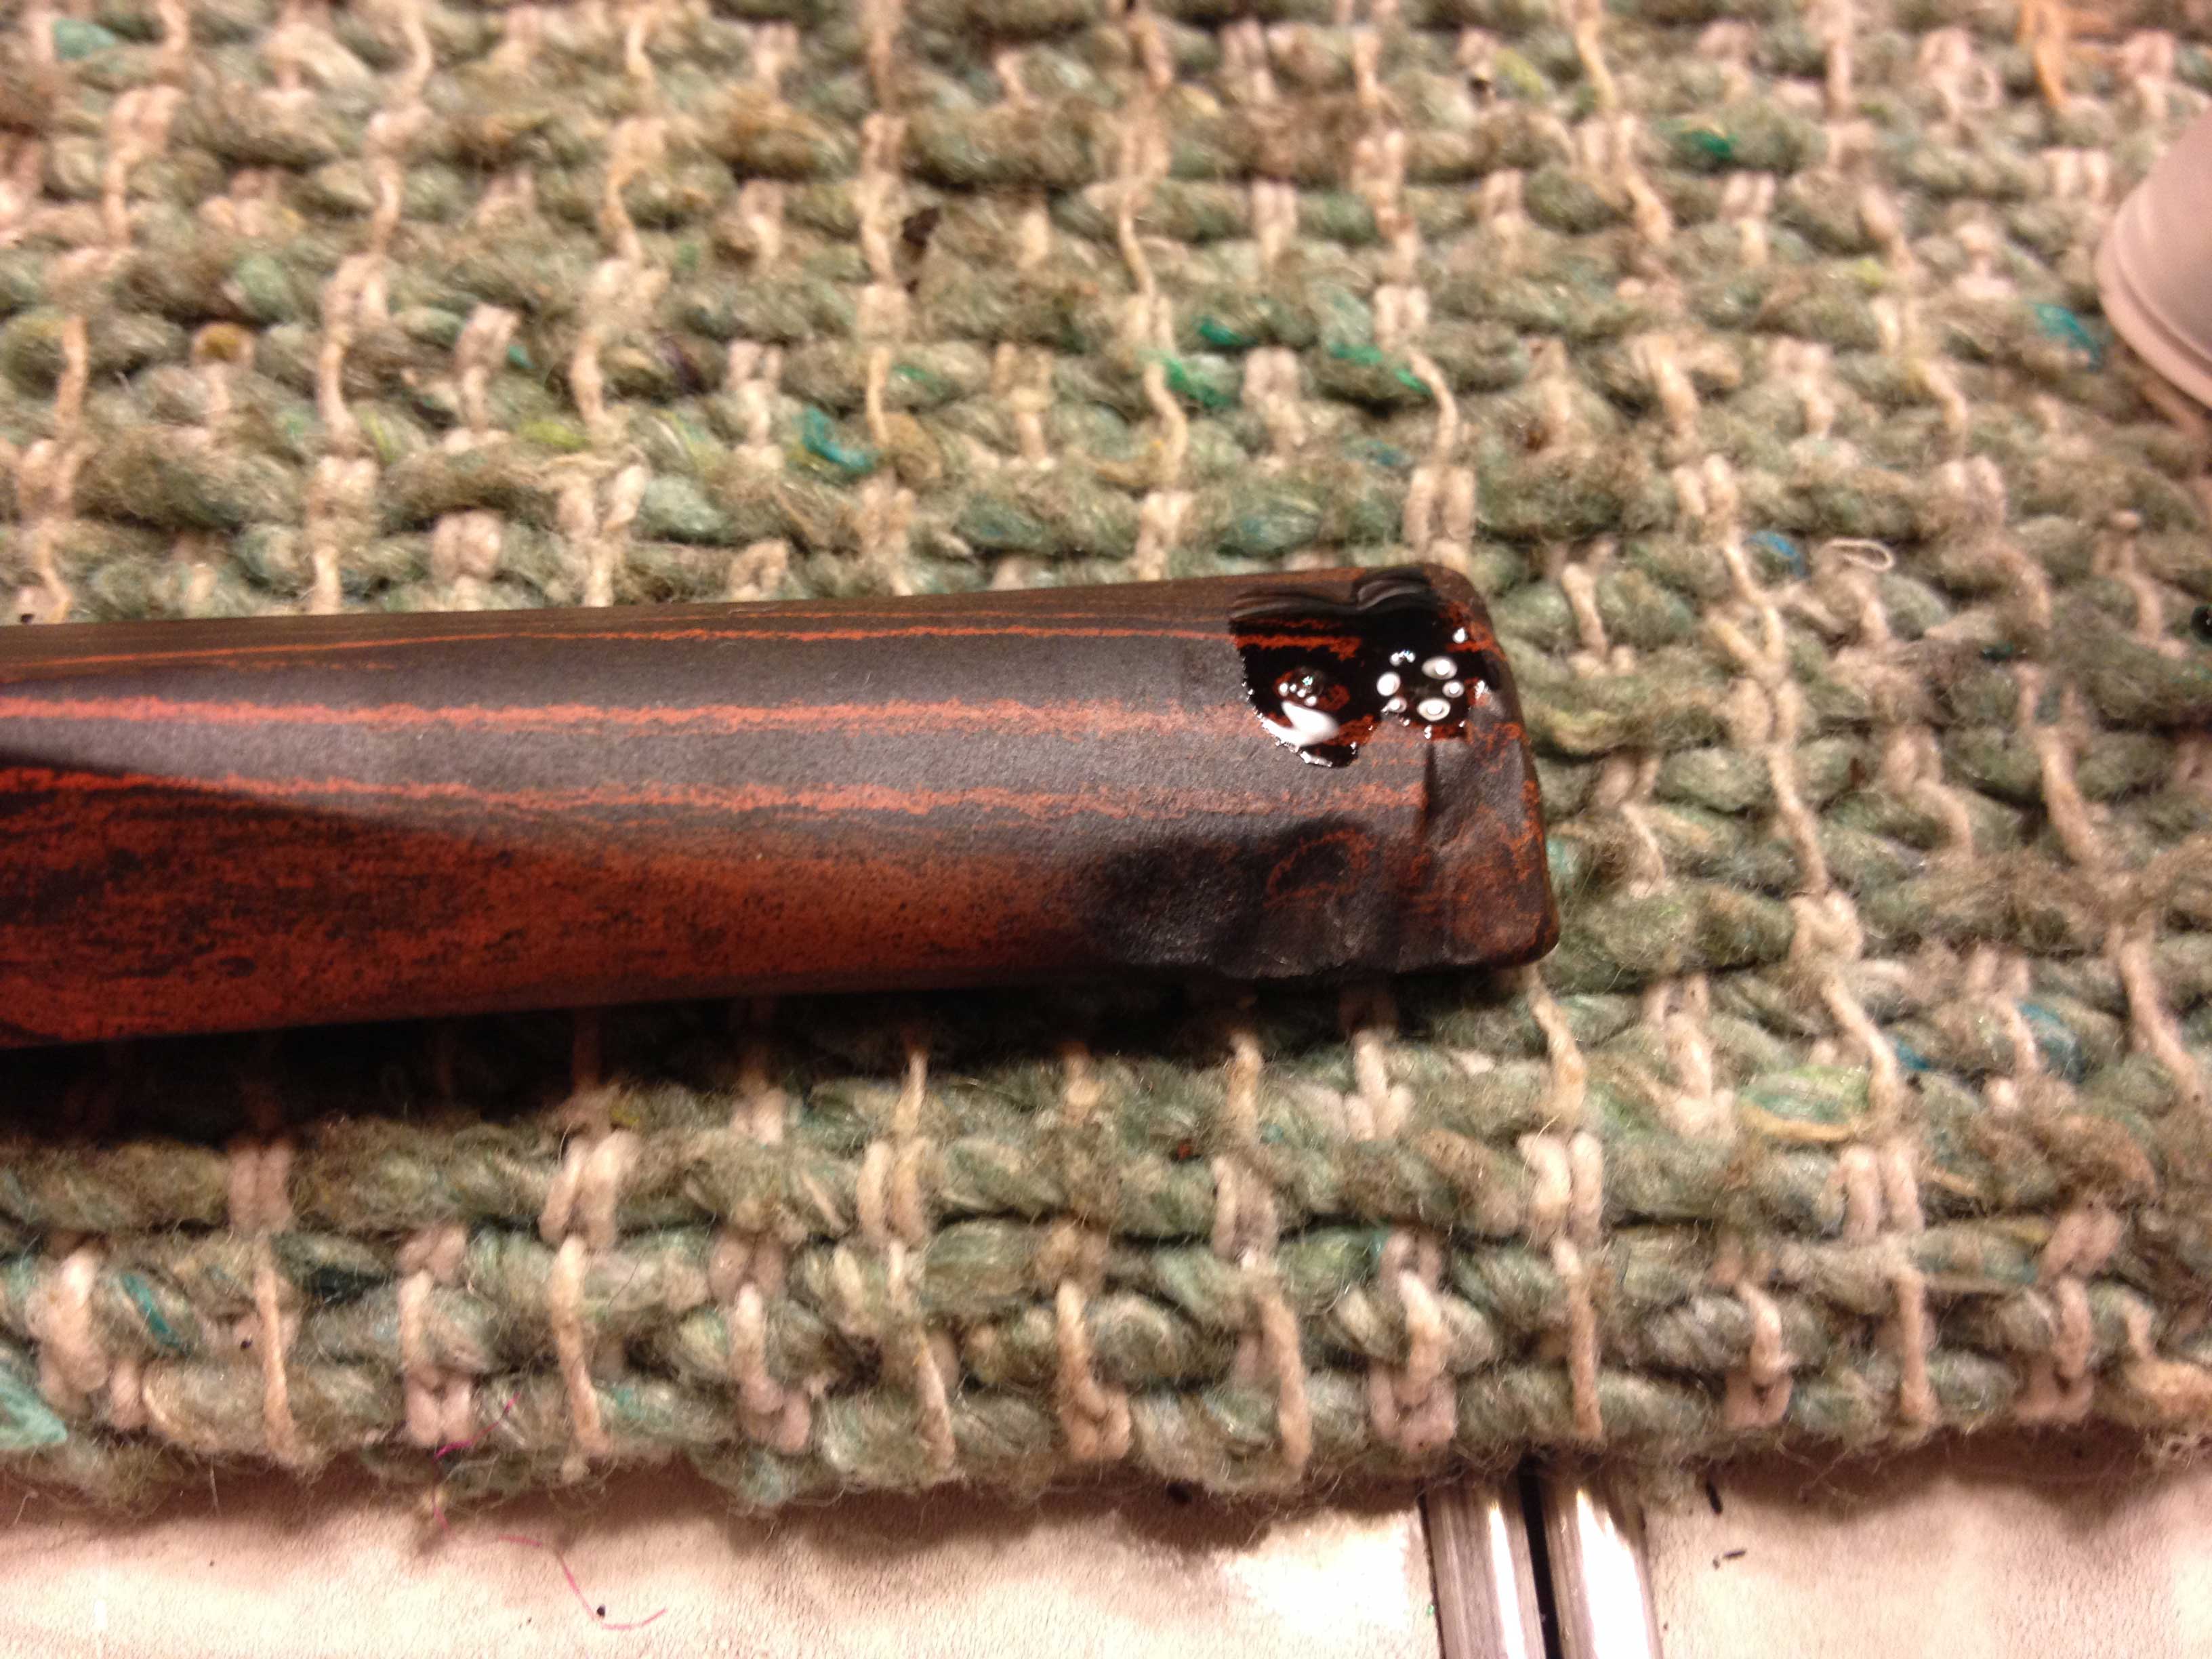
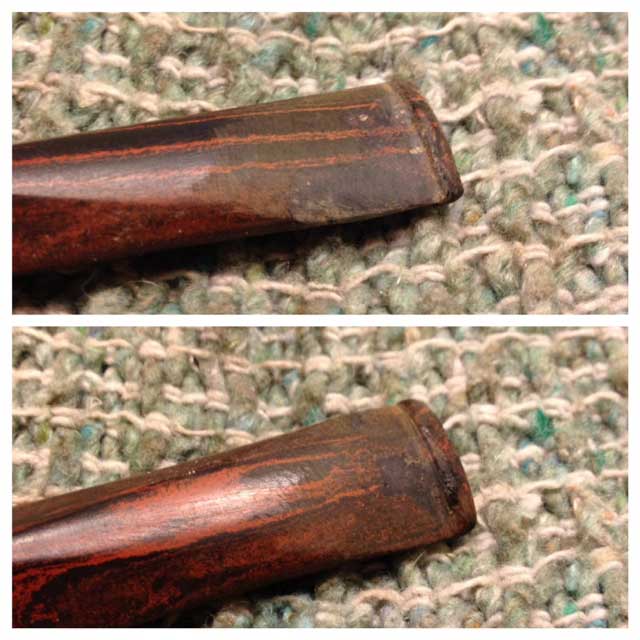
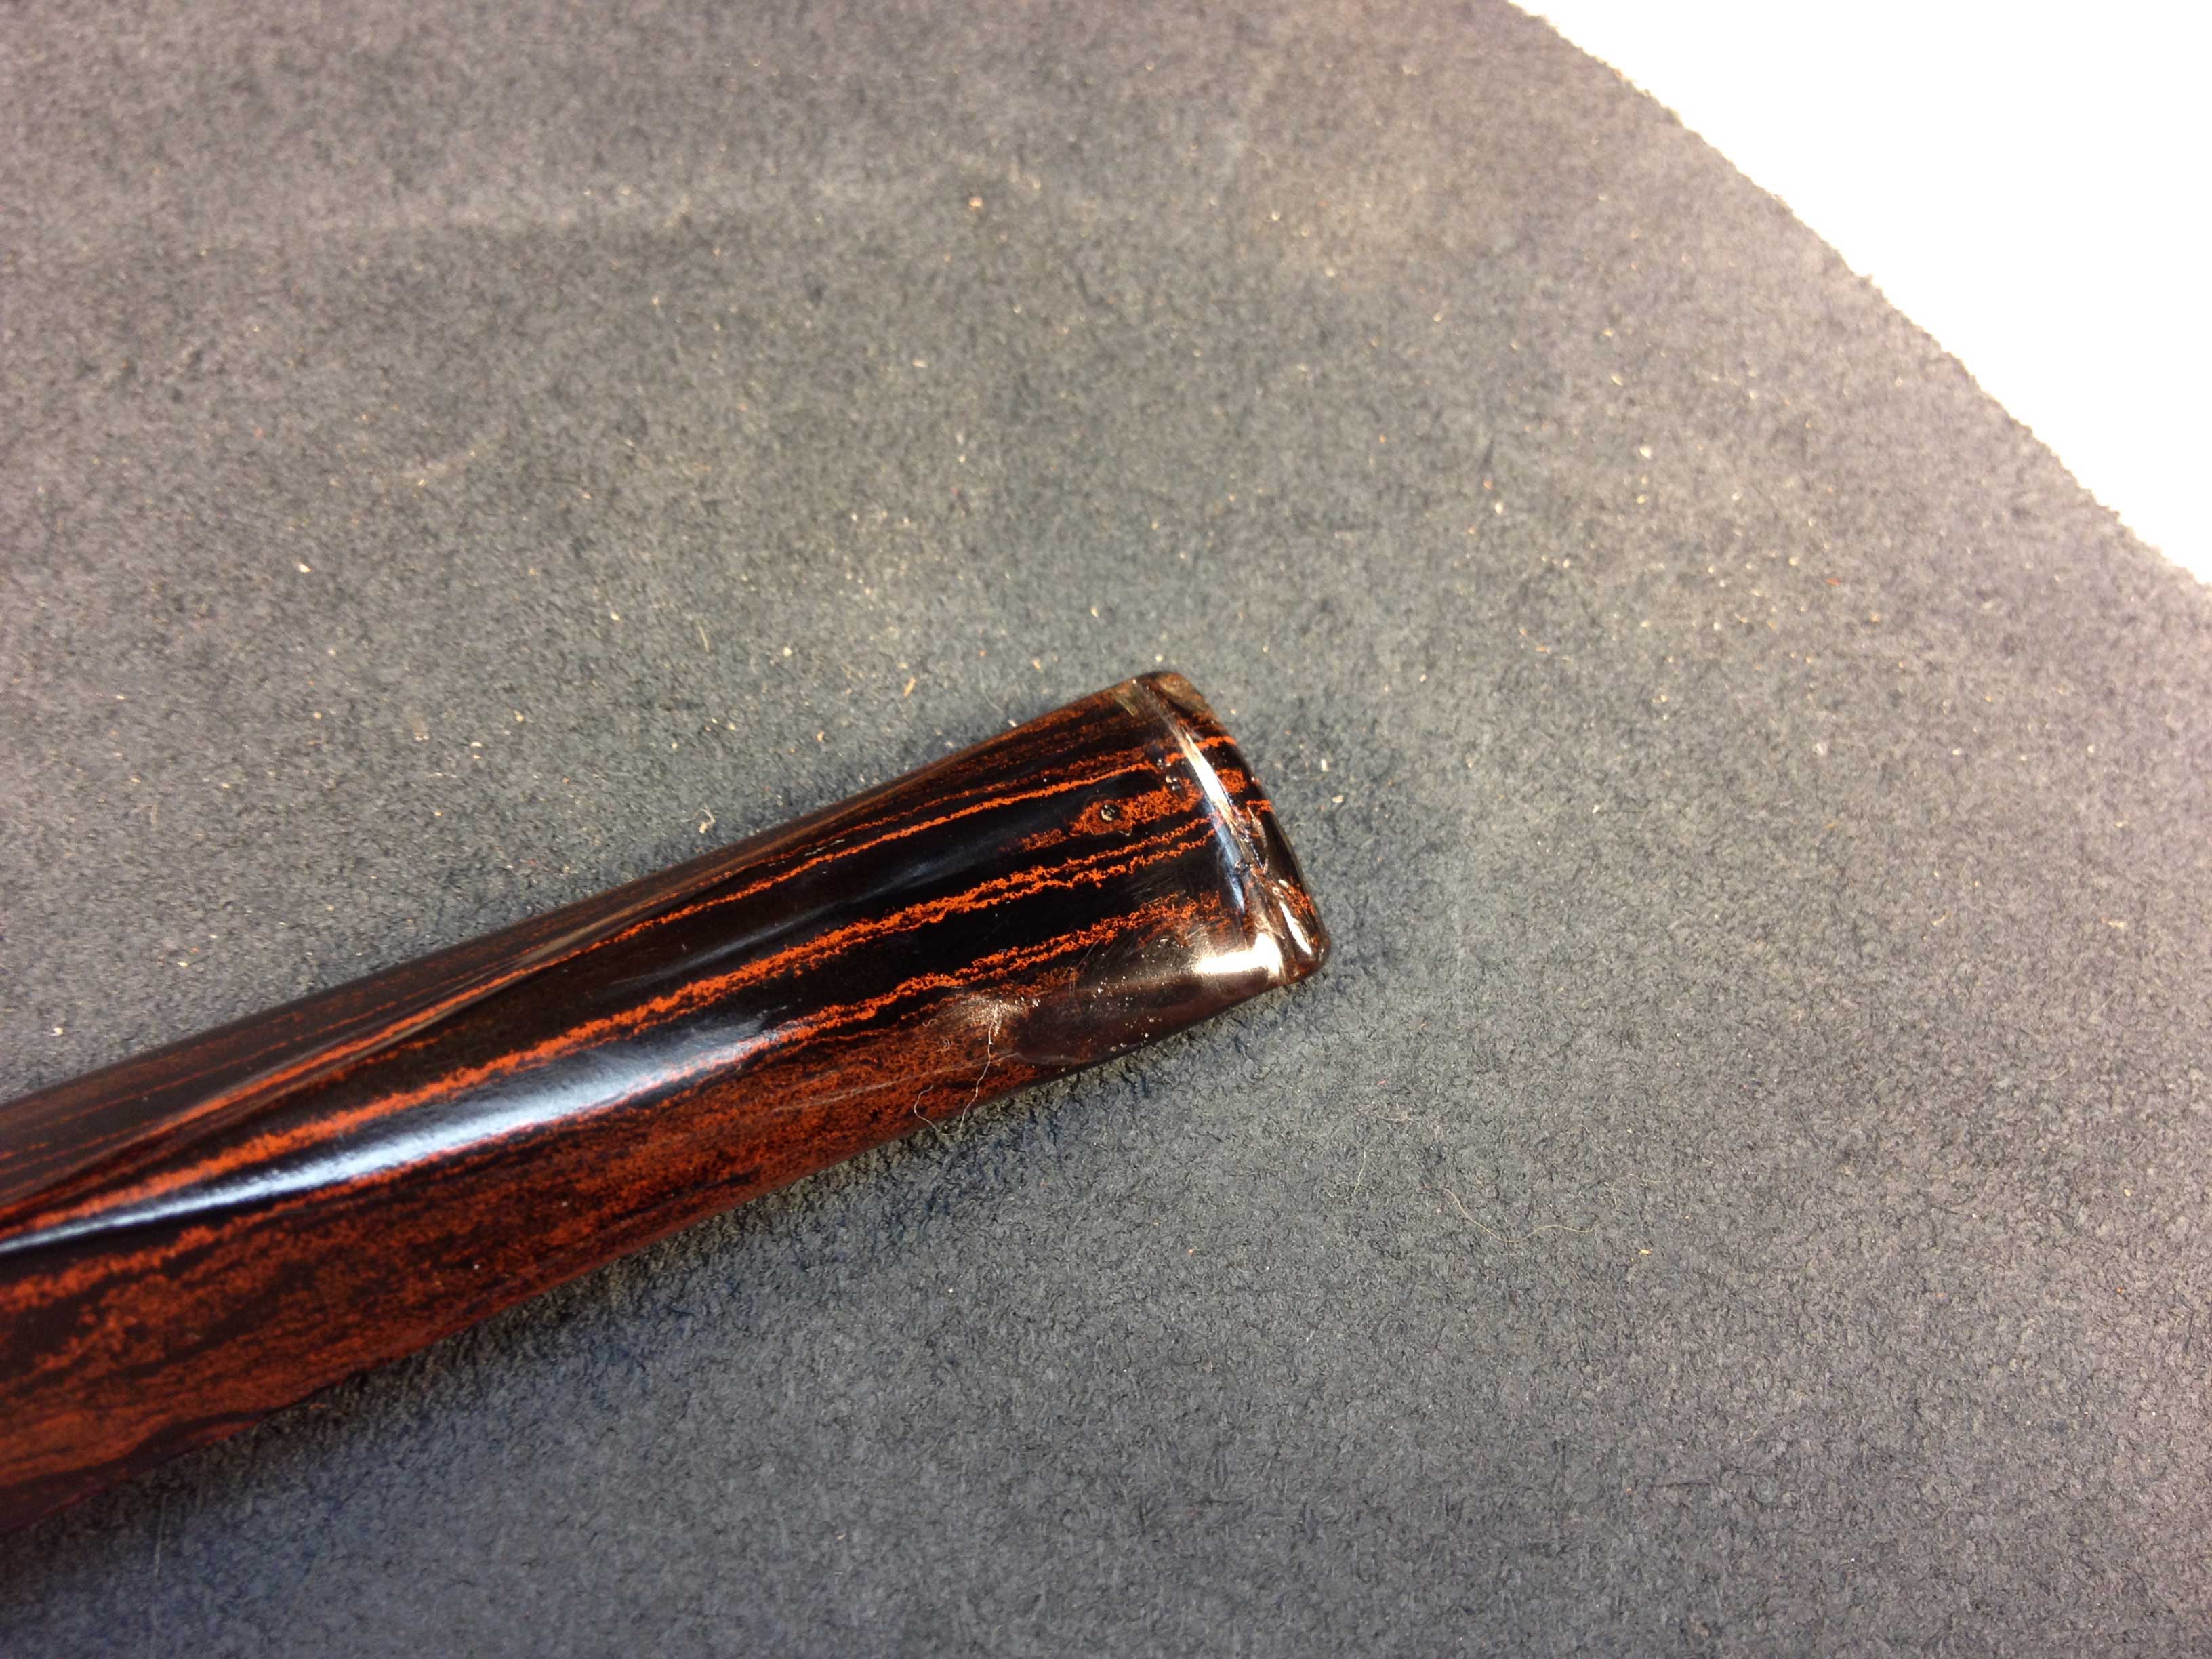
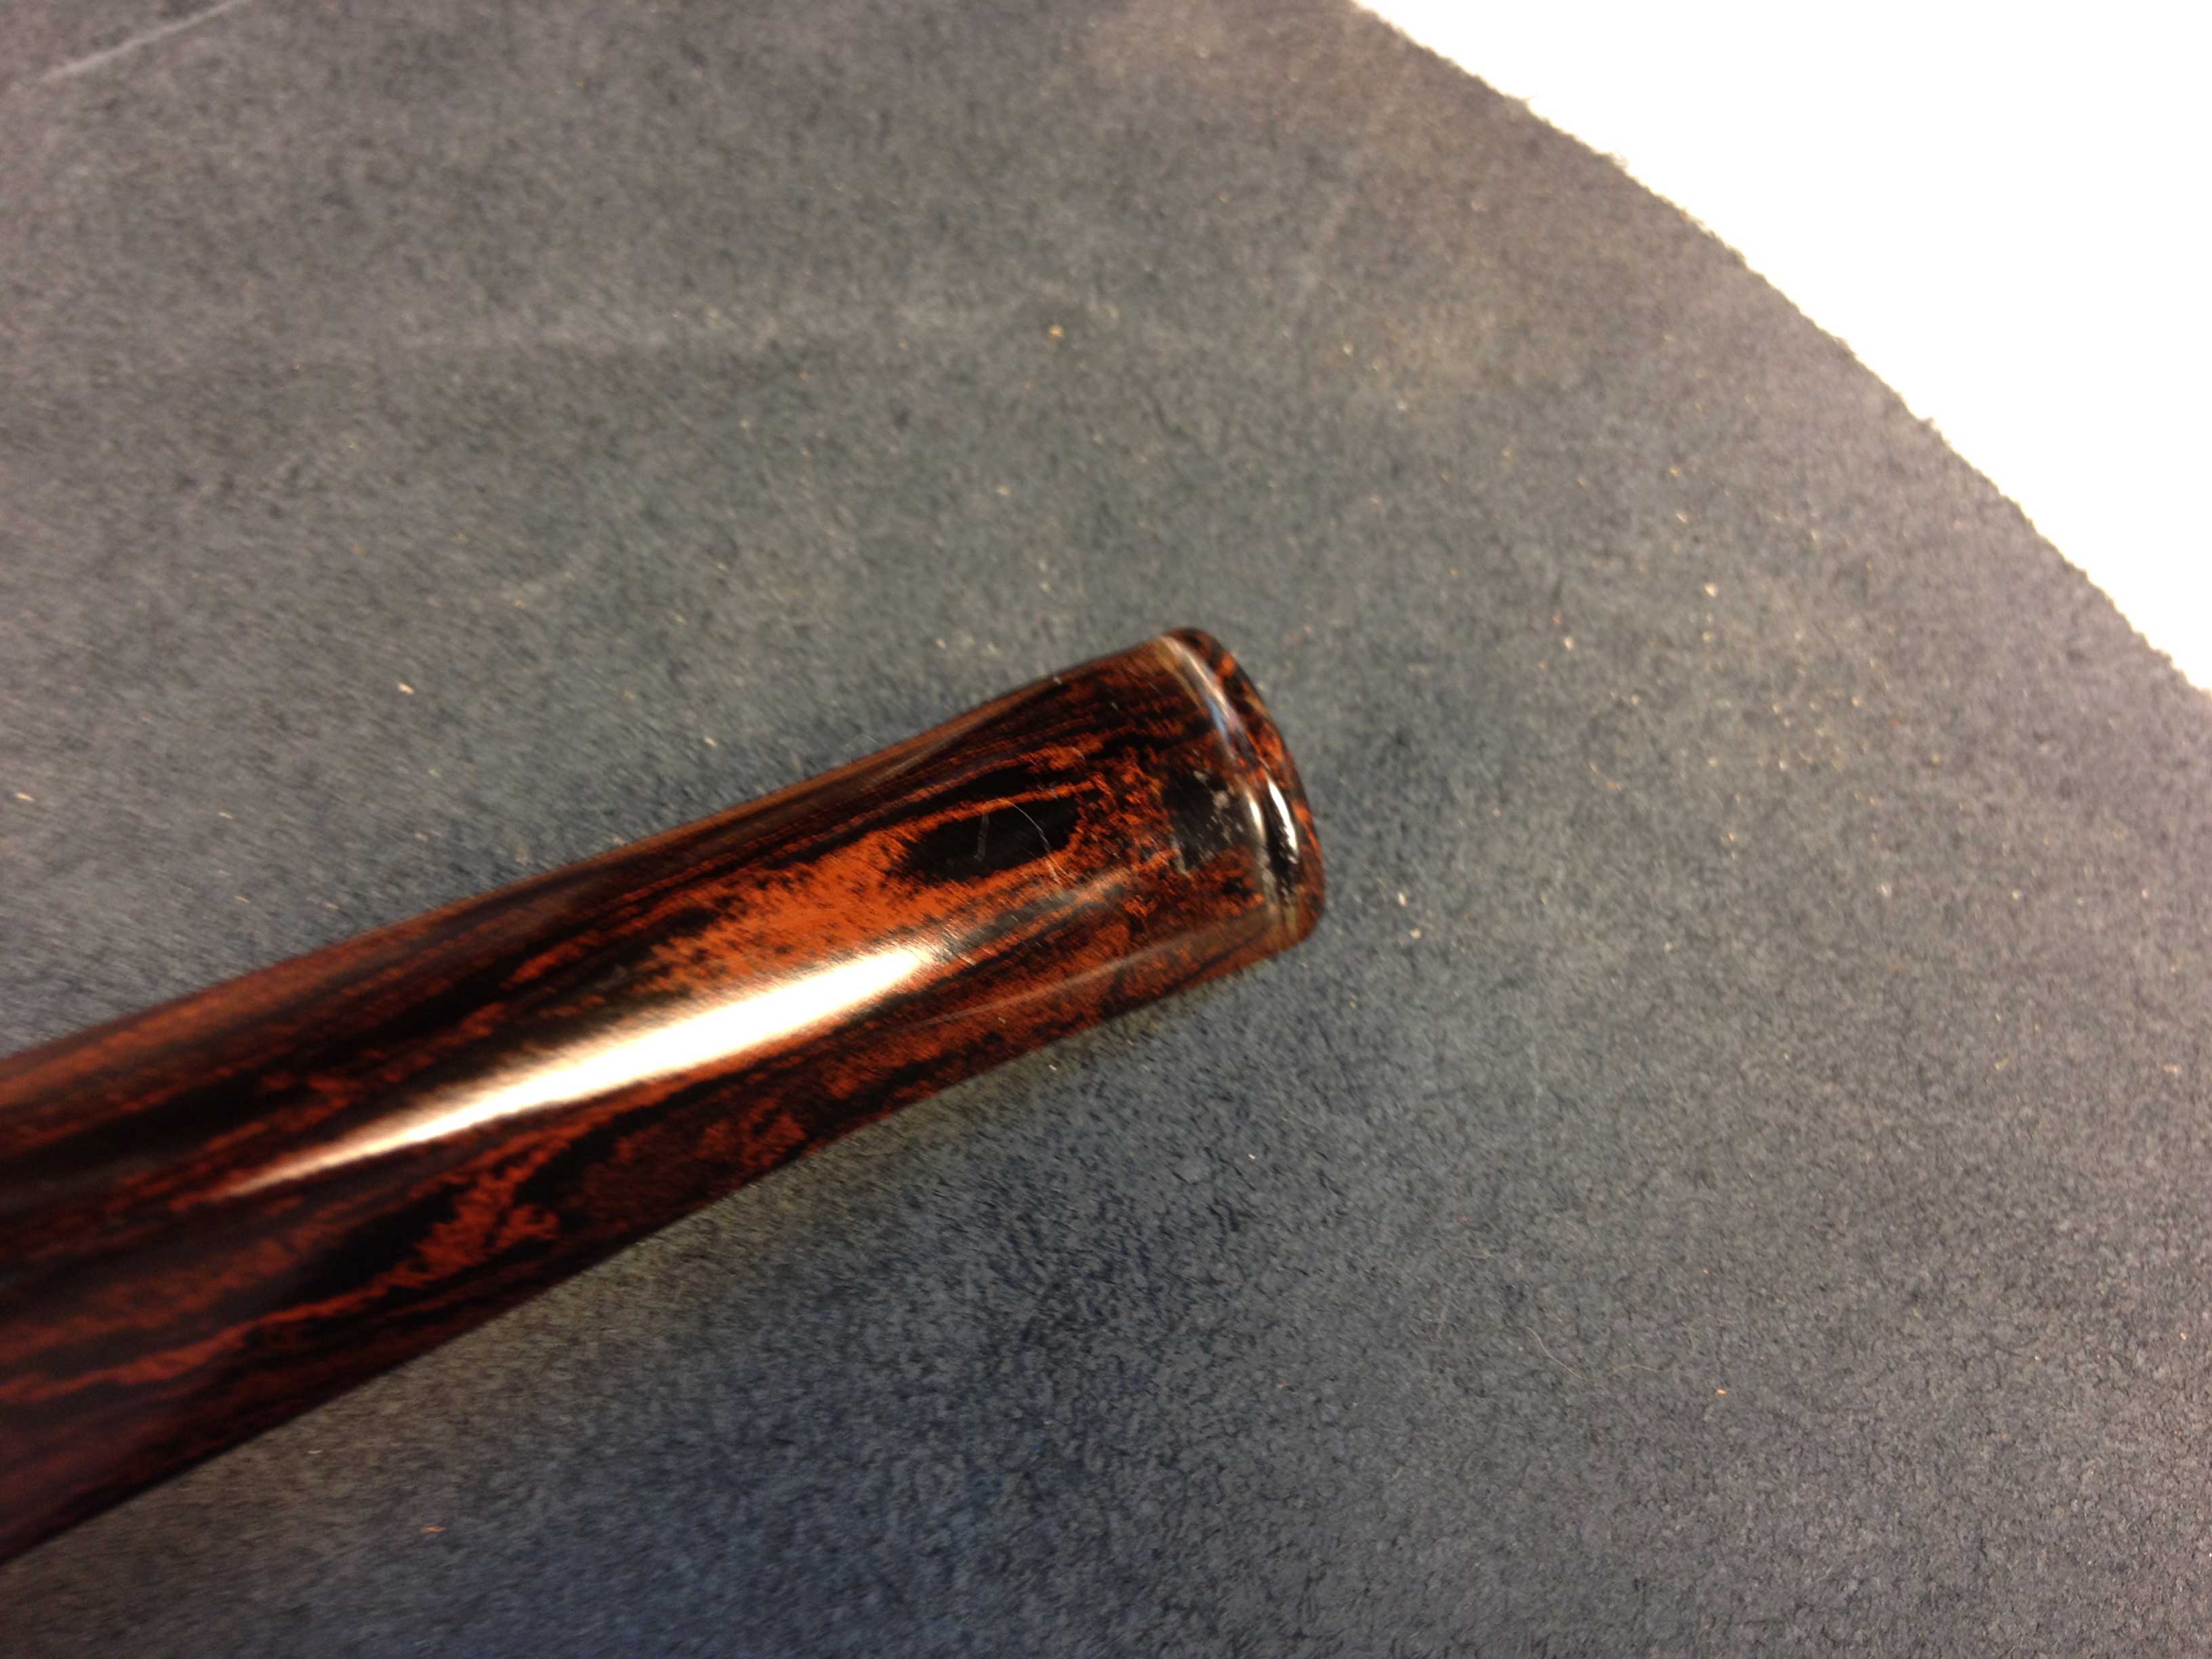
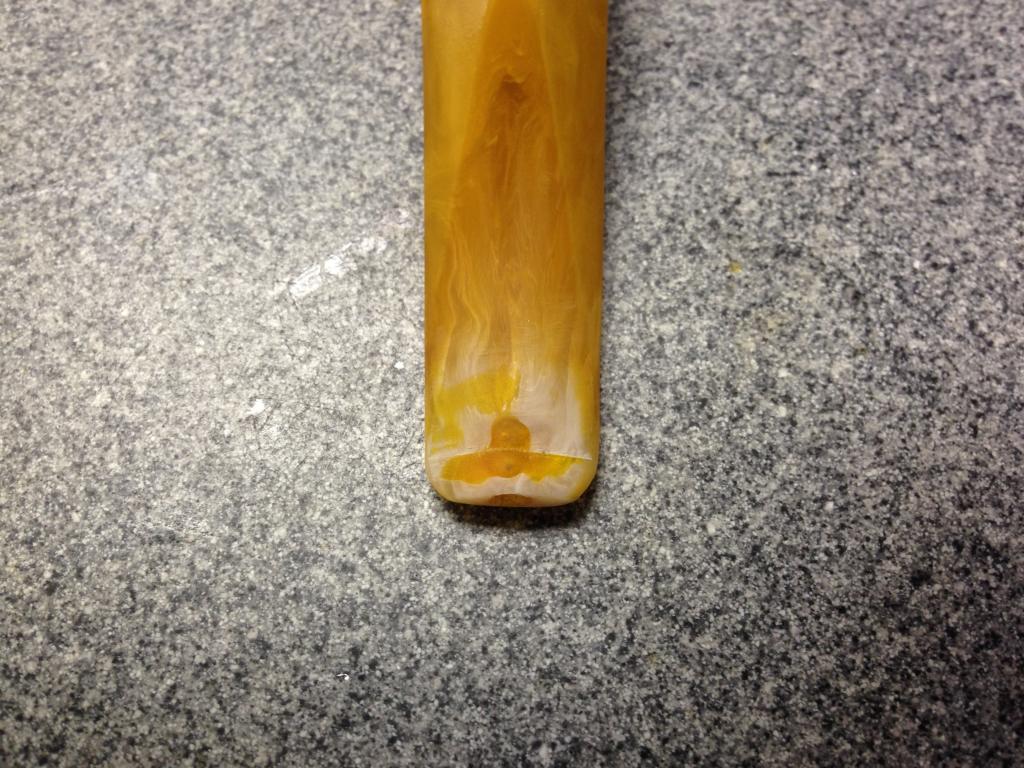
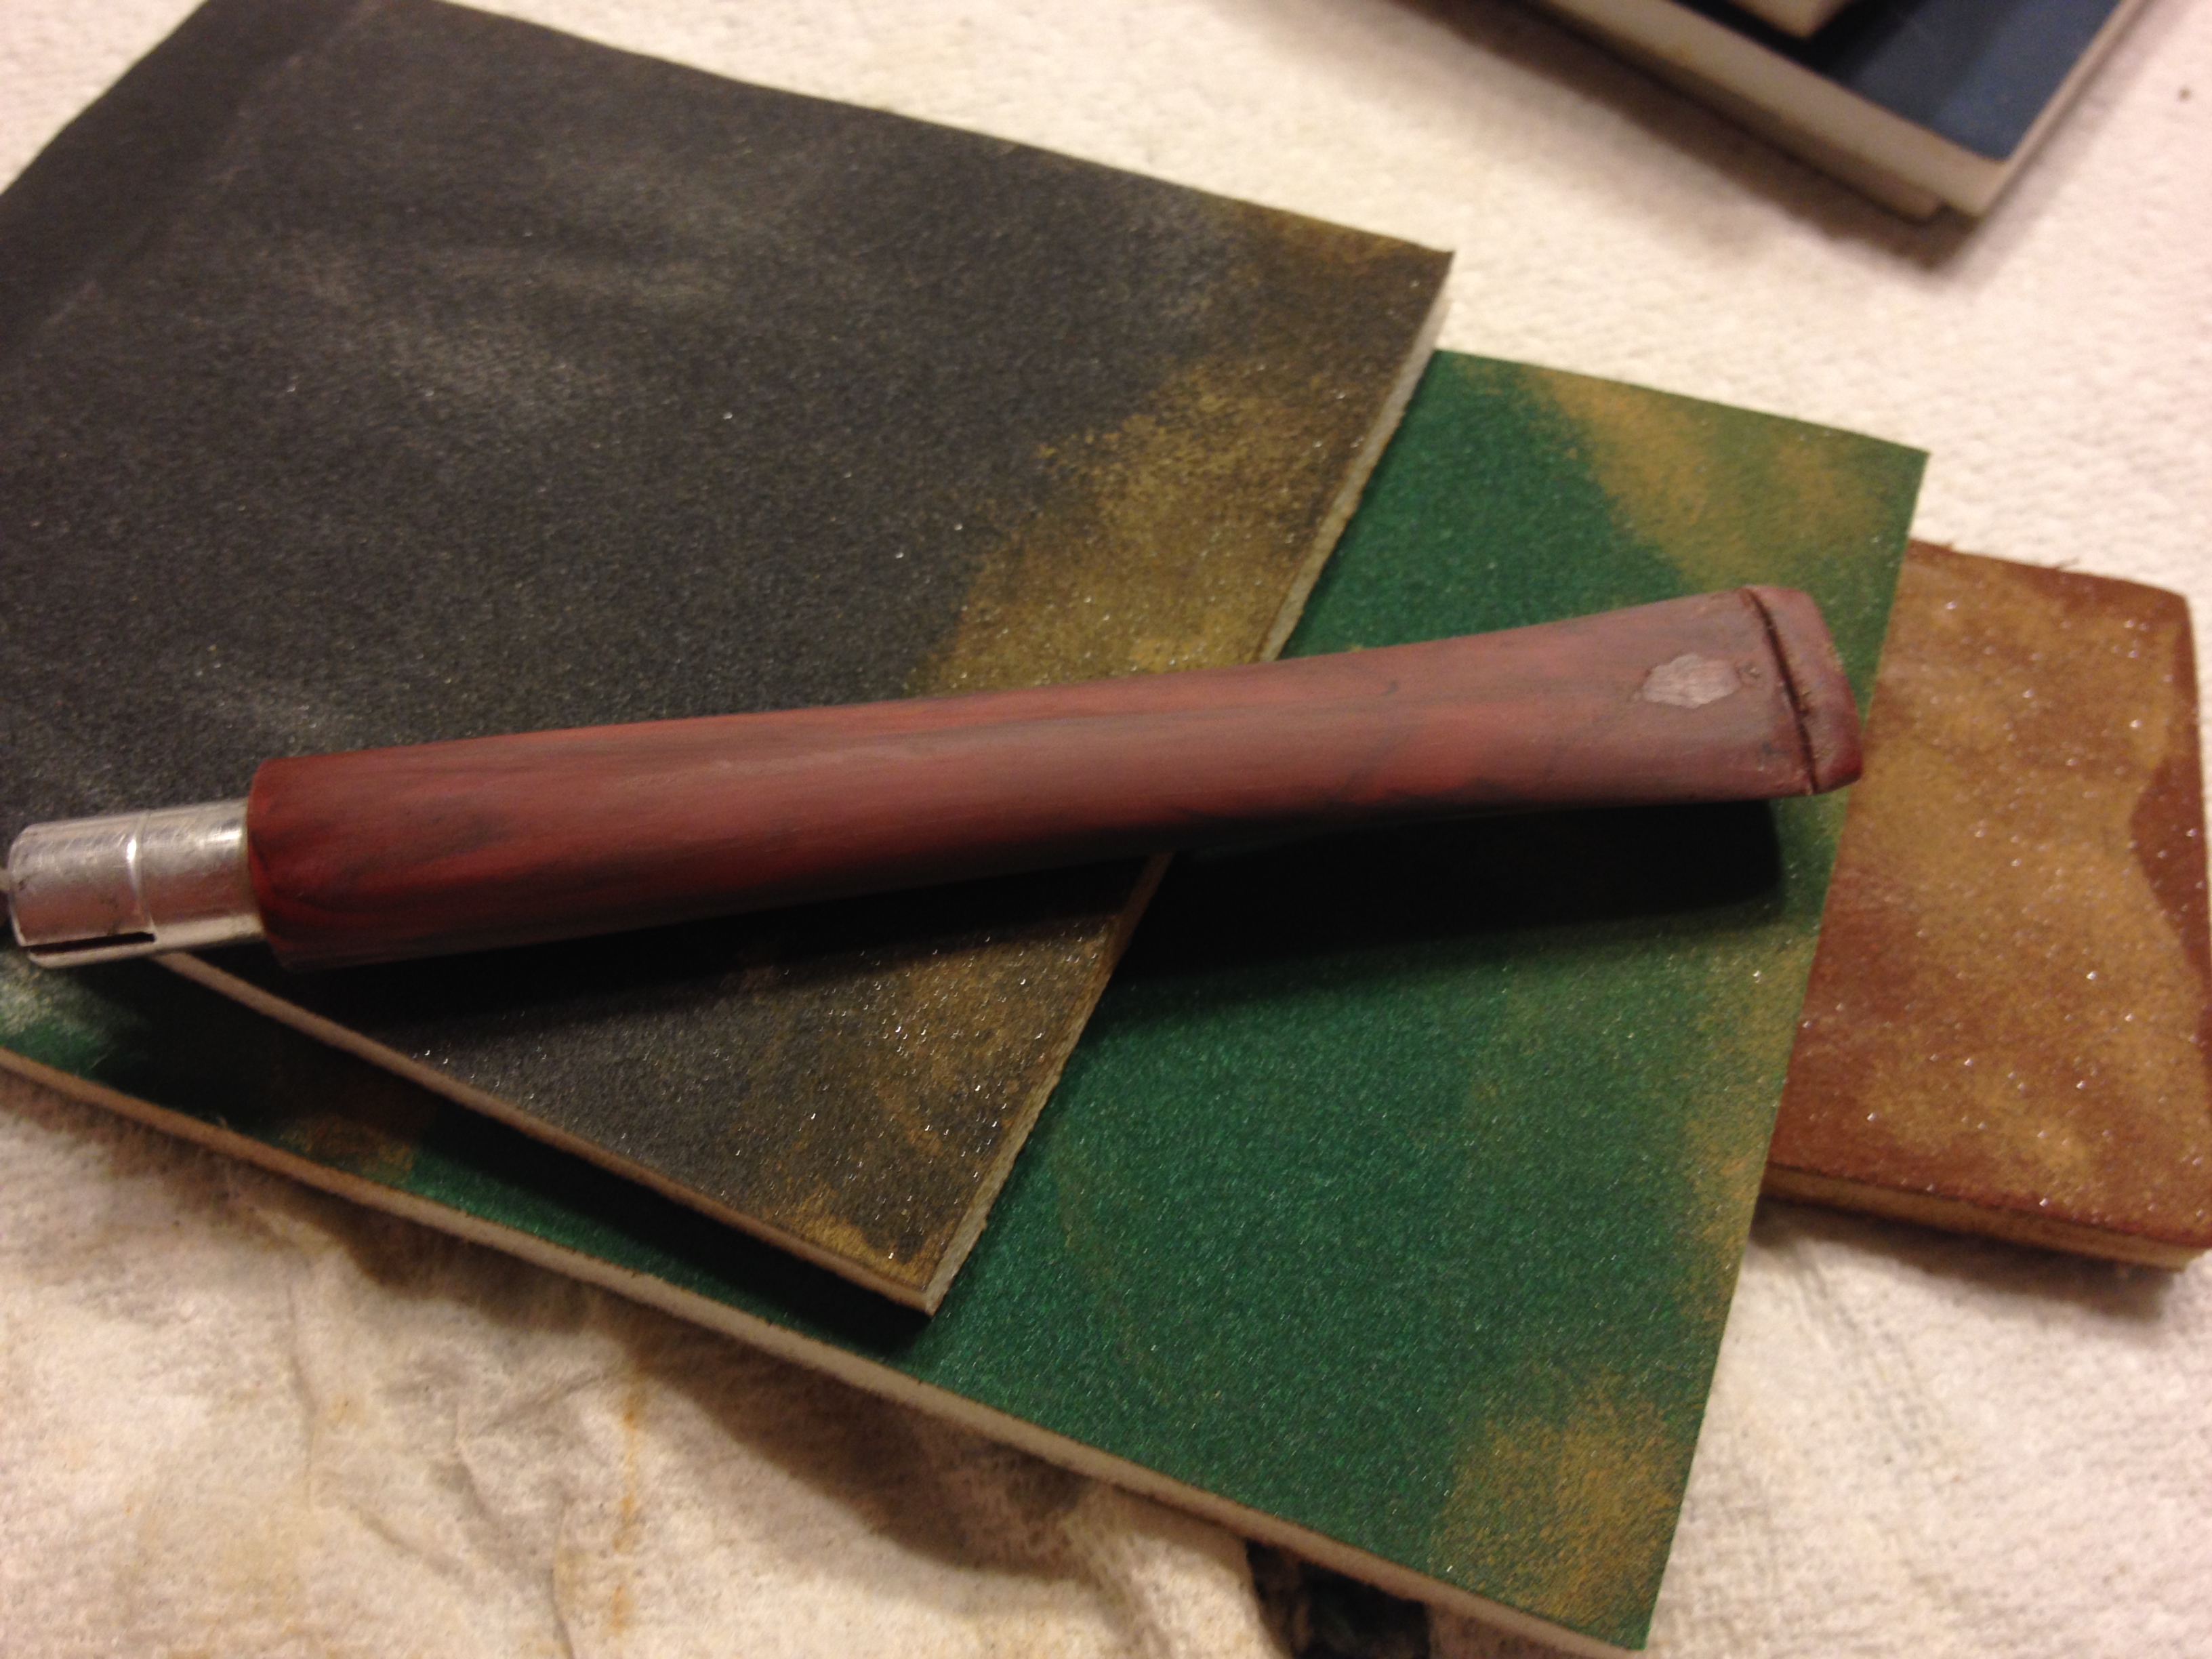
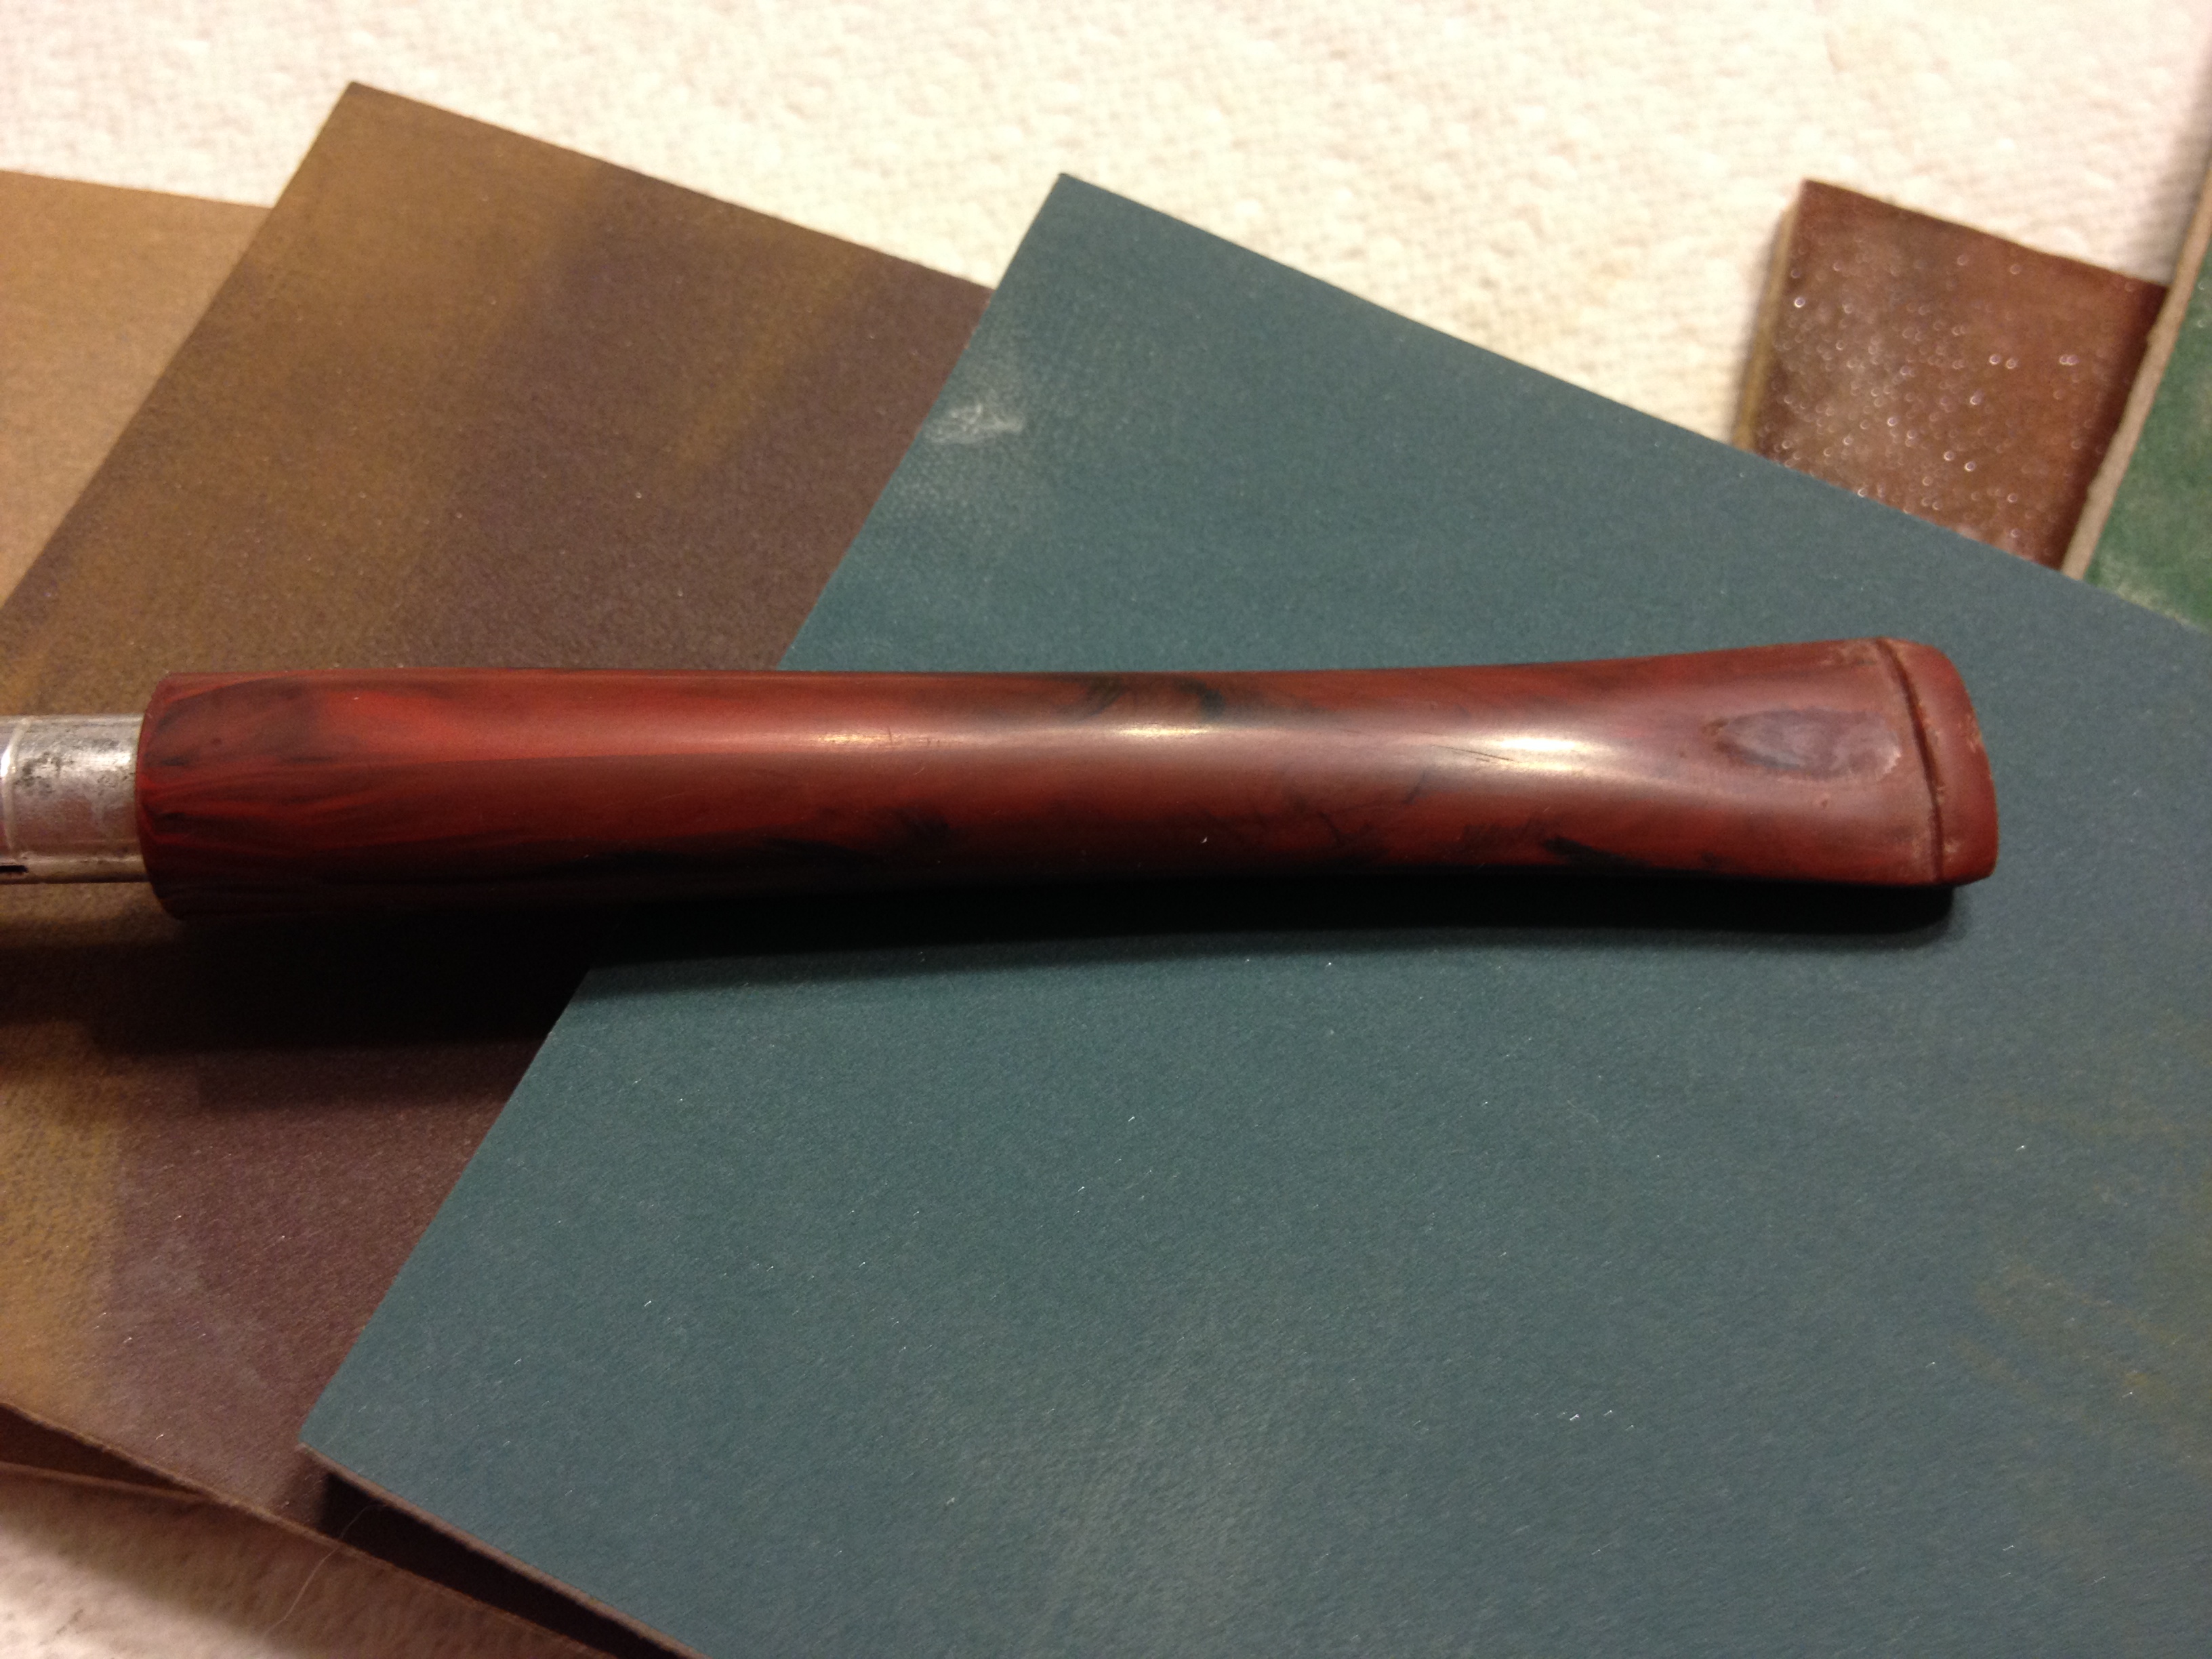
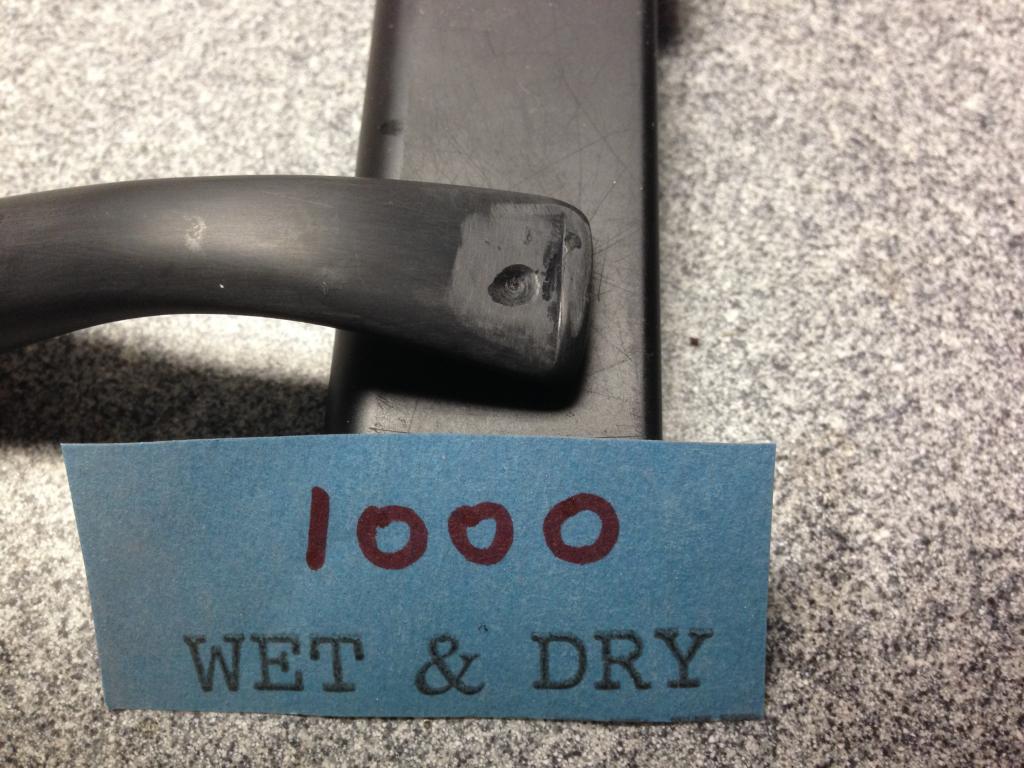
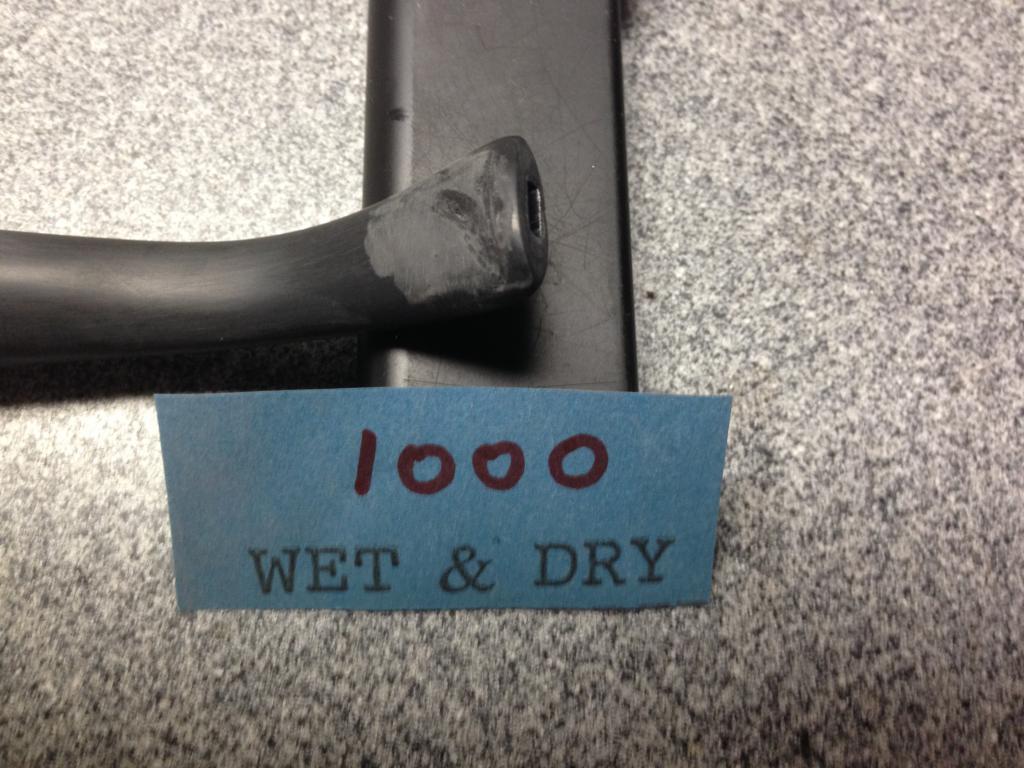
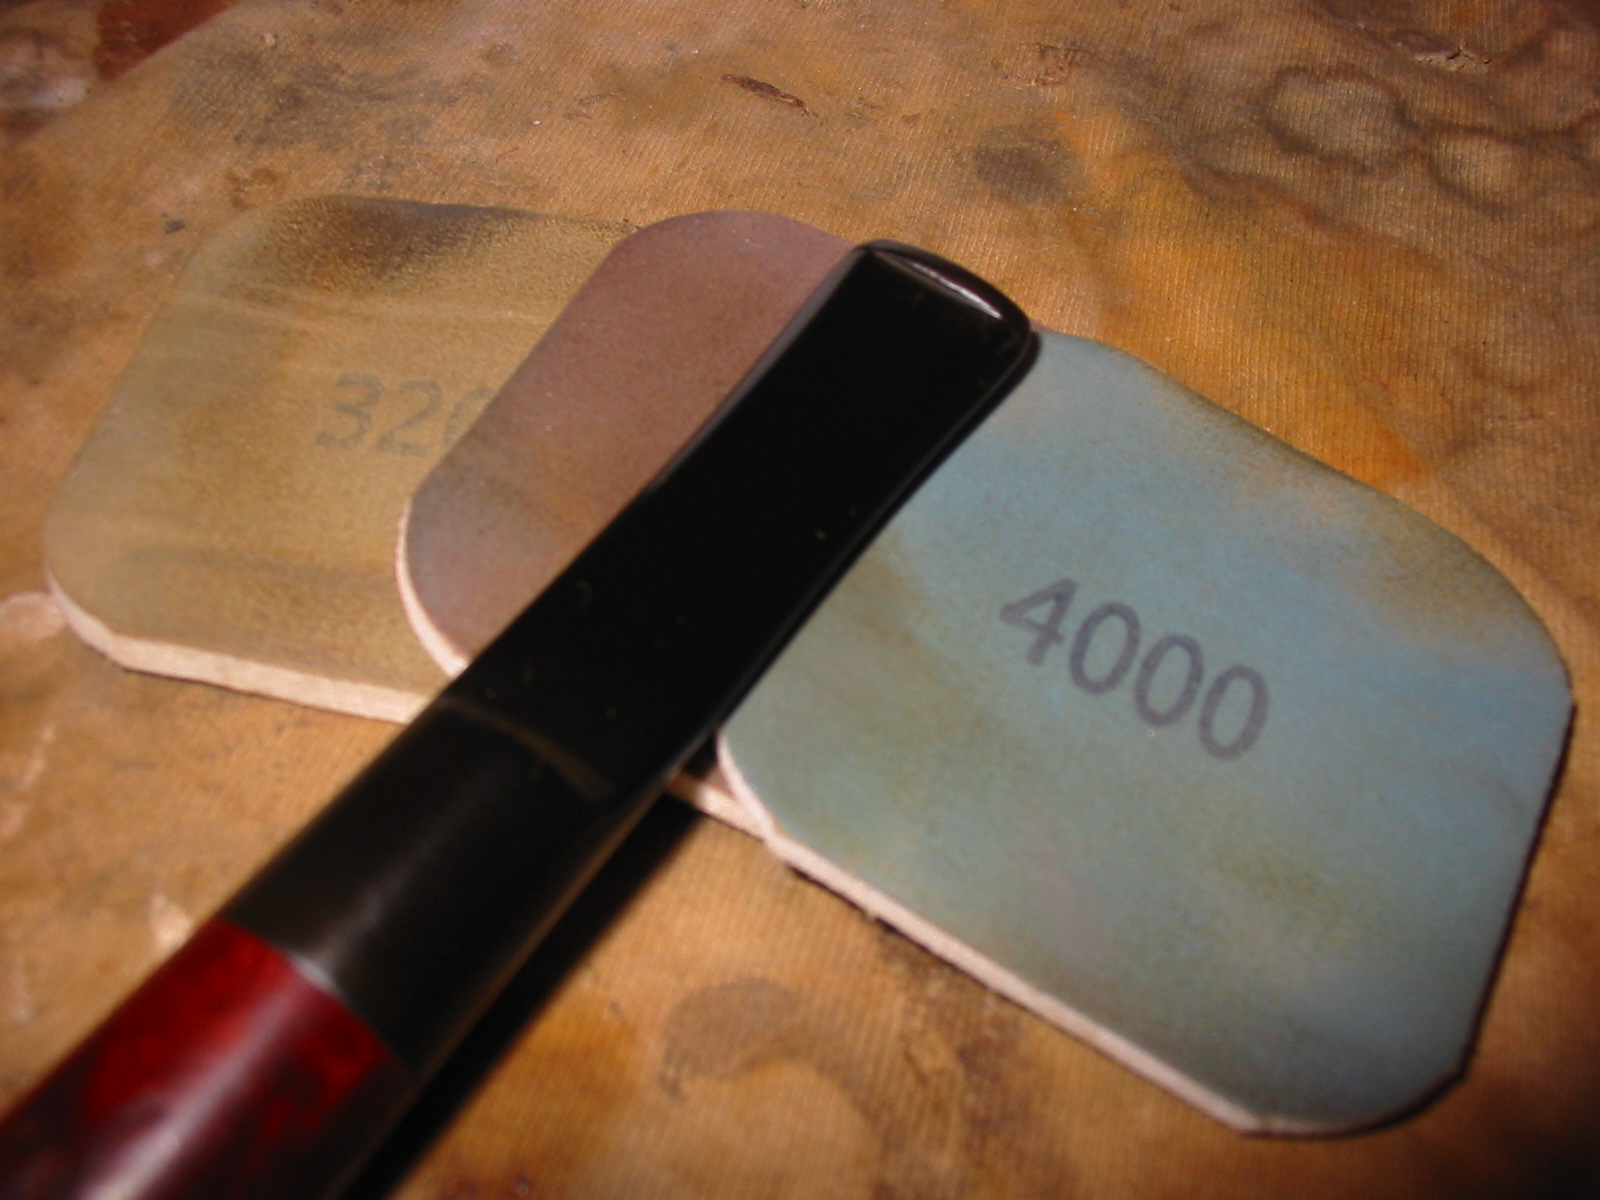
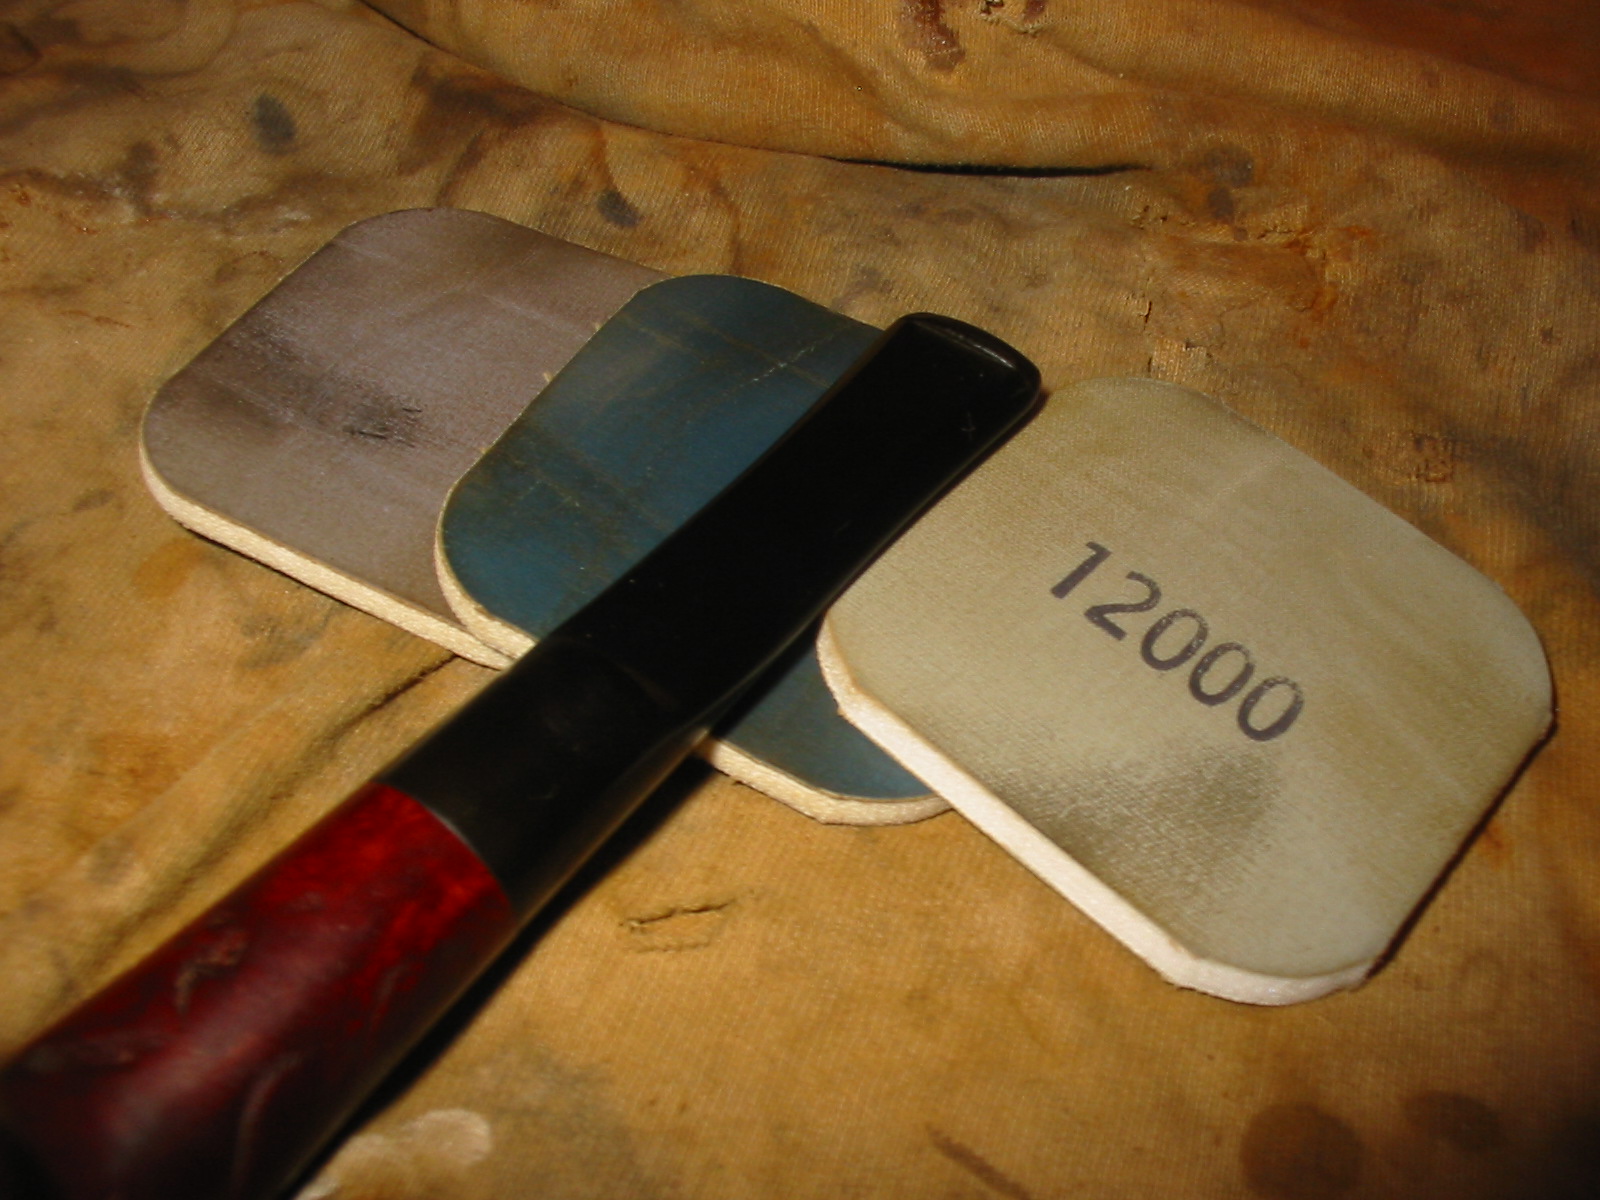
I sanded the stem with 220 grit sandpaper and then with a medium and a fine grit sanding sponge. I followed that by sanding it with micromesh sanding pads. I wet sanded with 1500-2400 grit pads and dry sanded with 3200-12,000 grit pads. Between each set of three pads I rubbed the stem down with Obsidian Oil.
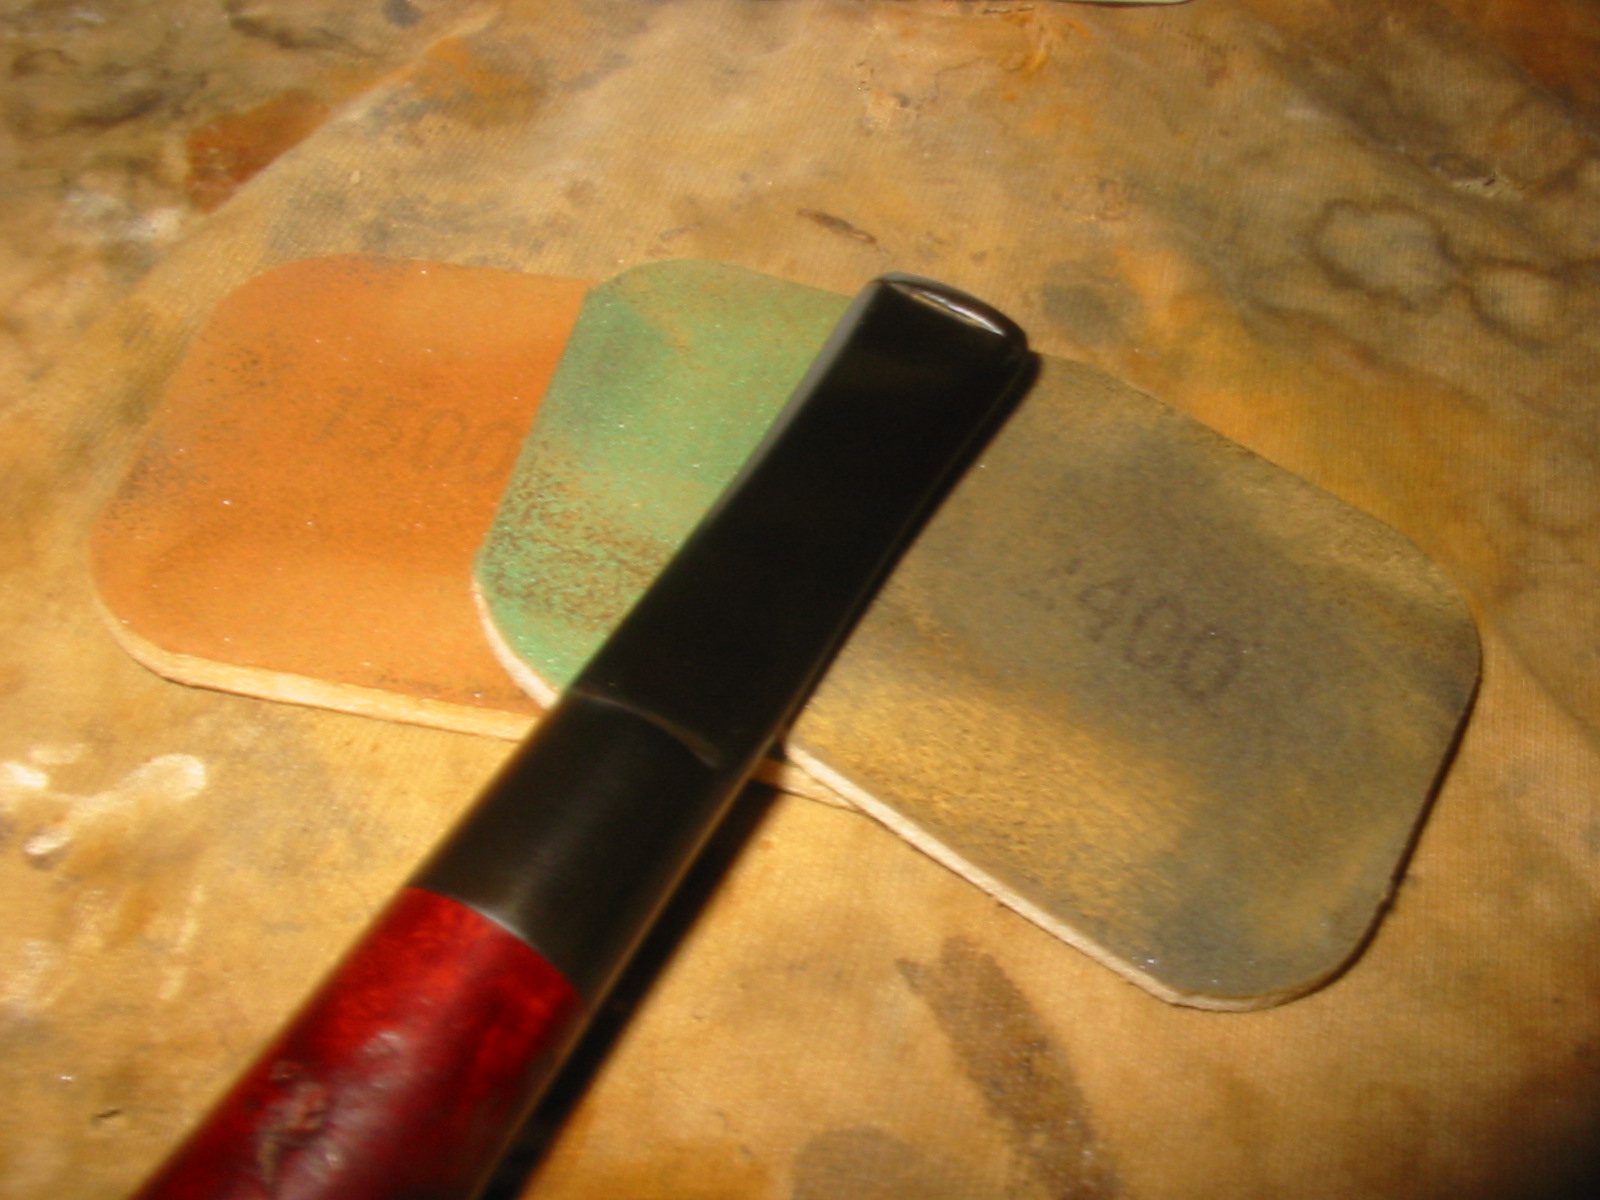
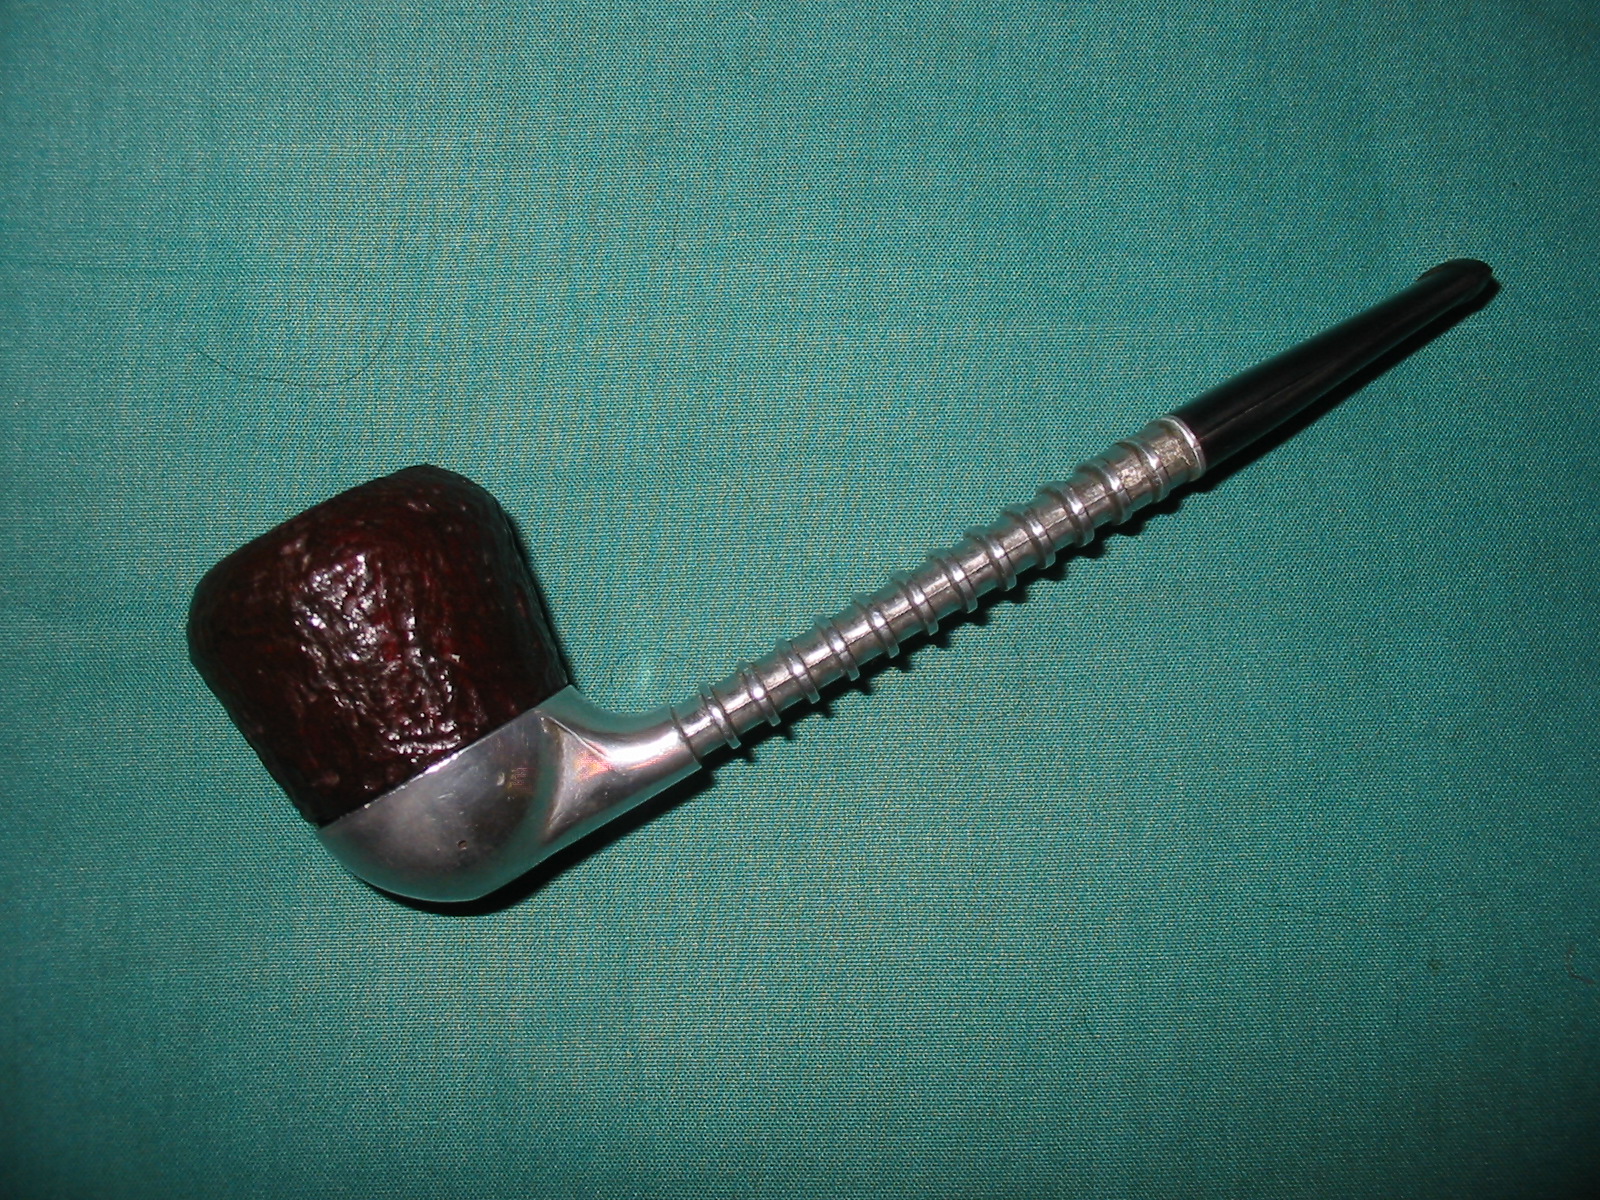
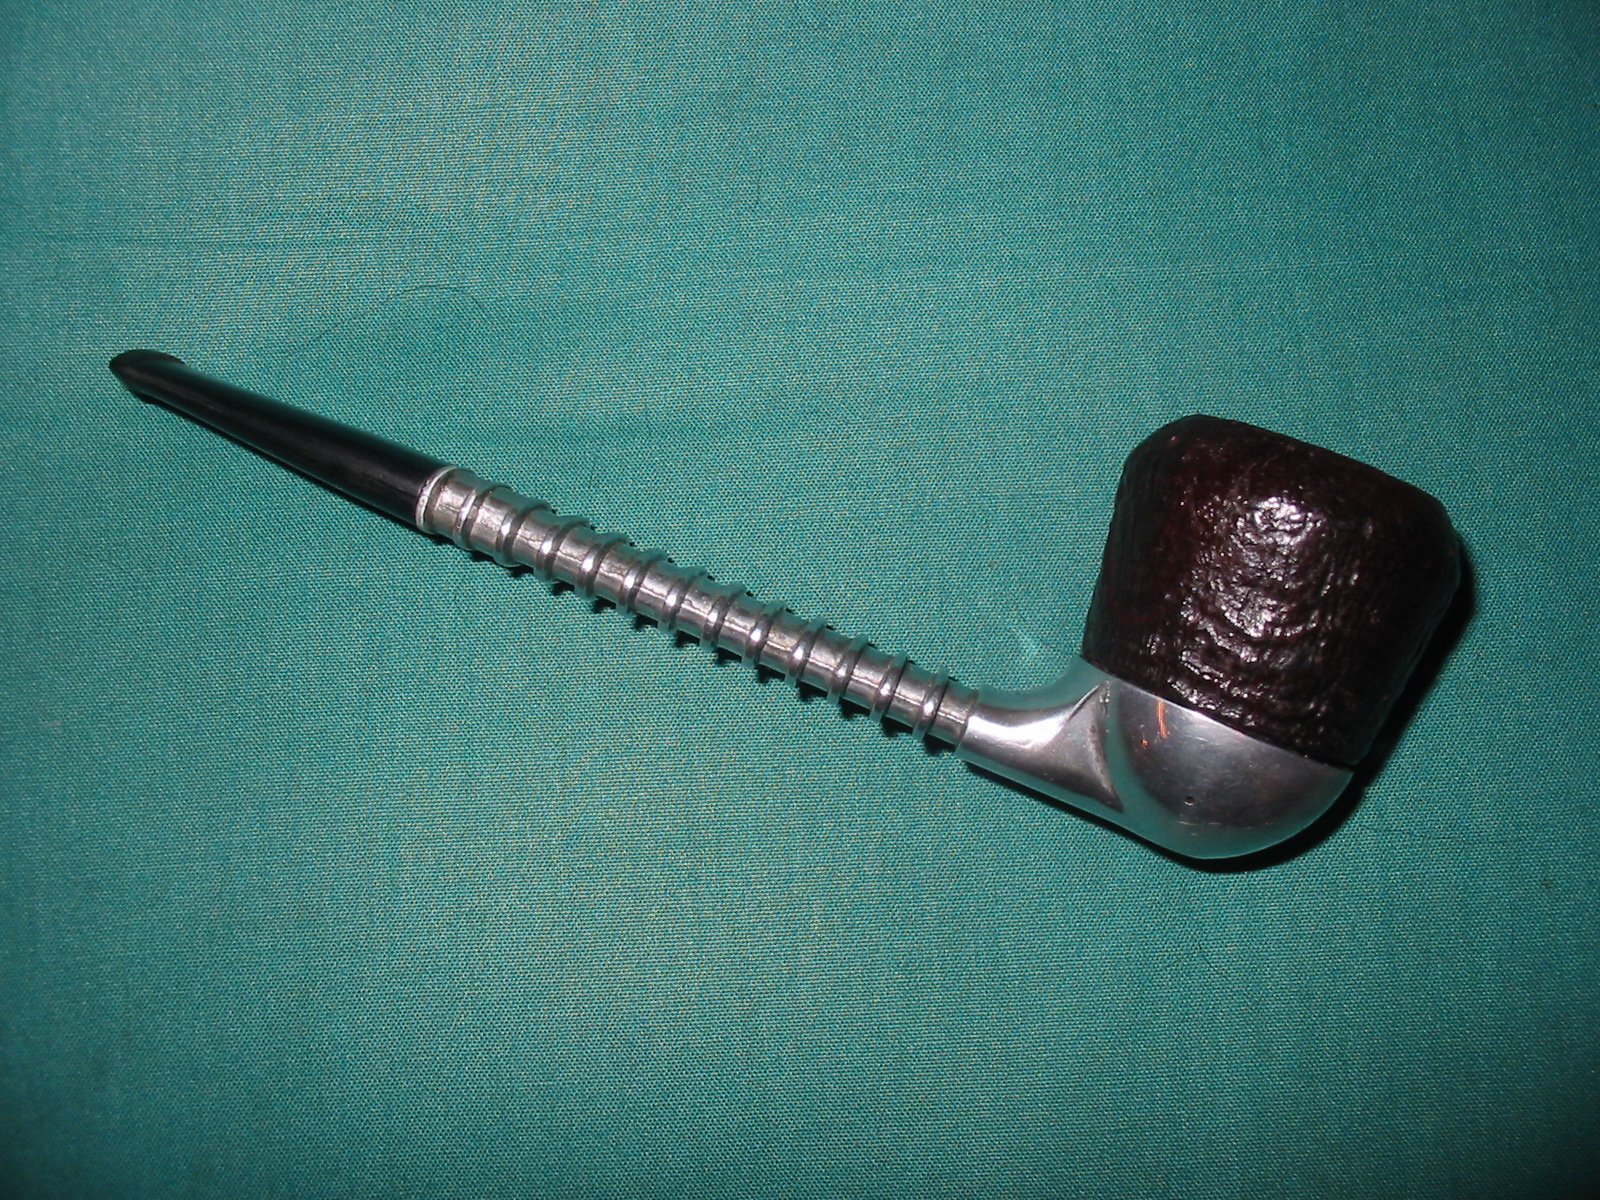
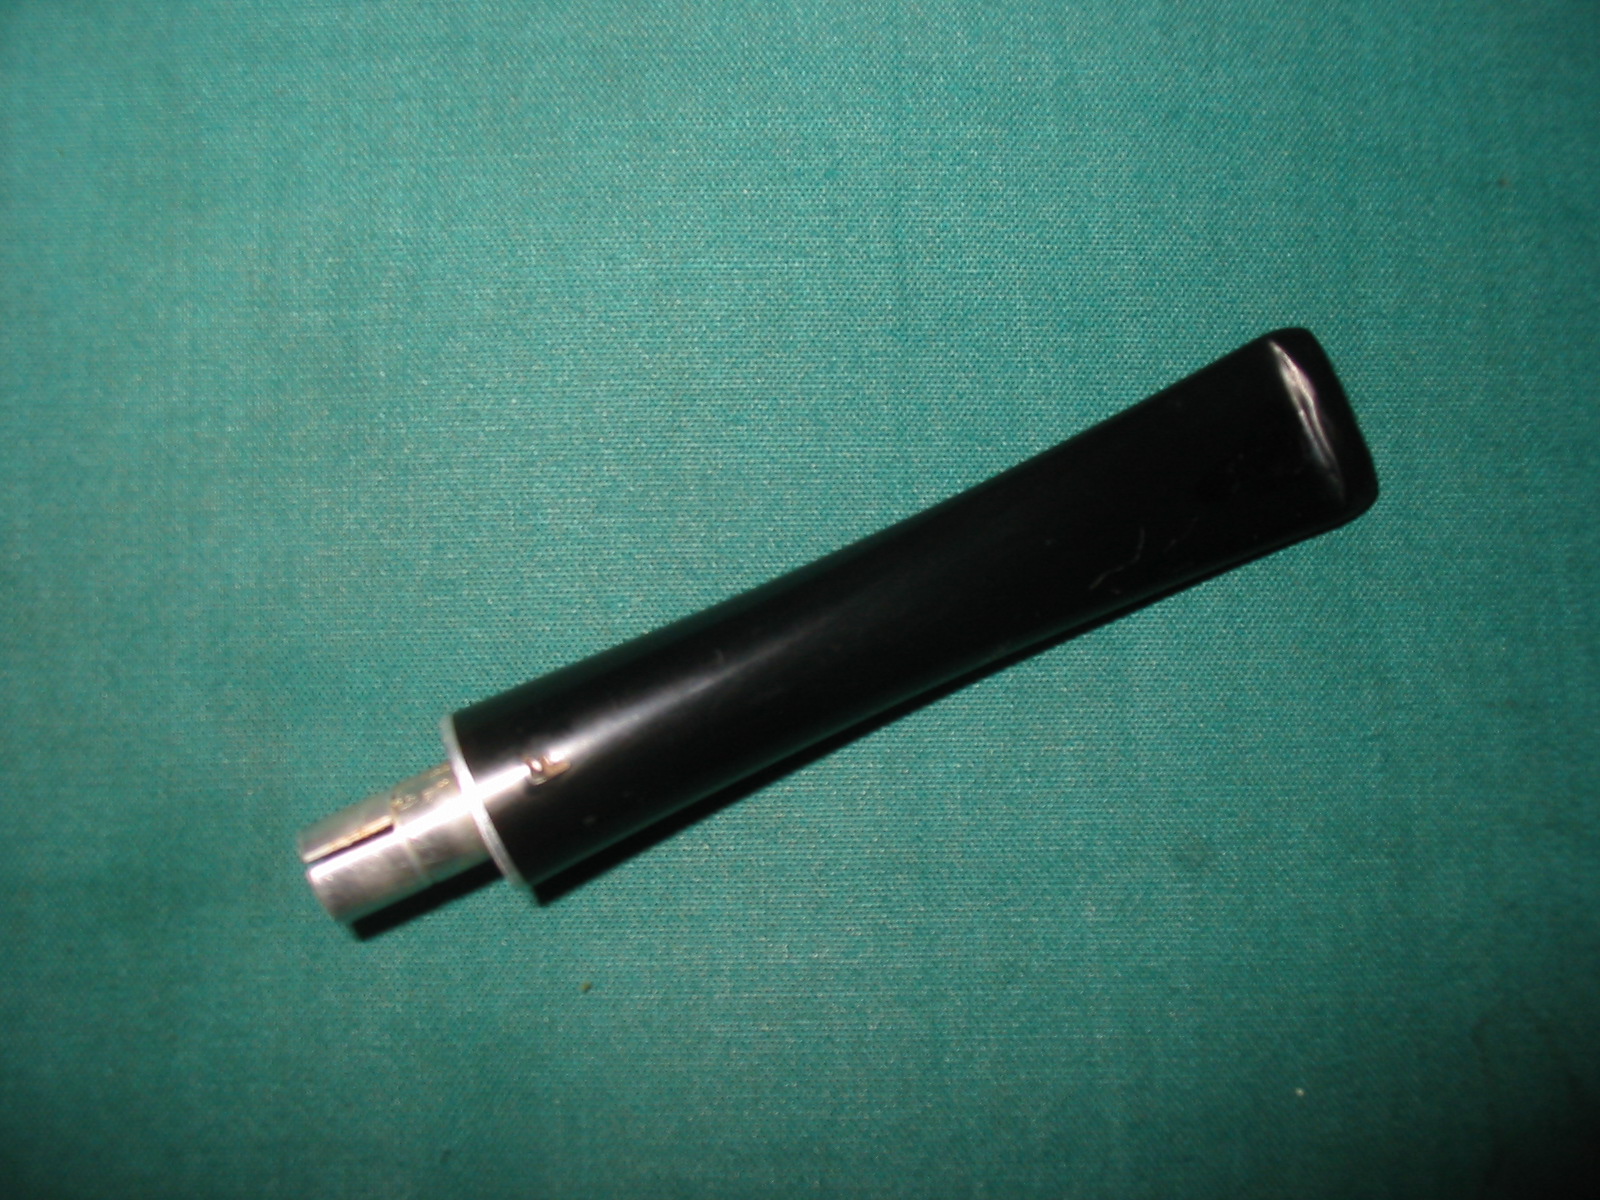
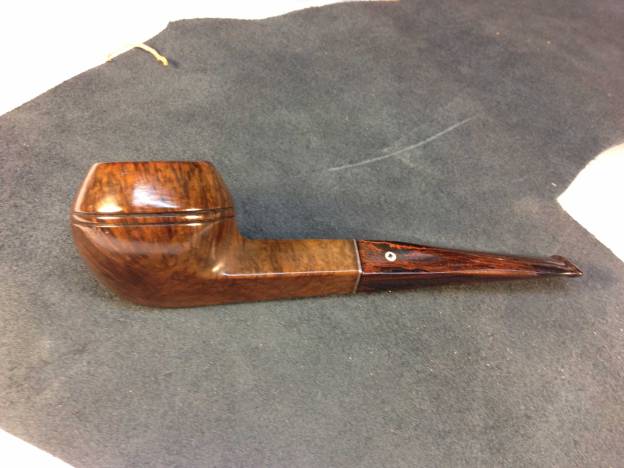
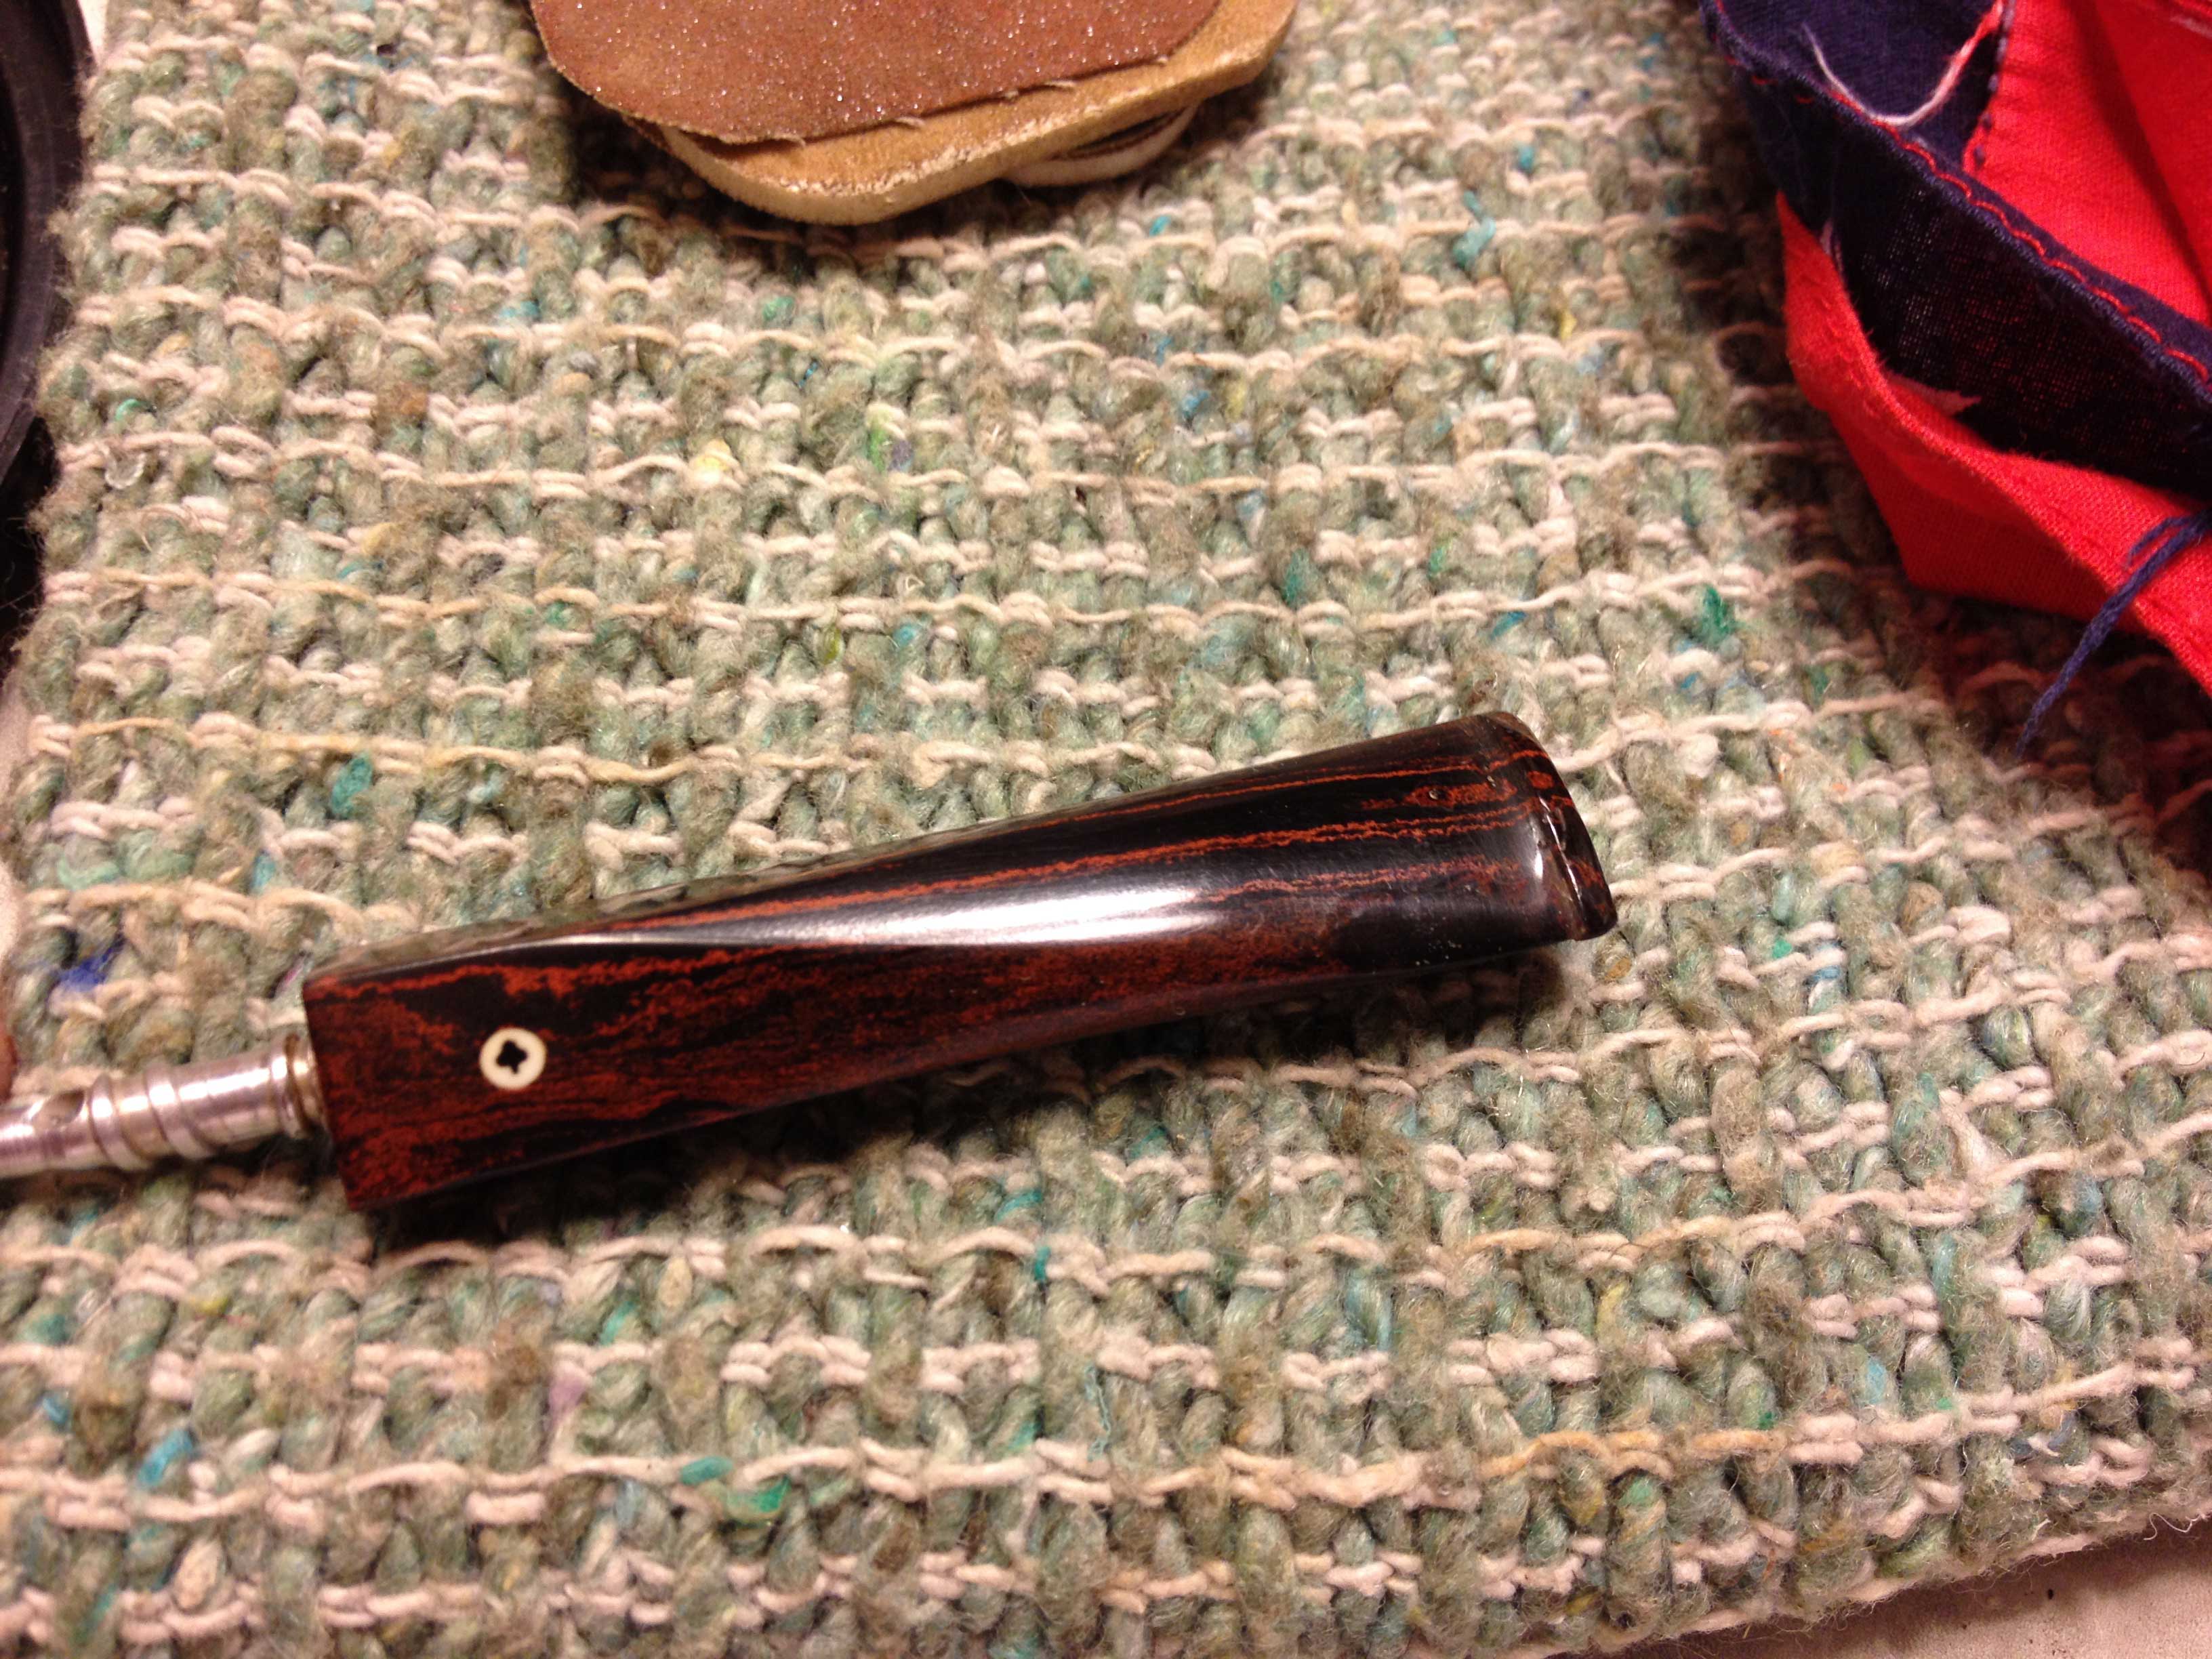
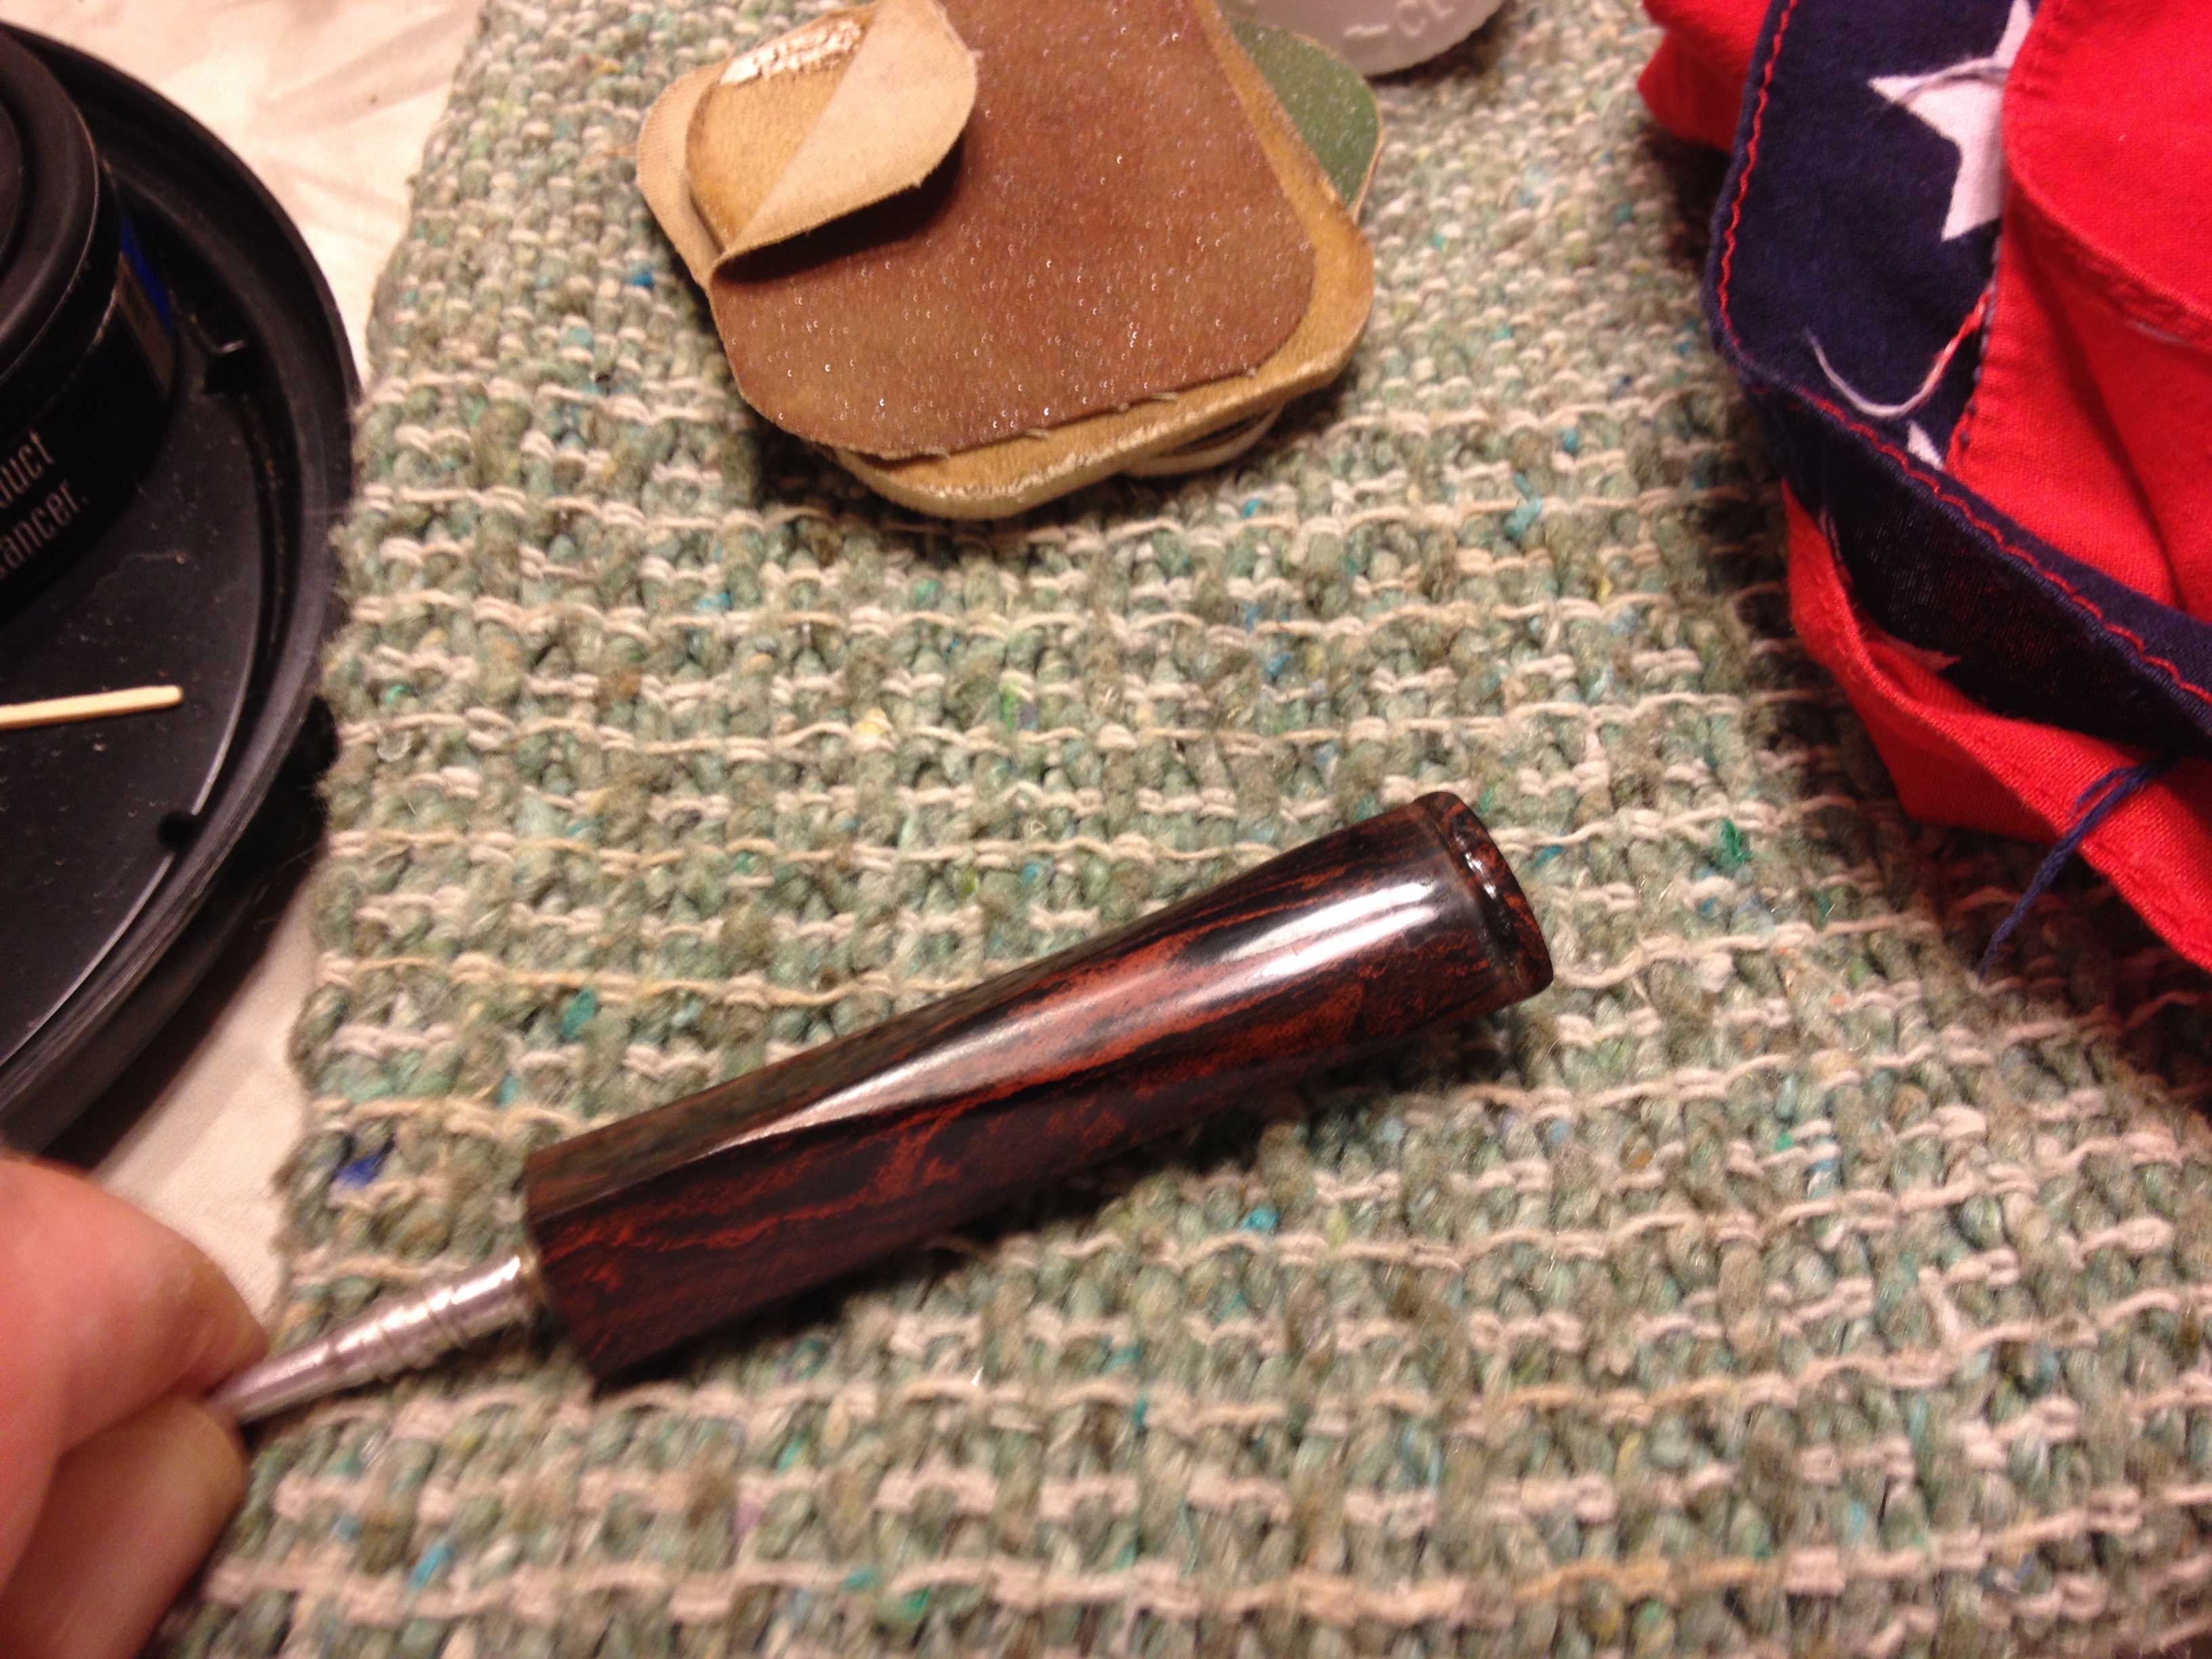
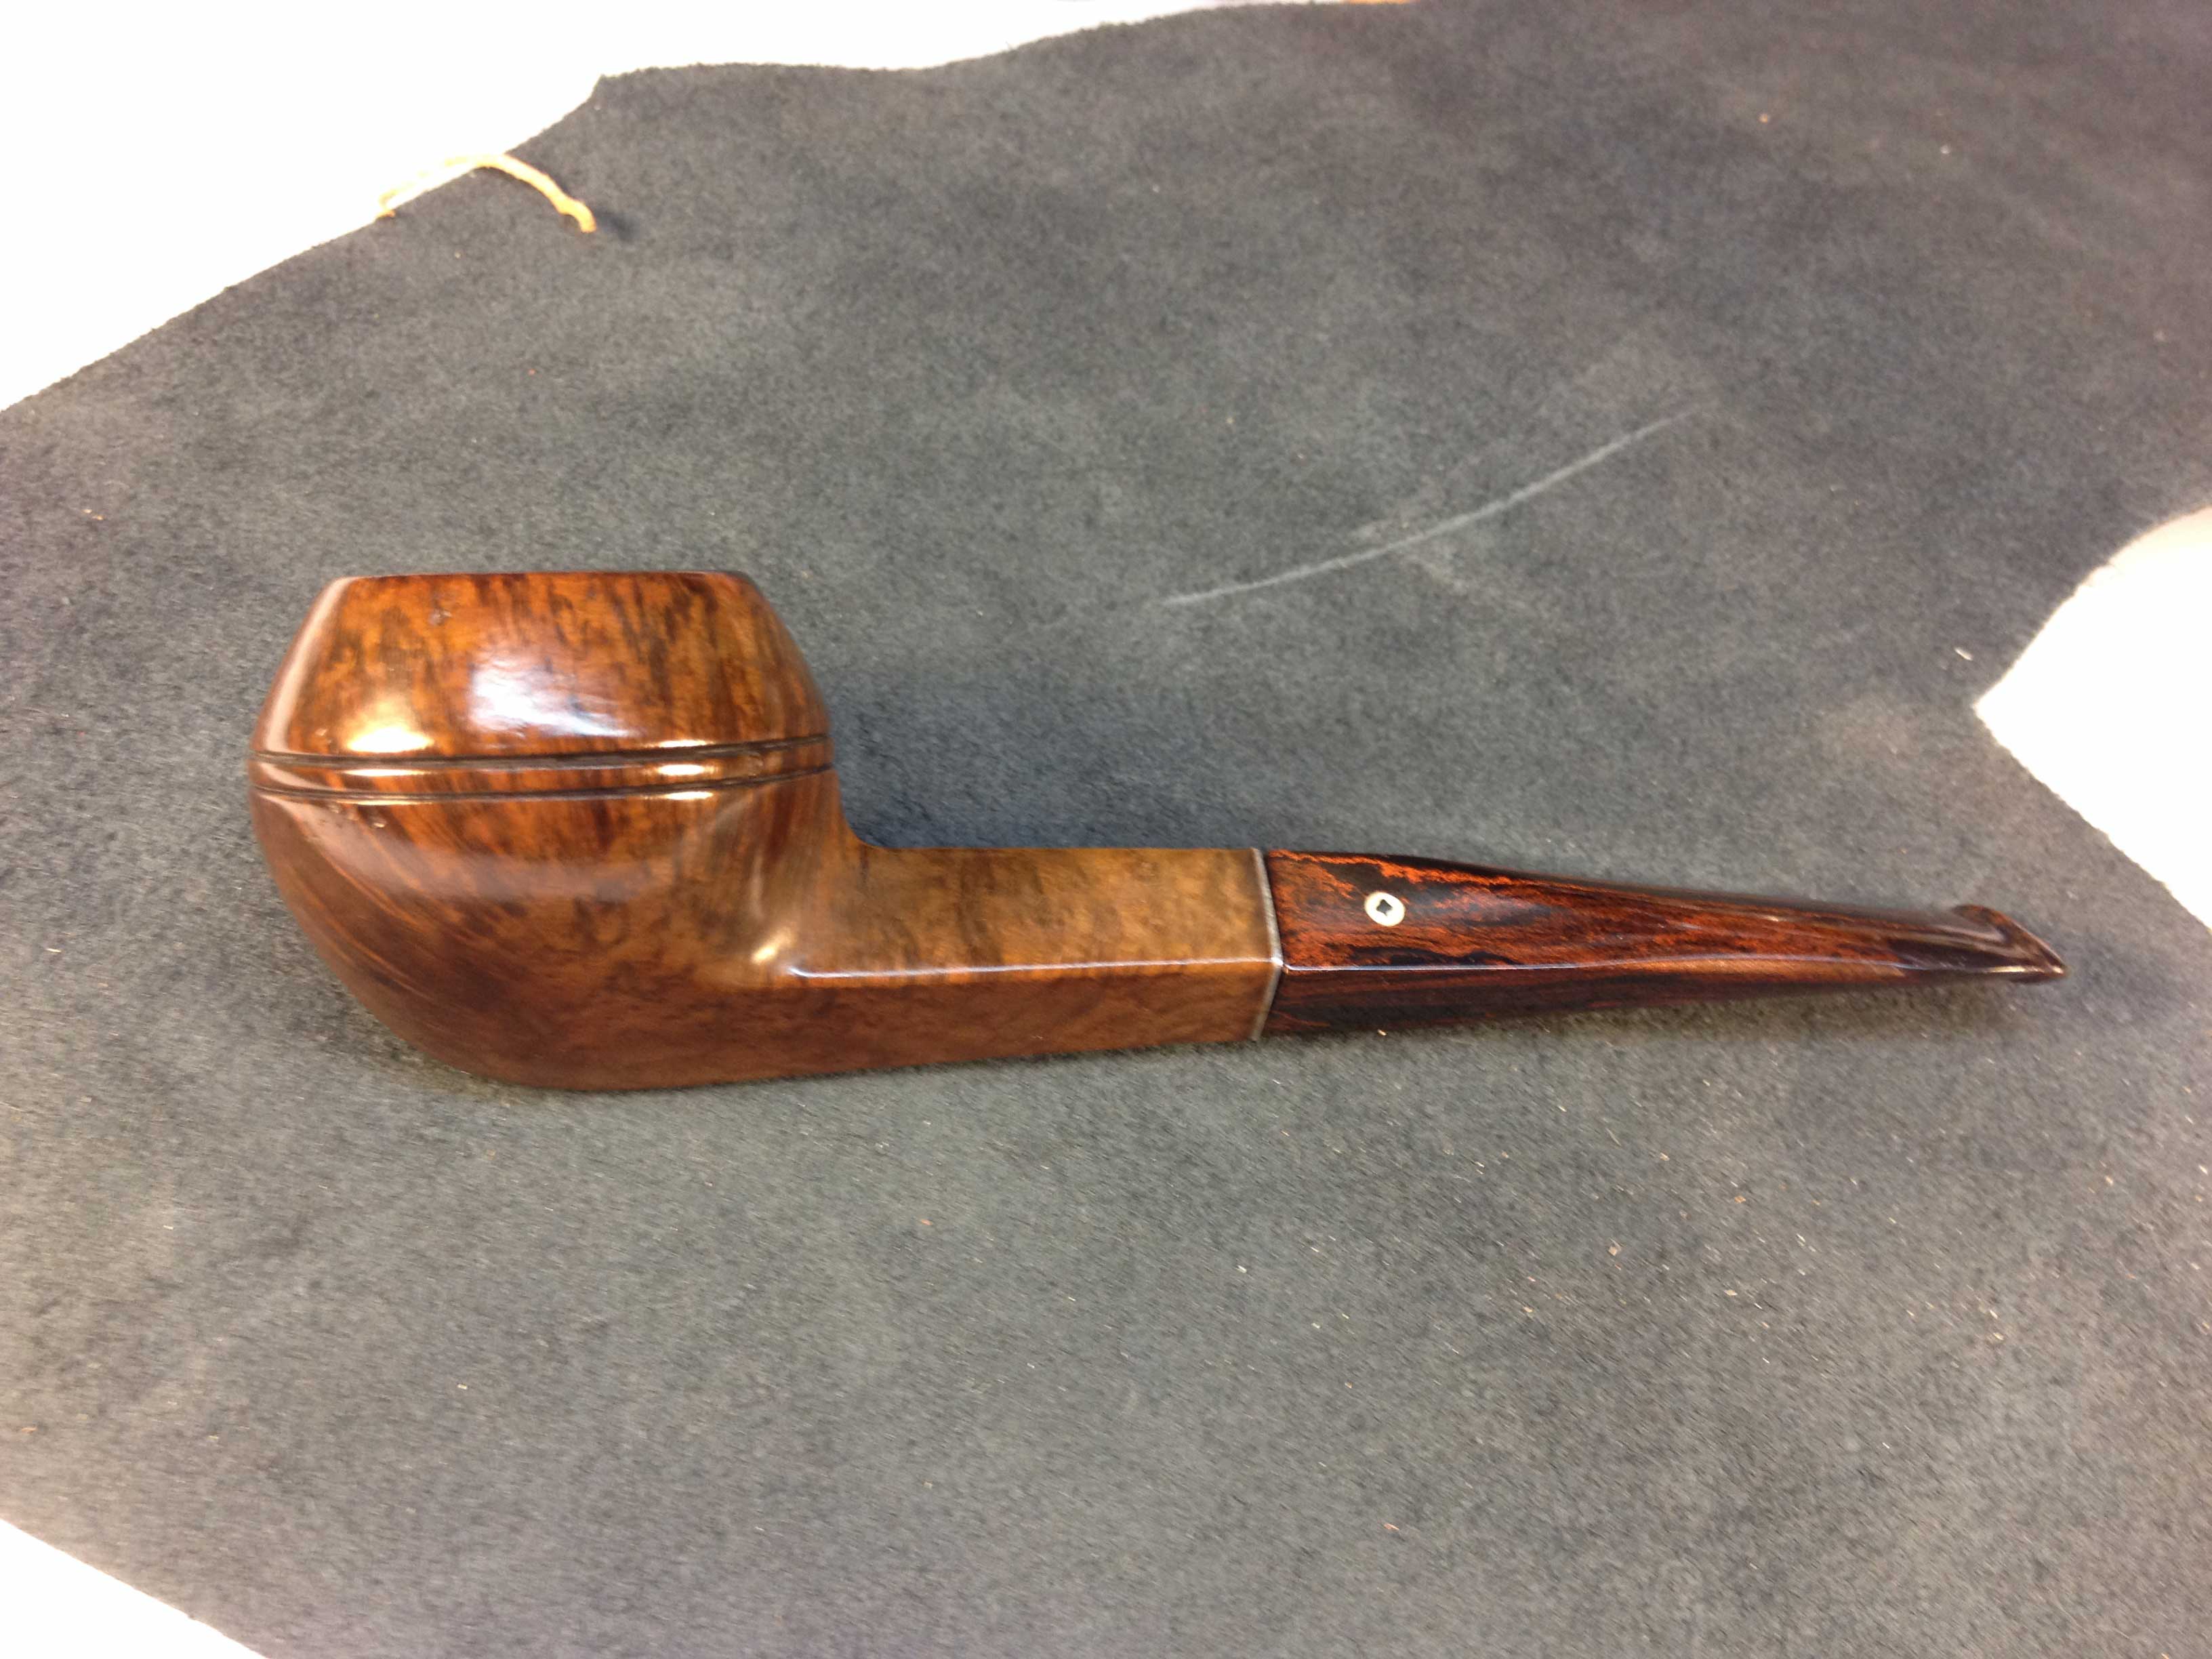
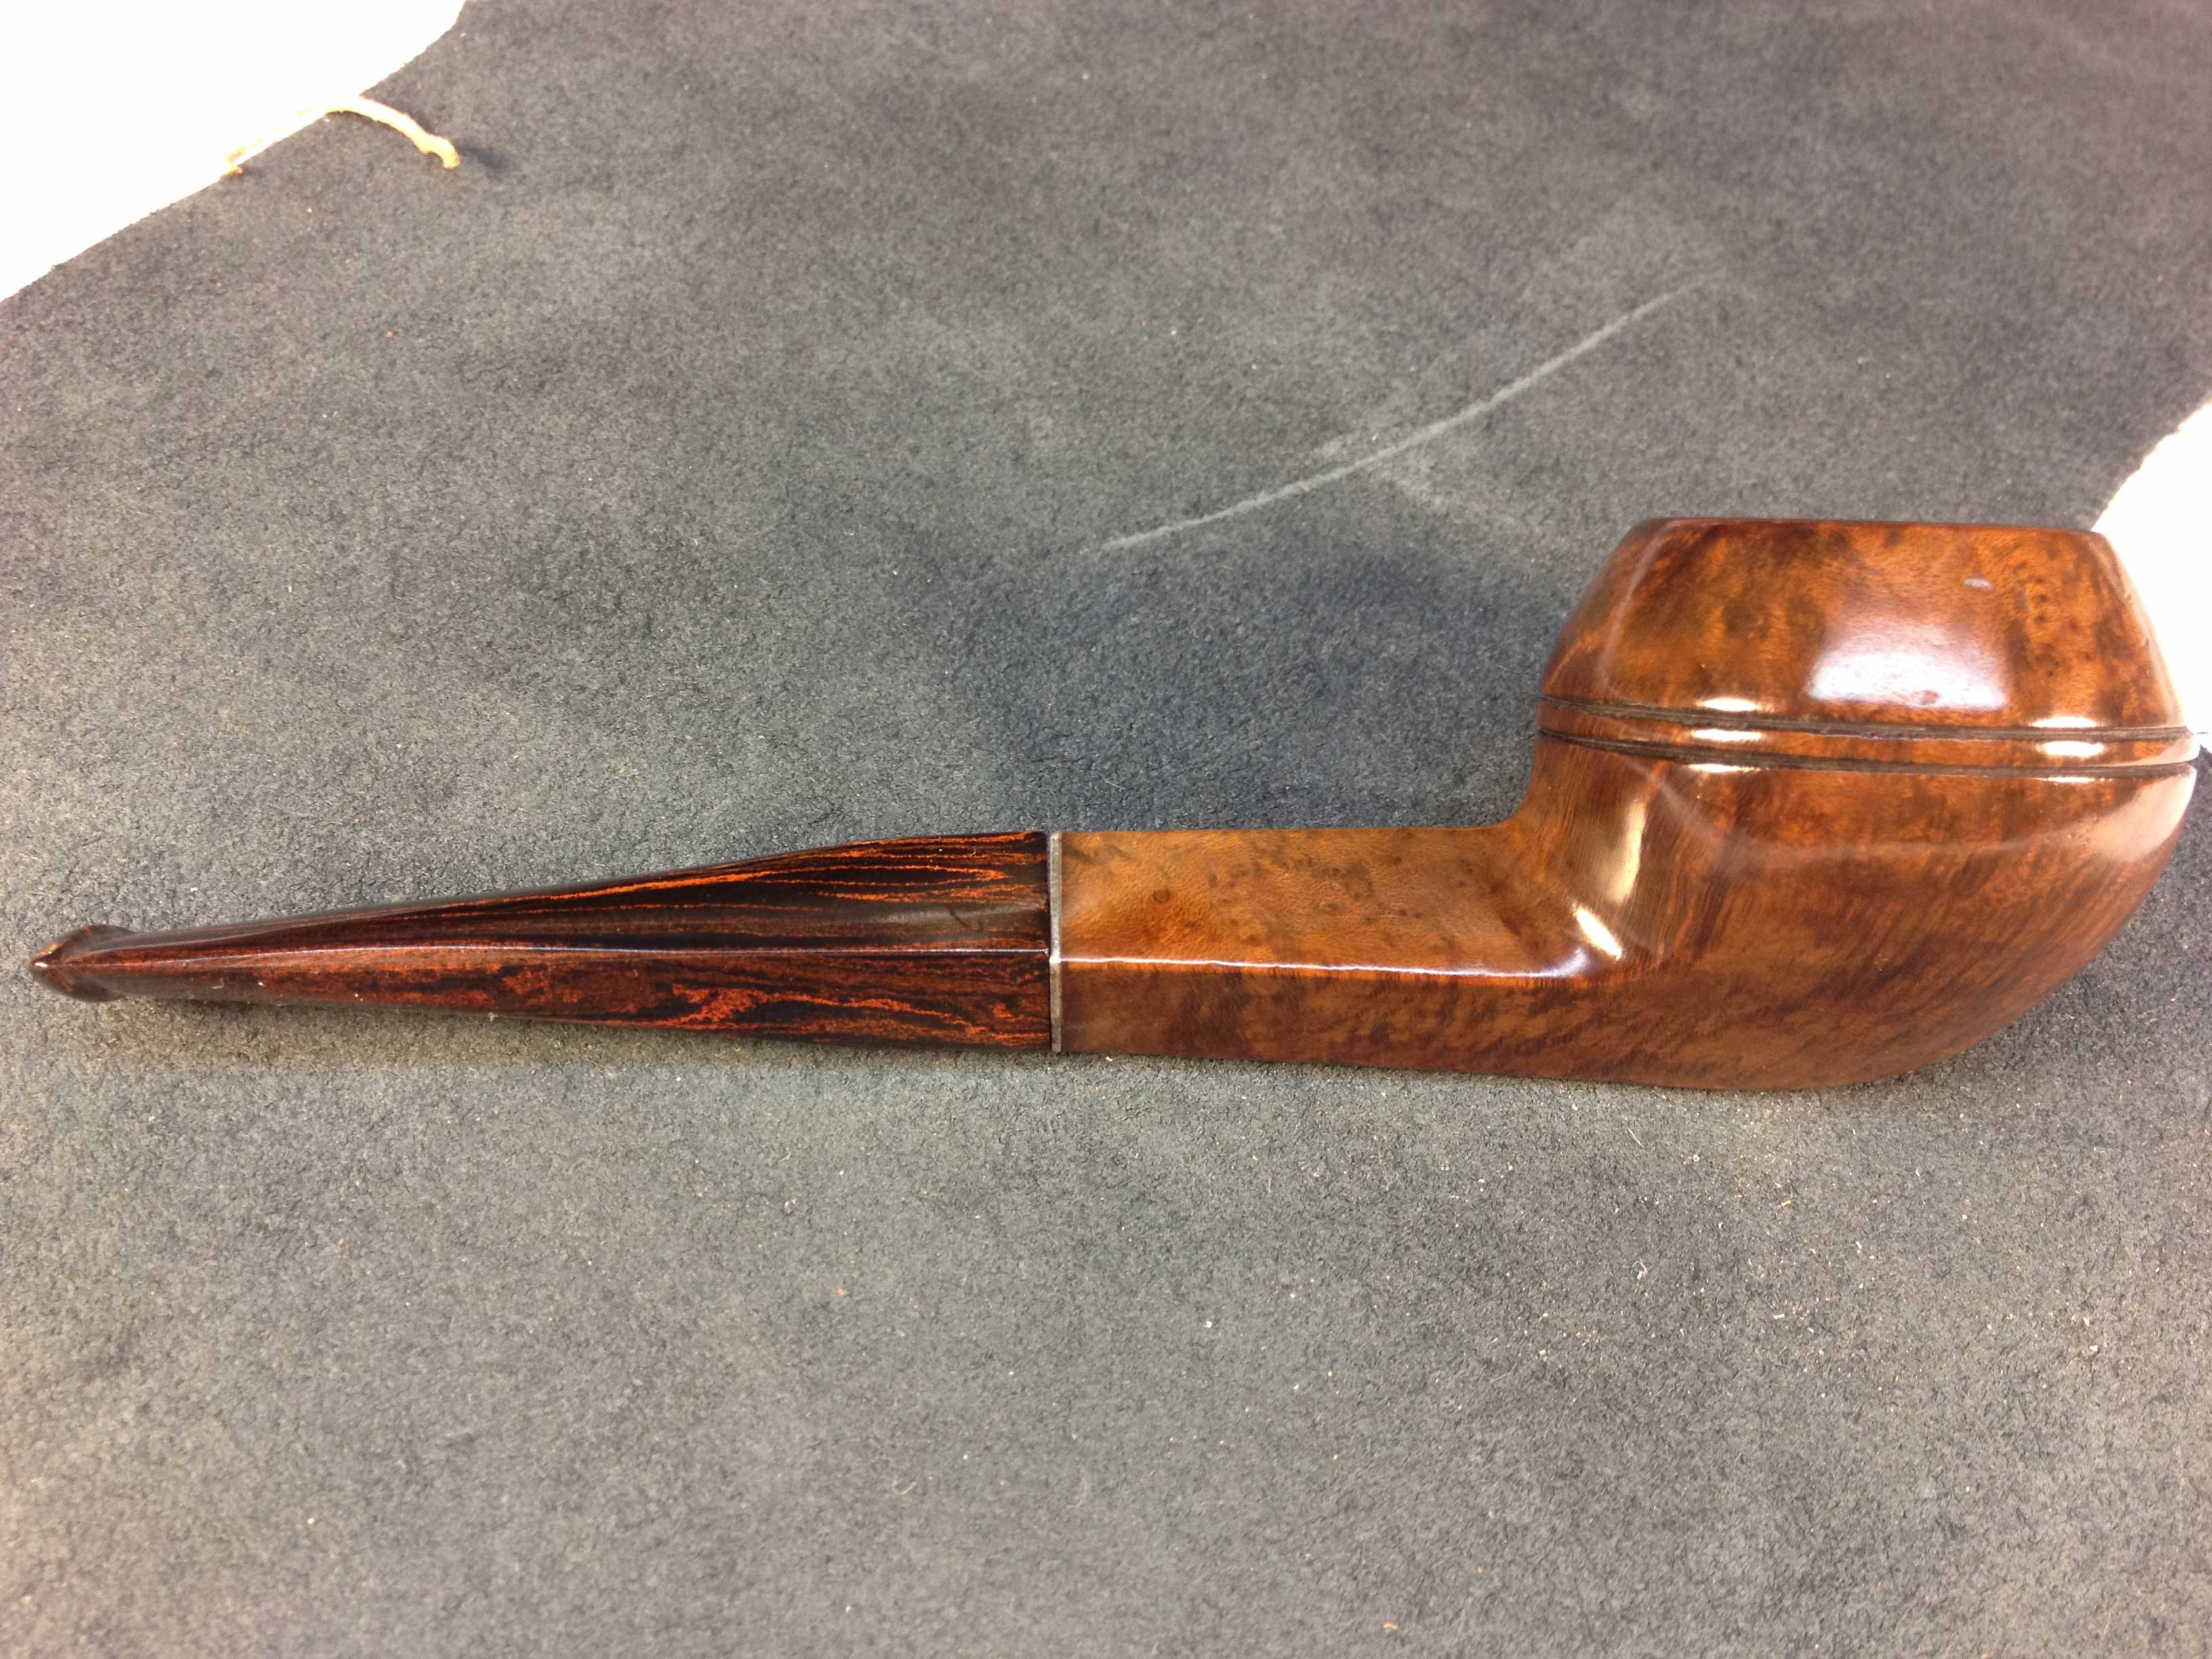
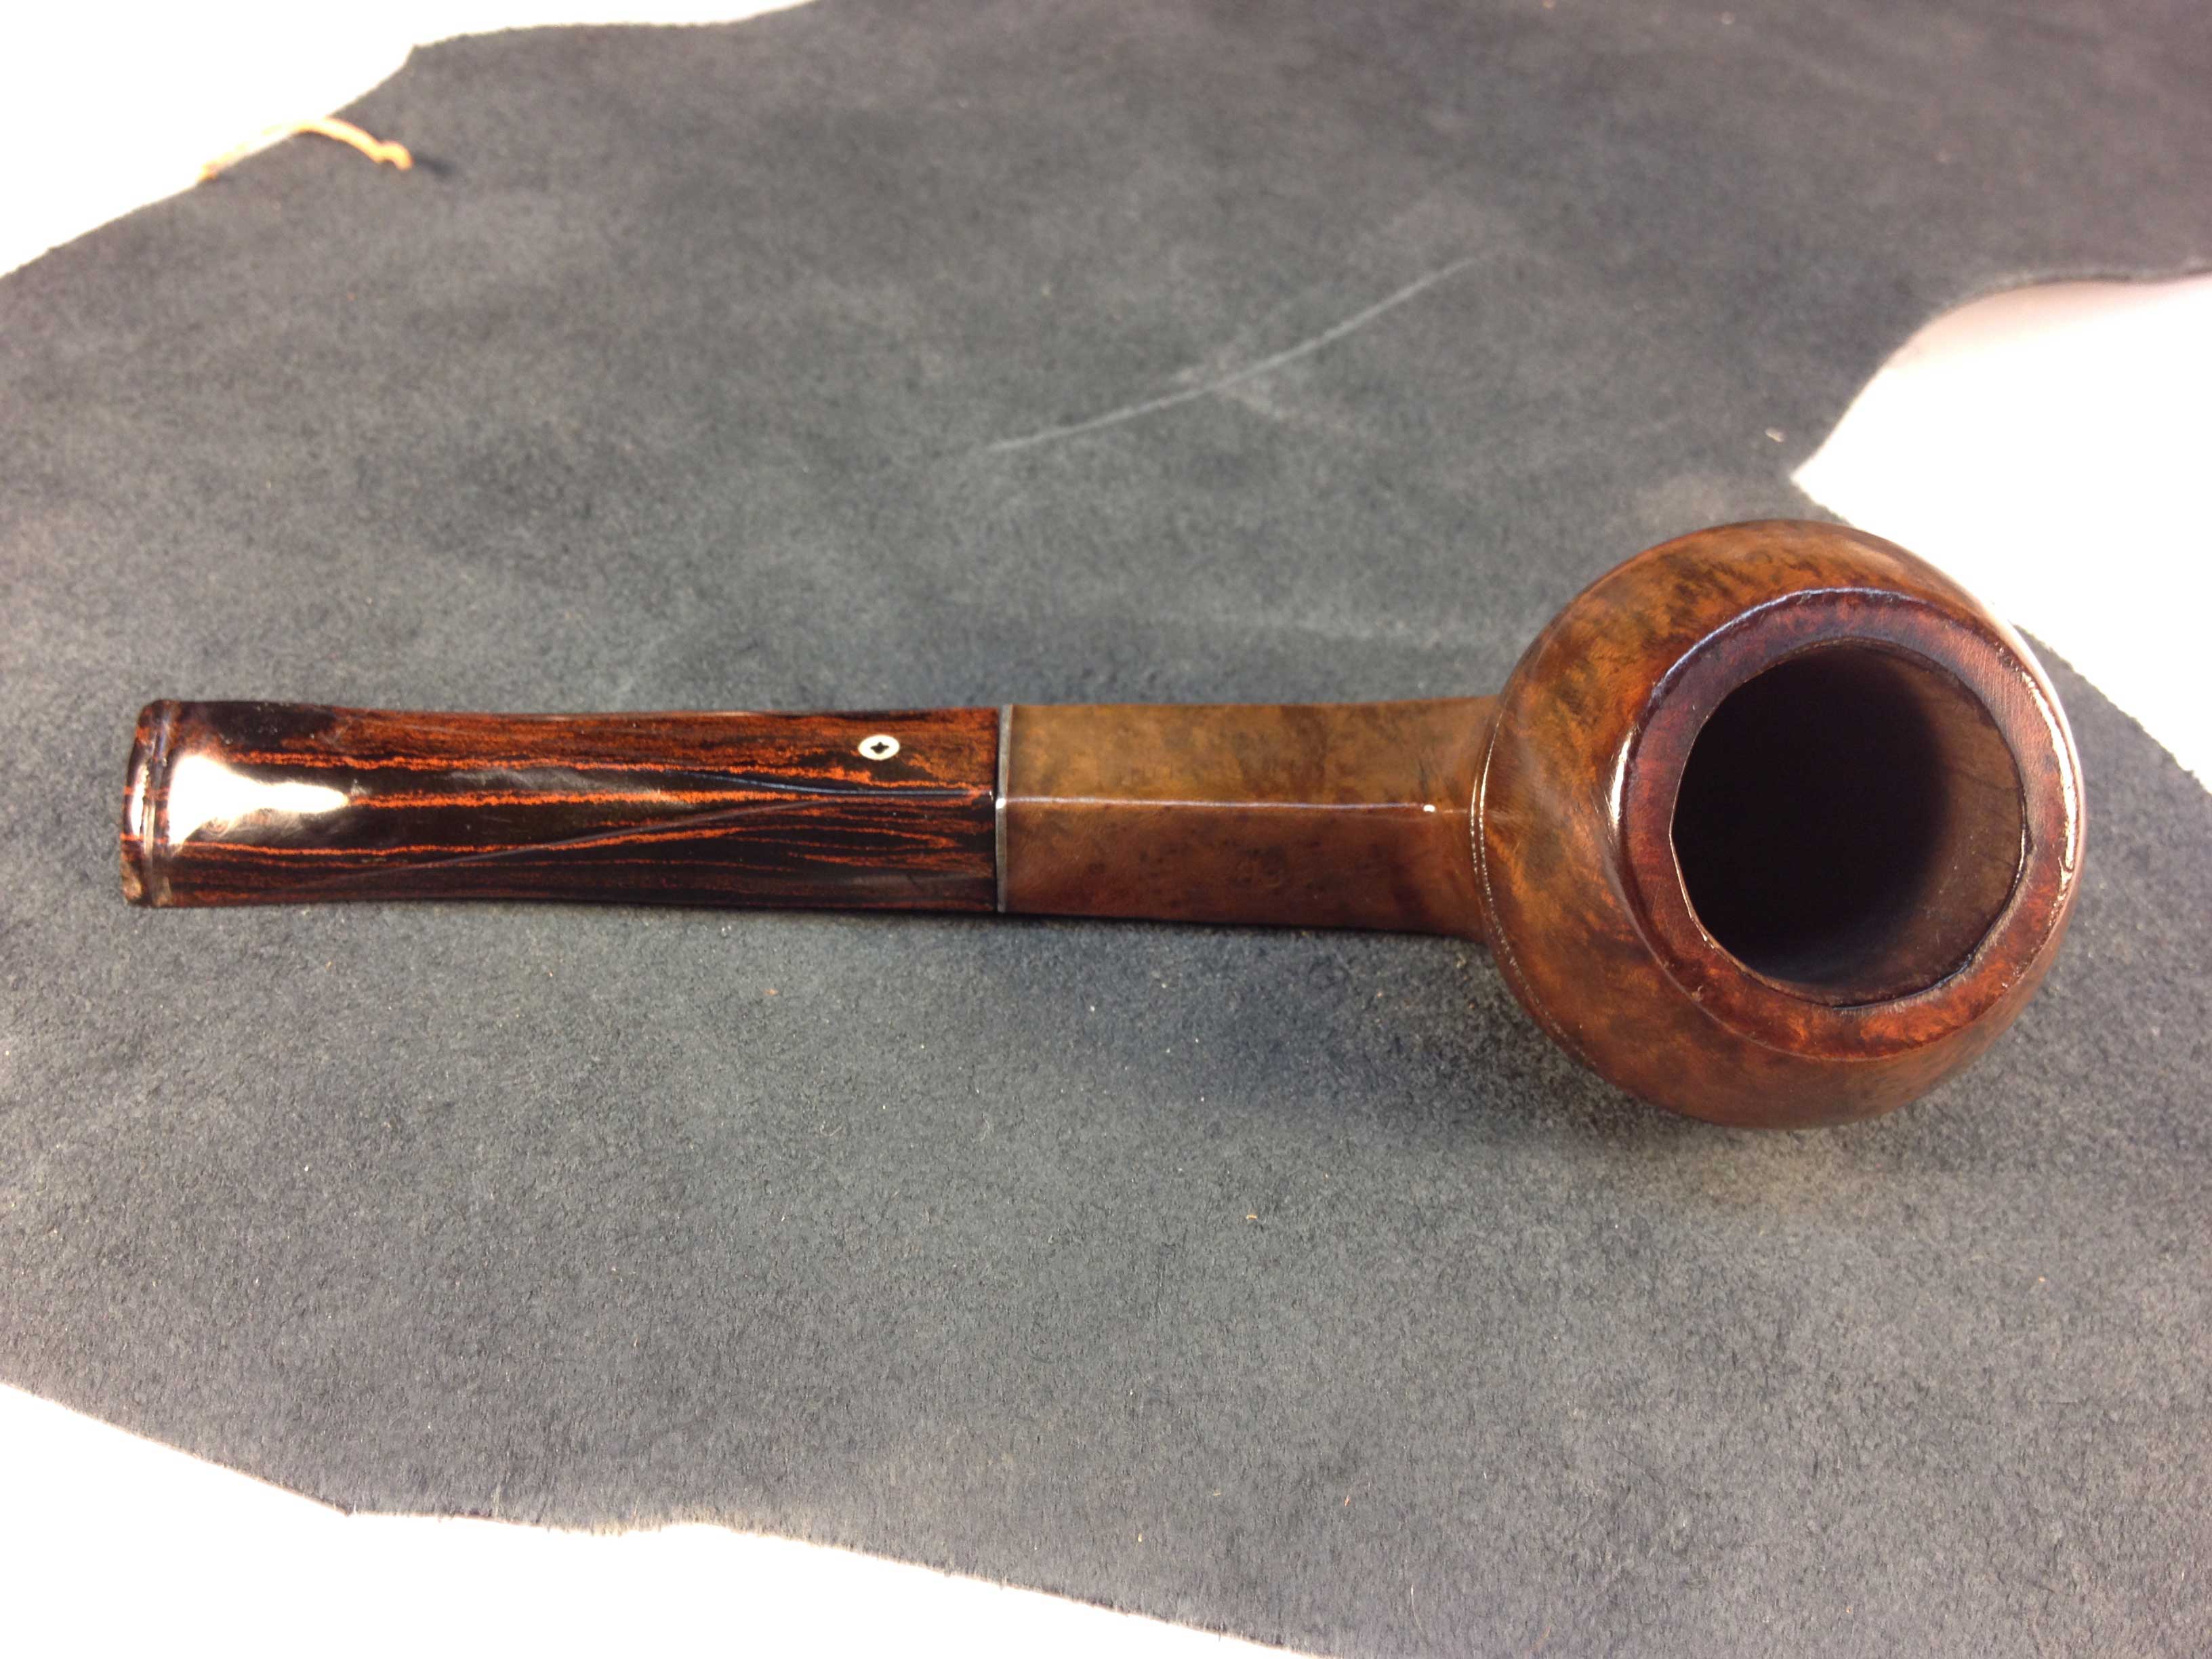
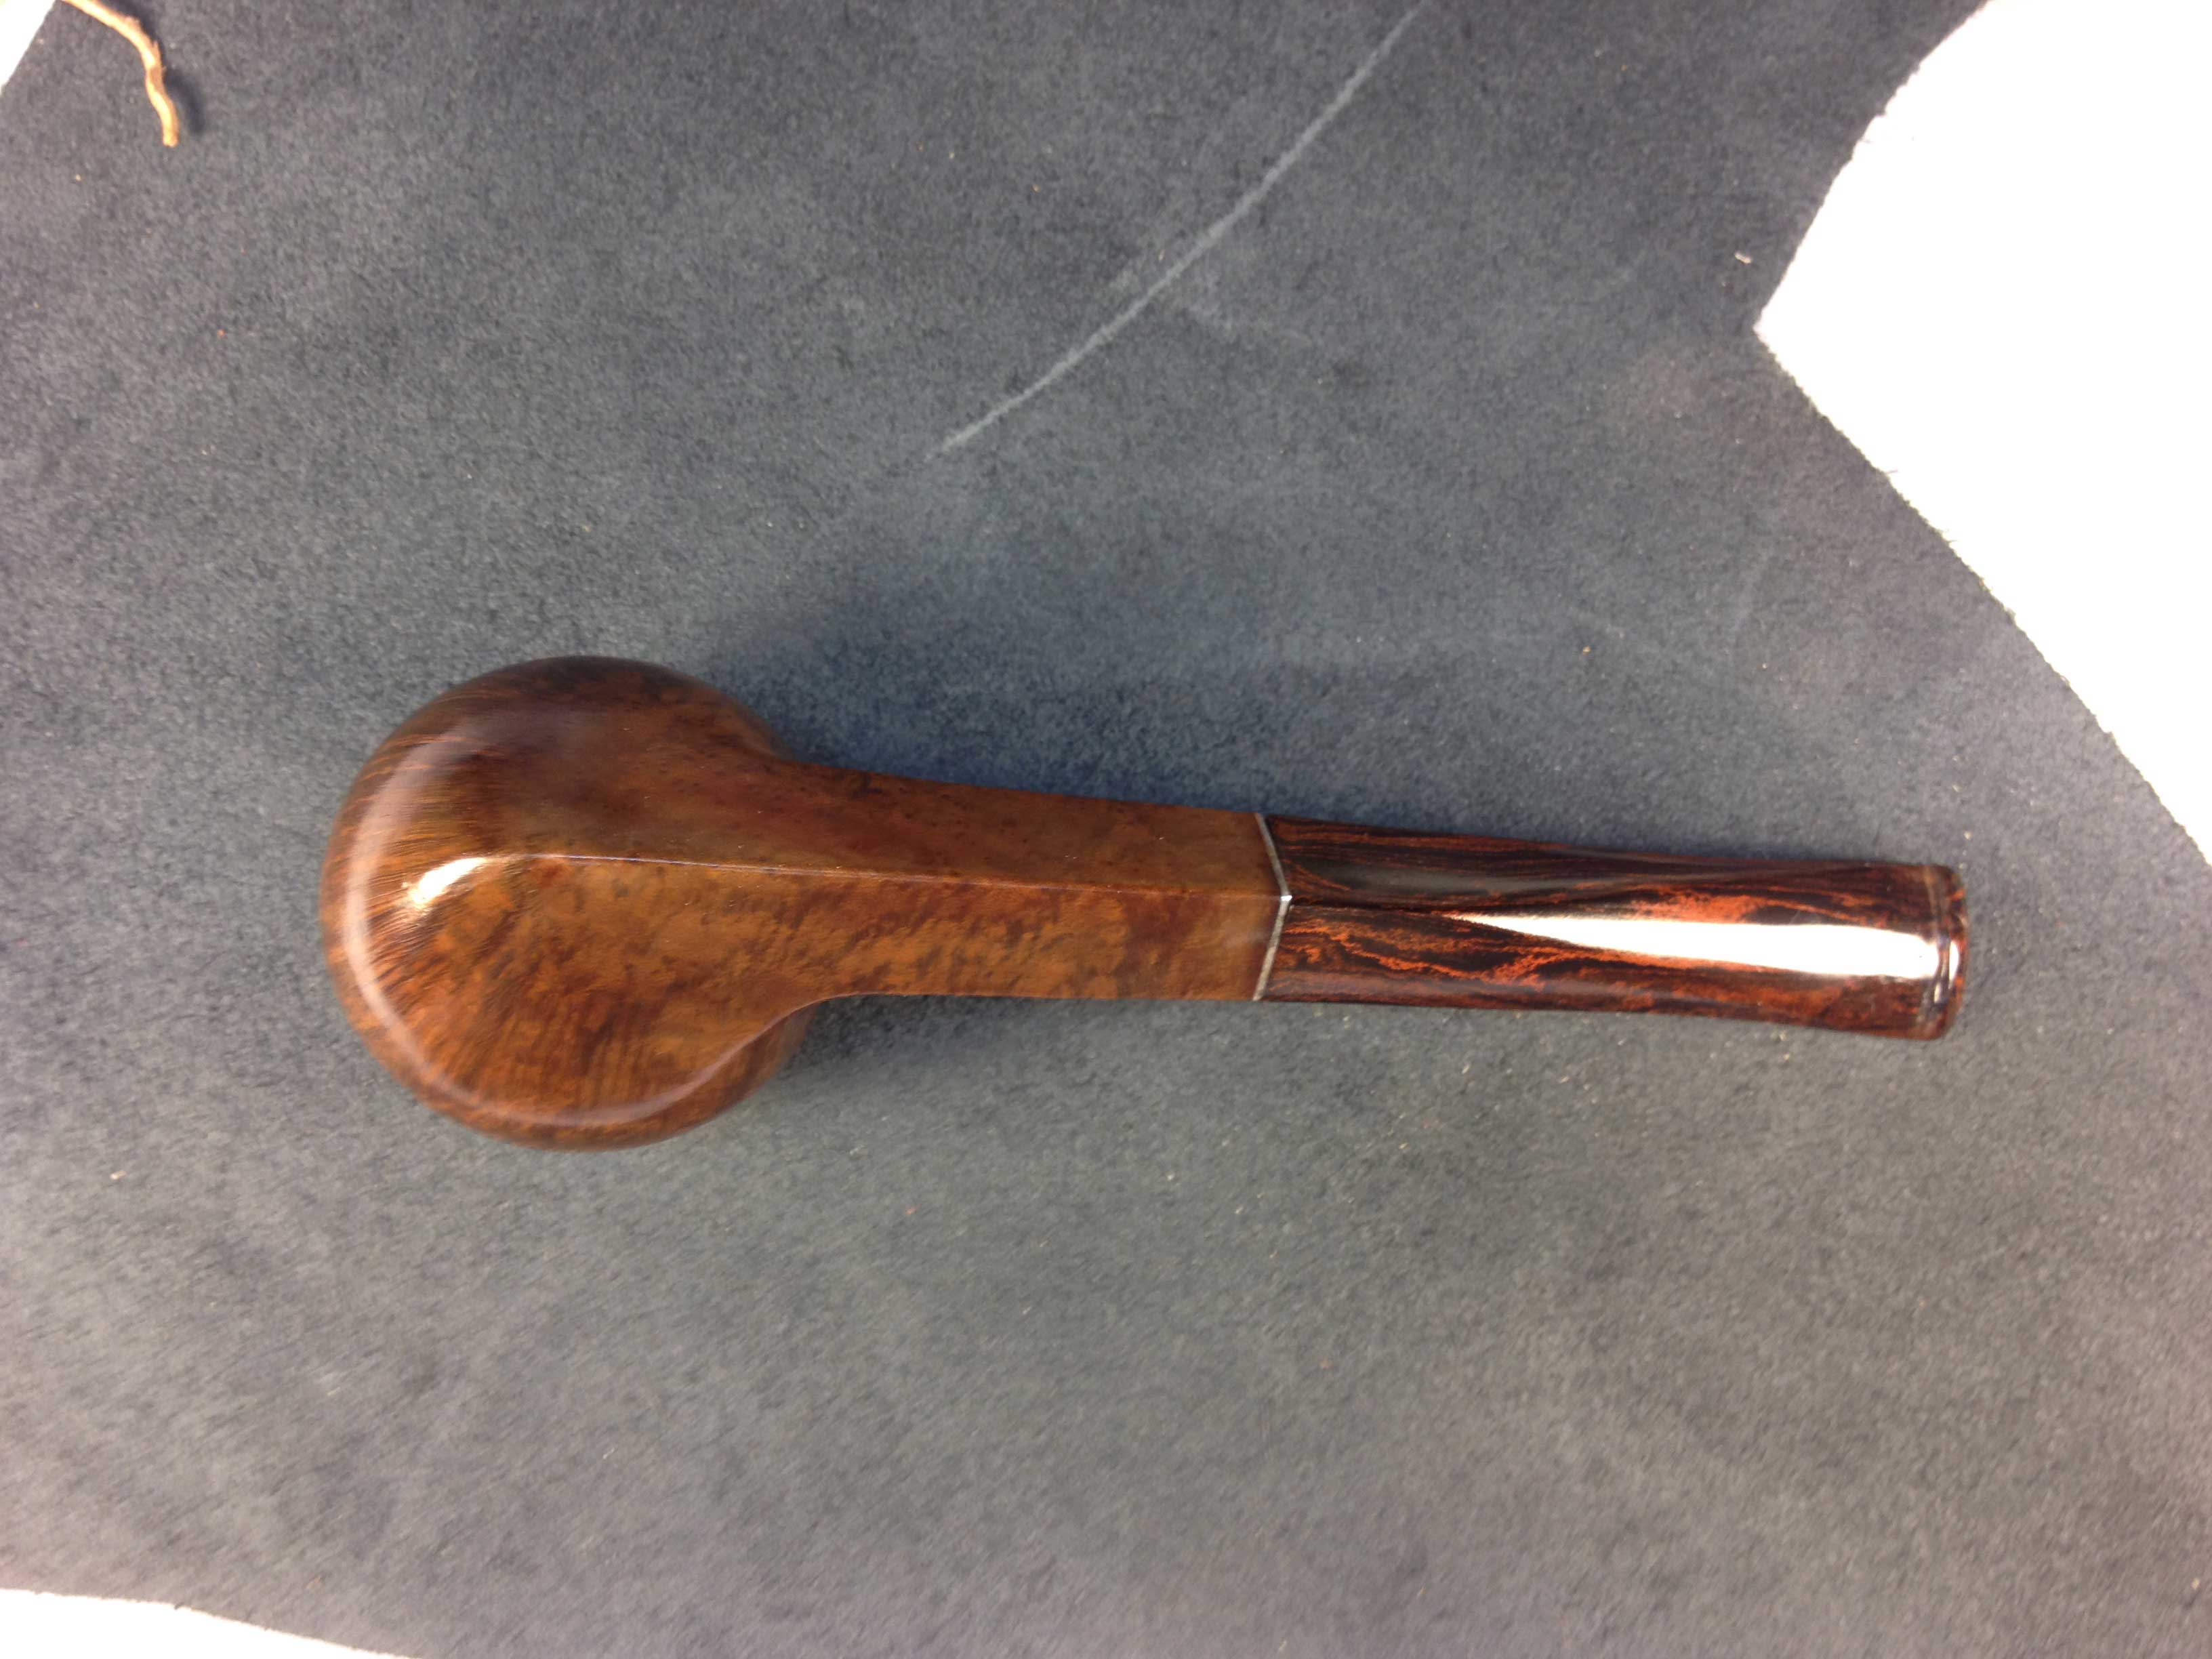
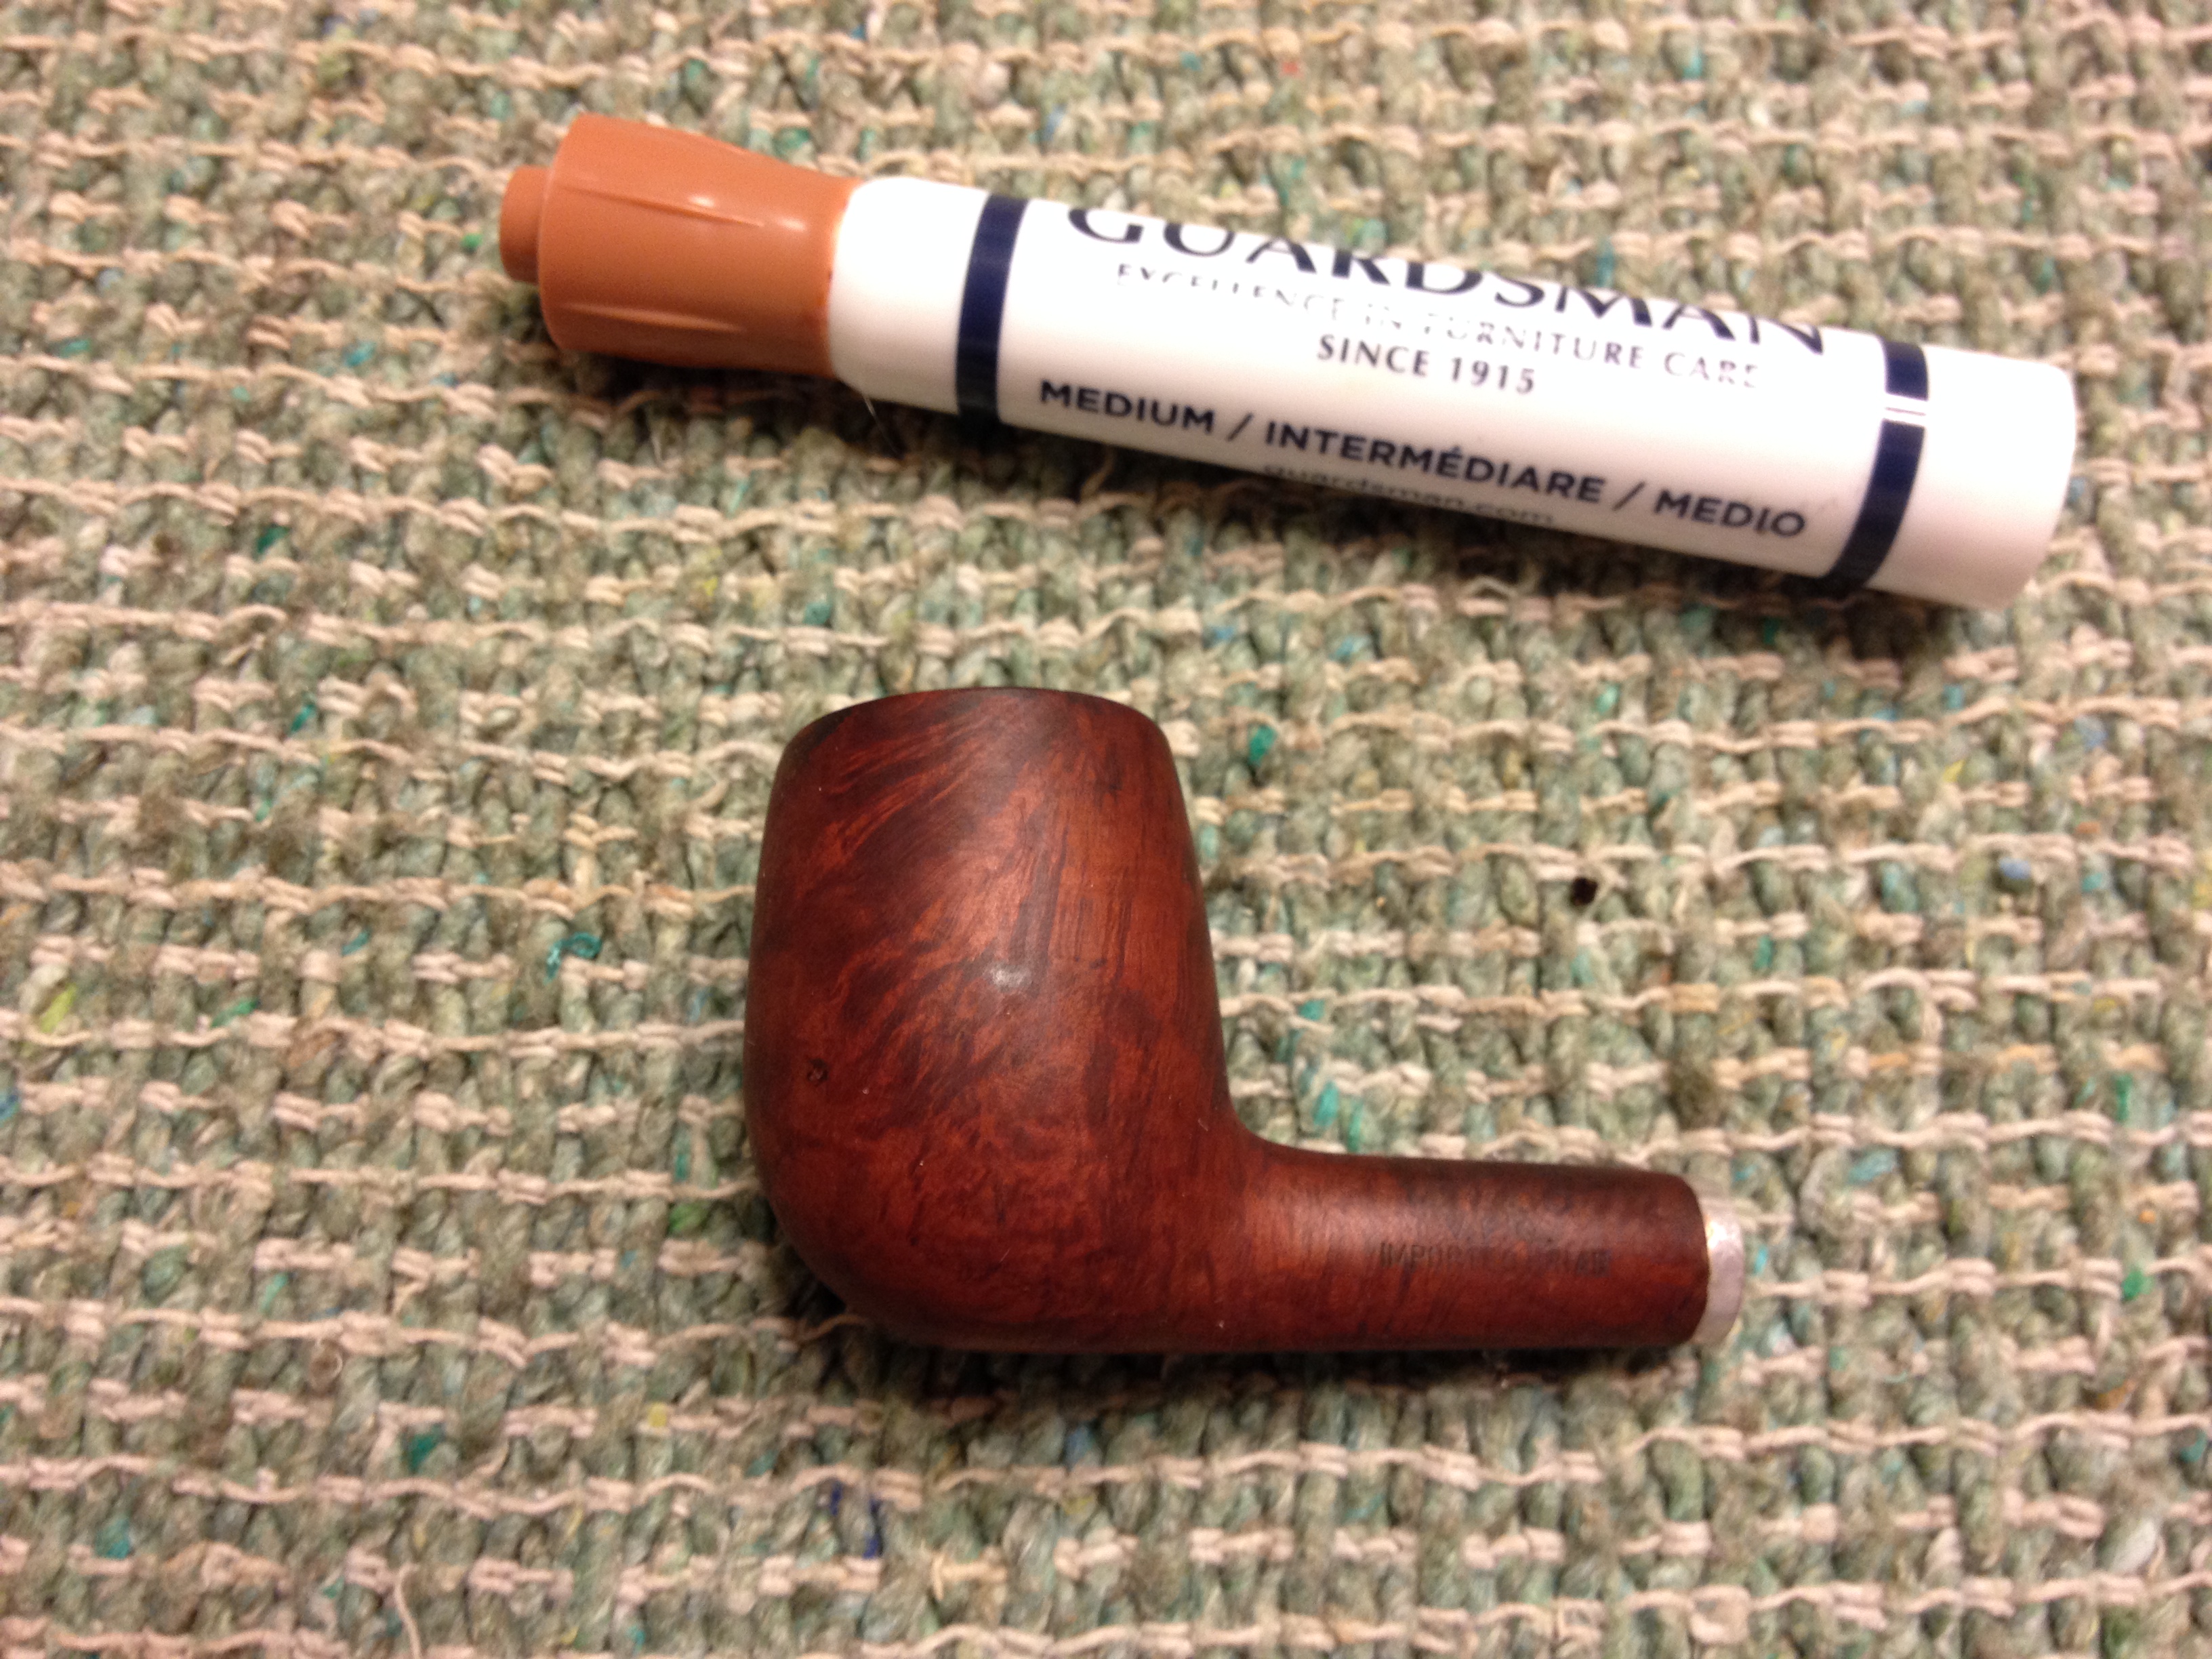
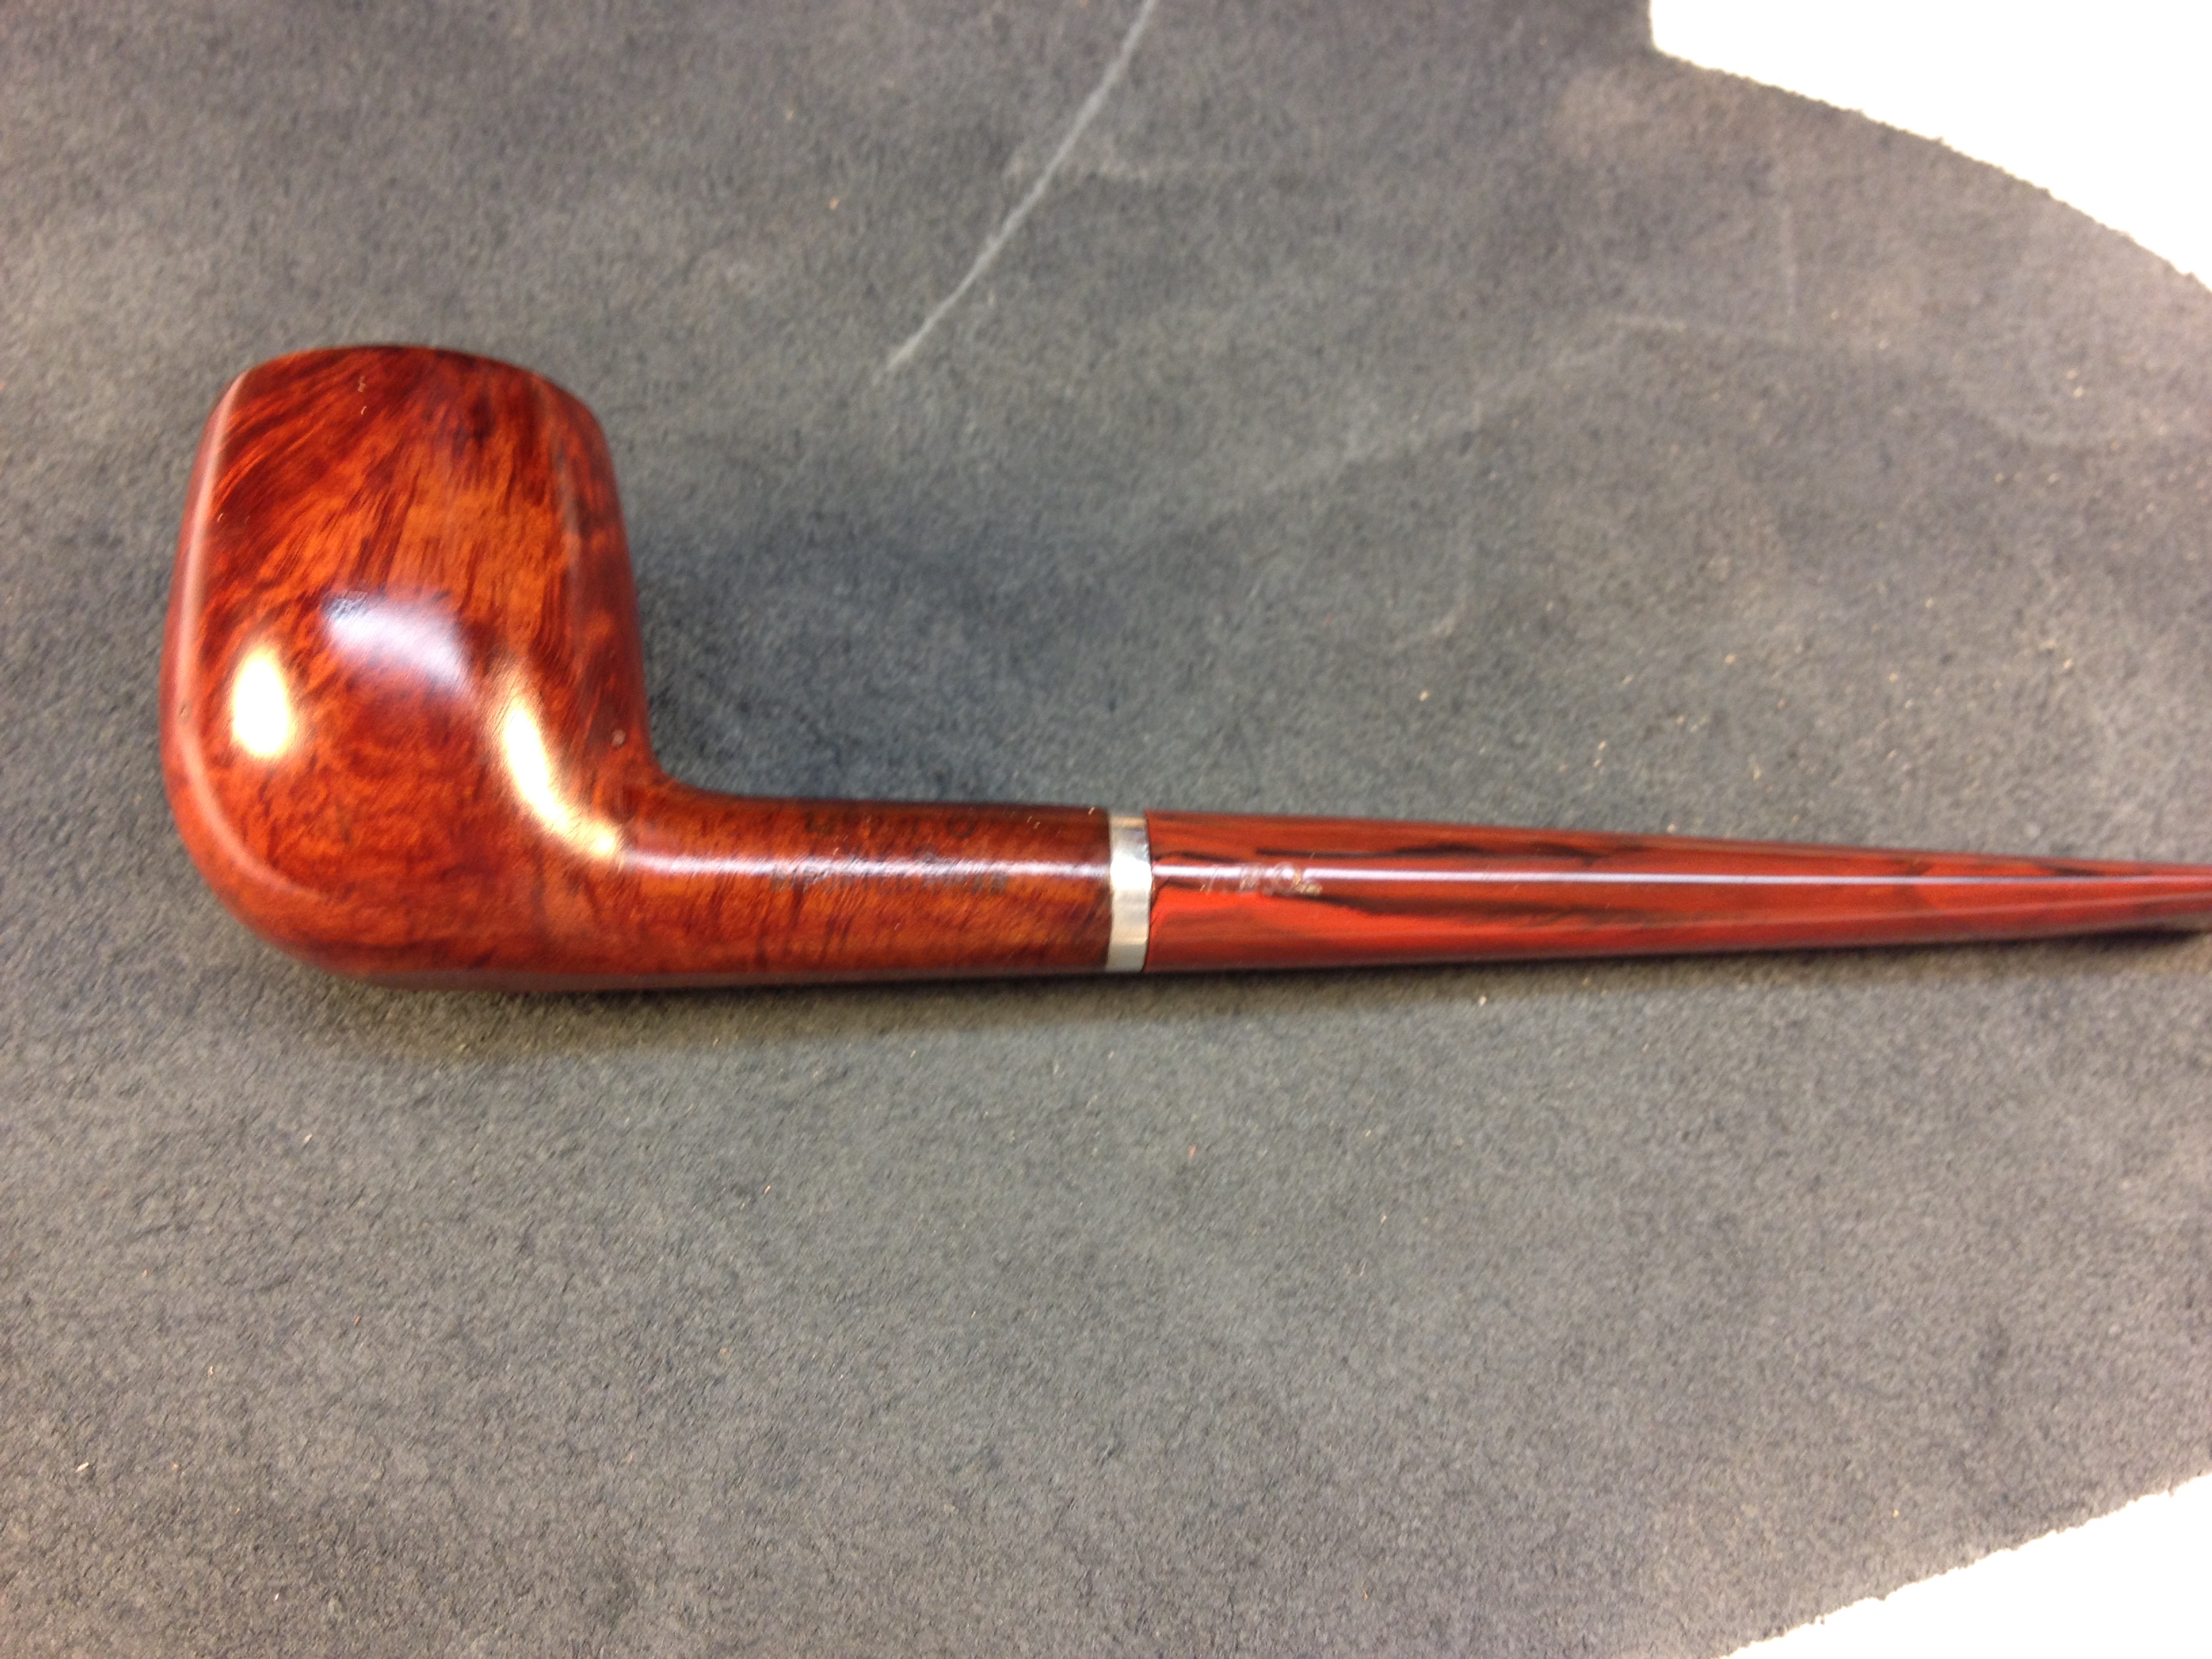
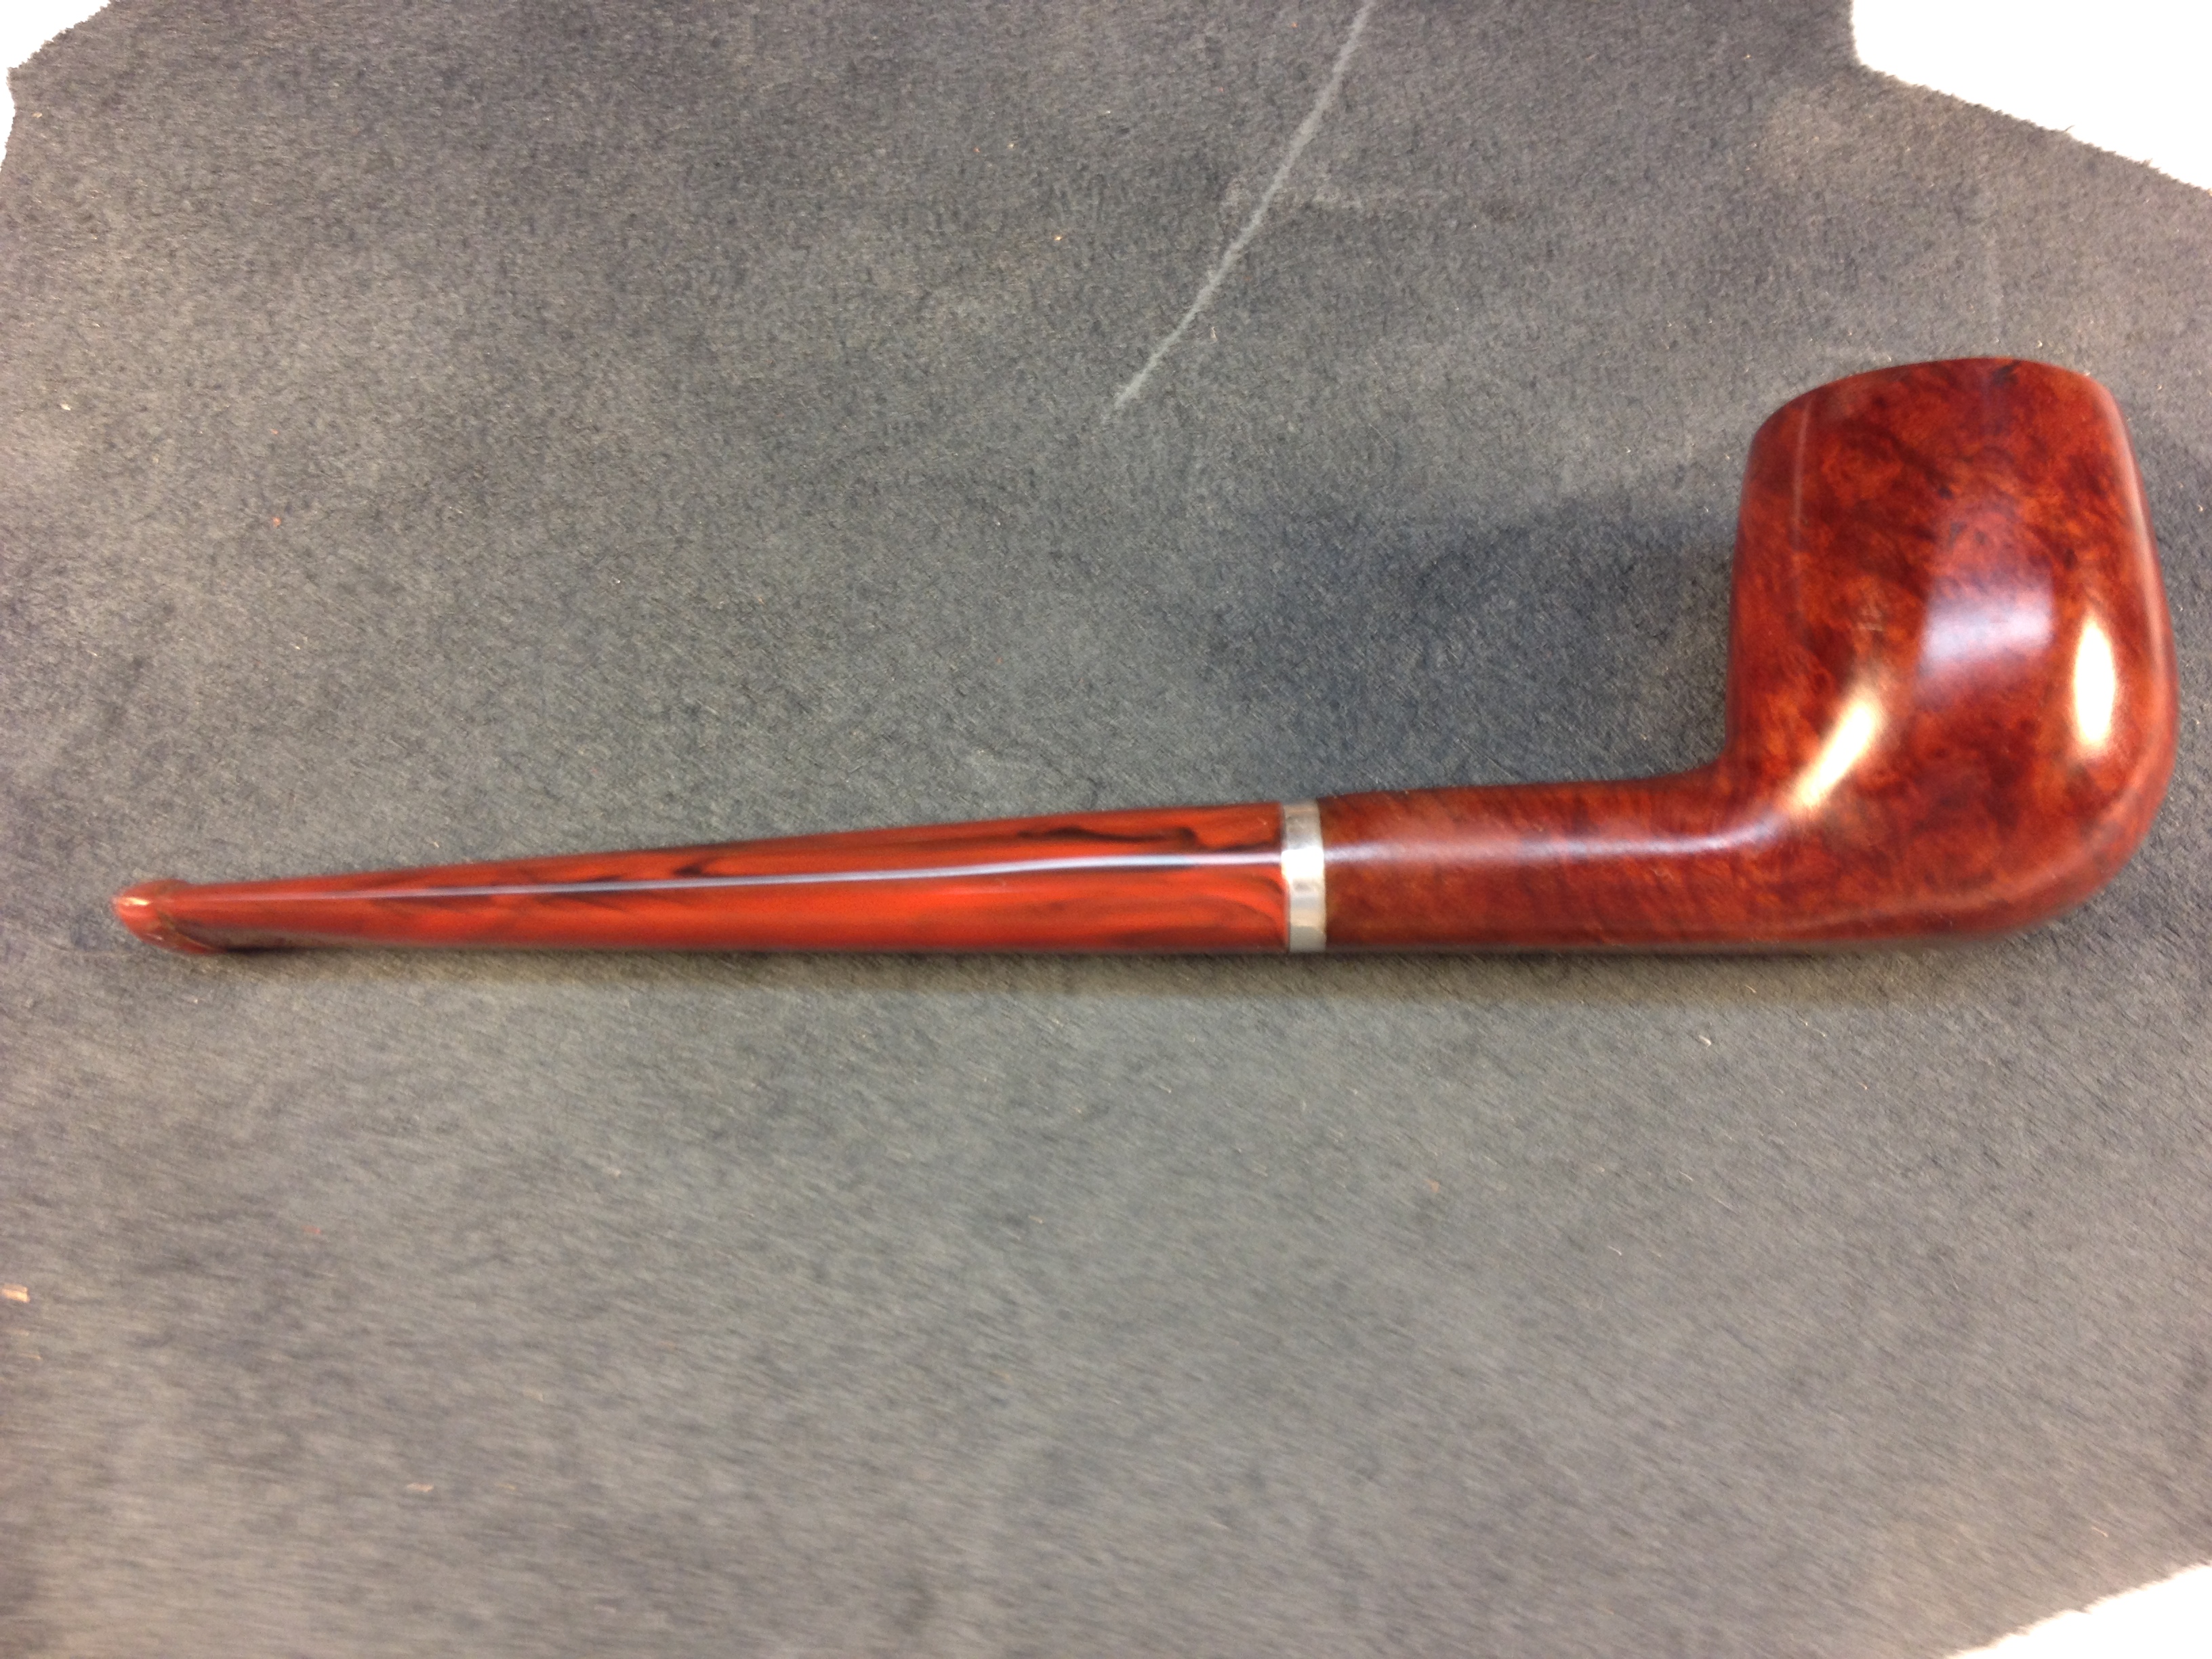
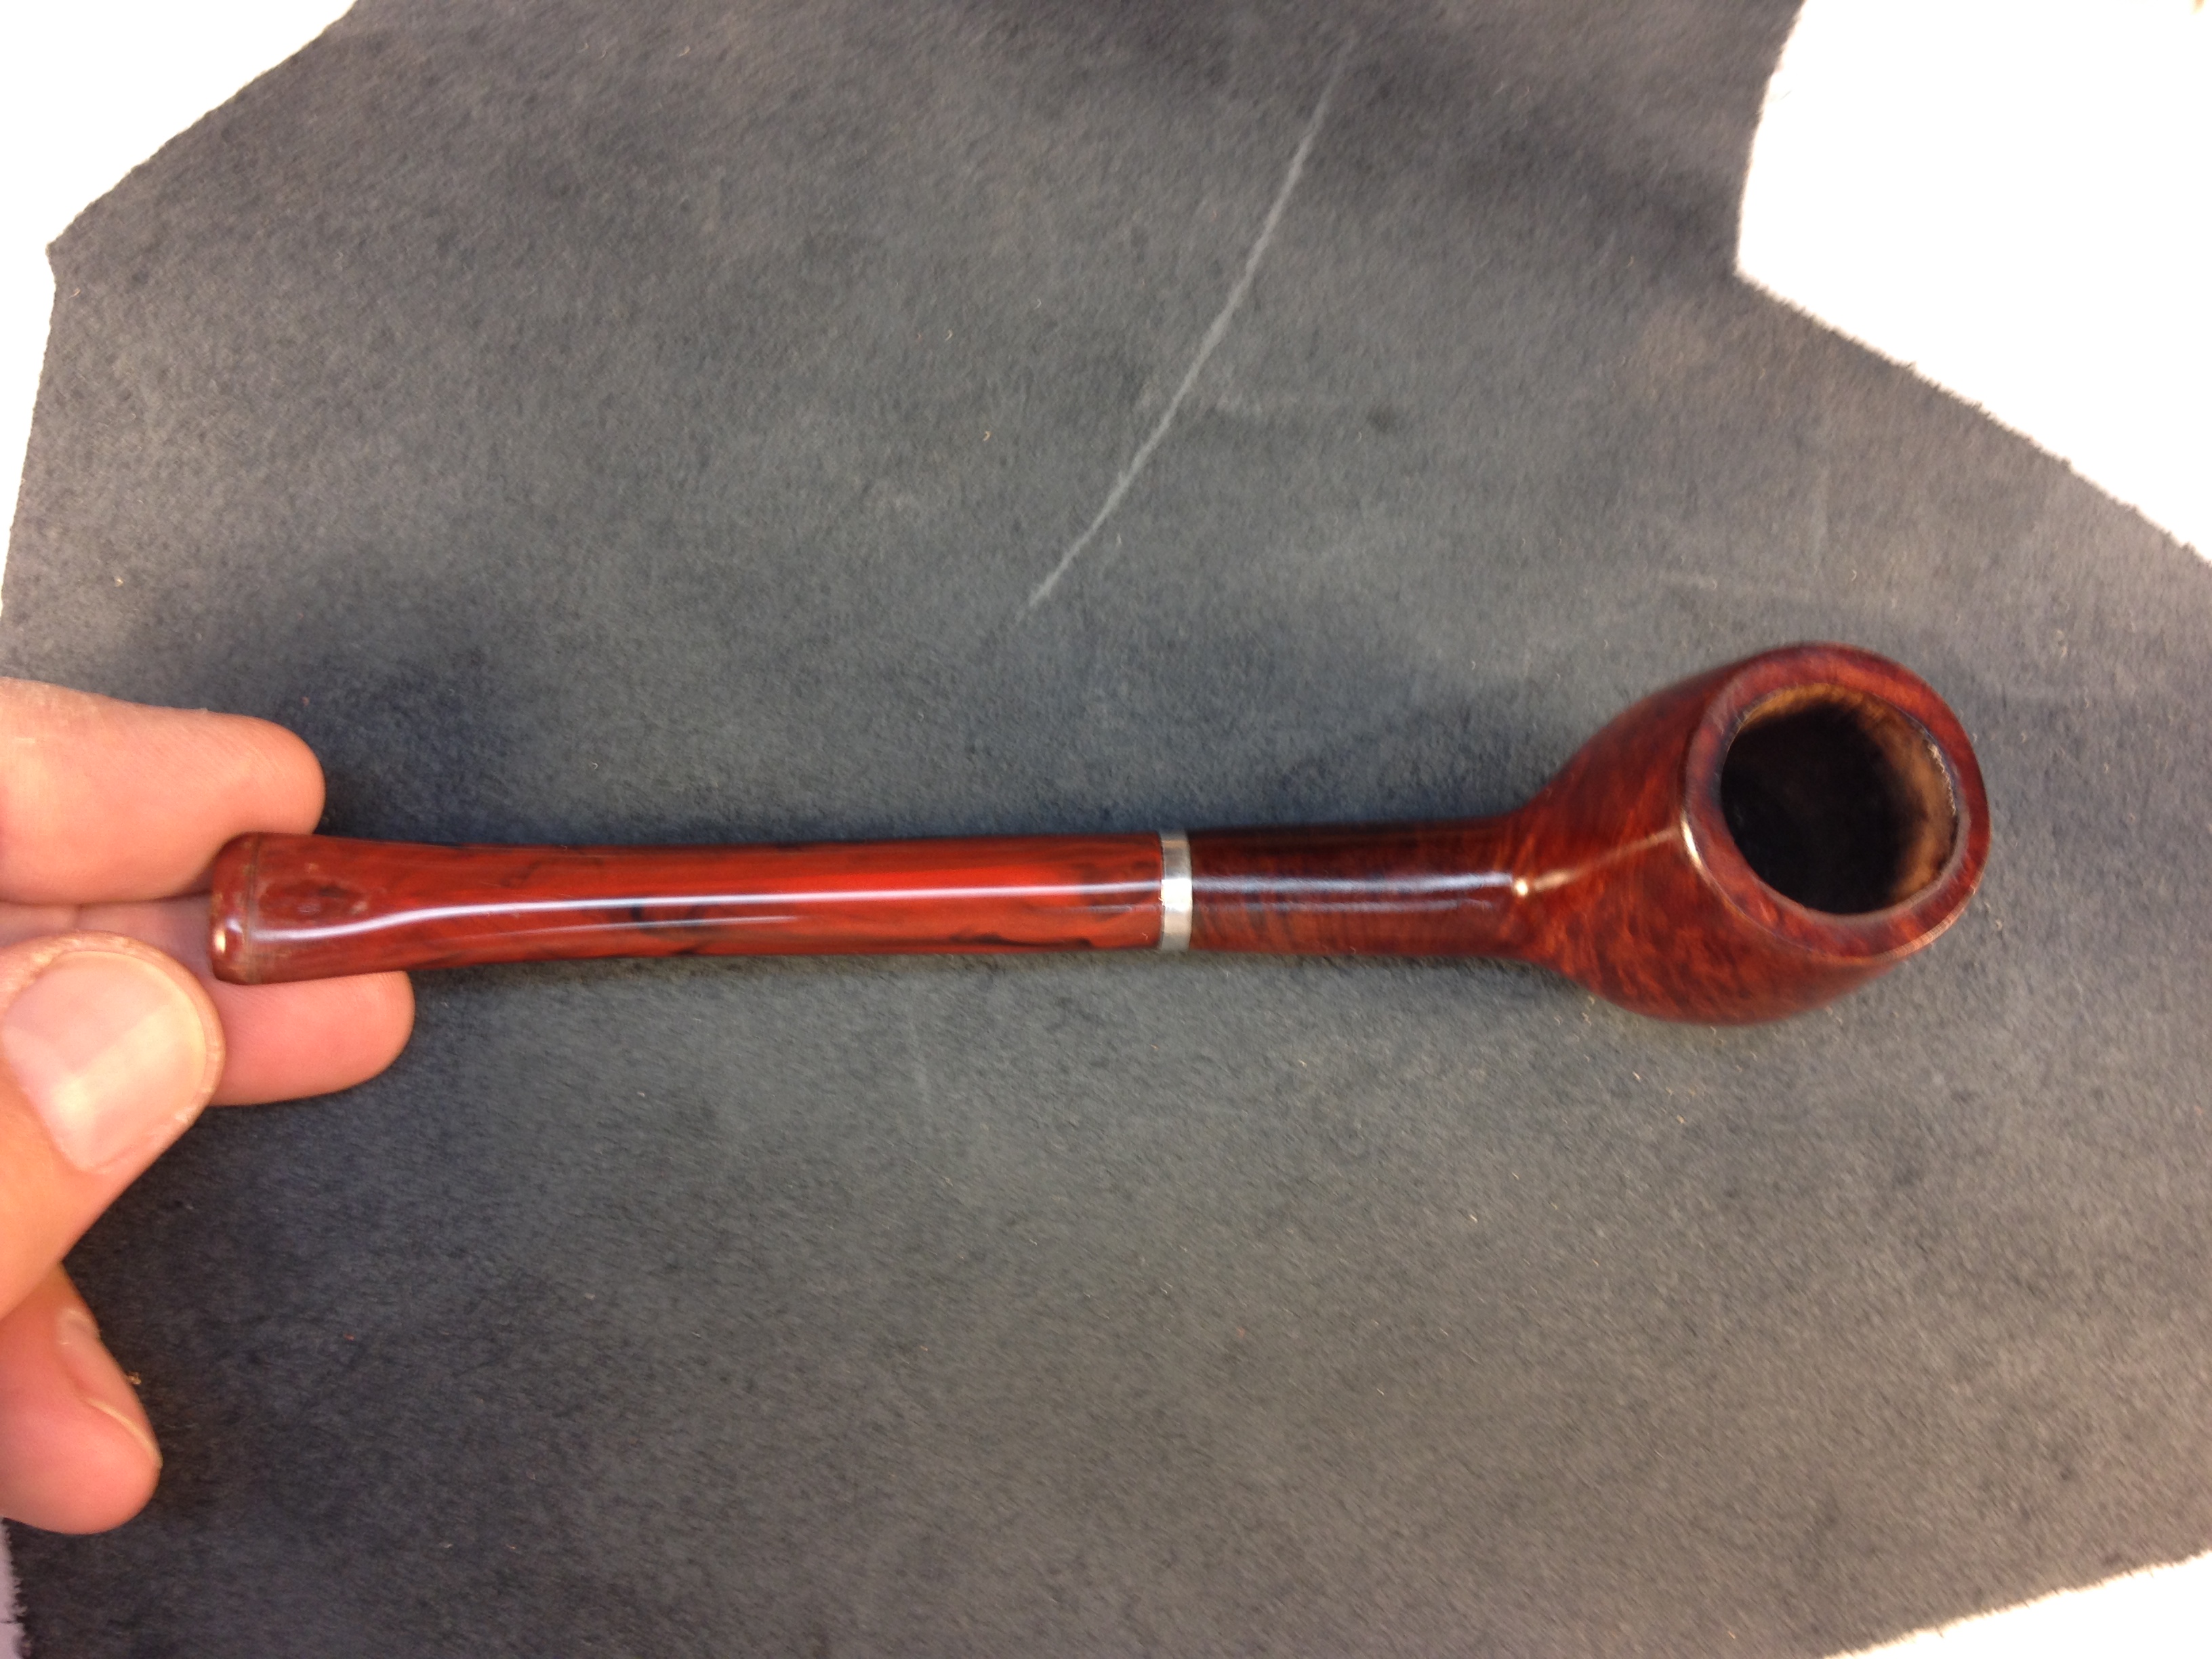
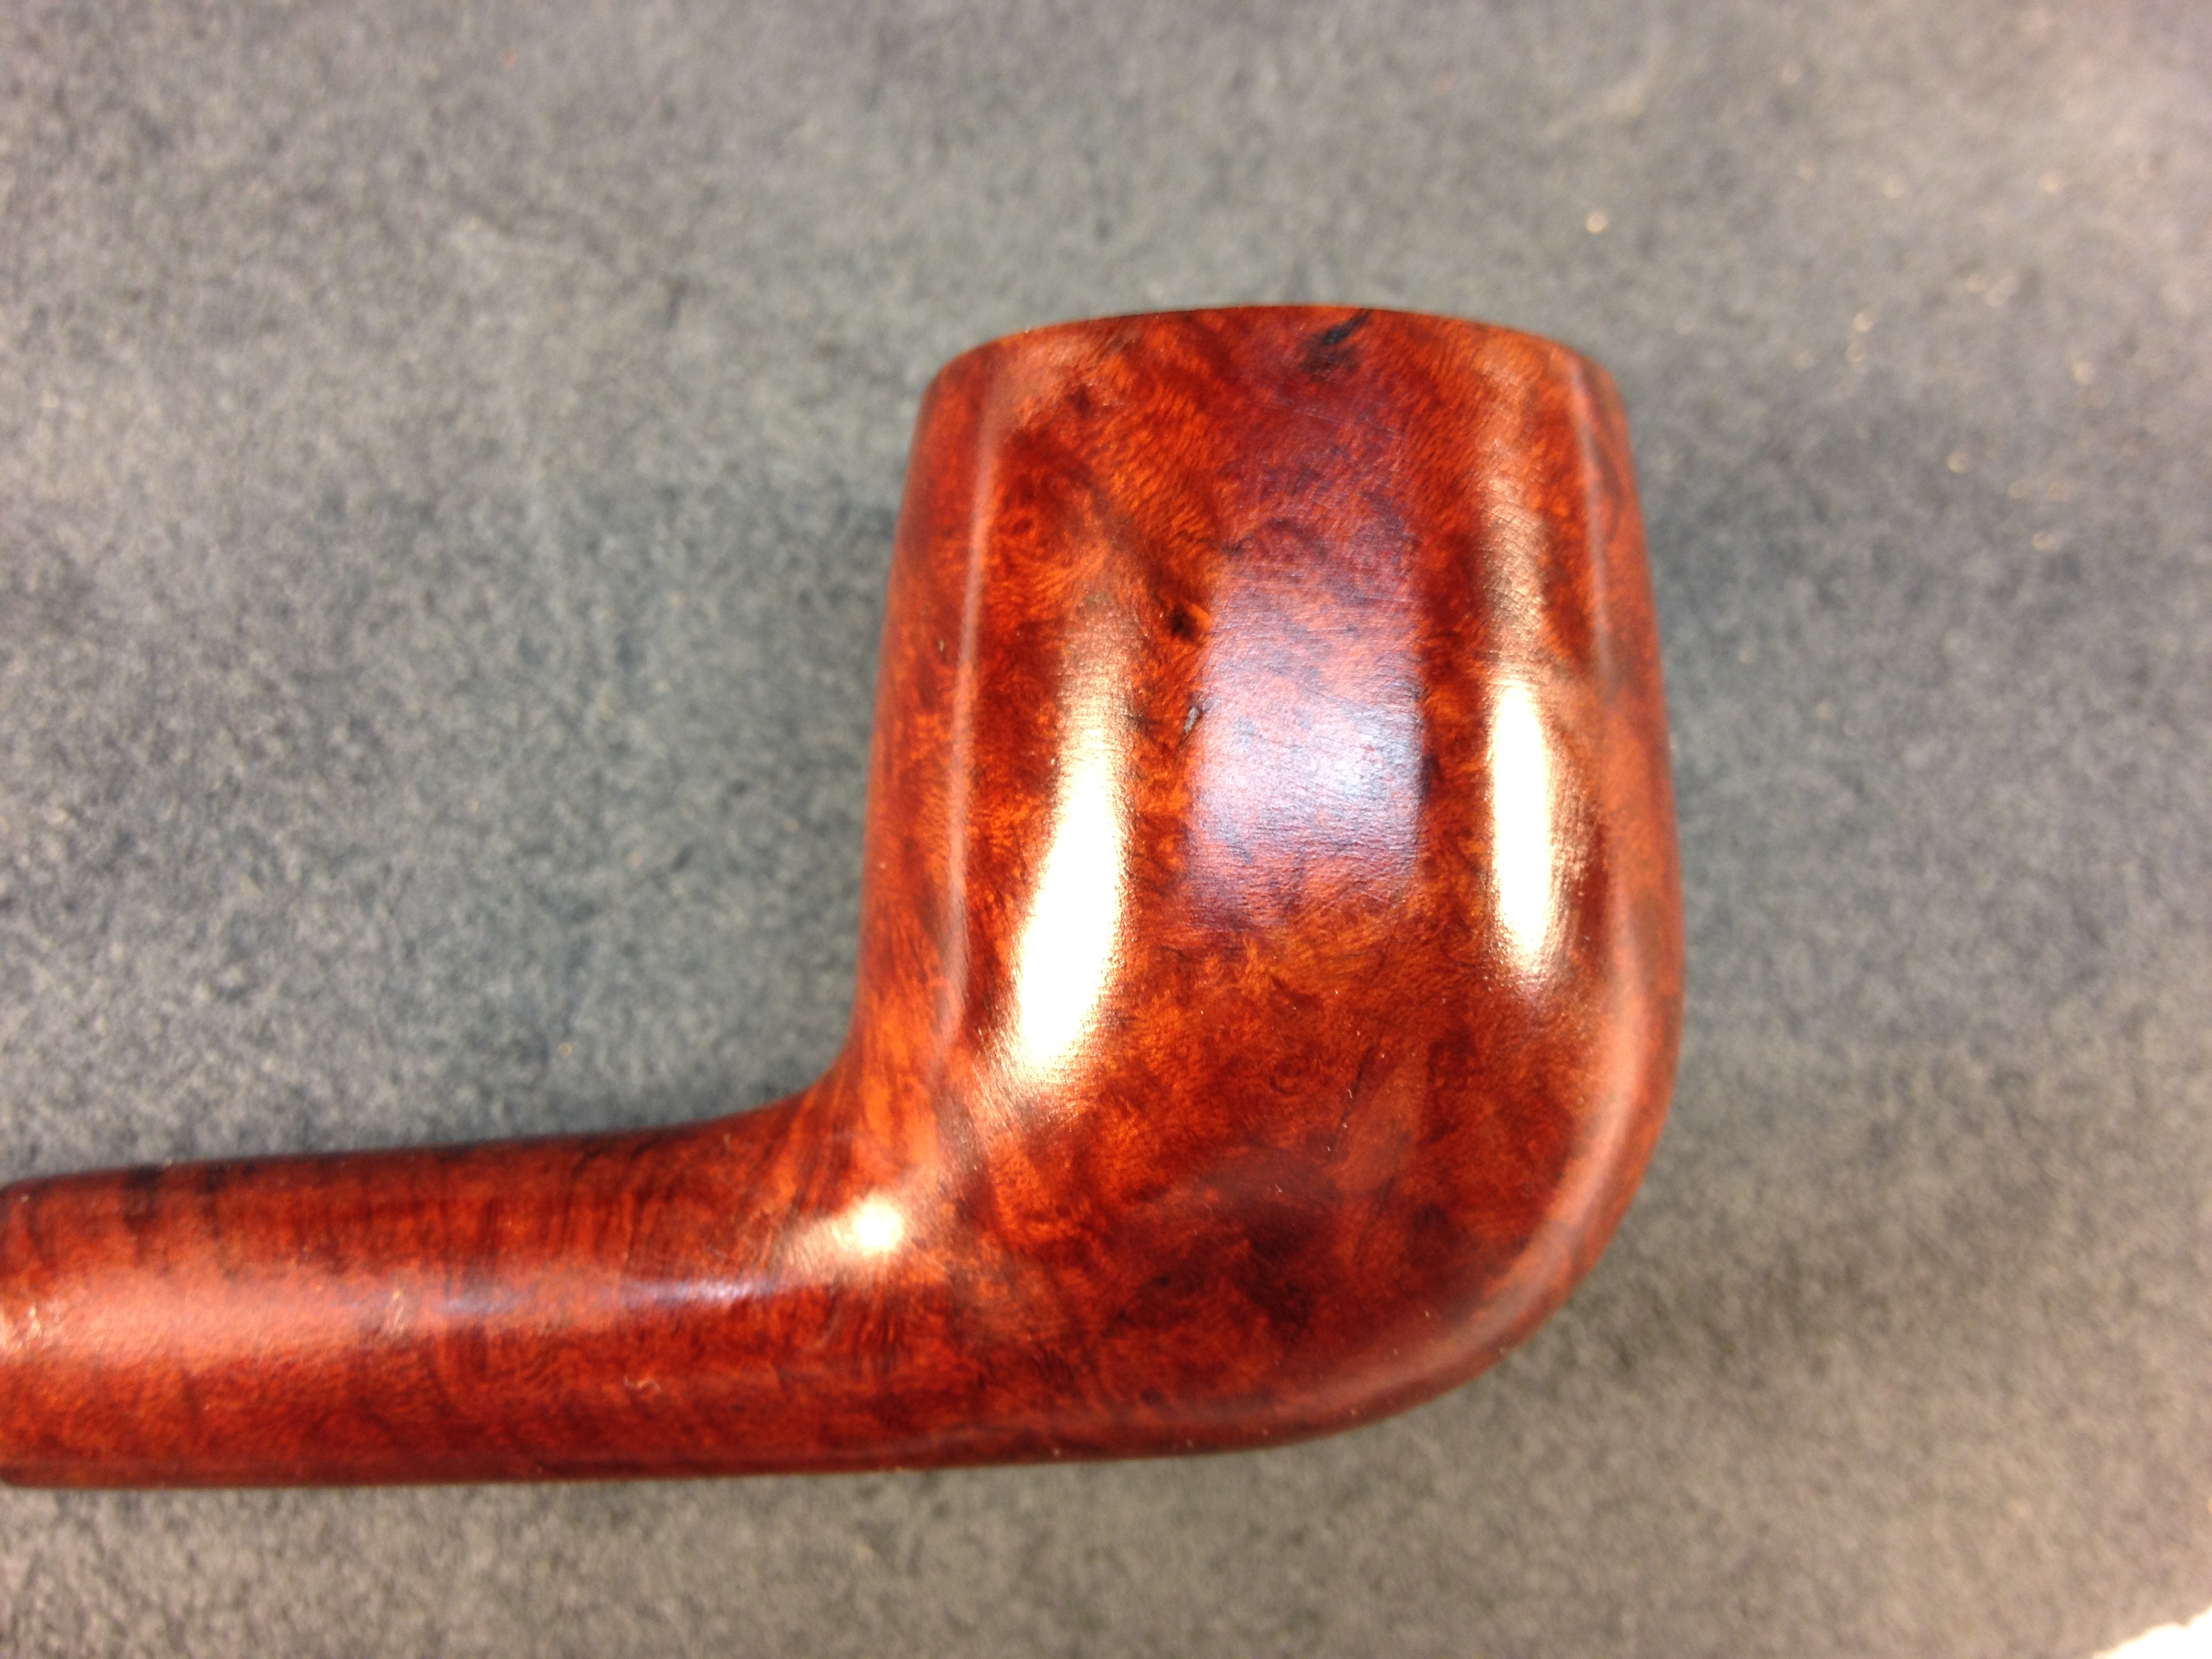
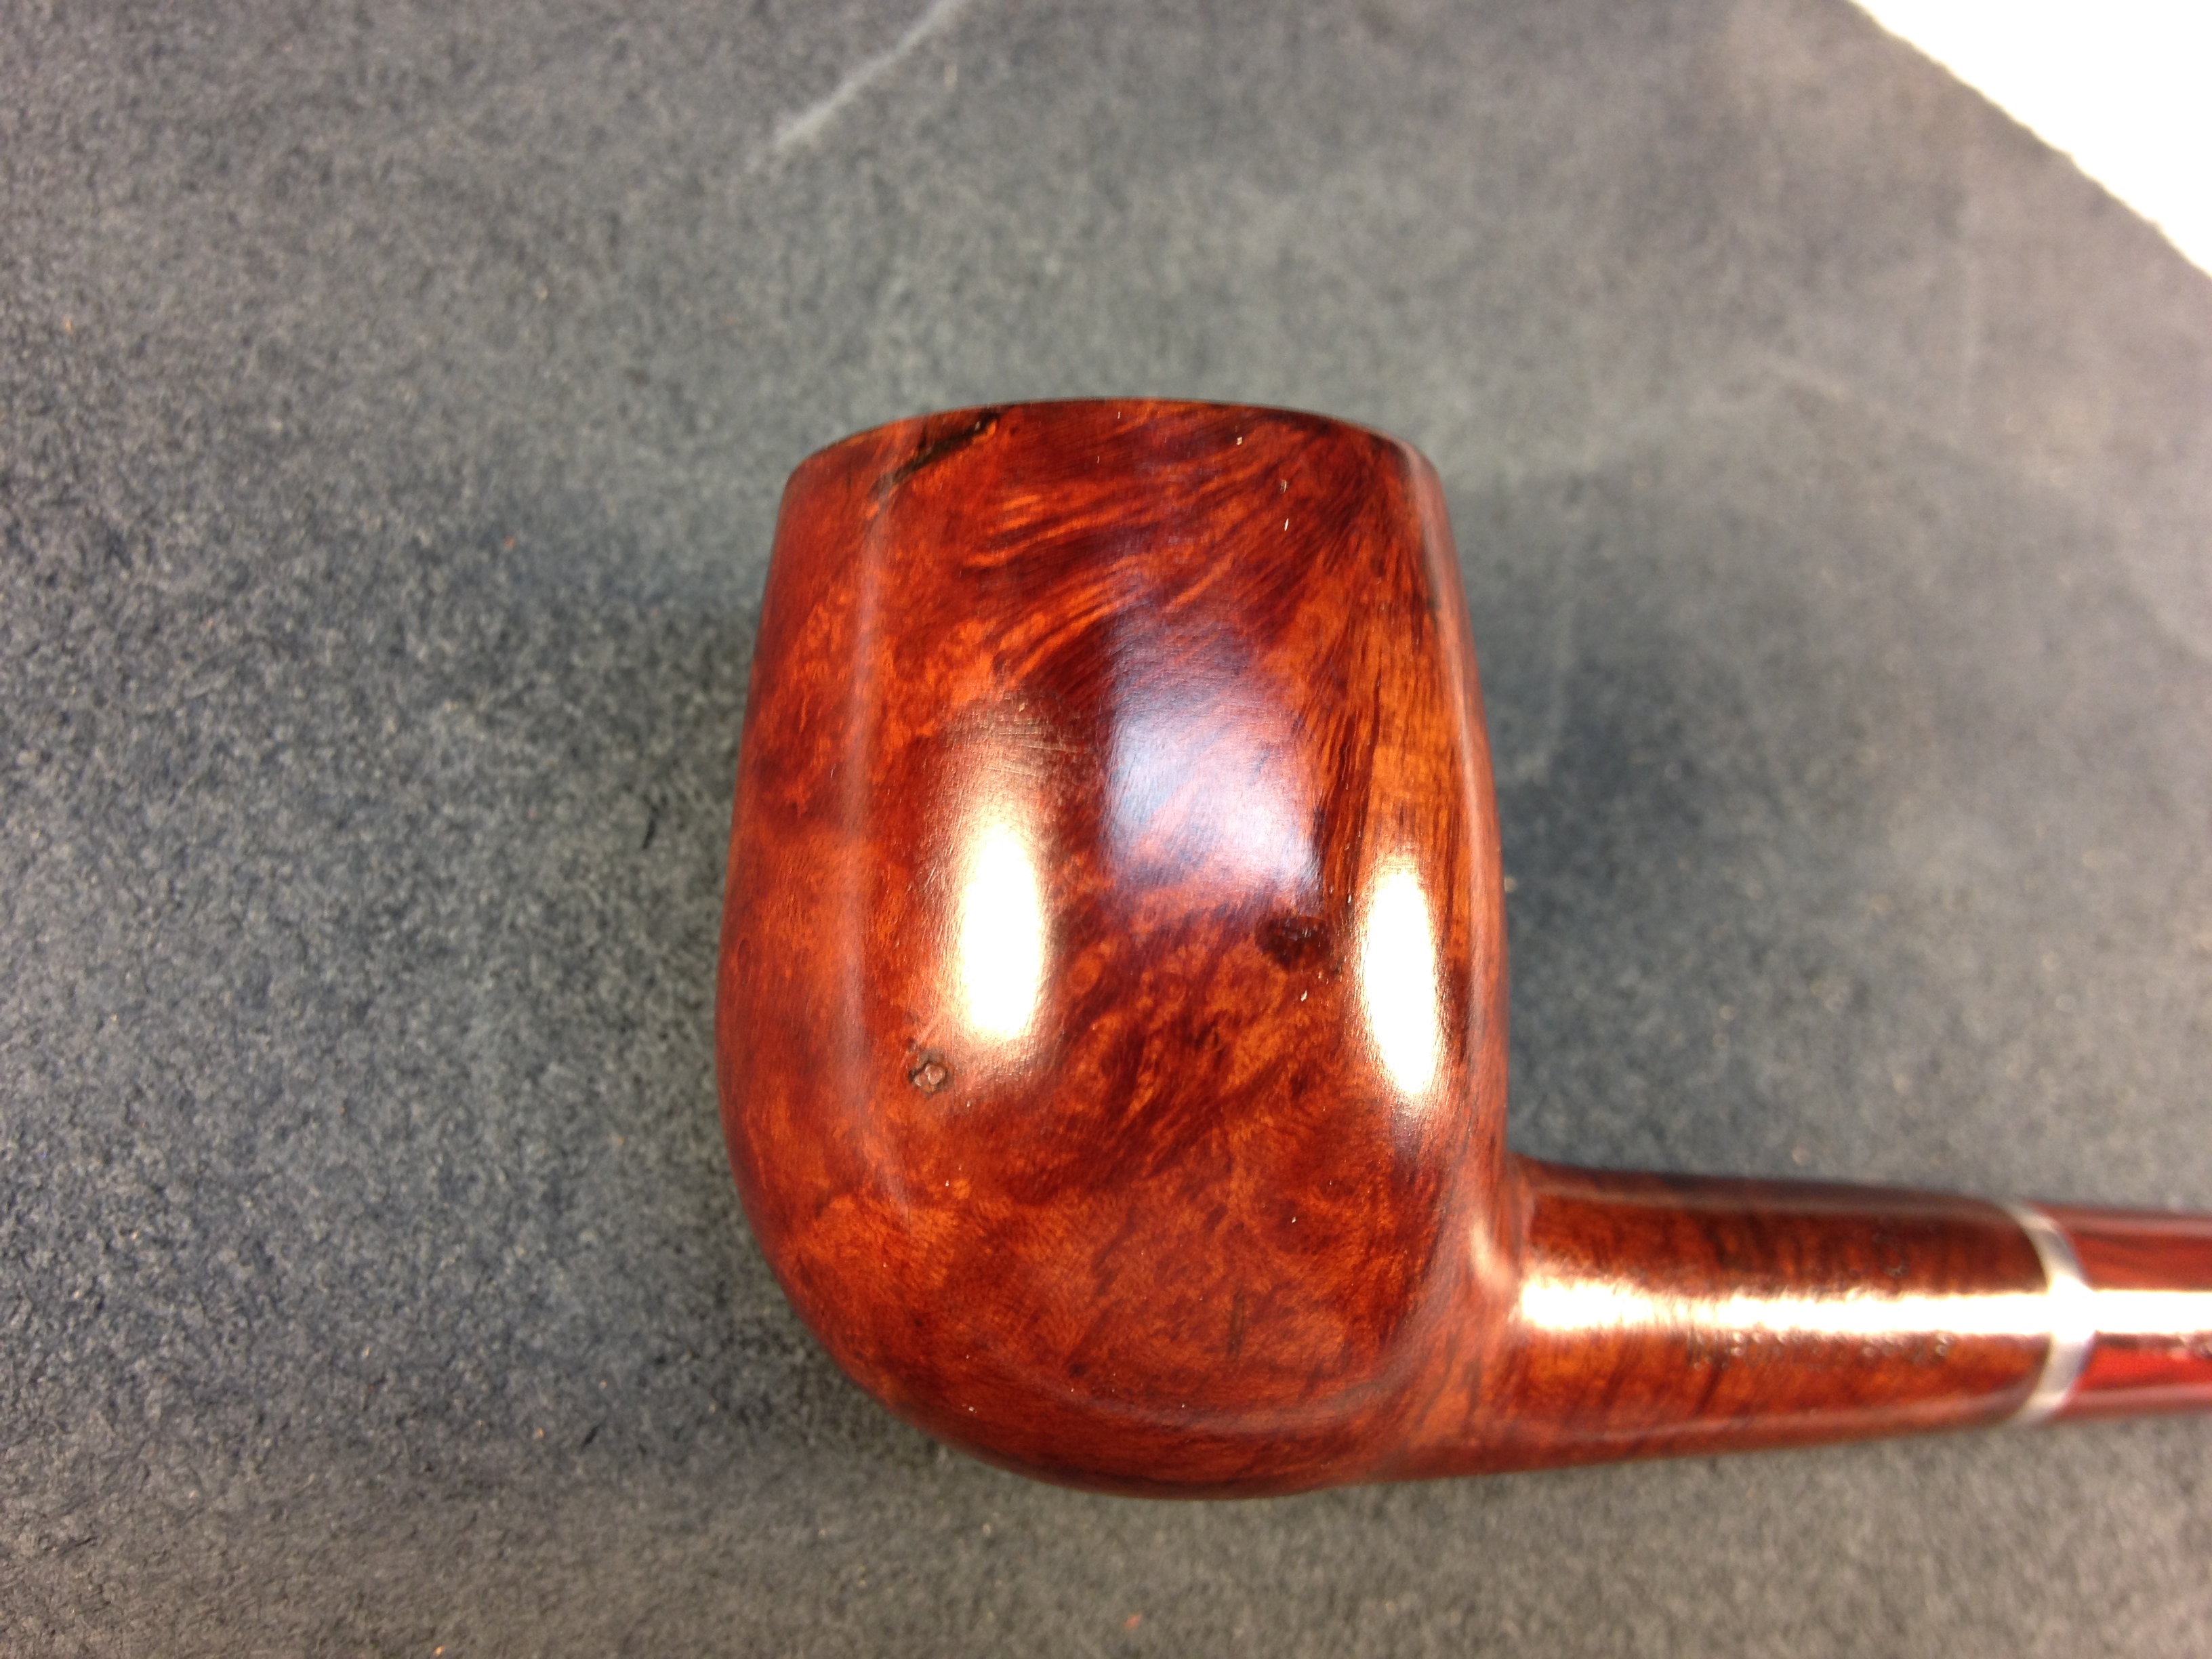
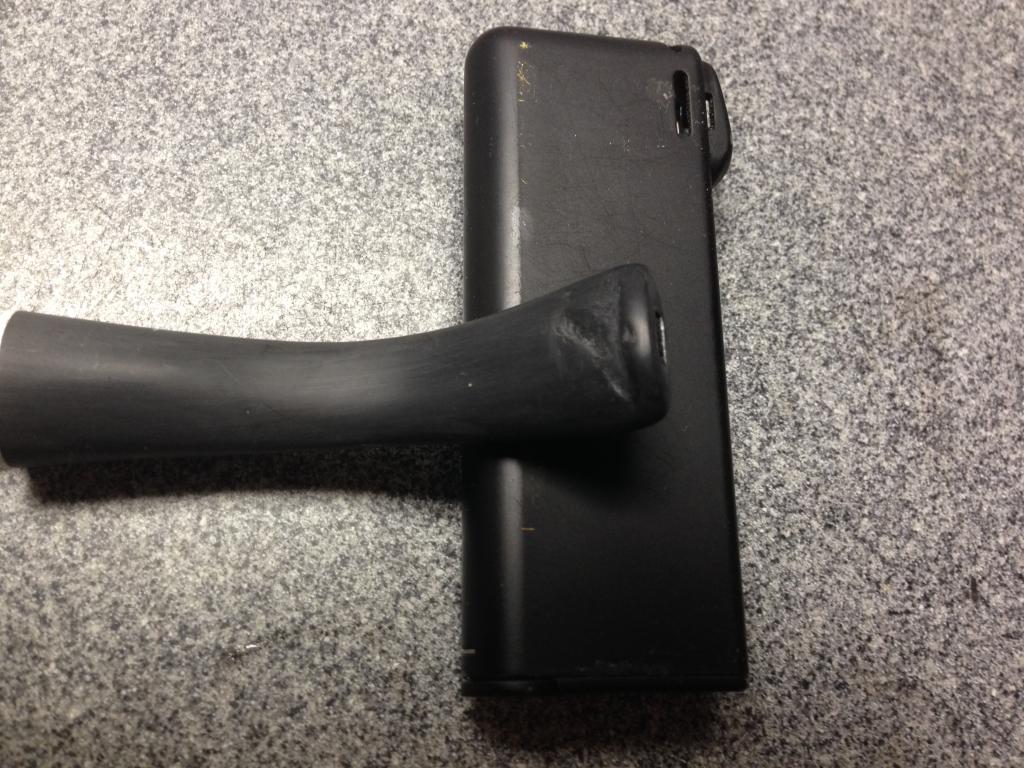
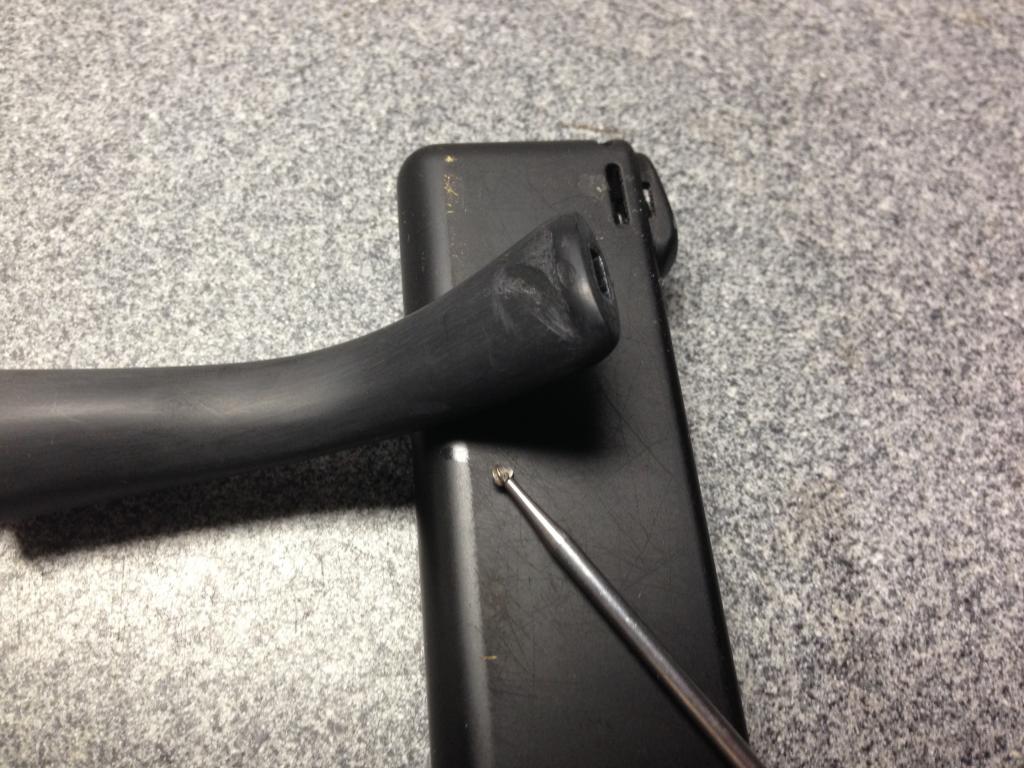
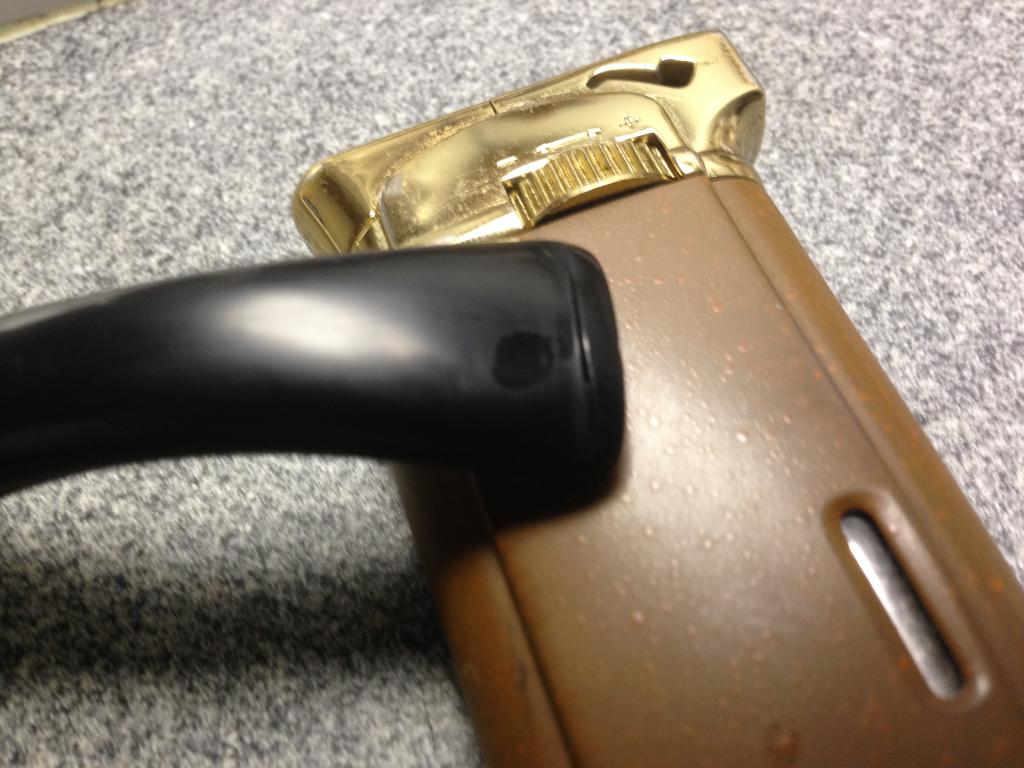
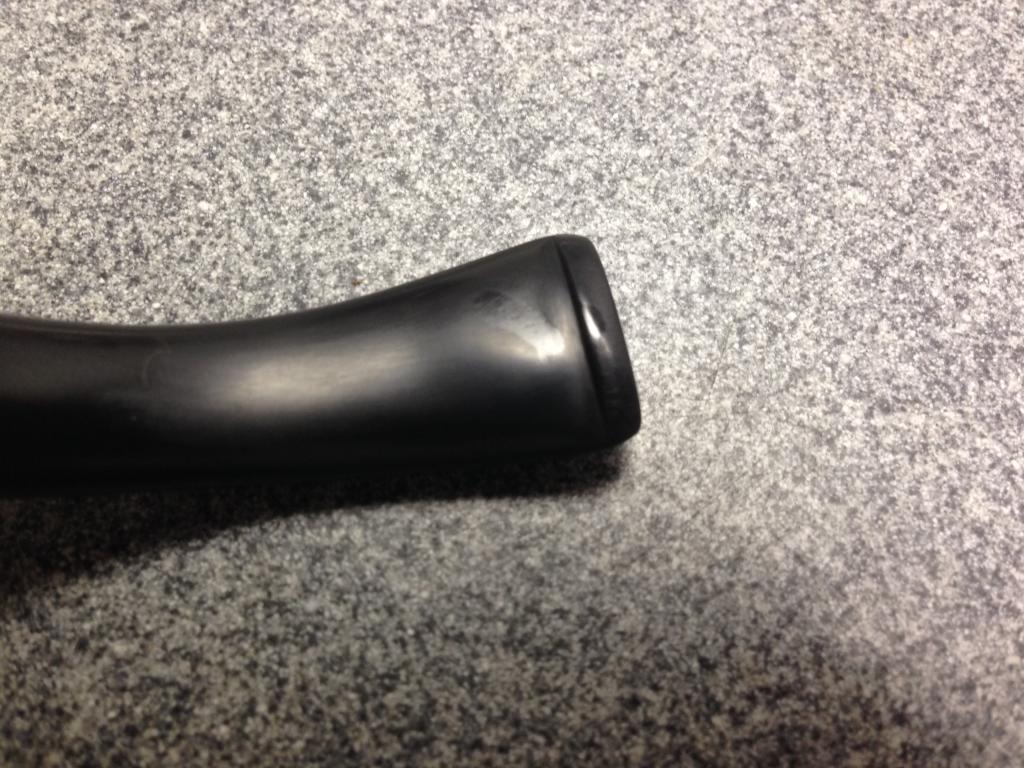
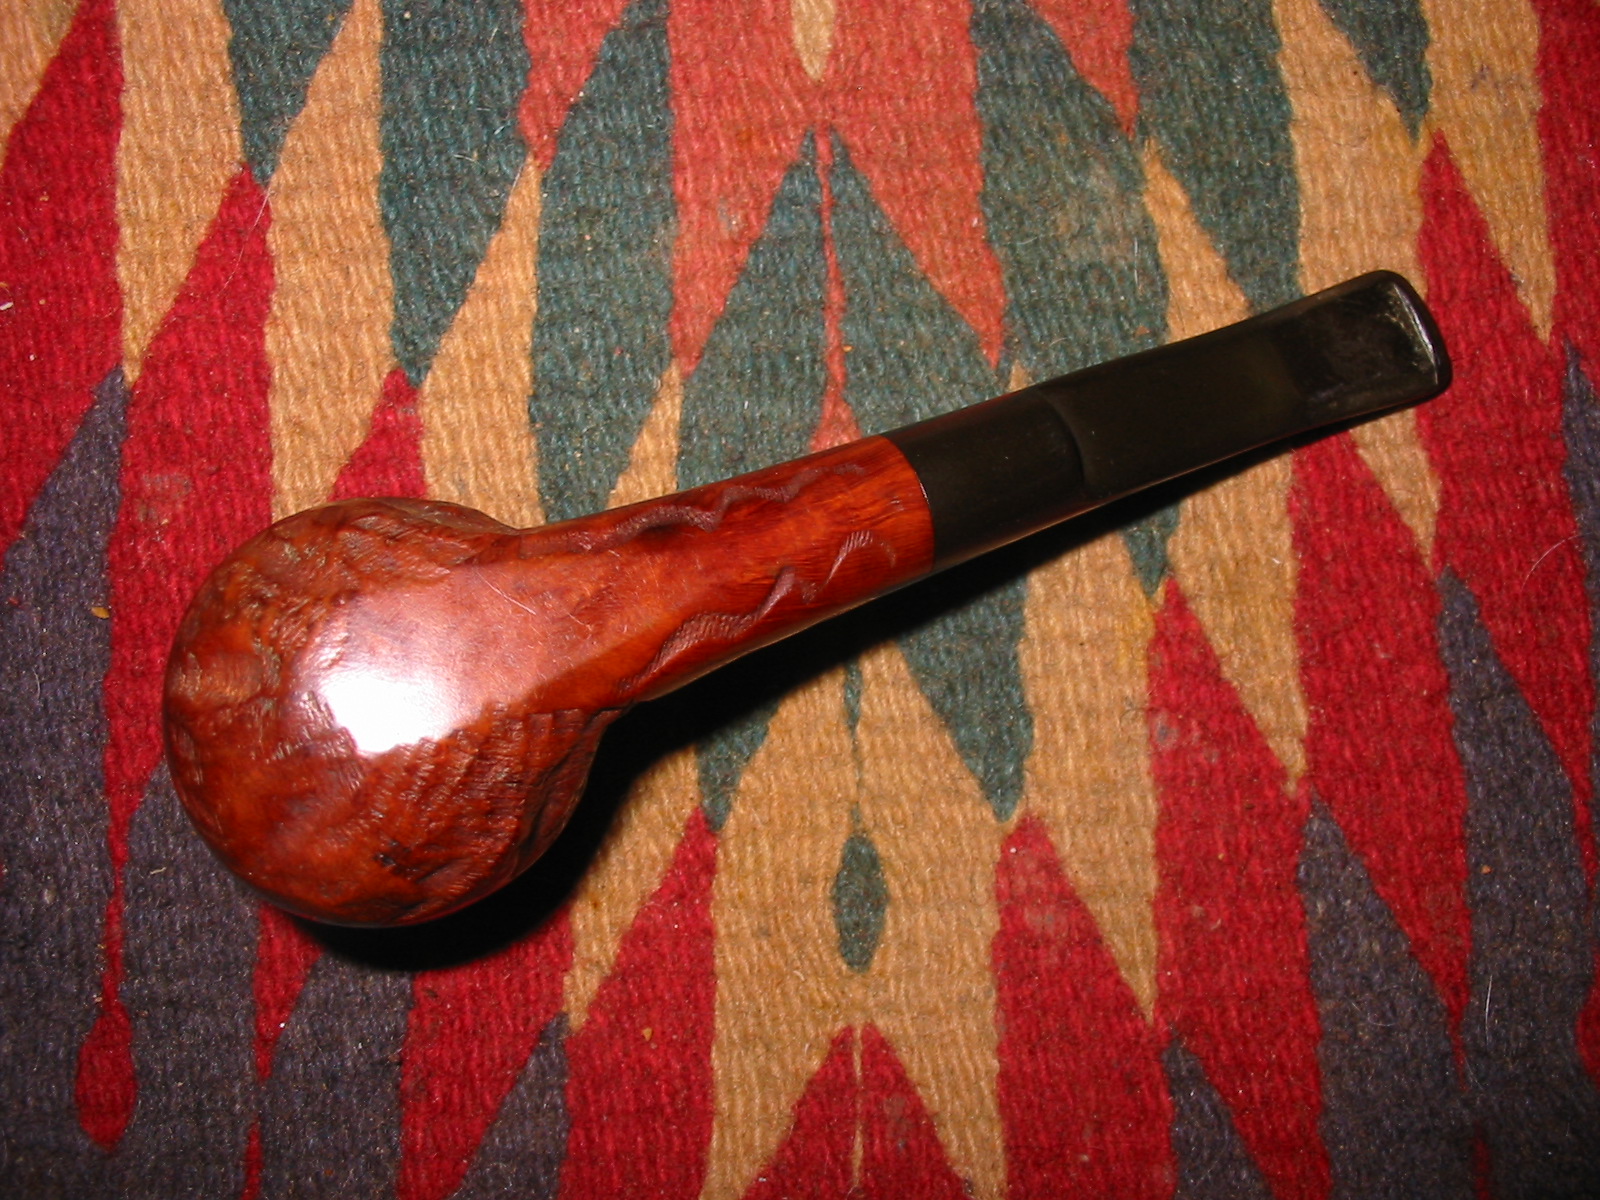
I buffed the bowl and stem with White Diamond and then gave the bowl and stem multiple coats of carnauba wax to shine and protect. I buffed it with soft flannel buffing pads to give it a final shine. The finished pipe is shown below.
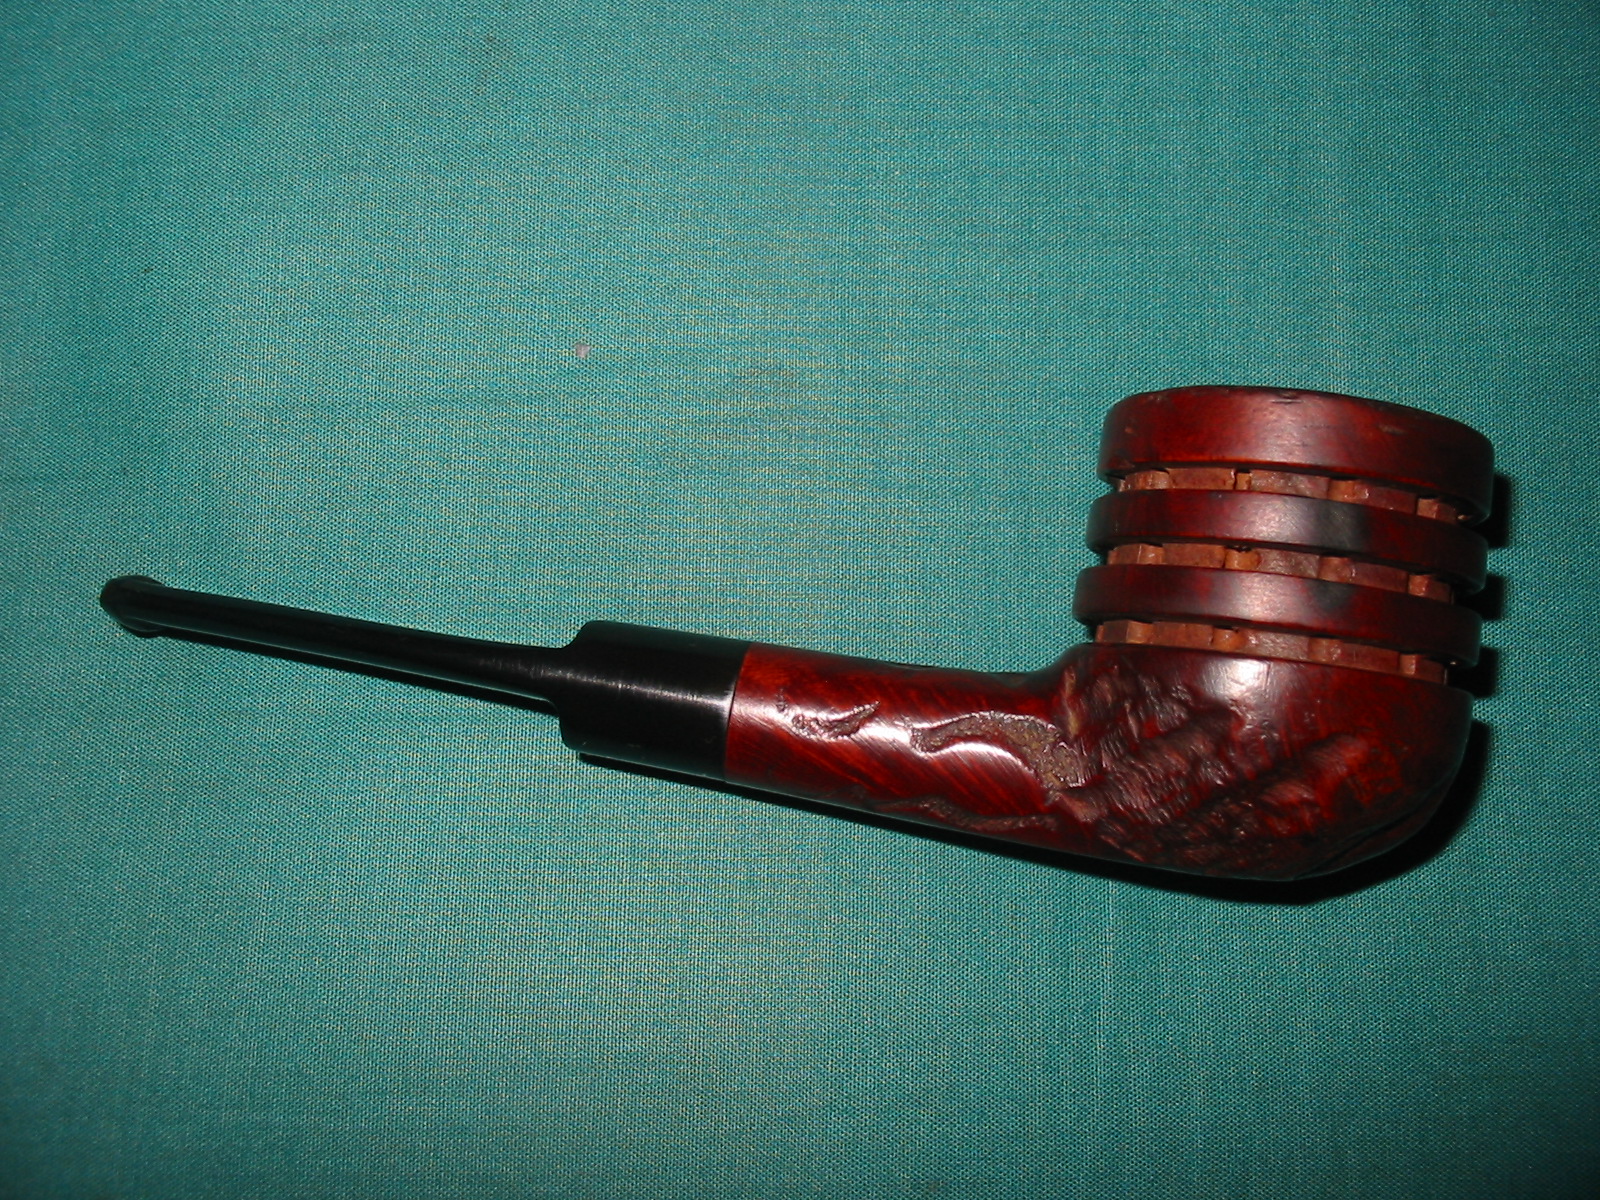
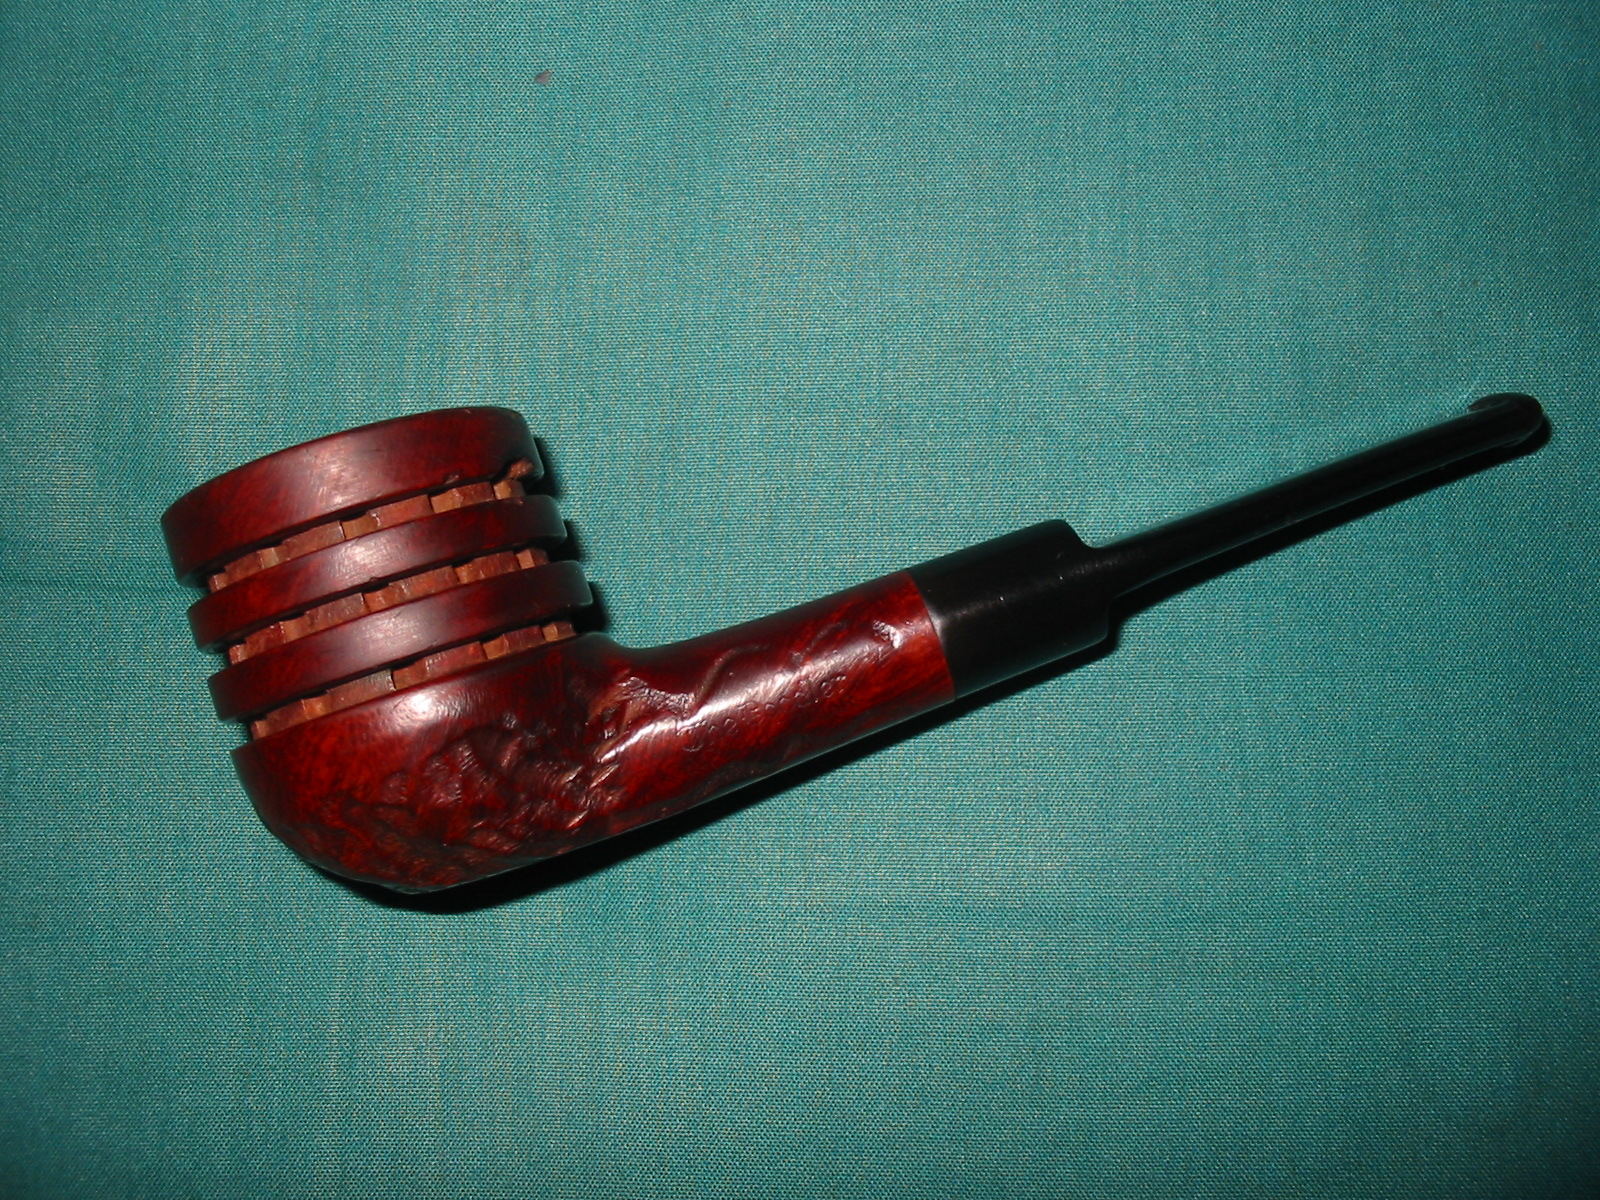
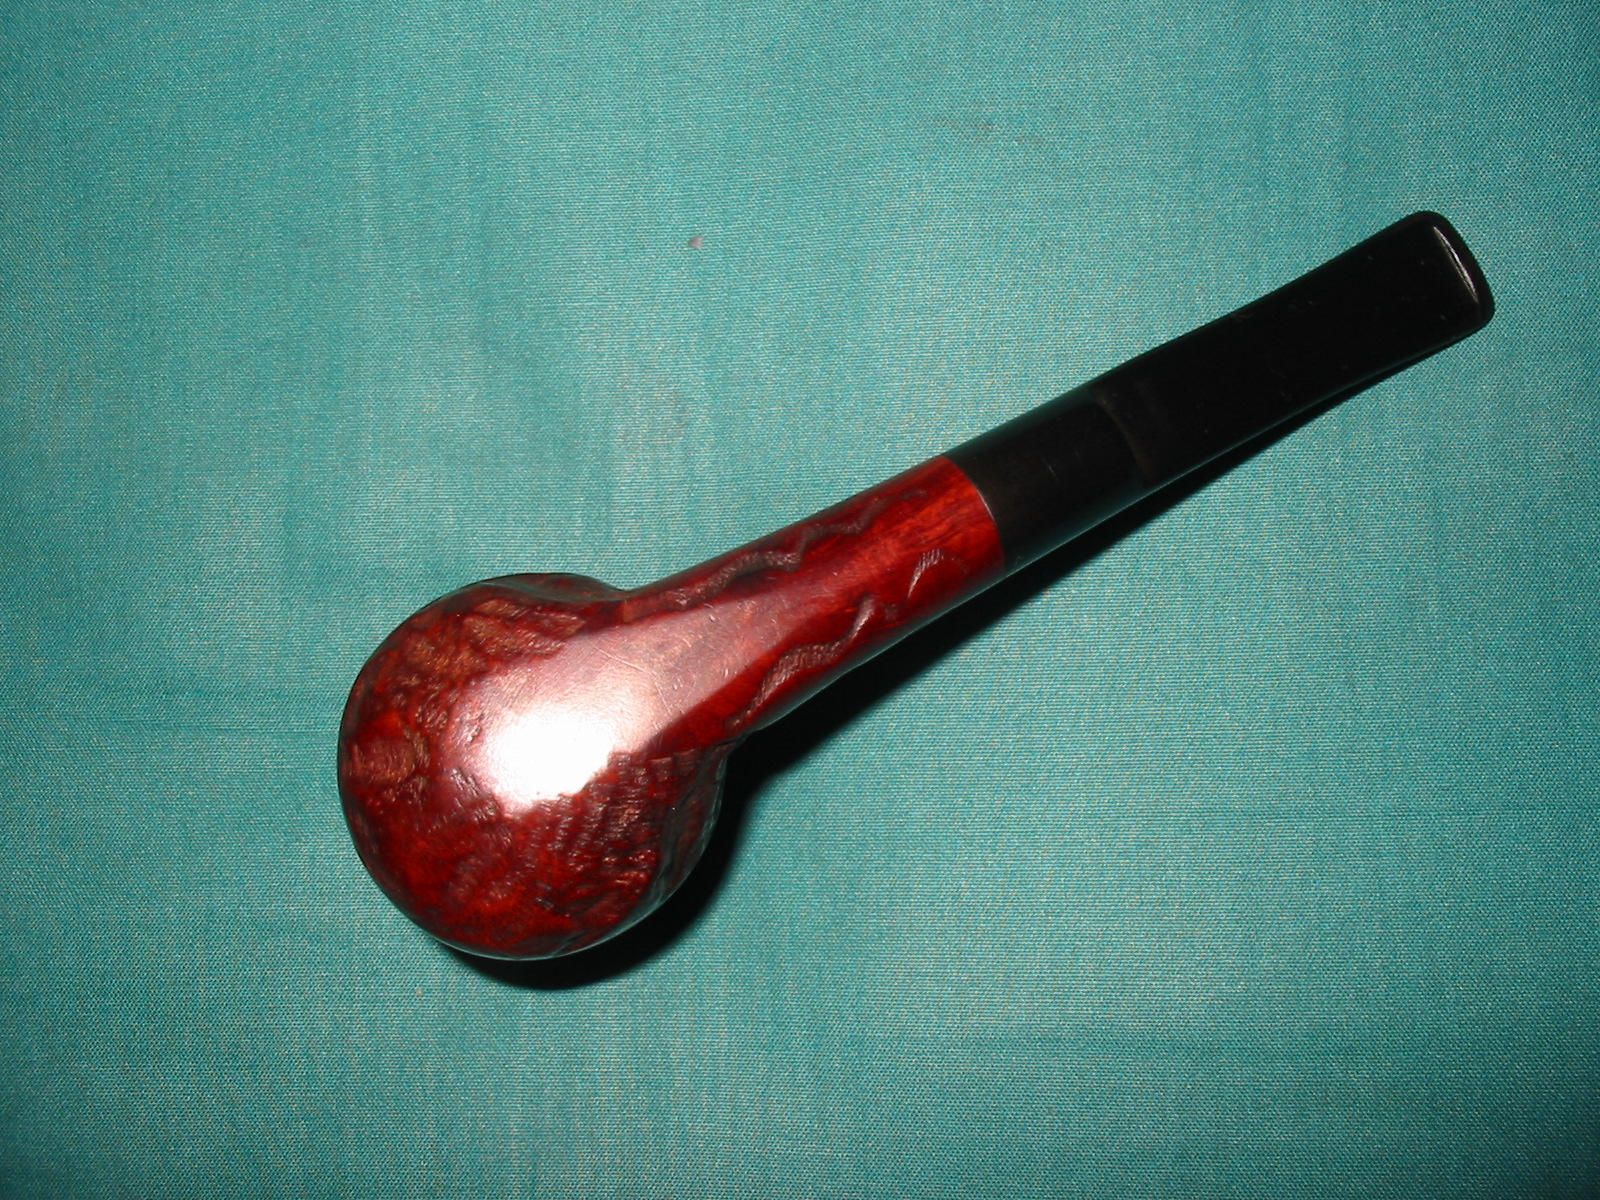
It is now joins my other Doodler and Holy Smoke Pipes in my pipe cupboard. If it is anything like the others it will smoke very well and stay cool throughout the entire smoke due to the drilling all around the bowl. 
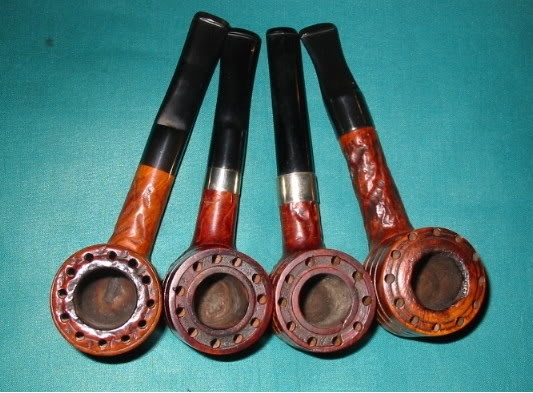
Tag Archives: repairing tooth marks
Thanks to Father Tom I have a Base for the Yello-Bole Airograte Bowls
Blog by Steve Laug
Those of you who have followed the blog for a long time will get the irony of the title. I have written quite a few Father Tom stories over the years and have had them on the blog. I am hoping that a book of these stories will be published in the near future. Anyway on the Pipe Smokers Unlimited Forum I posted that I was looking for a base unit/stem for some Yello-Bole Airograte pipe bowls that I had been gifted. I had refurbished the bowls and written of them here on the blog: https://rebornpipes.com/2014/07/17/restoring-a-couple-of-yello-bole-airograte-bowls/ Father Tom sent me a private message saying that he had one and would be glad to send it to me. We exchanged a few messages and settled on a trade. Last evening when I got home from work I was greeted by a package from him. The pipe had arrived. He had put a Grabow Viking bowl on the stem just for traveling and when I opened the box and removed the pipe from the wrappings I was excited to get to work on it. I removed the Grabow bowl and went to work cleaning the stem. I used pipe cleaners, cotton swabs and isopropyl alcohol to remove the buildup from the bottom of the base and the dental pick to clean out the threads.
Once it was clean I used Vaseline to lubricate the threads so that the bowls would turn easily into the base. I applied it with cotton swabs to get it into the threads. In the background are some brass screens that Tom sent along that go in the base between the bottom and the bowls. The open bottom on the bowls sit against this screen. Tom has found that these brass screens work far better than the original metal plate with holes that originally formed the grate for the bottom of the bowls. He says they clog far less frequently.
The Airograte base has two small airholes in the sides of the bowl just below the ledge where the grate or screen sits. These tiny holes allow air to the bottom of the tobacco when smoked. When air is drawn in the bowl, it enters through these small airways. In this particular base the airways were clogged. I used an unfolded paper clip to open them again. I pushed out the clogs from both sides of the base from both the inside and the outside. The airflow is now unrestricted in those airways.
I put the brass screen in place in the base once I had the cleaning finished. The bowl will screw on top of the screen and the tobacco when loaded will sit on top of the screen.
With the above statement about the bowl sitting on top of the screen I thought that it might be helpful to take a photo of the two different bowls. The one on the left is the bowl for the Airograte while the one on the right is for Grabow Viking. The Airograte is more of a tube that sits on top of the grate. The tobacco burns on the grate.
The Viking bowl also fits perfectly on the nylon stemmed pipe I have written about earlier. I am pretty certain that the nylon one is also a Grabow though it is unstamped. The photo below shows the bowl from the nylon pipe and the Grabow bowl from the bottom.
While I was cleaning up the bowl base I noticed the Patent and Patent pending information on the bottom of the bowl. This made me curious to see exactly what was patented/patent pending. I went to the US Patent Office on line ( http://patft.uspto.gov/ ) and searched the number on the bottom of the base. I was able to find that the patent had been applied for in 1949 by Samuel Lawrence Atkins of New York City. The patent was for the airograte that sat between the airway in the bowl and the tobacco and the two small holes in the bottom sides of the bowl. It was designed to give a dry and even burning smoke and keep bits of tobacco from entering the airway and mouthpiece. I have included a copy of the patent document with a diagram below. I find that it is always interesting to read the pitch that is made in terms of purpose for the design. The ongoing hunt for the perfect pipe continues to this day.
With the bowl finished, the base cleaned and the airway opens and clean all that remained was to tidy up the stem. The nylon stem, though similar to the ones on Vikings and Falcons had a slimmer profile. The thinness made it very comfortable in the mouth. There was tooth chatter against the button on the top and the bottom of the stem as well as some deep tooth marks mid stem that had been poorly sanded out leaving dents in the flat surface of the stem midway up the stem on both sides. I sanded the stem with 220 grit sandpaper to remove the tooth chatter and to smooth out the flow of the taper. I followed that by sanding with a medium and fine grit sanding sponge to work on the scratches.
Once the dents and scratches were gone I worked on the stem with micromesh sanding pads. I wet sanded with 1500-3200 grit pads. I found it really frustrating work to try to remove the scratches and marks. Wet sanding did not seem to really do the job – so I started over with the pads and a drop of olive oil. The oil seemed to do the trick. It proved to be the right medium for the micromesh. It gave bite to the pads and really worked quite well.
I continued to sand with the drop of oil through the 3200-4000 grit pads. The scratches really began to disappear and the stem was getting smoother.
I did the same with the 6000-12000 grit pads and a drop of olive oil.
Once I had finished sanding the stem with the micromesh I gave it a light buff with White Diamond. A light touch is essential when buffing nylon stems or you make more of a mess than you started with. I rubbed the stem down with Obsidian Oil and when dry I coated it with Paragon Wax and hand buffed it. Below are some photos of the pipe with each of the two bowls in place. I really like the looks of the finned shank on this one. The flat stem makes it very comfortable. I am looking forward to loading a bowl and trying out the patented “Airograte” screen that is on the bottom of the bowl.

Yellow Acrylic Stem Patch – Part 3 – by Joyal Taylor (aka holymolar)
This is the third part of Joyal’s article on the yellow acrylic stem patch. His earlier parts of the article chronicle the various methods and procedures he has used in his try to get a matched patch on the acrylic stem he was working on. Please read the earlier installments to see the complete experiment. Part 1 can be found at this link: https://rebornpipes.com/2014/07/08/stem-patch-using-amber-super-glue-joyal-taylor-aka-holymolar/ Part 2 can be found here: https://rebornpipes.com/2014/07/08/yellow-acrylic-stem-patch-part-2-joyal-taylor-aka-holymolar/
This time I tried Behlen’s yellow powder w/ StewMac’s thick clear superglue.
This is the best so far. Good color and opaque. Some of the powder didn’t mix in but it all polished smoothly. I had to leave the patch thick at the edge because every time I tried to sand it smooth it to the acrylic, I would remove more of the original color from the acrylic and have to add more patch material. Oh well, this may be as good as I can do, for now.

Using Charcoal Powder and Black Super Glue to Repair a Bite Through on a Nylon Stem
Blog by Steve Laug
With all of the blog posts recently on repairing stems I decided to do a little work on one I had here. I wanted to use a black superglue and carbon mixture to see what I could do with this seriously damaged stem. It was a Medico pipe stem bearing the stamping F. The F stamping is a Medico brand mark but this stem was a different diameter than the shank of the pipe that it had come attached to so I replaced the stem on that pipe. I was left with this one and almost threw it away because the hole was large and on both sides of the stem. That combined with the fact that the stem was nylon would make it less desirable to repair for me. There were also deep tooth marks all around the holes. But I figured it was a perfect stem to do experiments on so went ahead with the repairs. I sanded the stem with 220 grit sandpaper to highlight the tooth marks and the holes. The button itself had dents in it as well and the crease had been flattened.


I cleaned out the debris from the hole with a dental pick (rather than the Dremel and bur that Joyal uses) and sanded around the edges of the hole with 220 grit sandpaper. I removed all of the loose or damaged material from the hole so that the edges were solid. I sanded them to roughen the edges slightly to provide a surface for the glue to bond to. I used a cotton pad and alcohol to clean out the dust from sanding and picking. I cut a piece of cardboard the same shape as the slot in the stem and greased it with Vaseline. I slipped it into the slot. I made sure that the Vaseline did not ooze out into the hole on either side.


I used Stew Mac Black super glue to build up the edges of the holes. I find that I get a much stronger patch/repair if I slowly build up the patch with multiple layers of the glue. I mixed in some carbon powder taken from a charcoal digestive capsule. I put the glue on the edges of the hole; mixed in the carbon and then more glue more carbon to build the first layer. The next series of four photos show the gradual build up of the glue and carbon. The glue was allowed to cure over night between each layer of the repair. I sanded lightly between the layers to roughen the surface of the patch and smooth out some of the pitting. I find that doing so provides a surface for the new layer to bond to.


Once the patch had thoroughly cured and hardened I sanded it. I test the hardness by pressing a fingernail into the patch. If it is not hard I let it sit longer. Once it is hard I sanded it with 220 grit sandpaper to smooth out the patch. I used a small needle file to redefine the edge of the crease. Nylon turns white when sanded and so did the patch fortunately. The patch was slightly darker than the stem at this point but would blend in with further sanding.


I sanded the stem with a medium and fine grit sanding sponge to remove the scratches. I further redefined the crease to sharpen it. The repairs are visible in the photos as slightly darker than the stem colour at this point.


In the process of the sanding I noticed that the dents in the button itself were not filled enough so I cleaned them out and filled them with black super glue. I also used black super glue to refill some spots on the surface of the blade that seemed to be pitted after the sanding. I sanded these after they were dry using 220 grit sandpaper followed by medium and fine grit sanding sponges. Once the surfaces were flat and smooth to my liking it was time to turn to sanding with the micromesh sanding pads. I wet sanded with 1500-2400 grit pads and dry sanded with 3200-12000 grit pads. I went back to the sanding sponges several times when I found that some of the scratches were not adequately removed. I then repeated the wet and dry sanding with the micromesh pads until the surface was shiny and smooth and the patches blended into the stem.


I rubbed the stem down with Obsidian Oil and when it was dry hand buffed the s tem and then resanded with the 3200-12,000 grit micromesh sanding pads.


I polished the finished stem lightly with White Diamond. You have to have a very light touch when buffing nylon as the heat the buffing creates melts the nylon and creates a mess. In this case I just lightly touched it and then gave it a light coating of carnauba wax and then hand buffed it. I gave the stem several coats of Paragon Wax and hand buffed it. The finished stem is shown in the photos below.

Reparing a Cumberland Stem on a Kaywoodie Regent Bulldog 98B
Blog by Greg Wolford
I’ve been hoping to add a Kaywoodie Regent to my collection for some time now. A month or so ago we were out-of-town on vacation when I happened upon one in an antique store. There were actually several pipes in this vendor’s case, most of which I wasn’t interested in. Other than the Regent, there were also two other Kaywoodies I was interested in: a Relief Grain and an extra long Canadian. They all looked to have pretty good bones in the dark little store so I made them mine.
When I got them back to where we were staying I eagerly opened them up to see what I had. I found that they were a lot dirtier and caked up than I thought. I also now got a really good look at the damage to the Regent’s stem; this was going to take some trail and error I knew.
When I got home I took some better photos, showing the damage to the stem. There were deep teeth marks on the top and bottom of the stem and the edge of the side where the clover logo is was almost gone completely. This was going to take a lot of time and some research to get it even close to decent again I now realized.
My first step was to try some experiments on a Medico VFQ. Although I ended up with a good looking and smoking pipe, the experiments were somewhat in vain: the stems on the VFQ turned out to be nylon. So I now turned to some fellow restorers on the PSU Forum for hints. tips and ideas – and they really came through with many ideas and several new articles posted by Joyal. Some of the best advice for this project come from JoeMan: the idea of using activated charcoal powder with Gorilla brand super glue.
This project took days to complete do to all the patching a rebuilding of the stem. So, I didn’t do a great job documenting it all with photos and because of the extended time frame of the project I may miss a step or two in this article; I apologize in advance for these things.
The fist thing I did (after thoroughly cleaning the stem with pipe cleaners and alcohol) was try to raise the dents as much as I could with heat from a candle; there was little success here.
Now I began the filling and shaping process. This took many forms and layers: I used clear super glue, both “regular” and gel, mixing in some of the StewMac black glue at times, and also Gorilla brand super glue both with and without charcoal powder mixed into it. one of the challenges was to add strength and black-color in some places while not covering up too much of the red in the Cumberland stem. Another challenge was to build up that chewed up side so the end of the stem would have the proper shape again.
The StewMac glue was too thin and took so long to dry that it wasn’t much help to me on this project. The Gorilla glue, both “plain” and with the charcoal powder mixed in, was a big help; it is thicker and dries quite fast, especially when the powder is mixed in.
Another thing that added time was the way I went about this repair. There were multiple layers needed, as well as different thicknesses, so I would apply a patch, let it cure, and then shape it as I needed, and then start the whole process over again. I did this many times to get an acceptable result. This photo is after almost all of the layering and shaping was done:
I used needle files and a vulcrylic file for most of the shaping. I also used 220 grit sandpaper. After I had the final shape I was happy with I wet sanded with 320/400/600 and then micro mesh through 12000 grit; after 600 and every few grits thereafter I also polished the stem with Meguiar’s Scratch X2.0,which helps me see if I’ve missed anything along the way. The next four images are before micro mesh and after:
As you can see, this stem came out pretty nicely and is more than useable now. Then lines came out well, to my eye, and the rebuilding and patching blended rather nicely.
I didn’t do a lot to the stummel; the nomenclature is readable but very weak. There are some small “pocket” marks but I think they give the pipe an air of character so I basically left the stummel as I found it, sans, the thick cake, mess of tars and oils in the shank, and the buildup on the rim. The rim did require a very light topping and a round or two with the medium touch up marker to give it a head start on matching the patina on this rest of the wood. I only very lightly buffed the pipe with white diamond and carnauba wax and ending with a soft clean buff and hand polish with a micro fabric cloth.
I just noticed there is a bit of wax residue that I missed in the photos. Oh well, that’s easy enough to take care of after while ….
I’m very happy with how this project came out. It will soon find its way, I think, onto my rack where I can hopefully enjoy it for many years – unless my wife learns of its collectors appeal and potential value, then I might be in trouble!
Yellow Acrylic Stem Patch – Part 2 – Joyal Taylor (aka holymolar)
Blog by Joyal Taylor
Earlier I posted a You Tube video that Joyal posted about patching this yellow acrylic stem https://rebornpipes.com/2014/07/08/stem-patch-using-amber-super-glue-joyal-taylor-aka-holymolar/ It is part of an ongoing work in progress where Joyal is experimenting with different mixture to patch a bite through in an acrylic yellow stem. This is Part 2 of the ongoing experiment. Thanks Joyal for taking us with you in this experiment.
Since the amber superglue didn’t work well on this stem, I’m trying other things.
I tried mixing yellow and orange Fiebing’s Leather Dye with clear superglue, but the dye caused the glue to set instantly, even before I could mix it.
Next, I tried StewMac 2 part clear epoxy with Fiebing’s yellow and orange dyes, which mixed well.
Before photo of only one side of the stem, but I worked on both sides:

I used a round bit in my dremel to remove the previous amber superglue patch and discoloration. Also, I roughen-up the area in front of the bit to try to re-color that area.

I tried several combinations of yellow and orange dye until I got close to the color of the stem

Close up photo looks like it may work

After shaping the bit with needle files and sanding/micromesh the epoxy.

This didn’t work out so well, either. Not only the color isn’t good but, also, the epoxy feels soft and rough to my teeth and lips.
We learn from our mistakes, so I’m going to continue experimenting with this.
Next, I’m going to remove the epoxy and try patching a third time by mixing dye powders with clear superglue.
I would appreciate it if anyone has other ideas to try for this stem repair.
Stem Patch Using Amber Super Glue, Part 1 – Joyal Taylor (aka holymolar)
In a conversation with Joyal about patching a stem that had a yellow/orange tint I suggested that he try the amber super glue from Stew Mac. He replied that he had tried it and done a video on it on You Tube. He said it was too clear and not opaque enough for a good match. He sent me the link to his You Tube video on using the Stewart MacDonald Amber coloured super glue.
Since You Tube is not something I have ever done, I was intrigued with it. I thought it would be great to post the link here for you to have a look at.
The amber super glue Joyal is using is available online at:
http://www.stewmac.com/Materials_and_Supplies/Glues_and_Adhesives/Glues/StewMac_Super_Glues/StewMac_Tinted_Super_Glue.html
Part 2 is a continuation of this work and is found under the title “Yellow Acrylic Stem Patch – Part 2 – Joyal Taylor (aka holymolar)” can be read at this link https://rebornpipes.com/2014/07/08/yellow-acrylic-stem-patch-part-2-joyal-taylor-aka-holymolar/
Black Superglue Experiments – Joyal Taylor (aka holymolar)
Blog by Joyal Taylor
I have been waiting for this article since the product was mentioned on Pipe Smokers Unlimited Forums. Mark Domingues (who contributes on the blog) and Joyal both ordered the powder to try out. Both said they would experiment with it and report back. Joyal spoke with Mark and they agreed that he would post the results of his experiments. I have used Black Super Glue for a long time now in patching tooth marks and bite throughs on stems. I have dealt with the shrinkage and the long curing times and lived with them. Joyal has done all of us a service in doing this experiment and writing up the process and results of his work. Thanks Joyal for taking the time to work through this and document your process. It is well worth a read.
Experiment #1 – Black Superglue with Accelerator:
I used a round Dremel bur to cut a divot in a vulcanite stem, to simulate tooth marks.

I sprayed the area with accelerator and allowed it to dry for 5 minutes before adding superglue


I let the superglue cure for 30 minutes. As expected, the glue shrunk.

I sprayed more accelerator on the area and added another coat of superglue.

Then I sanded the patch with wet sandpaper (220 – 600 grit).

Later, I used micromesh pads (1500 – 12000 grit) and polished with white diamond and carnauba wax. It polished and shined so well that I couldn’t get a decent photo because of the camera flash.
Experiment #2 – Black Superglue with Plastex, as well as Behlen’s Furniture Powder:
I used a round dremel bur to cut three divots in a vulcanite stem, to simulate tooth marks.

Black Plastex and Behlen’s Black Furniture Powder.

Will use from left to right
Patch 1 – Black Superglue only
Patch 2 – Black Superglue w/ Black Plastex
Patch 3 – Black Superglue w/ Black Behlen Furniture Powder

Patch 1 – cured for 8 hrs, it shrunk. Added 2 additional layers and let the final layer cure for 24 hrs.
Patch 2 – cured for 8 hrs, no shrinkage but the surface was pitted
Patch 3 – cured very quickly, 5 minutes, but the surface was pitted


Sanded the patches with wet sandpaper (220 – 600 grit). Fortunately, I had overfilled Patches 2 & 3 and the sanding smoothed out the surfaces. Extra layers were not necessary.

Later, I used micromesh pads (1500 – 12000 grit) and polished with white diamond and carnauba wax. The patches polished and shined so well that I couldn’t get a decent photo because of the camera flash.
Discussion:
Adding Plastex to Superglue reduced the curing time (it didn’t shrink and one layer filled it up). Also, the Plastex adds strength to the patch and could be good for large patches and holes.
Adding Behlen Furniture Powder could be used if you’re impatient (it has something in it that causes the Superglue to cure very quickly). Too much powder will cause the glue to cure so quickly that there isn’t enough time to place it into the divot.
I haven’t tried it yet, but using the Accelerator first, then Black Superglue with Plastex could be a good way to go.
Plastex can be ordered from: http://www.plastex.net/
Behlens Furniture Powder can be ordered from: http://www.shellac.net/furniture-powder.html or http://www.highlandwoodworking.com/b…owders1oz.aspx
Medico VFQ – Save This Old Pipe Project
Blog by Greg Wolford
I saw this old Medico V.F.Q. go through two or three eBay auctions with no bids. I have recently been admiring pipes with Cumberland stems and thought this one would make an excellent “project” pipe to see how well I could repair a Cumberland stem. (A side not here: This is not a Cumberland stem I have found out; it is nylon/plastic.) So I wrote to the seller and offered $5/shipped for the pipe, noting that I didn’t care how she shipped it, just safely and cheaply would suffice. She posted a seven-day auction with an opening bid of $5 with free shipping; I was the only bidder.
When the pipe arrived it looked as bad, maybe worse, than I had expected. The stem was really chewed up and the finish was shot. There were also several fills that I hadn’t been able to see in the (above) auction photos. I decided to work on the stem first so I broke out some tools.
The first thing I did was to try to raise the dents with the heat of a tea candle. Not being actual rubber (which I didn’t realize yet), this had little effect. Next I began with needle files to take off some of the roughness. This made some improvement and gave me a better surface to work with for patching with super glue, which I applied at this point. You can also see the shape of the pipe as a whole here when I got it.

I worked in stages over a few days on the stem: allowing the patch to cure, adding more as it shrank, touch it up a little as I went with files or sandpaper. Once it had finally cured into a patch that filled and covered all the dents on both sides I began to shape and smooth it with files and 220 grit sandpaper. The button was ragged and kept getting that way when I worked on it; it was at this point I think that I realized I was working with nylon not rubber. When this revelation struck I decided to begin working it toward the best finish I could get with micro mesh and not spend a lot more time on this stem.
I had been doing a running post on Pipe Smokers Unlimited forum with this project. Steve, our humble leader and blog owner, contacted me with the welcome news that he had a very nice VFQ stem that he would send to me for this pipe. I excitedly accepted his gracious offer and sent him my address. When the stem shows up, if it fits, I will add photos of the end product; thank you again, Steve.
It was now time to get the bowl going, starting with a good leaning, inside and out. The pipe needed reaming and the shank was clogged with gunk, too. So I reamed it back to bare wood, pretty much, and cleaned the shank with many pipe cleaners, cotton swabs and a set of shank brushes until the final cleaners can out white; I also cleaned the stem at this point.
The finish was terrible so I took some cotton balls and acetone to the stummel, scrubbing off the years of grime and broken layer of what I assume is/was lacquer. With the old finish gone there were a few things now obvious: there were a couple of large fills to address and the bowl needed to be sanded to remove some scratches, and it needed topped.
I started with the topping process, using 220 grit sandpaper. I realized that the rim char was too deep to get all of it out without getting into the large fill near the top of the bowl’s front so I rounded the edges of the bowl to remove the edge char and see how deep that was; it wasn’t bad. I decided to leave the top for now and work on the fills; after the fills were done I came back and sanded the top smooth.
I wanted to use this pipe to experiment on, not just the stem but also the fills. In the past when I have used super glue and briar dust to patch a fill it is usually much darker than the rest of the pipe; sometimes I can blend it in well and other times not so much, so I wanted to try something different here, with an eye toward a future project. A few months ago I bought some black and amber super glues from Stewart McDonald; they offer black, amber, clear, and white. The black I plan to use on stems but the amber I thought might work well on patching fills and this was the project to try it on.
I removed one fill to start, just in case the experiment didn’t go well; the dry time on this stuff is very long so I suggest you try the accelerator if you order from them (I forgot it).
I used my dental pick, a beading awl, and a file to pick out the old putty. After the putty was out I dripped a bit of the amber glue into the hole, leaving extra to feather when I sanded it. I also used the end of the awl to make sure the glue went all the way into the hole. Then I waited until it cured a few hours, tapped it down with a tamper, in case there was any air pockets, and let it finish curing.
When it was set through, several hours, I began to sand with 220 grit paper. And I was really pleased with the initial results: an almost perfect match to my eyes!
I then decided to take out all the fills and patch them the same way, with amber glue and nothing else.

The waiting game began again. Some hours later I noticed that the large fill at the top needed more glue so I dripped in another layer and waited more. This morning I finally got to start sanding the new fills down, and the entire bowl as I went. The results on these fills were a bit varied from the first one I soon saw.
Even when sanded smooth a couple of the fills weren’t as nice and I have a few ideas why: I didn’t use the awl to make sure the glue went in all the way, I didn’t go back and tamp it part way through the curing process, and I may not have gotten all the pink-filler out. The next time I do this I will be sure to remember these items!
Next I prepared the bowl for staining. I finished sanding with 220, then 320, and finally 400 grit paper and wiped the bowl down with alcohol to remove any dust left behind. Then I began staining the bowl with a medium brown stain marker. I applied one coat as evenly as I could and let it dry about 10 minutes. Then, the secret I think to using these, I applied a second coat in small segments, wiping it with a paper towel to even out the color as I went. The rim got 3 coats of stain.
Next I gave the stummel a light buff with Tripoli, and the entire pipe a buff with white diamond and a few coats of carnauba wax, then a buff on a clean wheel before a final hand buffing with a microfiber cloth.
I’m very happy with the end results of this multi day project. I think the fills look and blend much better, especially the first one. And I believe with a little more tweaking and experimenting this is a very good option for patching fills. From a $5 eBay catch to, well, it’s probably still not worth much – but I’m glad in the end that I took the time to Save This Old Pipe.
EDIT
The new stem that Steve sent me arrived in the mail. I have written about and post the story, along with new photos, here.
Black Superglue Patches (ring around the collar) – by Joyal Taylor aka holymolar
Blog by Joyal Taylor
This is the third article by Joyal (known online as holymolar). Again it is with pleasure that I put this on the blog. Joyal had emailed me that he was working on this piece for the blog. I was looking forward to reading his thoughts on this. Others have mentioned the problem to me when they used the black super glue. Joyal has done some good experimenting and I am pretty certain he has gotten to the root of the problem. Thanks Joyal for taking time to write-up your experience and tips on this patching process. This is a what rebornpipes is all about – taking ideas and experimenting and improving them. Without further introduction have a read on what Joyal has learned.
The first few times that I patched stem holes and deep tooth marks with black superglue, I ended up with white margins like these: (very evident when a flashlight is shined on the patch at an angle).


At first, I thought that I must have contaminated it by sanding before the glue had totally set. But now, I’m convinced it was because I didn’t remove all of the oxidation beforehand. I’ve learned a few tricks with black superglue patching.
Here’s the before photos of a Dr Grabow stem that I recently patched. It’s not a high quality vulcanite but a relatively soft rubber.


Tip #1 – Absolutely ALL oxidation and oils must be removed before patching. There are many ways to remove oxidation but, for this, I prefer the most aggressive method that I know – A bleach bath for an hour or more. Then a 1 hour alcohol bath to remove the bleach smell and taste. The bleach causes surface pitting but, in my mind, that means it has removed the deepest oxidation. (Sometimes I’ll follow with a Oxyclean bath as well). After the bleach and alcohol, lots and lots of sanding is necessary to smooth down the pitting. I use 220-800 grit with water.


Tip #2 – Clean out the hole with a small round burr in a Dremel. Remove all oxidation and discolorations from inside the hole. “Feather” the edge which makes for better blending of the glue/stem junction and it also removes any microscopic particles of oxidation that may be hiding in the ragged edges.


Tip #3 – Now use 1000 grit sandpaper on the edges to smooth it out some more. Remove any dust or oils with an alcohol wipe.


I sand down the overfill (220-2500 grit) until it’s even with the surface. (If necessary, I’ll freshen up the bit with needle files). Then micro mesh (4000 -12000), carnauba, and buff.
Here’s the after photos on that Dr Grabow stem before final polishing/waxing – .so it can be seen better without the glare of the camera flash on fully polished stems. No more “ring around the collar”.


Sometimes, on good quality vulcanite, I have difficulty seeing where the patches were.


