Blog by Steve Laug
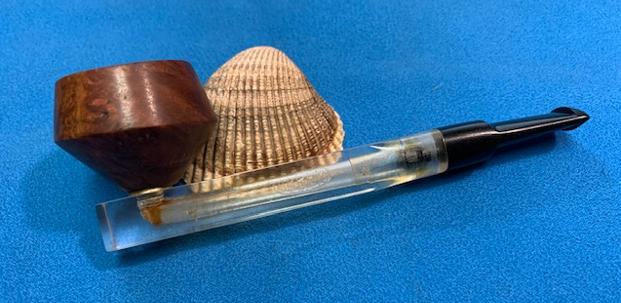
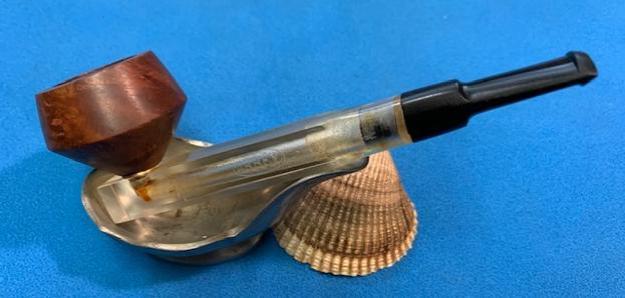
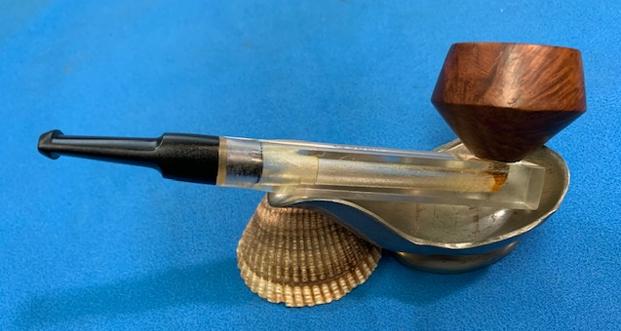
The next pipe on the table was second pipe I found on a recent trip to Alberta. I had a couple of hours to kill so I stopped at an antique mall along the way. The first was an Italian made cross grained Molina Bent Billiard that I already restored (https://rebornpipes.com/2023/09/27/took-a-diversionary-pipe-hunt-and-found-this-molina-81007-bent-billiard/). The second pipe I found was a French Made Bent Billiard. It was time to work on the second one now. On the left side of the shank it is stamped Lotus in script, underlined [over] Made in France. The pipe was in dirty condition. The finish on the bowl and shank were coated with a thick coat of grime and oils ground into the surface. There were many fills in the bowl sides, heel and the shank. The bowl had a thick cake that overflowed with a thick coat of lava on the rim top that obscured the inner and outer edges of the bowl. There appeared to be some damage on the front outer edge of the bowl. The black, hard rubber stem had an orific button and there was the beginning of a slot being shaped points to an older pipe. It was dirty and had tooth marks and chatter on both sides ahead of the button. There were small white paint spots on the shank and the stem. I took photos of the pipe before I started my clean up work on it to give a clear photo of the condition of the pipe before I started my work.
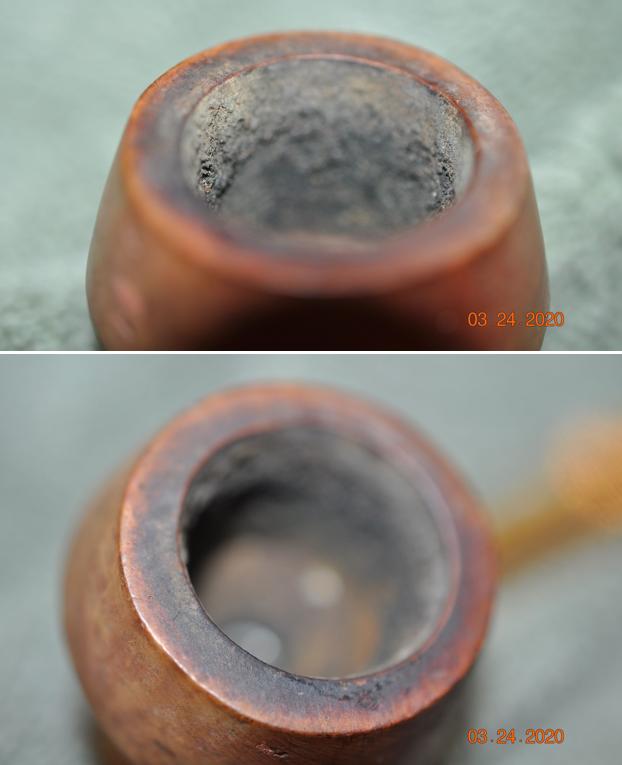
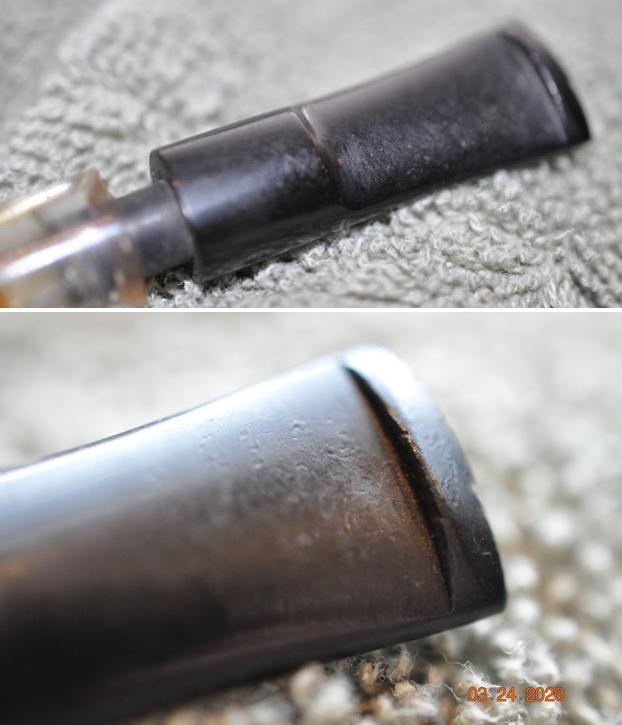
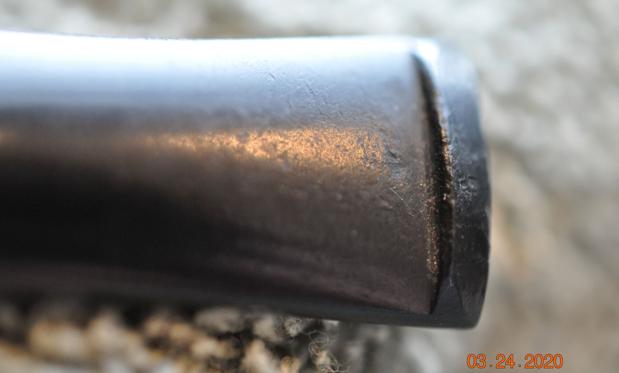
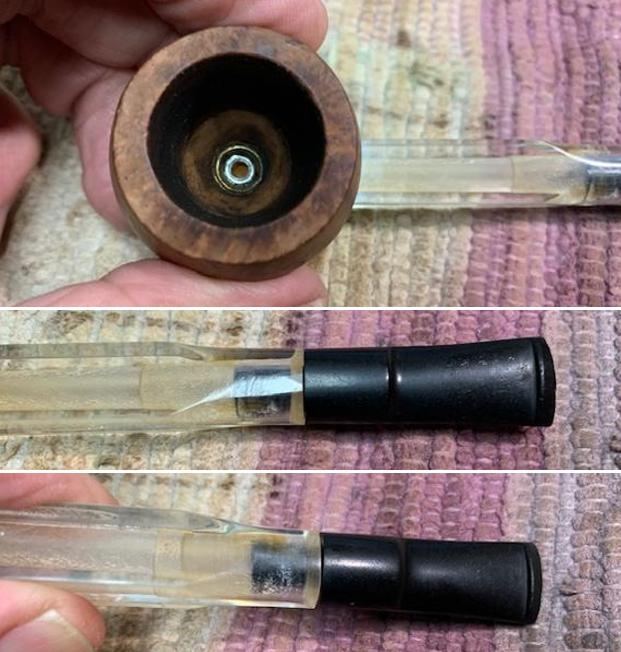
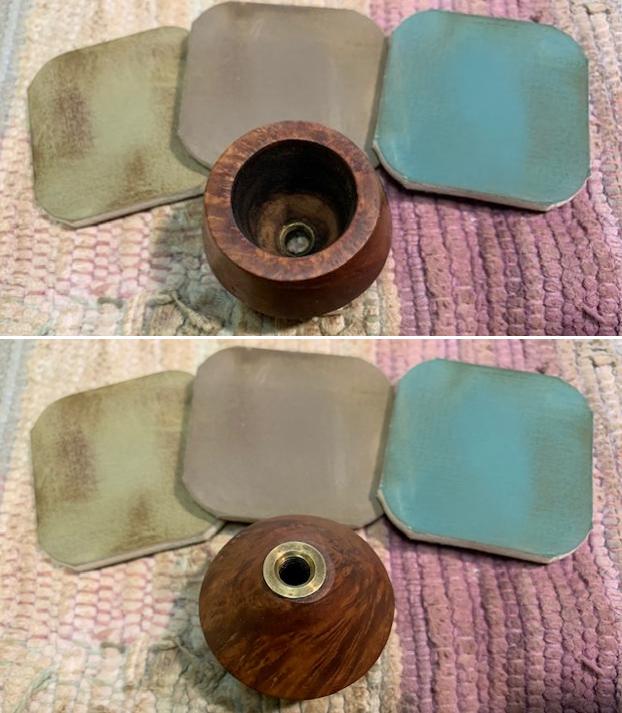
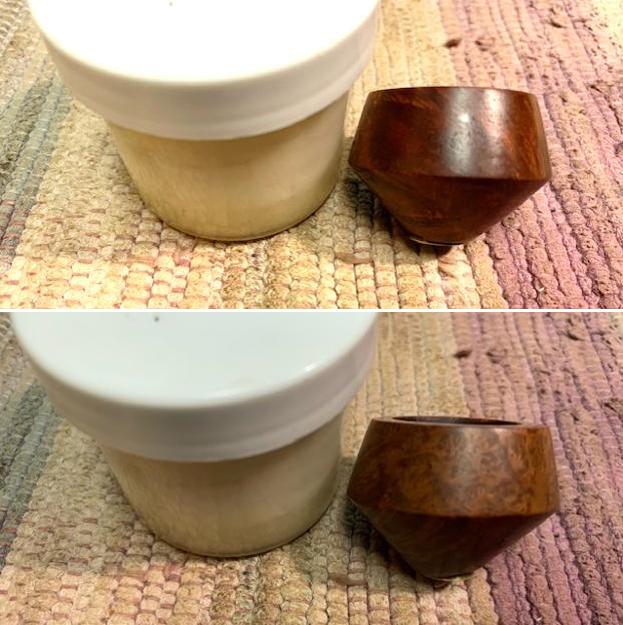
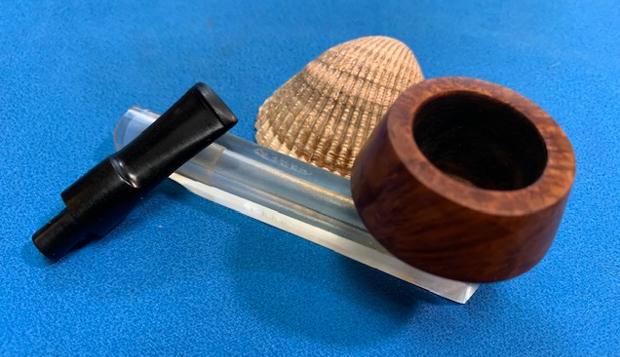
 I took a photo of the bowl and the rim top. The bowl had a thick cake that covered the bowl walls and bottom. The rim top and the bevelled inner edge of the bowl had a thick lava overflow. There appeared to be some damage on the front outer edge of the bowl. It was hard to know for sure what was underneath until it was cleaned. The hard rubber stem shows light tooth marks and chatter on both sides ahead of the button as mentioned above. There were paint spots on the stem top and sides. It had promise but it was dirty!
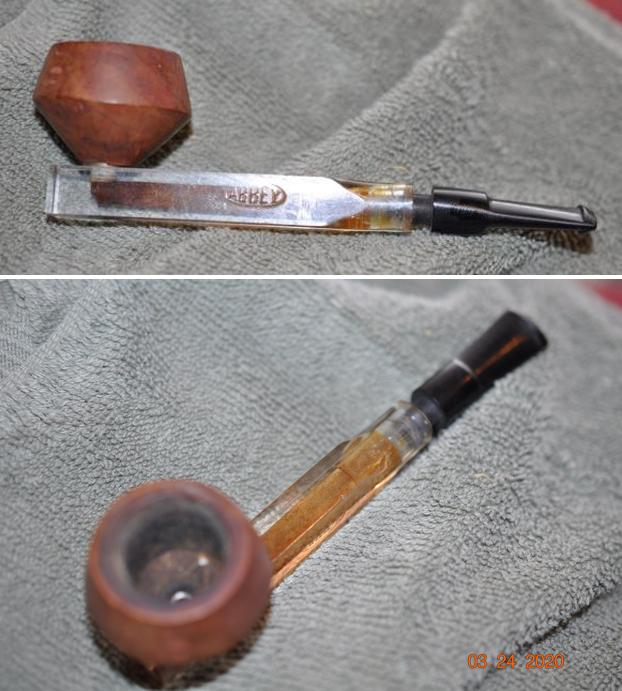
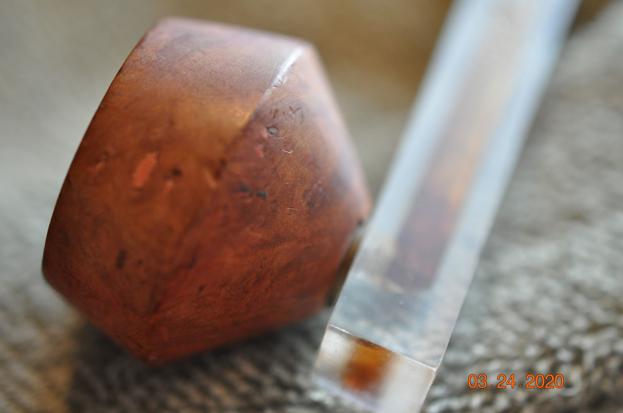
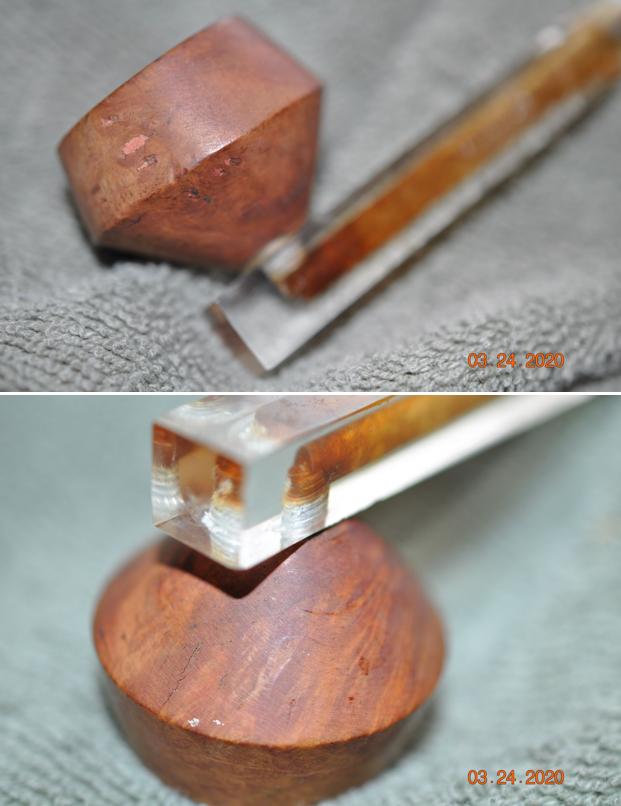
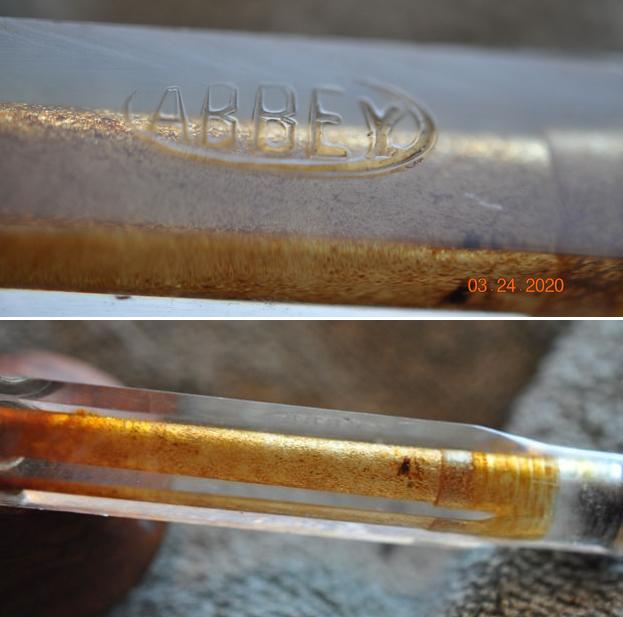
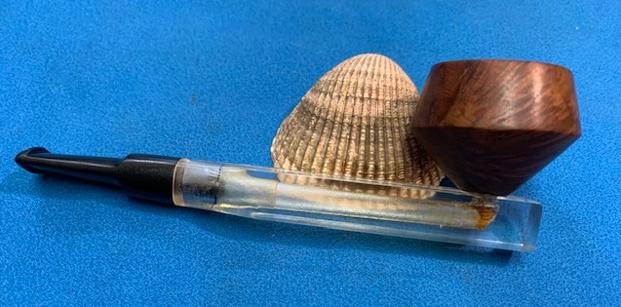
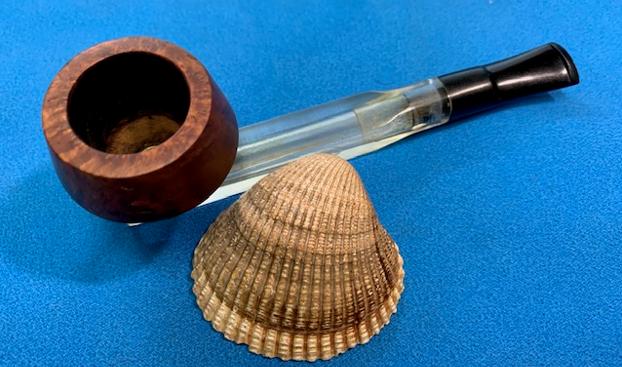
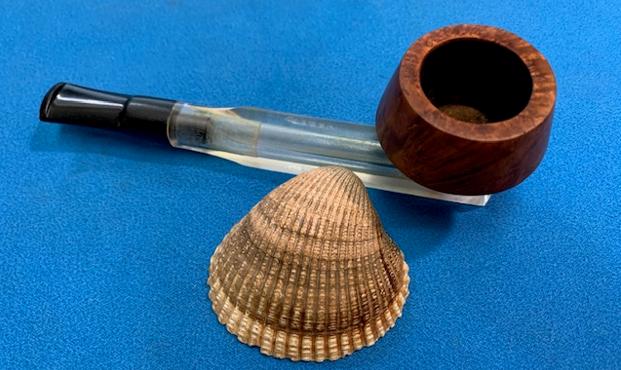
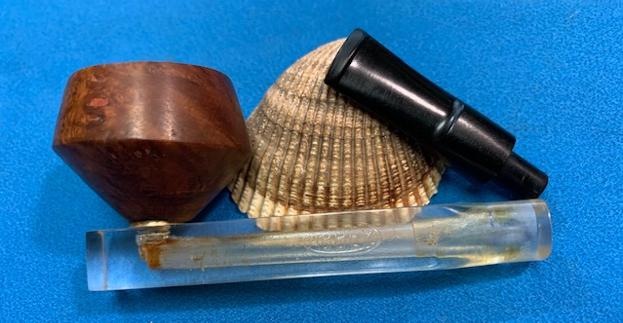
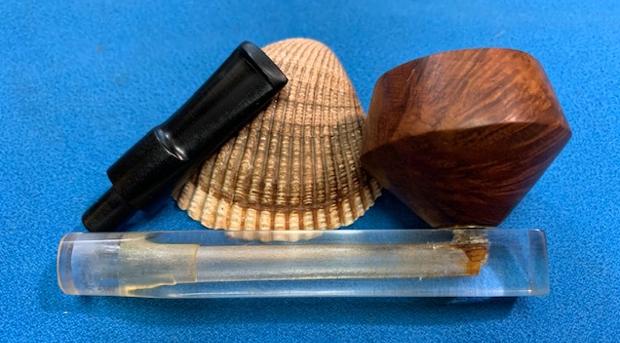
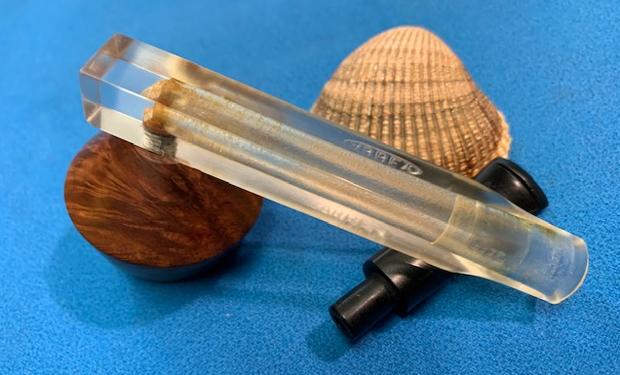
 I took a photo of the left shank side to try to capture the stamping on the briar. It is clear and readable as noted above. I removed the stem from the shank and took a photo of the parts to give a sense of the pipe’s proportions.
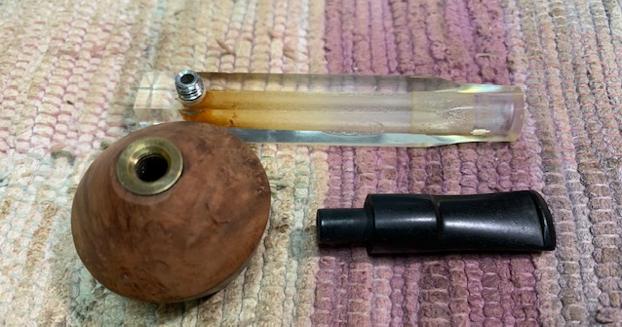
 I dropped a message to Kenneth Lieblich about the pipe because of his love of French Made Pipes and his work on gathering information on them. He wrote me back with the following helpful hint.
I think Lotus was a line of Delacour Brothers. Delacour closed around 1960, so if it’s one of their pipes, it must be older than that.
He wrote back with some more information as well:
Very little, but there’s a possible tidbit. There is a lighter company called Lotus, but I don’t think that’s related. However, my tidbit is a tobacco shop in Paris called “Le Lotus”. It’s been there for a while, but I haven’t yet figured out how long. That seems like a possibility, however tenuous. It’s also possible that it’s a second from one of the big French companies, but I don’t have a listing for it.
Also, there was a Lotus brand made by Delacour Bros. — that might be the most likely. The St Claude branch of Delacour, not the London branch.
I started by looking up the tobacco shop in Paris that Kenneth referred to “Le Lotus”. I found the shop in Paris and it looks to be an amazing shop with a huge selection of cigars. It is an old style tobacco shop and I suppose it could have some pipe tobacco but there were no photos showing any available. It is still a shop that I would love to visit one day that is for certain.
I agreed with Kenneth’s suggestion that the pipe is probably made by the St. Claude brandch of Delacour. I decided to do some digging to see if I could find information that definitively linked the Lotus pipe to Delacour.
I turned first to Pipephil to see what I could learn (http://www.pipephil.eu/logos/en/logo-d4.html). It gave a brief history of the brand and link to both the French and British activities of the company. I have included a screen capture of the pertinent section and the comments from the side bar below.  Delacour pipes were crafted in the St Claude (14 bis rue Carnot) factory. The brand was founded in the late 19th century by Alix Delacour and owned a subsidiary company in London. Their activities stopped in the late 1950s.
From there I turned to look up the brand on Pipedia (https://pipedia.org/wiki/Delacour). There was very little included in the article. In fact, it gave a very brief history and a link to the company website. I quote the article in its entirety below.
The Delacour factory was built around 1892 and expanded in 1893) in Saint-Claude, Jura, France, Rue Carnot 14 bis.
The owner was Alix Delacour. Already in 1909 the factory was further expanded. Delacour had their own briar drying facilities. In 1960, the pipe factory closed. (Brand name was probably taken over by Jeantet). The Delacour building harbored afterwards: an eye-wear company, dance school, restaurant, etc. 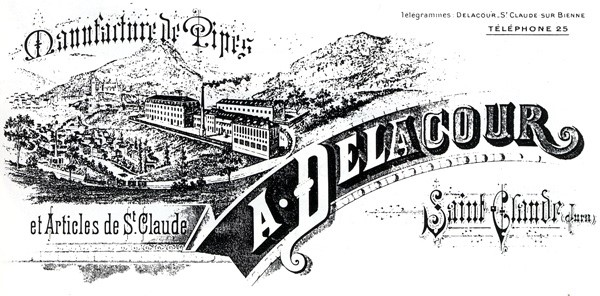 There was not any direct mention of the Lotus brand in the material but the shape and the look of the pipe is much like the Delacour pipes. I am about 99% clear that the pipe is a Delacour pipe. Given that information it was time to work on the pipe itself.
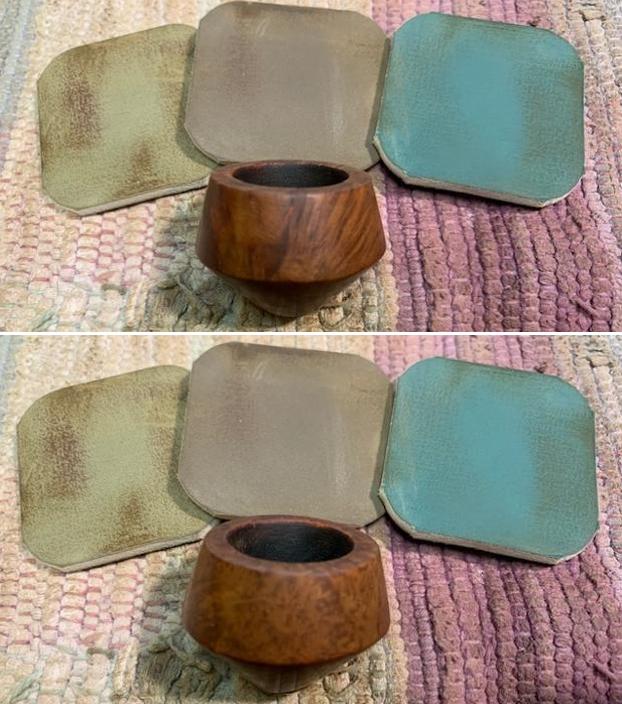
I started my work by reaming the bowl with a PipNet pipe reamer to remove the thick cake on the walls so I could see what they looked like. I used a Savinelli Fitsall Pipe Knife to scrape off the remaining cake on the bowl walls. I followed that by sanding the walls of the bowl until they were smooth with 220 grit sandpaper wrapped around a piece of dowel. The bowl walls showed no checking or cracking which is remarkable.
 I cleaned off the rim top and bevelled inner edge carefully, wet sanding the rim top with a folded piece of 220 grit sandpaper. It cleaned up quite well. I also gently topped the bowl with 220 grit sandpaper on a topping board to minimize the damage on the top and outer edge of the bowl.
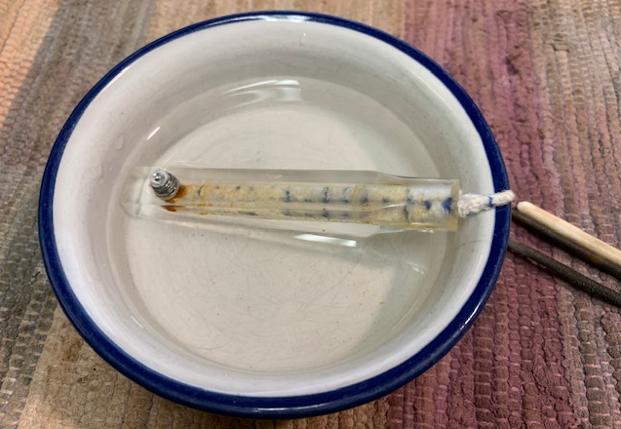
 I scrubbed the bowl down with a tooth brush and some undiluted Murphy’s Oil Soap to remove the grime and oils around the bowl and shank. I rinsed it down with warm water to remove the debris.
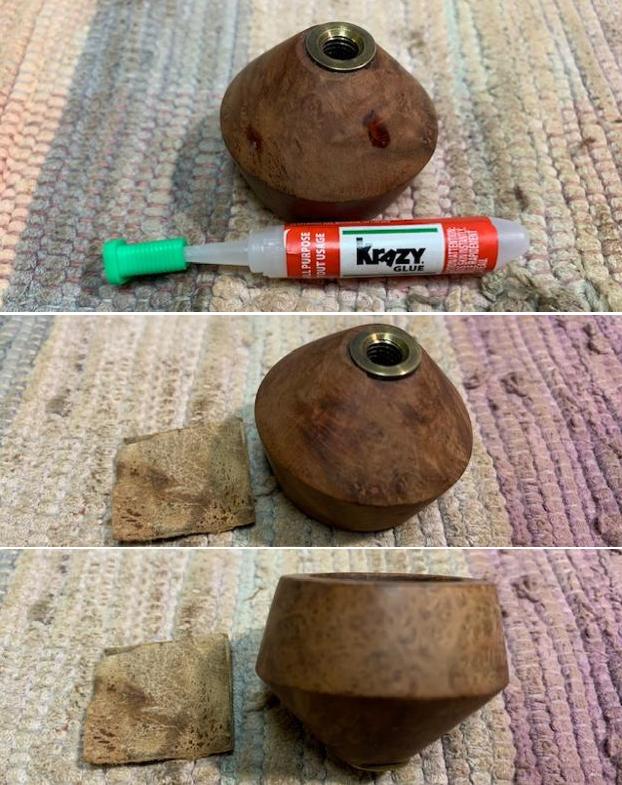
 I coloured in the fills with a Walnut stain pen then filled them in with a clear CA glue. There were nine fills around the bowl and also the rebuild of the damage on the front of the outer edge of the rim.
 I sanded the glue repairs to the fills with a folded piece of 220 grit sandpaper. I smooth them out so that the surface of the repairs was smooth and blended together. I touched up the repaired spots and the bevelled inner edge of the rim with a Walnut stain pen to prepare the bowl for restaining.
 I stained the bowl with Fiebing’s Cordovan aniline stain. I flamed it and repeated the process until I was happy with the coverage on the bowl.
 I wiped the bowl down with isopropyl alcohol on cotton pads to make the stain more transparent and still leave the repaired fills hidden.
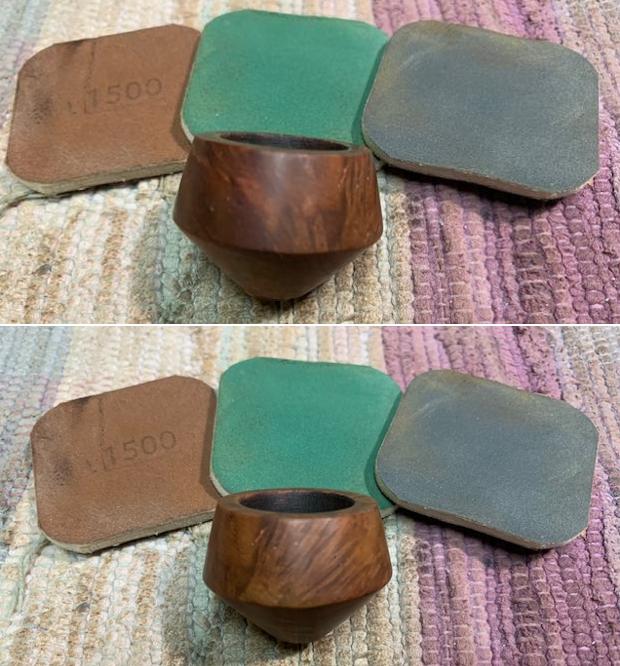
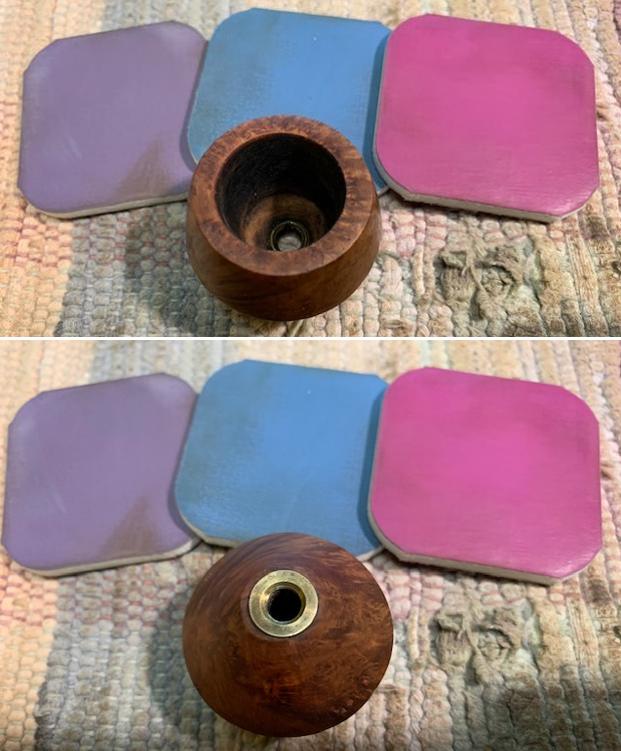
 I worked on the finish around the rim top and bowl with micromesh sanding pads – 1500-12000 grit sanding pads to dry sand the briar. I wiped it down after each sanding pad with a damp cloth after each sanding pads.


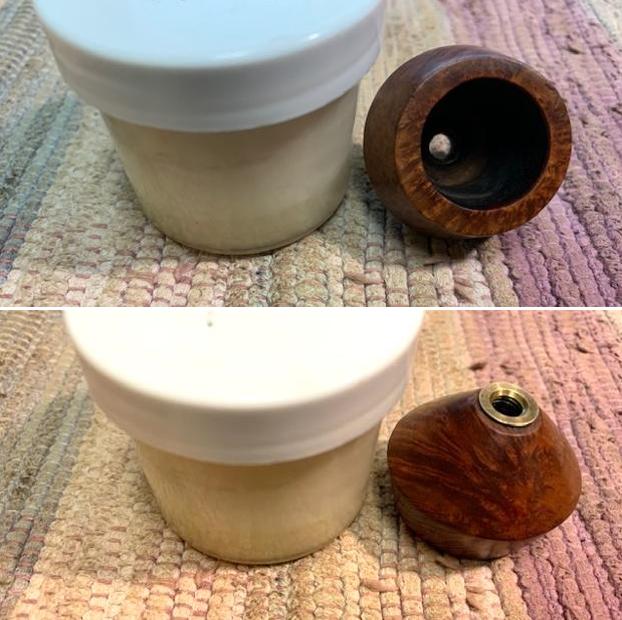
 I rubbed the bowl and shank down with Before & After Restoration Balm. I worked it into the surface of the bowl sides and shank with my fingertips and a horsehair shoe brush. The product works to clean, enliven and protect the briar. I let the balm sit for ten minutes and then buffed with a cotton cloth to raise the shine.

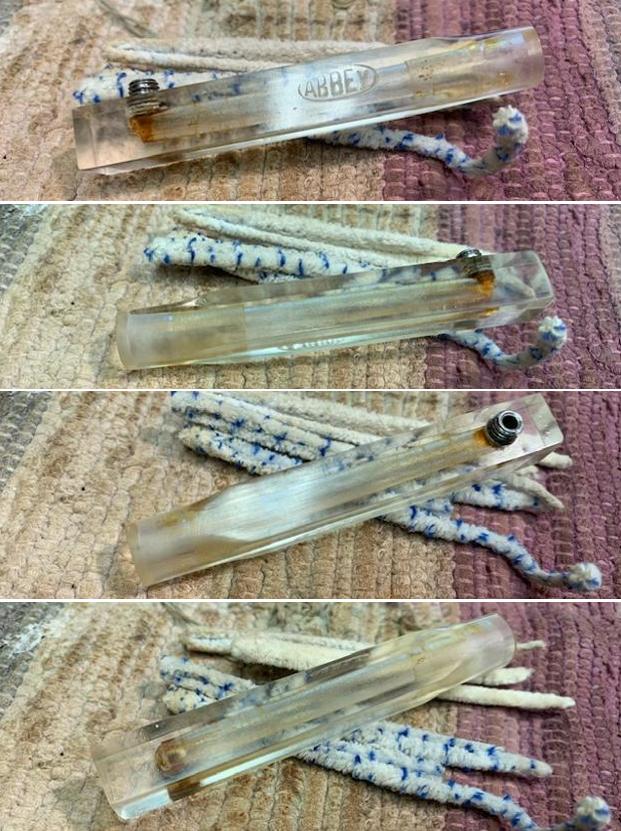
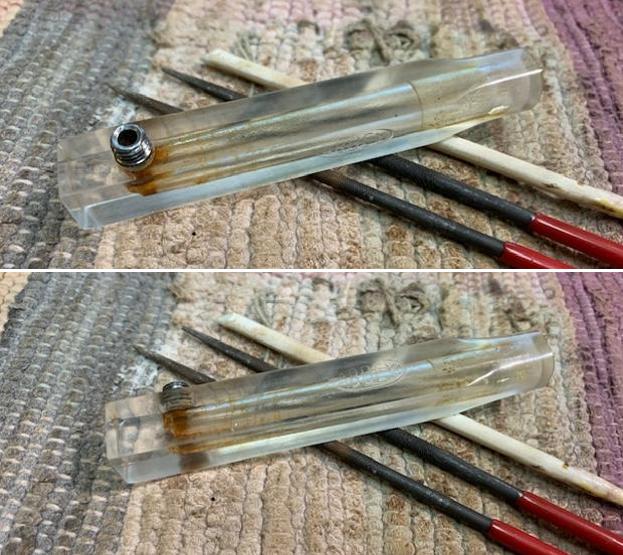
 It was at that moment I remembered I had not cleaned the shank and stem. I turned to work on that now. I cleaned out the airway and mortise in the shank and the airway in the stem. I used 99% isopropyl alcohol, pipe cleaners and cotton swabs to remove the tars and oils. It was extremely dirty and once cleaned smelled and looked better.
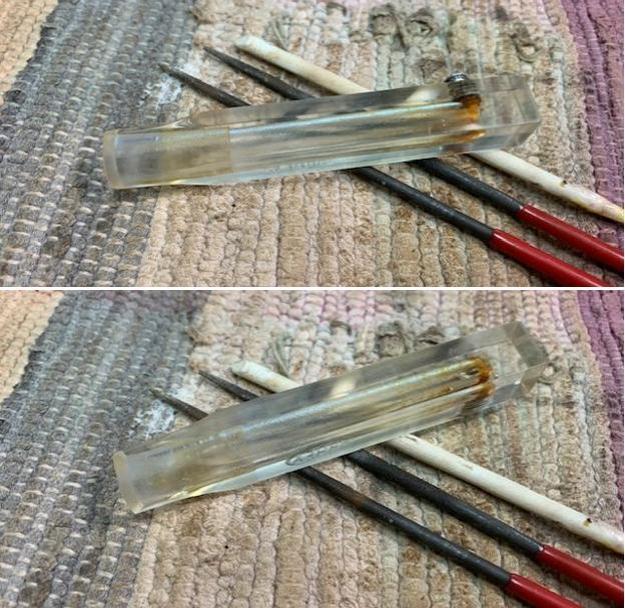
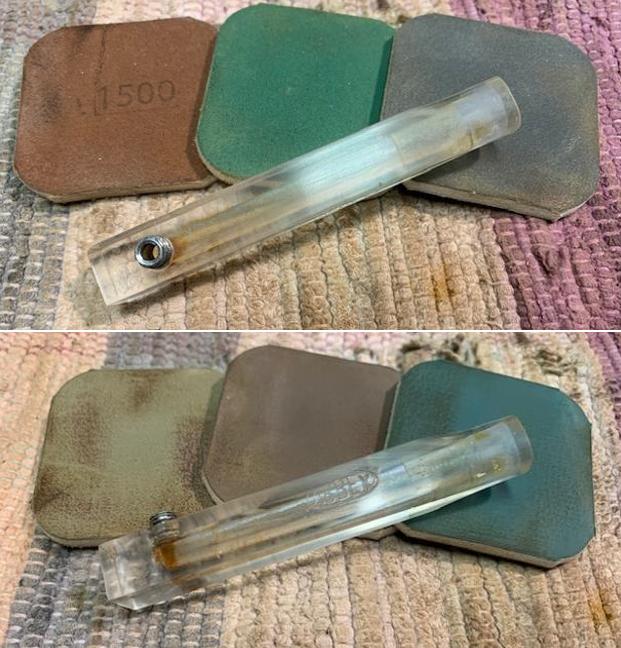
 I set the bowl aside and turned my attention to the stem. It was in decent condition with very light tooth marks. I polished the stem surface with micromesh sanding pads – 1500-12000 grit pads and was able to remove the marks. I wiped it down Obsidian Oil on a cotton cloth.
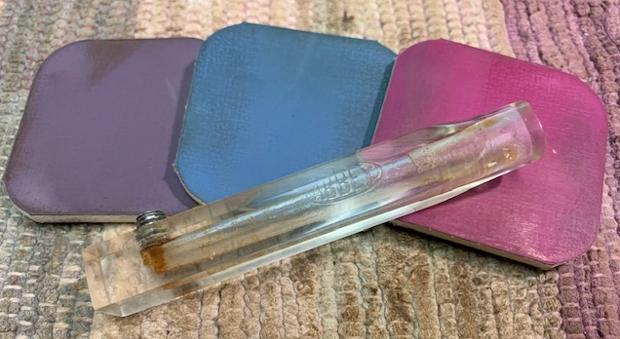
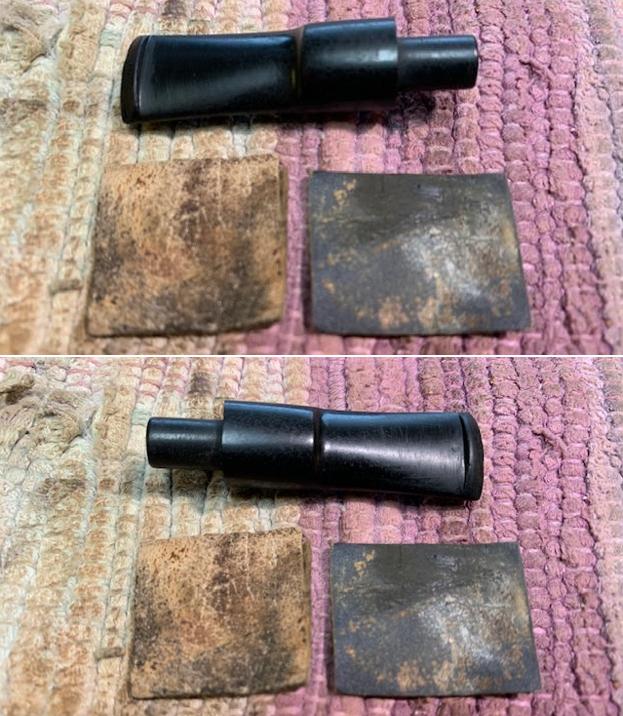
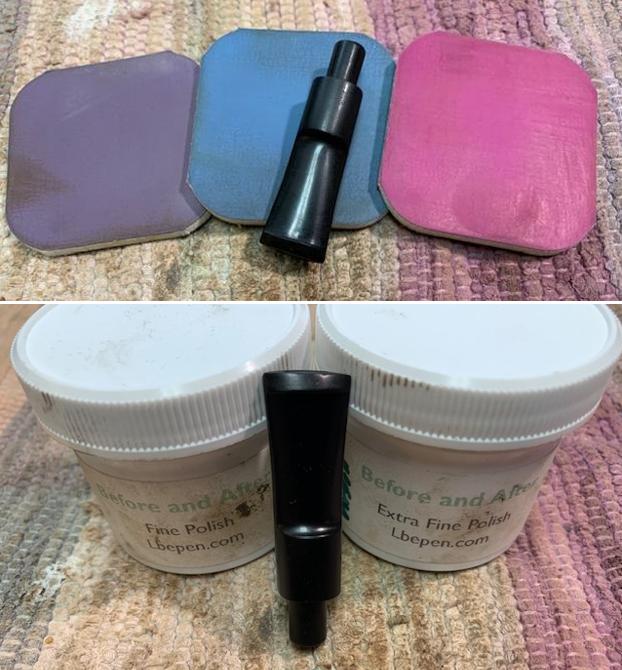
 I finished my polishing with Before & After Pipe Stem Polish – both Fine and Extra-Fine polishes. I wiped it down with a final coat of Obsidian Oil and set aside.
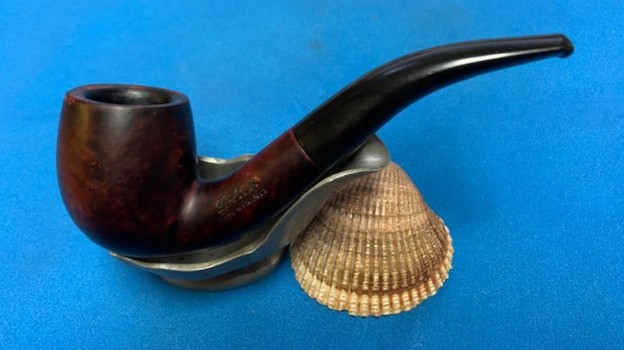
 I am excited to finish restoration of this Lotus Made in France Bent Billiard. I put the pipe back together and buffed it with Blue Diamond on the buffing wheel. I gave the bowl and the stem multiple coats of carnauba wax. I hand buffed the pipe with a clean buffing pad to raise the shine. It is fun to see what the polished bowl looks like with beautiful mixed grain all around it. I love the look of the polished grain on the pipe with the polished black hard rubber stem. It is a very beautiful looking pipe. This smooth Lotus Bent Billiard is great looking and the pipe feels great in my hand. It is light and well balanced. Have a look at it with the photos below. The dimensions are Length: 4 ½ inches, Height: 1 ½ inches, Outside diameter of the bowl: 1 ¼ inch, Chamber diameter: ¾ of an inch. The weight of the pipe is 33 grams/1.16 ounces. It turned out to be a beautiful pipe. I will be putting it on the rebornpipes store in the French Pipemakers Section soon. If you are interested in adding it to your collection let me know. Thanks for reading this blog and my reflections on the pipe while I worked on it.
As always, I encourage your questions and comments as you read the blog. Thanks to each of you who are reading this blog. Remember we are not pipe owners; we are pipe men and women who hold our pipes in trust until they pass on into the trust of those who follow us.