Blog by Steve Laug
 I have finished restoring quite a few of the pipes in this collection that we purchased from the older gentleman. He sent me the photos and I was amazed at what I saw. You have seen many of the pipes that he had. These included Dunhill, BBB, Orlik, Barclay Rex, a cased Ben Wade, an H. Simmons all briar, Hardcastles and some Meerschaums. There were also some assorted others that I will get to in the days ahead. It was a great collection.
The next pipe I have chosen is a worn and damaged WDC Campaign Pipe with a calabash style bowl. I have drawn a red box around the pipe in the photo above. There was a thick cake in the bowl and the rim top of the cup. The inside of the calabash style base was also very dirty. The rim top and edges were buried under a thick coat of lava. There was a large chip of briar out of the back of the rim top cup. It was filthy both inside and out. The shape caught my eye because it is quite lovely even under the grime and wear. The stem is hard rubber with flecks of metal in the rubber. It had tooth marks and chatter on both surfaces of the stem ahead of the button. This was another well loved pipe that obviously been a good smoker!
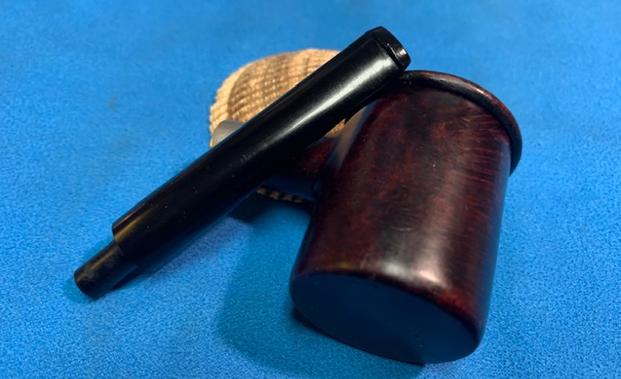
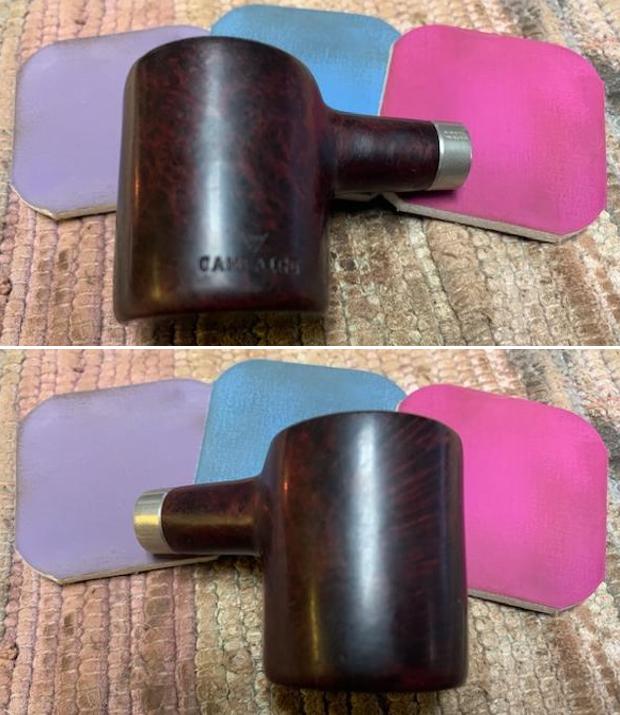
Jeff took some photos of the WDC Campaign Calabash before he worked his magic in cleaning up the pipe. It is a an interesting pipe with a lot of potential and what appears to be some great grain under the grime and debris of the years.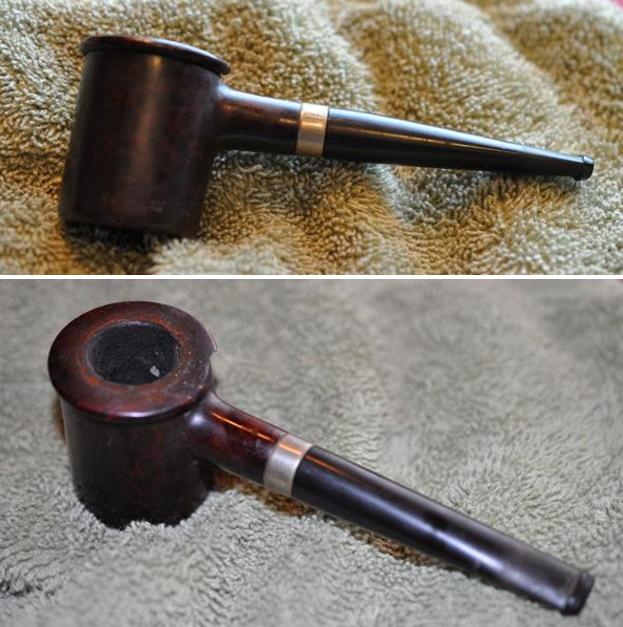
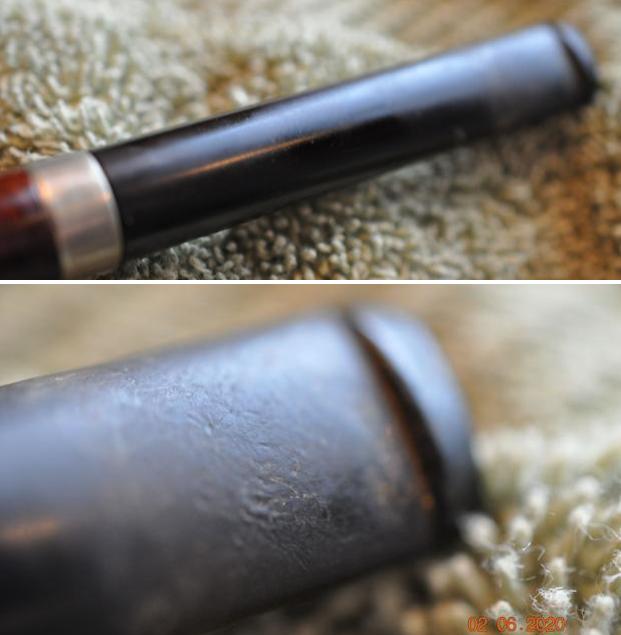
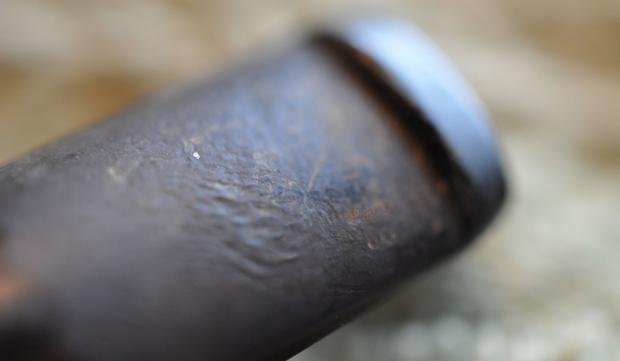
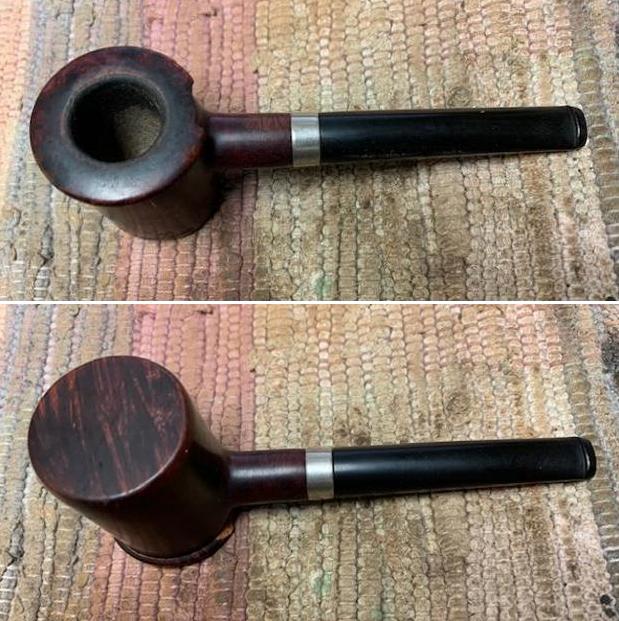
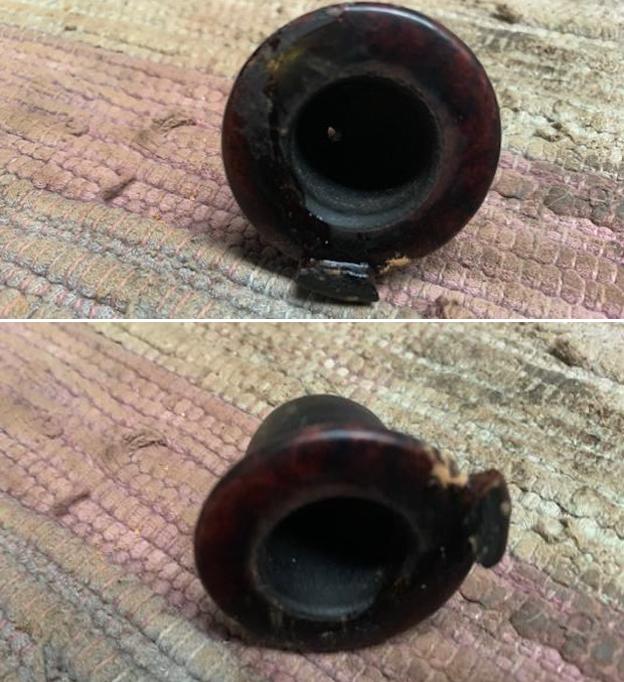
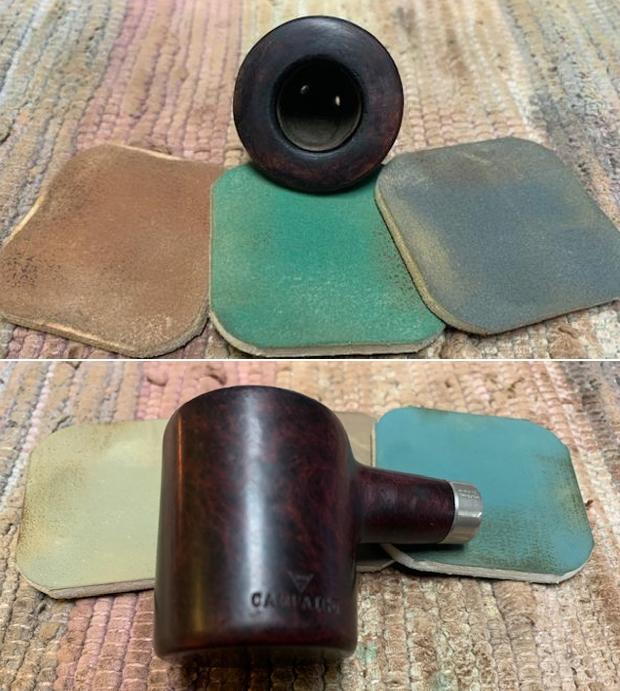
 Jeff took photos of the bowl, rim top to show the thickness of the cake in the bowl and the thick lava on the rim top of the cup. The rim top was thickly covered and there was a large chunk of briar missing on the back of the cap. He took photos of the top and underside of the hard rubber stem showing the tooth marks and chatter on both sides.
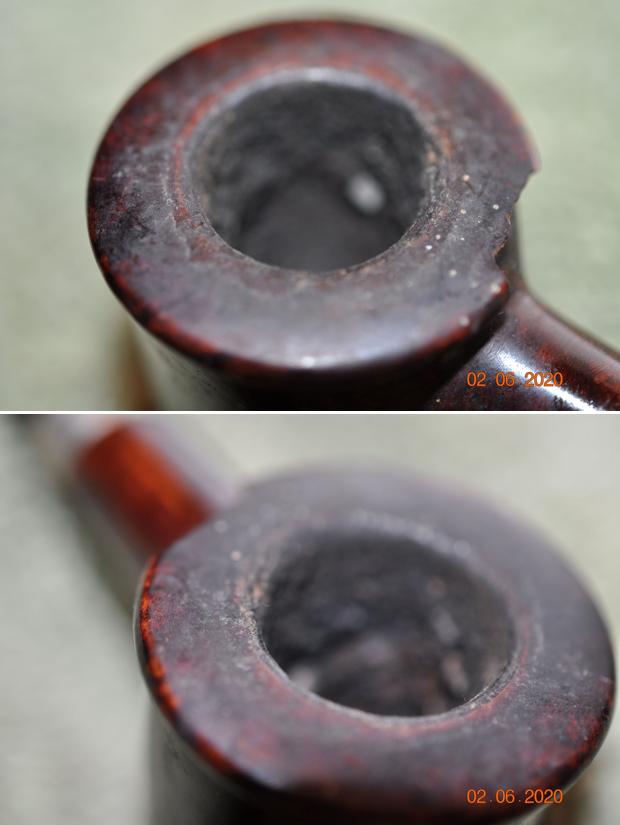
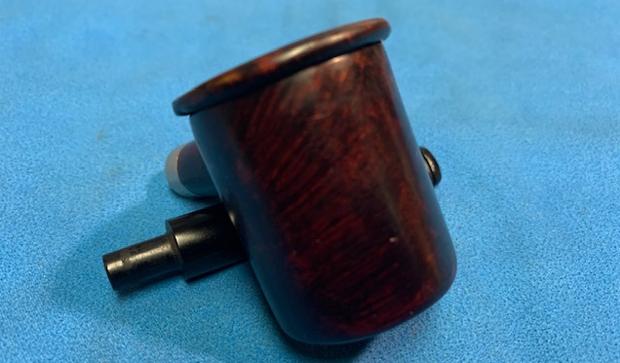
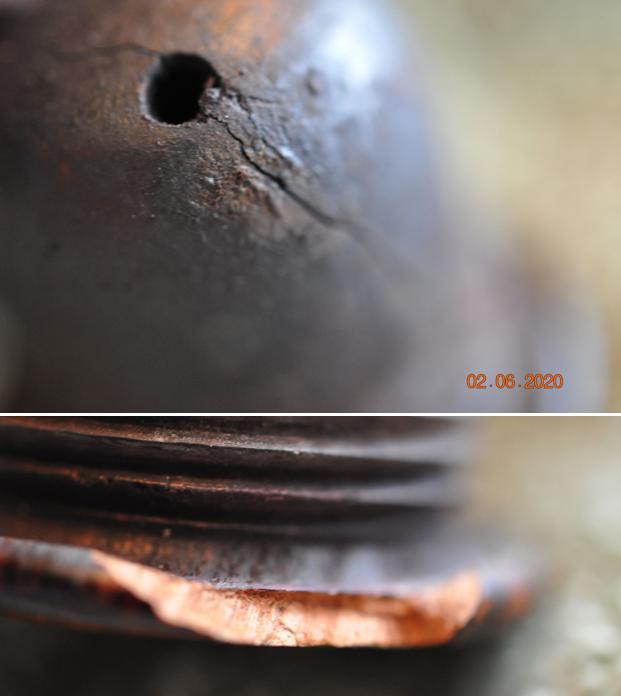
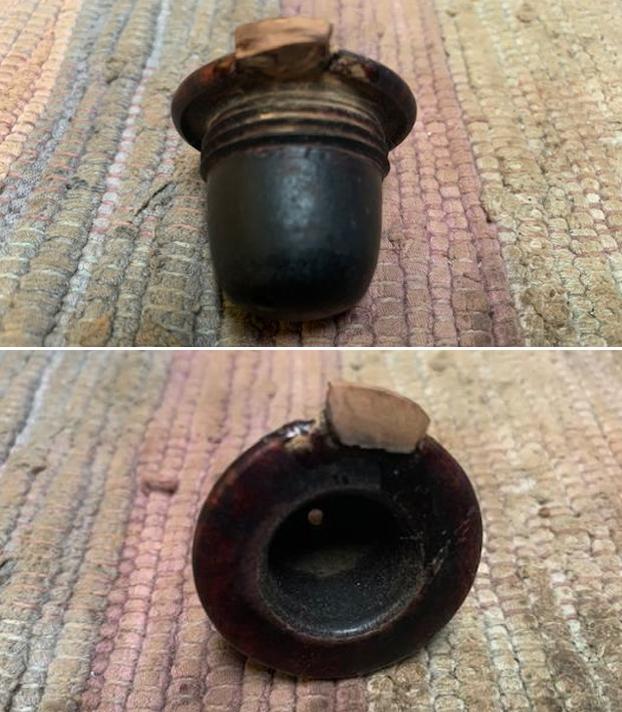
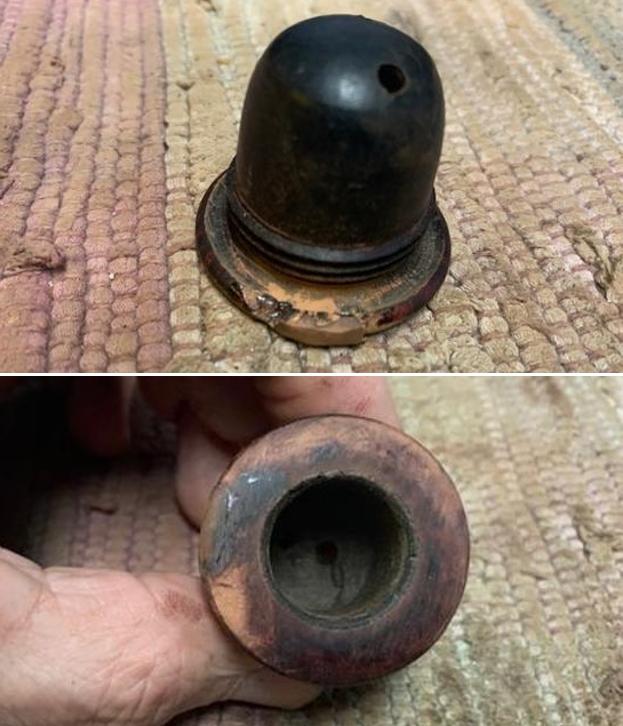
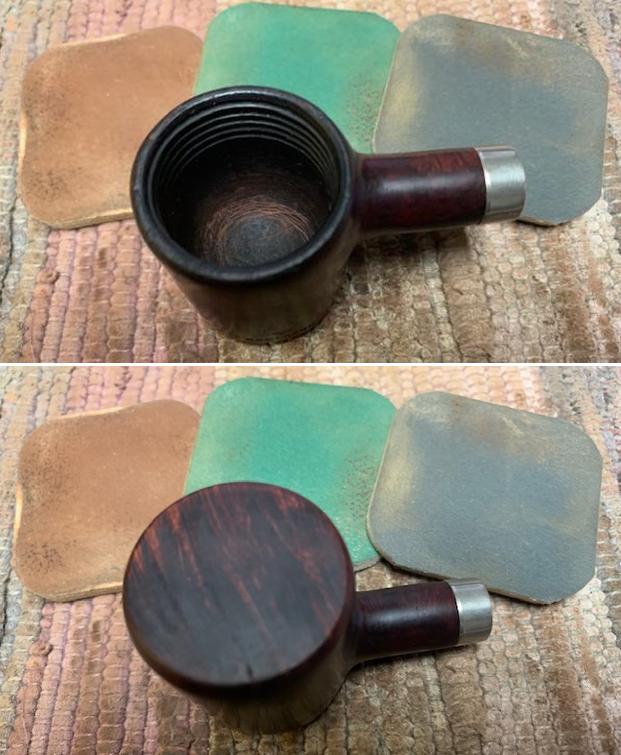
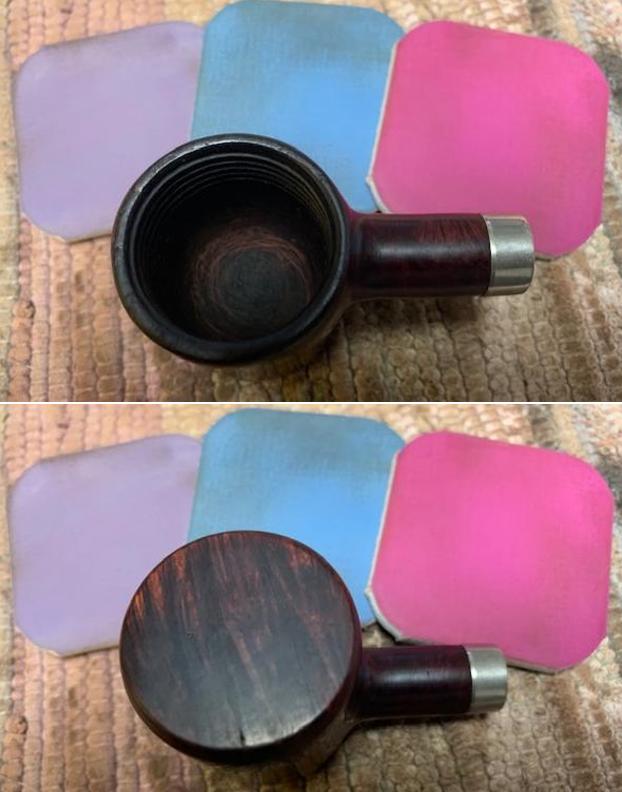
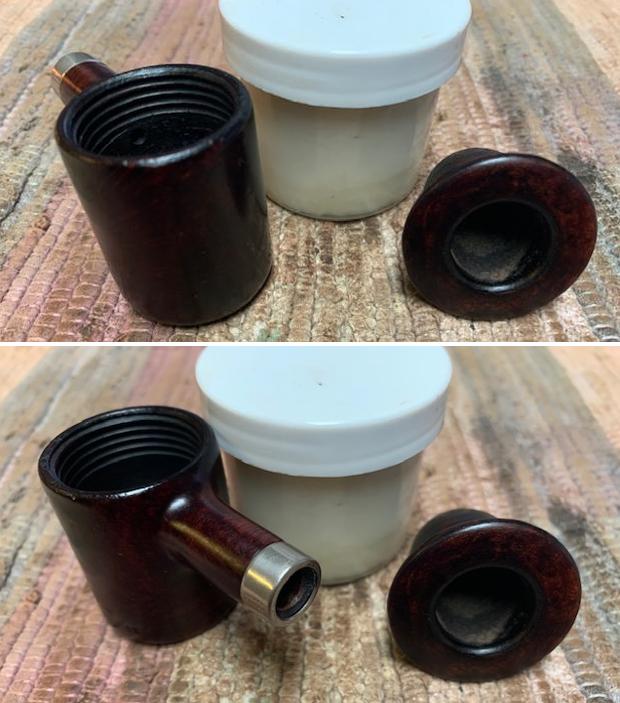
 Jeff also took some photos of the threaded bowl removed from the calabash base. You can see the small crack in the base of the cup. You can also see the dirty condition of both the inside of the base and the bottom of the cup.
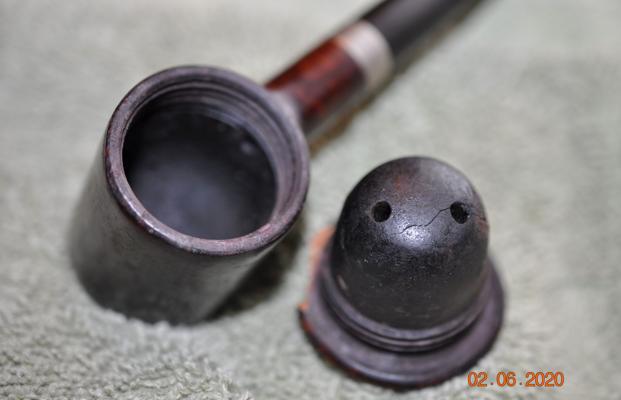 He also took photos of the base of the cup to show the cracks in the bottom of the bowl. He also took a photo of the chip in the top of the cap.
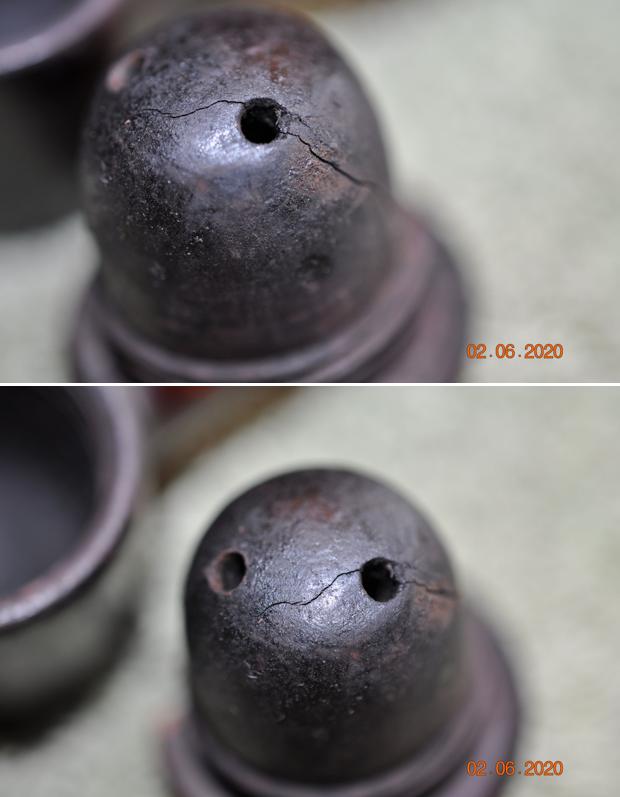
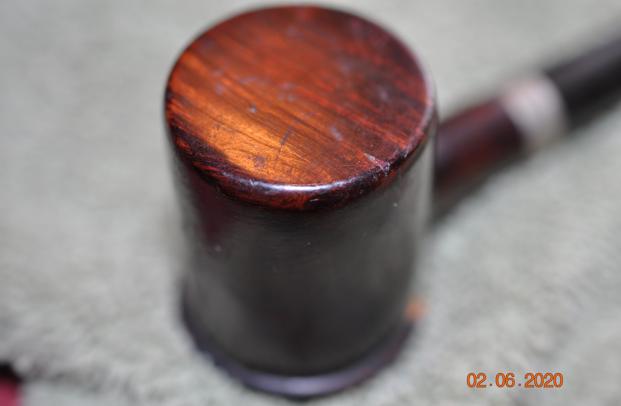
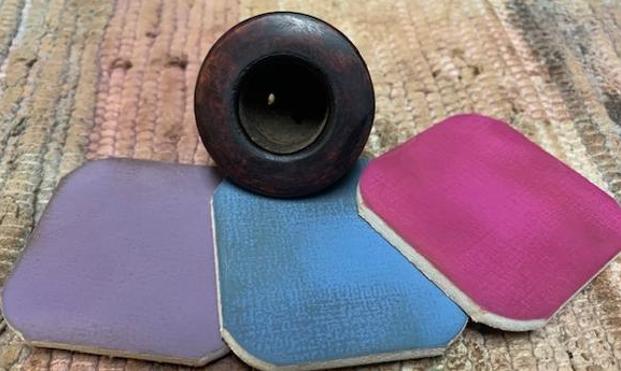
 Jeff took photos of the sides and heel of the bowl to show the condition of the briar. You can see the beautiful shape of the bowl and some interesting grain even through the dirt and debris of many years.
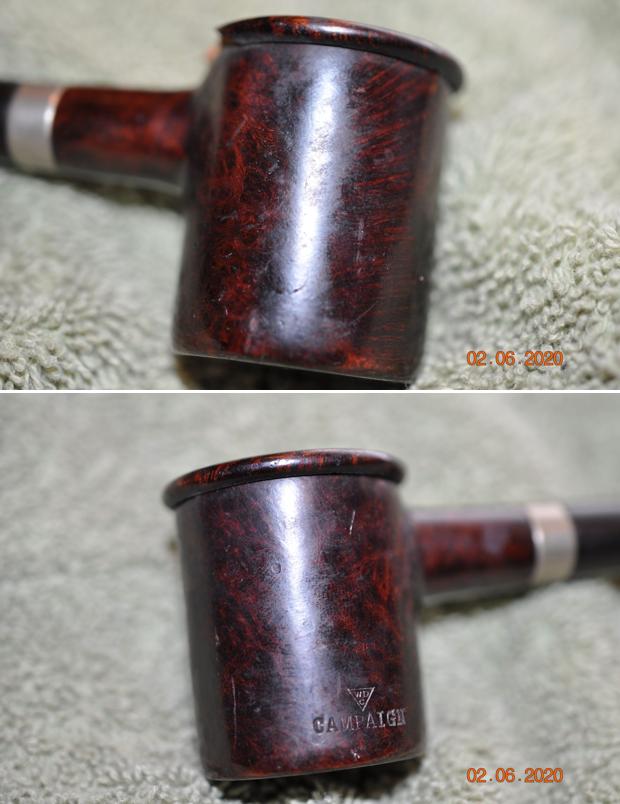
 I turned to Pipedia to have a look at the article on the William Demuth Company and see if there was any information on the Campaign (https://pipedia.org/wiki/William_Demuth_Company). There a great article on the history of the brand. There was also a picture of a countertop display for the pipes and also a picture of the stamping on the side of the bowl. I am including them both below.
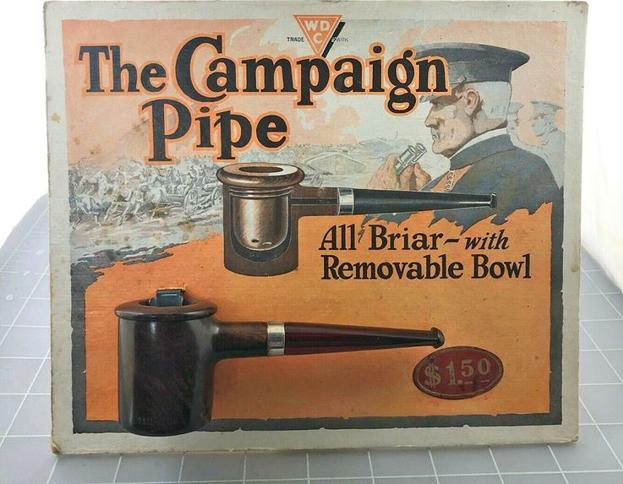
 This all briar pipe with a removable bowl is made by the American Company, William Demuth Co. It is a nicely grained older pipe that has a very interesting look to it. Because the old gentleman that we bought the pipes from intimated that he purchased his pipes at the Manhattan Barclay-Rex store I would imagine that he may have purchased this one from them as well. I was unable to pin down any information regarding the date this pipe but I am assuming it is as old as the other pipes in the collection.
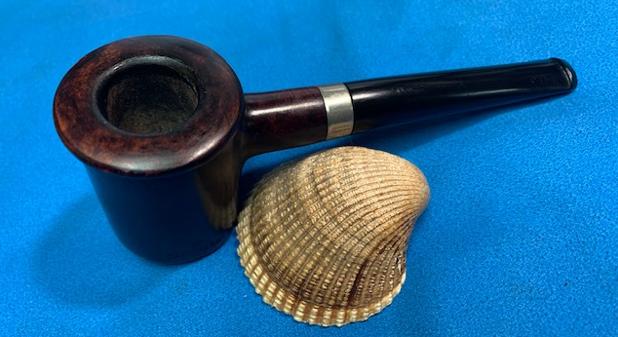
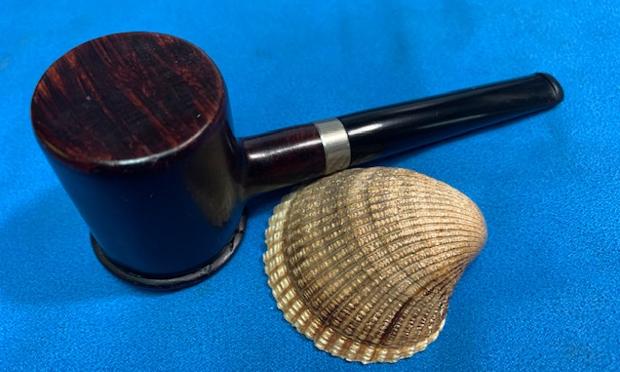
Jeff carefully took the pipe apart and cleaned it. He cleaned the calabash base and reamed it with a PipNet pipe reamer and then cleaned up the reaming with a Savinelli Fitsall Pipe Knife. He scrubbed out the internals of the shank, stem and shank extension with alcohol, pipe cleaners and cotton swabs until the pipe was clean. He scrubbed the exterior of the bowl with Murphy’s Oil Soap and a tooth brush to remove the grime and grit on the briar and lava on the rim top. The finish looks much better and has a deep richness in the colour of the briar. The edges of the cup had a huge chip out of the back edge. He scrubbed the hard rubber stem with Soft Scrub to remove the grime and soaked it in Briarville’s Pipe Stem Deoxidizer to remove the oxidation. When the pipe arrived here in Vancouver I was amazed that it looked so good. Here are some photos of what I saw. 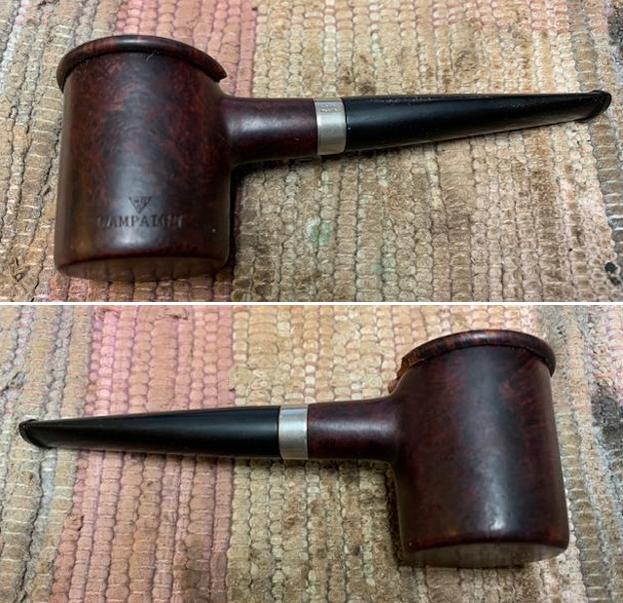
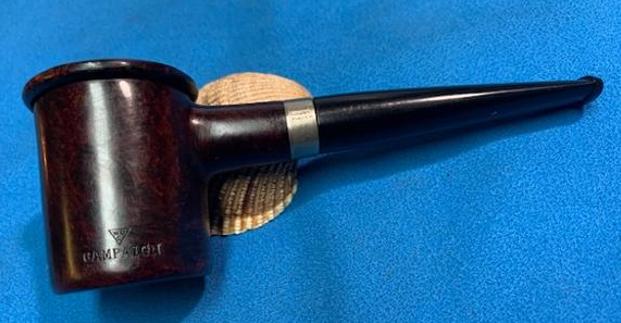
 I took some close up photos of the rim top and the stem surface. The top of the rim showed some darkening/heavy tars and there was heavy damage at the back of the bowl and edge. The stem had tooth marks and chatter on both sides near the button.
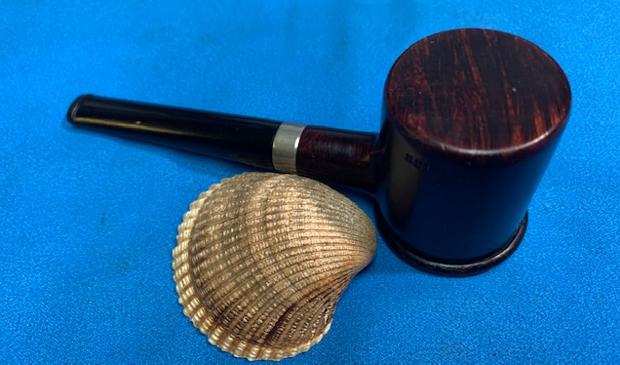
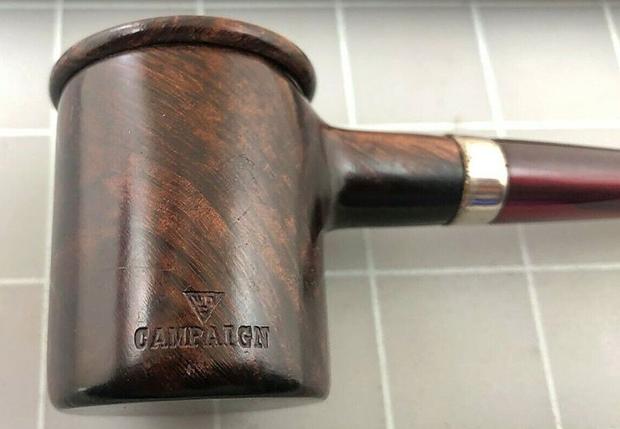
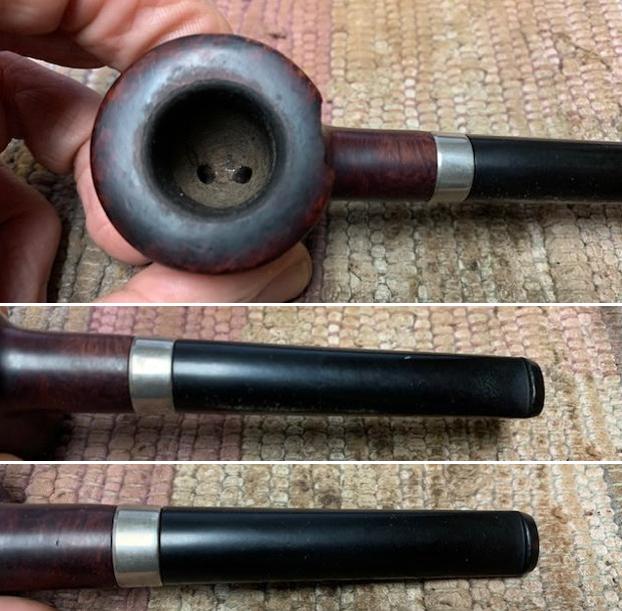 I took a photo of the stamping on the left side of the bowl. It was stamped with a WDC logo triangle and under that was clearly stamped CAMPAIGN. The stamping was clear and readable.
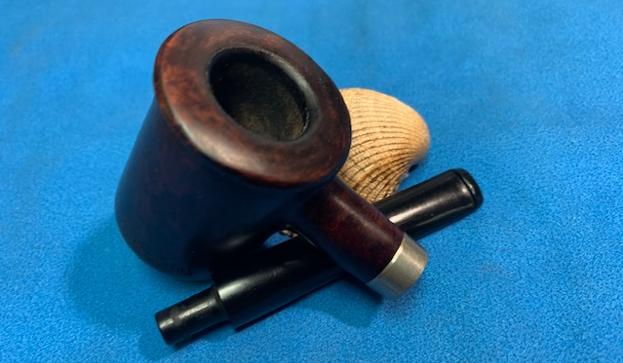
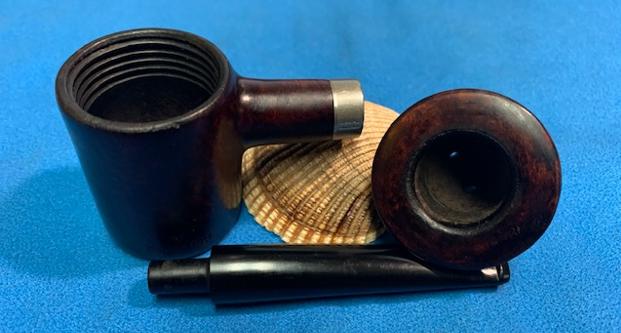
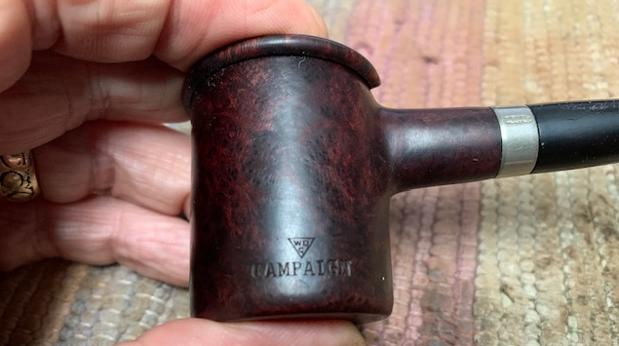 I removed the bowl from the base, the stem from the shank and took a photo of the parts of the pipe.
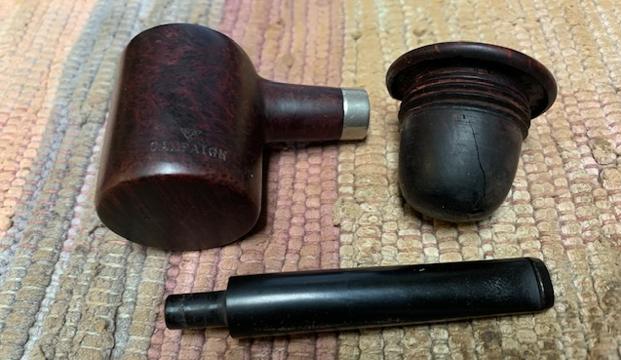
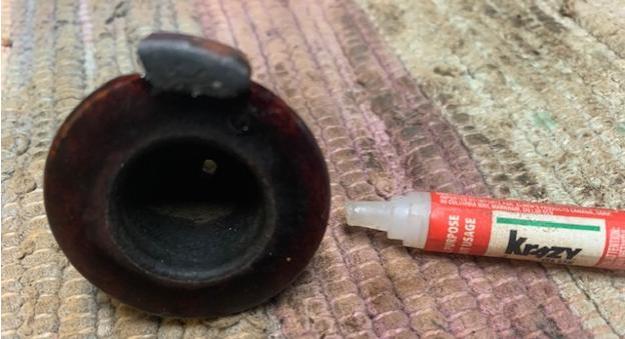
 I started my work on the pipe by addressing the damage on the back top of the bowl. I cut a chip of briar out of an old broken bowl that I have here. I used a Dremel to reduce the size of the briar chip. I glued it in place in the chipped area with clear CA glue.
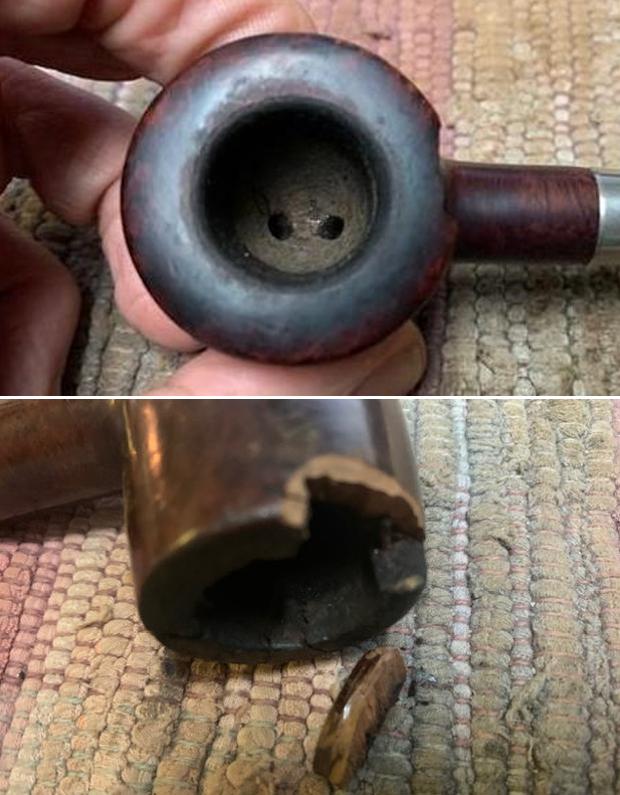
 I filled in the crevices around the repaired chunk of briar with briar dust and clear CA to clean up the transitions between the bowl rim top and the repair.
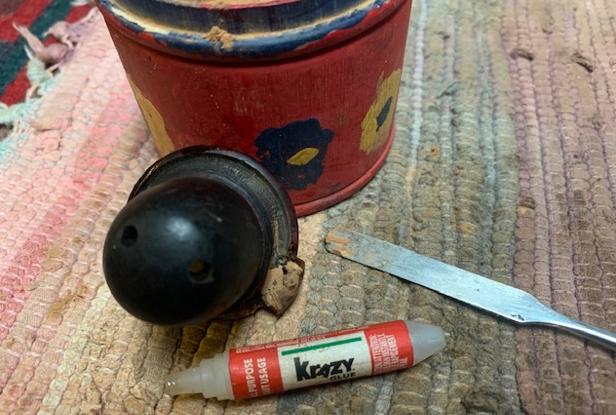
 I used a Dremel and sanding drum to thin down and shape the rim cap. I also shaped the edge of the repair with the Dremel.
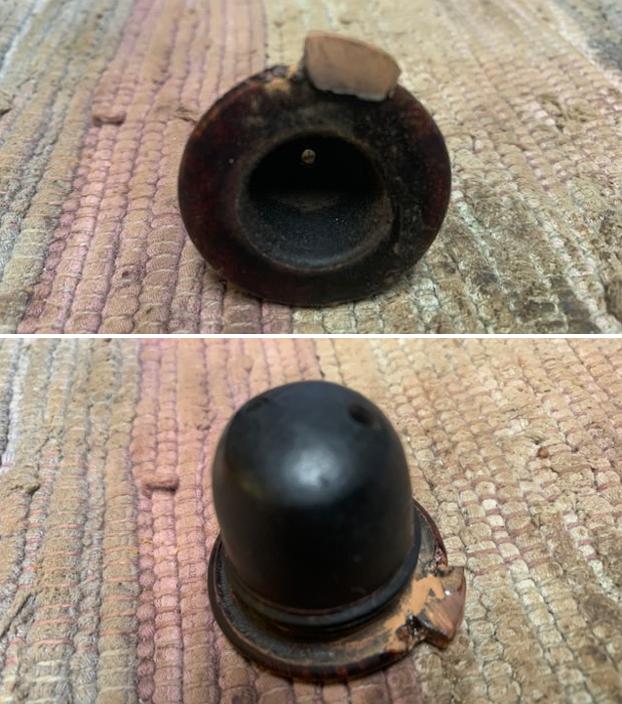
 I carefully removed more of the edge and the thickness of the repair with the sanding drum and Dremel. It was starting to look very good. I sanded the rim cap top with 220 grit sandpaper to smooth it out and blend it into the surface.
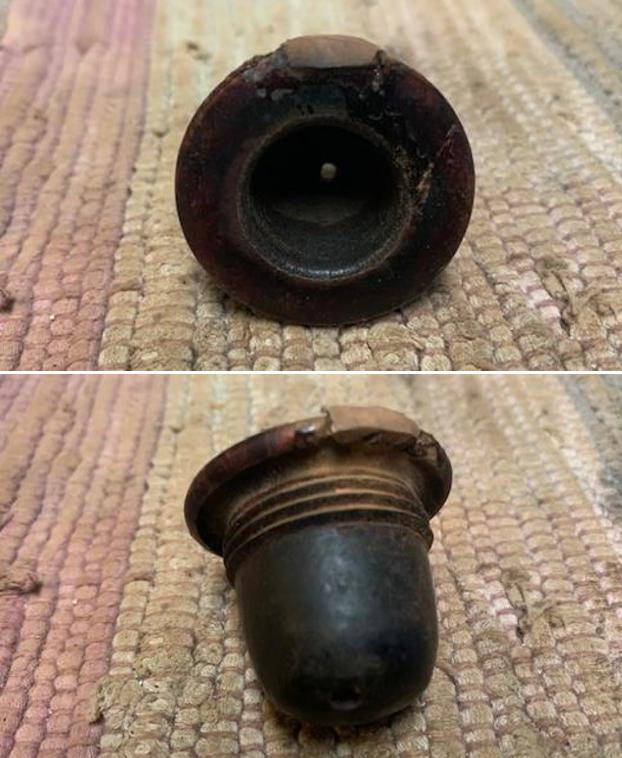

 I restained the rim top with a mixture of Mahogany and Walnut Stain pens to blend it into the rest of the bowl.
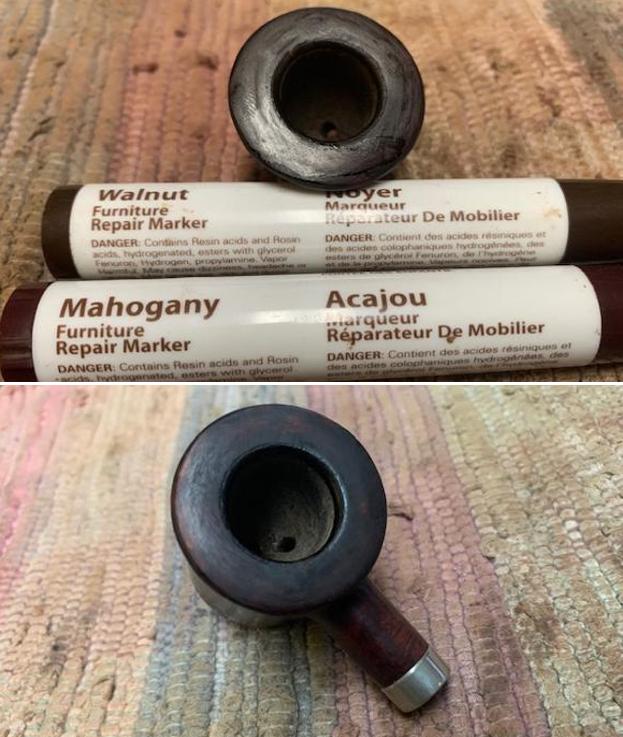 I polished the rim top of the cup and the entire briar base with micromesh sanding pads – dry sanding with 1500-12000 grit sanding pads. I wiped the bowl down after each pad with a damp cloth to remove the sanding debris.
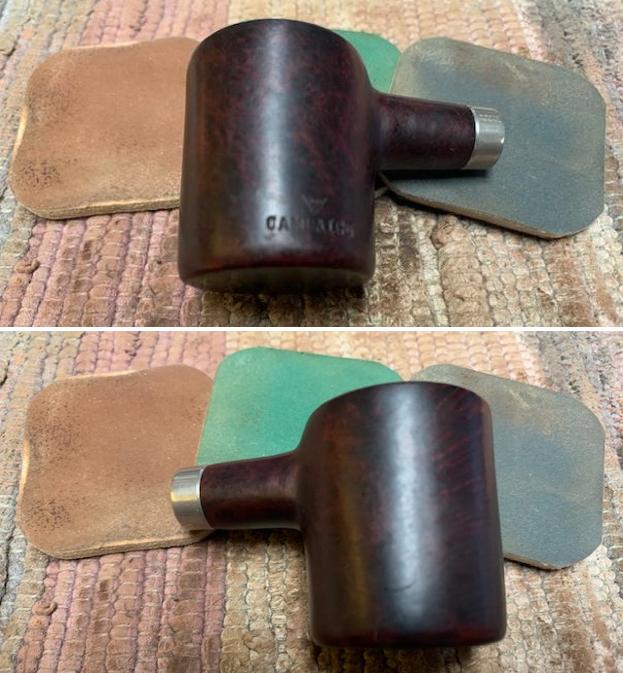
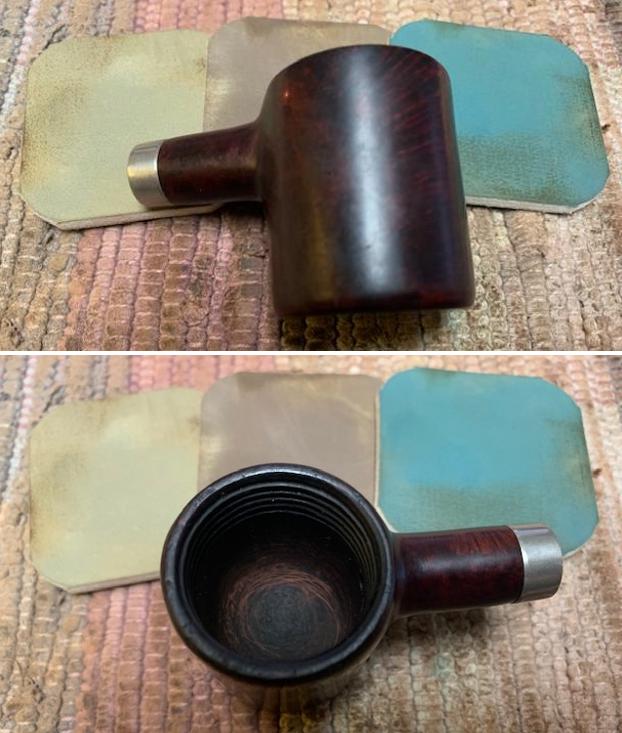
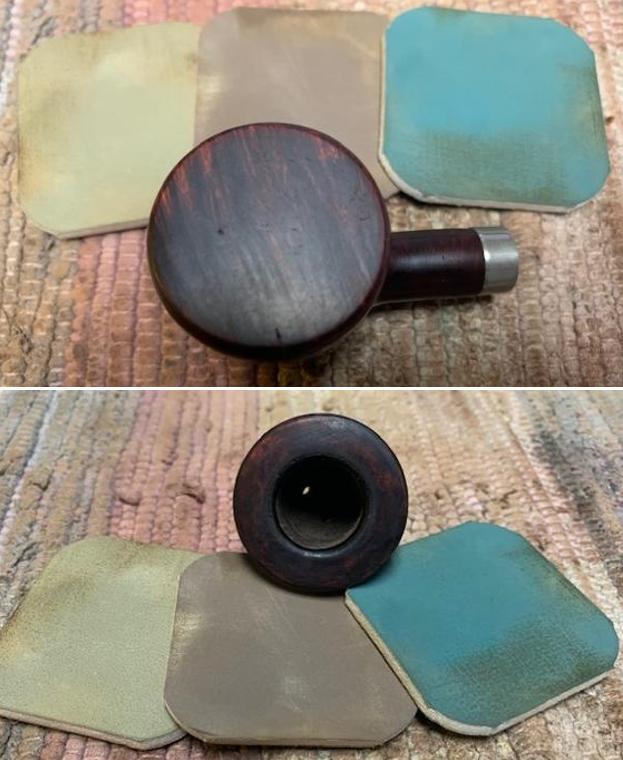
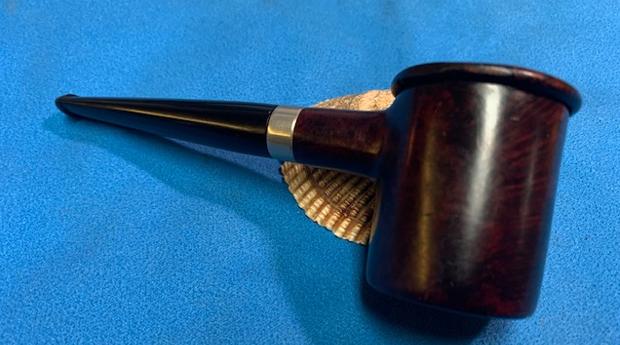
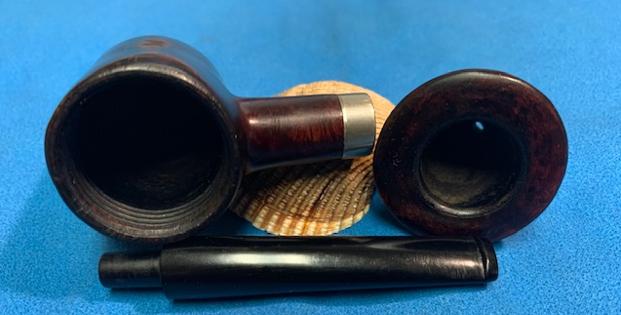
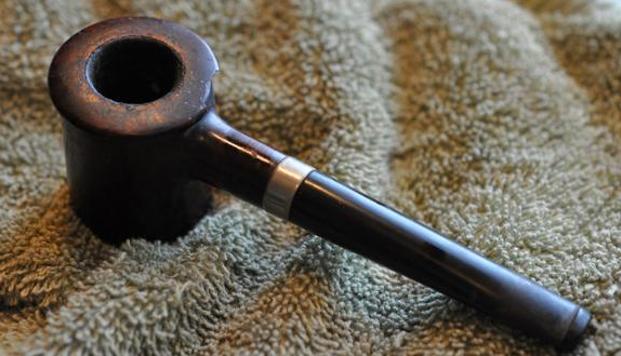
 I worked some Before & After Restoration Balm into the surface of the cup, bowl and shank with my fingertips to clean, enliven and protect the briar. I let the balm sit for 15 minutes and then buffed with a cotton cloth to raise the shine. The photos show the bowl at this point in the restoration process.
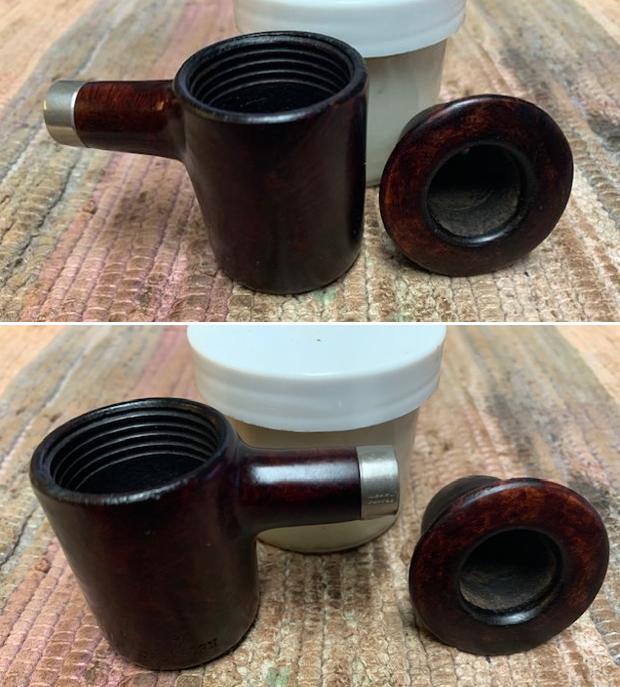
 I set the bowl aside and turned my attention to the old stem. The hard rubber had flecks of metal throughout the surface which told me it was a war years pipe or one made slightly after the war. I sanded it smooth with 220 grit sandpaper and started the polishing with 400 grit wet dry sandpaper.
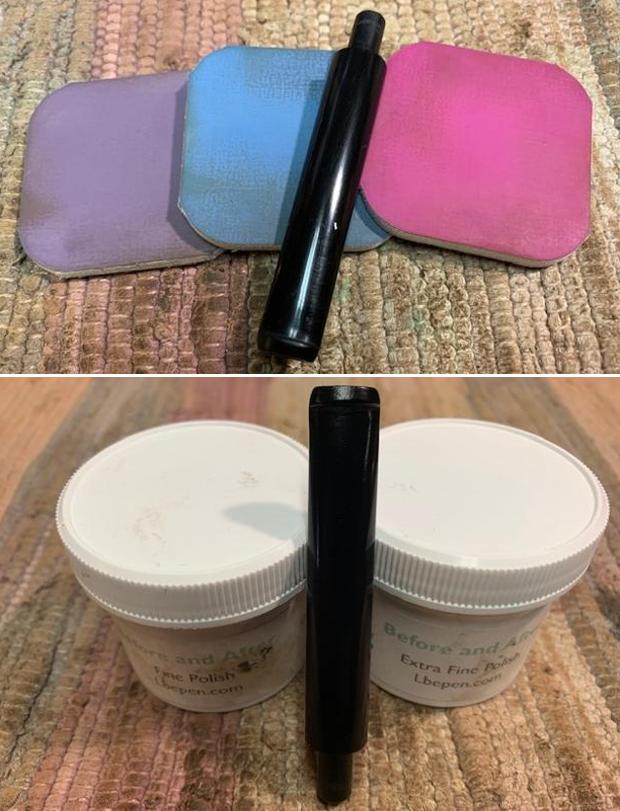
 I polished the stem with micromesh sanding pads – dry sanding with 1500-12000 grit sanding pads. I wiped it down after each sanding pad with Obsidian Oil. I polished it with Before & After Pipe Stem Polish – both Fine and Extra Fine. I gave it a final coat of Obsidian Oil. You can see the flecks of metal polished as well as the rubber stem!
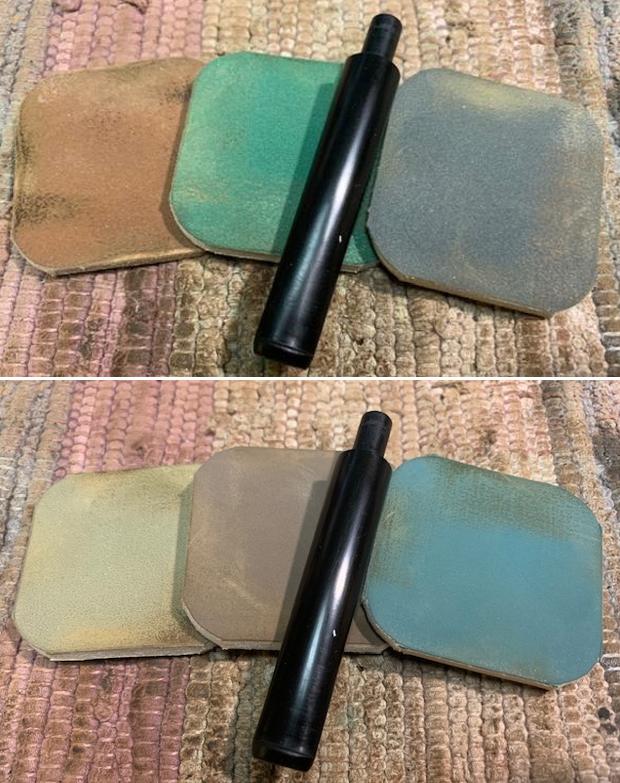
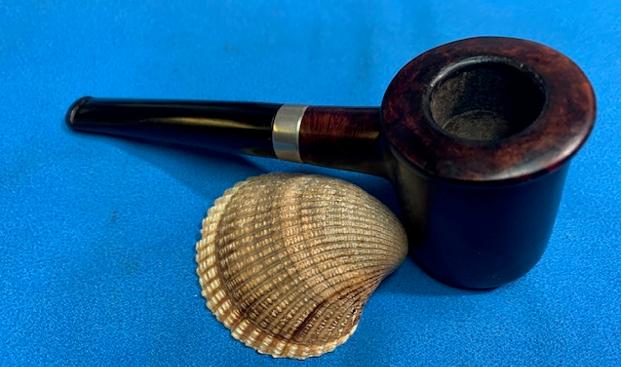
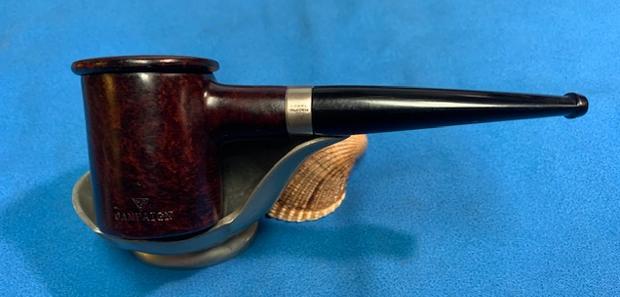
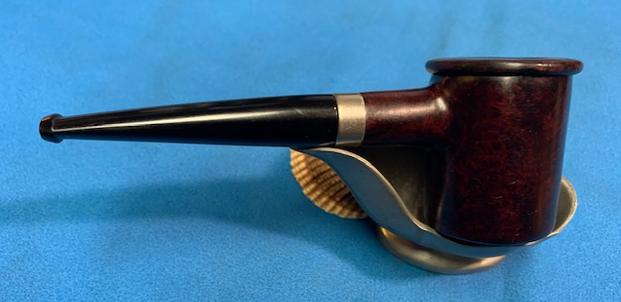
 With the cup, bowl and the stem finished I buffed WDC Campaign “Calabash” base and stem with Blue Diamond to give it a shine. I avoided doing that to the rim cap/cup so as not to risk damaging it. I buffed it by hand. I gave the base and stem multiple coats of carnauba wax on the wheel. I buffed the pipe with a horsehair shoe brush to raise the shine. I gave the cup multiple coats of Conservator’s Wax. I hand buffed pipe with a microfiber cloth to deepen the shine. I polished the nickel band with a jeweler’s cloth. The smooth finish on the bowl is a great looking. The dimensions of the pipe are – Length: 5 inches, Height: 1 ¾ inches, Outside diameter of the bowl: 1 ½ inches, Chamber diameter: ¾ of an inch. The weight of this large pipe is 1.55 ounces /44 grams. This Older WDC Campaign Pipe is another great find from this collection. It is much more beautiful in person than these photos can capture. I will be adding it to the rebornpipes store soon. If you want to add it to your collection it will make a fine smoking addition. This is another pipe that has the possibility of transporting the pipe man or woman back to a slower paced time in history where you can enjoy a respite. Thanks for walking through the restoration with me.