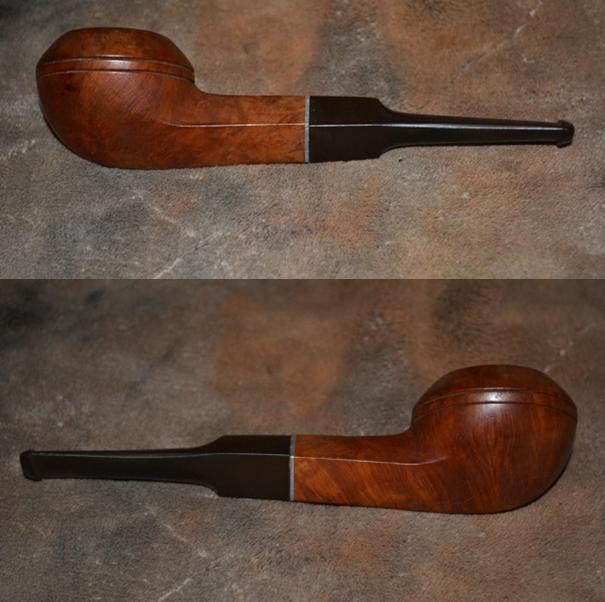
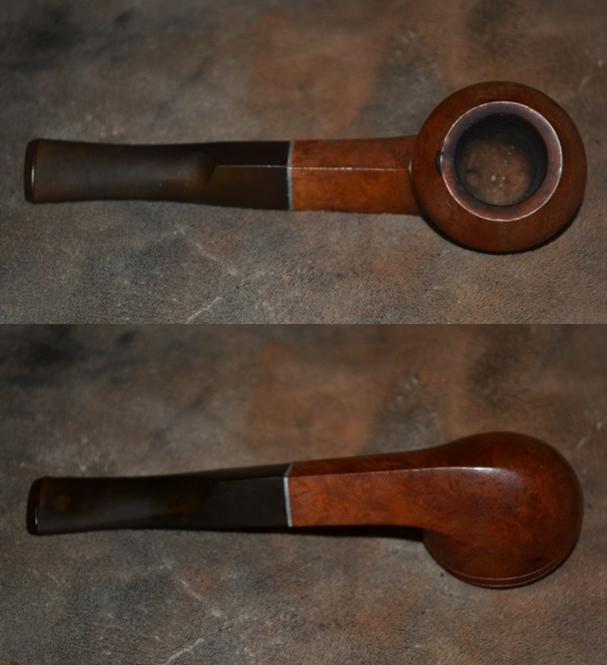
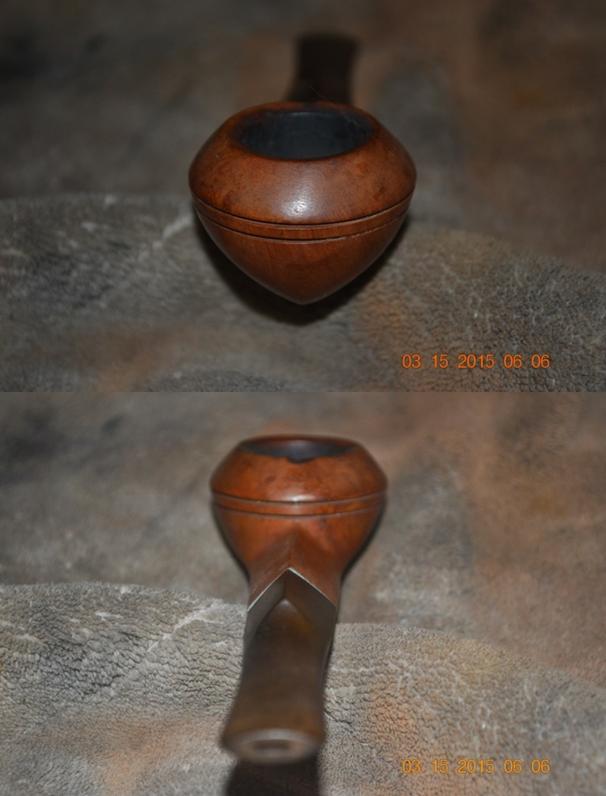
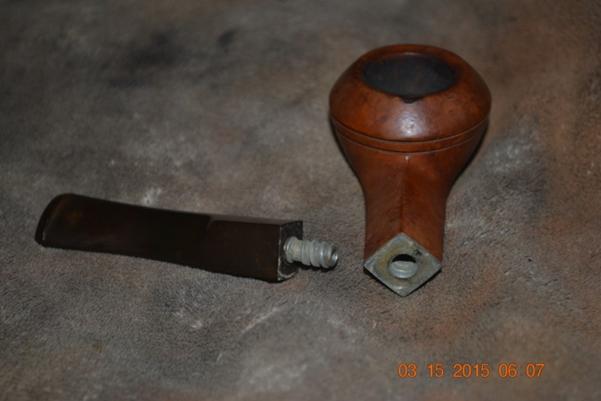
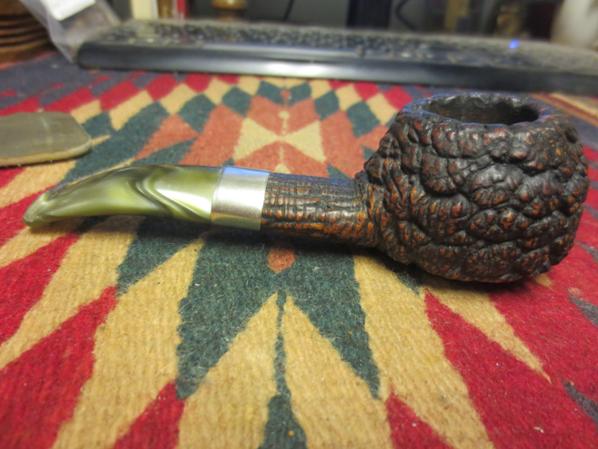
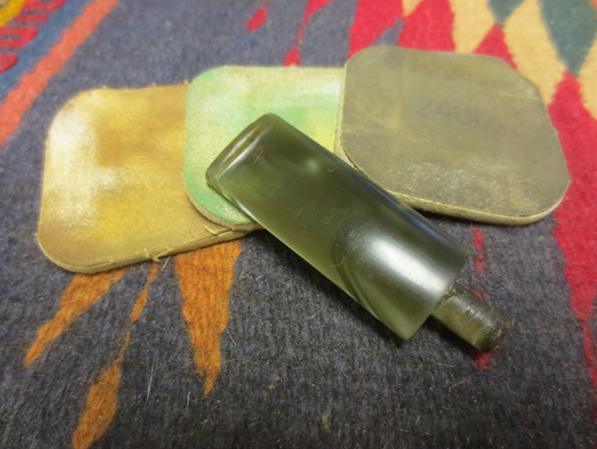
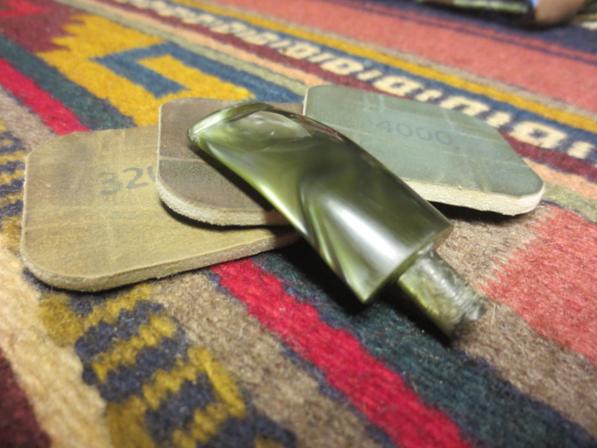
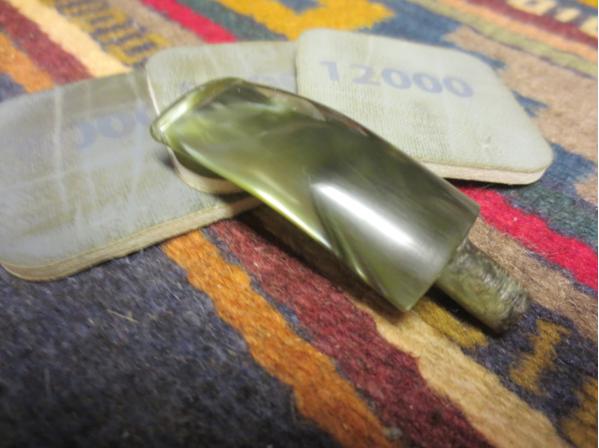
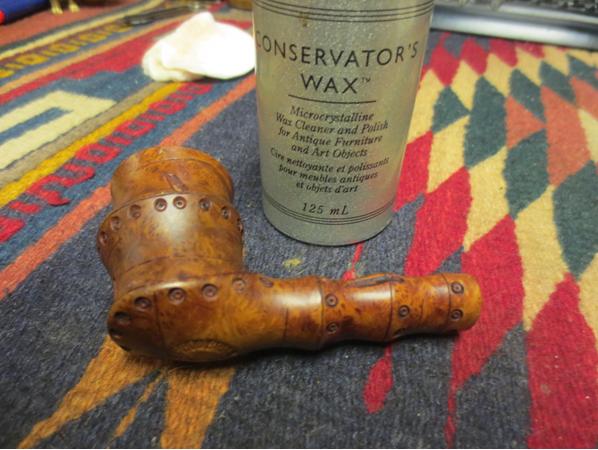
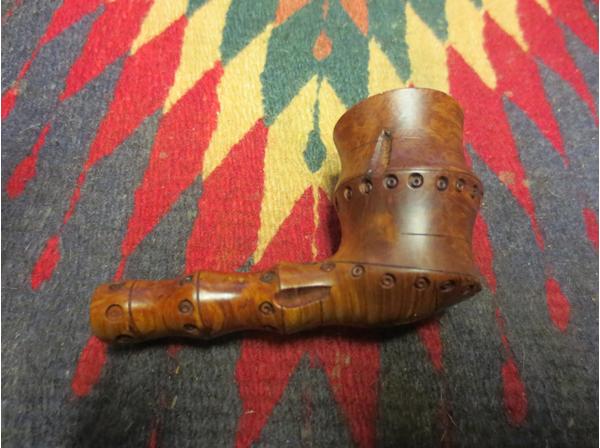
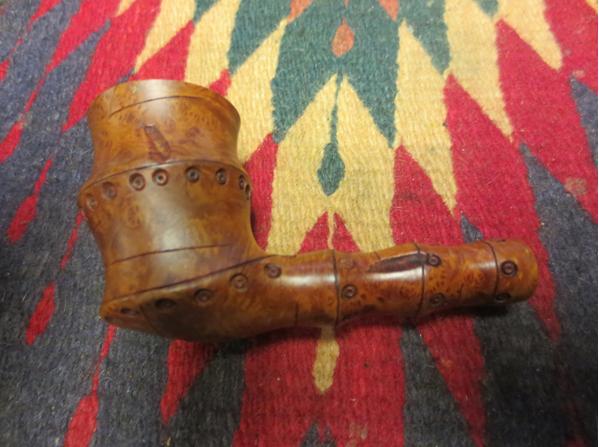
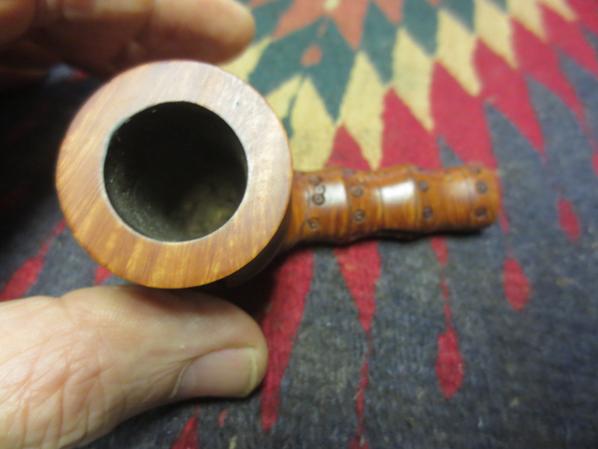
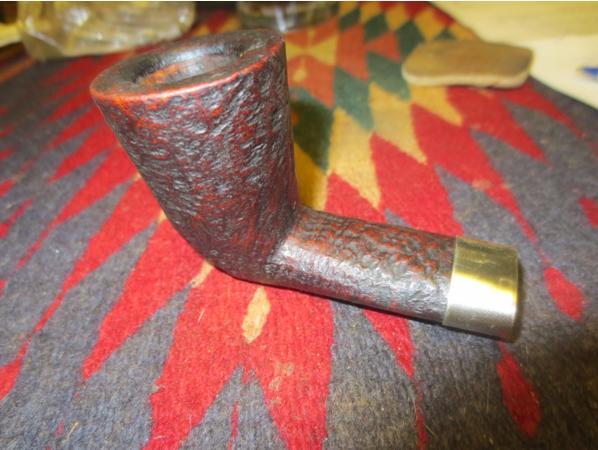
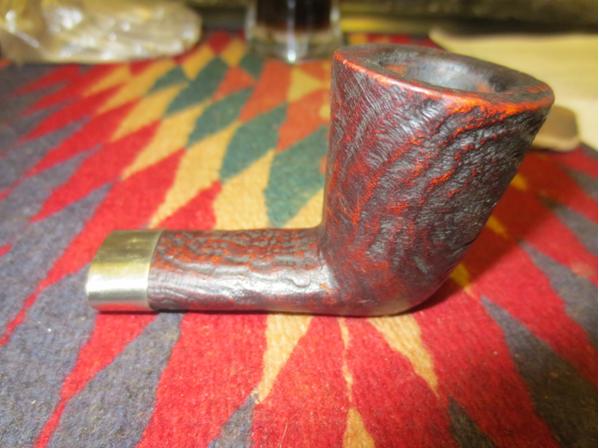
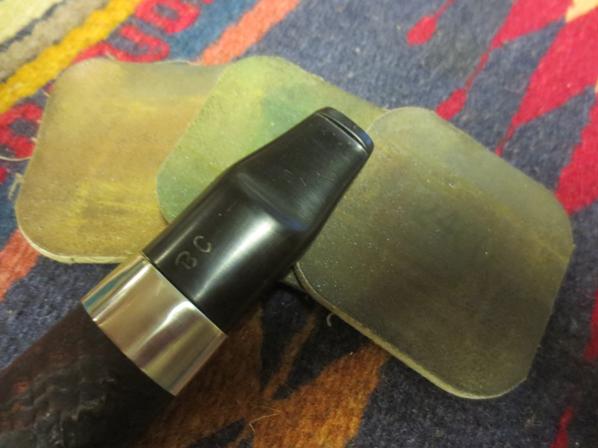
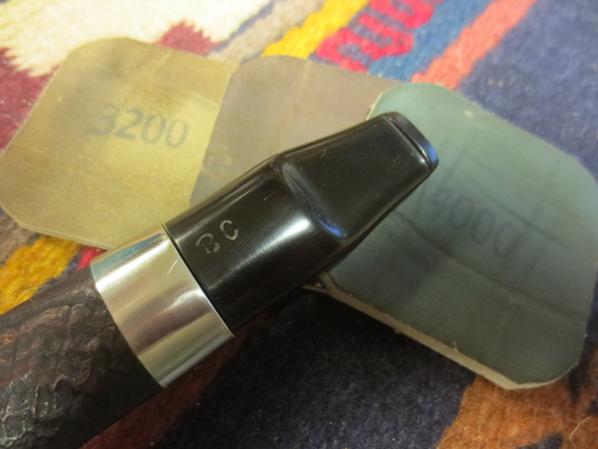
Tag Archives: refinishing

An Amazing Find – A Corsica Cavalier with a Horn Stem and End Cap


Blog Steve Laug

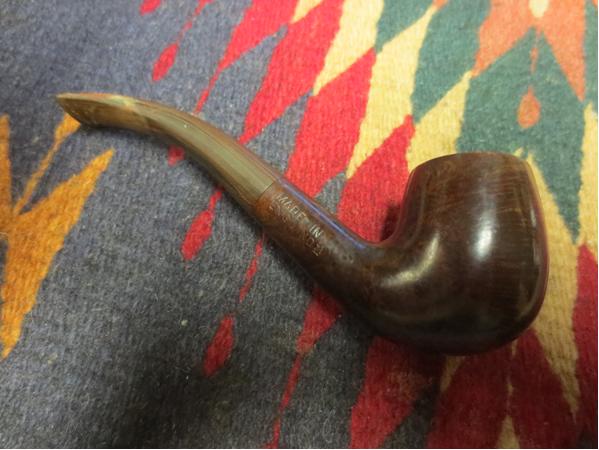
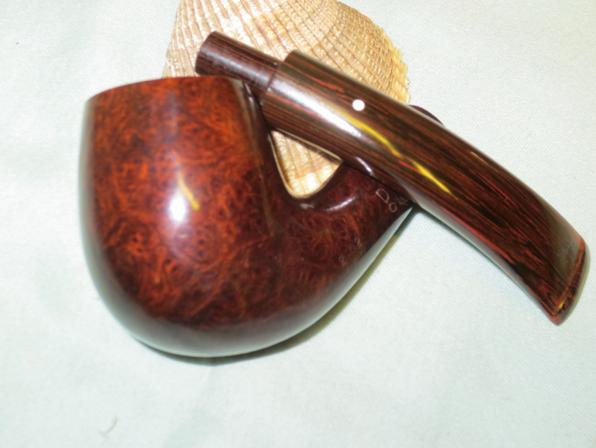
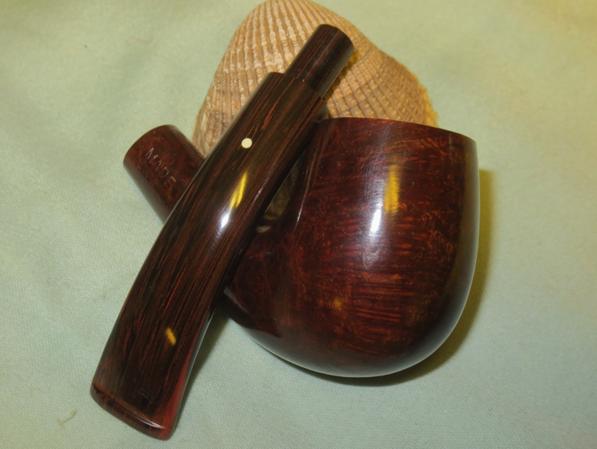
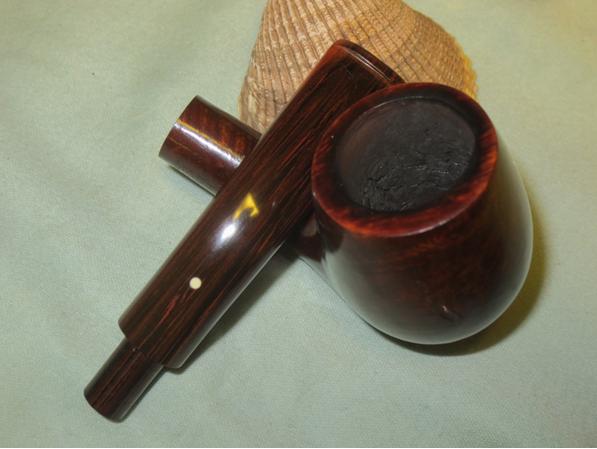
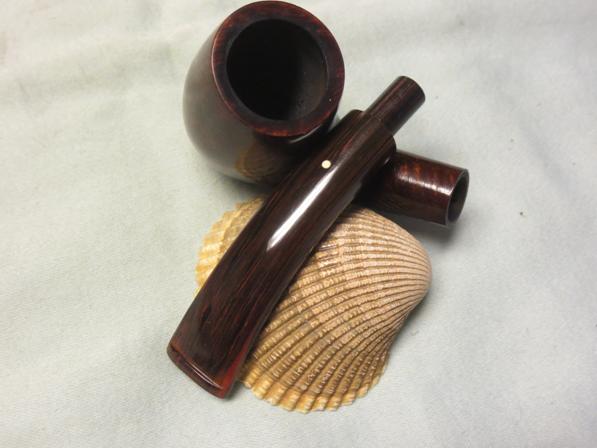
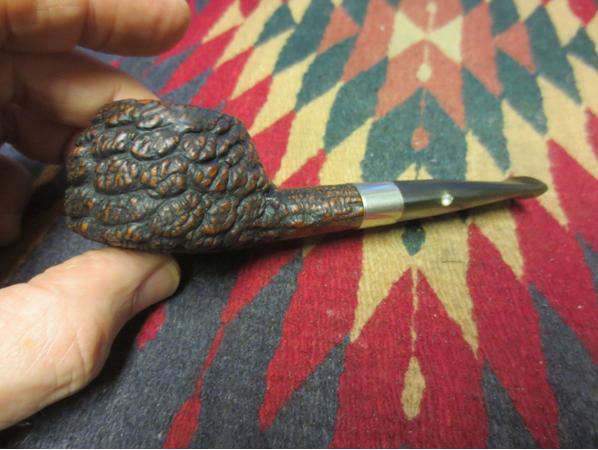
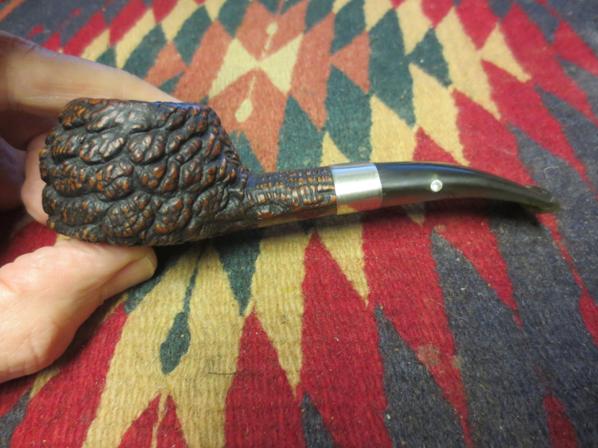
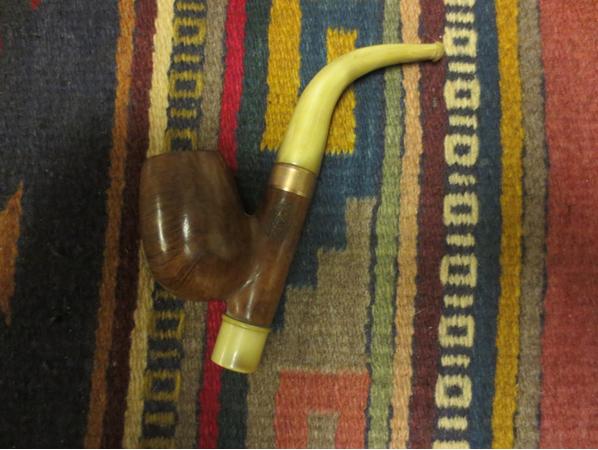
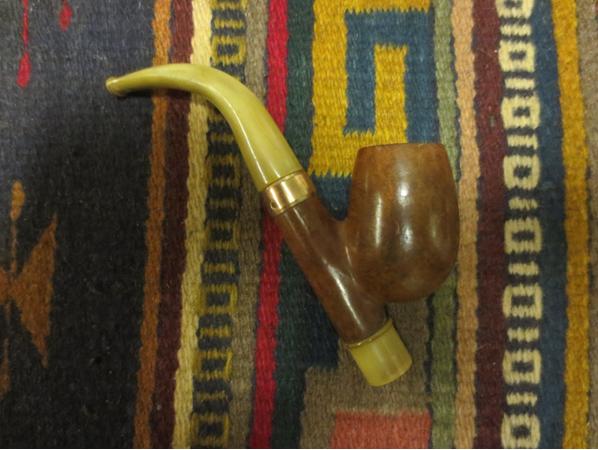
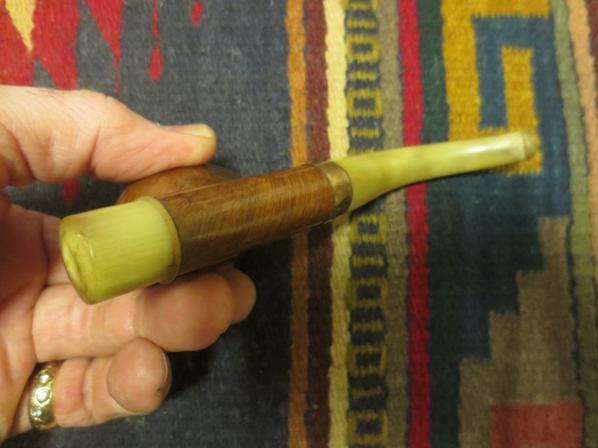
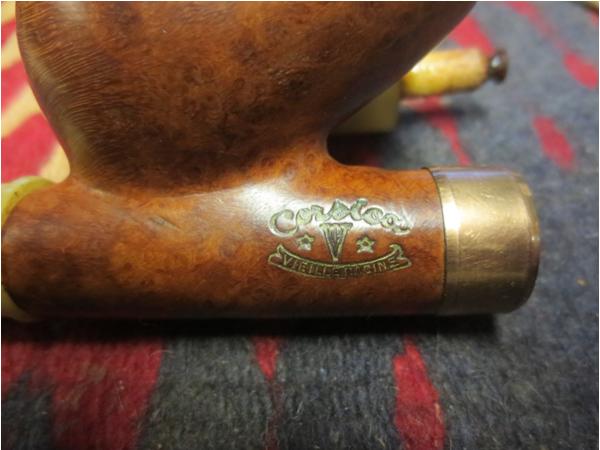
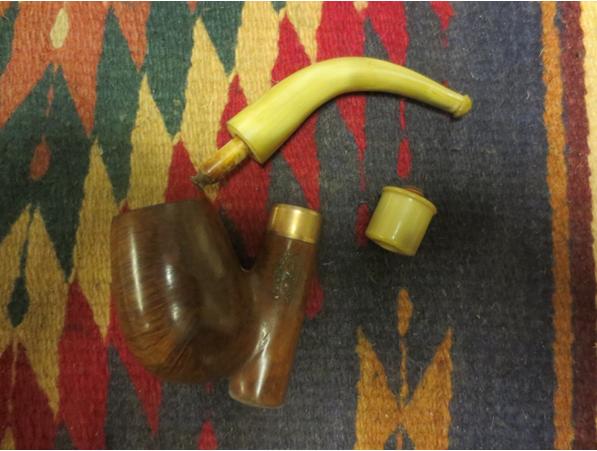
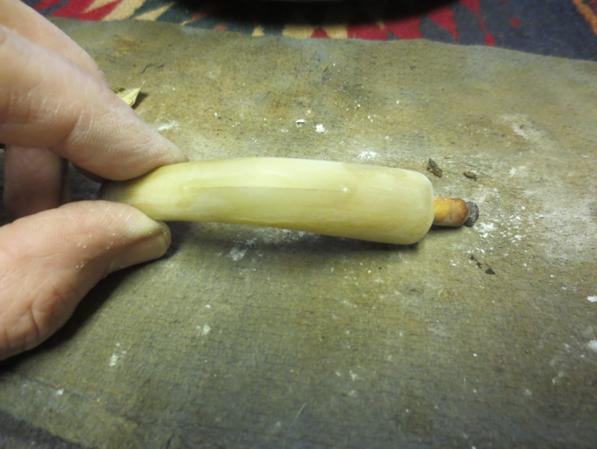
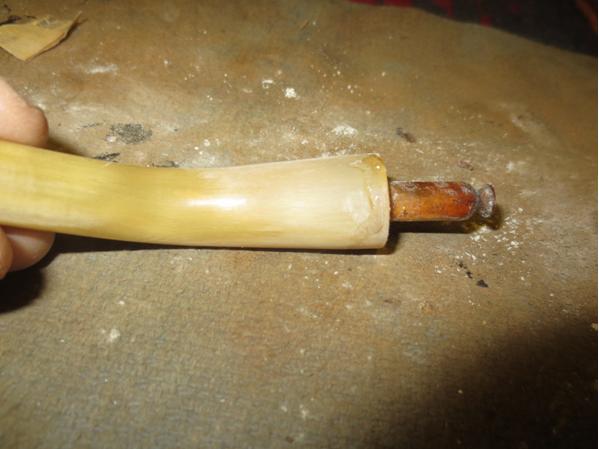
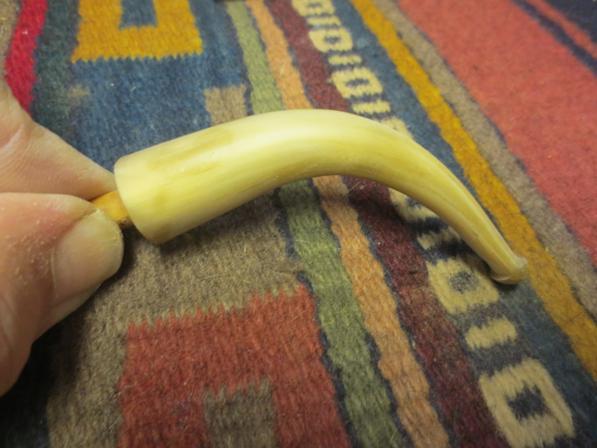
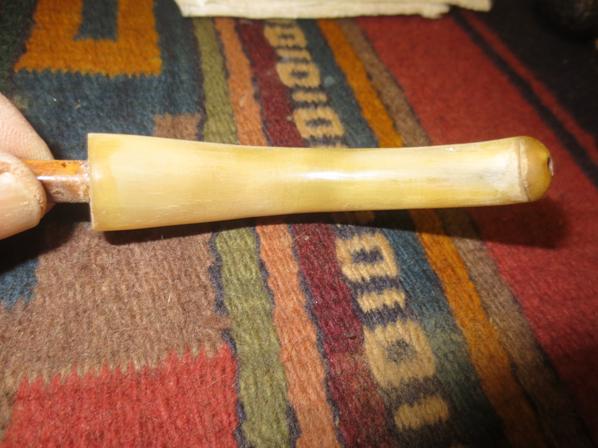
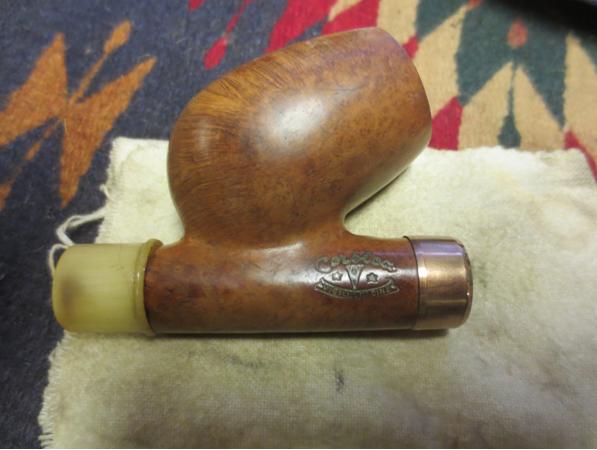
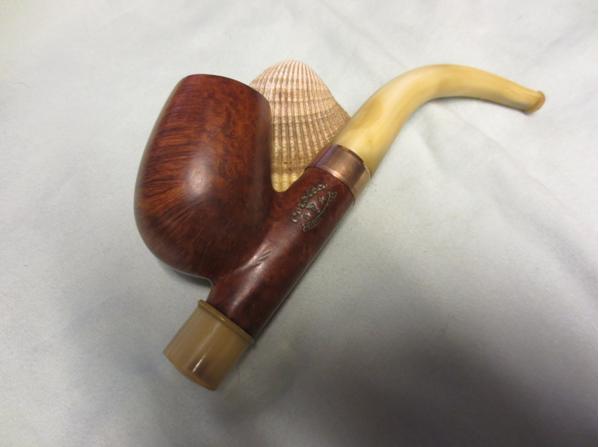
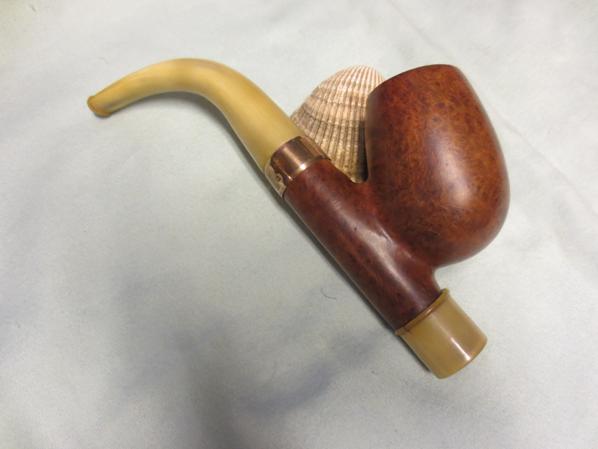
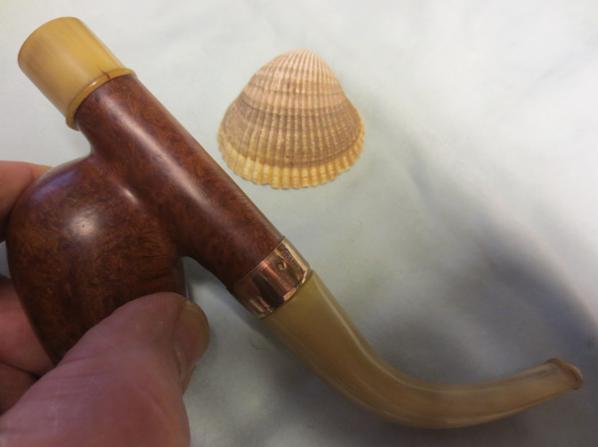
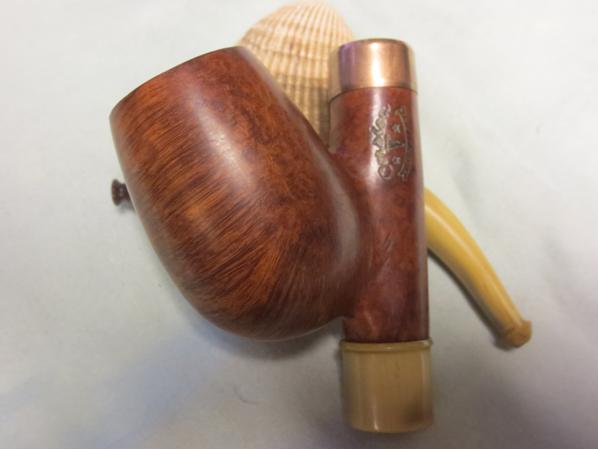
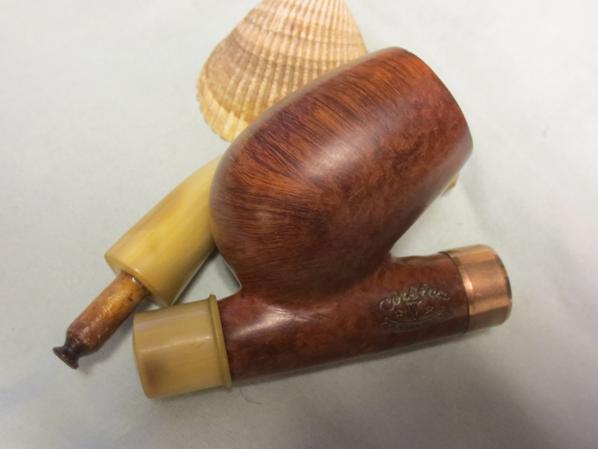
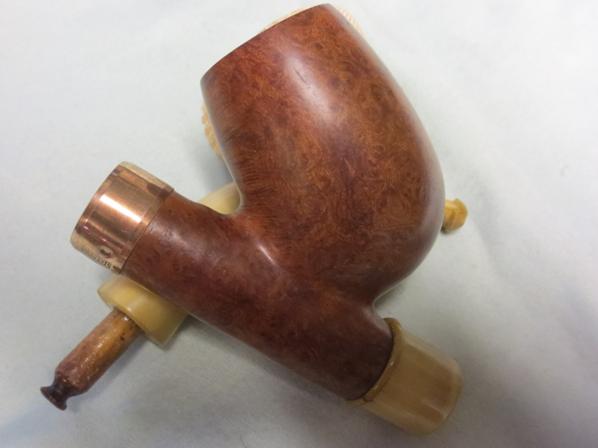
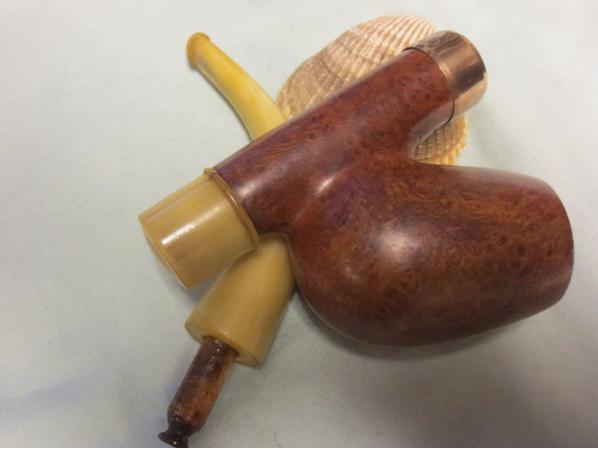
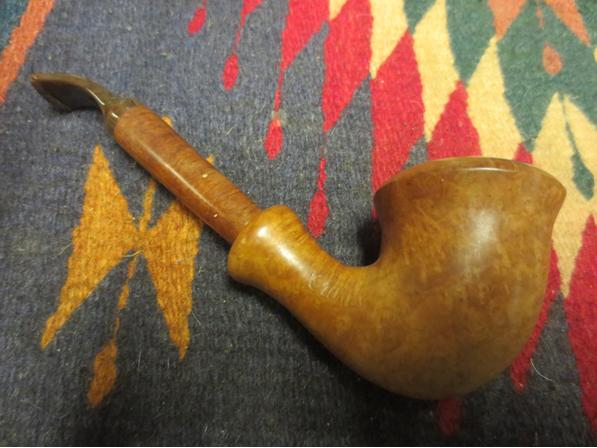
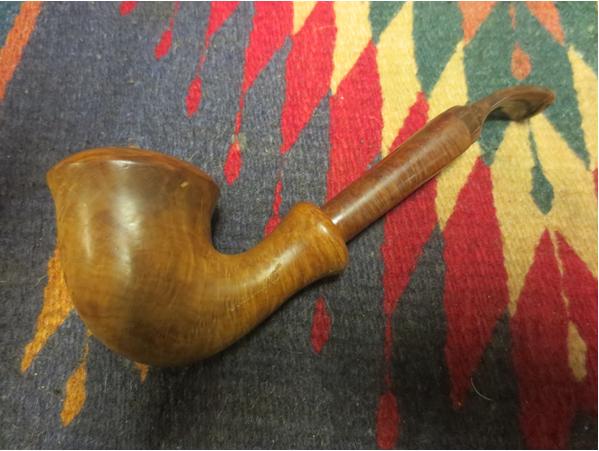
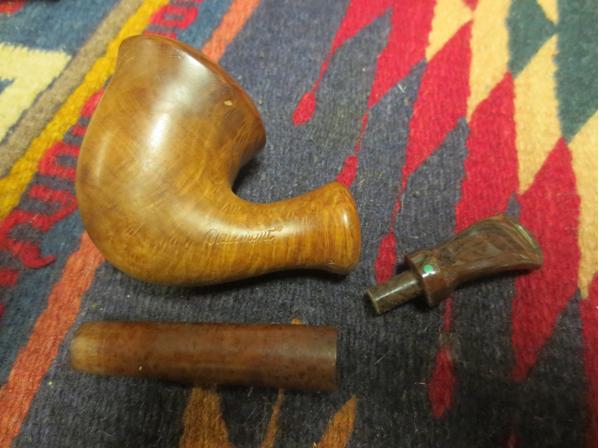
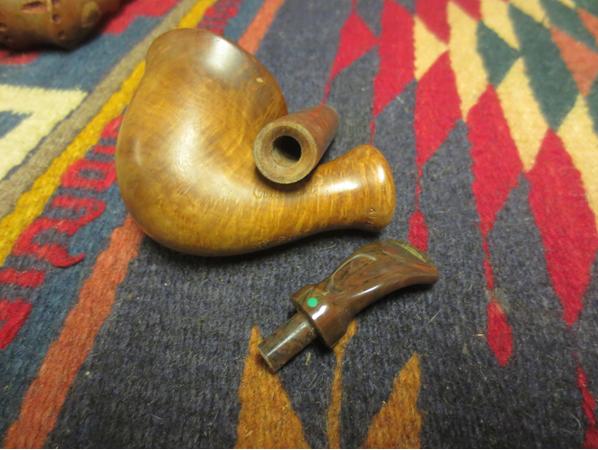
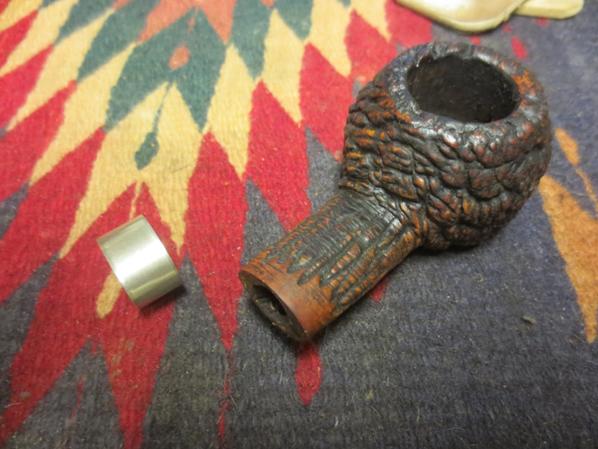
This is yet one more of my brother’s amazing finds. It is a beautiful Cavalier with a horn stem and end cap. It is stamped in classic late 19th Century fashion with gold leaf on the left side of the shank. It reads CORSICA in and arch over two stars around a capital V with what looks like an elongated 0 in the middle of the V. Underneath the *V* is VIEILLE RACINE stamped in a reverse arch. The words form and oval. It is my understanding that the Vielle Racine stamp translates literally as Old Root. The band is stamped 14K and is almost a rose gold. It is fitted to the shank and also is beveled inward covering the shank end. The horn end cap has a threaded short bone tenon that screws into the briar. It has a large bowl.
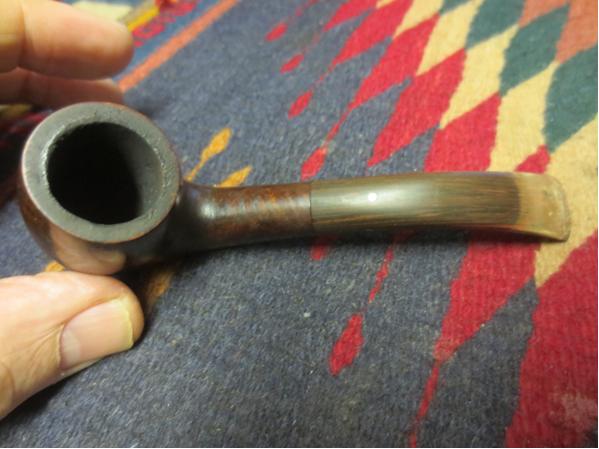
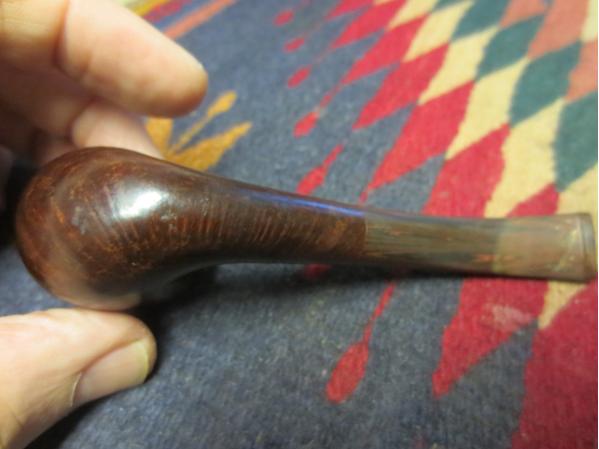
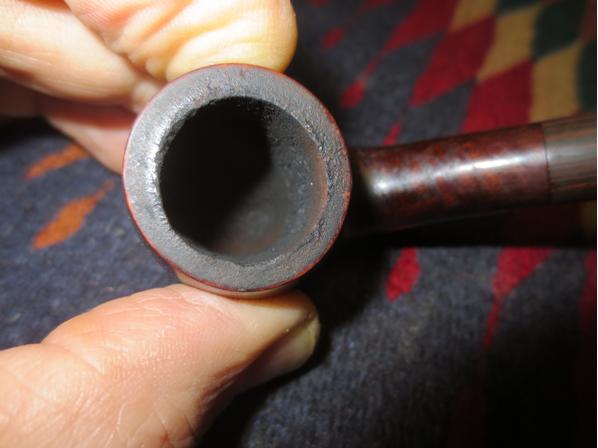
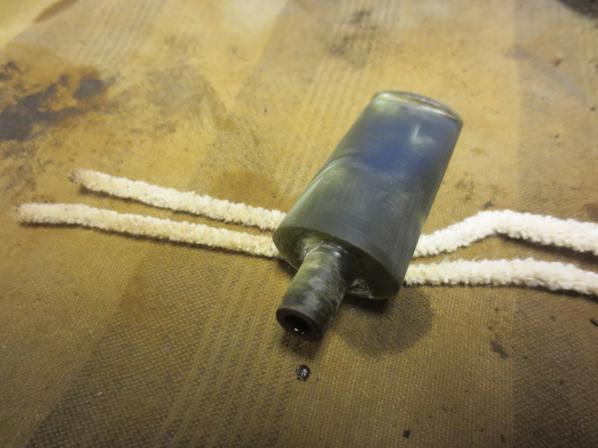
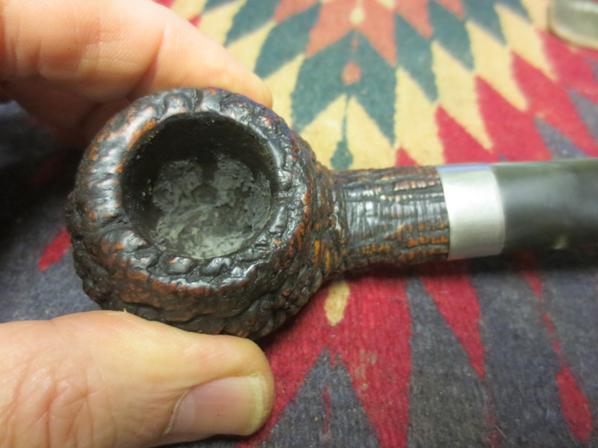
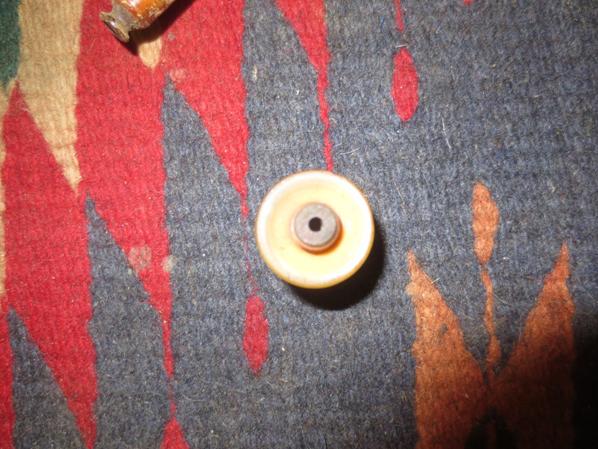
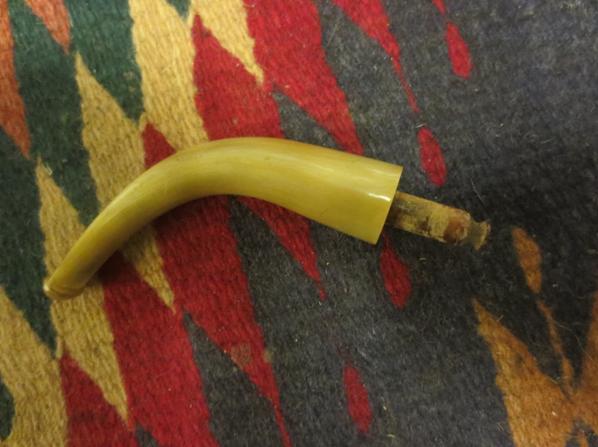
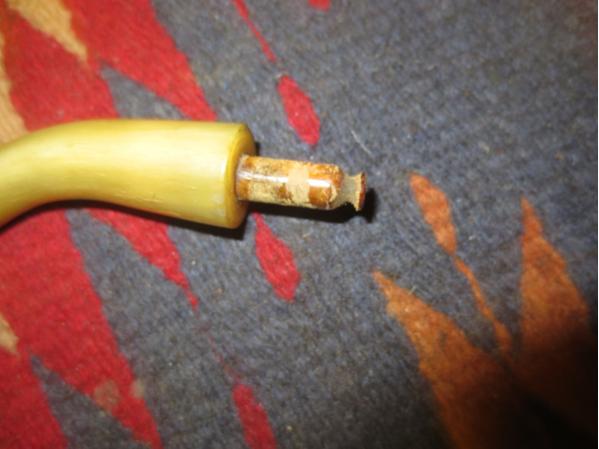
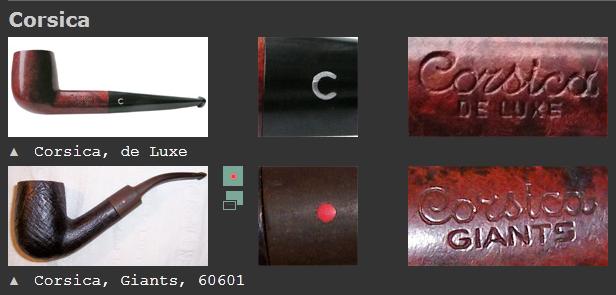
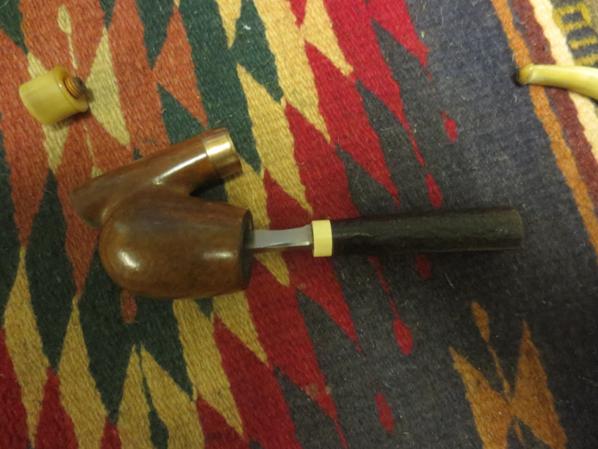
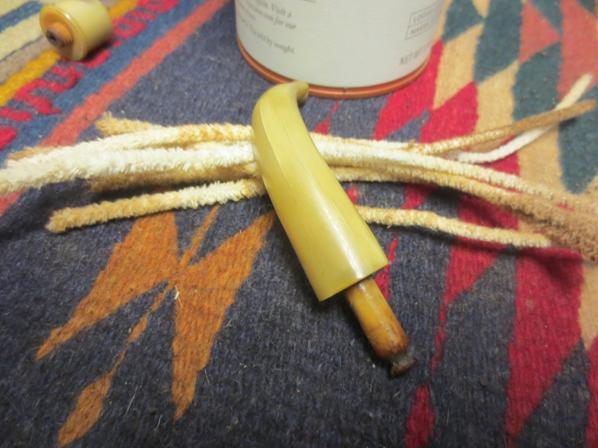
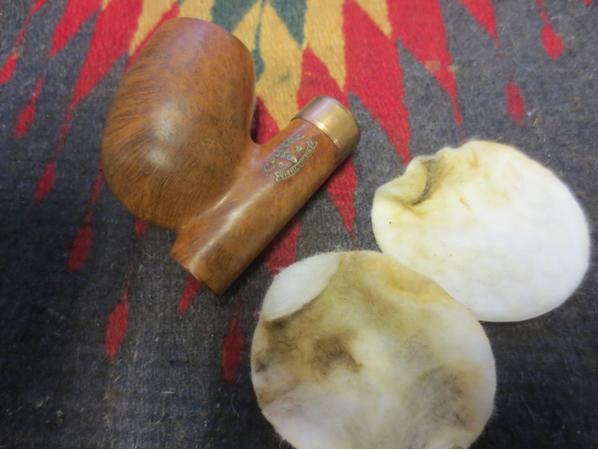
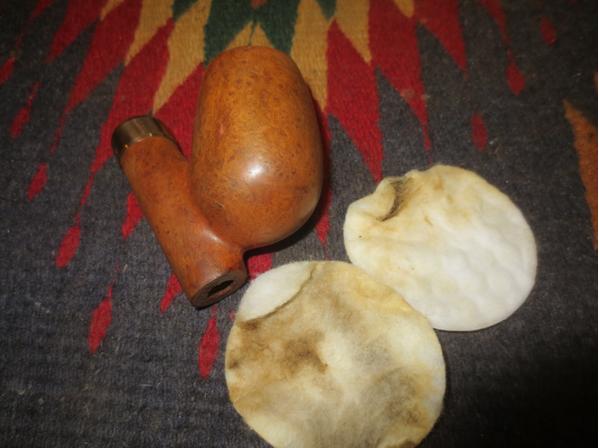
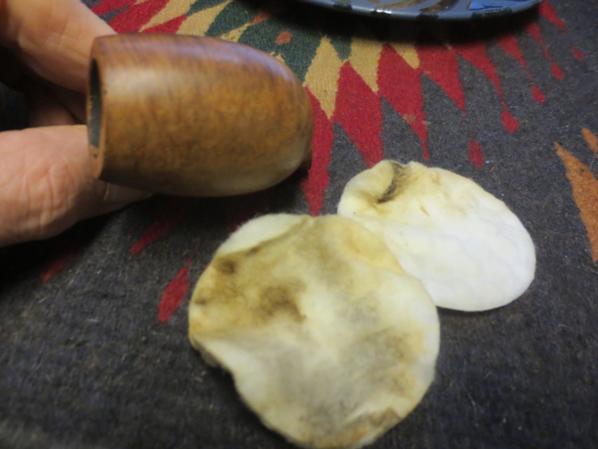
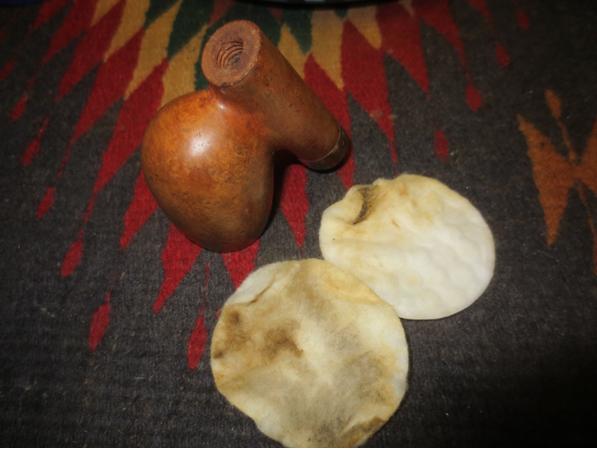
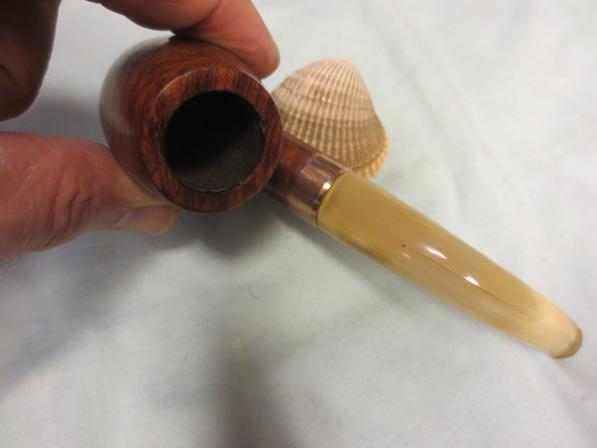
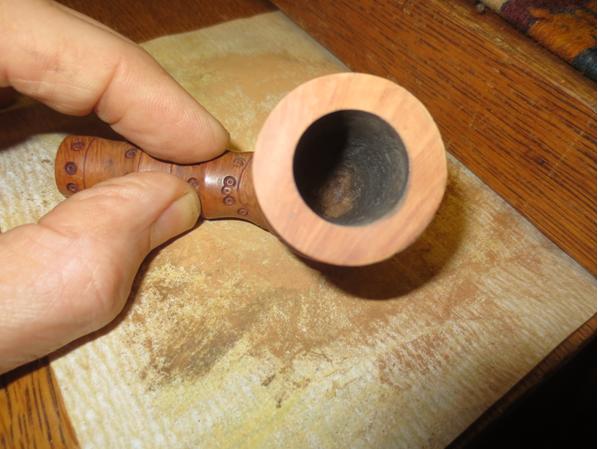
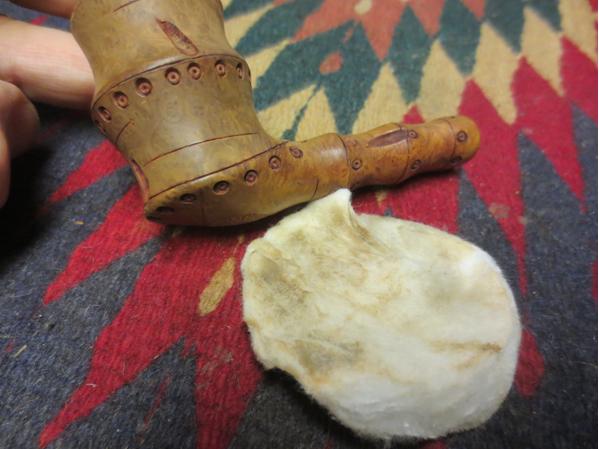
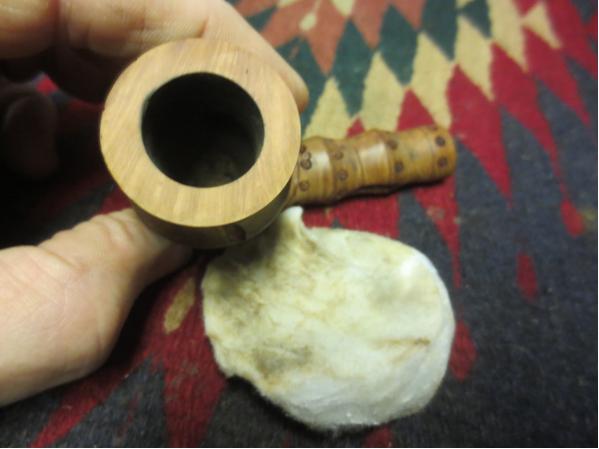
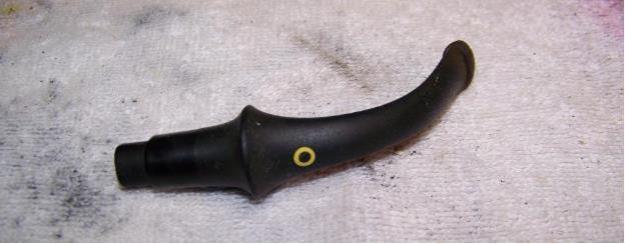
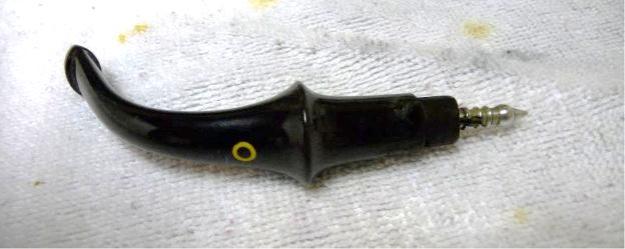
When the pipe came to me it was dirty but the bowl had been reamed. The rim had a slight build up and the inner edge had been slightly damaged when it had been reamed. The gold band was tarnished. The finish was dirty and spotted with sticky dark spots on the end cap and in the bend at the top of the shank bowl junction. The bowl had been coated with shellac that was spotty and cloudy in places. The stem looked really good at first glance but I would have to examine it more closely once I started cleaning it up. The grain on the briar was beautiful and I could not wait to clean it up and see what lay beneath the grime and the shellac.Cor1 Cor2 Cor3 Cor4I took several close-up photos to highlight different aspects of the pipe. The first of these is the state of the rim and bowl. The rim photo is a bit blurry but gives a pretty good idea nonetheless of the state of the bowl and the tars on the rim. The second photo is of the stamping on the left side of the shank. It still had the gold leaf in the stamping to highlight it.Cor5 Cor6I took the pipe apart and photographed the parts. I also took a photo of the end cap so that the bone tenon in visible.Cor7 Cor8The horn stem looked really good but looking at it up close I could see a crack along the top of the stem following the curve and a small group of them on the right side of the stem. There were also a few chips missing on the underside of the stem near the shank junction. The tenon had a unique look to it – almost a nipple on the end of it. It was coated with a little varnish as well so it much have someone’s attempt to tighten it as it was currently quite loose in the shank.Cor9 Cor10Before I started to work on it I decided to do a bit of research to fill in the gaps on another pipe brand that had not heard of before seeing this one. I was familiar with briar coming from Corsica but had not run across the pipe brand of that name. I resorted to the pipephil site to see if he had any information on the pipe and who may have made it. The site did have the brand listed. It turns out that Corsica is a brand of Henri Vuillard of Saint Claude, France. This Vuillard was not to be confused with E. Vuillard & Cie also of Saint Claude. Reading that information helped me to make sense of the large *V* in the centre of the stamping on the pipe that I am working on. Here is the link to the information: http://www.pipephil.eu/logos/en/infos/hvuillard-en.html. The site included the following photos of several pipes in this line. The cursive form of the Corsica stamp is very similar to the stamping on my pipe.Cor11The link also included a sub link to a secondary page on the history of the brand. The following is an abstract of the information that I found regarding the maker of this pipe. At the end of the 19th century the Vuillard house managed by Paul Vuillard and established at Chemin de la Coupe (Saint Claude) produced match boxes and cases for spectacles. At the beginning of the 20th century on Henri’s (son of Paul Vuillard) initiative the factory is converted to the production of briar pipes which were marketed under the “Corsica” brand.
From that information along with the materials and the design of the pipe I am pretty confident in saying that it was made in the early 20th century when the company was managed by Paul Vuillard who took the initiative to start making pipes. An interesting note is that from 1914-1918 The Henri Vuillard Factory produced pipes for the French Army. The article says that at that time they had between 170-180 employees.
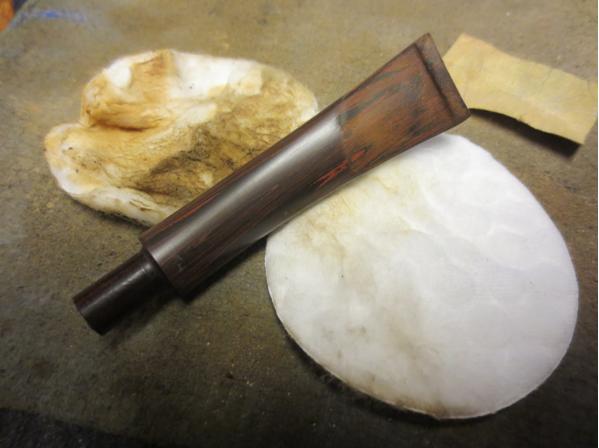
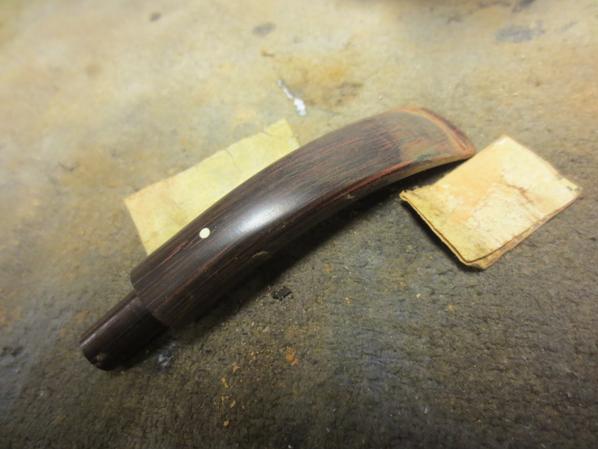
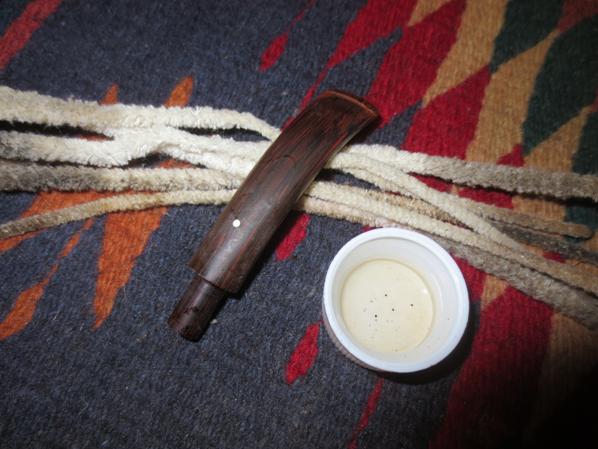
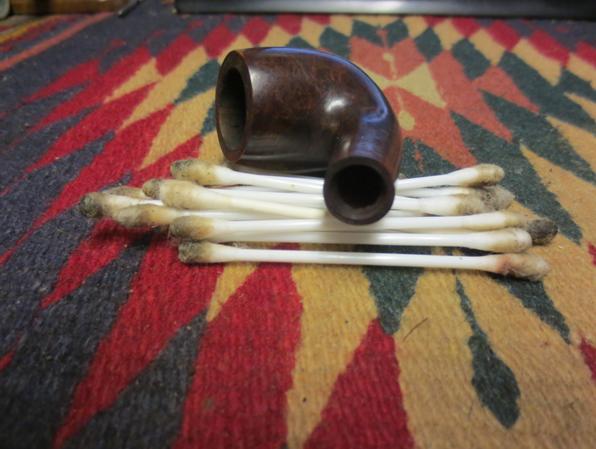
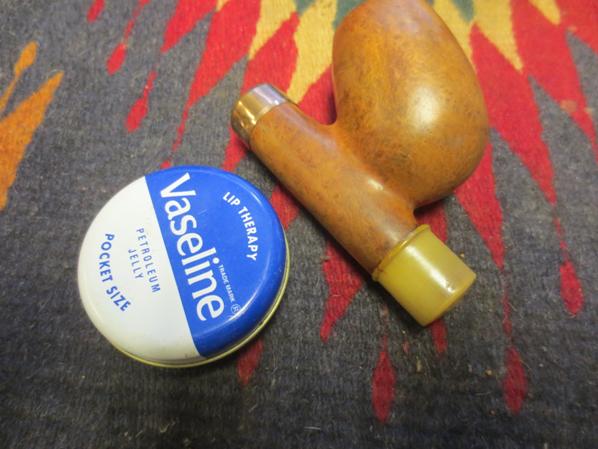
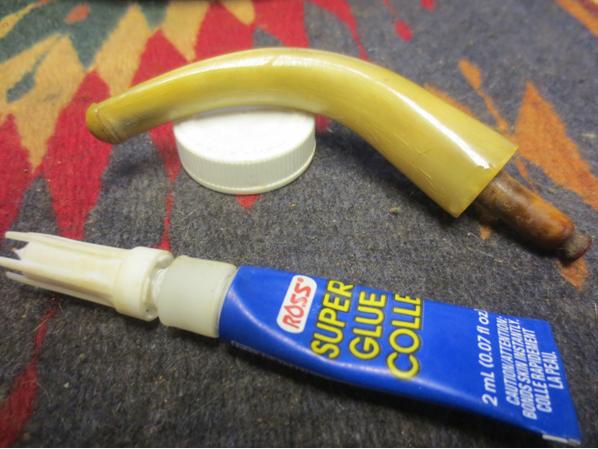
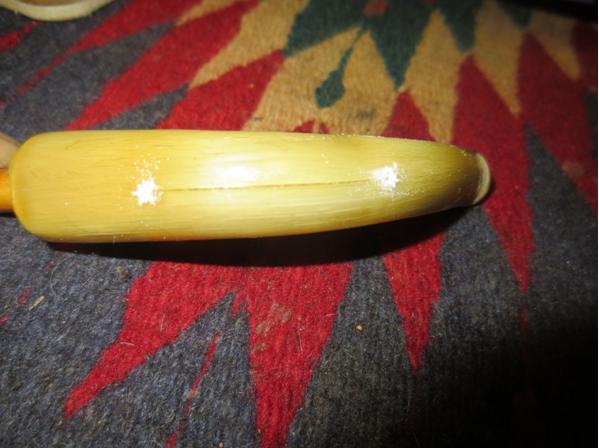
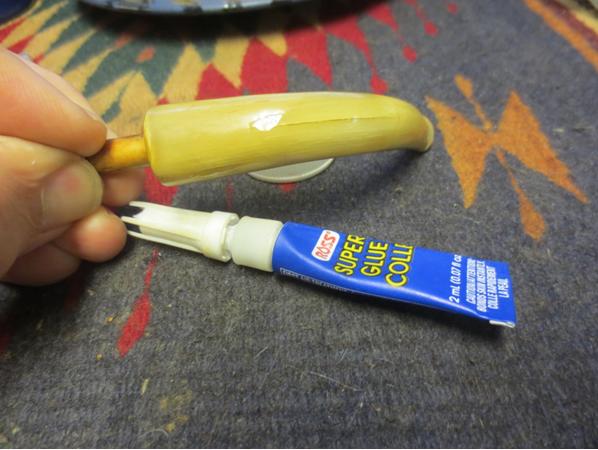
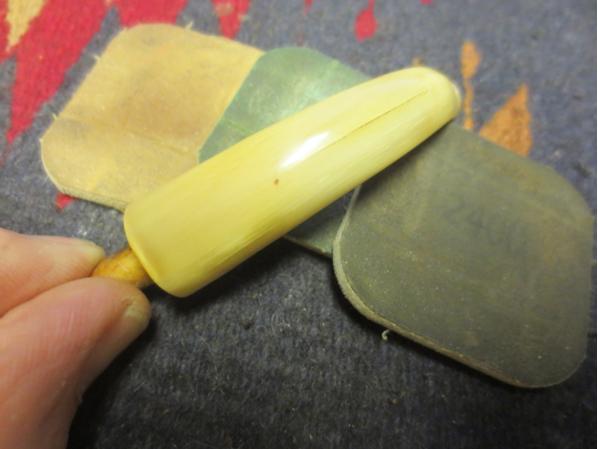
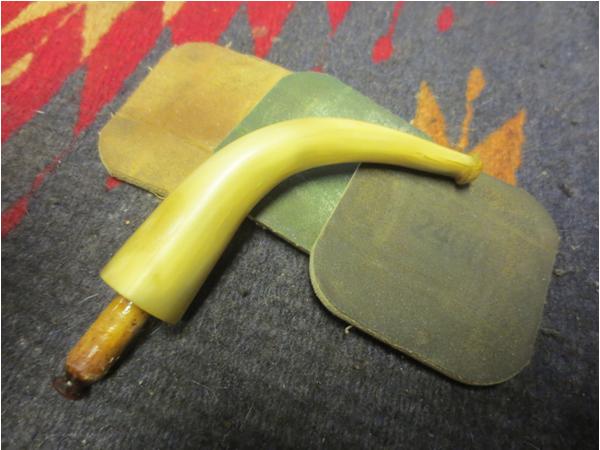
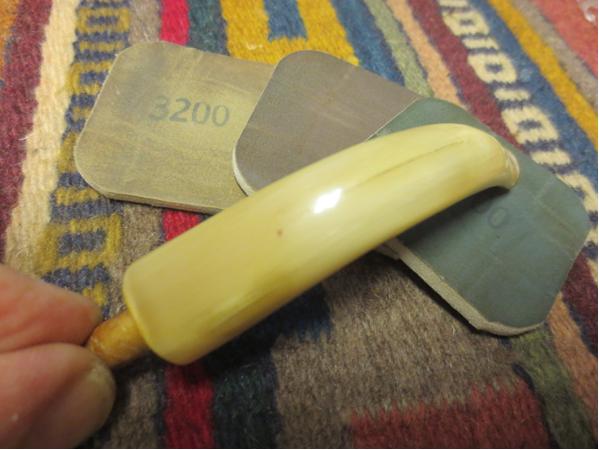
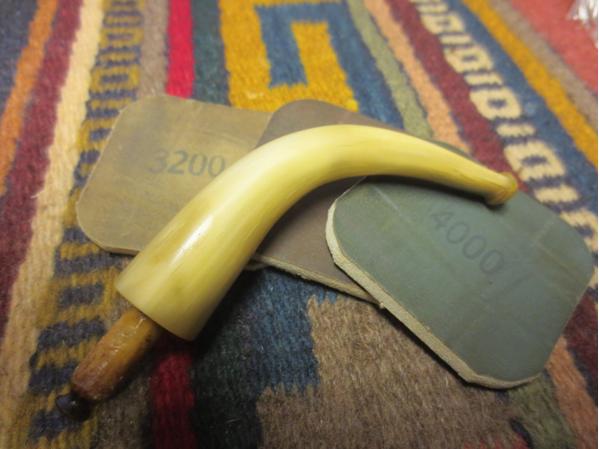
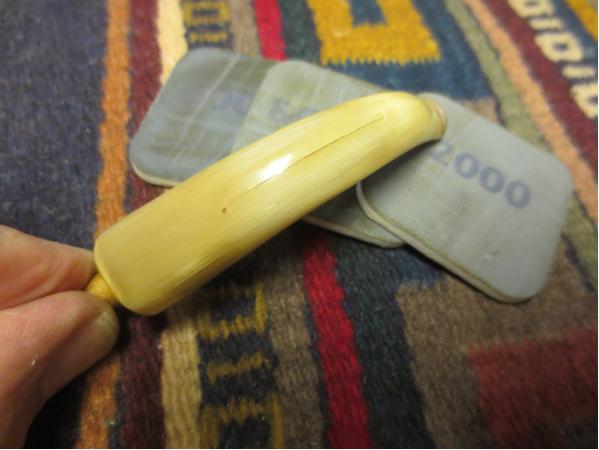
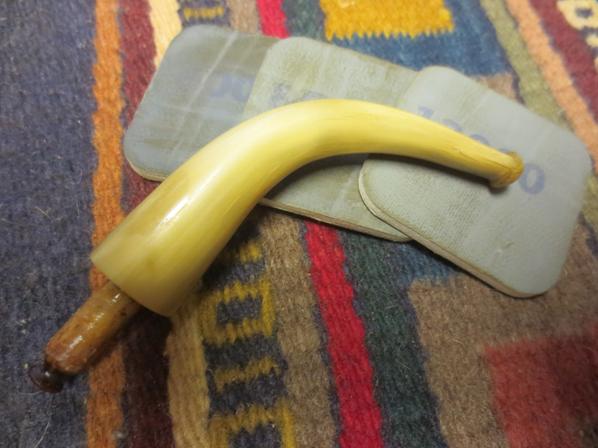
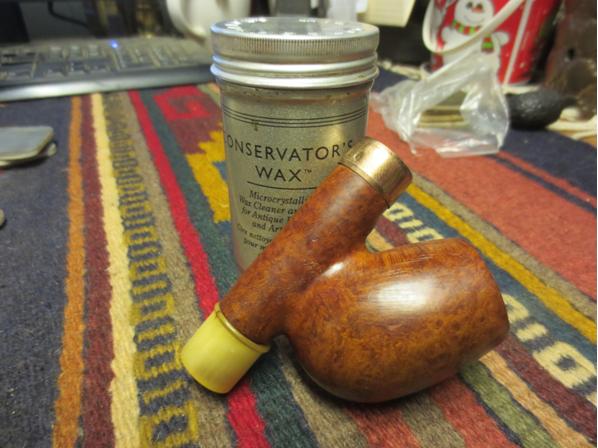
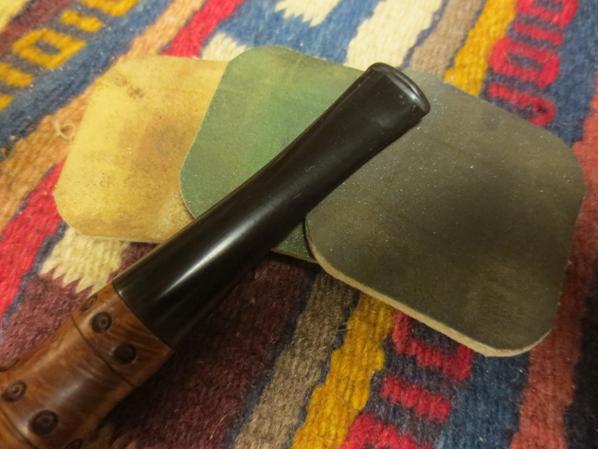
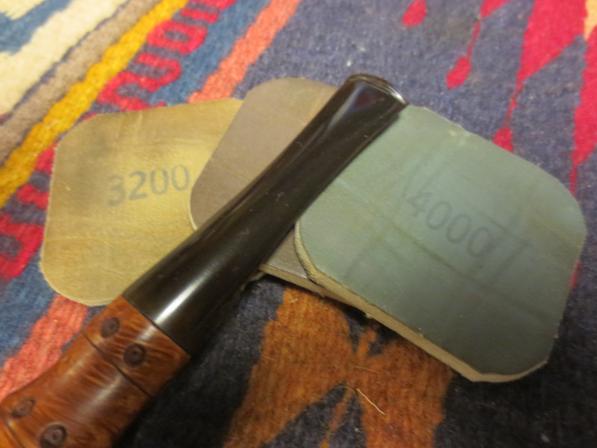
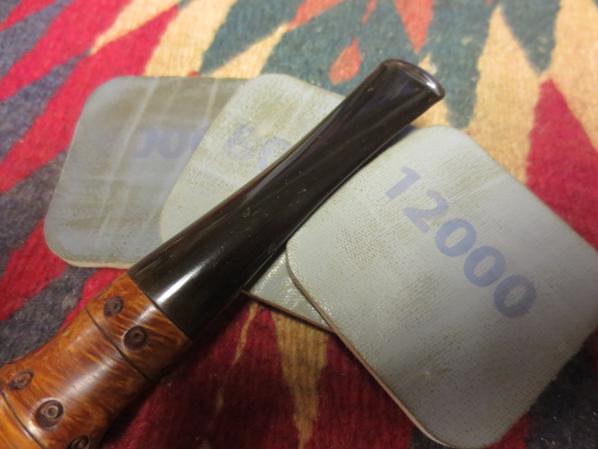
Armed with this new knowledge and an estimate of the age of the pipe I began to clean it up. The cake had been reamed already so I just cleaned up the walls of the bowl with the Savinelli Pipe Knife. I had removed the stem and the end cap so it was easy to hold the bowl and ream it.Cor12I cleaned the shank from the mortise to the end cap with pipe cleaners, cotton swabs and alcohol. The oils and tars that came out were not very dark and they did not smell like tobacco. It was almost as if they were the stain from the outside of the bowl. It did not matter though it took quite a few before the shank was clean all the way through.Cor13I cleaned the airway in the stem as well. It also was dirty. But as I cleaned off the exterior the cracks became more noticeable, particularly the one on the topside.Cor14I scrubbed the exterior of the bowl with acetone on cotton pads to remove the shellac coat. I was careful around the gold leaf in the stamping as I did not want to damage that area of the bowl.Cor15 Cor16 Cor17 Cor18I put Vaseline on the threads of the bone tenon on the end cap and carefully turned it into the end of the shank. I polished the bone of the end cap with 1500-4000 grit micromesh sanding pads to smooth it out. I rubbed it down with some Obsidian Oil and let it dry. Cor19In the photo below you can see the fine cracks in the stem near the tenon end. This is also where the chips were. I drilled a tiny hole at each end of the crack on the top of the stem with a micro drill bit. I filled the holes and the crack with clear super glue. I used the clear super glue to also stabilize the other cracks on the sides of the stem and to build up the chipped areas on the underside of the stem.Cor20 Cor21 Cor22When the glue dried I sanded the stem with 220 grit sandpaper to smooth out the repairs and to begin to polish the stem.Cor23 Cor24 Cor25 Cor26 Cor27Once the repairs were smooth I wet sanded the stem with 1500-2400 grit micromesh sanding pads and gave the stem a coat of Obsidian Oil. I dry sanded it with 3200-4000 grit pads and gave it another coat of oil. I know the oil is made for vulcanite but I wanted to bring a little life to the horn. I finished sanding the stem with 6000-12000 grit pads and gave it a final coat of oil.Cor28 Cor29 Cor30 Cor31 Cor32 Cor33I polished the gold band on the shank end with a jeweler’s cloth until it shone. I gave the briar several coats of Conservators Wax and hand buffed the bowl with a shoe brush when it dried. Cor34 Cor35I decided not to buff this pipe on the wheel because I did not want to damage the gold leaf or the horn. I hand buffed it with a microfibre cloth and polished it until it shone. The finished pipe is shown in the photos that follow. It truly is a beautiful old pipe. I only wish that the horn was more perfect. The stem glows but I see the repaired cracks. Ah well it is better than having the stem splinter apart while using it. It should be good for another hundred plus years now. Thanks for looking.Cor36 Cor37 Cor38 Cor39 Cor40 Cor41 Cor42 Cor43 Cor44 Cor45

Introduced to a Bamboo Briar of Spain Oval Shank Billiard


Blog by Steve Laug

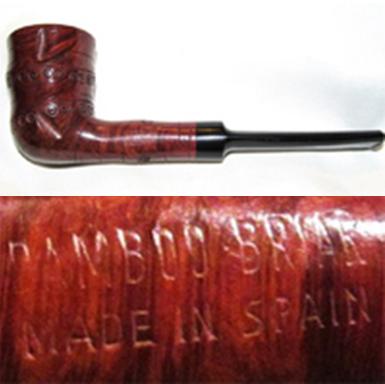
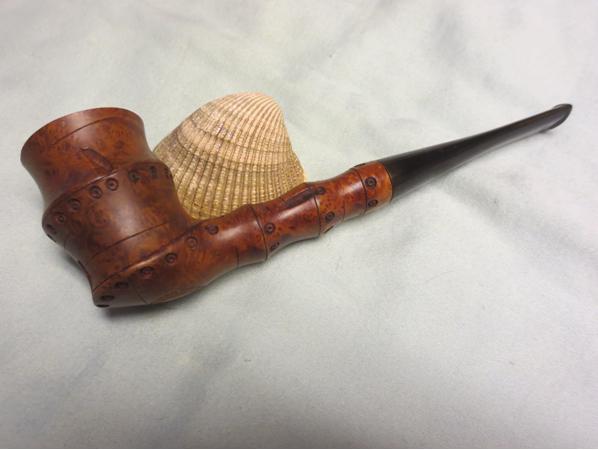
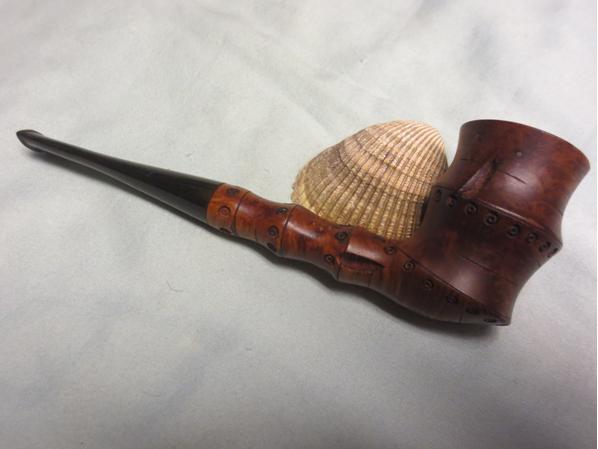
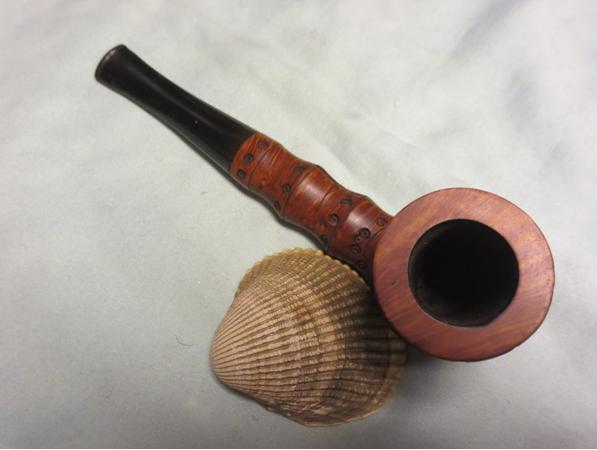
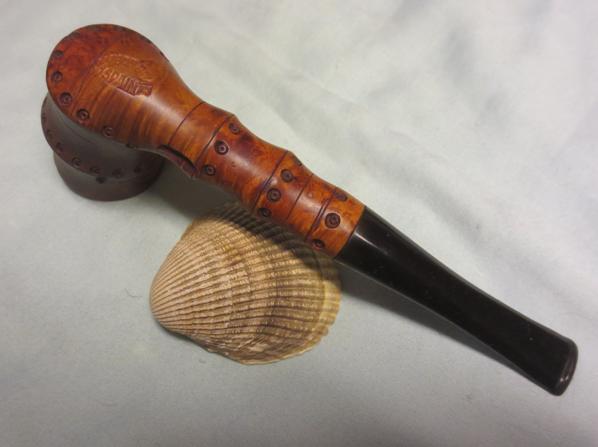
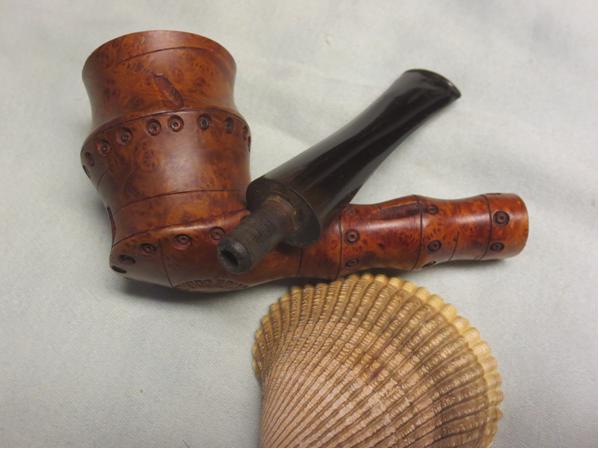
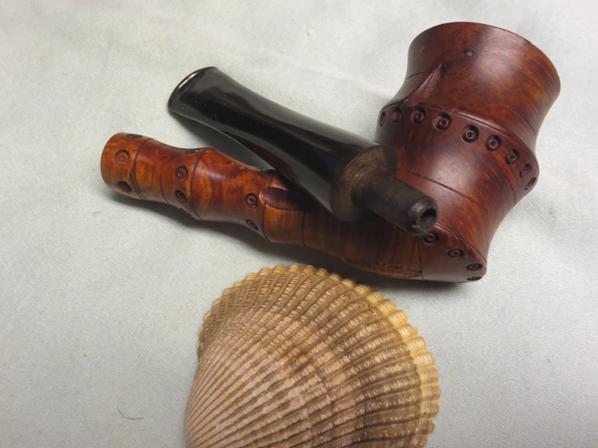
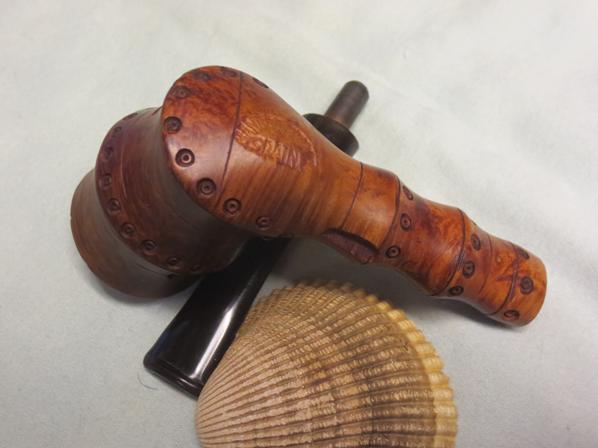
I don’t know why but I keep taking out some unique pipes from the box my brother Jeff sent me. He has an uncanny ability to find the unusual and interesting pipes for me to restore. This one is one I had never heard of before. I have seen other bamboo rusticated pipes but not one that had the stamping that this one does. It is stamped on the underside of the bowl with the words BAMBOO BRIAR in an arch over the word Spain. The carver did a marvelous job of replicating the look of bamboo in the briar. The nodules, lines and grooves that he/she put in the briar really look like bamboo. To give it even more of an interesting look they left the briar natural to highlight the subdued grain of the briar coming through the smooth areas of the bamboo and the carved nicks in the surface. It is really beautiful.

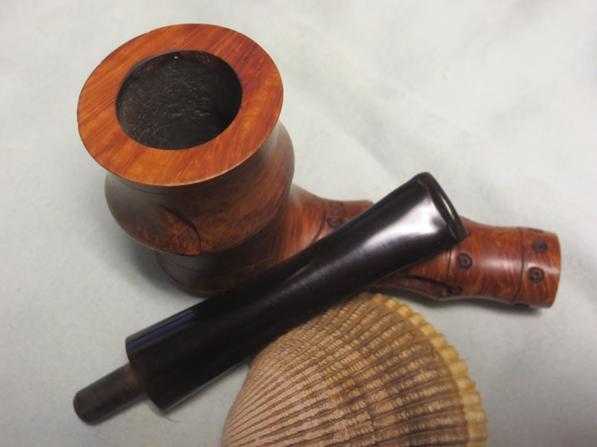
When I took it out of the box the bowl had a thick cake of carbon built up in the bowl. The rim was thickly caked as well with lava. The outer edges of the bowl had some nicks in it and there was a small burn mark on the front right inner edge of the bowl. The stem did not fully seat in the mortise because of the tars and oils there. The exposed portion of the tenon and the stem were badly oxidized. There was some light tooth chatter on the stem but overall it was in decent shape underneath the oxidation.Bamboo2 Bamboo3 Bamboo4 Bamboo5I took some close up photos of the rim and the bottom of the bowl. The picture of the rim shows the thickness of the cake and the state of the top of the rim. This old pipe was pretty clogged up with cake and tars. The picture of the bottom of the bowl shows the stamping. It reads Bamboo Briar over Spain.Bamboo6 Bamboo7Bamboo1I removed the stem and dropped in a jar of Oxyclean to soak the heavy oxidation for several hours. Before working on the bowl I did a little research on the brand and found that on my go to site, Logos and Stampings, or pipephil there was a notation. Here is the link: http://www.pipephil.eu/logos/en/logo-b1.html#bamboobriar.

On that site the pipe is described as follows: The bamboo like decorative carving was typical of Valencia’s manufacturers since the early 20th century. However it’s difficult to say who exactly the maker was.

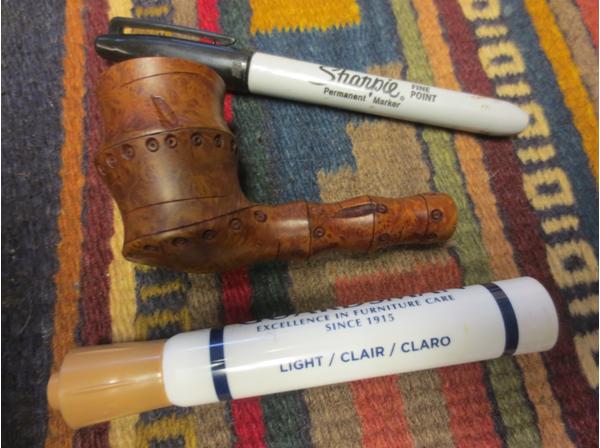
With that information in hand I went to work on the bowl. I reamed it with a PipNet pipe reamer beginning with the smallest cutting head and working up to one that was the same diameter as the bowl. I removed the cake and took it back to bare wood. I finished the reaming and cleaned up the bowl walls with the Savinelli Pipe Knife.Bamboo8 Bamboo9 Bamboo10The outer edge of the rim was rough and the top had some nicks in the briar that made topping the bowl necessary. I topped it to remove the damaged areas of the rim using a topping board and 220 grit sandpaper.Bamboo11 Bamboo12I scrubbed the exterior of the bowl with acetone (fingernail polish remover) on cotton pads to clean up the dirt and oils from the natural finish of the briar.Bamboo13 Bamboo14 Bamboo15 Bamboo16I sanded the topped rim with 1500-2400 grit micromesh sanding pads and then used a light brown stain pen to stain it to match the patina on the bowl. I used a black Sharpie pen to touch the “root nodules” of the simulated bamboo. Bamboo17I hand applied some Conservators Wax to the bowl and once it dried hand buffed it with a shoe brush.Bamboo18I took photos of the pipe after buffing it. The colour of the rim and the patina that came out on the bowl with the wax gives it an aged bamboo look that I really like.Bamboo19 Bamboo20 Bamboo21 Bamboo22I cleaned out the shank with alcohol, cotton swabs and pipe cleaners to remove the tars and oils. I was quite surprised by how little came out of the shank with the cleaning. I expected it to be far worse.Bamboo23The stem had been soaking in Oxyclean for about four hours so it was time to work on that. I set the bowl aside and removed the stem from the Oxy soak. The soak had softened and removed much of the oxidation from the surface. It had also brought the deeper oxidation to the surface.Bamboo24I rubbed the stem down to remove the softened oxidation and then used needle files to clean up and define the edges of the button.Bamboo25I used pipe cleaners and alcohol to clean out the inside of the stem and again was surprised by the lack of real oils and tars.Bamboo26I sanded the stem with 220 grit sandpaper to smooth out the file marks and to remove the oxidation on the surface. I wet sanded the stem with 1500-2400 grit micromesh sanding pads and gave it a coat of Obsidian Oil. I dry sanded with 3200-4000 grit pads and gave it another coat of oil. I finished sanding it with 6000-12000 grit pads. I gave it a final coat of Obsidian Oil and let it dry.Bamboo27 Bamboo28 Bamboo29I buffed the stem on the buffer with Blue Diamond and then gave the pipe multiple coats of carnauba wax. I used a light touch on the bowl and shank so as not to clog up the nodules or grooves in the bamboo carving with too much wax. I raised the shine with a clean flannel buff on the buffer and then gave it a hand buff with a microfibre cloth. The finished pipe is shown in the photos below. I really like the way the patina of the briar and the carvings on the bowl and shank give the pipe a look of aged bamboo. The unknown Spanish carver did a great job on this one in my opinion. Now I have to decide whether to keep this one or not. It is so unique that I think it deserves a place in my collection. Thanks for looking.Bamboo30 Bamboo31 Bamboo32 Bamboo33 Bamboo34 Bamboo35 Bamboo36 Bamboo37

A Challenging Yello-Bole Chesterfield


Blog by Aaron Henson

Although this is a standalone write up, it is also part 2 of an adventure I started with the rustication of a bent billiard about a month ago.

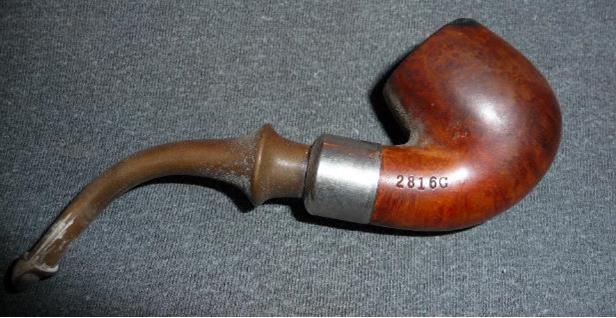
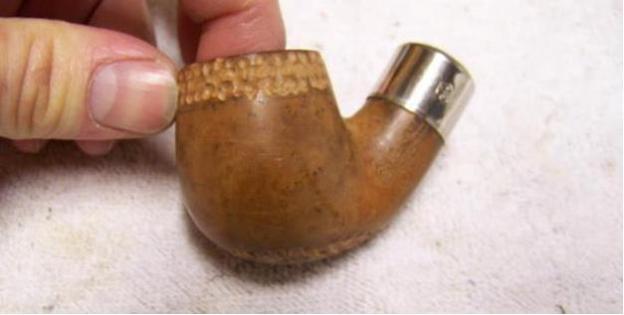
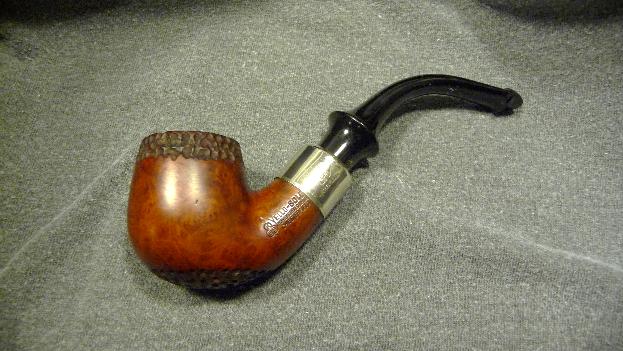
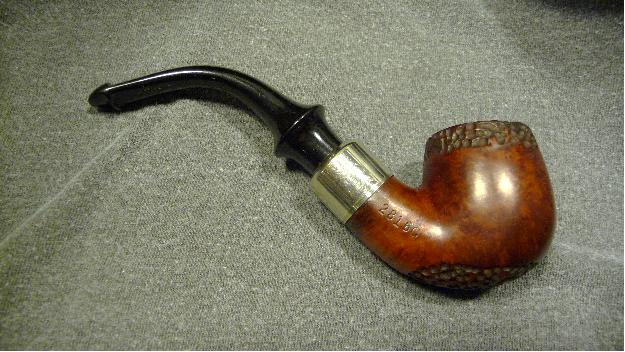
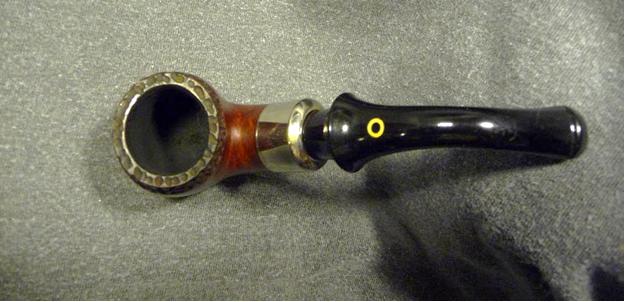
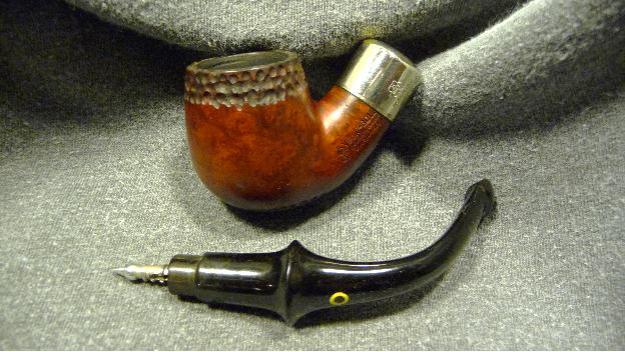
I found this Yello-Bole Chesterfield at a local flea market in town. It was part of a large estate collection, most of which were unsmoked uniquely carved pipes. My eye, however, was immediately attracted to the Peterson-like shape with military bit and P-lip stem and I was surprised to see that it was a Yello-Bole. The pipe was a bit grimy and oxidized with burn marks but after some talking we agreed on a price and I took it home.Chesterfield1The stampings on the bowl were very clear and deep, some of the nicest I have seen on an estate pipe that is as well used as this one. The left side shank read YELLO-BOLE over HONEY CURED BRIAR over CHESTERFIELD with the KBB inside the clover leaf on the left. The band was stamped with KB&B inside the clover leaf over NICKEL PLATED. The right side shank was stamped with shape number 2816C. The stem had the Yello-Bole yellow circle inset in the top and SOLID RUBBER stamped deep into the underside of the stem.

A quick search online and I was able to use the markings to date the pipe to the 1933-1936 time manufacturing period.

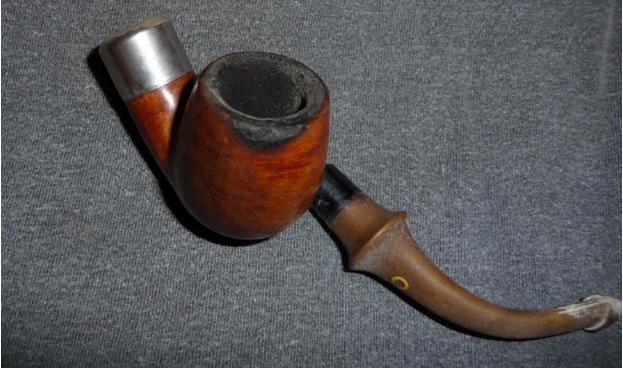
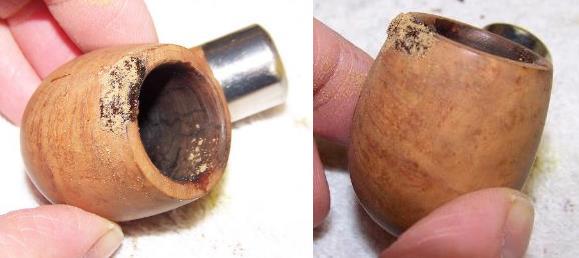
The briar was in great shape with beautiful bird’s eye pattern. The pipe was dusty and grimy and after wiping down with an alcohol soaked cotton pad I continued with my assessment. The rim was coated with a heavy crust of tar and there was a deep burn mark on the outside of the rim (major issue number 1). The bowl did not have a large amount of cake so I had to assume that the previous owner had reamed out at some point. And perhaps it had been over reamed, because the air hole entered the bowl about 2/3 the way down the chamber wall. This would lead to a mouth full of hot ash when you were half way through the bowl (major issue number 2). There were some minor bumps and scratches in the surface of the bowl but nothing that could not be buffed out.Chesterfield2 Chesterfield3The stem was in great shape. It was heavily oxidized with some minor tooth chatter but the airway was clear and the stinger was intact and in great condition.Chesterfield4I set the stem to soak in a Oxiclean solution and turned to the stummel. First I reamed the chamber back to bare wood. Next, I tried to clean the rim with Oxiclean on a wet green pad but the tar was just too stubborn so I resorted to a topping board and lightly sand away the tar build up. This is where I made my first mistake: I scuffed off a bit of the nickel plating when topping the bowl (I still don’t have a fix for this!). I have thought about taking the ring off and having it re-plated but several attempts to remove the ring with heat have not been successful.

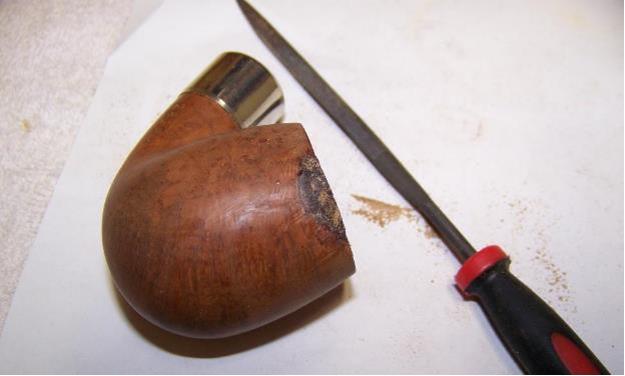
To address the burn mark on the rim I used a worn piece of 220 grit sand paper I removed the burned wood trying not to remove any of the sound briar under the burn. I was surprised to see how deep the burn went and was at a bit of a loss on how to address it. As you can see below, a significant amount of wood as damaged.Chesterfield5I figured I had two options: 1) replace the burned material with glue/briar dust or 2) sand the rest of the rim to match and change the shape of the pipe. In either case I was going to need to refinish the briar so I wiped it down with acetone to remove as much of the finish as I could while I decided what I was going to do.

Looking into the chamber again, I listed out my options for addressing the air way issue. Again I came up with two options; 1) fill in the bottom 1/3 of the bowl with pipe mud, or 2) drill a new airway that comes out at the bottom of the chamber. I didn’t like either option. The first would have been a very large fill and volume change for the pipe and the second was fraught with potential problems – chiefly aligning the drill bit to come out at just the right point in the bottom of the bowl

So I figured it was time for some consultation. I outlined the issue in an email and included some picture and sent them off to Steve – our worthy “Professor of Pipe-ology” and blog host.

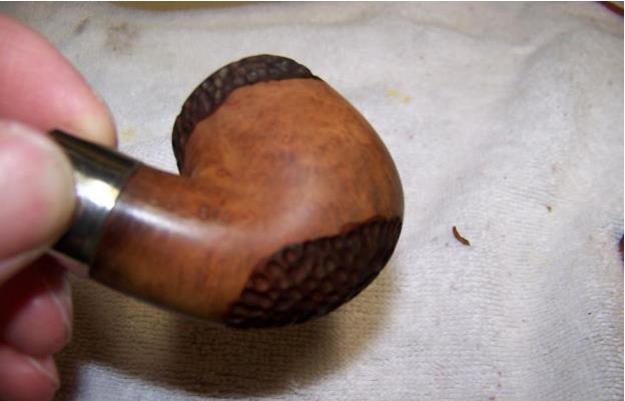
While I waited for Steve’s response I cleaned the inside of the shank and with alcohol soaked cotton swabs and pipe cleaners until then came out as clean as they went in. I also took the stem from the Oxiclean bath and removed the loose oxidation with a magic eraser. I cleaned the internals of the stem then polished it with micromesh pads 1500 – 12000. I used mineral oil every three pads to freshen the vulcanite and give the pads some traction. There was only one minor tooth mark that didn’t raise with heat and I filled it with a dab of black super glue and sanded it smooth with the 1500 mirco-mesh pad.Chesterfield6 Chesterfield7Steve responded with the recommendation of building up the burn spot with super glue and briar dust confirmed that I had the right idea. I was hoping that he had another trick up his sleeve because I knew that the repair would have to be covered up with either a very dark stain or rusticated. I applied three separate layers of clear super glue and briar dust to build up the rim then carefully sanded the repair to blend it into the shape of the rim. Chesterfield8 Chesterfield9I came across and older post where Kirk Fitzgerald rusticated a Peterson that looked very similar to my Chesterfield. Taking some note, I decided to try a similar type rustication. I lightly mark a ½” band around the top of the bowl with a pencil and corresponding area on the bottom of the bowl to balance the appearance. Using the 1/8” carving tool on a Dremel I added a dimpled texture in offset rows. I was glad I had tried using this tool on the previous project because the carving tool did have a tendency to skip on the harder grain. Chesterfield10The final texture hid the repair and was not so extensive as to hide the grain. I sanded the outside of the bowl with micro mesh pads 1500 – 3600 to smooth out the scratches.

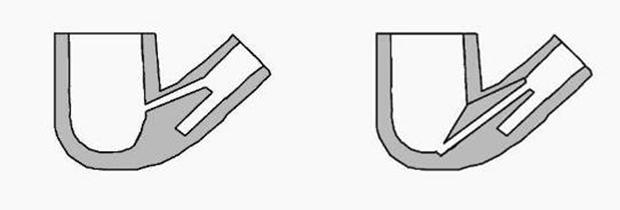
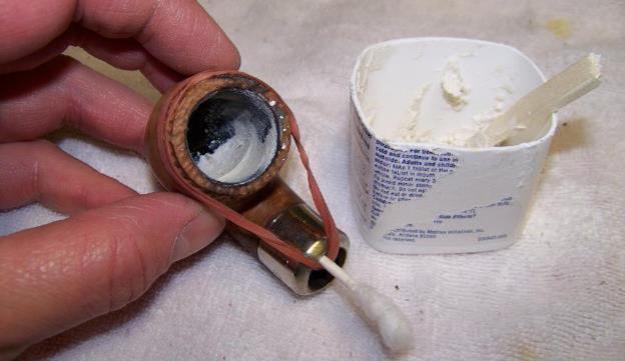
Instead of drilling a new airway, which posed the risk of additional misalignment, Steve recommended using a needle file to elongate the opening so it extended to the bottom of the bowl. The excess space could then be filled with plaster creating a new airway. This proved to be tedious work. Below are two rough cross-section of the pipe. On the left is the airway as it was and on the right is the revised airway (in theory).Chesterfield11Filing was a slow process and it took some effort to keep the elongated hole from drifting off course. I went slow and checked the progress often. Once the hole was about where I thought it should be I used the stick of a cotton swab as the place holder for the new airway. It was the rolled paper type stick that could be bent to match the curve of the bowl. Holding stick in place with a rubber band around the rim I mixed a batch of thick plaster and pushed it into the elongated hole with my finger. When plaster came out the top of the hole I removed the excess from inside the bowl and set it aside to dry for 24 hours. Chesterfield12In my first attempt at this repair, I did not have plaster so I used pipe mud (a slurry of cigar ash and water). This did not work at all. It is great for filling in the bottom of a bowl but it was too loose to stand on its own as a fill/patch. I removed the pipe mud and started over with the plaster.

The next evening, I used 100 grit sand paper wrapped around a ¼” dowel to remove the excess plaster and smooth out the repair. I carefully twisted the swab stick and it came free without damage to the patch. The next time I do this I will coat the stick with wax before securing it in place. The wax should help the stick pull free without bonding to the plaster.

It was time to finish the bowl. I chose to use straight Fiebing’s dark brown stain on the rusticated areas and then wiped it down with alcohol pad. Chesterfield13Next I applied straight light brown to the rest of the bowl. After setting the color with heat I wiped the entire bowl with an alcohol pad to blend the colors. Happy with the results I took the pipe to the buffing station. I buffed the stem and stummel separately so I could get to all the area a little more easily. I started with white buffing compound then finished with multiple coats of carnauba wax.

With the outside of the pipe complete I wanted to cover up the plaster patch inside the bowl so I applied a bowl coating. Using my finger I spread a thin coat of maple syrup evenly over the inside of the bowl then poured in the contents of a dietary charcoal capsule. I put my palm over the top of the pipe and shook the pipe so the charcoal powder covered the inside of the bowl. I set the pipe aside to dry for 5 days before emptying out the loose powder.

I want to say “Thank you” to Steve for his advice on this one… and thank you for reading.Chesterfield14 Chesterfield15 Chesterfield16 Chesterfield17 Chesterfield18

Refreshing a Beautiful and Unusual Clairmont Pipe


Blog by Steve Laug

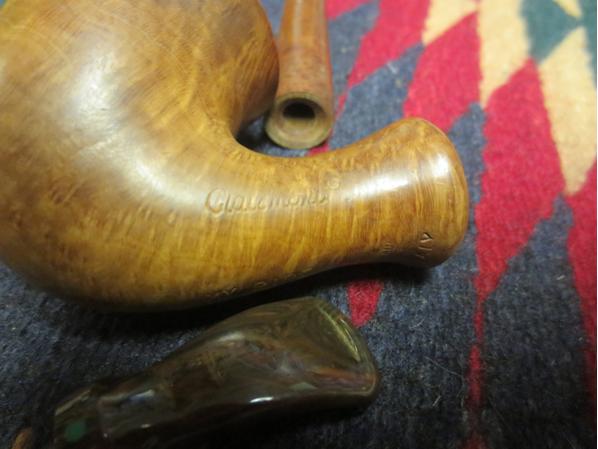
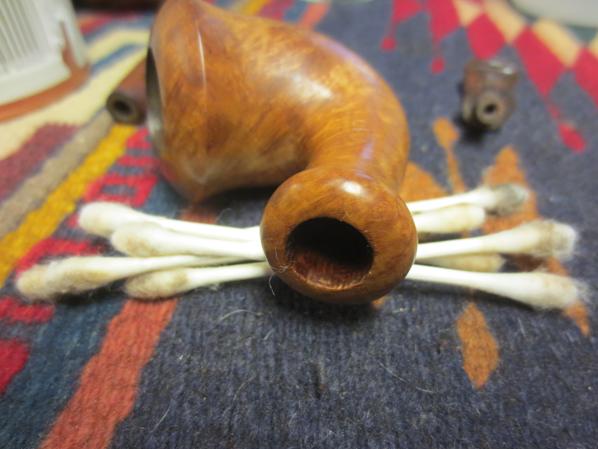
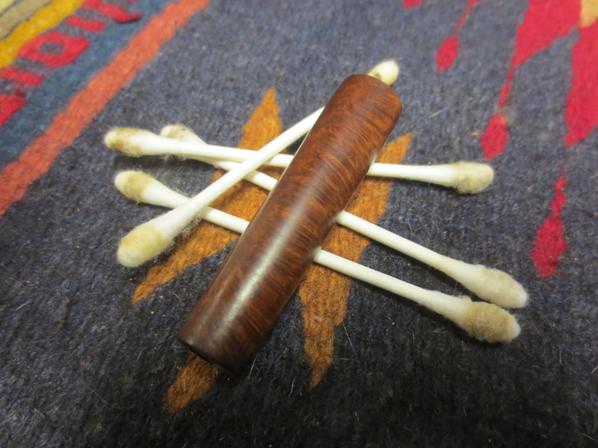
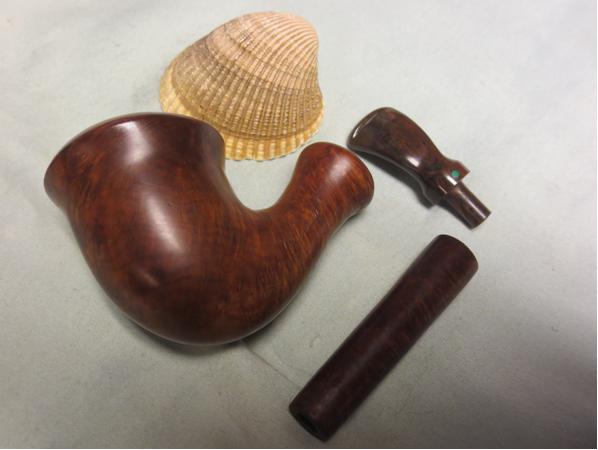
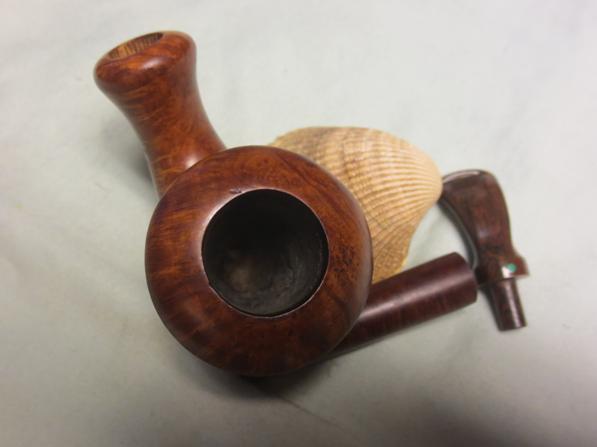
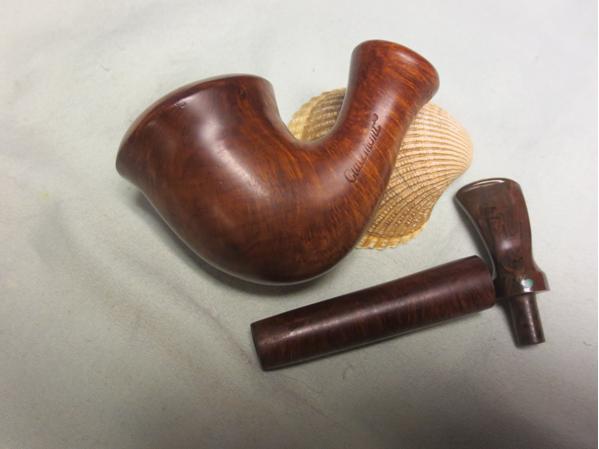
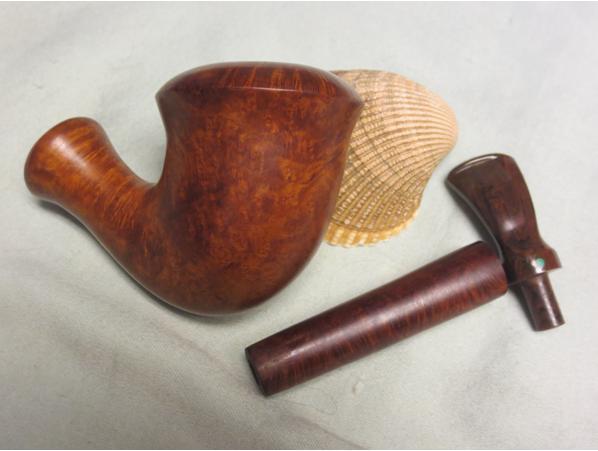
Once again my brother Jeff scored a beautiful and unusual pipe. It is stamped Clairmont on the left side of the shank. On the underside it is stamped MY PIPE and Handmade Italy. On the right side it bears the stamping 810 (it appears to be double stamped). The briar is naturally finished with no stain. There are some small fills on the shank extension and one on the left side of the bowl on the underside of the outer rim lip. They are small but visible at this point. The bowl had a slight cake in it that was uneven and there were some tobacco remnants on the bottom of the bowl. The top of the rim was dirty as was the rest of the finish. The Cumberland stem was in good shape but there were some light tooth marks on the top and underside next to the button edge. The slot in the end of the stem was rough and uneven. There was some red (maybe Tripoli) in the edges of the slot.Spanu1 Spanu2 Spanu3 Spanu4I took the pipe apart and photographed the parts. The shank insert is pressure fit in the mortise of the bowl. It is a good snug fit with no looseness. The stem fit in the other end is also very snug and clean. The green dot on the Cumberland stem looks good. The tenon on the stem is integral to the stem. The finish on the stem is dull.Spanu5 Spanu6 Spanu7While I really liked the looks of the pipe and knew it was Italian handmade I had no idea who made the brand. The stamping MY PIPE on the underside still has me mystified. I don’t know if the maker stamped it that way or if the first owner had it stamped that way. I will probably never know that but I wanted to know who made this pip as I had never seen this brand. Like always I begin the hunt for information at one of my favourite websites Pipephil’s Logos and Stamping site. It did not take long and I found the information at this link: http://www.pipephil.eu/logos/en/logo-c5.html.

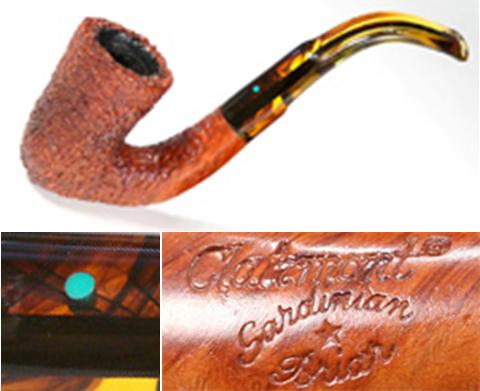
The site showed a nice looking full bent pipe with a Lucite stem that had the green dot on the top side just as the stem I had did. The stamping was the same in terms of the script Clairmont. The Sardinian Briar * stamp was not present on mine. I found out that the brand was created by Alberto Paronelli in the 1970’s. I found that the pipes were usually crafted by Tom Spanu. Both of those names were familiar to me so that help. I have one of Tom’s Olivewood pipes and love it. The link gave information on the name. It turns out that “Clairmont” is a Francization of “Chiaramonti” which is the birthplace of Tom Spanu.Spanu8Now I knew that I was dealing with a 1970’s era pipe made by Tom Spanu and named after his birthplace. For me this solidified the connection to Spanu. It was time to work on his pipe. As I worked on it I wondered if the MY PIPE stamp on the bottom was stamped by Tom and this was one of his own pipes. I cleaned up the internals of the pipe, reaming the bowl with the Savinelli Pipe Knife and scrubbing out the airways from button to bowl with alcohol, pipe cleaners and cotton swabs. Spanu9 Spanu10 Spanu11 Spanu12I scrubbed down the exterior of the bowl with acetone on cotton pads to remove the grime and oils that were dirtying the natural finish of the bowl and shank extension. I was able to get quite a bit of the rim darkening off this way. The crowned rim top is beautiful.Span14 Spanu13I thought it was fitting to rub down an Italian natural finish pipe with a light coat of olive oil. I rubbed down each of the briar parts of the pipe and put it back together. The olive oil brought life back to the briar and the grain began to shine through. This is a beautiful piece of briar.Spanu14 Spanu15 Spanu16 Spanu17I set the bowl and shank aside and worked on the stem. I sanded the surface of the stem with 220 grit sandpaper to remove the tooth marks and smooth out the flat surfaces.Spanu18 Spanu19I sanded the end of the button to clean up some of the nicks and damage there. I also used a needle file to clean up the inside of the slot and smooth out the lines.Spanu20I wet sanded the stem with 1500-2400 grit micromesh sanding pads to smooth out the scratches. I dry sanded with 3200-12000 grit micromesh pads to progressively polish the stem and bring the depth of the Cumberland back to life.Spanu21 Spanu22 Spanu23I buffed the pipe and stem with Blue Diamond on the wheel and then gave the entire pipe several coats of carnauba wax. I buffed it with a clean buffing pad to raise the shine. I hand buffed it with a microfibre cloth to add depth to the shine. The finished pipe is shown in the photos below. I like this one a lot so I think it will probably stay in my collection. Thanks for looking!Spanu24 Spanu25 Spanu26 Spanu27 Spanu28 Spanu29 Spanu30 Spanu31

Unzipped an old Pouch and found a Butz Choquin Oval Shank Capitan 1635


Blog by Steve Laug

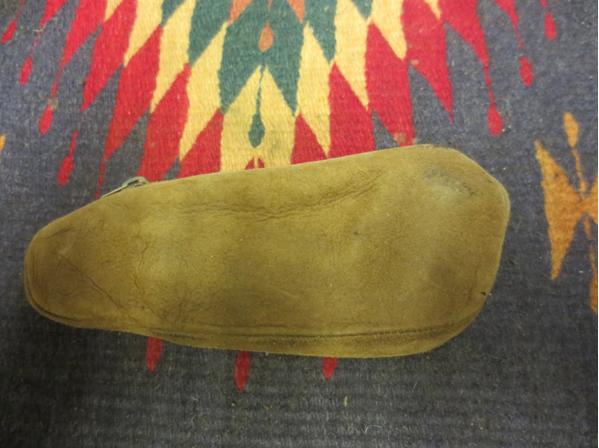
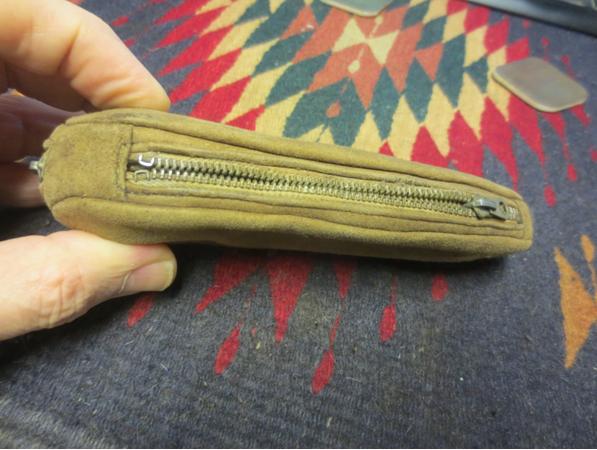
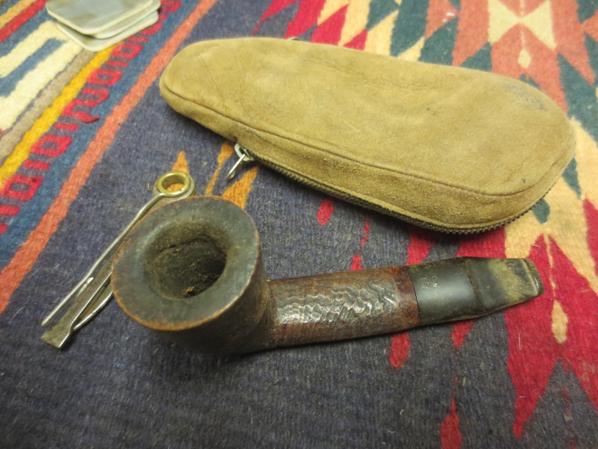
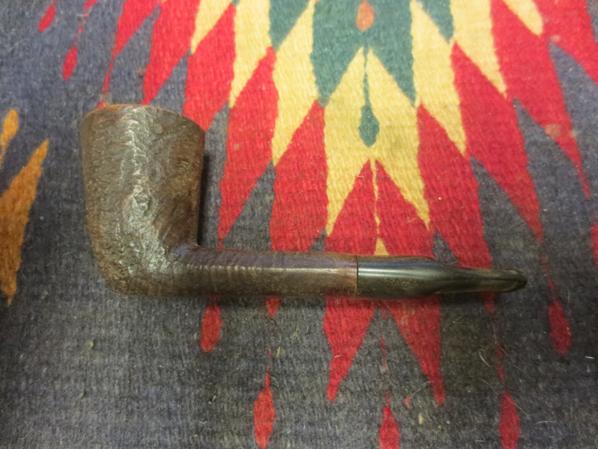
My brother sent me another box of pipes that he had picked up on eBay and in different shops. Included in this lot was a suede leather pipe pouch. It was dried out and worn with a zipper on the top and a zipper on the bottom. I unzipped the top area and found that it was canvas lined and had an old 3 way pipe tool inside. I unzipped the bottom and found a small compact Dublin pipe. It was a mess and looked well smoked and poorly cared for. The finish was worn and dirty but had an interesting sandblast poking through. The rim was caked with lava and it was hard to see any of the blast on the surface. The bowl had a very thick, hard cake inside that would need to go. The pipe was stamped Butz Choquin over Capitan on the underside of the shank. At the stem shank union it had the shape number 1635. The mouthpiece did not sit against the shank. There was a gap on both sides with the stem touching in the middle. When held up the light this gap was angled and large. It was also wider on the underside of the stem than the topside. The stem was oxidized and dirty. The slot in the button was closed to the size of a small thumb tack.Butz1 Butz2 Butz3I took some pictures of the pipe before I started working on it (I remembered to do that once again!). You can see the issues that I pointed out above as you look at the photos.Butz4 Butz5 Butz6 Butz7I took some close up photos of the rim/bowl and the stem to try to capture how dirty this pipe was when I removed it from the pouch. In the photo of the stem you can see the gap I mentioned at the stem shank union.Butz8 Butz9I decided to try a variety of methods to try to tighten up the fit of the stem. I started by carefully facing the shank on a topping board. I have had success in the past with this and was hoping that it would solve the issue.Butz10I also used a sharp knife to bevel the end of the mortise thinking that it would better accommodate the rise around the tenon.Butz11But none of these measures solved the issue of the fit against the shank. The fit was better but the gap remained. I would need to come up with another solution.Butz12 Butz13I laid that issue aside and reamed the bowl with a PipNet reamer.Butz14 Butz15After reaming I used a brass brush to clean off the buildup on the rim. I was able to get rid of the thick tars and reveal the sandblast that was underneath.Butz16I scrubbed the finish on the bowl with acetone and cotton pads to remove the grime and grit in the crevices of the blast.Butz17 Butz18 Butz19 Butz20The more I looked at the pipe the more I wondered if someone had not cut off the end of the shank to shorten it or to remove damaged areas. The number stamping was really close to the stem even before I faced it. I worked on the stem to clean it up. I used a dental pick to open the slot on the end and then used pipe cleaners and alcohol to clean out the tars and oils.Butz21I cleaned out the shank at the same time with pipe cleaners, cotton swabs and alcohol. While I was at it I thought a band might look good on the pipe and give me a clean edge to fit the stem against. I went through my box of bands and found a round one that was the correct diameter. I squashed it to the shape of the shank and heated it with a lighter. I pressed it onto the shank. It covered the shape number but did not affect the rest of the stamping.Butz22I liked the classic look of the nickel band on the shank of the Dublin and figured that once I had polished it and the stem I would have a good looking pipe.Butz23 Butz24I sanded the stem with 220 grit sandpaper to clean up the bite marks, the tooth chatter and the build up around the button. It also loosened the oxidation. I wet sanded it with 1500-2400 grit micromesh sanding pads and gave it a rub down with Obsidian Oil. I dry sanded it with 3200-4000 grit micromesh pads and then gave it another coat of oil. I finished sanding it with 6000-12000 grit pads and gave it a final coat of oil. I let the oil dry.Butz25 Butz26 Butz27I buffed the pipe with Blue Diamond on the buffing wheel to raise the shine on the stem and the band. I lightly buffed the bowl so as not to damage the sandblast. I gave the bowl a light coat of carnauba wax and the stem several coats of wax. I buffed it with a clean buffing pad and then by hand with a microfibre cloth to deepen the shine. The finished pipe is shown in the photos below. I think the band gave this particular pipe a touch of class. The pipe is a beautiful example of this shape. Thanks for looking.Butz28 Butz29 Butz30 Butz31 Butz32 Butz33 Butz34

Restemming a Comoy’s Sandblast Goldenbark 6 Billiard


Blog by Steve Laug

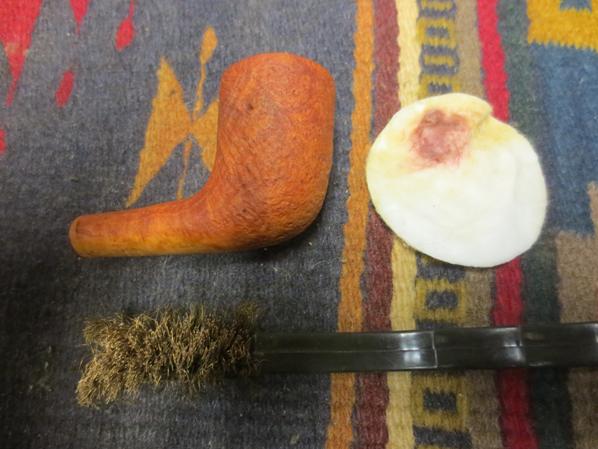
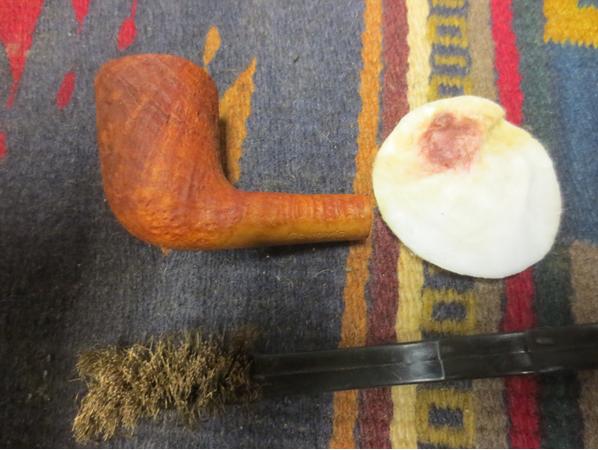
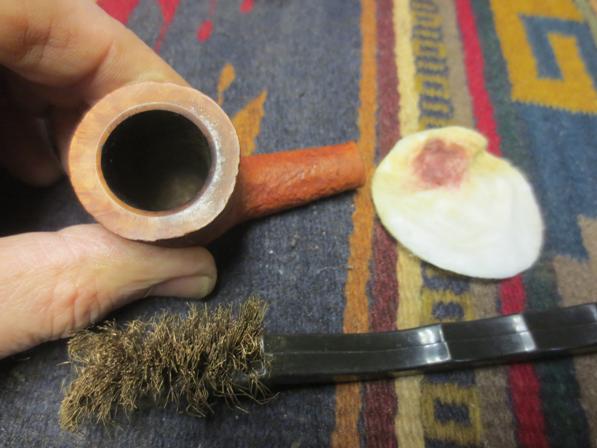
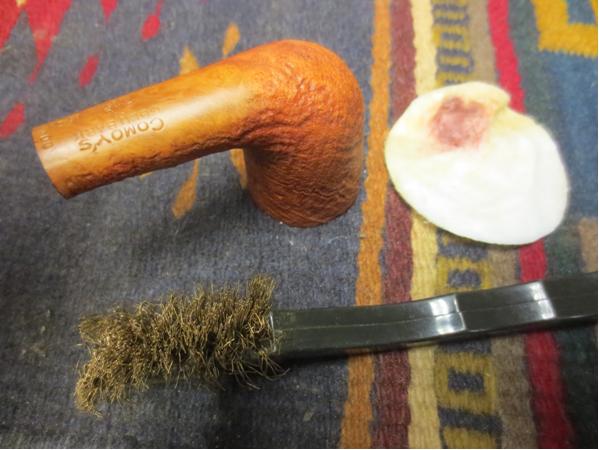
This sandblast bowl came to me in a lot of pipes from eBay. When I saw it I was pretty excited about refurbishing it. It had a great blast and really appeared to be a decent looking pipe. With a little bit of elbow grease it would be a beauty. It is stamped on the on the underside of the shank in a smooth flat base. It reads COMOY’S over SANDBLAST on the bottom of the bowl. Next to that is stamped GOLDENBARK followed by the Com Stamp – a circle composed of MADE ENGLAND with IN stamped in the middle of the circle. Following that it is stamped with the number 6. The finish was dirty but underneath there was some great grain showing through the blast. Someone had reamed the bowl before I got it so it was really quite clean. Once the grime was cleaned out of the swirls and ridges in the blast it would look really sharp. I would need to fit a stem to the shank to complete this pipe but it had a lot of promise.Comoy1 Comoy2 Comoy3 Comoy4I went through my can of stems and found this one. It took very little sanding on the tenon to get a snug fit in the shank.Comoy5 Comoy6I scrubbed the top of the rim with a brass bristle brush to remove the tars and grit in the sandblast in that area. The blast looked really good under the grit. So far so good!Comoy7I scrubbed the finish with acetone on cotton pads to remove the finish and the grit.Comoy8 Comoy9 Comoy10With the grime cleaned off the rim I found three disturbing looking cracks on the rim. One of them was small and was on the top with minimal cracking down the side of the bowl. One of them was cracked down the inside of the bowl about ½ of an inch and the third was cracked down the outside of the bowl almost an inch. This was a huge disappointment. I figured I had a nice example of a Comoy’s Sandblast and while it was the cracks gave me serious pause. This one would clean up and be good basket pipe but never one that is stellar. It would probably last longer than me but I was choked.

I almost stopped working on it at this point and pitched it back in the refurb box but I decided since I was so close to finishing it I would complete the task. I rubbed the bowl down with a light coat of olive oil and dried it off. I buffed the bowl with a shoe brush.Comoy11 Comoy12The photo below of the top of the rim shows the crack toward the back of the bowl that ran down the back side for almost an inch. I would need to drill the end of the crack and repair it. The other cracks are not as visible but they are at about 10 and 4 if the front of the bowl is 12.Comoy13 Comoy14I used a micro drill bit on the Dremel to drill a small hole at the bottom end of the largest crack. The crack on the inside of the bowl was irreparable at this point and I drilled a small hole at the end of the small crack as well. Comoy15I used a tooth pick to push super glue into the holes and then pushed super glue into the cracks on the bowl sides. At the top of the rim I also used the tooth pick and pressed the glue down into the cracks.Comoy16 Comoy17Once the glue had dried I used a sanding stick to gently sand the glue that was on the surface of the rim and in the cracks on the bowl sides to remove the excess.Comoy18 Comoy19The repairs to the cracks were as complete as I could make them so I set the bowl aside and worked on the stem. I have to tell you the pleasure of fitting this stem and making it shine had pretty much dissipated. This is one of the frustrating things about pipe restoration. You find what appears to be a great pipe only to run into unforeseen issues in the restoration. For me this one had move from a pleasure to a “get it done” pipe! I wet sanded the stem with 1500-2400 grit micromesh sanding pads and then rubbed it down with Obsidian Oil. I dry sanded with 3200-4000 and gave it another coat of oil. I finished with 6000-12000 grit pads and gave it a final coat of oil. I set it aside to dry.Comoy20 Comoy21 Comoy22I buffed the pipe with Blue Diamond on the buffing wheel – careful to have a light touch on the bowl. I then gave the pipe several light coats of carnauba wax. I buffed the pipe with a clean buffing pad to raise the shine. I then buffed it by hand with a microfibre cloth. The look of the blast is quite beautiful it is only a shame that the bowl had the cracks in it. The repairs are quite invisible but I know that they are there and to me it diminishes the beauty of the pipe. It will likely smoke well and last longer than me. One day I will likely gift it to a friend. Until then it will reside in my collection. The photos below show the finished pipe. Thanks for looking.Comoy23 Comoy24 Comoy25 Comoy26 Comoy27 Comoy28 Comoy29

A New Brand for me – A Riff 221 Horn Stem Billiard


Blog by Steve Laug

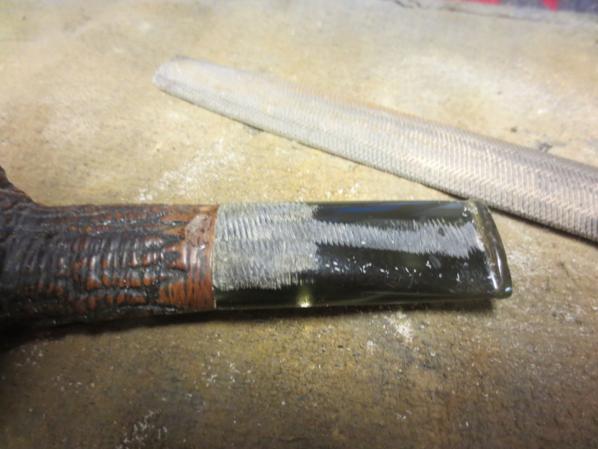
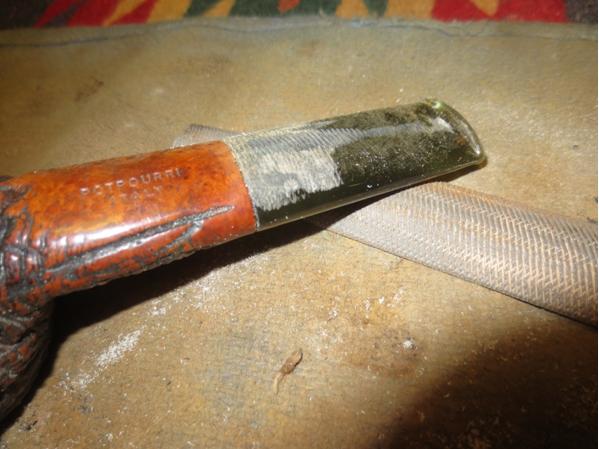
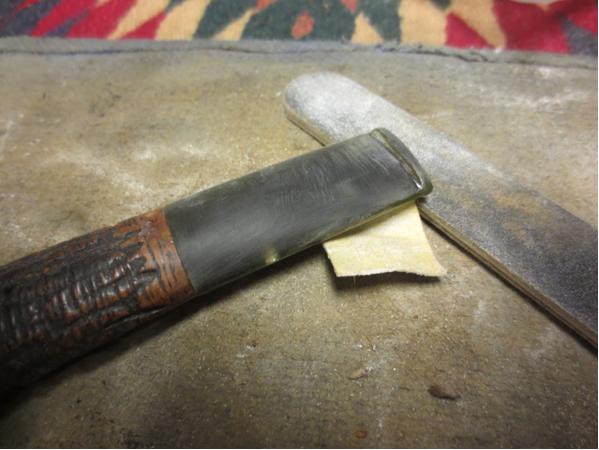
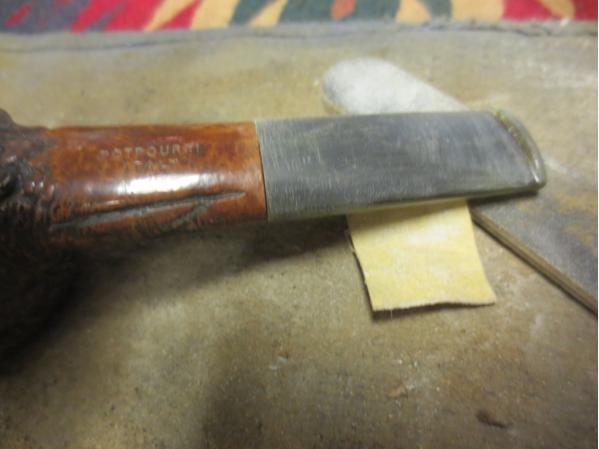
This was a new pipe brand for me. It is stamped RIFF in a double lined diamond on both the left side of the shank and on the horn stem. On the right side it is stamped CHELLA over *** (3 stars). On the underside of the shank it is stamped Made in Morocco and the shape number 221. This has to be the first Morocco made pipe that I have worked on. It was in pretty decent shape in terms of the bowl. There was a shiny shellac coat over a natural finish. The rim had some tars and oils built up on the back top side but inner and outer edge was in perfect shape. There was a slight burn mark on the front right top of the rim. The bowl had a slight cake that was uneven around the inside. The problem lay in the stem. There was a large crack in horn on the top that traveled half way down the stem. There was also a large chunk of horn missing on the underside of the stem. It was a very smooth scooped shape chunk that made me wonder how it had happened. When I pulled the stem out of the shank there was a large stinger apparatus that extended the length of the shank and ended in the bottom of the bowl. The tenon was metal. The internals of the shank and stem were quite clean.Chell3 Chello1 Chello2I was jazzed to work on this stem as it provided several challenges to me. I forgot to take pictures before I started but caught myself just after I started to work on the underside of the stem. I wiped the stem down with a cotton pad and alcohol to clean off the surface. I began to fill in the edges of the missing chunk with clear super glue. I layered the glue in place on the area until it was filled. Once it had cured overnight I would sand it down smooth with the surface of the stem.Chello4 Chello5I cleaned out the crack with a dental pick. I drilled a tiny hole with a micro-drill bit at the end of the crack – toward the button. I filled in the crack and the drill hole with clear super glue and squeezed the crack together. I repeated the fill process until it formed a ridge along the crack. Once it cured I would sanded it smooth as well.Chello6 Chello7 Chello8 Chello9While the repairs on the stem dried I worked on the stinger. I used the brass bristle brush and alcohol to scrub off the oils and tars.Chello10In the morning I sanded the stem with 220 grit sandpaper. I had built up the edge that faced on the shank to fill in the gap caused by the crack. In the photo of the top view of the stem it is the darkened band around the edge of the stem next to the shank. I sanded the stem smooth and blended the repairs into the surface of stem.Chello11 Chello12 Chello13 Chello14I took some close-up photos of the stamping to show it to you. It was unique to me. The first photo shows that the underside of the shank reads Made in Morocco 221. The second photo shows the stamping on the left side and the horn stem – RIFF in a double diamond. The third photo shows the stamping on the right side of the shank – CHELLA ***. At this point you can see the repairs have blended into the surface quite well. They are darker than the stem material but most of that will disappear as the stem is polished. The stem is smooth on the top and the bottom and the crack and the missing chunk are no long detectable to touch.Chello15 Chello16 Chello17I continued to sand the stem until the repairs were very smooth.Chello18 Chello19 Chello20 Chello21With the initial work done on the stem I worked on the bowl. I reamed it with a PipNet reamer and took the cake down to bare wood.Chello22 Chello23 Chello24The rim top was damaged with heavy tarring and a small burn mark on the front right side. I topped it lightly with a topping board to remove the damage and the build up.Chello25 Chello26I scrubbed the shellac off the bowl with acetone on cotton pads to get down to the natural briar.Chello27 Chello28 Chello29I cleaned the stem with pipe cleaners and alcohol and the shank with the same using cotton swabs along with the pipe cleaners. It did not take much to remove the grime on the inside.Chello30 Chello31I wet sanded the stem with 1500-2400 grit micromesh sanding pads to begin to polish it. The first photo below shows the top of the stem and the second shows the underside.Chello32 Chello33I rubbed it down with Obsidian Oil and then dry sanded with 3200-4000 grit pads. The cracked area on the top of the stem is visible when you look for it but it is smooth to touch. It is interesting to see the striations begin to show in the polished horn.Chello34I gave it another coat of oil and then finished sanding it with 6000-12000 grit micromesh pads. The crack is definitely less visible on the top side of the stem (first photo below) and the filled in area on the underside is almost invisible (second photo).Chello35 Chello36I rubbed the briar down with a light coat of olive oil and then buffed the stem and bowl with Blue Diamond on the wheel. I gave the pipe multiple coats of carnauba wax and buffed it with a clean buffing pad. I had buffed it with a microfibre cloth. The finish pipe is shown in the photos below. I tried to give a variety of photos and angles so that you can see the repaired areas. Chello37 Chello38 Chello39 Chello40 Chello41The photo below shows the underside of the stem and the repaired area mid stem near the spot in the photo.Chello42The next two photos below show the repaired crack in the top side of the stem from various angles. While it is visible to the eye it is smooth to the touch. The crack has been stabilized and the drilled spot at the far end has stopped it from spreading further. I am happy with the finished pipe. Thanks for looking.Chello43 Chello45

Restemming a GBD International London Made – 508 Bent Billiard


Blog by Steve Laug

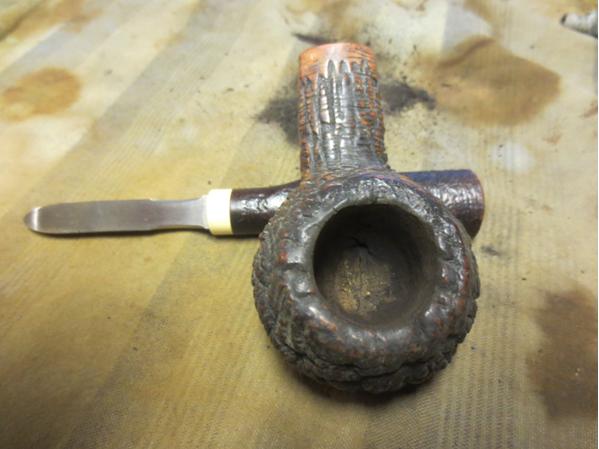
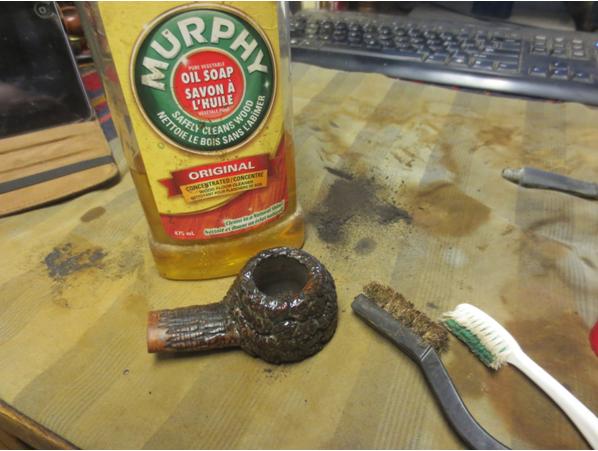
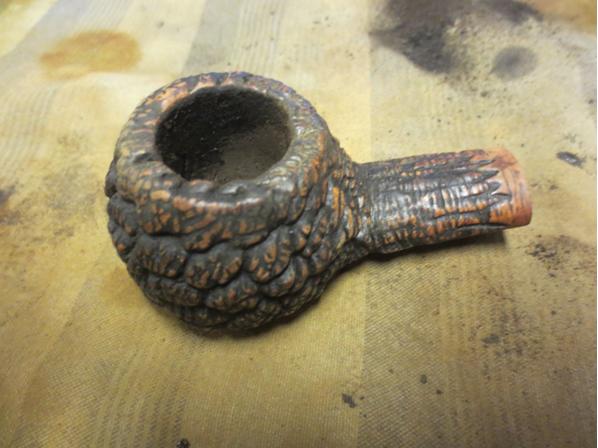
Quite a while ago now my brother Jeff picked up a handful of pipes from an antique shop in Montana. There were quite a few GBD pipes in the lot. One of them was this GBD International bent billiard. It came with a gnawed off stem that was irreparable. The bowl was caked and dirty and the rusticated/plateau top was filled with grime to the point that it was almost smooth. The bowl looked good under the grime and the finish looked salvageable. The pipe was stamped GBD in an oval over International over London Made on the left side of the shank. On the right side it was stamped with London England over the shape number 508. I failed to take photos of the bowl before I cleaned it up as I was on a roll with about four bowls going at the same time. Here is what it looked like after I had wiped it down with alcohol. I scrubbed the plateau top with a brass bristle brush and some Murphy’s Oil Soap. I rinsed it down with cool water and dried it off. It is in very good shape. I had reamed the bowl with a PipNet reamer and cleaned out the shank and the bowl. GBD1 GBD2 GBD3 GBD4I went through my stem can and had several potential stems there. I chose one that was slightly larger in diameter than the shank. I had to shorten the tenon as it was too long to sit correctly in the shank.GBD5 GBD6With the tenon shortened the stem fit nicely in the mortise. The diameter was close and I would adjust it to fit.GBD7The stem was a used one that I recycled and it had one deep bit mark on the top side near the button. I sanded it smooth and cleaned it before I filled it in with black super glue. Once the glue cured I sanded the repair with 220 grit sandpaper to smooth it out.GBD8 GBD9I used the Dremel and sanding drum to reduce the diameter of the stem. I sanded it with 220 grit sandpaper until the transition was smooth. I wiped down the bowl with acetone on cotton pads to clean off the remaining grime before restaining the rim with a Black Sharpie.GBD10 GBD11 GBD12 GBD13I heated the stem over a heat gun until it was pliable and bent it to the proper angle. I set the bend with cold water. I sanded the stem with 220 grit sandpaper to remove the scratches left behind by the Dremel and smooth out the flow of the stem.GBD14 GBD15I sanded the stem with micromesh sanding pads – wet sanding with 1500-2400 grit pads. I rubbed the stem down with Obsidian Oil and then dry sanded it with 3200-4000 grit pads. I gave it another coat of oil and then finished sanding it with 6000-12000 grit pads. I gave it a final coat of oil and let it dry.GBD16 GBD17 GBD18I buffed the bowl and stem with Blue Diamond on the buffing wheel and then gave the pipe multiple coats of carnauba wax. I buffed it with a clean buffing pad and then hand buffed it with a microfibre cloth. The finished pipe is shown in the photos below. The grain on this pipe is spectacular – great birdseye on the sides and cross grain on the front, back and bottom. The plateau or rustication on the rim that I stained black gives it a unique look. I think it is a beauty! Thanks for looking.GBD19 GBD20 GBD21 GBD22 GBD23 GBD24 GBD25 GBD26 GBD27

A Ruined Stanwell Handmade 80R Bent Billiard – another ugly duckling


Blog by Steve Laug

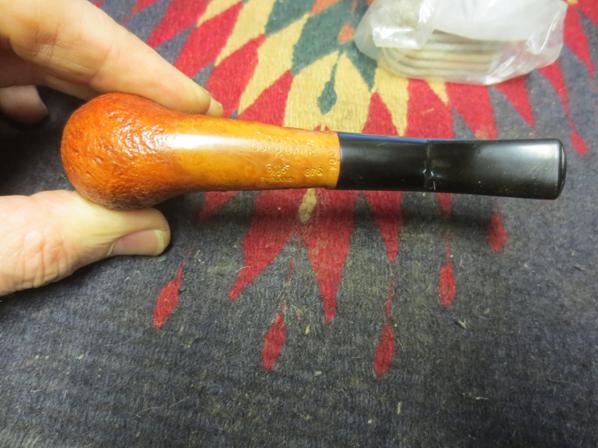
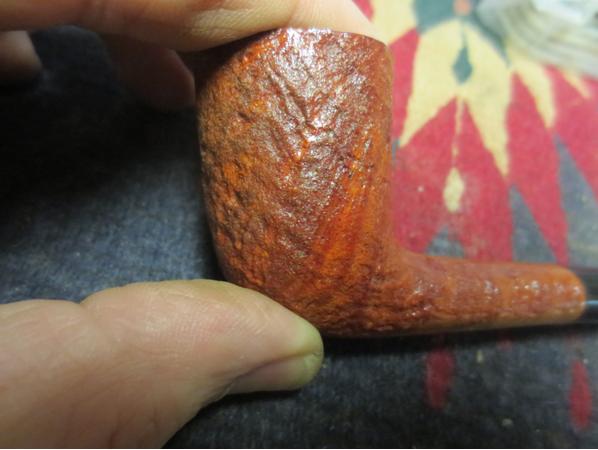
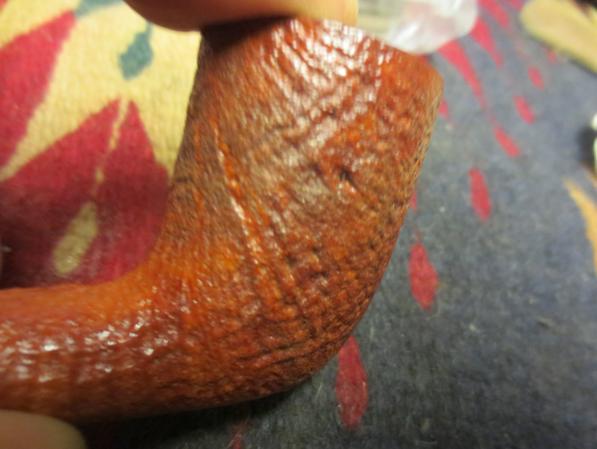
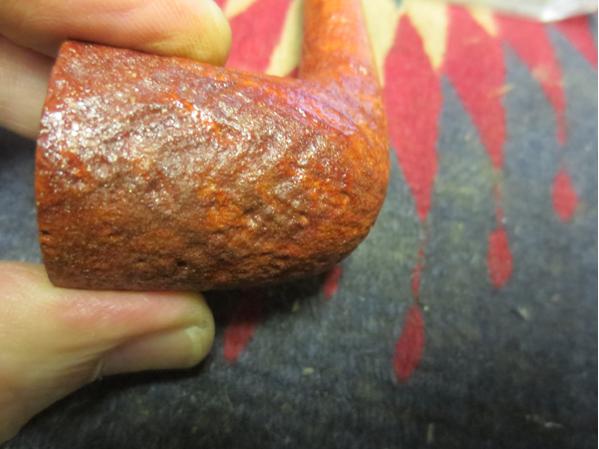
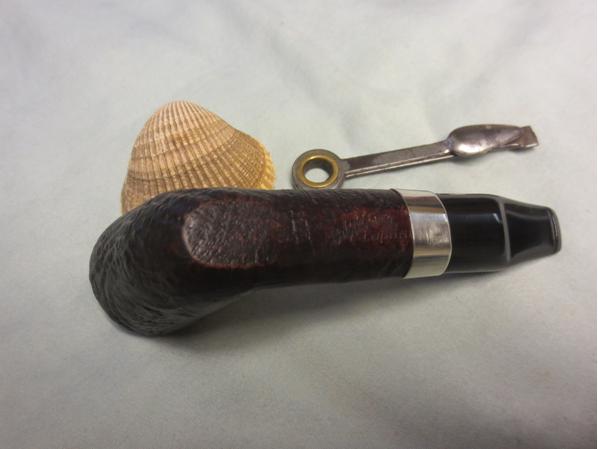
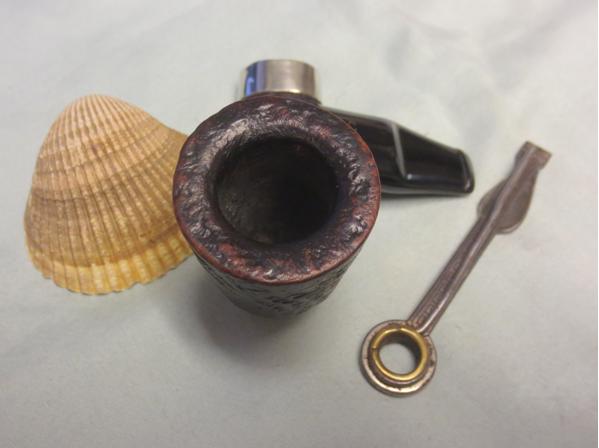
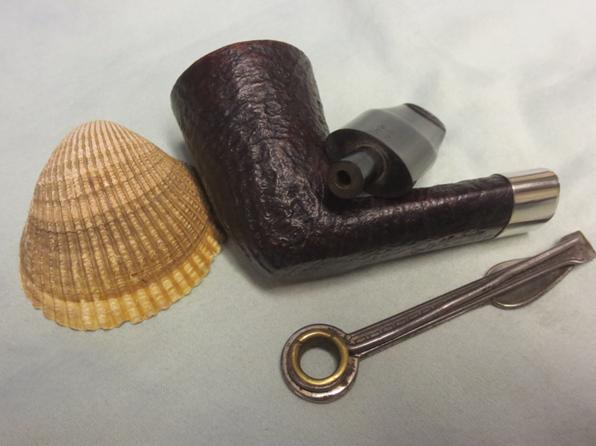
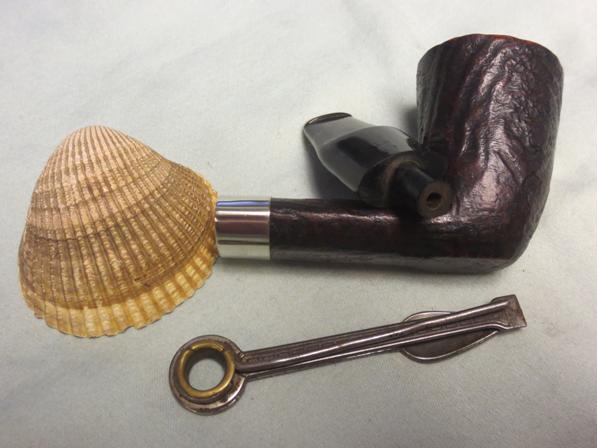
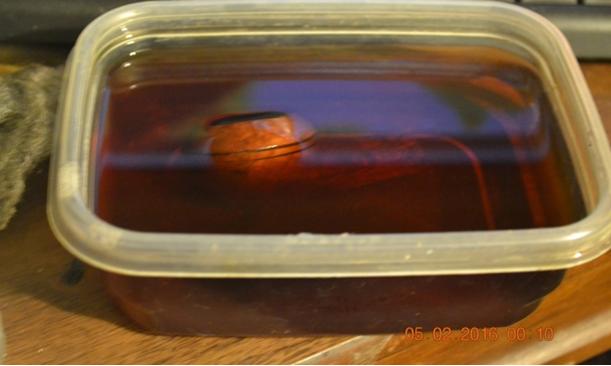
Out of the three pipes from the “hackster” – the cut off Rhodesian, the coffee grounds Dublin and this Stanwell 80R Bent Billiard I have to say that the work he did on this one was by far the worst abomination. This pipe is stamped Stanwell Hand Made 80R Made in Denmark on the underside of the shank. It was a sandblast brown contrast bent billiard that would have been beautiful when it was made. The “hackster” decided to improve upon the finish and believe it or not he desecrated the pipe. He used a Dremel or sander to remove the majority of the sandblast finish leaving a dab of it on the back of the bowl at the joint of the shank and the bowl and a dab on the front side about 1 inch long from the rim. In removing the blast he completely ruined the shank leaving a thick band near the stem and the two thick sandblasted dabs. He sanded off the blast on the shank leaving it looking anemic and awful. He ruined the shape of the bowl and left it totally out of round on the outside. He also over reamed the bowl with what looked like a Dremel and sanding drum and took the bottom of the bowl almost ¼ inch below the entrance of the airway.

He did not leave the stem safe either he reshaped the button by removing the majority of the sharp edge. Then to add insult to injury he left the stamping intact on the bottom of the shank giving credit to Stanwell for the ruination of this fine briar pipe. It went from handmade to hand ruined. Over the entire bowl and slopping onto the stem was a thick coat of shellac. Runs and drips had hardened. The file and Dremel marks were held in perpetuity under a thick coat of shellac. That is where I started with this abomination. The question was could I do anything to redeem this mess.blast1 Blast2 blast3 blast4I took some photos of the stem and the left over sandblast sections. There is also a photo of the rim shows the out of round condition of the outer edge of the rim.blast5 blast6 blast7 blast8 blast9I sanded off the remaining sandblast sections on the bowl and shank and rounded the bowl with a Dremel and sanding drum. I used the Dremel to reshape the shank and the bowl and shank. The damage done to the shank made it necessary to shape the stem into an oval instead of a round.blast10 blast11 blast12 blast13With the rough shaping work done there was a lot of fine tuning to be done to the shape of the bowl. I topped the bowl with a topping board and 220 grit sandpaper to remove the deep saw and file marks and to flatten the surface. I sanded the areas on the bowl where I left the shellac and existing finish until they were smooth as well. I left the band on the bottom of the shank where the faint stampings that the “hackster” had left behind remained. I had still not decided whether to remove them as the pipe was certainly not a Stanwell any longer and when I was finished reclaiming it the pipe would be two times removed from the pipe that came out of the Stanwell factory.blast14 blast15I hand sanded the bowl and shank with 220 grit sandpaper to further shape it. I sanded the stem as well to remove the damage that had been done to it and also to reshape it to the oval shank.blast16 blast17 blast18 blast19I worked on the outer edge of the rim and shaped the bowl with 220 grit sandpaper. Fortunately, the inner beveled rim was undamaged. The bottom of the bowl was a mess that I would need to fill with pipe mud to restore the depth of the bowl to the bottom of entry of the airway into the bowl.blast20I sanded the bowl and shank with a coarse grit sanding block to smooth out more of the curves. The larger surface of the block ensures and evenness to the contours of the bowl and shank.blast21 blast22 blast23 blast24I used the heat gun to bend the end of the stem to the angle that would have originally been present when the pipe left Denmark. I sanded the stem and bowl further with sandpaper and gradually the pipe was taking shape. The swan was beginning to appear. During the sanding process I found that there were several flaws in the briar and at least one fill. During the course of the sanding these may well disappear. Overall this is a nice piece of briar with enough meat on it that I can still end up with a nice pipe.blast25I cleaned out the shank and the airway to the bowl and in the stem with alcohol, pipe cleaners and cotton swabs. It was amazingly dirty for a pipe that had been “refurbished”. The “hackster” had left the inside absolutely filthy while destroying the outside of the bowl and stem.blast26 blast27I continued to sand the bowl and stem with a coarse grit sanding block to remove the remaining scratches left behind by the Dremel and sanding drum. Gradually the swan was beginning to emerge. I was getting excited about what this one was going to look like when it was finished. There was some nice grain emerging as I sanded.blast28 blast29 blast30 blast31I sanded the bowl with micromesh sanding pads to further remove the scratches. I wet sanded the bowl with 1500-2400 grit pads and sanded until the grain began to shine.blast32 blast33 blast34I dry sanded with 3200-12000 grit pads and then rubbed on a coat of Danish Oil Cherry stain. I gave the bowl several coats of the finish and then set it on a cork stand to dry over night.blast35 blast36I cleaned up the sharp edge of the button with needle files to redefine it as the shape was blurred into the body of the stem. I shaped the button with 220 grit sandpaper at the same time to give it definition.blast37 blast38I sanded the file marks out with 220 grit sandpaper to blend the edge of the cut into the surface of the stem. I wet sanded the stem with 1500-2400 grit micromesh sanding pads and then gave the stem a coat of Obsidian Oil. I dry sanded with 3200-4000 grit pads and gave it another coat of oil. I finished by sanding with 6000-12000 grit pads and giving it a final coat of oil. I set the stem and pipe aside for the night.blast39 blast40 blast41In the morning I buffed the bowl and stem with Blue Diamond on the wheel to bring out the shine and then gave the pipe several coats of carnauba wax. I buffed it with a clean buffing pad and then by hand with a microfibre cloth. The finished pipe is shown in the photos below. To me it looks far better than the mess I started with but what is your verdict? Did a swan emerge? The pipe certainly has some nice grain and the flaws are small in comparison to the overall look of the pipe. Thanks for looking.blast42 blast43 blast44 blast45 blast46 blast47 blast48 blast49

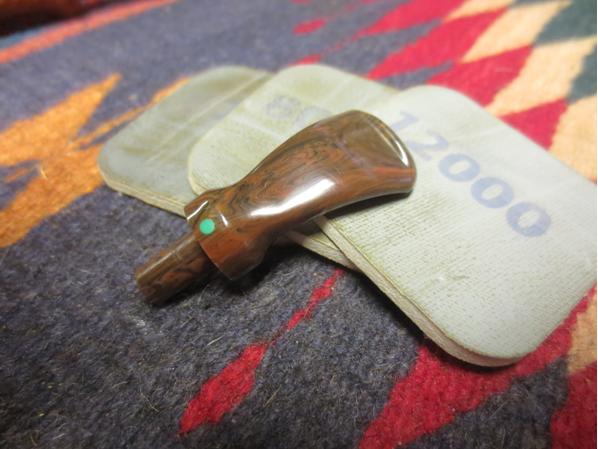
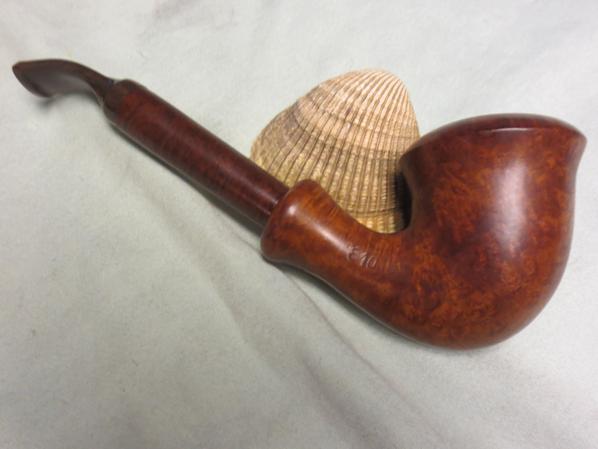
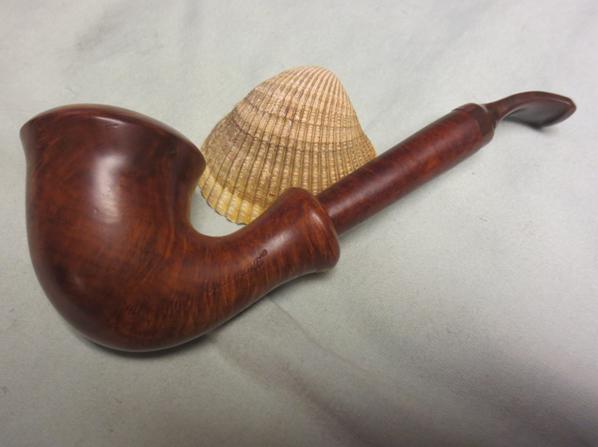
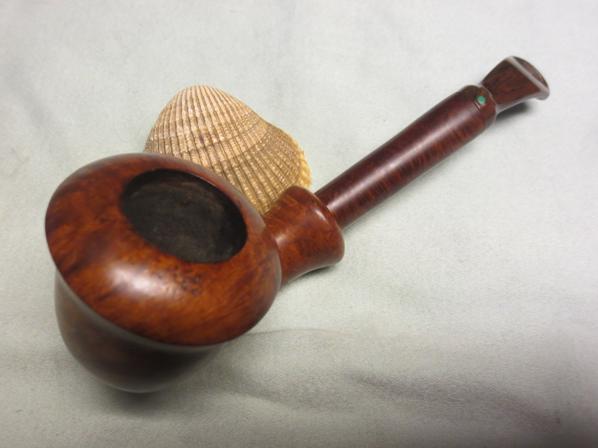
There has got to be a Swan in there somewhere – doesn’t there?


Blog by Steve Laug

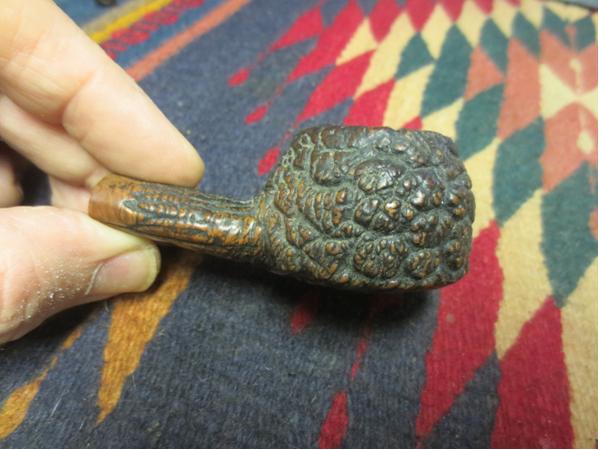
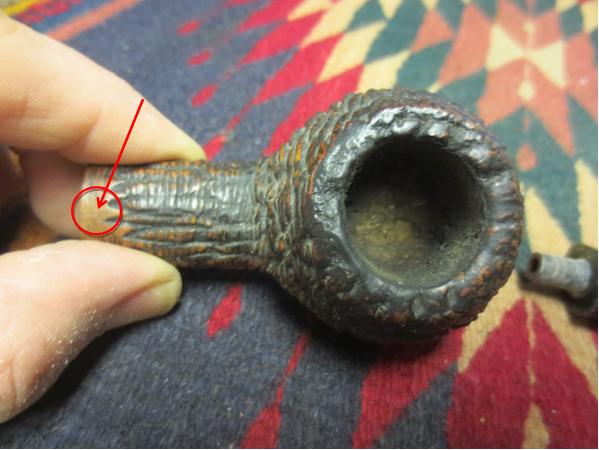
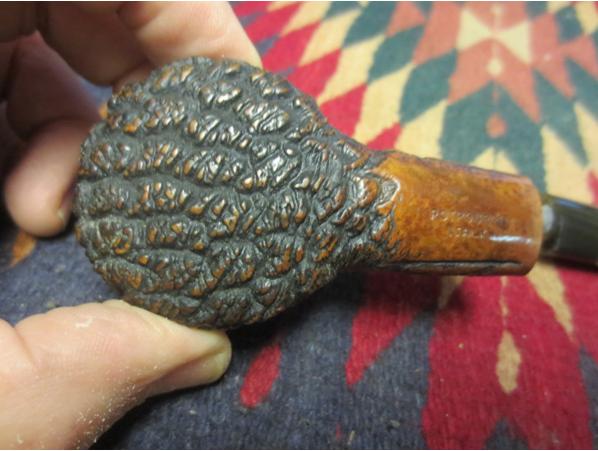
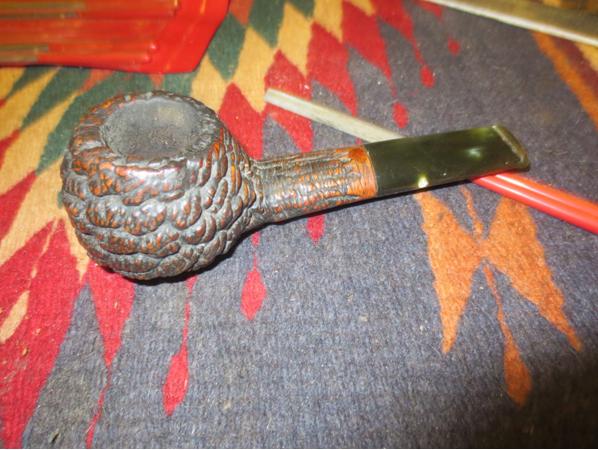
Sometimes you are handed an ugly pipe. This one came to me from my brother and was part of a lot from an eBay seller who claims to be restoring estate pipes. Let me tell you, this guy should be shot for what he does to old pipes. My brother picked up four of his pipes. From his photos they appeared to be okay. But when they arrived they were absolutely awful. He had a lovely Stanwell sandblast billiard that he hacked the blast off of. He had a nice looking Dublin shape that he glued what appears to be coffee grounds around the rim from the top down about ¼ inch of the side. The third was butchered as well. Then there was this one – it must have been a nice Rhodesian but he had sawed it off below the rings and then left a very rough rim. He had drilled out the bowl and left it rough and out of round. To my thinking this one had been a GBD Rhodesian. The stem was stamped with the characteristic FRANCE across the joint of the shank and stem. There were remnants of a shape number on the right side that was illegible. There was also a very faint part of the oval on the left side of the shank. He had ruined a very sought after pipe. Added to that he had not even bothered to open the airway as it was plugged with thick black tars and I could not blow any air through it.

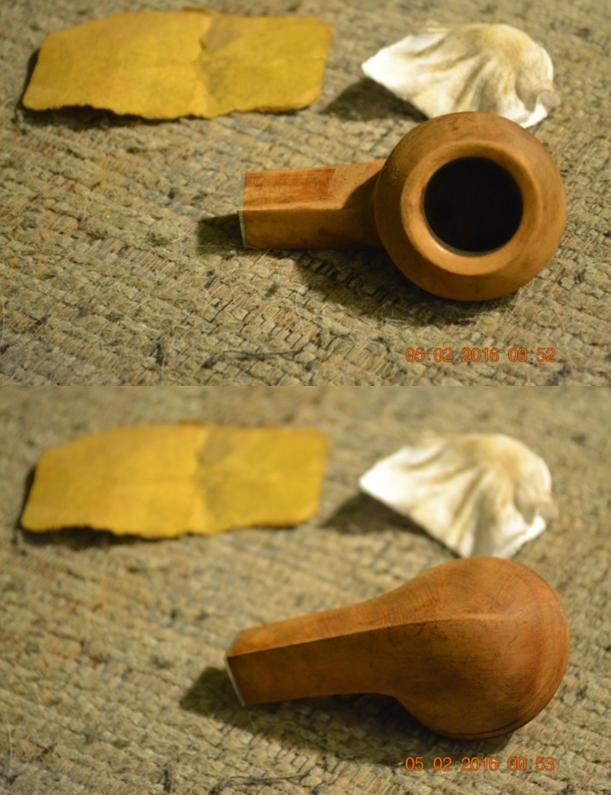
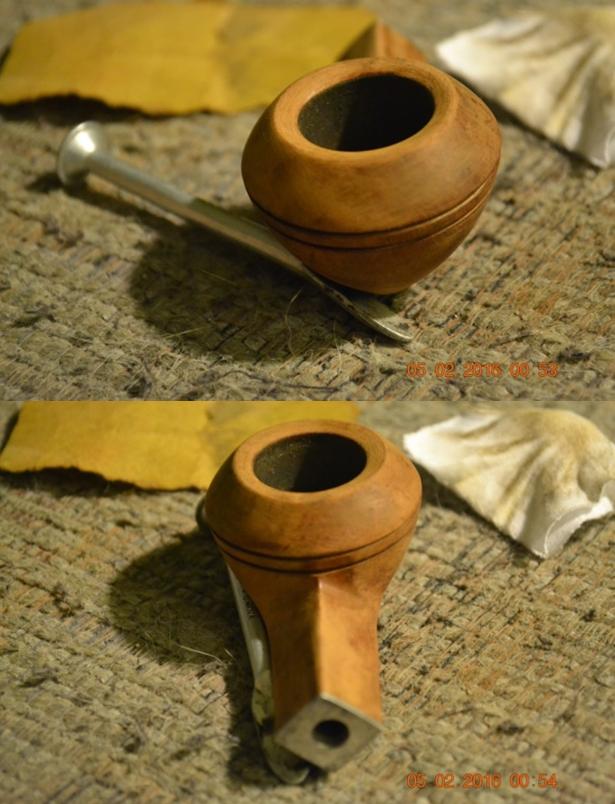
To top it all off he even pictures the final insult – in his sales he shows a can of shellac and proudly says he coats all of his work with shellac. Well the amount of dried, runny shellac on these bowls was astonishing. Under the shellac there were even hairs and dust permanently encased in a coat of the thick shiny mess. They all looked awful. The dried runs, the scratches and grooves left much to be desired. Even the stem had not escaped his savage attempts at restoration. There were sanding marks and large dings along the surface of the top and the bottom. The tooth marks that had been there were still evident. A large part of me wanted to throw them all away. But there is always that part of me that wants to see if I can reclaim these hack jobs and make something useful and beautiful out of the guy’s mess. I decided to tackle the cut off Rhodesian first. Time would tell if I could redeem the pipe and make it usable and beautiful once more.

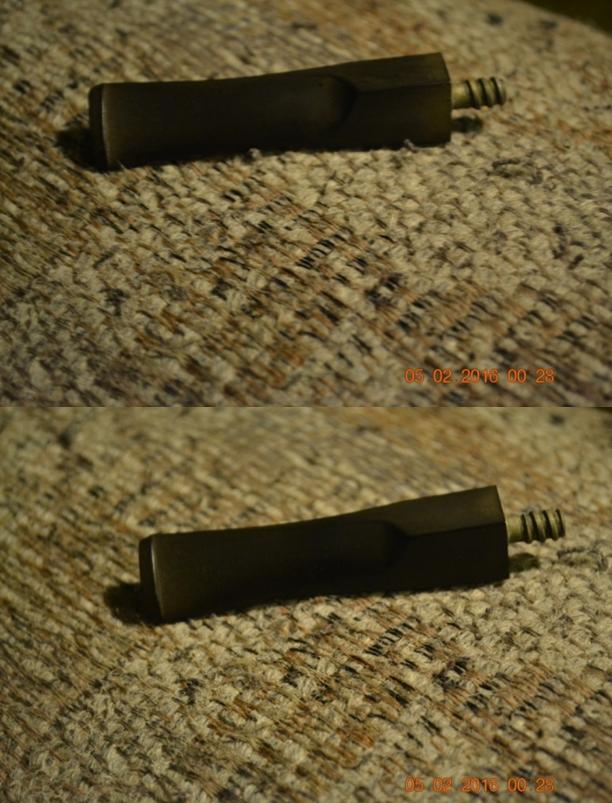
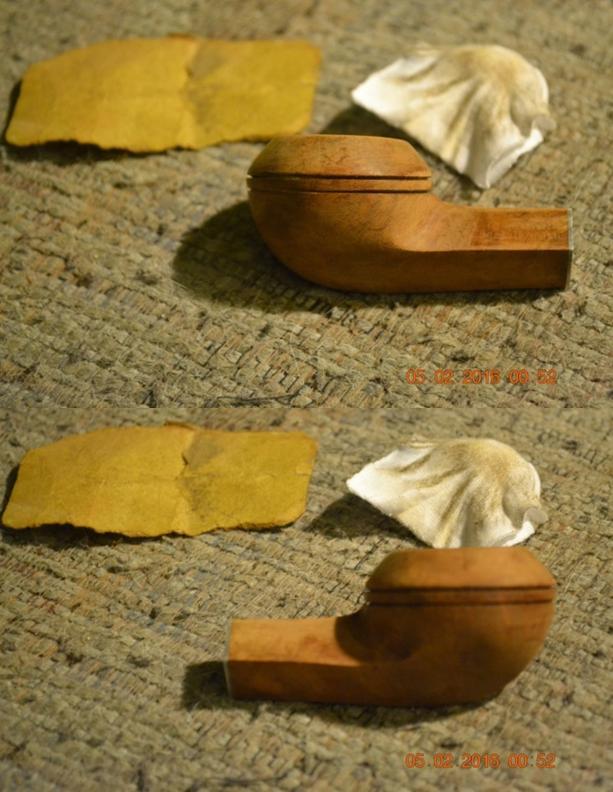
Here is what it looked like when it arrived. Understand that the photos do not begin to give an idea of what the pipe looked and felt like I person… the best that they can do is give you a sense of what was there.Author1 Author2 Author3The first thing I decided to do after looking at it was to reshape the bowl. I used a Dremel and sanding drum to round the edges of the top to make it look more like a prince. It was a lot of sanding with the Dremel to reshape the bowl. The photos below show the process of shaping from the beginning. The first two photos show the first steps in the removal of briar to give the pipe some shape. Was the swan starting to appear? Not sure at this point.Author4 Author5I gave the sides of the bowl more of a curve toward the rim and reduced the size of the rim with the Dremel and sanding drum as shown in the next photos.Author6 Author7 Author8At this point I decided to top the bowl and get rid of the deep scratches on the rim top. The bowl after topping was beginning to take some stately shape. Maybe the swan was beginning to appear.Author9 Author10There was still too much width on the rim and not enough curves to the sides of the bowl for my liking. I sanded the bowl with 220 grit sandpaper to further shape it. I used acetone to remove the shellac and the messy finish on the remaining part of the bowl and shank. The pipe was quickly becoming mine rather than the work of the “hackster”.Author11I tried in vain to blow through the shank. The airway was blocked. I used an unfolded paperclip to break through the thick blockage. I poked and probed until I was able to blow through the airway. Once it was opened I used the drill bit on a KleenReem pipe reamer to unblock the airway. It took a bit of pushing and twisting to get it through the hard tars that lined the airway. Finally I was able to break through. I cleaned the shank and airway with pipe cleaners, cotton swabs and alcohol.Author12 Author13 Author14I put the pipe away for the night. In the morning I was still not pleased with the curvature of the bowl top so I used the Dremel and sanding drum on it once again and gave the bowl more of an upward slant toward the rim. I reduced the width of the rim top to almost nothing. Once I had the bowl shape better defined I sanded the bowl with 220 grit sandpaper to shape it further. I then went to work on the rim. I decided to bevel the rim inward to try to clean up the shape of the bowl. I folded a piece of 220 grit sandpaper and worked on the rim until I had a nice rounded top and beveled inner edge.Author15I sanded the bowl with a medium and a fine grit sanding block to remove the scratches. To me the swan is finally emerging. This piece of briar has some beautiful grain that was hidden beneath the dirty finish and the overcoat of shellac. I am liking the look of the pipe more and more.Author16 Author17 Author18 Author19The stem was actually more of a mess than I had initially thought. In sanding out the bite marks as much as the hack had done he has changed the slope of the stem. Now the angles of each side were different and the marks he had left behind were quite deep. I sanded the stem with 220 grit sandpaper to remove the marks and to try and reclaim the shape of the stem. Author20 Author21Once I had the shape of the stem repaired I sanded it with micromesh sanding pads – wetsanding with 1500-2400 grit pads and then rubbing it down with Obsidian Oil. I dry sanded with 3200-4000 grit pads and gave it another coat of oil. I finished with 6000-12000 grit pads and gave it a final coat of oil.Author22 Author23 Author24I sanded the bowl with micromesh sanding pads at the same time. Each successive grit pad from 1500-12000 gave the bowl a deeper shine.Author25 Author26 Author27 Author28I finished by buffing the pipe on the wheel with Blue Diamond polish and giving it multiple coats of carnauba wax. I buffed it with a clean buffing pad and then gave it a final hand buff with a microfibre cloth. The finished pipe is shown below. The grain on this old timer that has been given a new life is amazing. What do you think did the swan emerge from this ugly duckling? I think so but I am curious as to what you think. Thanks for looking.Author29 Author30 Author31 AUTHOR32 Author33 Author34 Author35