Tag Archives: rebending a vulcanite stem

Spiffing Up a Handsome Churchwarden


Blog by Kenneth Lieblich

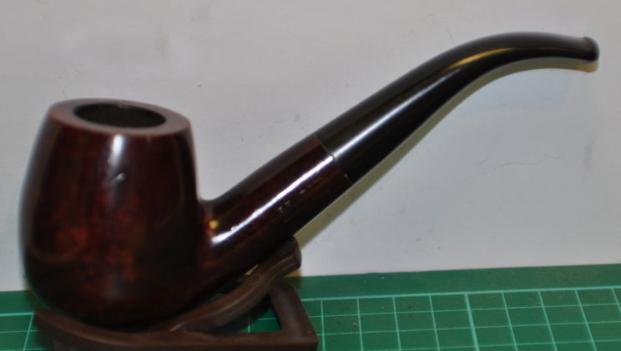
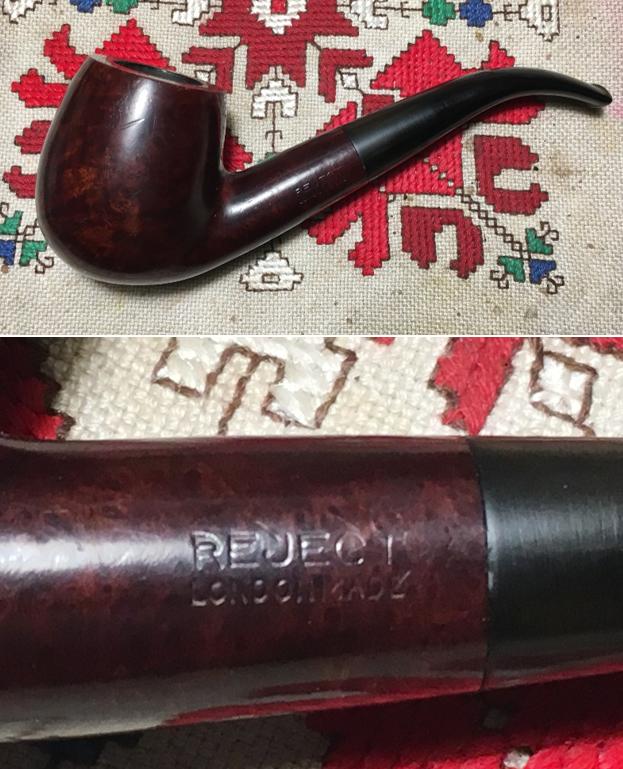
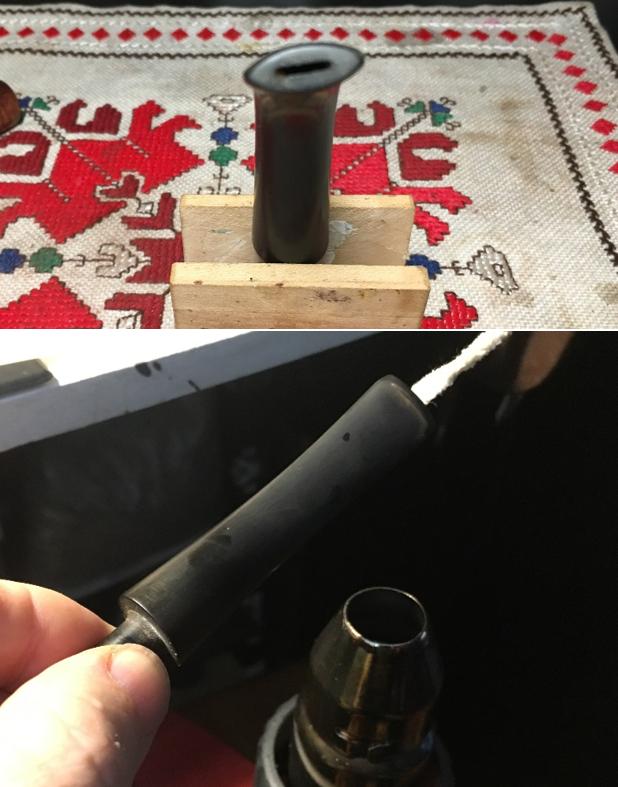
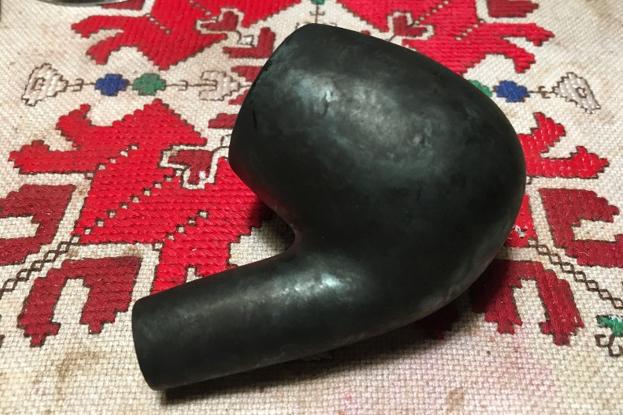
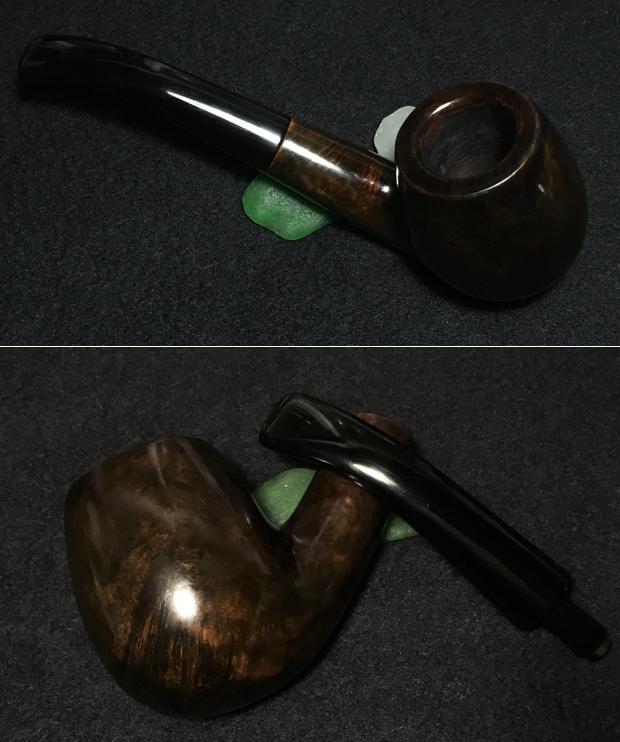
Next on the chopping block is a charming bent Dublin churchwarden (ten inches long), commissioned for a priest friend of mine. He expressly asked for a churchwarden (of course, he did). Fortunately, I had one on hand and I did a nifty restoration job on it. This is just a quick-and-dirty report for two reasons. First, I lost most of the photos I took of the restoration. Grrr. Second, this pipe has literally no markings on it, so I have no information to provide on its origins.The pipe was in decent condition. It had been well-smoked, but the bowl and shank were fairly clean. The bowl had notable cake on the inside and some lava on the rim. I felt that some burning was possibly there too. On the bottom of the stummel, there was a strange, hard, brown substance – possibly wood glue or putty. Not sure what it was, but it wasn’t supposed to be there! Similarly, the stem was relatively clean – not much oxidation to speak of, and what I would describe as “typical” tooth marks on the bit. The stem was slightly bent out of shape (in the yaw and roll axes) and would need to be corrected. 
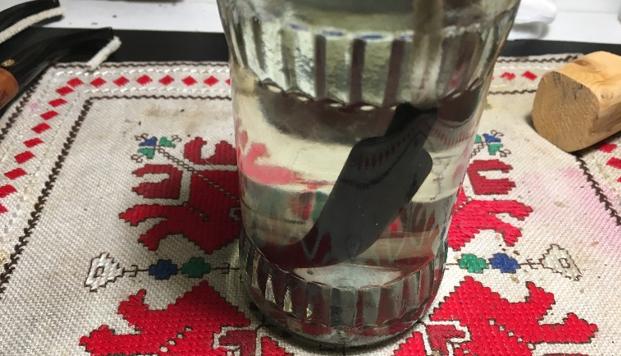
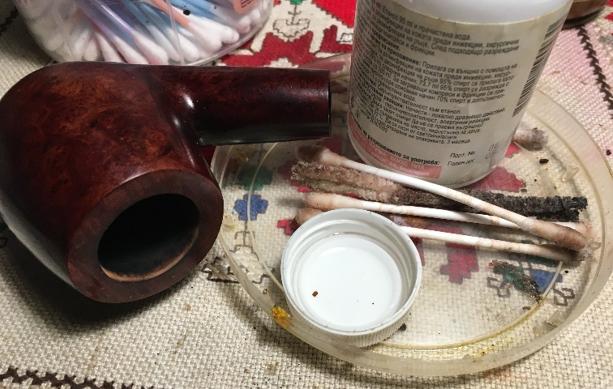
The stem was first on my list. I wiped the outside down with Murphy’s Oil Soap on some cotton pads. I cleaned out the insides with lemon-infused isopropyl alcohol and some churchwarden pipe cleaners.

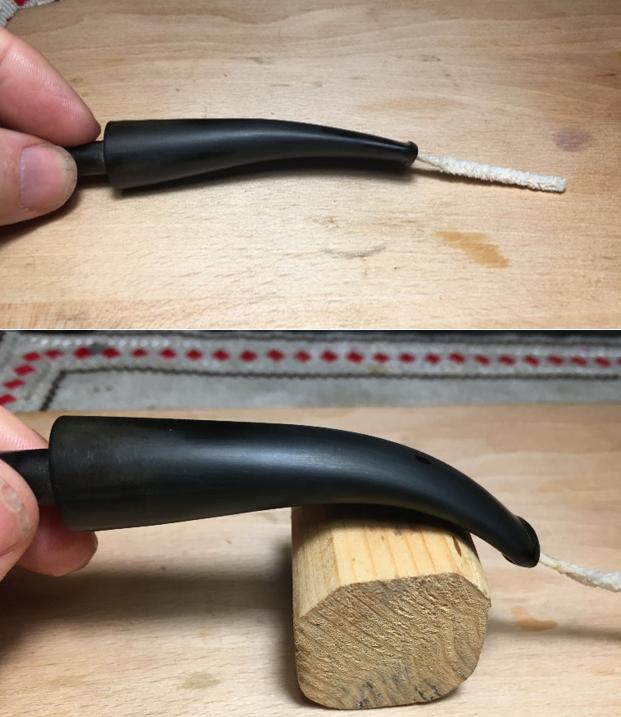
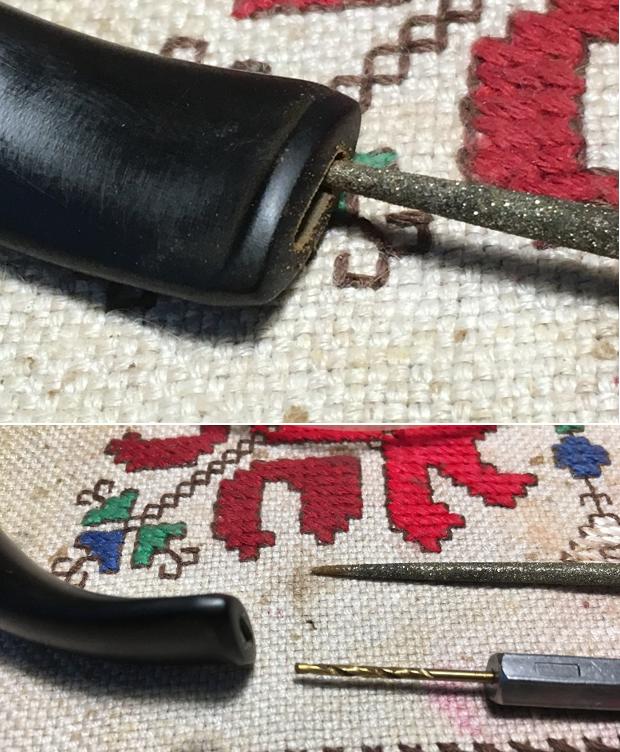
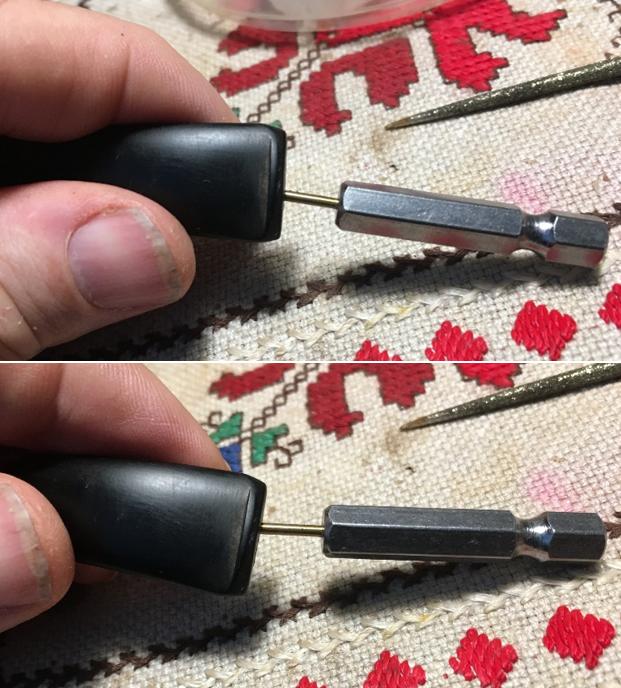
I then heated the stem with my heat gun and gently worked the twisted stem back into place. I have bent many stems before, but churchwardens always seem trickiest – perhaps because they’re so long. In the end, I got it looking just as it should.

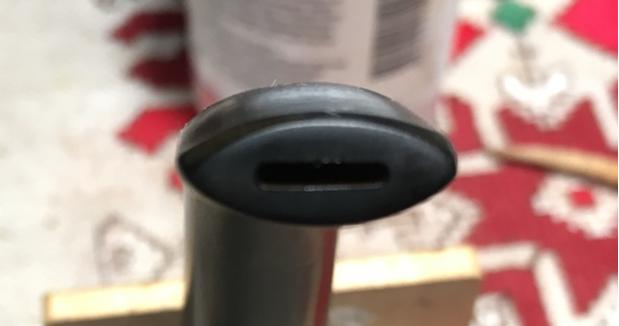
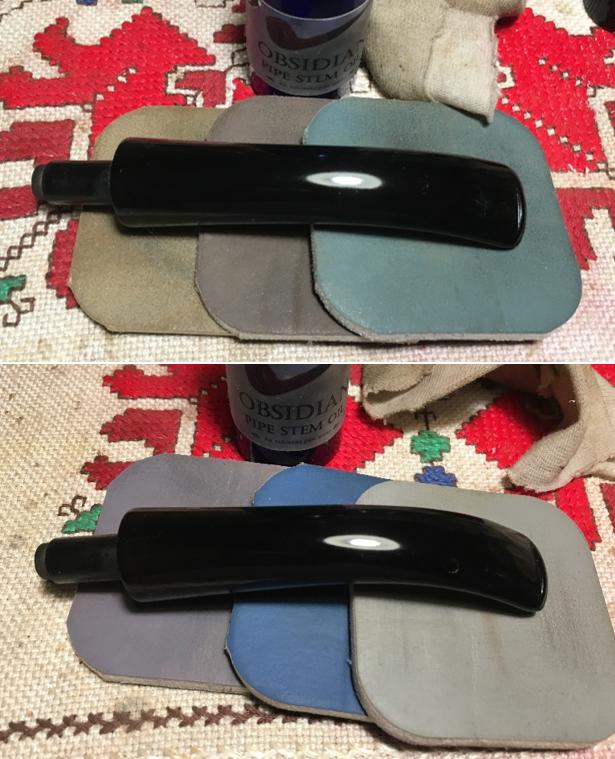
I scrubbed the stem with SoftScrub on some cotton pads. I built up the remaining marks on the stem with black cyanoacrylate adhesive and then cured it with the aid of some CA glue accelerator. I then carefully sanded the adhesive down with 220- and 400-grit sandpapers to meld seamlessly into the stem. I then used all nine Micromesh pads (1,500 through 12,000 grit) to bring out the lovely black lustre on the stem. I also used Obsidian Pipe Stem Oil in between each pad scrubbing (from 3,600 onward).

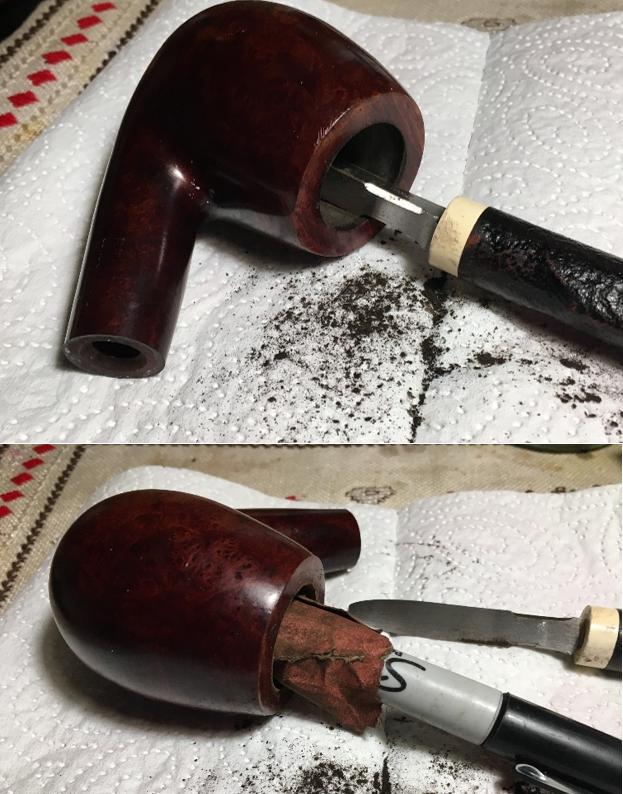
Now for the stummel. I reamed out the bowl to remove the built-up cake and followed that with 220-grit sandpaper taped to a dowel to eliminate as much as I could. I took the chamber down to bare briar, as I wanted to ensure there were no hidden flaws in the wall. Fortunately, there were none.

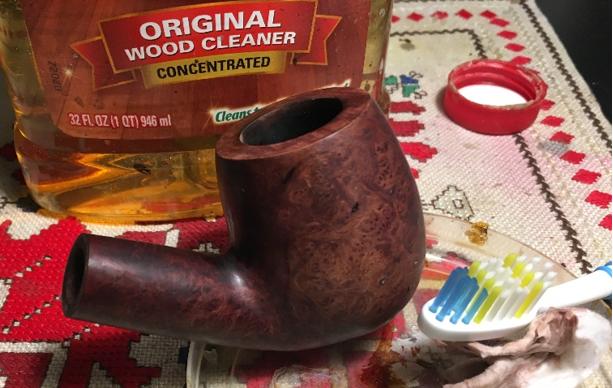
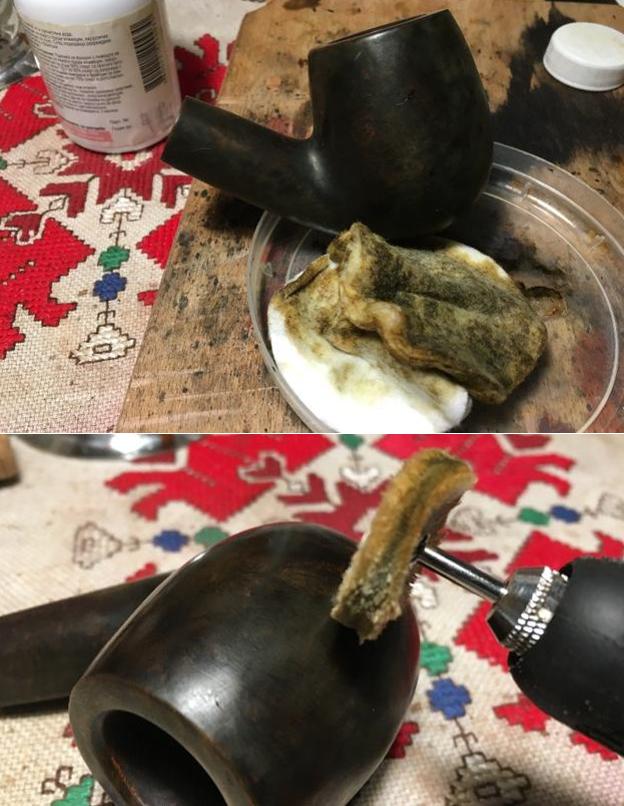
I then proceeded to clean out the insides of the shank with Q-tips, pipe cleaners, and lemon-infused isopropyl alcohol. There was quite a bit of filth inside this stummel and it took a fair amount of cotton to get it clean. I used cotton rounds and some Murphy’s Oil Soap to scrub the outside of the stummel. I followed that up by cleaning the insides of the stummel with some Castile soap and tube brushes.

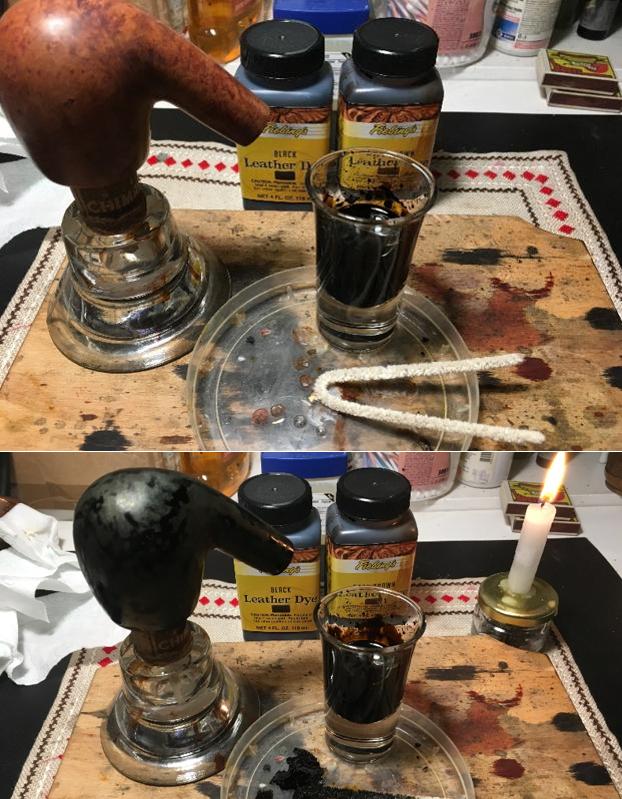
Next, I decided to de-ghost the pipe in order to remove any lingering smells of the past. I thrust cotton balls into the bowl and the shank and saturated them with 99% isopropyl alcohol. I let the stummel sit overnight. This caused any remaining oils, tars and smells to leach out into the cotton. The bowl was nice and clean after this.

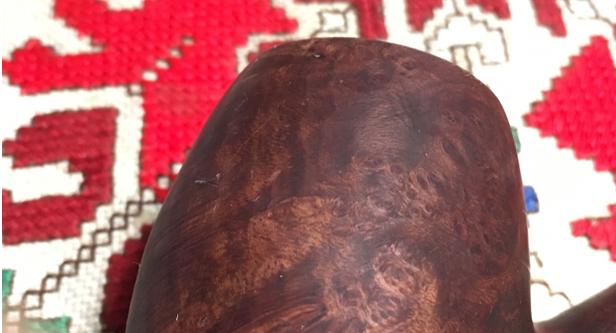
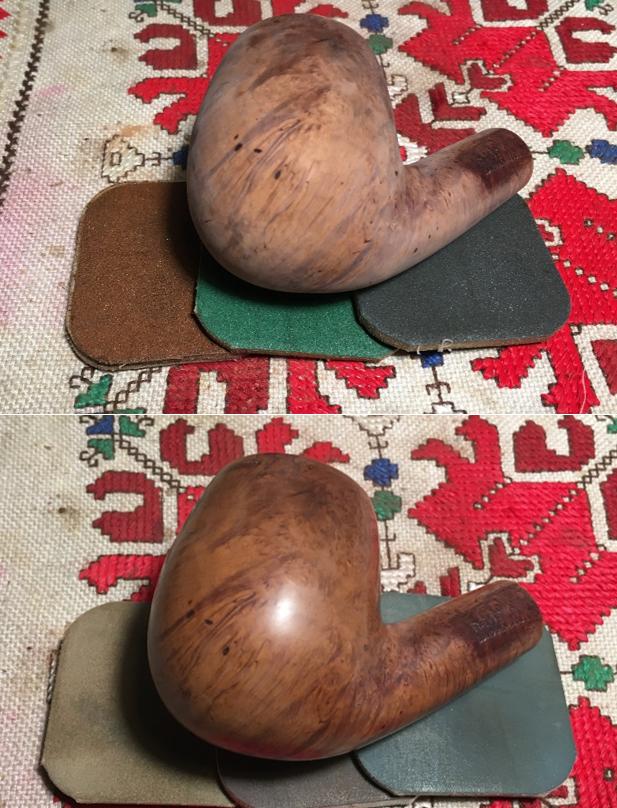
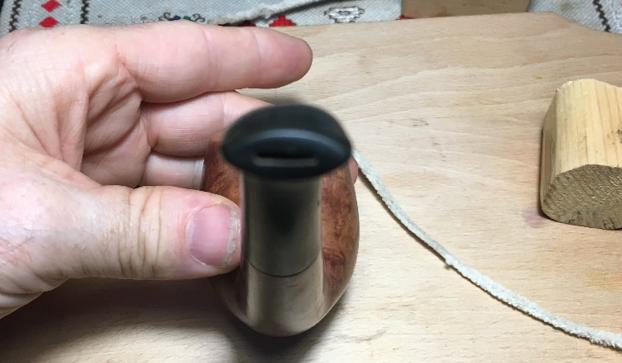
In order to safely remove the damage on the rim, I “topped” the pipe – that is to say, I gently and evenly sanded down the rim on a piece of 220-grit sandpaper. This effectively removed the damage, without altering the look of the pipe. I used some 220-grit sandpaper to remove the brown stuff on the bottom. No harm done. Then I sanded the stummel down with all nine Micromesh pads (1,500 through 12,000 grit).

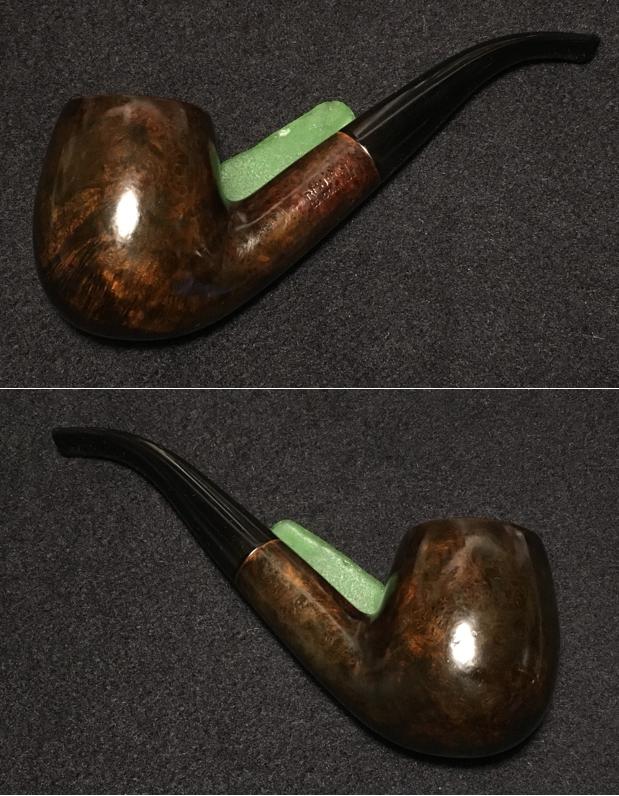
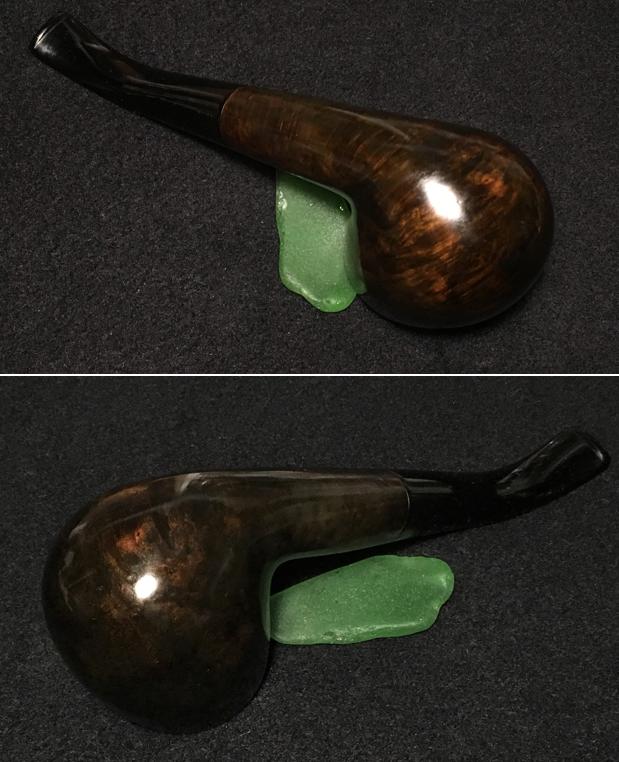
Finally, I applied some Before & After Restoration Balm and buffed it with a microfiber cloth. During the restoration, I noticed some previously repaired damage to the end of the shank. The repair was sound but ugly, so I decided to add a charming band to the shank. I think it suits the pipe quite well and brings a bit of “bling”.

I then took the pipe to my bench polisher and buffed it with White Diamond and a few coats of carnauba wax. Wow – the pipe really looks lovely.

This churchwarden will suit my priest friend very well and I know that he will enjoy smoking it for many years to come. I hope you enjoyed reading the story of this pipe as much I as I did restoring it. If you are interested in more of my work, please follow me here on Steve’s website or email me directly at kenneth@knightsofthepipe.com. Thank you very much for reading and, as always, I welcome and encourage your comments.

A Desirable REJECT London Made


Blog by Dal Stanton

When I came across this classic half bent billiard while I was trolling through 100s of offerings on eBay’s auction block, I paused. The first thing that claimed my attention was its size. If there was ever a ‘meat lovers sized’ pipe, to use the American burger sound bite, this would be it. The UK seller simply described it as a ‘superb large bowl’. When the pipe arrived, I measured it and it is: length 6 5/16 inches, height 2 3/8 inches, chamber diameter 7/8 inches, chamber depth 1 13/16 inches, and the full stummel width is 1 3/4 inches – 68 grams for those who weigh pipes. A fist-full of stummel! Here is the eBay picture of the Billiard.The other interesting thing about the eBay offering was its marking.  The left shank side reads “REJECT” over “LONDONMADE”.  The only lead I found for this “REJECT” stamping was in ‘Who Made That Pipe?’ by Herb Wilzak and Tom Colwell, which provided only one reference to “Reject” as belonging to the W. H. Carrington Co. started in 1891 by William Henry Carrington in Manchester, England.  This came from the brief Pipedia article which also states that after a century of operation it went out of business.  I found more information in a Pipes Magazine Forum thread  but the source of the information was not cited.

WH Carrington as an entity dates back at least to the late 1880s. It continued to exist for about a century, with liquidation notices appearing in the London Gazette in 1987. Whether or not the business remained in the family that whole time is another matter; I doubt it, but have no evidence one way or the other.

Most threads I read commenting on WHC pipes were about earlier turn of the century pipes with hallmarks – a much earlier vintage.  I came up empty finding information that would confirm that the Reject before me is indeed a WHC pipe except for Wilczak and Colwell’s reference.  With a very nice looking Reject on my work table now, I take additional pictures to fill in the gaps. The question that begs asking is what is ‘Reject’ about this pipe?  Overall, it’s in good shape.  The chamber has very mild cake build up, and the stummel surface shows some small fills and usual dents of wear.  The stem has been cleaned, it seems, very little chatter or oxidation.  I only detect two issues as I look at the Reject London Made.  First, the finish on the stummel is shiny and acrylic-like, which, to me, hides the natural briar.  It is cloudy and I’ll remove it and work on the broad landscape of this stummel real estate to bring out the briar.  I like this challenge!  The other issue is the stem – it is under-clocked and a bit catawampus.  I will heat the vulcanite and restore a good bend in alignment with the pipe.  The reason this pipe was stamped ‘Reject’ coming out of the factory is a mystery to me unless it was destined to be a higher end pipe and the briar had too many imperfections…. Only conjecture and I would appreciate anyone’s input on this.

I begin by plopping the stem in an Oxy-Clean bath even though the oxidation seems very light.  While the stem is in the bath, I use the Savinelli pipe knife to clean up the chamber walls which takes little time.  I follow by sanding the chamber wall with 240 grit paper wrapped around a Sharpie Pen.  To clean the carbon dust residue, I wipe the chamber with a cotton pad wetted with isopropyl 95%.  The pictures show the progress. I like working on a clean pipe so I work on the internals using cotton swabs and pipe cleaners dipped in isopropyl 95%.  With very little effort the mortise and draft are clean.Moving to the external stummel surface, I use Murphy’s Soap undiluted with cotton pads and a bristled tooth brush to clean the grime off.  The Murphy’s Soap does a good job removing the old shiny finish.Looking closely at the surface, the dent I saw earlier I want to remove using the iron approach, that I have yet to try, but this dent looks like a good candidate.  I’ve read several other restorations where this method was used.  Using a heated clothes iron, I use a wet wash cloth and lay it over the dent area and then I apply the iron to that point.  The concept is based upon the water content of wood being heated and absorbing the water and expanding the dented area – wood is a sponge-like material when wet.  I apply the iron several times and gradually I see the severity of the dent lessening with each heat application.  I can still see the dent but it should be more easily removed using a sanding sponge. Using a medium and light grade sanding sponge I work on the stummel to remove the minor wear nicks and dents on the surface. I like a softer edge on the inner rim lip so I introduce a gentle bevel both to give it a softer look and to remove some scorched areas. I think an inner bevel adds a bit of class as well.  I first use a coarser 120 grit paper to cut the bevel then I follow with 240 grit and 600 grit paper to smooth and blend the bevel.  The pictures show the progress. I now turn to the micromesh pad cycles.  Using pads 1500 to 2400 I wet sand the stummel followed by dry sanding with pads 3200 to 4000 and then 6000 to 12000.  Throughout the sanding, I’m careful to avoid the Reject markings. The grain is looking good.  The pictures show the progress. I put the stummel aside and fish the stem out of the Oxy-Clean bath.  Very little oxidation has surfaced.  I use 600 grit paper and wet sand the stem followed by sand buffing the stem with 0000 steel wool.  The pictures show the progress.Before I proceed further with the internal cleaning of the stem and the external polishing, I want to correct the bend of the stem.  With great difficulty, I am able finally to pass a smooth pipe cleaner through the stem.  The pipe cleaner helps to maintain the airway integrity while I heat and re-bend the stem. Using the heat gun to heat the stem, I turn the stem to apply the heat evenly over the stem to soften the vulcanite making it pliable.  I then straighten both the stem clock-wise to correct the under-clocking.  While still pliable I re-establish the bend over a block of wood and set the new shape under cool tap water.  The first time around, the button was still not ‘clocked’ to my satisfaction.  I reheated and made the additional adjustment and again, set the shape under cool tap water.  I reattach stem and stummel to eyeball things and the newly aligned stem bend and clocked button look good.  I take pictures to chronicle the progress with the stem. I now clean the internals of the stem using pipe cleaners dipped in isopropyl 95%.  The stem is clean but I find that even though I’ve re-bent the stem the pipe cleaners will not move through the bend of the stem.  I decide to open the slot area with a round pointed needle file moving it back and forth in the slot.  After this, I take a drill bit, smaller than the slot opening, and insert it into the airway rotating it against the edges of the airway hoping to expand the internal airway area as it enters the slot.  This seems to help yet the bend is still tight on the pipe cleaners, but they are passing through.  The stem is clean.  The pictures show the progress. Time to bring out the micromesh pads to finish the stem.  With pads 1500 to 2400 I wet sand the stem.  I follow by dry sanding with pads 3200 to 4000 and then 6000 to 12000.  With each set of 3 I apply Obsidian Oil to the stem to revitalize the vulcanite, and I love to see the pop of the vulcanite as it moves through the micromesh cycles!  I put the stem aside to dry.  The pictures show the progress. Turning back to the stummel, I decide to apply Fiebing’s Dark Brown Leather Dye to the Reject London Made to emulate the darker hues of the original finish.  Since it is an aniline dye, I can lighten the finish to taste by wiping the stained stummel with cotton pads wetted with isopropyl.  The large stummel has a lot of briar real estate to show off with a smattering of different grains – pleasing to the eye and a handful of stummel to boot!  I just acquired Fiebing’s Black Leather Dye and I decide to experiment.  I will add a touch of it to the dark brown to create the blend.  The first snag I run into is that this is the largest stummel I’ve worked on and my usual corks that I use to prop the stummel on the candle stick during the staining process were too small.  I rummaged through our cork supply and found only one large enough.  I warm the stummel to expand the briar enabling the dye to absorb better into the grain.  I apply the dye liberally over the surface with a pipe cleaner folded over.  Then I fire the wet dye and the alcohol content burns off setting the stain.  I repeat the process again to assure total coverage and set the stummel aside to rest.   After several hours, I ‘unwrap’ the fired stummel using the Dremel mounted with a felt buffing wheel.  With the Dremel at its slowest speed, I move methodically over the stummel applying Tripoli compound to remove the crusted fired surface.  I don’t apply too much downward pressure on the briar but I allow the RPMs and the compound to do the work for me.  After completed, I use cotton pads wetted with alcohol to wipe down the stummel to lighten the stained finish and to blend the dye.  After this, I mount a cotton cloth wheel on the Dremel and apply Blue Diamond compound and methodically work the wheel over the entire surface.  After completed, I again wipe the stummel with cotton pads wetted with isopropyl 95%.  I follow this by doing another quick tour over the stummel with the Blue Diamond.  The use of black dye with the dark brown has the effect of darkening the grain which I’m liking as I see the grain surfacing through the compound cycles.   The pictures show the progress.To remove the compound dust, I hand buff the stummel with a flannel cloth.  After mounting the Dremel with a cotton cloth wheel and increasing the speed to 2, one notch over the slowest, I apply several coats of carnauba wax to the stummel and reattached stem.  I follow this with a rigorous hand buffing with a micromesh cloth.  When I experimented by adding black dye to the dark brown I didn’t anticipate the unique hue that would result.  The briar grain veins seem to have latched on to the black and the lighter grains came out with a golden/copper kettle blend that is striking – very interesting and attractive.  If this REJECT – LONDON MADE is a product of the W. H. Carrington Co., I cannot say why it received this factory stamp.  For those who like huge pipes that fill the hand, this big boy, bent billiard fits the bill and needs a new steward!  All the profits of pipes I sell help the Daughters of Bulgaria, an organization we work with that helps women and children who have been trafficked and sexually exploited.  If you’re interested in this REJECT, hop over to my blog site, The Pipe Steward.  Thanks for joining me!