Blog by Steve Laug
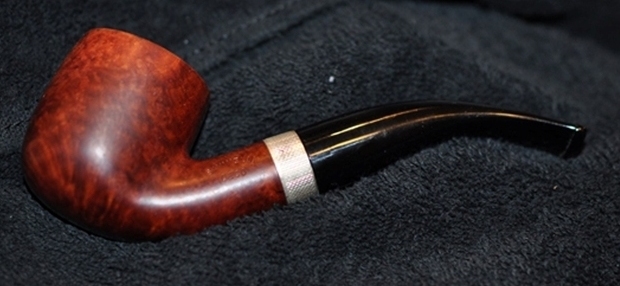
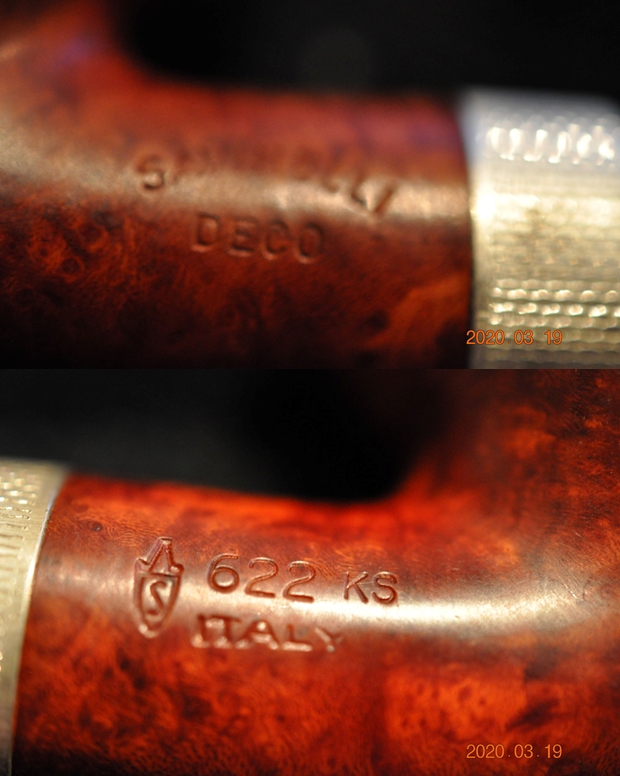
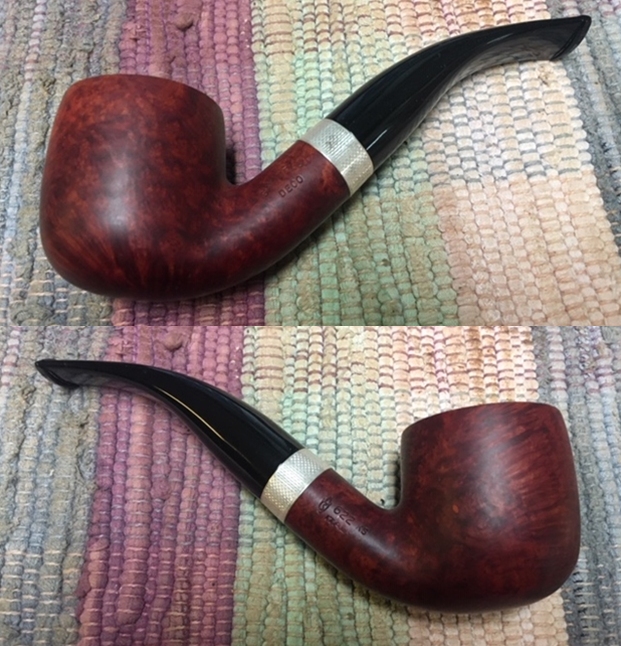
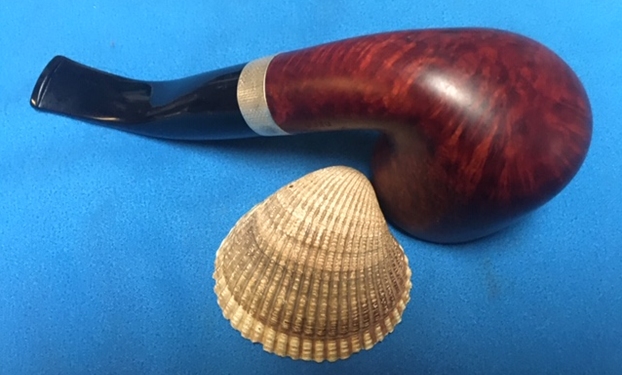
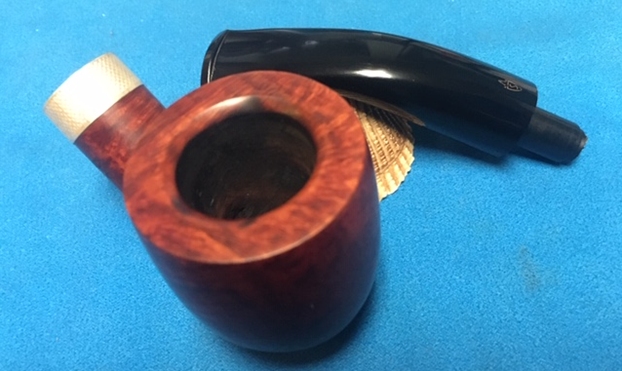
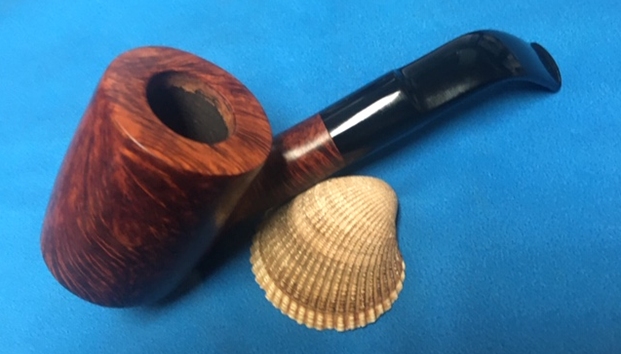
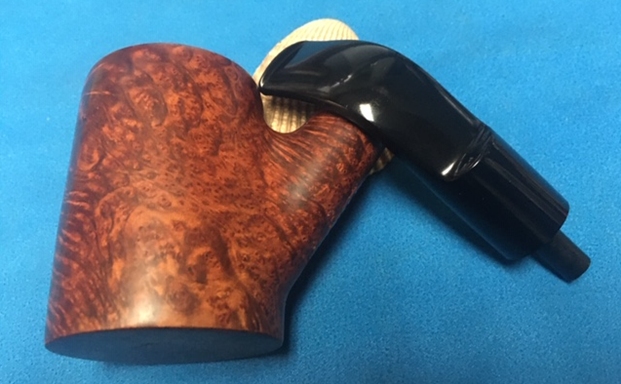
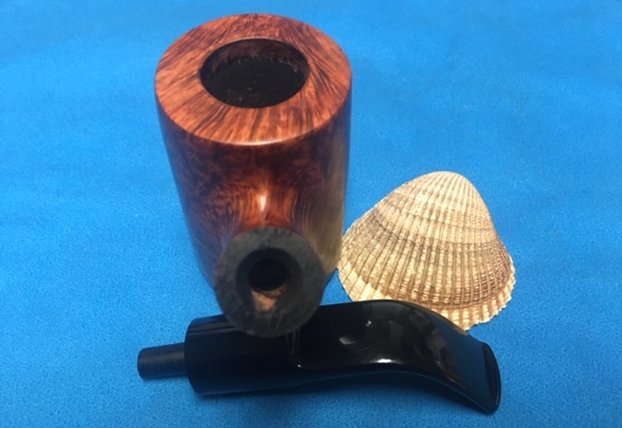
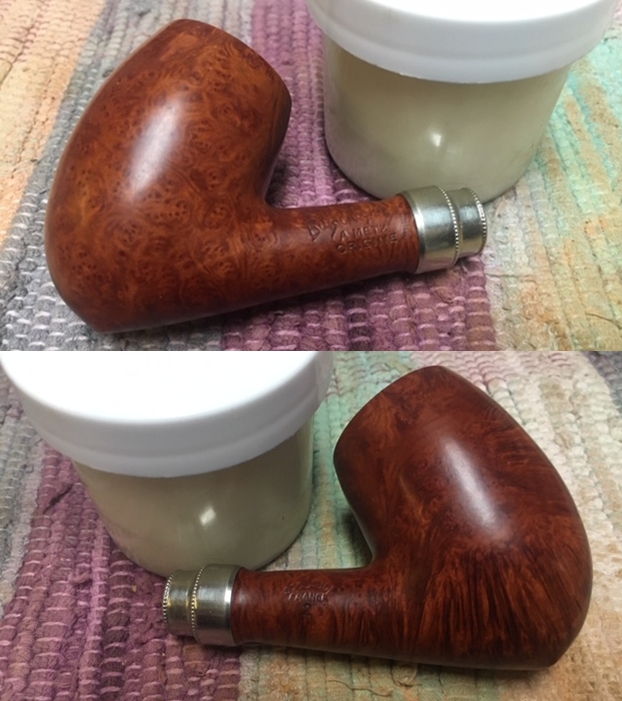
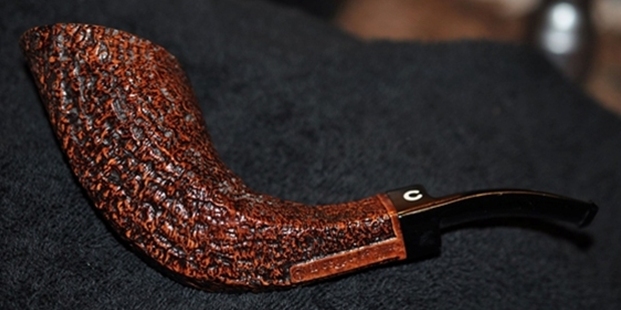
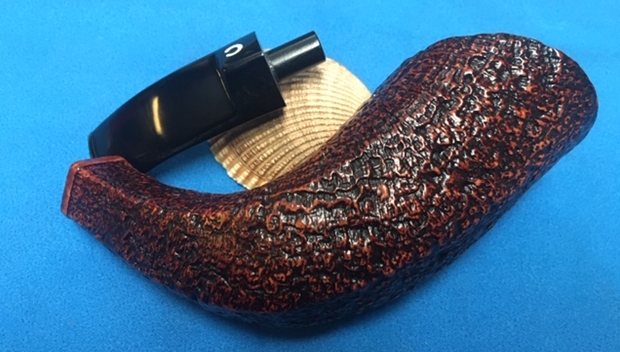
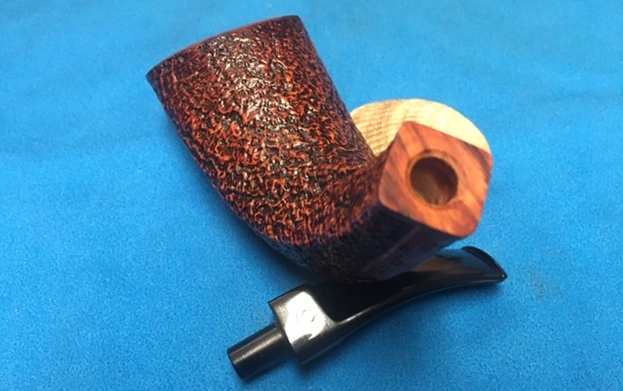
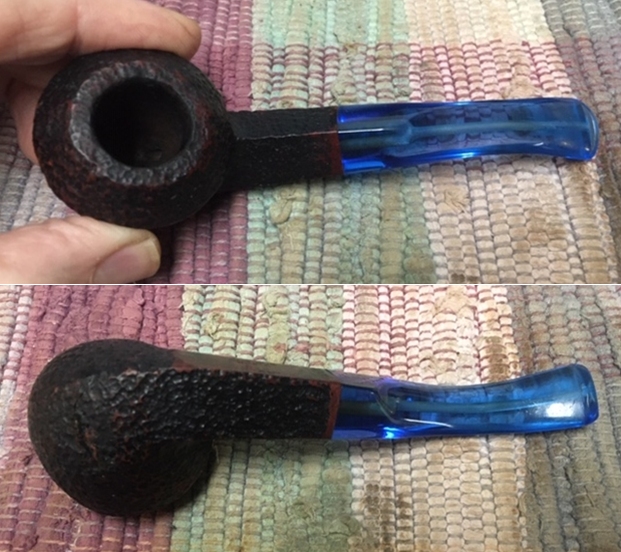
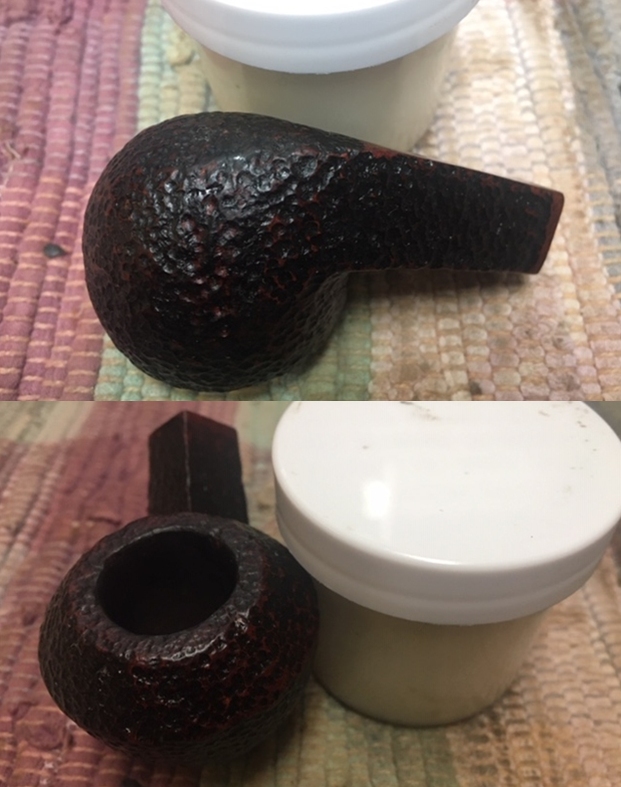
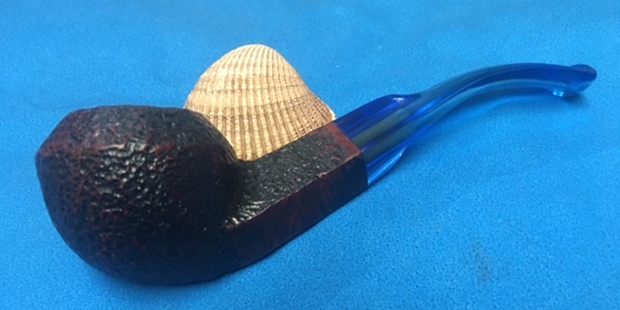
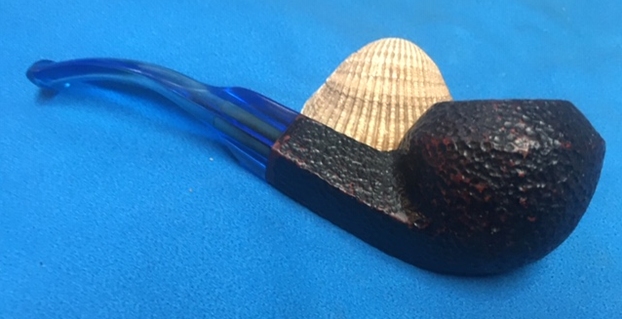
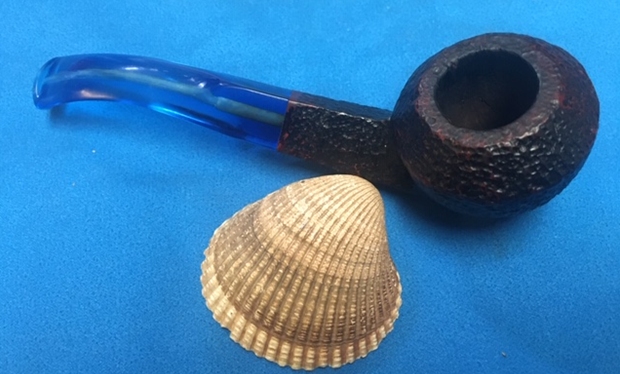
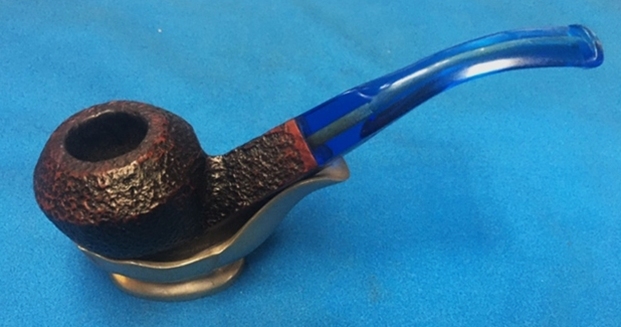
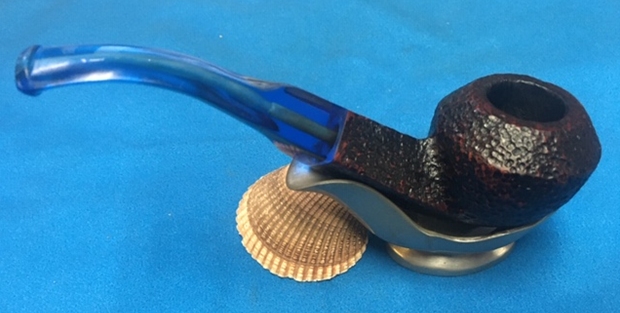
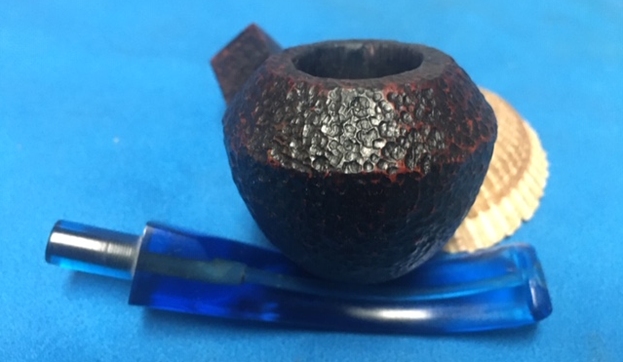
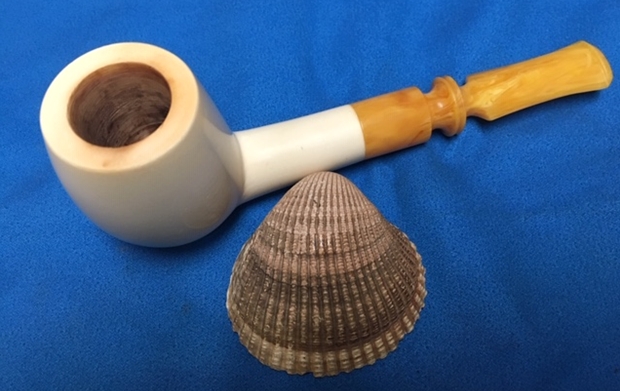
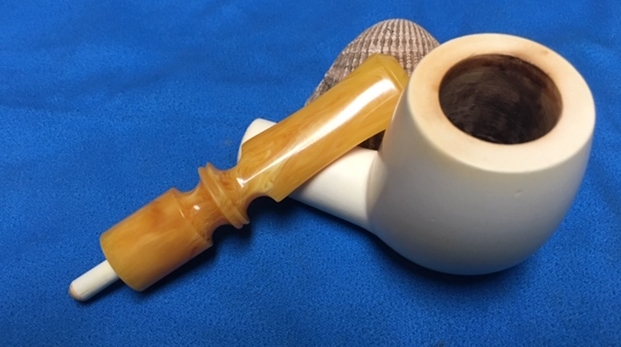
The next pipe on the table is a nice looking Brandy shaped pipe. It has an oxblood coloured smooth finis around the bowl and rim. The stem is black acrylic. It is stamped on the underside of the shank in classic Danish style. It reads Johs in script over Hand Made in Denmark. The finish was tired and dirty but looked pretty good under the grime. It really was in good condition under the dust of time. The bowl had a thick cake and there was some rim darkening on the inner edge. There was some light lava overflow on the rim top but nothing serious. Both the inner and outer edges of the bowl looked very good. The acrylic stem had light tooth chatter and marks on both sides near the button. Jeff took the following photos of the pipe before he started his cleanup work. 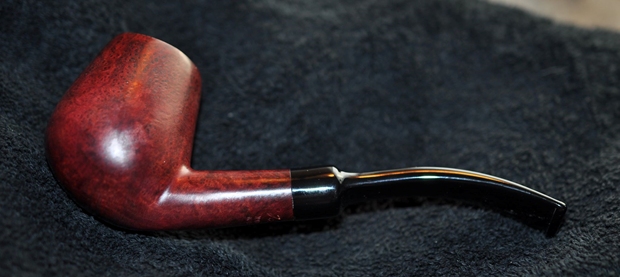
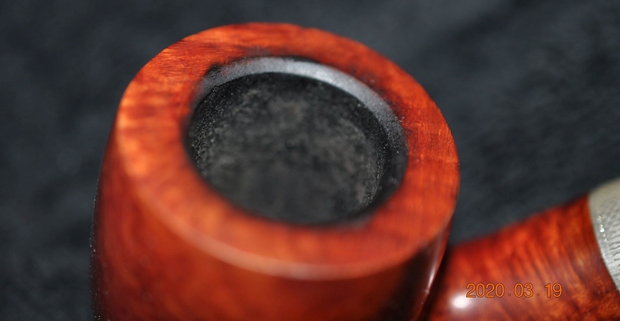
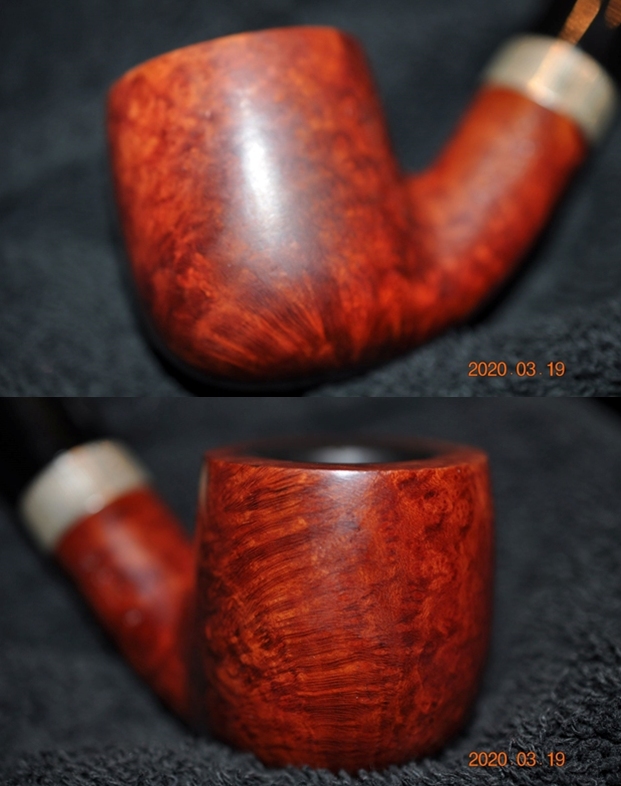
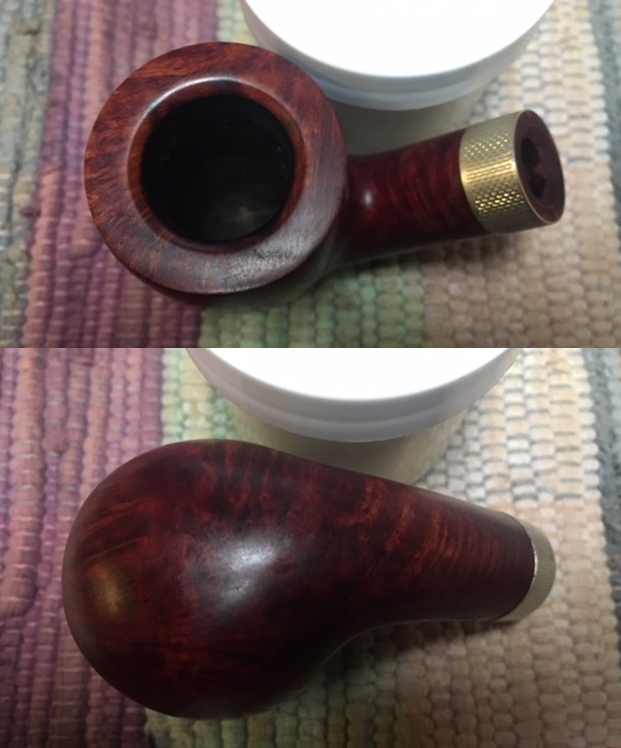
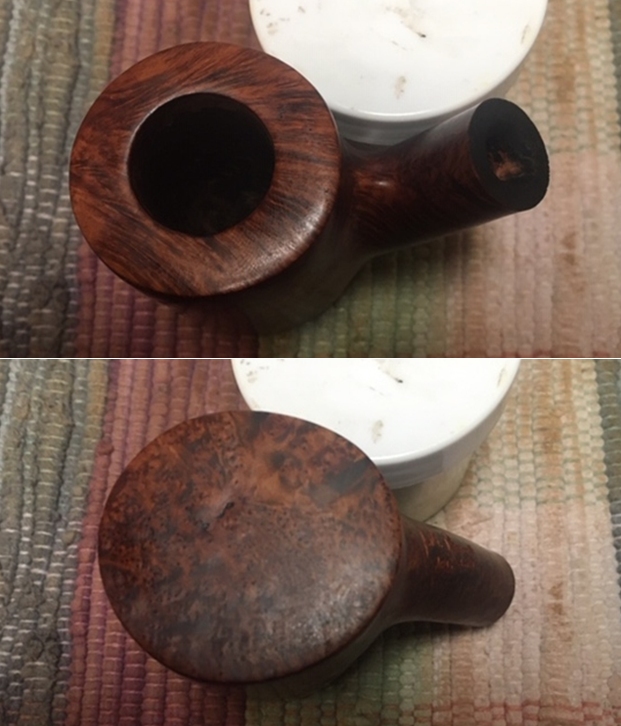
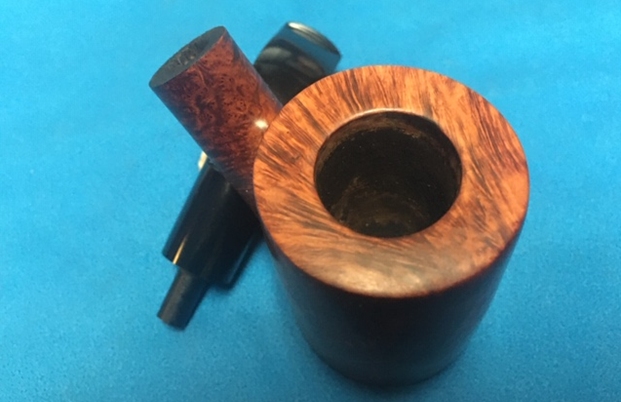
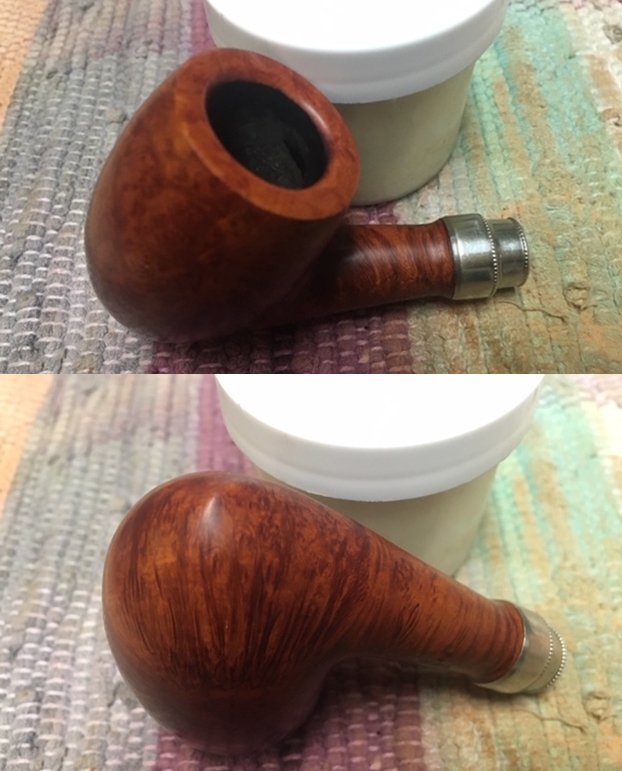
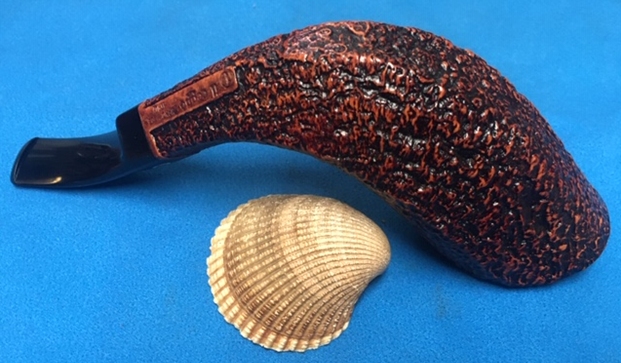
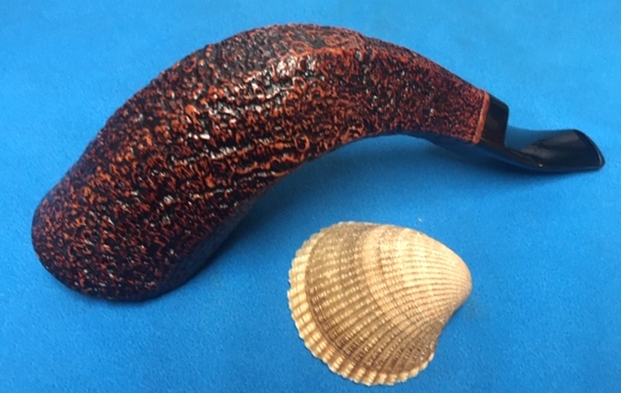
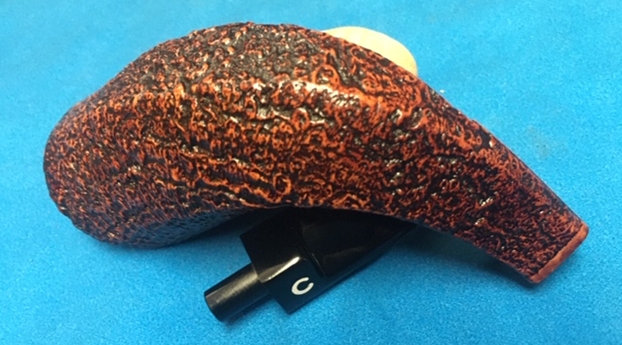
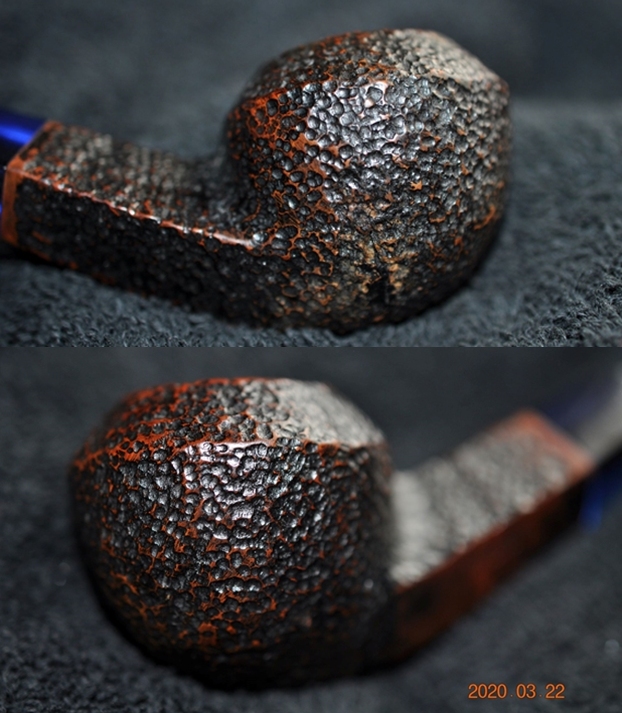
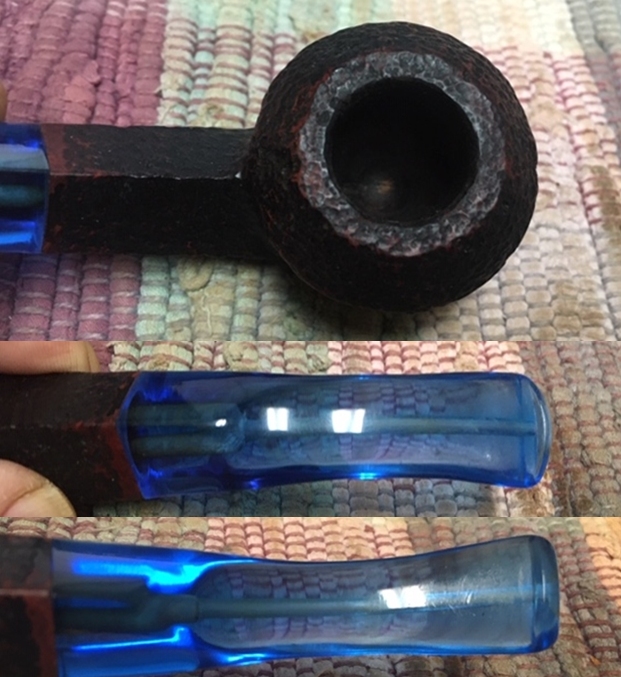
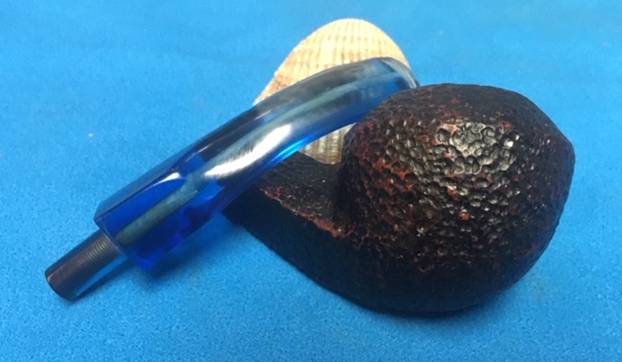
 The photos of the rim top and bowl show the thick cake, tobacco debris and slight lava overflow on the rim top. The pipe was messy but the finish looked good.
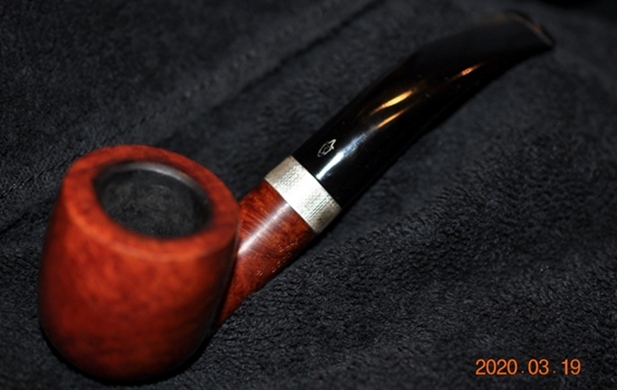
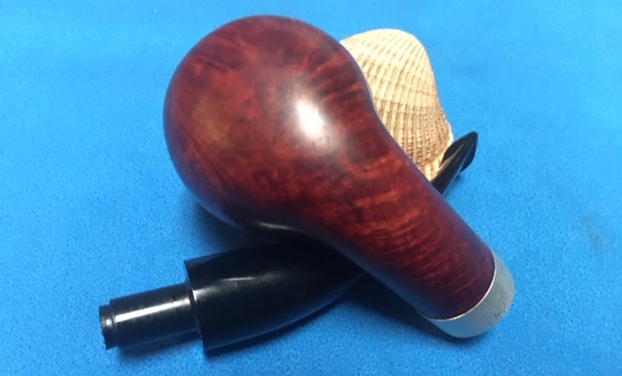
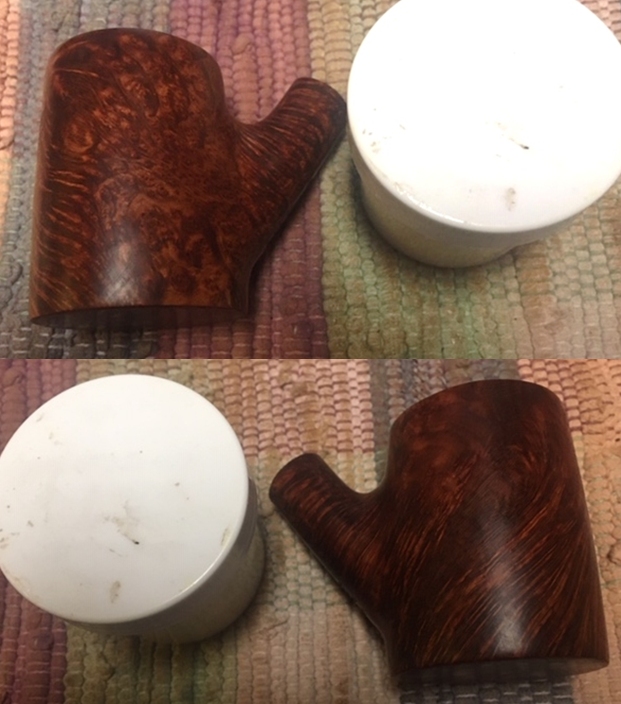
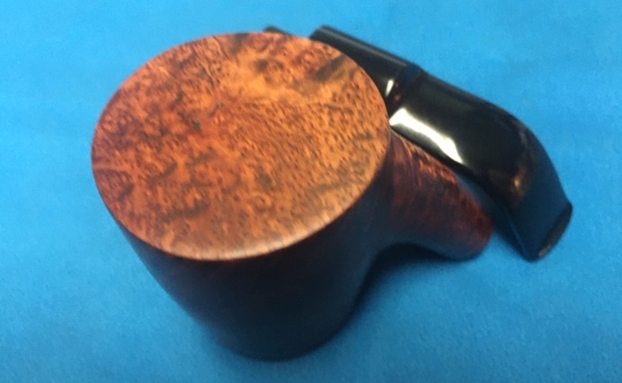
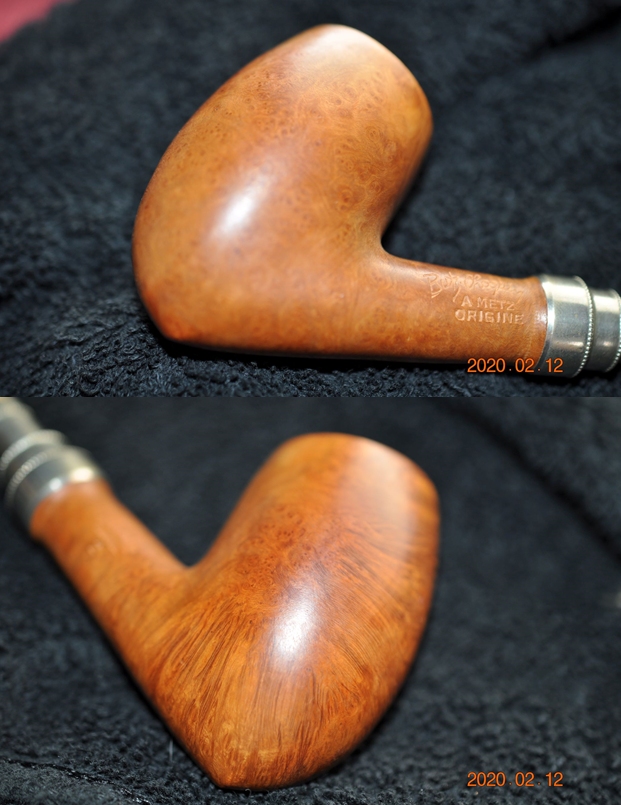
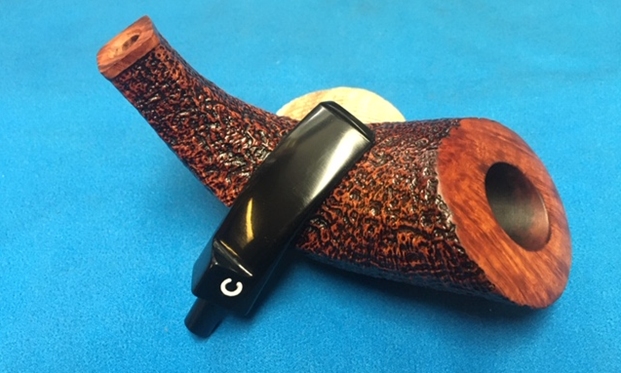
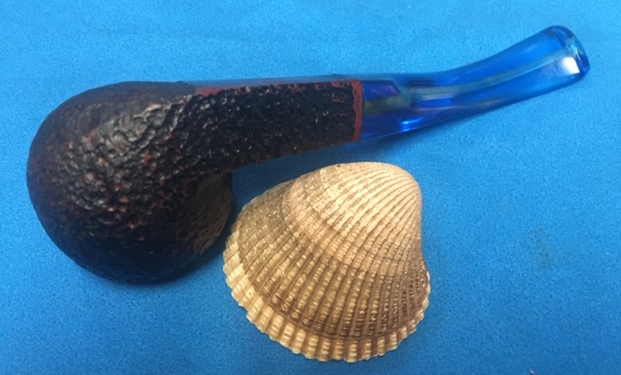
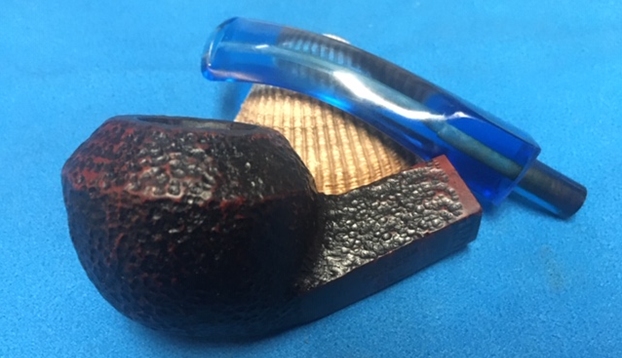
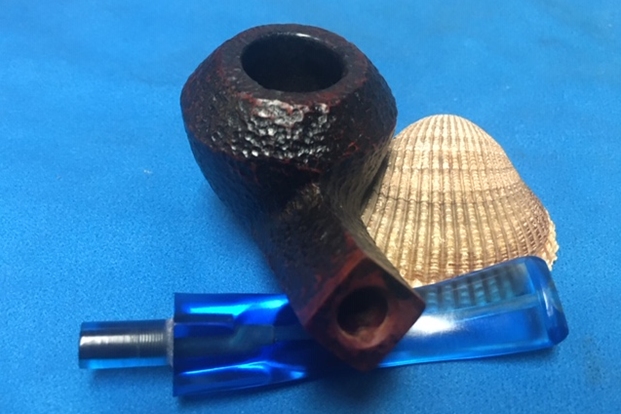
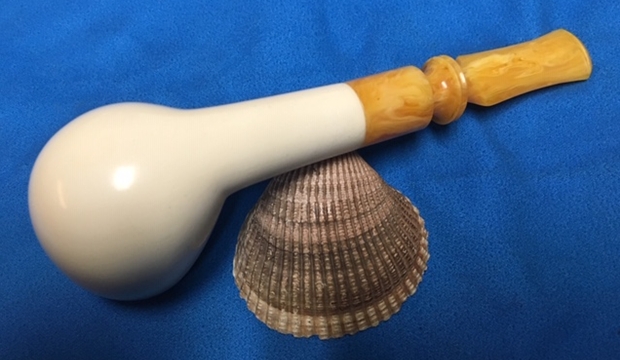
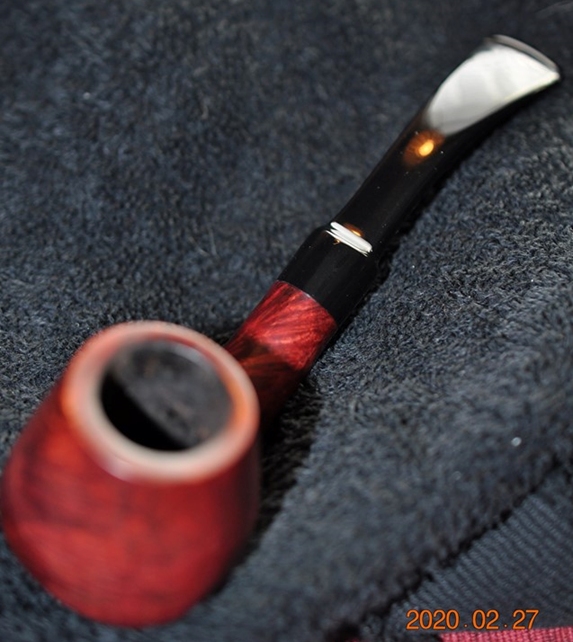
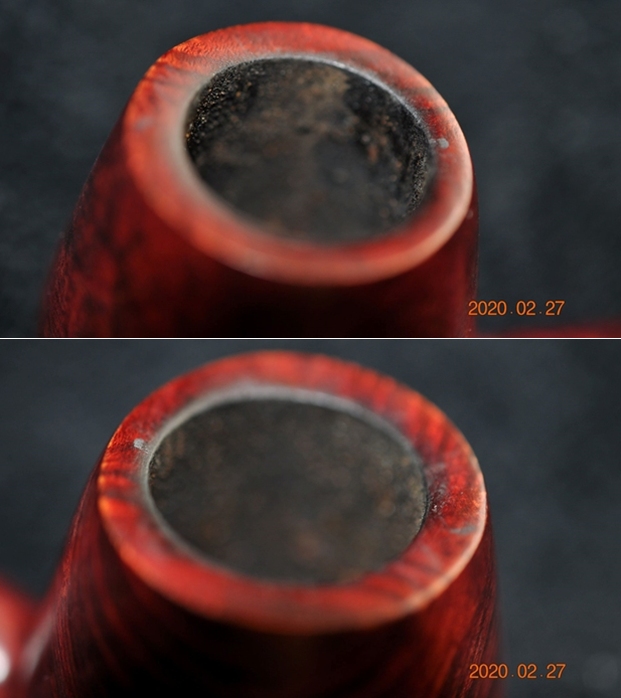 Jeff captured the grain around sides of the bowl and heel in the next photos. You can see that the finish is quite pretty beneath the wear and tear and grime!
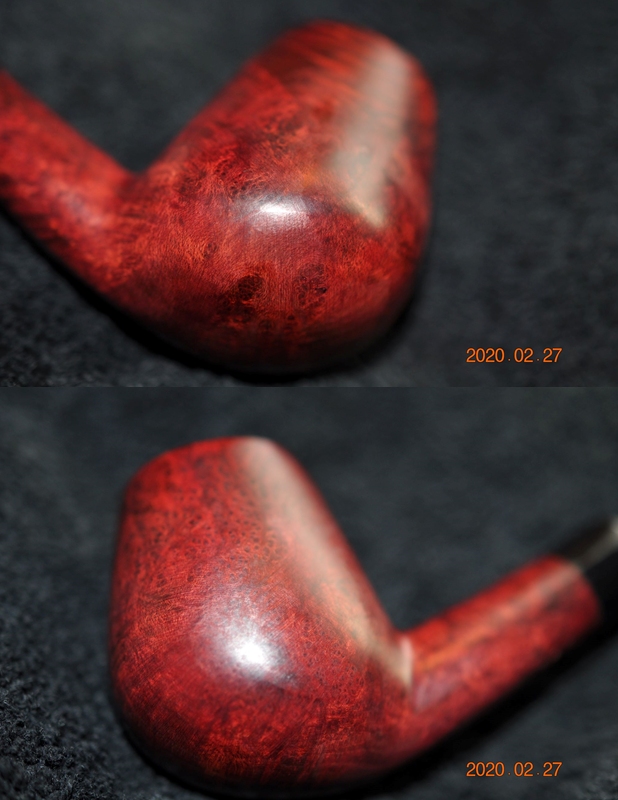
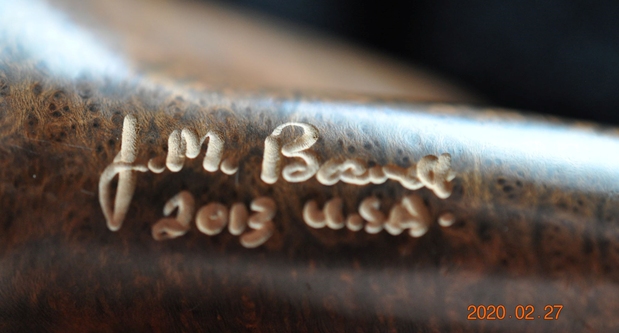
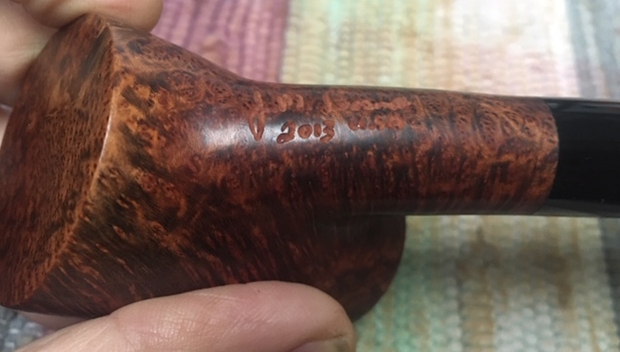
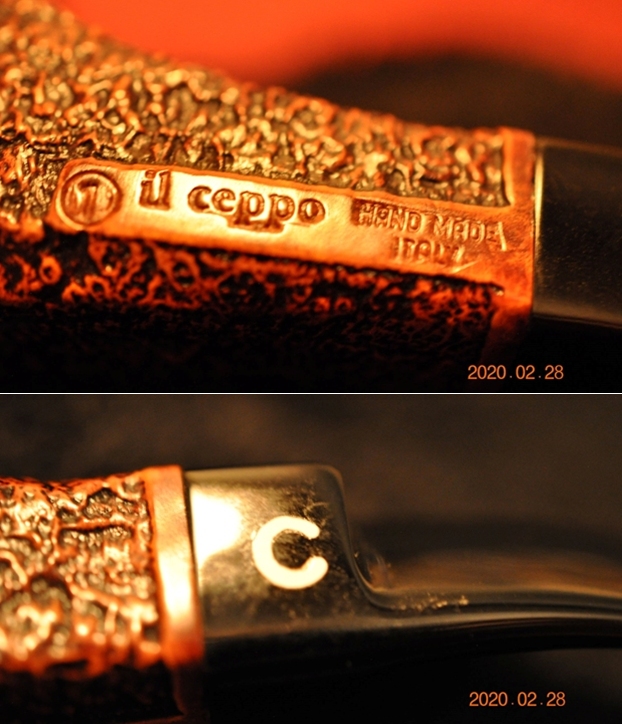
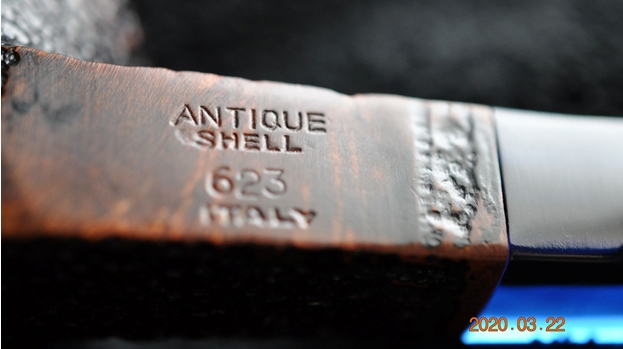
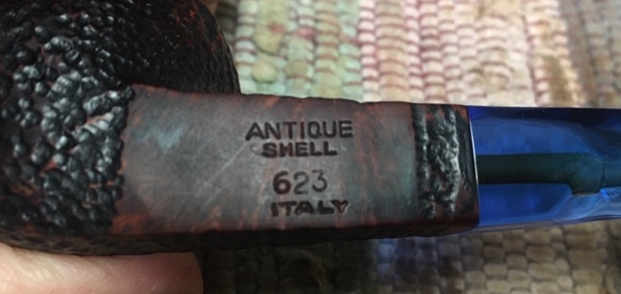
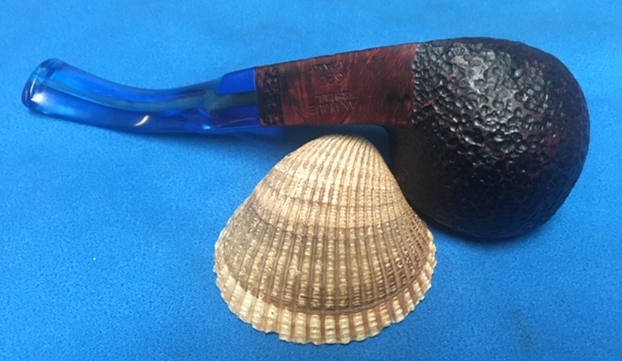
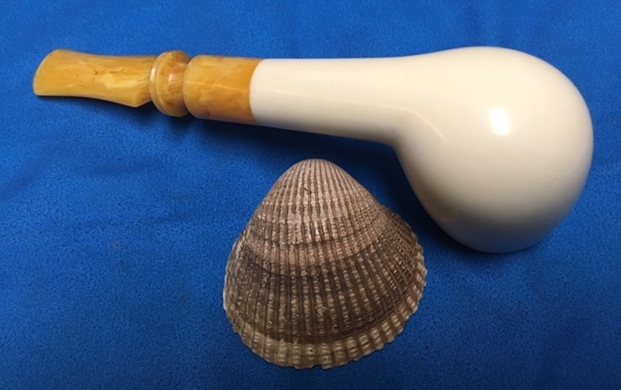
 He took a photo of the stamping on the underside of the shank. It is clear and readable and read as noted above.
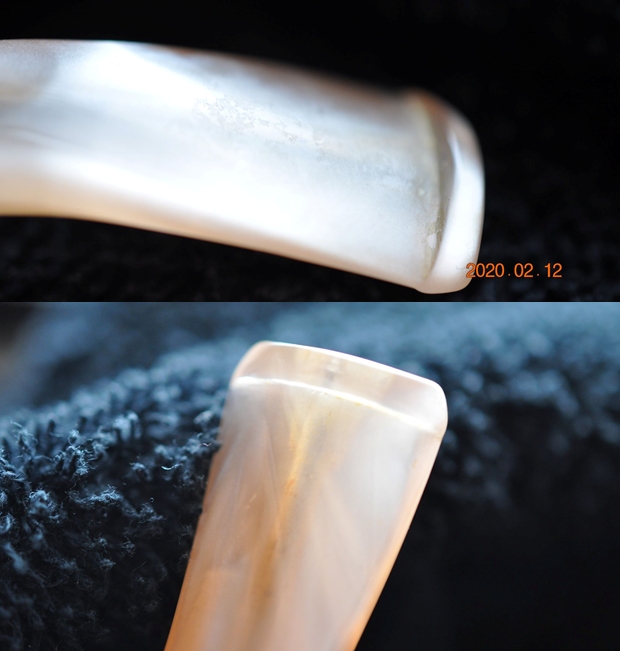
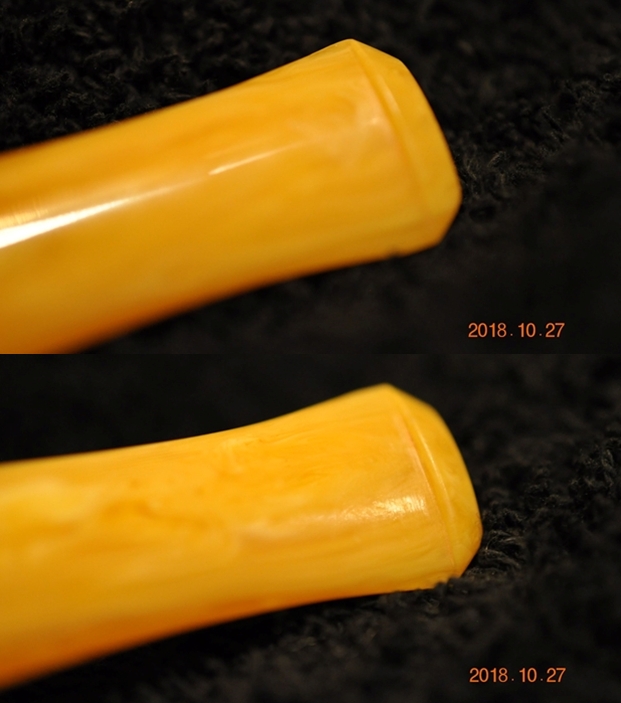
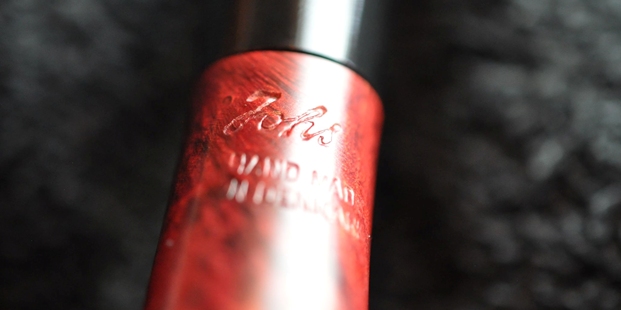 The acrylic stem was in good condition other than the tooth marks on the surface of both sides ahead of the button and some wear on the button as well.
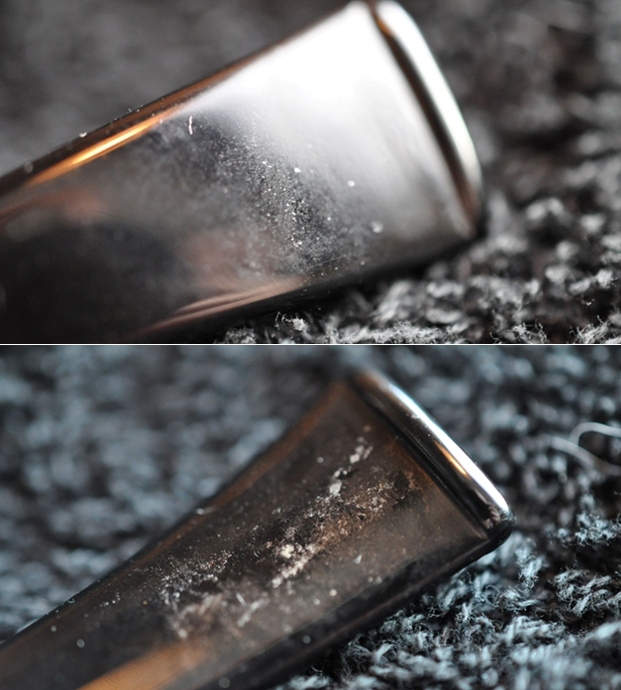 I have worked on a few Johs pipes in the past but never really spent time digging into the brand to get a sense of where it came from. I decided to do that on this nice little pipe and turned first to Pipephil’s site to get a quick overview (http://www.pipephil.eu/logos/en/logo-j3.html). I am quoting part of that entry here as well as including a screen capture of the section.
Mogens Johansen has carved pipes for Bjarne during 15 years. When Bjarne Nielson passed away “Johs” established on his own in 2008. I turned then to Pipedia to gather a few more details on the brand (https://pipedia.org/wiki/Johs). I quote just the introduction to the article and a paragraph linking Johs to Bjarne Nielsen from Pipedia below. It is well worth the time to read it in its entirety.
Mogens Johansen and his wife Doris operate a pipe and tobacco shop named Gaden Pibemagerie in the small hamlet Ravenhøj, not far from Frederikshavn. Mogens, he calls himself Johs as a pipemaker, makes his classical Danish freehands in the adjacent workshop.
Information for this article is from the excellent book, Scandanavian Pipemakers, by Jan Andersson… Likely many pipe smokers have smoked a pipe made by Mogens Johansen without realizing it. For many years he made pipes for Bjarne Nielsen, and those pipes were not stamped with his name. So apart from tourists visiting his workshop in Frederikshavn, few knew who Johs was. But in 2008, when Bjarne died so suddenly and unexpectedly, Johs had to make his name known and start selling his pipes on his own. A natural first step toward becoming known was to visit the pipe show in Chicago, and he did so that same year. When sellers learned that Johs had made pipes for Bjarne, who had a very good reputation, it was not hard for him to find interested dealers.
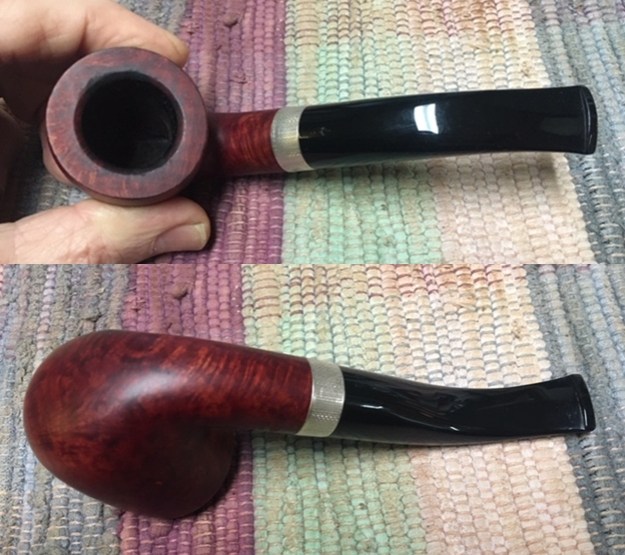
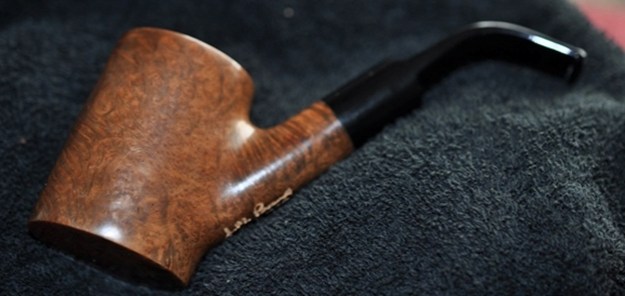
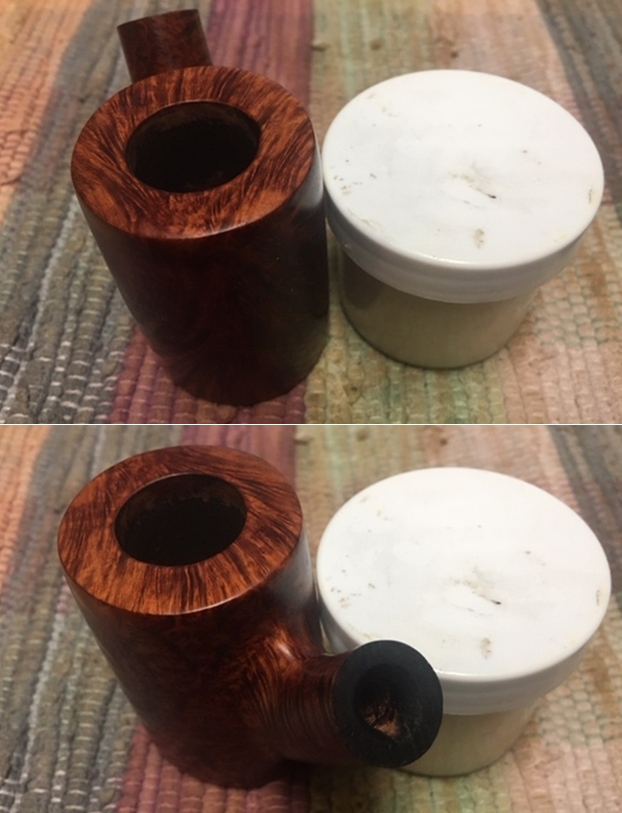
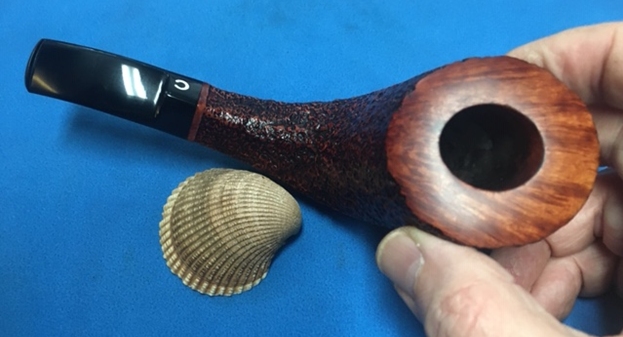
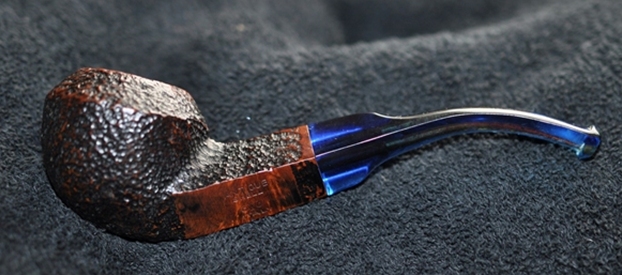
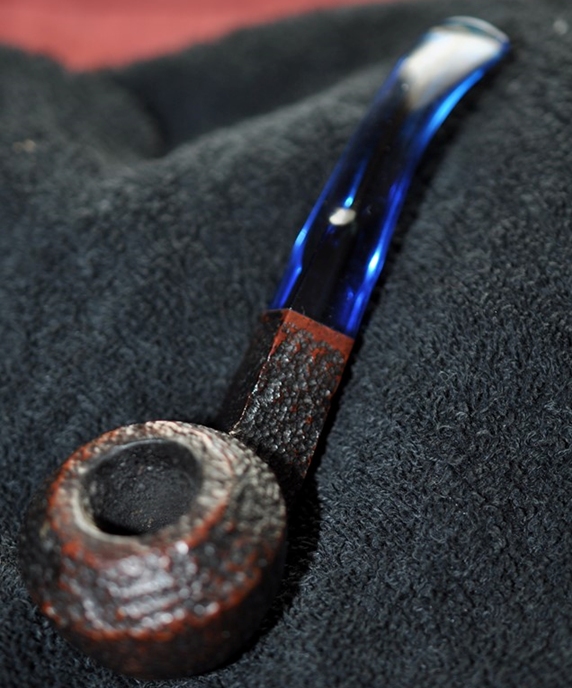
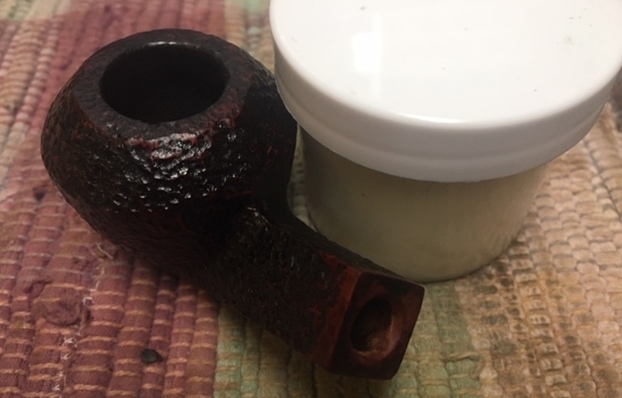
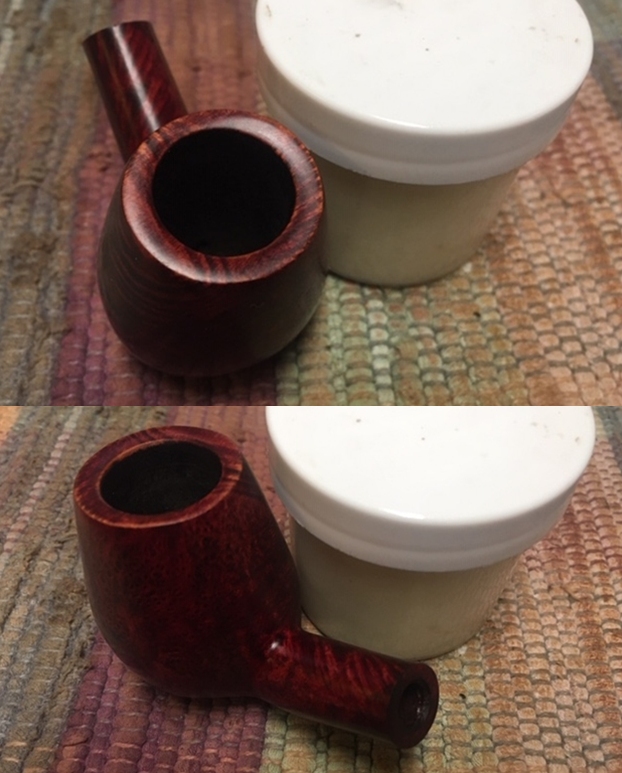
It was now time to turn to the pipe itself and do my part of the work. Jeff had done his usual thorough cleanup and the pipe looked very good. The grain was quite nice and the colour was very good. Jeff had reamed the bowl with a PipNet pipe reamer and cleaned up the debris left behind with a Savinelli Fitsall Pipe Knife. He scrubbed the internals in the shank and the stem with alcohol, cotton swabs and pipe cleaners. He scrubbed the externals of the bowl with undiluted Murphy’s Oil Soap and a tooth brush and rinsed it off with running water. He scrubbed the stem with Soft Scrub and soaked it in Before & After Deoxidizer. I took photos of the pipe before I started my part of the restoration.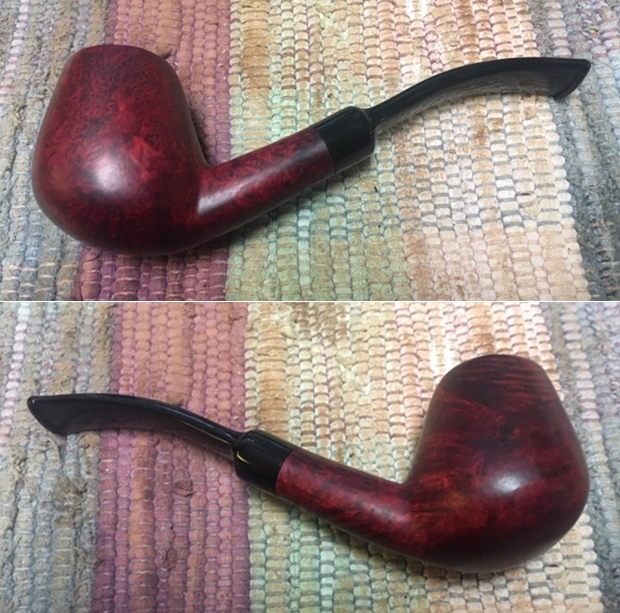
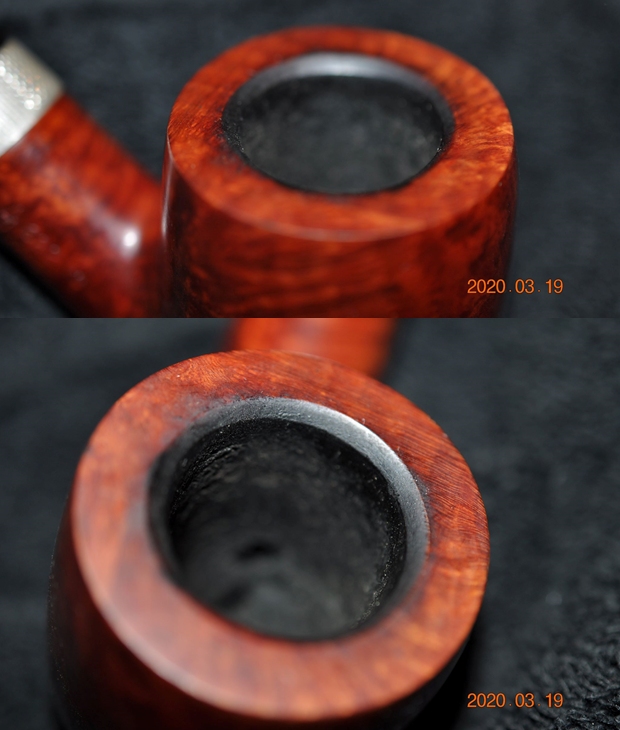
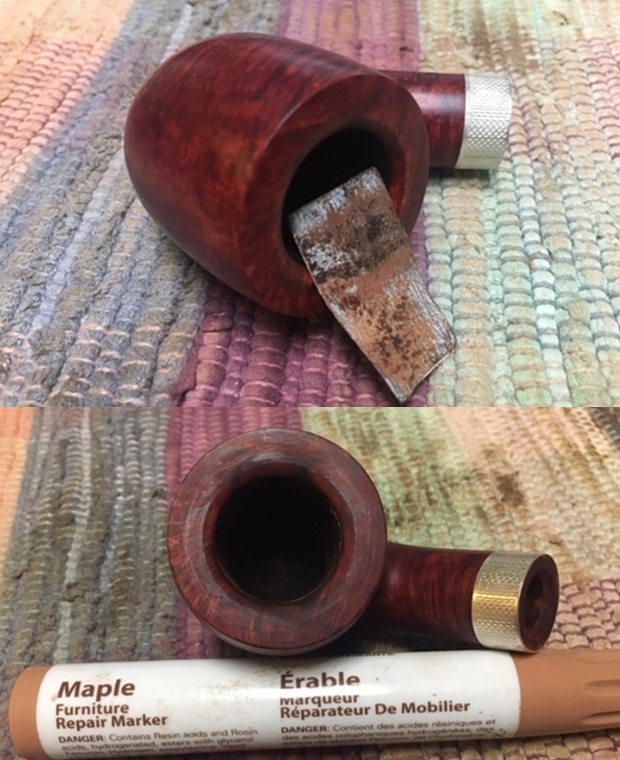
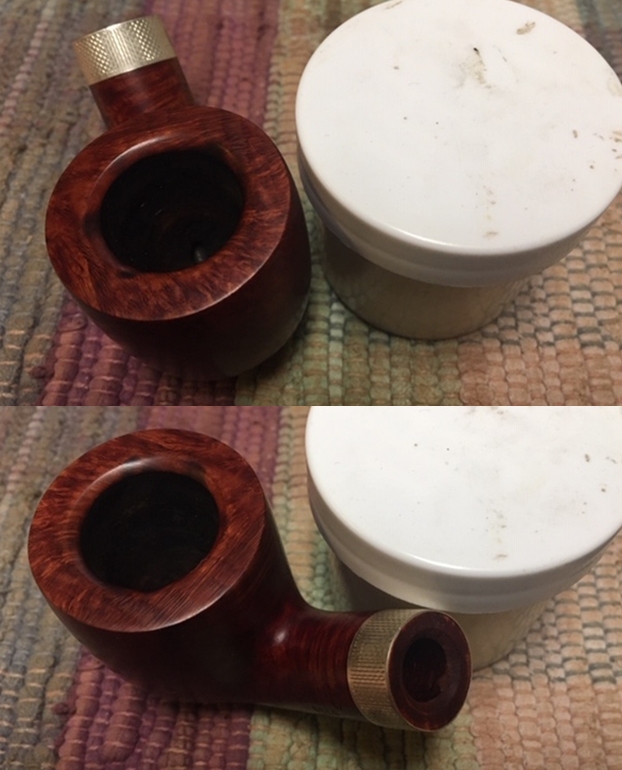
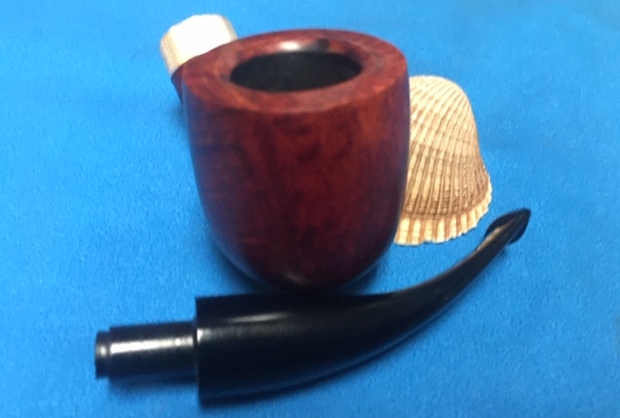
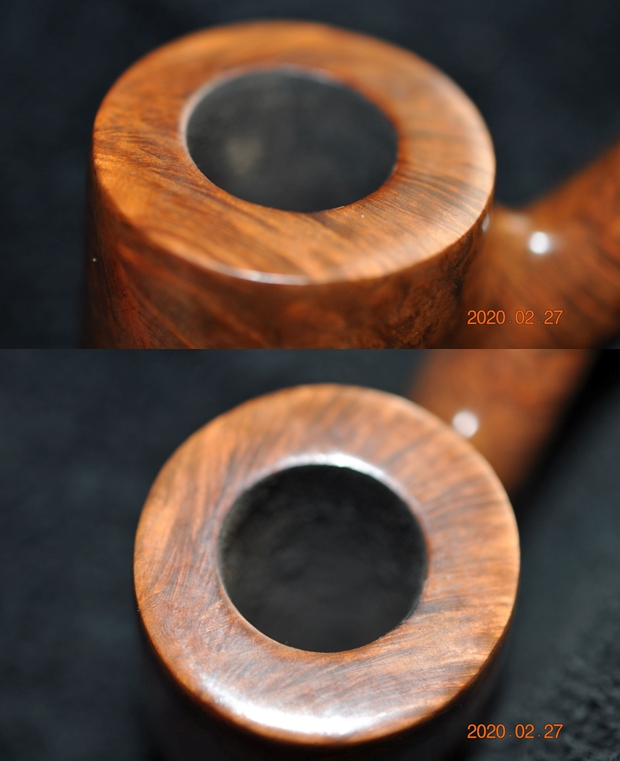
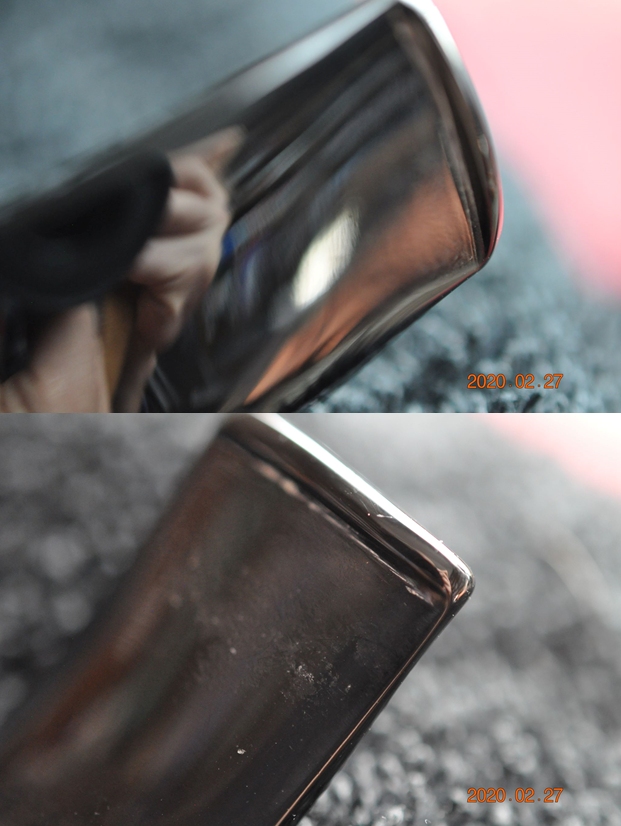
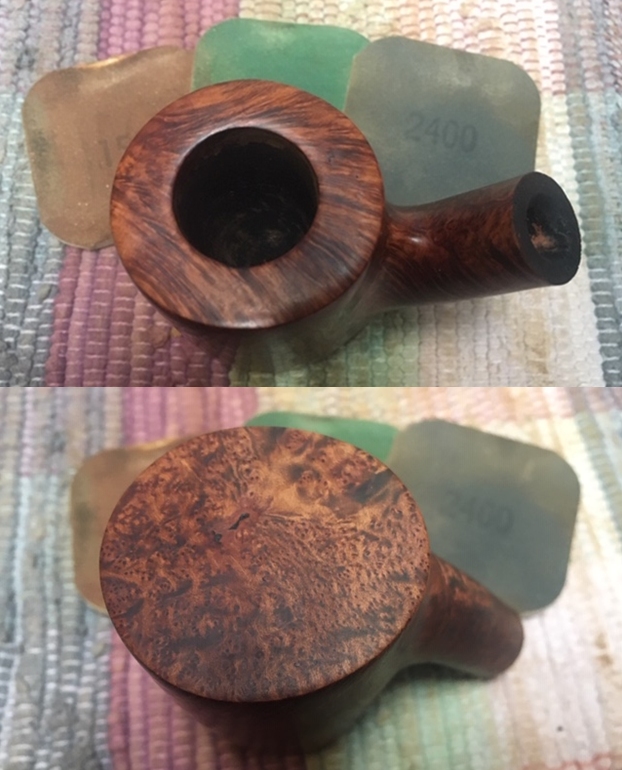
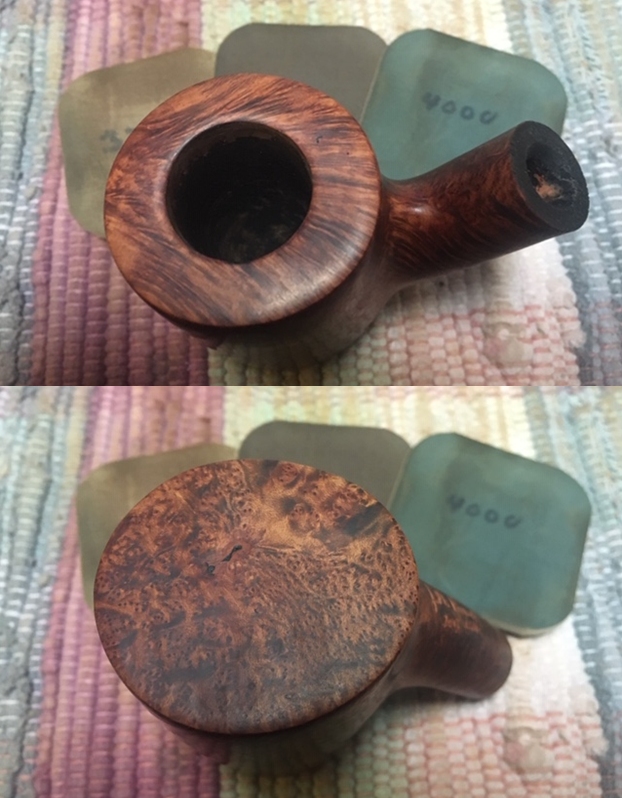
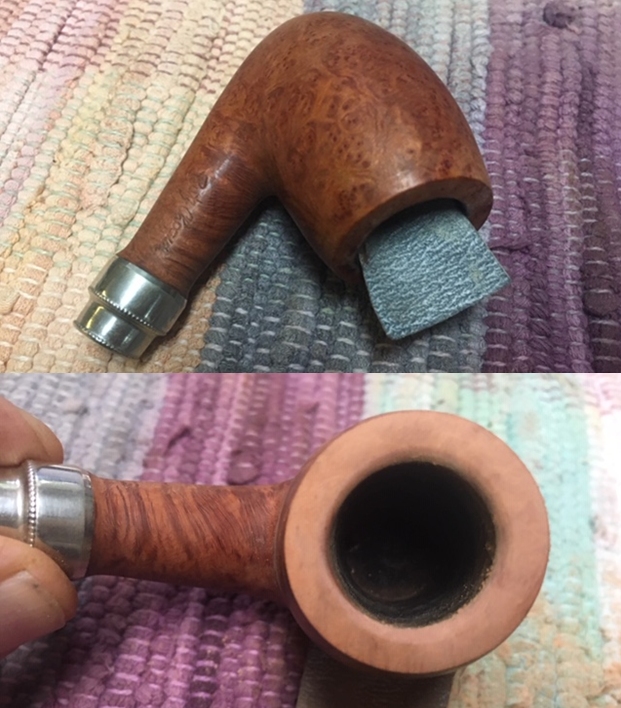
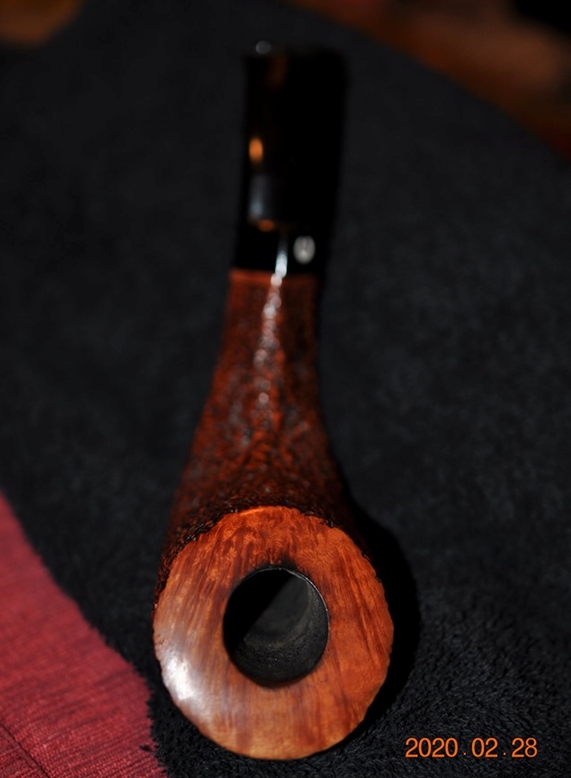
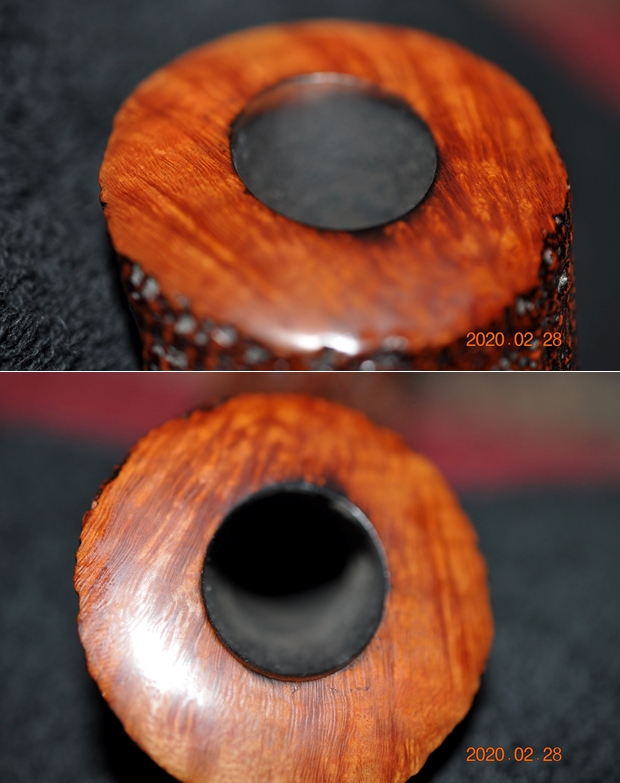
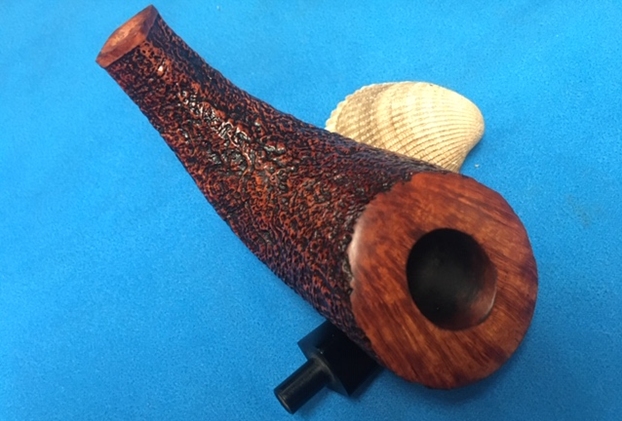
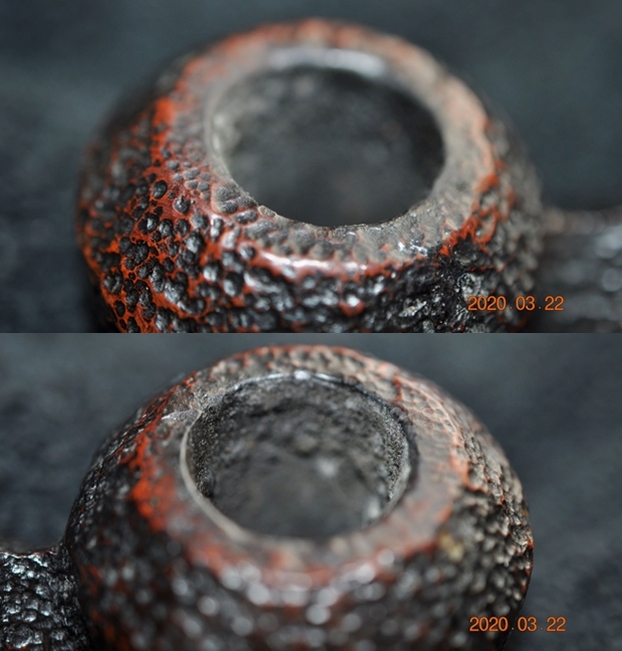
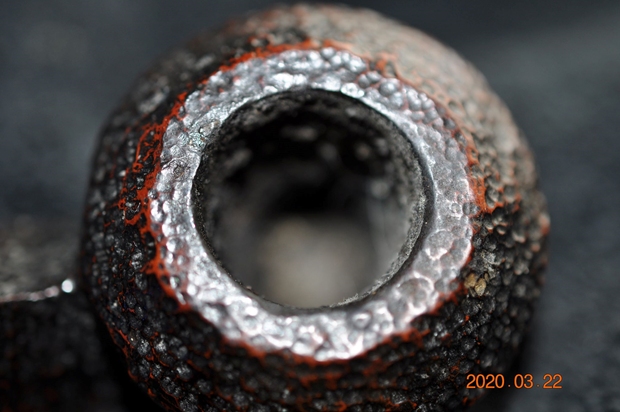
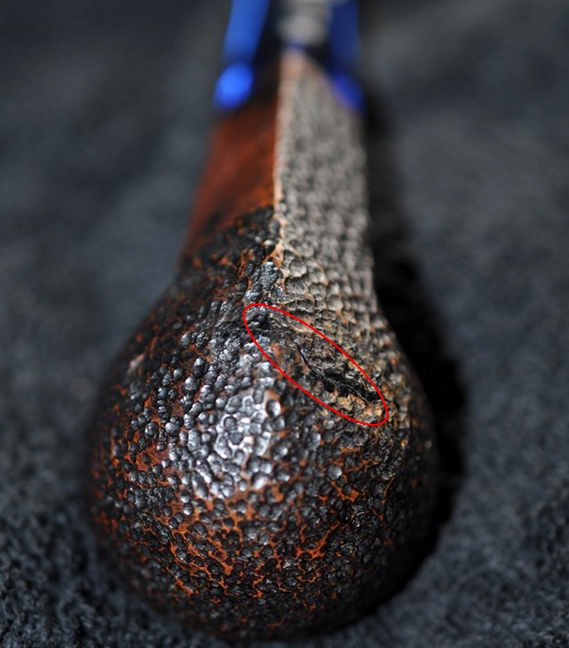
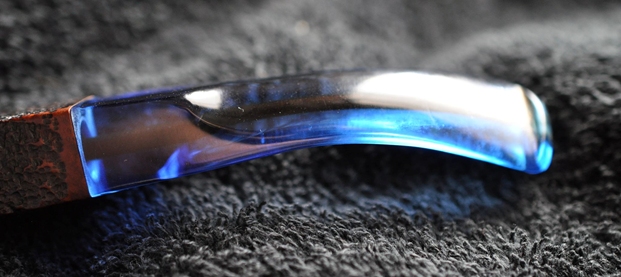
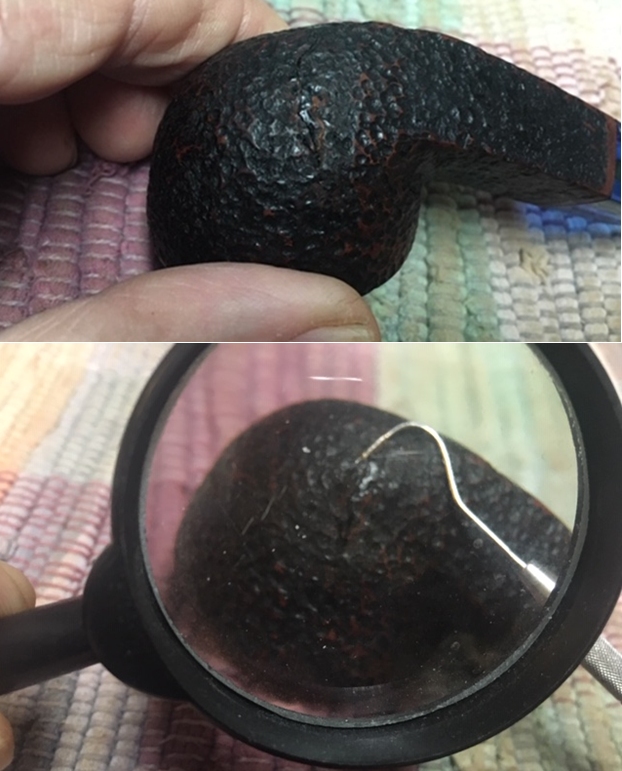
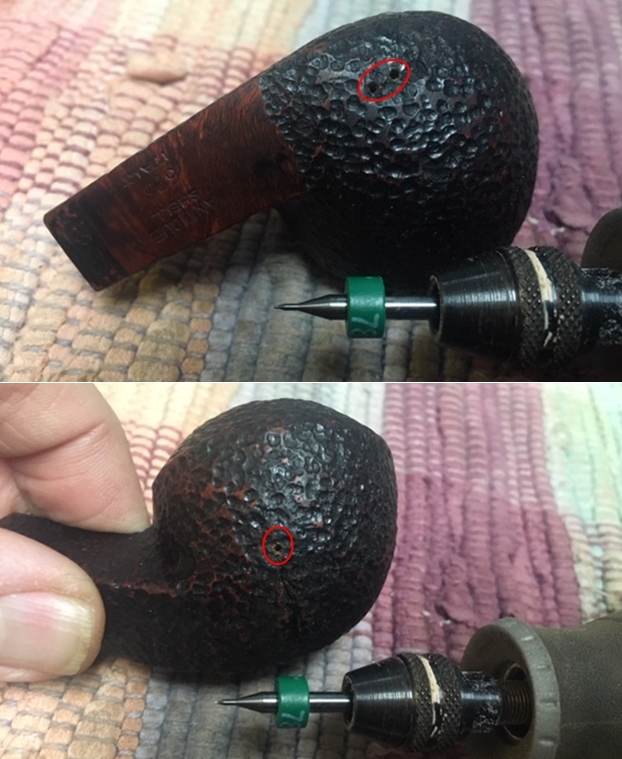
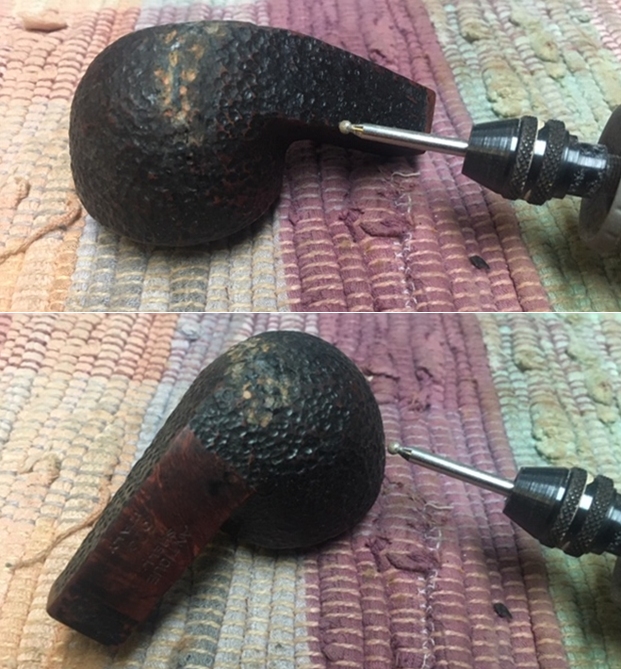
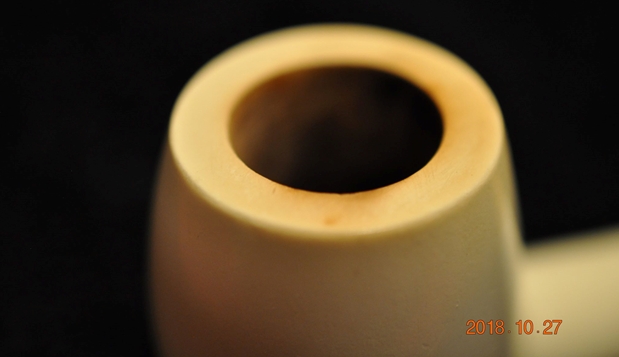
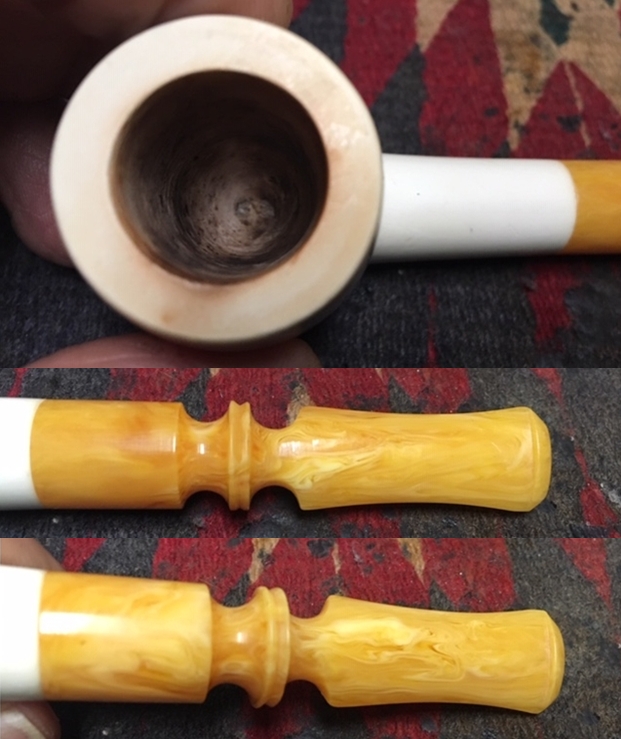
 I took a close up photo of the rim top to show the damaged areas and how clean it was. You can see damage on the back and right inner edge of the rim. The stem looked good other than some light tooth marks and light chatter on the surface ahead of the button.
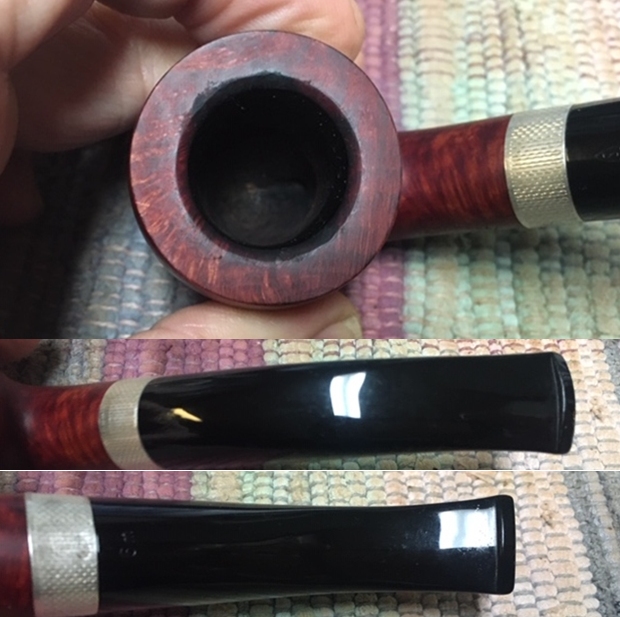
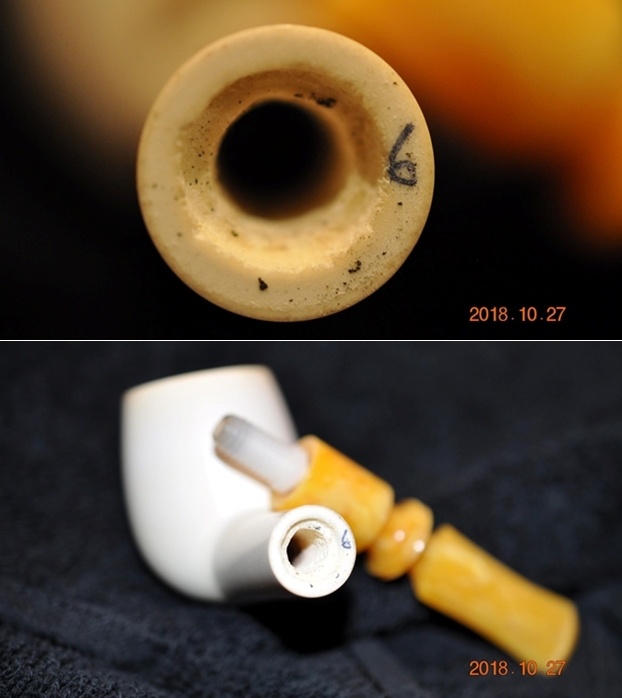
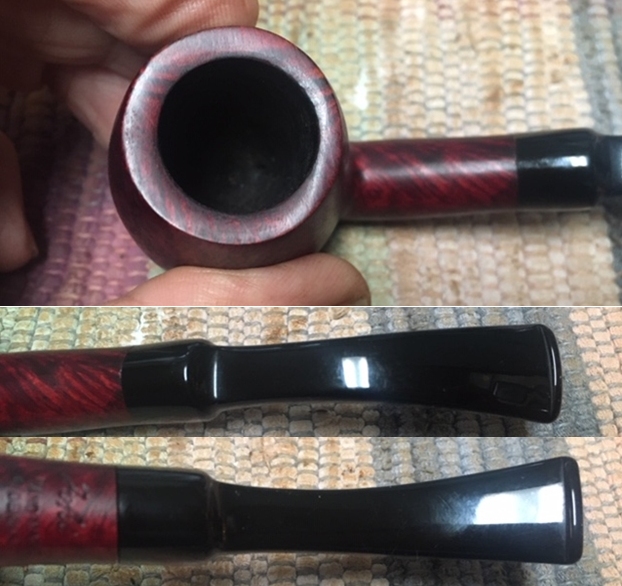 I took a photo of the stamping as well at this time to show how well it had cleaned up and how readable it is.
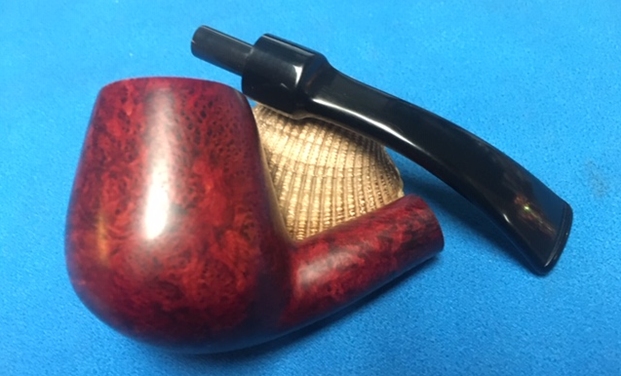
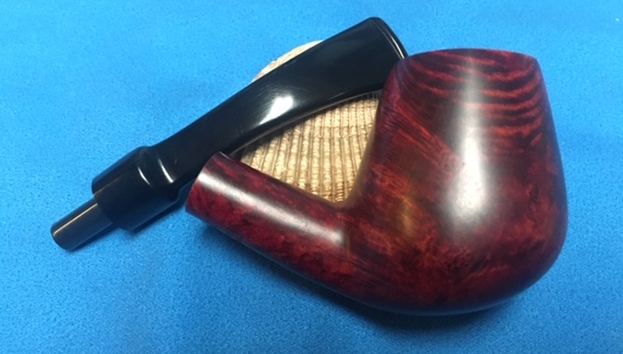
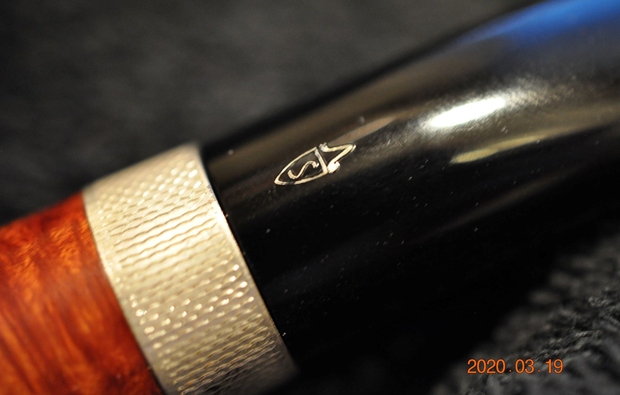
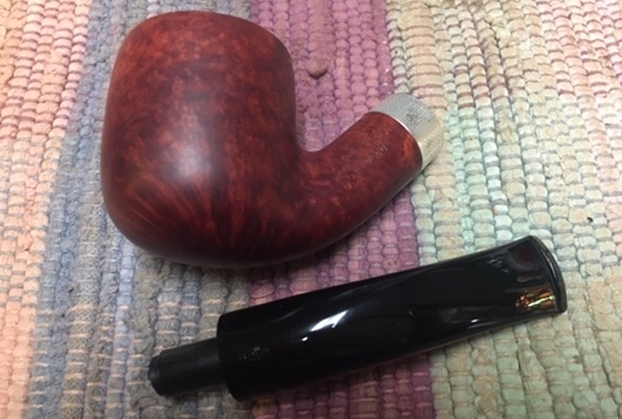
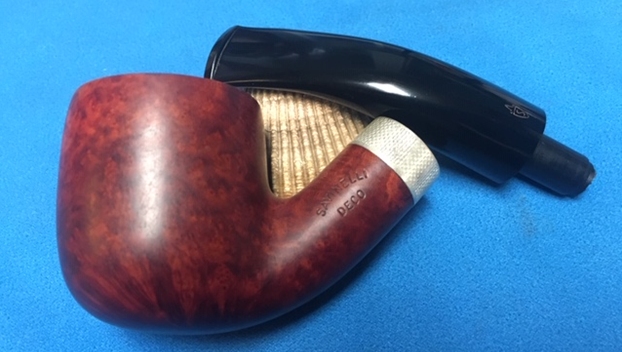
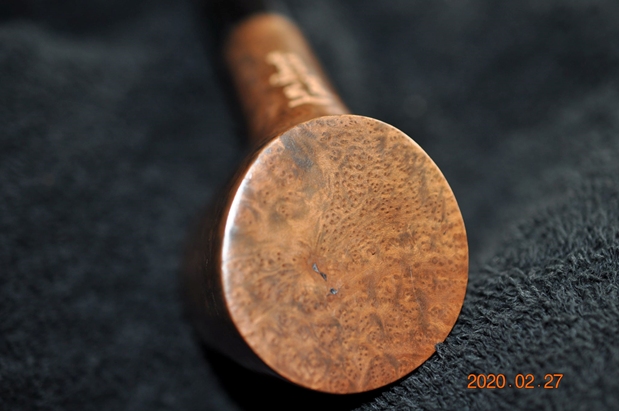
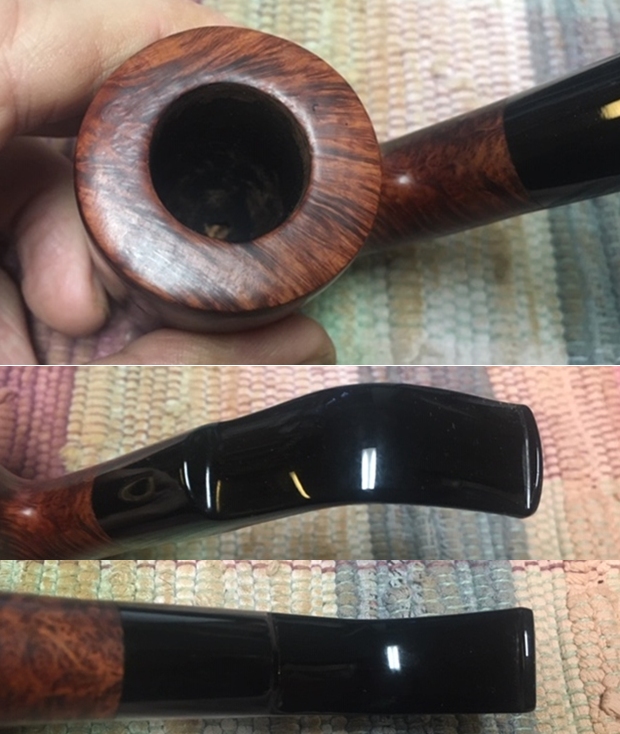
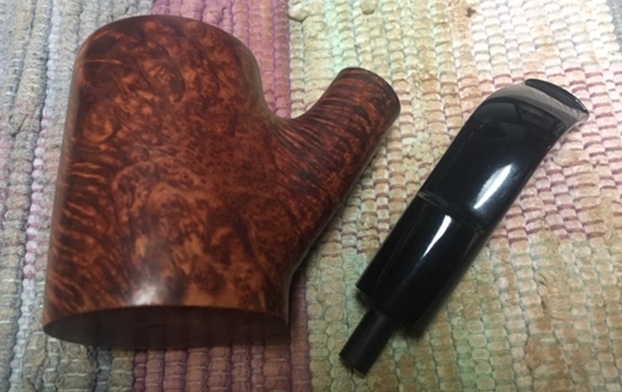
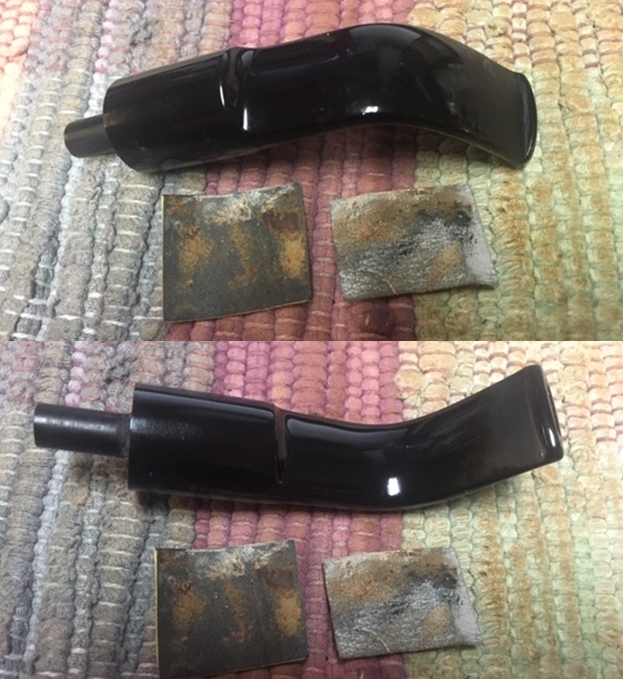
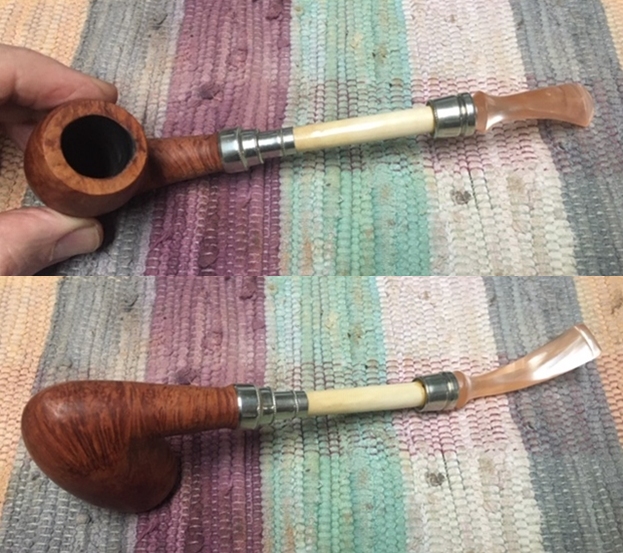
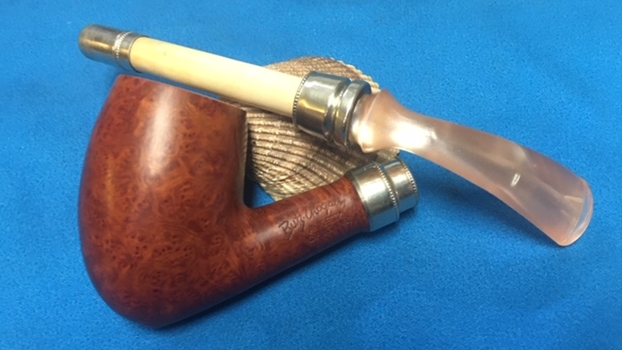
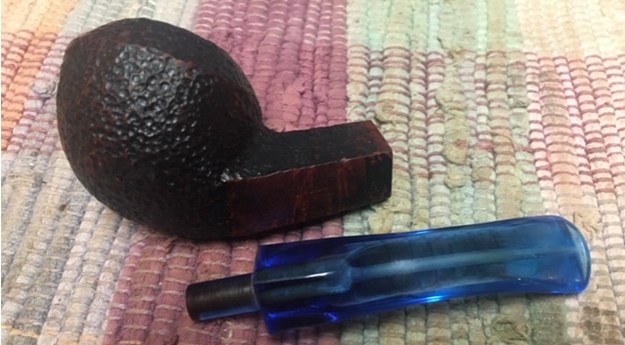
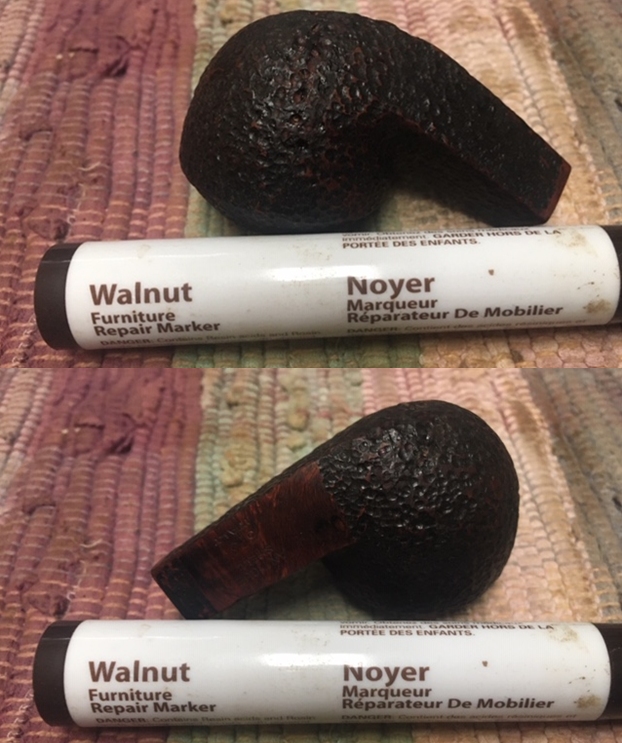
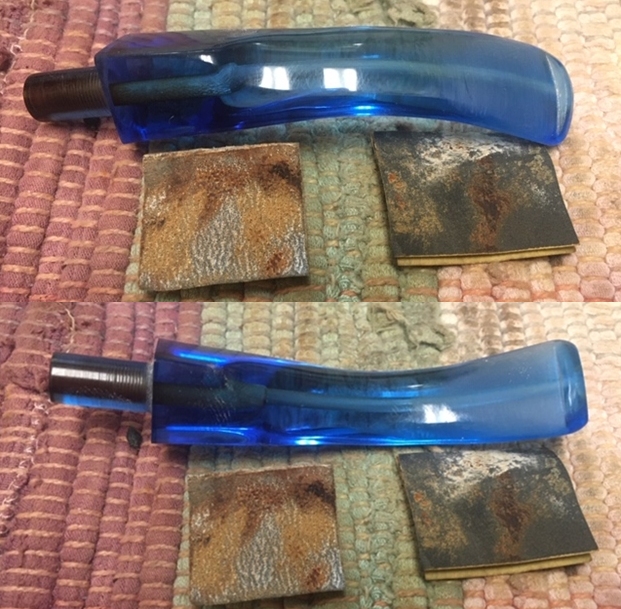
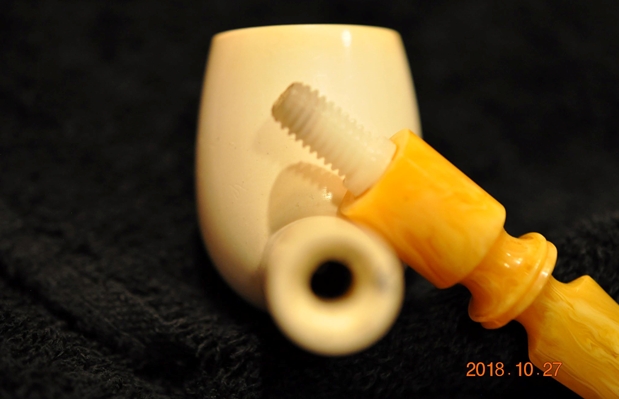
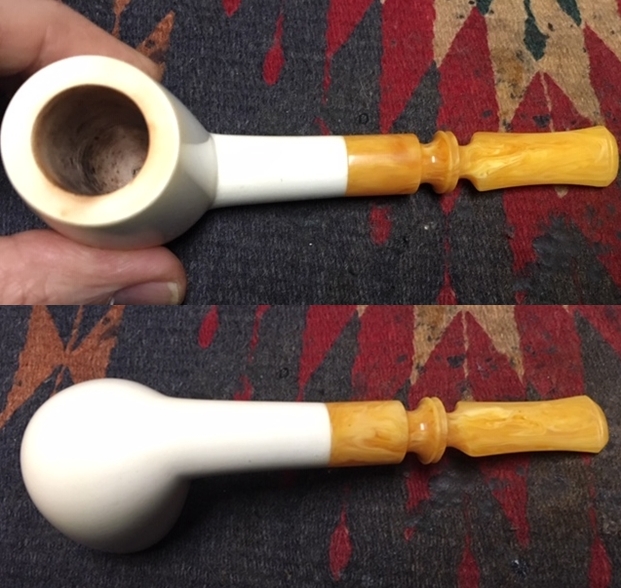
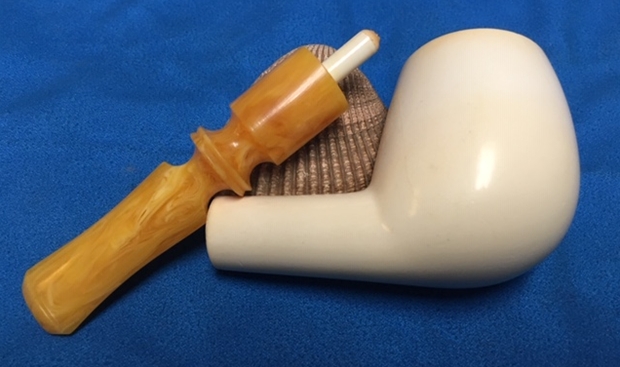
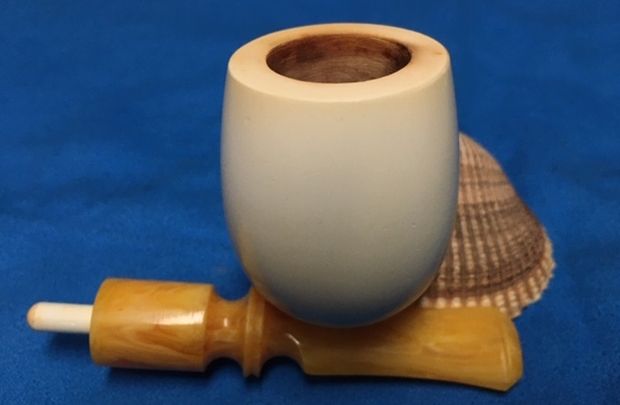
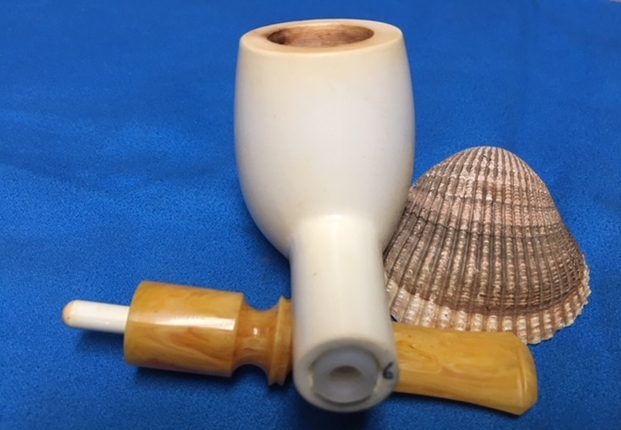
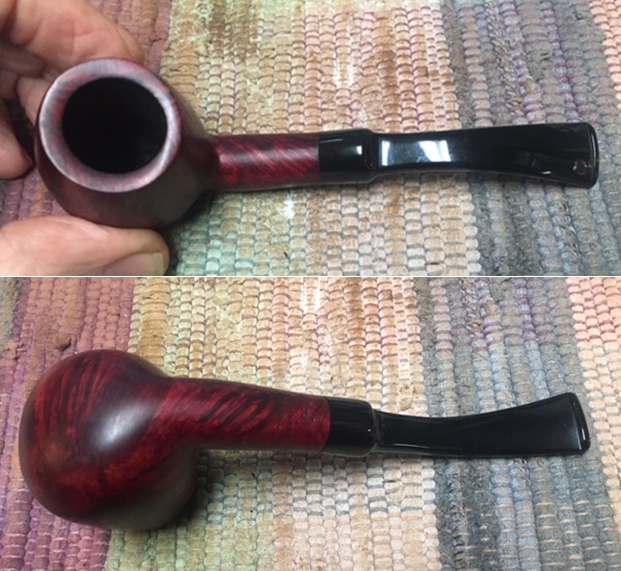
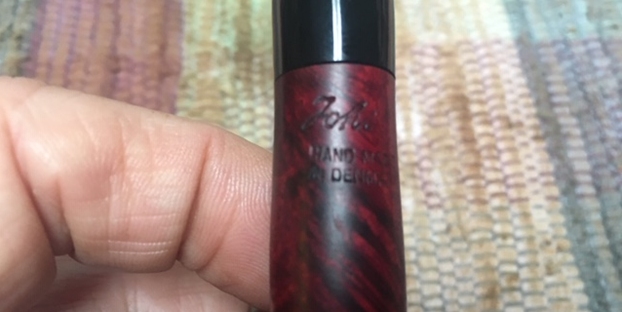 I took the stem off the shank and took a photo of the parts. It is another great looking pipe.
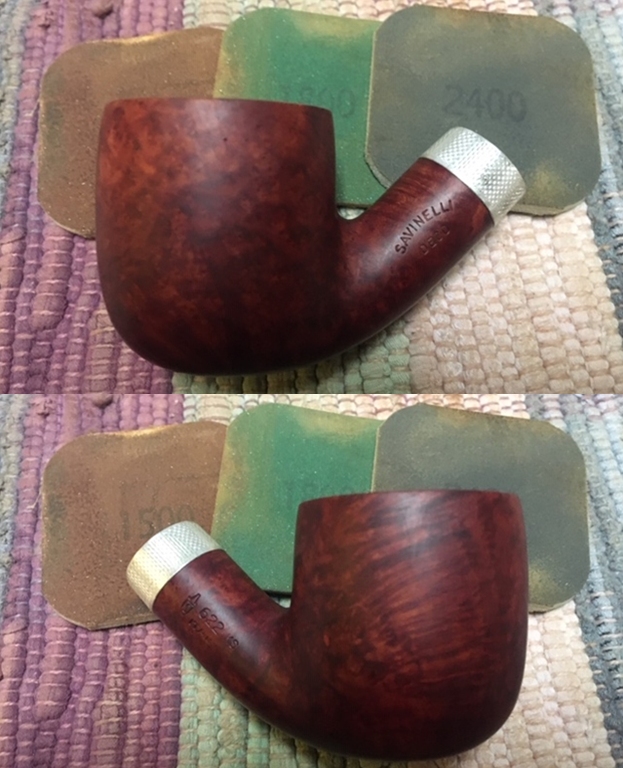
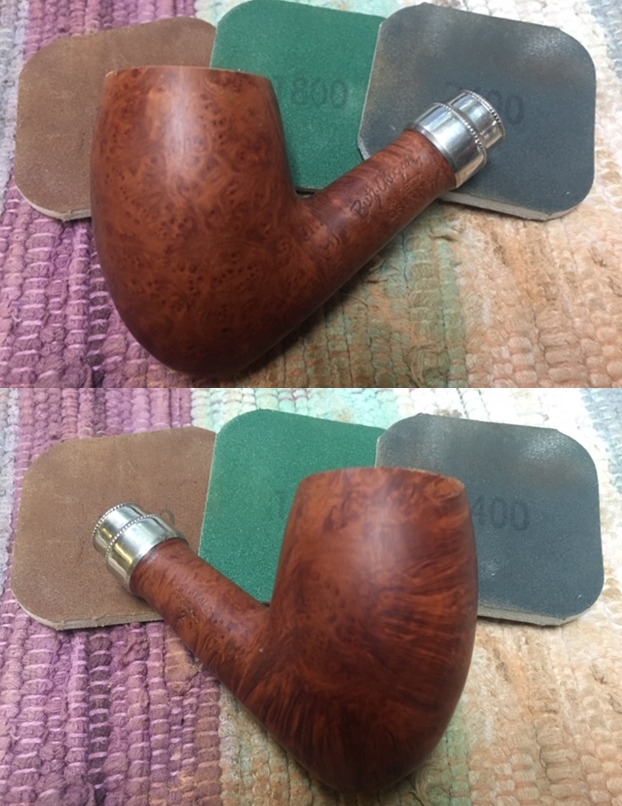
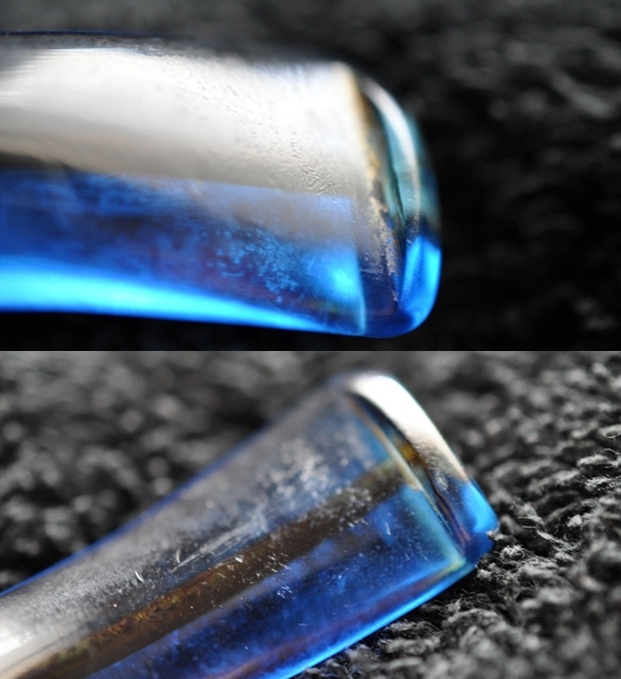
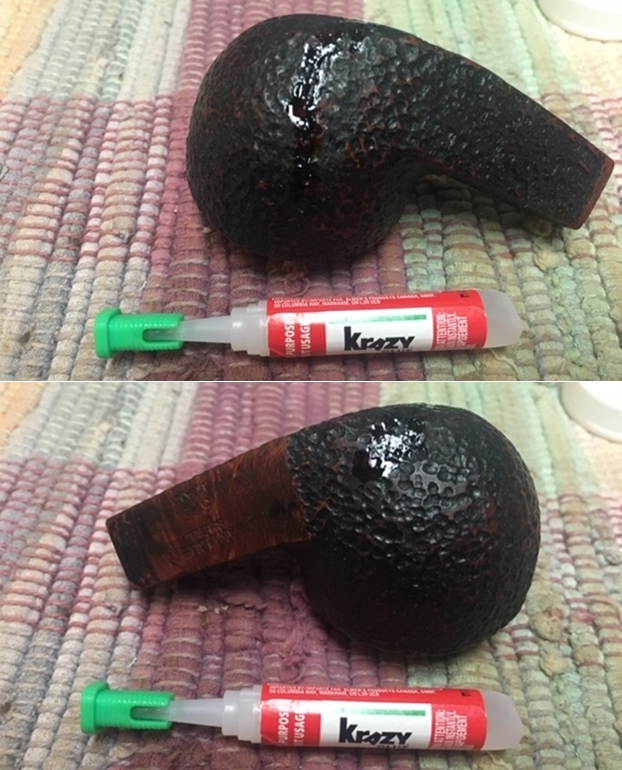
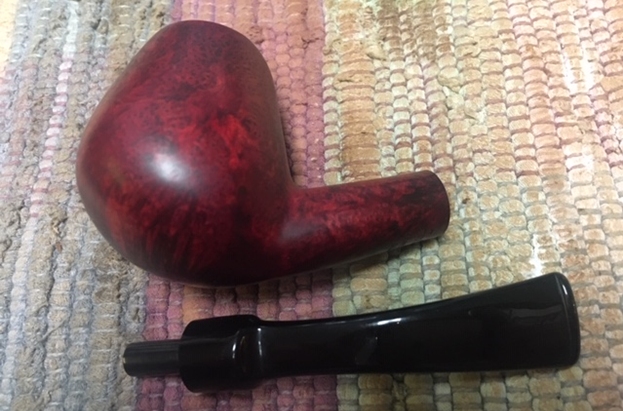 I decided to start on the beveled inner rim edges of the rim top. I sanded the beveled edge with a piece of folded 220 grit sandpaper to smooth out the damaged edges and removing the darkening. The rim top also looks much better and will improve with polishing.
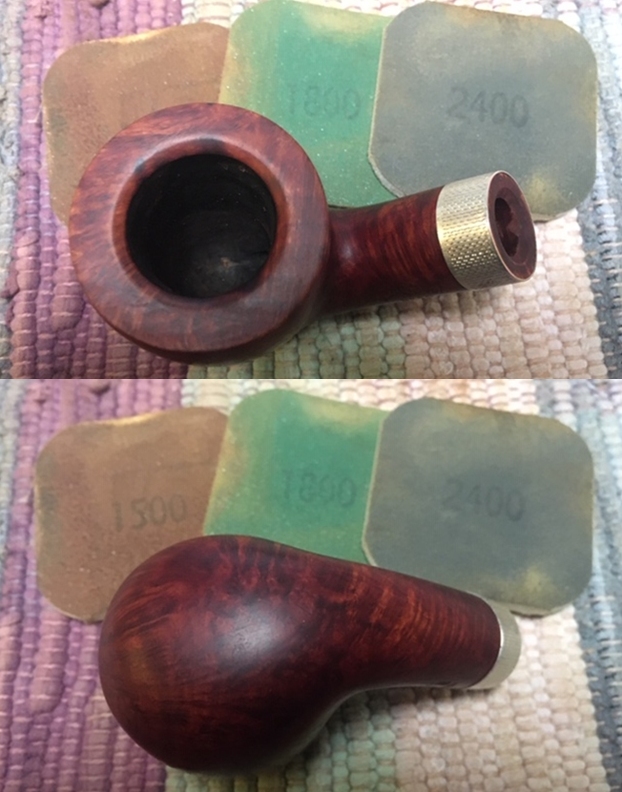
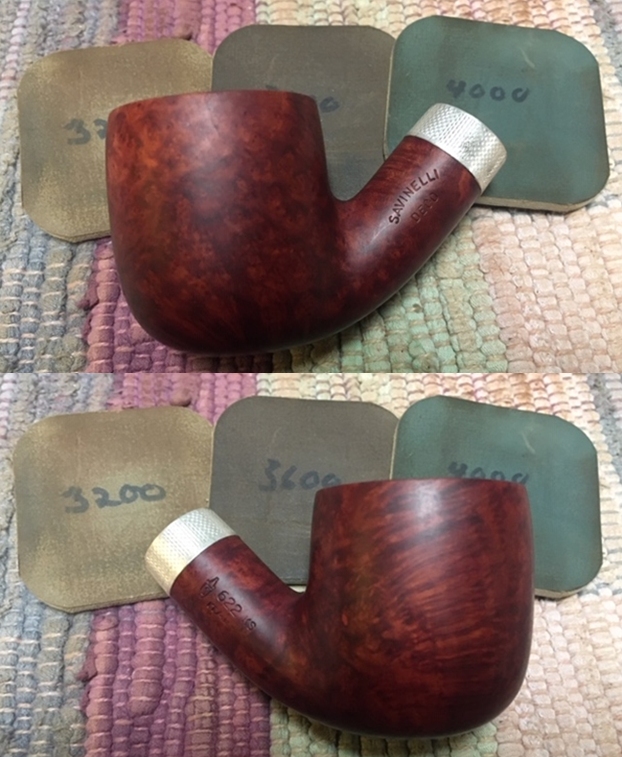
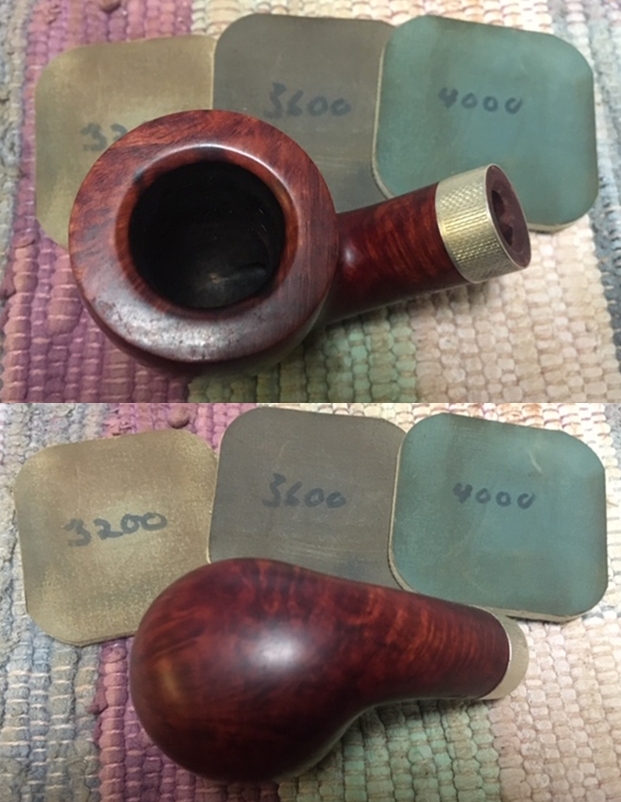
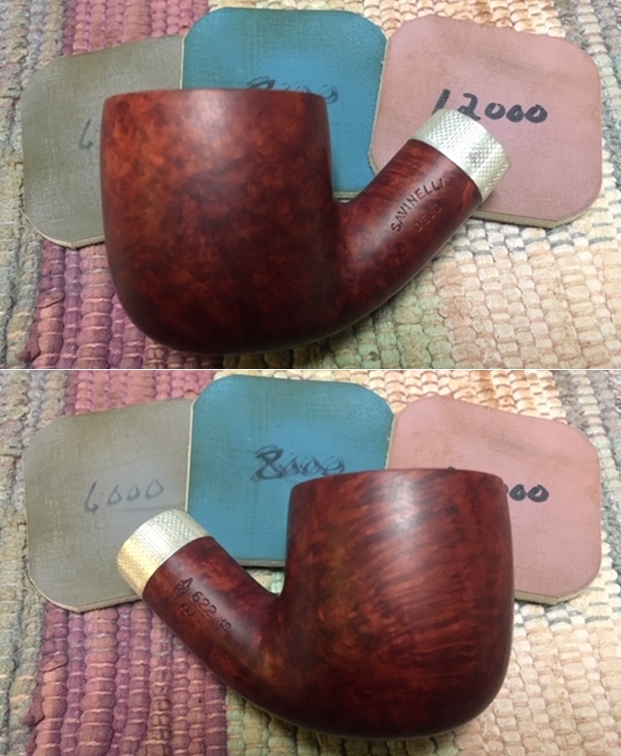
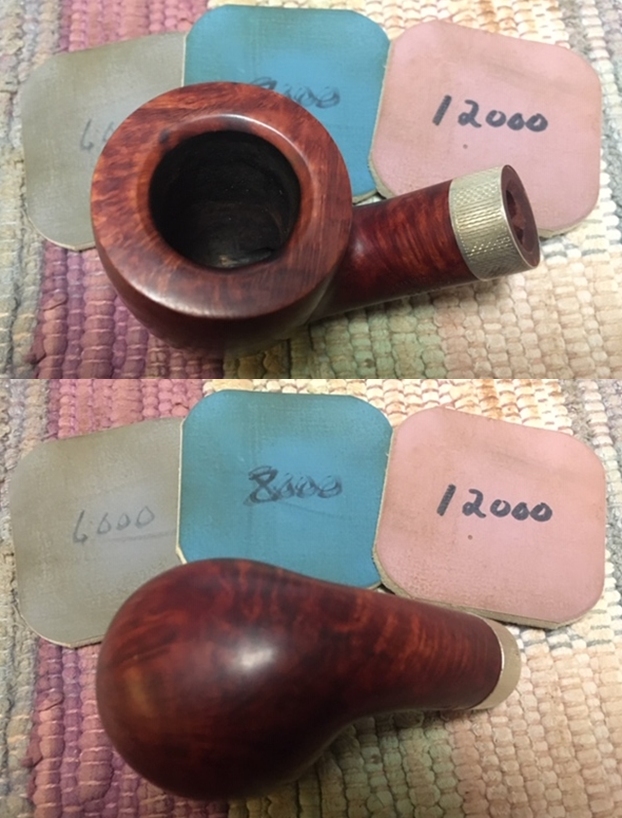
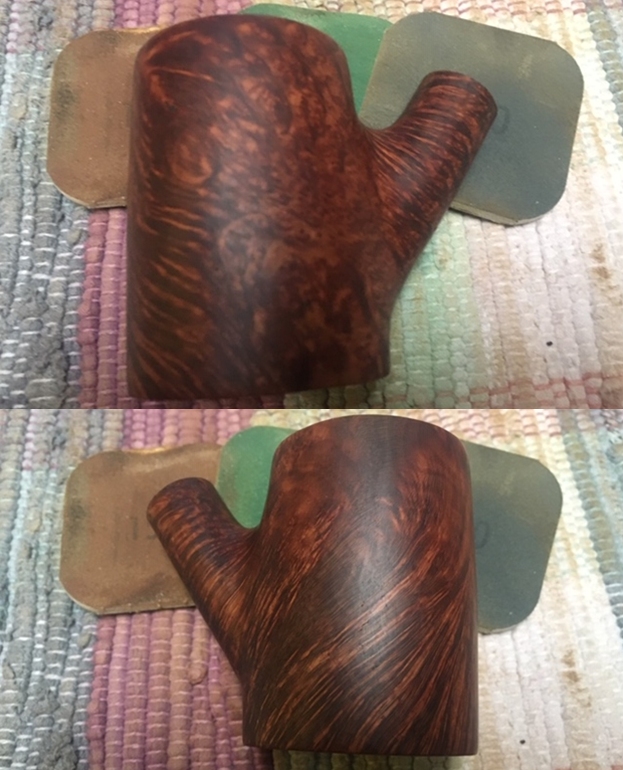
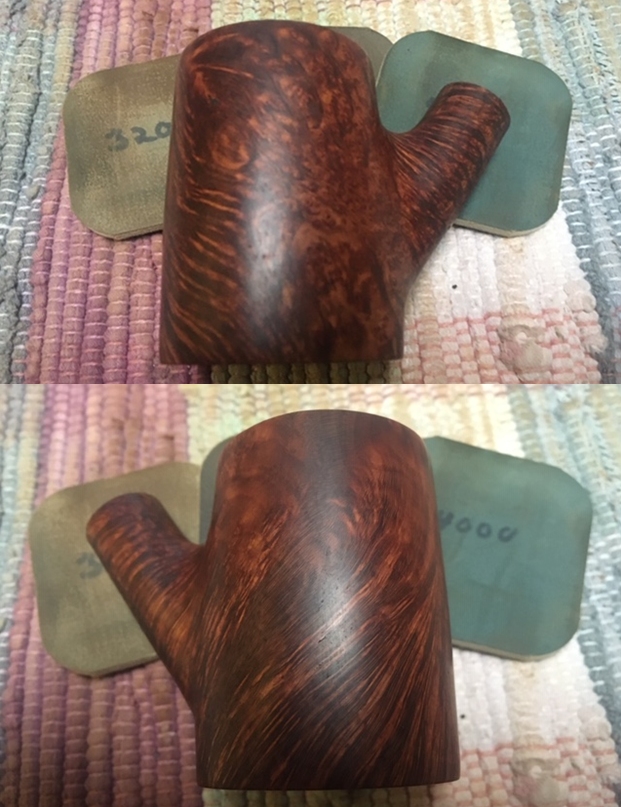
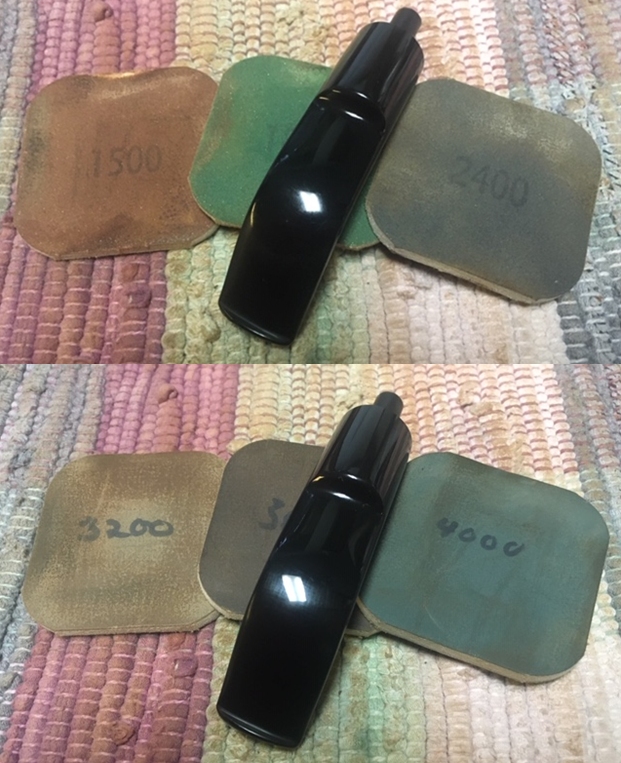
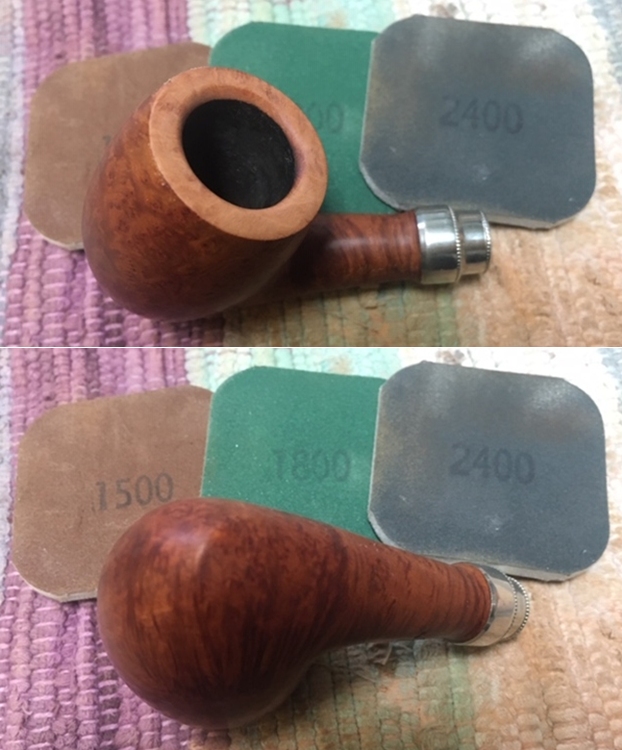
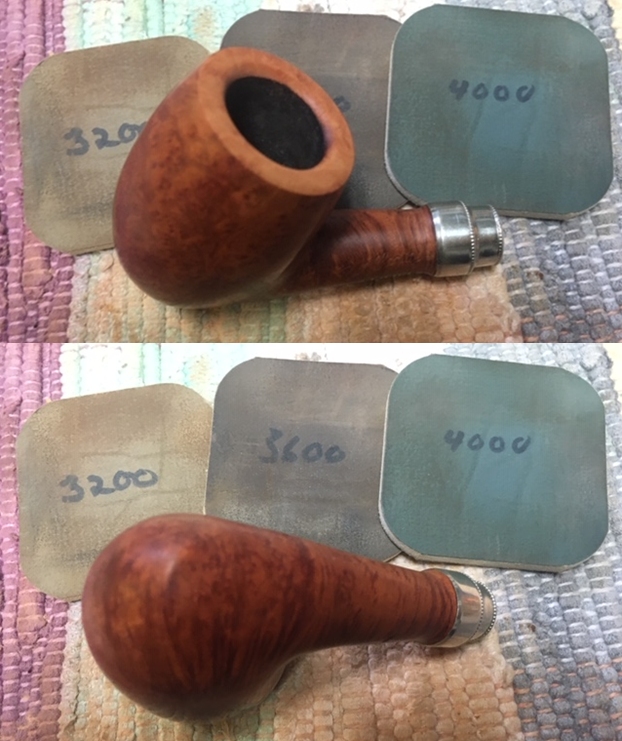
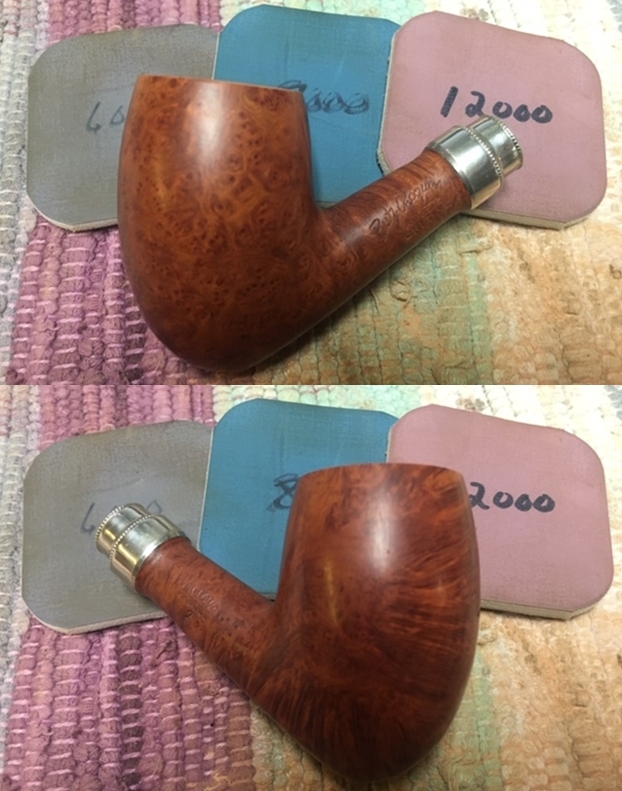
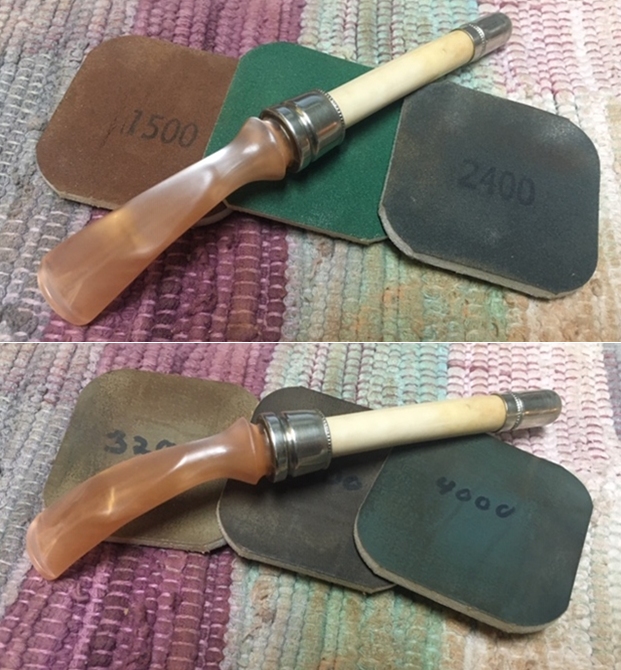
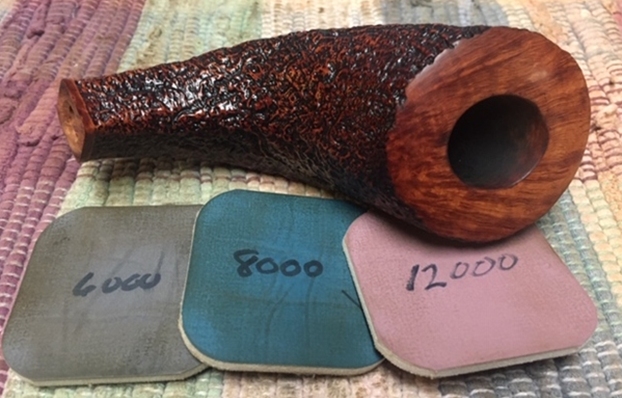
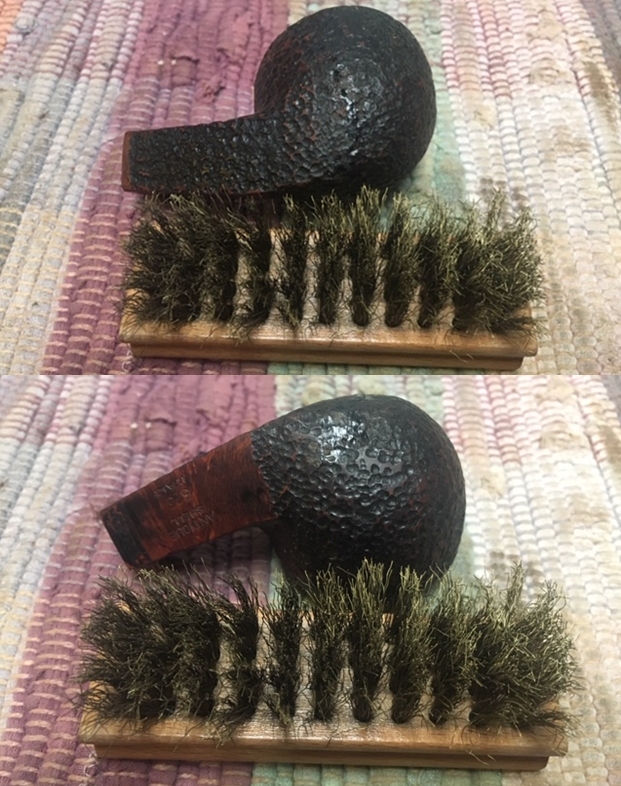
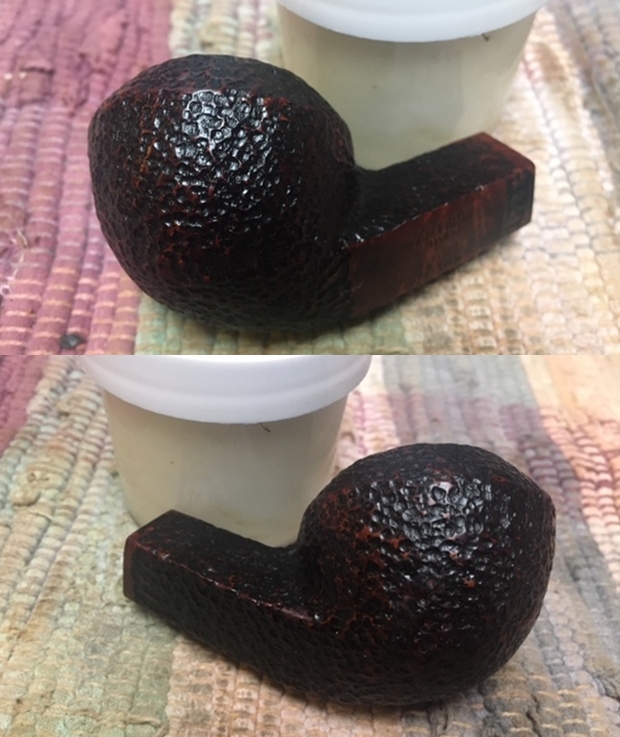
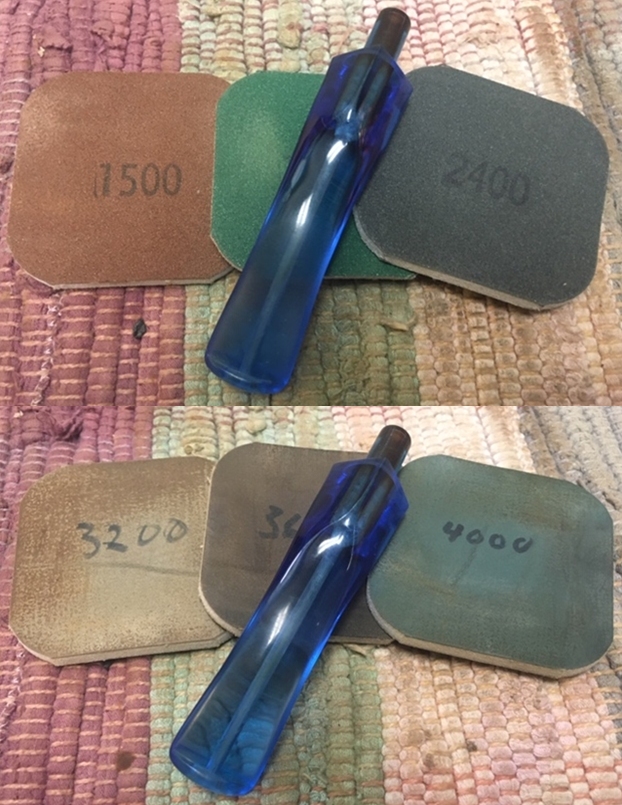
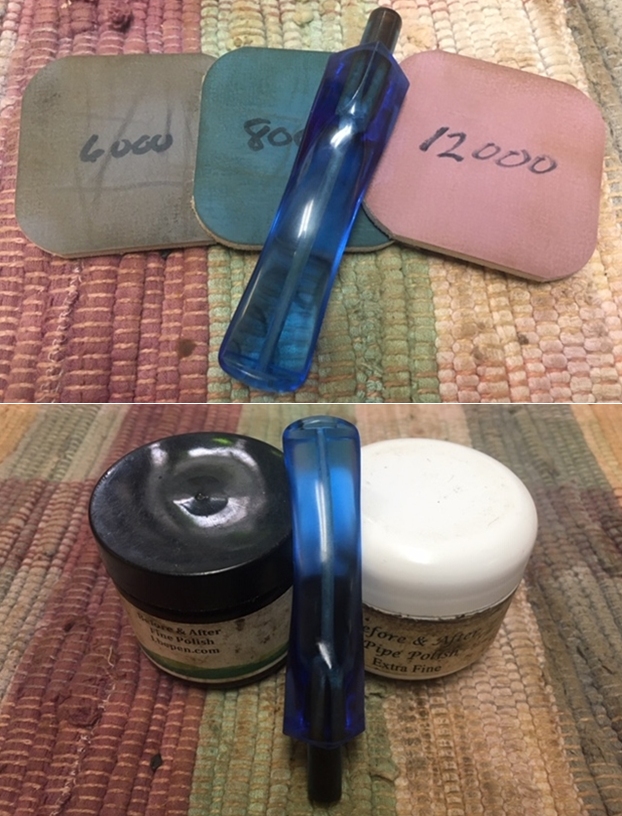
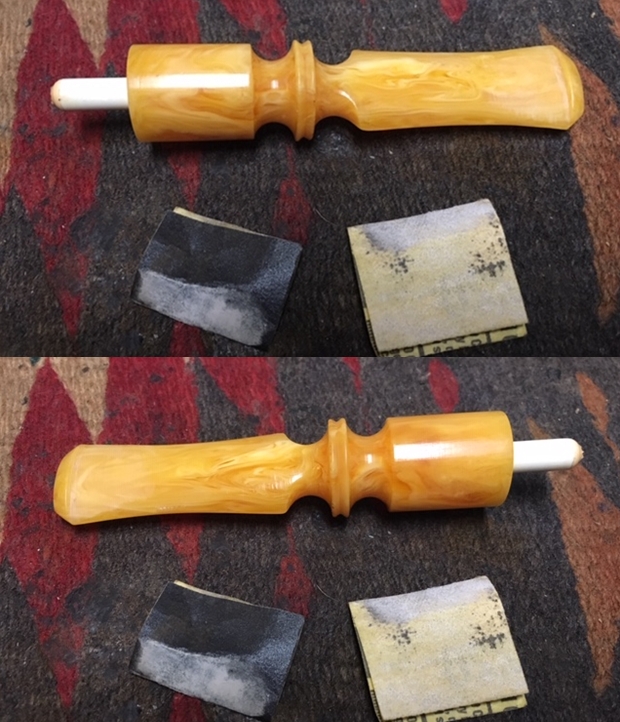
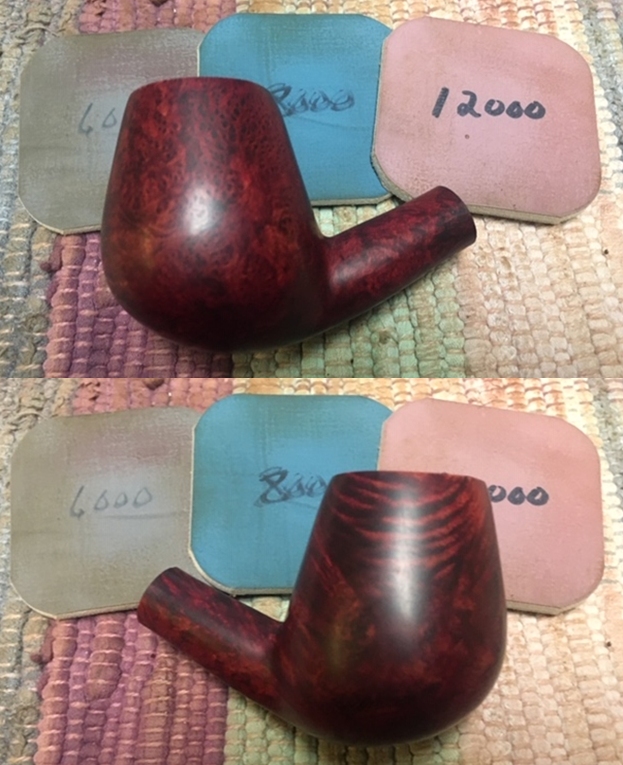
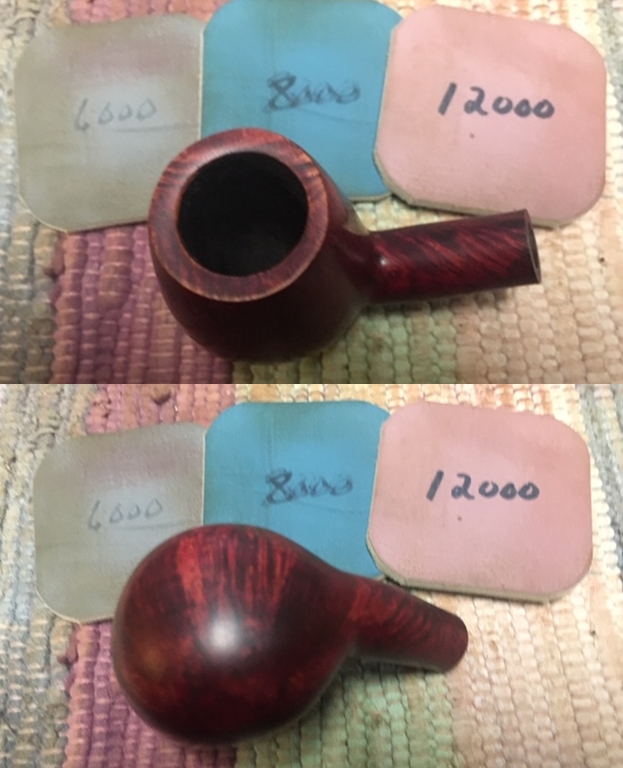
 I polished the bowl and rim with micromesh sanding pads – dry sanding it with 1500-12000 grit sanding pads. I wiped it down with a damp cloth to remove the dust left behind from sanding.
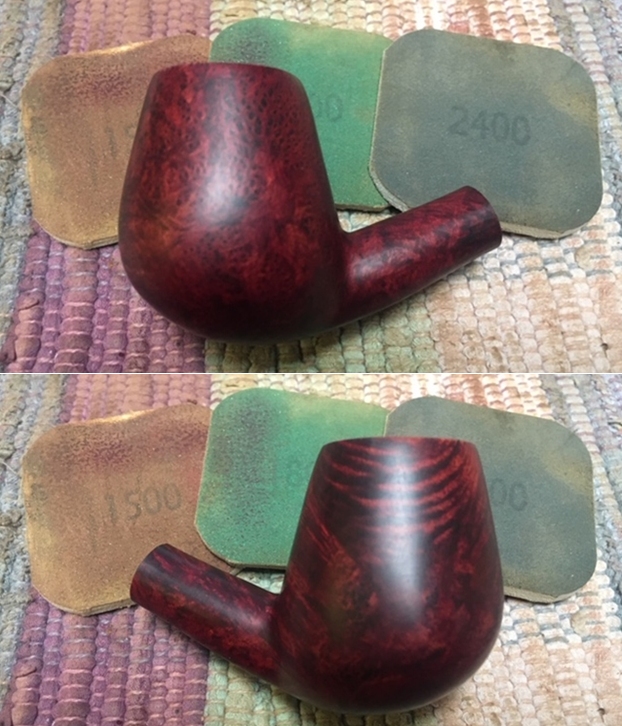


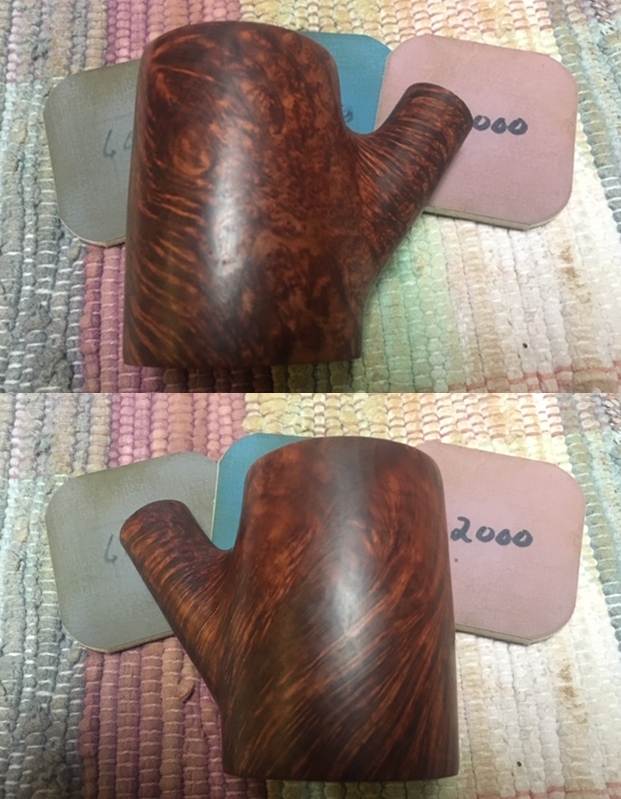
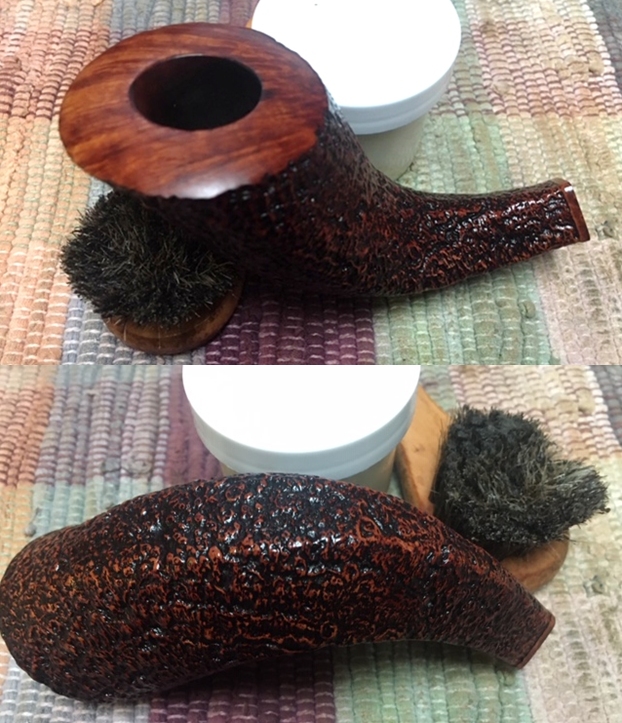
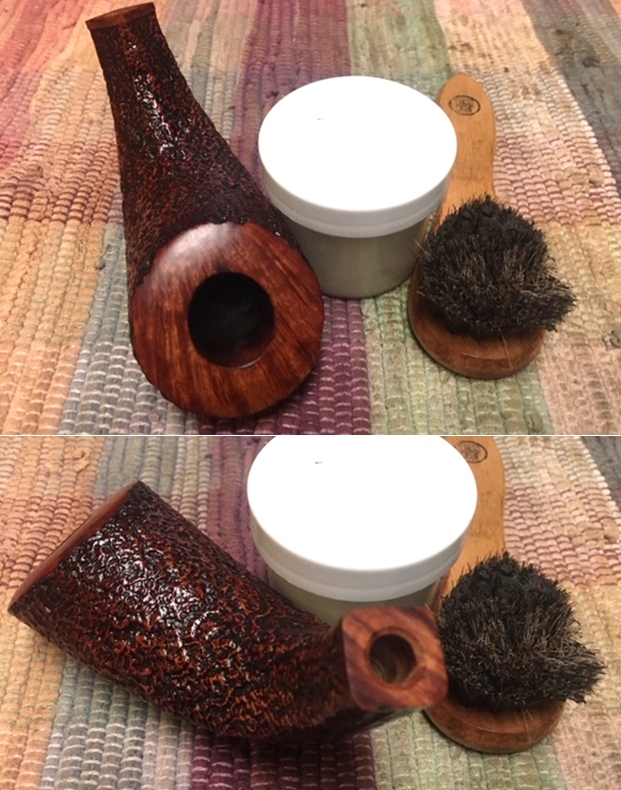
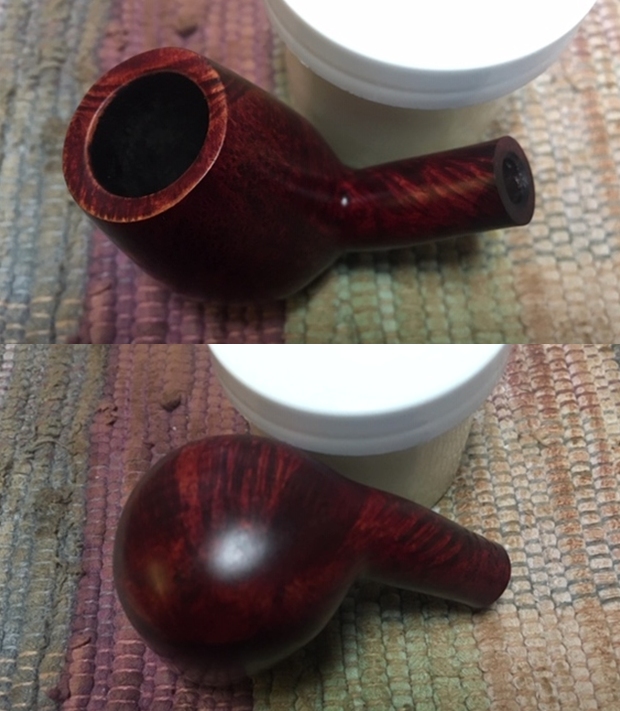
 I rubbed the bowl down with Before & After Refurbishing Balm. I worked it into the briar with my fingertips and let it sit for 20 minutes. The Balm works to preserve, protect and enliven the briar. The pipe is starting to look very good at this point.
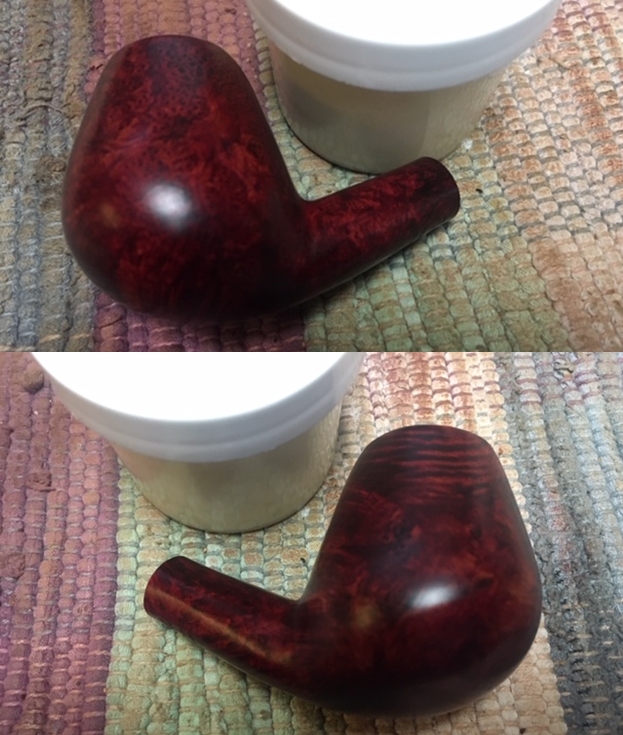
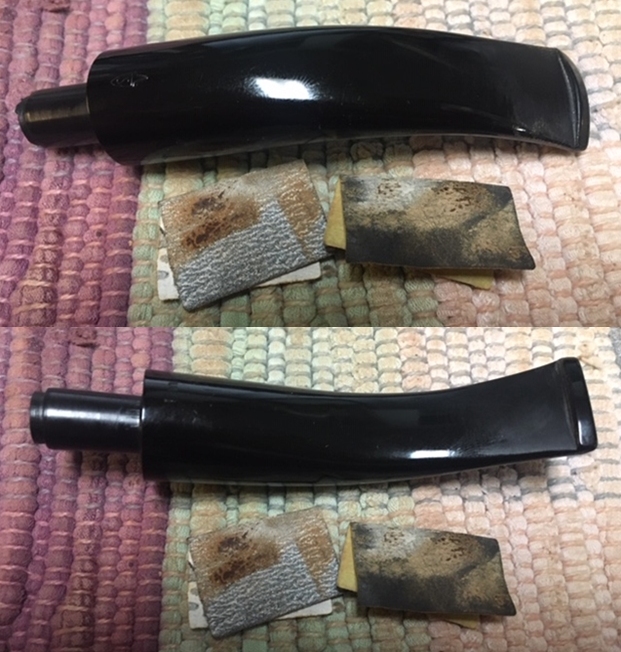
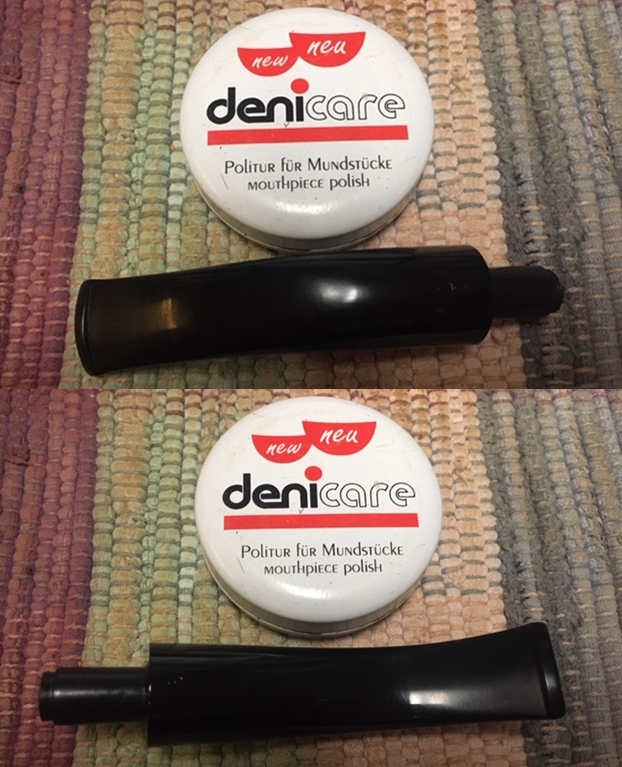
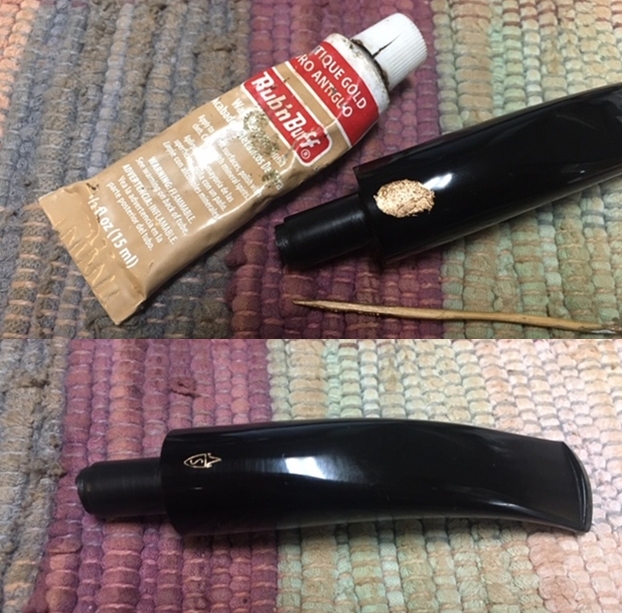
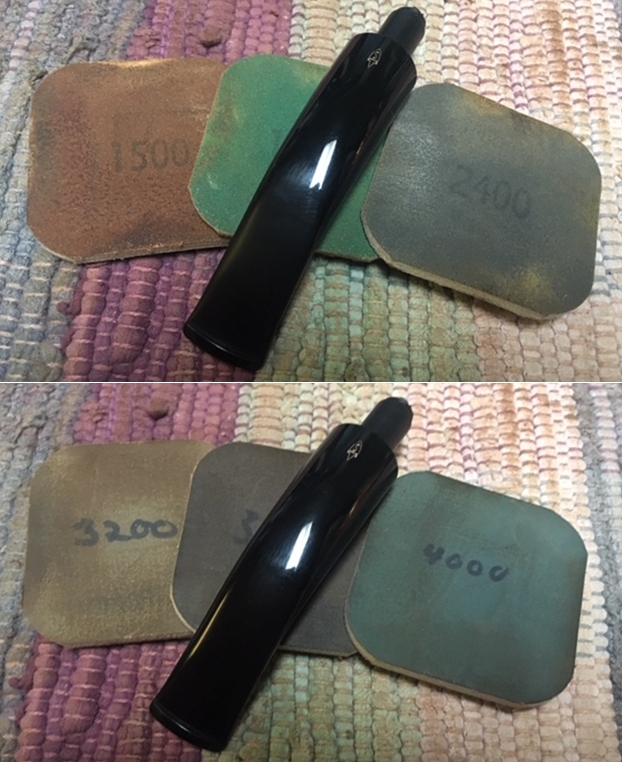
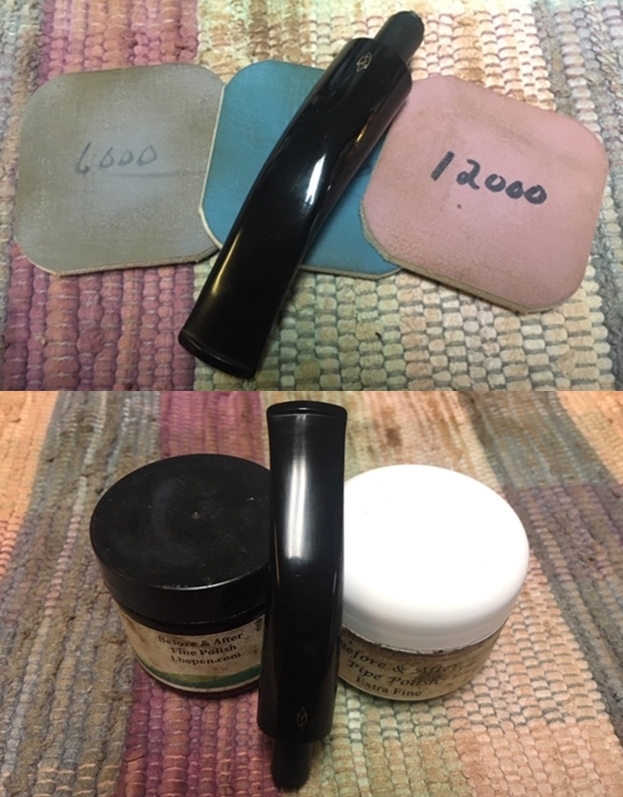
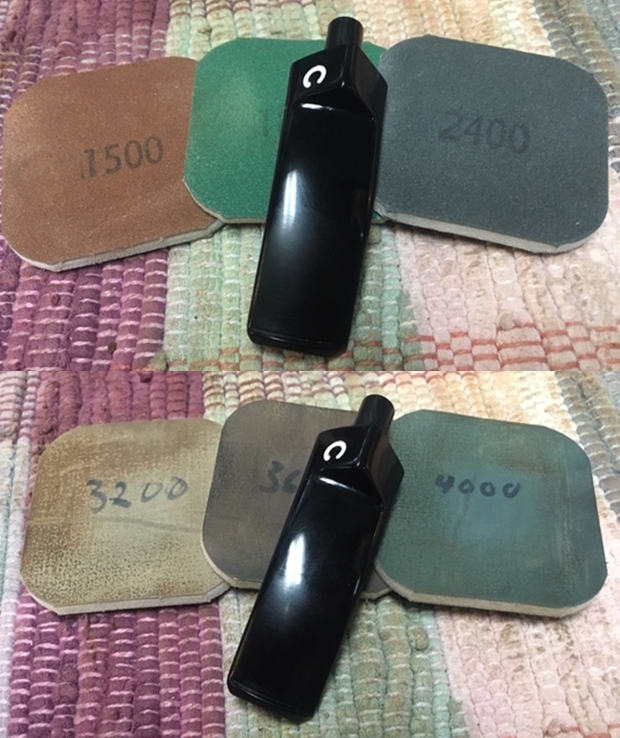
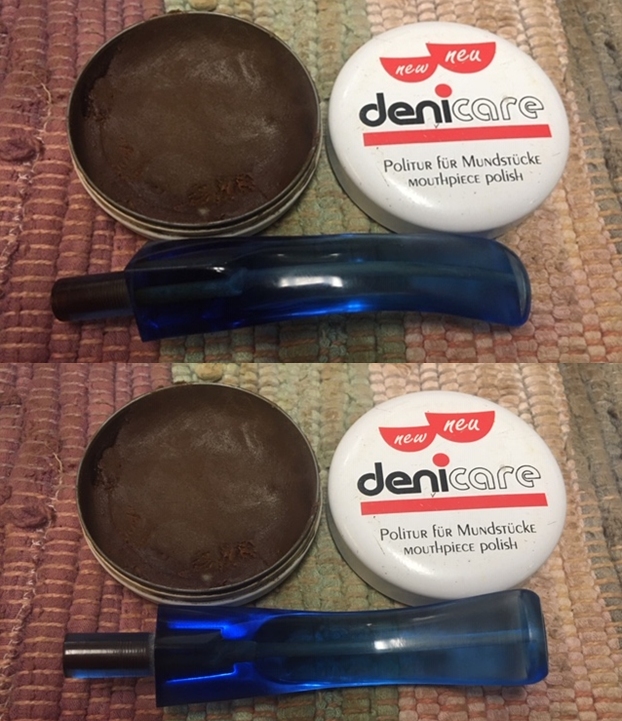
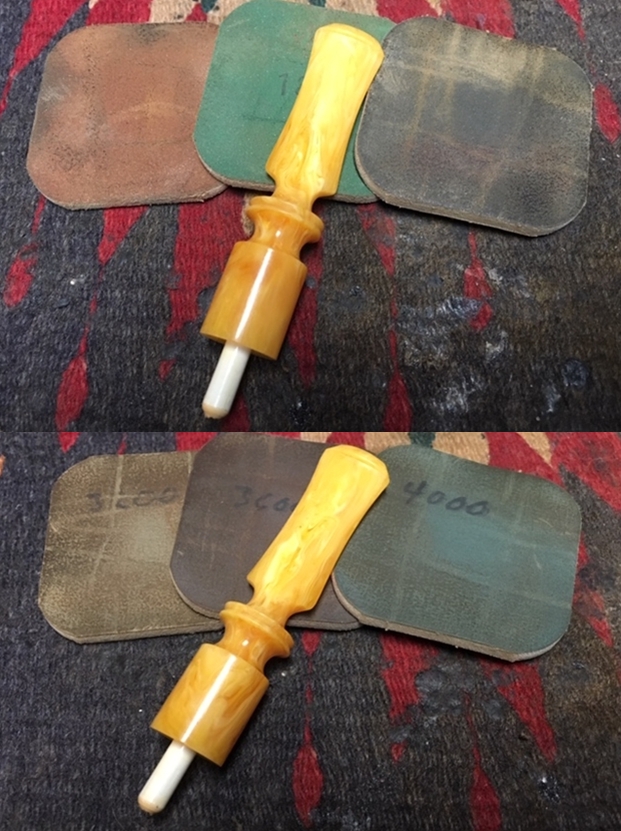
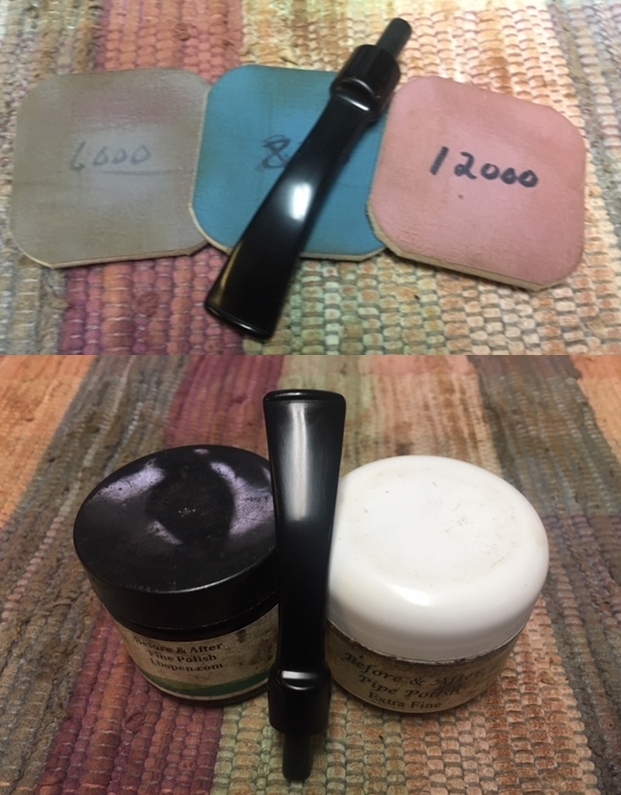
 I polished the stem with micromesh sanding pads – dry sanding with 1500-12000 grit sanding pads. I wiped the stem down after each sanding pad with a cloth containing some Obsidian Oil. I finished polishing it with Before & After Pipe Stem Polish – both Fine and Extra Fine and buffed it off with a cotton cloth.
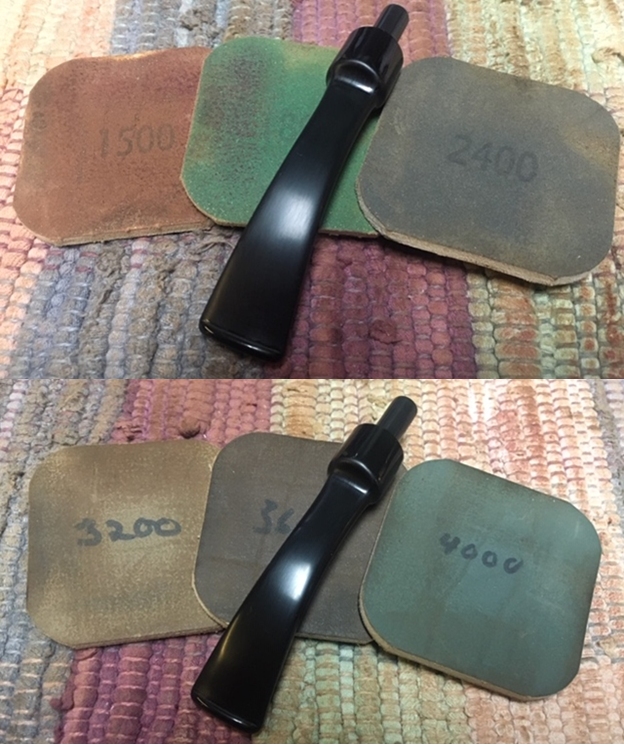
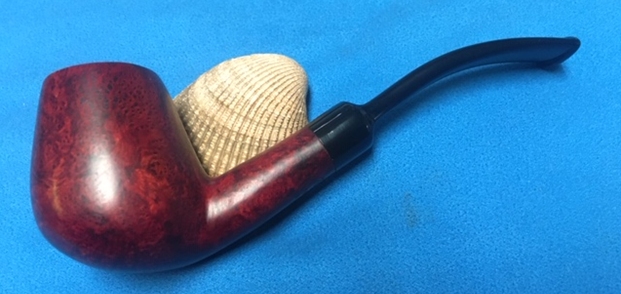
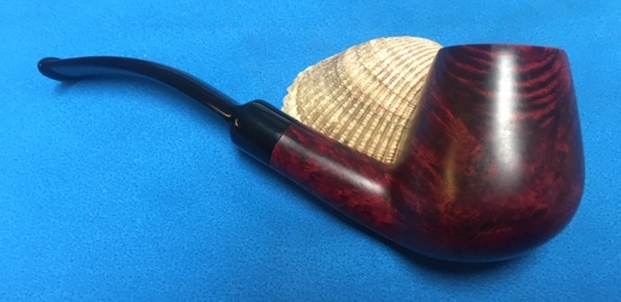
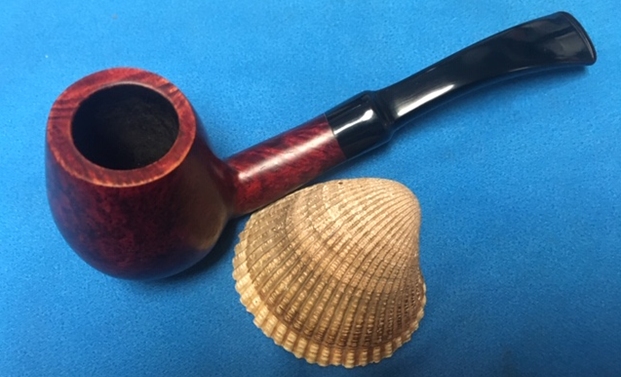
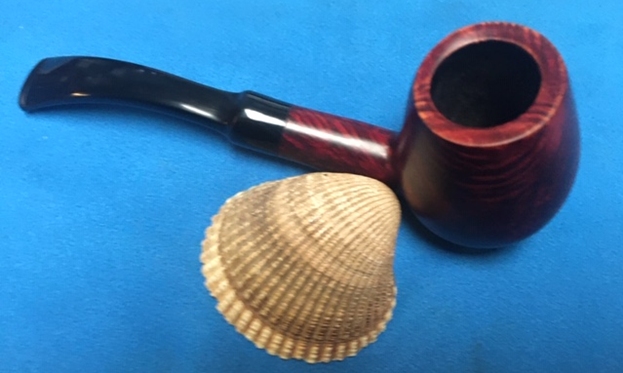
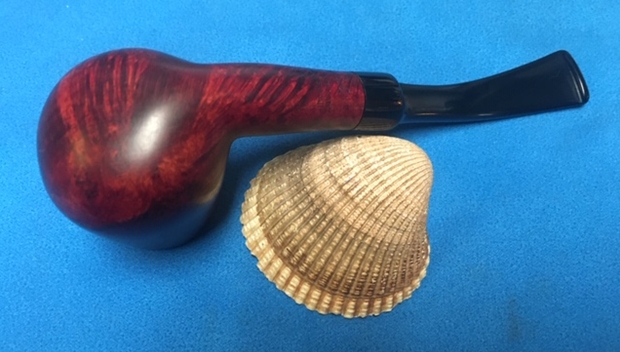
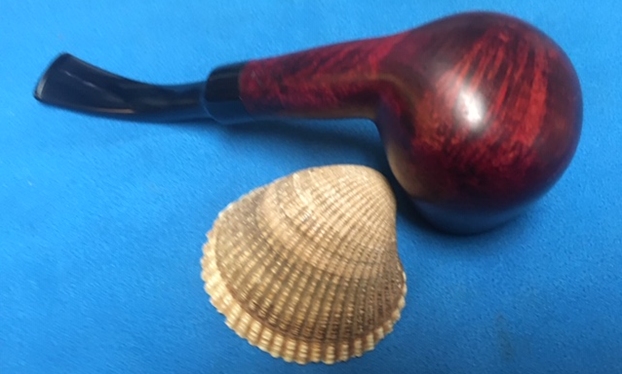
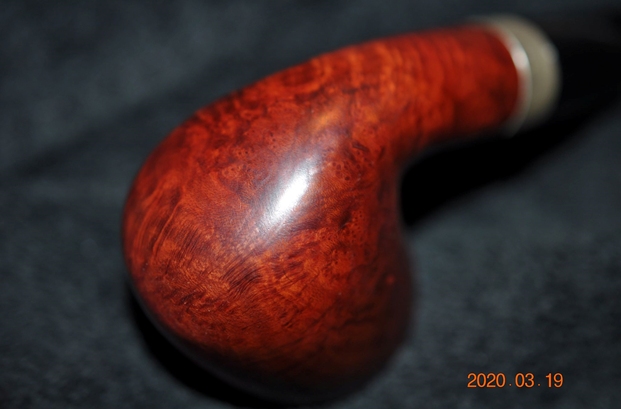
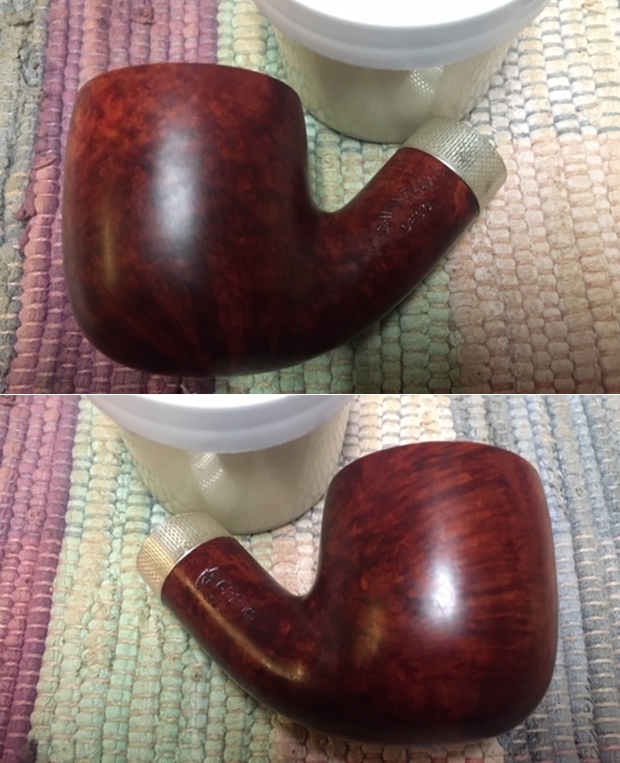
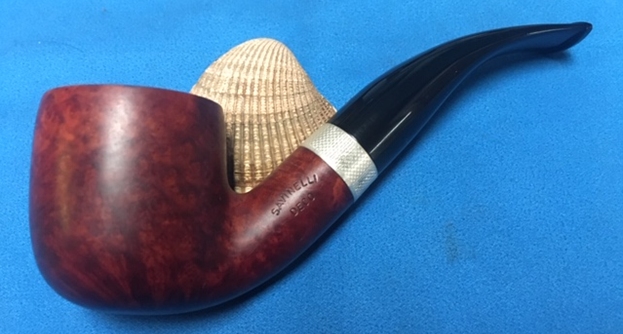
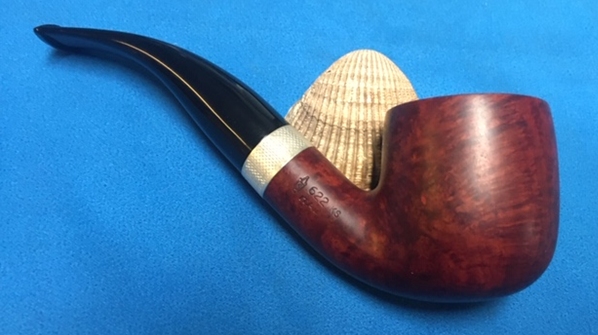
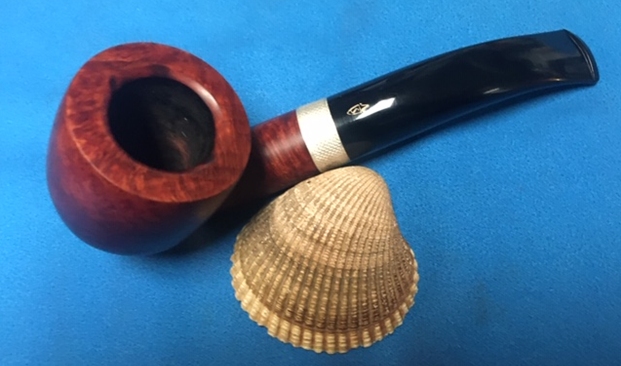
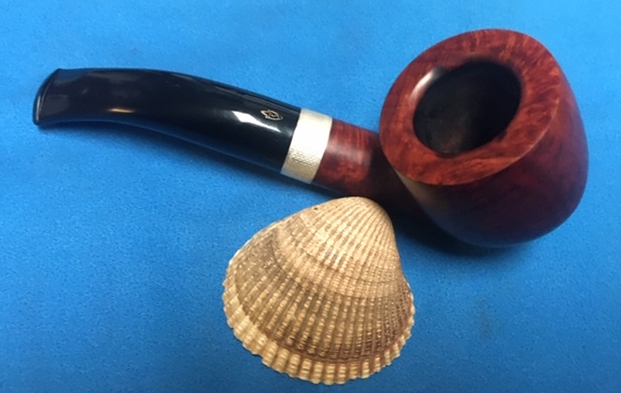
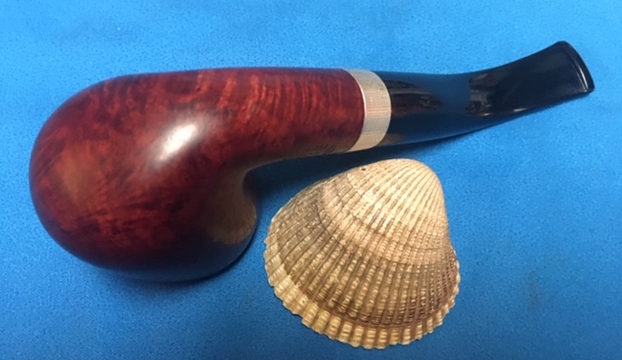
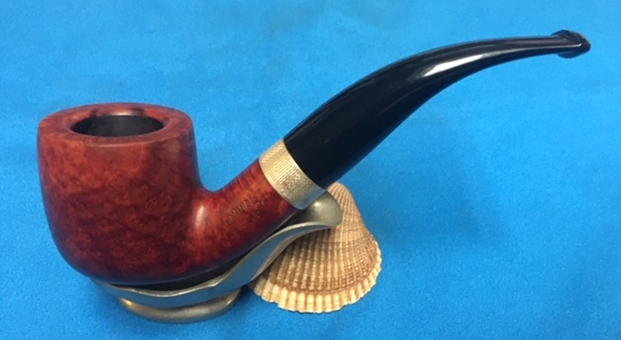
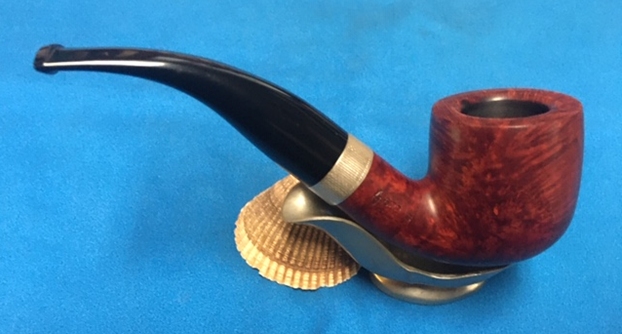
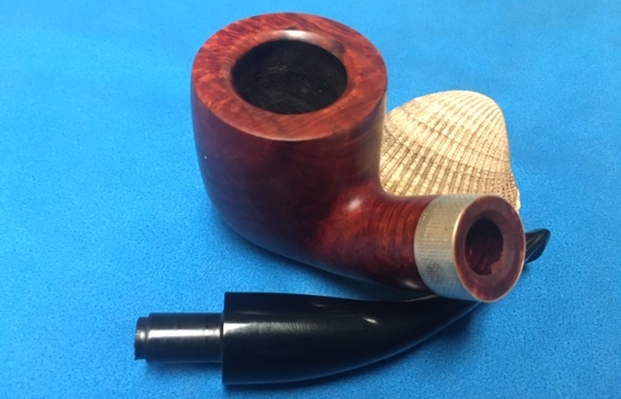
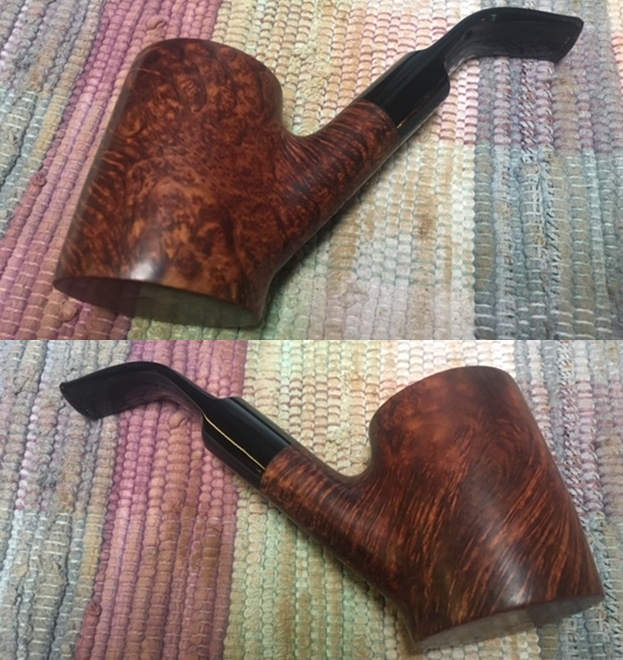
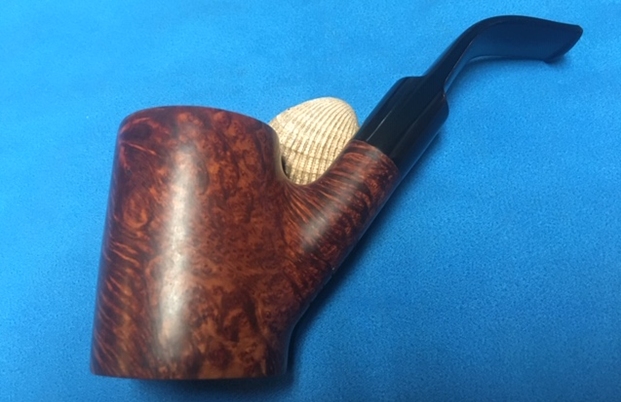
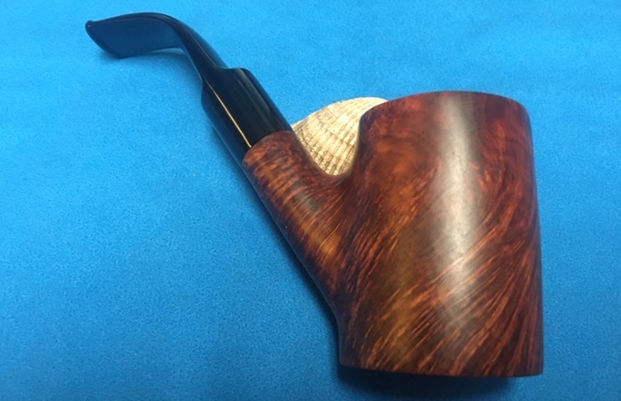
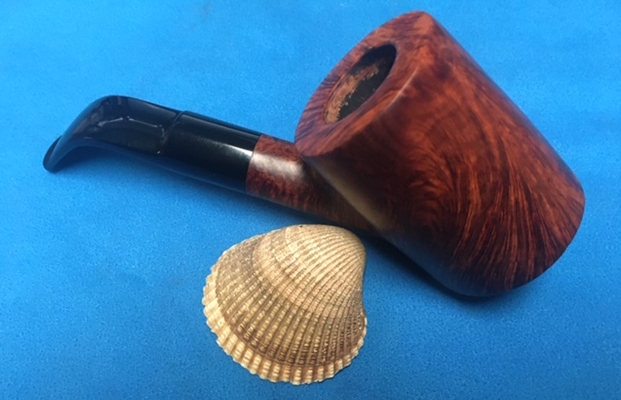
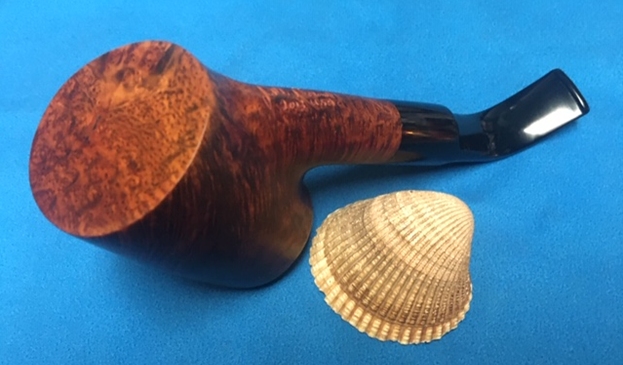
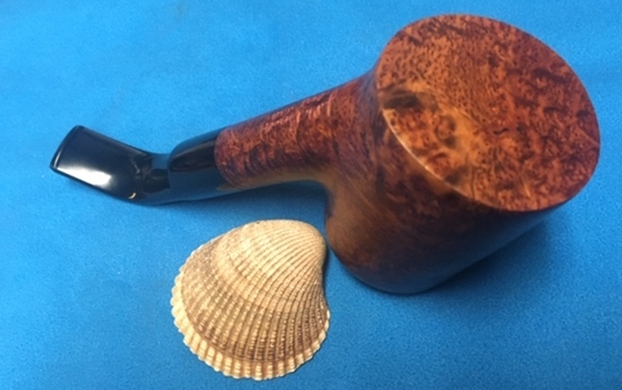
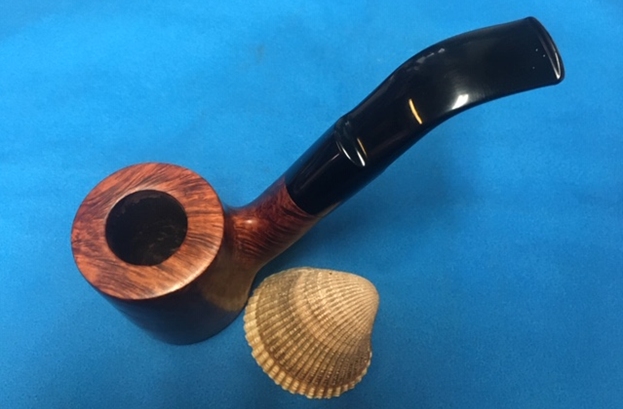
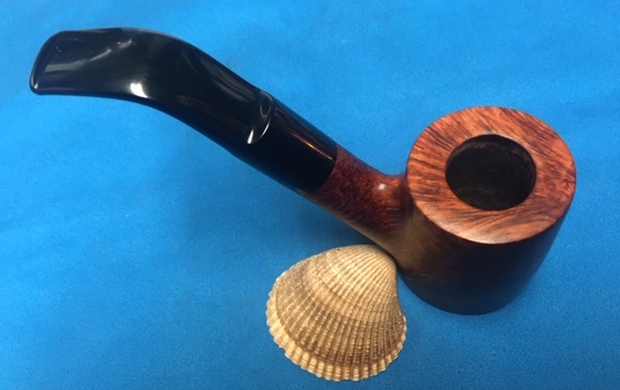
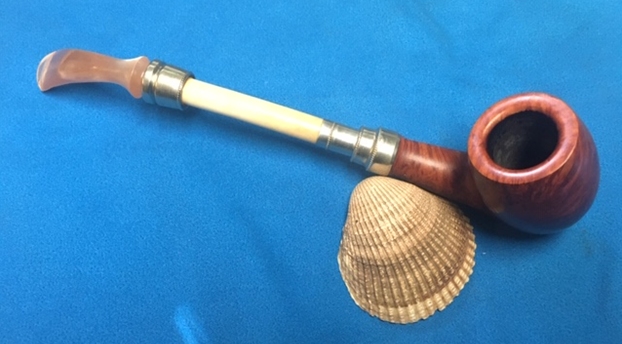
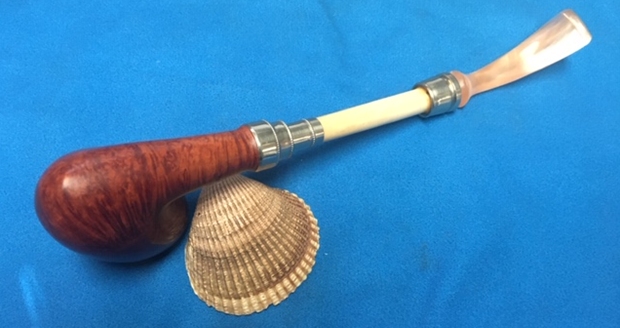
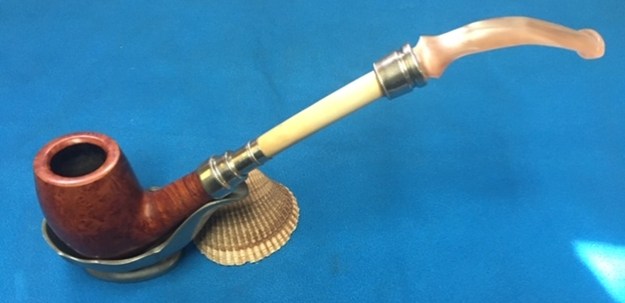
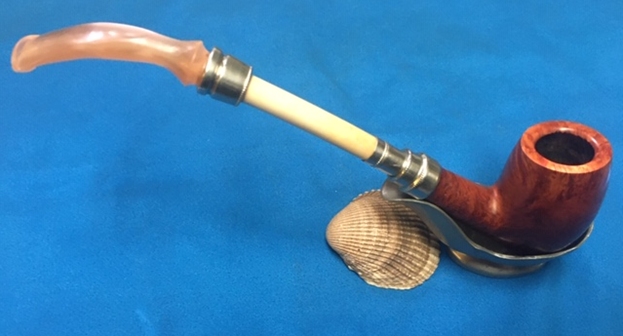
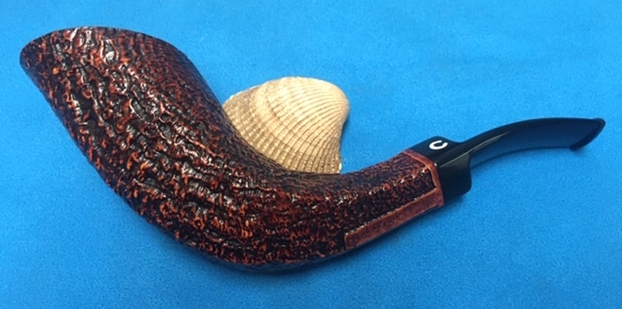
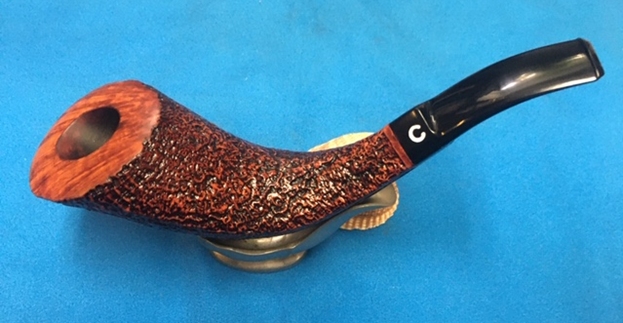
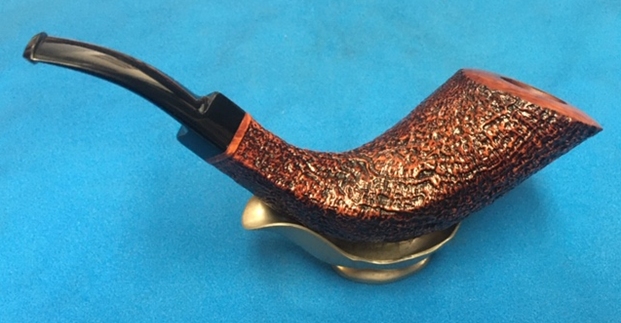
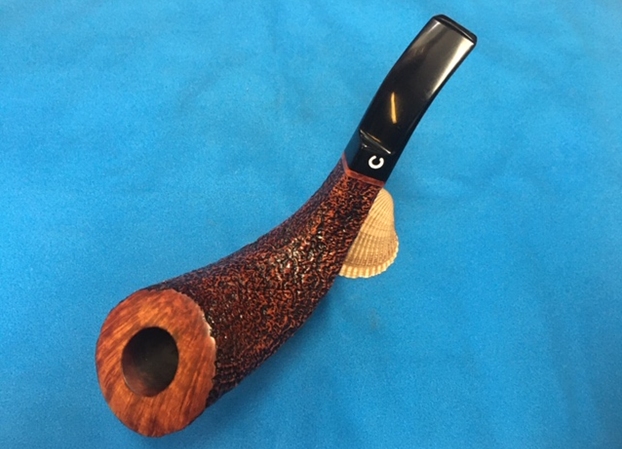
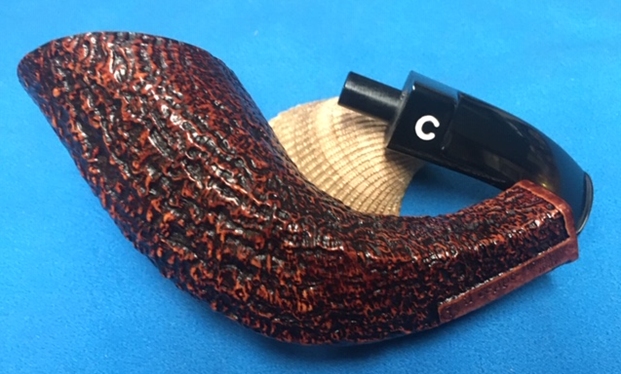
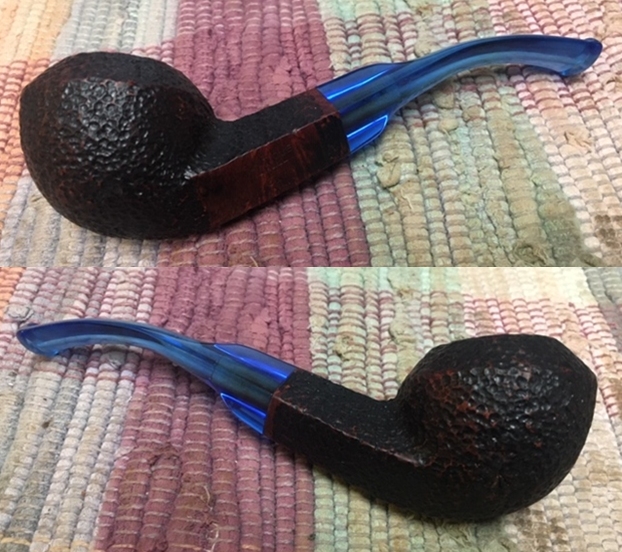
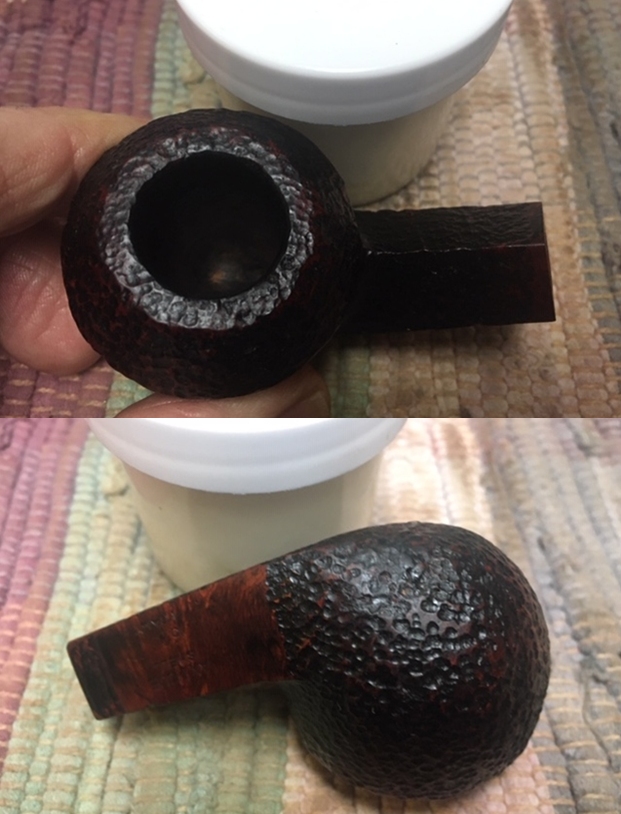
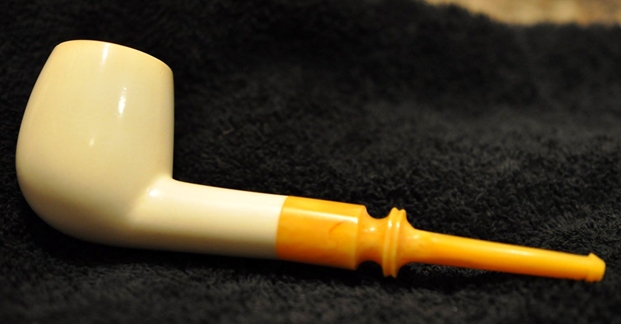
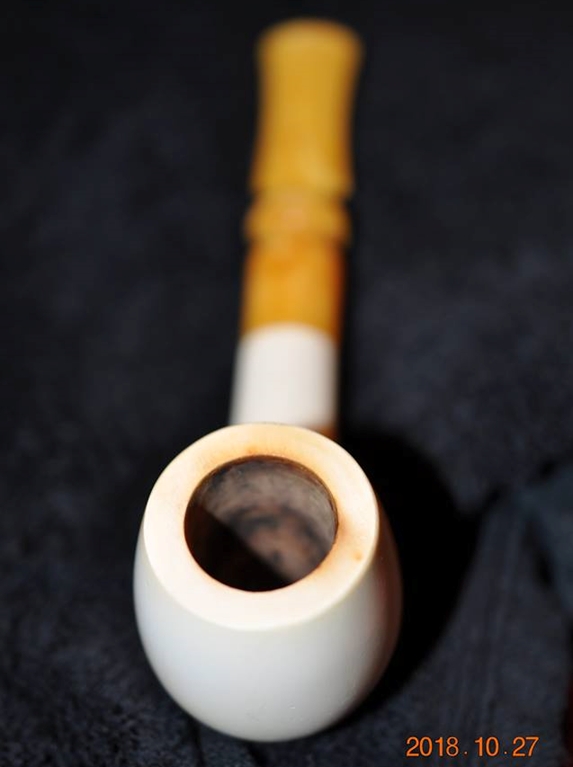
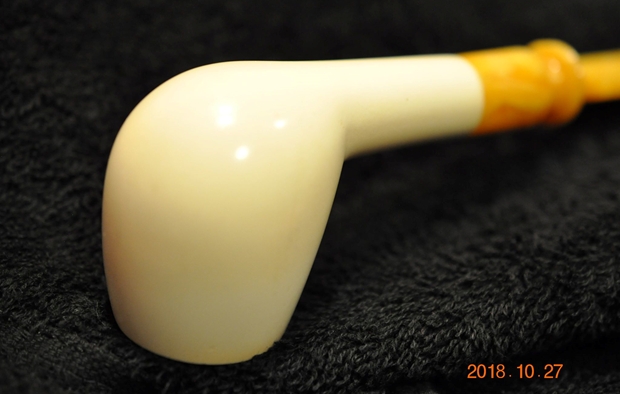
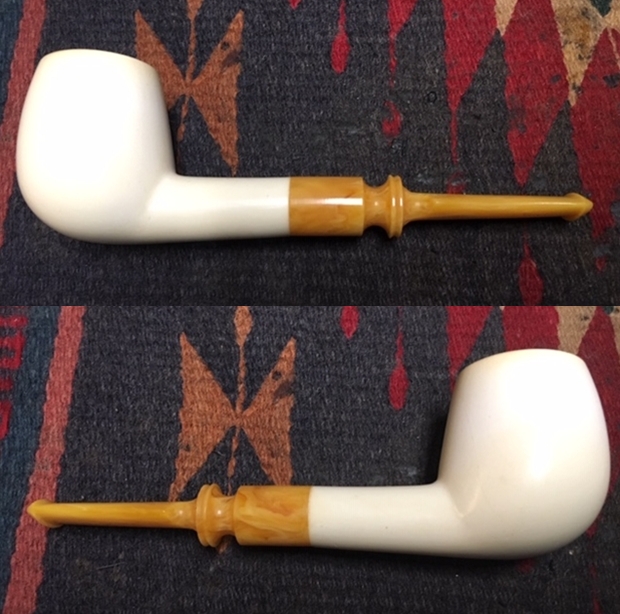
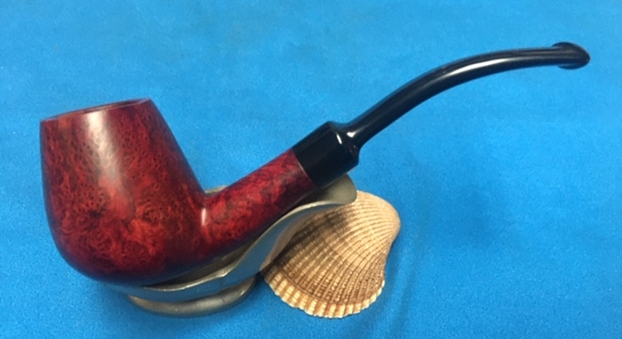
 This Johs Hand Made Danish Brandy is a great looking pipe. The rich Oxblood/Cordovan stain on the smooth finish of the bowl works well with the shape of the pipe. This Danish Brandy is a beauty with a great look and feel. I put the bowl and stem back together again and buffed the bowl and the stem with Blue Diamond on the buffing wheel. I gave the bowl and the stem several coats of carnauba wax. I carefully buffed the entire pipe with a clean buffing pad to raise the shine. I finished buffing with a microfiber cloth to deepen the shine. The finished pipe looks very good. The grain is a beautiful a mix around the bowl sides and the rim top and heel. The pipe feels great in the hand. It has an interesting shape that fits well in either the right or left hand. The finished Johs Brandy is shown in the photos below. The dimensions of the pipe are Length: 5 ½ inches, Height: 2 inches, Outside diameter of the bowl: 1 ¼ inches, Chamber diameter: ¾ of an inch. This great looking pipe turned out very well. It should be a great pipe. It will be going on the rebornpipes store shortly if you are interested in adding it to your collection. Thanks for reading this blog and my reflections on the pipe while I worked on it.