by Steve Laug
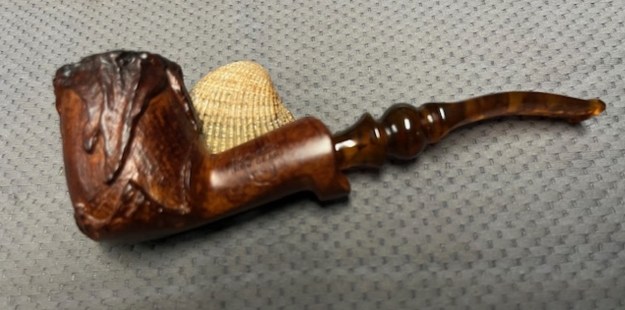
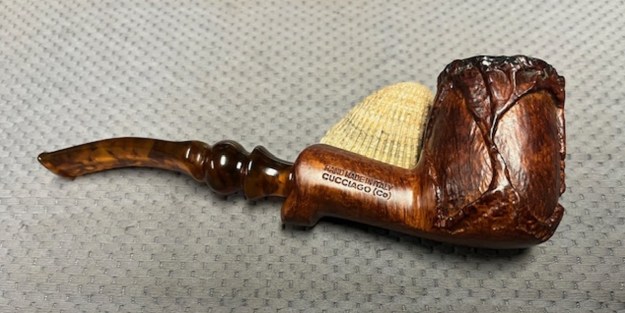
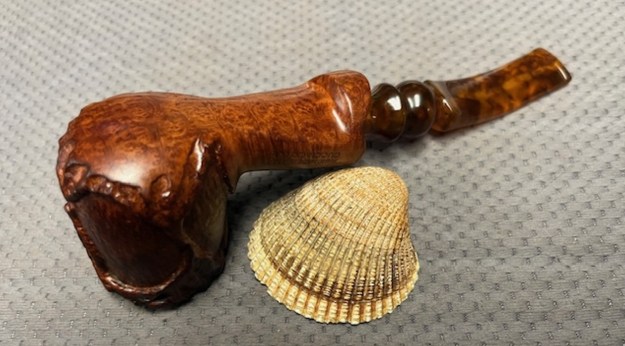
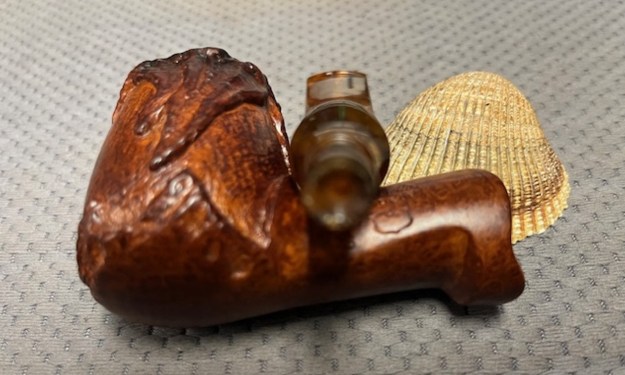
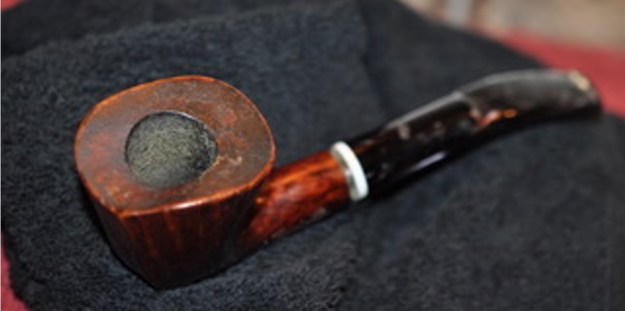
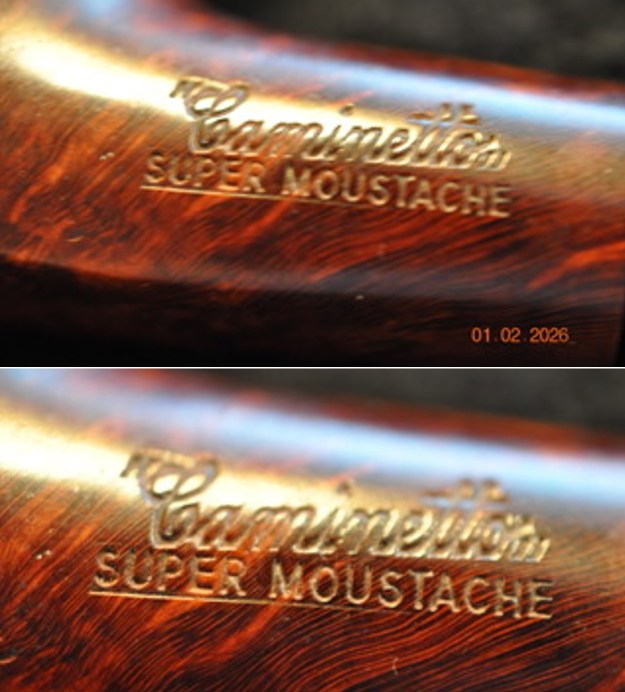
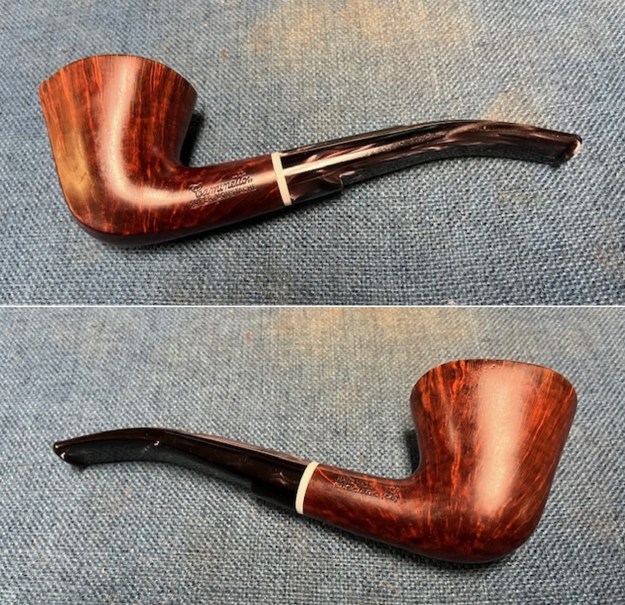
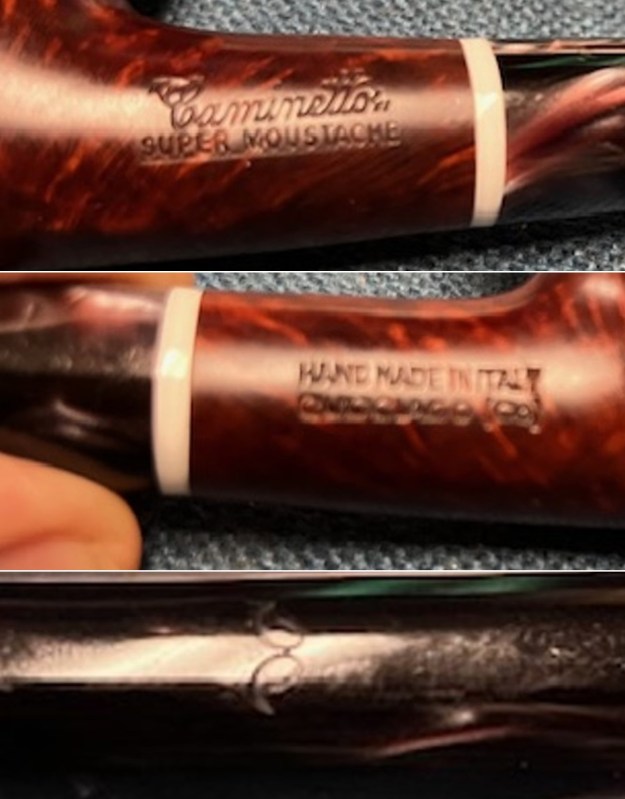
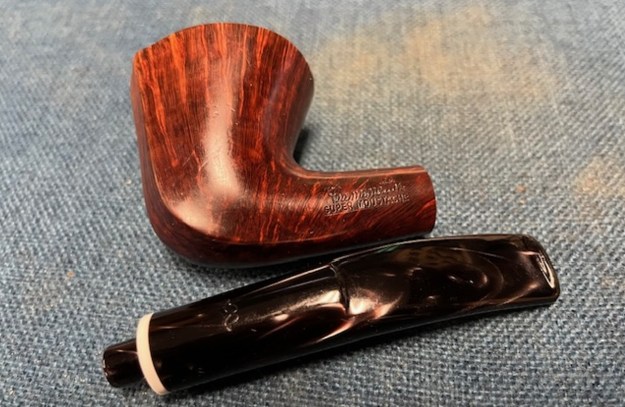
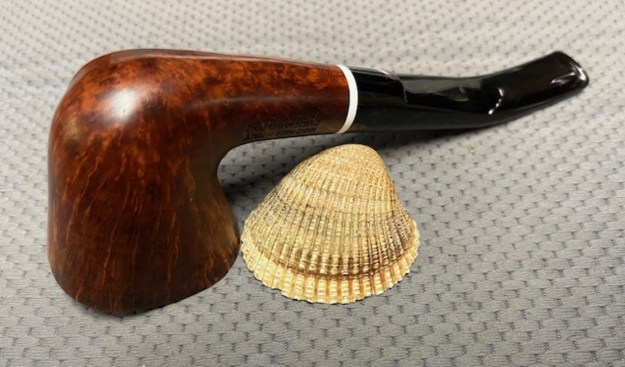
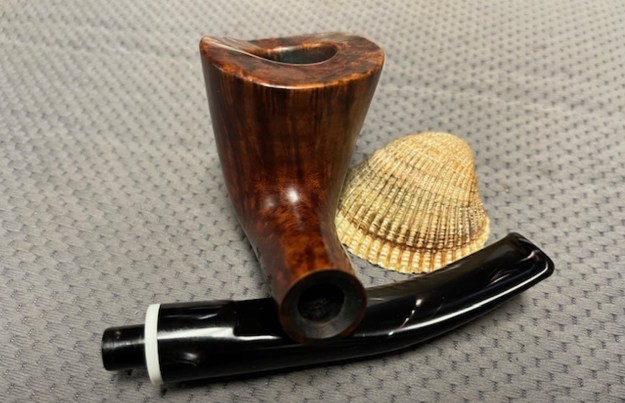
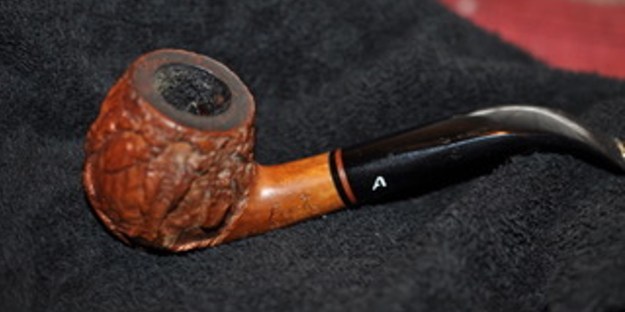
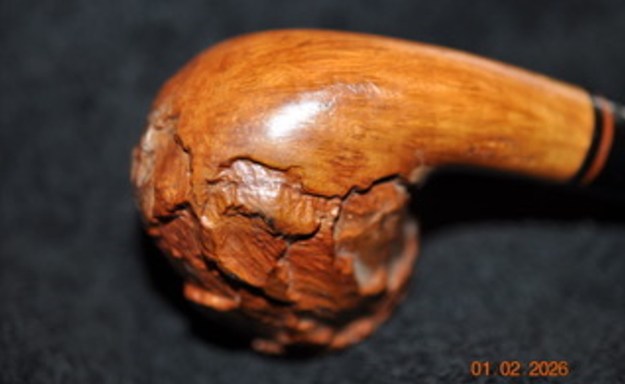
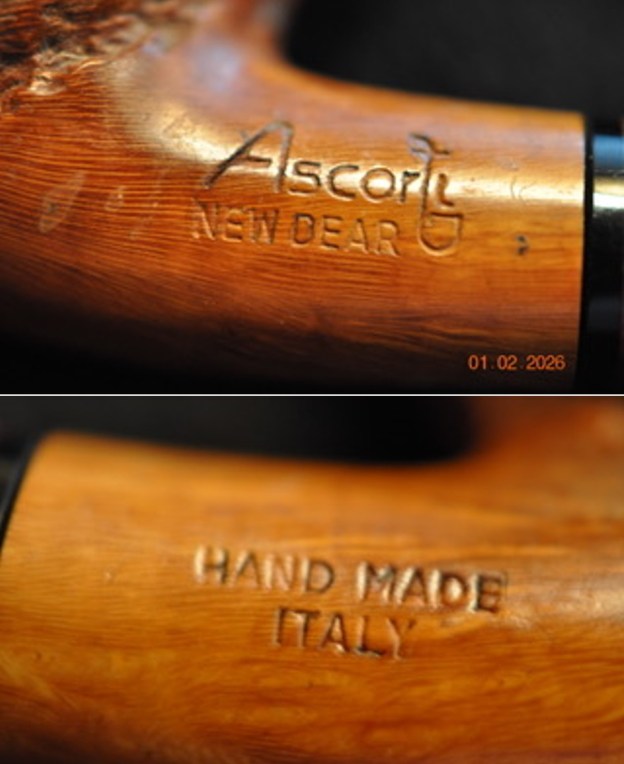
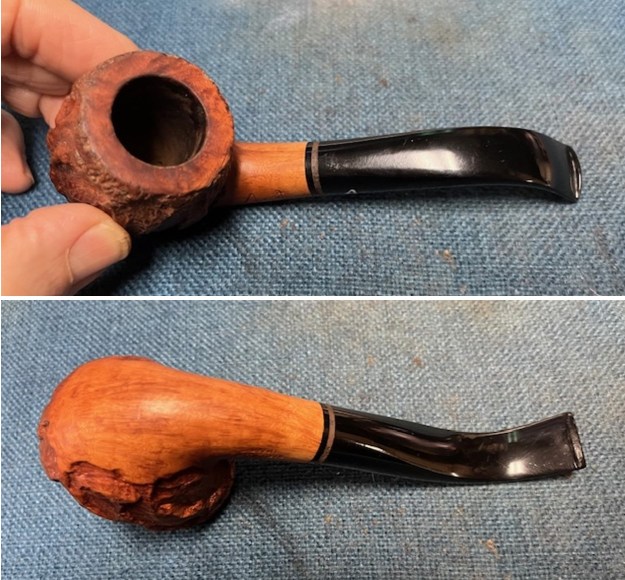
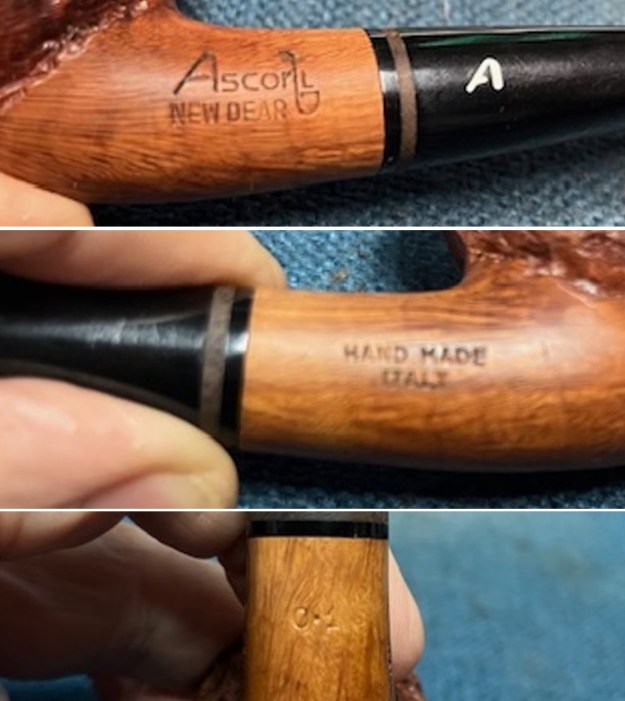
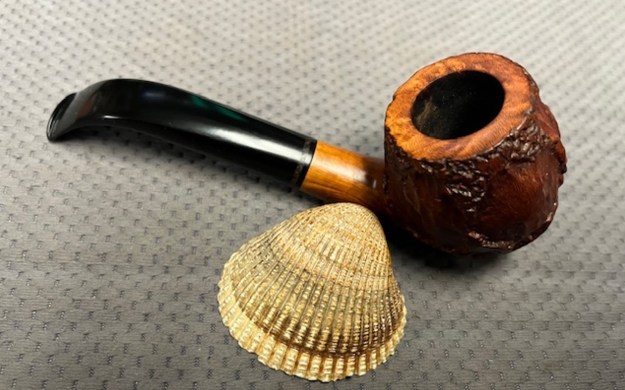
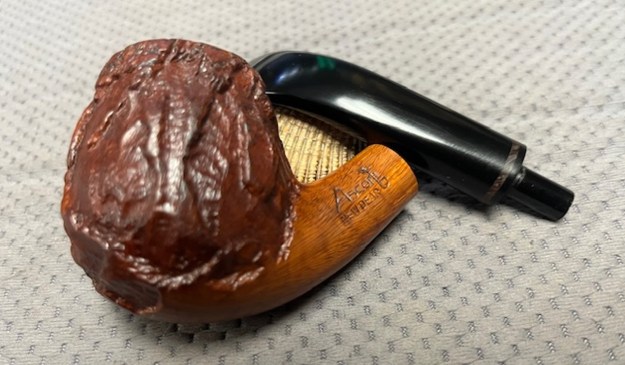
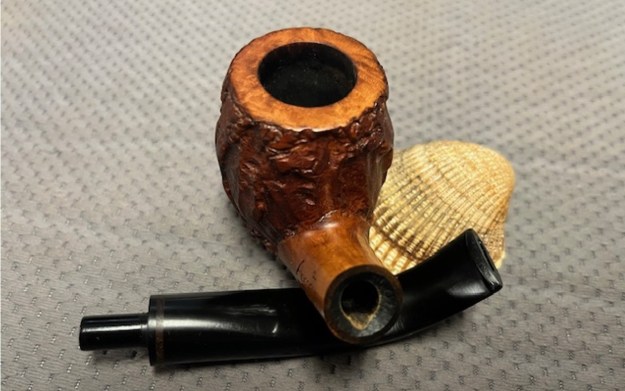
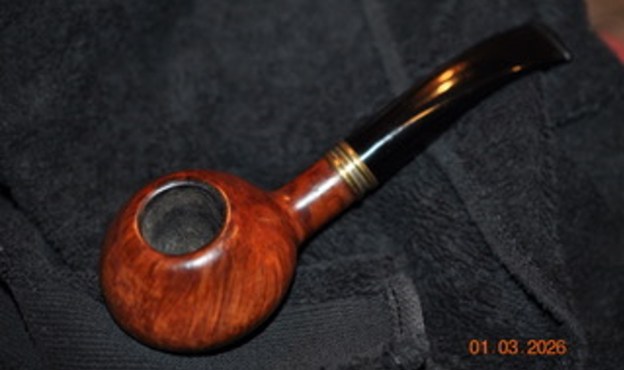
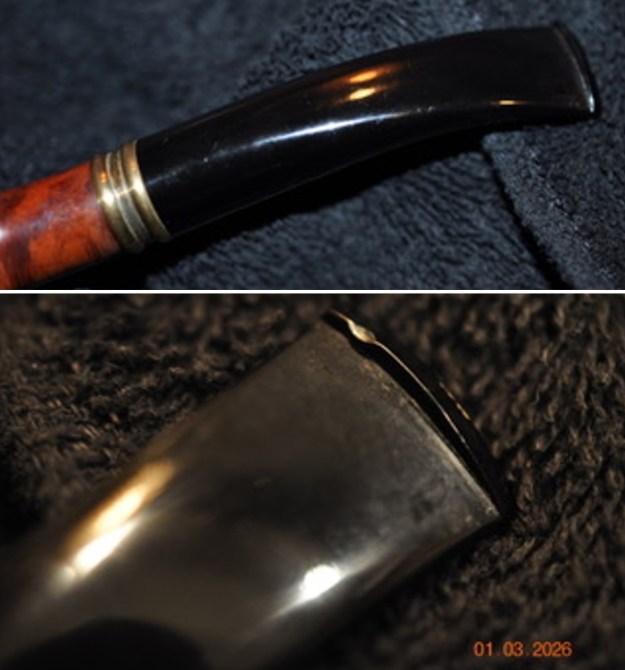
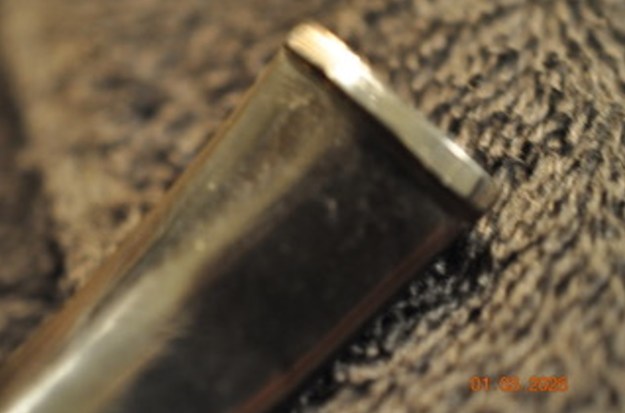
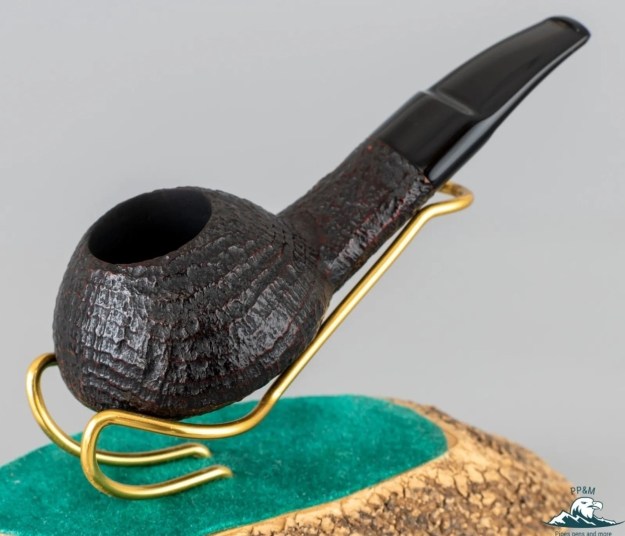
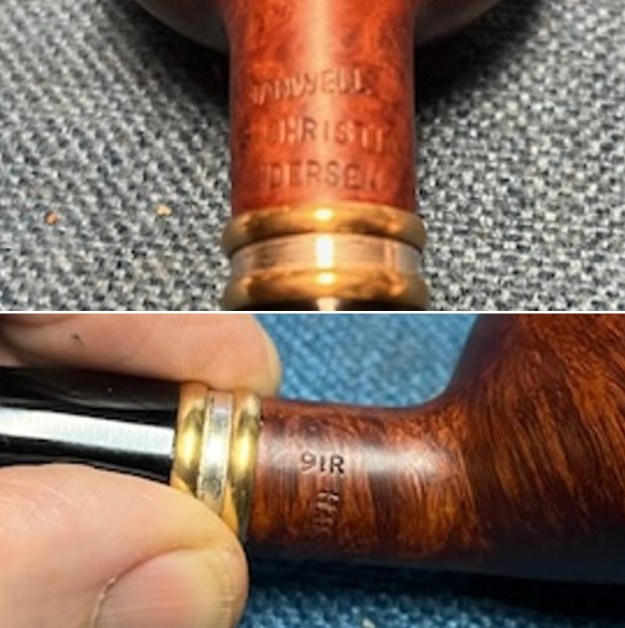
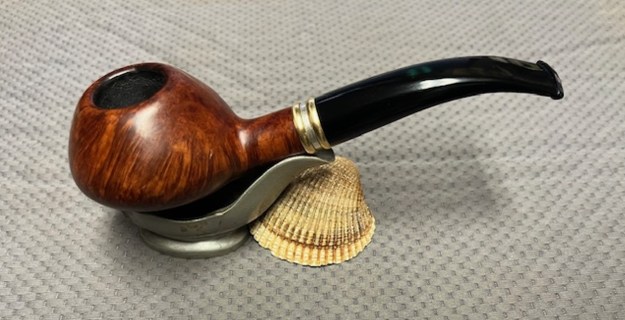
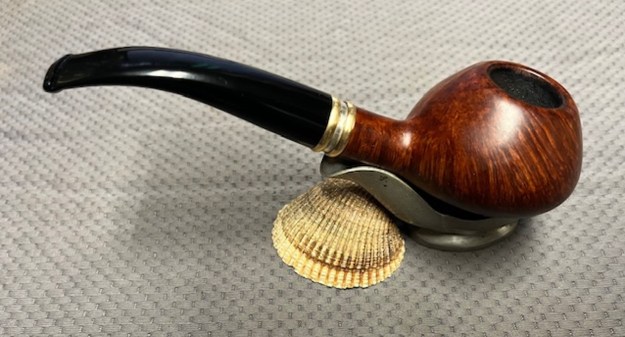
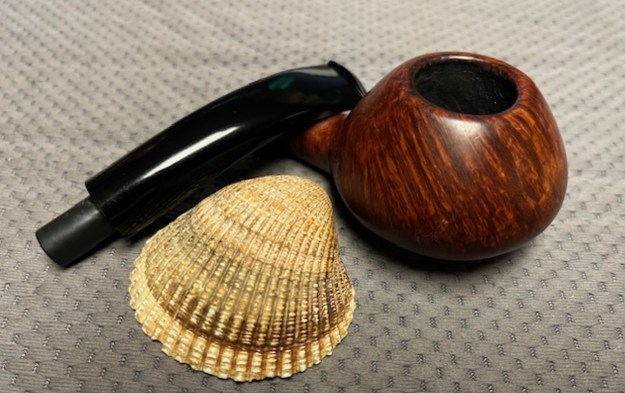
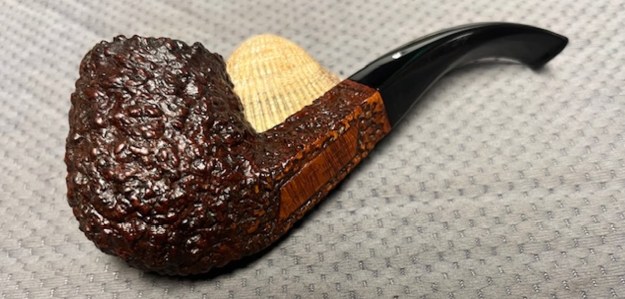
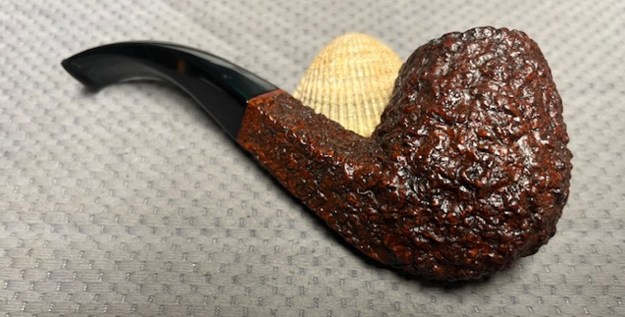
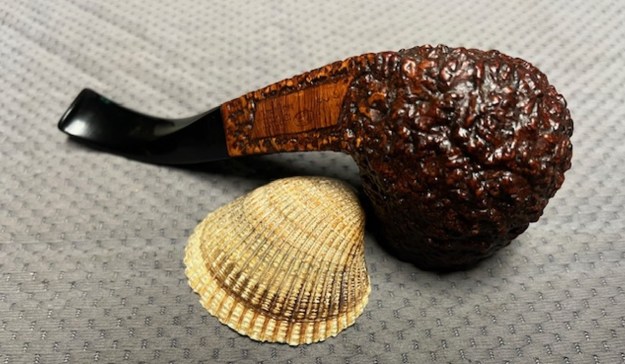
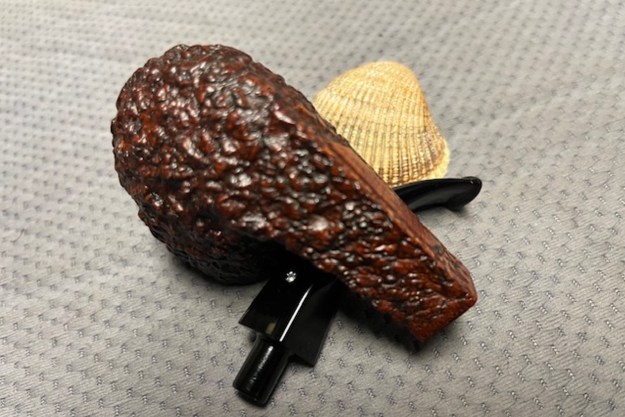
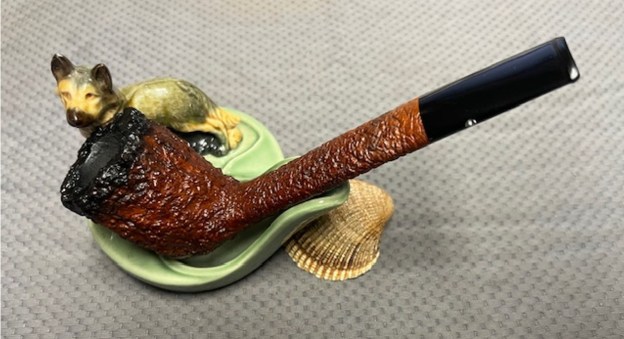
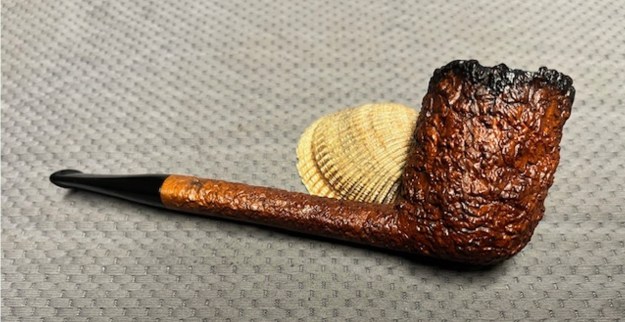
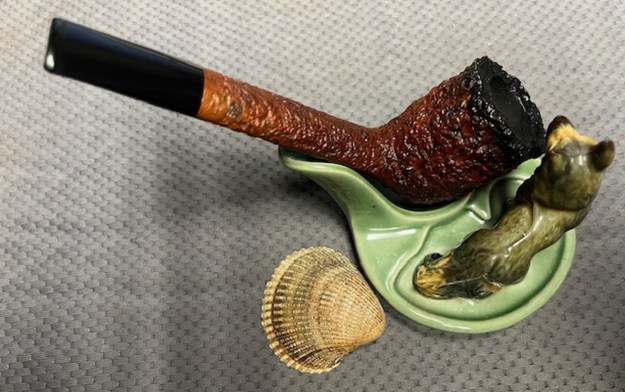
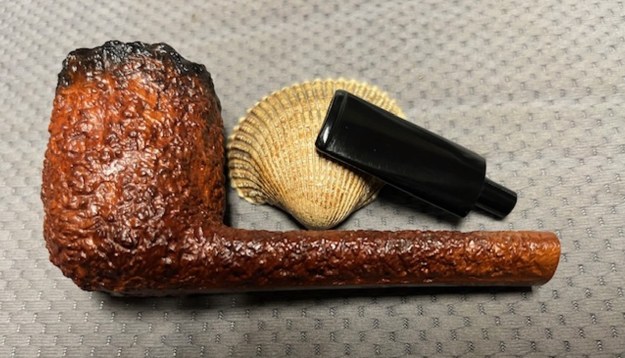
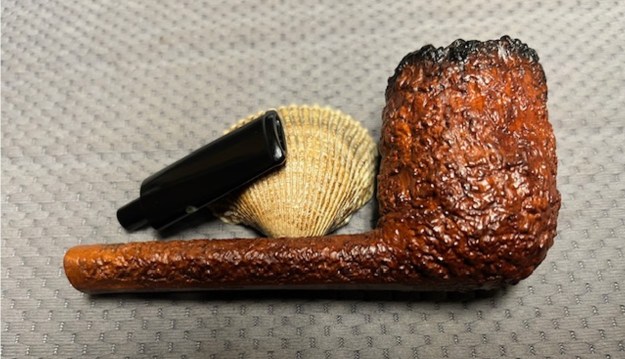
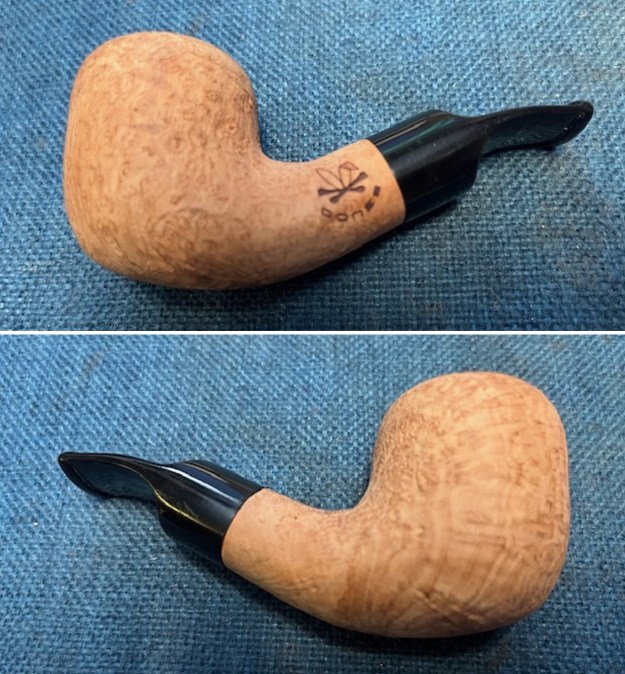
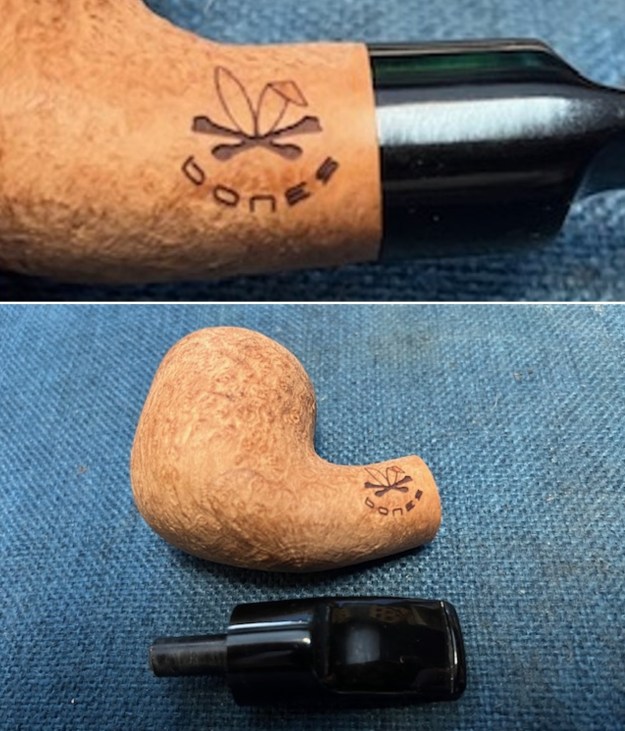
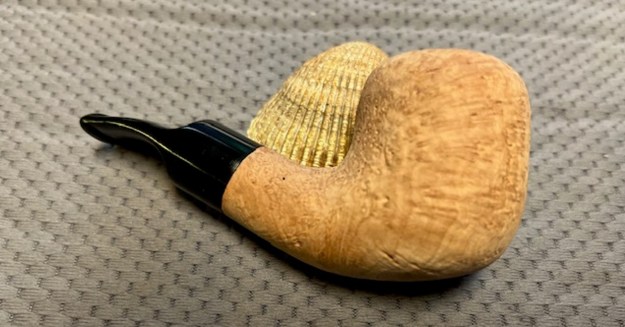
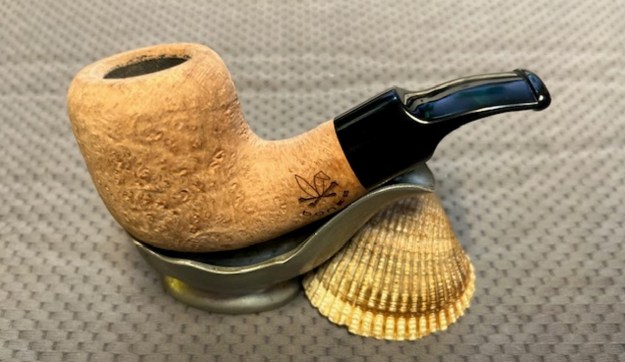
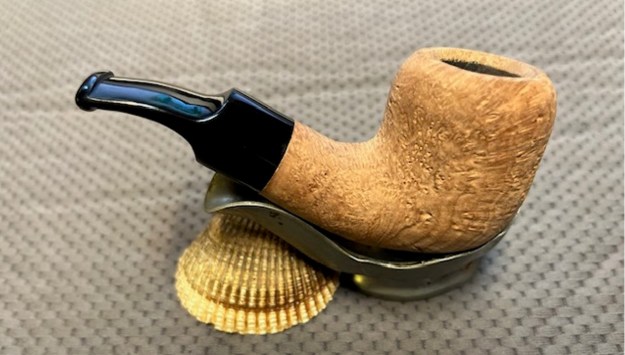
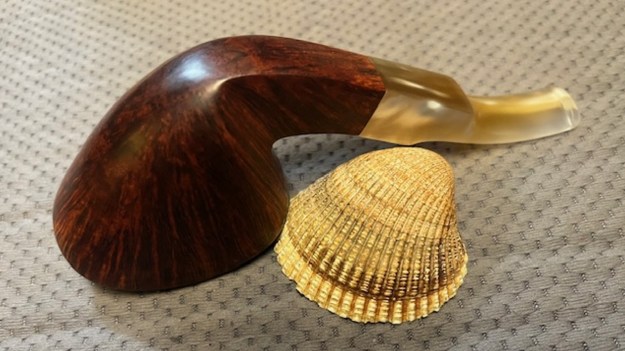
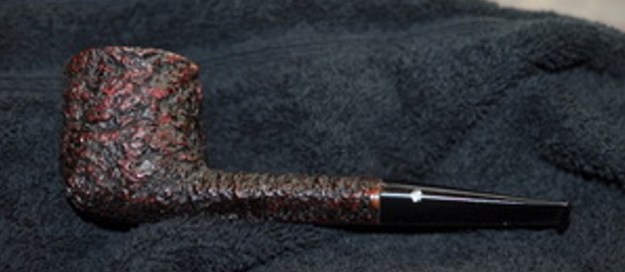
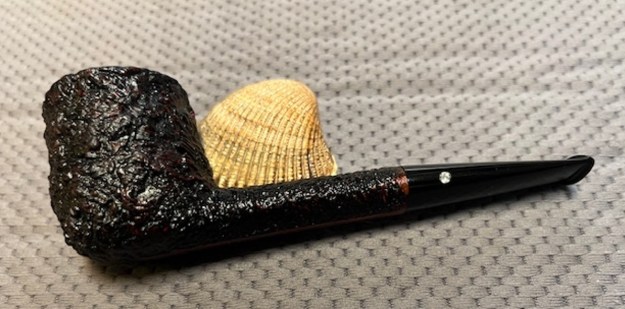
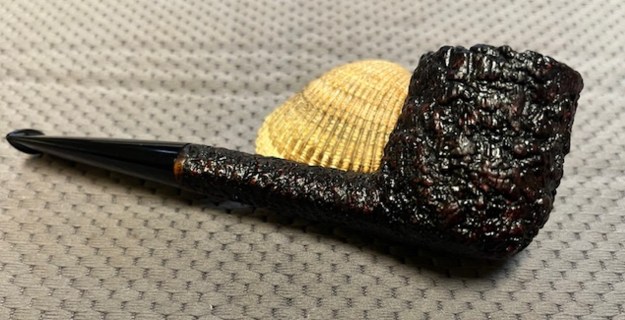
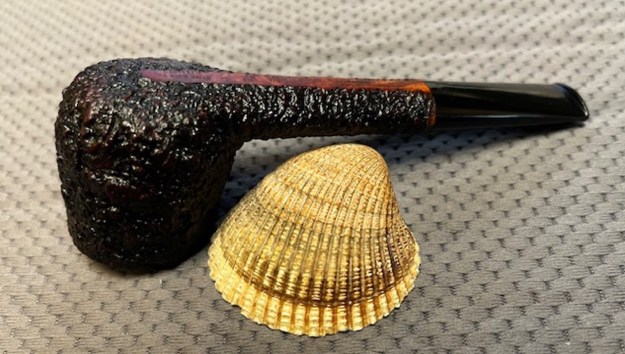
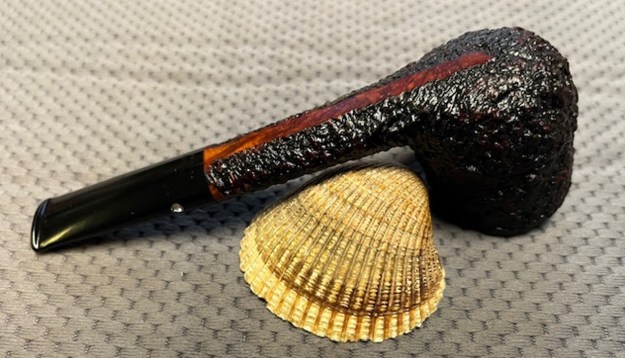
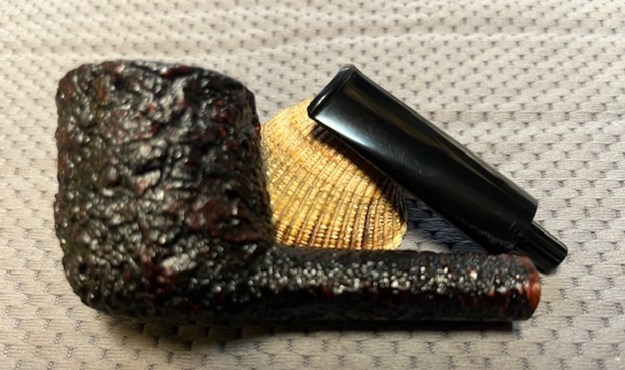
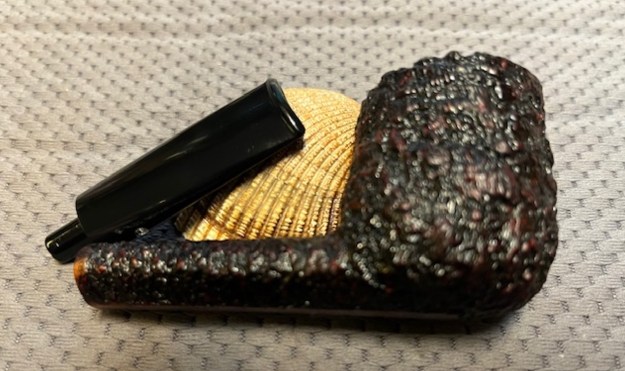
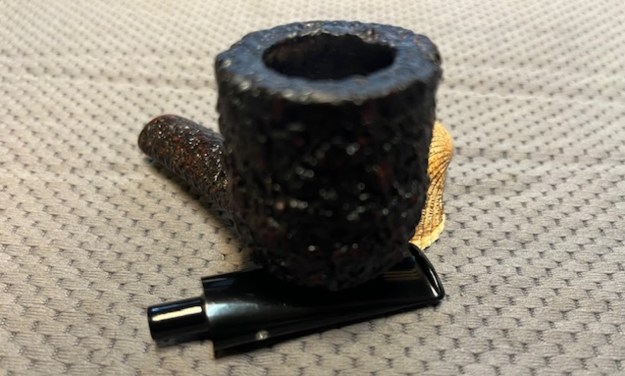
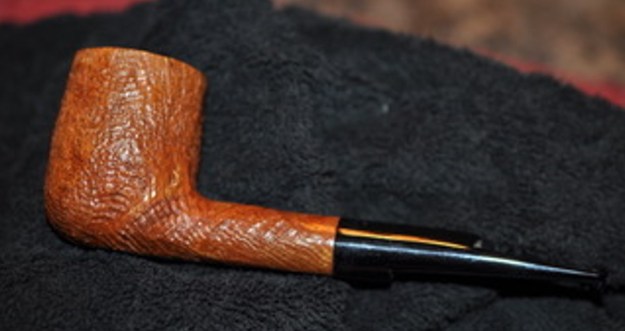
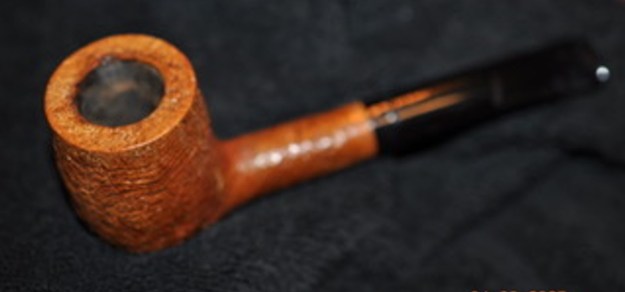
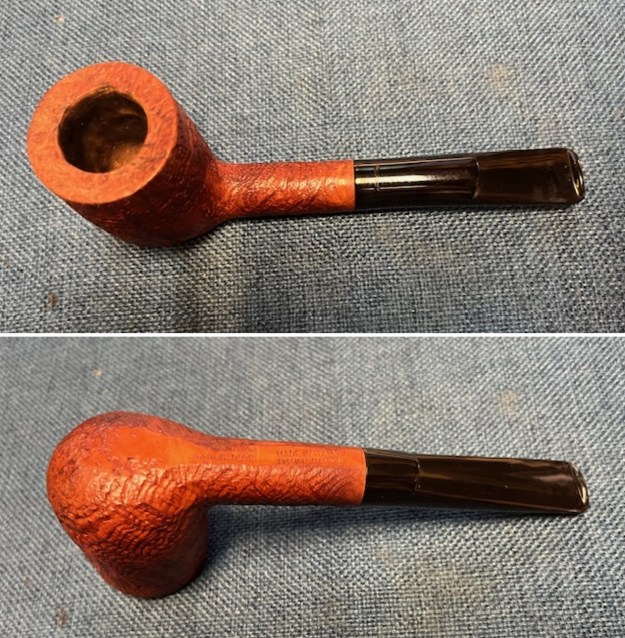
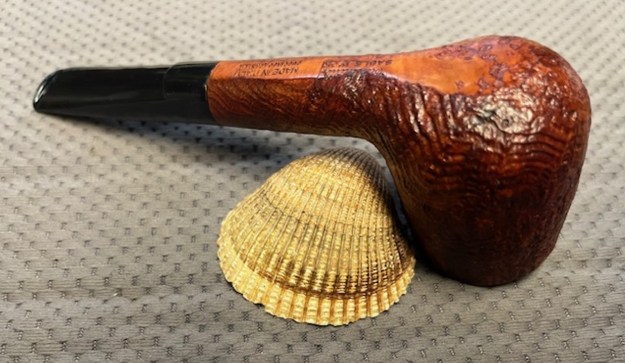
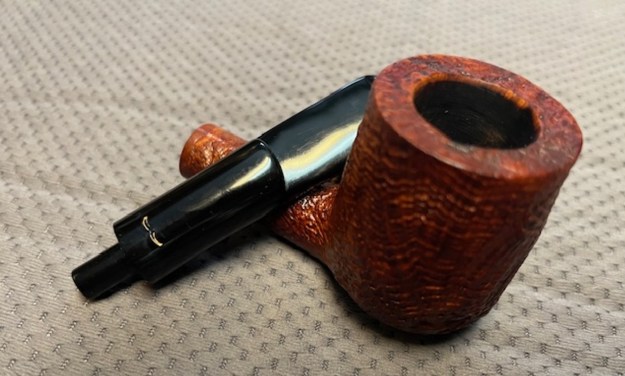
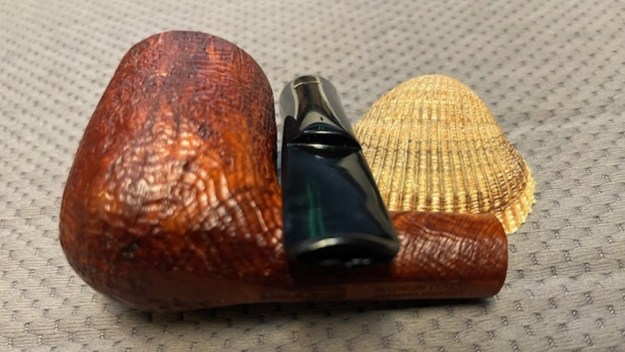
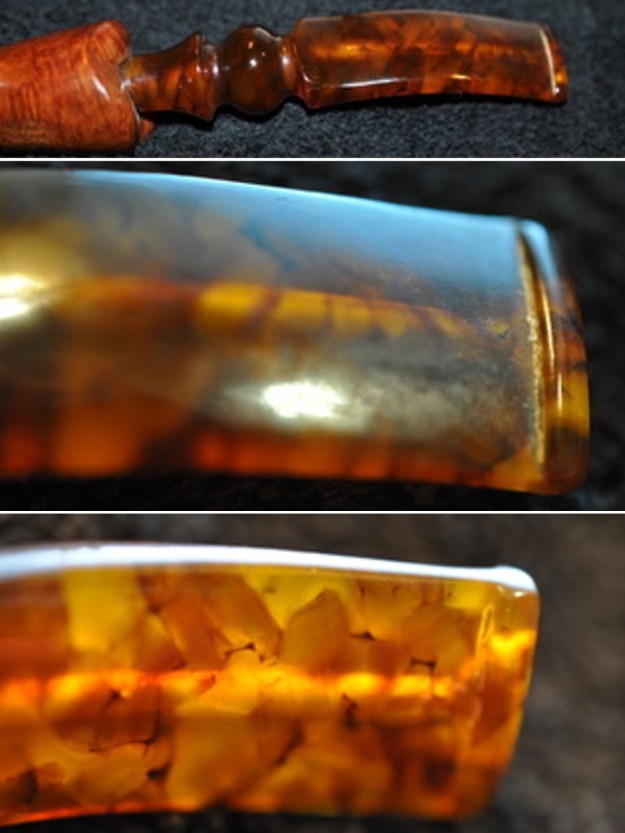
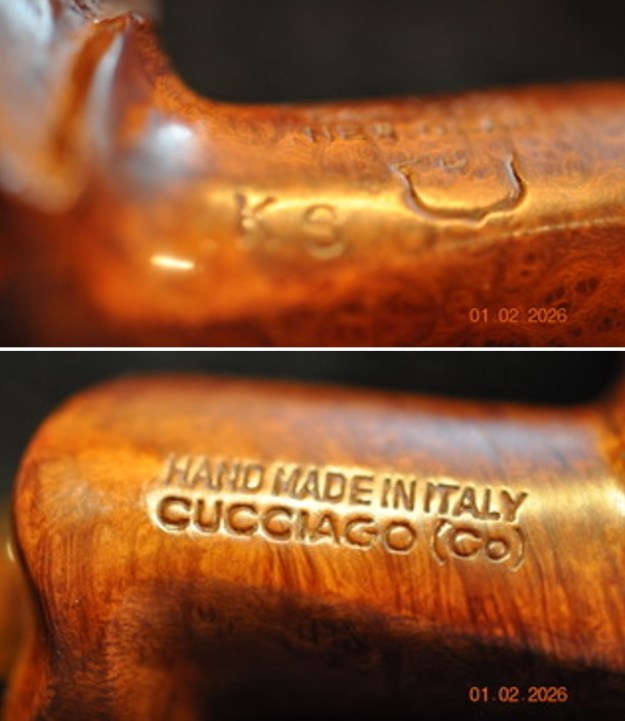
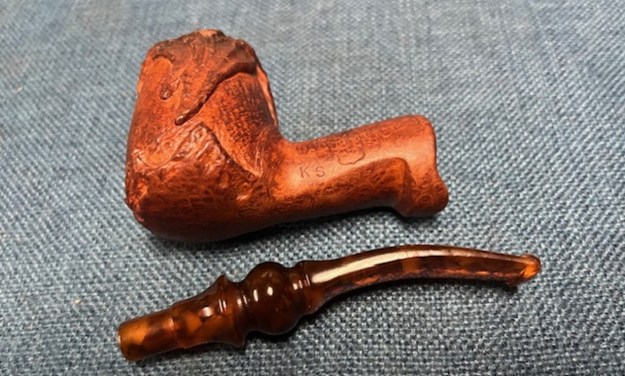
The next pipe on the worktable is a nice looking Caminetto New Dear Billiard that has the unique finish that I have seen on Caminetto and Ardor New Dear pipes. We purchased from a seller in Macon, Georgia, USA on 03/08/2025. In the lot of pipes there were at least three of the New Dear series pipes. This one has an amber acrylic stem. The stamping on the pipe was very clear and readable. On the left side of the shank it reads Caminetto. [over] New Dear and below that and to the left it is stamped KS and a faint shield. On the right side of the shank it is stamped Hand Made in Italy [over] Cucciago (Co). The finish was in good condition though it was grimy and dusty. The grain shone through the grime and was beautiful. There was a thick cake in the bowl with spotty lava overflow on the rusticated rim top. The inner edge appeared to be in good condition. The amber acrylic fancy saddle was lacking the moustache logo. The stem was dirty and had some light tooth marks and chatter on both sides ahead of the button. It had a lot of potential. Jeff took photos of the pipe as he saw it at this stage of his examination. The first two photos are out of focus but you can see the shape clearly.
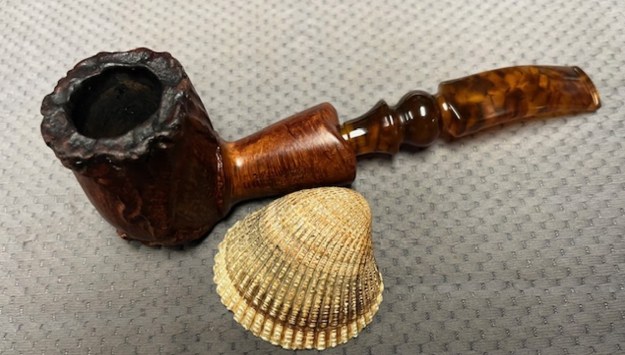
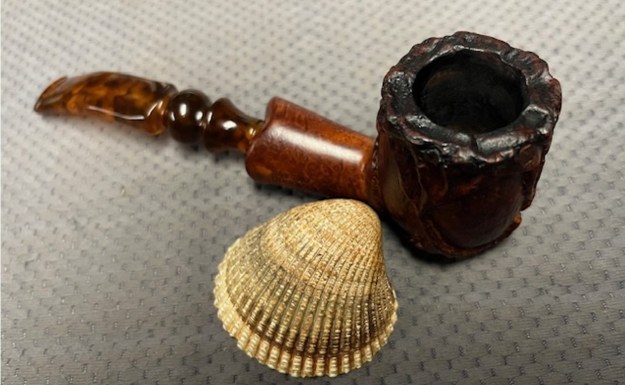
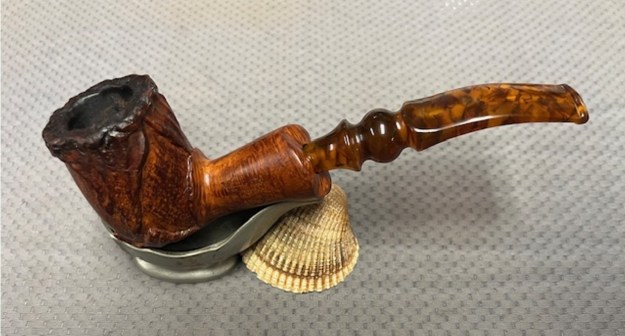
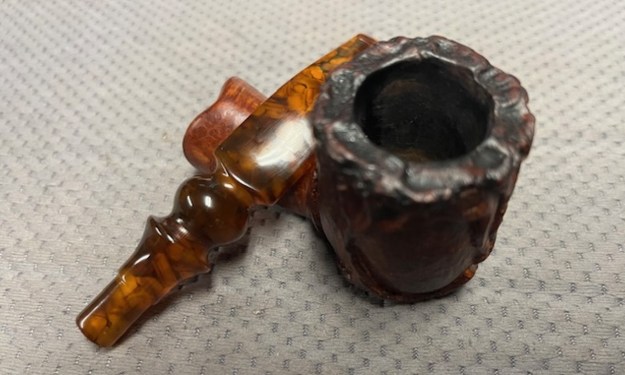
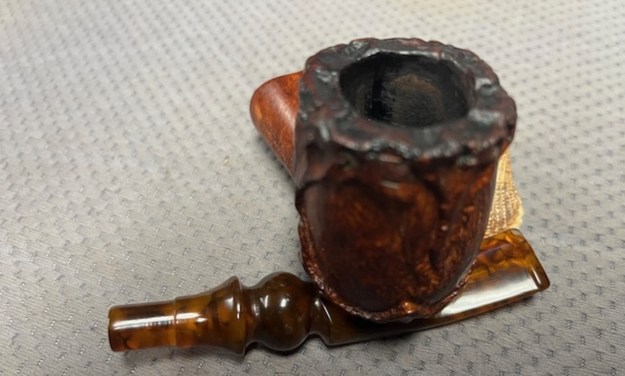
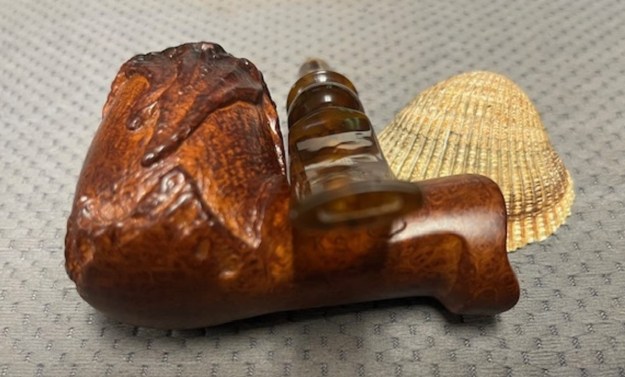
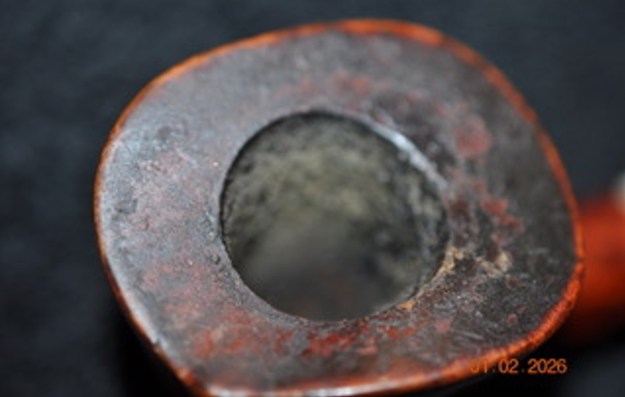
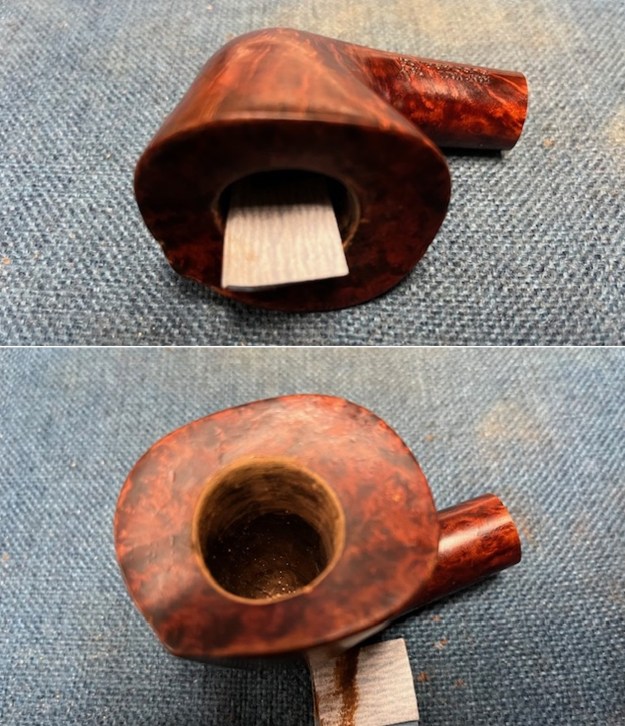
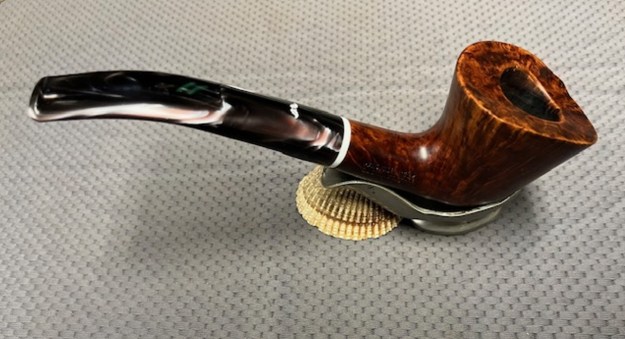
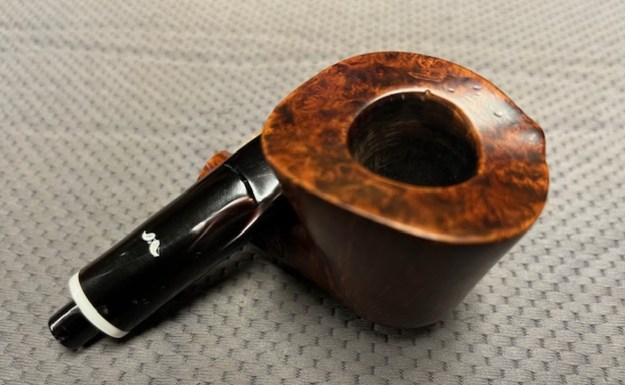
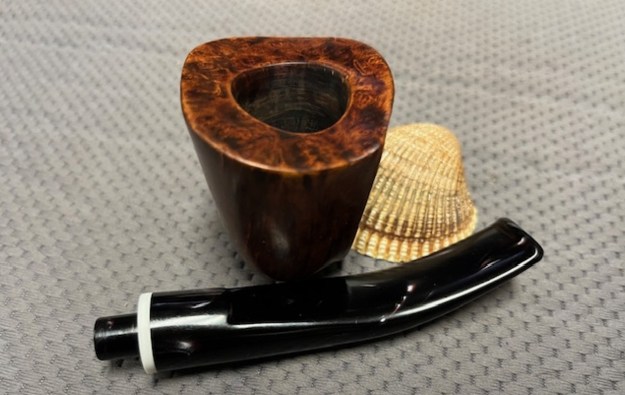
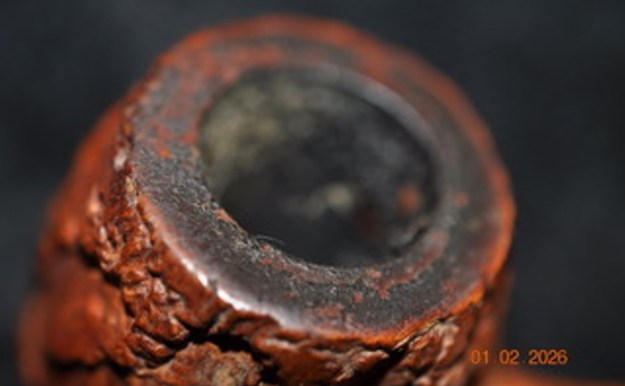
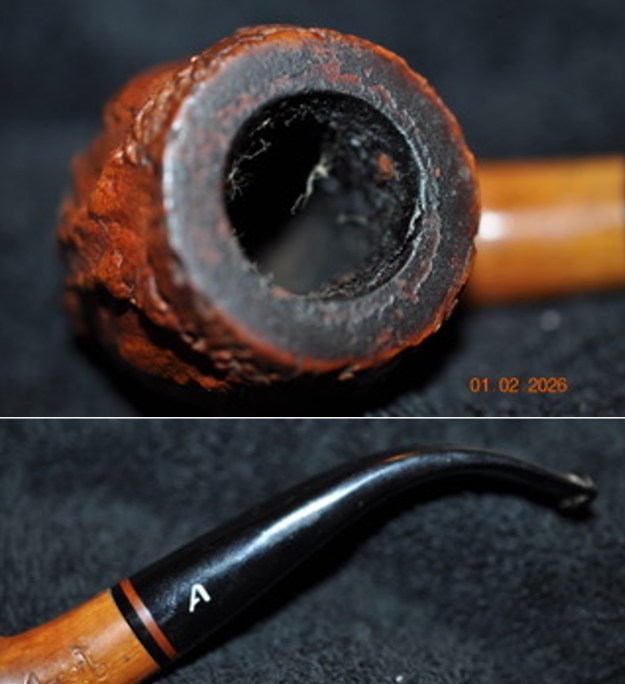
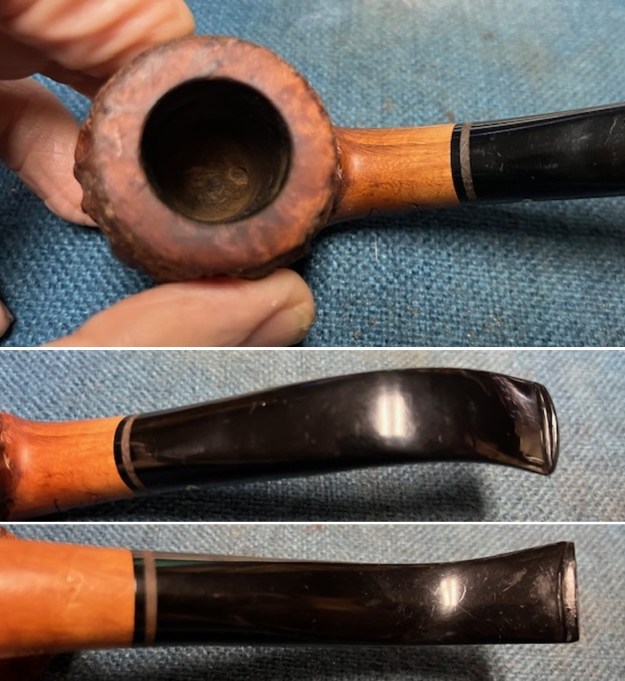
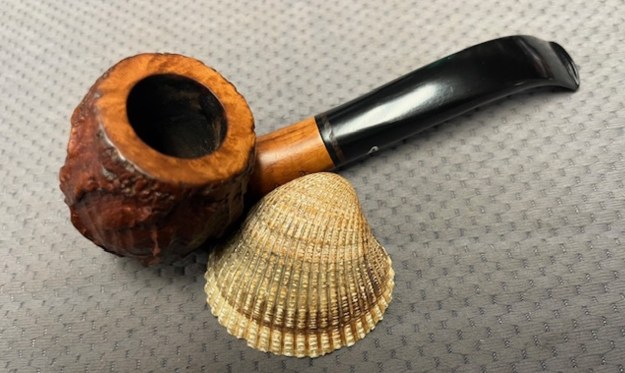
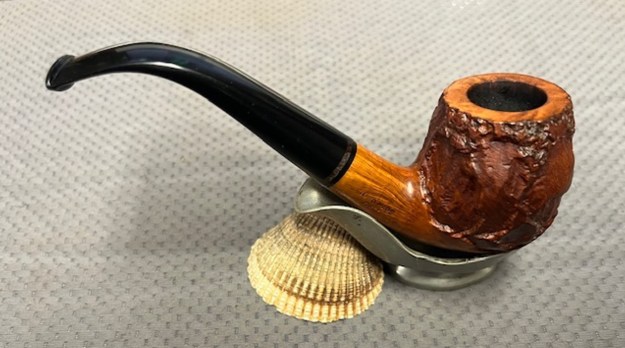
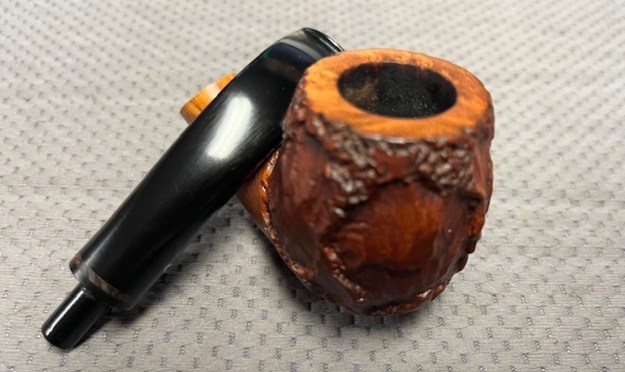
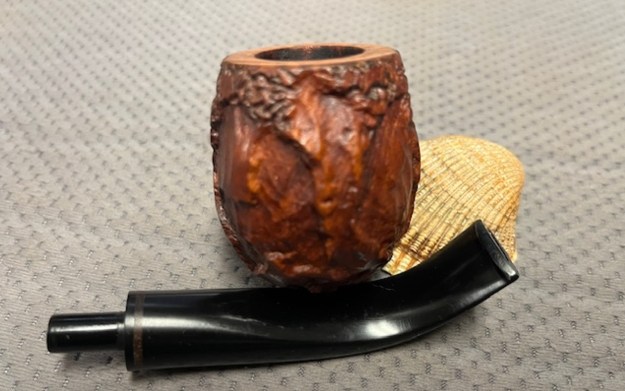
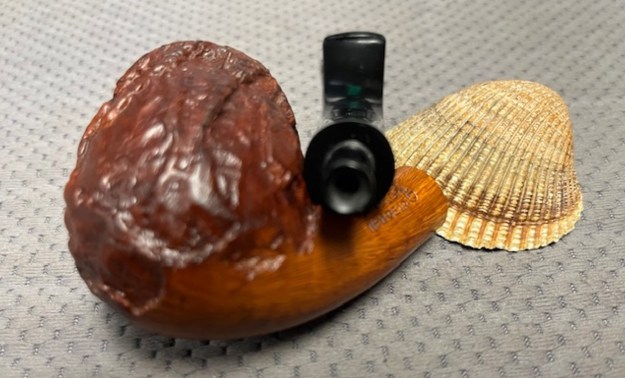
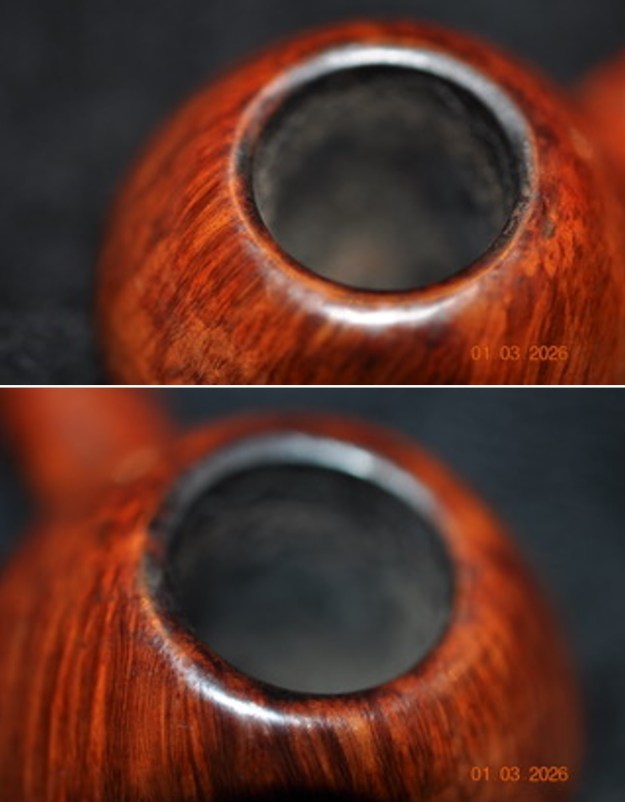
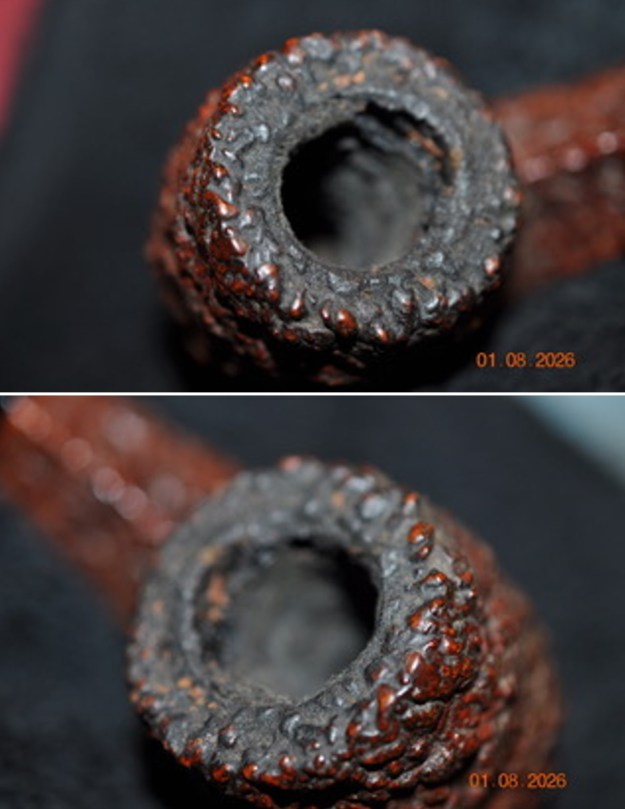
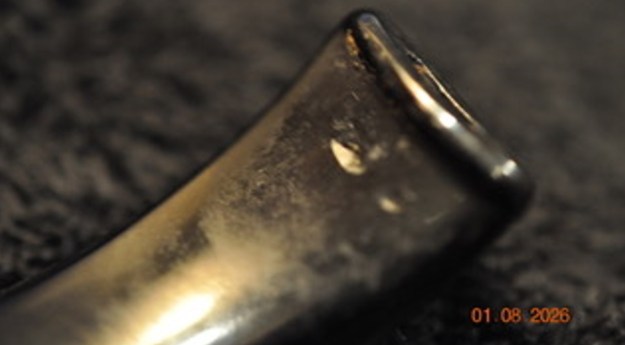
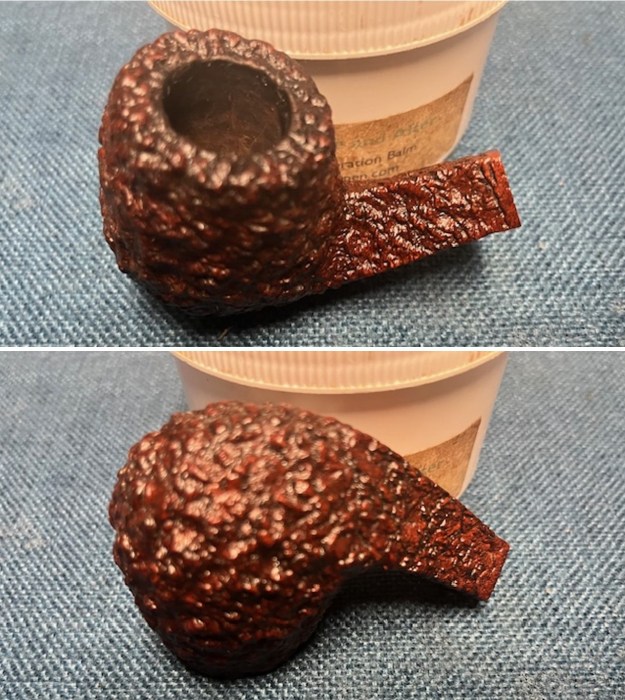
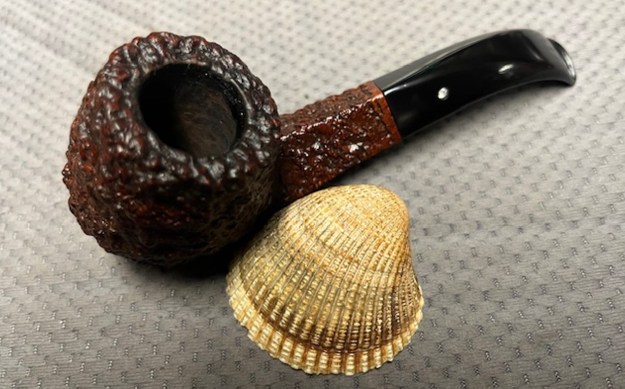
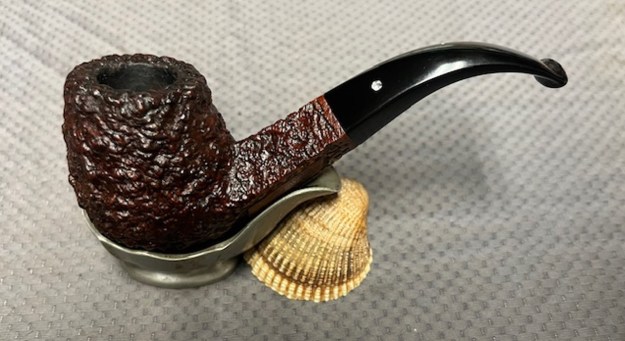
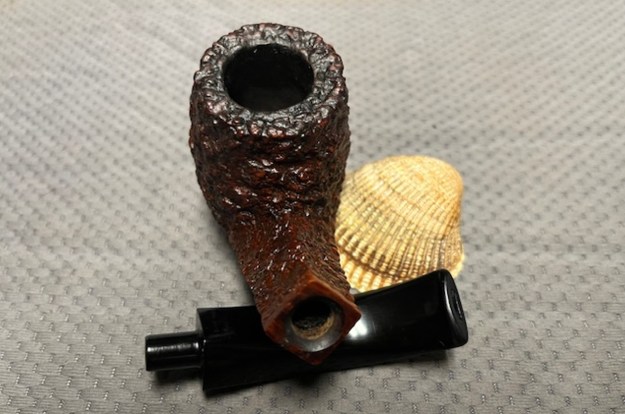
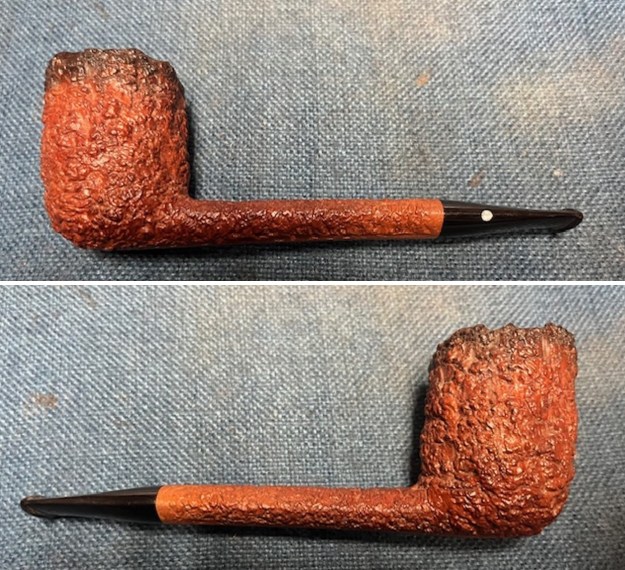
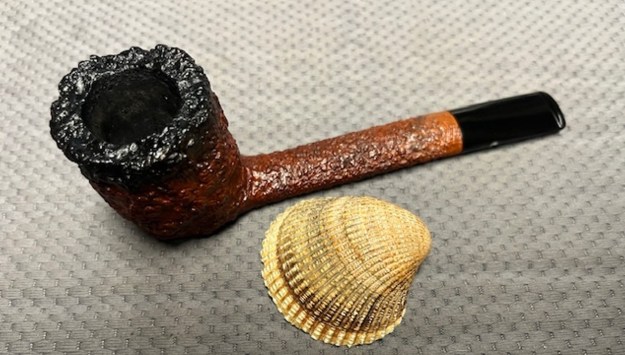
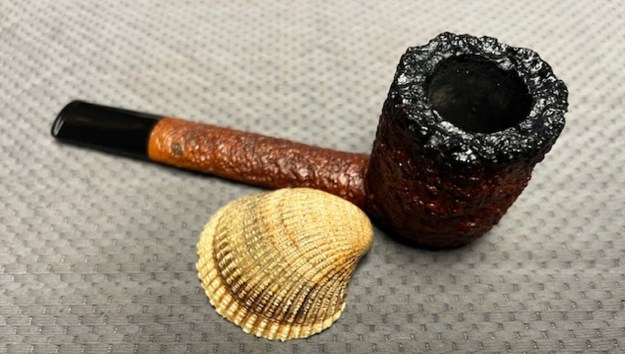
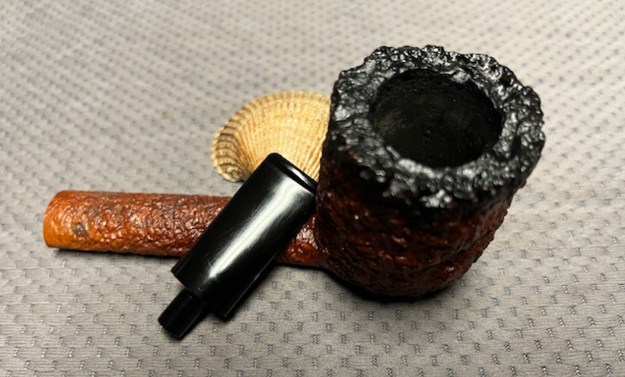
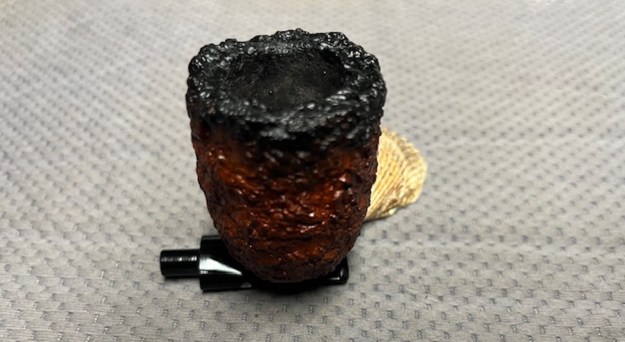
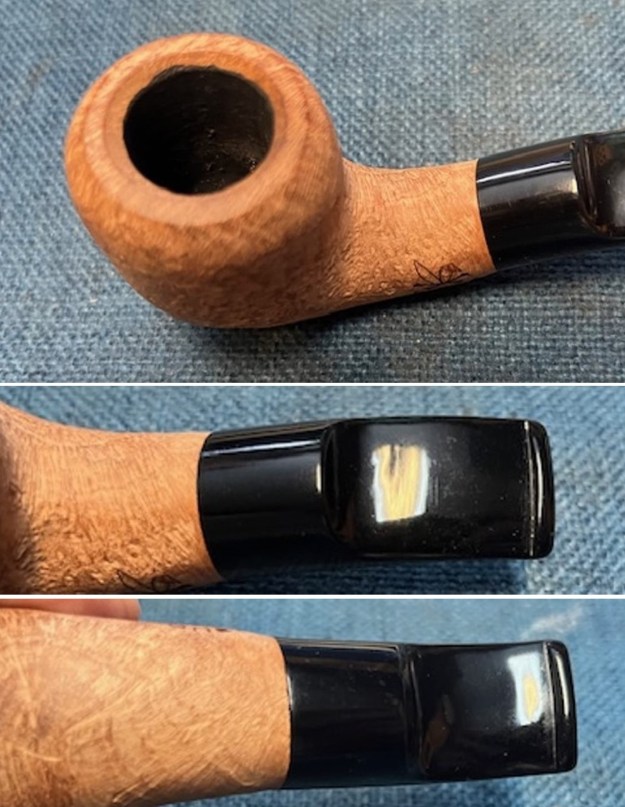
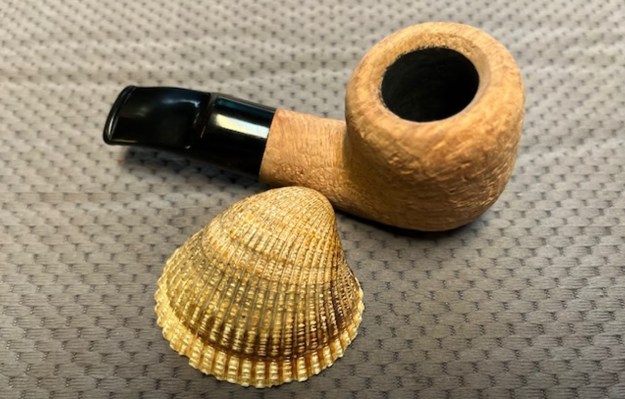
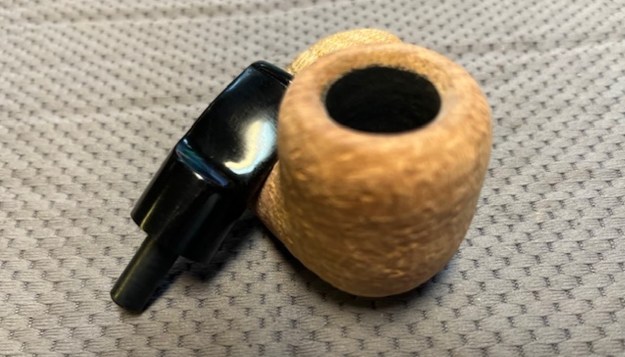
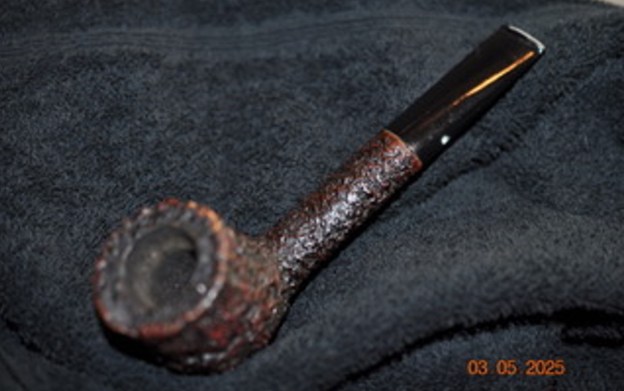
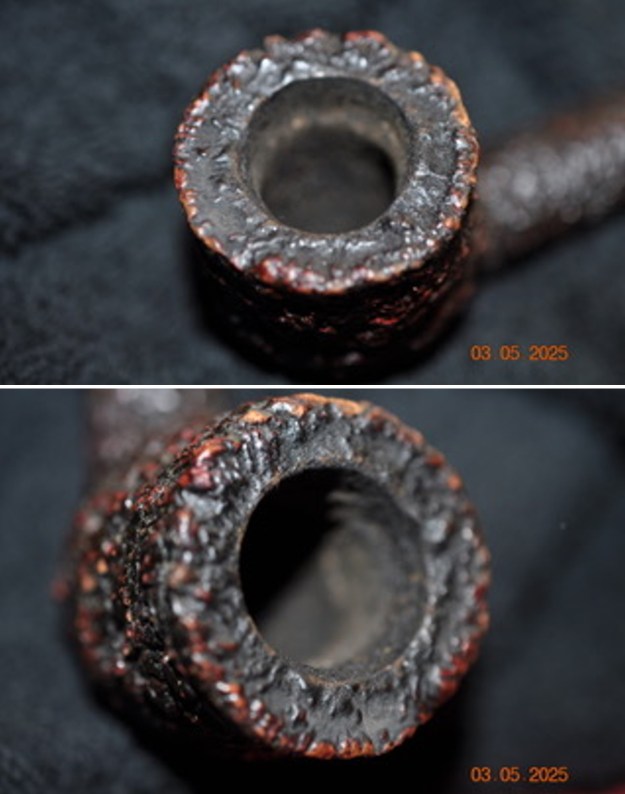
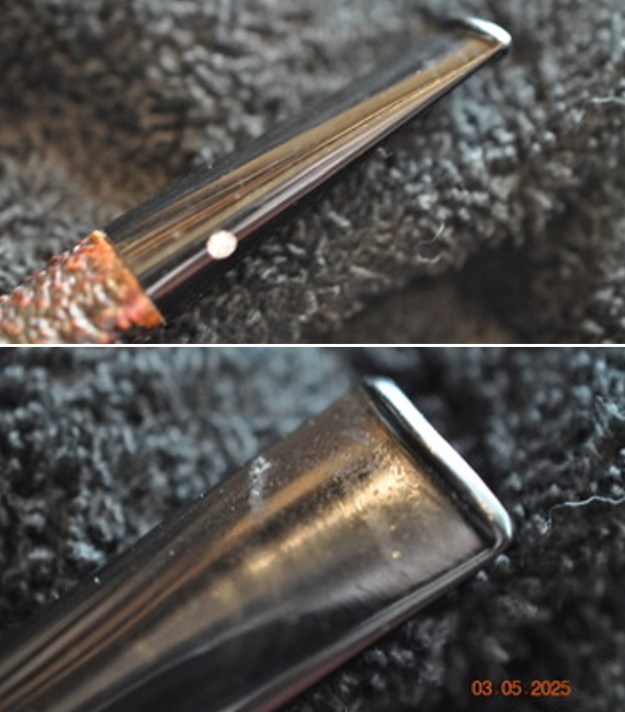
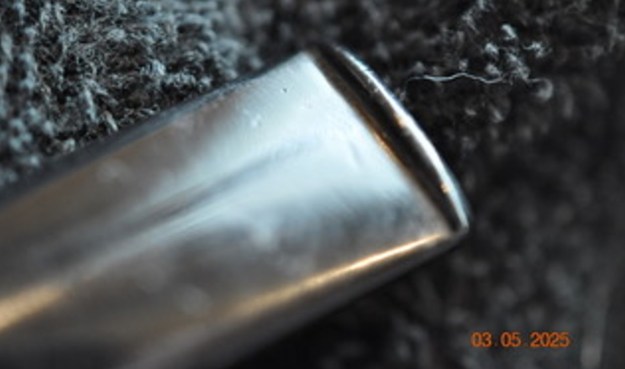
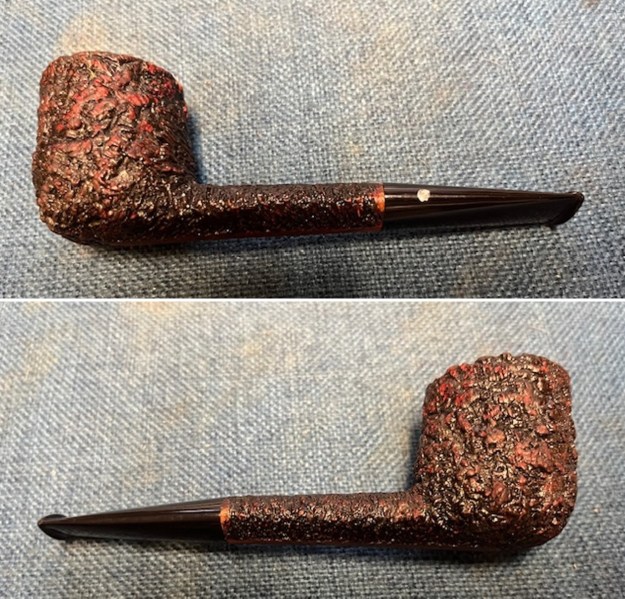
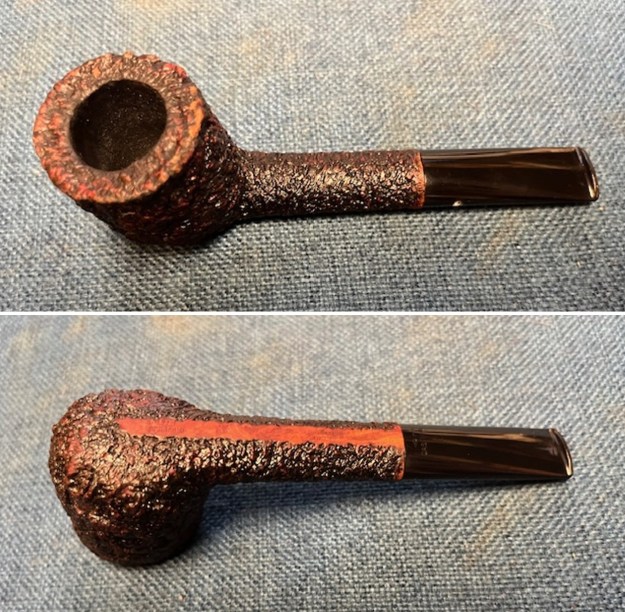
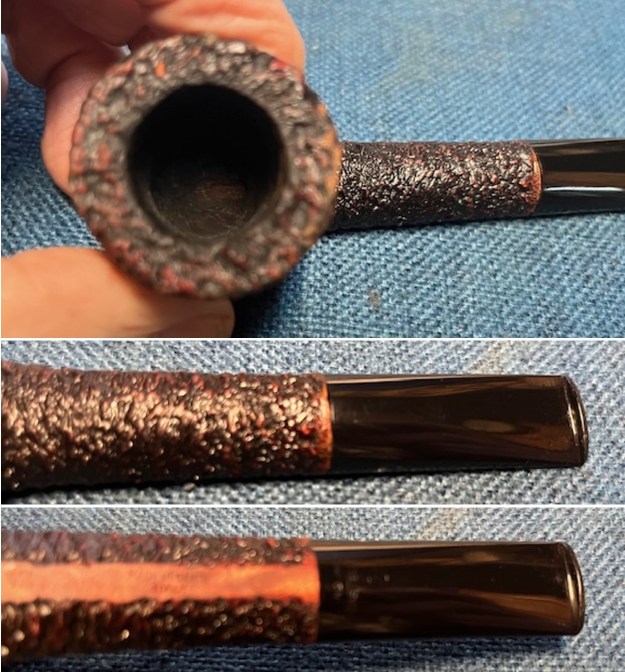
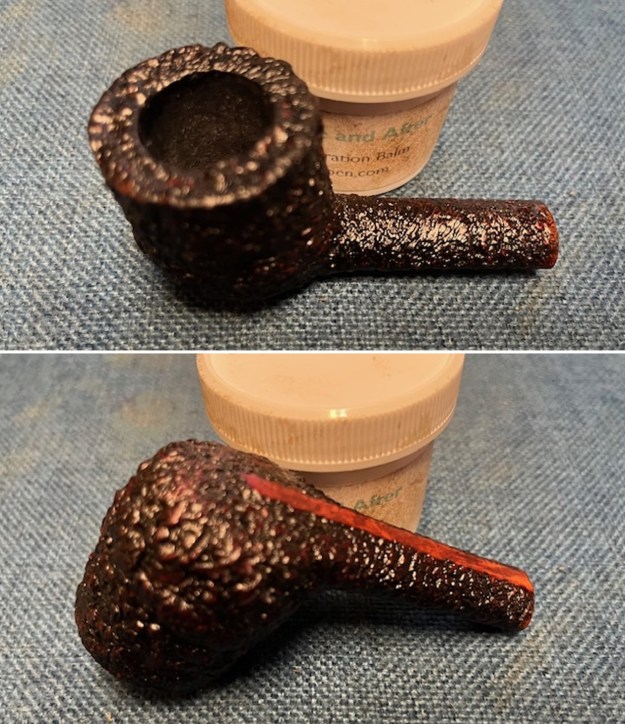
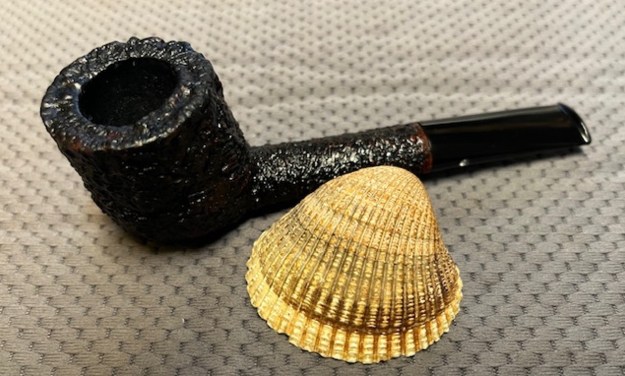
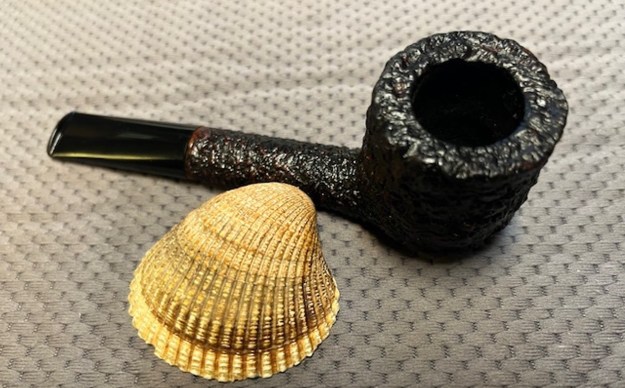
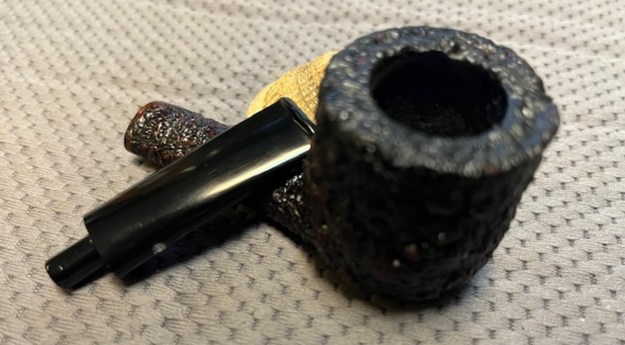
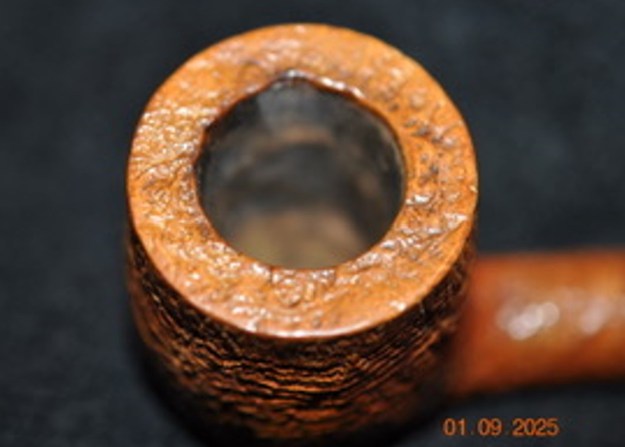
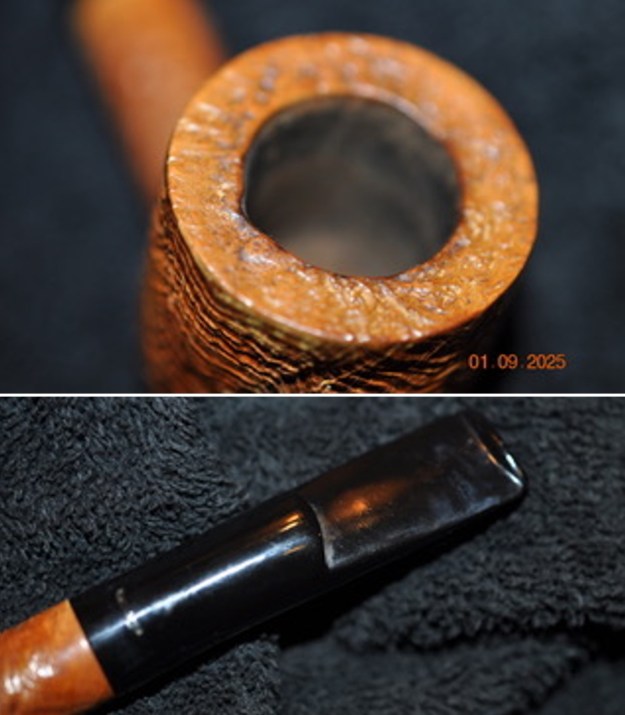
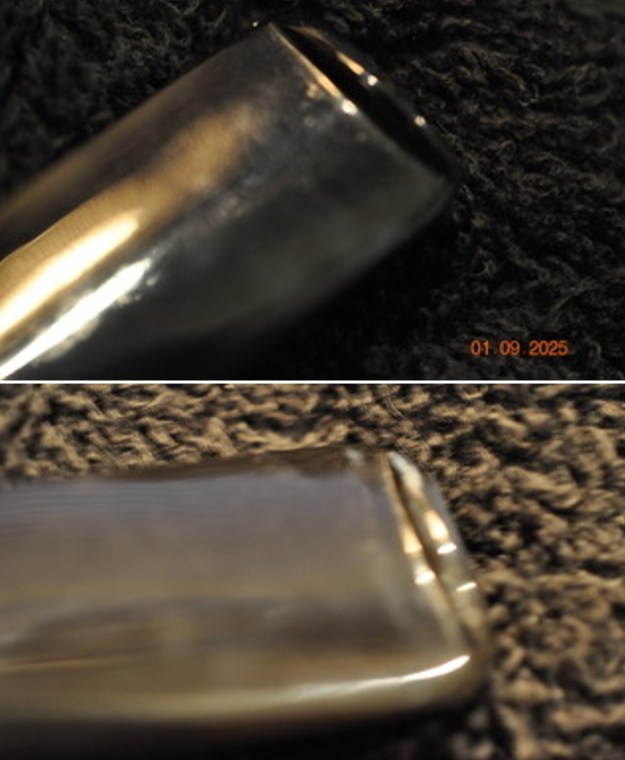
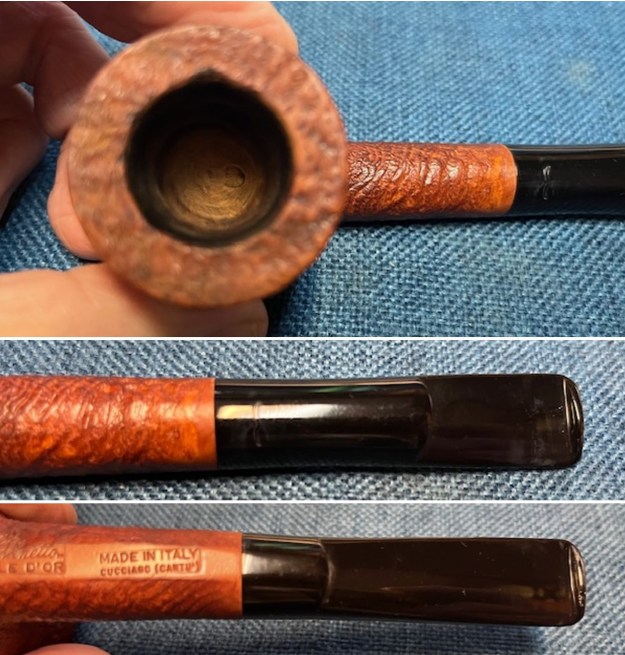
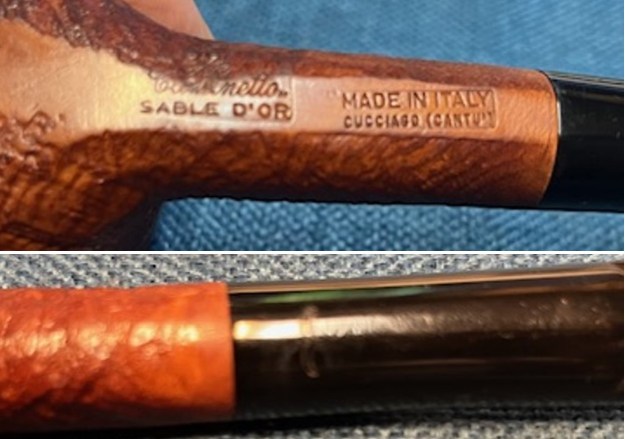
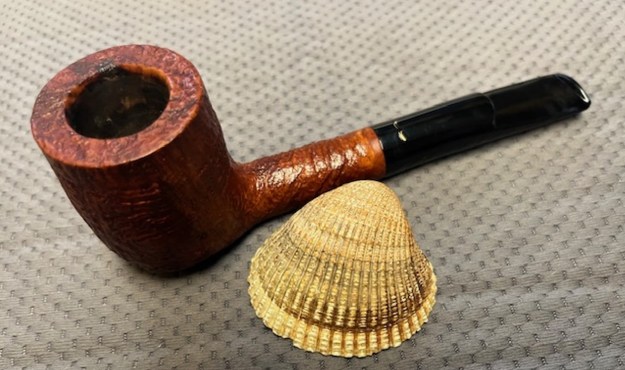
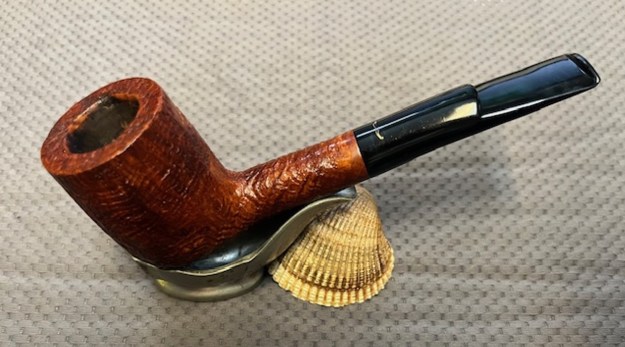
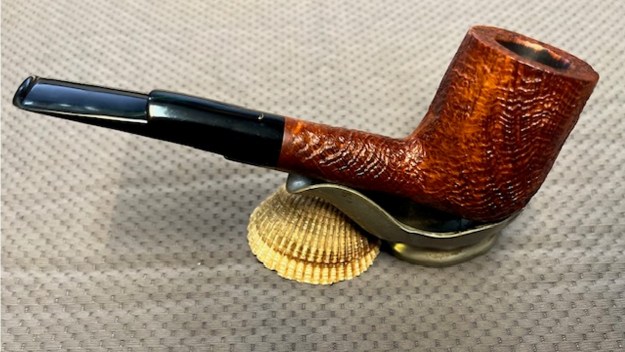
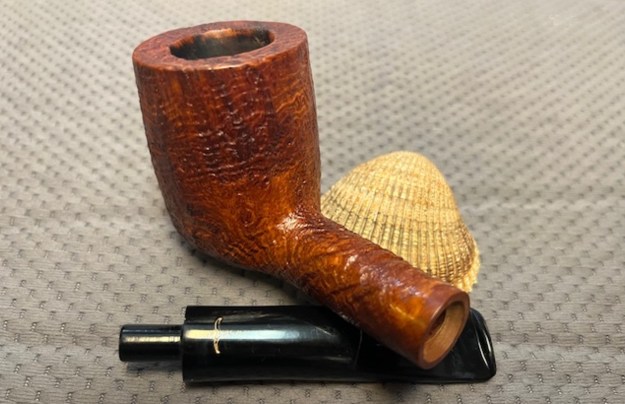
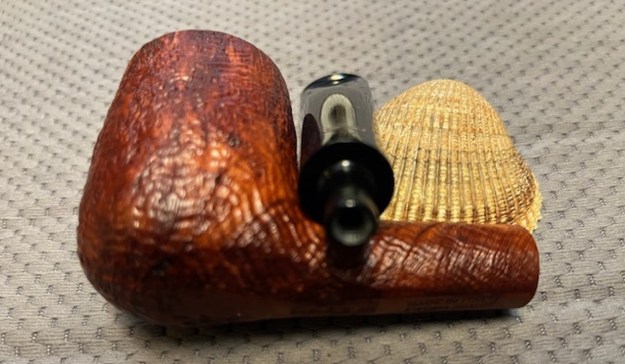
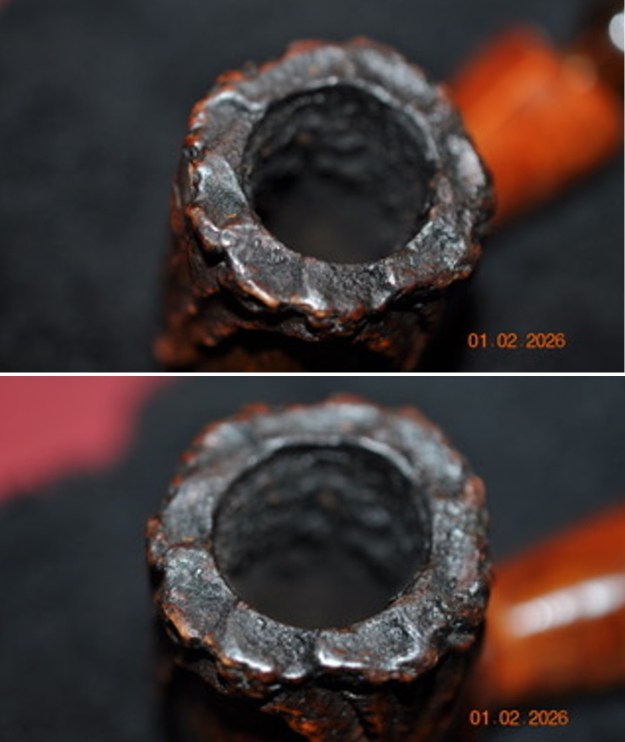
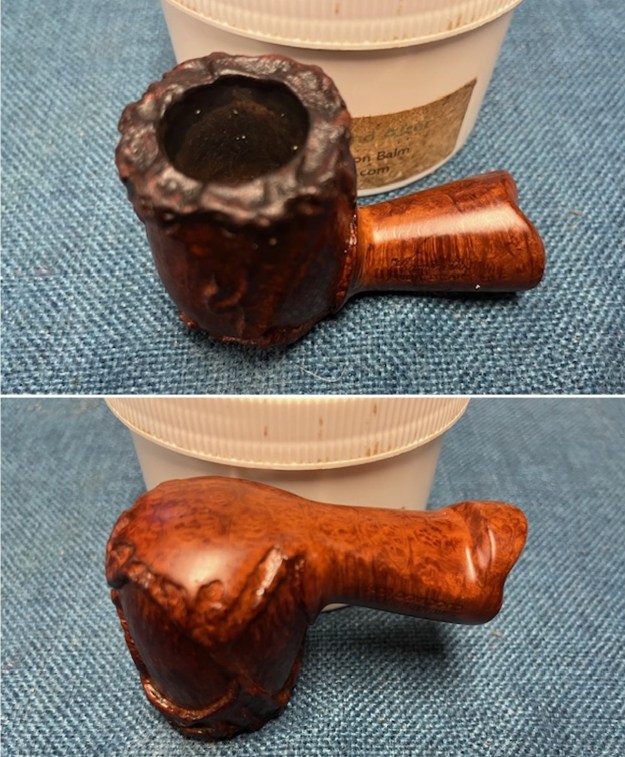
 Jeff took close up photos of the rim top from various angles to show the general condition of the bowl and rim. The rim top is rusticated and fits the rest of the finish. It is made to look a bit like a plateau finish. The photos show the heavy cake in the bowl and the lava build up in the rusticated finish on the rim top. The acrylic stem was dirty and had light tooth marks and chatter on both sides ahead of the button.
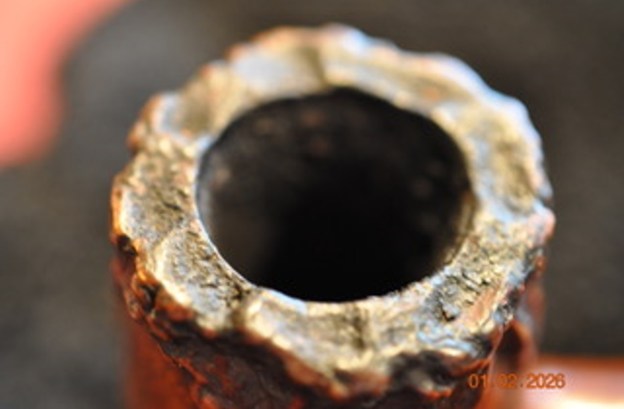
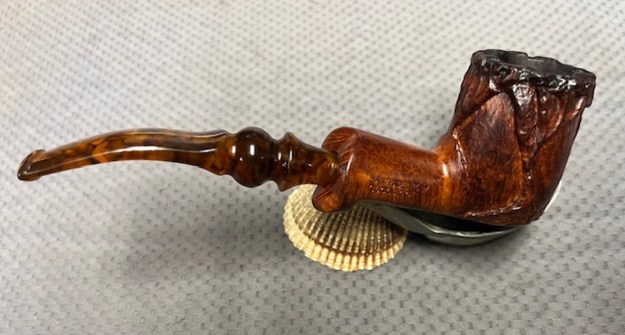
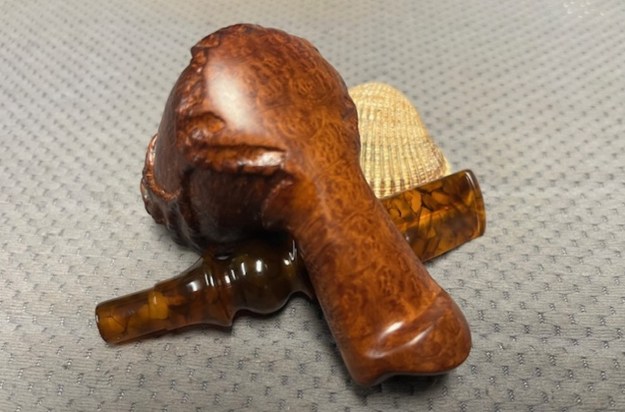
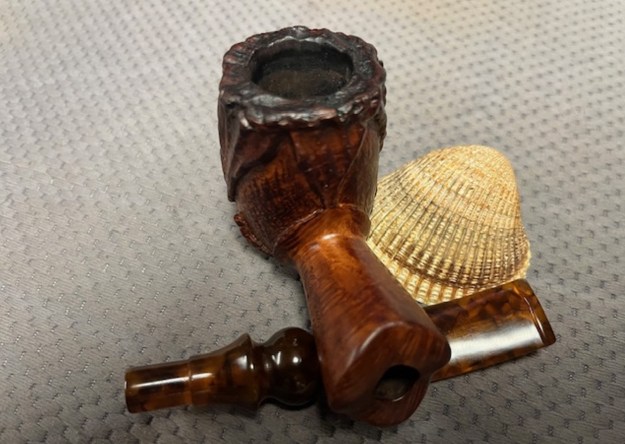
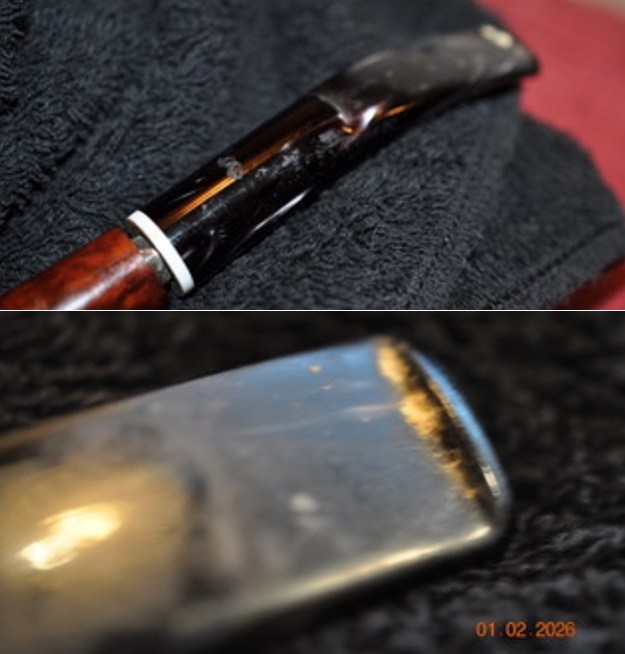
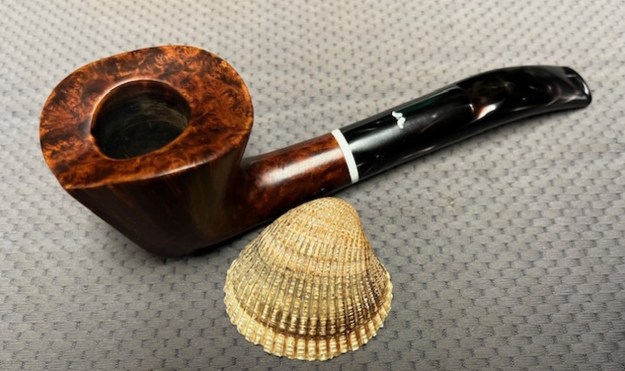
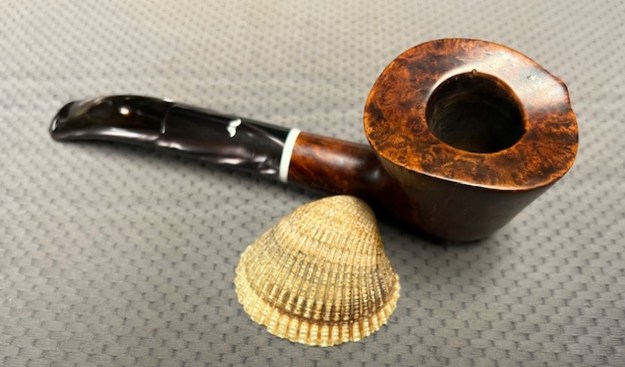
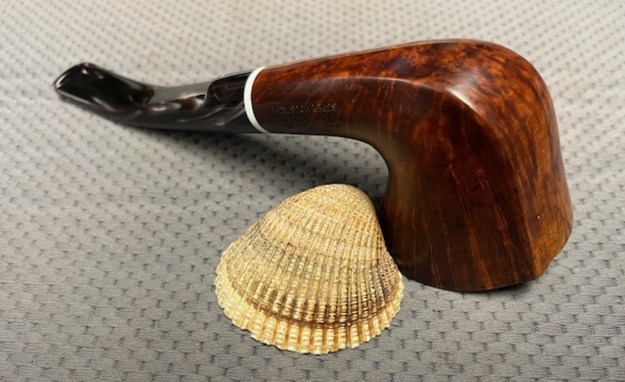
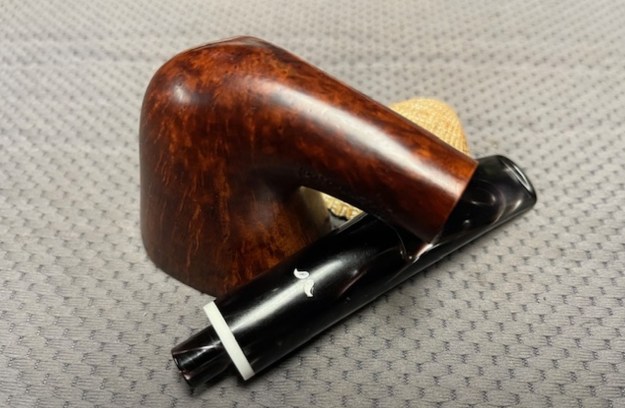
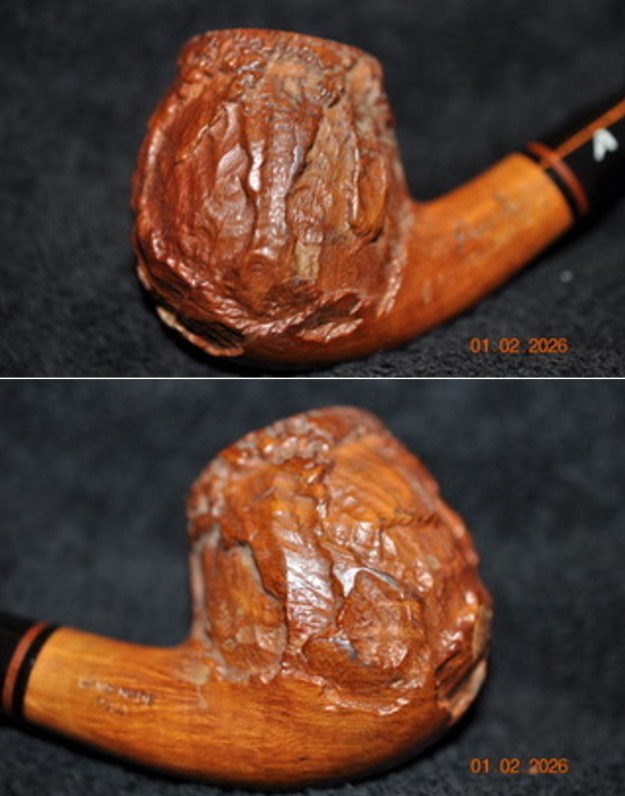
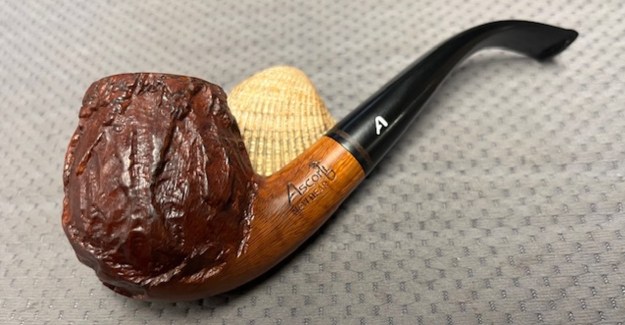
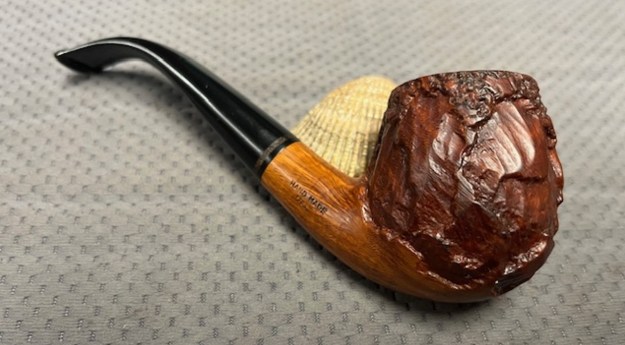
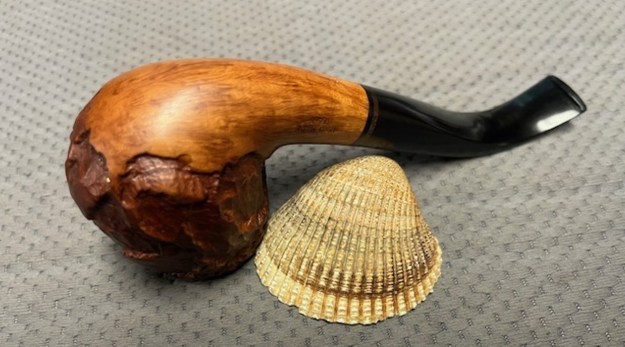
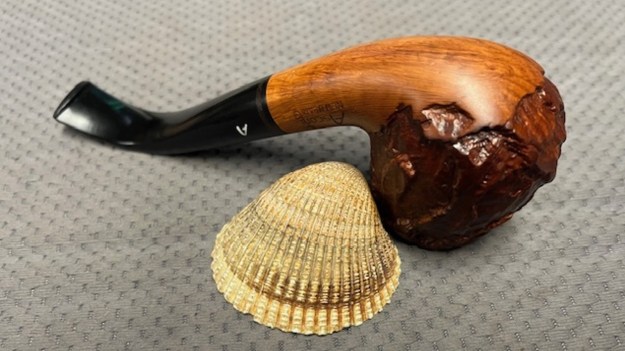
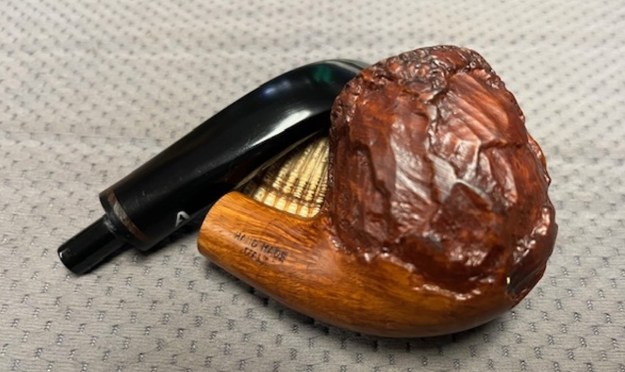
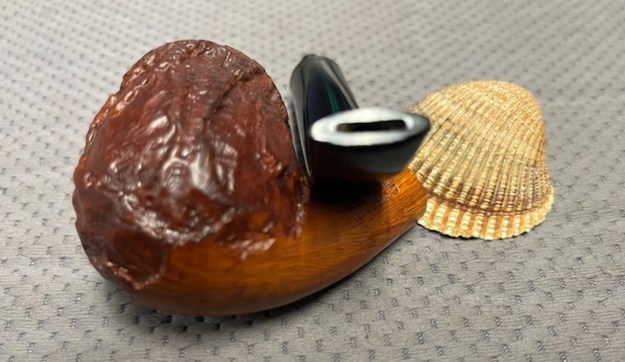
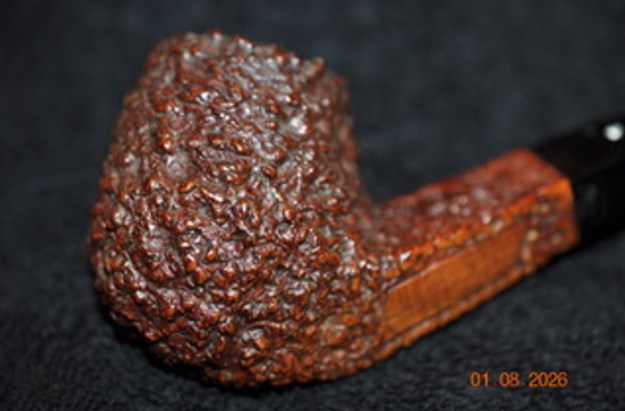
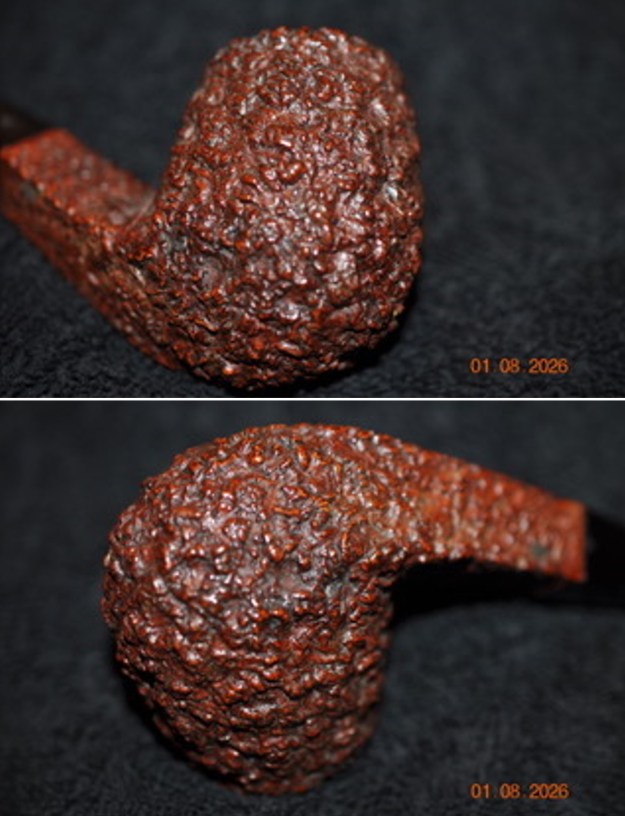
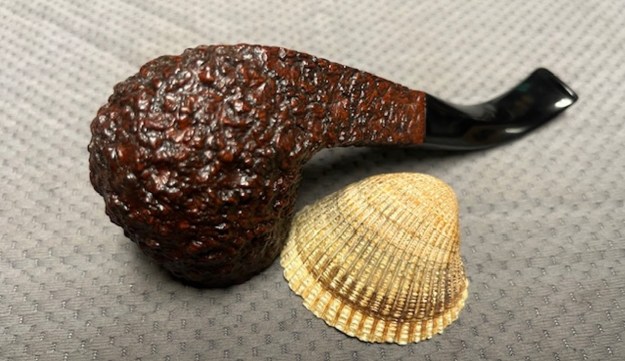
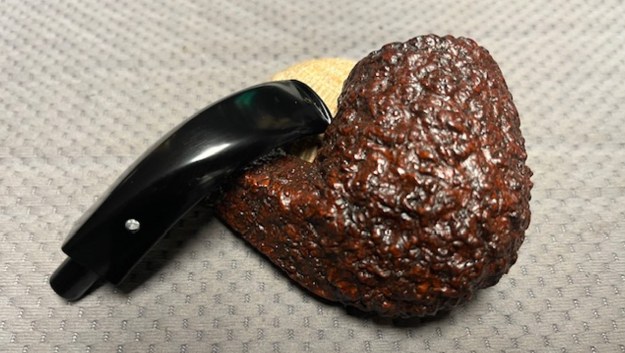
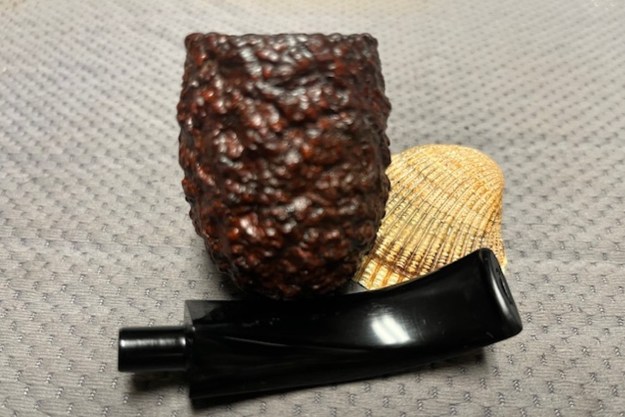
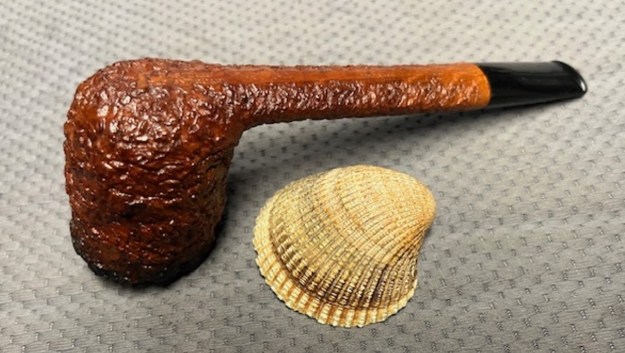
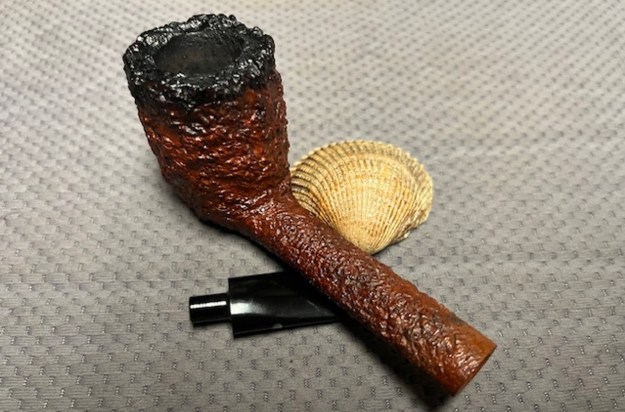
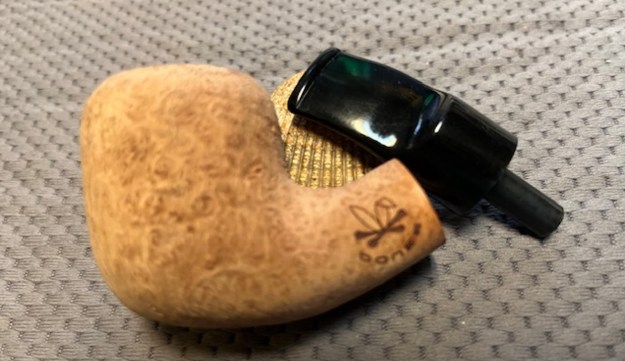
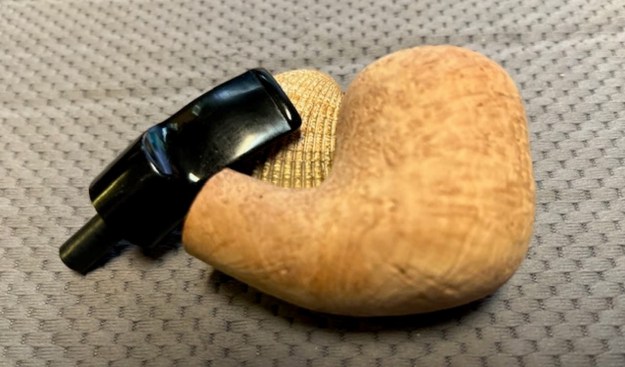
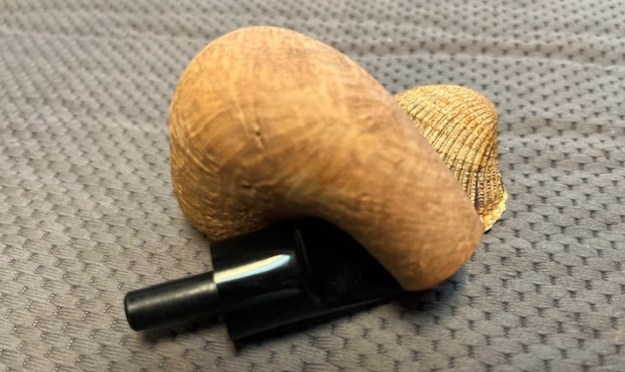
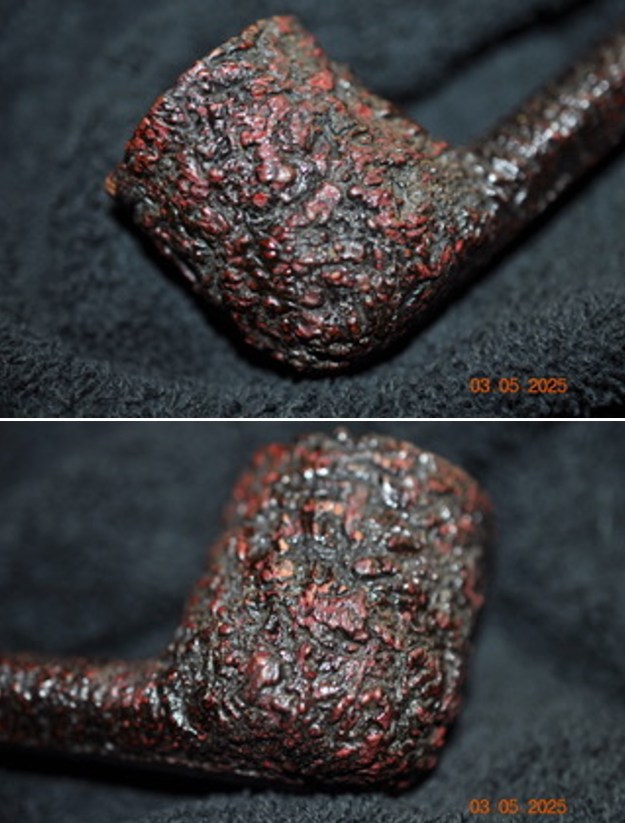
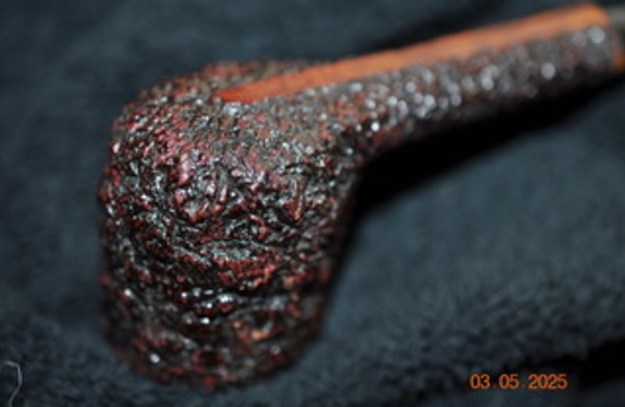
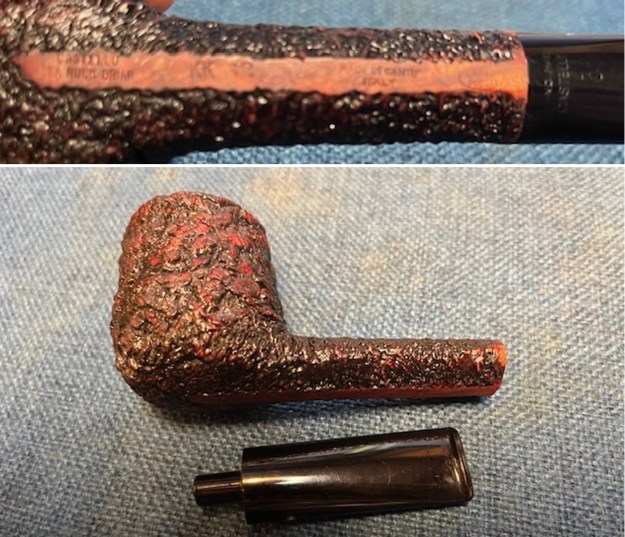
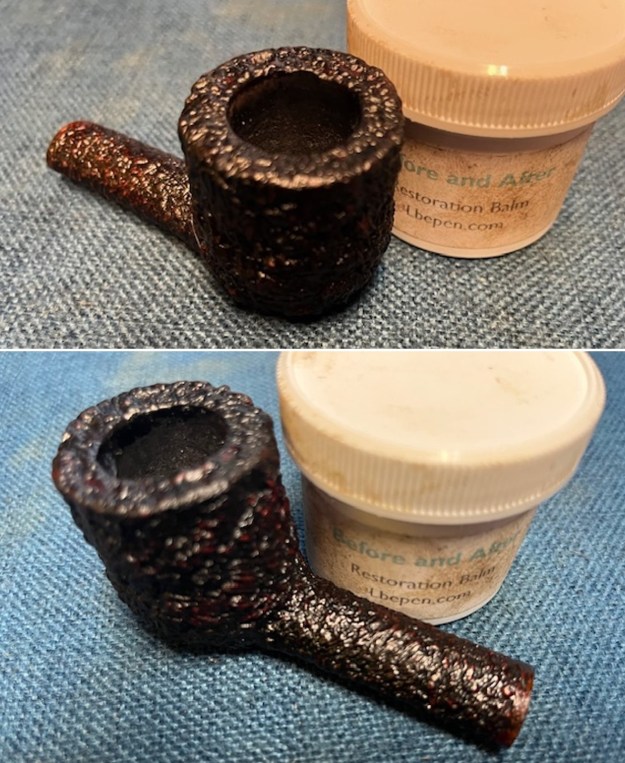
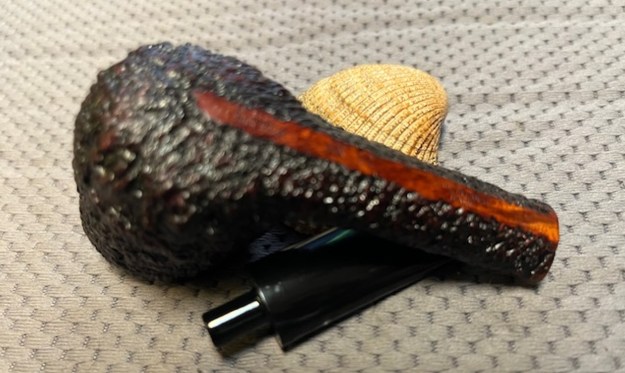
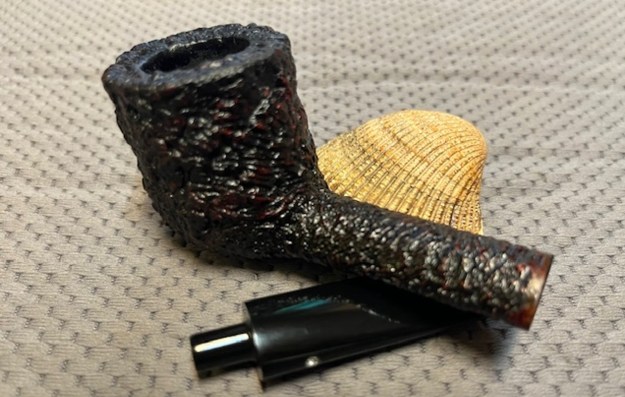
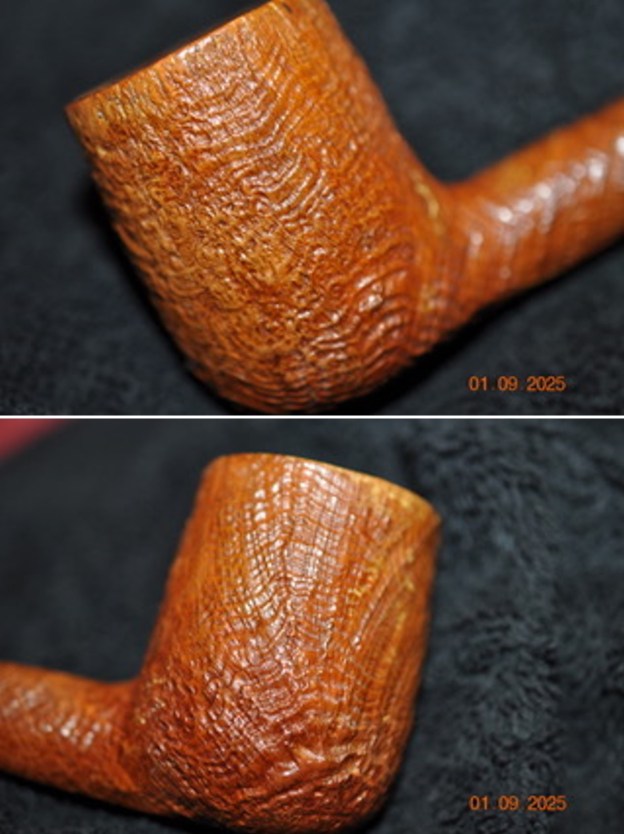
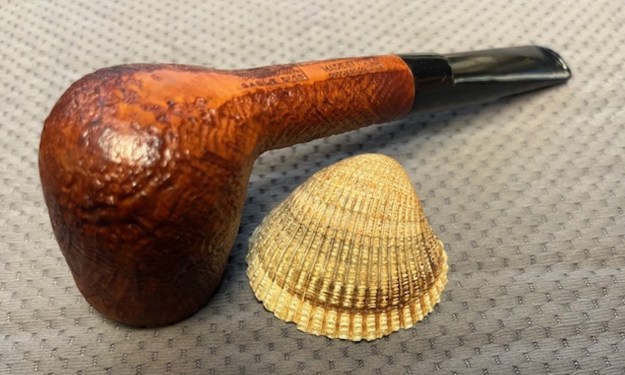
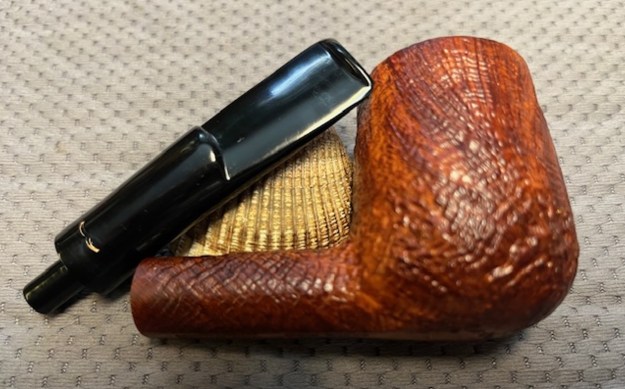
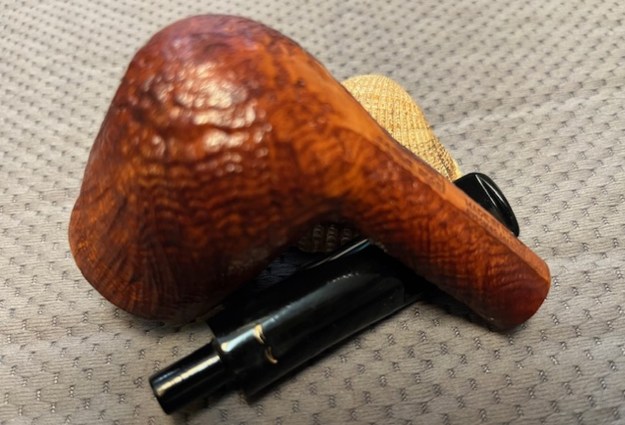
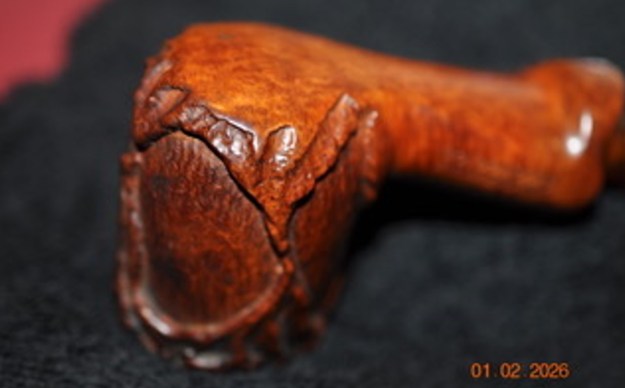
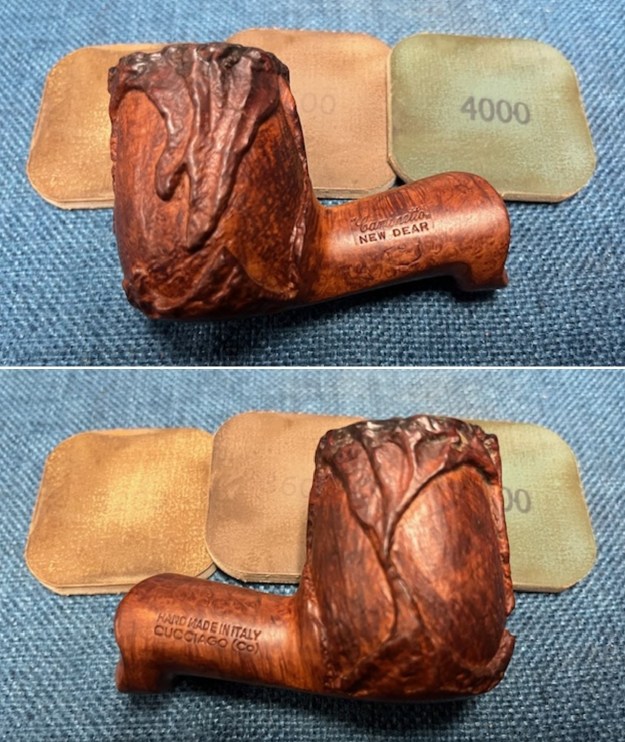
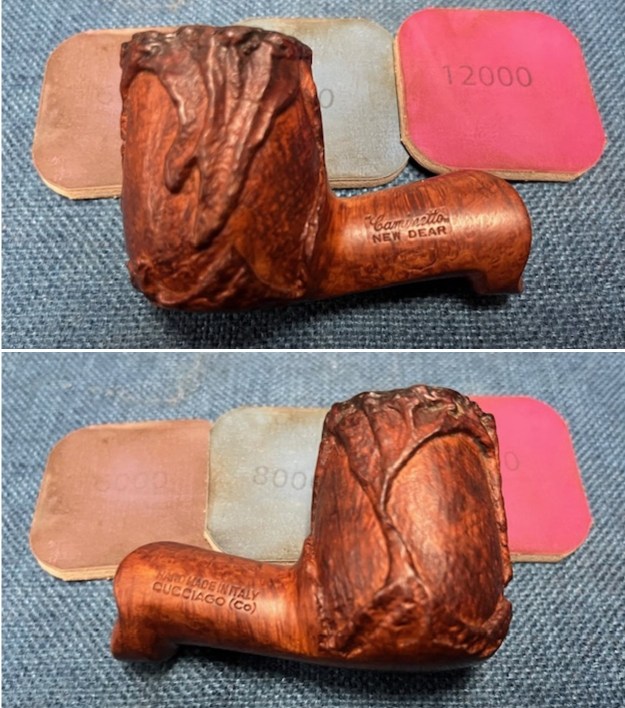
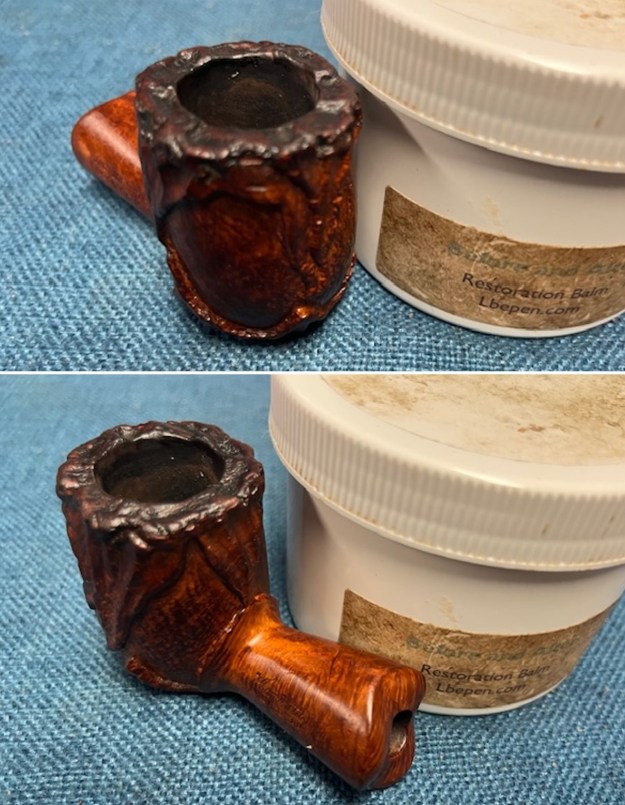
 Jeff took a photo of the sides and heel of the bowl to give an idea of the beauty of the New Dear style of rustication on the heel and sides of the bowl.
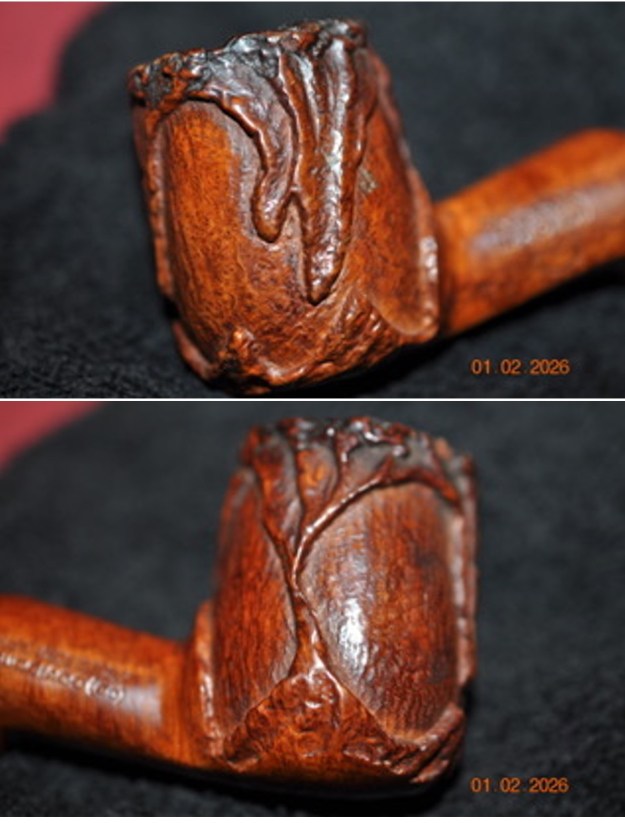
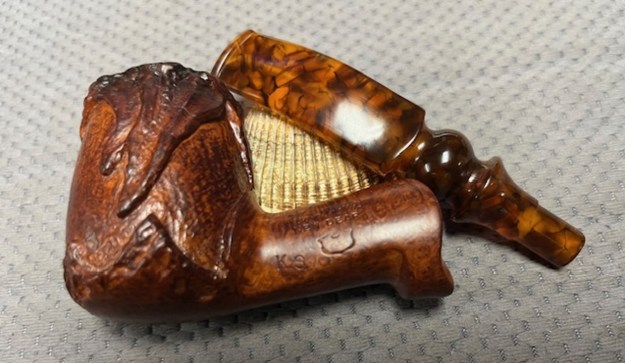
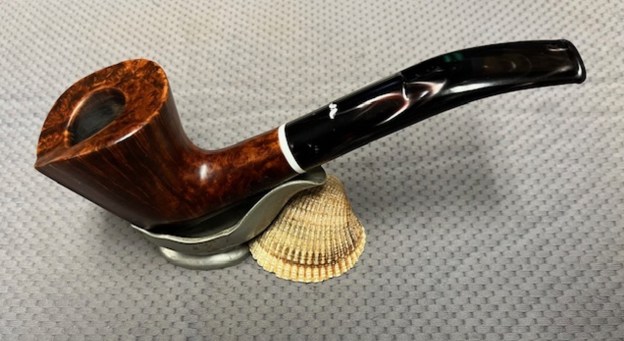
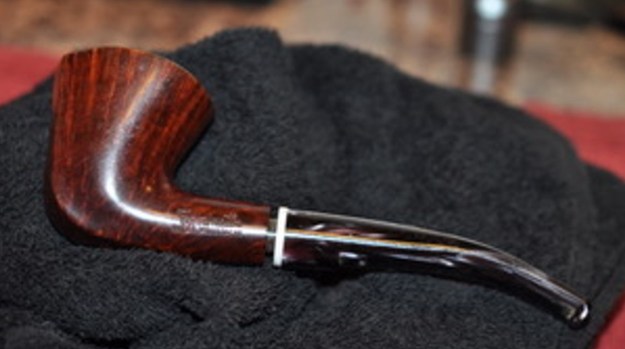
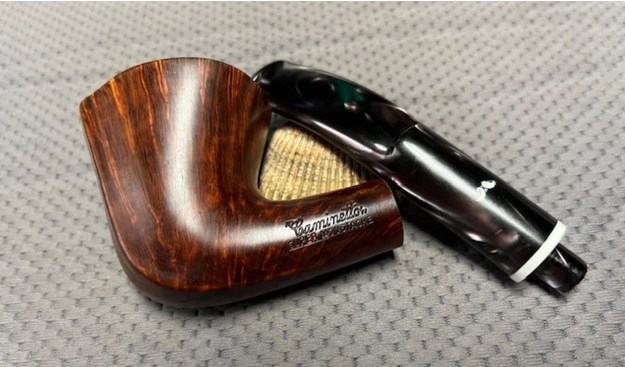
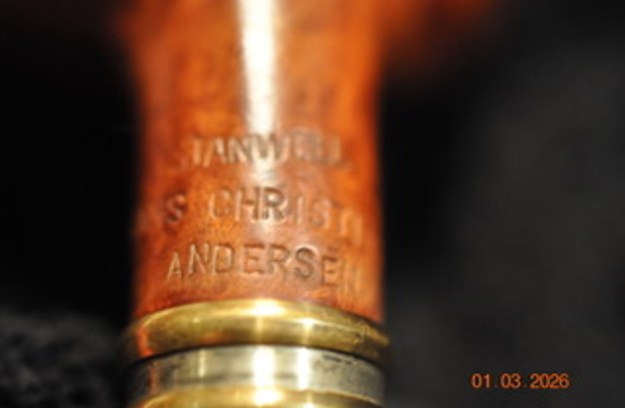
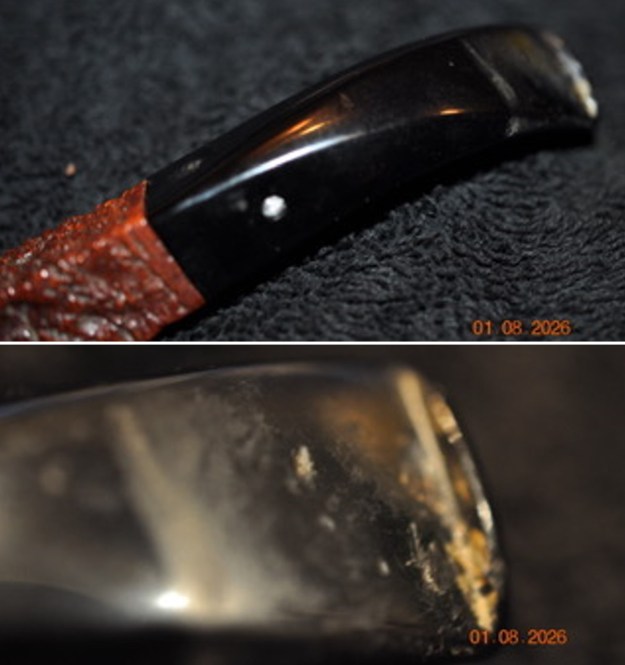
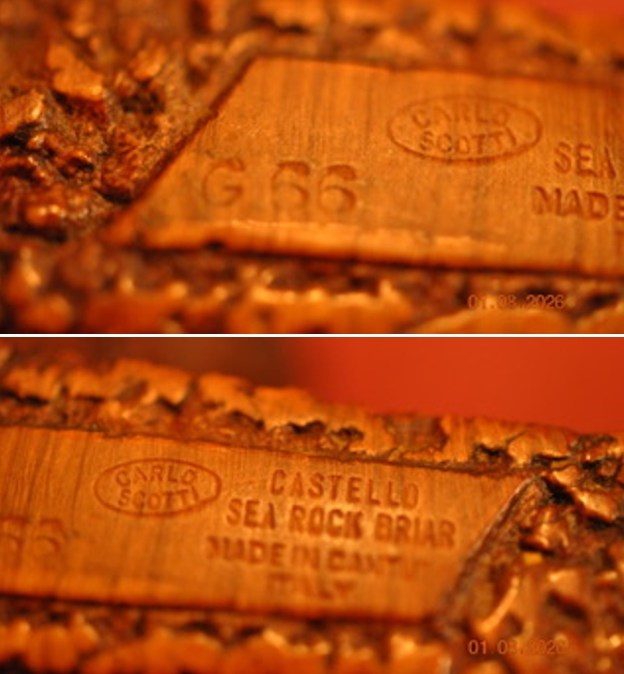
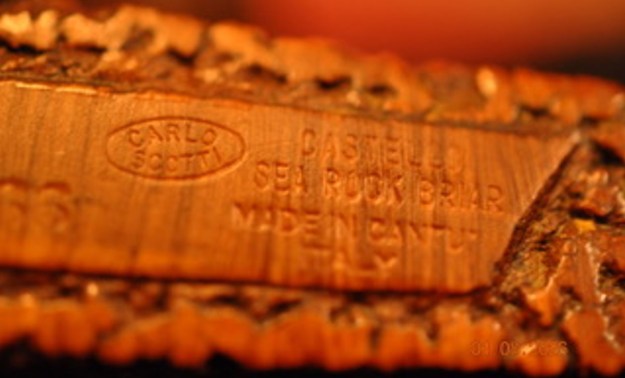
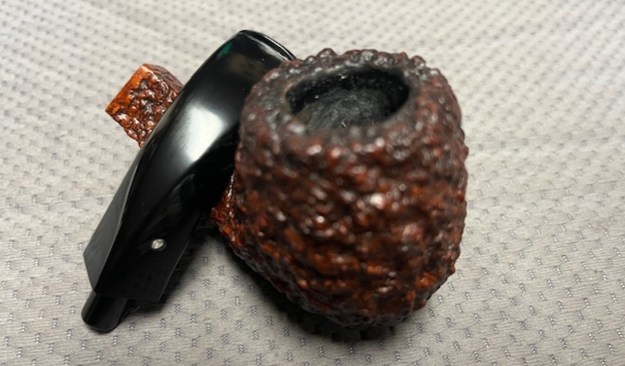
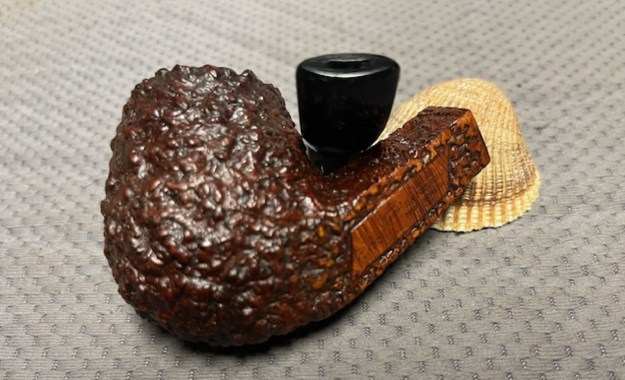
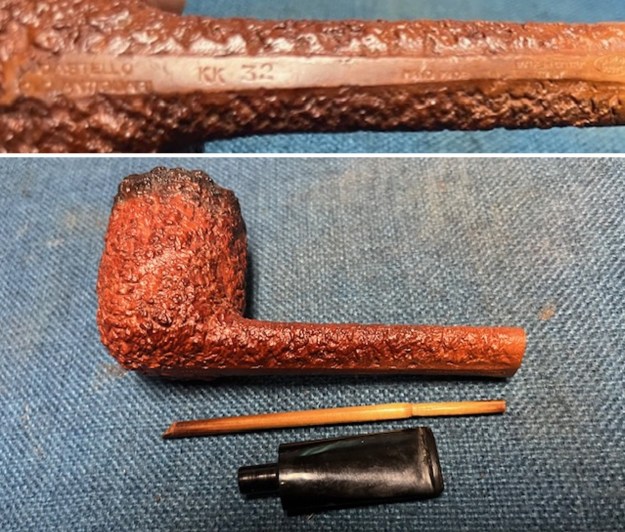
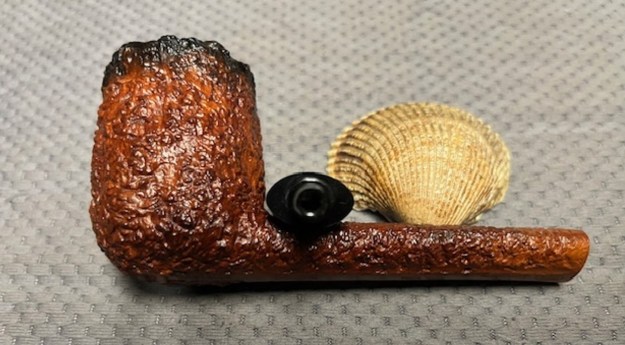
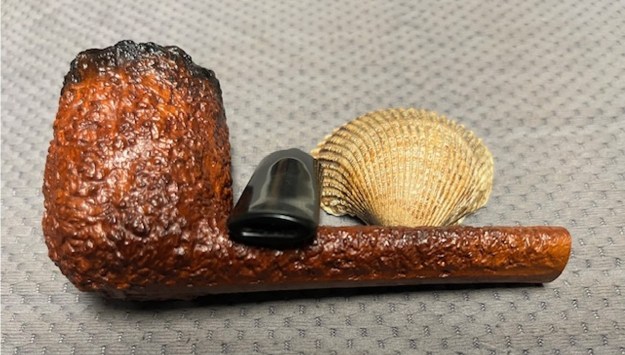
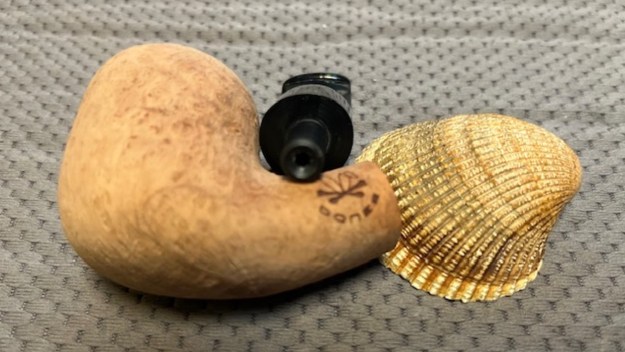
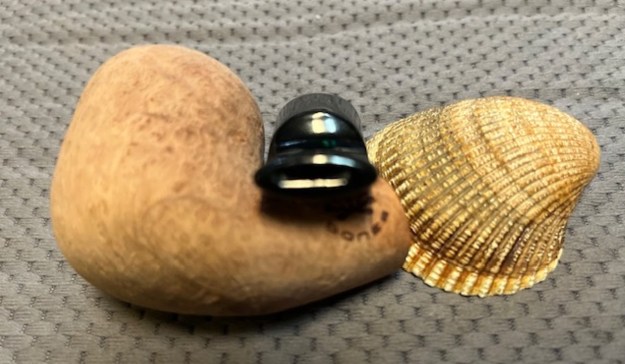
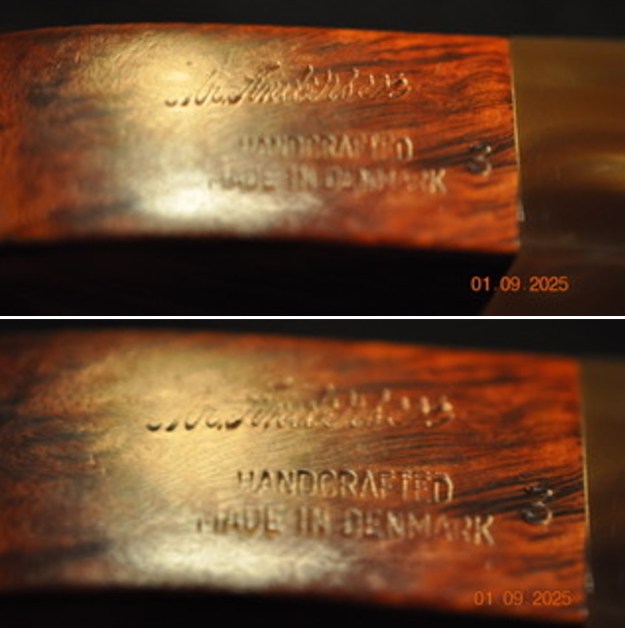
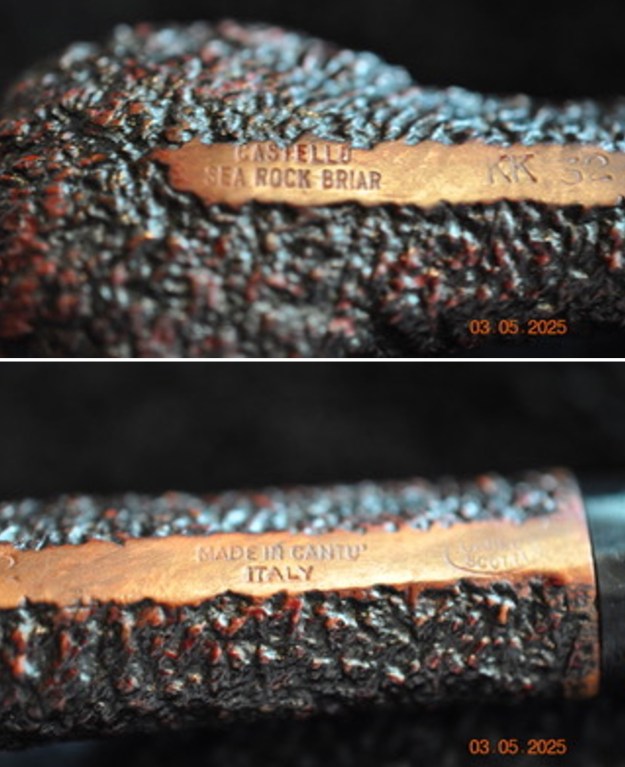
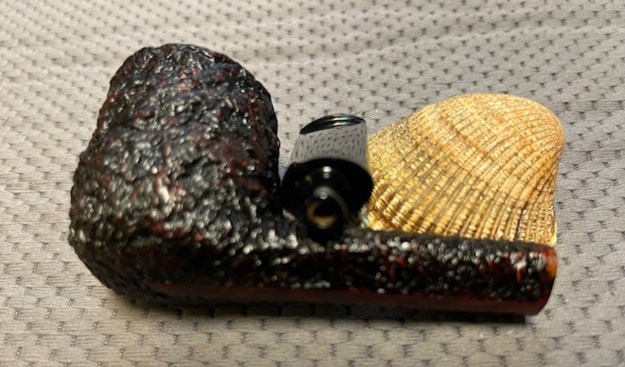
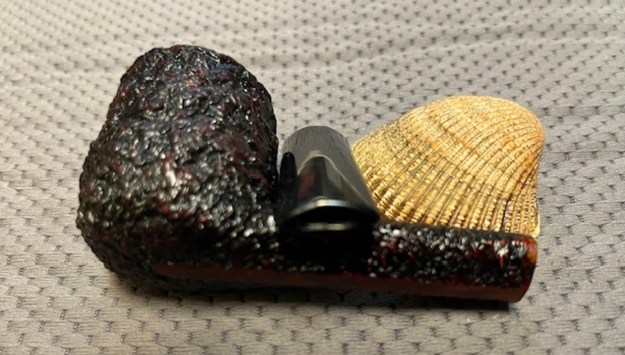
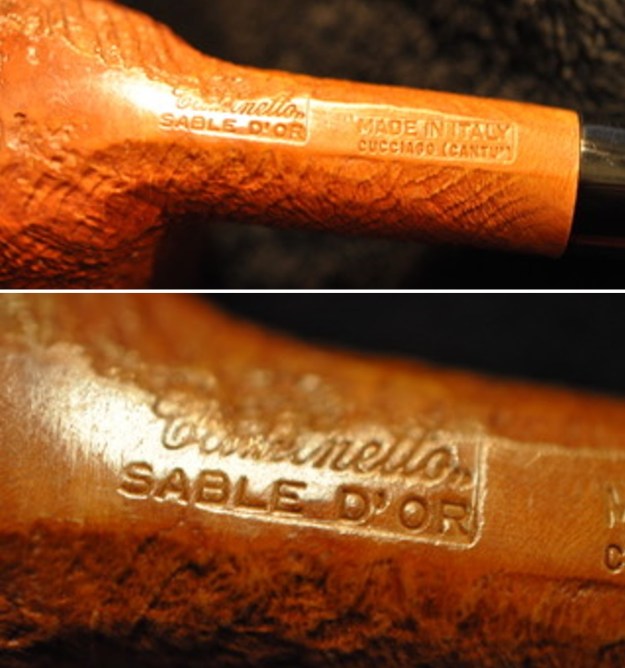
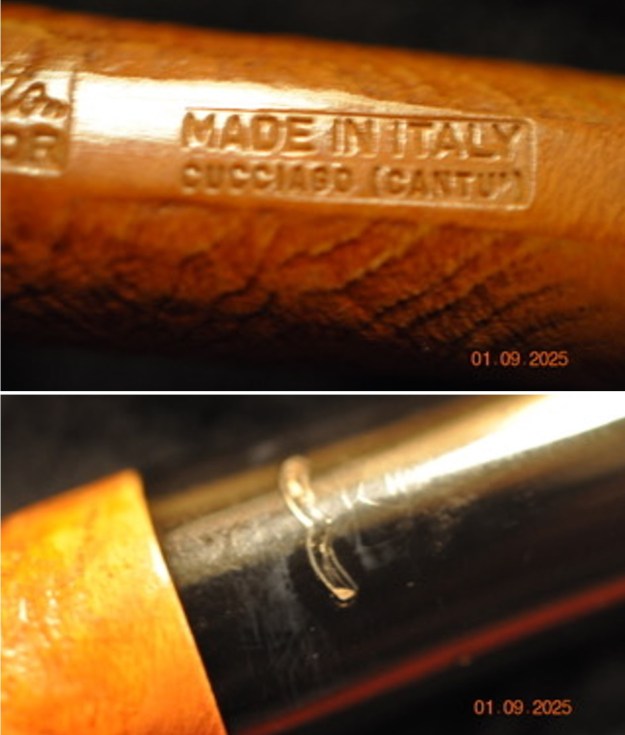
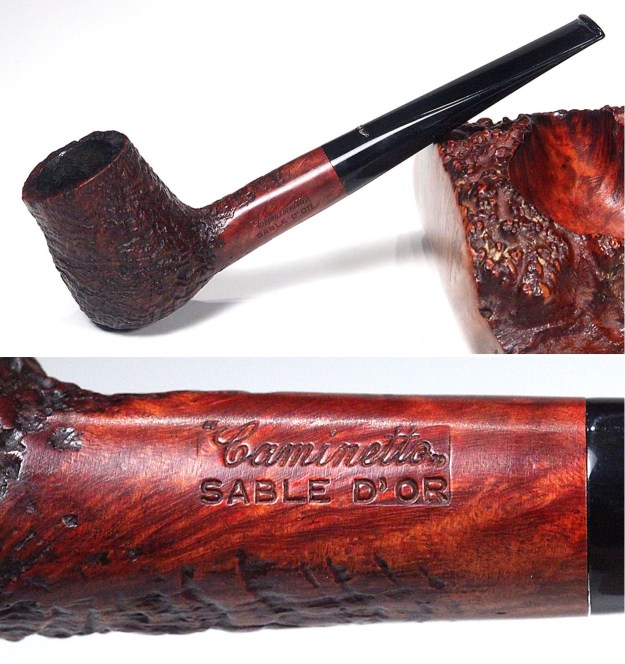
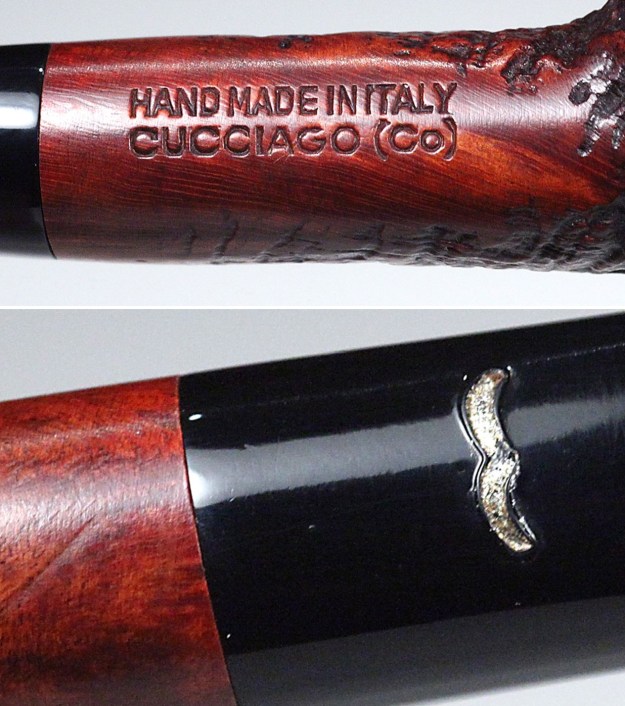
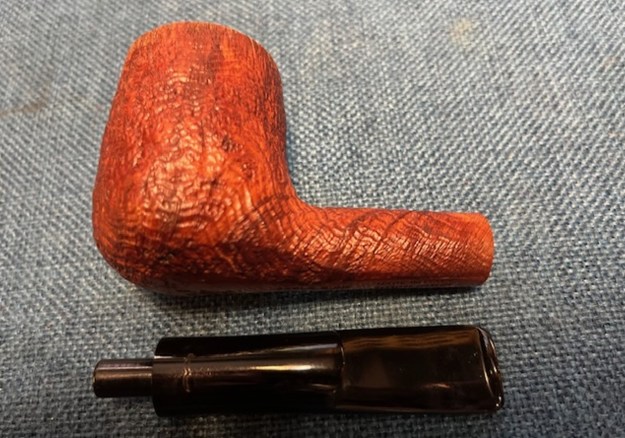
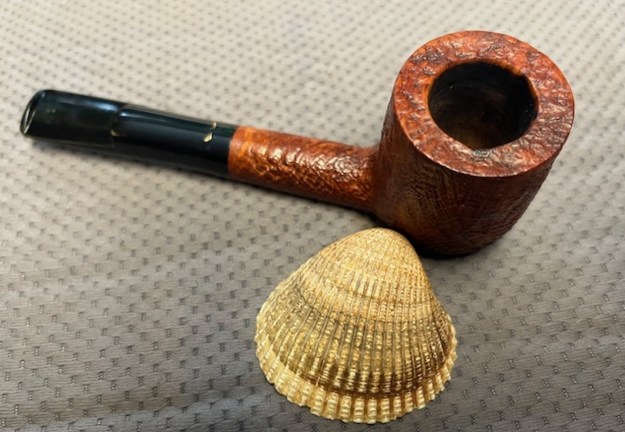
 The stamping on the sides of the shank is clear and readable as noted above.
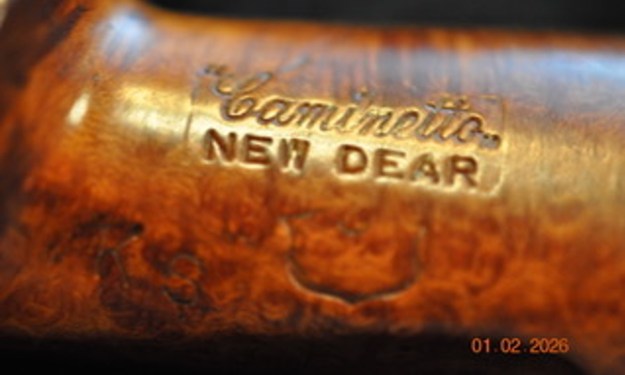
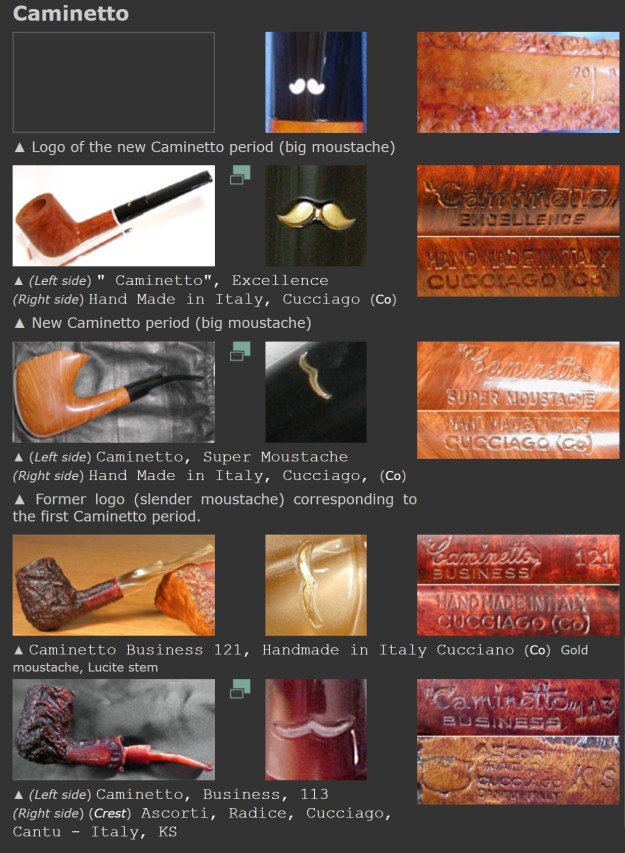
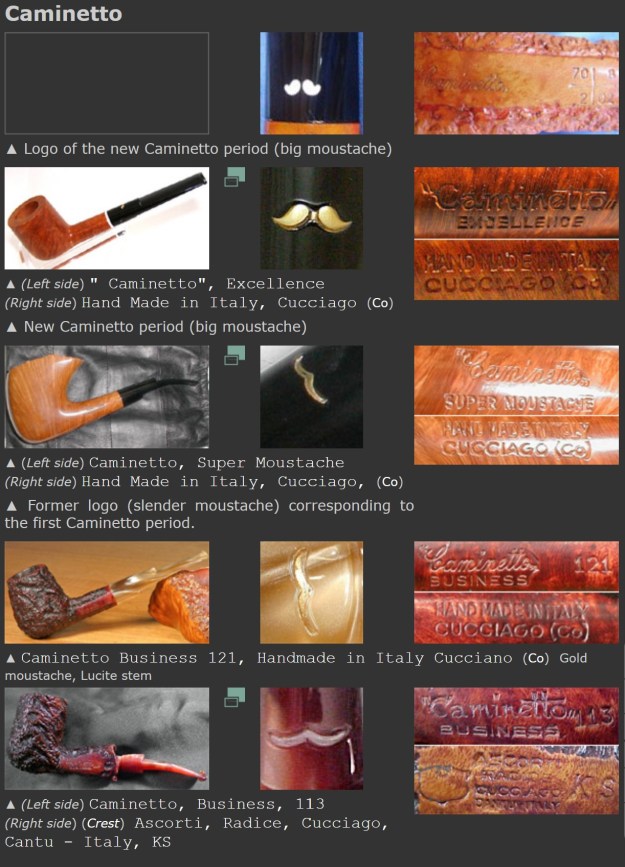
 I turned to Pipephil (http://www.pipephil.eu/logos/en/logo-c1.html) to see what I could learn about the Caminetto New Dear. There were no photos of the New Dear line but still the photos showed the other stamping on the pipe clearly. I have included the sidebar information below the screen capture.
 Brand created in 1968 by Giuseppe Ascorti († 1984), Luigi Radice and Gianni Davoli as distributor.
- 1979 : End of he first Caminetto period. Luigi Radice left the company. Giuseppe Ascorti produced the Sergio pipes (a short time) and moved into his new workshop with his son Roberto. (See also Capitello)
- 1986 : New Caminetto period by Roberto Ascorti
With that information in hand I turned to Pipedia (https://pipedia.org/wiki/Caminetto) to see if I could glean further information on the specific line – New Dear – that I am working on. I quote a section of the article below. I have highlighted the information on the New Dear Line in red below.
There is also another factor in stamping, that is, which series the pipe falls in. The majority of Caminetto’s one sees are those of the “Business” series, which are stamped such with their collective shape (see photo of shapes below). Another stamp that sometimes follows the “Business” one is “KS,” which from what I know means “King-size” (this could be wrong, as there are pipes stamped with KS1, KS2, and KS3).
The other series is what is known as the “Prestige” series, though I have never seen a Caminetto stamped with “Prestige.” It appears that is the name of the collective series of smooth and specialty pipes made by Caminetto and featured in the Tinder Box brochure of old. There are so many different Prestige models, shapes, and finishes, and I have only seen about 5 or 6 of them. The list, per Harvey and other collective resources, is below:
Bagdad (Super Briar and Black Briar Moustache–stained black and smooth)
Damasco (gold ring affixed to top of bowl; smooth)
Double Bowl
Excellence, Excellence Extra, and Excellence Flame (natural, light chestnut or walnut; smooth)
Green Briar and Green Briar Moustache (stained mahogany or walnut; smooth)
Moustache, Moustache KS, KS1, KS2, KS3, and super Moustache (top of the line model; smooth)
New Dear, New Dear KS, KS1, and New Dear Moustache (stained light chestnut with or without black smoke ring on rim; roughly carved)
Red Briar (stained cherry; smooth)
Sable D’Or and Sable D’Or KS, KS1 (black, chestnut, natural, mahogany, red or walnut; sandblast)
Tinder Box Golden Anniversary Drainplug (250 made in black or natural sandblast; 51 made in Sable D’Or sandblast or Excellence smooth finishes)
Torch (stained mahogany or walnut; smooth)
Twin Bowl (only one in existence that I know of, featured in Hacker’s book)
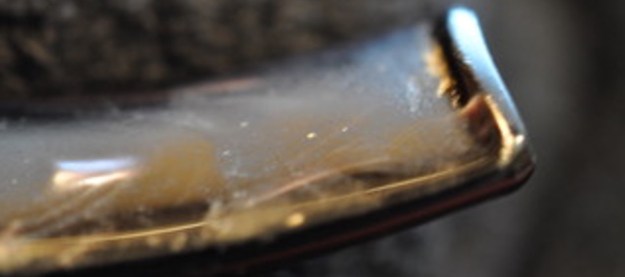
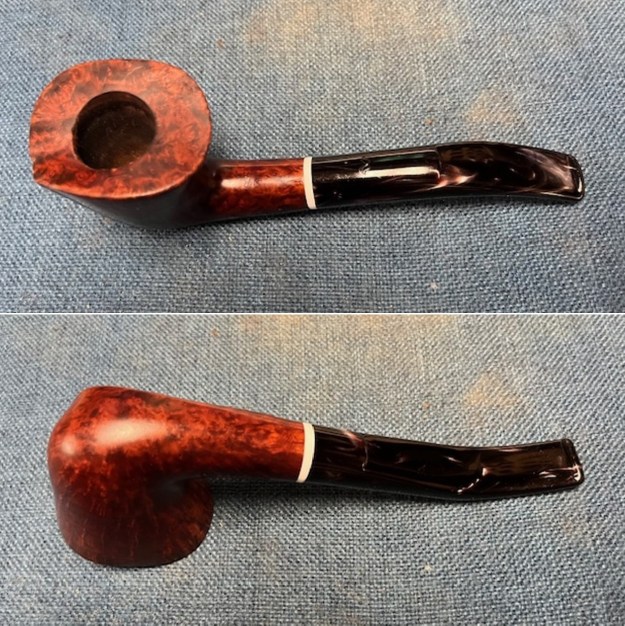
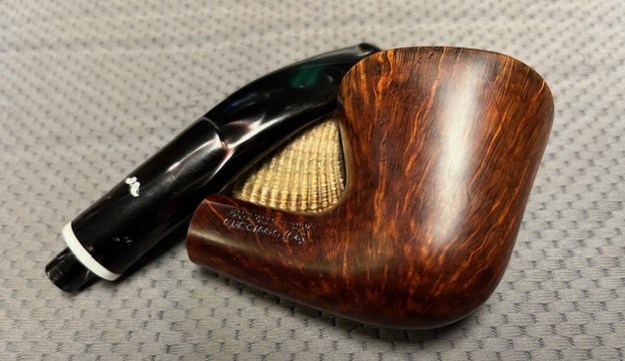
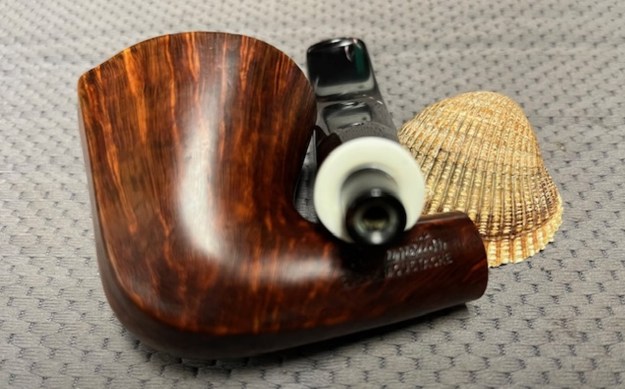
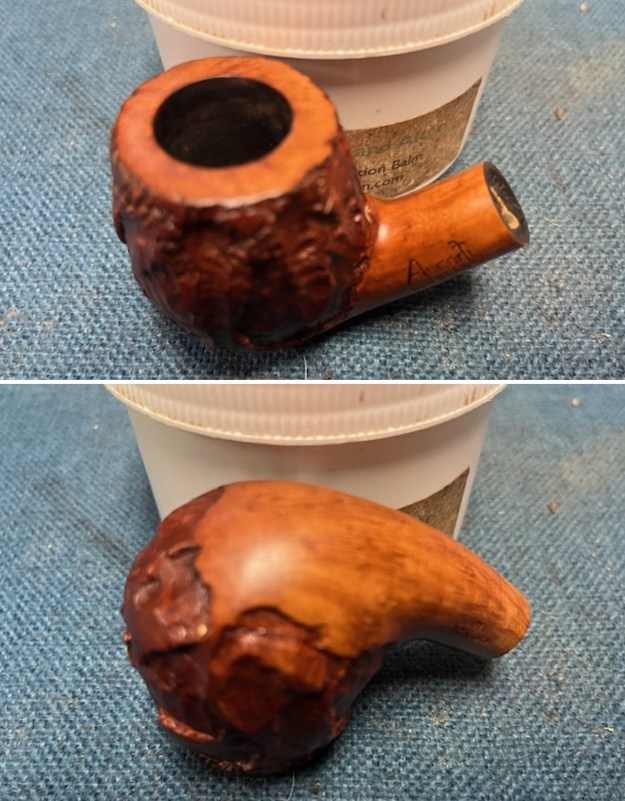
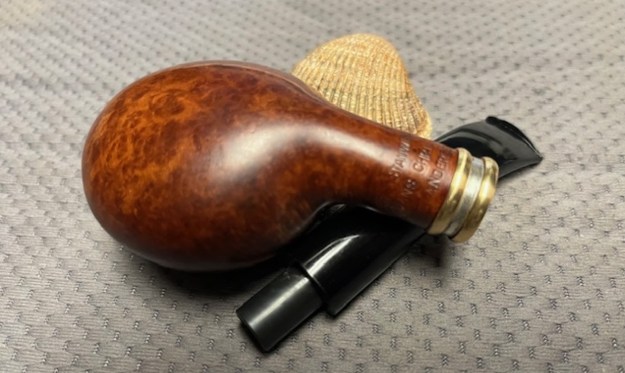
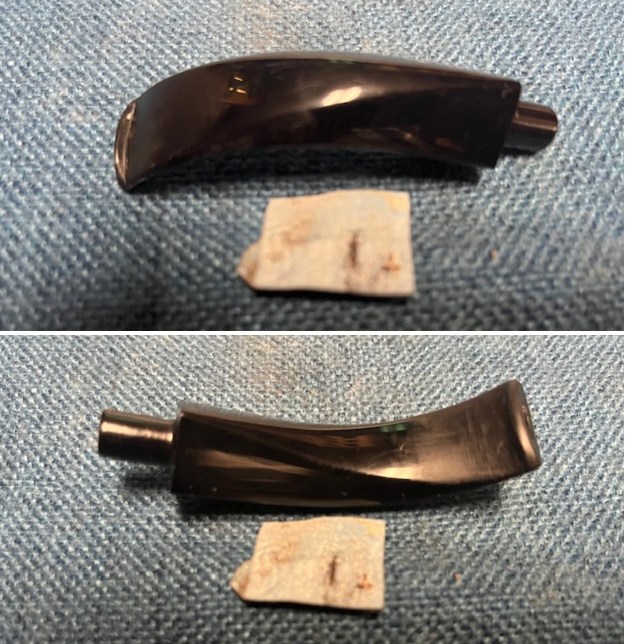
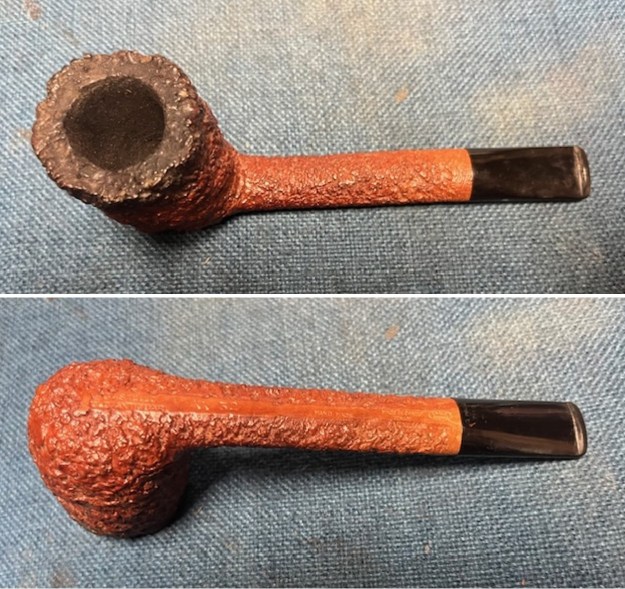
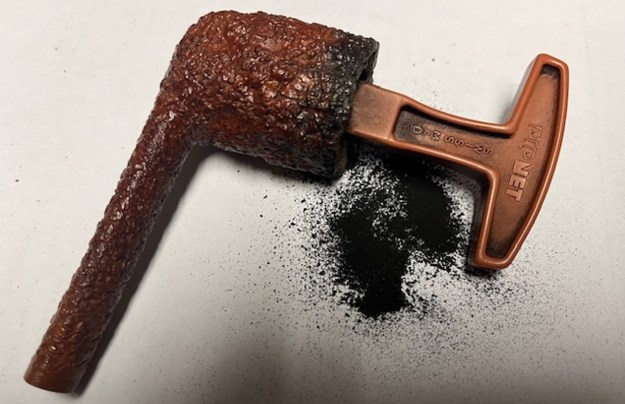
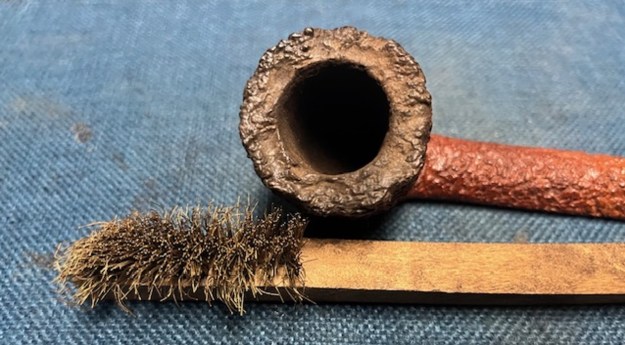
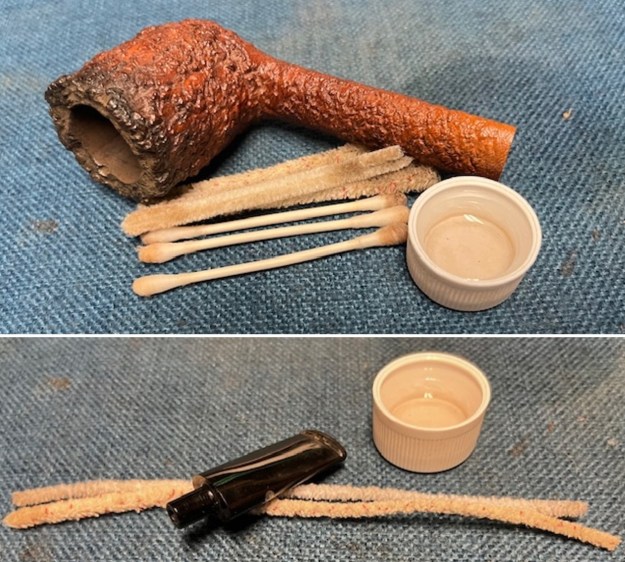
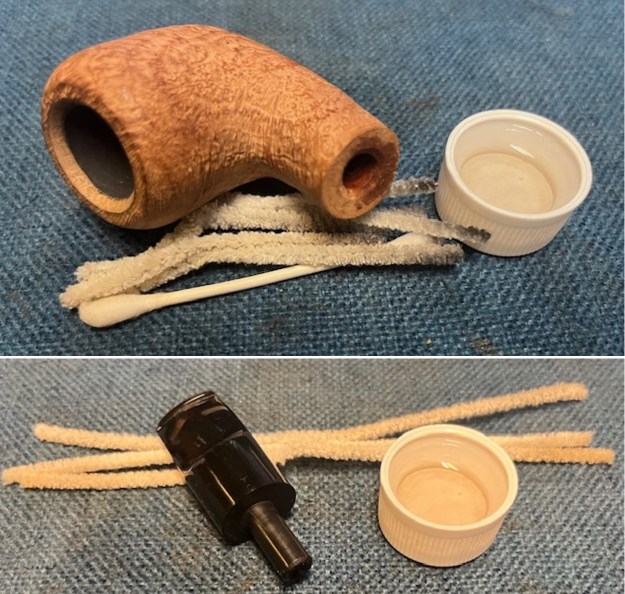
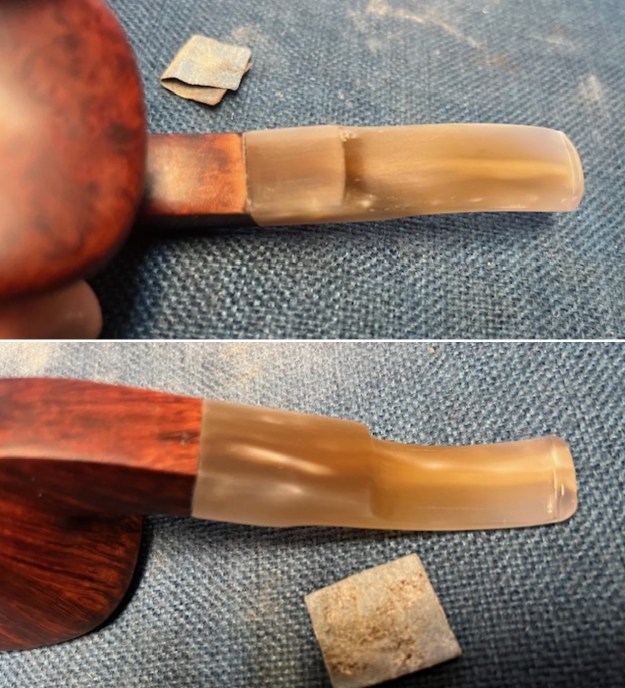
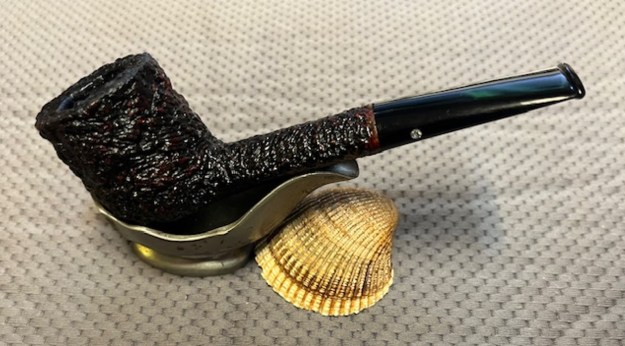
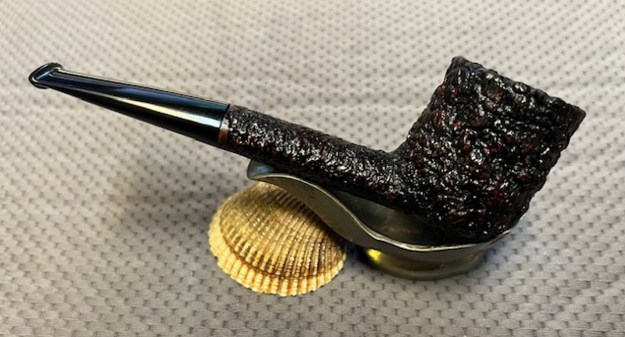
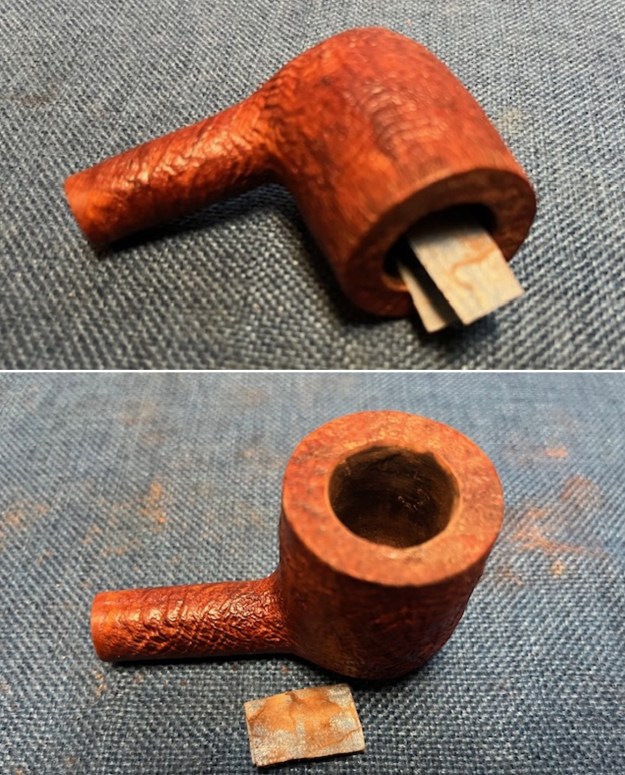
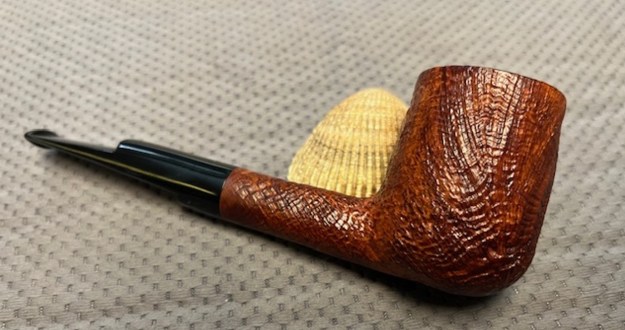
Now it was time to work on the pipe. Jeff had done his usual thorough clean up of the pipe. He had reamed it with a PipNet reamer and finished with a Savinelli Fitsall Pipe Knife. He scrubbed the exterior with Murphy’s Oil Soap and the interior with isopropyl alcohol, shank brushes, cotton swabs and pipe cleaners. The rim top and edge of the bowl at the top had a black stain to give it a flumed appearance. It was faint but still visible. He worked on the acrylic stem with Soft Scrub. He rinsed it off with warm water. It has light tooth marks and chatter on both sides. I took photos of the pipe before I started work. 
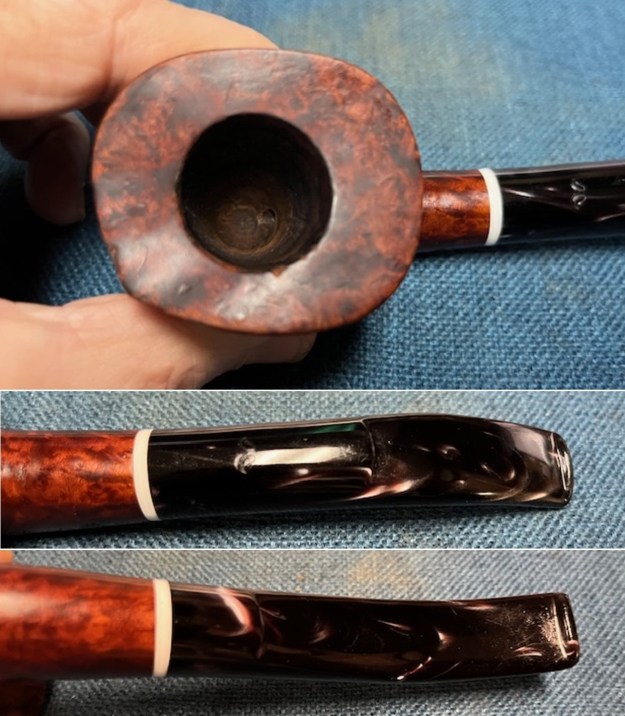
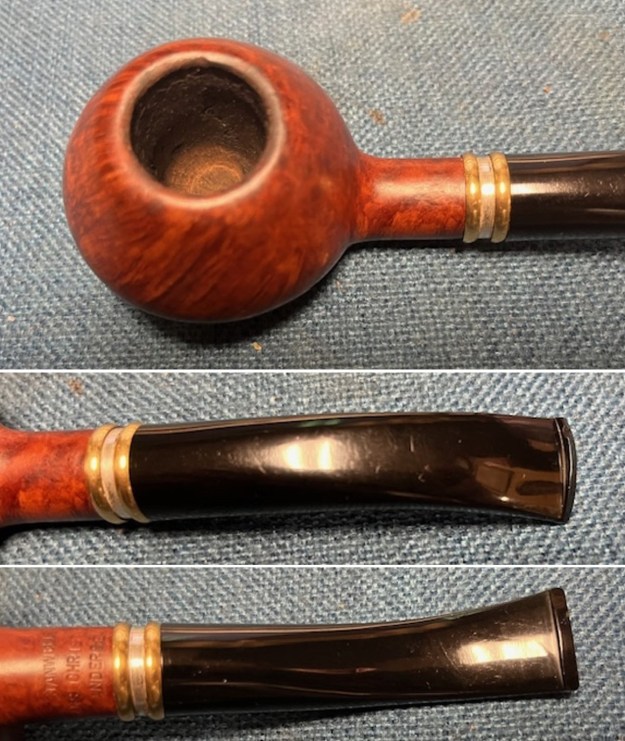
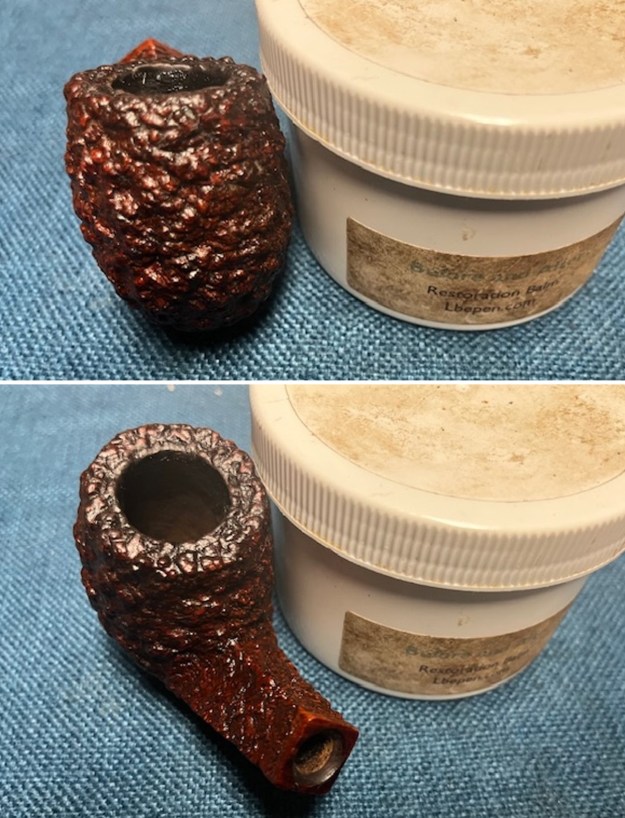
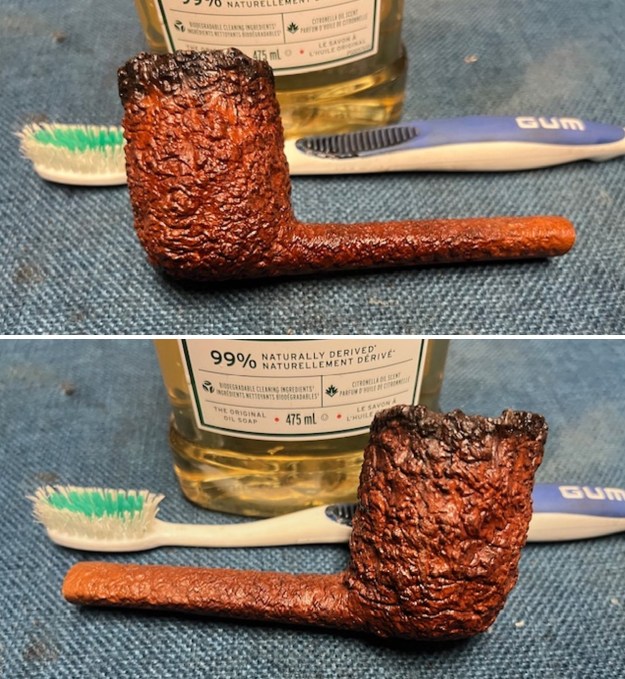
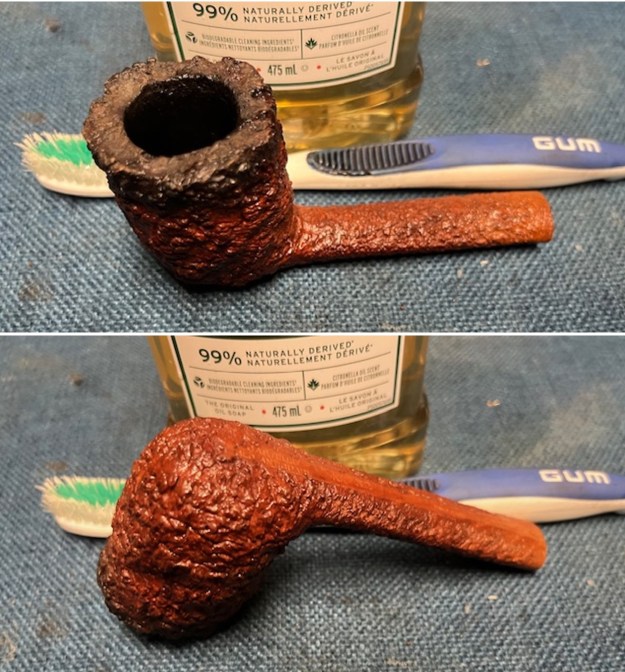
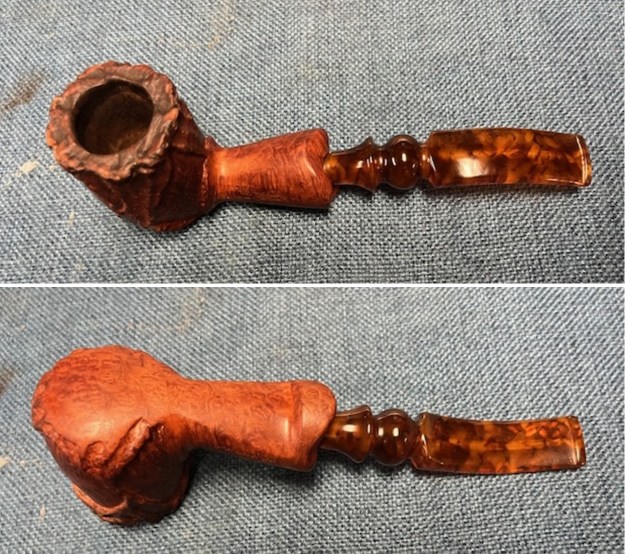 I took some close up photos of the bowl/rim top and the stem to show the condition they were in at this point. The rim top and edges looked good and the bowl was clean. You can see the remnants of the fluming on the rim top in the photo. The stem had light tooth marks and chatter on both sides near the button.
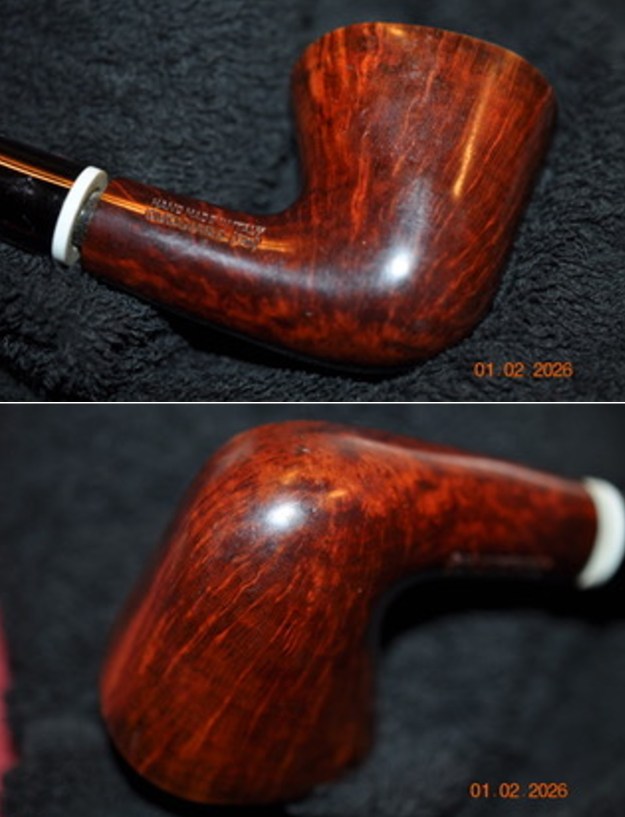
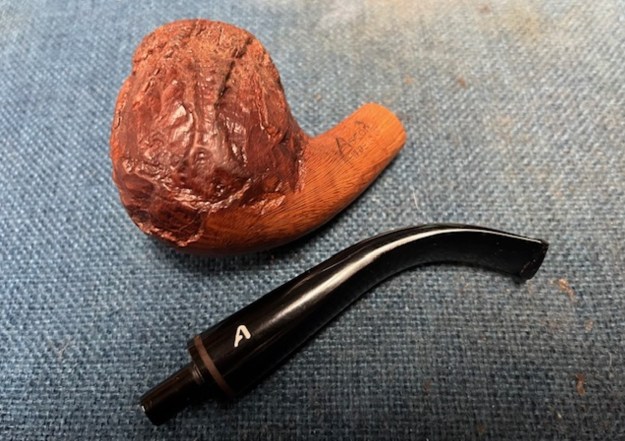
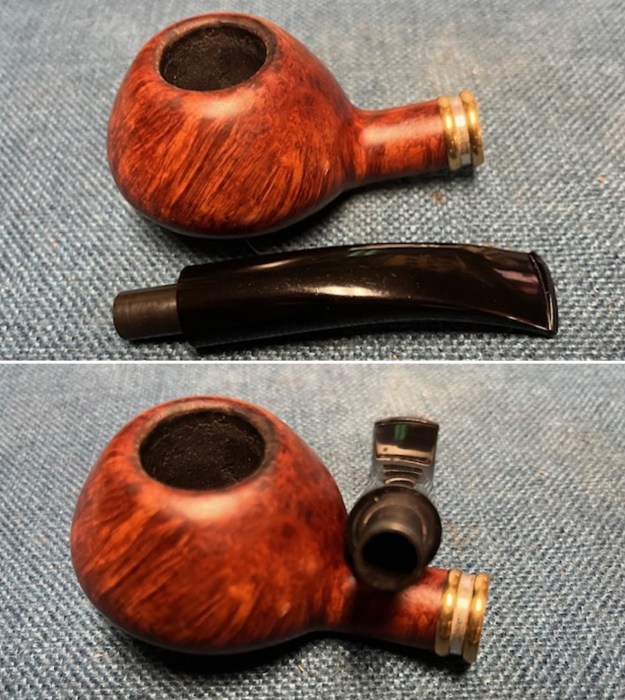
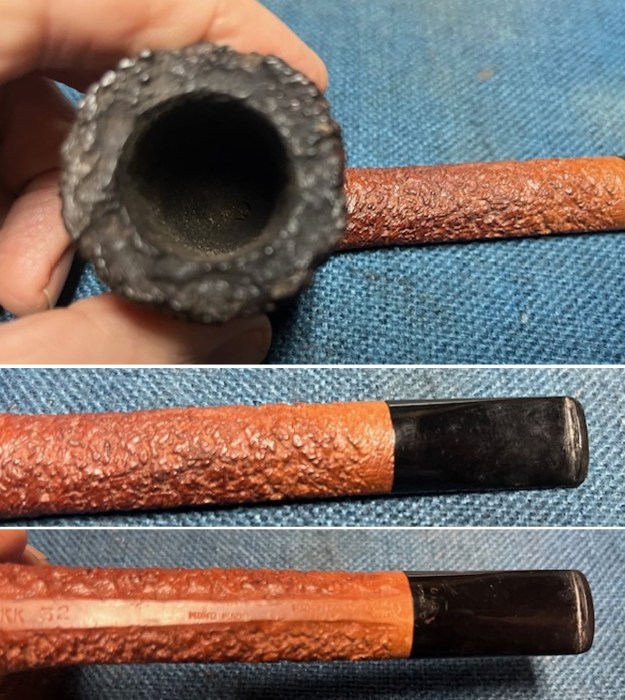
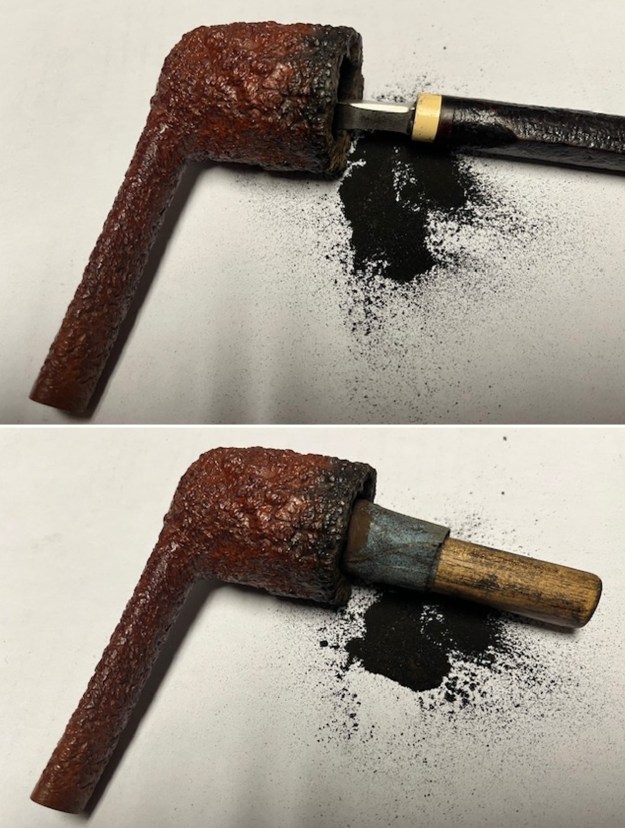
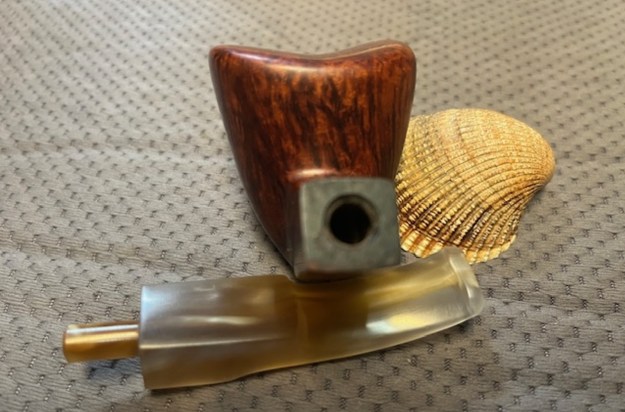
 I took photos of the stamping on the sides of the shank. It is clear and readable as noted above. I removed the stem from the shank to give a sense of the pipe.
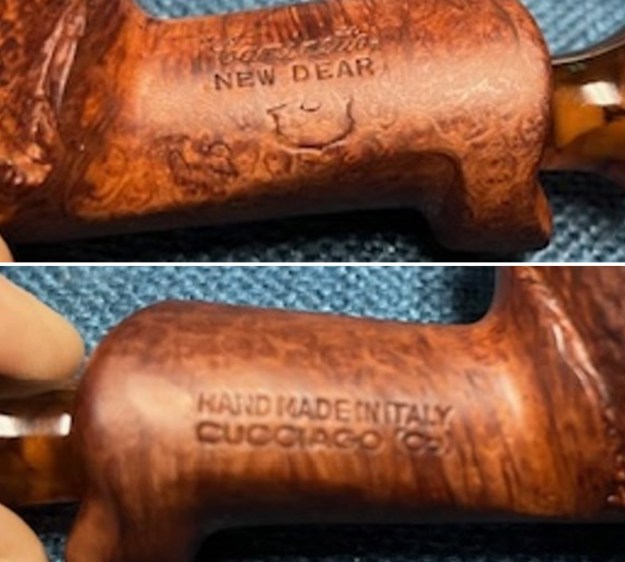
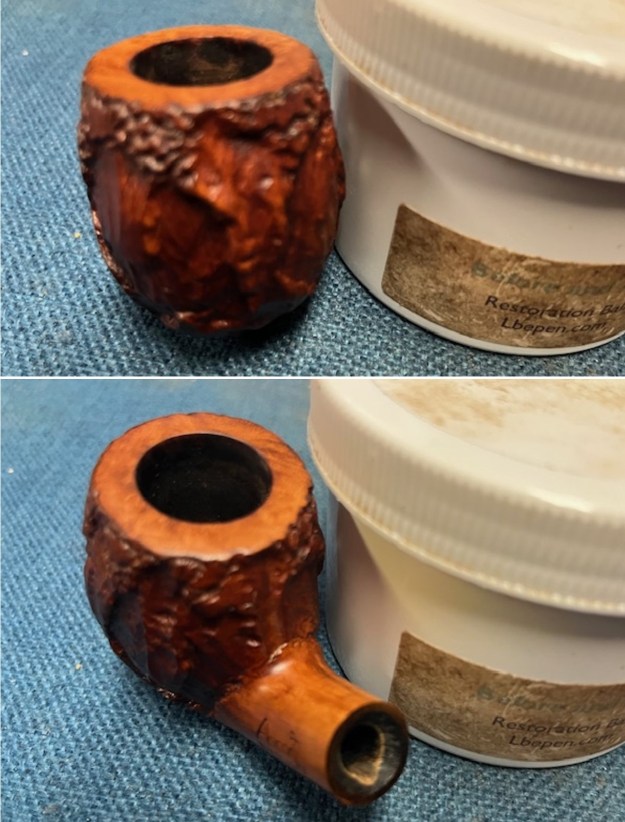
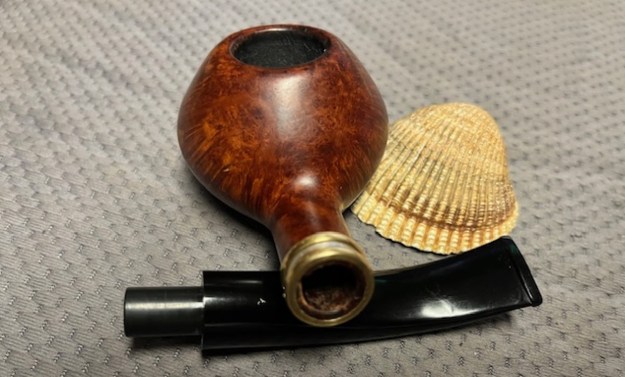
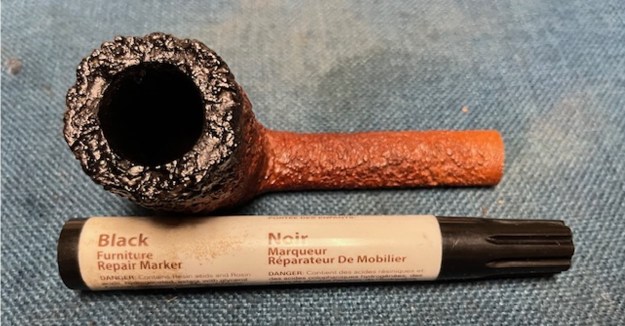
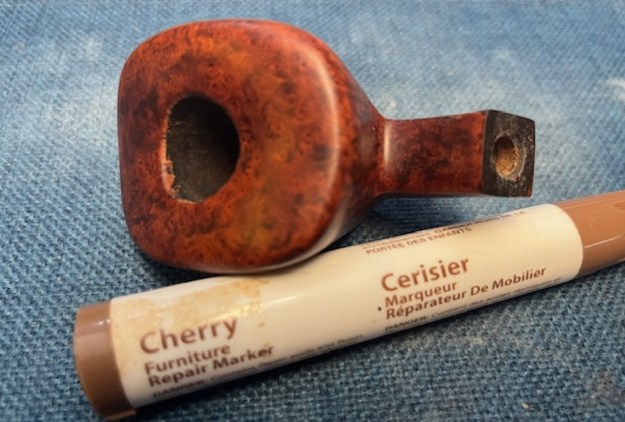
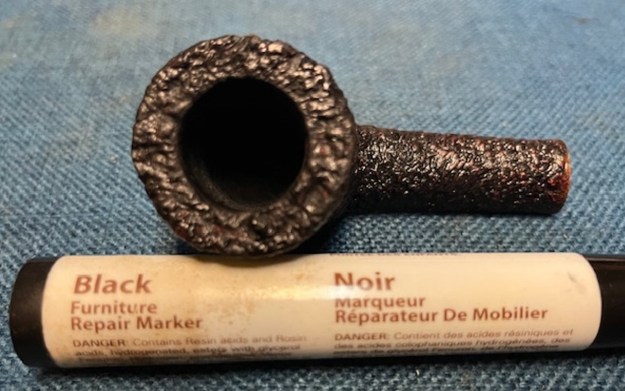
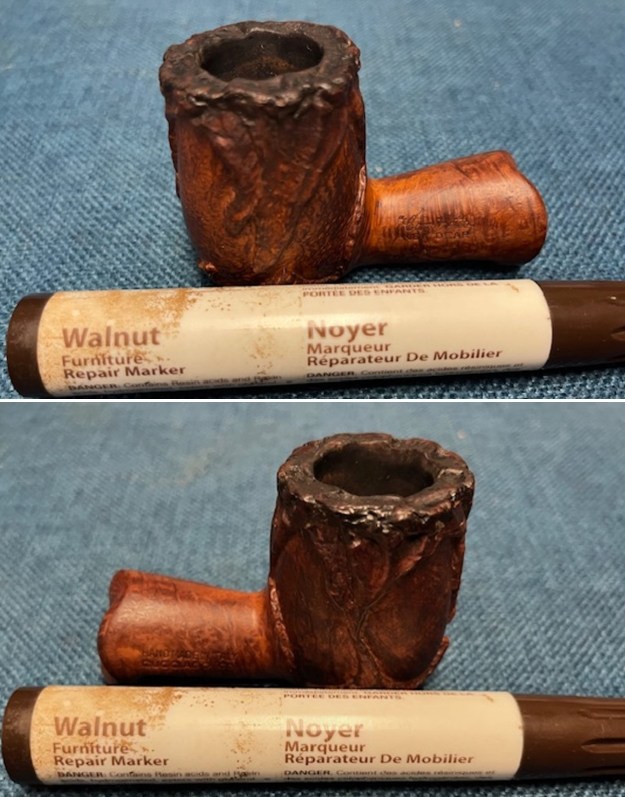
 I started my work on the pipe by addressing fading of the flume on the rim top and outer edge of the bowl. I used a Walnut stain pen to darken it and match the overall look of the top and edges. Black would have been too much of a contrast but the Walnut worked very well.
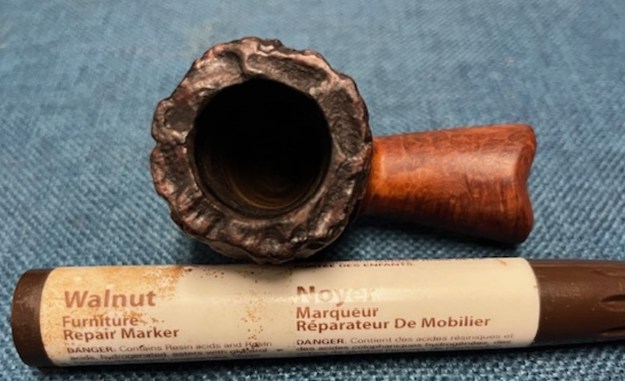
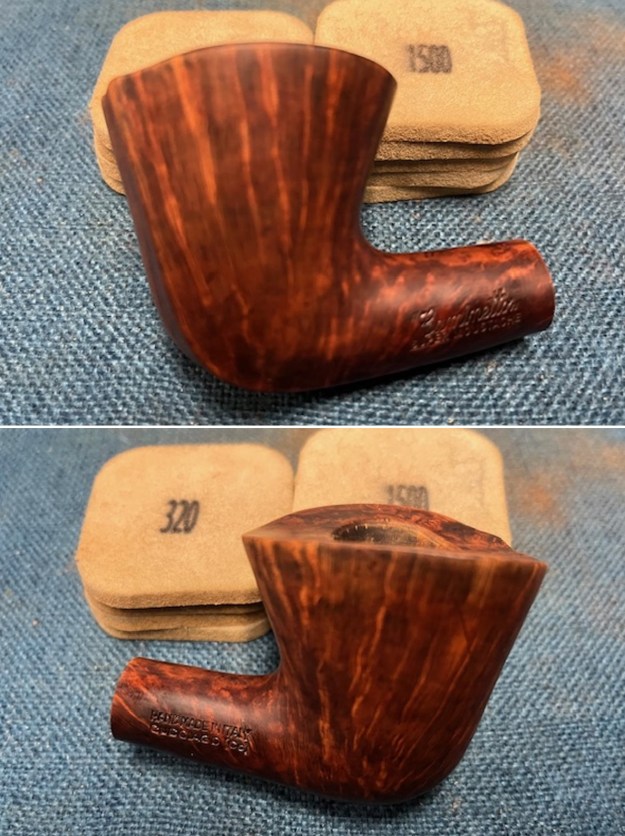
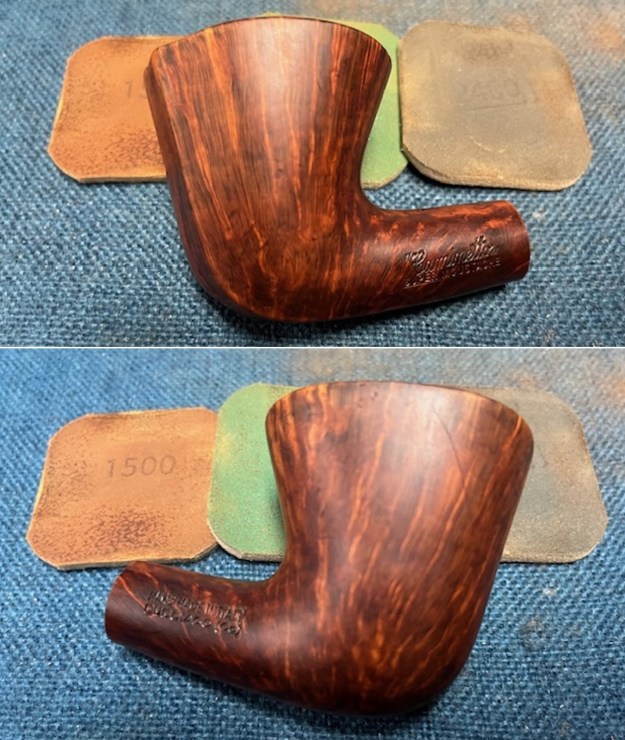
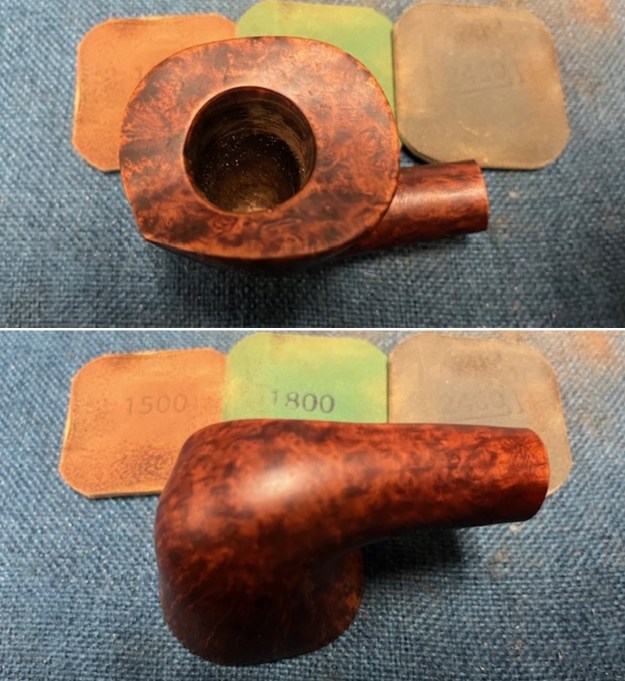
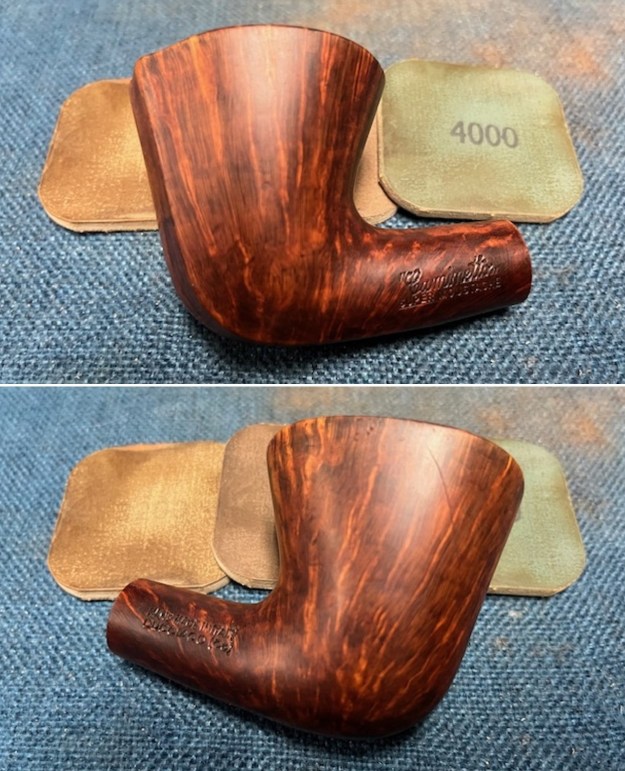
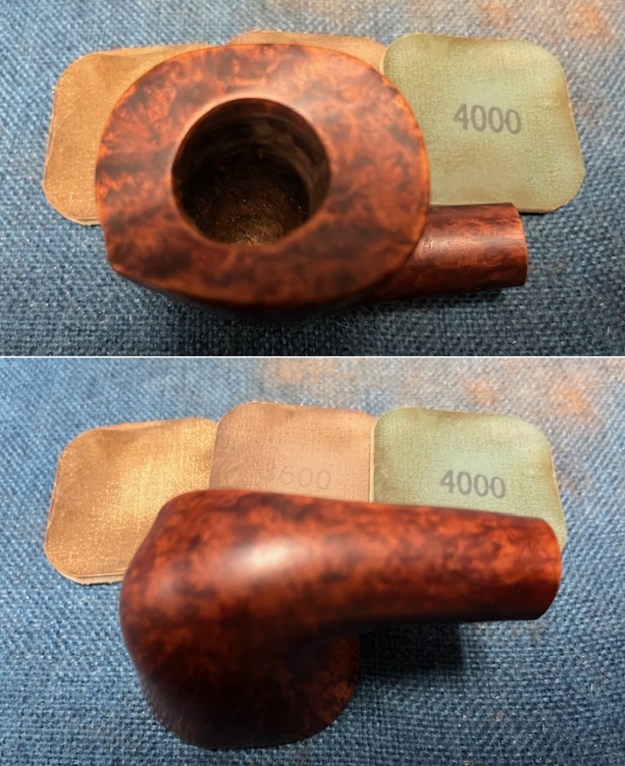
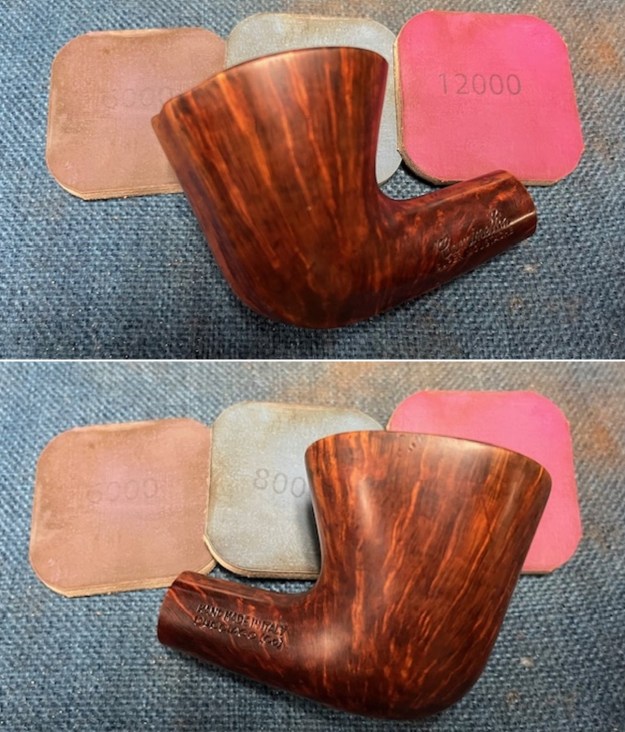
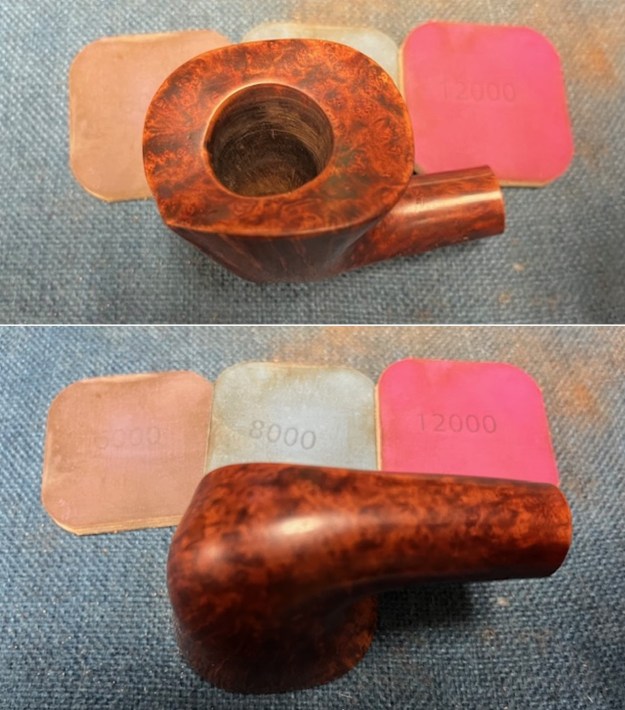
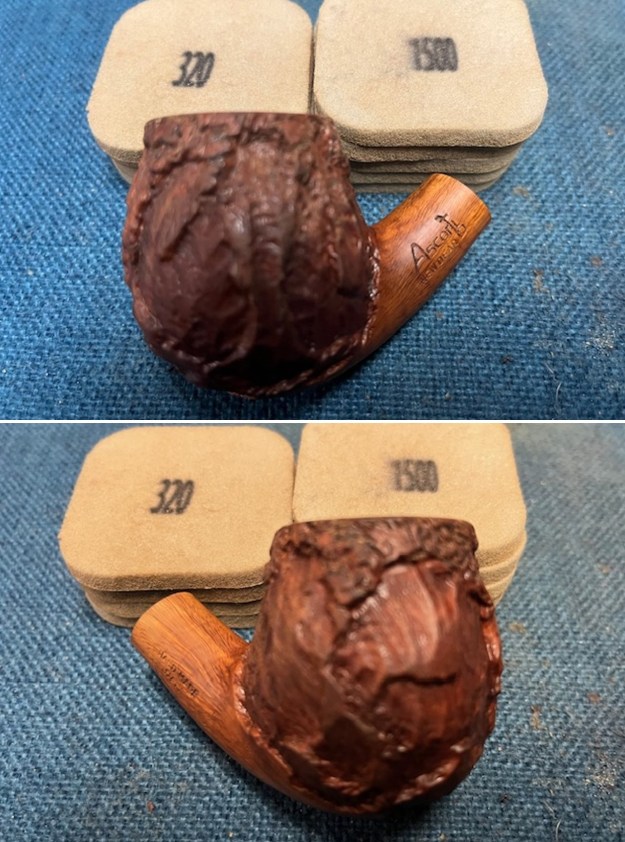
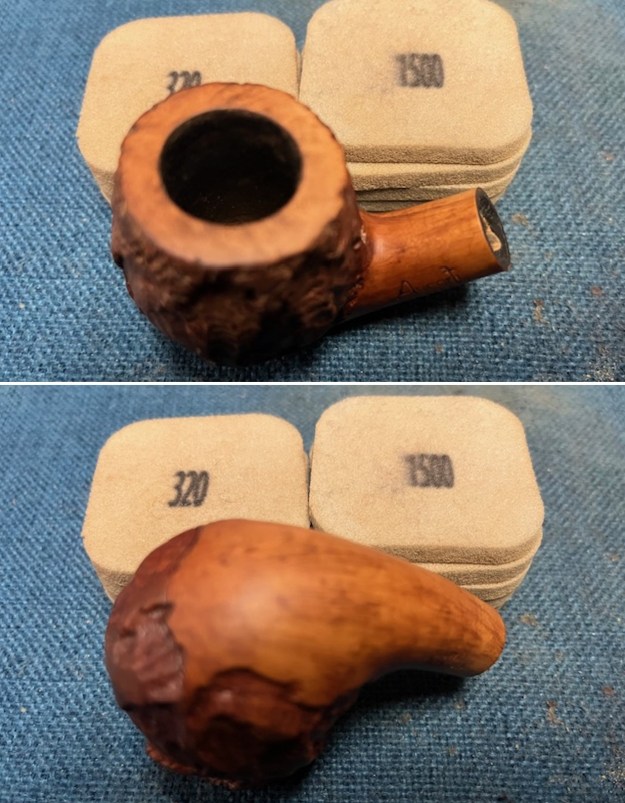
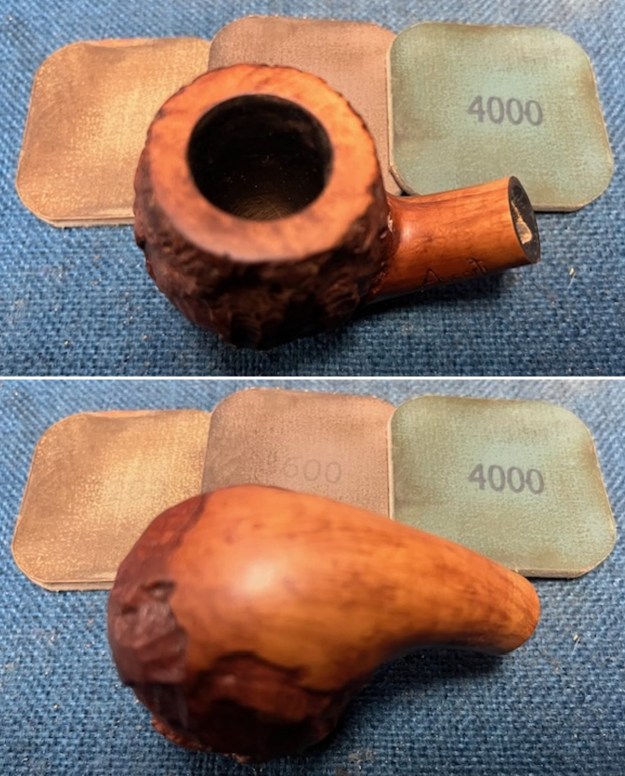
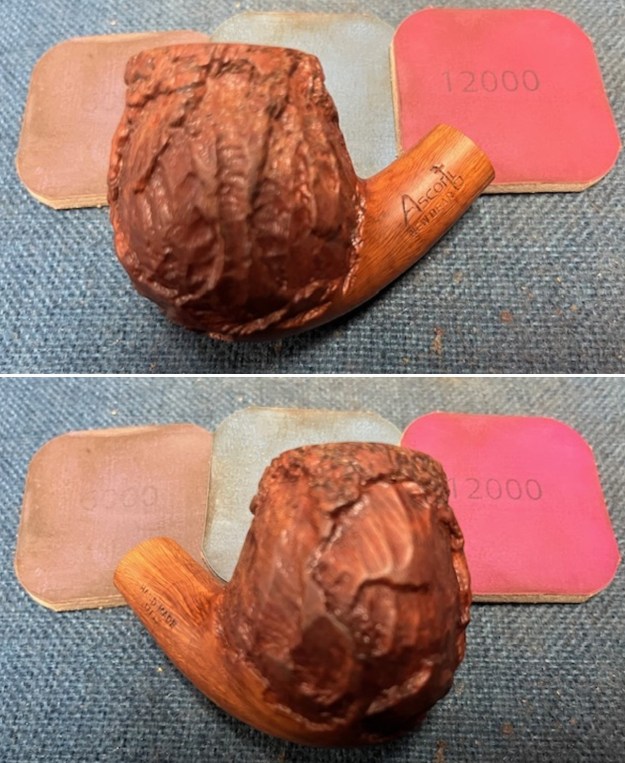
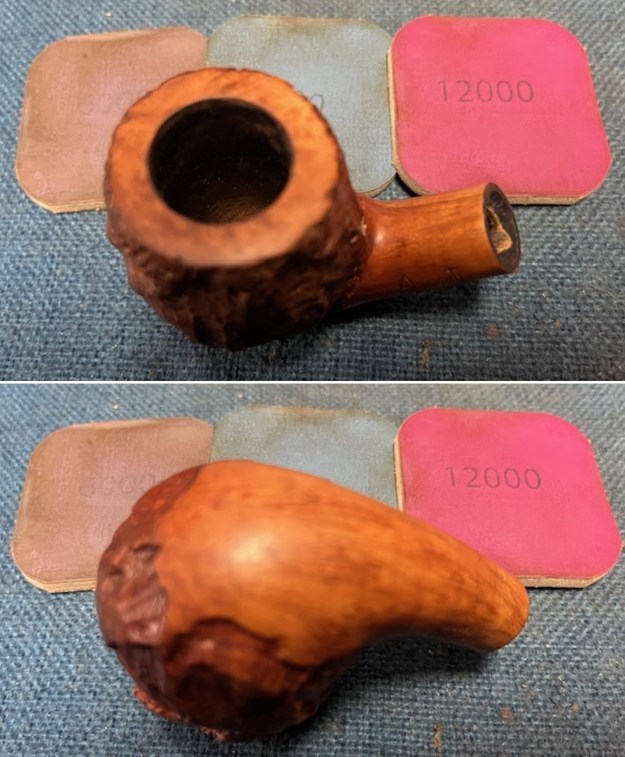
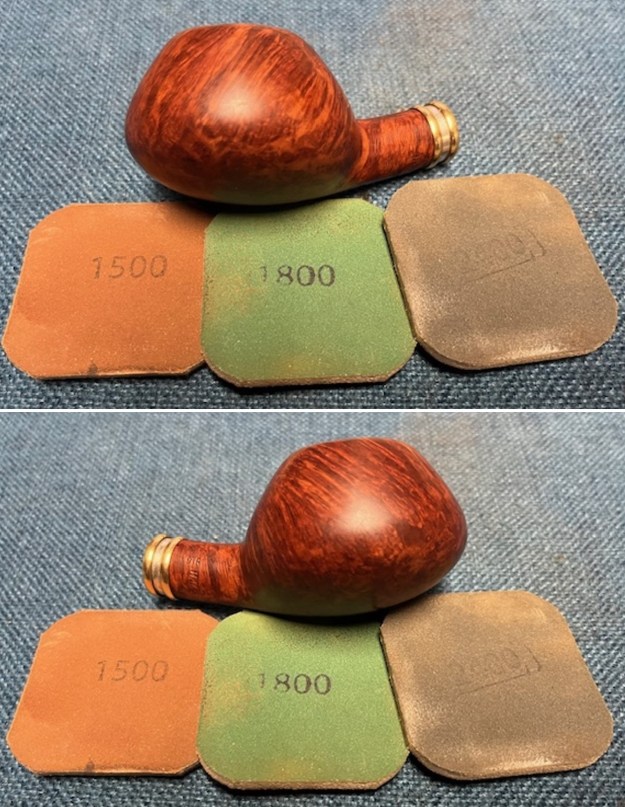
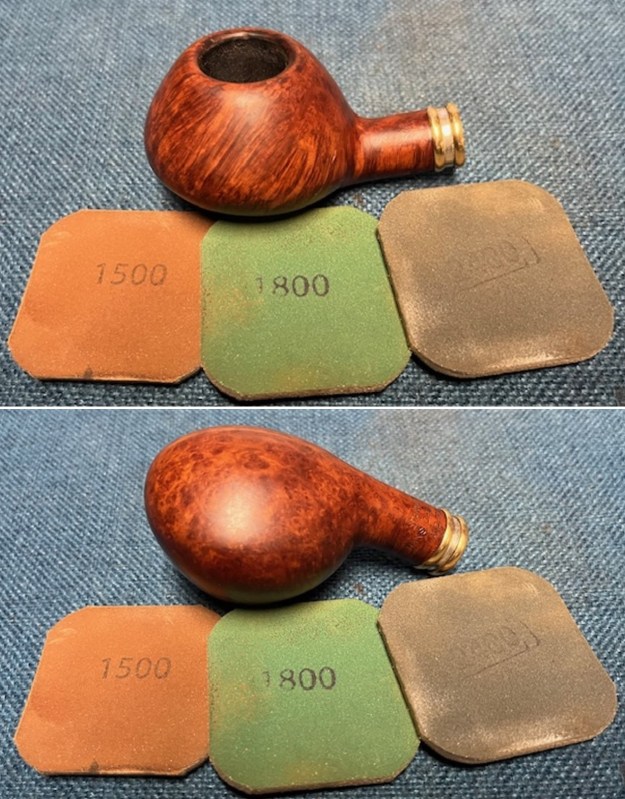
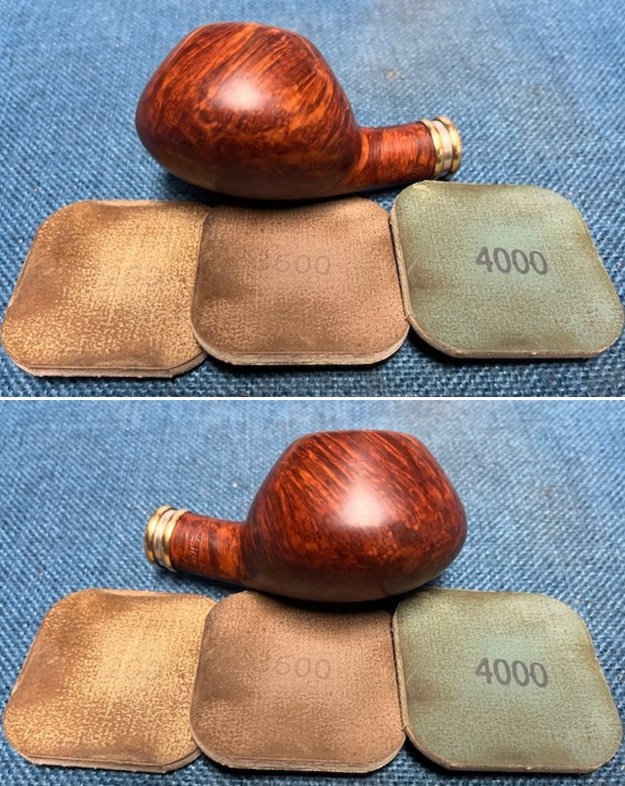
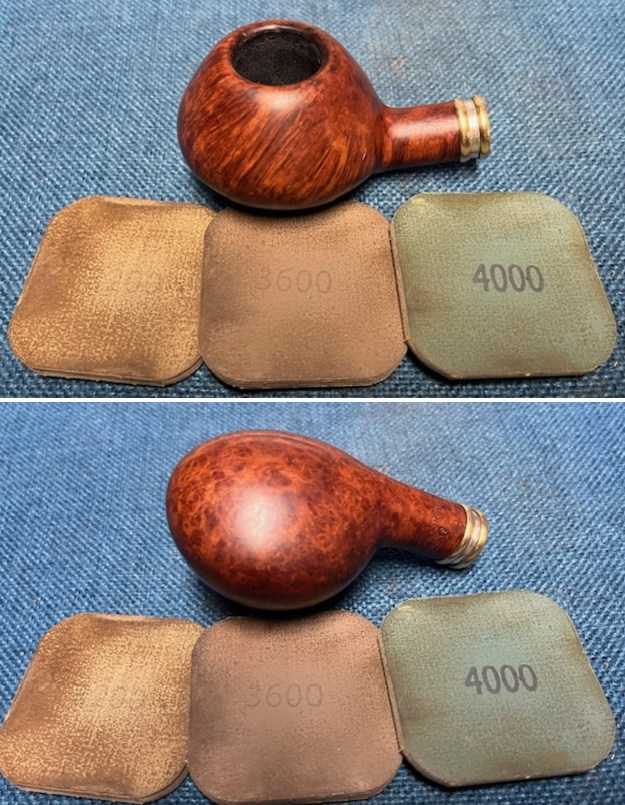
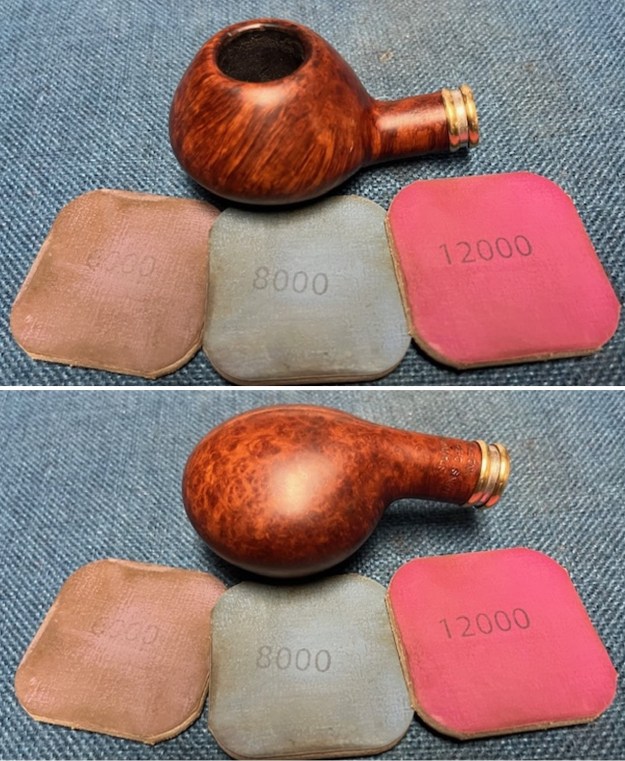
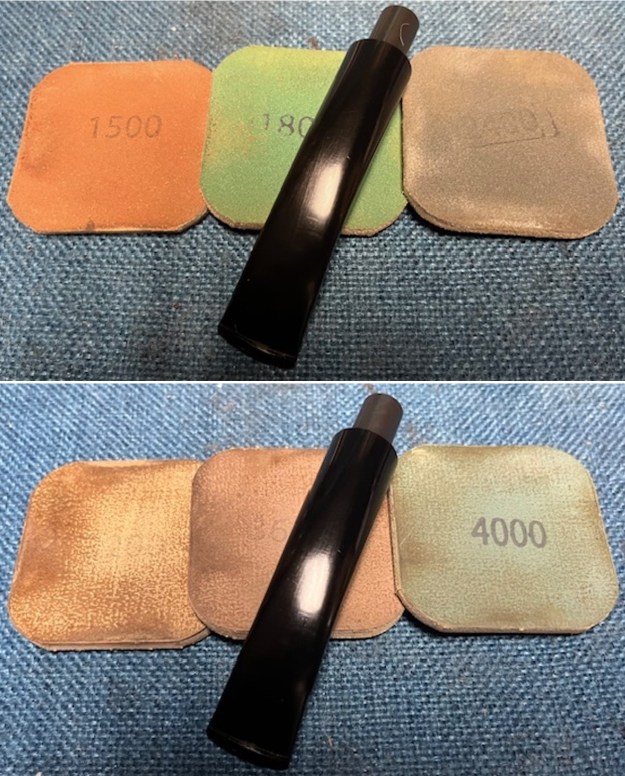
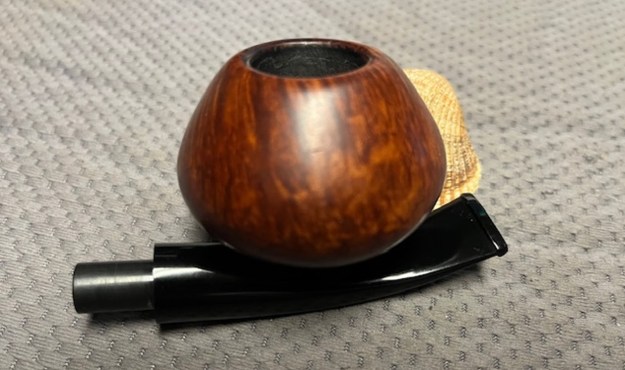
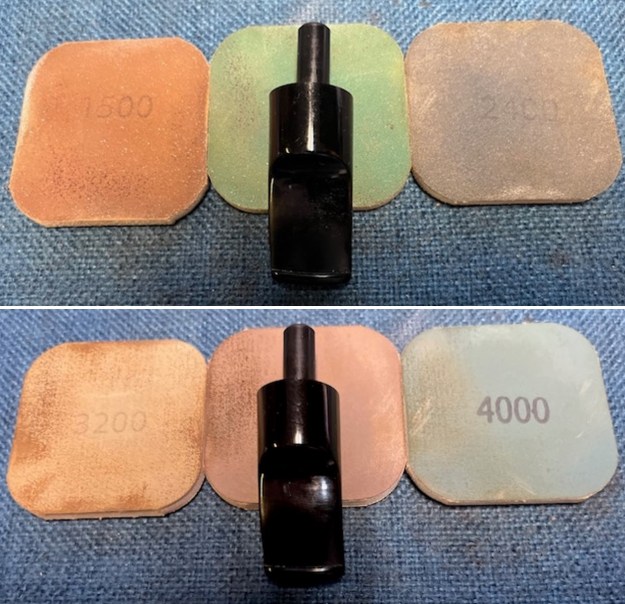
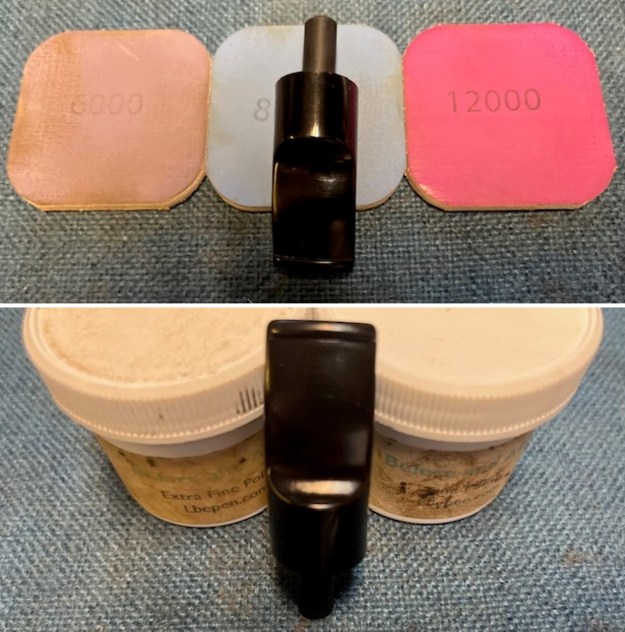
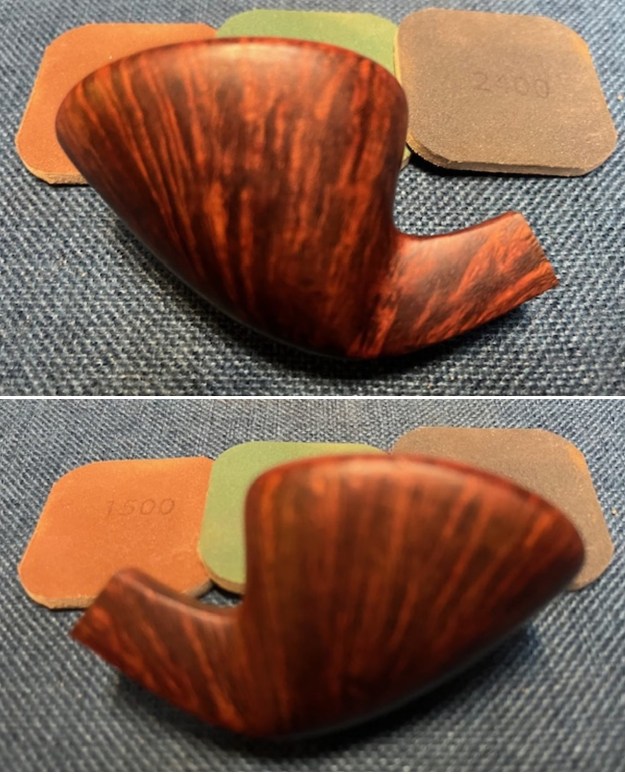
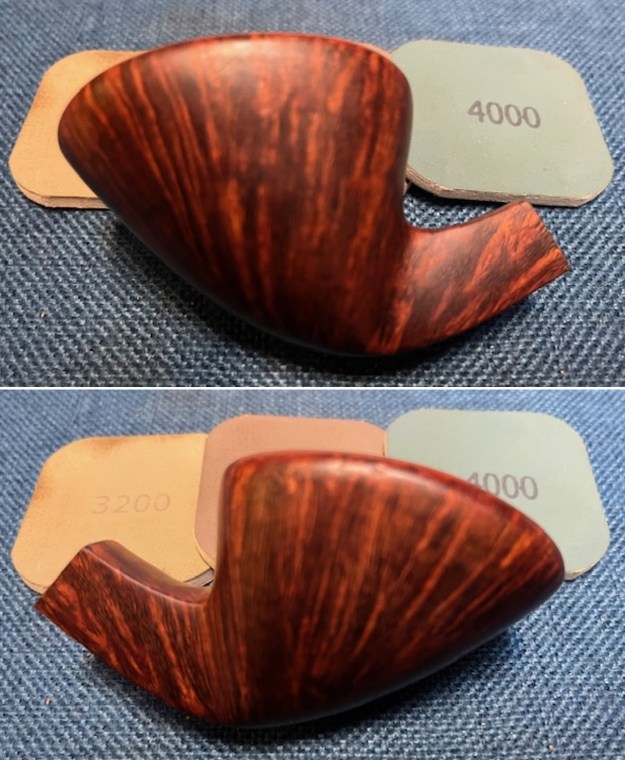
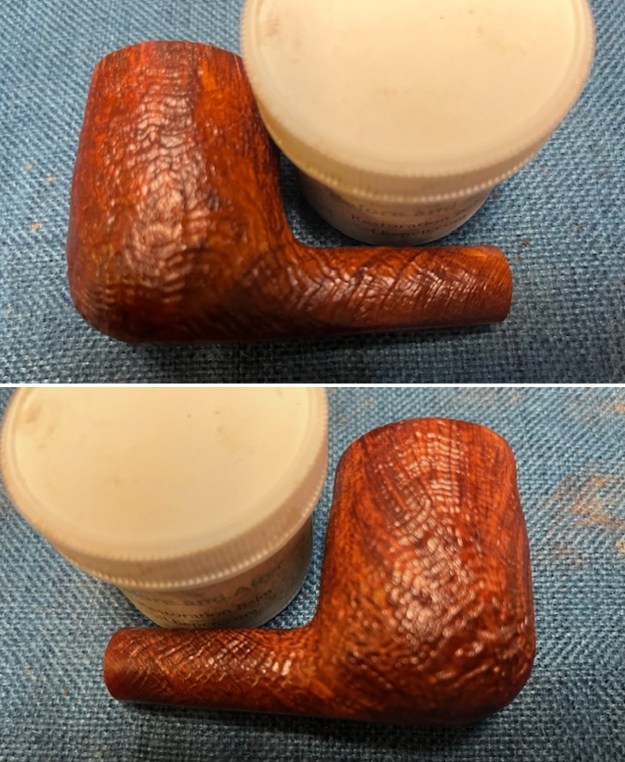
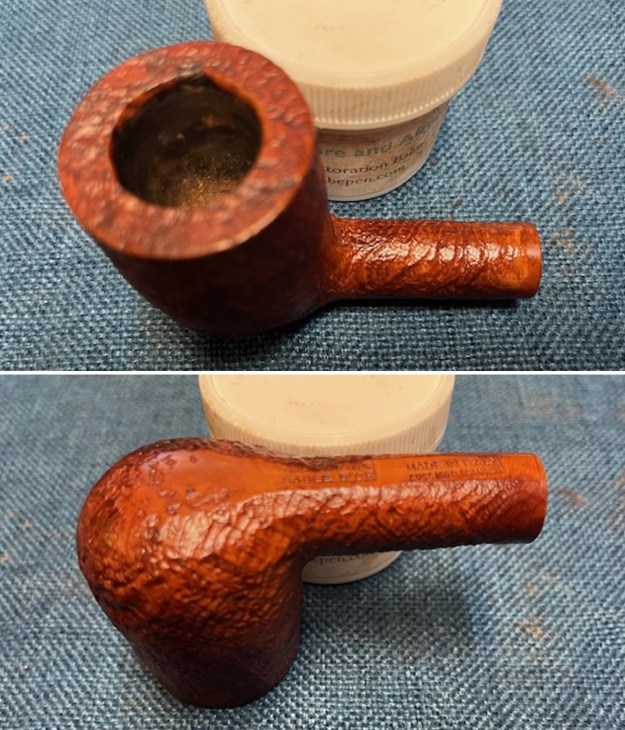
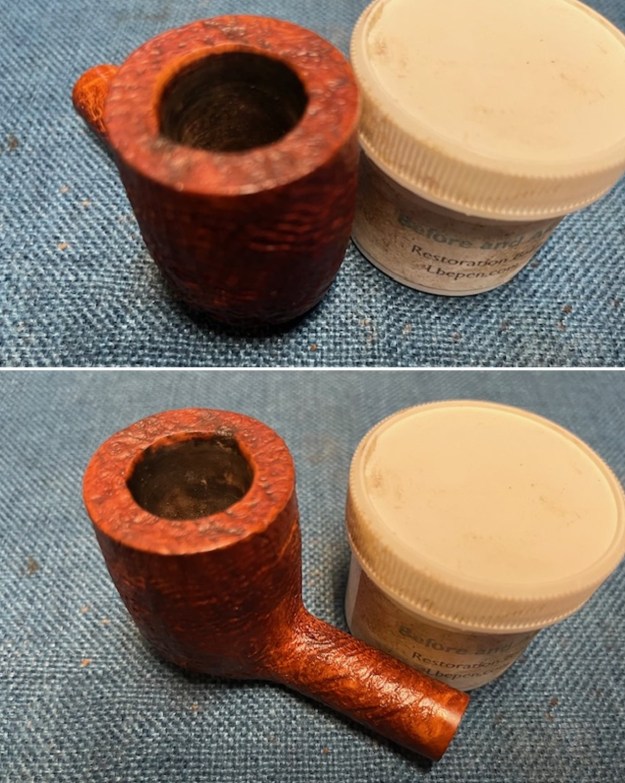
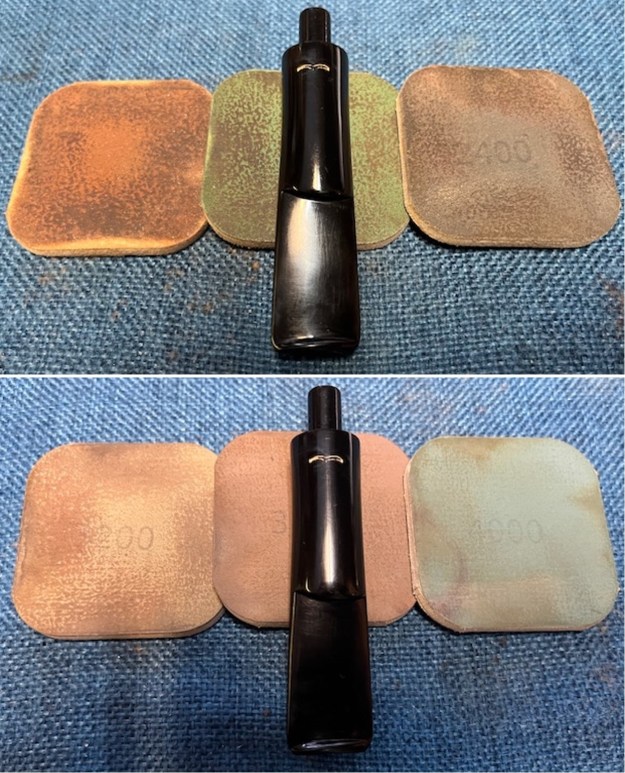
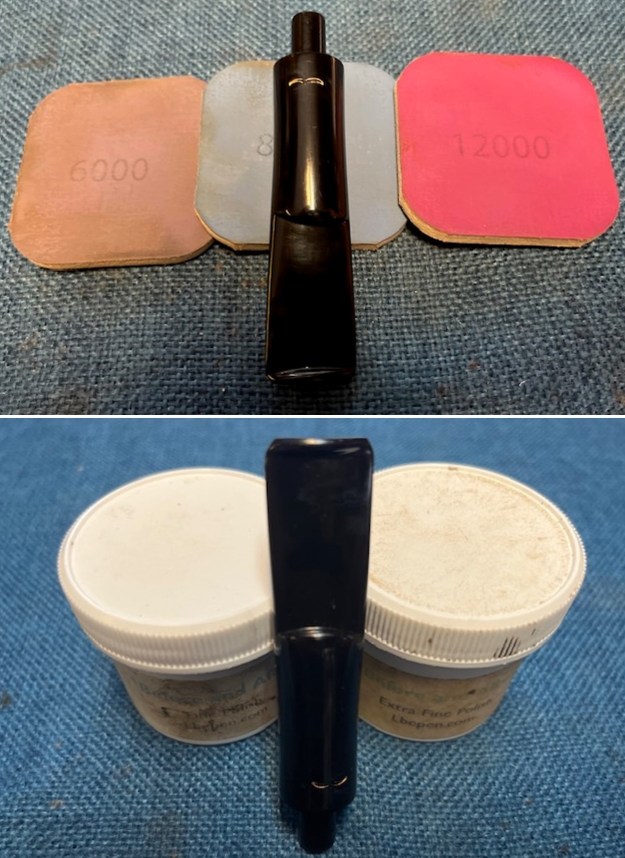
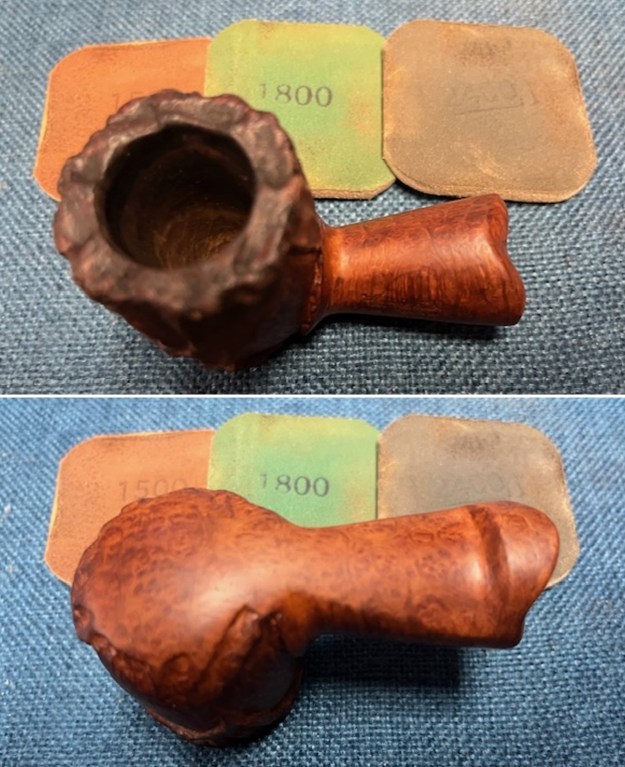
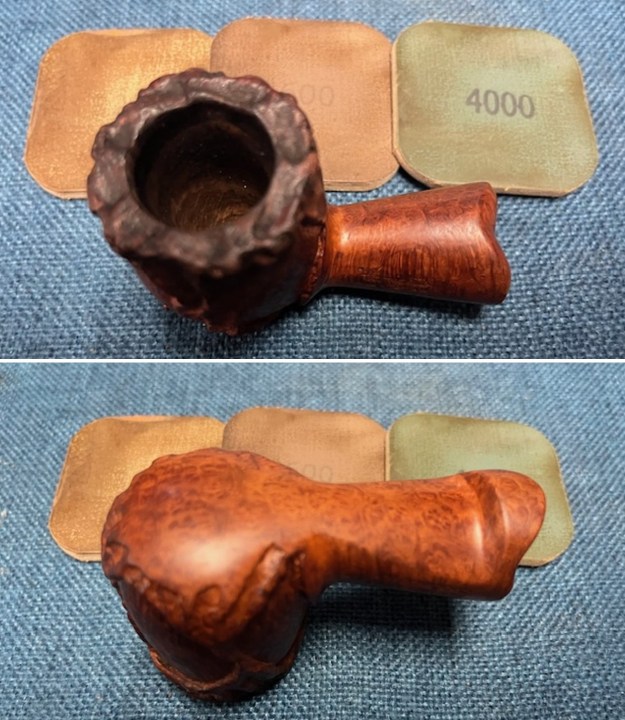
 I polished the smooth portions of the bowl and shank with micromesh sanding pads. I dry sanded it with 1500-12000 grit micromesh pads. I wiped it down with a damp cloth after each pad. It really began to be beautiful.
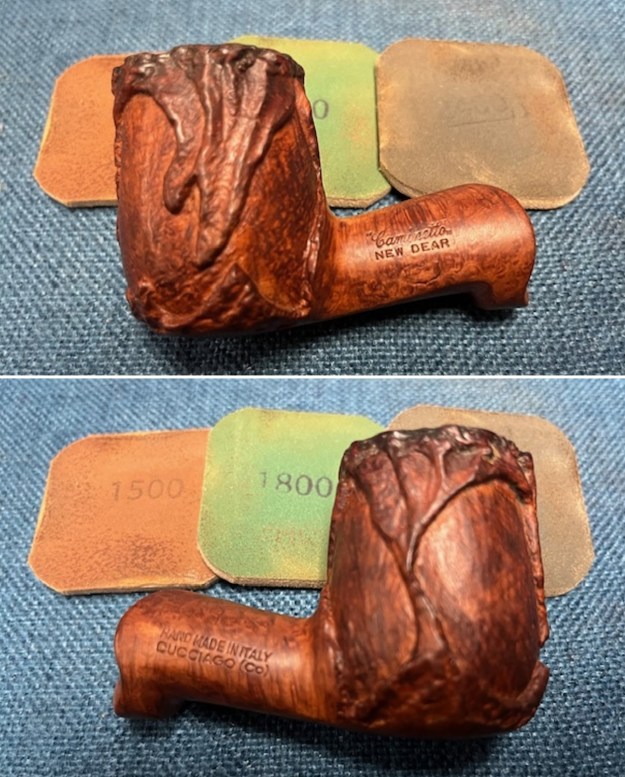
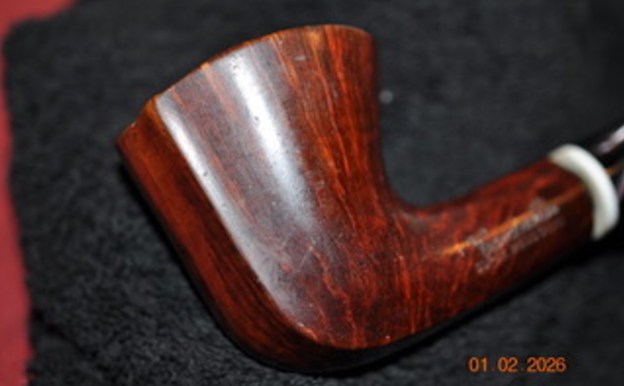
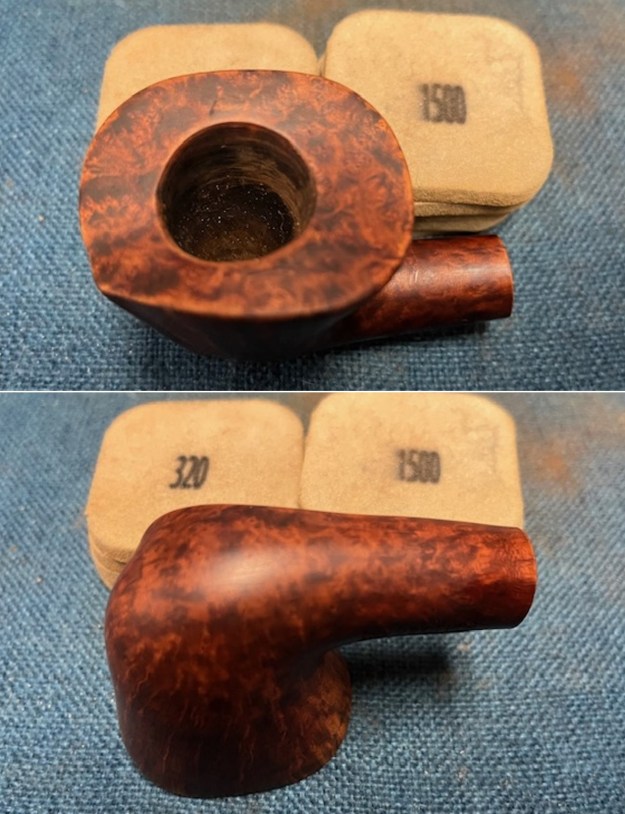
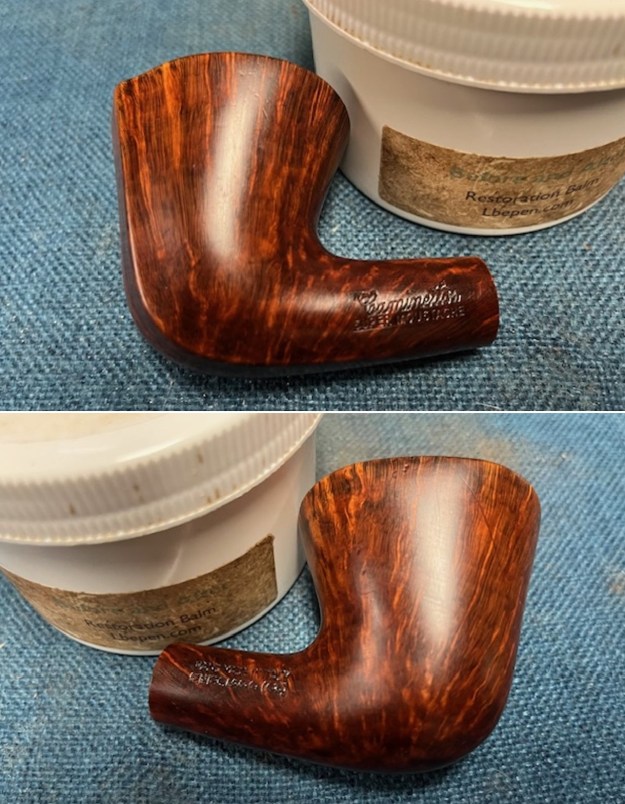
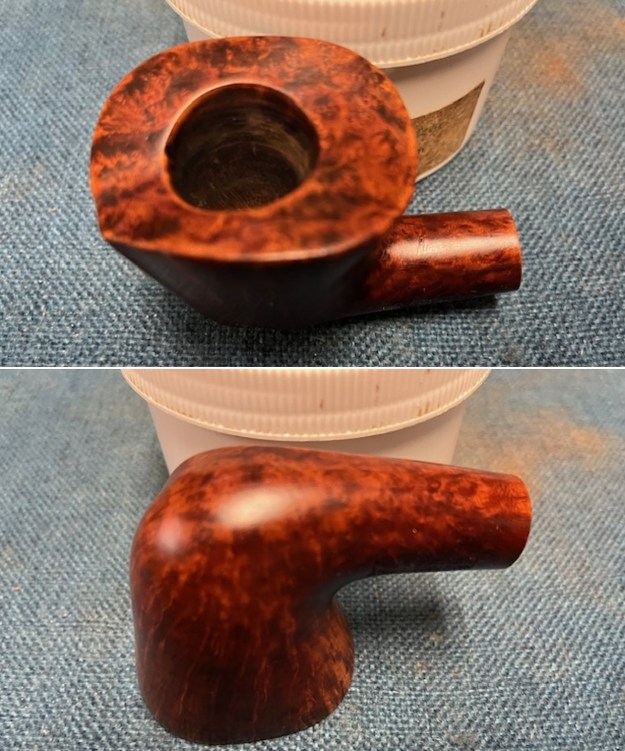
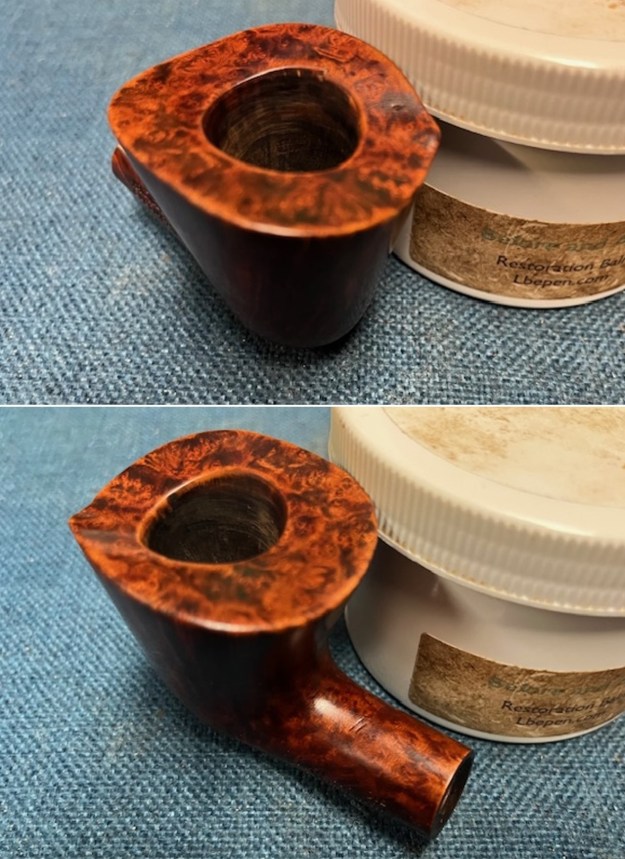
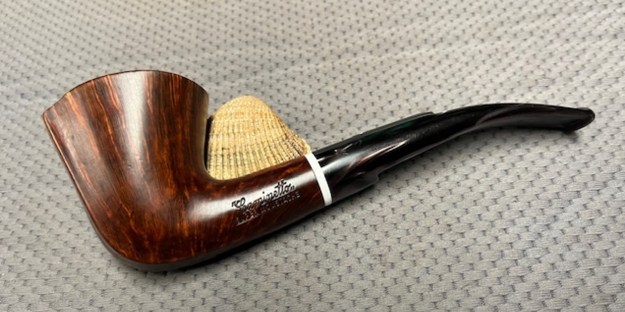
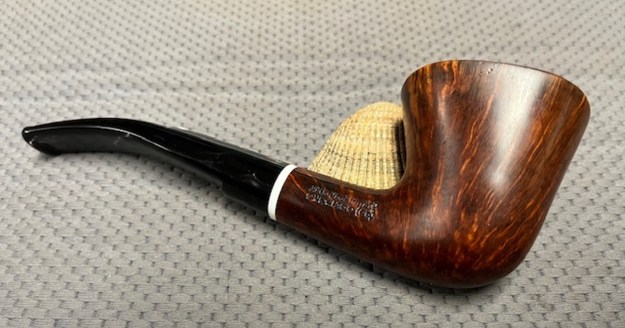
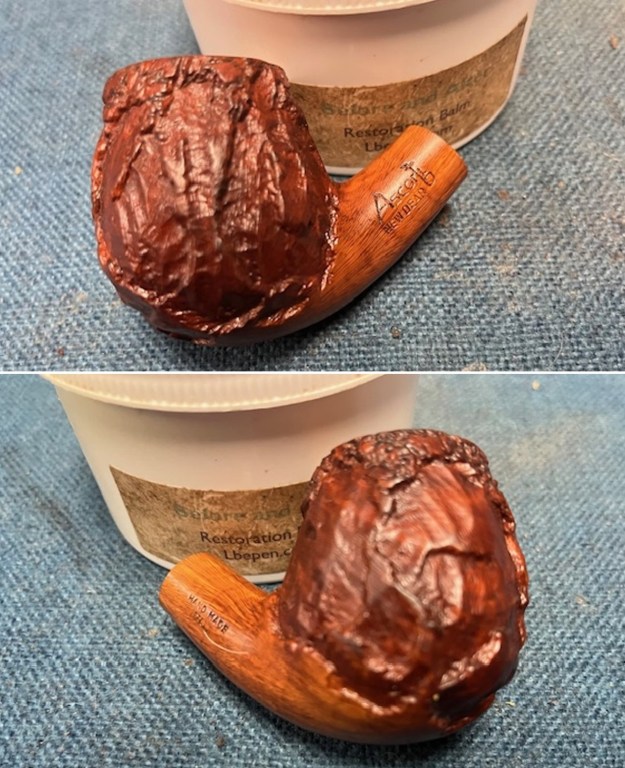
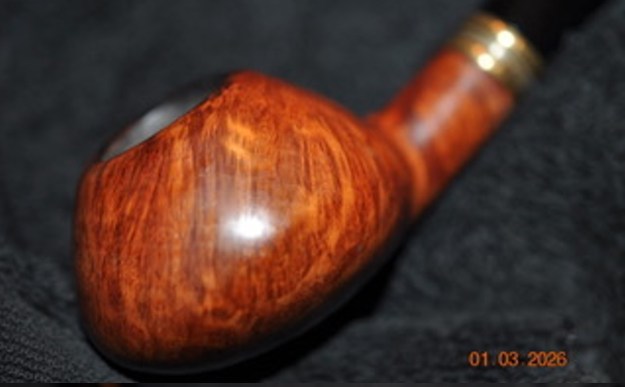
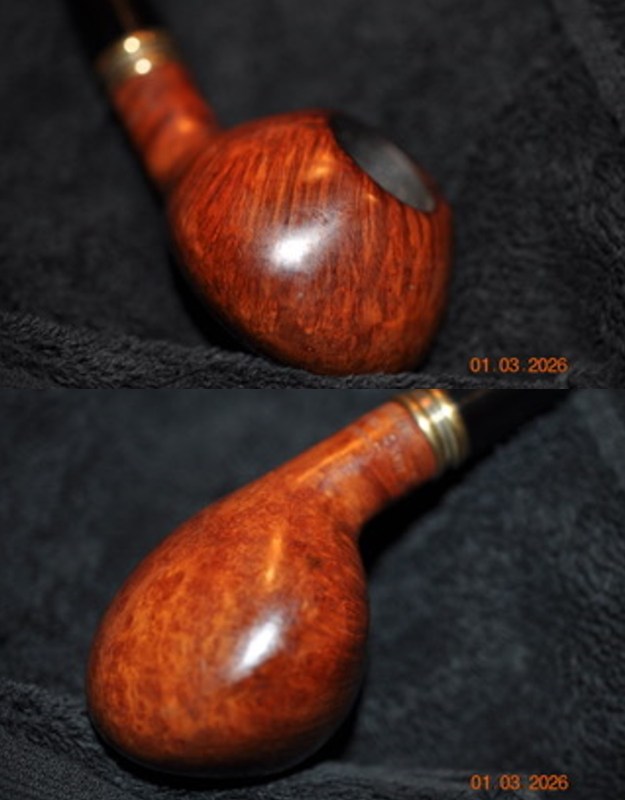
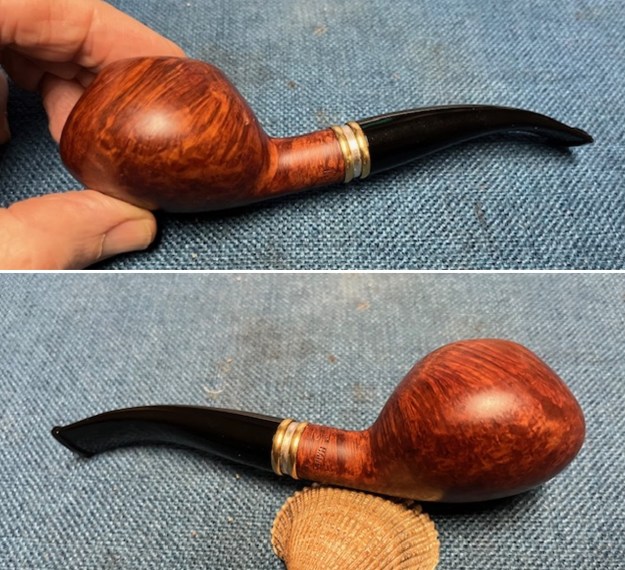
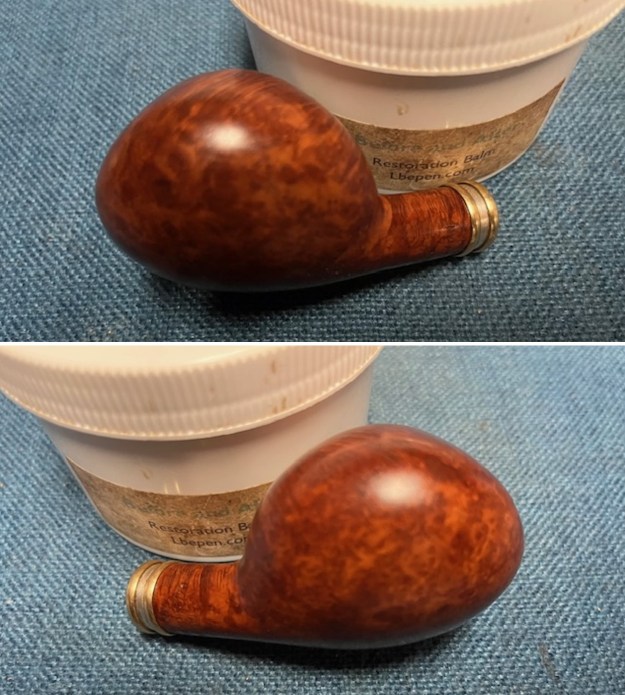
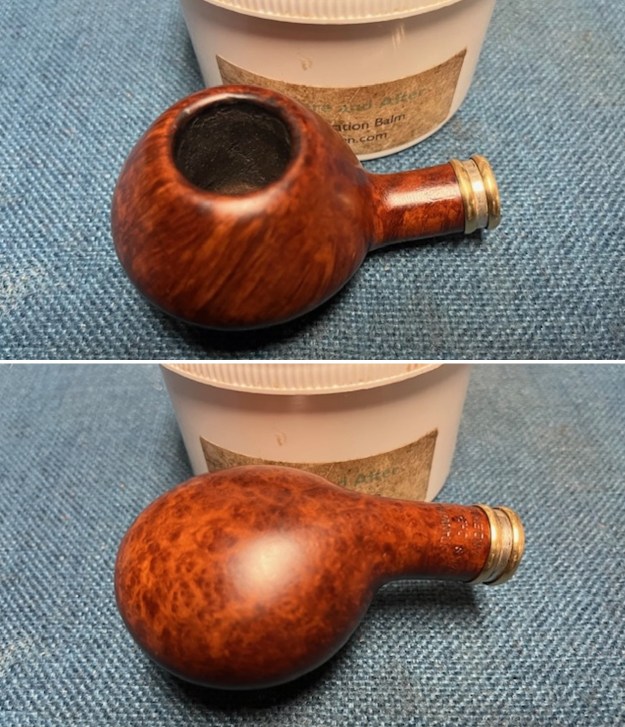
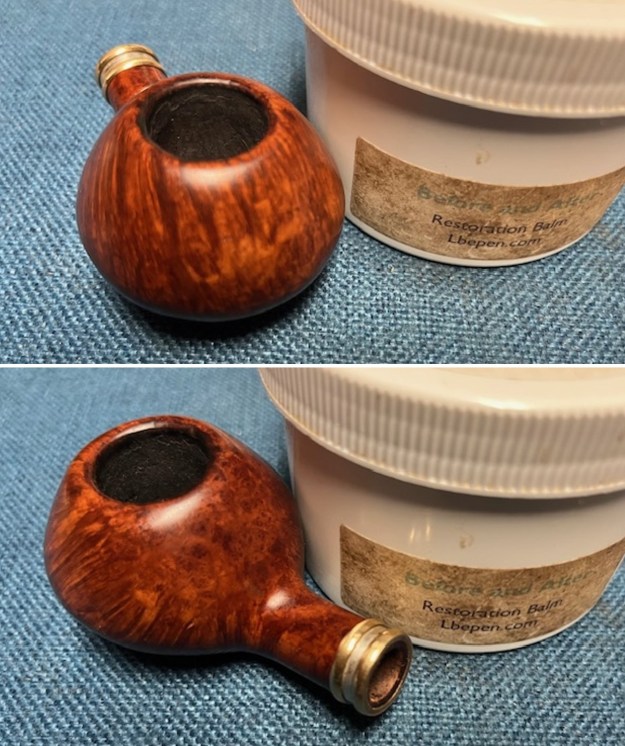
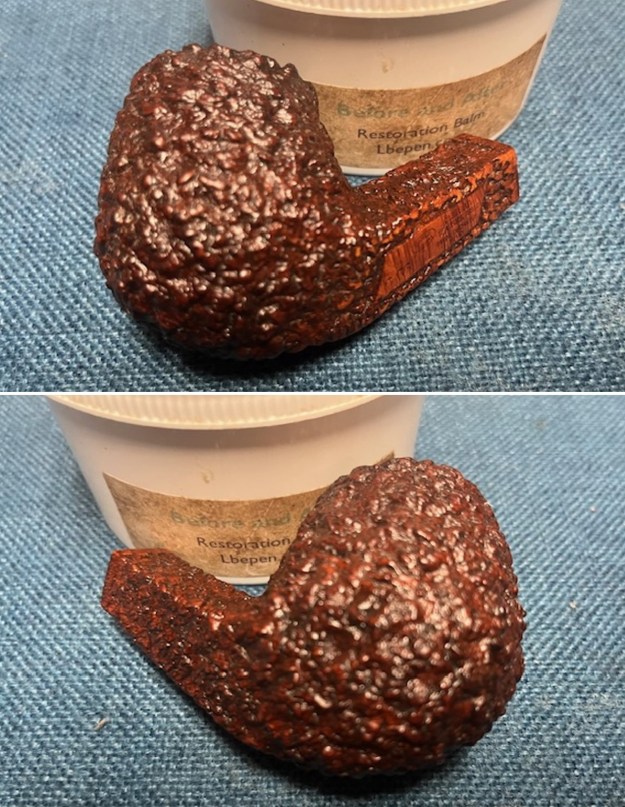
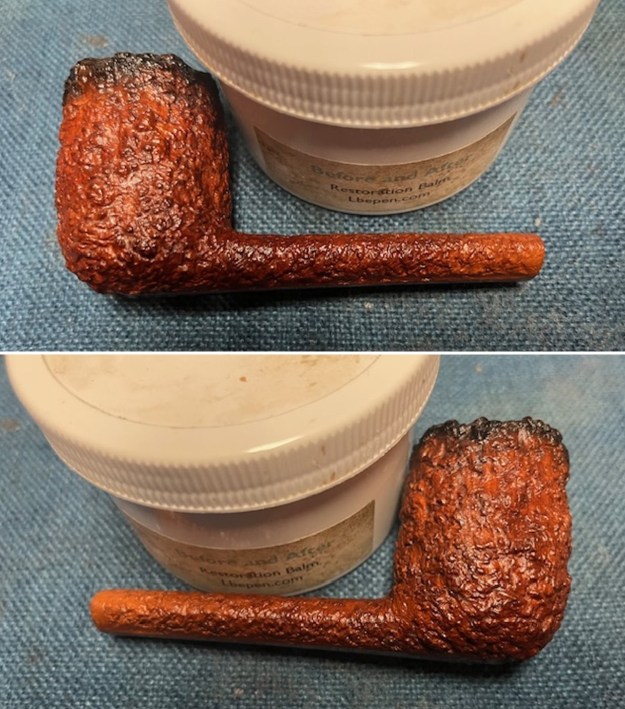
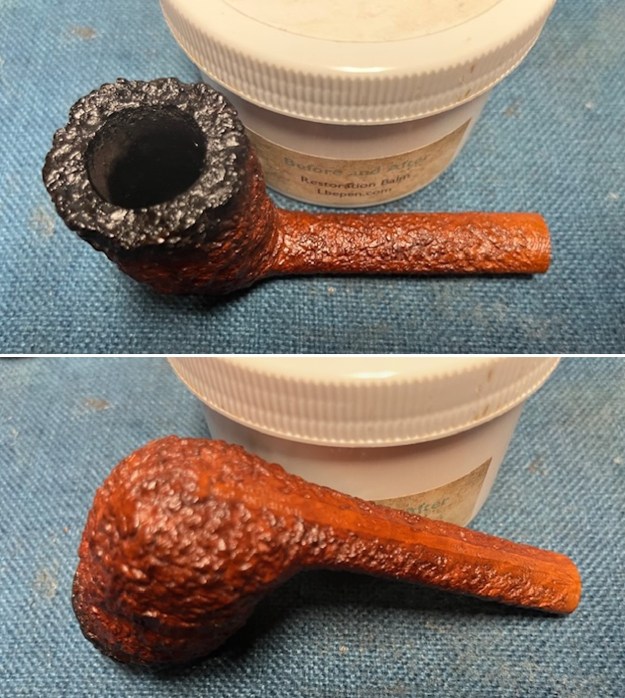
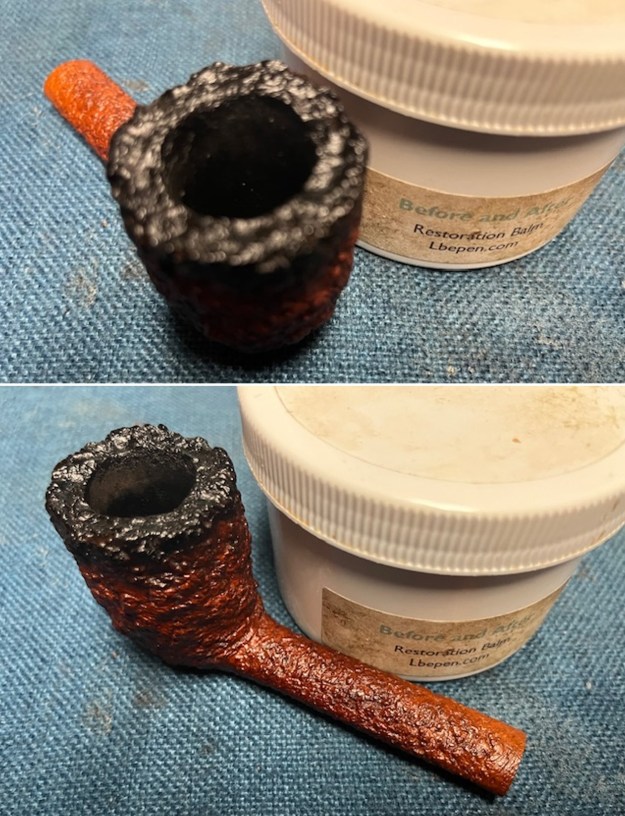
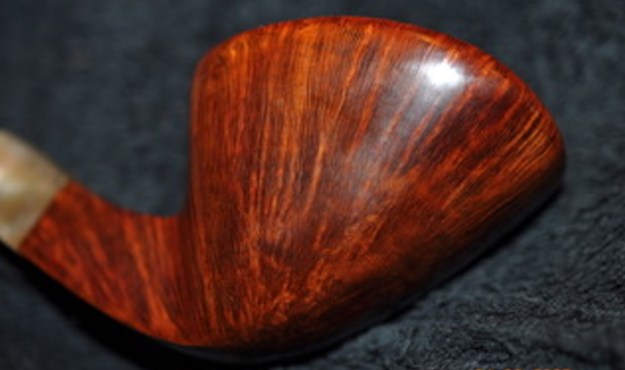
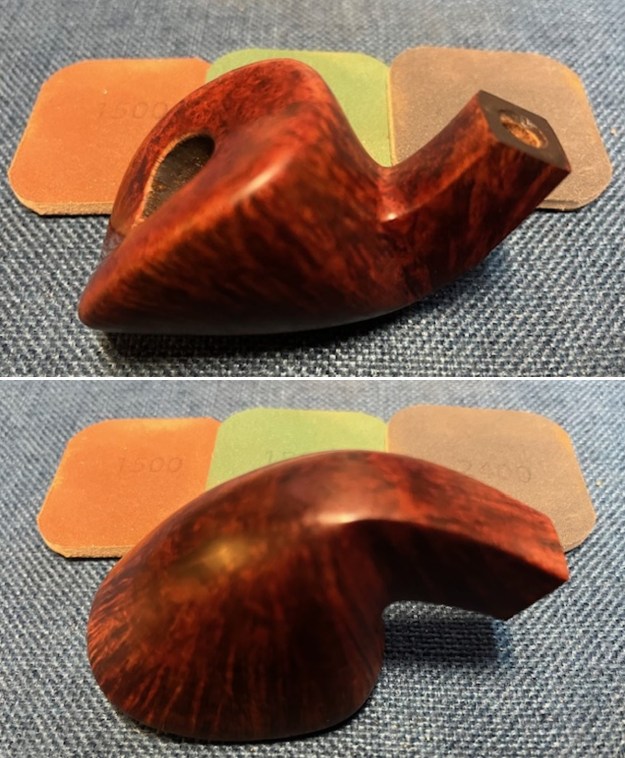
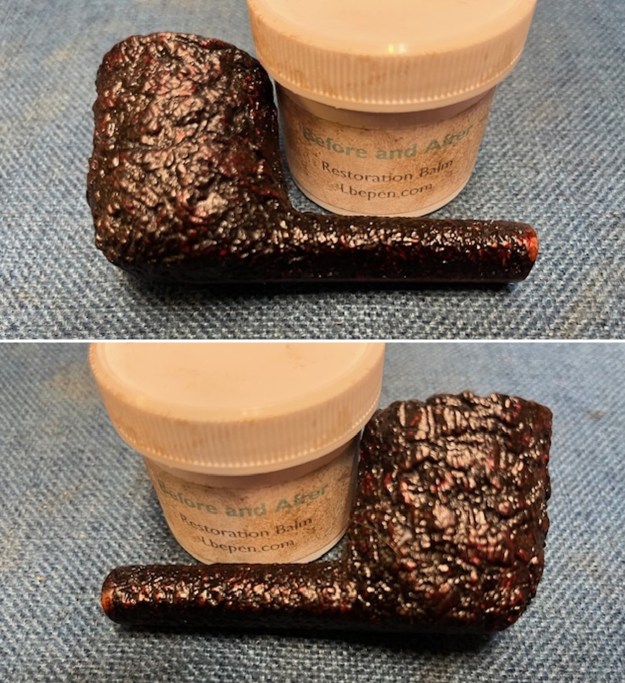
 I rubbed the bowl and shank down with Before & After Restoration Balm to deep clean the finish on the bowl and shank. The product works to clean, enliven and protect the briar. I worked it in with my fingers and a shoe brush to get it into the briar. I let it sit for 10 minutes then I wiped it off and buffed it with a soft cloth. The briar really began to have a rich shine. I took some photos of the bowl at this point to mark the progress in the restoration. It is a beautiful bowl.
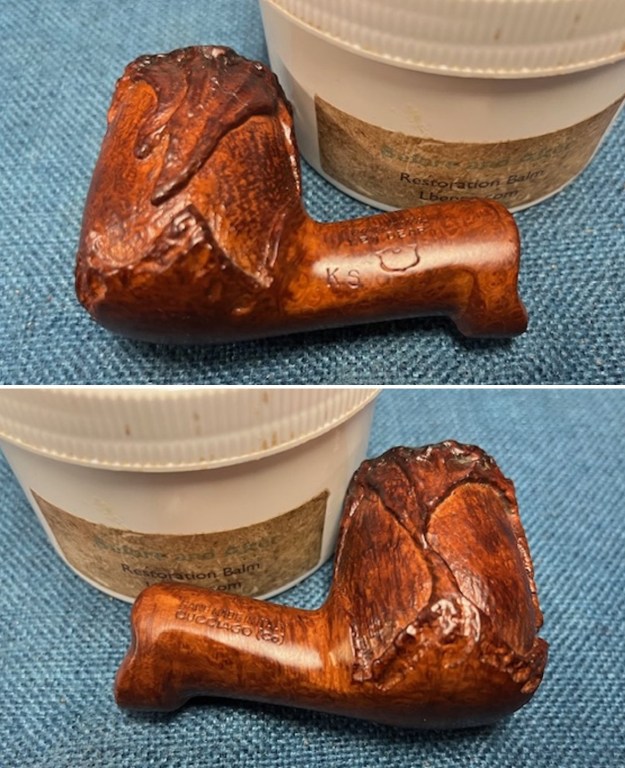
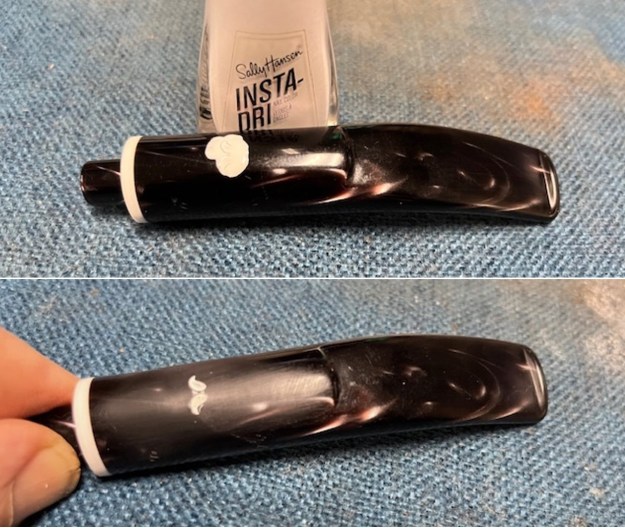
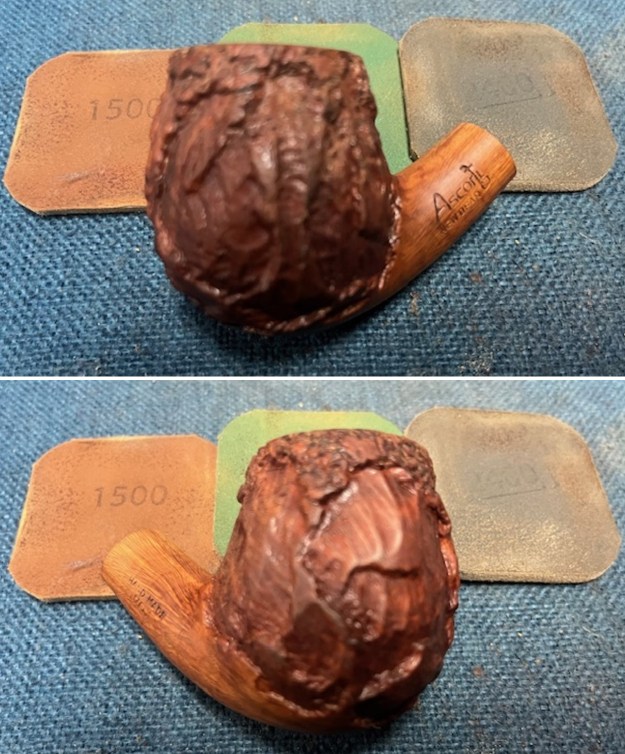
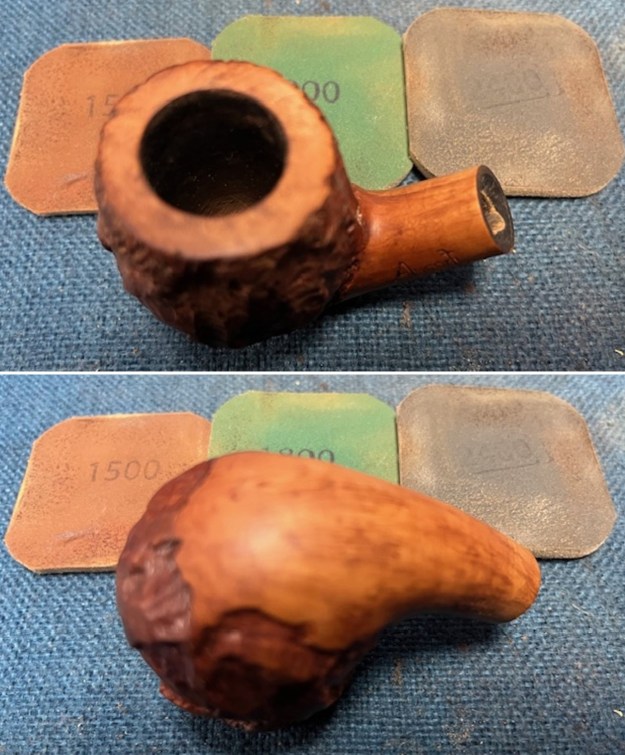
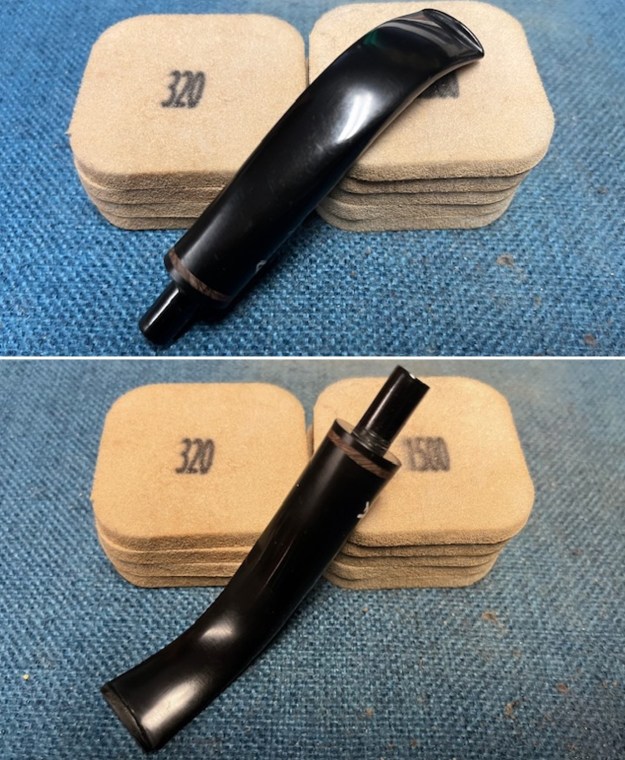
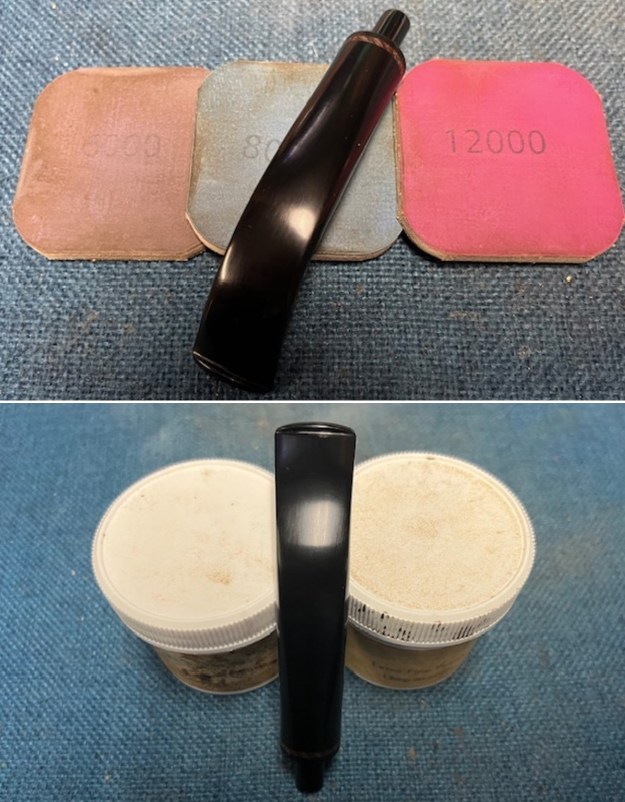
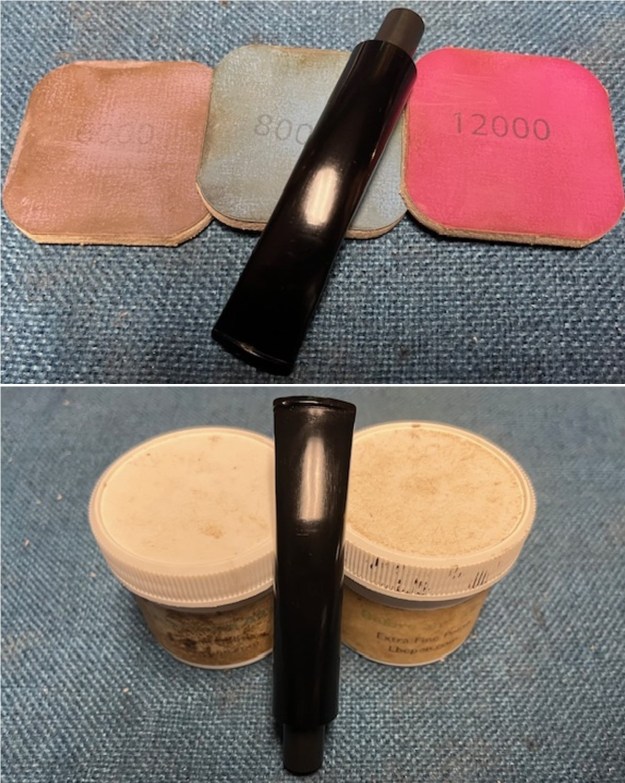
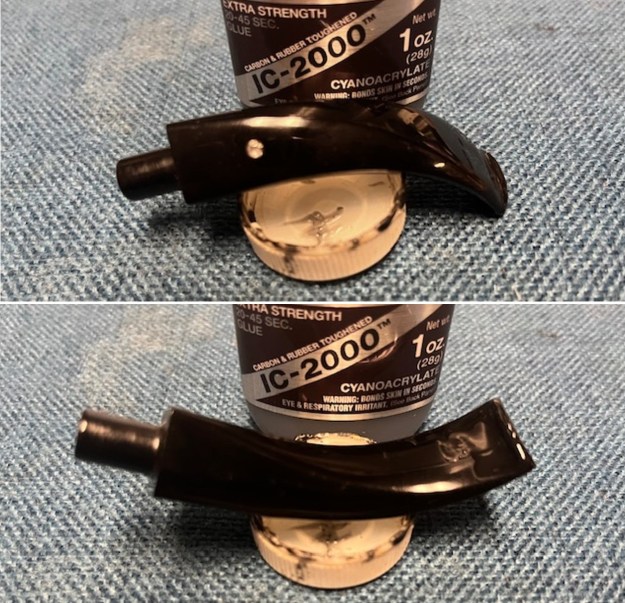
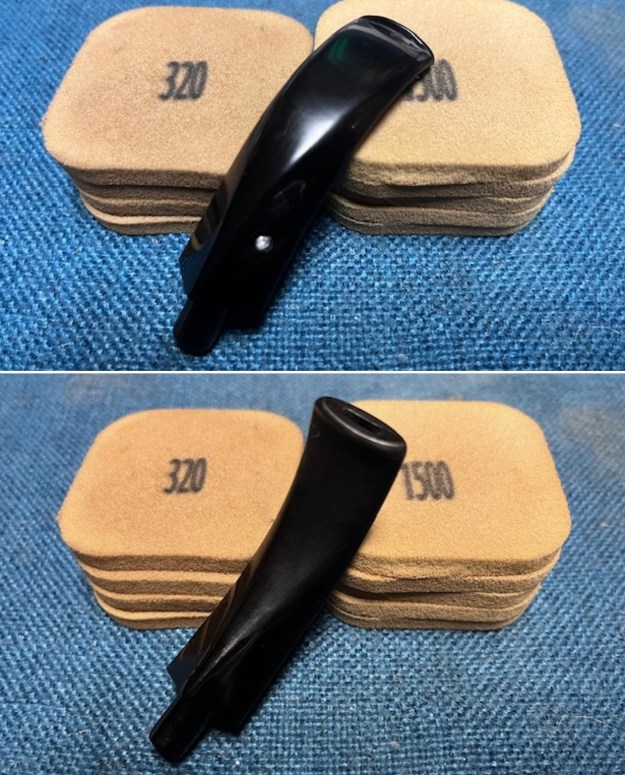
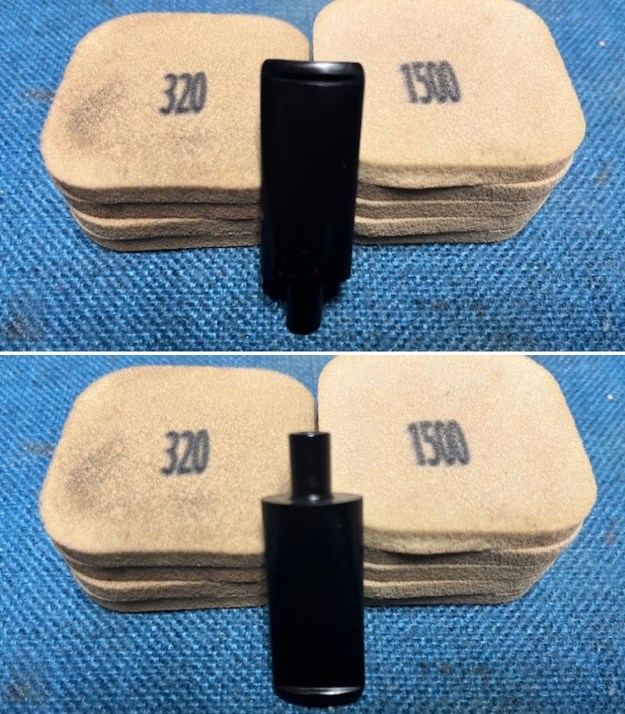
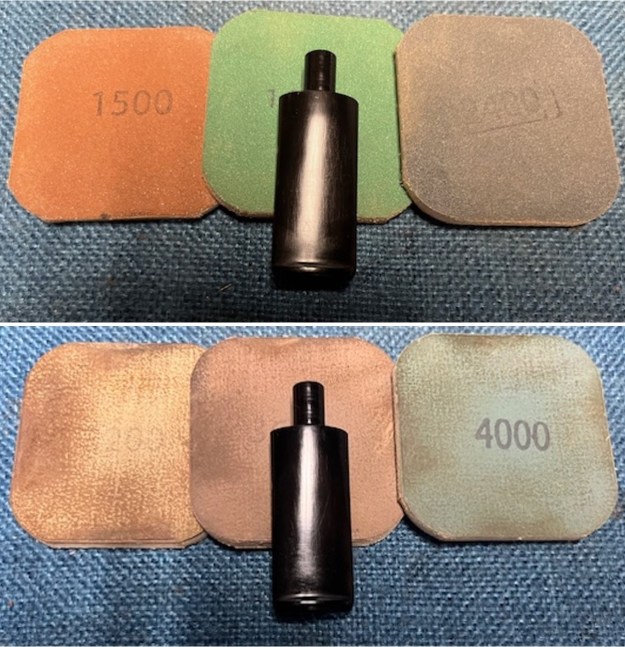
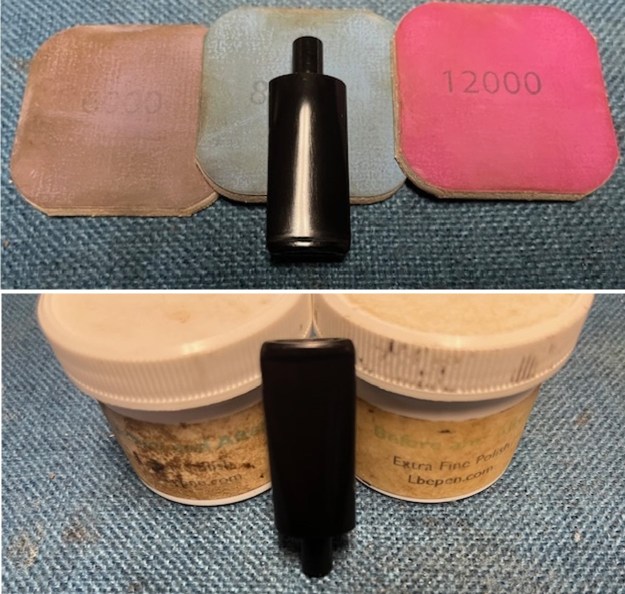
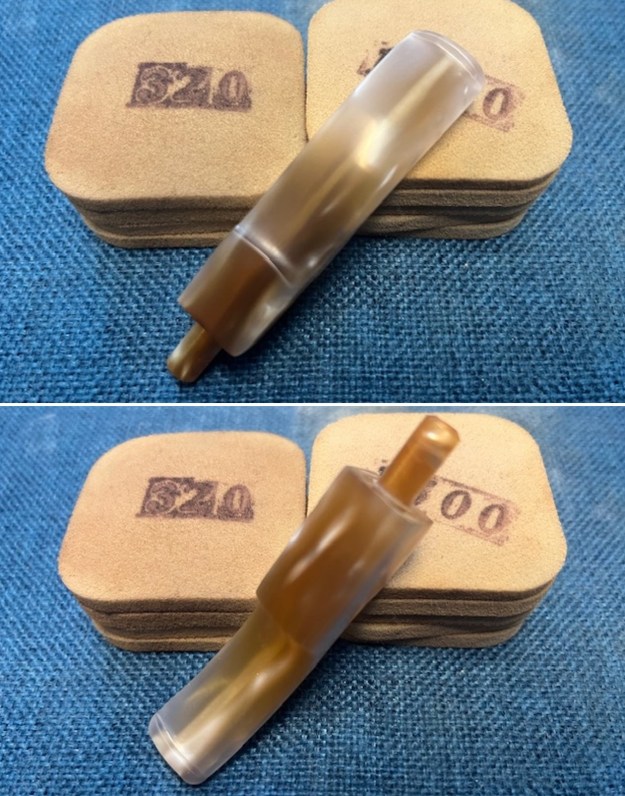
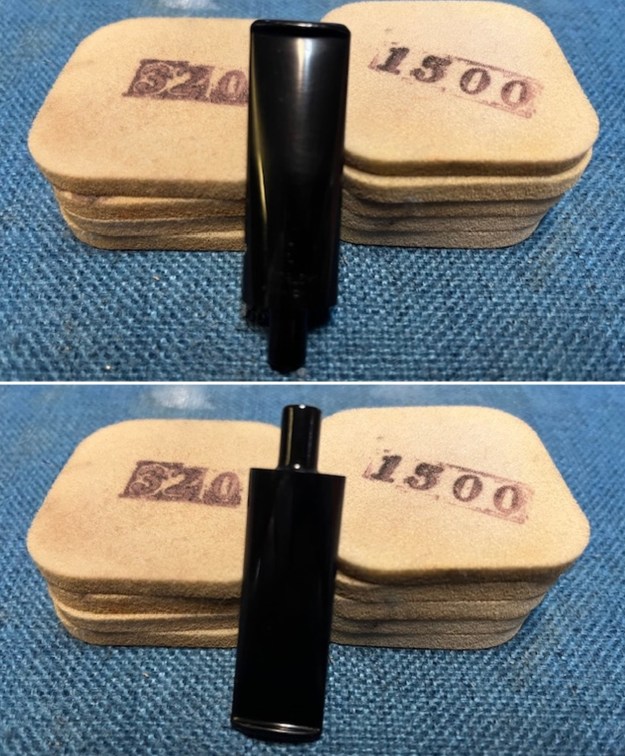
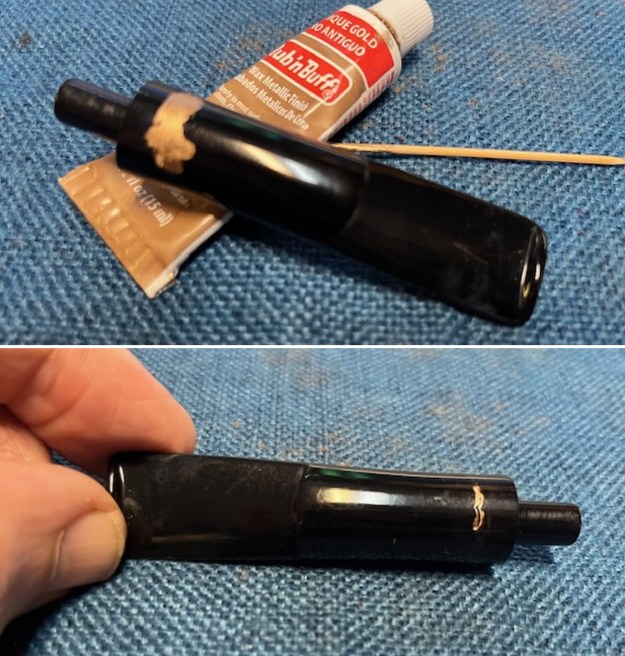
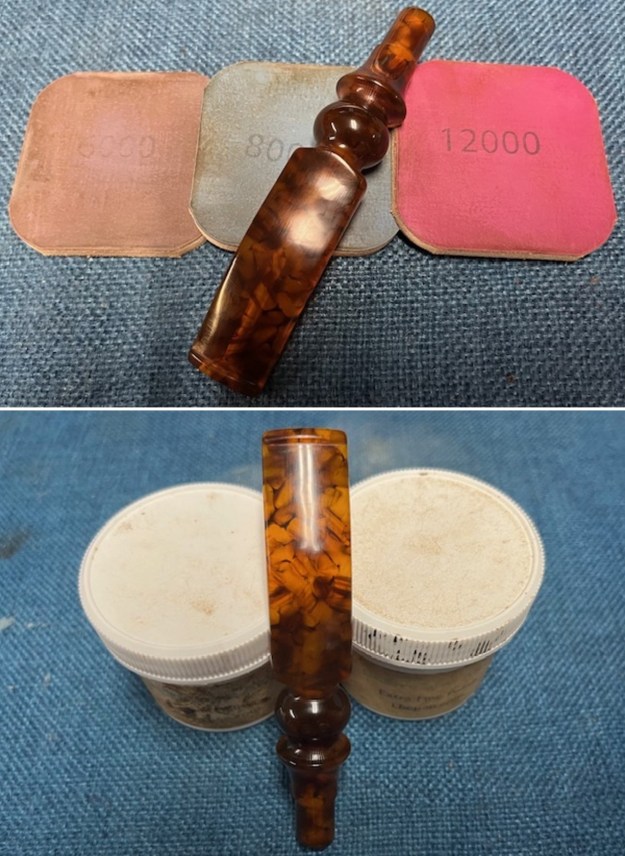
 I set the bowl aside and turned my attention to the stem. I sanded the stem with 2 x 2 inch sanding pads – dry sanding with 320-3500 grit pads and wiping it down after each pad with an Obsidian Oil cloth. I was able to blend in the tooth marks.
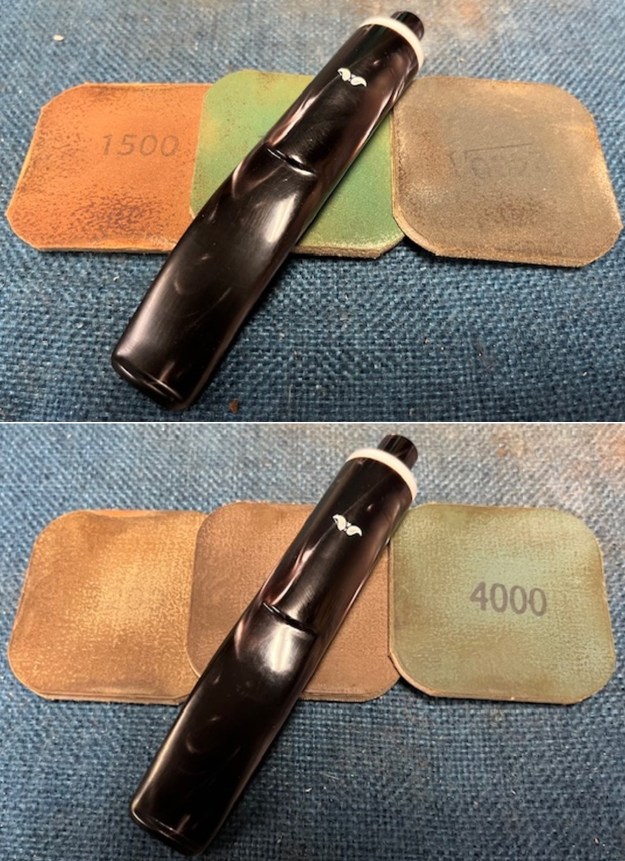
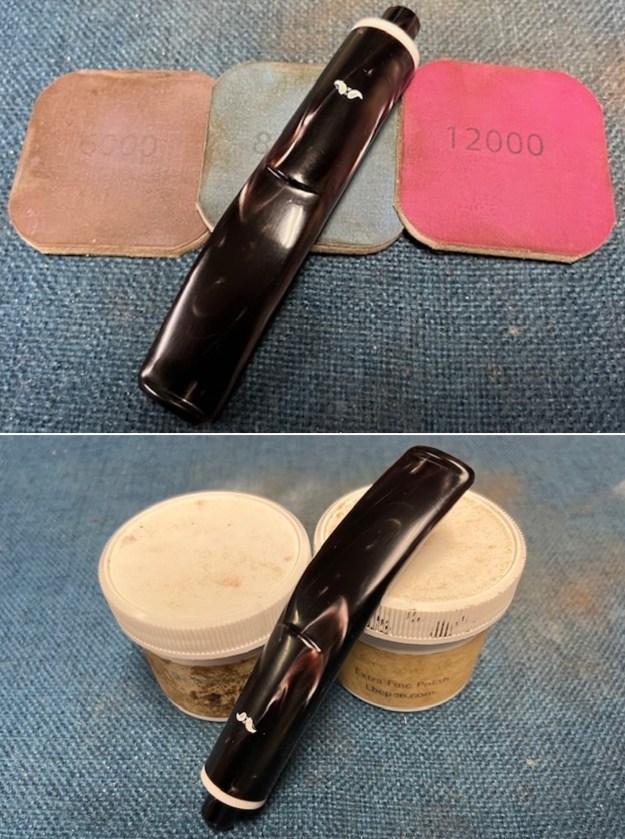
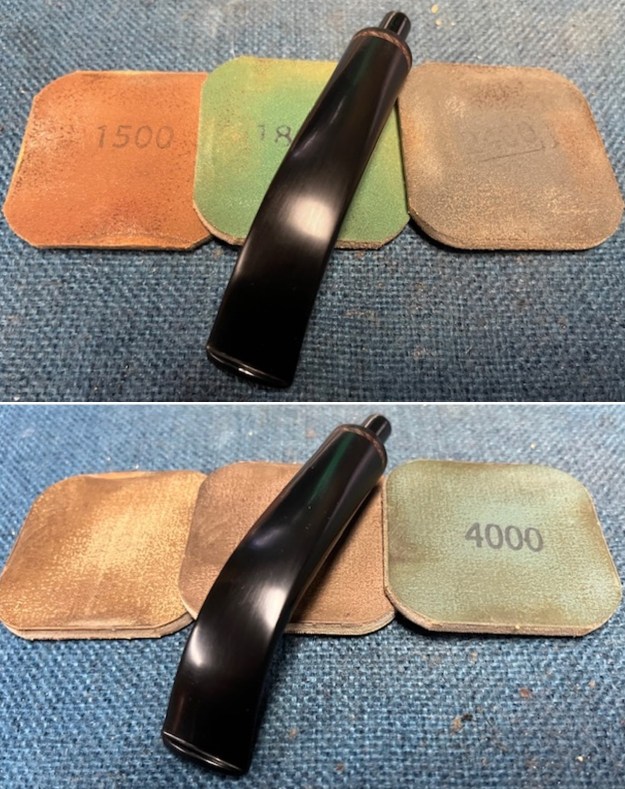
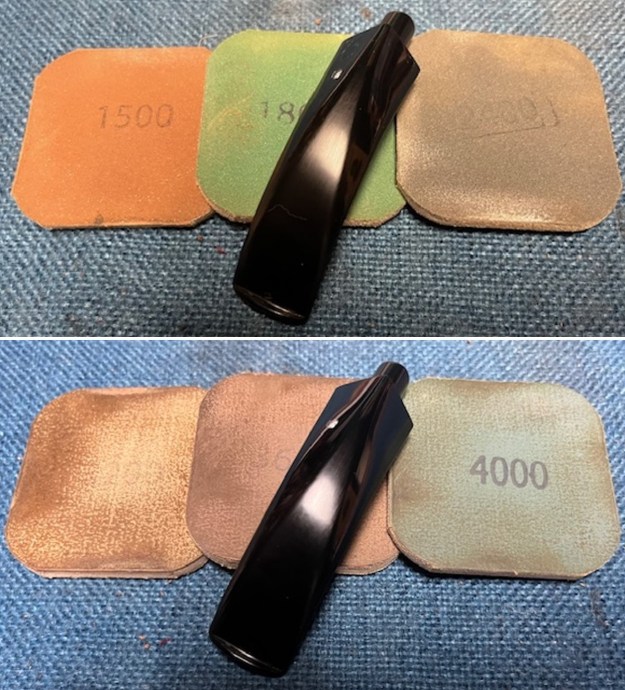
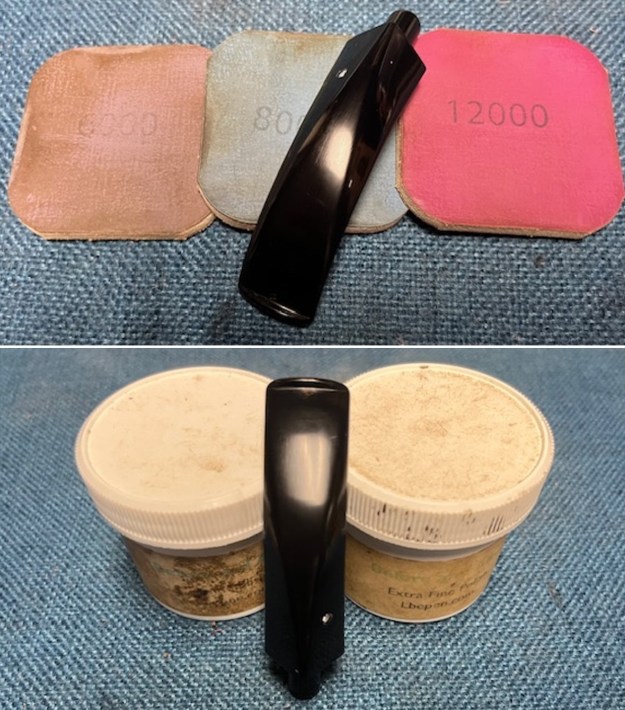
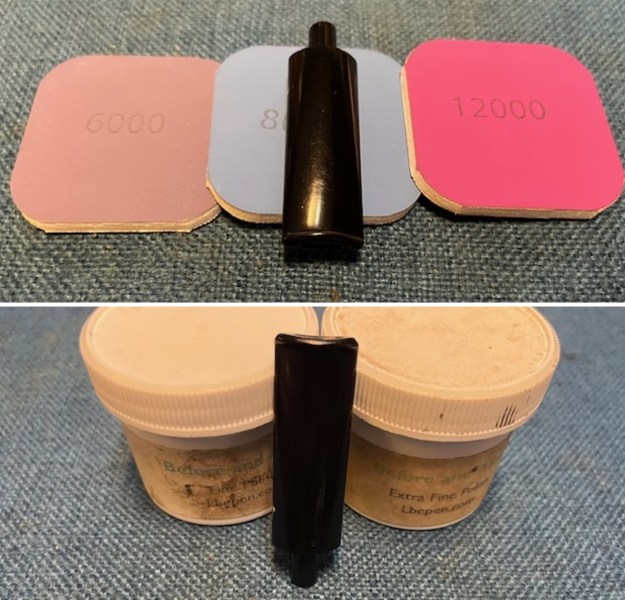
 I polished the stem with micromesh sanding pads – dry sanding with 1500-12000 grit pads. I wiped the stem down after each sanding pad with Obsidian Oil. I did a final hand polish of the stem with Before & After Pipe Stem Polish – both Fine and Extra Fine. I gave it a coat of Obsidian Pipe Stem Oil. It works to protect the stem from oxidizing. I set it aside to dry.
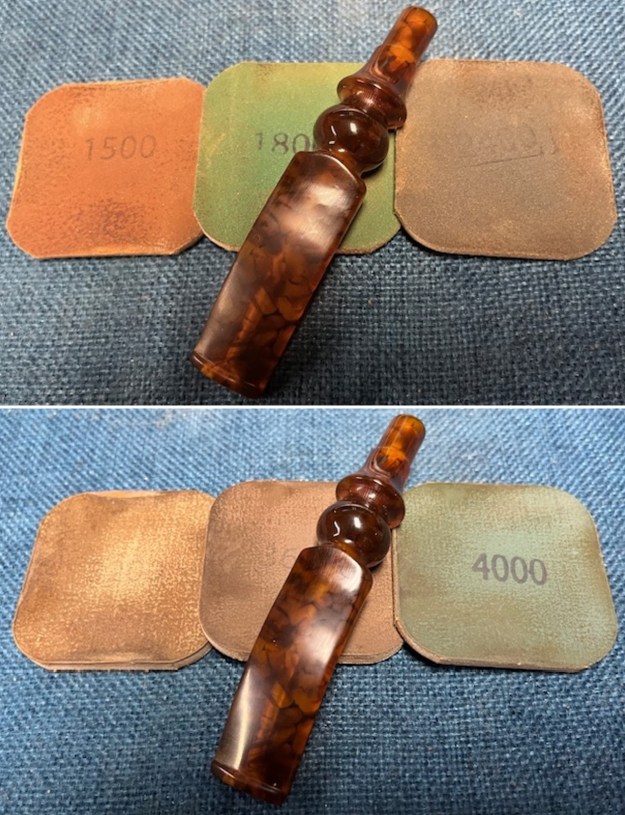
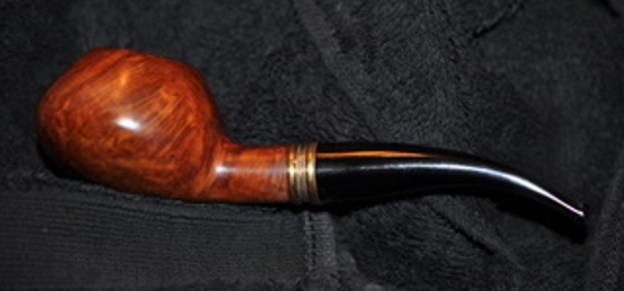
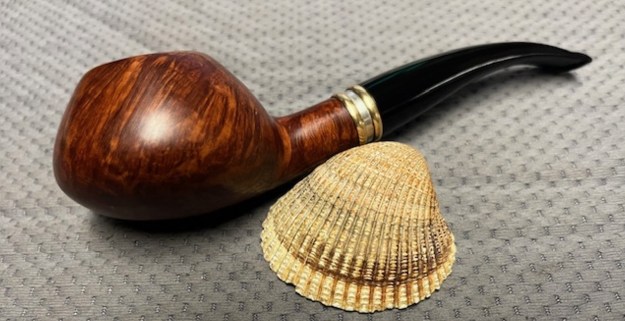
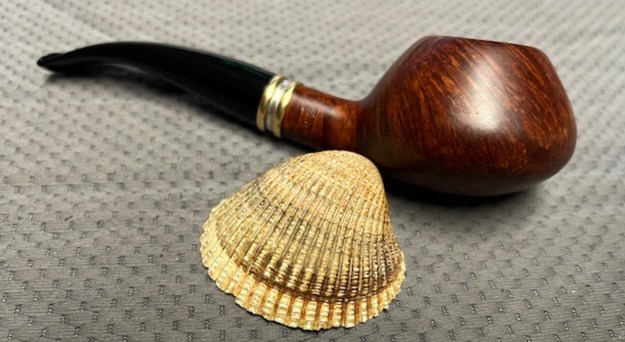
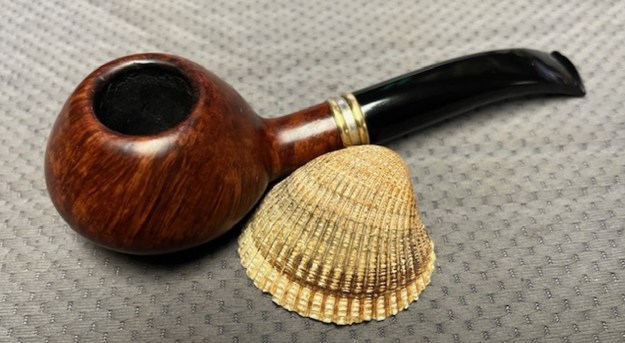
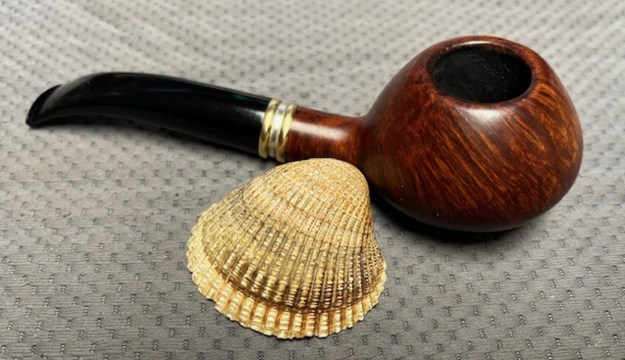
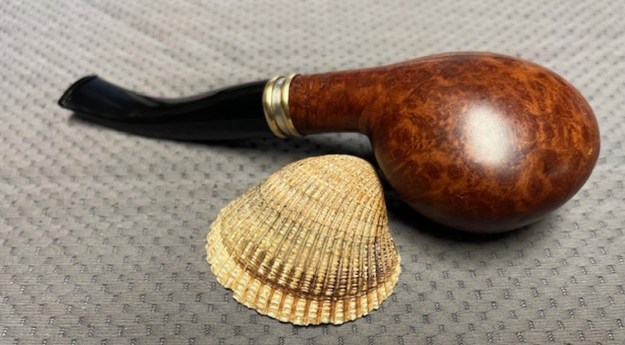
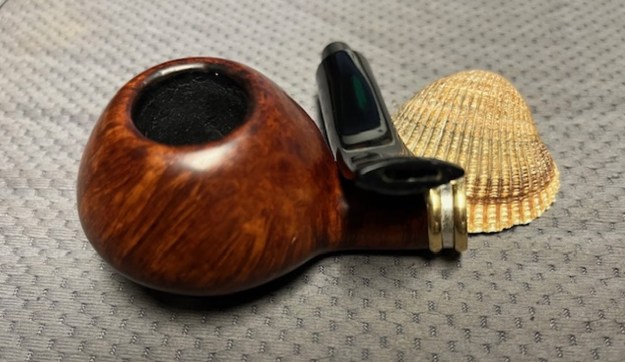
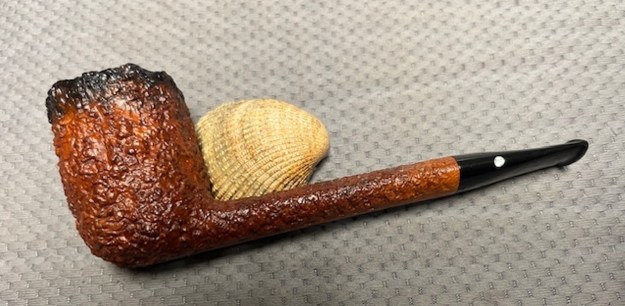
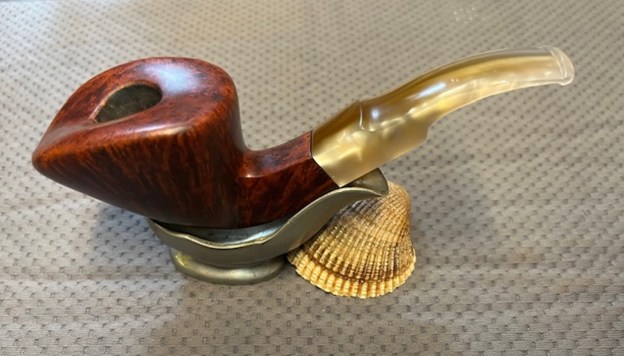
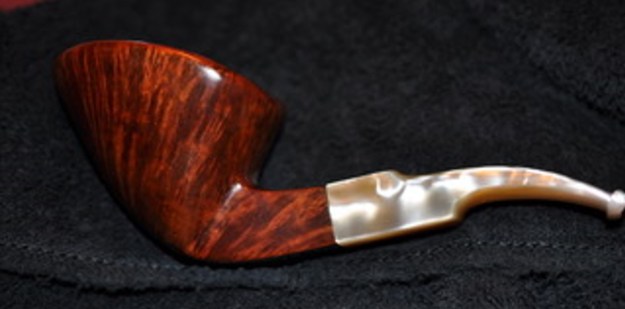
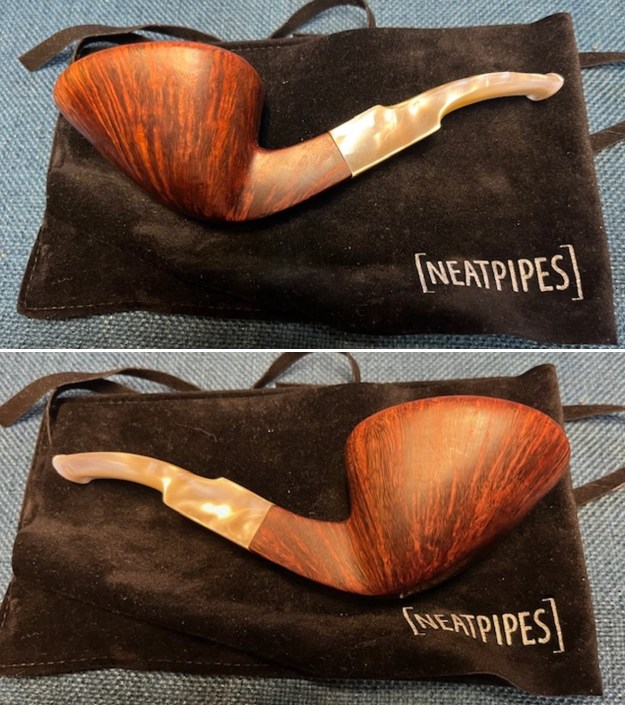
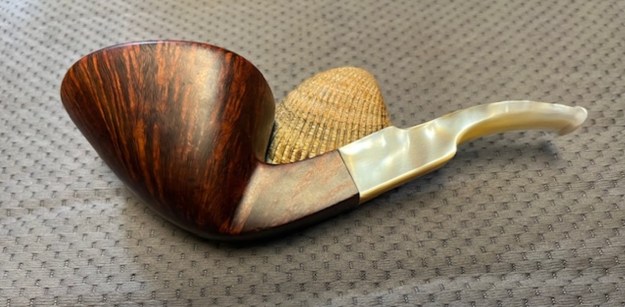
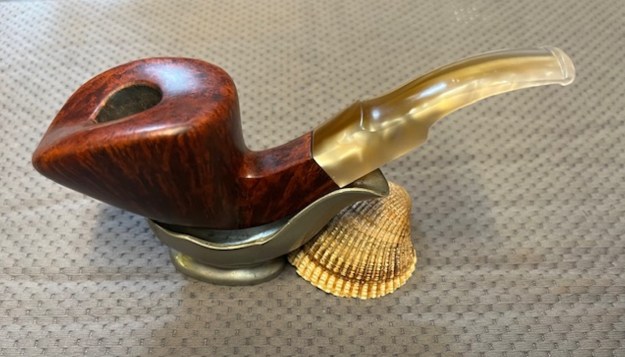
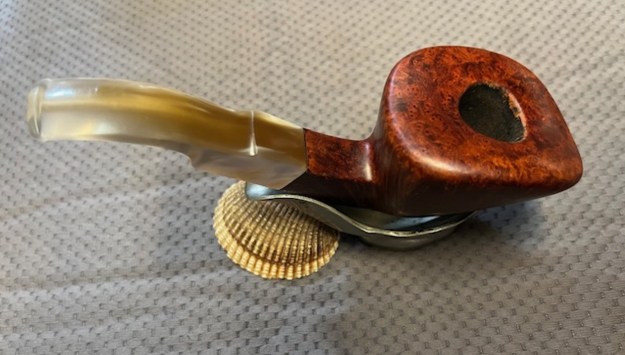
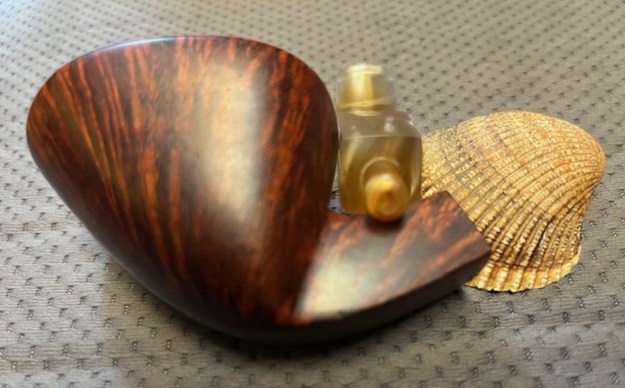
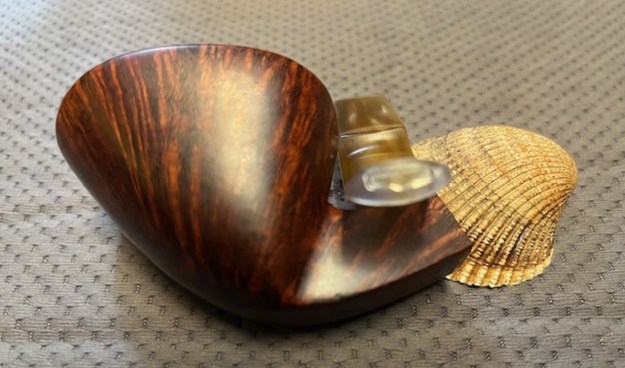
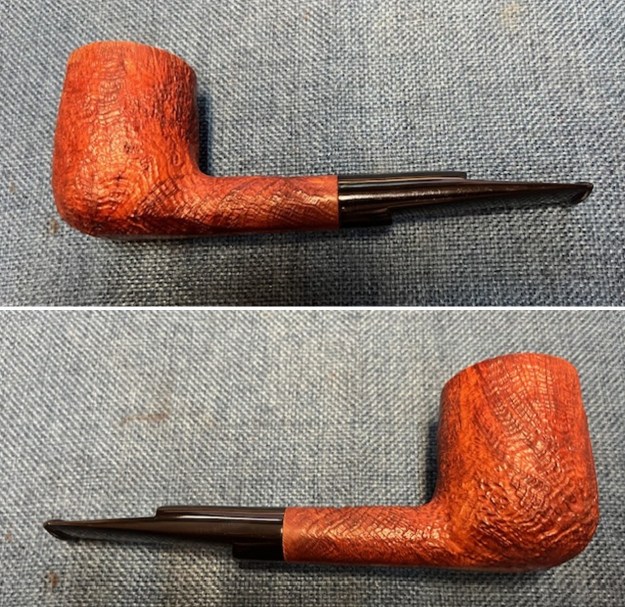
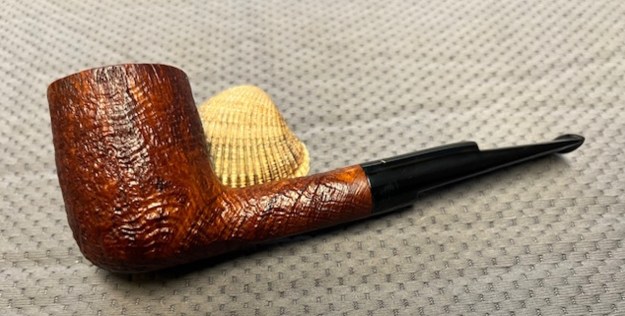
 I am excited to put the finishing touches on this Caminetto New Dear KS Billiard with a fancy amber acrylic saddle stem. I put the pipe back together and buffed it with Blue Diamond on the buffing wheel. I gave the bowl and the stem multiple coats of carnauba wax. I buffed the pipe with a clean buffing pad to raise the shine and hand buffed it with microfiber cloth to deepen the shine. It is fun to see what the polished bowl looks like with the polished black, fancy turned vulcanite stem was beautiful. This Caminetto New Dear KS Billiard is nice looking and the pipe feels great in my hand. It is light and well balanced. Have a look at it with the photos below. The dimensions are Length: 6 ½ inches, Height: 2 inches, Outside diameter of the bowl: 1 ½ inches, Chamber diameter: 7/8 of an inch. The weight of the pipe is 2.22 ounces/63 grams. It is a beautiful pipe and one that I will be putting in the Italian Pipemaker Section on the rebornpipes store. Thanks for walking through the cleanup with me as I worked over this pipe.