Blog by Steve Laug
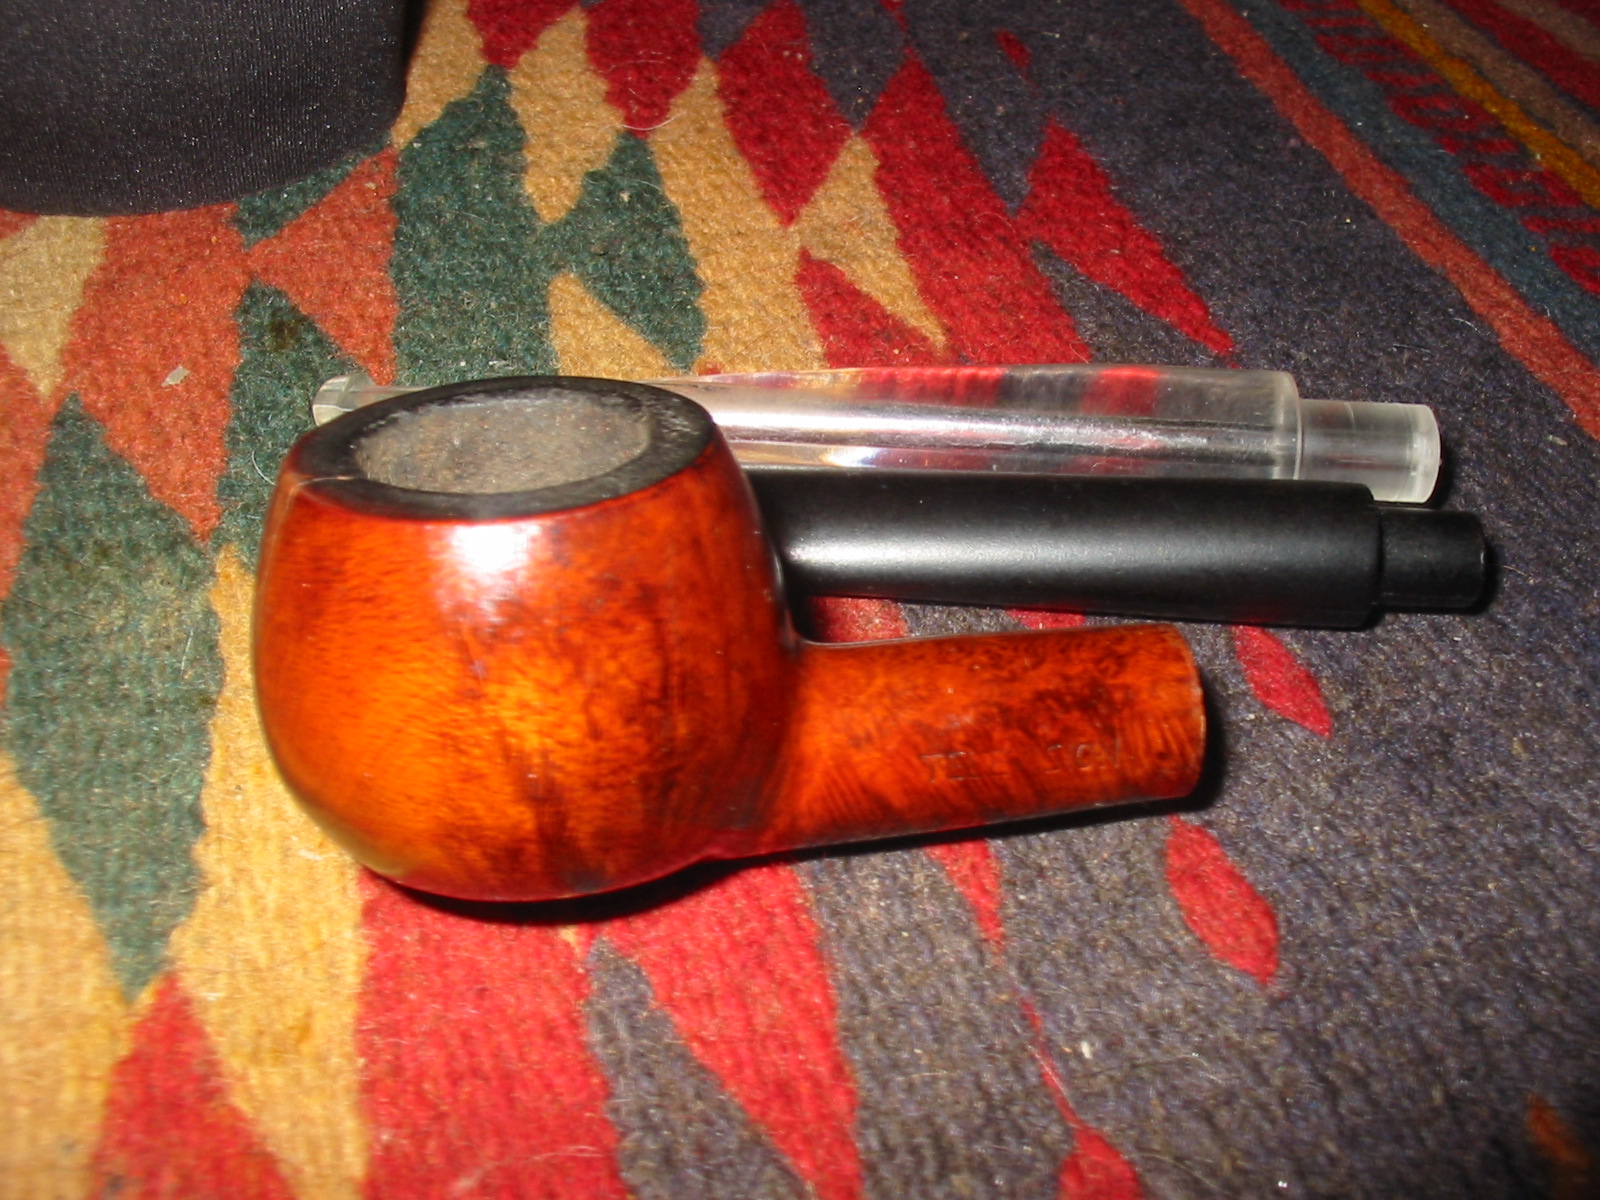
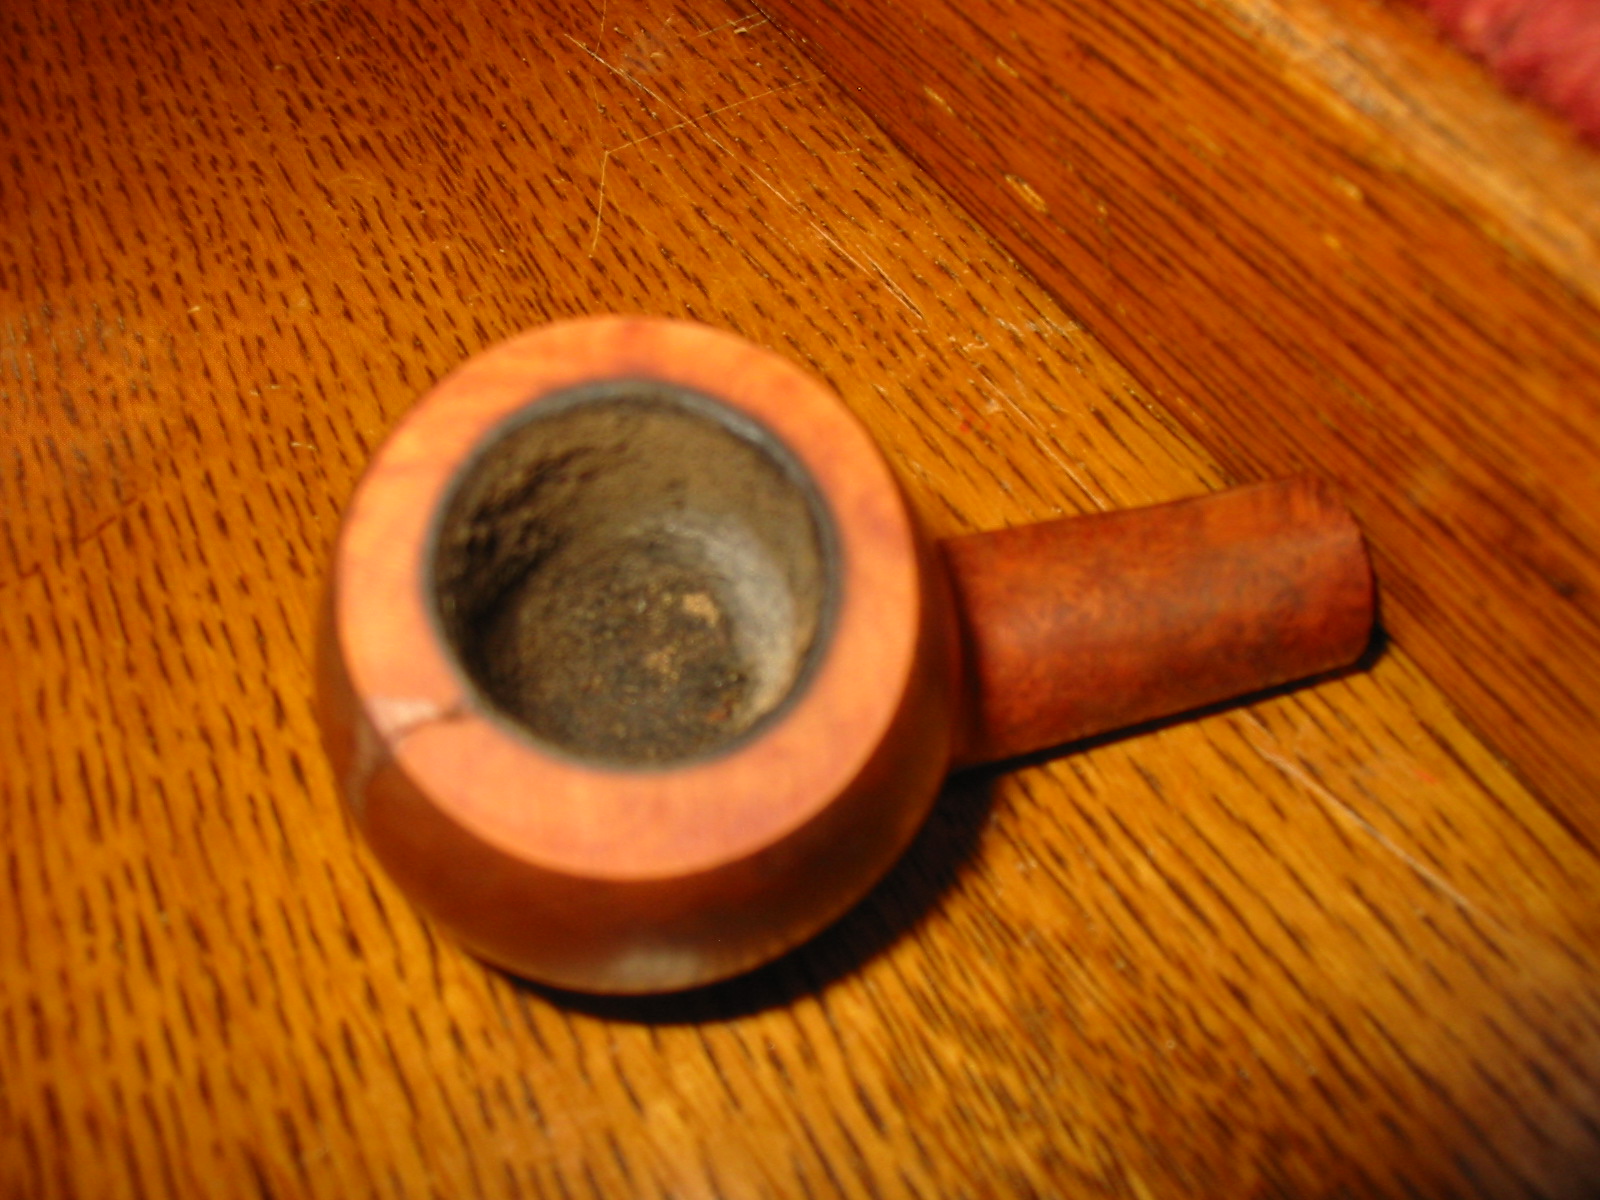
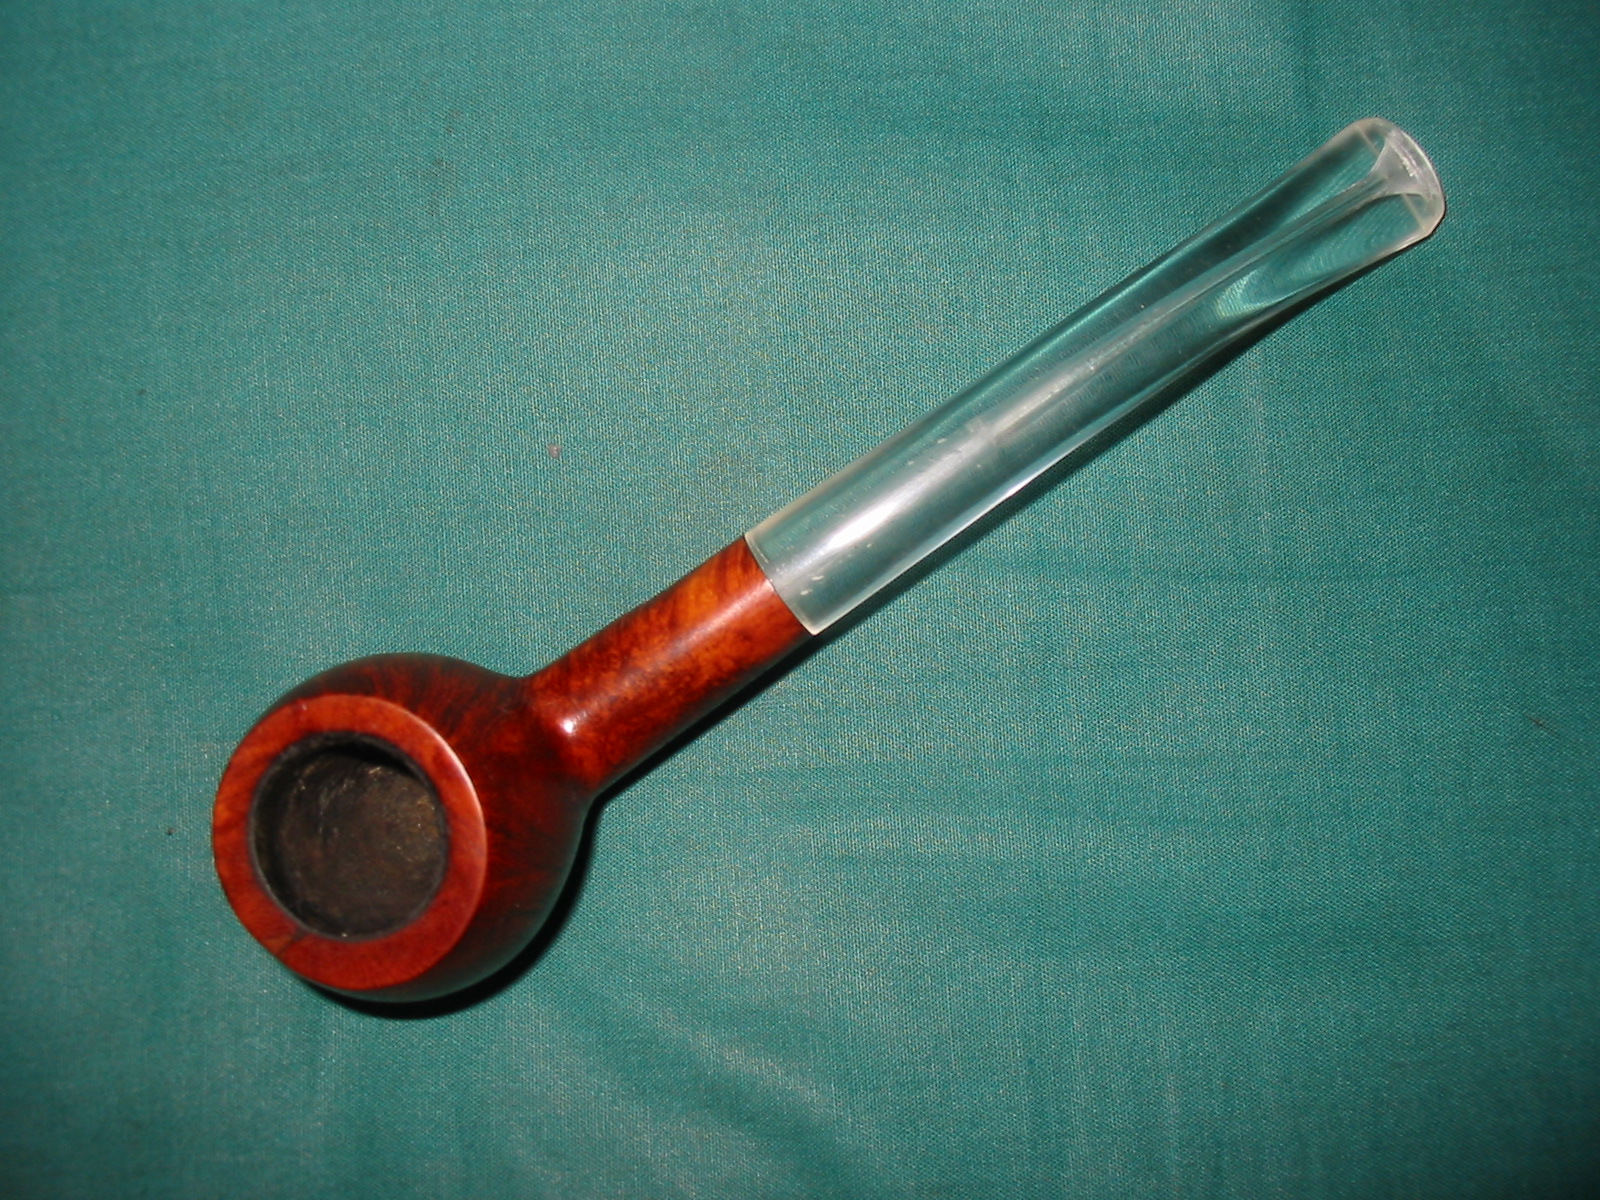
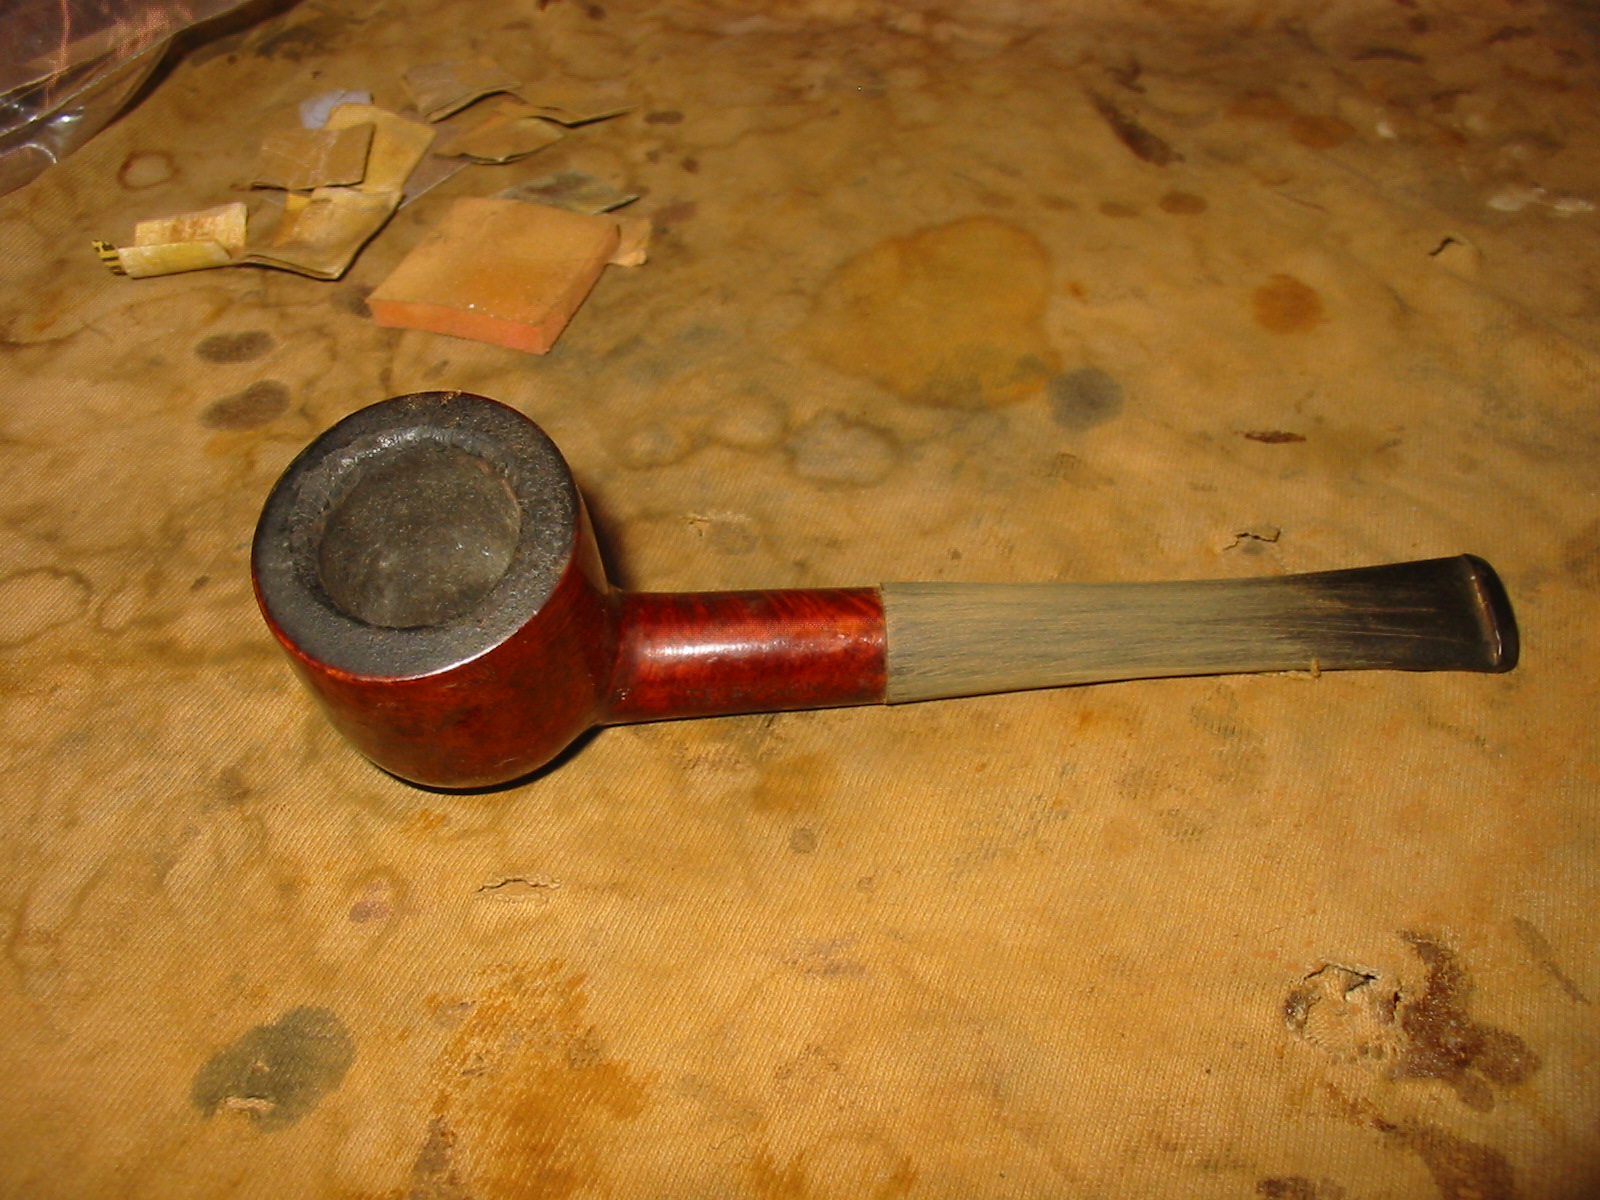
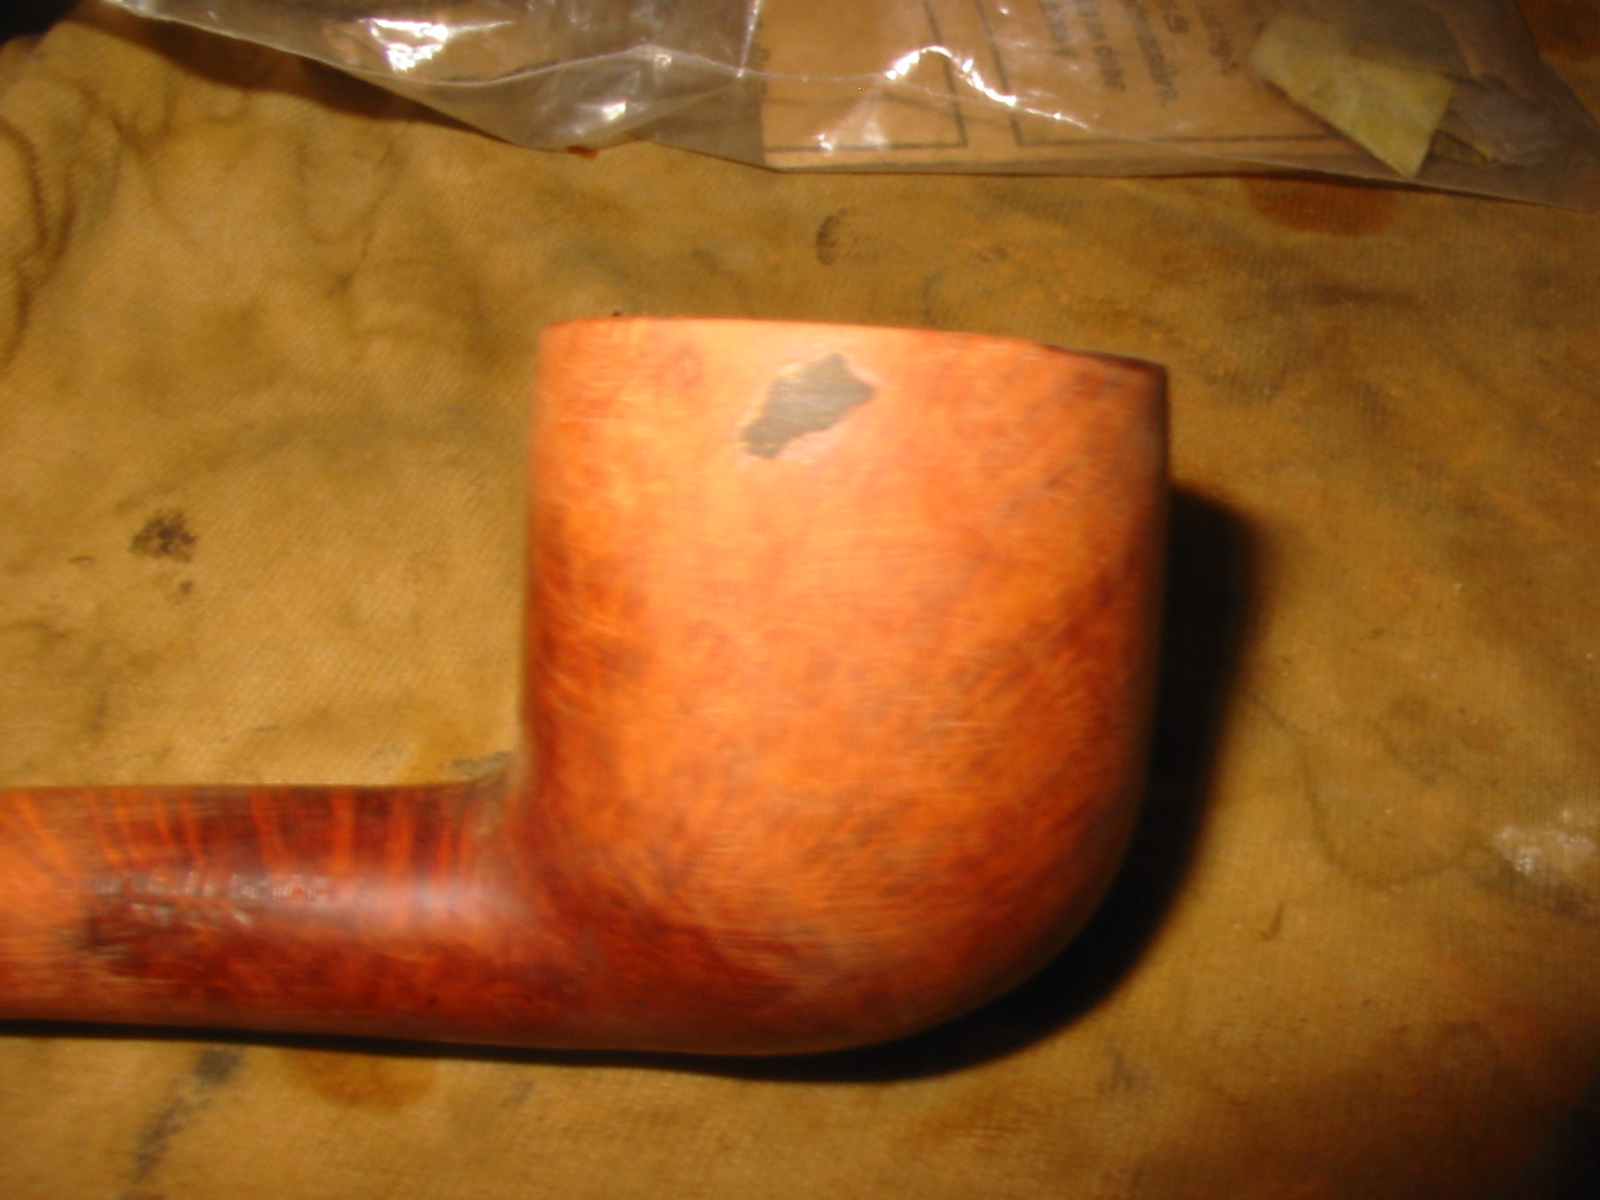
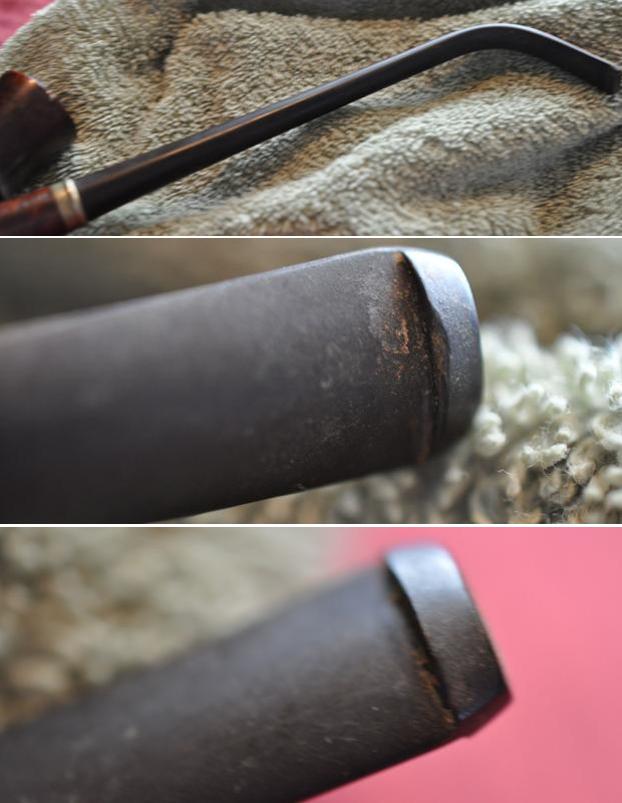
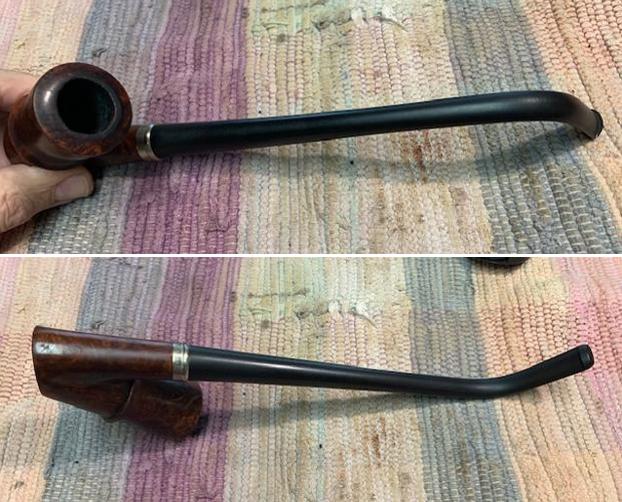
The next pipe on the table is an interesting pipe that caught my attention this morning when I was going through the boxes of pipes I have here awaiting restoration. This pipe was purchased from an online auction early in 2020 from St. Albans, West Virginia, USA. It has the length of a churchwarden and is a two part bowl and base with a tall bent stem. The pipe is a standing pipe that is well balanced and still stands when it is put together. The pipe is stamped on the left side of the shank and read TELEVISION PIPE and on the right side it read Algerian Briar [over] Made in France. There is a metal band/ferrule on the shank that is stamped EP in a diamond which means Electroplated and below that it has some very worn hallmarks. It was extremely dirty with grime and grit ground into the bowl sides. The bowl was heavily caked and there was a thick lava coat on the rim top and edges. The bowl unscrewed from the base which was also thickly caked with tars and oils. The band/ferrule was oxidized as was the vulcanite stem. There were light tooth marks on both sides of the stem ahead of the button. There was a small aluminum stinger in the tenon that was removable. Jeff took photos of the pipe before he started his work on it.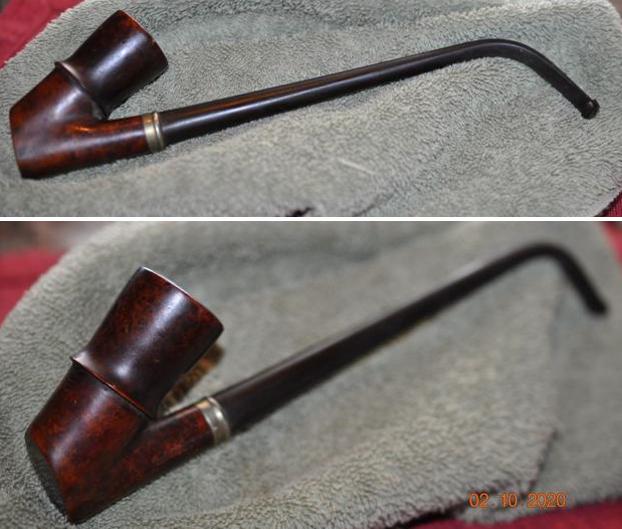 He took some photos of the bowl and rim top to show their condition. The cake is thick and there is debris on the walls of the bowl. The rim top has a thick coat of lava and between that and the cake it is hard to know the condition of the rim edges. Clean up will reveal the condition. There are chips and nicks in the outer edge of the bowl. The stem looks pretty good with light tooth marks on both sides. The stem is oxidized and calcified.
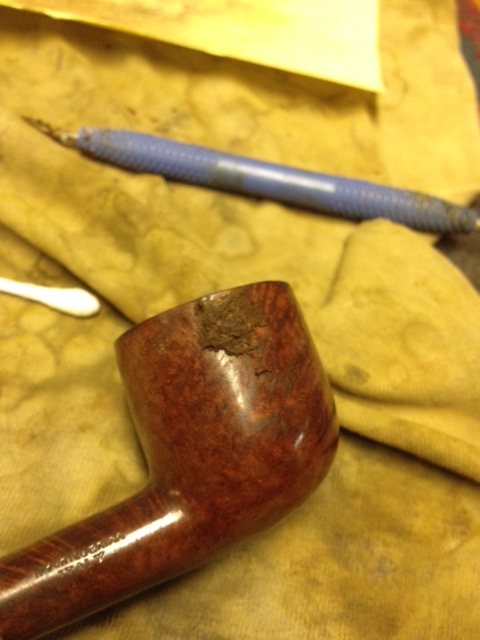
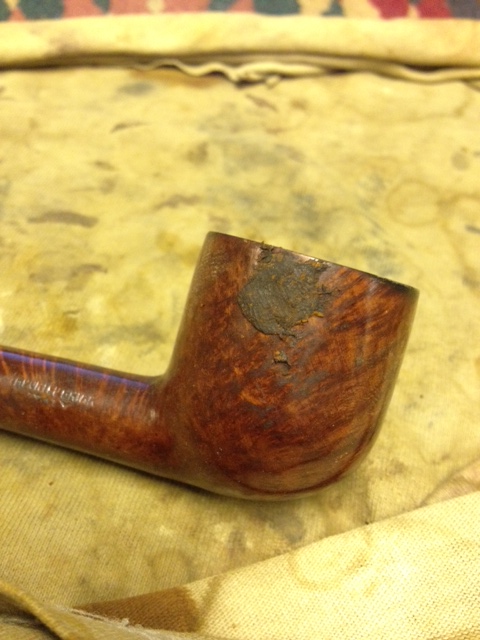
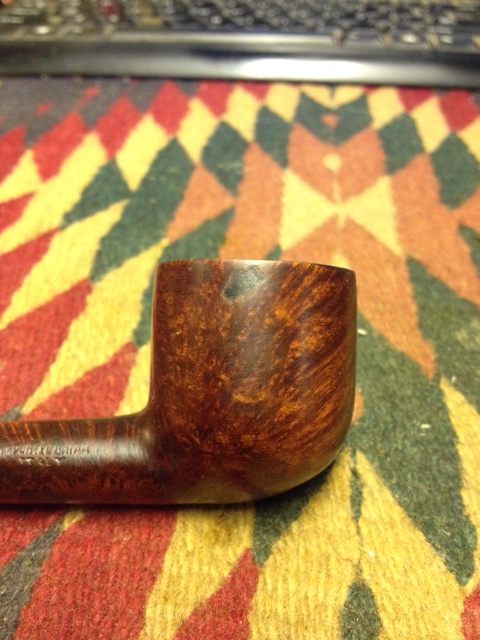
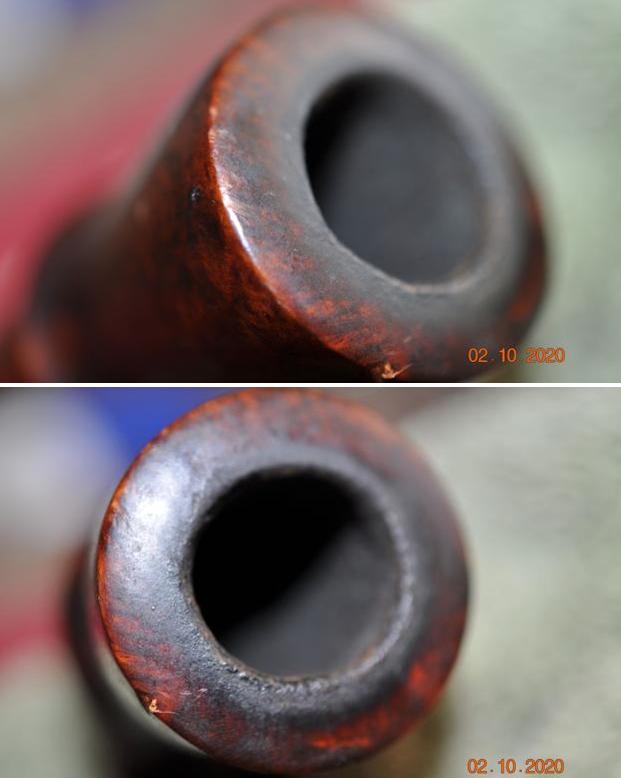
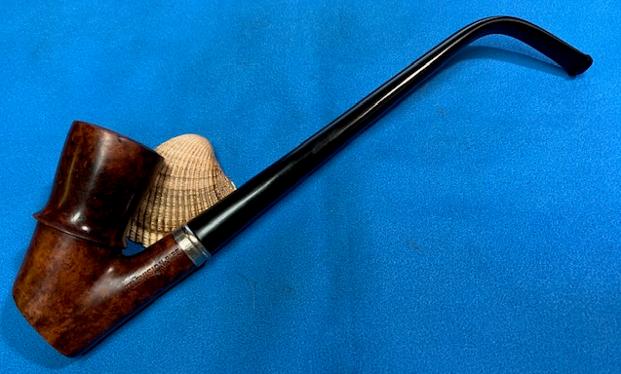
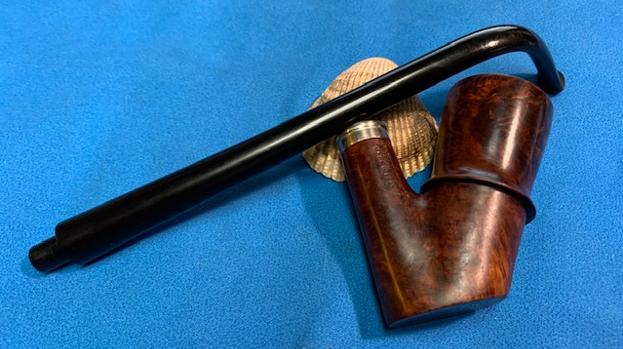
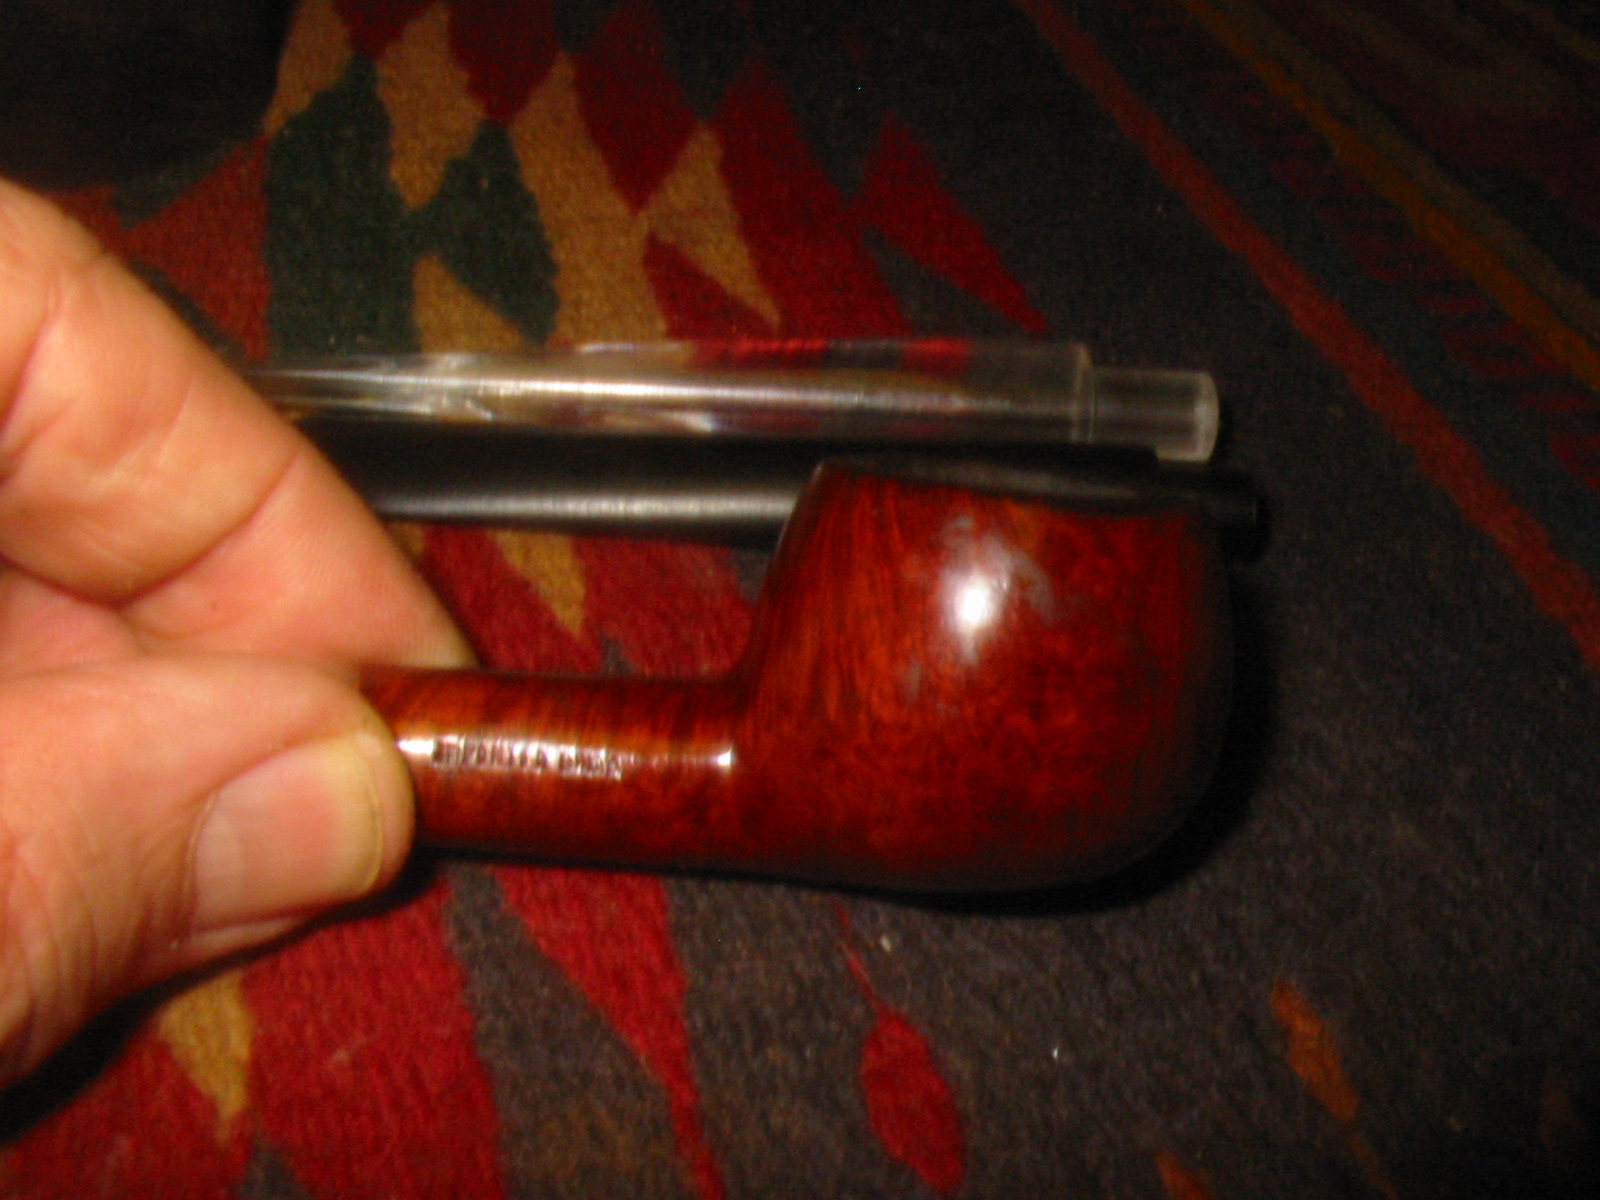
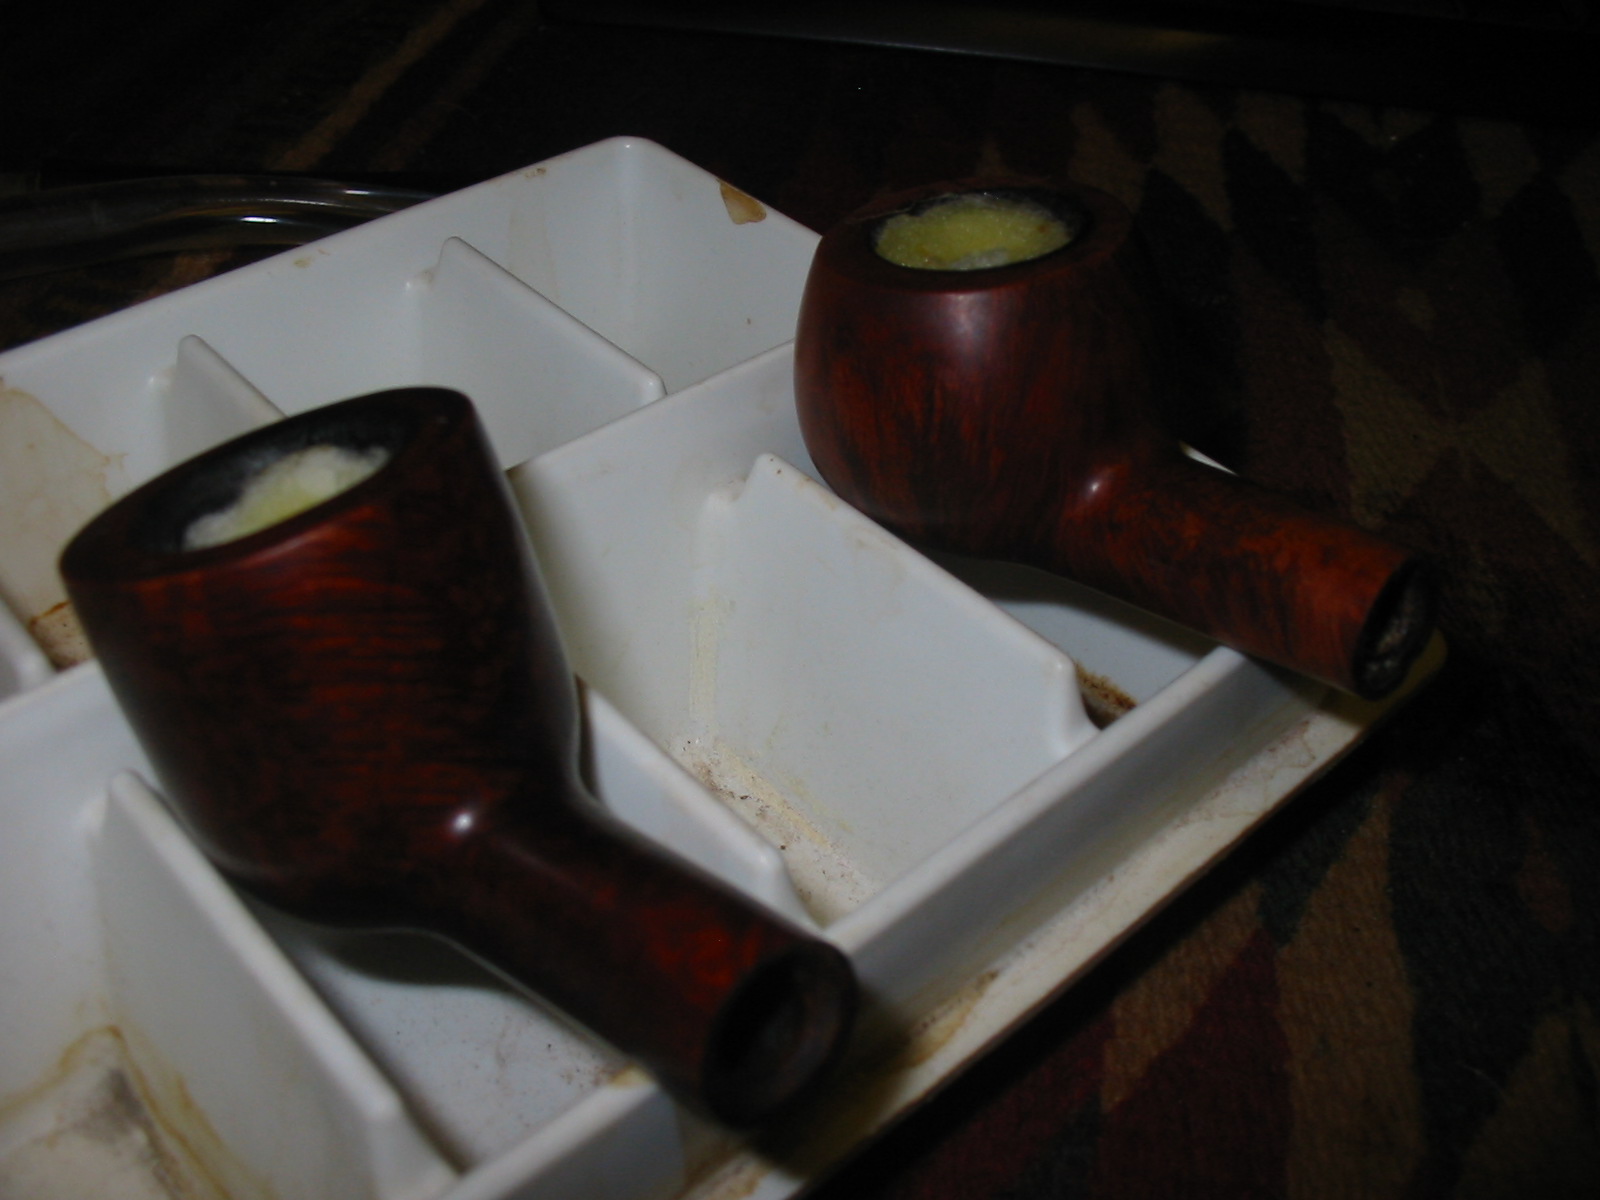
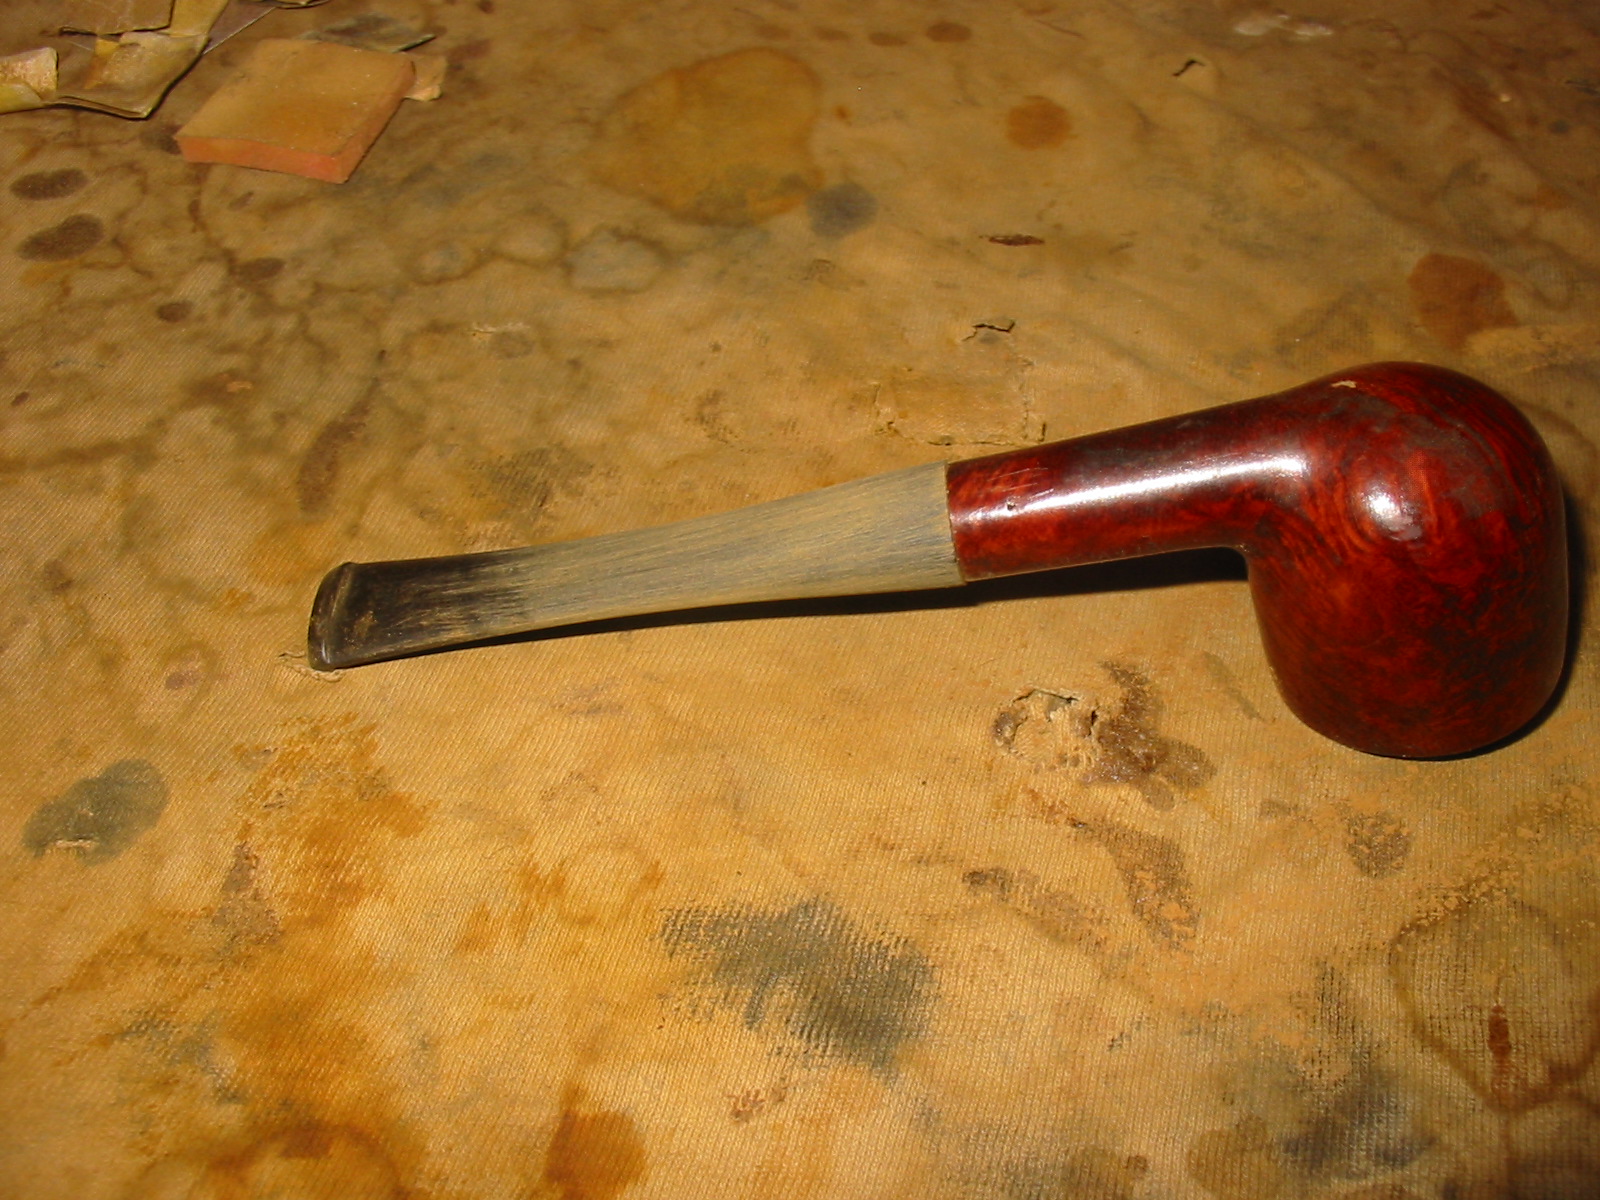
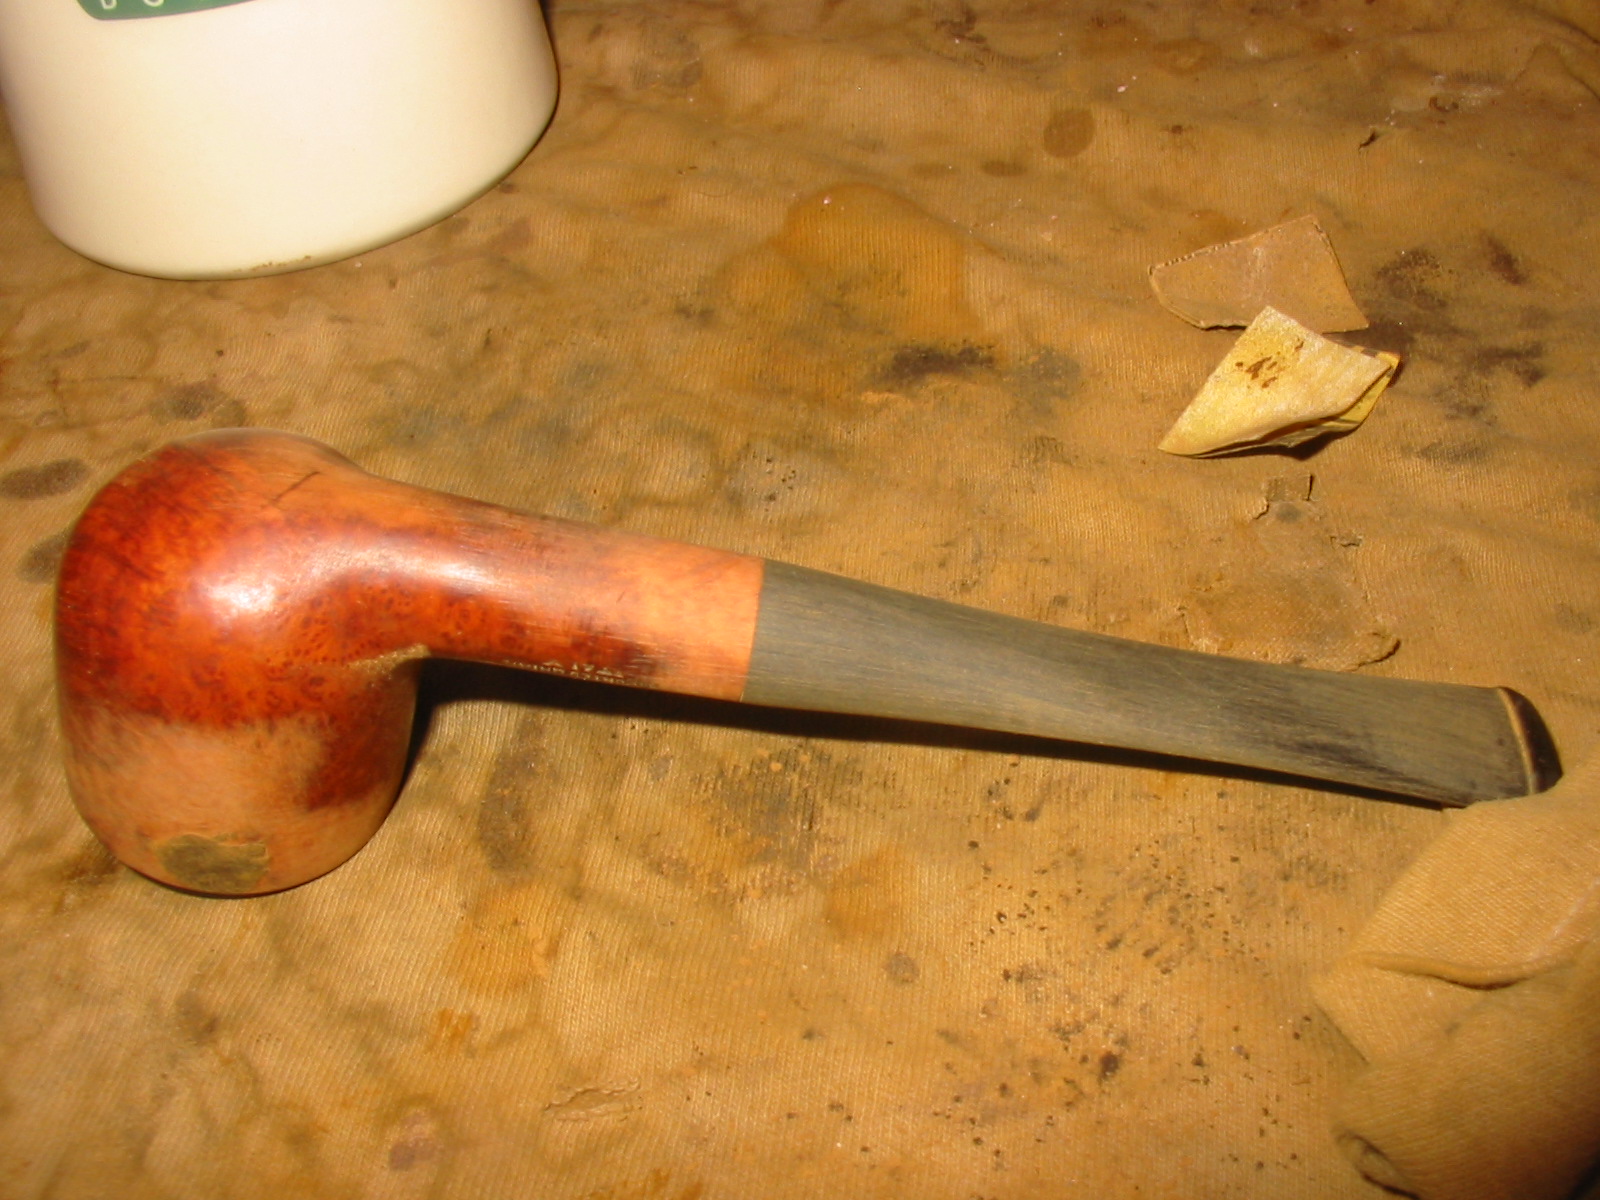
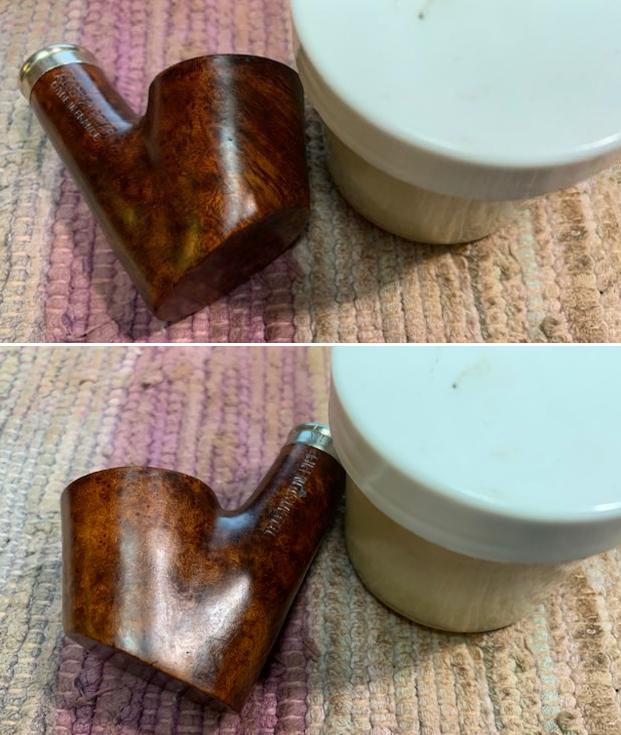
 He took photos of the bowl and base together to show the overall appearance of the pipe. There is a lot of grime around the junction of the bowl and base that can be seen in the photos below.
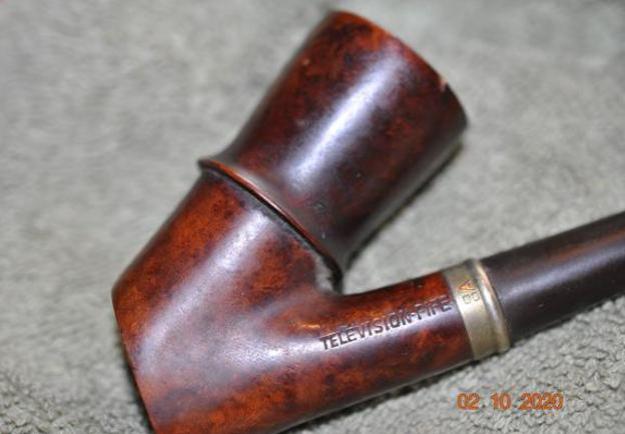
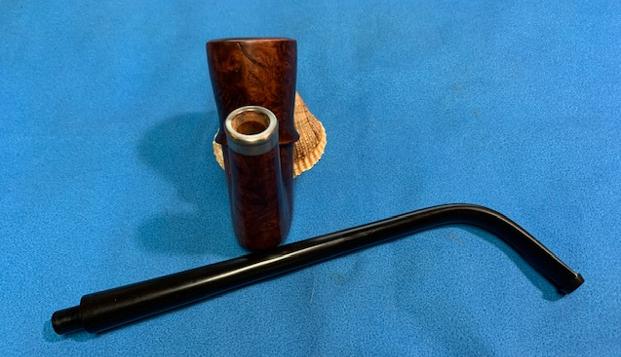
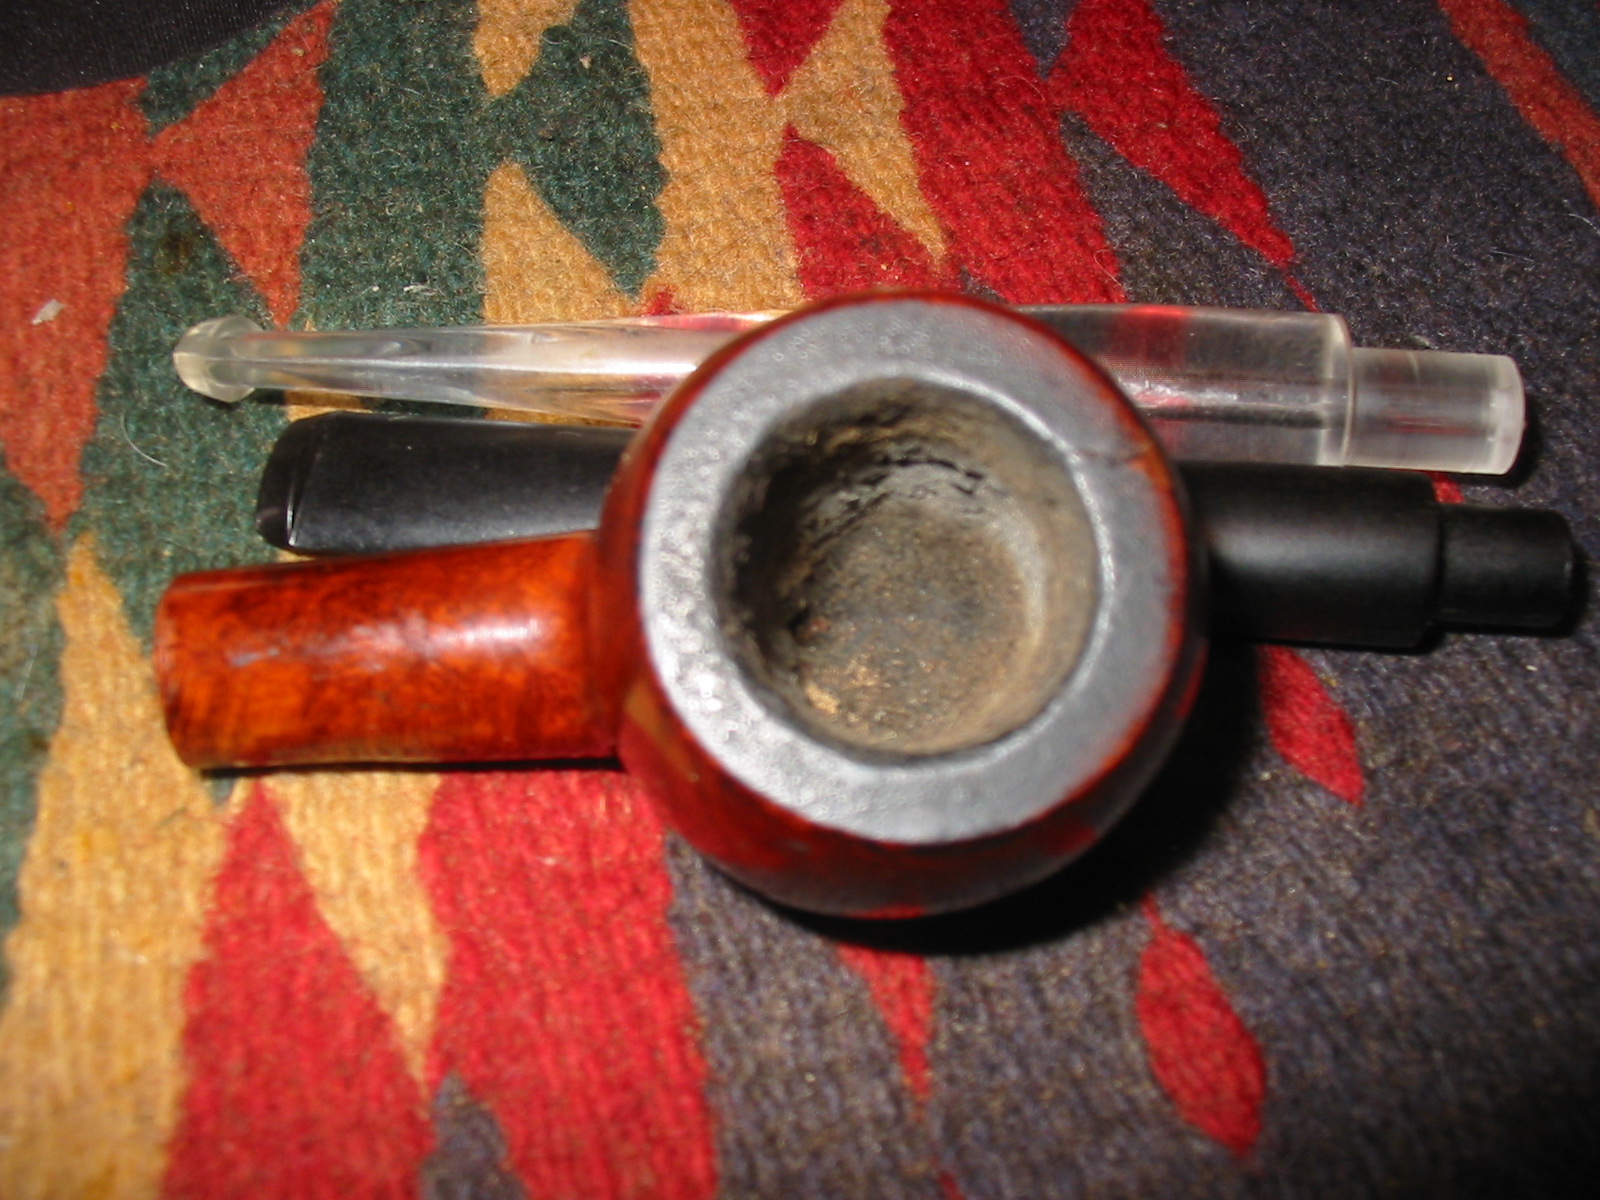
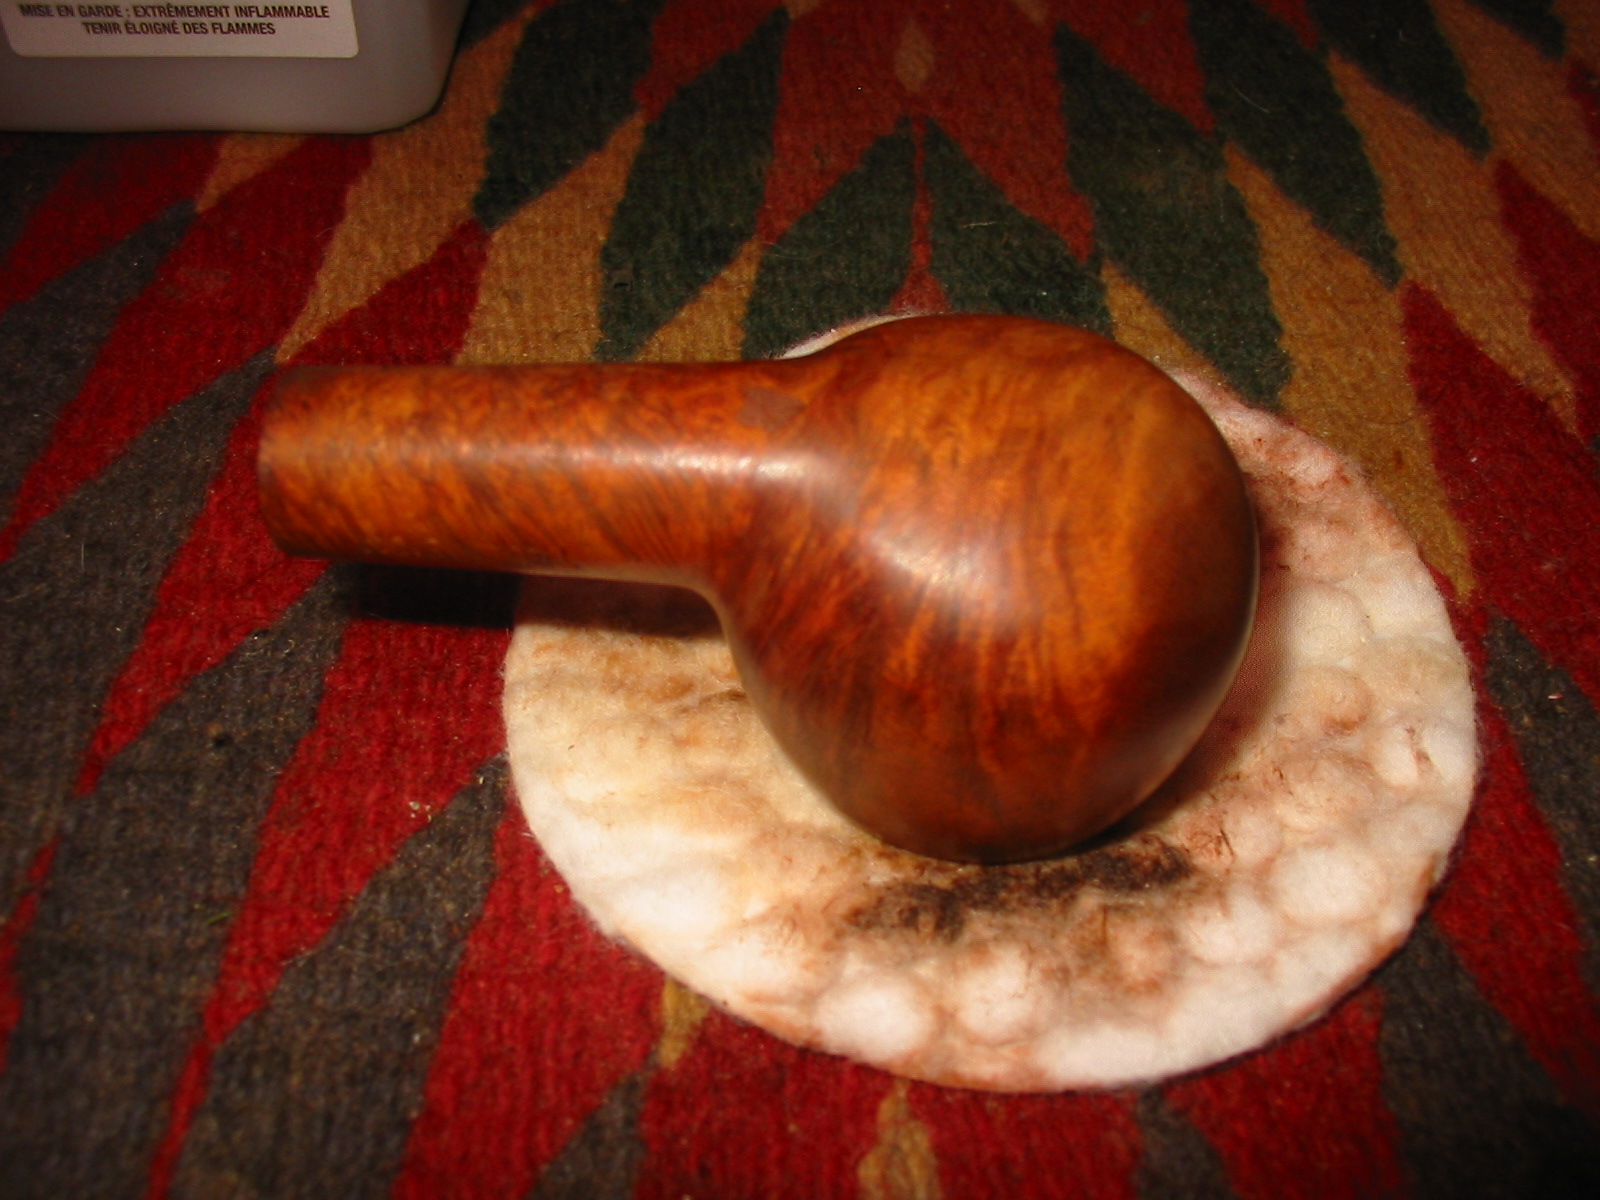
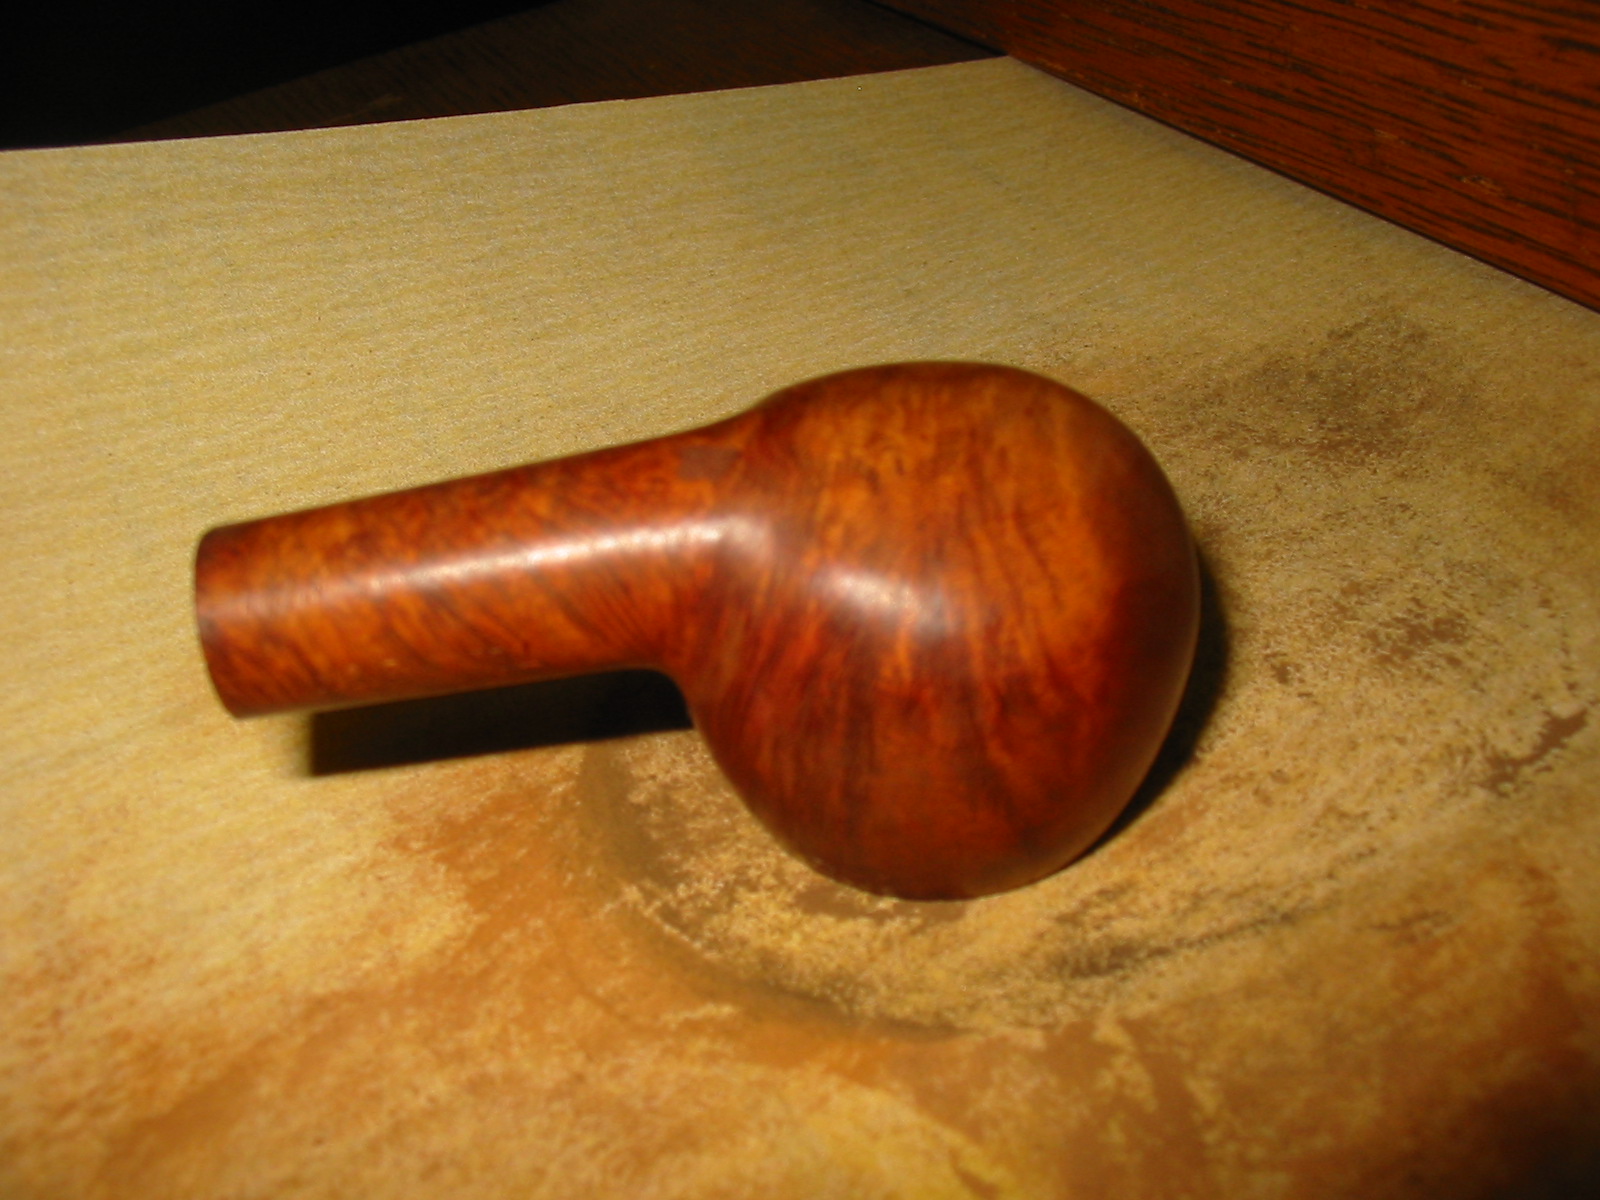
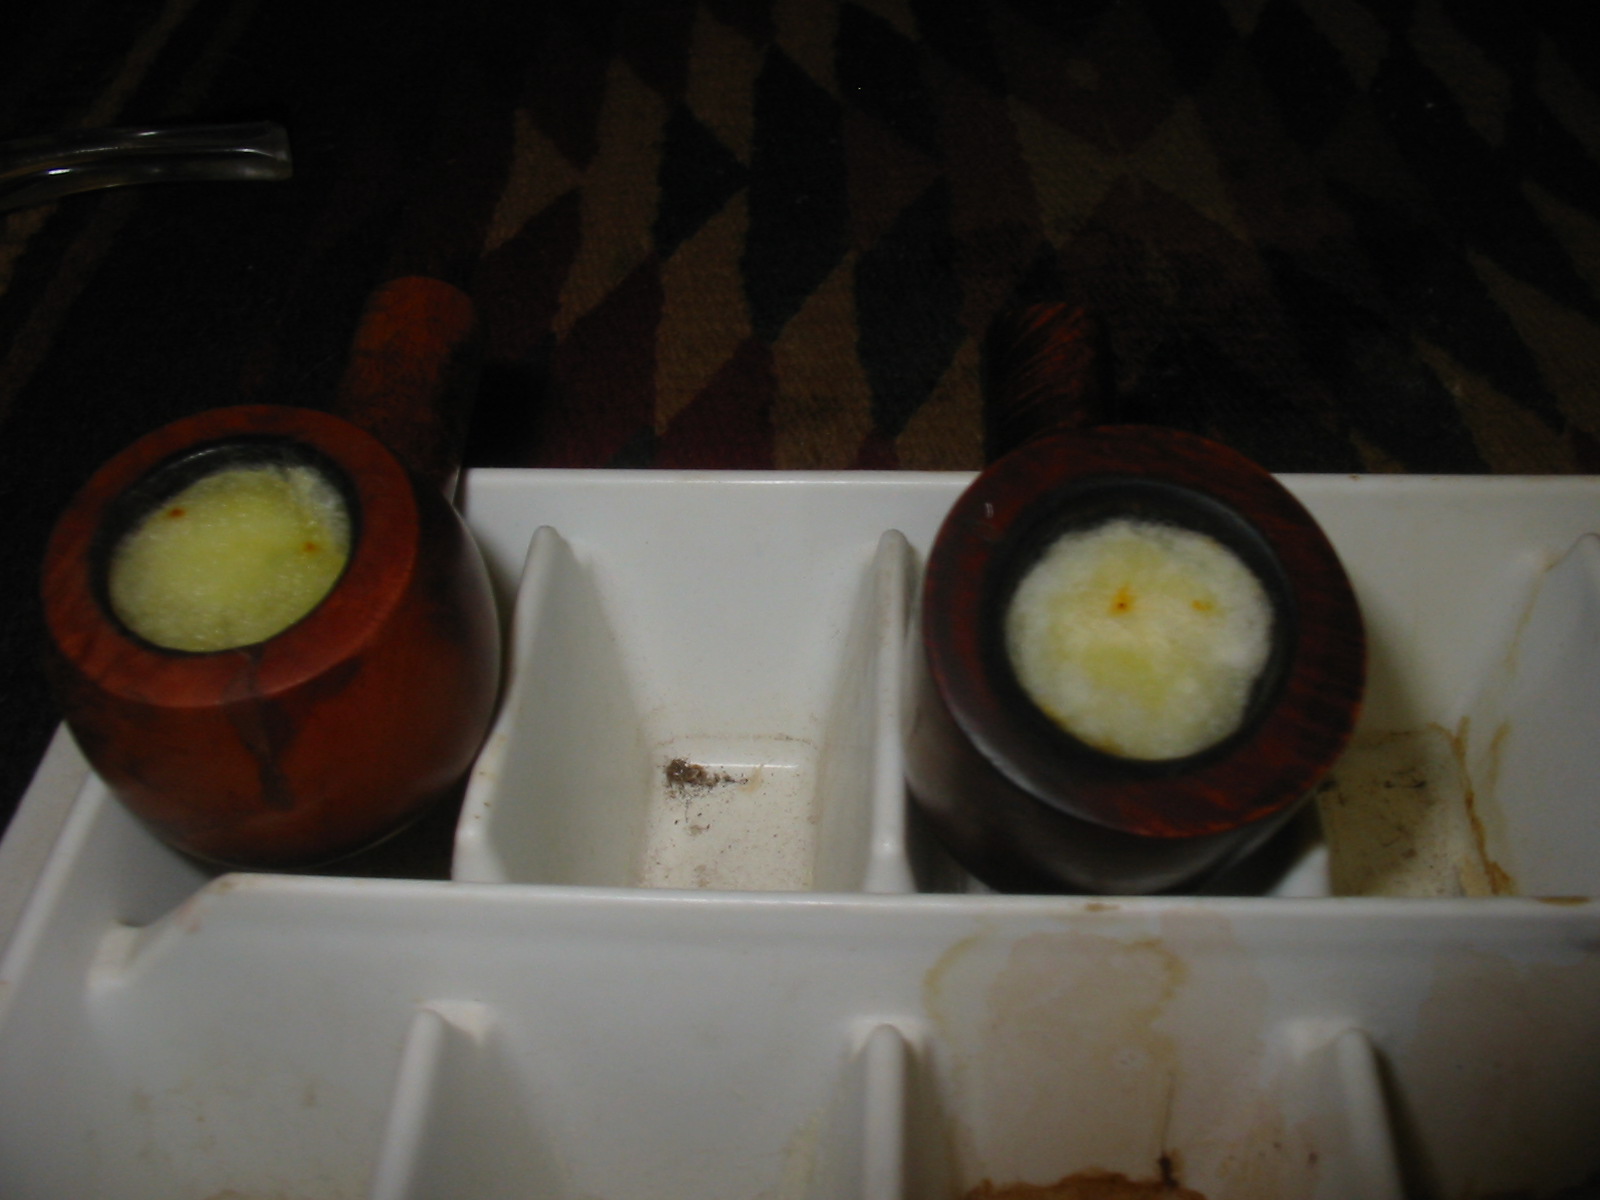
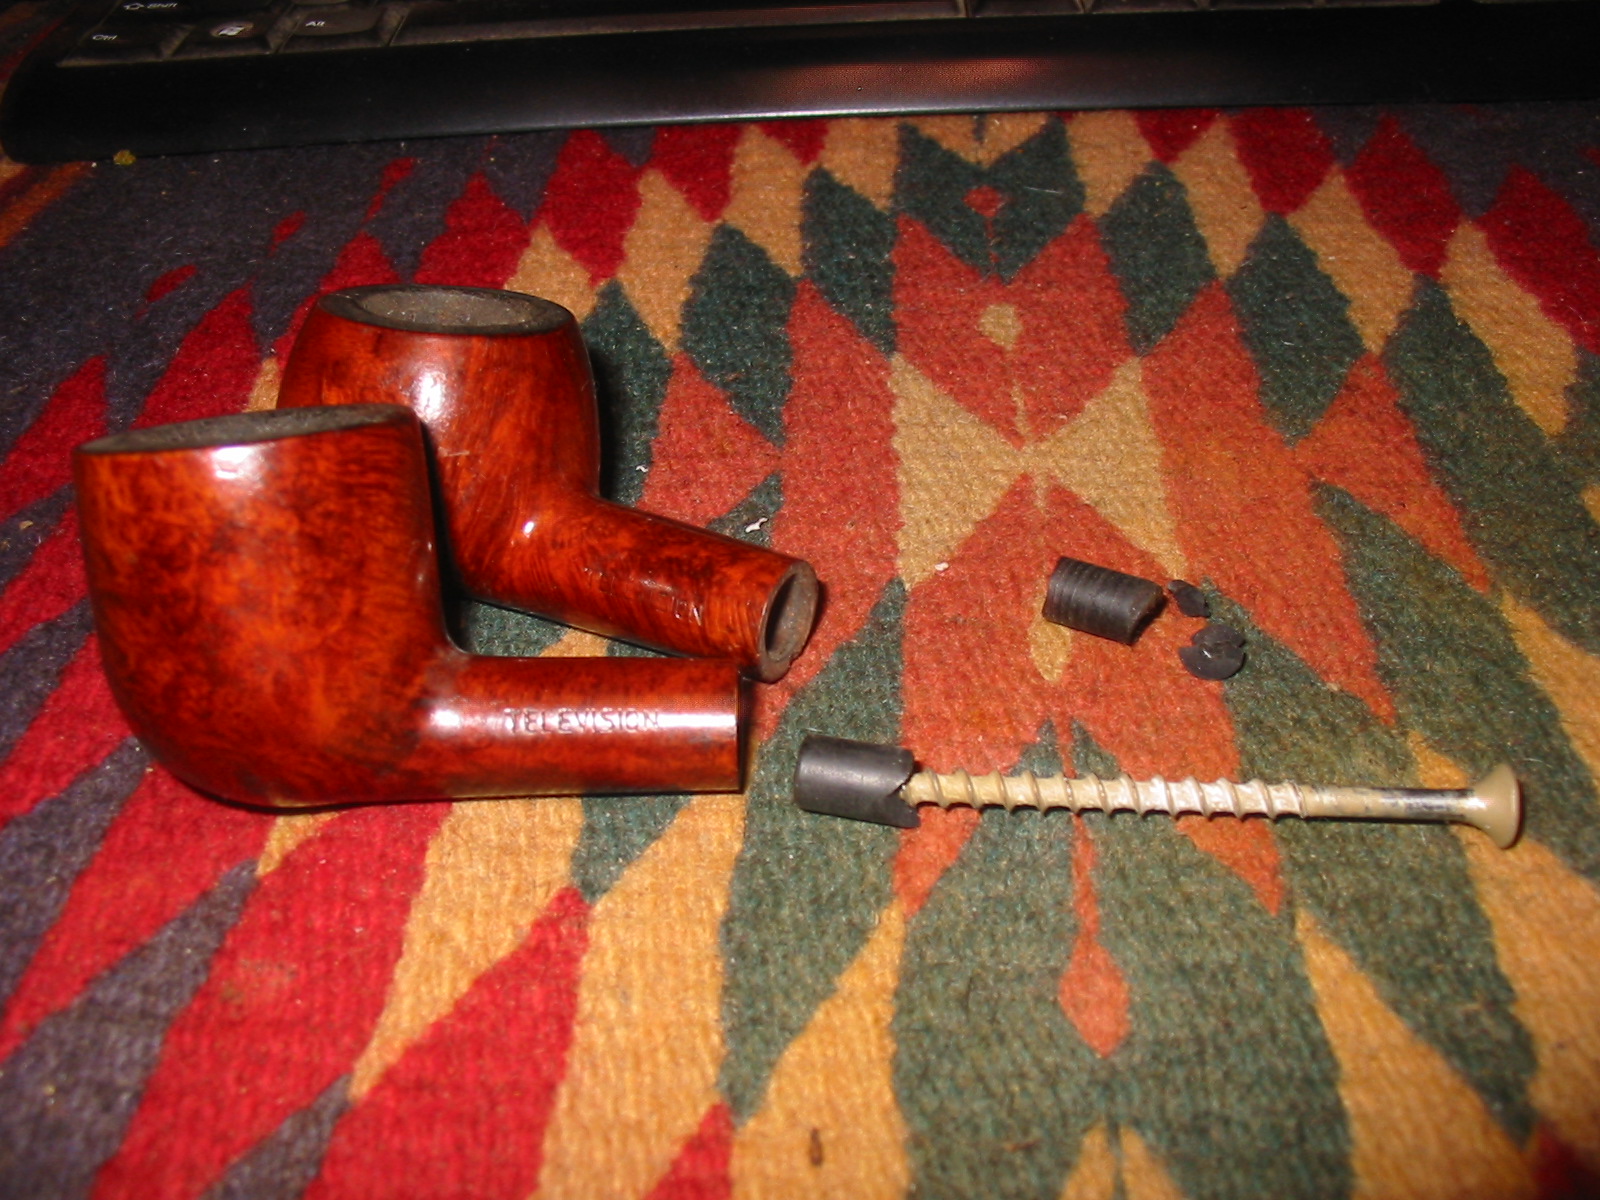
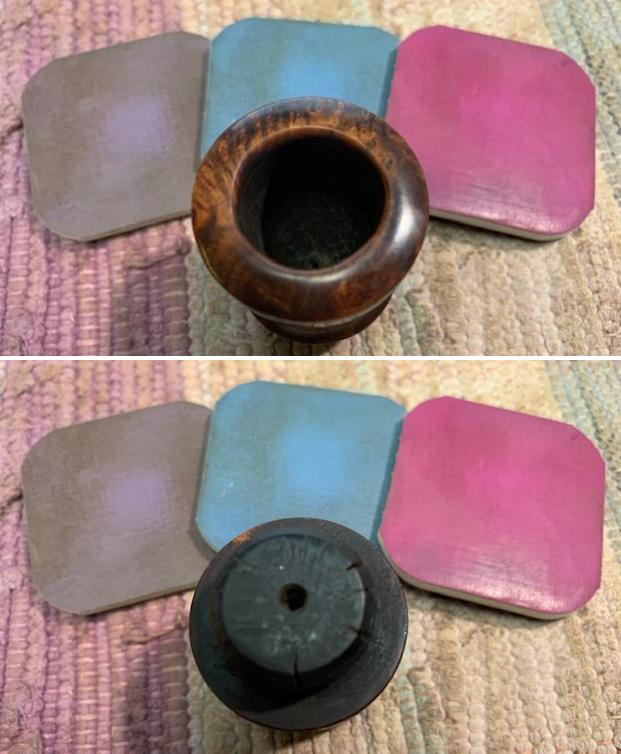
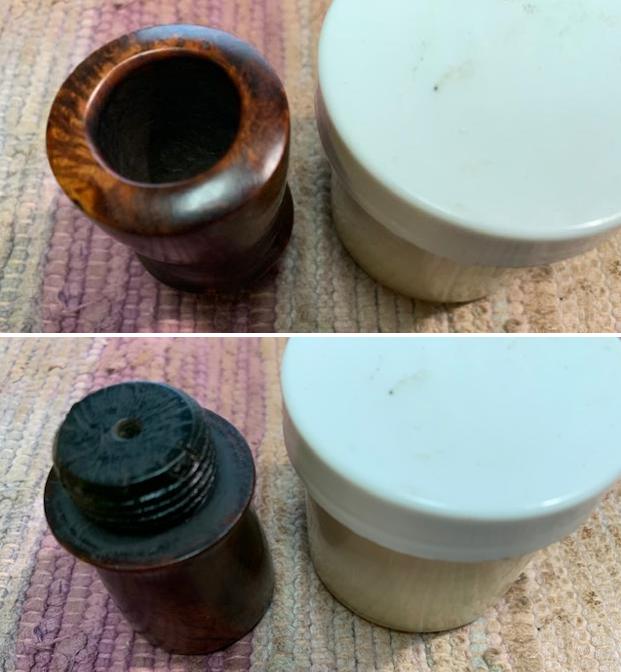
 He unscrewed the bowl from the base and took a series of photos to show the condition of the bowl and the base. You can see the thick oils and tars in the threads, on the bottom of the bowl and in the base of the pipe. It is really a mess and will be a major work to clean up.
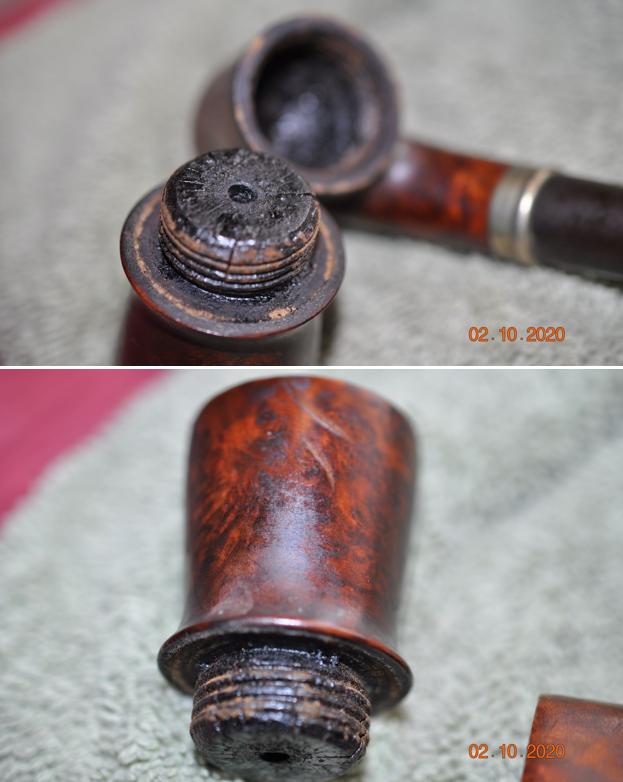

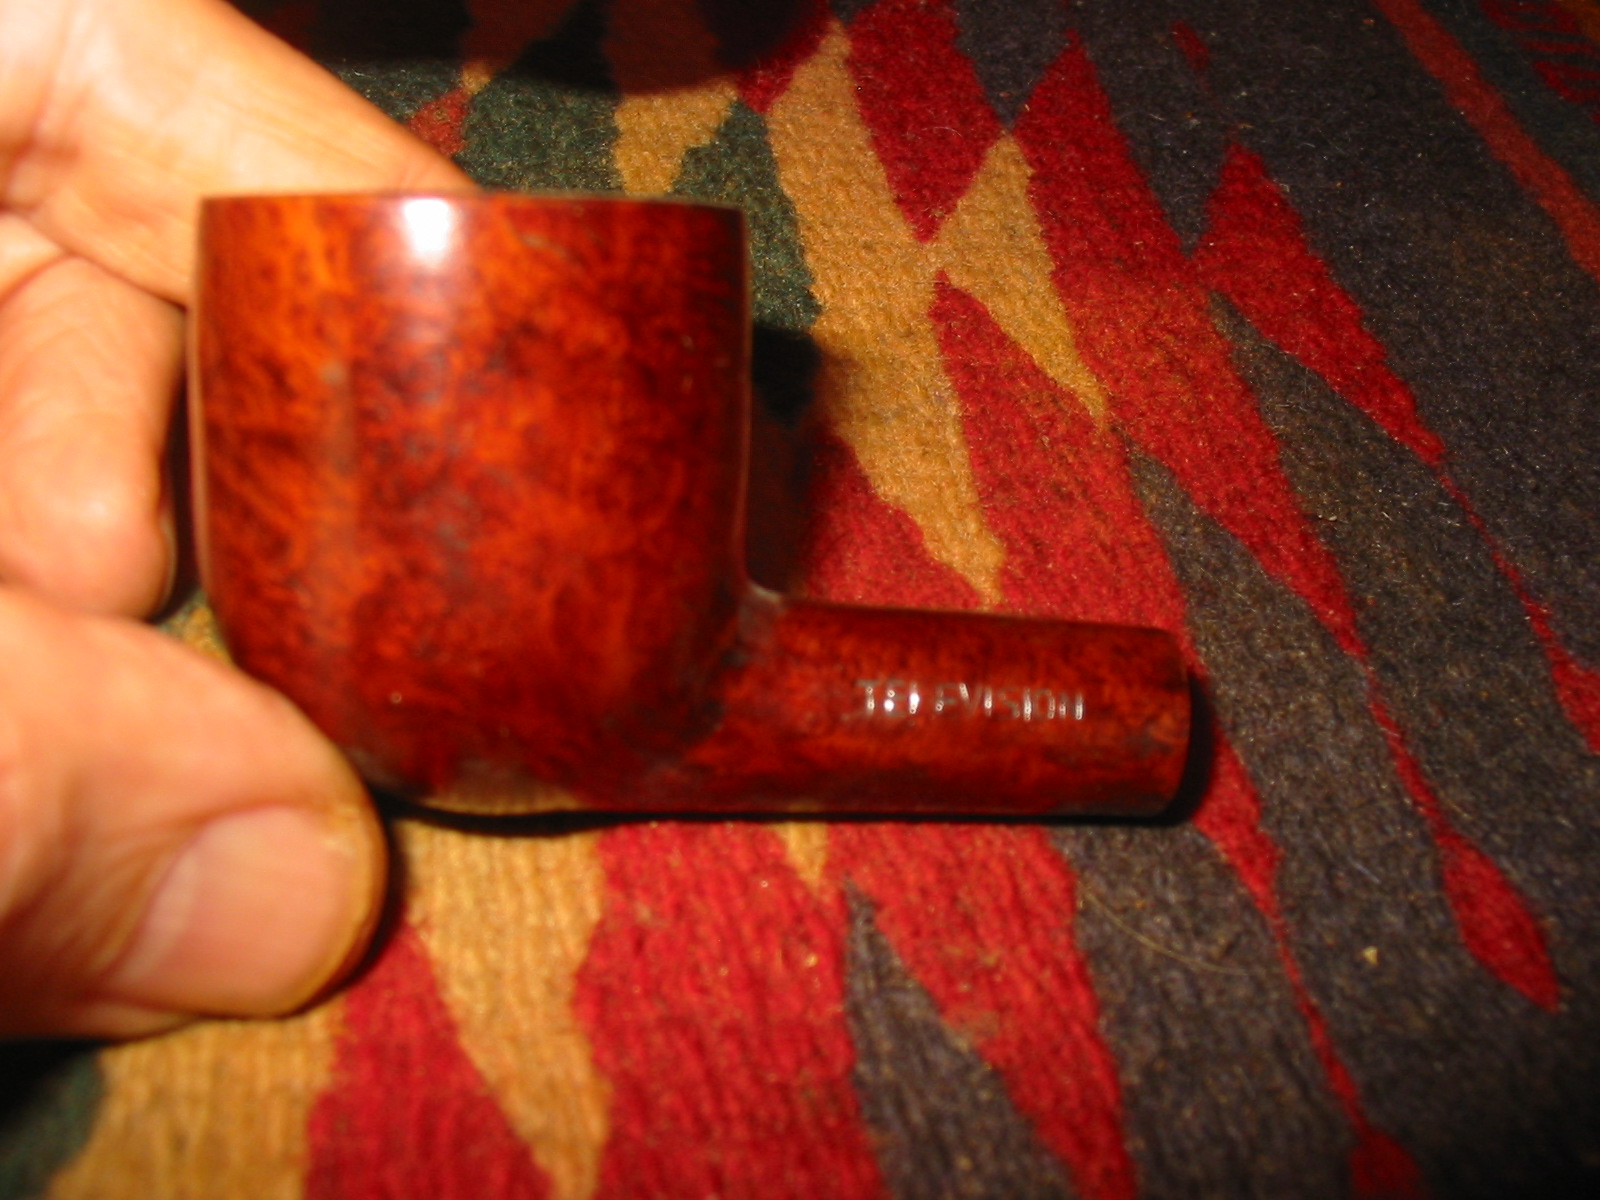
 Jeff took photos of the stamping on the sides of the shank and on the electro-plated band/ferrule on the shank.
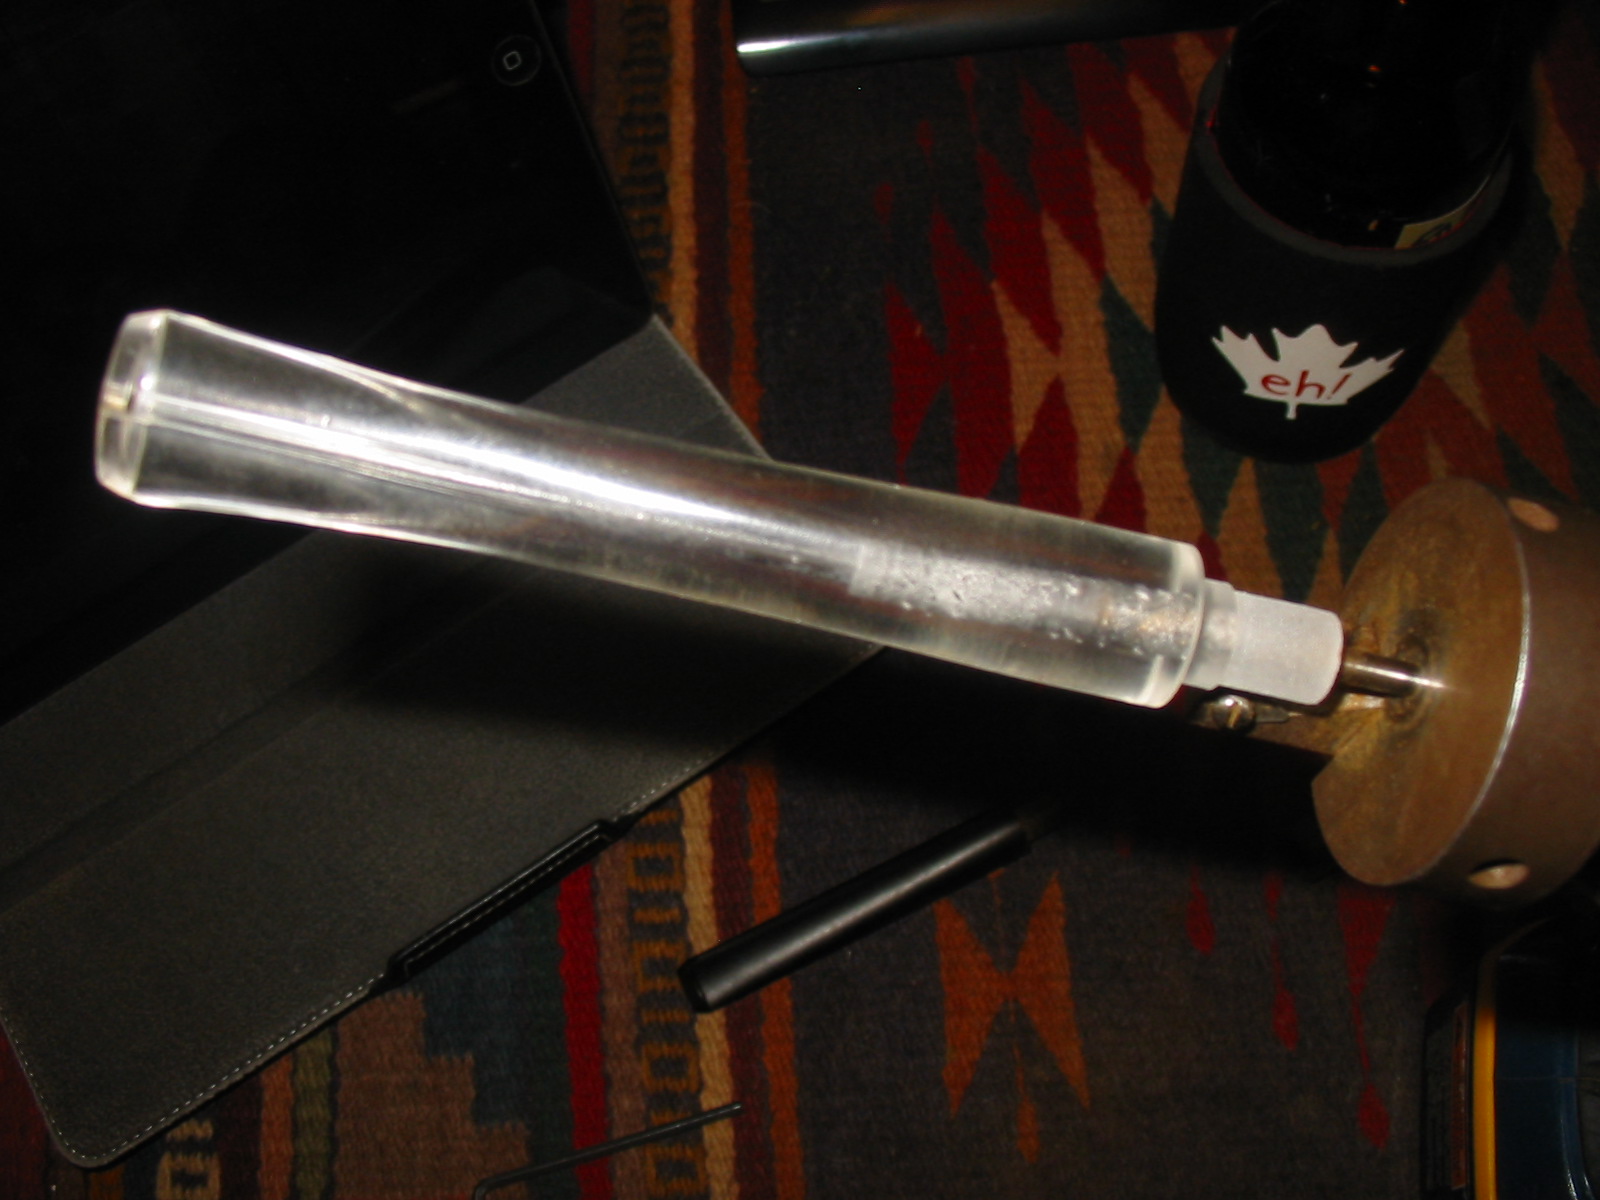
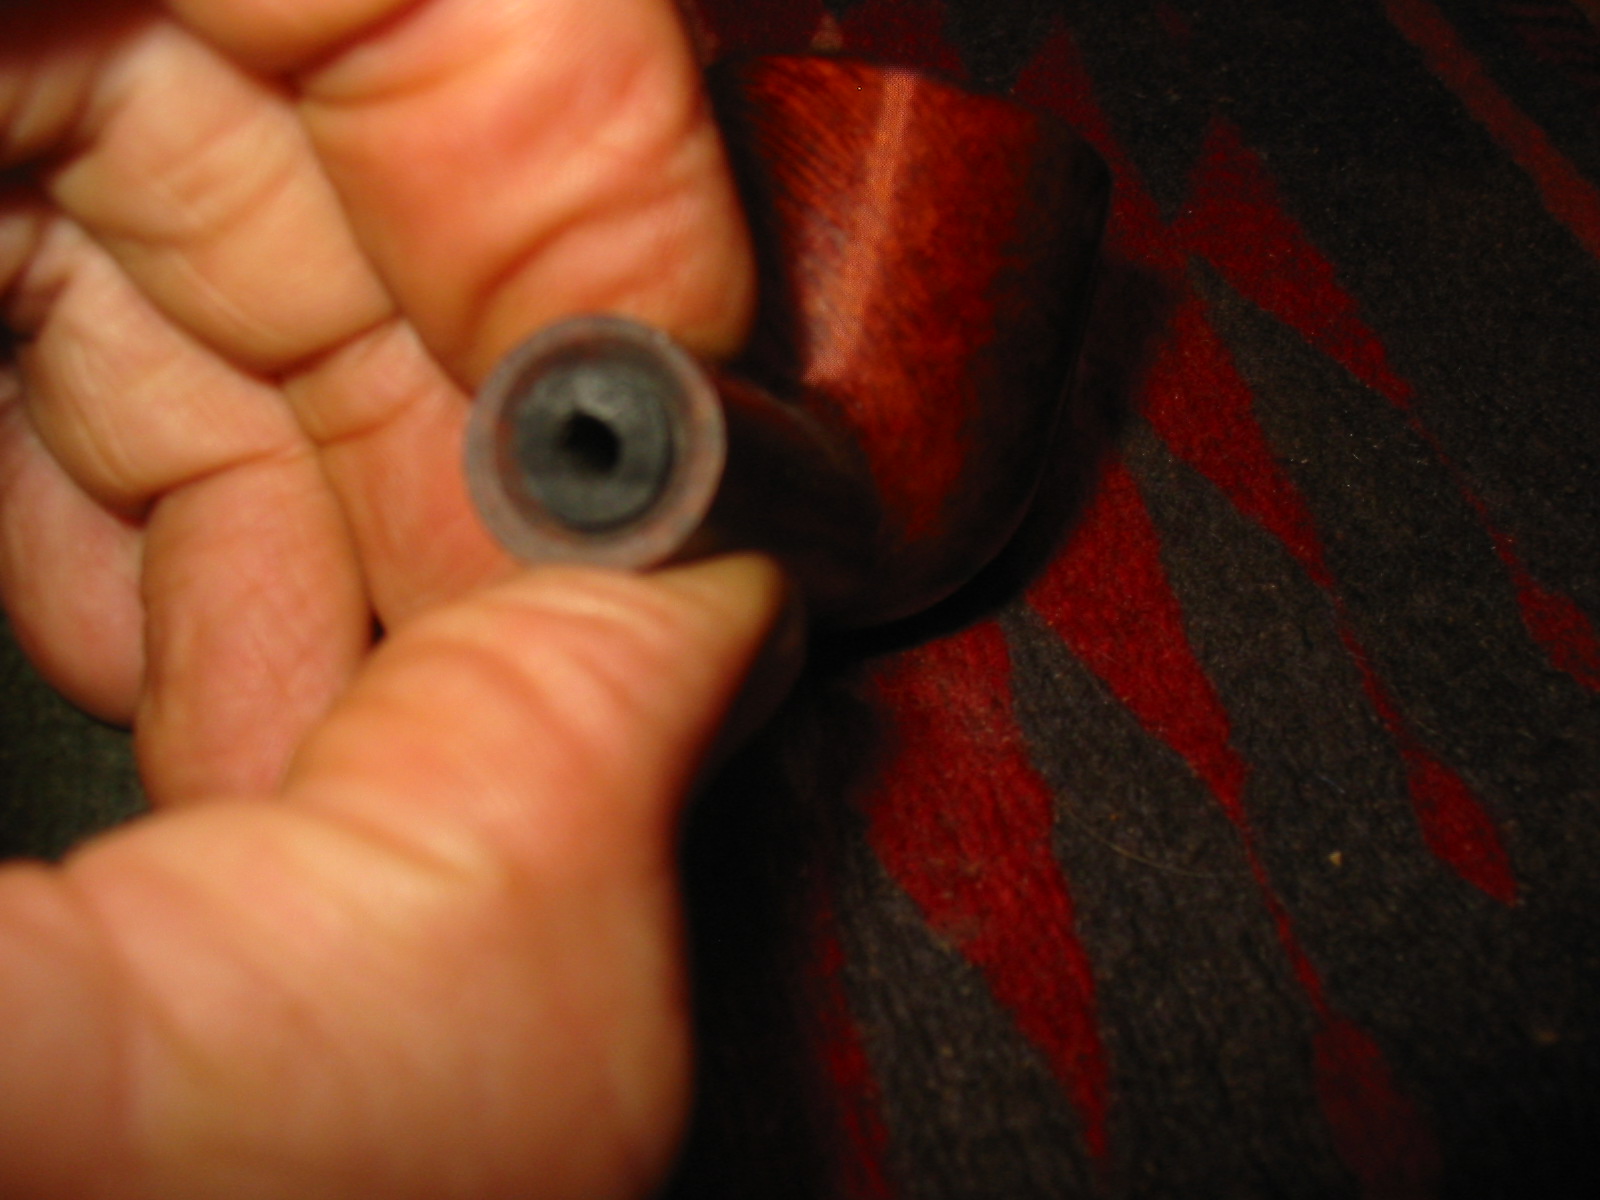
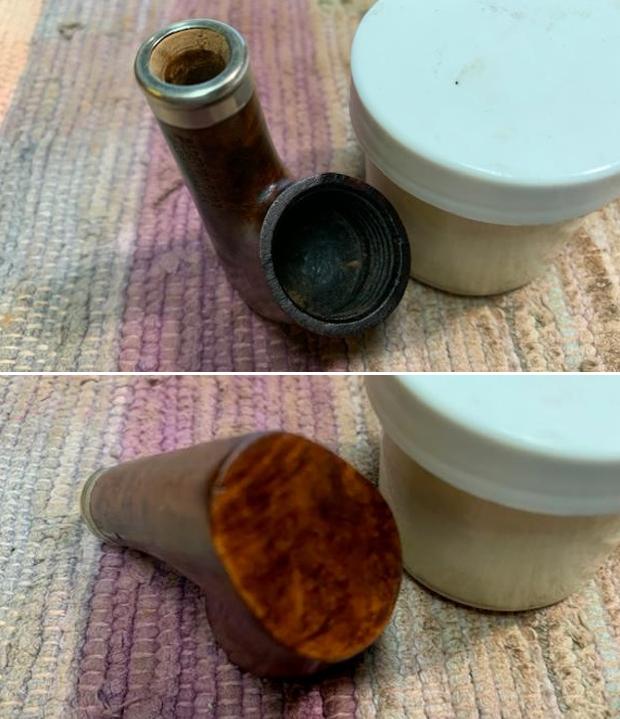
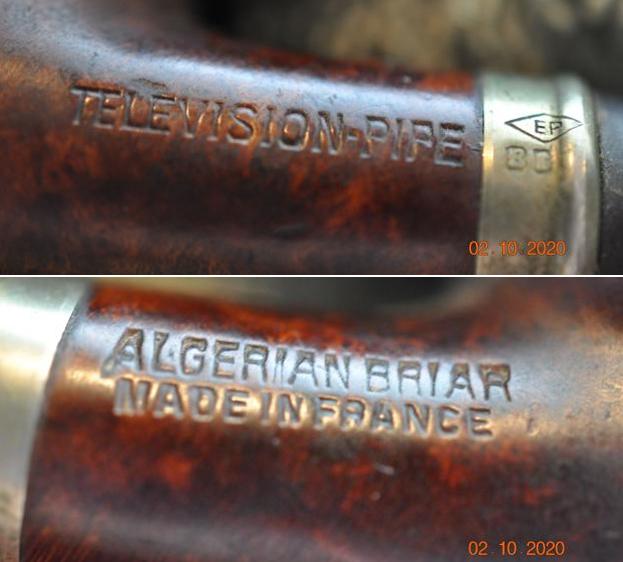 He remove the stem from the base and took a photo of the tenon end and shank to see the built up tars on the tenon and in the inside of the shank. You can also see the tarnish on the band.
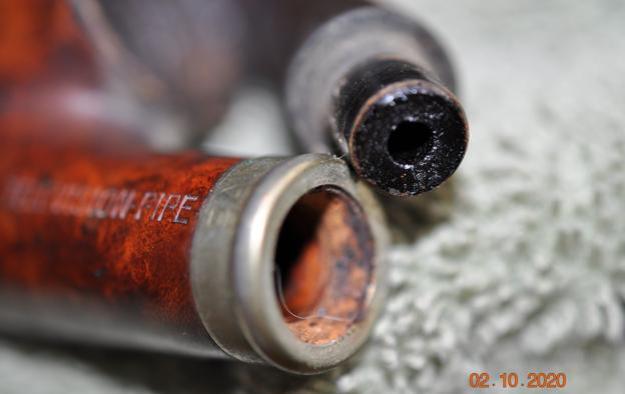 I looked on both Pipephil’s site and Pipedia to see what I could find out about the brand. There was nothing listed on either site regarding that brand. I turned a site that has been helpful in identifying pipes called Smoking Metal (http://www.smokingmetal.co.uk/pipe.php?page=277). The site shows a short version of this pipe – with a P-lip style stem on the shank rather than a Churchwarden stem. Other than the stem it is the same pipe.
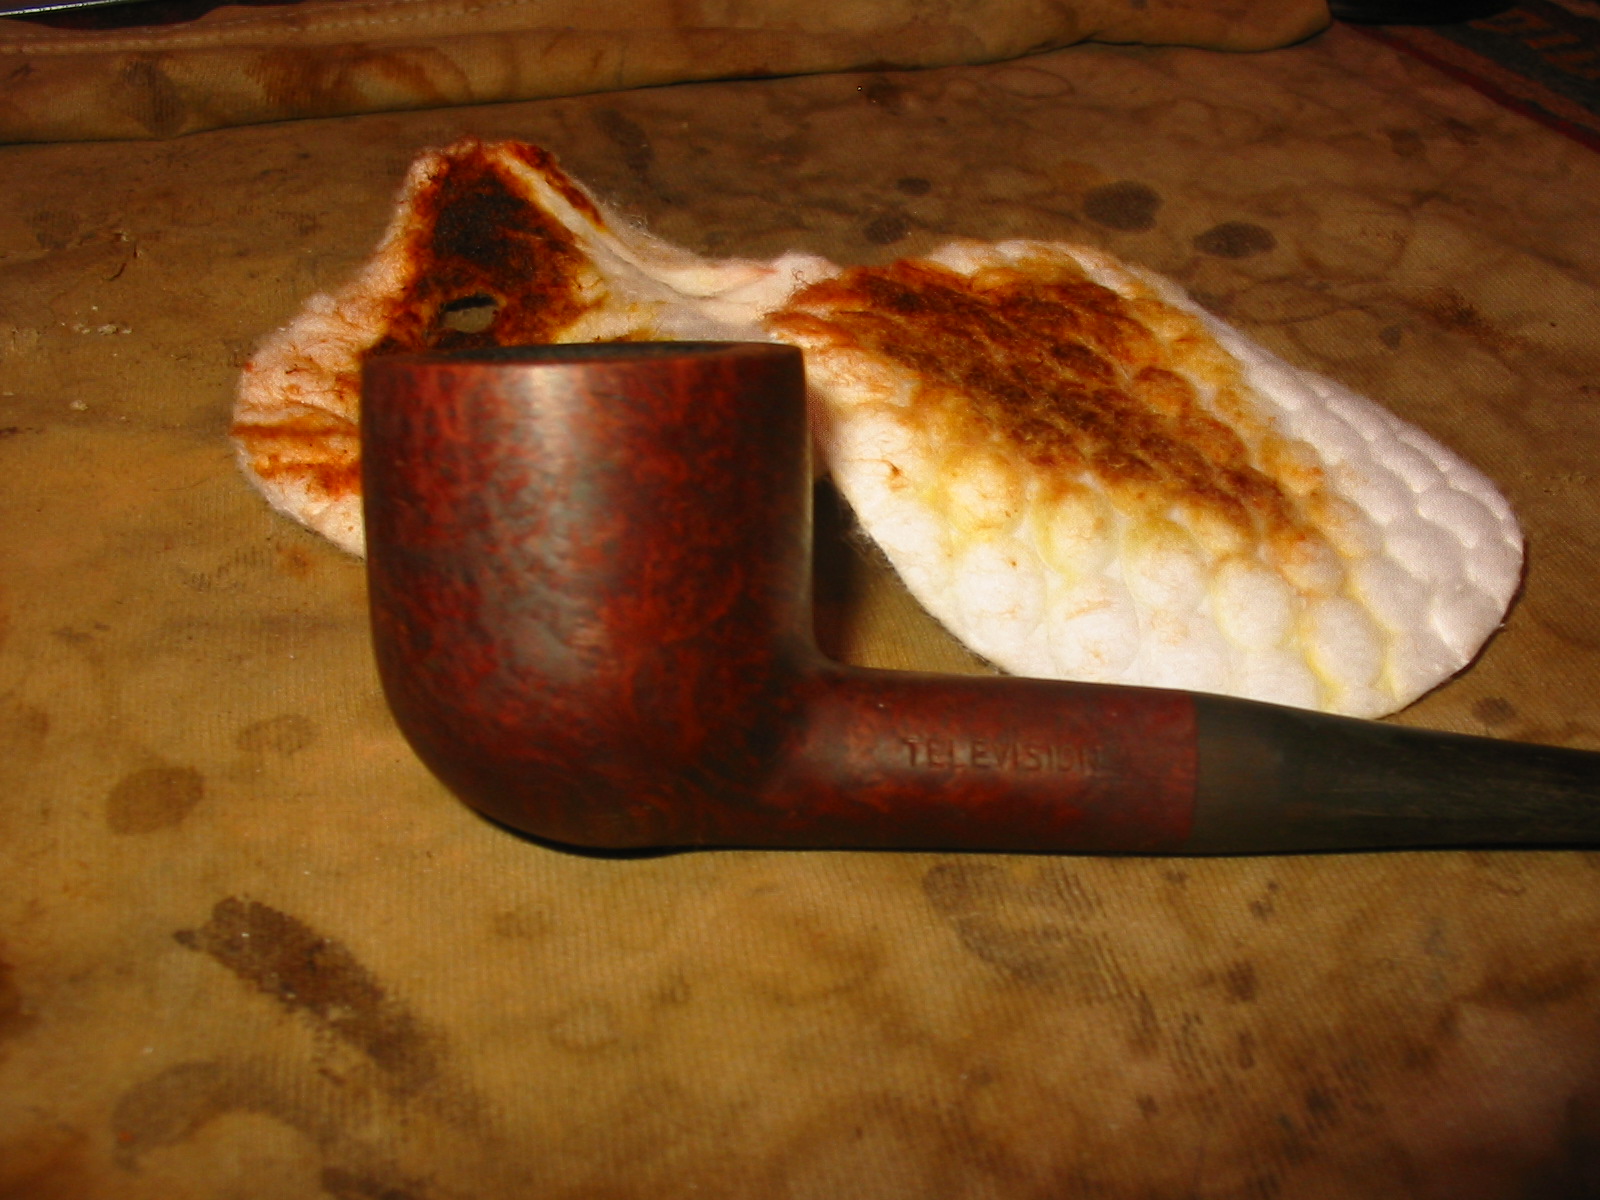
  Since the information was quite limited on the brand it was time to turn to work on the pipe itself. I have to say that this was another pipe that I was really looking forward to seeing what Jeff had done to it. It is a French Made Algerian Briar Television Pipe that had shown such beauty through the grime that I was quite sure it would be stunning he cleaned it. He reamed the bowl with a PipNet pipe reamer and cleaned the remnants of cake back with a Savinelli Fitsall Pipe Knife. He scrubbed the bowl and base with Murphy’s Oil Soap and a tooth brush to remove the grime and oils. He cleaned the internals of the base, shank and stem with pipe cleaners, cotton swabs and alcohol to remove all of the tars and oils there. He scrubbed the exterior of the stem with Soft Scrub to remove the oxidation and calcification. He wiped the bowl and stem down with a light coat of olive oil to rehydrate both. The pipe really was quite stunning. You can see the nicks around the bowl and base but they do not lessen the beauty of the pipe.
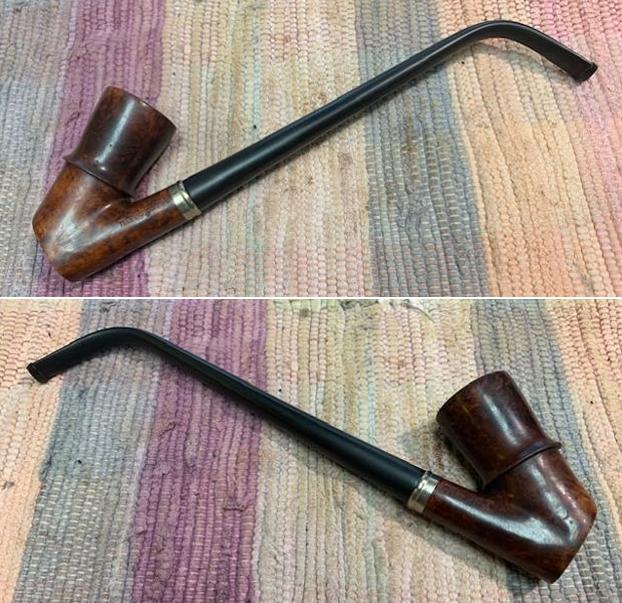
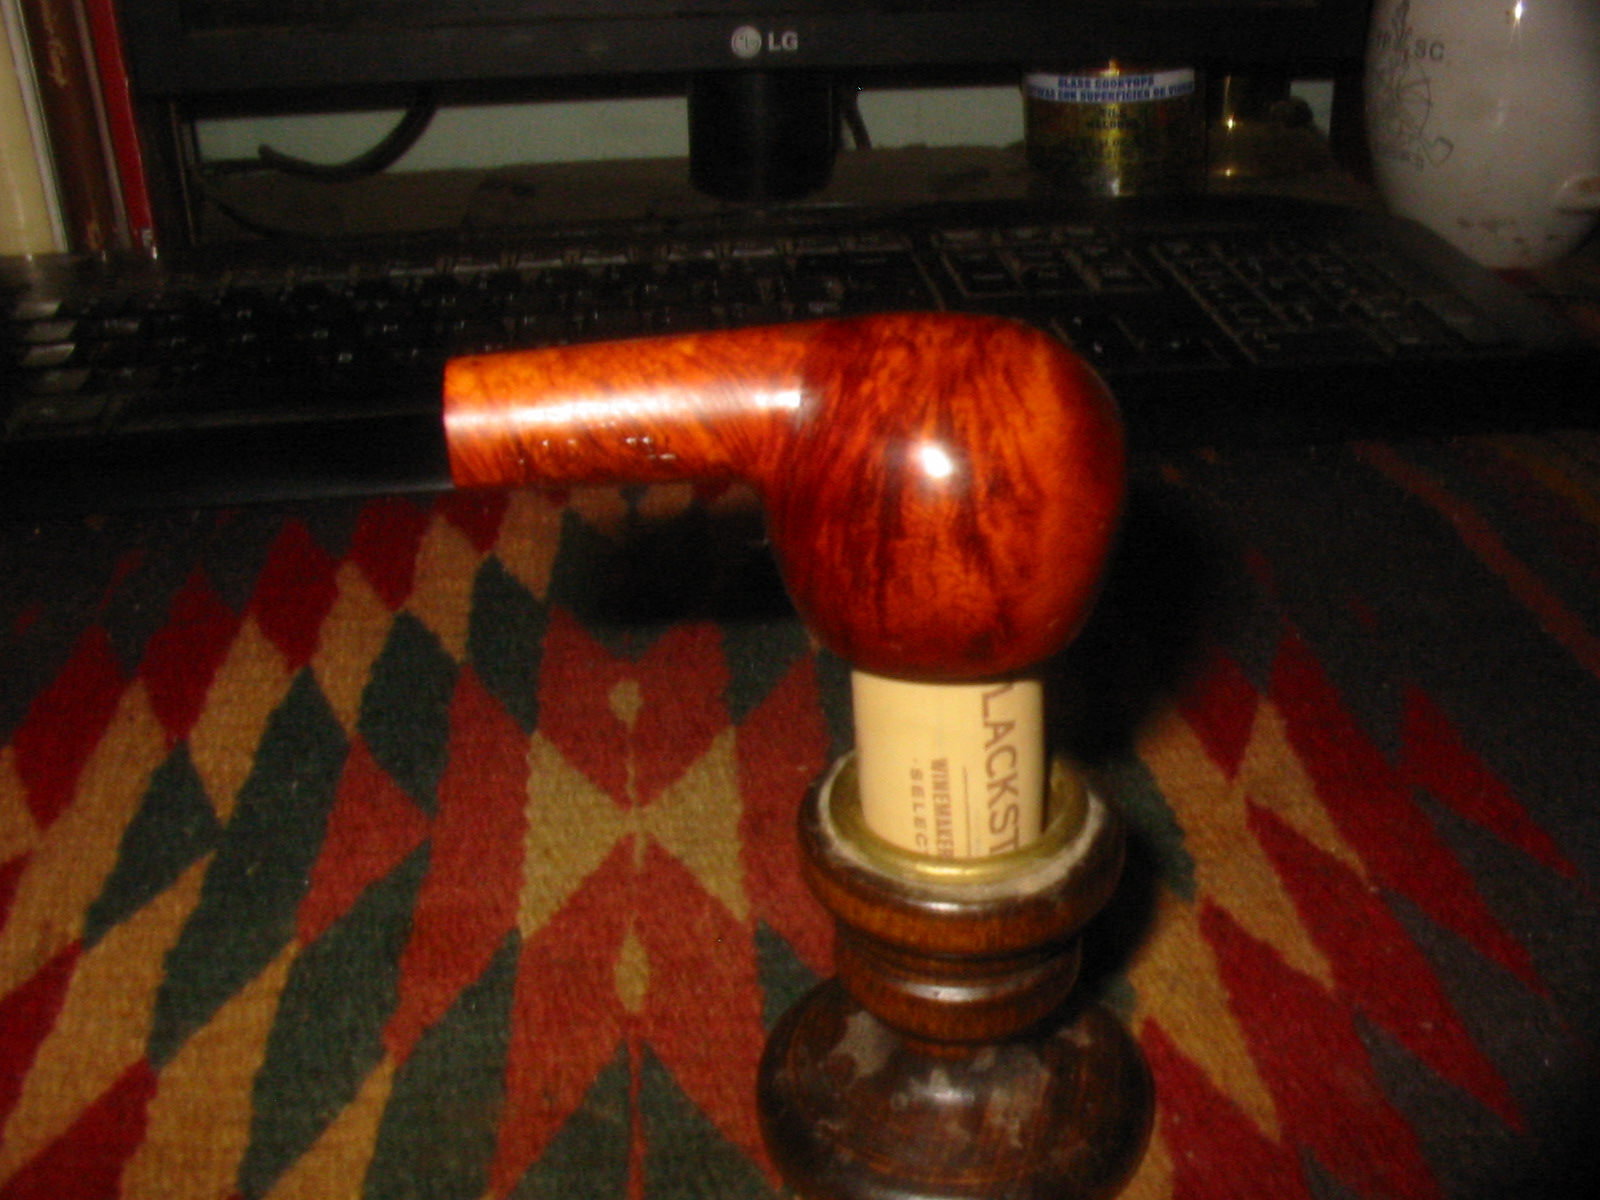
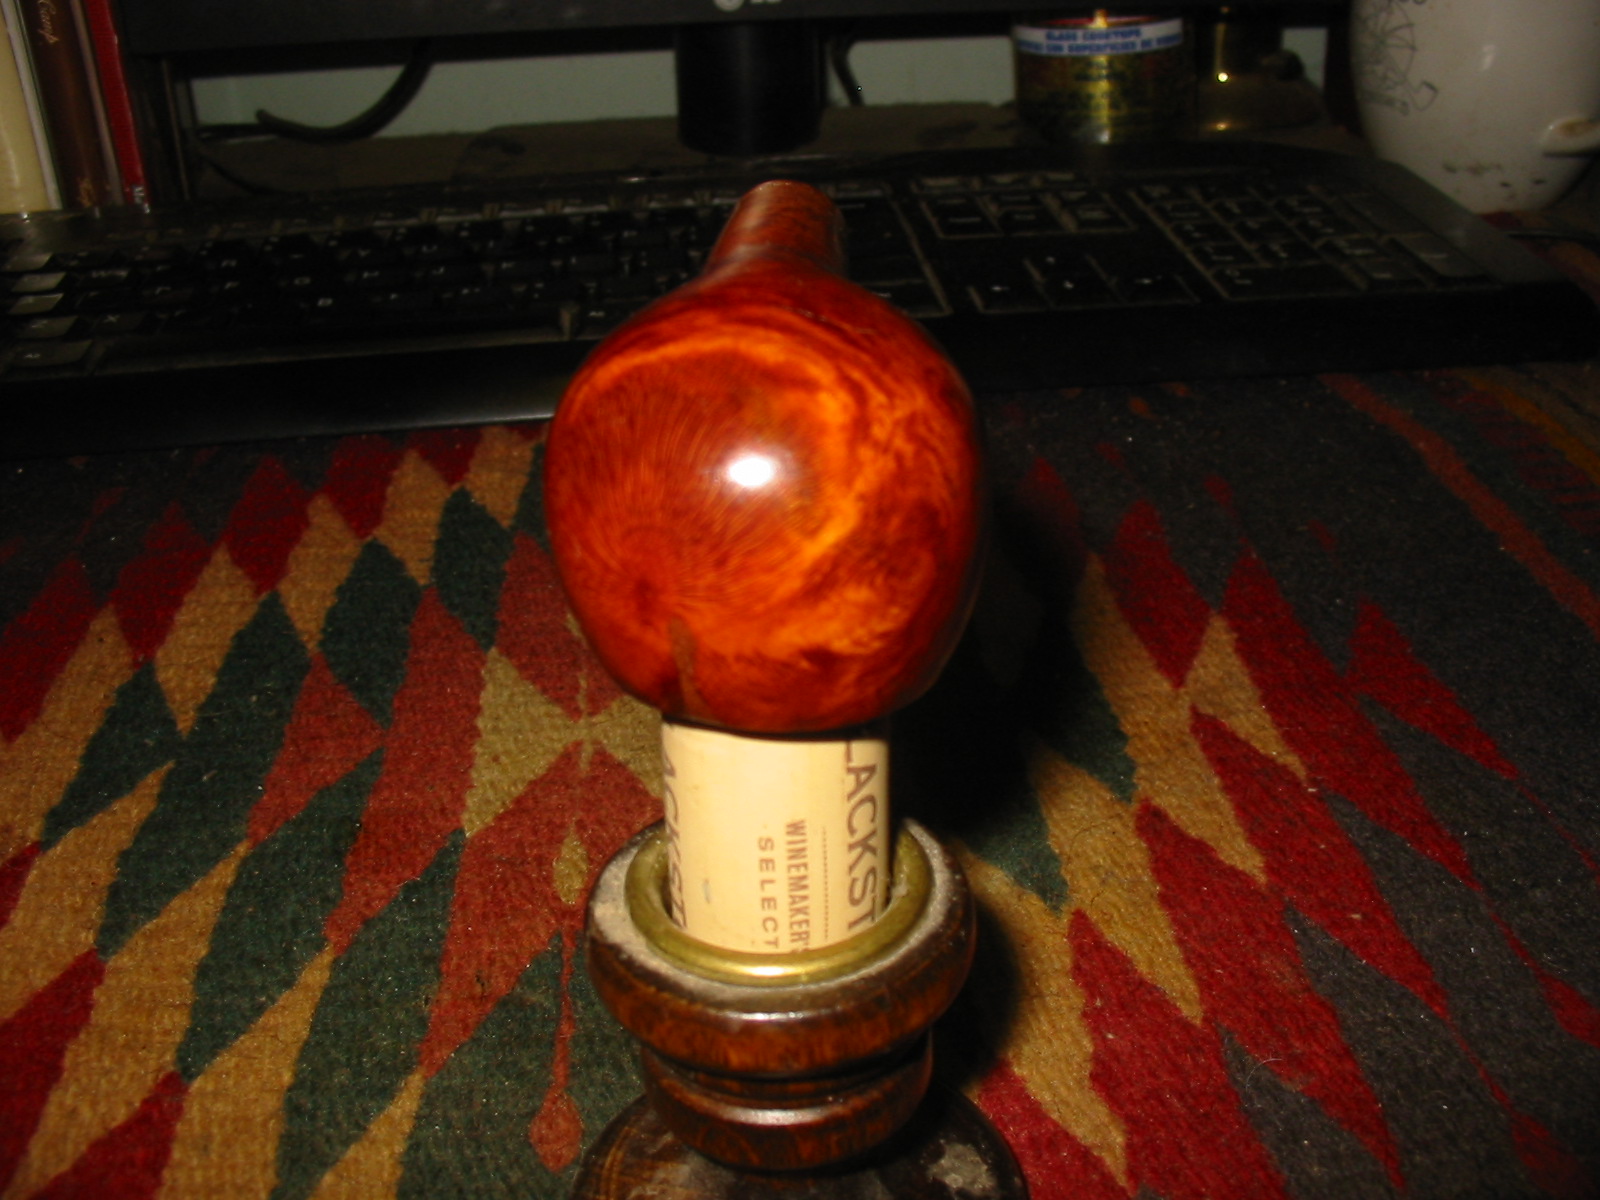
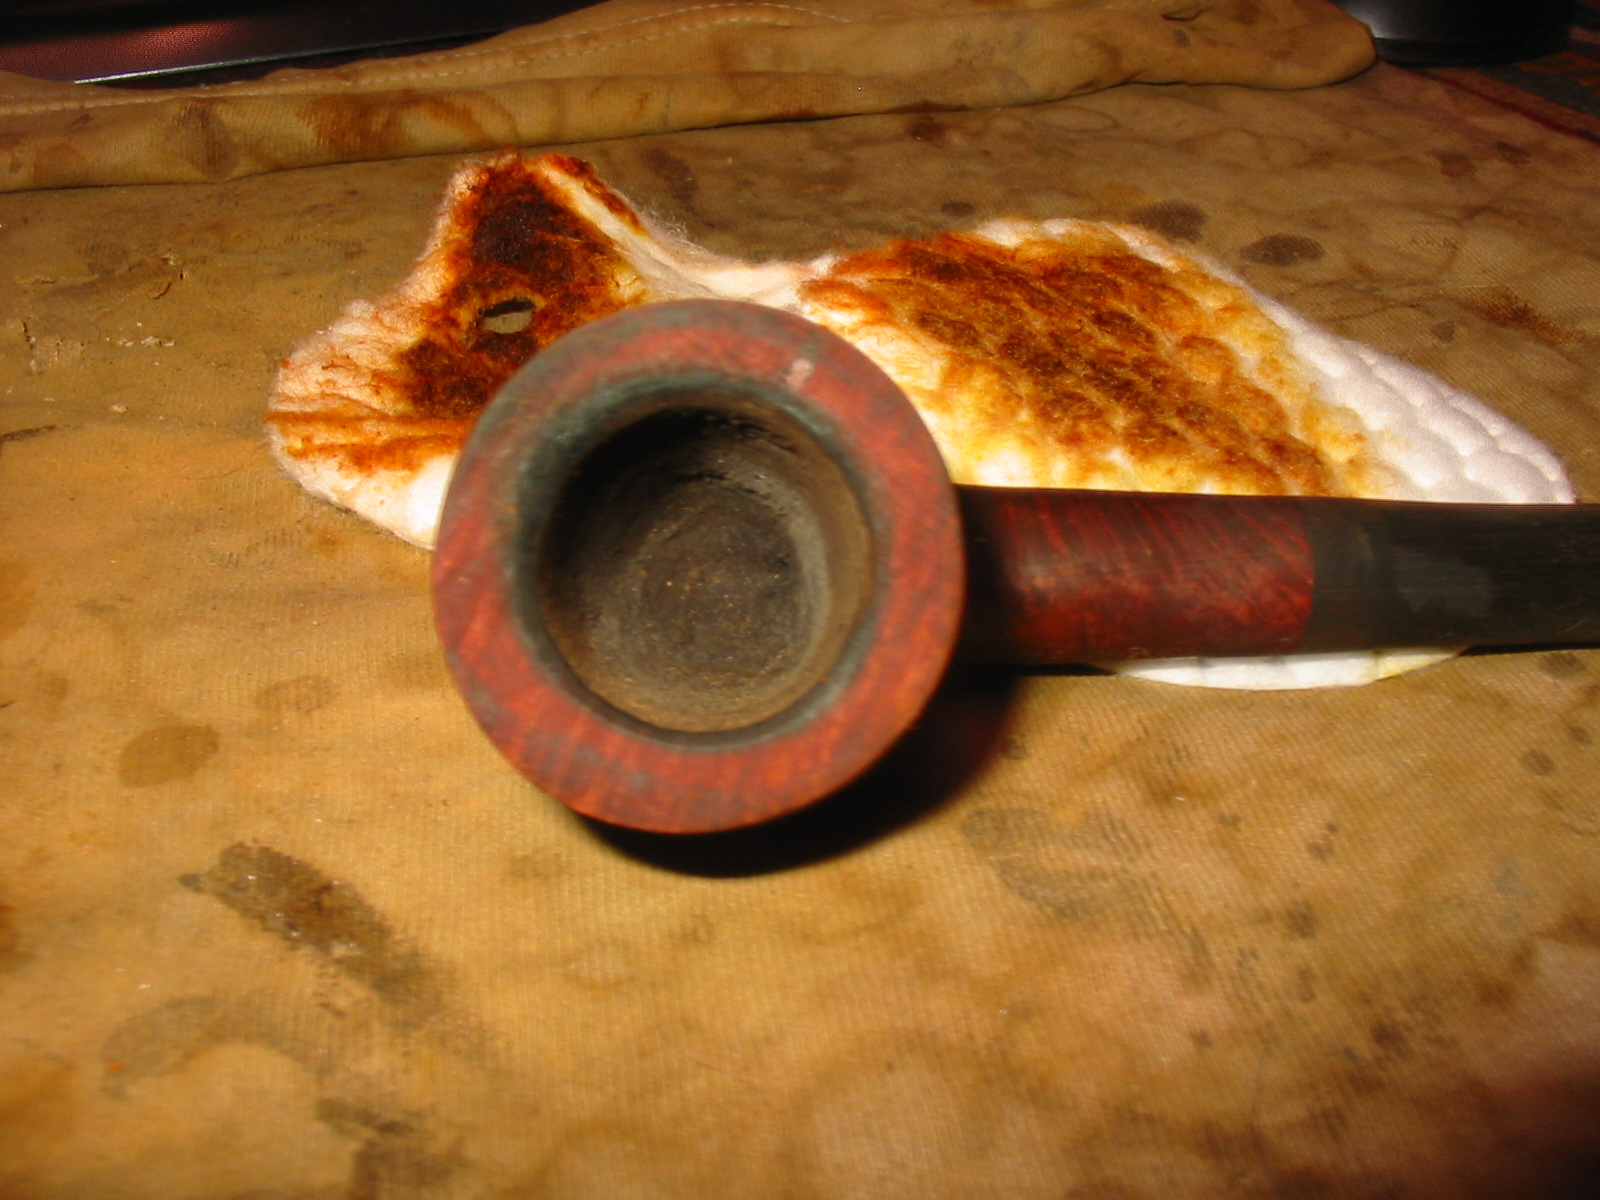
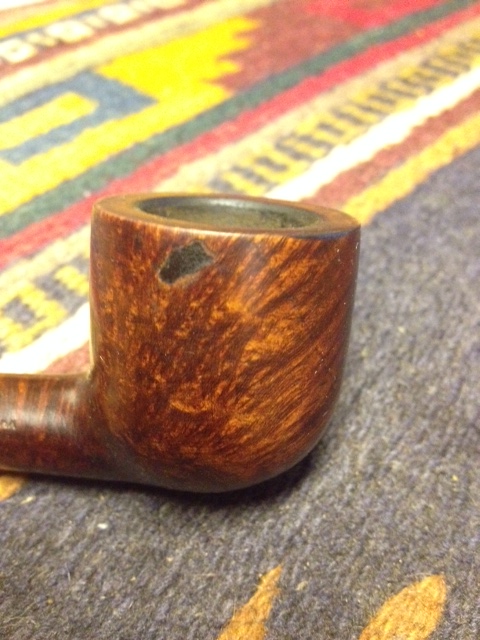
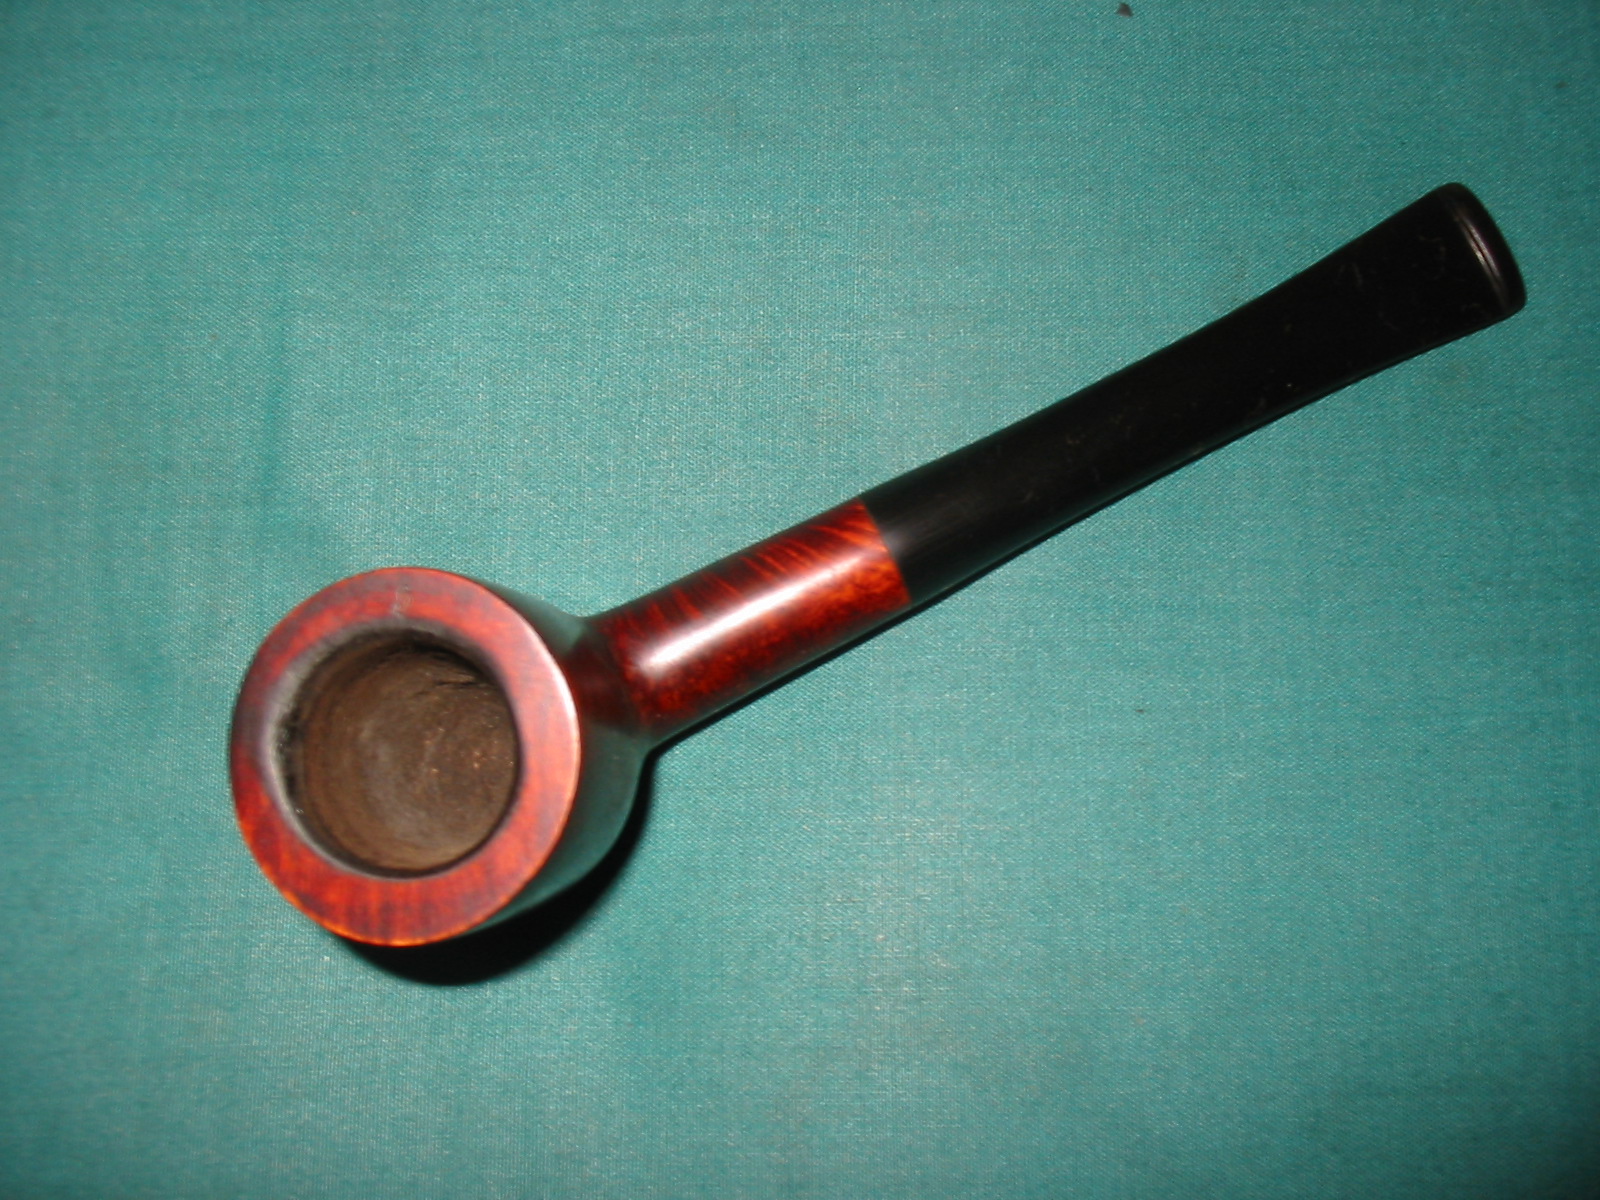
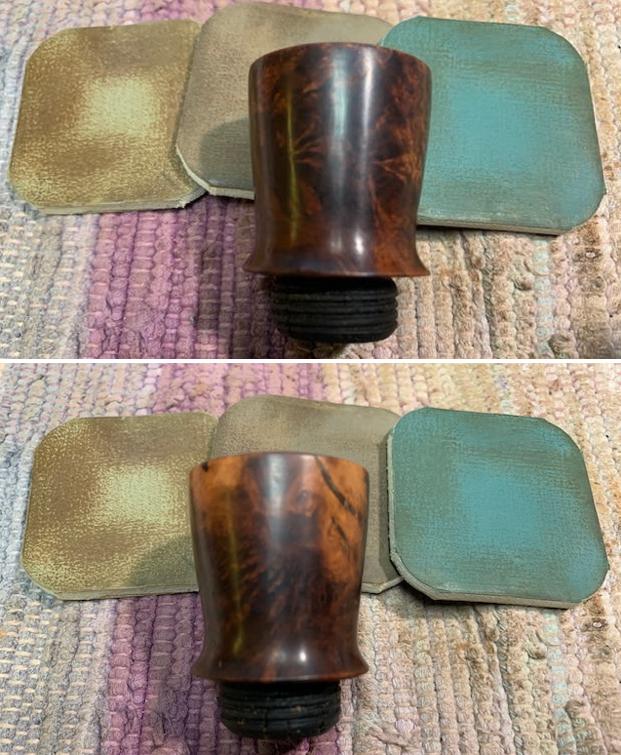
 I took close up photos of the stem and the rim top to show both how clean they were and what needed to be addresses with both. The rim top had some nicks in the top and the inner edge of the bowl was out of round. The stem looked better but the light tooth marks and chatter were still present.
 I took photos of the cleaned up stamping on sides of the shank. It is very clear and readable.
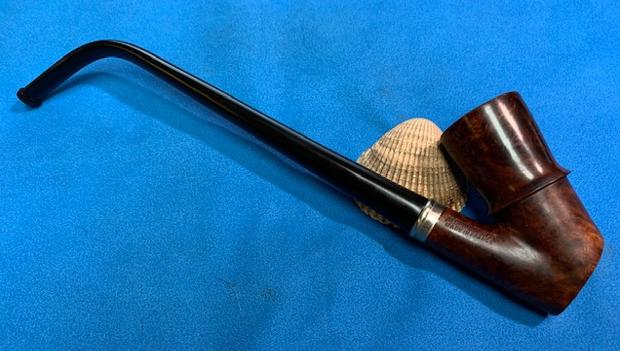
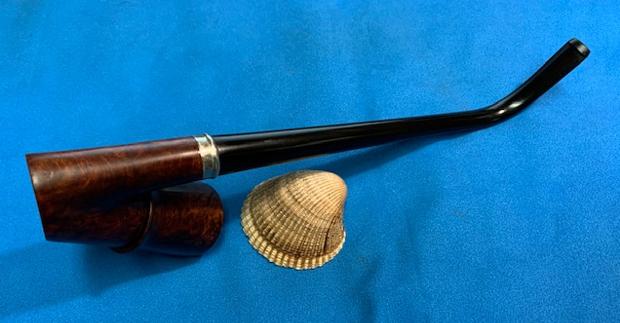
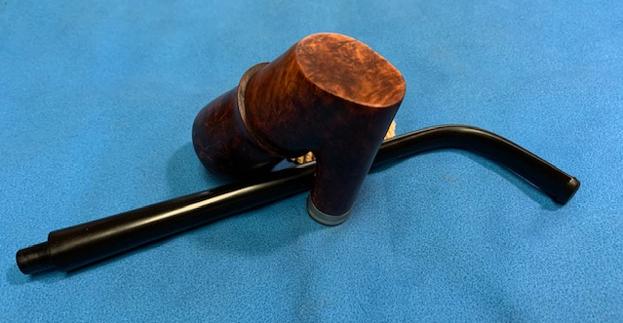
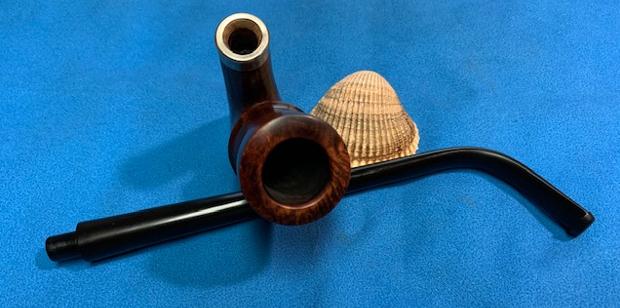
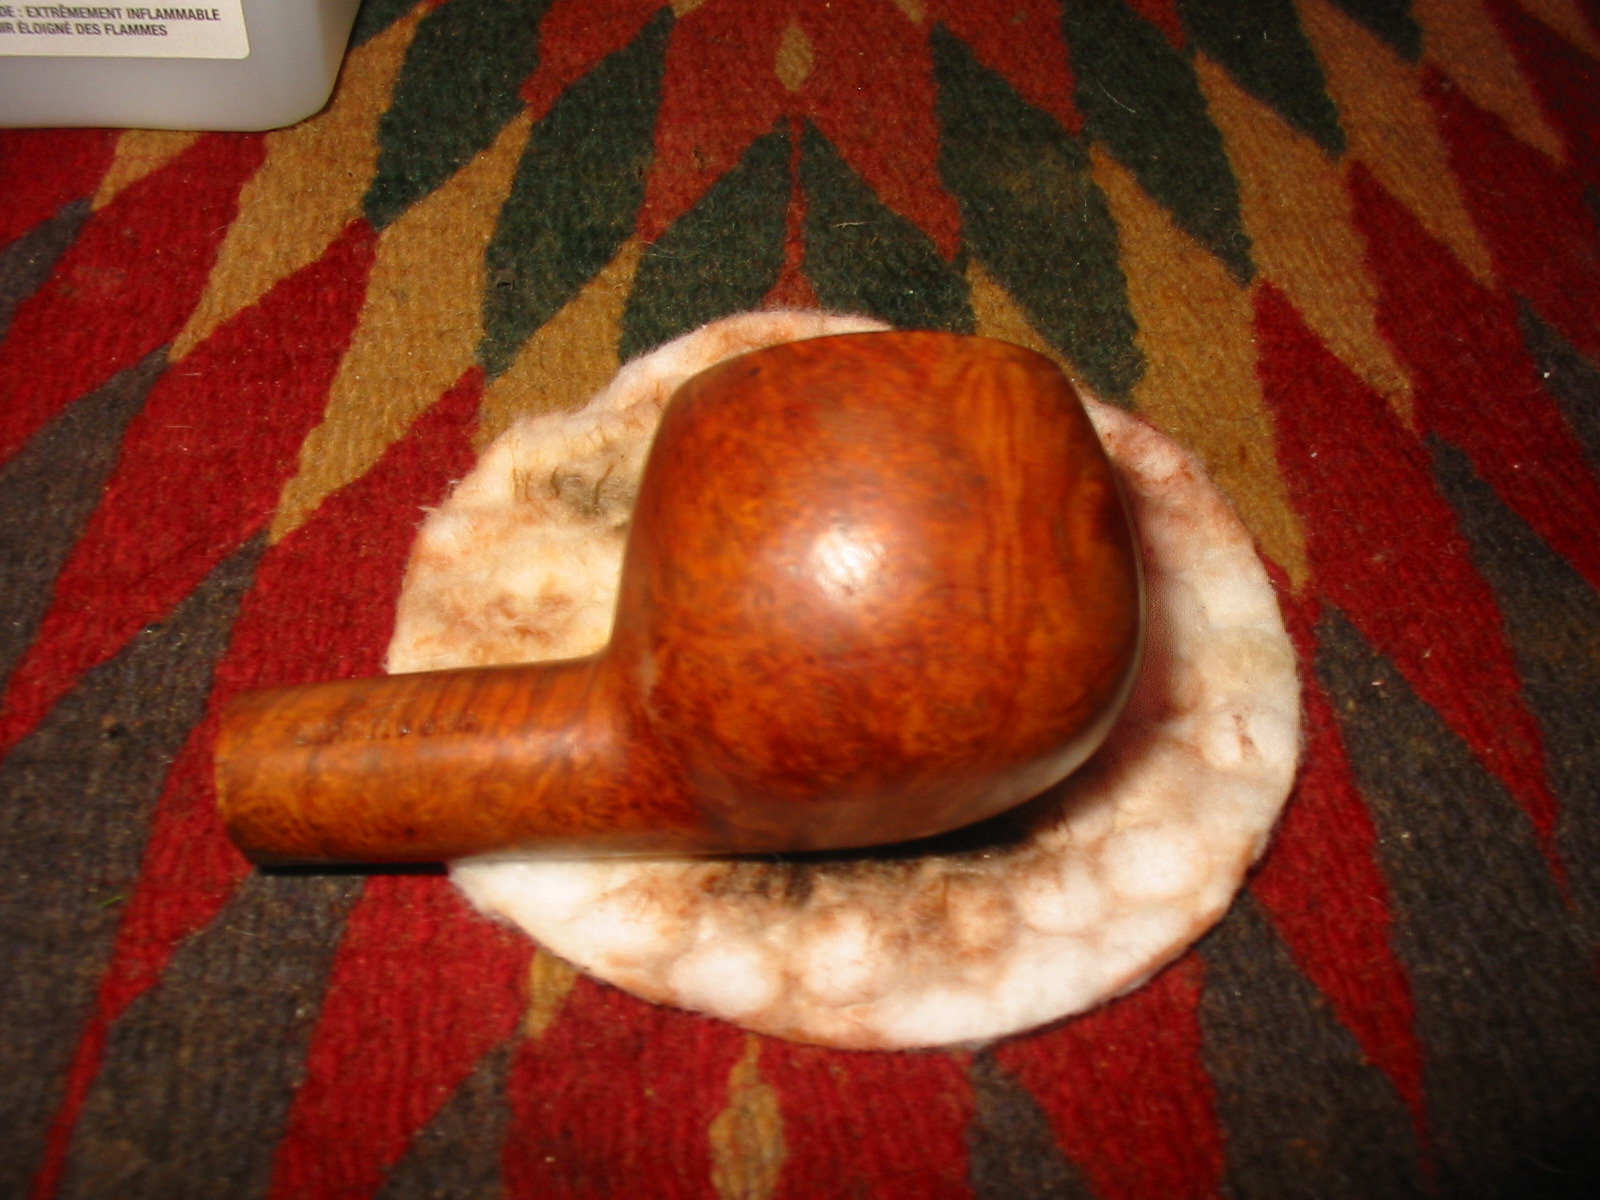
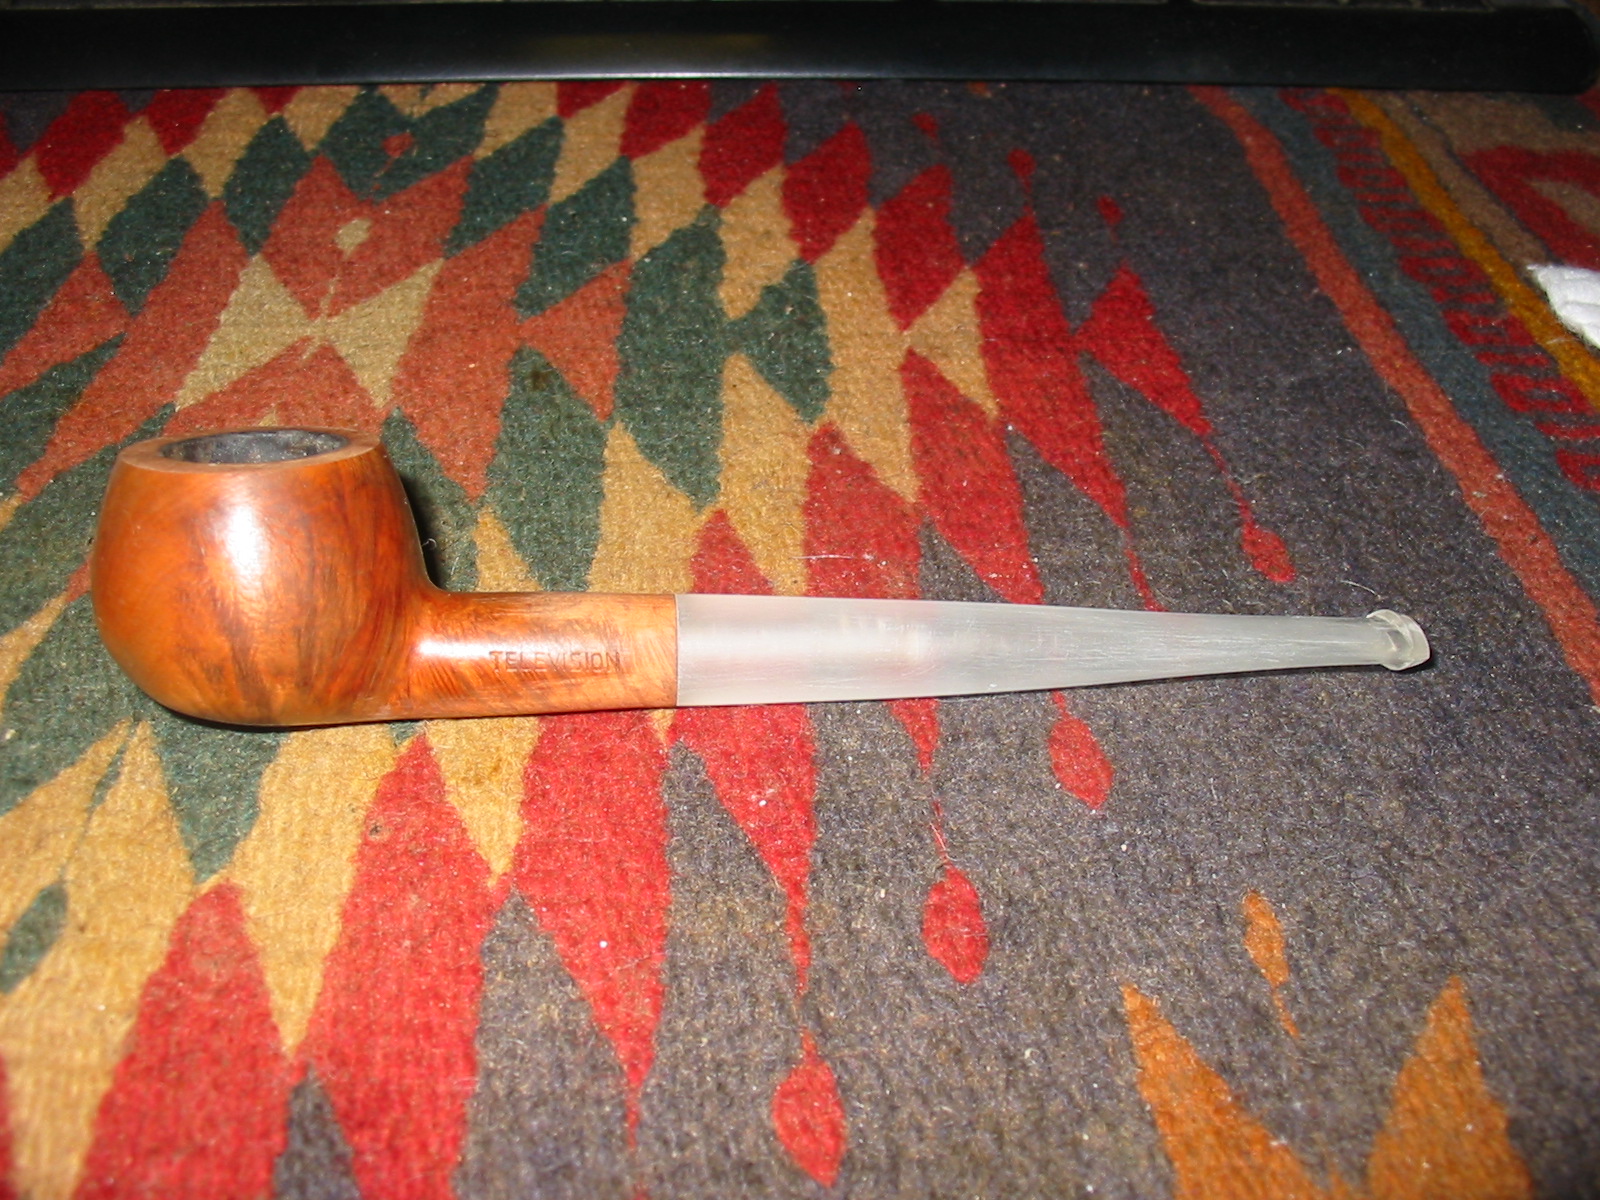
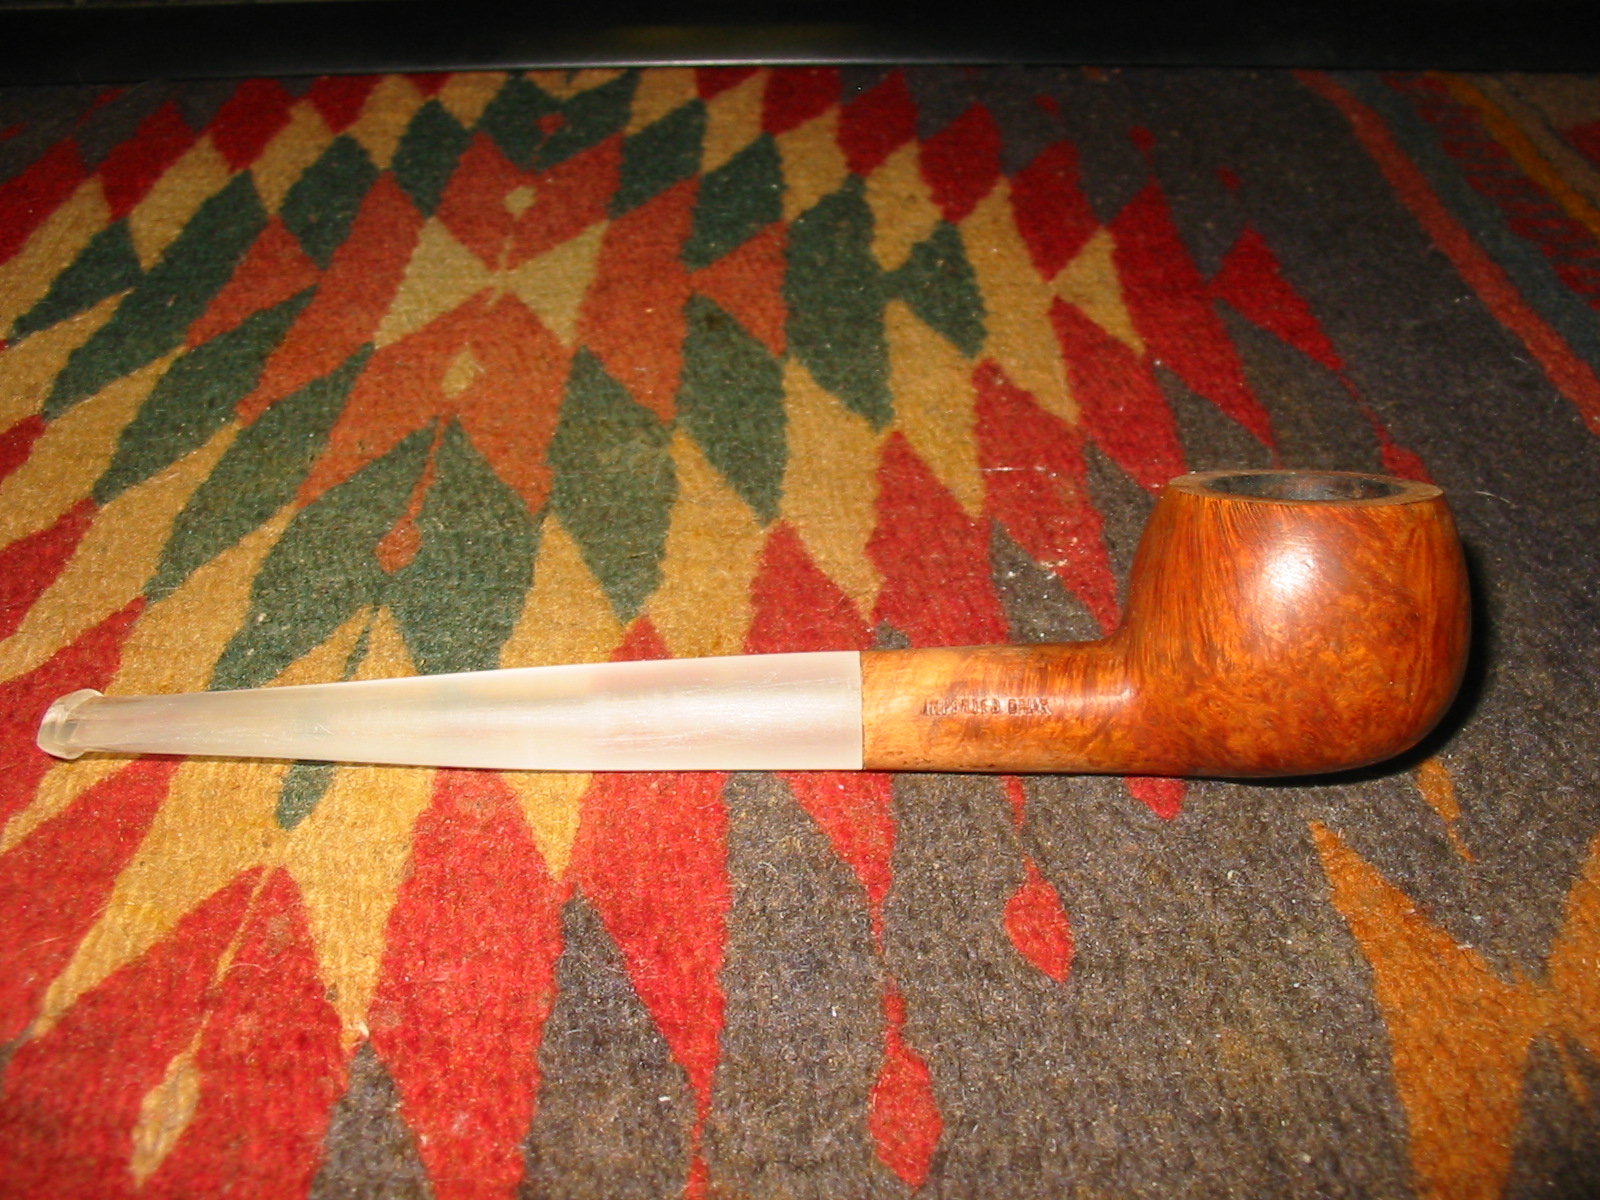
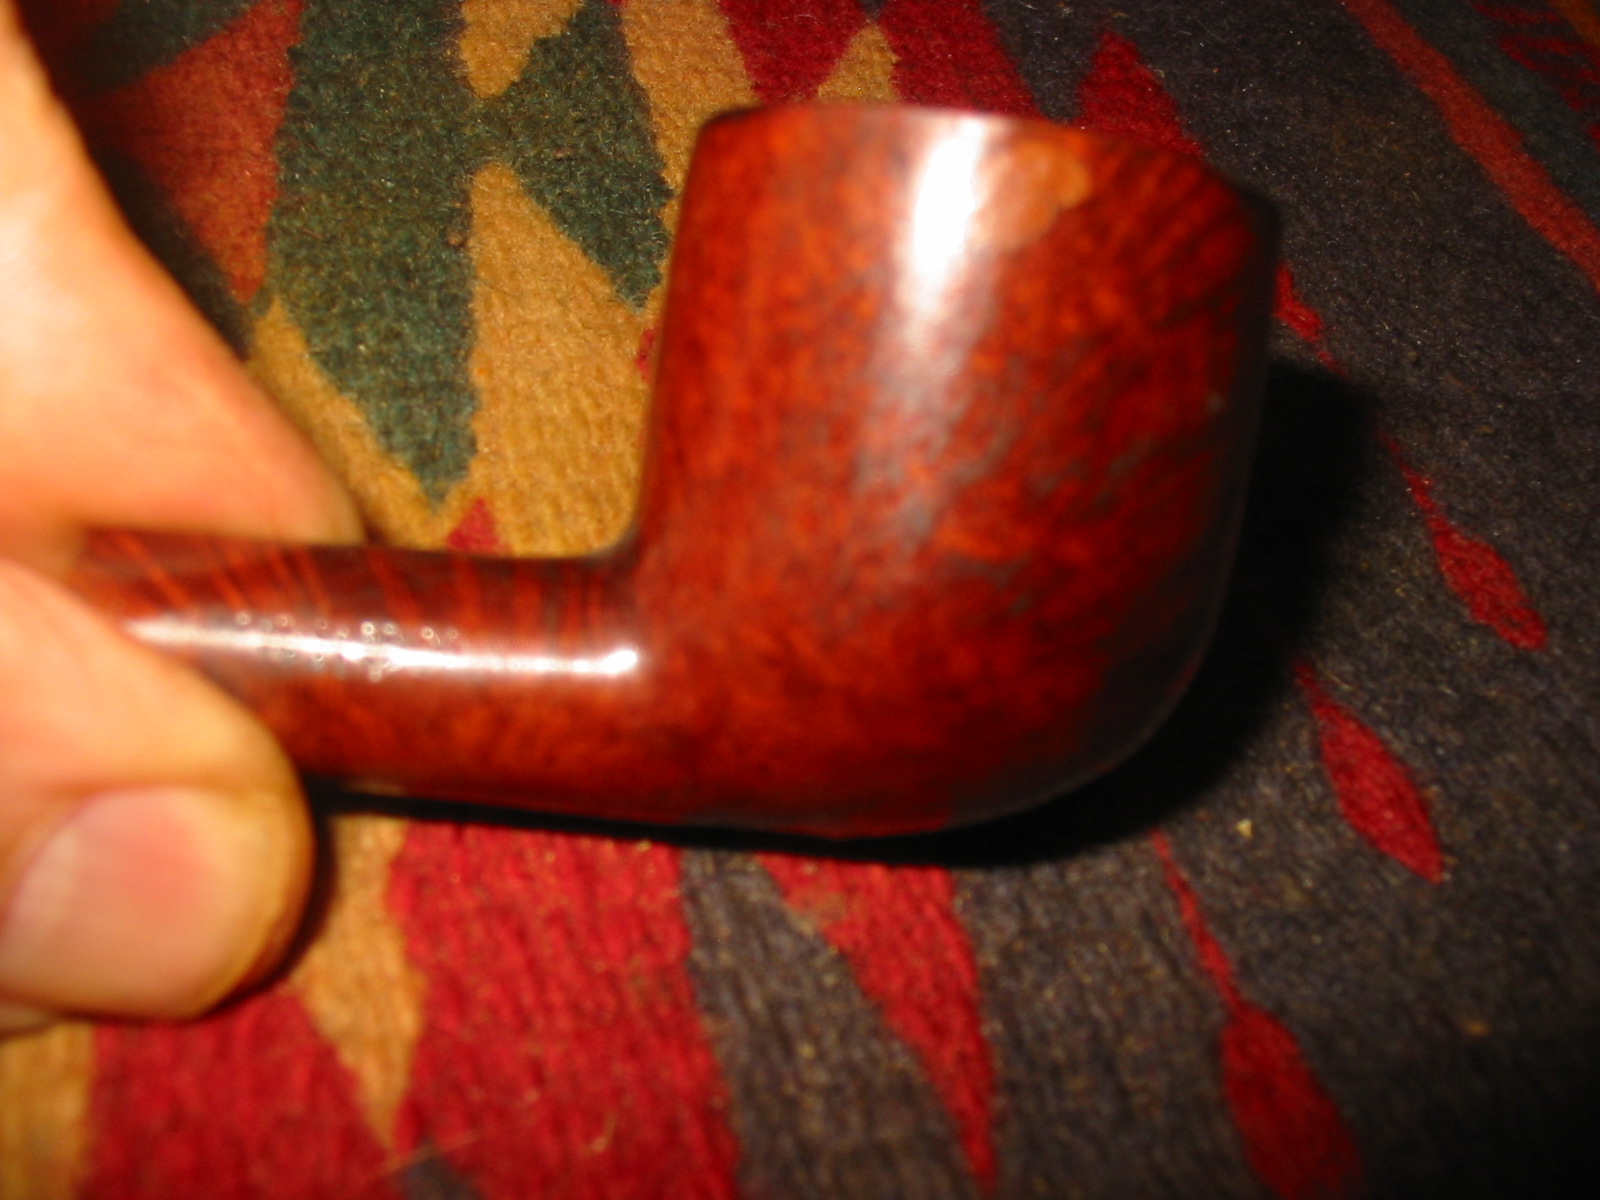
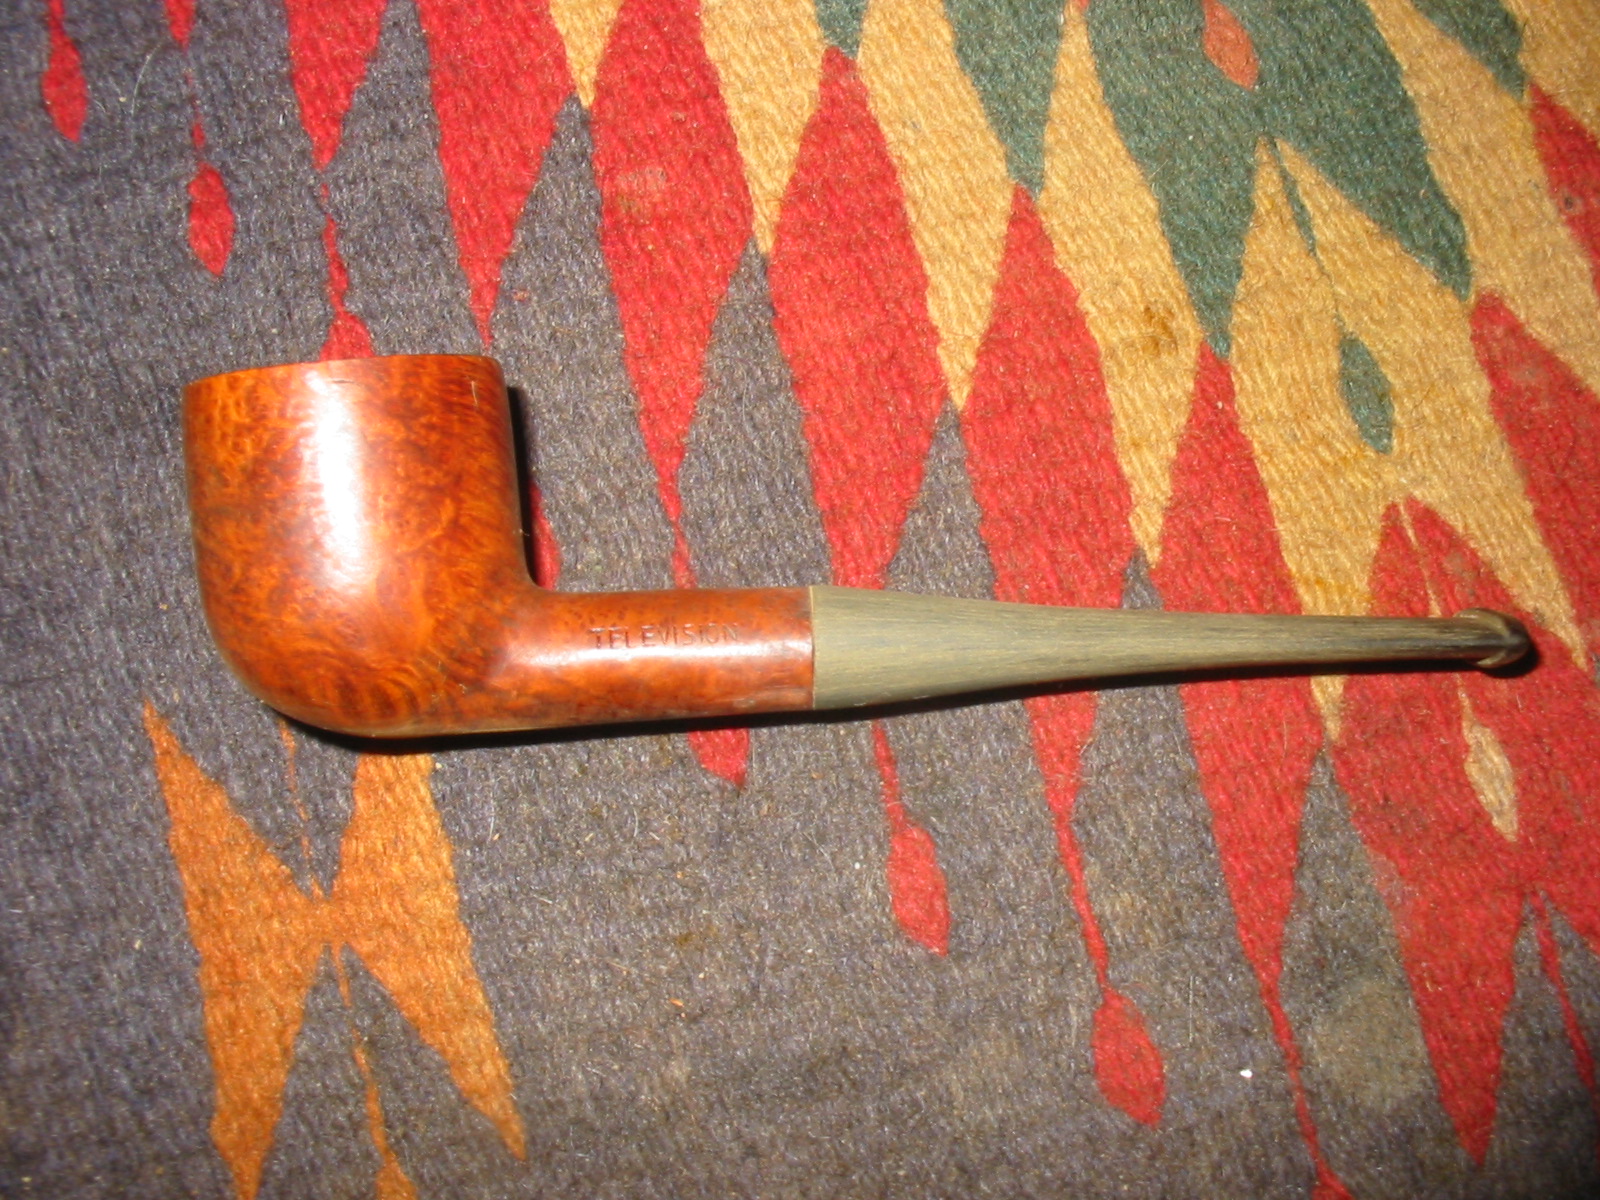
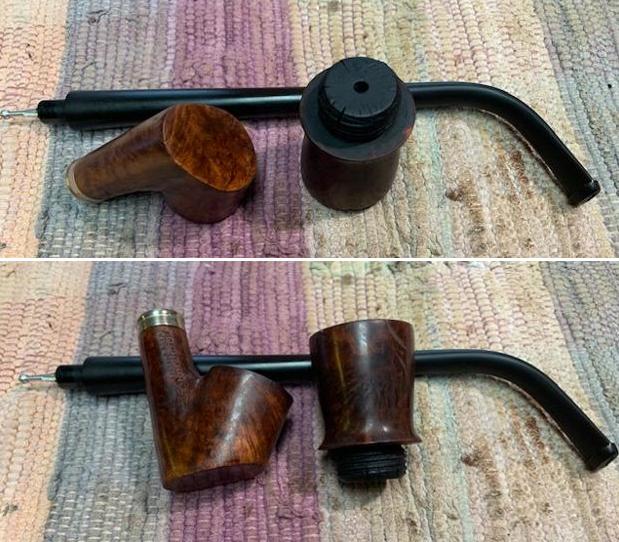
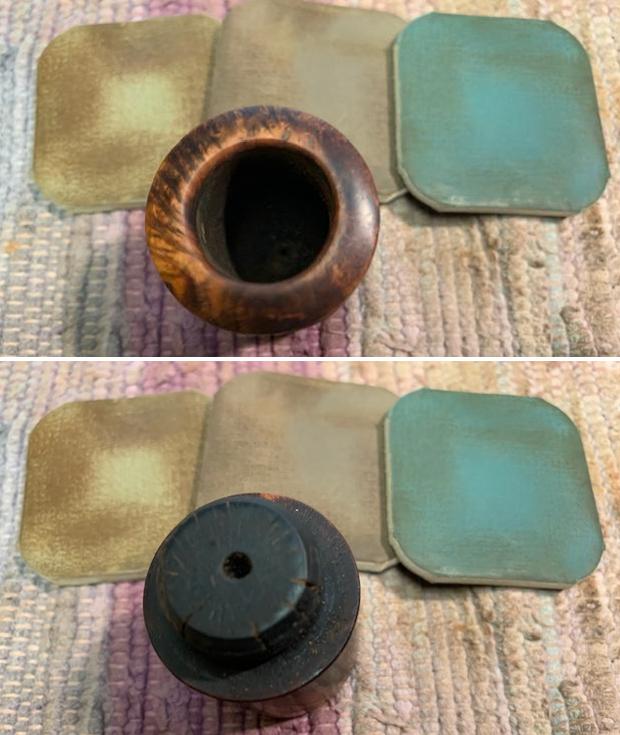
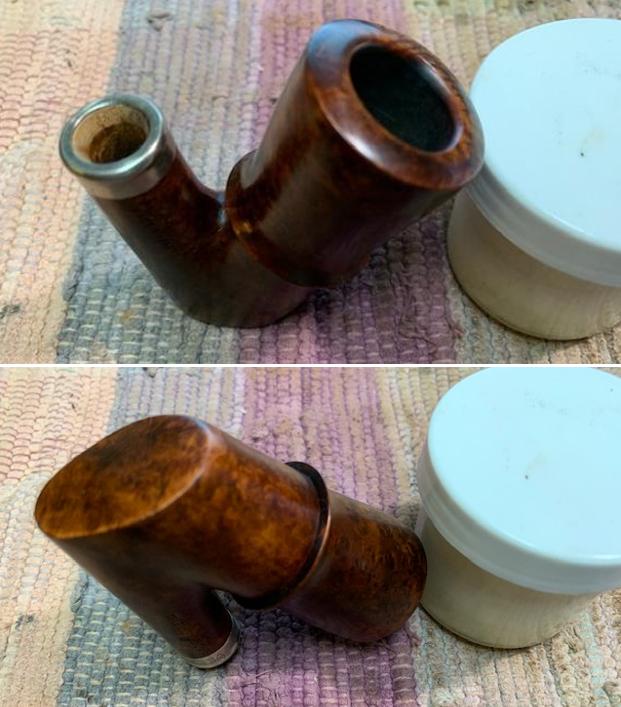
 I removed the stem from the shank and took photos to show the overall look of this beautiful pipe. I then unscrewed the bowl from the base and took photos of all of the parts of the pipe.
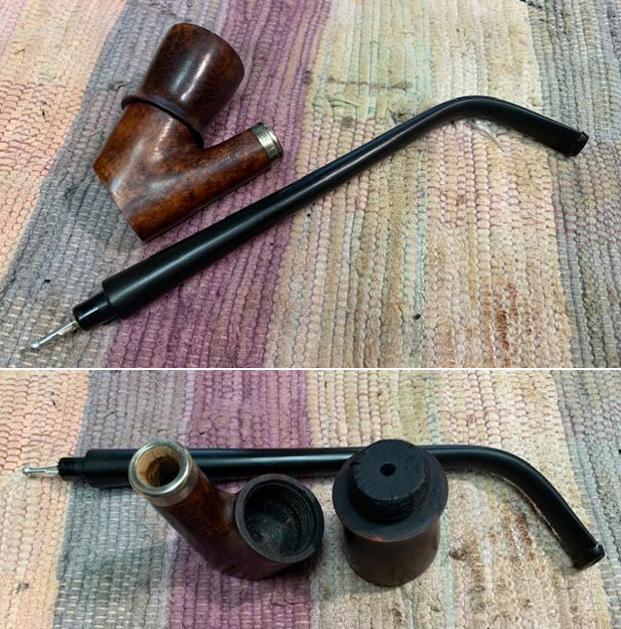
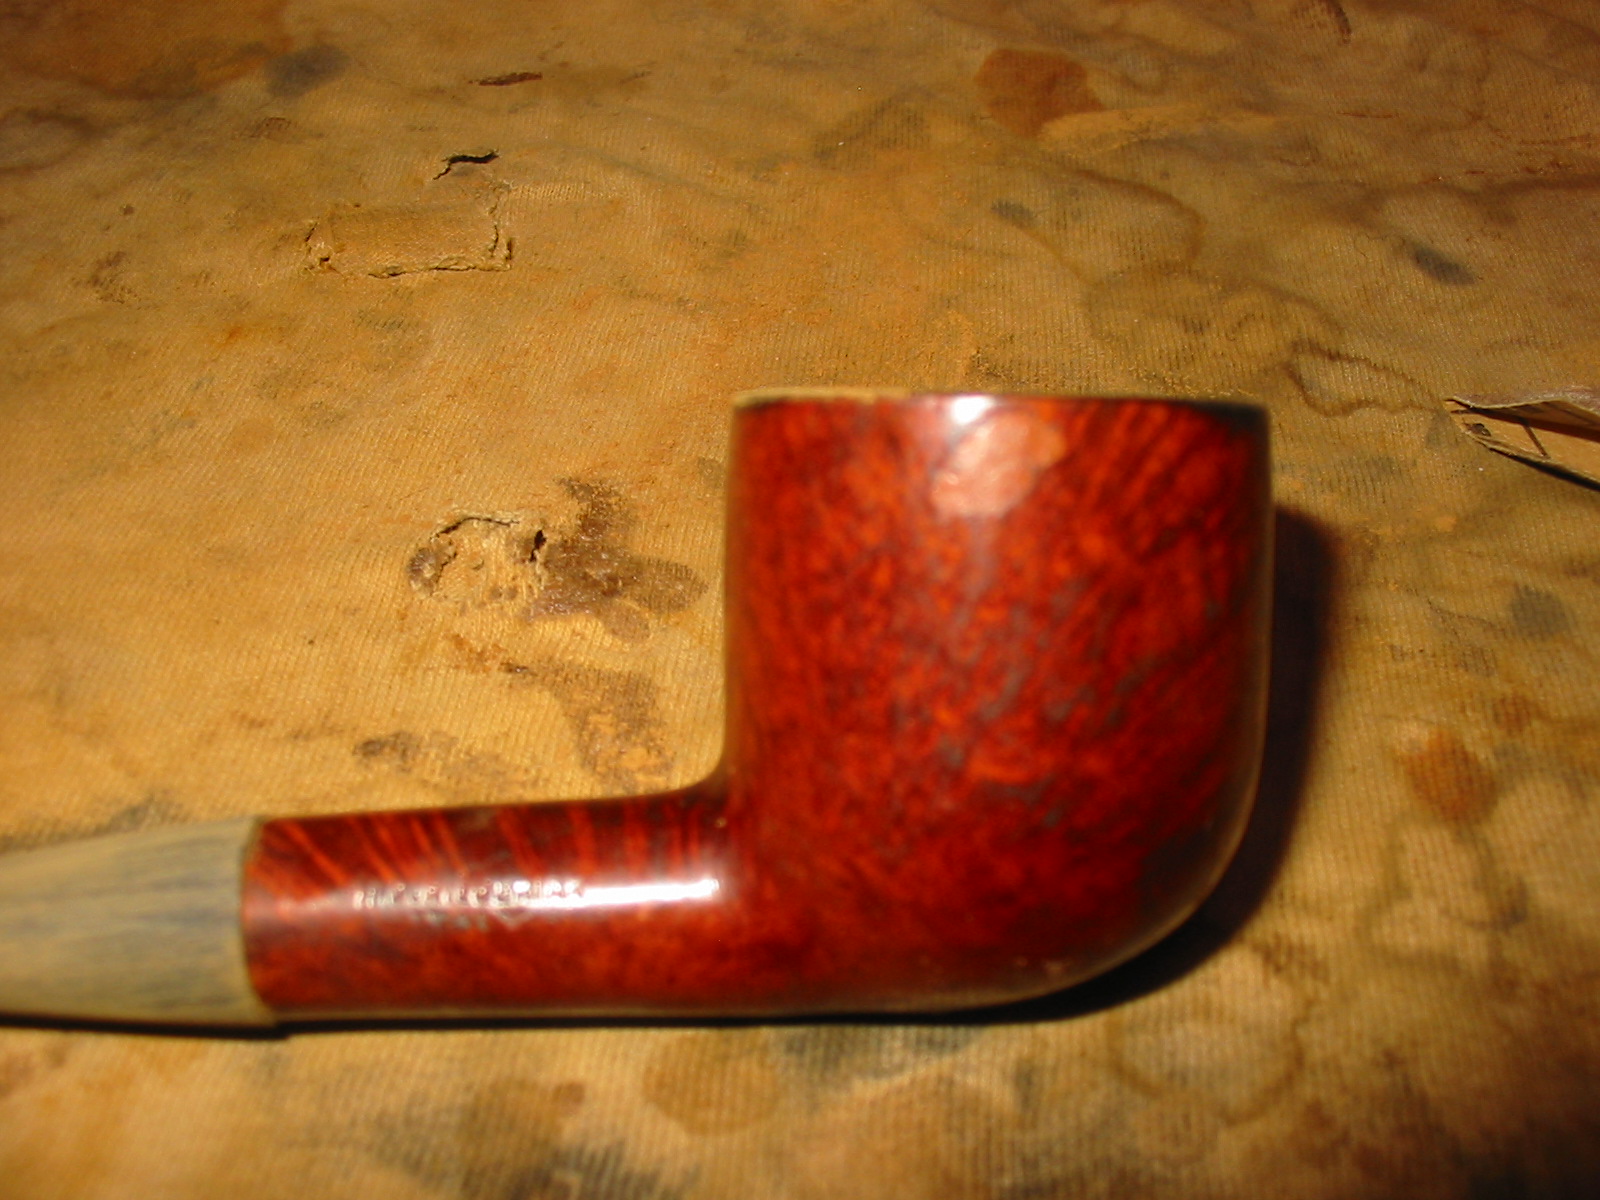
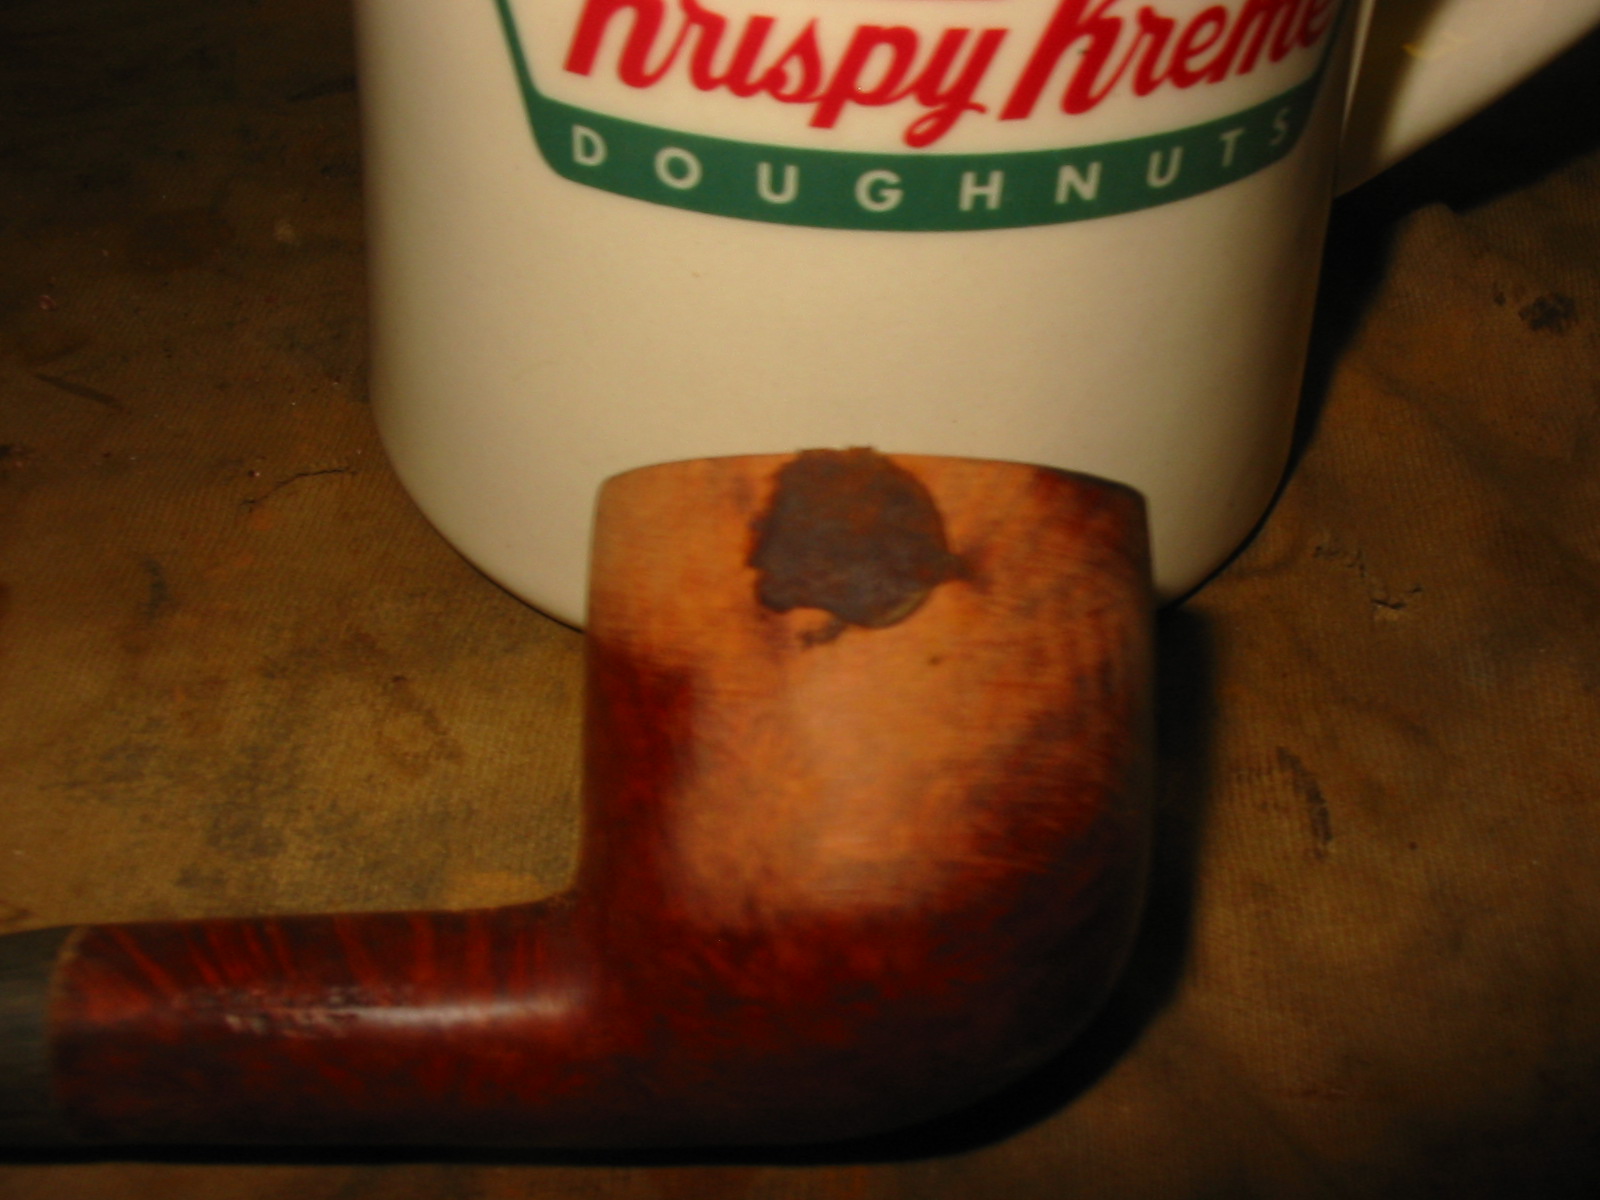
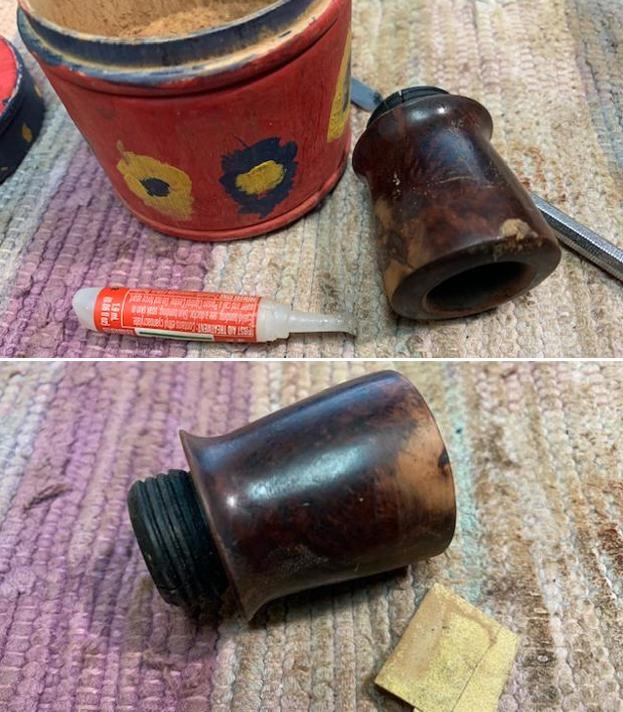
 I started my work on this pipe by dealing with the shrunken fills on the bowl sides. I filled them in with clear CA glue and briar dust. Once the repairs cured I sanded them smooth to blend them into the surrounding briar.
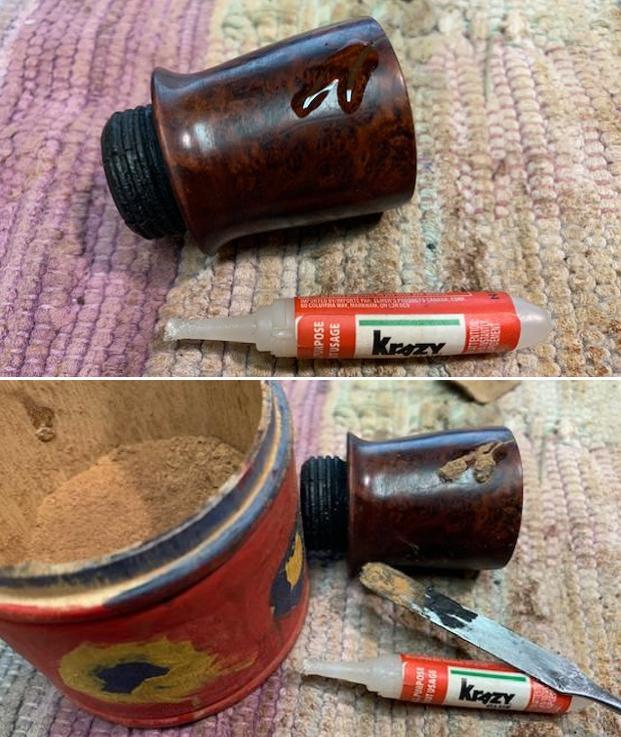
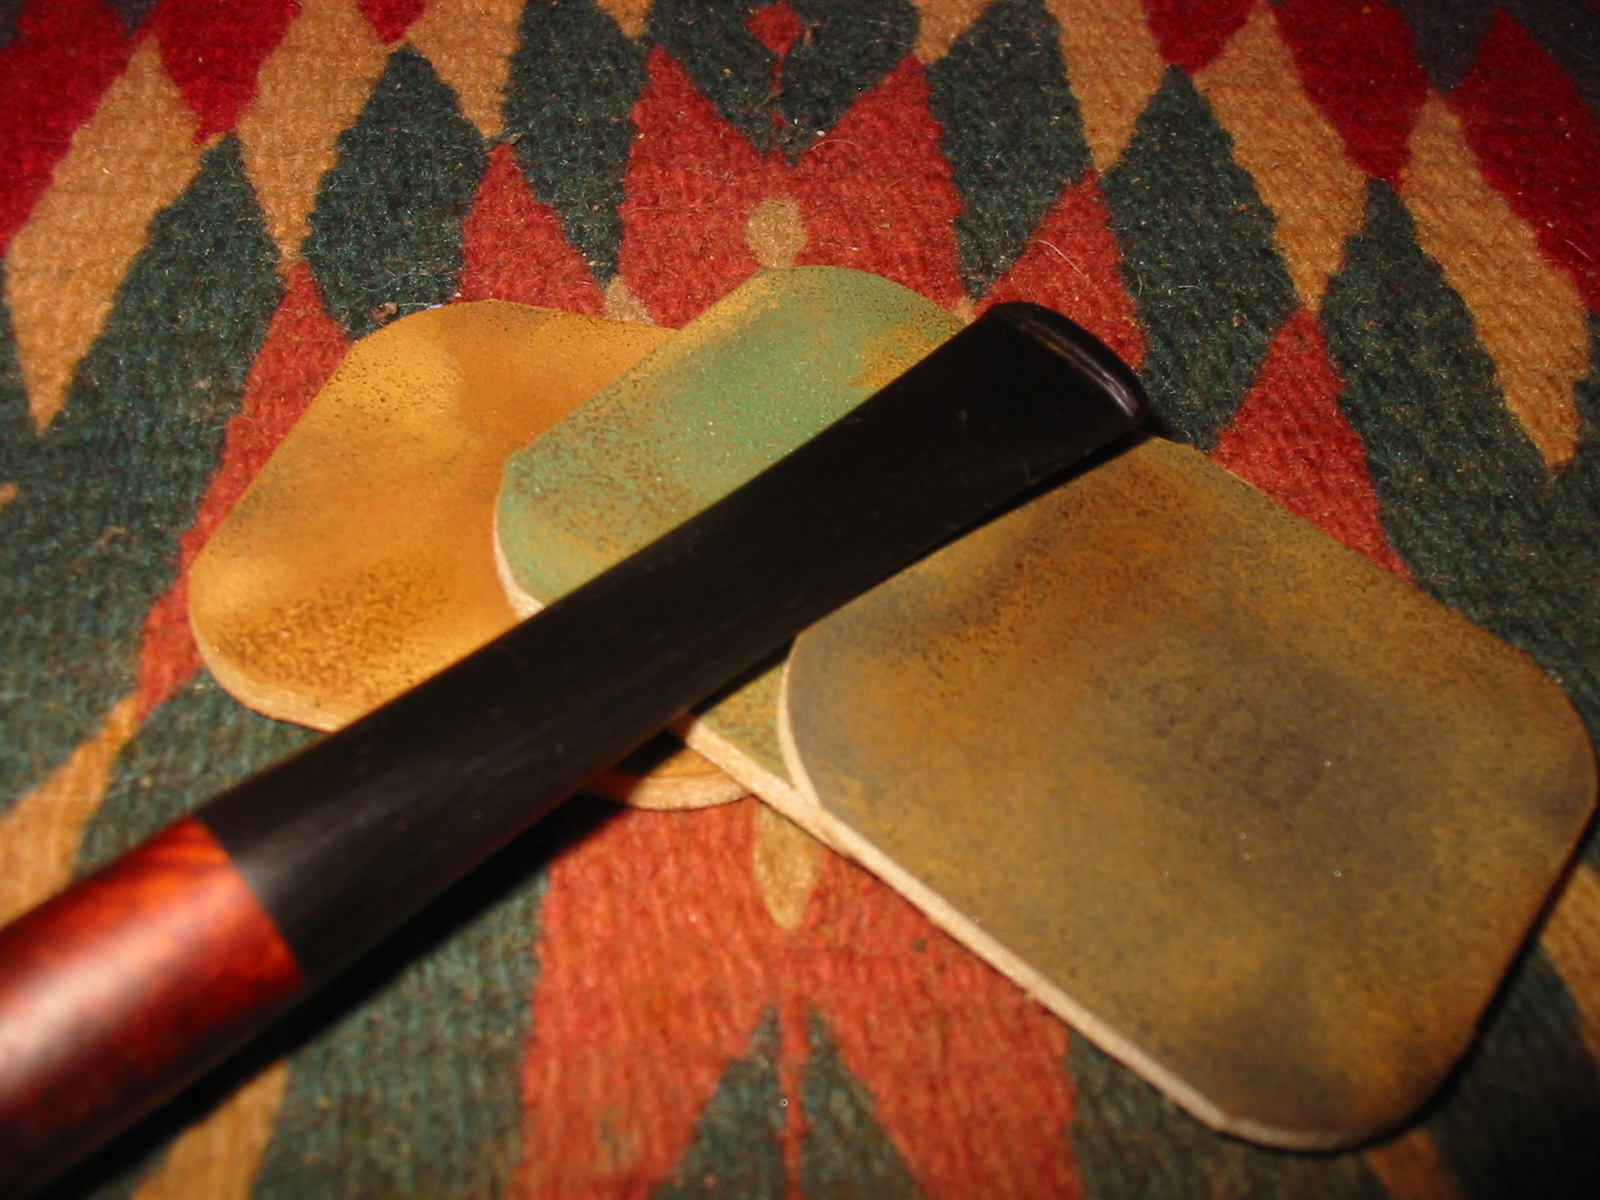
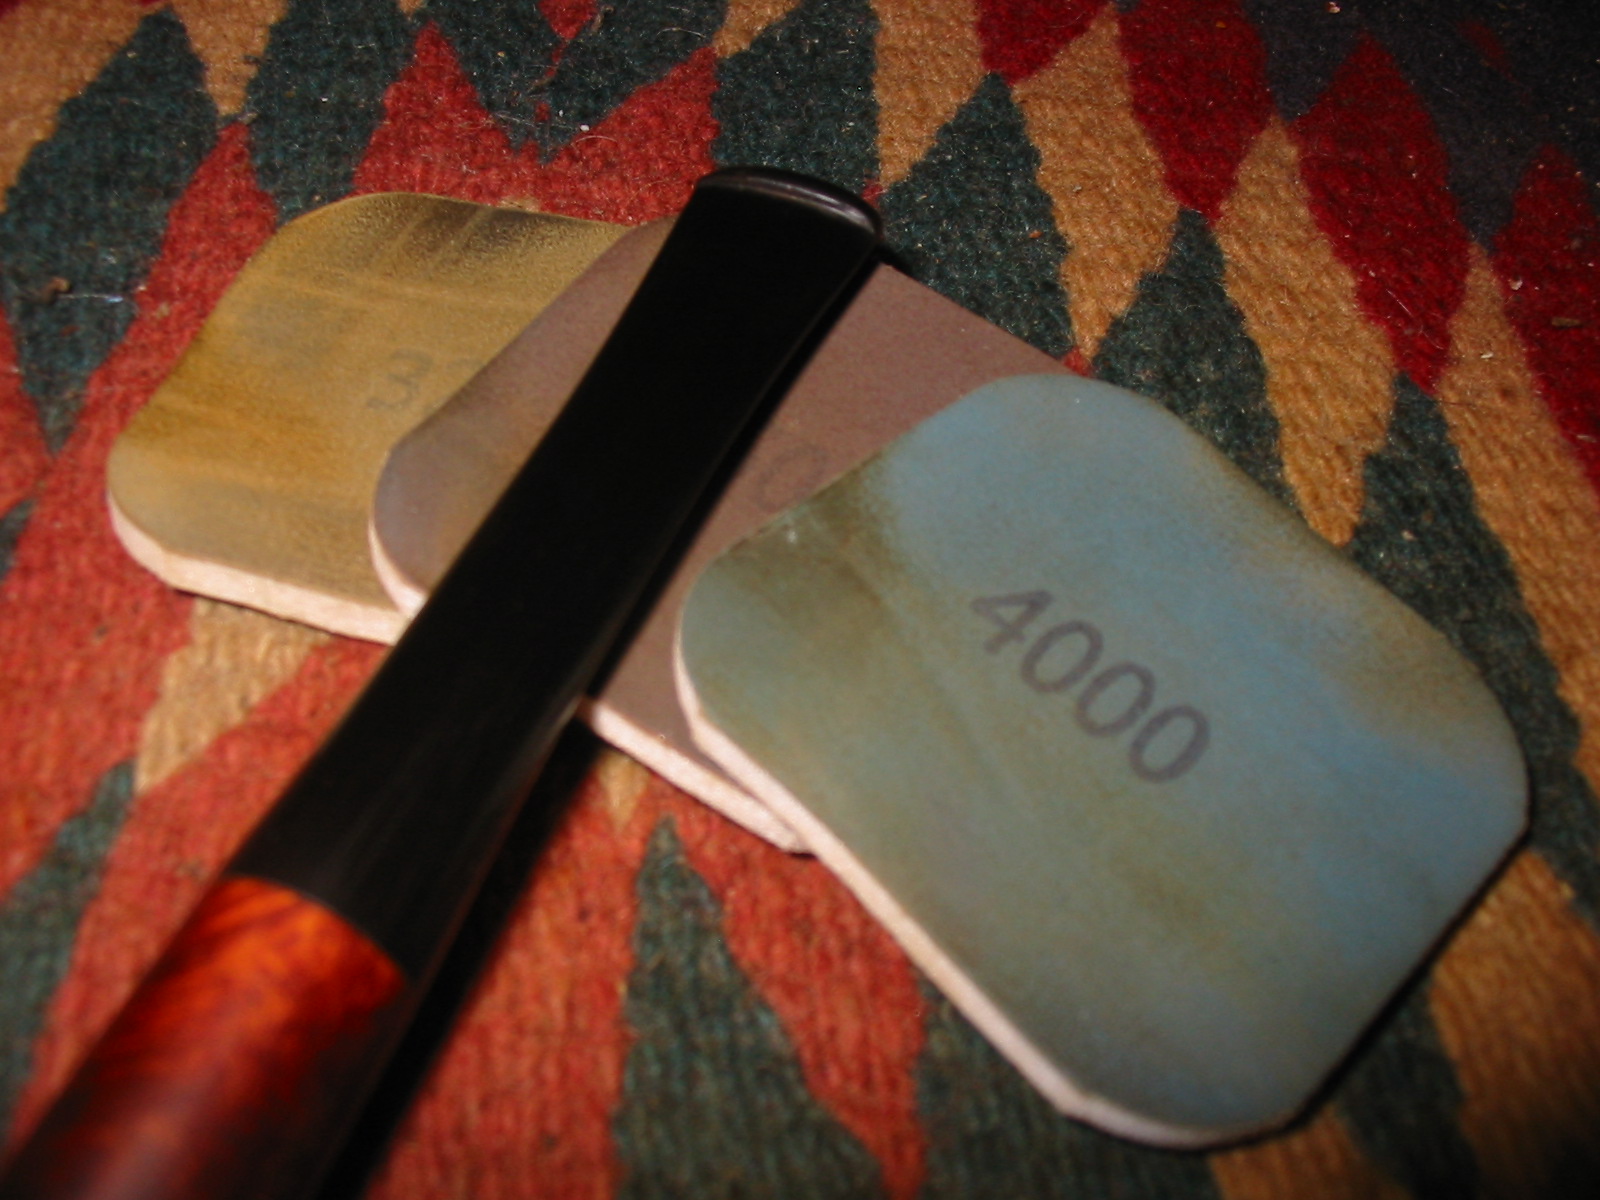
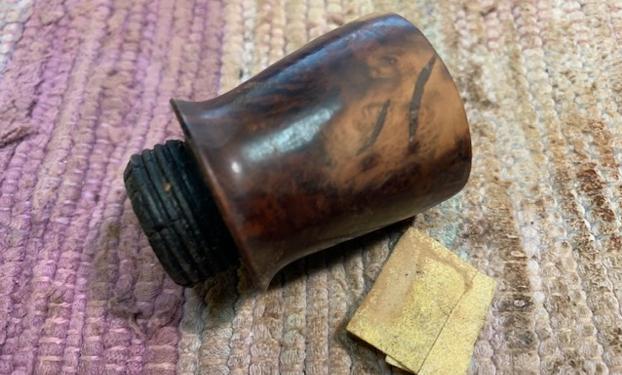 I polished the briar with micromesh sanding pads – wet sanding with 1500-4000 grit pads. I wiped the briar down after each pad. The grain began to really come alive through the polishing.
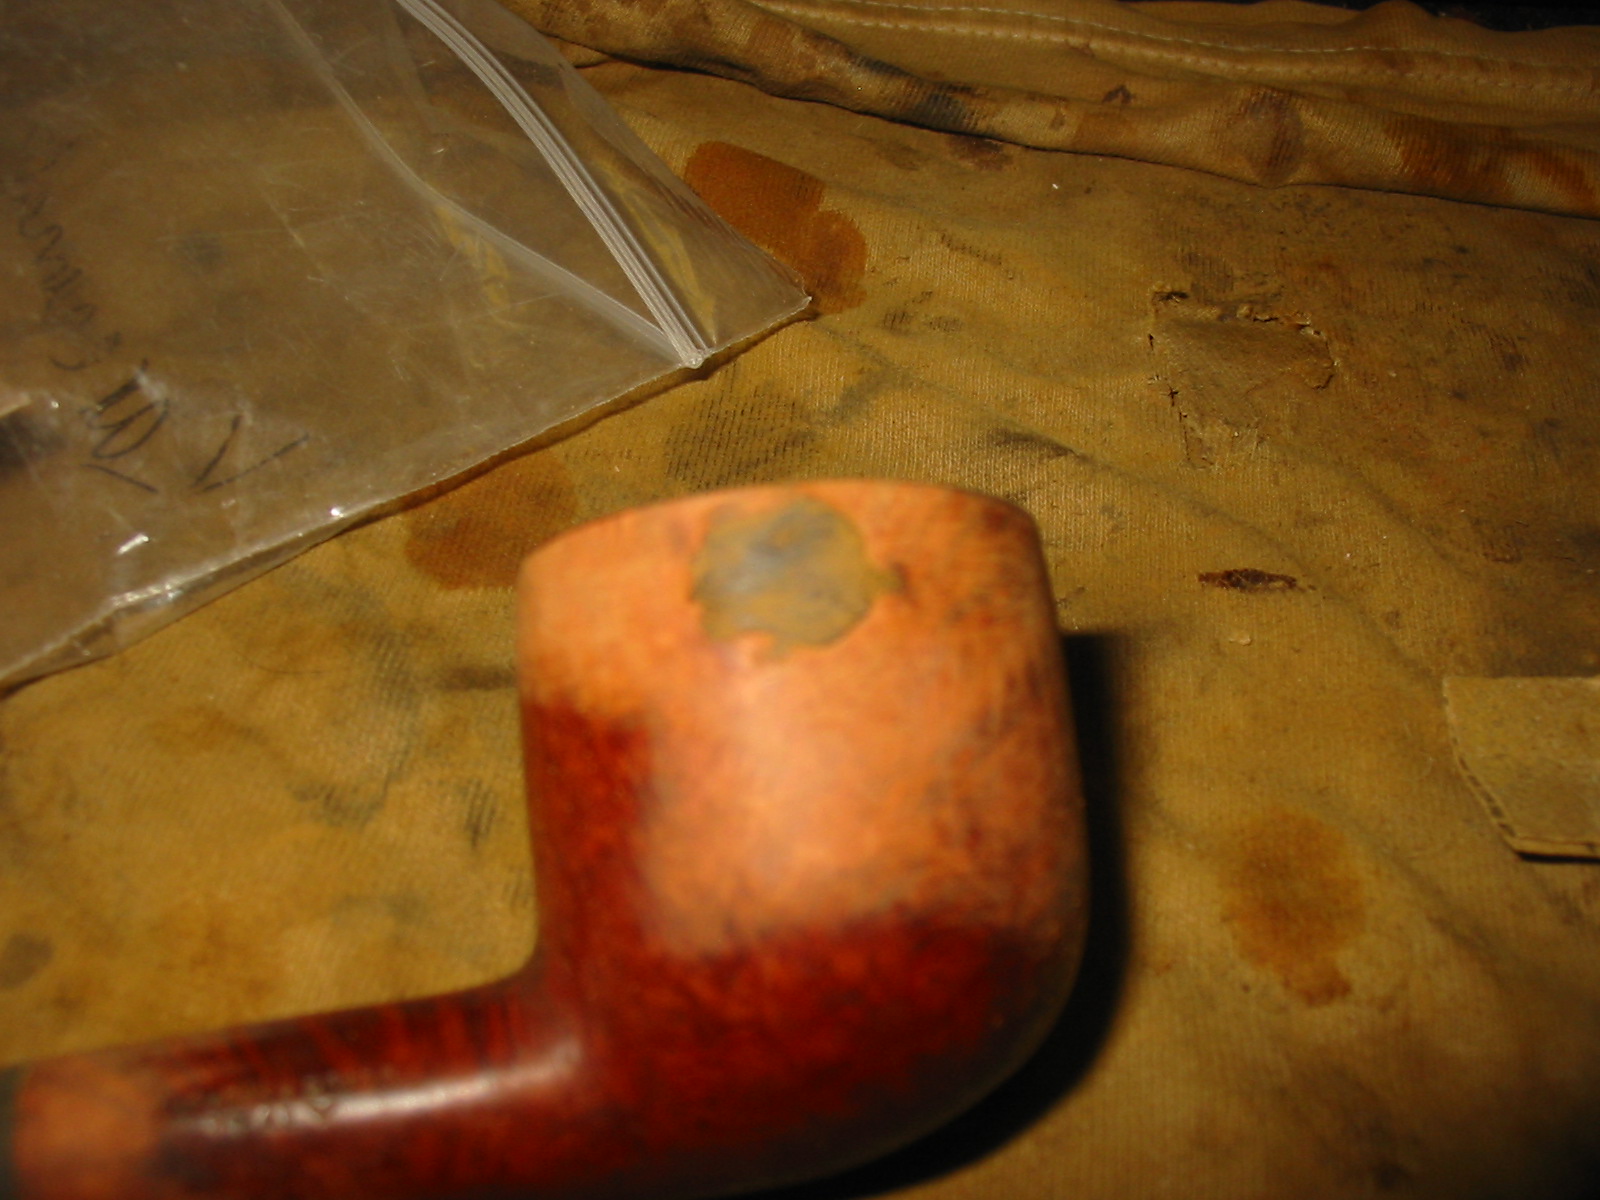
 I took a break from the polishing process and I stained the sanded areas of the bowl with a Walnut Stain pen to blend them into the surrounding briar.
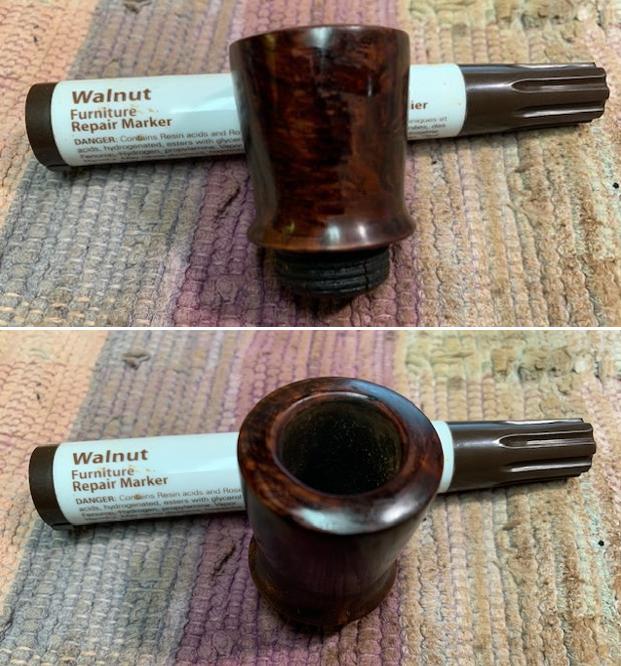 I buffed bowl with Blue Diamond polish and then went back to polishing the bowl with 6000-12000 grit micromesh sanding pads.
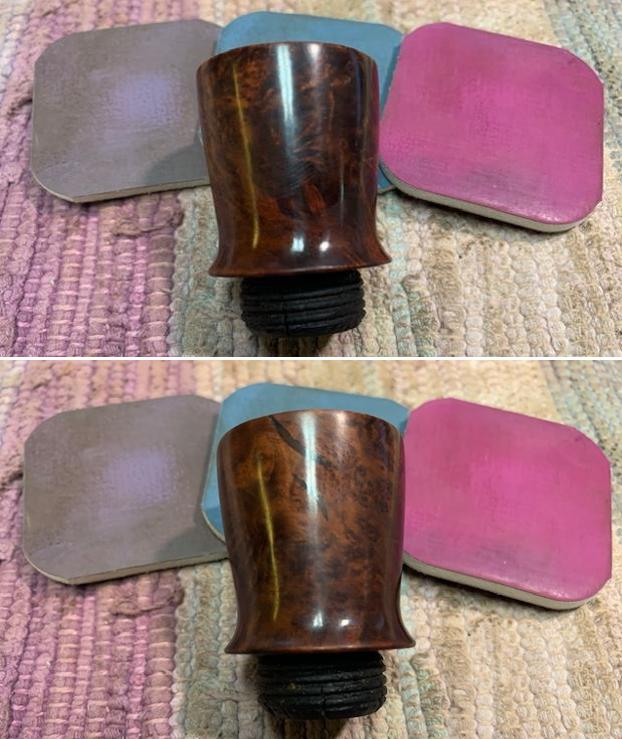
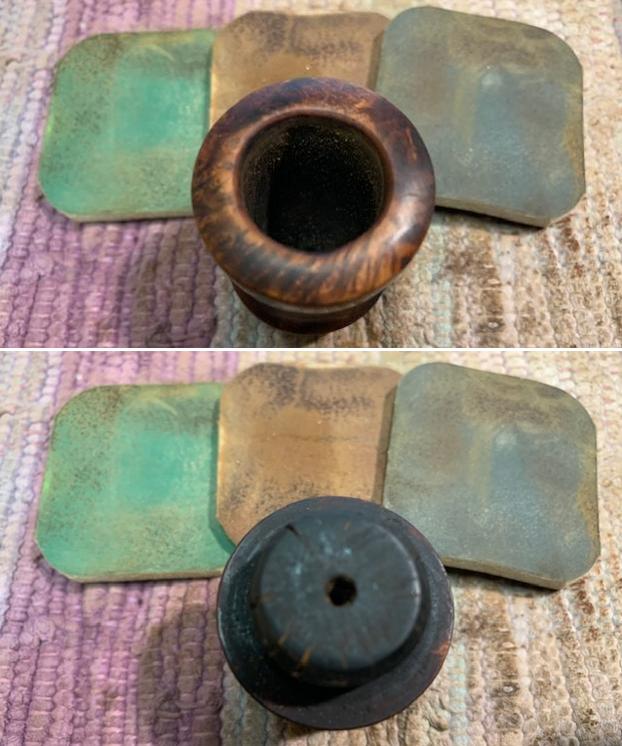
 I repeated the process of polish the base with micromesh sanding pads – wet sanding with 1500-12000 grit pads. I wiped the briar down after each pad. The grain began to really come alive through the polishing.


 I worked some Before & After Restoration Balm into the surface of the briar of both the bowl and the base with my finger tips. The product is incredible and the way it brings the grain to the fore is unique. It works to clean, protect and invigorate the wood.
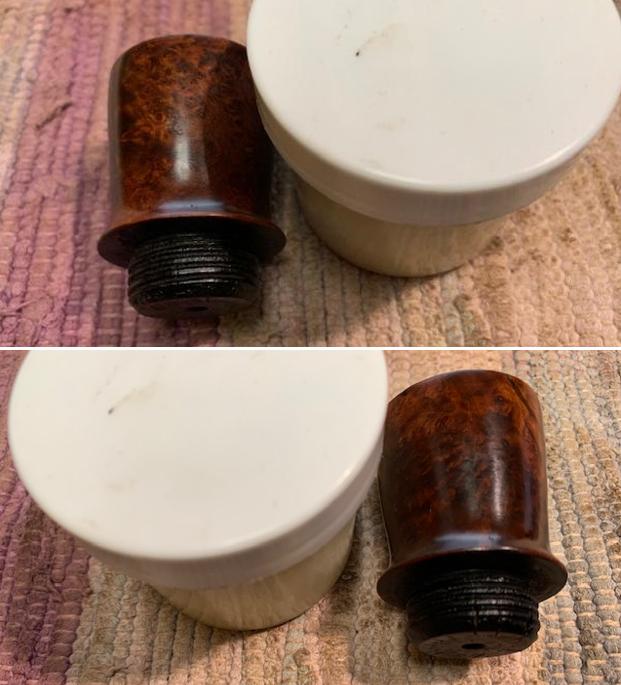
 I put the bowl and base back together again and rubbed them down with the Balm. I buffed the bowl and base with Blue Diamond on the wheel. The finished bowl looked a lot better.
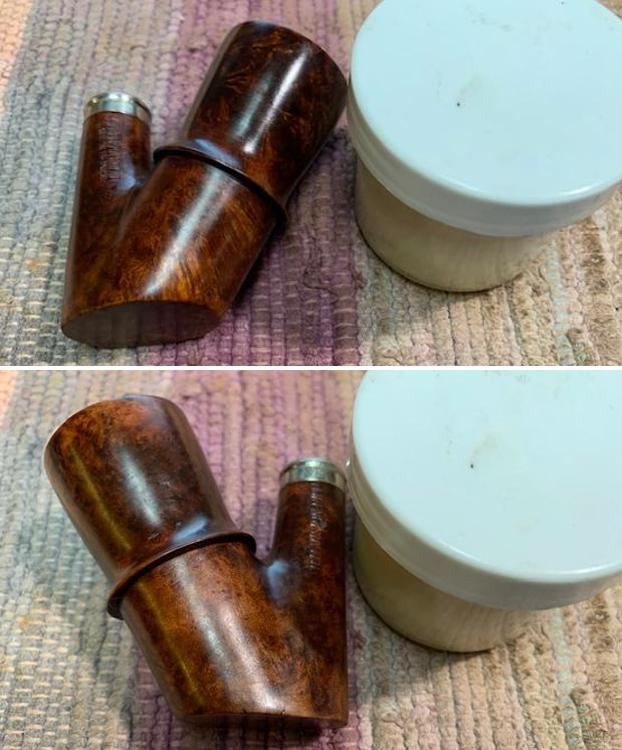
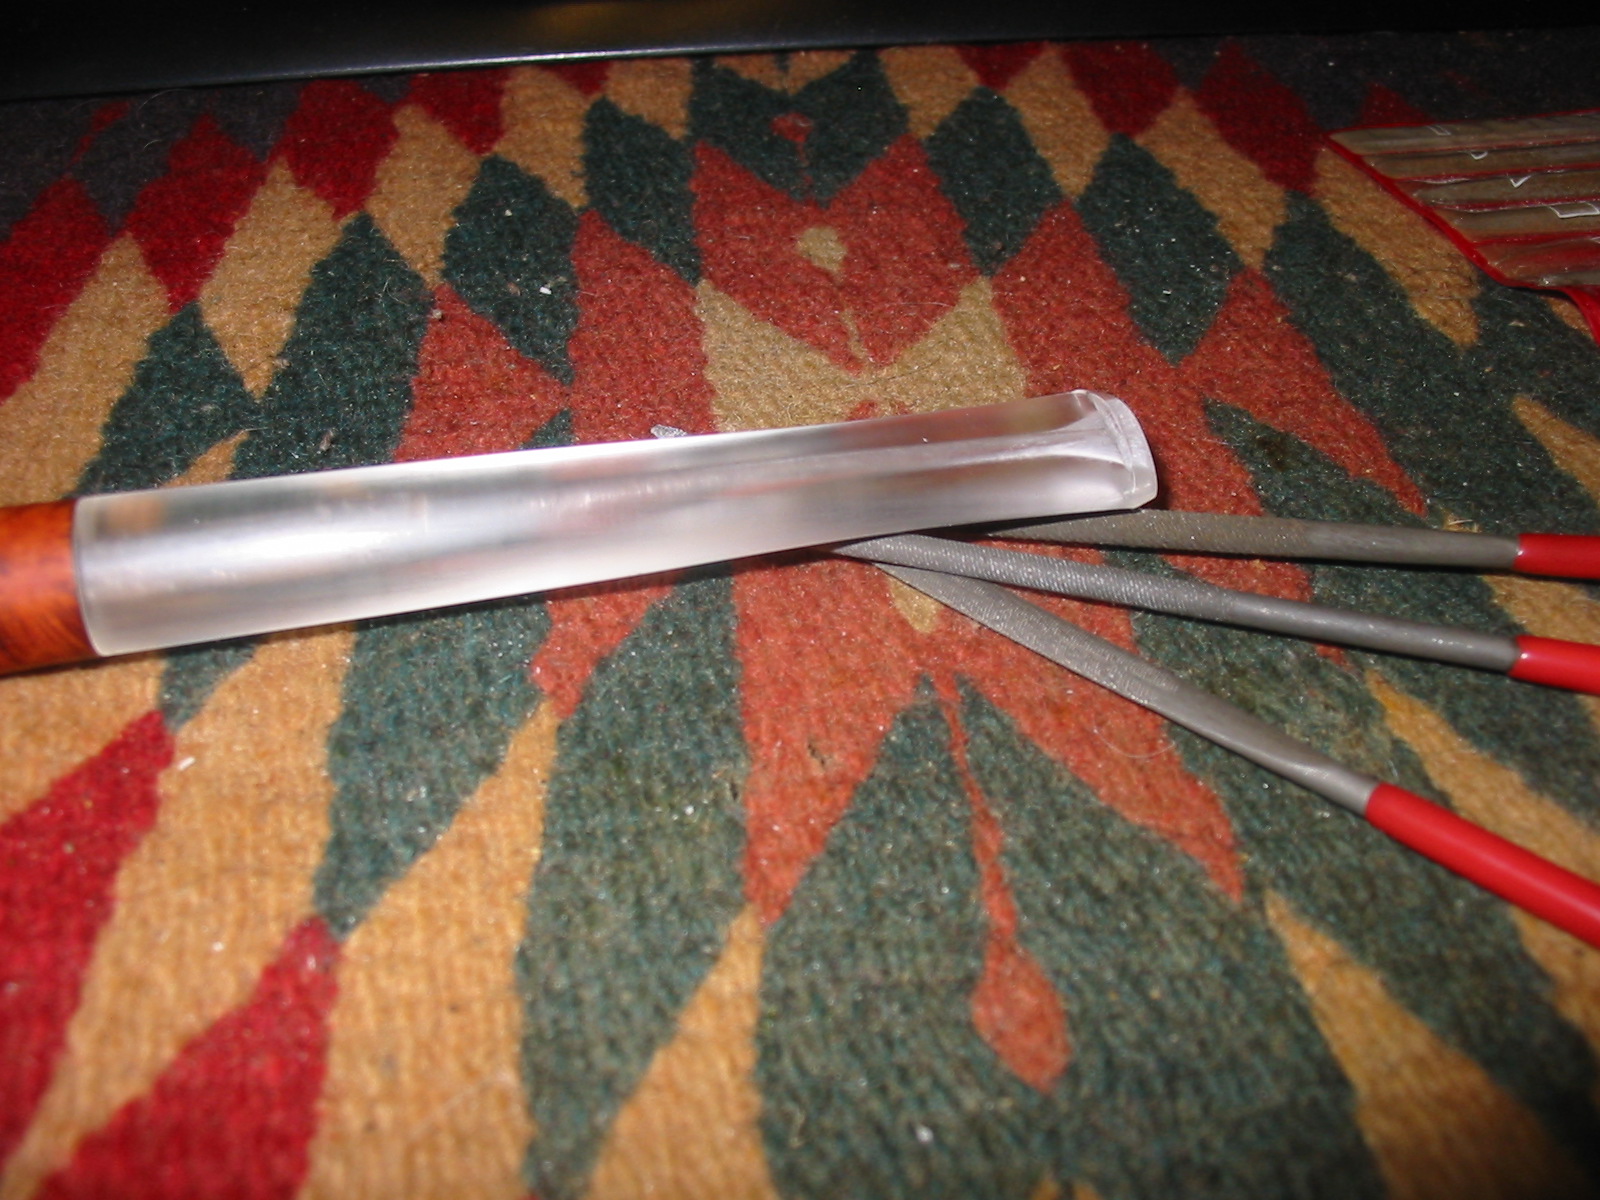
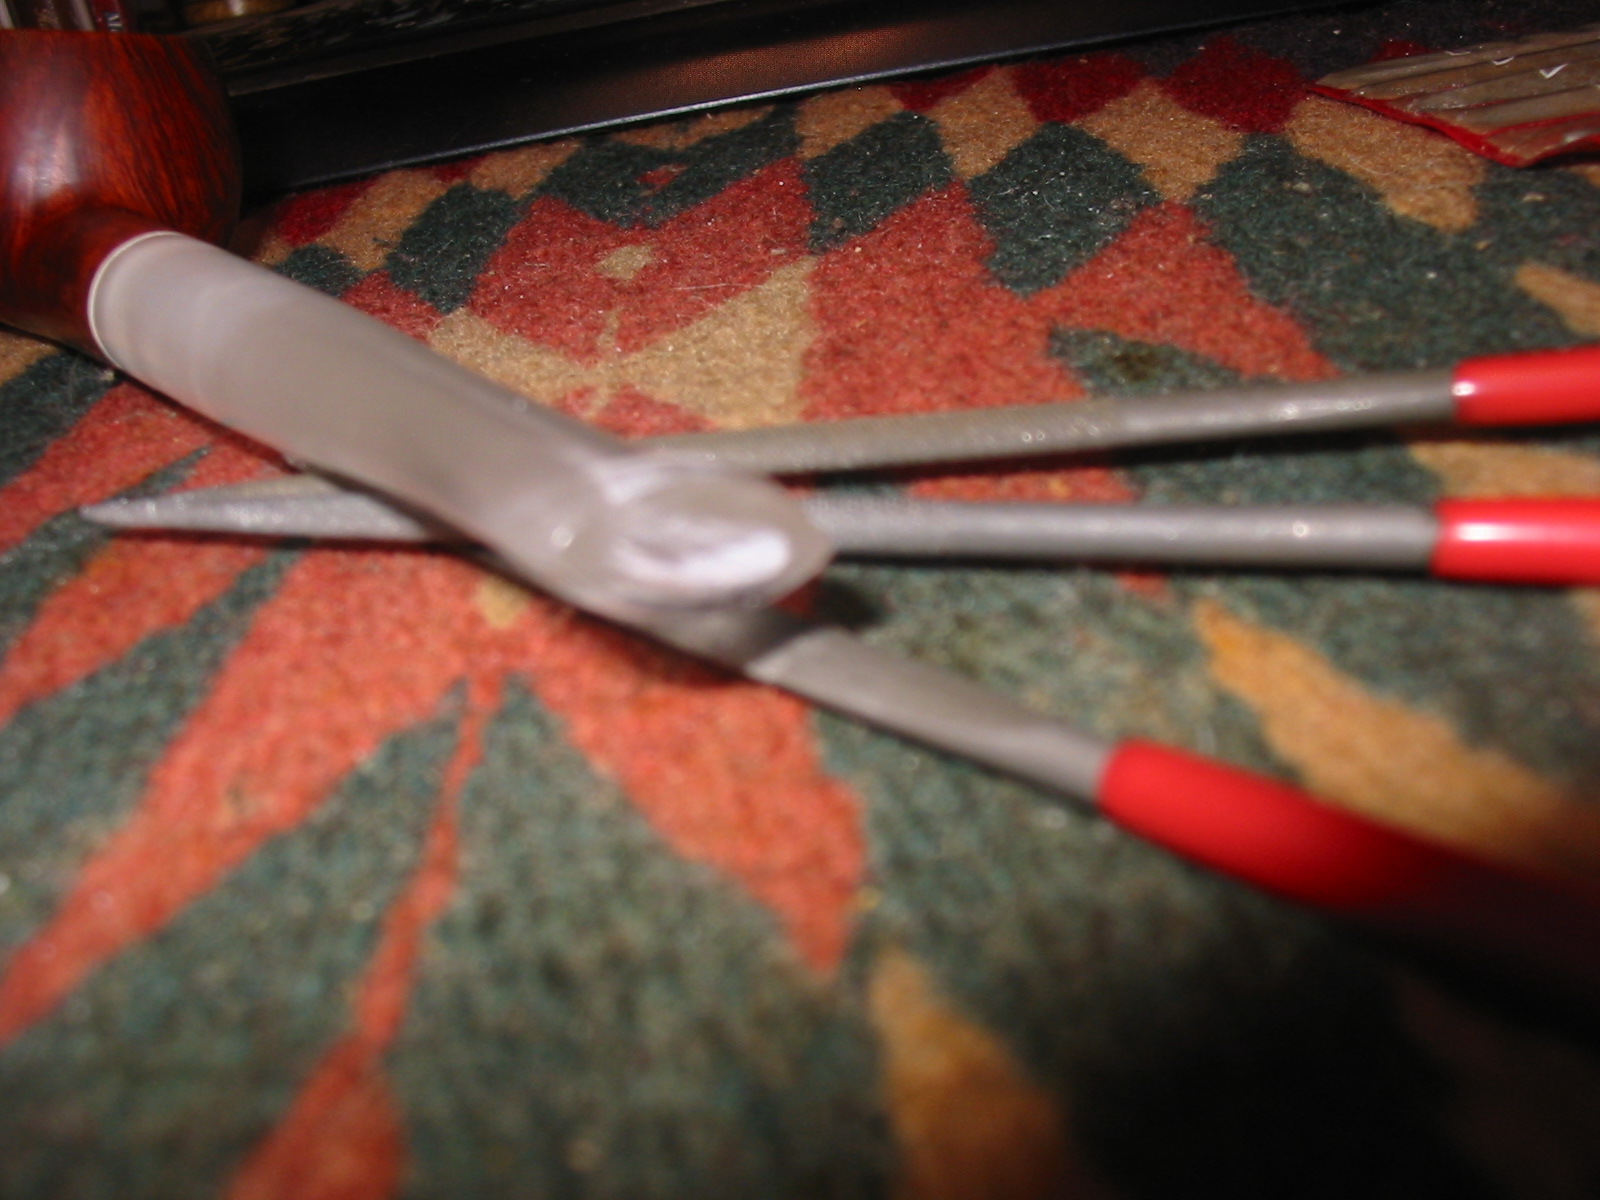
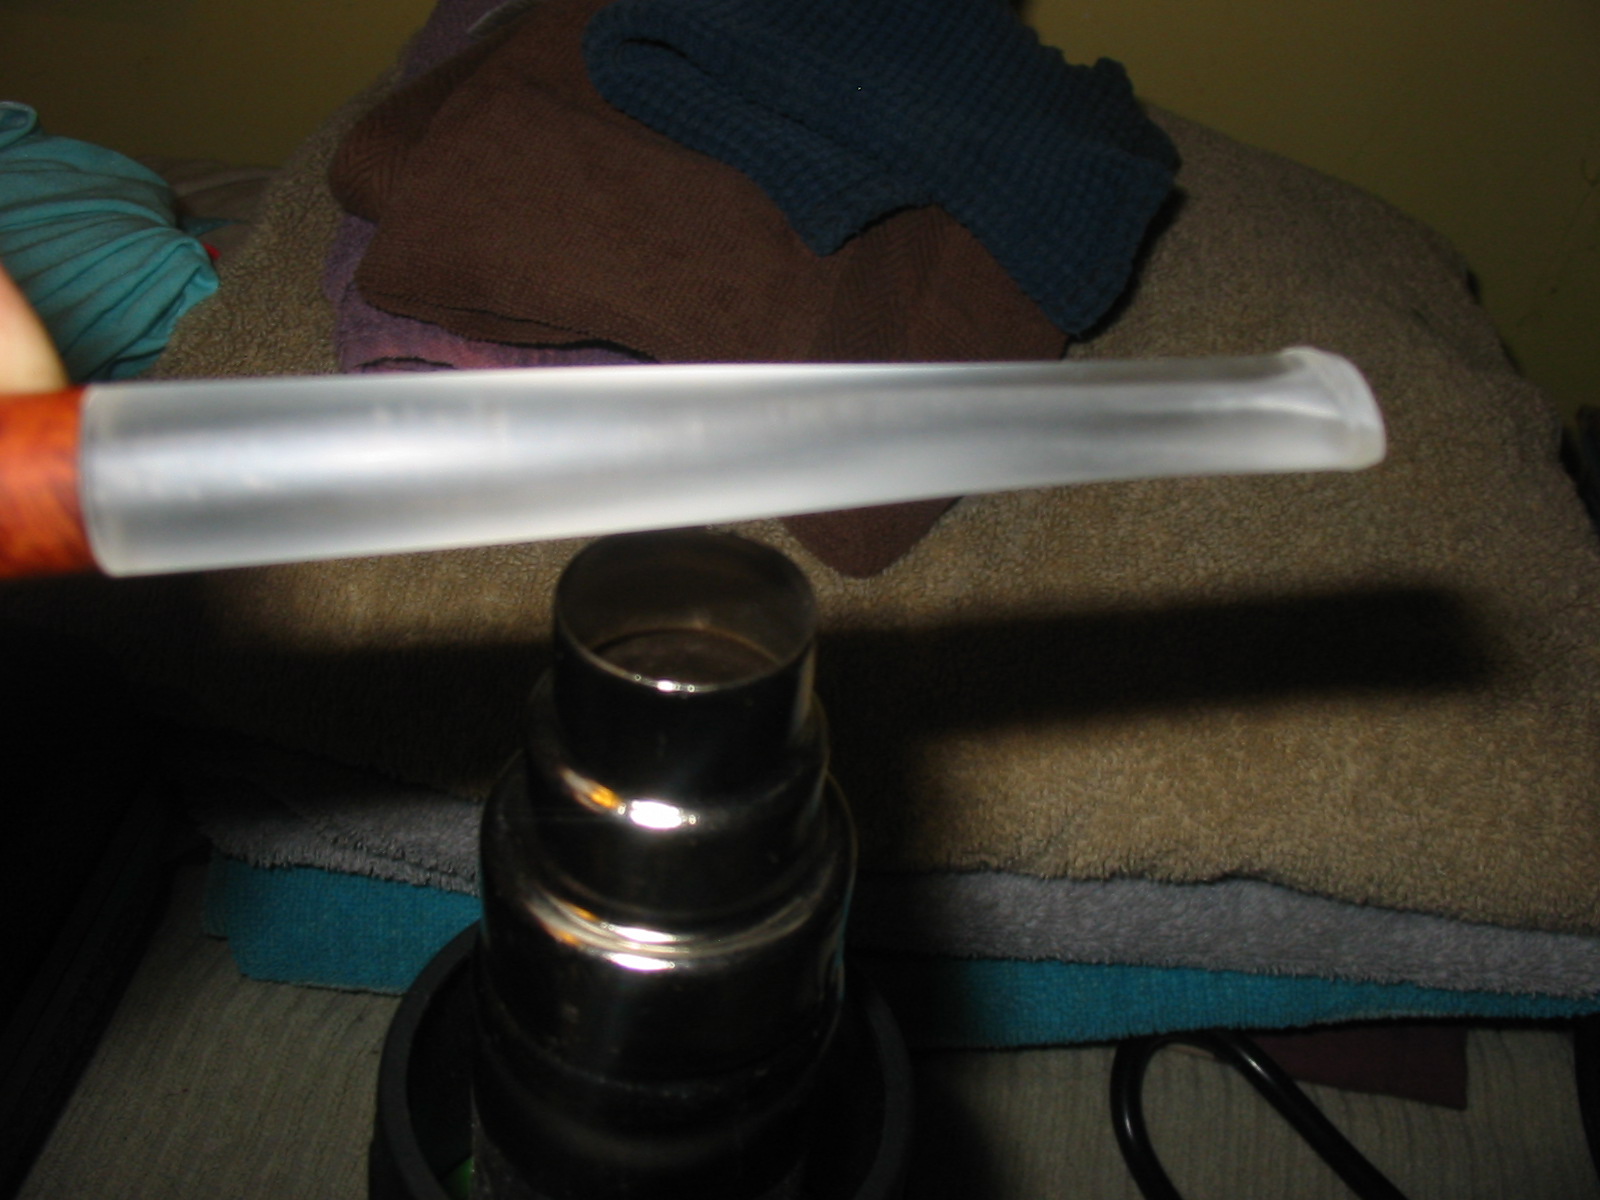
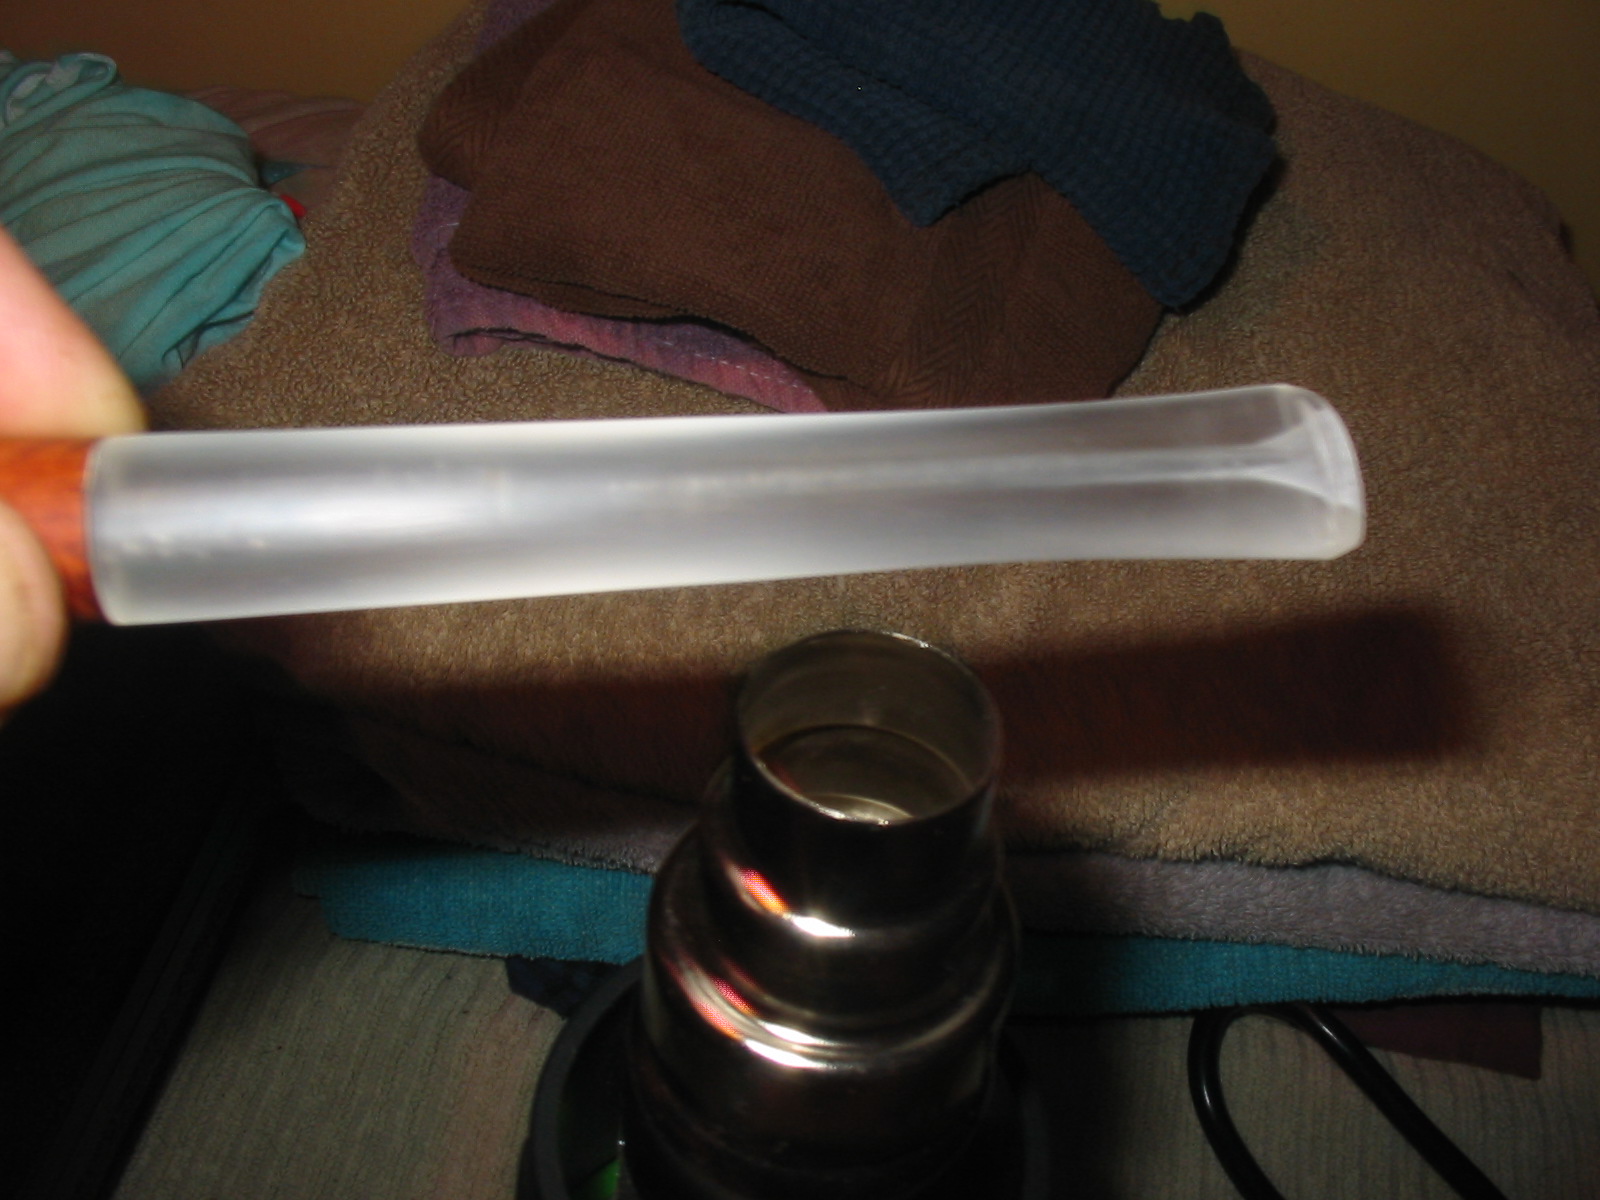
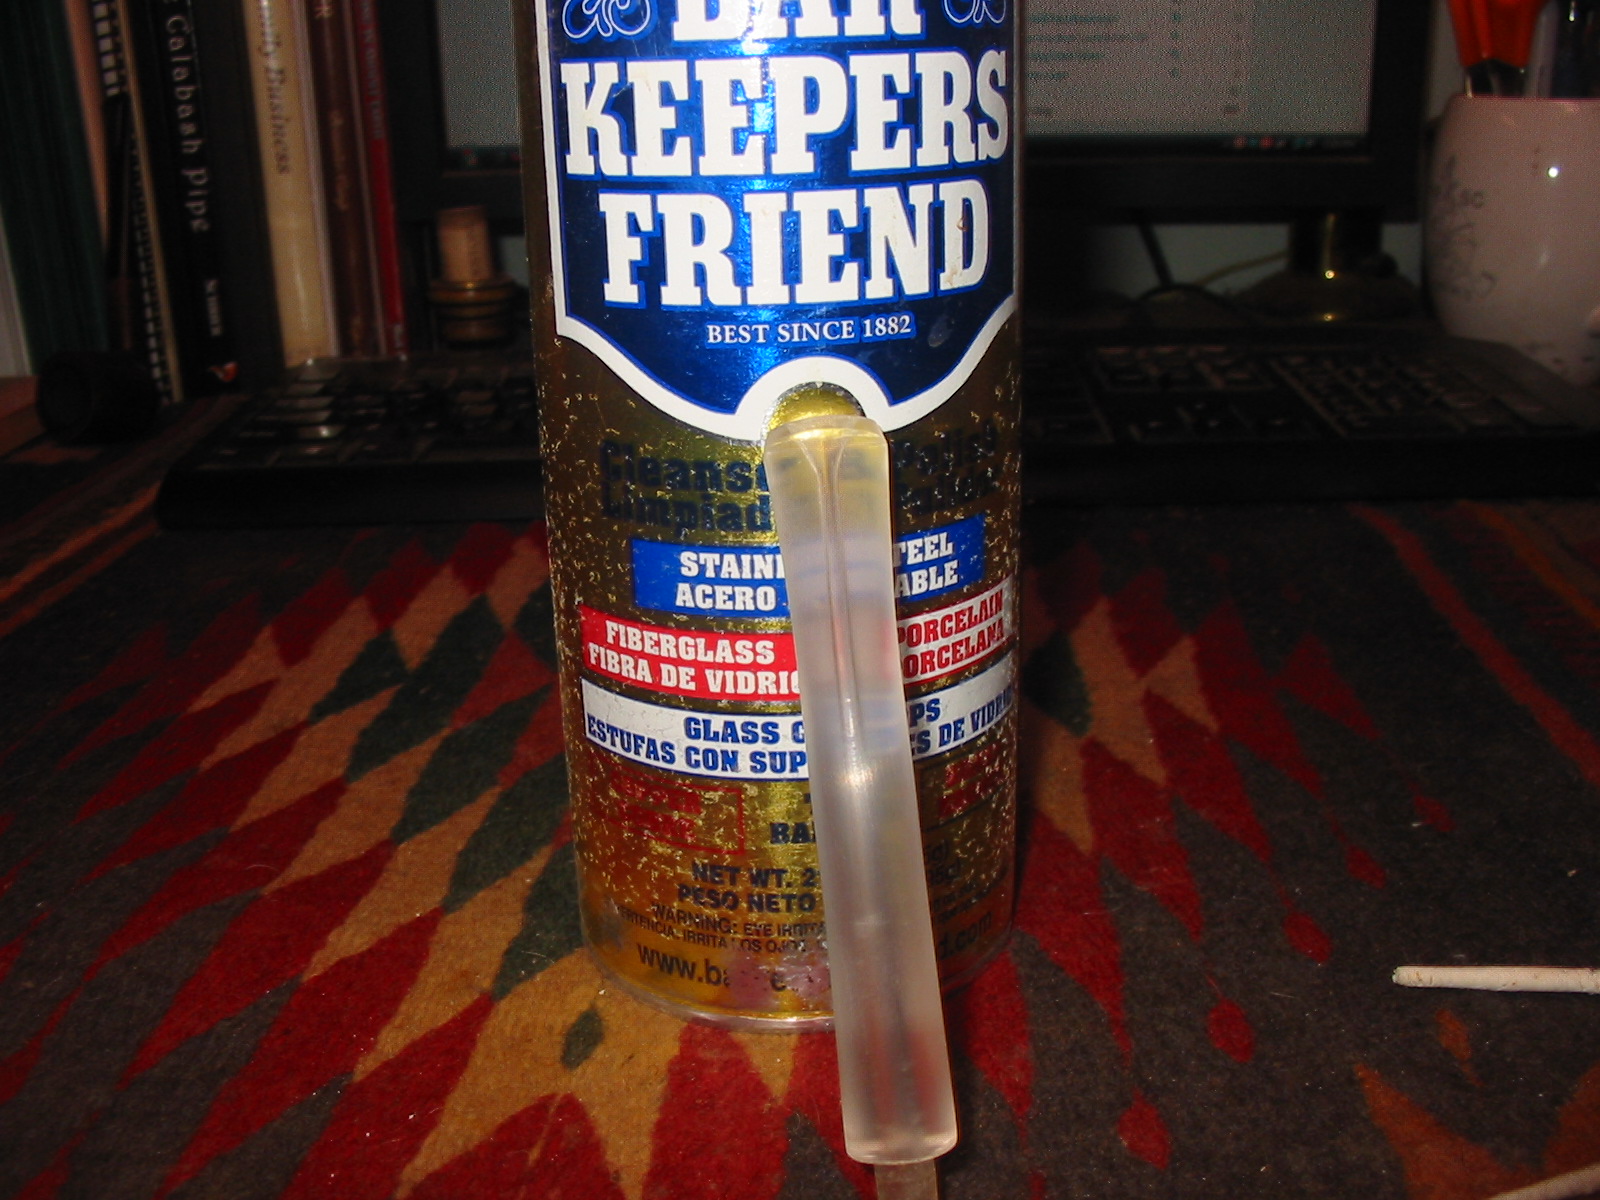
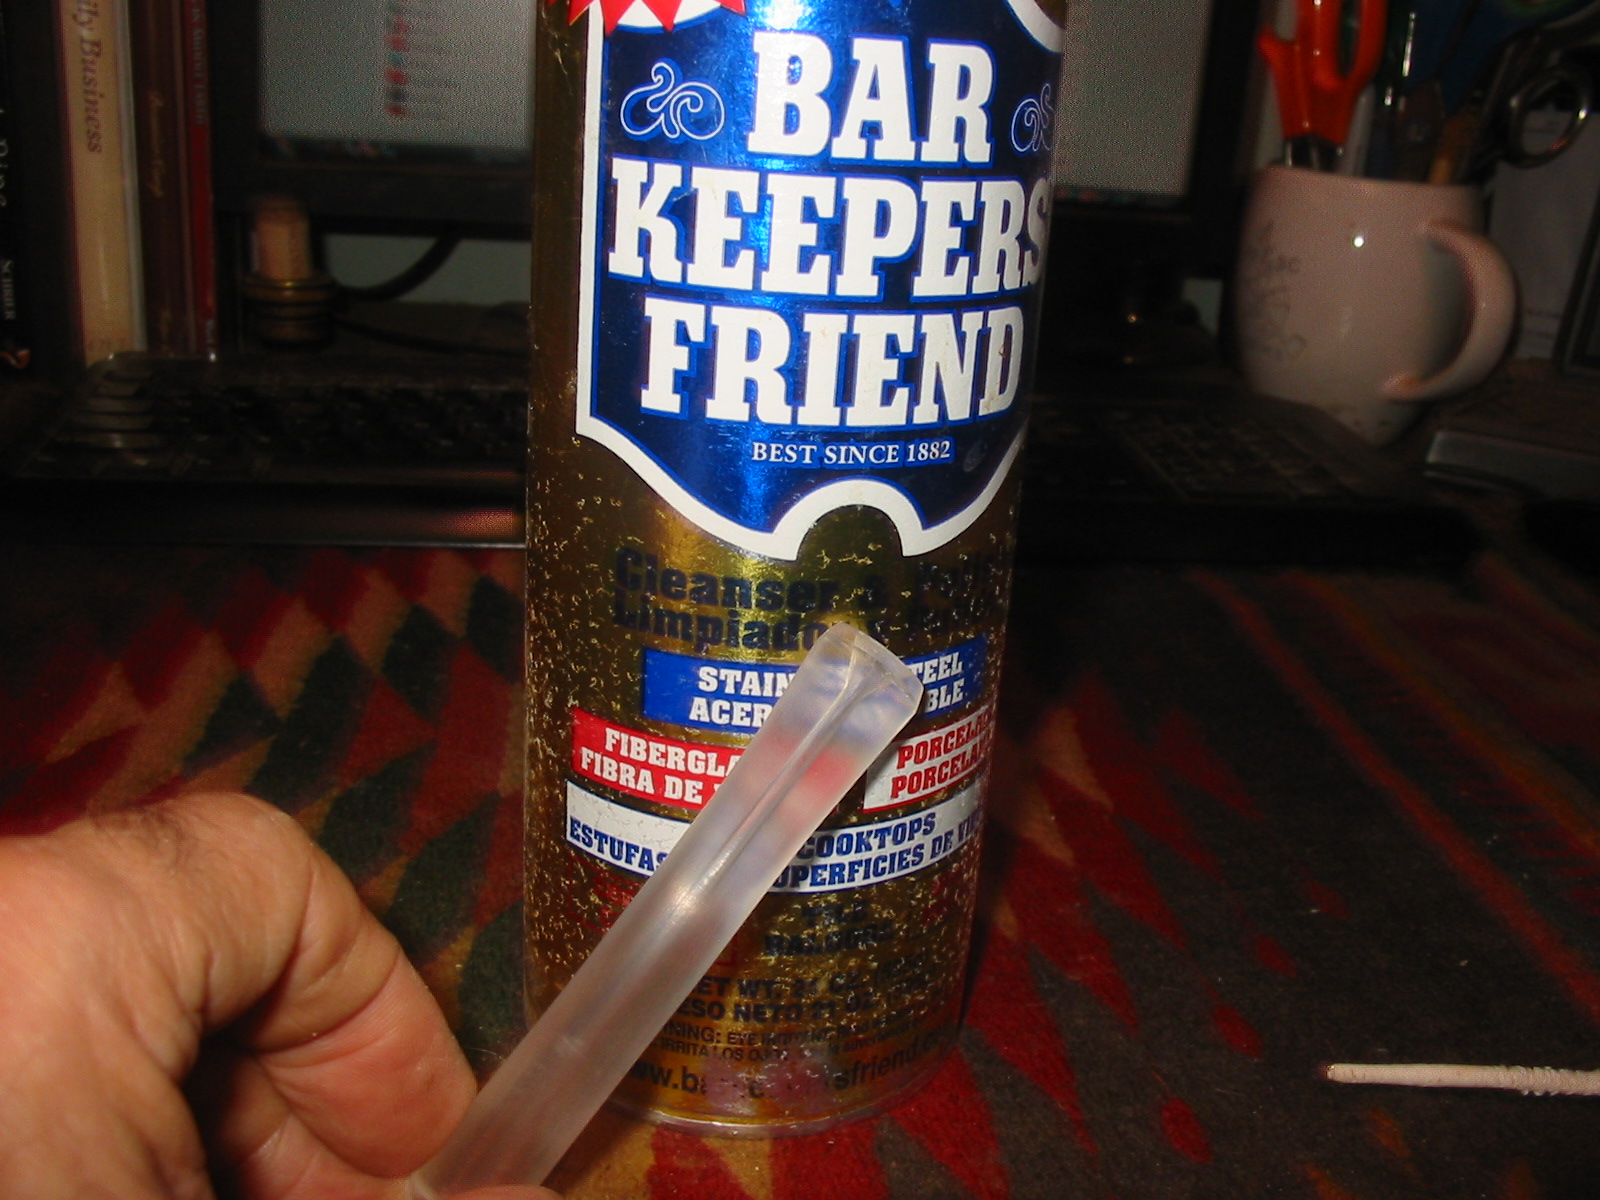
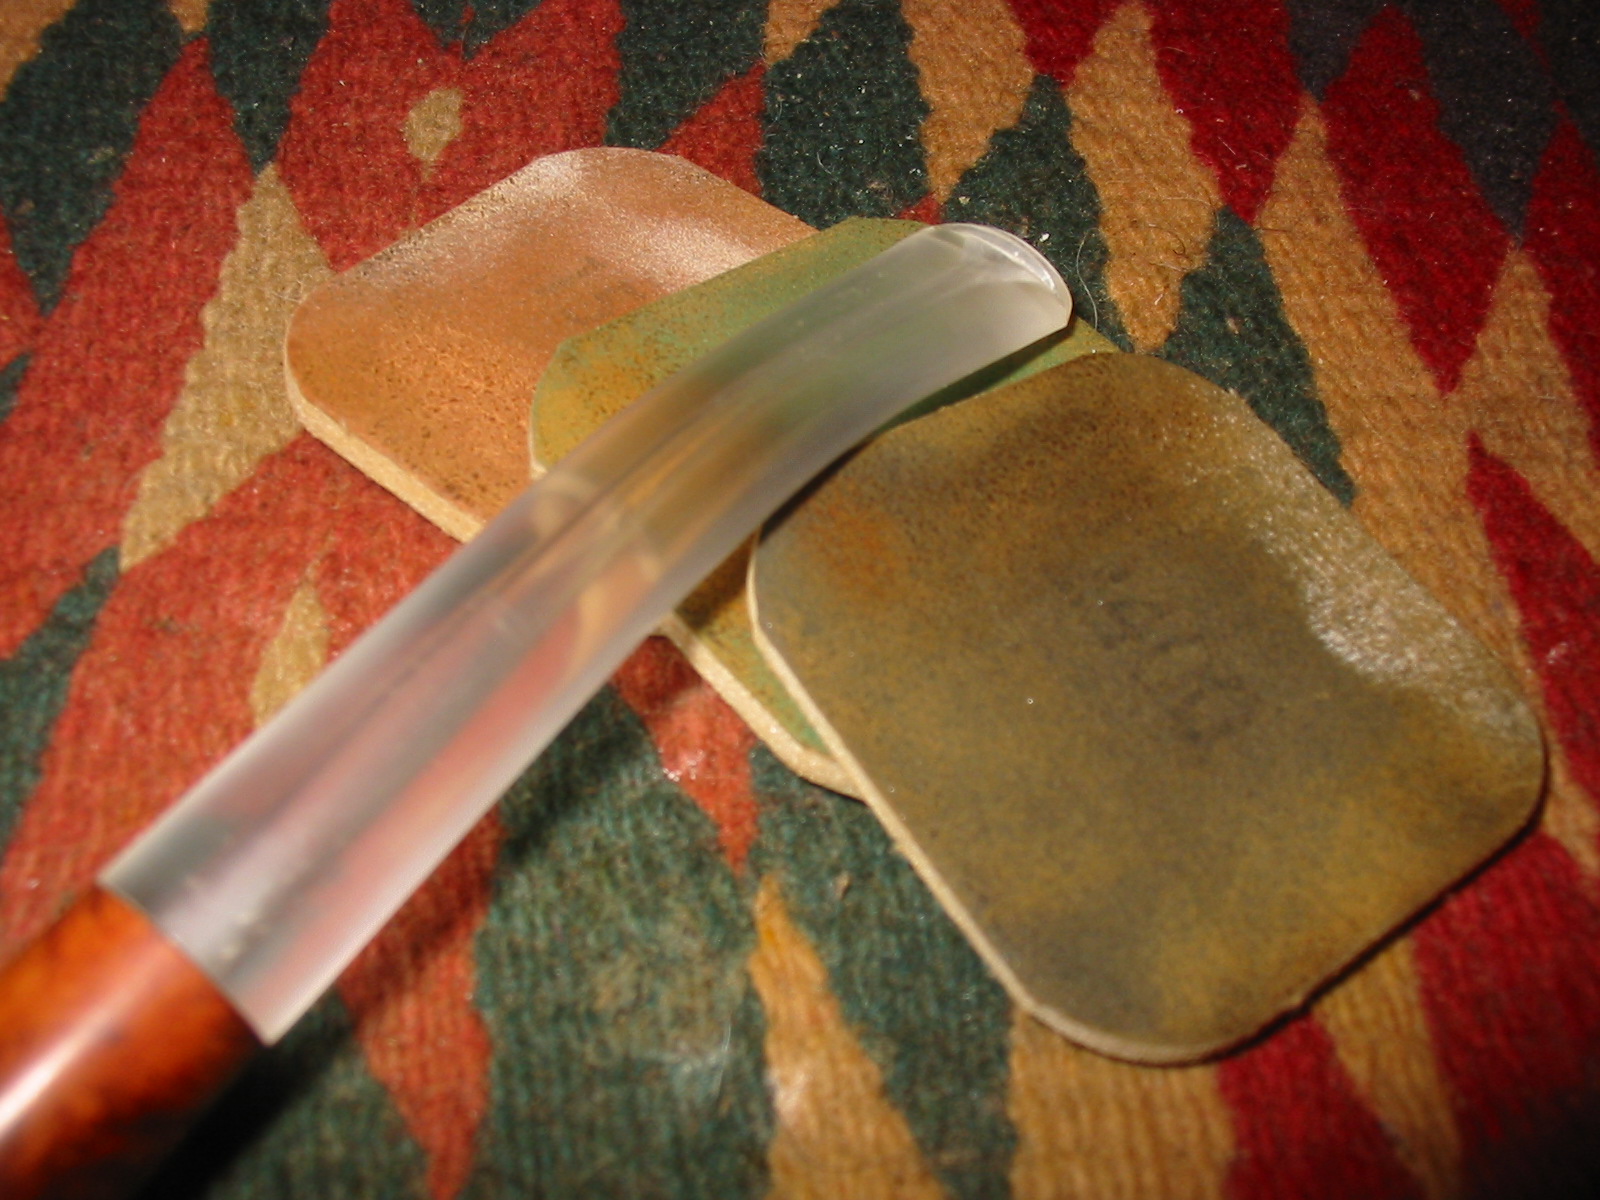
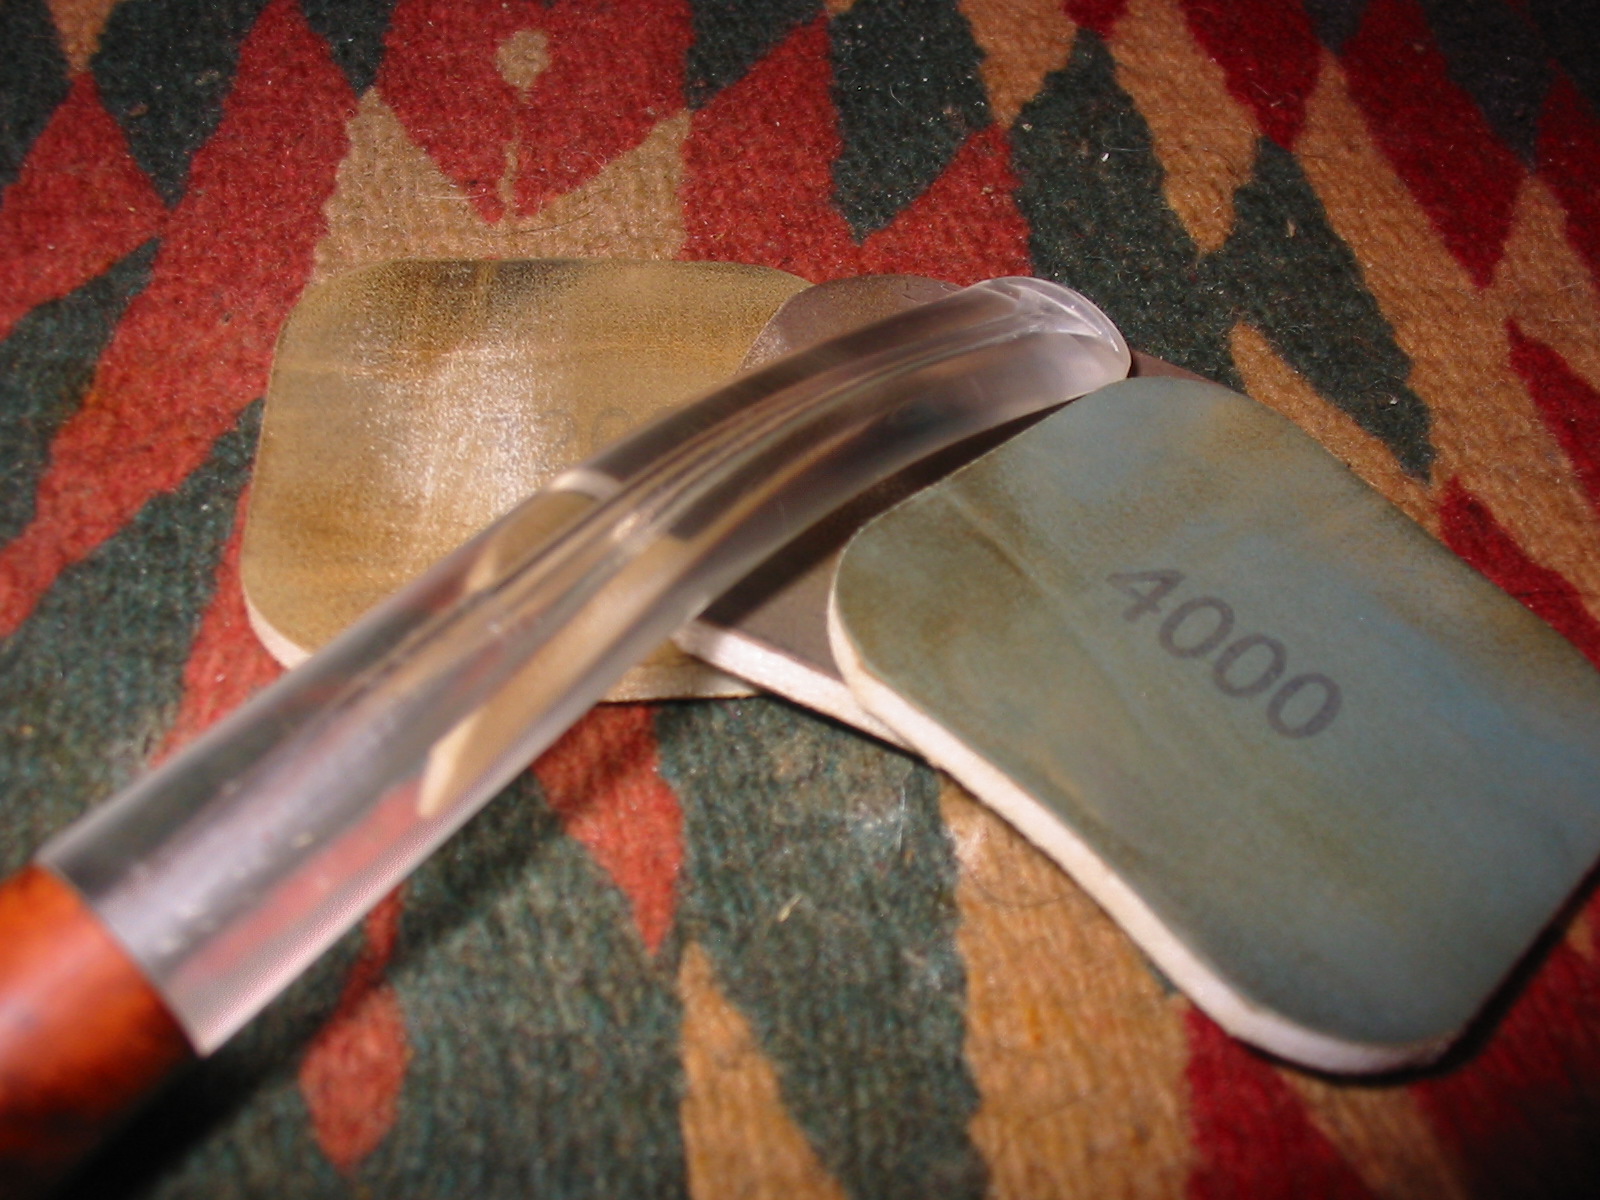
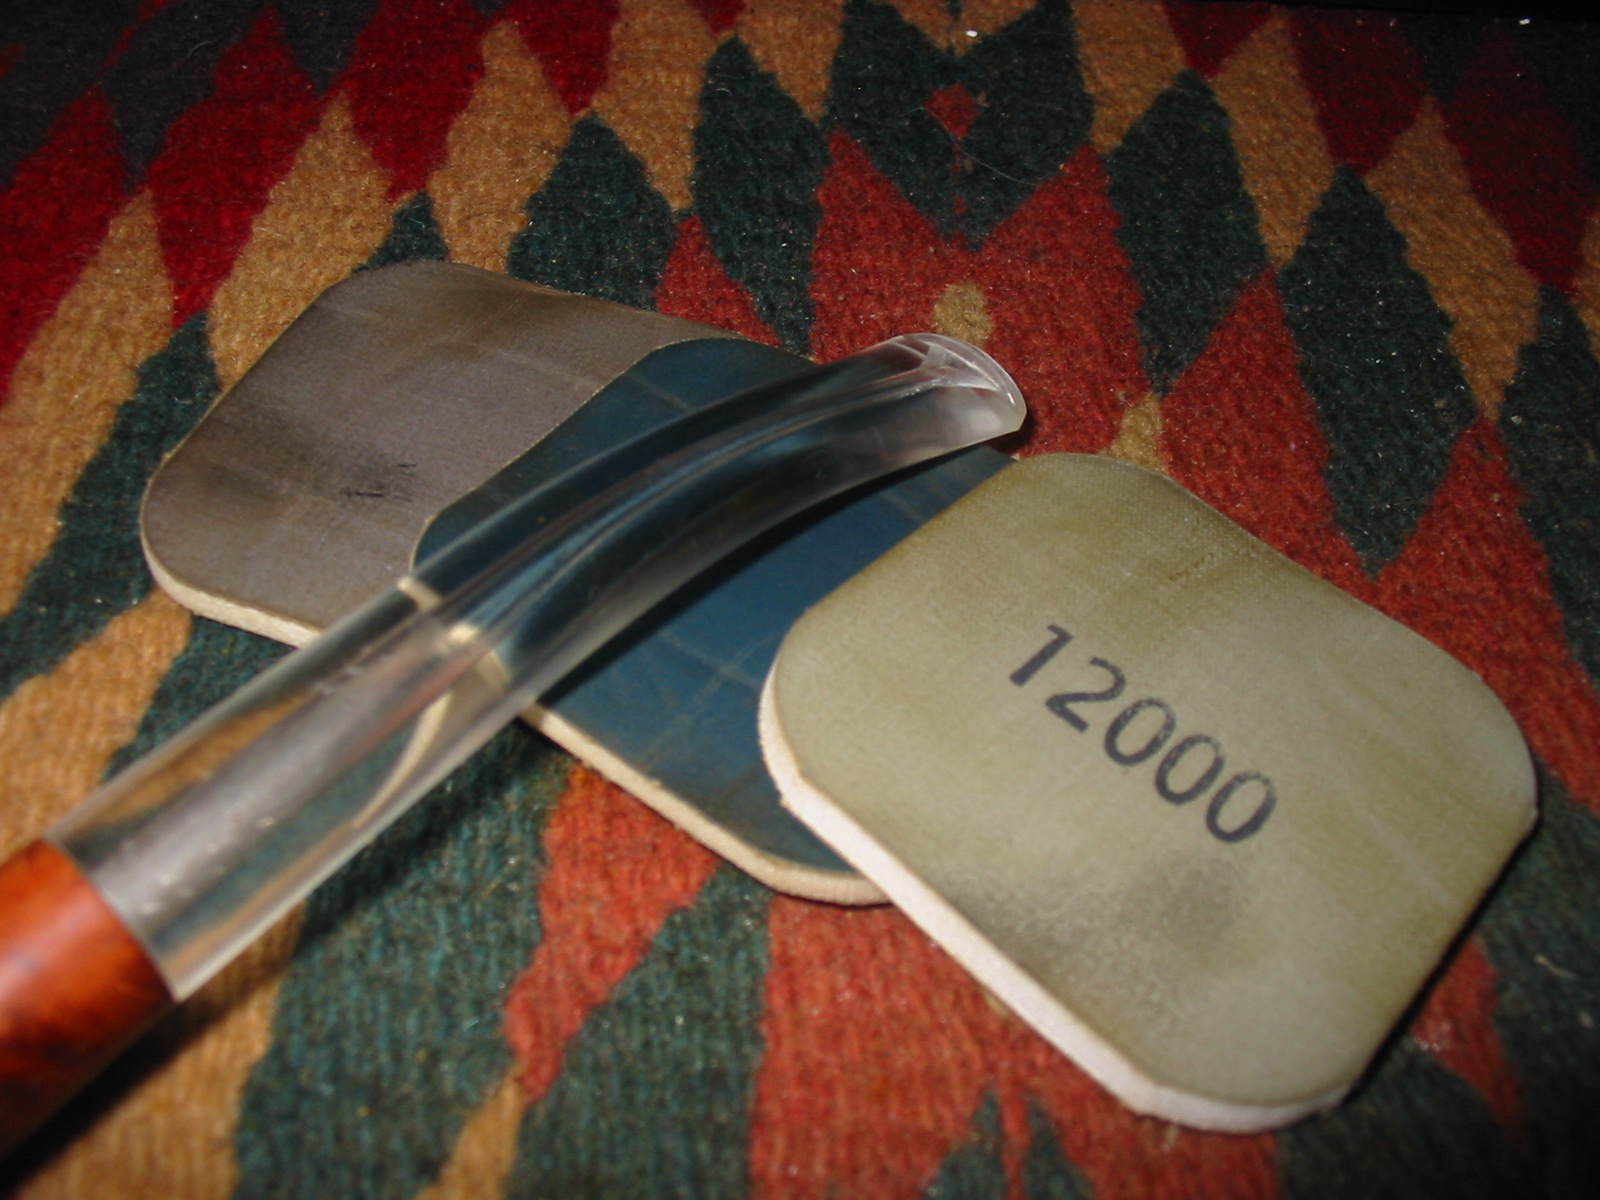
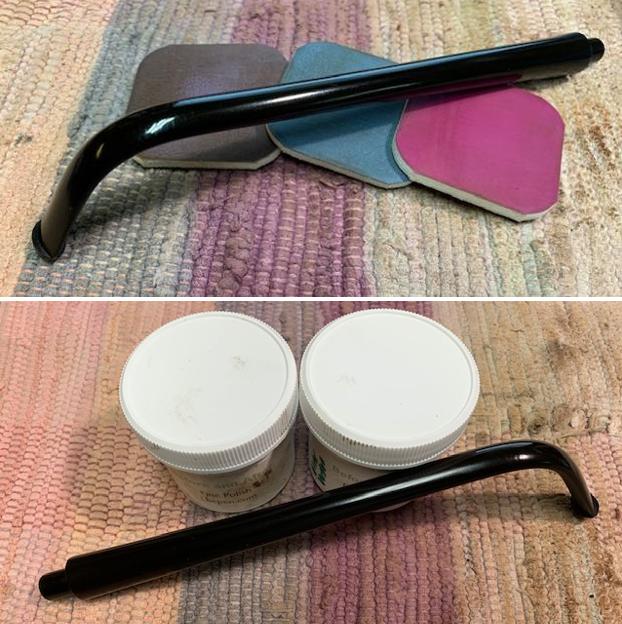
 I set the bowl aside and turned my attention to the stem. I polished the stem with micromesh sanding pads – wet sanding it 1500-12000 pads. I wiped it down with Obsidian Oil after each pad to protect it and preserve it. I polished it with Before After Pipe Polish – both Fine and Extra Fine. I finished the polishing with a final coat of Obsidian Oil.
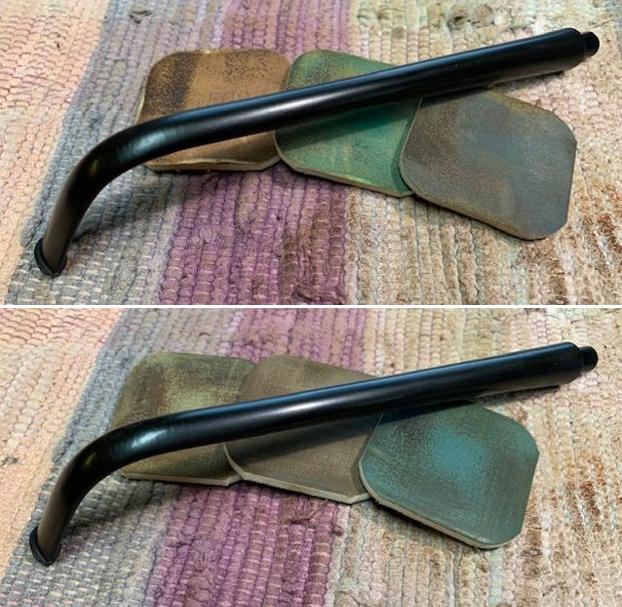
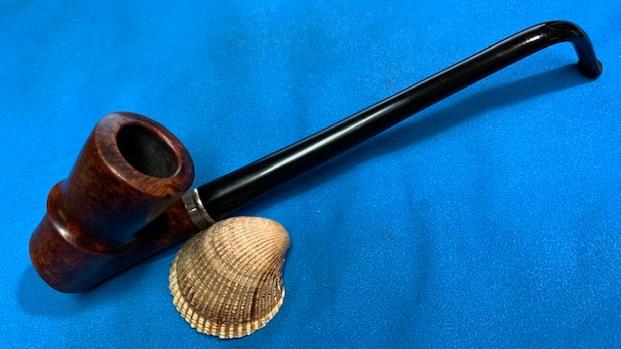
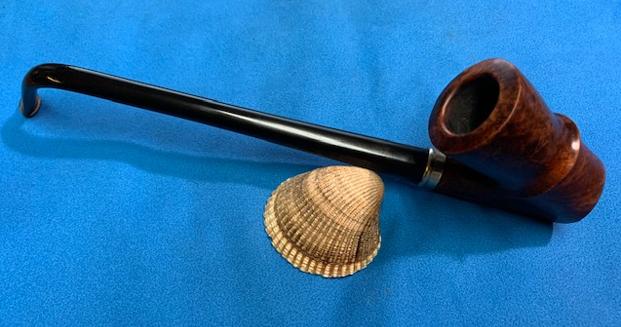
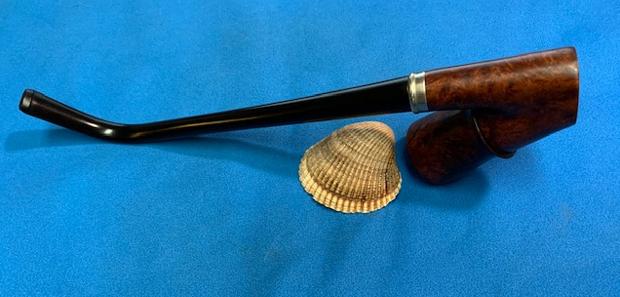
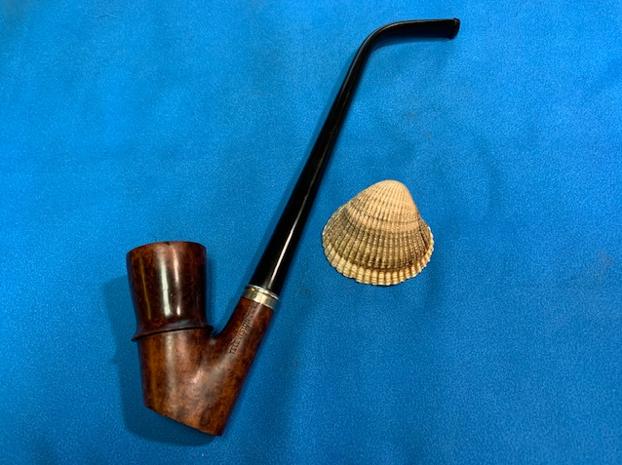
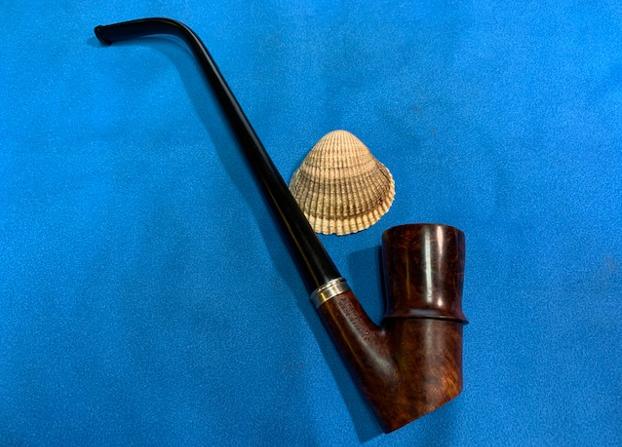
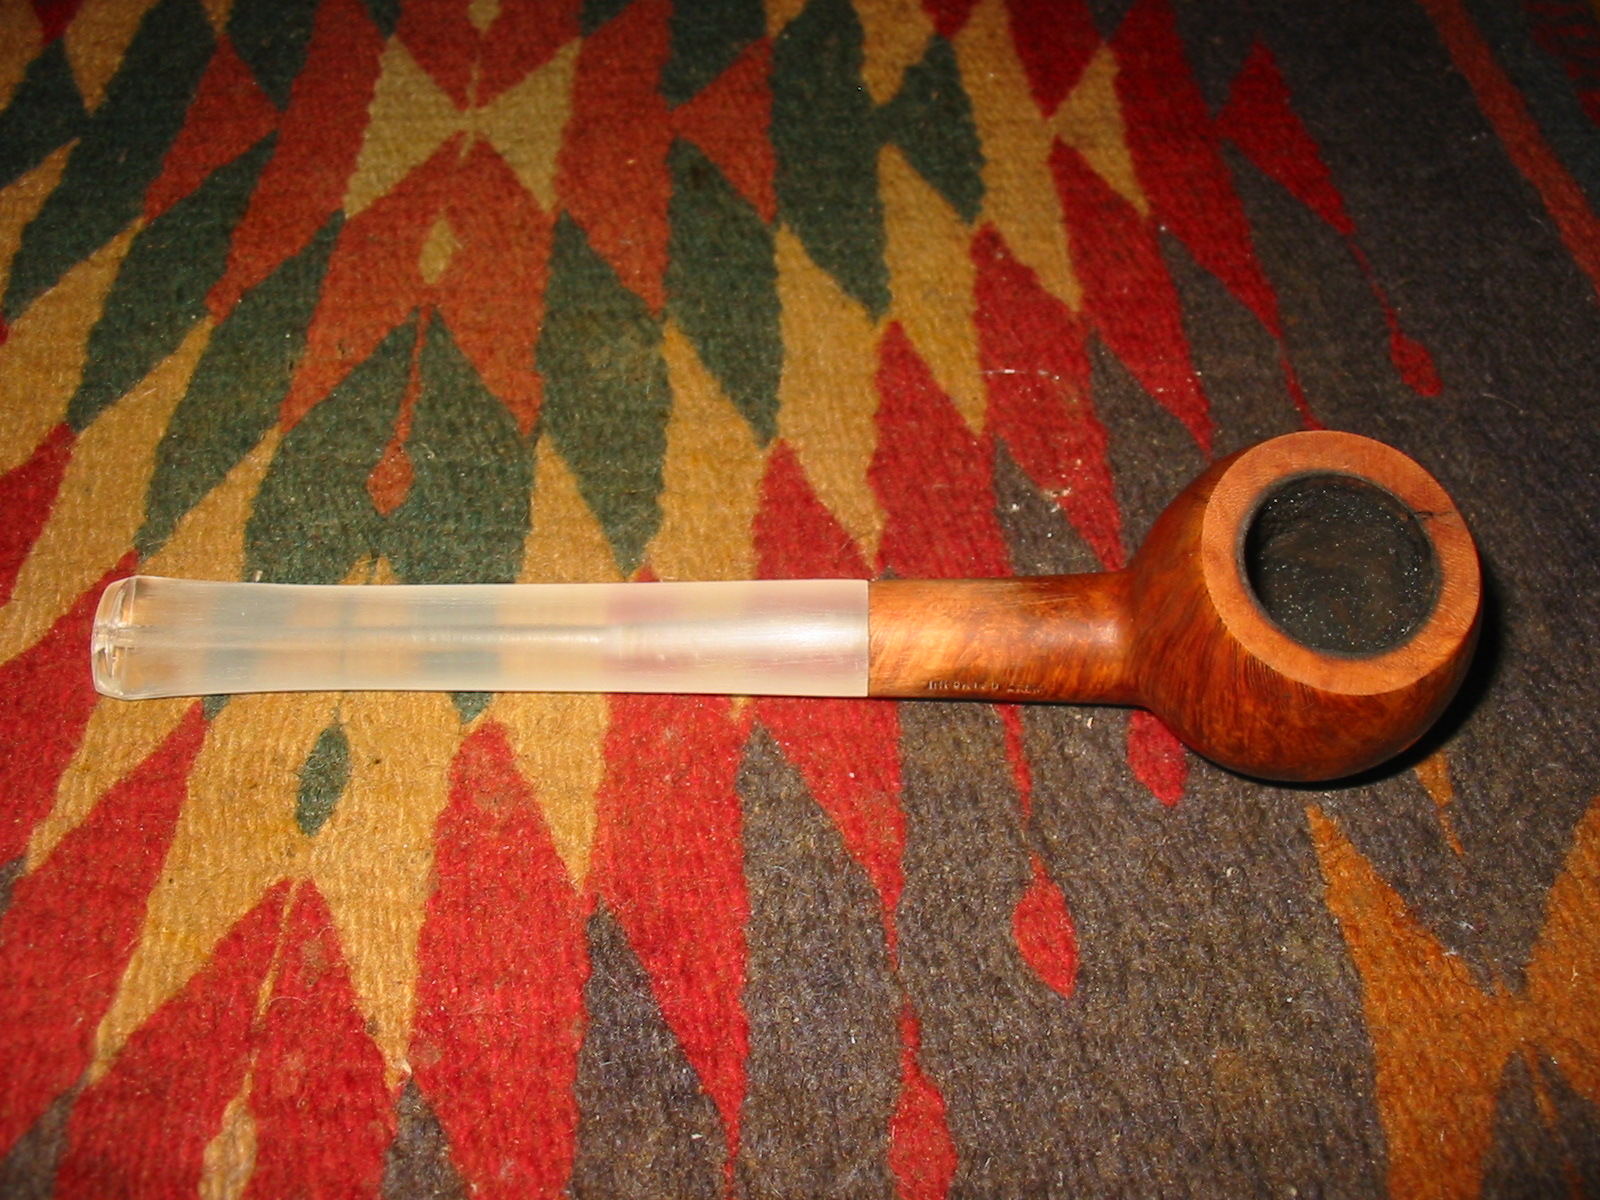
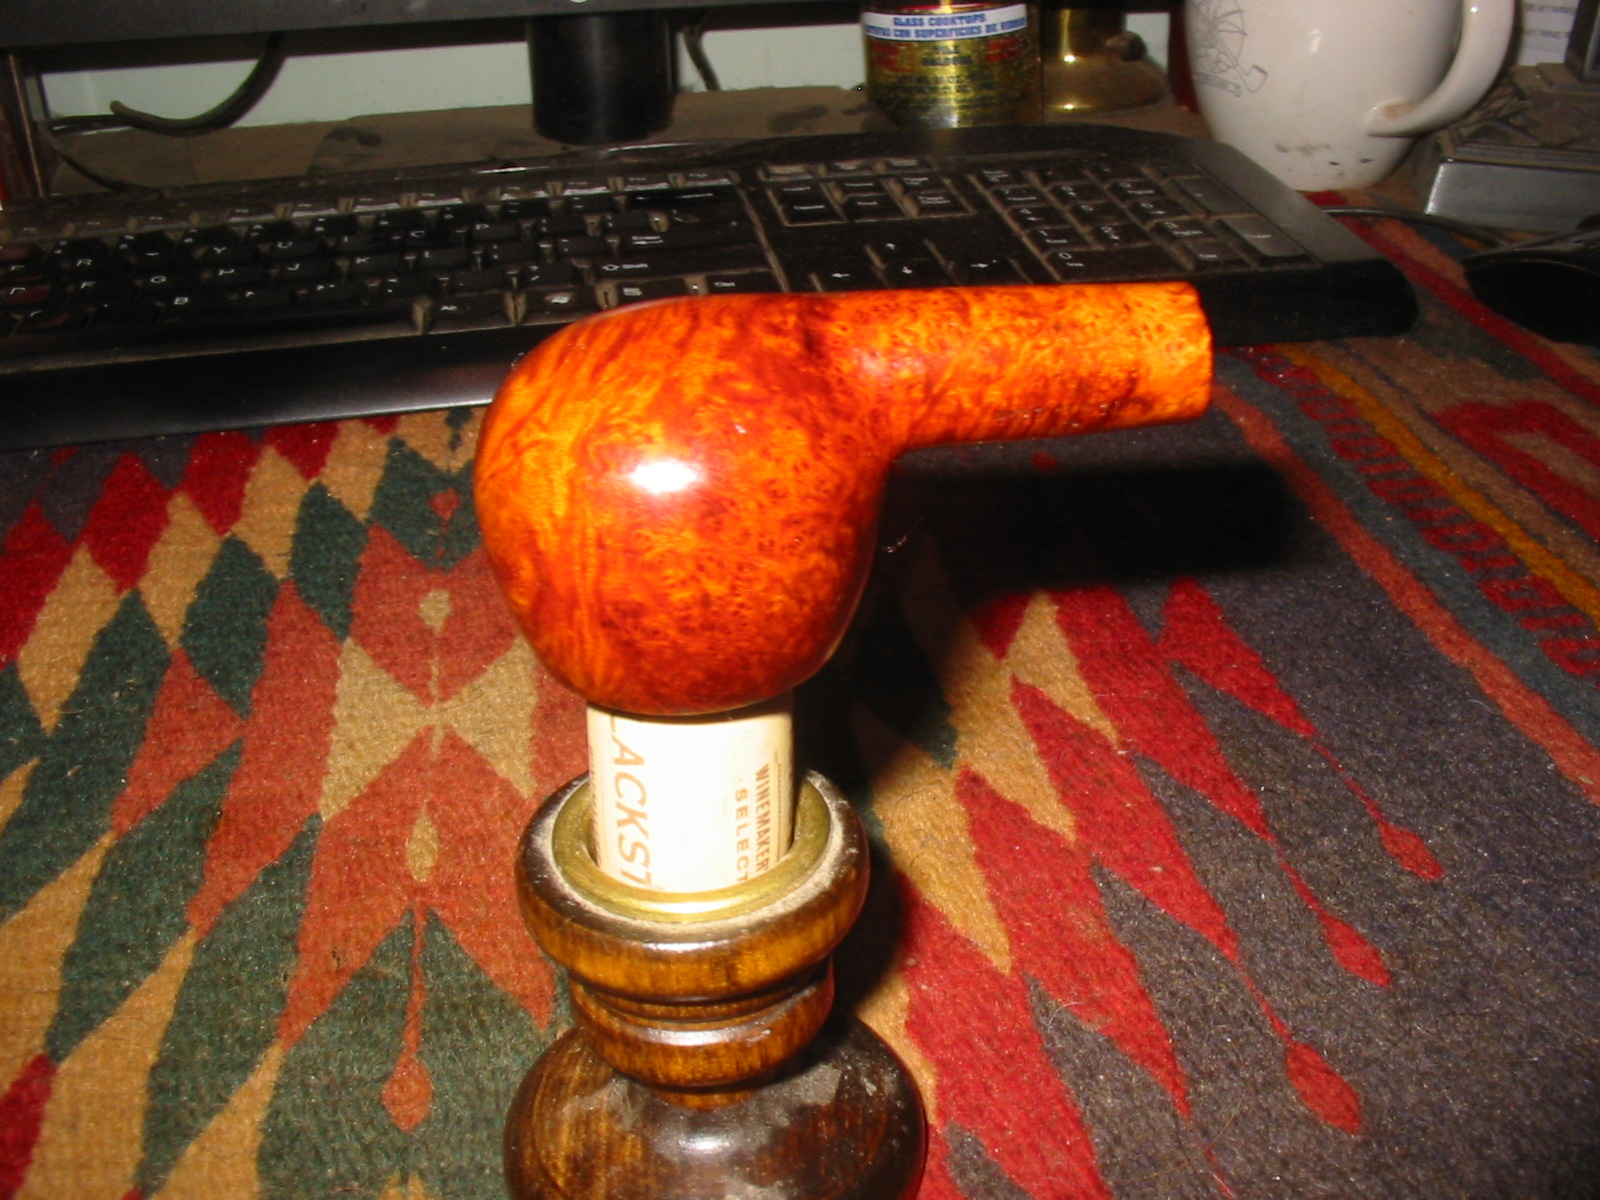
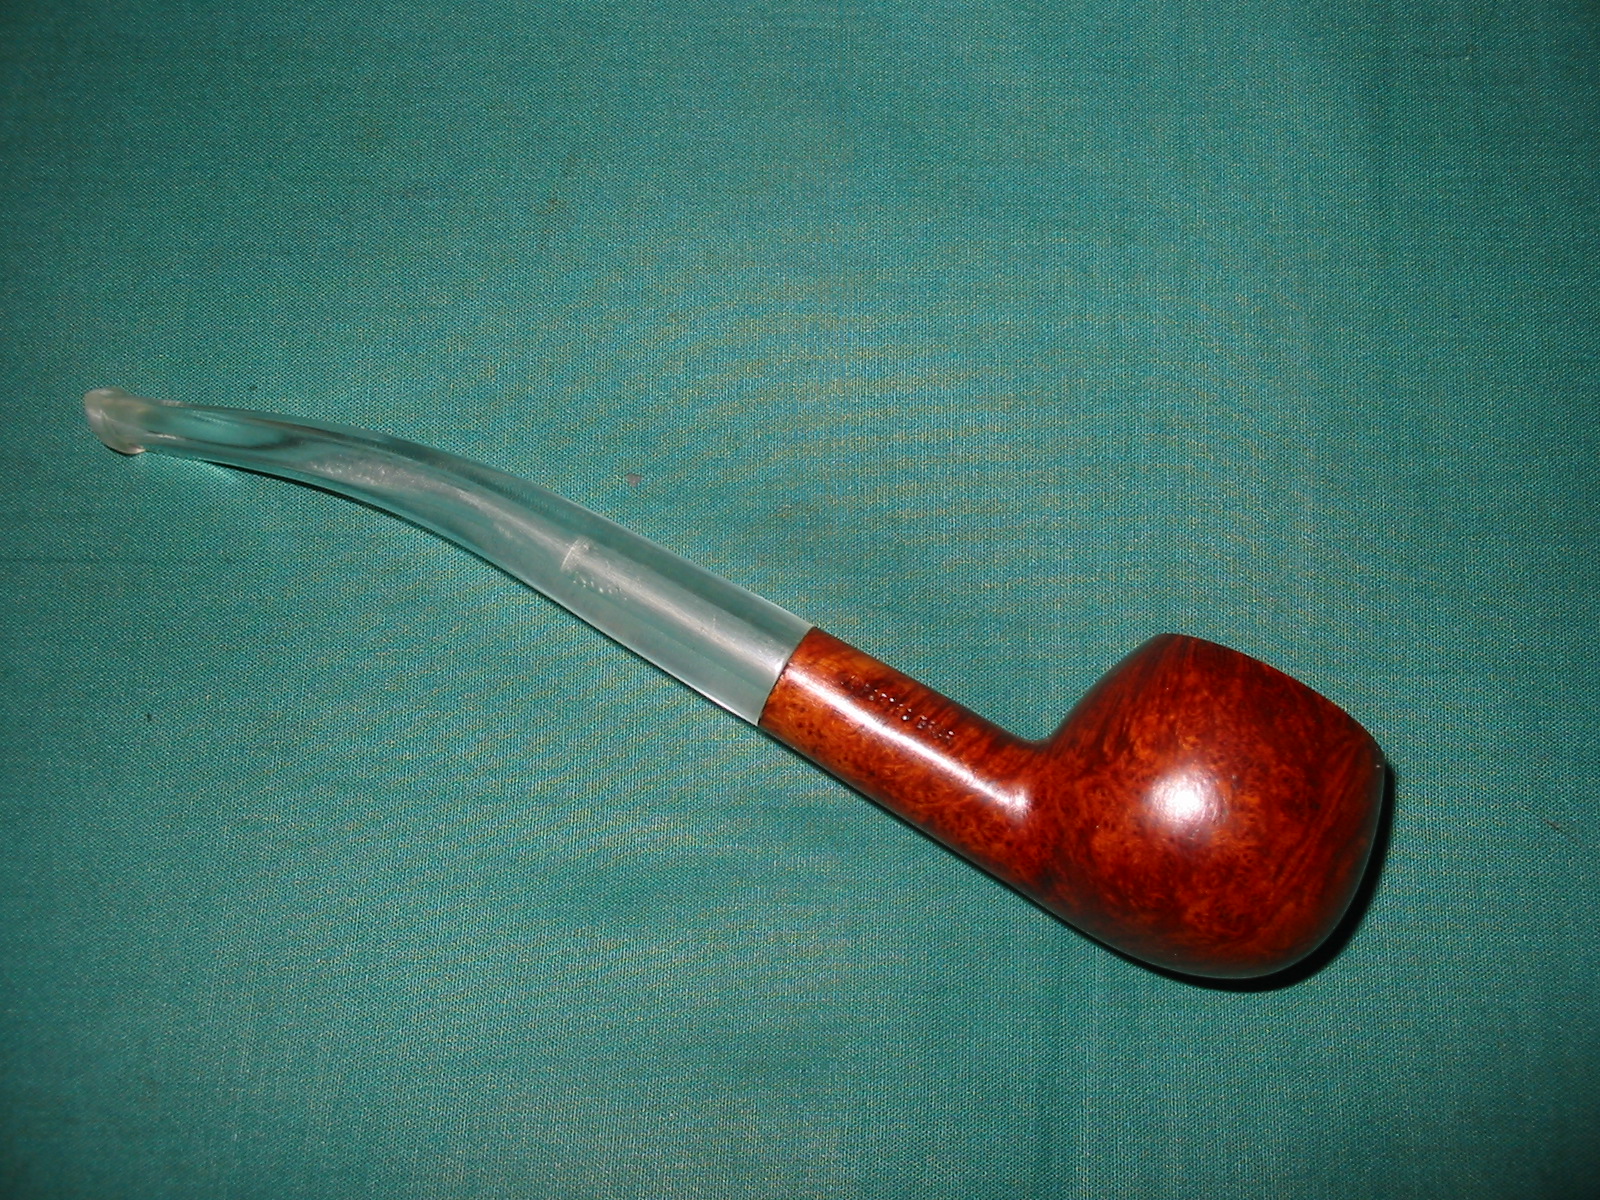
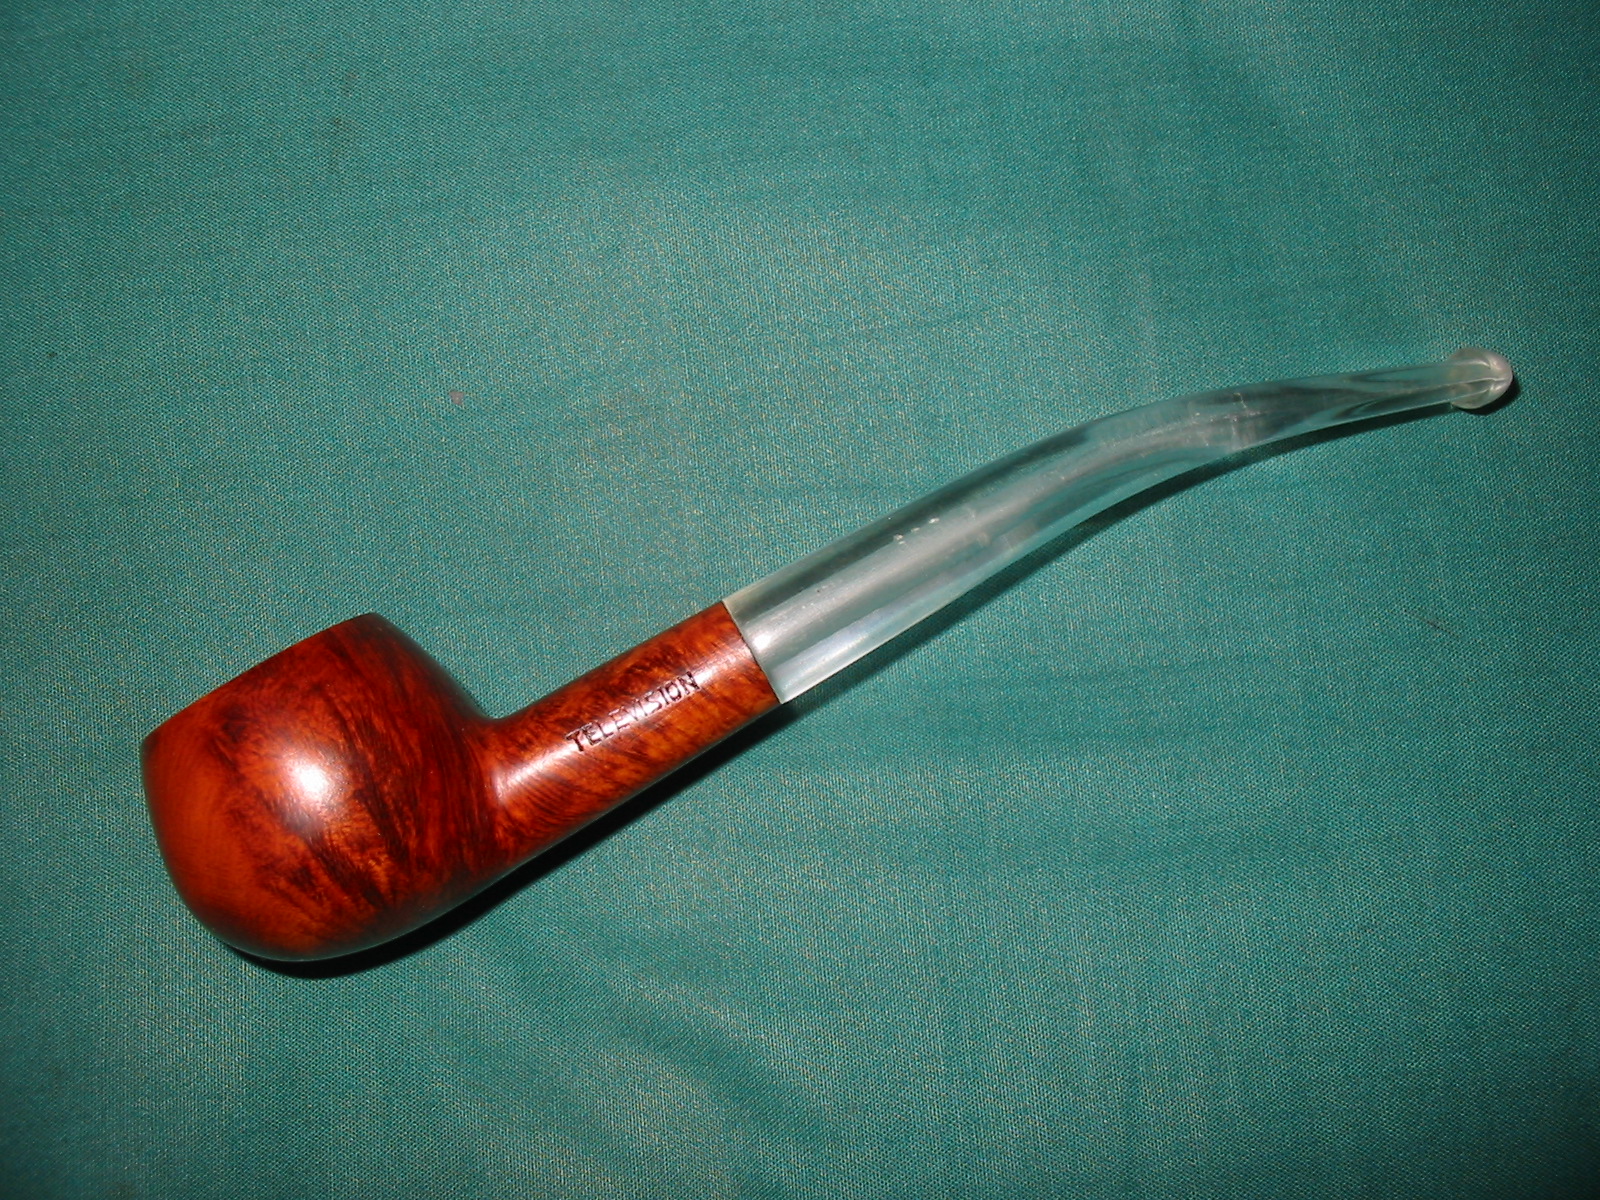
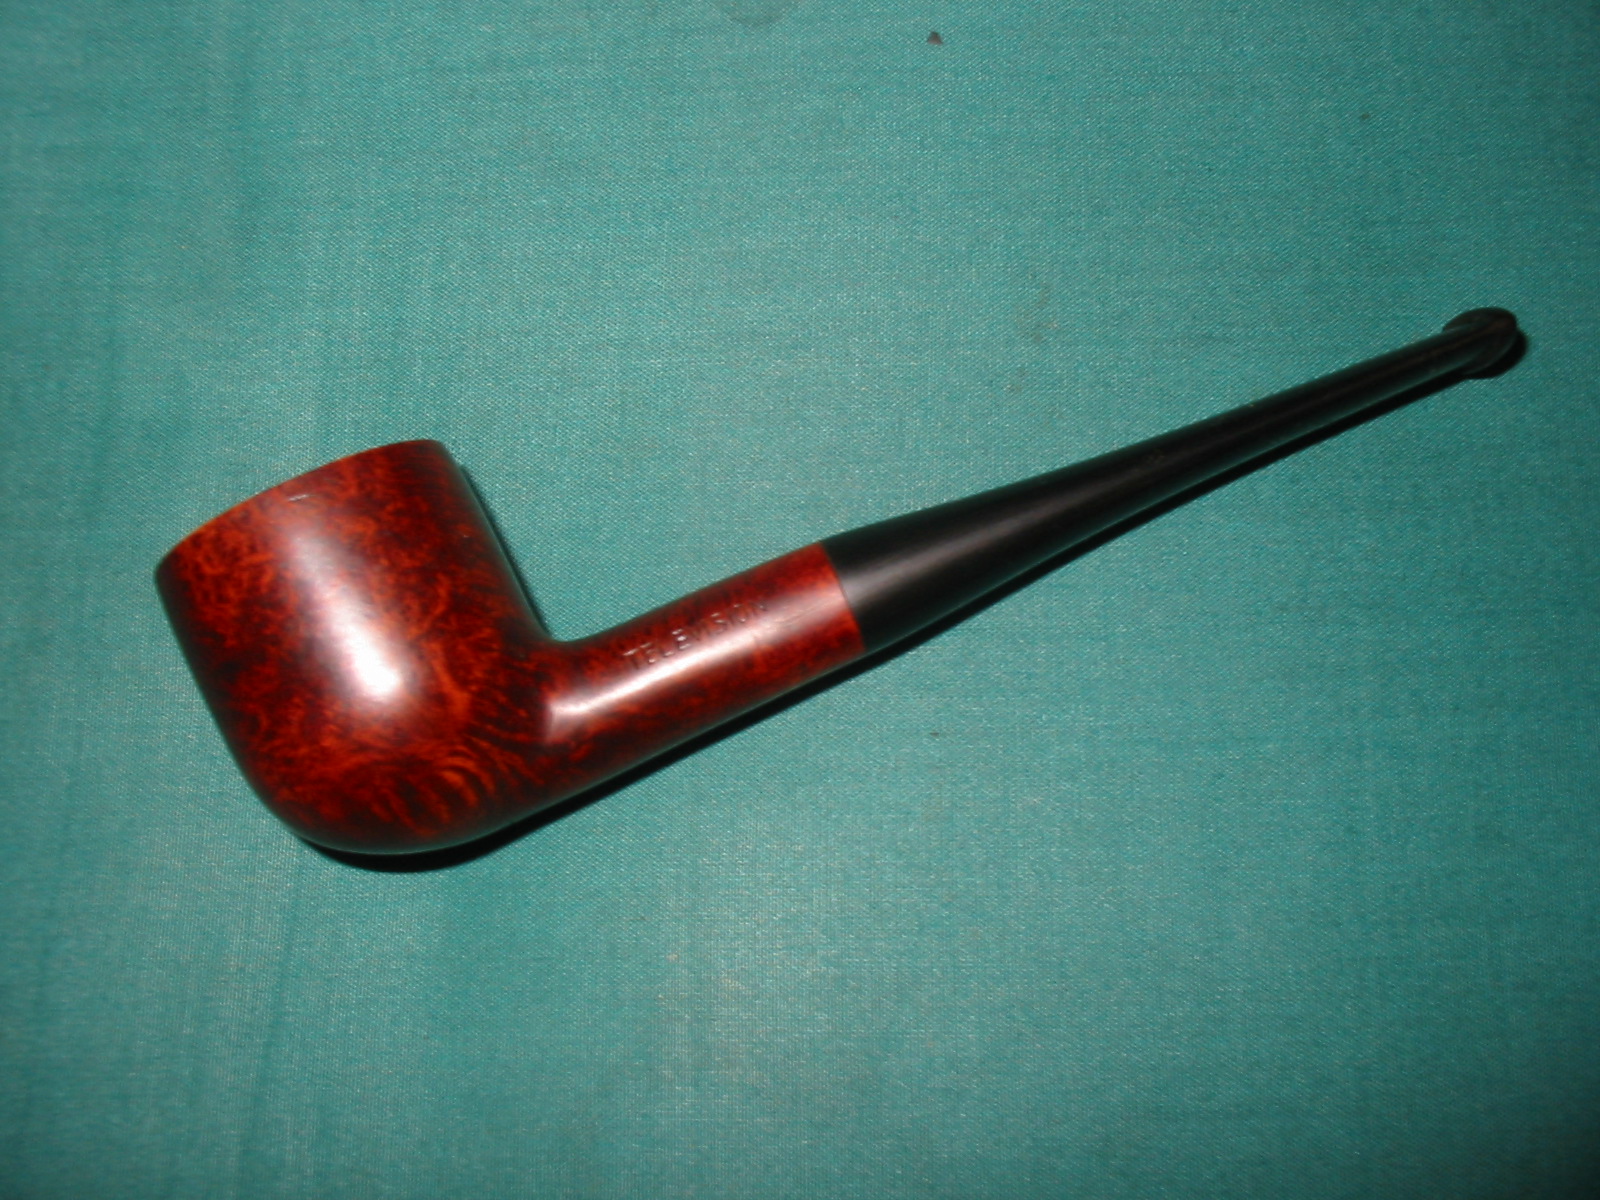
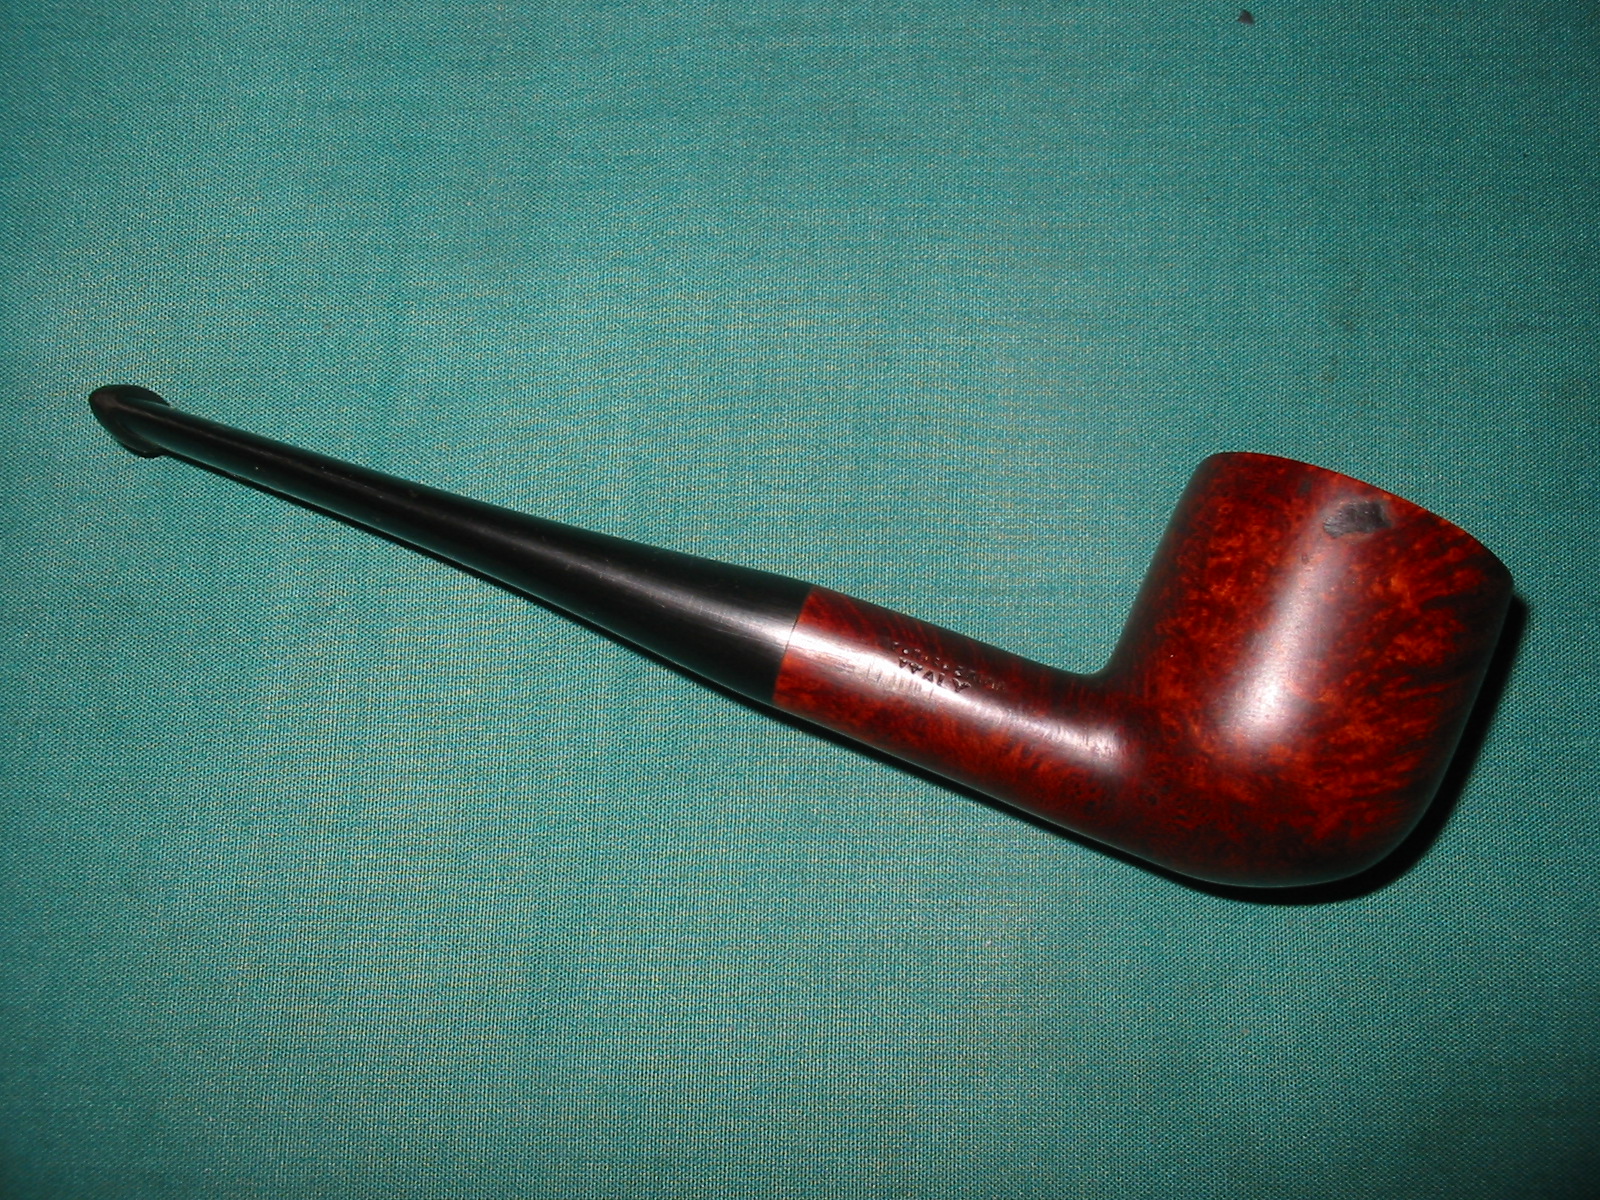
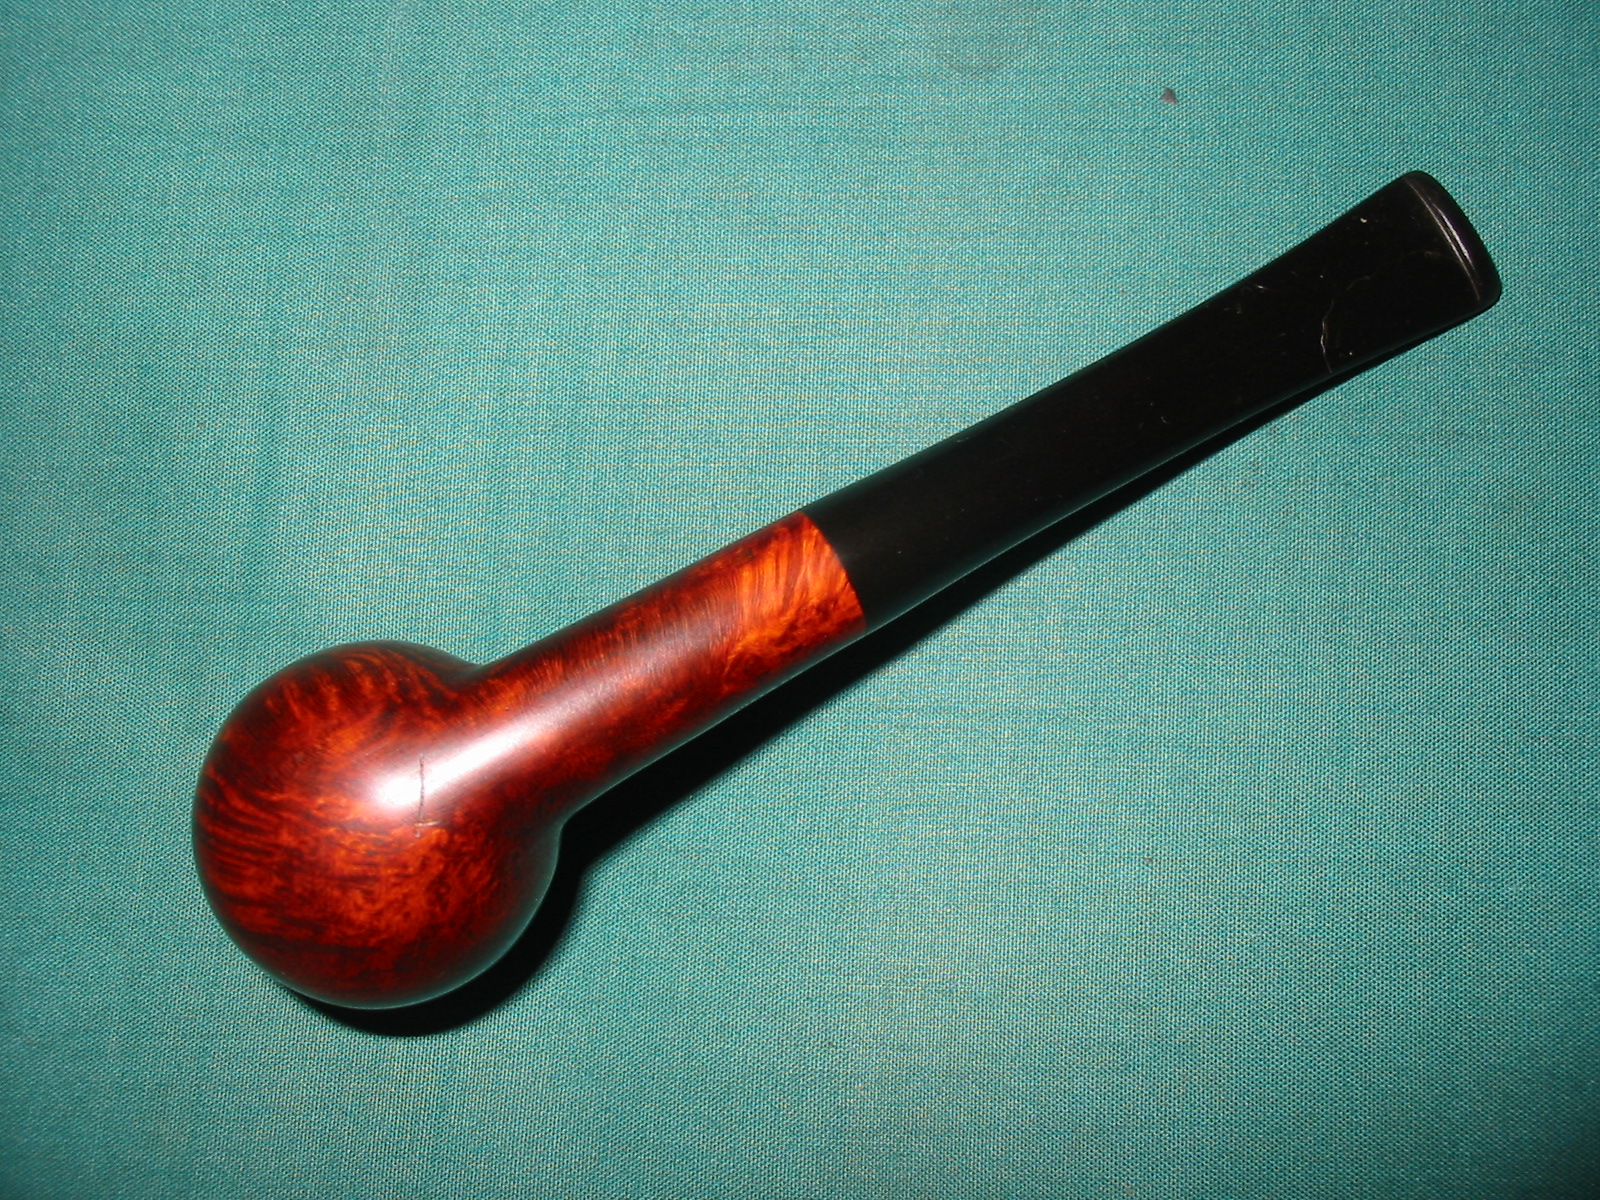
 I am really happy with the way that this Tall Television Pipe Churchwarden Sitter turned out. It really is a unique looking pipe with character. The long mouthpiece is a unique feature of this pipe and sets it apart. The removable bowl and base work well and the pipe is a beauty. To me it is a great pipe with unique details. The grain really came alive with the buffing. The rich brown and black stains of the finish gave the grain a sense of depth with the polishing and waxing. The grain really popped. I put the vulcanite stem back on the bowl and carefully buffed the pipe with Blue Diamond on the buffing wheel using a light touch on the briar. I gave the bowl and the stem multiple coats of carnauba wax on the buffing wheel. I buffed the pipe with a clean buffing pad to raise the shine. I hand buffed the pipe with a microfiber cloth to deepen the shine. The finished Television Pipe Sitter really is a beauty and feels great in the hand and looks very good. Give the finished pipe a look in the photos below. The dimensions of the pipe are Length: 10 inches, Height: 3 inches, Outside diameter of the bowl: 1 ¼ inches, Chamber diameter: ¾ of an inch. The weight of the pipe is 57 grams/2.01 oz. The pipe will be going on the rebornpipes store soon. It will be in the section on French Pipe Makers if you would like to add it to your collection.Thanks for reading this blog and my reflections on the pipe while I worked on it. It was a fun one to work on!