Blog by Steve Laug
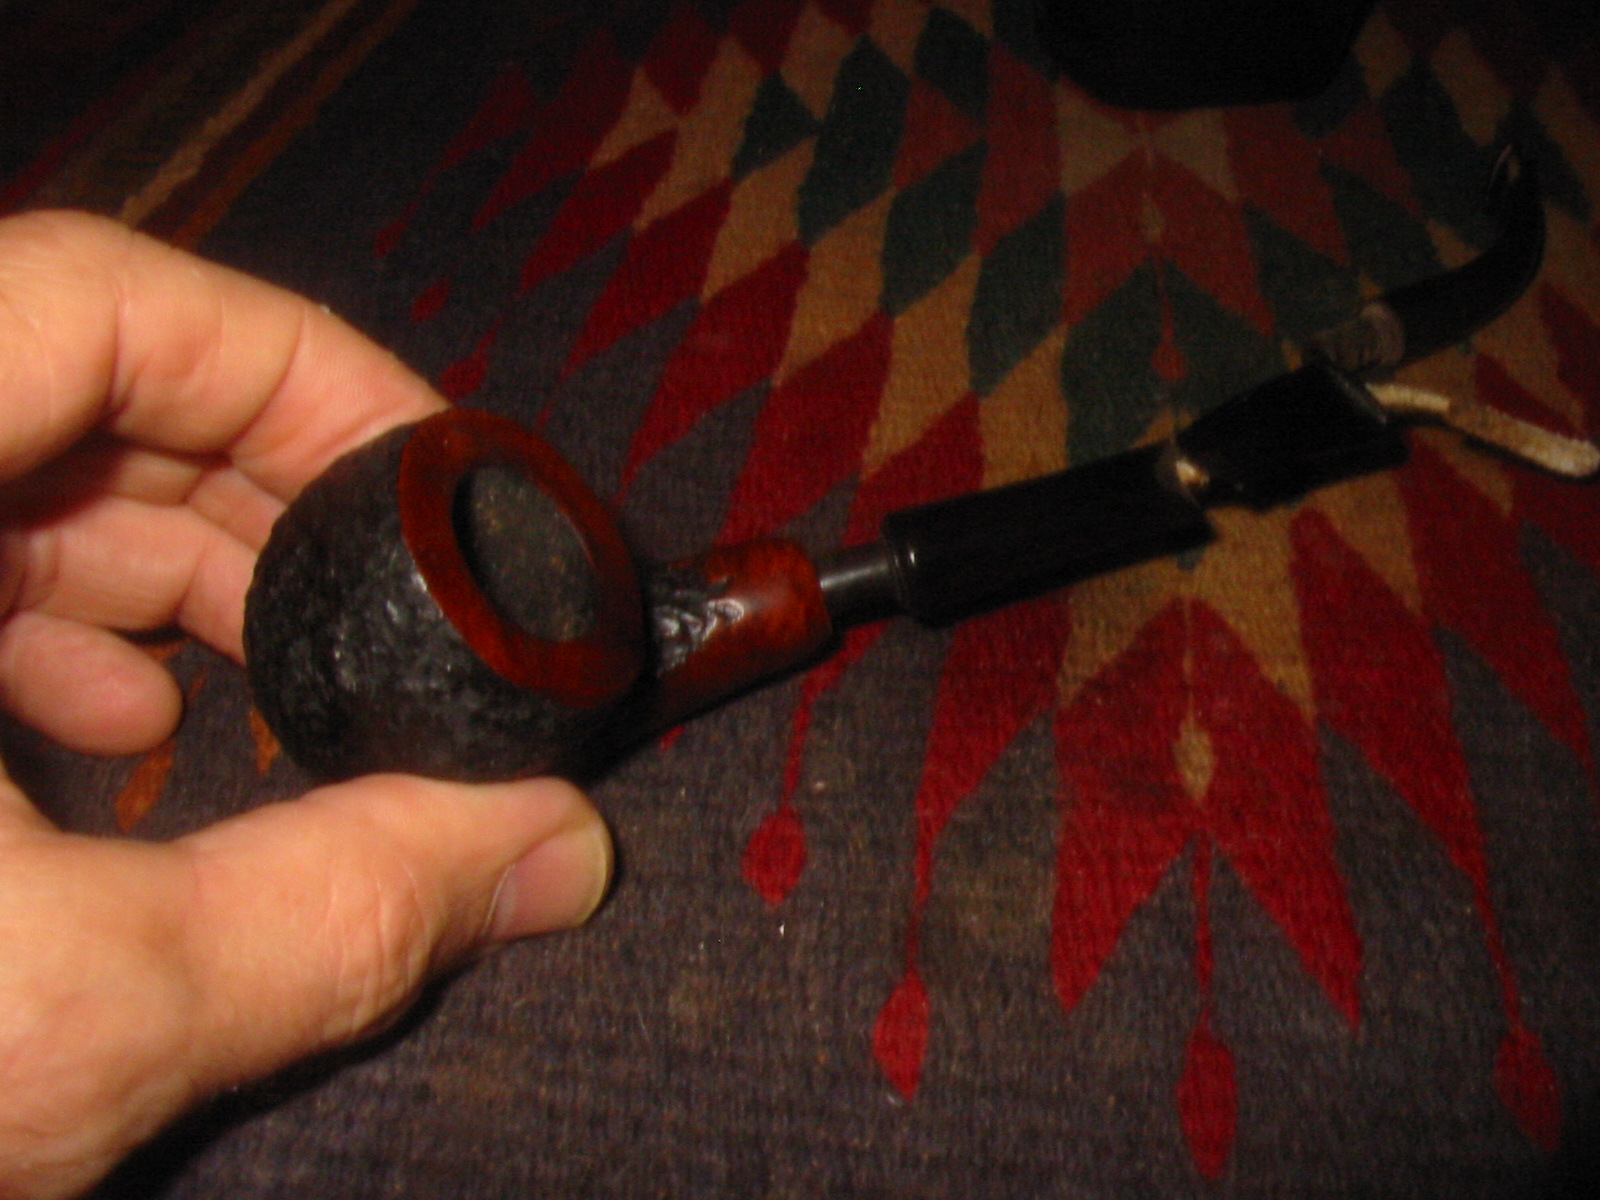
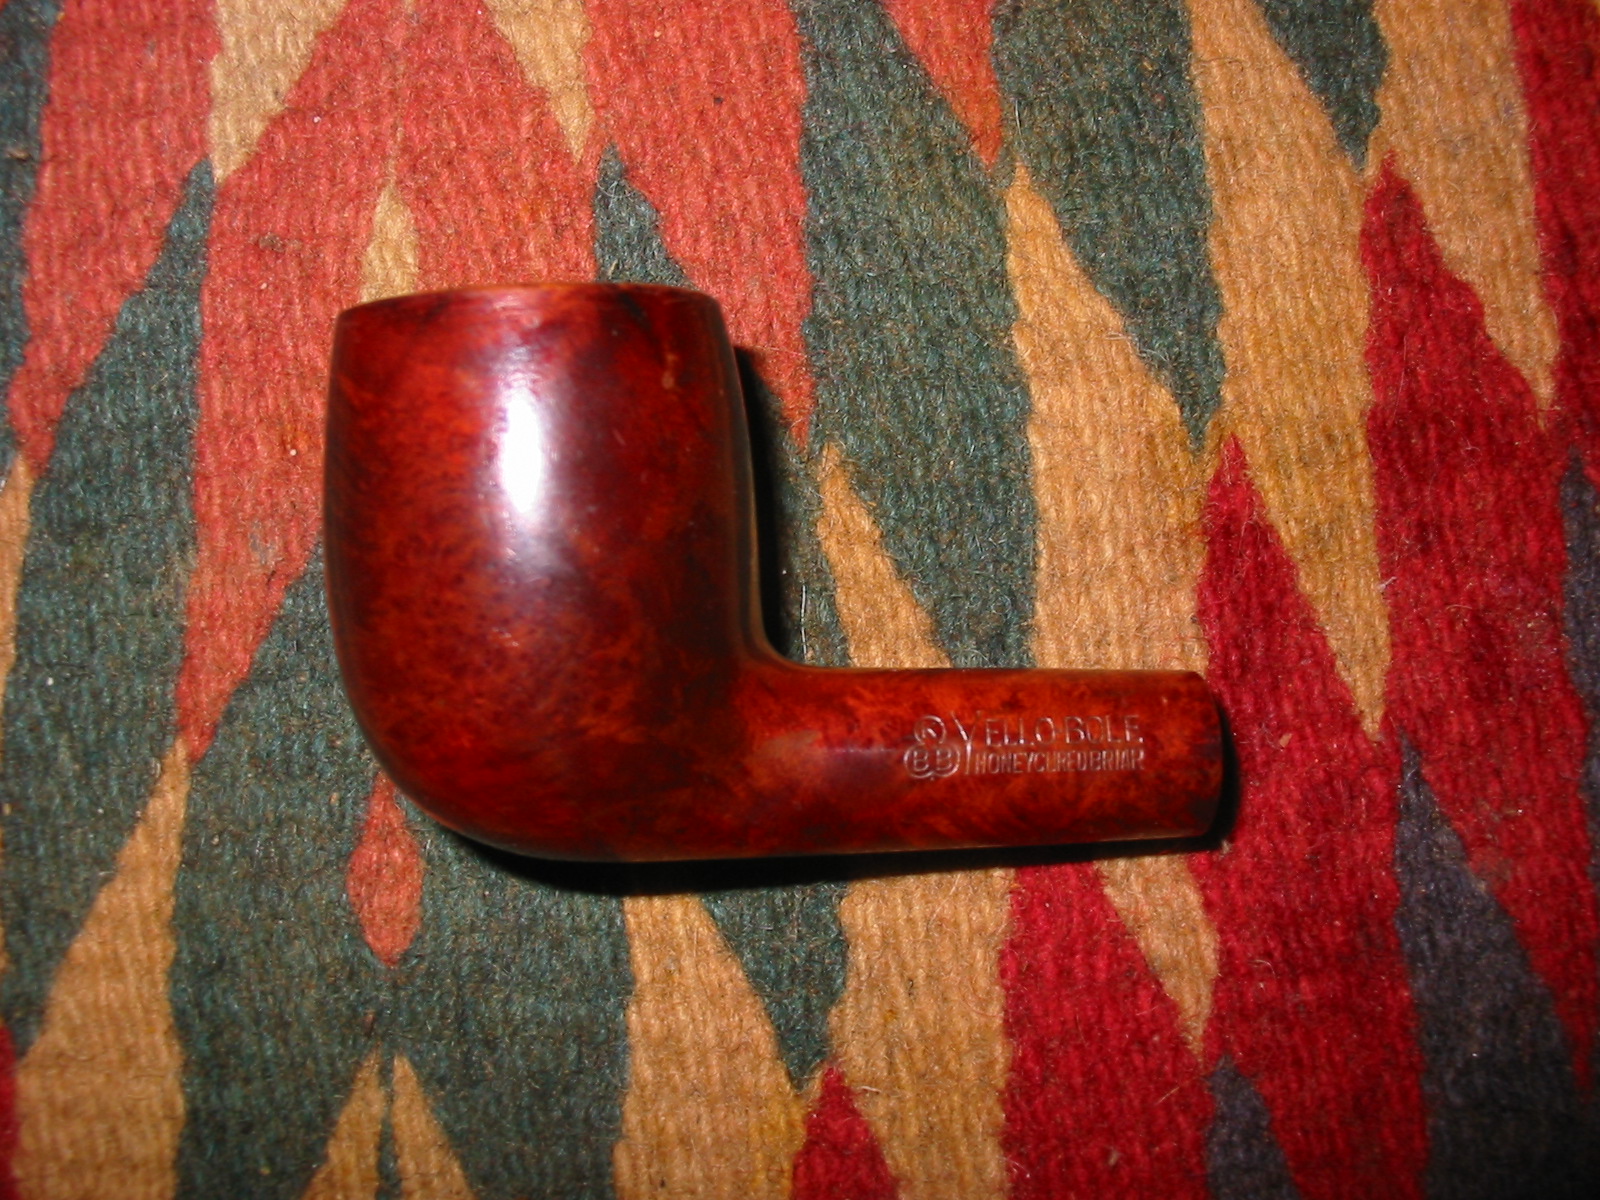
I was gifted a box of pipe bowls and stems from Jim Wagner on Smoker’s Forums. It is a great to have this box of interesting old pipes. Jim, I sure appreciate the gift box and am enjoying looking at it and choosing what to do next. The first one that caught my eye was a Yello-Bole Spartan. From reading about them the Spartan was originally a briar pipe but this one was definitely not briar. It was synthetic for sure and brown like some of the older Bakelite pipes that I have picked up over the years. I knew though from the feel of it that I was dealing with a Brylon pipe. Many folks hate them because they say the burn hotter and are heavier than briar pipes. While that may well be true I still have an older Medico I picked up 32 years ago when my first daughter was born and have smoked it a lot since that time. Several years ago I put a long Church Warden stem on it and a brass ferrule and made it into a good-looking long pipe. I have smoked it long enough that it even has developed a cake and now smokes quite well. If I am mindful to not puff hard it stays relatively cool.
Knowing that it was a Brylon pipe made me want to do a bit of digging into the history of the material. I looked on the S.M. Frank website (http://www.smfrankcoinc.com/home/?page_id=2) and found the following information:
“In 1966, S. M. Frank developed a synthetic material called Brylon as a cheaper alternative to briar. The material, a high temperature resin mixed with wood flour, was cheaper than briar, more resistant to cracking, chipping, charring and burnouts. However to some there are some drawbacks, heavier in the mouth, hotter when smoked quickly, and also simply put, “wasn’t briar.” Millions of these pipes have been sold in the 3 decades since and continue to be part of the Yello-Bole and Medico lines. Two Brylon lines in Kaywoodie, Marmont and Impulse, were briefly tried and abandoned in the late 80′s.”
I know that Brylon has a bad name among pipemen and gets a lot of disparaging comments whenever it is brought up on the pipe forums. However, pipes are still being made and sold so there must be some enduing quality. Maybe it is the indestructibility of the pipe. Perhaps we will never know what attracts folks to them. But I have one in my hand that needs work and I am loath to pass up the opportunity to learn from the process of rejuvenating this old pipe.
As usual reading the history of the material helped to give me a clearer picture of the pipe that I was working on this time. It also gave me some background on another Brylon pipe that I have in my collection. I bought that Brylon new at a 7-Eleven convenience store along with a pouch of Borkum Riff the day my oldest daughter was born. It was a delicate billiard and attracted me that early morning in 1982. I have smoked it enough that it has developed a good cake and finally smokes very cool. A few years back I restemmed it with a long Church Warden Stem and banded it with a brass ferrule to liven it up a bit. The finish was worn to I polished it. I still smoke that old Brylon and enjoy it.
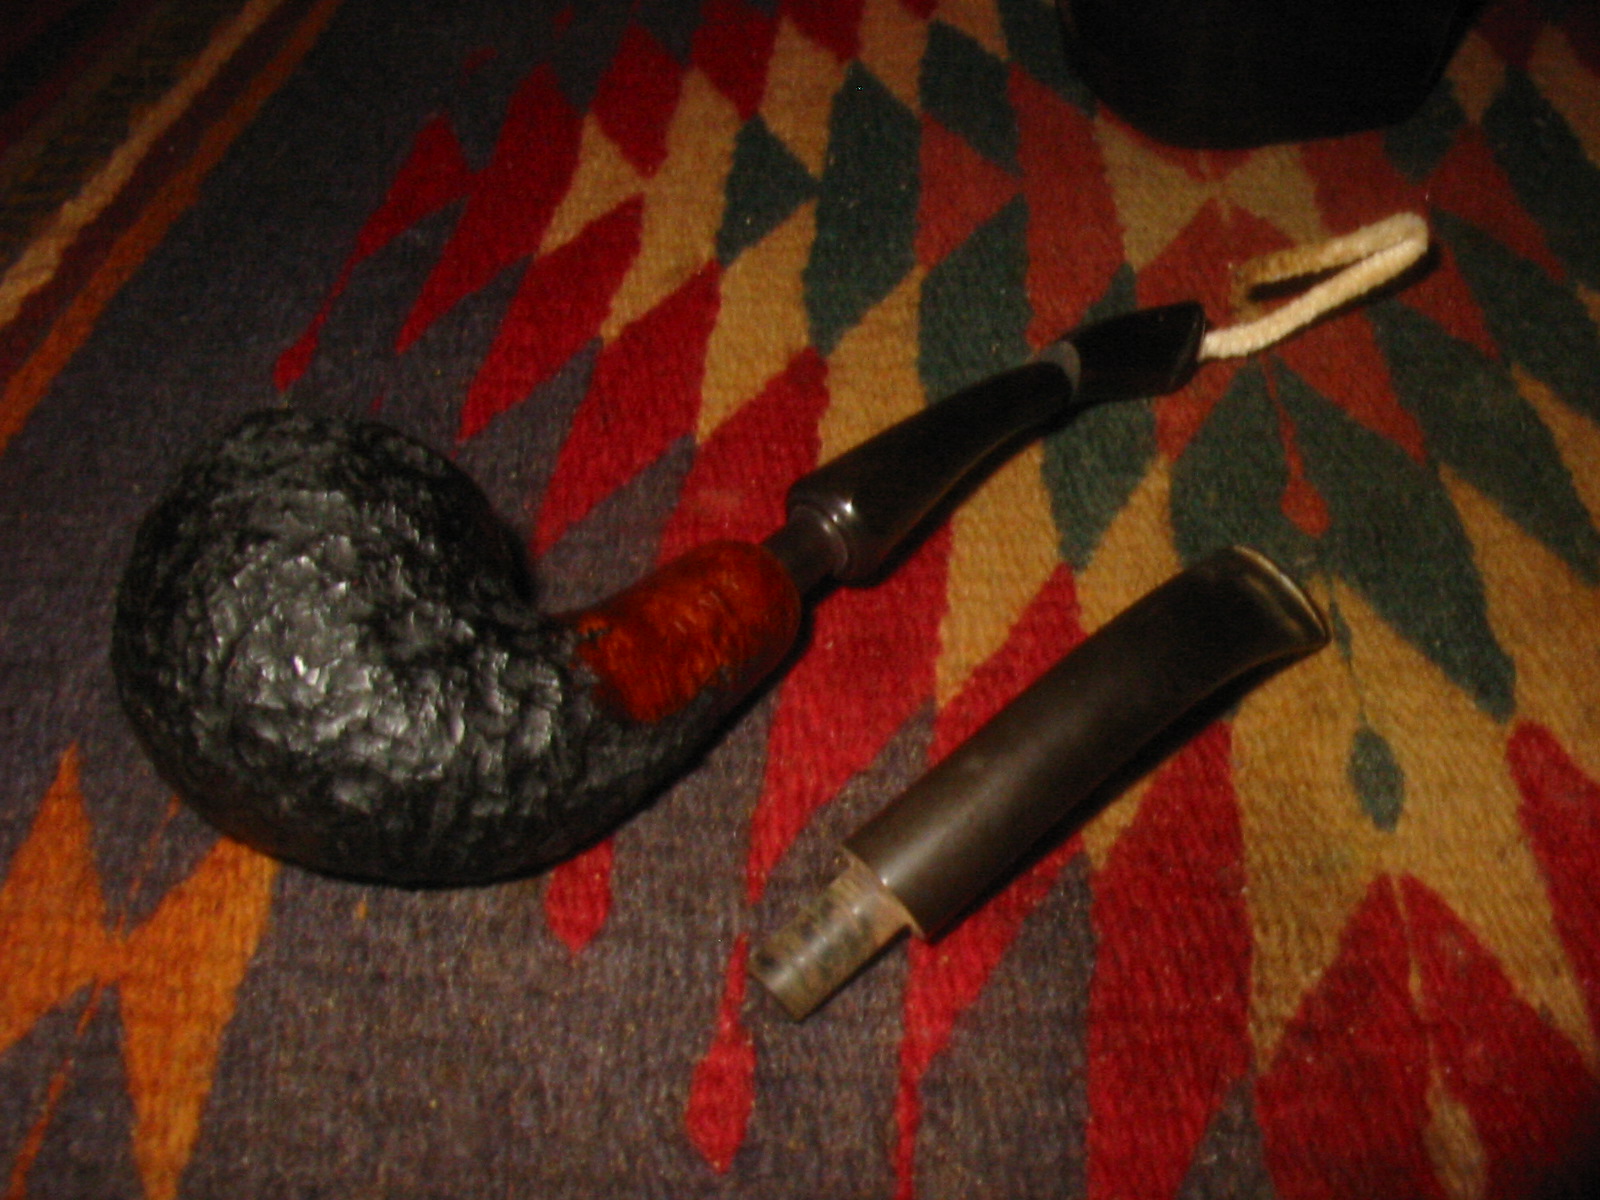
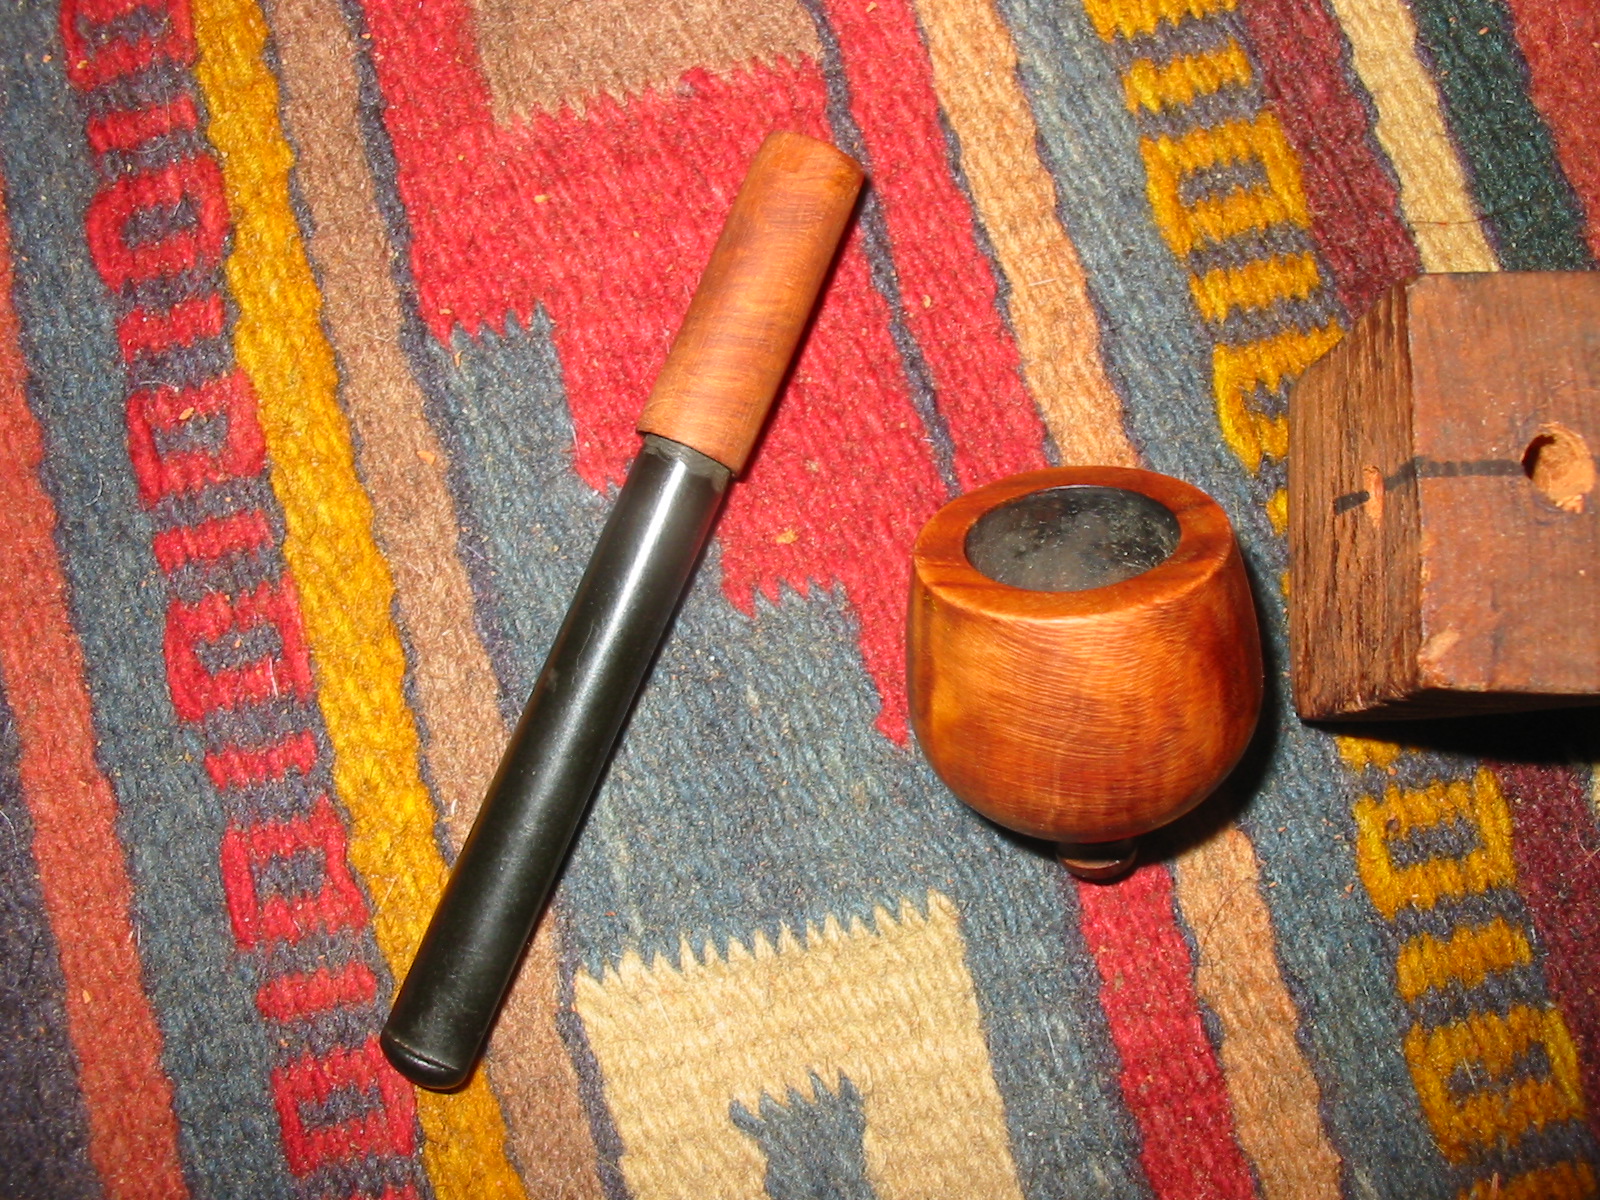
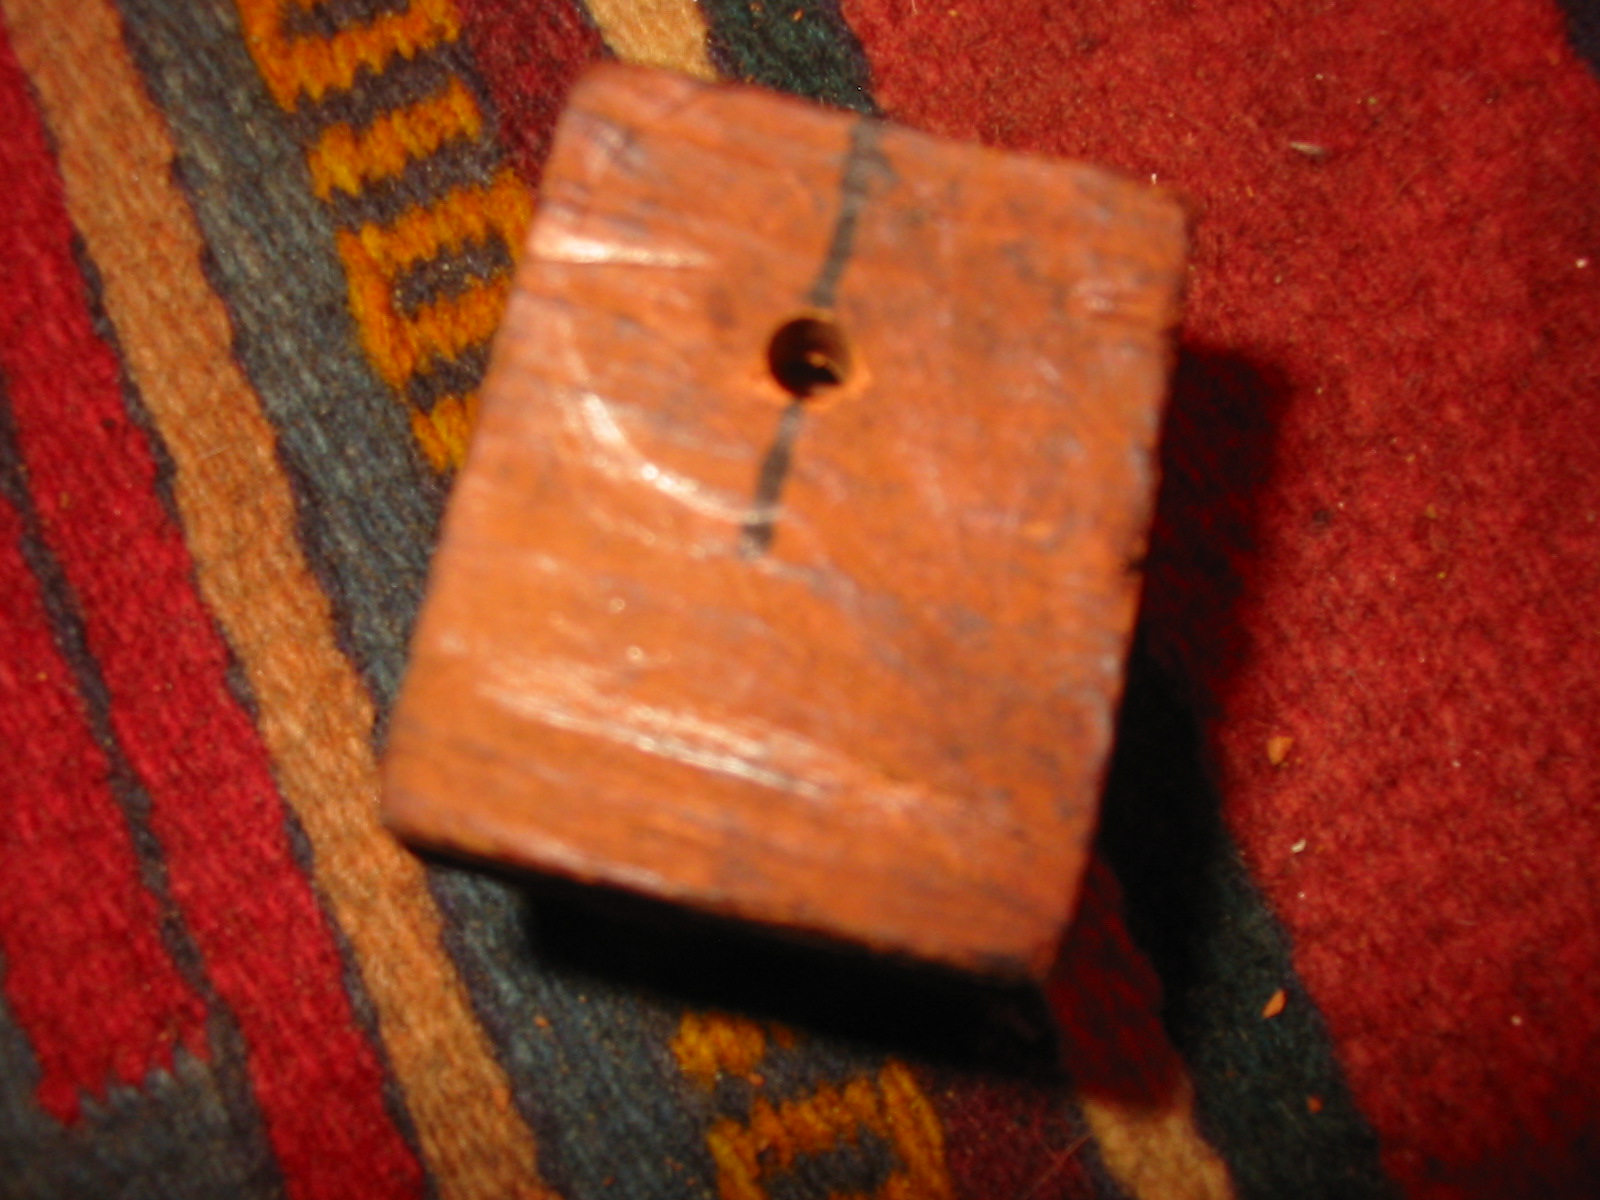
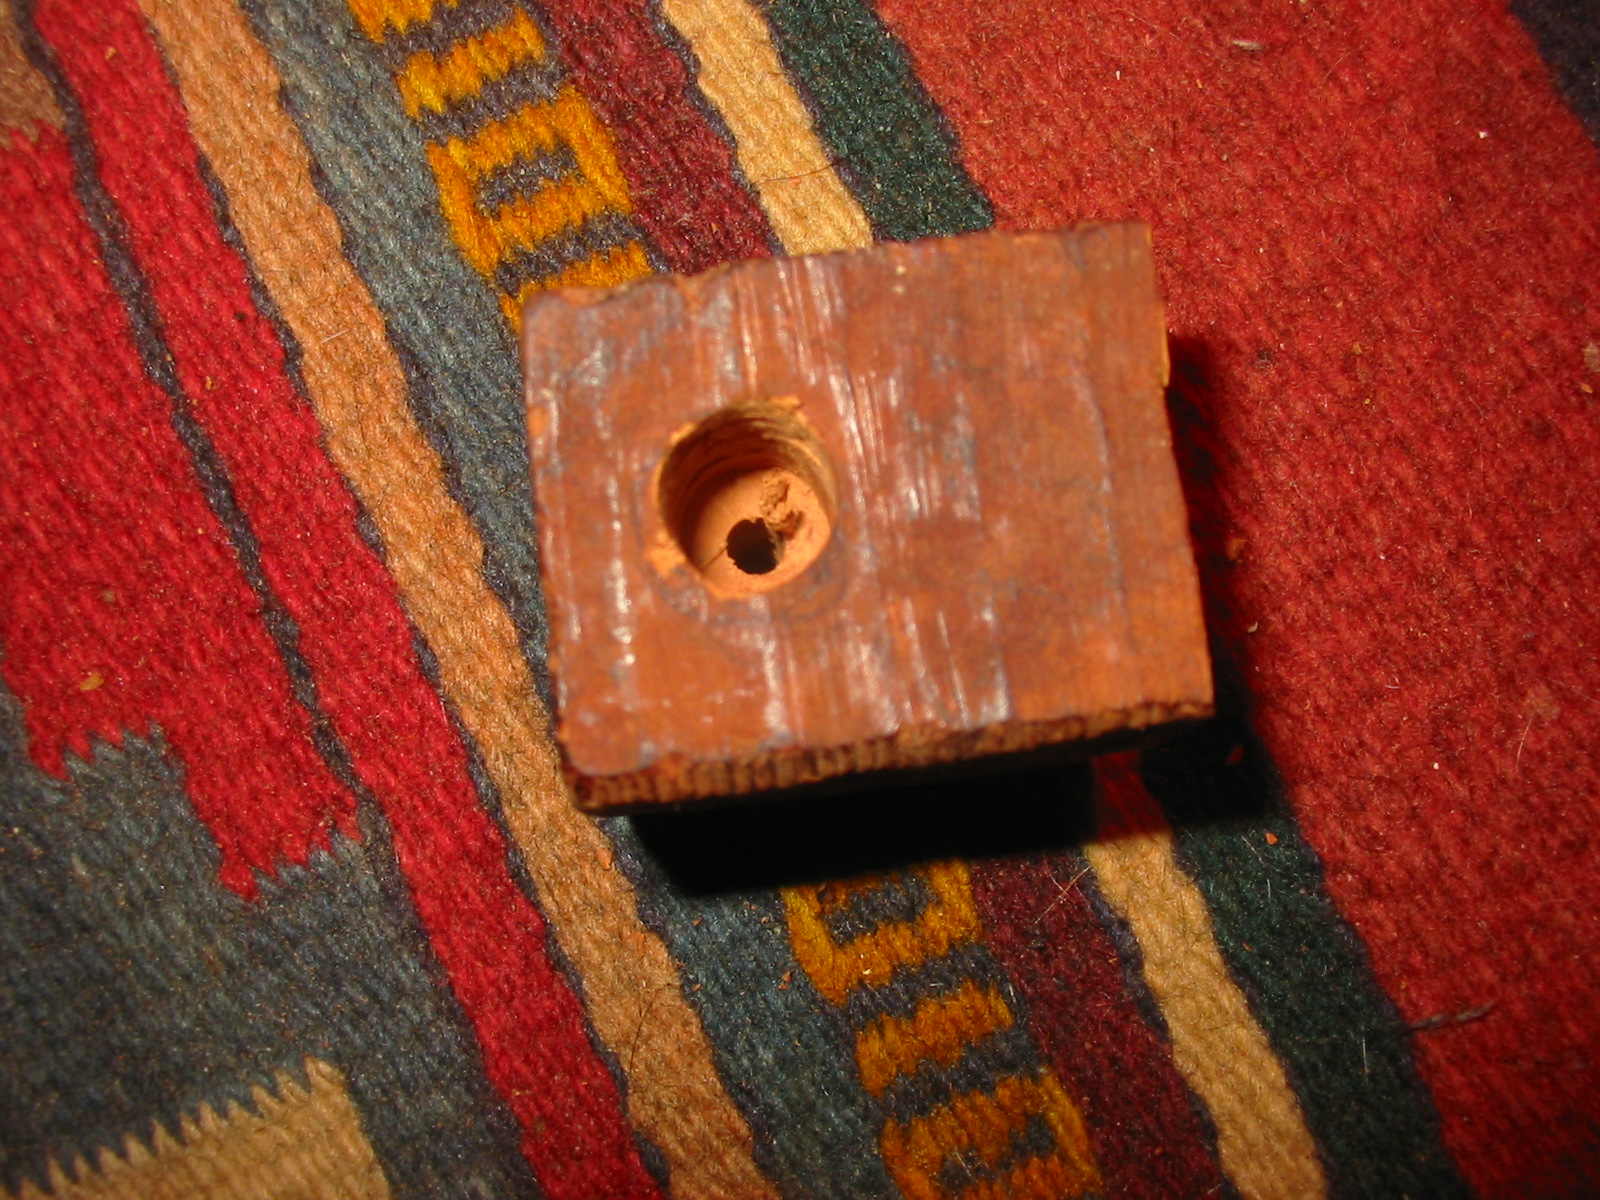
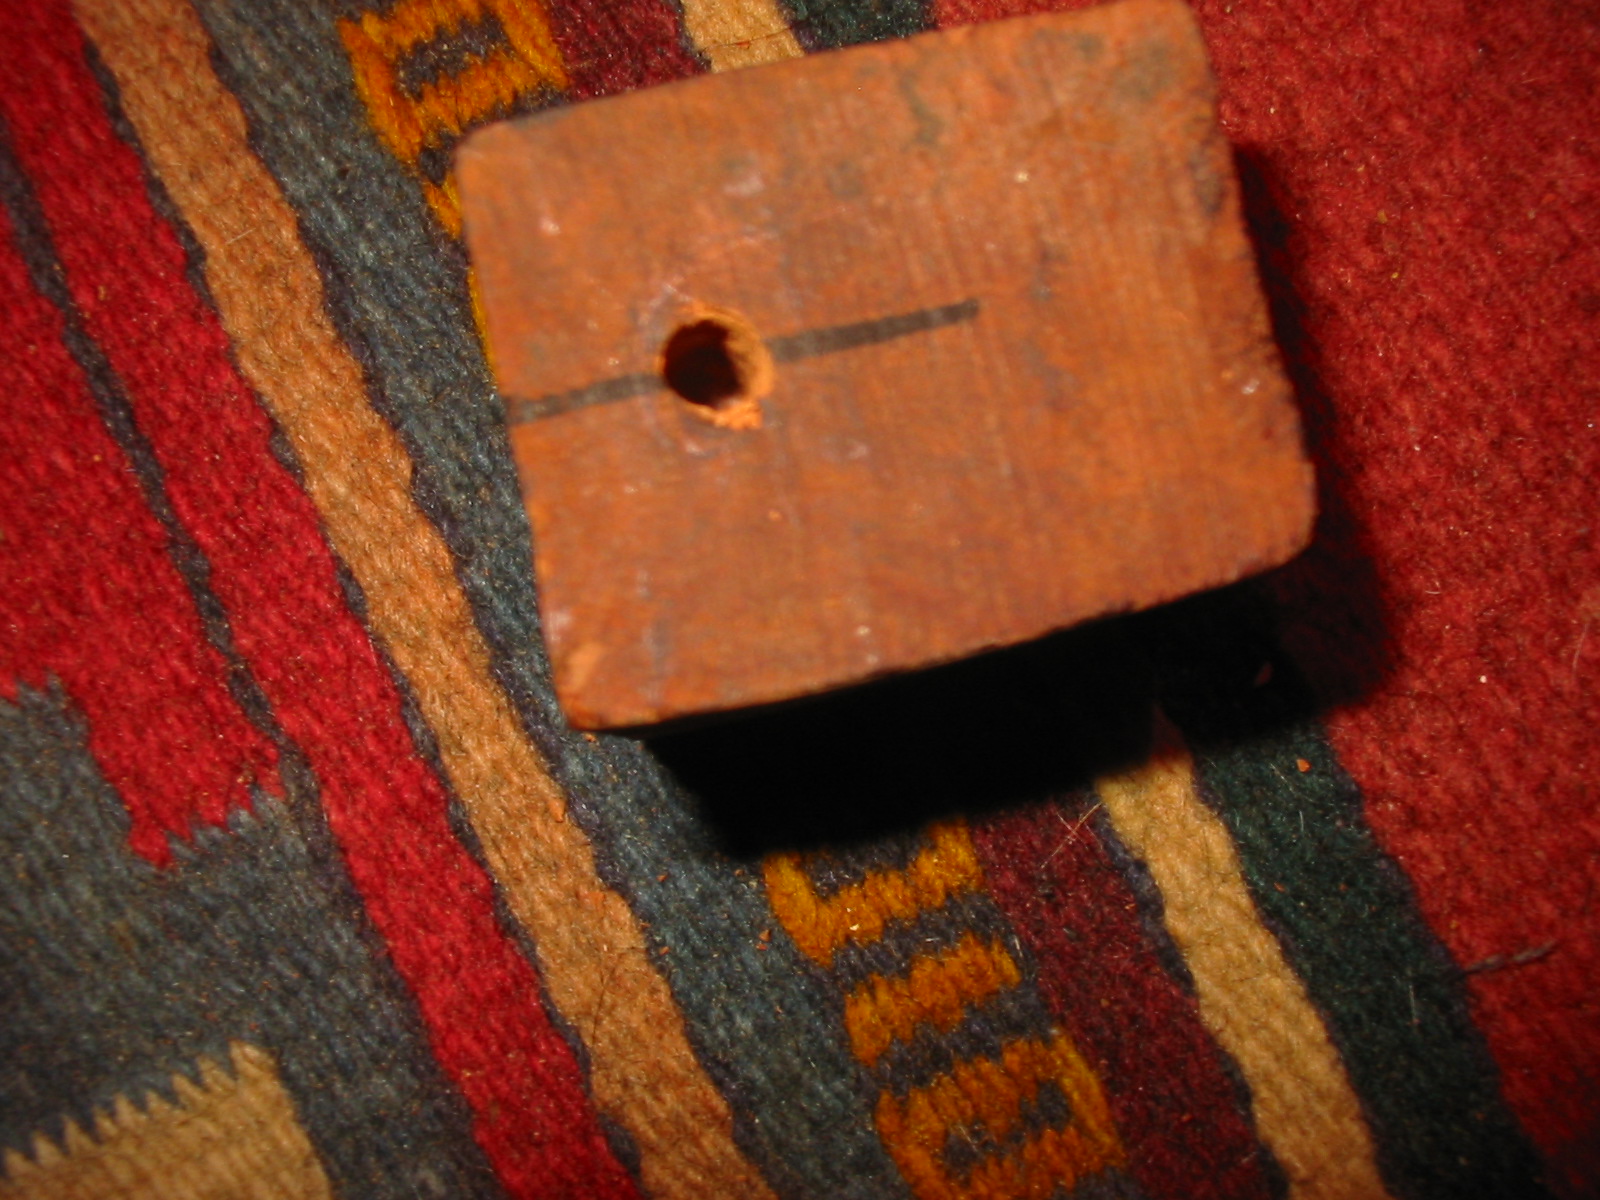
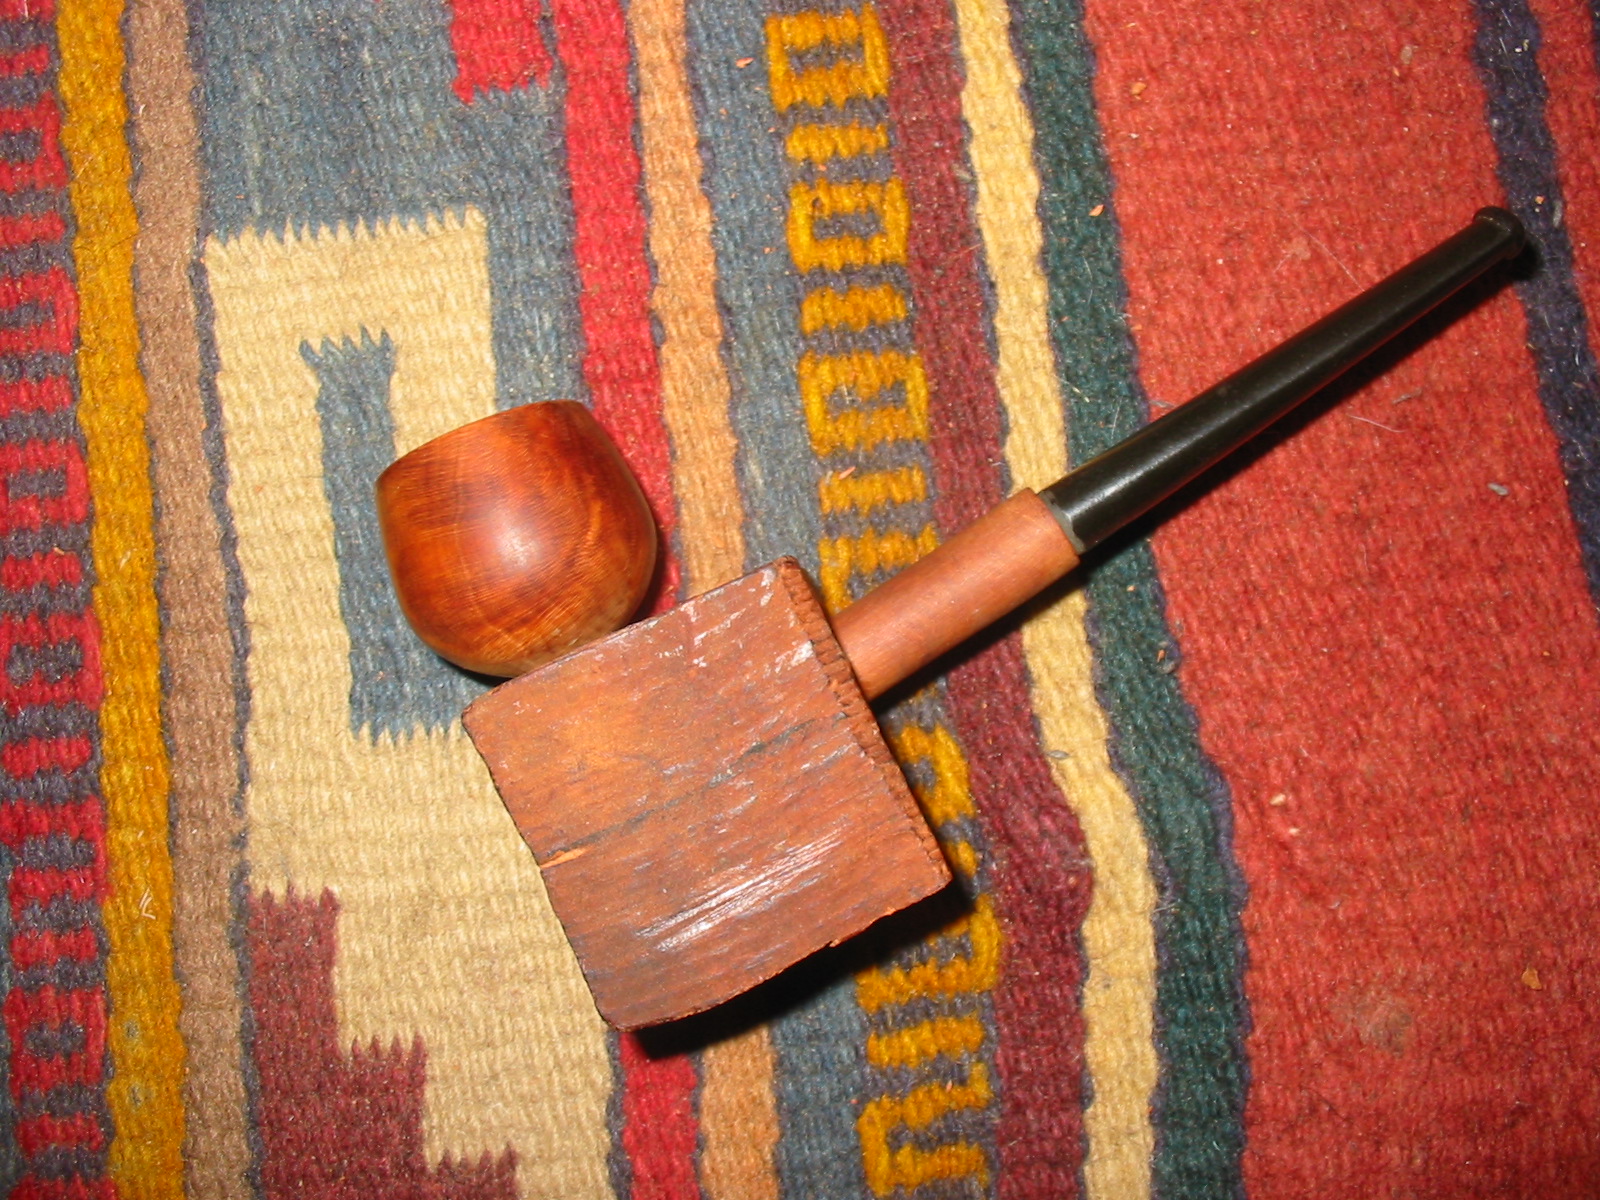
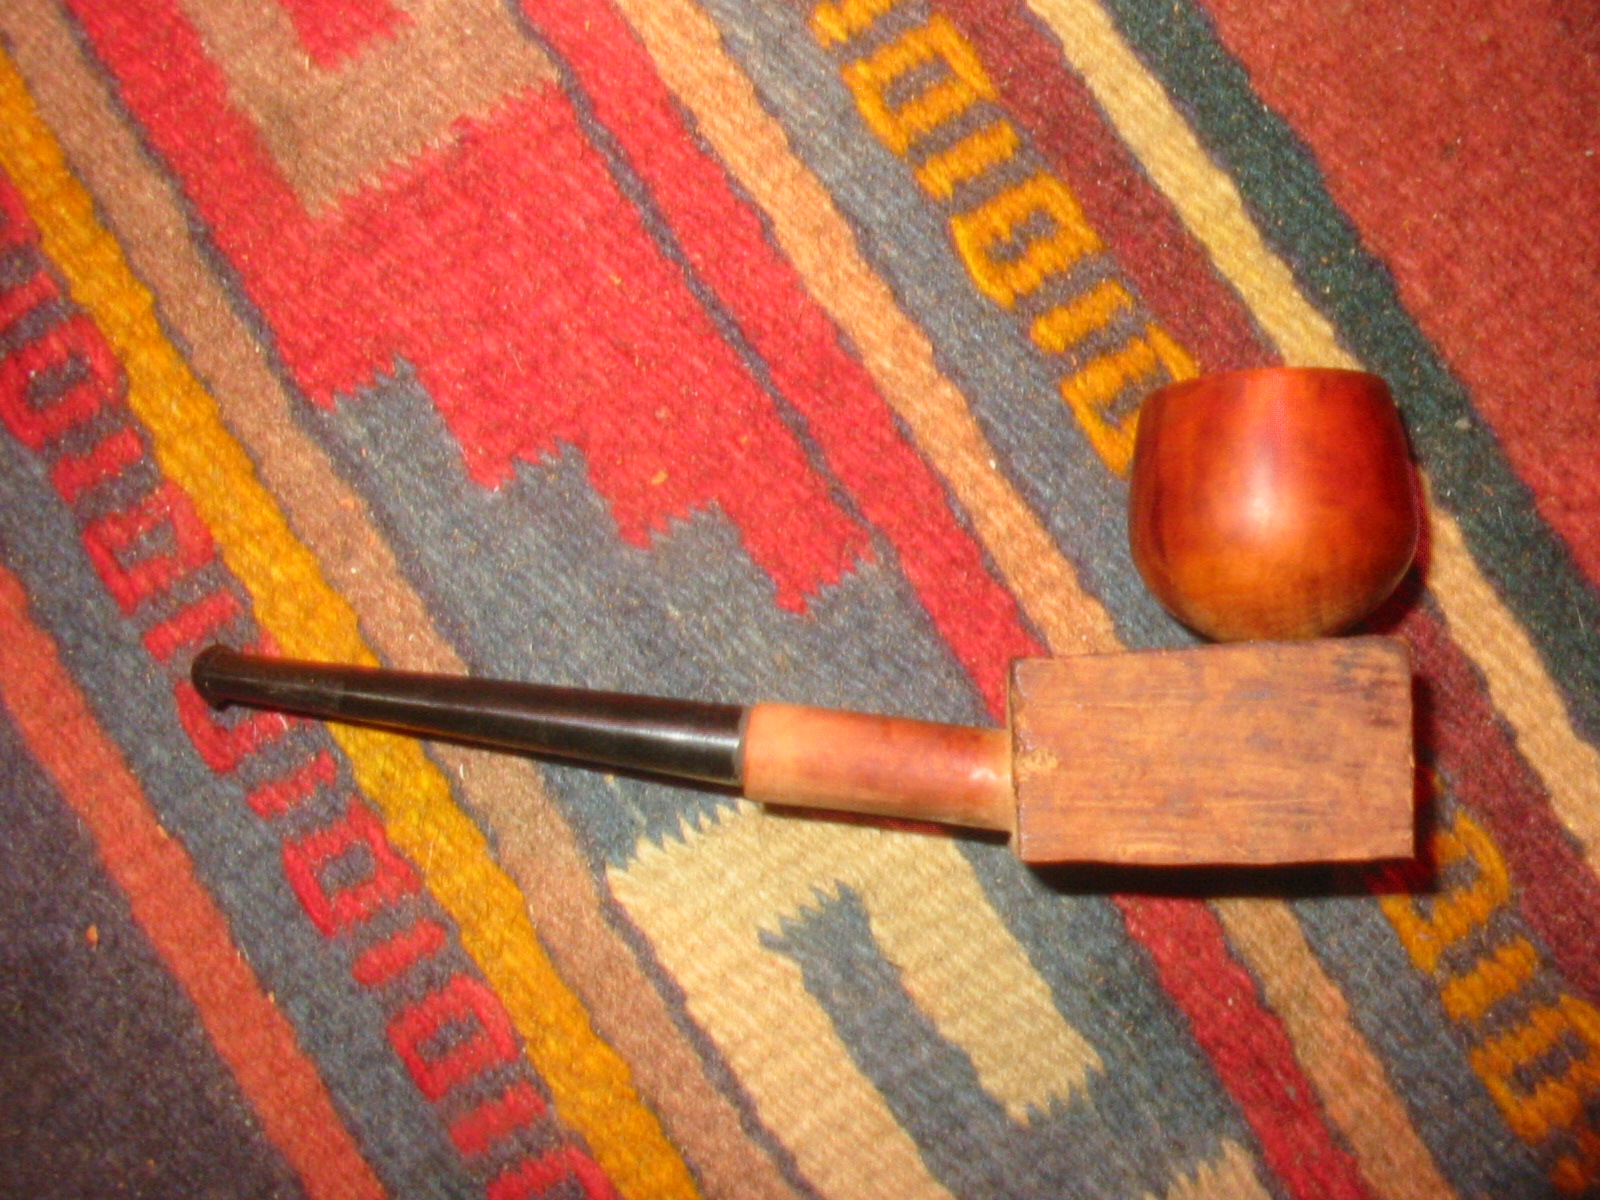
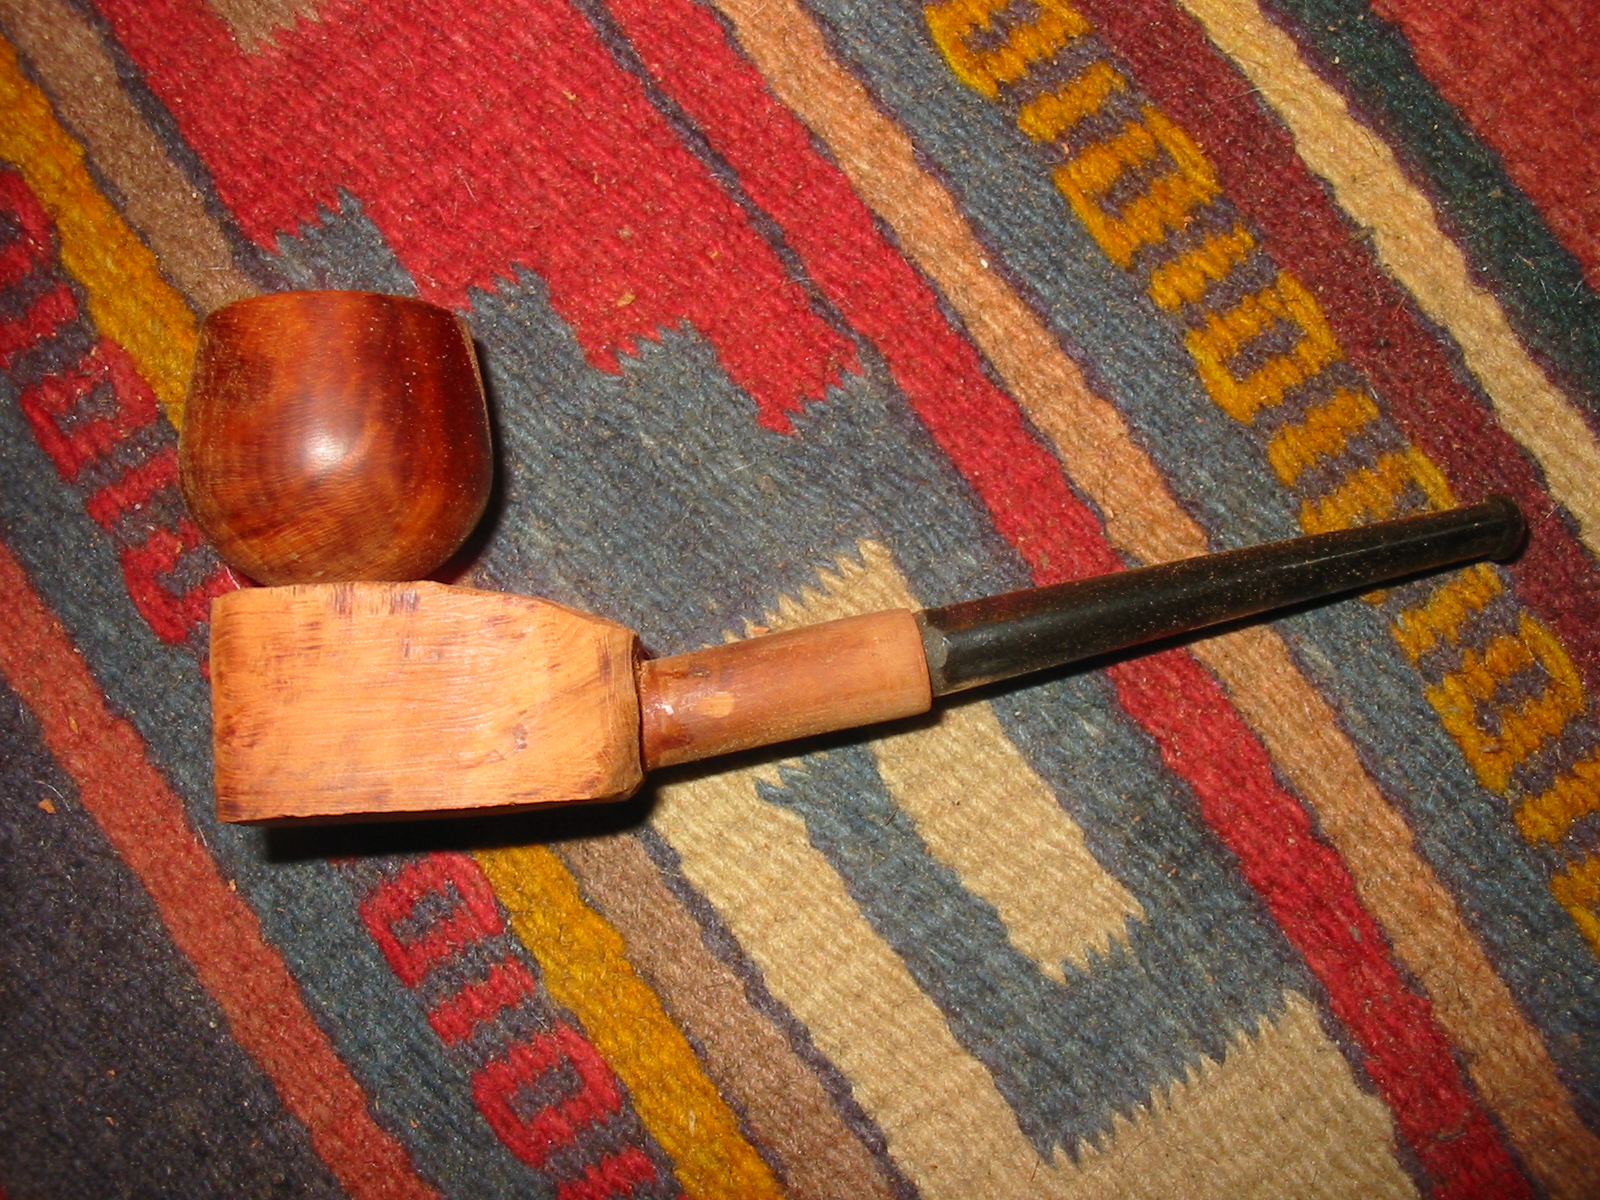
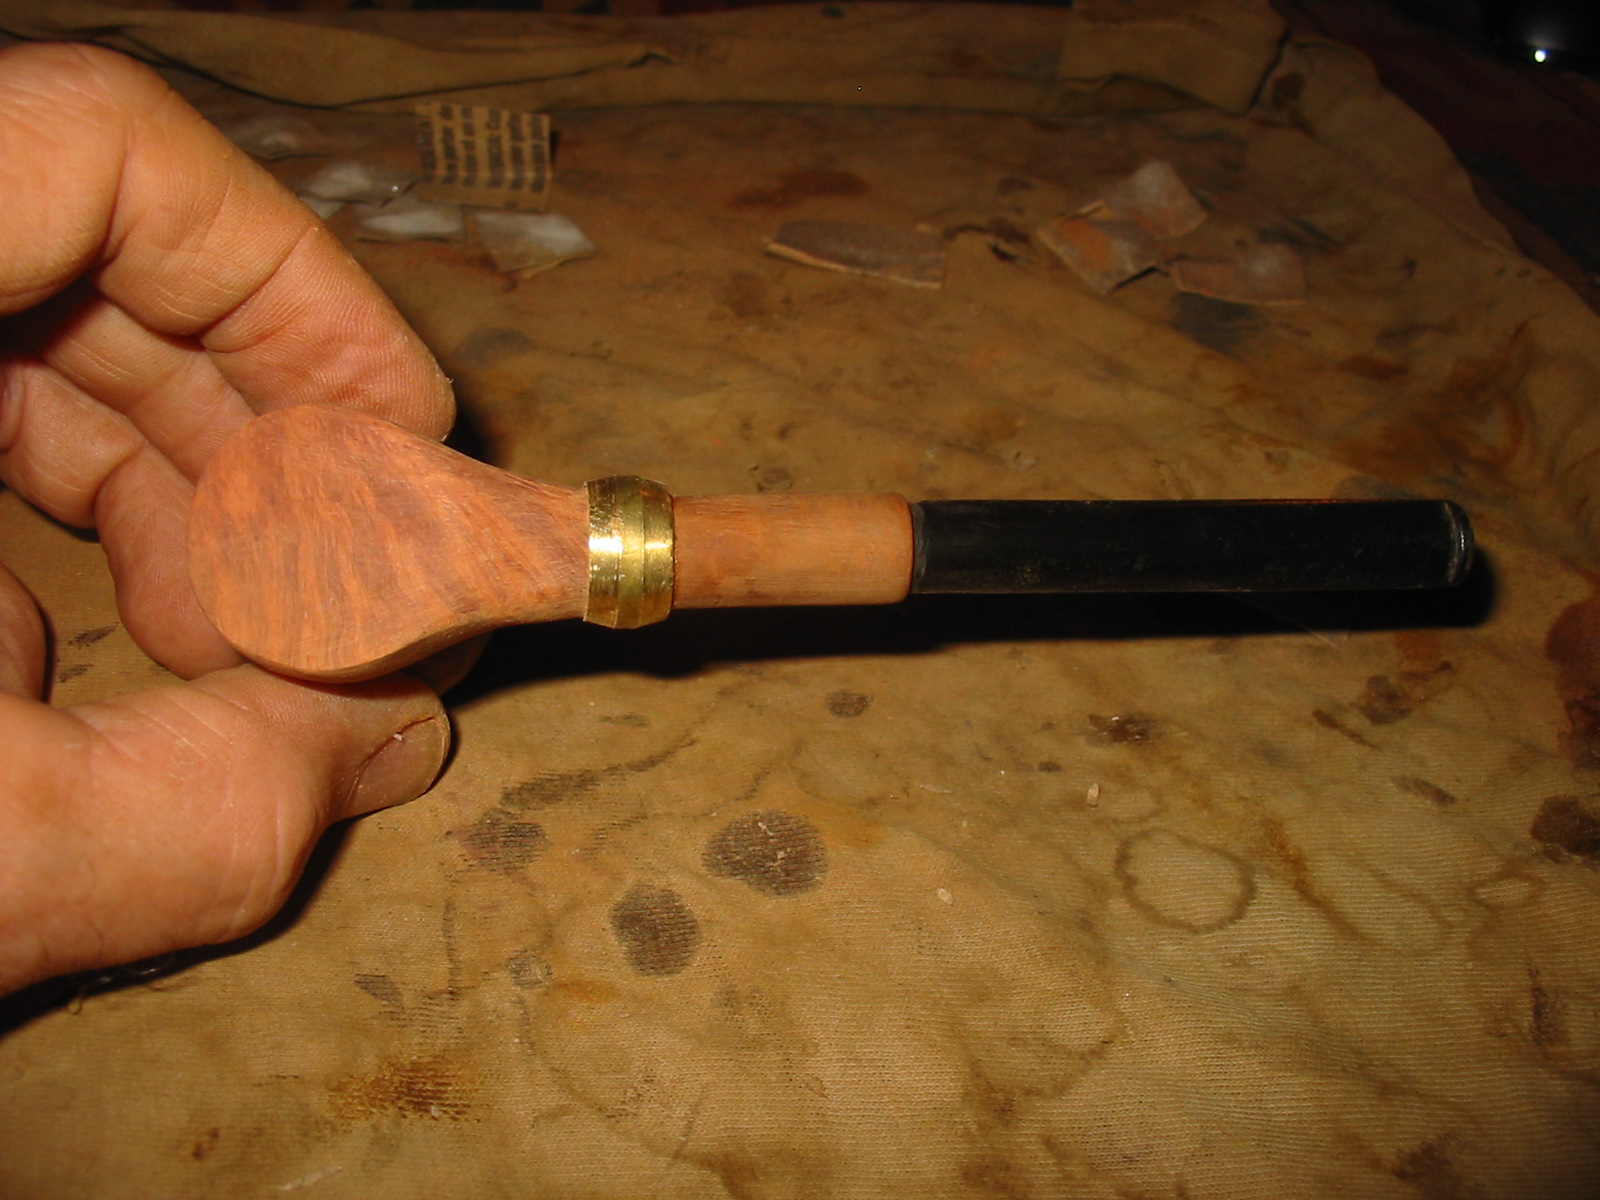
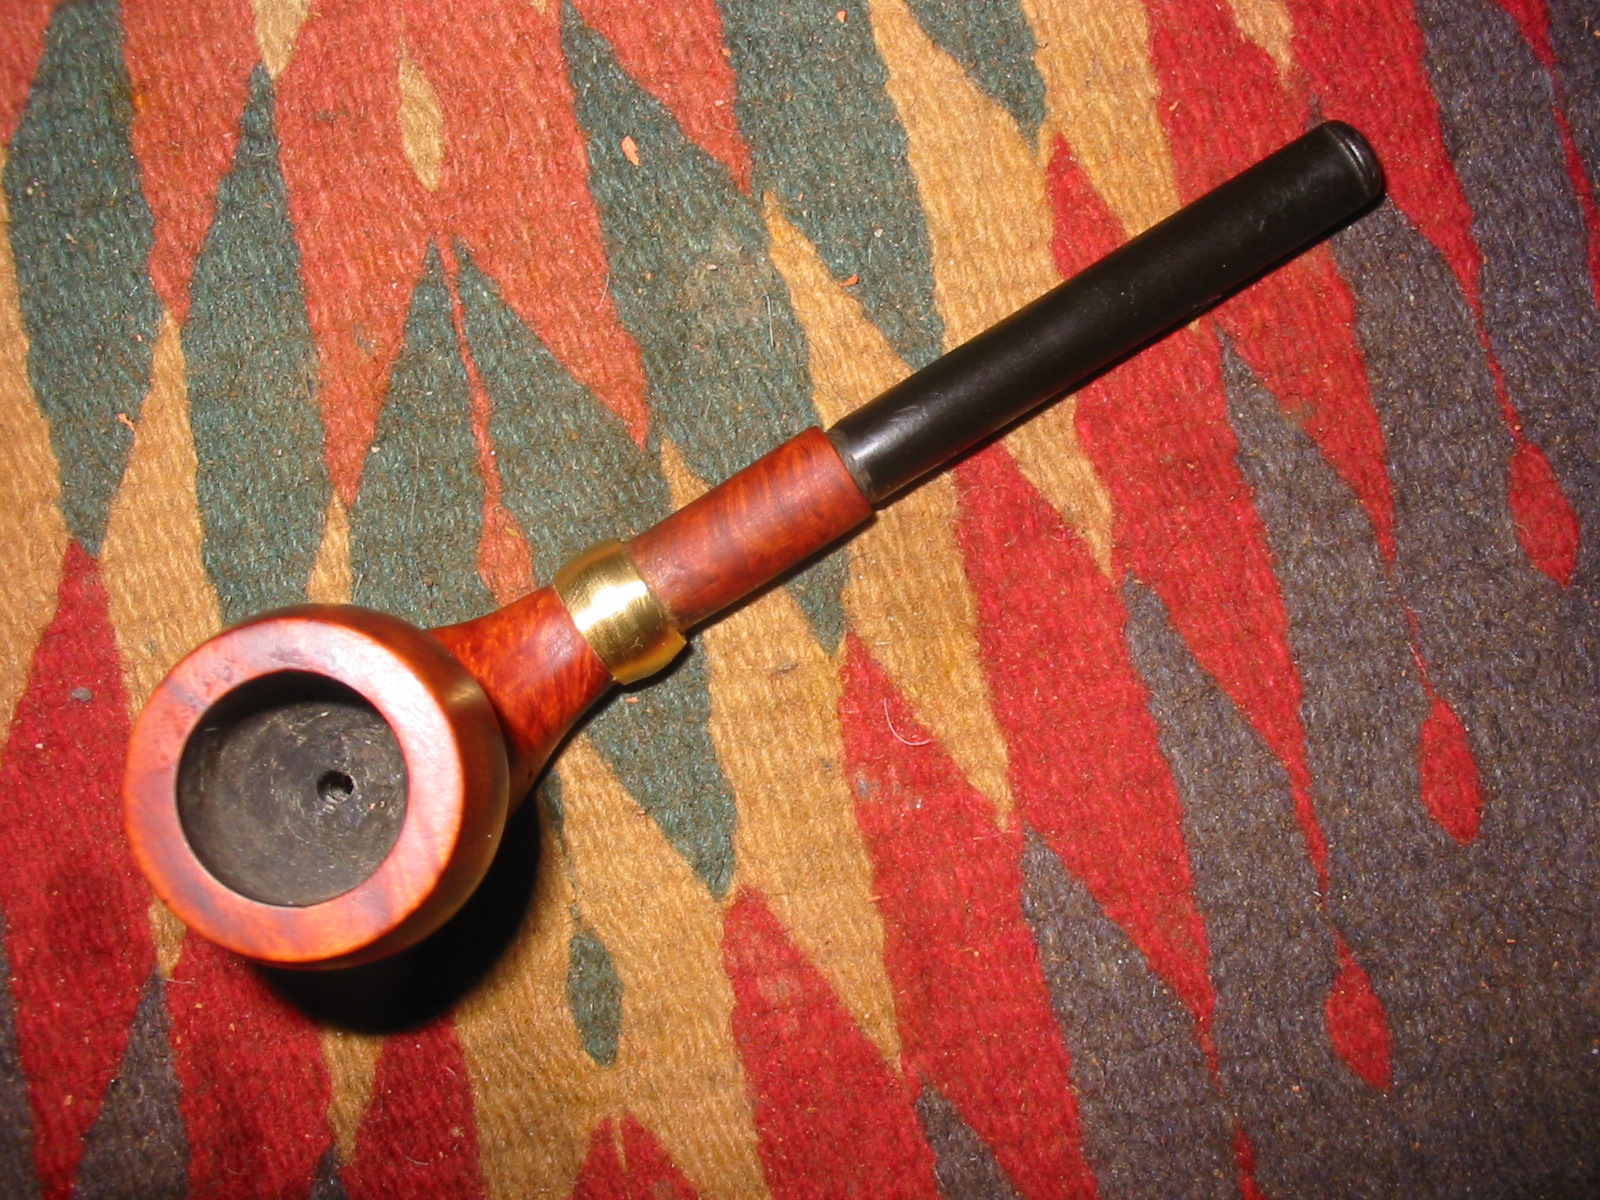
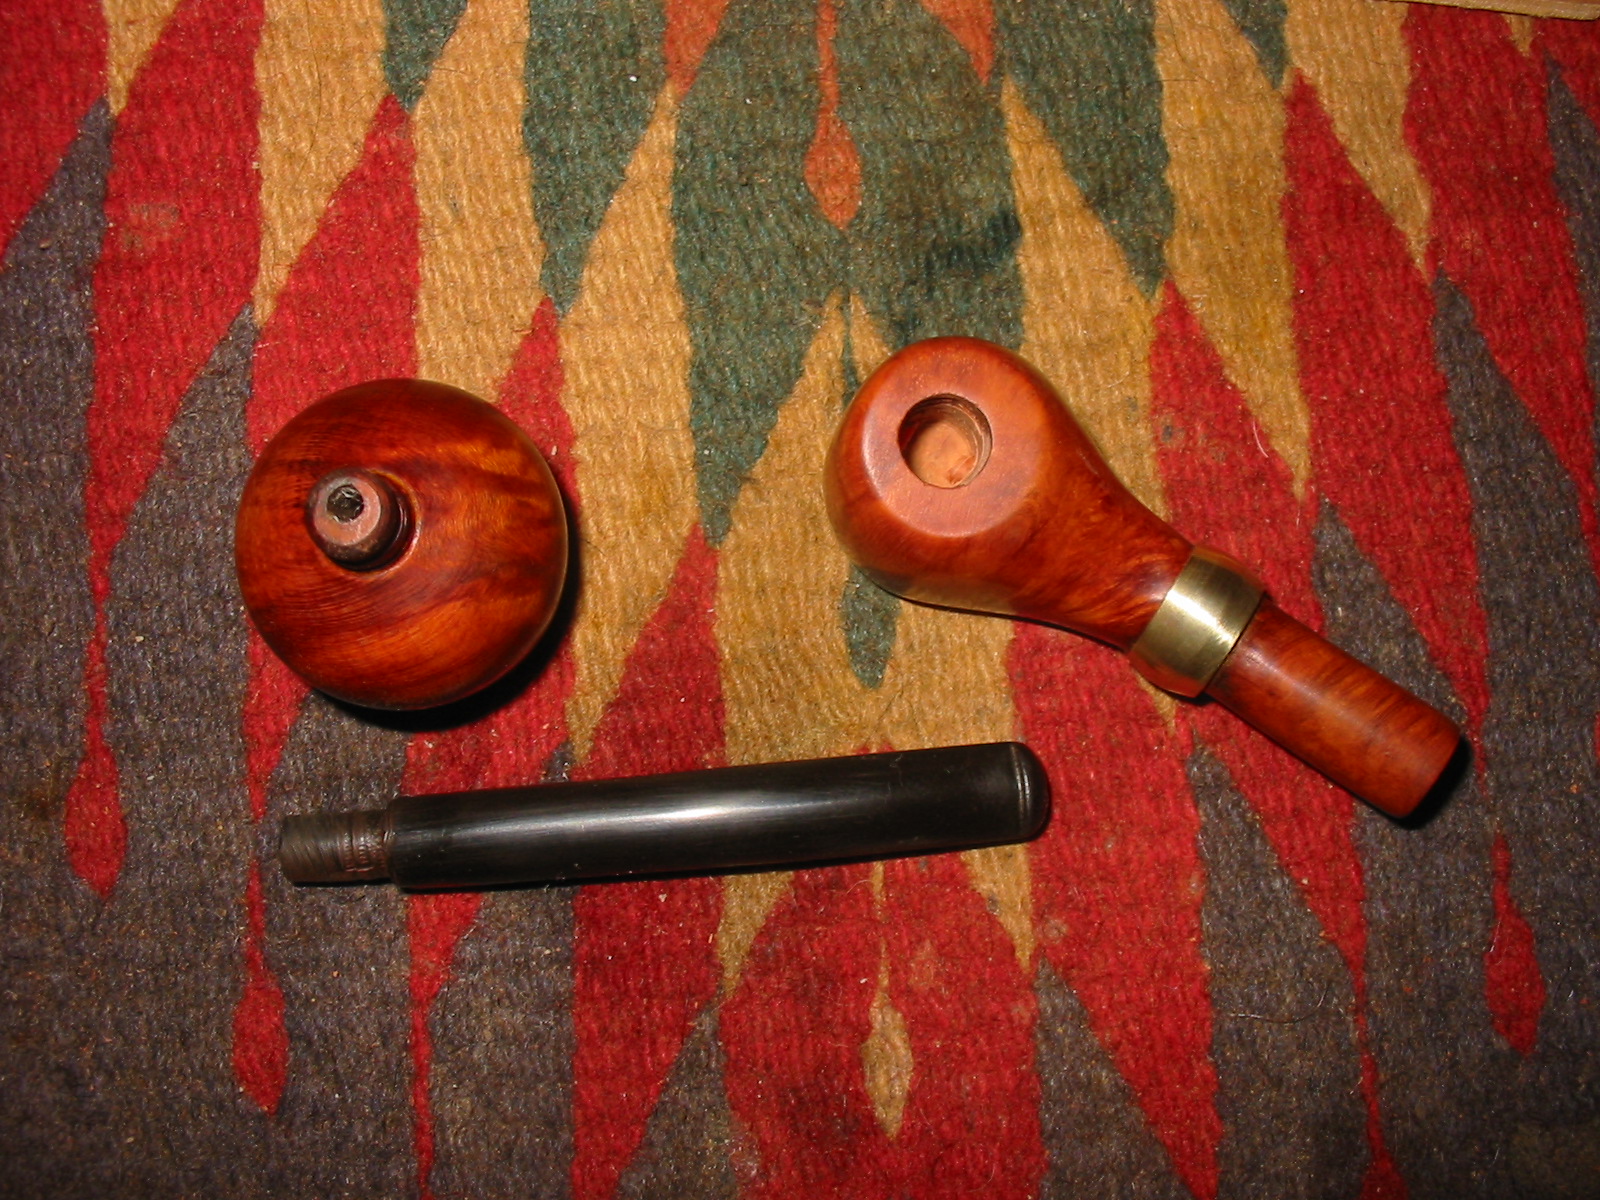
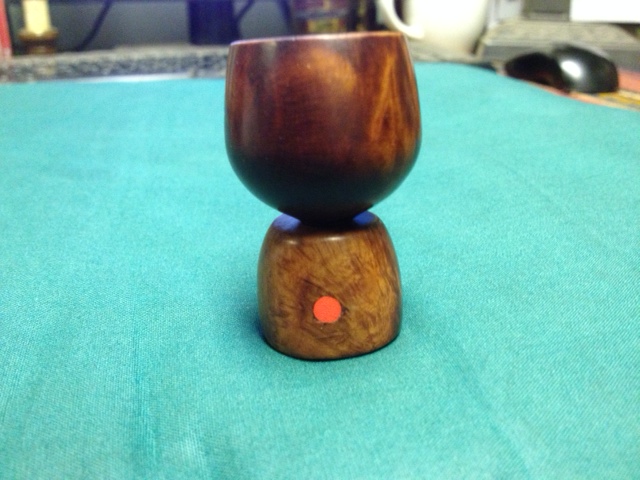
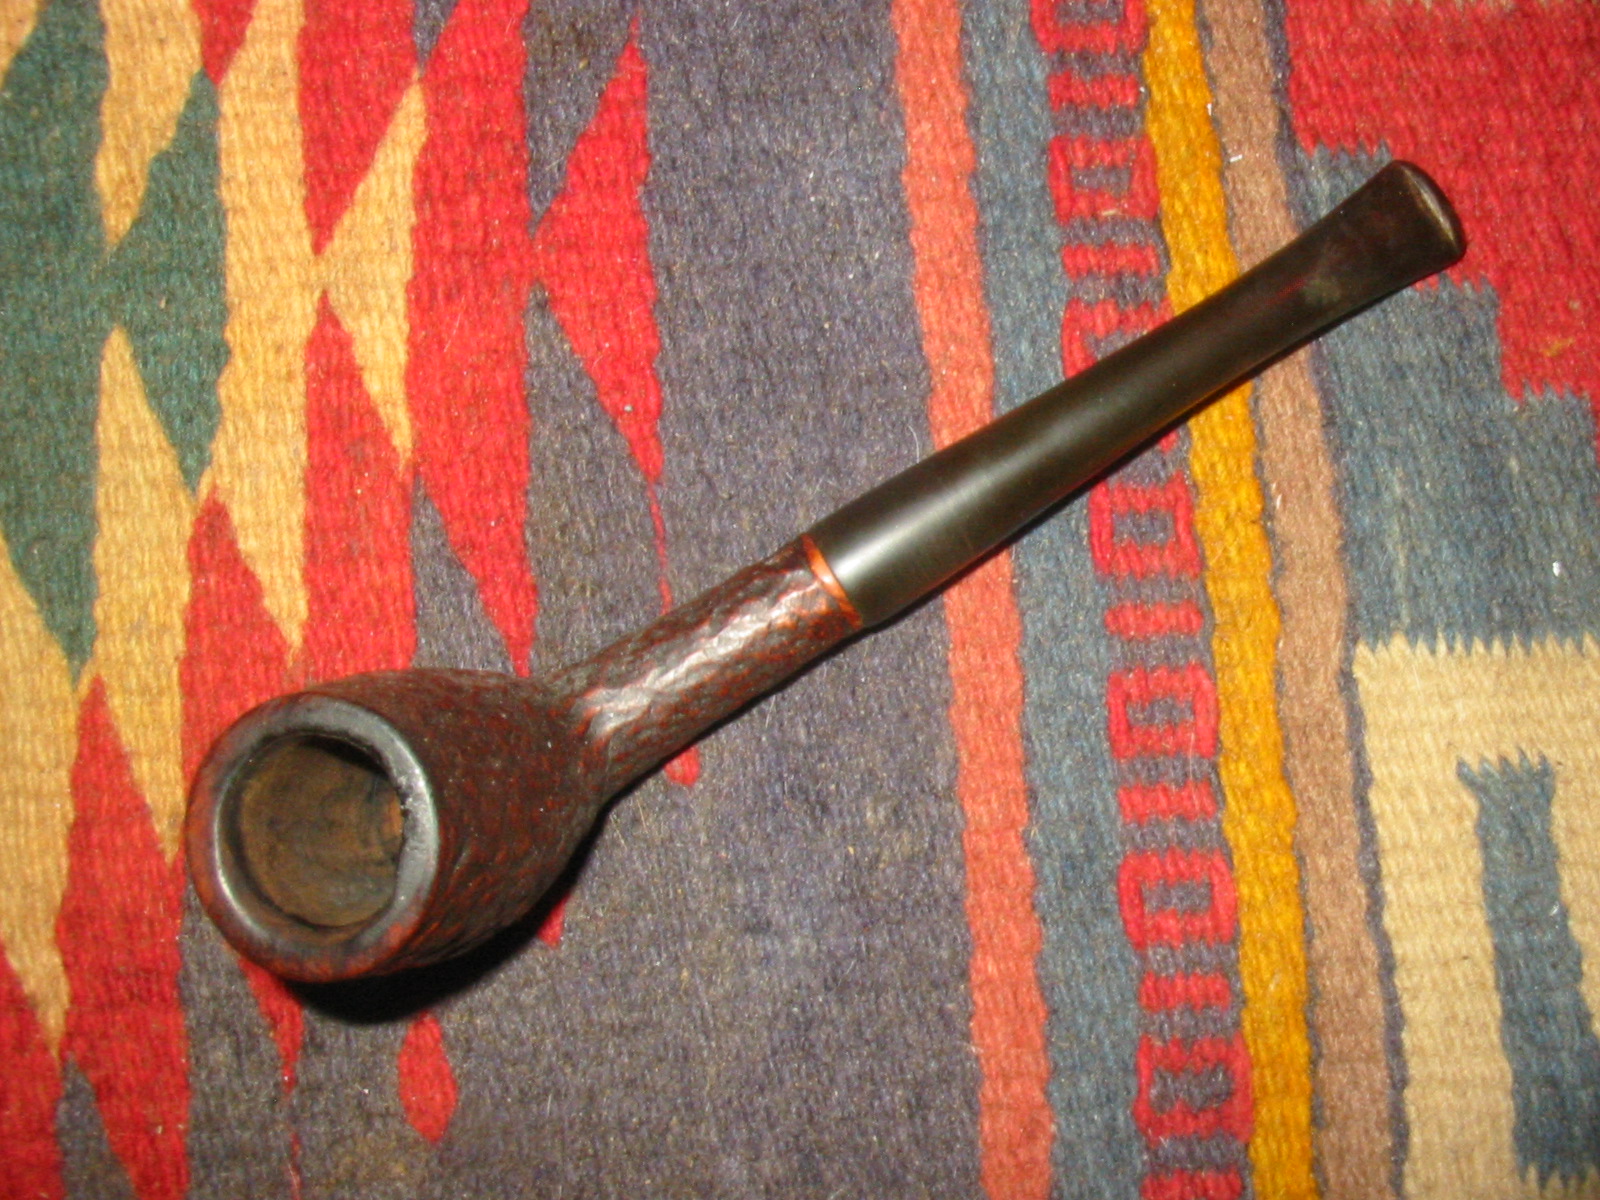
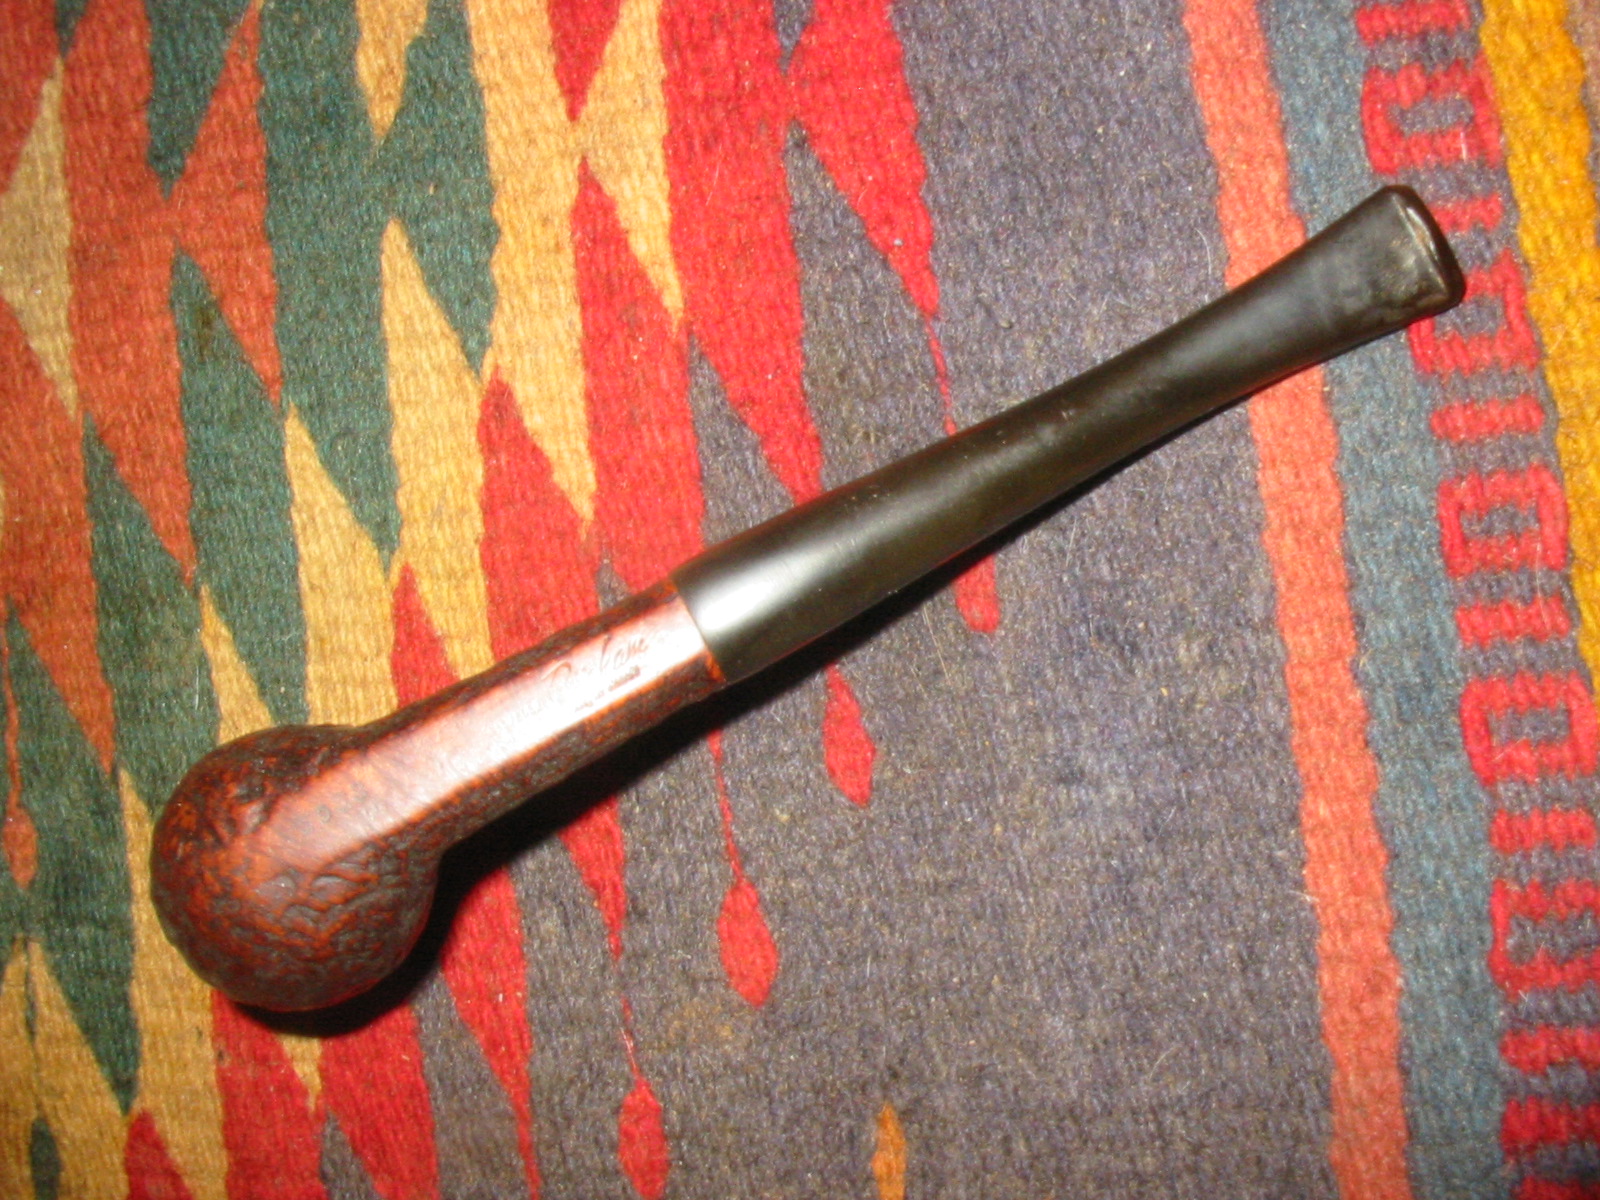
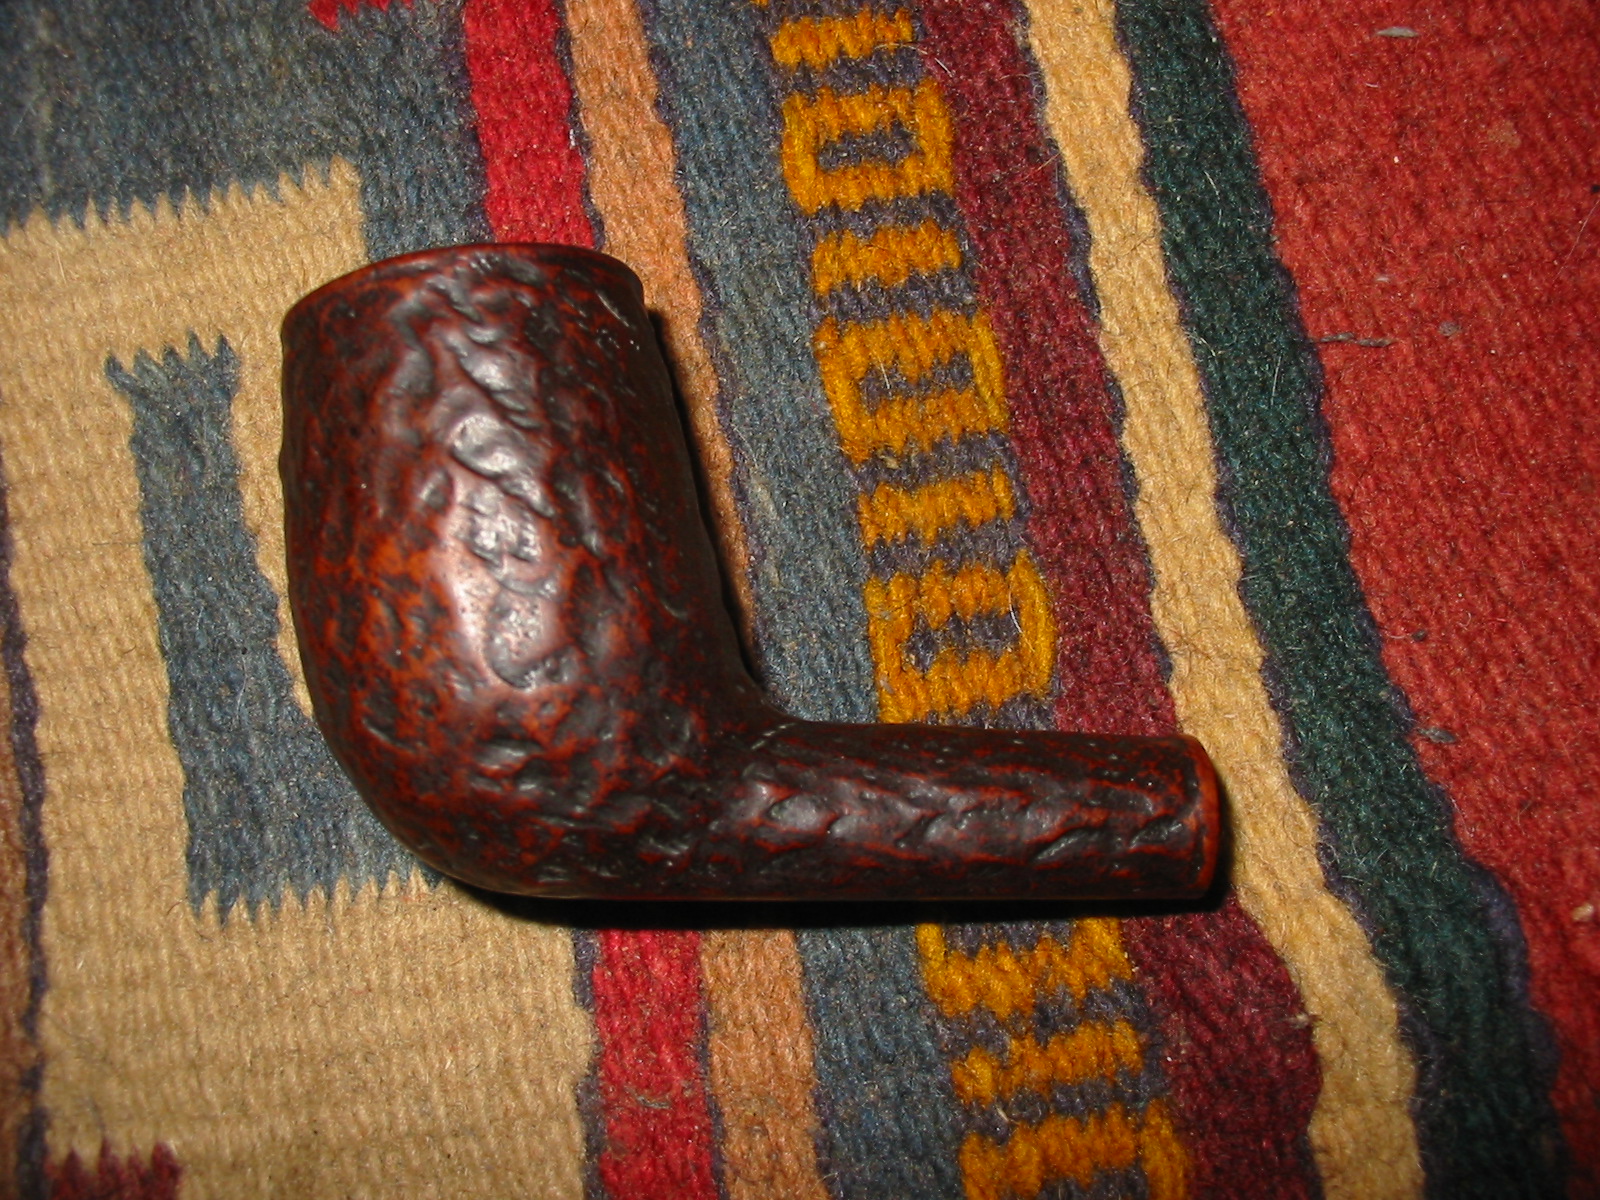
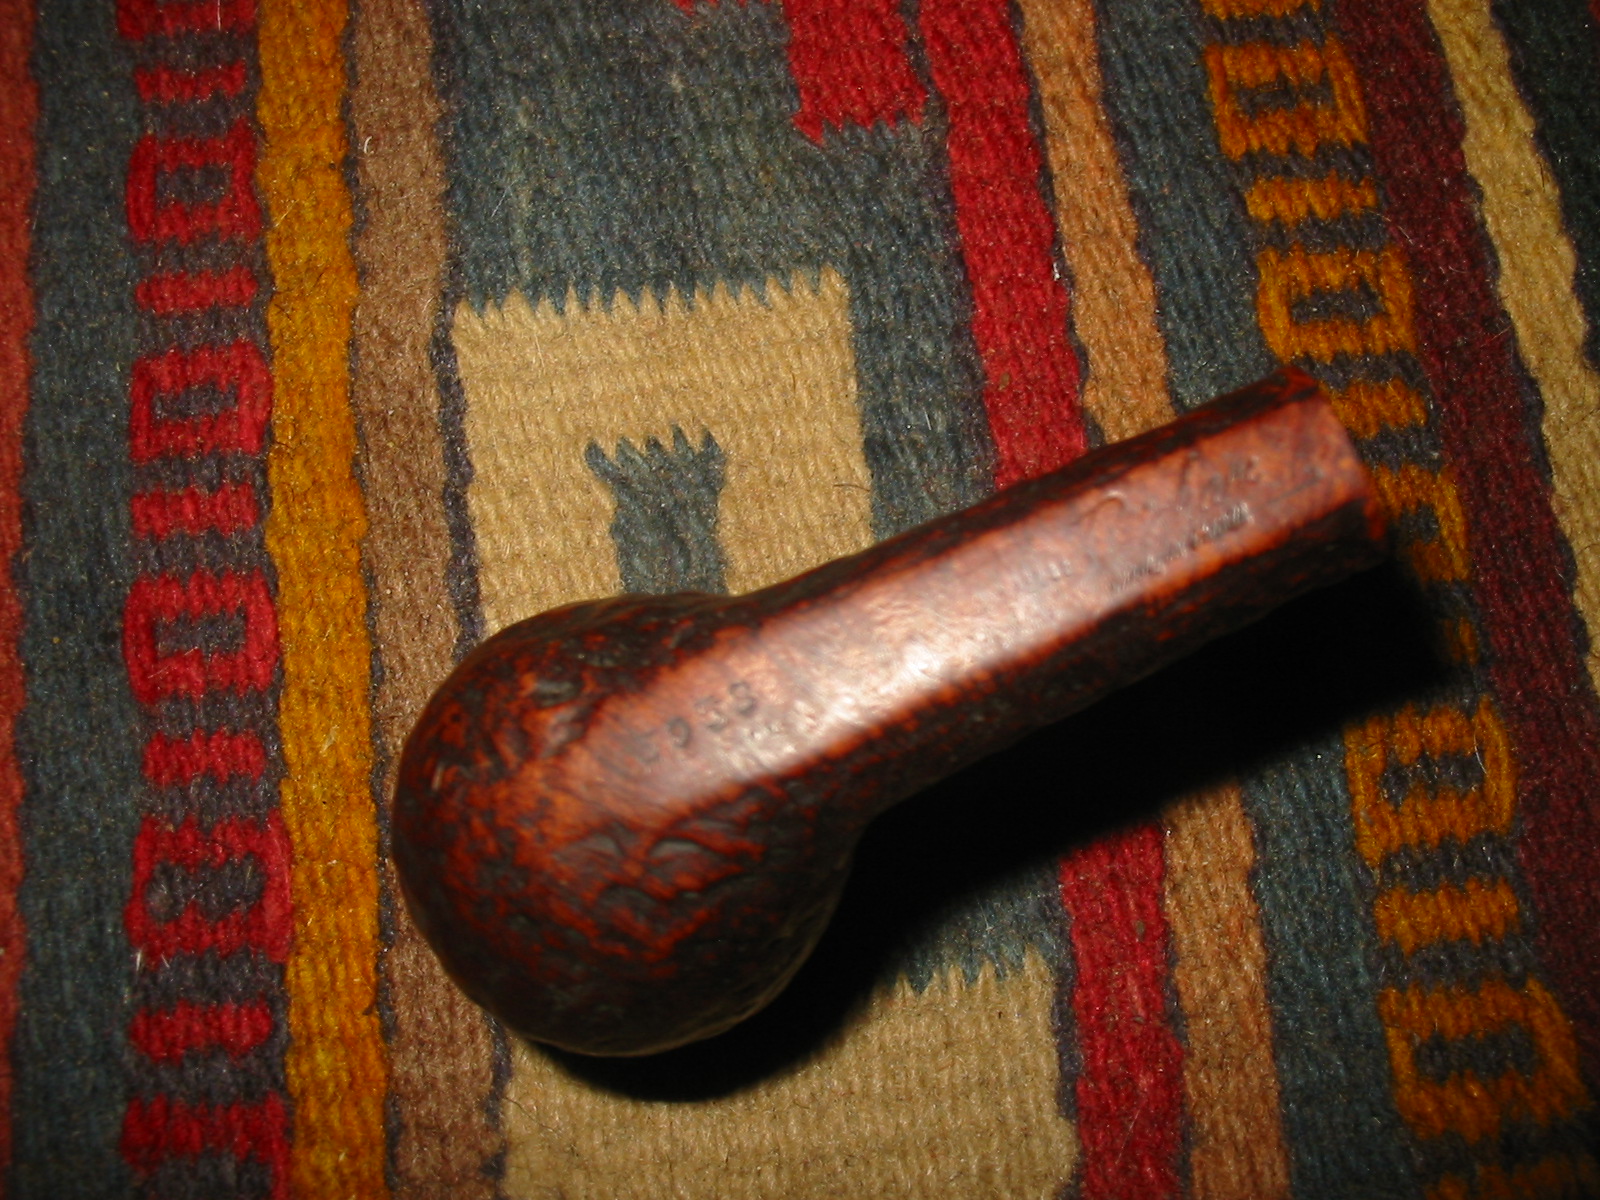
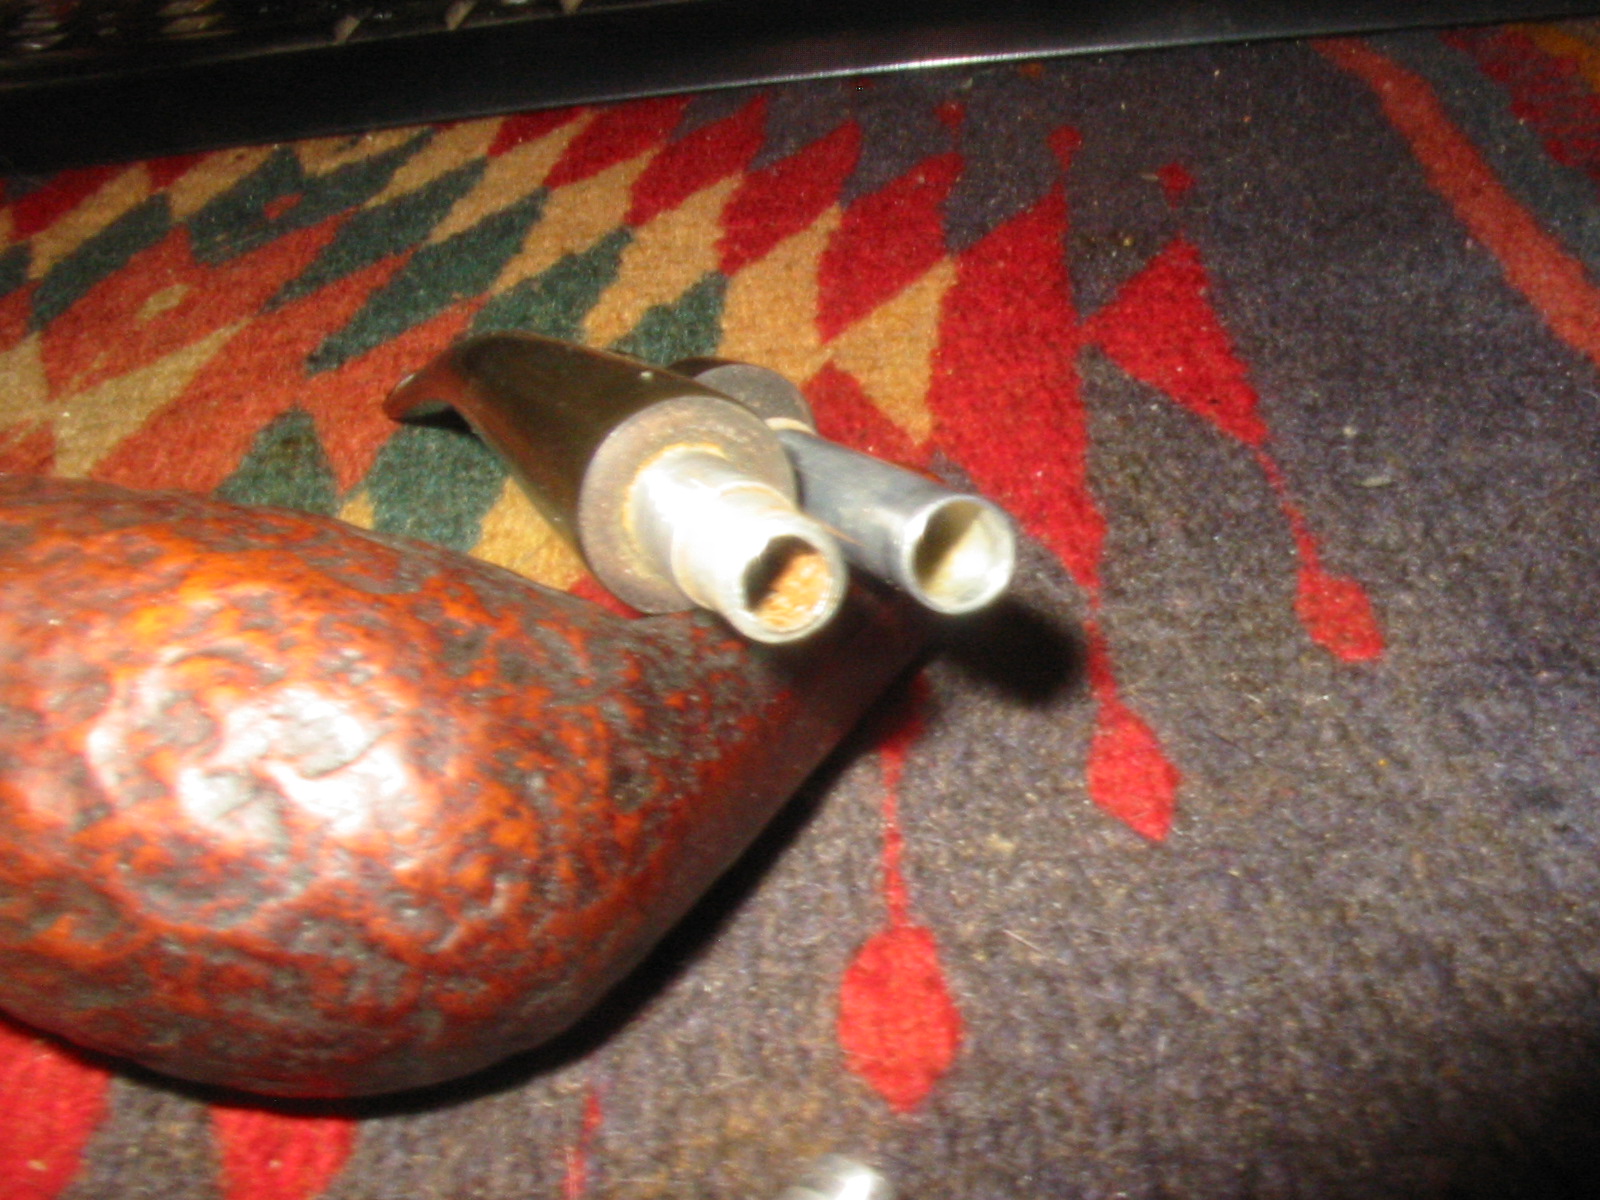
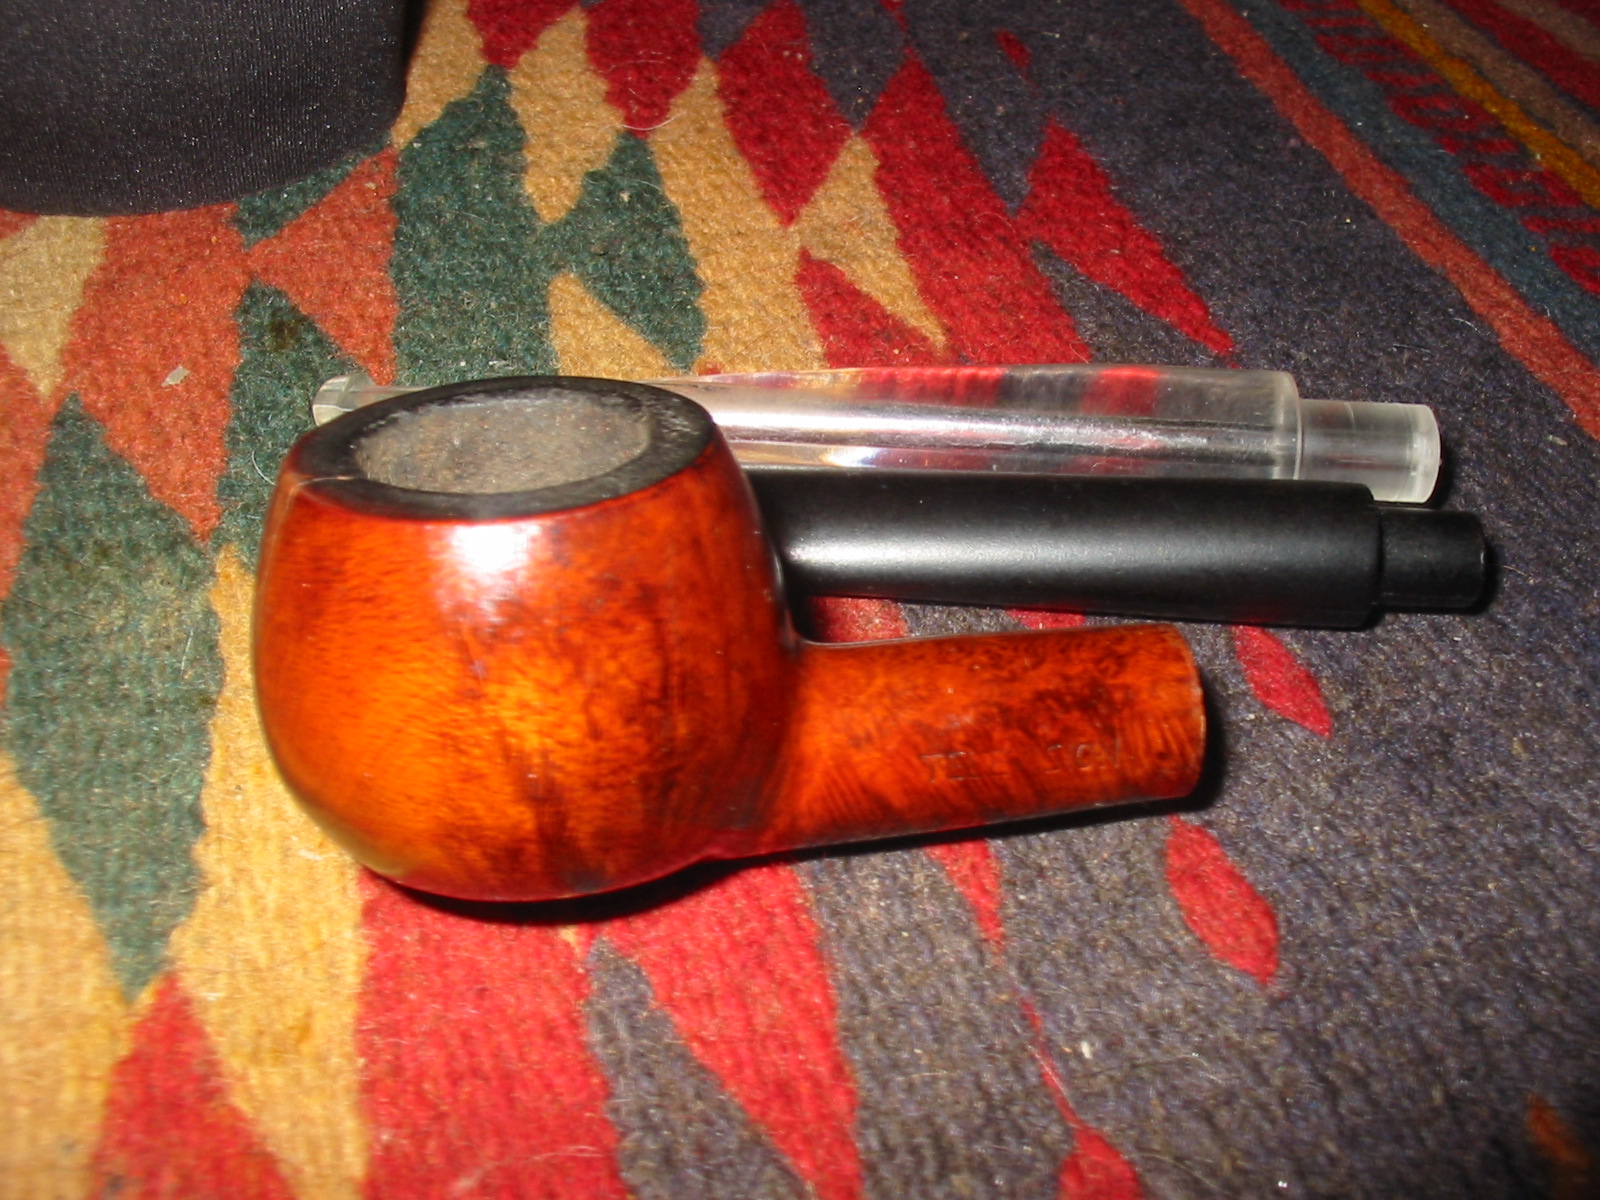
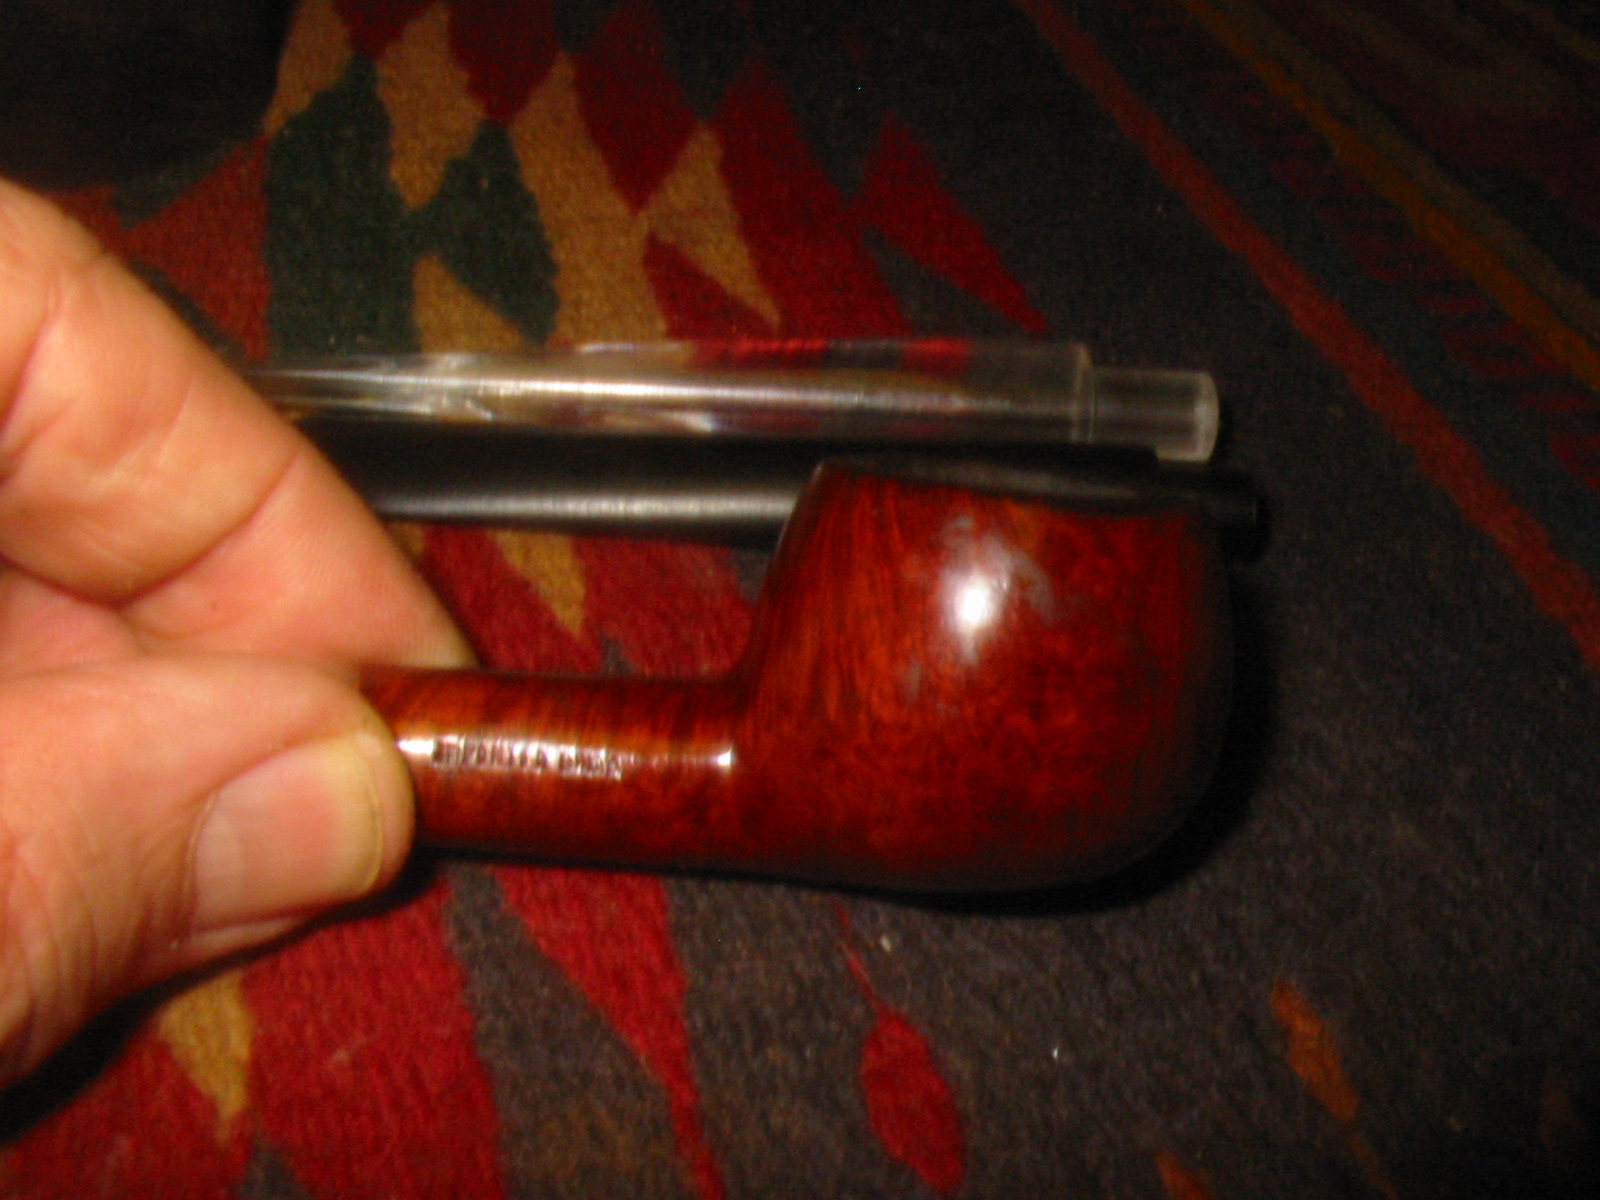
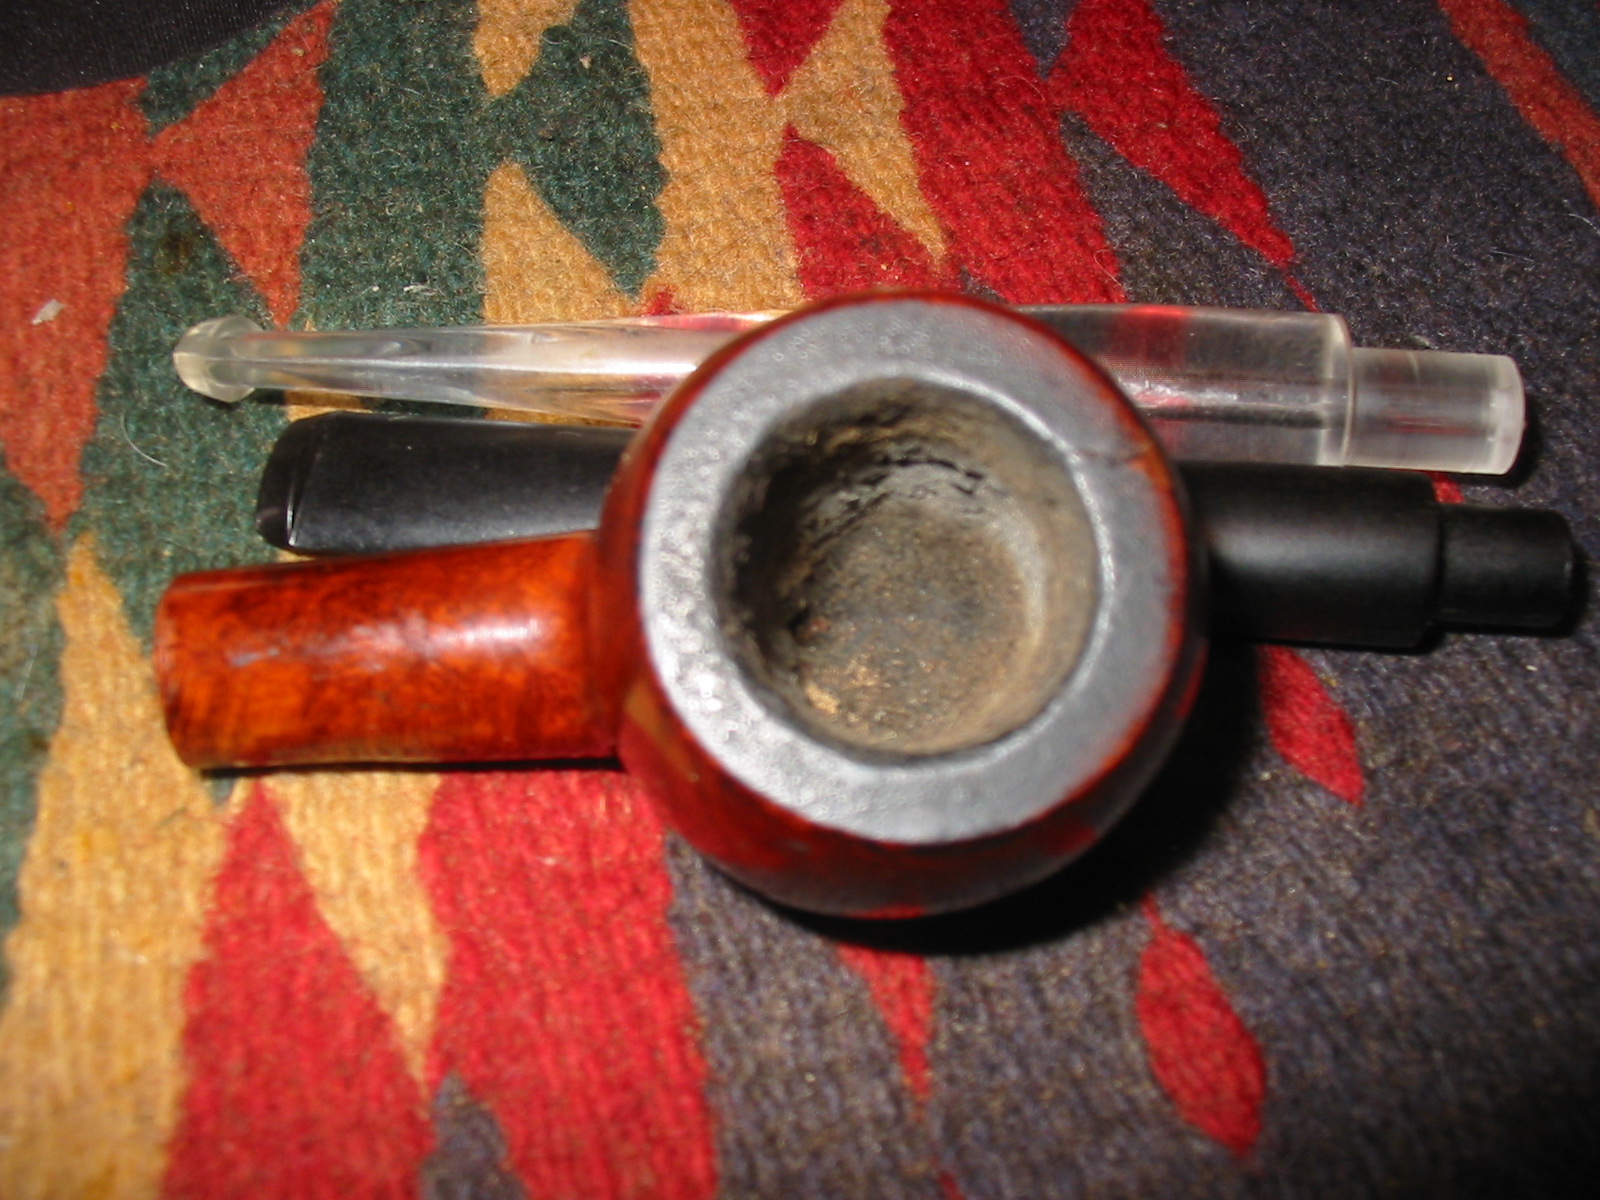
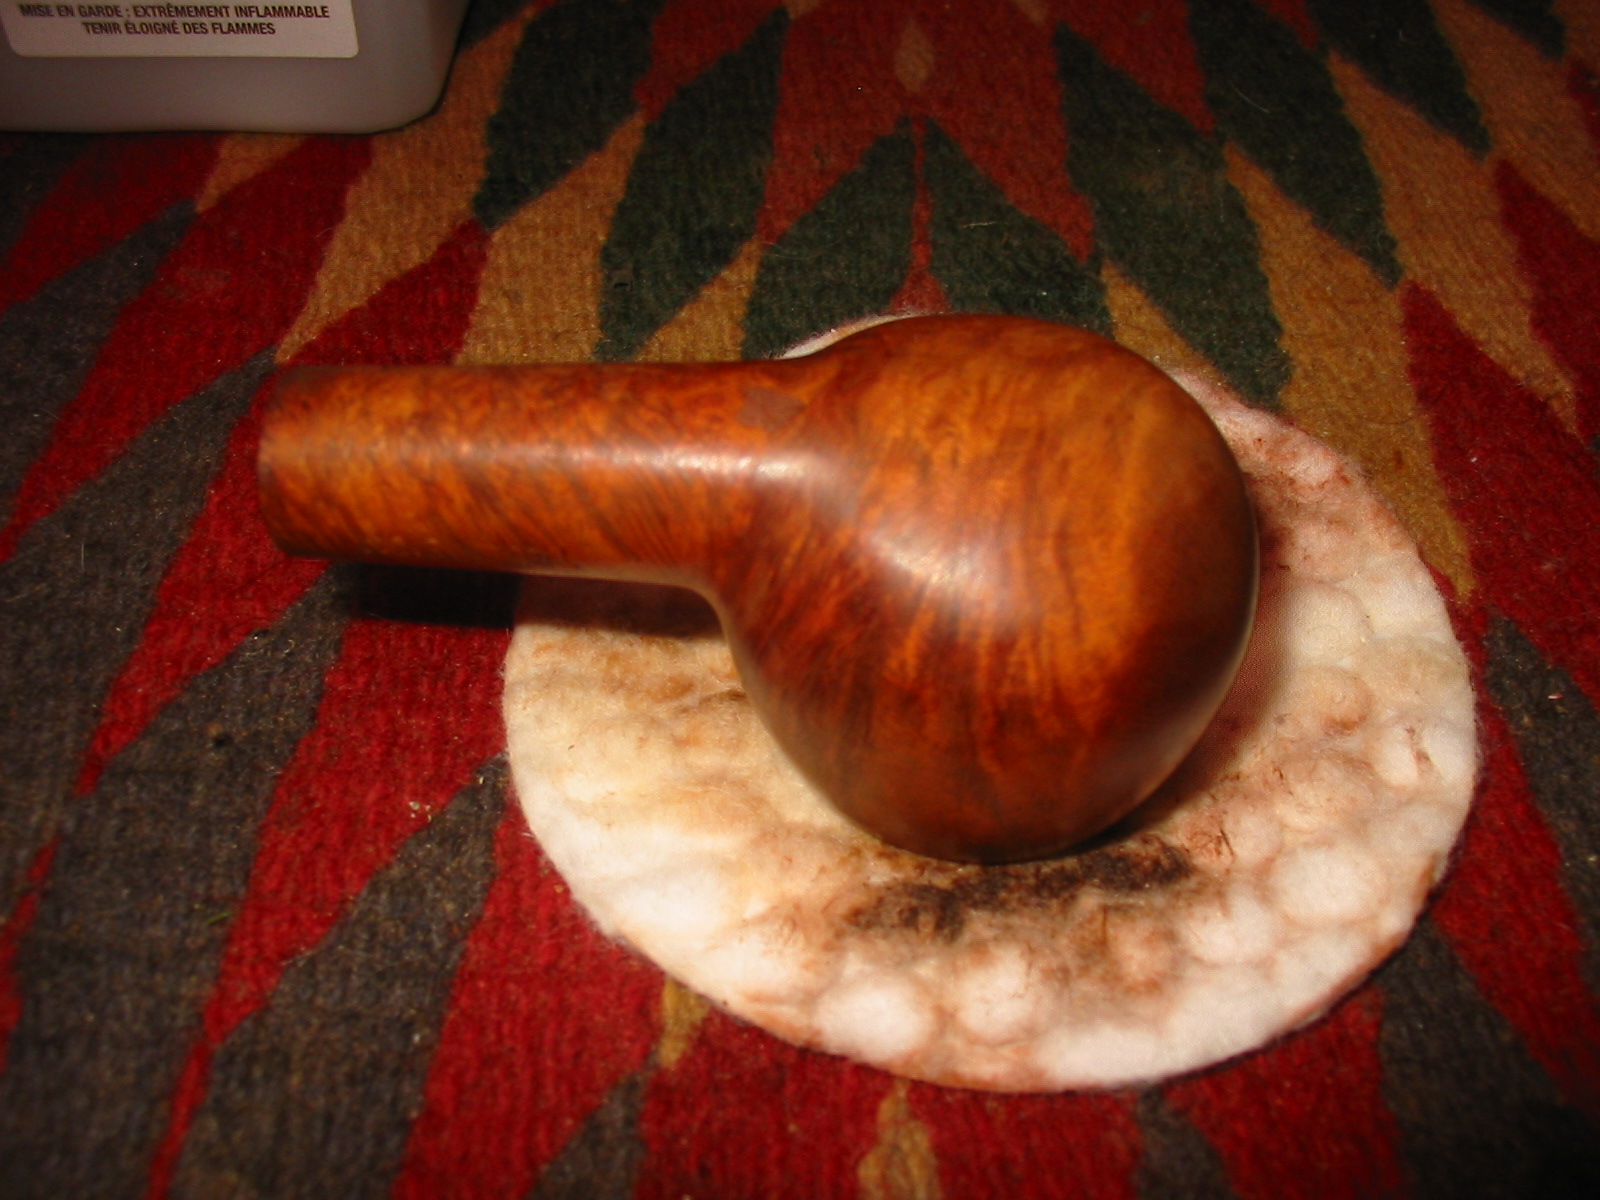
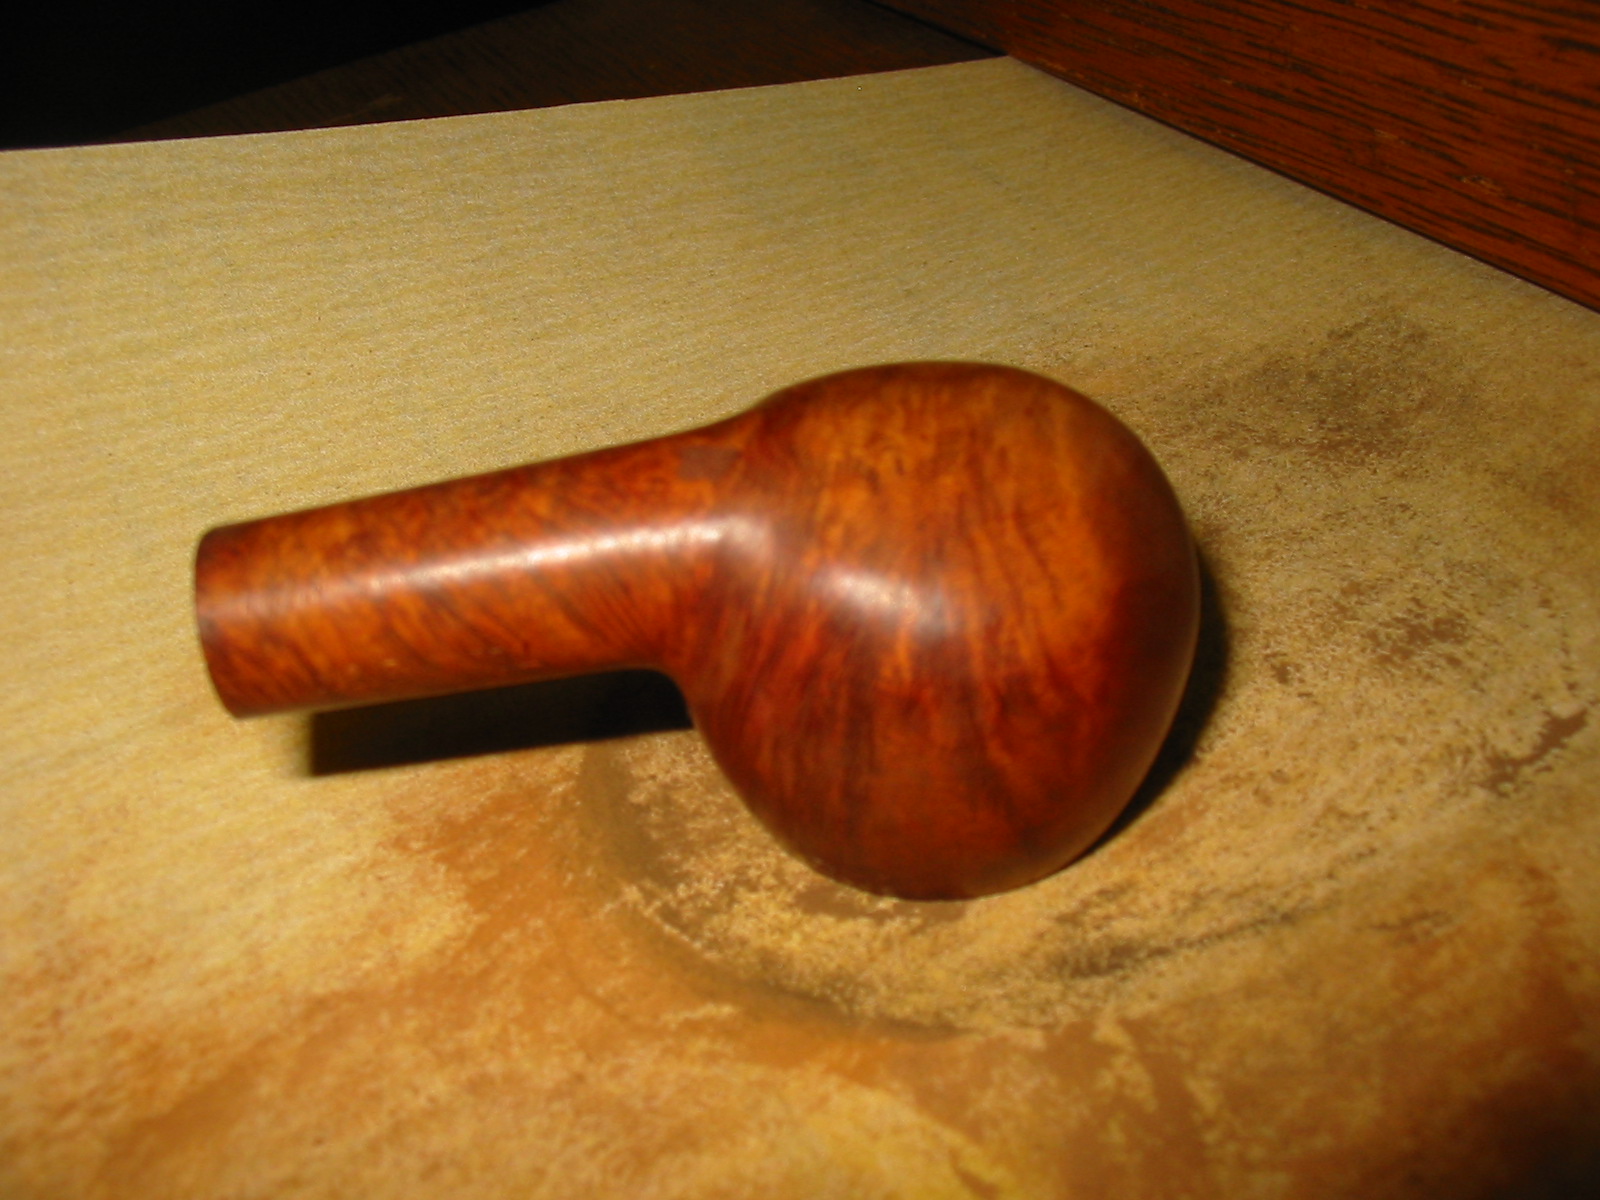
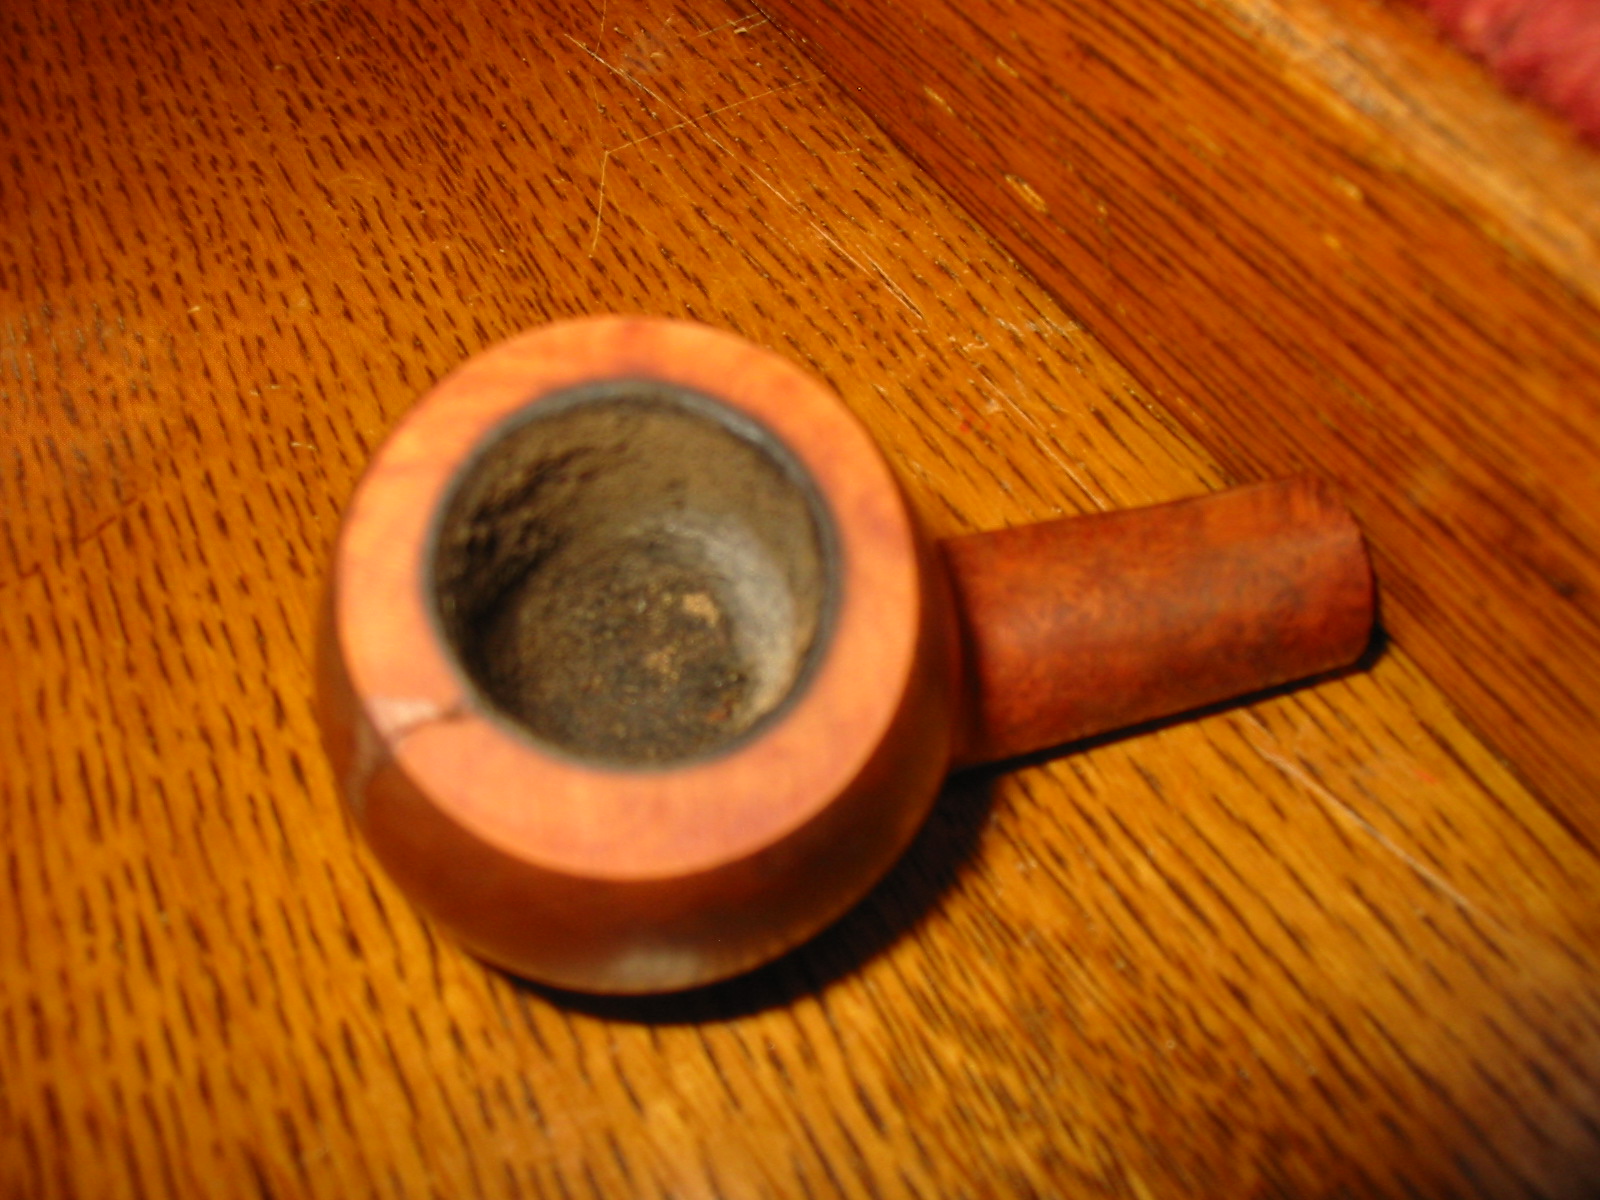
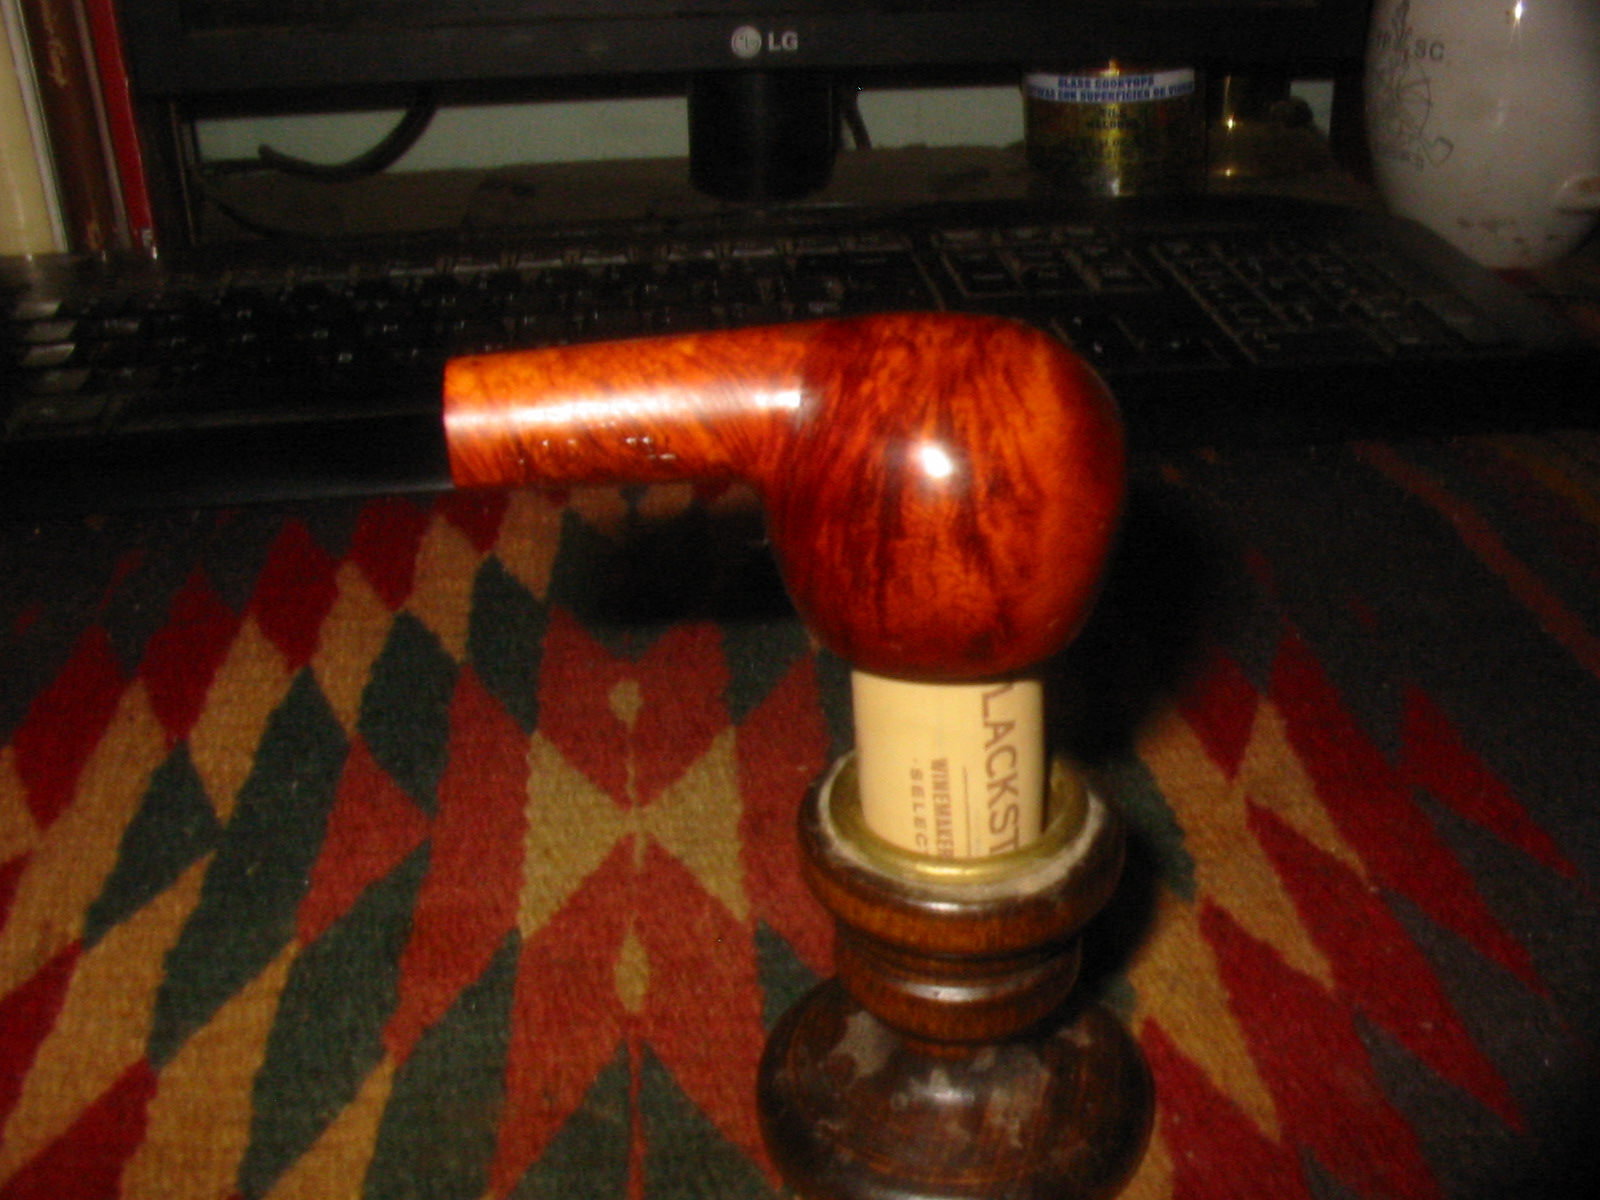
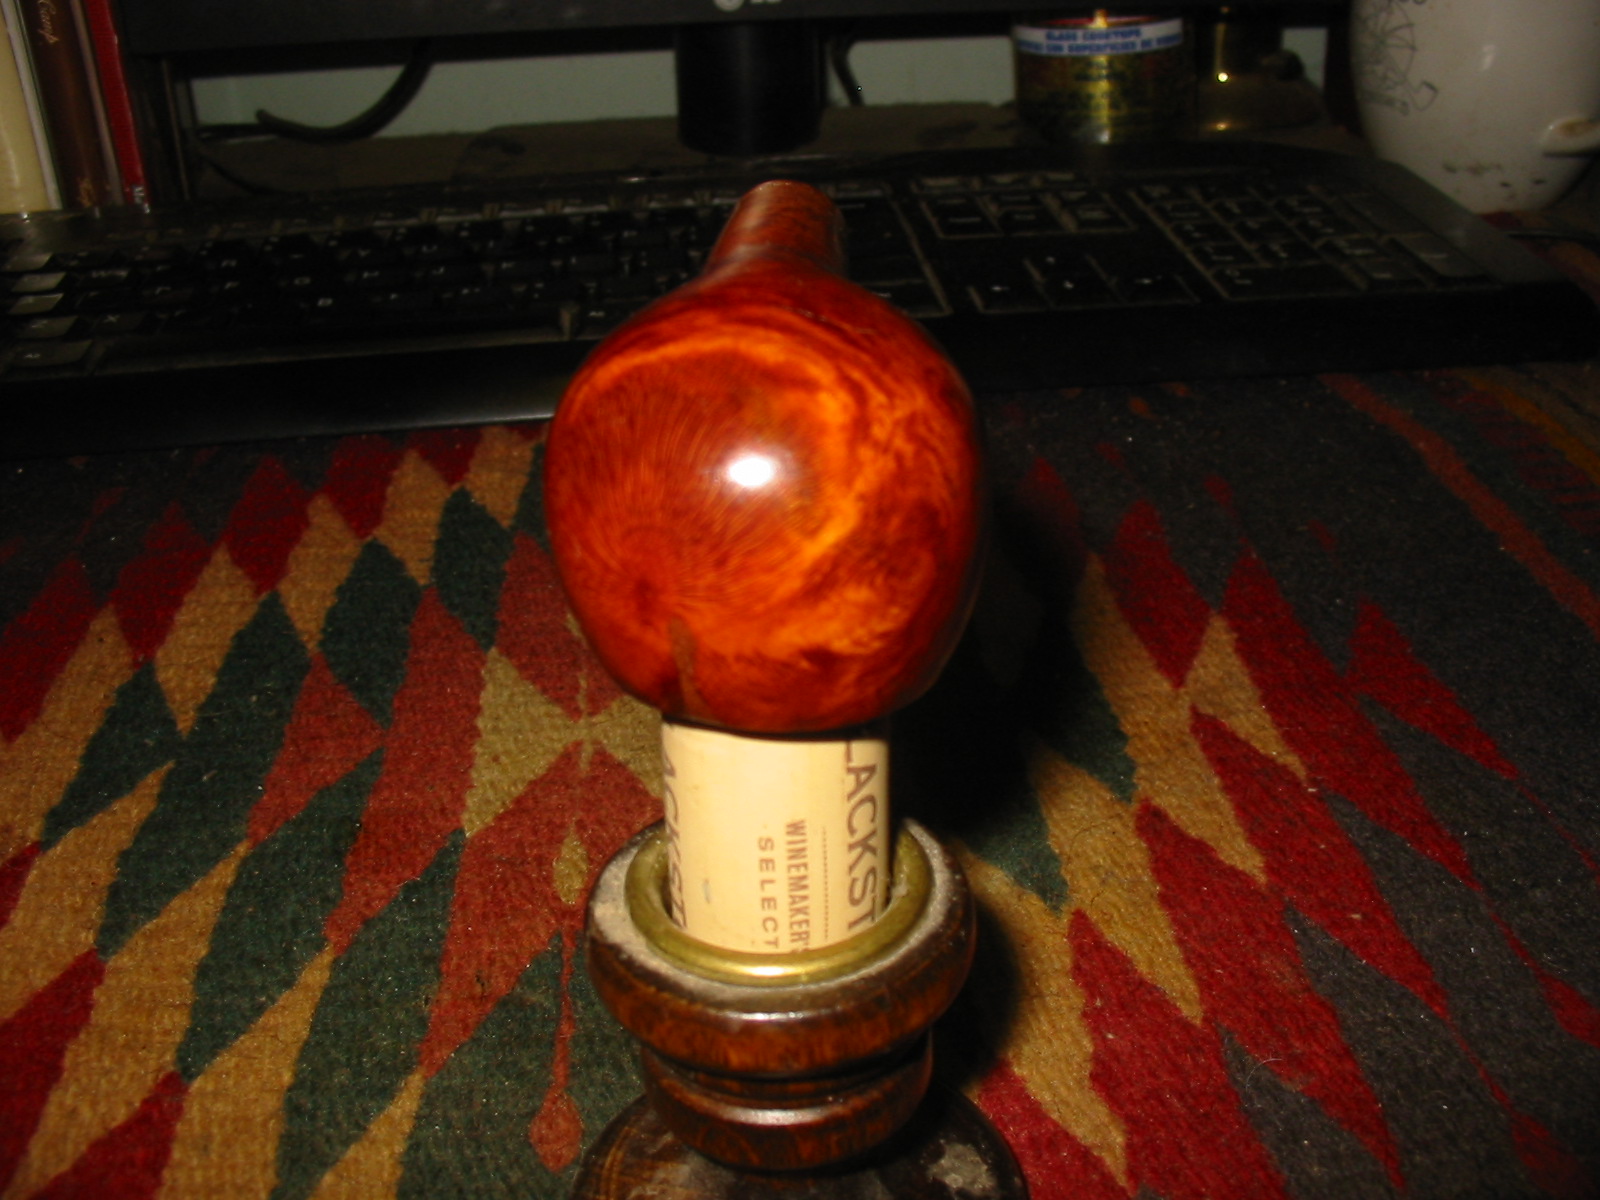
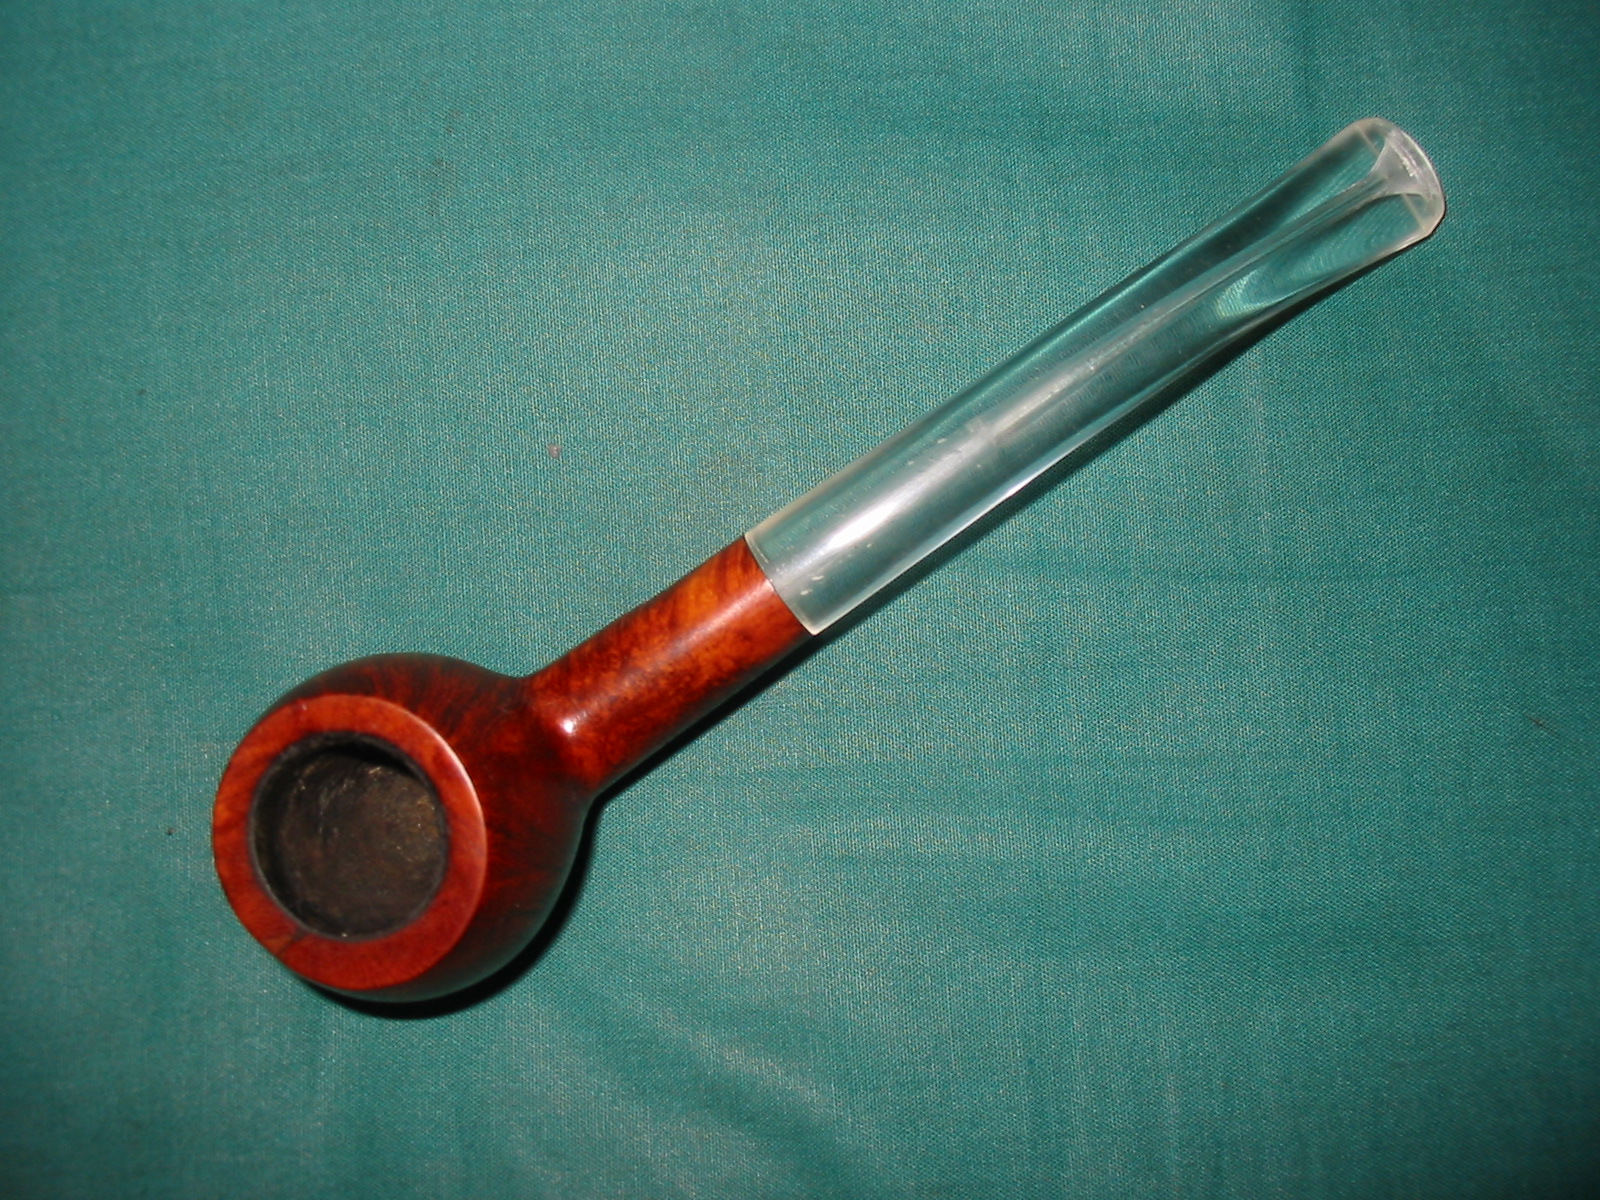
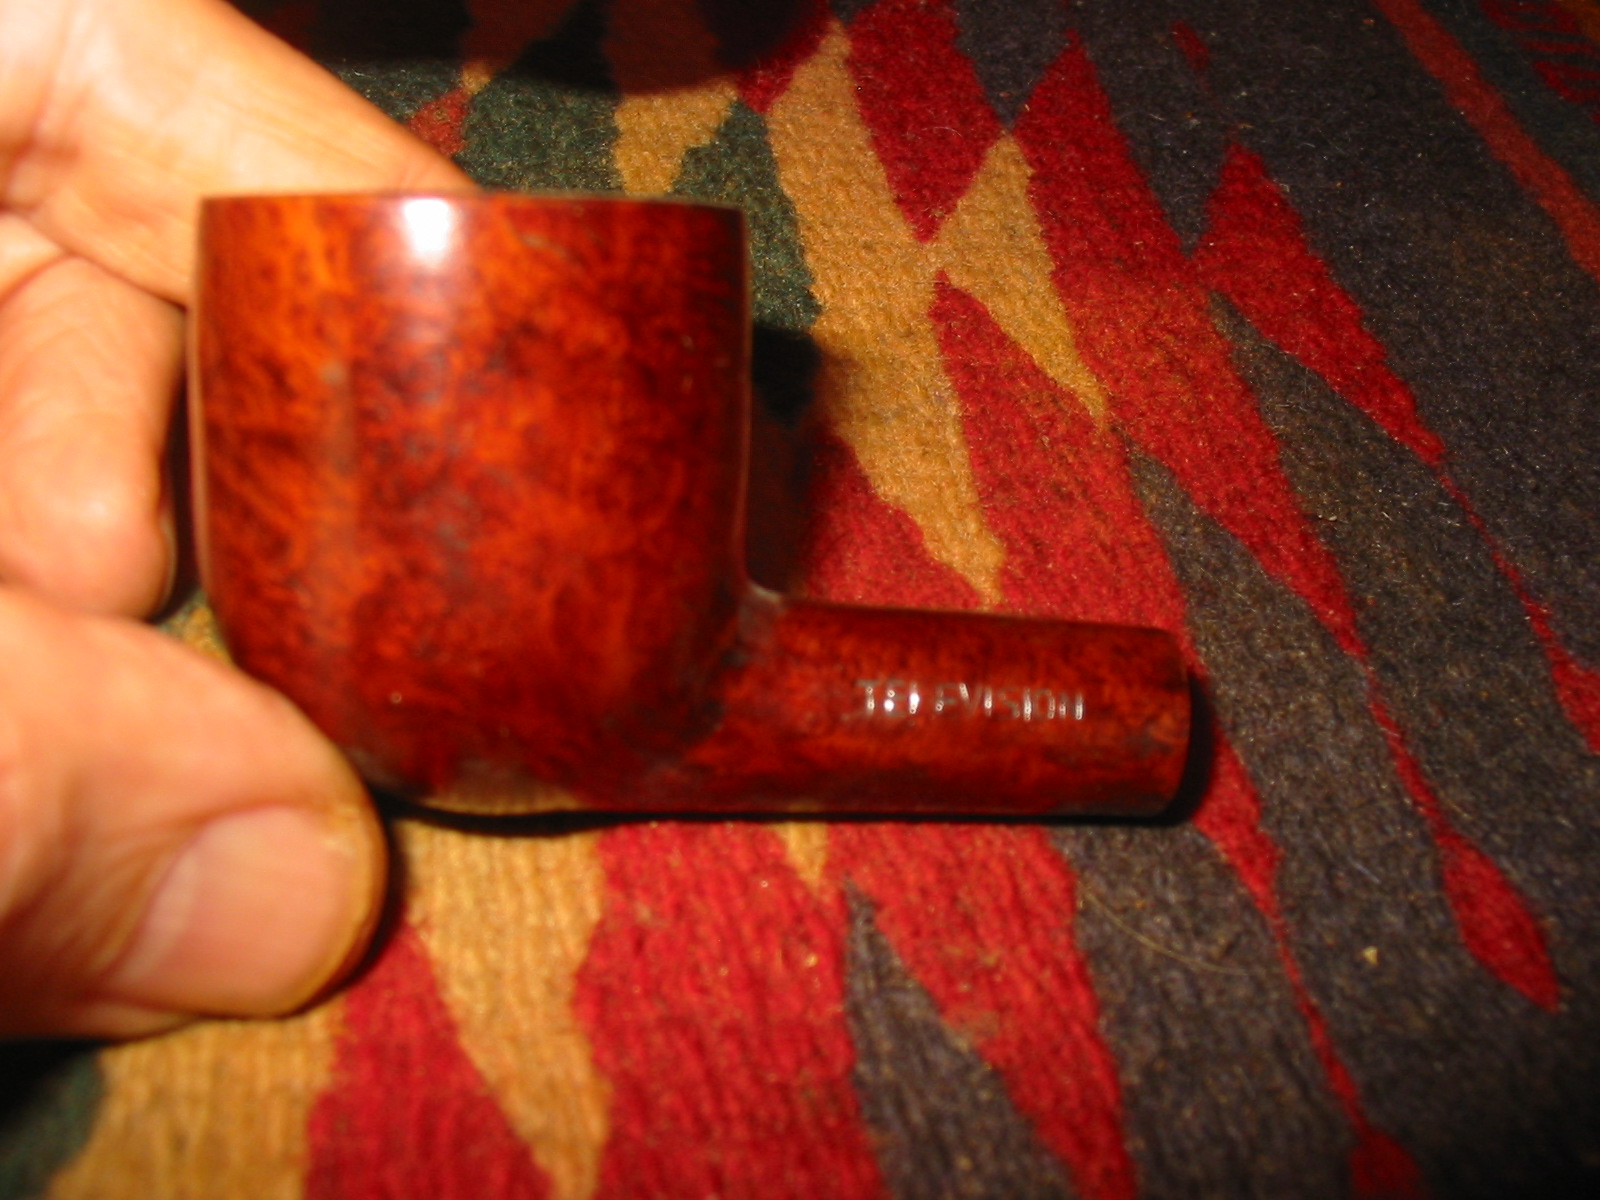
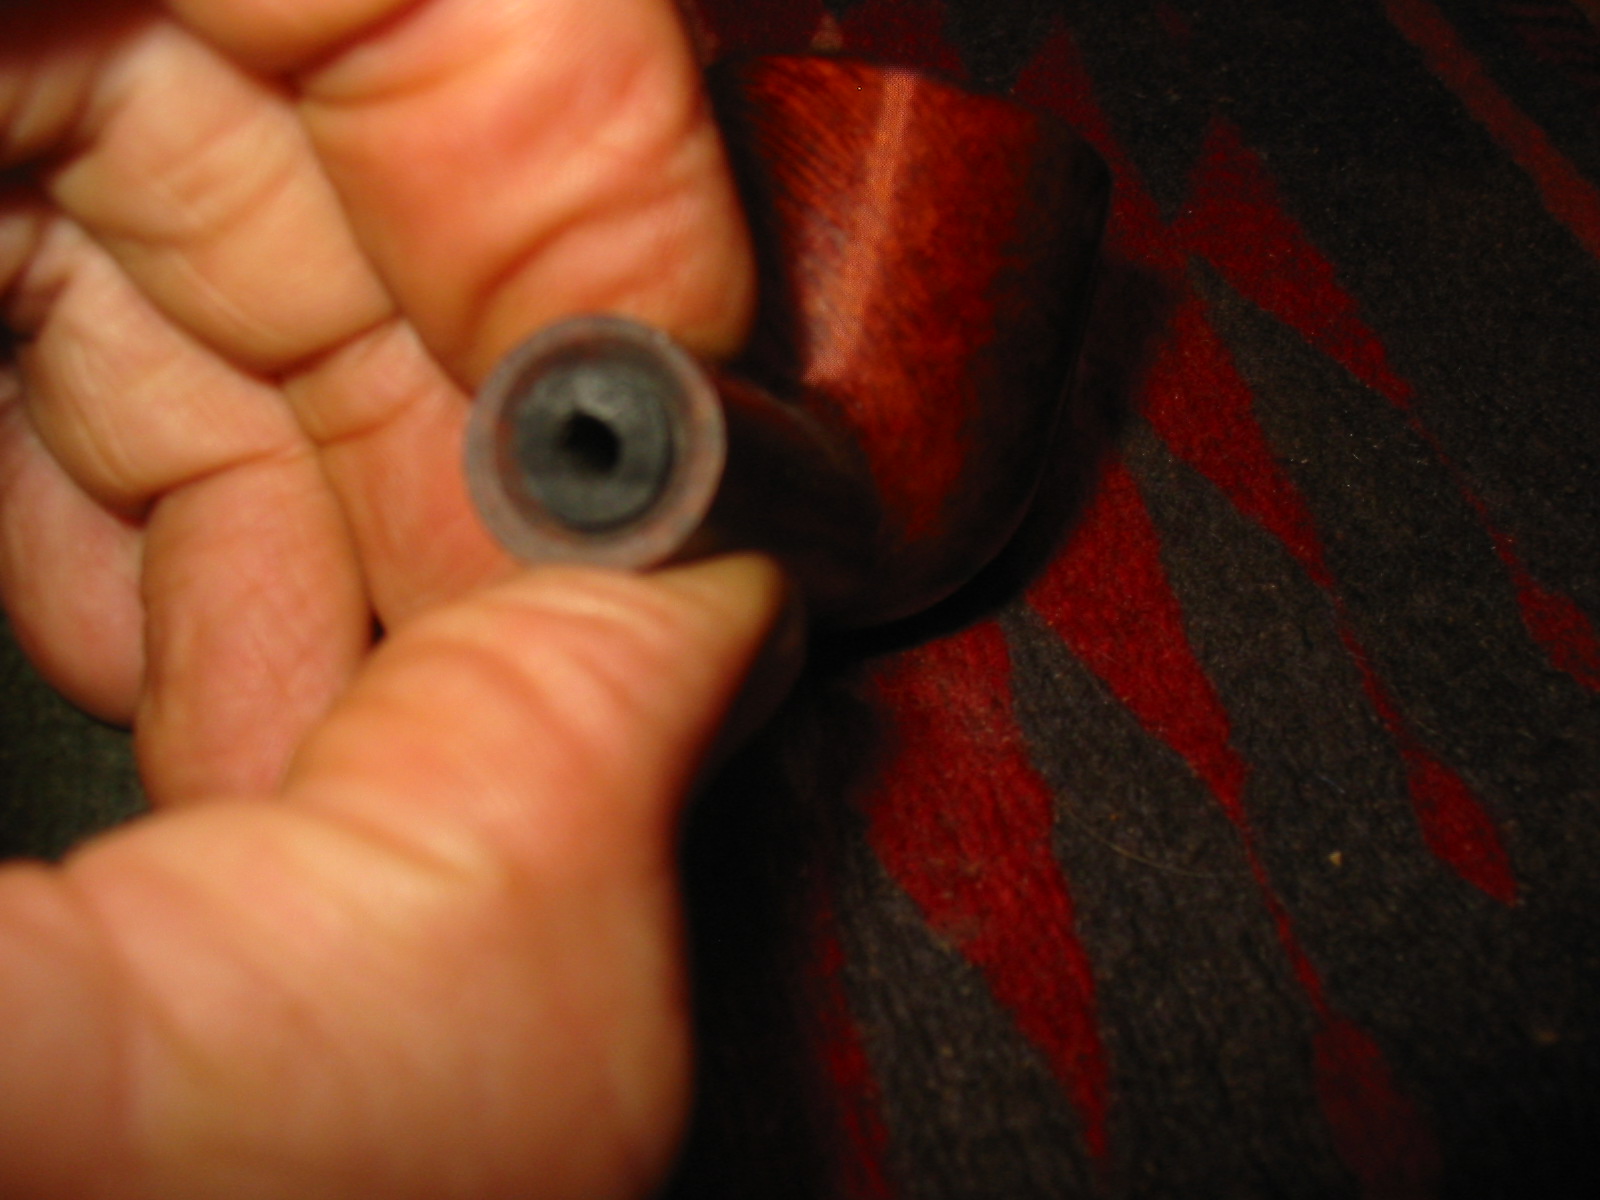
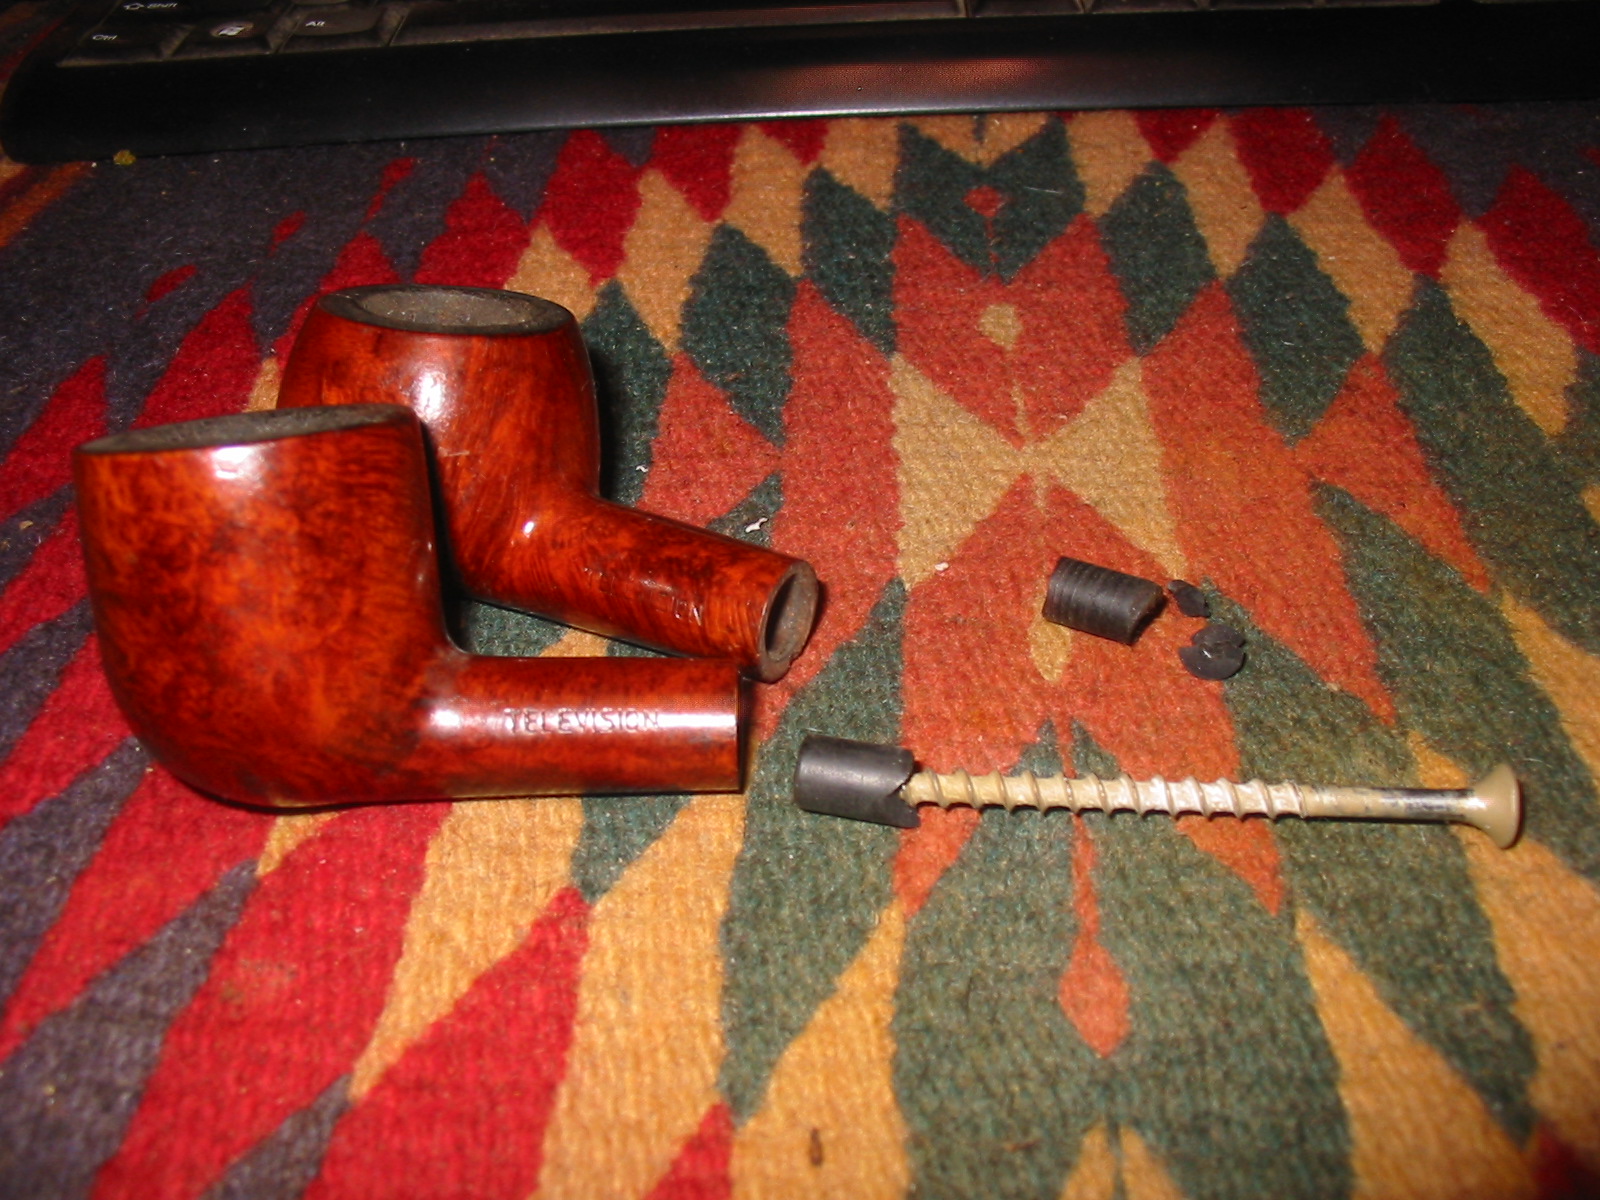
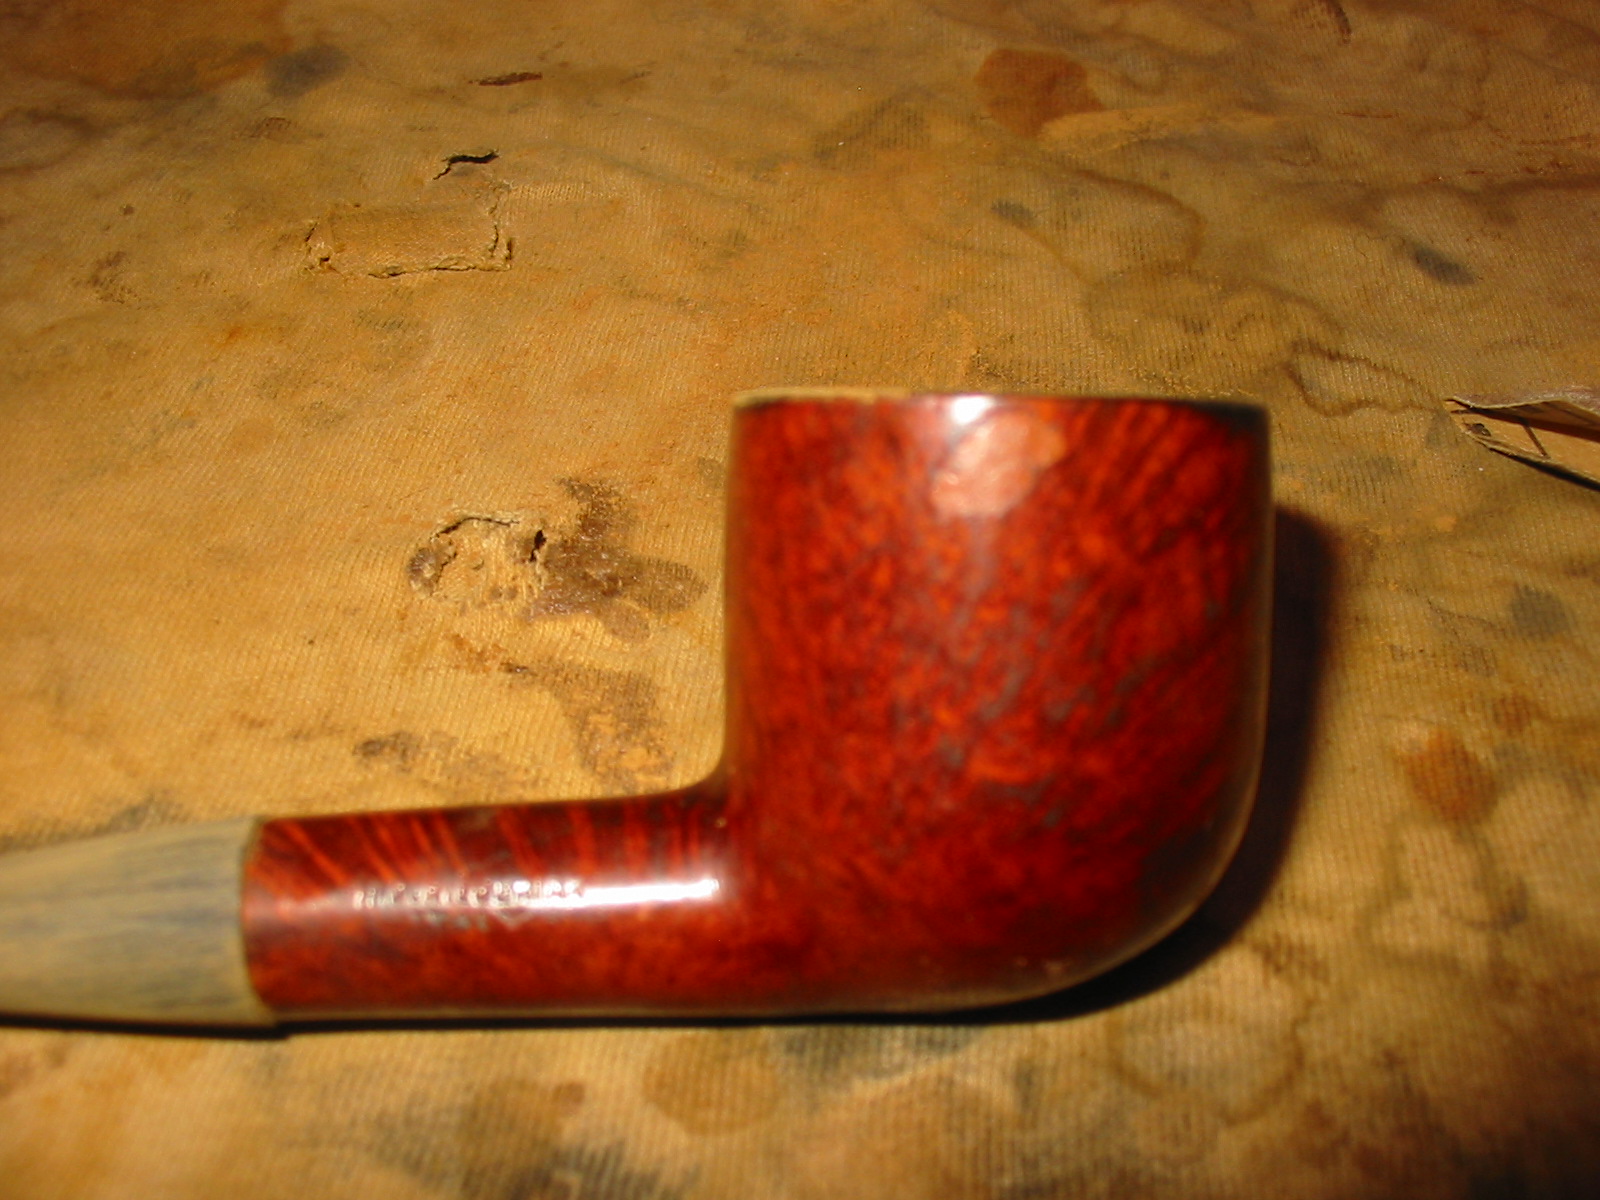
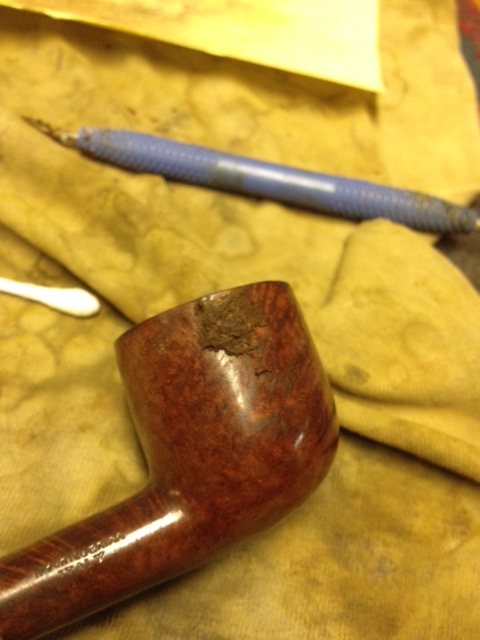
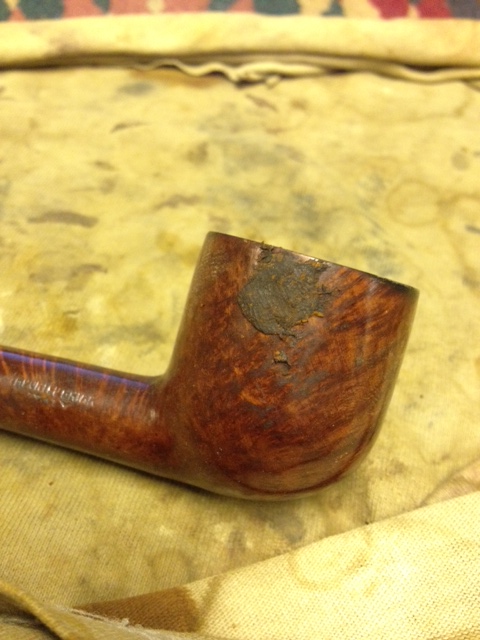
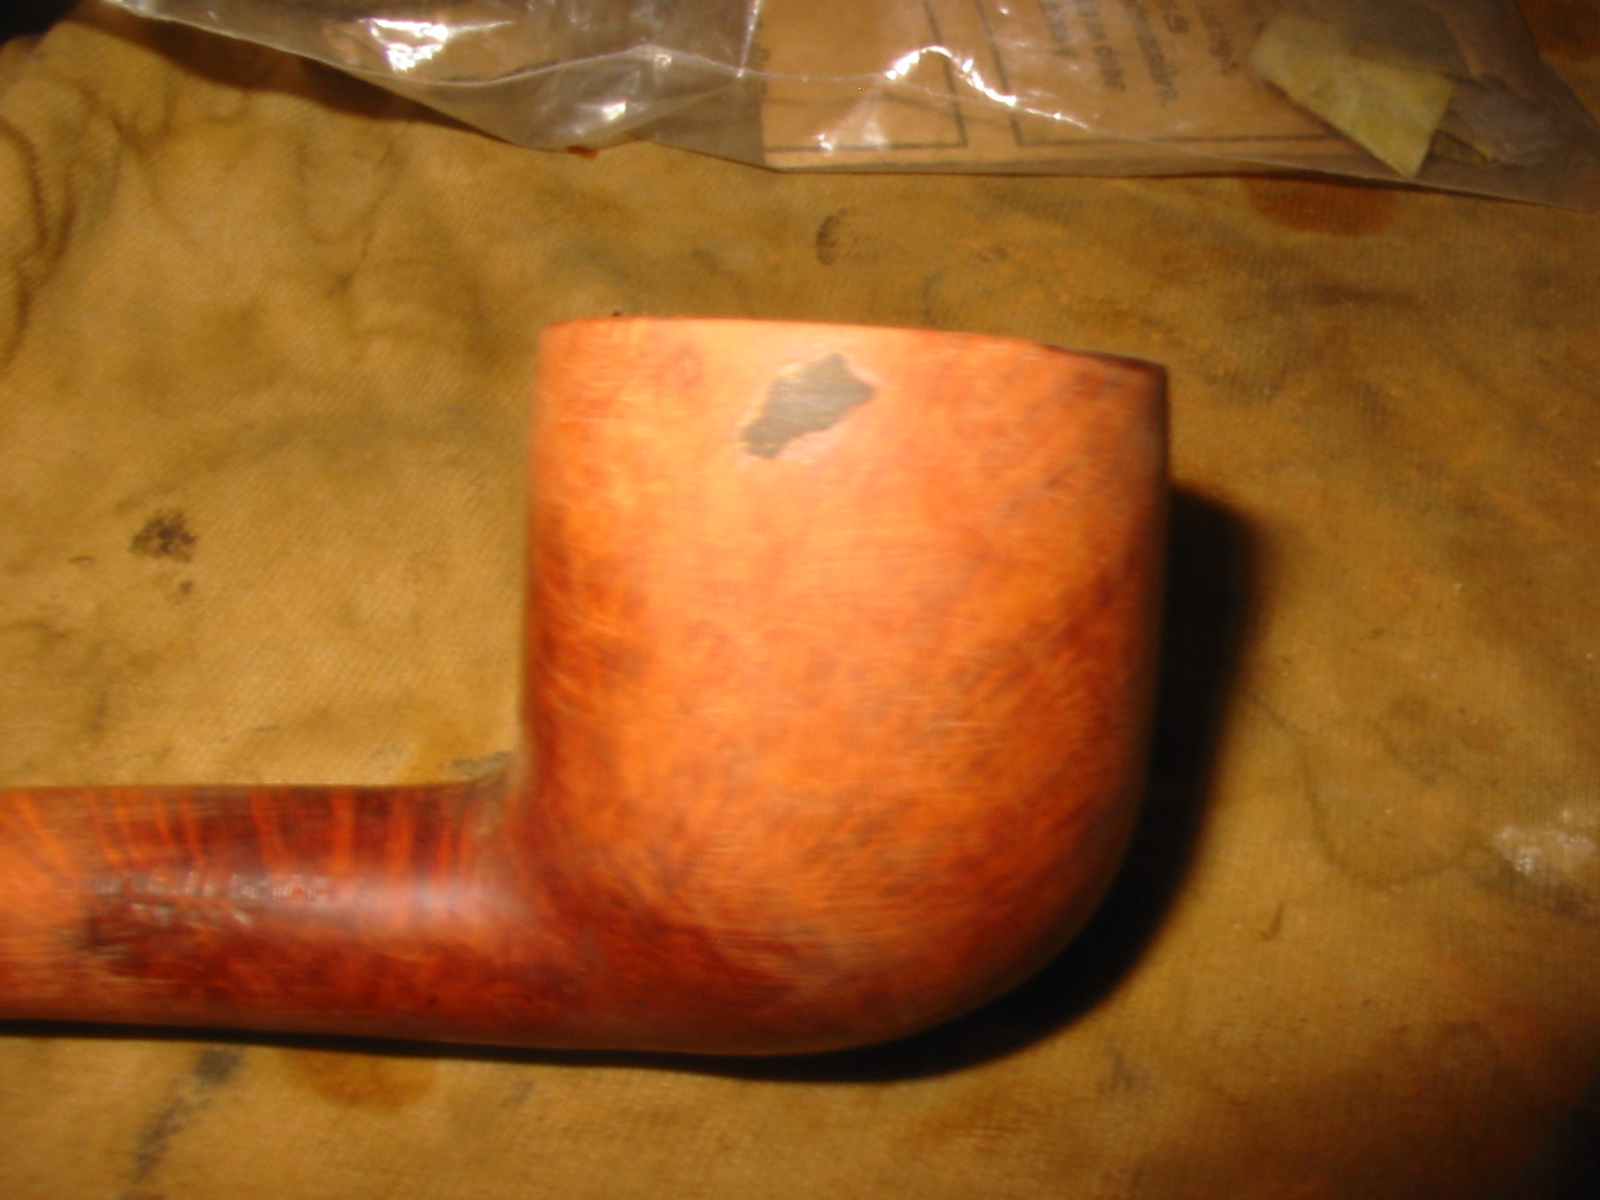
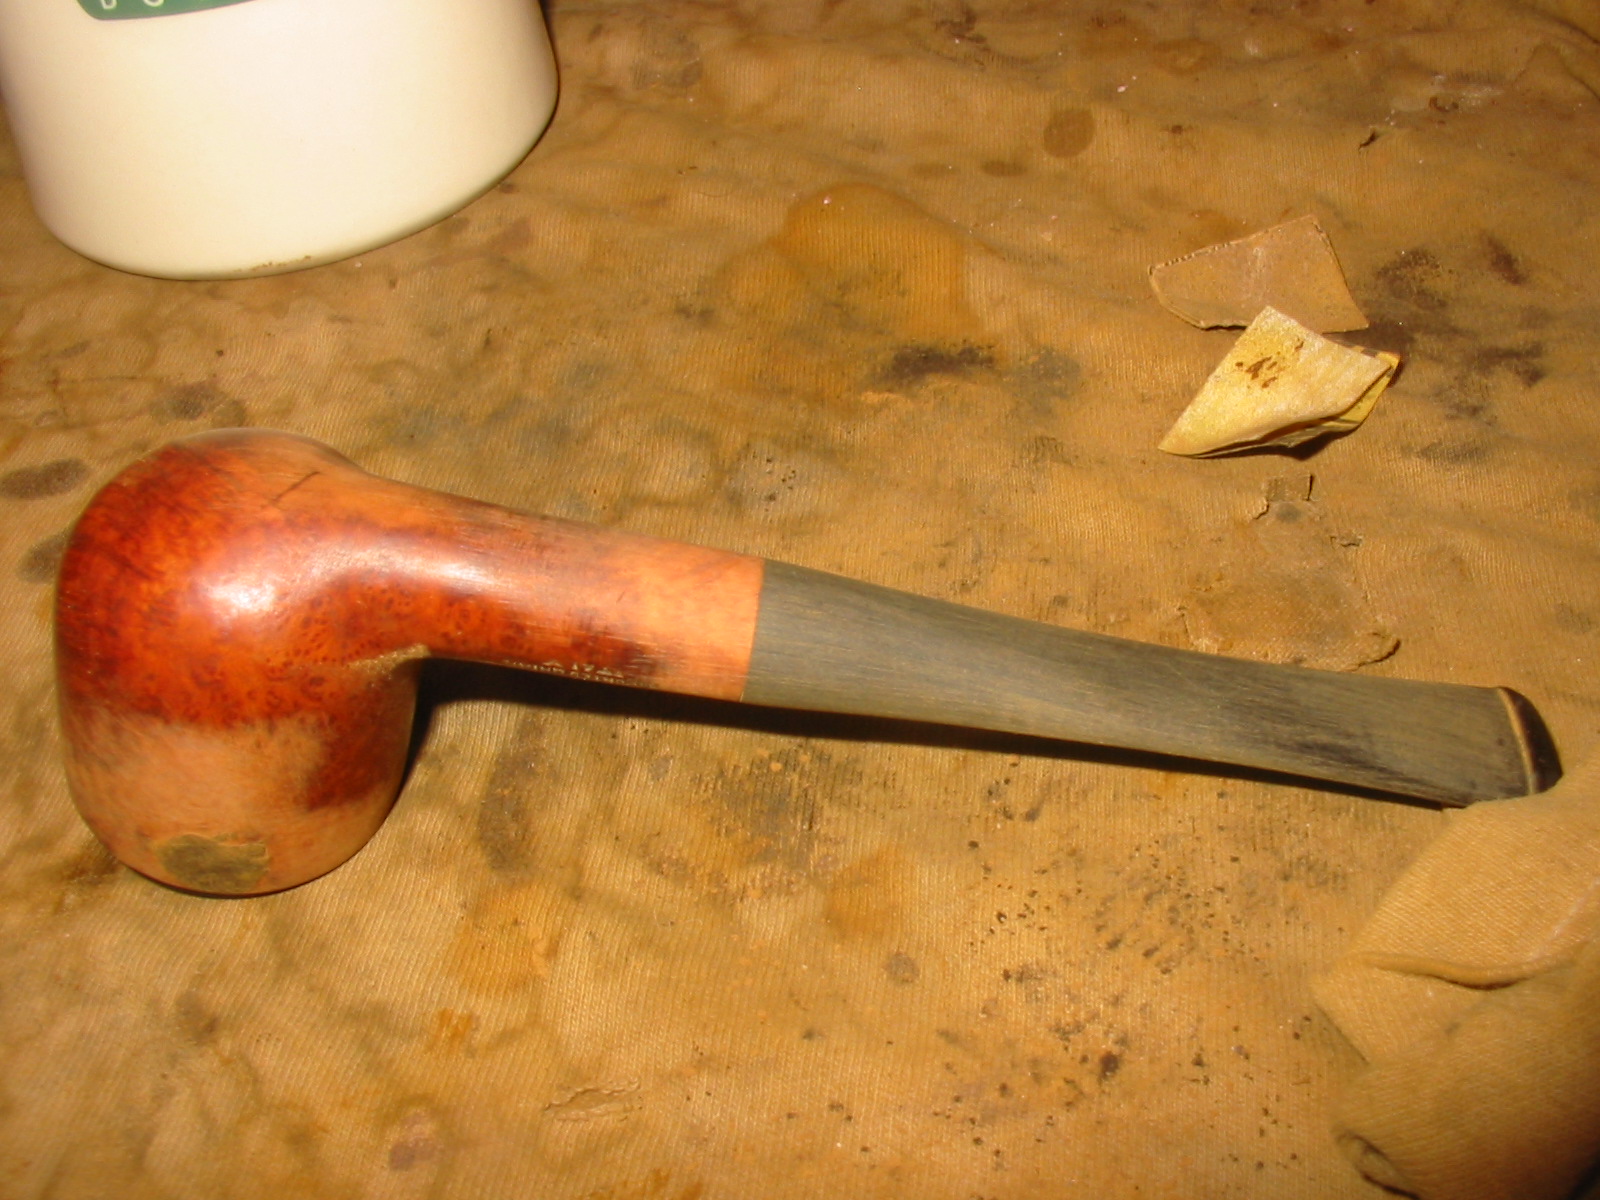
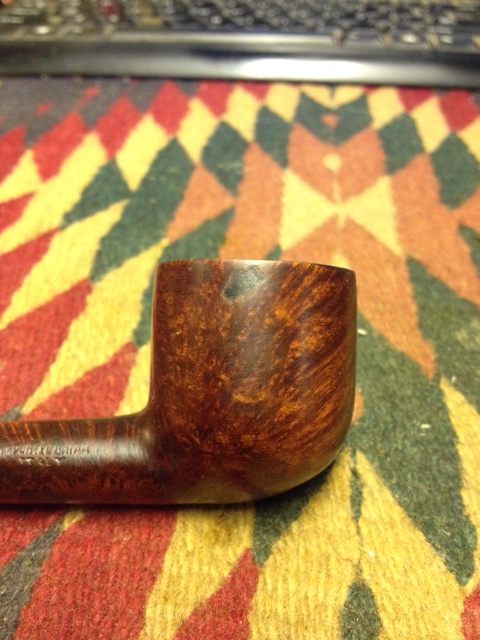
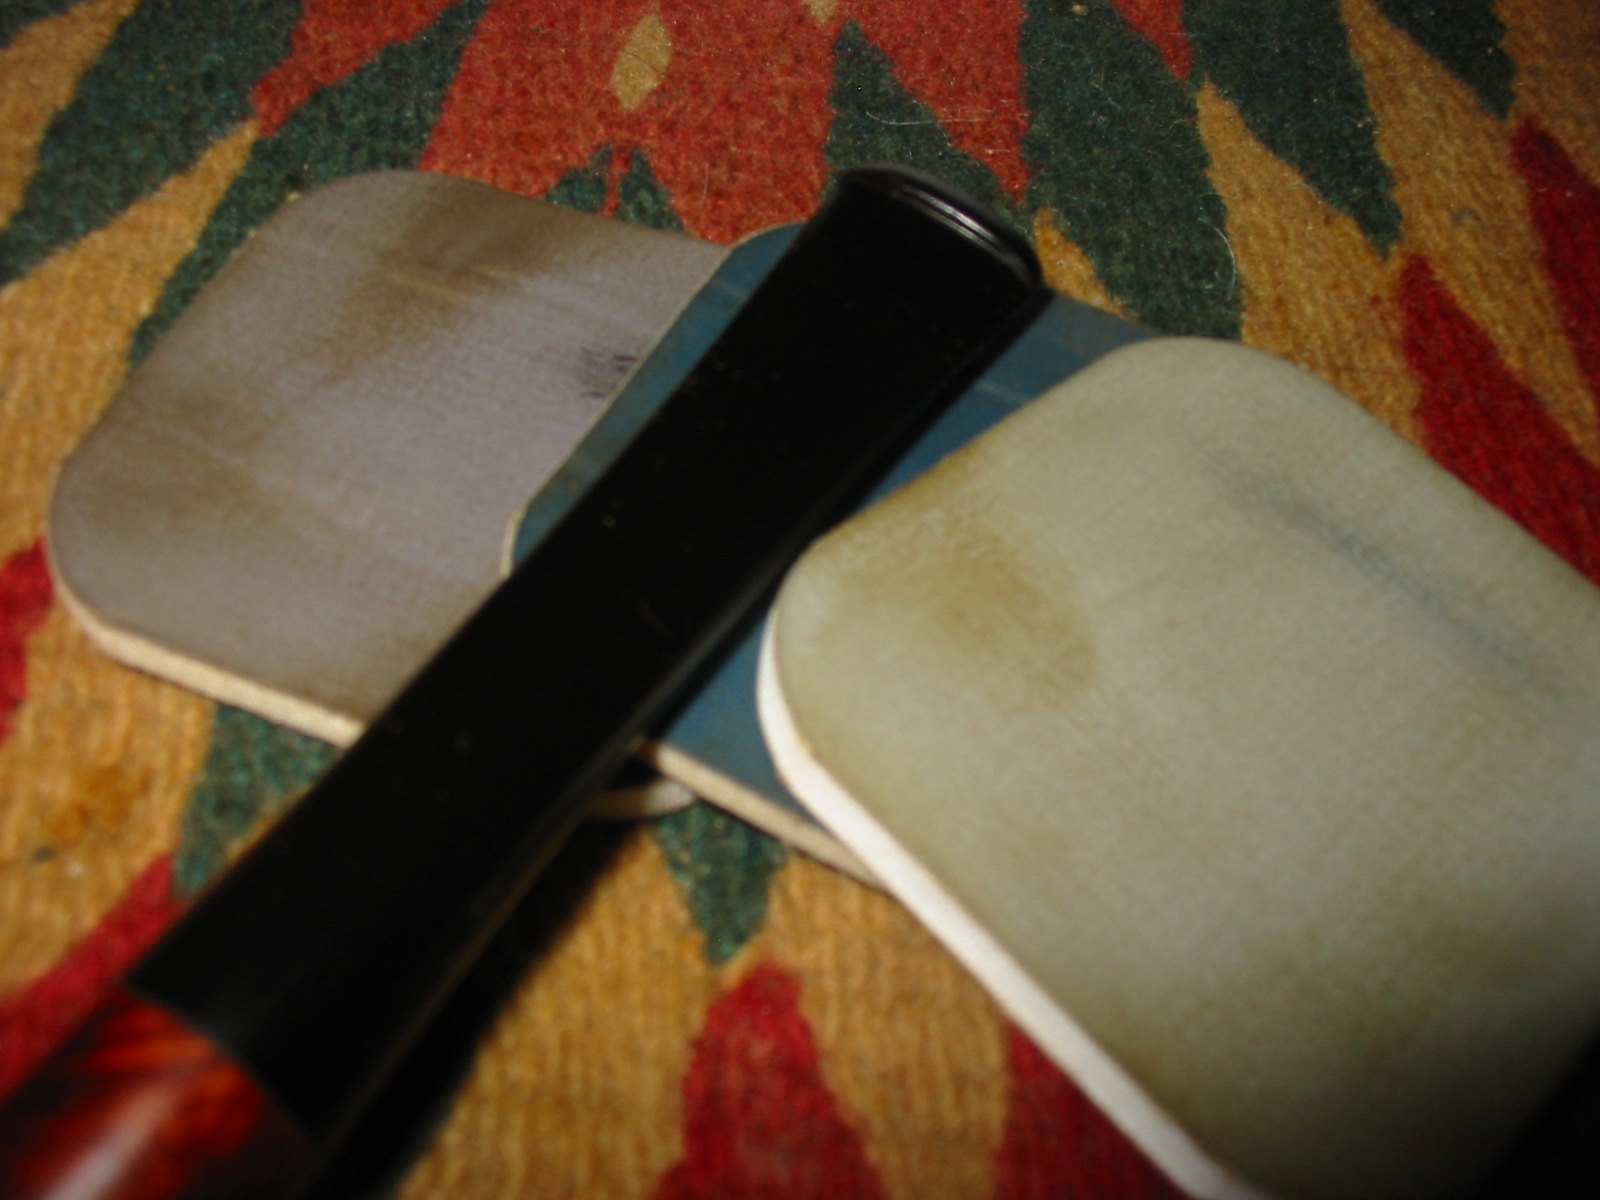
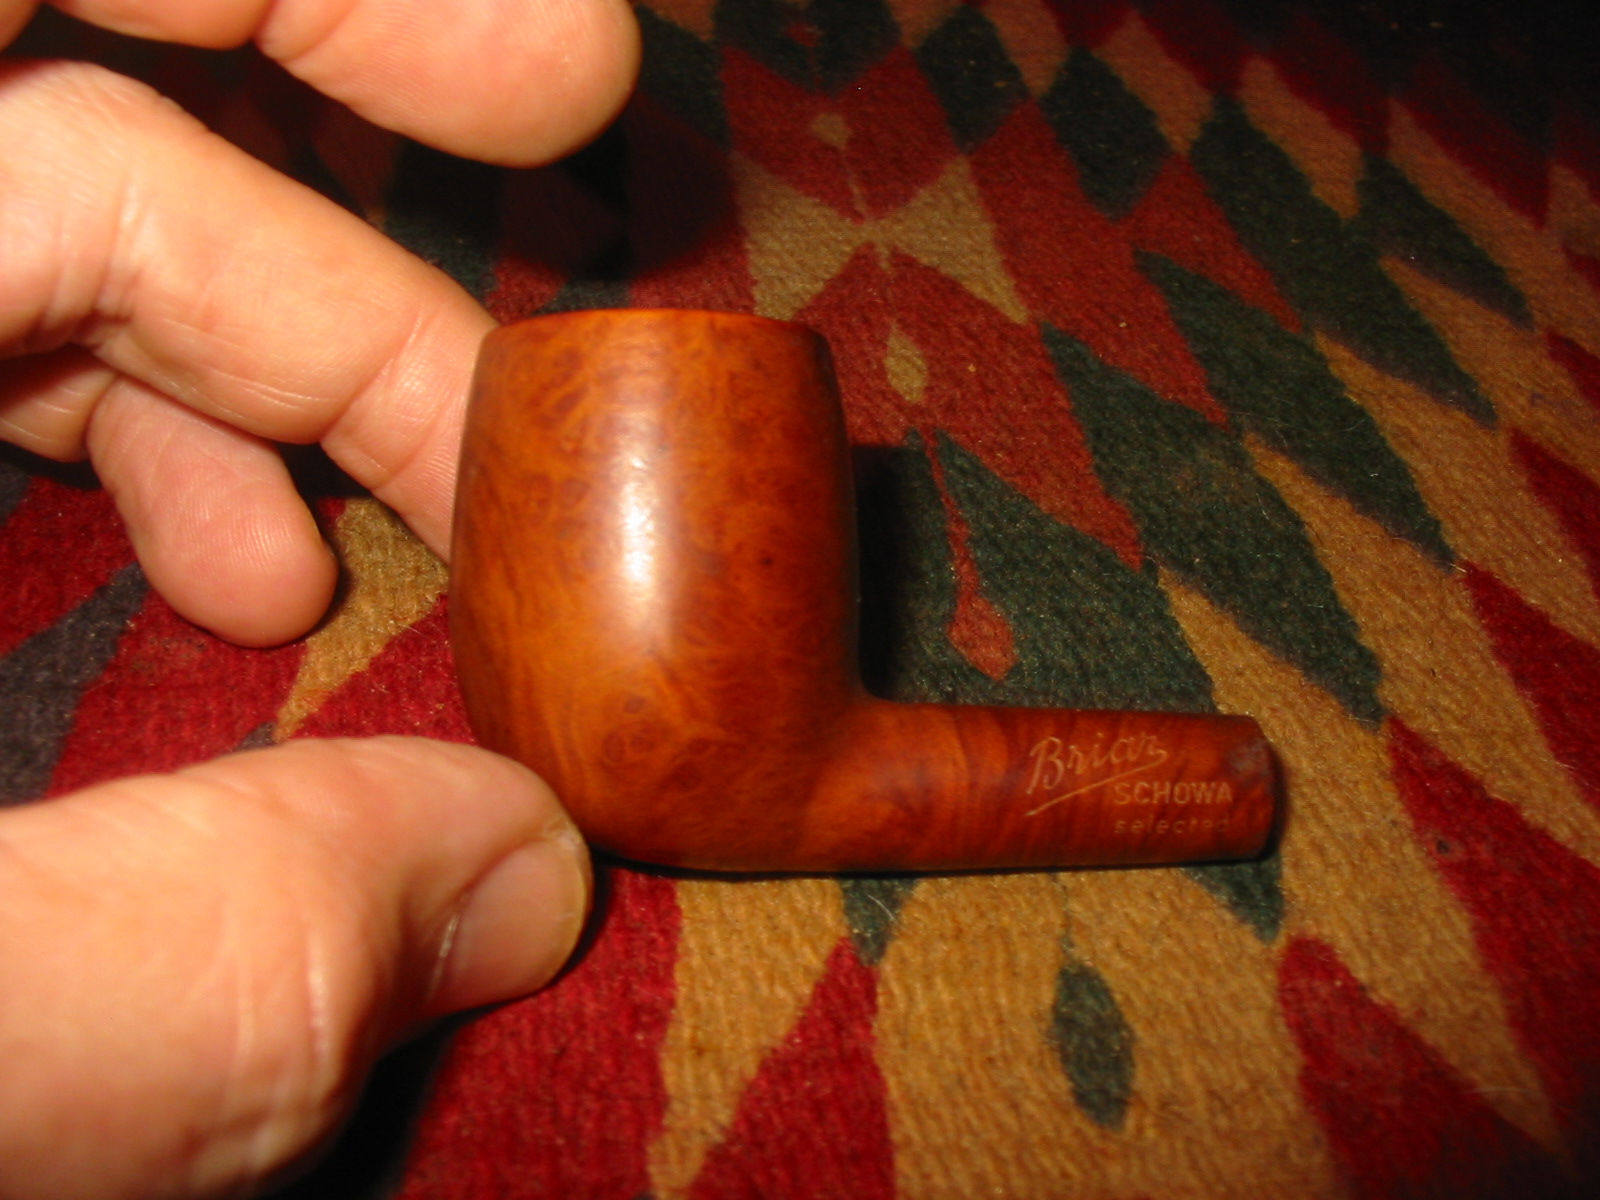
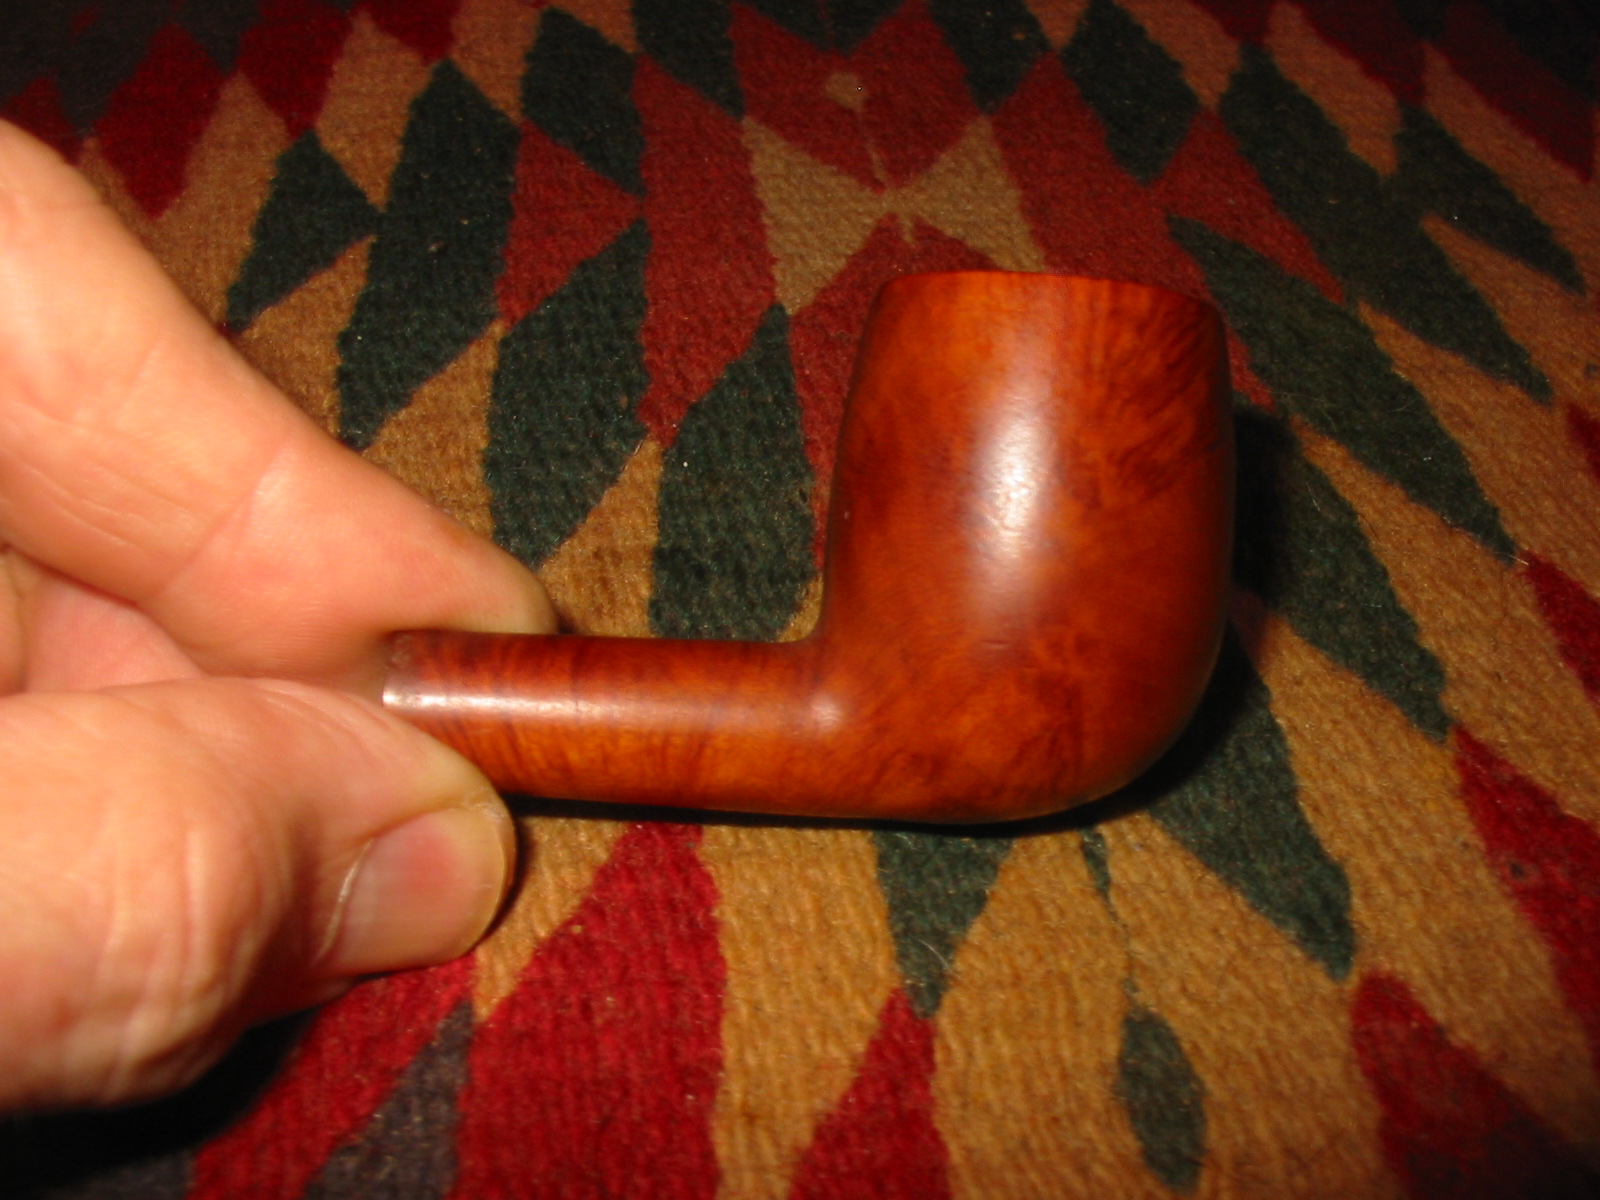
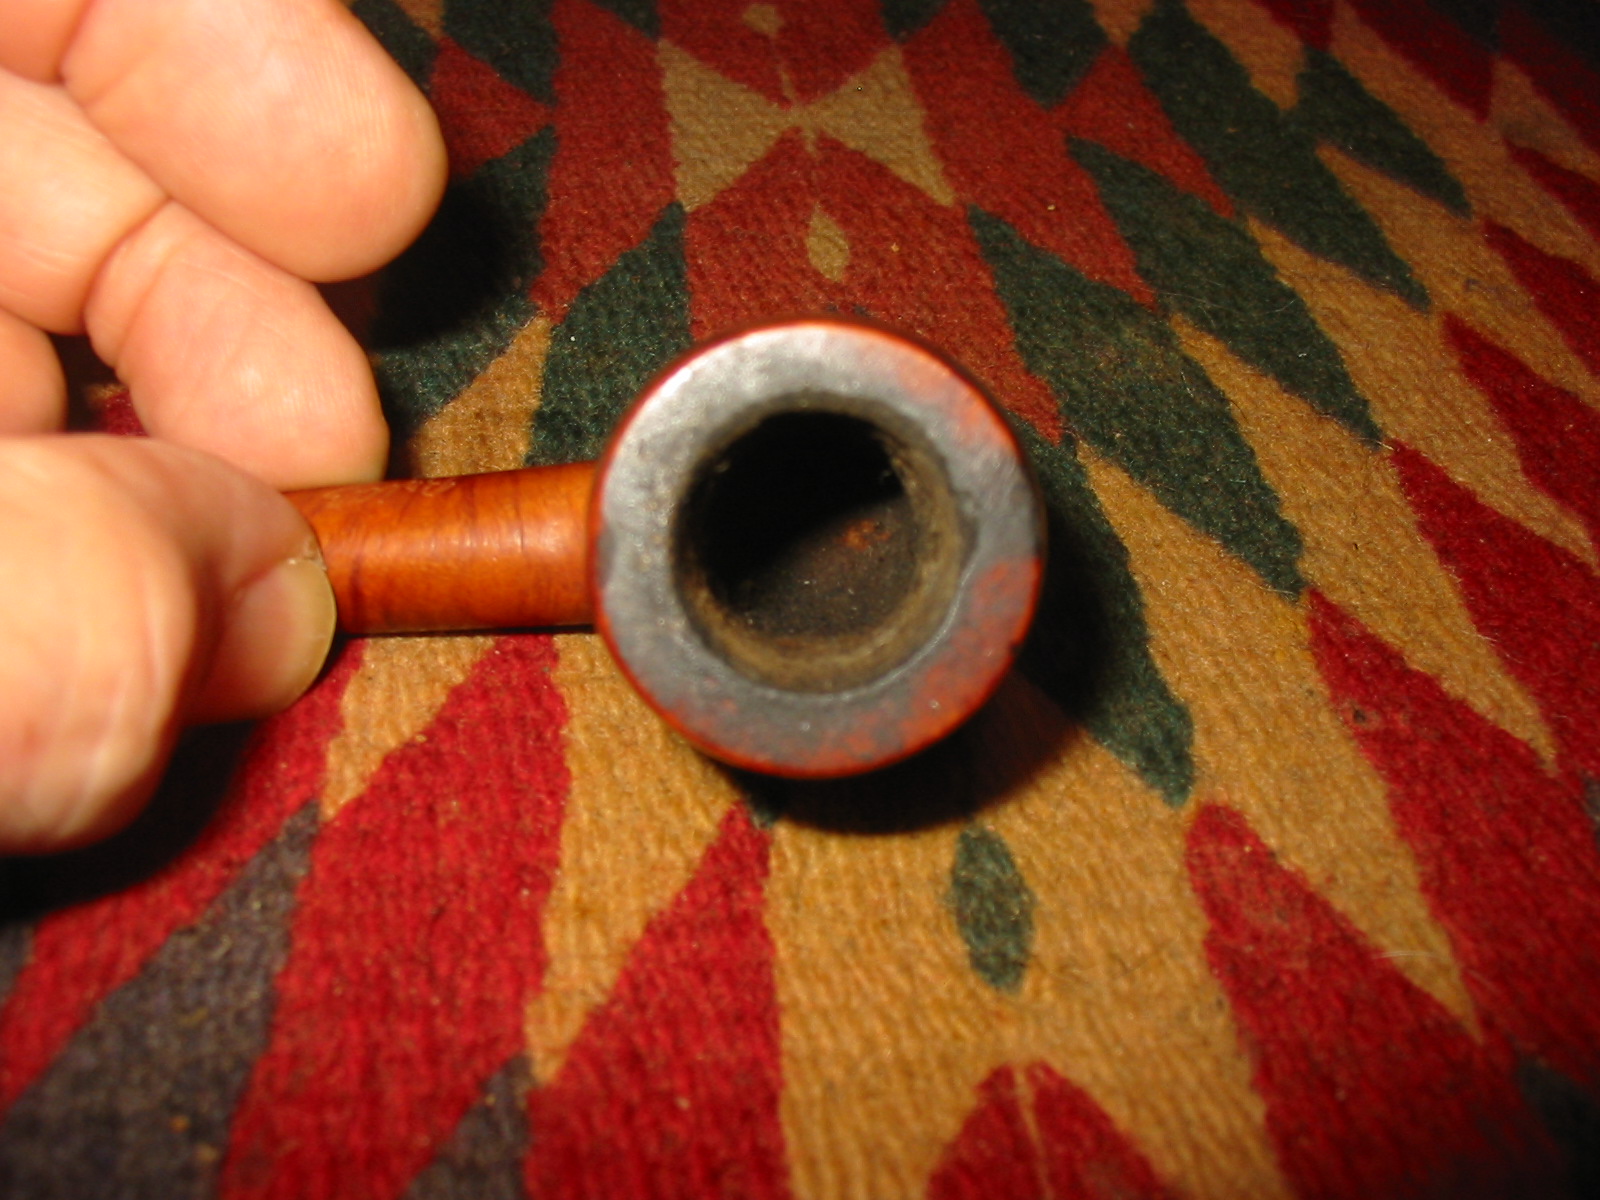
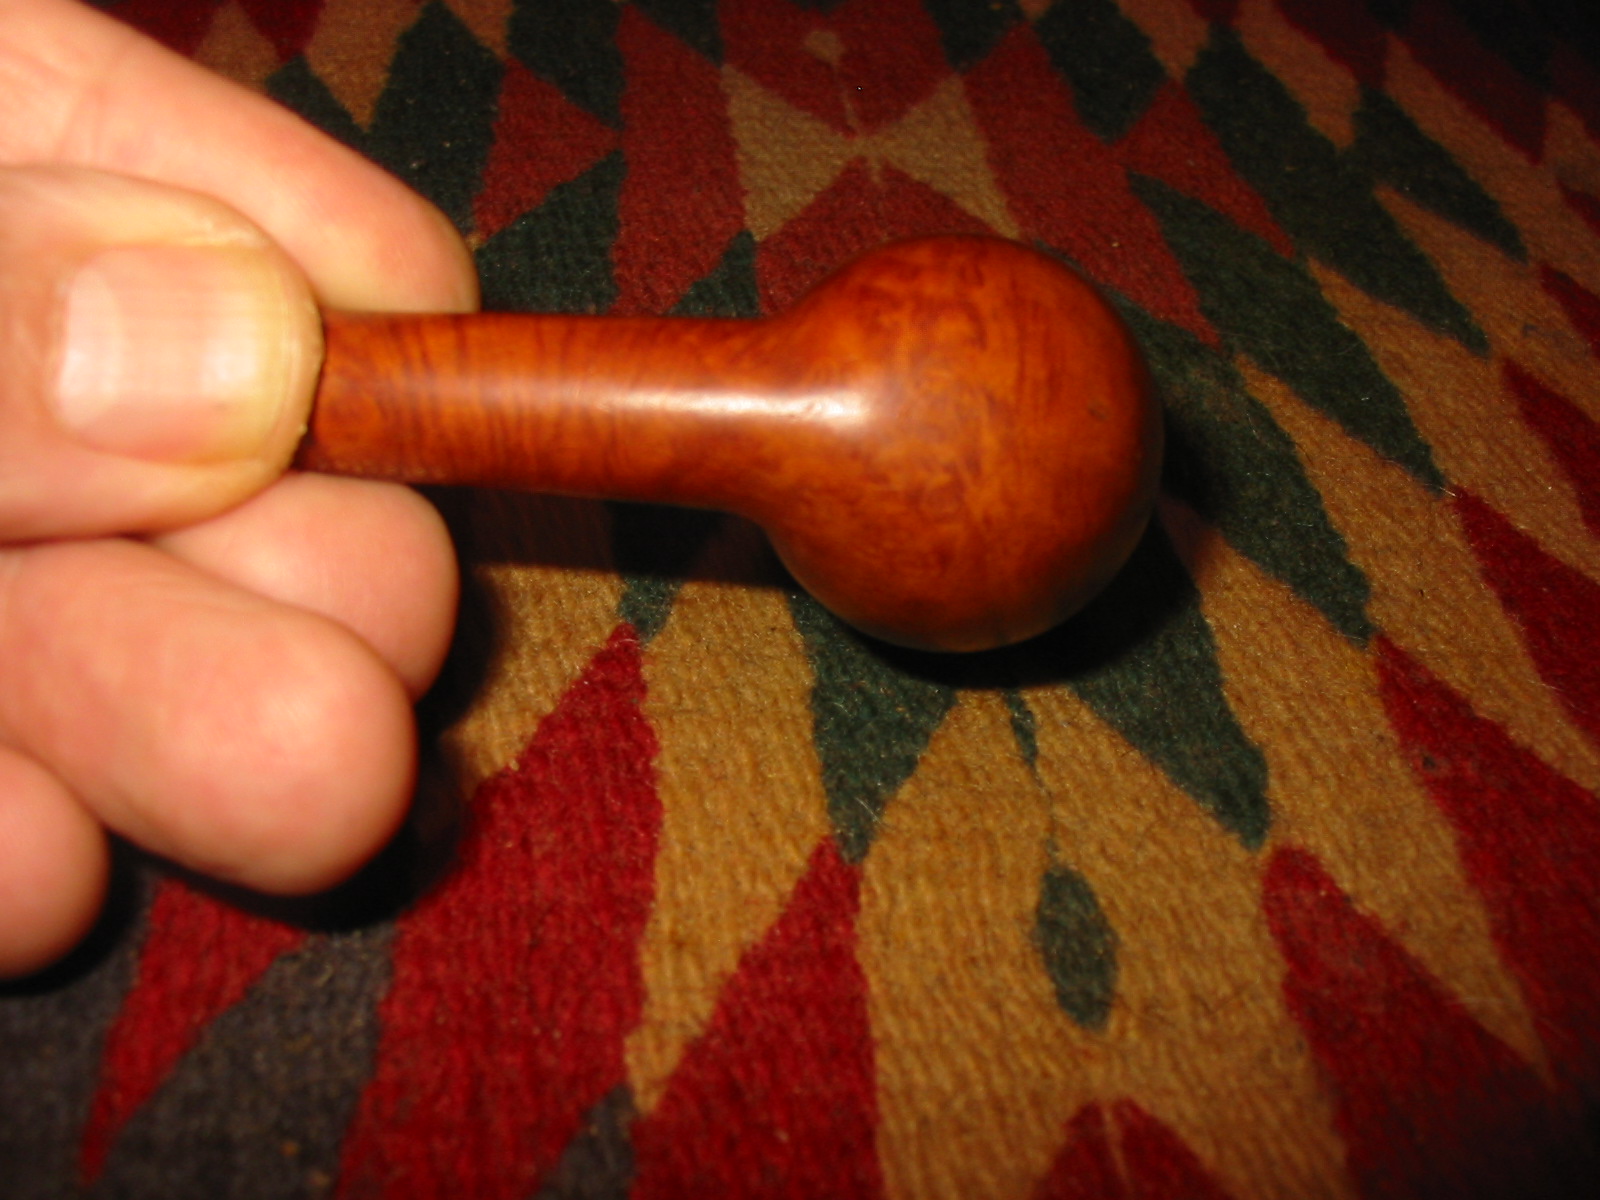
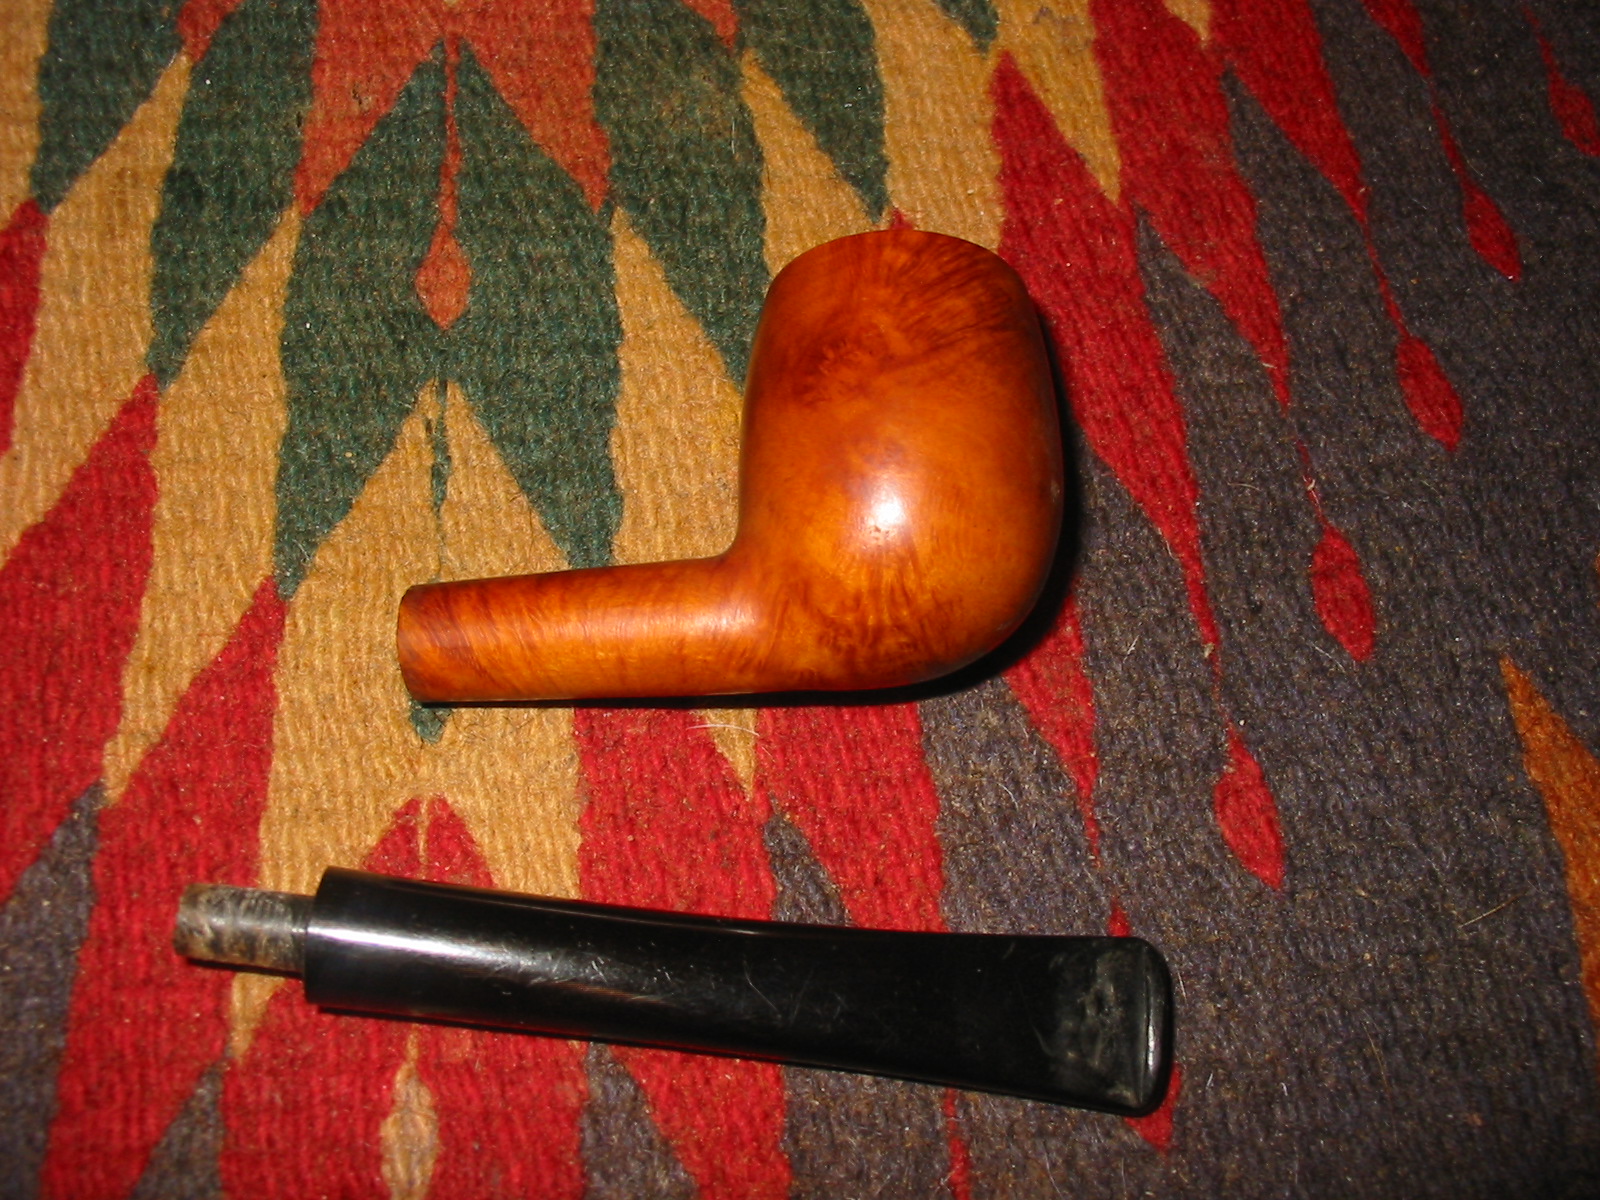
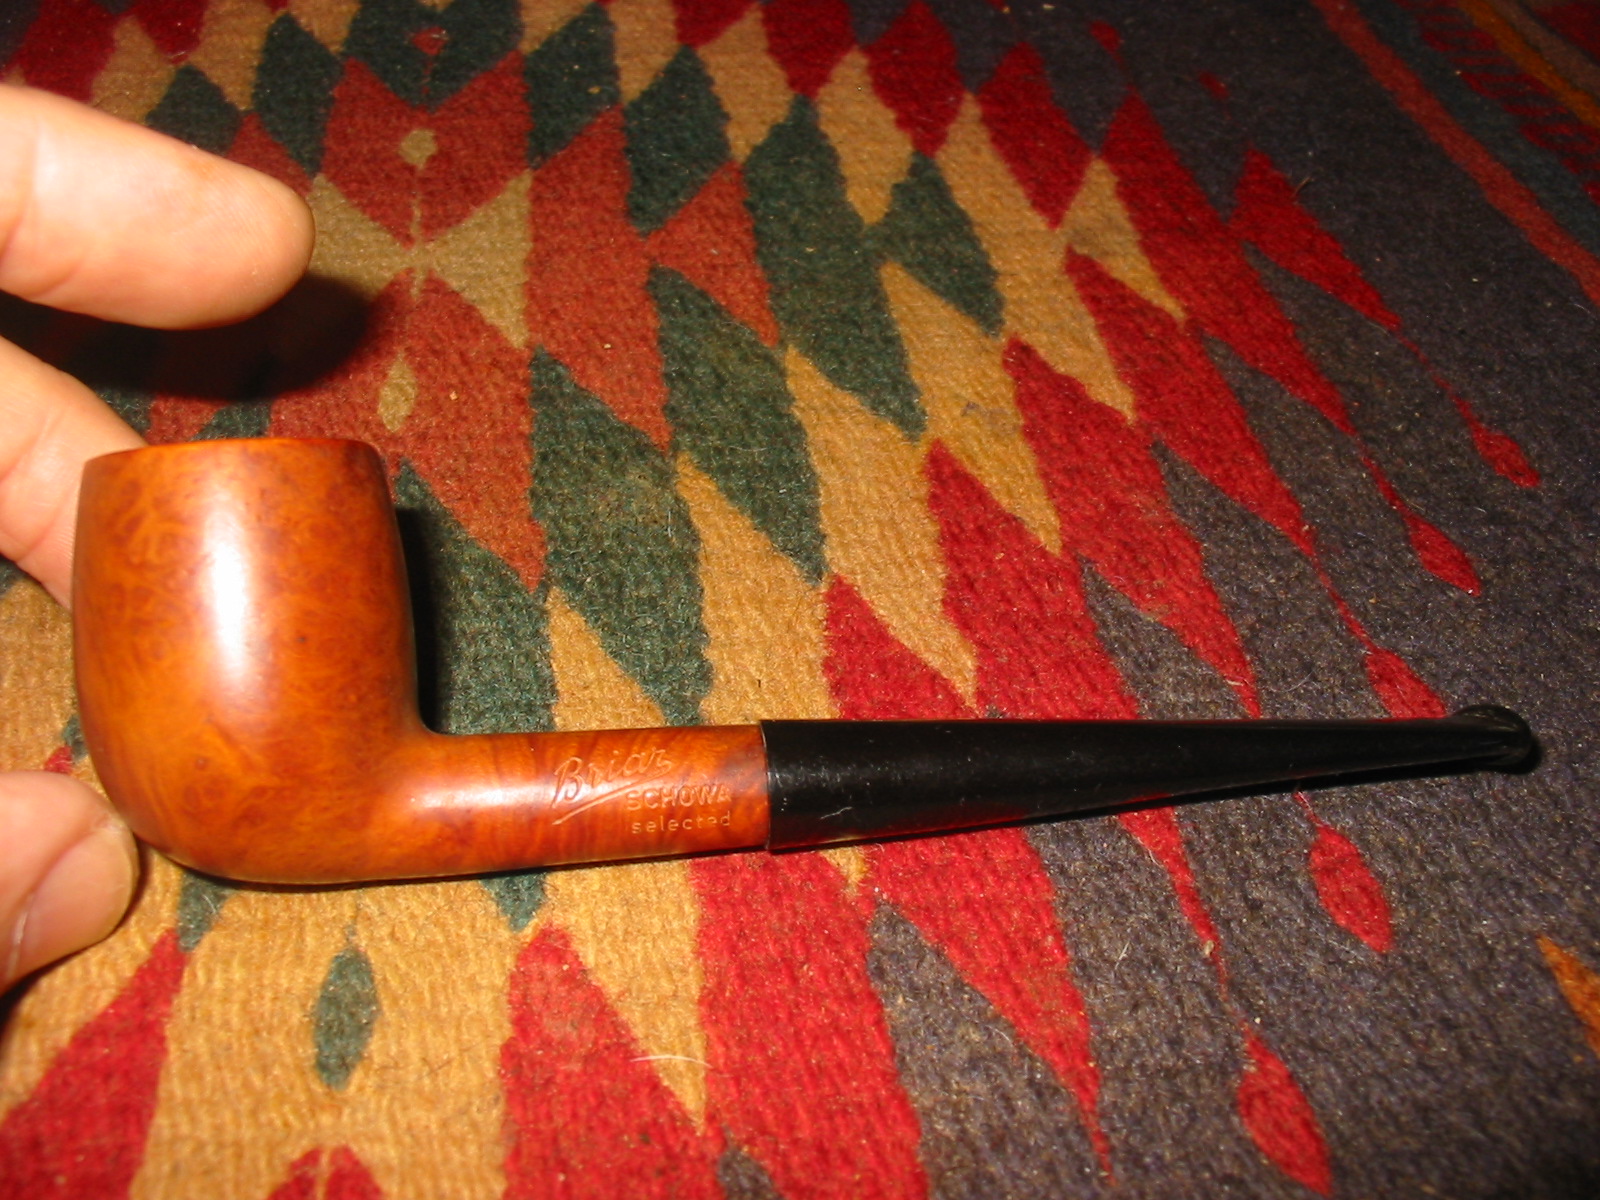
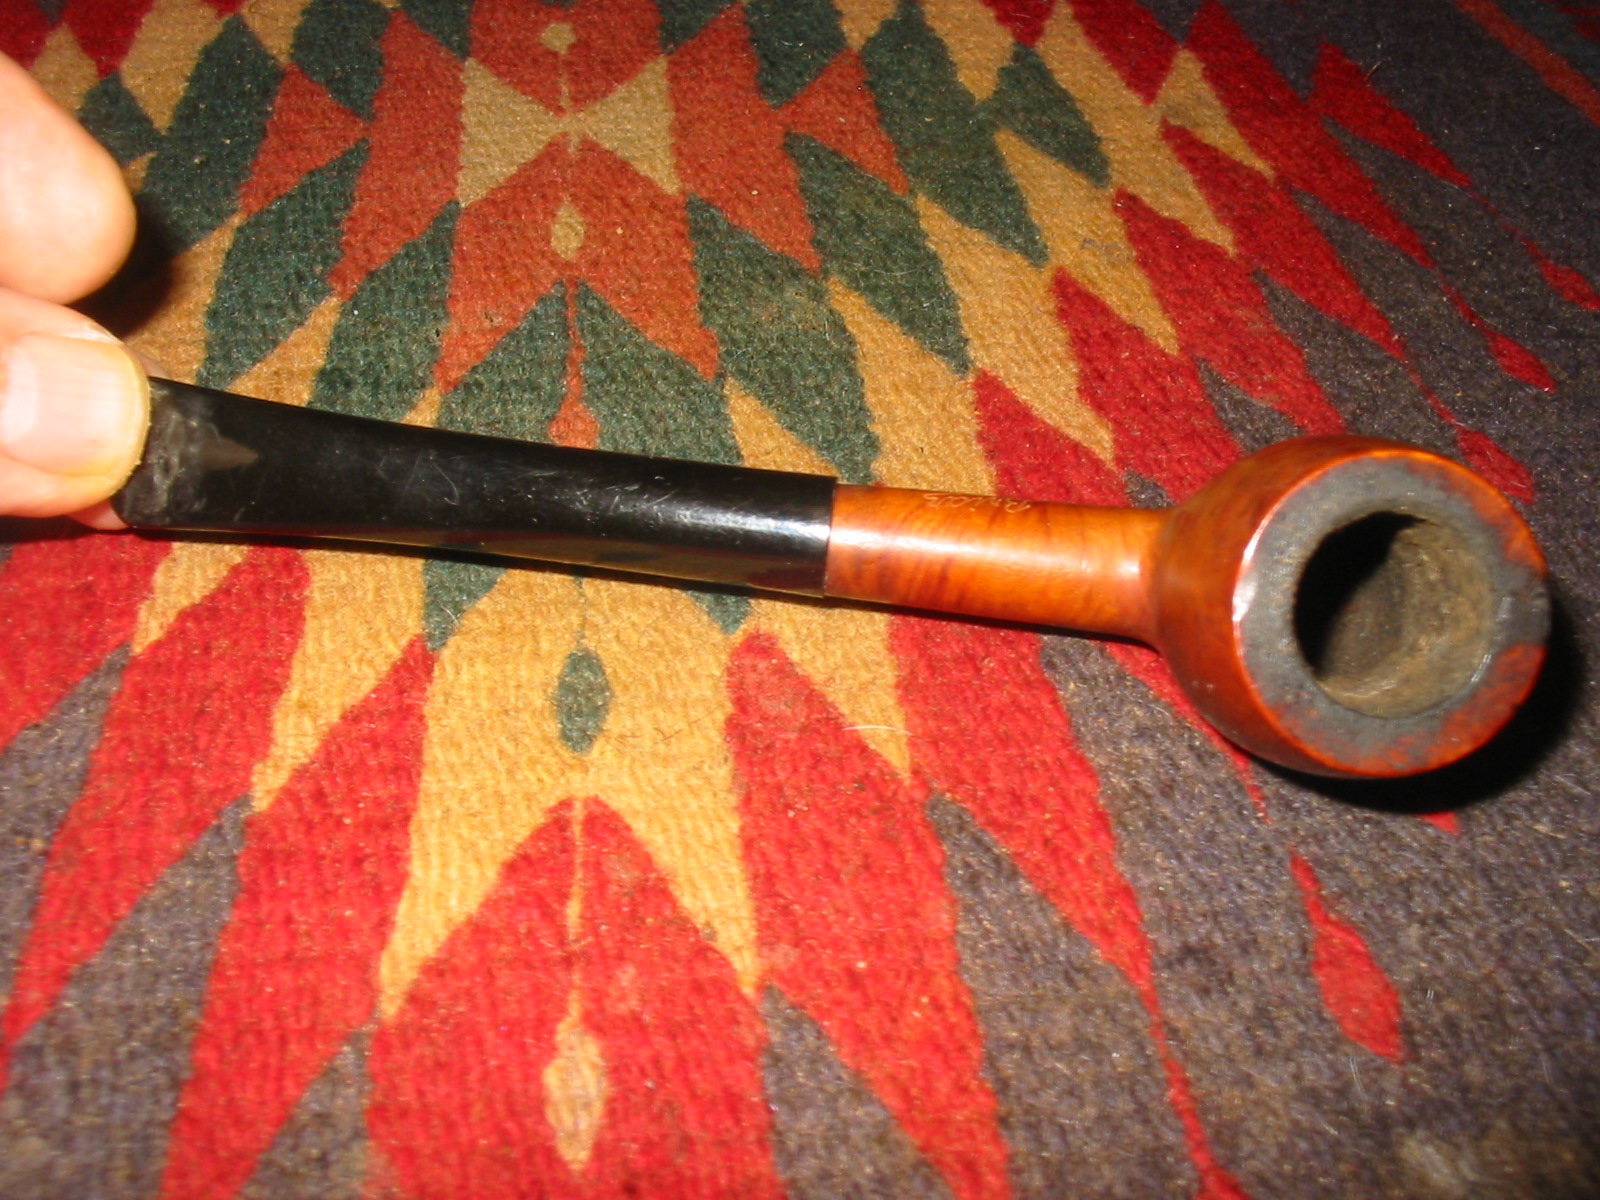
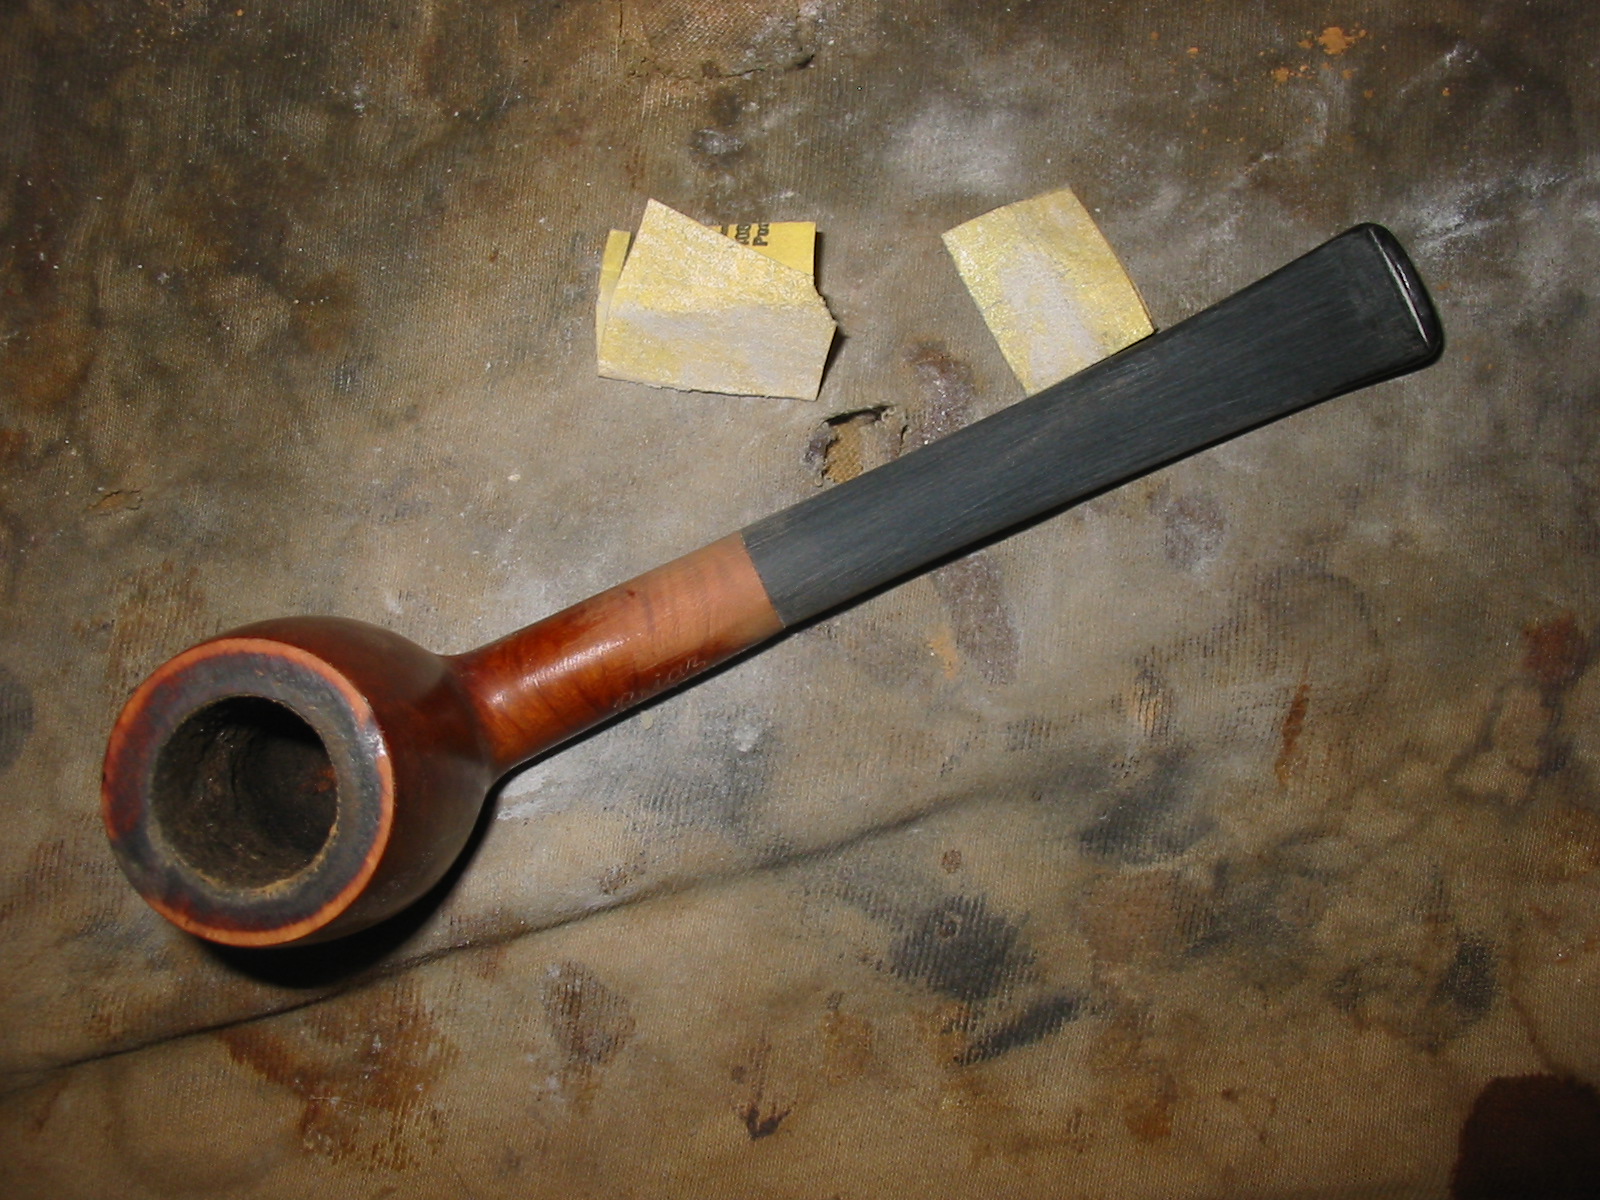
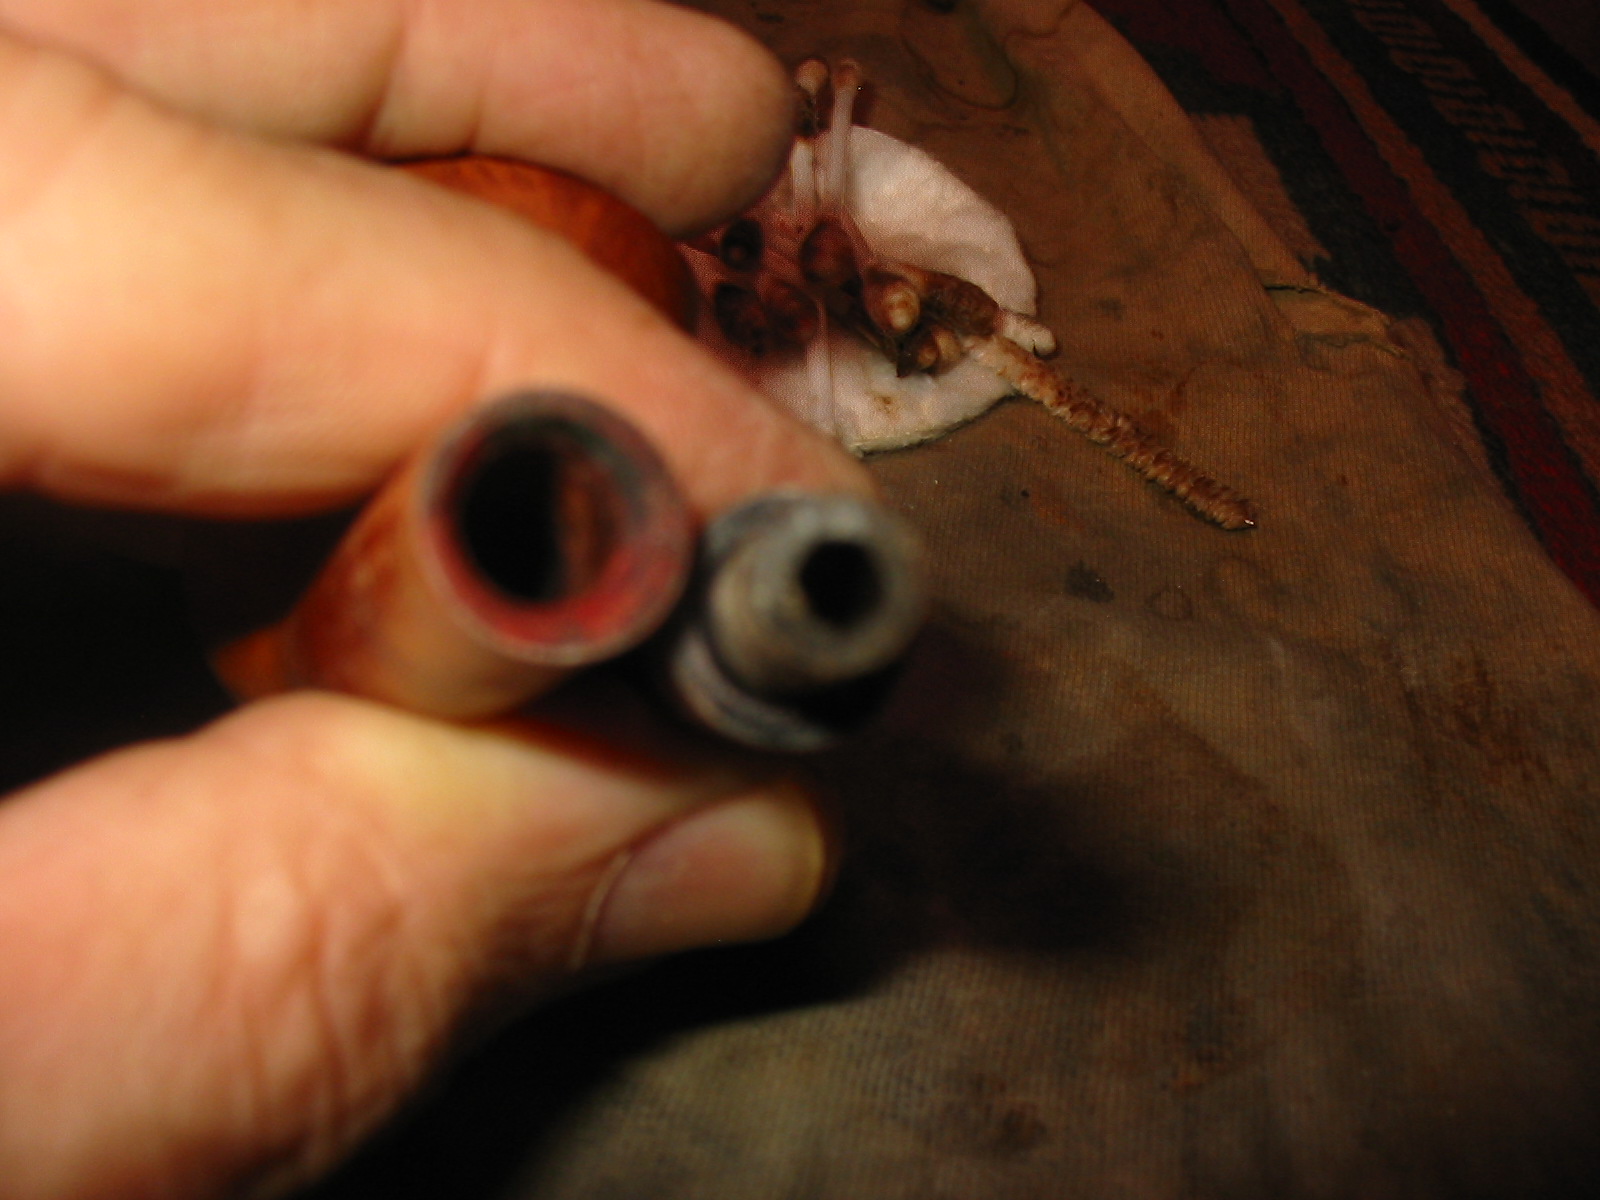
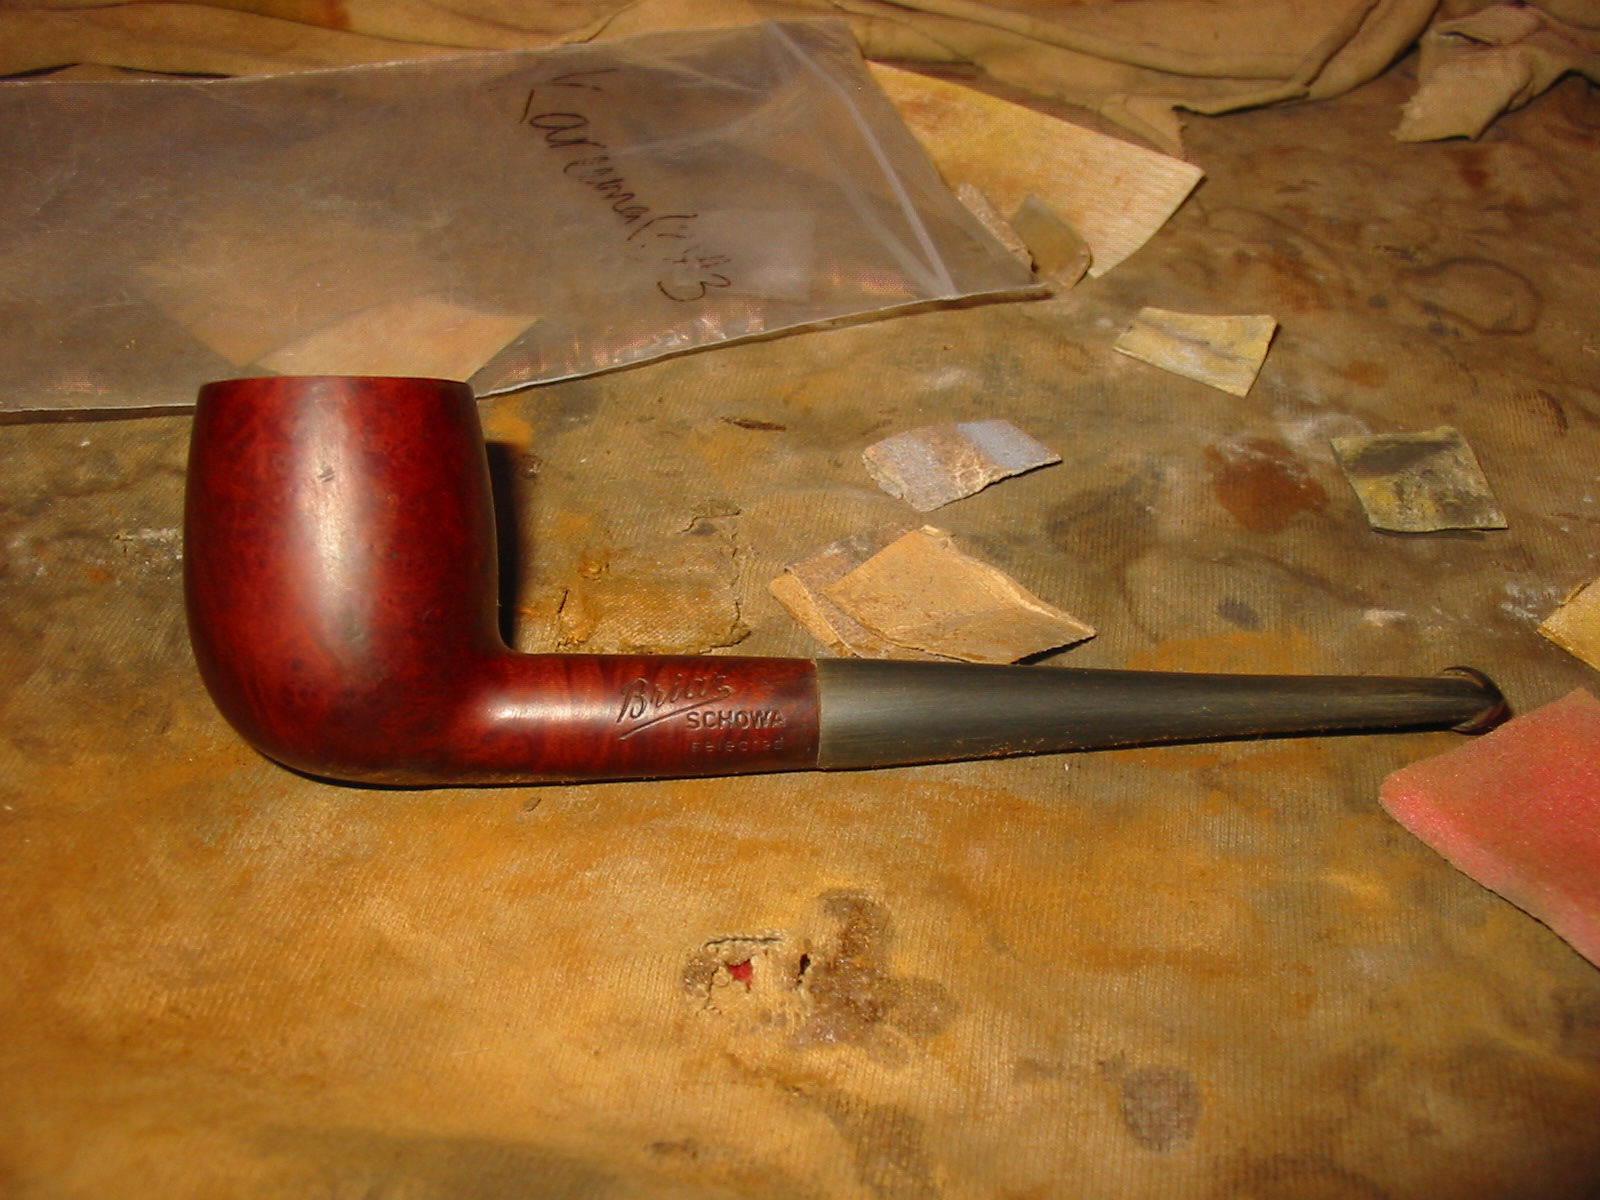
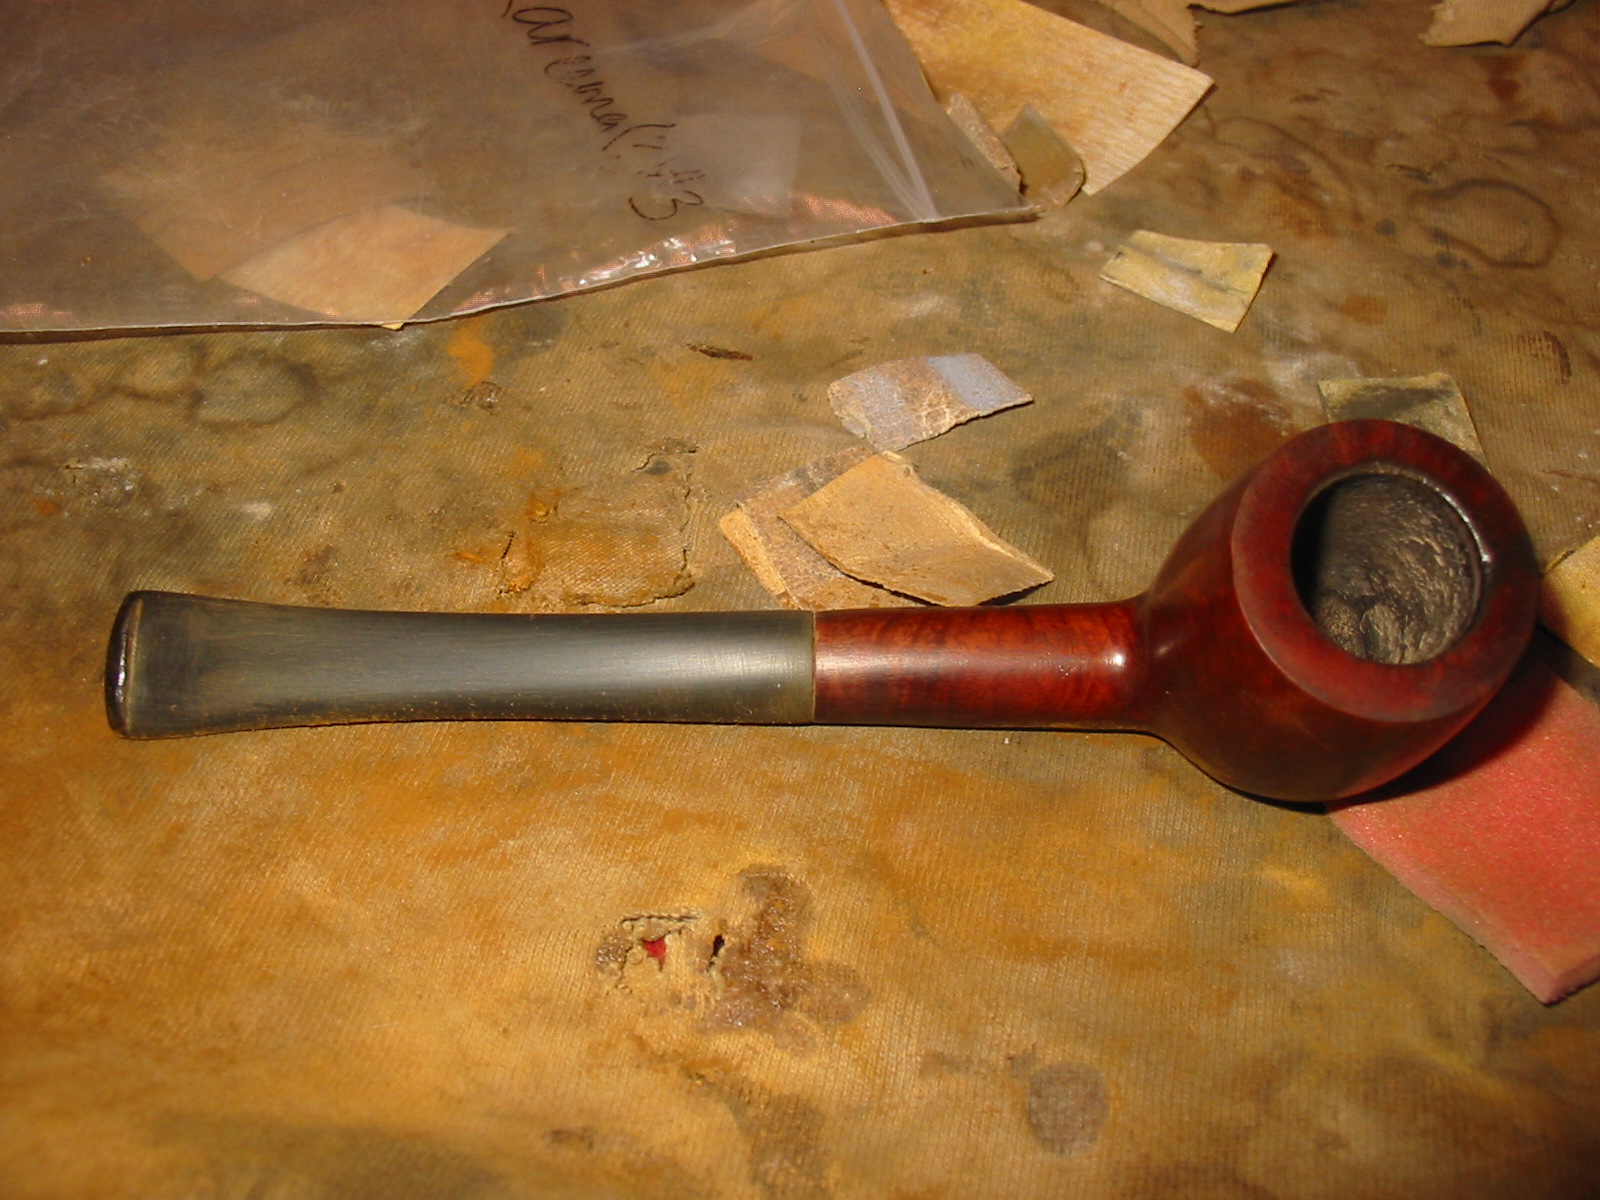
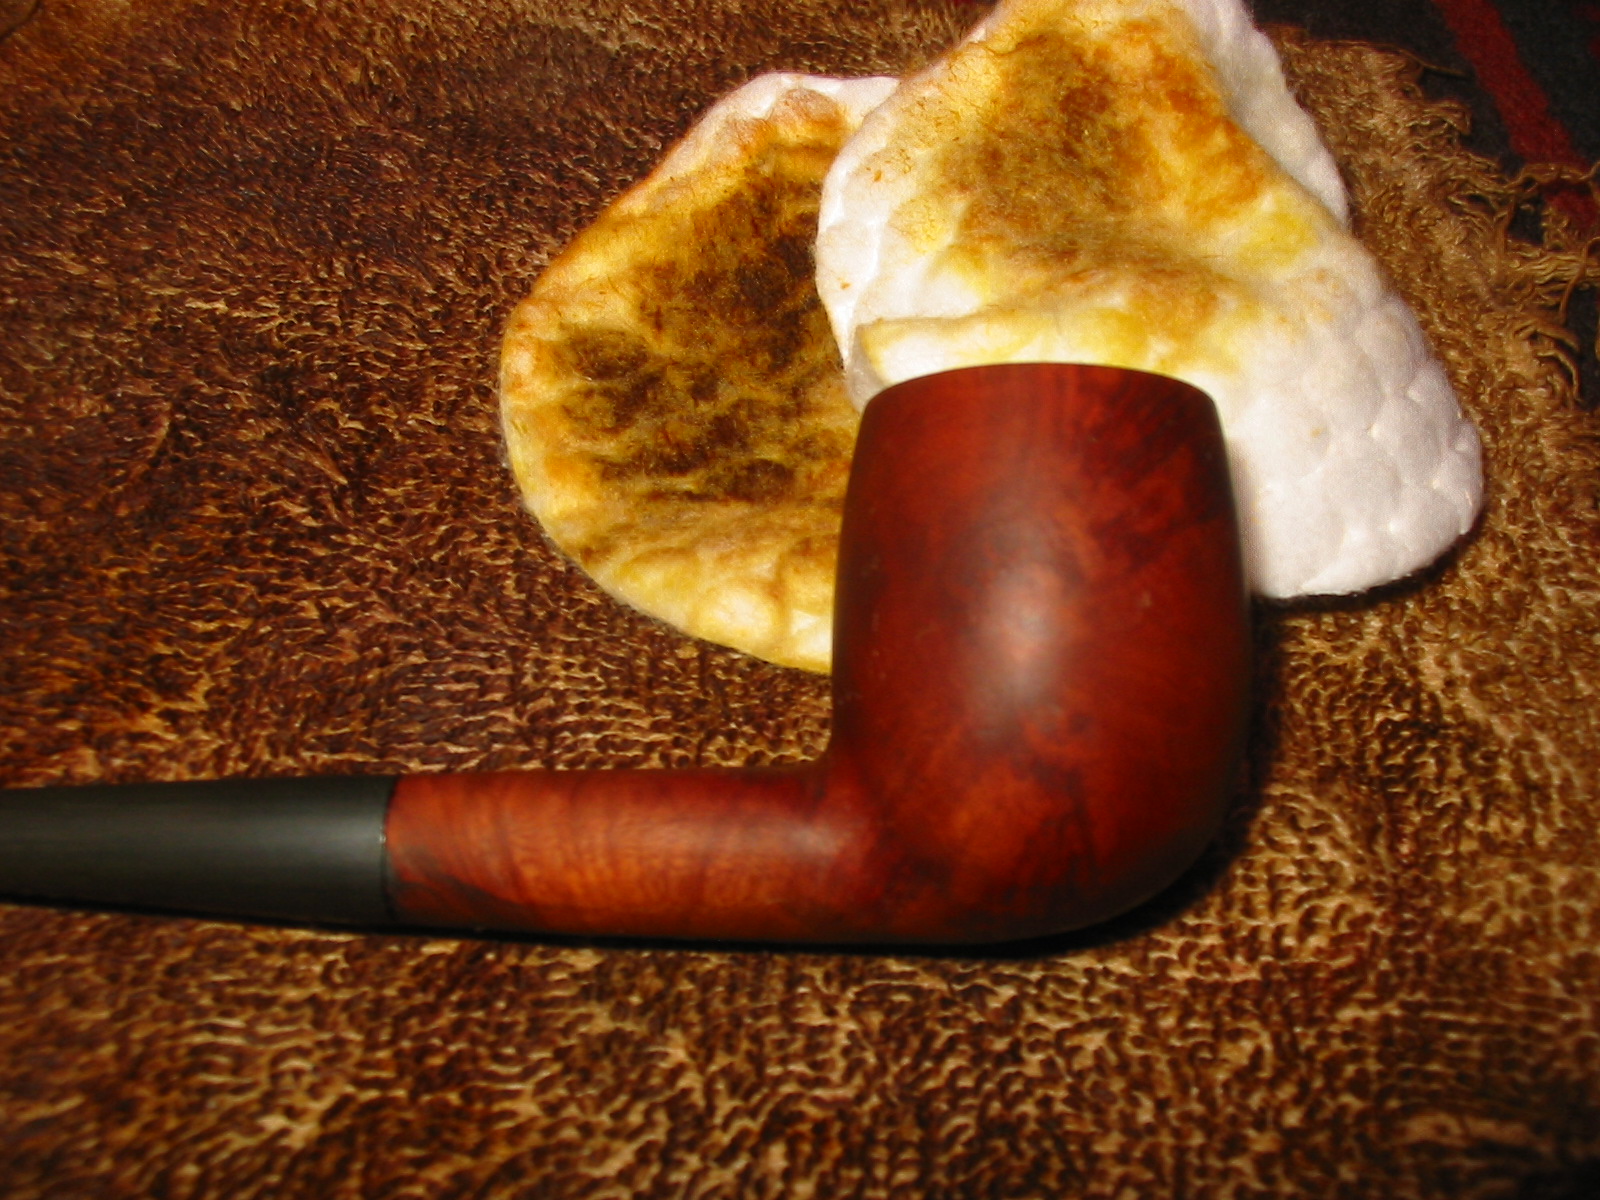
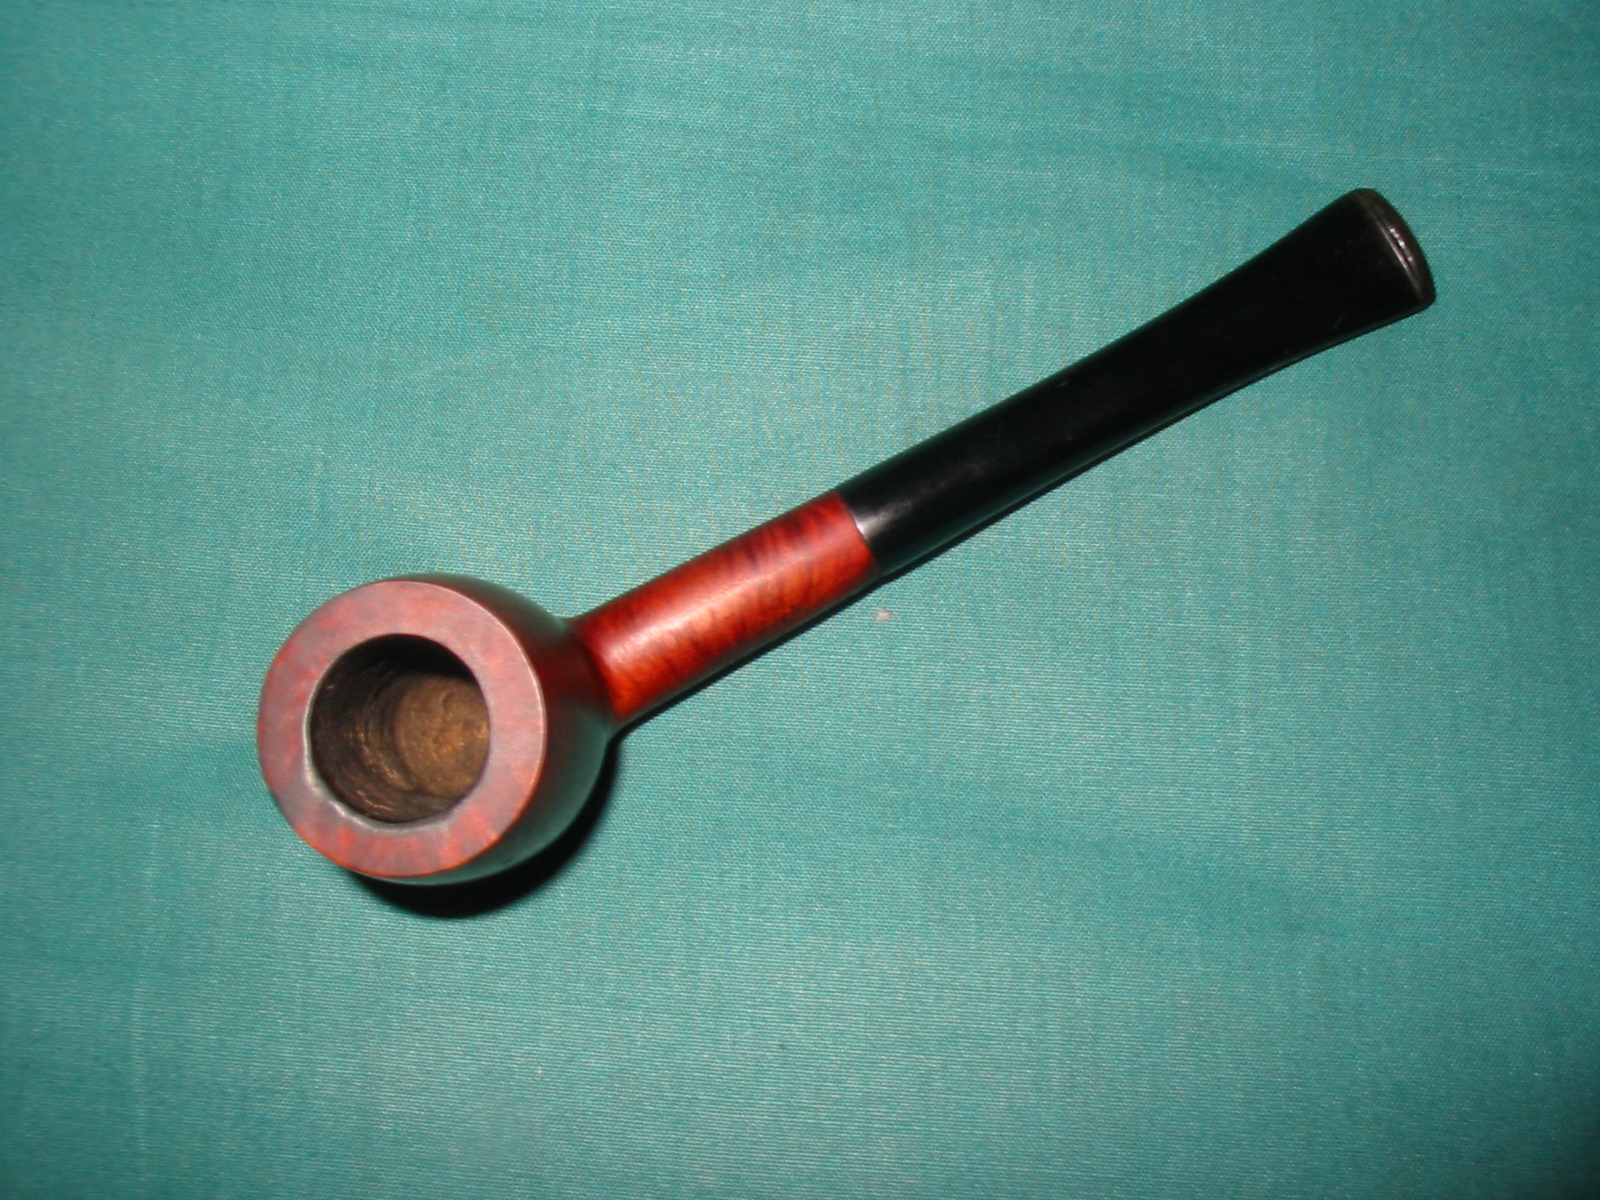
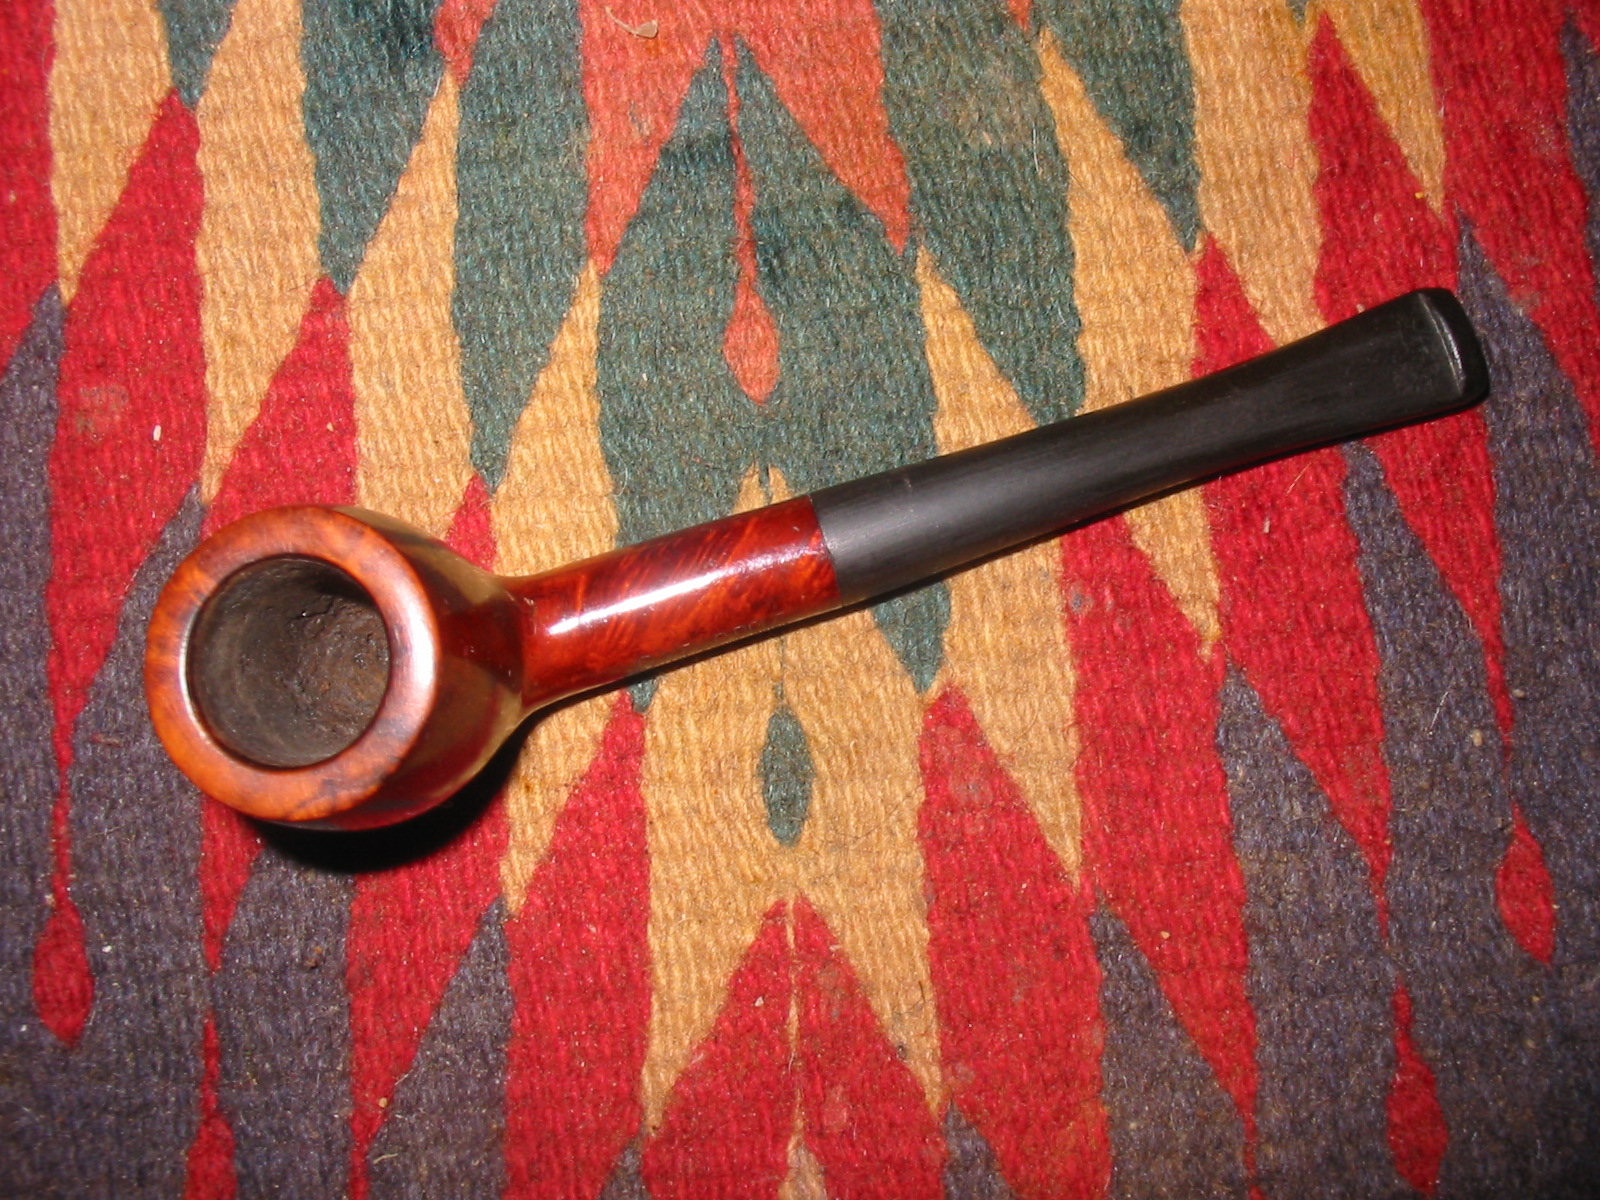
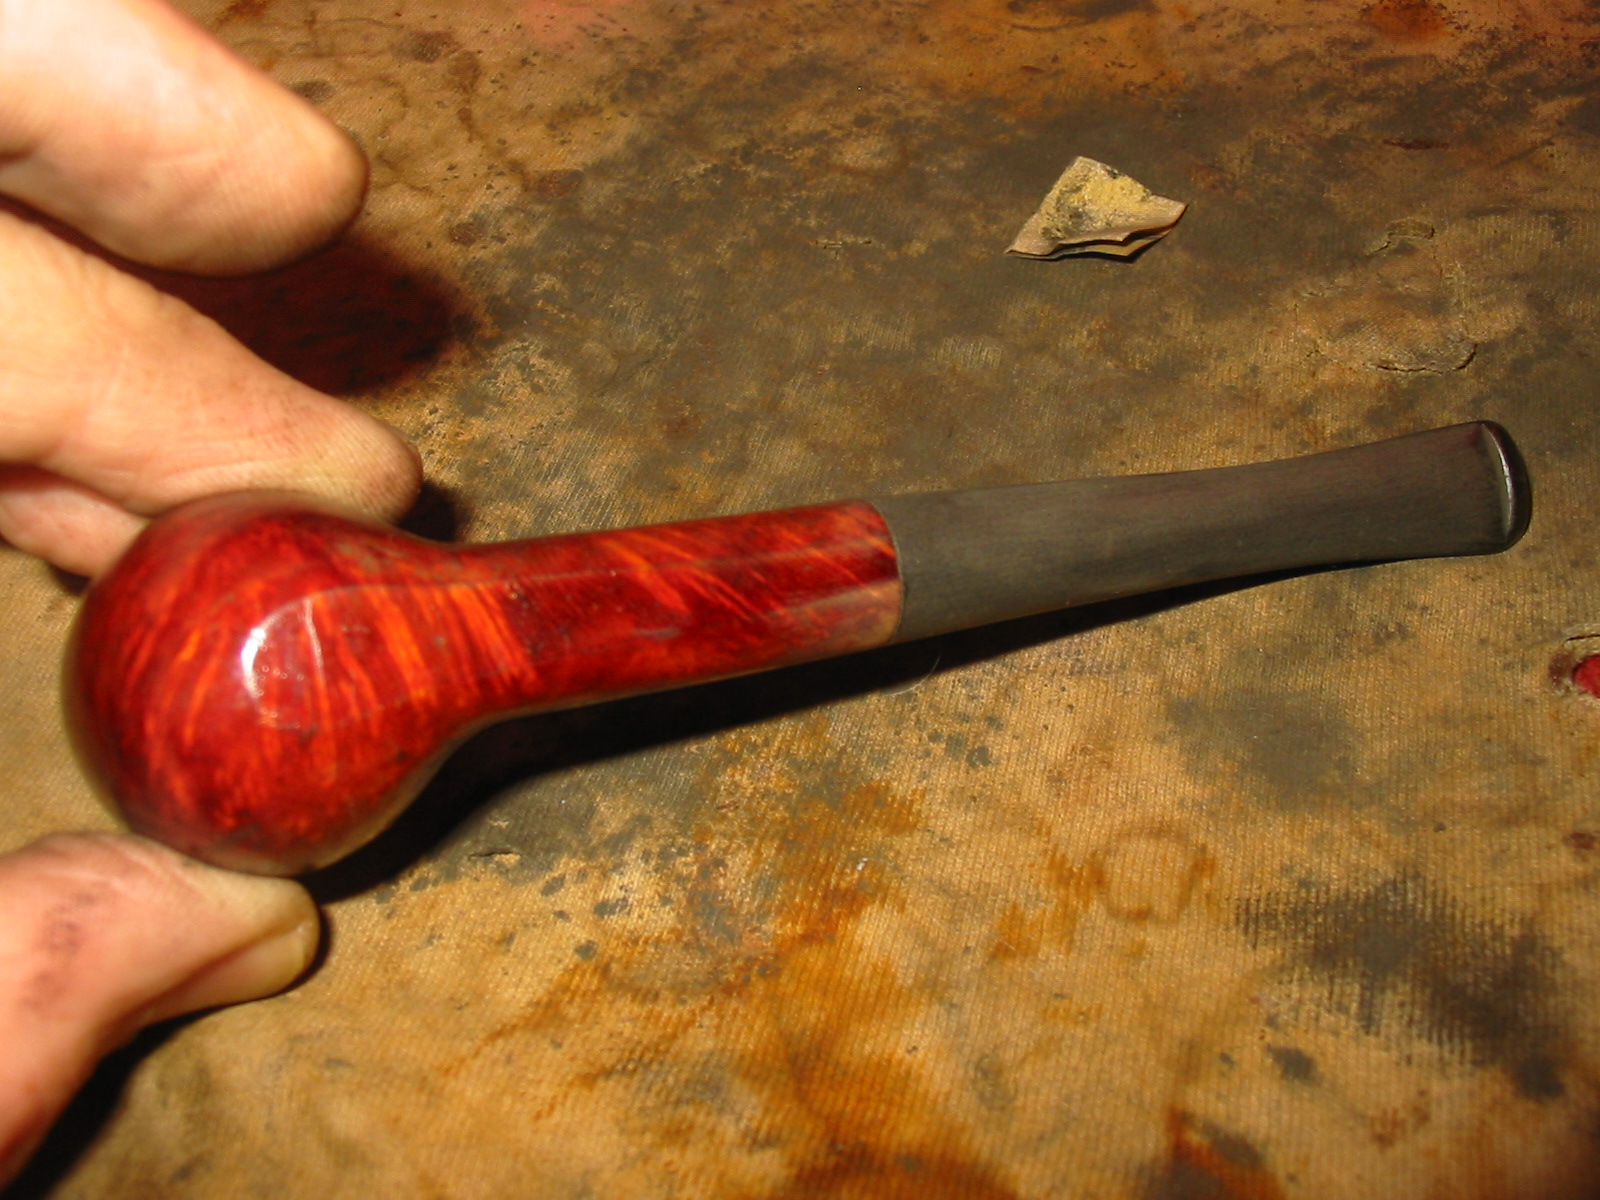
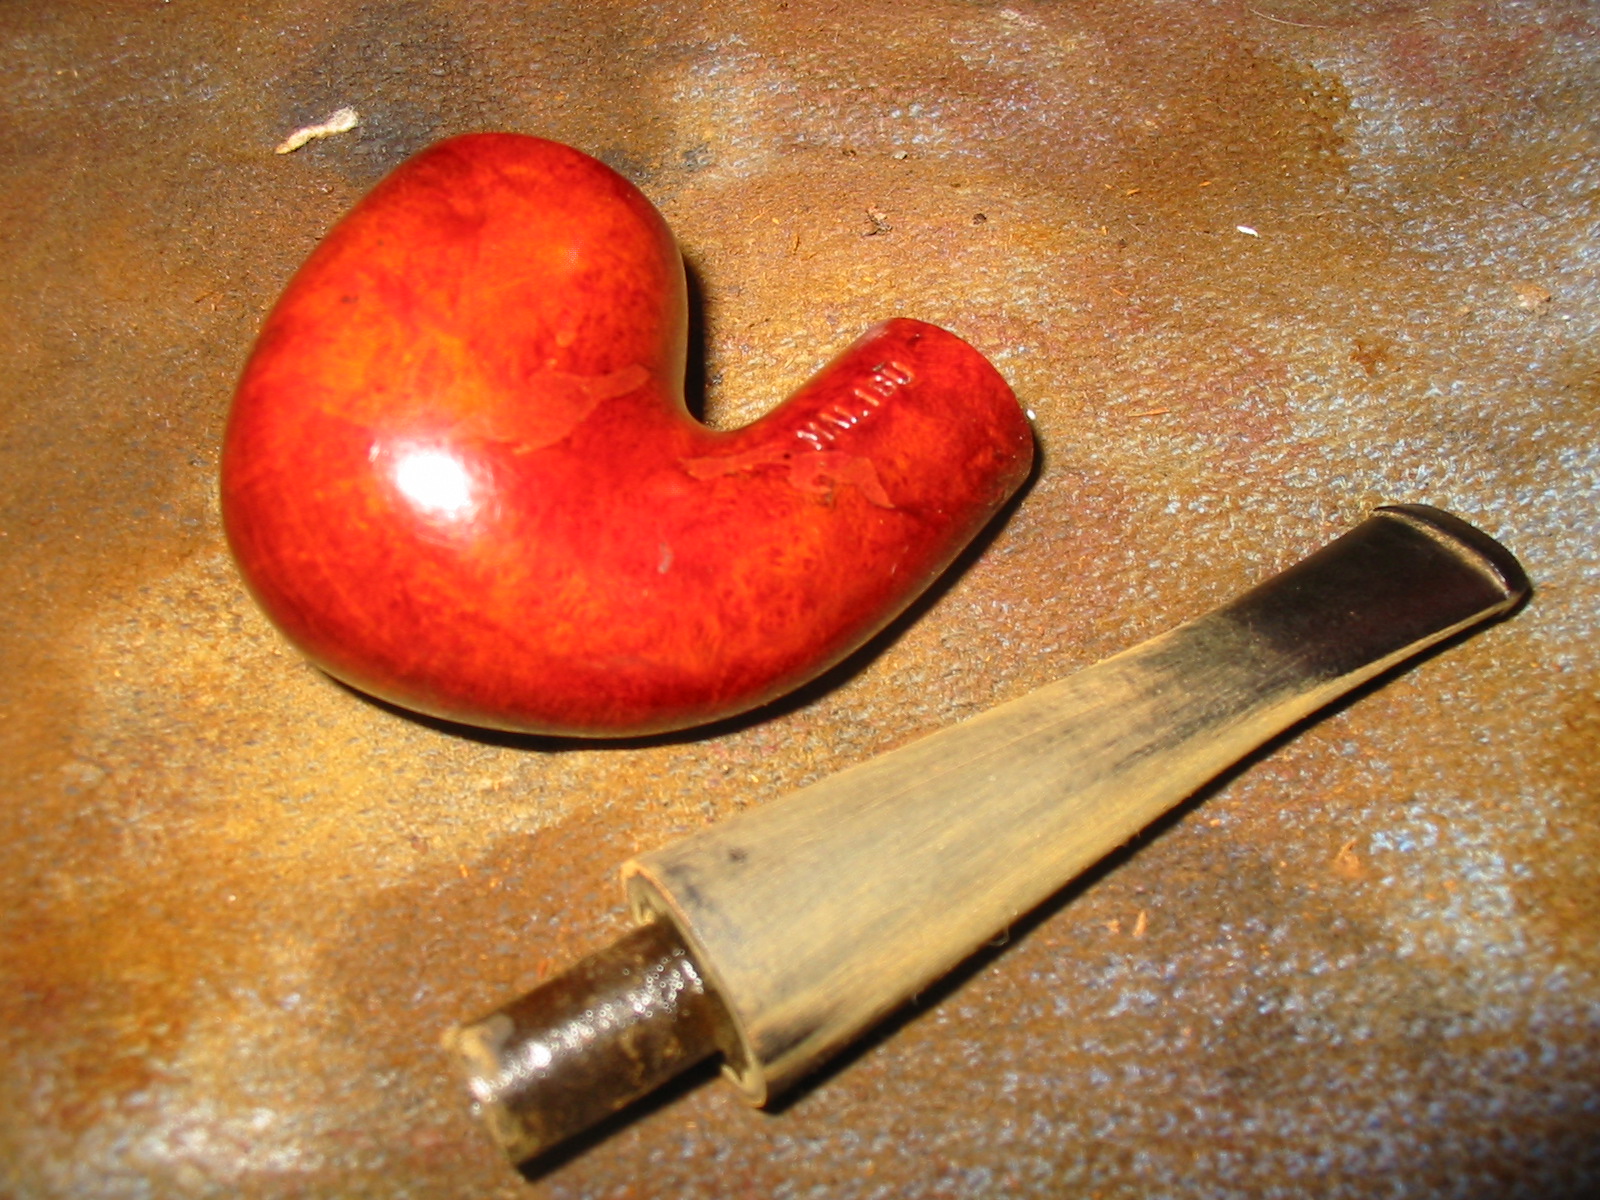
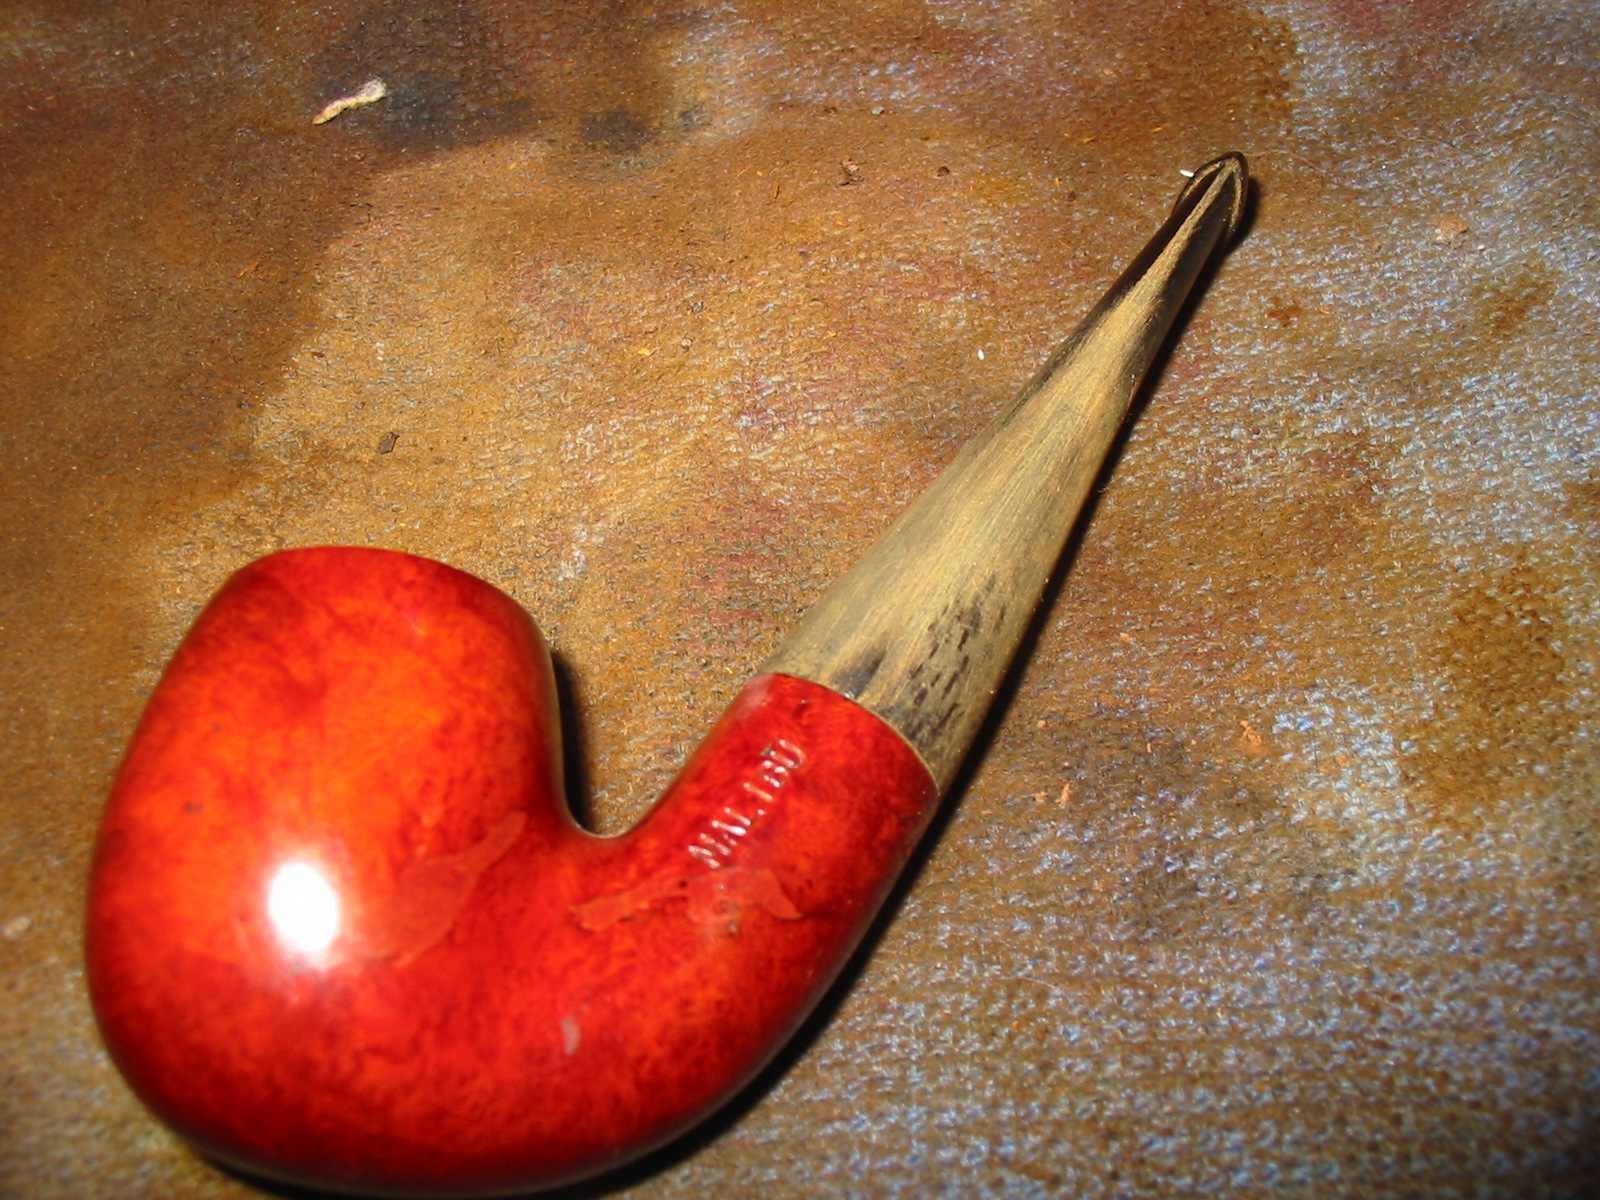
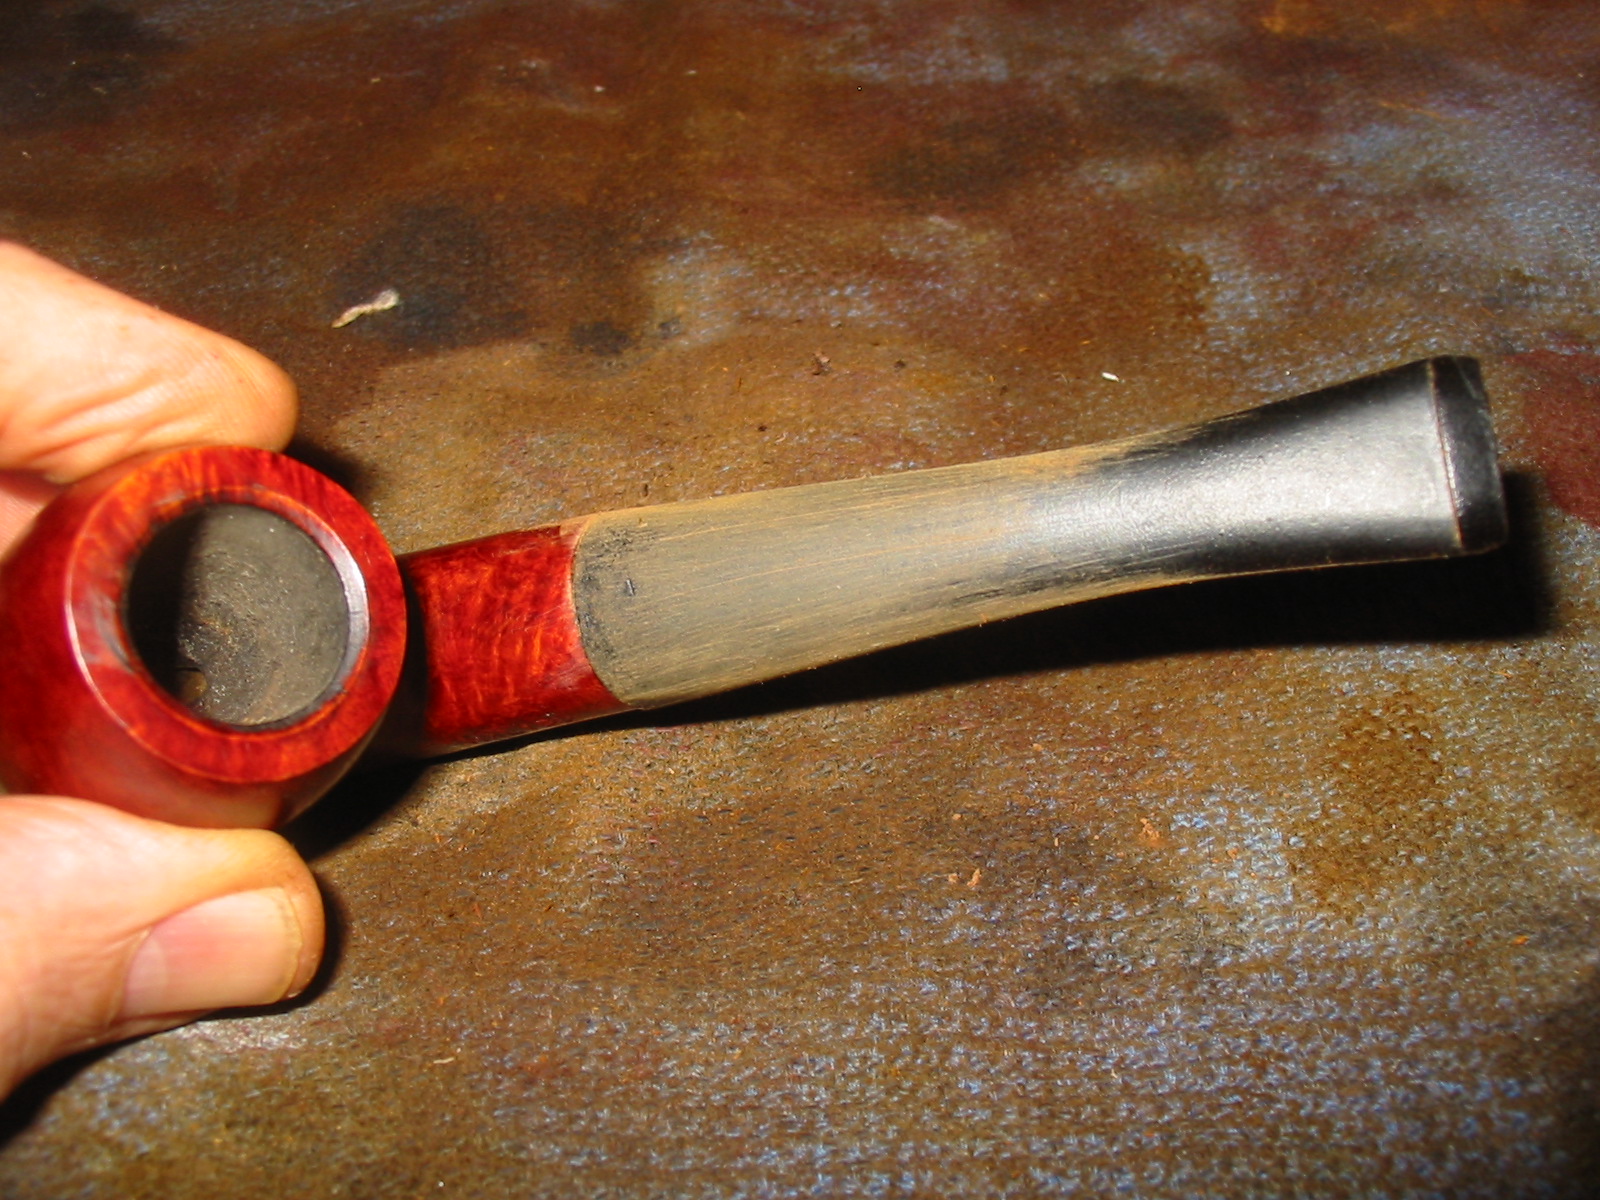
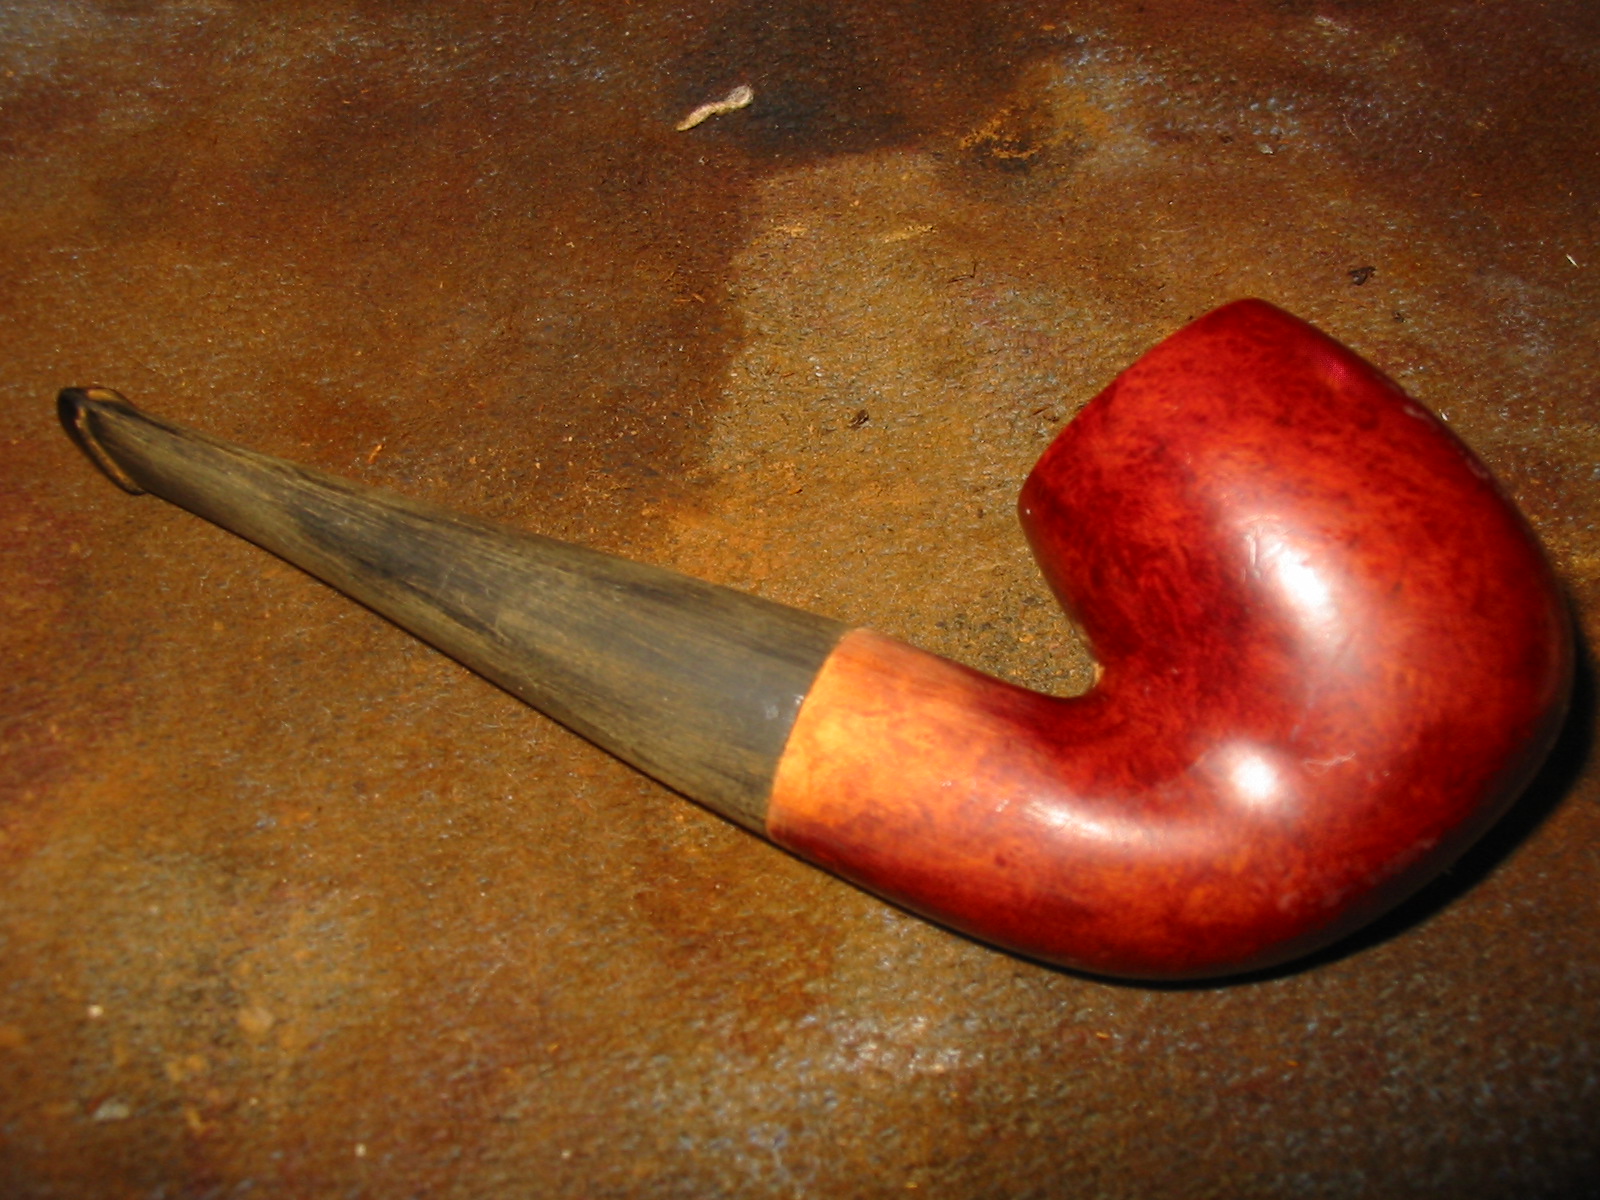
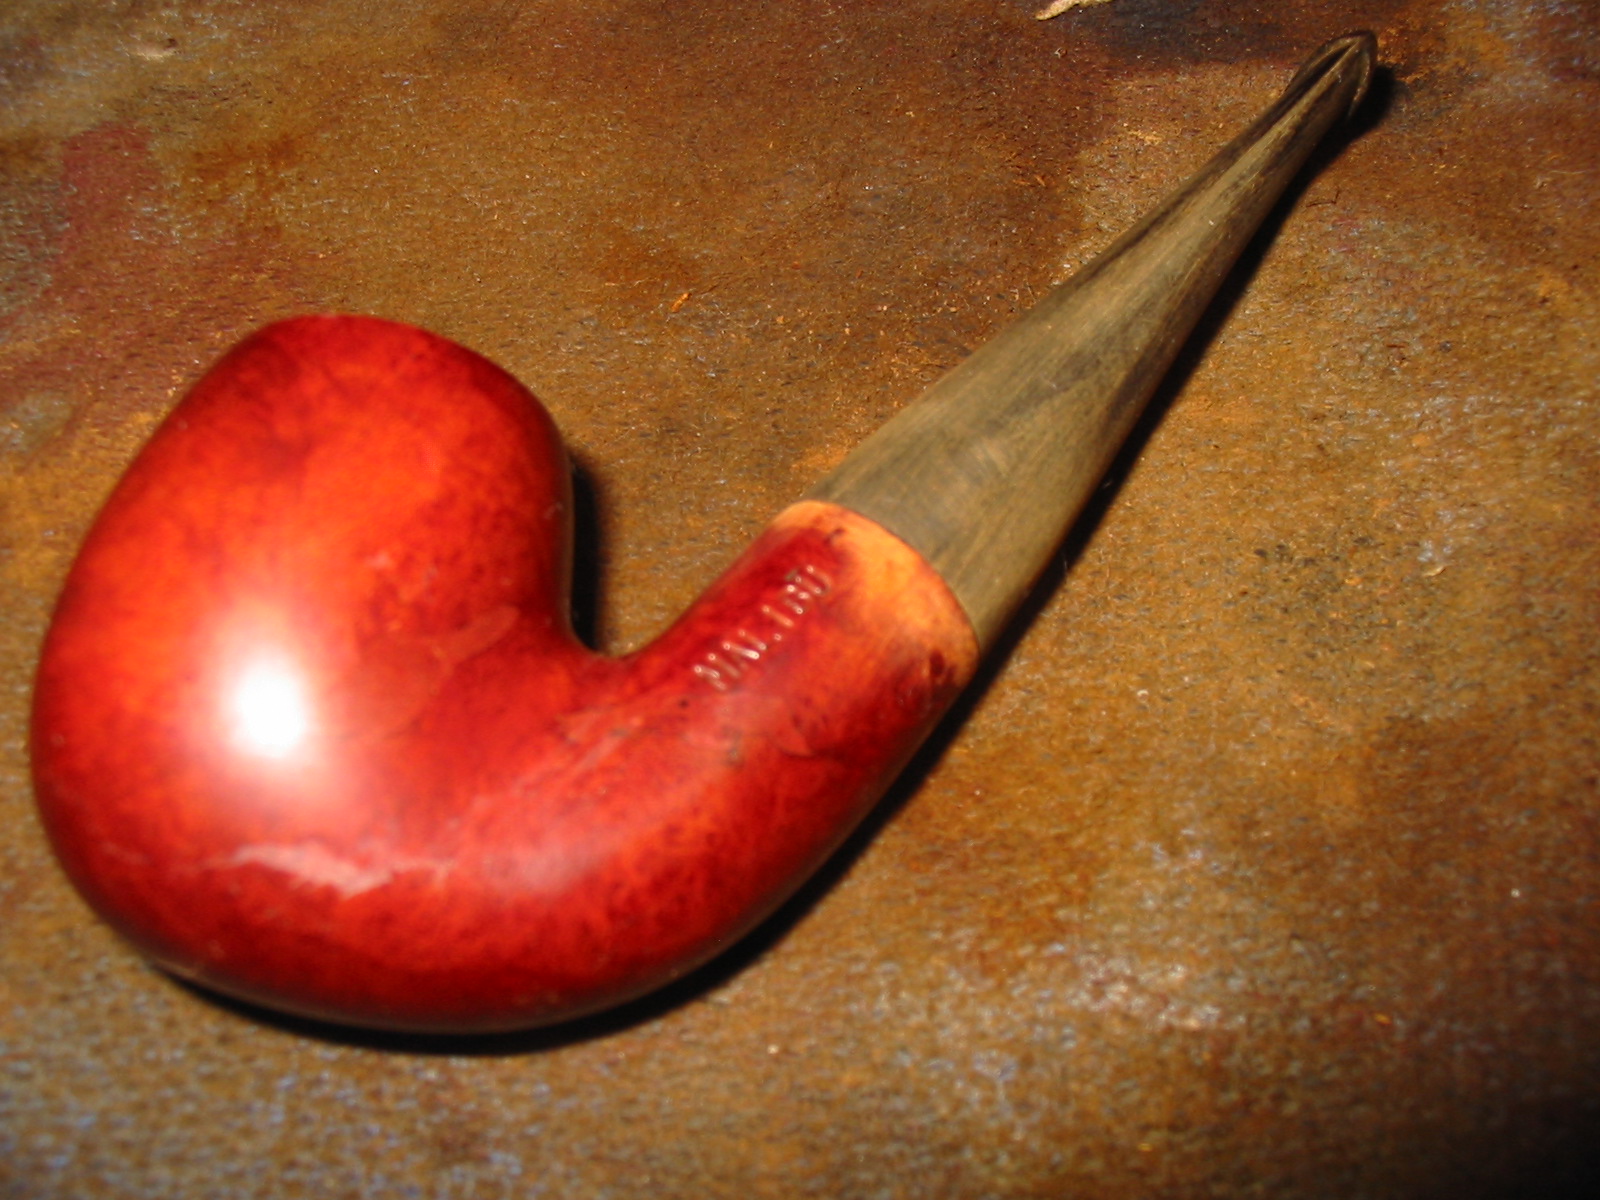
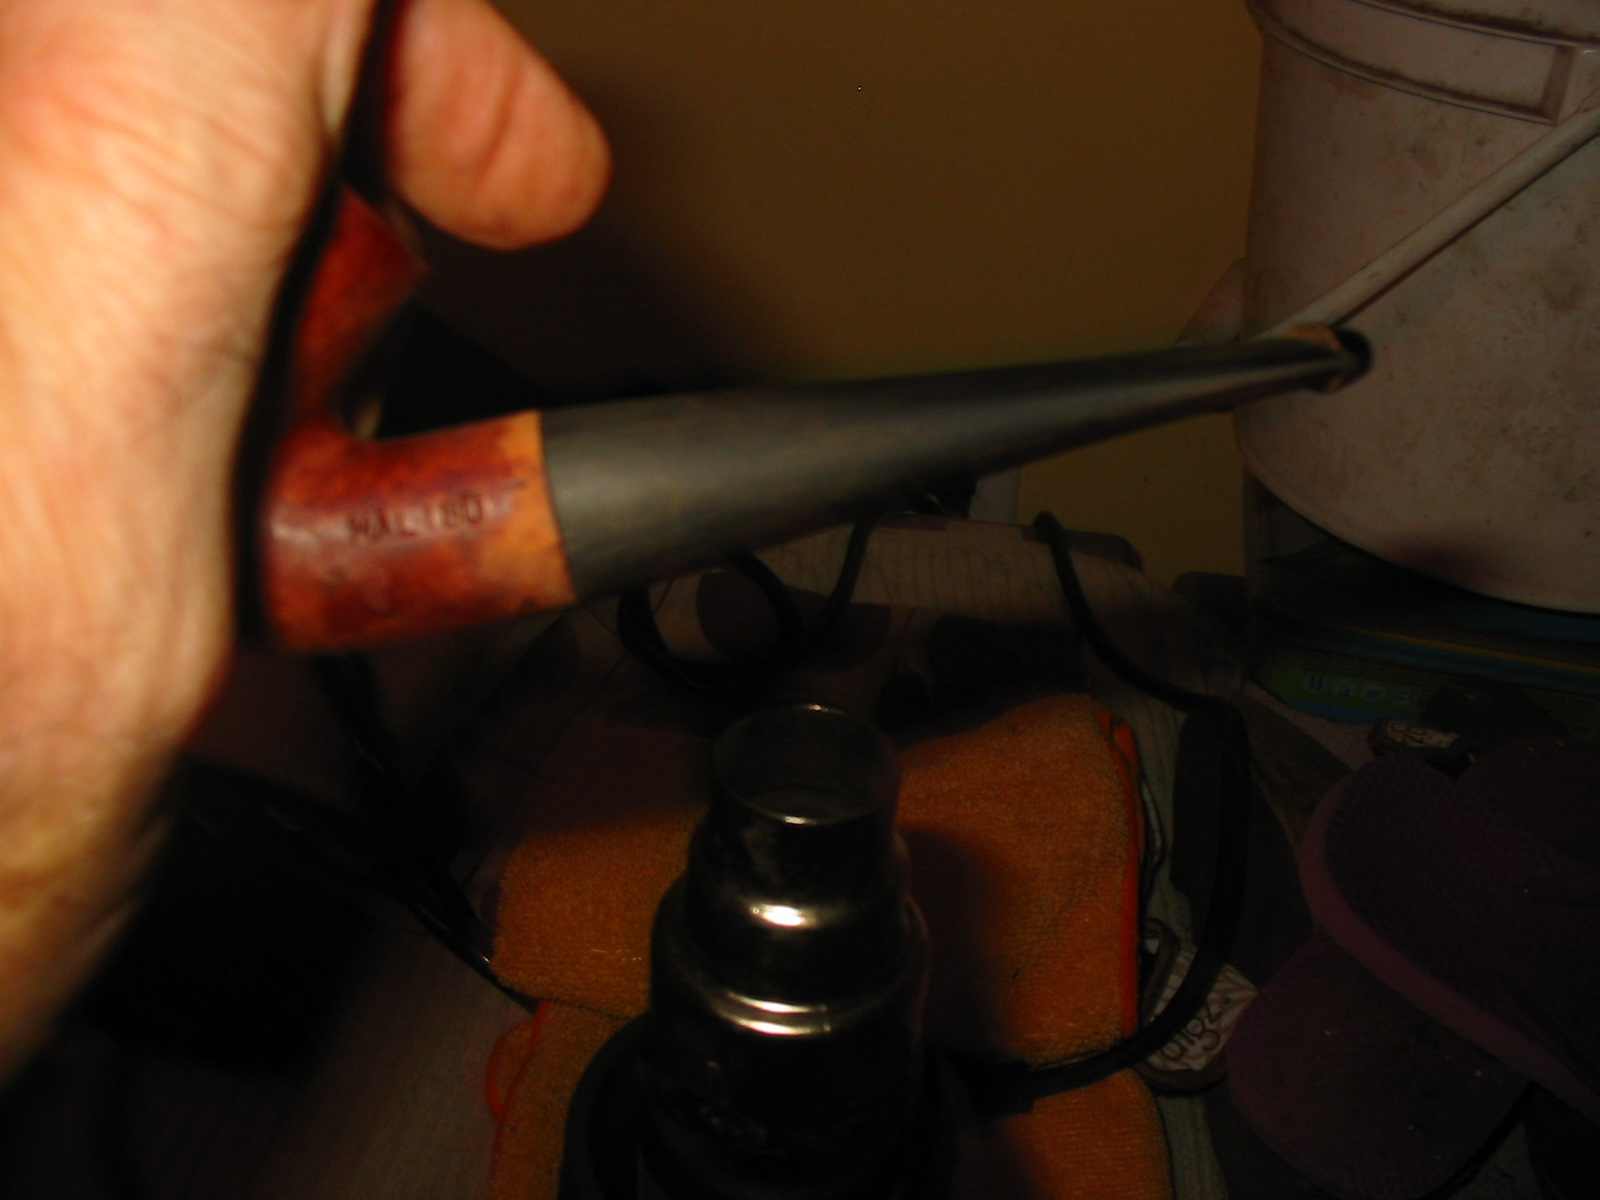
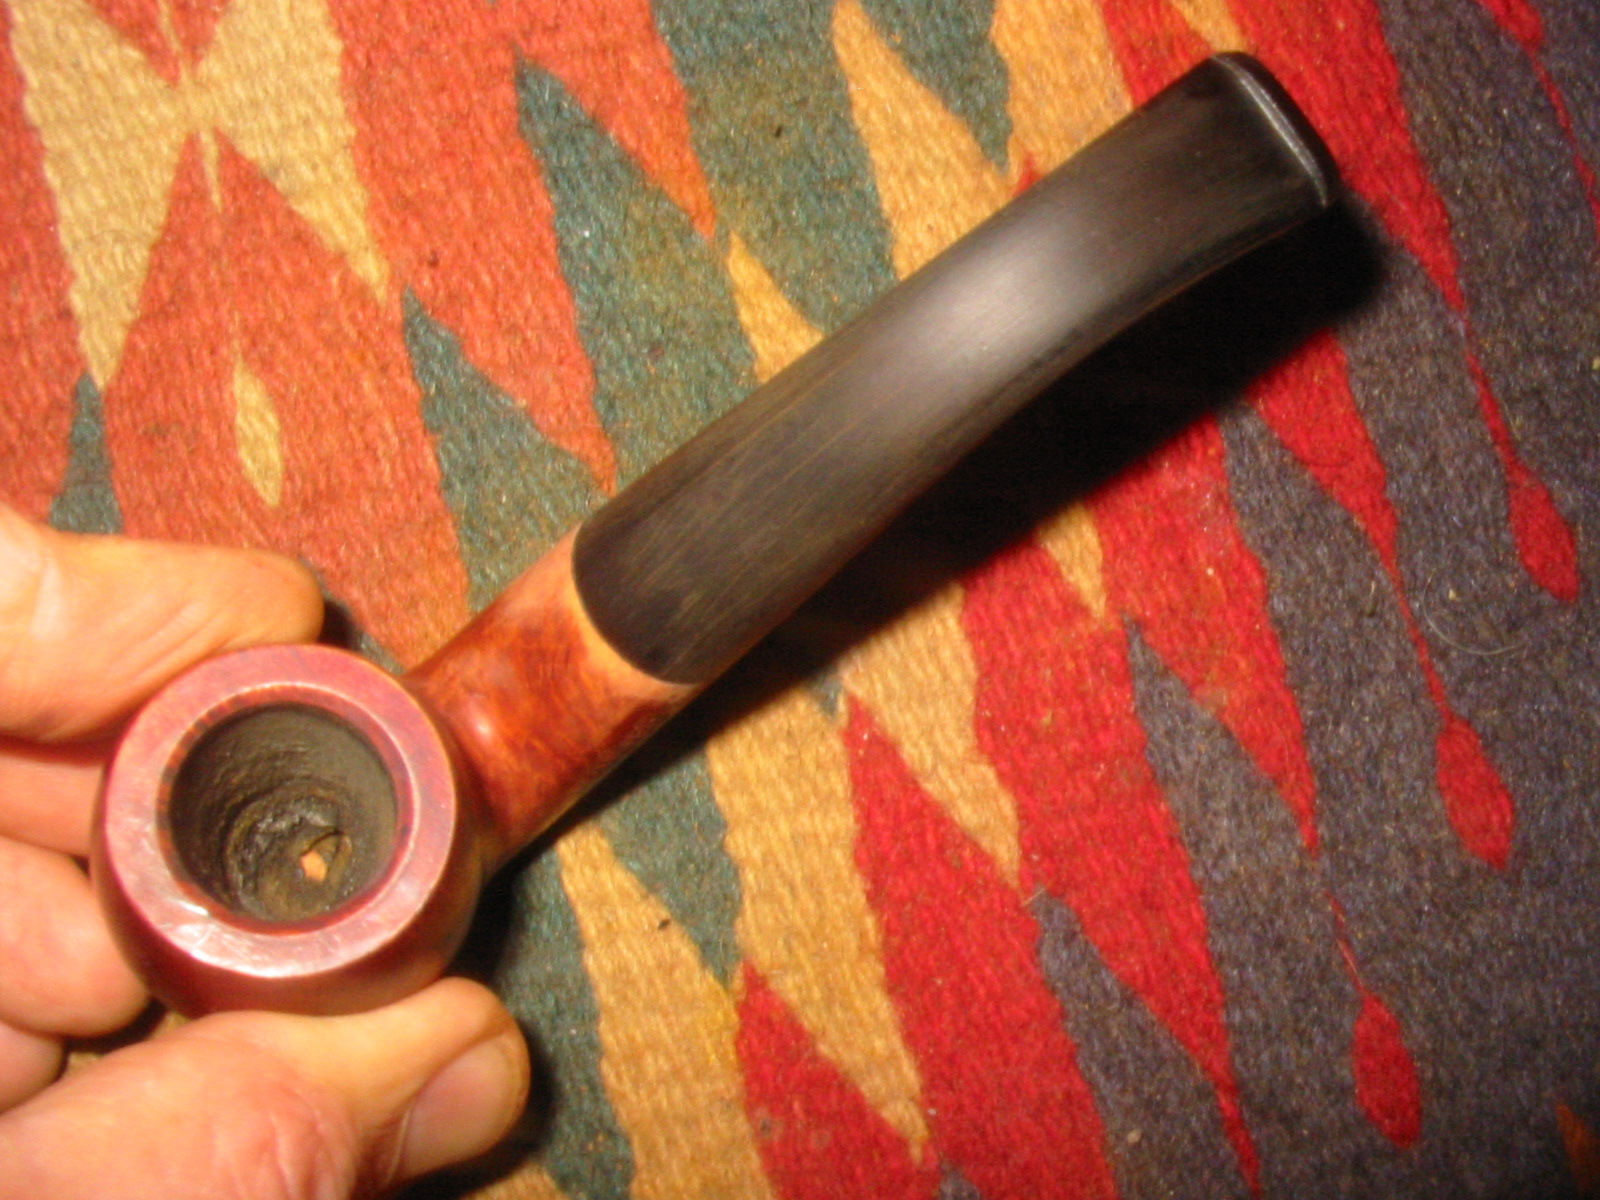
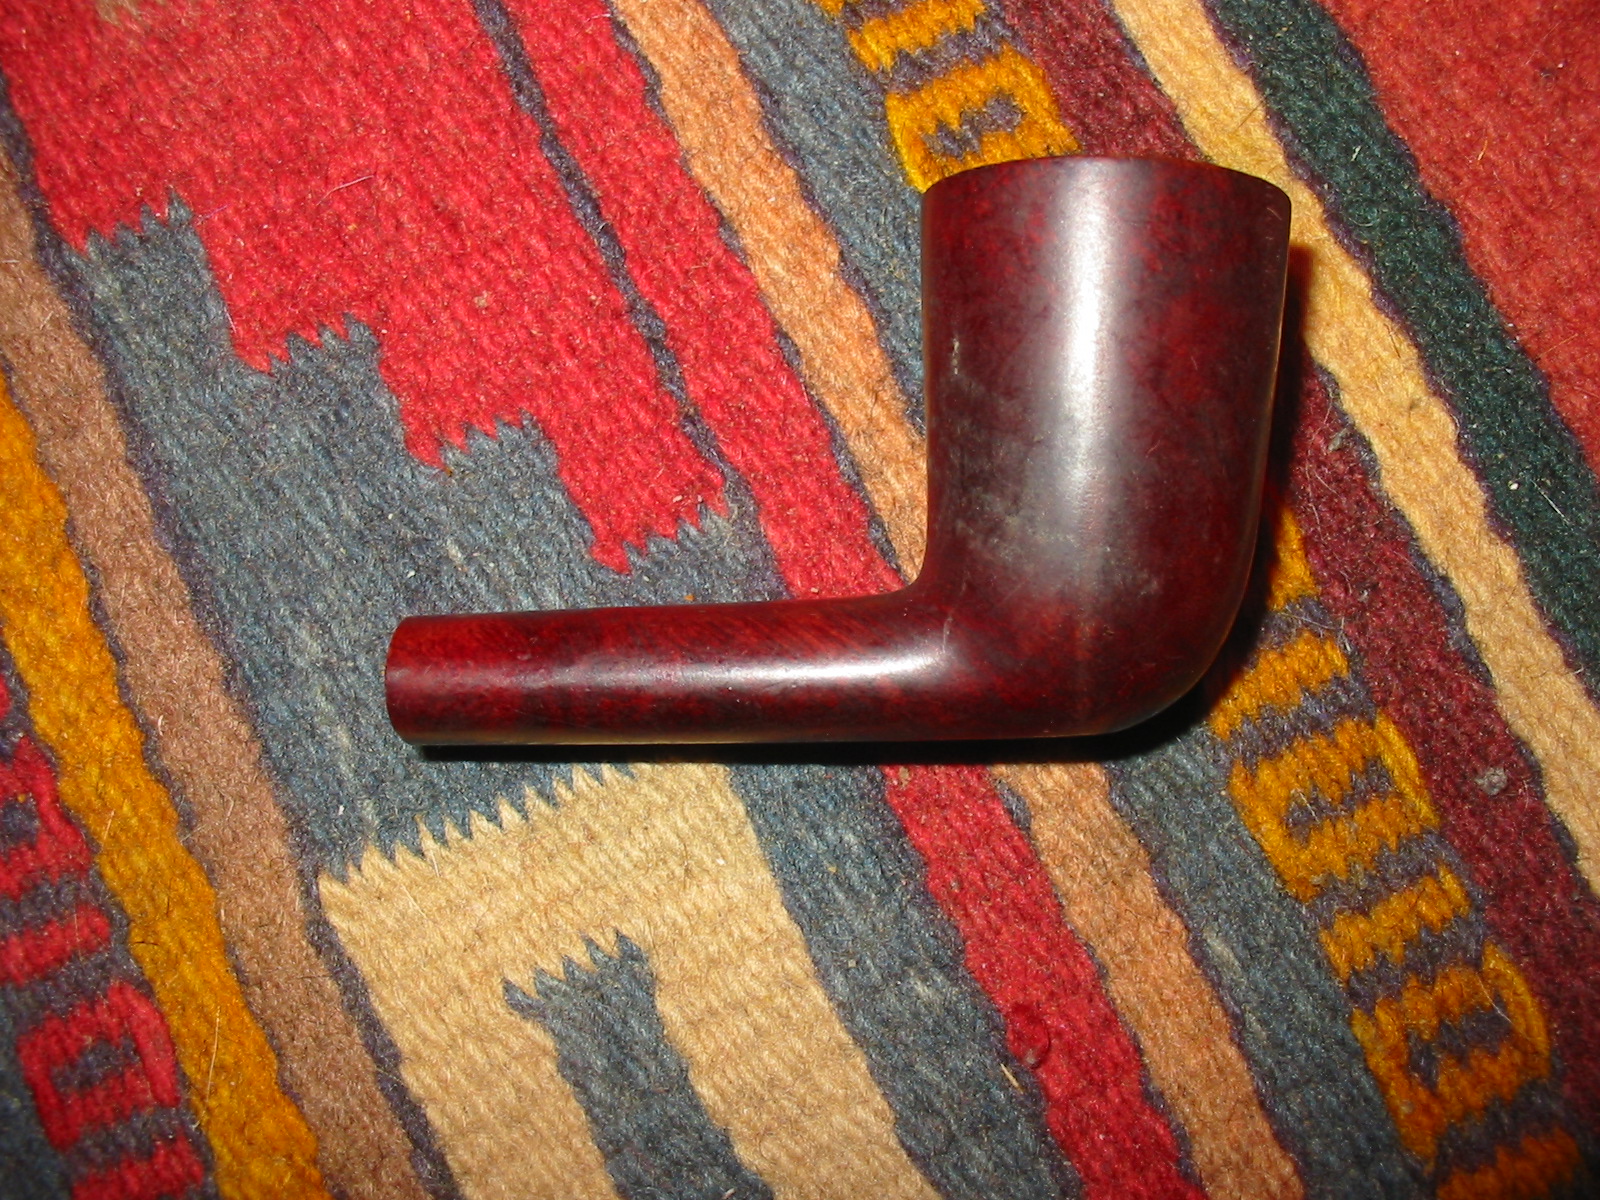
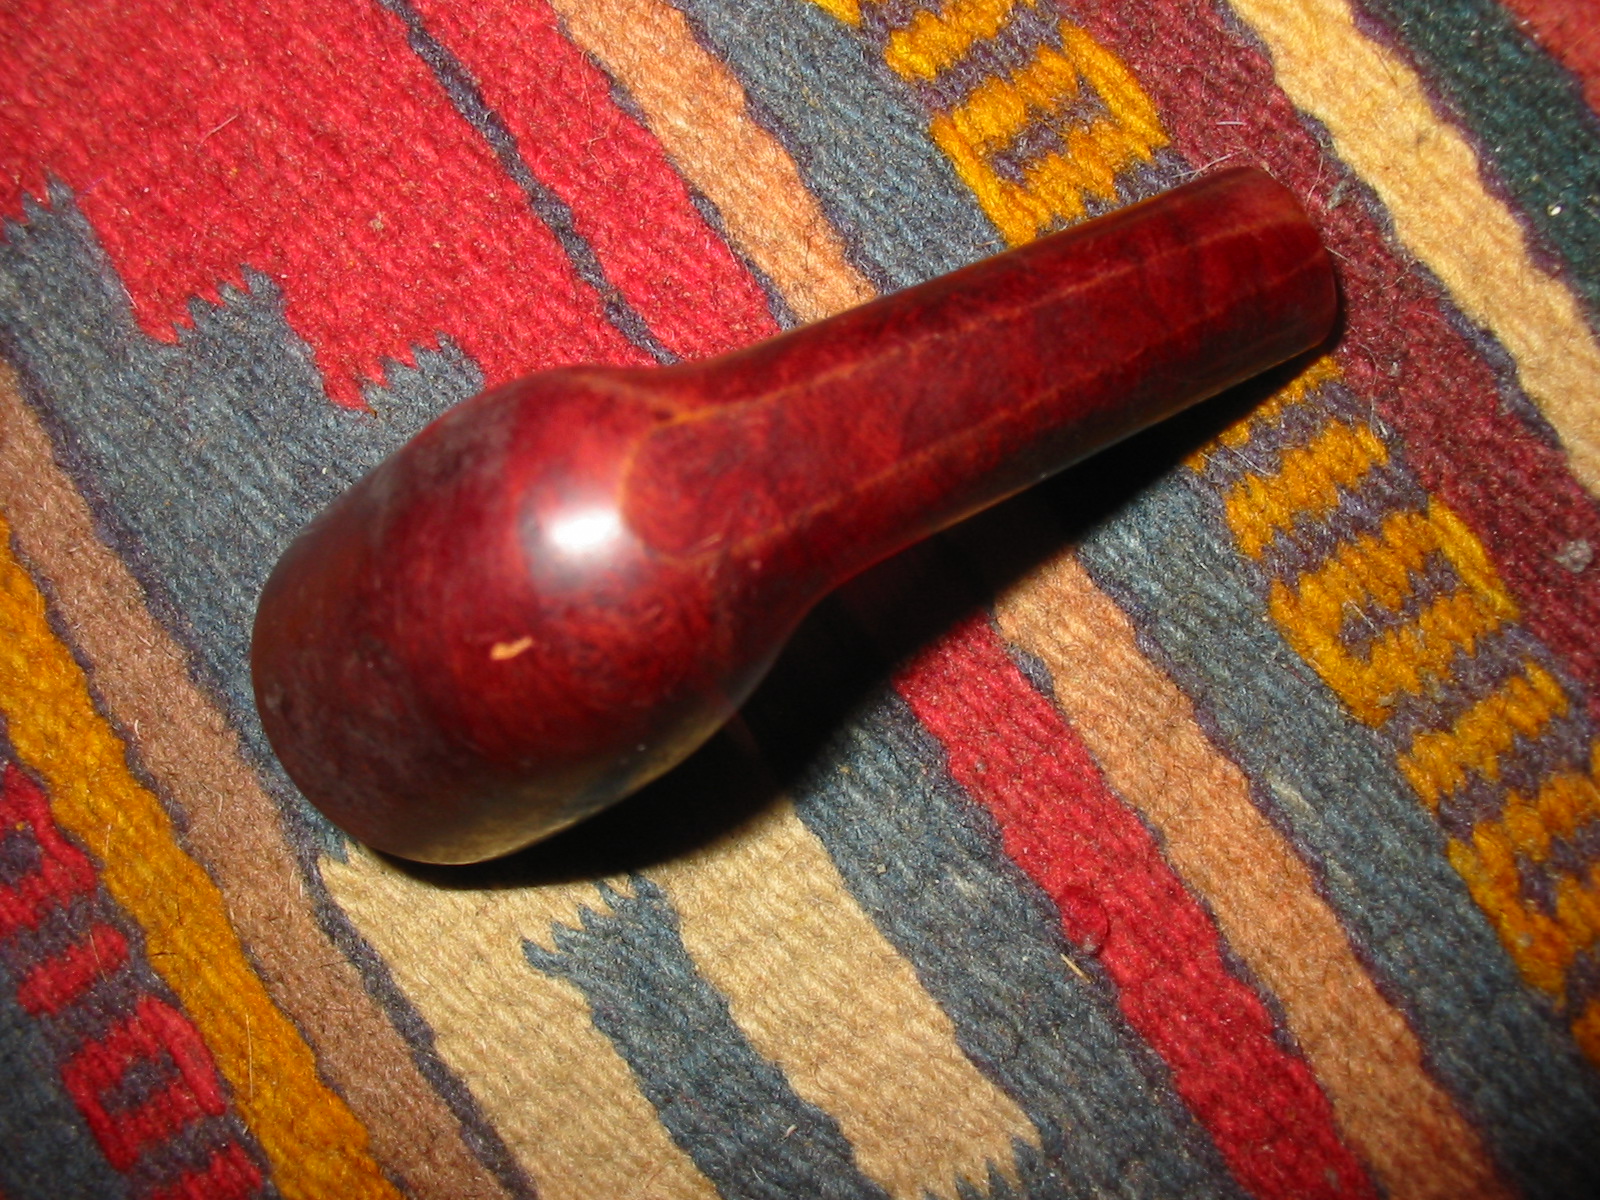
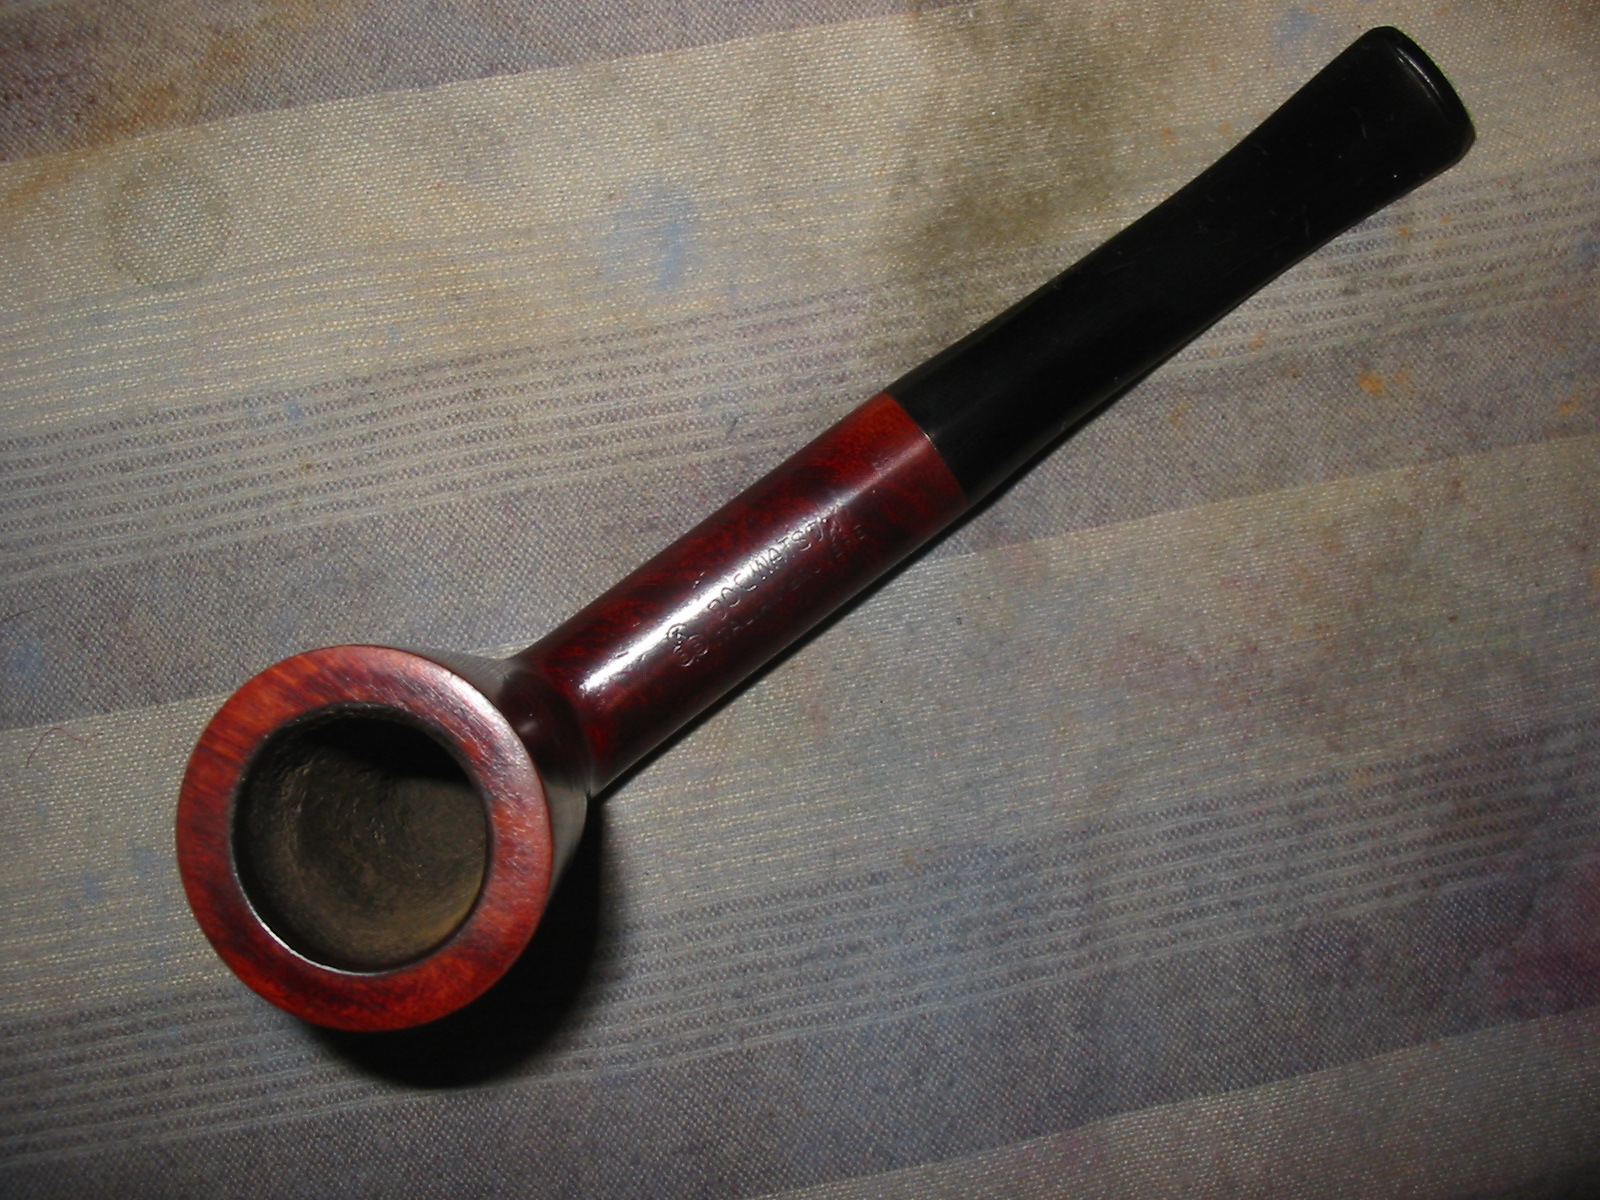
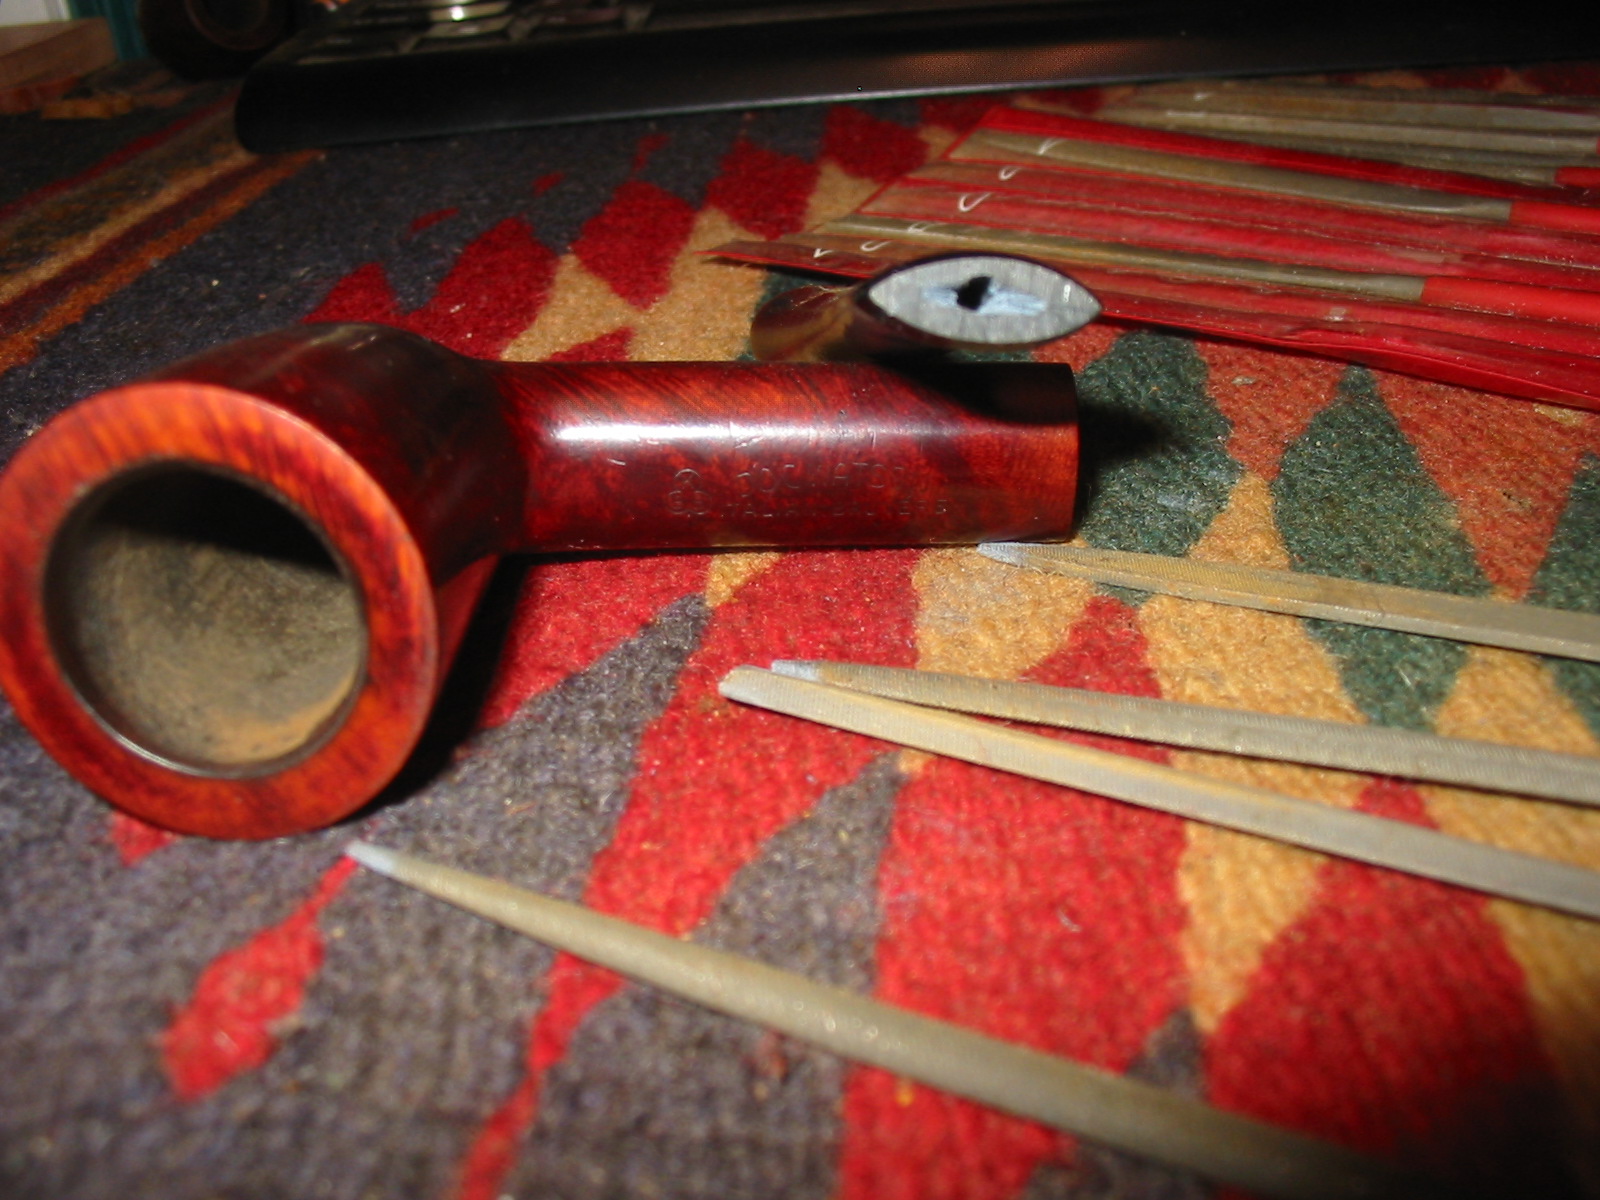
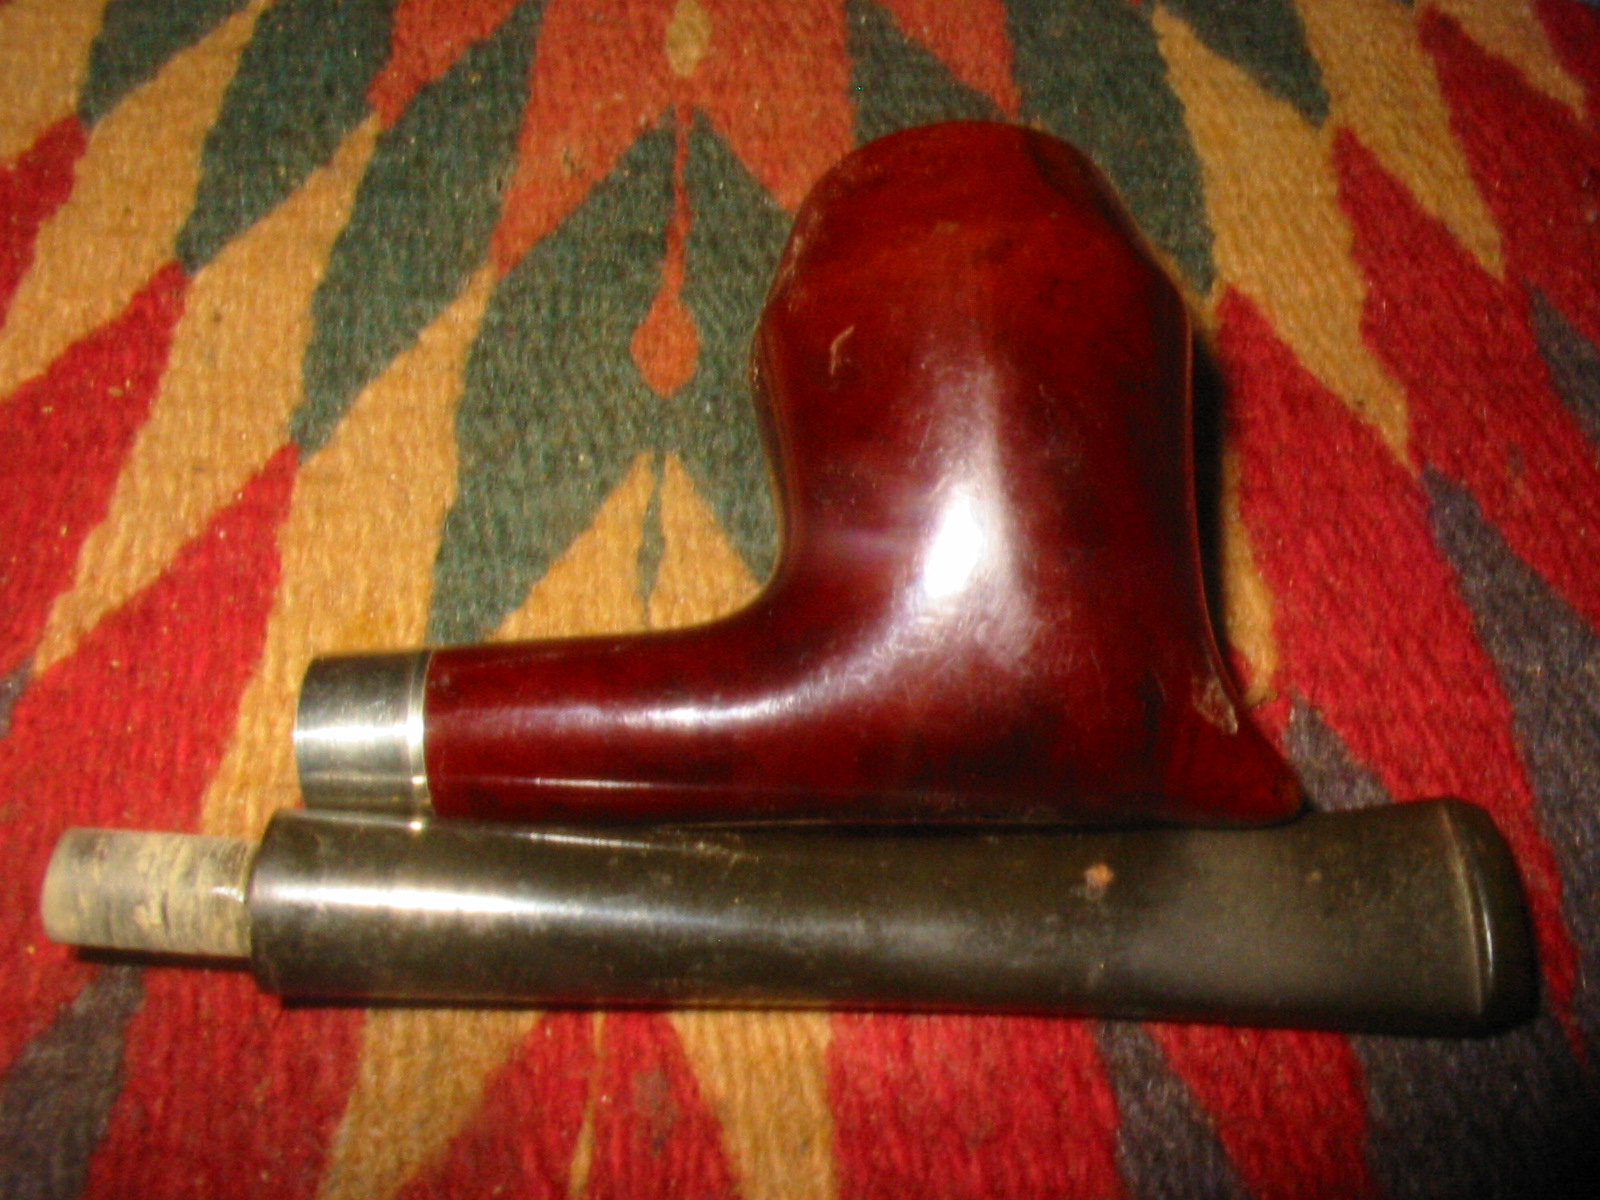
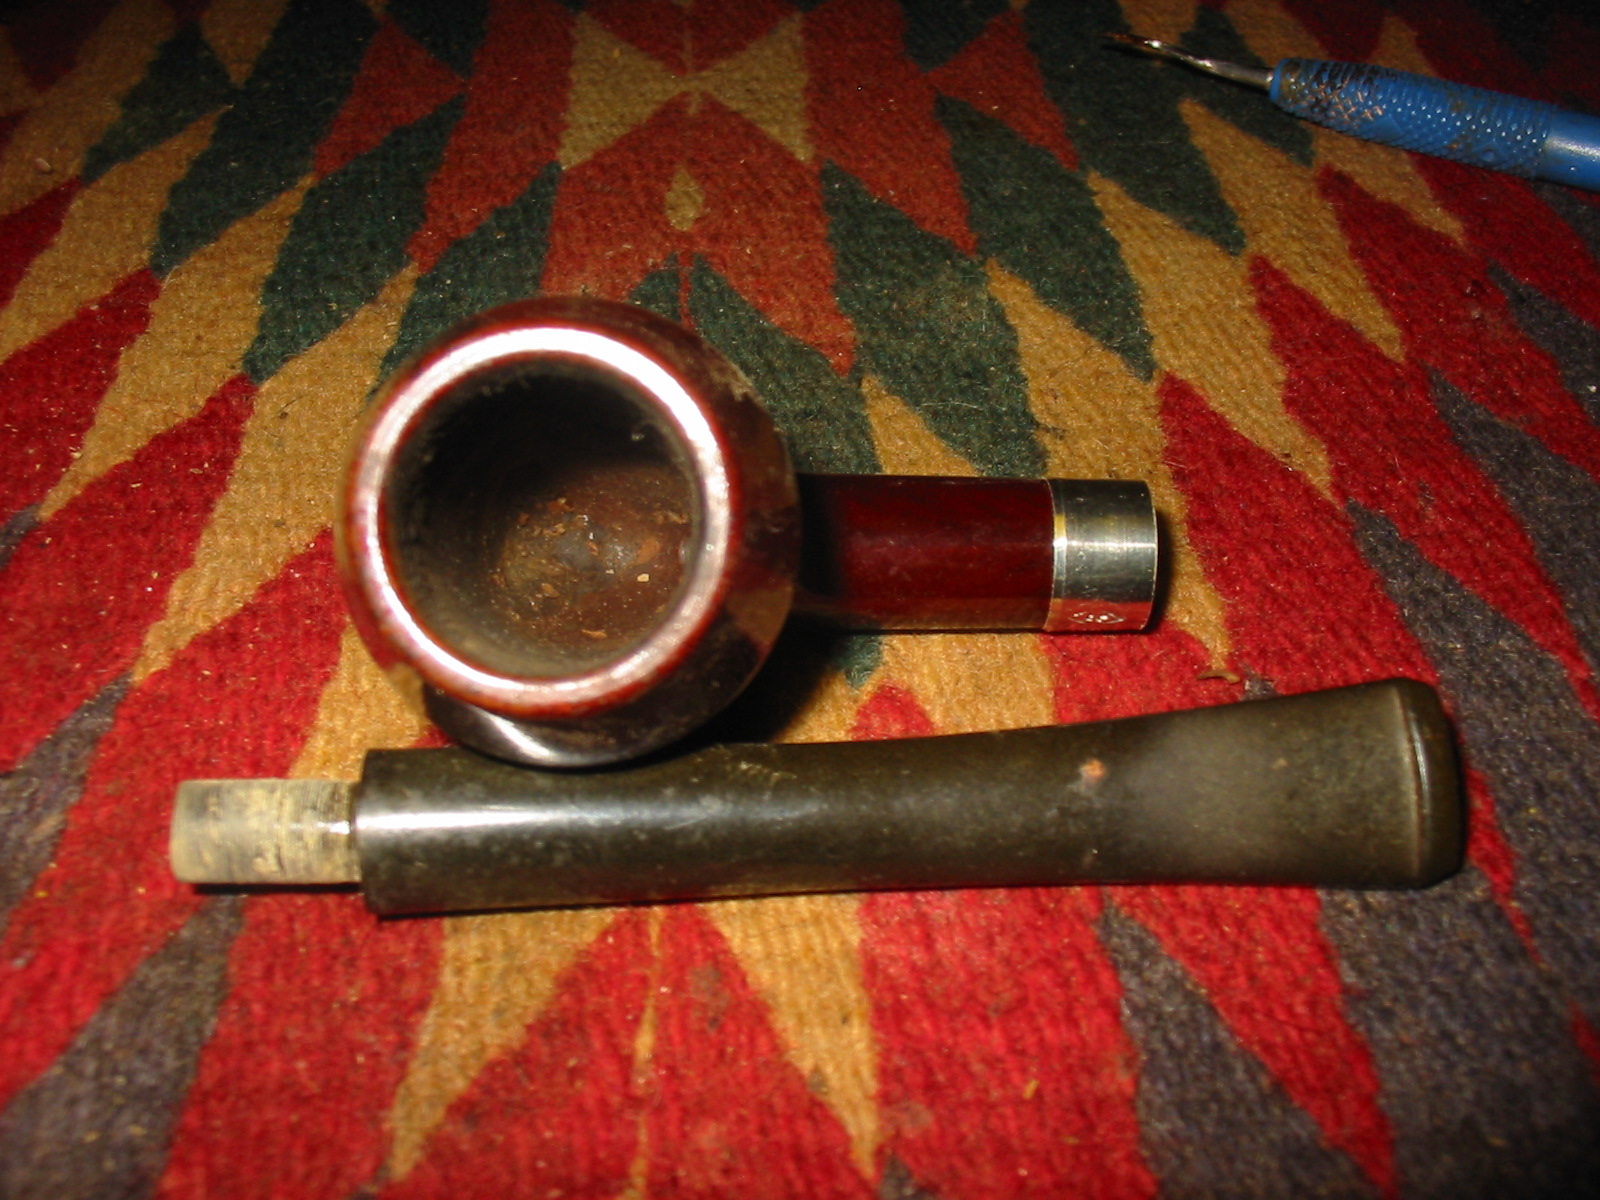
However, back to the Brylon pipe at hand. This bowl was an unusual shape and one that I had not seen before. It was smoked but clean. There was the beginning of a cake in the bowl so it would soon be a cool smoker as well. It was without a stem so I found one in my stem can with a slight bend that had the same diameter as the shank and sanded the tenon by hand with 220 grit sandpaper until it was a snug fit in the shank. It looked good on the pipe but there was still something missing when I sat back and looked at the pipe. I thought maybe a bit of bling would do the trick so I went through my nickel bands and found one that was the perfect size to press on the shank and not cover the stamping on the left side.
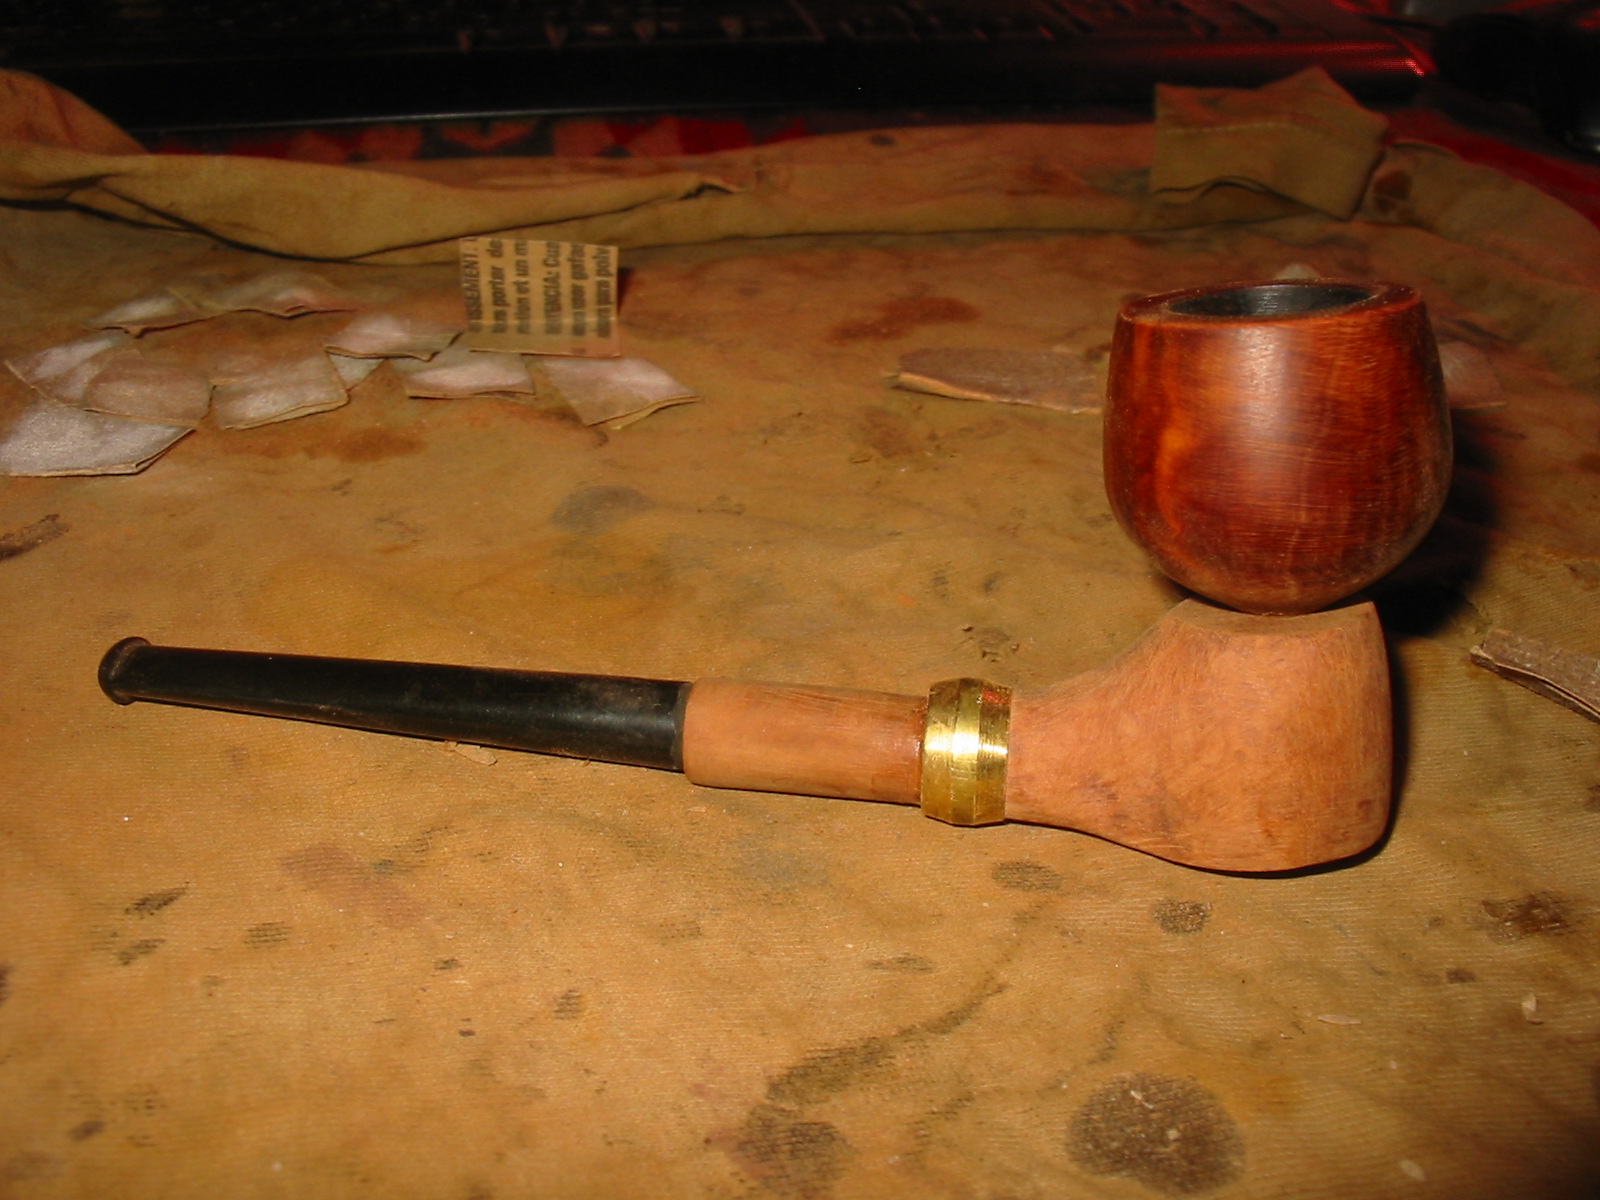
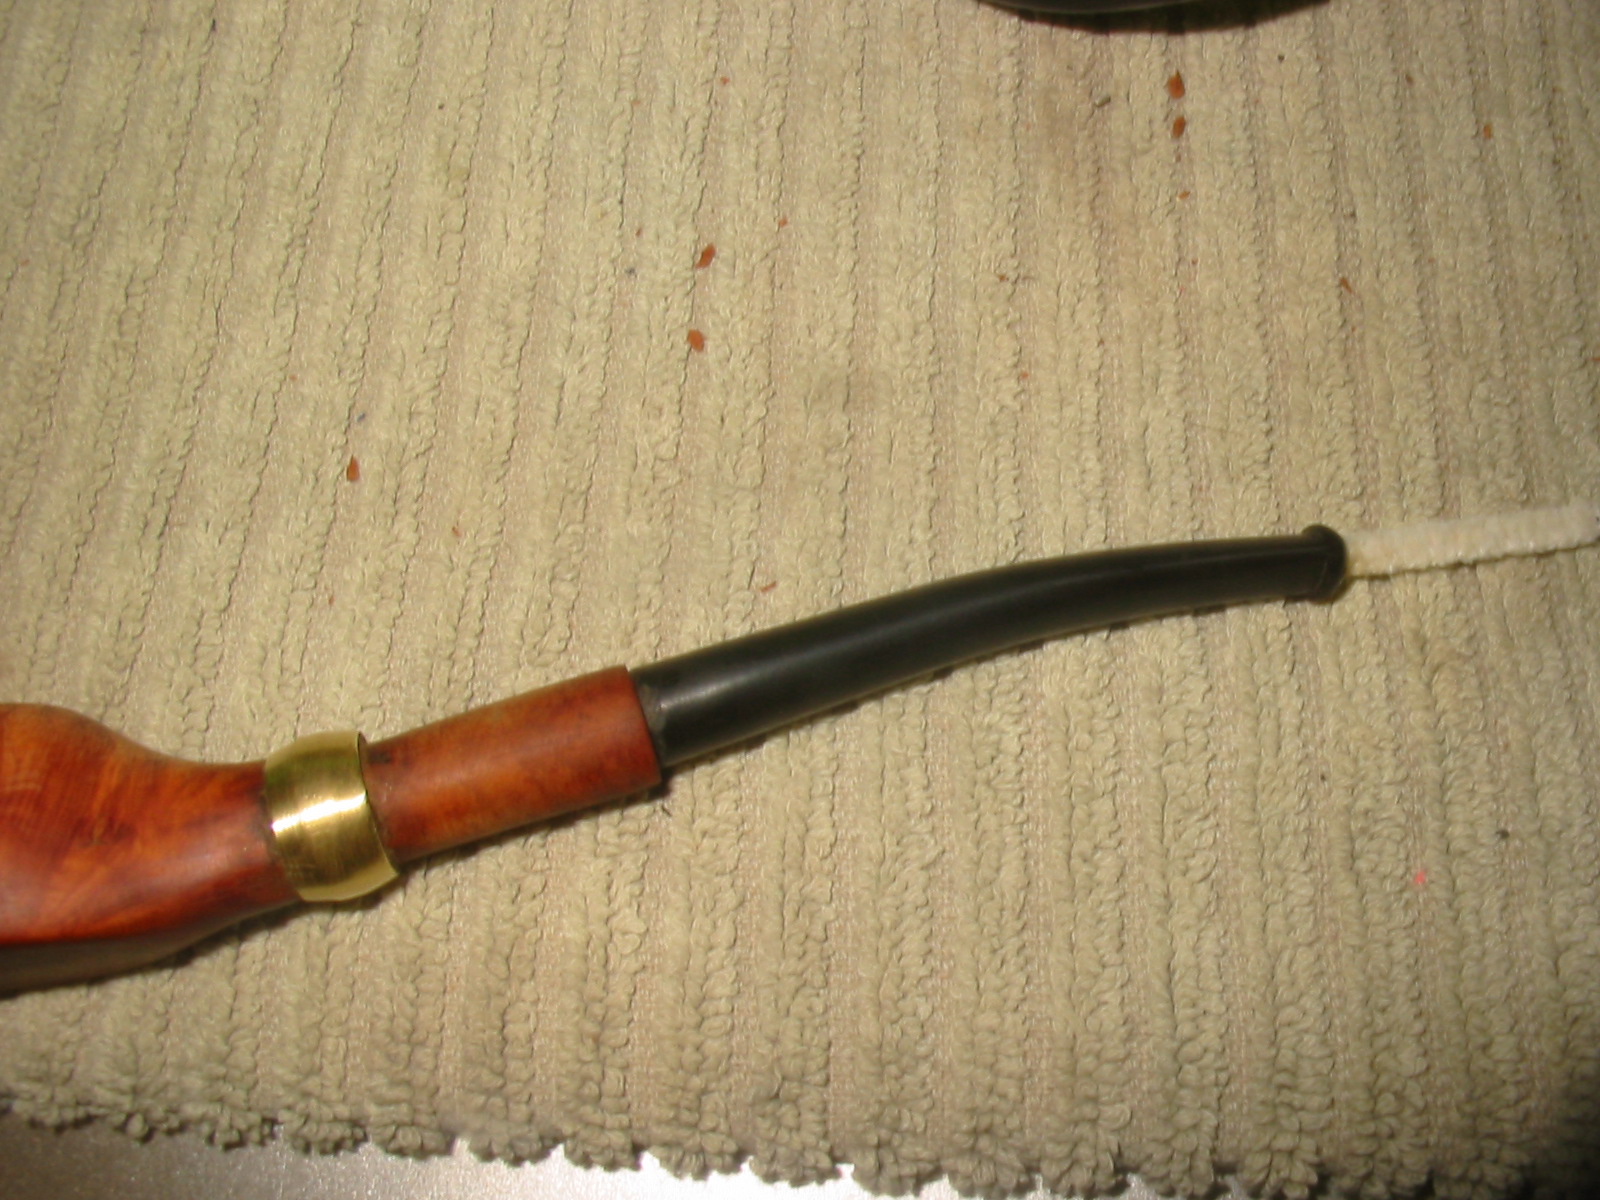
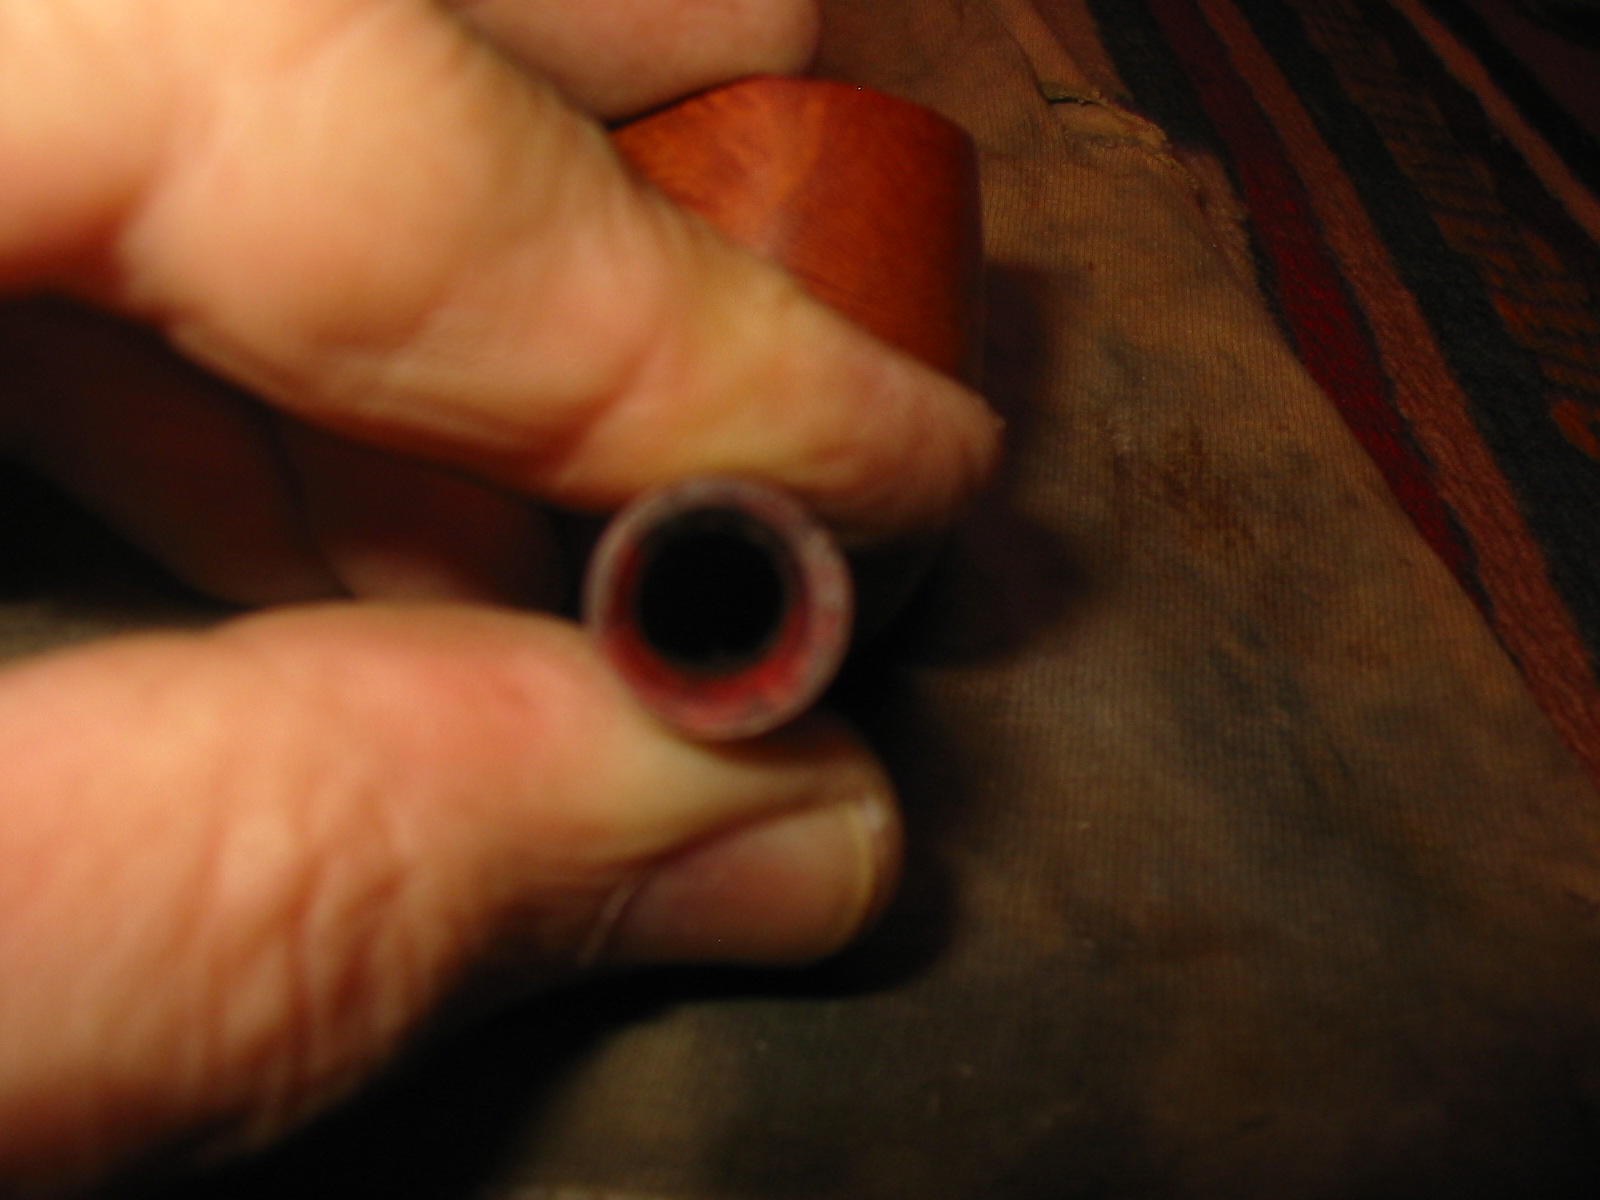
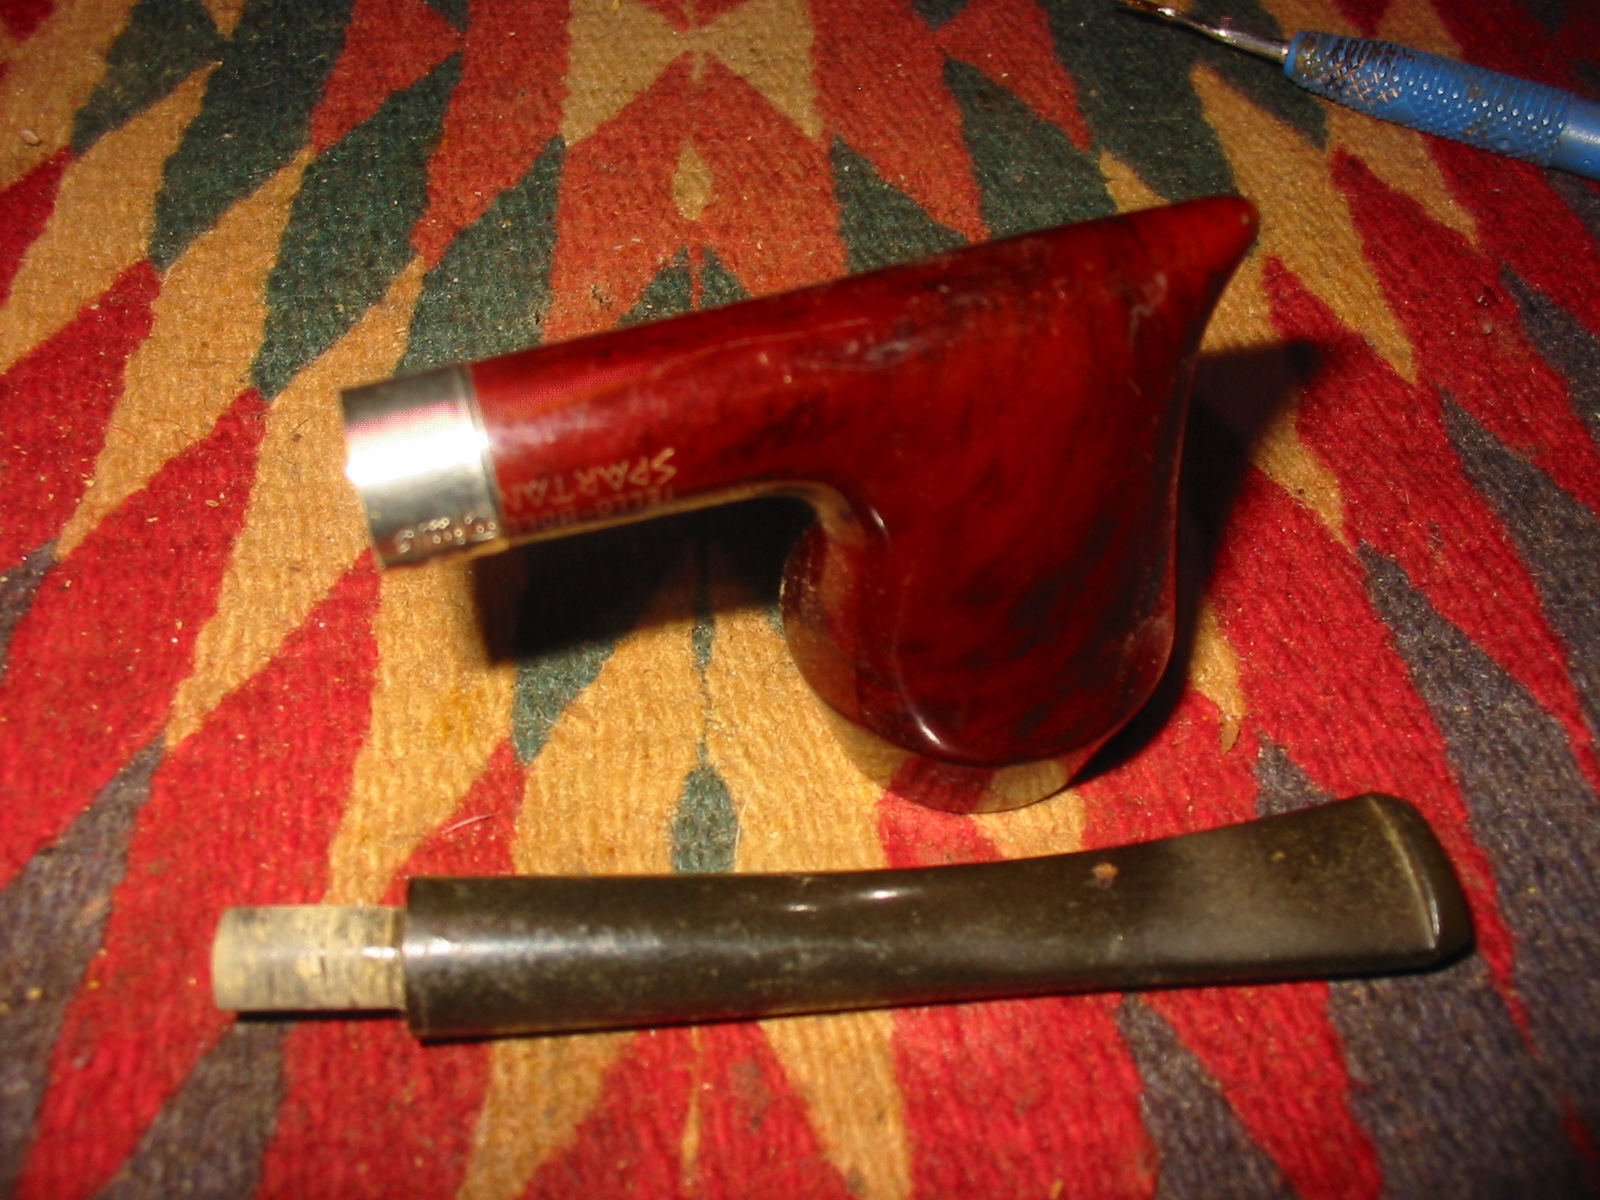
I heated the band with a lighter and then pressed it into place on the shank. Heating the band causes it to expand and slide on to the shank while it is still hot. Once the band cools it contracts and the fit is tight unmovable. I used a sharp knife to bevel the inside edge of the mortise to accommodate the new stem solidly against the end of the shank. 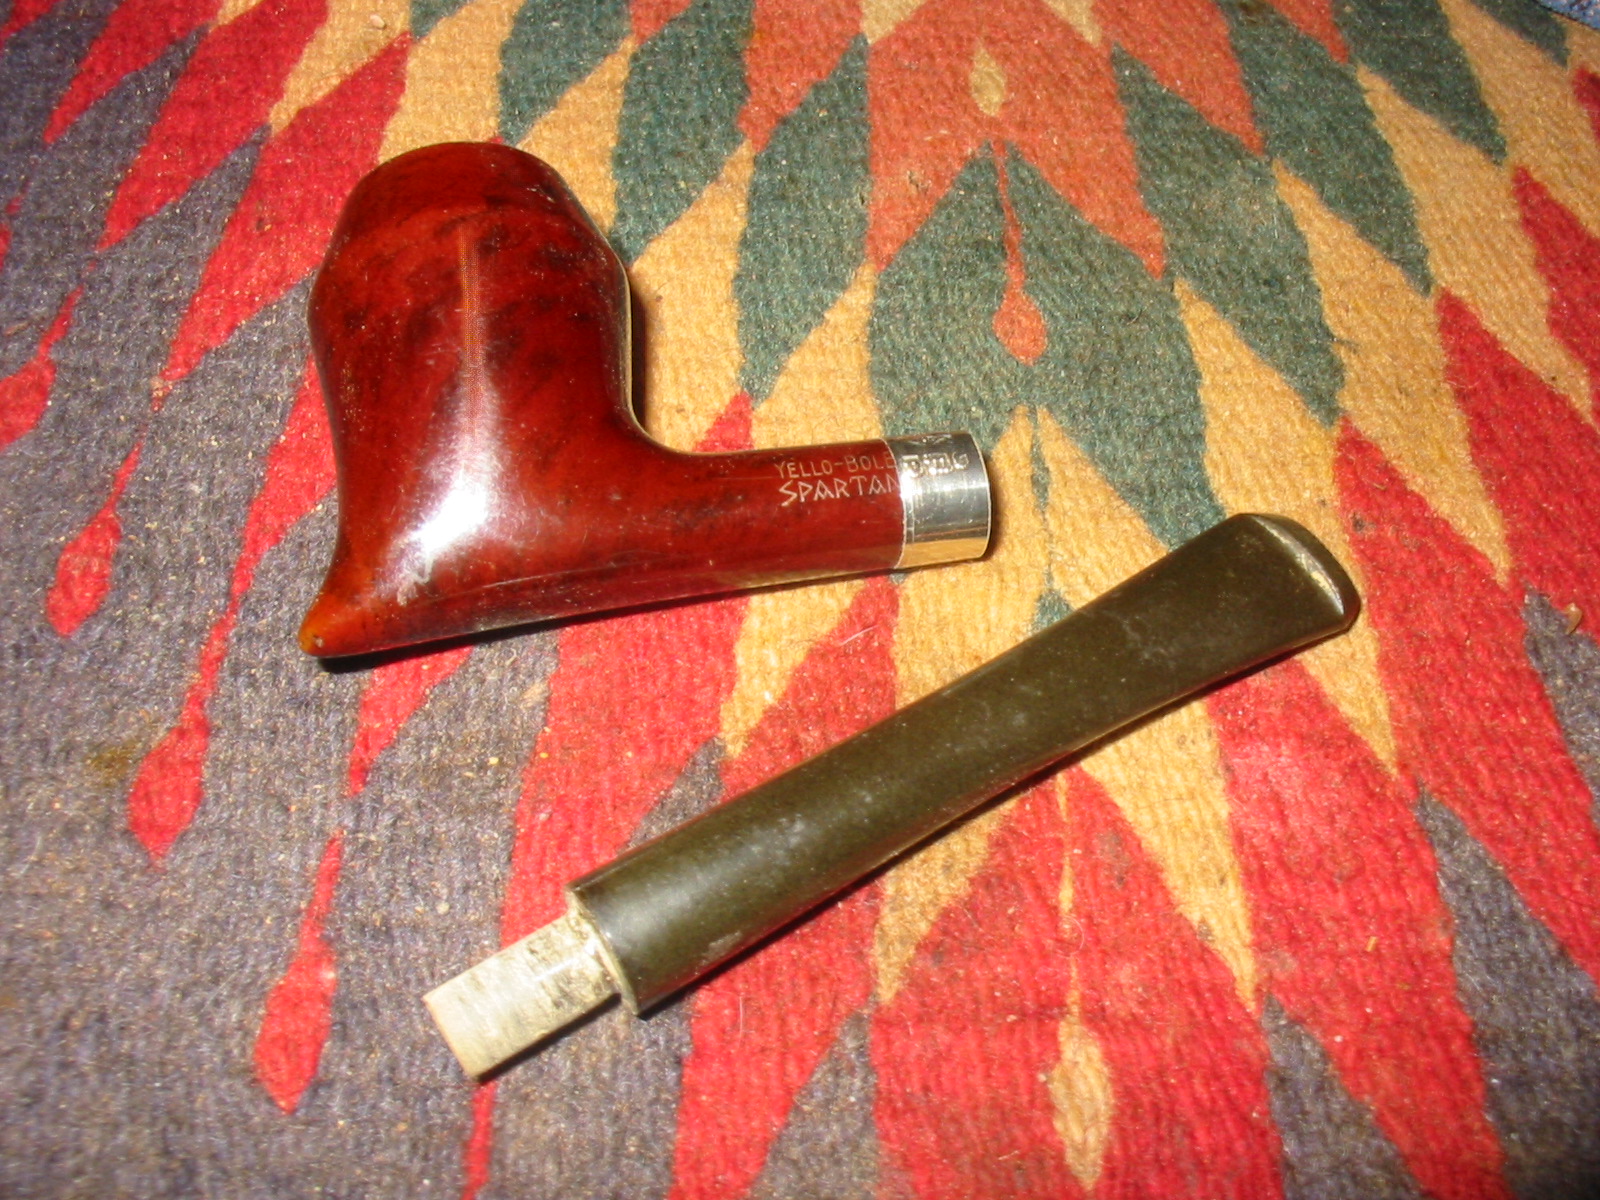
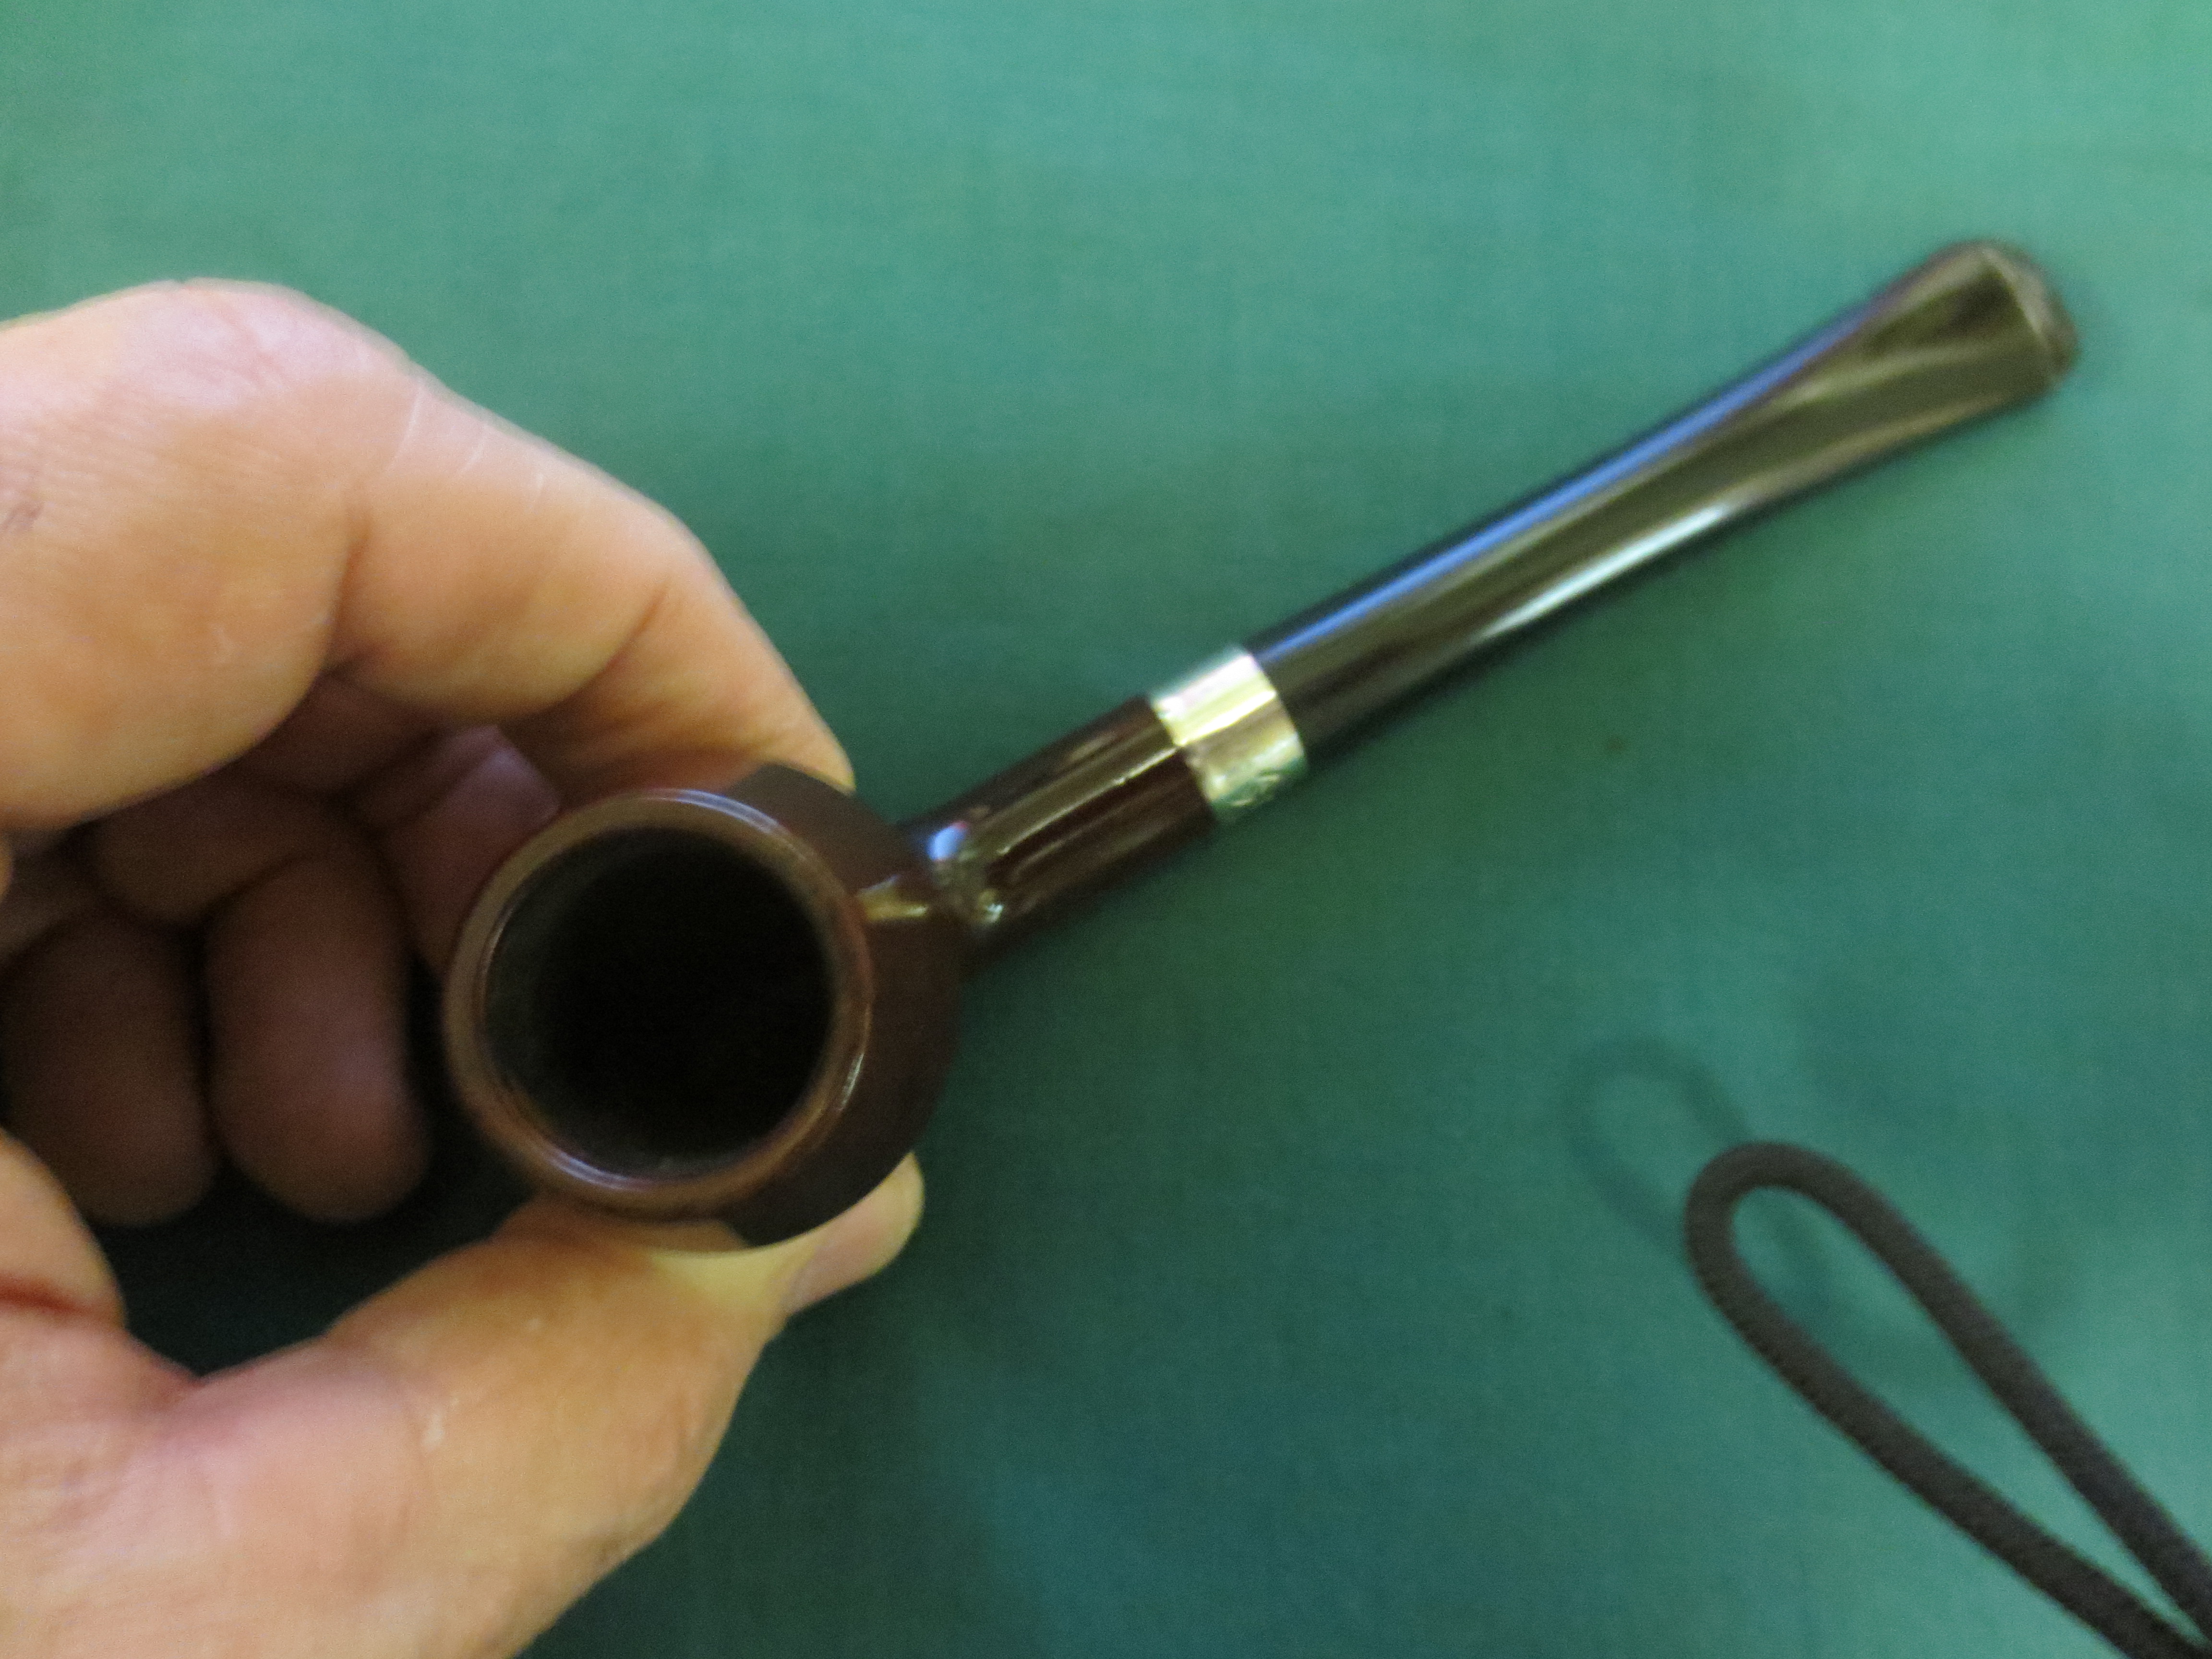
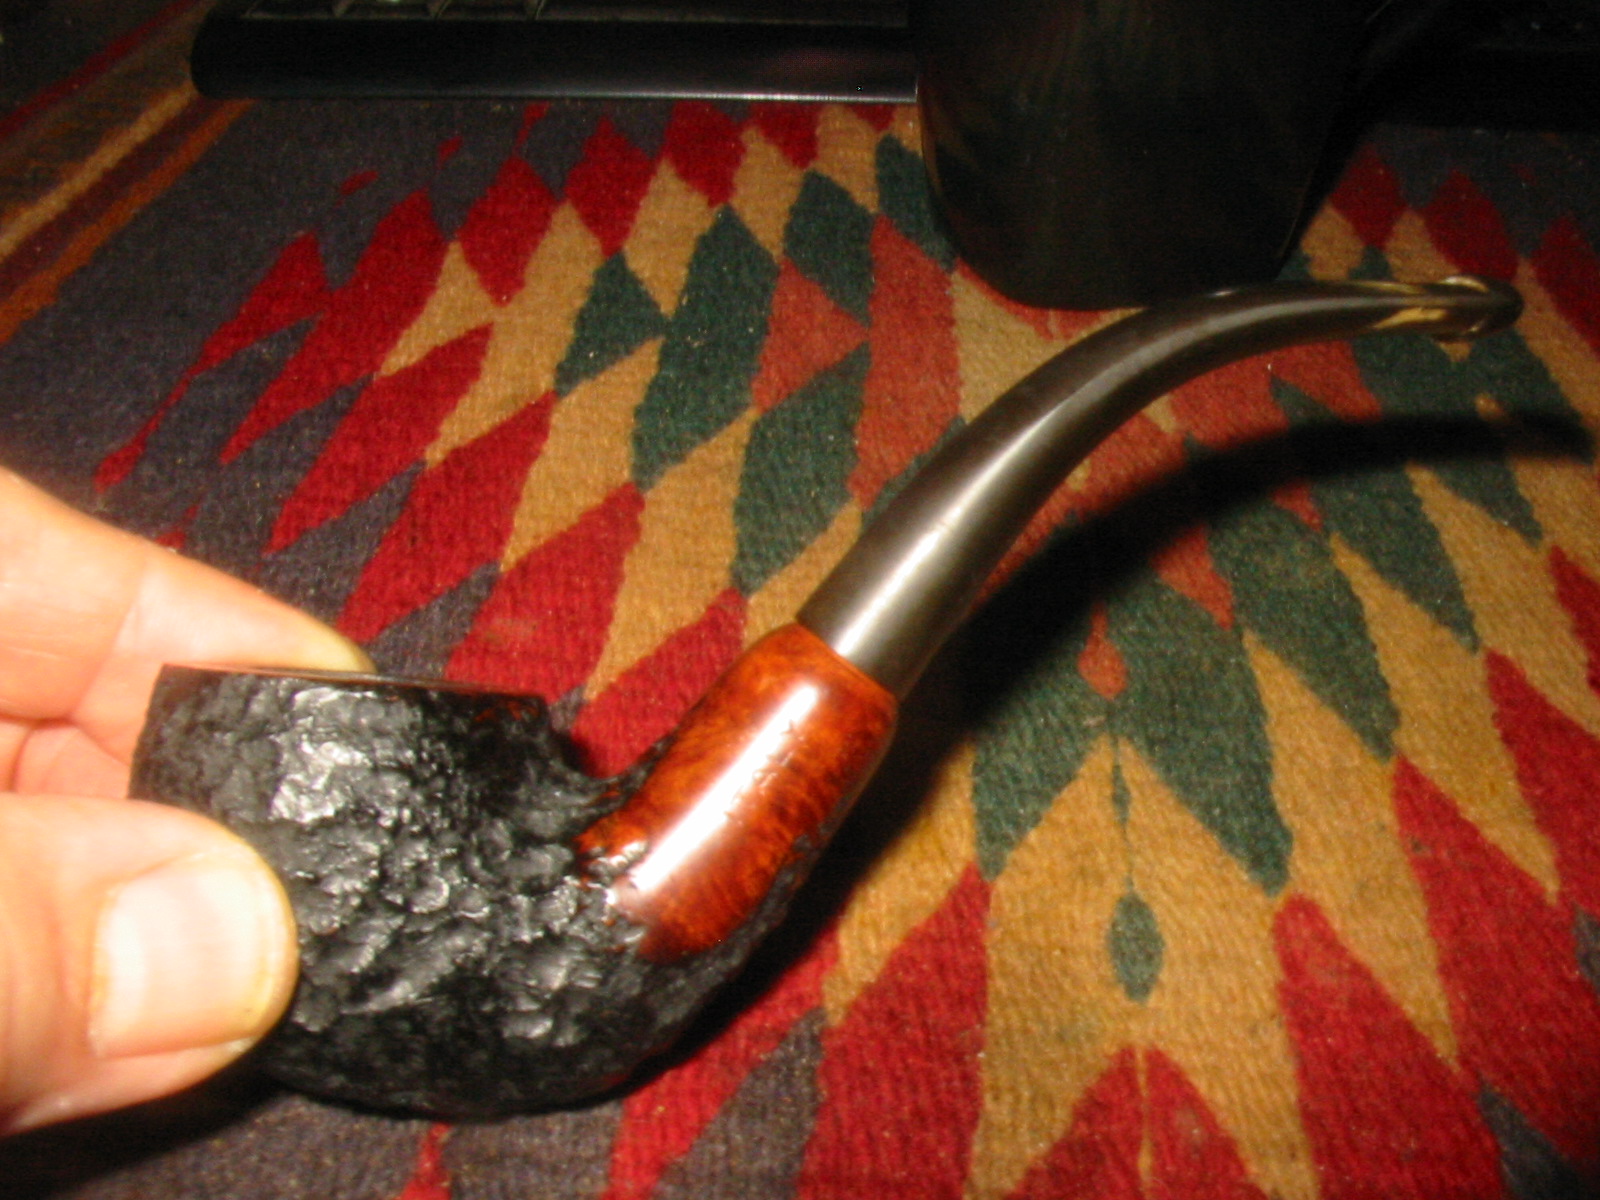
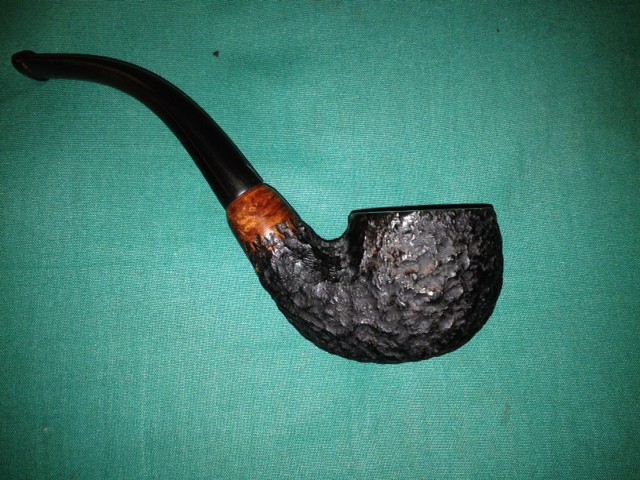
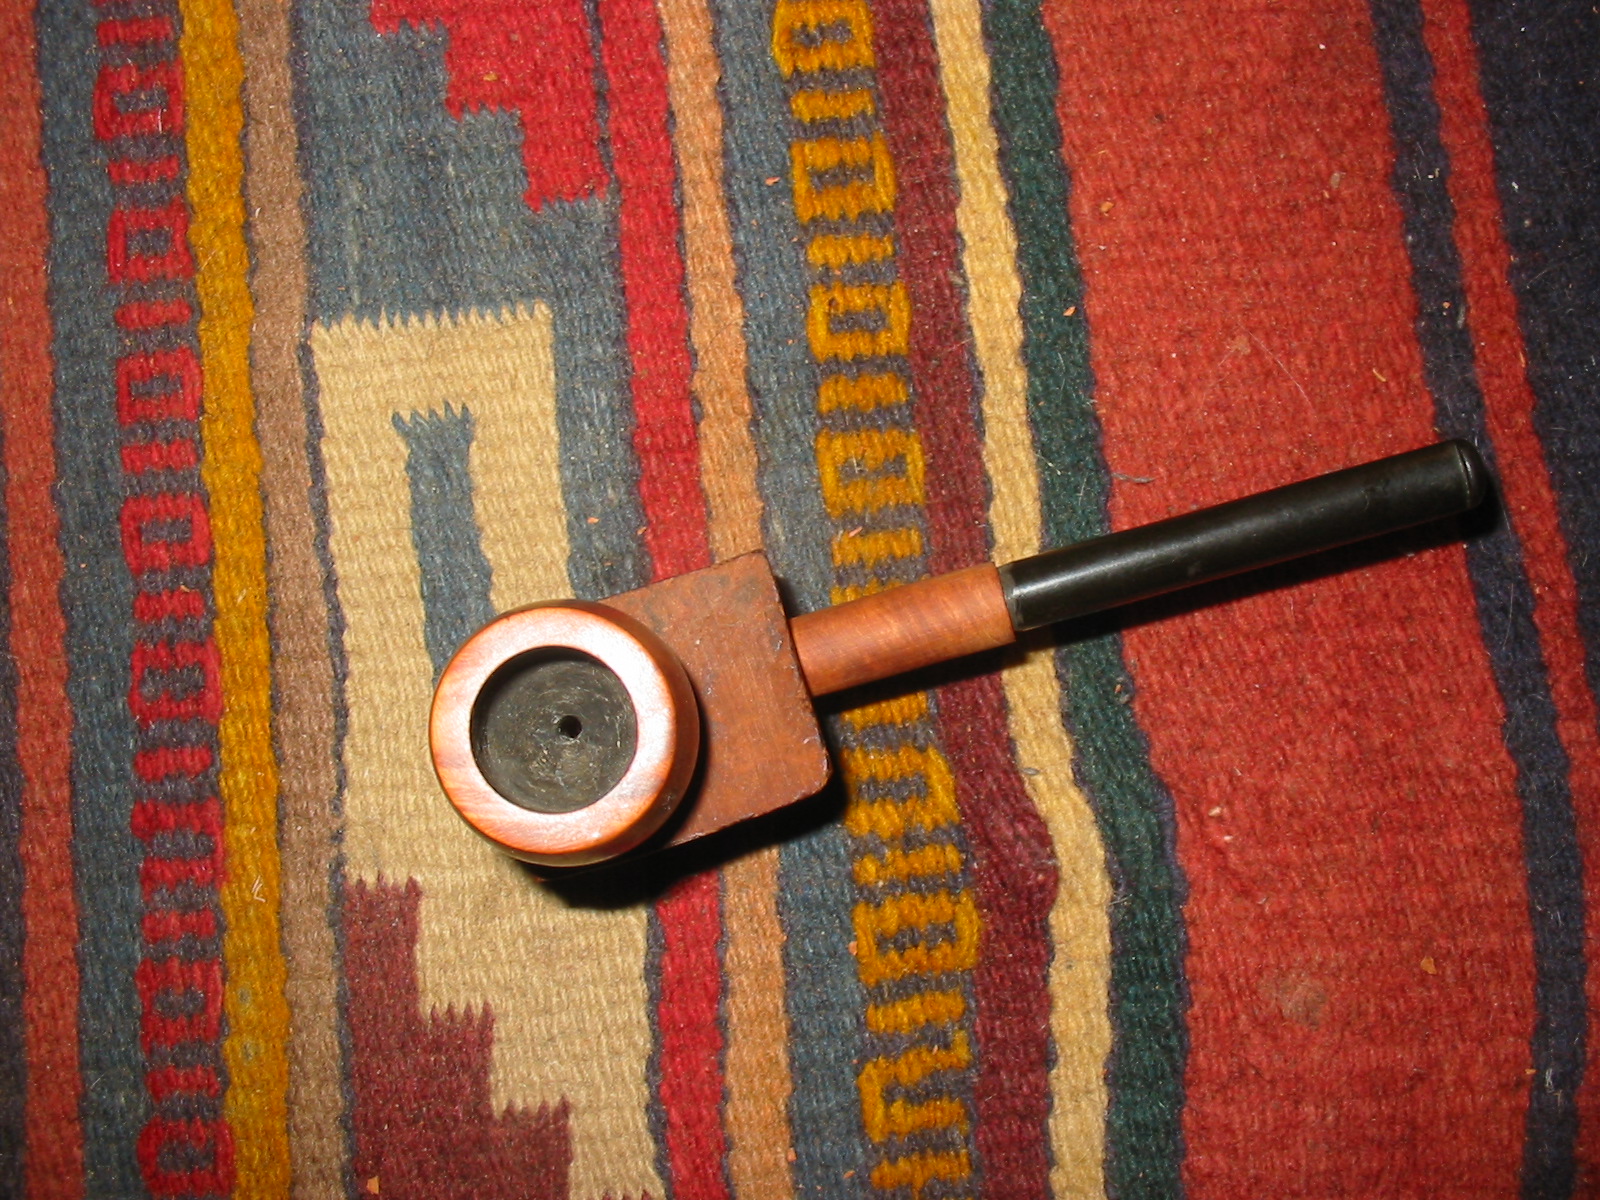
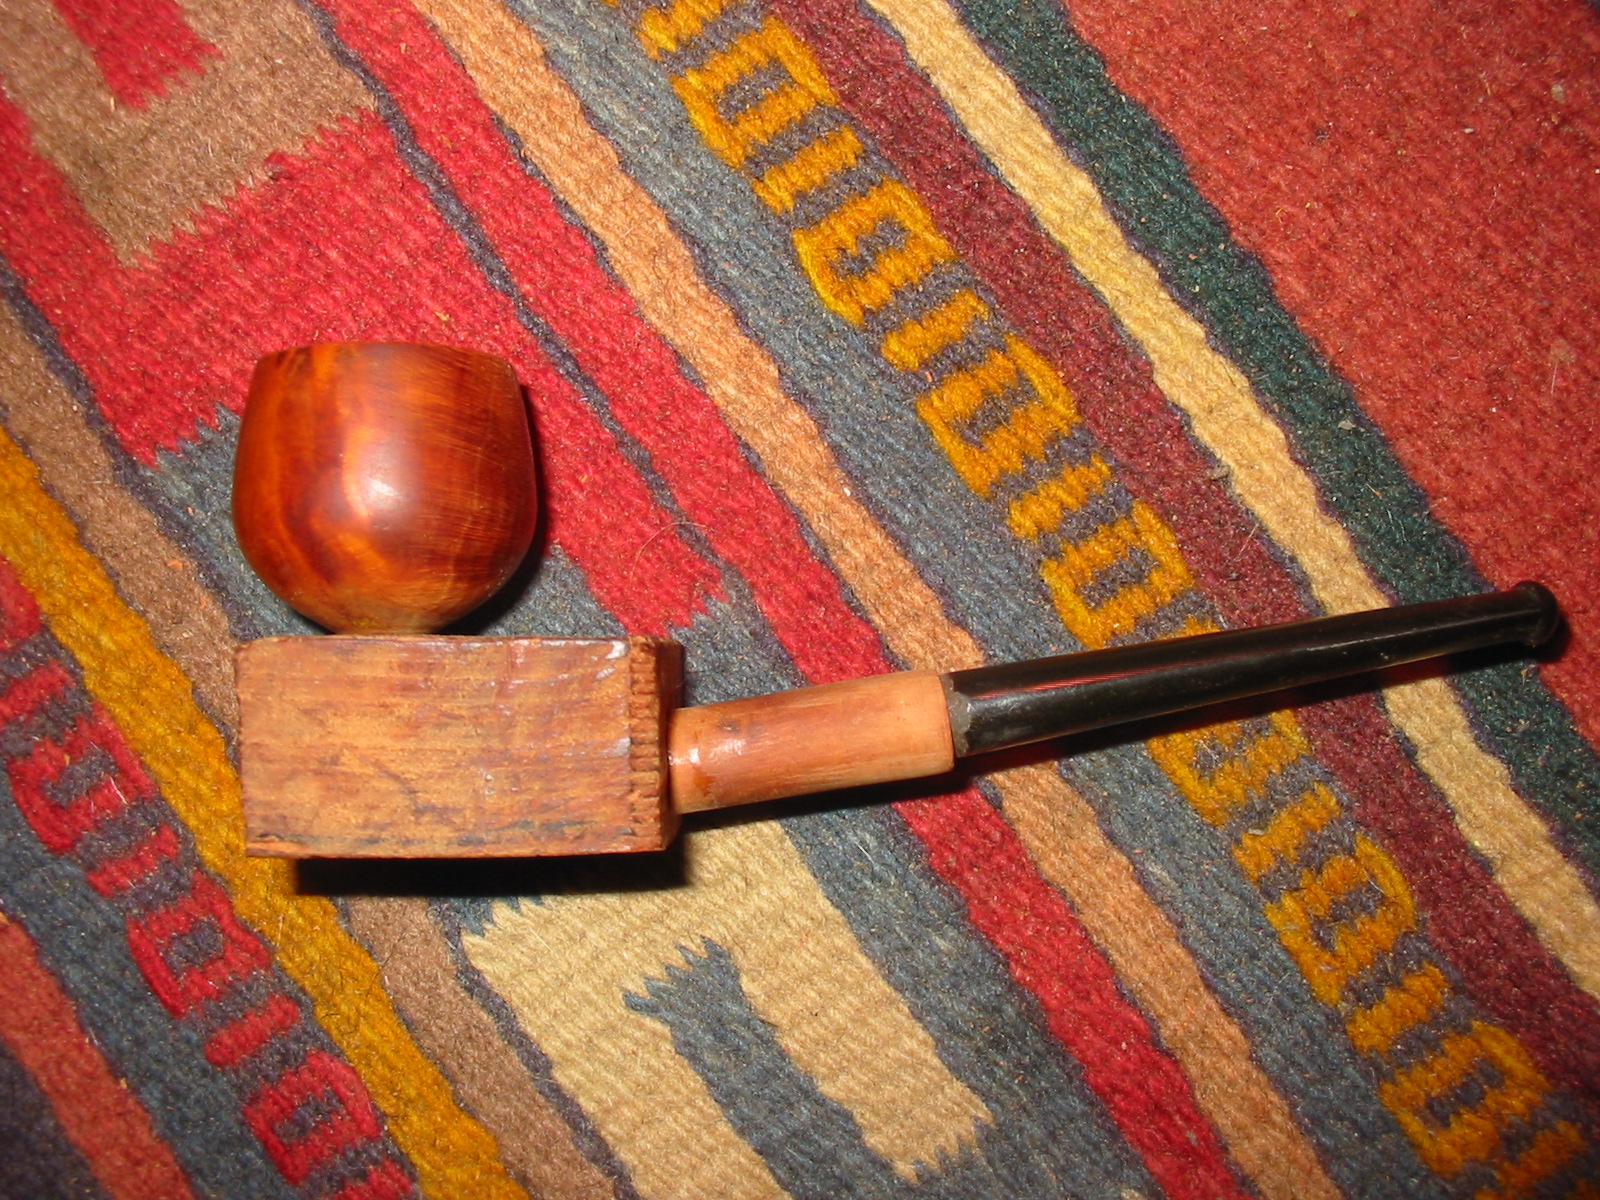
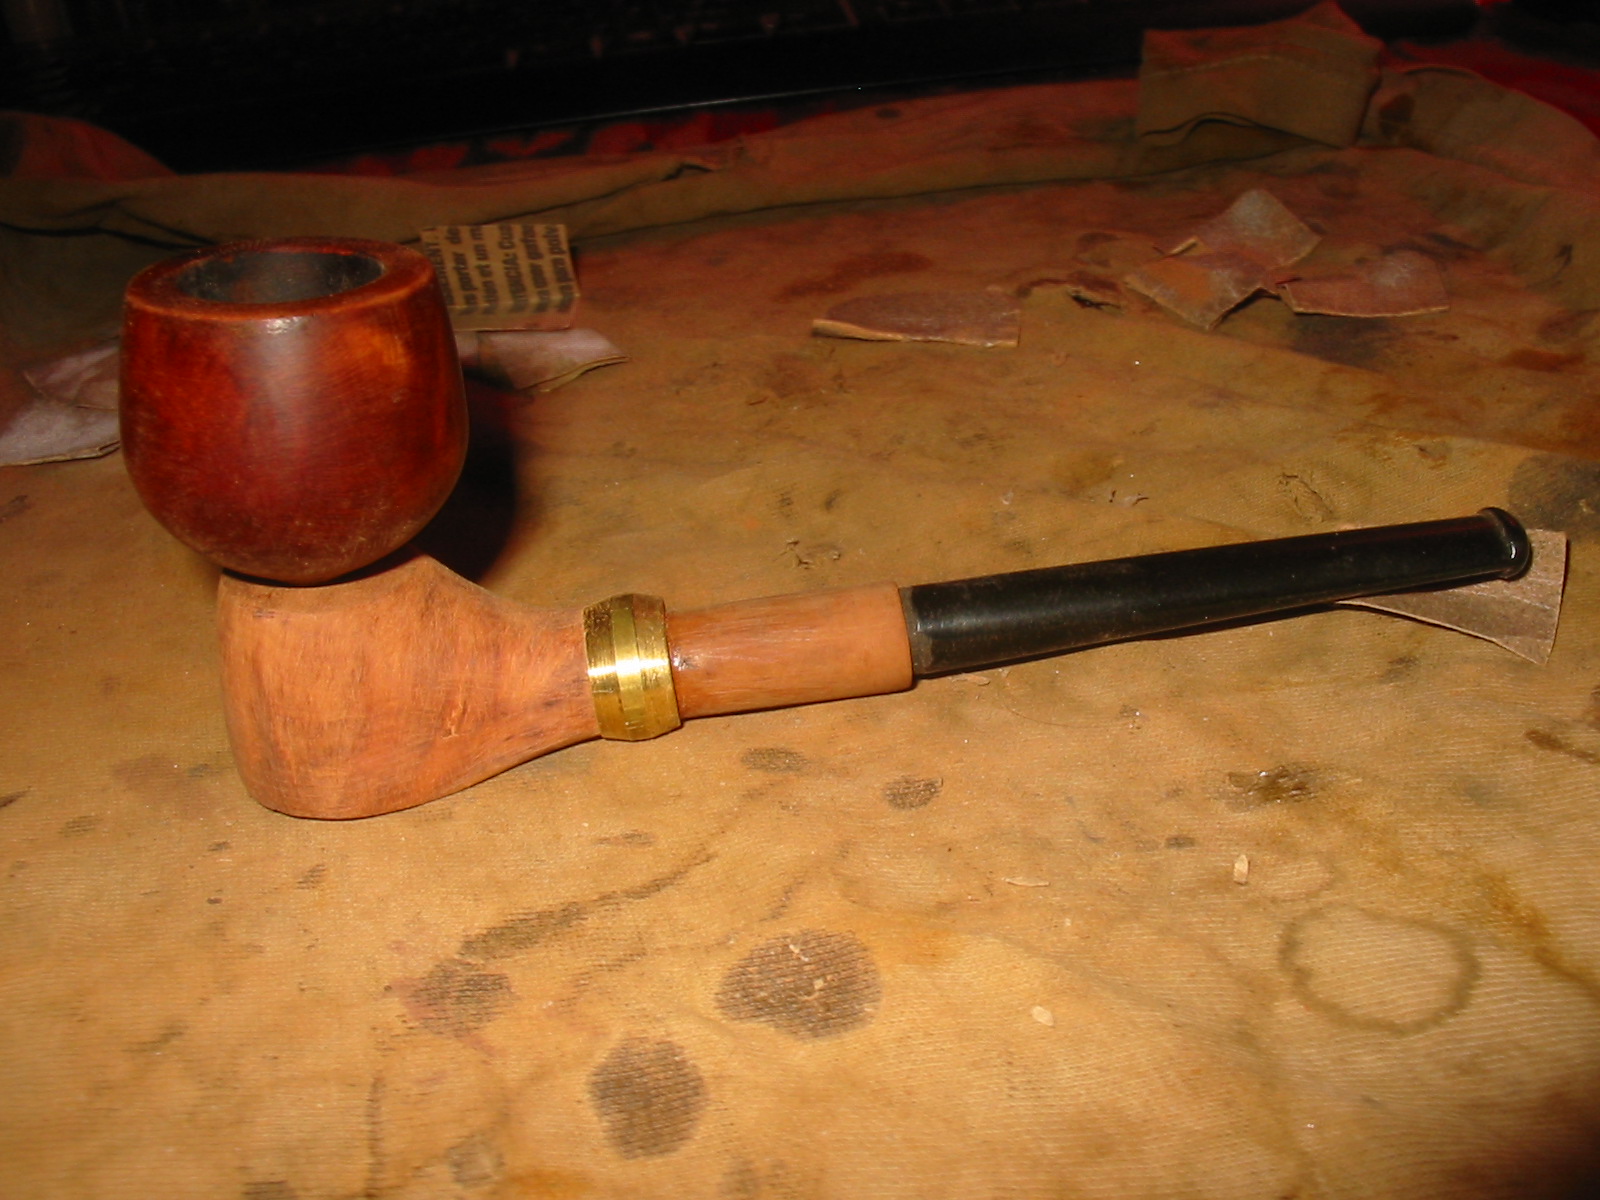
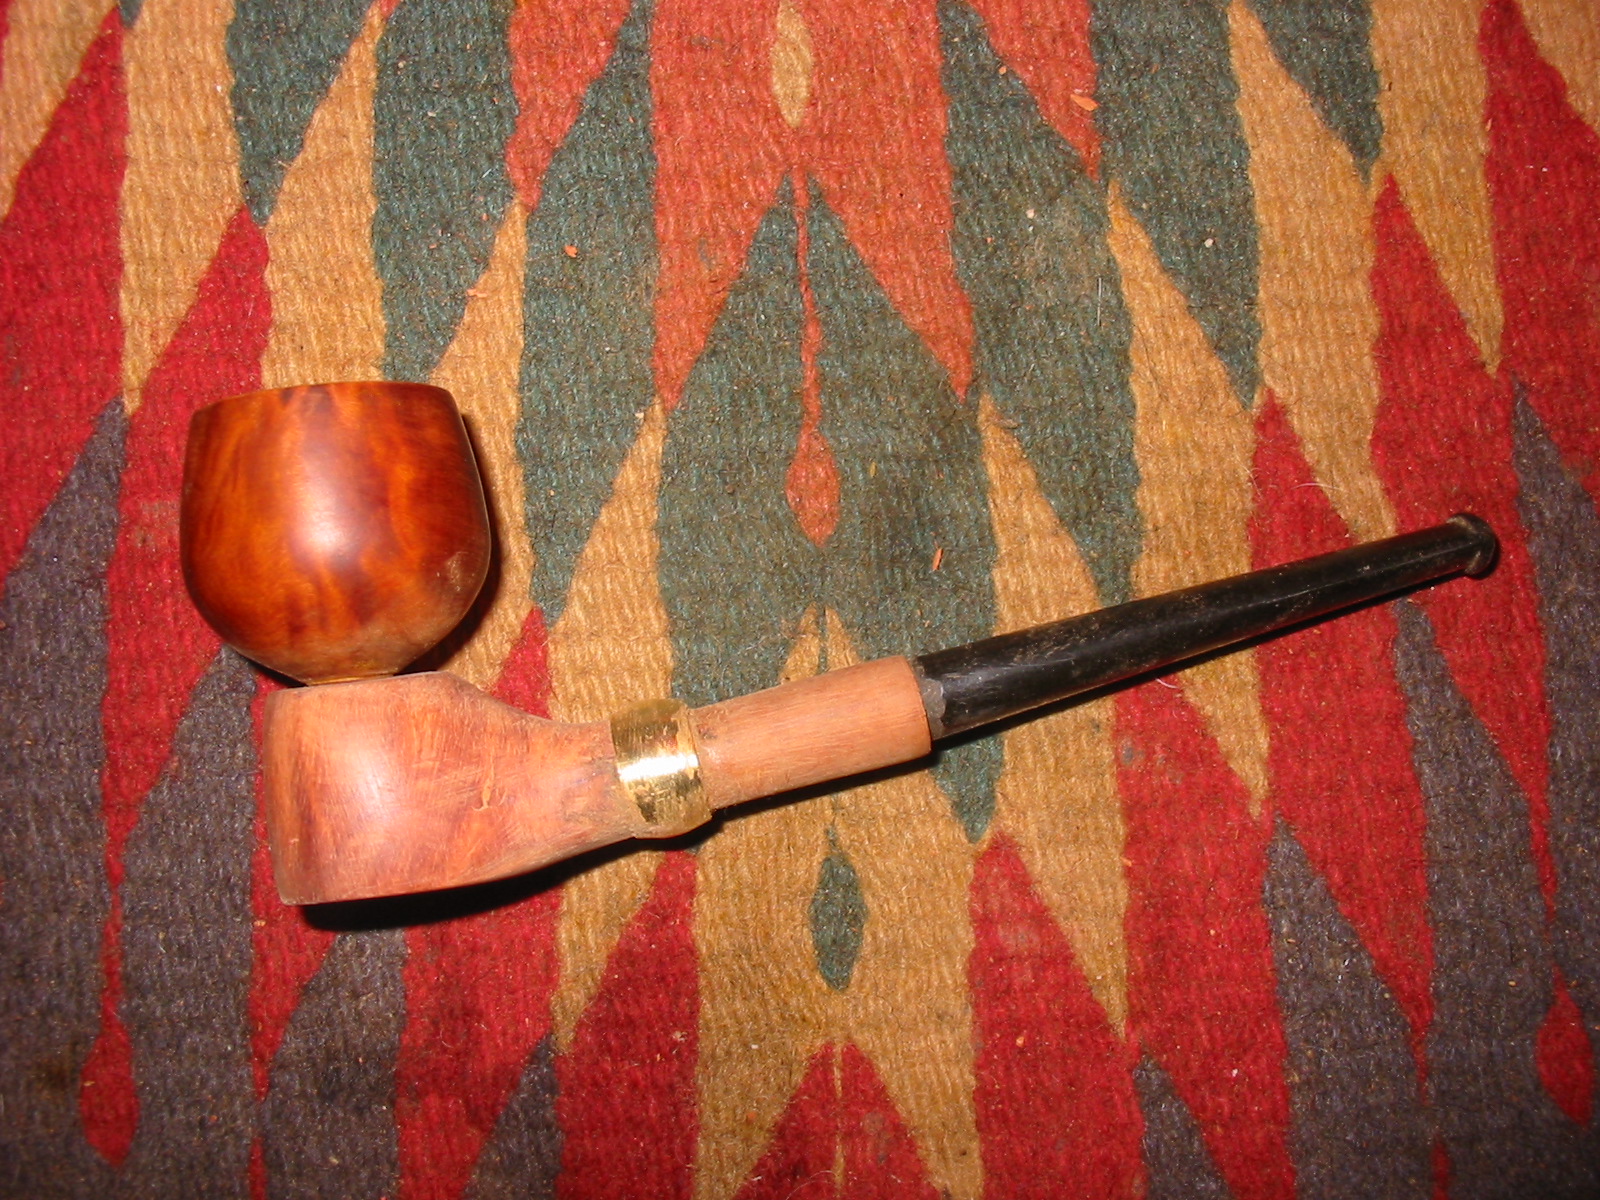
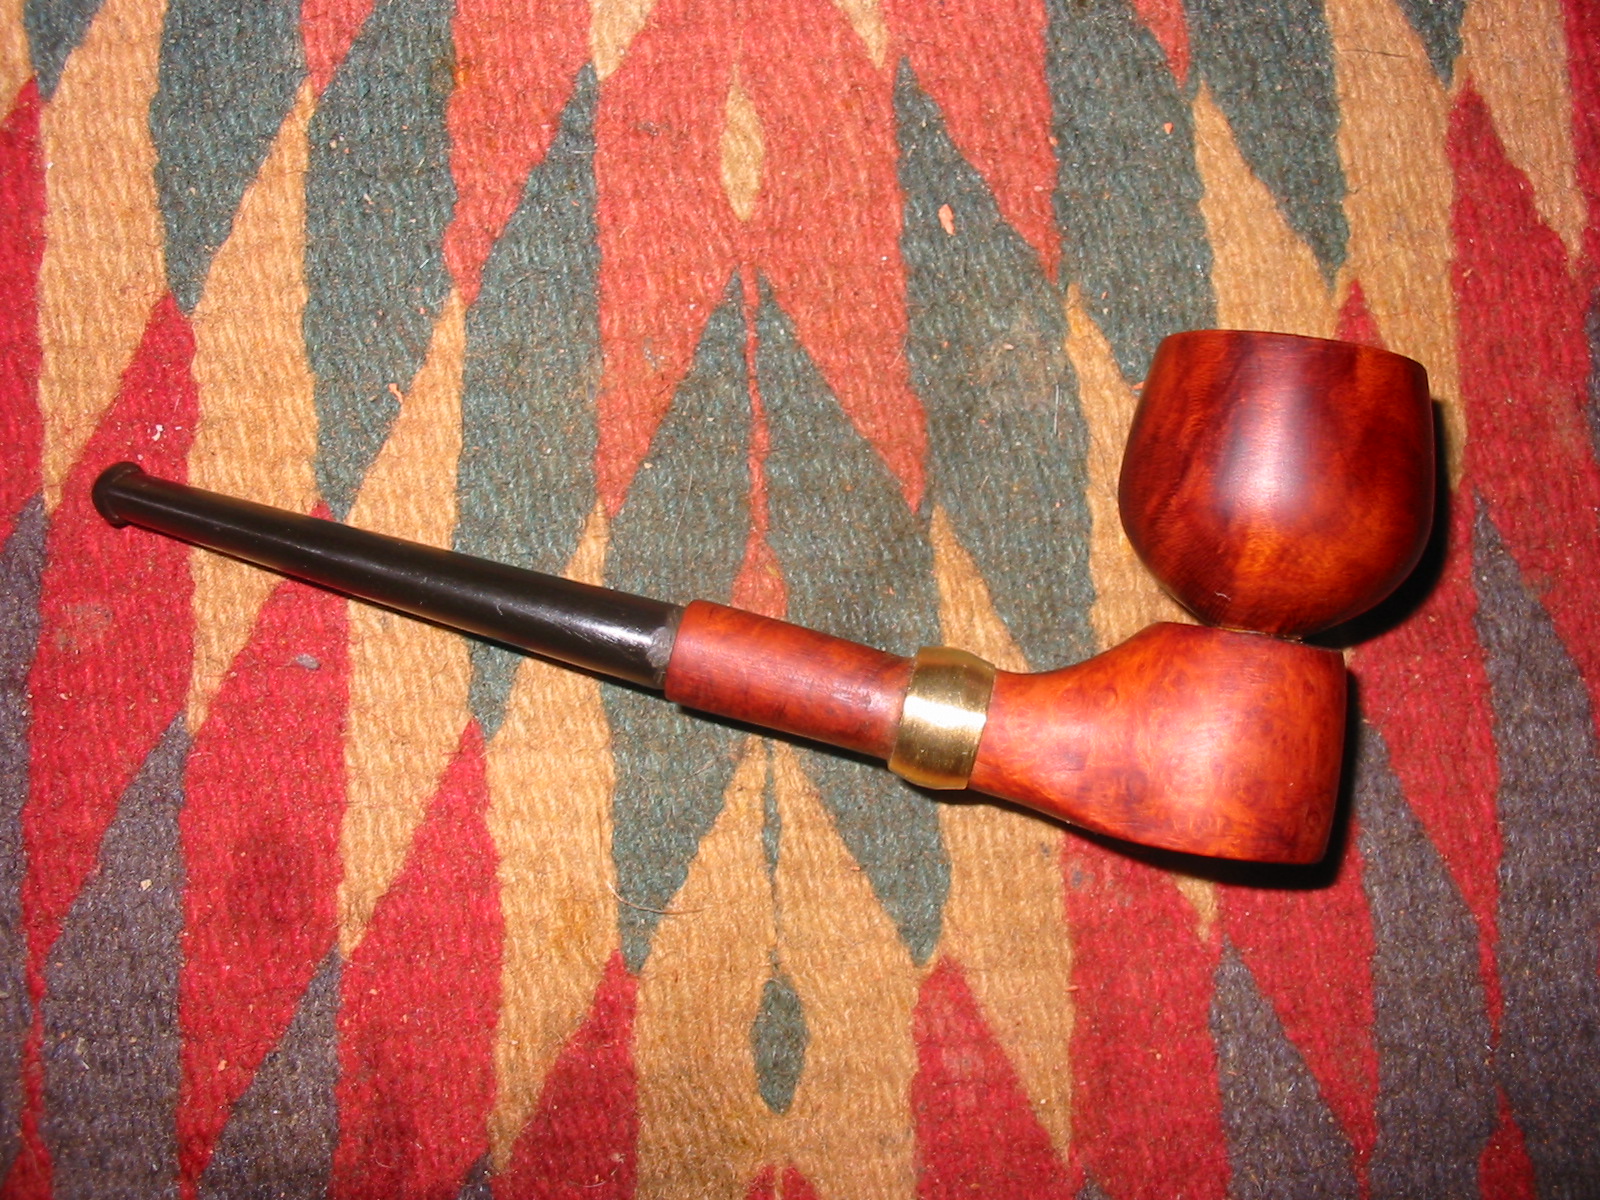
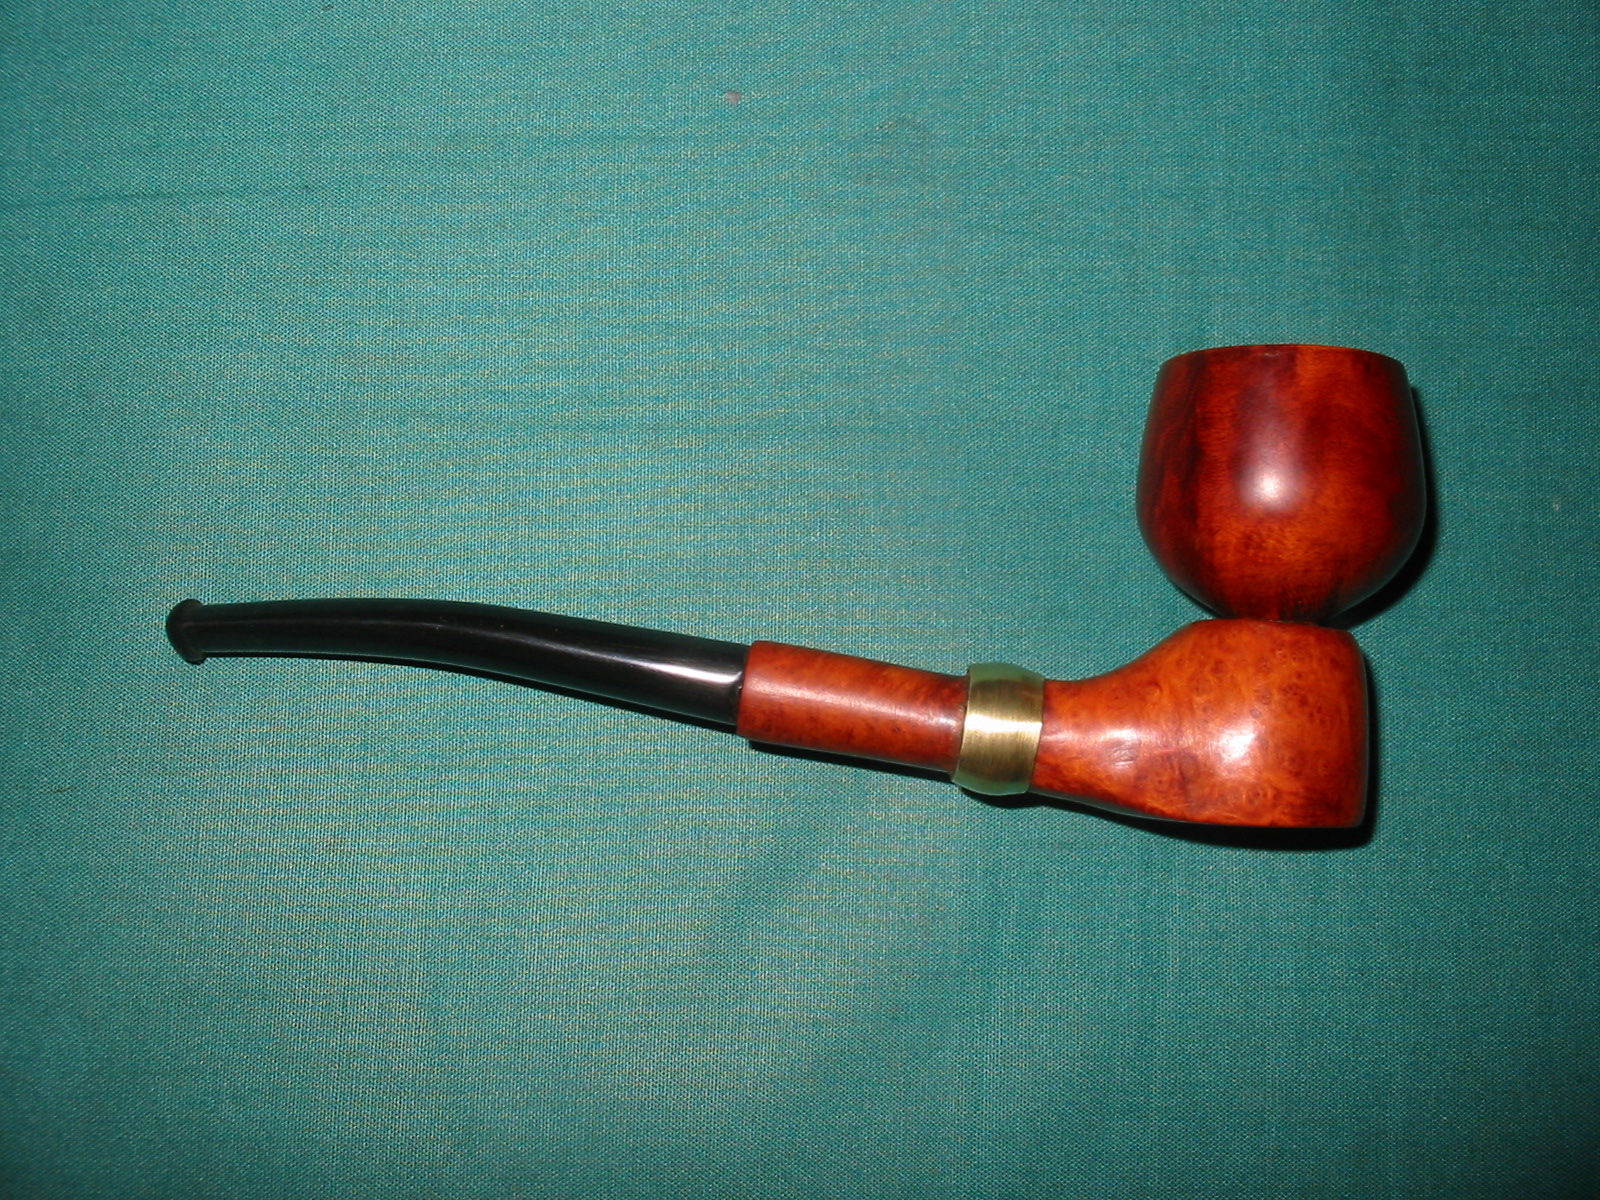
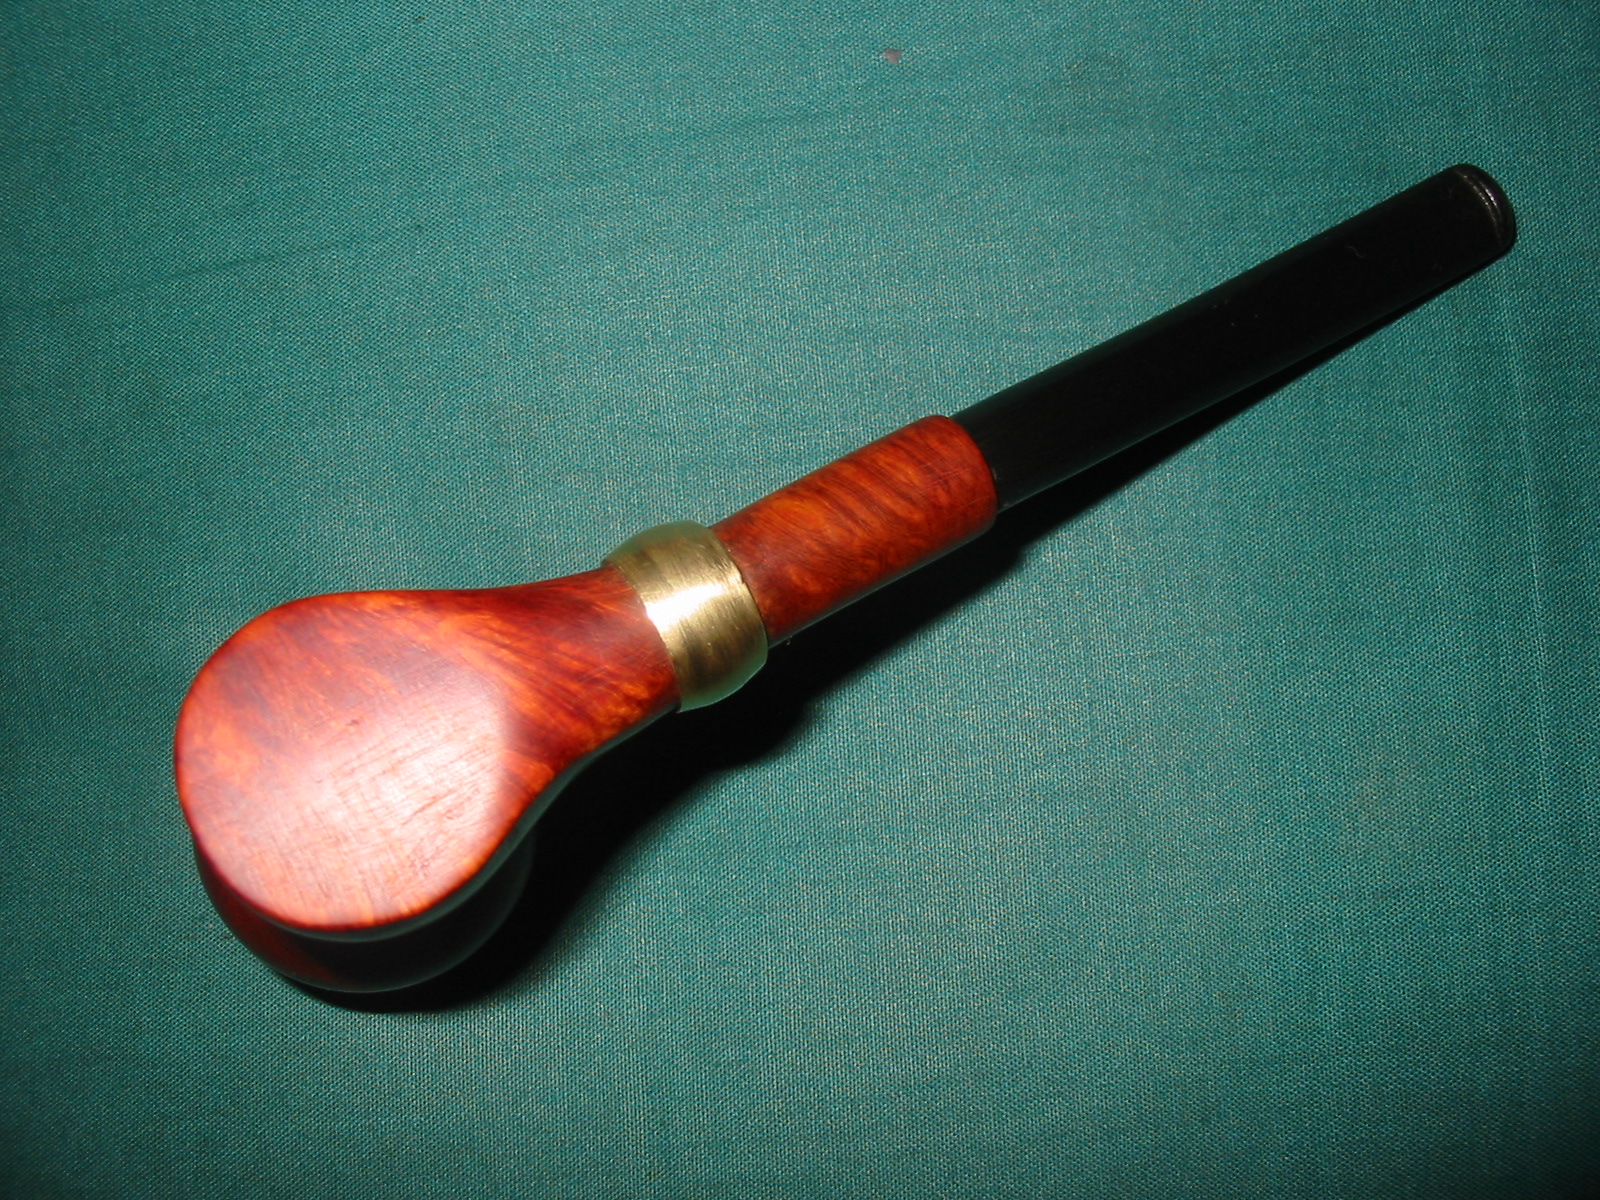
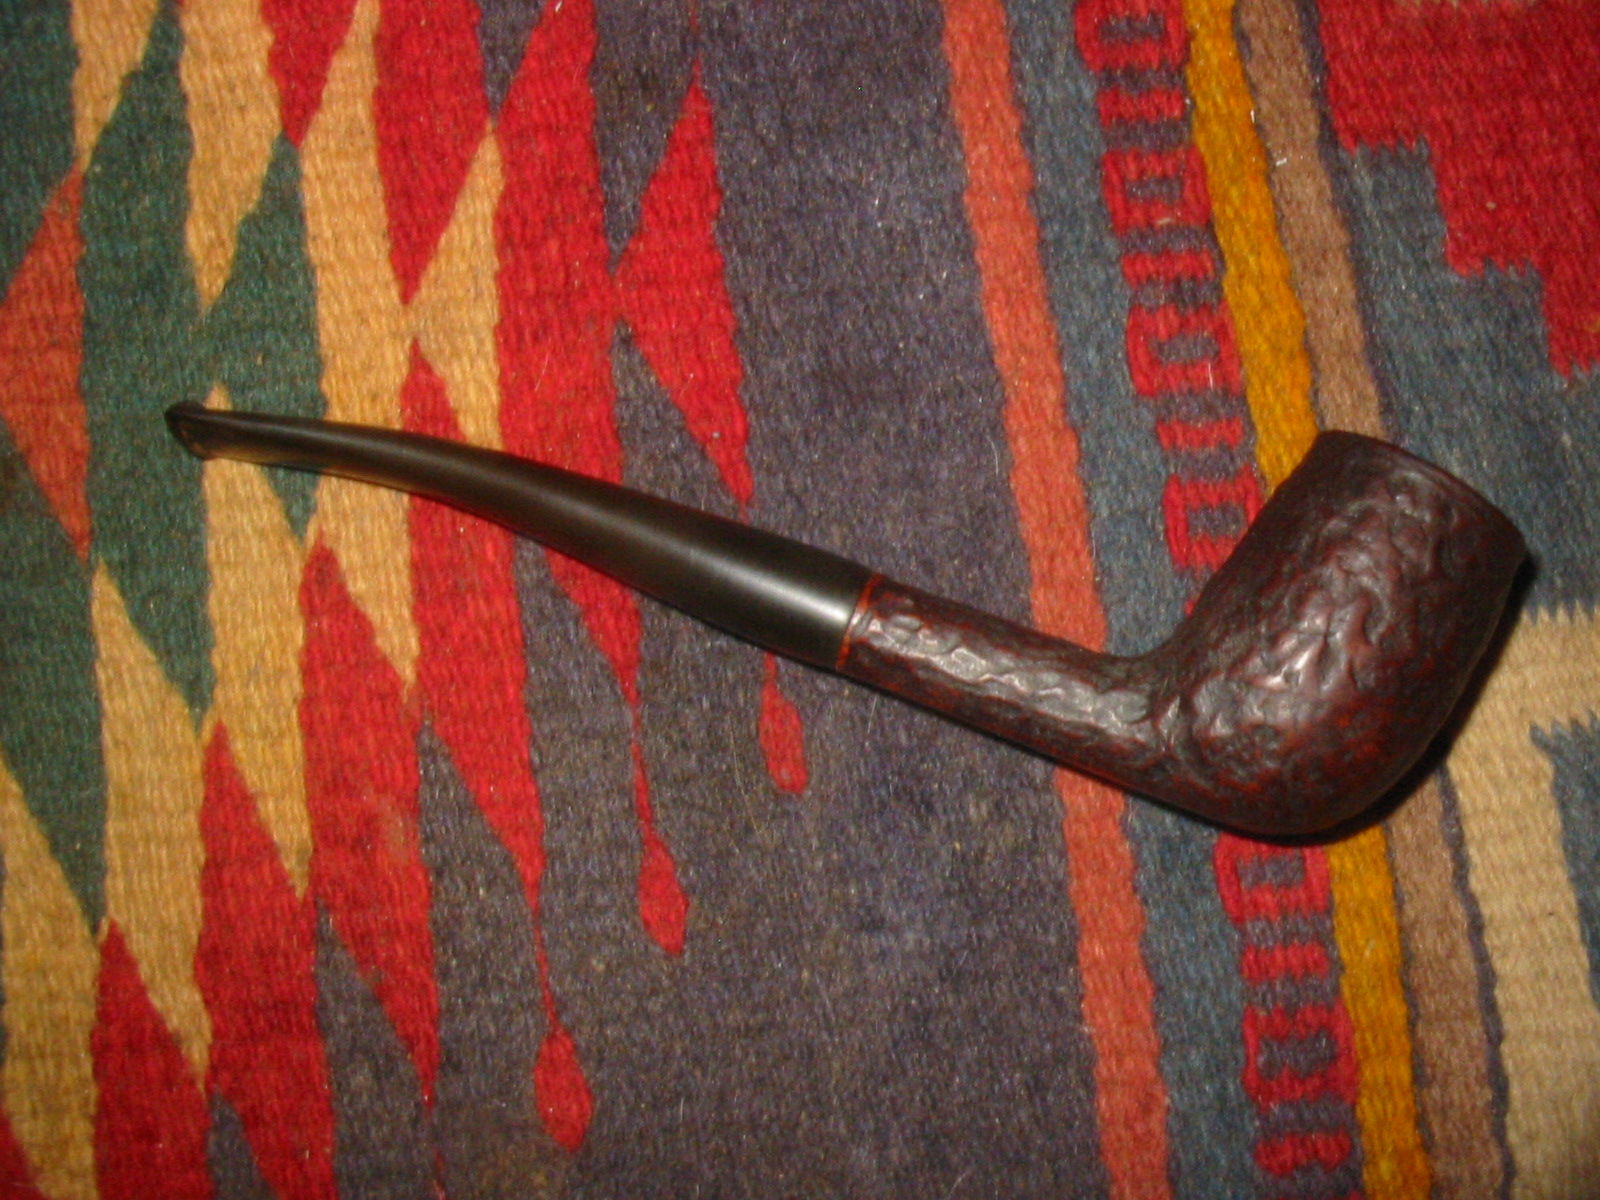
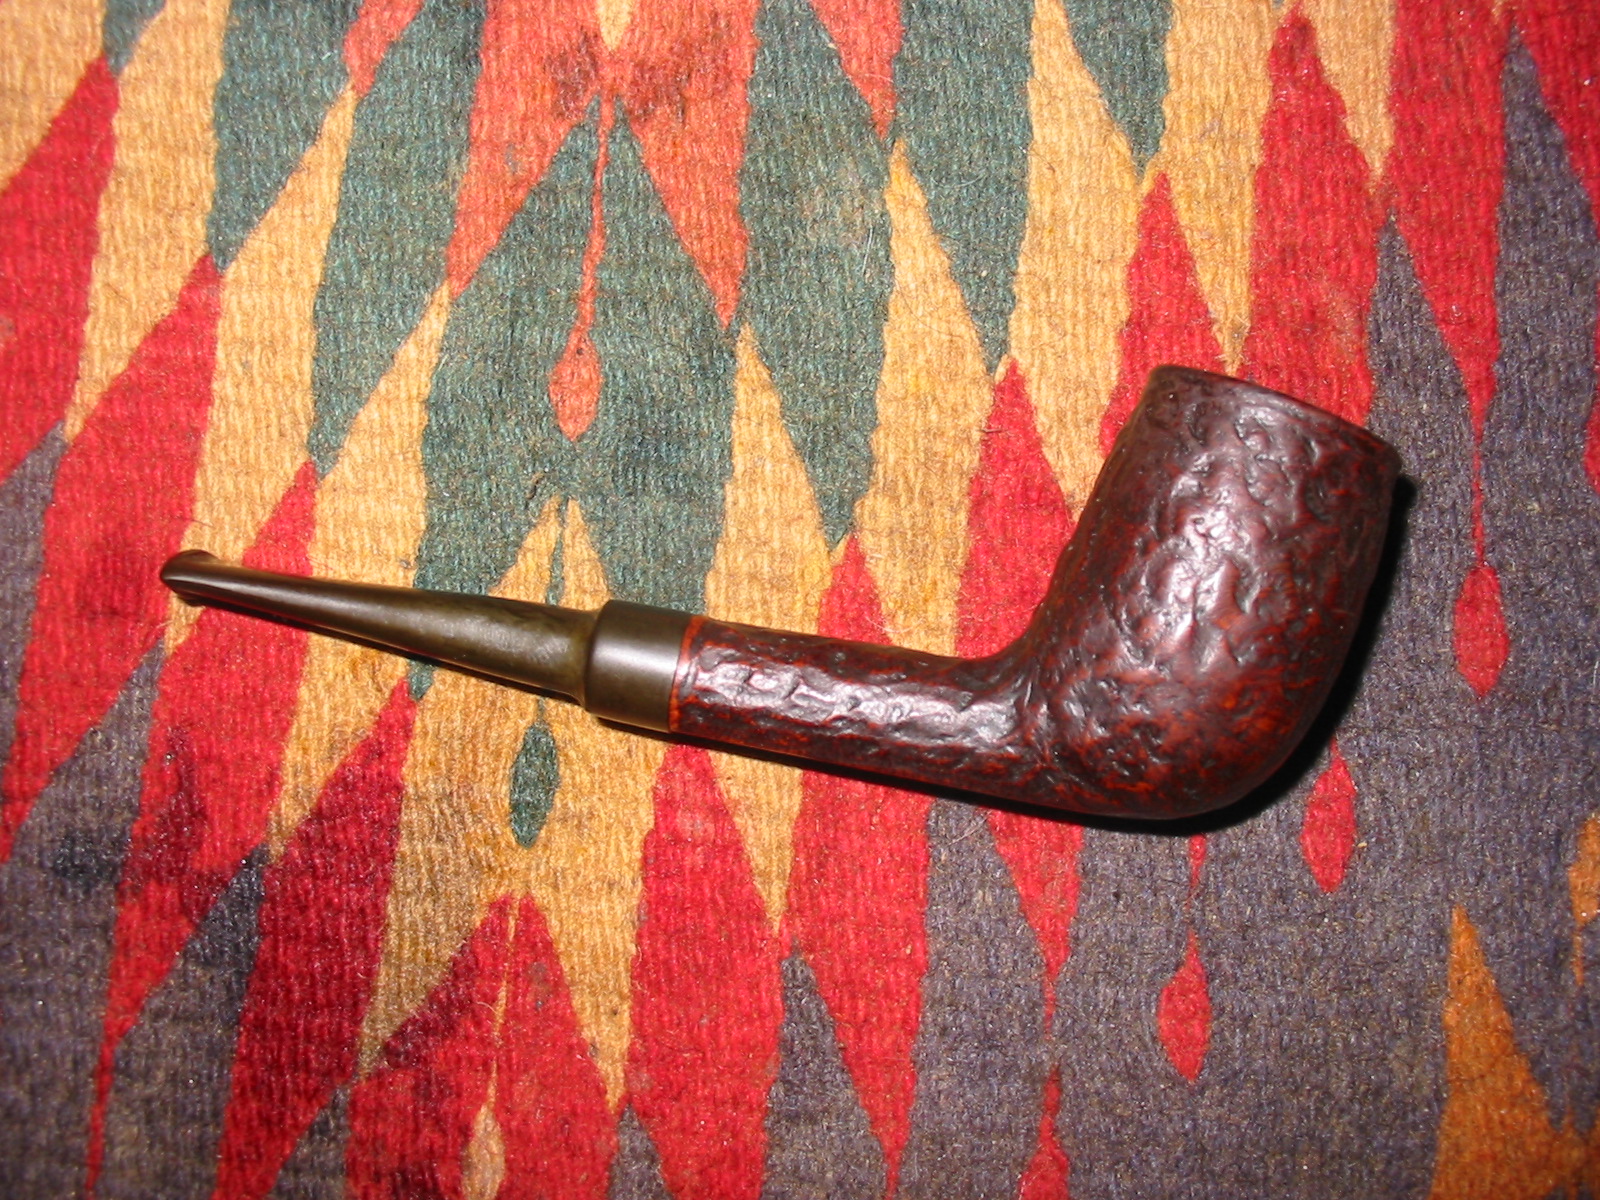
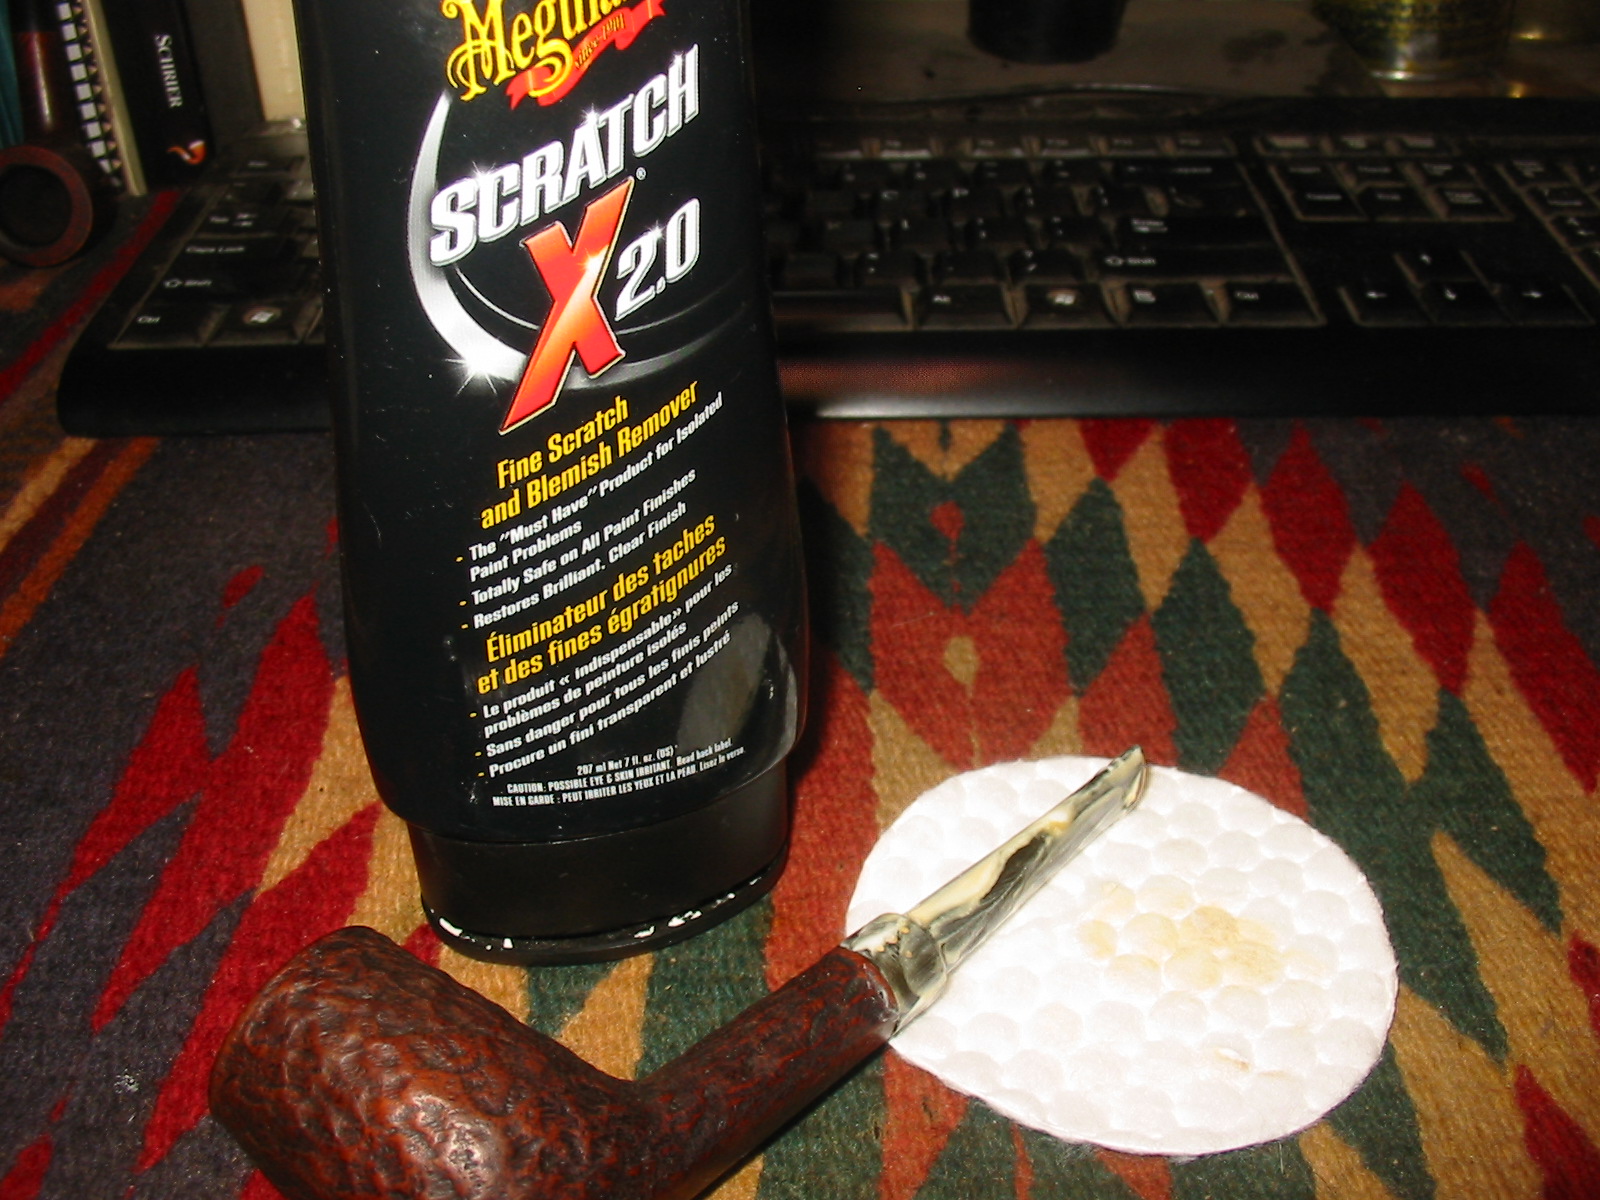
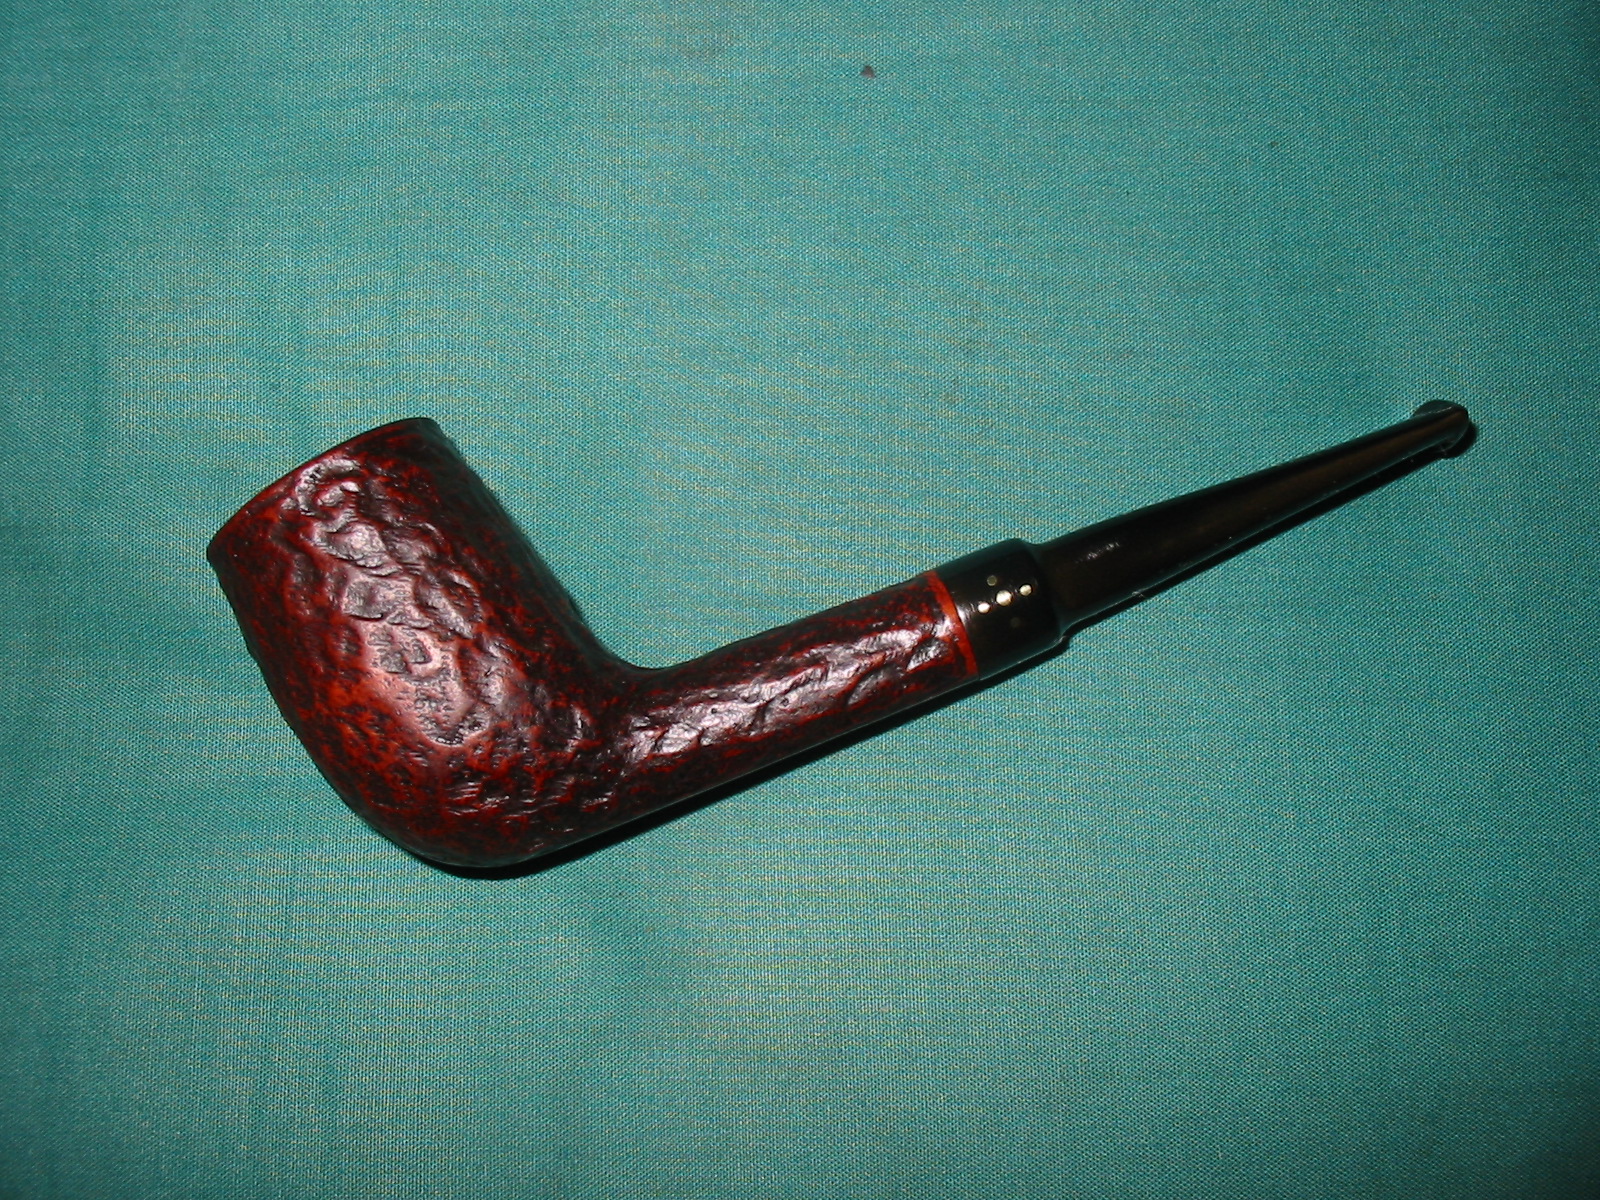
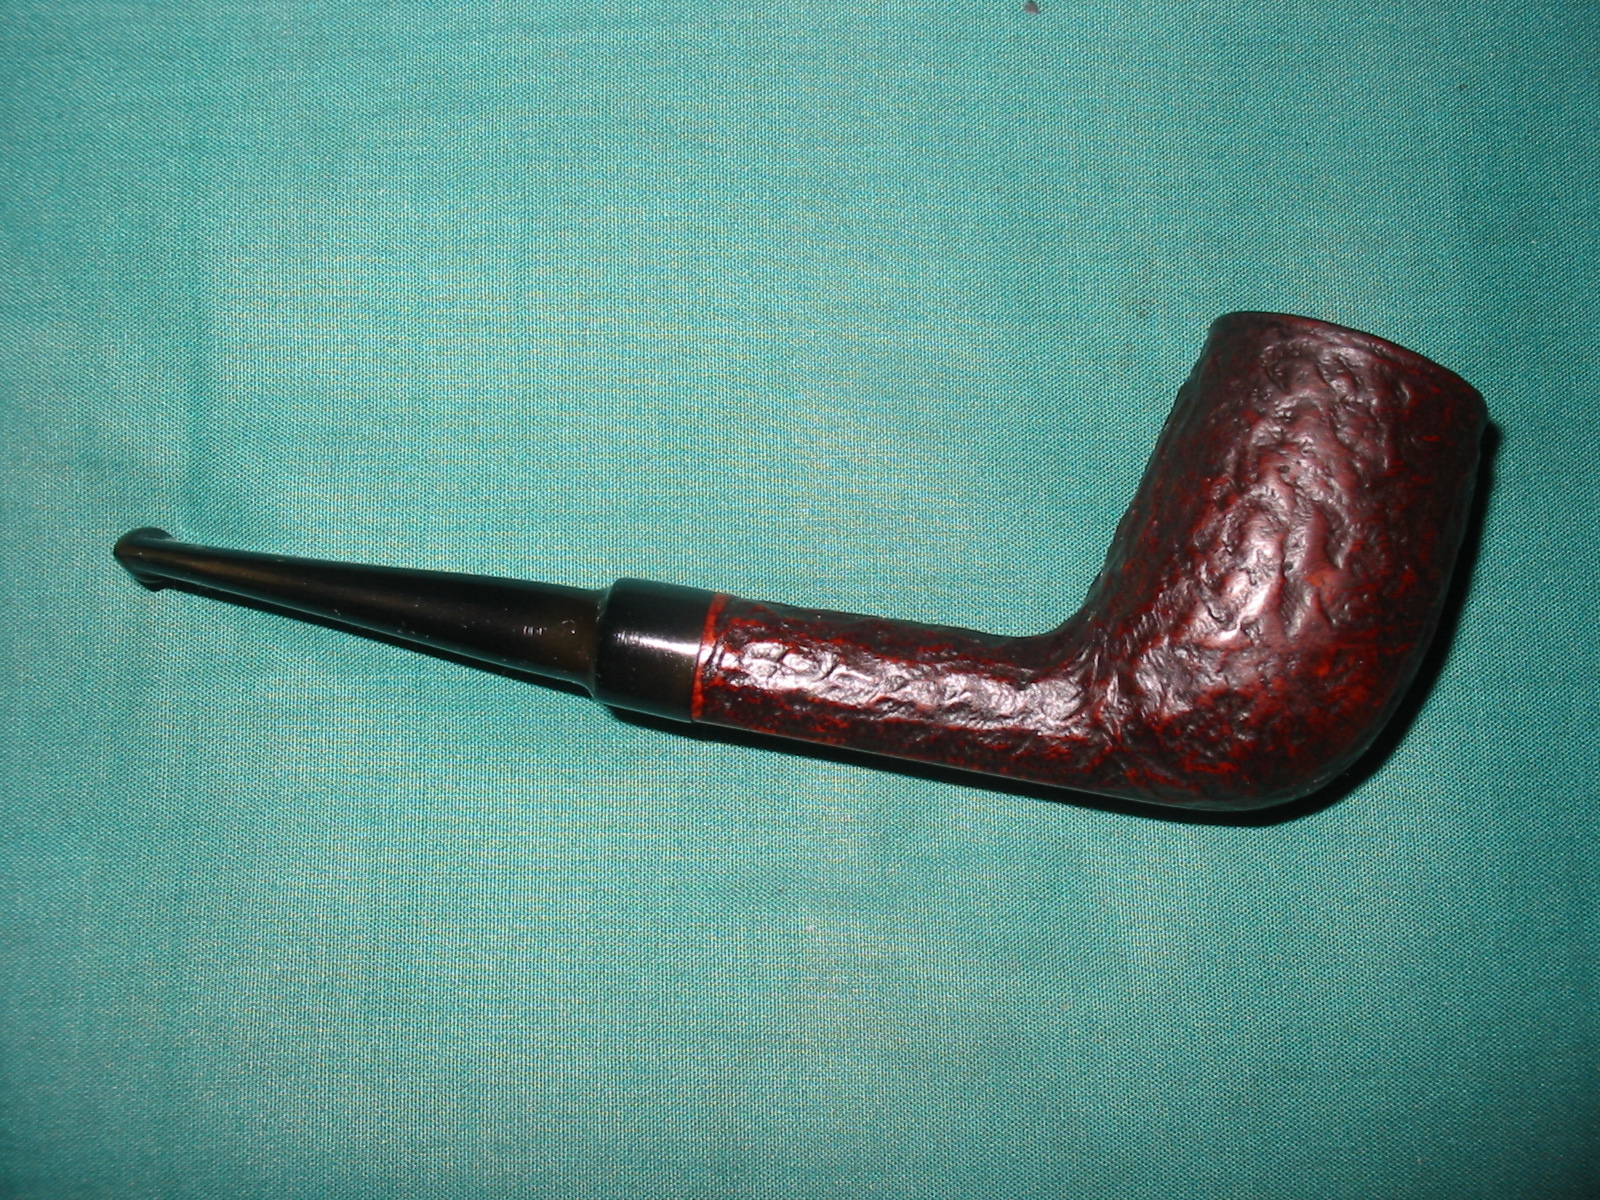
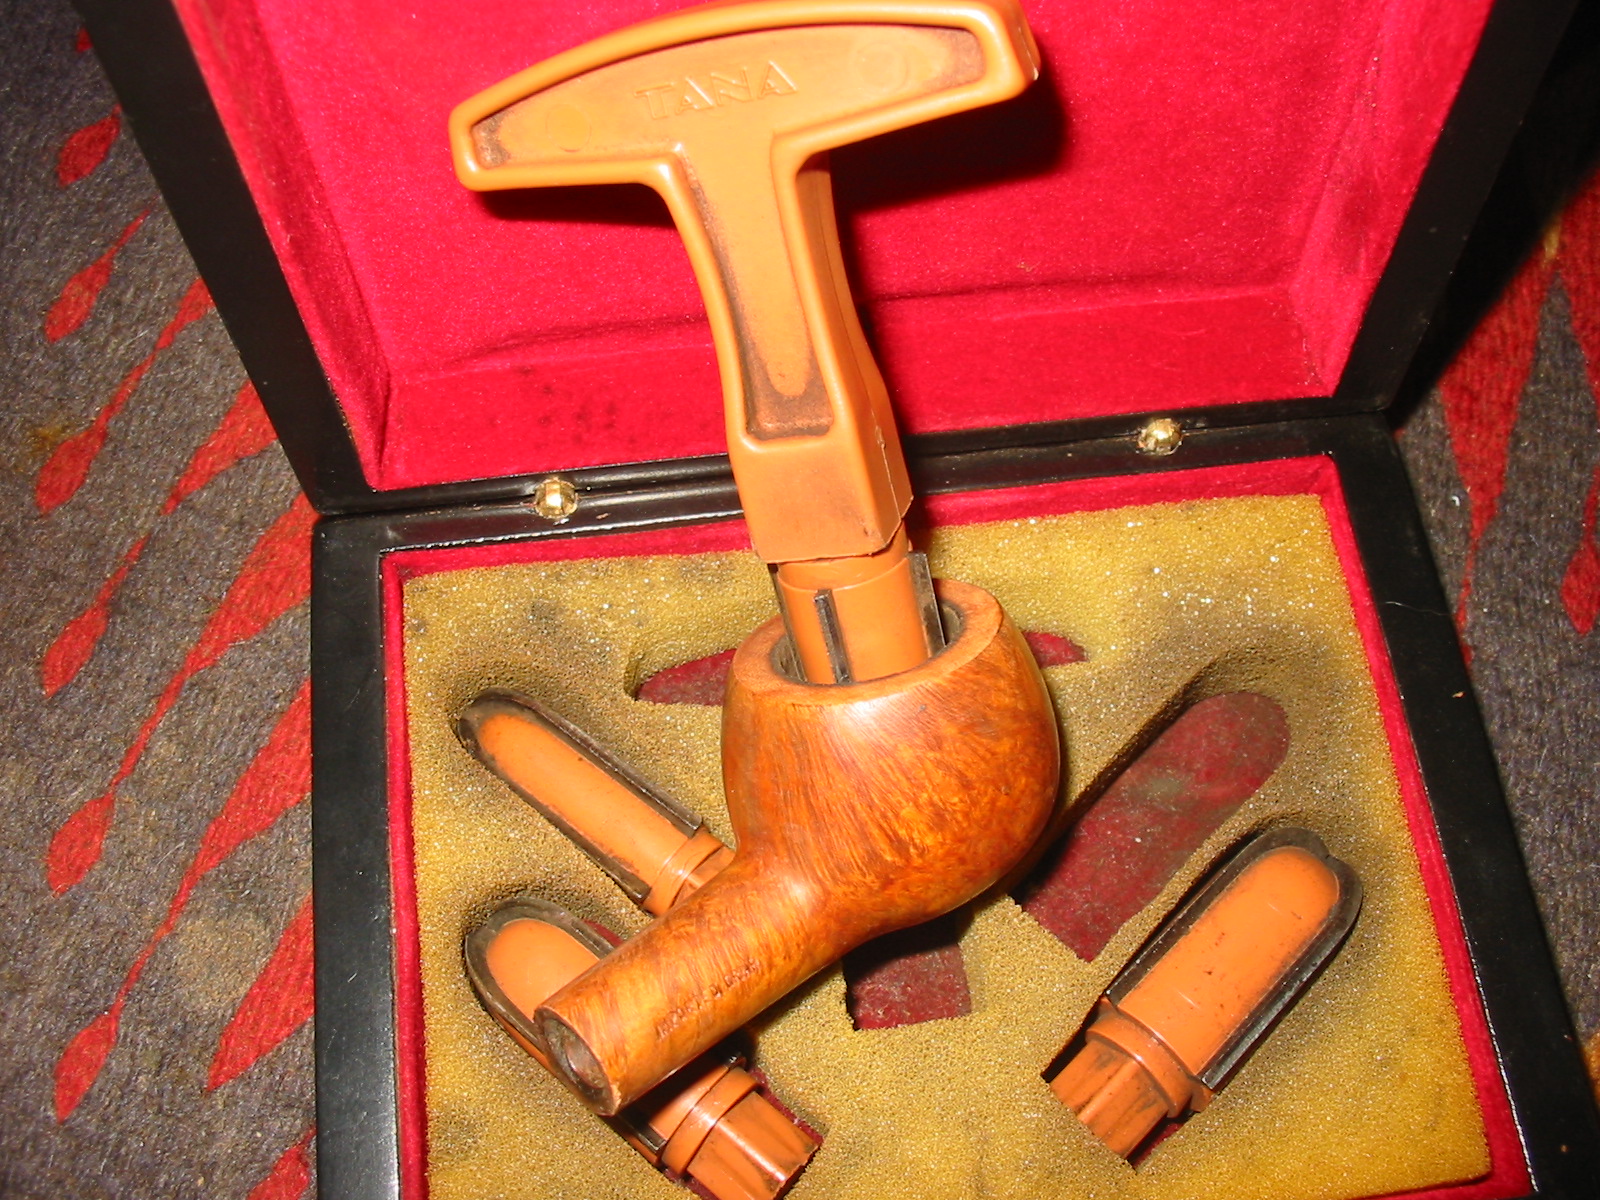
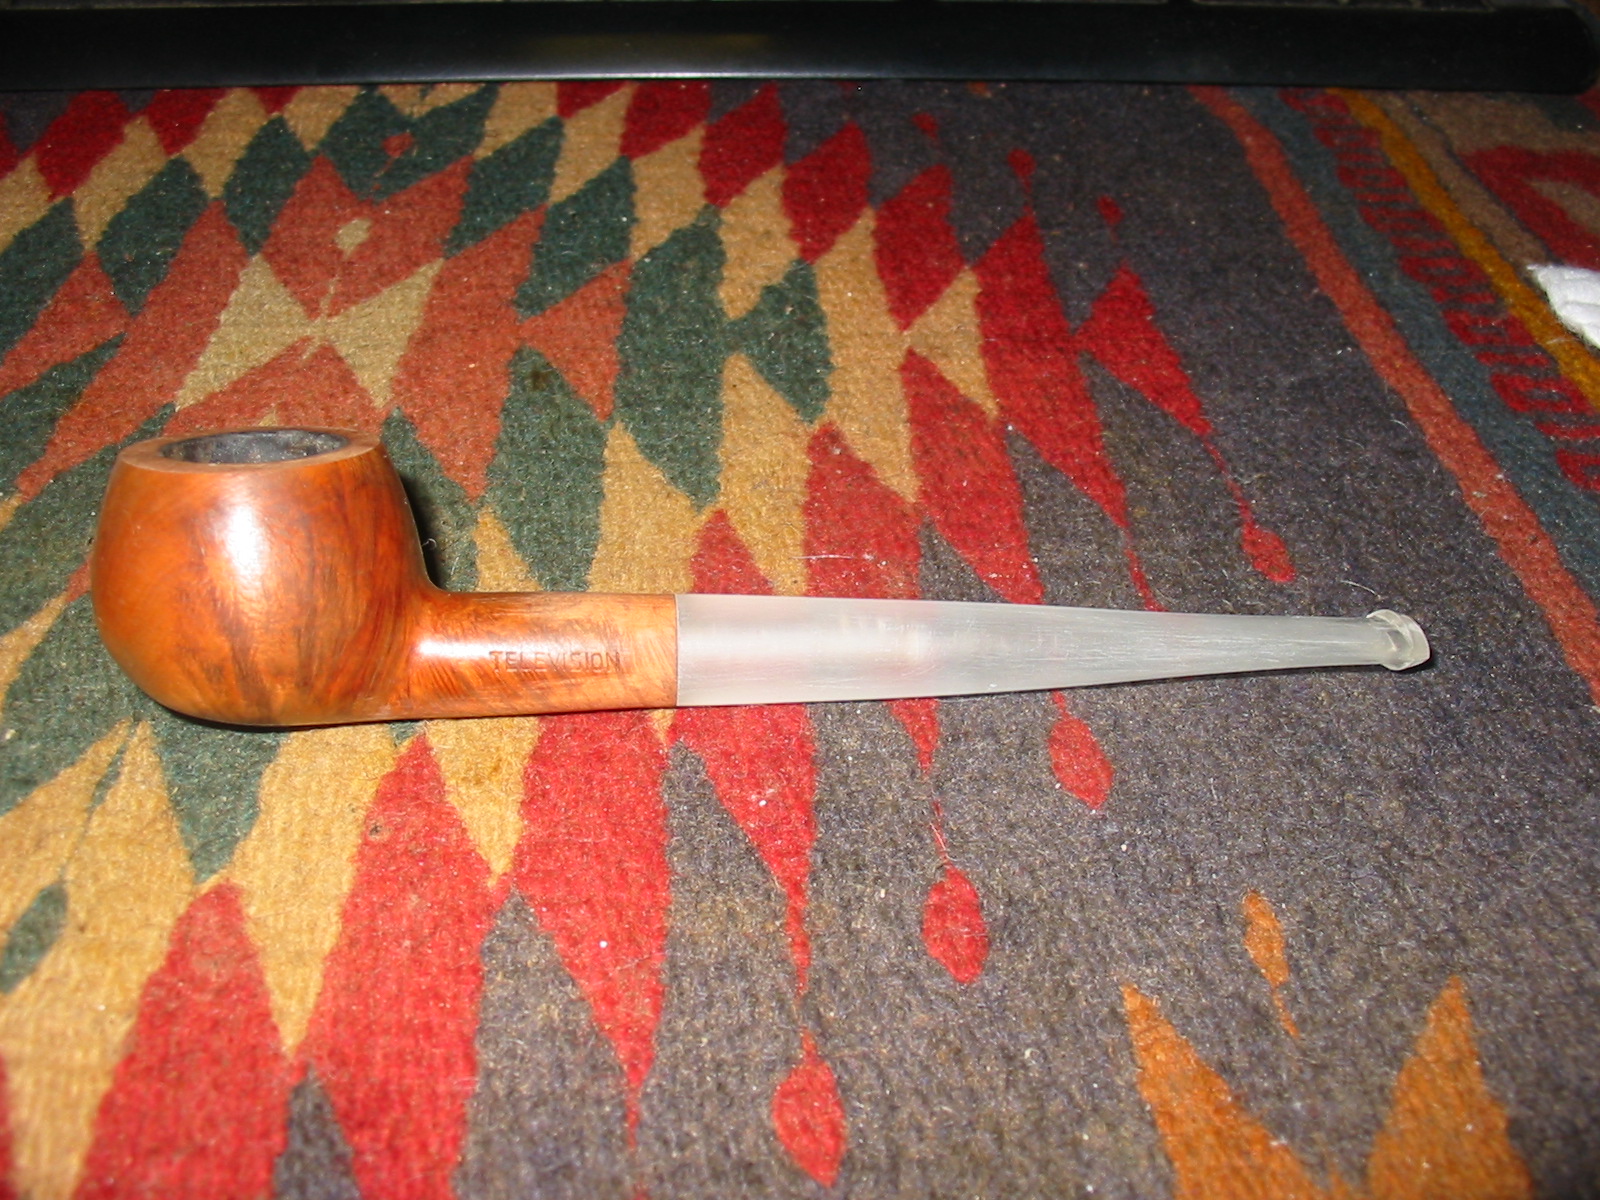
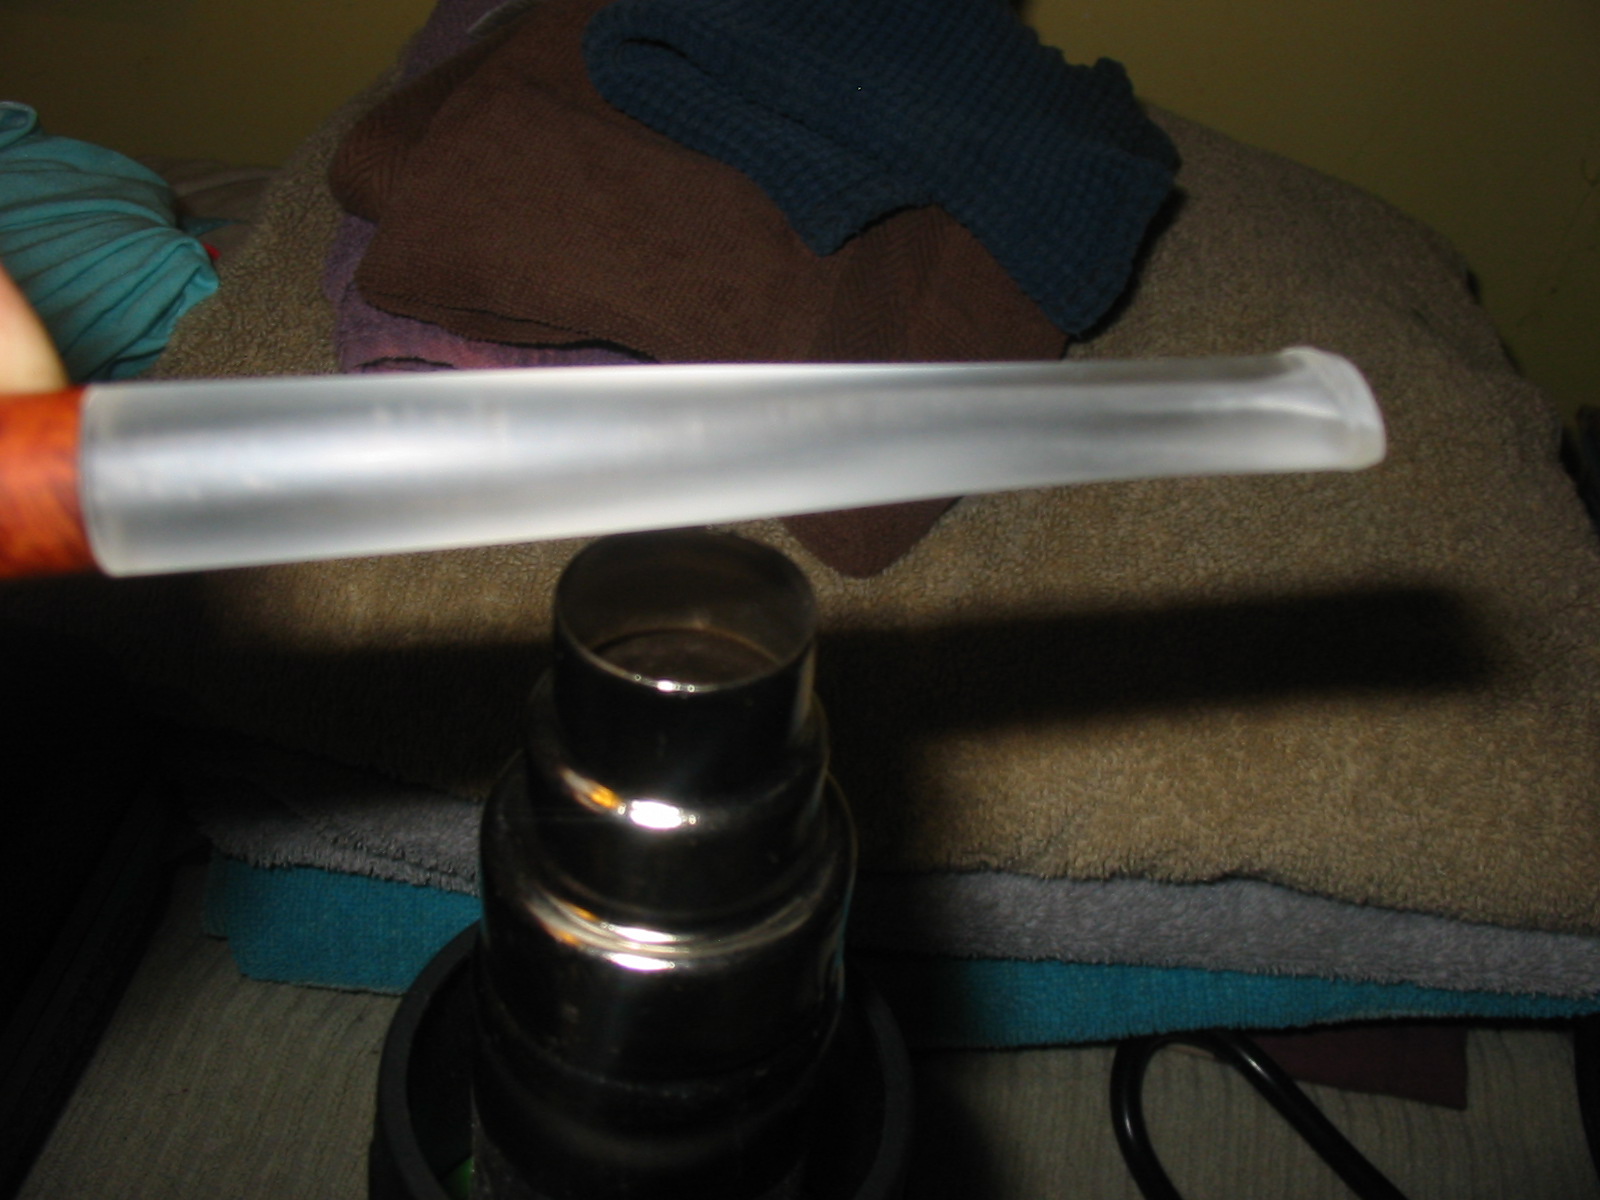
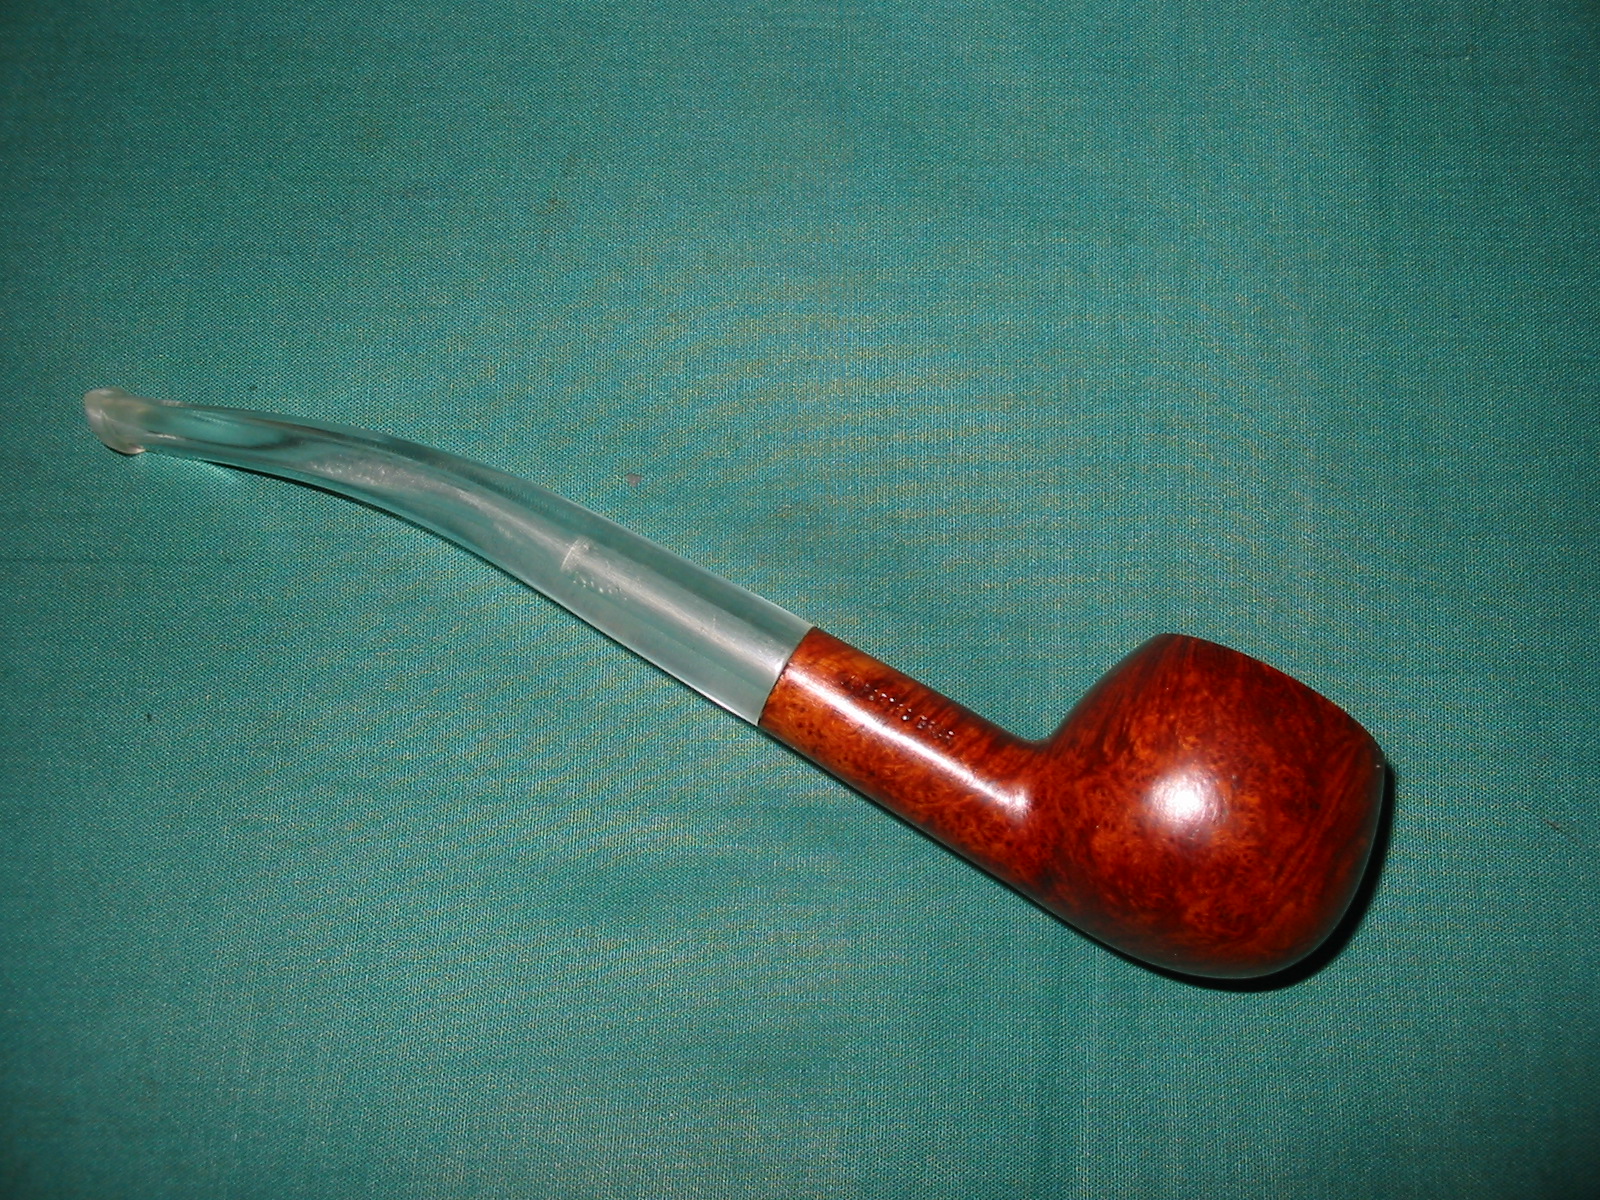
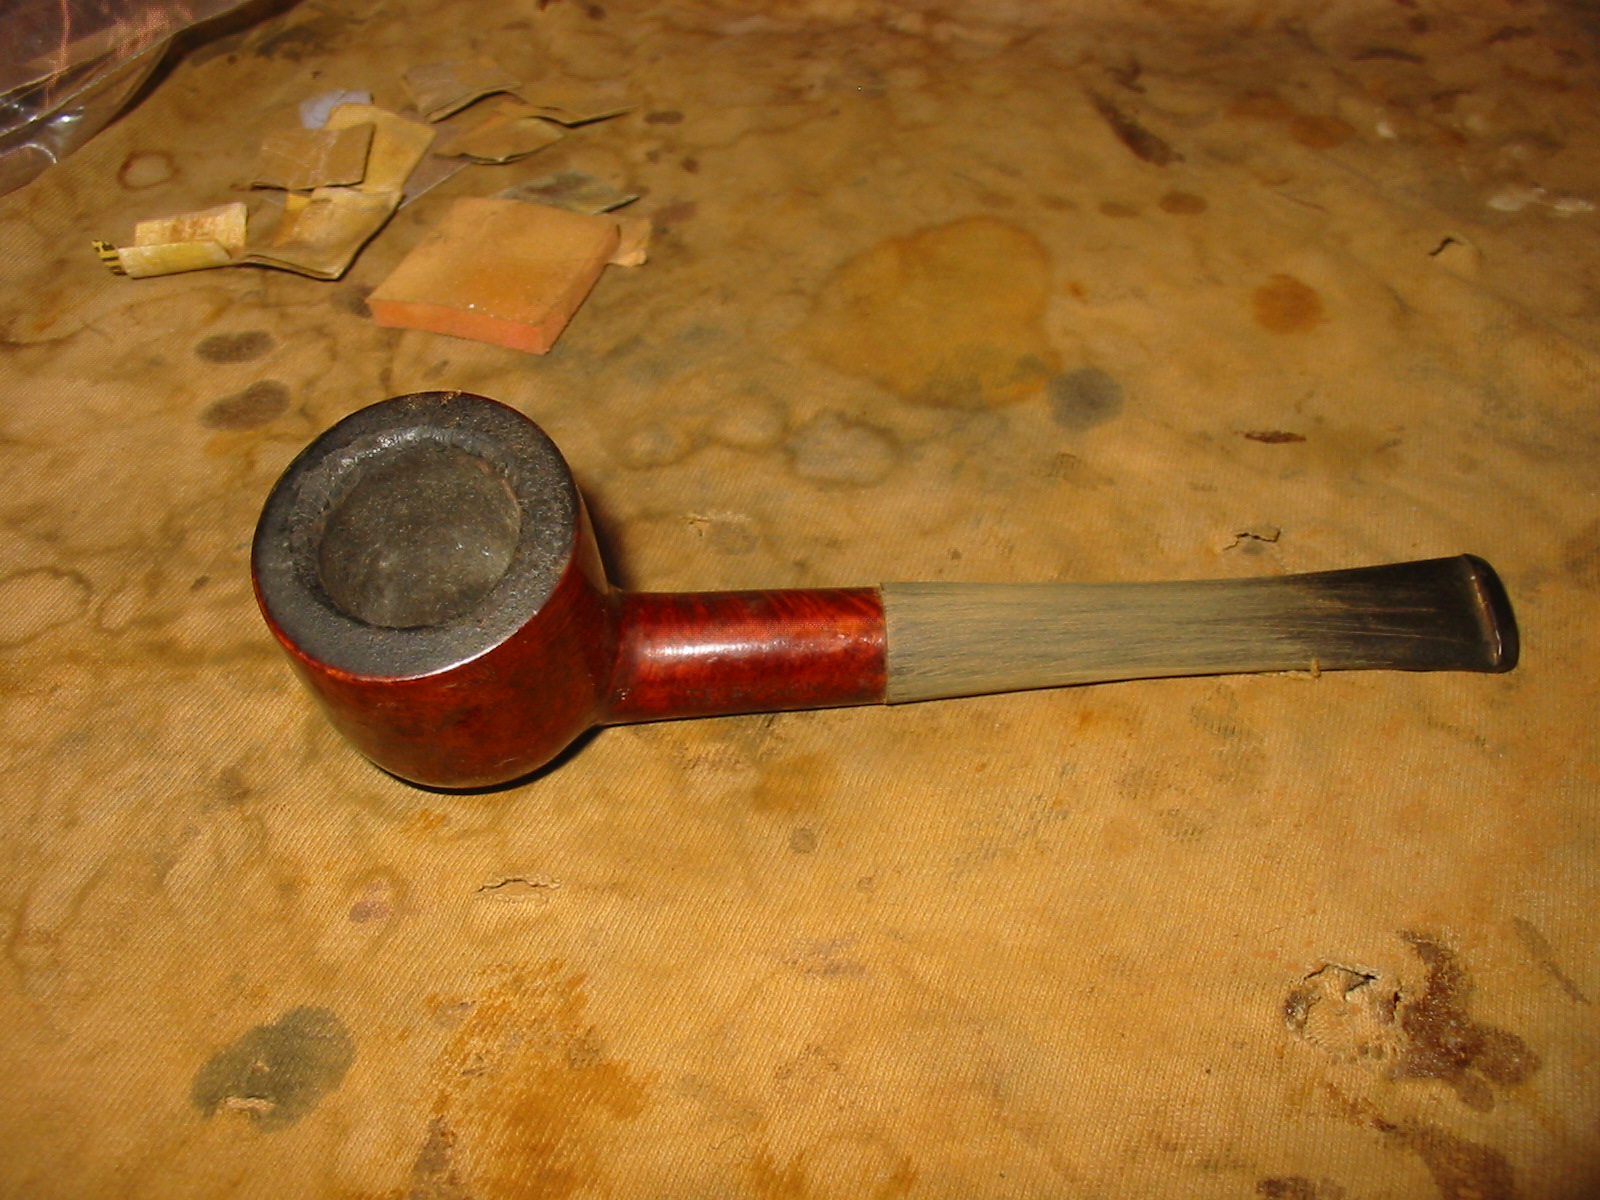
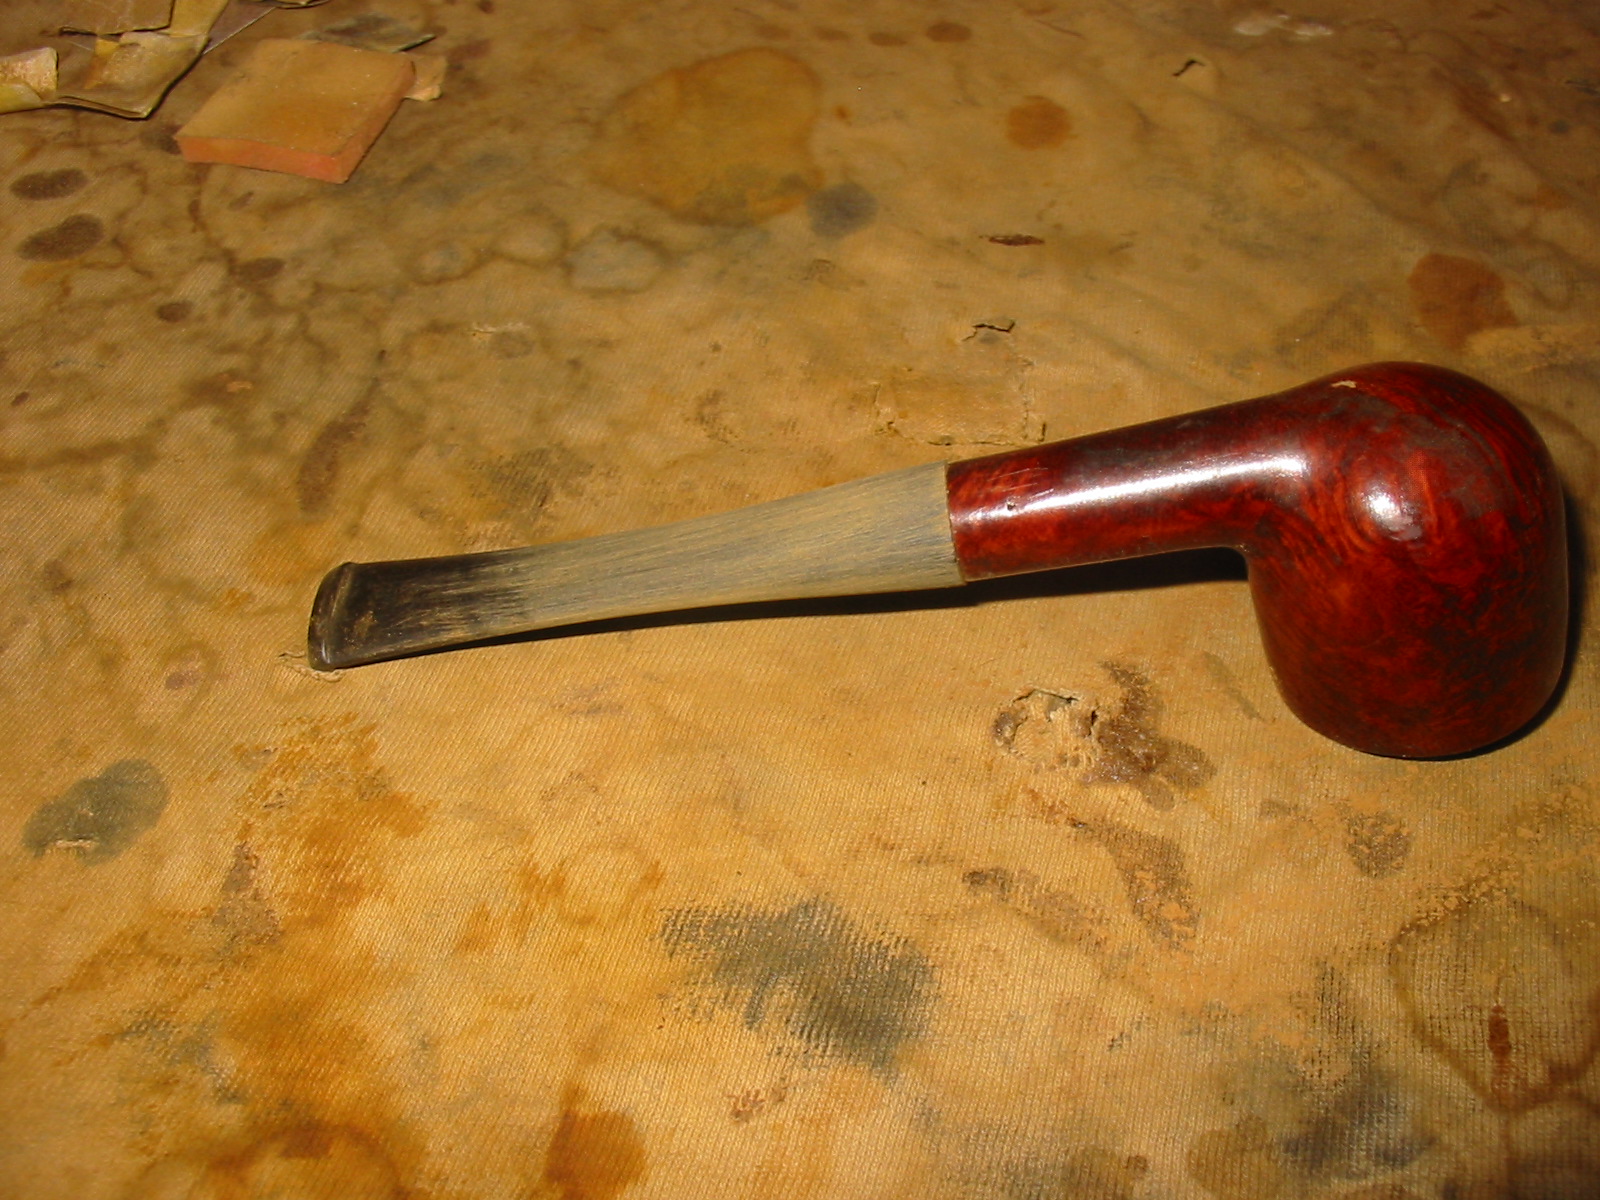
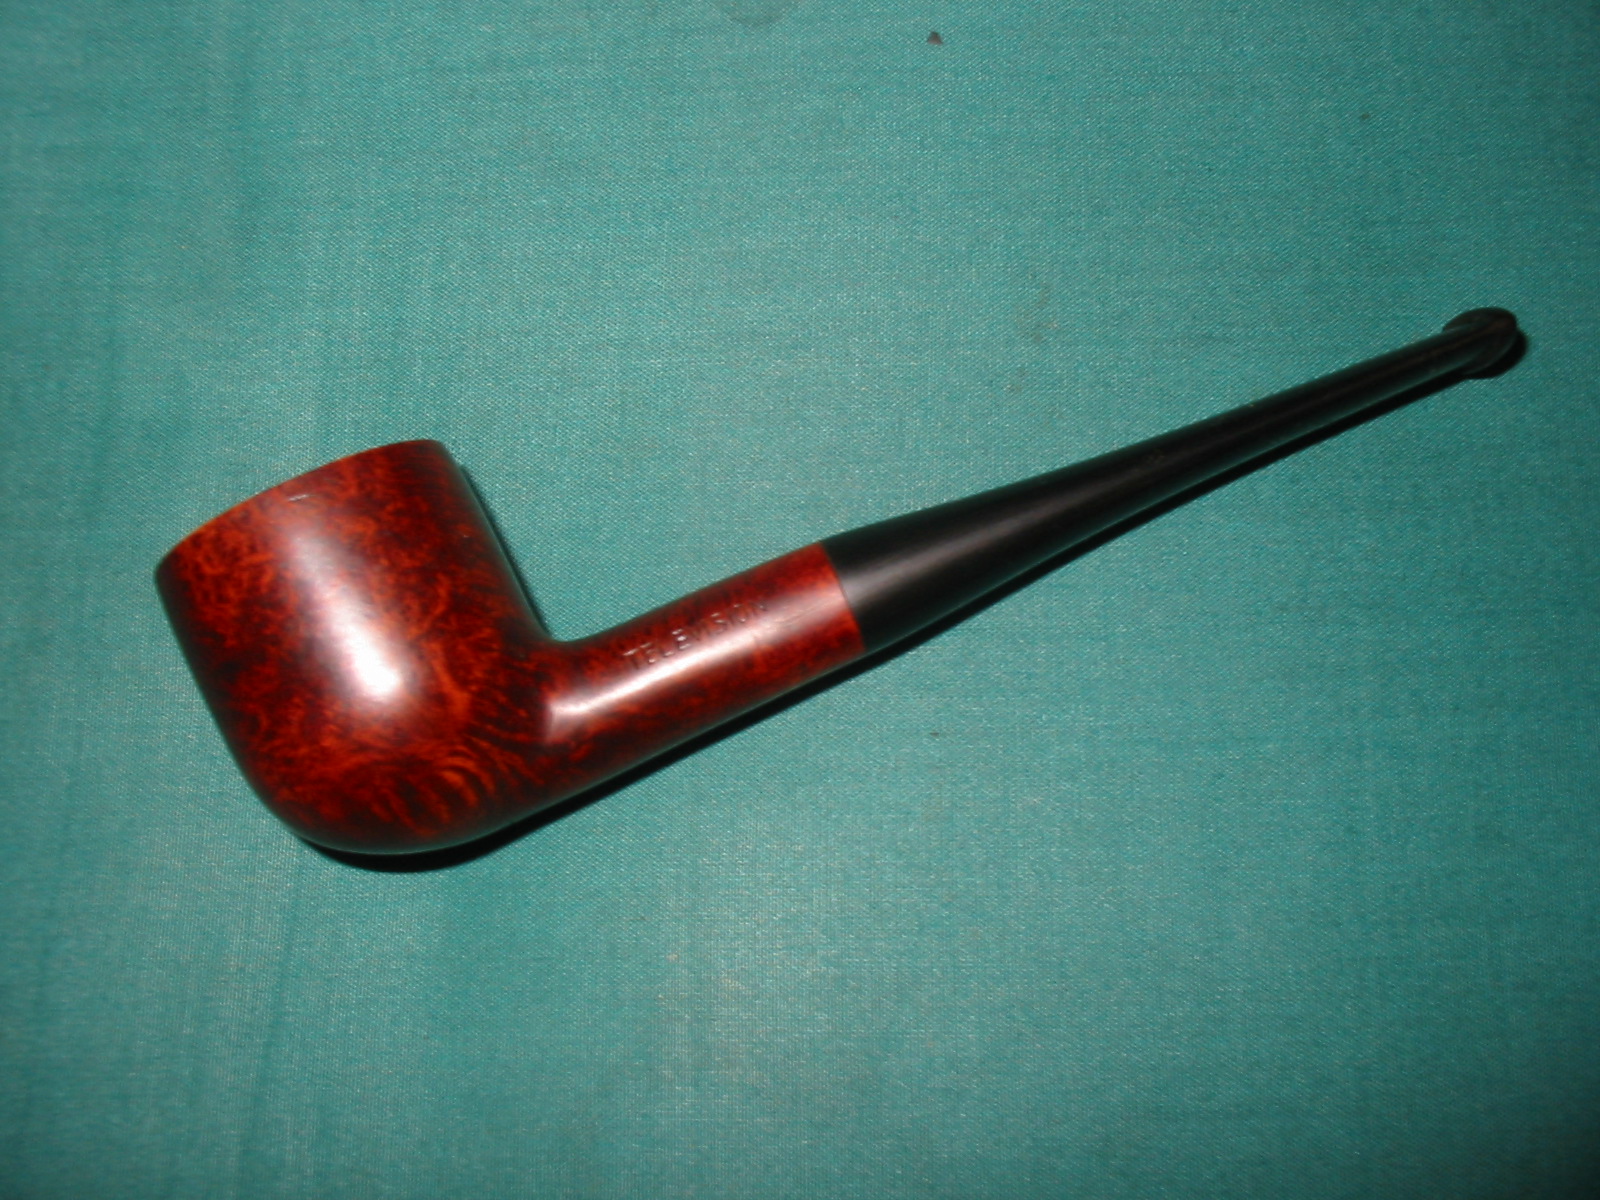
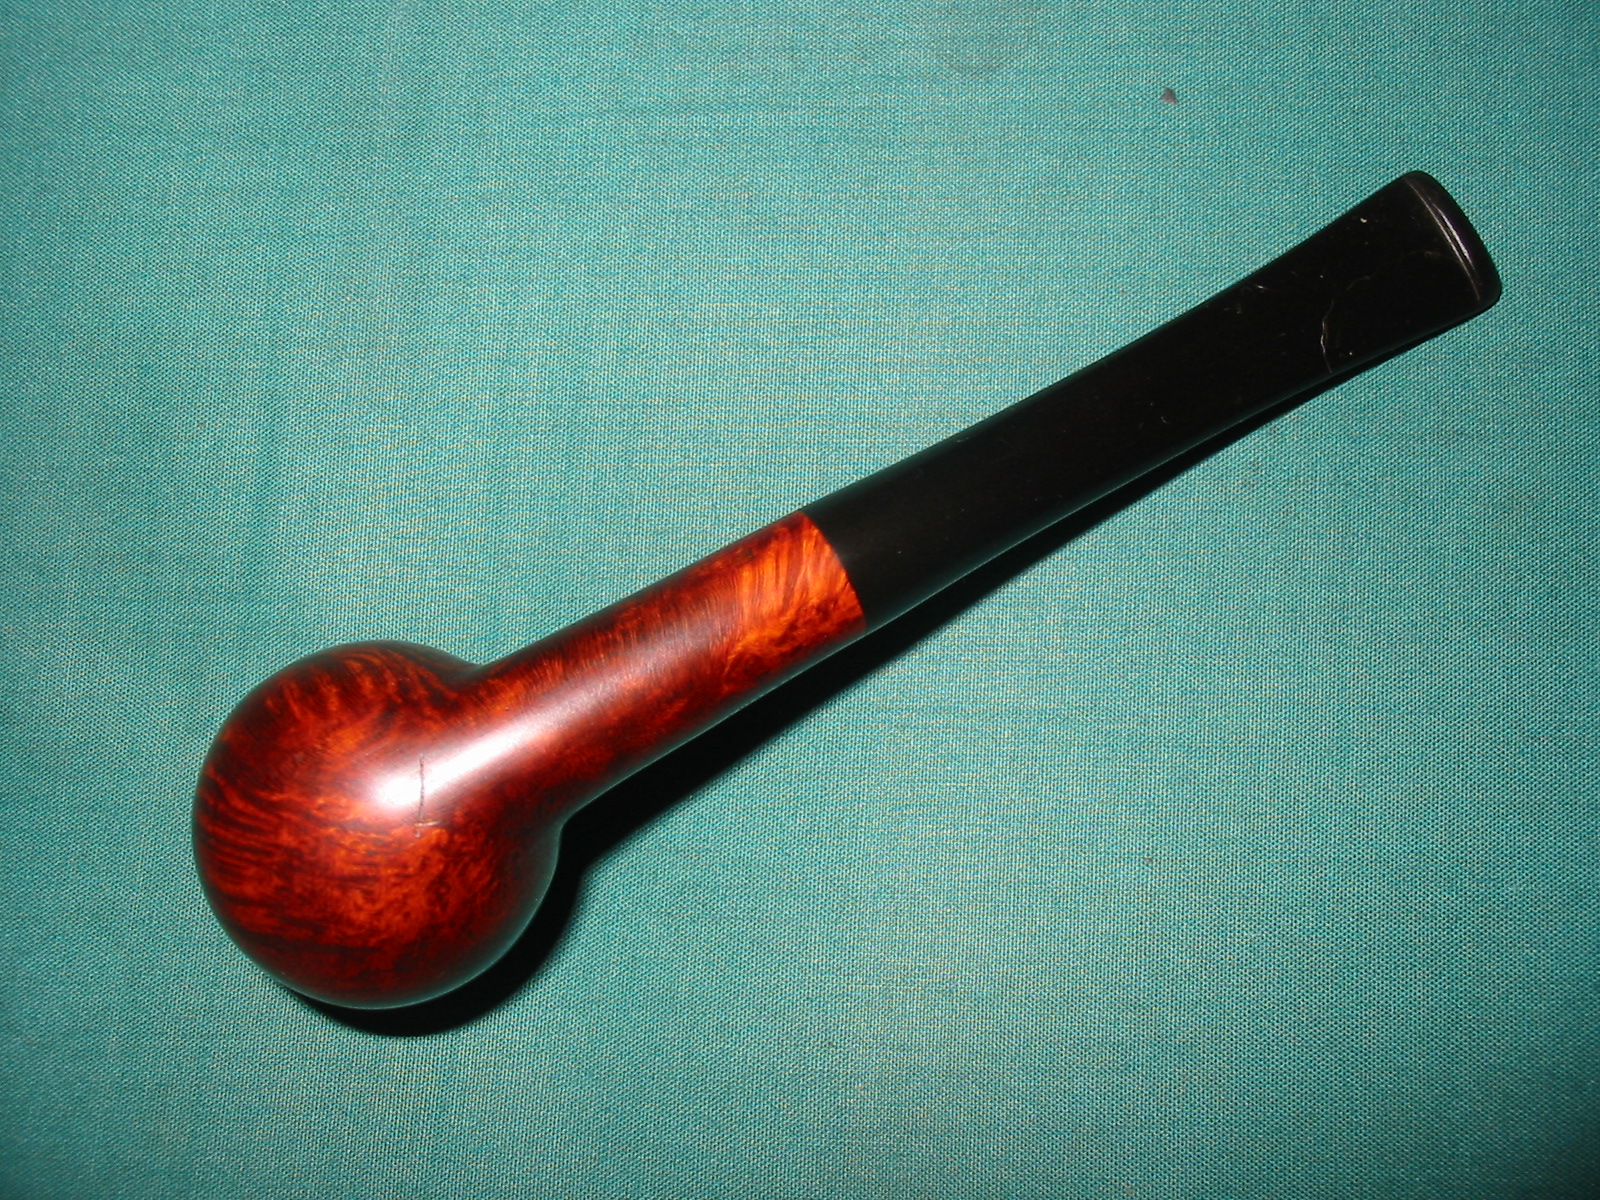
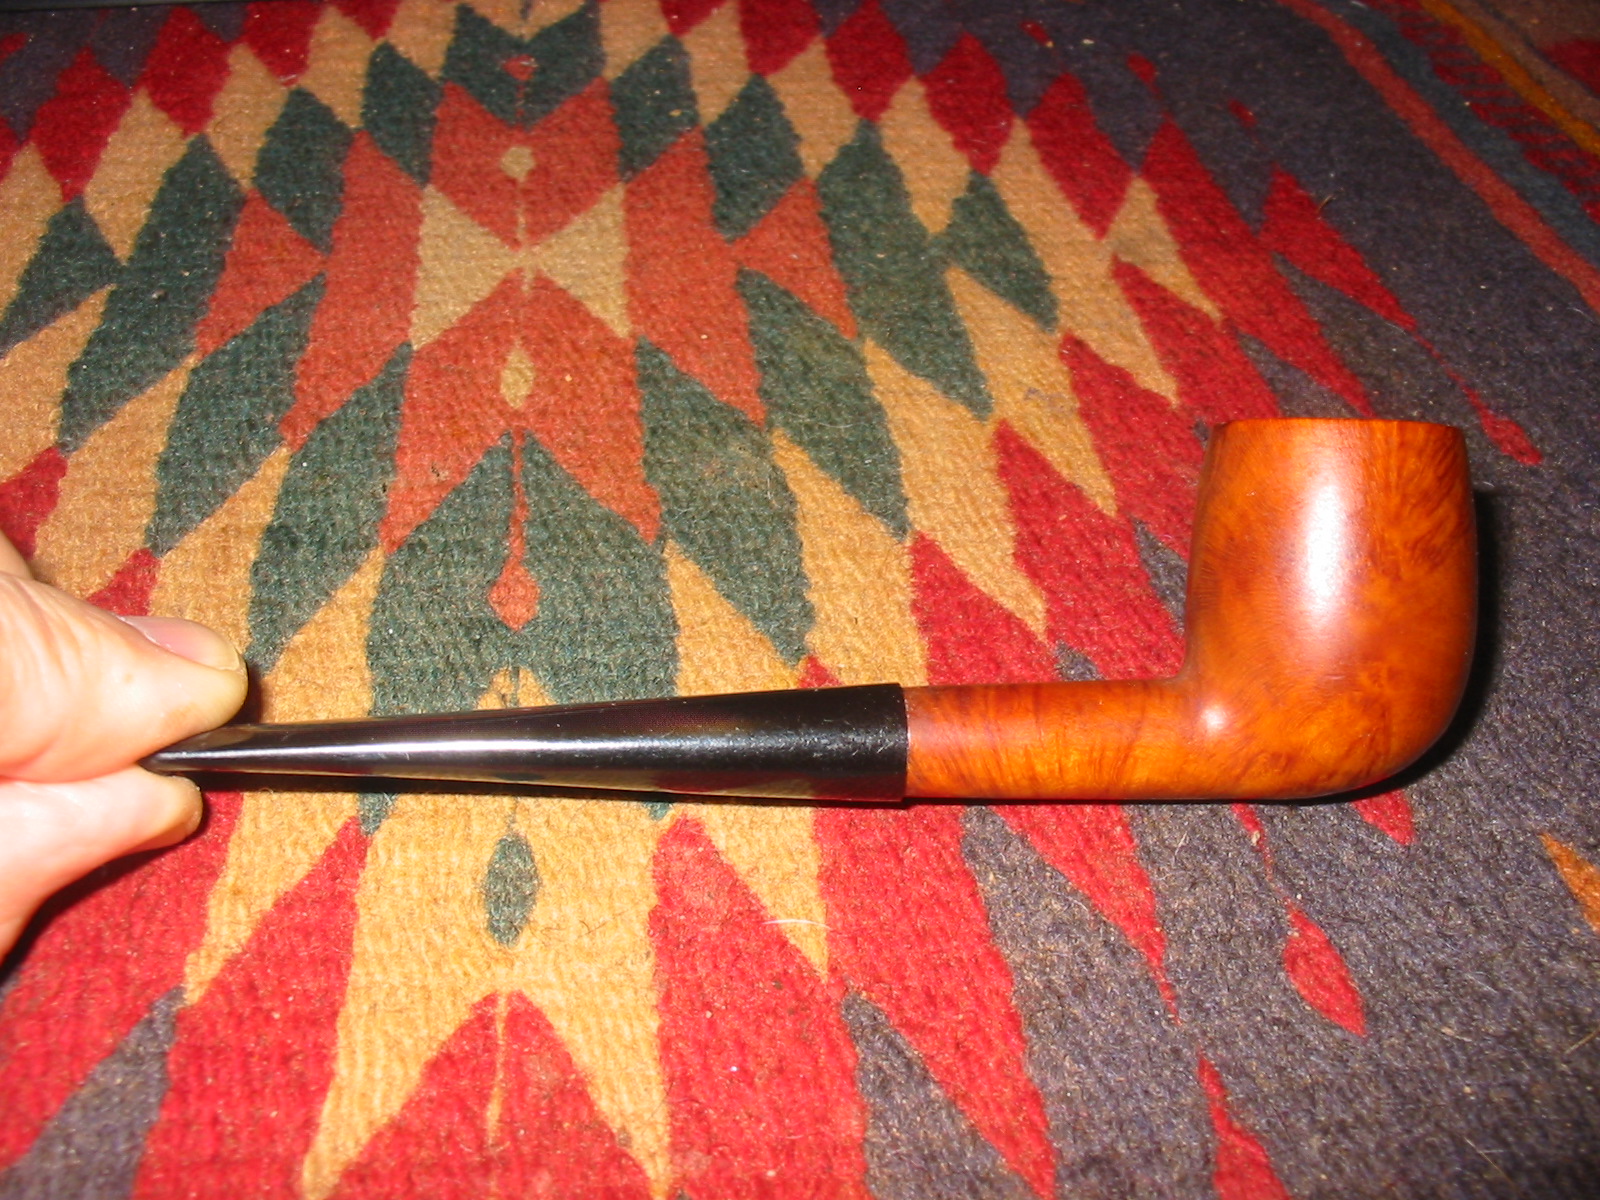
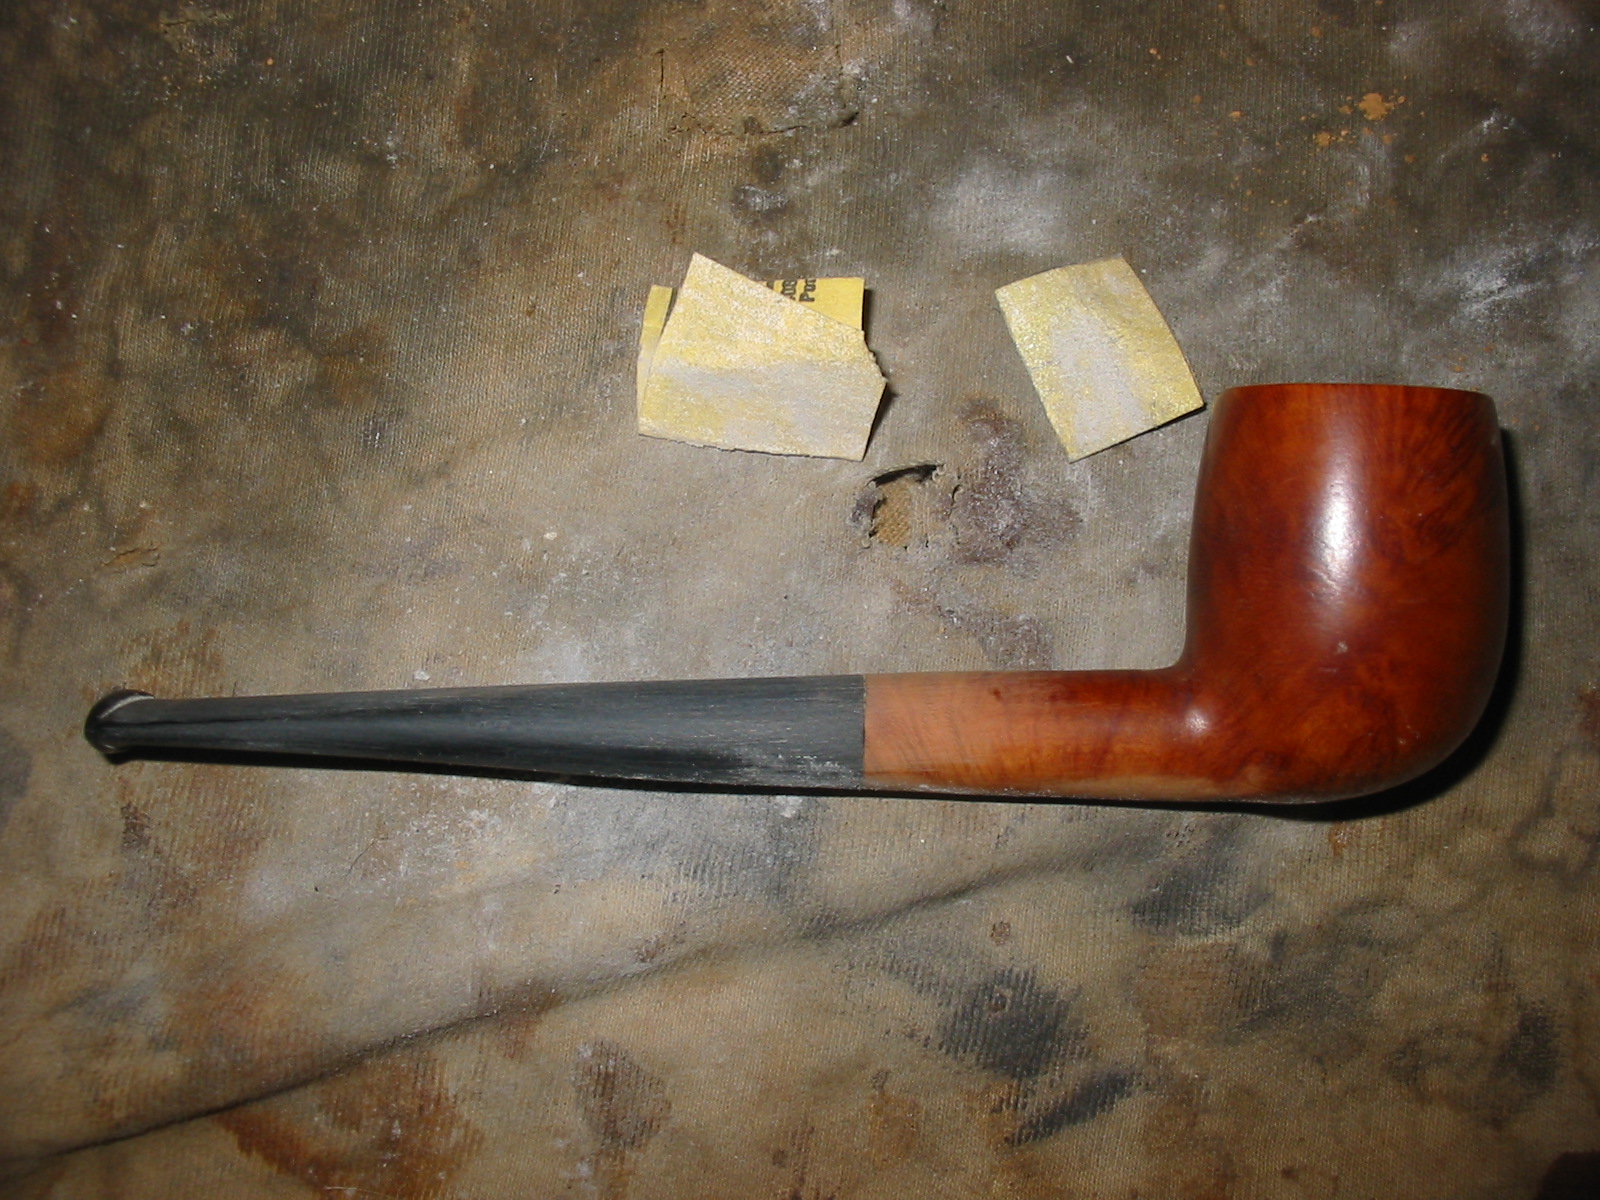
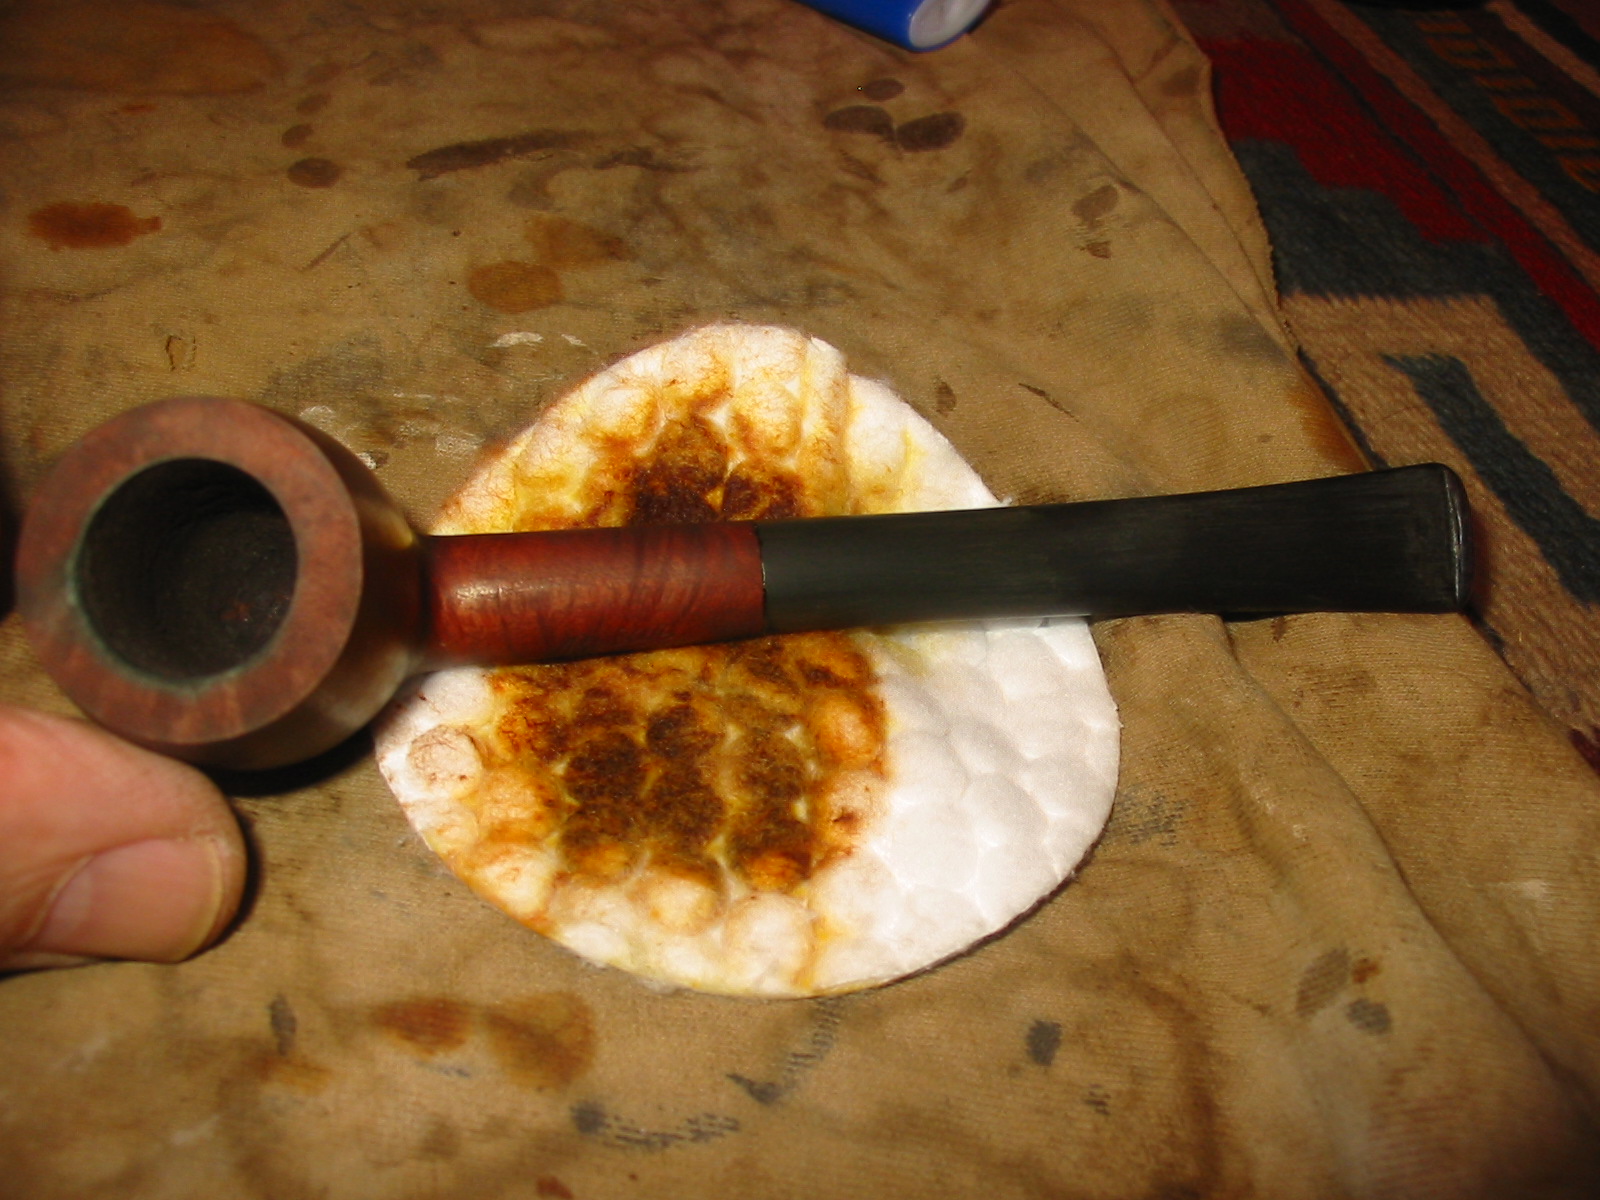
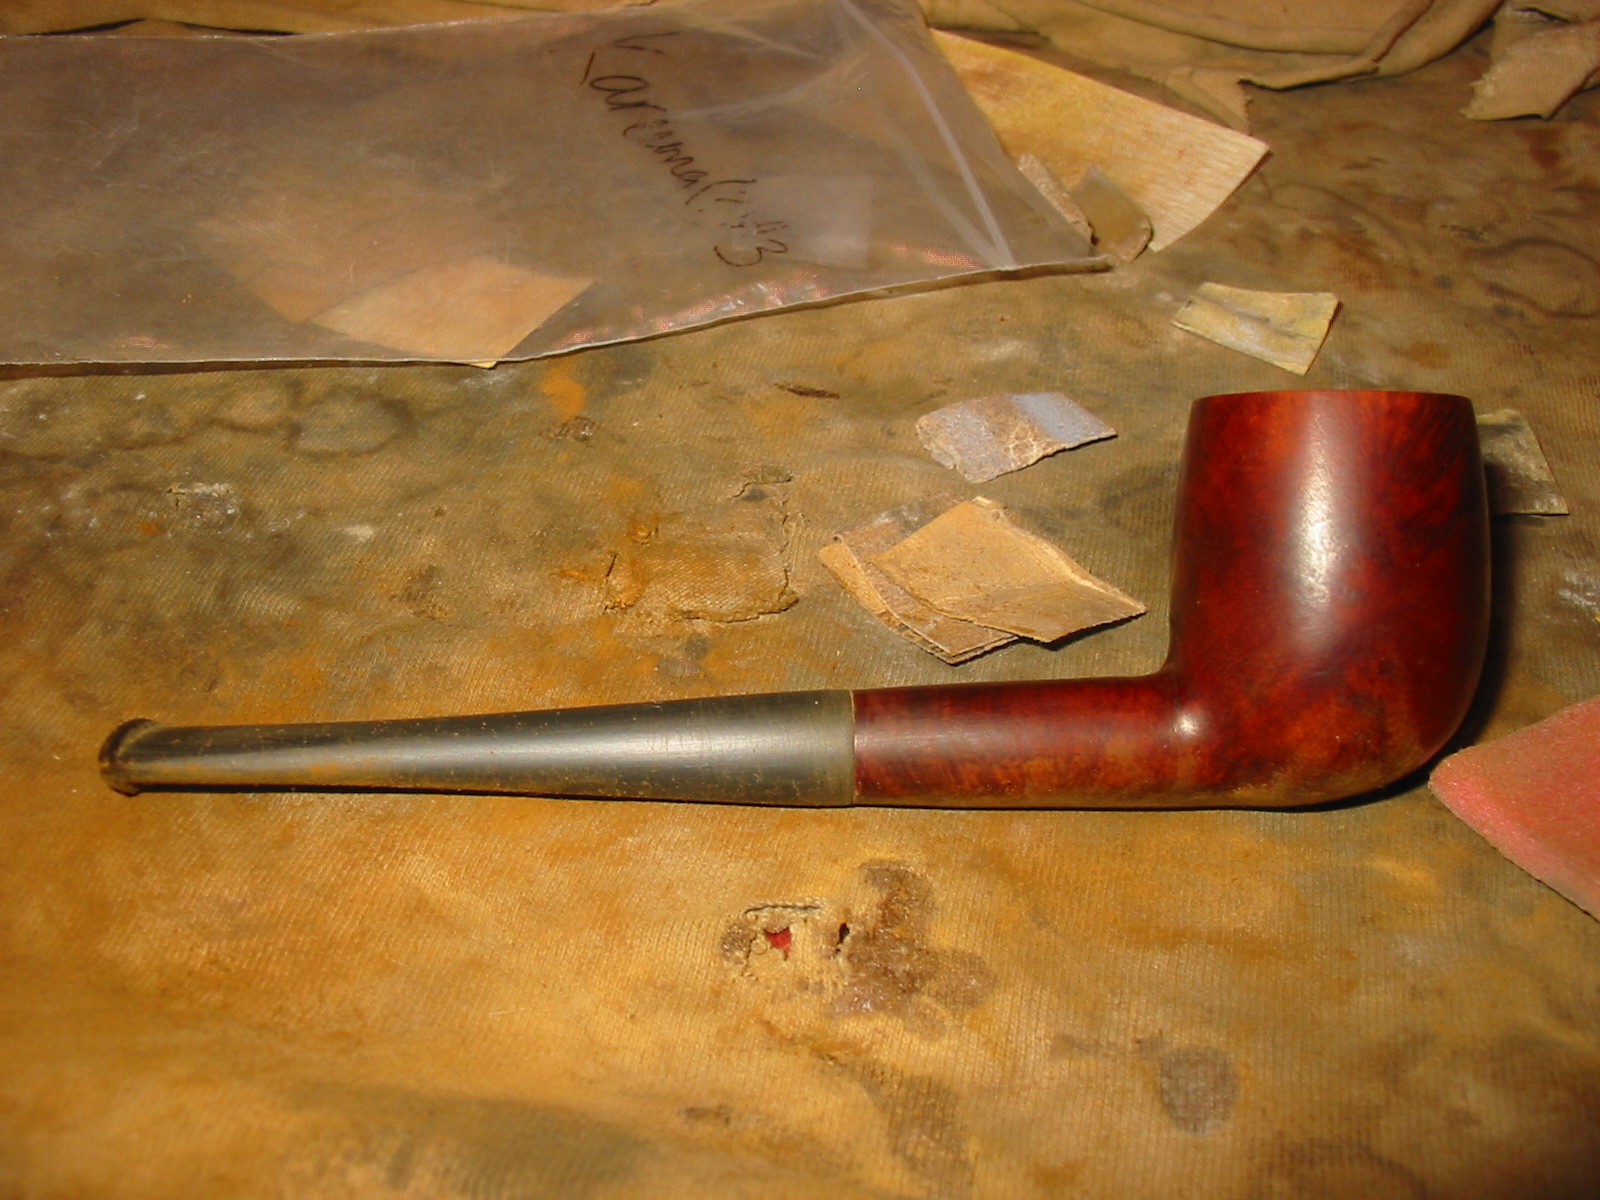
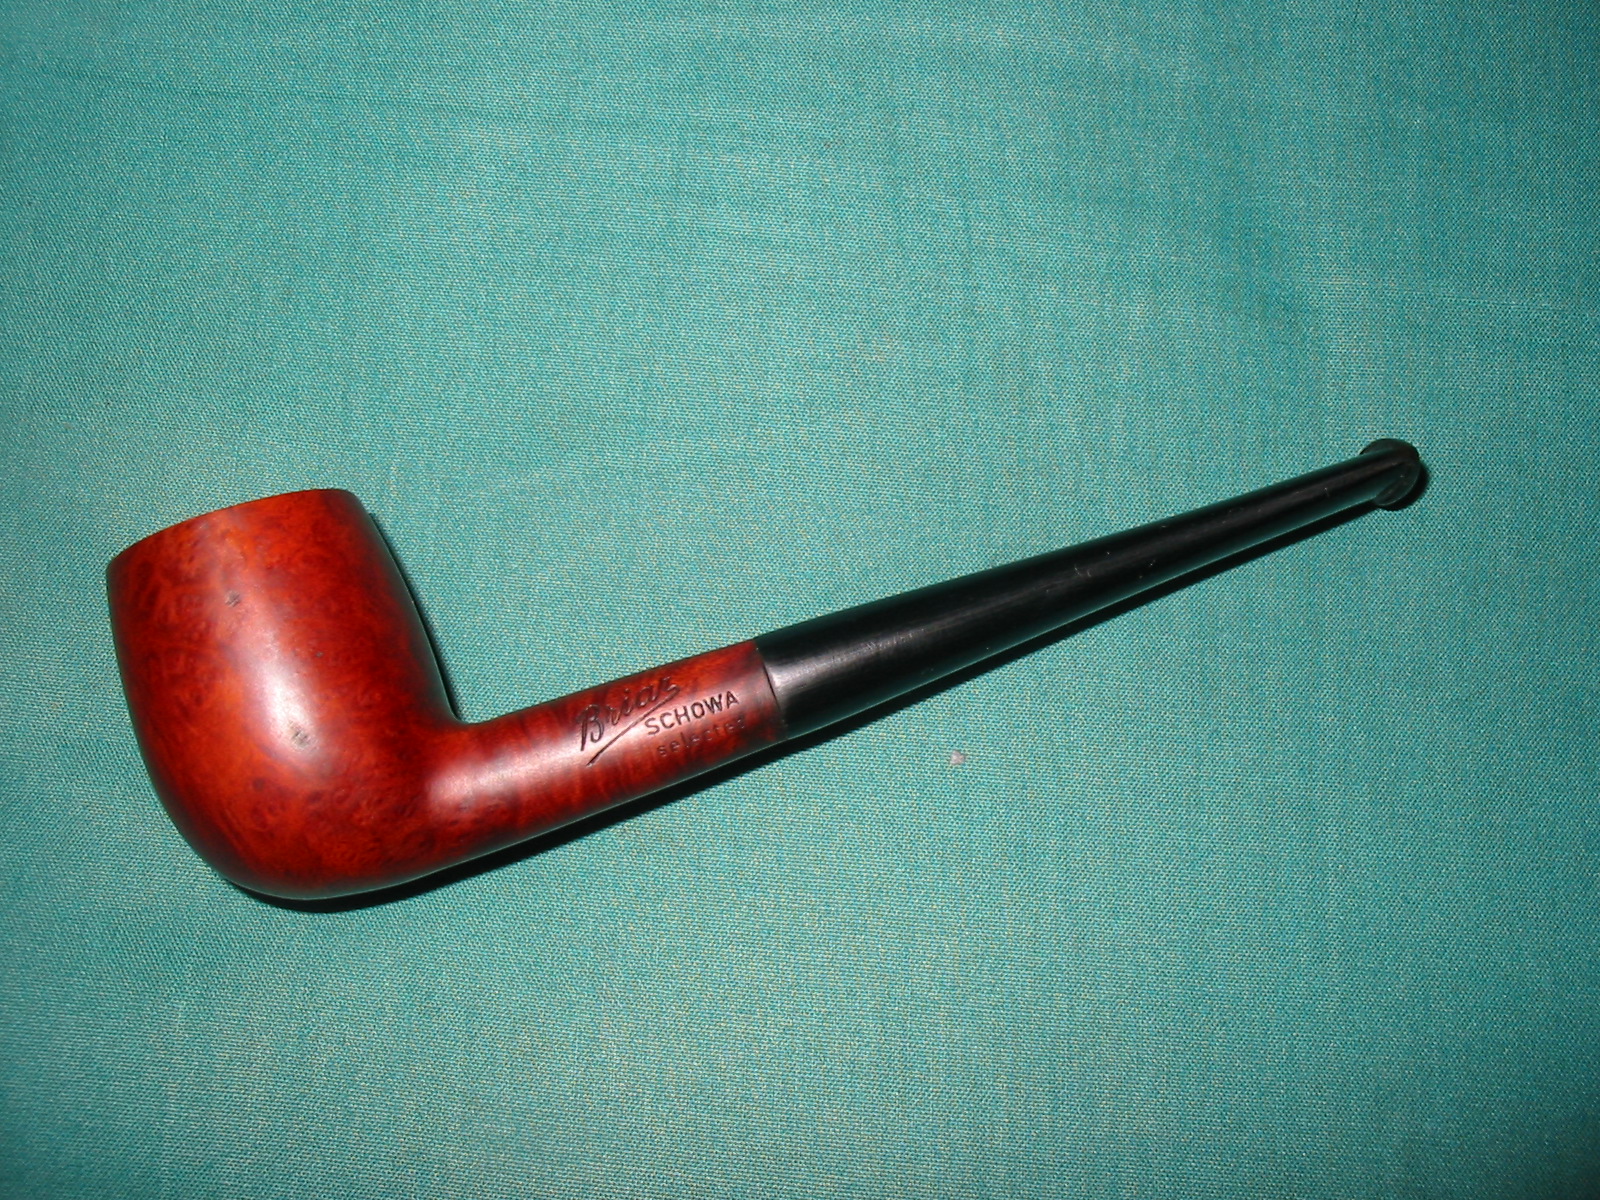
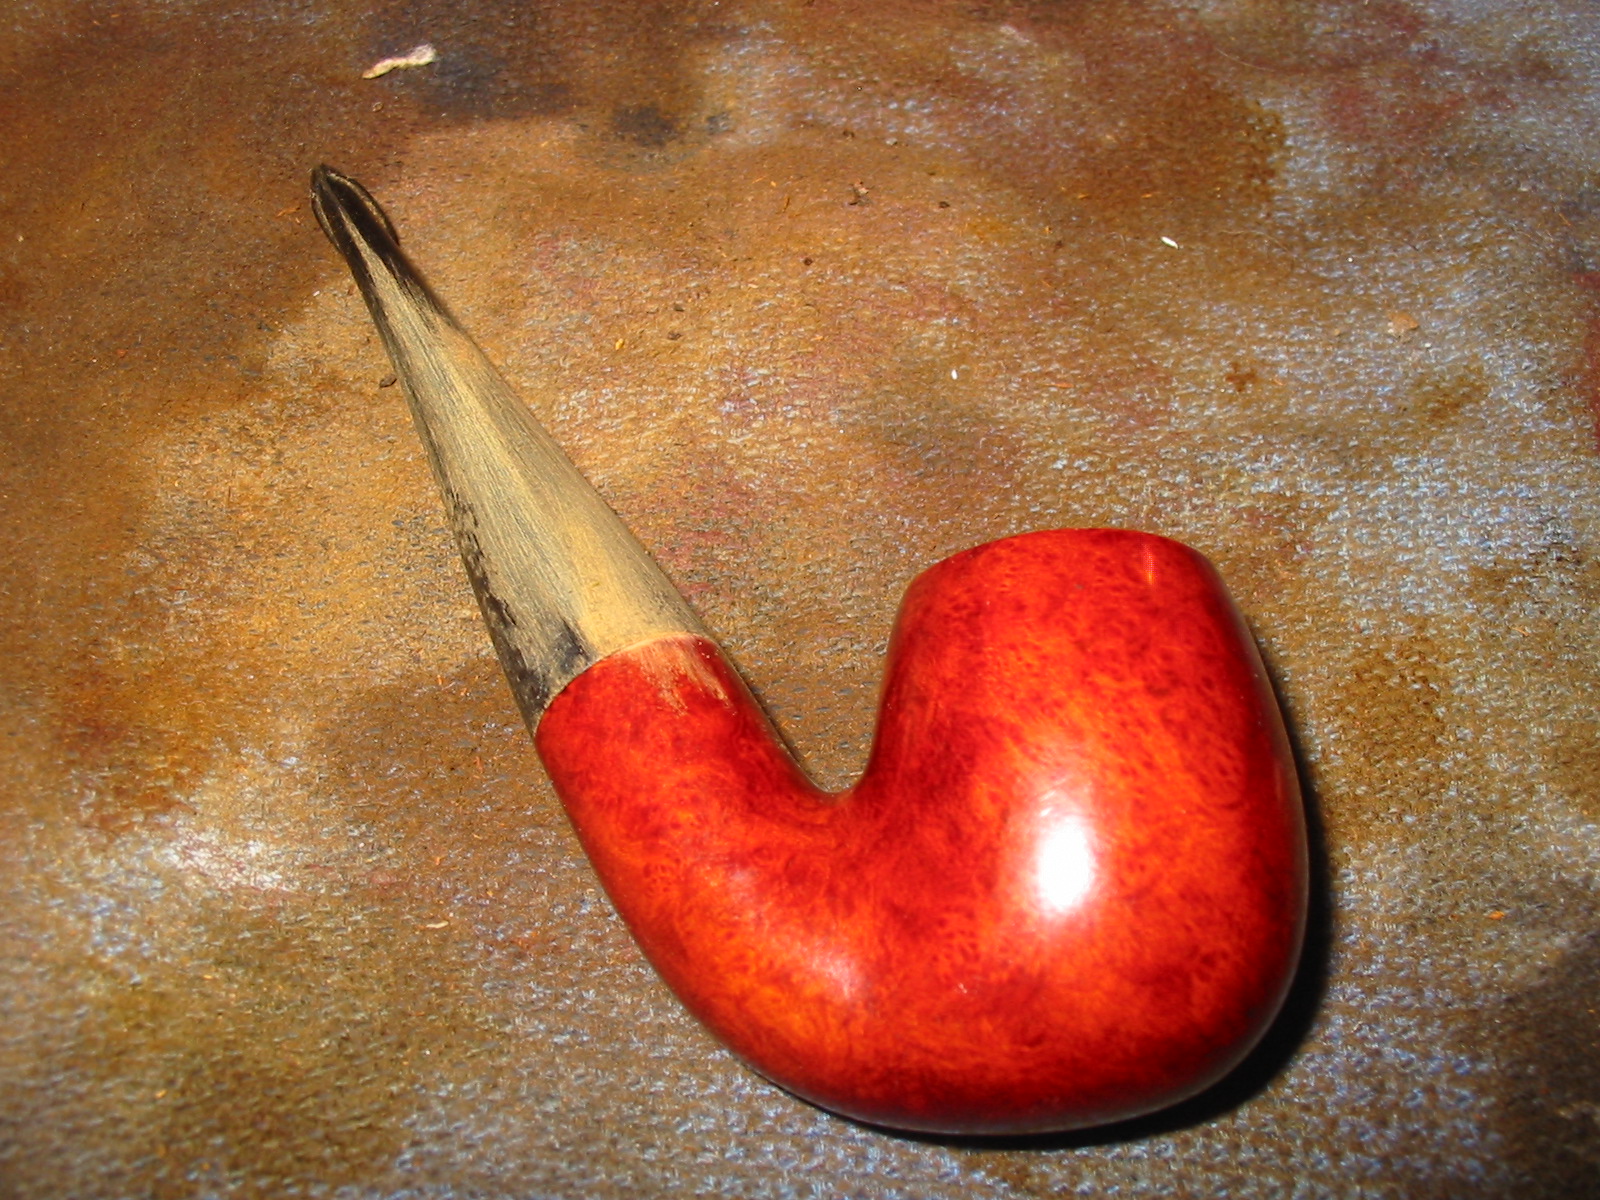
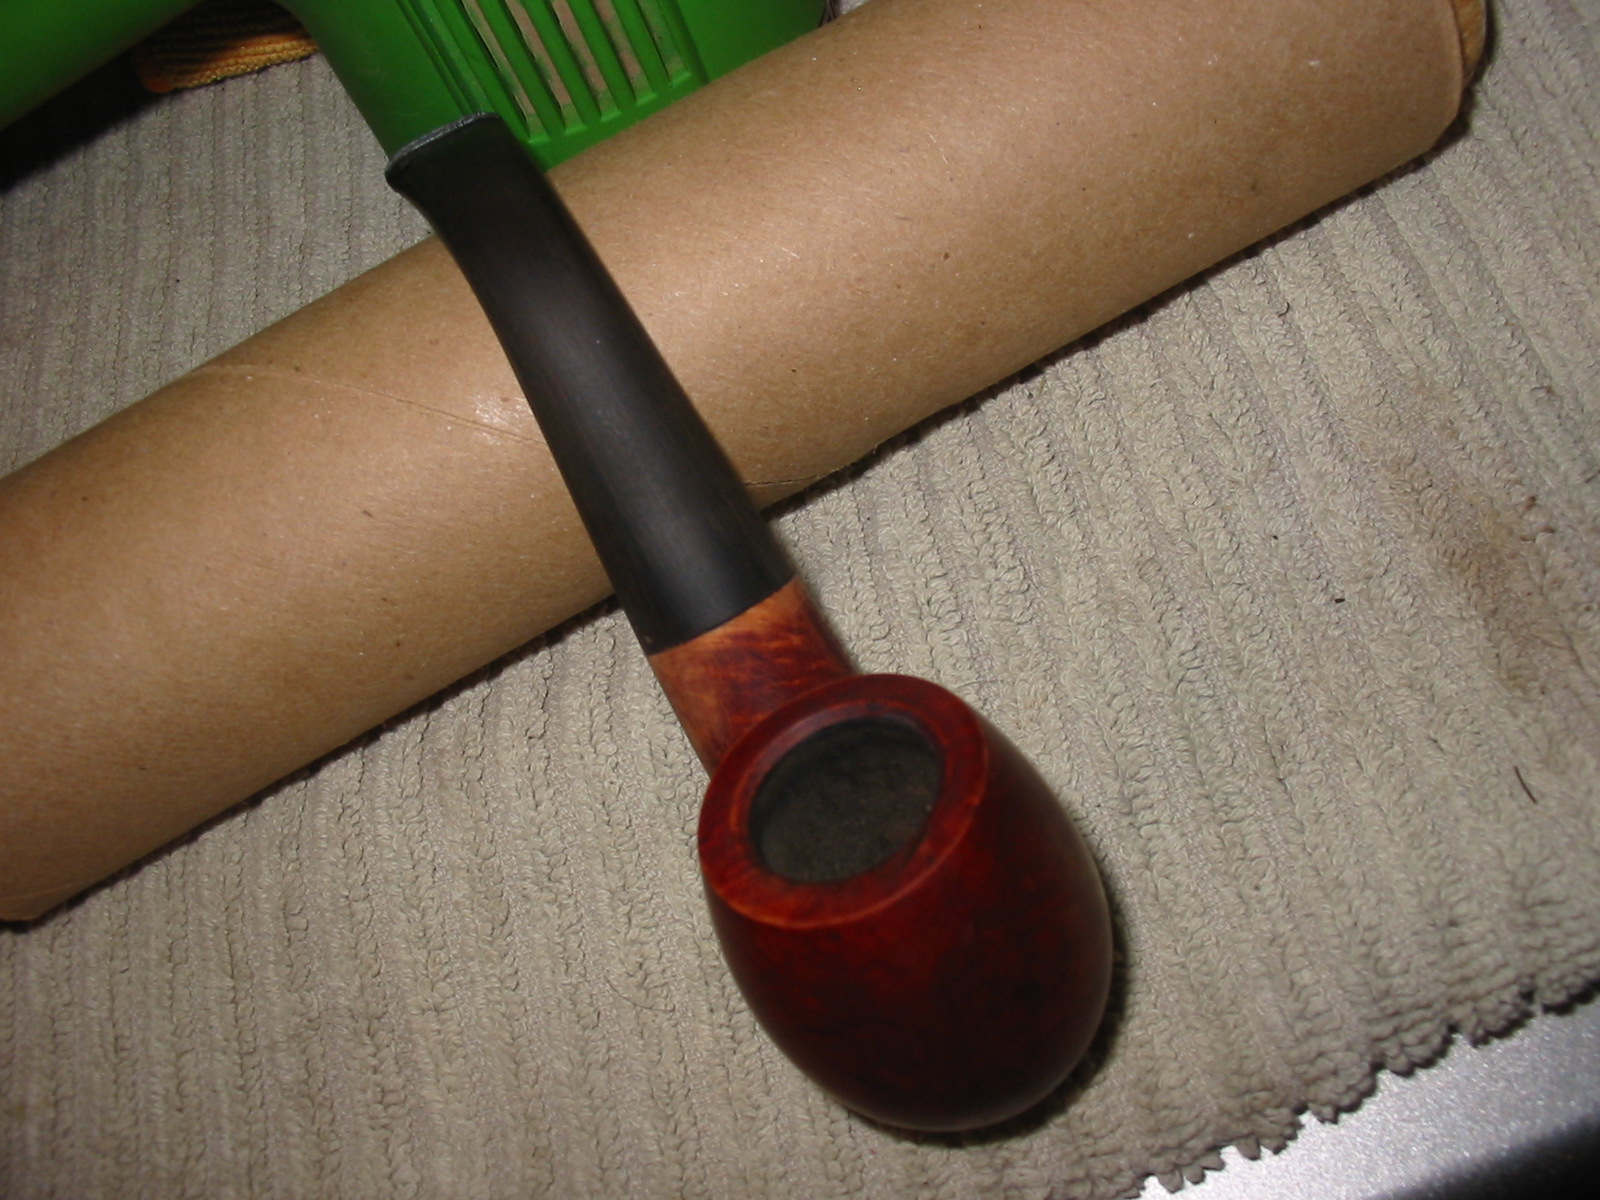
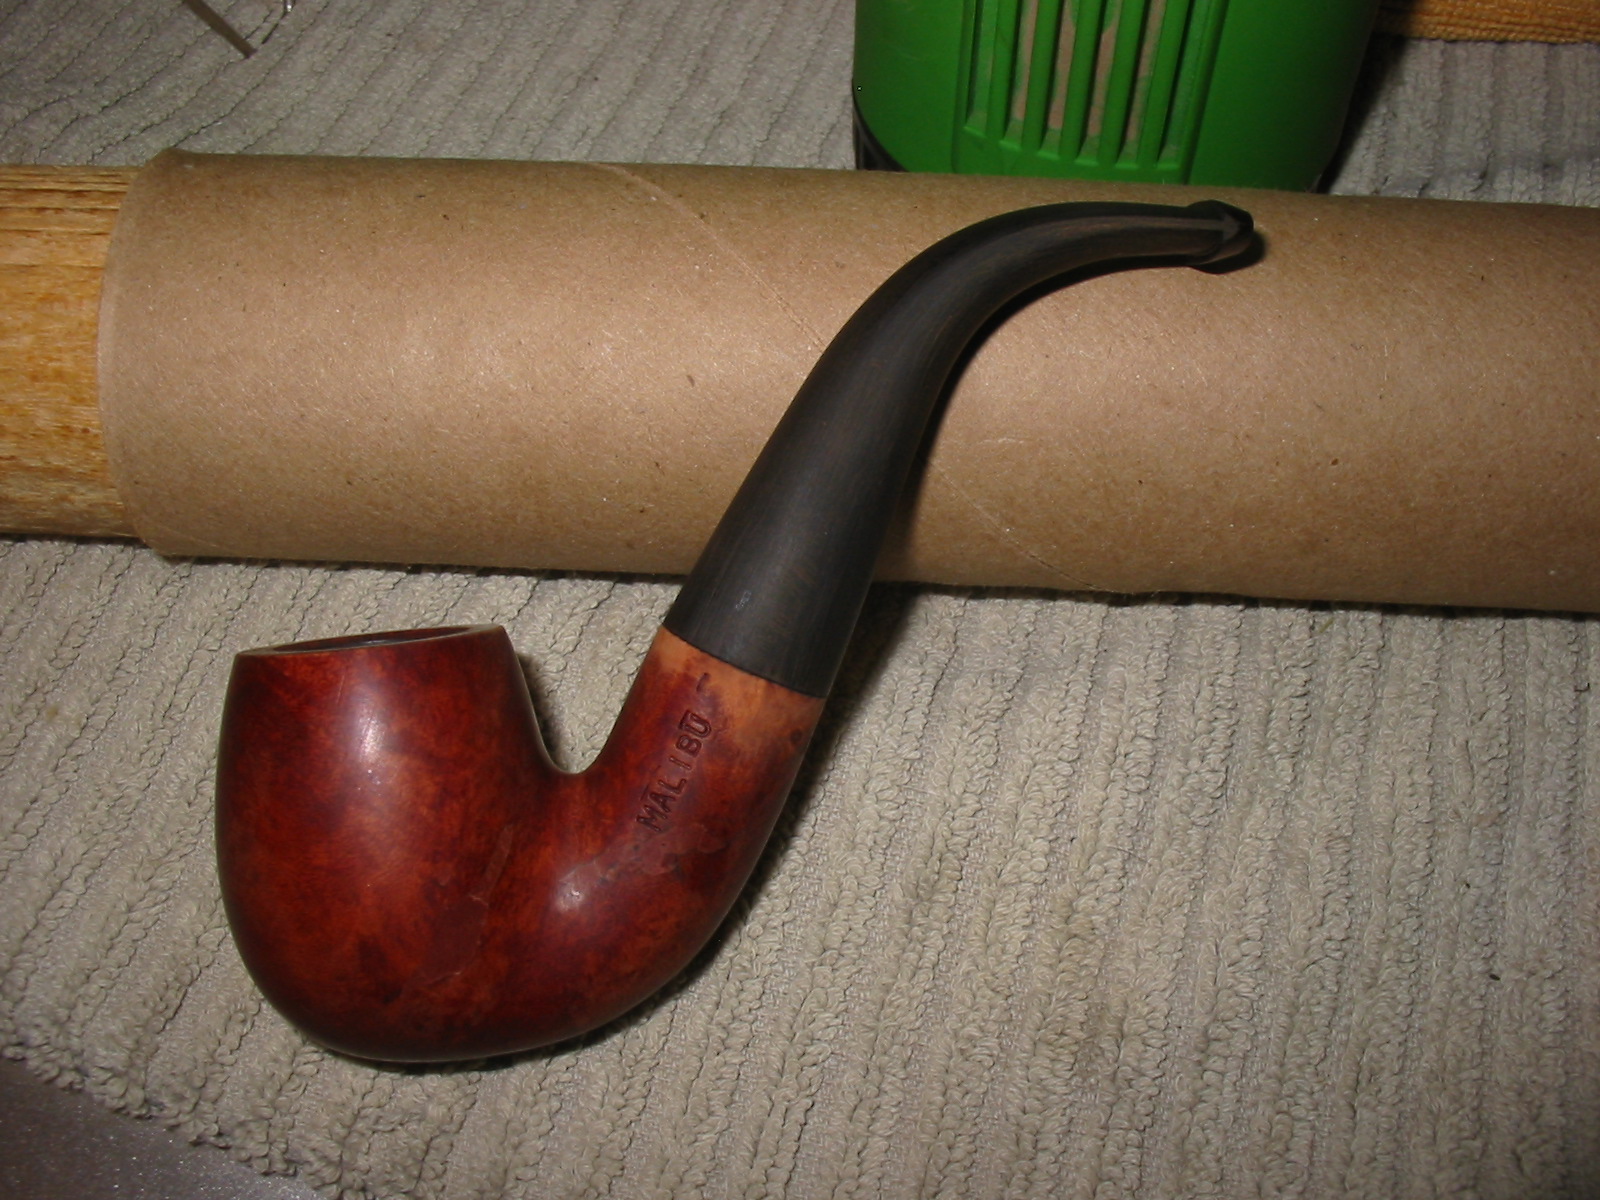
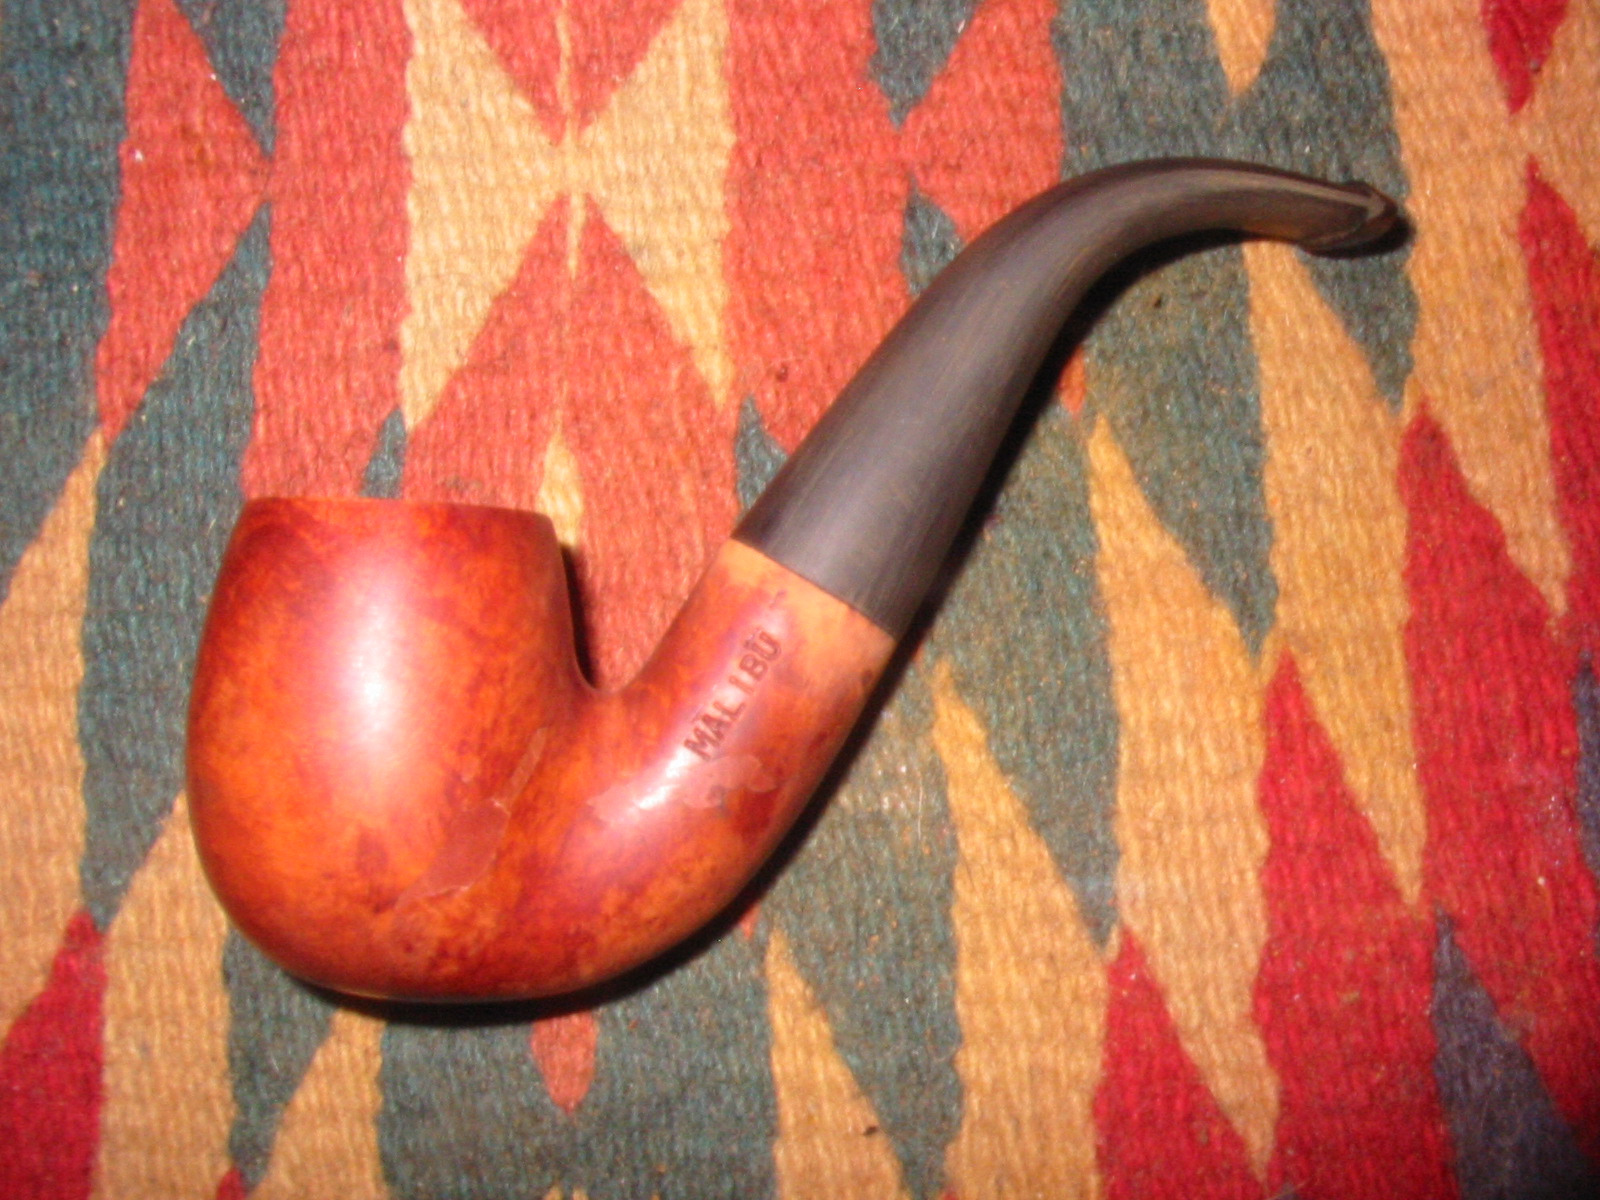
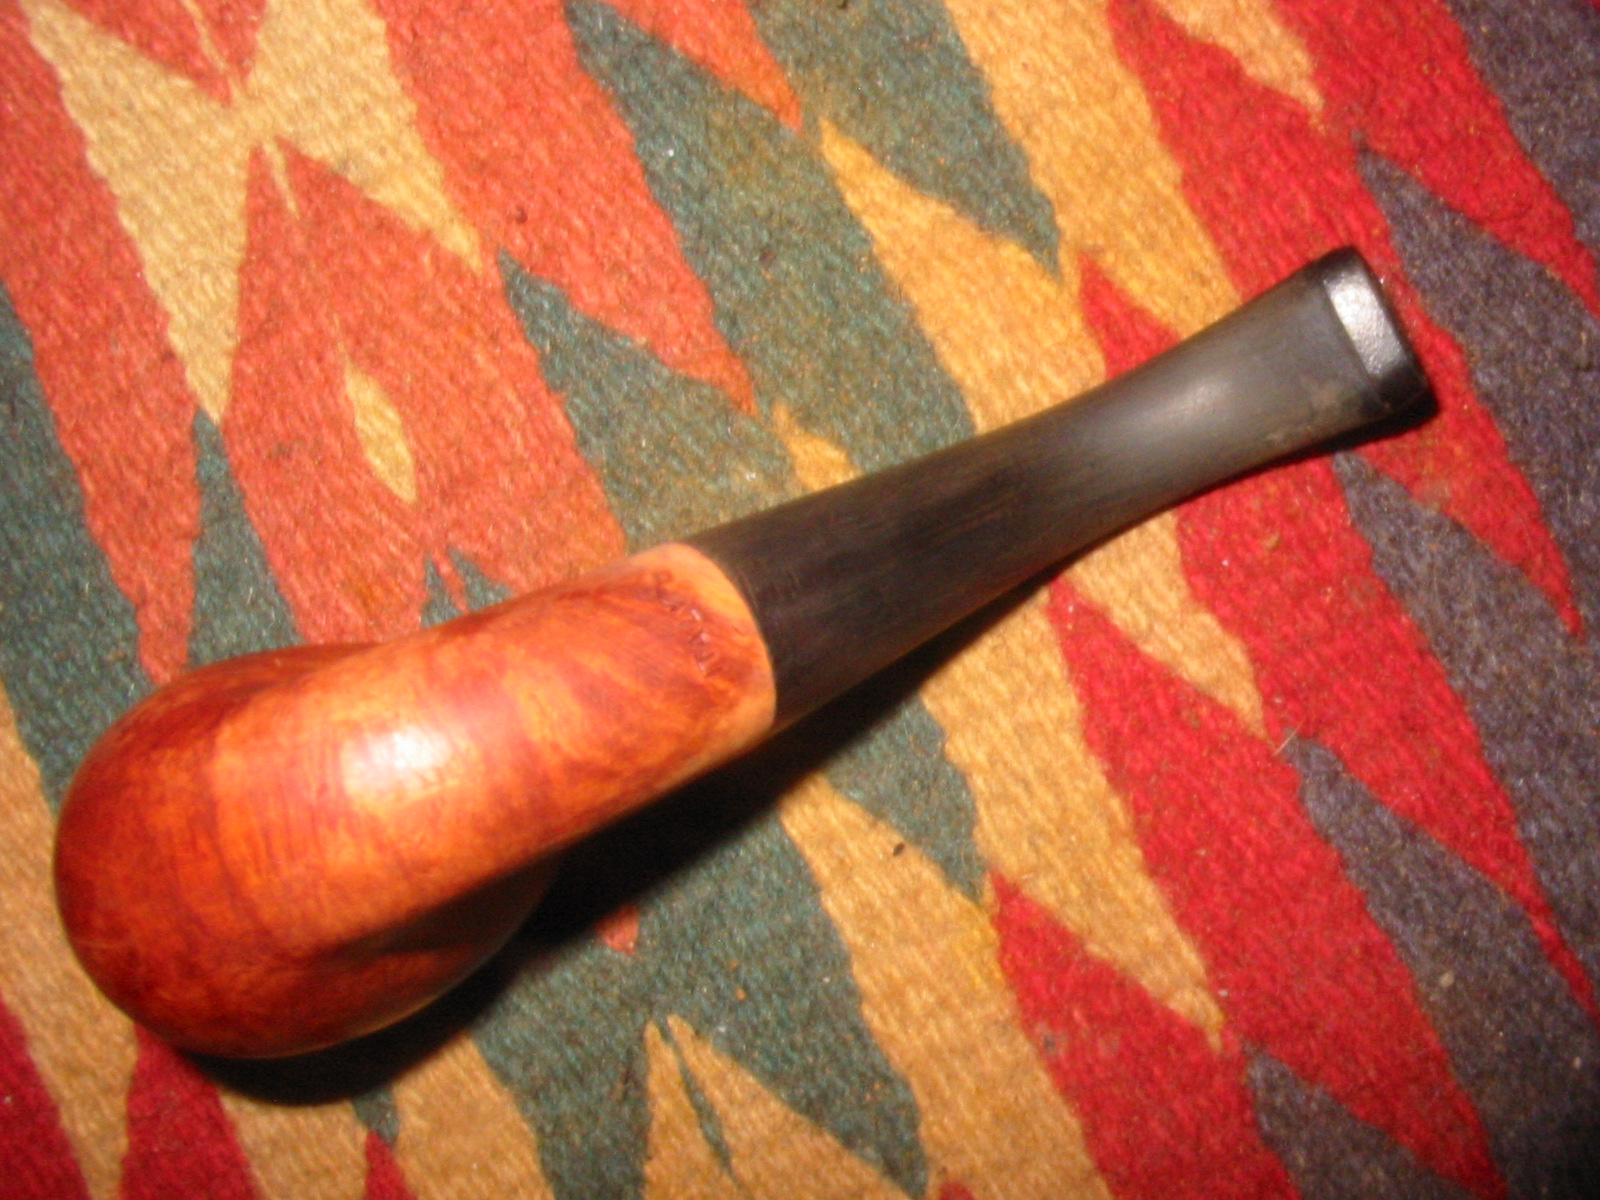
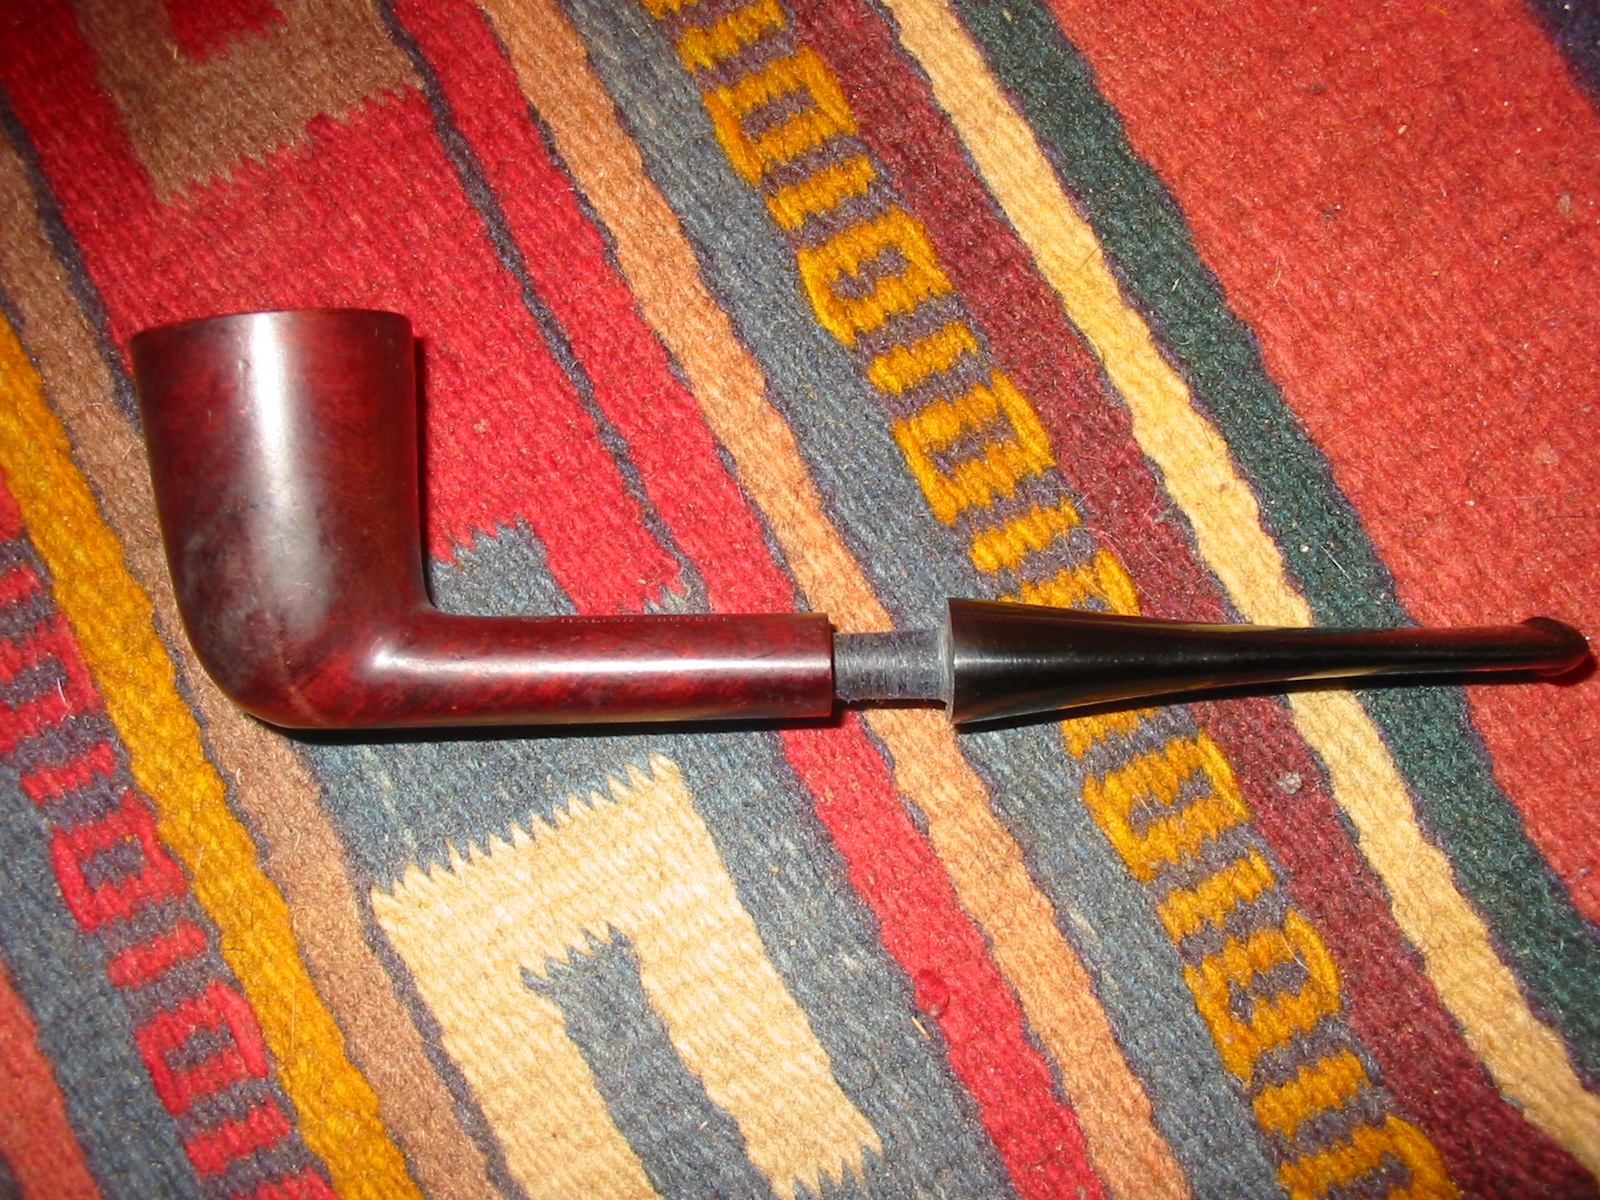
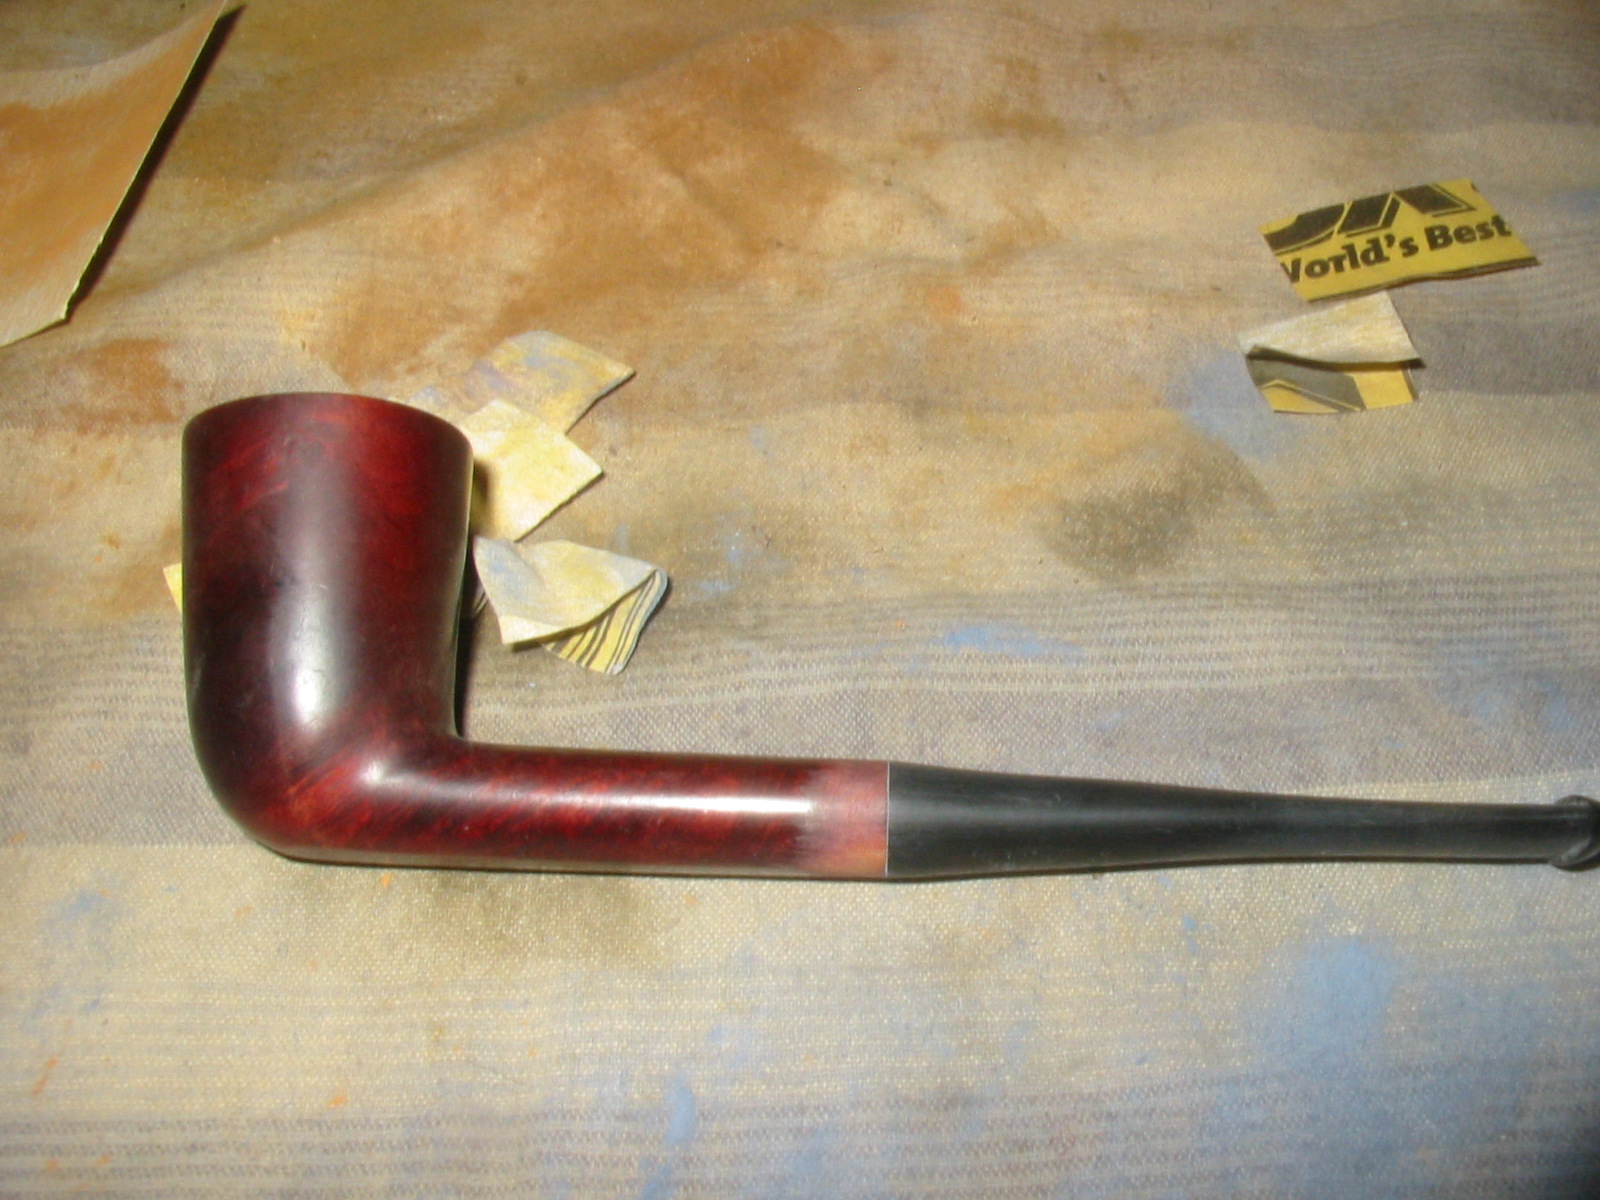
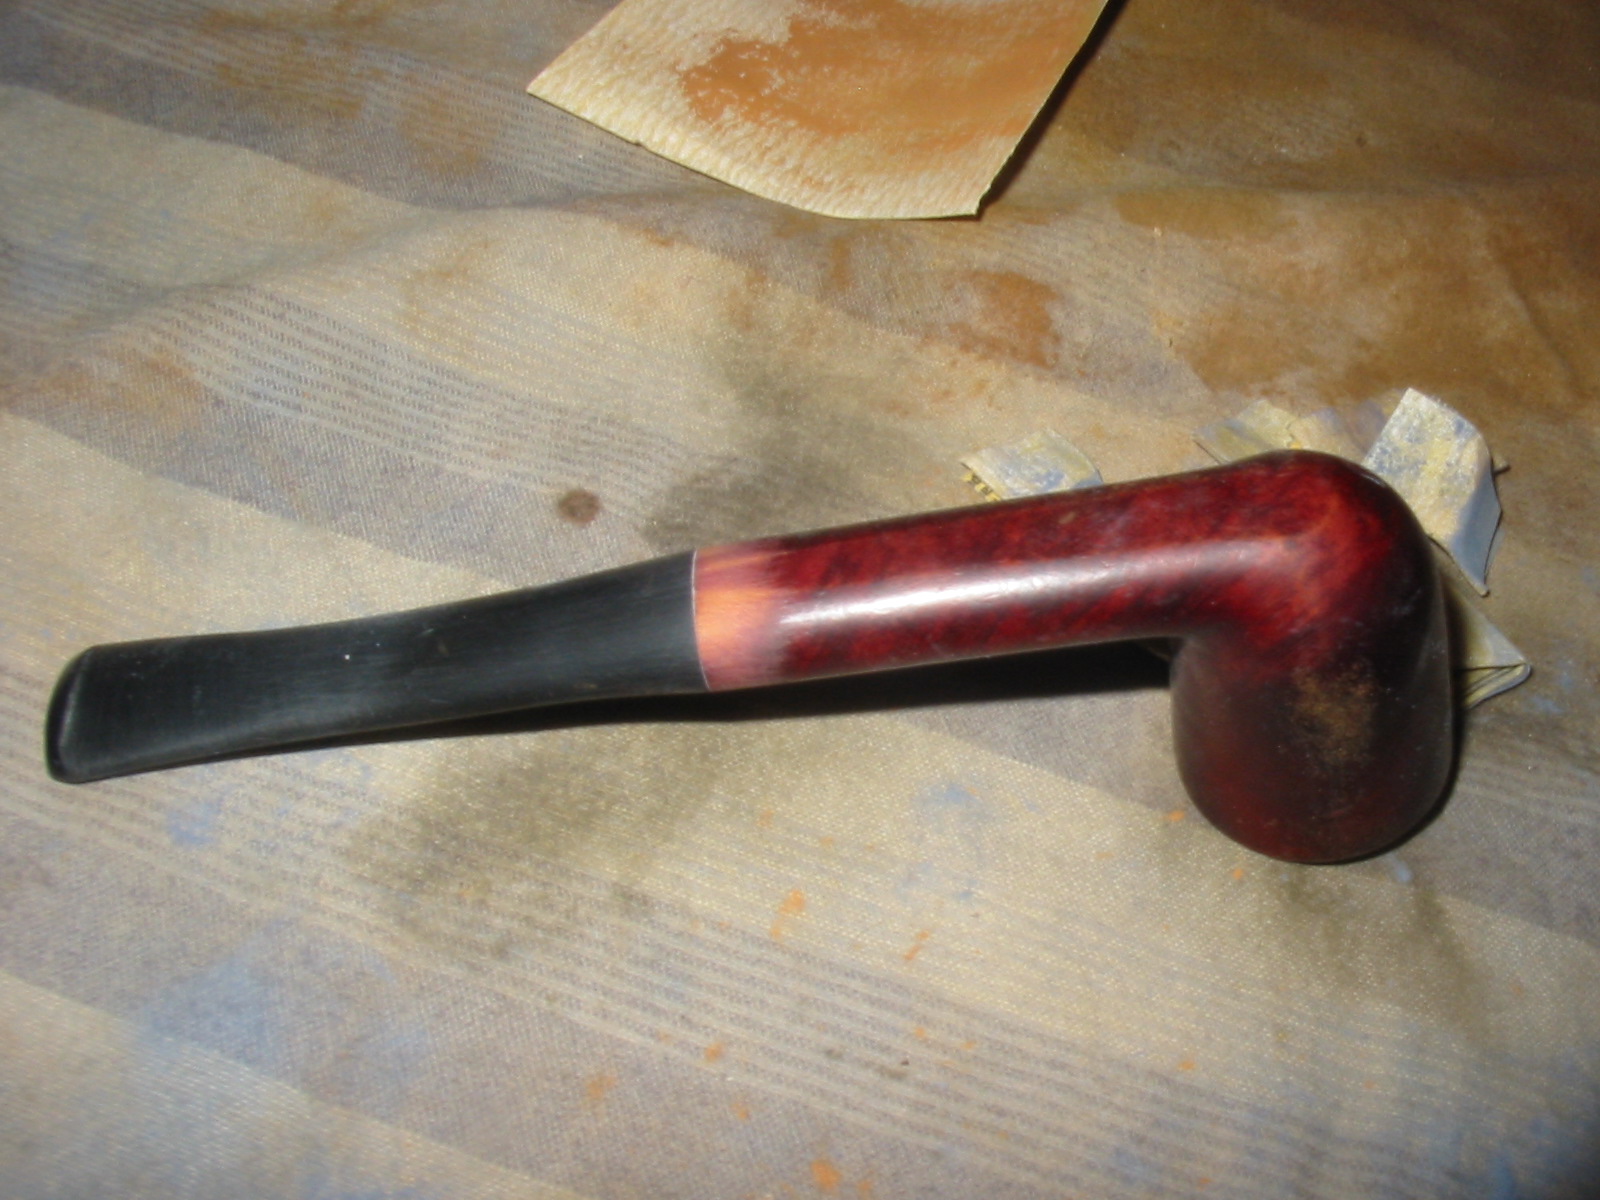
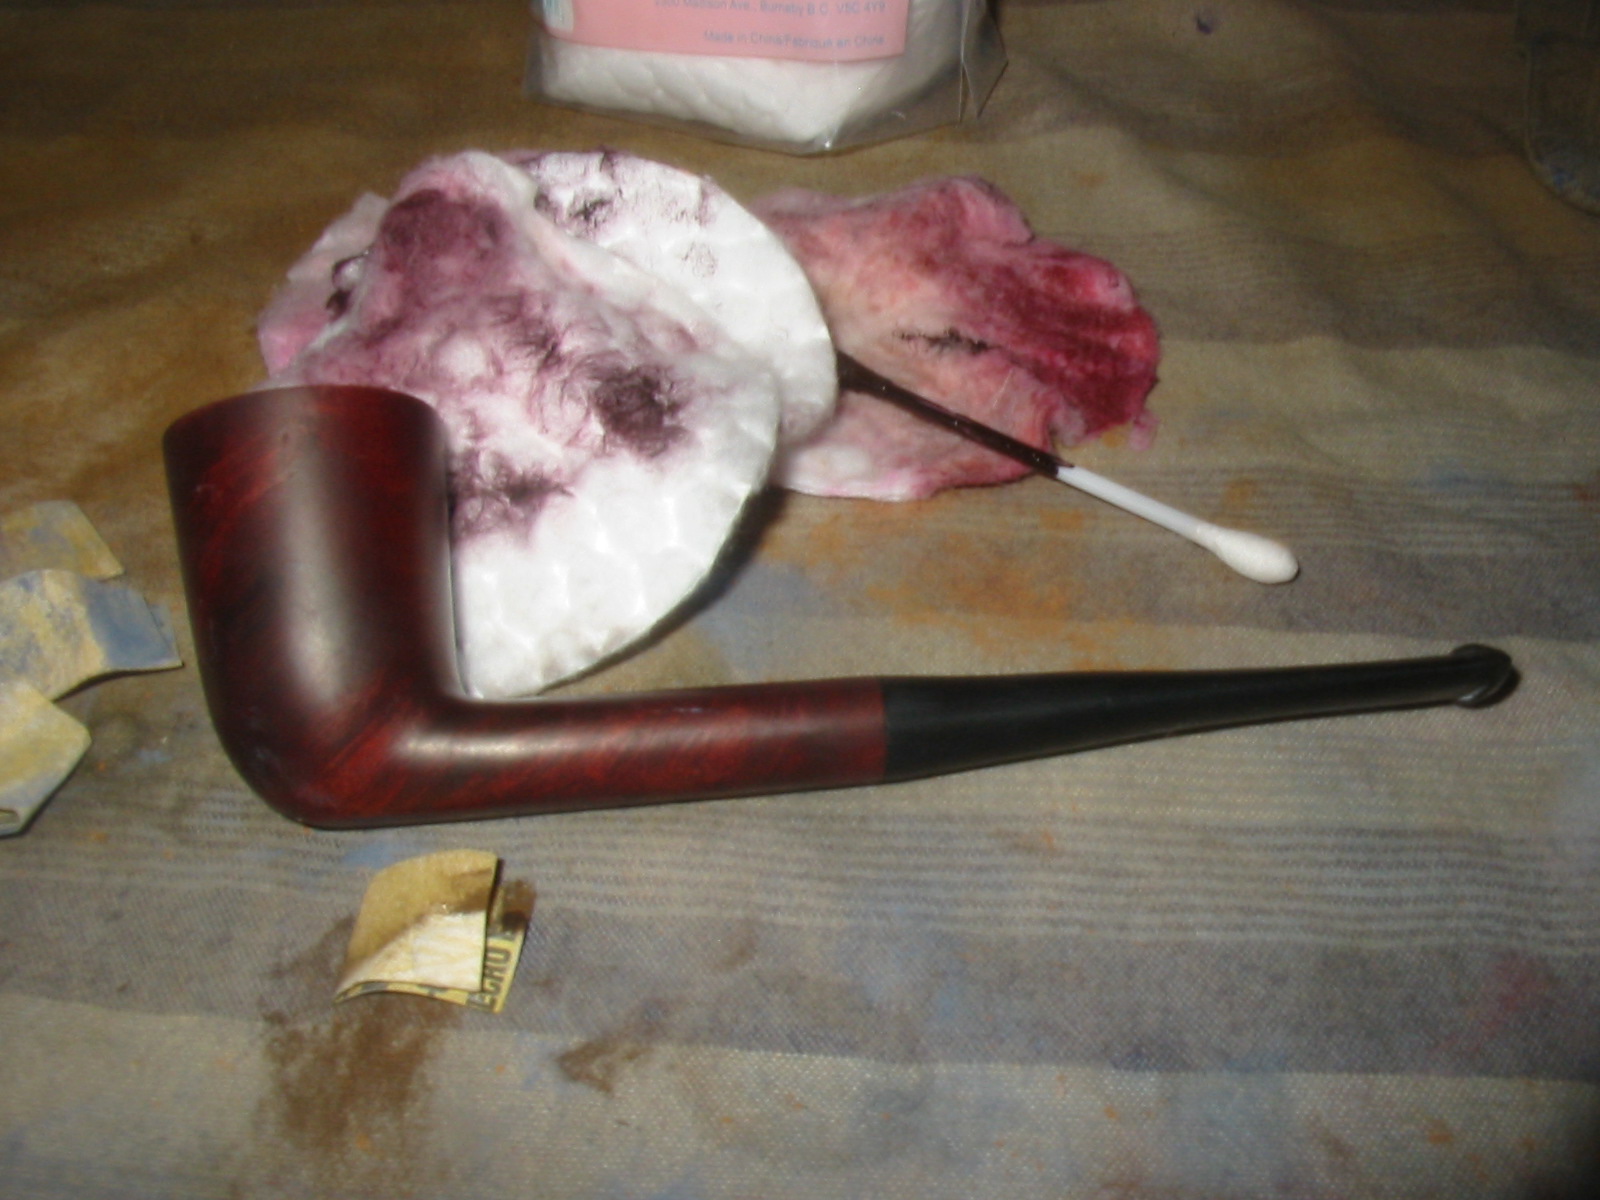
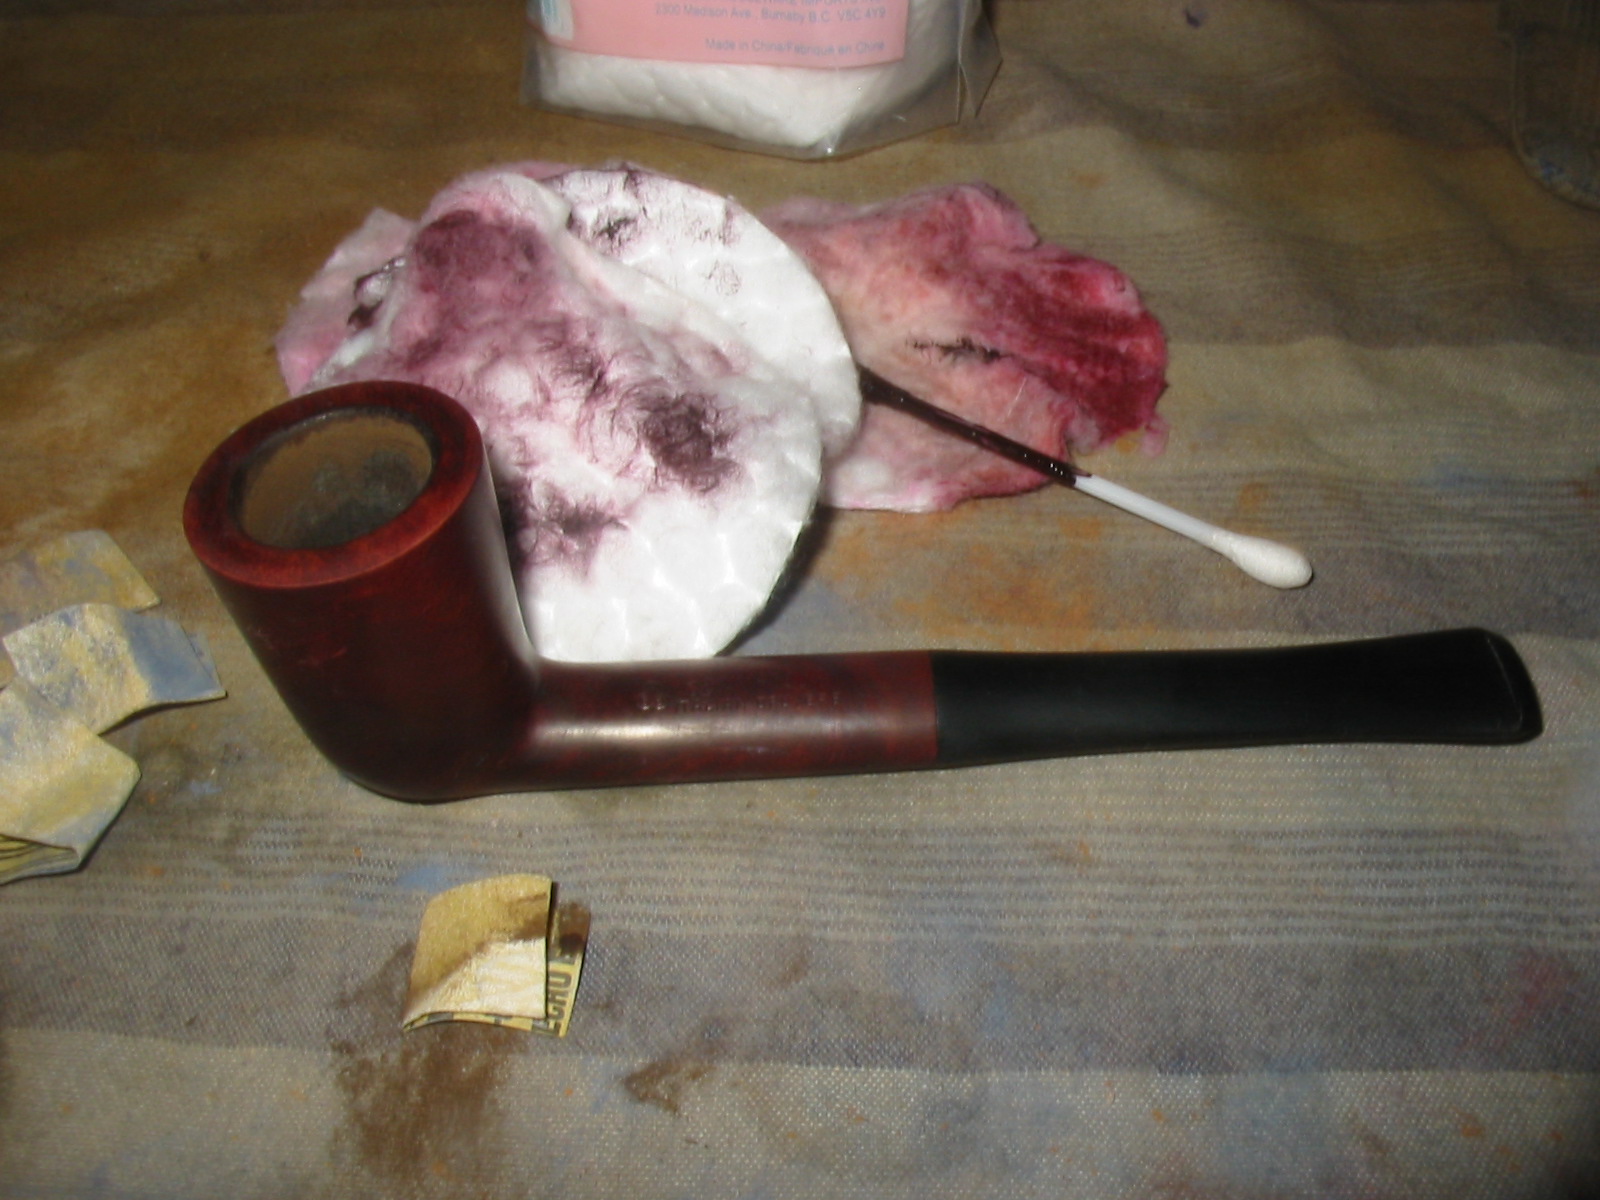
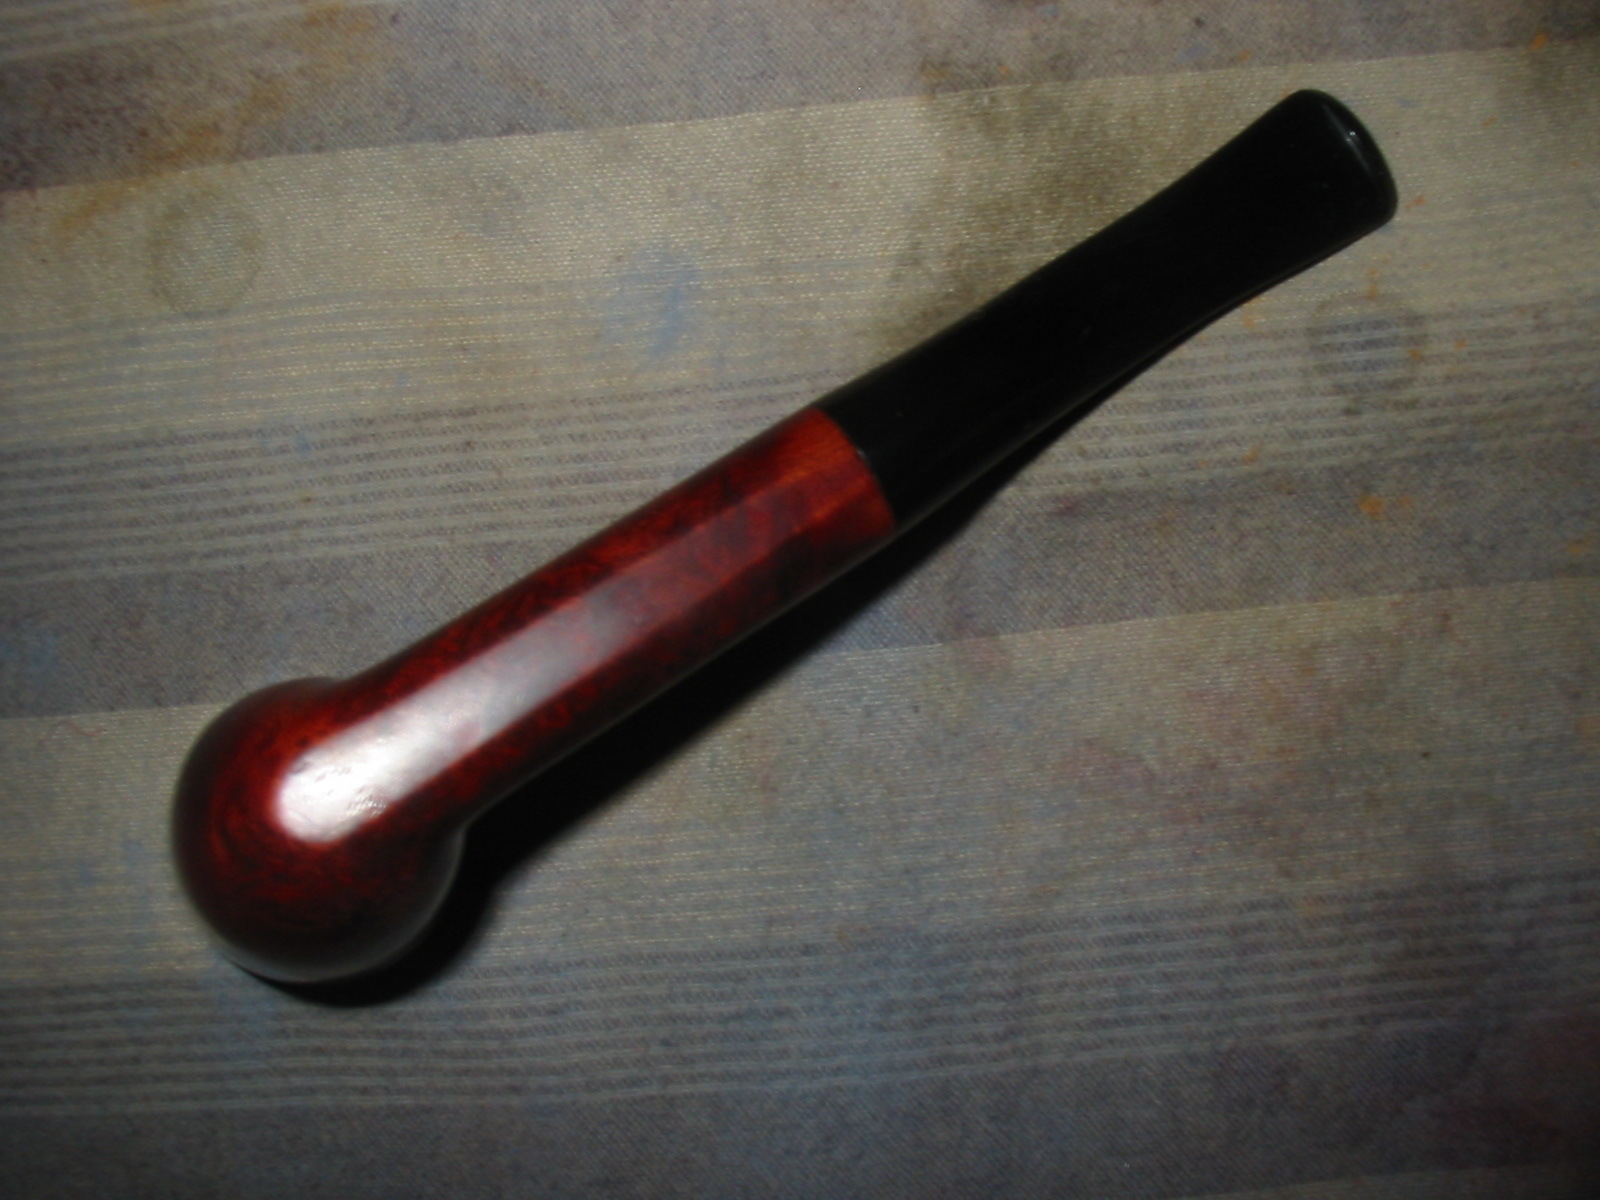
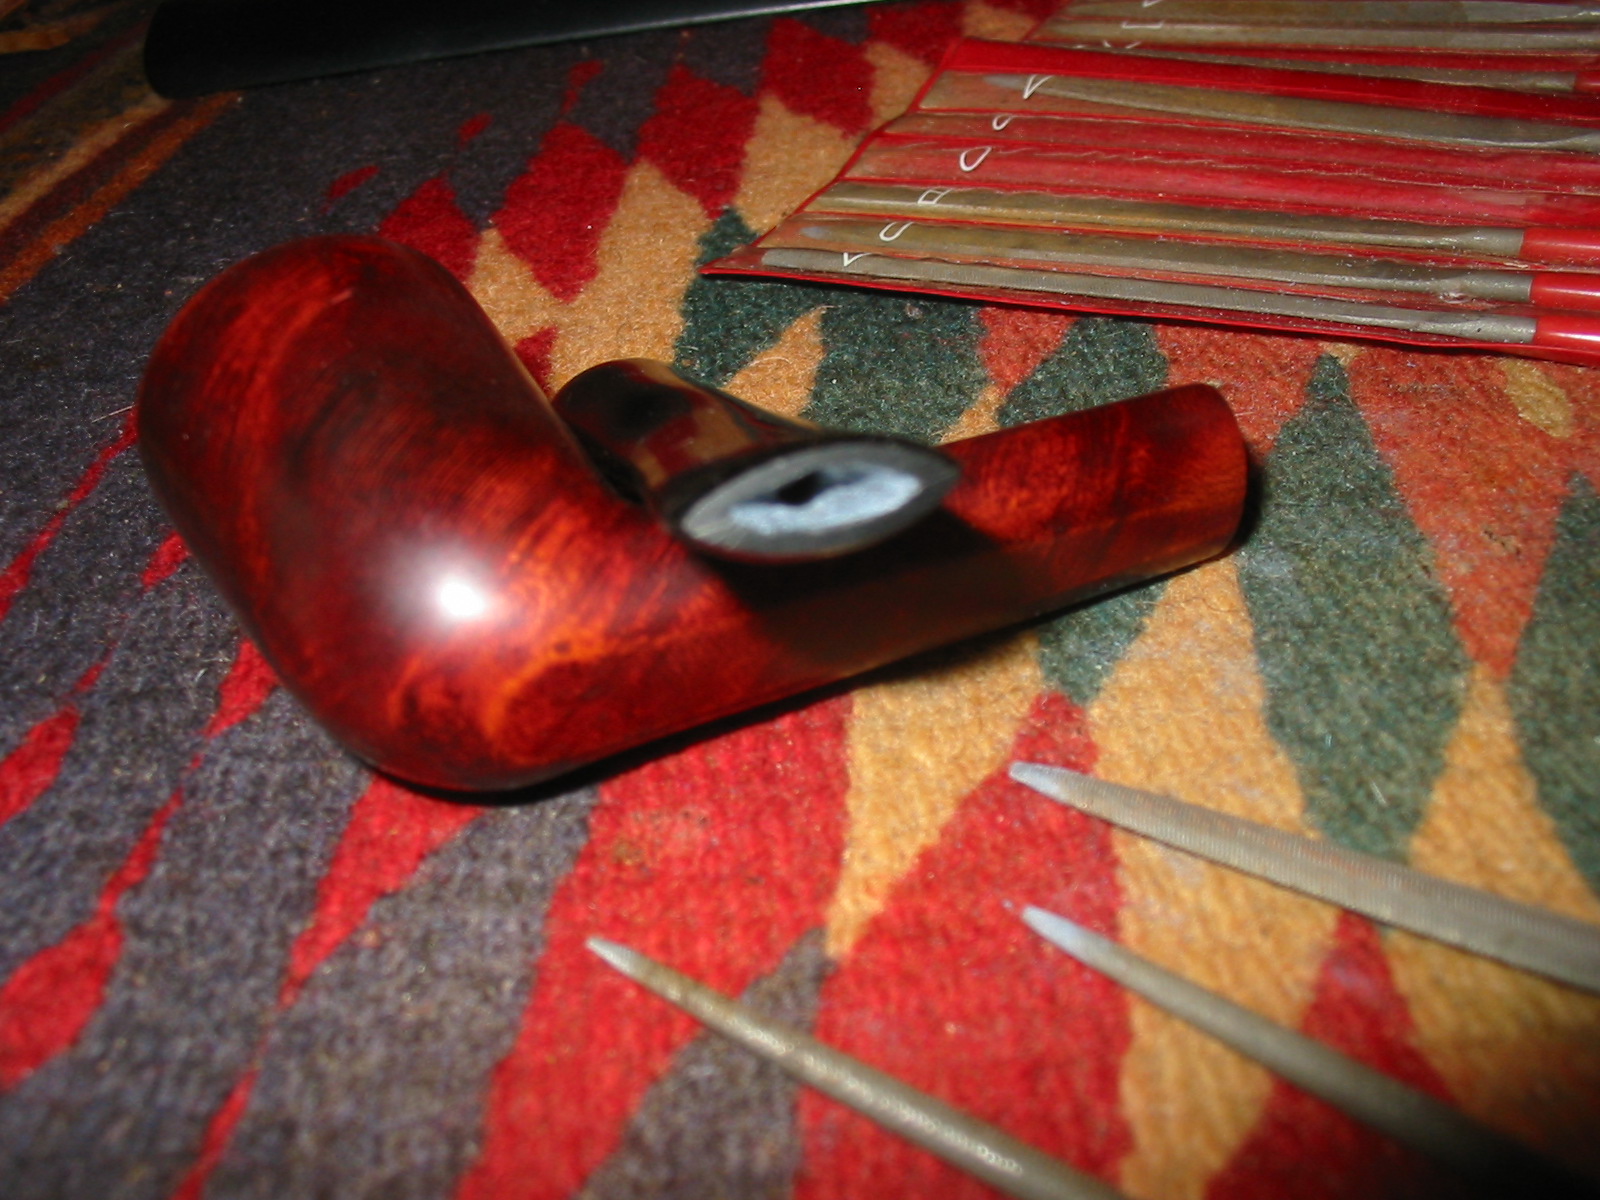
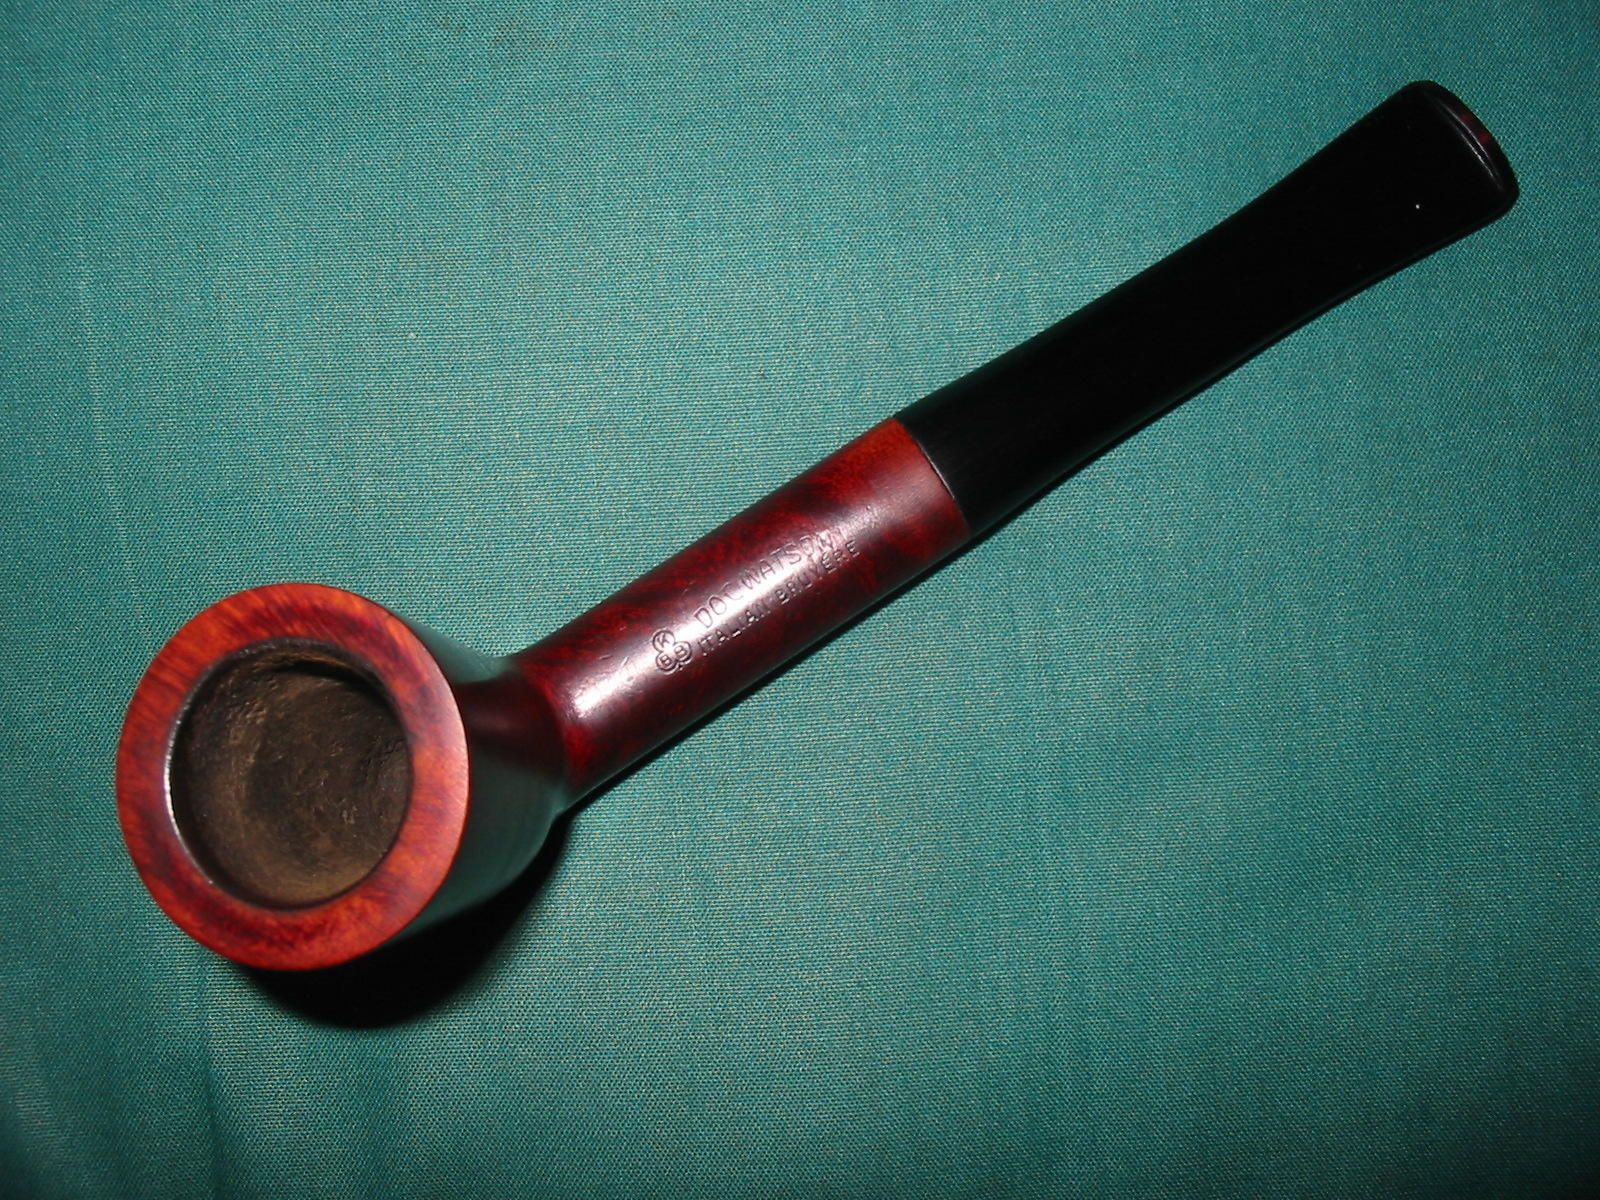
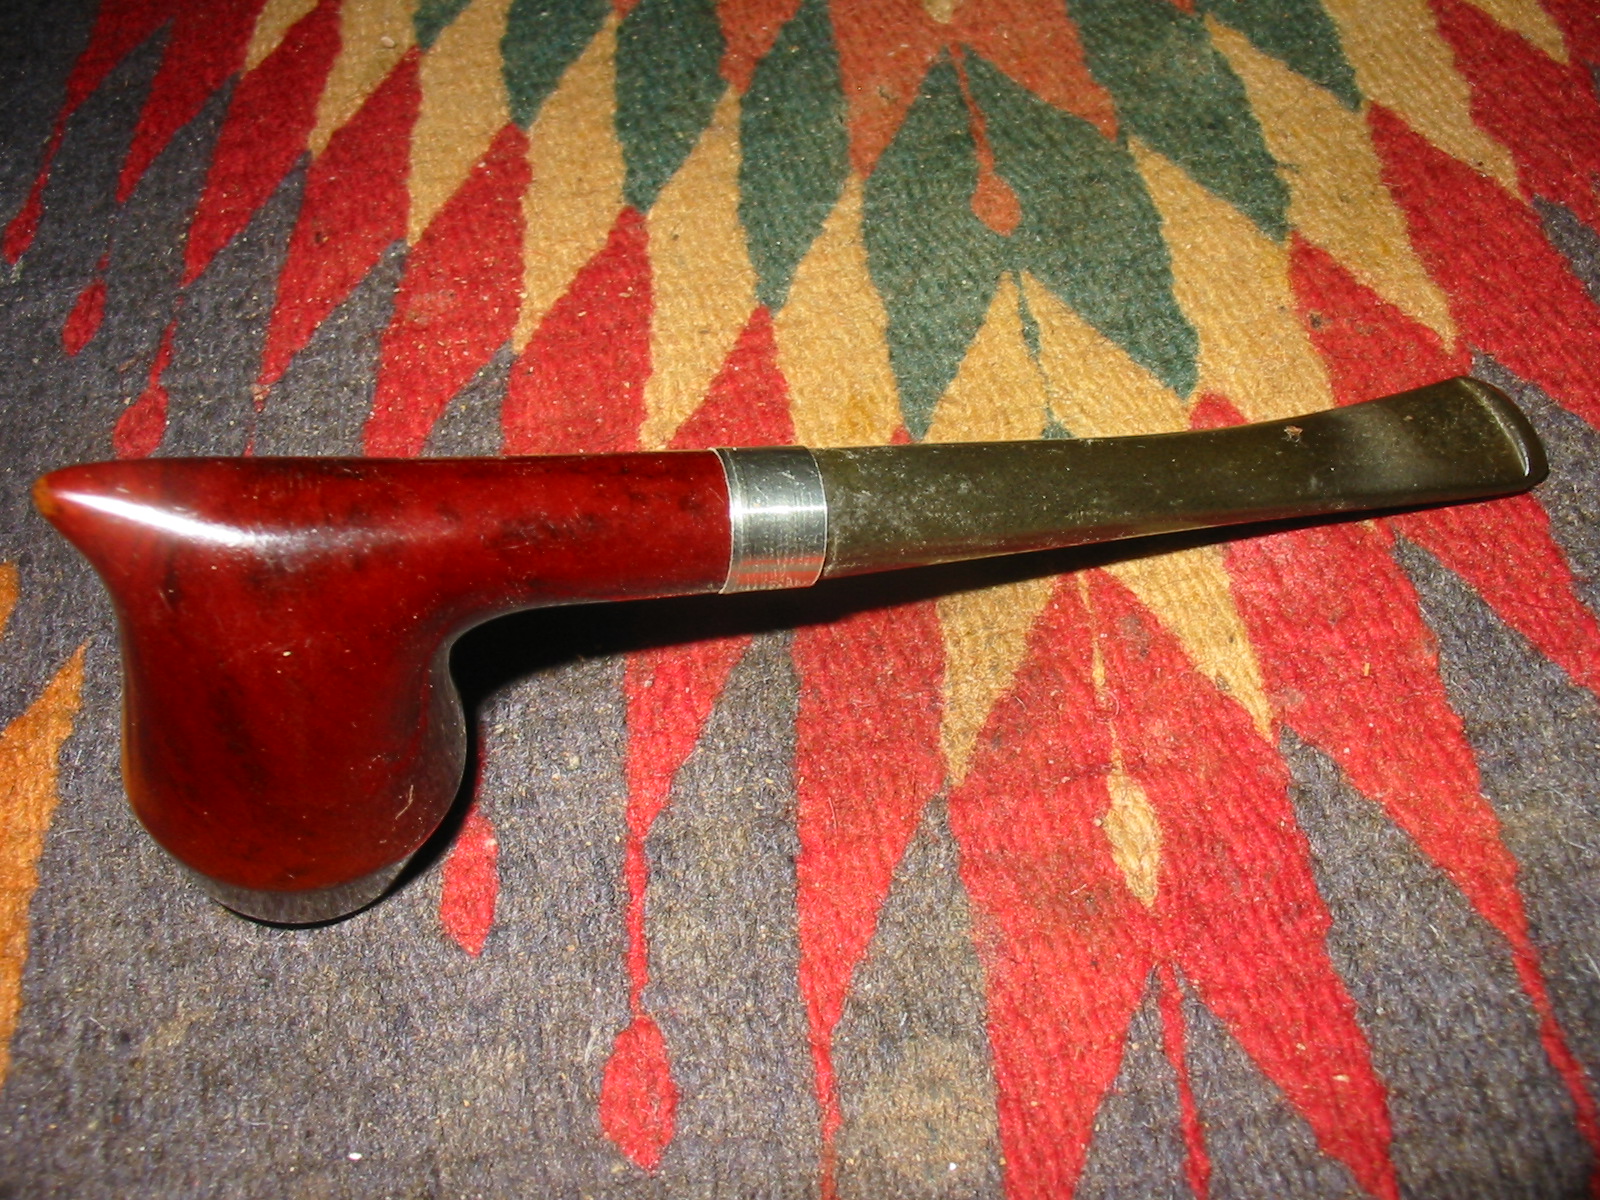
 The stem was one that I repurposed from another pipe and it looked like it belonged on the Spartan in my opinion. The slight bend looked good with the shape of this Brylon Spartan. The stem was oxidized and dirty but did not have any tooth marks of gouges. Once I had the pipe banded I pushed the stem into place and took the photos below.

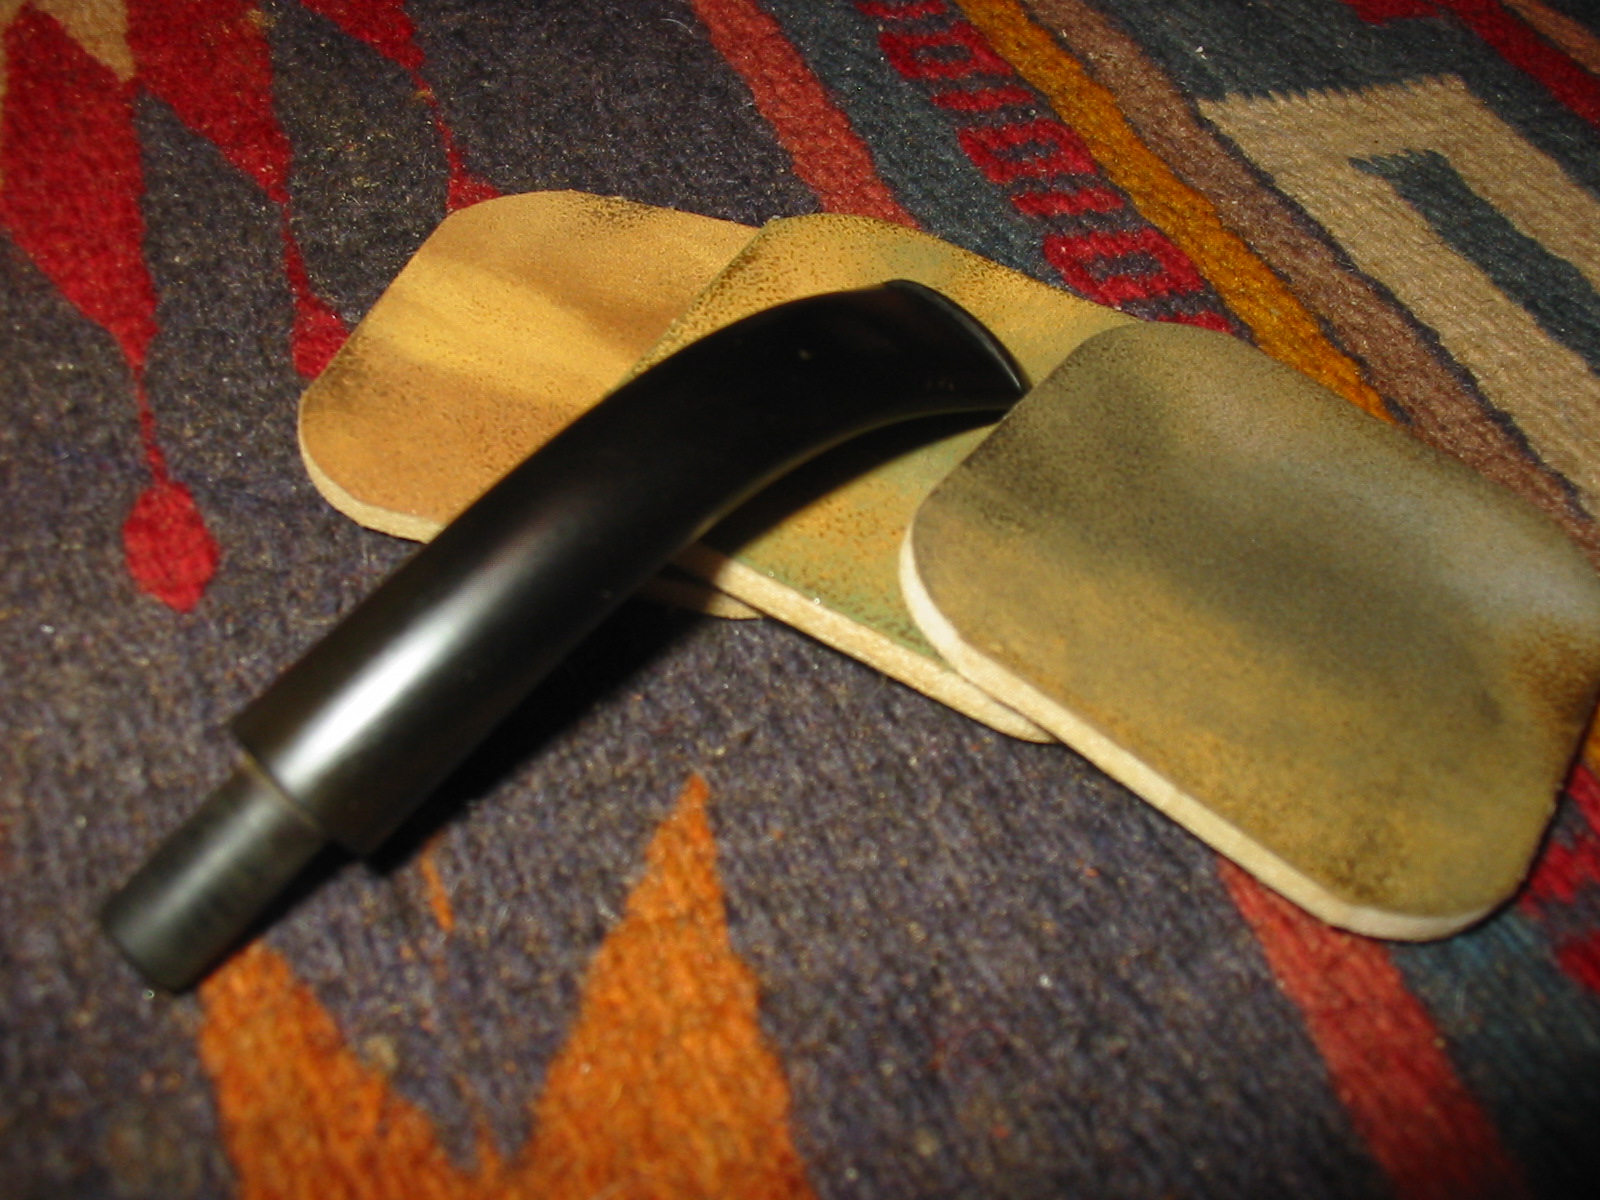
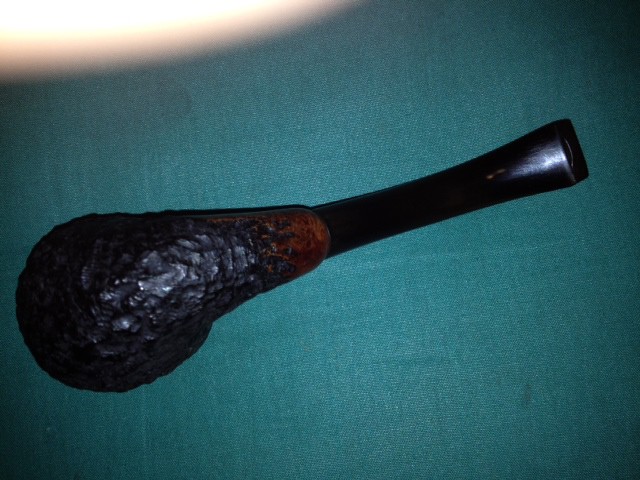
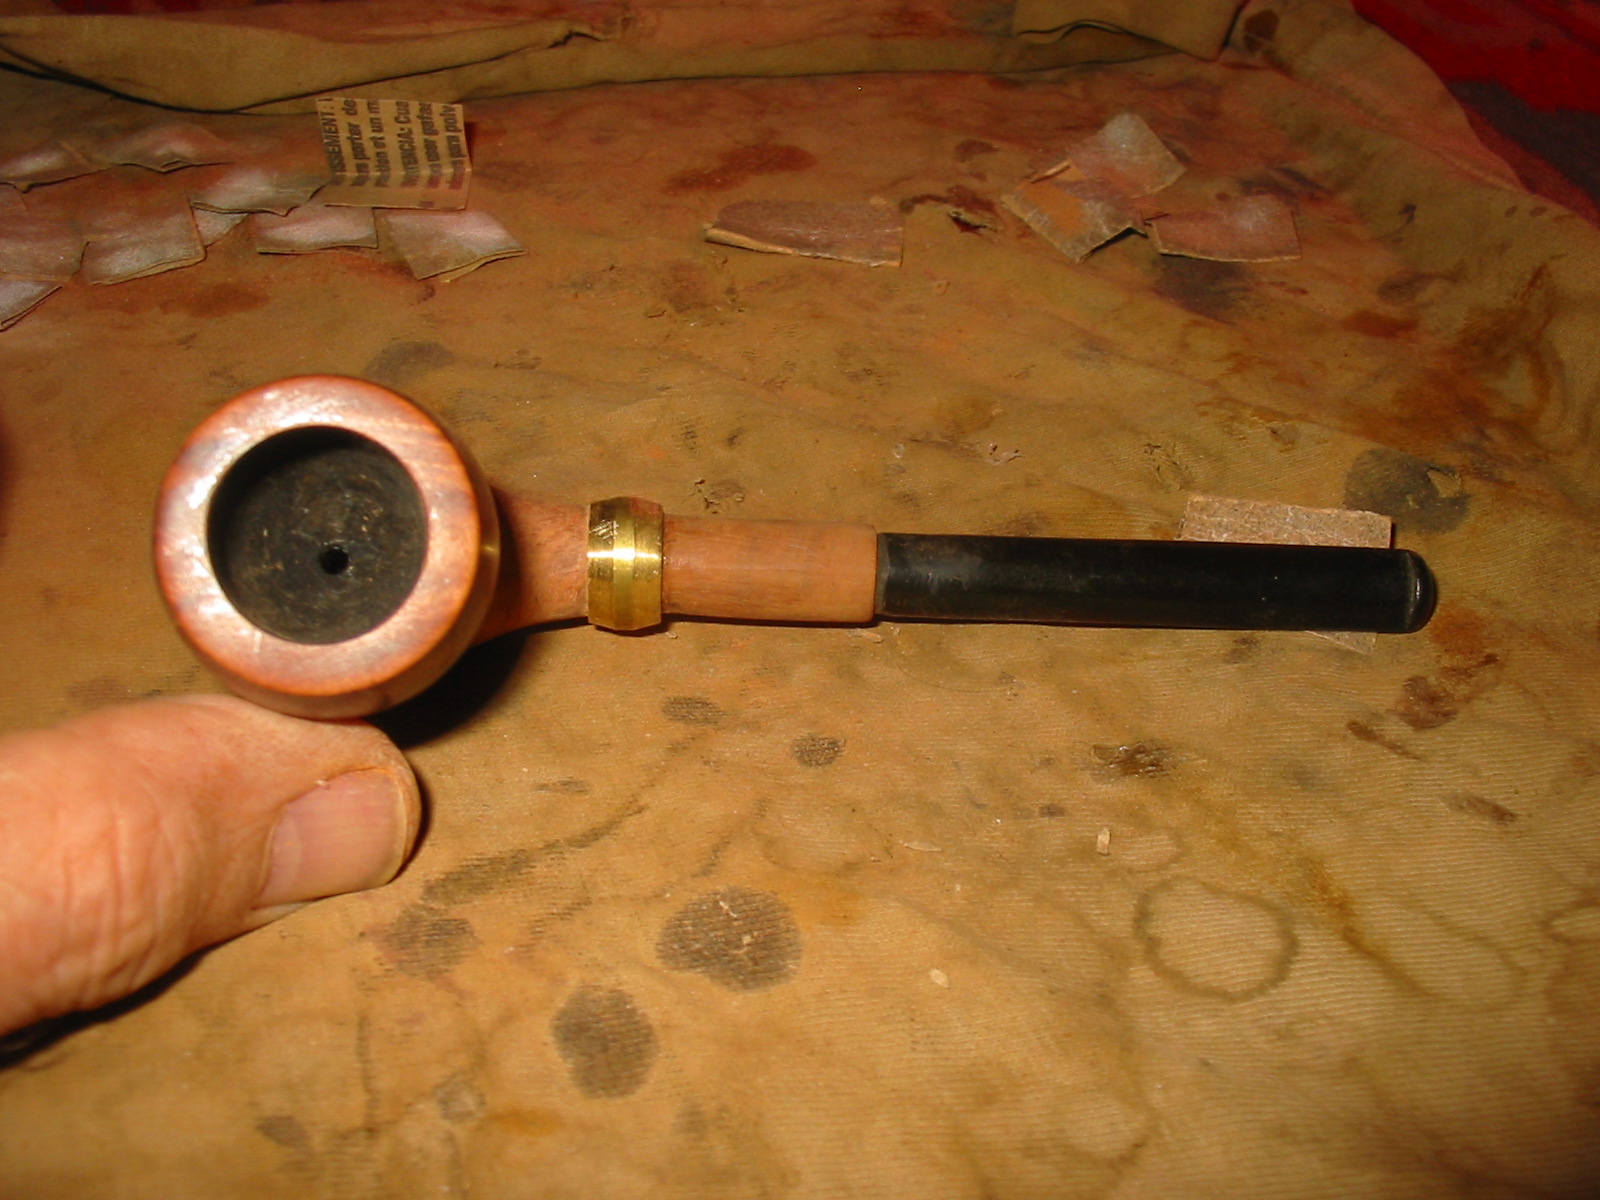
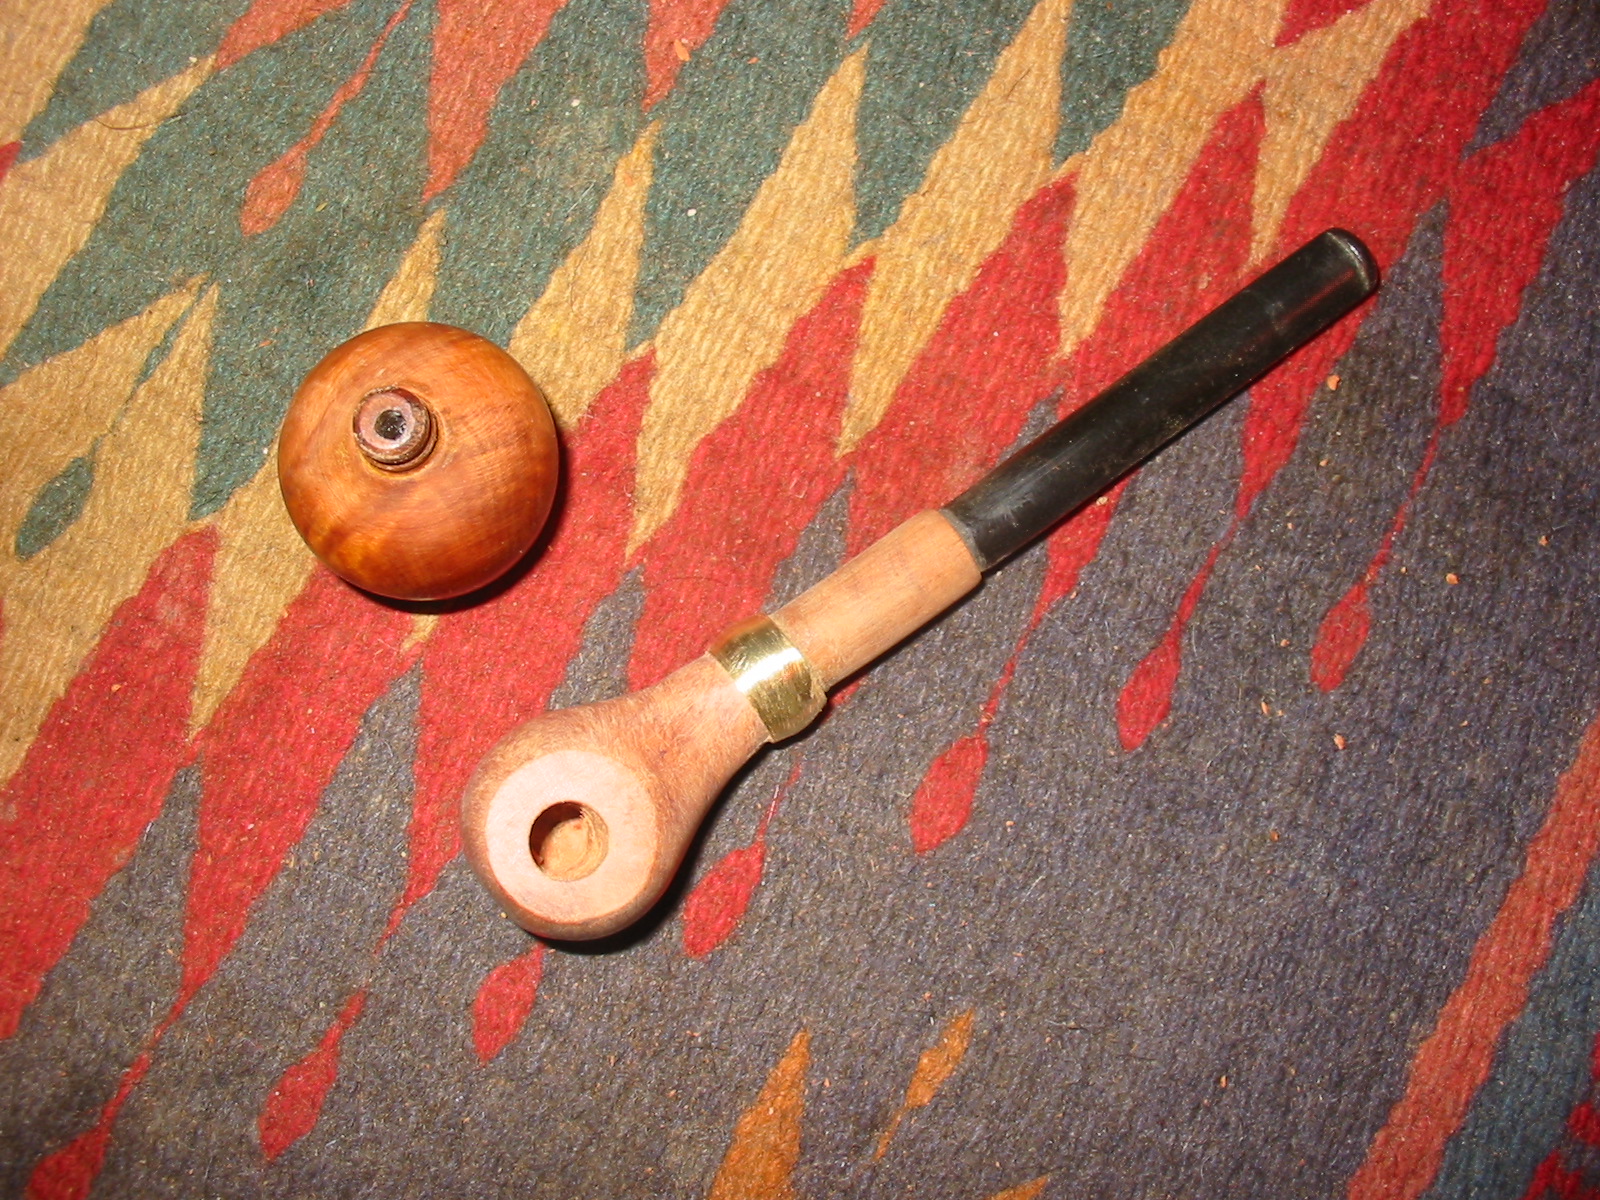
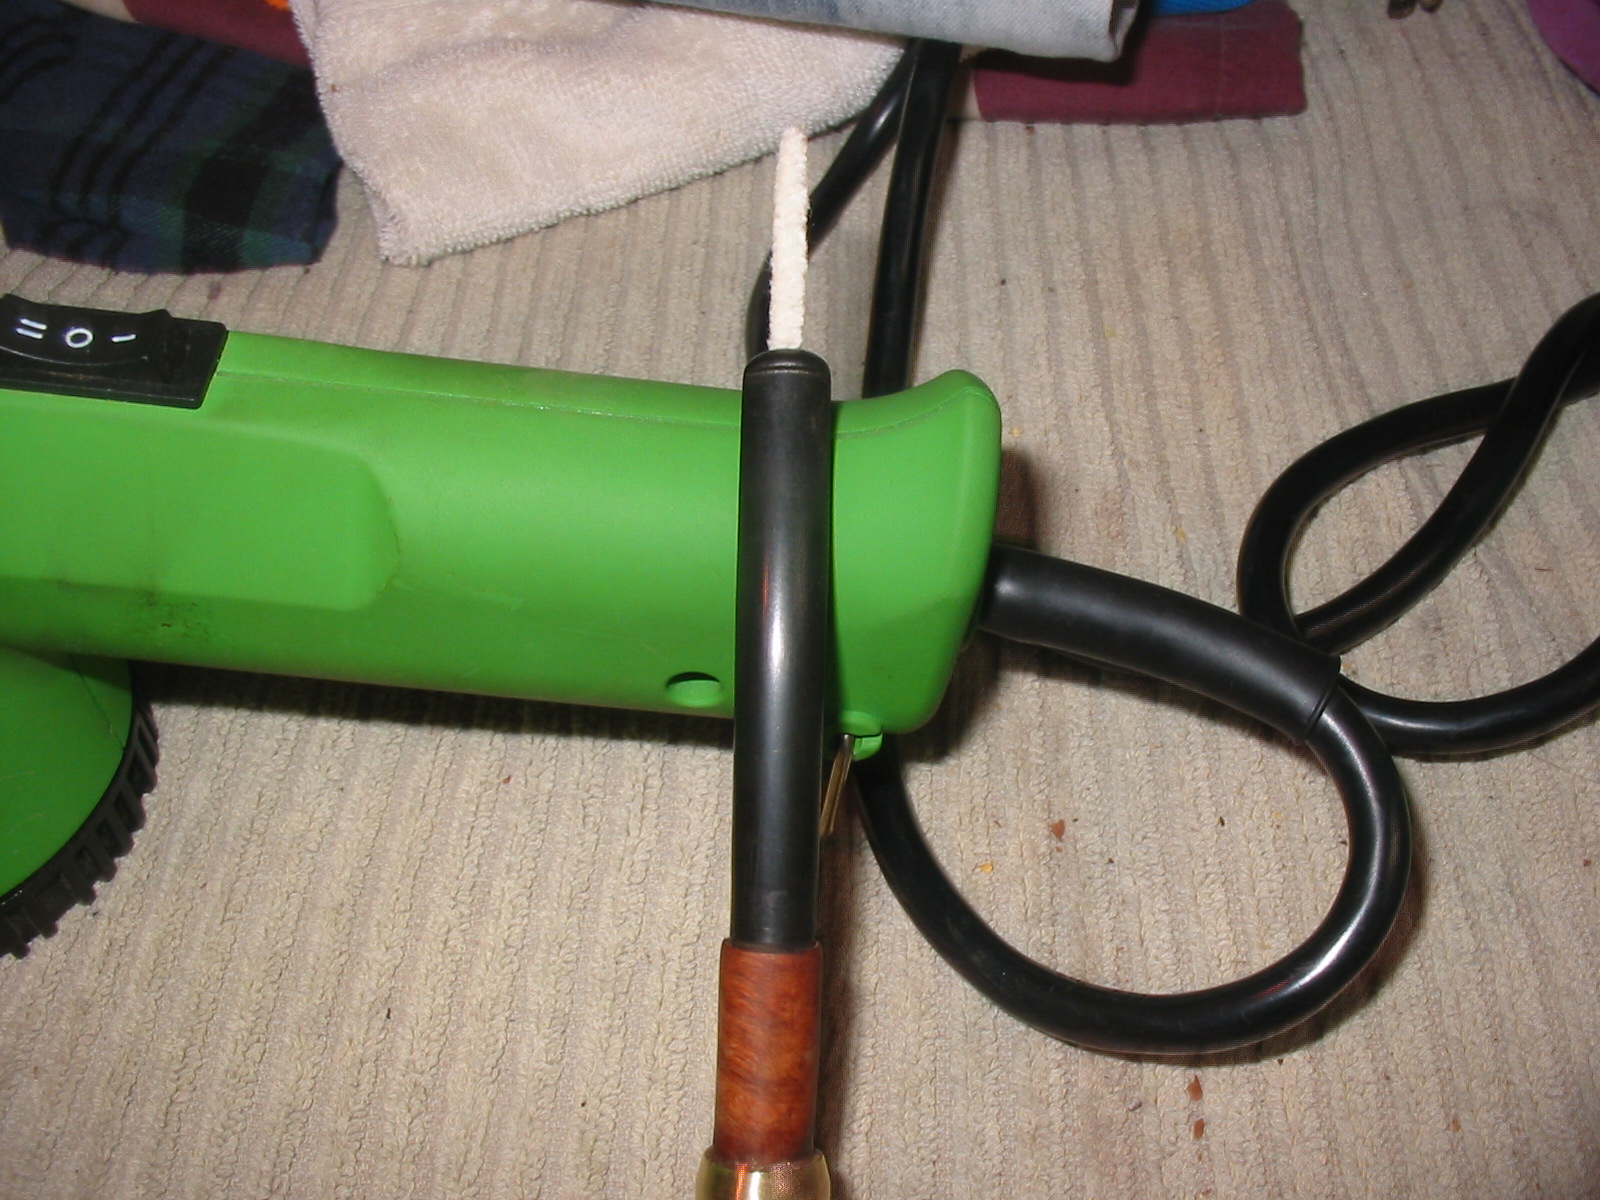
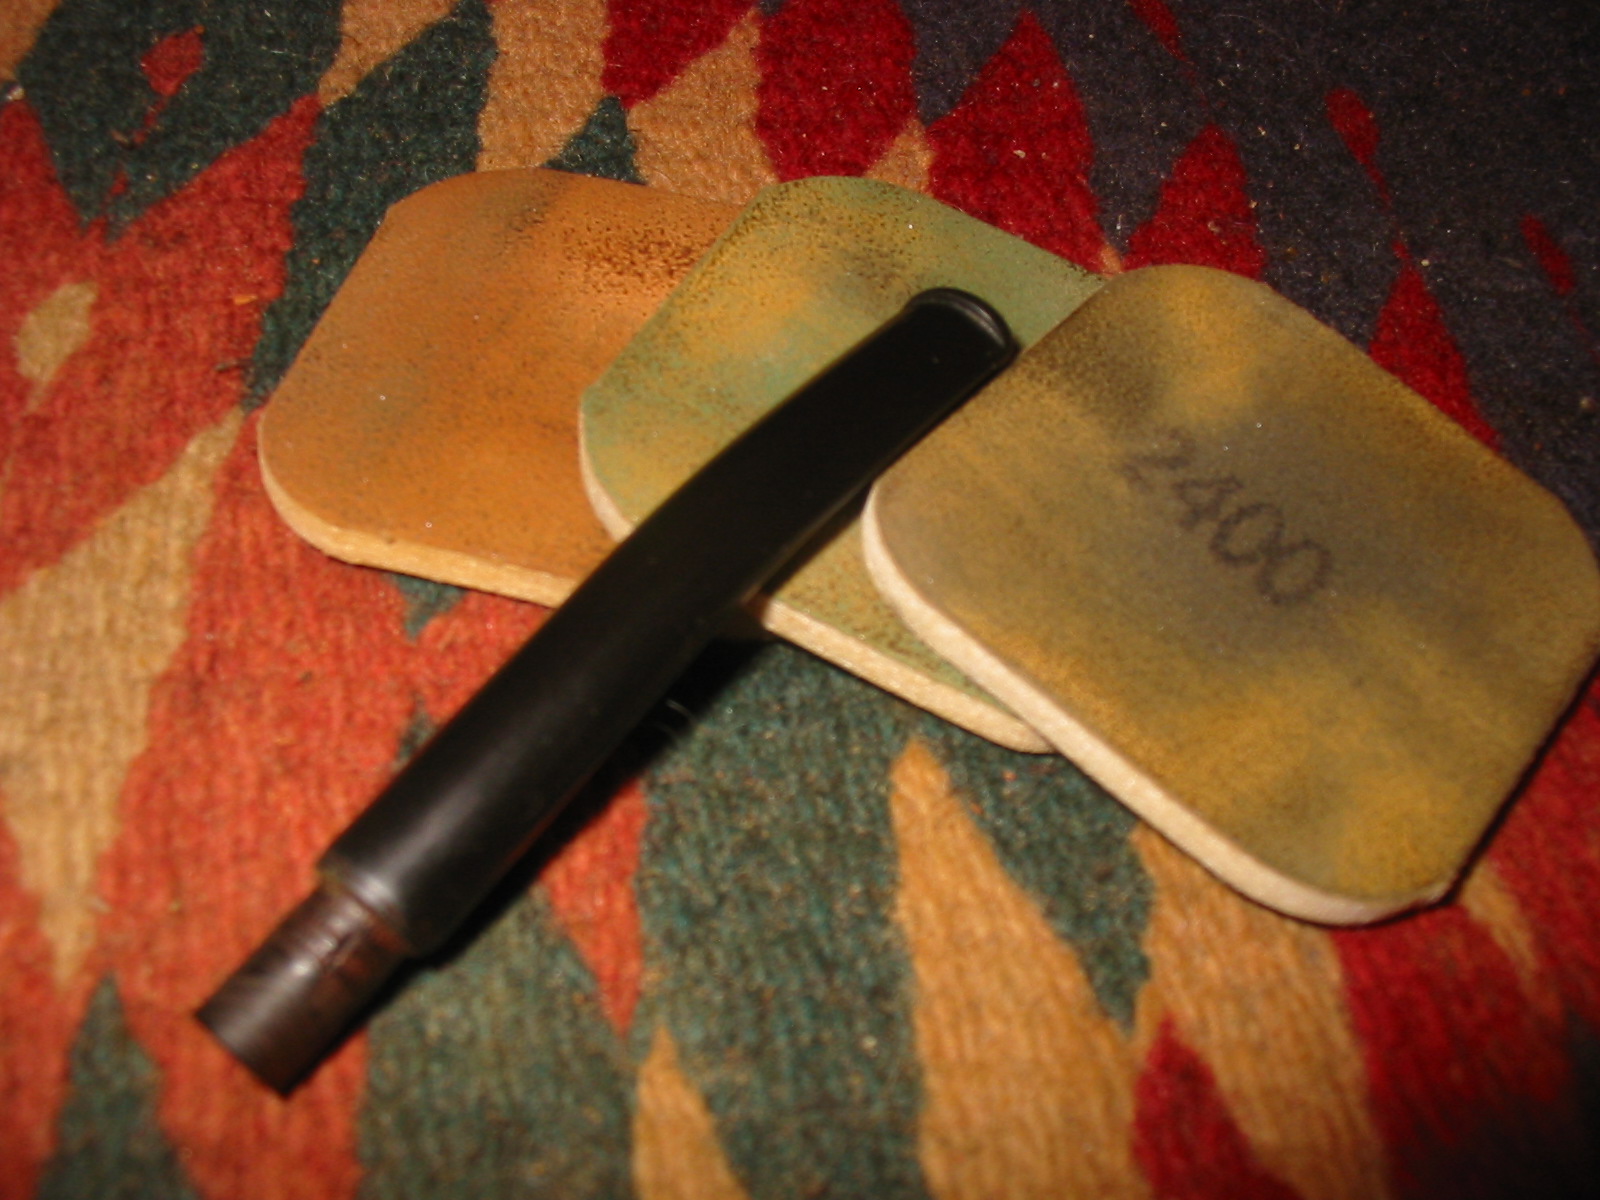
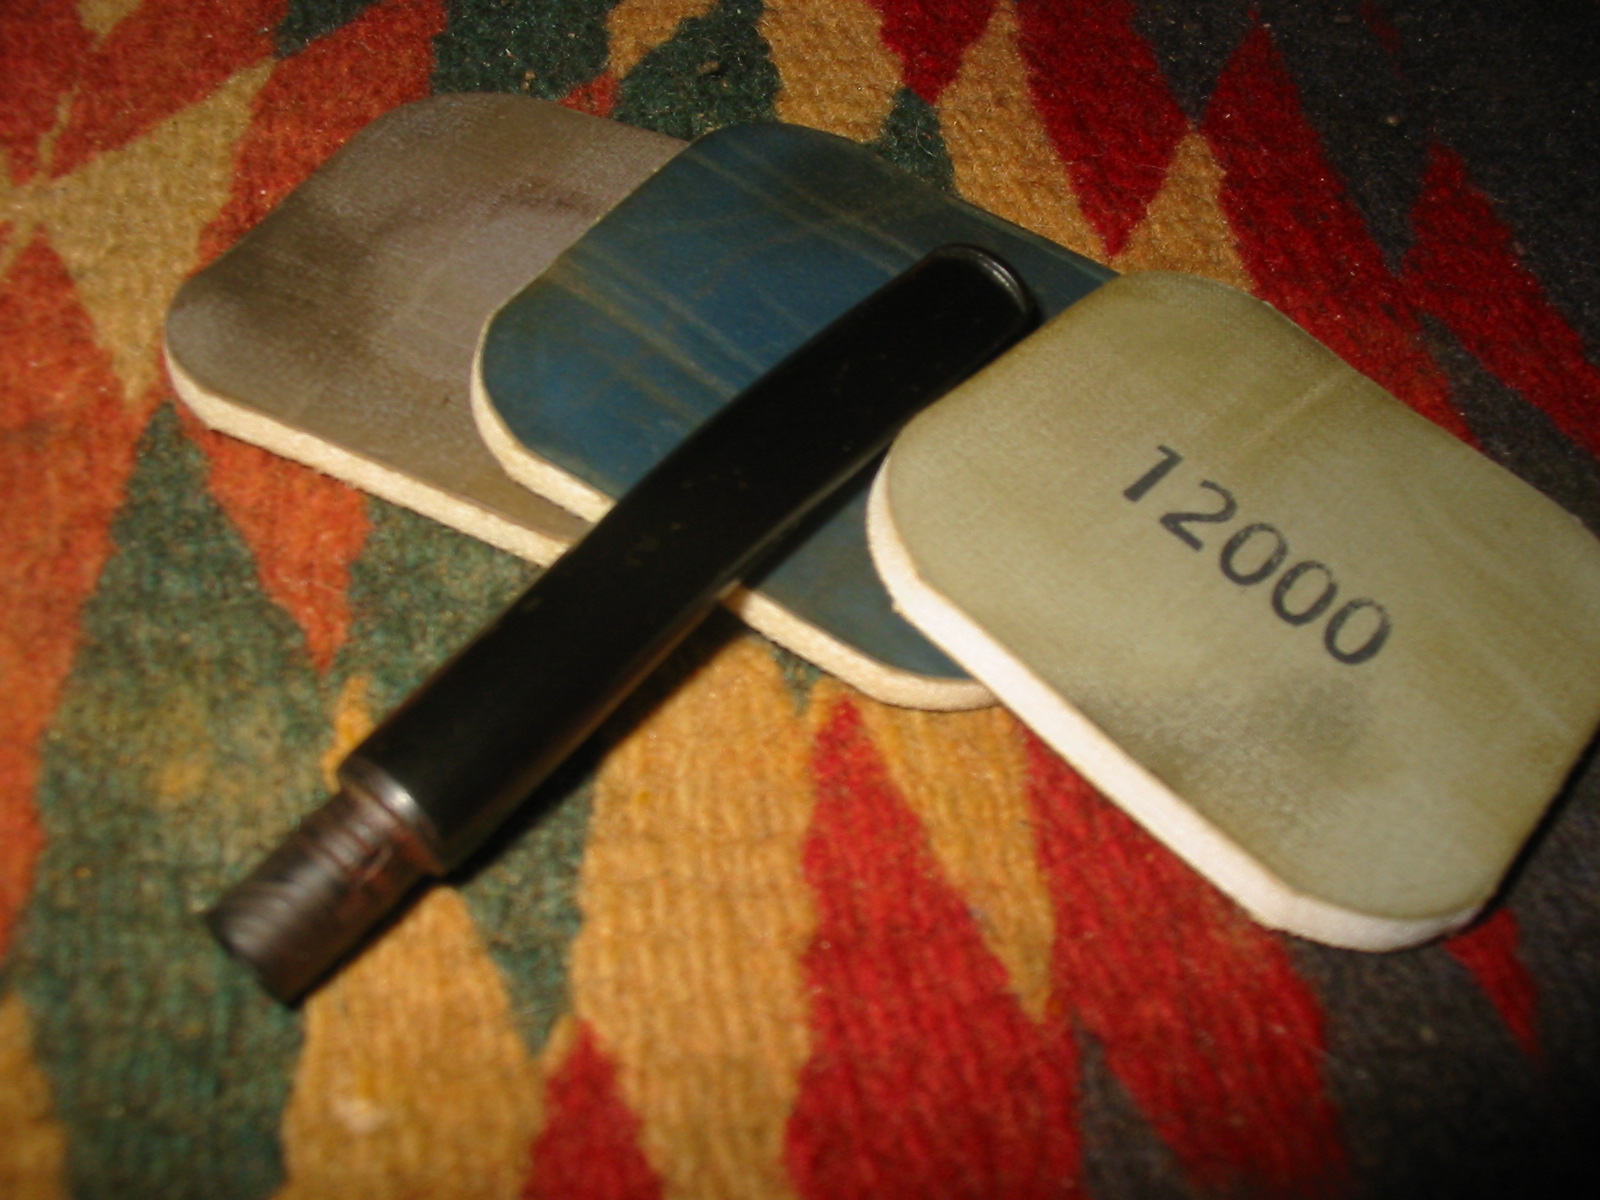
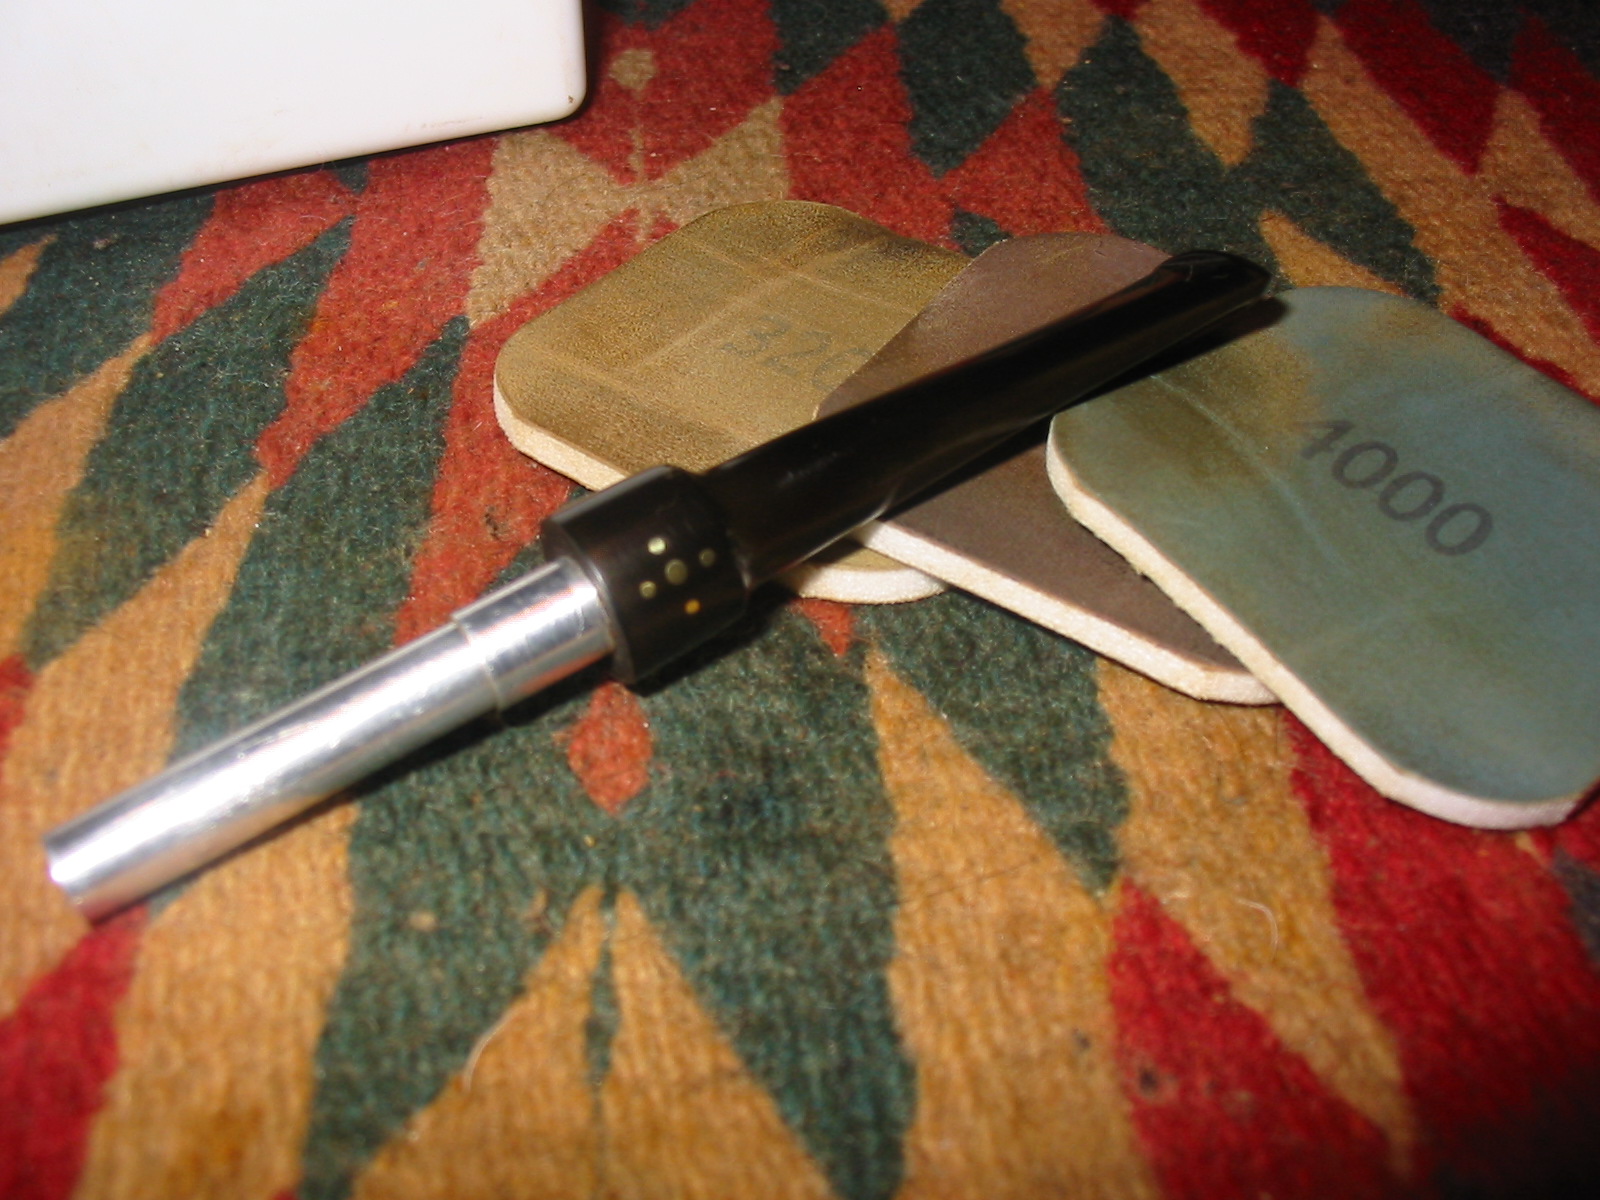
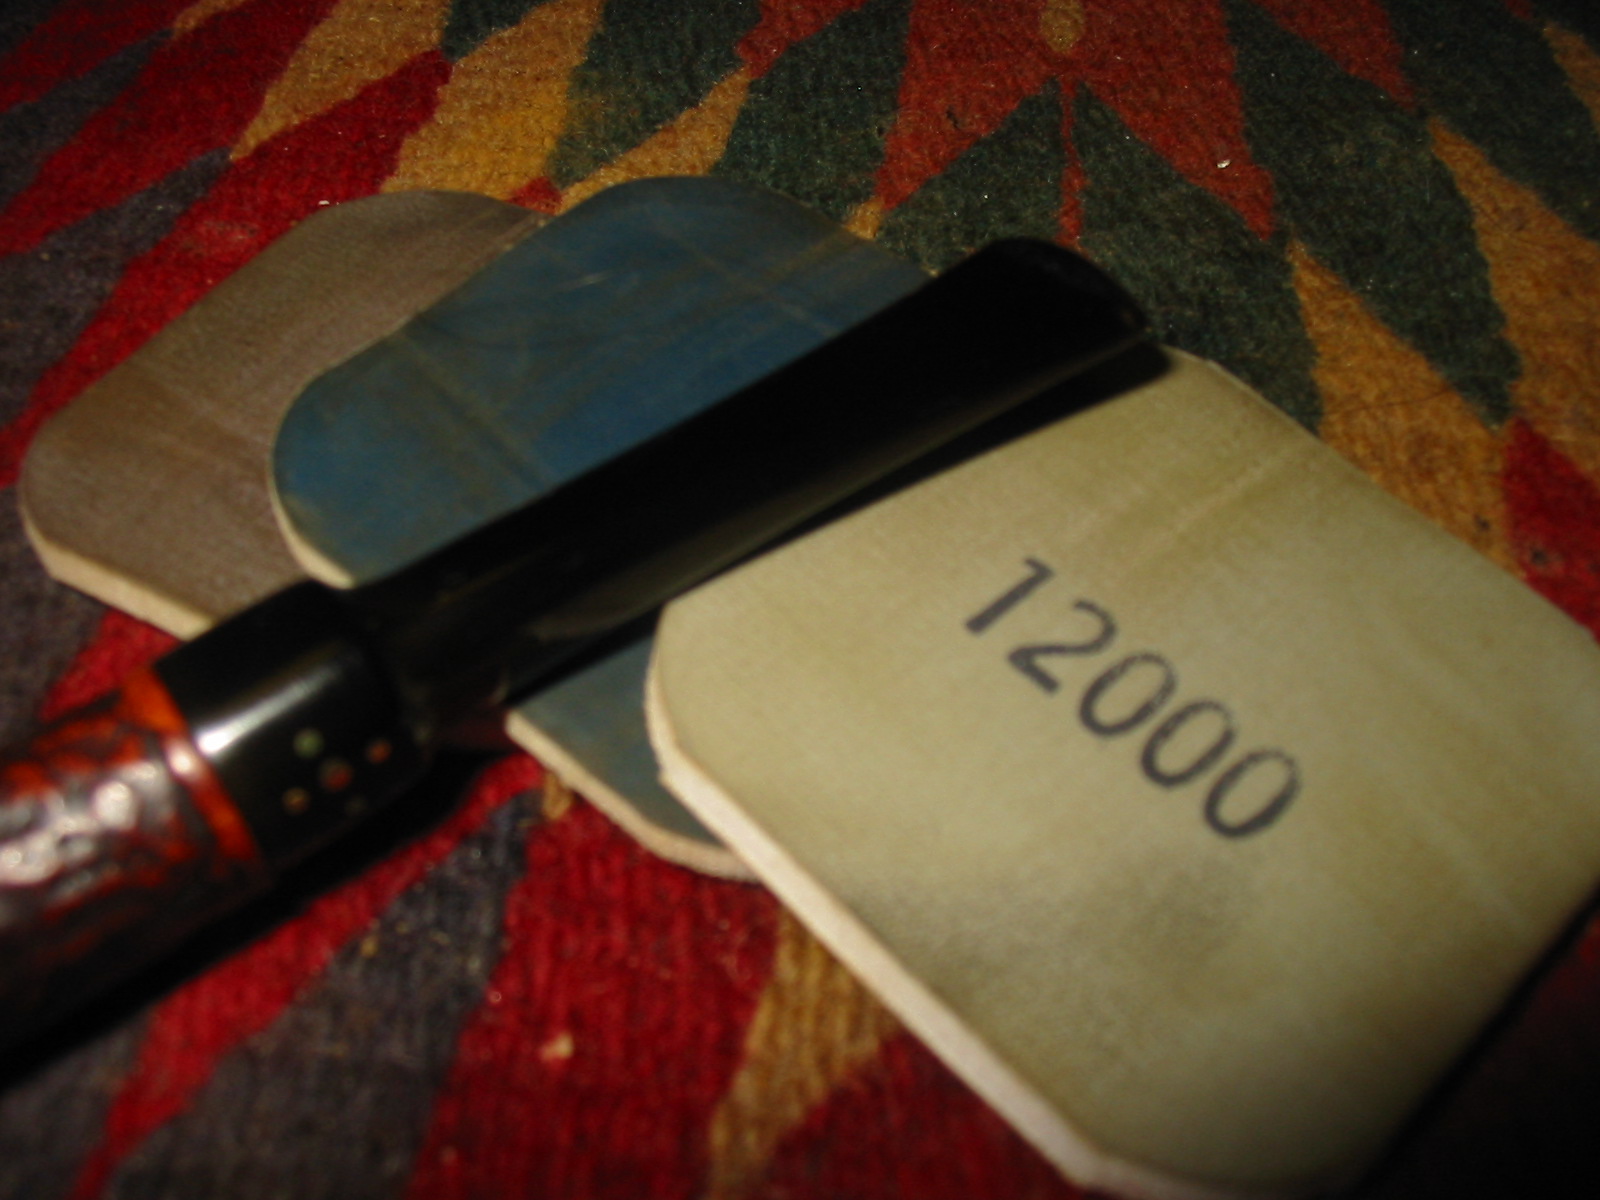
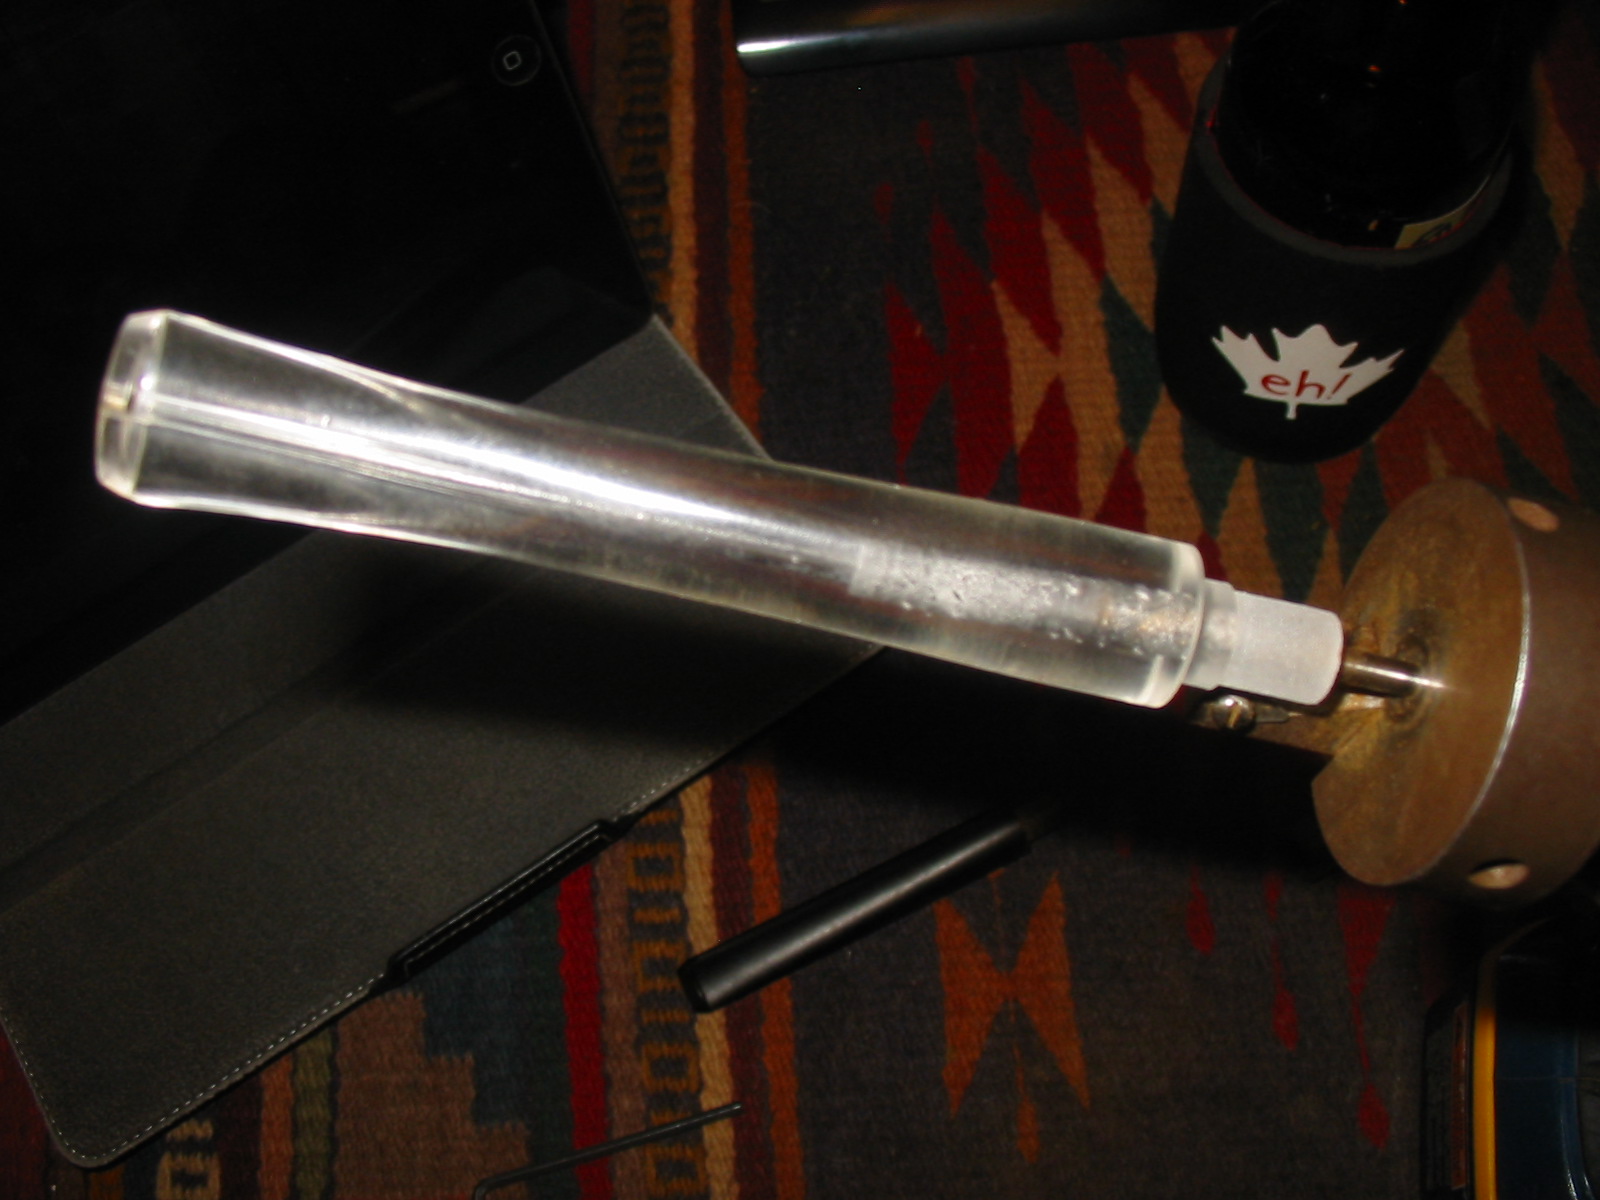
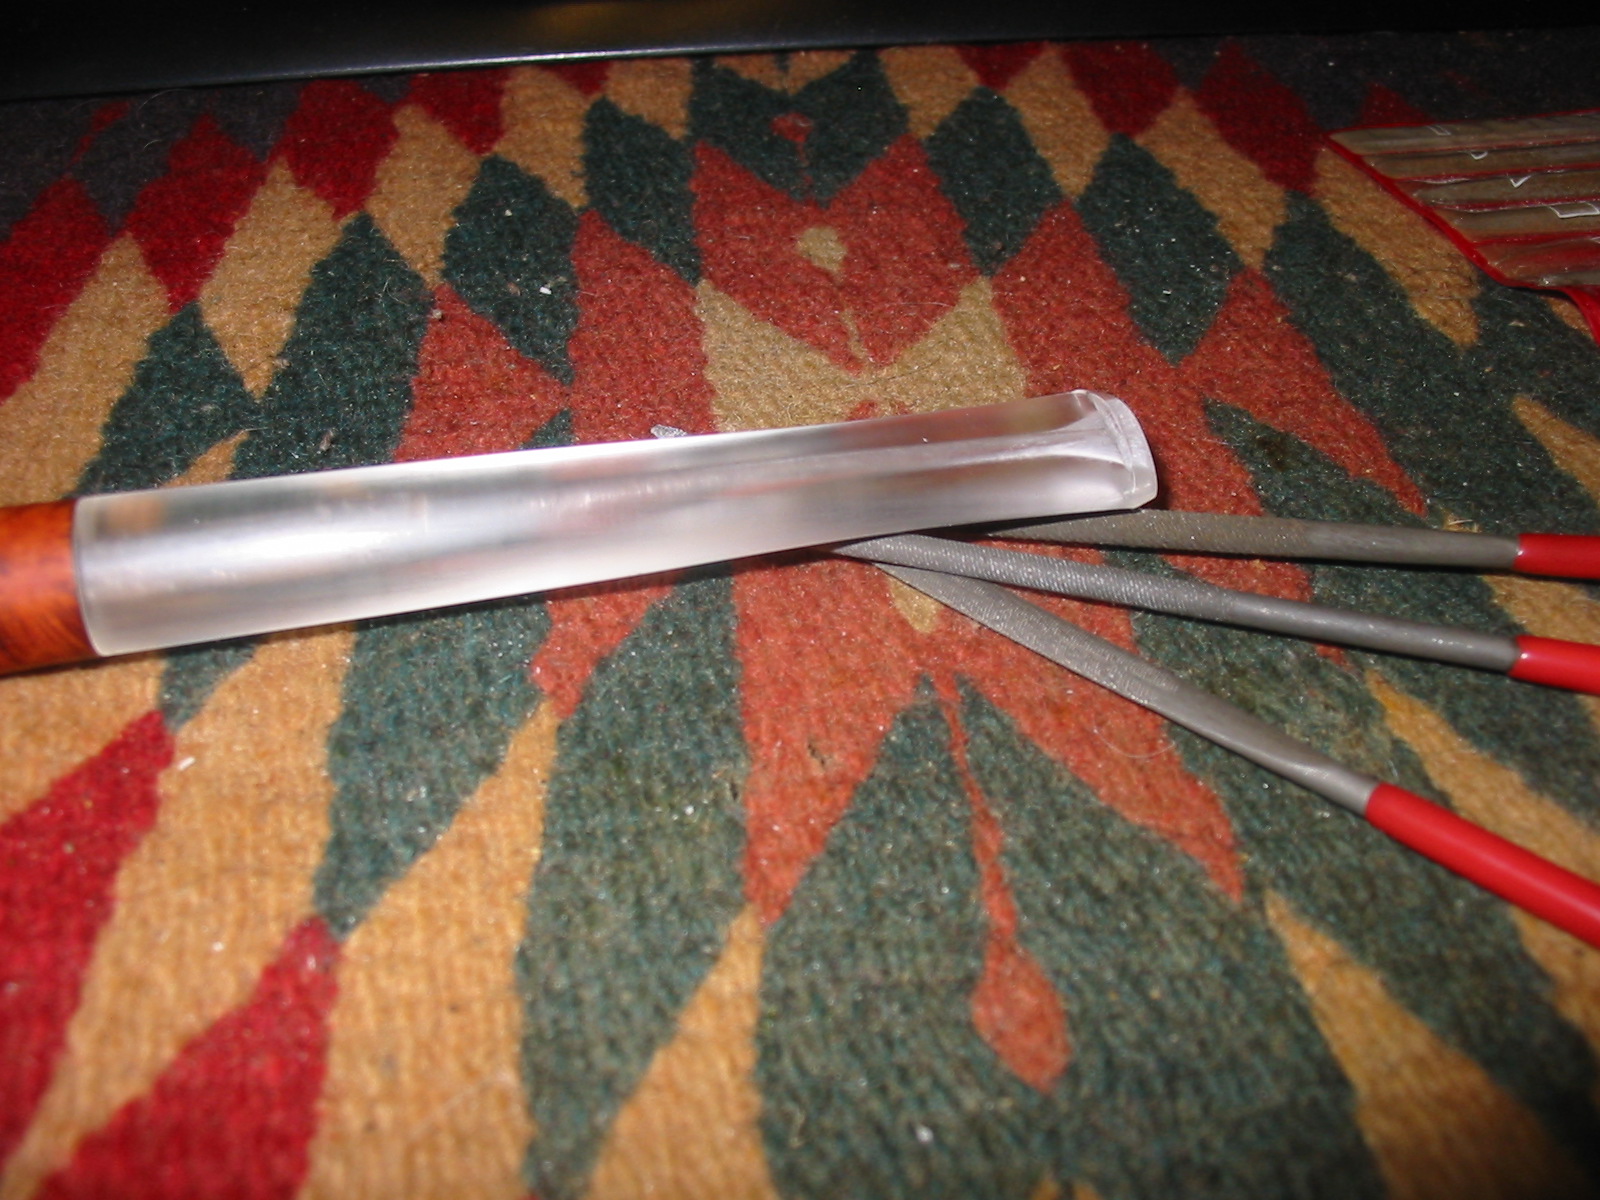
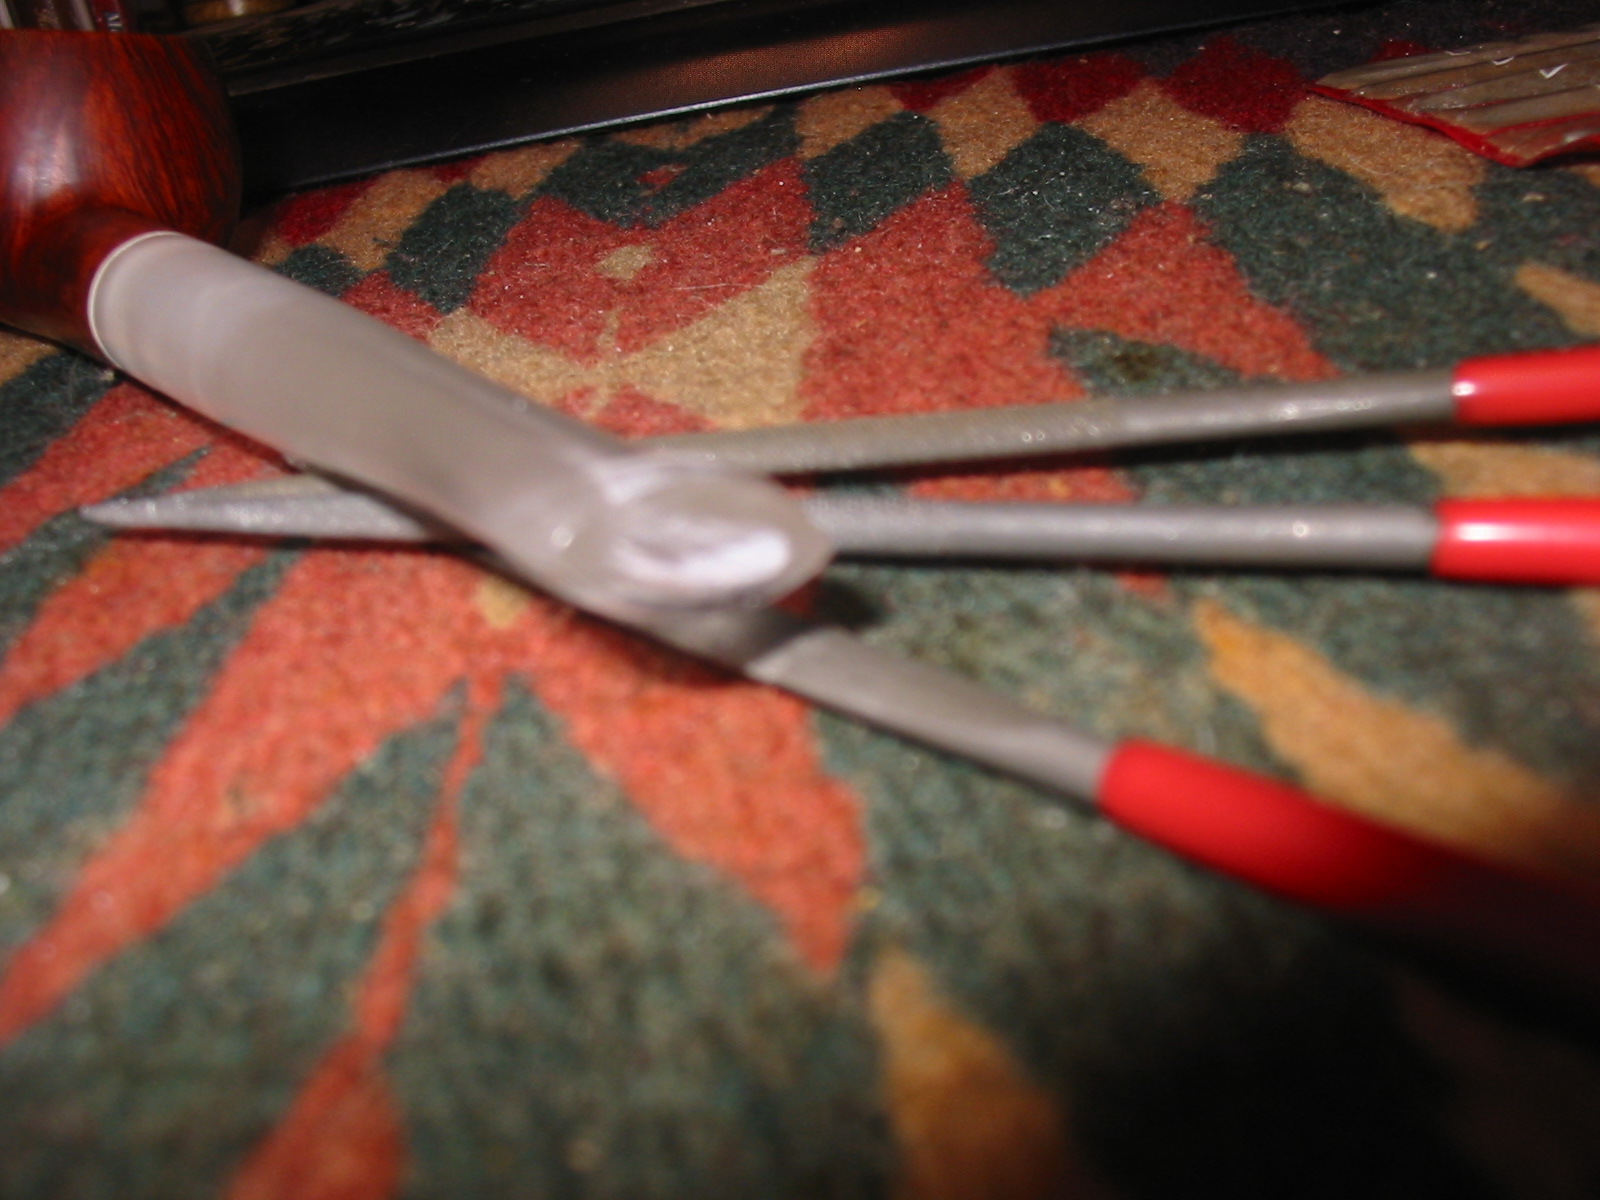
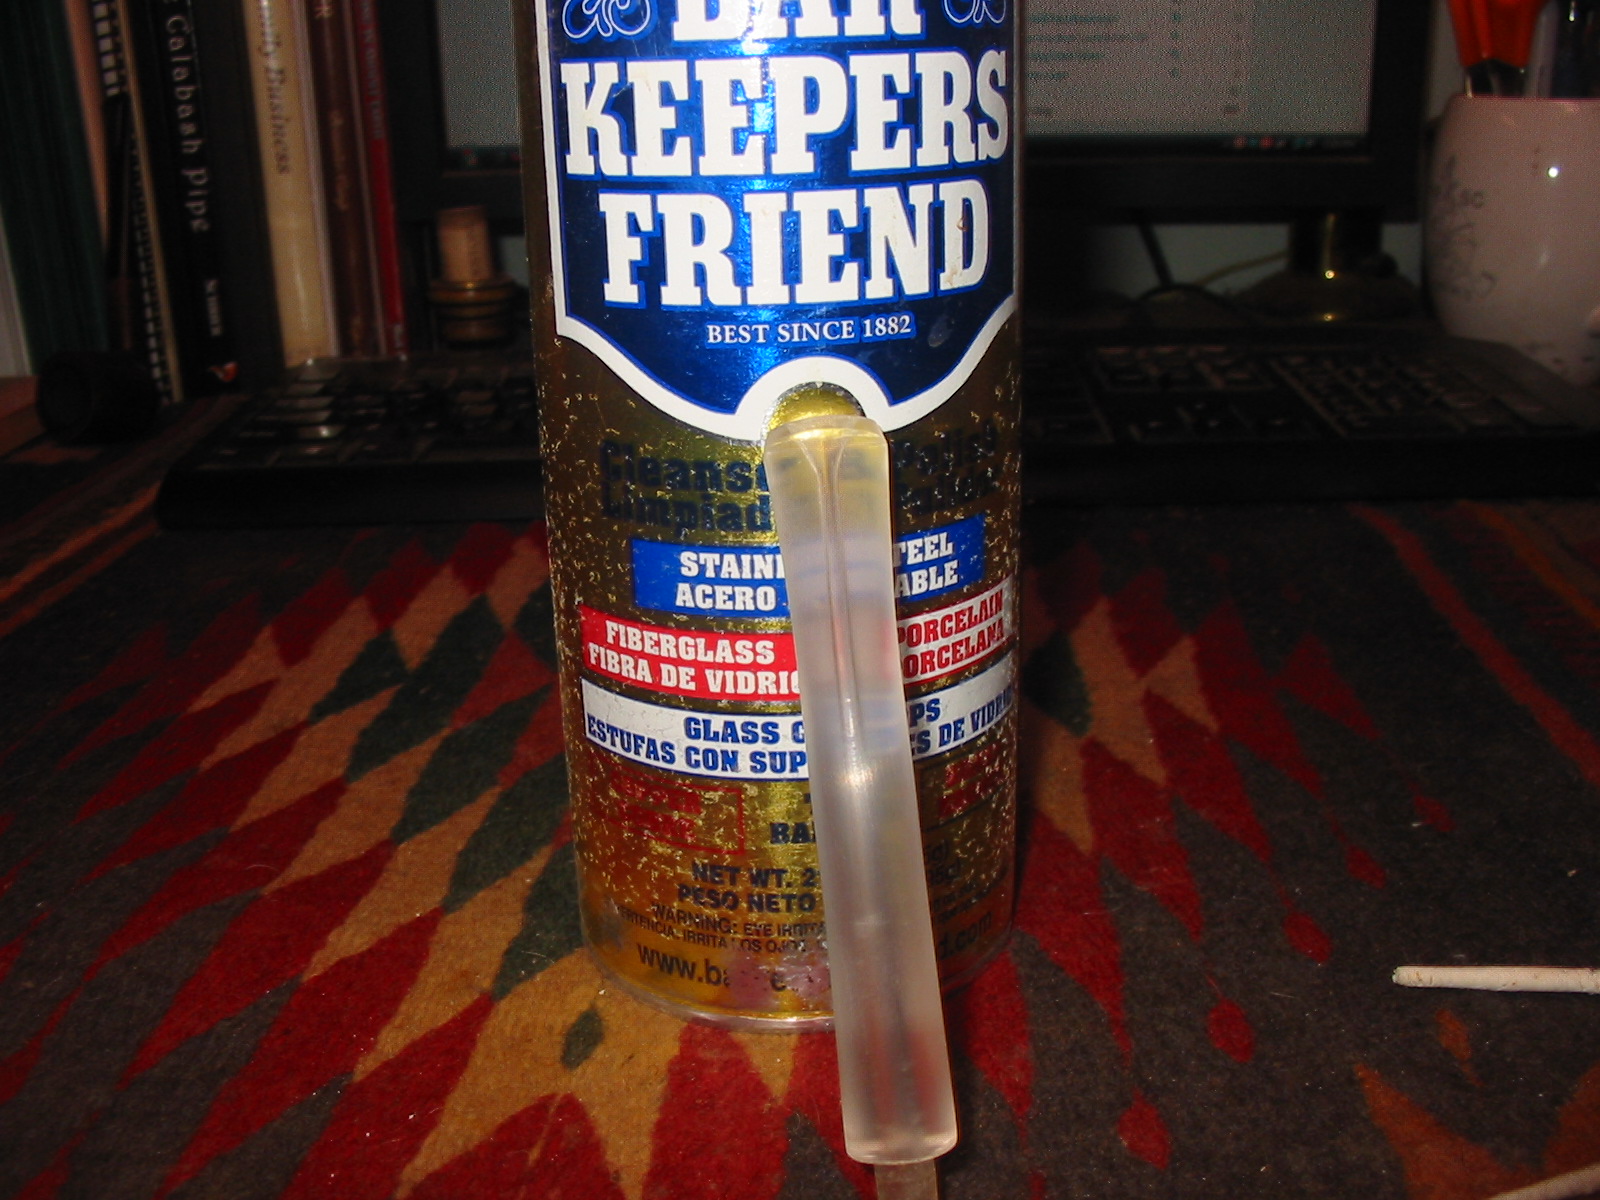
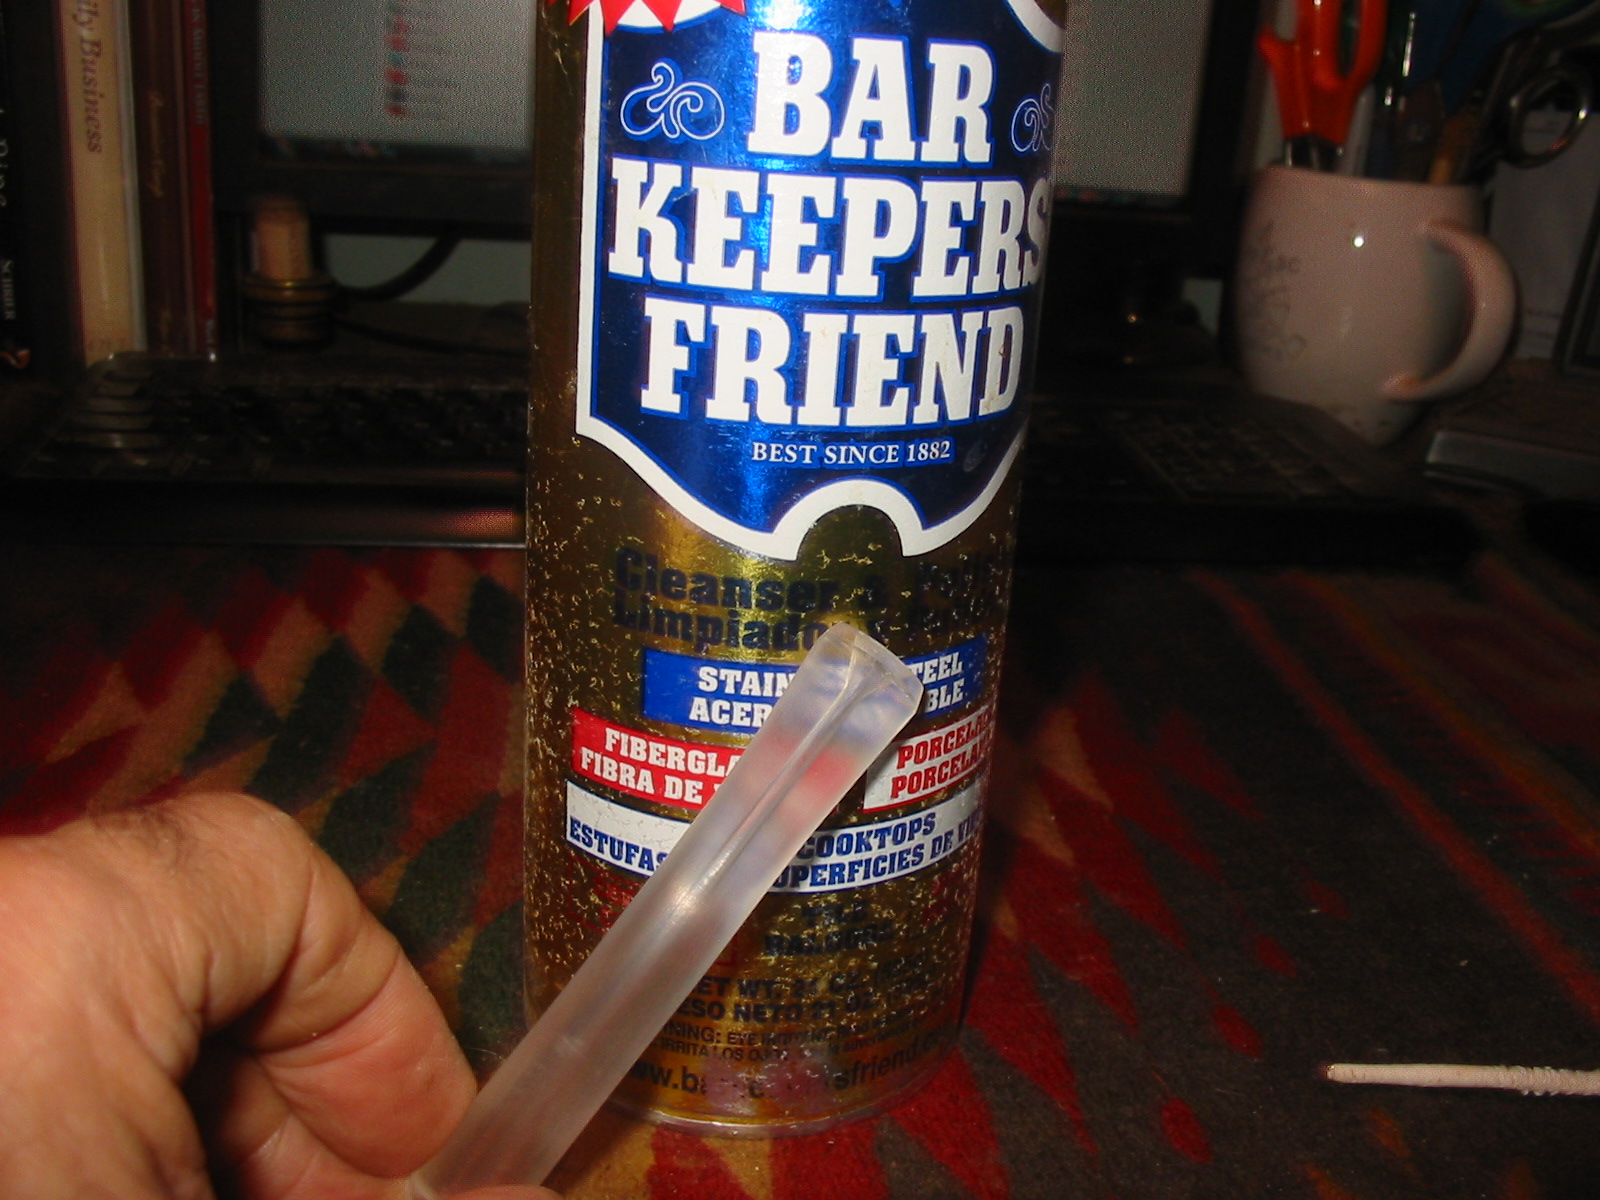
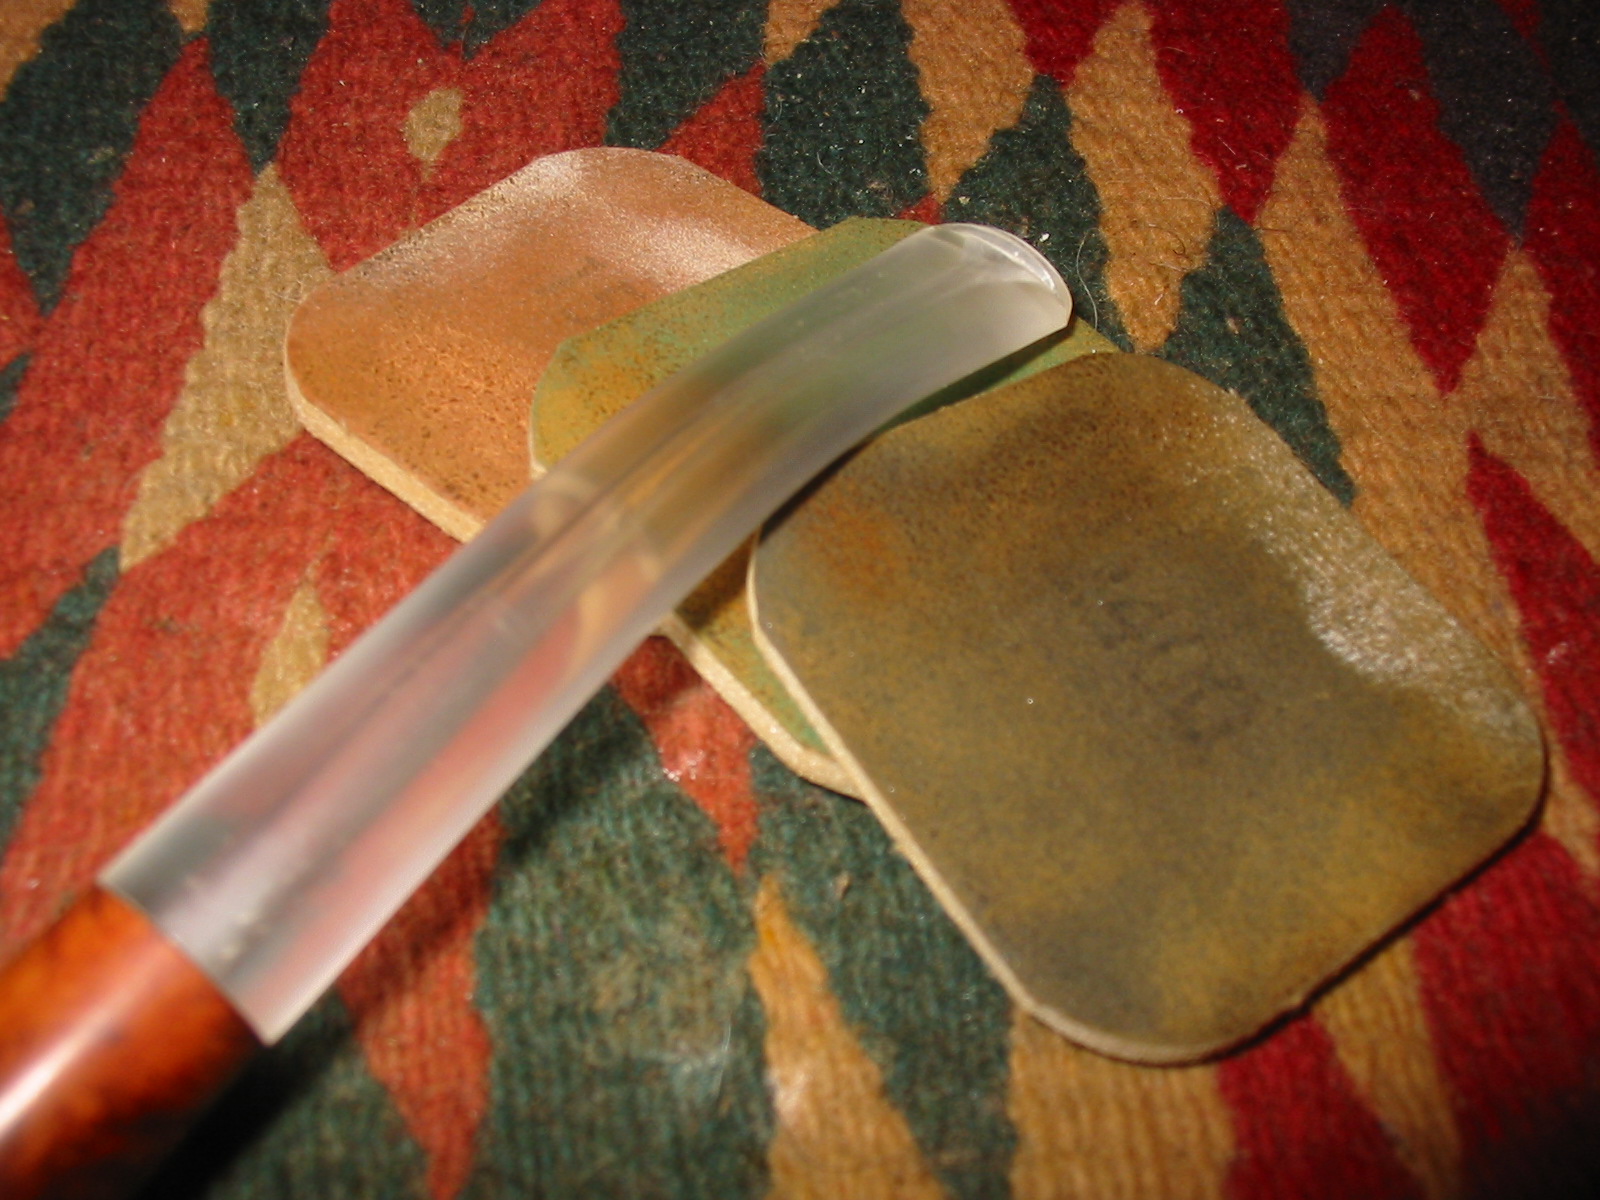
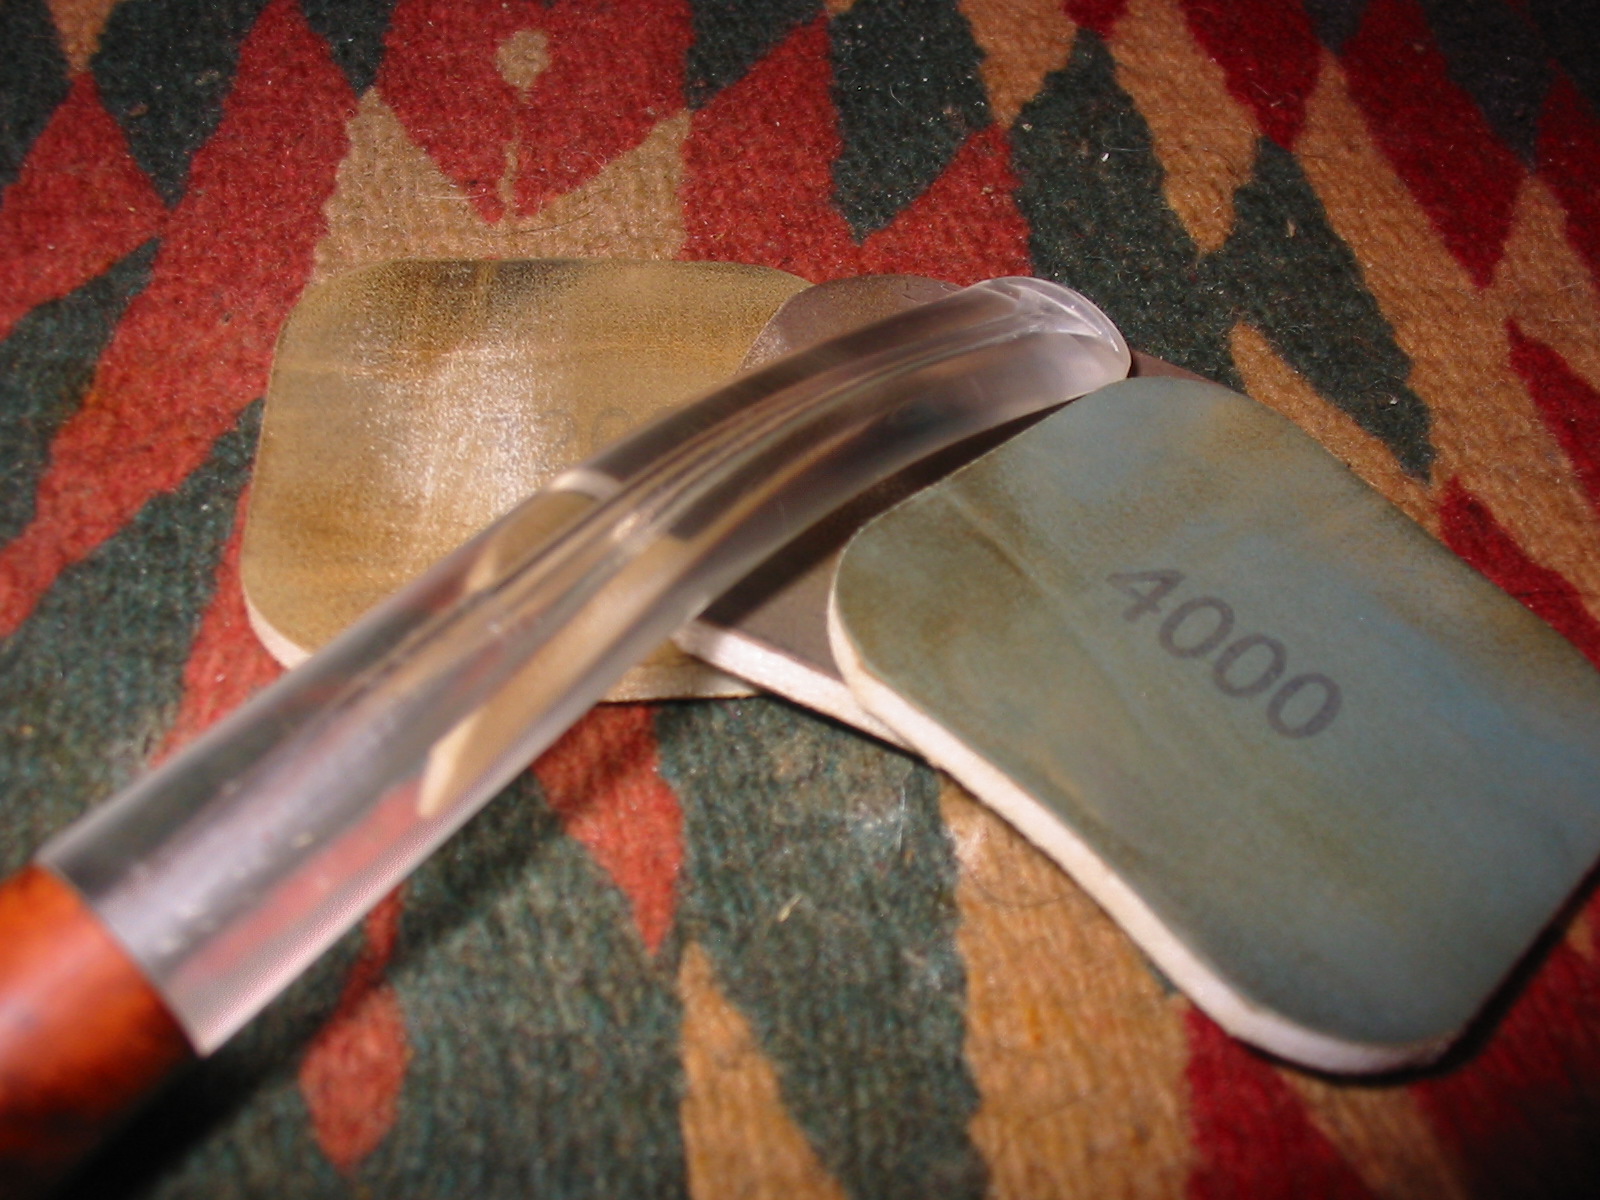
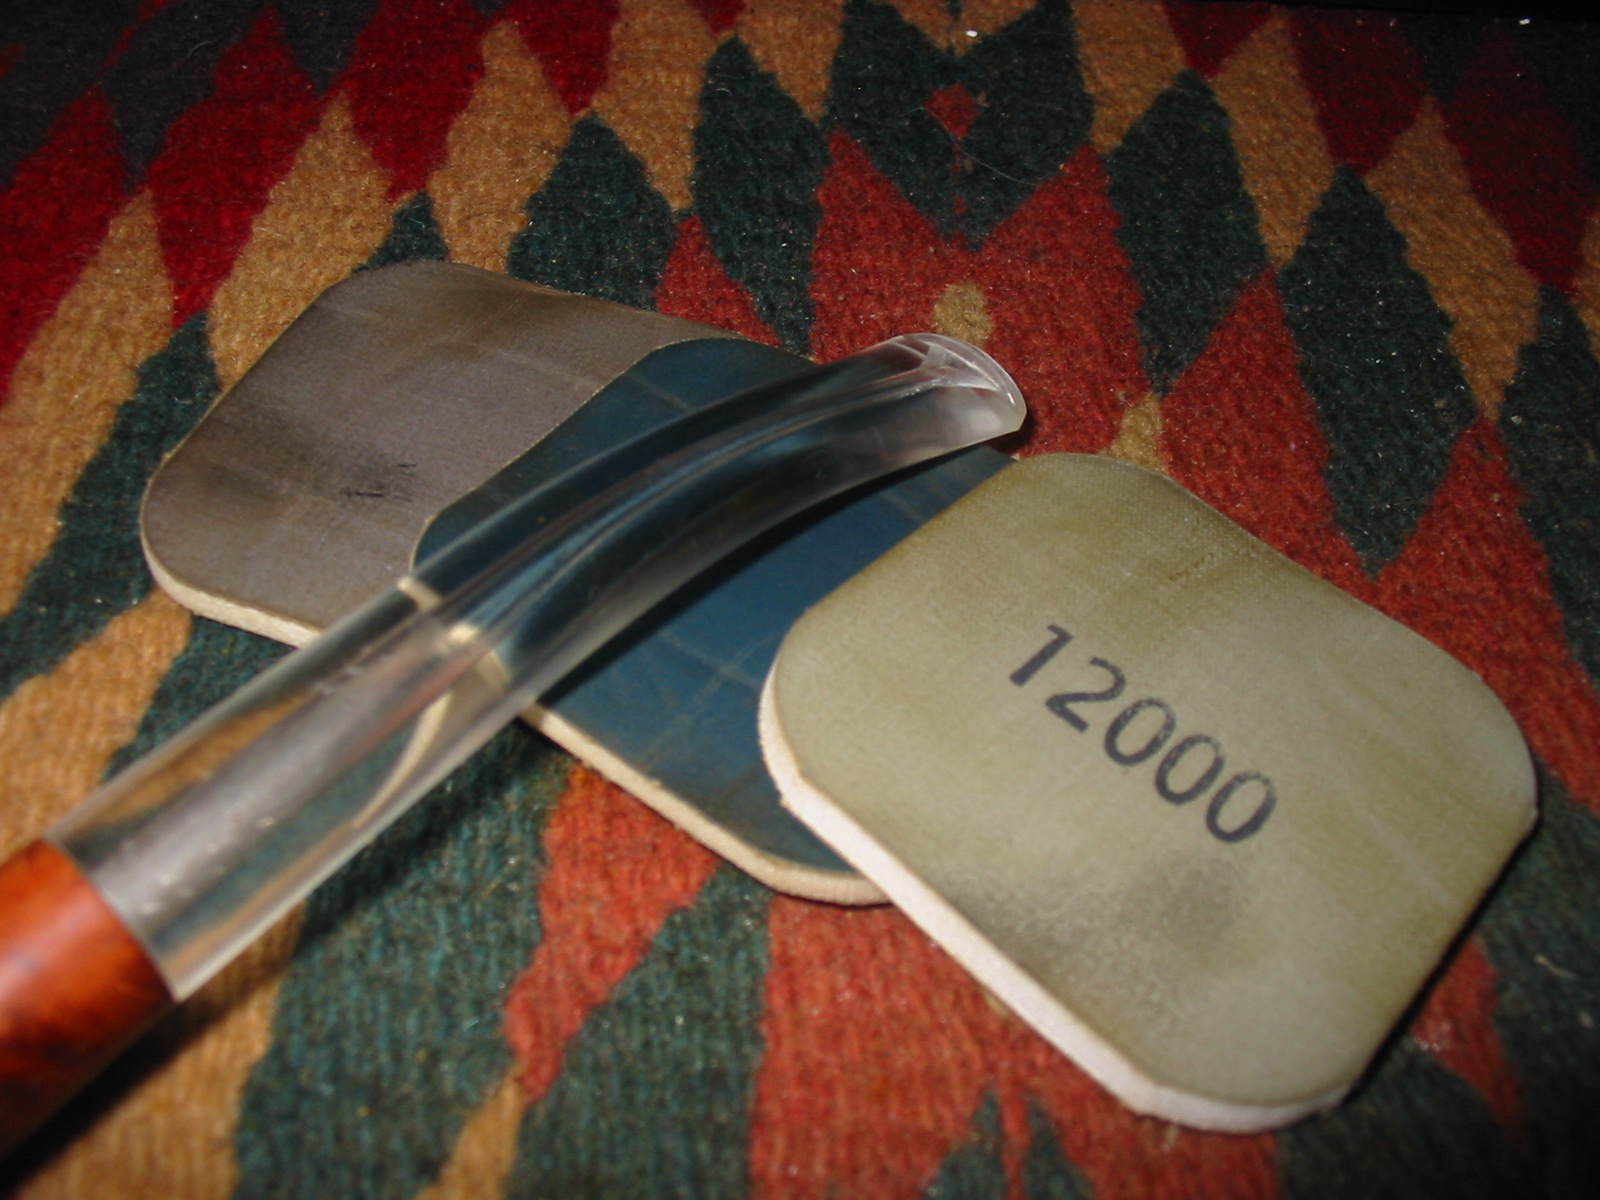
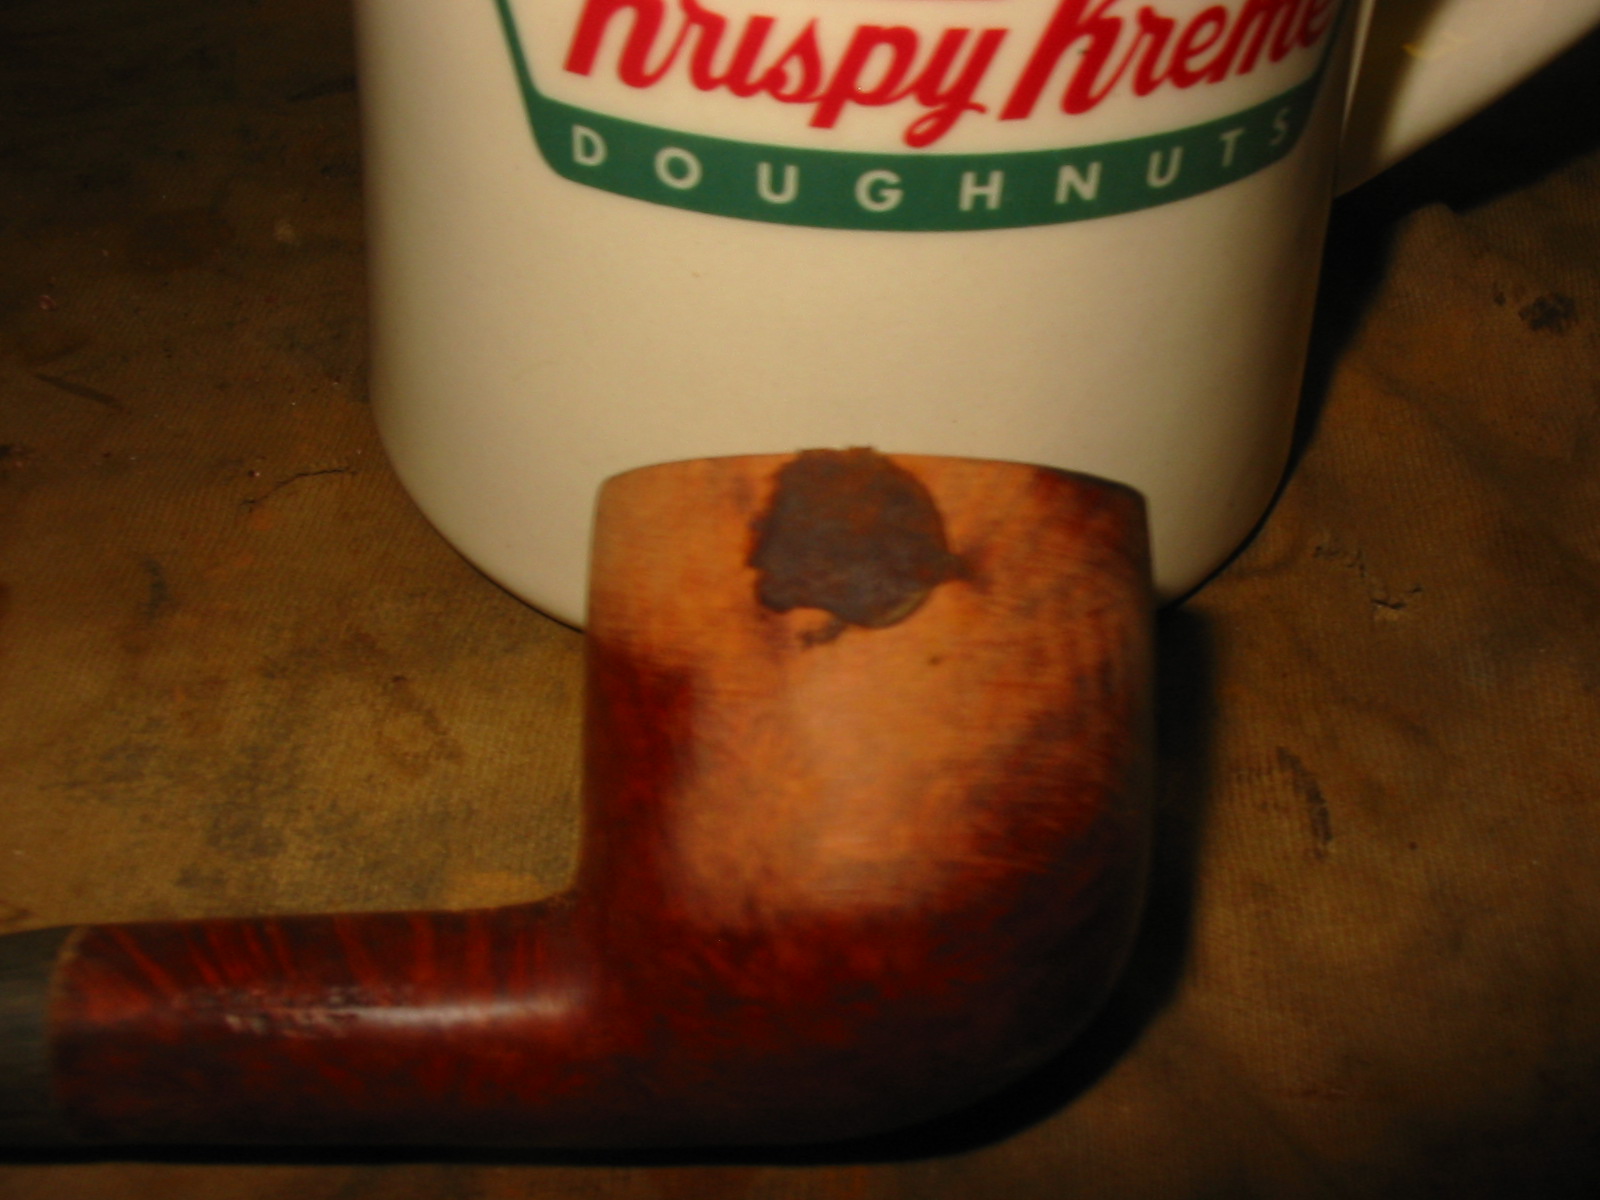
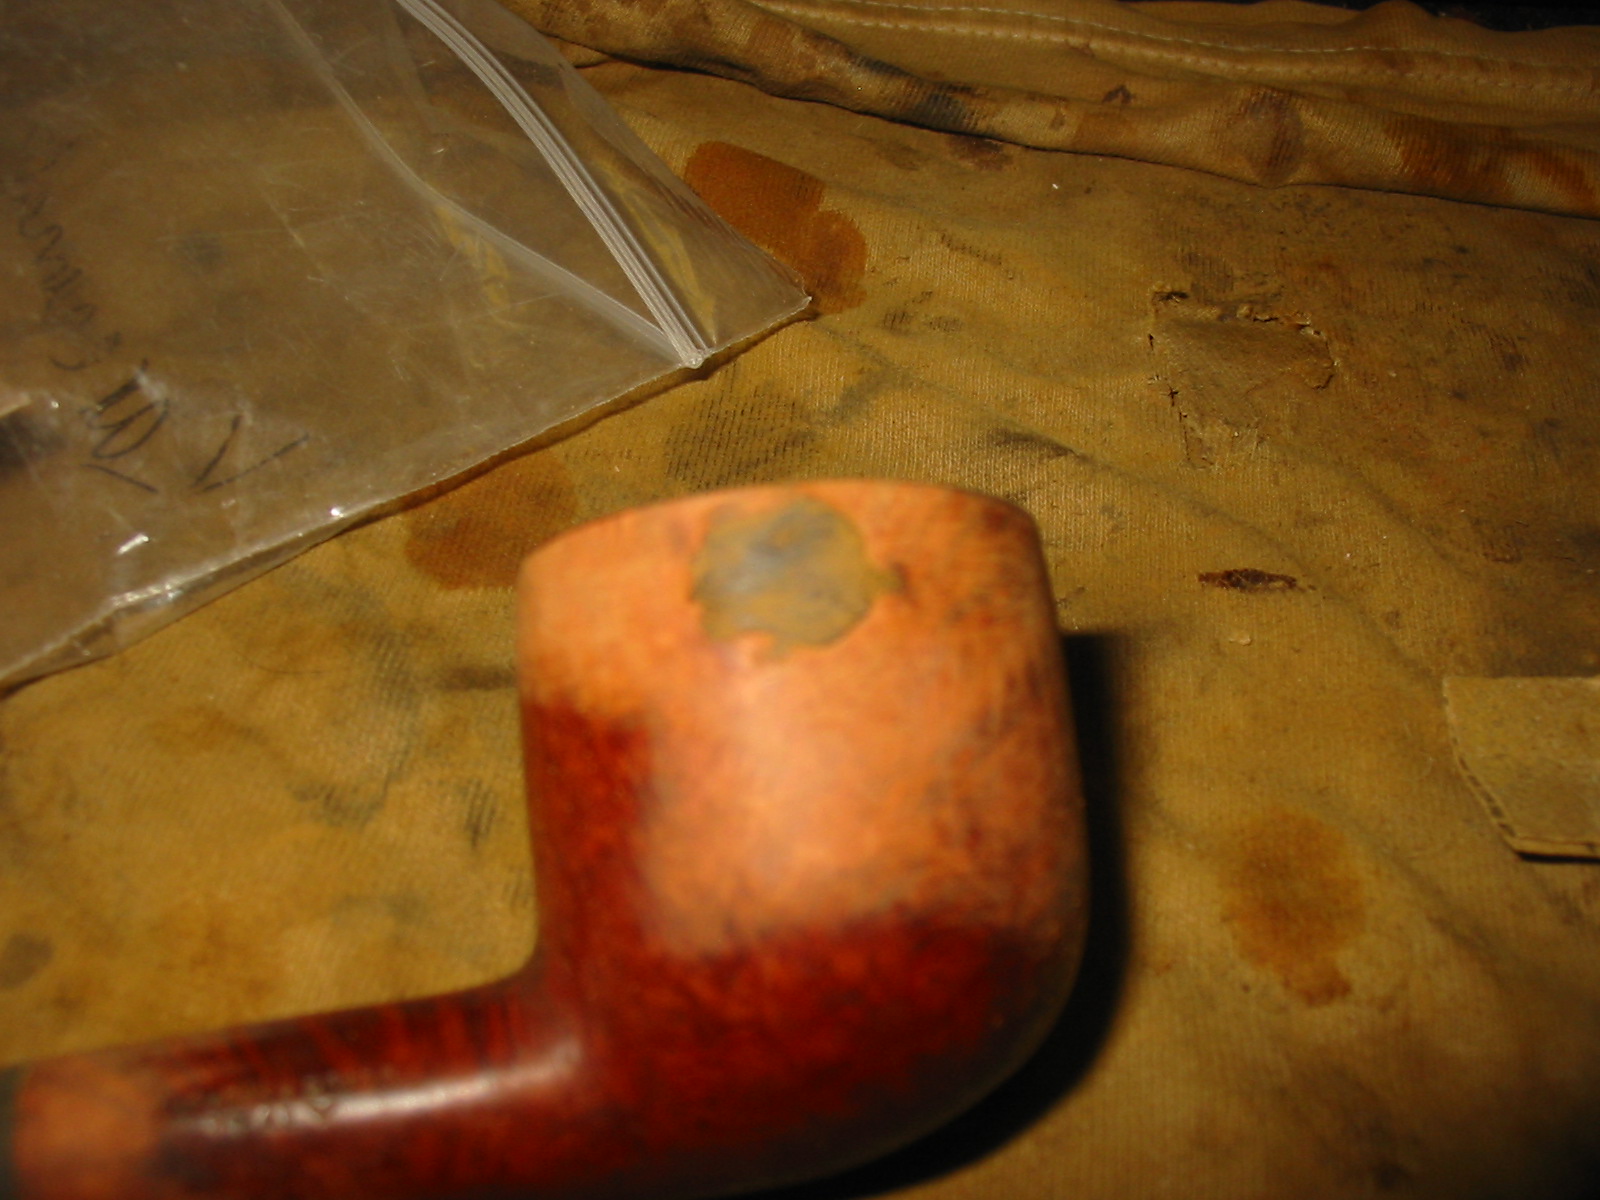
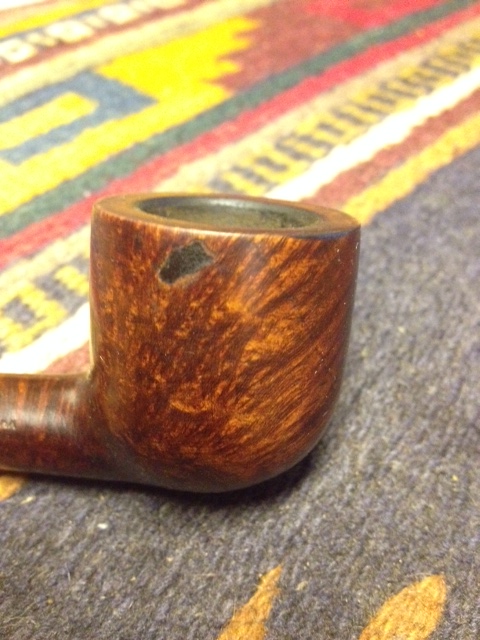
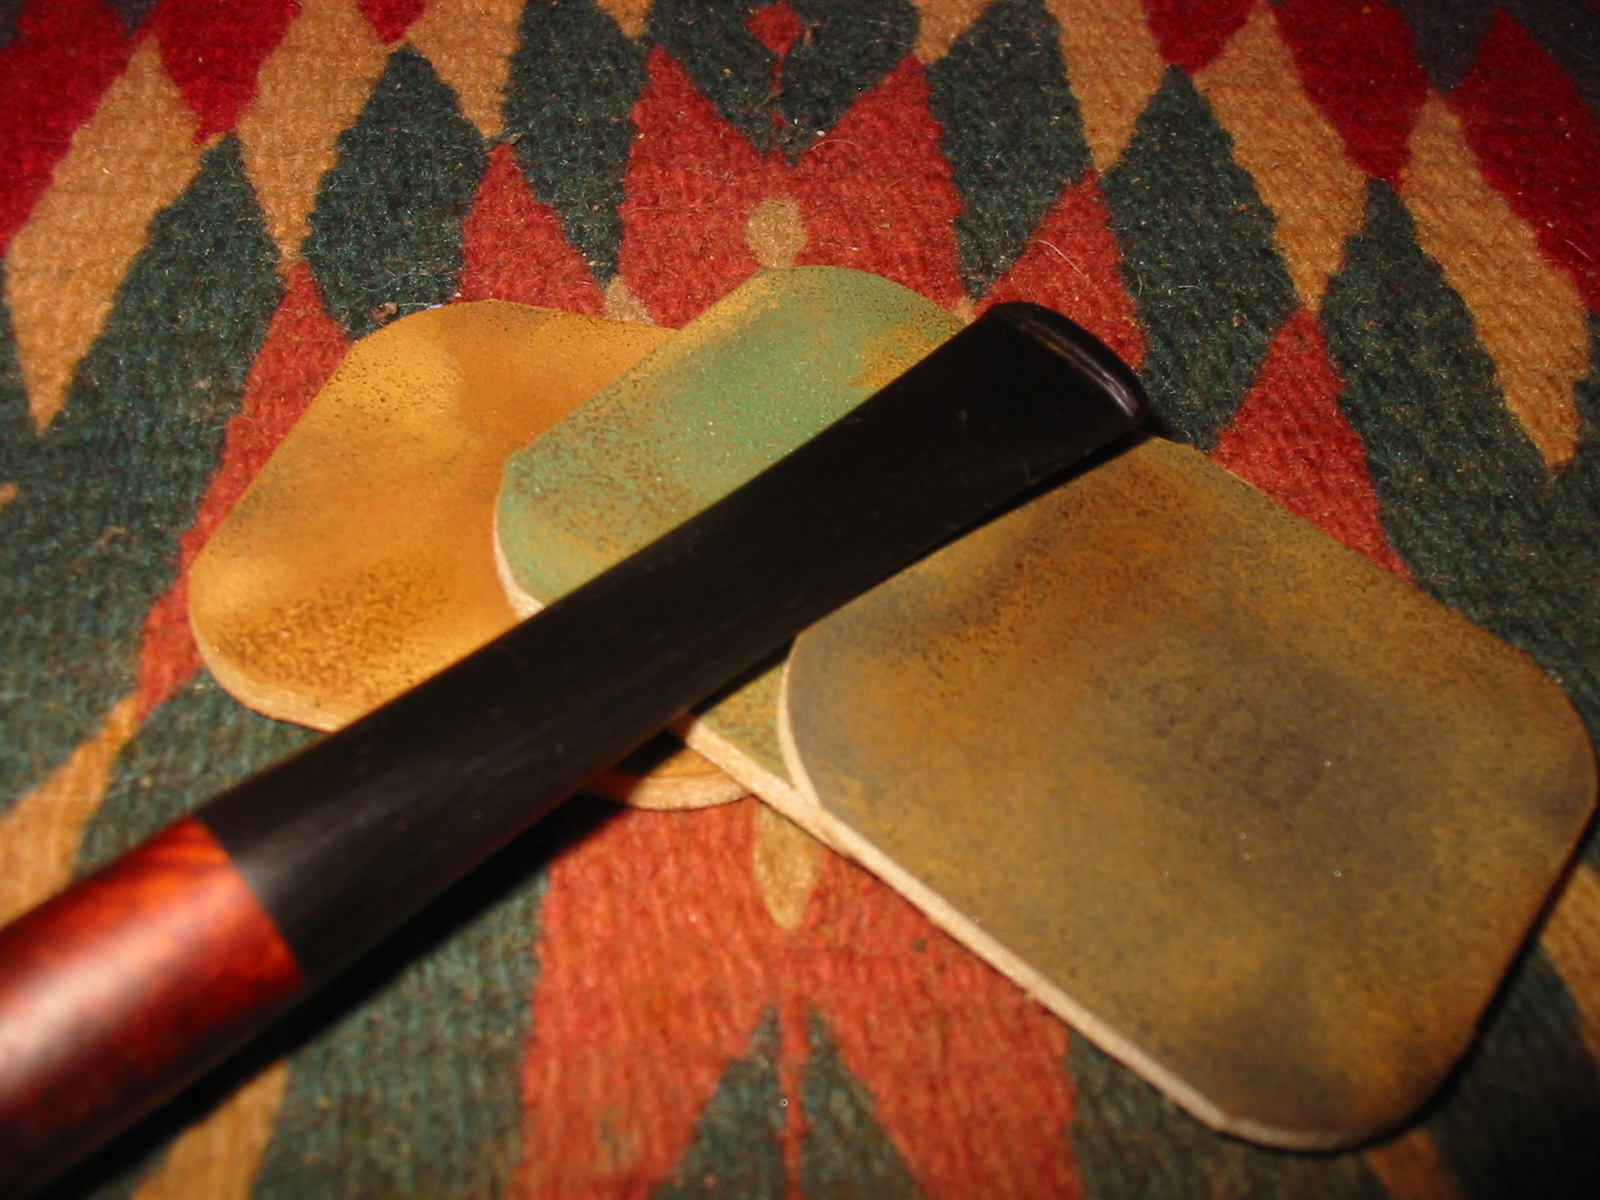
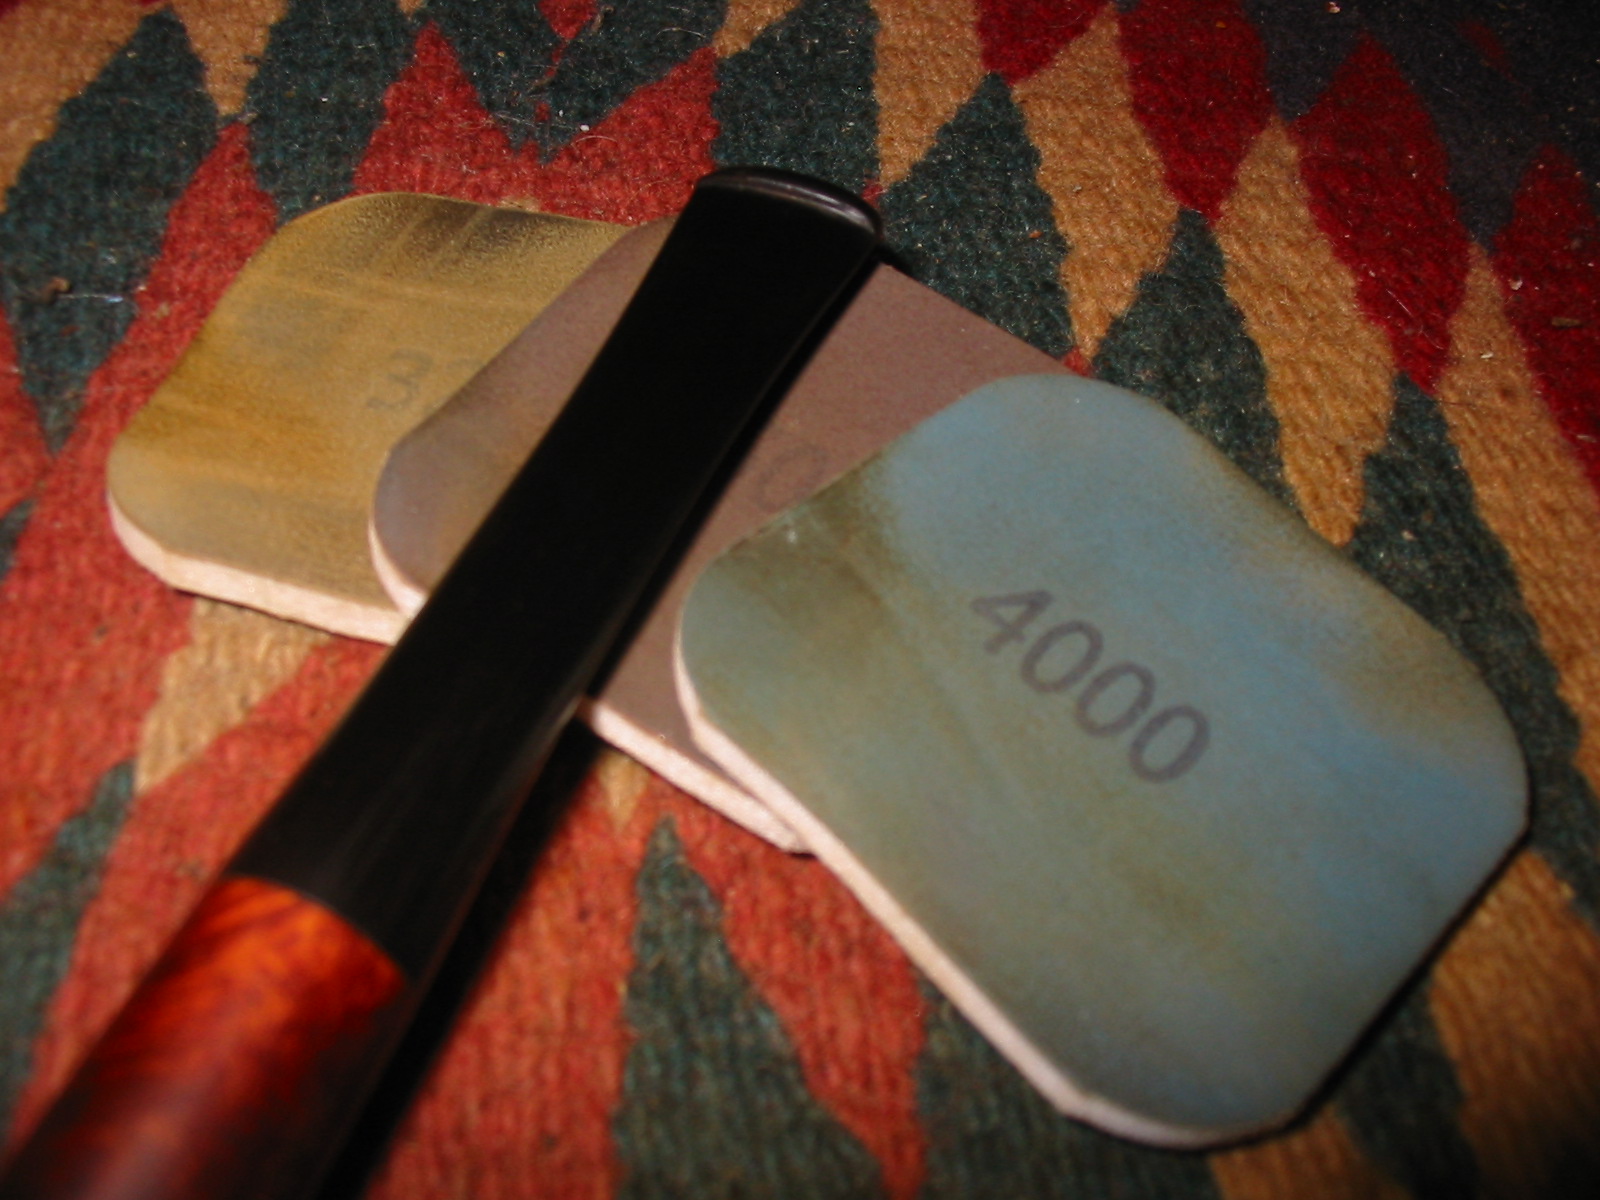
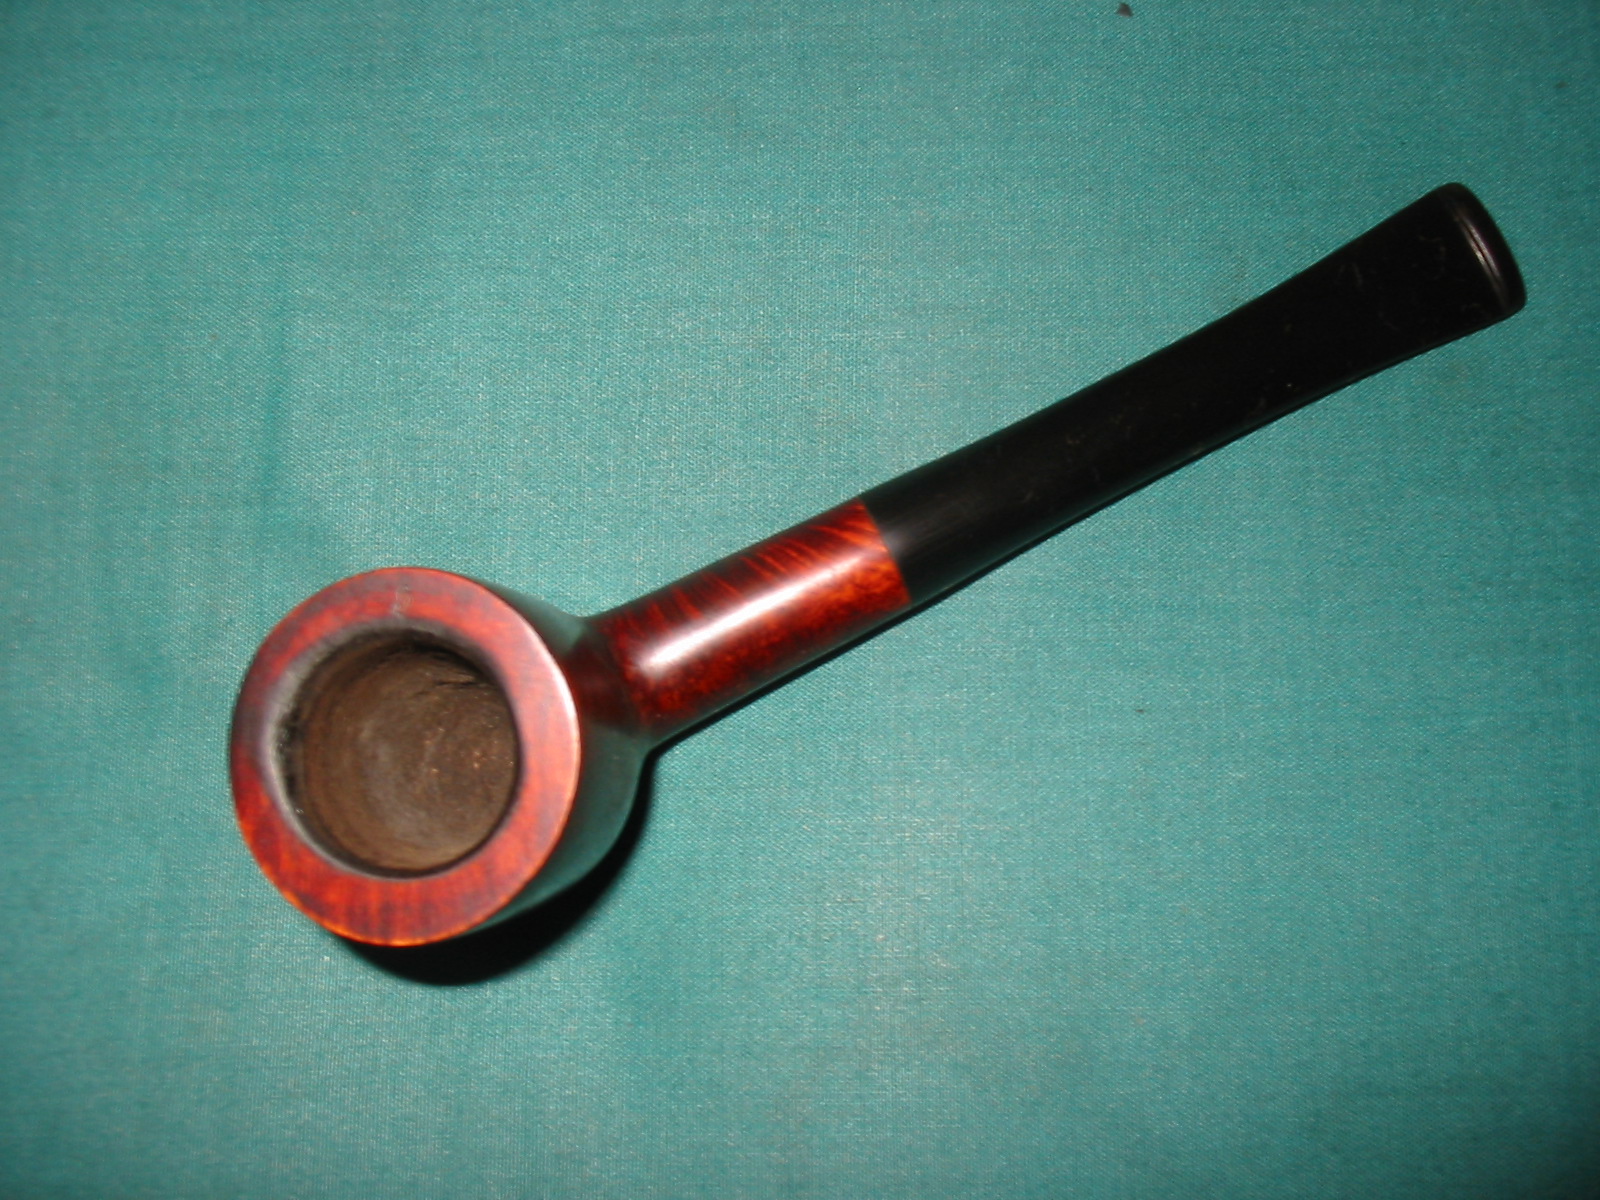
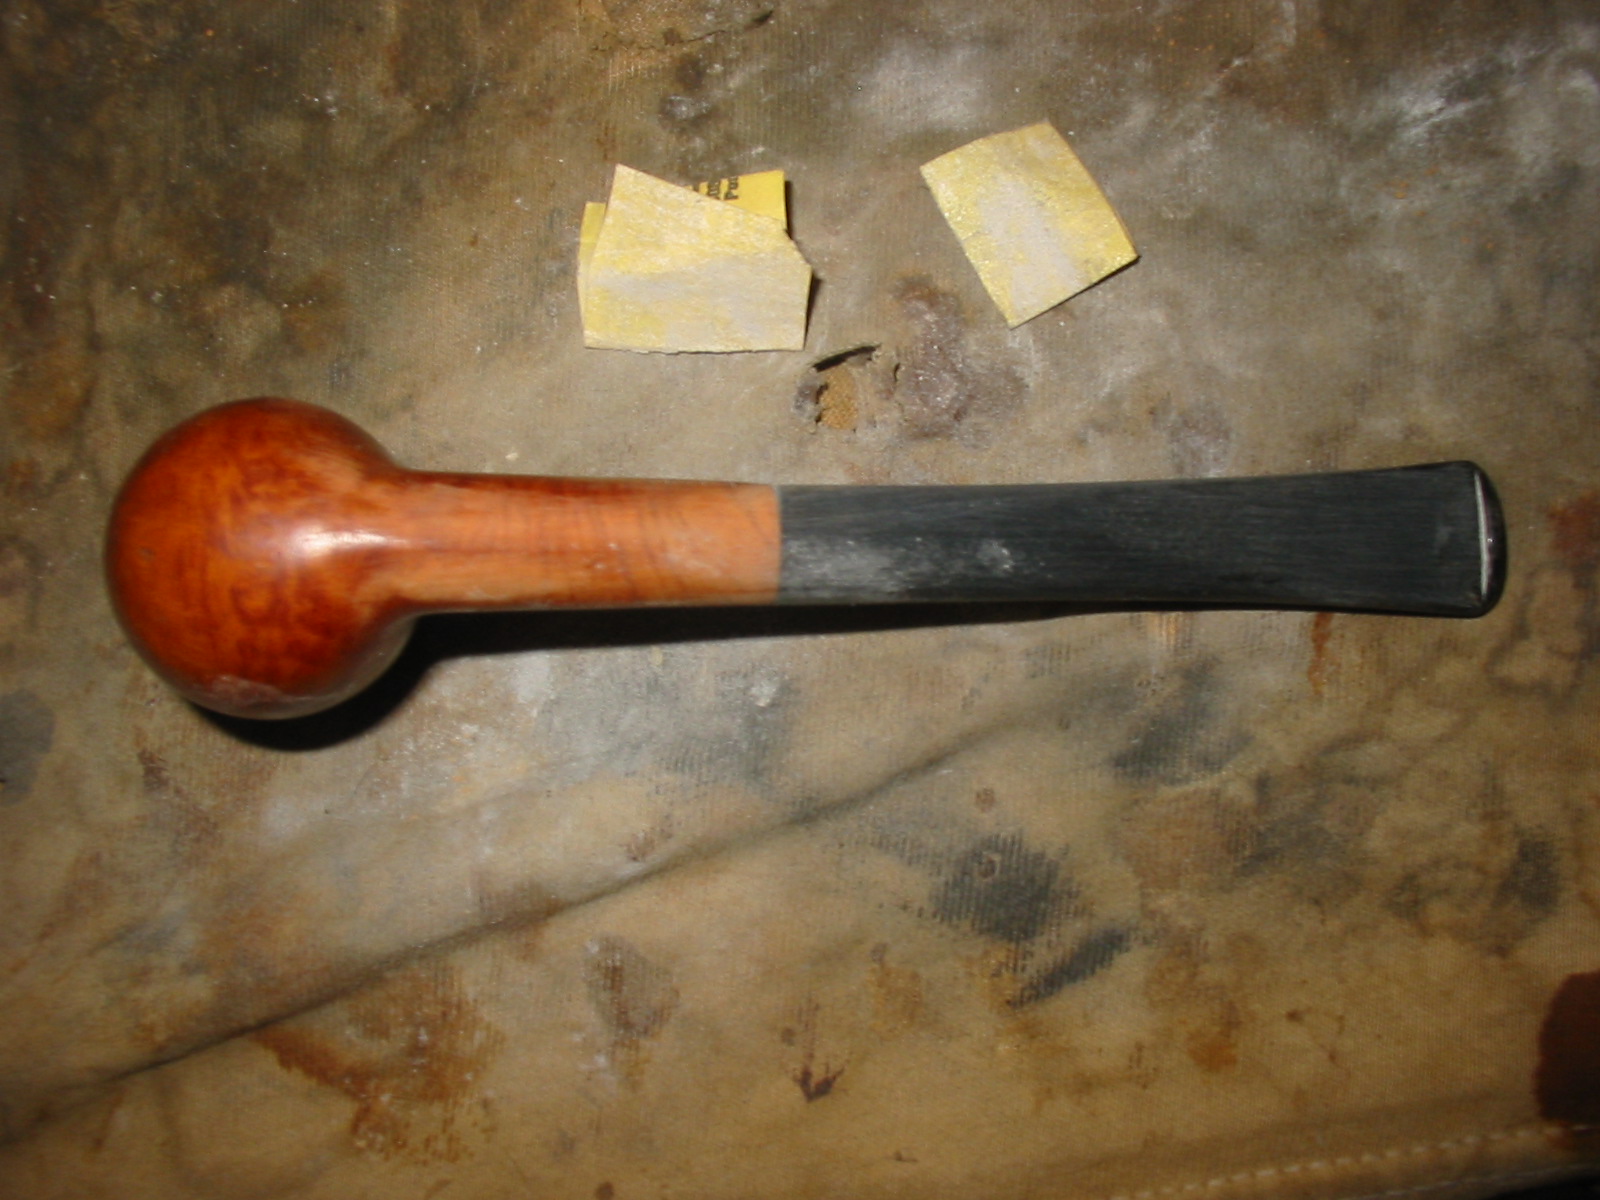
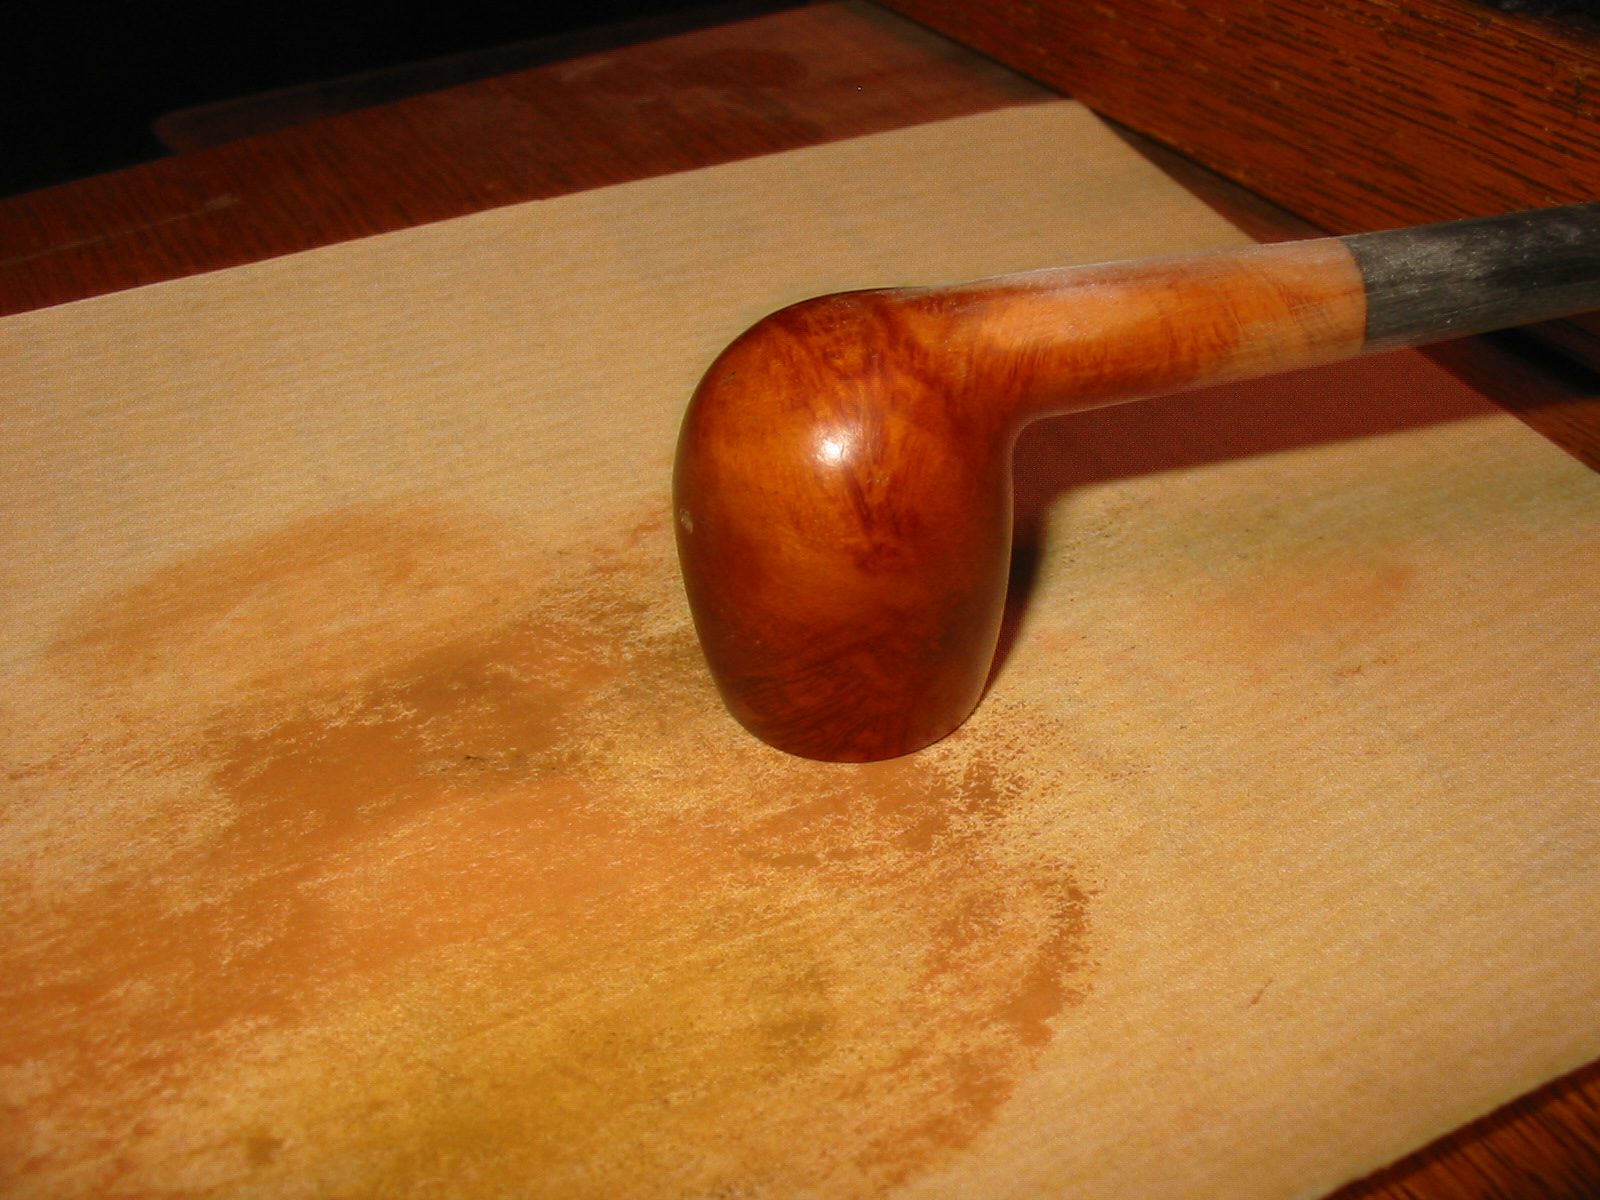
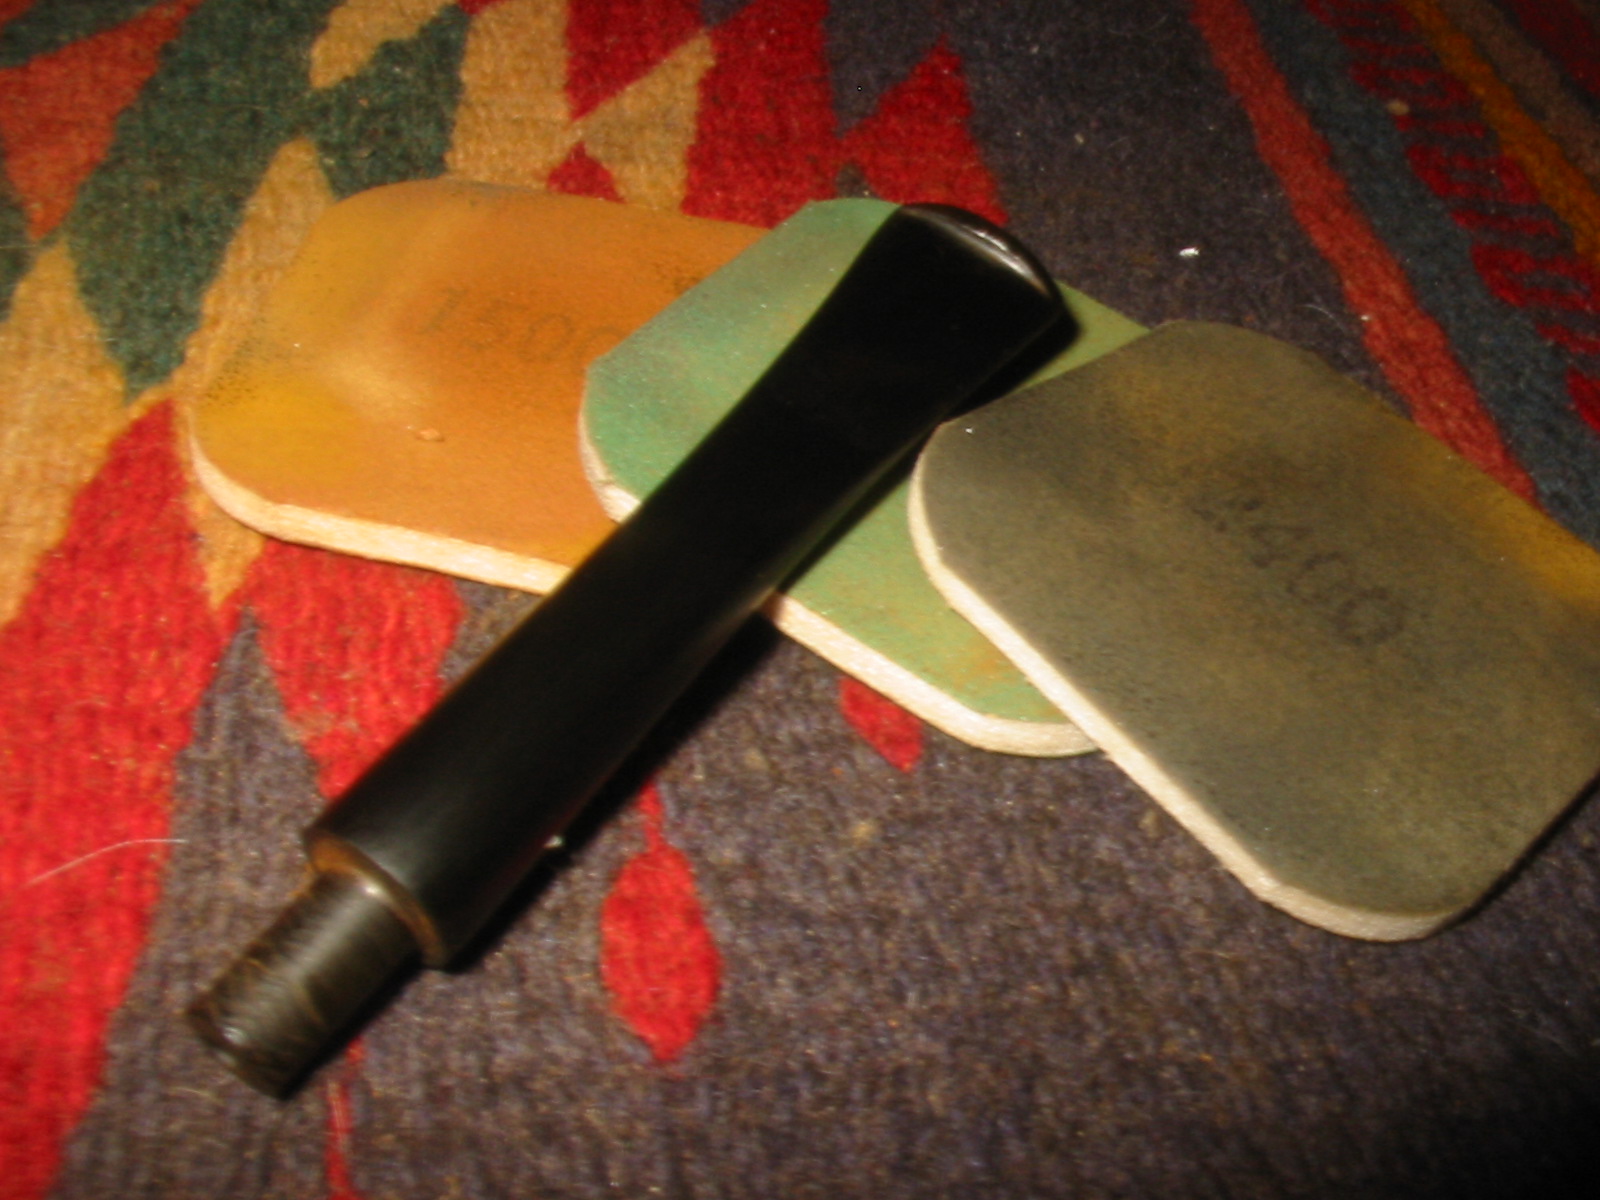
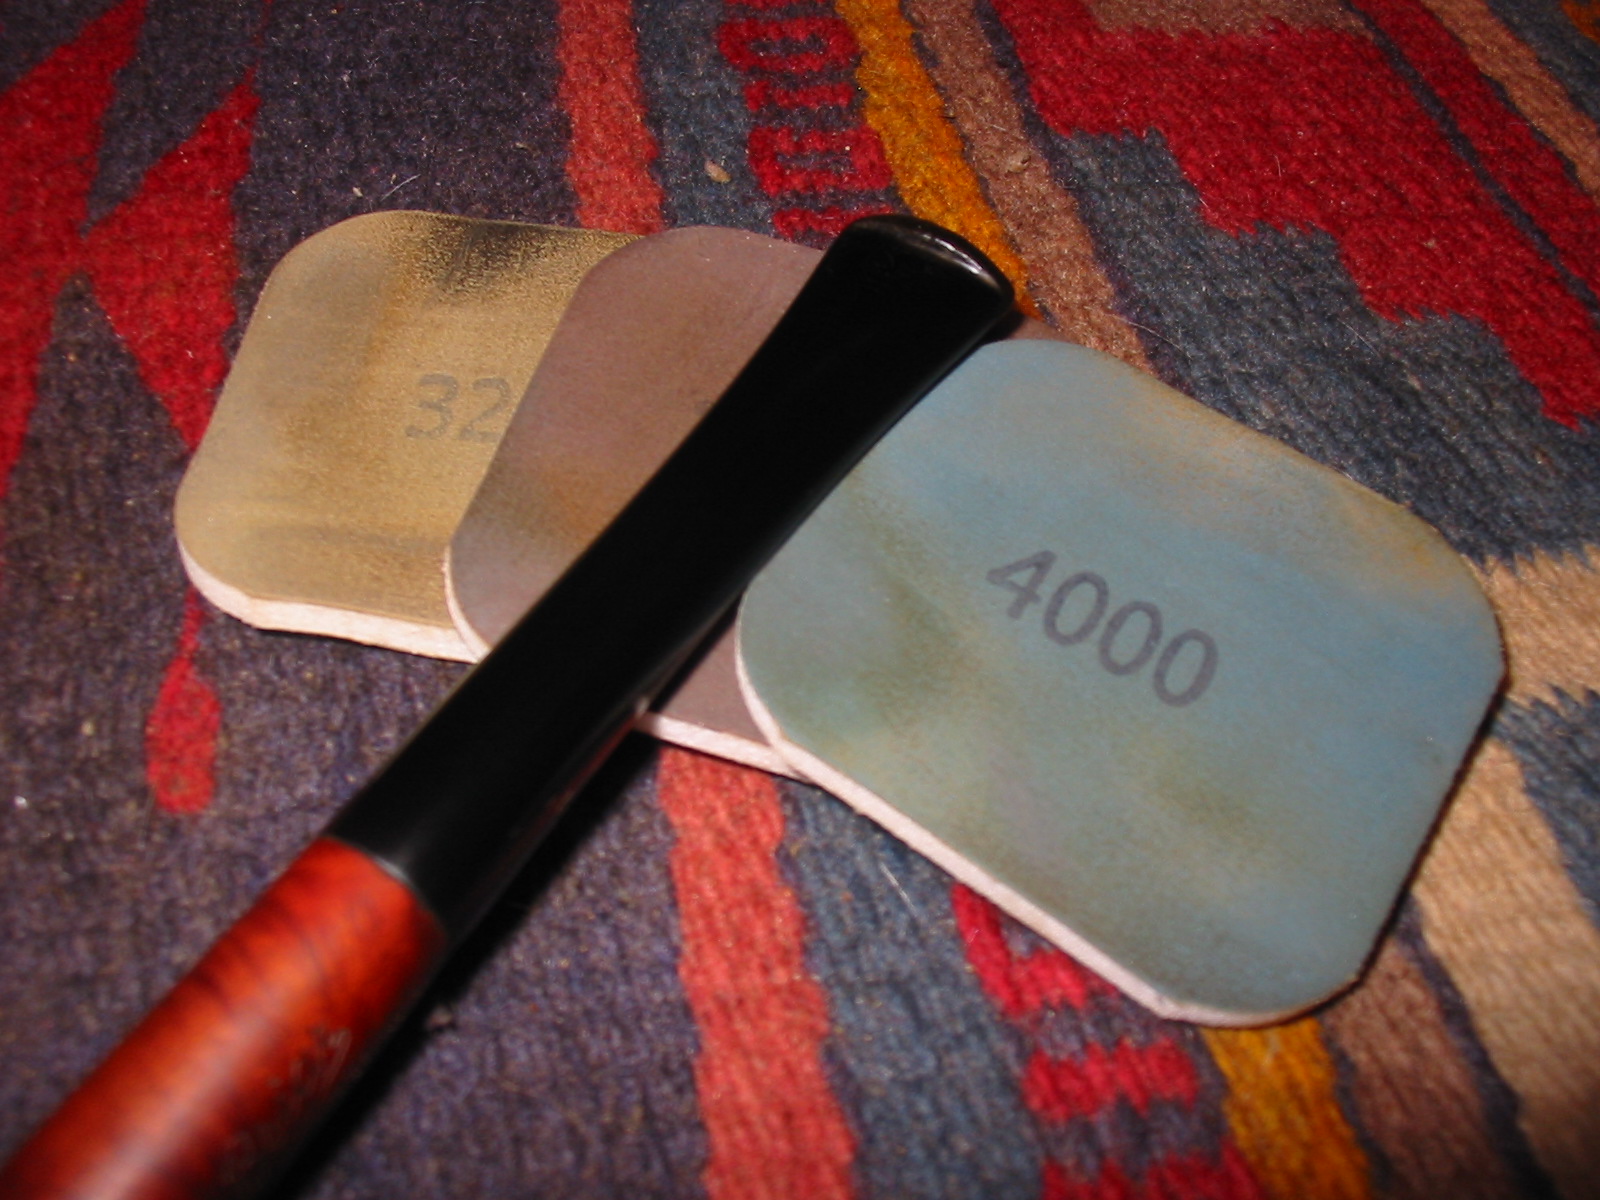
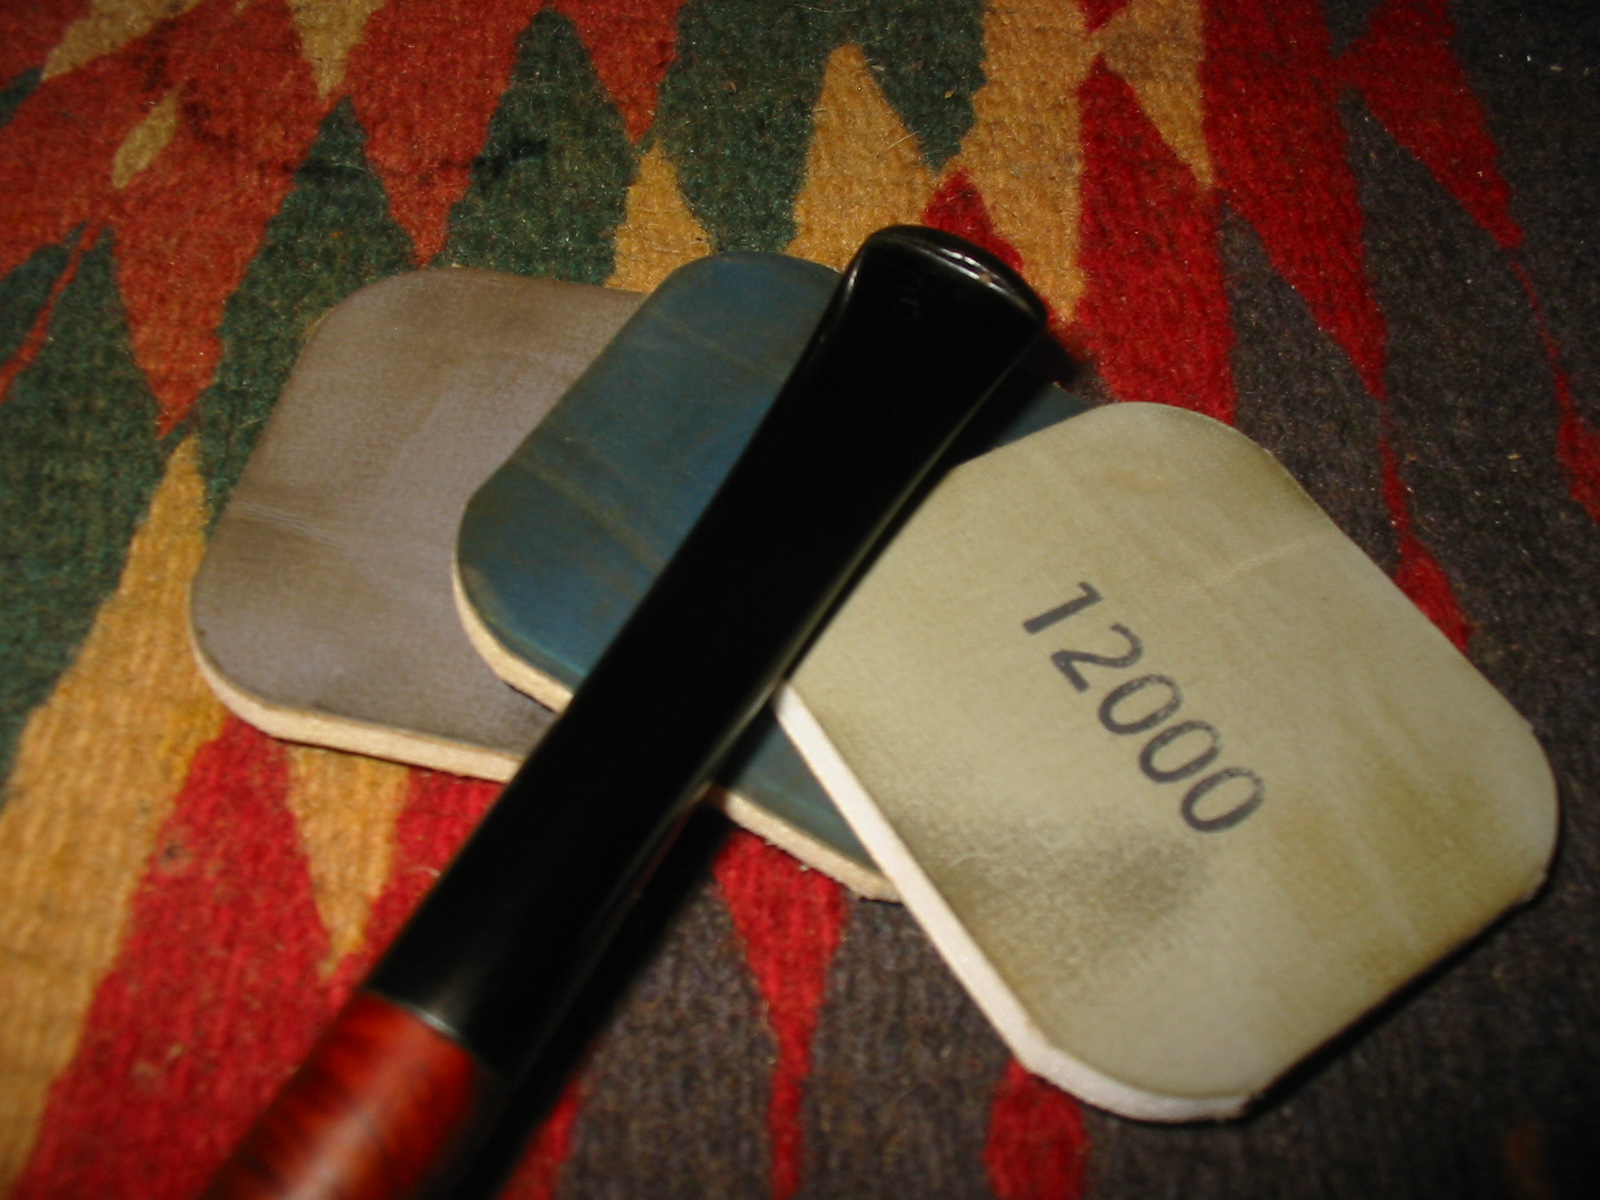
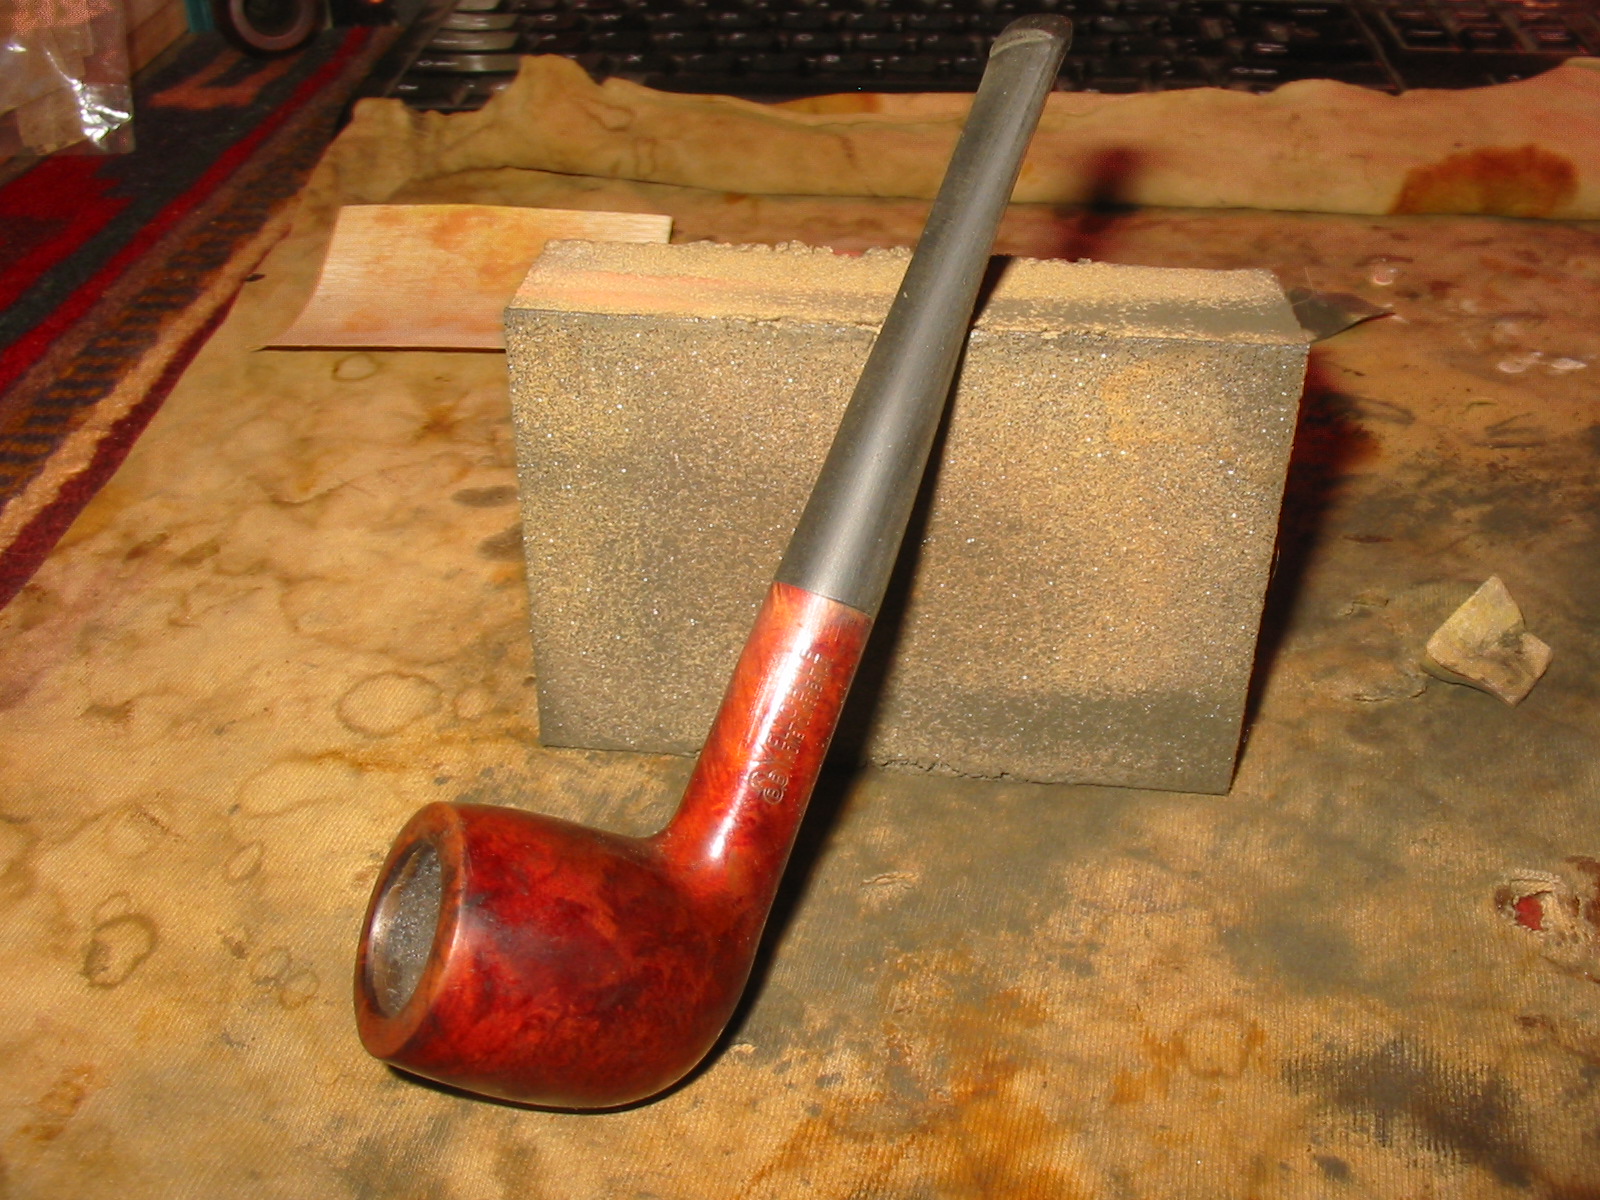
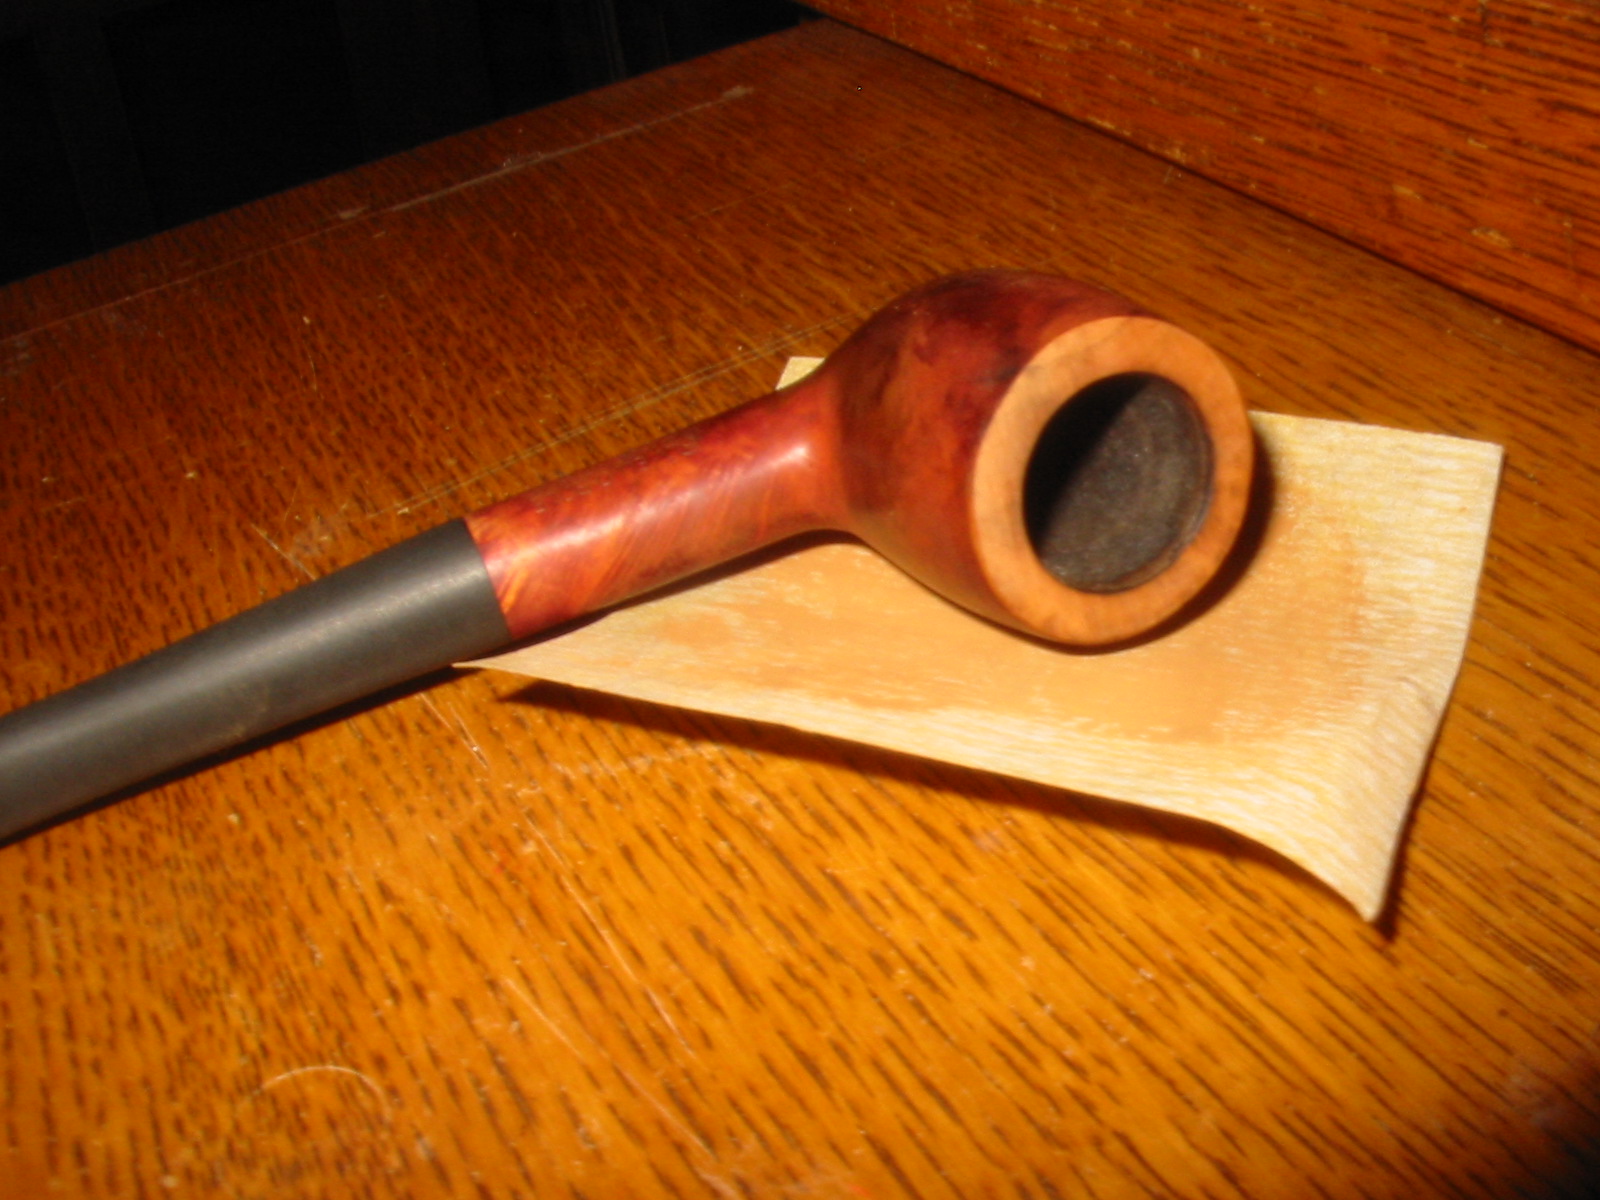
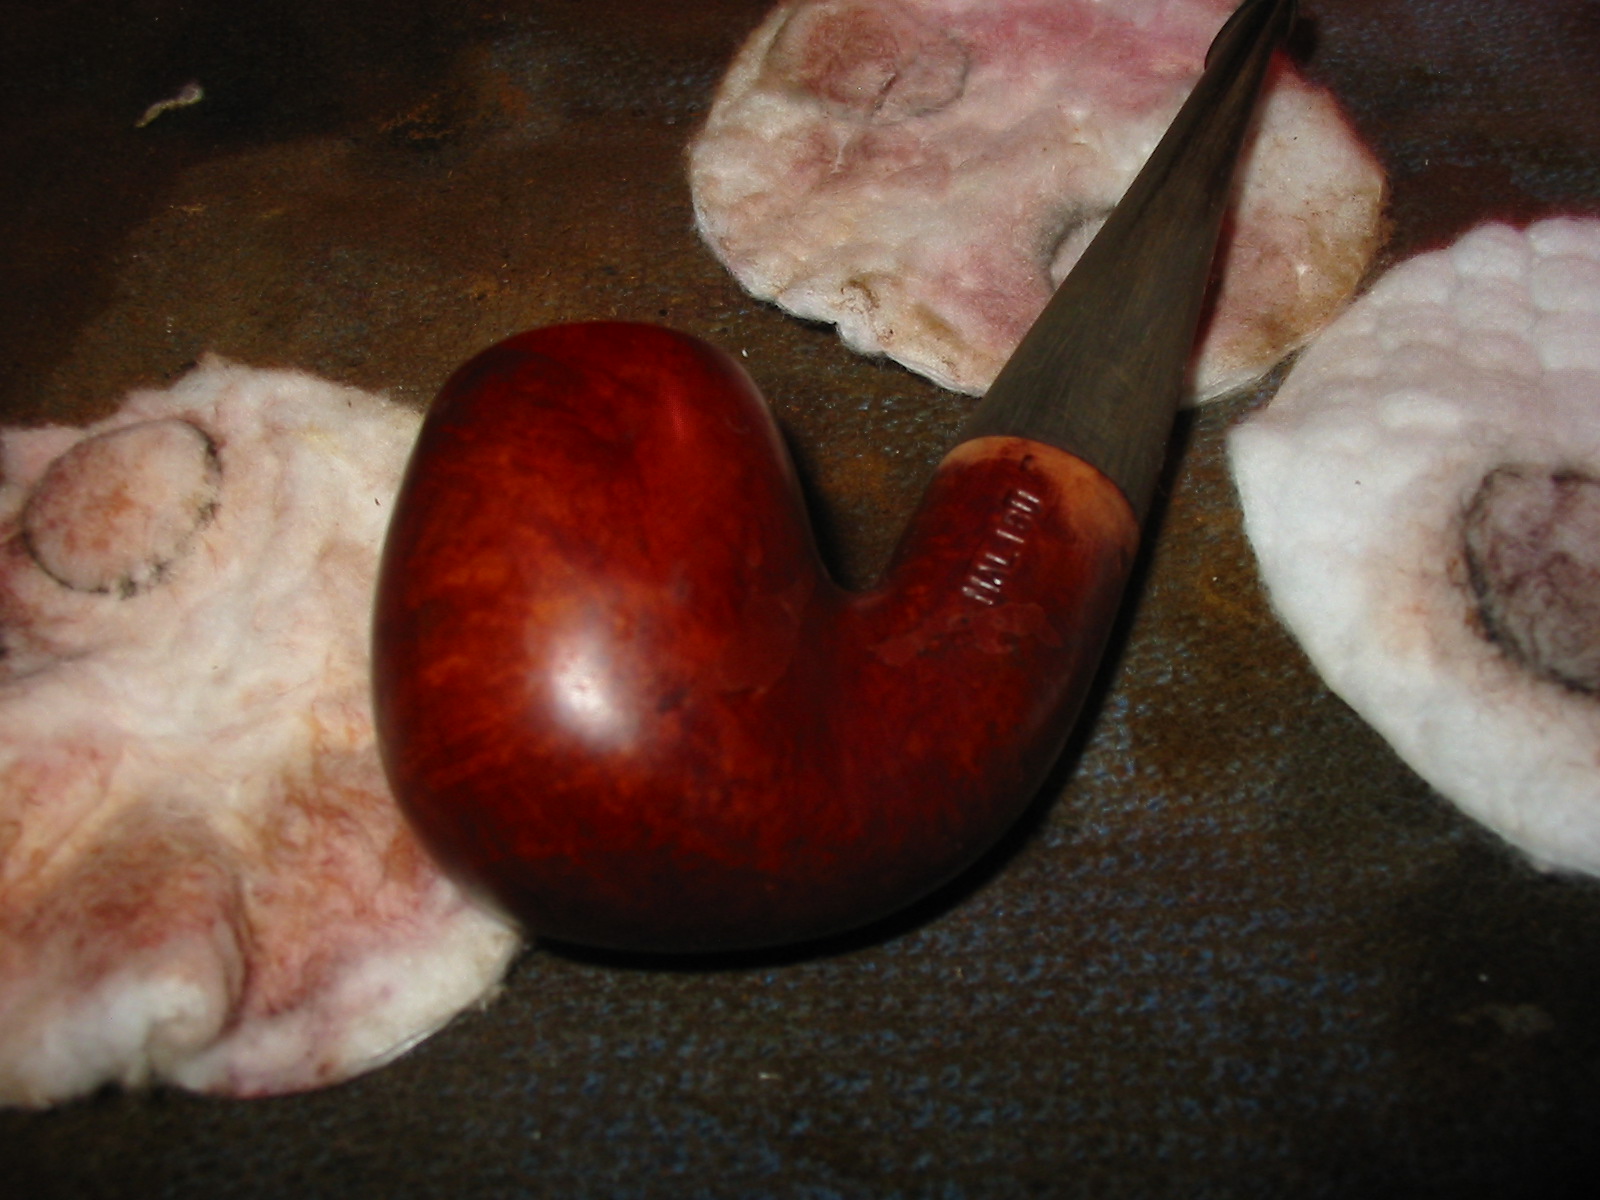
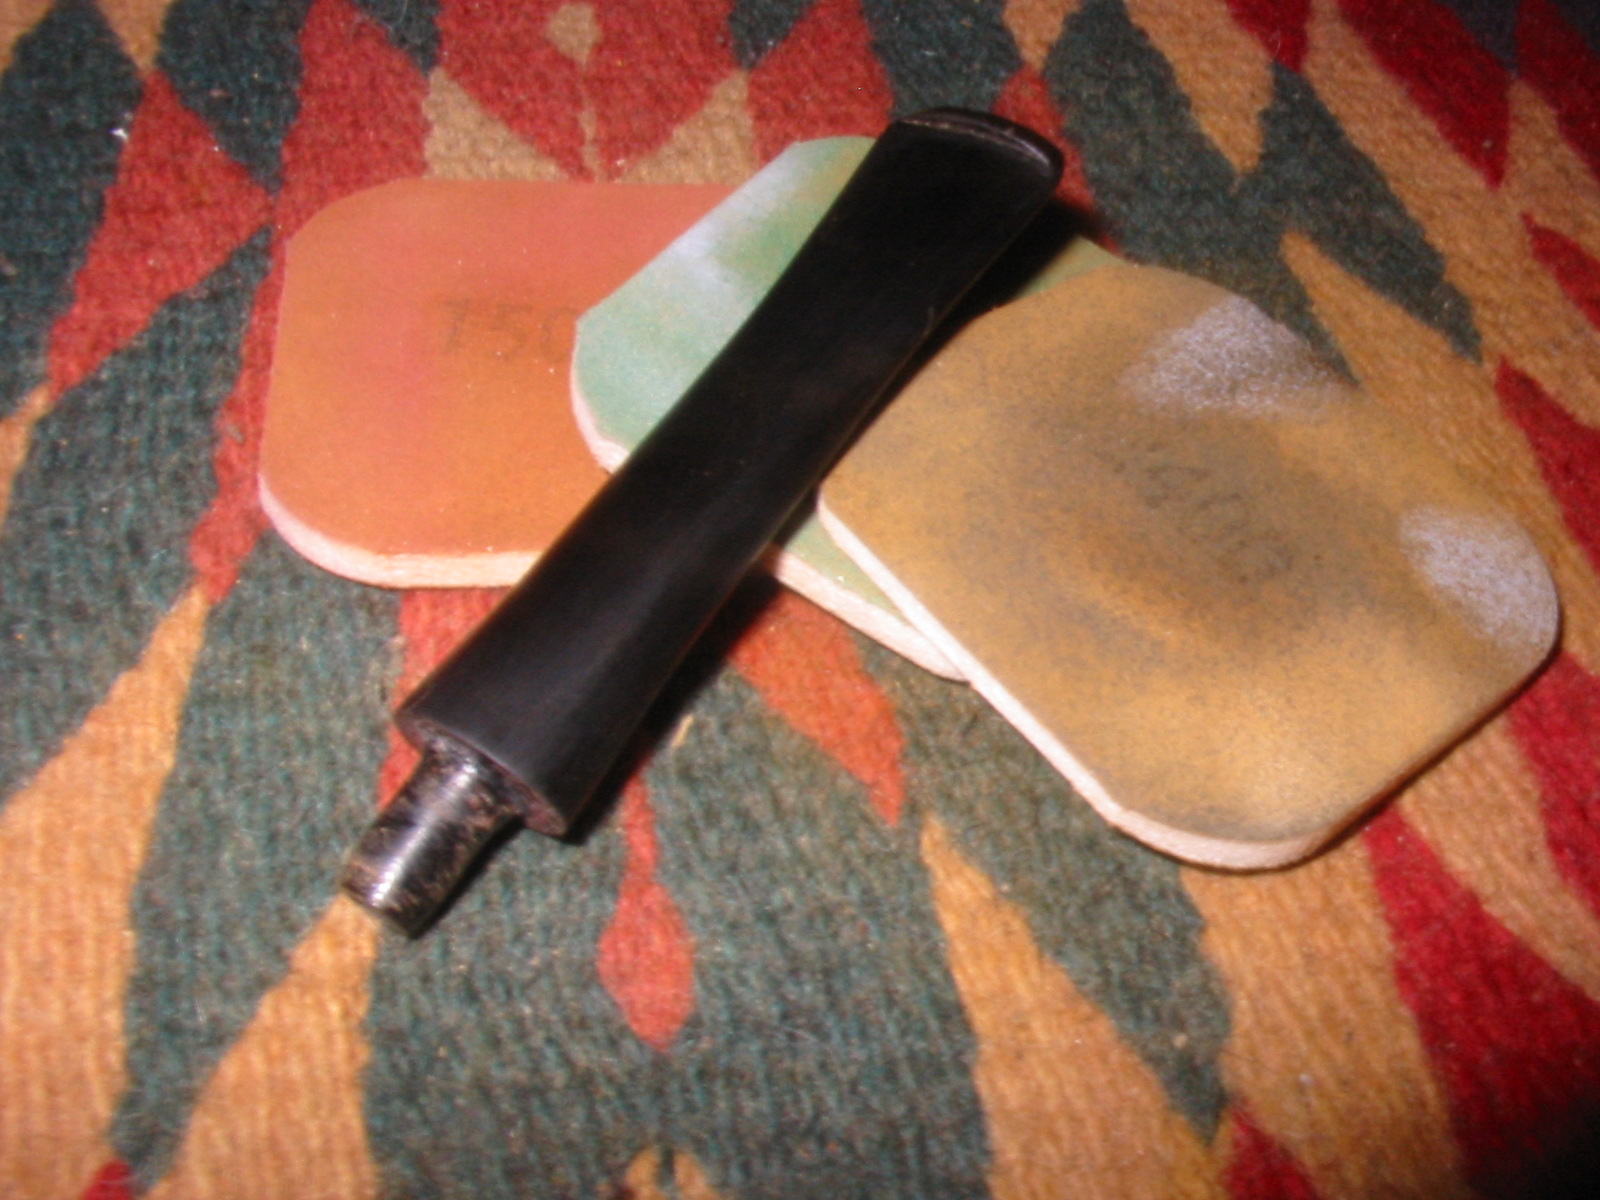
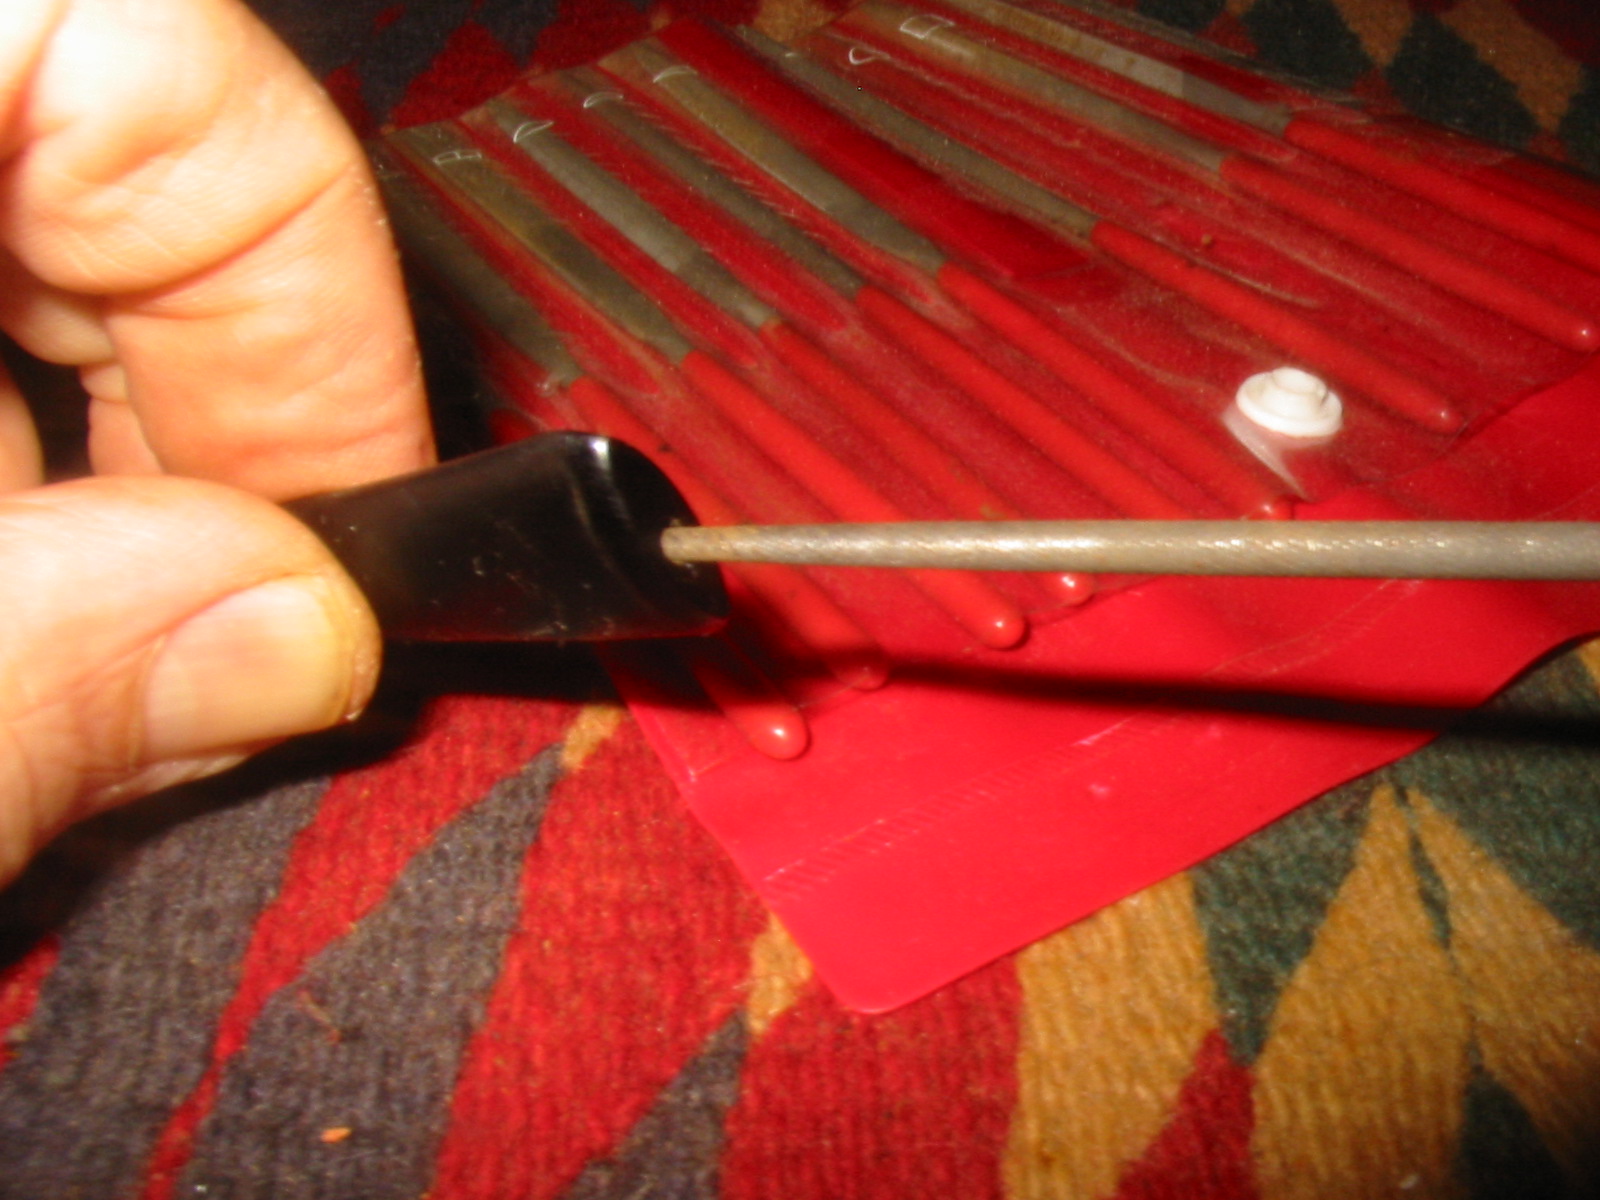
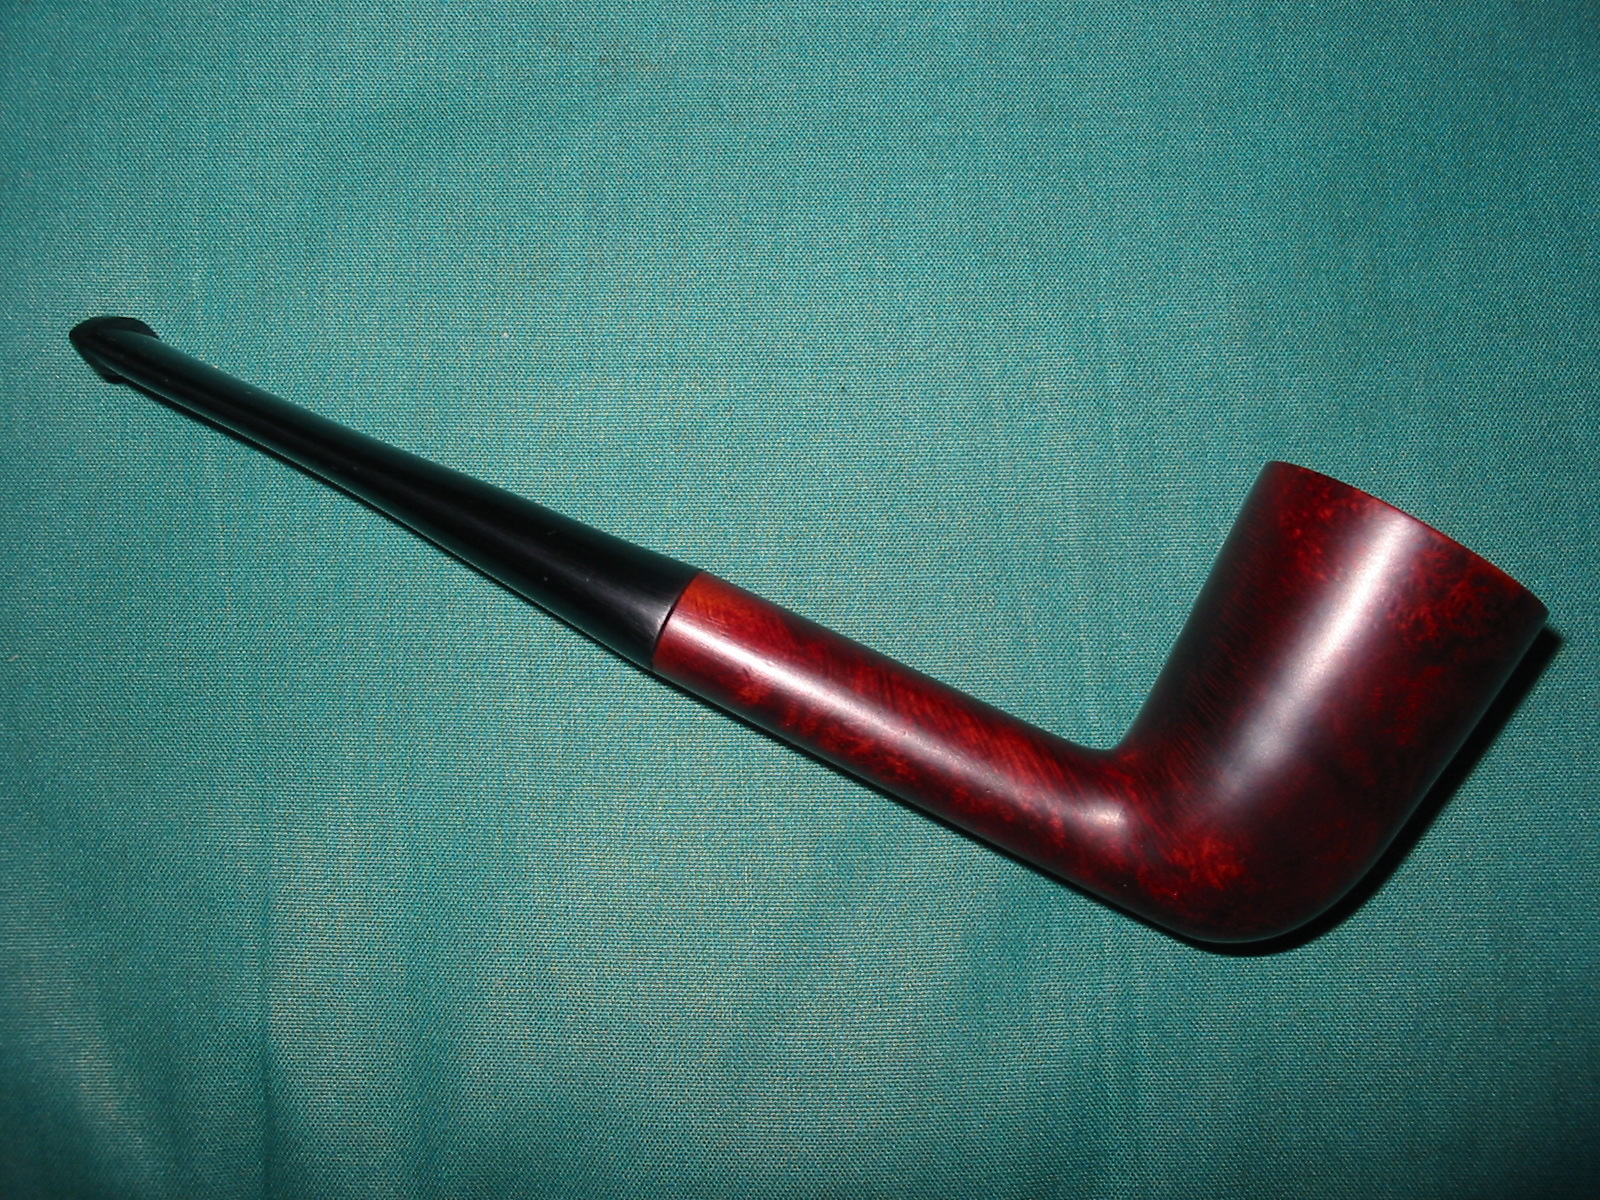
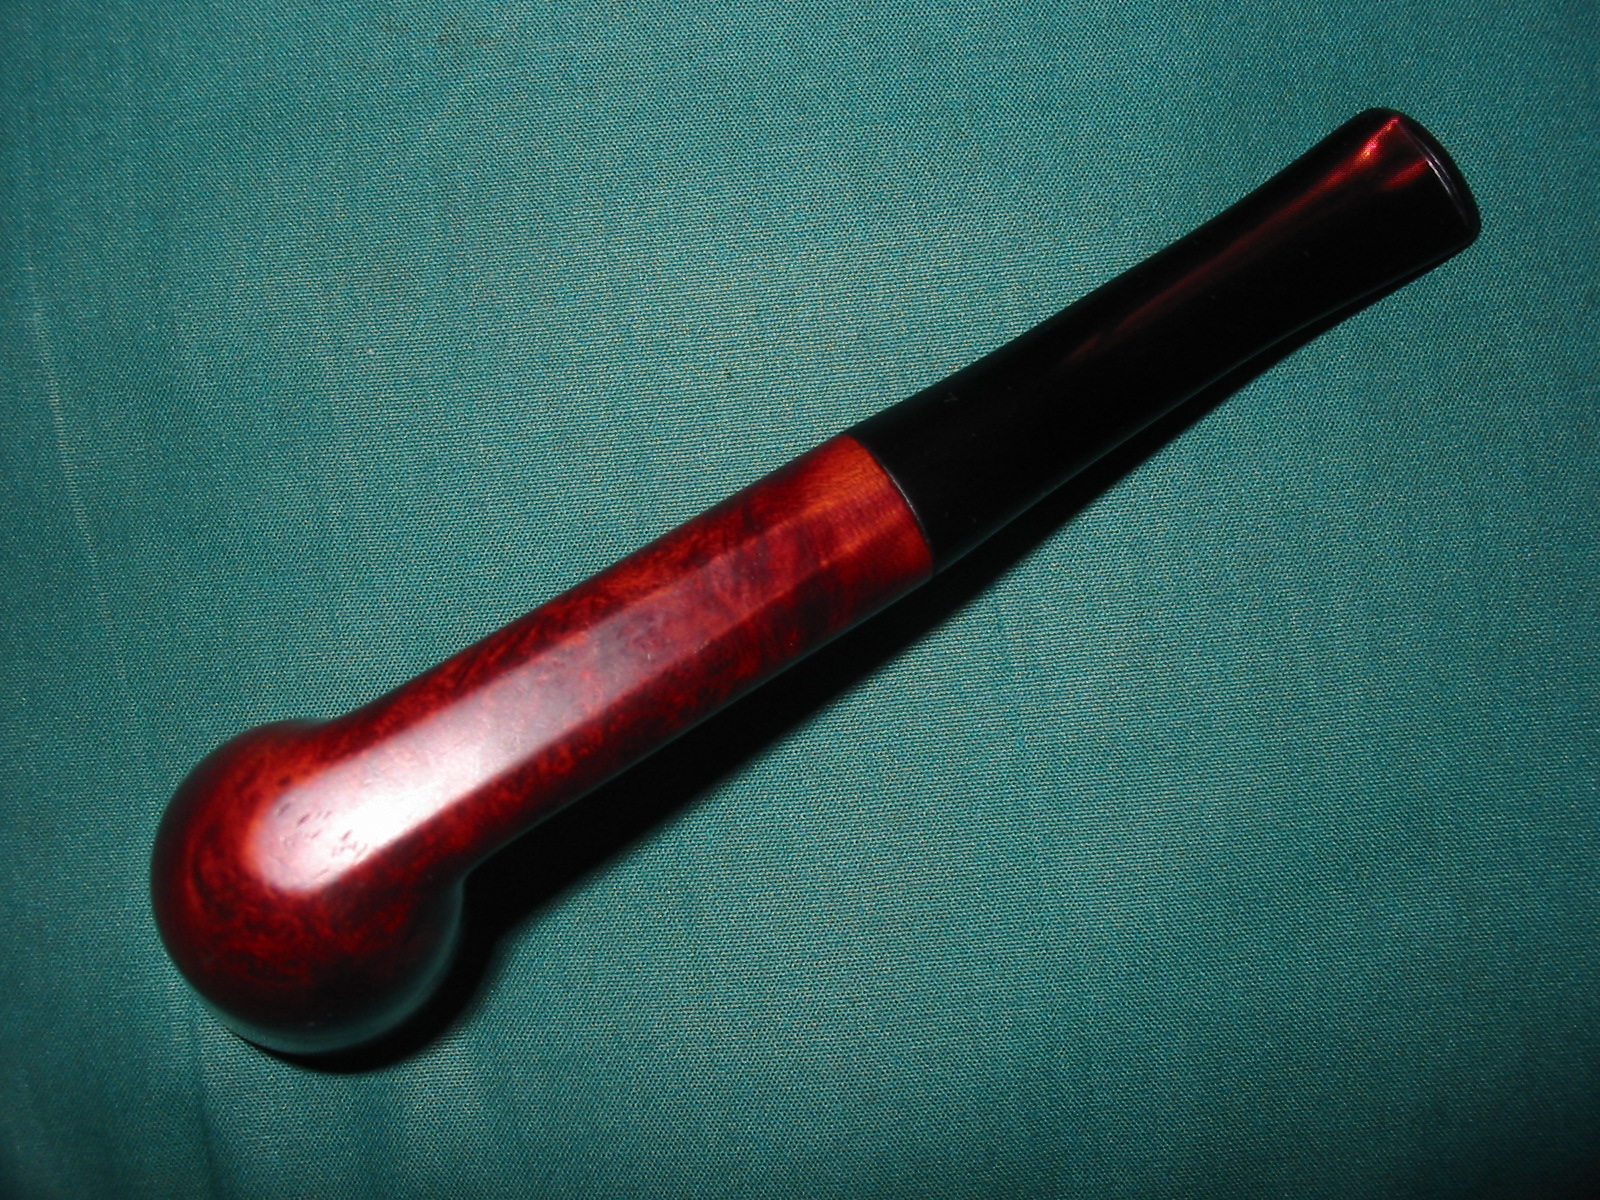
 I removed the stem and sanded it with 220 grit sandpaper followed by a medium and a fine grit sanding sponge. For me this step always cleans up the stem and allows me to deal with subtle reshaping of the stem. In this case the reshaping was minimal but I did some work on the underside to give it more of an arc than originally was present. I sanded until the scratches and oxidation was removed from the stem. It was clean and the flow and angles were what I was looking for. Then I sanded with micromesh sanding pads – wet sanding with 1500-2400 grit pads and dry sanding with 3200-12,000 grit pads. I rubbed the stem down with Obsidian Oil between each set of three micromesh pads. Since Brylon is plastic like I decided to also sand the Brylon bowl to remove some of the scratches and smooth out one small nick in the surface of the bowl. Each successive grit of micromesh gave the finish a deeper shine and the contrasts in the Brylon surface began to stand out.
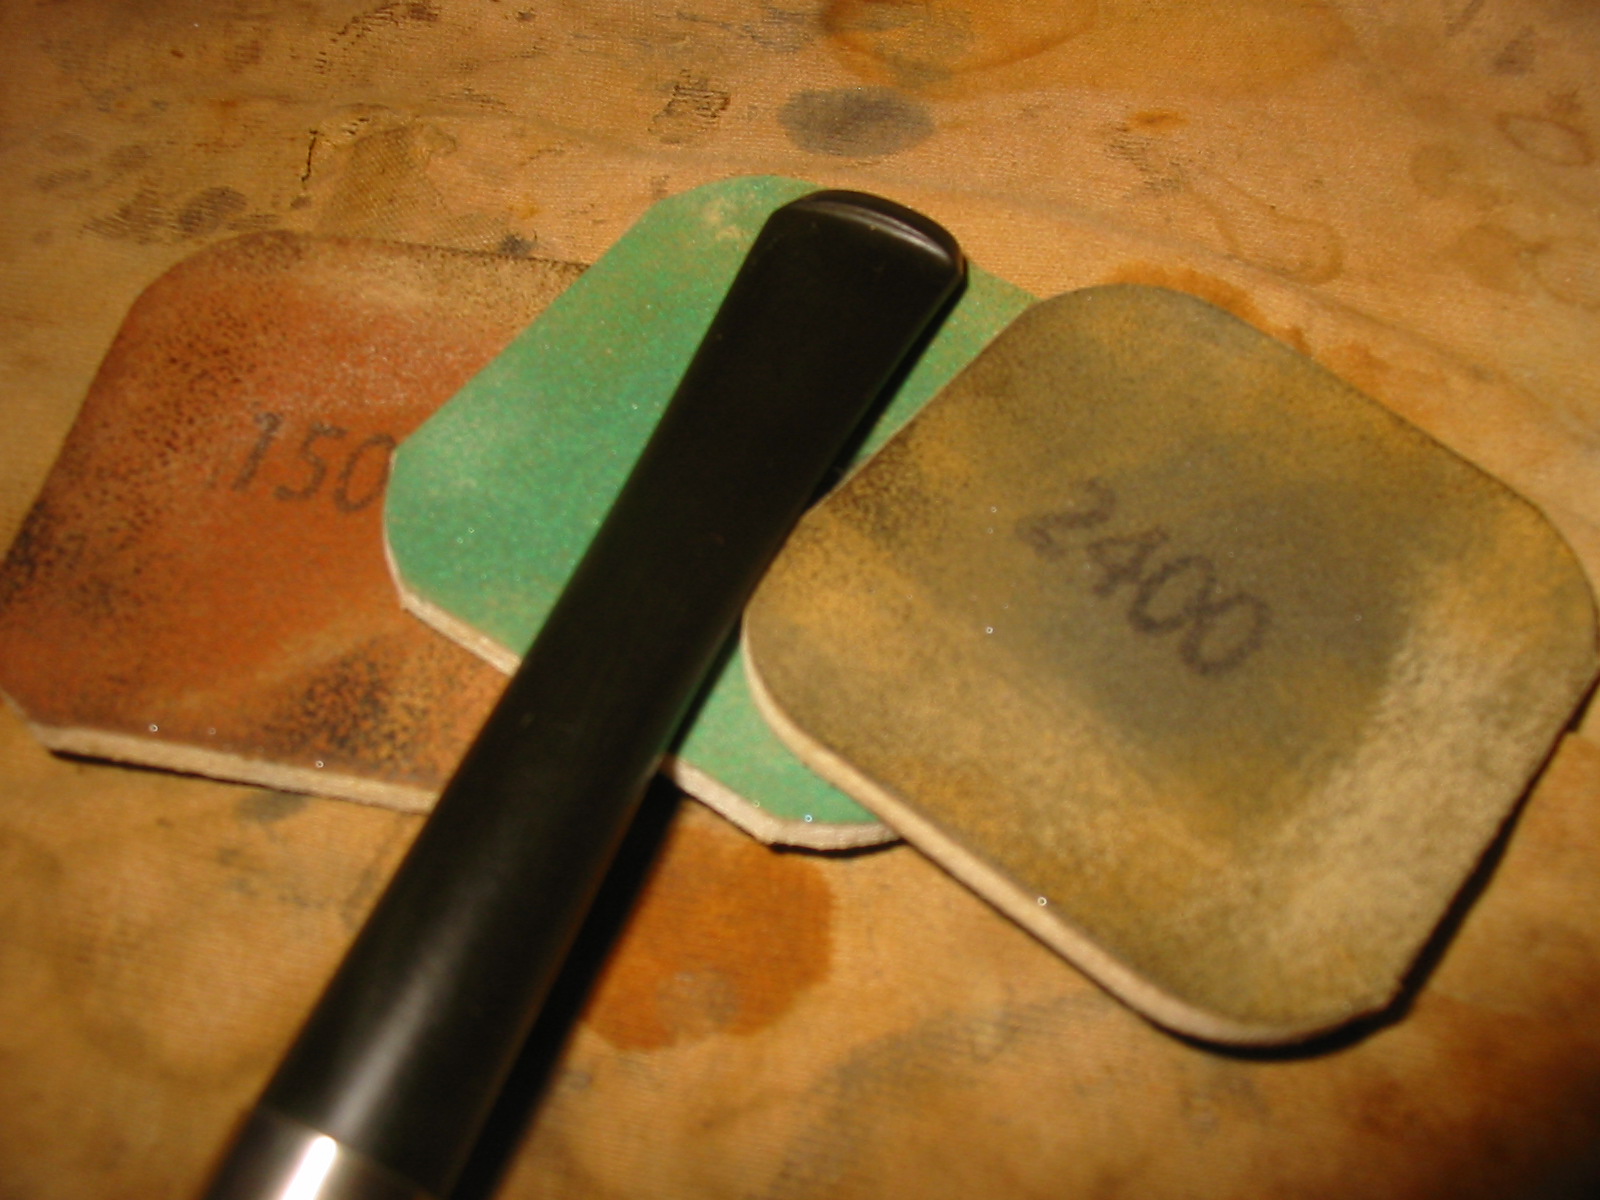

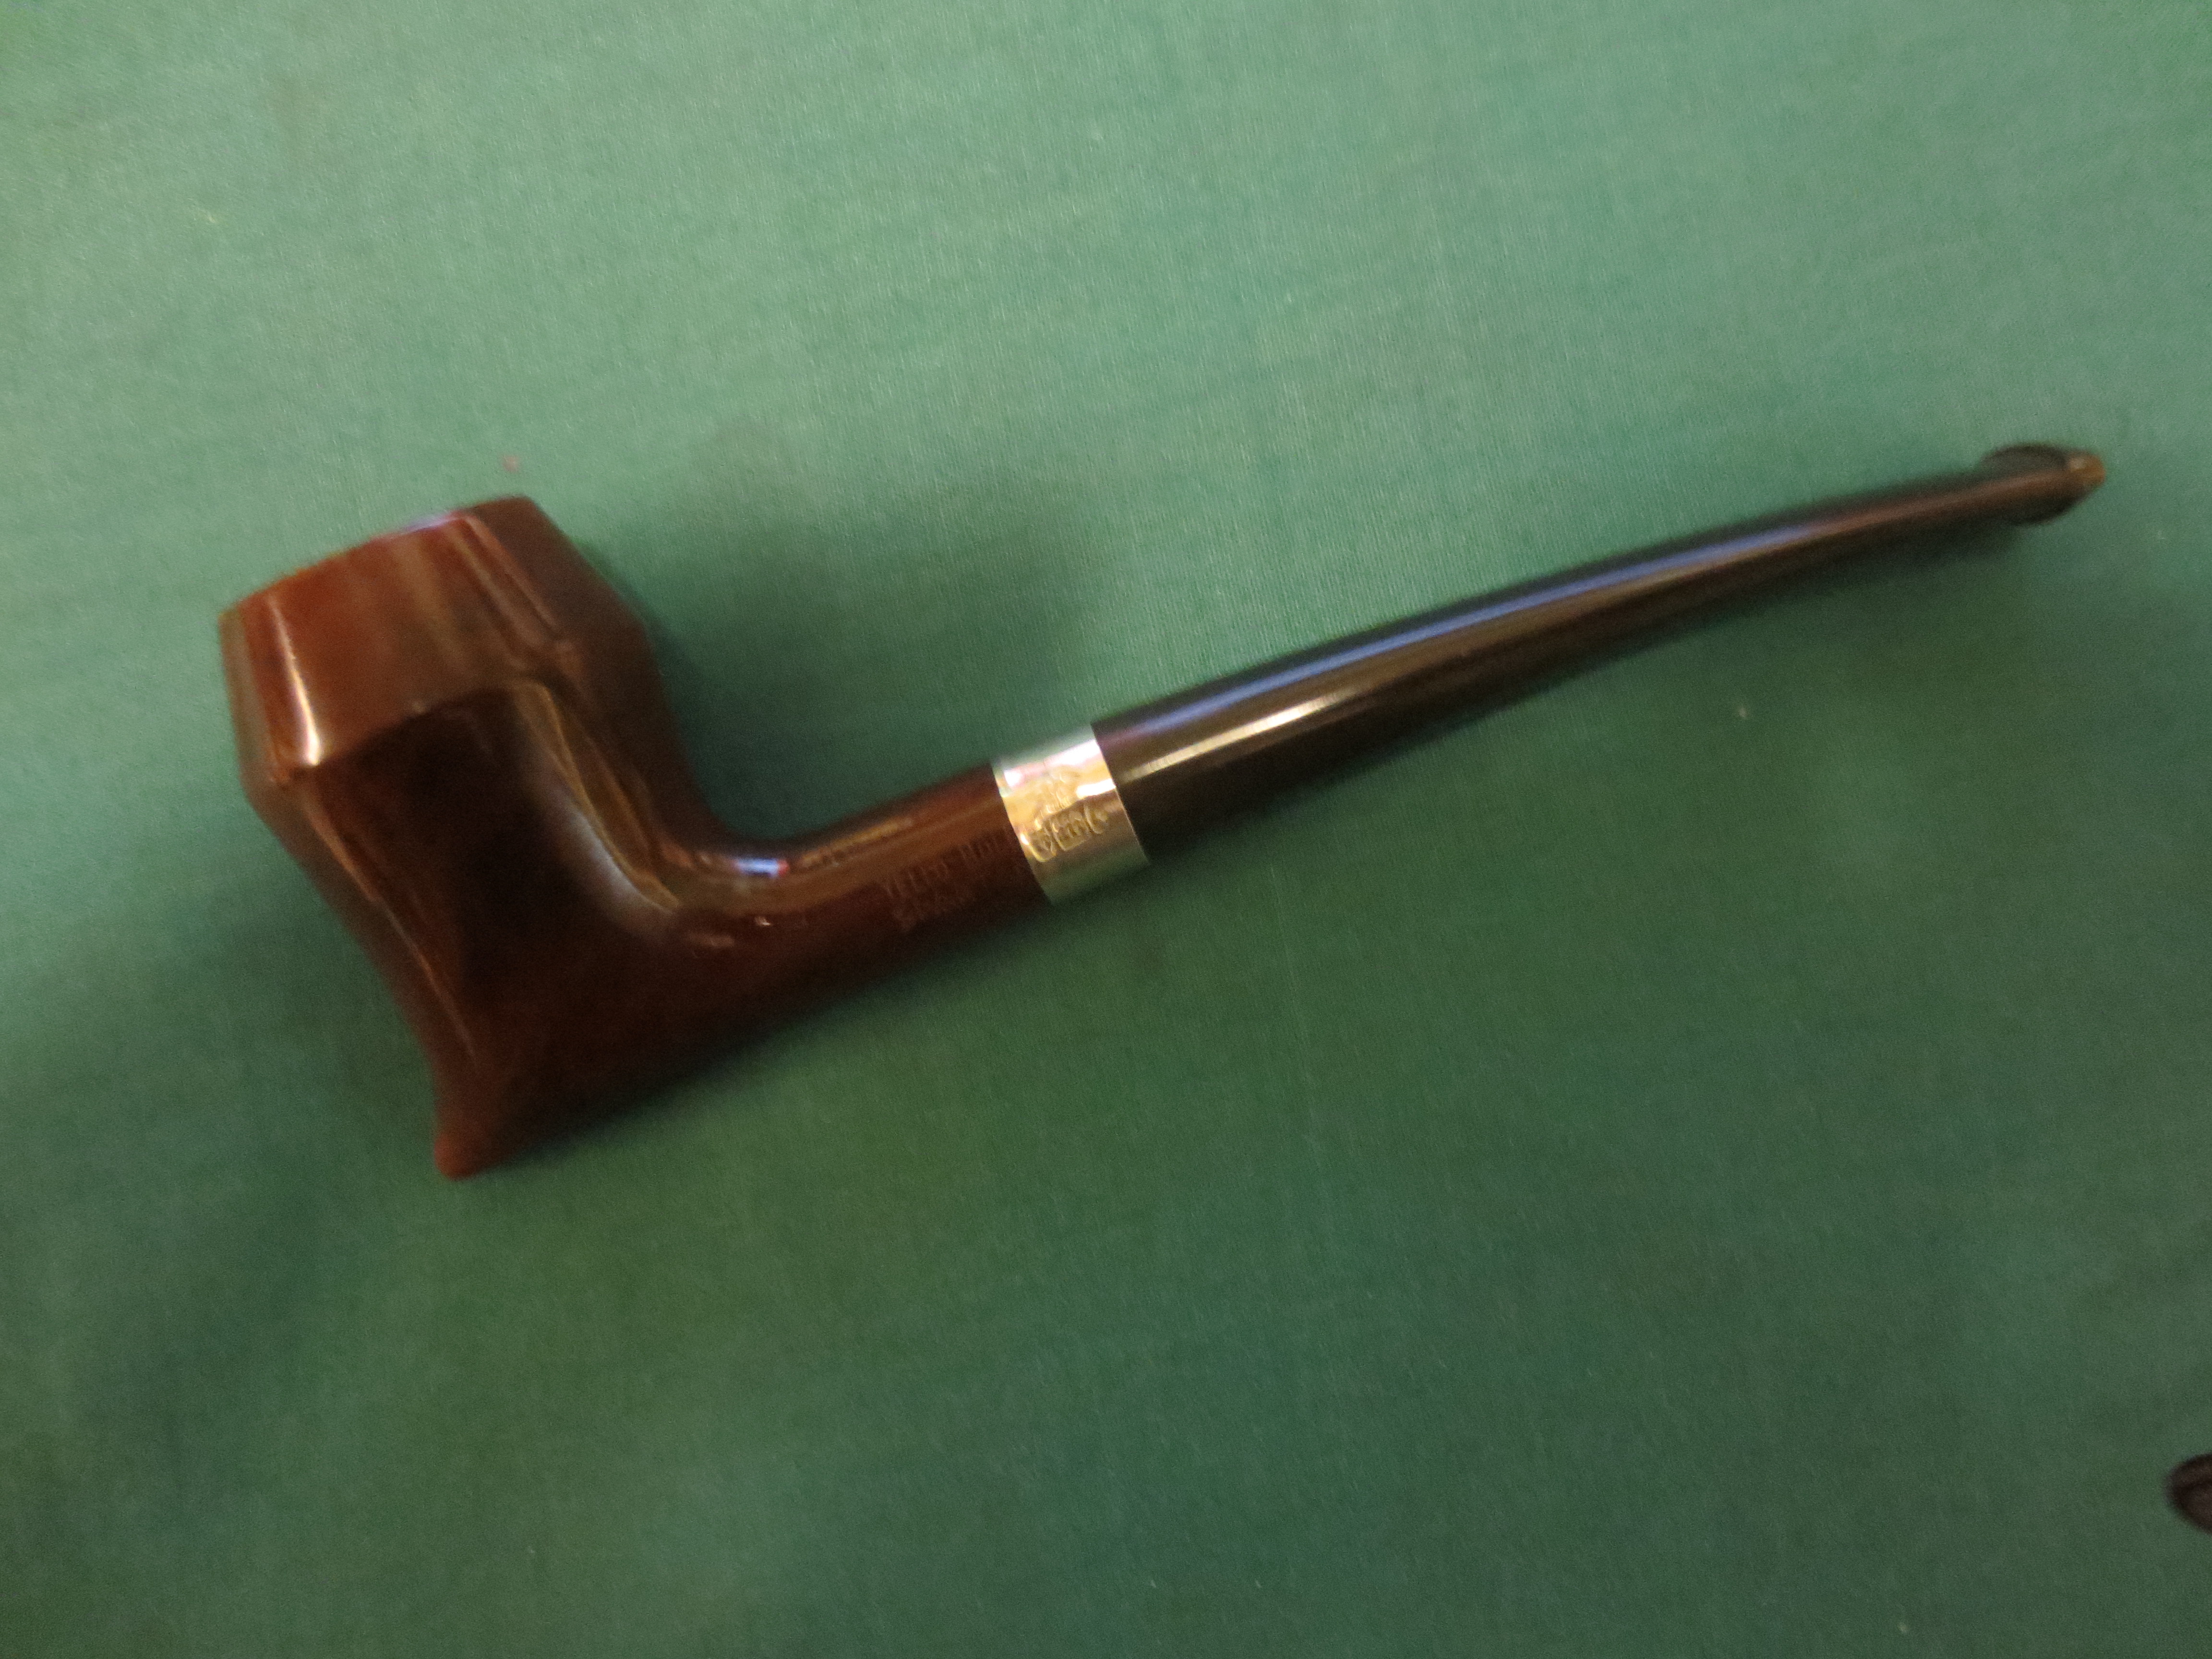
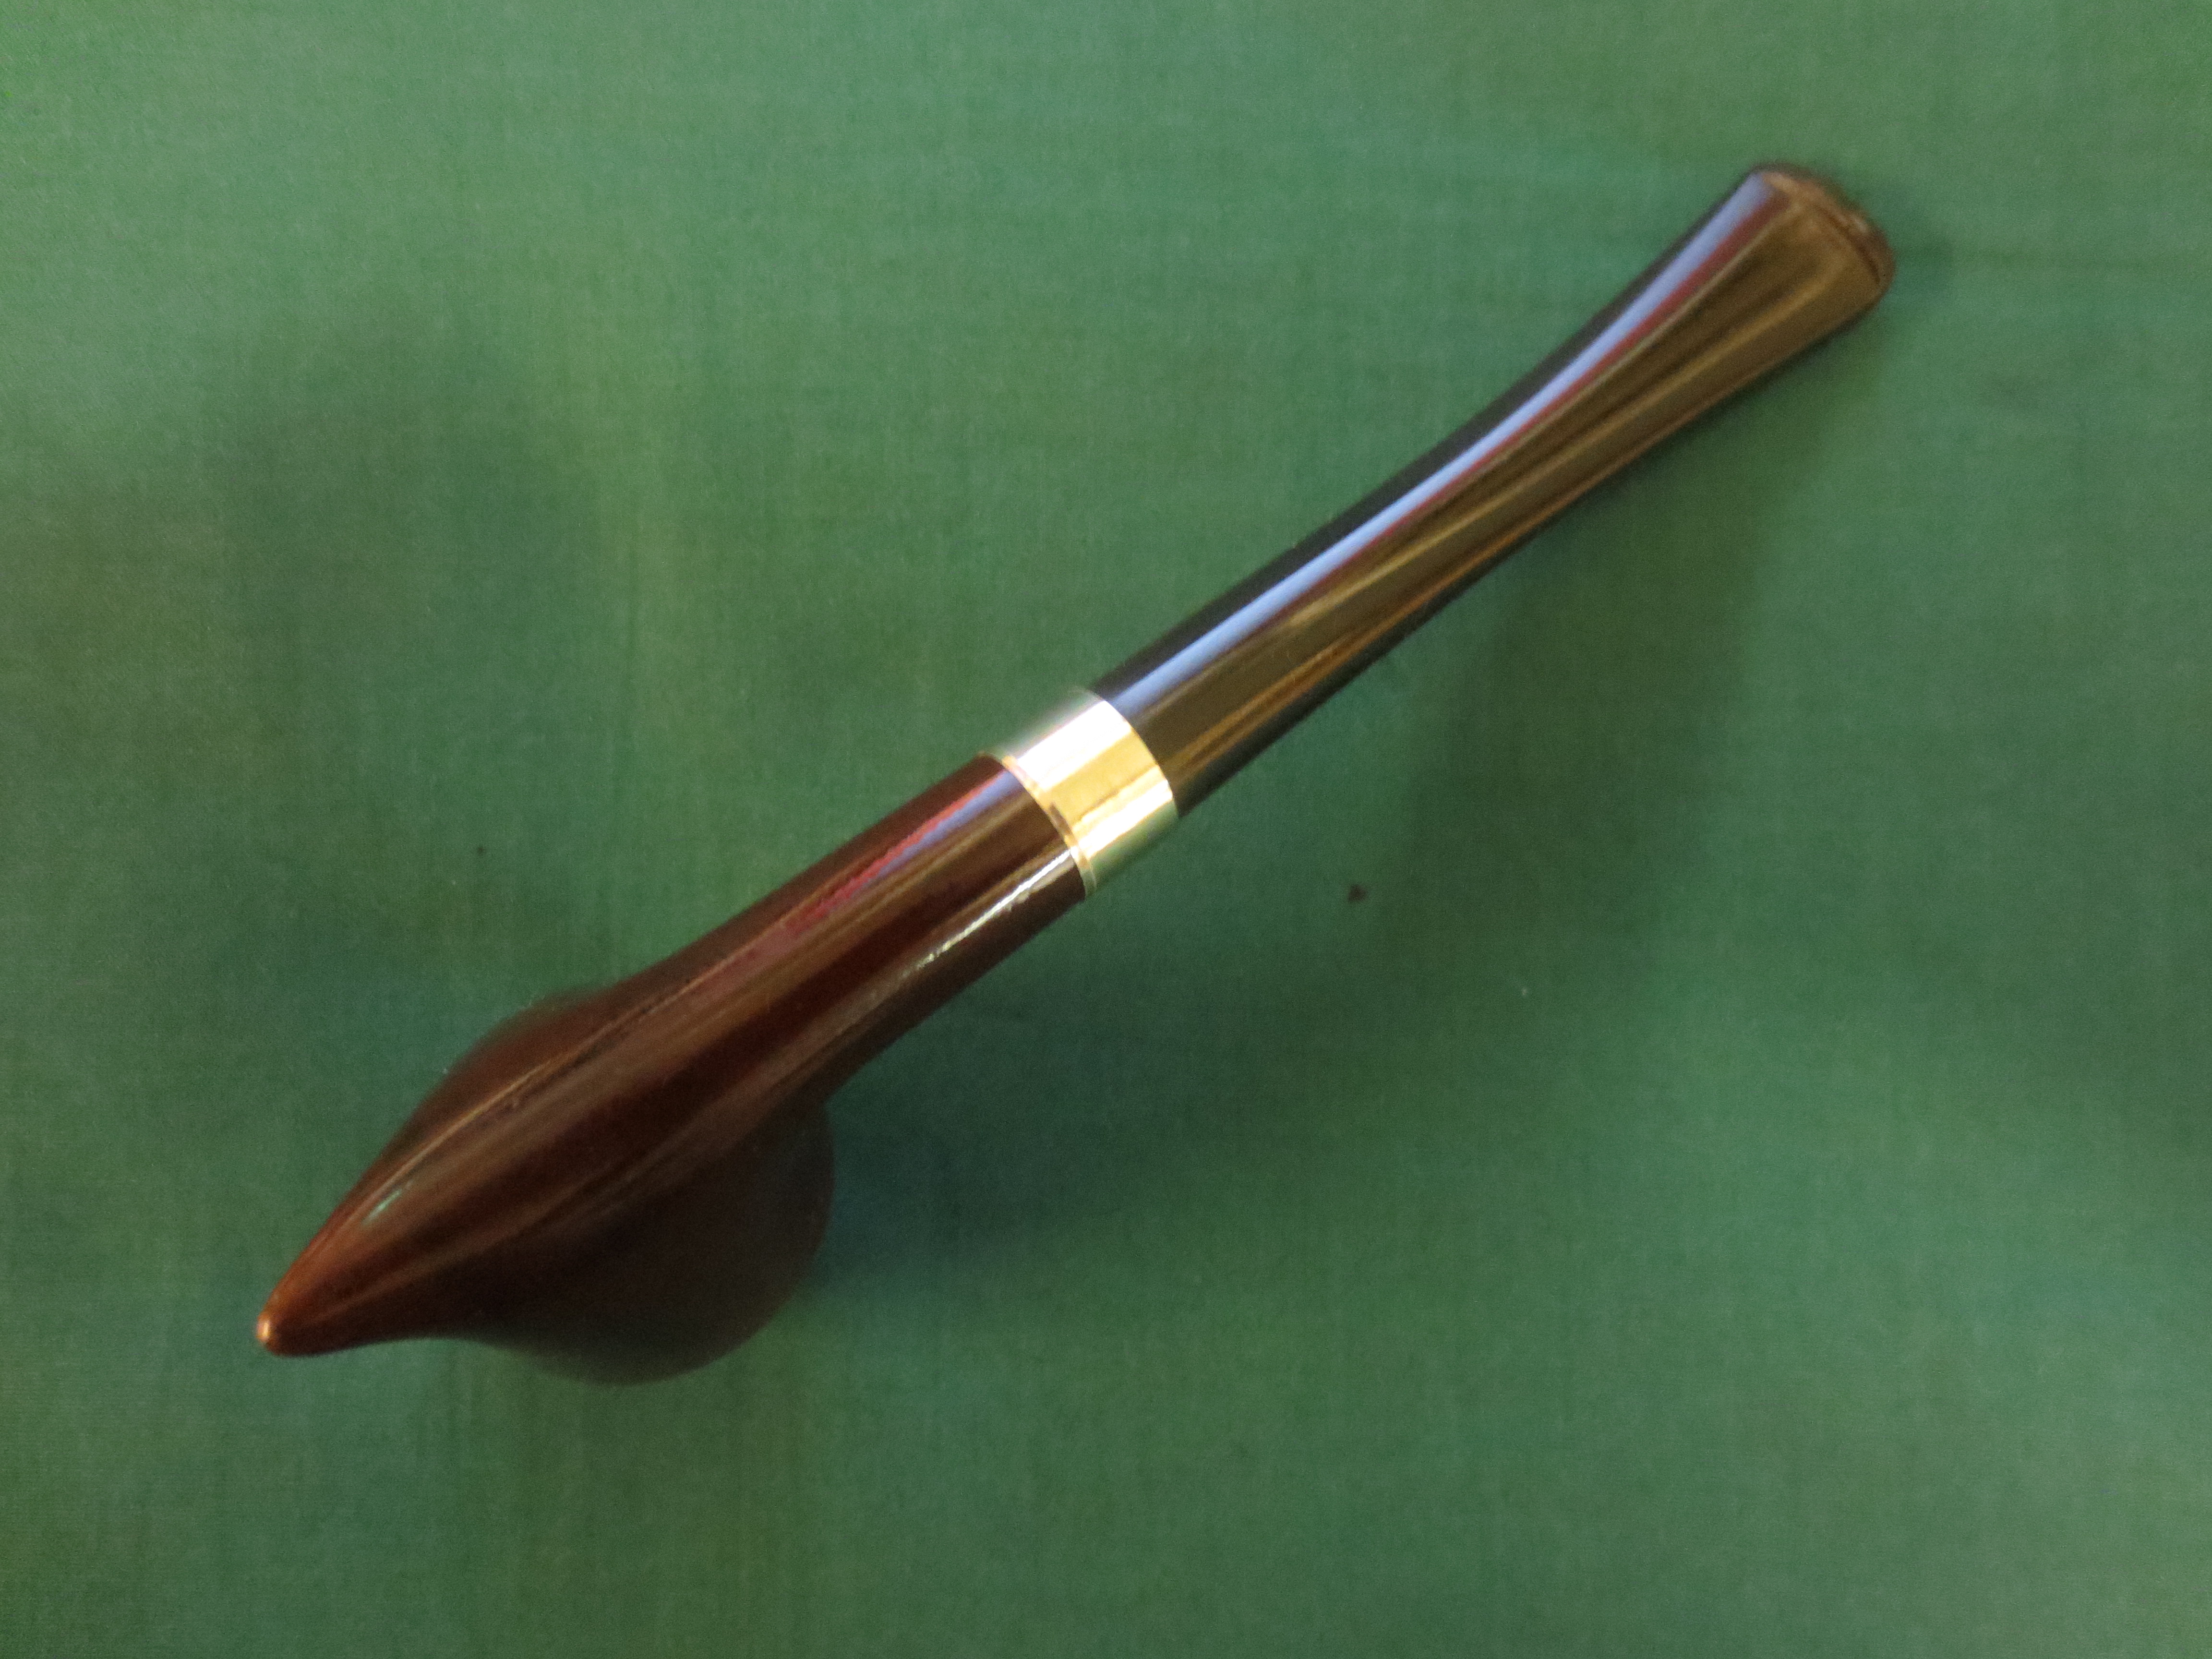
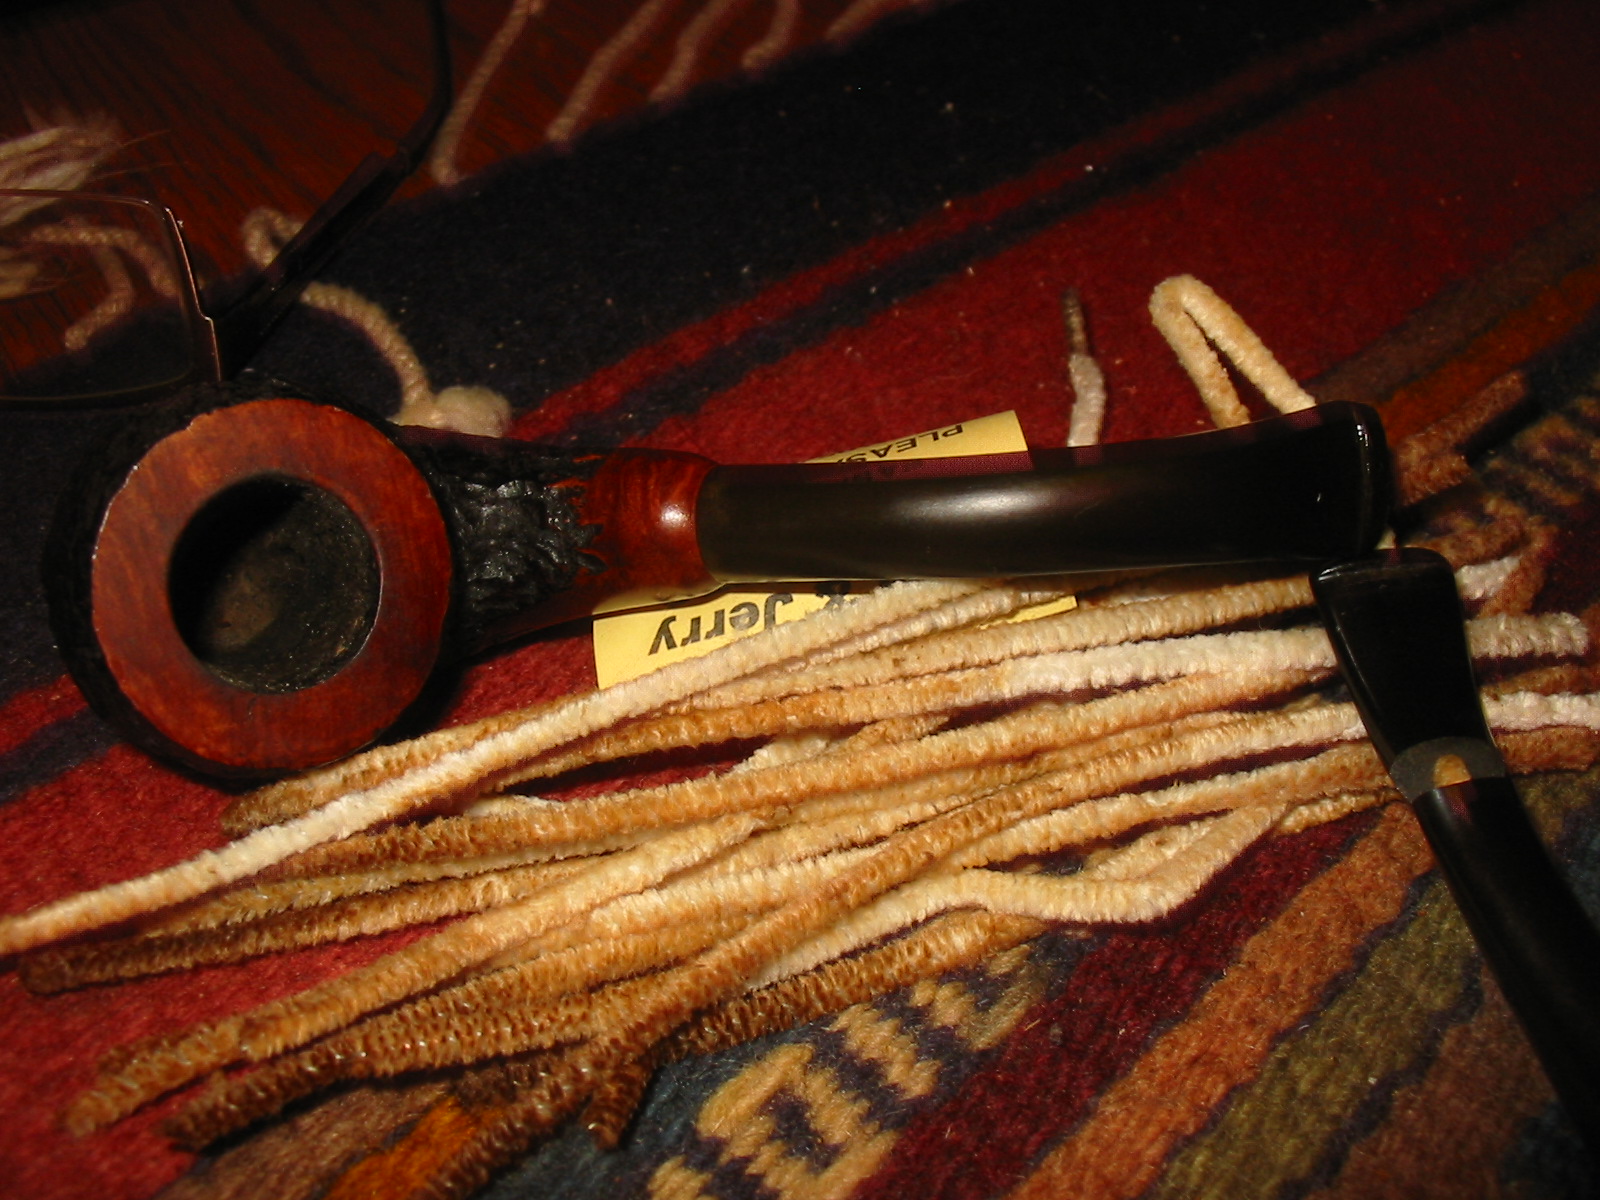
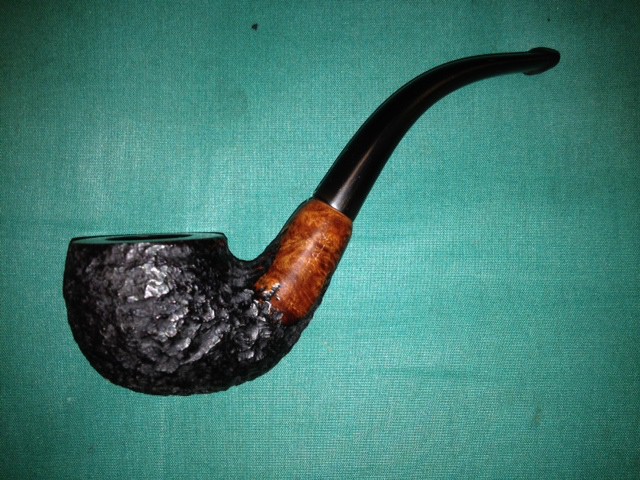
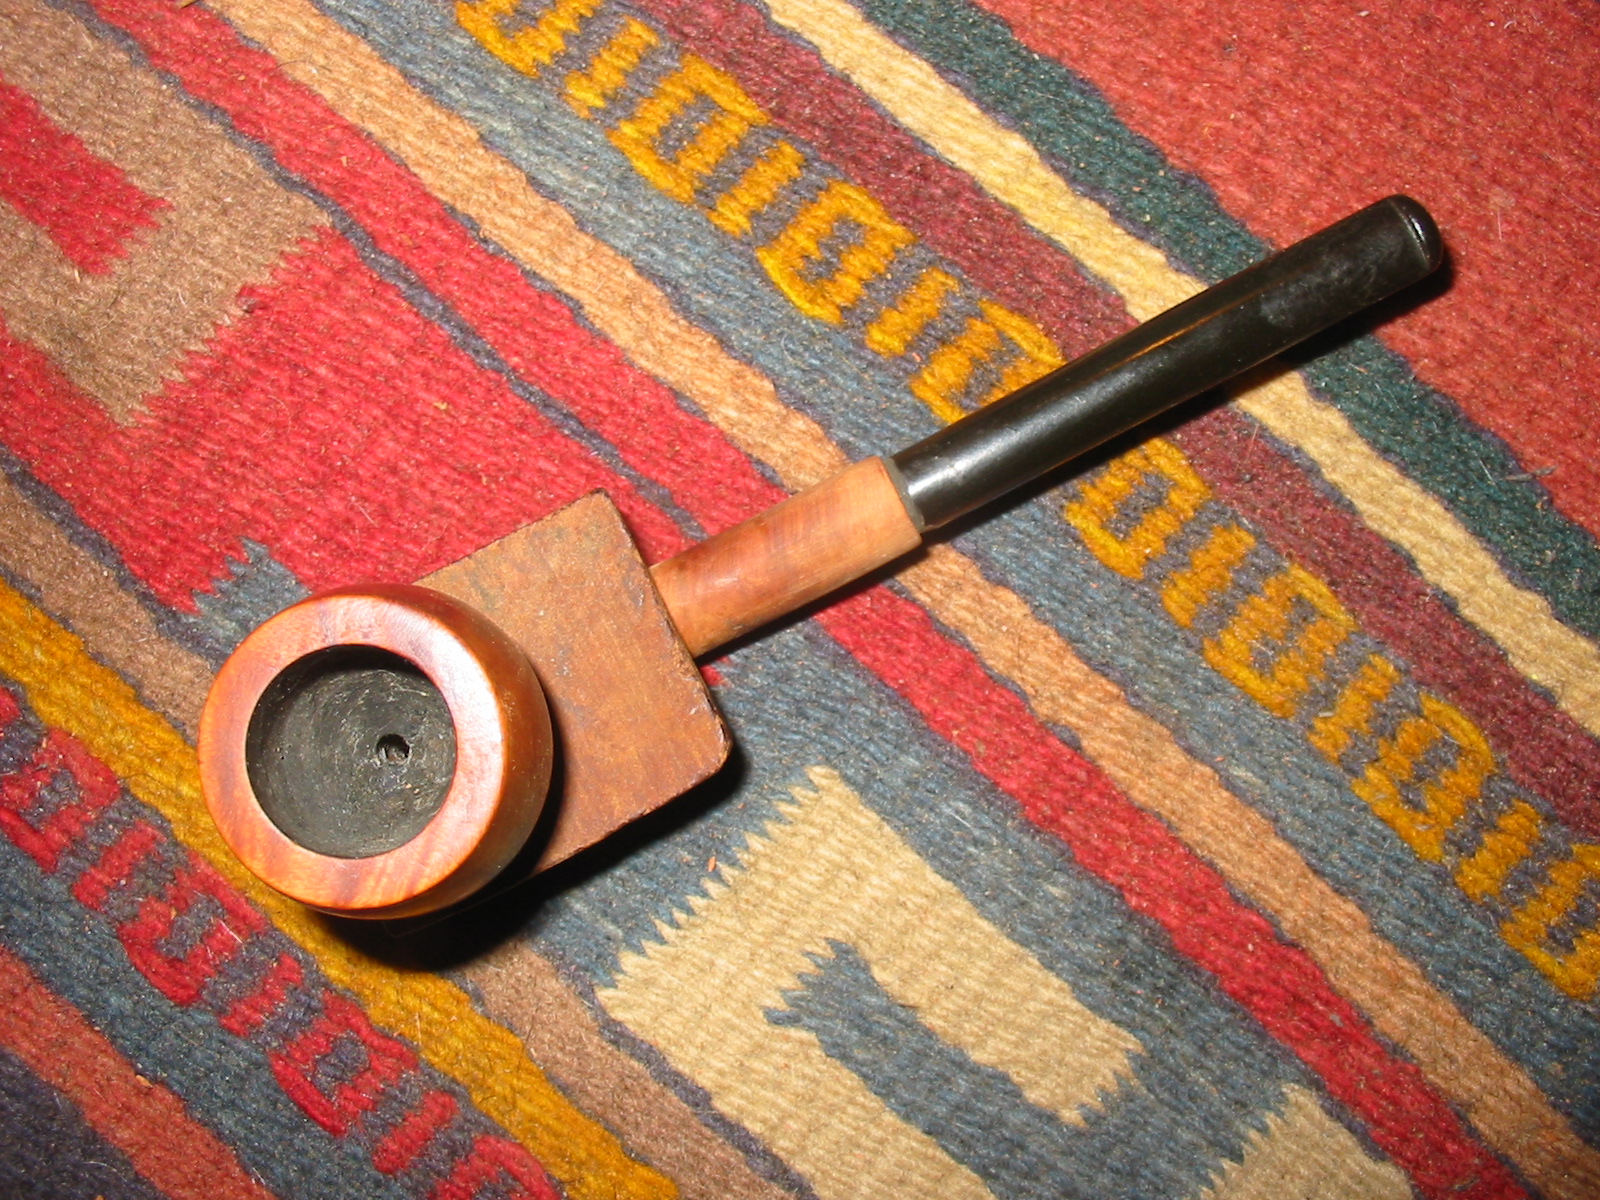
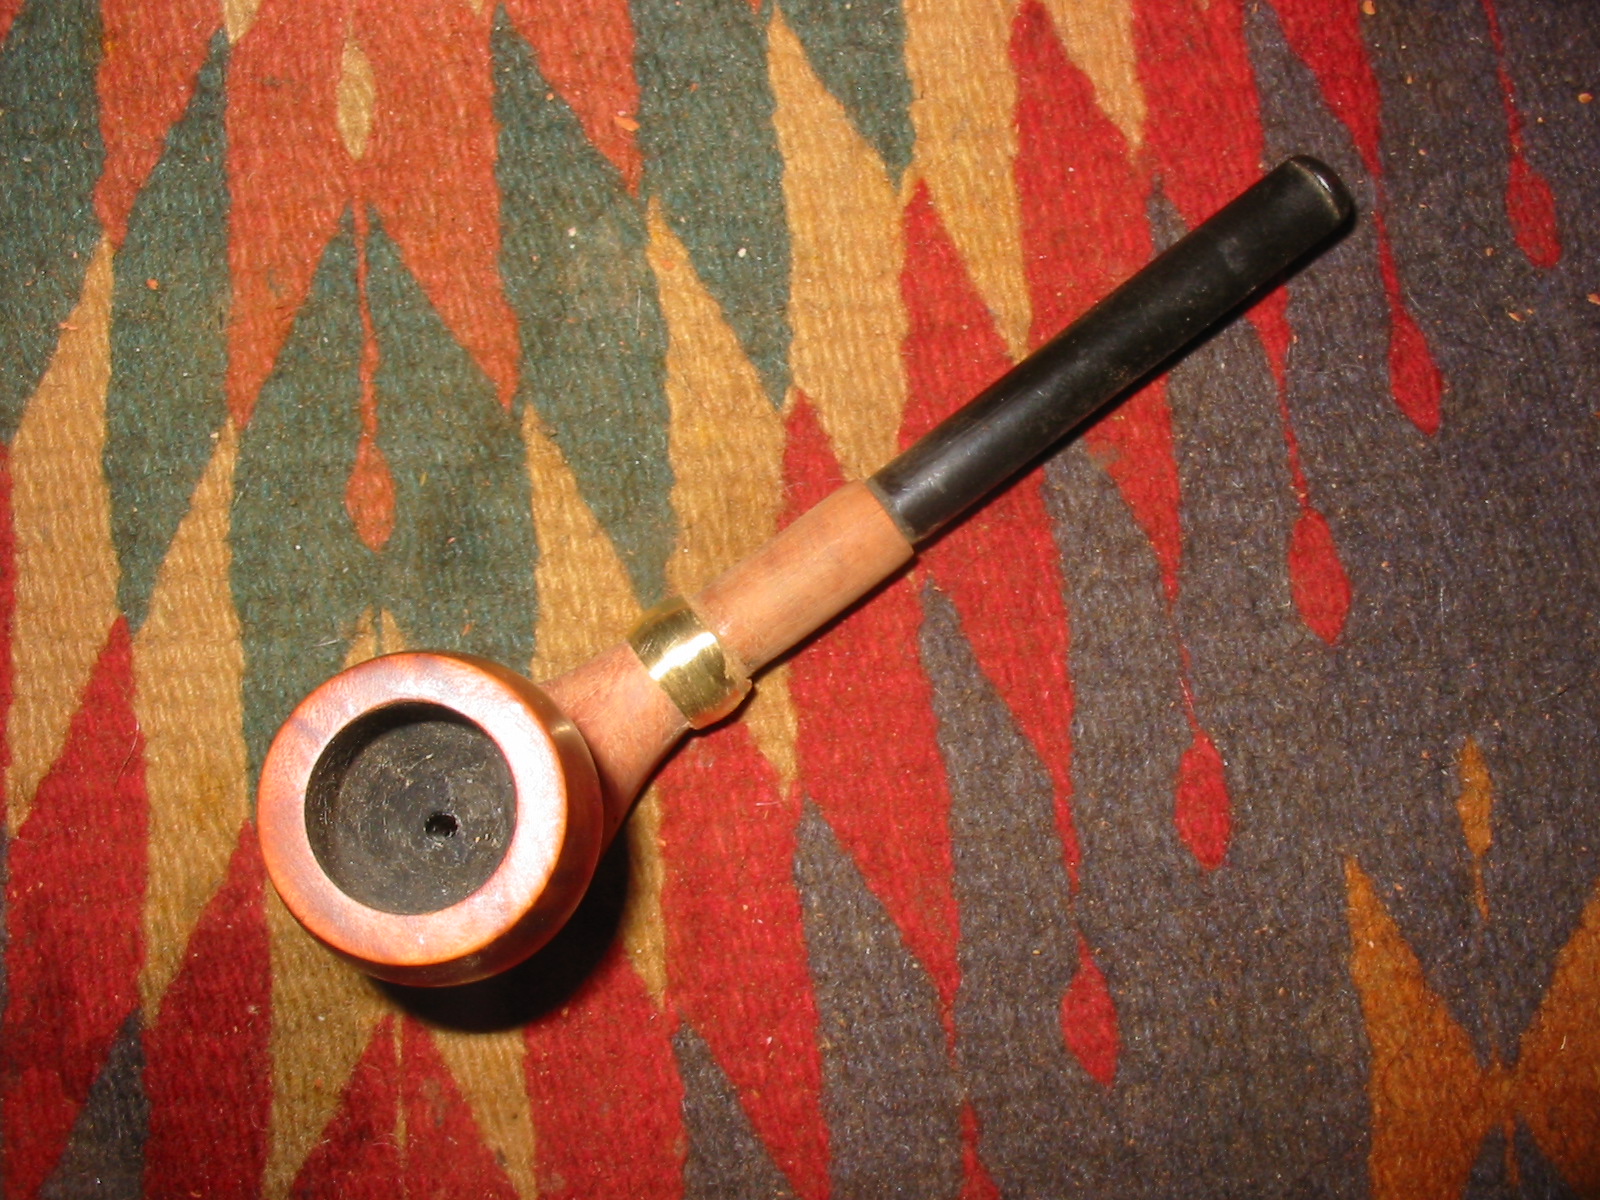
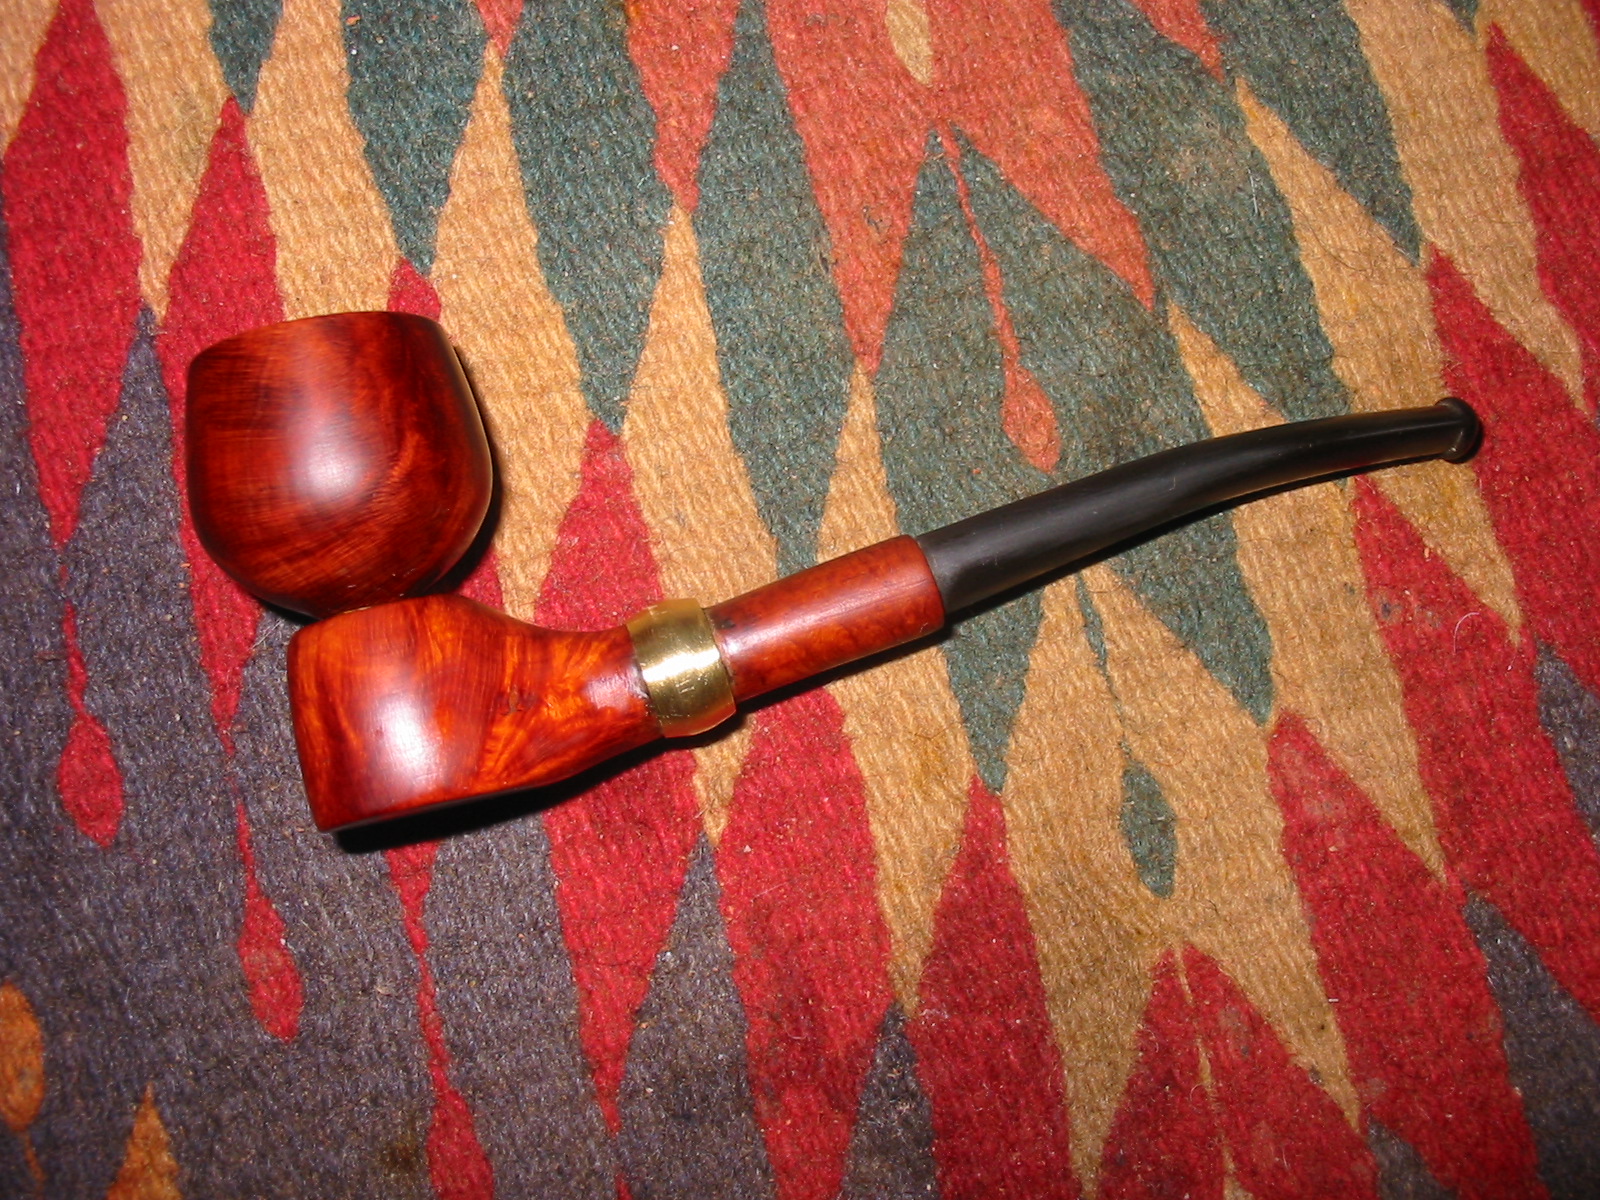
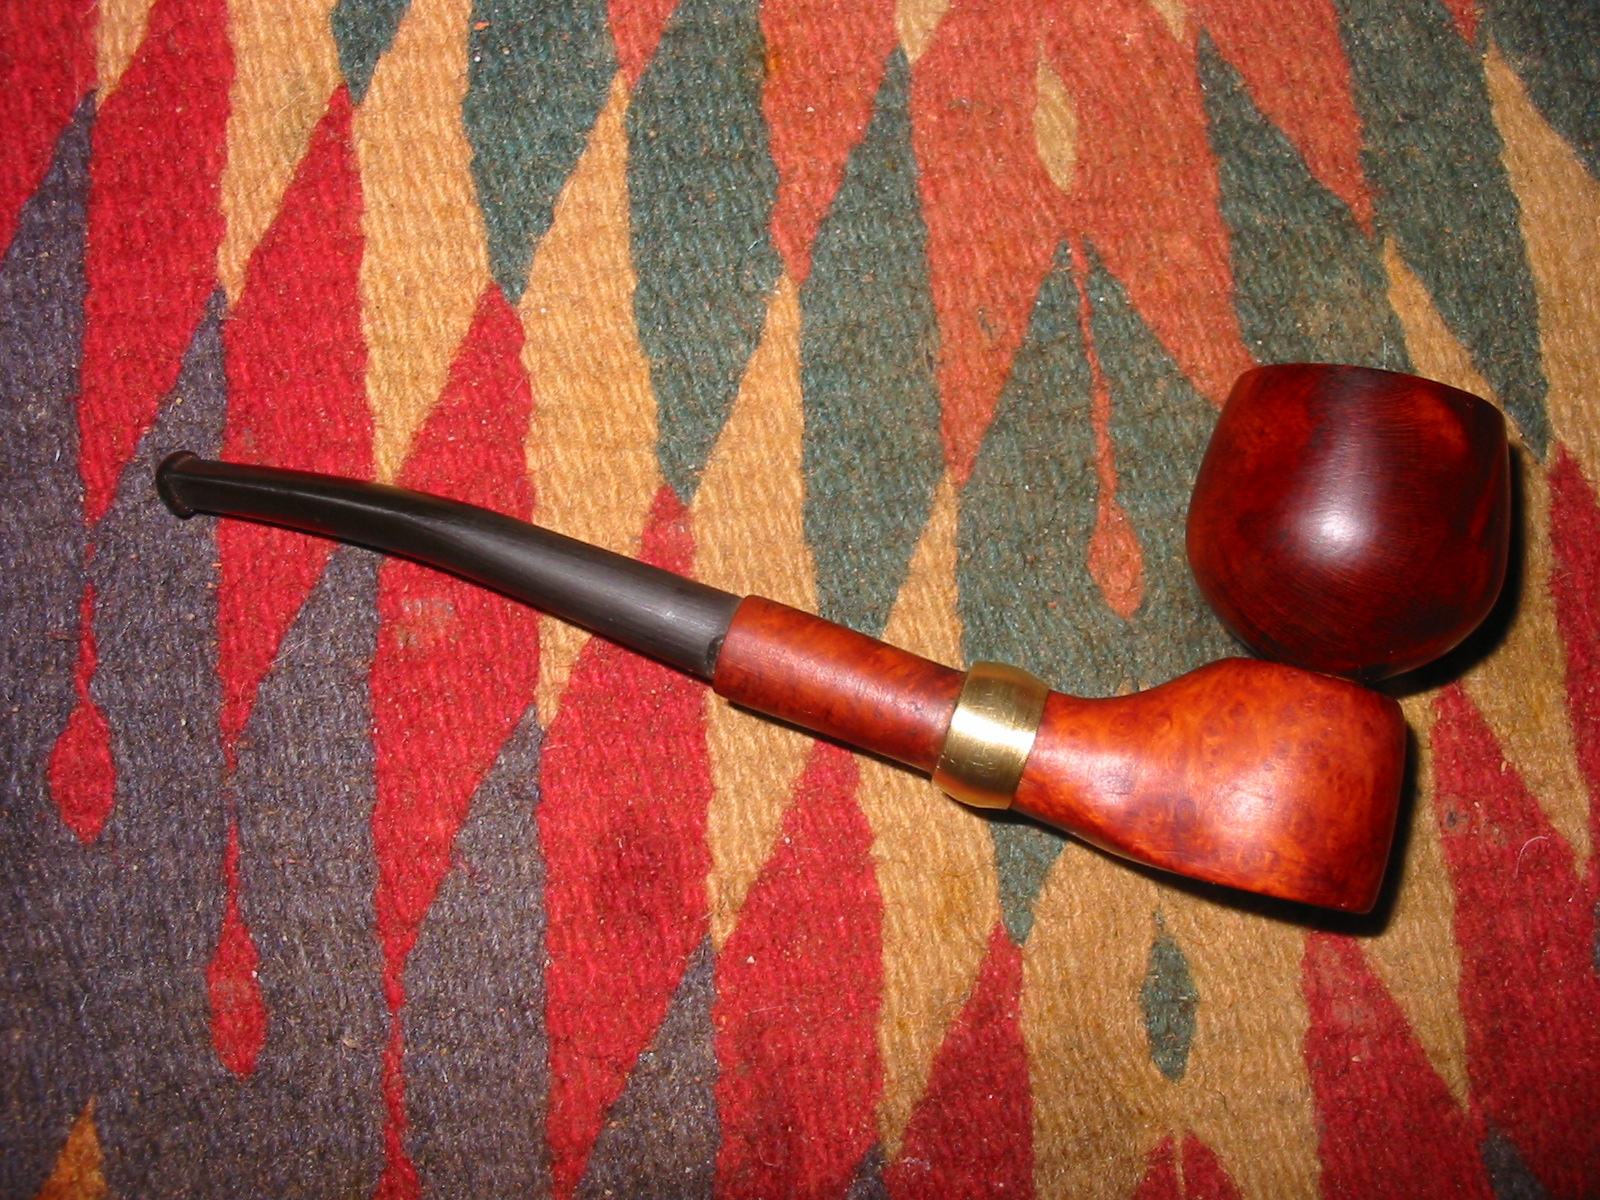
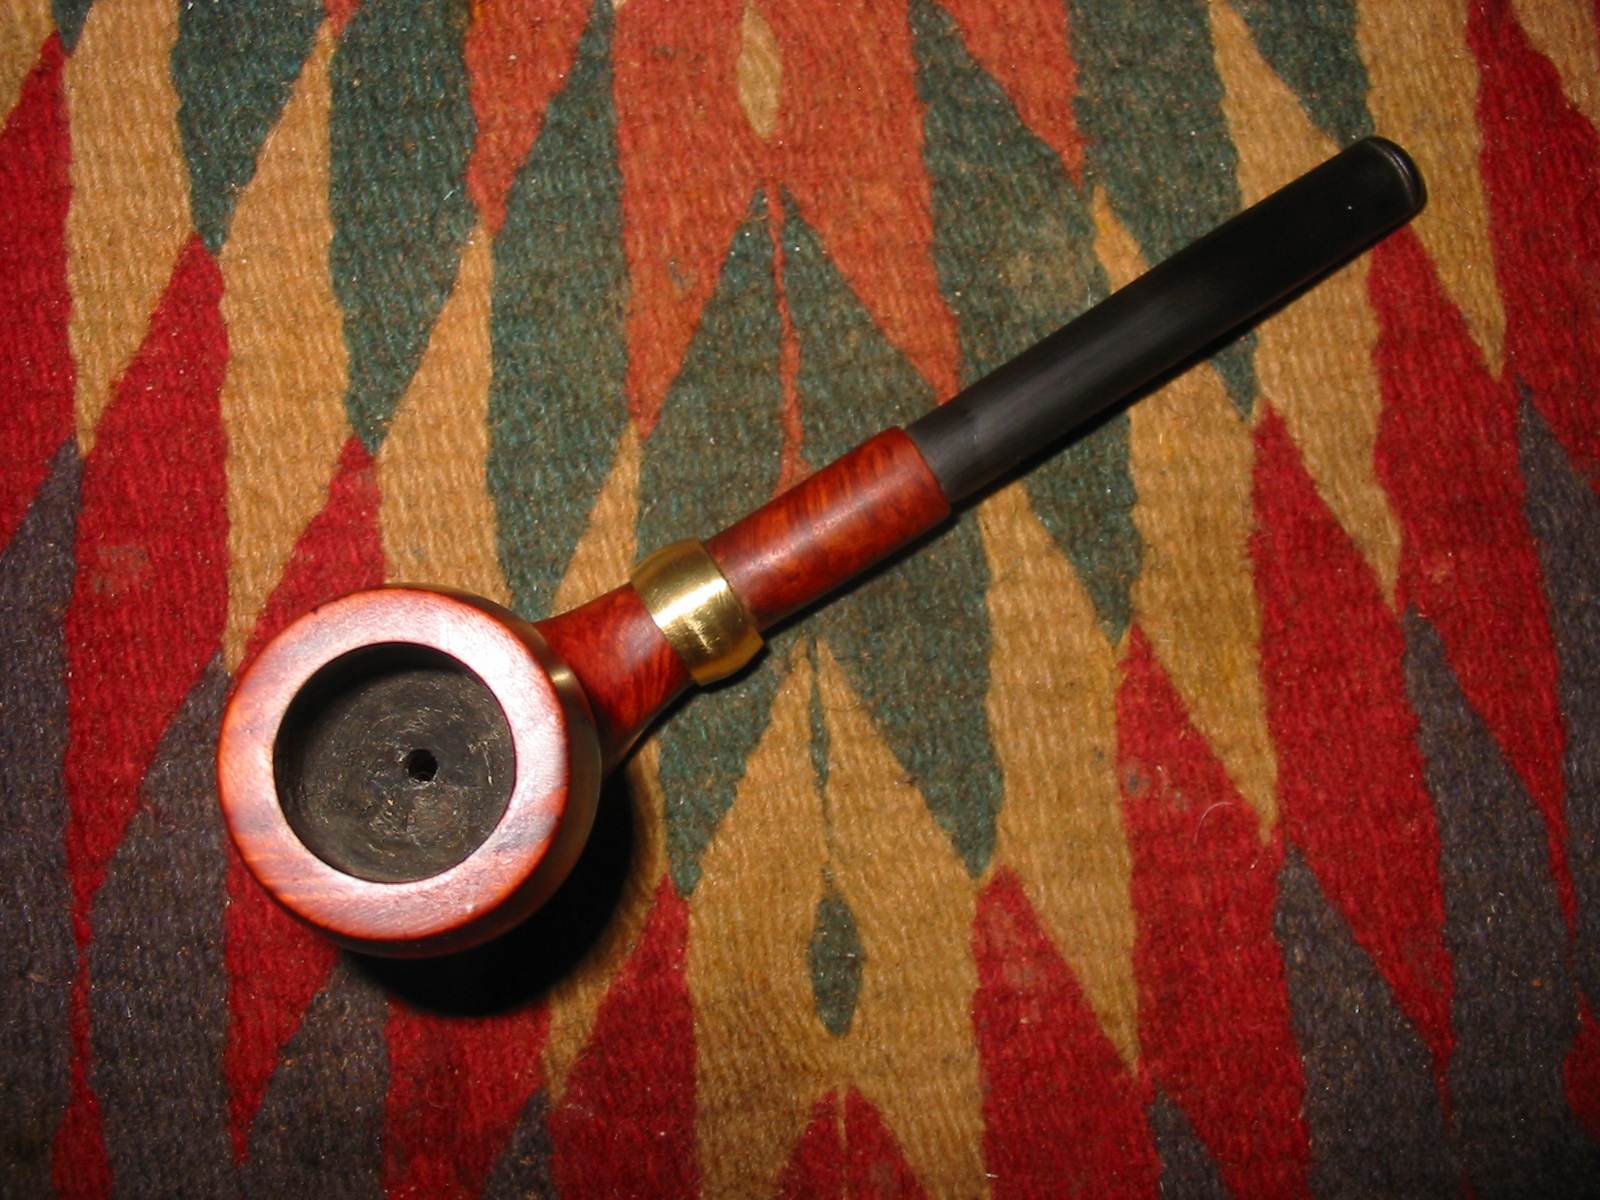
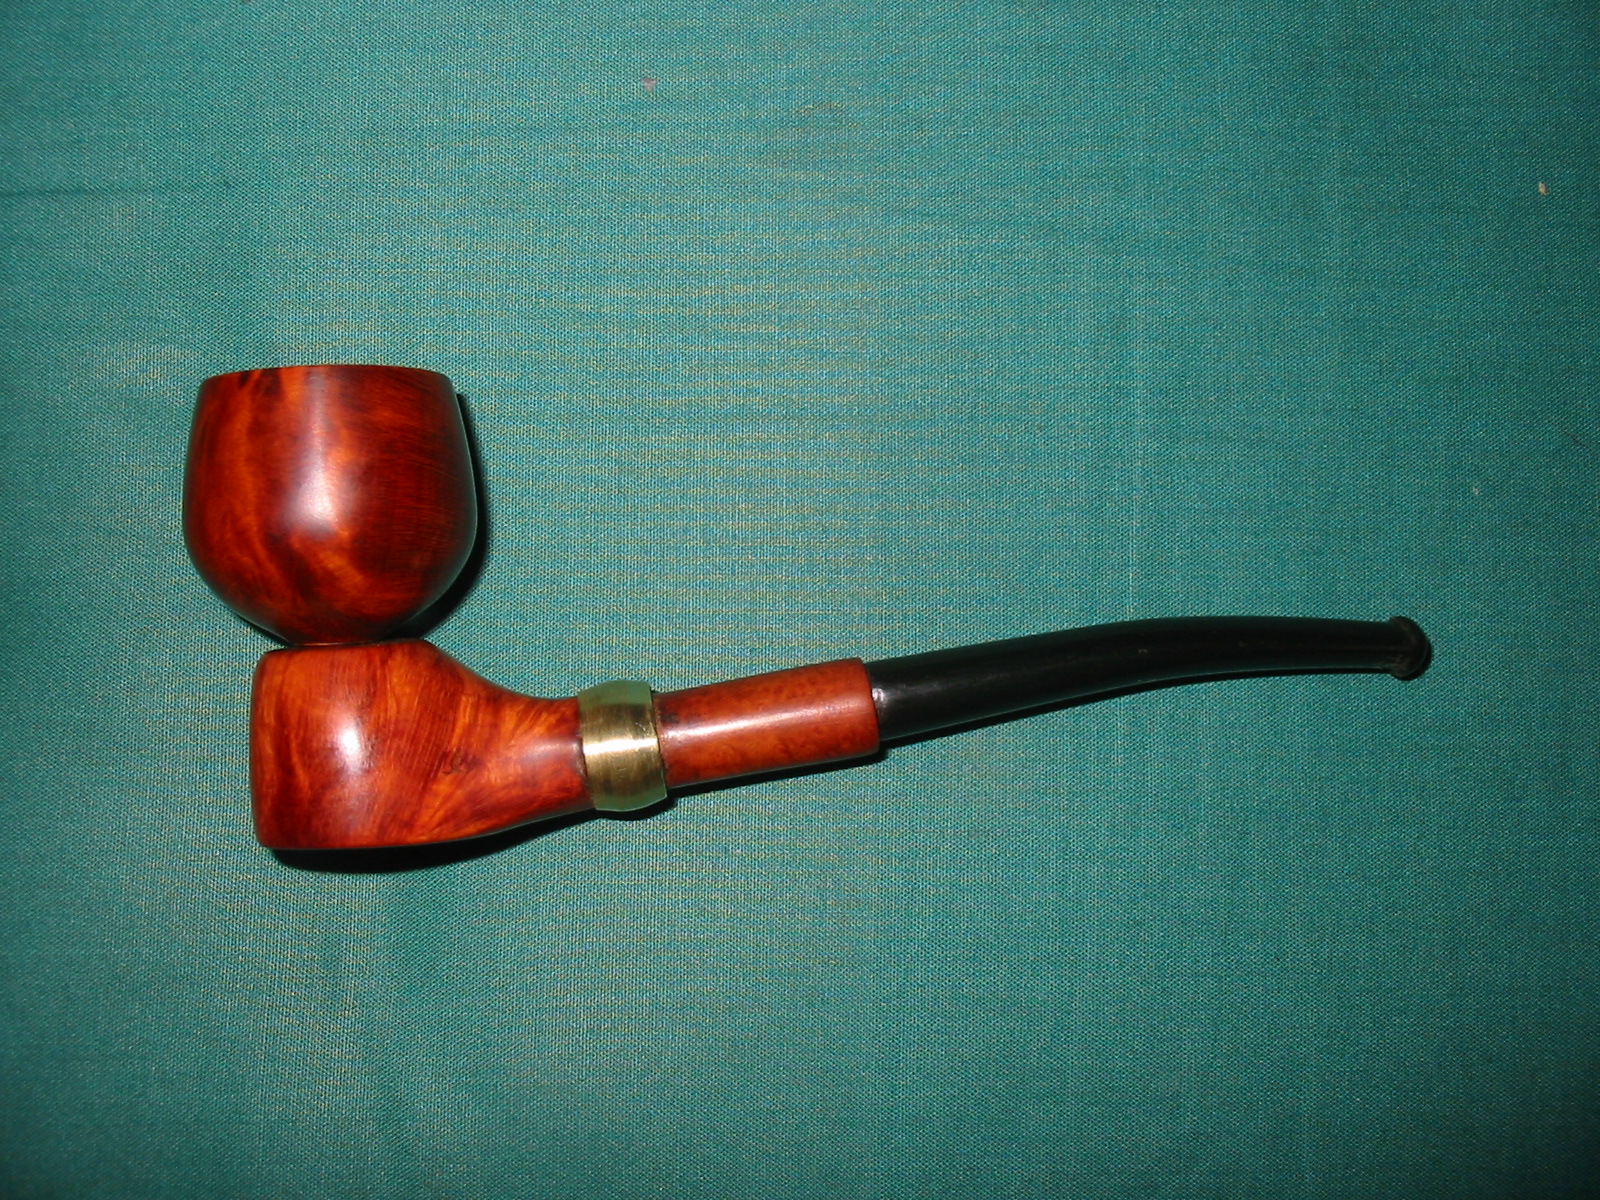
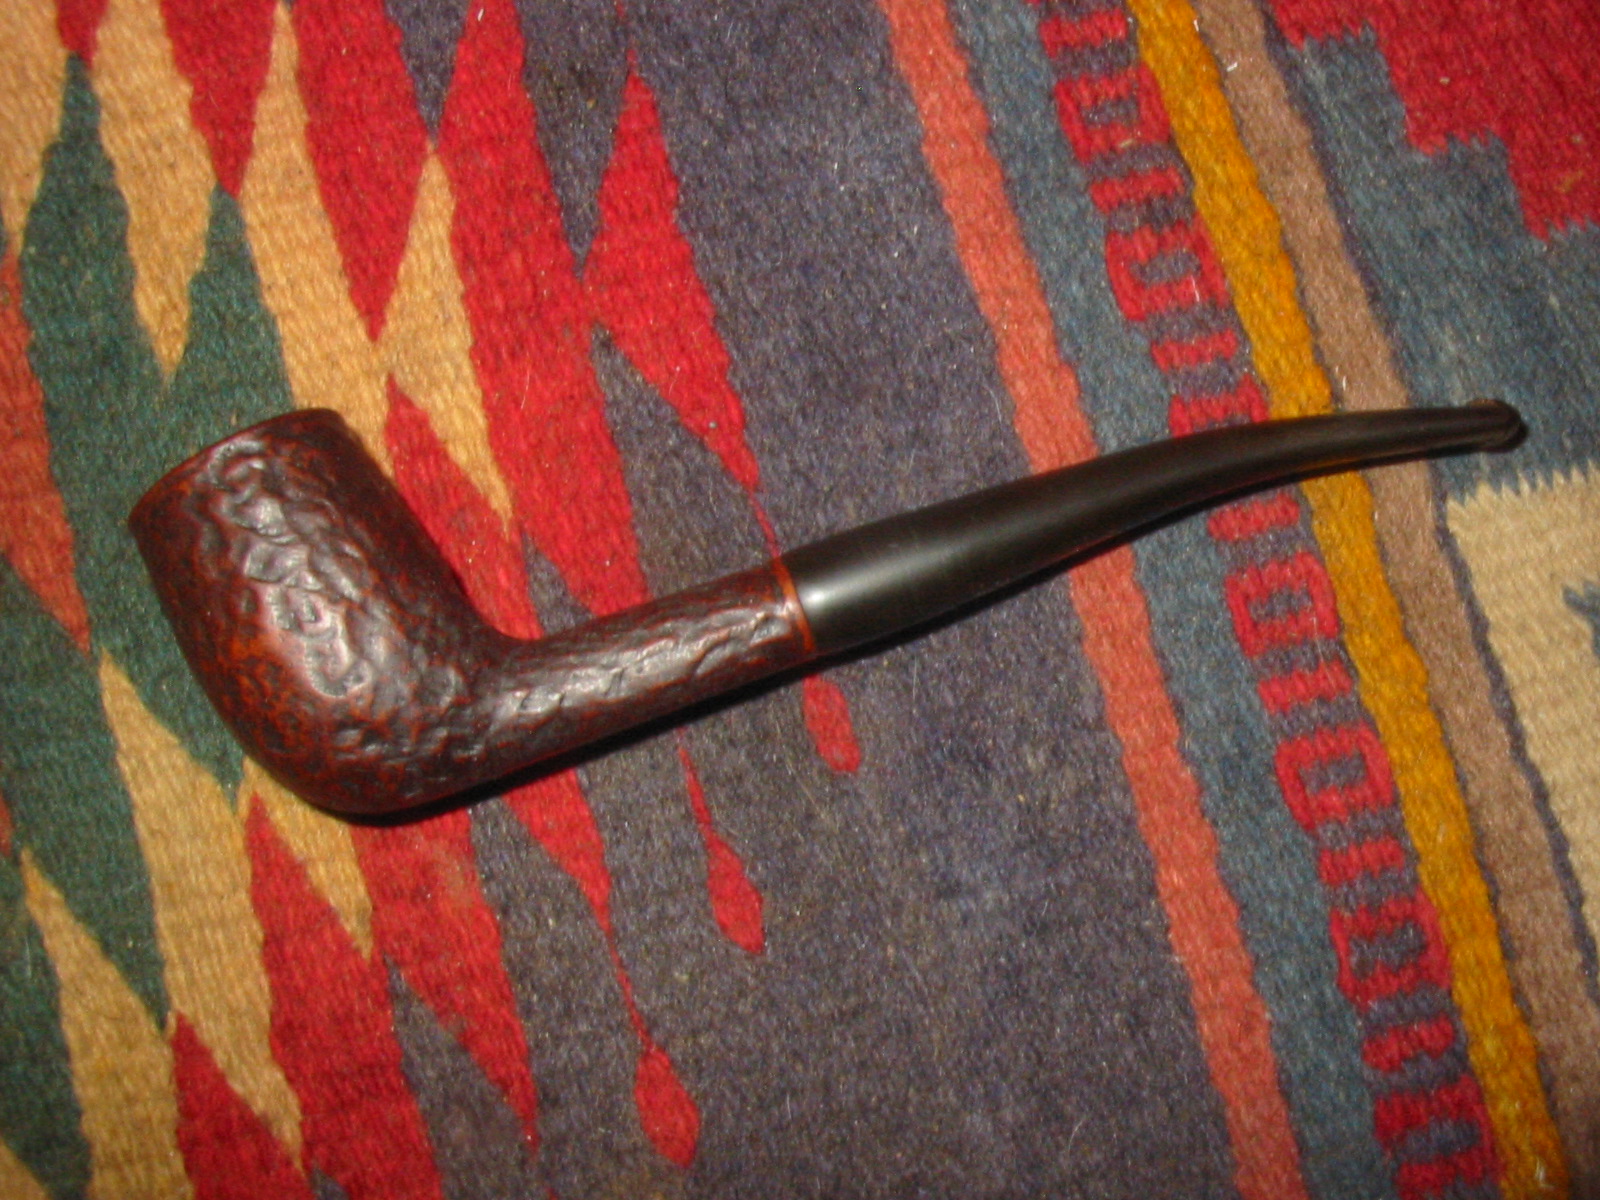
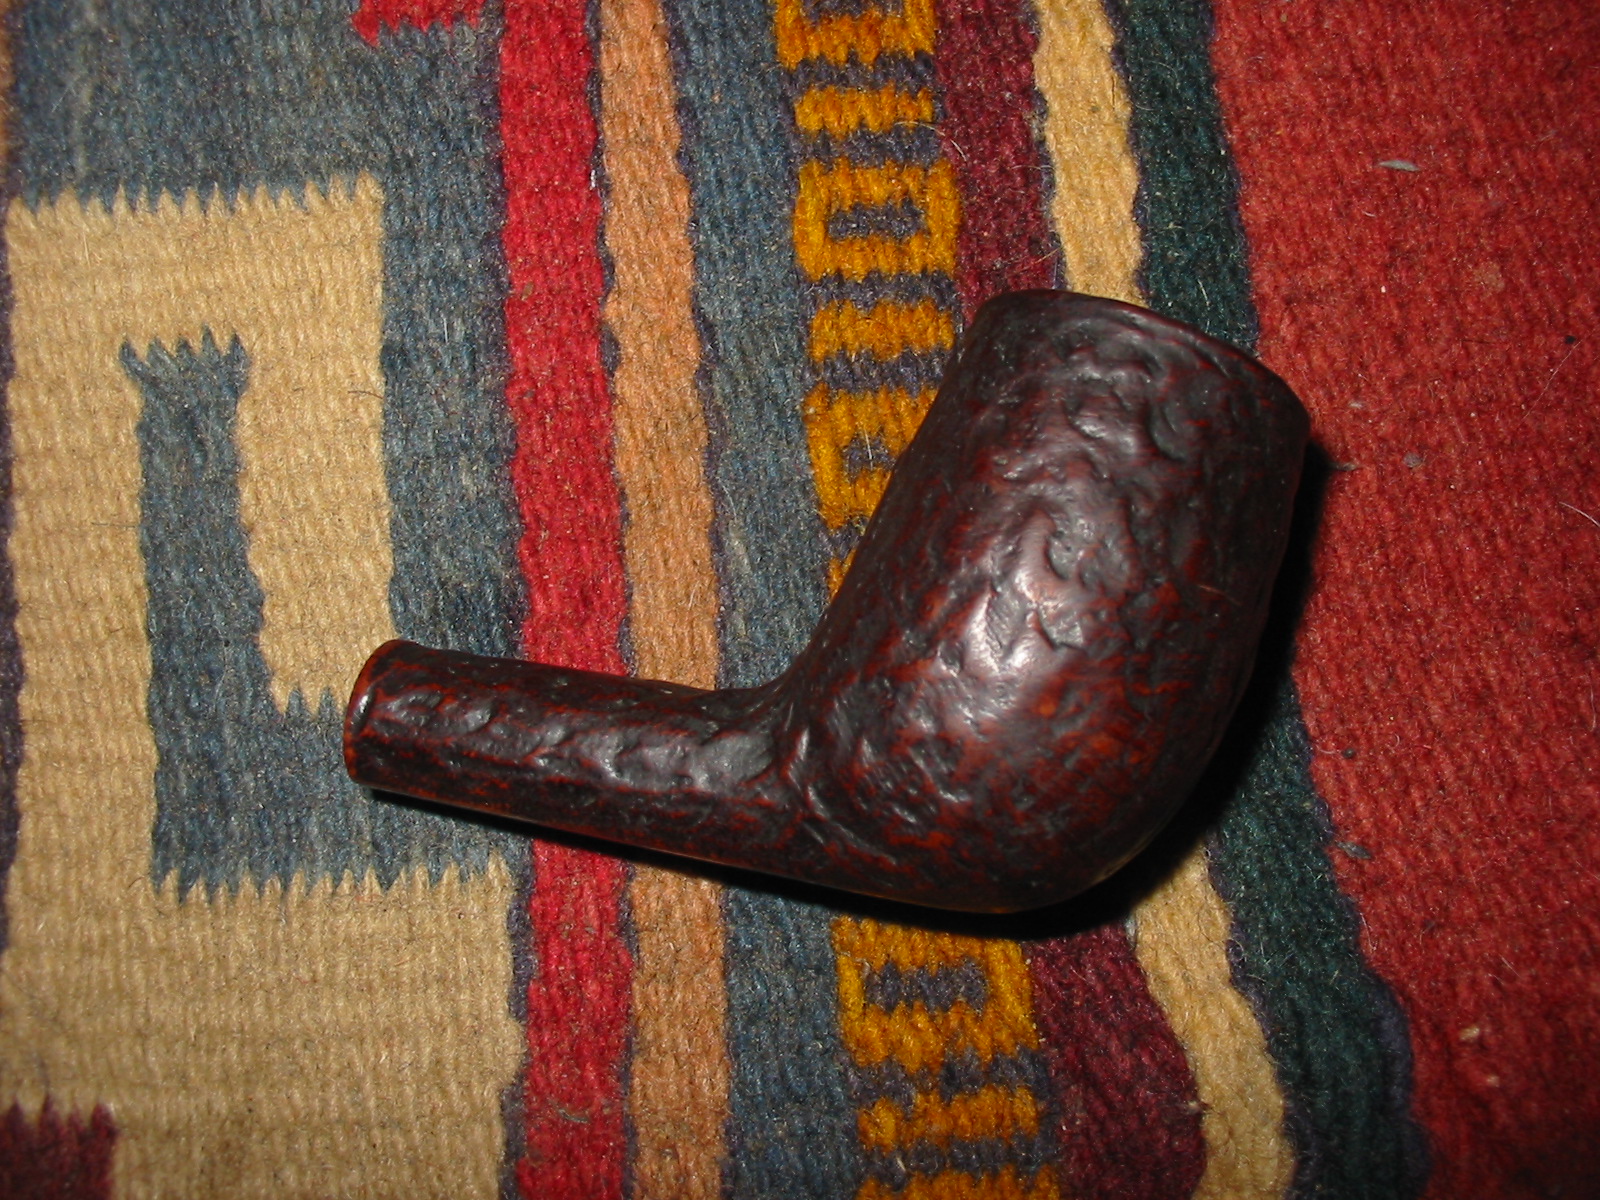
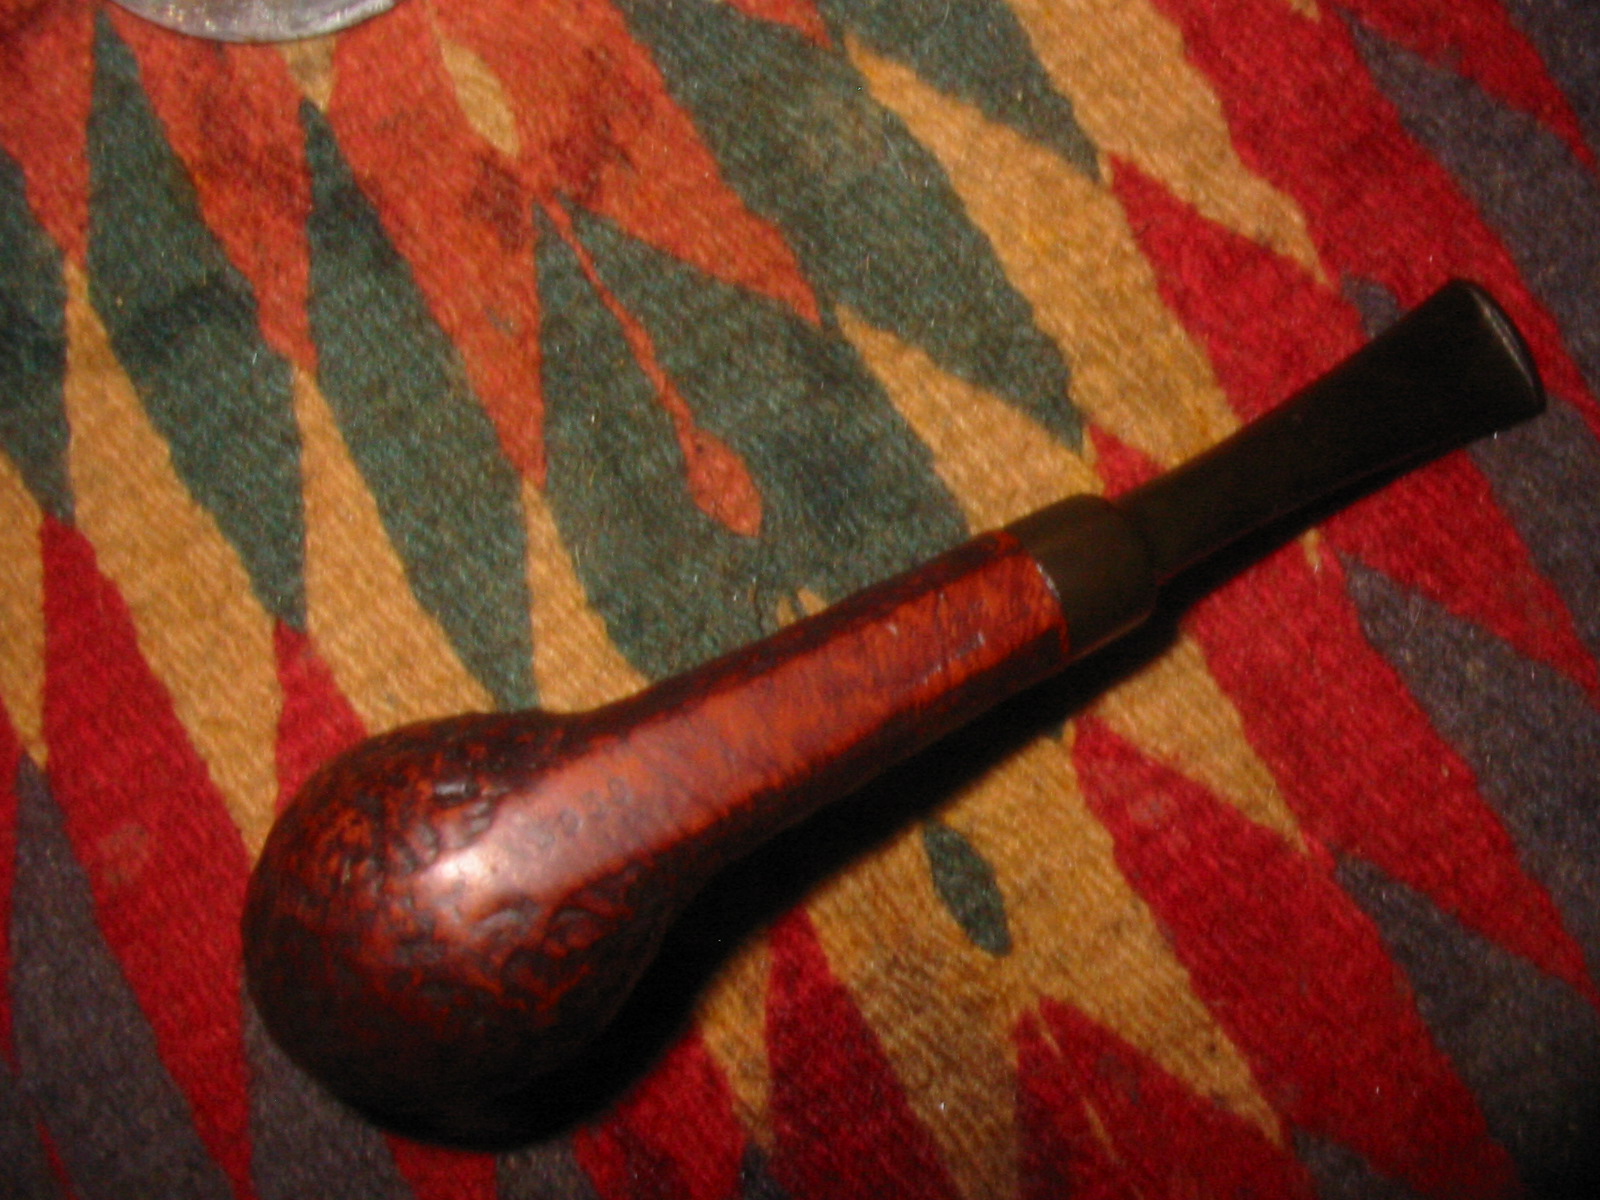
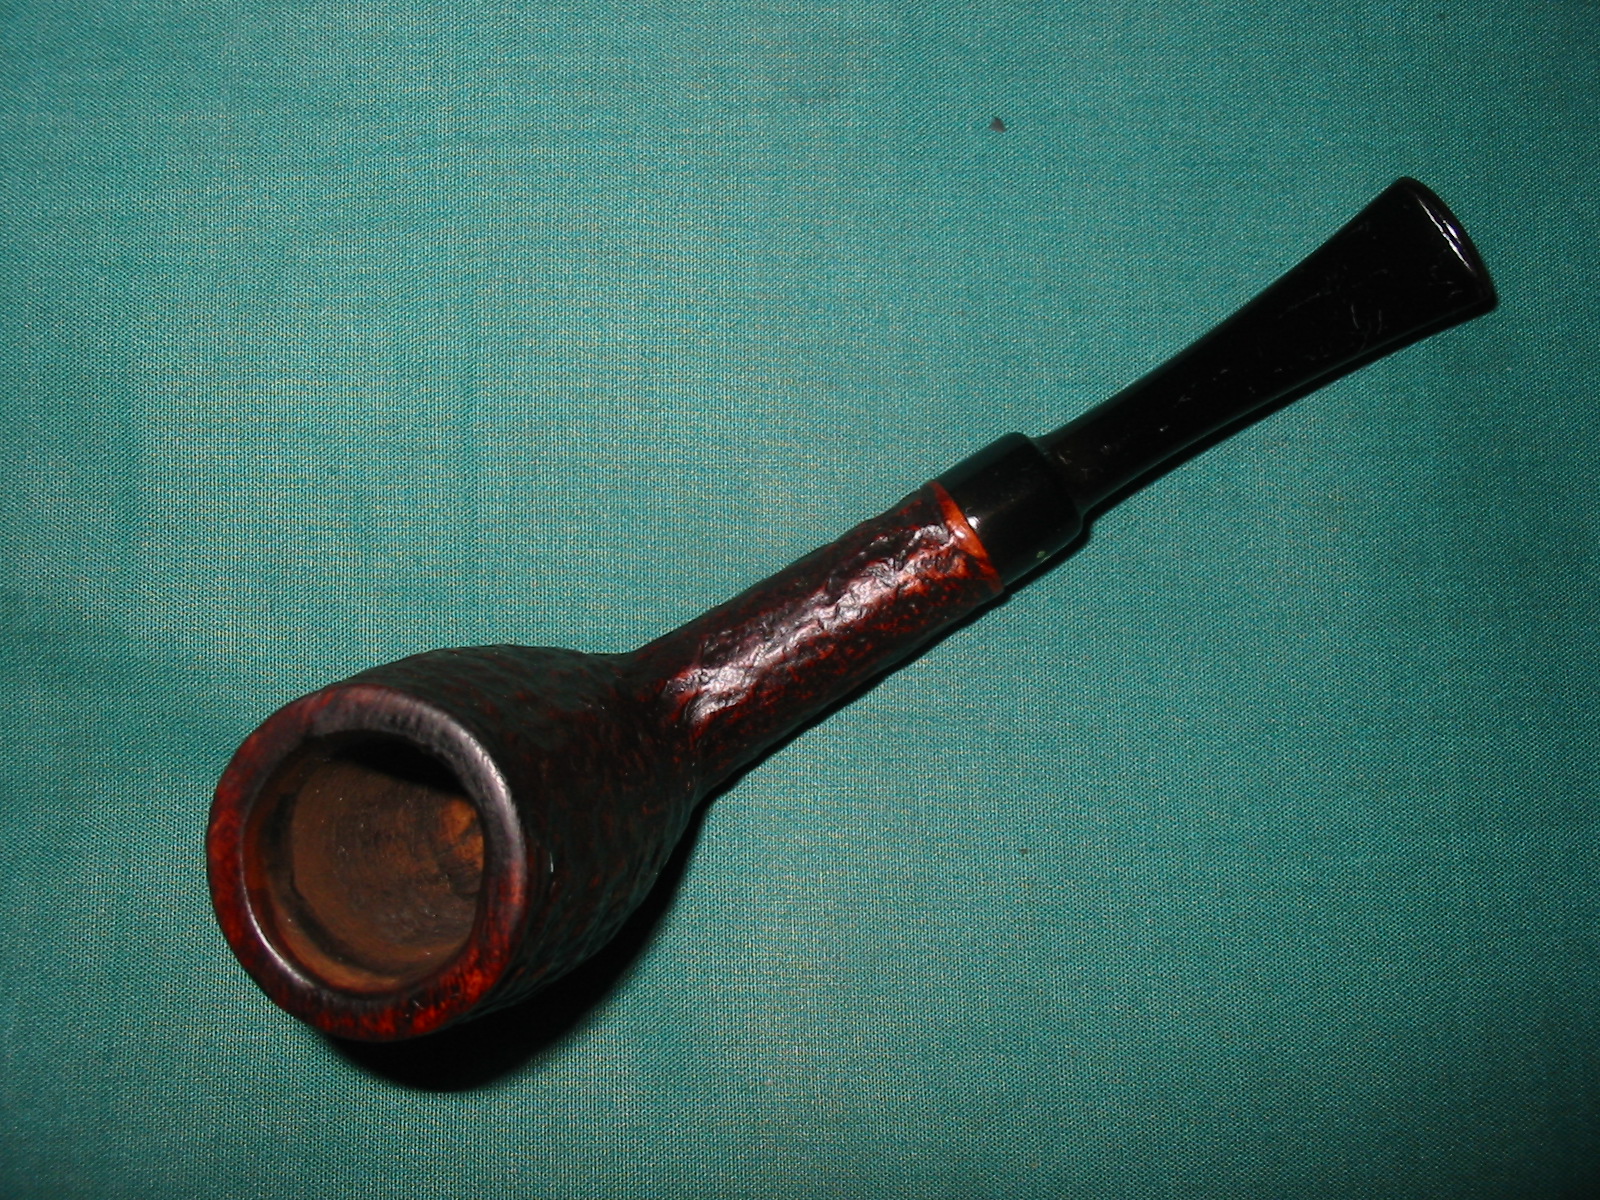
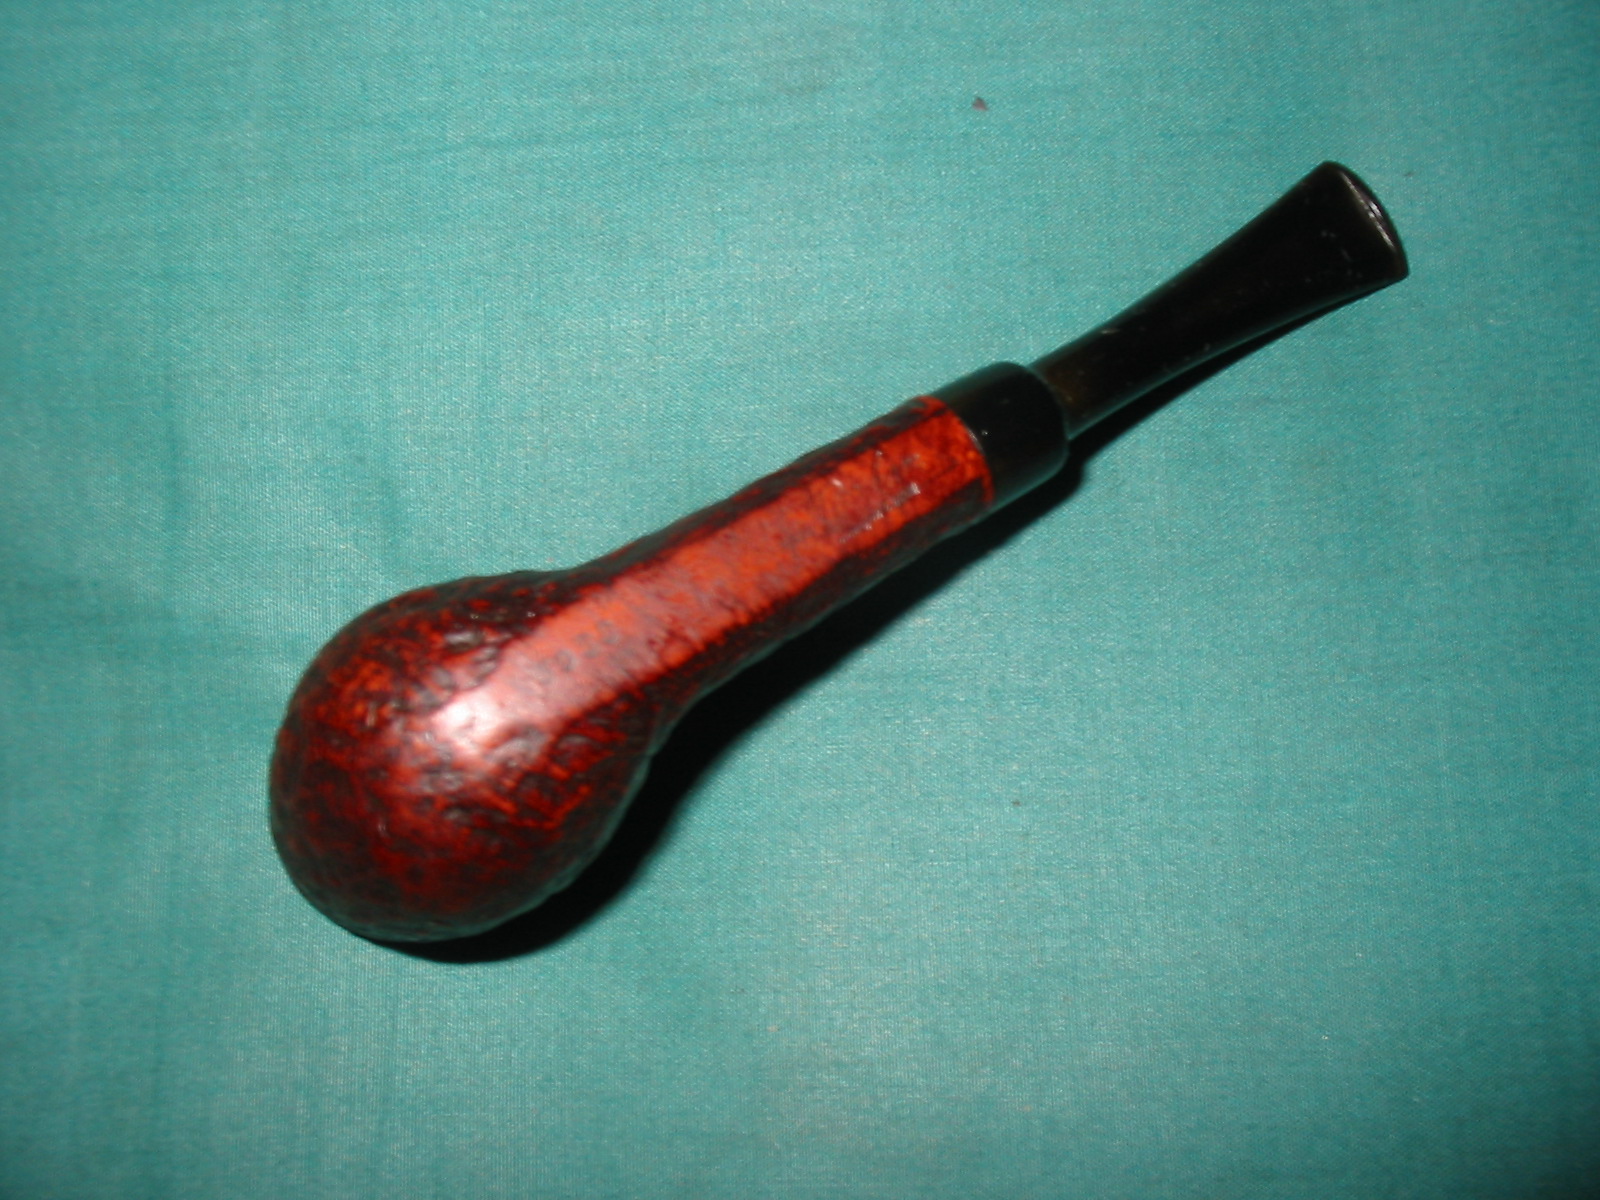
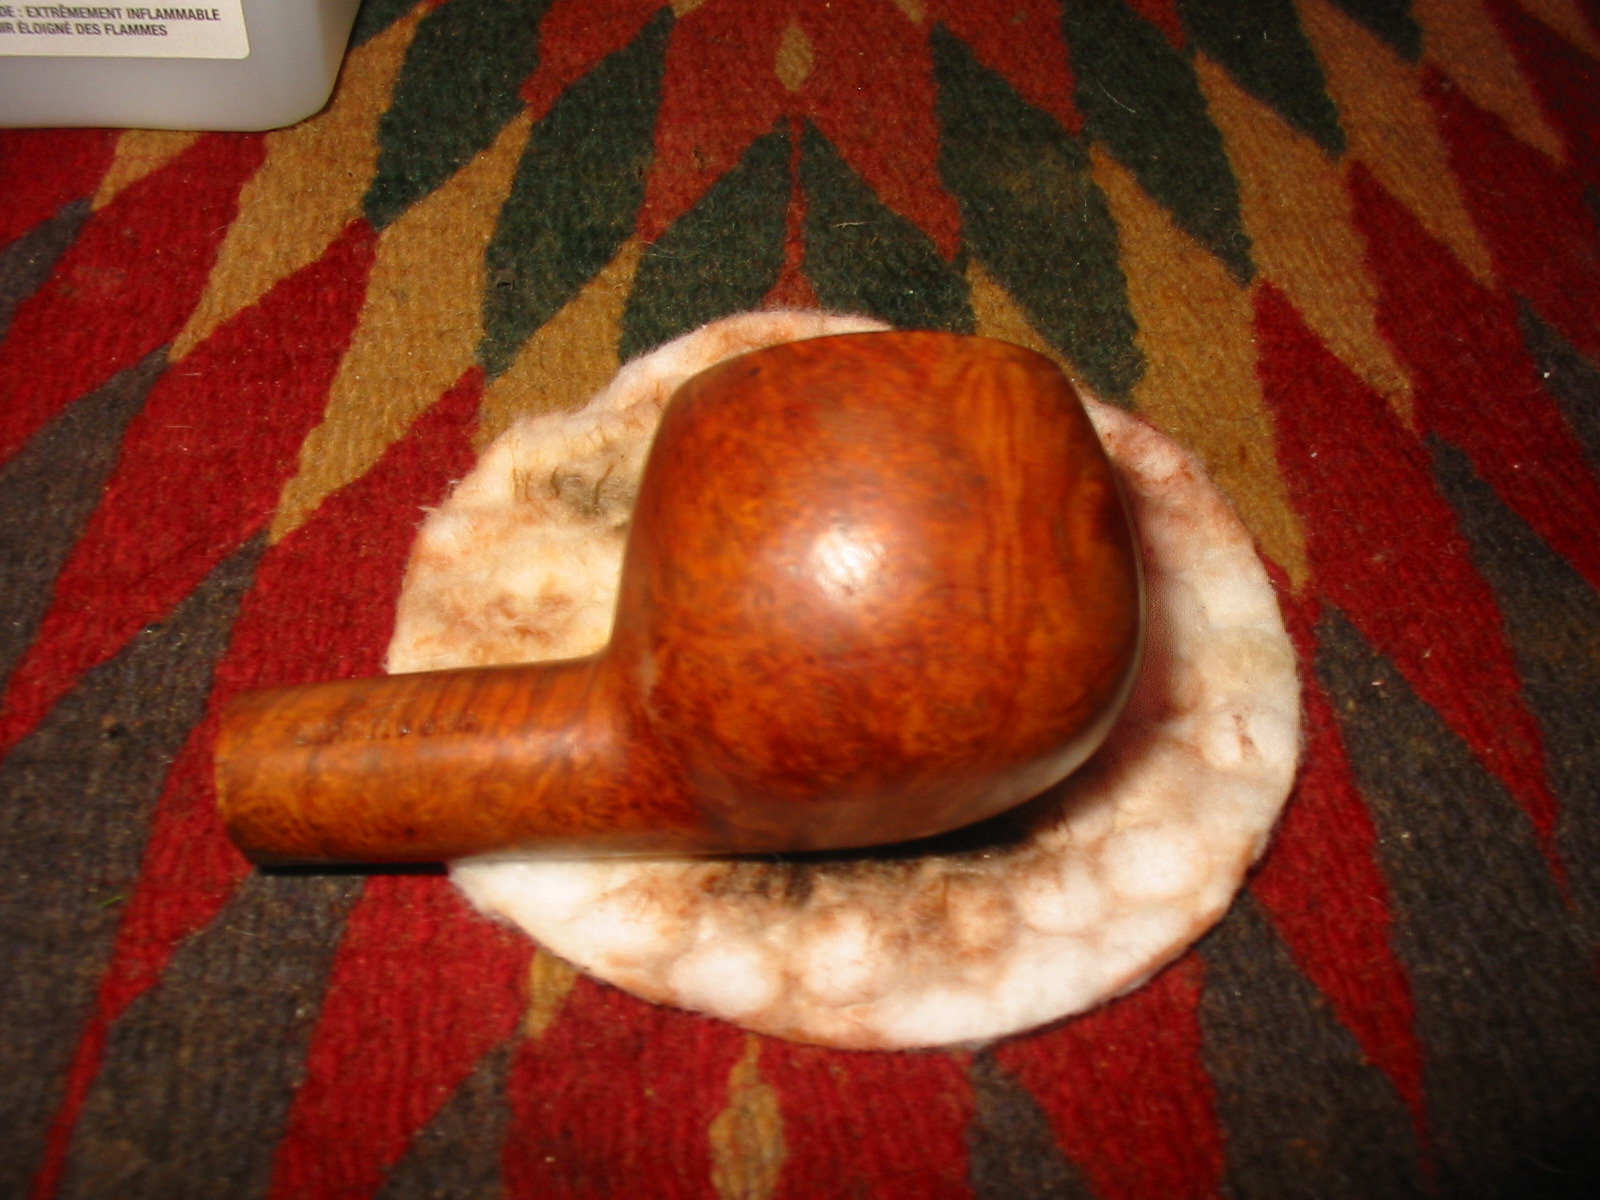
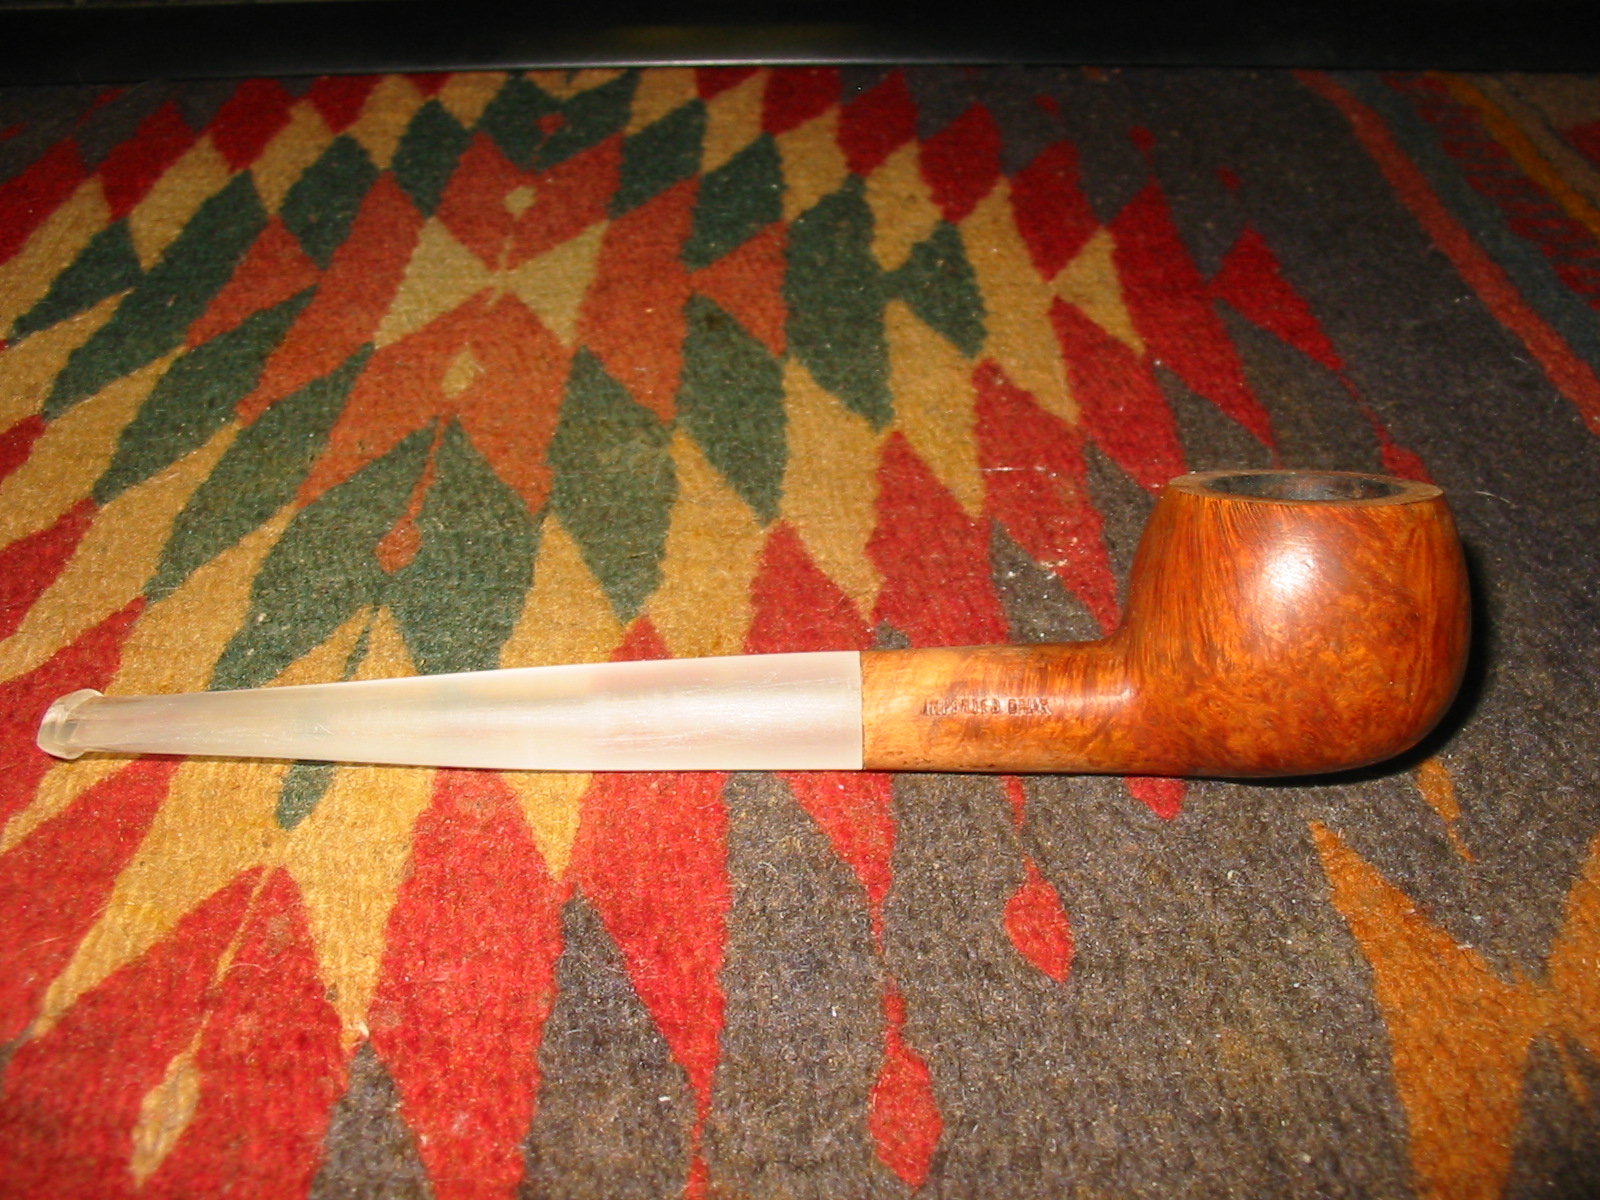
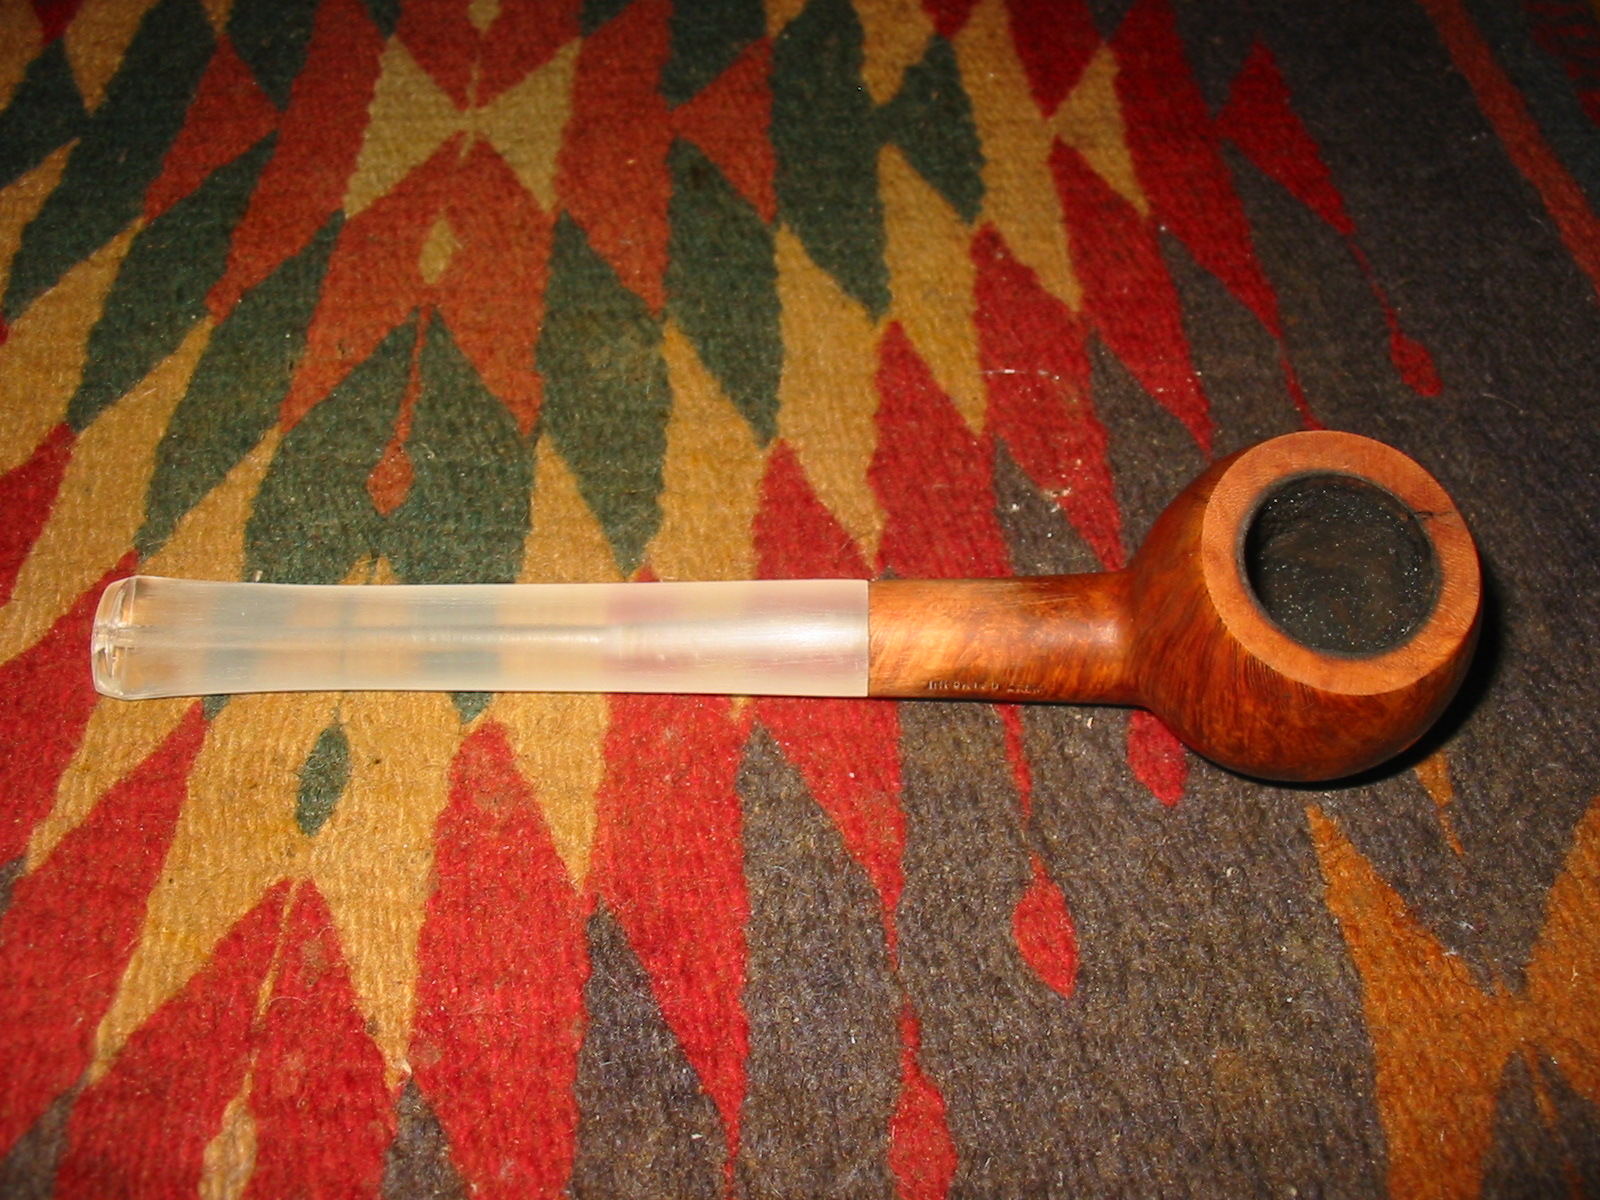
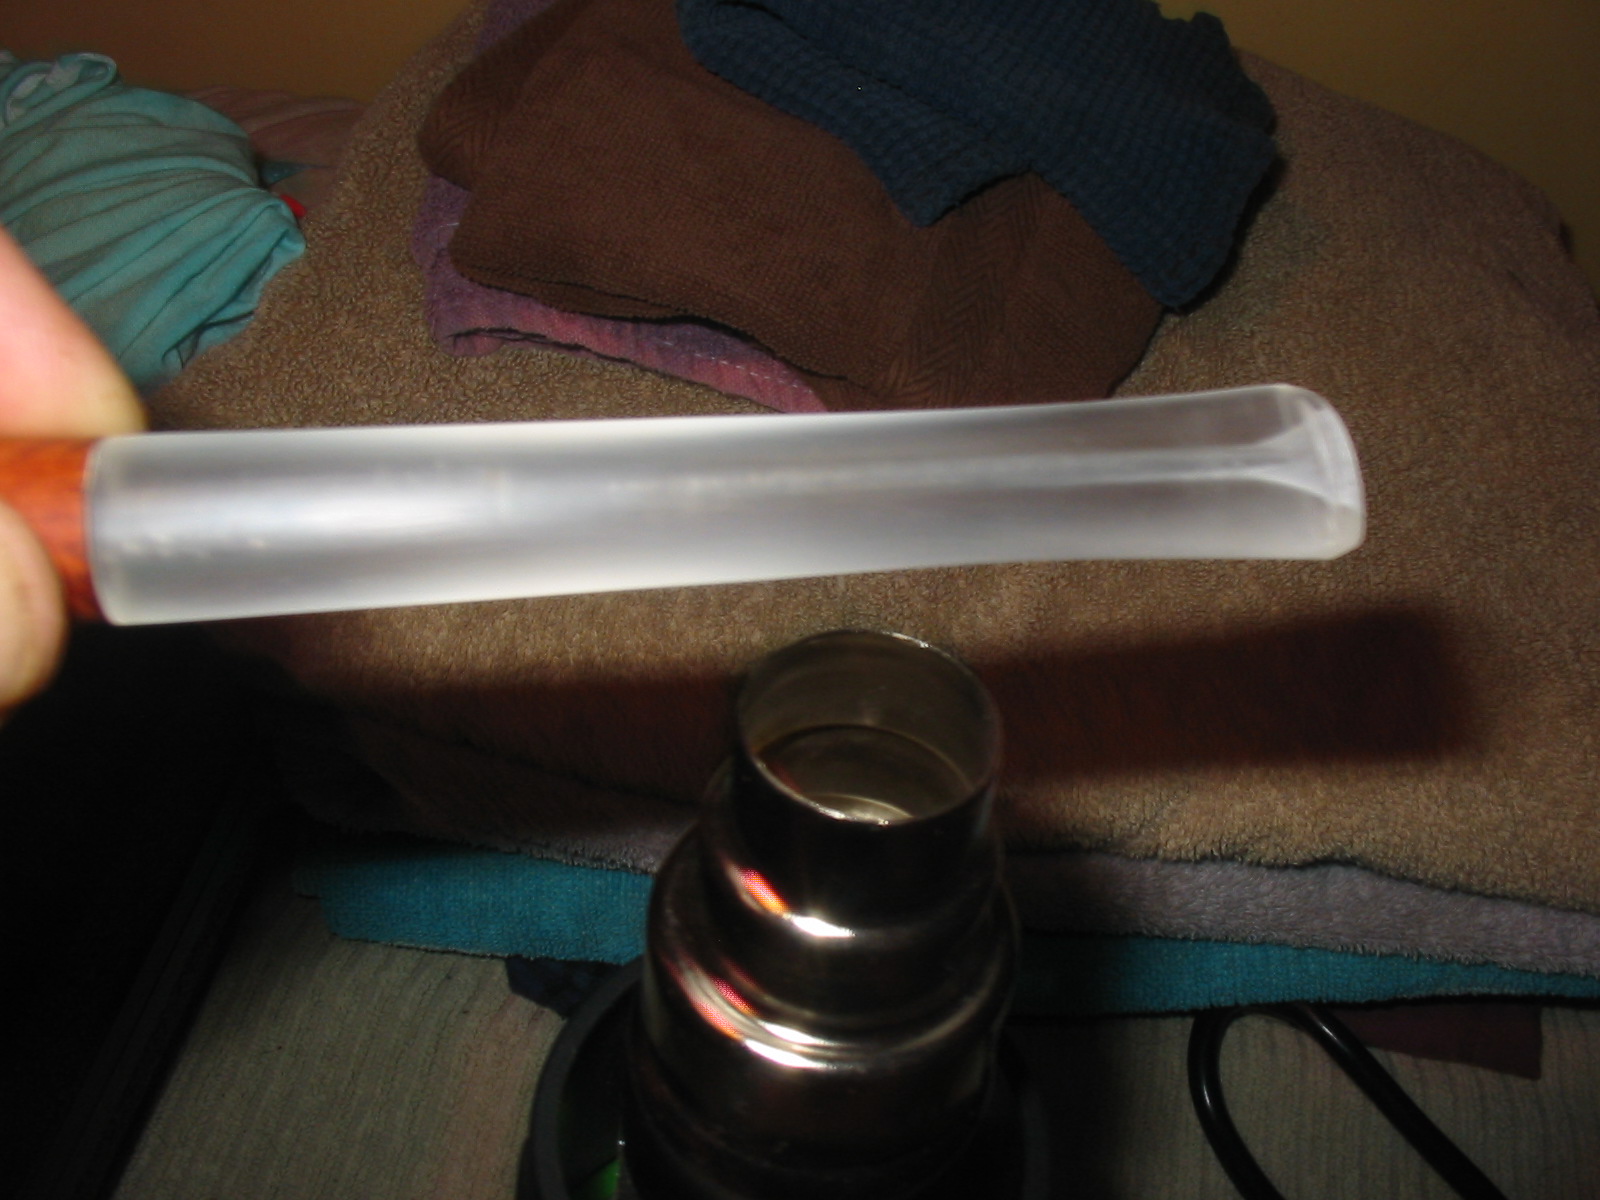
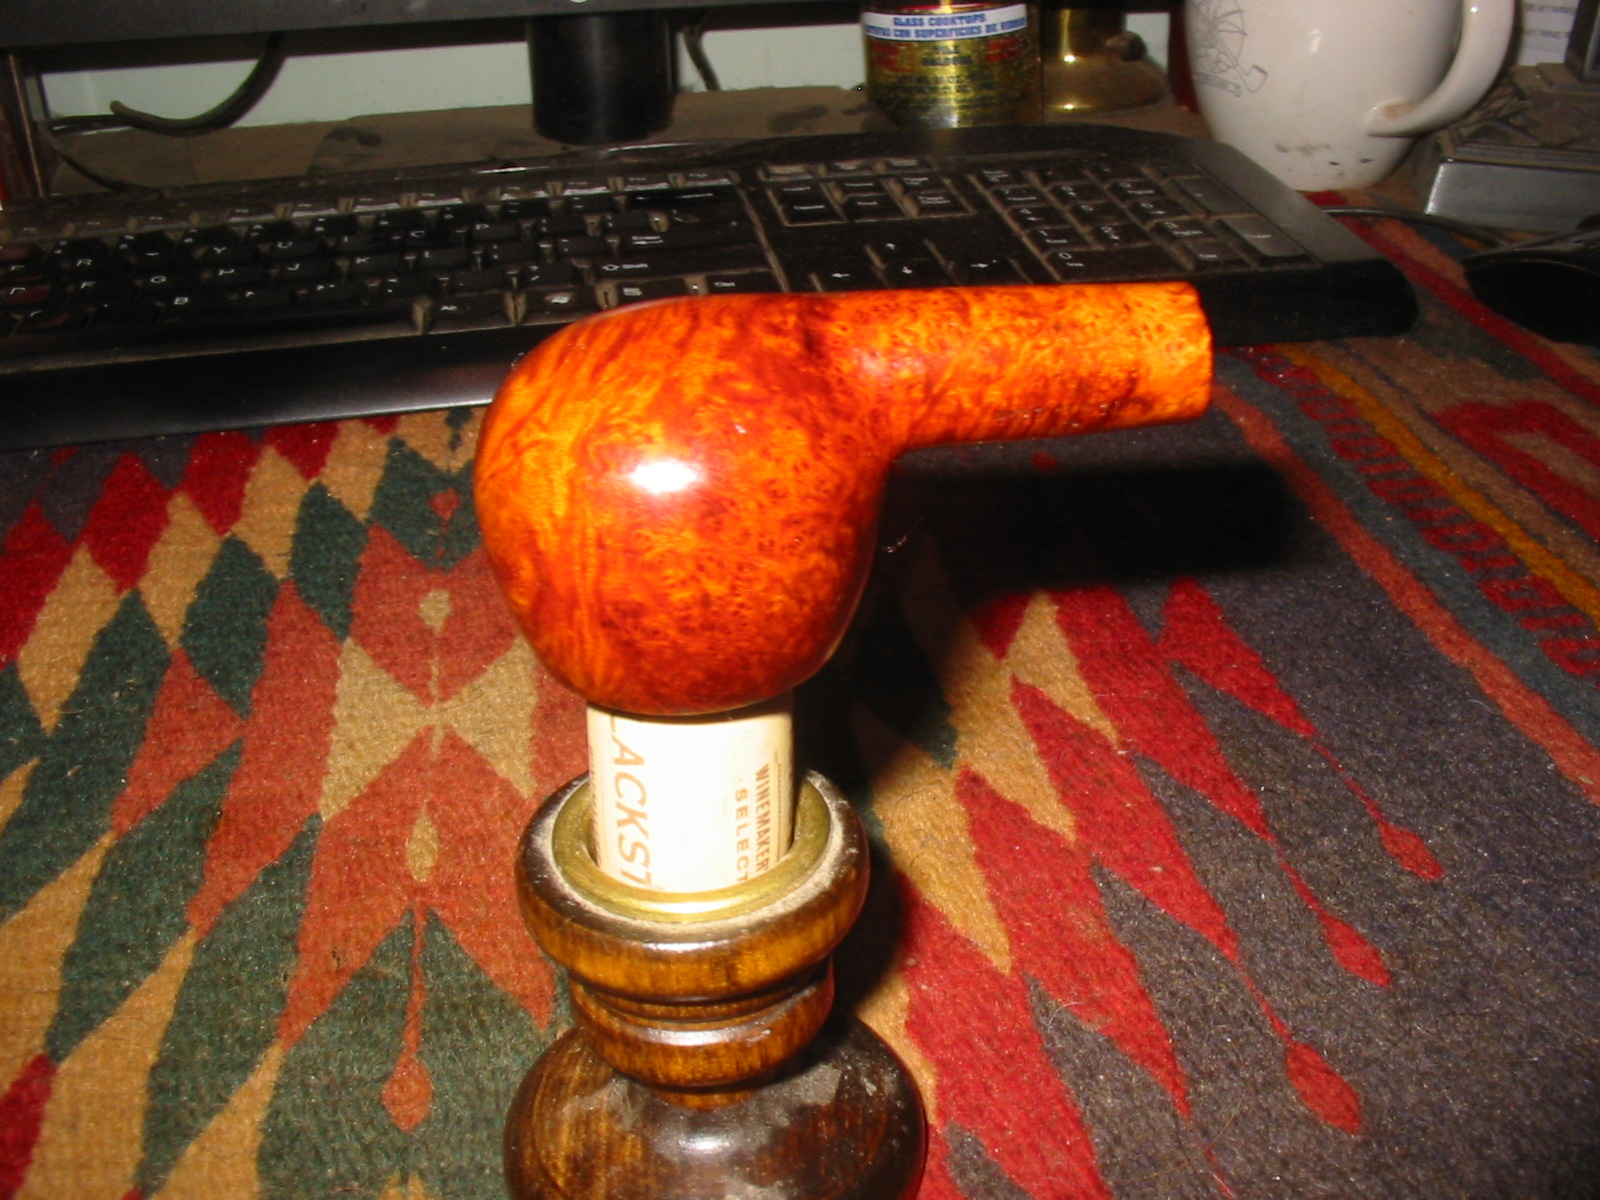
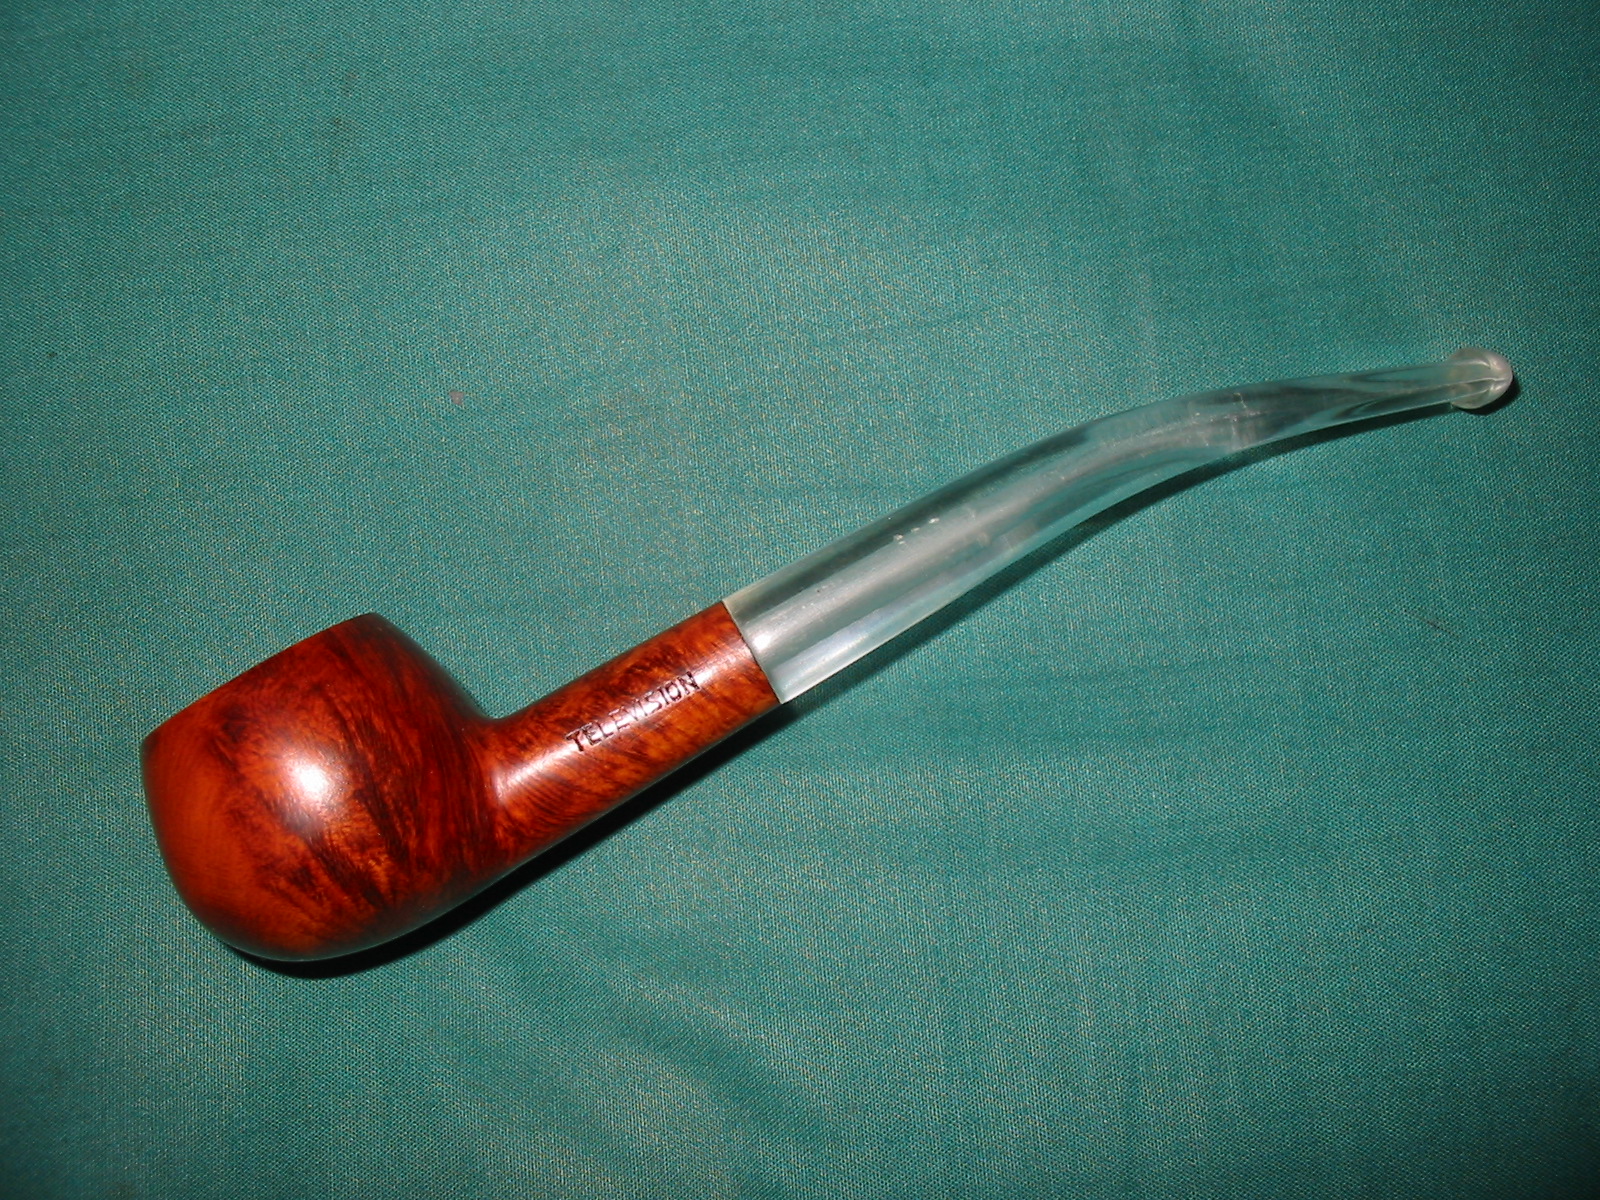
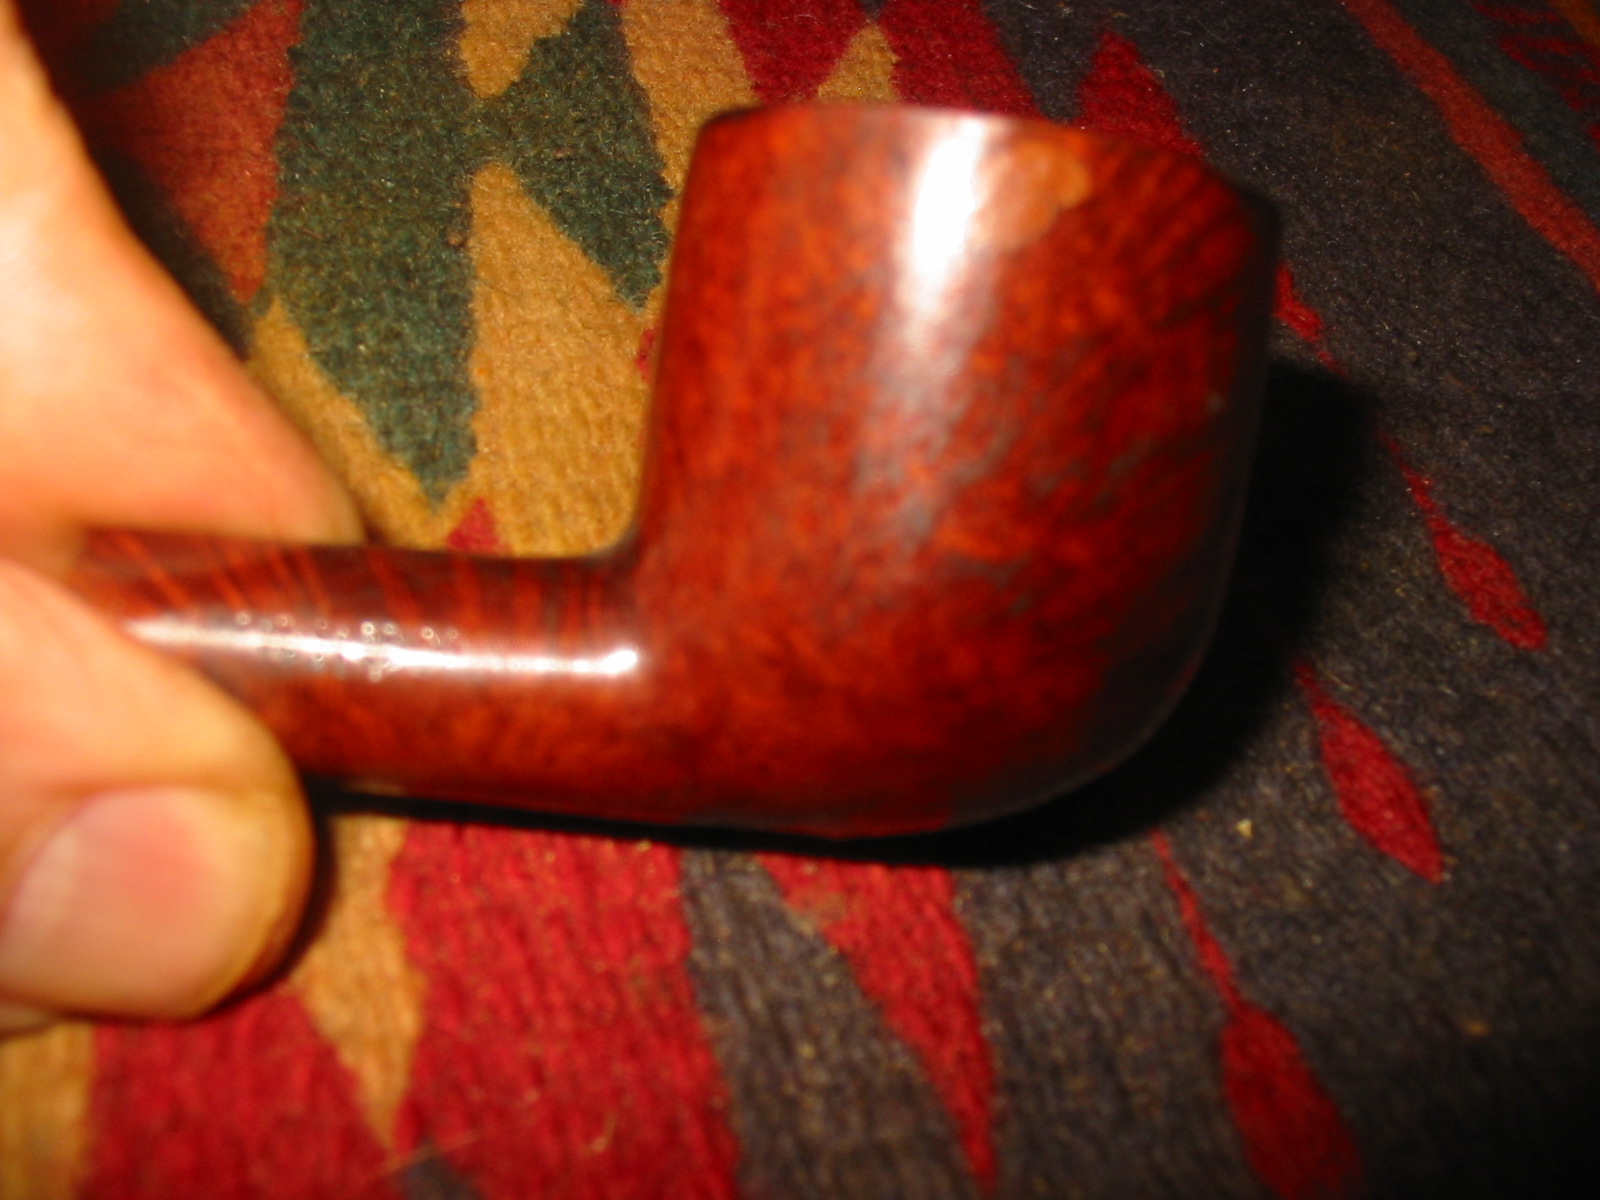
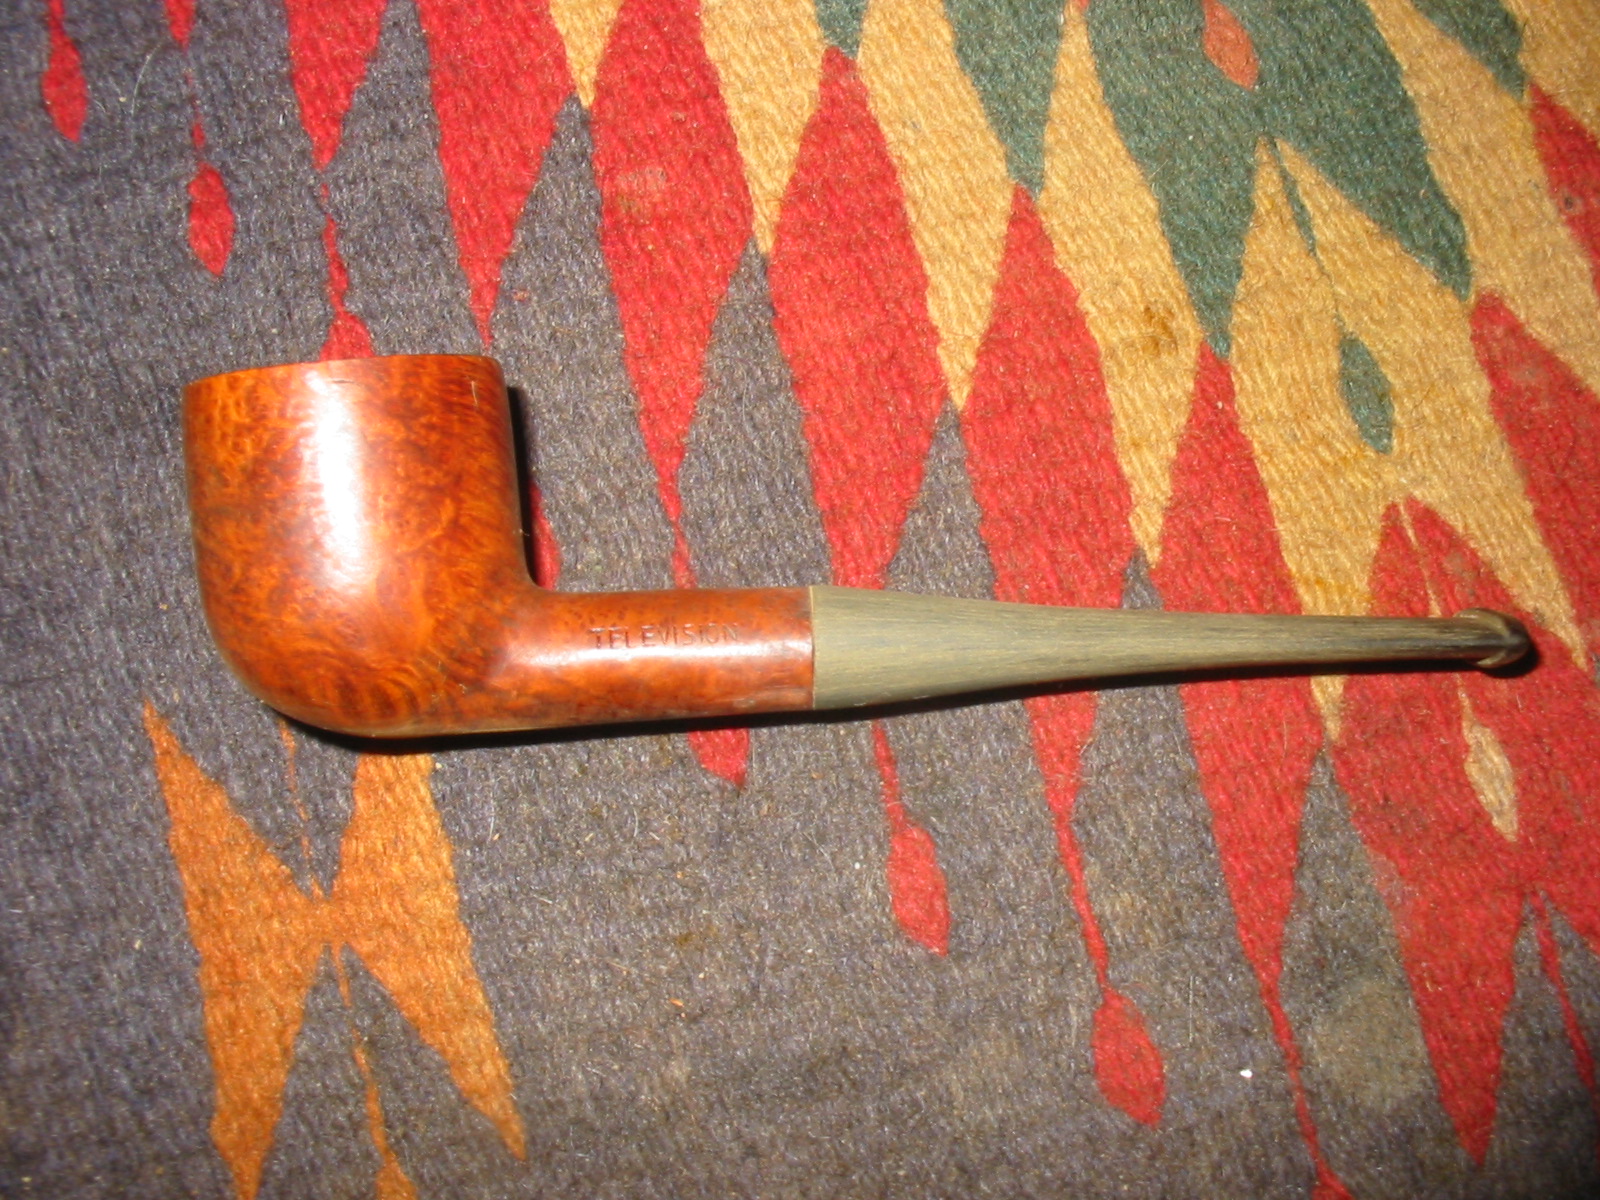
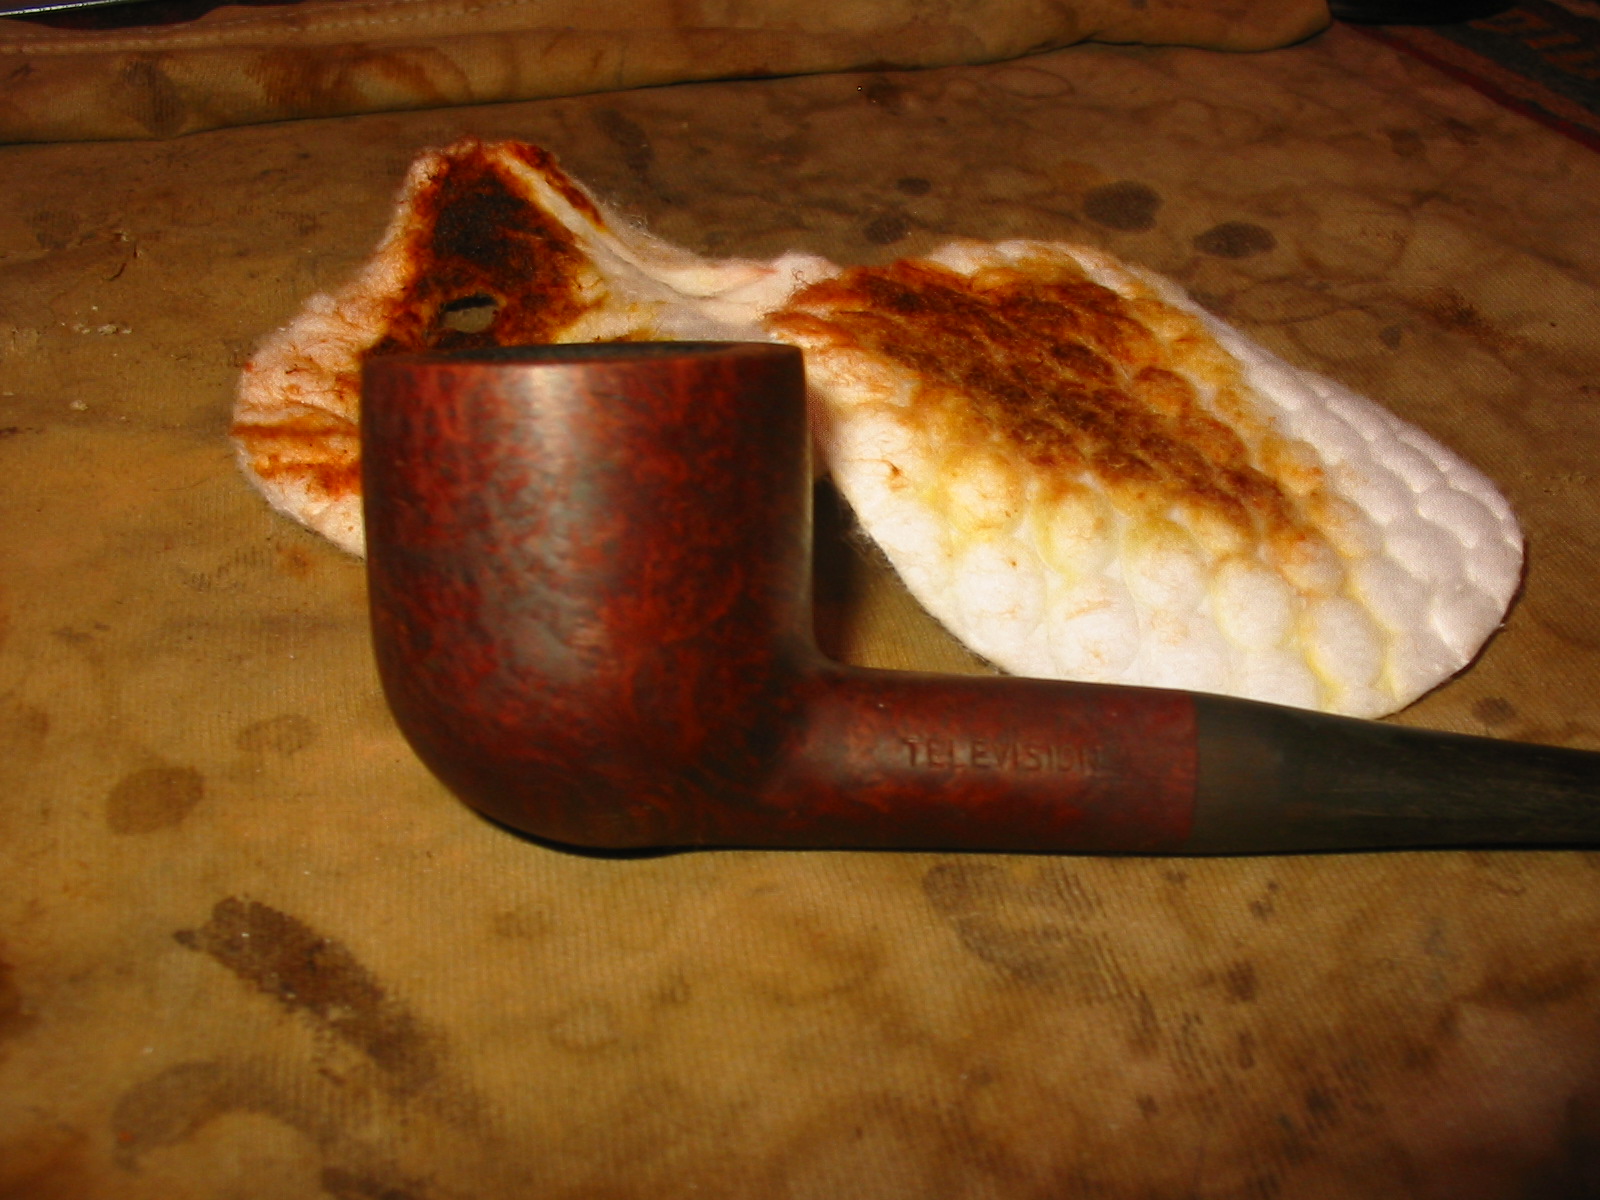
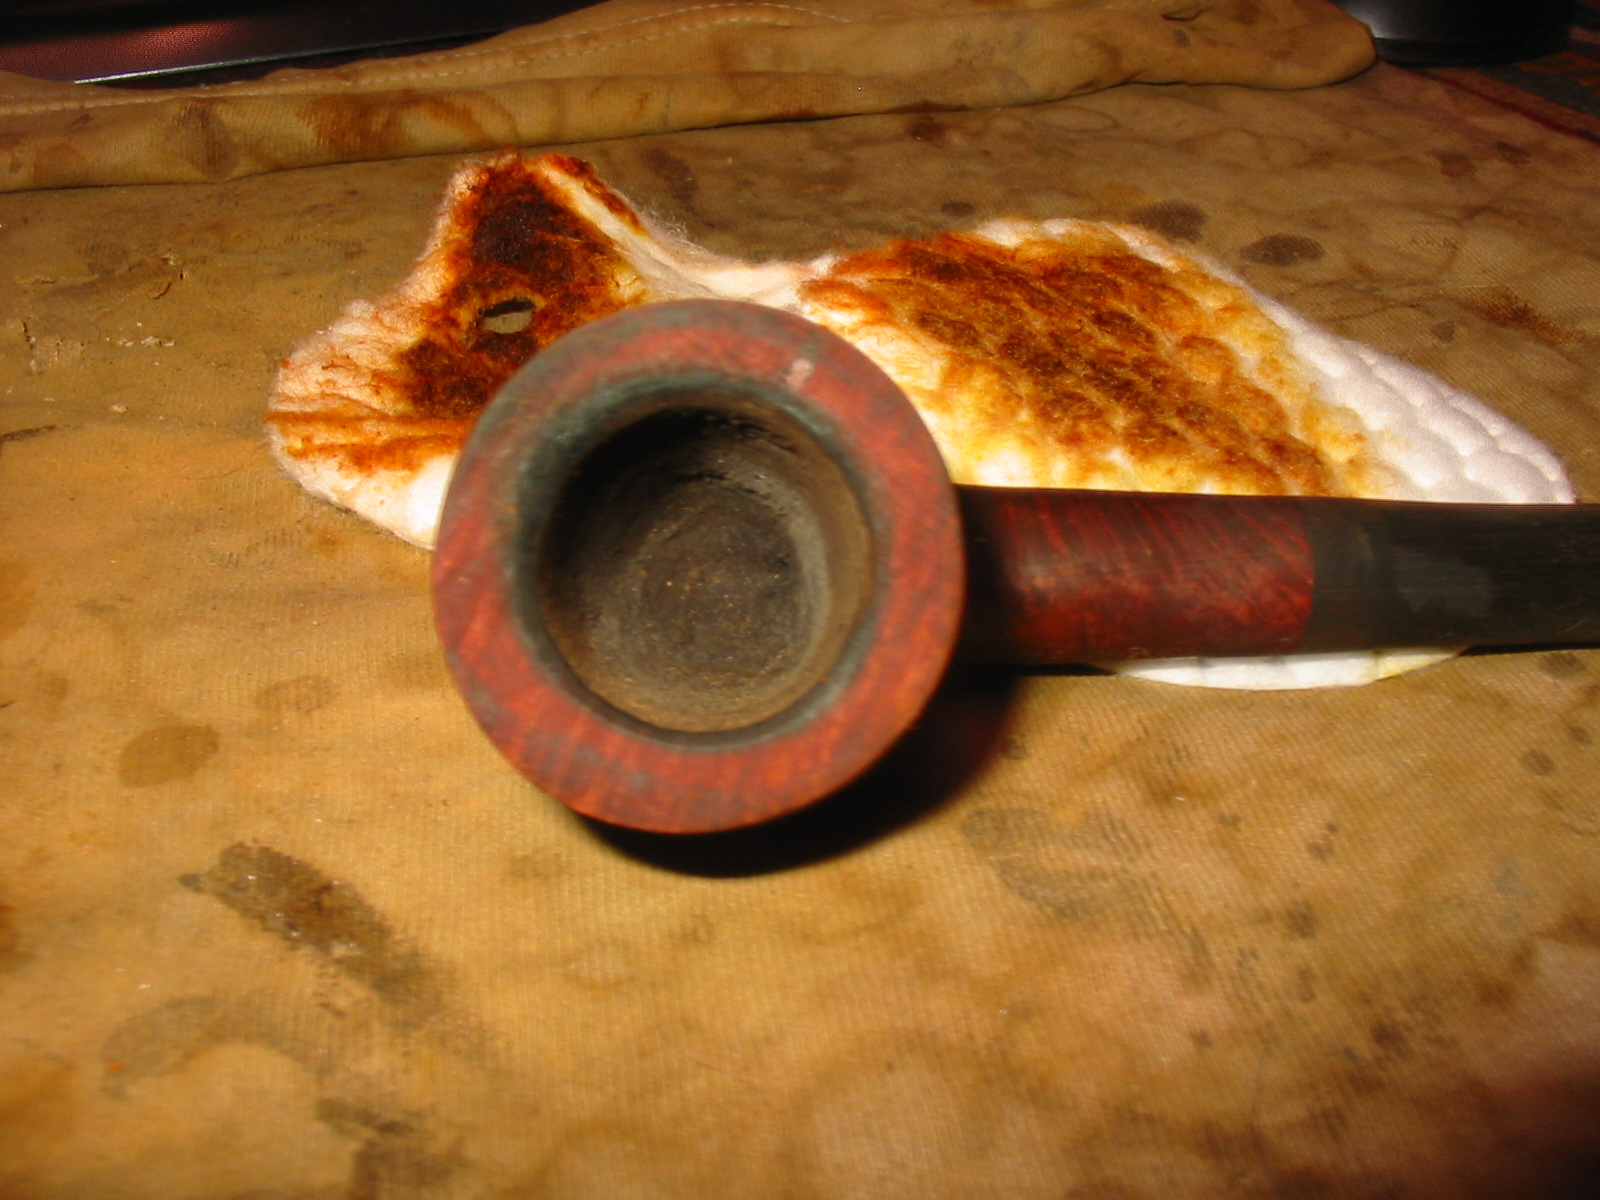
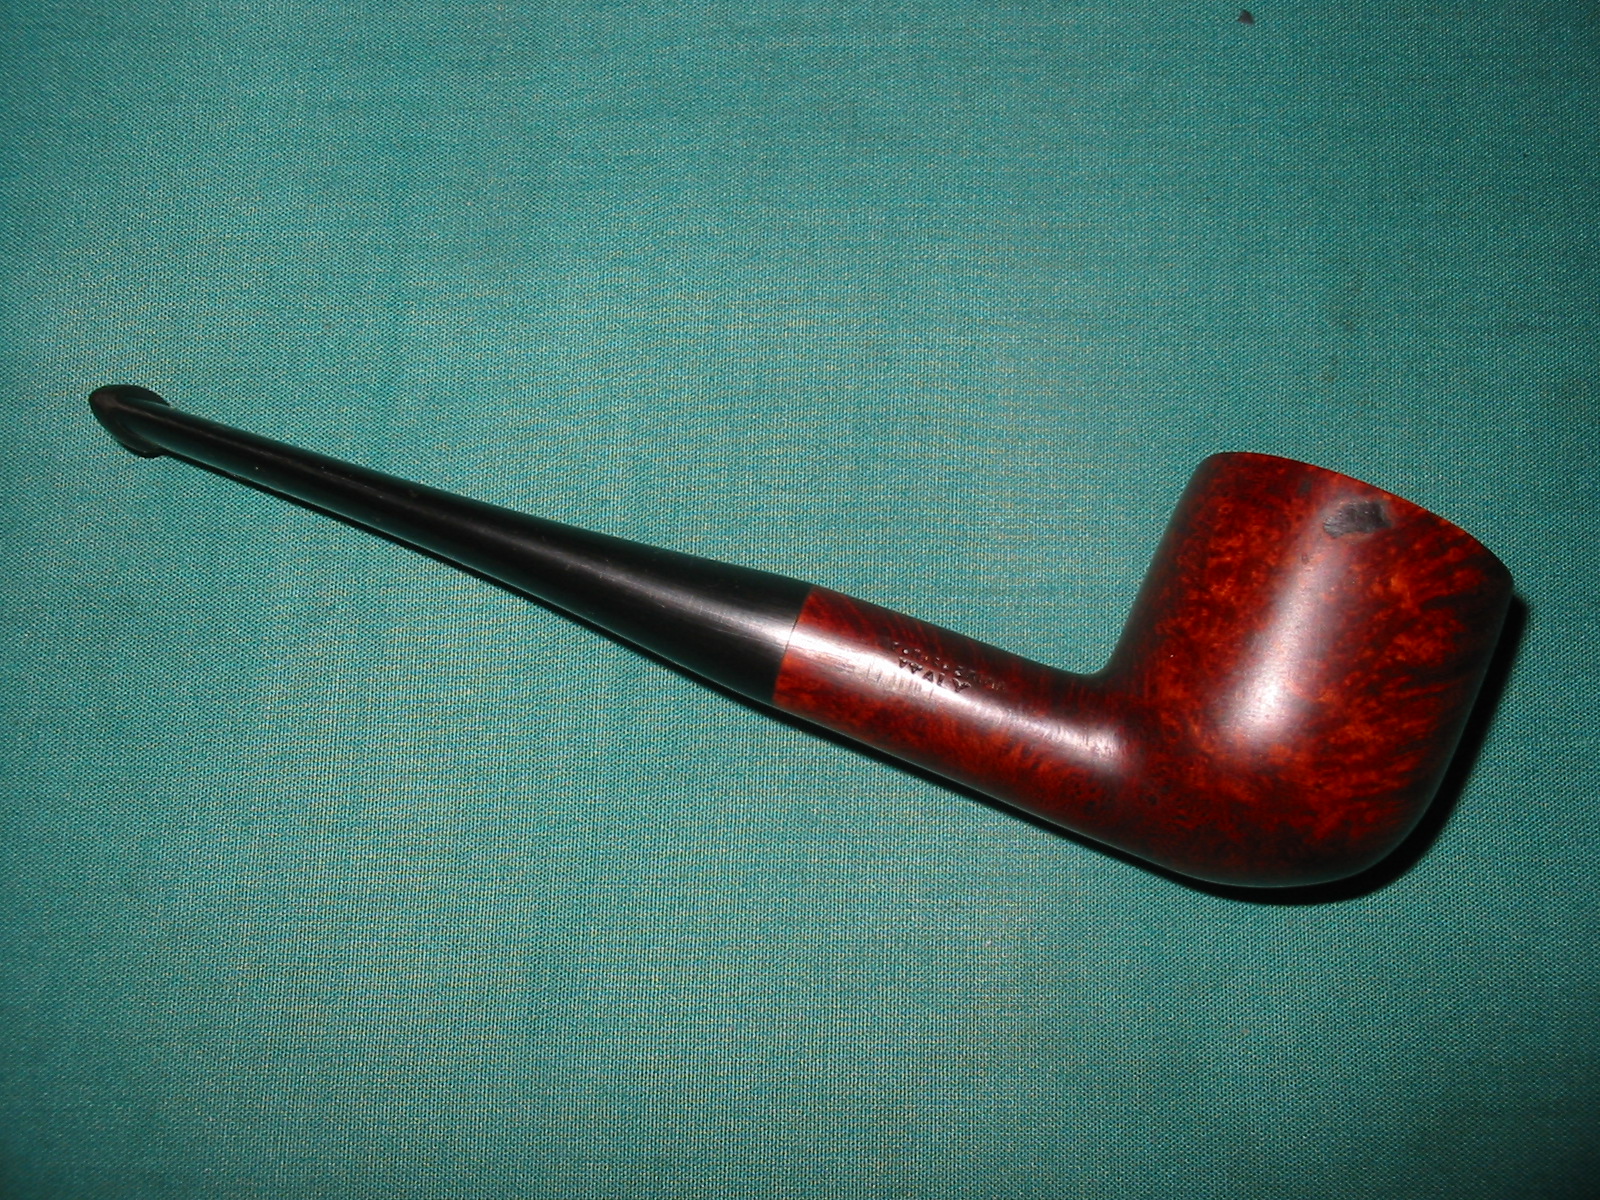
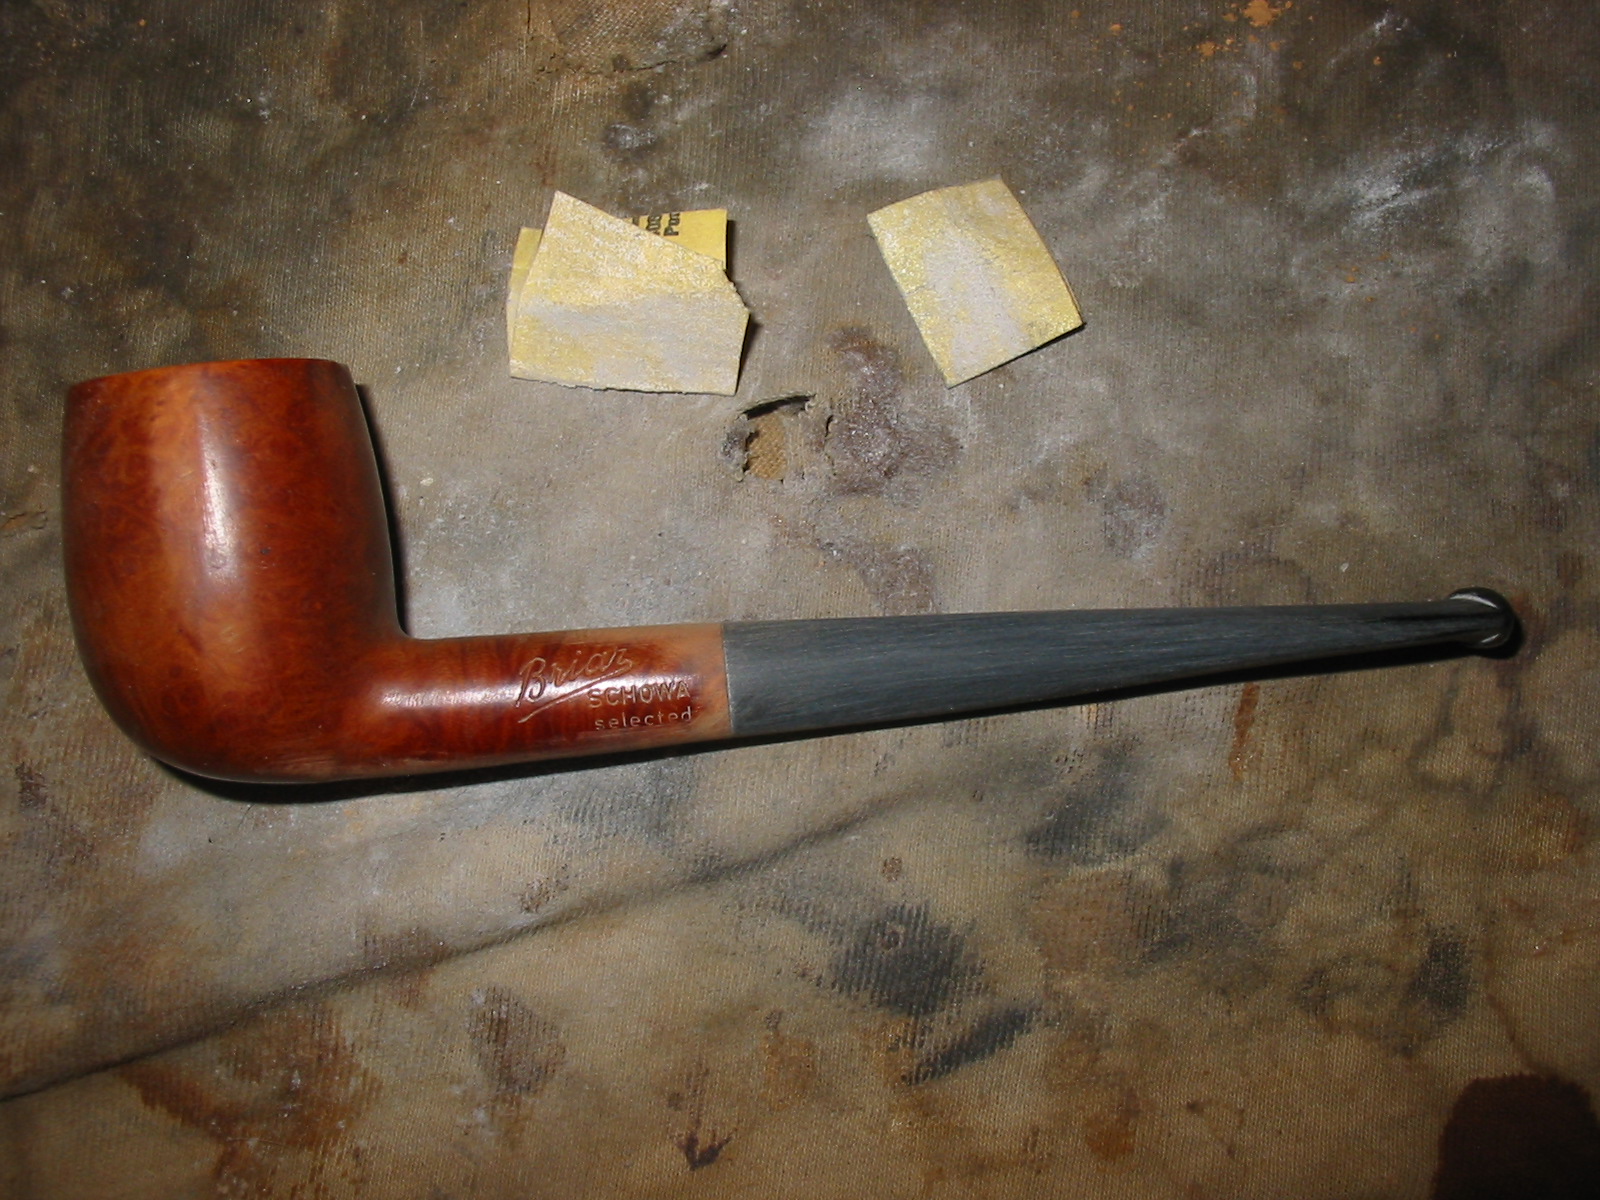
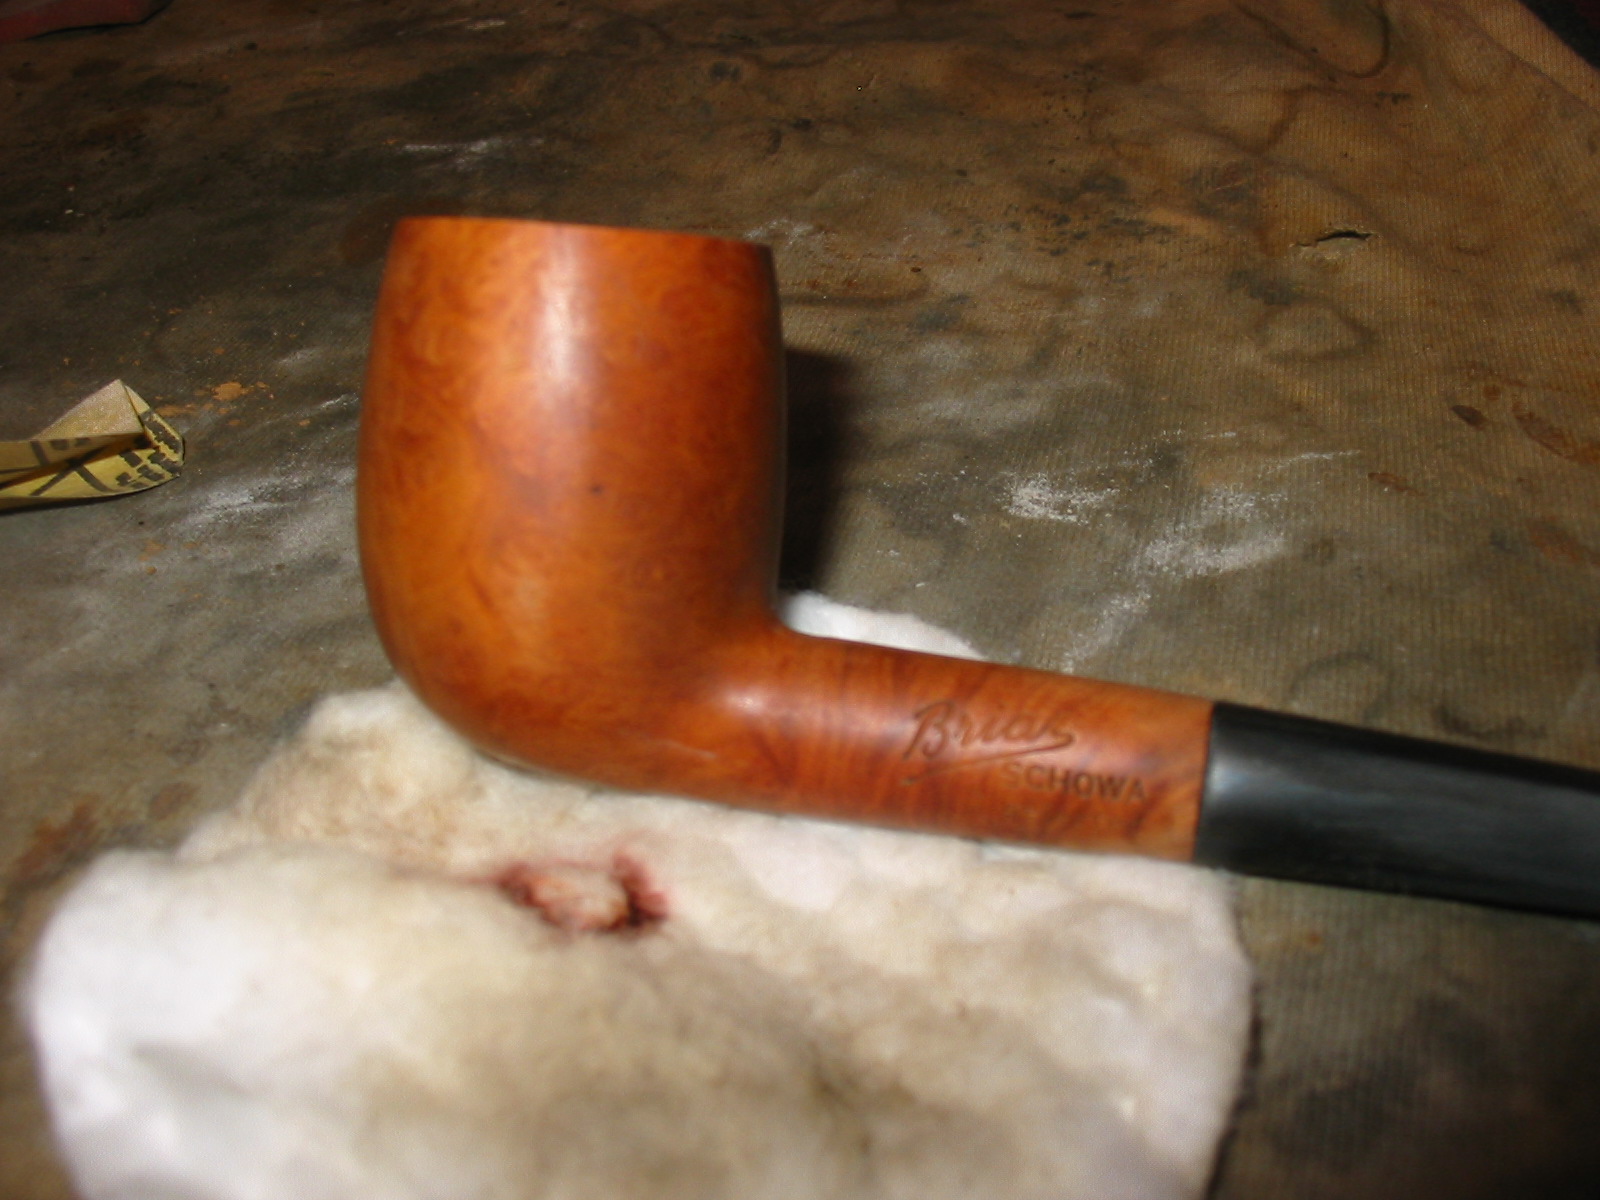
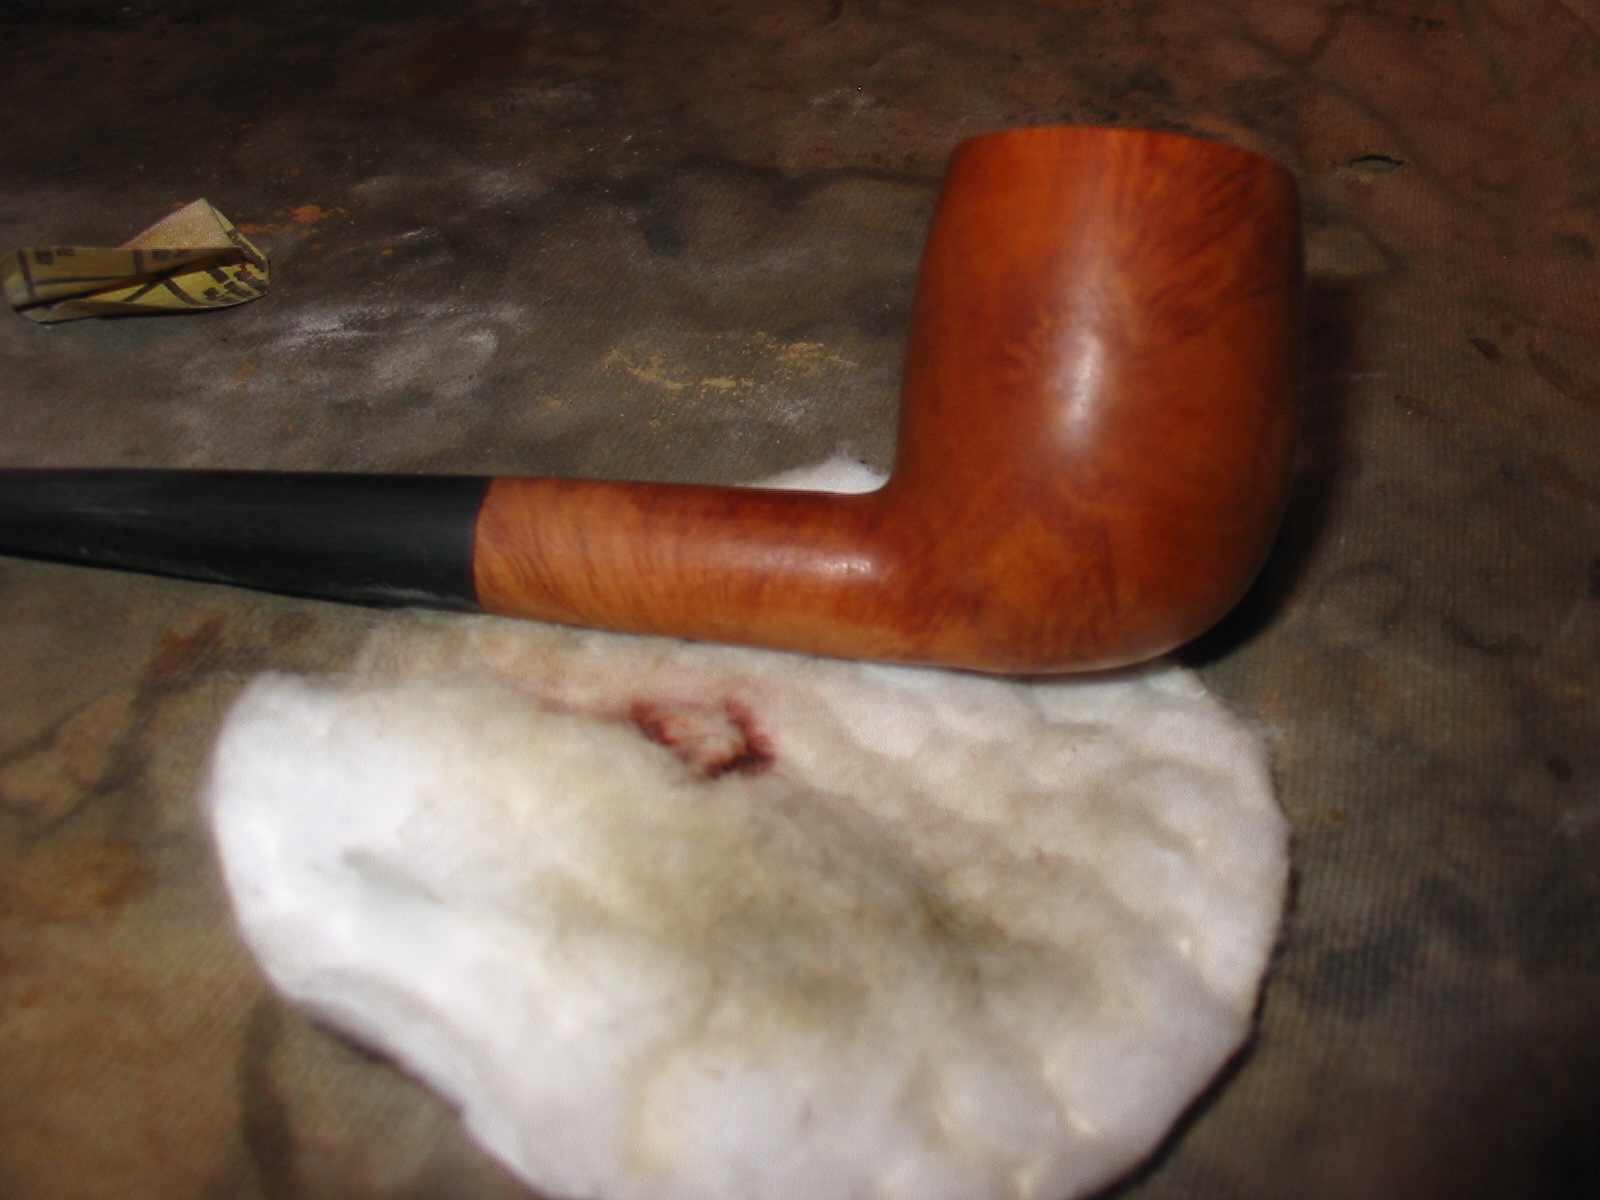
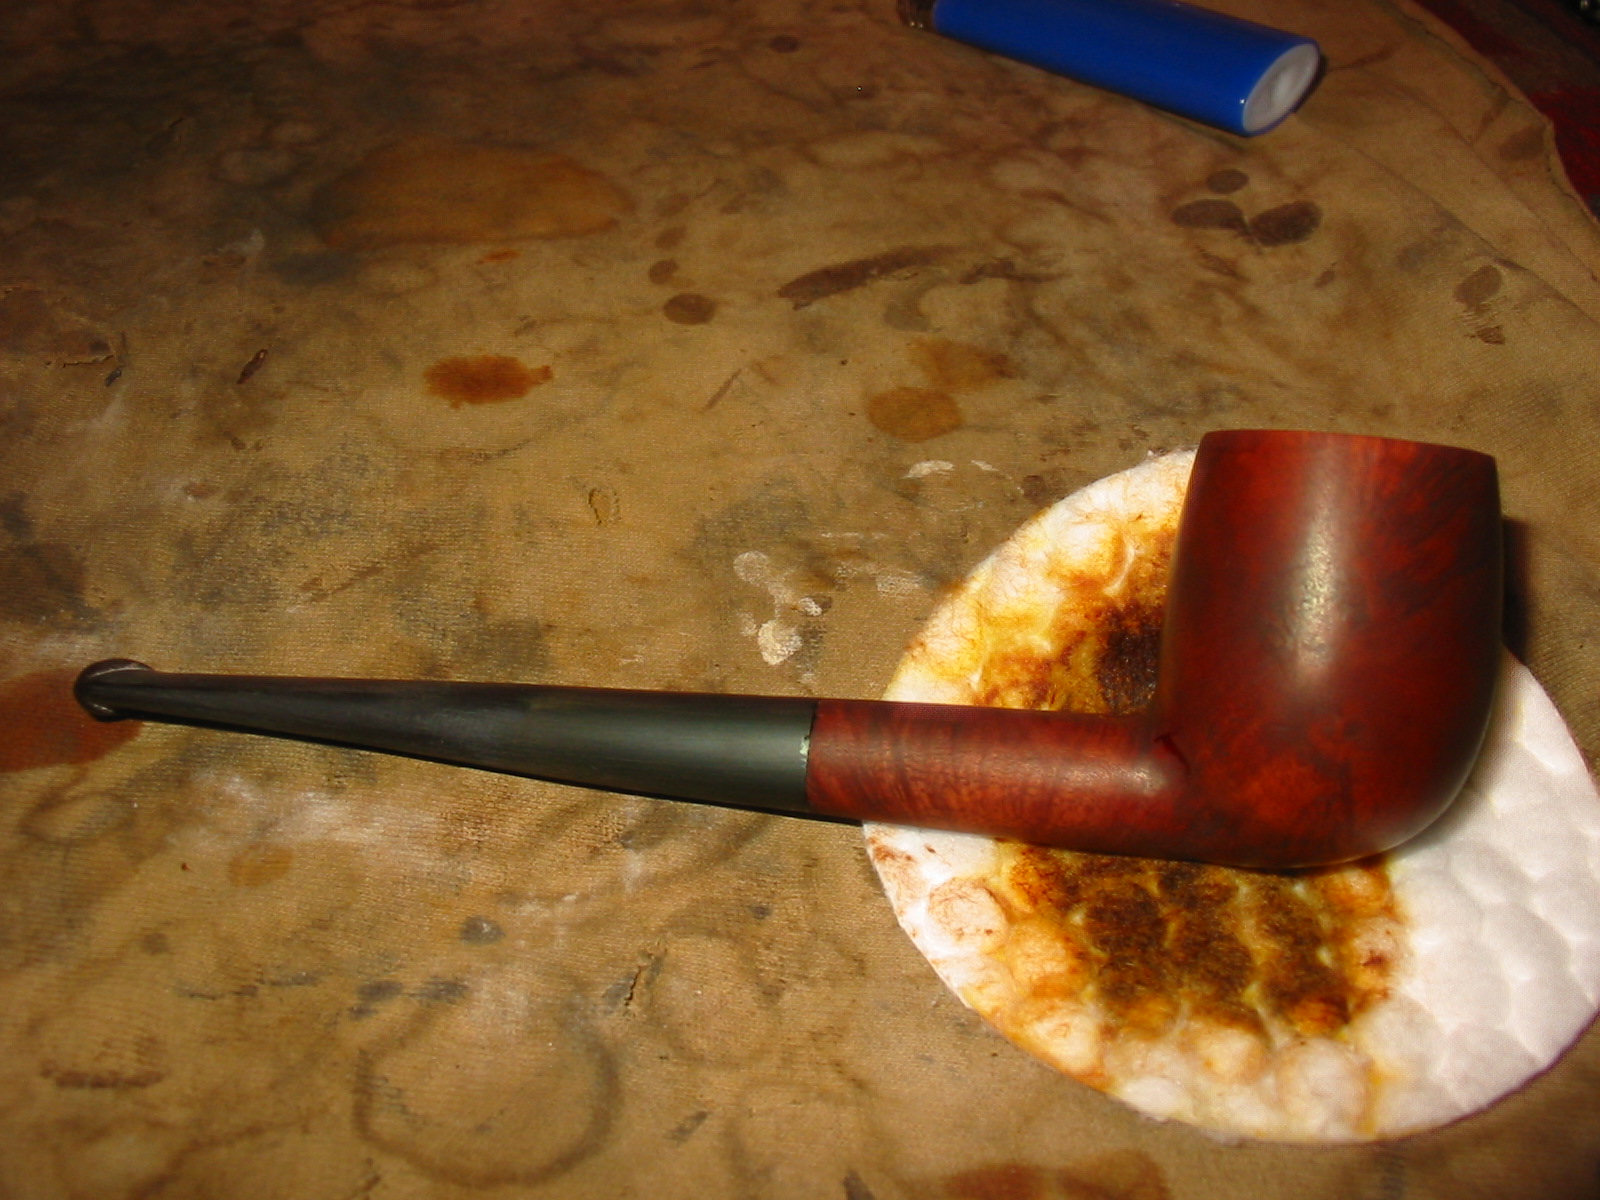
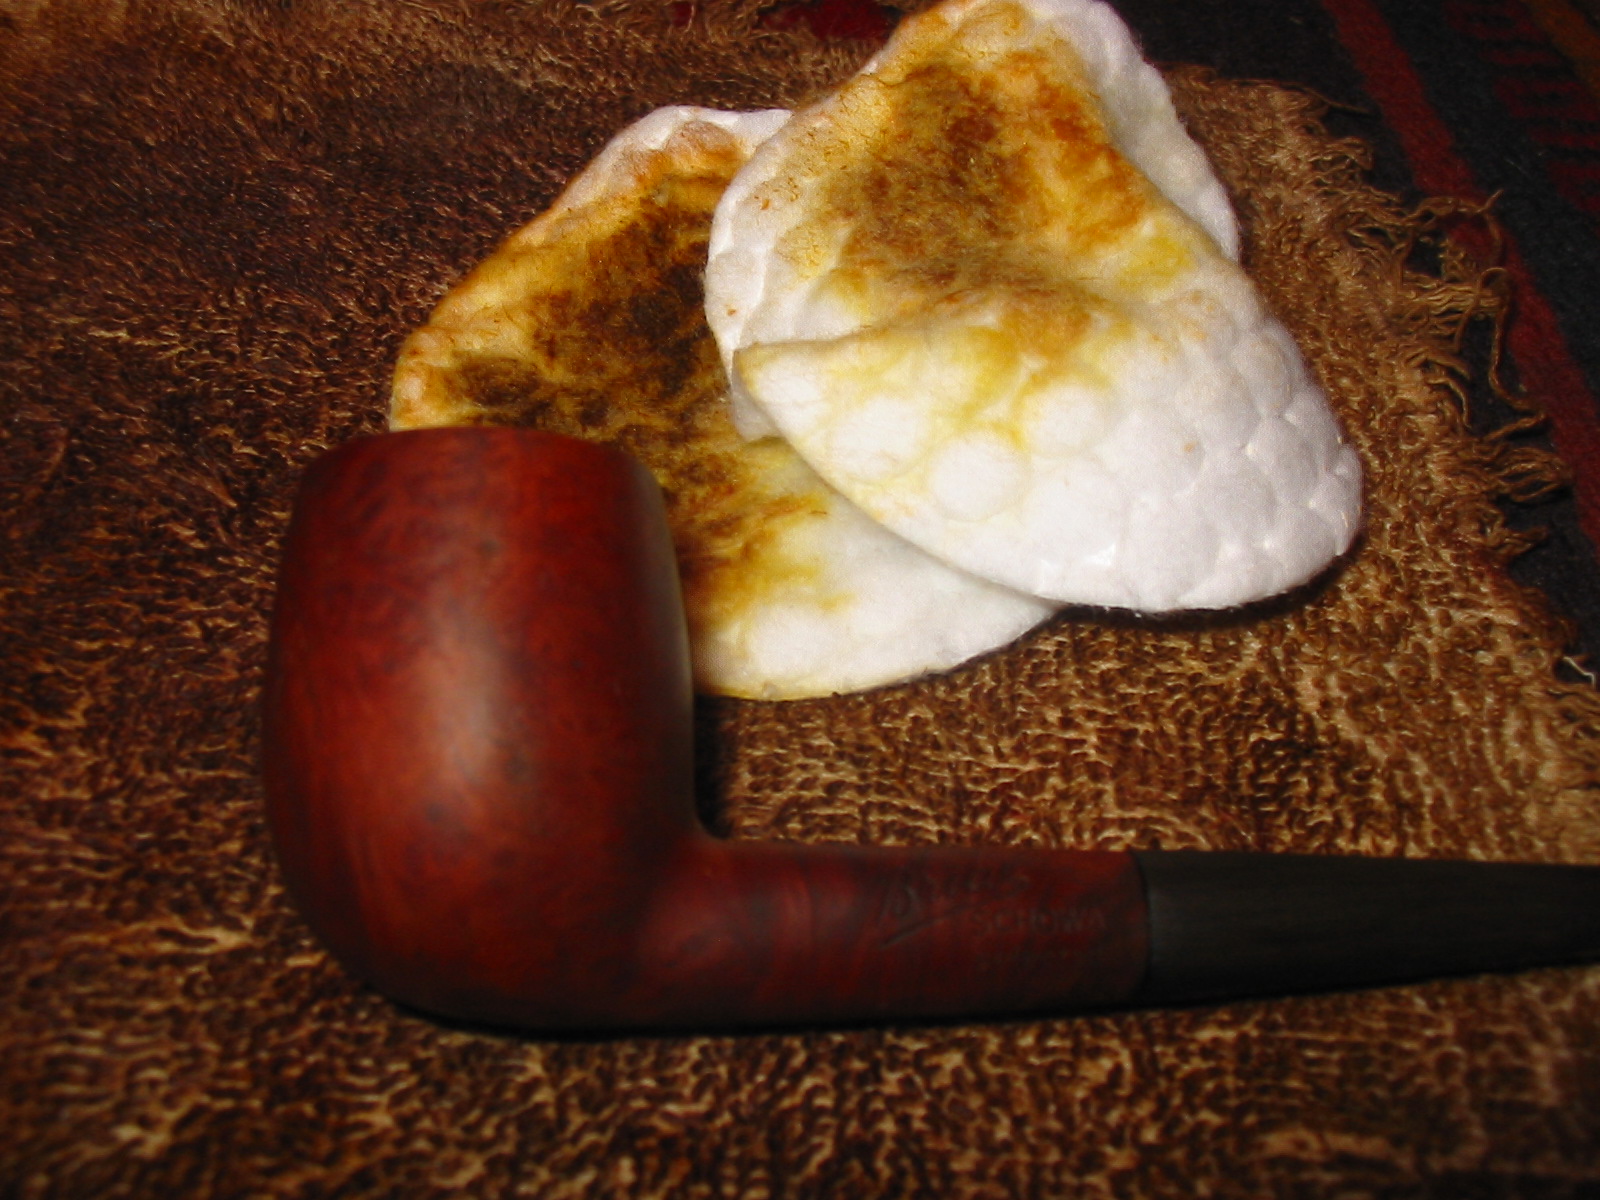
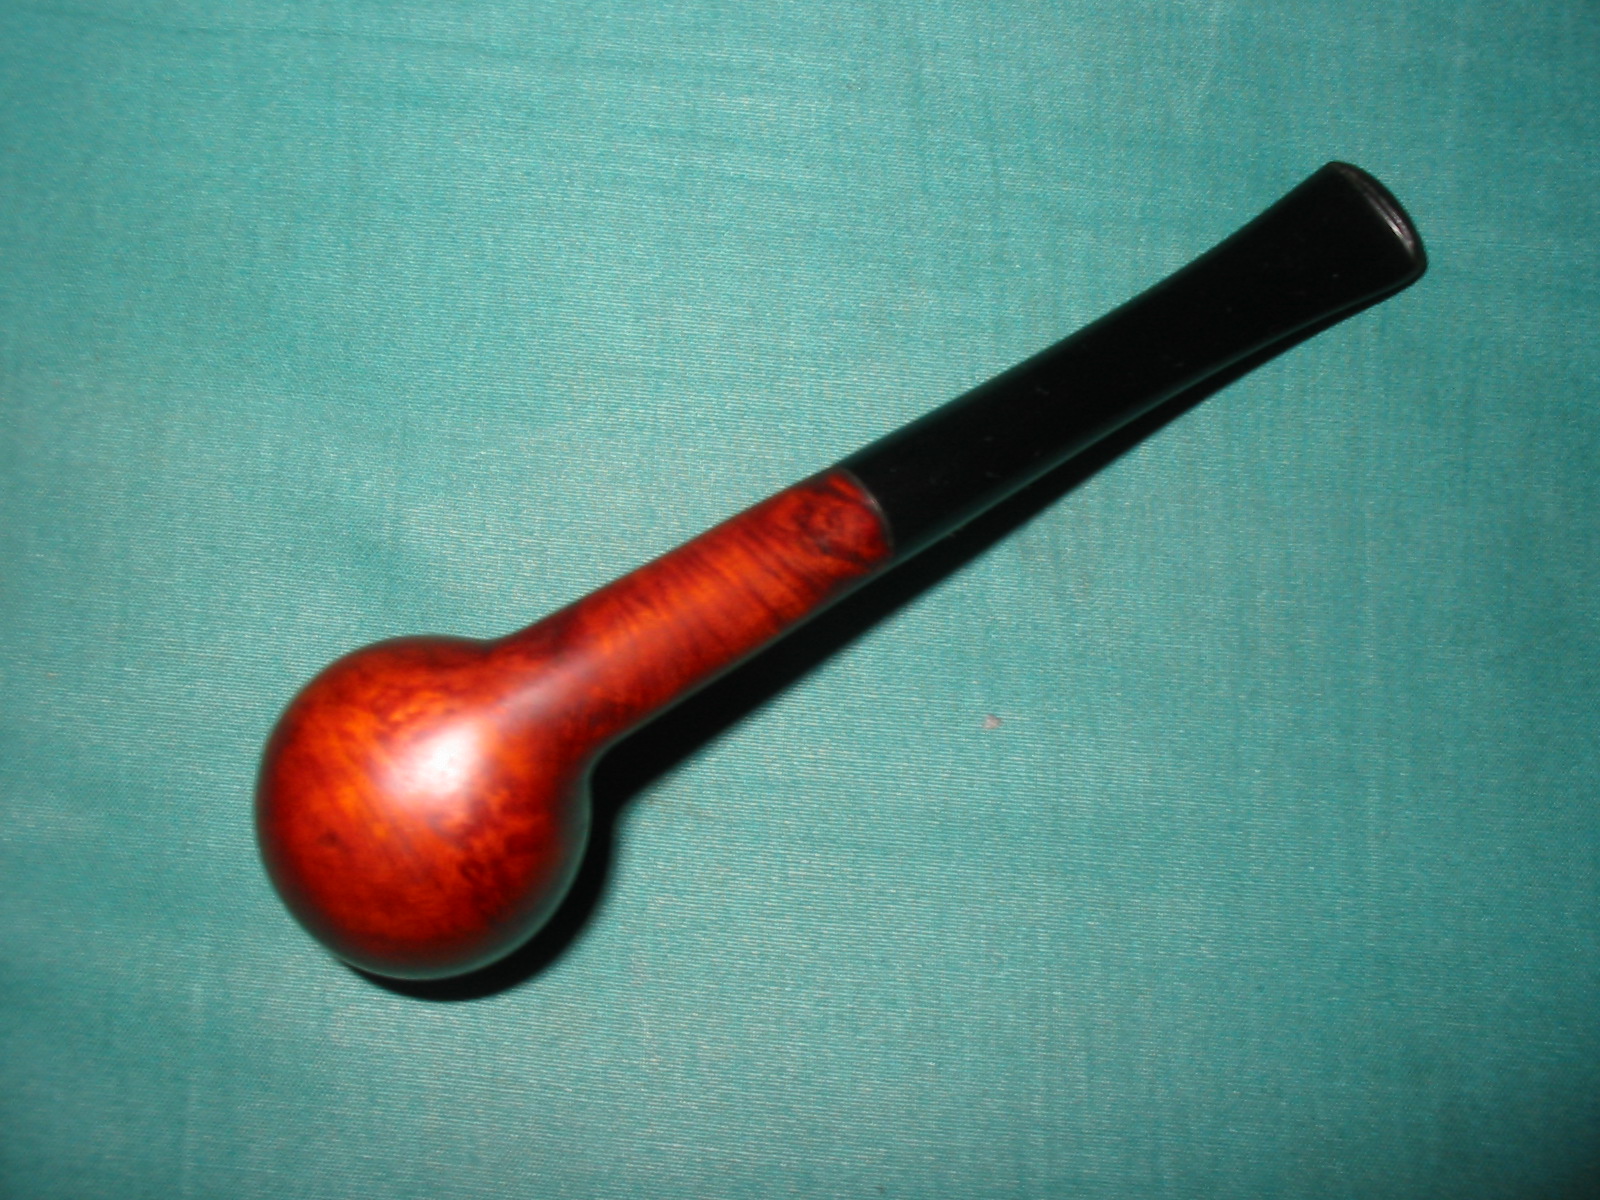
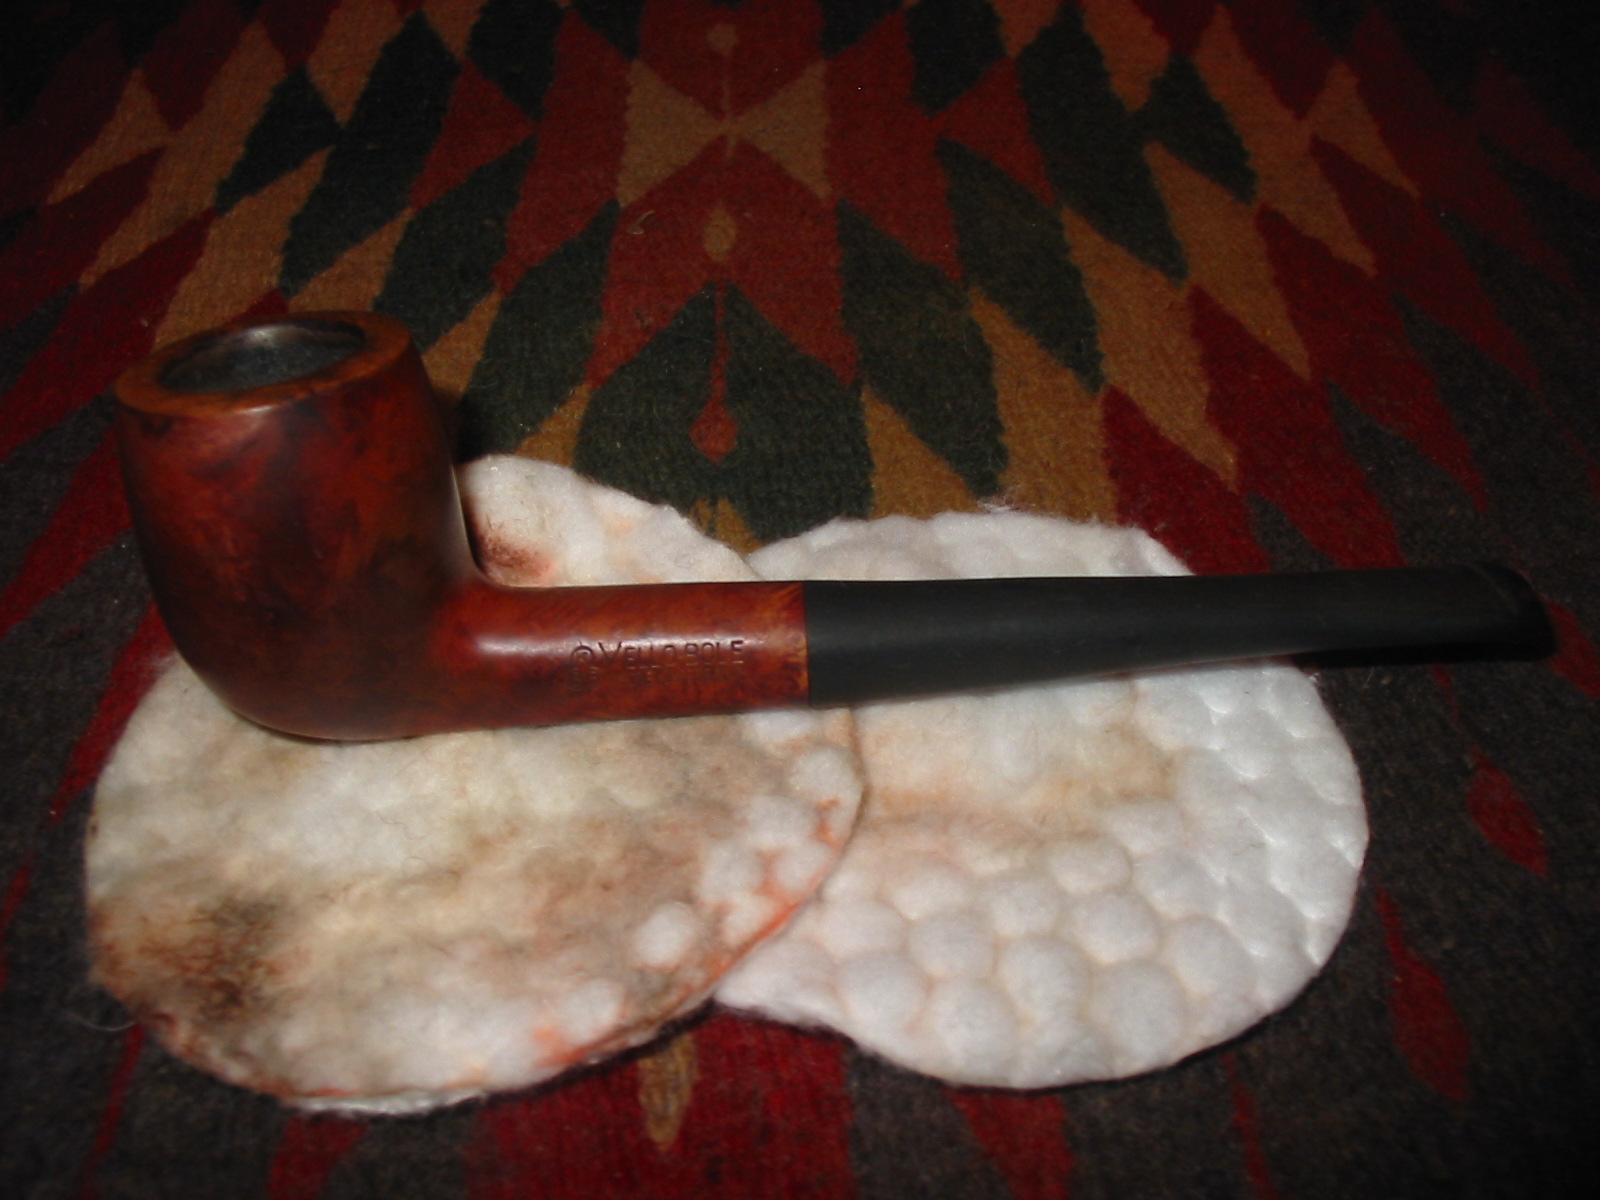
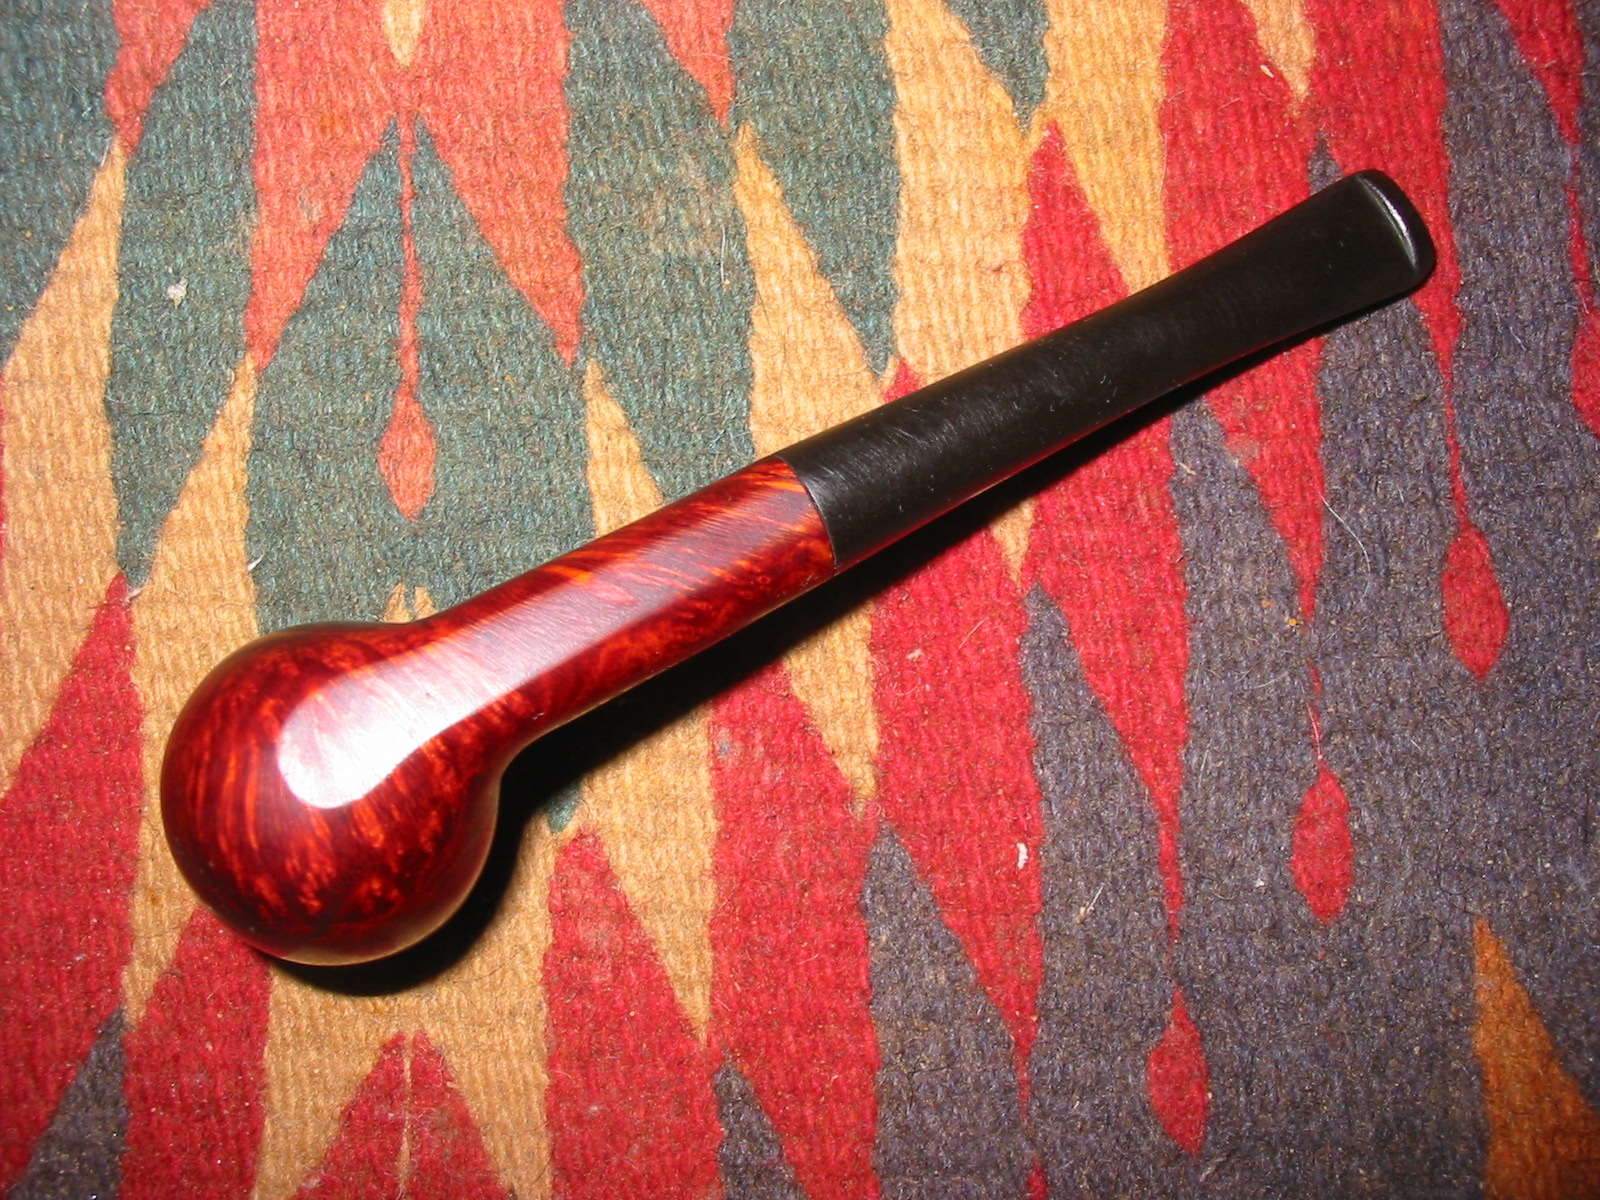
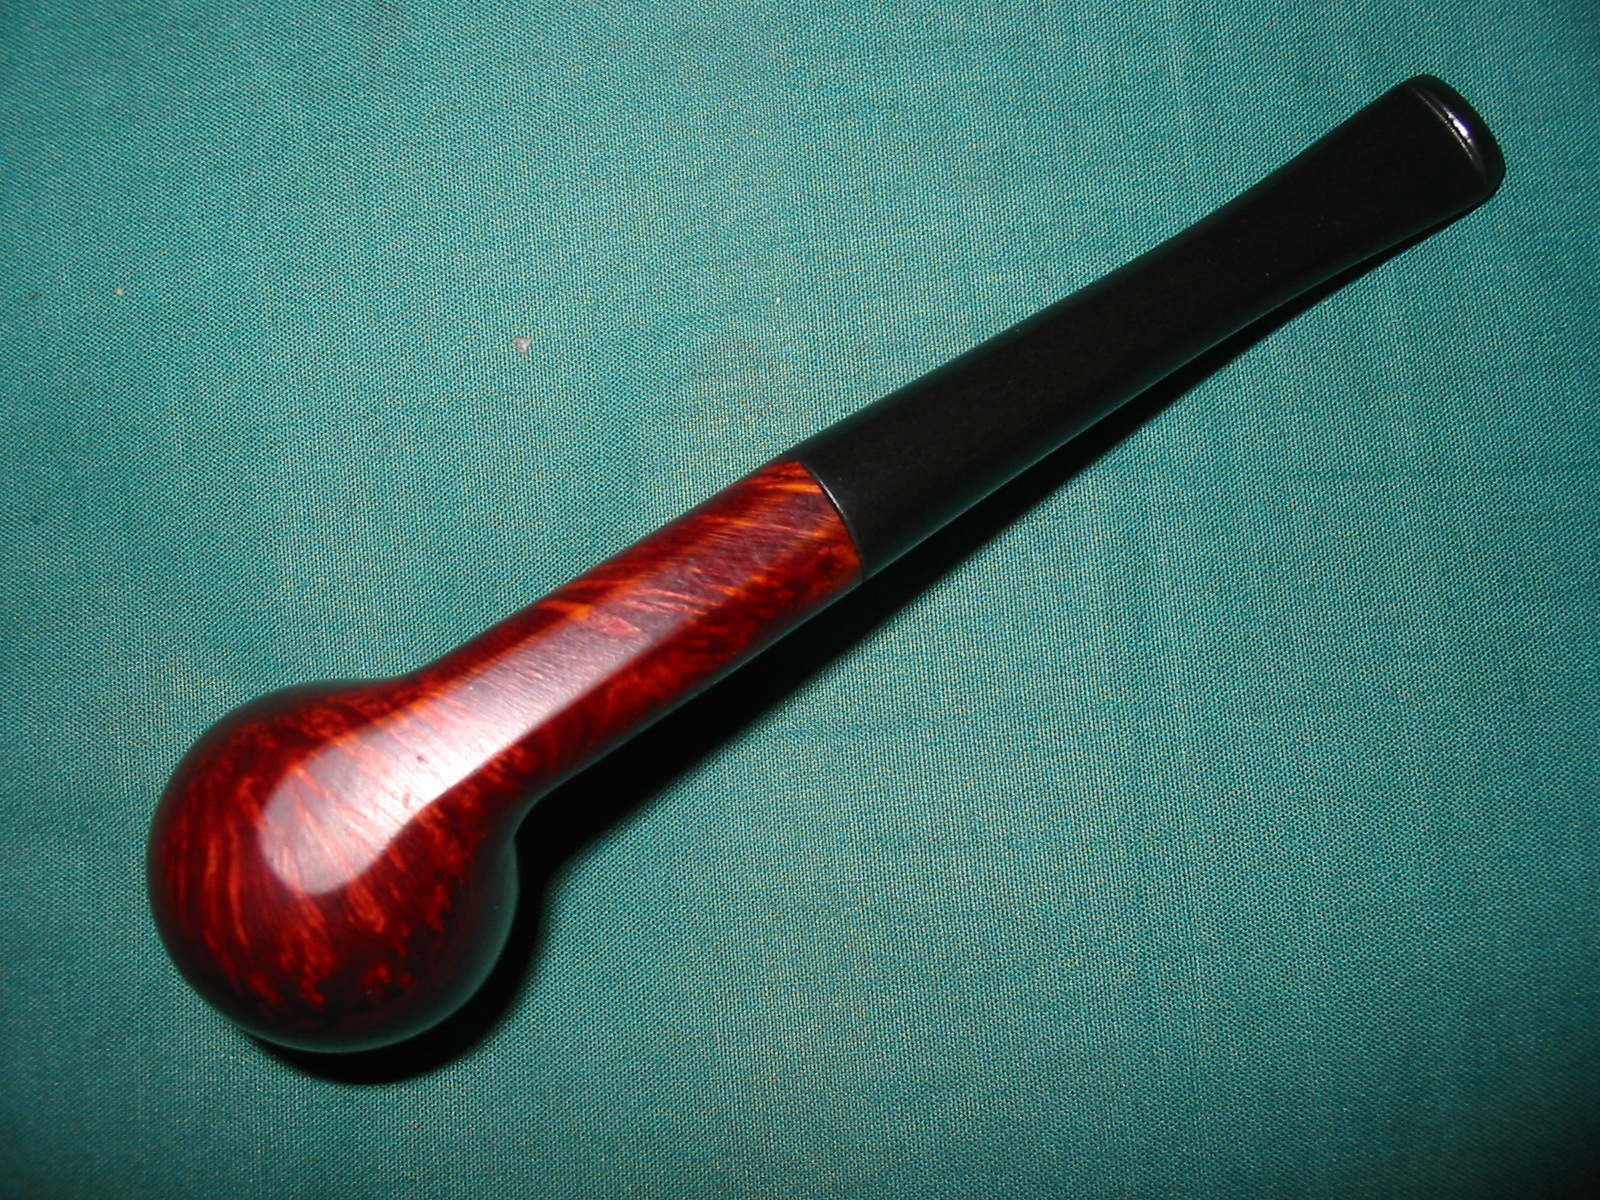
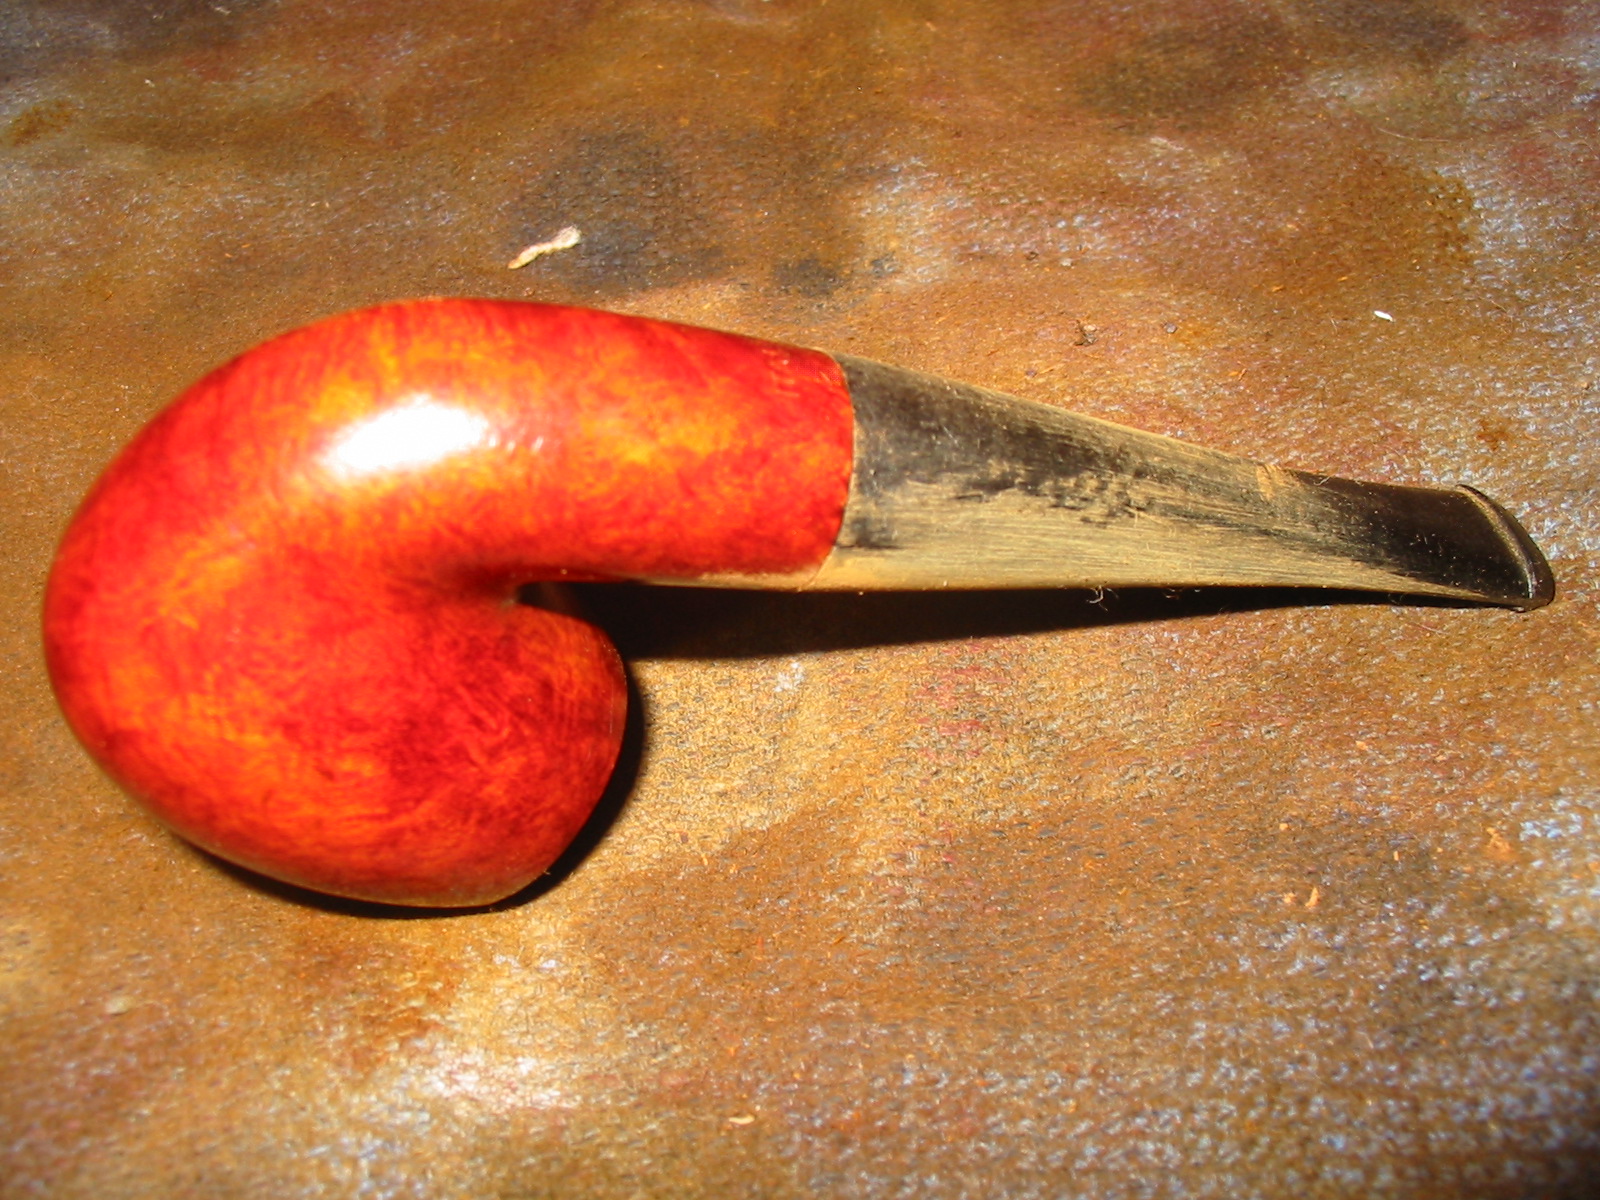
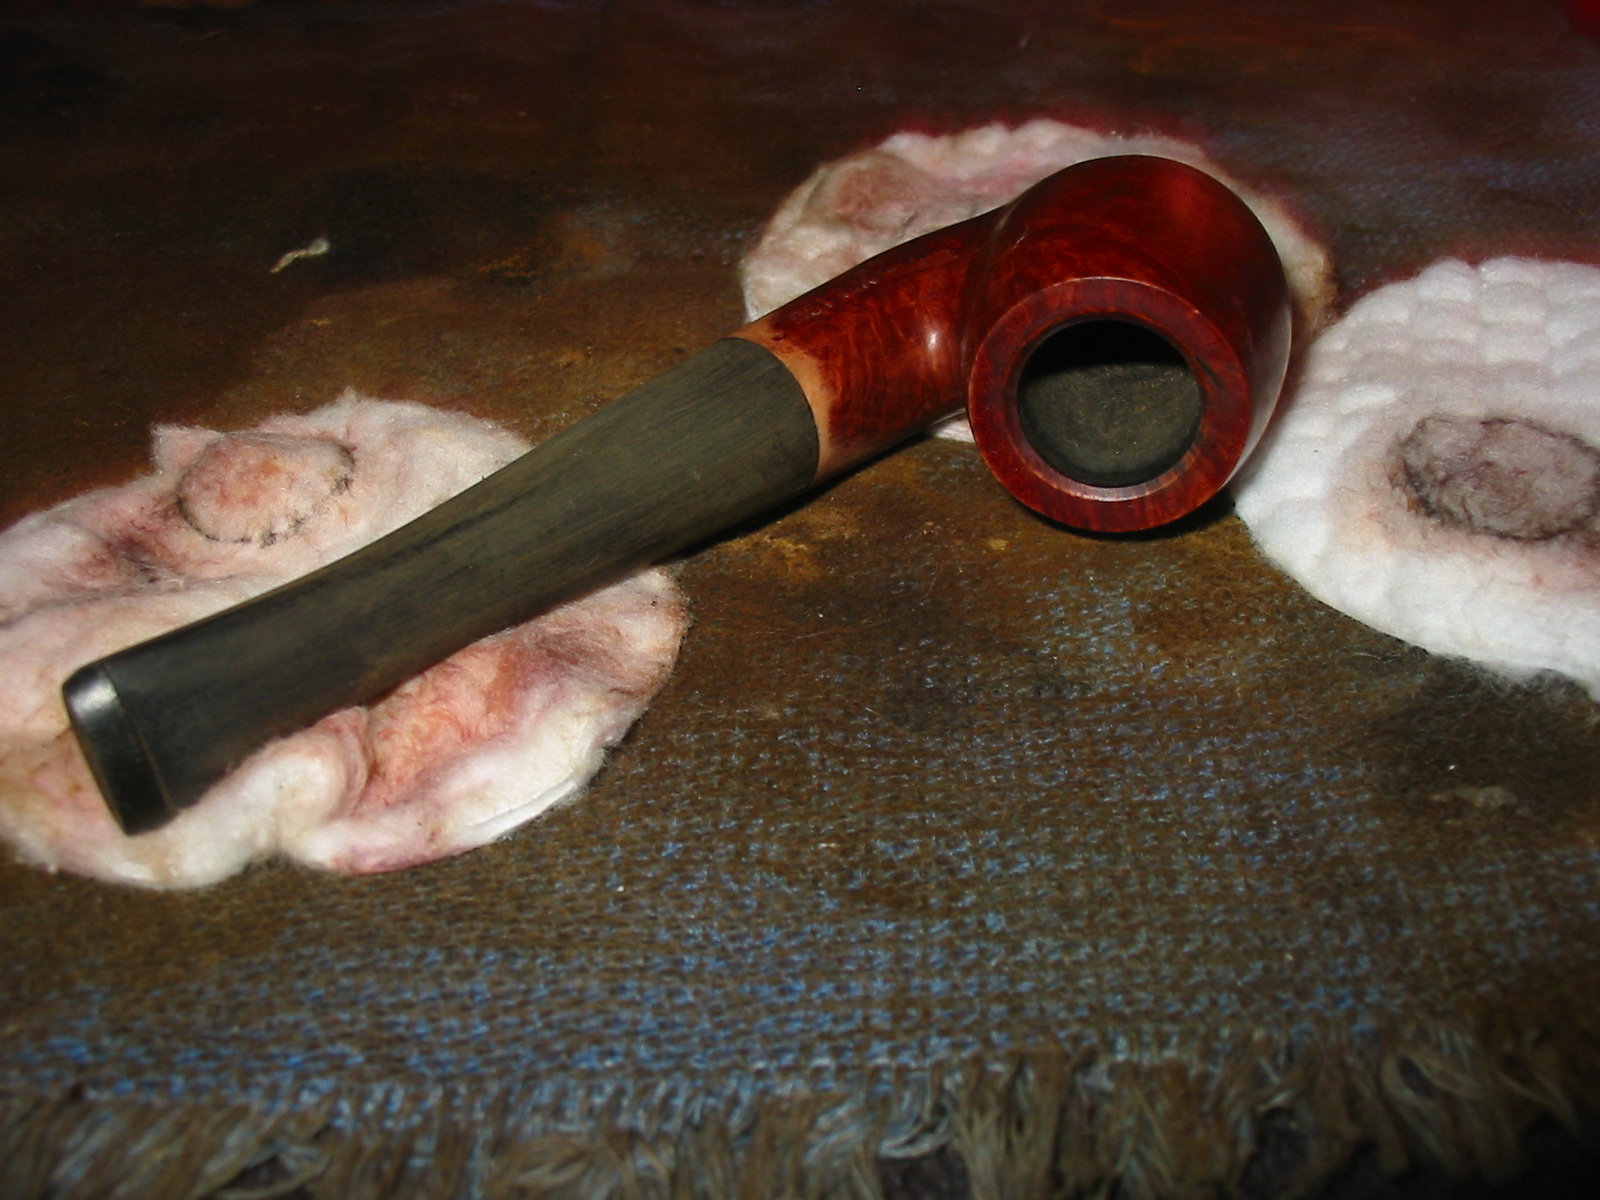
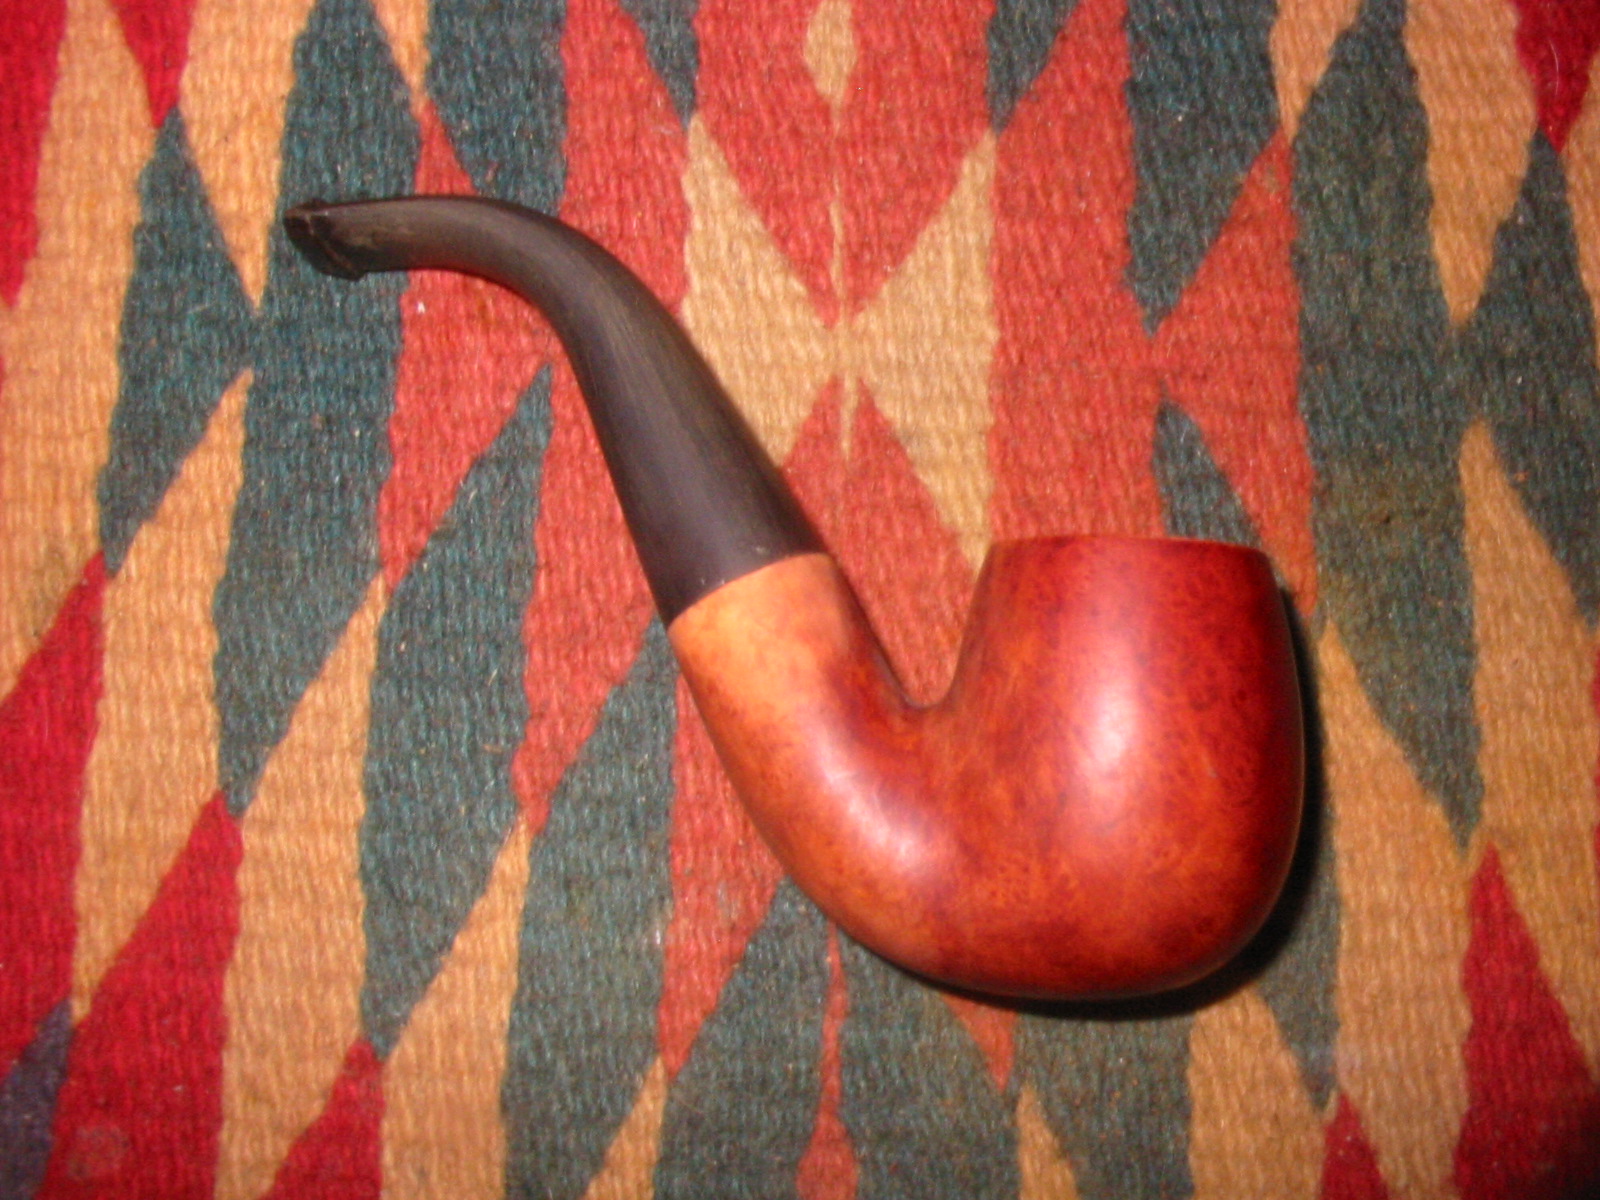
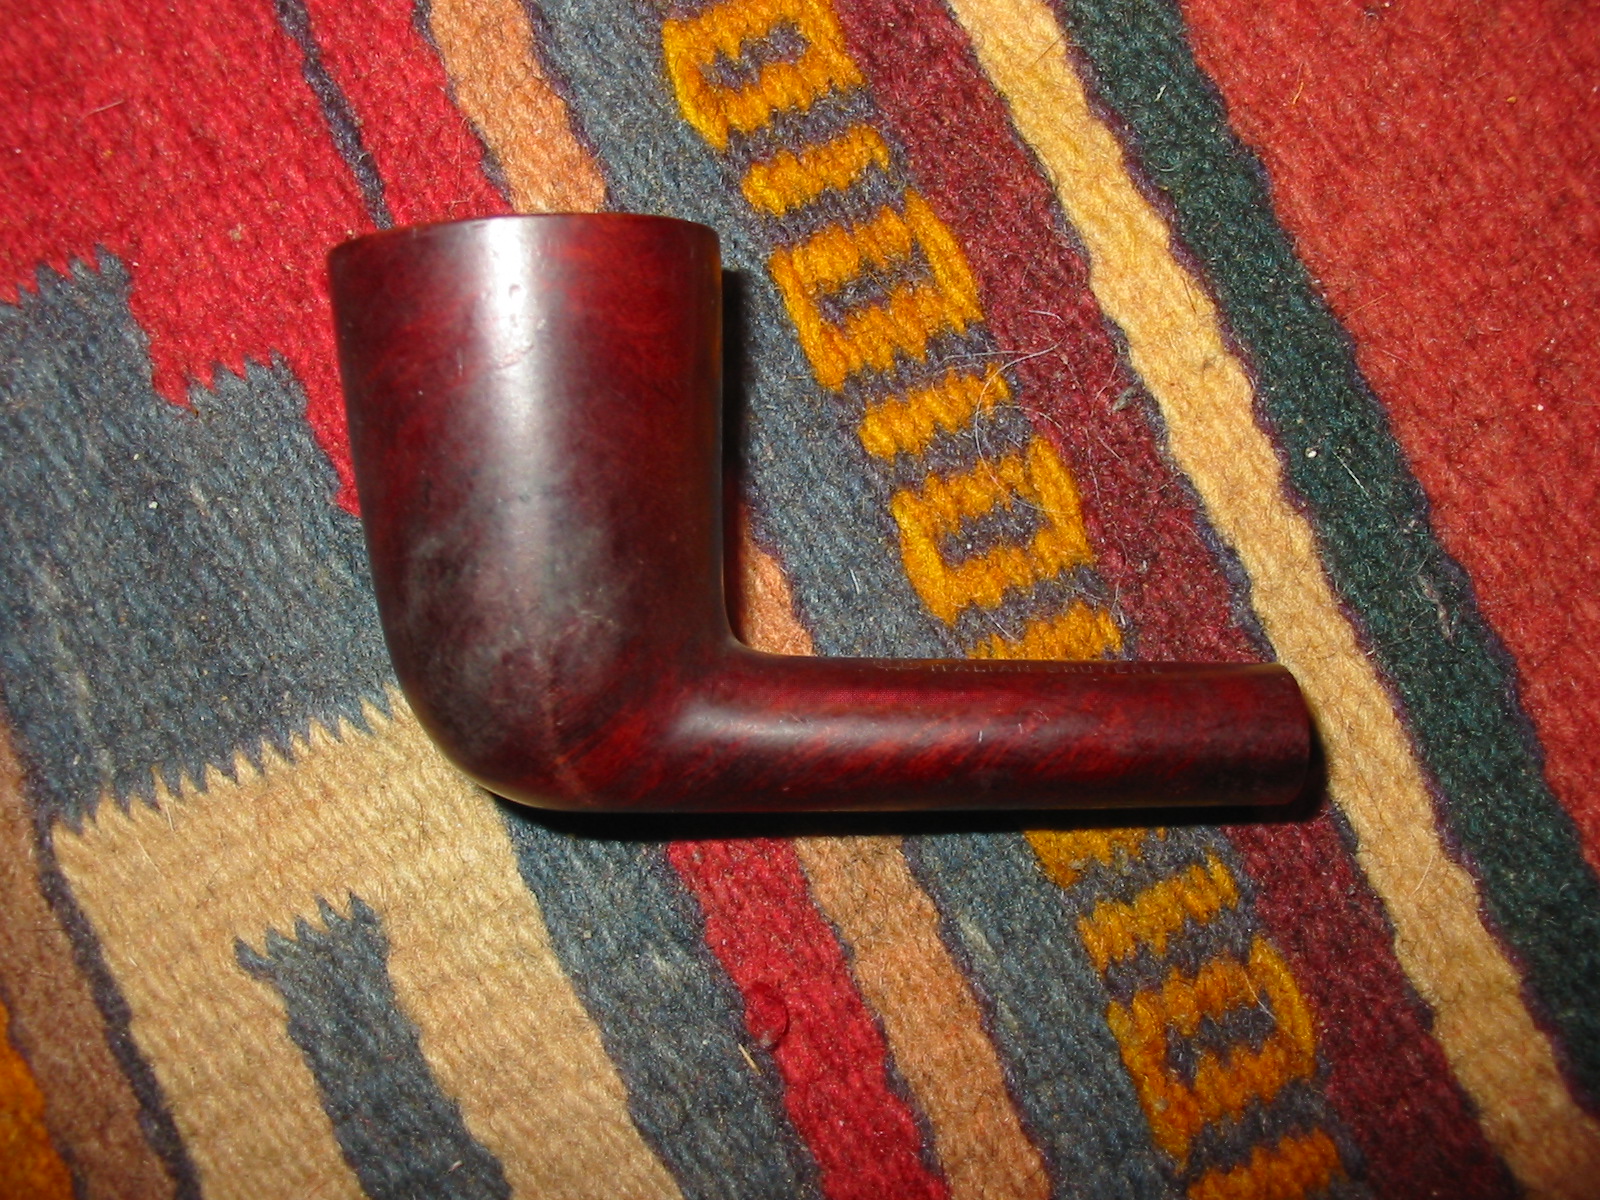
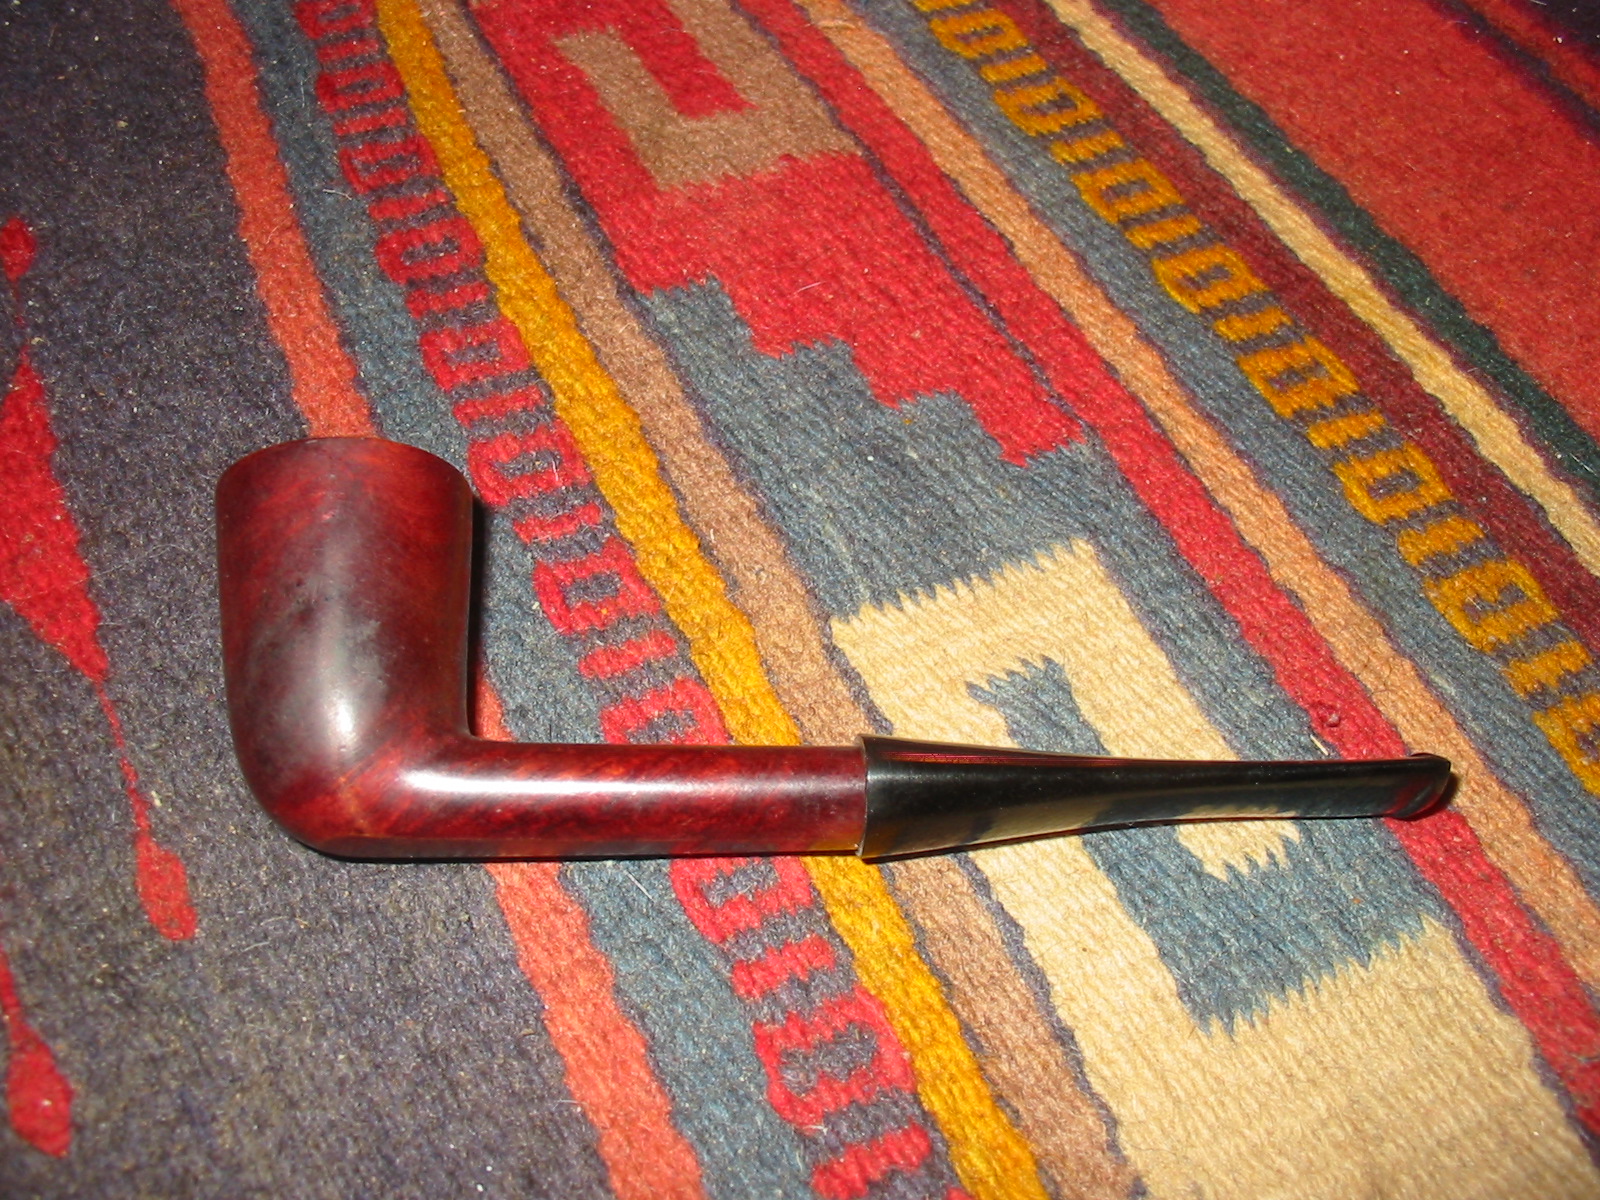
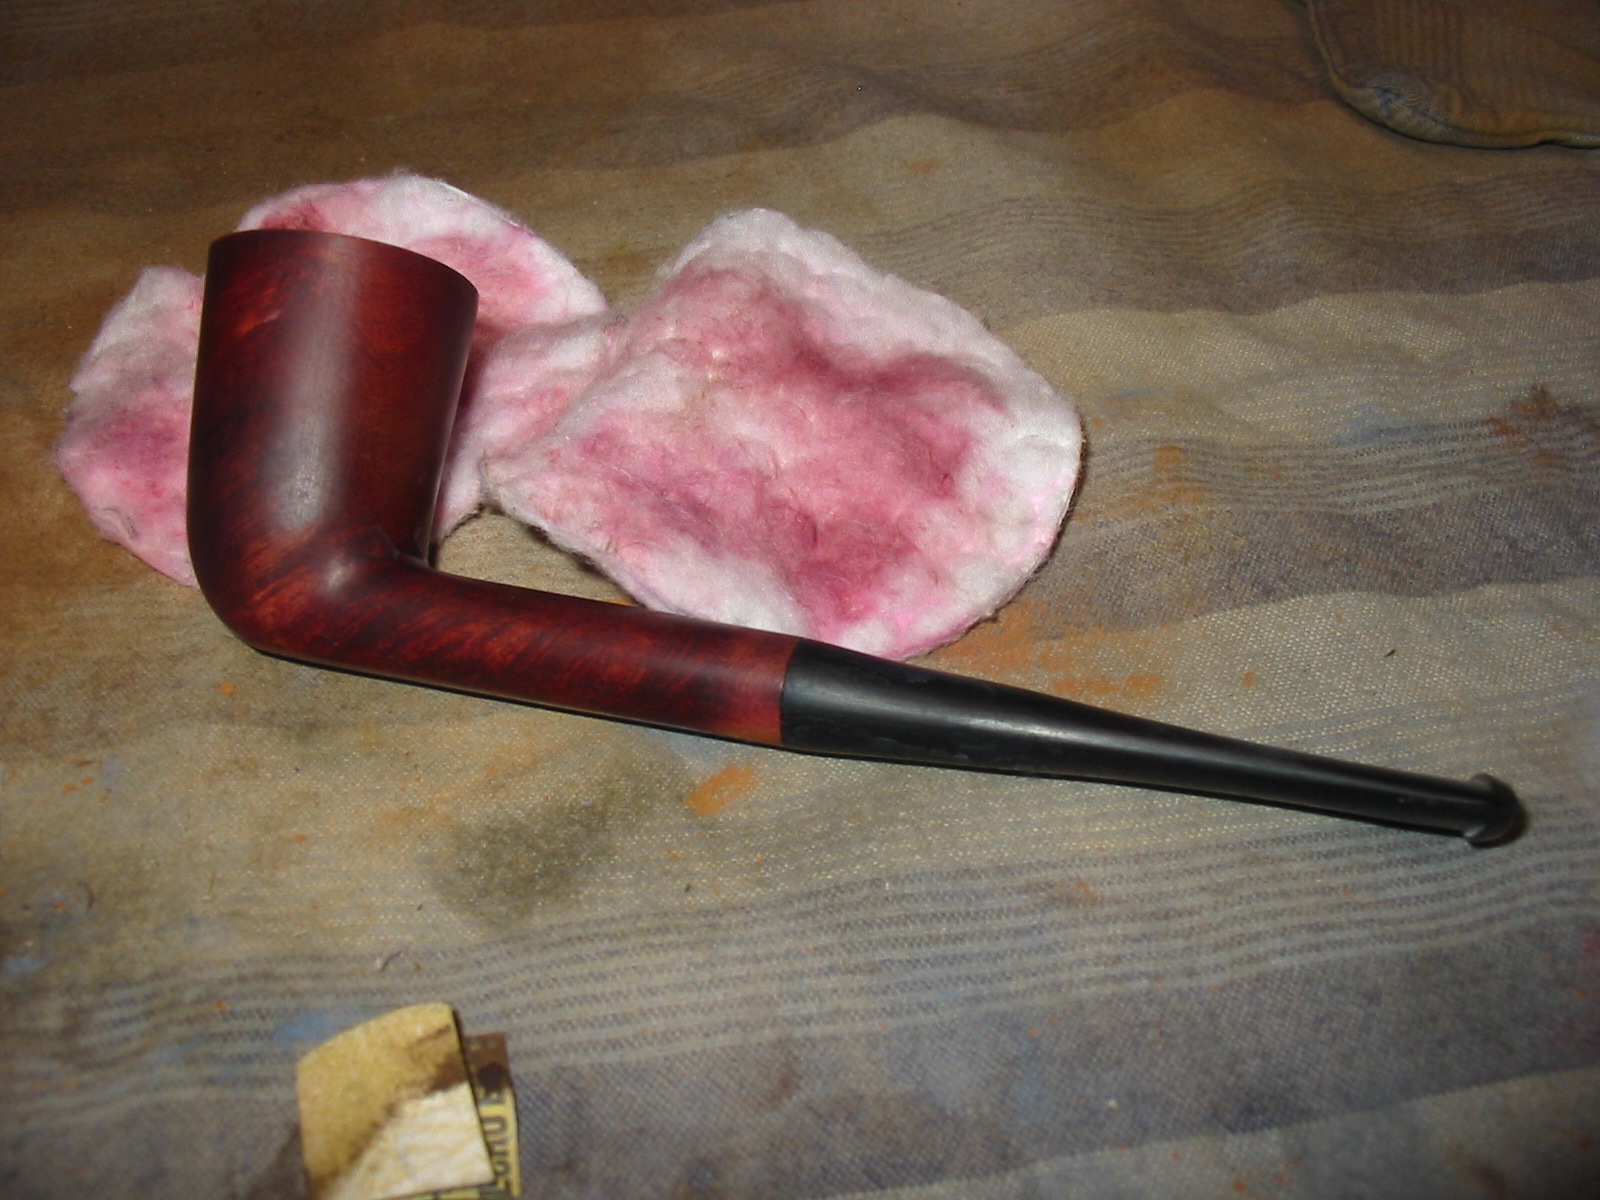
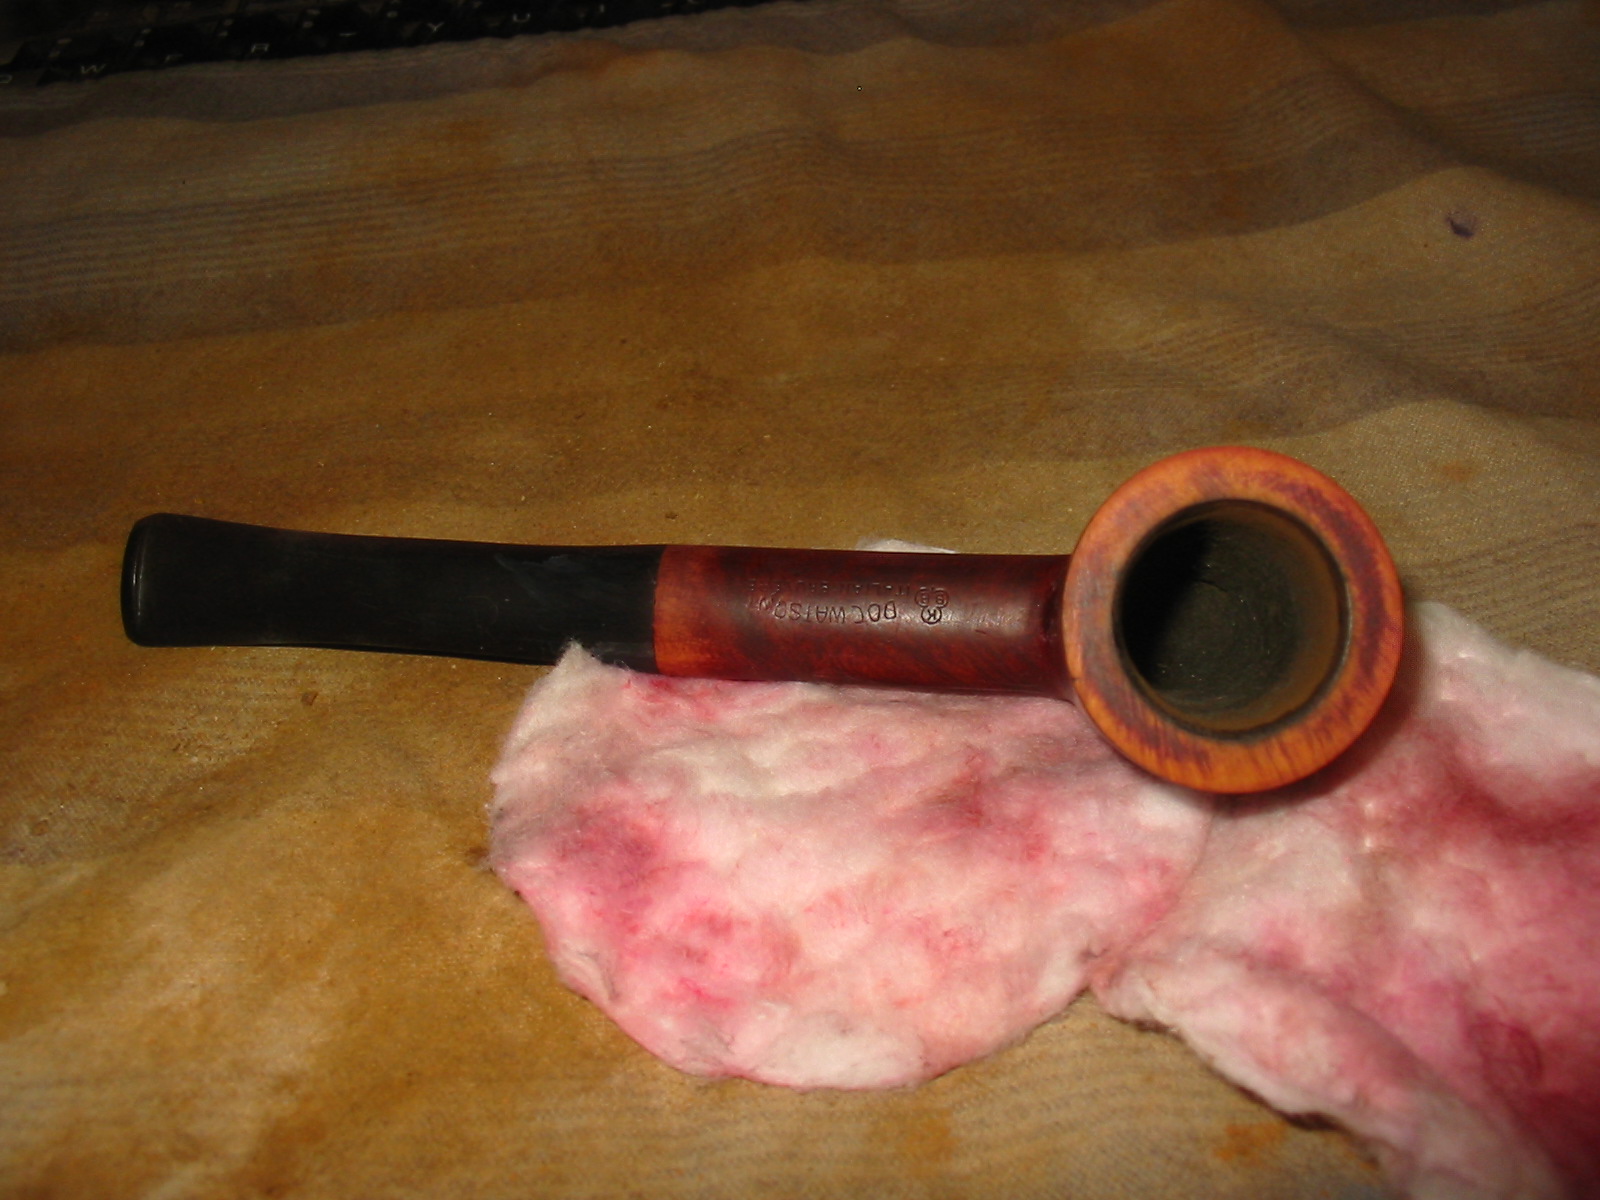
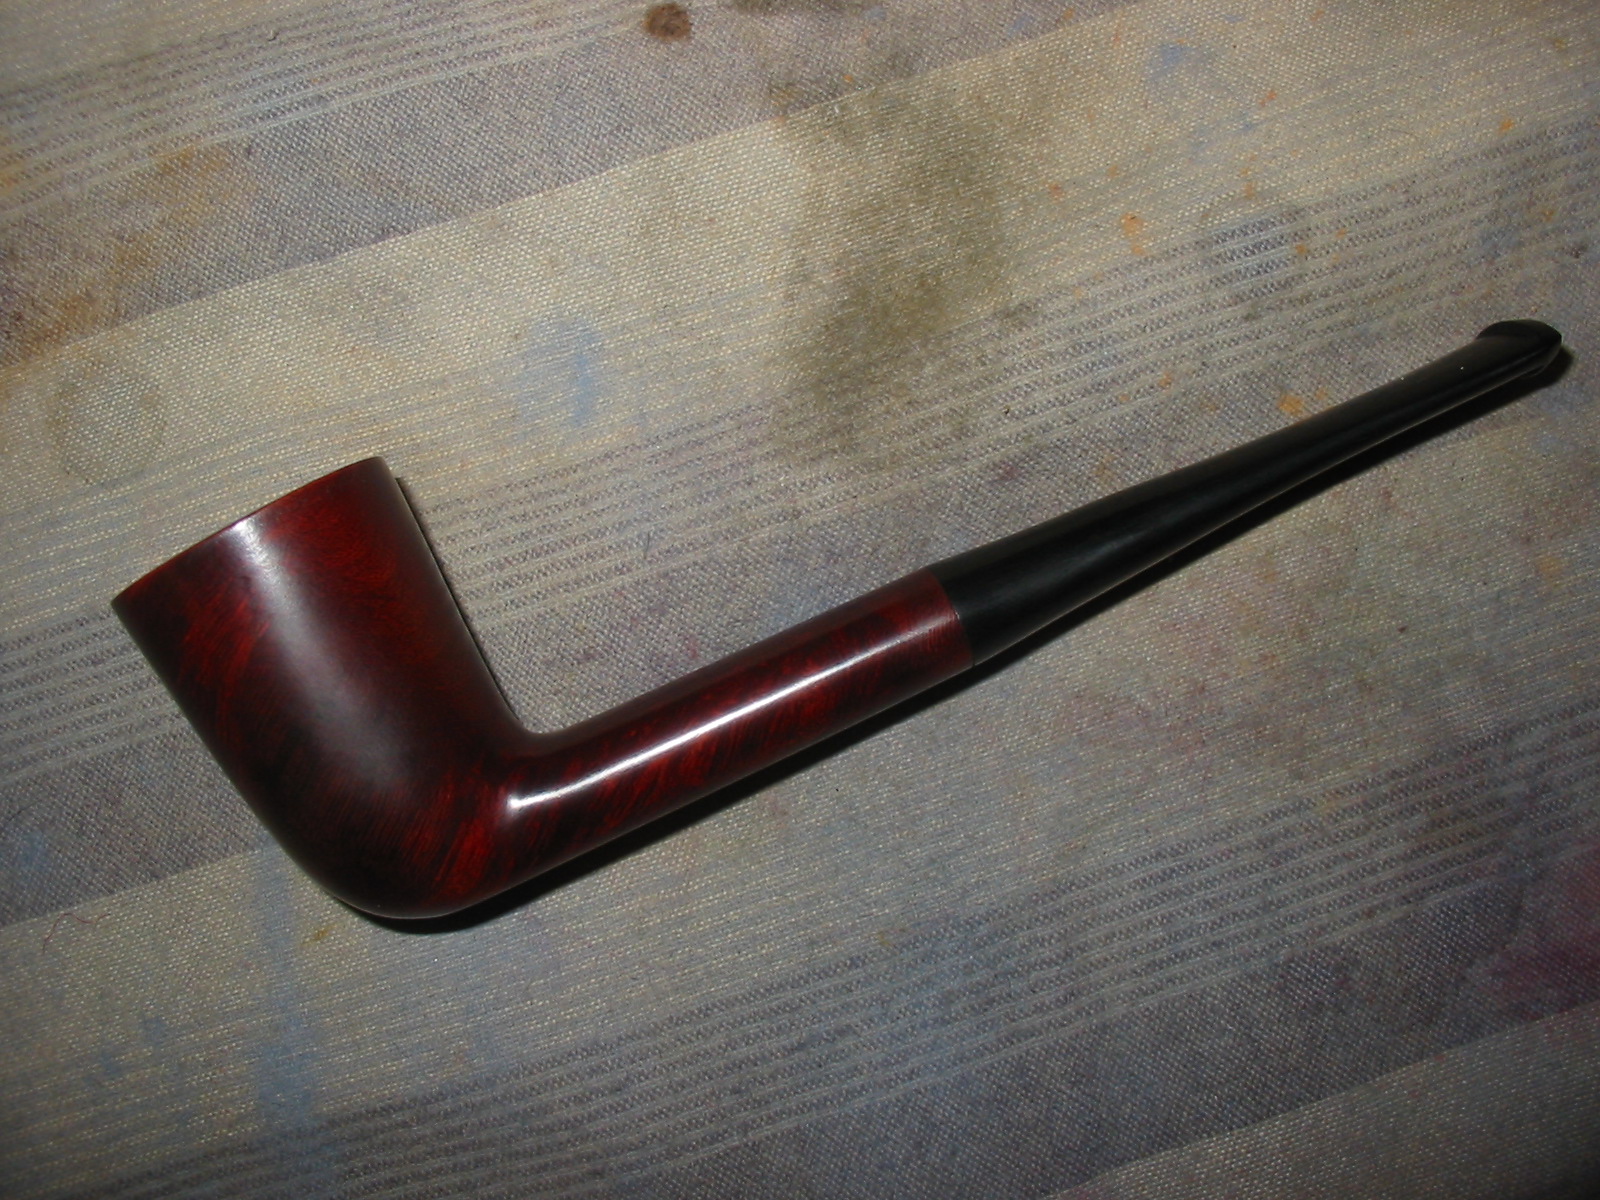
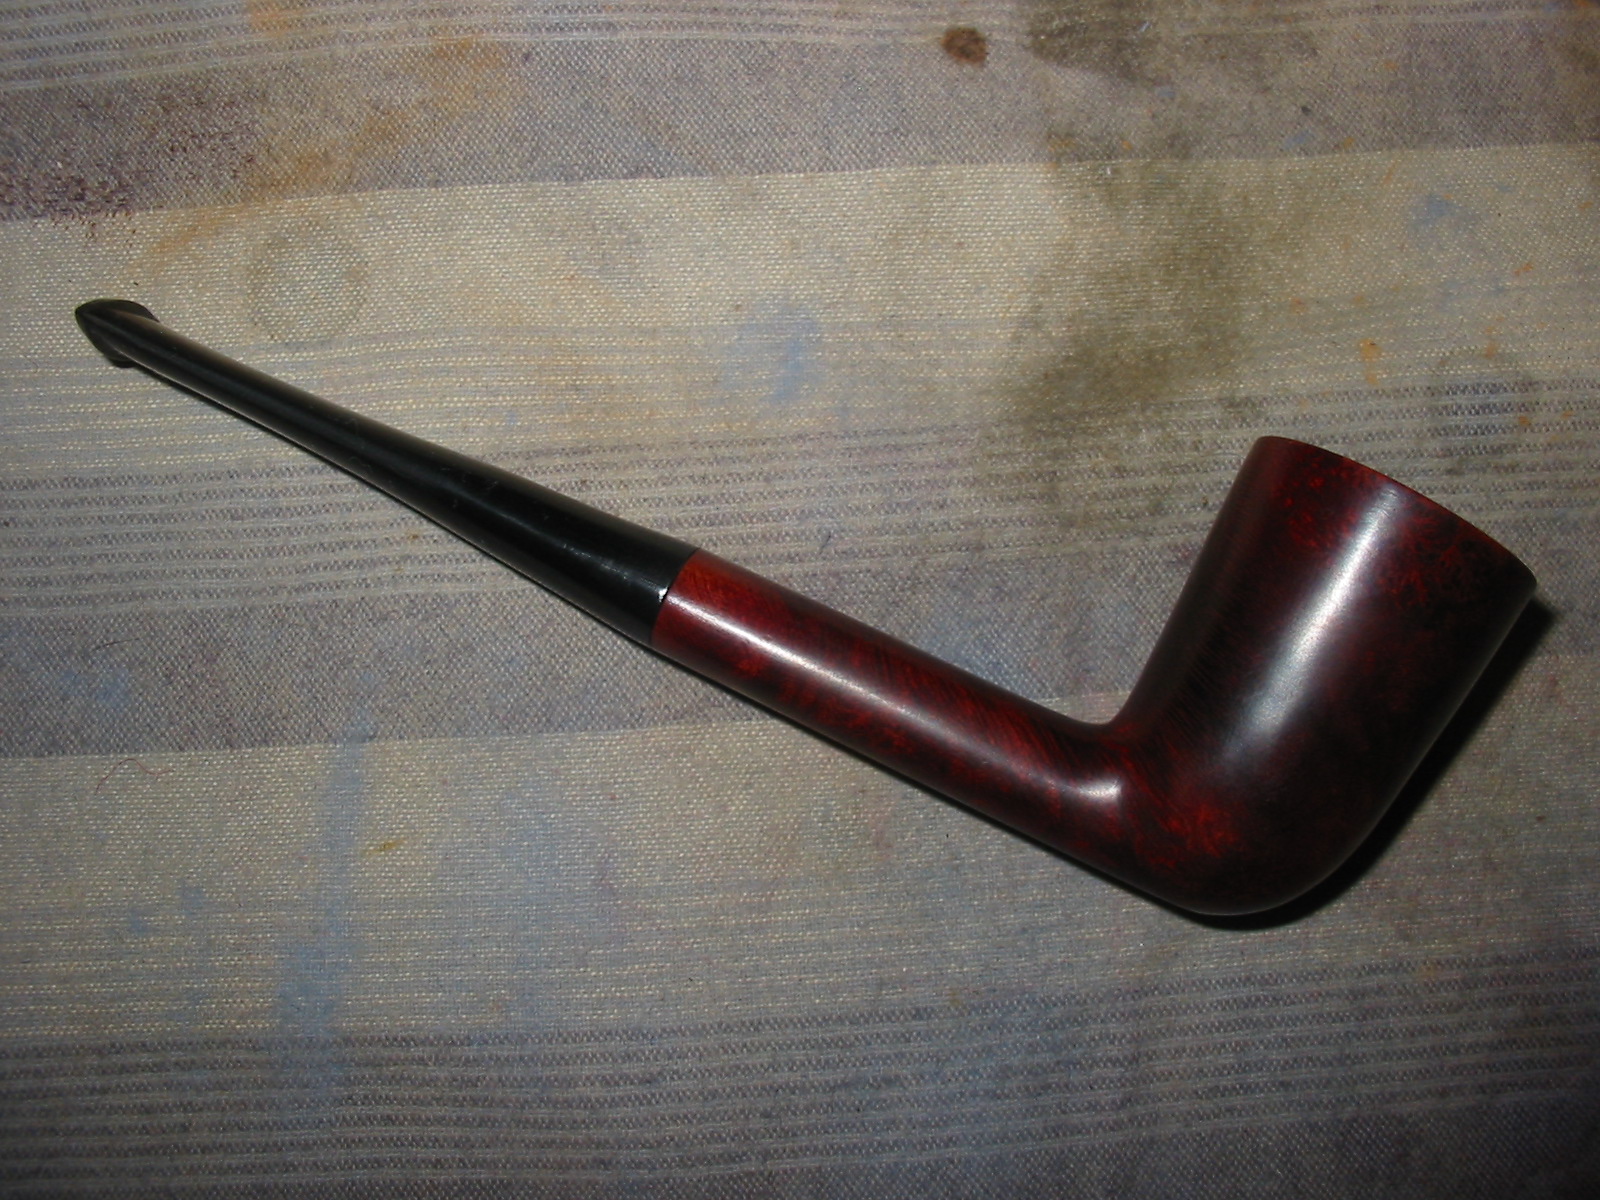
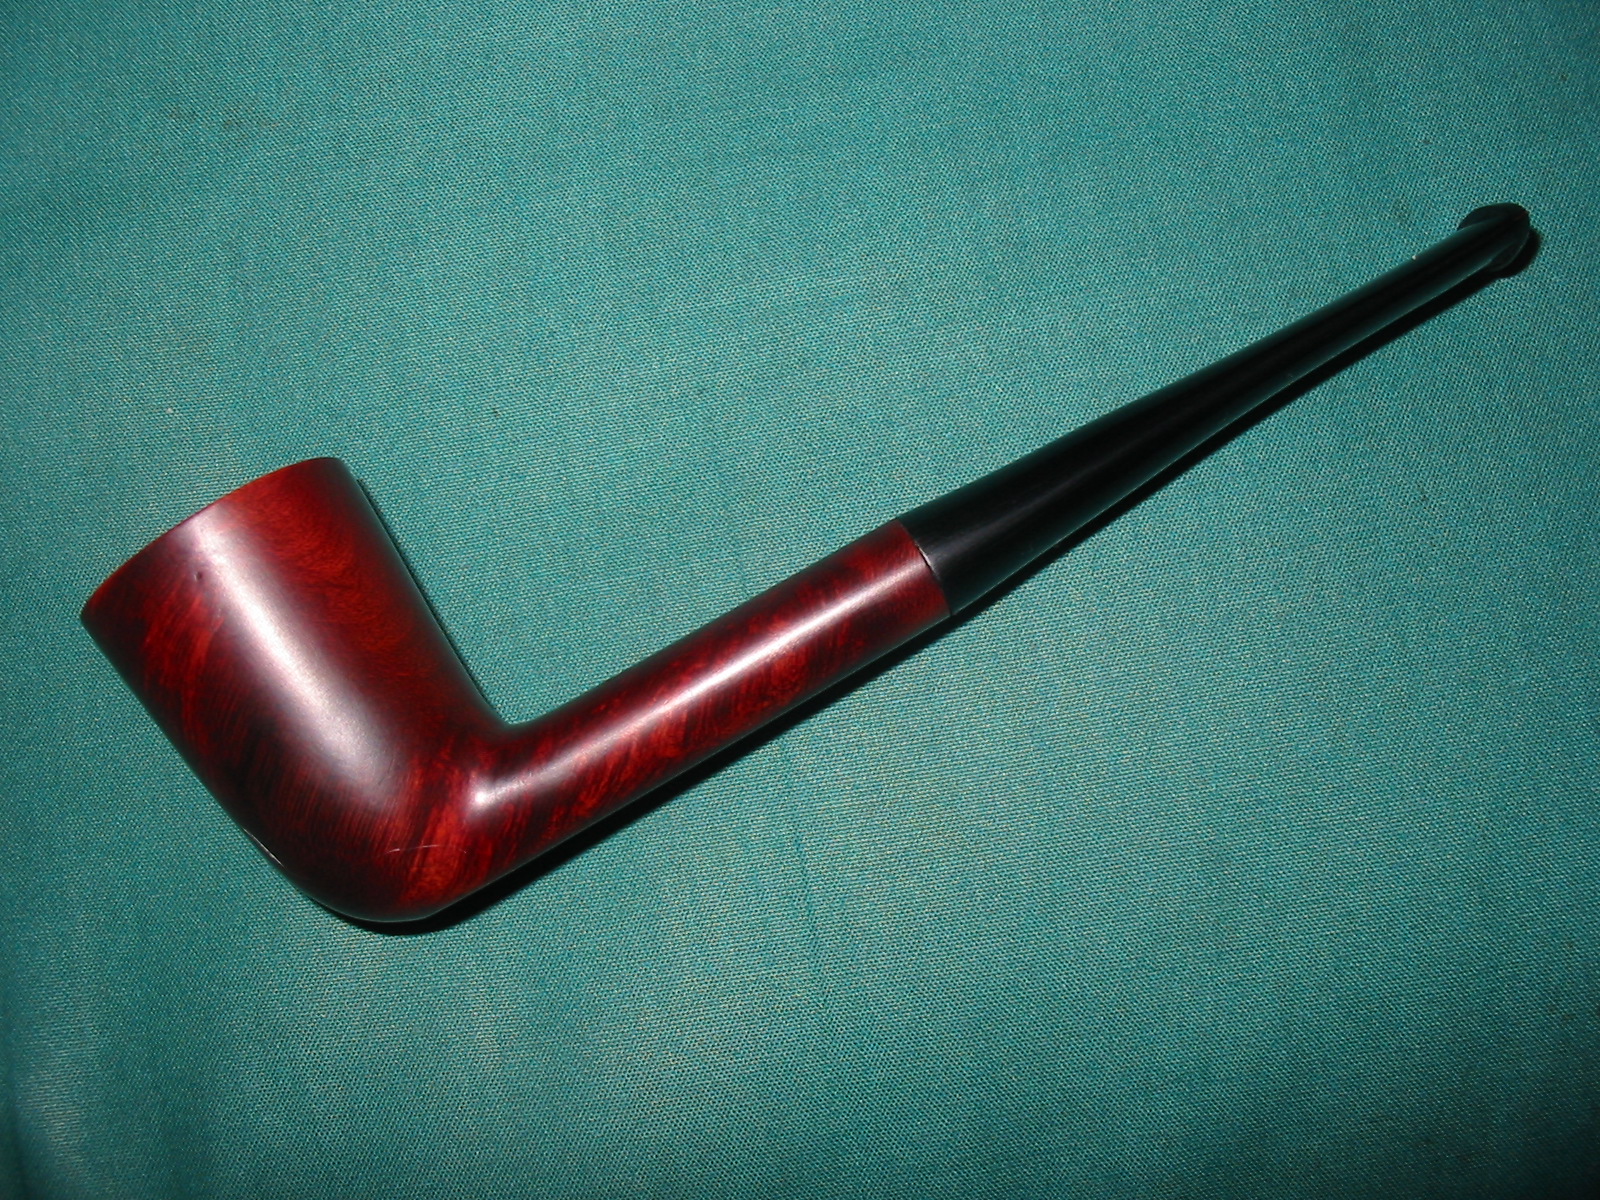
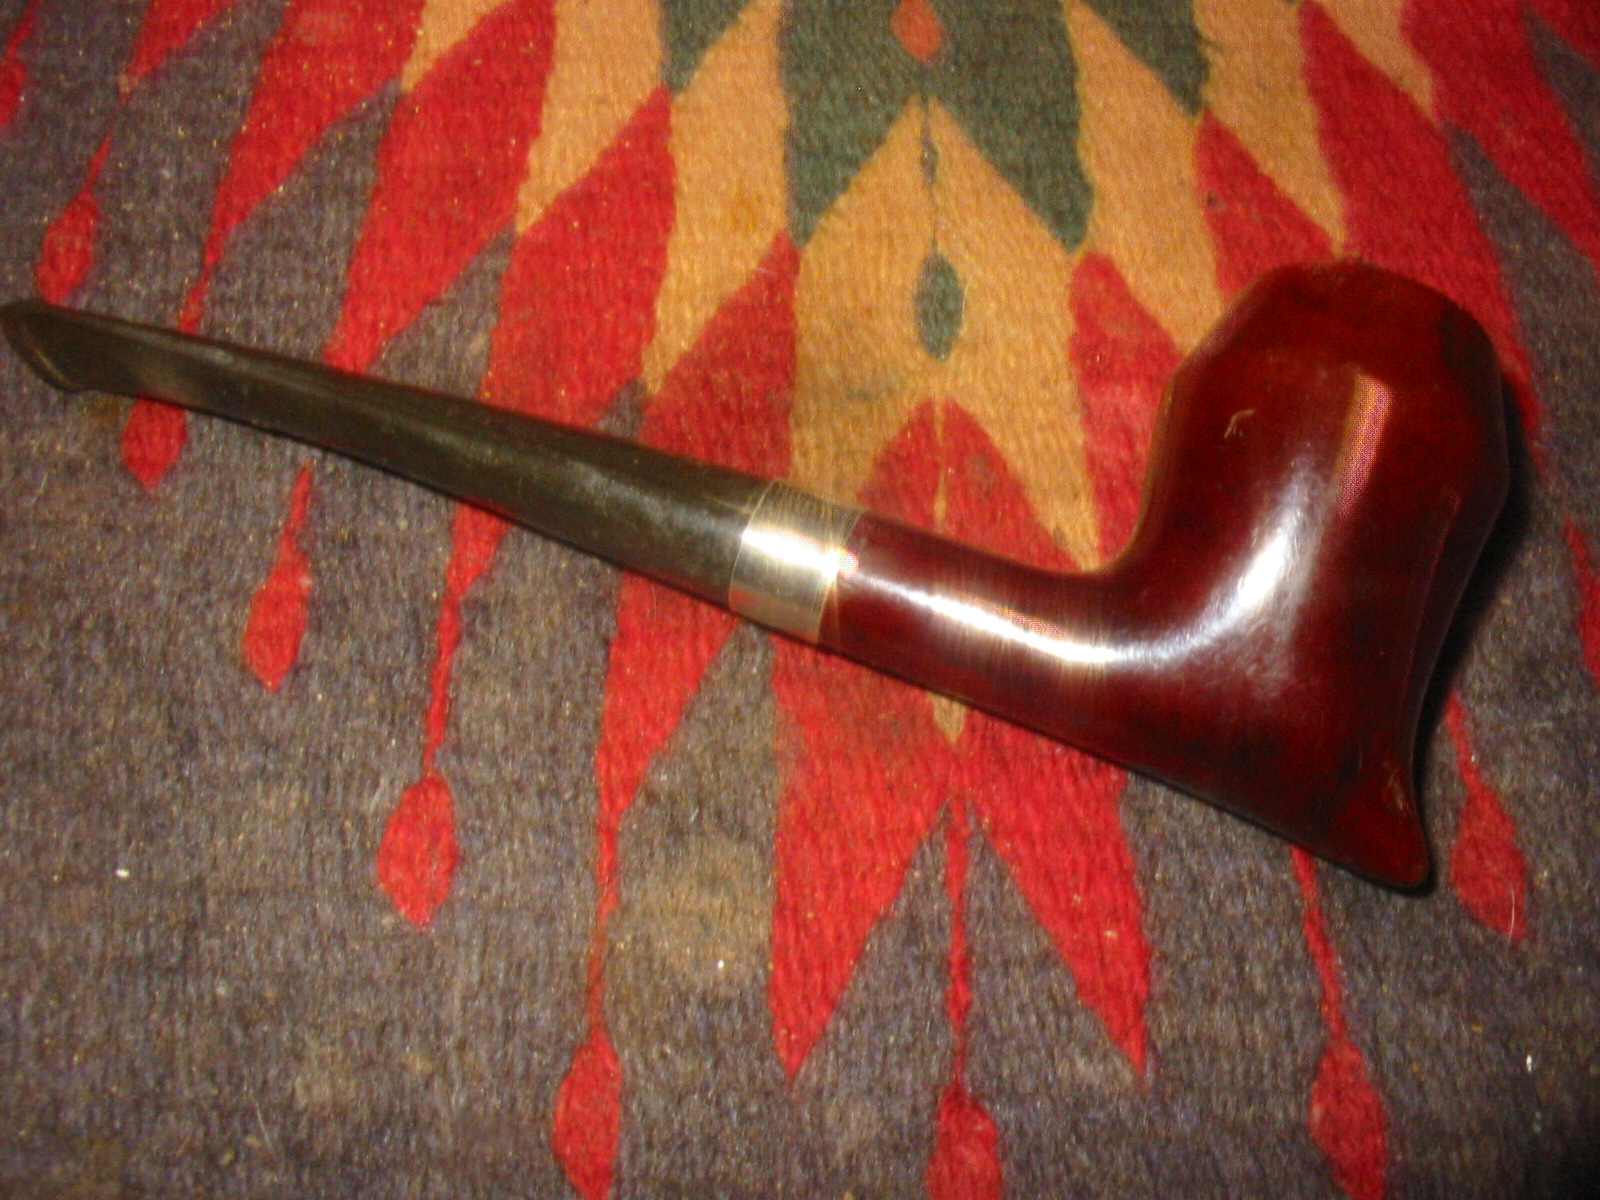
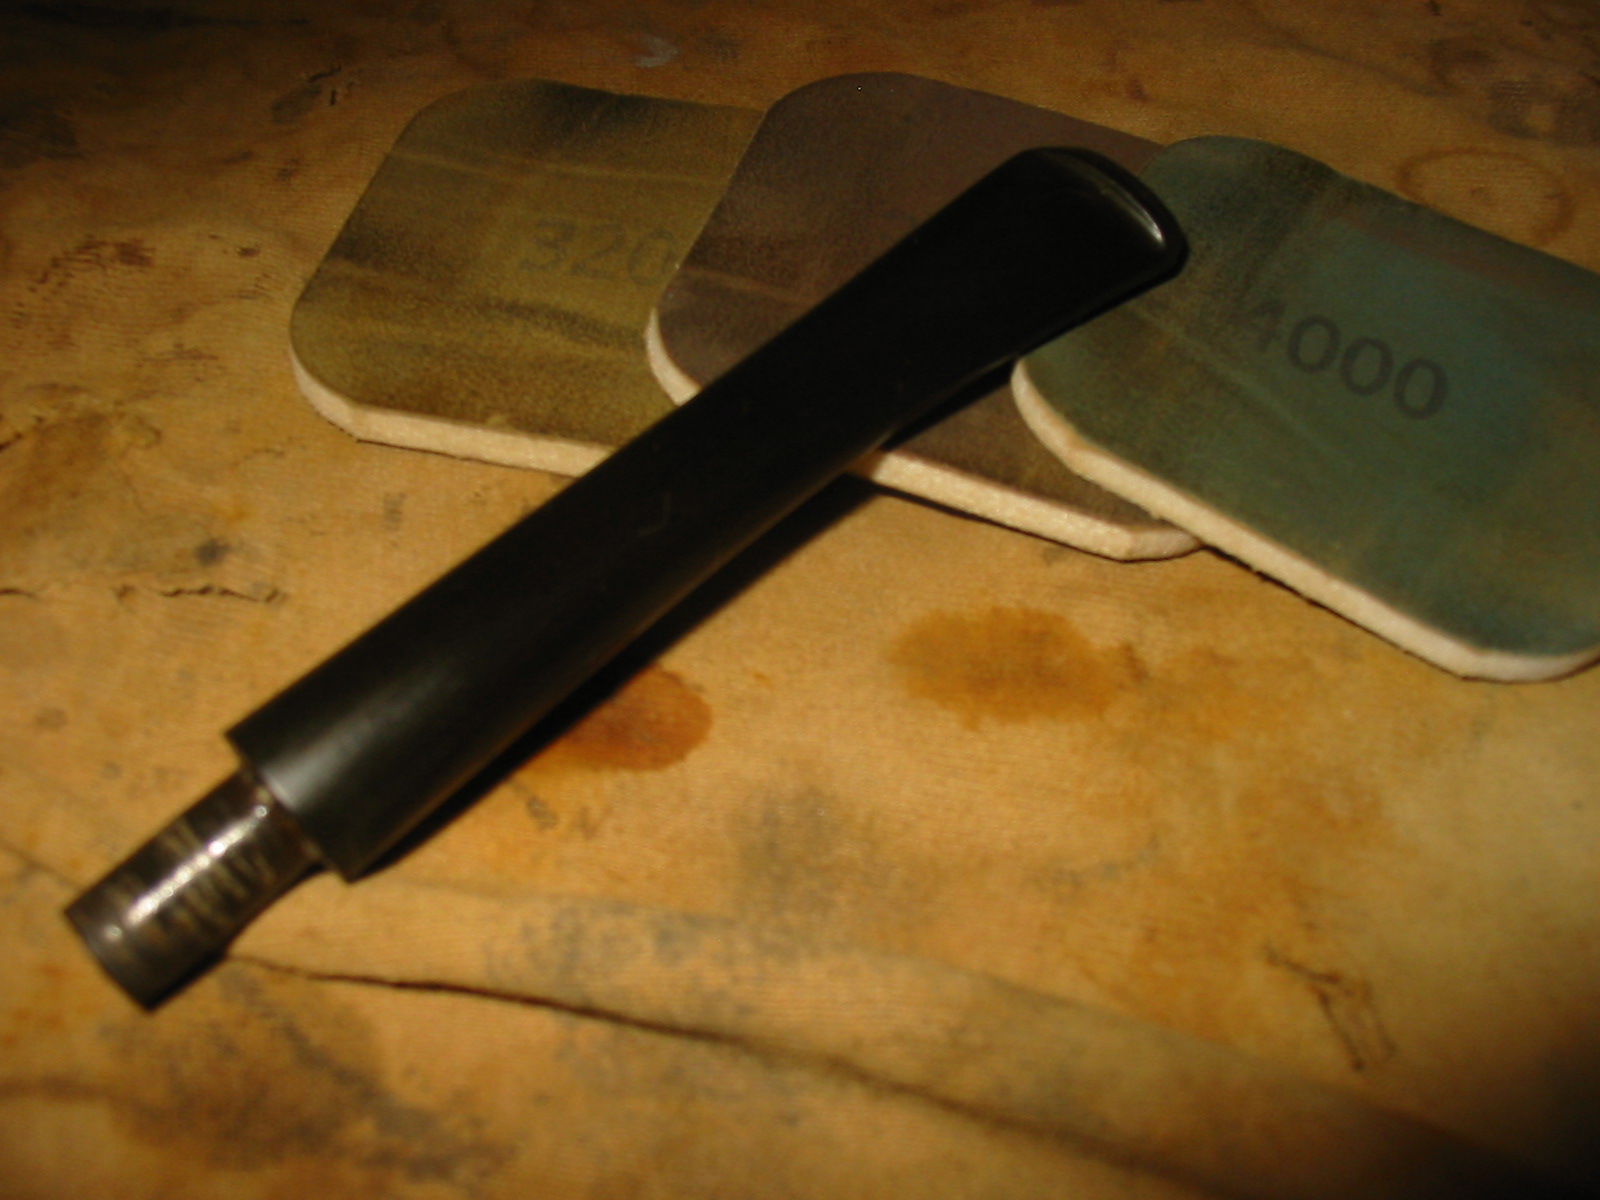 When I had finished sanding the bowl and the stem I buffed them with White Diamond and then gave the pipe several coats of carnauba wax. I polished it with a soft flannel buff to give a shine. In retrospect, I think that Brylon must be pretty indestructible and I figure I could have just thrown the pipe in the dishwasher to sanitize it. I am sure it would not have caused the least bit of damage. The finished pipe is shown below. It is cleaned, has a light cake and is ready to be fired up with an inaugural smoke. Who knows I might even like it enough to keep it around as a yard pipe.