Blog by Steve Laug
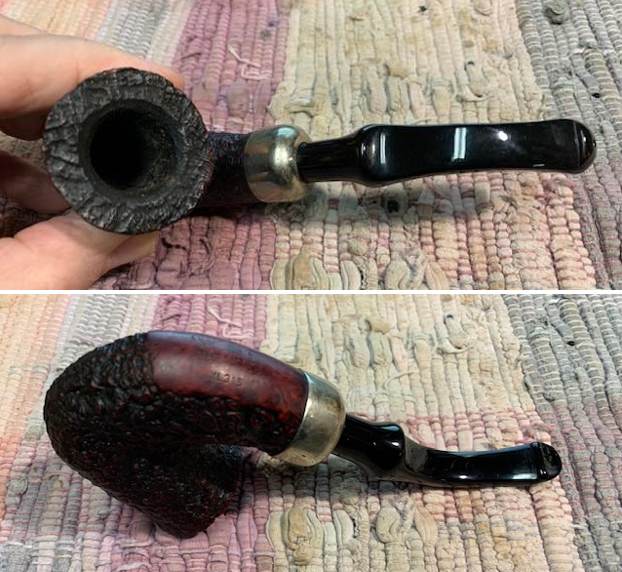
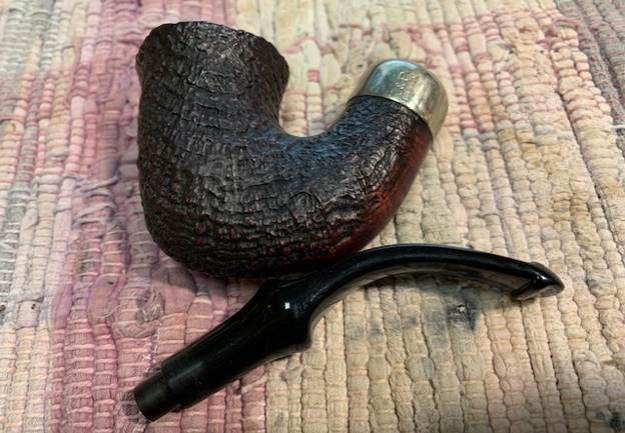
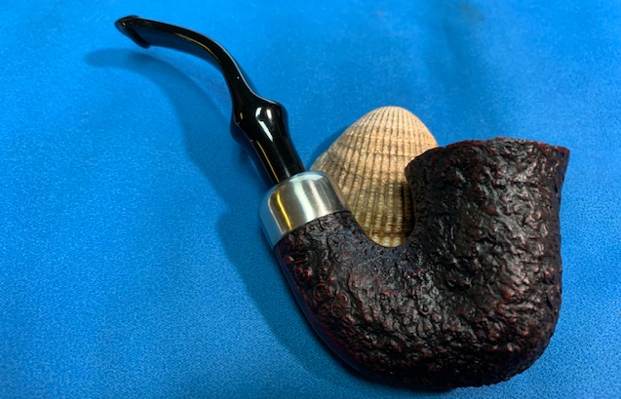
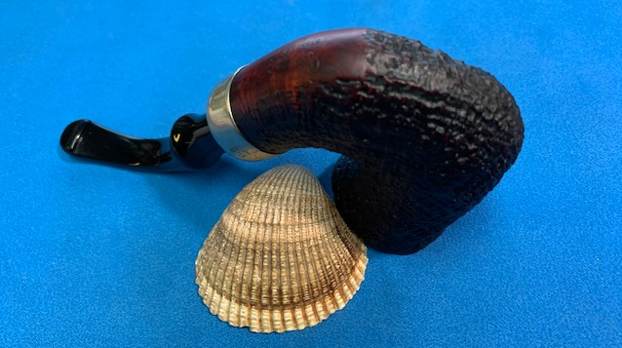
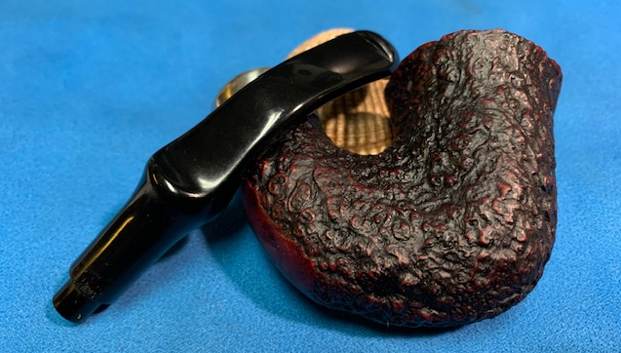
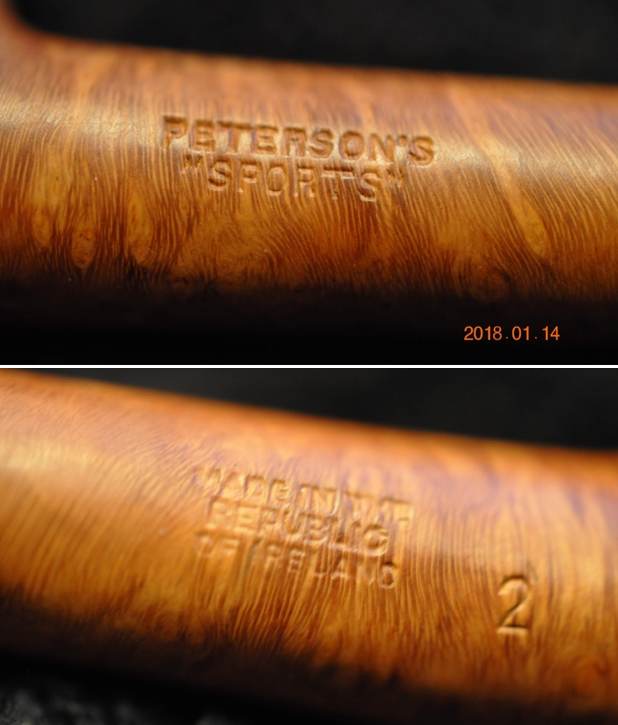
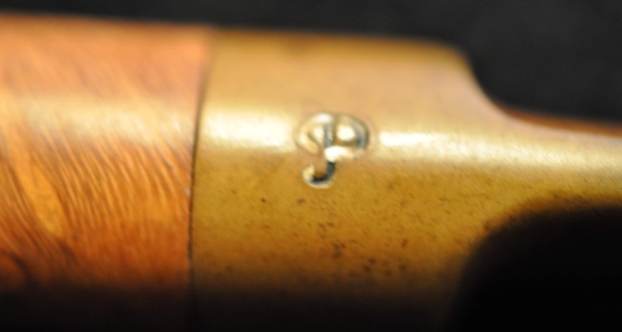
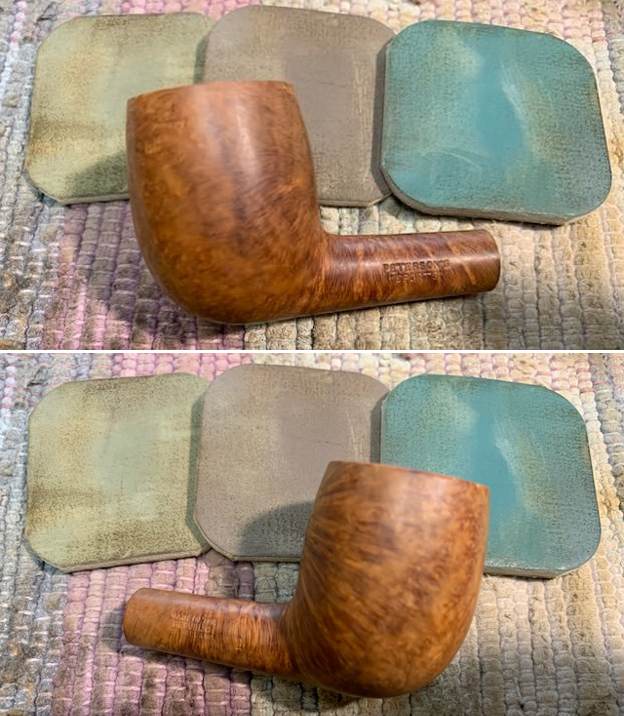
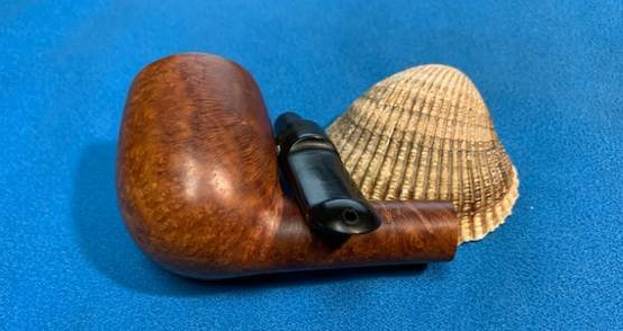
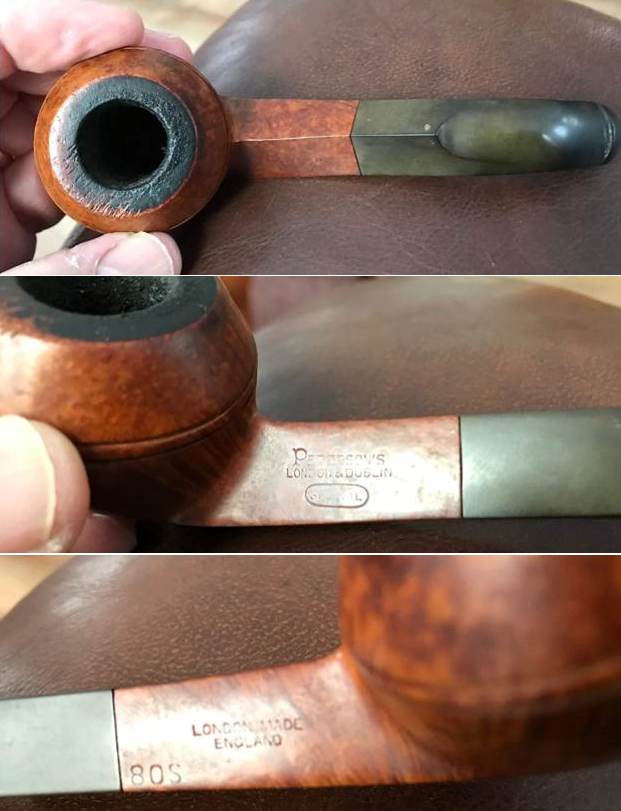
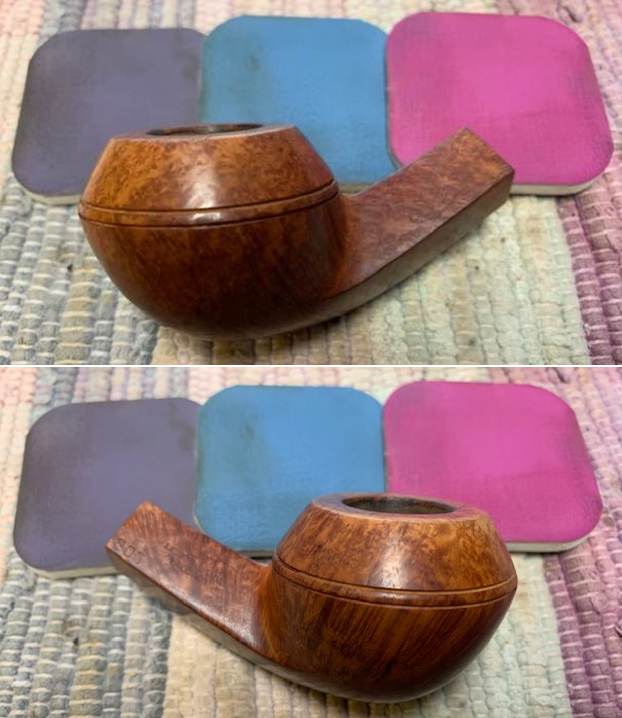
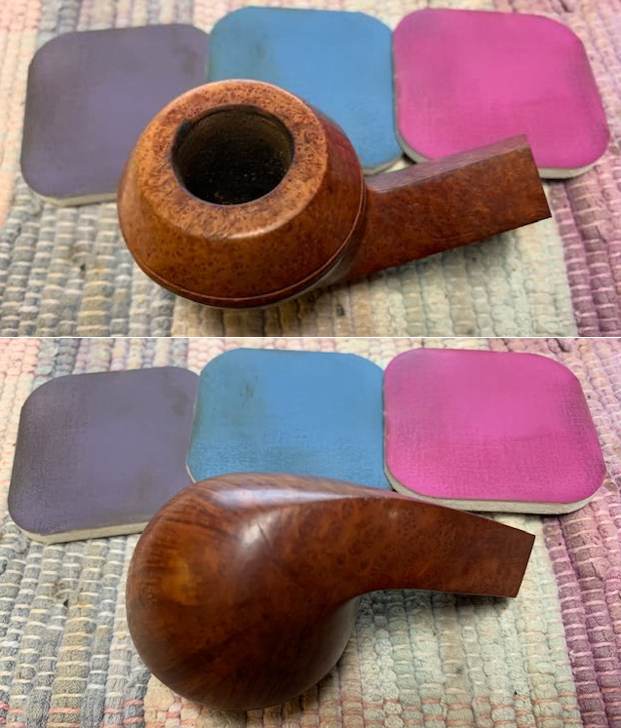
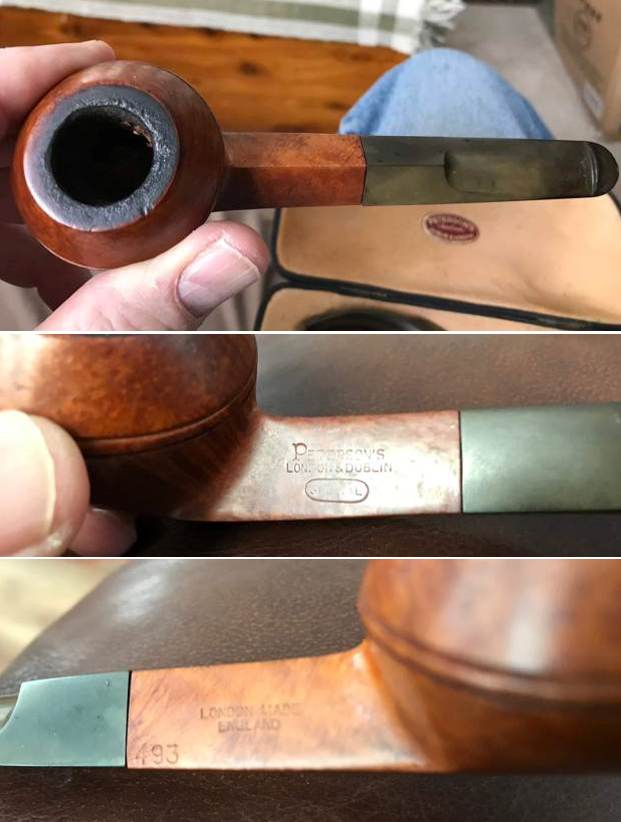
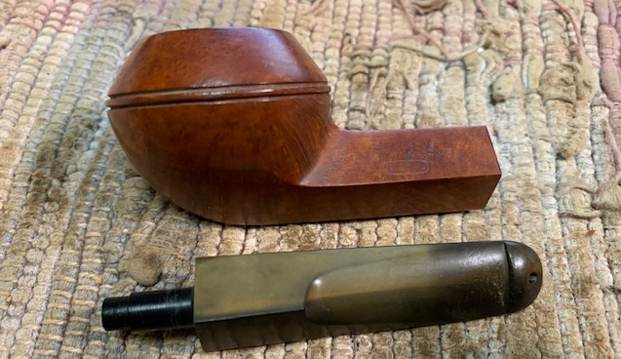
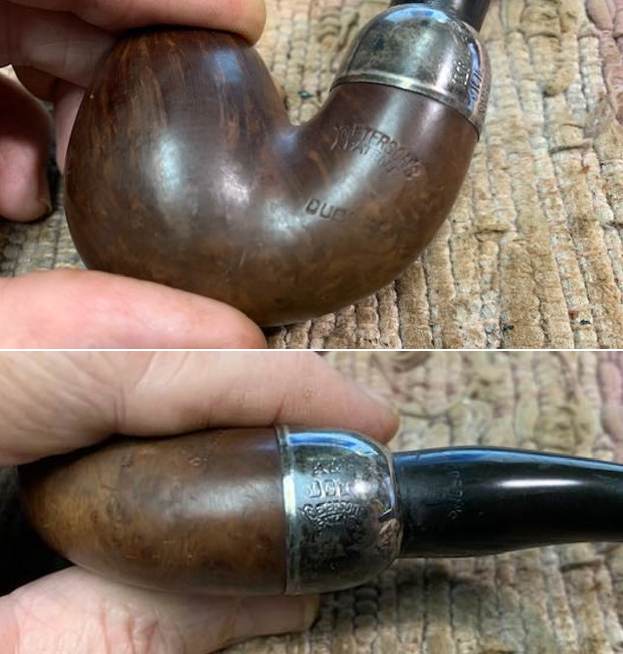
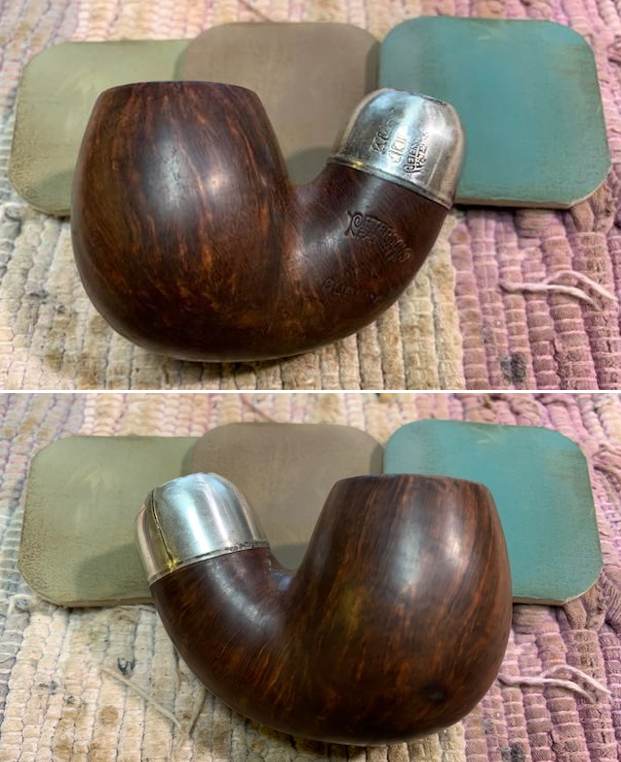
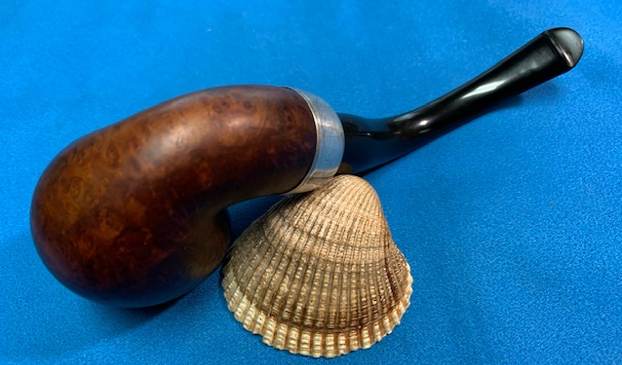
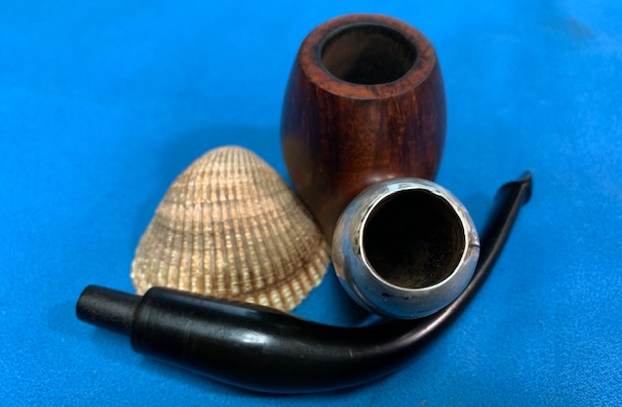
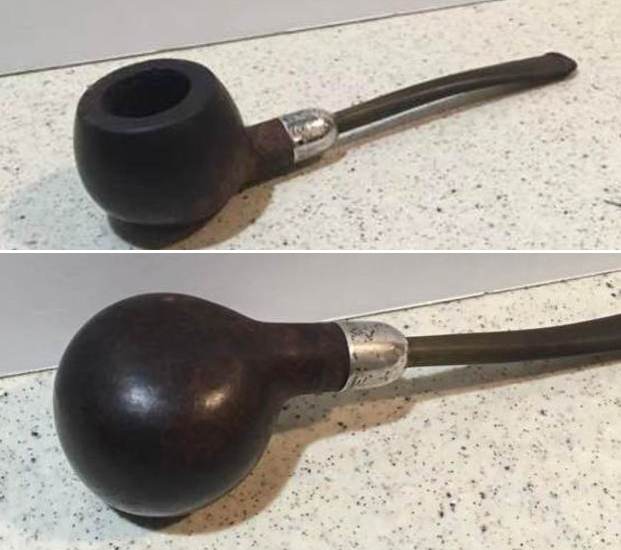
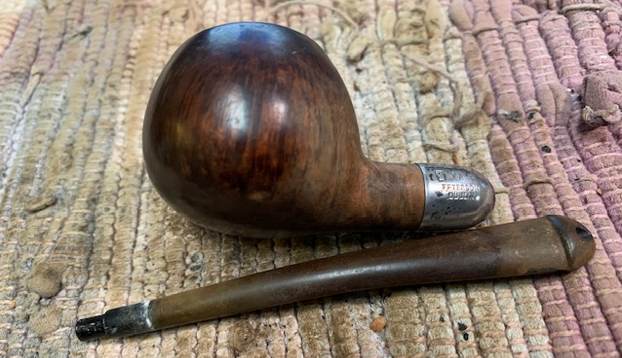
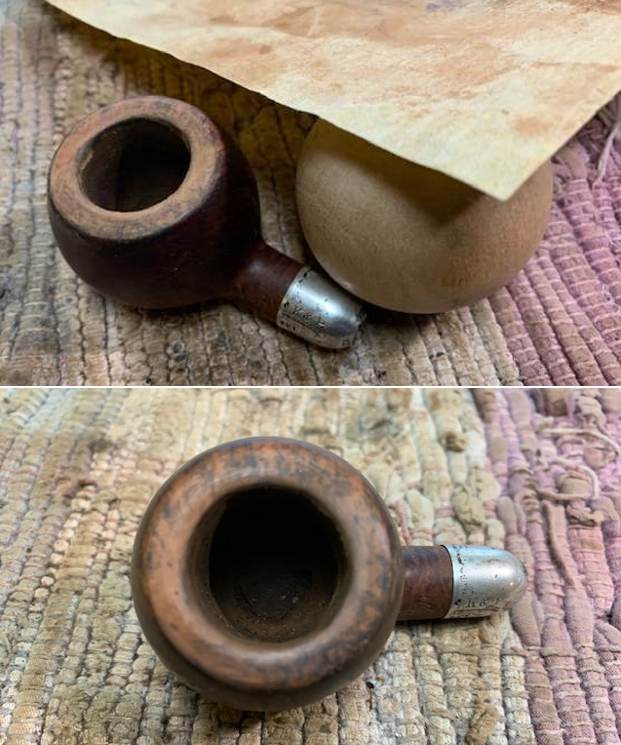
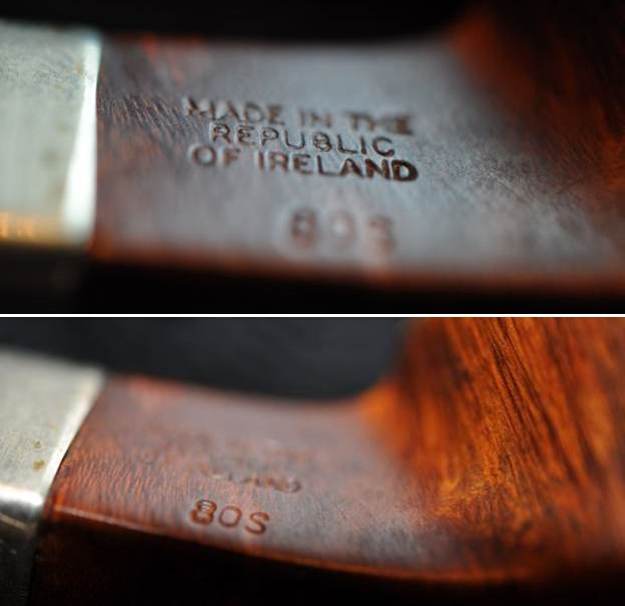
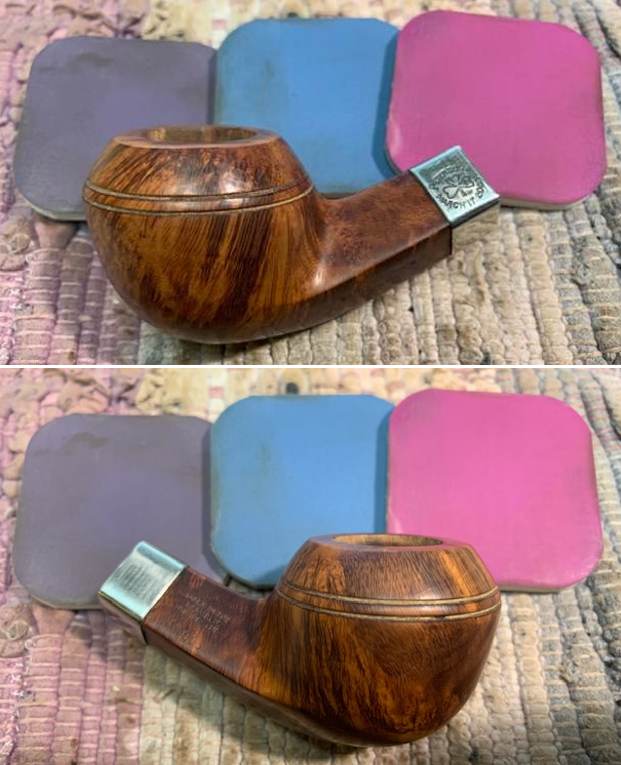
The next pipe has been sitting here since we picked it up on Ebay on December 6, 2016. It came to us from Aurora, Colorado, USA and I am finally getting around to working on it. It is a nice Republic Era St. Patrick’s Day Bulldog. It is stamped on the left underside of the diamond shank and reads St. Patrick’s Day. On the right side it reads Made in the Republic of Ireland (three lines) over the shape number 80S. The nickel band was in great condition and was stamped and had a Shamrock with the words Peterson’s March 17, 2000 in a circle around it. The bowl was heavily caked with a thick lava overflow on the rim top and edges. It flowed down the sides of the cap. I was hoping that the lava coat had protected the rim top and cap from significant damage but only cleaning it up would tell the full story. The finish was dirty but had some nice grain around the sides. The stem had a Peterson’s “P” logo stamped on the top of the left side of the saddle. It was lightly oxidized and had a lot of tooth marks and chatter on both sides ahead of the button. Jeff took photos of the pipe before he cleaned it up.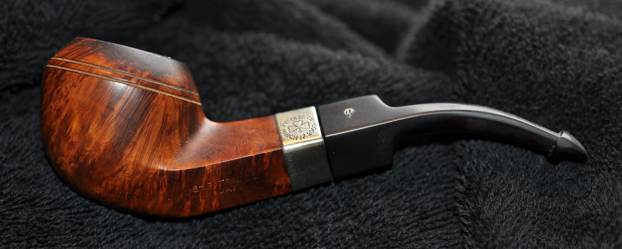
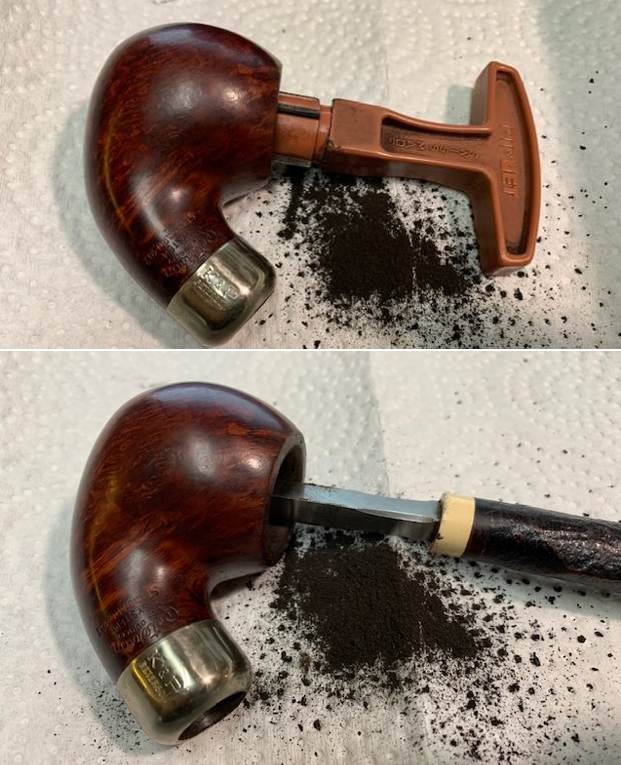
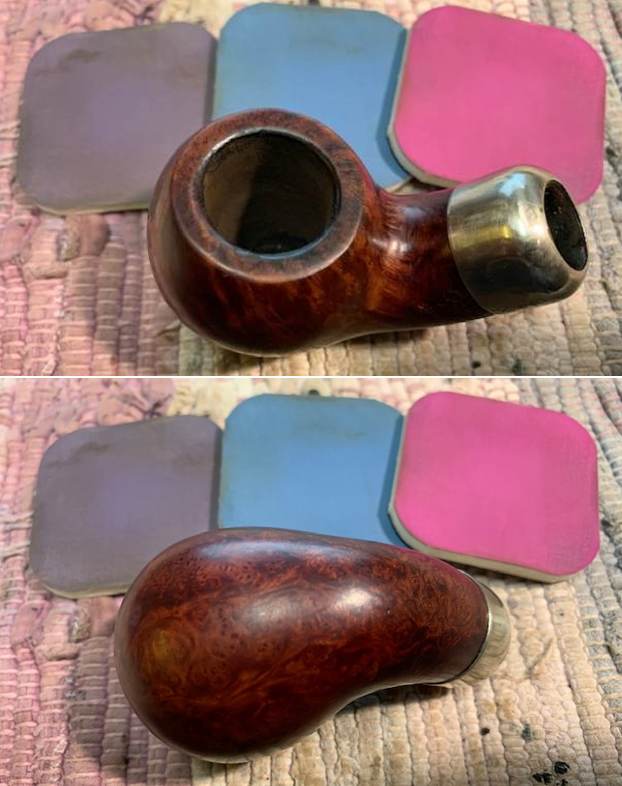
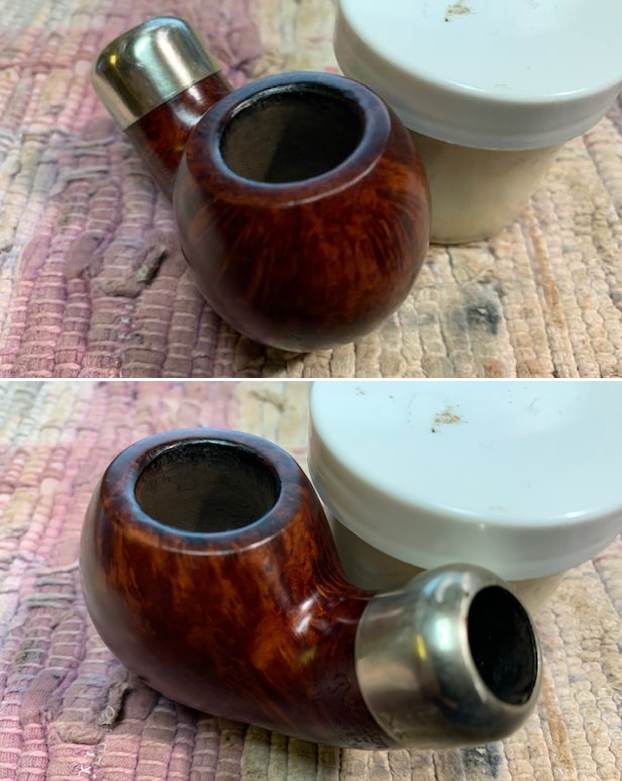
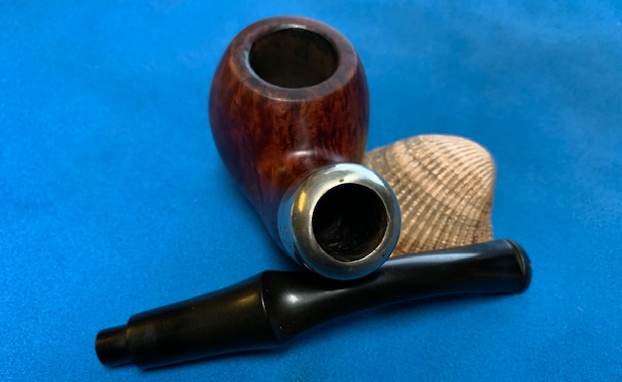
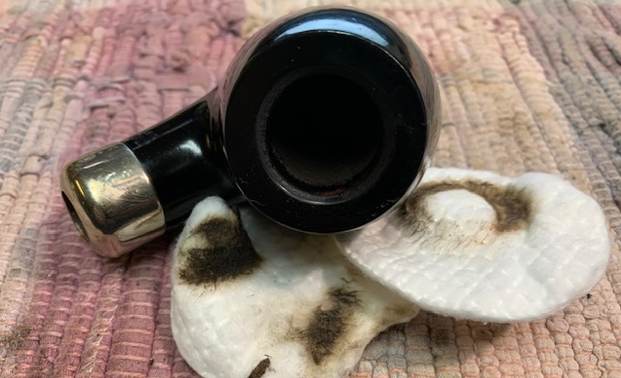
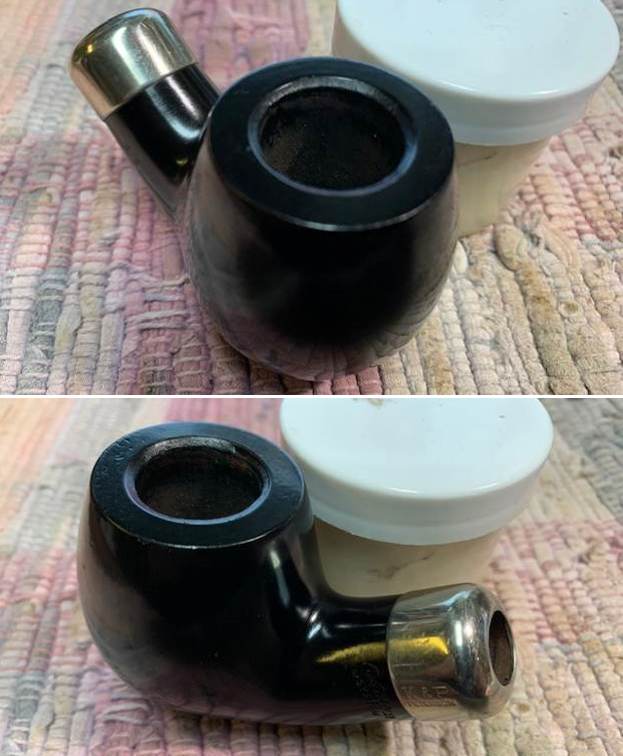
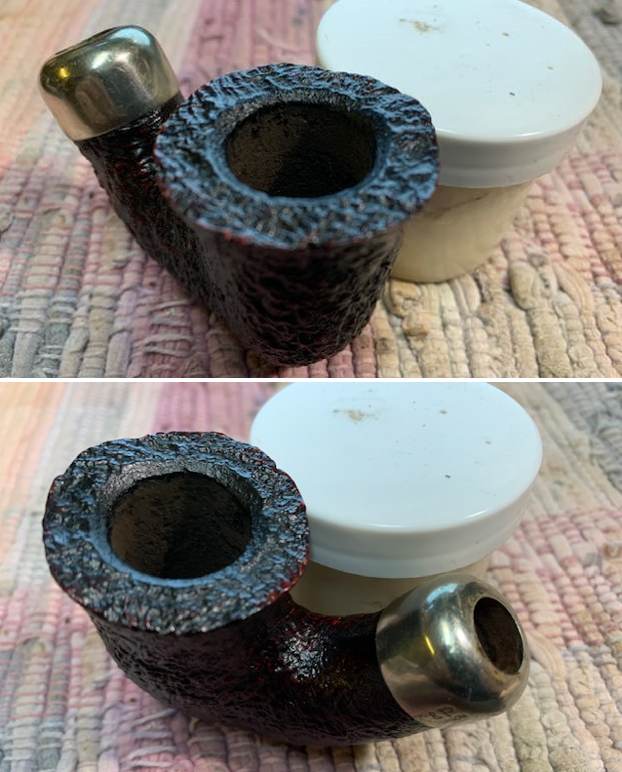
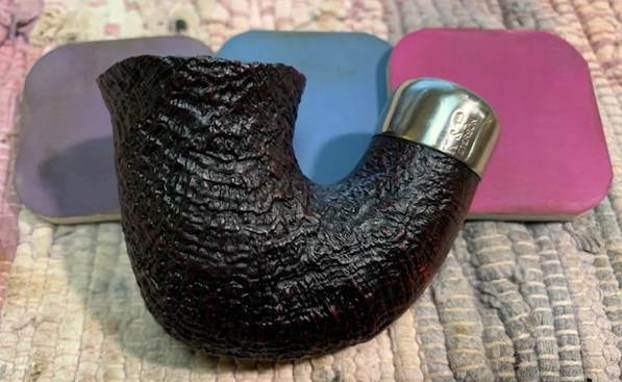
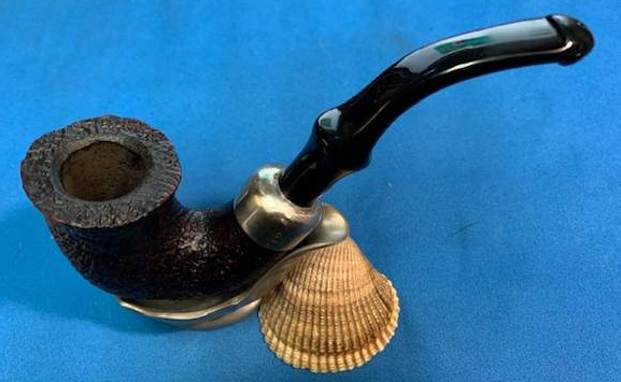
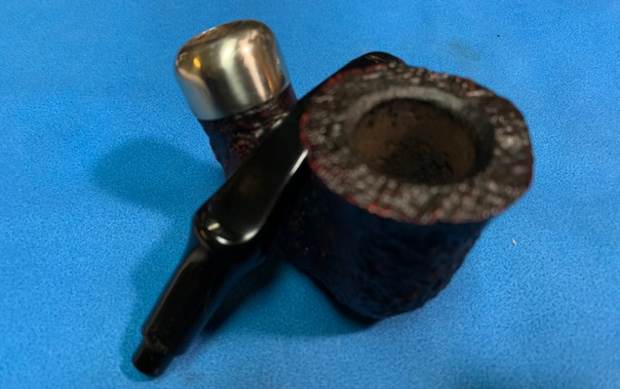
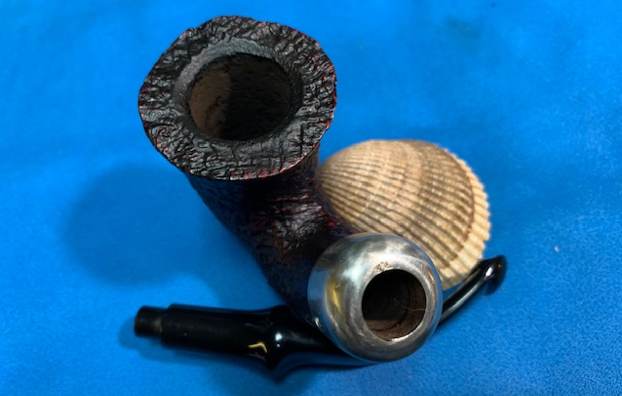
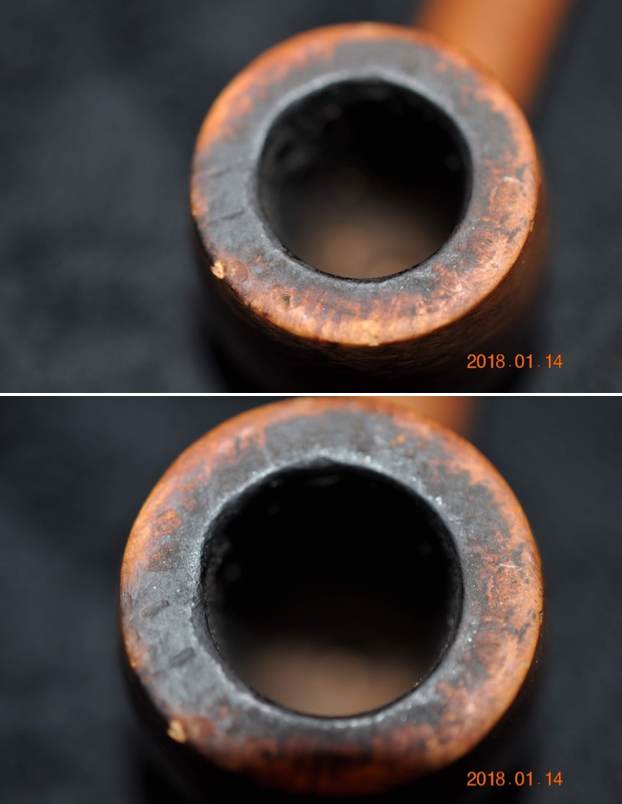
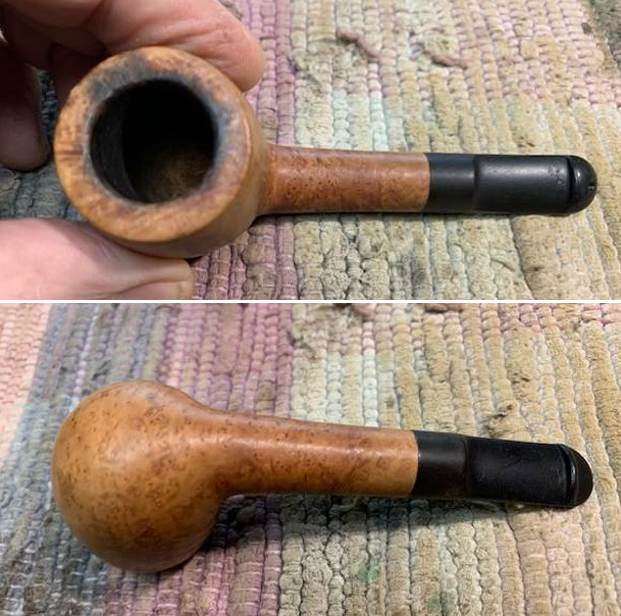
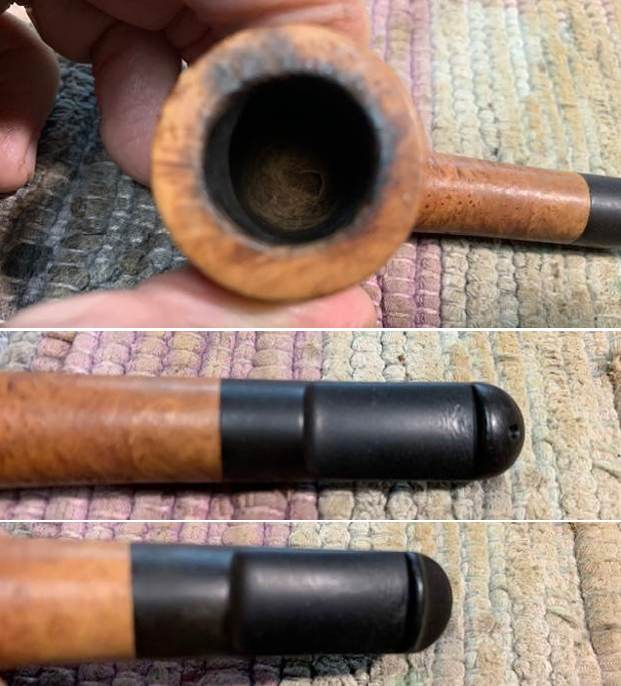
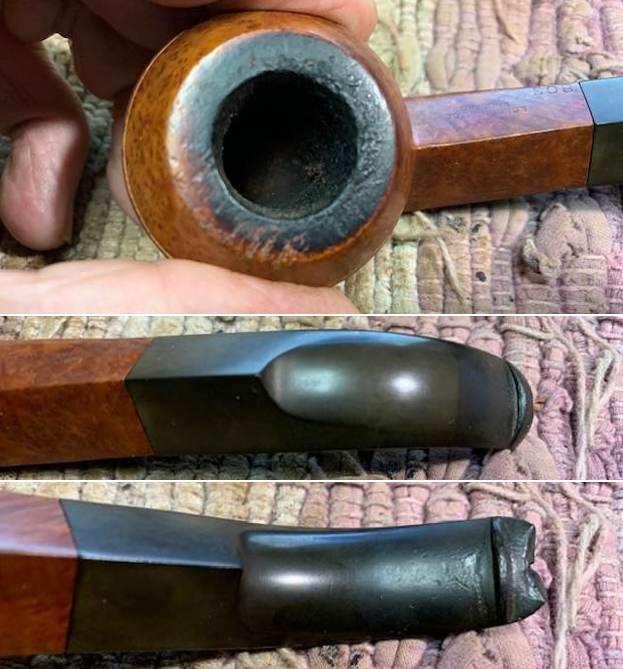
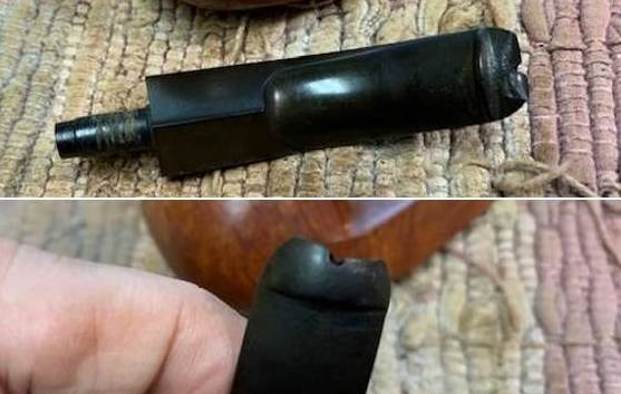
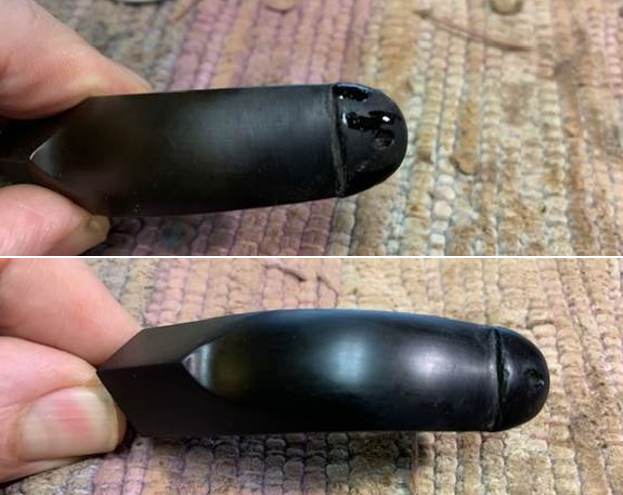
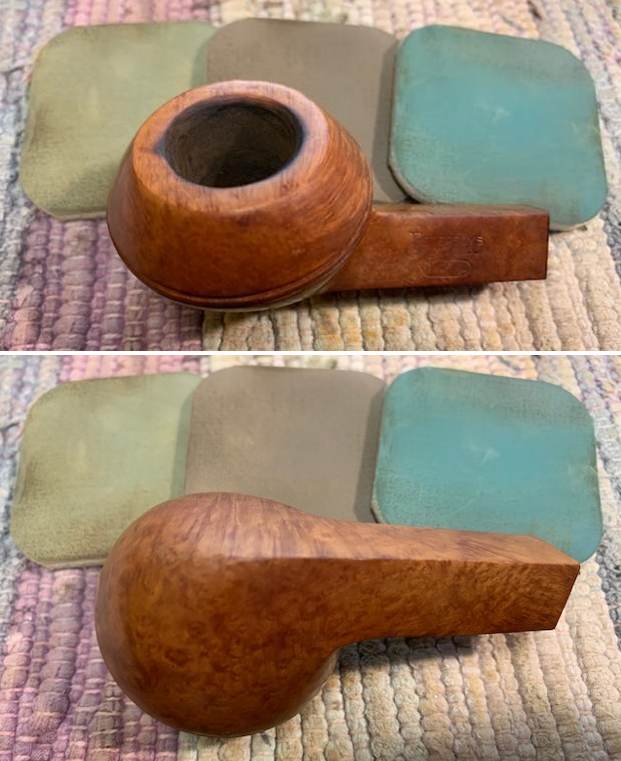
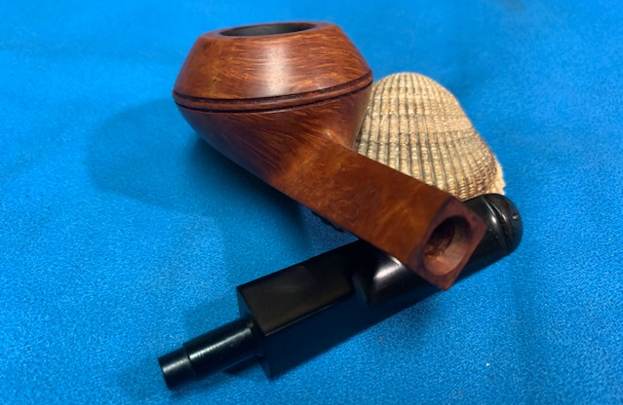
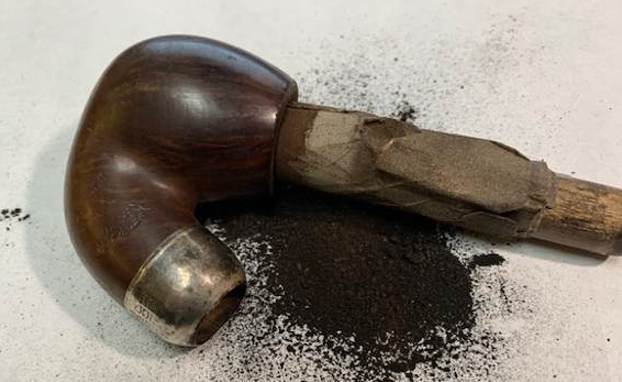
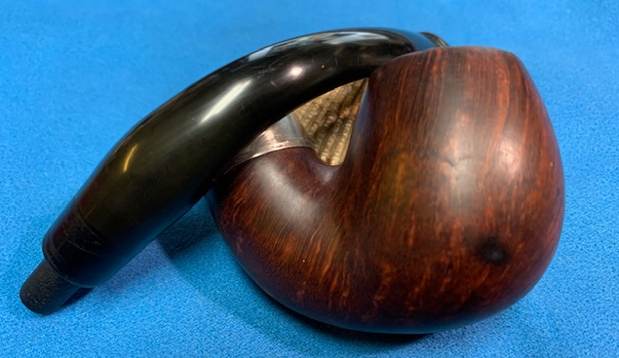
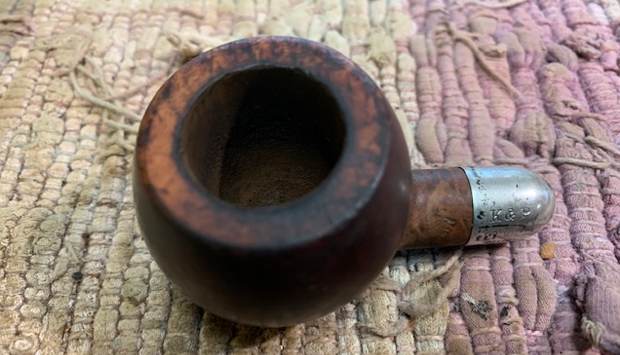
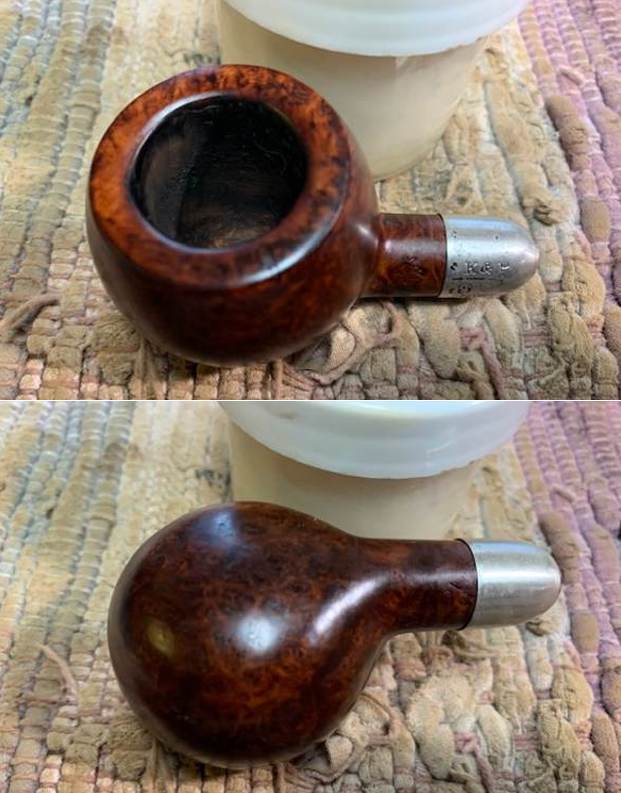
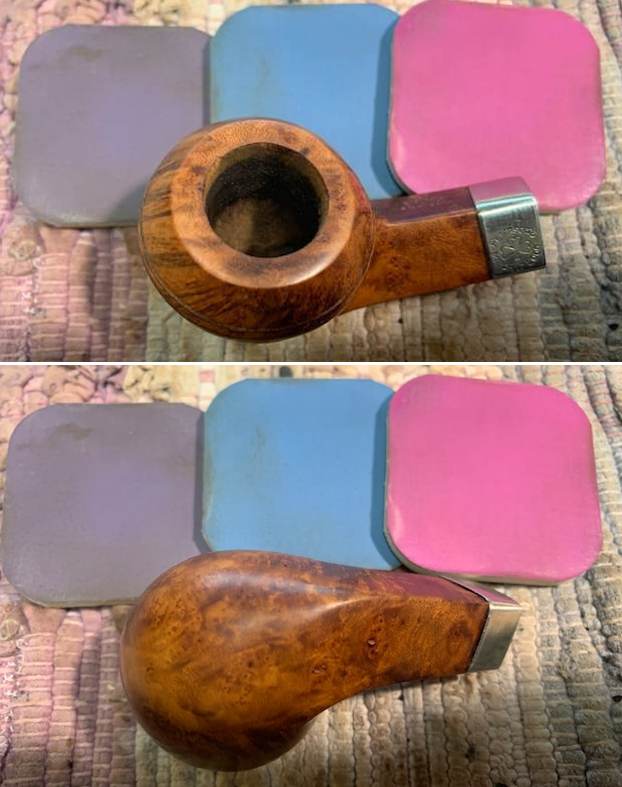
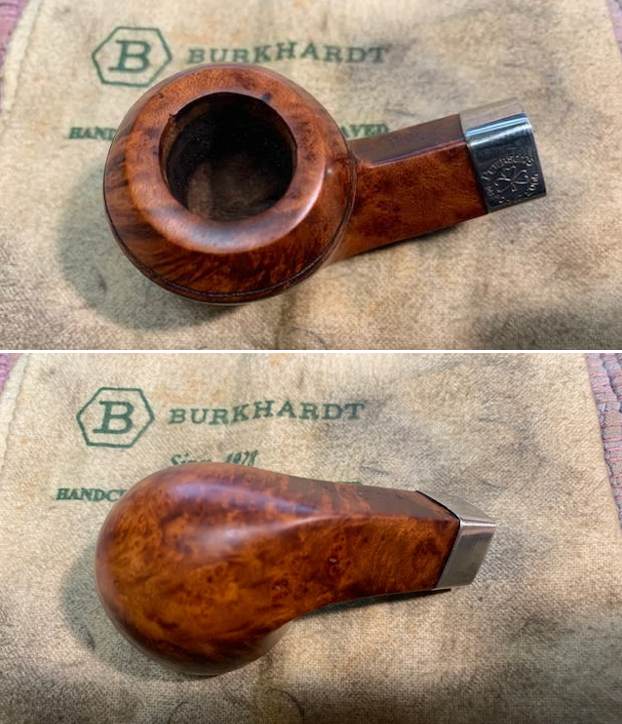
 Jeff took a photo of the rim top and bowl to show its condition. The cake is the bowl is thick and the lava on the rim and down the cap is also quite thick. The stem had tooth marks and chatter ahead of the button and quite a way up the stem surface. It was also lightly oxidized.
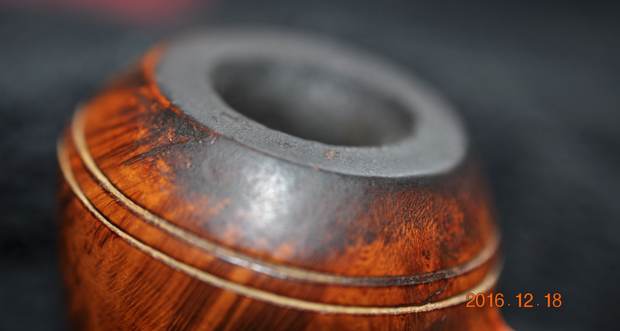
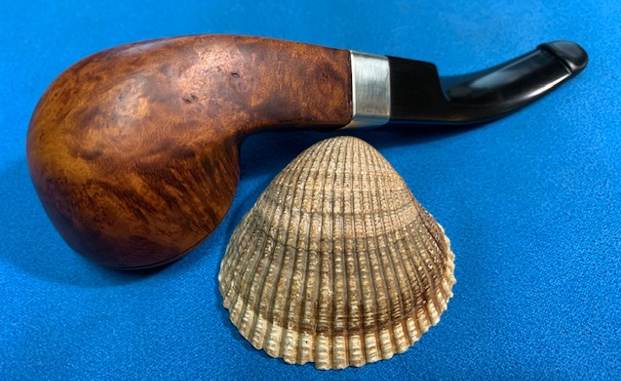
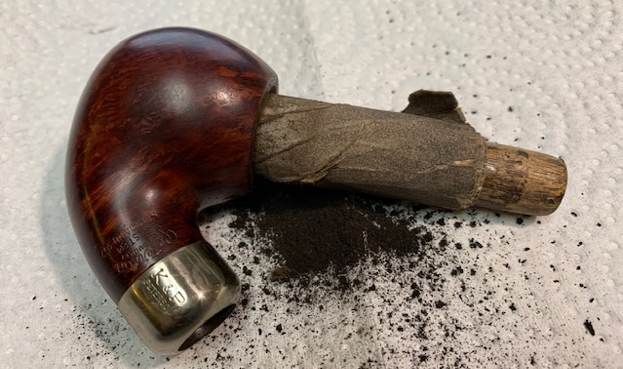
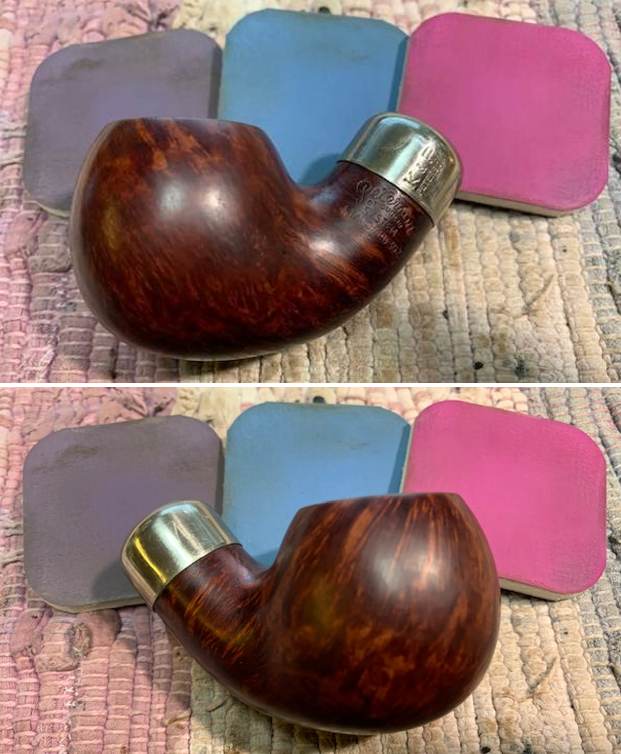
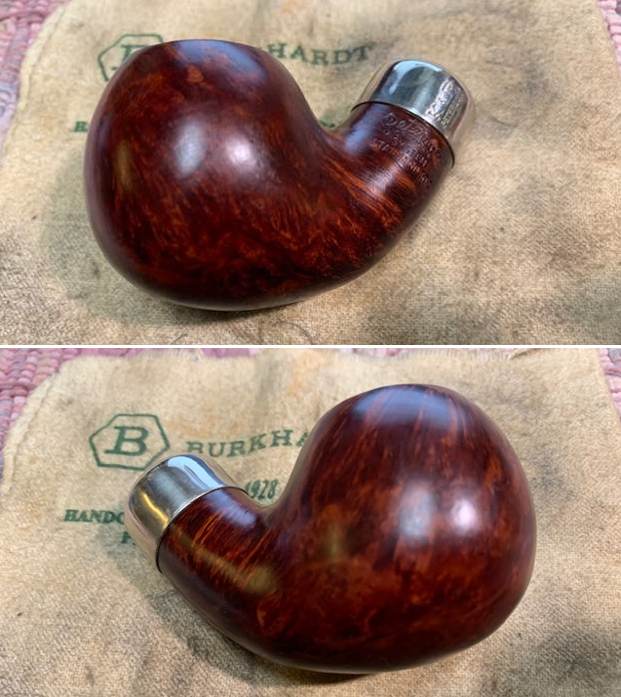
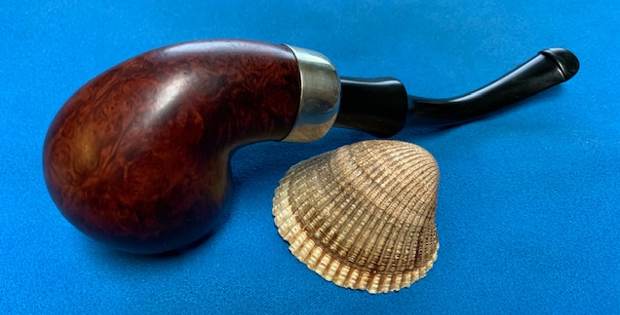
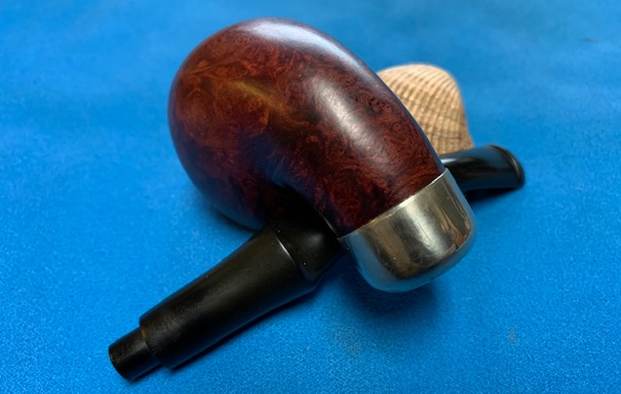
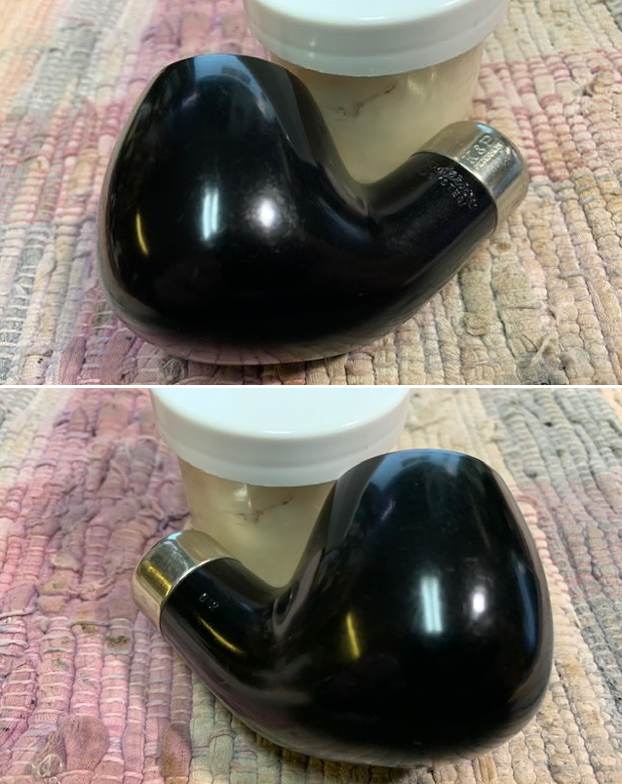
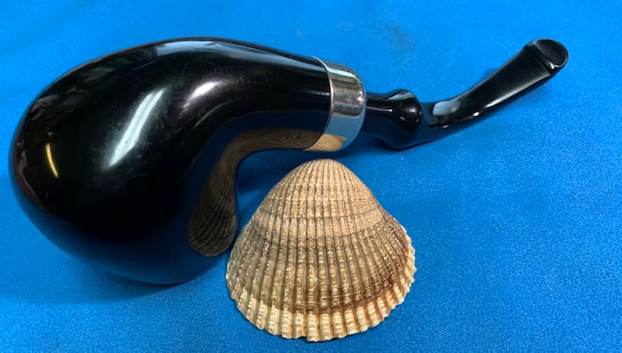
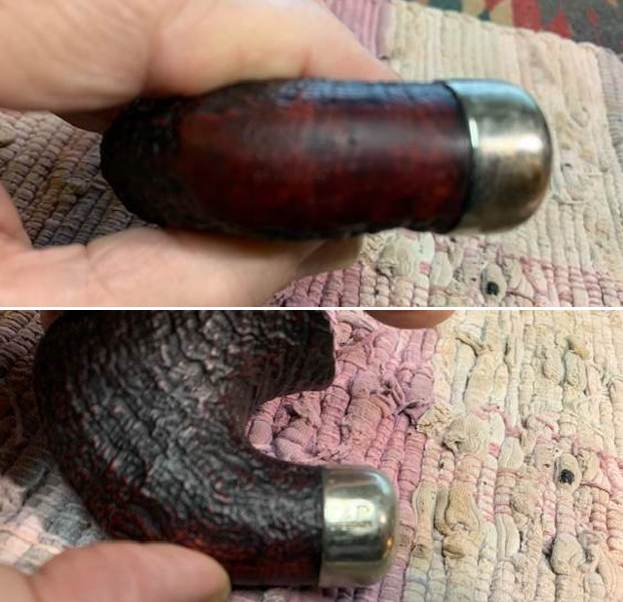
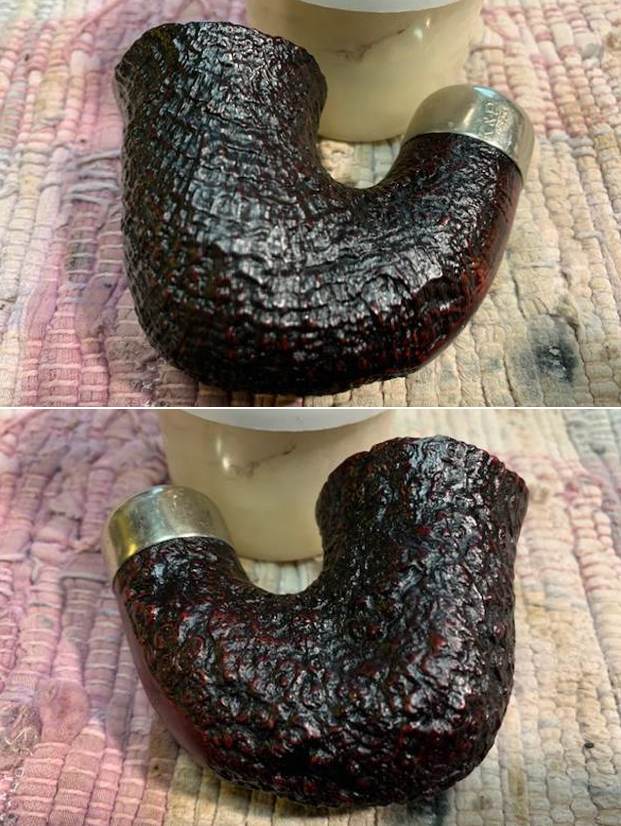
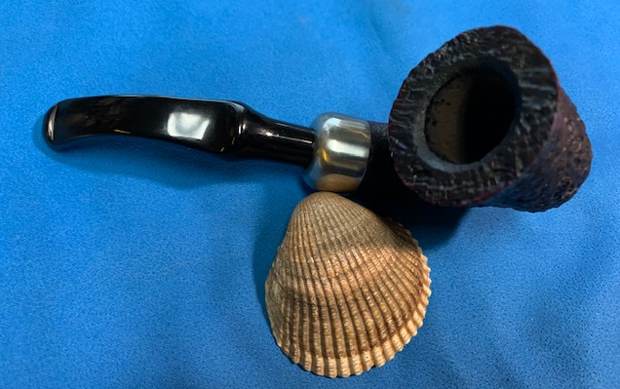
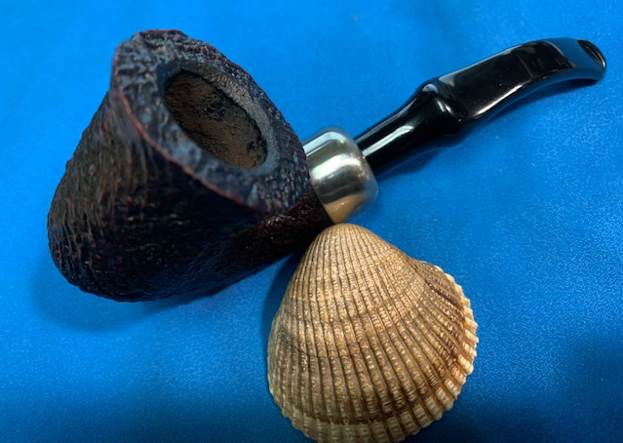
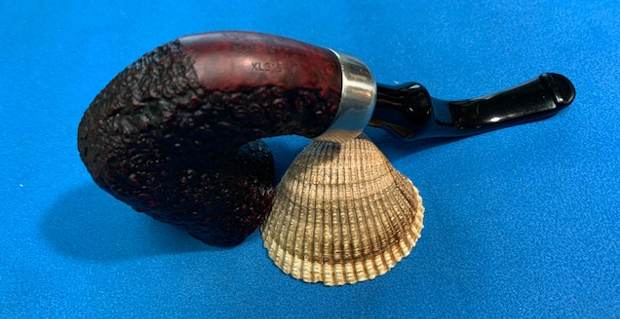
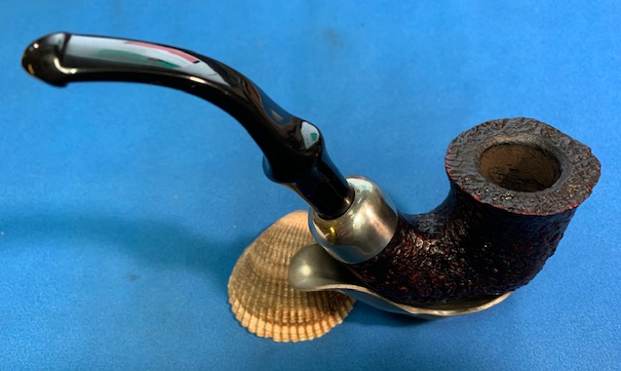
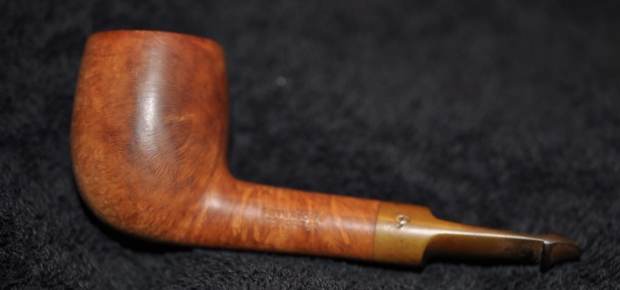
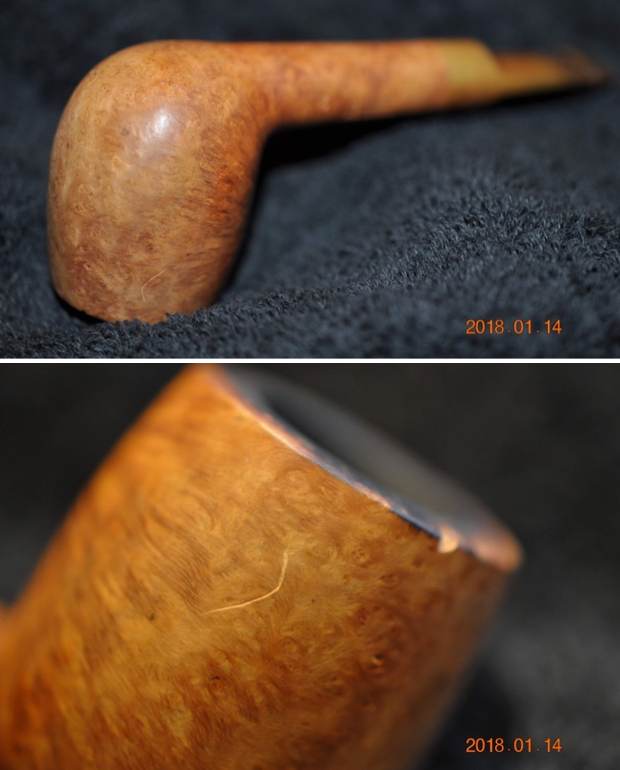
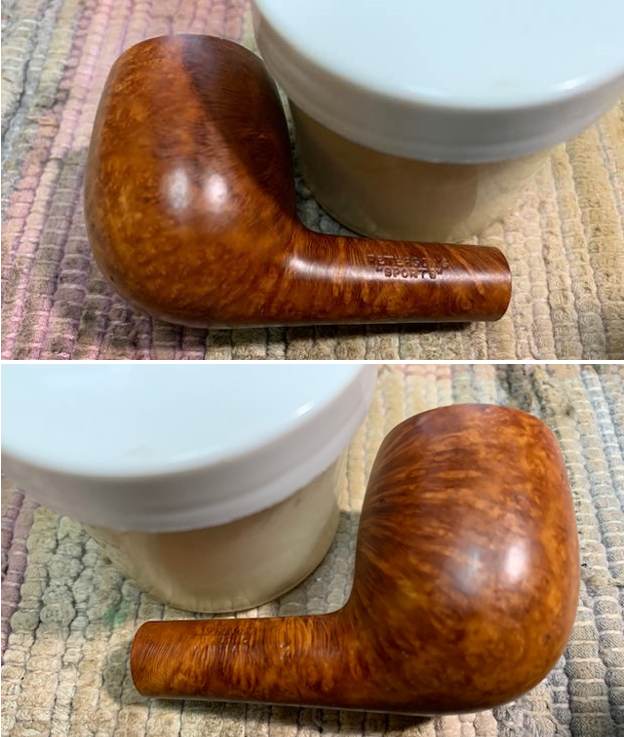
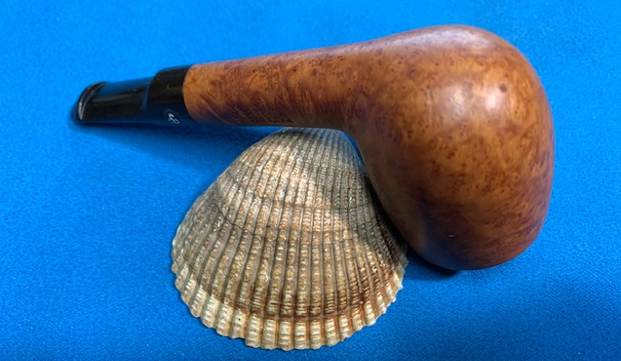
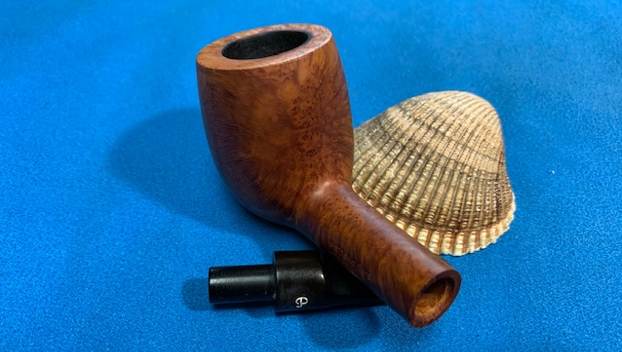
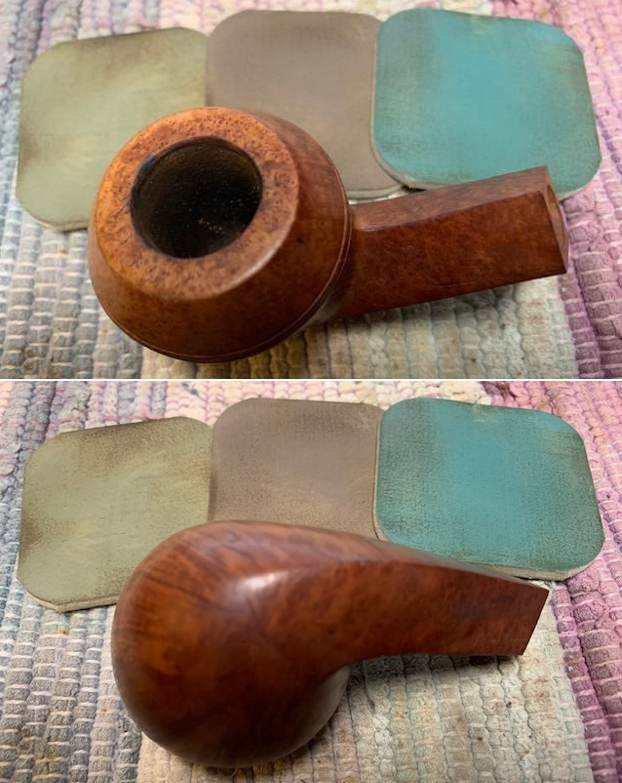
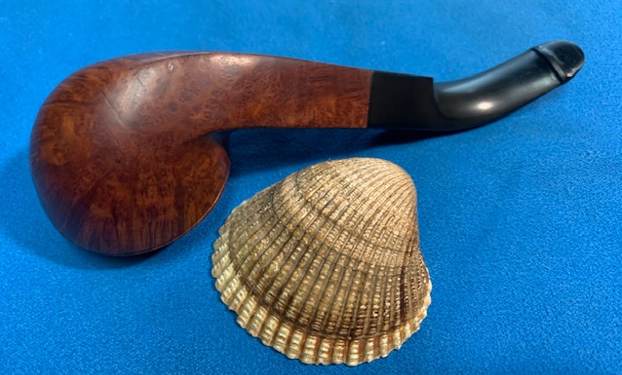
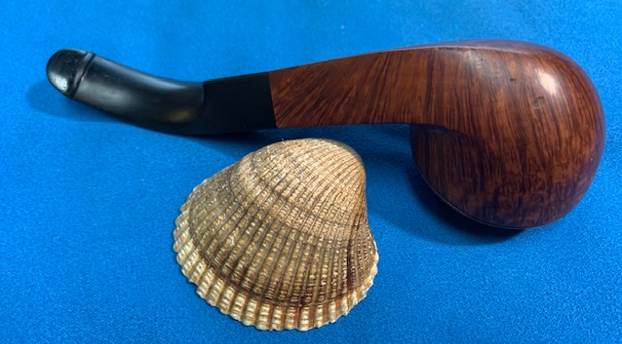
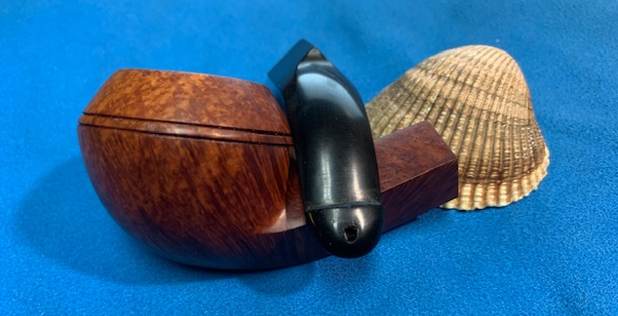
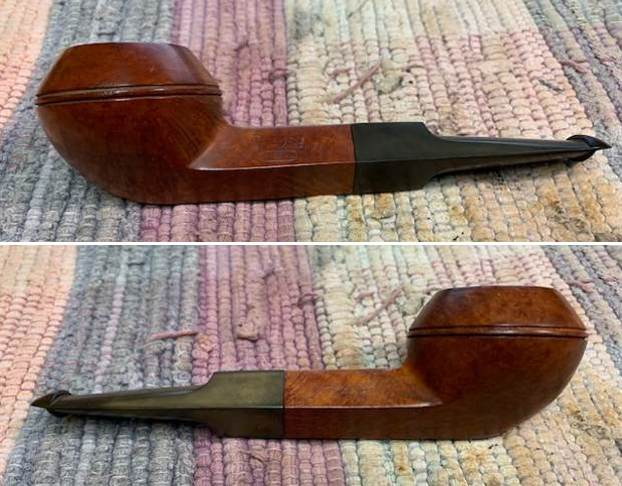
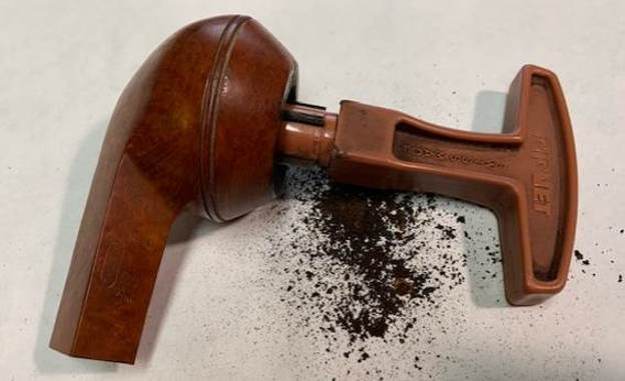
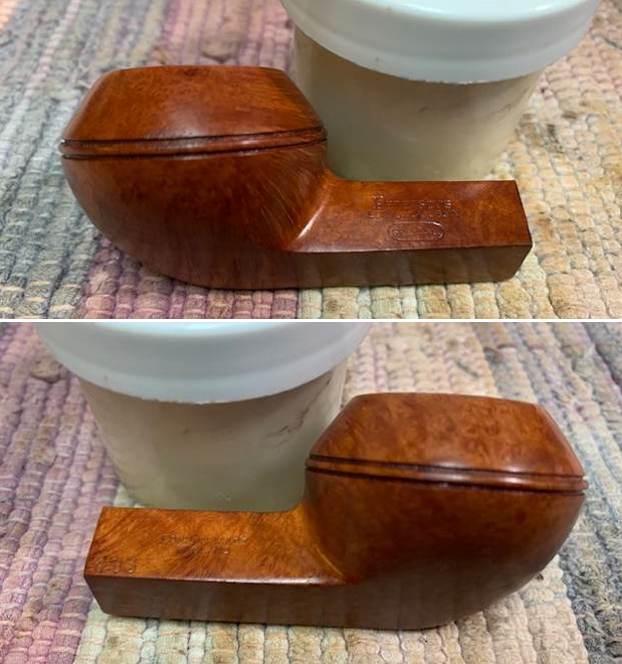
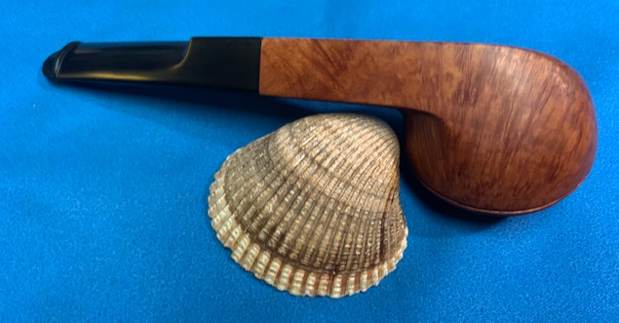
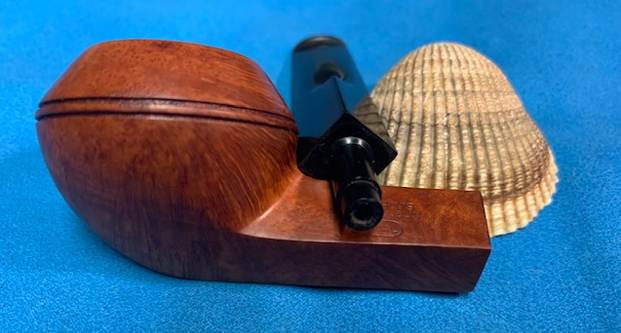
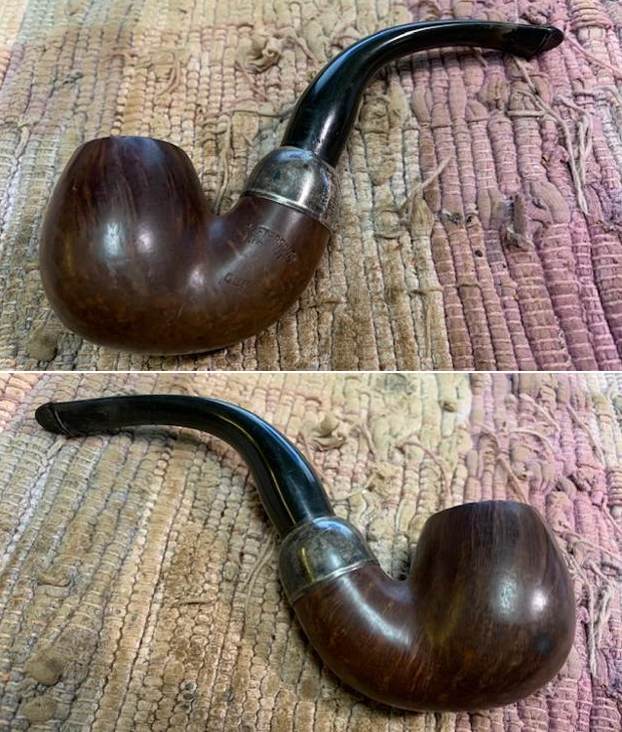
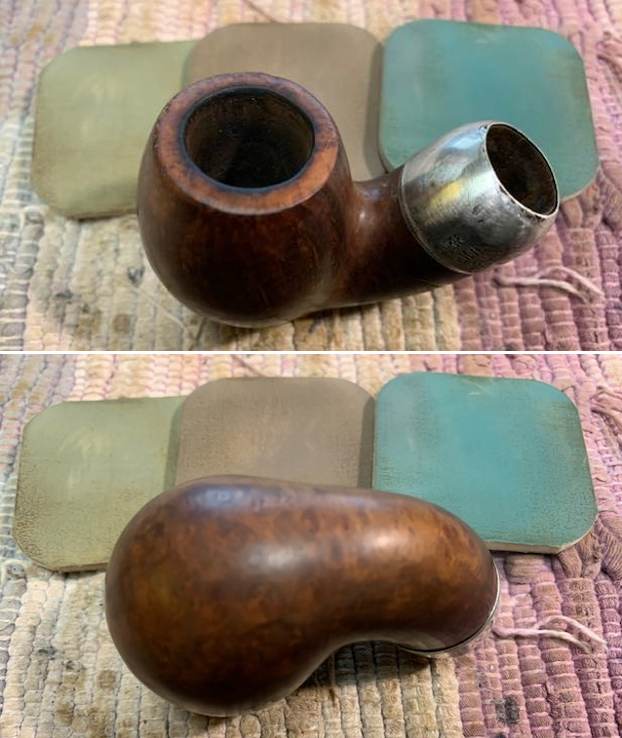
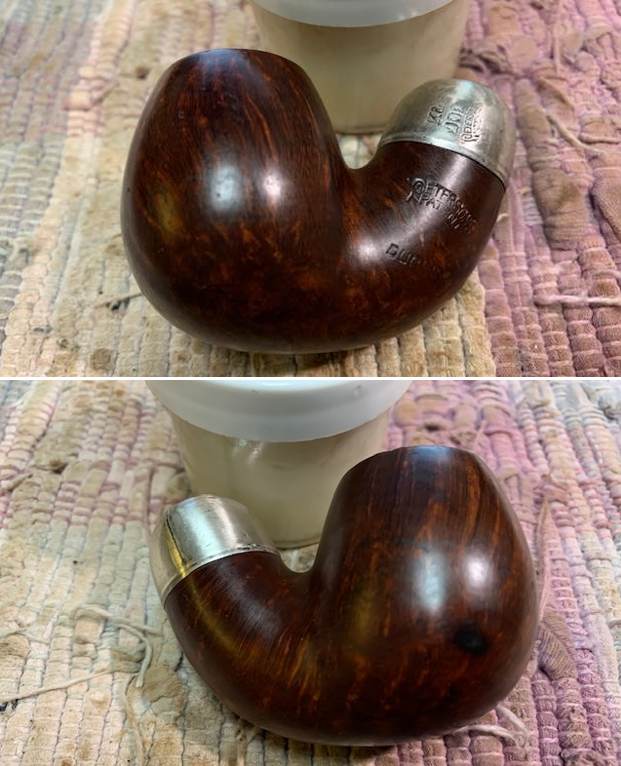
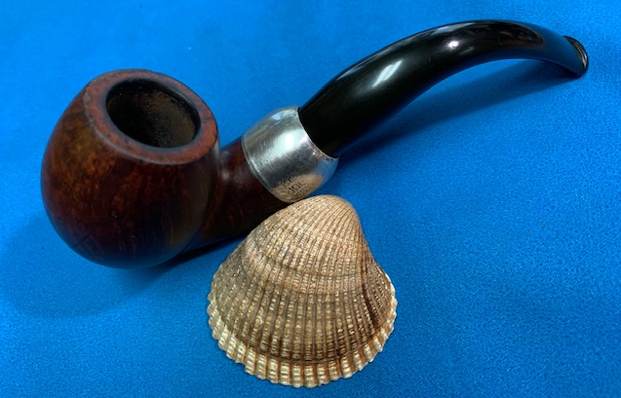
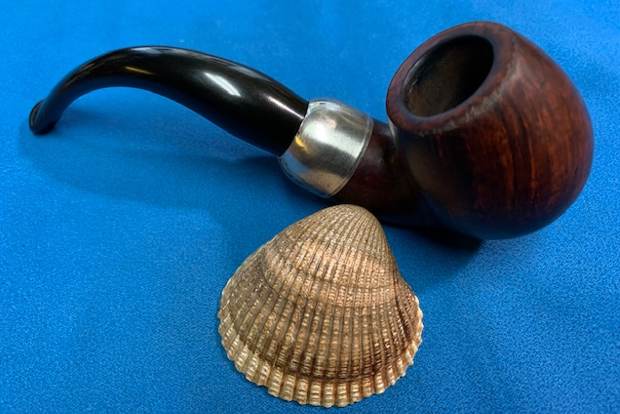
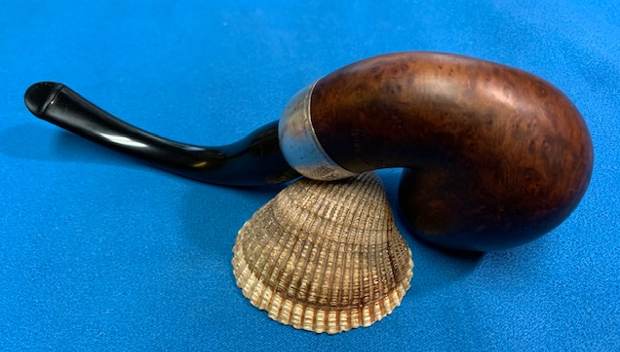
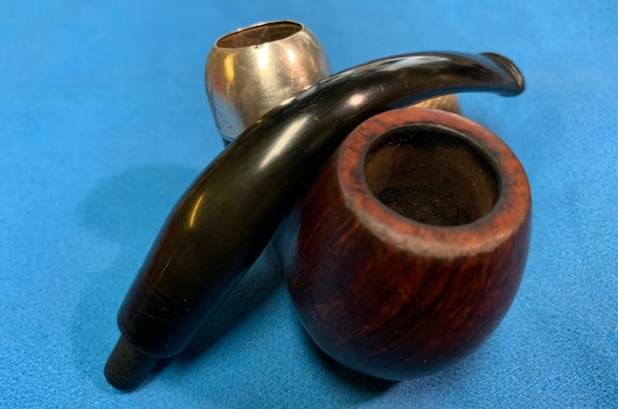
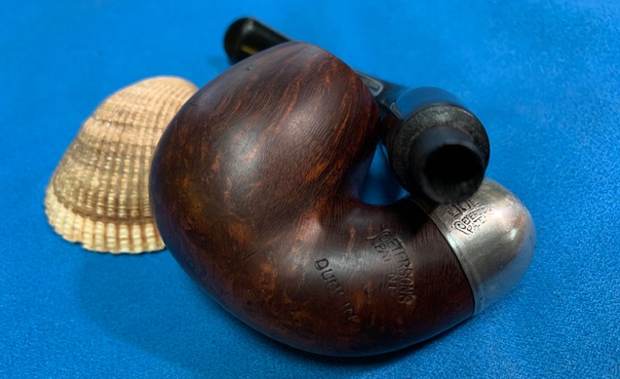
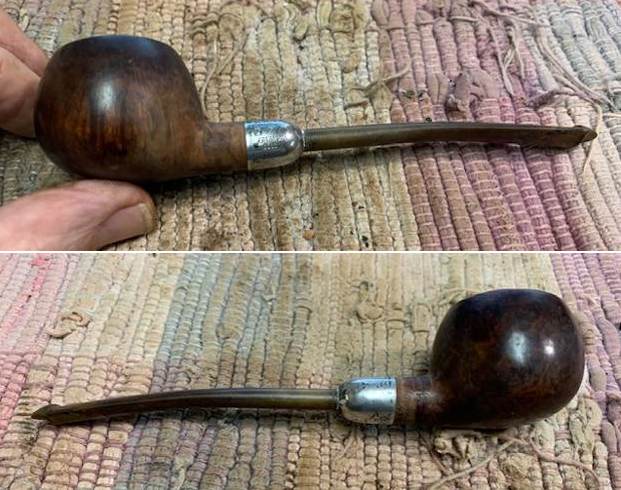
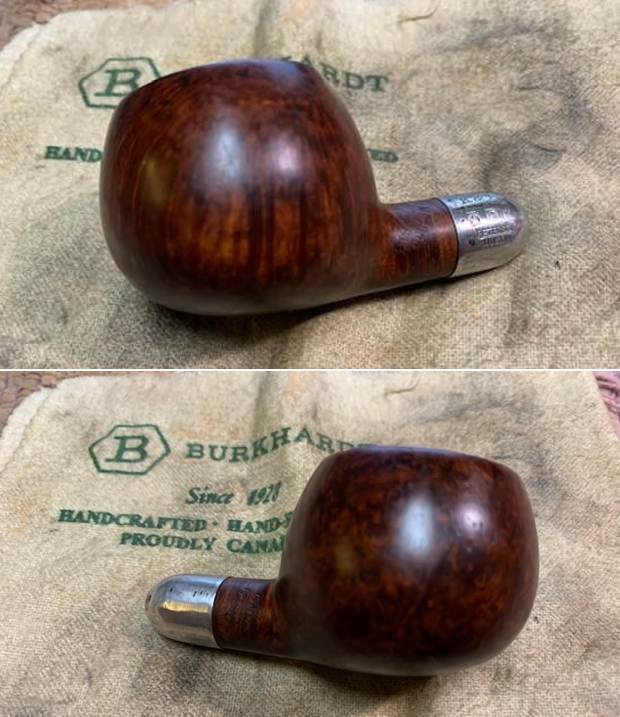
 Jeff captured some of the beautiful grain around the pipe with the next photo of the left side and heel of the bowl. It is really quite nice.
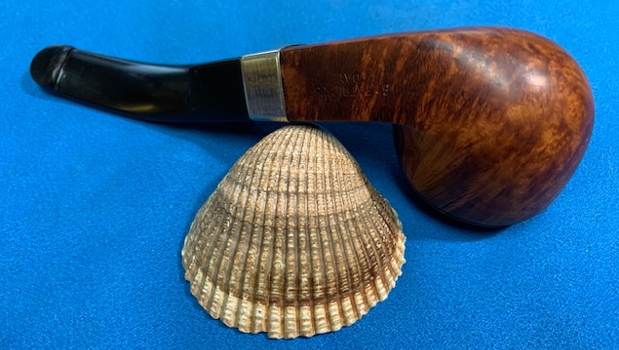
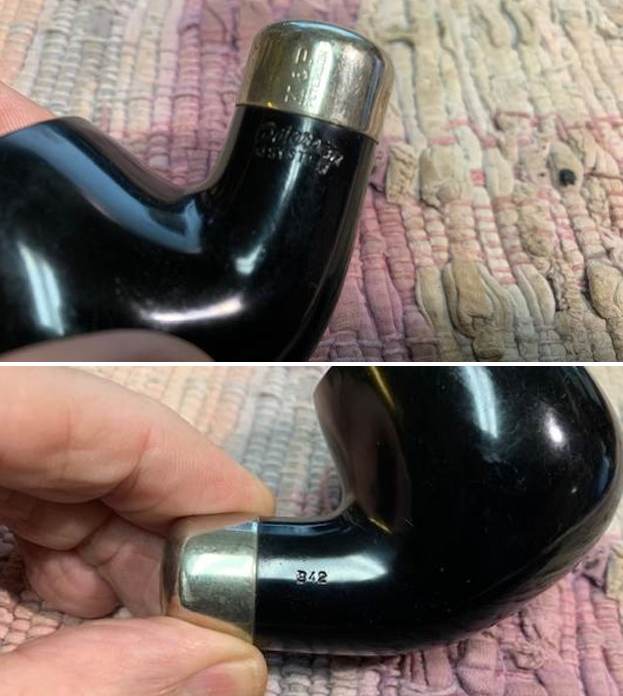
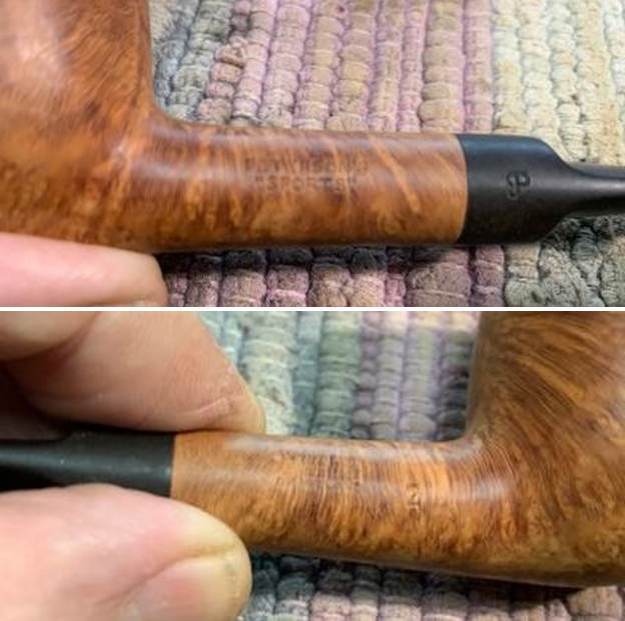
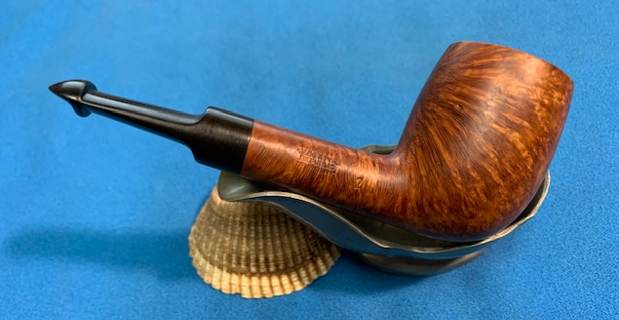
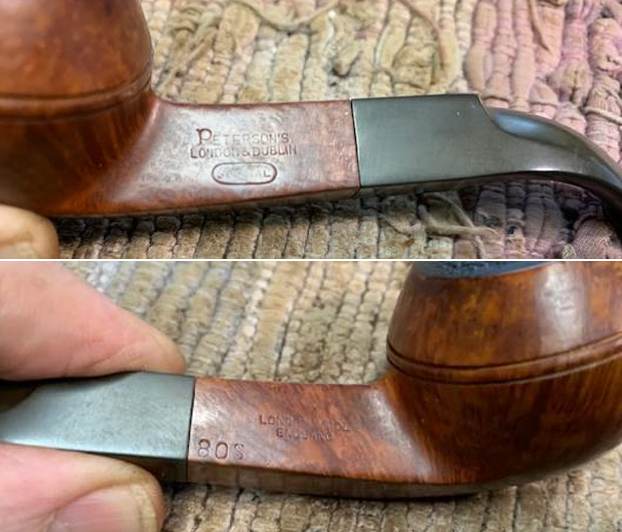
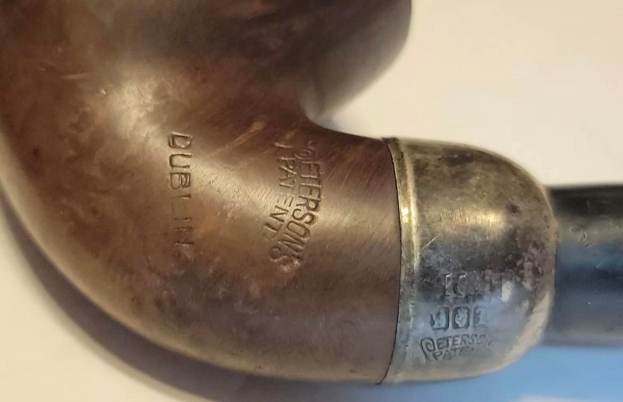
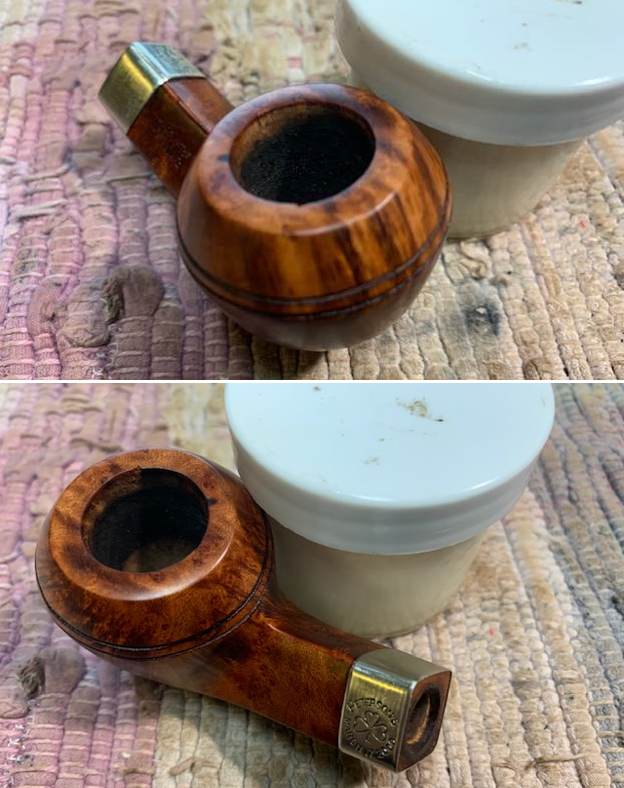
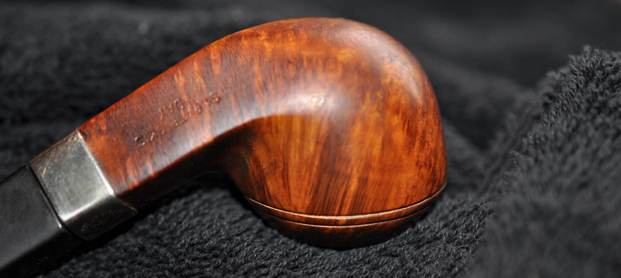 He took photos of the stamping on the nickel band and the sides of the shank. It is clear and readable as noted above.
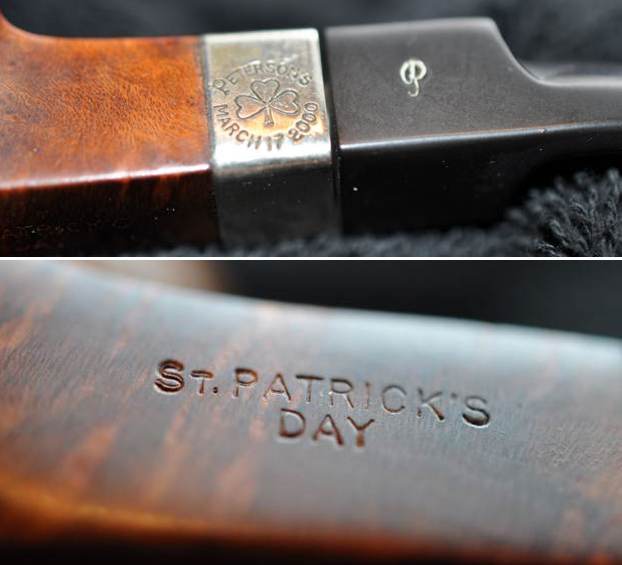
 I am including the link to the Pipedia’s article on Peterson pipes. It is a great read in terms of the history of the brand (https://pipedia.org/wiki/Peterson).
Mark Irwin has a great visual history of the St. Patrick’s Day Pipes from Peterson on his rich Peterson’s Pipenotes site (https://petersonpipenotes.org/tag/st-patricks-day-pipe-2000/). He states there regarding the year 2000 issue as follows:
In 2000, the SPD series settled into a familiar and long-running guise: some variant of brown-hued smooth bowl and a nickel band with Peterson’s over a shamrock over March 17 and the year. The 2000 SPDs also featured the beloved P-Lip vulcanite mouthpiece…
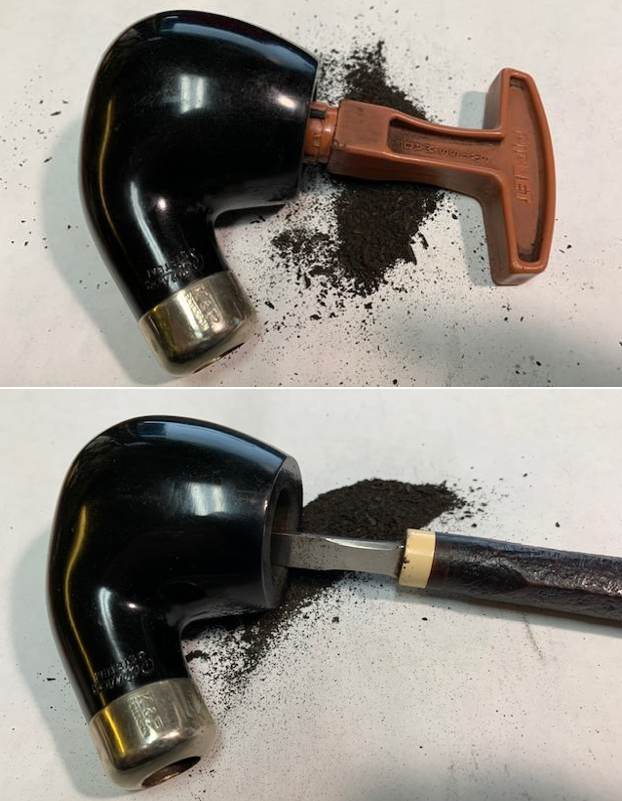
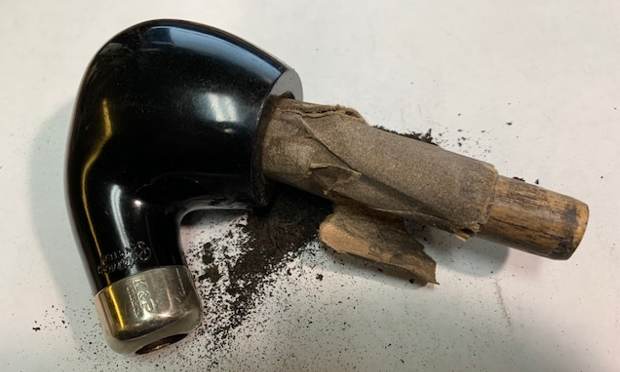
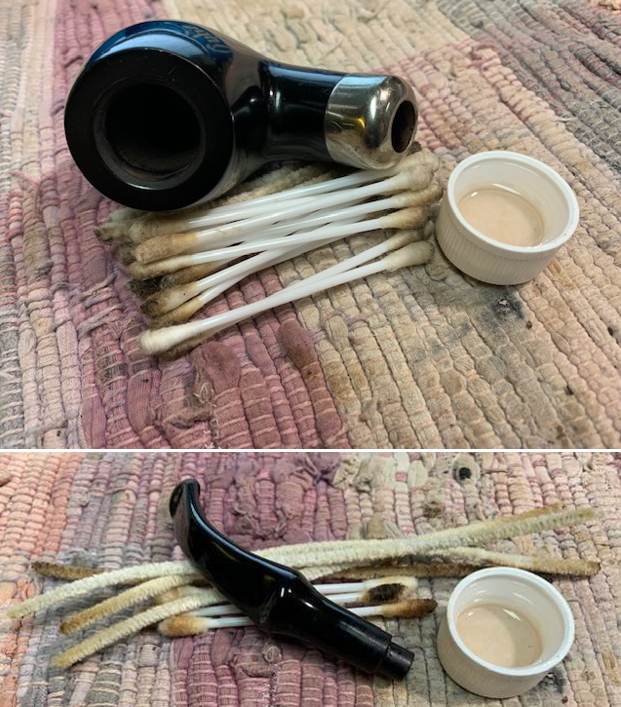
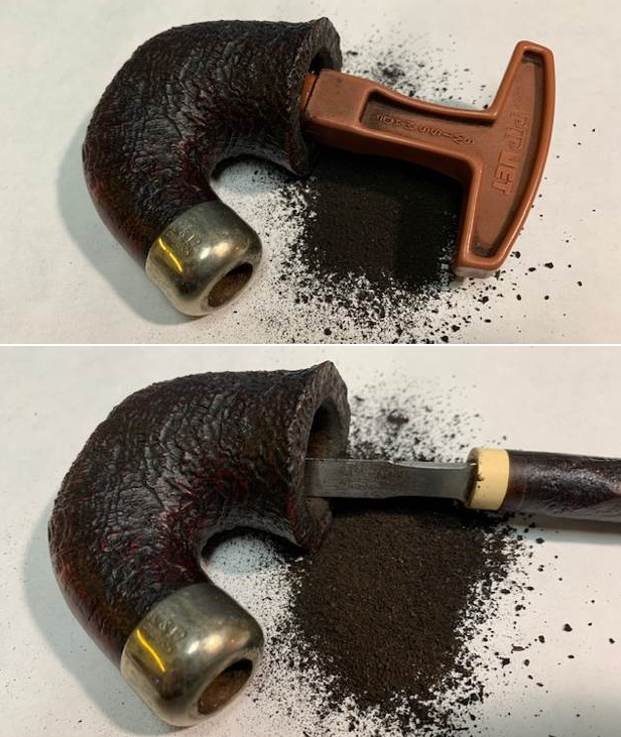
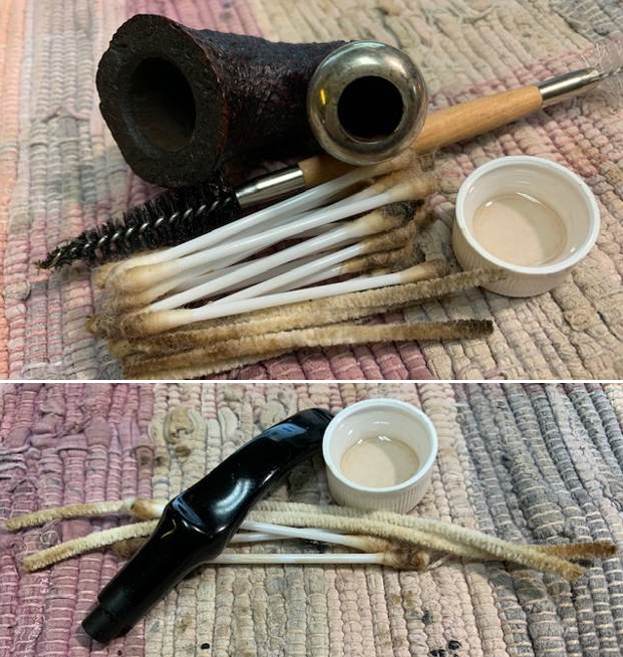
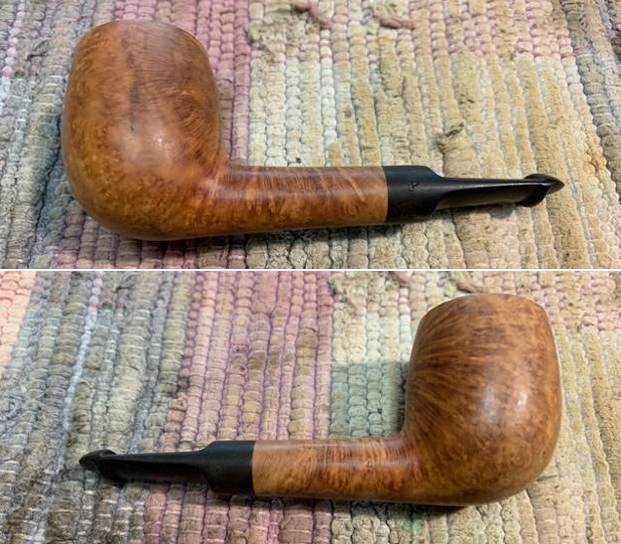
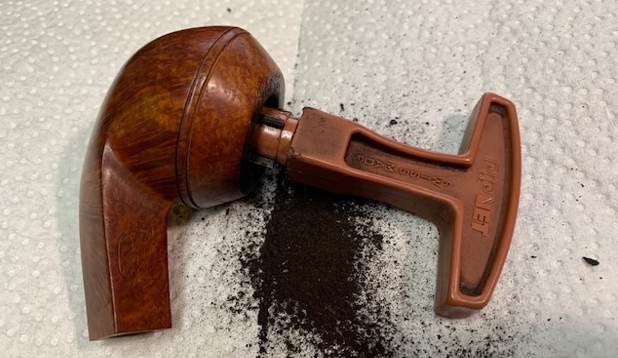
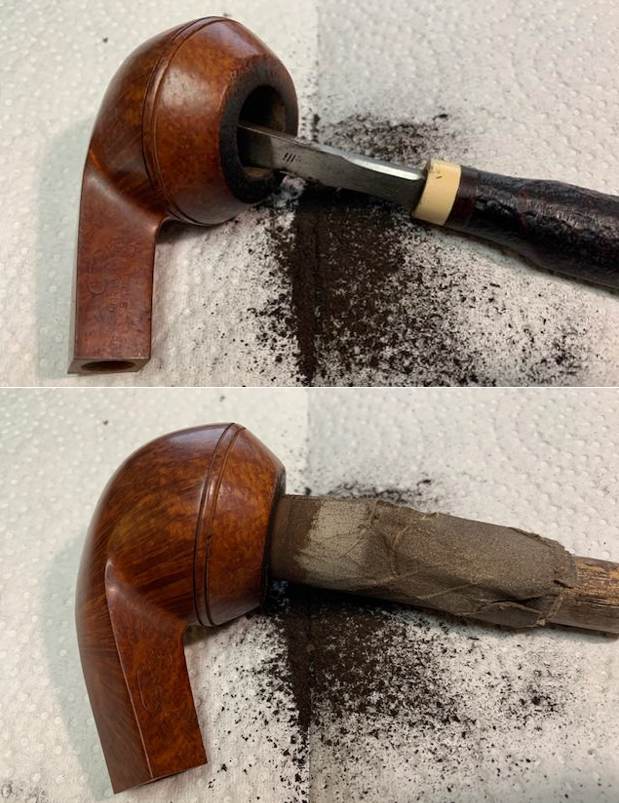
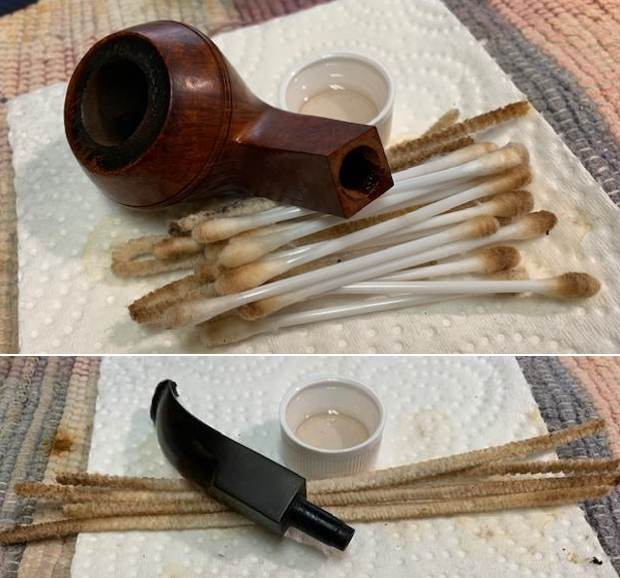
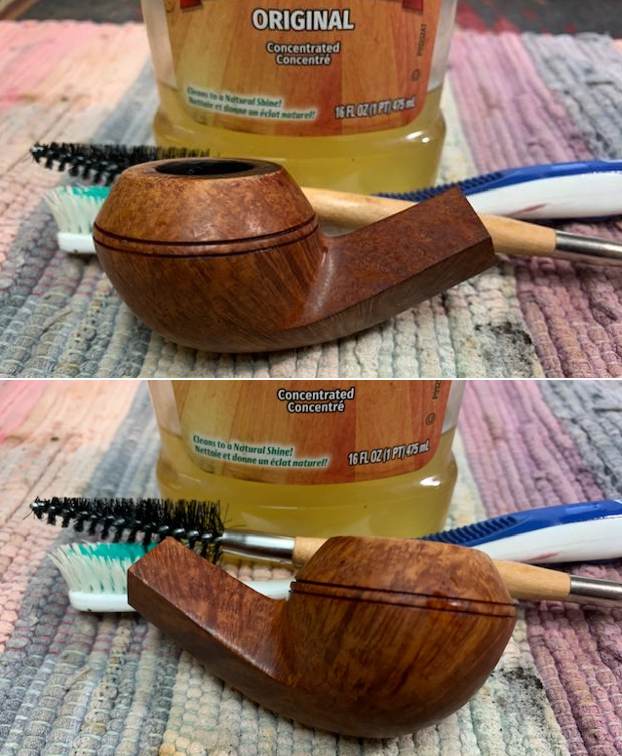
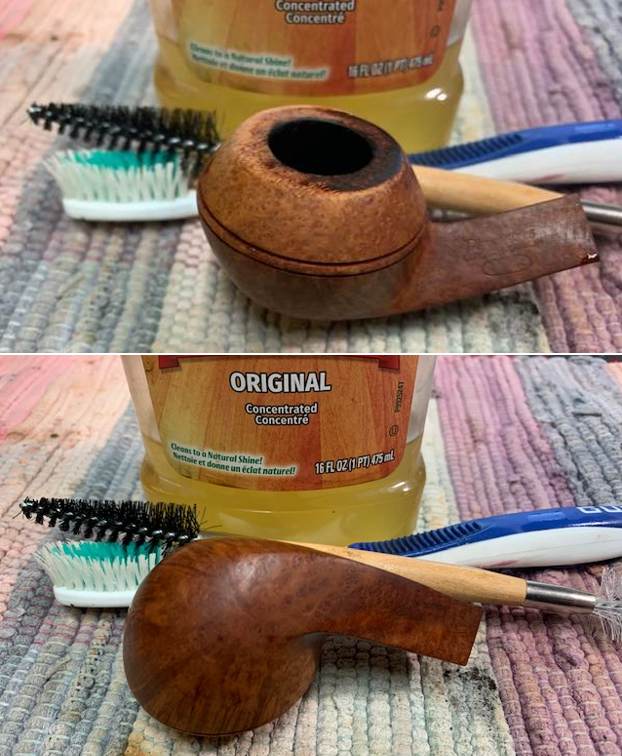
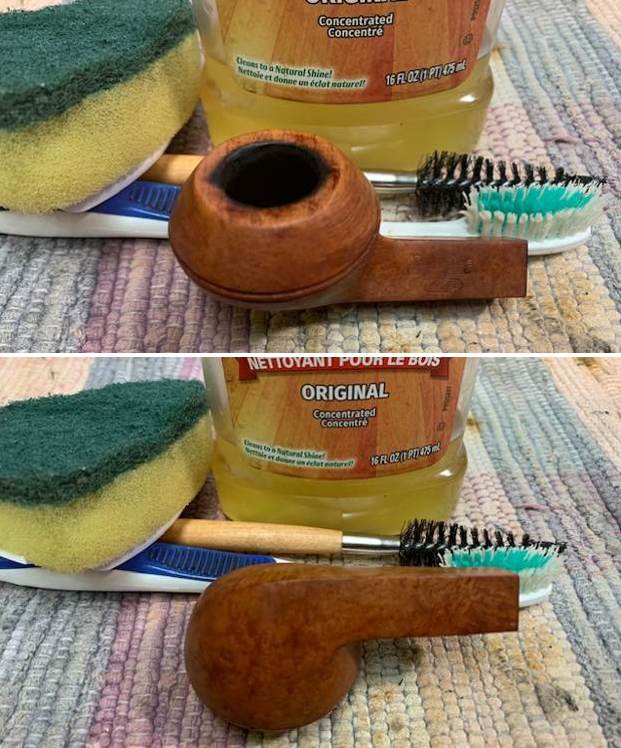
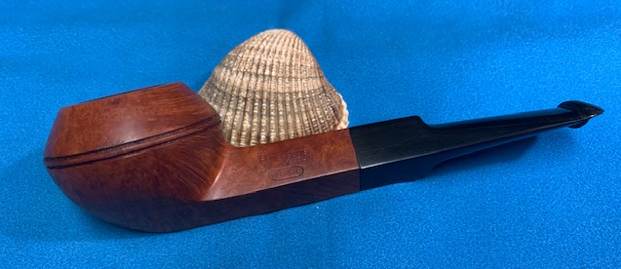
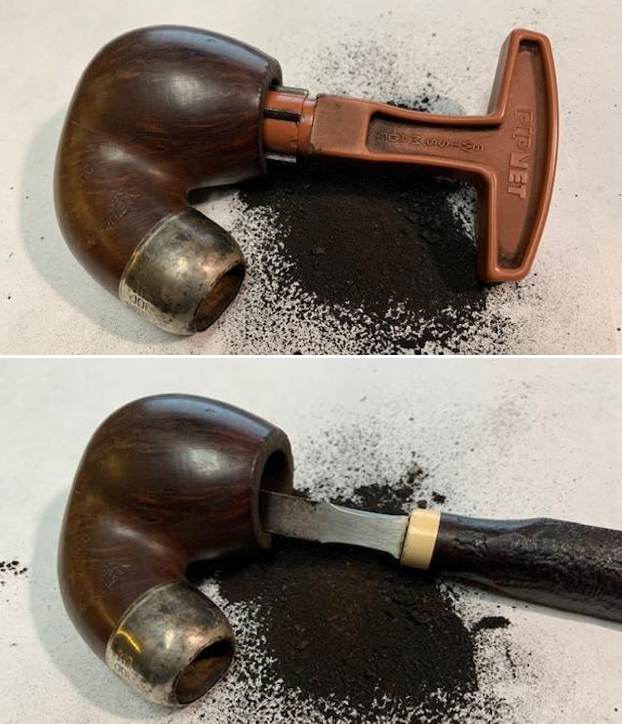
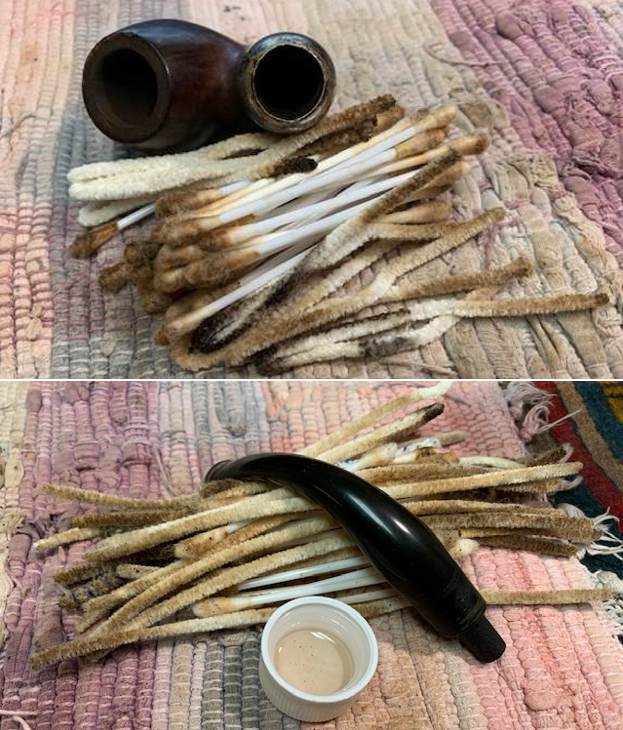
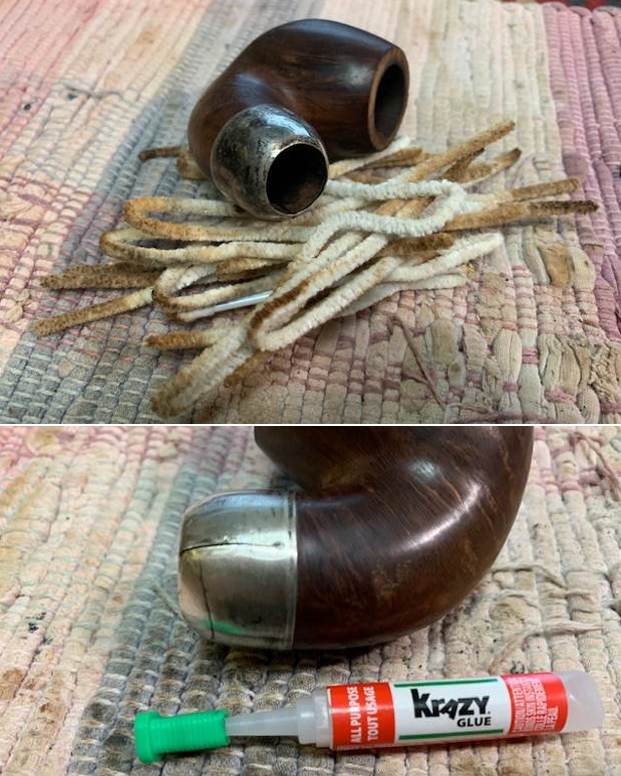
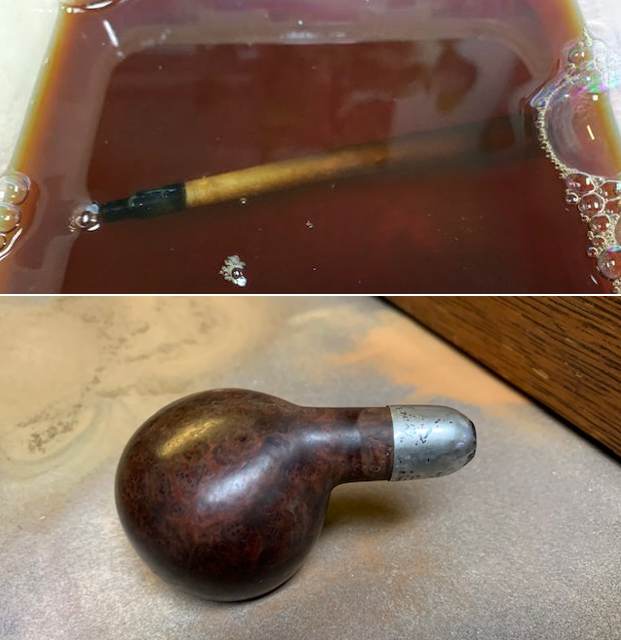
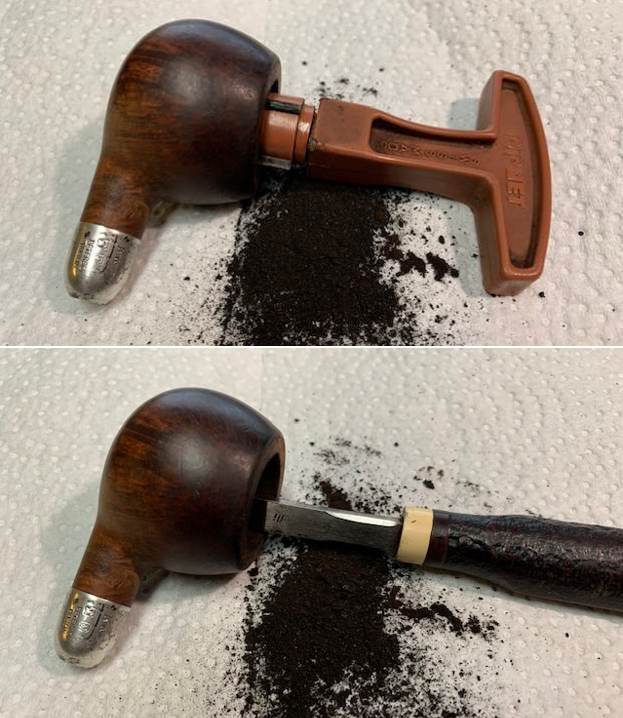
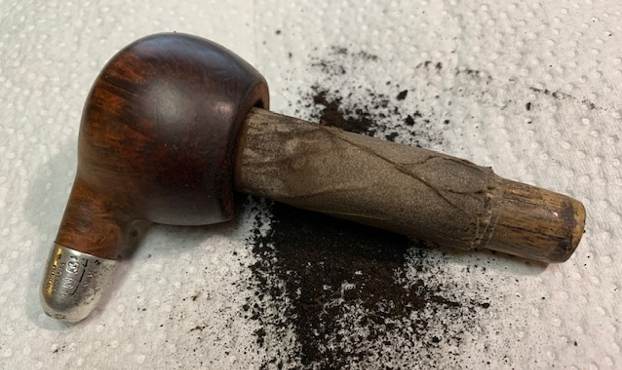
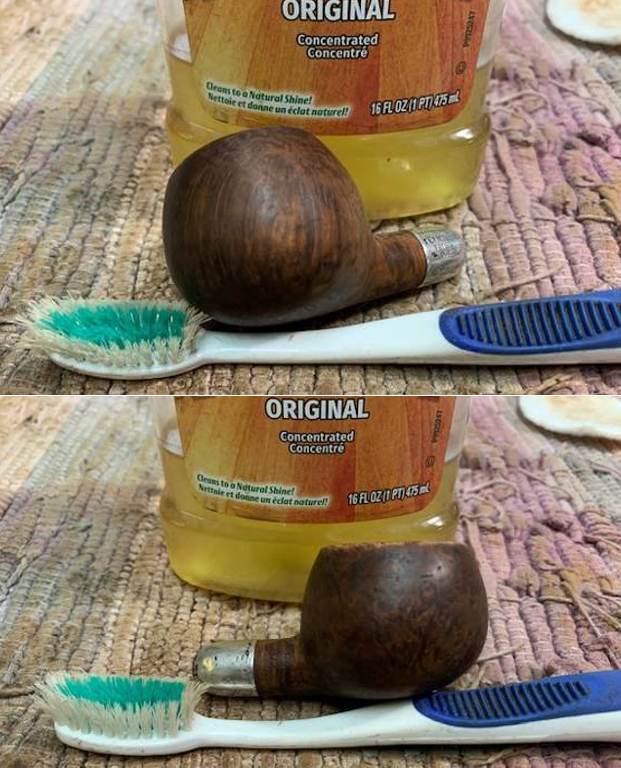
Armed with that it was time to work on the pipe. Jeff had cleaned up the pipe as he normally does. He reamed it with a Pipnet Reamer and cleaned up the reaming with a Savinelli Fitsall Pipeknife. He scrubbed out the inside of the airway in the shank and stem with alcohol, pipe cleaners and cotton swabs. He scrubbed the exterior of the bowl with undiluted Murphy’s Oil Soap to remove the grime that was ground into the briar on the cap, rim and bowl. It came out looking very good. He scrubbed the stem with Soft Scrub and then soaked it in Before & After Deoxidizer. He rinsed it off and recleaned it. I took the following pictures when it arrived. It is a beautiful pipe that will come alive with buffing and polishing. 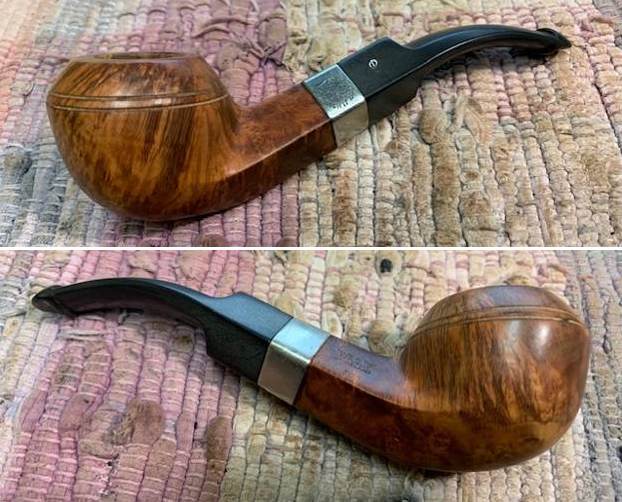
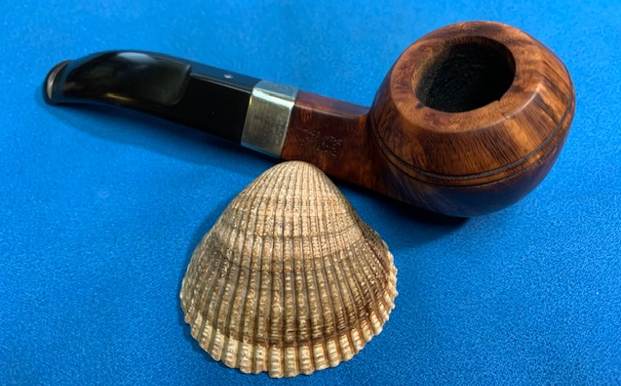
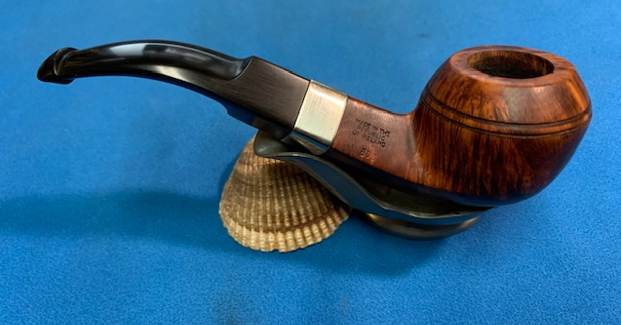
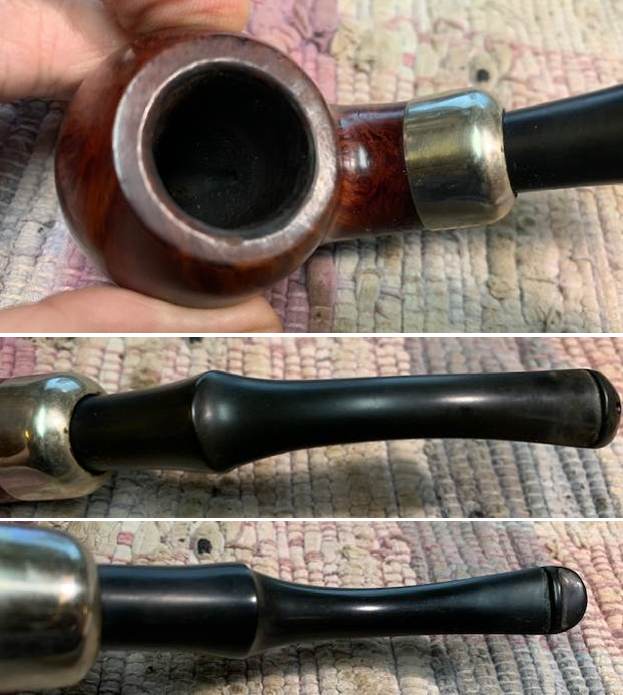
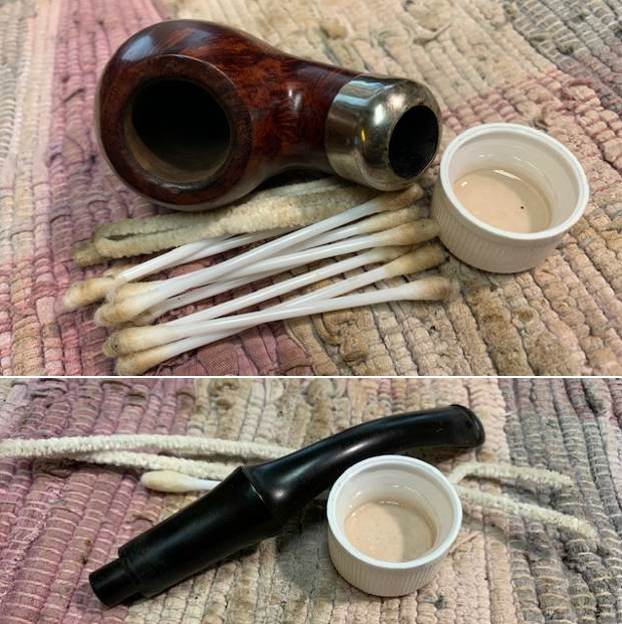
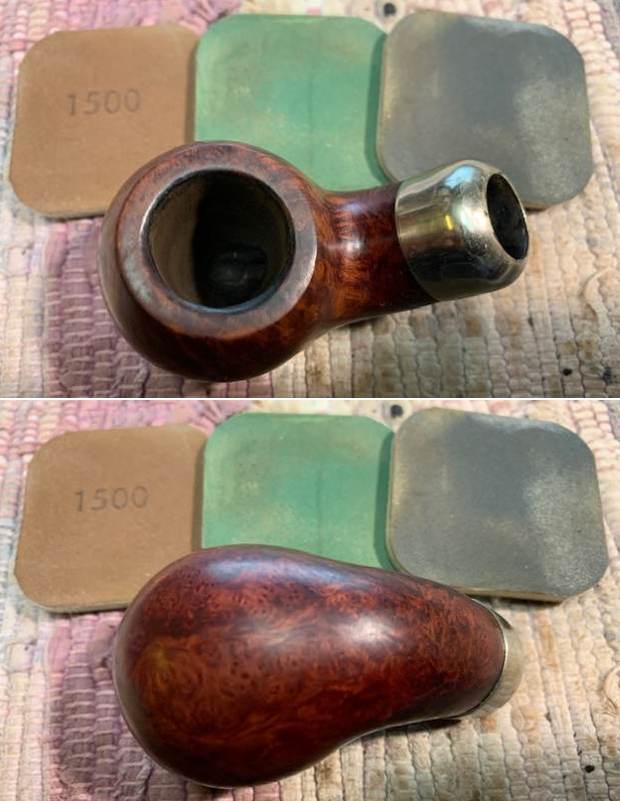
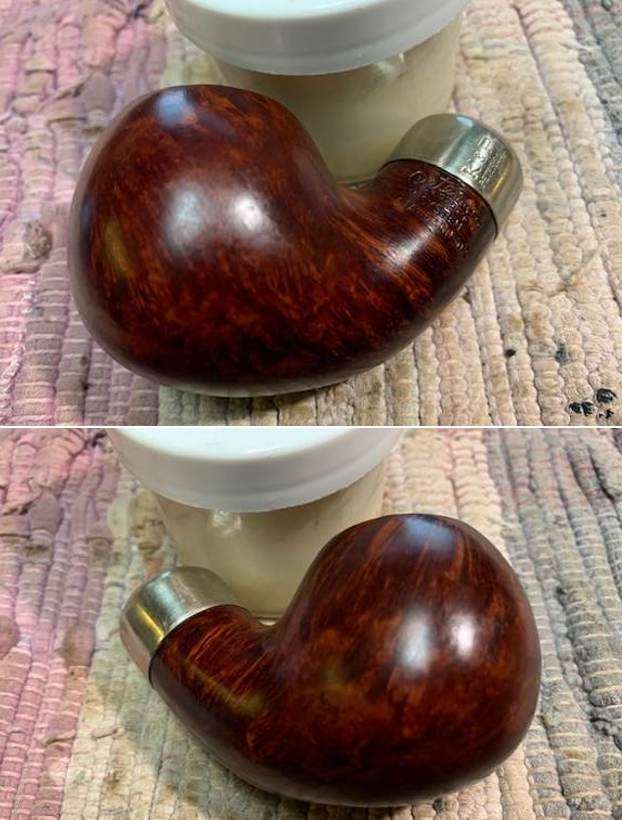
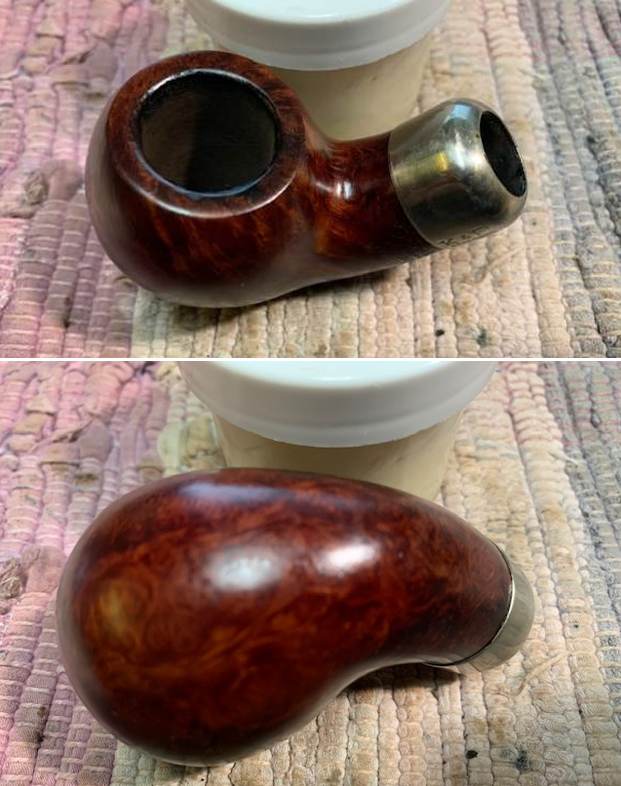
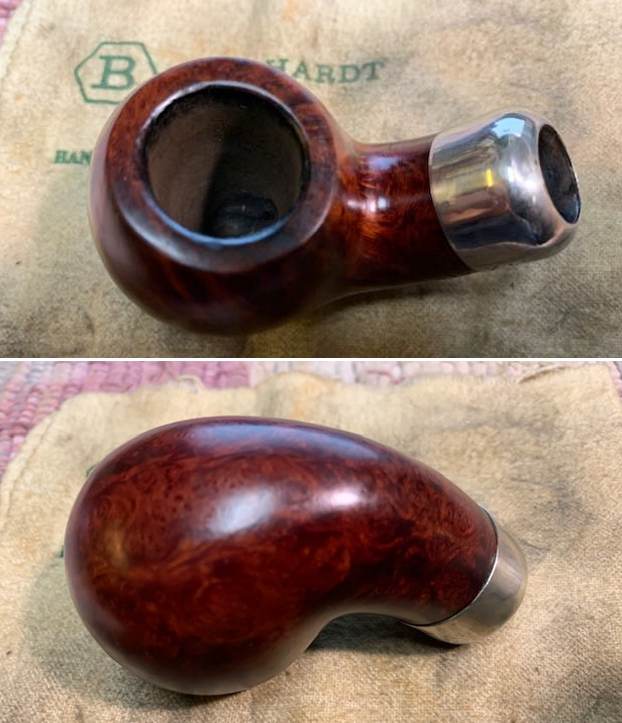
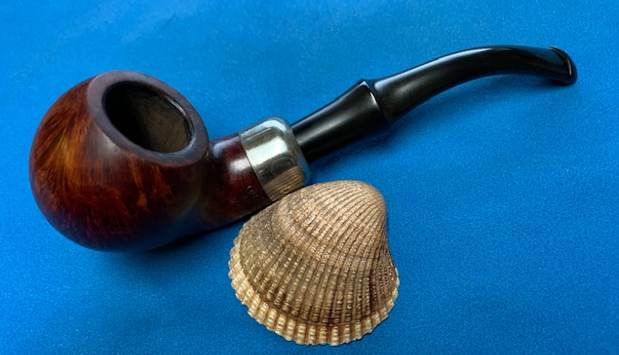
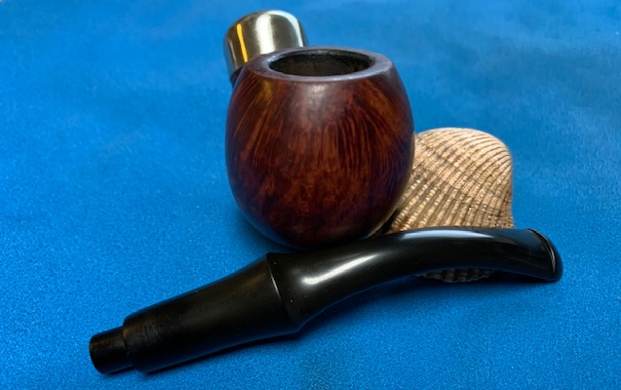
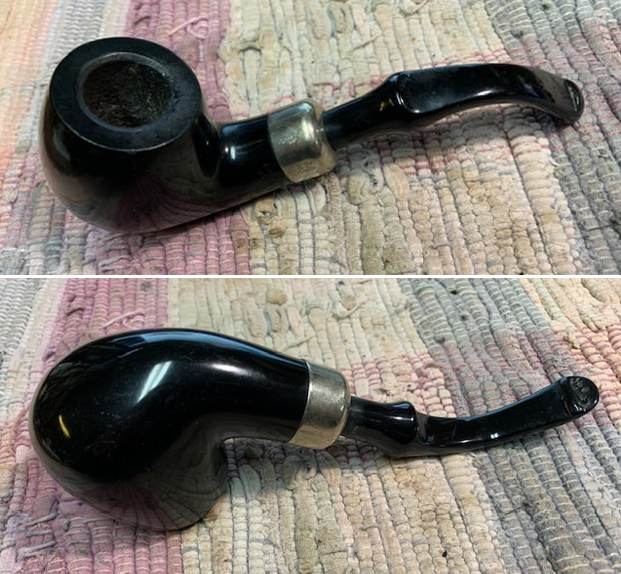
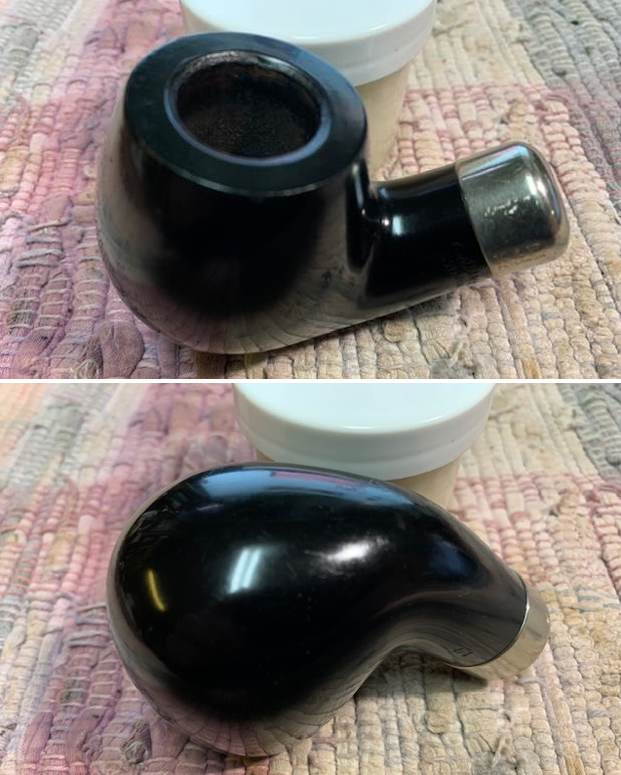
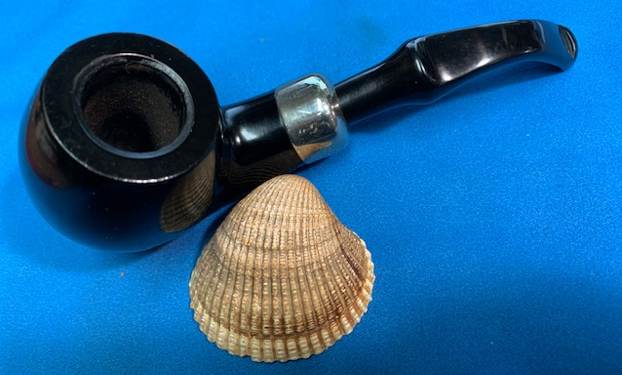
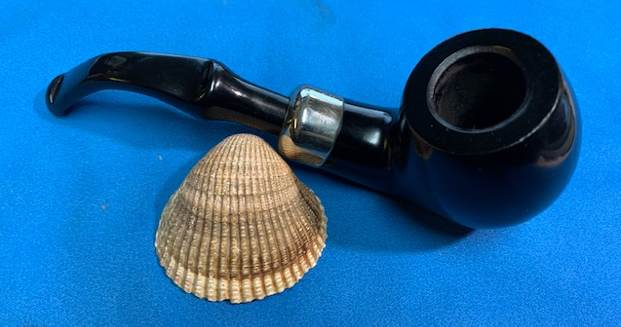
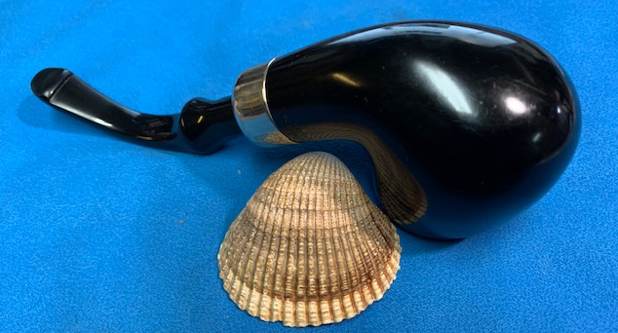
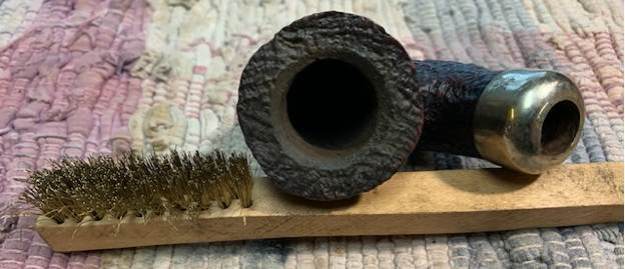
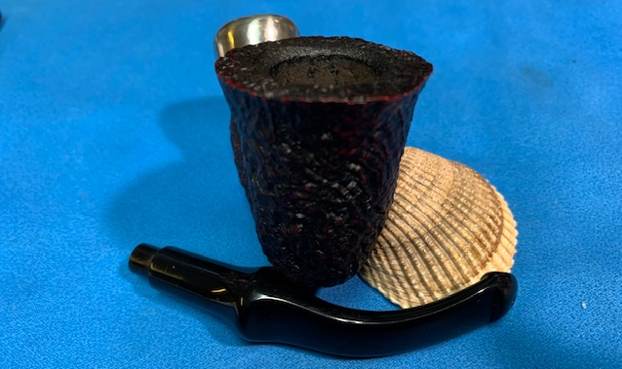
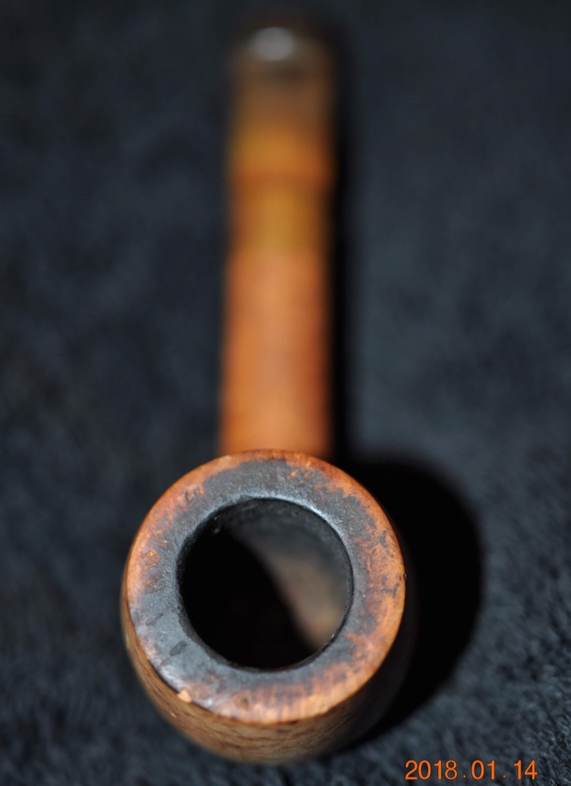
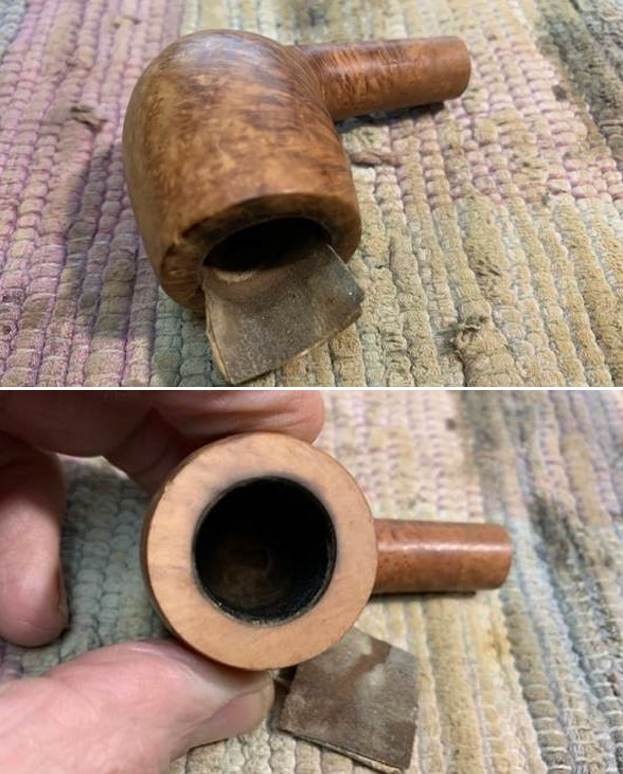
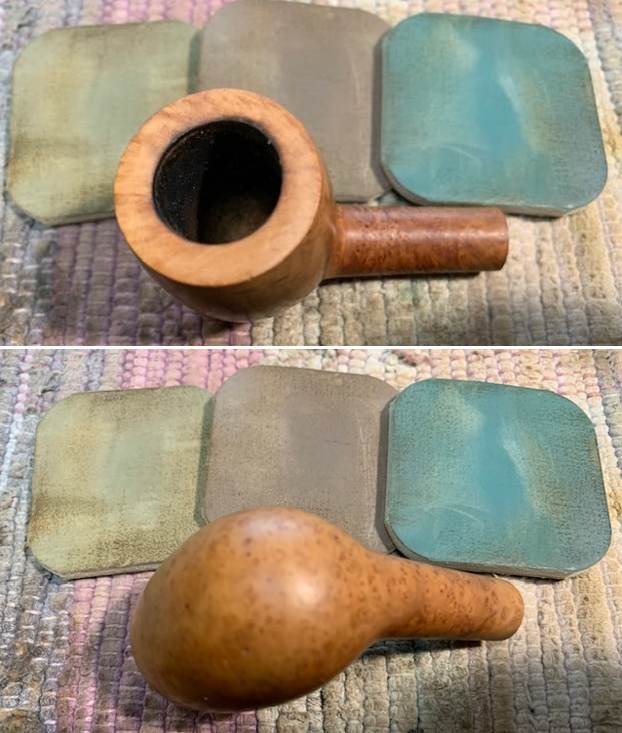
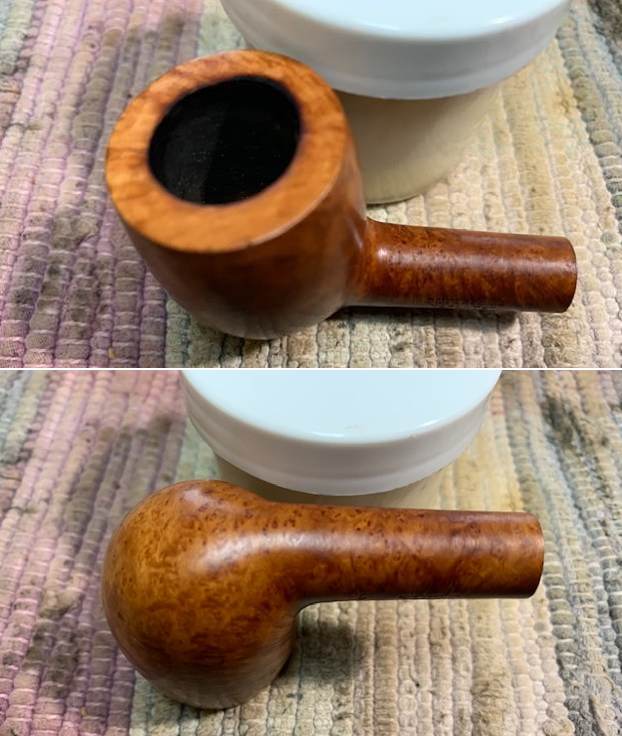
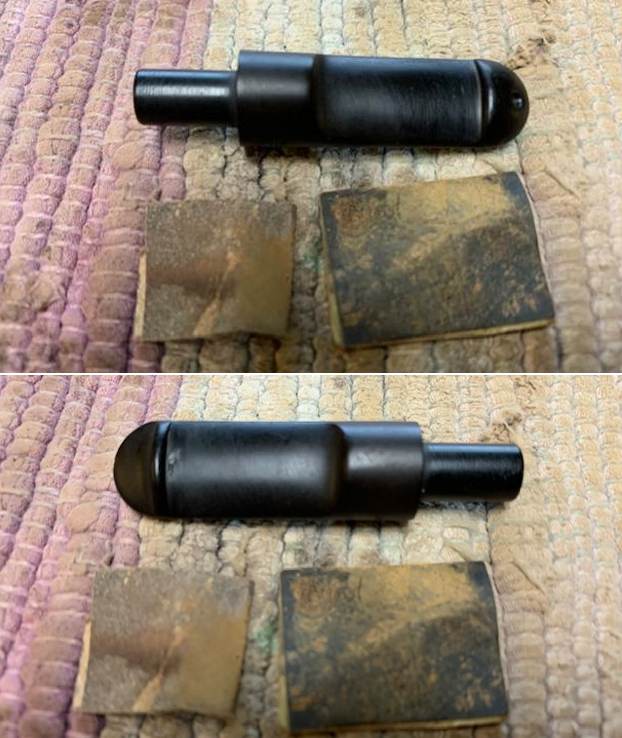
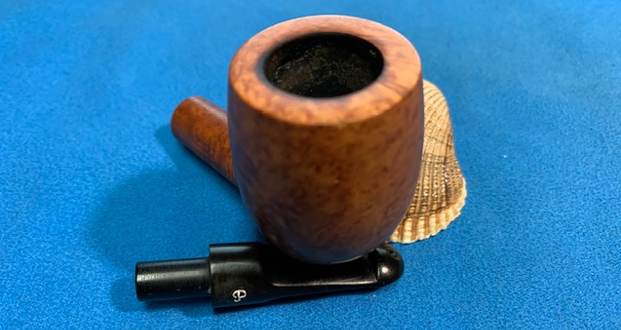
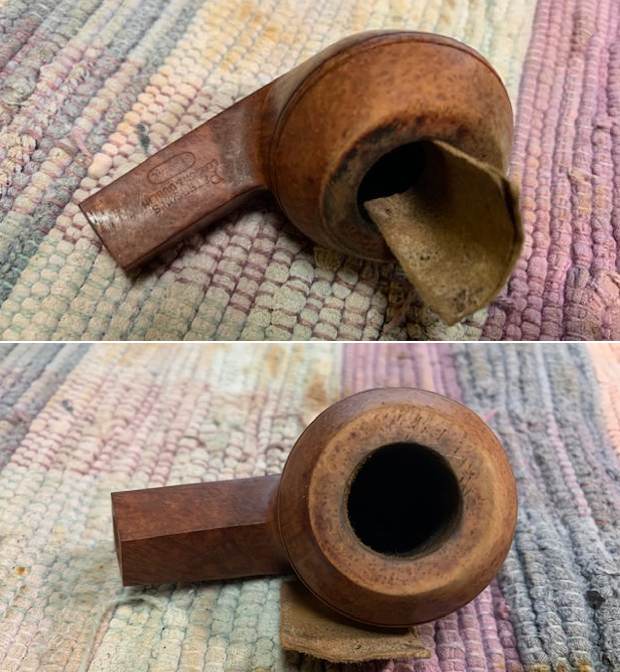
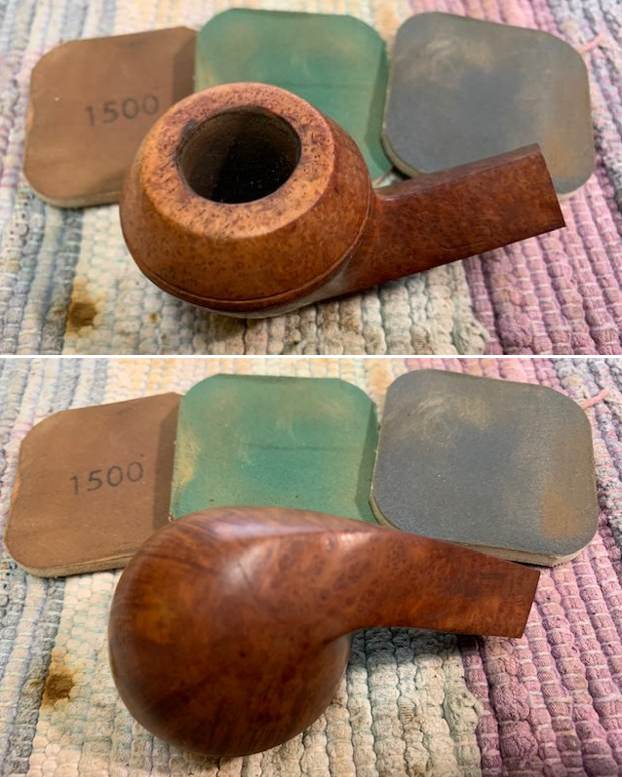
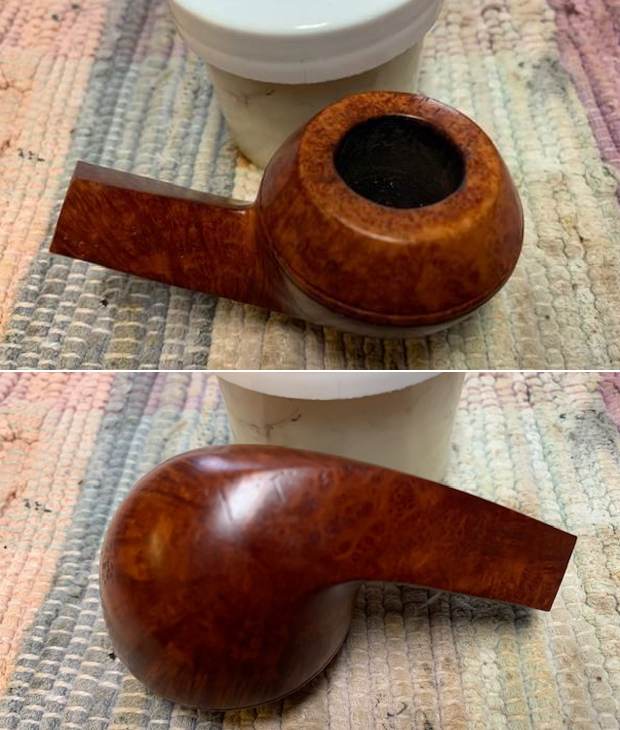
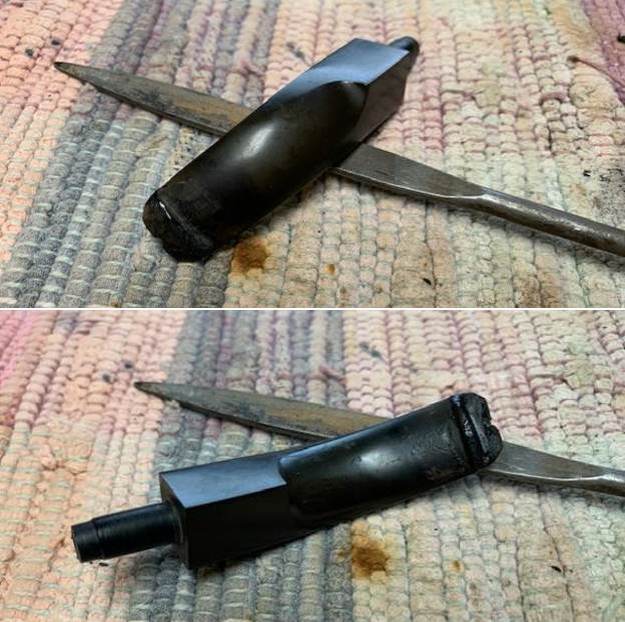
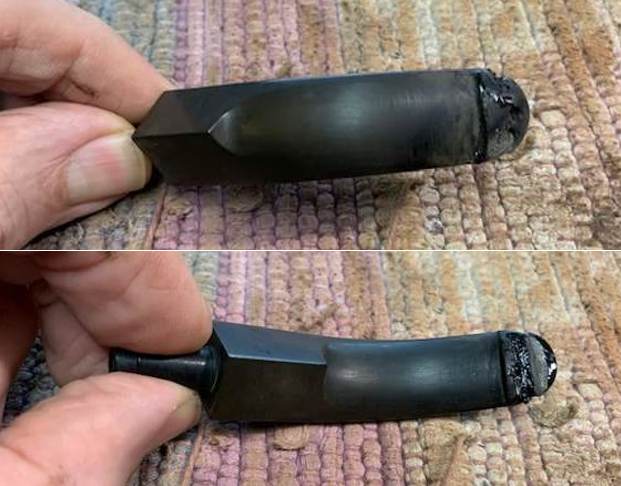
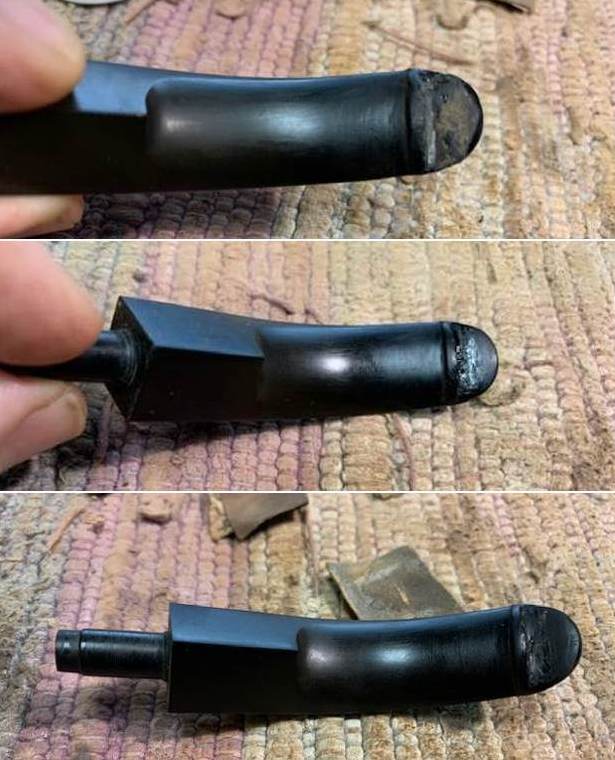
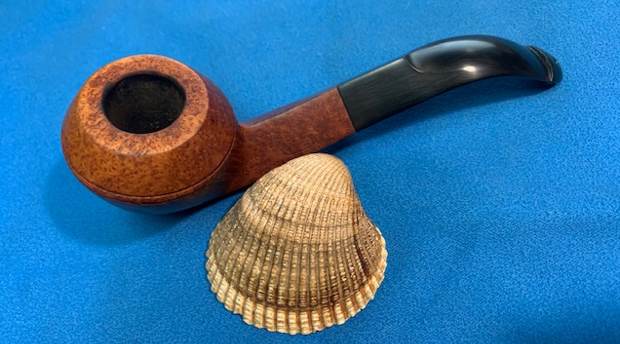
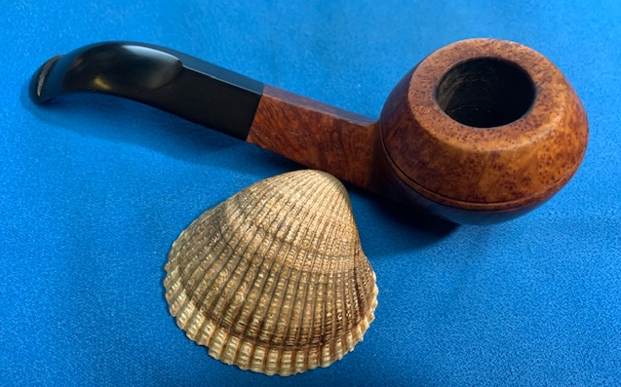
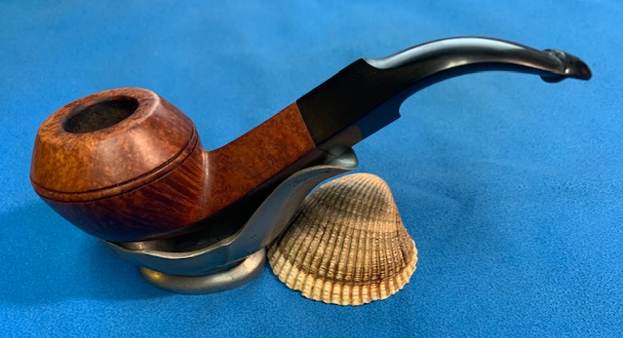
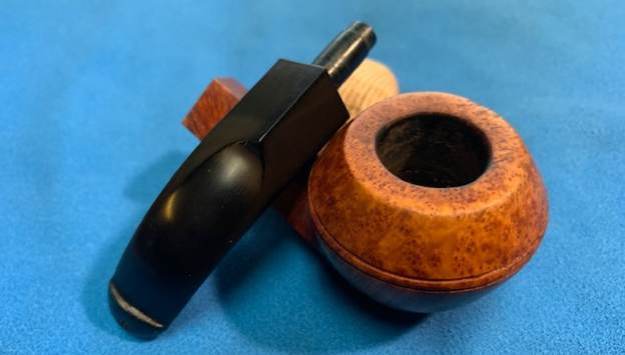
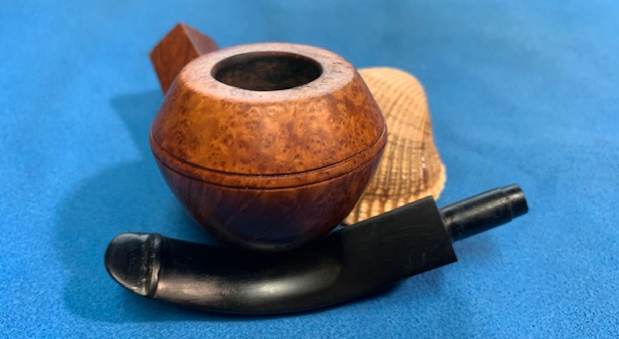
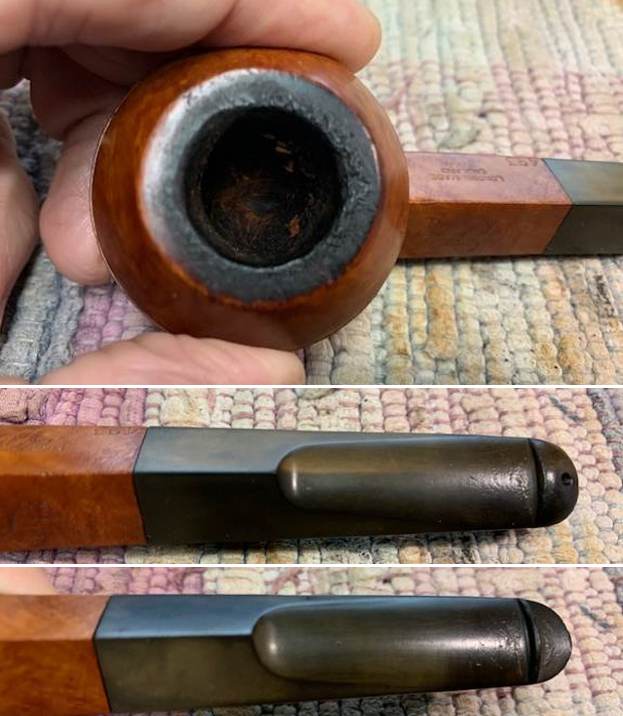
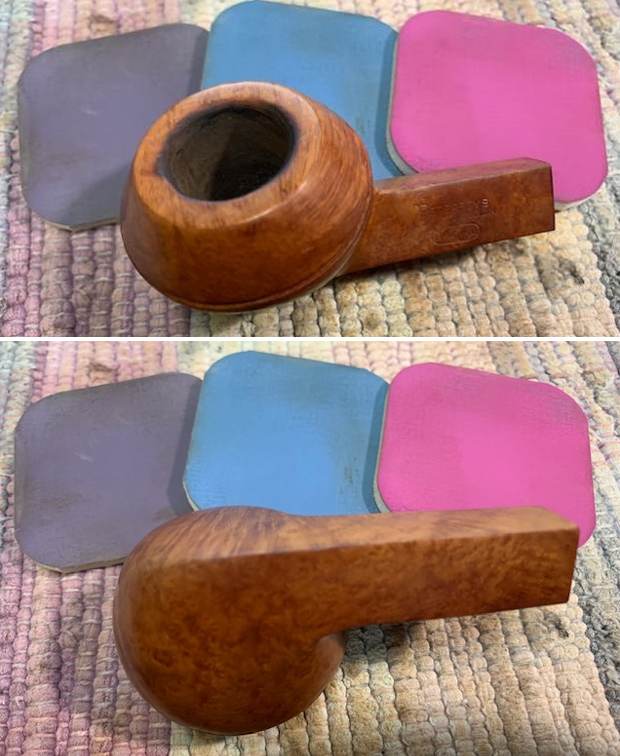
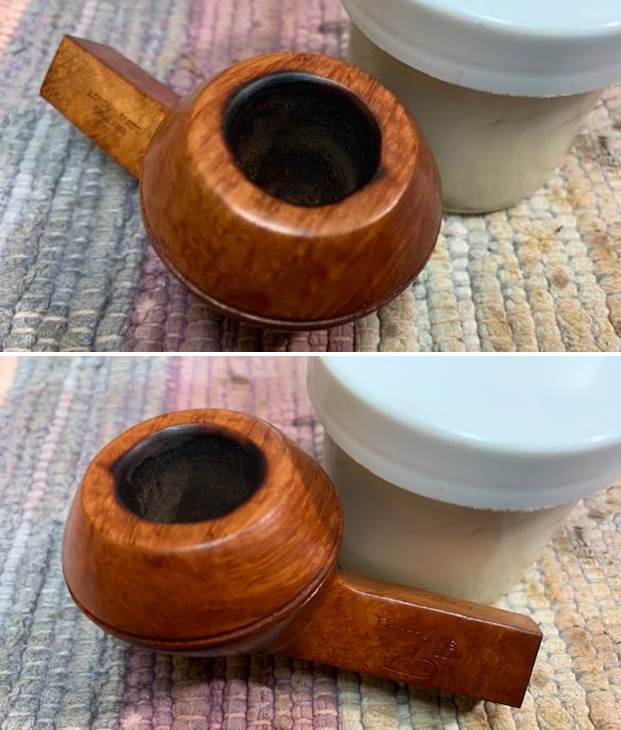
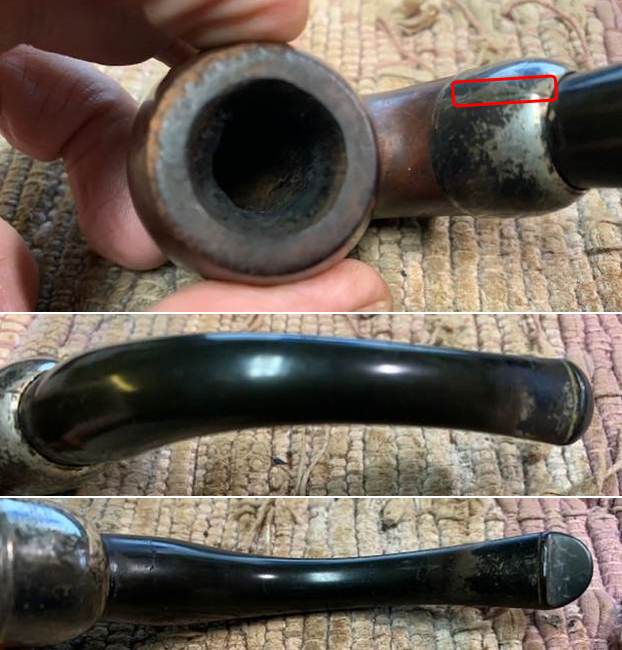
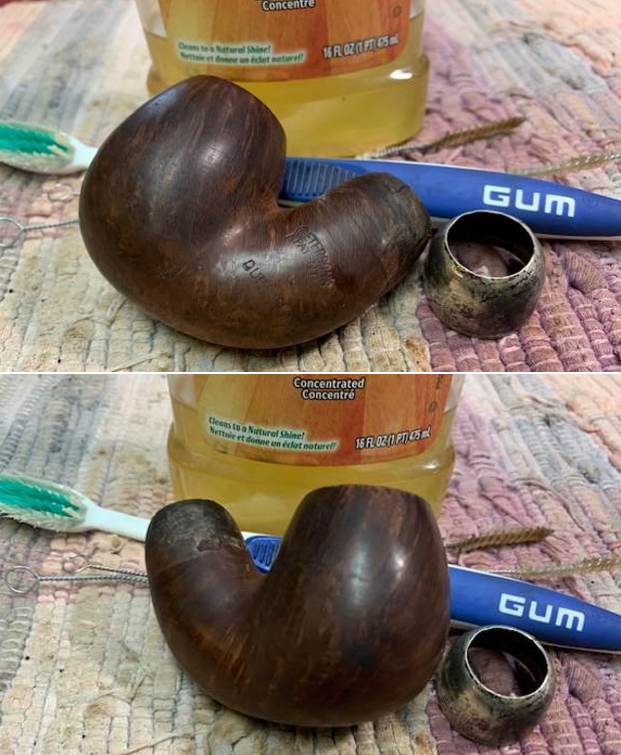
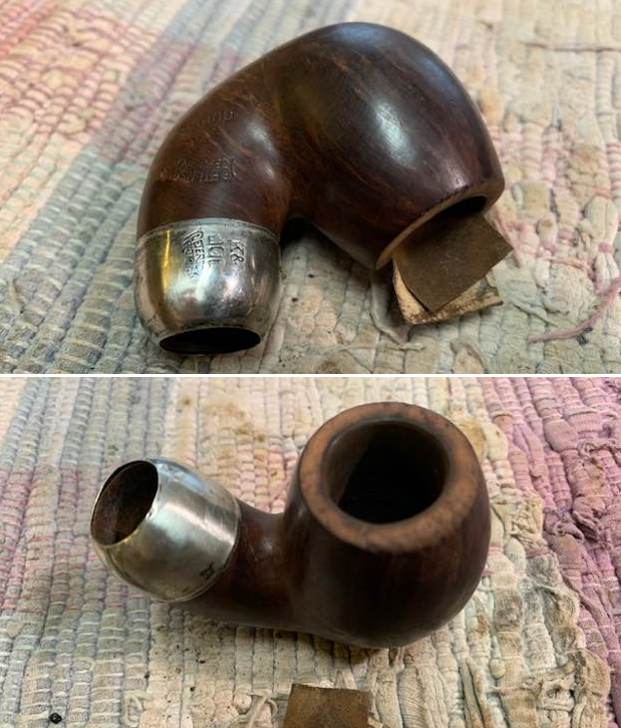
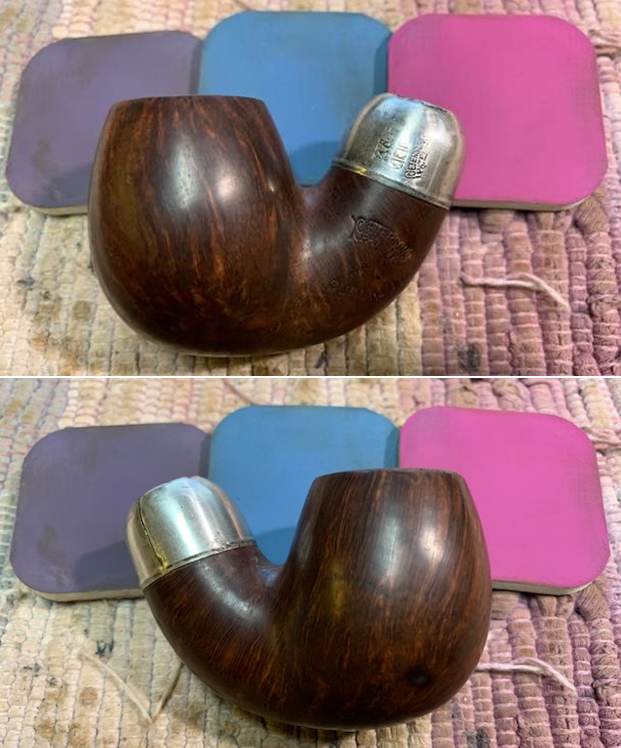
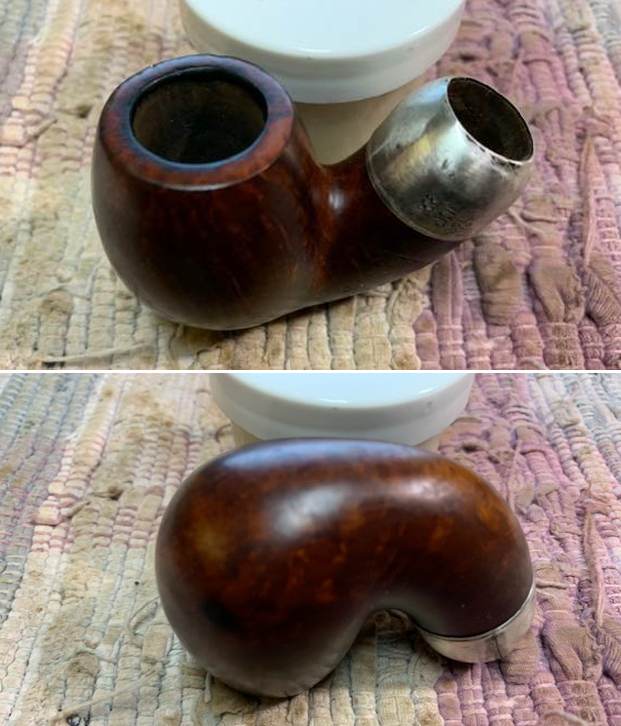
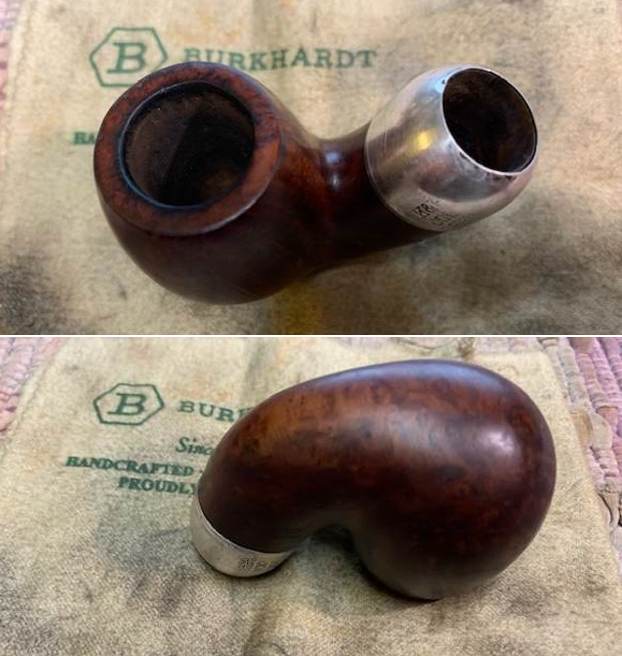
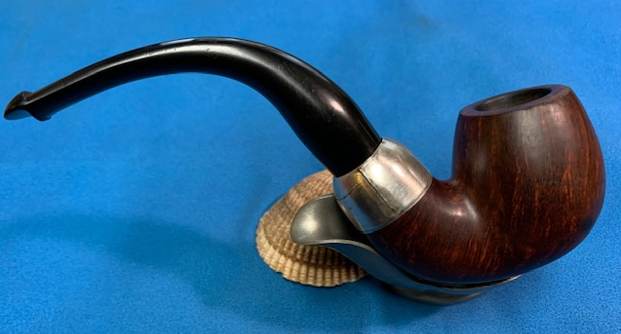
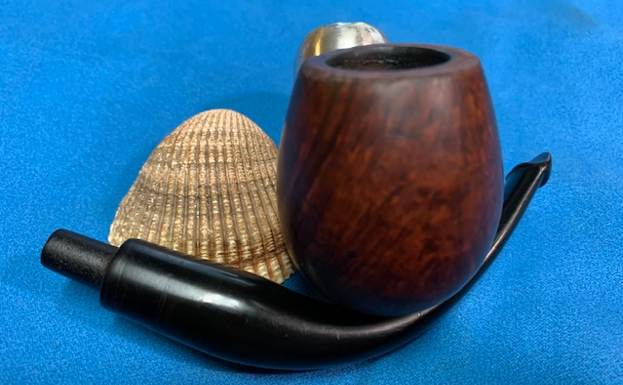
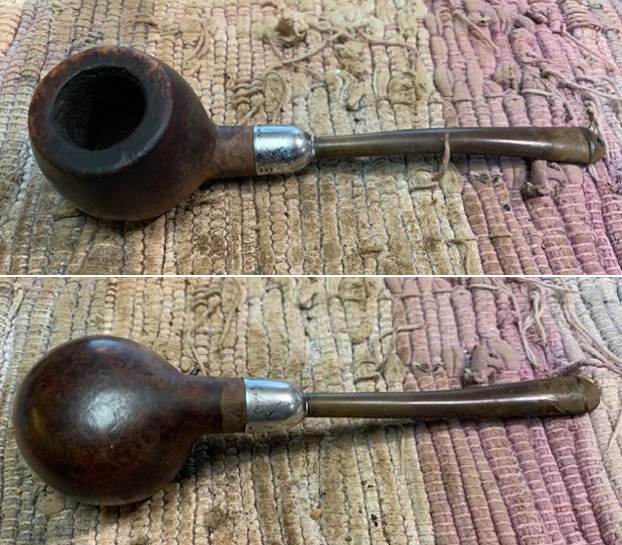
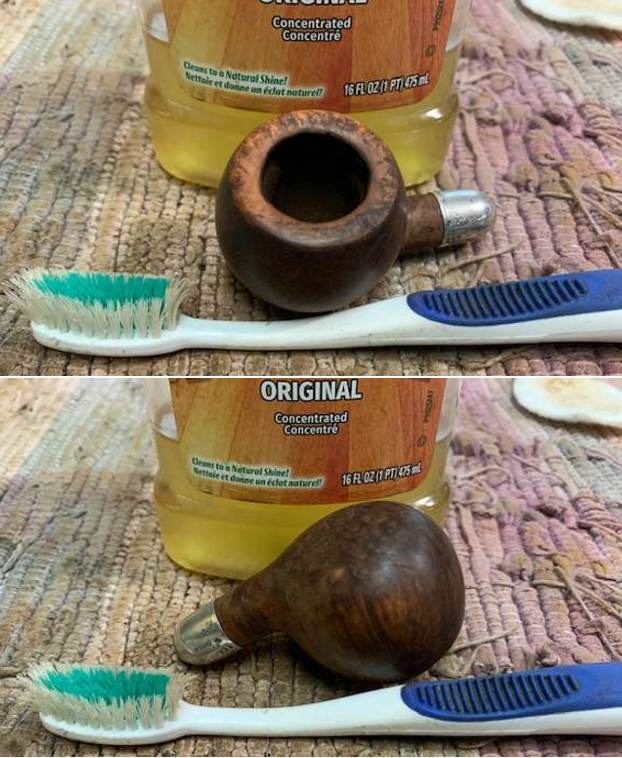
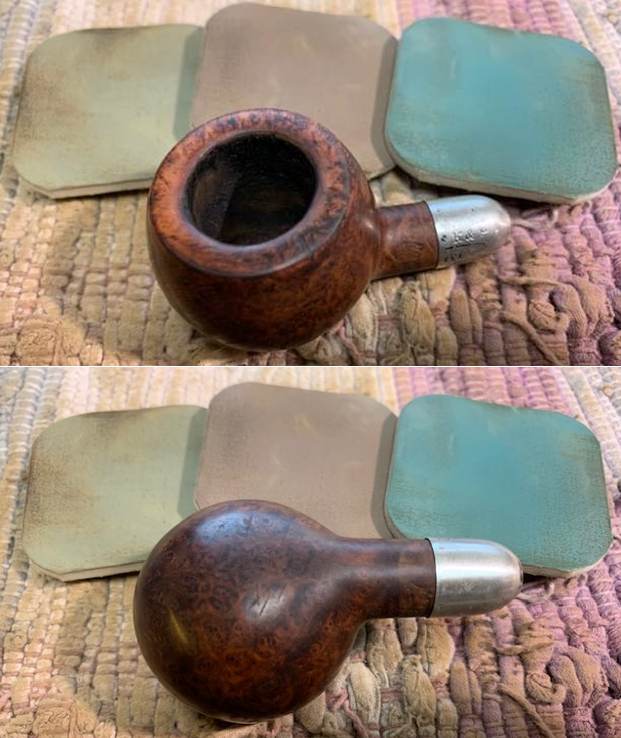
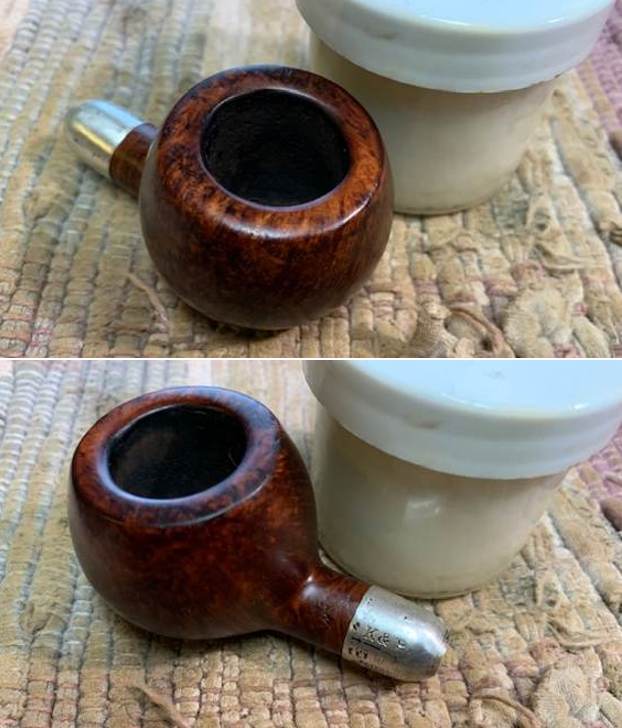
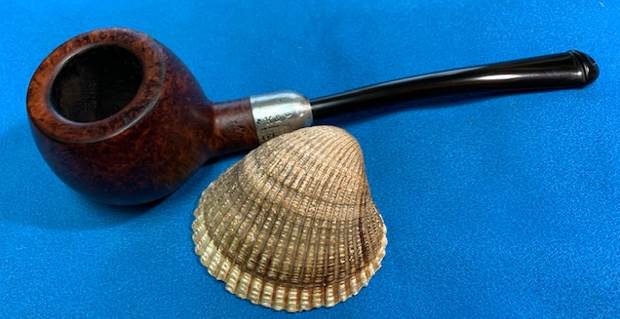
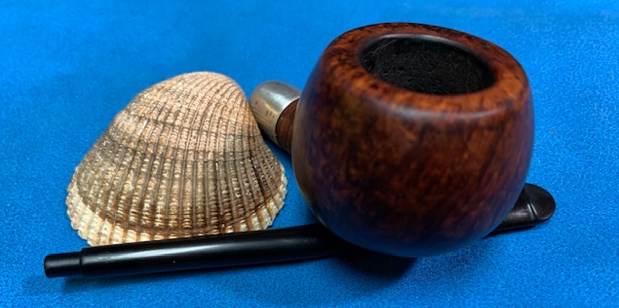
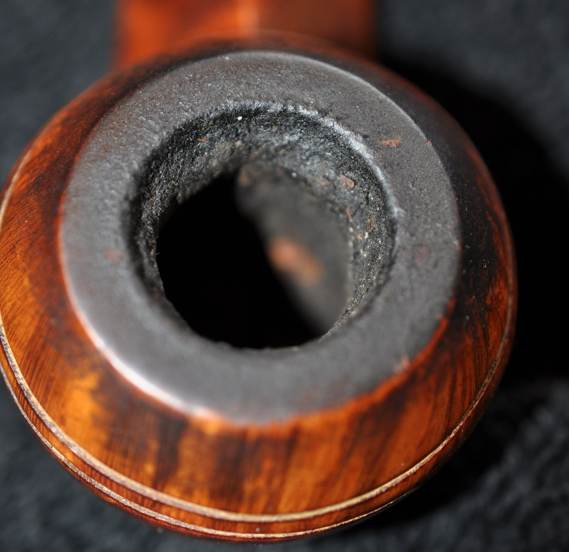
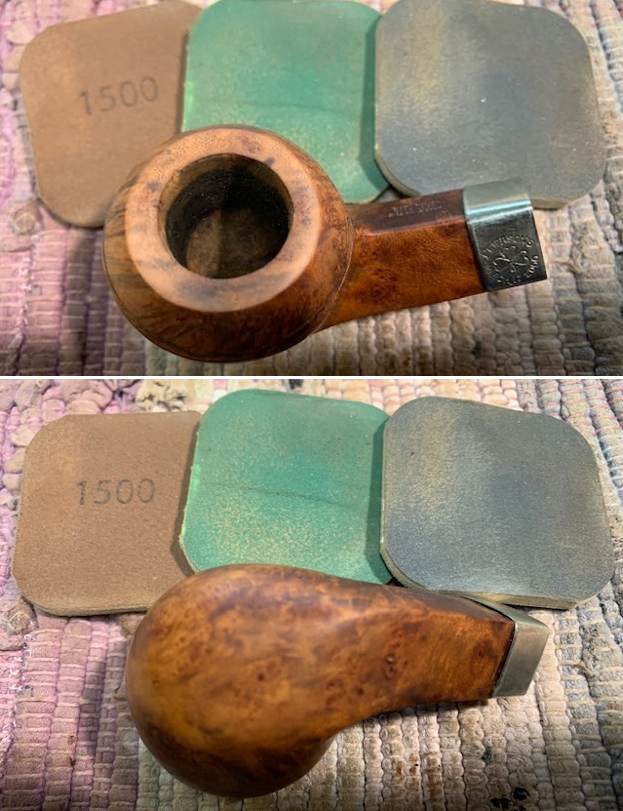
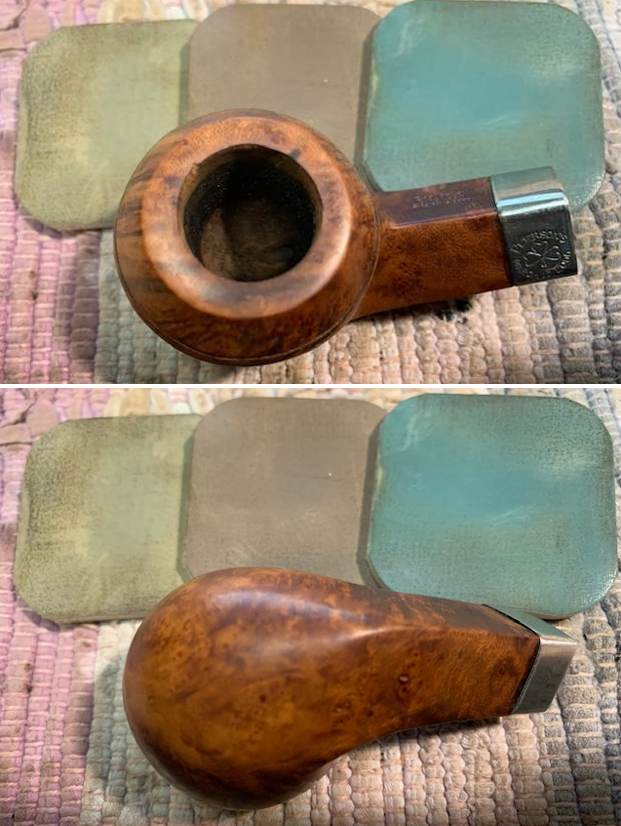
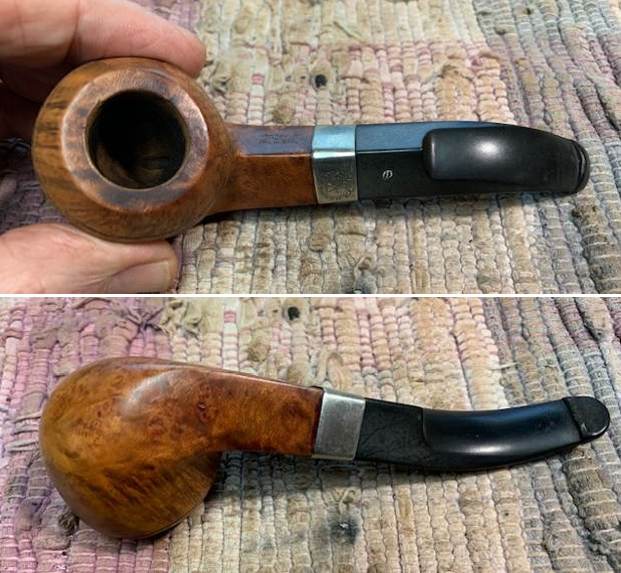 I took photos of the rim top and the stem to show the condition of them both. The rim top is very clean and there is some darkening on the rim top on the back and left side. The rim edges looked very good. The stem is free of oxidation and other than the tooth marks and chatter it is in good condition.
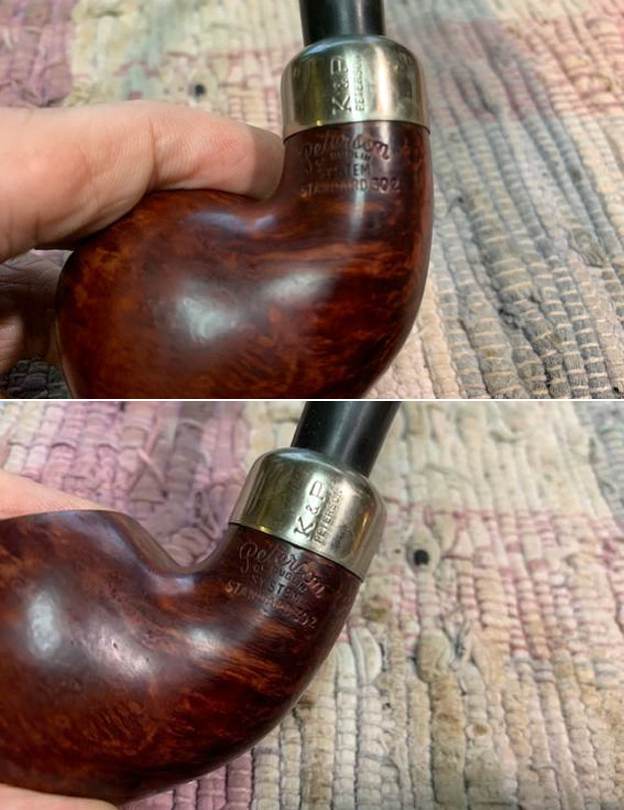
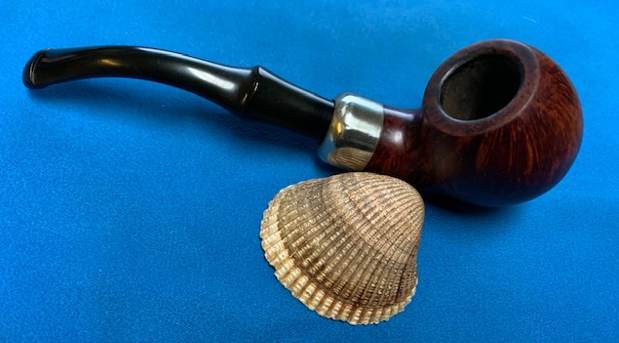
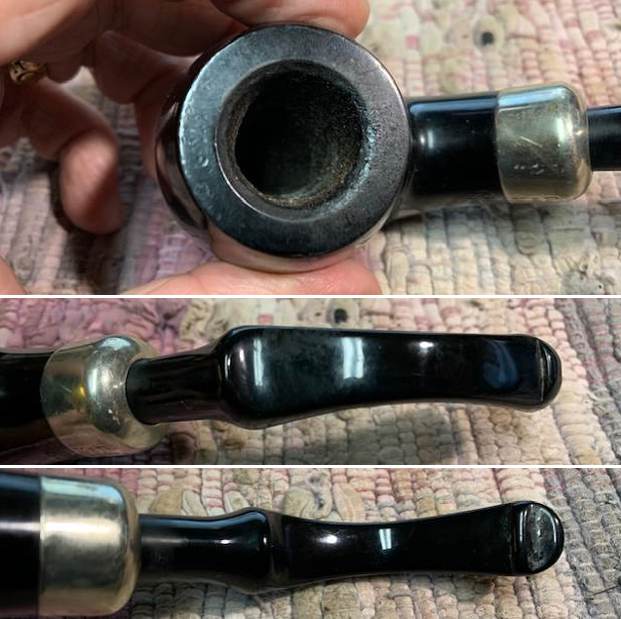
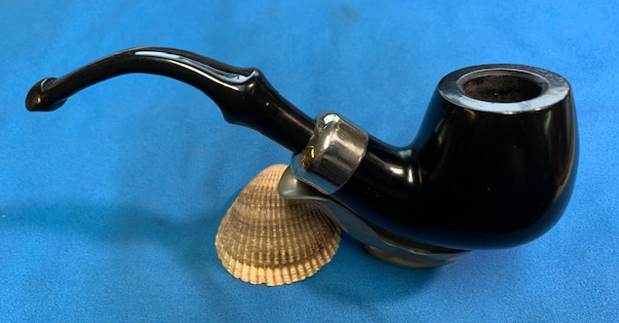
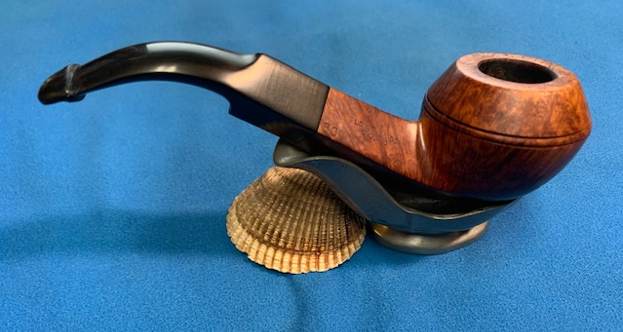
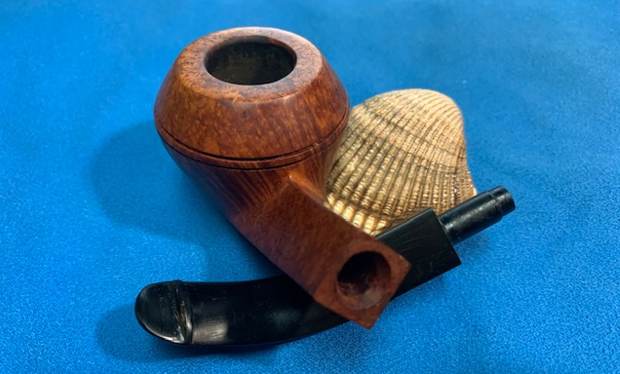
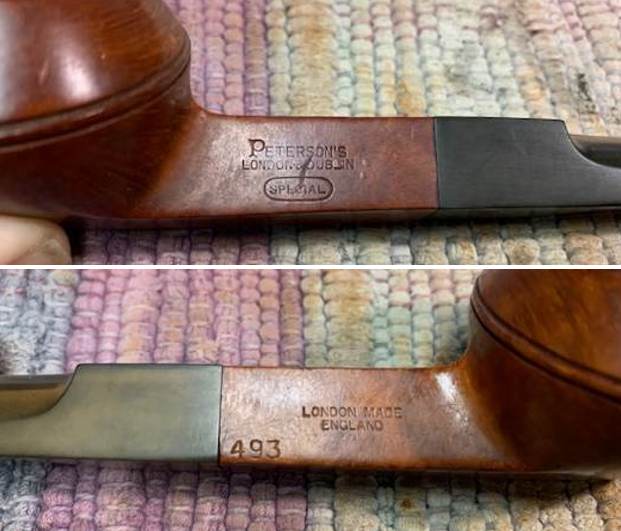
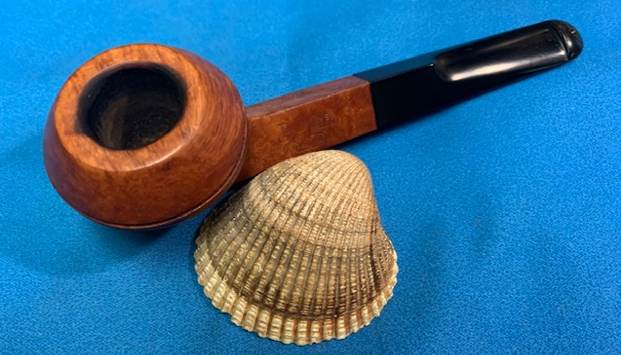
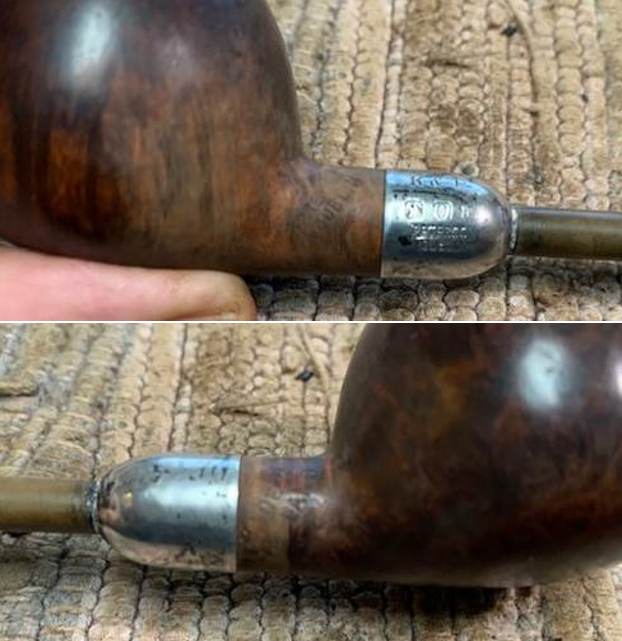
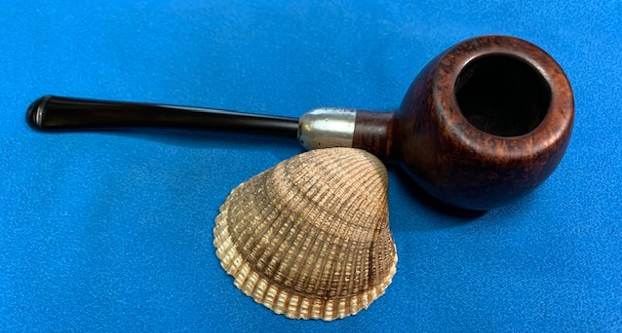
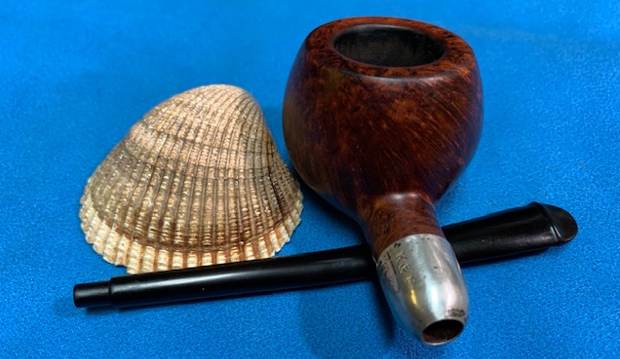
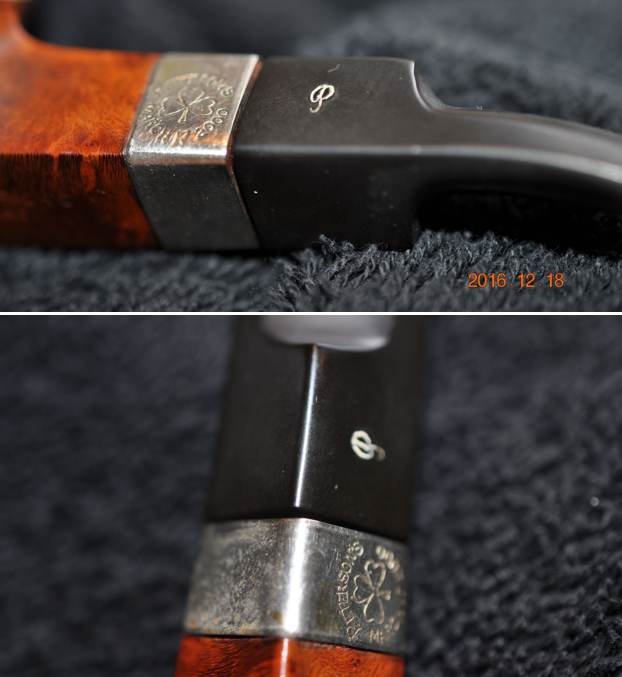
 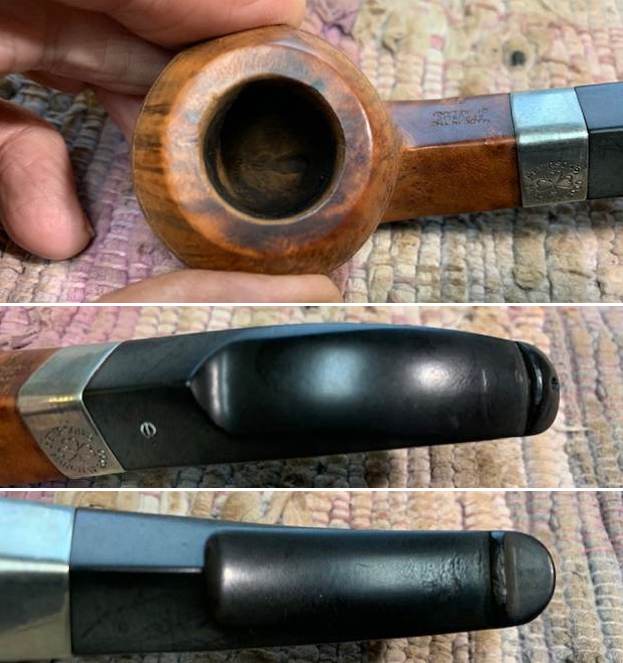 I took photos of the stamping on the band and the shank sides. It is clear and readable as noted above. The “P” logo is faded and will need to be touched up.
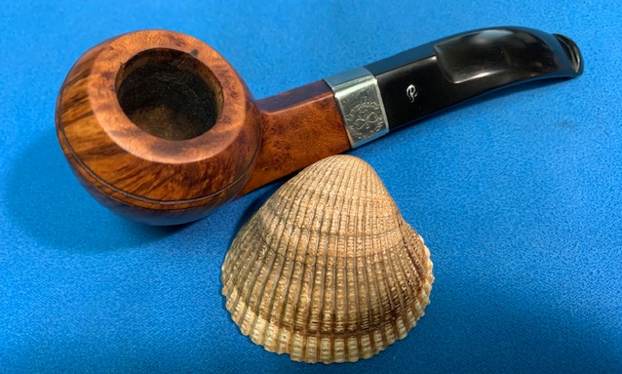
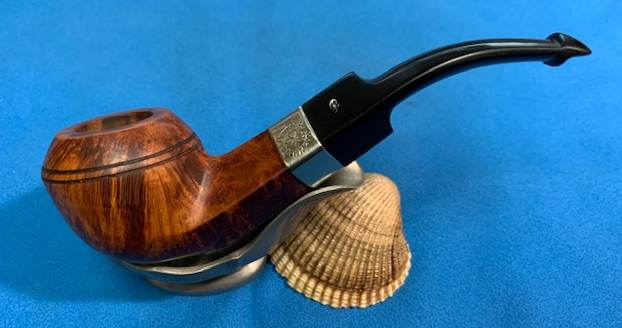
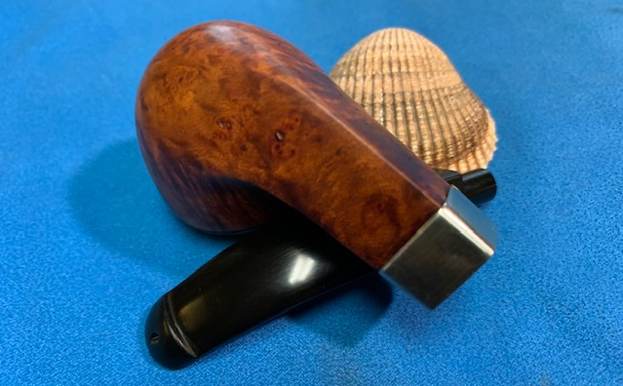
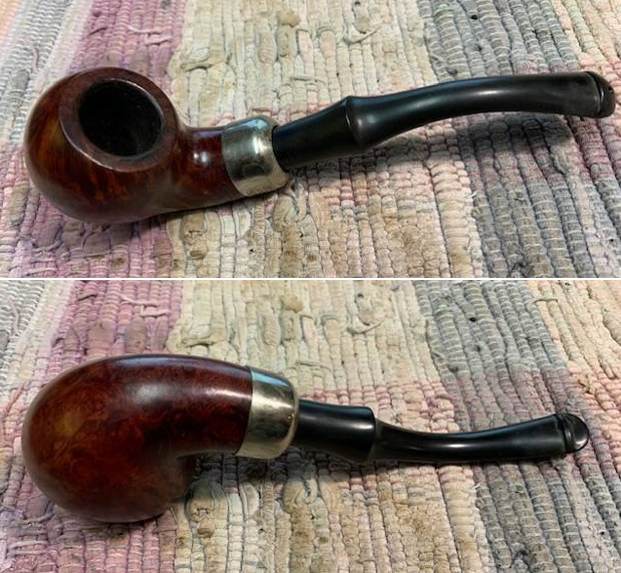
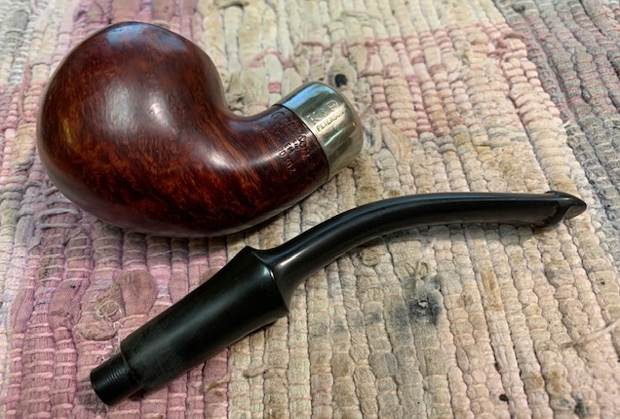
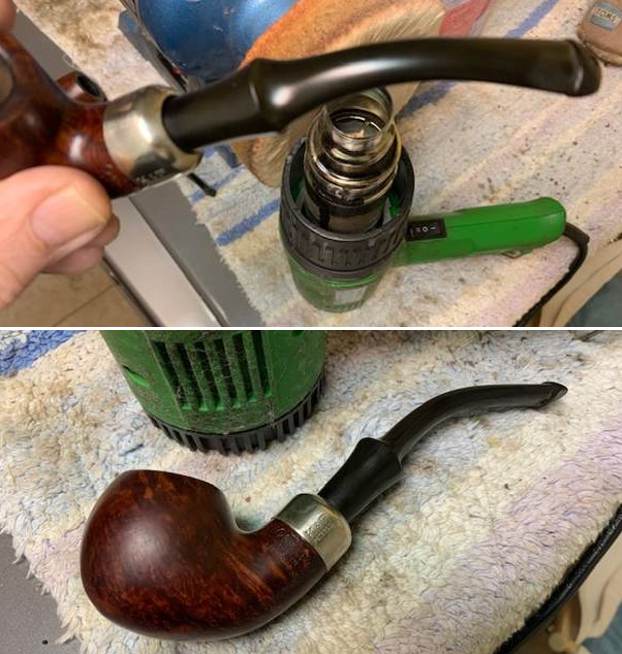
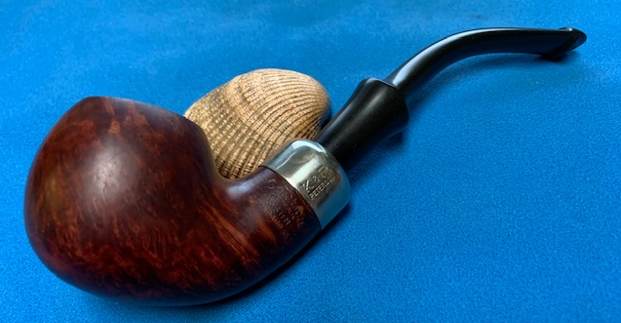
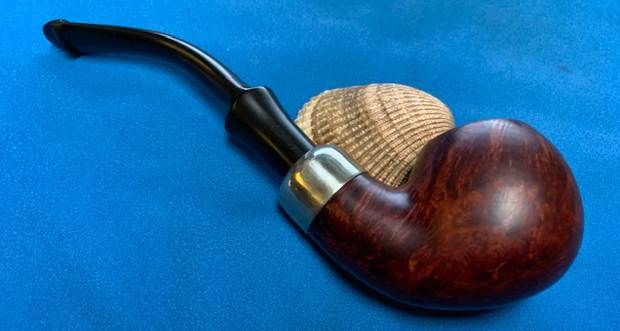
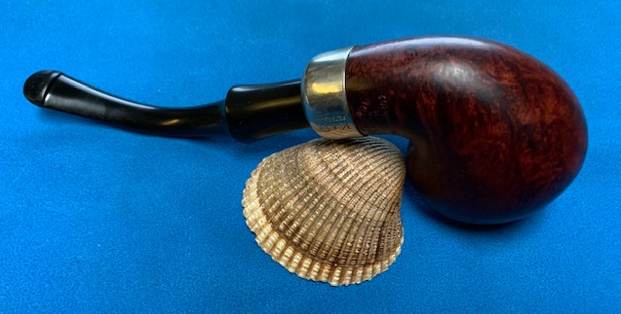
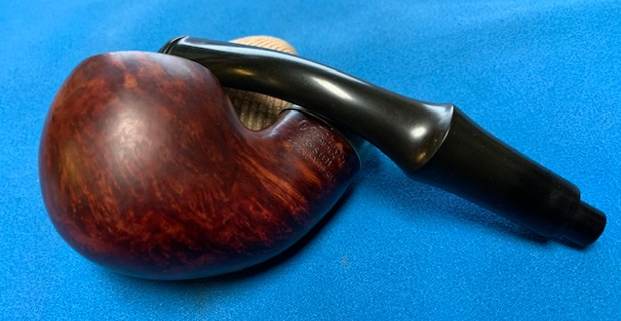
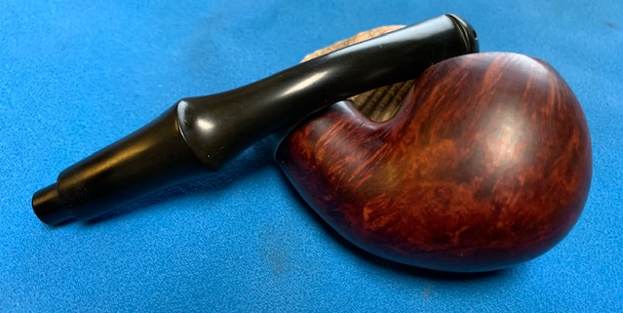
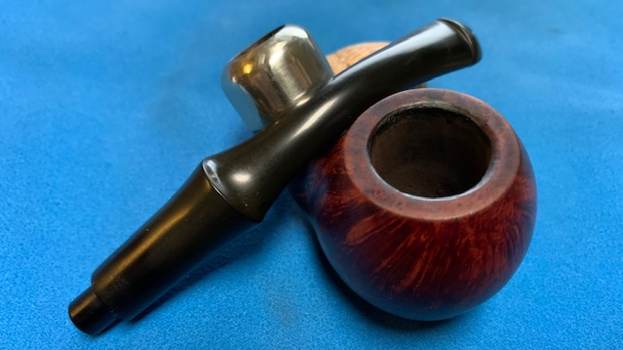
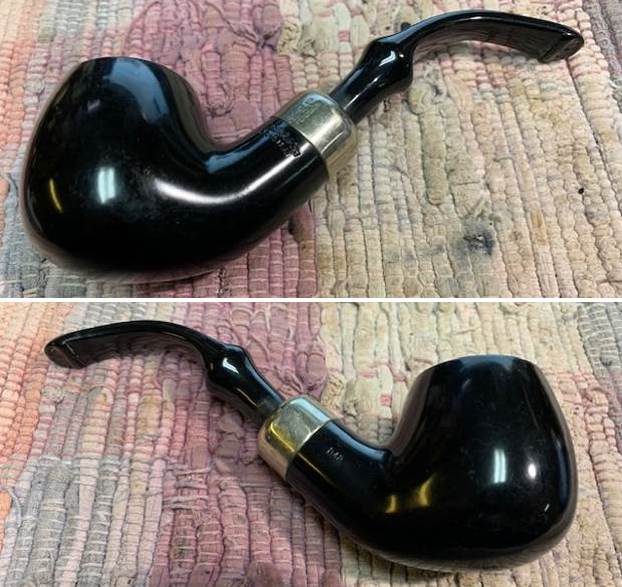
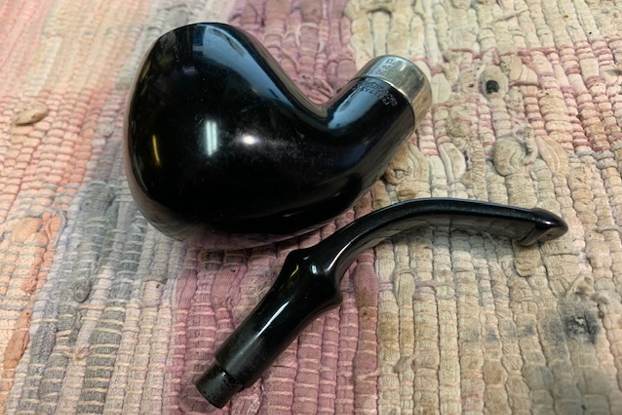
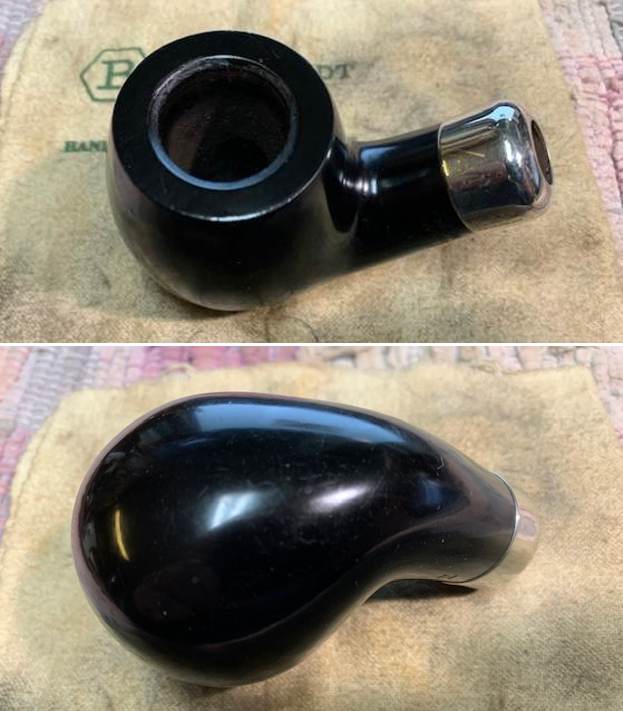
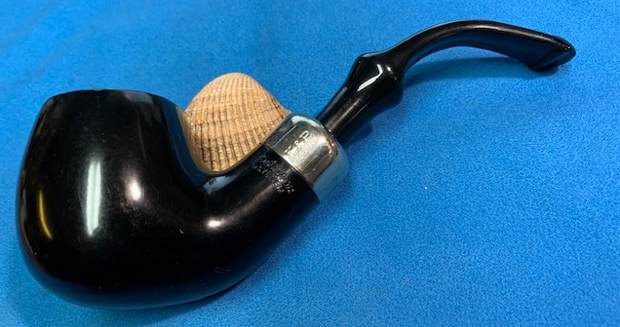
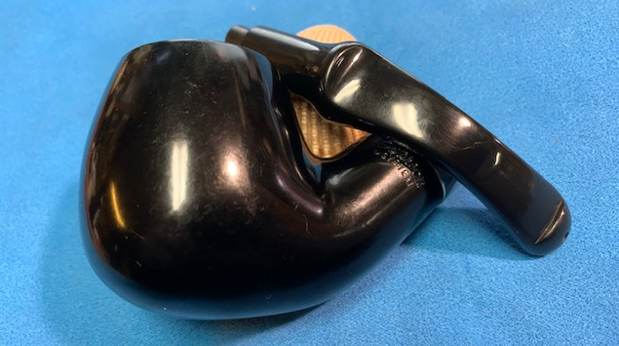
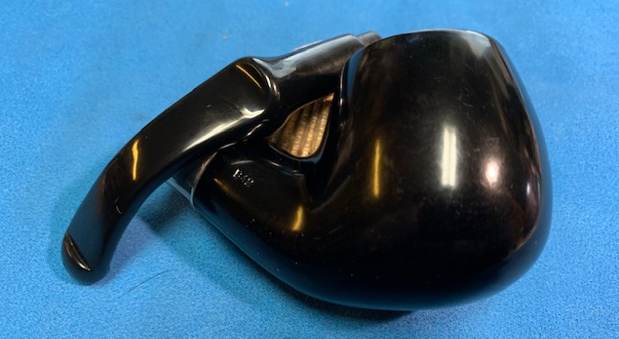
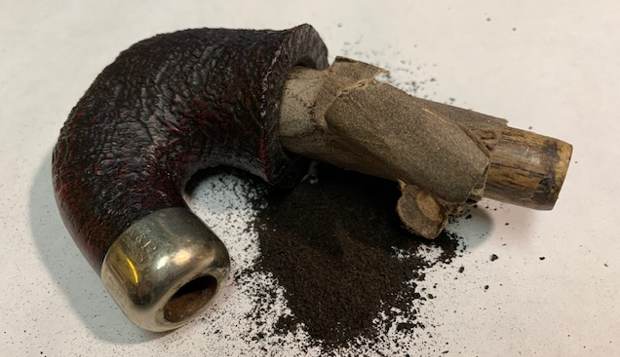
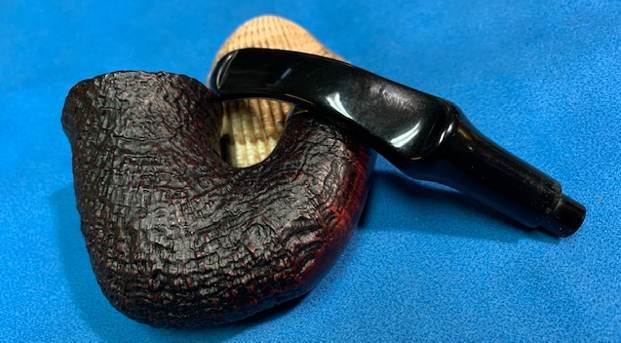
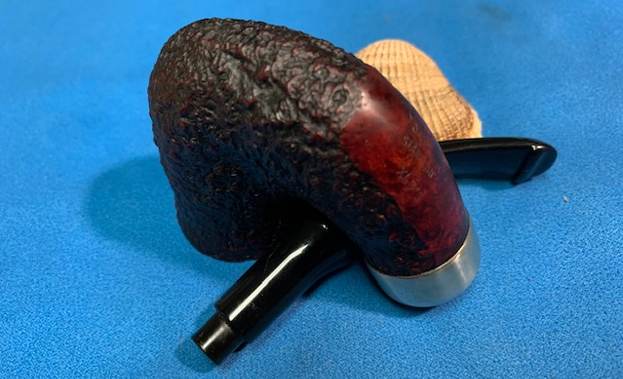
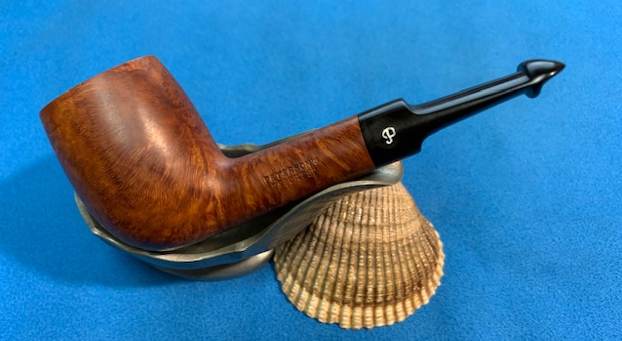
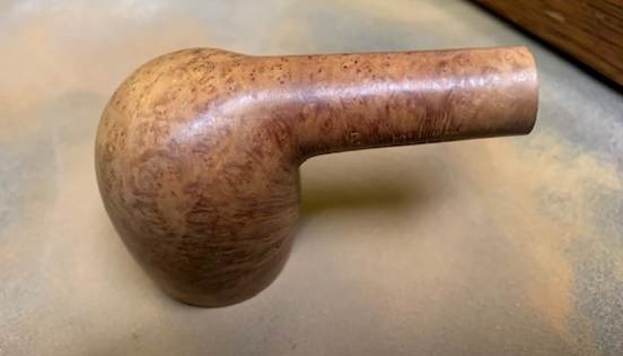
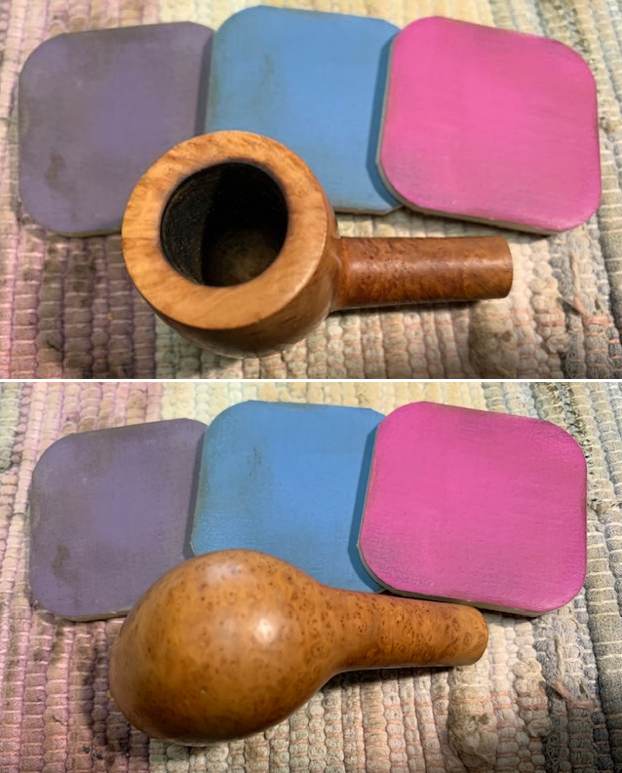
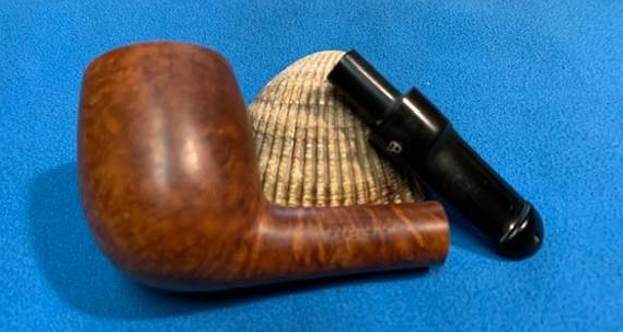
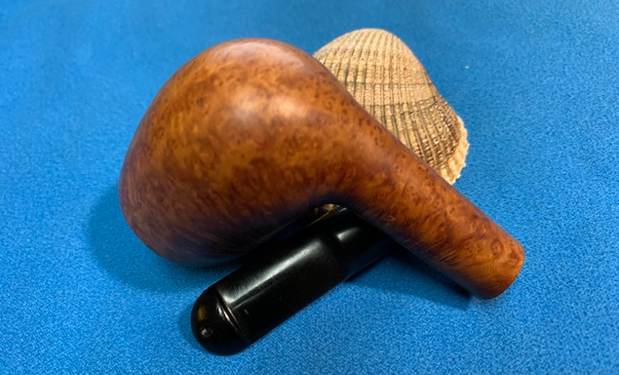
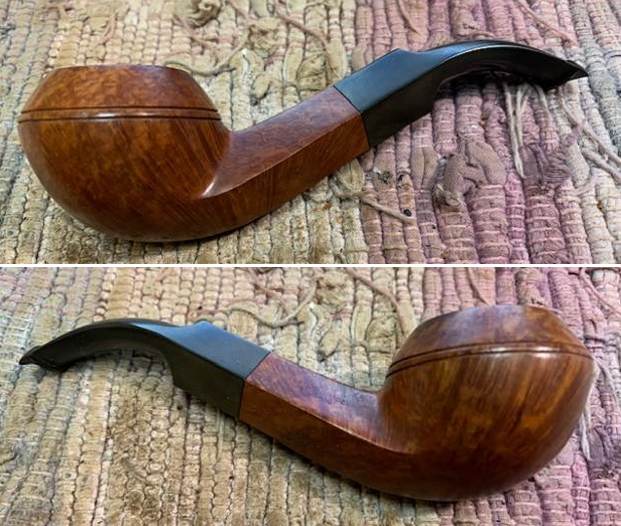
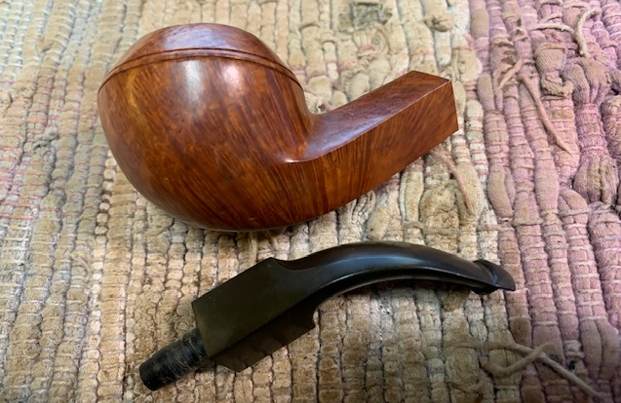
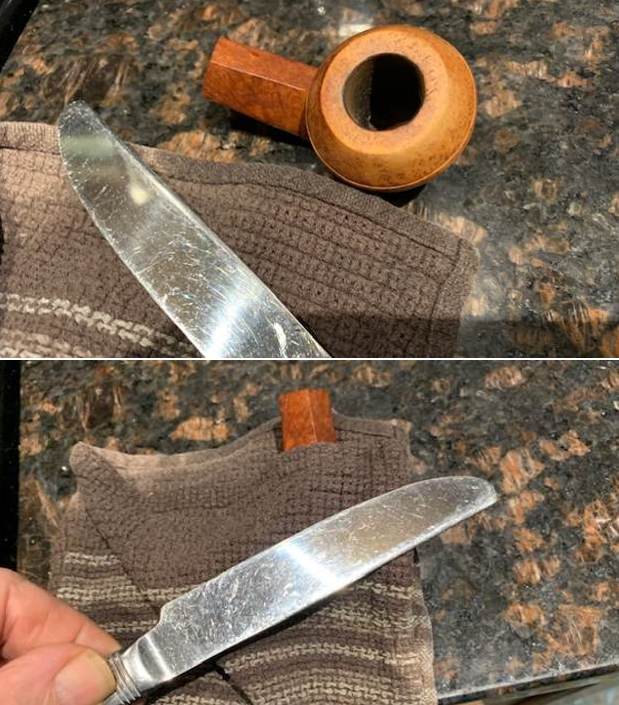
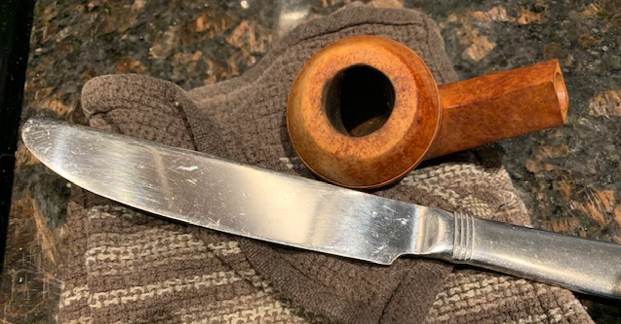
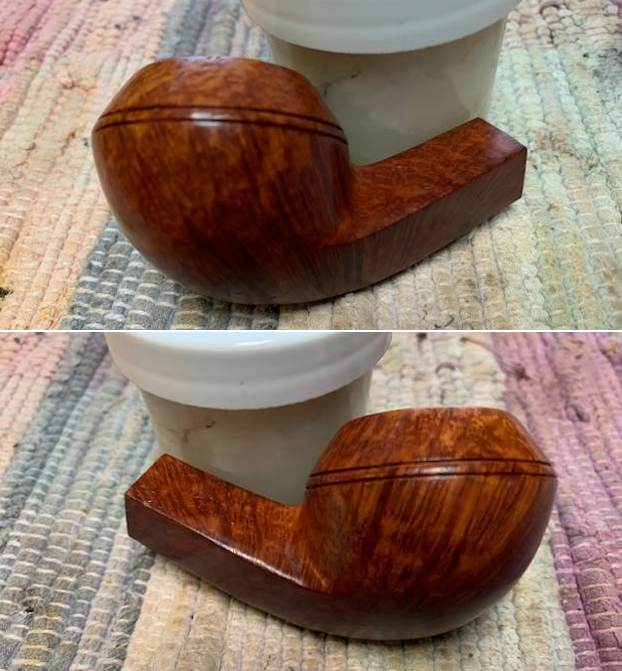
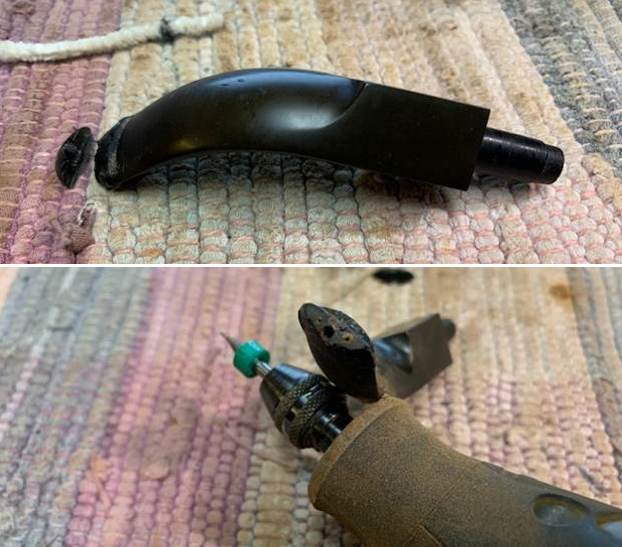
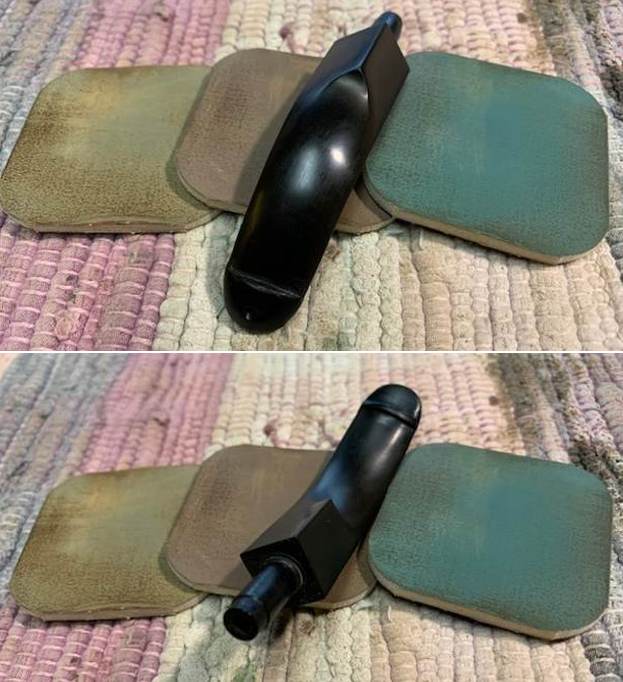
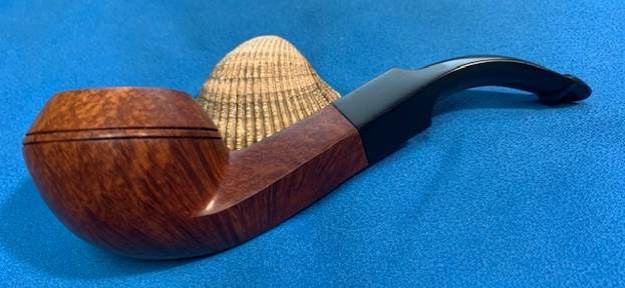
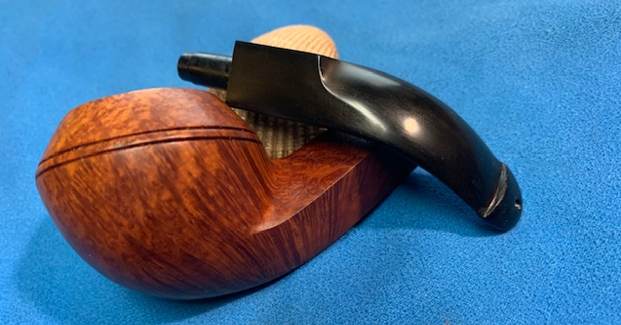
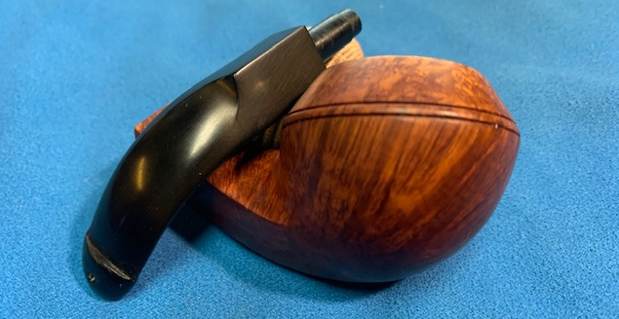
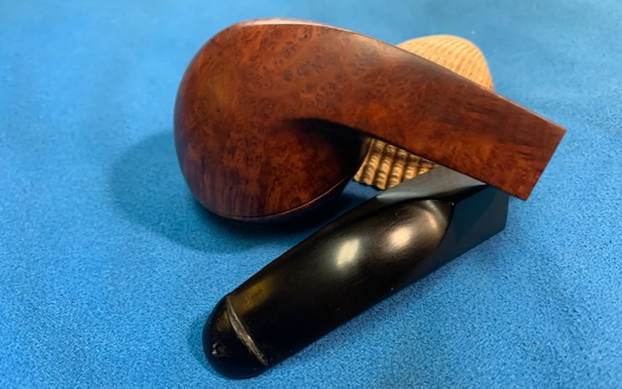
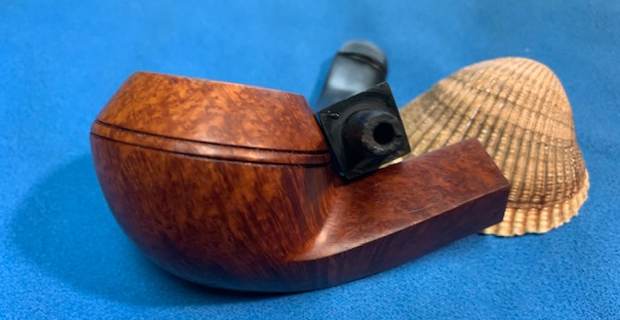
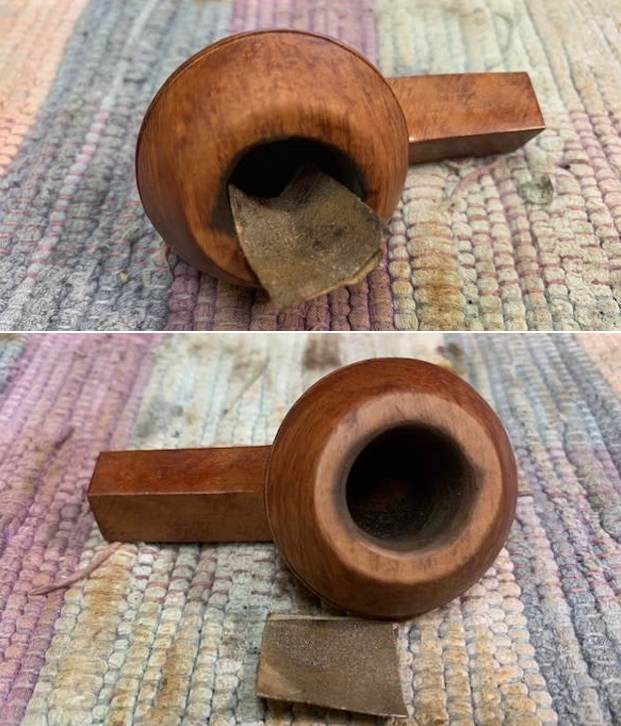
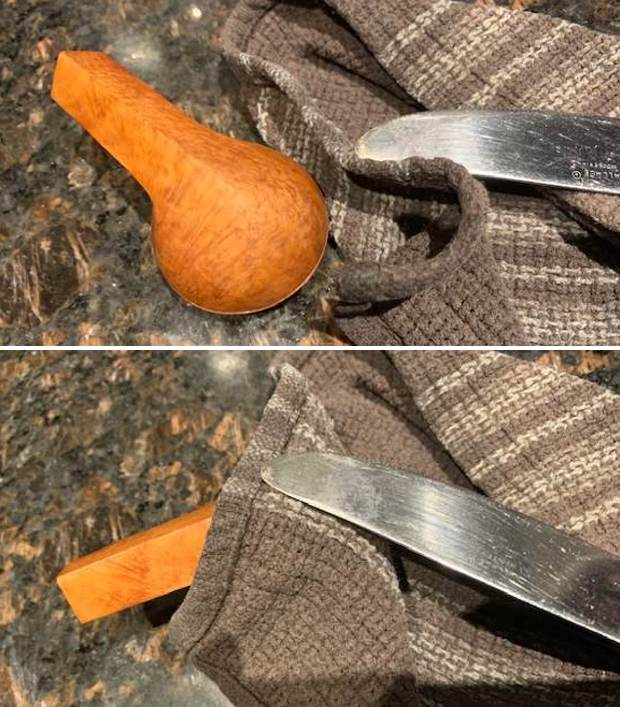
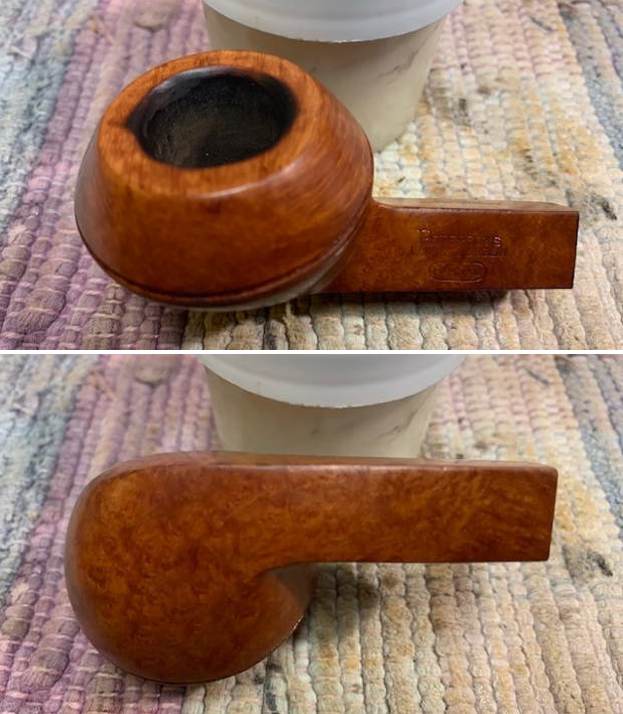
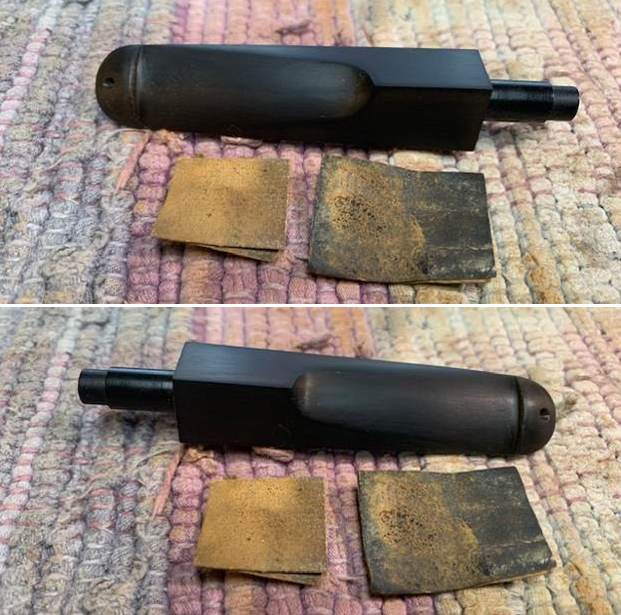
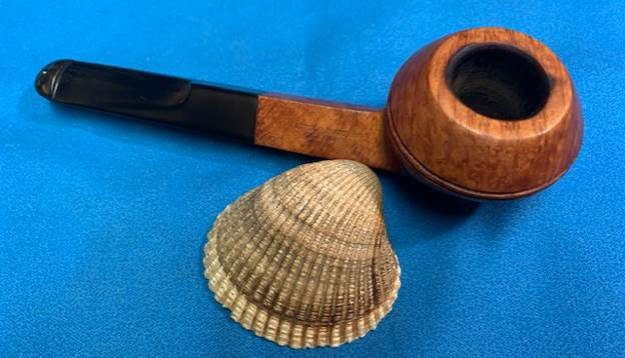
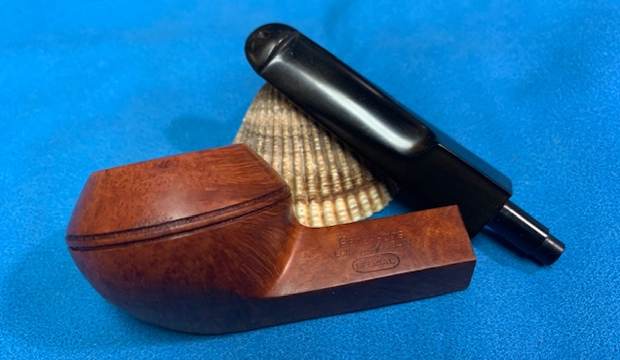
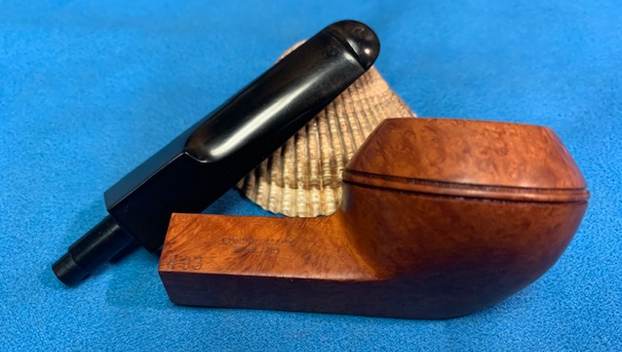
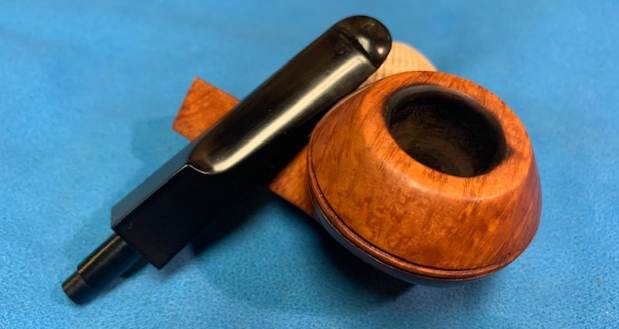
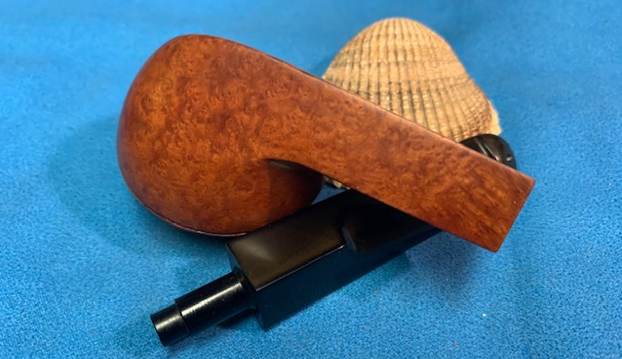
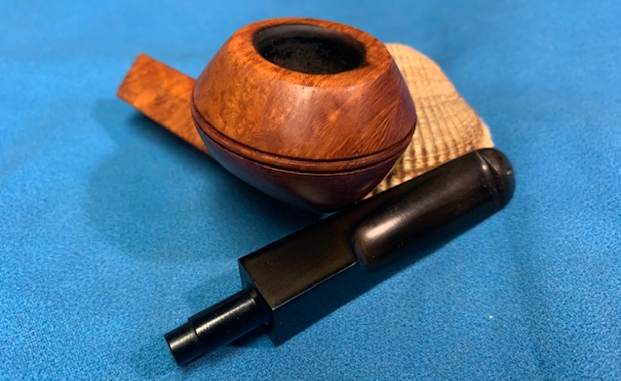
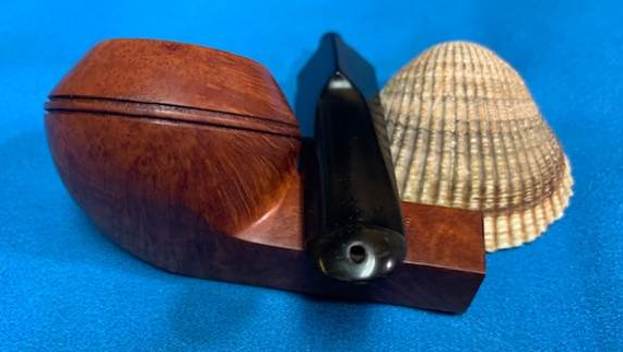
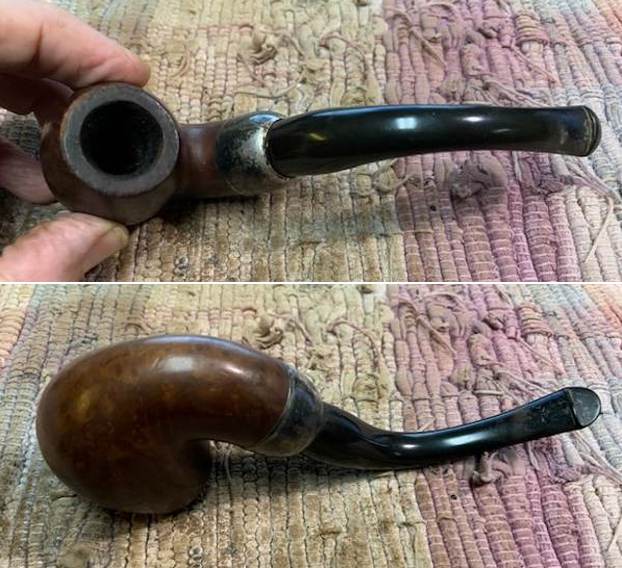
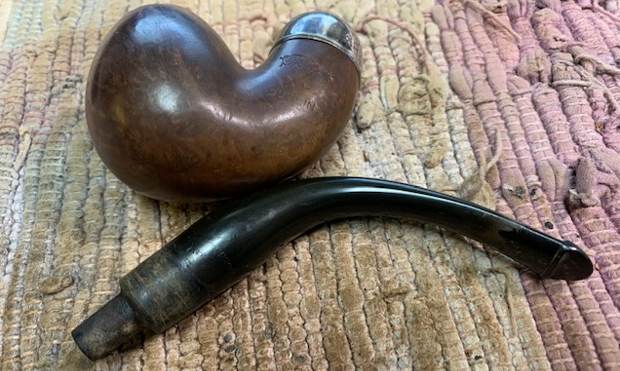
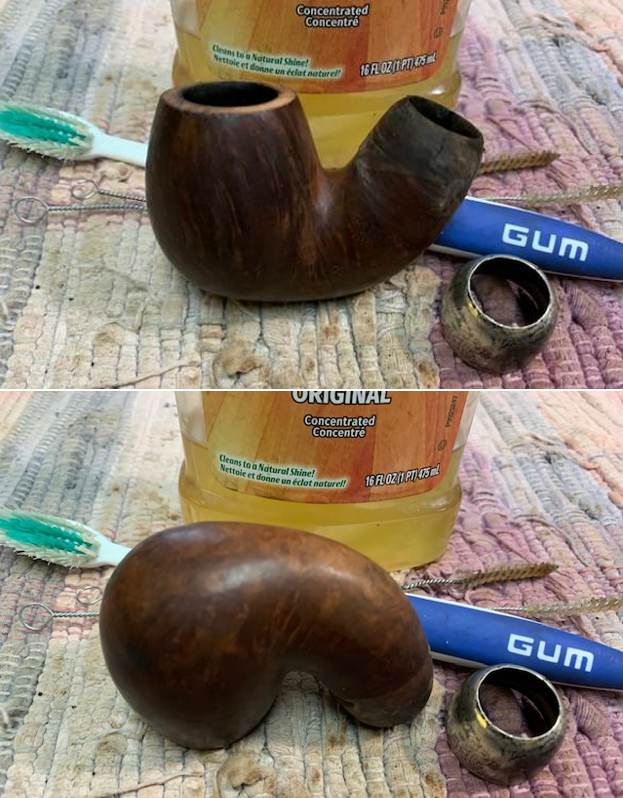
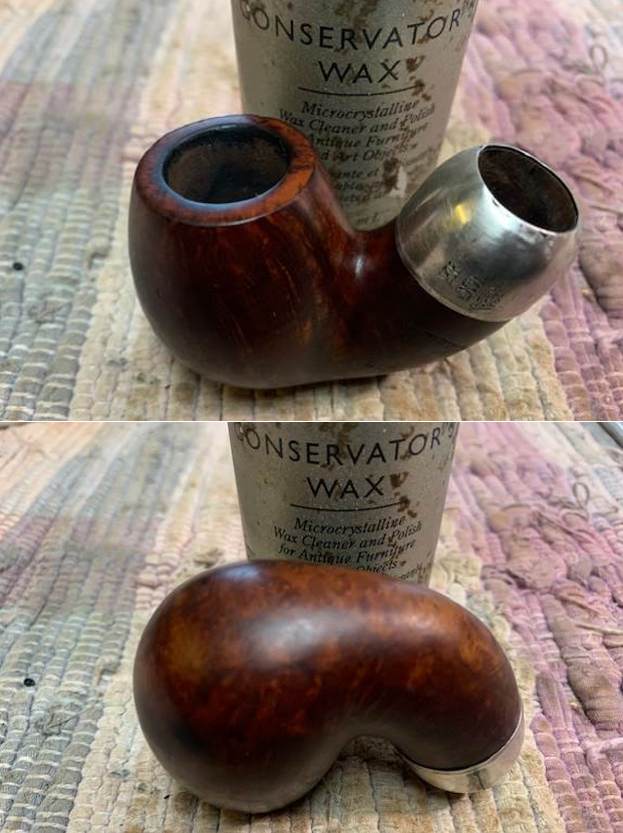
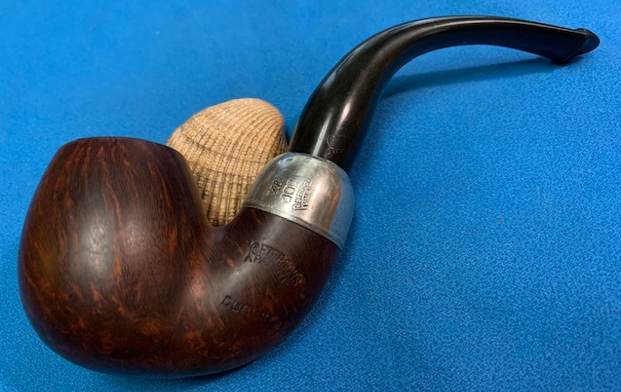
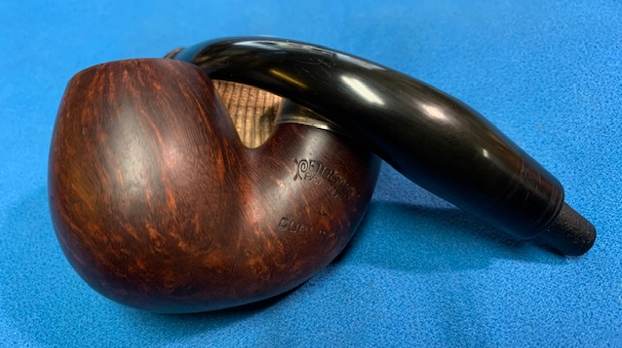
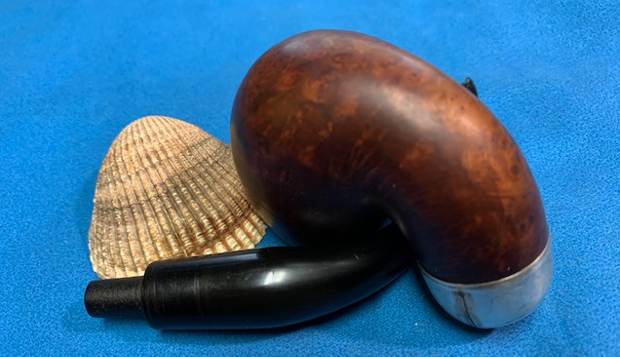
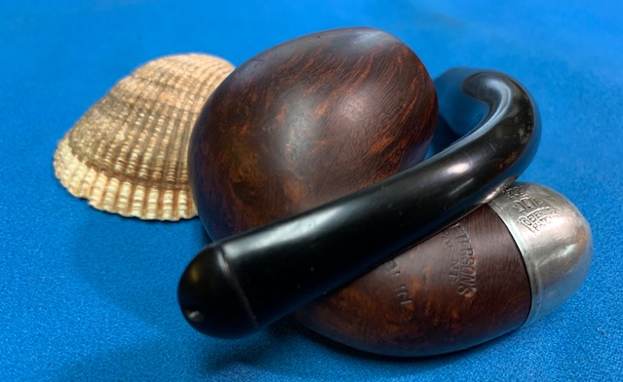
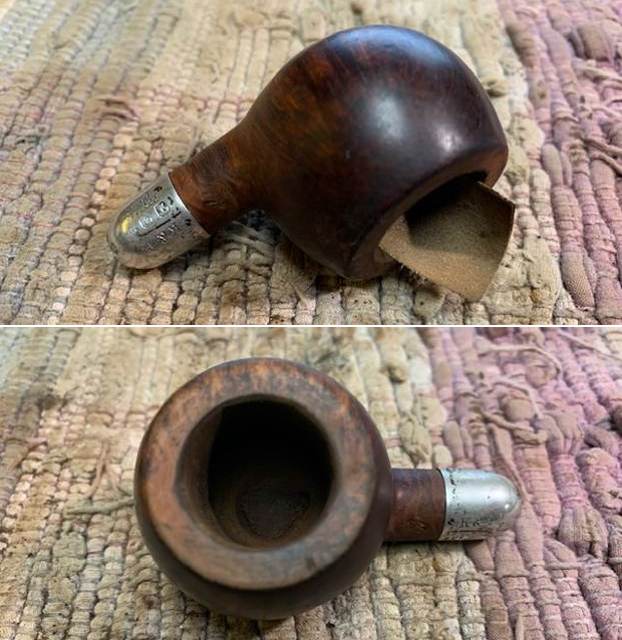
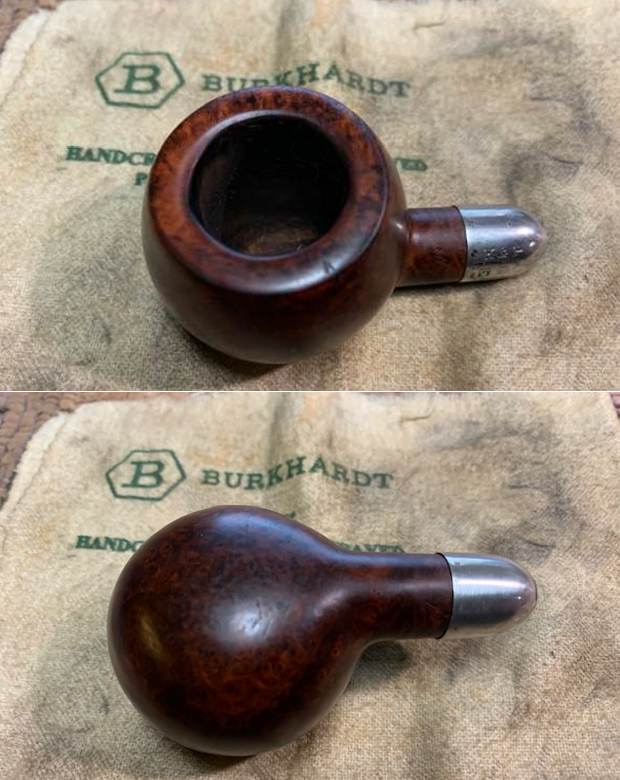
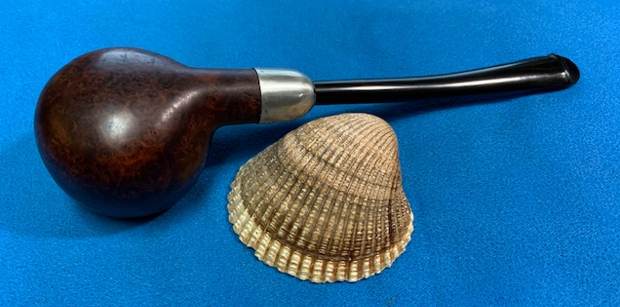
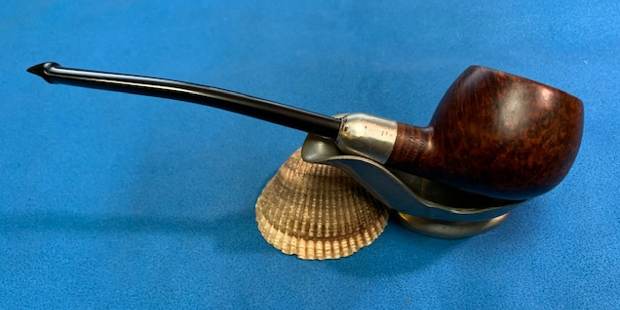
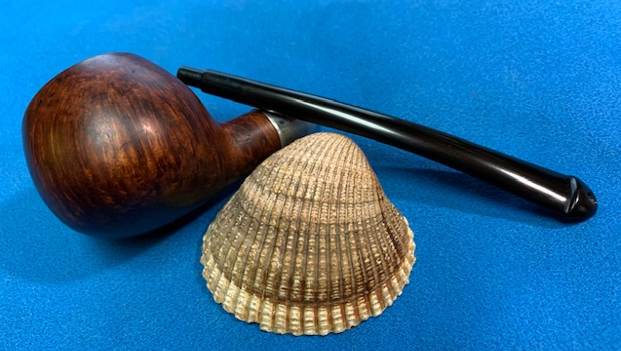
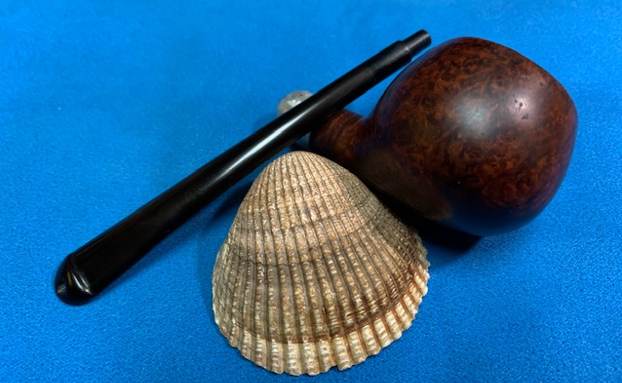
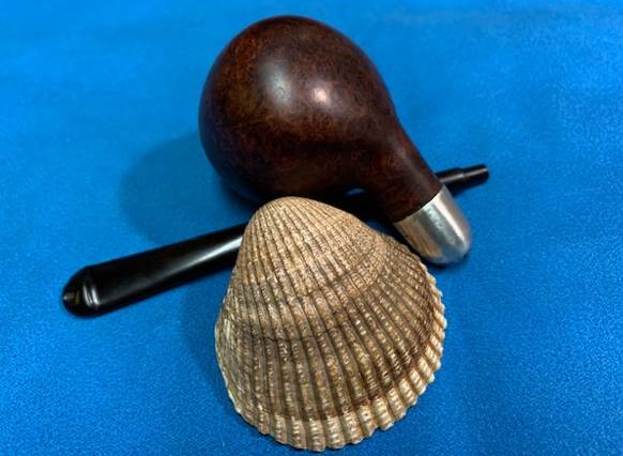
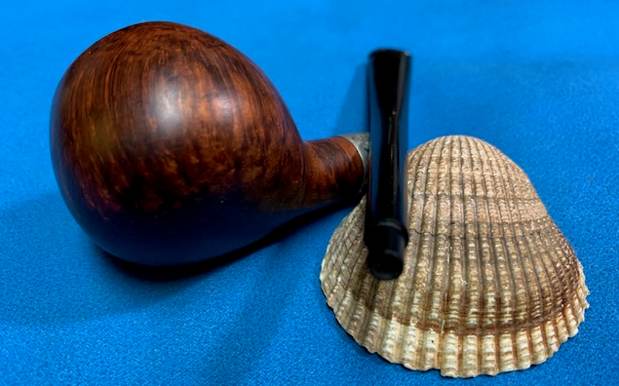
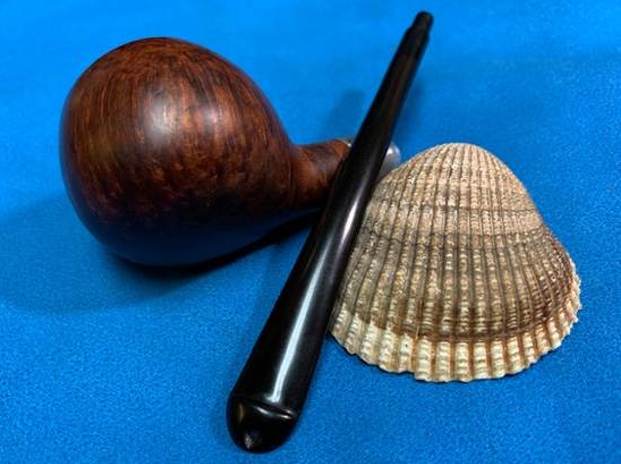
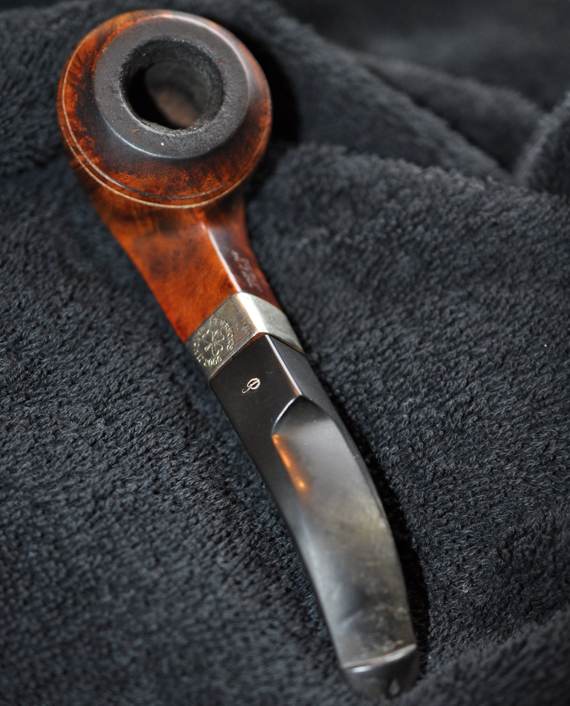
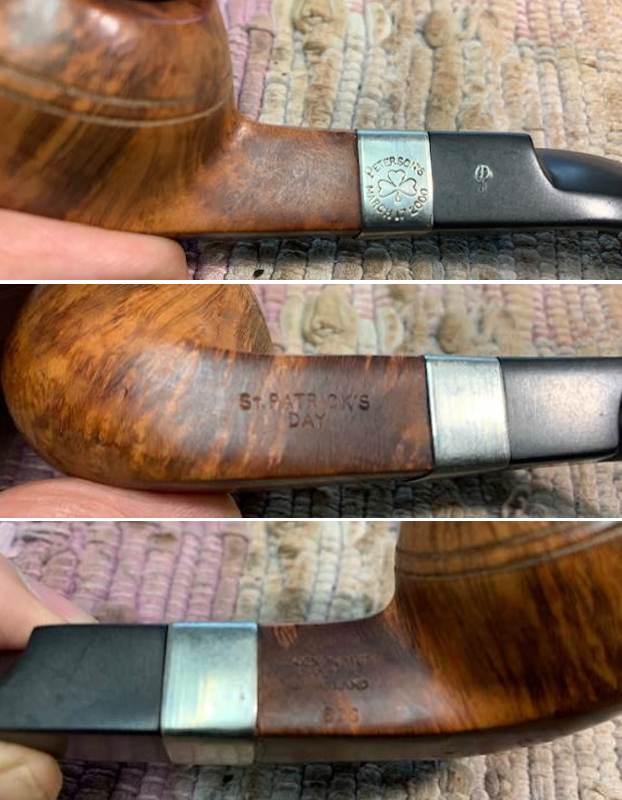 I took a photo of the bowl and stem separated to give a sense of the shape and form of this lovely 80S Bent Bulldog.
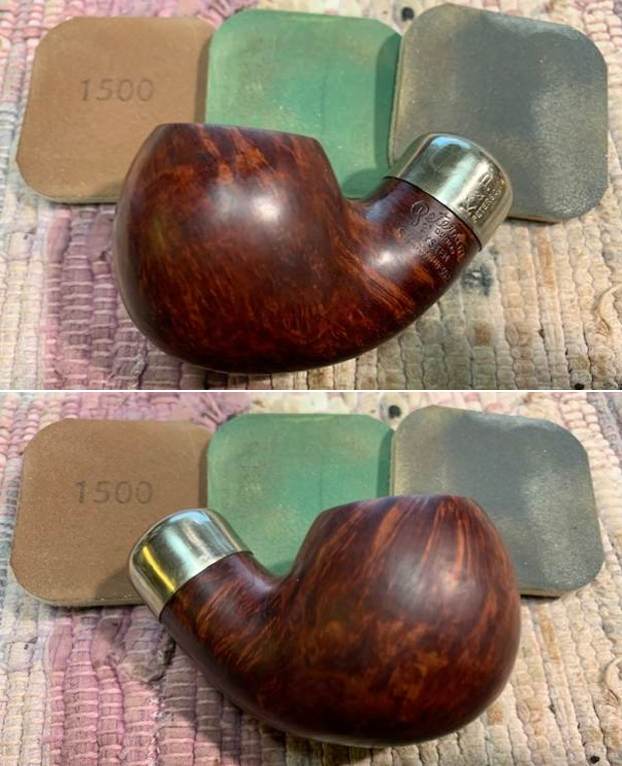
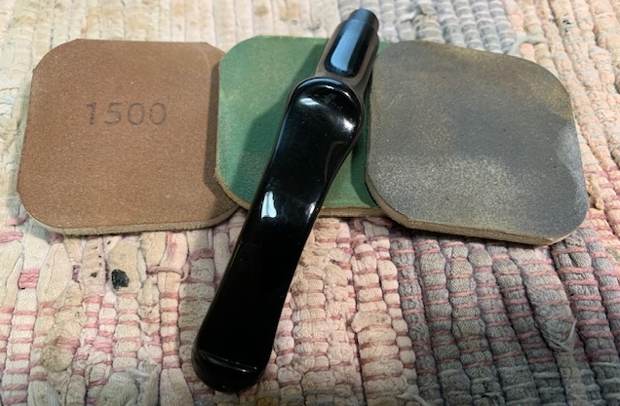
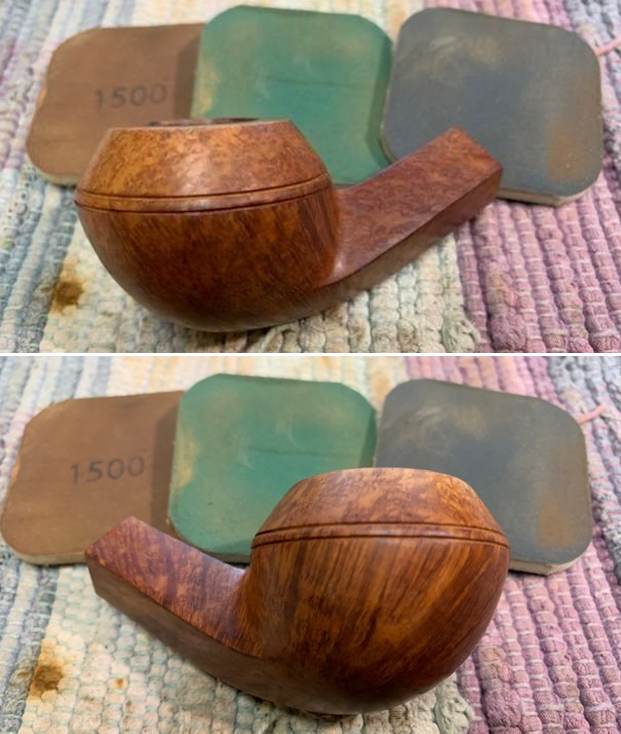
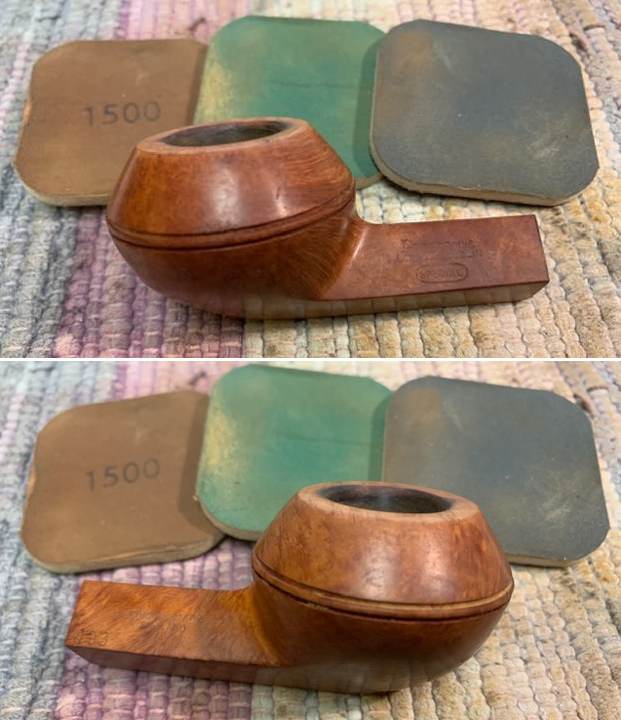
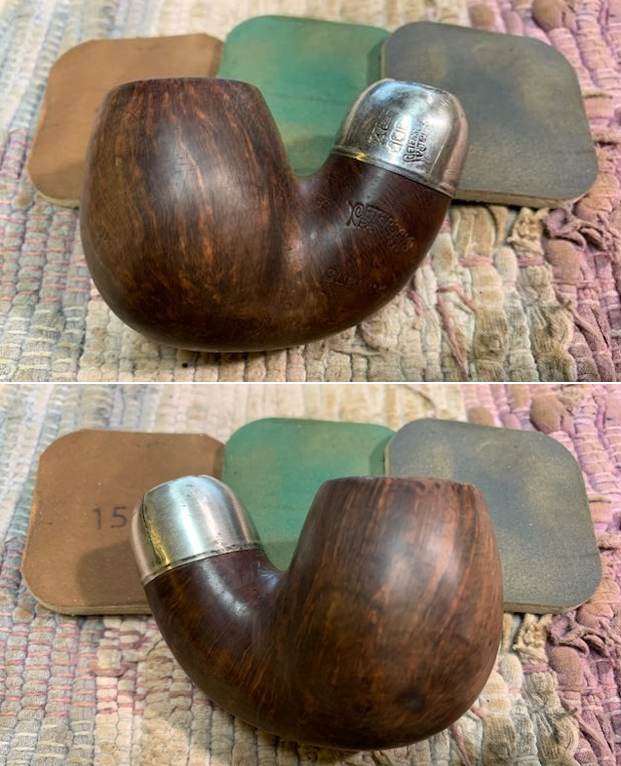
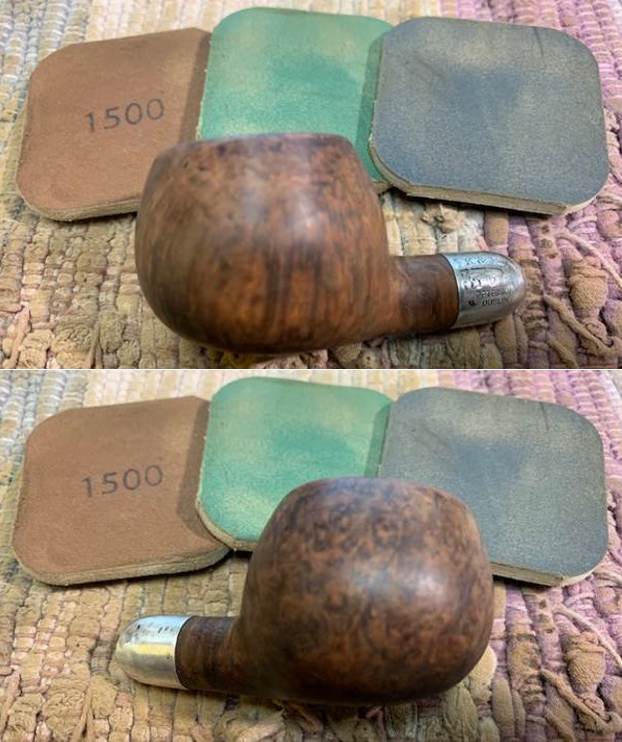
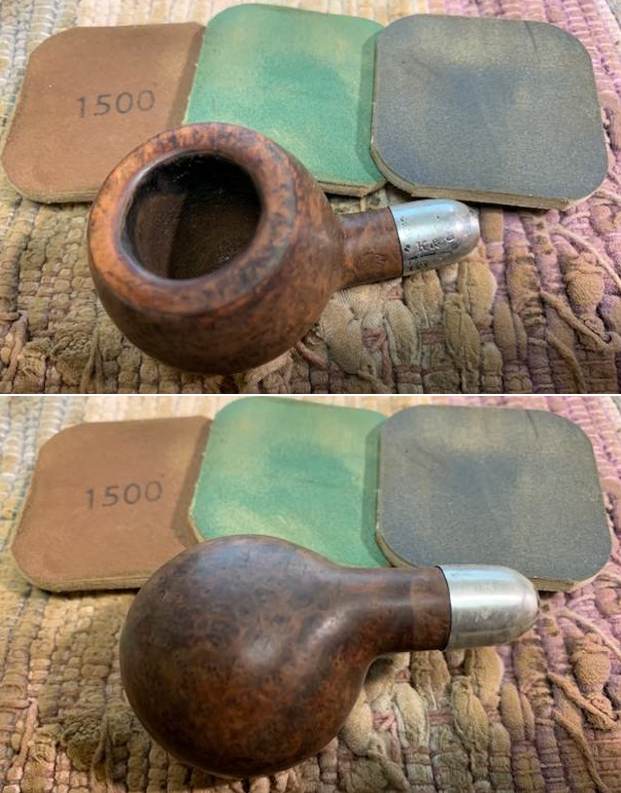
 Because the pipe was in such clean condition I could start with my work without doing all the cleanup I have been doing lately. To start on this one I worked on the darkening of the rim top to match the rest of the briar. I used the 1500-2400 grit micromesh to accomplish this.
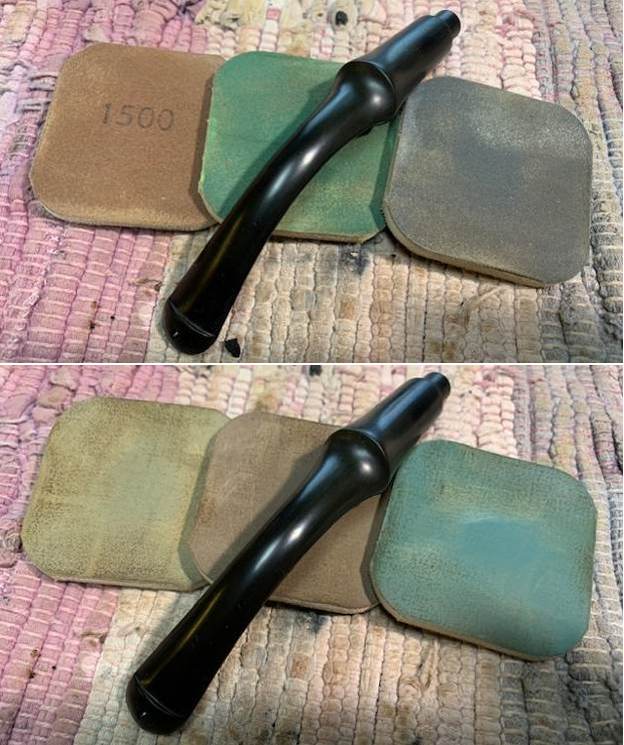
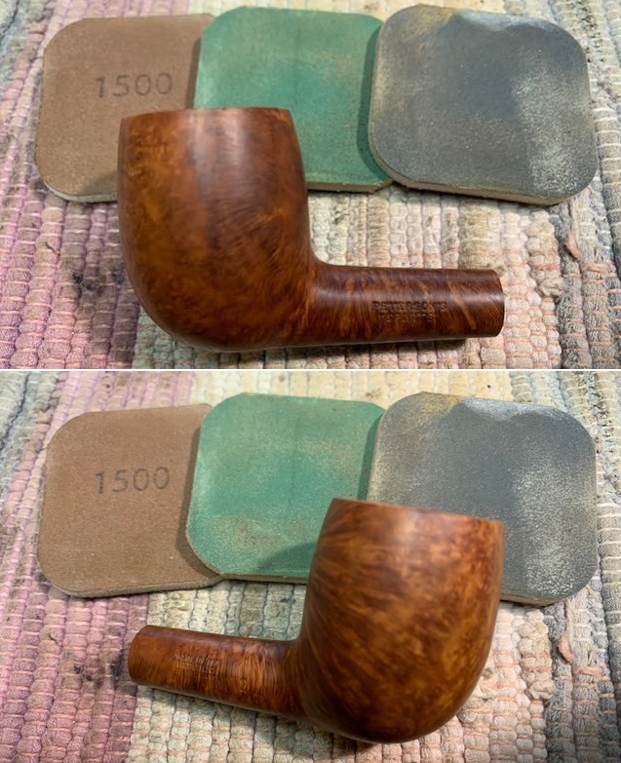
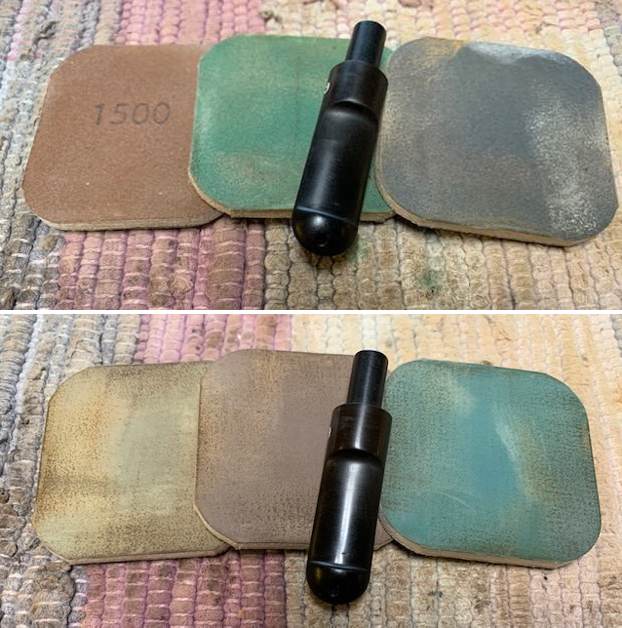
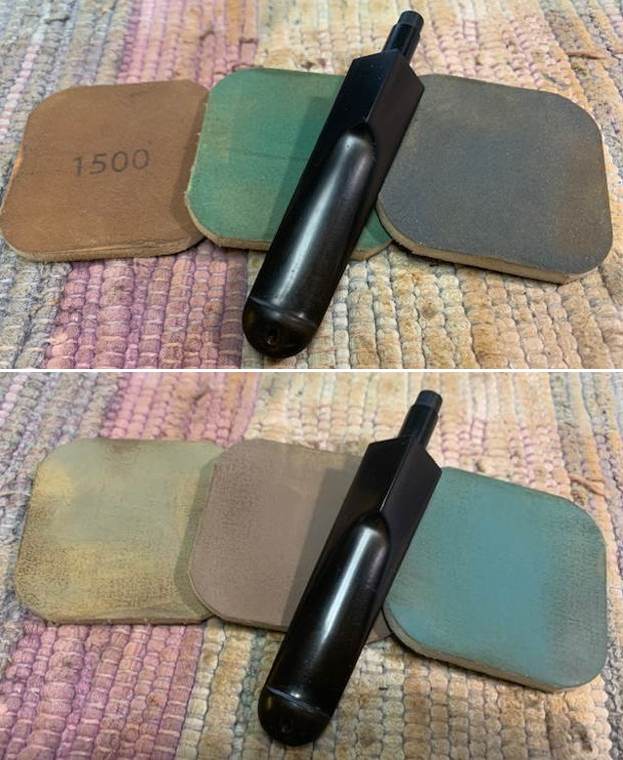
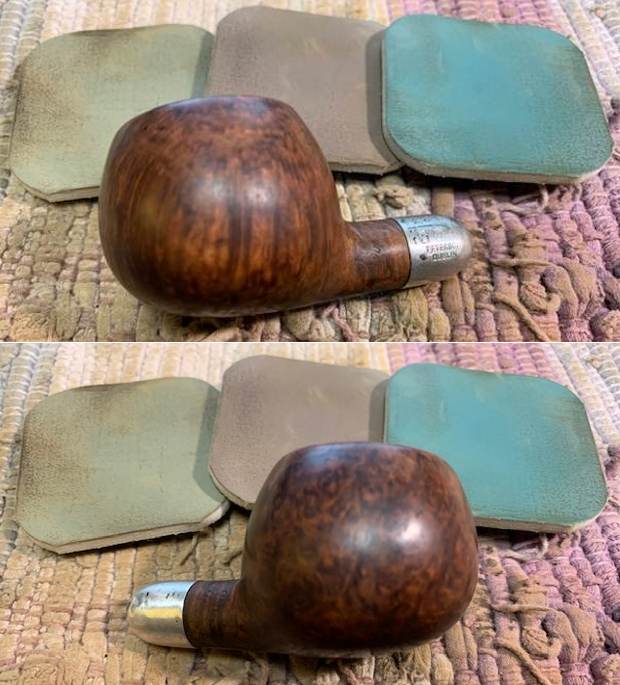
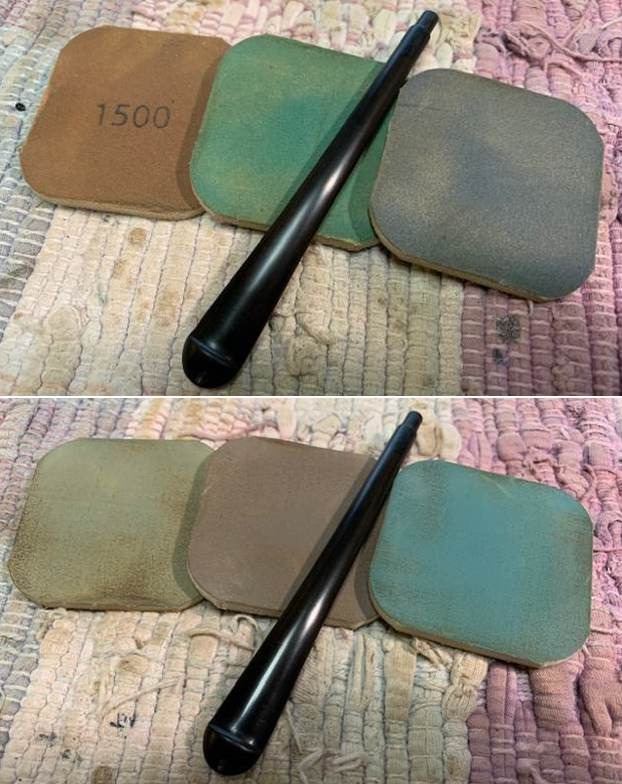
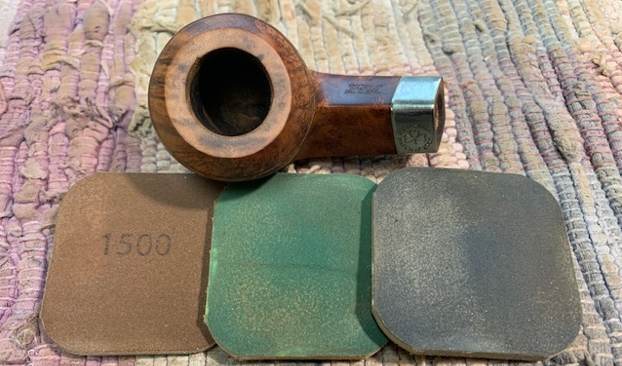 I polished the briar with micromesh sanding pads – dry sanding with 1500-12000 grit pads. I wiped it down with a damp cloth after each pad. I used it to clean off the rim top at the same time.
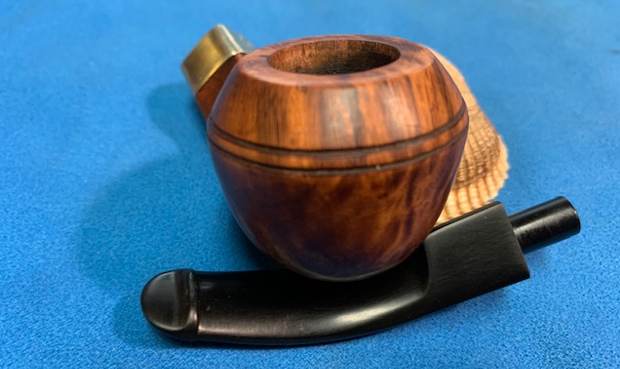
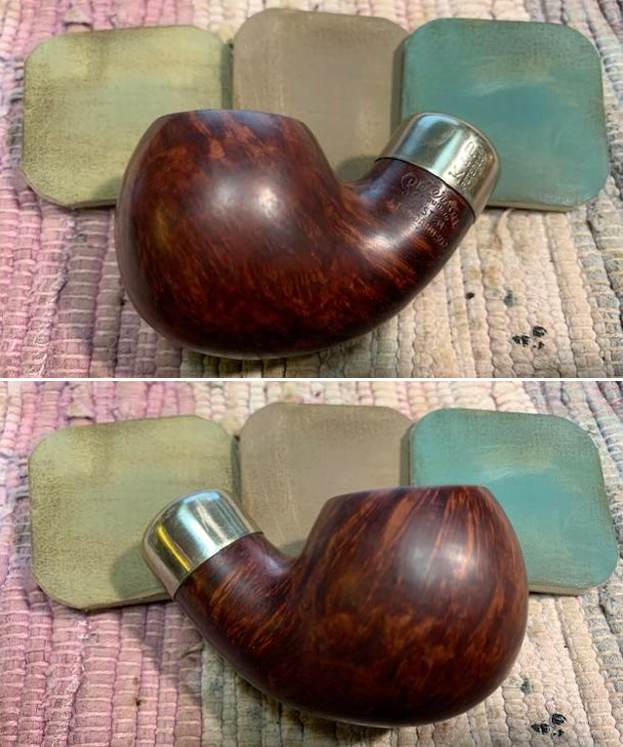
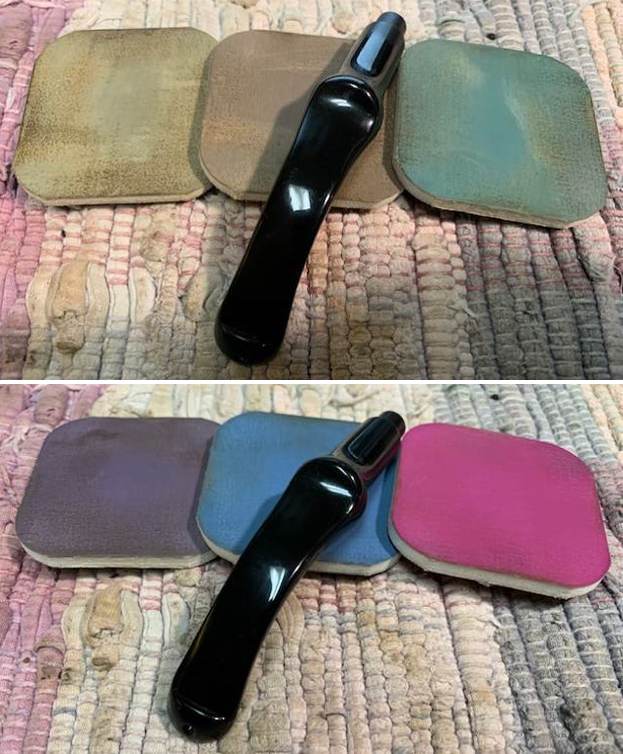
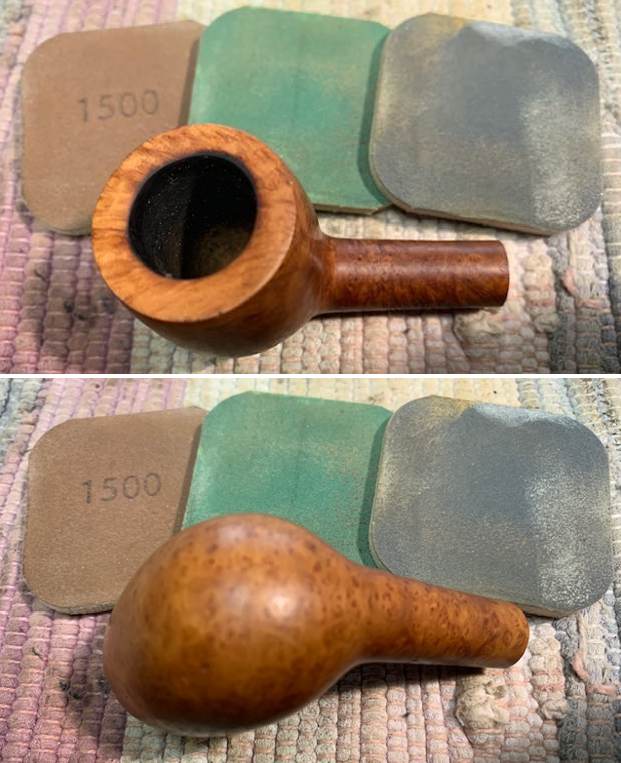
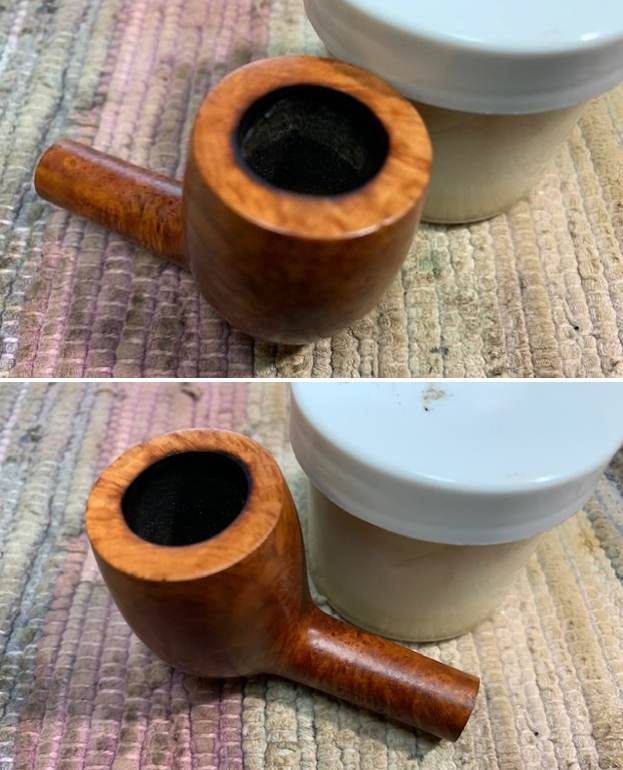
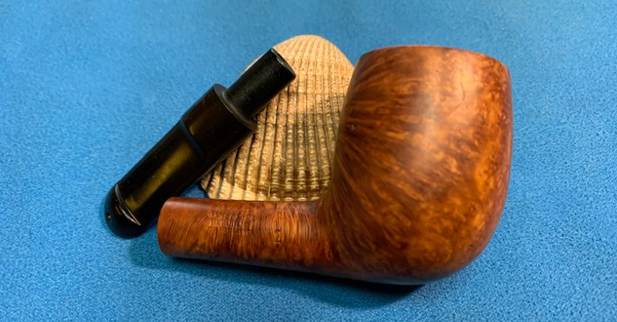
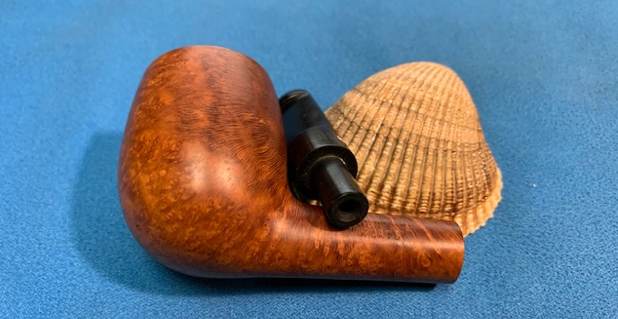
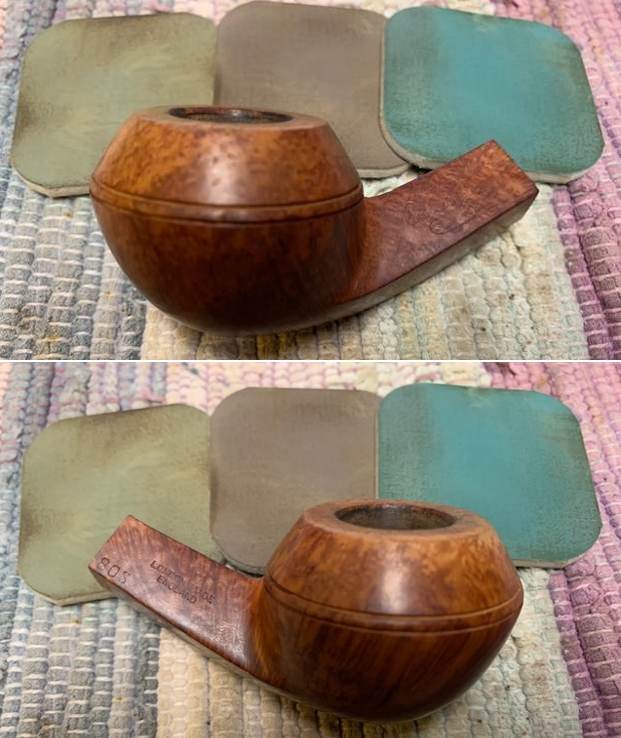
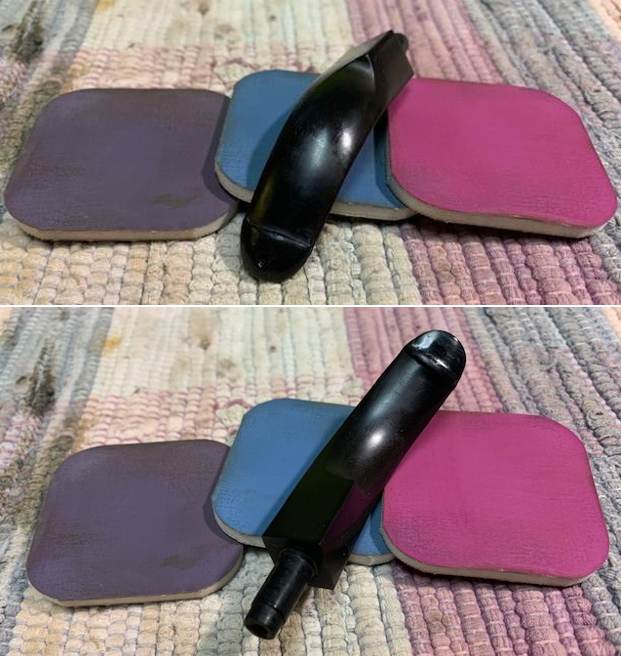
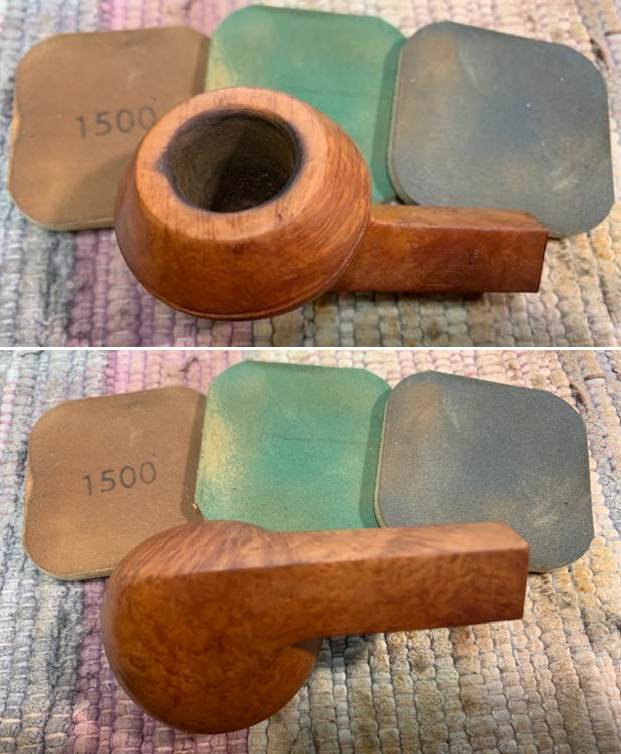
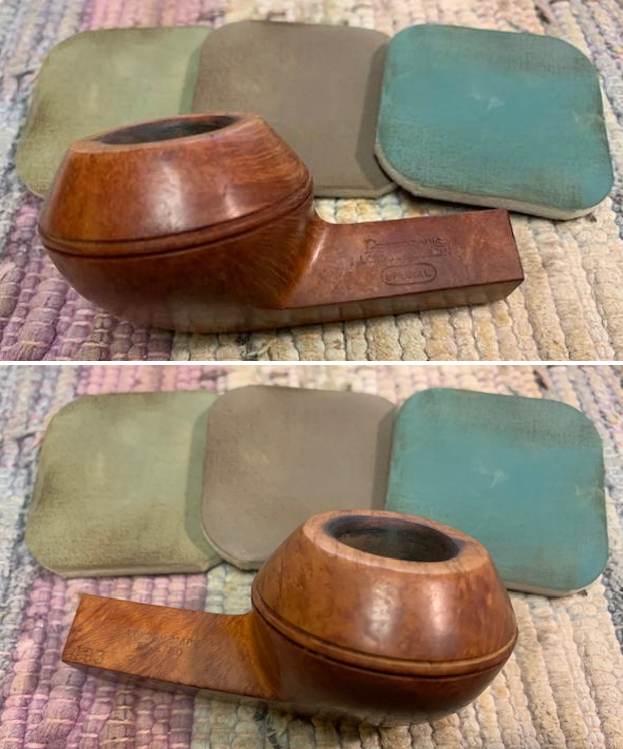
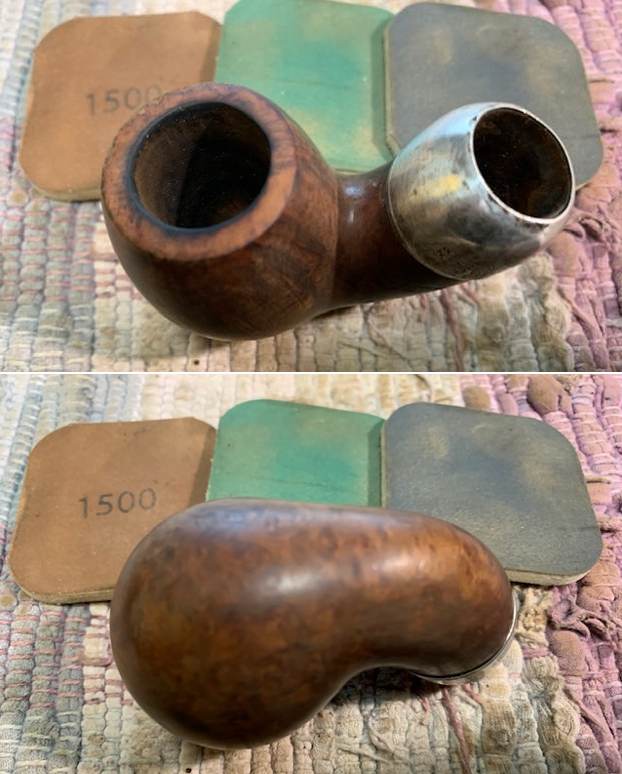
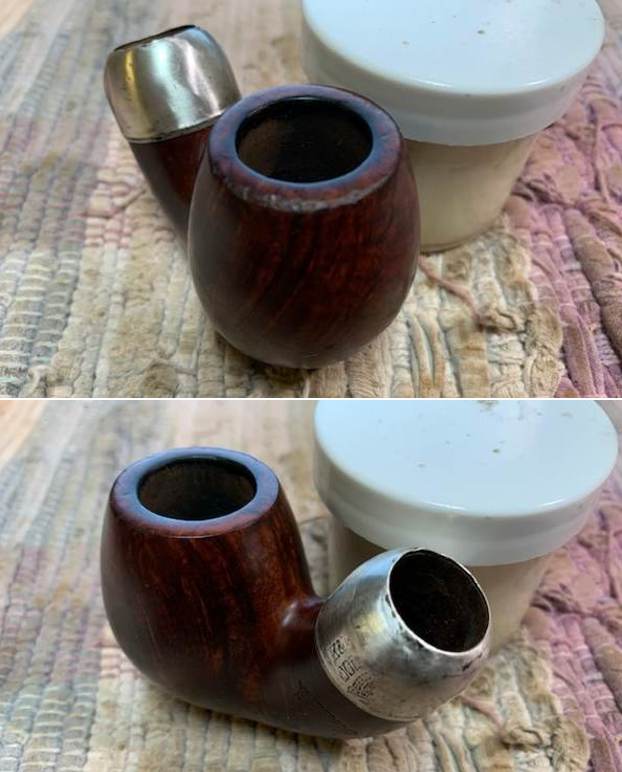
 I worked some Before & After Restoration Balm into the surface of the briar with my fingertips to clean, enliven and protect the briar. I let the balm sit for 15 minutes and then buffed with a cotton cloth to raise the shine. The photos show the bowl at this point in the restoration process.
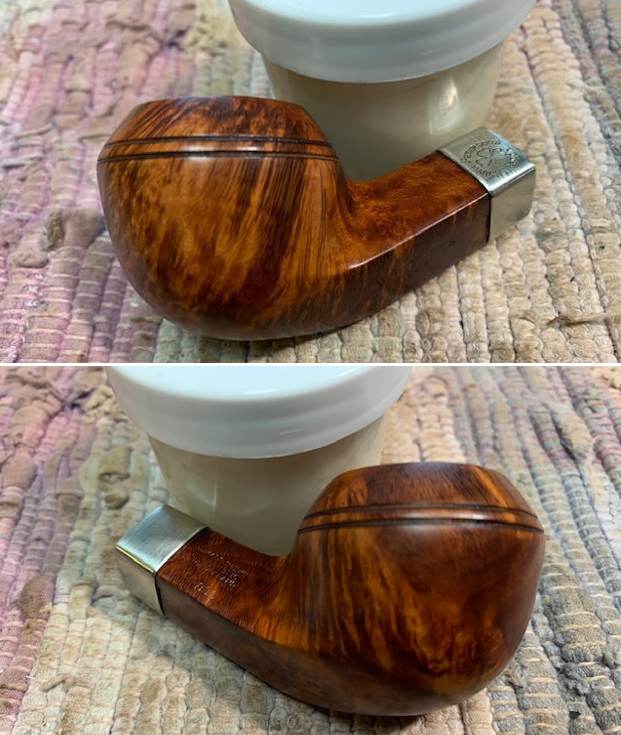

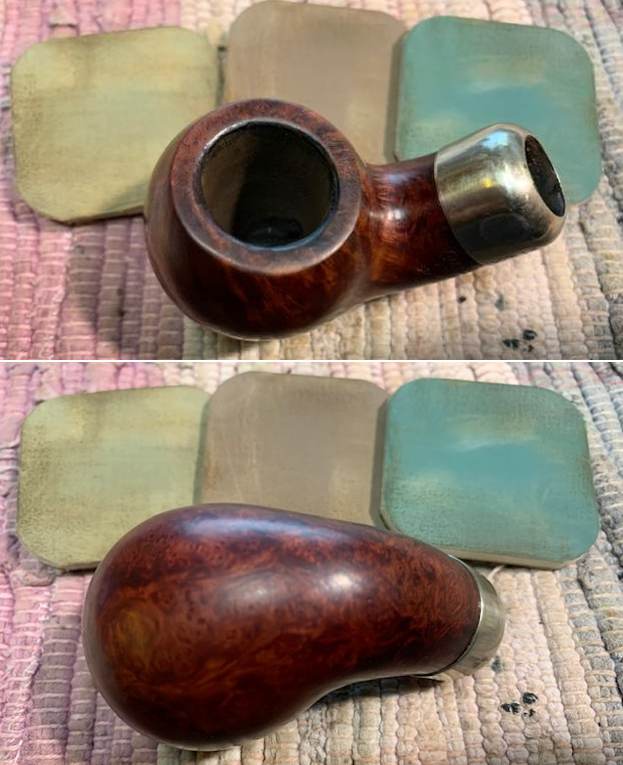
 I polished the nickel band with a jewelers cloth give it a shine and to remove the oxidation.
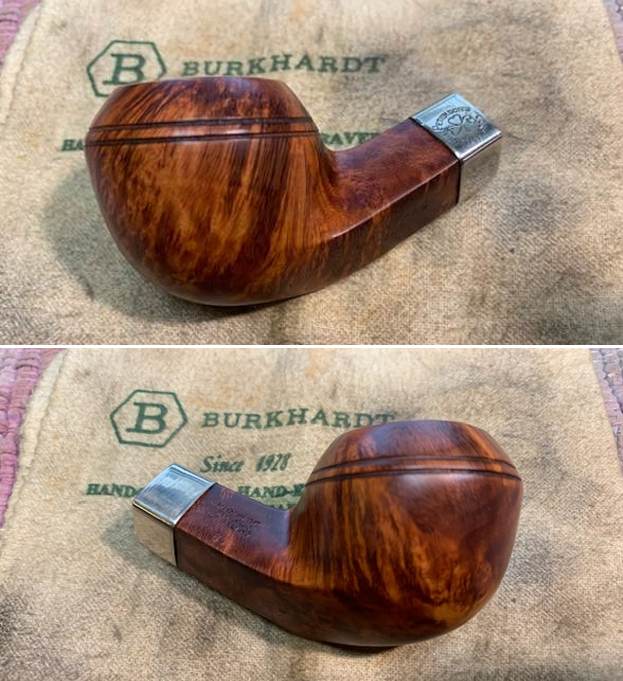
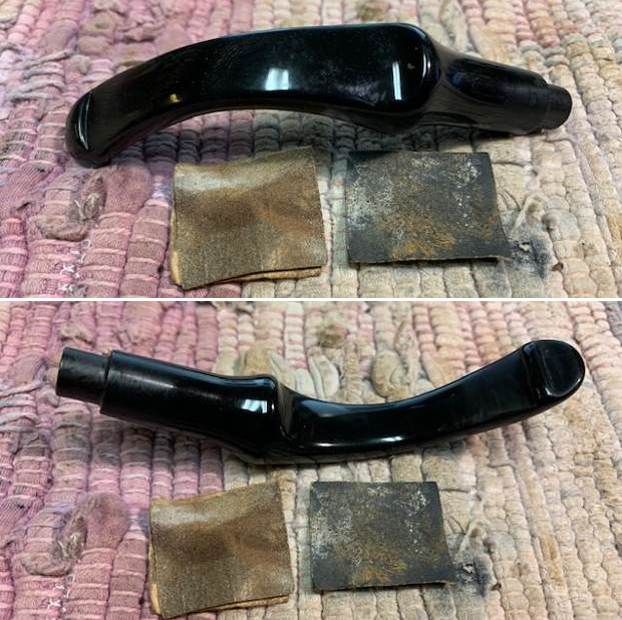
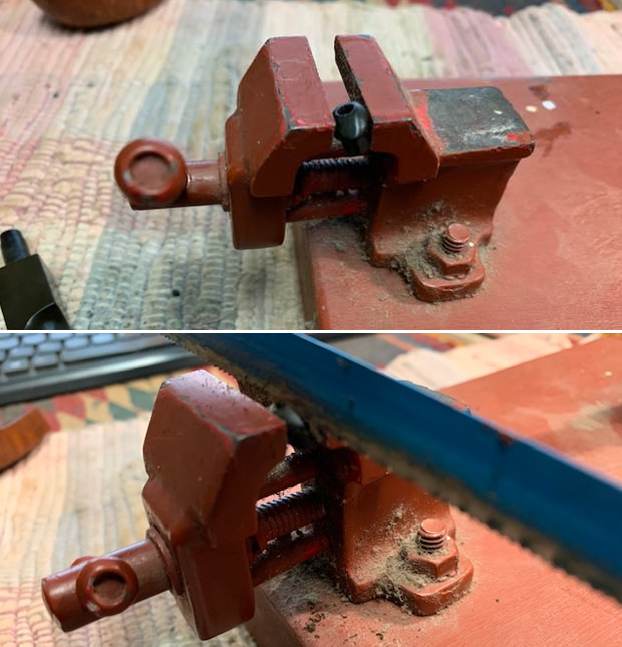
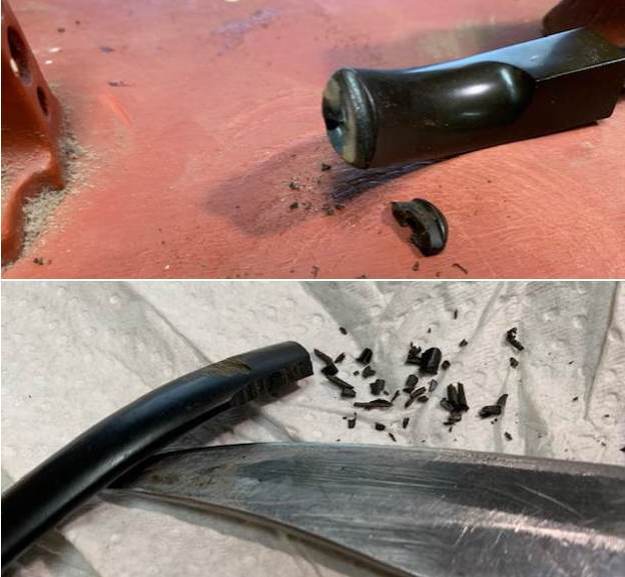
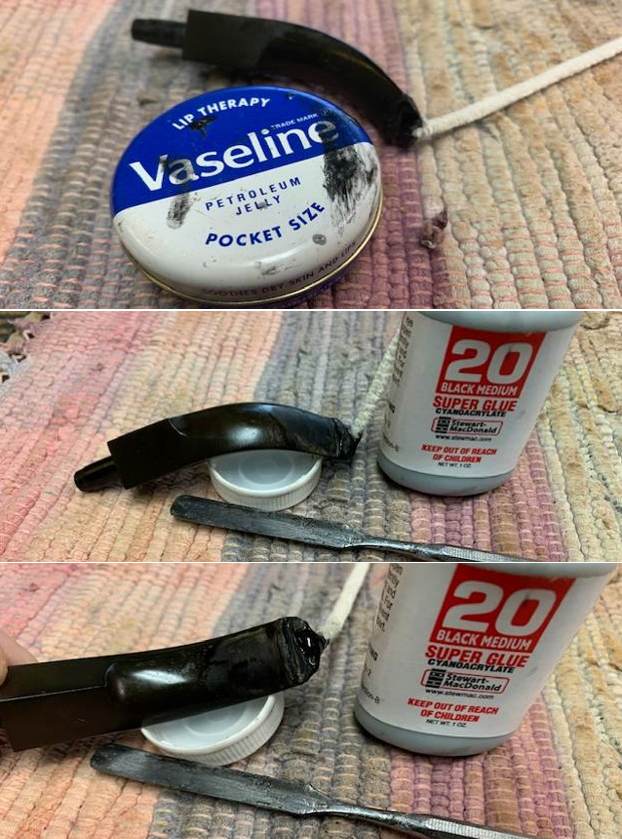
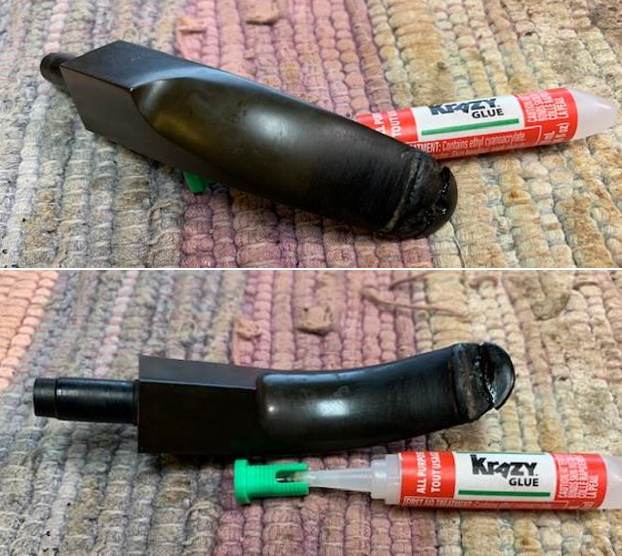
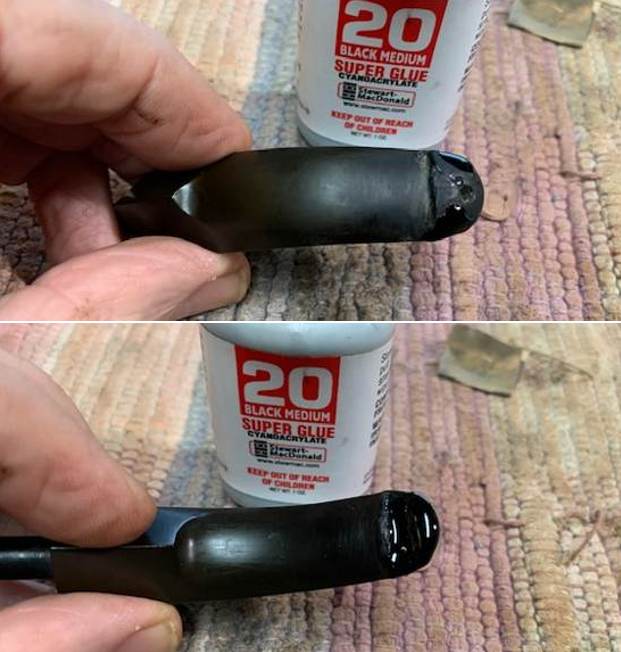
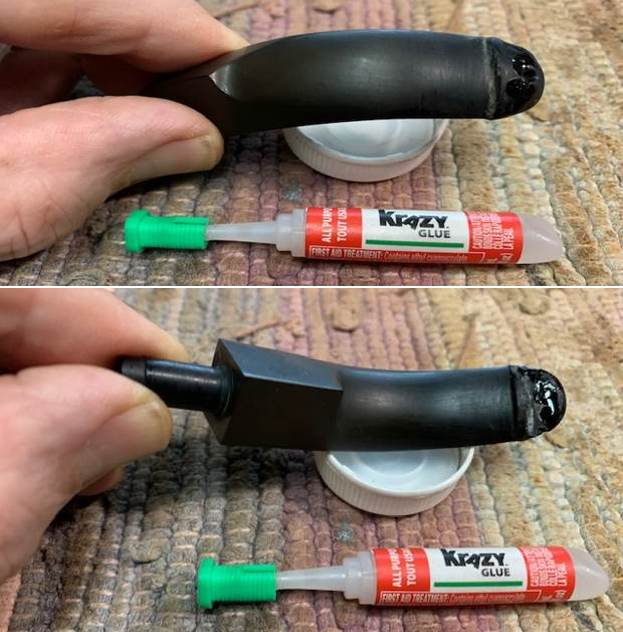
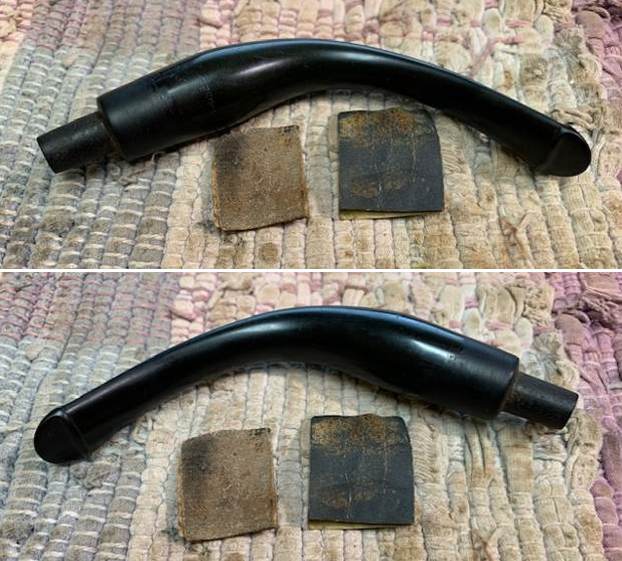
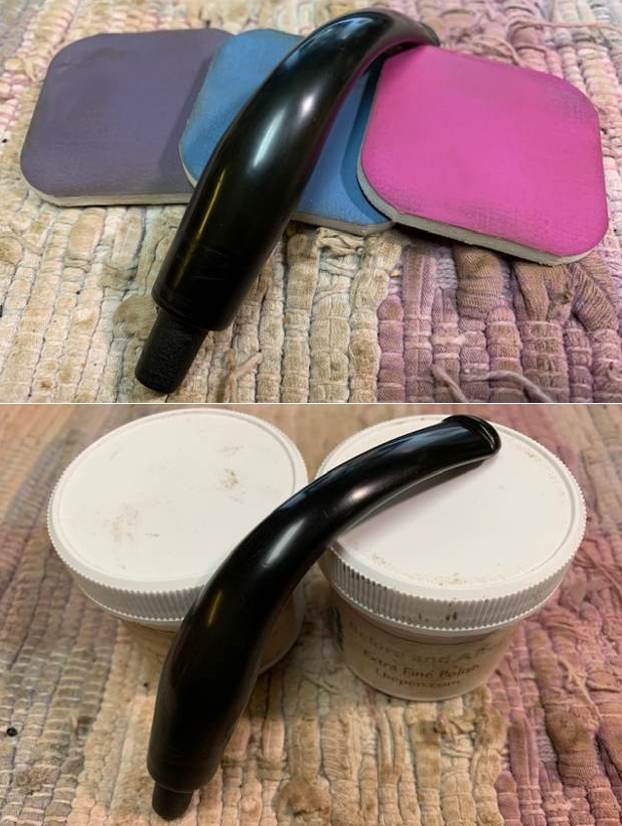
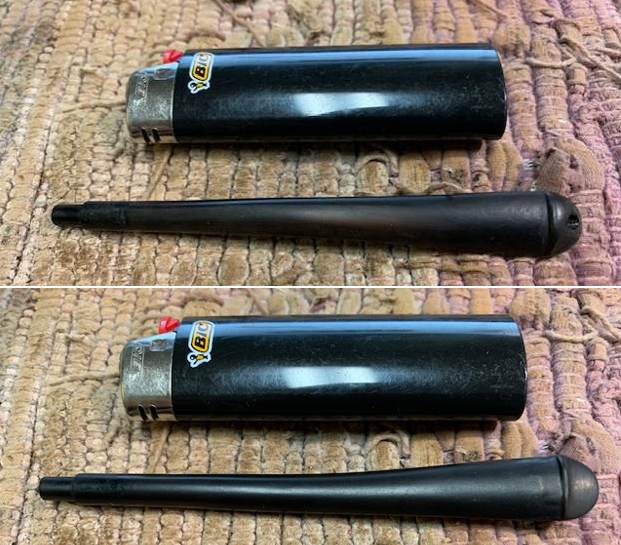
 I set the bowl aside and turned my attention to the stem. I sanded out the tooth marks on the button and ahead of the button with 220 grit sandpaper and wiped it down with Obsidian Oil once I finished. I started the polishing with 400 grit wet dry sandpaper.
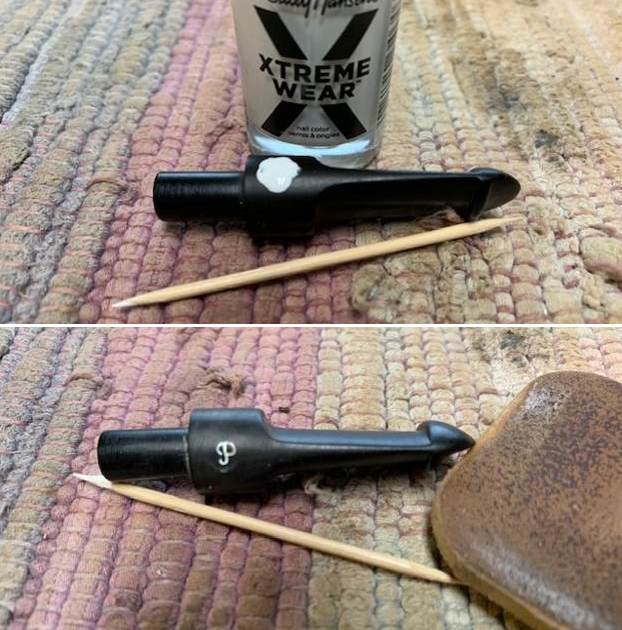
 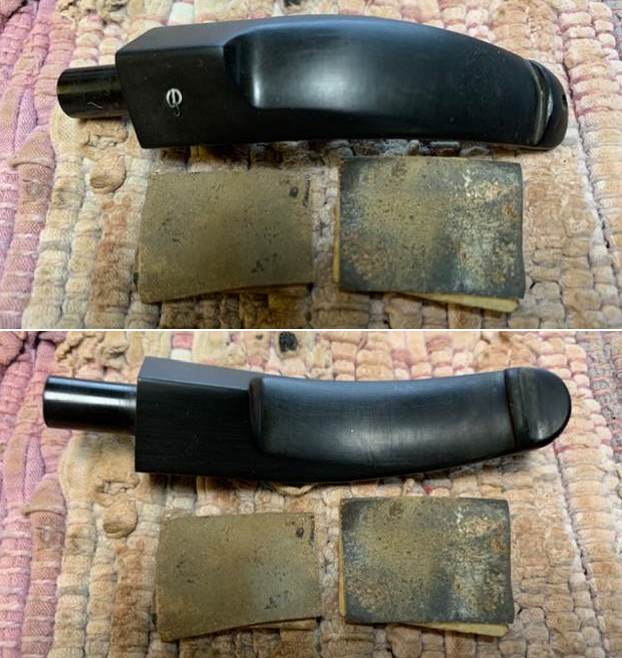 I repainted the “P” stamp on the left side with some white acrylic nail polish. I brushed it on and scraped off the excess with a fingernail. I lightly sanded it with a 1500 micromesh sanding pad and wiped it down with Obsidian Oil.
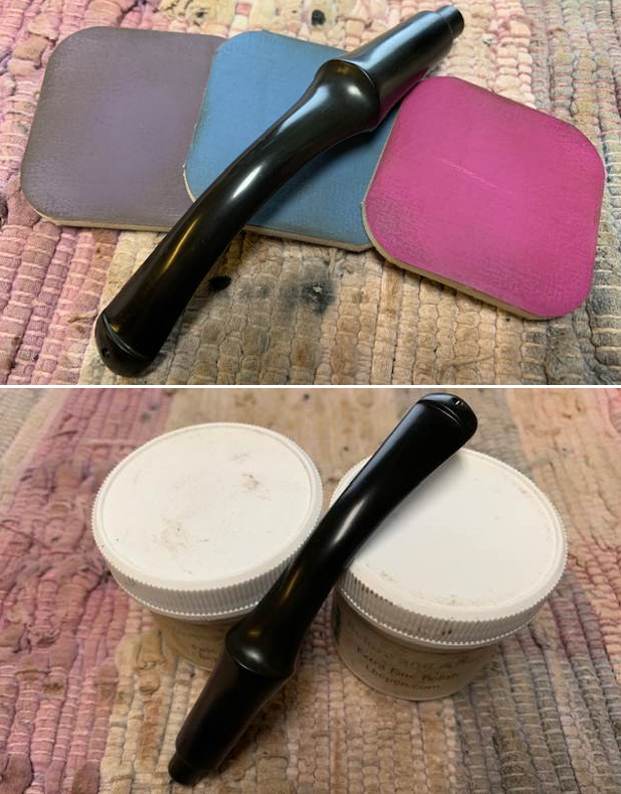
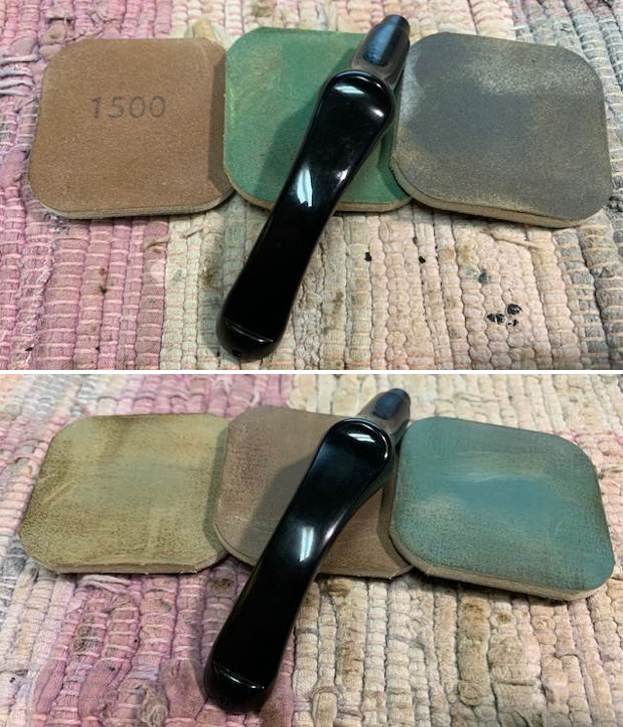
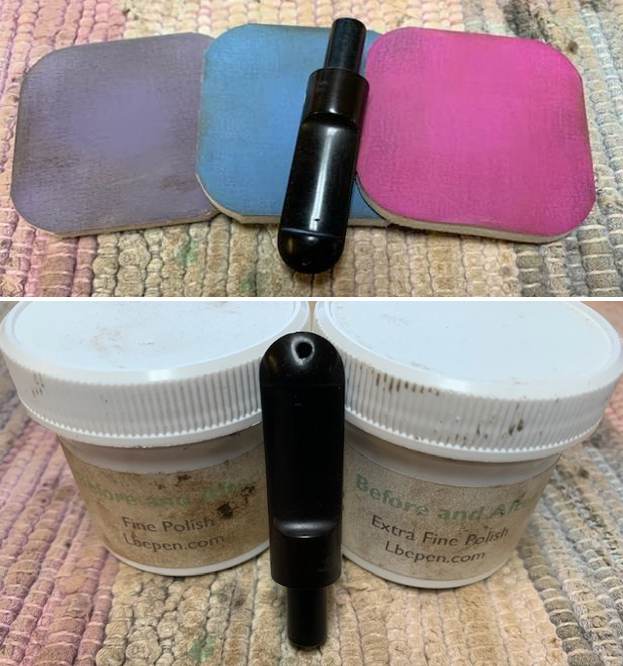
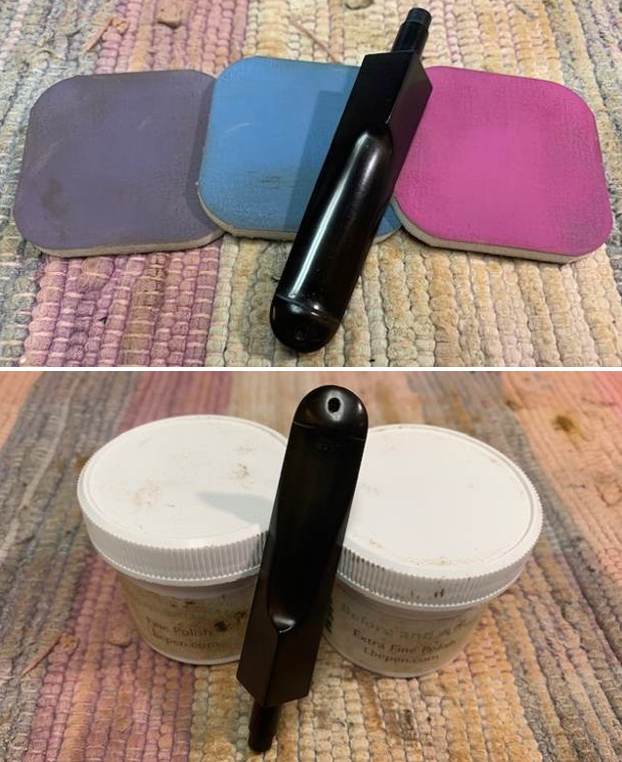
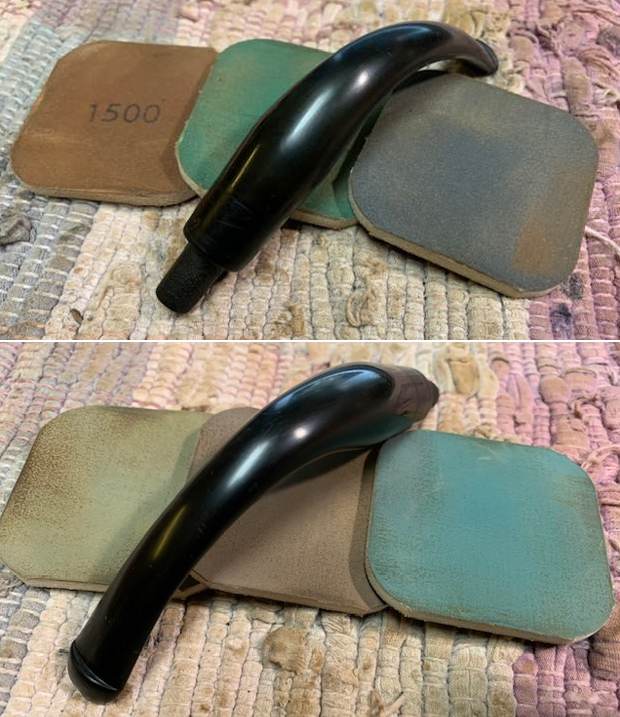
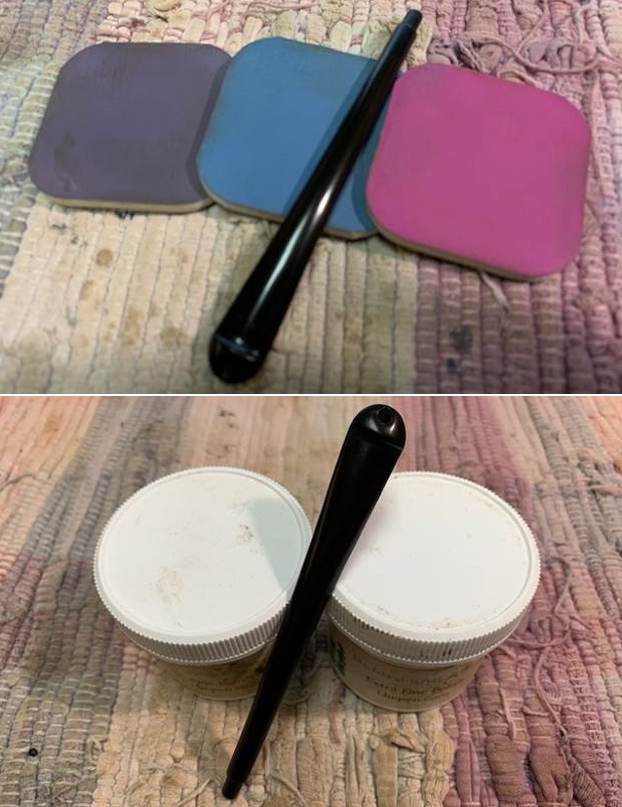
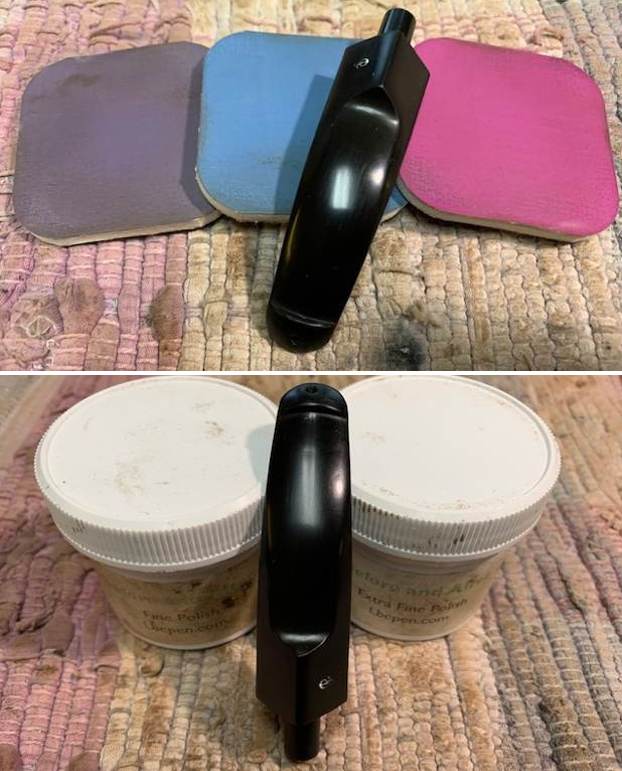
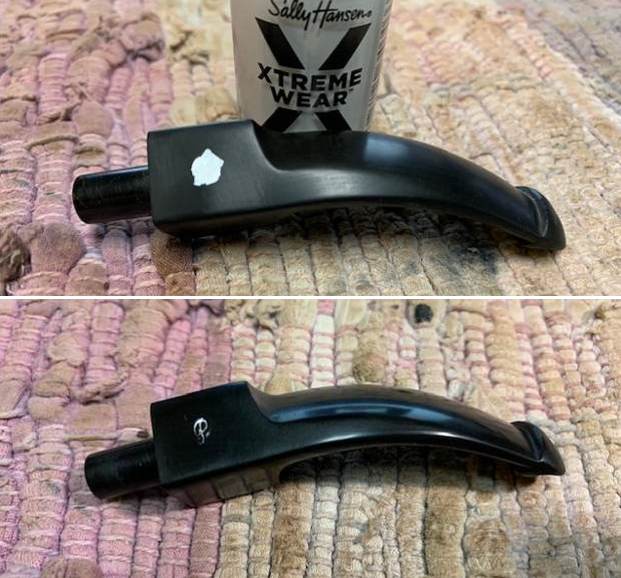 I polished the stem with micromesh sanding pads – dry sanding with 1500-12000 grit pads and wiping it down after each pad with Obsidian Oil. I finished polishing it with Before & After Fine and Extra Fine polish. I gave it a final coat of Obsidian Oil and set it aside to dry.
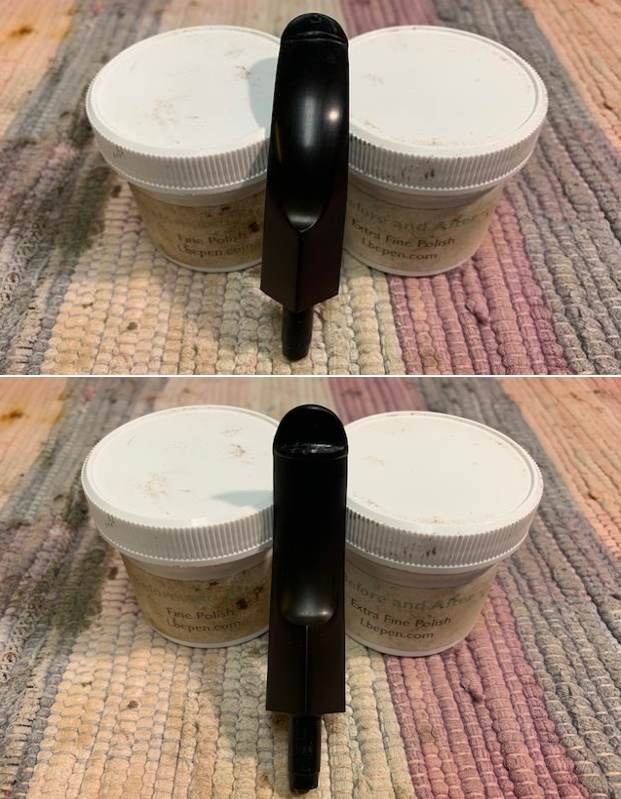
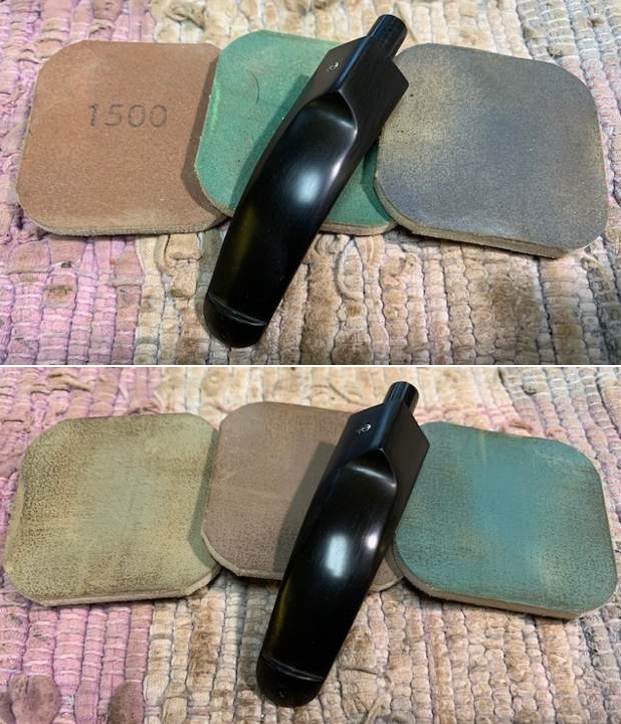
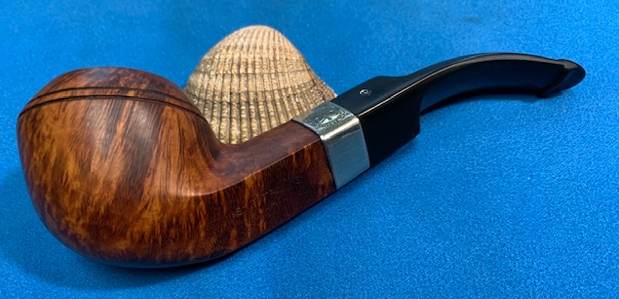
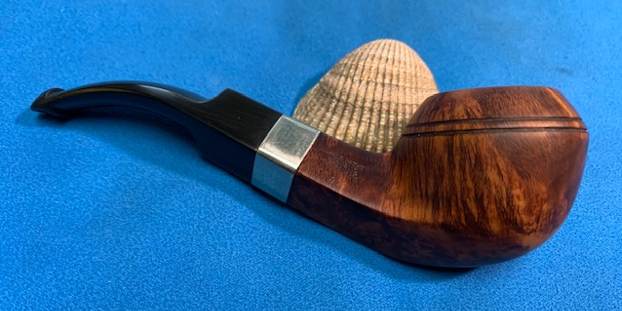
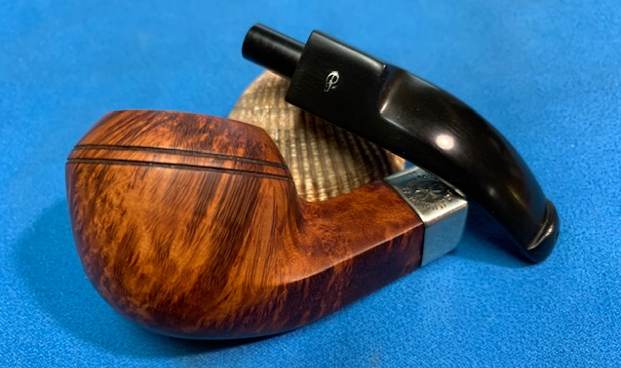
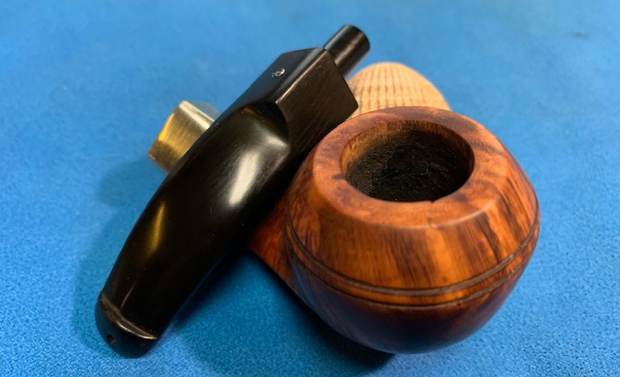
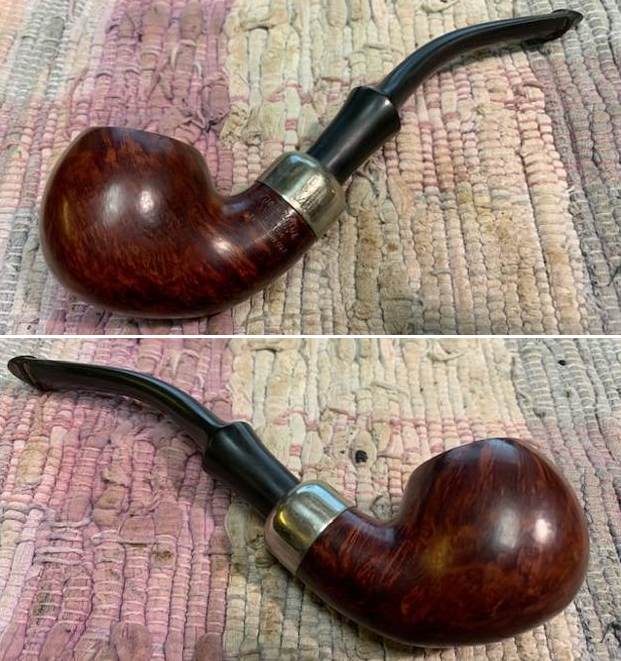
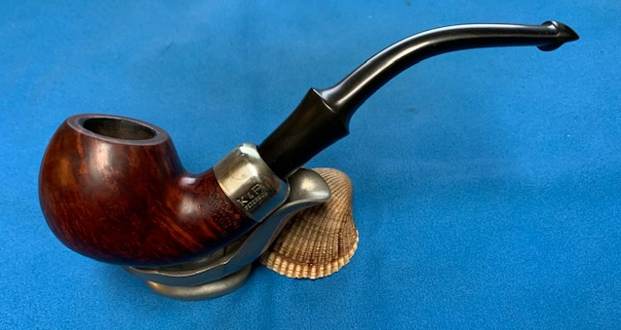
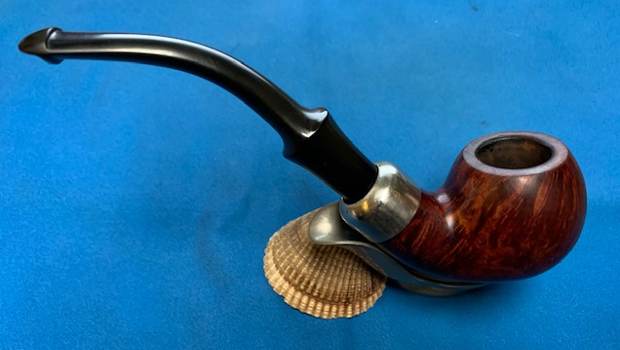
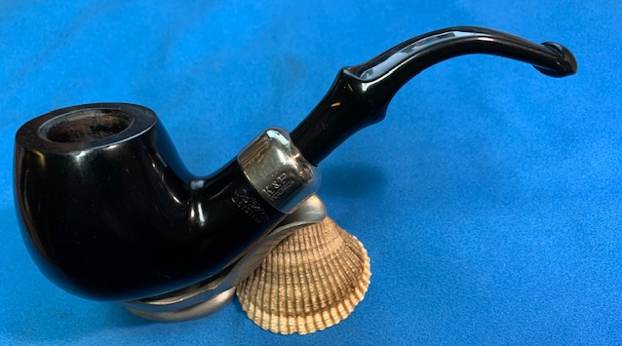
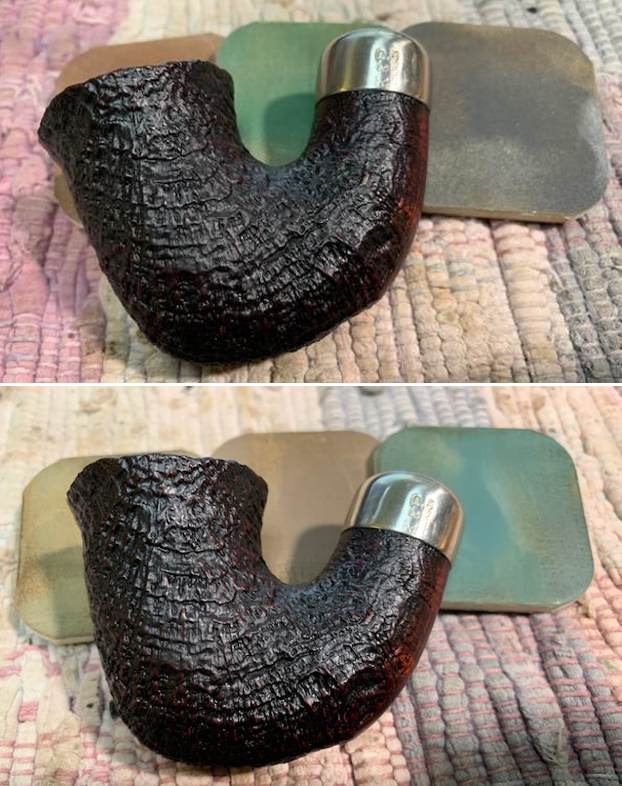
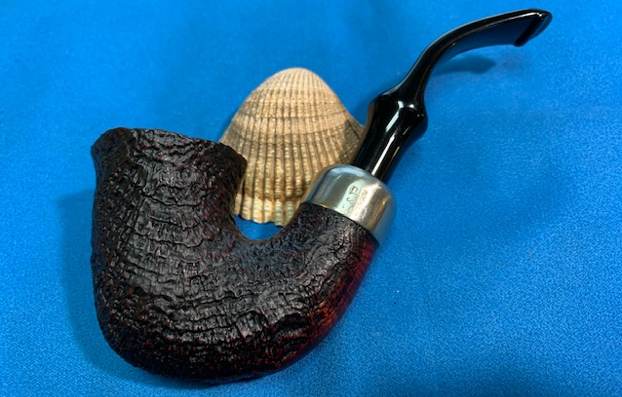
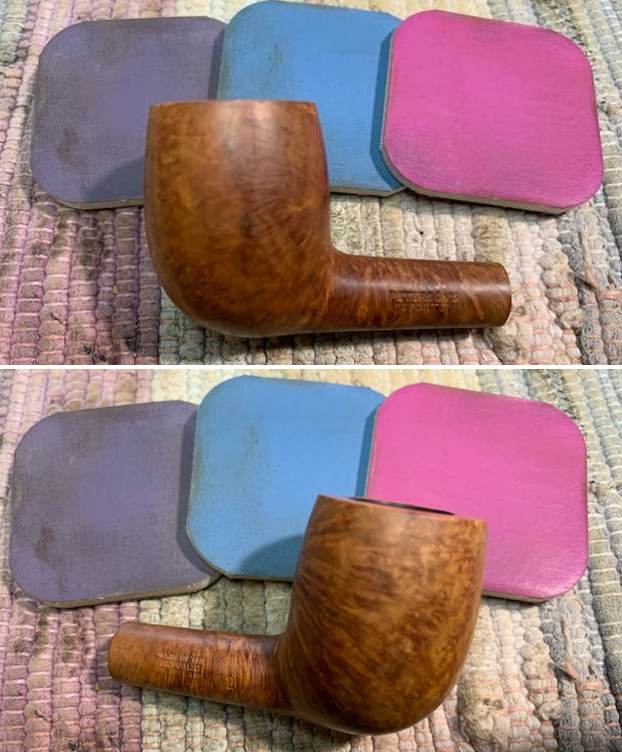
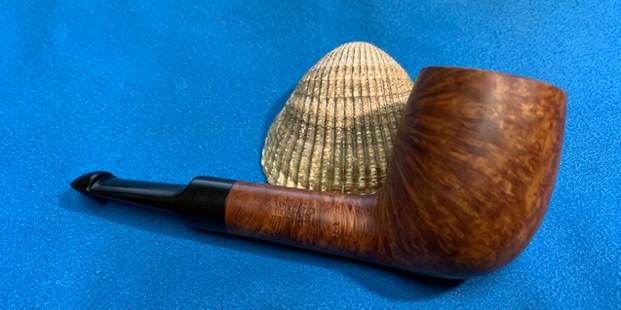
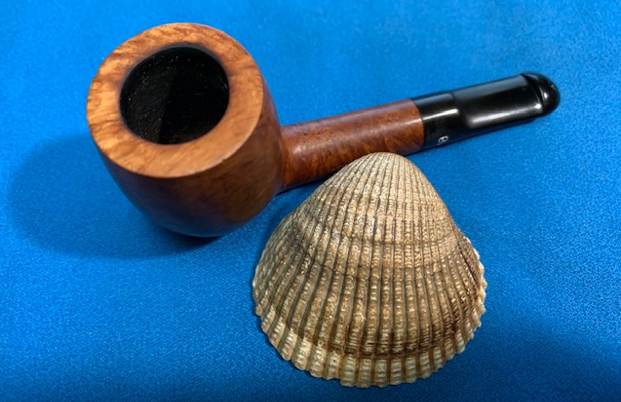
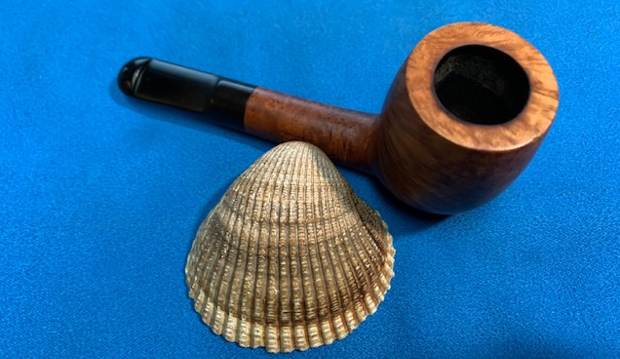
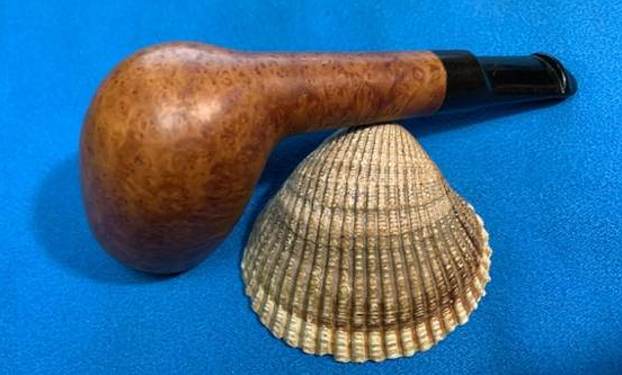
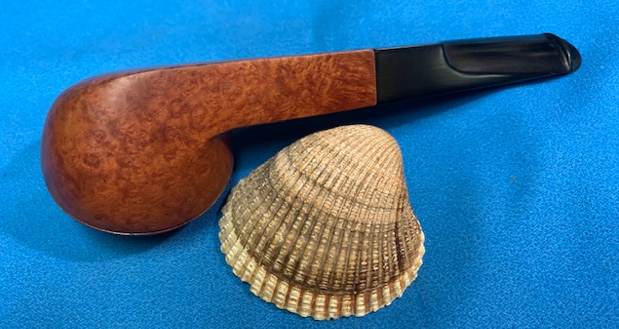
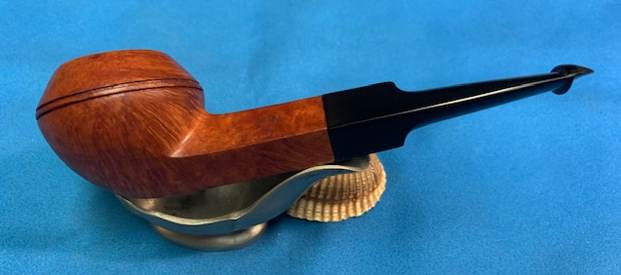
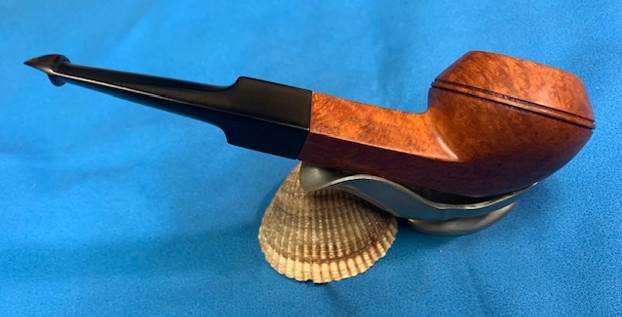
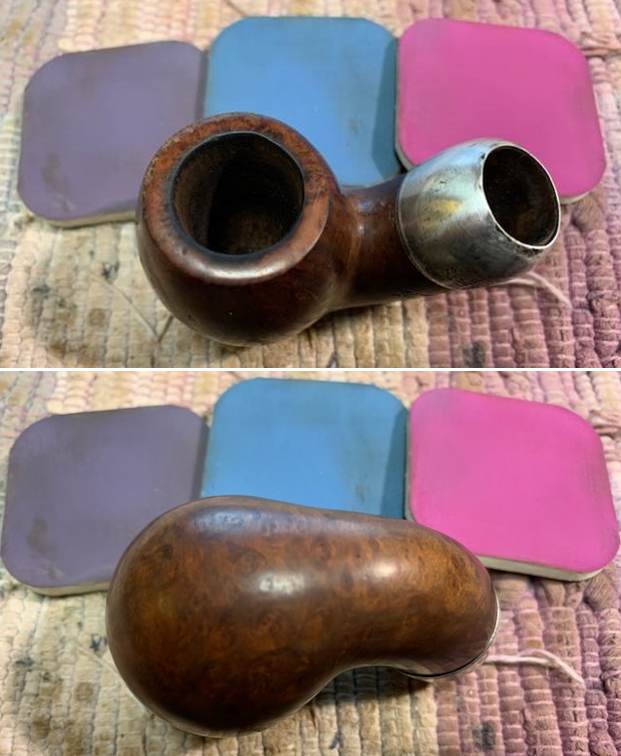
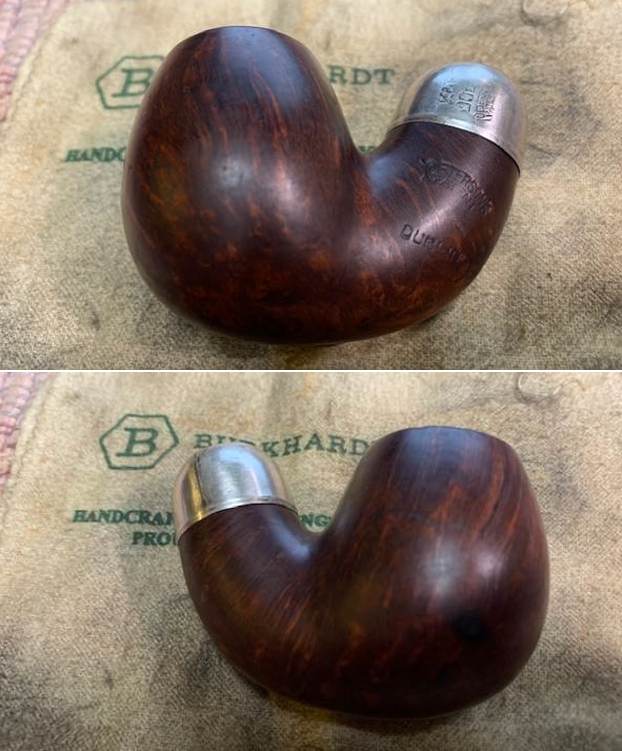
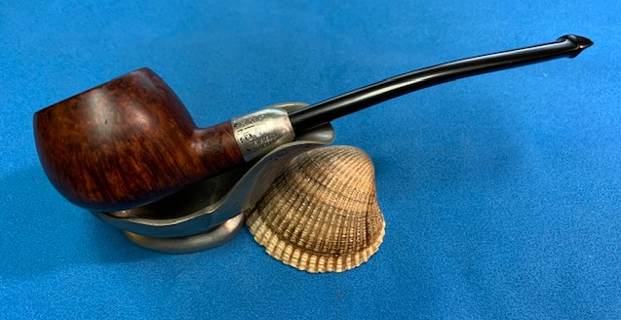
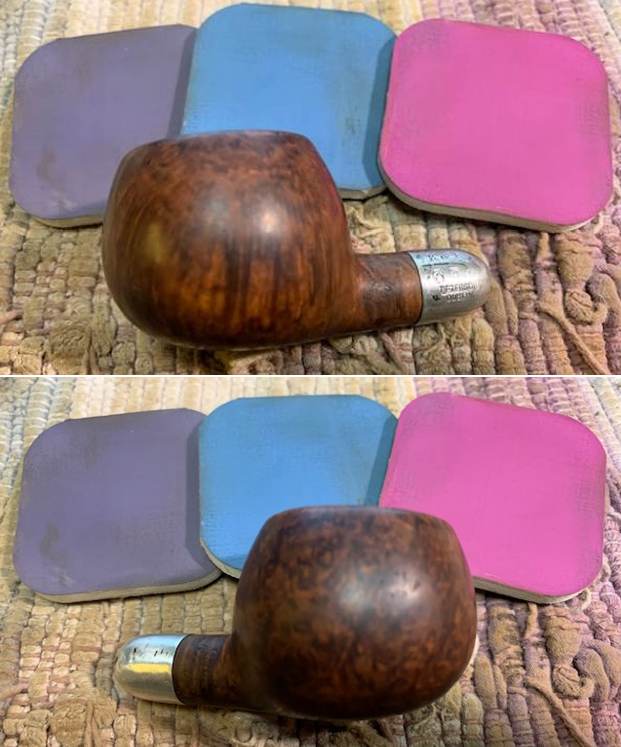
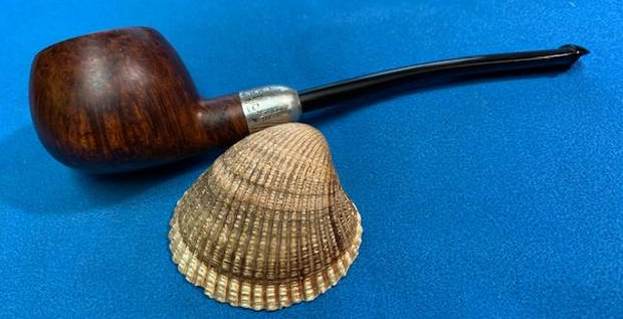
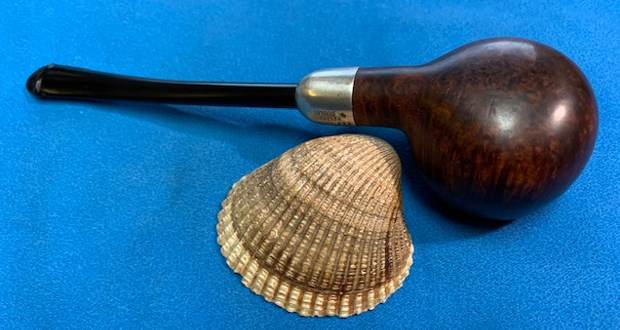
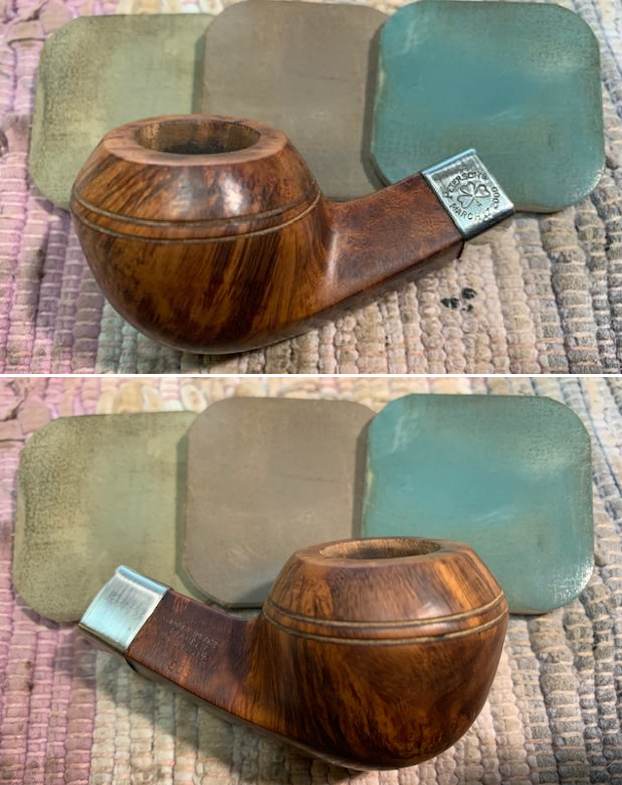
 This Late Republic Era Peterson’s St. Patrick’s Day March 17, 2000 shape 80S Bent Bulldog is a great looking pipe now that it has been restored. The grain around the bowl is quite beautiful and the stain makes it really stand out. The finish works well with the polished vulcanite saddle P-Lip stem. I put the stem back on the bowl and carefully buffed the pipe with Blue Diamond on the buffing wheel using a light touch on the briar. I gave the bowl and the stem multiple coats of carnauba wax on the buffing wheel and followed that by buffing the entire pipe with a clean buffing pad. I hand buffed the pipe with a microfiber cloth to deepen the shine. The finished St. Patrick’s Day 2000 Bent Bulldog sits nicely in the hand and feels great. Give the finished pipe a look in the photos below. The dimensions of the pipe are Length: 5 ¾ inches, Height: 1 ½ inches, Outside diameter of the bowl: 1 ½ inches, Chamber diameter: ¾ inch. The weight of the pipe is 48 grams/1.69 ounces. I will be putting it in the Irish Pipe Makers section of the rebornpipes store shortly. If you are interested in adding this pipe to your collection send me a message or an email. Thanks for reading this blog and my reflections on the pipe while I worked on it! I appreciate your support.