by Steve Laug
While I was in Idaho visiting my Dad last month I received an email from John about whether I could repair his Jobey Calabash. I have included the email below
Hello, I’m looking for a pipe repair shop. I have a Jobey Calabash pipe dropped it, and well it broke. I’m hoping I can send it to you for repair. Thank you, John
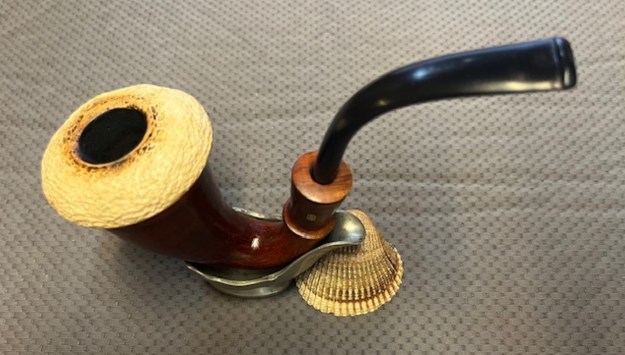
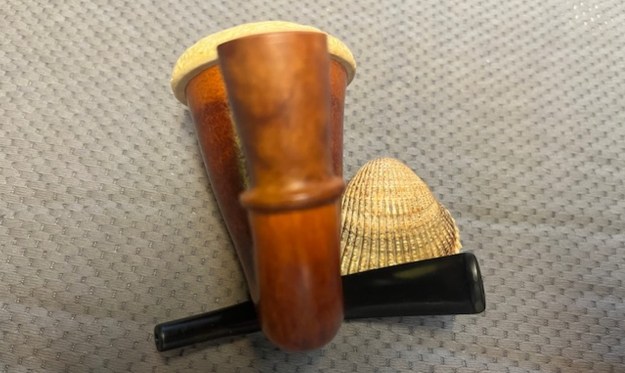
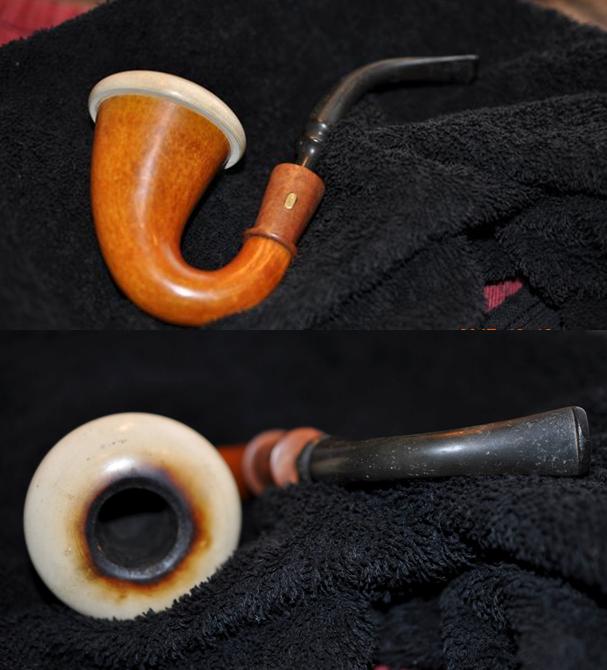
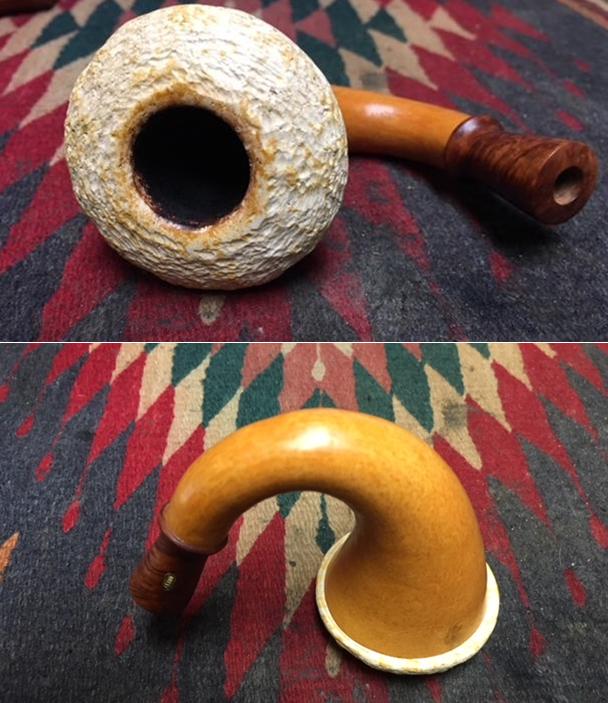
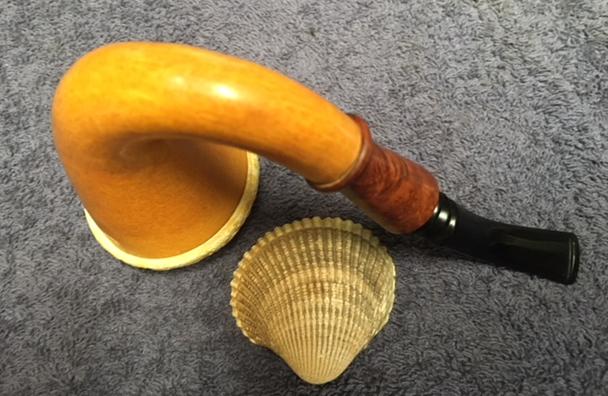
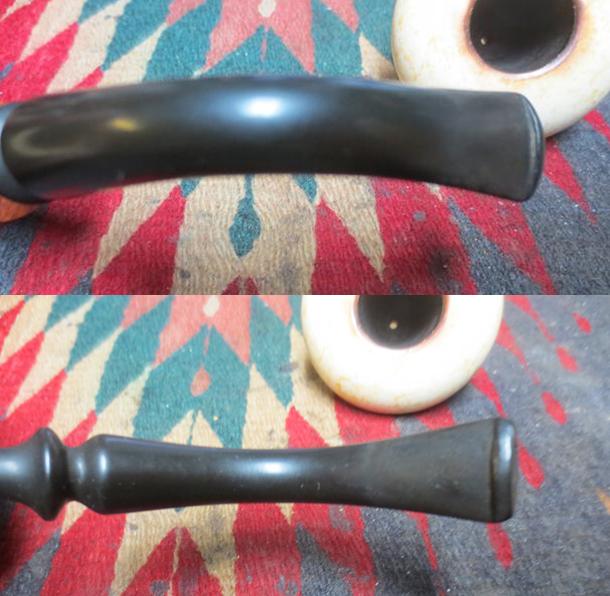
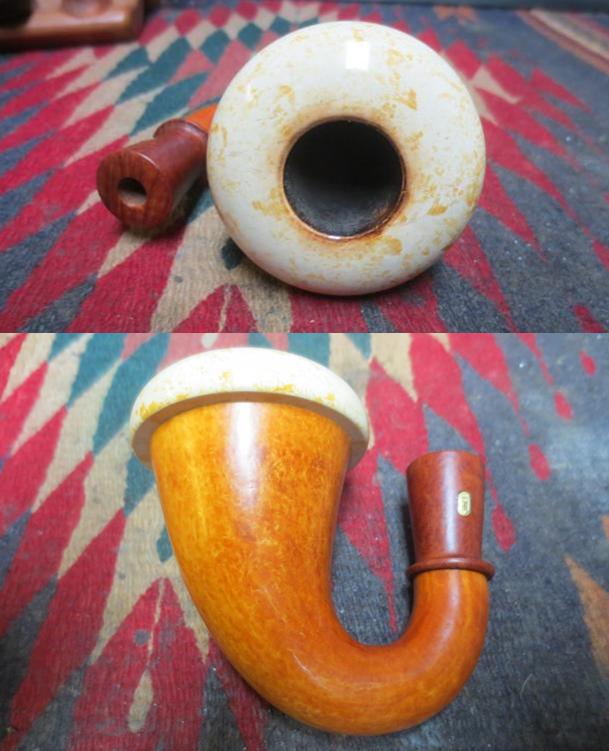
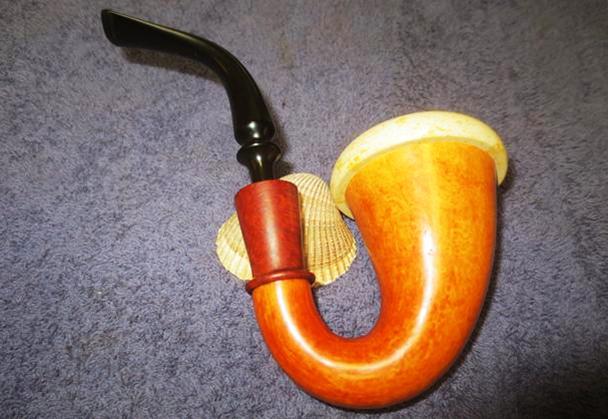
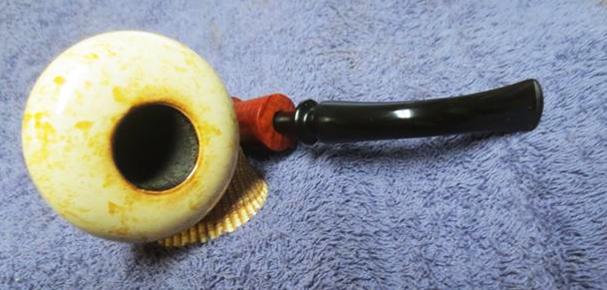
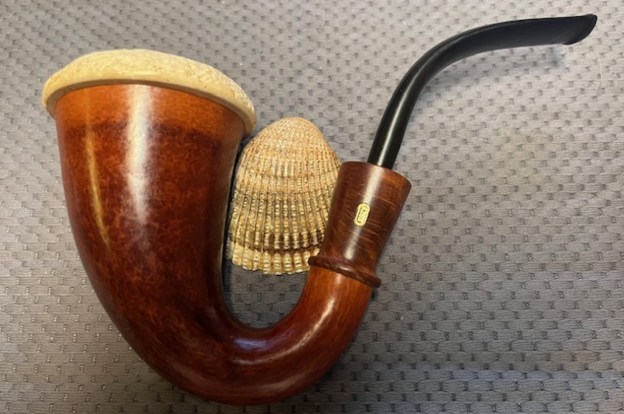
I wrote back and asked for photos to clarify what had broken when the pipe had dropped. I have visions of a cracked bow, a cracked gourd or even worse. I have learned to ask for photos before I make any commitment to repairing a pipe. John sent me the two photos below that show the condition of the break. It is probably the easiest break to deal with. In the drop the wooden dowel tenon that held the briar shank extension to the gourd had snapped off. It was a very clean break from what I could see in the photos. I could not see the condition of the bowl or the rest of the pipe but I figured that what he sent me was what was broken. It had a rusticated meerschaum bowl and a vulcanite stem that showed oxidation. I have included his photos below so you can see what I saw before I received the pipe.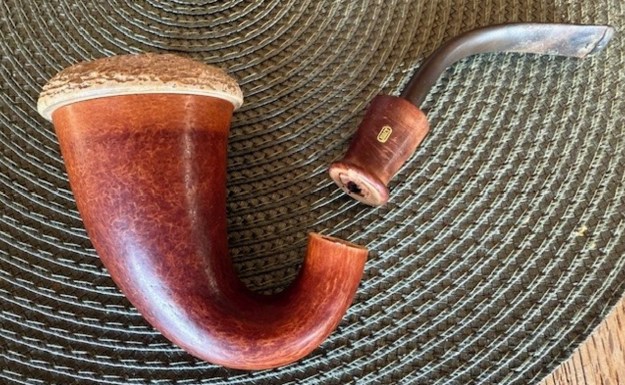
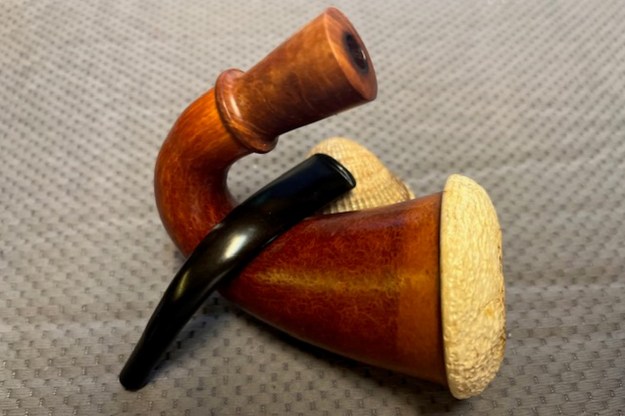
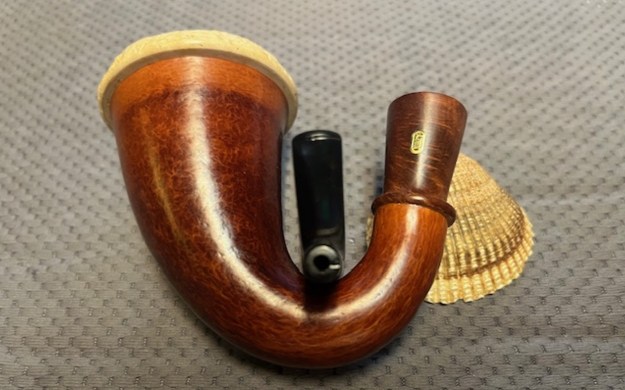
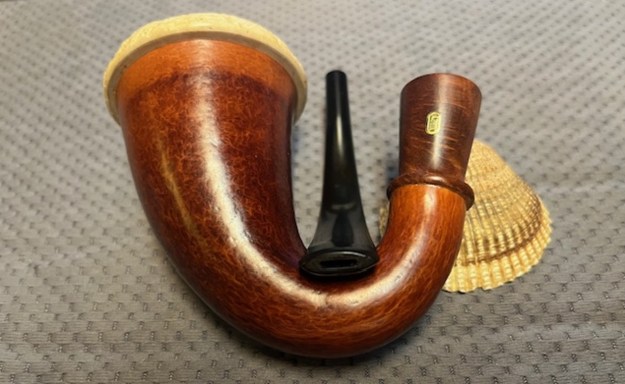
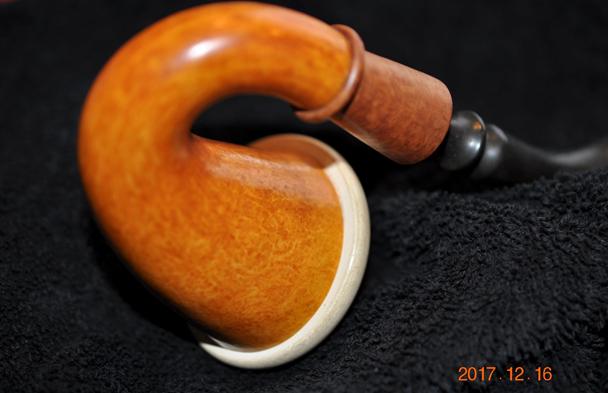
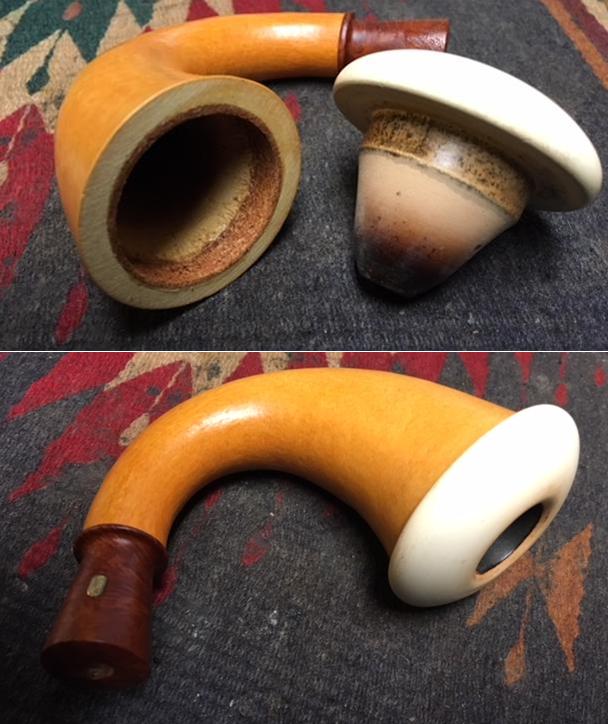
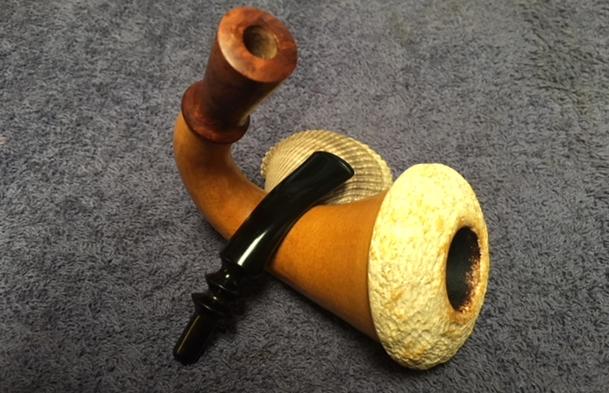
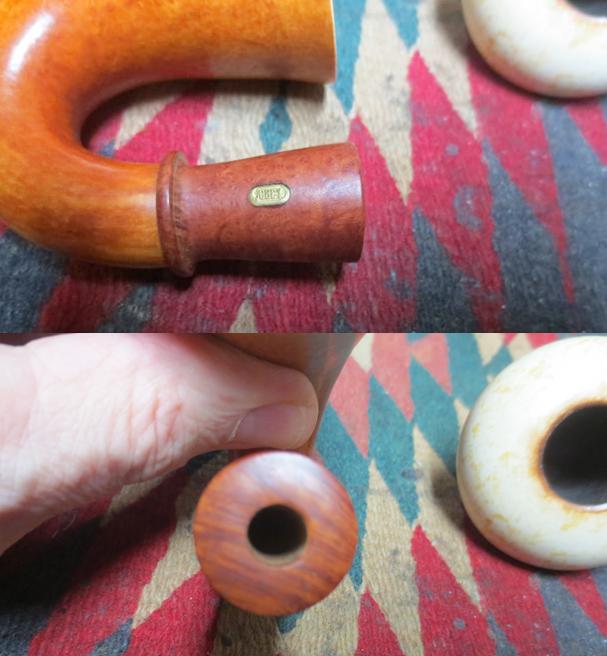
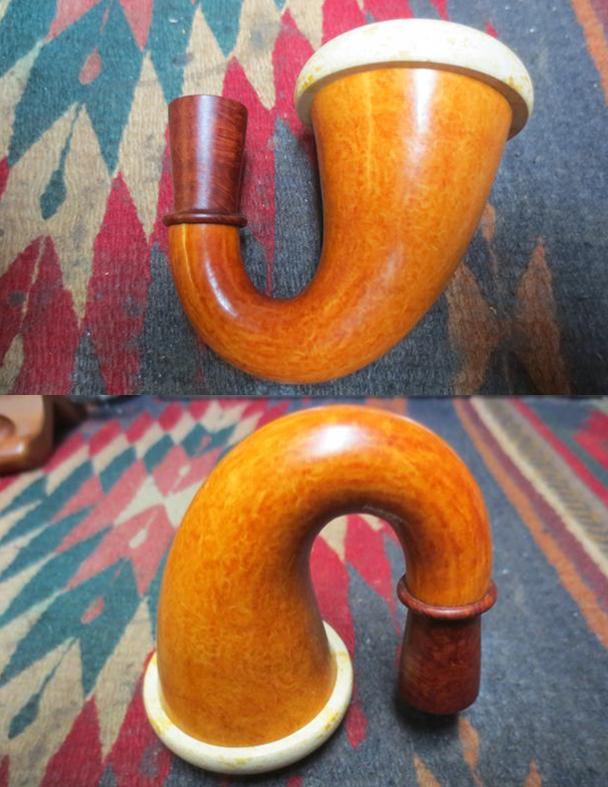
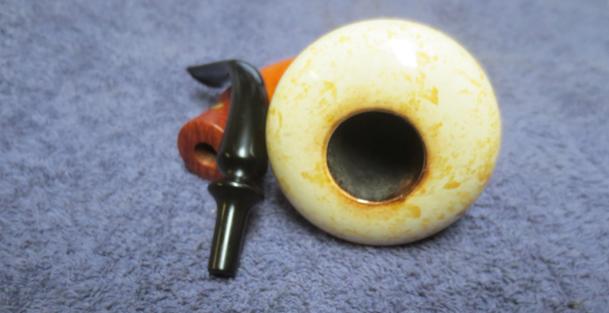
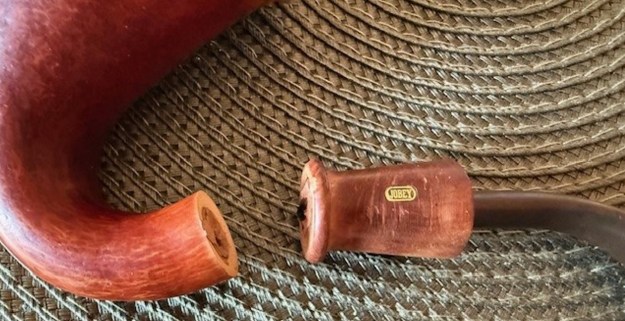 I explained to John what I saw and asked a few questions regarding cracks in the gourd or the briar shank extension is Jobey used. There were none that he could see. I told him to pack it up and send it to me and I would repair it. I was gone for about a month but yesterday at the end of week two at home the package arrived from John. It was a large box and when I opened it the pipe was well packed with bubble wrap. In the centre of the packing was two small bubble wrapped bundles. I removed the tape from them and removed the parts. The larger of the two was the gourd and the meerschaum bowl. The second, smaller bundle was the stem in the shank extension. I tried to remove the stem but it was solidly stuck in place. I examined the broken dowel tenon. It was indeed a clean break. There were some spots where the glue held remnants of the dowel on the surface of the briar and the wooden plug in the end of the gourd. I would need to flatten the spots before I tried to rejoin the parts. Here are some photos of the pipe.
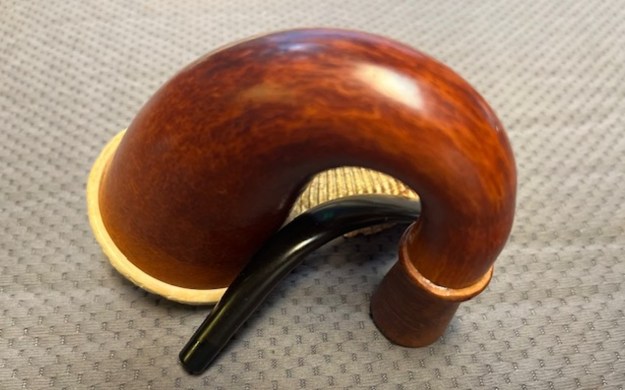
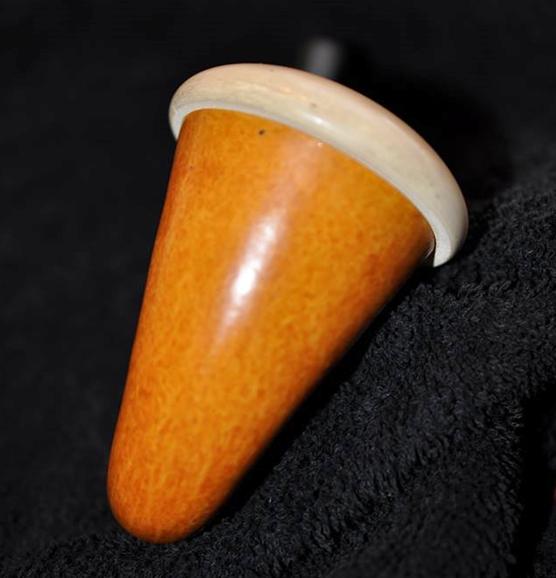
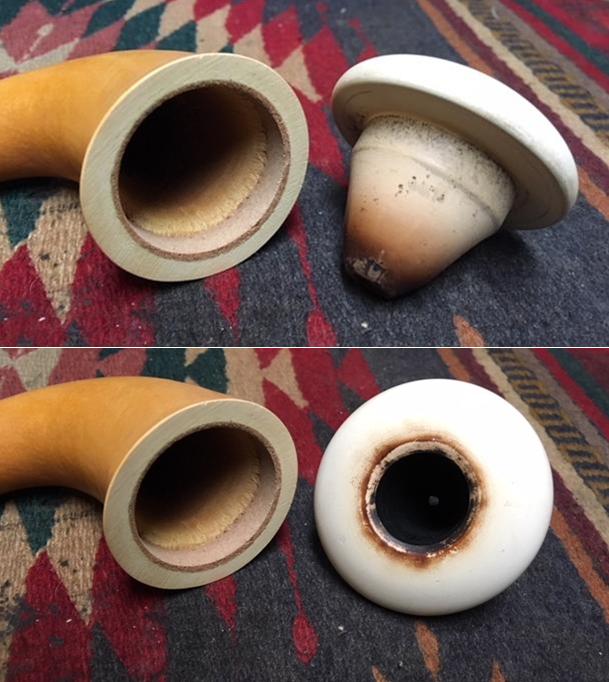
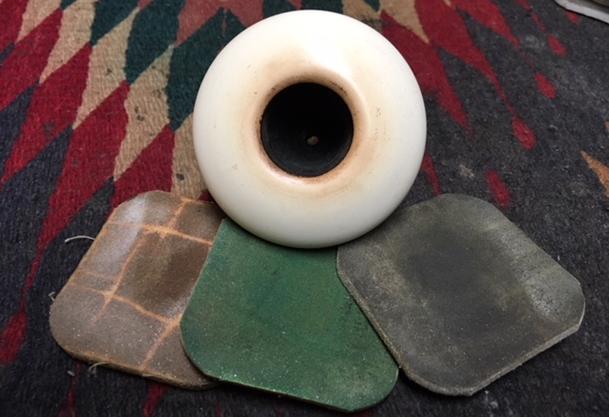
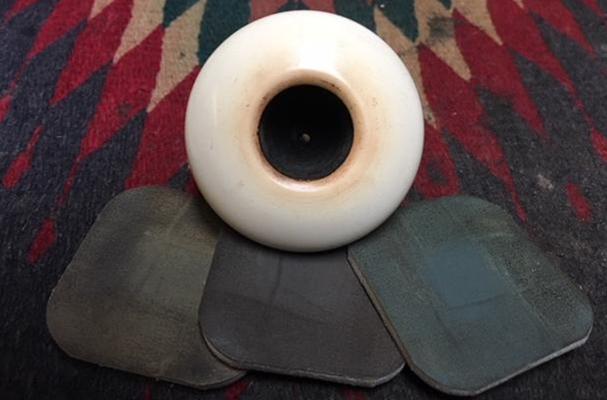
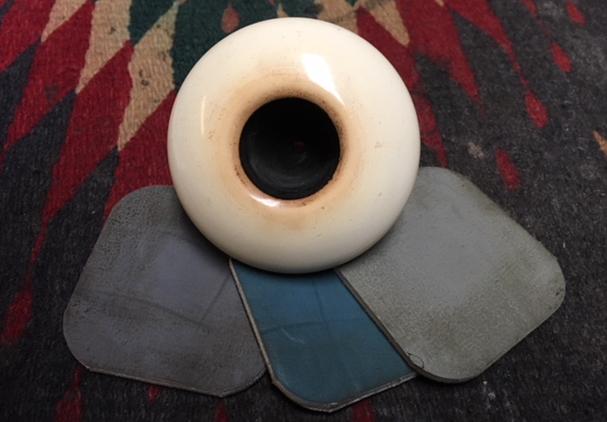
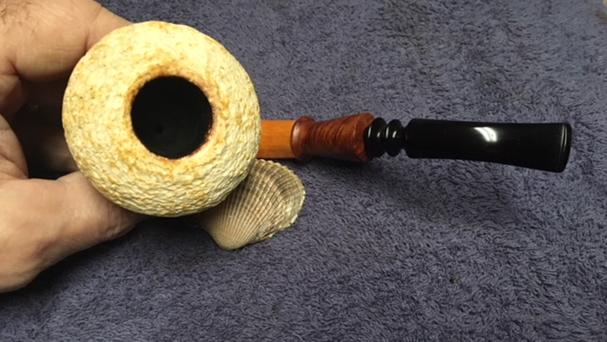
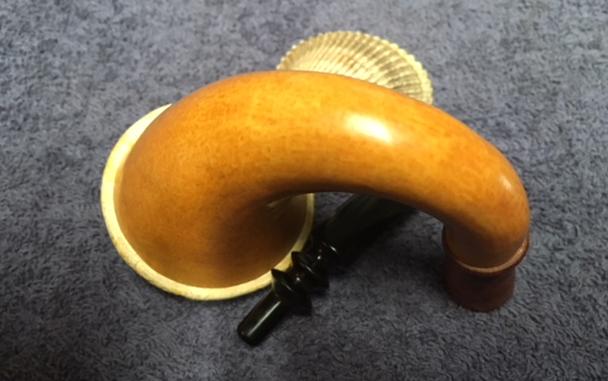
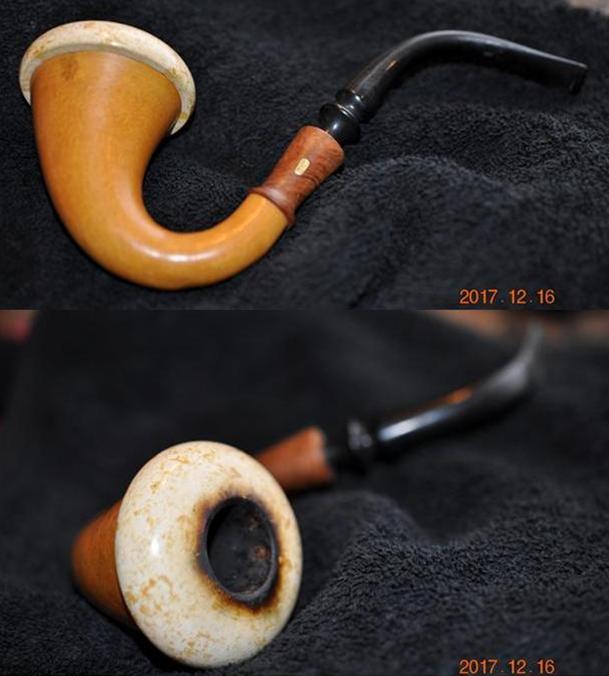
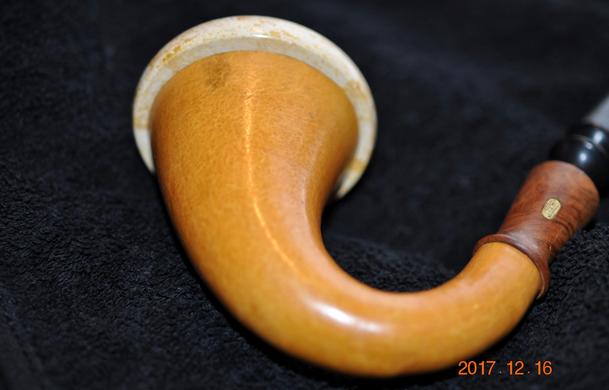
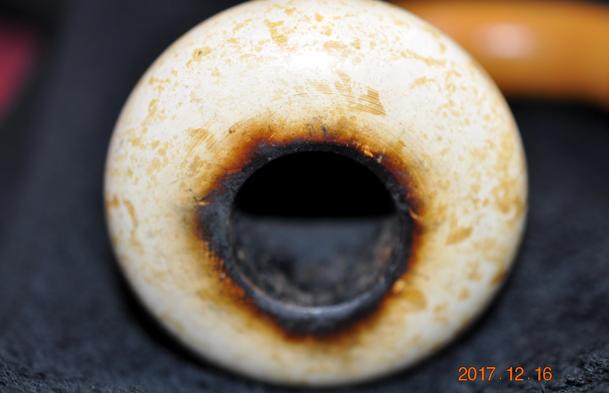
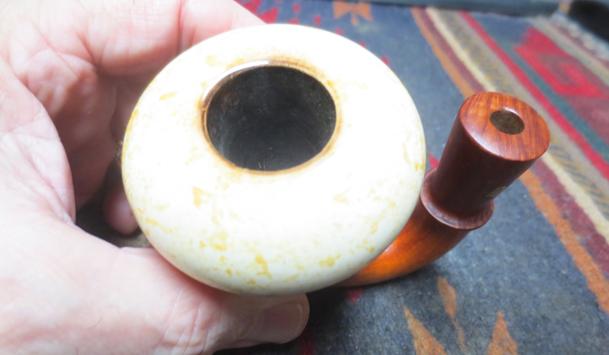
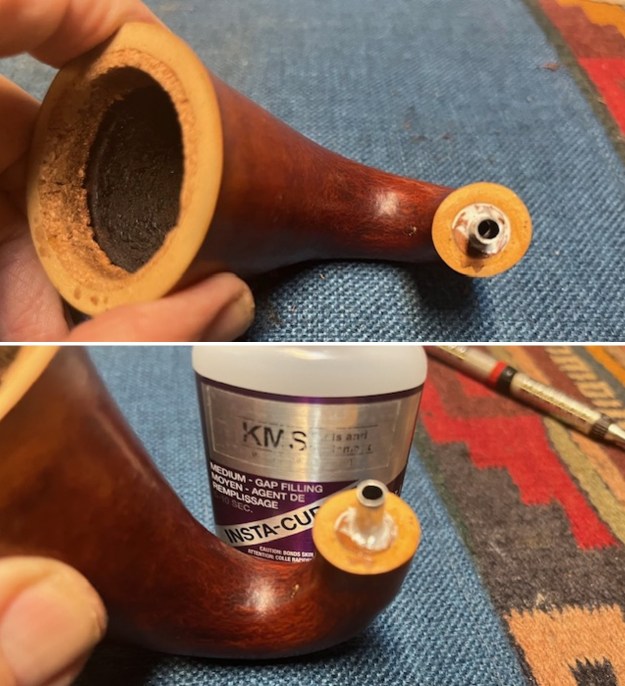
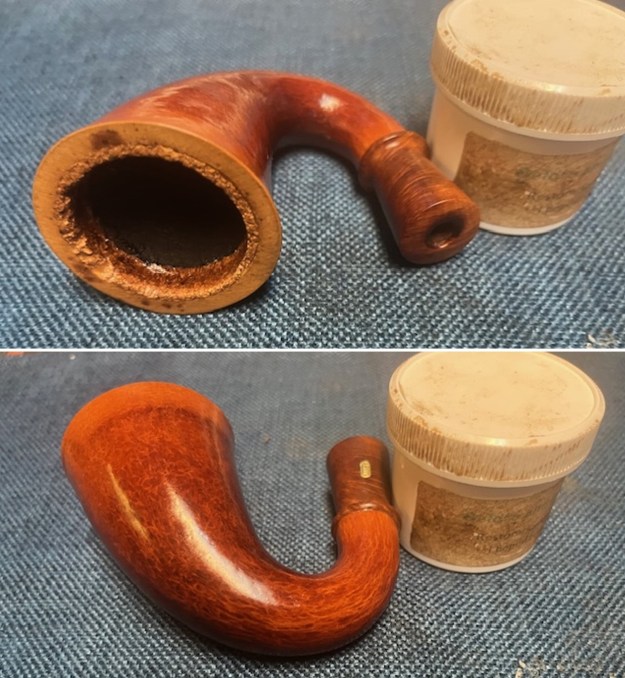
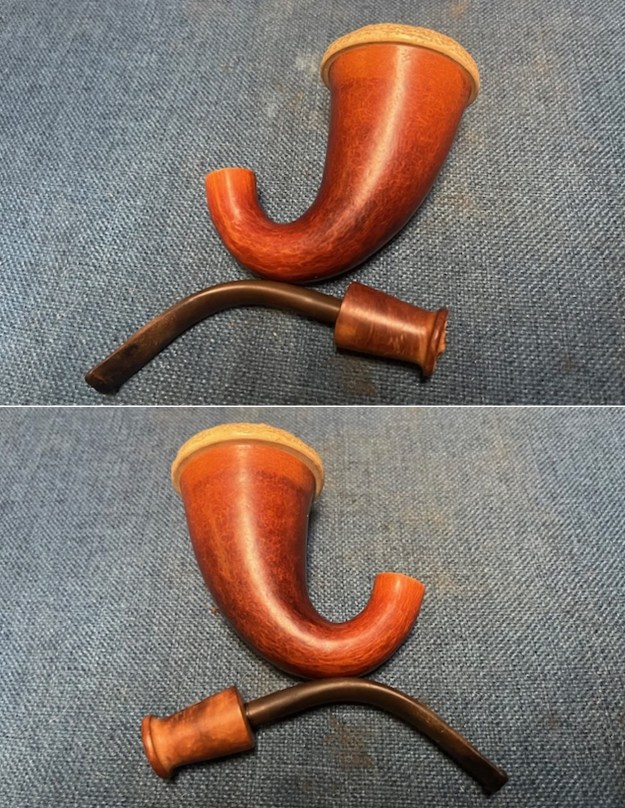 The bowl was 2/3s full with the last tobacco smoked in it. The dottle was dry and brittle. I took a photo of the bowl to show a bit of that and the tarry lava build up on the rim top and inner edge of the bowl as well as the thick cake in the meer bowl itself. It was quite a mess to look at and my wife and daughters commented about the smell. Ah well, such is the life of those who live with a pipe restorer/repair person. I took some photos of the bowl to give a sense of that look. In the second photo below, you can see the wooden plug and down in the shank of the gourd.
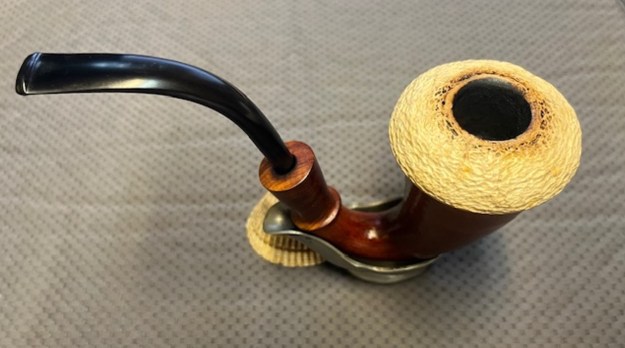
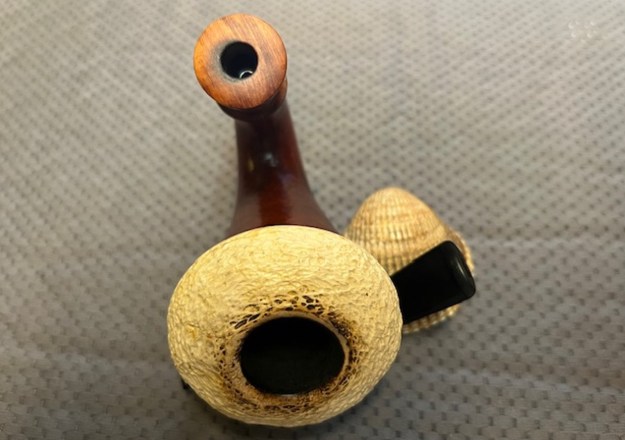
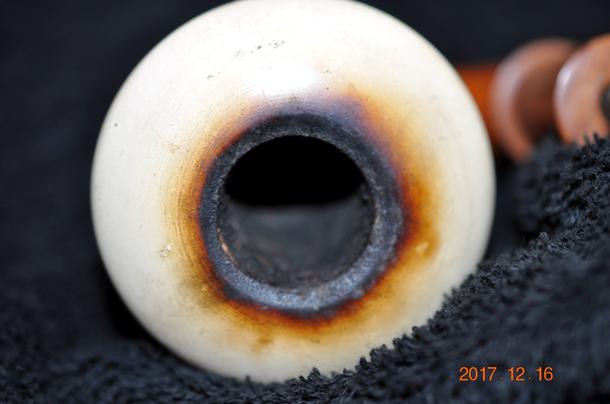
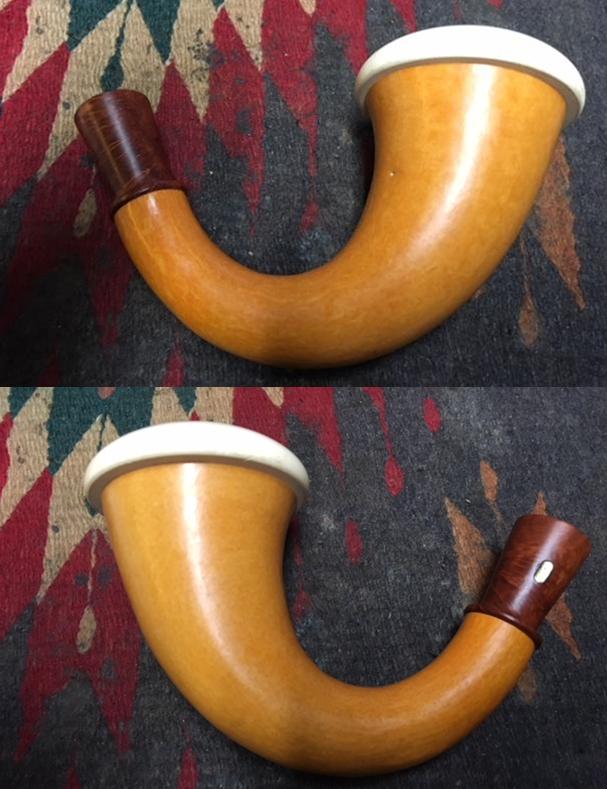
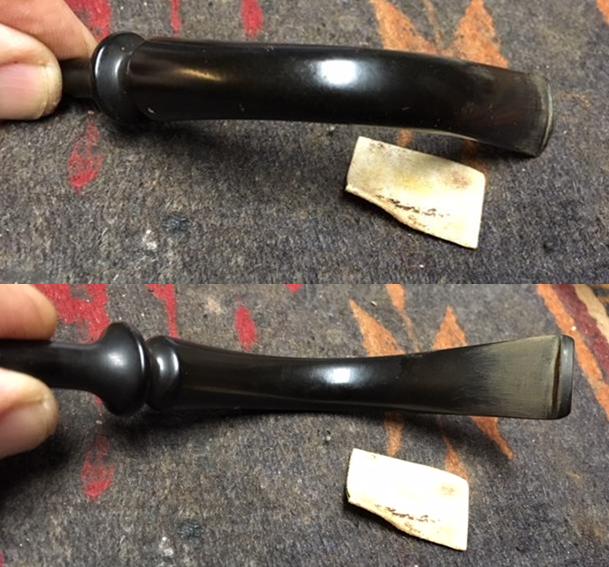
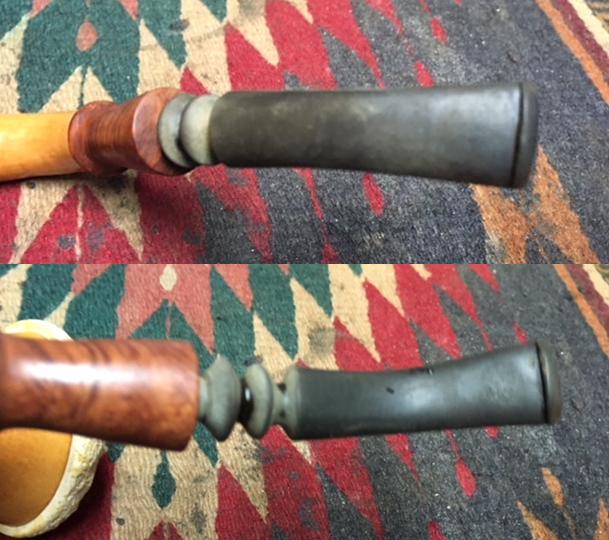
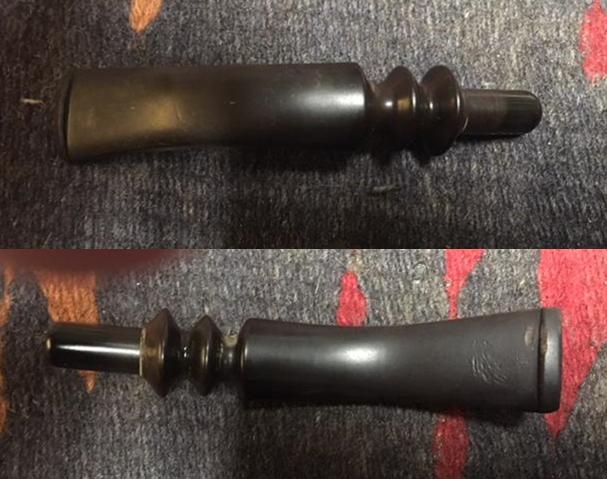
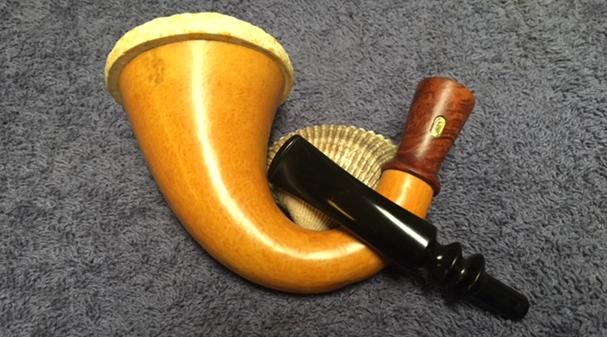
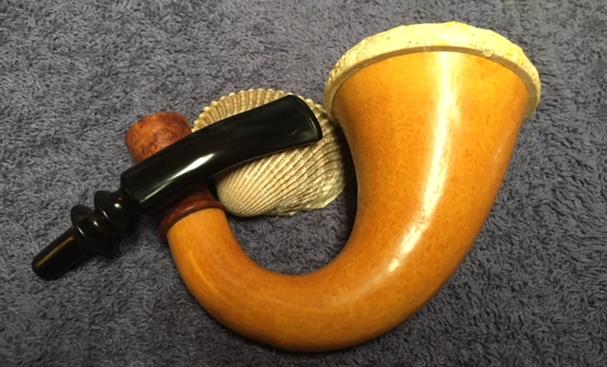
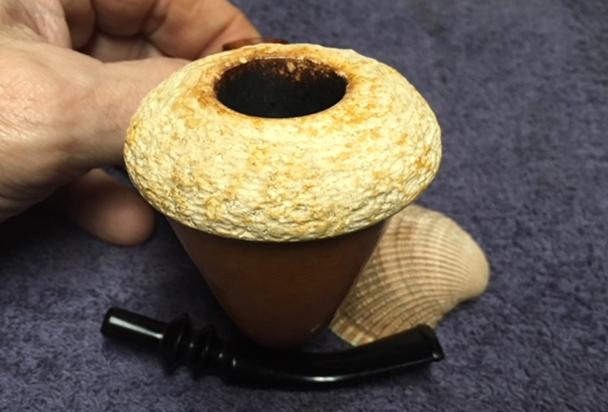
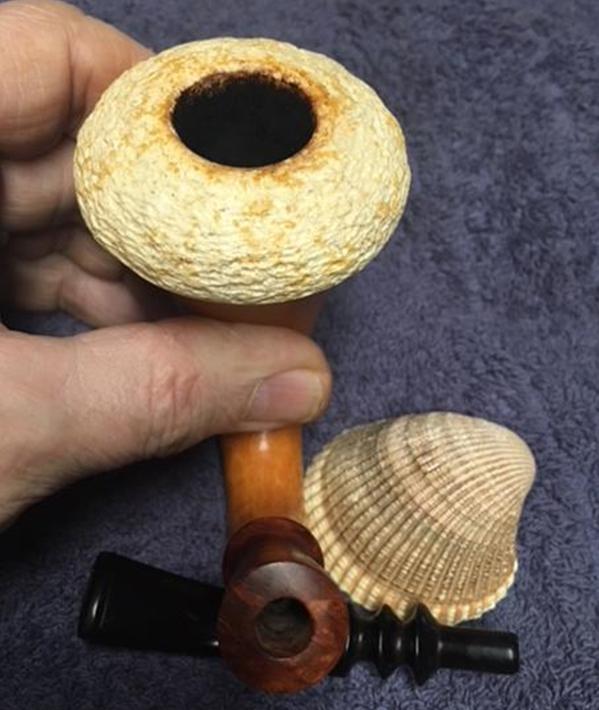
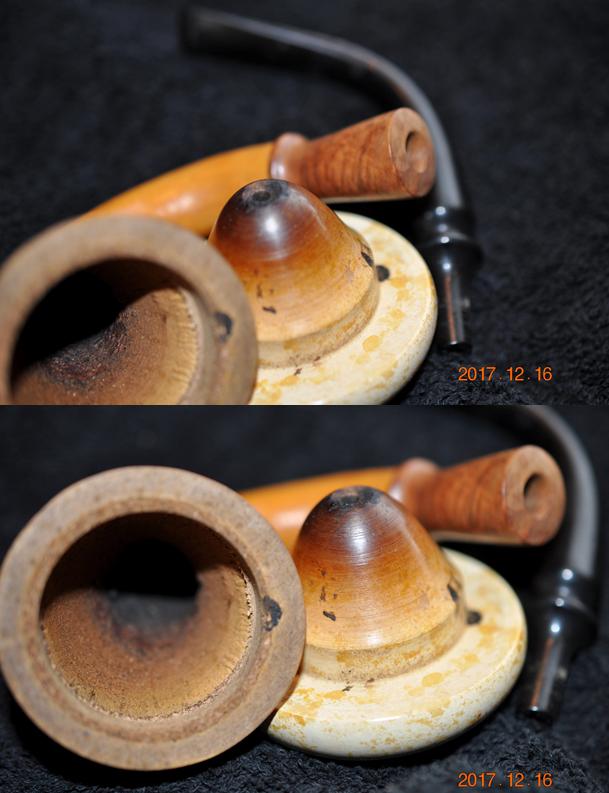
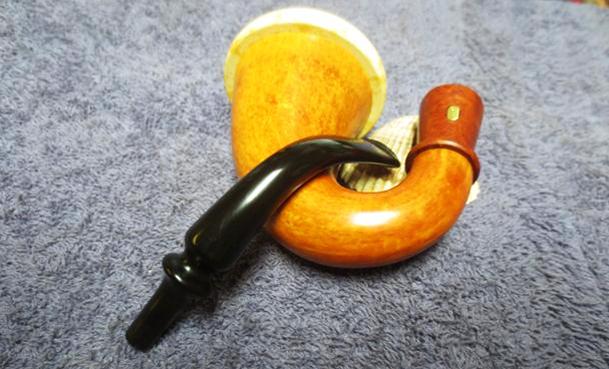
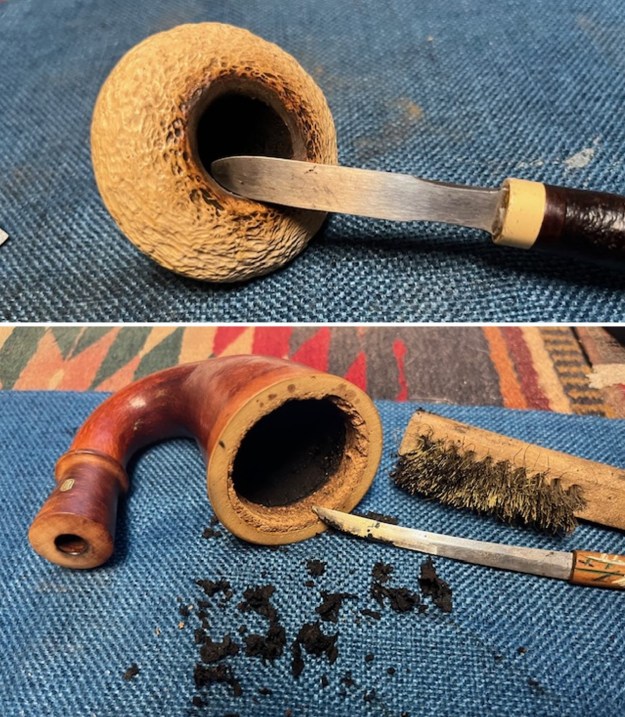
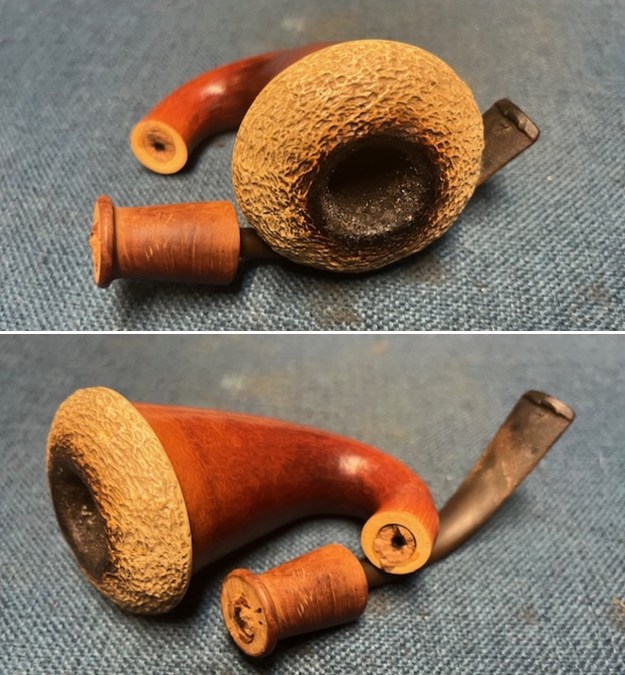 I tried to remove the stem from the shank extension piece and it was frozen solid. I put it in the freezer for 30 minutes and when I took it out the stem turned easily from the extension. The photos show the stem in place solid and also once I had removed it. The stem was oxidized and had some deep tooth marks on both sides on the button edge and the ahead of the button. One of the deep marks on the topside was almost a bite through.
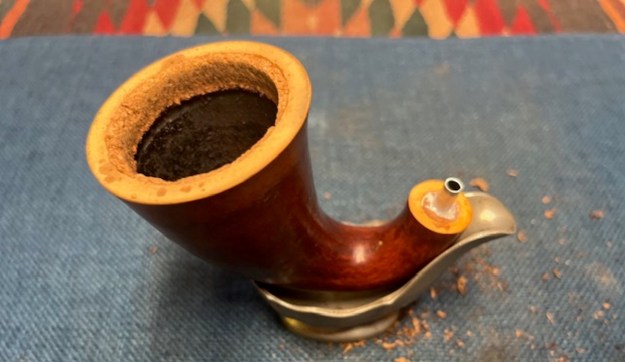
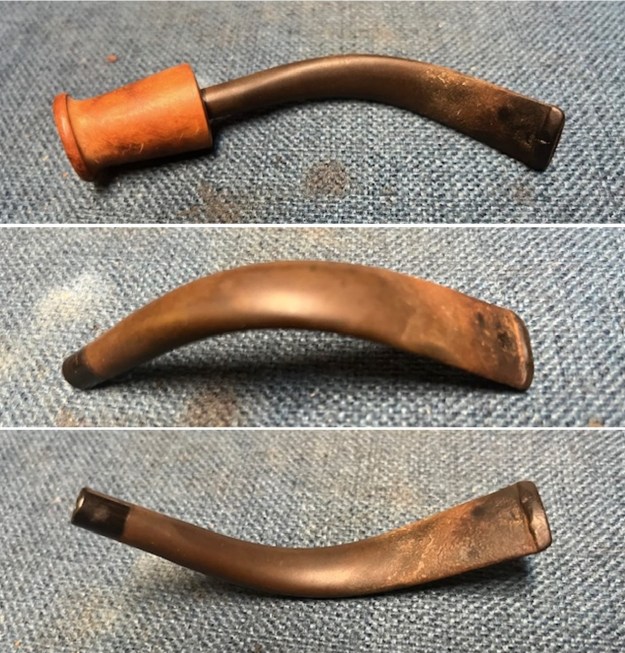 I took a photo of the thick cake in the bowl and the overflow of lava on the rim top. It should clean up fairly well though the darkening in the rustication may remain.
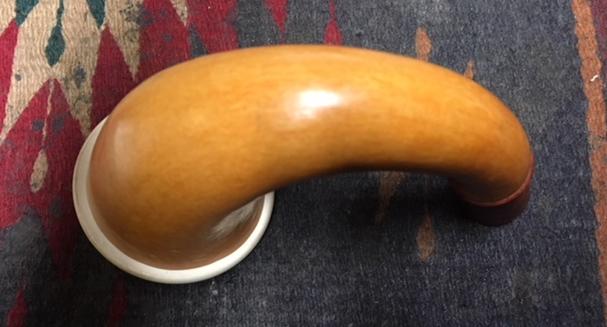
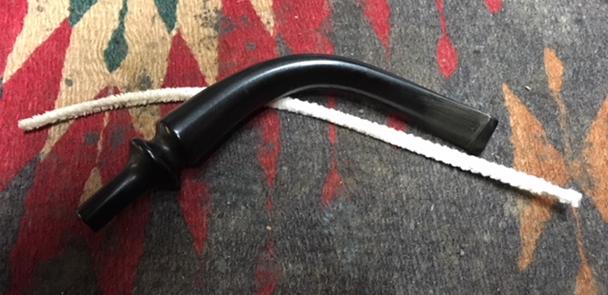
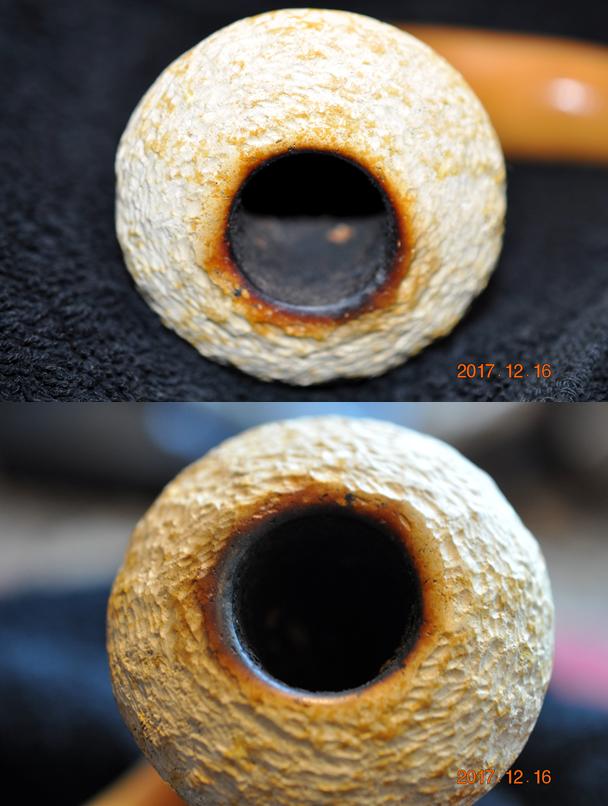
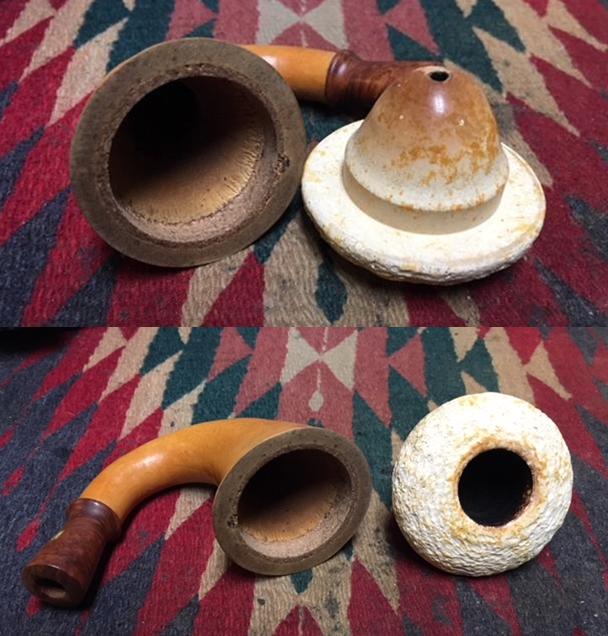
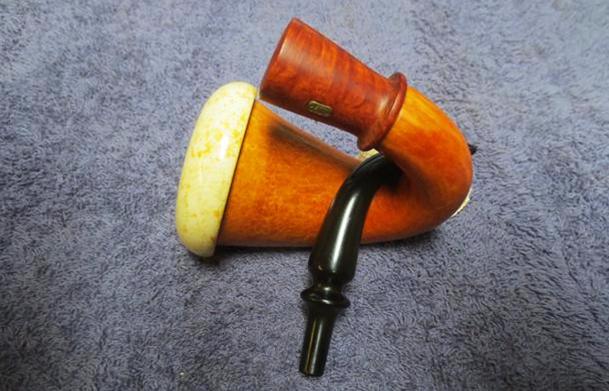
 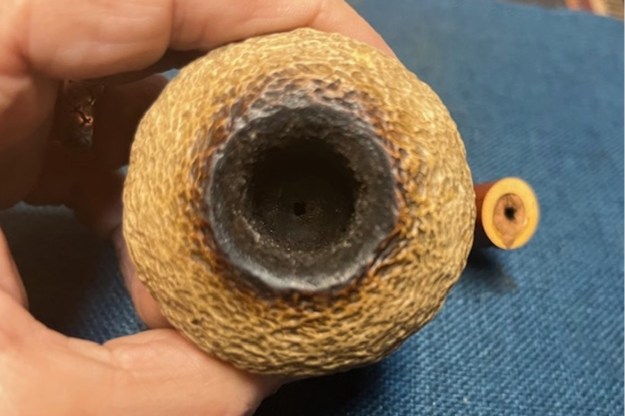 Before I started drill out the extension and the plug on the end of the calabash shank I took photos to show the alignment of the airway. The airway is not centred but it should be easy to open up and reset the fit.
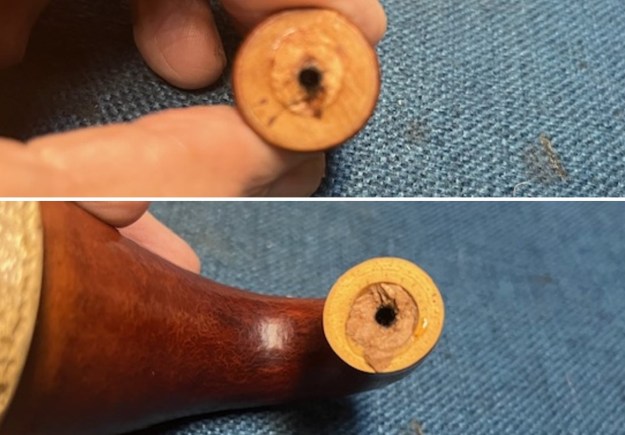 I used a cordless drill and a bit slightly larger than the airway in both parts. While the picture of the shank extension is out of focus you can see the principle in the photos of the drilling. I used the same bit in the gourd shank. Once it was open I stepped up one size in the drill bit to open the hole further. I once again have an out of focus photo of the shank extension but you can see the bit size in the photo of the gourd shank.
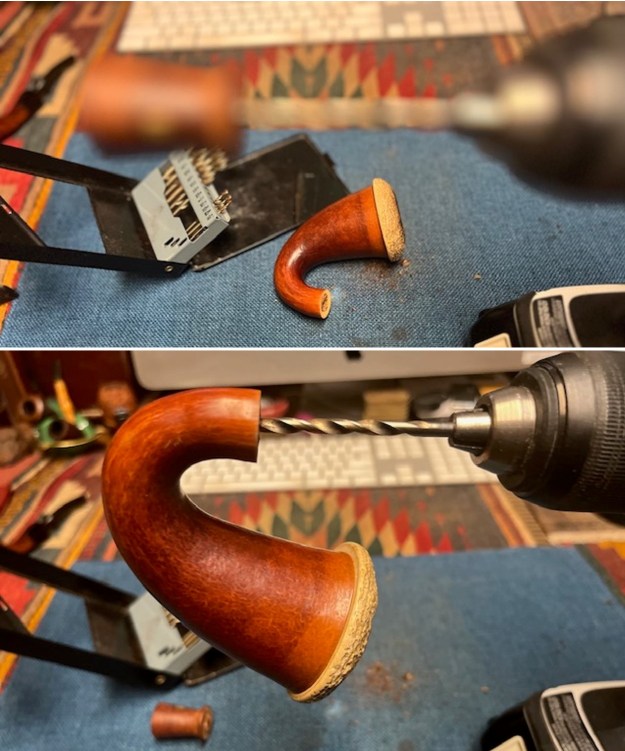
 The second drill bit opened the airway in both parts to the same size as the metal tubing I use to join them together. I measured the length of tube I needed so that the tube would not extend to deep in the mortise. I used a small vise to hold it while I cut the length with a hacksaw blade.
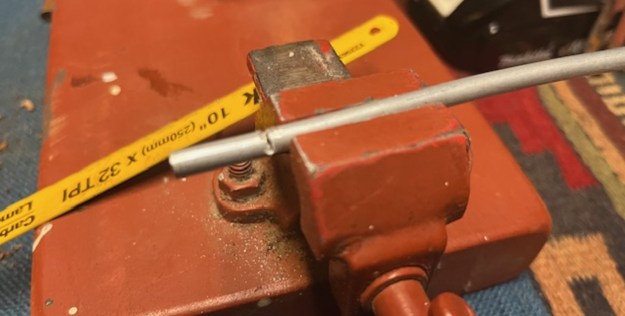 I used a small round file to centre the airway in both the shank of the gourd and the extension. Once it was well centred I was good to start the process of joining the parts.
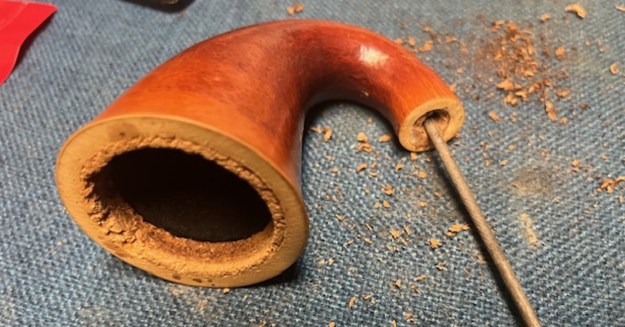 I used the same type of All Purpose white glue as had been used previously on the tenon. I glued the metal tenon in place in the shank of the gourd and filled in the hollow around the tube with the glue. Once it had hardened I gave the glue a coat of clear CA glue to set the tube in place. I set the gourd aside to let the glue cure over night.
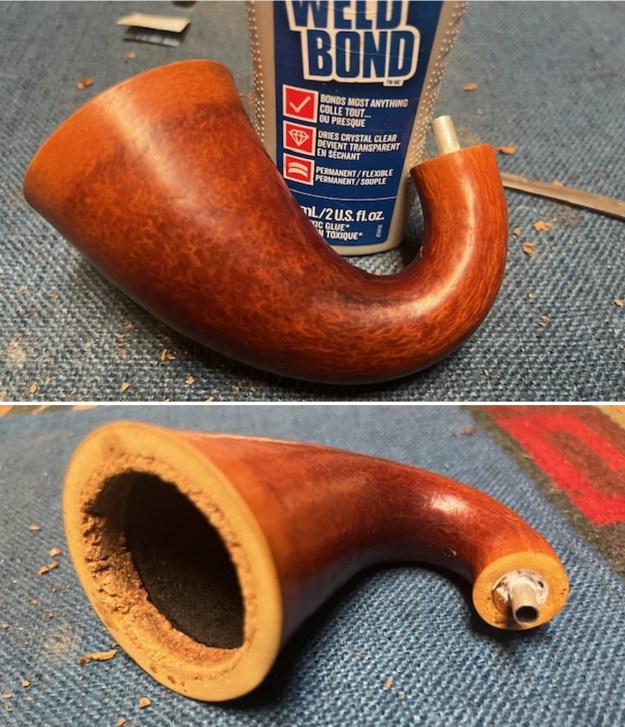
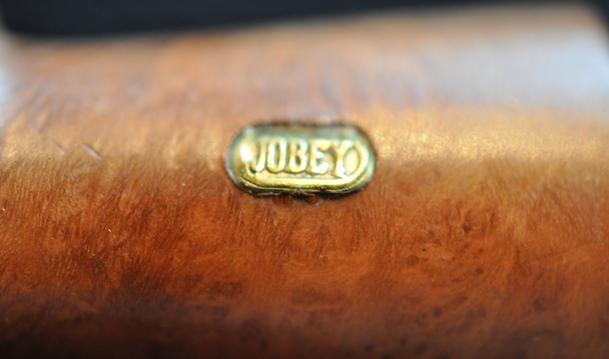
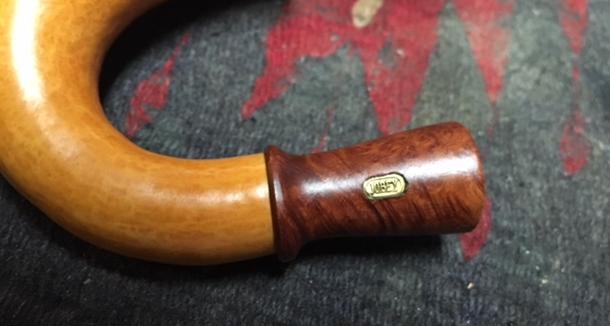
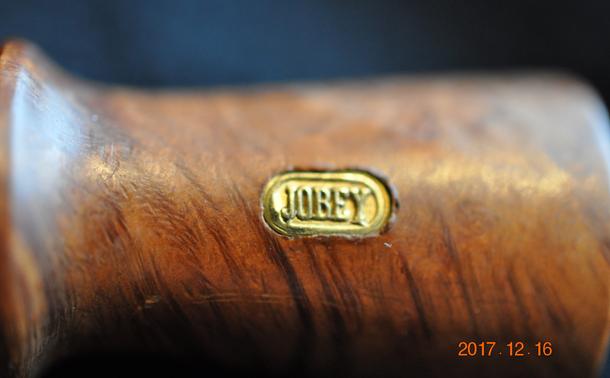
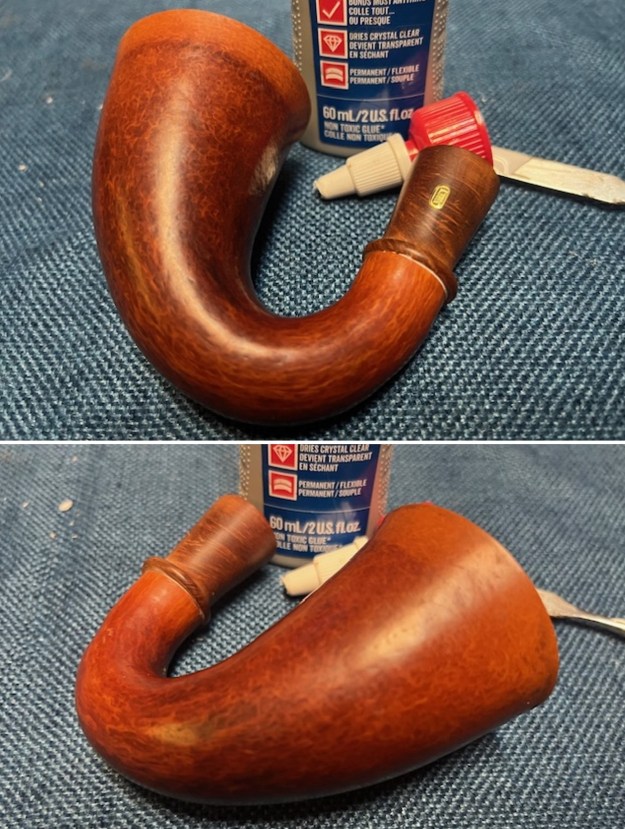
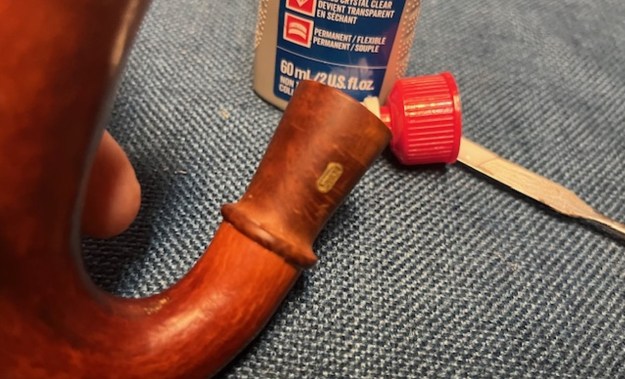
 In the morning when the glue was cured I painted the tubing with the glue as well as the end of the shank and the extension. I put the glue on a little heavy as I wanted it to bind well. I pressed the extension in place and aligned the Jobey brass logo on the left side in line with the shank. I clamped the extension in place until the glue cured and the shank extension was immovable. I set it aside to let it cure for the rest of the day.
 While the repair to the shank extension cured I turned my attention to the meerschaum cup or bowl. I carefully scarped out the thick cake with a sharp knife and worked over the rim top at the same time. I used a Savinelli Fitsall Pipe Knife to further clean the cup so that the bowl was no longer sticky with the tars and oils of the tobacco. I also scraped out the gourd with the same tools as well as a brass bristle brush. It was much less sticky than it was before.
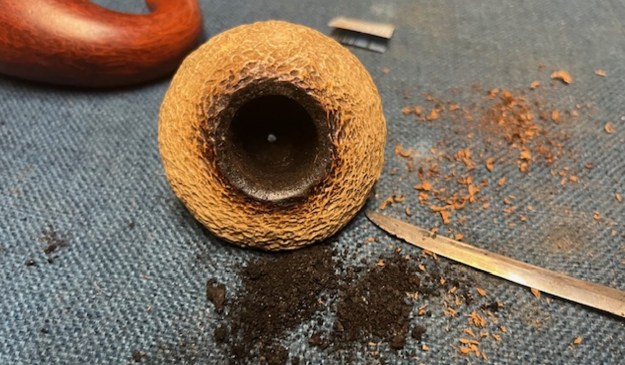
 I cleaned out the airway in the shank (carefully) as well as the inside of the bowl with alcohol and pipe cleaners – both bristle and smooth. I cleaned the airway in the stem at the same time. The pipe began to smell much better.
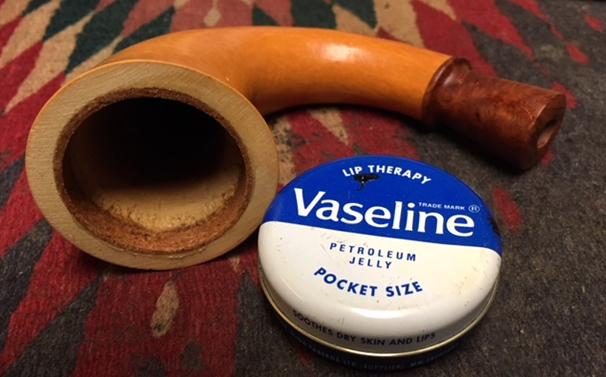
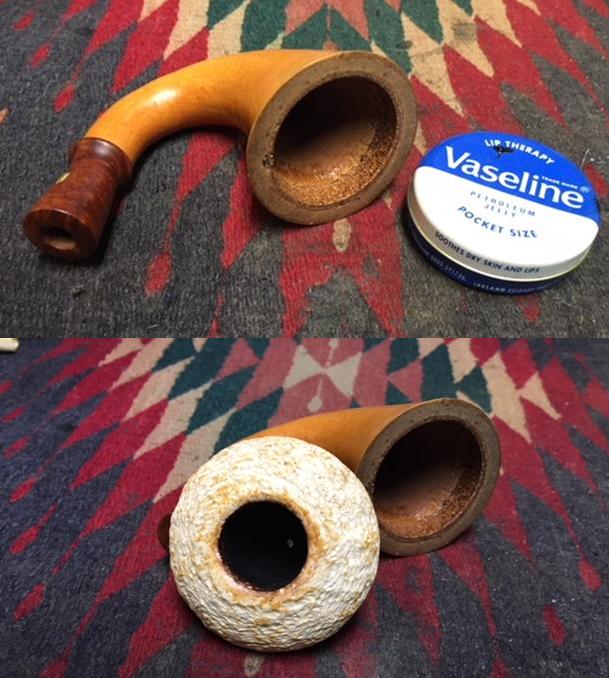
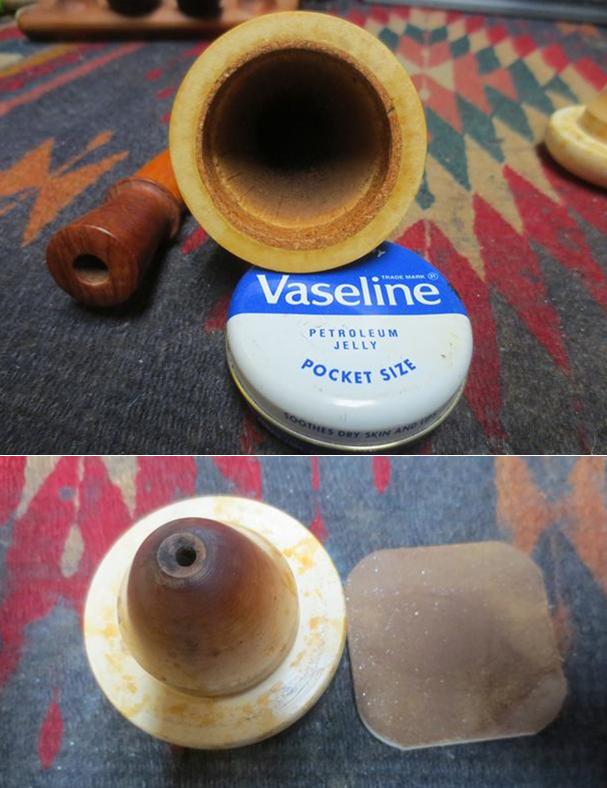
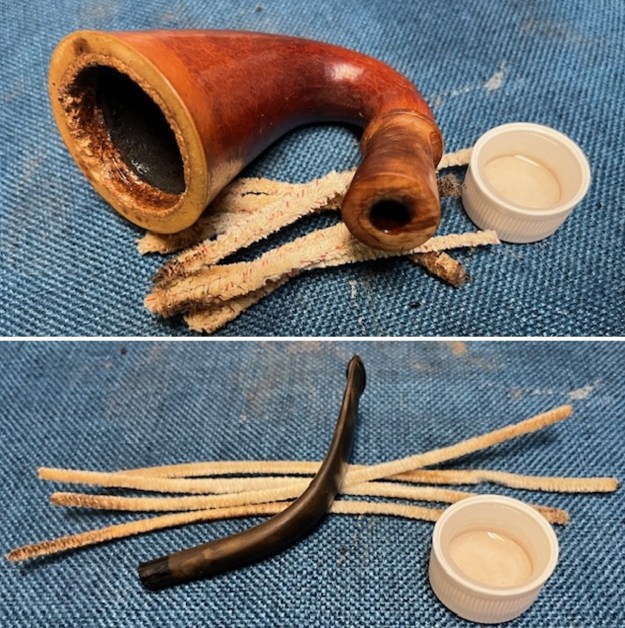 I greased the cork gasket in the calabash with Vaseline. I rubbed it in with my fingertips and set the gourd aside to absorb the Vaseline.
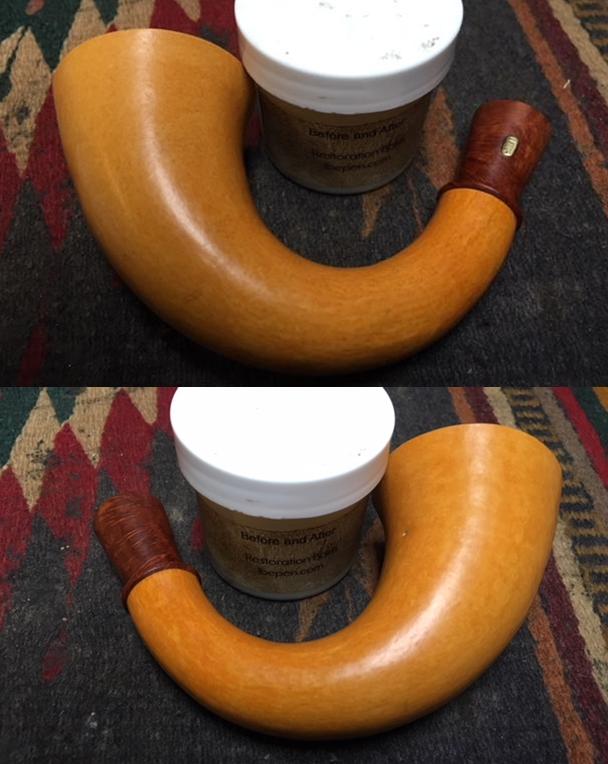
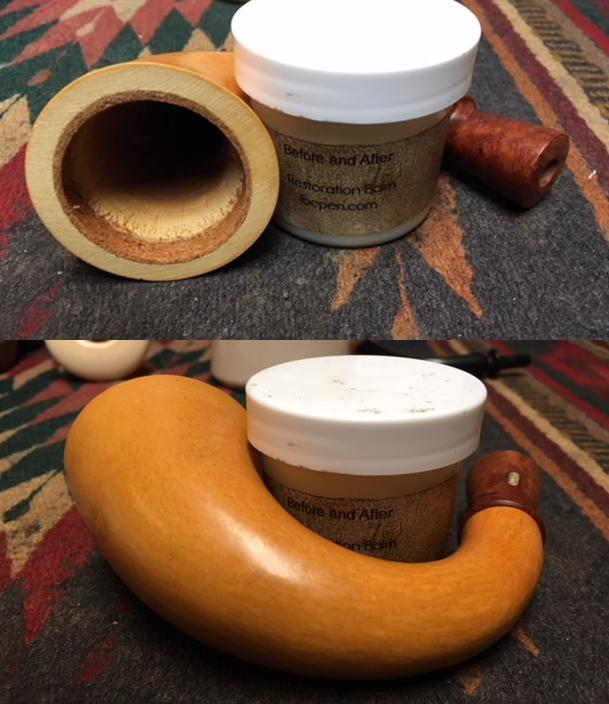
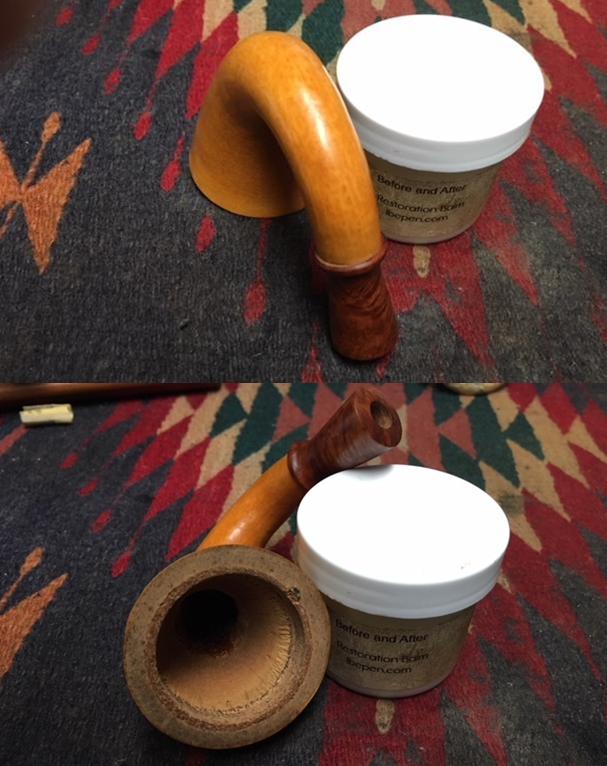
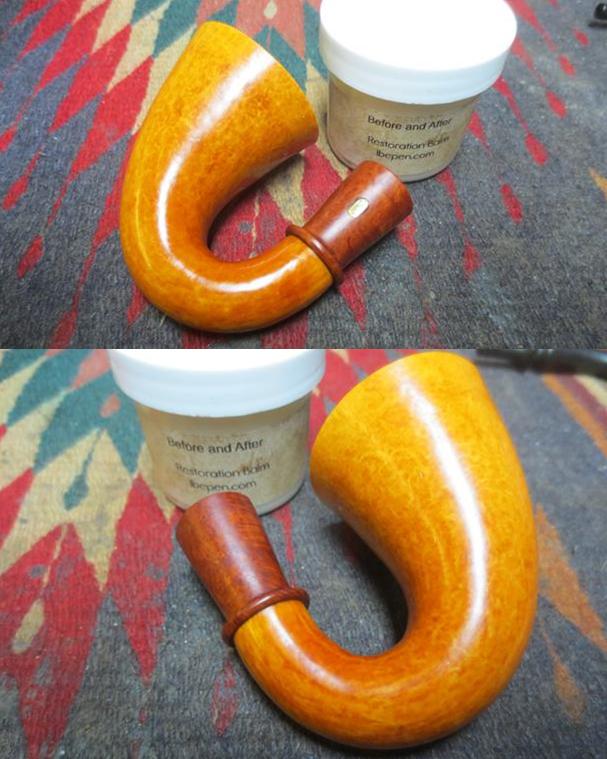
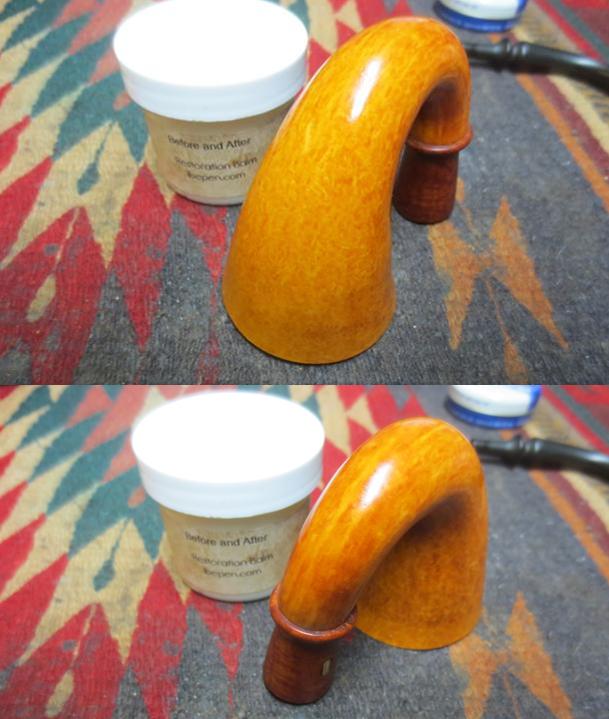
 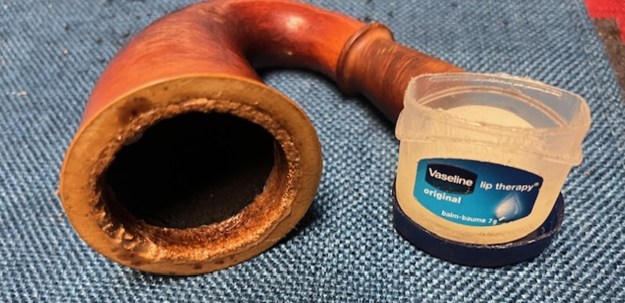 I worked some Before & After Restoration Balm into the surface of the briar shank extension and the gourd calabash. Once it was all covered with the product I let it sit for 10 minutes or more to do its magic. The product works to deep clean, restore and renew the gourd and briar. I wiped it down with a clean cloth and buffed it by hand. It looked very good.
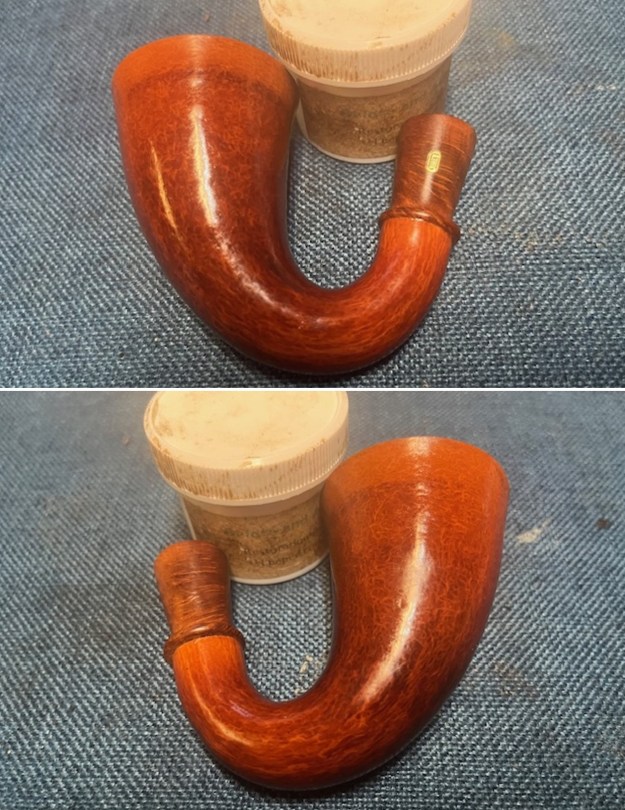
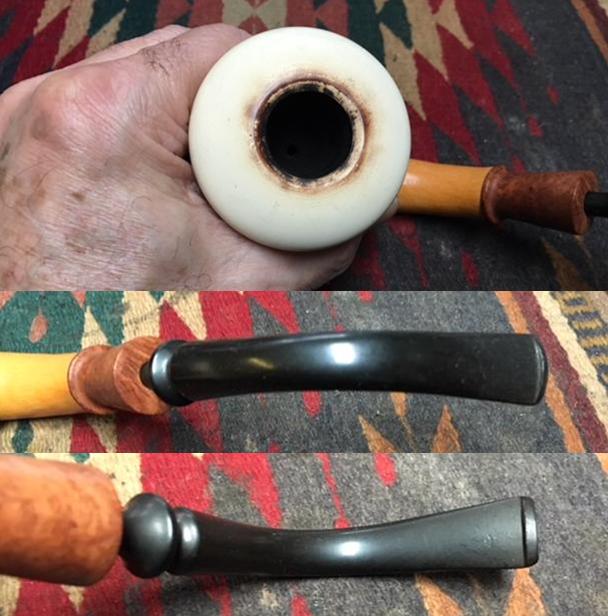
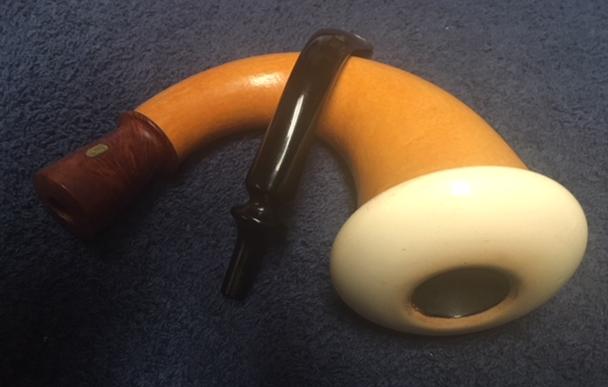
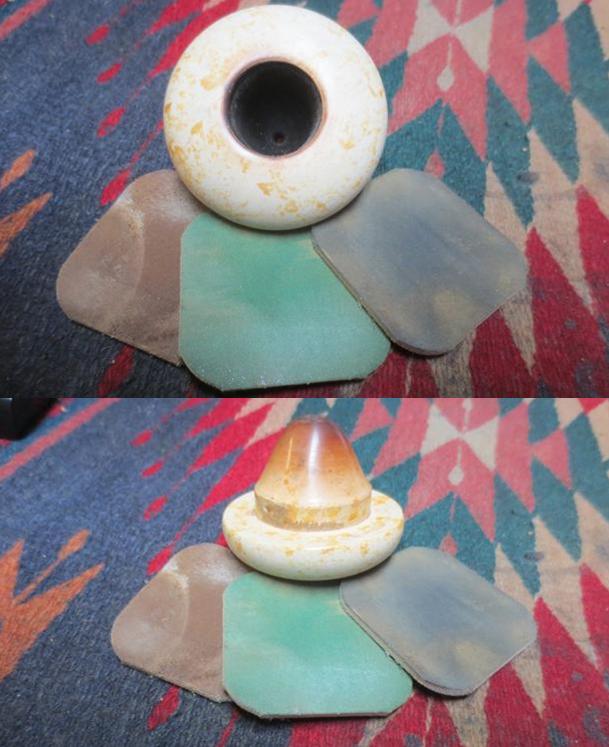
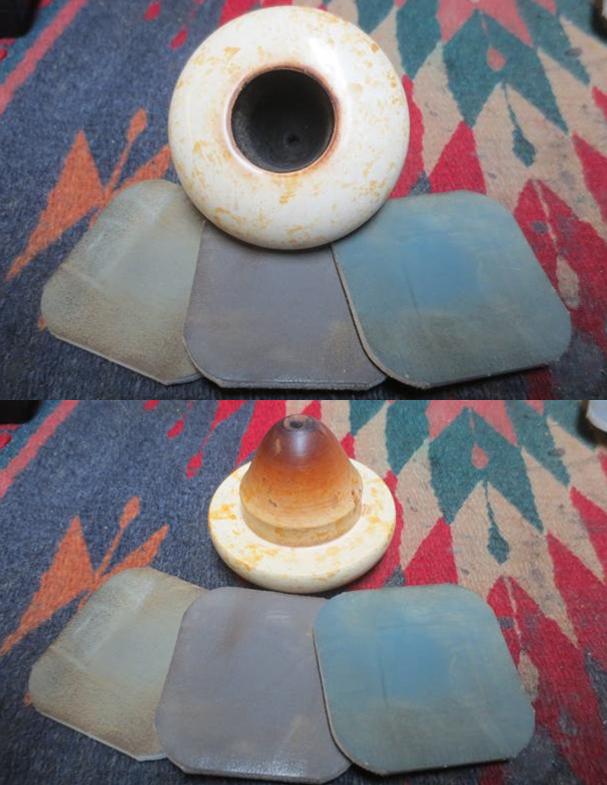
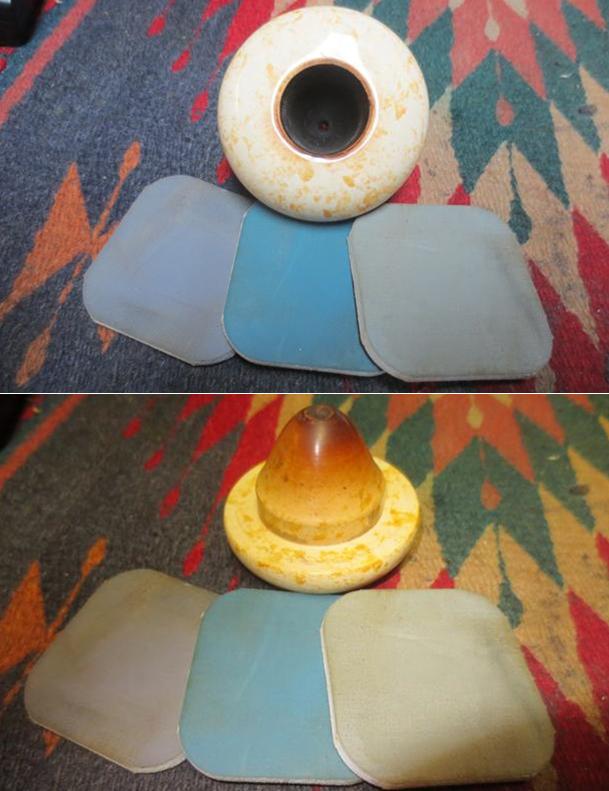
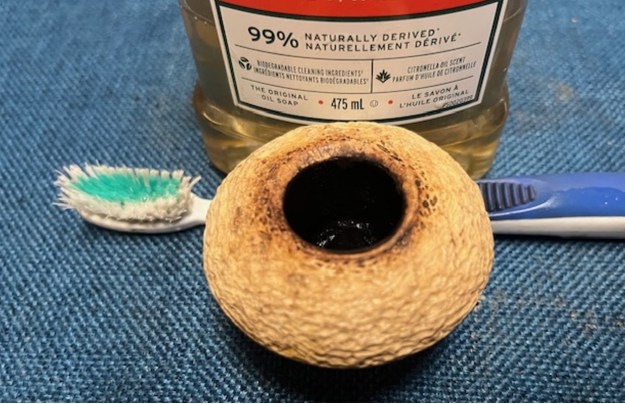
 I set the gourd aside to dry and turned my attention to the meerschaum cup. I scrubbed it with a tooth brush and undiluted Murphy’s Oil Soap. I scrubbed the outside and inside of the bowl at the same time. I rinsed it with warm running water. The cup looked significantly better though still having some stains on the rustication.
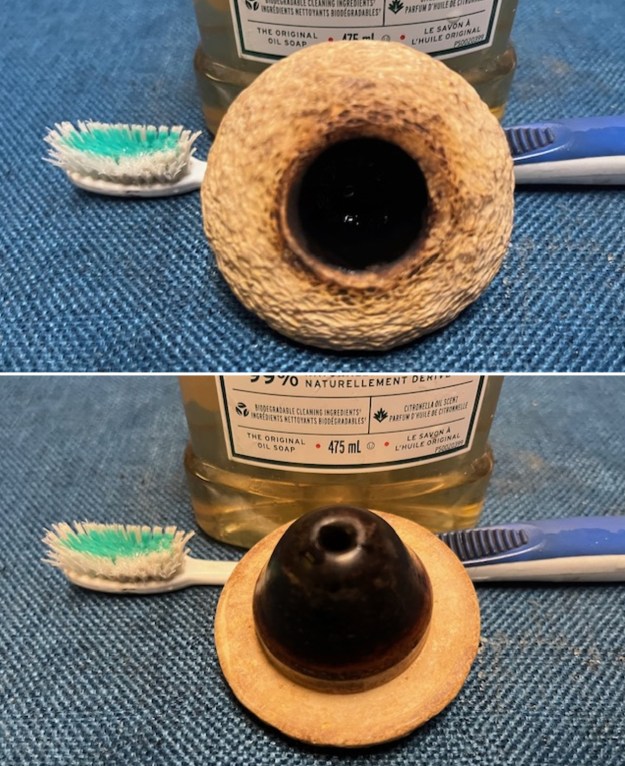
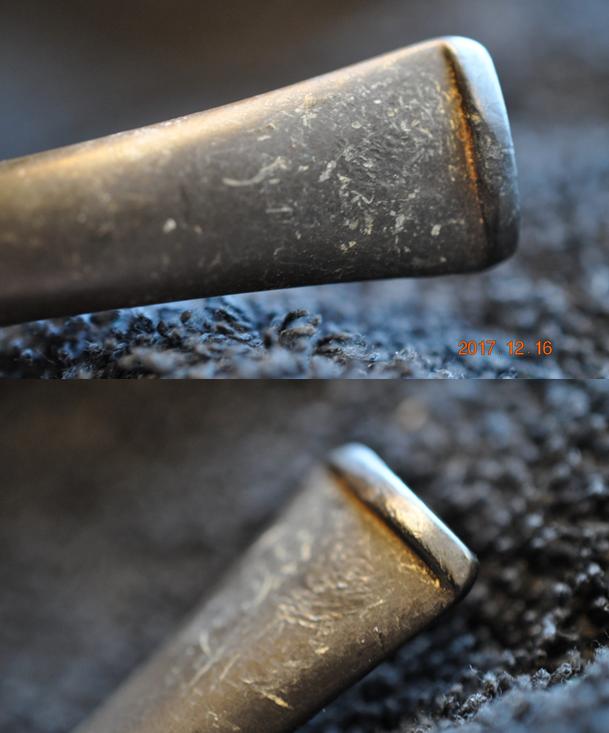
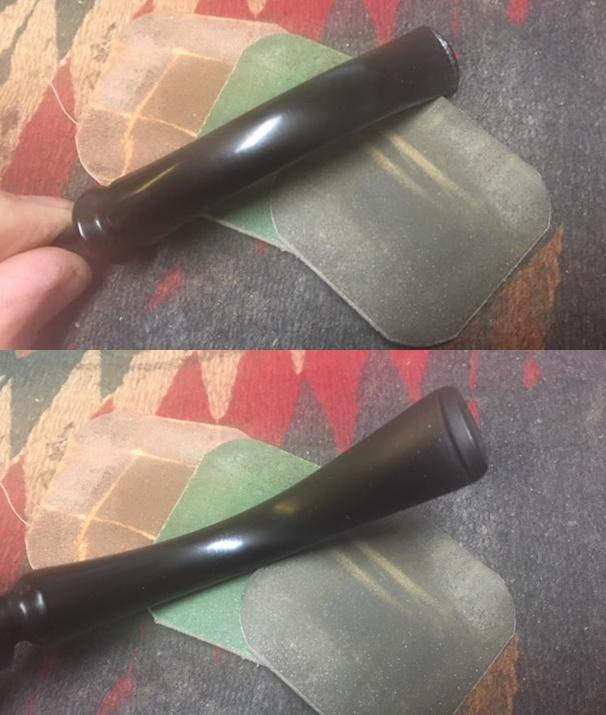
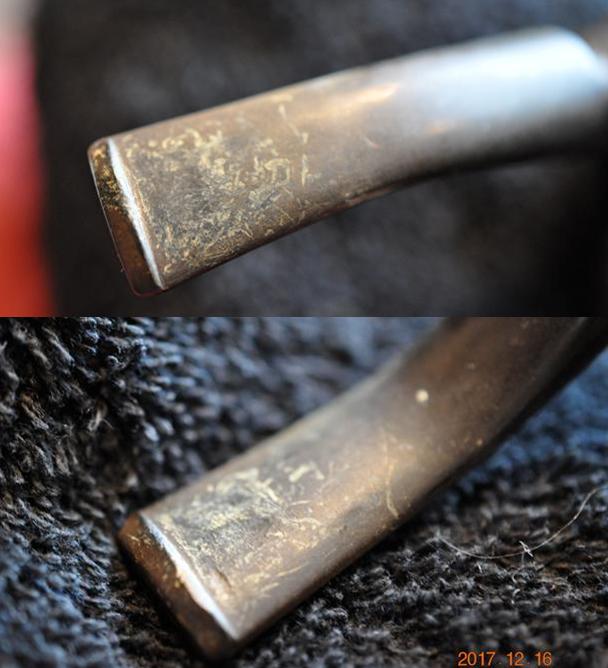
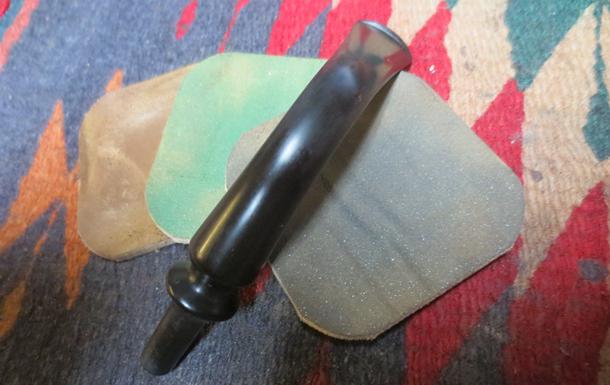
 I set the bowl aside to air dry. I turn my attention to the stem. I scrubbed the surface of the stem with Soft Scrub Cleanser on cotton pads. I was able to remove the heavy oxidation. The rest would come off as I cleaned the stem.
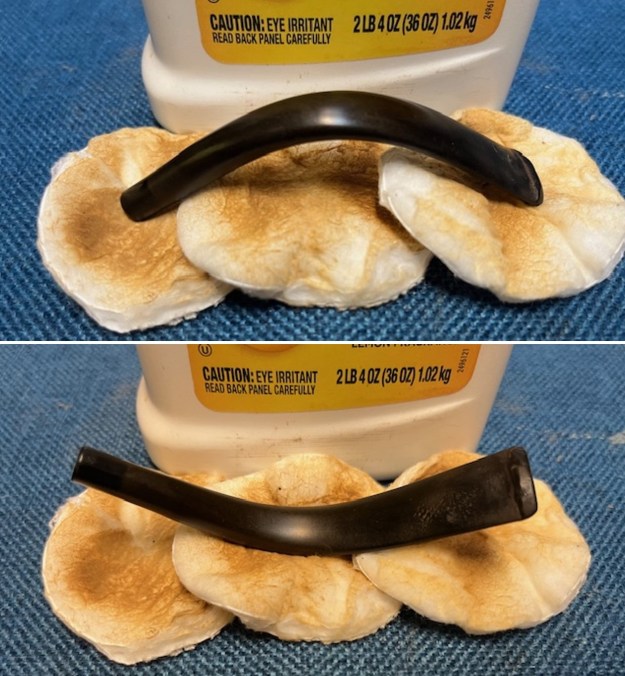 I checked to tooth marks on the stem surface. The deep one on the top of the stem was almost a bit through. In fact there may well have been a small hole. I greased a pipe cleaner with Vaseline and slipped it into the button airway. I filled in the tooth marks on both sides with black rubberized CA glue and set the stem aside for the repairs to cure.
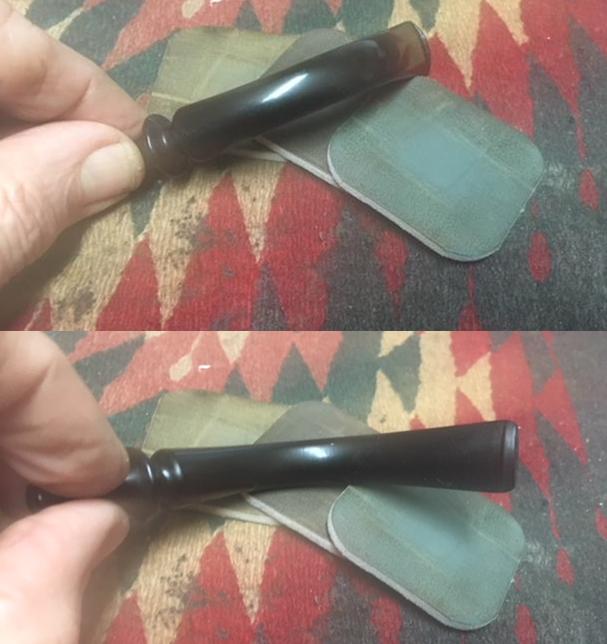
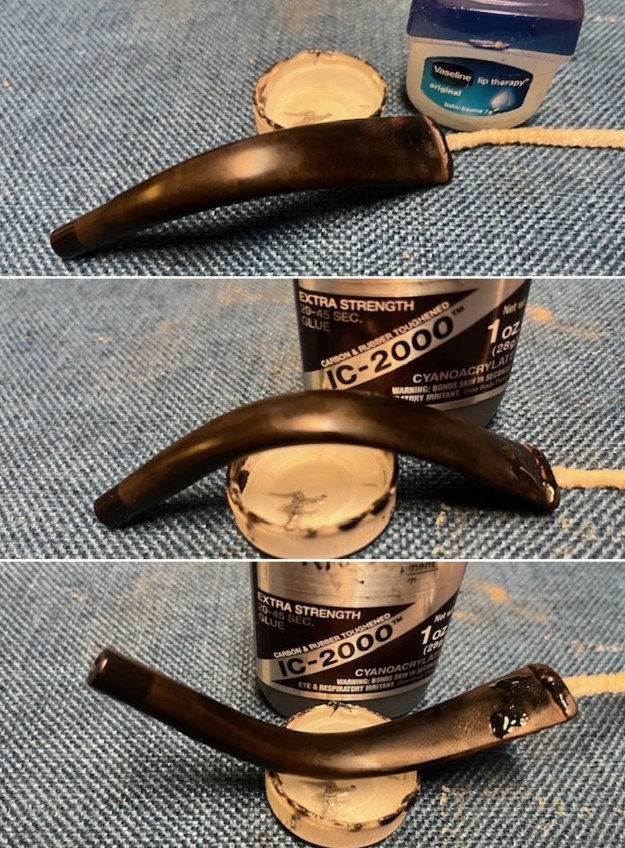 Once the repairs cured I used a small file to flatten the against the surface and clean up the sharp edge of the button. I sanded the repaired areas with a folded piece of 220 grit sandpaper to further flatten and blend them into the surface.
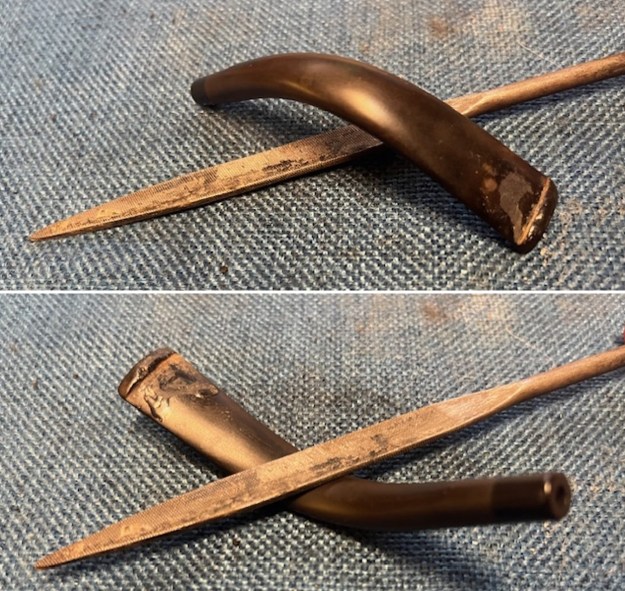
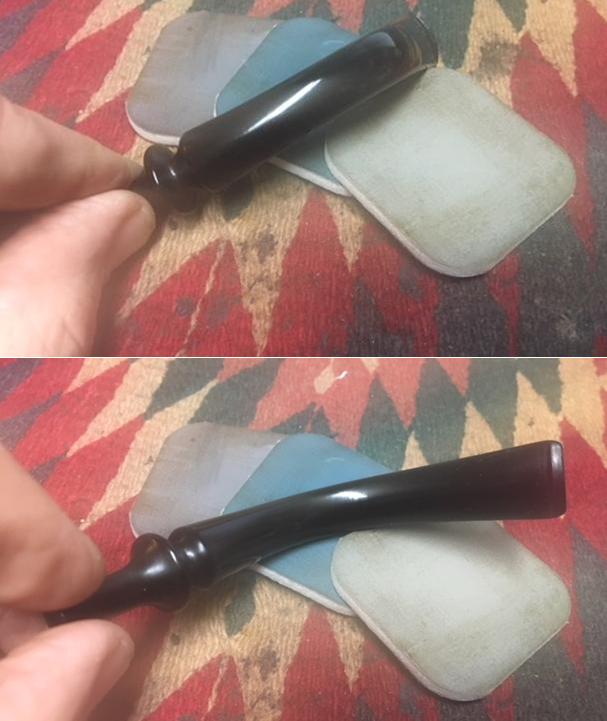
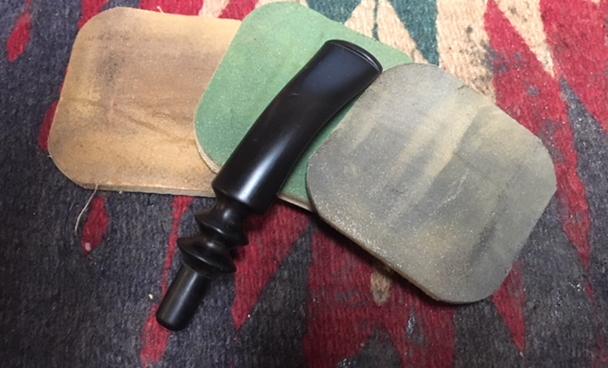
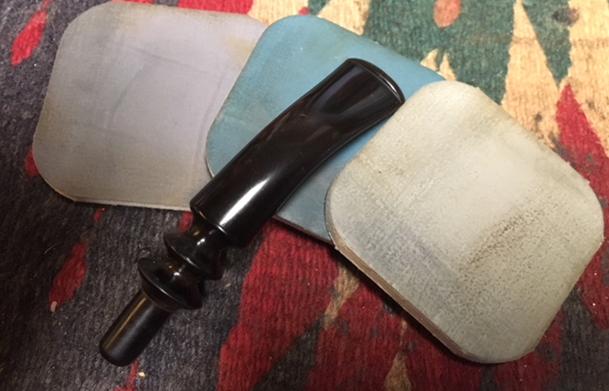
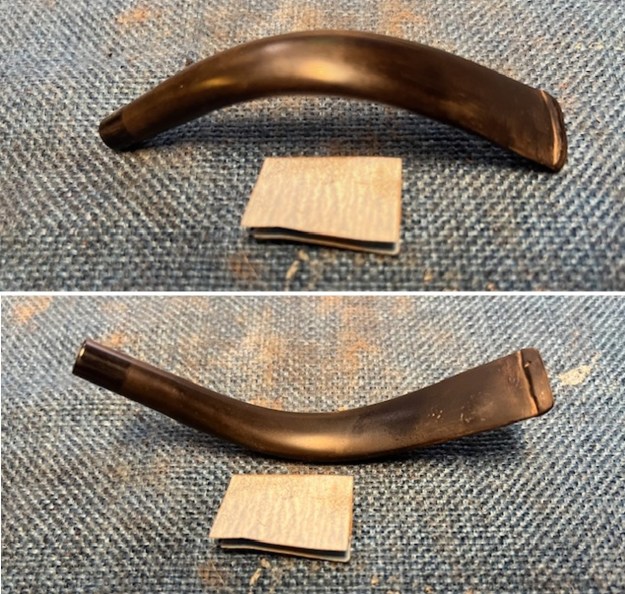 I sanded the stem further with 2×2 inch sanding pads to smooth out the stem surface. I wiped it down with a damp cloth after each sanding pad. I took photos of the stem after the sanding.
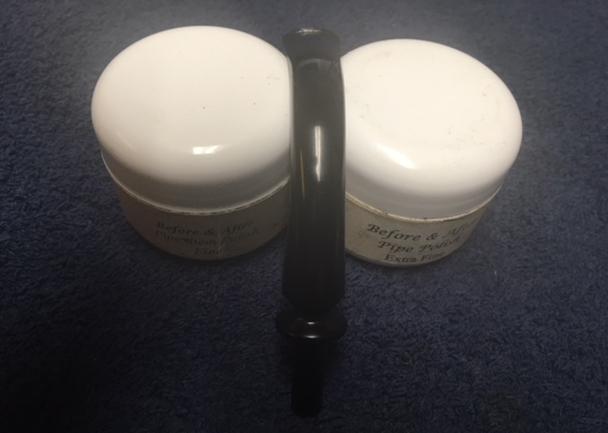
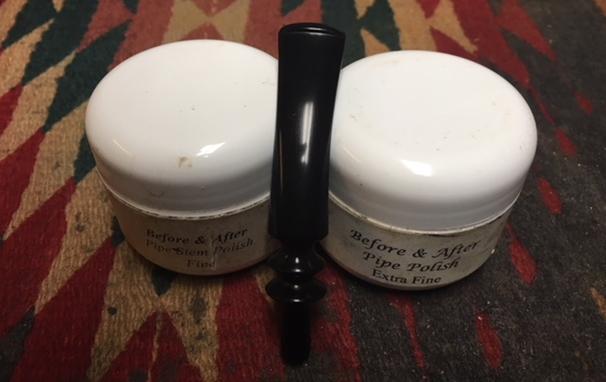
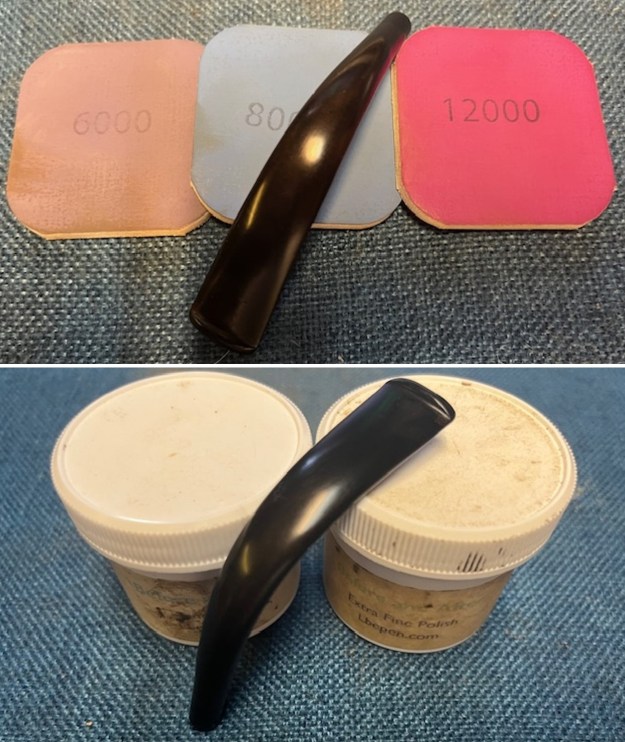
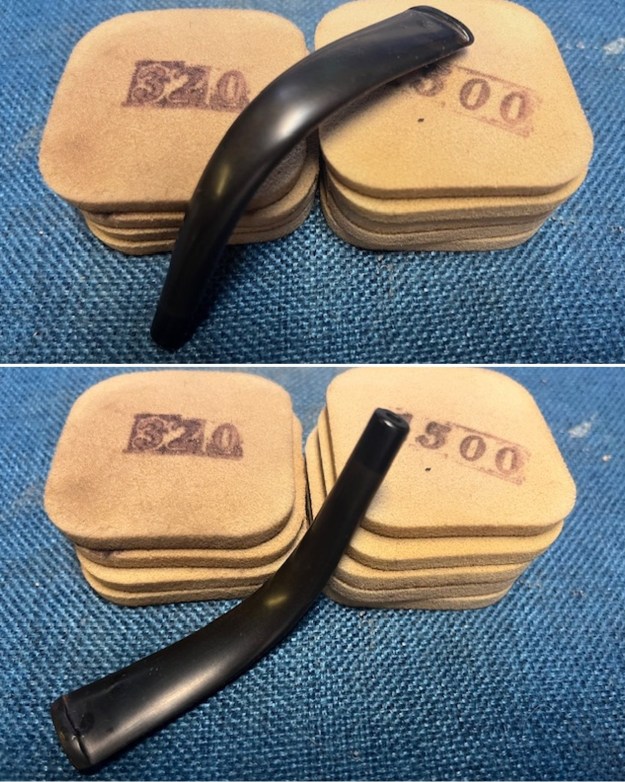 I polished the stem with micromesh sanding pads – wet sanding with 1500-12000 grit sanding pads. I wiped it down after each sanding pad with some Obsidian Oil. I finished polishing it with Before & After Pipe Stem Polish – both Fine and Extra Fine and buffed it off with a cotton cloth.
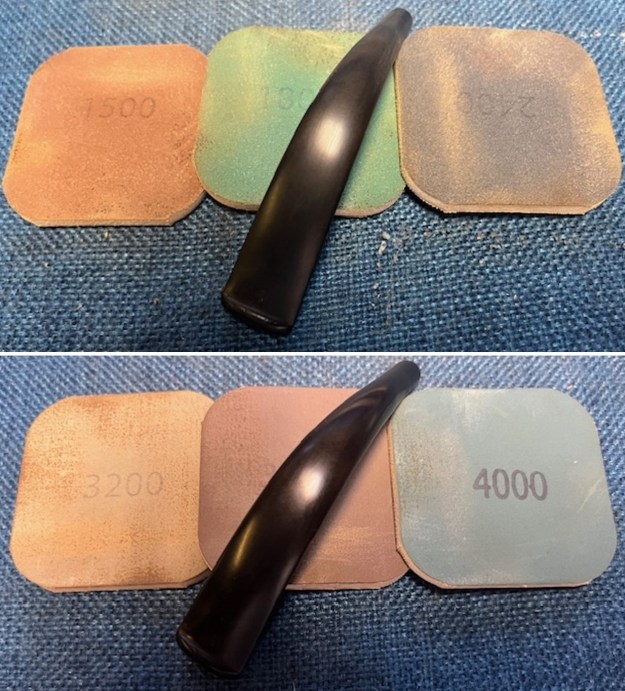
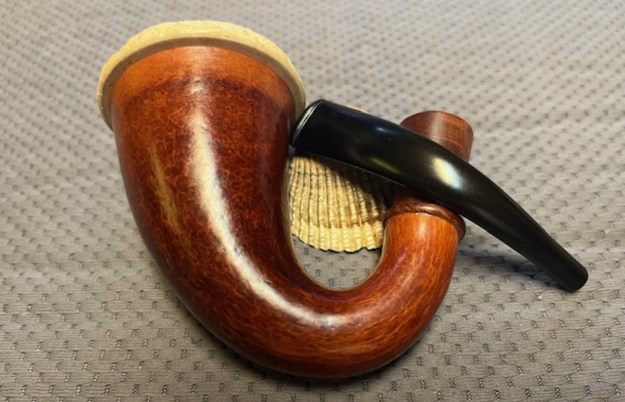
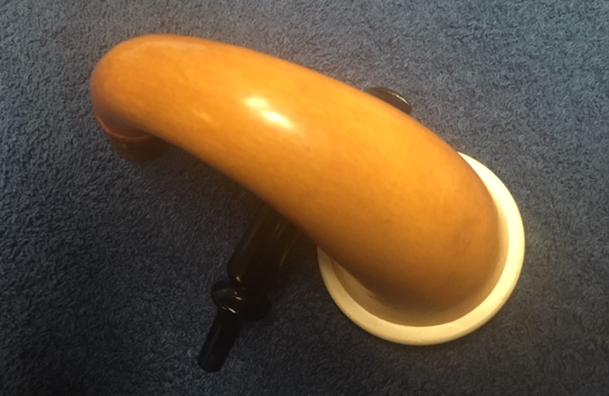
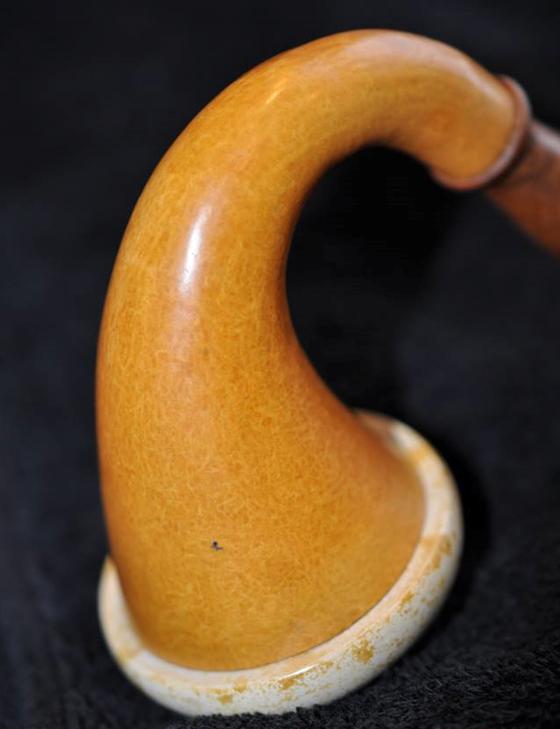
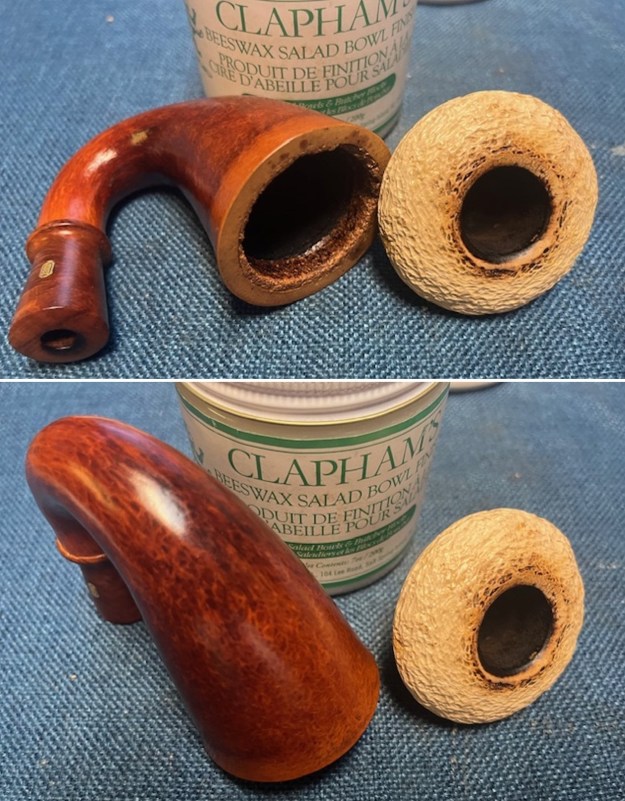
 I gave the gourd and the meerschaum bowl multiple coats of Clapham’s Soft Beeswax mixed with Carnauba. I let it dry and then buffed it with a soft cloth. It is a beautiful bowl.
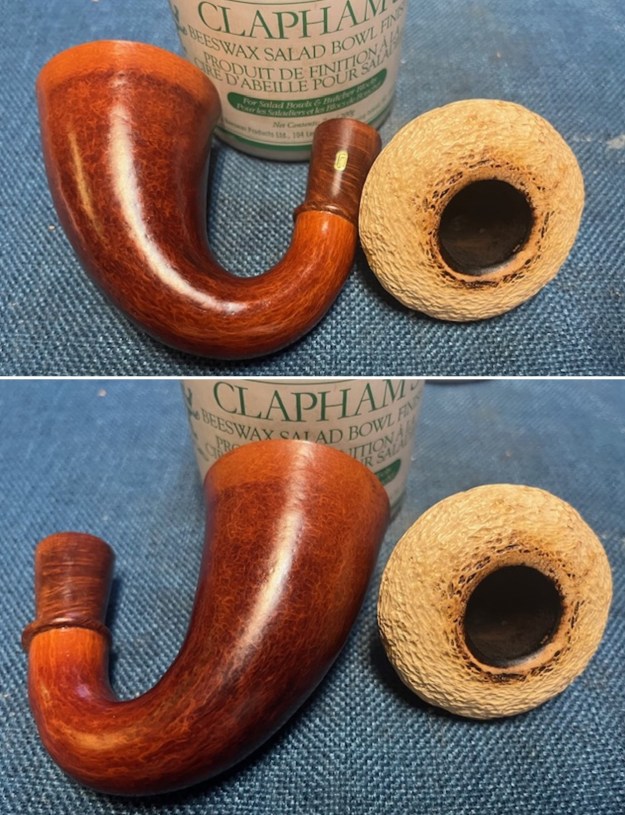
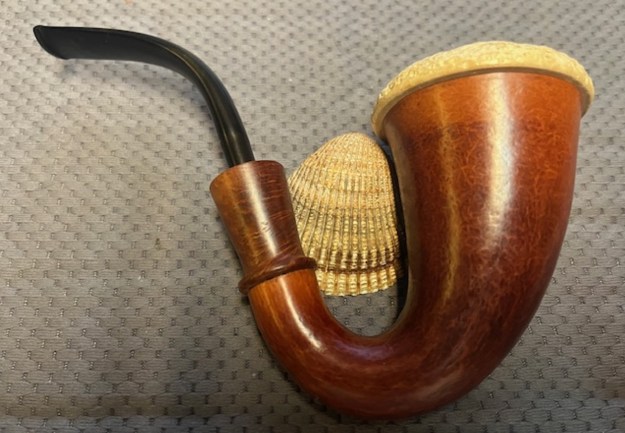
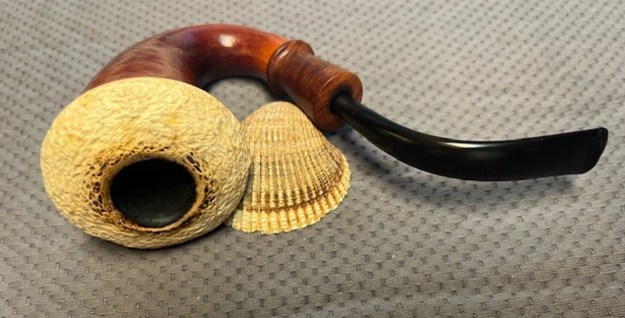
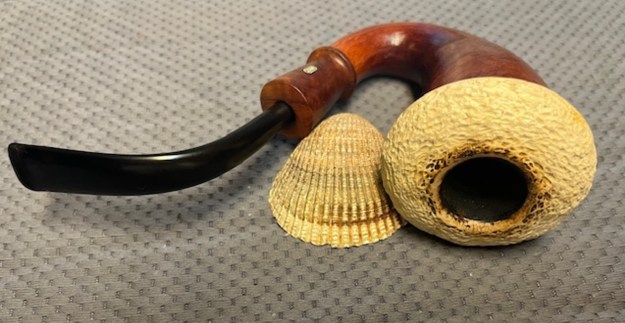
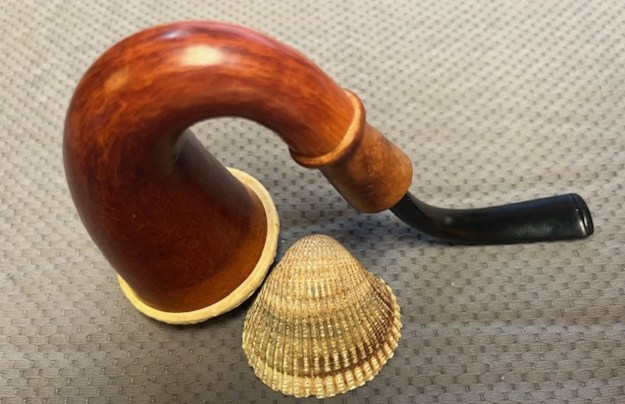
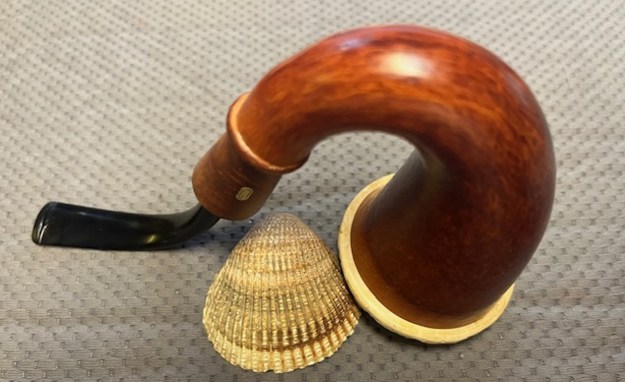
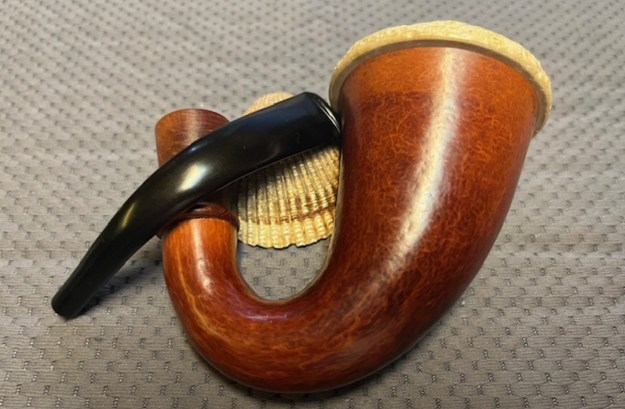
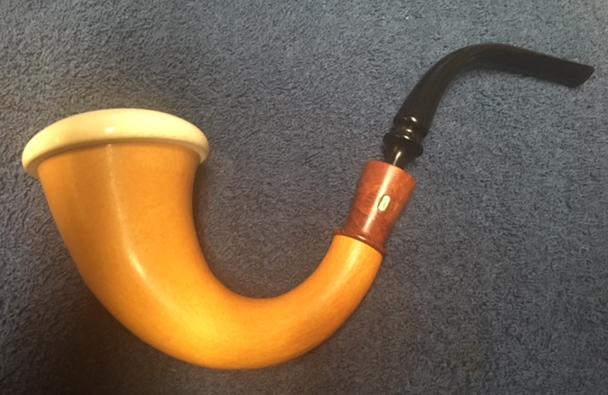
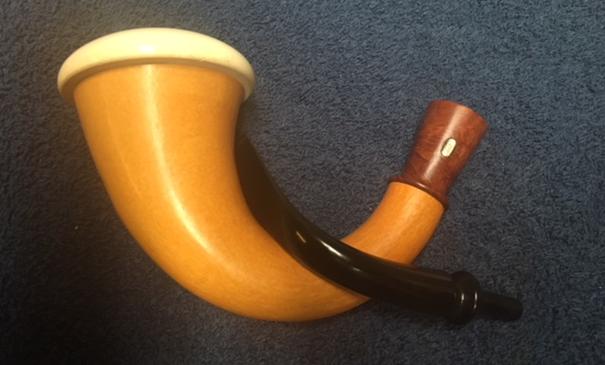
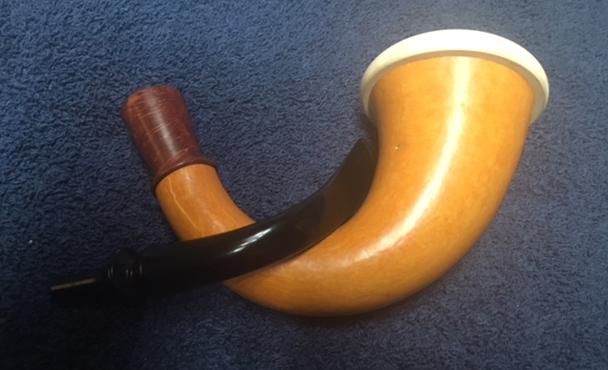
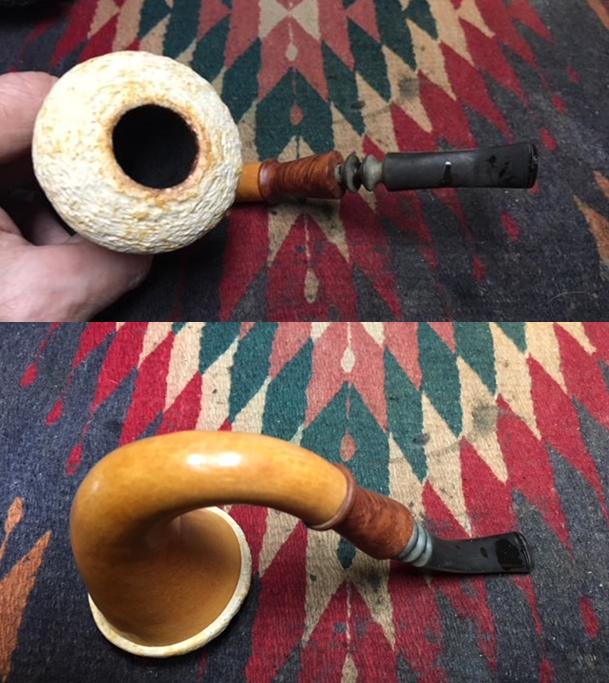
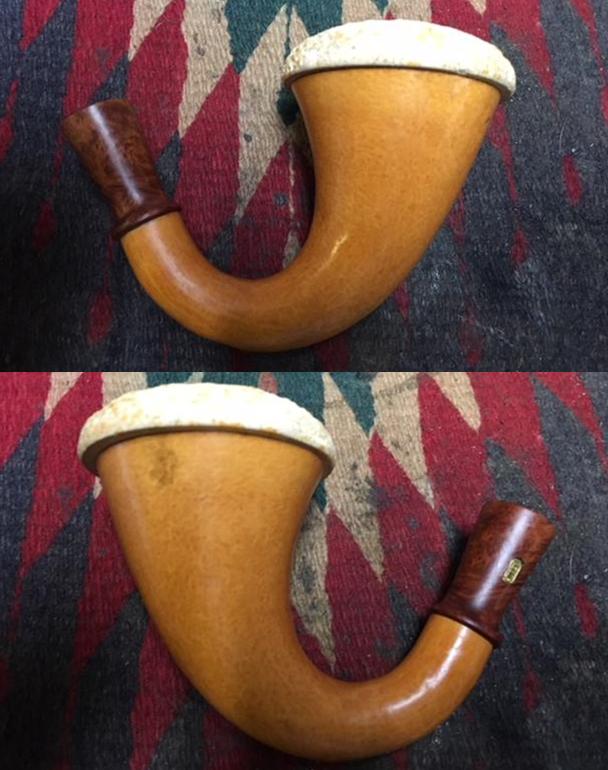
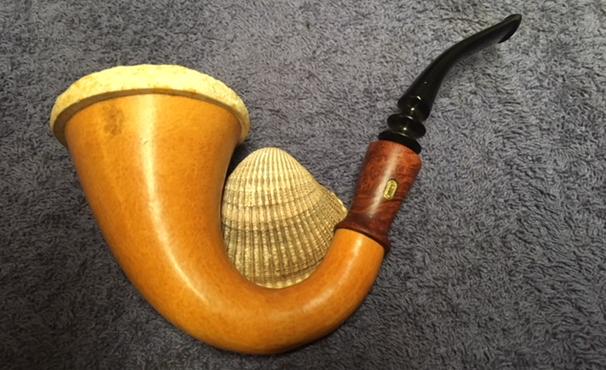
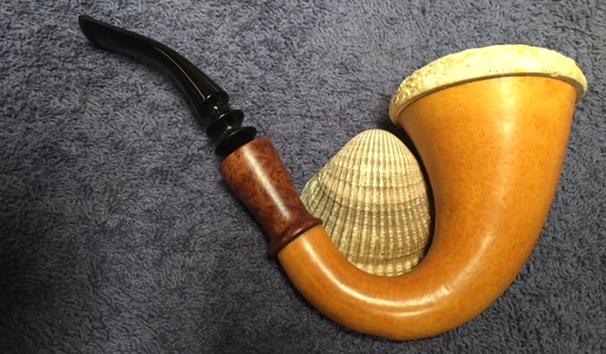
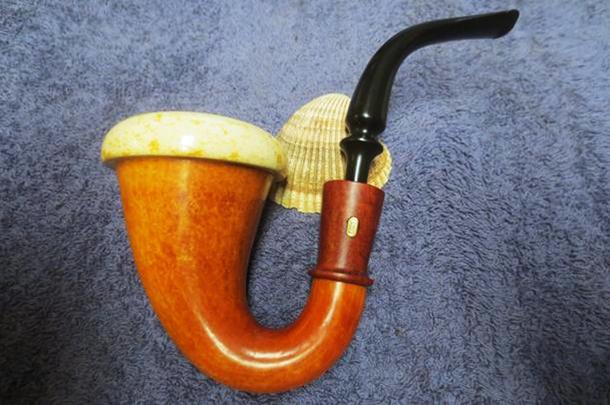
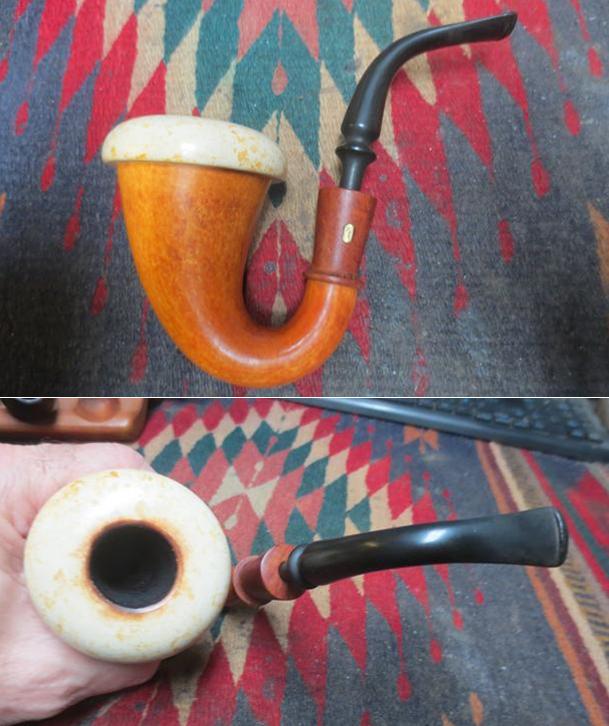
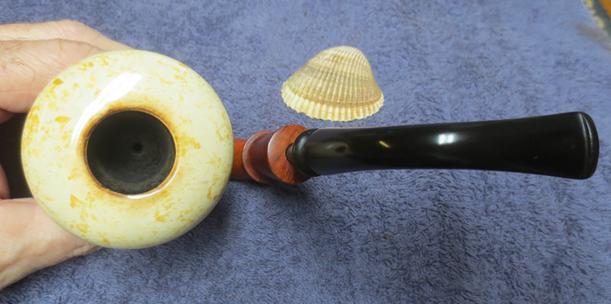
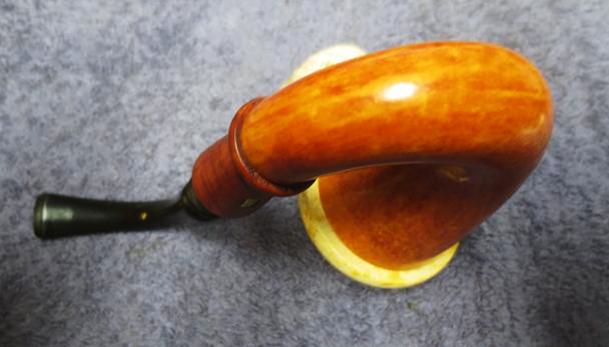
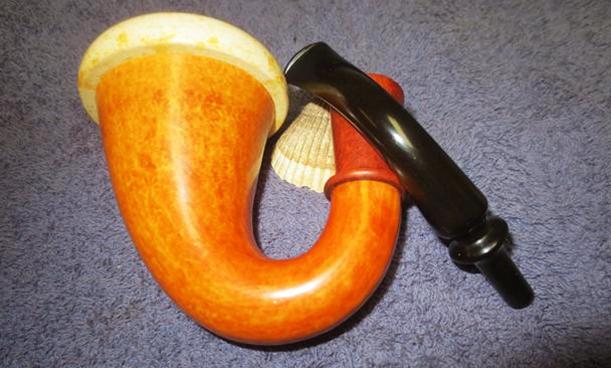
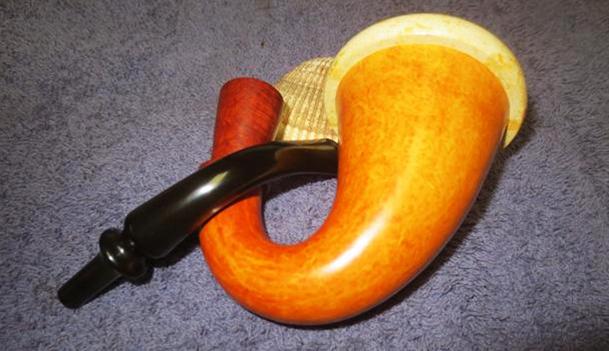
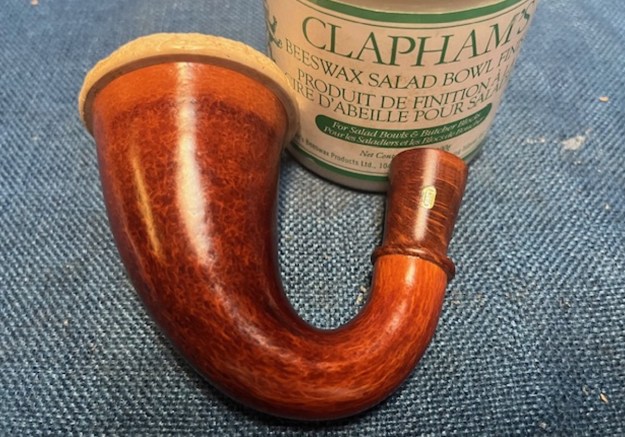 Normally at this point I put the stem back on the bowl and take the pipe to the buffing wheel to work it over. This time I took the parts to the buffing wheel. I gently buffed the meerschaum cup and rim with Blue Diamond to polish the meerschaum cup. I carefully buffed the gourd base and briar shank extension with Blue Diamond being cautious about the pressure I put on the gourd. I buffed the stem with Blue Diamond to raise the gloss on the vulcanite. I took the pipe back to the work table and gave the gourd and meerschaum bowl multiple coats of Clapham’s Beeswax paste. I gave the stem several coats carnauba wax. I buffed the parts of the pipe with a clean buffing pad to raise the shine. I hand buffed it with a microfiber cloth to deepen the shine. The finished Jobey Meerschaum pipe is shown in the photos below. This one is heading back to John later this week so he can return it to his son. I think he will really enjoy the unique look of his new pipe. Thanks for looking.