by Kenneth Lieblich
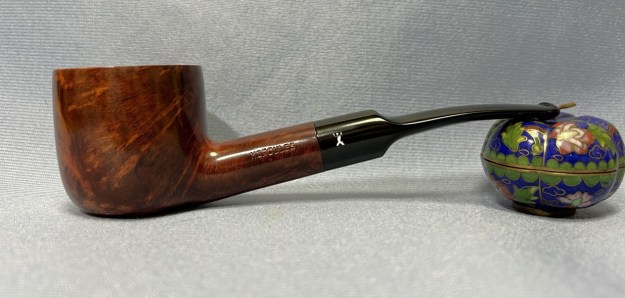
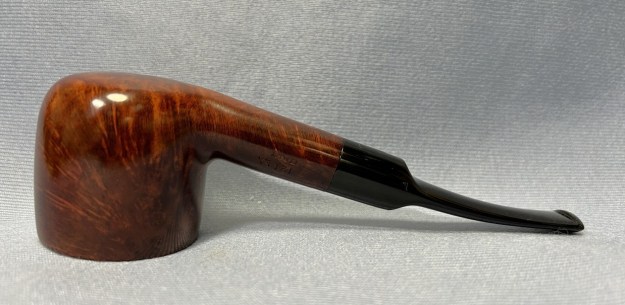
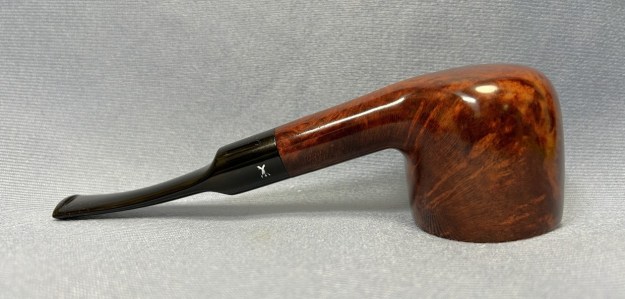
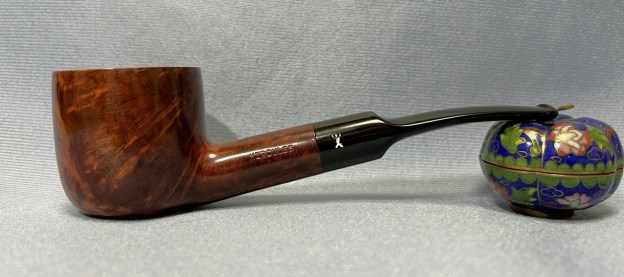
Here’s a handsome and robust Savinelli-made Hercules that was part of a large lot that I recently acquired. If it’s from the Hercules line, that must mean it’s big and strong. It is a slightly bent pot and it has a nice vulcanite saddle stem. Good looking pipe and, fortunately for everyone, it was new (or nearly new) when I got it. I can’t imagine that it was smoked more than once, if at all.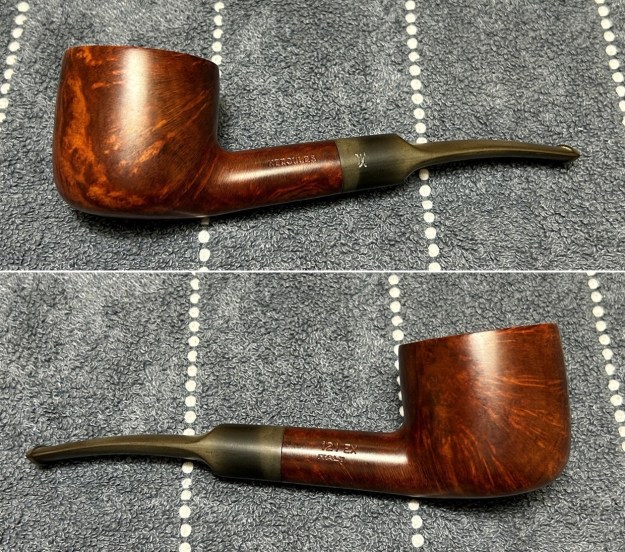
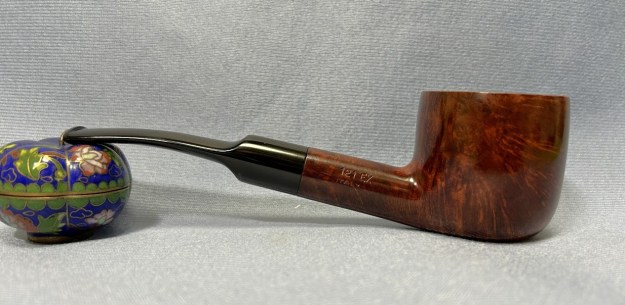
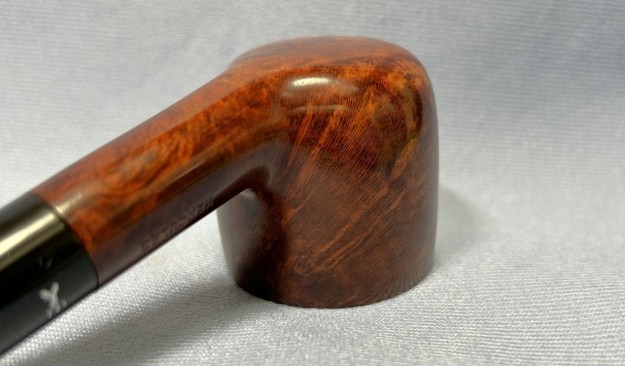
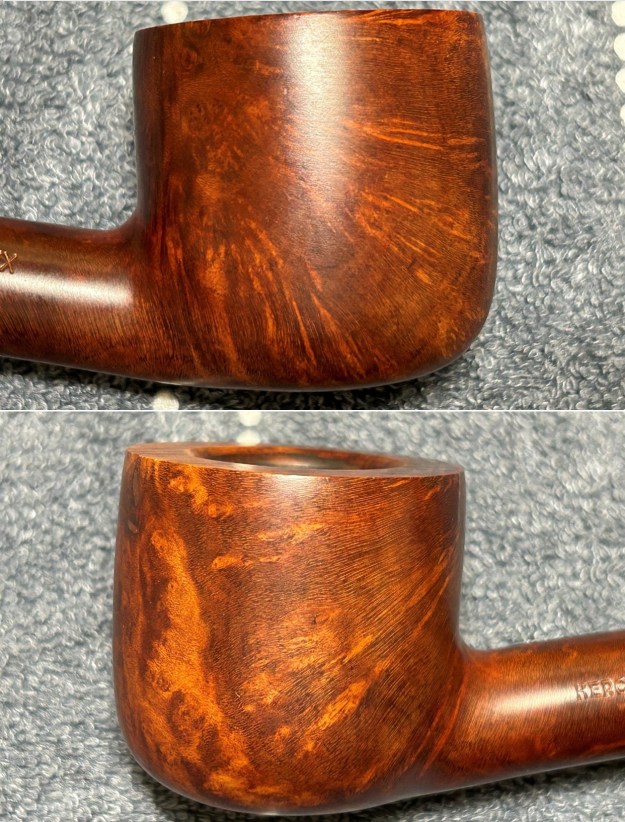
 The markings on the pipe are very clear. On the left side of the shank is the word Hercules. On the right side of the shank, we read 121 EX [over] Italy. The stem shows a stylized engraved image of Hercules himself. The shape number, 121, is described by Savinelli as “Half-Bent Pot” and the EX stands for “Extraordinaire”, and that corresponds to sizes 4.5–5. Savinelli is one of the most recognized names in pipe smoking and they have a long and storied history. You can read about them from their own website or from Pipedia’s article about them.
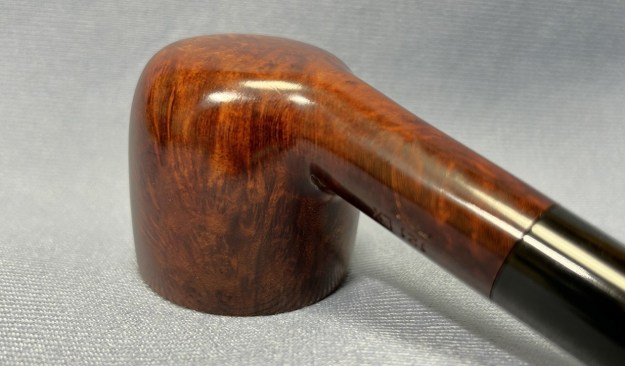
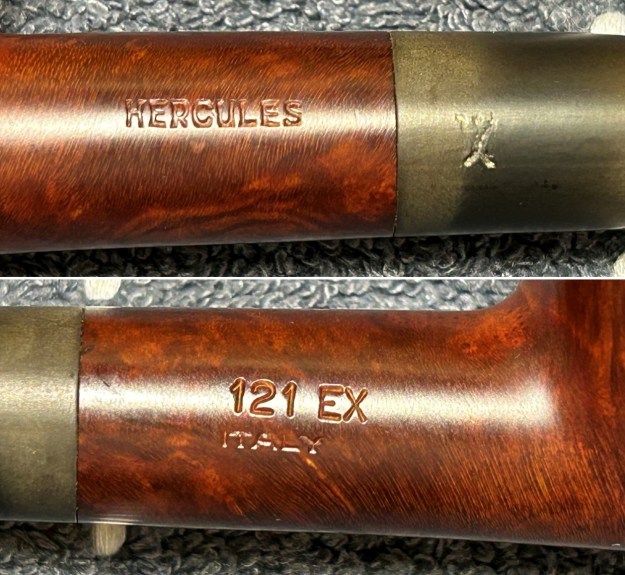 Let’s look at the pipe. The stummel is in great shape. Seldom, if ever, smoked, so hardly any wear. There are a couple of fills, but they have been well addressed. The stem is also in great shape – no tooth marks or scratches, just some oxidation to deal with.
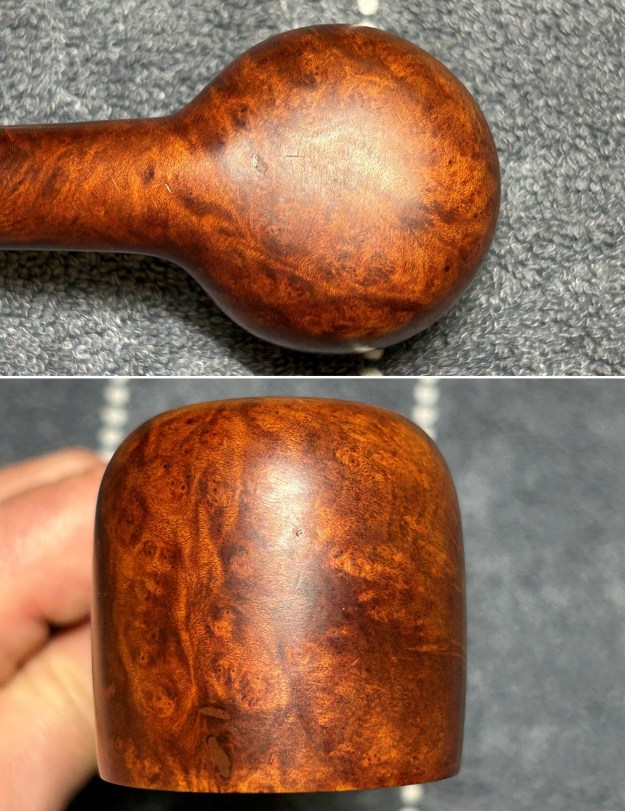
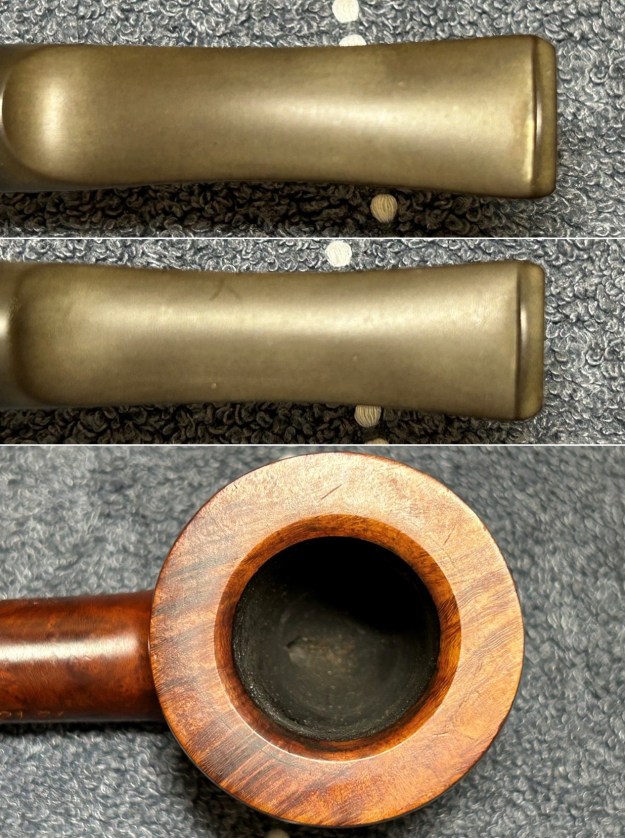
 The primary cleaning came first. I disinfected the inside of the stem with both pipe cleaners and cotton swabs dipped in lemon-infused 99% isopropyl alcohol. I scrubbed thoroughly to make sure the interior was very clean. I used hardly any pipe cleaners because it was already clean.
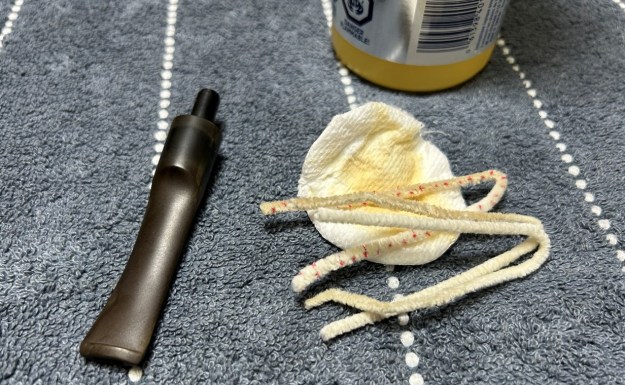 The goal of the next step is the removal (or minimization) of oxidation. Going to my sink, I used cream cleanser, cotton rounds, and a toothbrush, and scoured the stem to remove as much surface oxidation as possible. As the photos show, the result was a hideous, brownish mess – but better off the stem than on it.
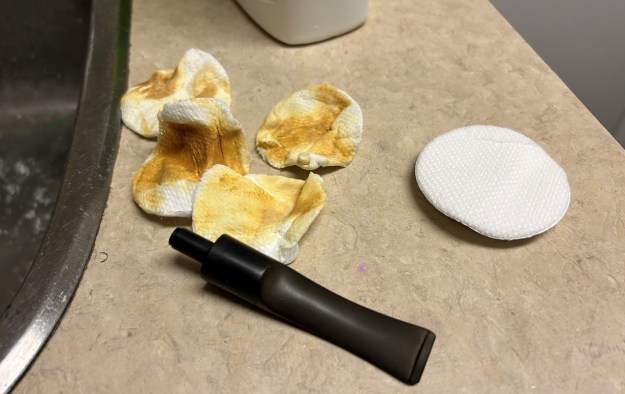 Once the stem was reasonably clean, I soaked it overnight in some Briarville Stem Oxidation Remover. This solution works to draw oxidation in the stem to the surface of the vulcanite. This is a major aid and an important step in ensuring a clean stem. The following day, I drew out the stem from its bath and scrubbed the lingering fluid with a toothbrush. After this, I painted the logo on the stem with some enamel nail polish. I restored the logo carefully and let it fully set before proceeding.
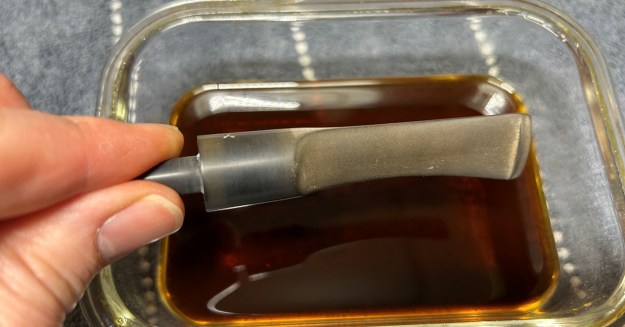 The penultimate step for the stem is sanding. I used all nine of the micromesh sanding pads (1,500 through 12,000 grit) to sand out flaws, even out the vulcanite, and provide gentle polishing of the finished surface. I also applied pipe-stem oil while using the last five micromesh pads. There was a wonderful, deep black shine to the stem when I was done.
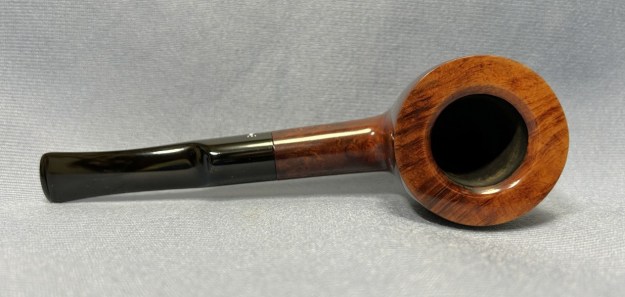
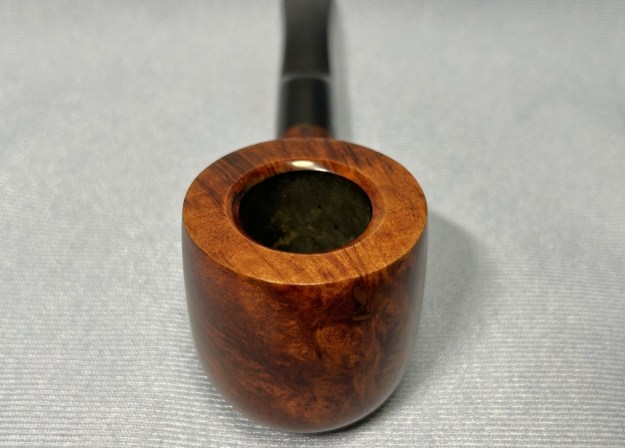
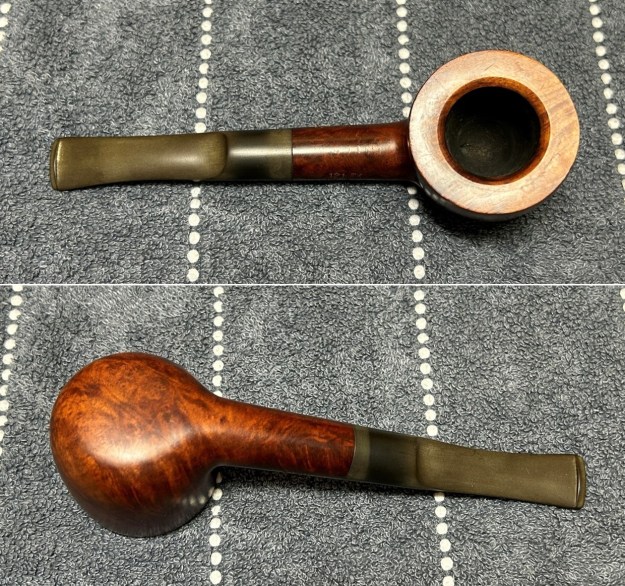
 As the stem was (nearly) complete, I moved on to the stummel. The inside didn’t even need reaming, as the original bowl coating was still there! Similar to the stem, I then cleaned the stummel with both pipe cleaners and cotton swabs dipped in lemon-infused 99% isopropyl alcohol. There was next-to-nothing inside. The black you see in the photos is simply from the bowl coating.
 To tidy up the briar, I also wiped down the outside with some oil soap on cotton rounds and used a toothbrush in the crevices. This did a good job of cleaning any latent dirt on the surface of the briar.
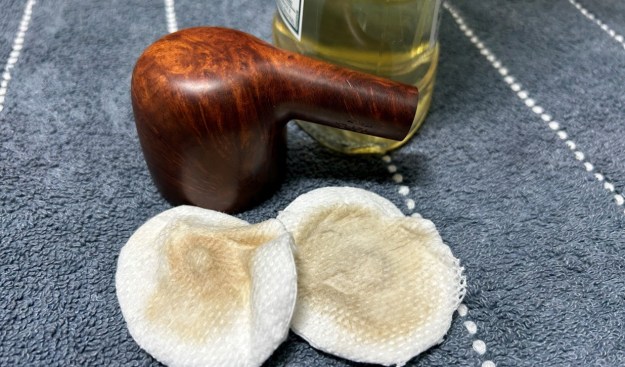 Having completed that, I noticed a small nick on the rim of the bowl. I dug out my iron and a damp cotton flannel cloth. By laying the cloth over the affected areas and applying the iron to it, the hot and moist steam can cause the wood to swell slightly and return to shape. This worked very well and the rim looked as good as new.
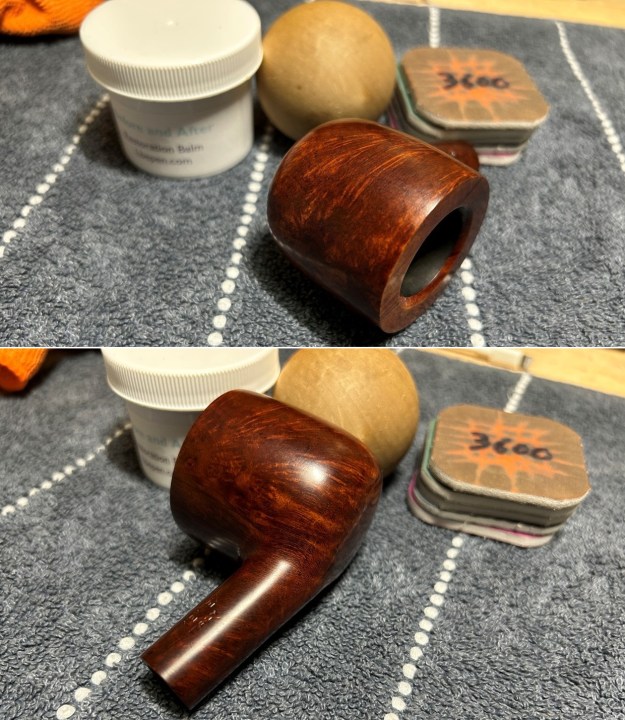
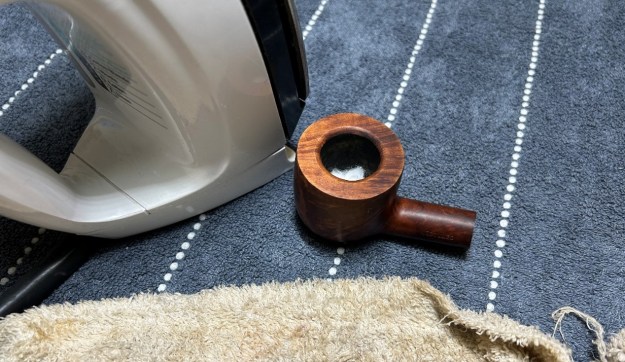 I used only the last five micromesh pads (3,600 through 12,000 grit) to sand the outside of the stummel and finish it off. This sanding minimizes flaws in the briar and provides a beautiful smoothness to the wood. I rubbed some LBE Before & After Restoration Balm into the briar and let it sit for 30 minutes or so. The balm moisturizes the wood and gives a beautiful depth to the briar. I then buffed the stummel with a microfibre cloth.
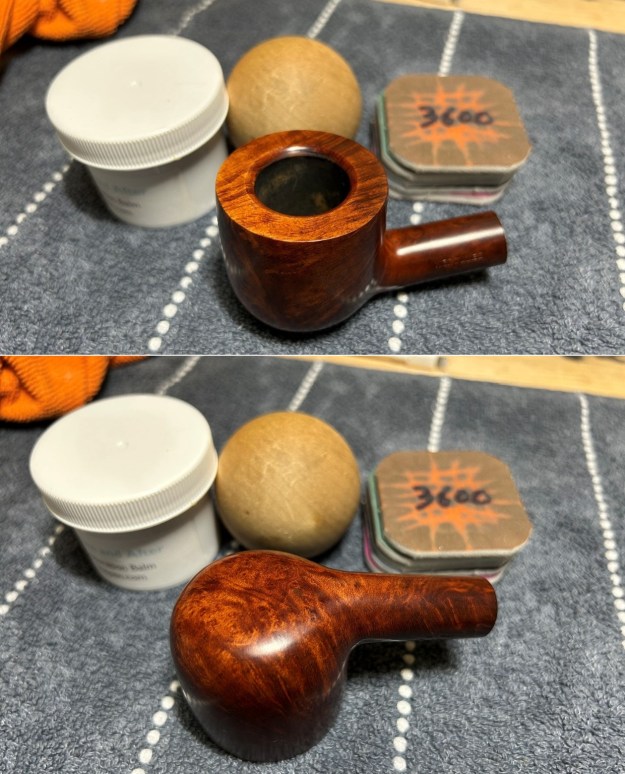
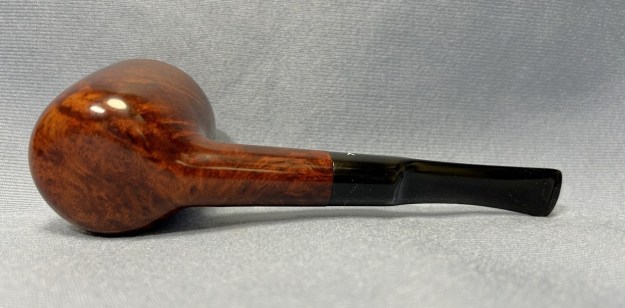
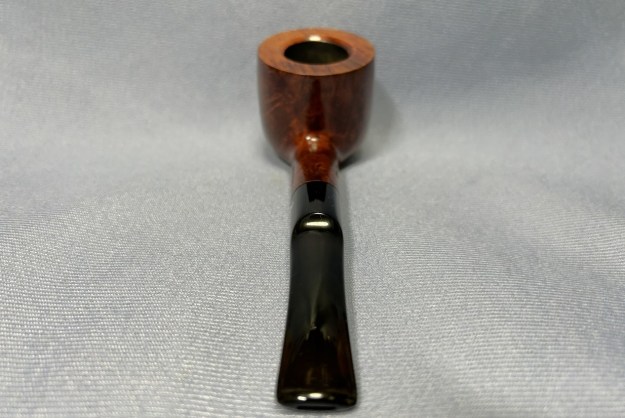
 For the final step, I took the pipe to my bench polisher and carefully buffed it – first with a blue diamond compound, then with three coats of carnauba wax. This procedure makes the pipe look its best – the stummel sings and the stem glows.
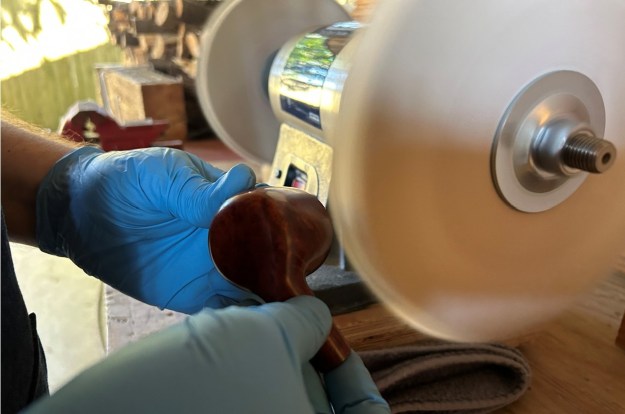 All done! This Savinelli Hercules 121 EX half-bent pot looks fantastic again and is ready to be enjoyed by its next owner. I am pleased to announce that this pipe is for sale! If you are interested in acquiring it for your collection, please have a look in the ‘Italian’ section of the store here on Steve’s website. You can also email me directly at kenneth@knightsofthepipe.com. The approximate dimensions of the pipe are as follows: length 6¼ in. (159 mm); height 1⅞ in. (47 mm); bowl diameter 1⅞ in. (47 mm); chamber diameter ⅞ in. (23 mm). The weight of the pipe is 2¼ oz. (67 g). I hope you enjoyed reading the story of this pipe’s restoration as much as I enjoyed restoring it. If you are interested in more of my work, please follow me here on Steve’s website or send me an email. Thank you very much for reading and, as always, I welcome and encourage your comments.