Blog by Steve Laug
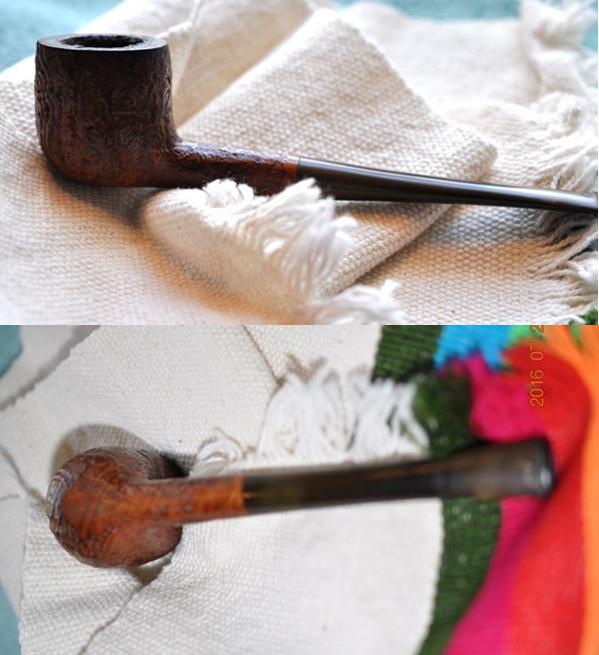
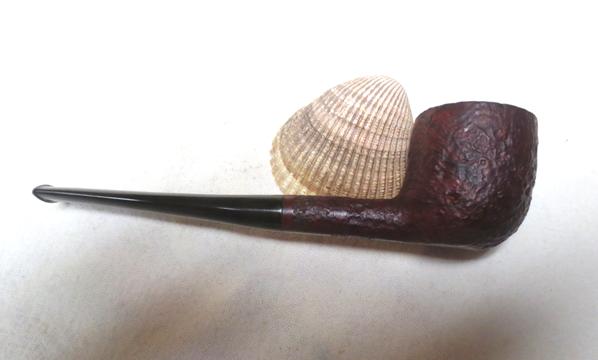
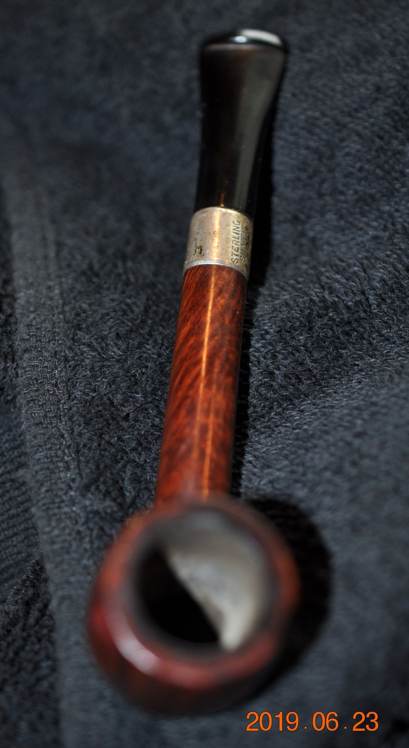
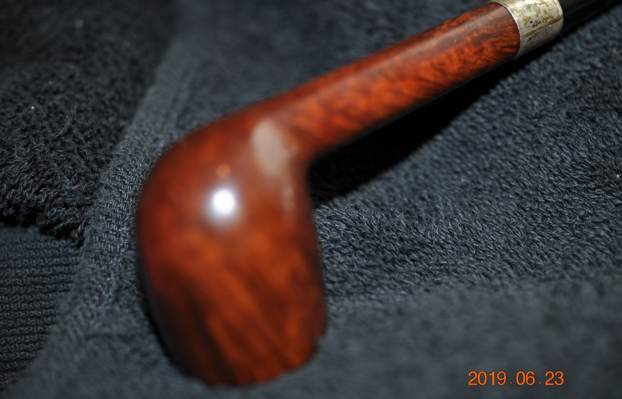
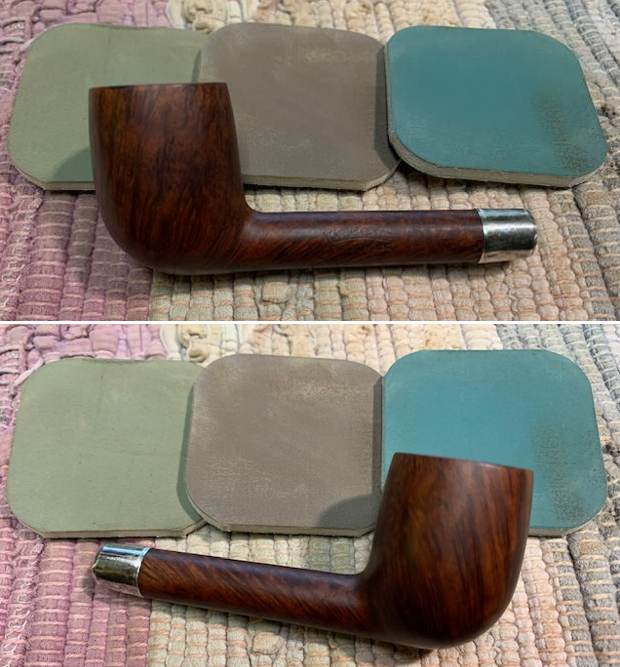
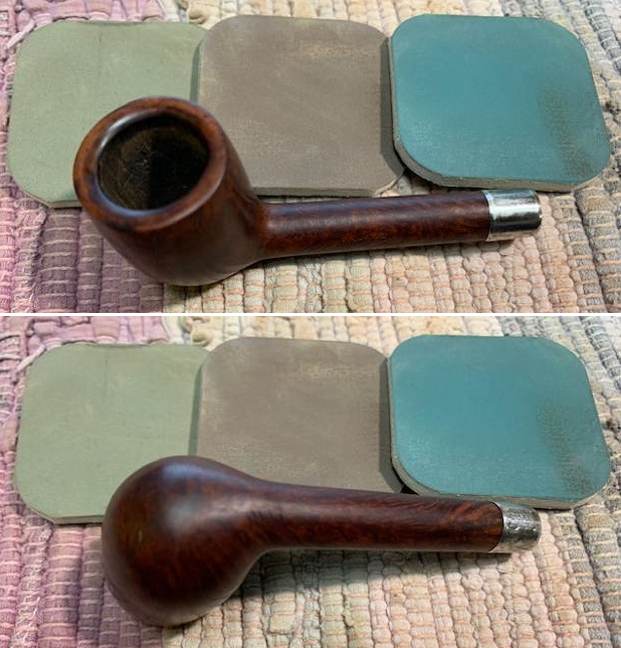
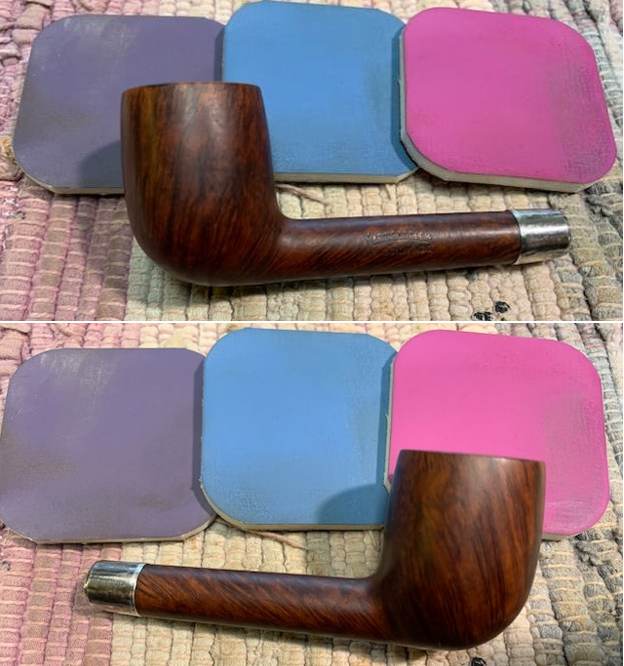
The next pipe on the work table came to us from an online auction on 03/21/19 in Wilkes Barre, Pennsylvania, USA. It is a smooth Hardcastle’s Liverpool shaped pipe with a taper vulcanite stem. The pipe is stamped on the left side of the shank and reads Hardcastle’s [over] London Made. The Sterling Silver Band is stamped Sterling [over] Silver on the underside. The finish had a lot of grime ground into it and it was very dirty. The bowl was thickly caked and there was a lava coat on the flat rim top and damage to the back of the inner edge of the rim. The stem was lightly oxidized and had light tooth chatter and marks on the top and underside button. The dirty pipe showed some great looking flame and straight grain under the grime. It was full of promise. Jeff took photos of the pipe before he started his cleanup work. 
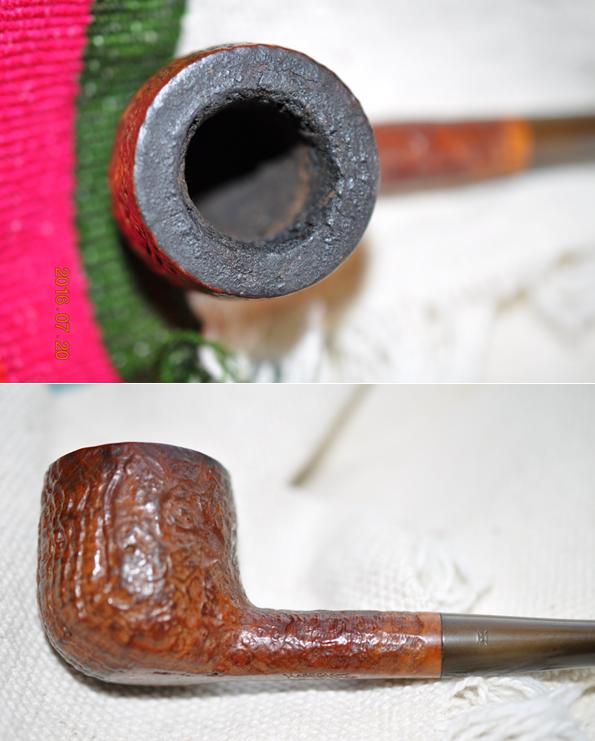
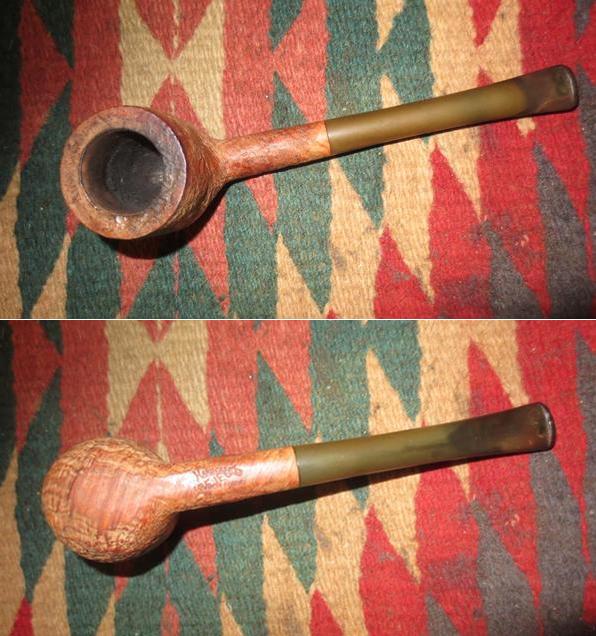
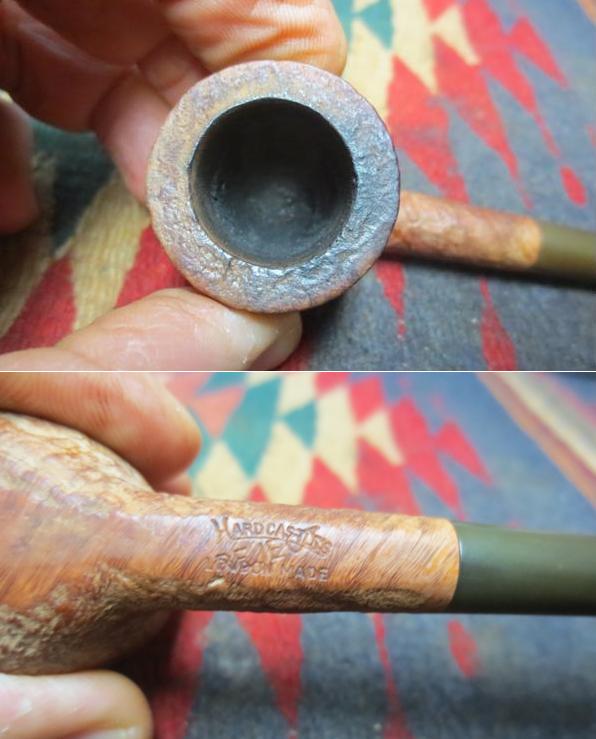
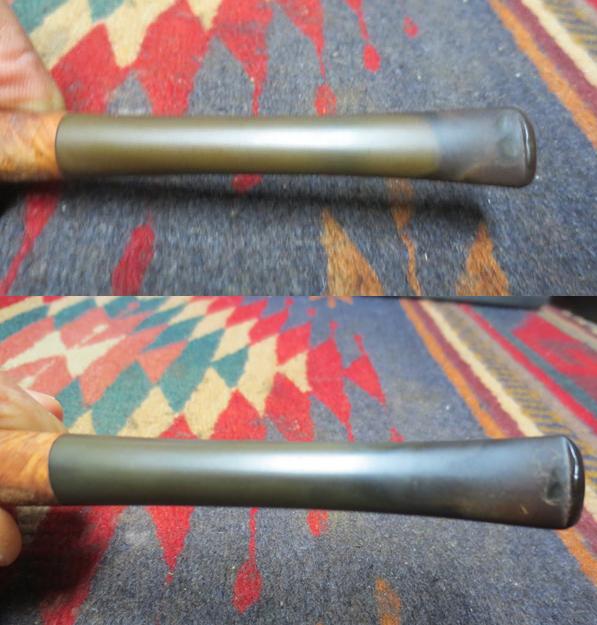
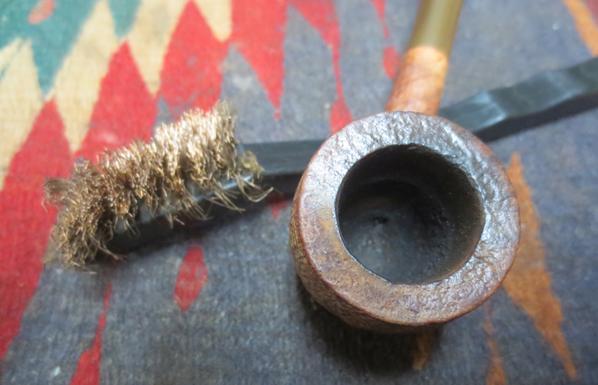
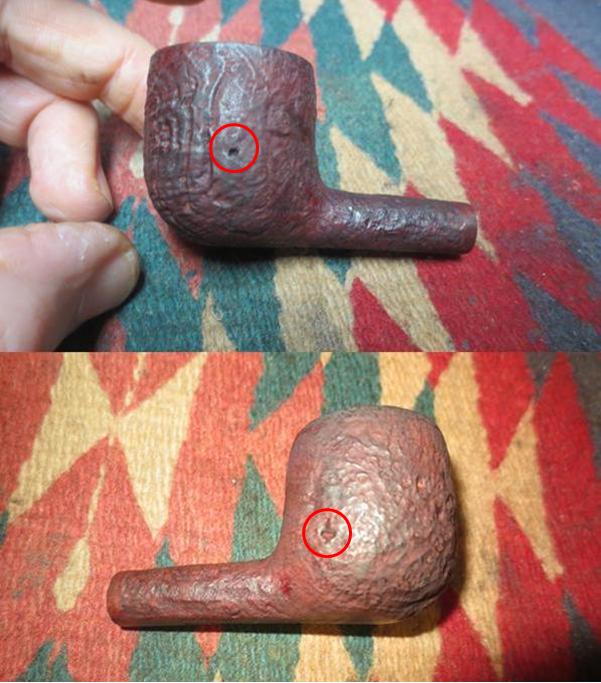
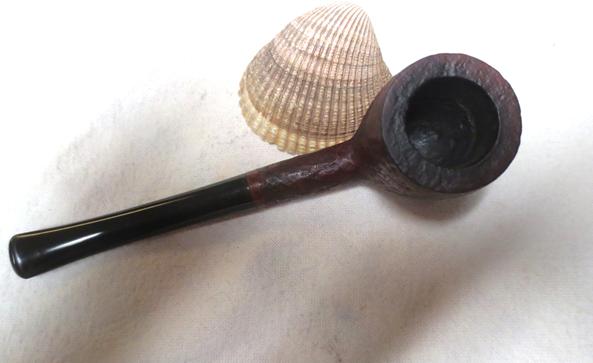
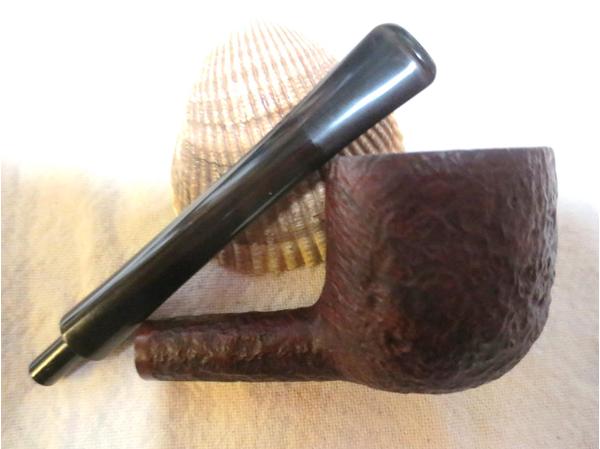
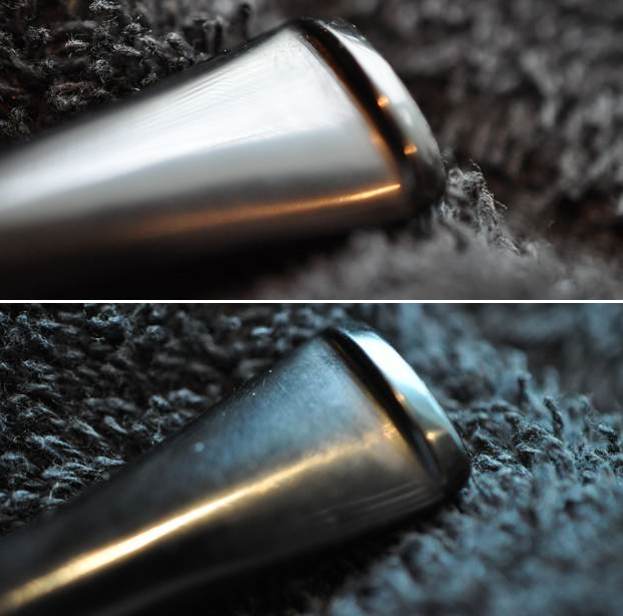
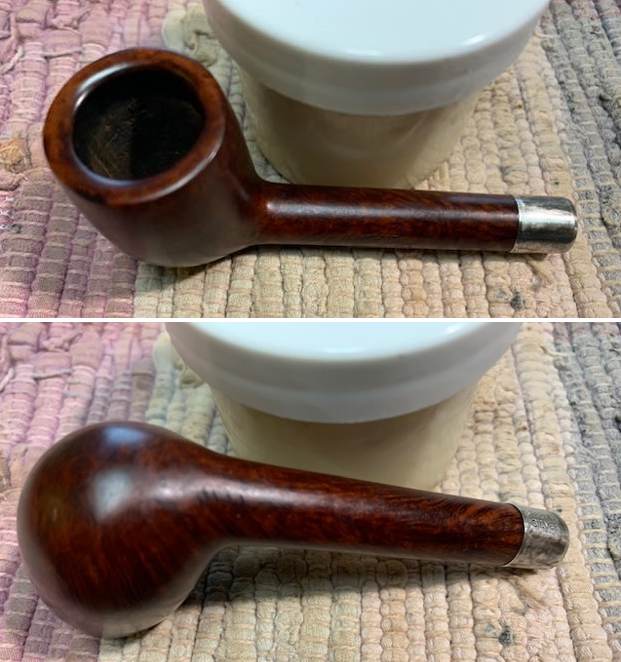
 He took photos of the rim top and bowl to give a clear picture of the thickness of the cake and the condition of the rim top and edges. You can see the darkening and damage to the inner edges all around the bowl but particularly toward the back side of the bowl. He also took photos of the top and underside of the stem to show the light oxidation and chatter and tooth marks.
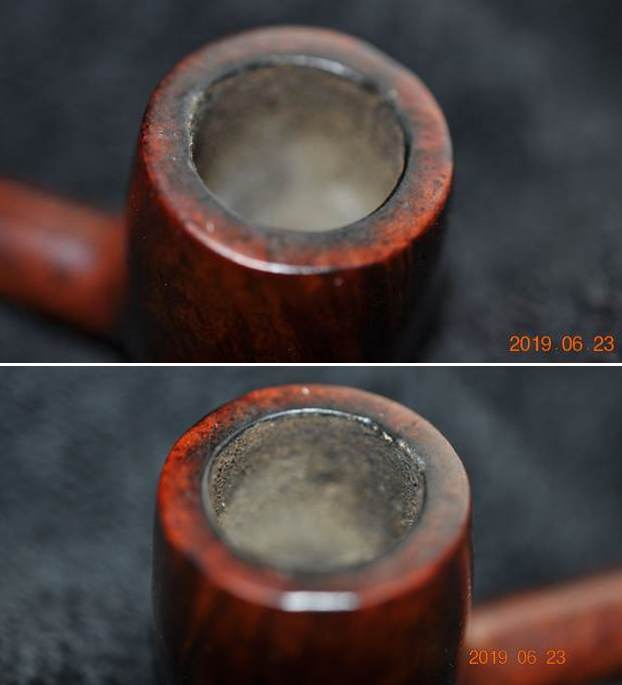
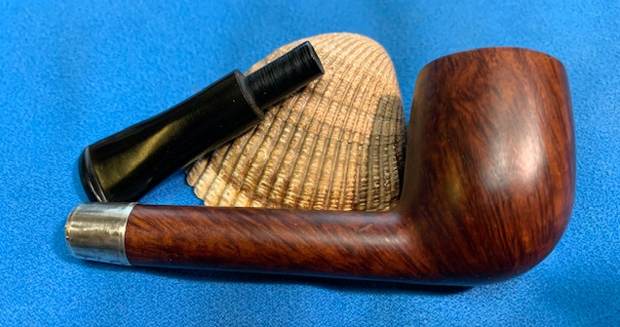
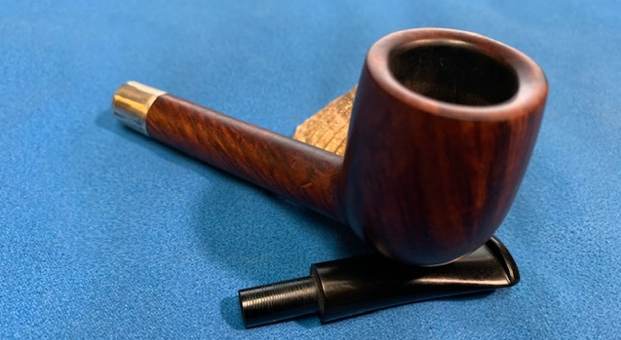
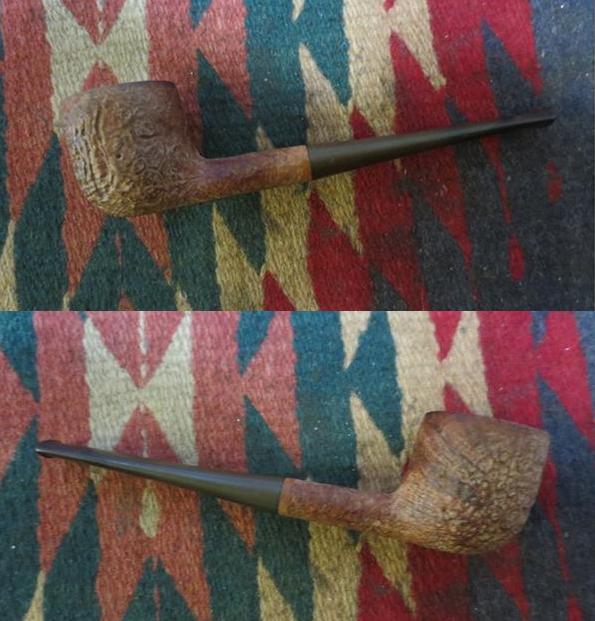
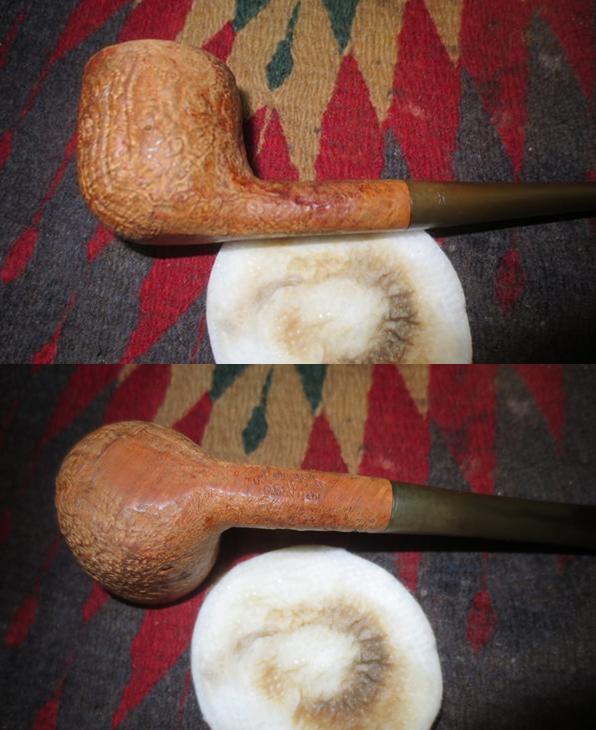
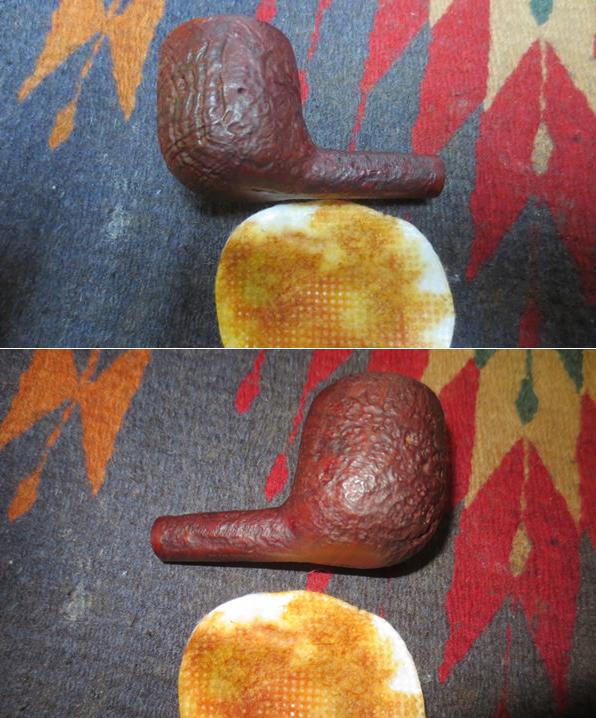
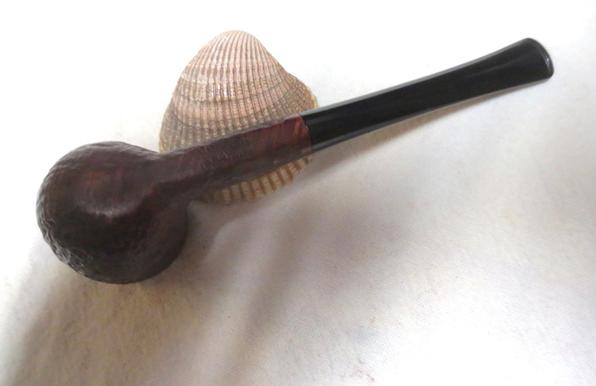
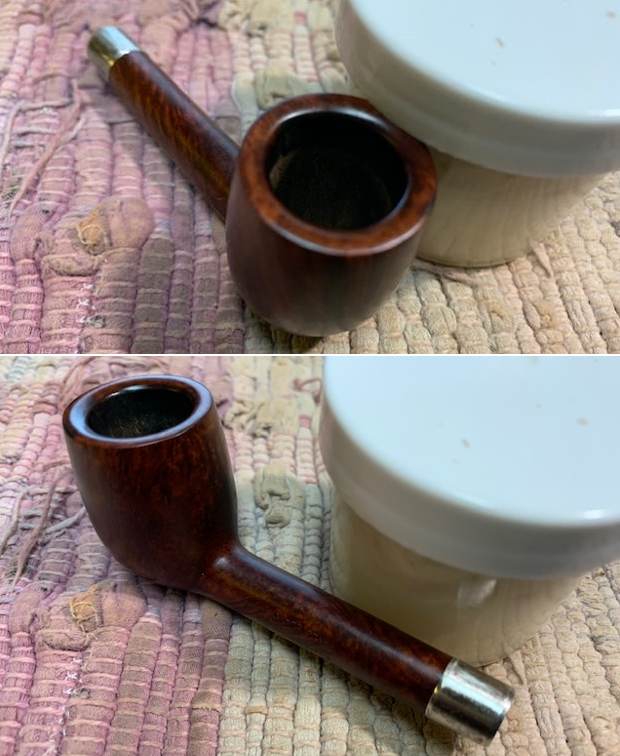
 Jeff took photos of the side and heel of the bowl to give a picture of what the briar around the pipe looked like.
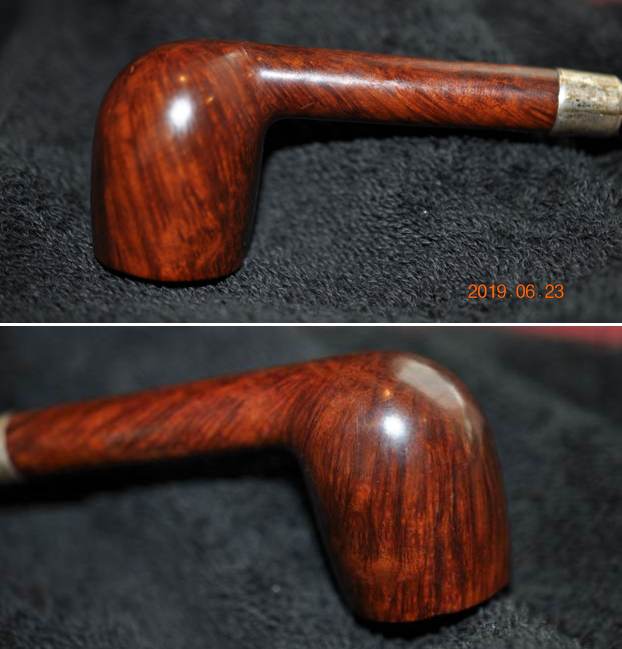
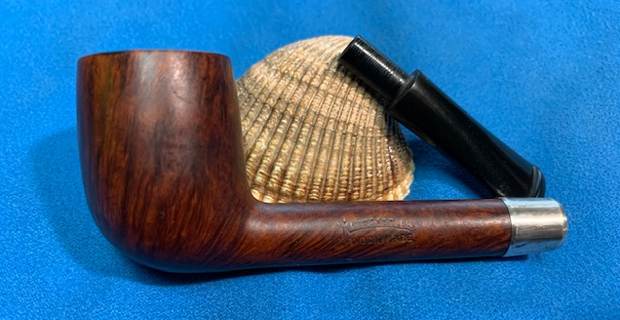
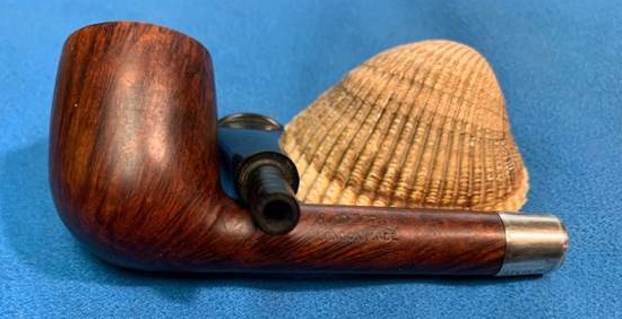
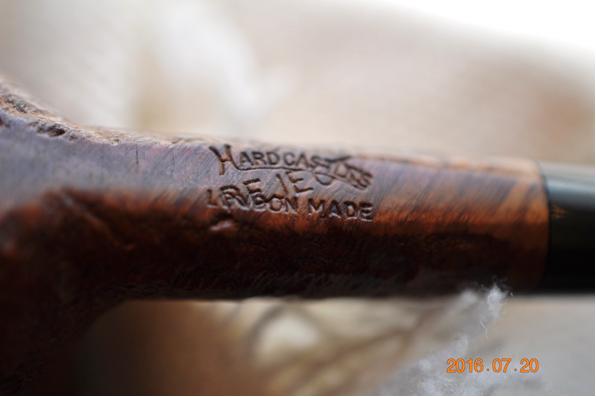
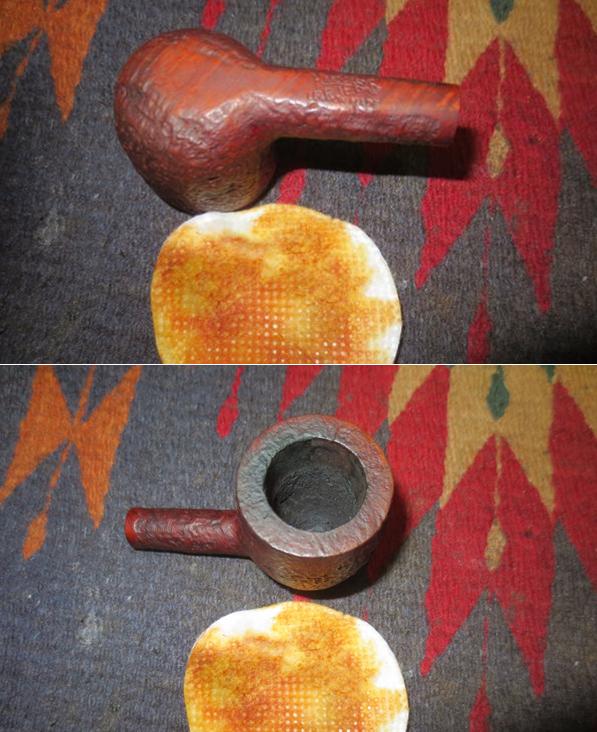
 He took photos of the stamping on the shank and the silver band. They read as noted above and are clear and readable.
 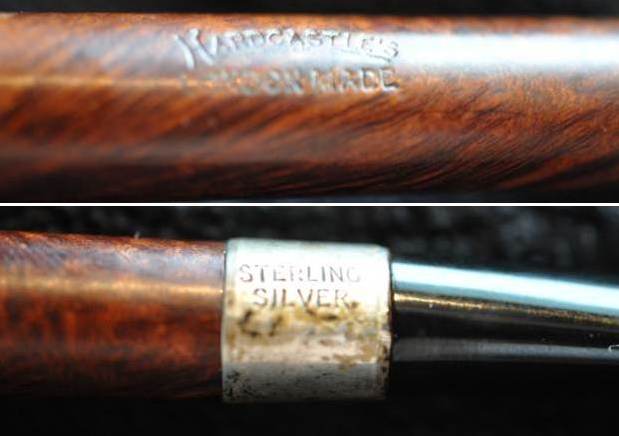 I was curious about the particular line of Hardcastle’s pipes that I was working on. I wanted some more information on the London Made line so I did some searching on Pipephil (http://www.pipephil.eu/logos/en/logo-hardcastle.html). I including the short history of the brand as a whole from that site. The line itself was not present on the site.
1903: Edmund Hardcastle establishes the brand.
1936: the family sells 49% of the Hardcastle Pipes Limited shares to Dunhill.
1946: Dunhill buys the remaining shares. The family continues to manage the company.
1967: Dunhill merges Hardcastle with Parker. The new Parker-Hardcastle Limited company absorbs the Masta Patent Pipe Company.
I turned to Pipedia (https://pipedia.org/wiki/Hardcastle) to try to gather more information on the line. It gives a more detailed history of the brand but there is no mention of the Hardcastle’s London Made. I quote a section of the history below.
Hardcastle was founded in 1908 by Edmund Hardcastle and built itself a good reputation among the numerous British mid-graders. In 1935 Dunhill started to build a factory next door to Hardcastle in Forest Road, Walthamstow, London E17. The family owned Hardcastle Pipes Limited sold 49% of its equity to Dunhill In 1936.
Along with closing down its pipe factory in Notting Hill in 1946 Dunhill bought the remaining shares, turning Hardcastle into a 100% Dunhill subsidiary. As members of the Hardcastle family continued as executives in the company’s management Hardcastle retained a certain independence.
This ended in 1967. Dunhill merged Hardcastle with Parker (100% Dunhill as well). The new Parker Hardcastle Limited also absorbed the former Masta Patent Pipe Company. Hardcastle’s Forest Road plant was immediately given up and the production of Hardcastle pipes was shifted to Parker’s nearby St. Andrews Road factory – now consequently called Parker-Hardcastle factory.
In fact this put a definite end to Hardcastle as an own-standing pipe brand, and none other than Edwin Hardcastle, the last of the family executives, spoke frankly and loudly of Hardcastle pipes being degenerated to an inferior Dunhill second.
Today Hardcastle pipes use funneled down bowls that are not deemed suitable to bear the Dunhill or even the Parker name (as well as obtaining briar from other sources).
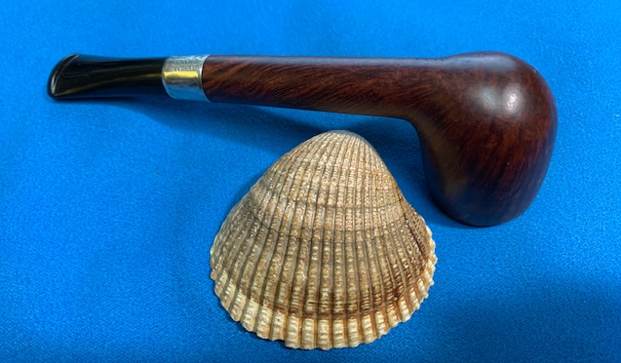
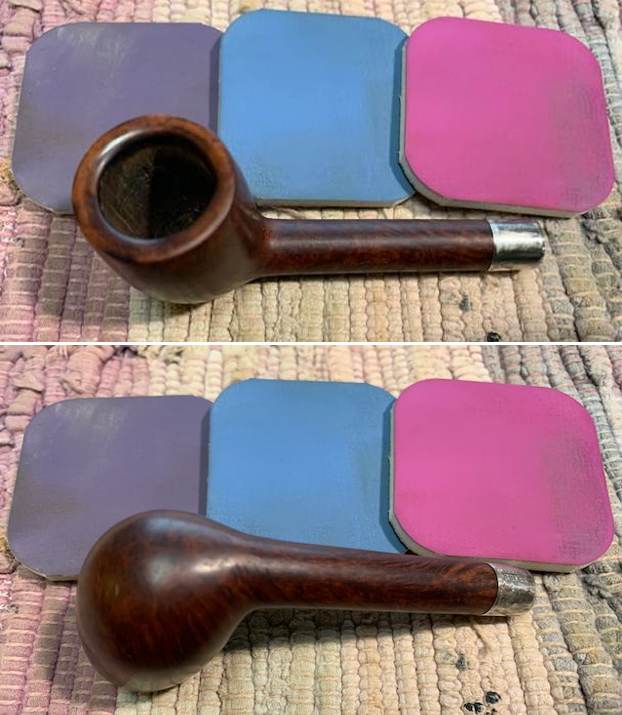
With that bit of information I believe it is an older family period pipe but cannot prove it. Jeff had cleaned up the pipe with his usual thoroughness. He reamed the pipe with a PipNet Pipe Reamer and cleaned up the remnants with a Savinelli Fitsall Pipe Knife. He scrubbed the bowl with undiluted Murphy’s Oil Soap with a tooth brush. He rinsed it under running warm water to remove the soap and grime. He cleaned out the inside of the shank and the airway in the stem with alcohol, cotton swabs and pipe cleaners. He soaked the stem in Before & After Deoxidizer and rinsed it off with warm water. I took photos of the pipe over 2 years later when I finally got around to working on it. 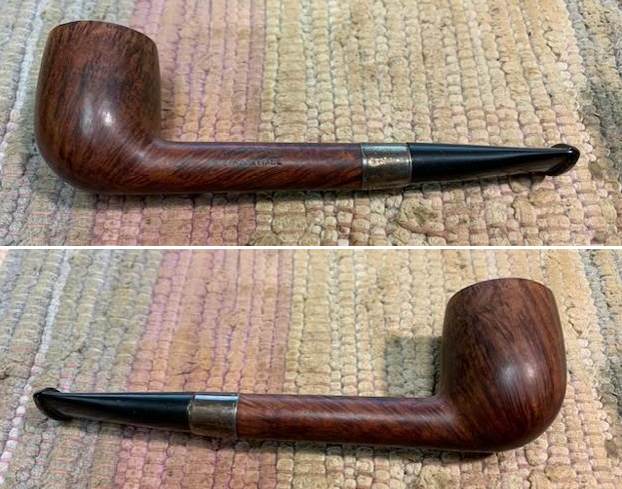
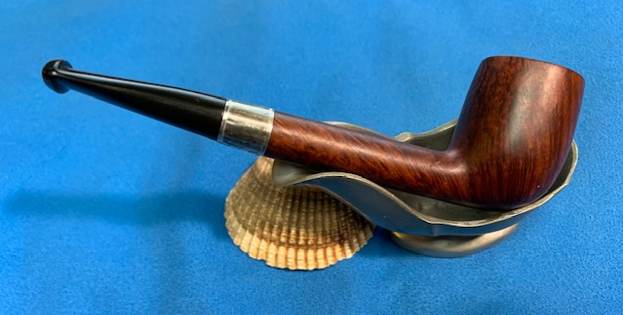
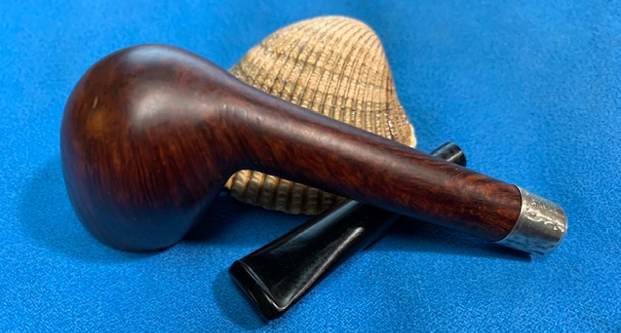
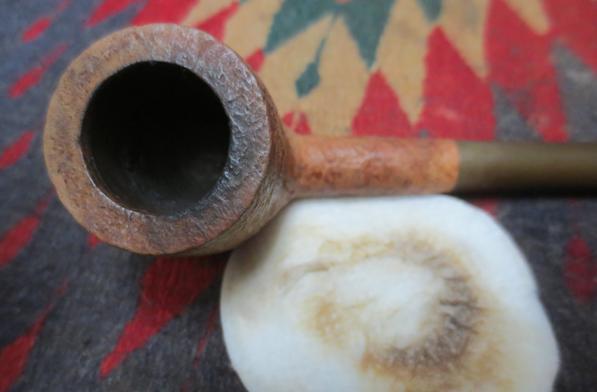
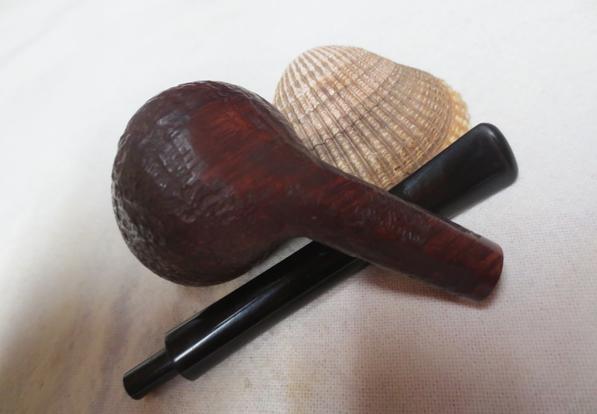
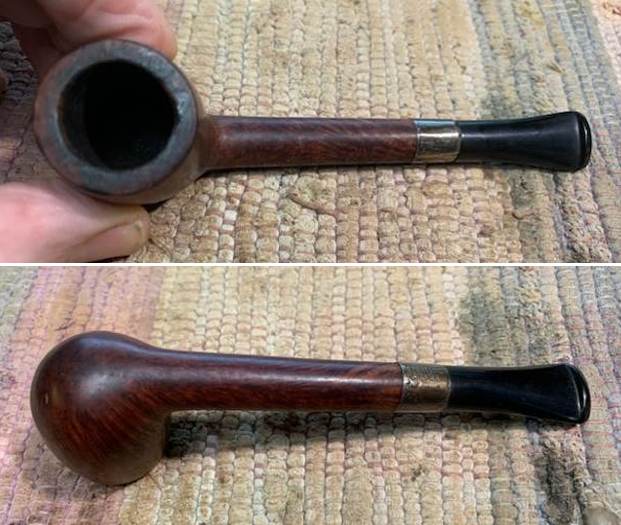 The rim top has a lot of darkening on the top and chips and burn damage on the inner edge and on the rim surface leaving the bowl slightly out of round. The stem surface looked very good with some tooth marks and chatter on both sides near the button.
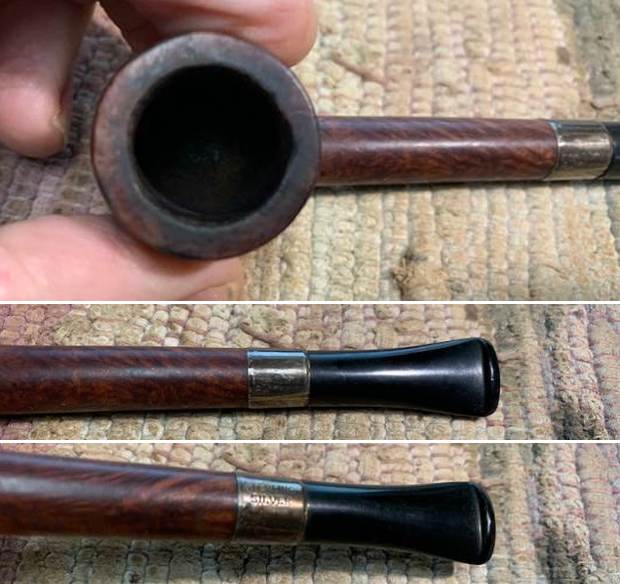 I took a photo of the stamping on the shank side. It is clear and readable as noted above.
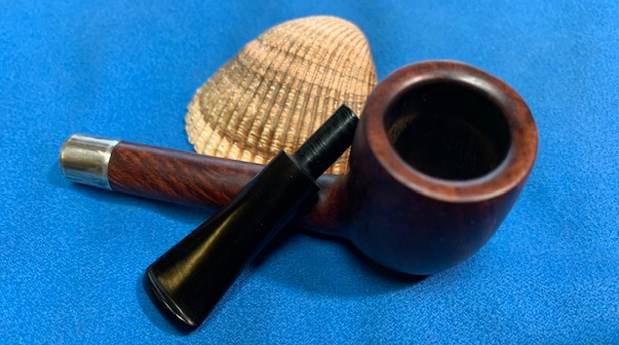
  I removed the stem and took a photo of the pipe to give a sense of the whole. The round shank and tapered stem makes for a lovely Liverpool.
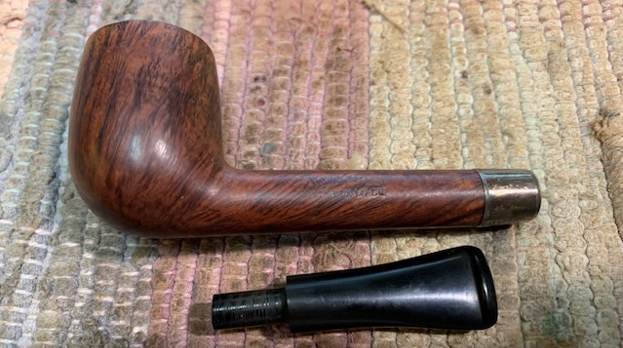 I started my work on the pipe by working over the rim top and the inner edge of the bowl to clean up the damage. Once finished the rim top and edge looked much better.
  I stained the sanded and beveled the rim top and inner edge with a Walnut Stain Pen. It matched the rest of the colour on the briar very well.
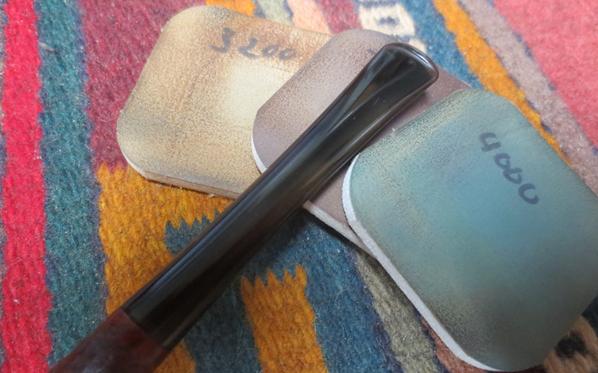
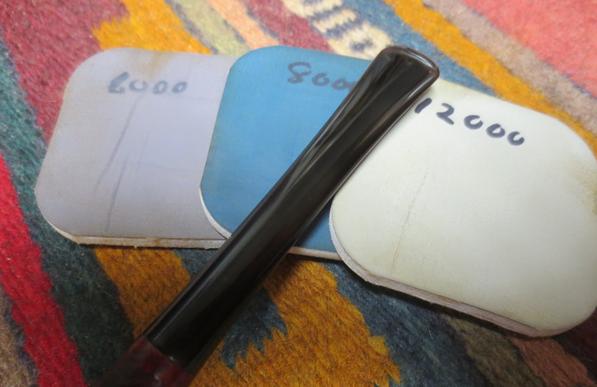
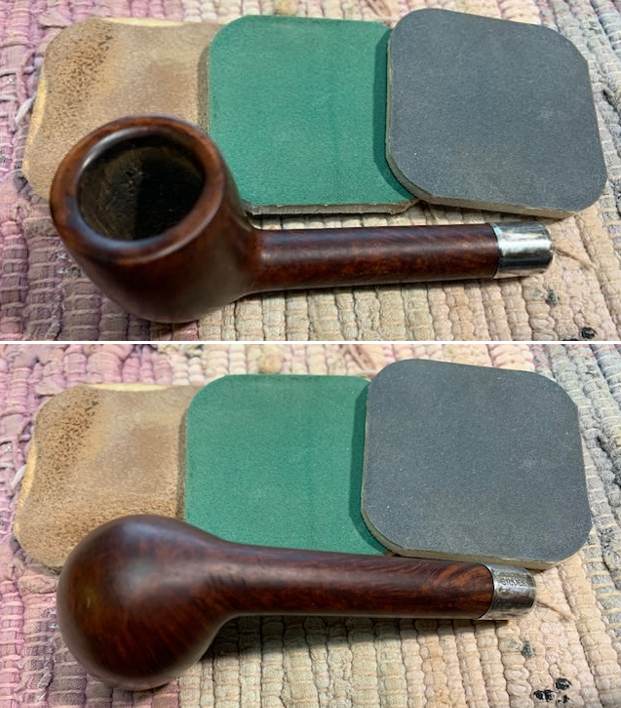
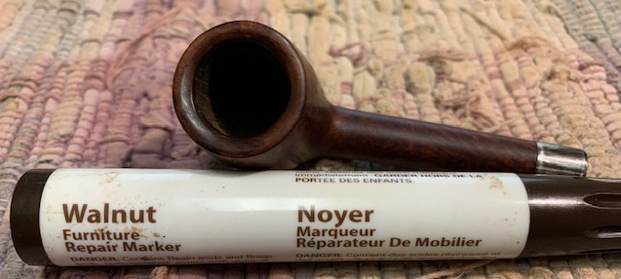 I polished the briar with micromesh sanding pads – wet sanding with 1500-12000 grit pads. I wiped the bowl down after each pad with a damp cloth.
 I rubbed the bowl down with Before & After Restoration Balm. I worked it into the surface of the bowl sides and shank with my fingertips. The product works to clean, enliven and protect the briar. I let the balm sit for fifteen minutes and then buffed with a cotton cloth to raise the shine.
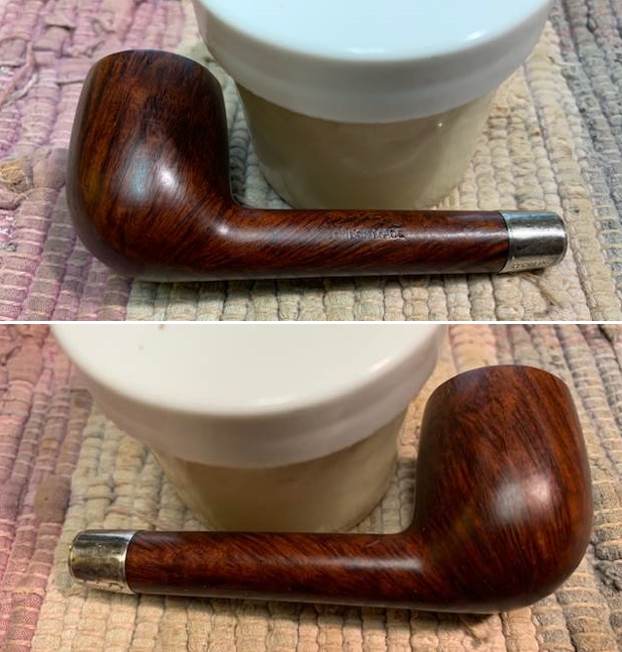
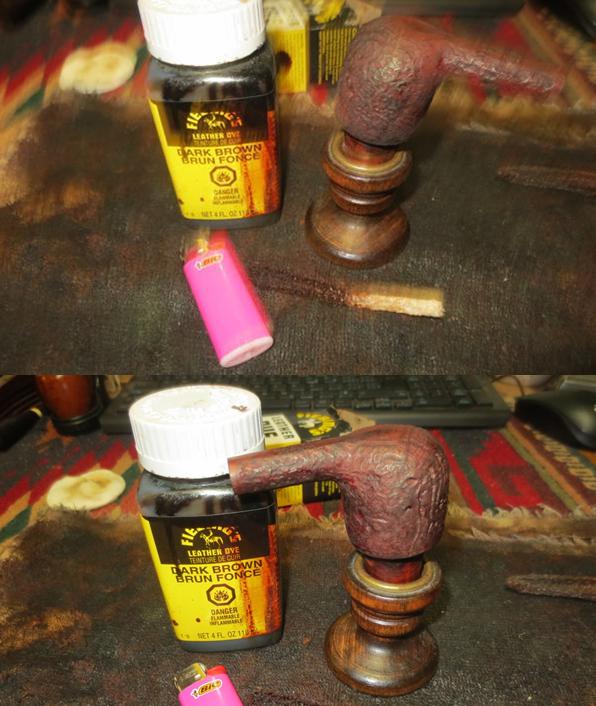
 I polished the silver band with a jewelers cloth. It works to polish and protect it from further oxidation and darkening.
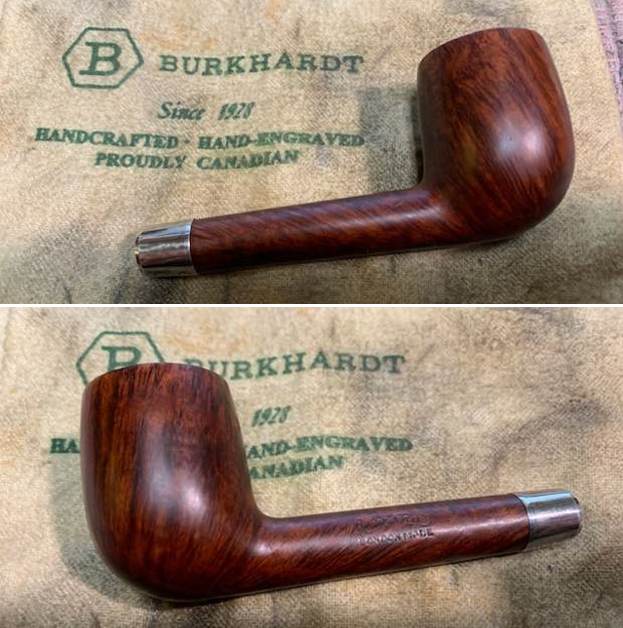
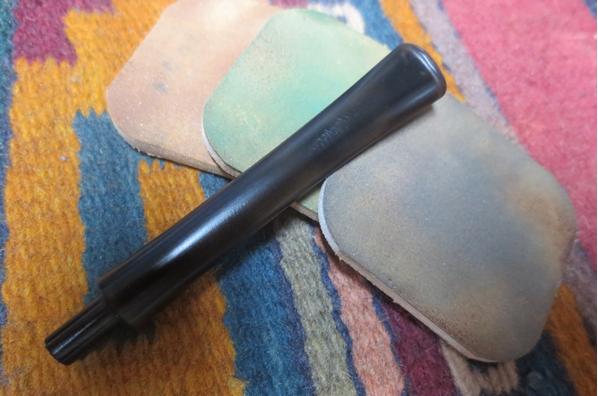
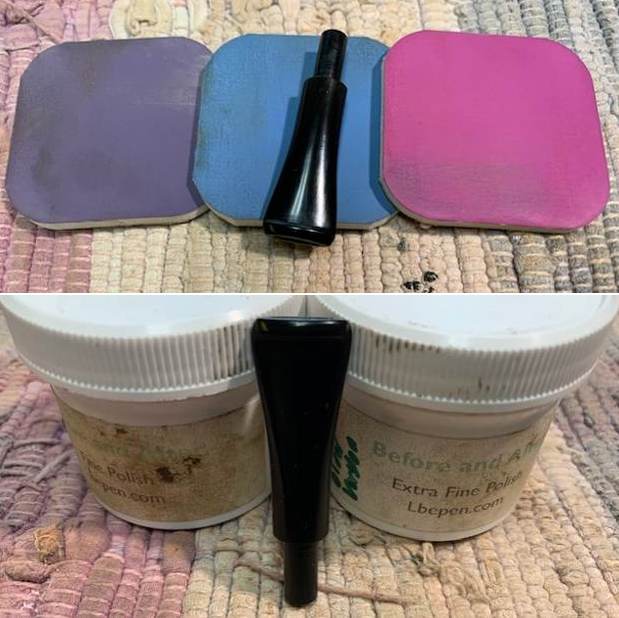
 I laid the bowl aside and turned to work on the stem. I polished the vulcanite stem with micromesh sanding pads – 1500-12000 grit pads. I wiped it down with an Obsidian Oil impregnated cloth after each sanding pad. I used Before & After Pipe Polish – both Fine and Extra Fine to further polish the stem. I gave it a final coat of Obsidian Oil.
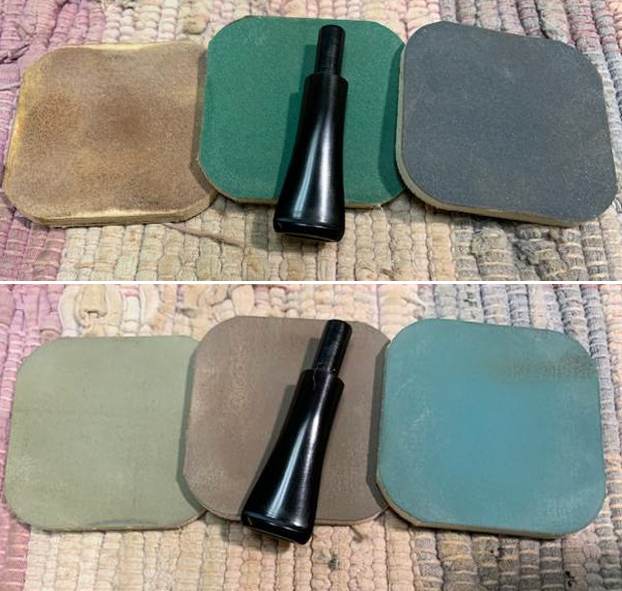
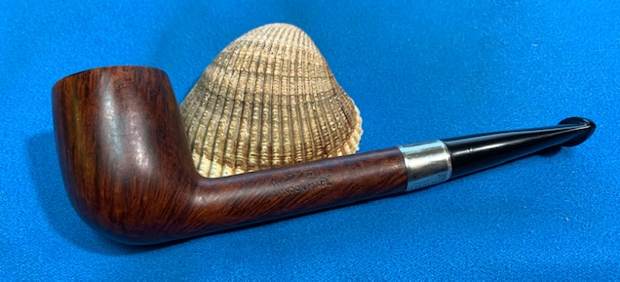
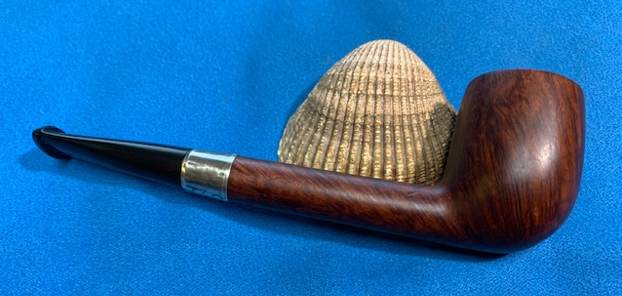
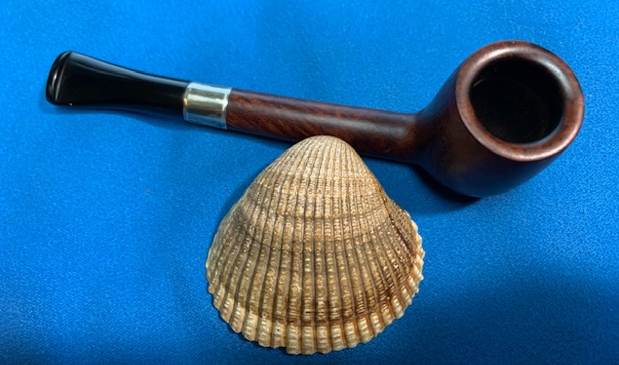
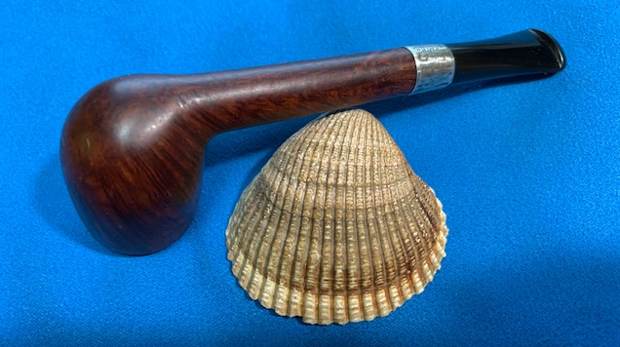
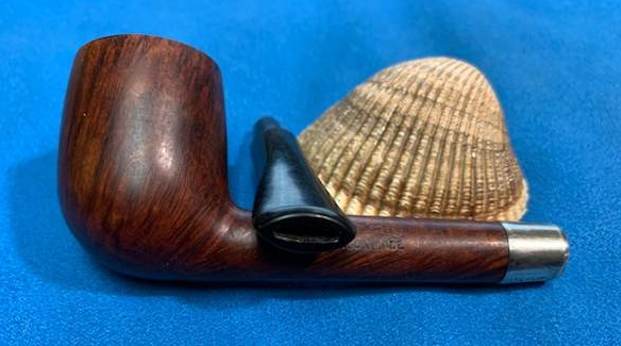
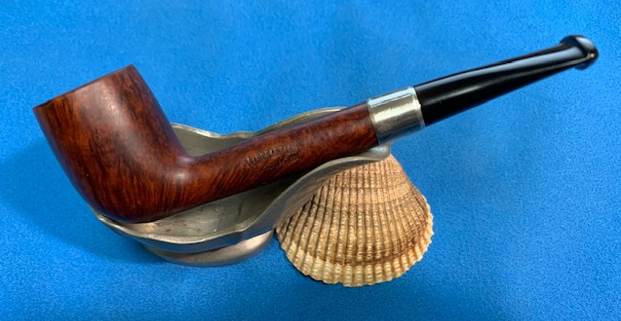
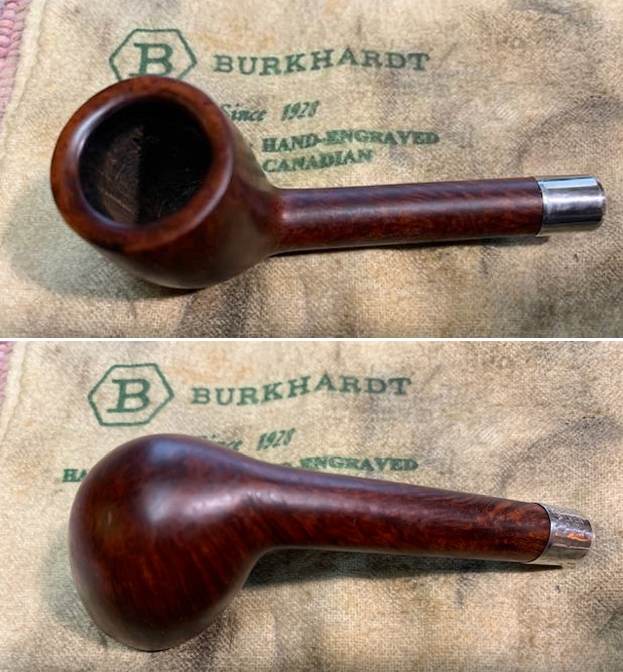
 This petite Hardcastle’s London Made Liverpool – round shank with a vulcanite taper stem is a great looking pipe now that it has been restored. The beautiful grain that shines through the polished finish is stunning. I put the stem back on the bowl and carefully buffed the pipe with Blue Diamond on the buffing wheel. I gave the bowl and the stem multiple coats of carnauba wax on the buffing wheel and followed that by buffing the entire pipe with a clean buffing pad. I hand buffed the pipe with a microfiber cloth to deepen the shine. The finished Hardcastle’s London Made Liverpool fits nicely in the hand and feels great. Give the finished pipe a look in the photos below. The dimensions of the pipe are Length: 5 inches, Height: 1 ½ inches, Outside diameter of the bowl: 1 inches, Chamber diameter: ¾ of an inch. The weight of the pipe is 19gr/.67oz. I will be adding it to the rebornpipes store in the British Pipe Makers section. If you are interested in adding this pipe to your collection send me a message or an email. Thanks for reading this blog and my reflections on the pipe while I worked on it. There are many more to come!