Blog by Steve Laug
The next pipe I chose to work on came from a lot of 11 pipes I purchased from a lady in Regina, Saskatchewan. She had found them in a house she bought and wanted to know if I wanted them. We struck a deal, I paid for the pipes and shipping and the box arrived while I was traveling in Europe. In the box were 4 Stanwells, 1 Soren Freehand, 1 Calabash with a Briar Bowl, 1 Nording Freehand, 1 Italian Made Bertenetti, 1 Rhodesian with a banded cracked shank, 1 Danmore bowl, and 1 Brigham. I have restored the Nording, the snapped Stanwell, the Brigham and the Gourd Calabash with the briar bowl. There are blogs on each restoration available.
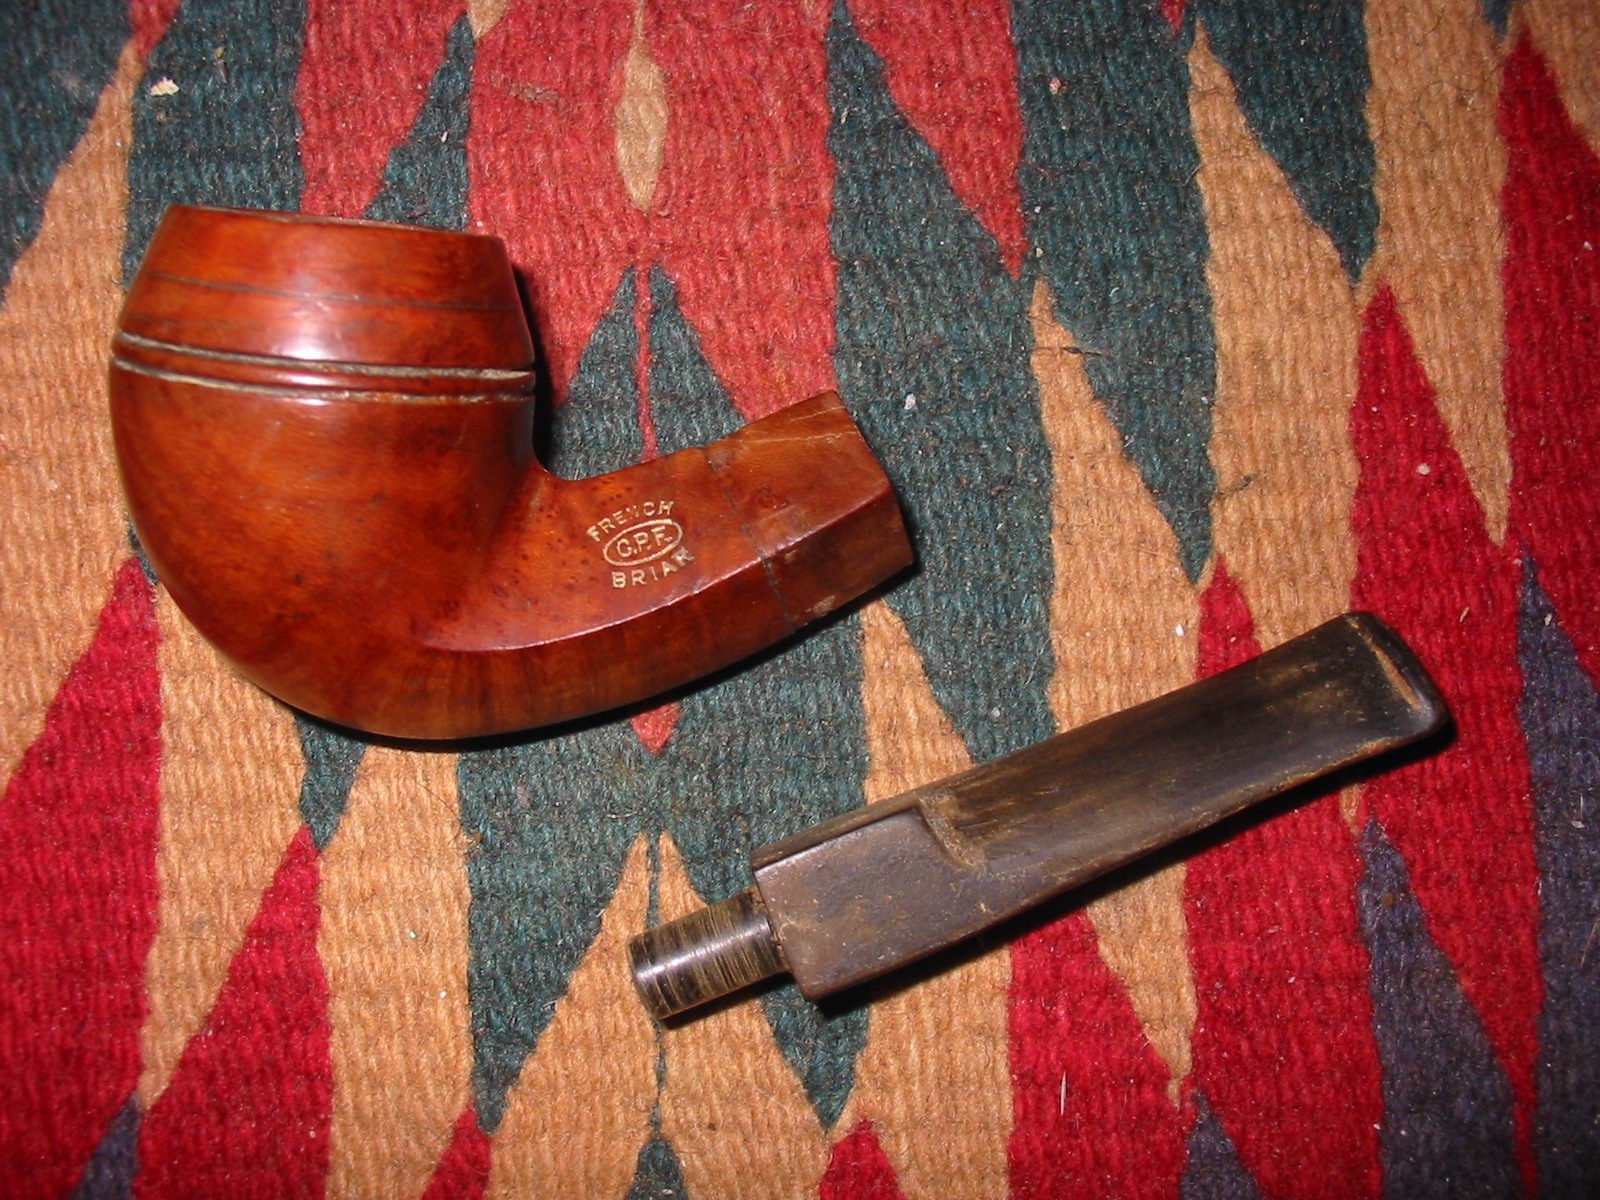
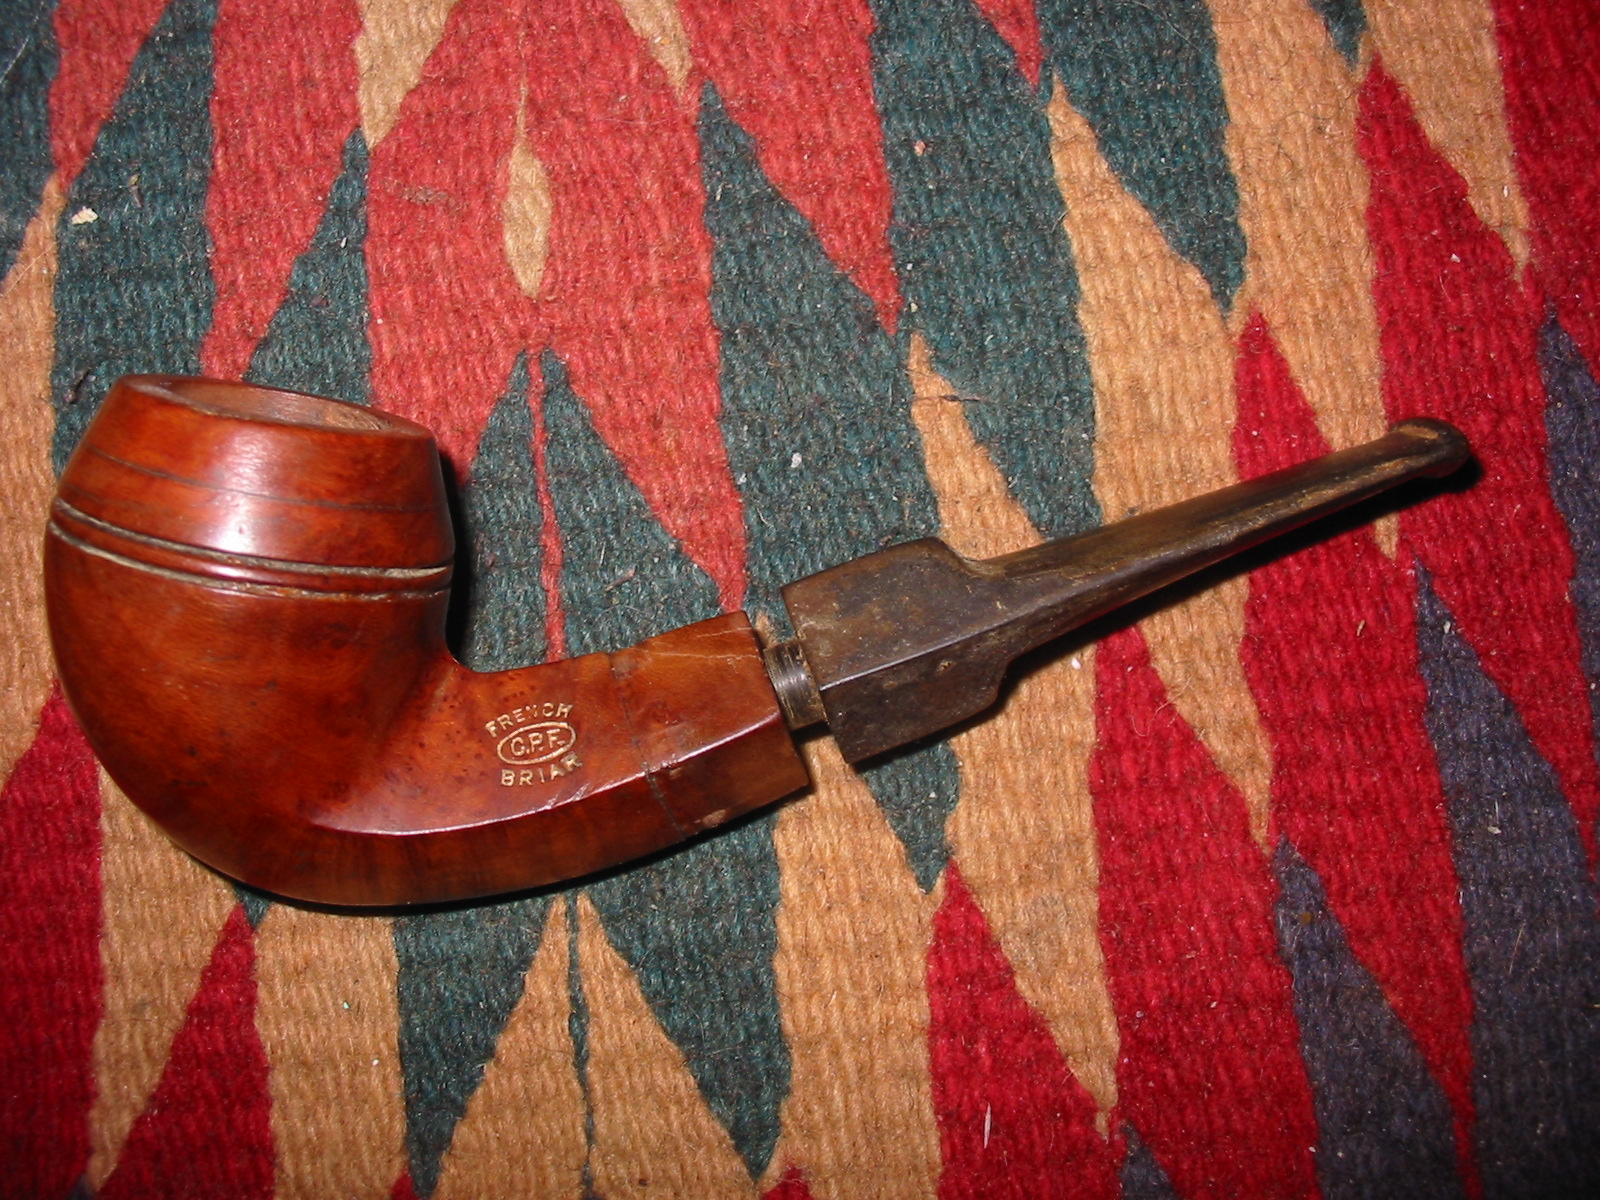
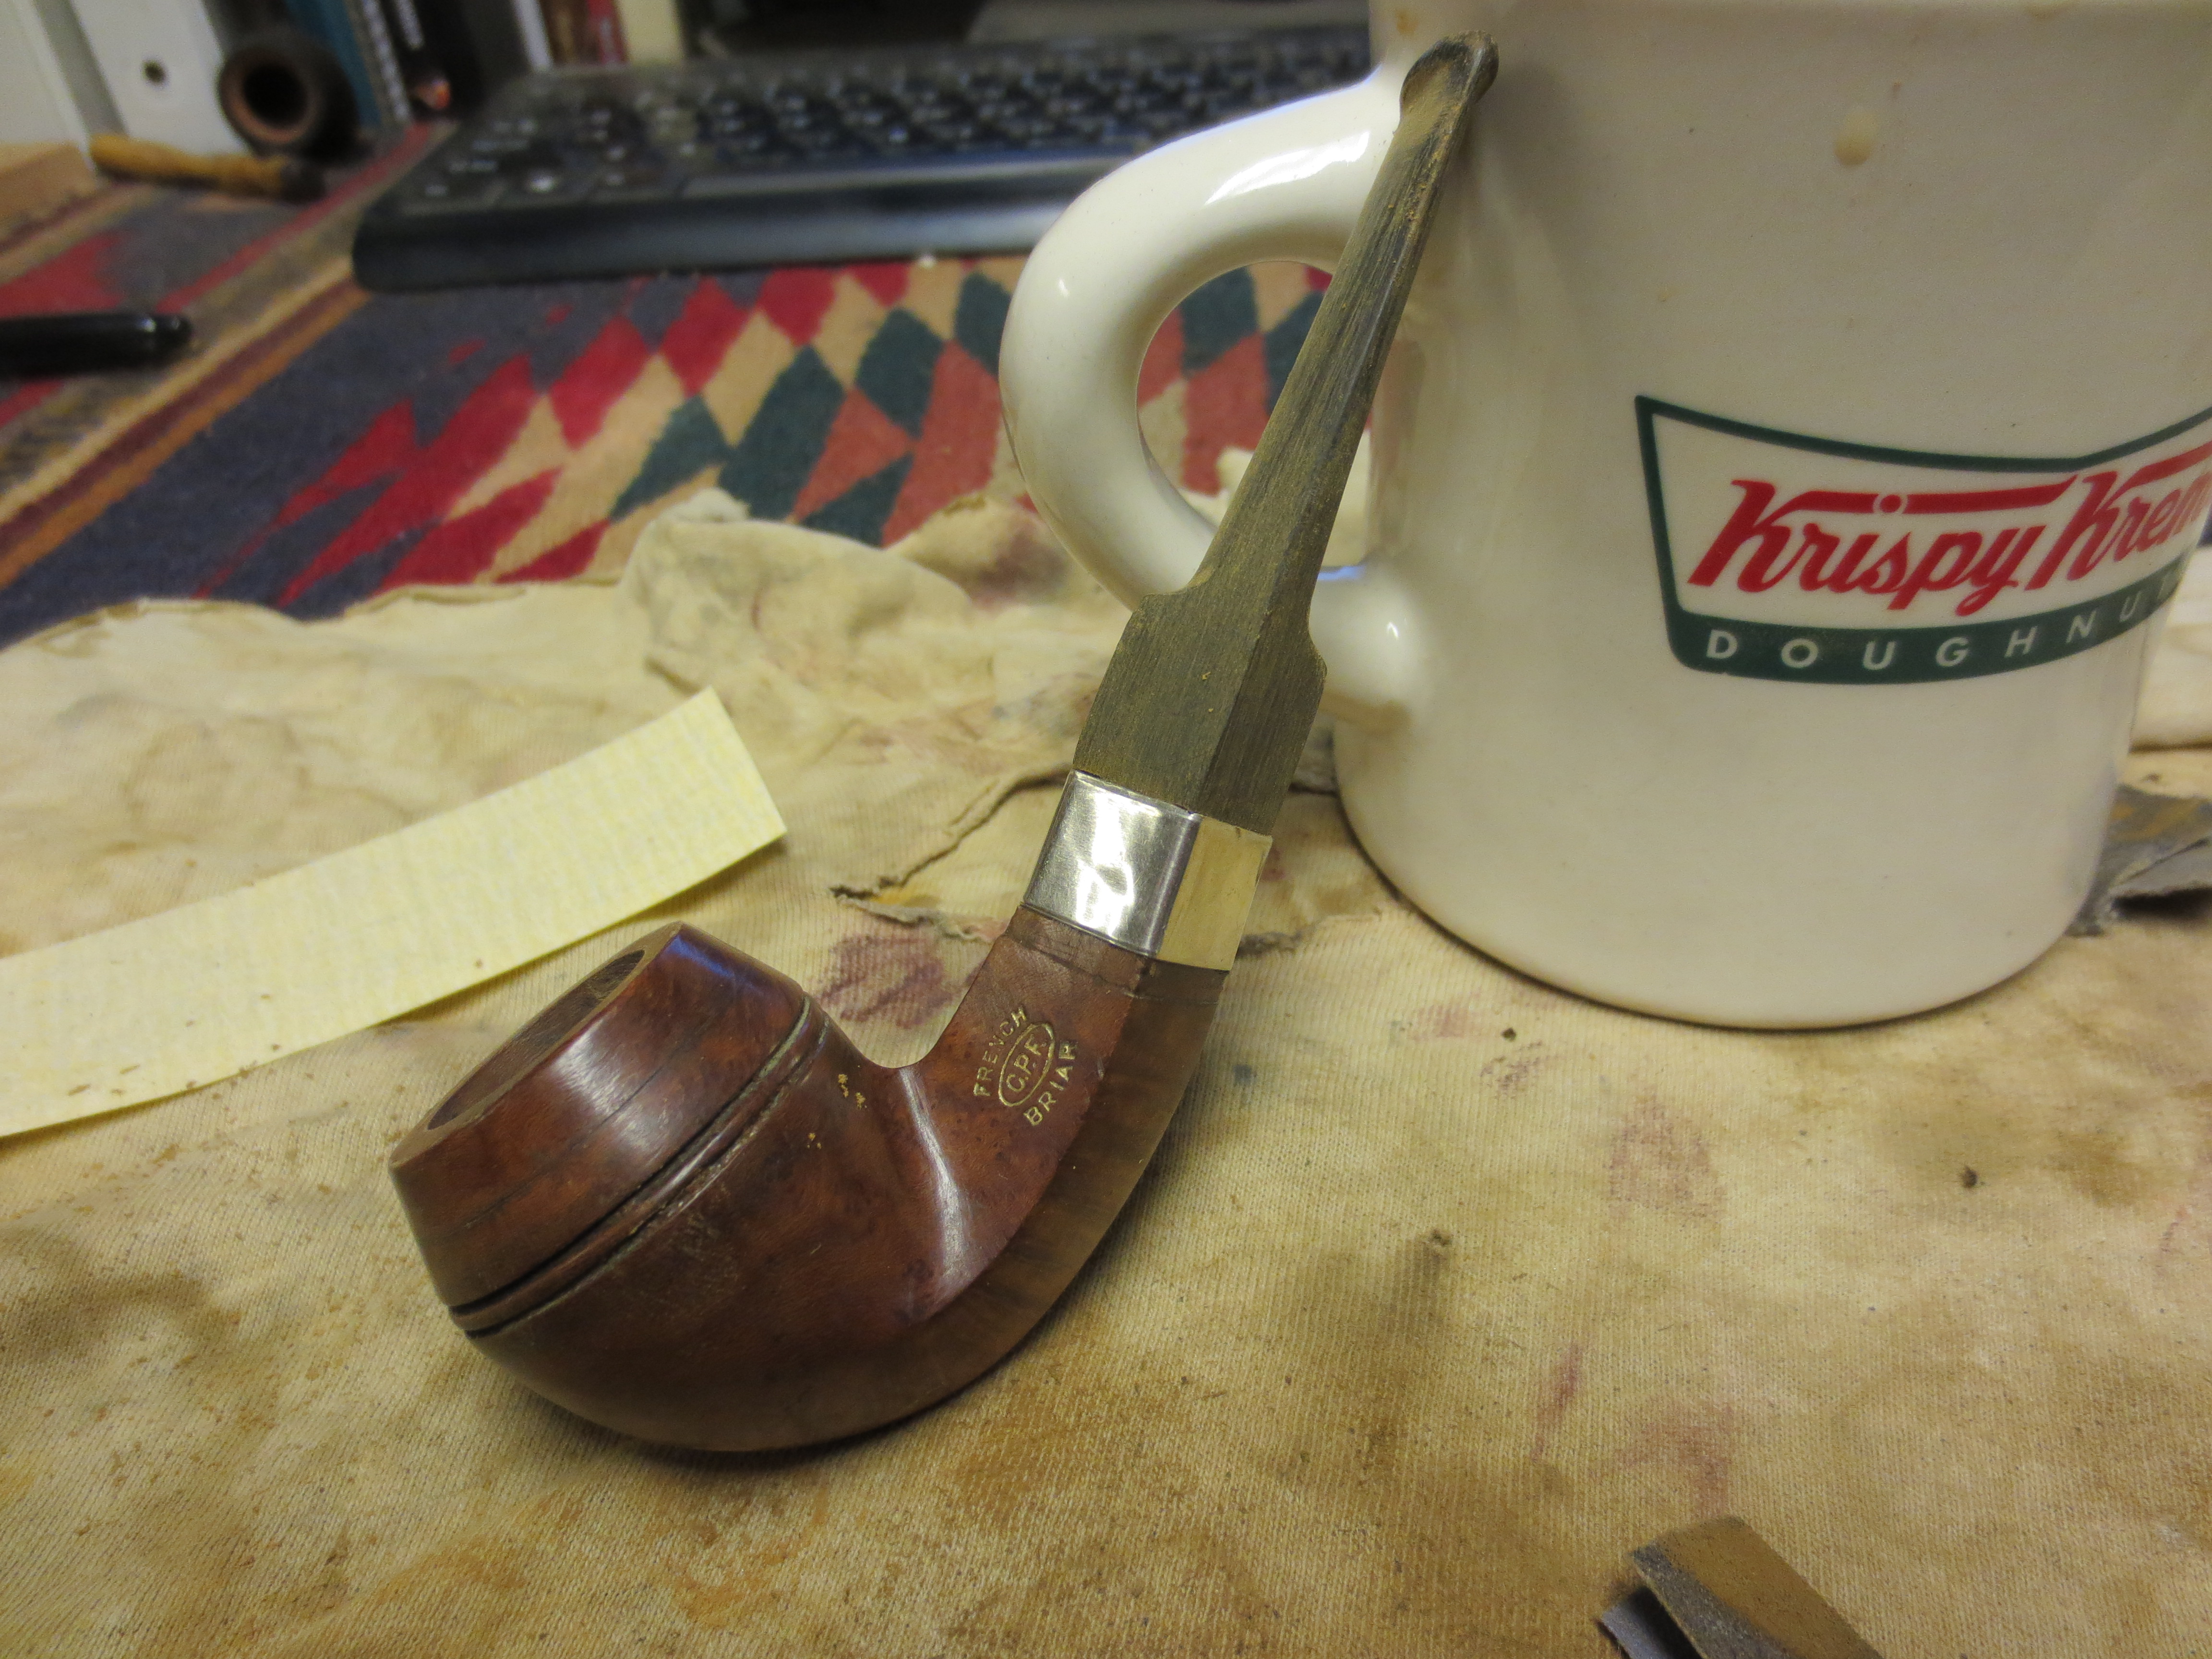
 The next pipe on the table is the scoop shaped bowl without a stem at the top of the photo above. It is stamped on the underside of the shank and reads Danmore [over] Made in Denmark. On the right side of the shank it is stamped De Luxe. There is no visible shape number stamped on the pipe. There was a thick cake in the bowl, cobwebs in the bottom and on the bowl walls and some remnants of tobacco. The airway was plugged and there was no draught on the pipe. There was a lava overflow on the rim top. The inner edges of the bowl were damaged and the outer edge had been knocked about and damaged on the front side. The finish was dirty and dusty and there was lava on the sides and heel of the bowl. The pipe did not come with a stem so I would have to go through my collection of stems here to find one that fit well. I took photos of the pipe before I started my cleanup work on it.
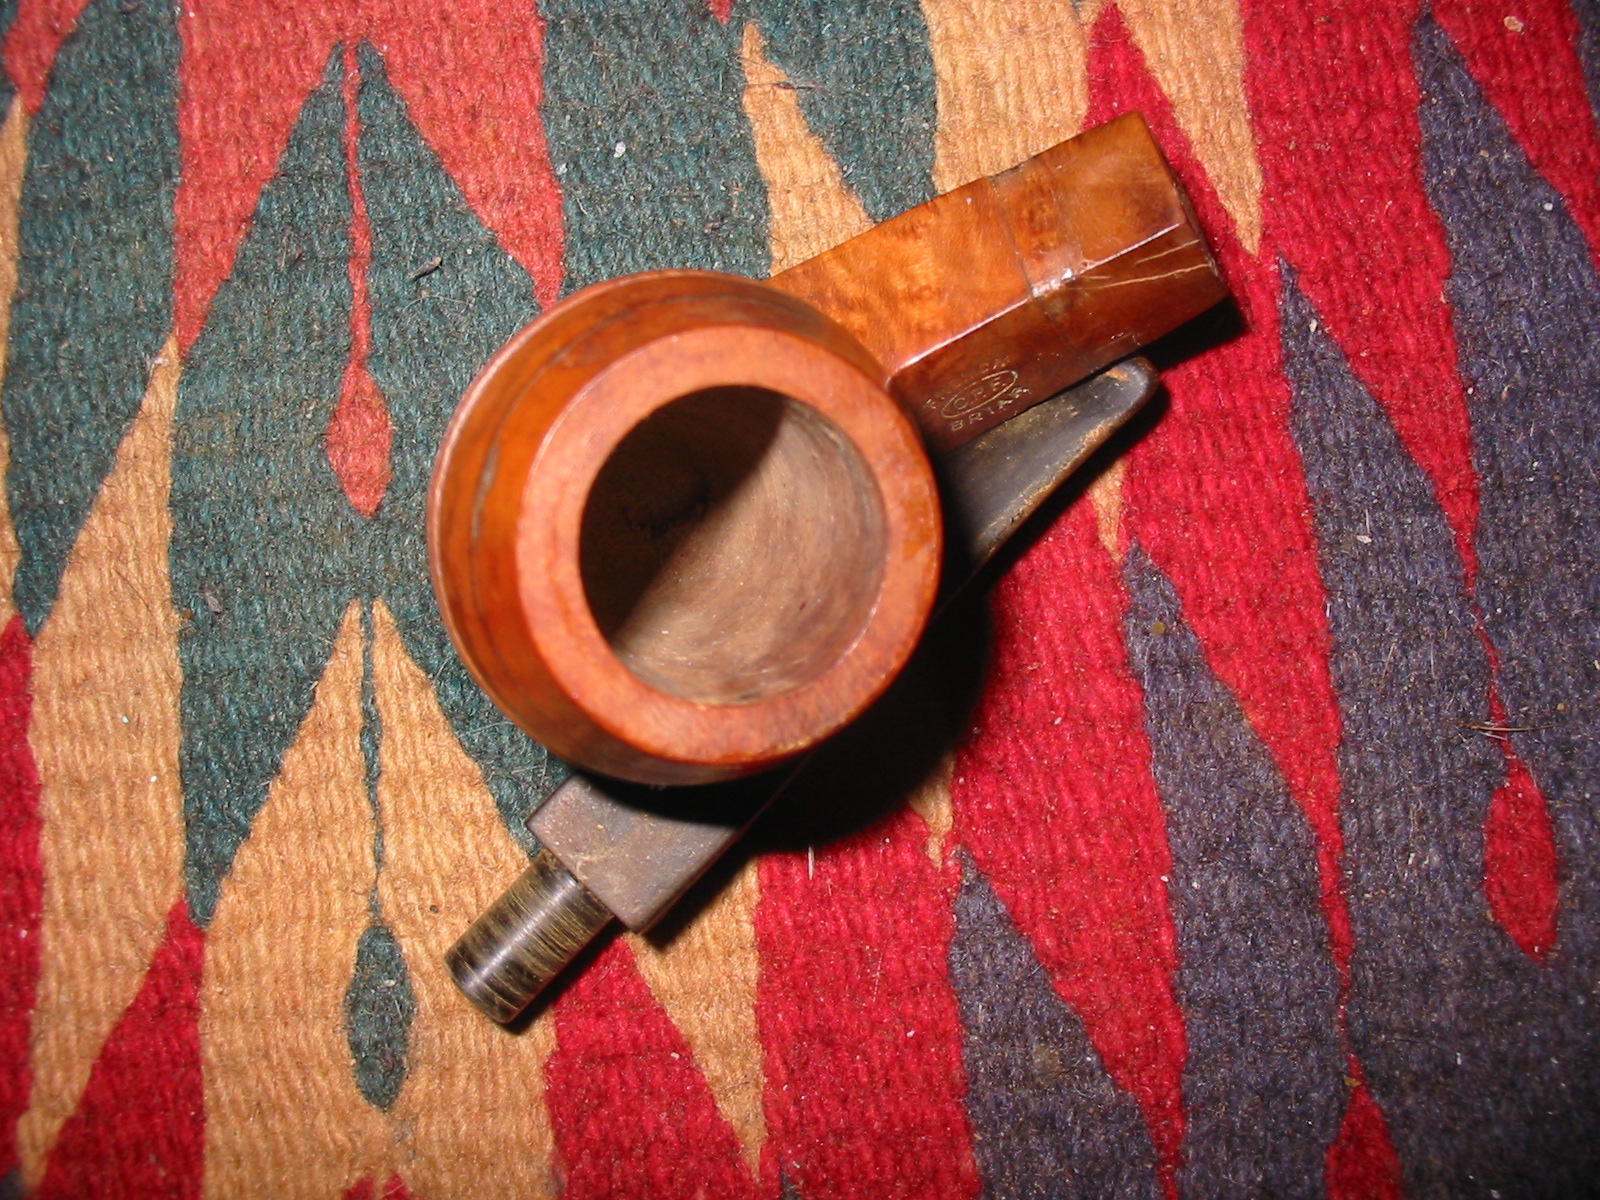
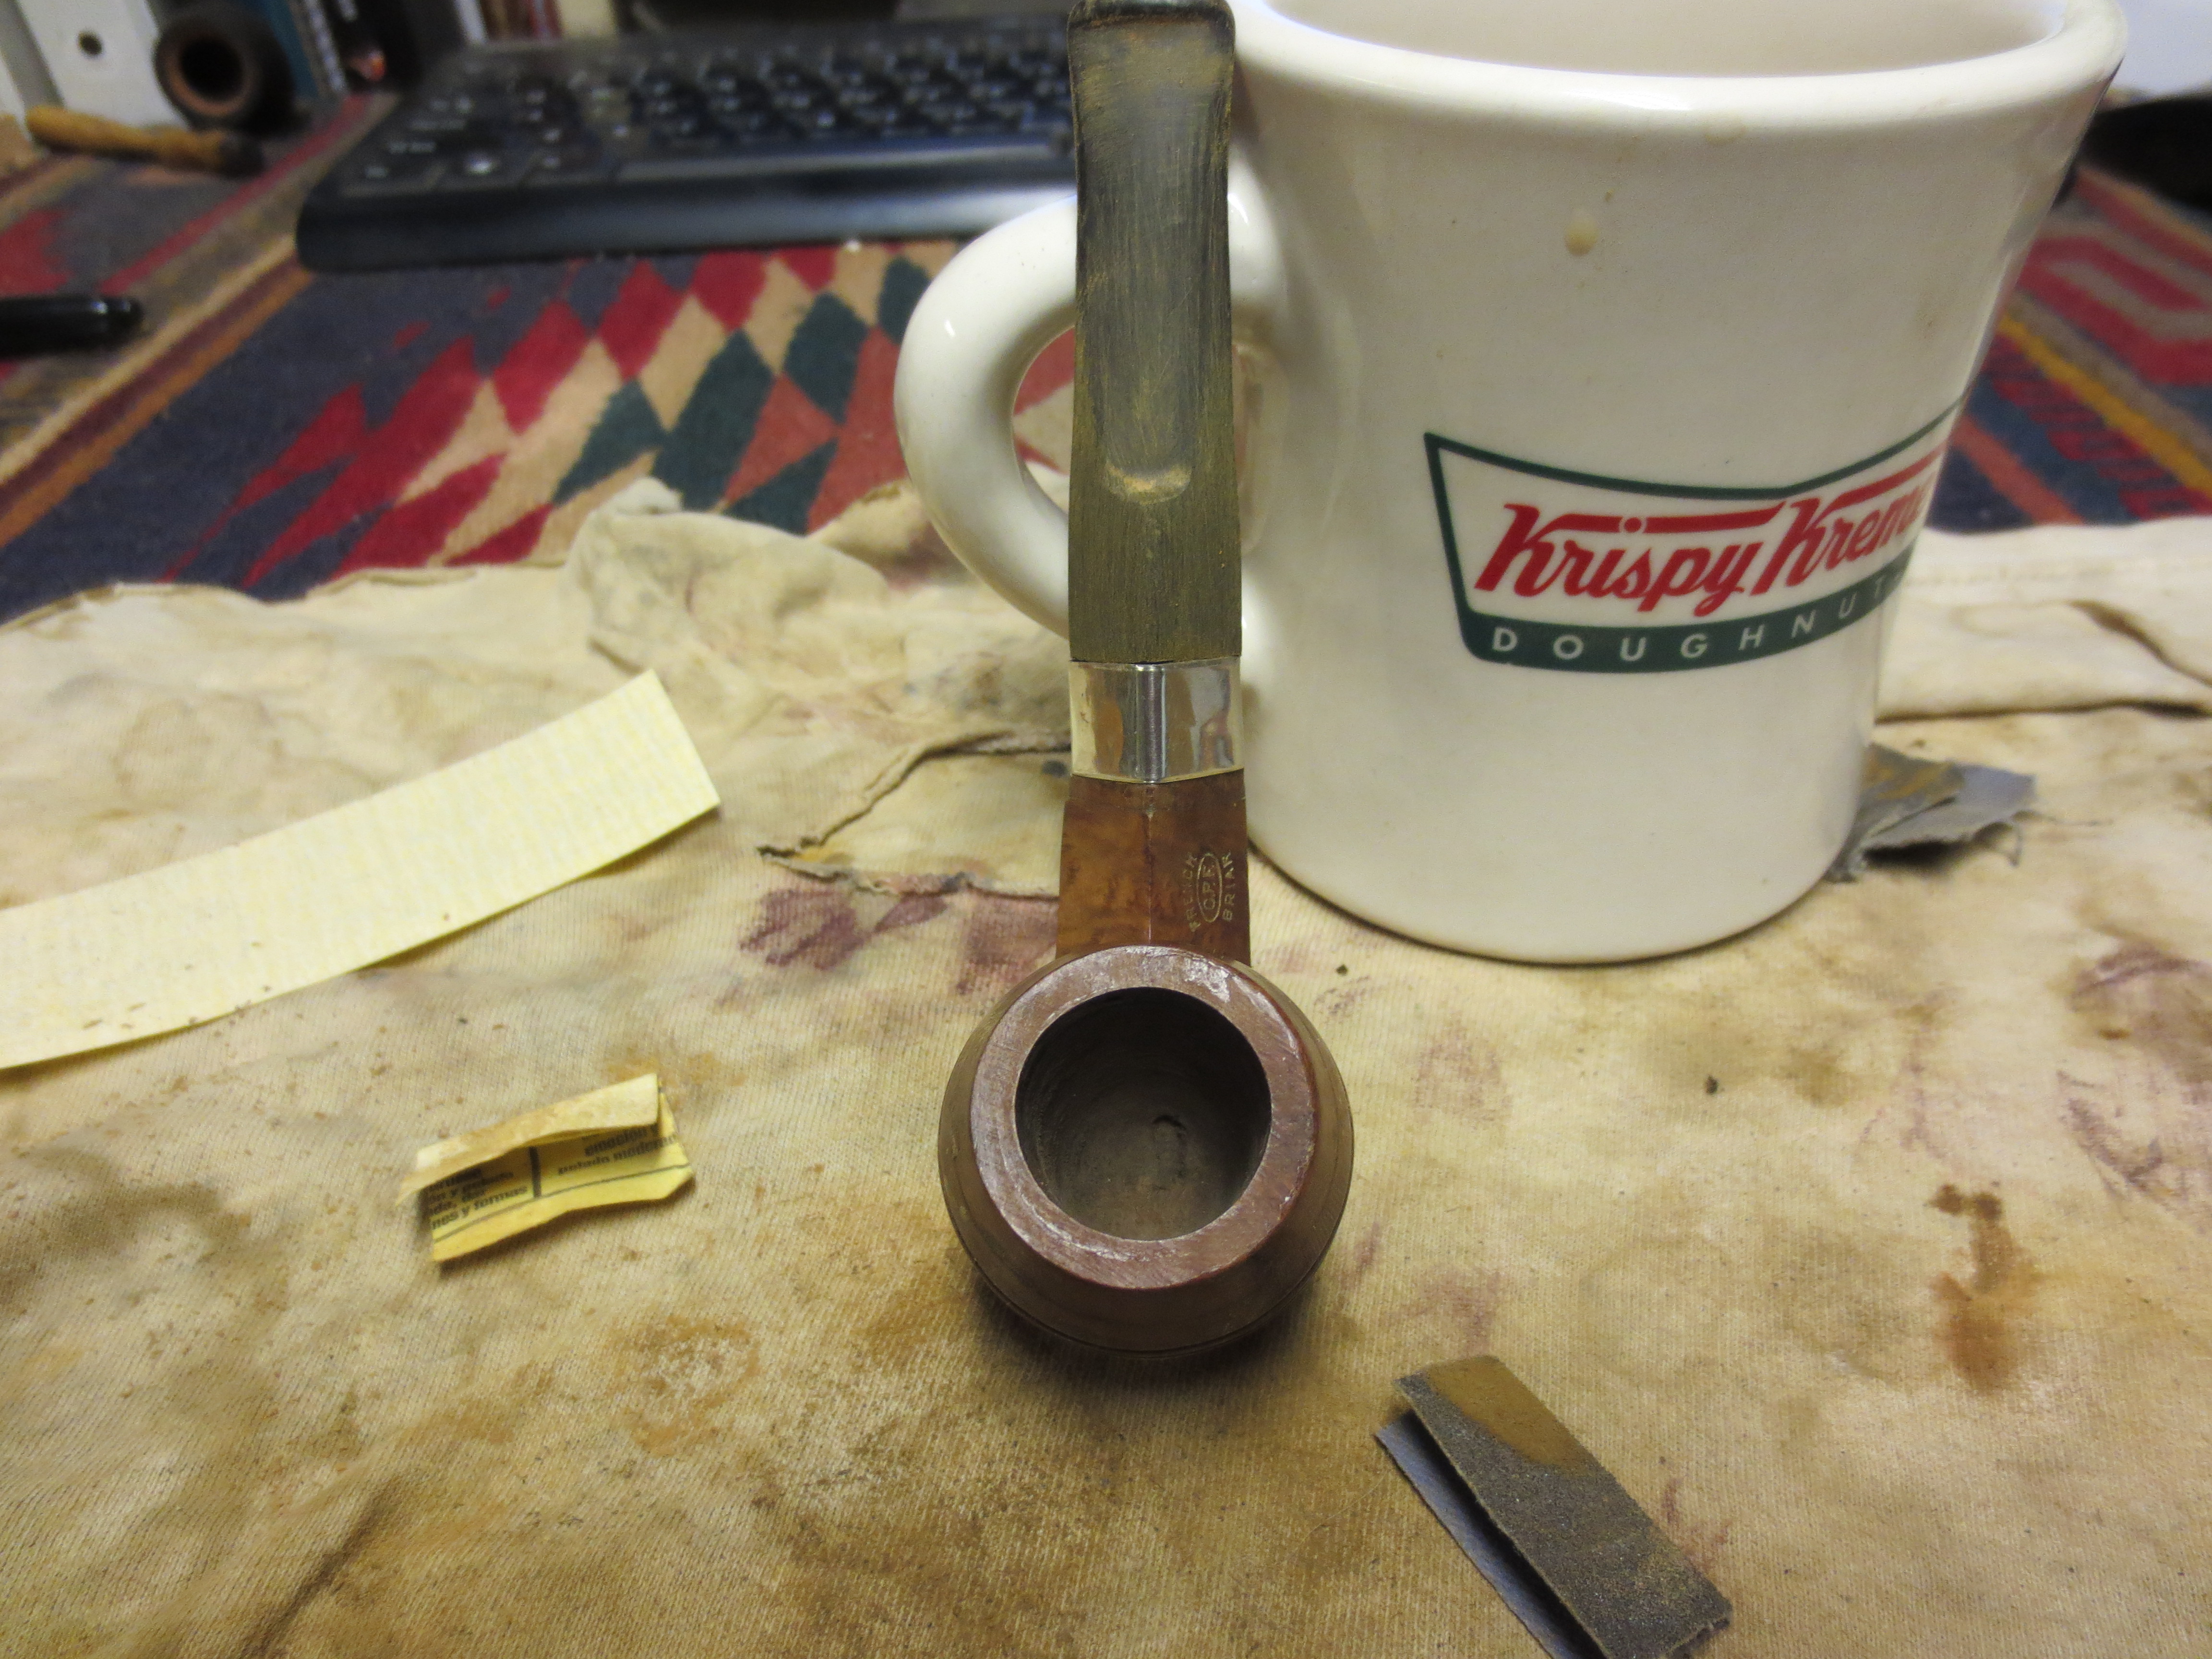
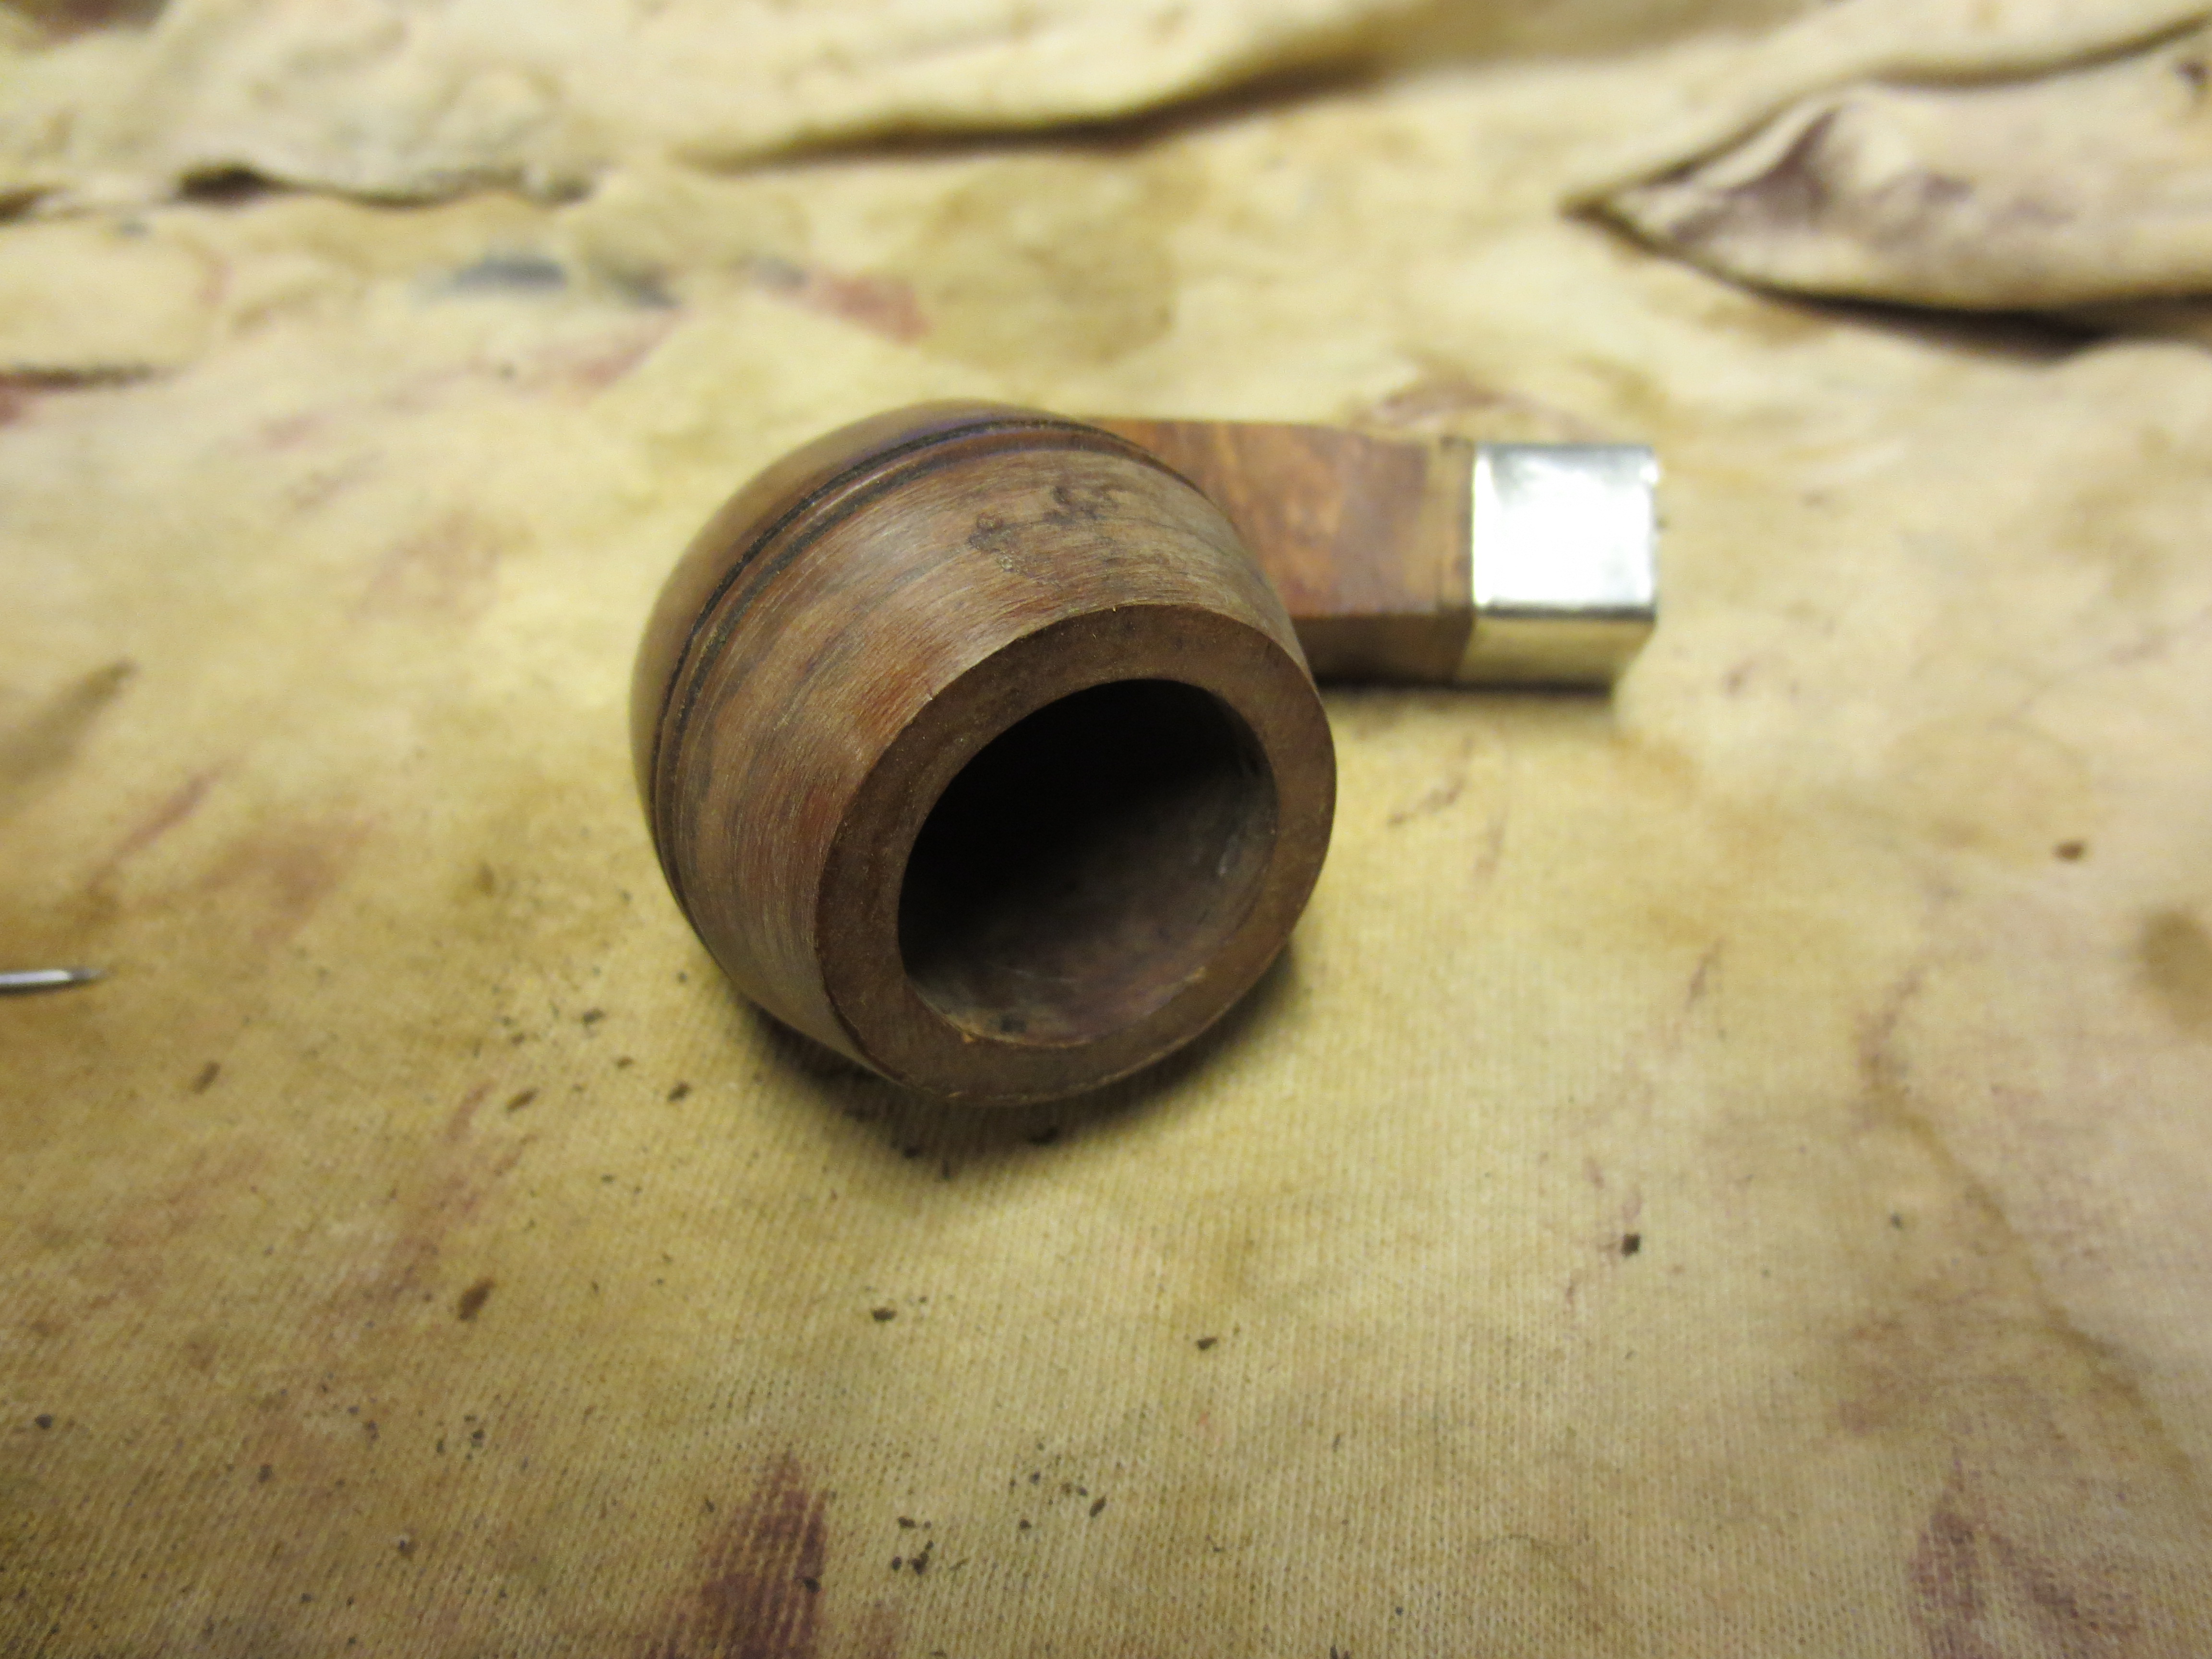
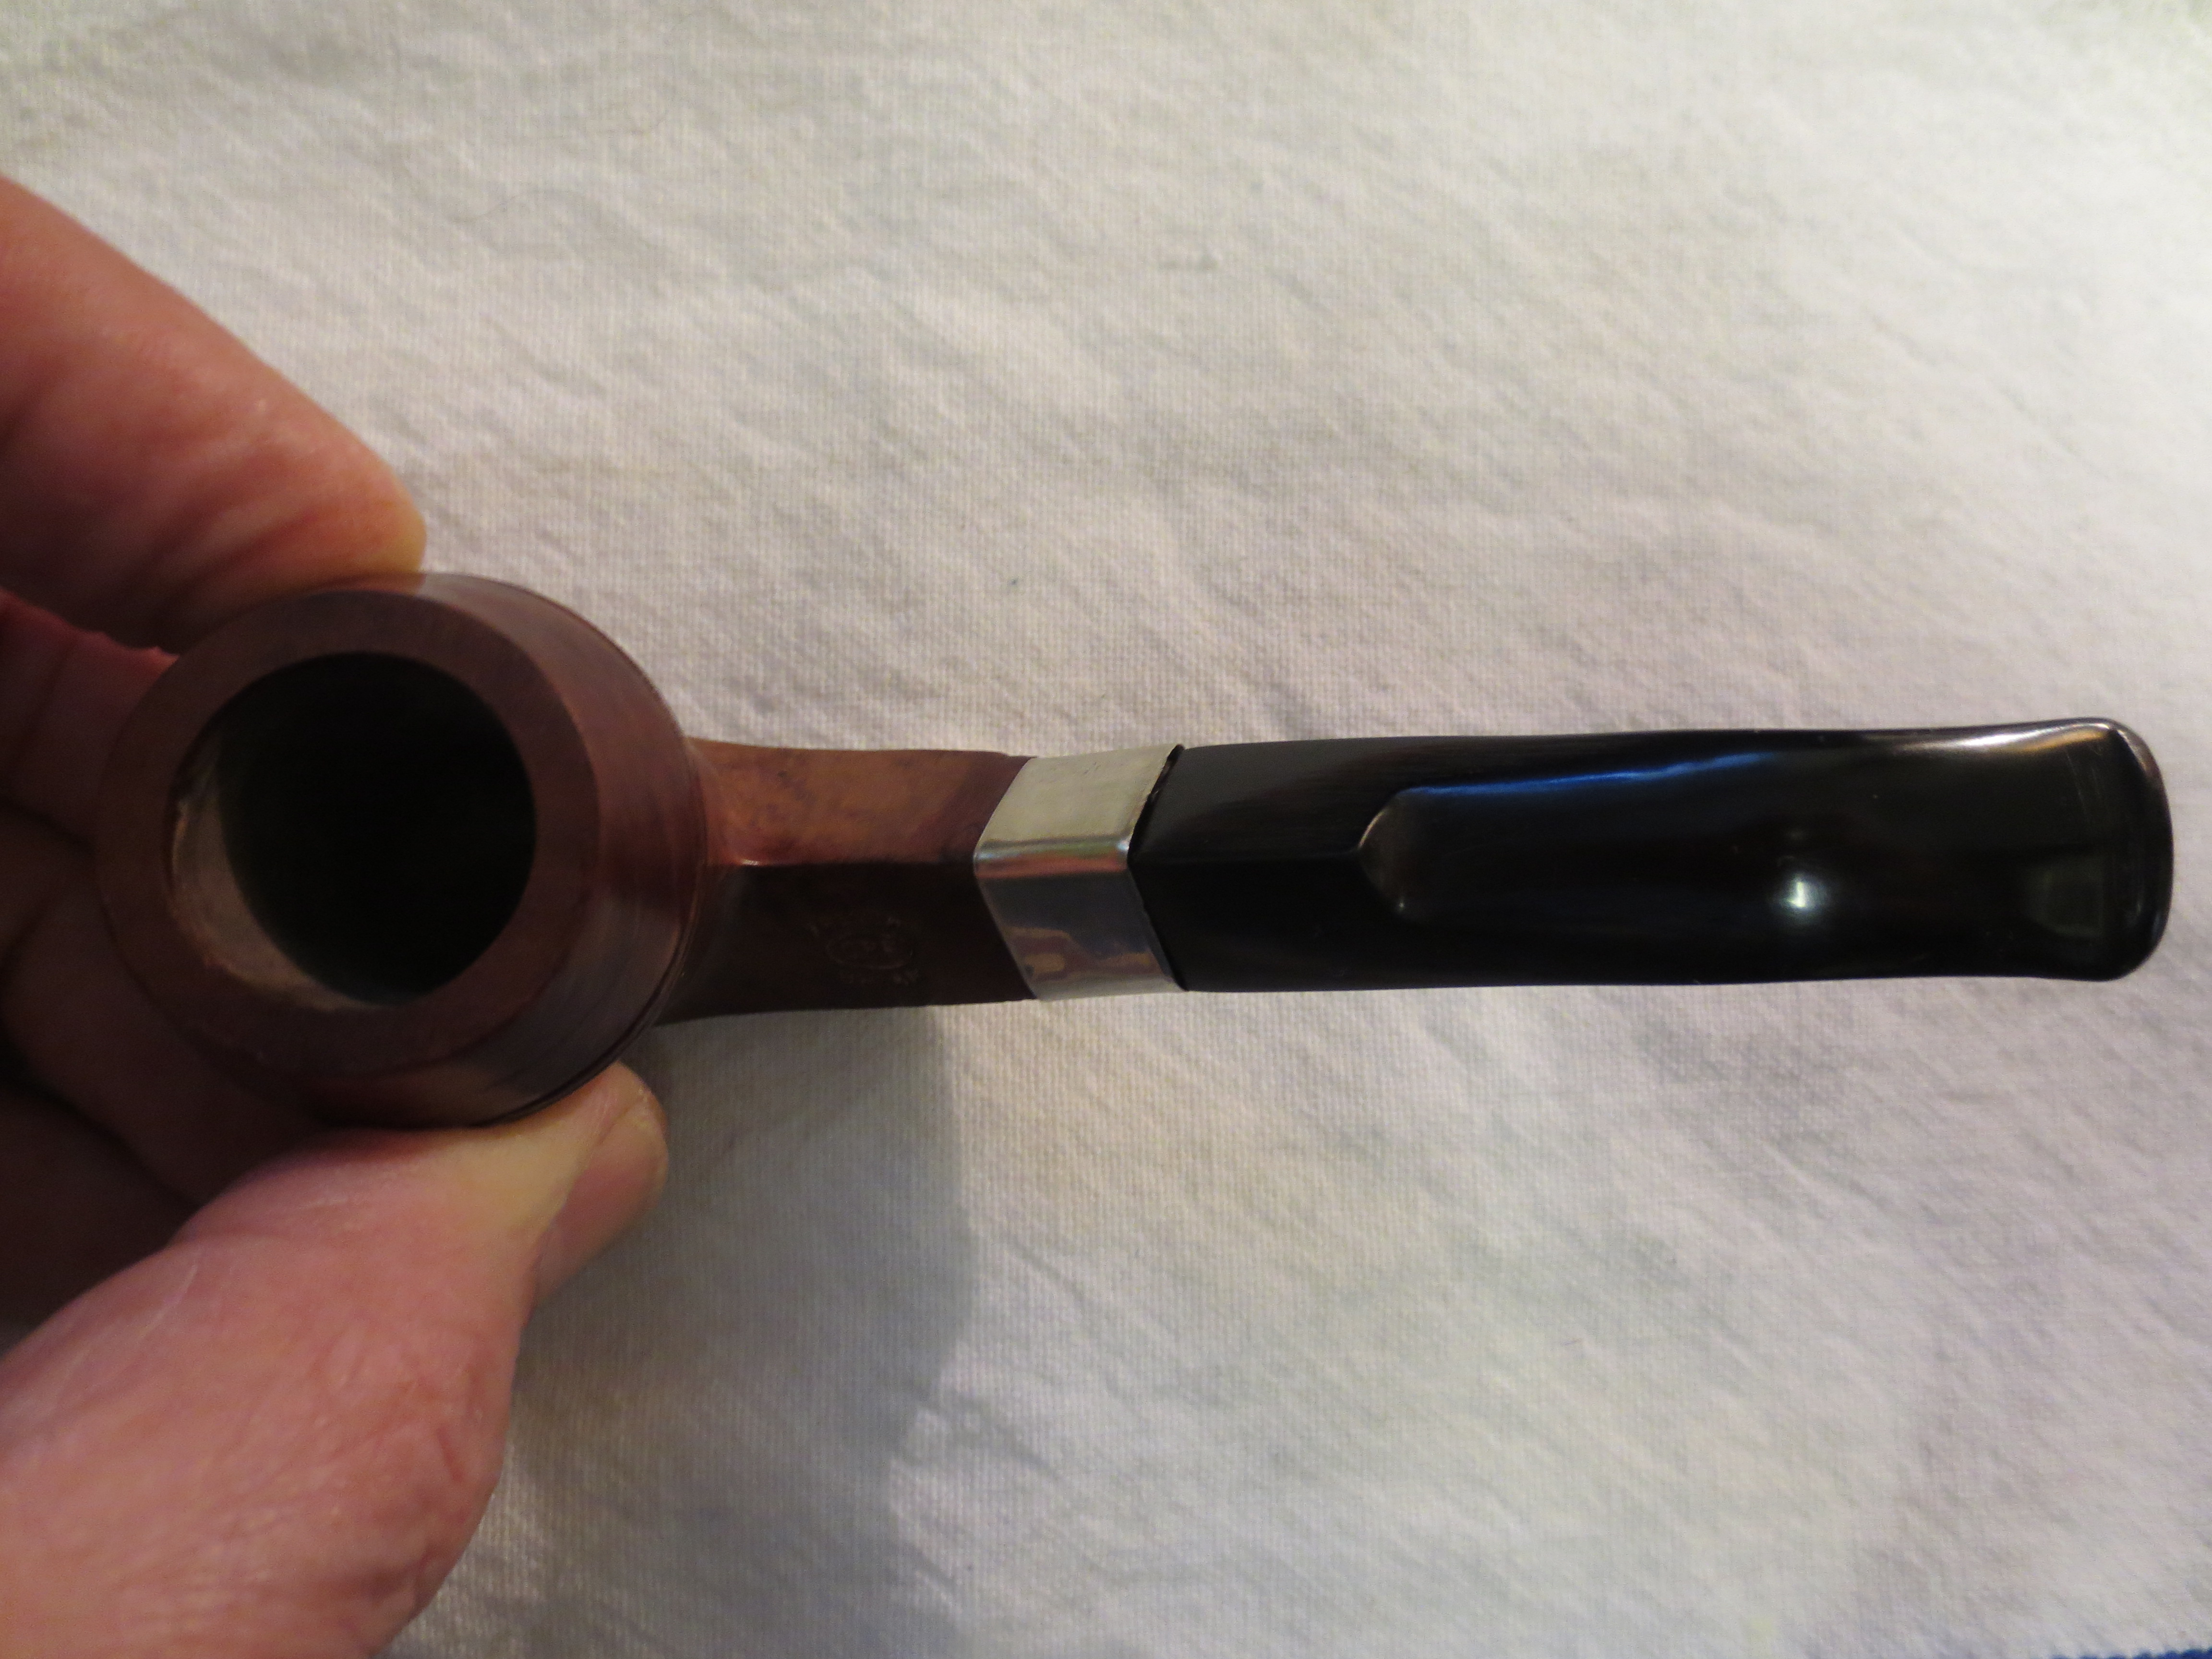
 I took a photo of the bowl and rim top to show the cake in the bowl and the lava build up and the damage on the edges of the bowl. The cake was thick and hard and I am hoping that at some level it protected the edges from damage. You can see the nicks in the inner edge and the damage on the rim top. I also took a photo of the shank end. You can see the tars and build up around the opening.
 I turned to Pipedia to read about the Danmore brand (https://pipedia.org/wiki/Danmore). There was a brief article there that I quote below.
Danmore was founded by Hans Sørensen in the early 1970s, and produced pipes from that time until the early 1980s, at one point having up to 30 employees. The pipes were sold in the first Dan Pipe catalog. In the early 1980’s, however, production ceased in Denmark due to labor costs, and the company’s production was outsourced to Italy and Spain, and they began to also make pipecleaners and smokers articles.
Sørensen focused on the pipecleaner side of the concern, and eventually bought a share in the factory in the Far East making them. Today the company, owned by Hans’ sons Jesper and Lars Sørensen, no longer makes pipes, and instead makes only pipe cleaners under the name Danmore Hobby Aps, selling only to hobby and craftshops in Denmark and Scandinavia.
Hans Sørensen passed away in 2012. The Sørensen family continues to own the trademarks for the use of the Danmore name in relation to pipes, matches, and tobacco.
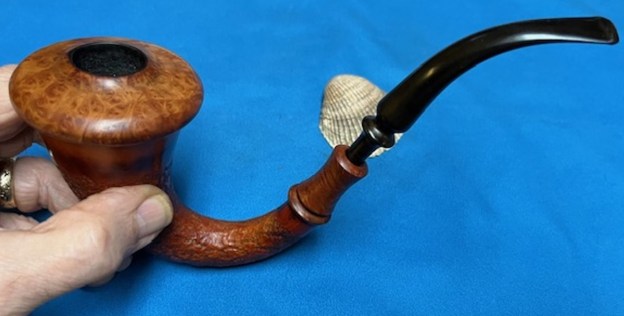
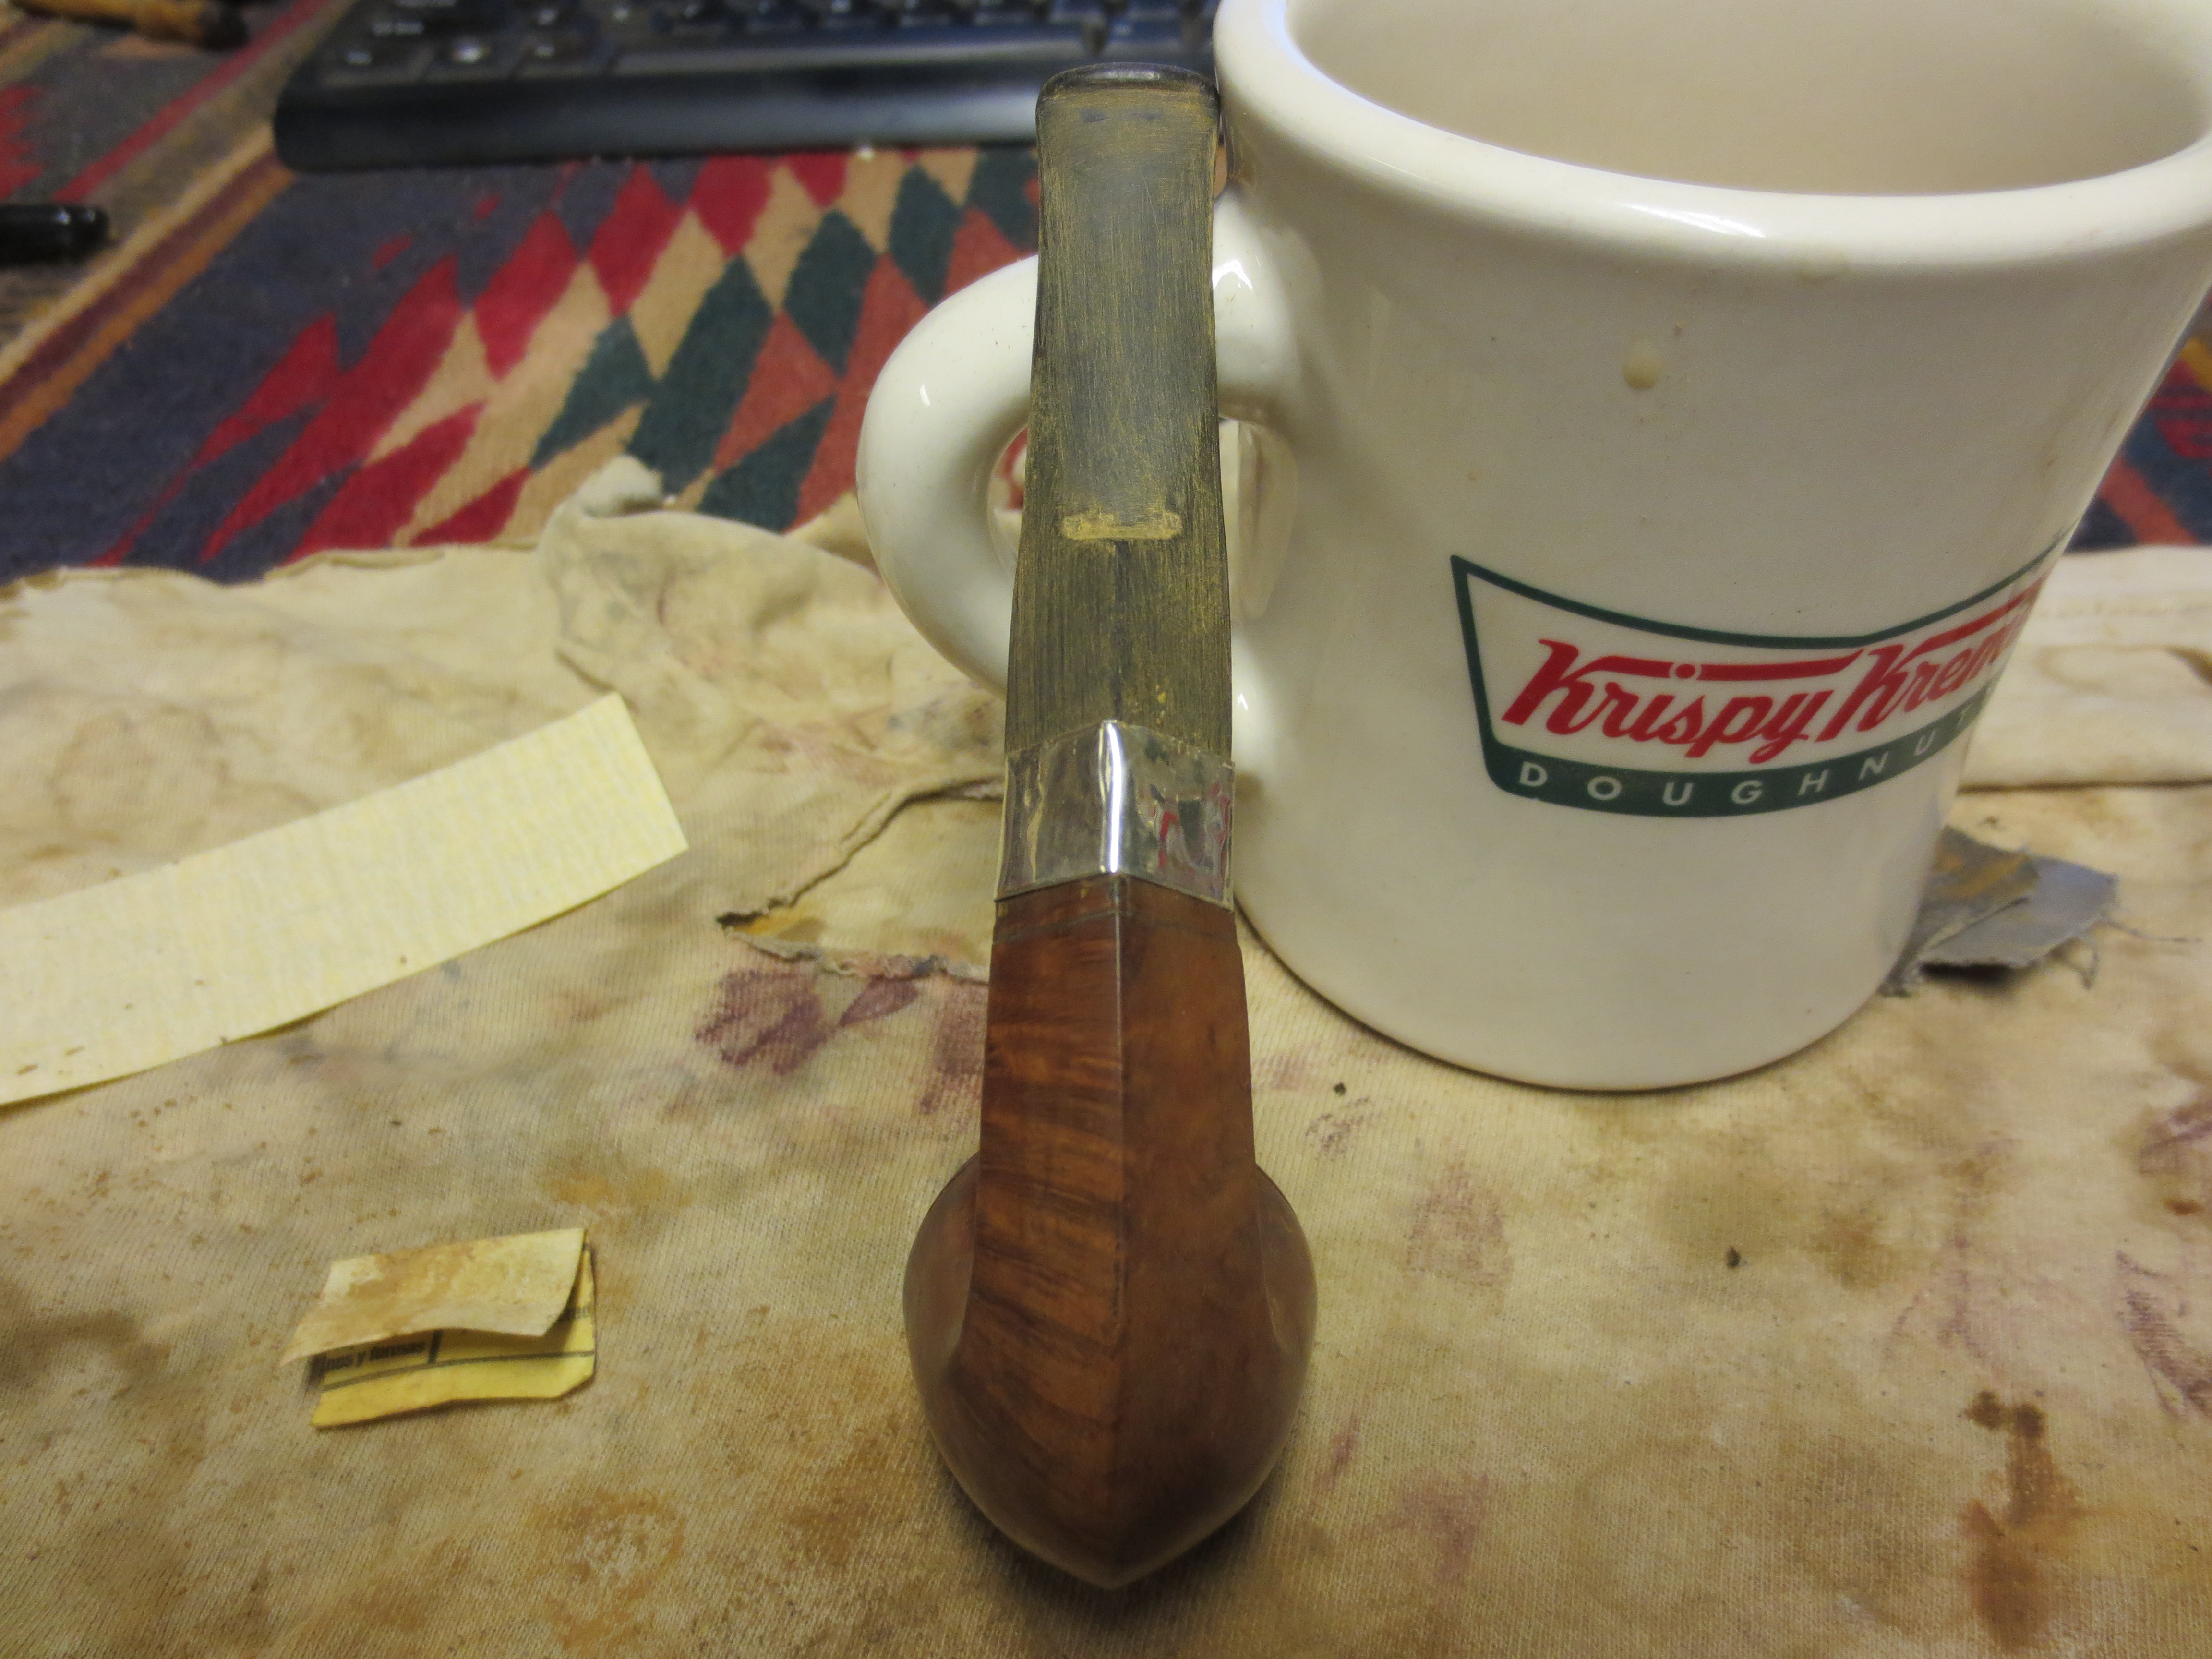
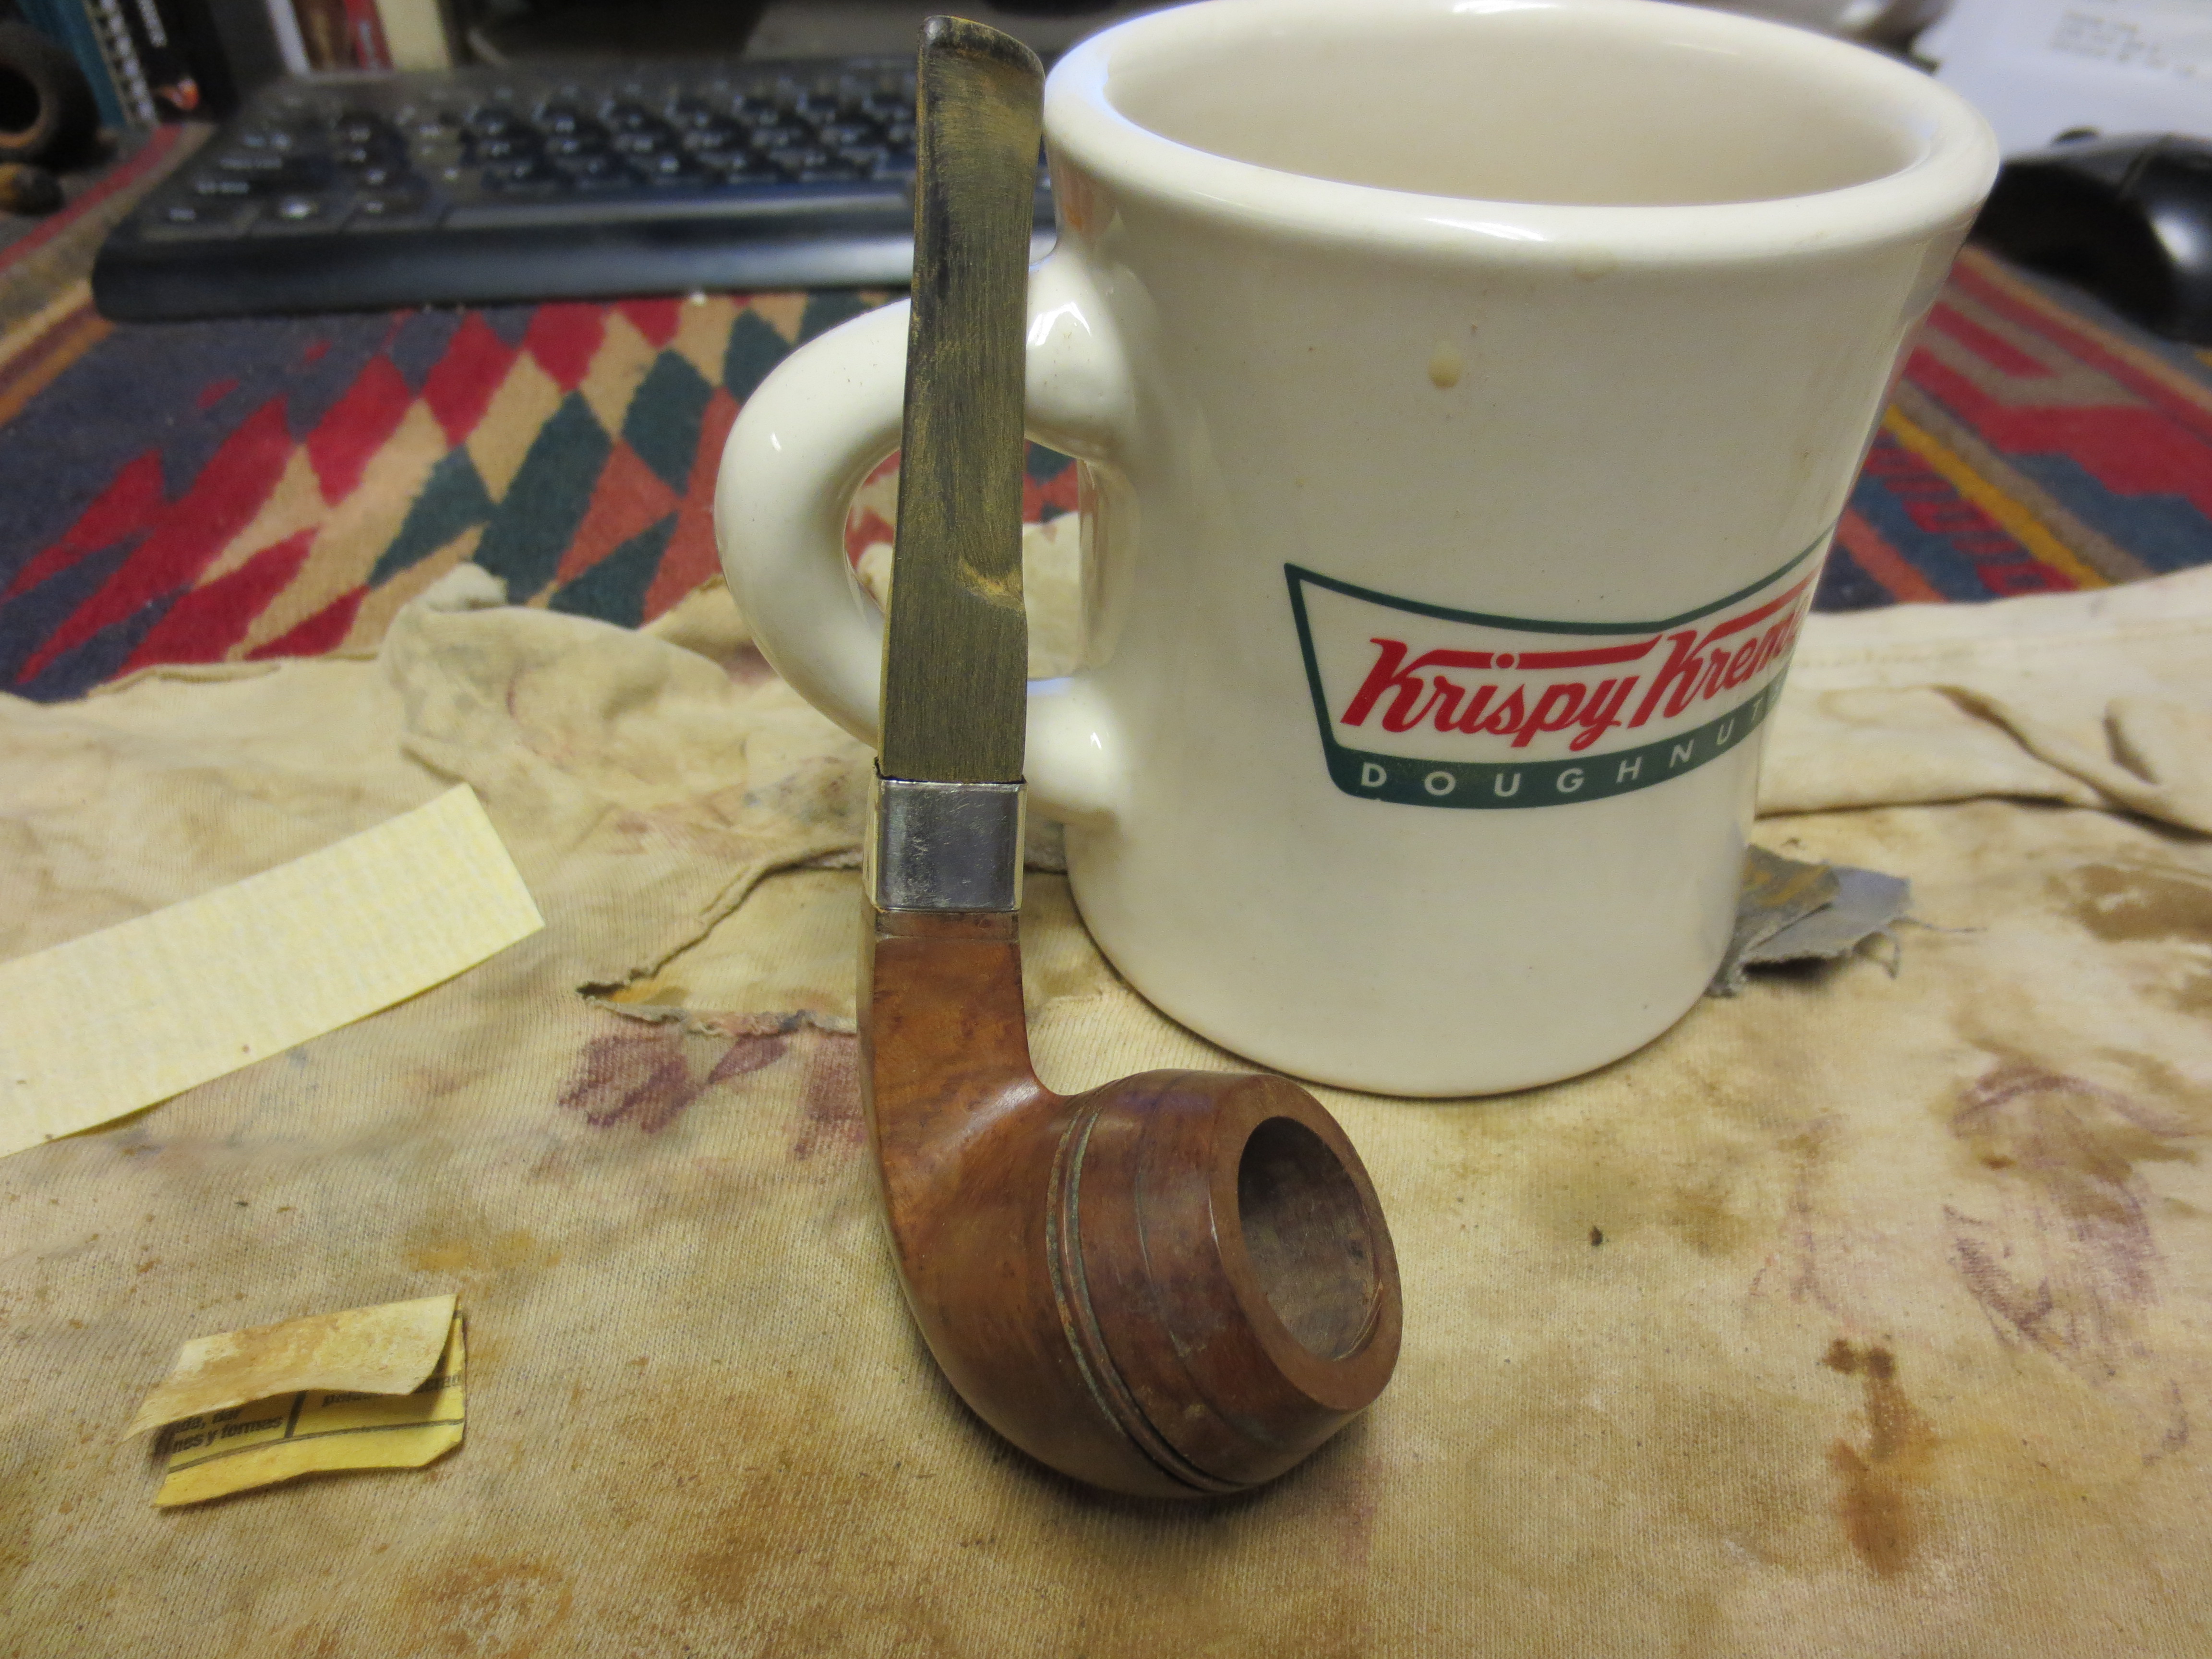
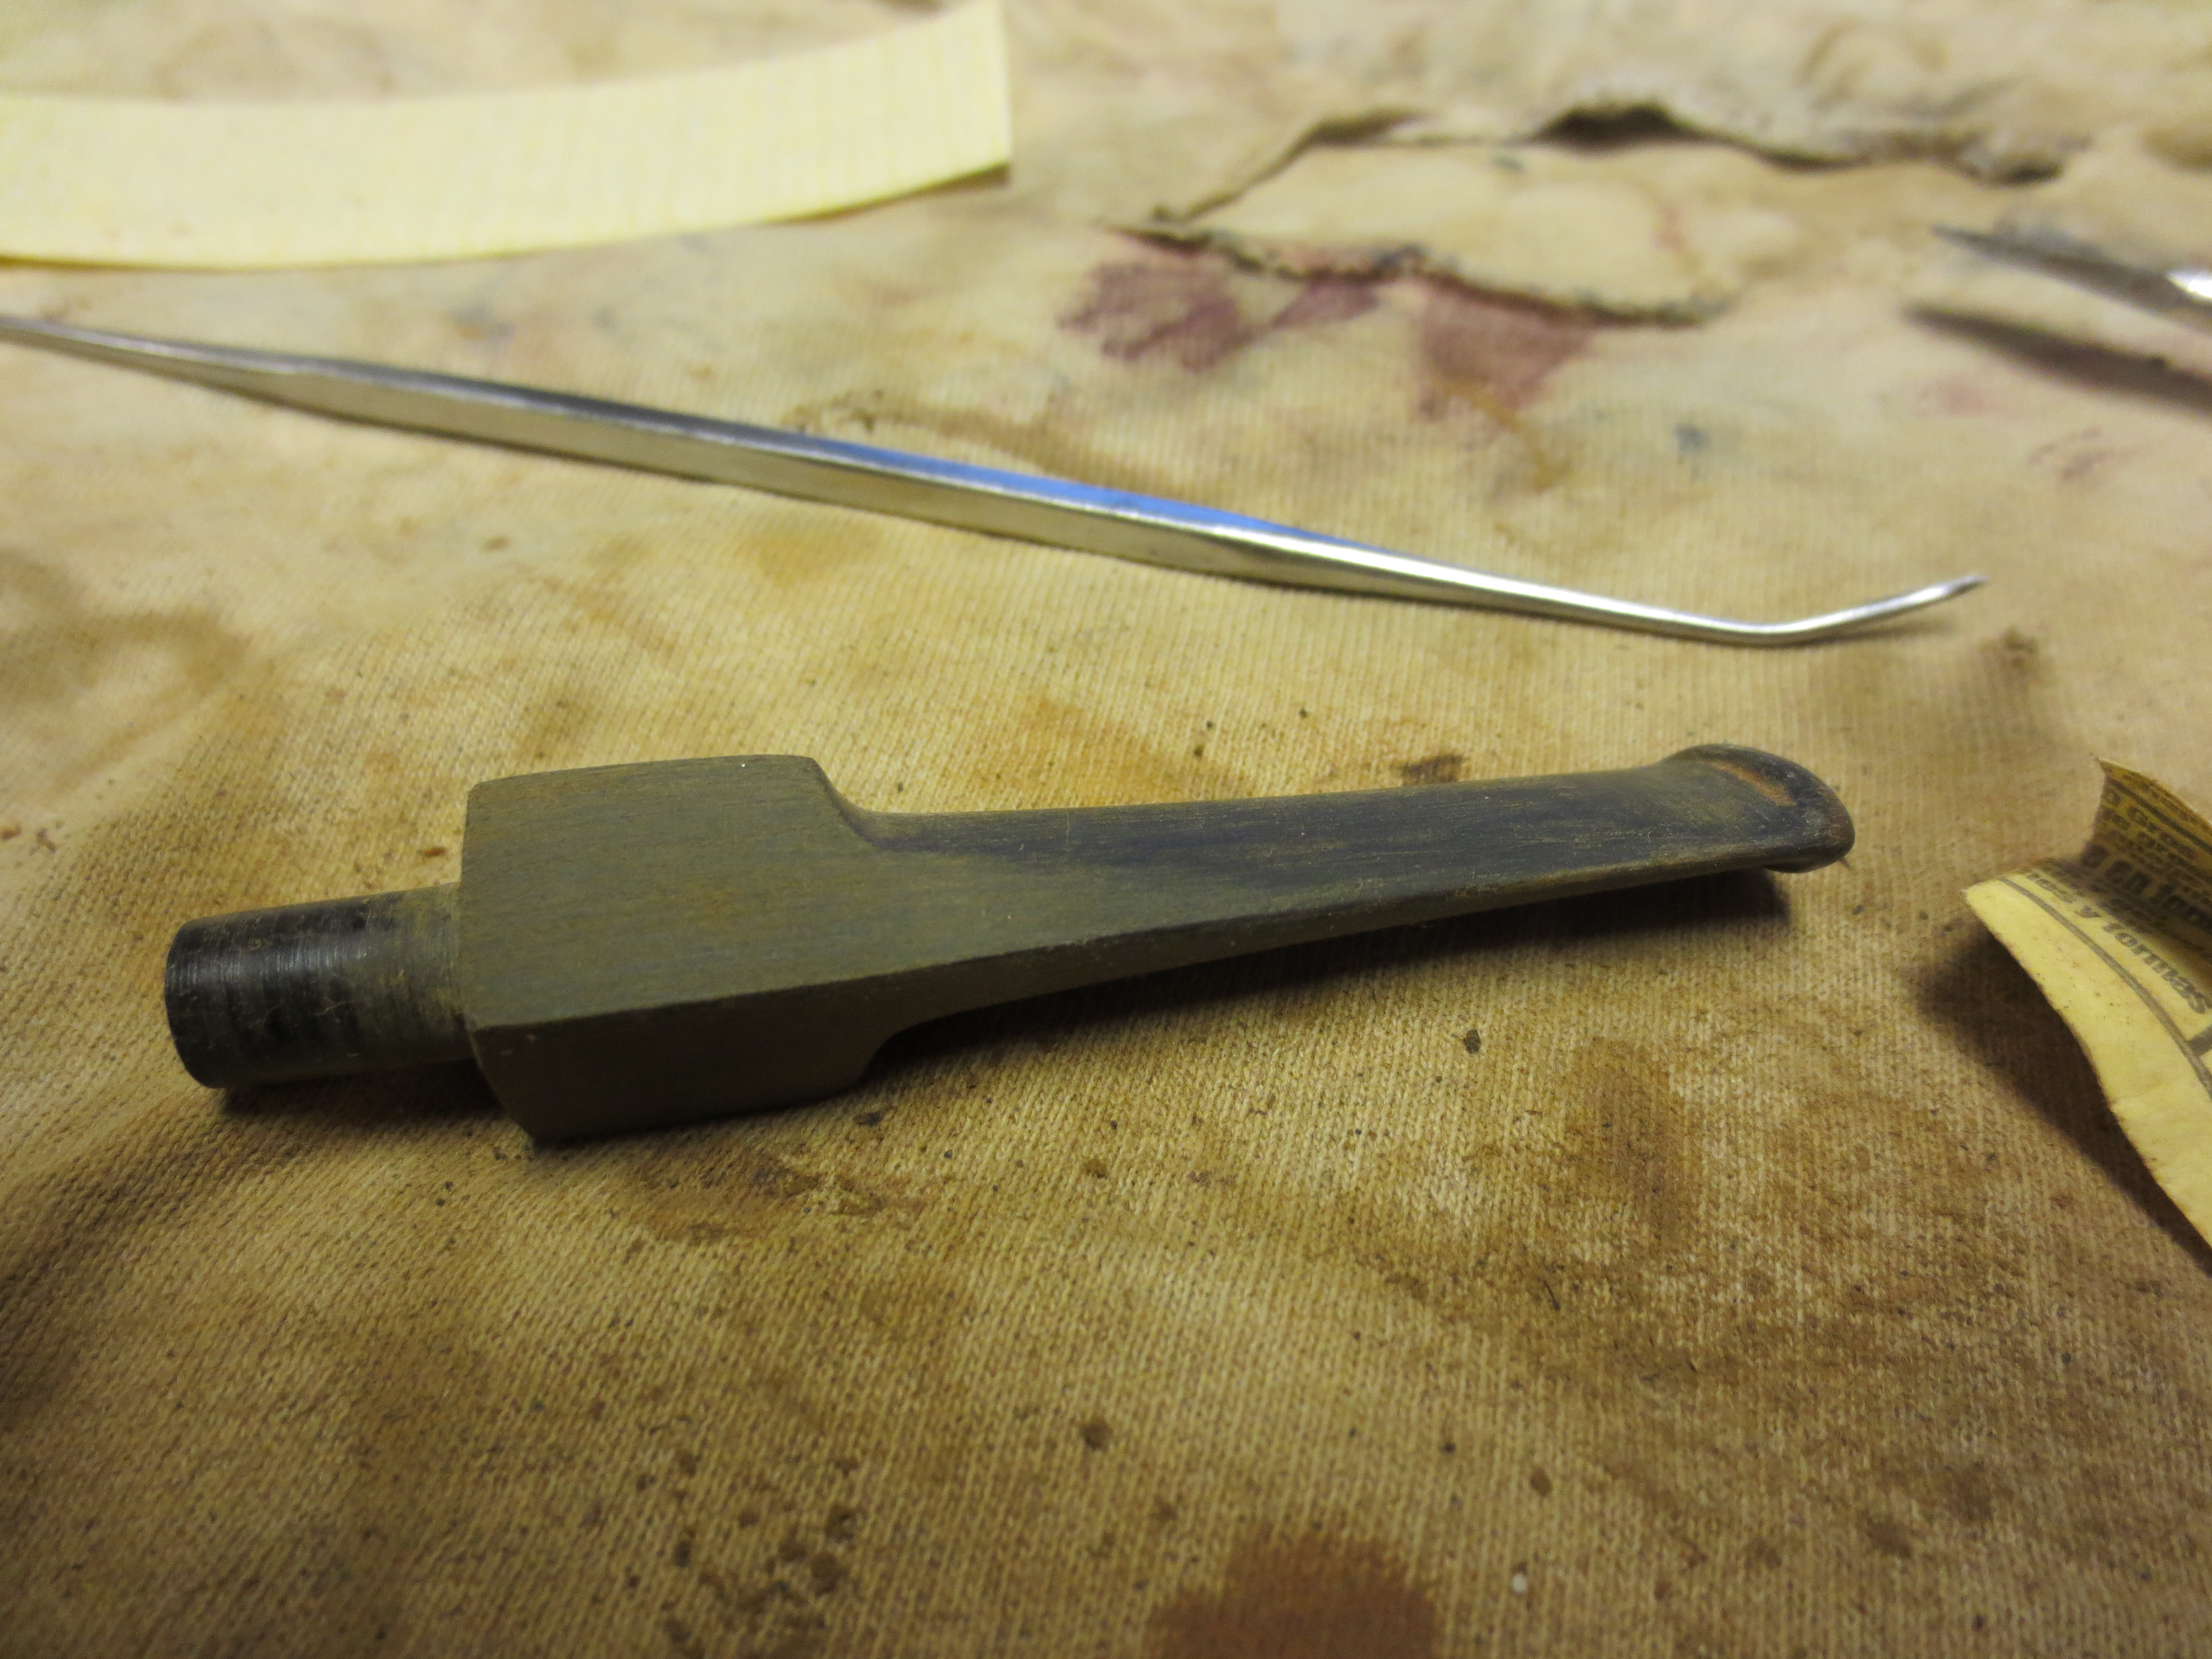
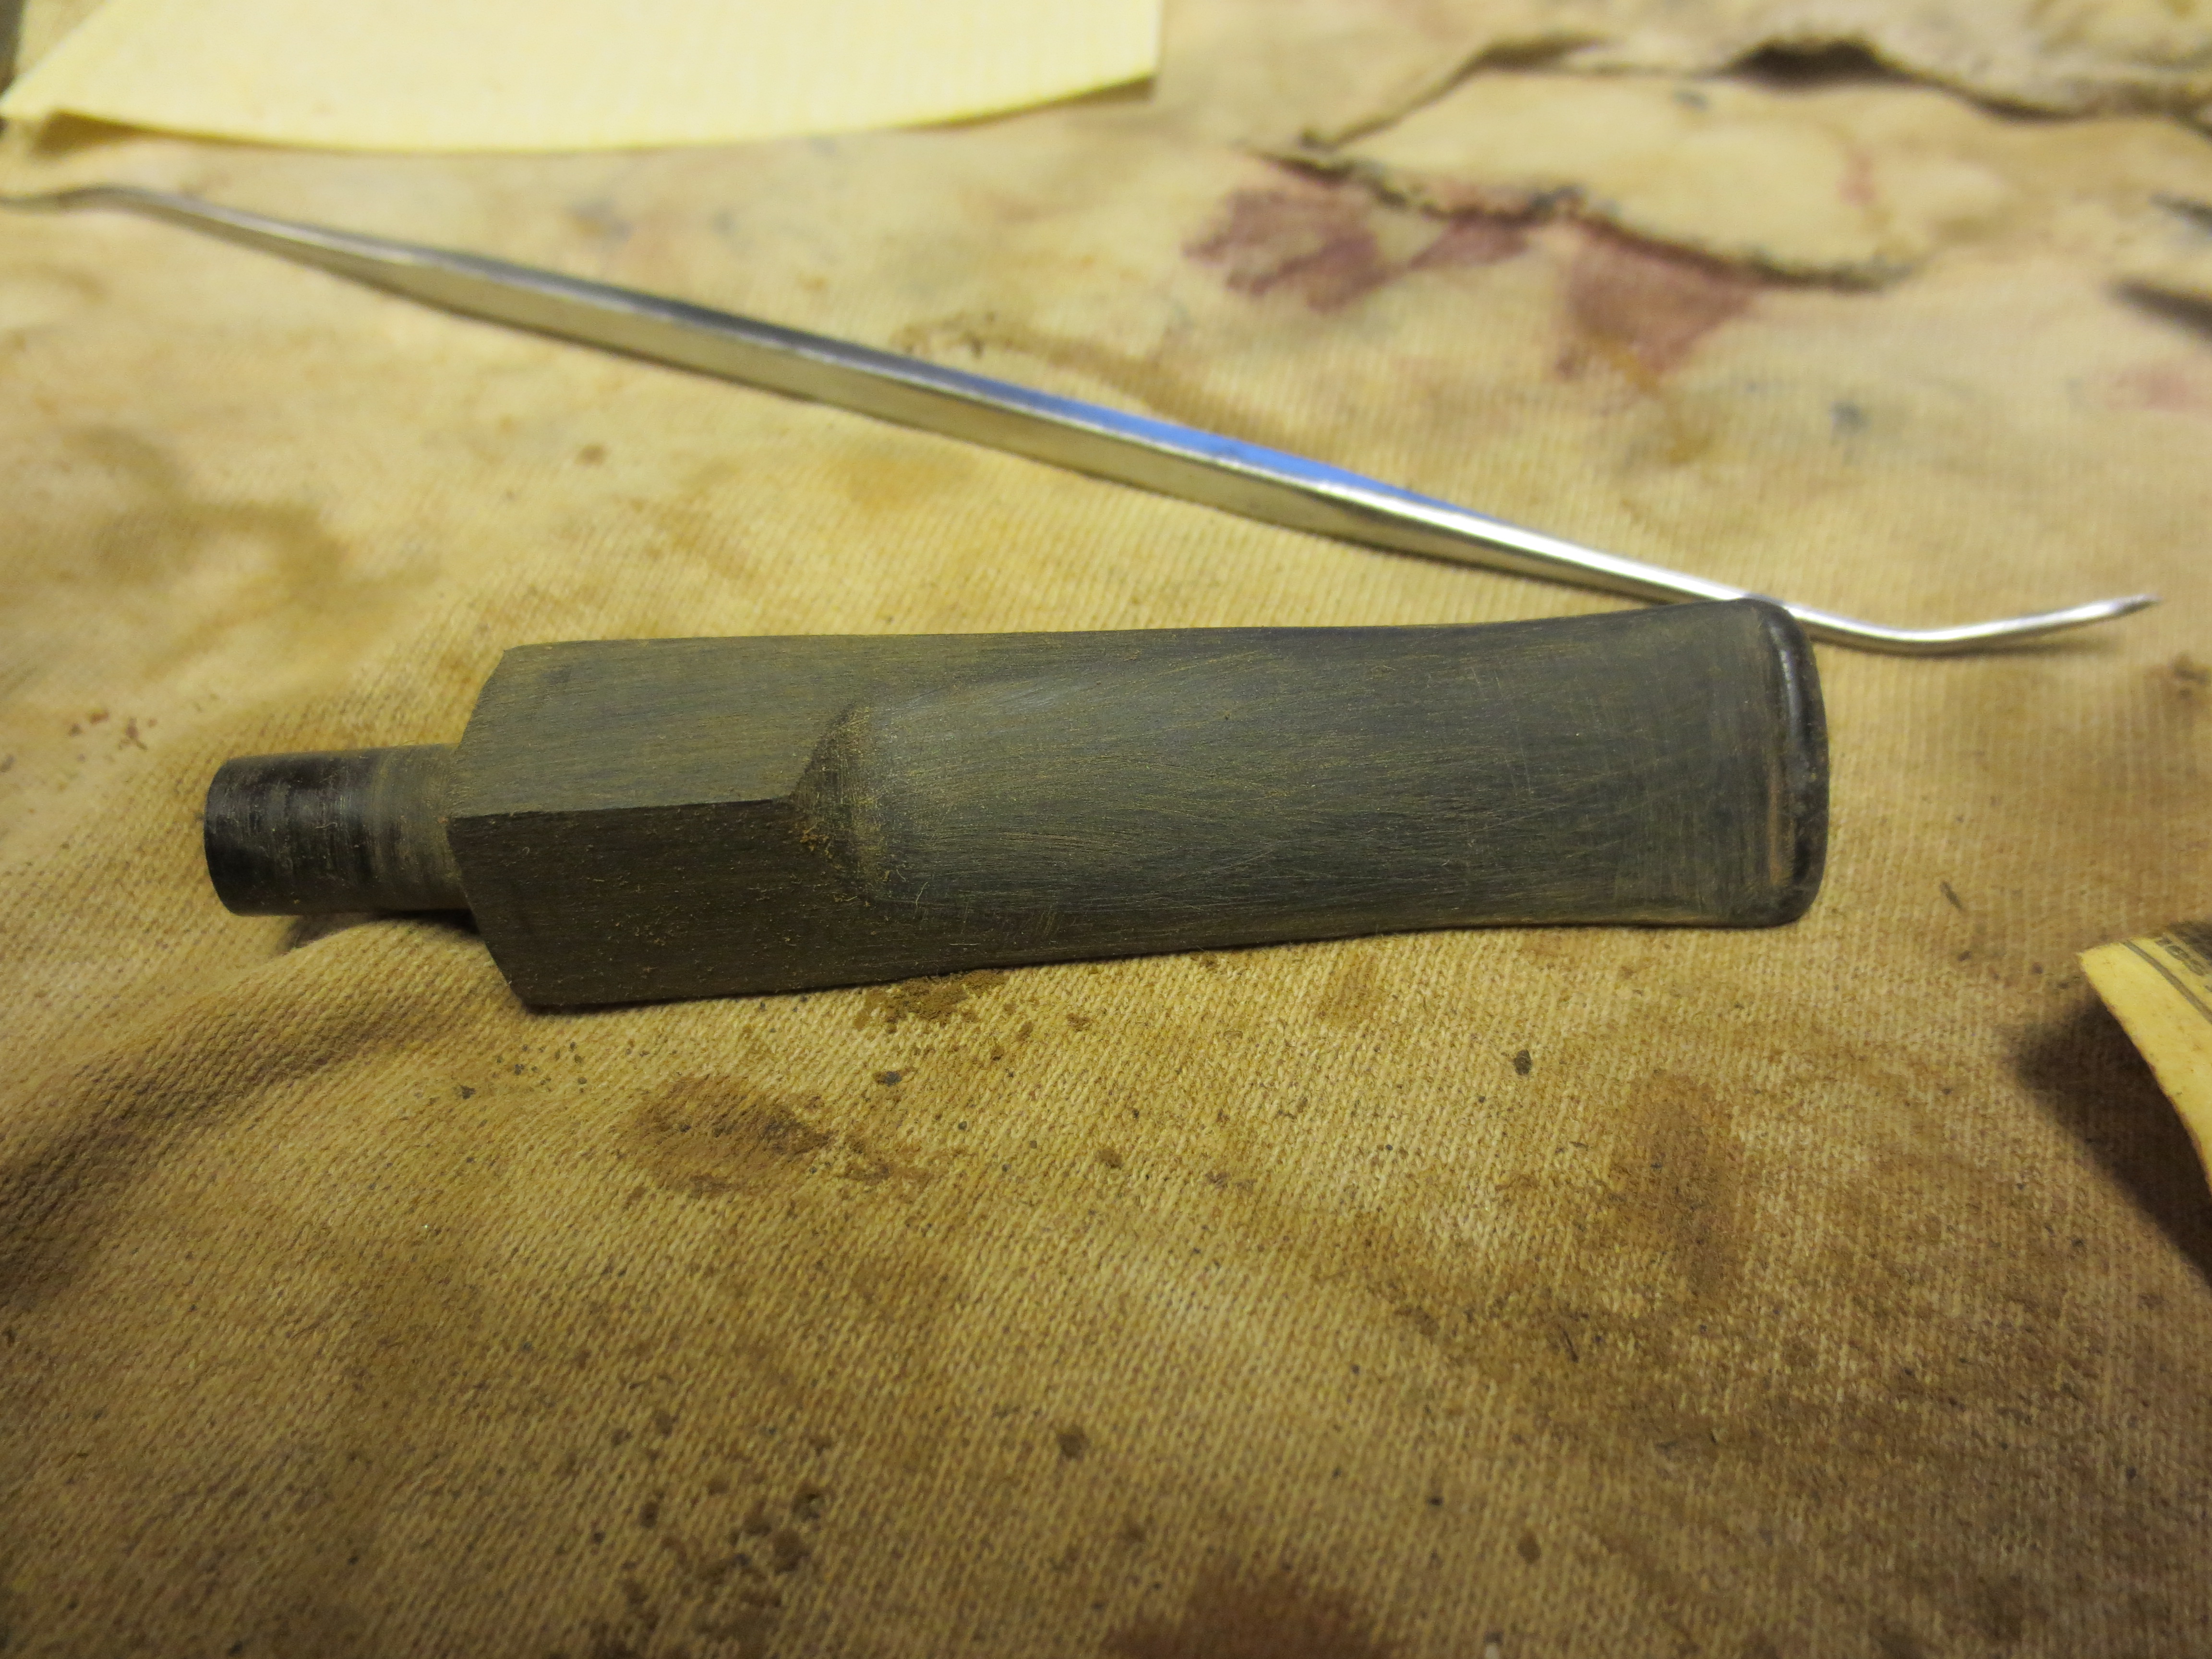
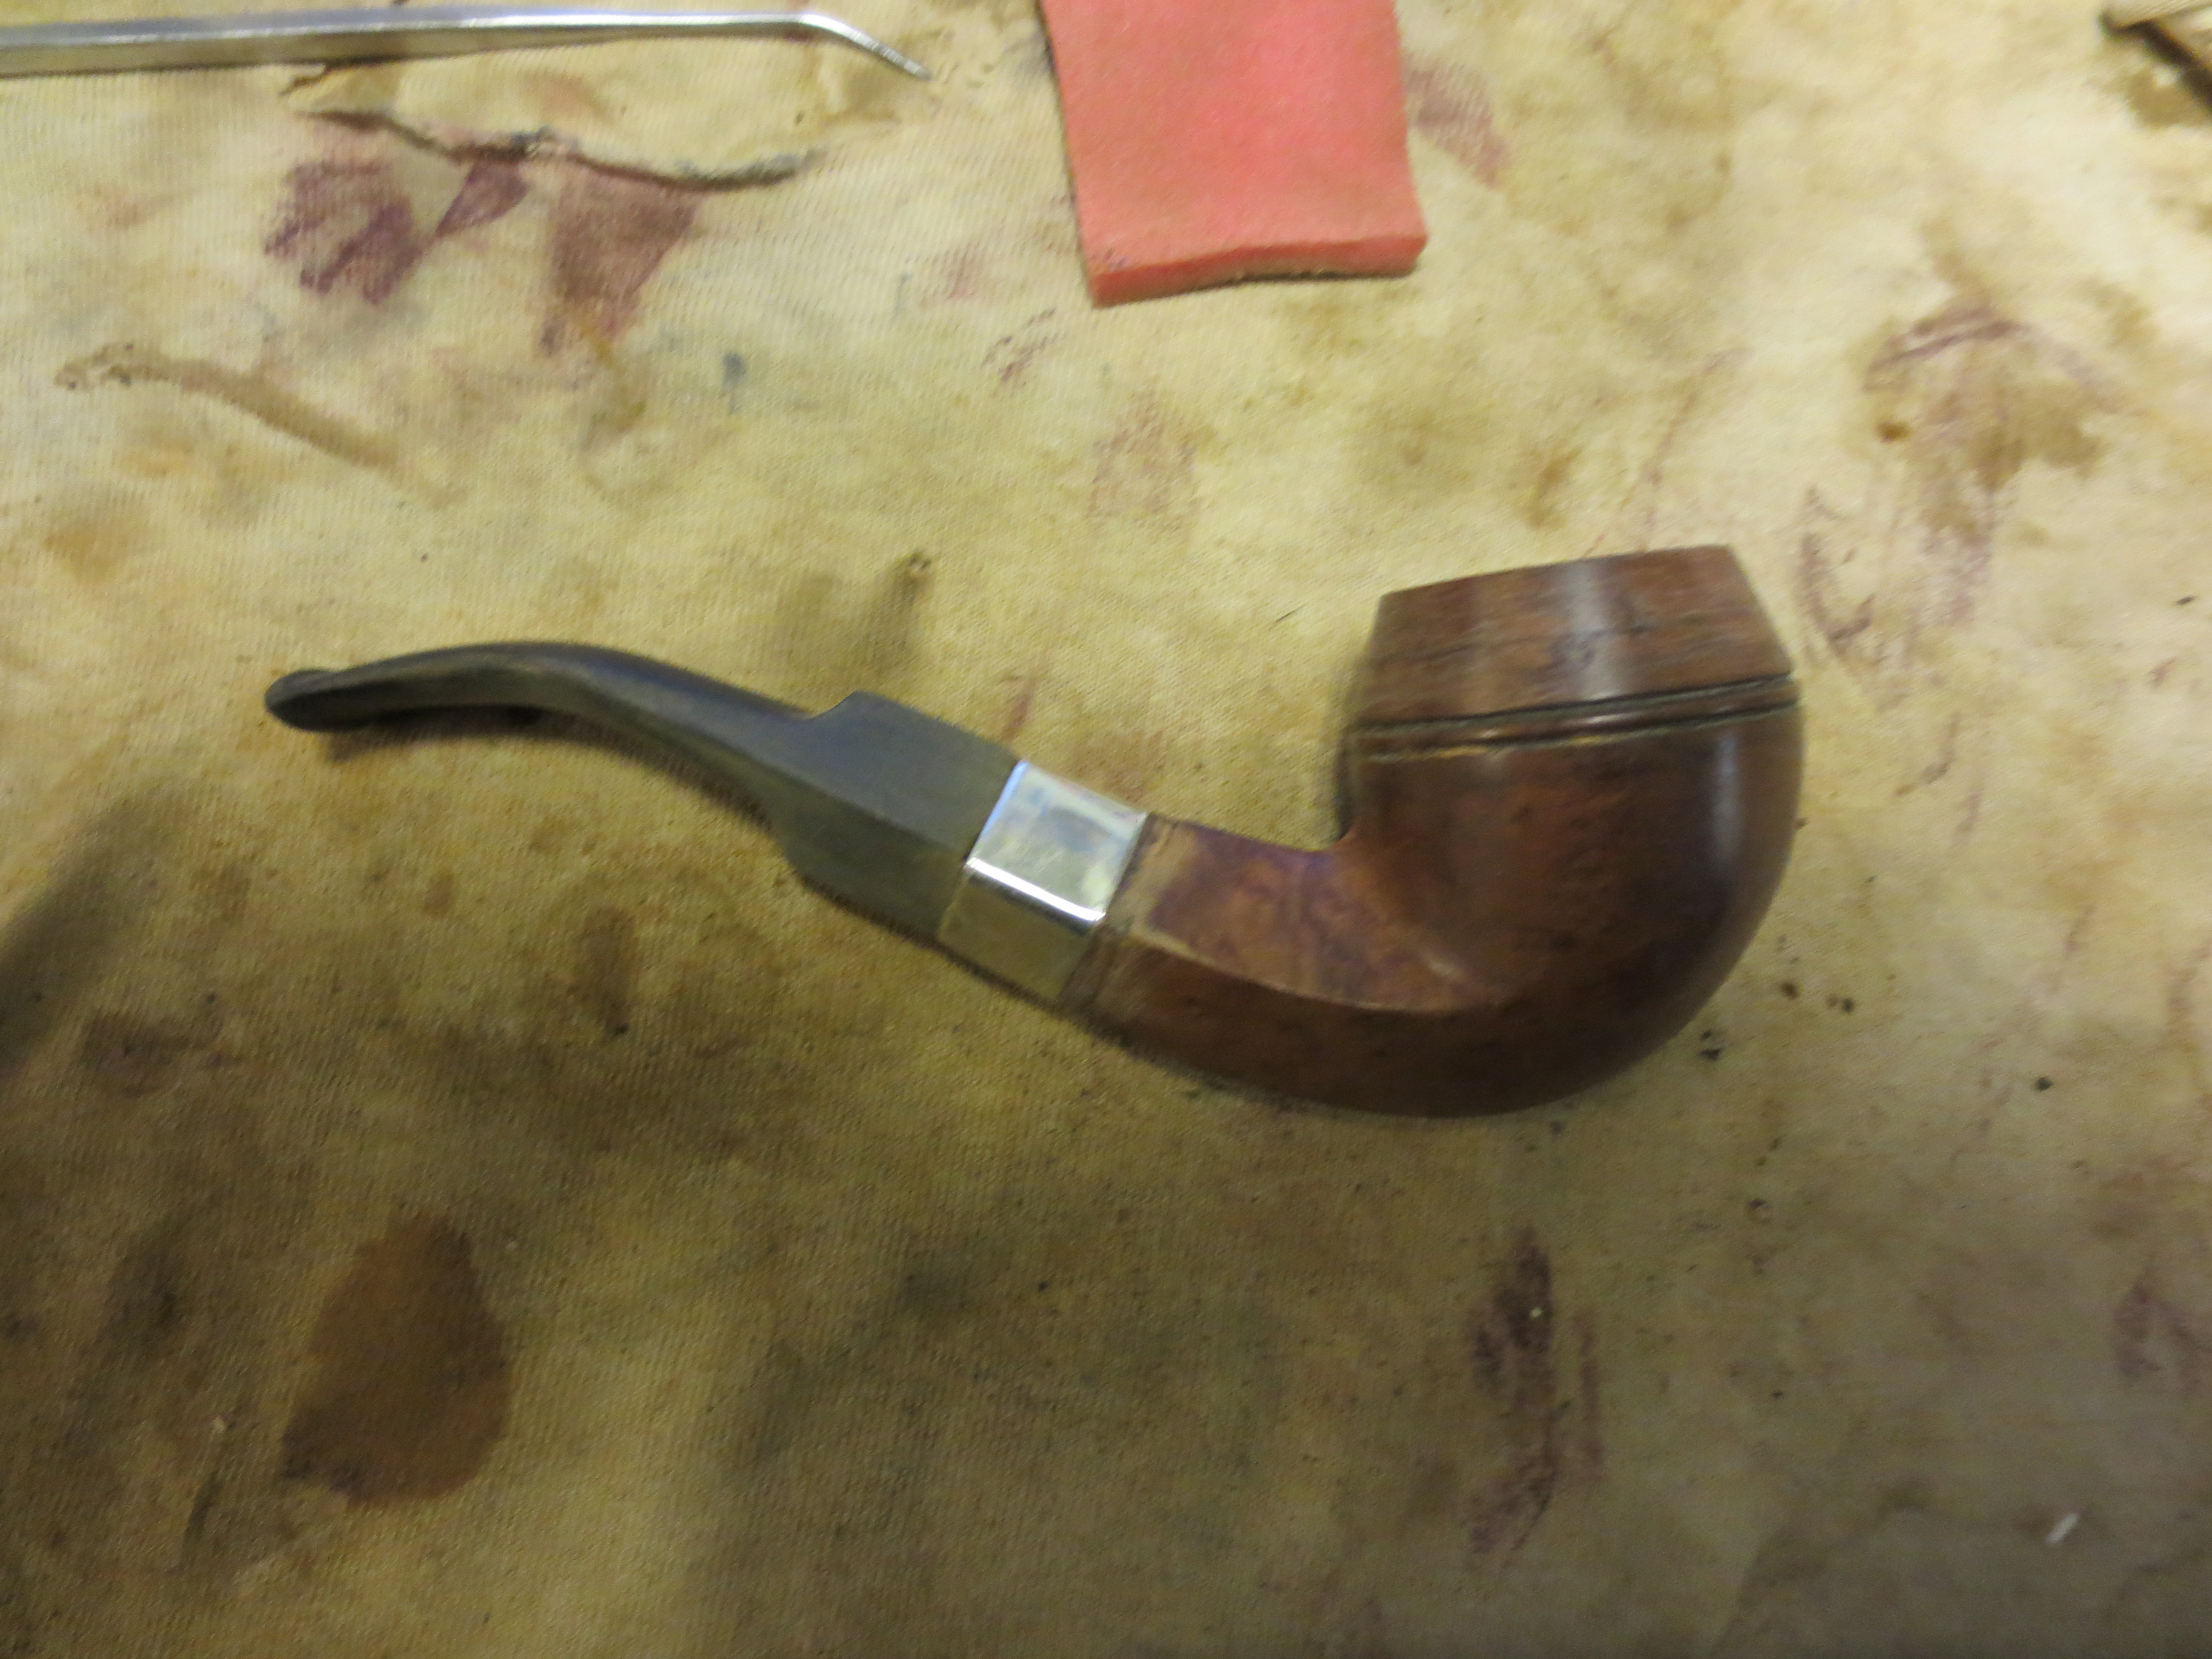
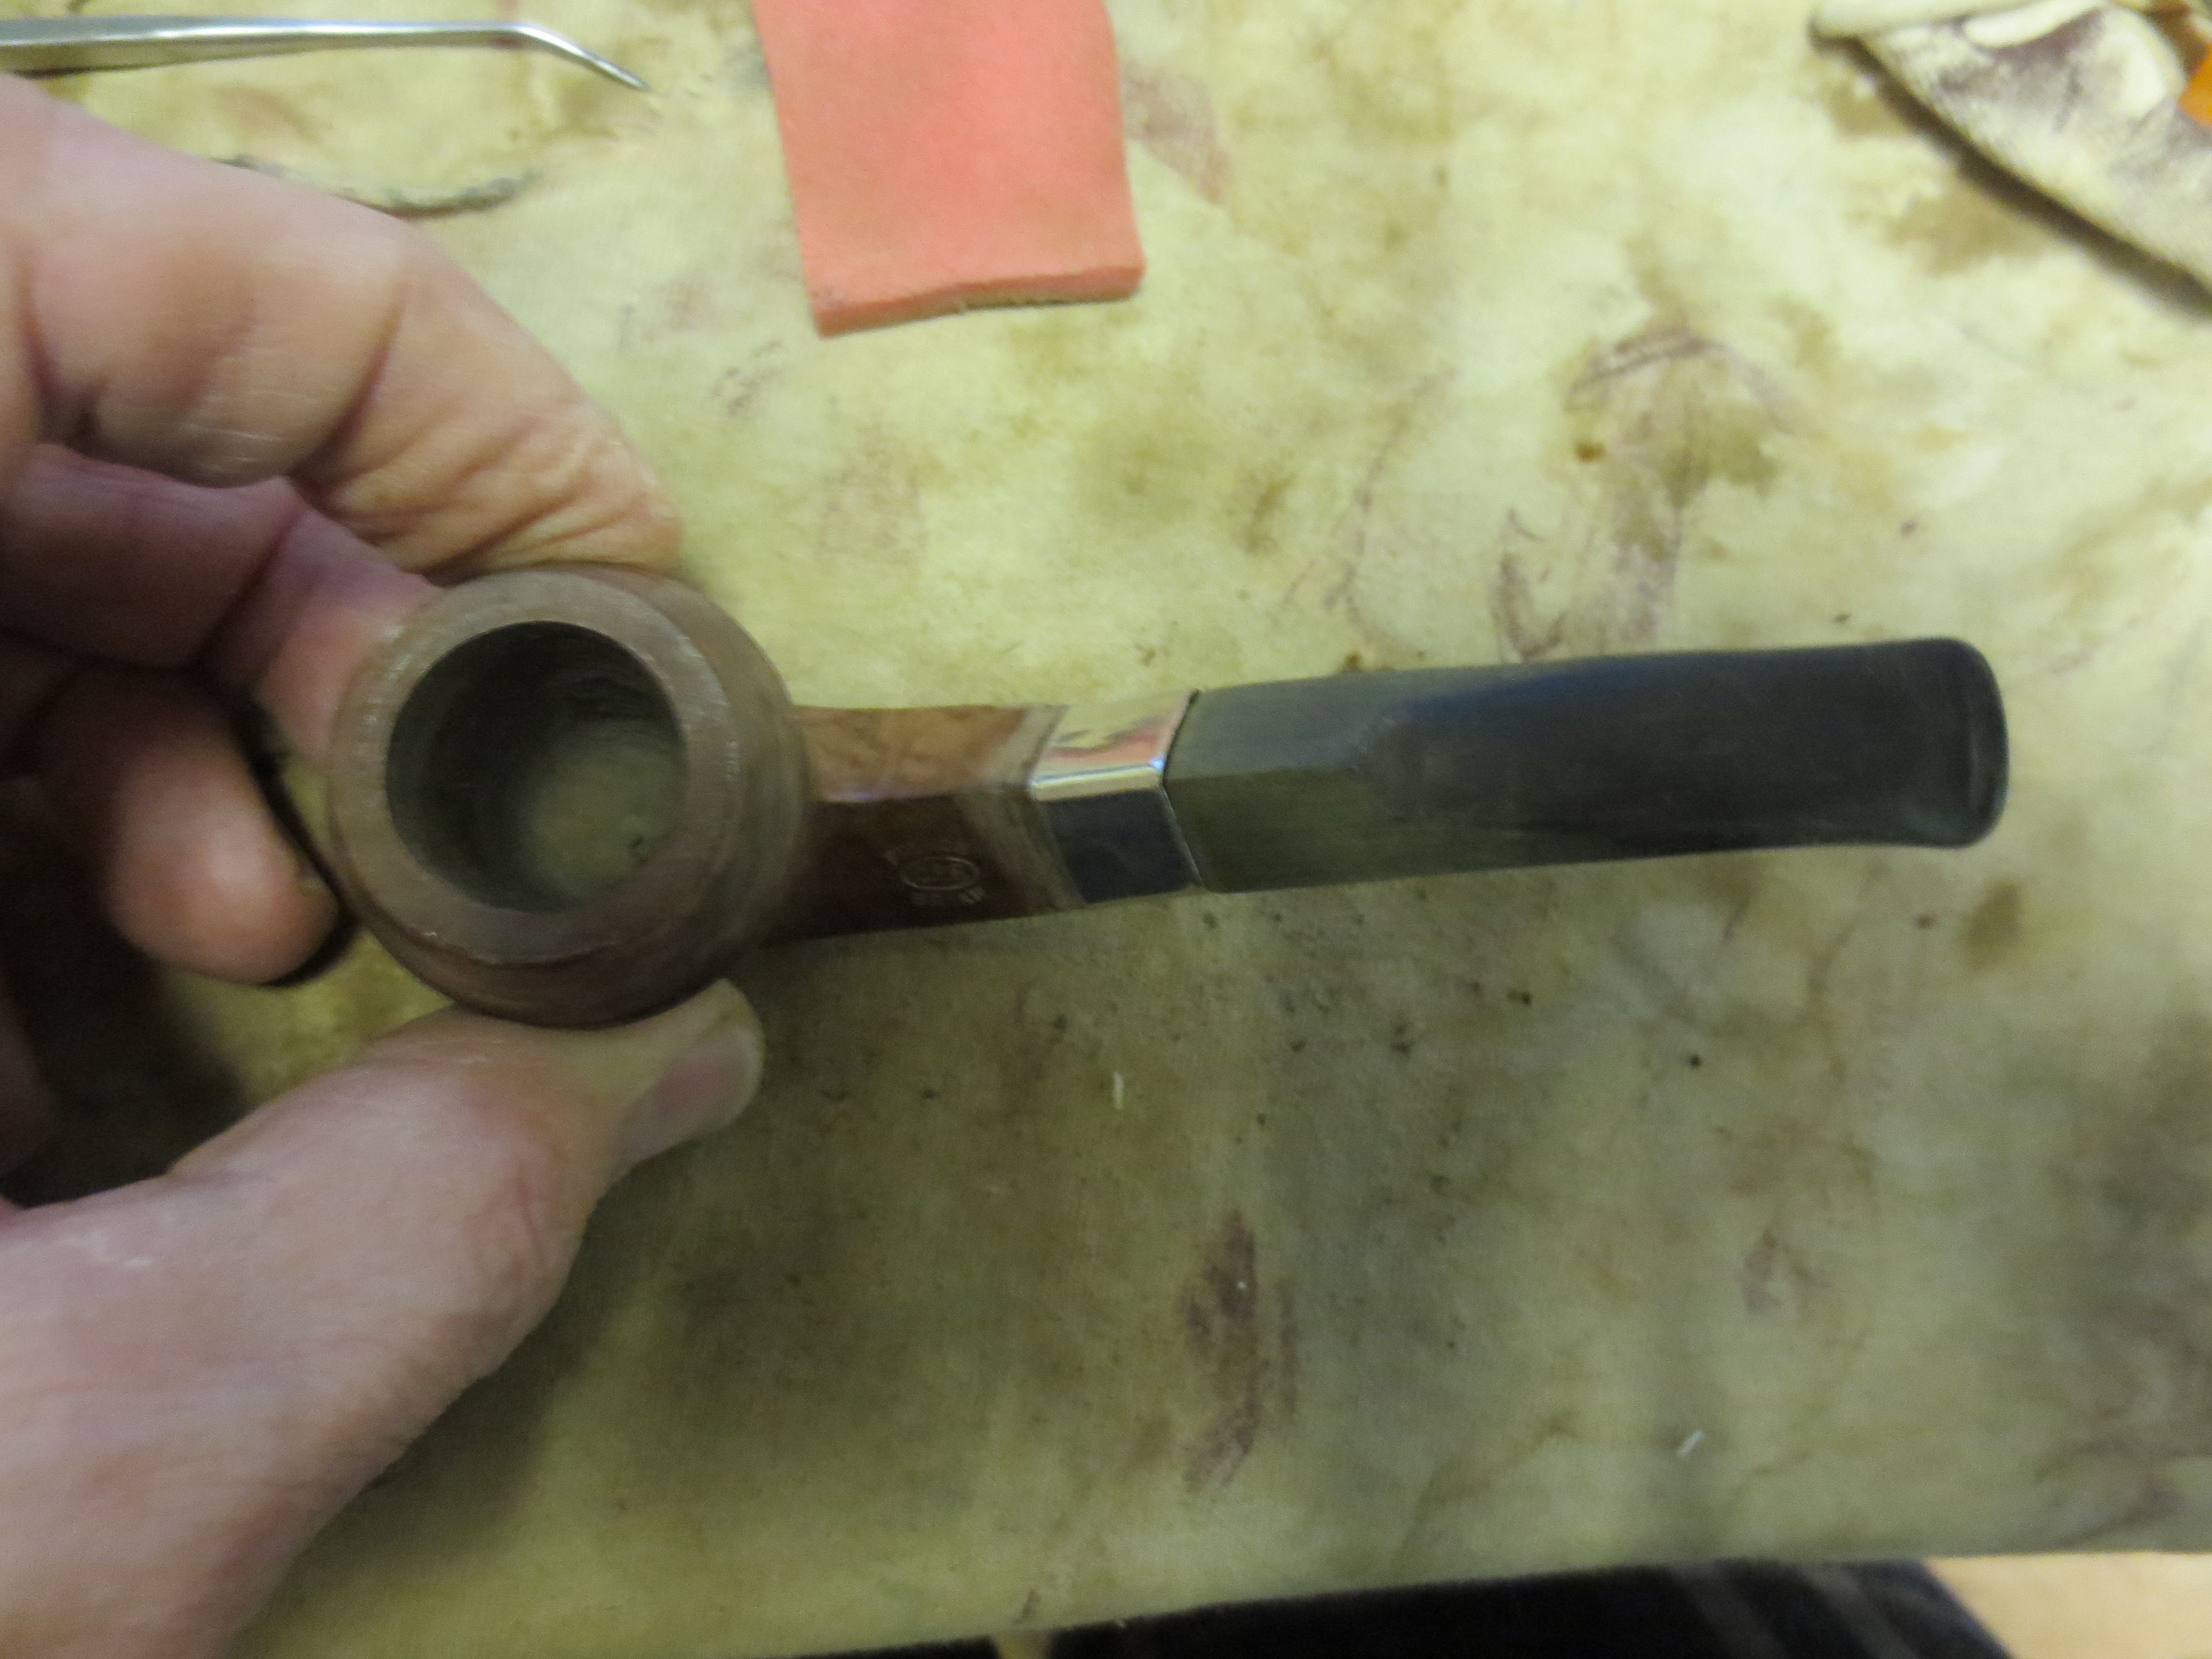
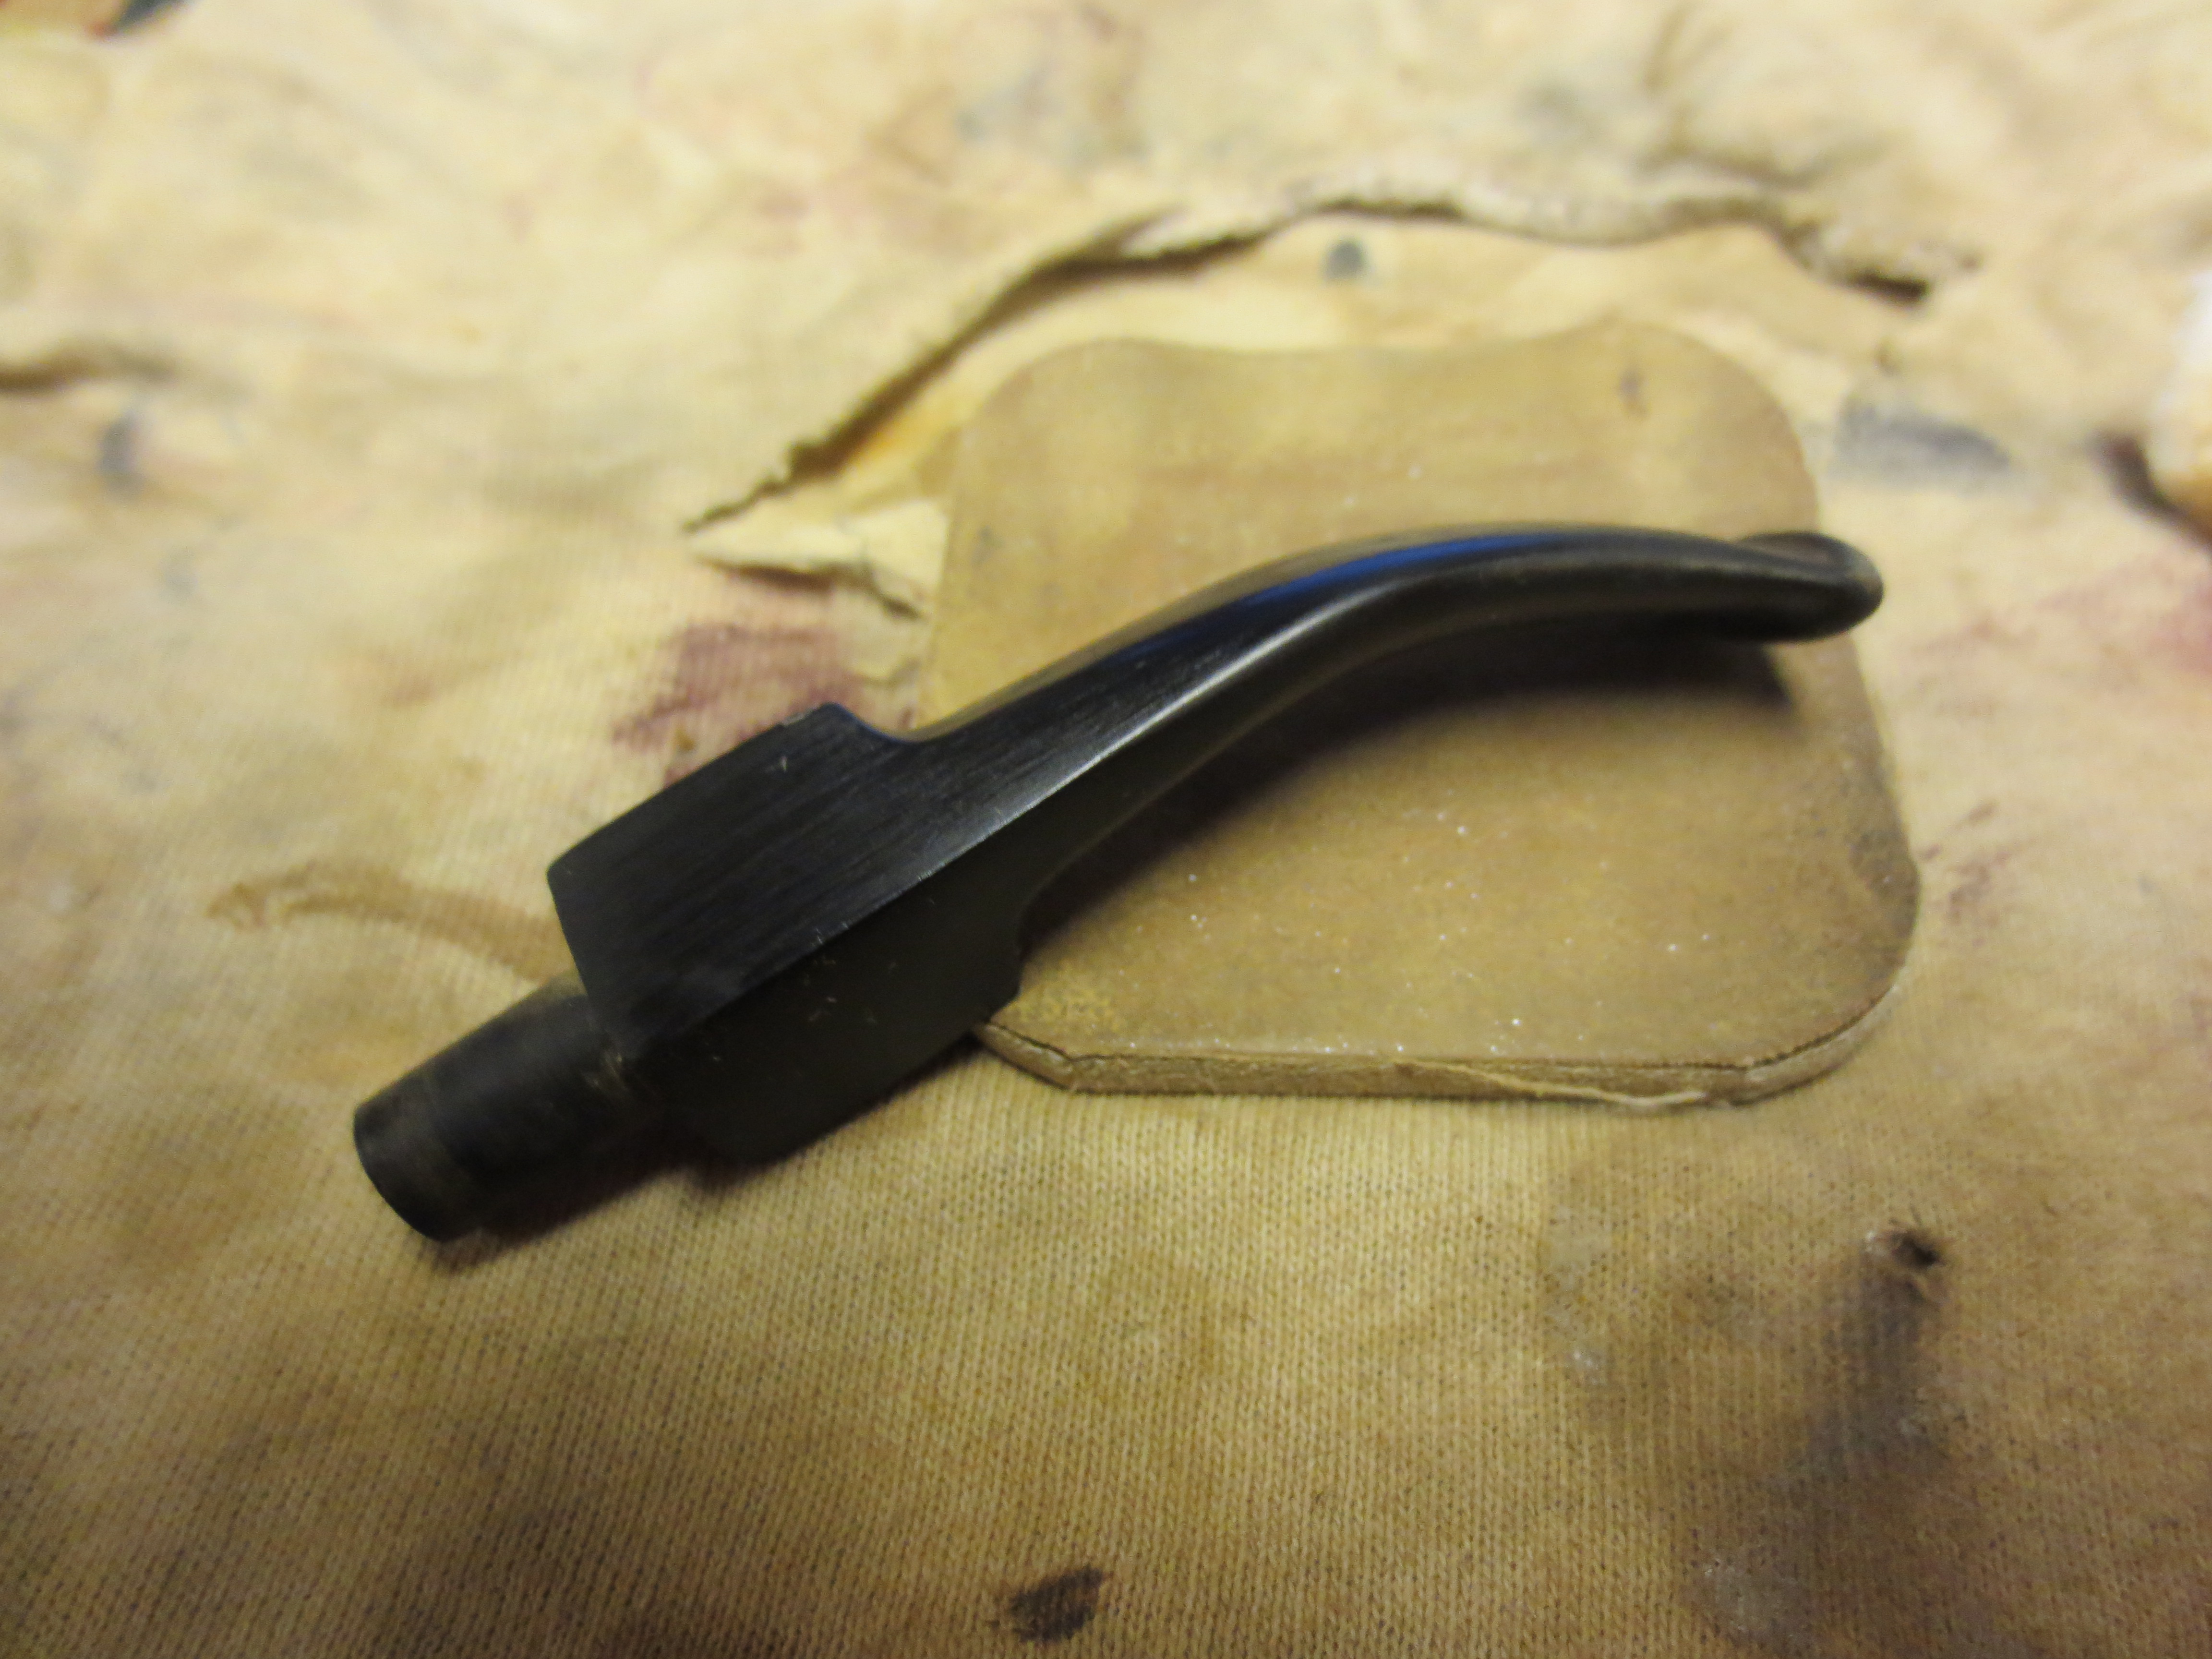
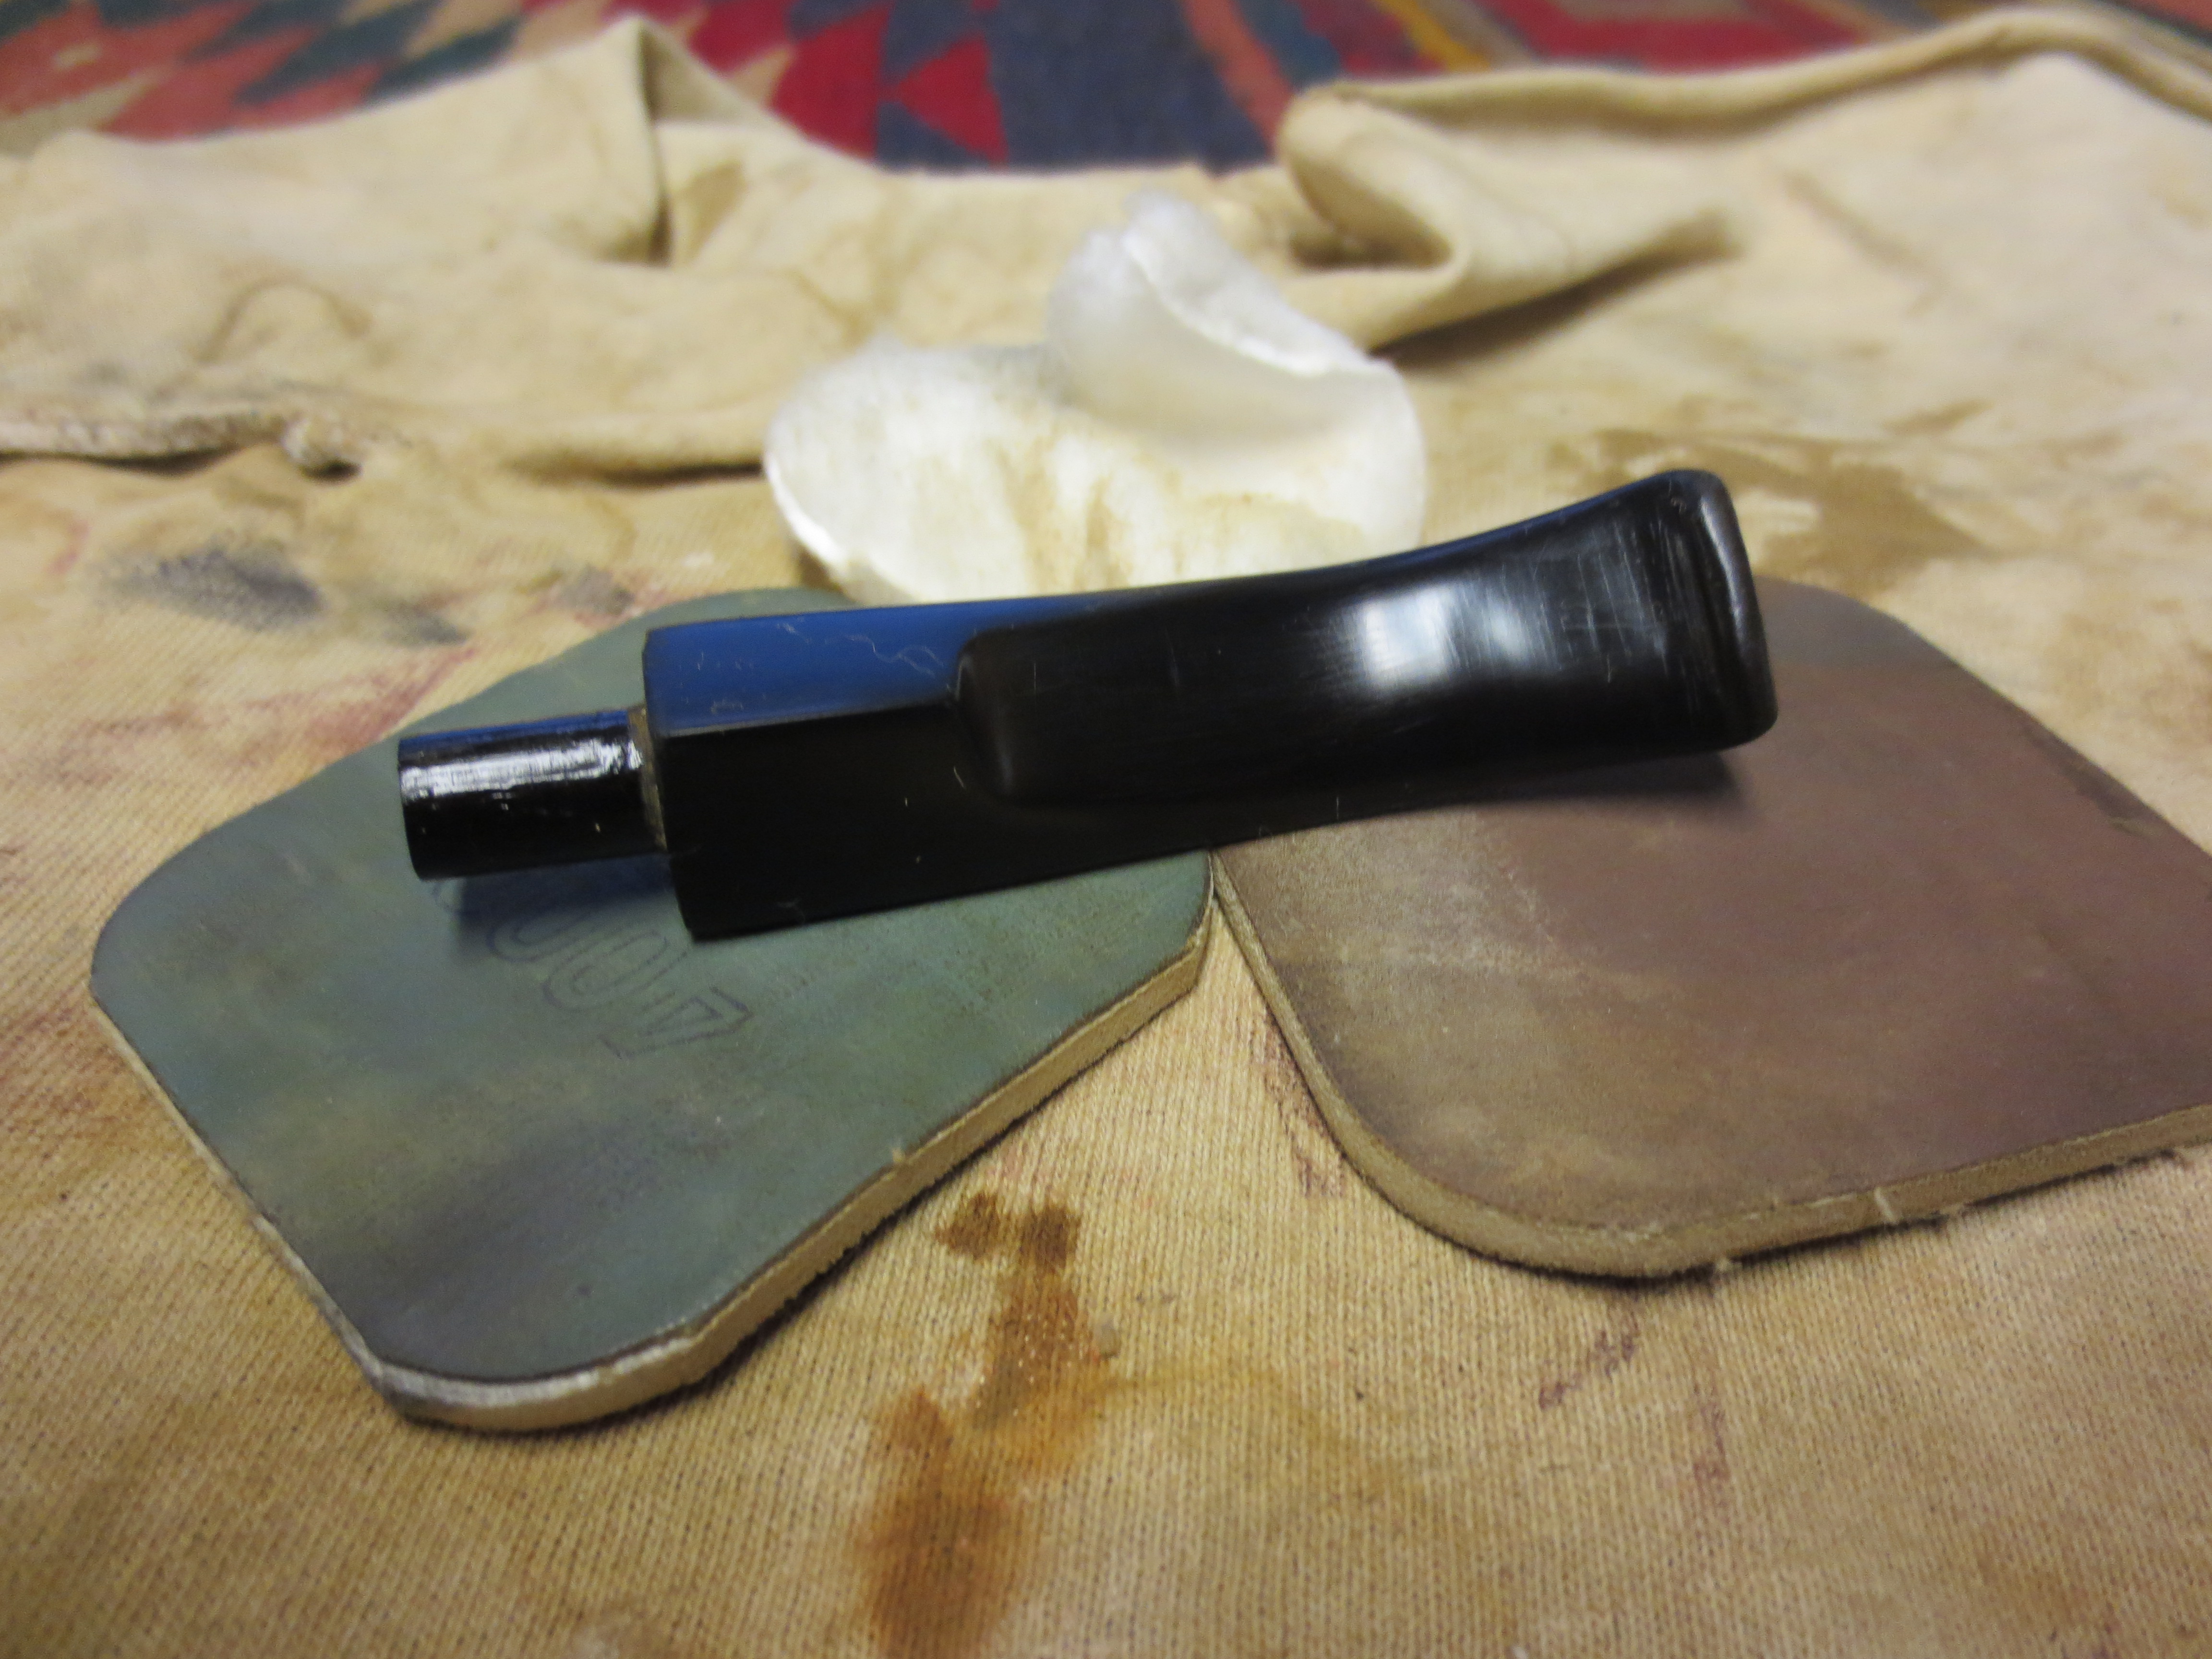
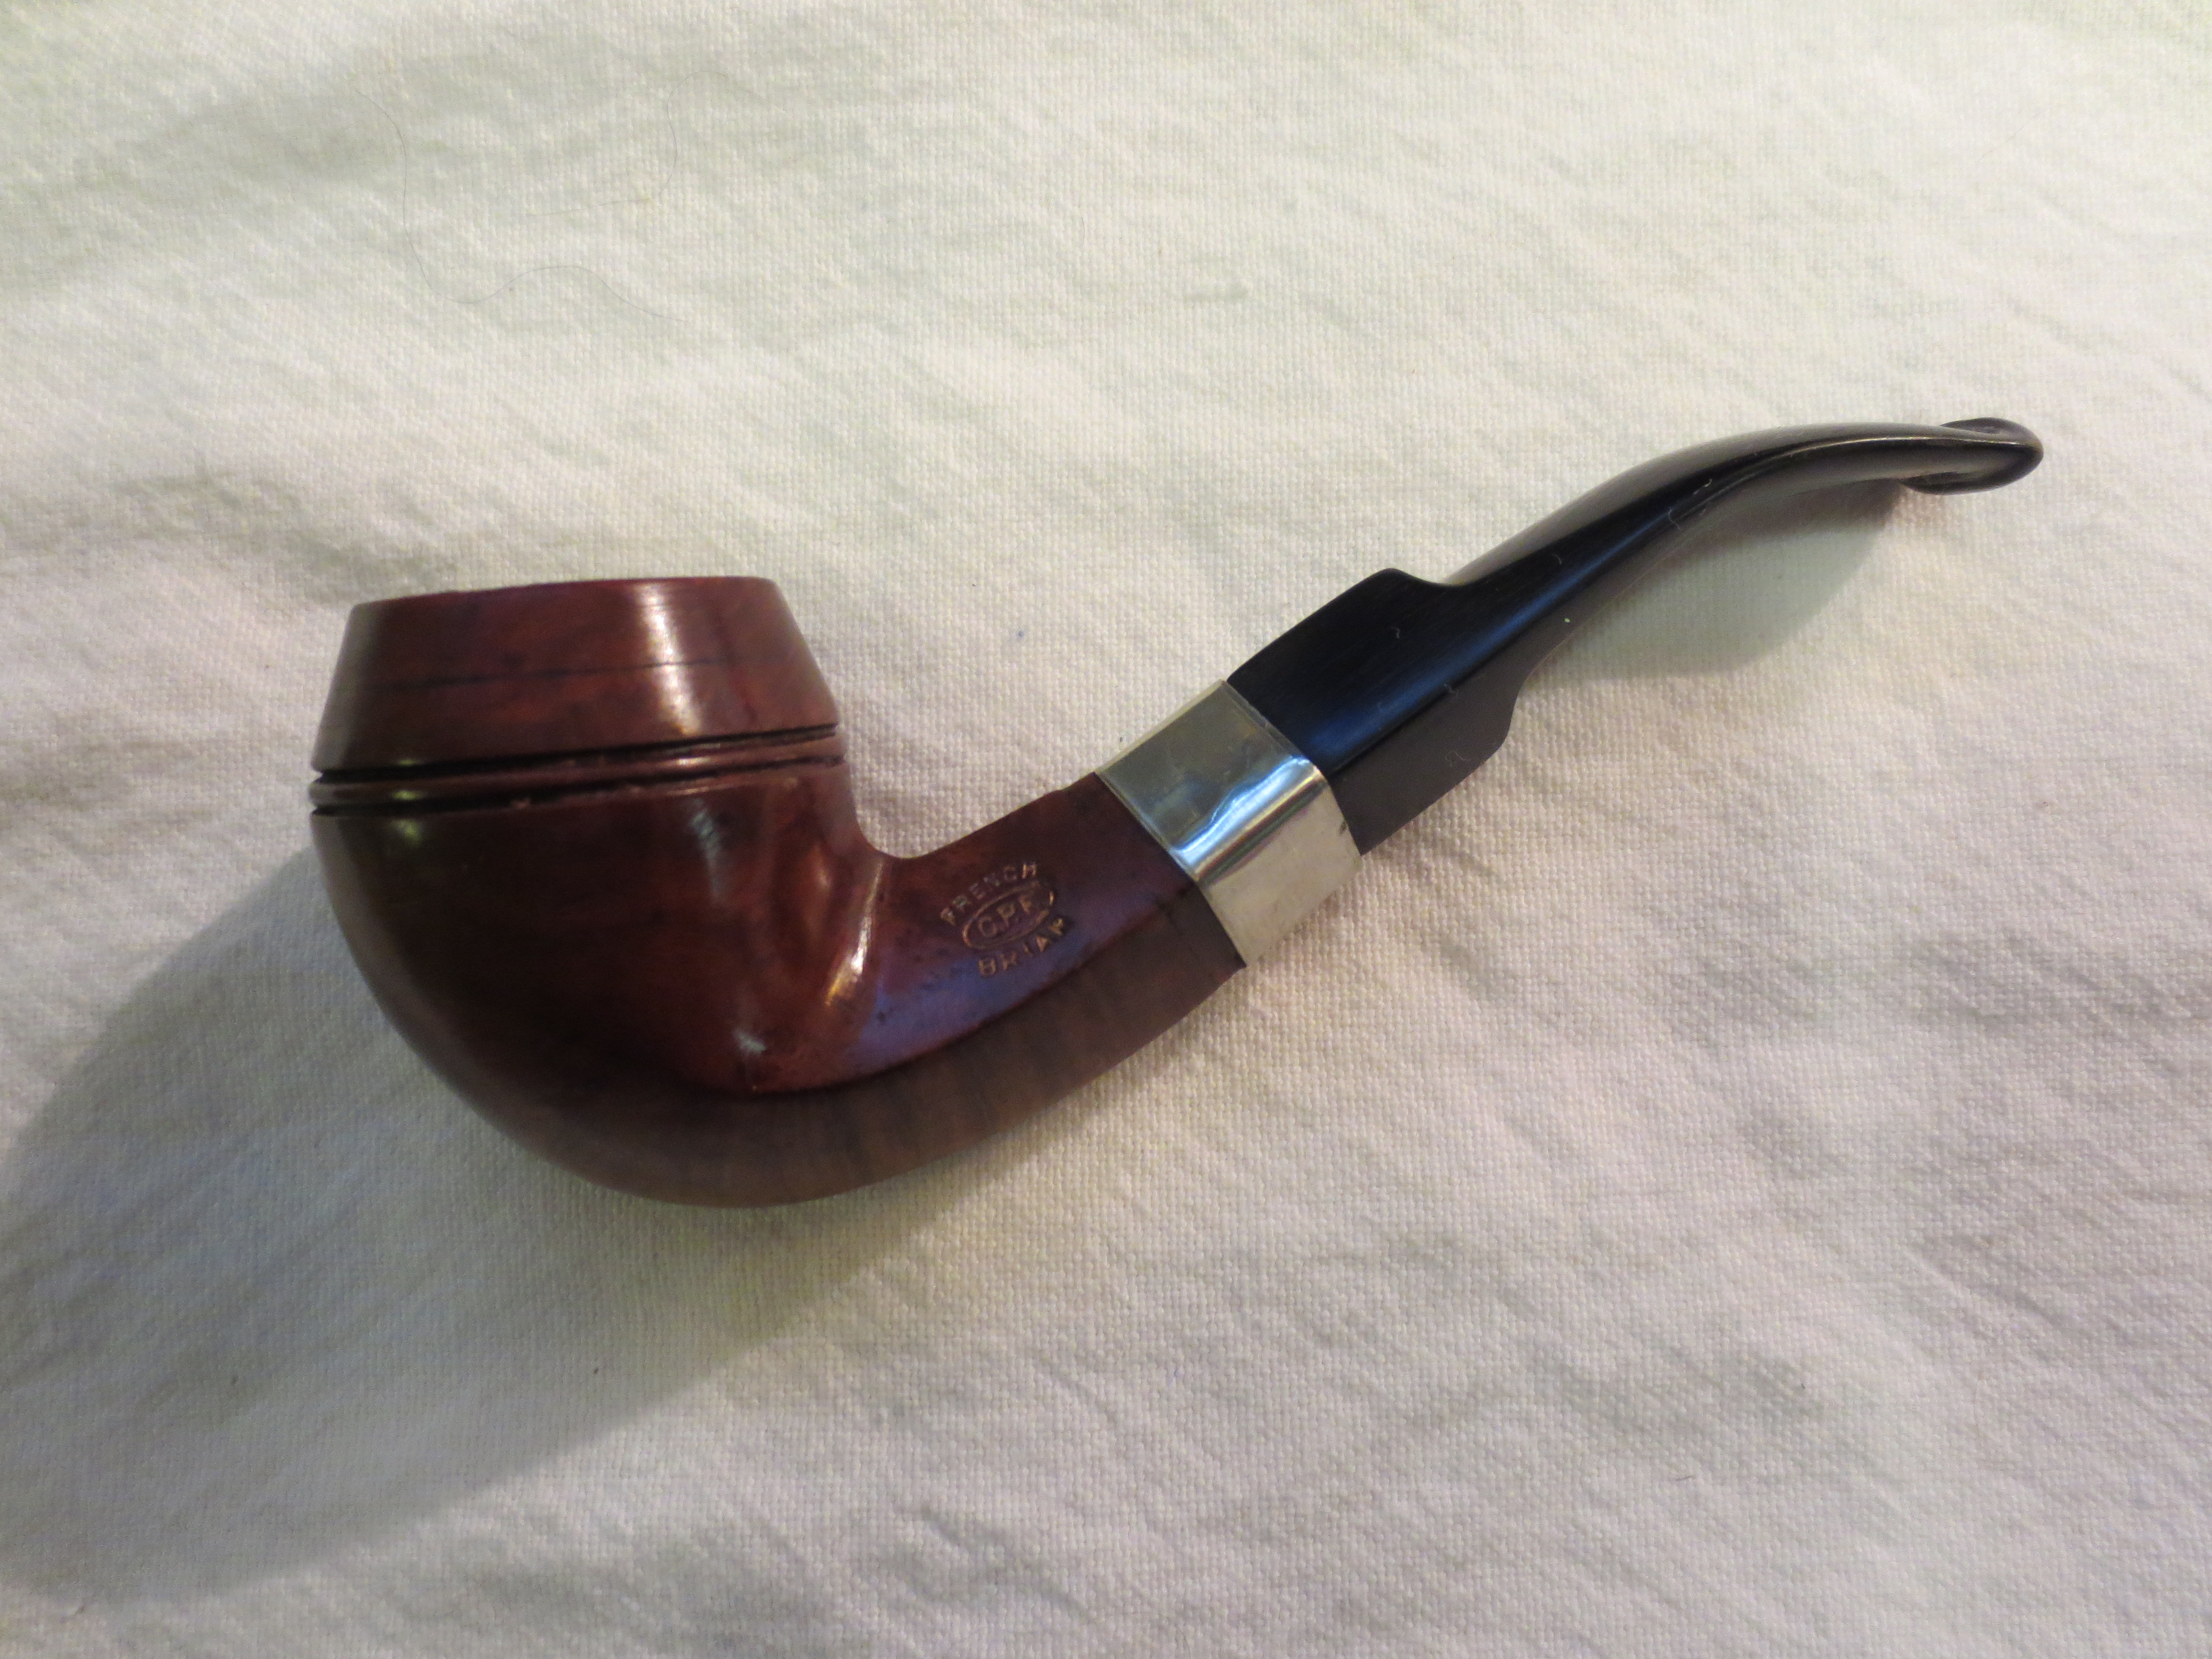
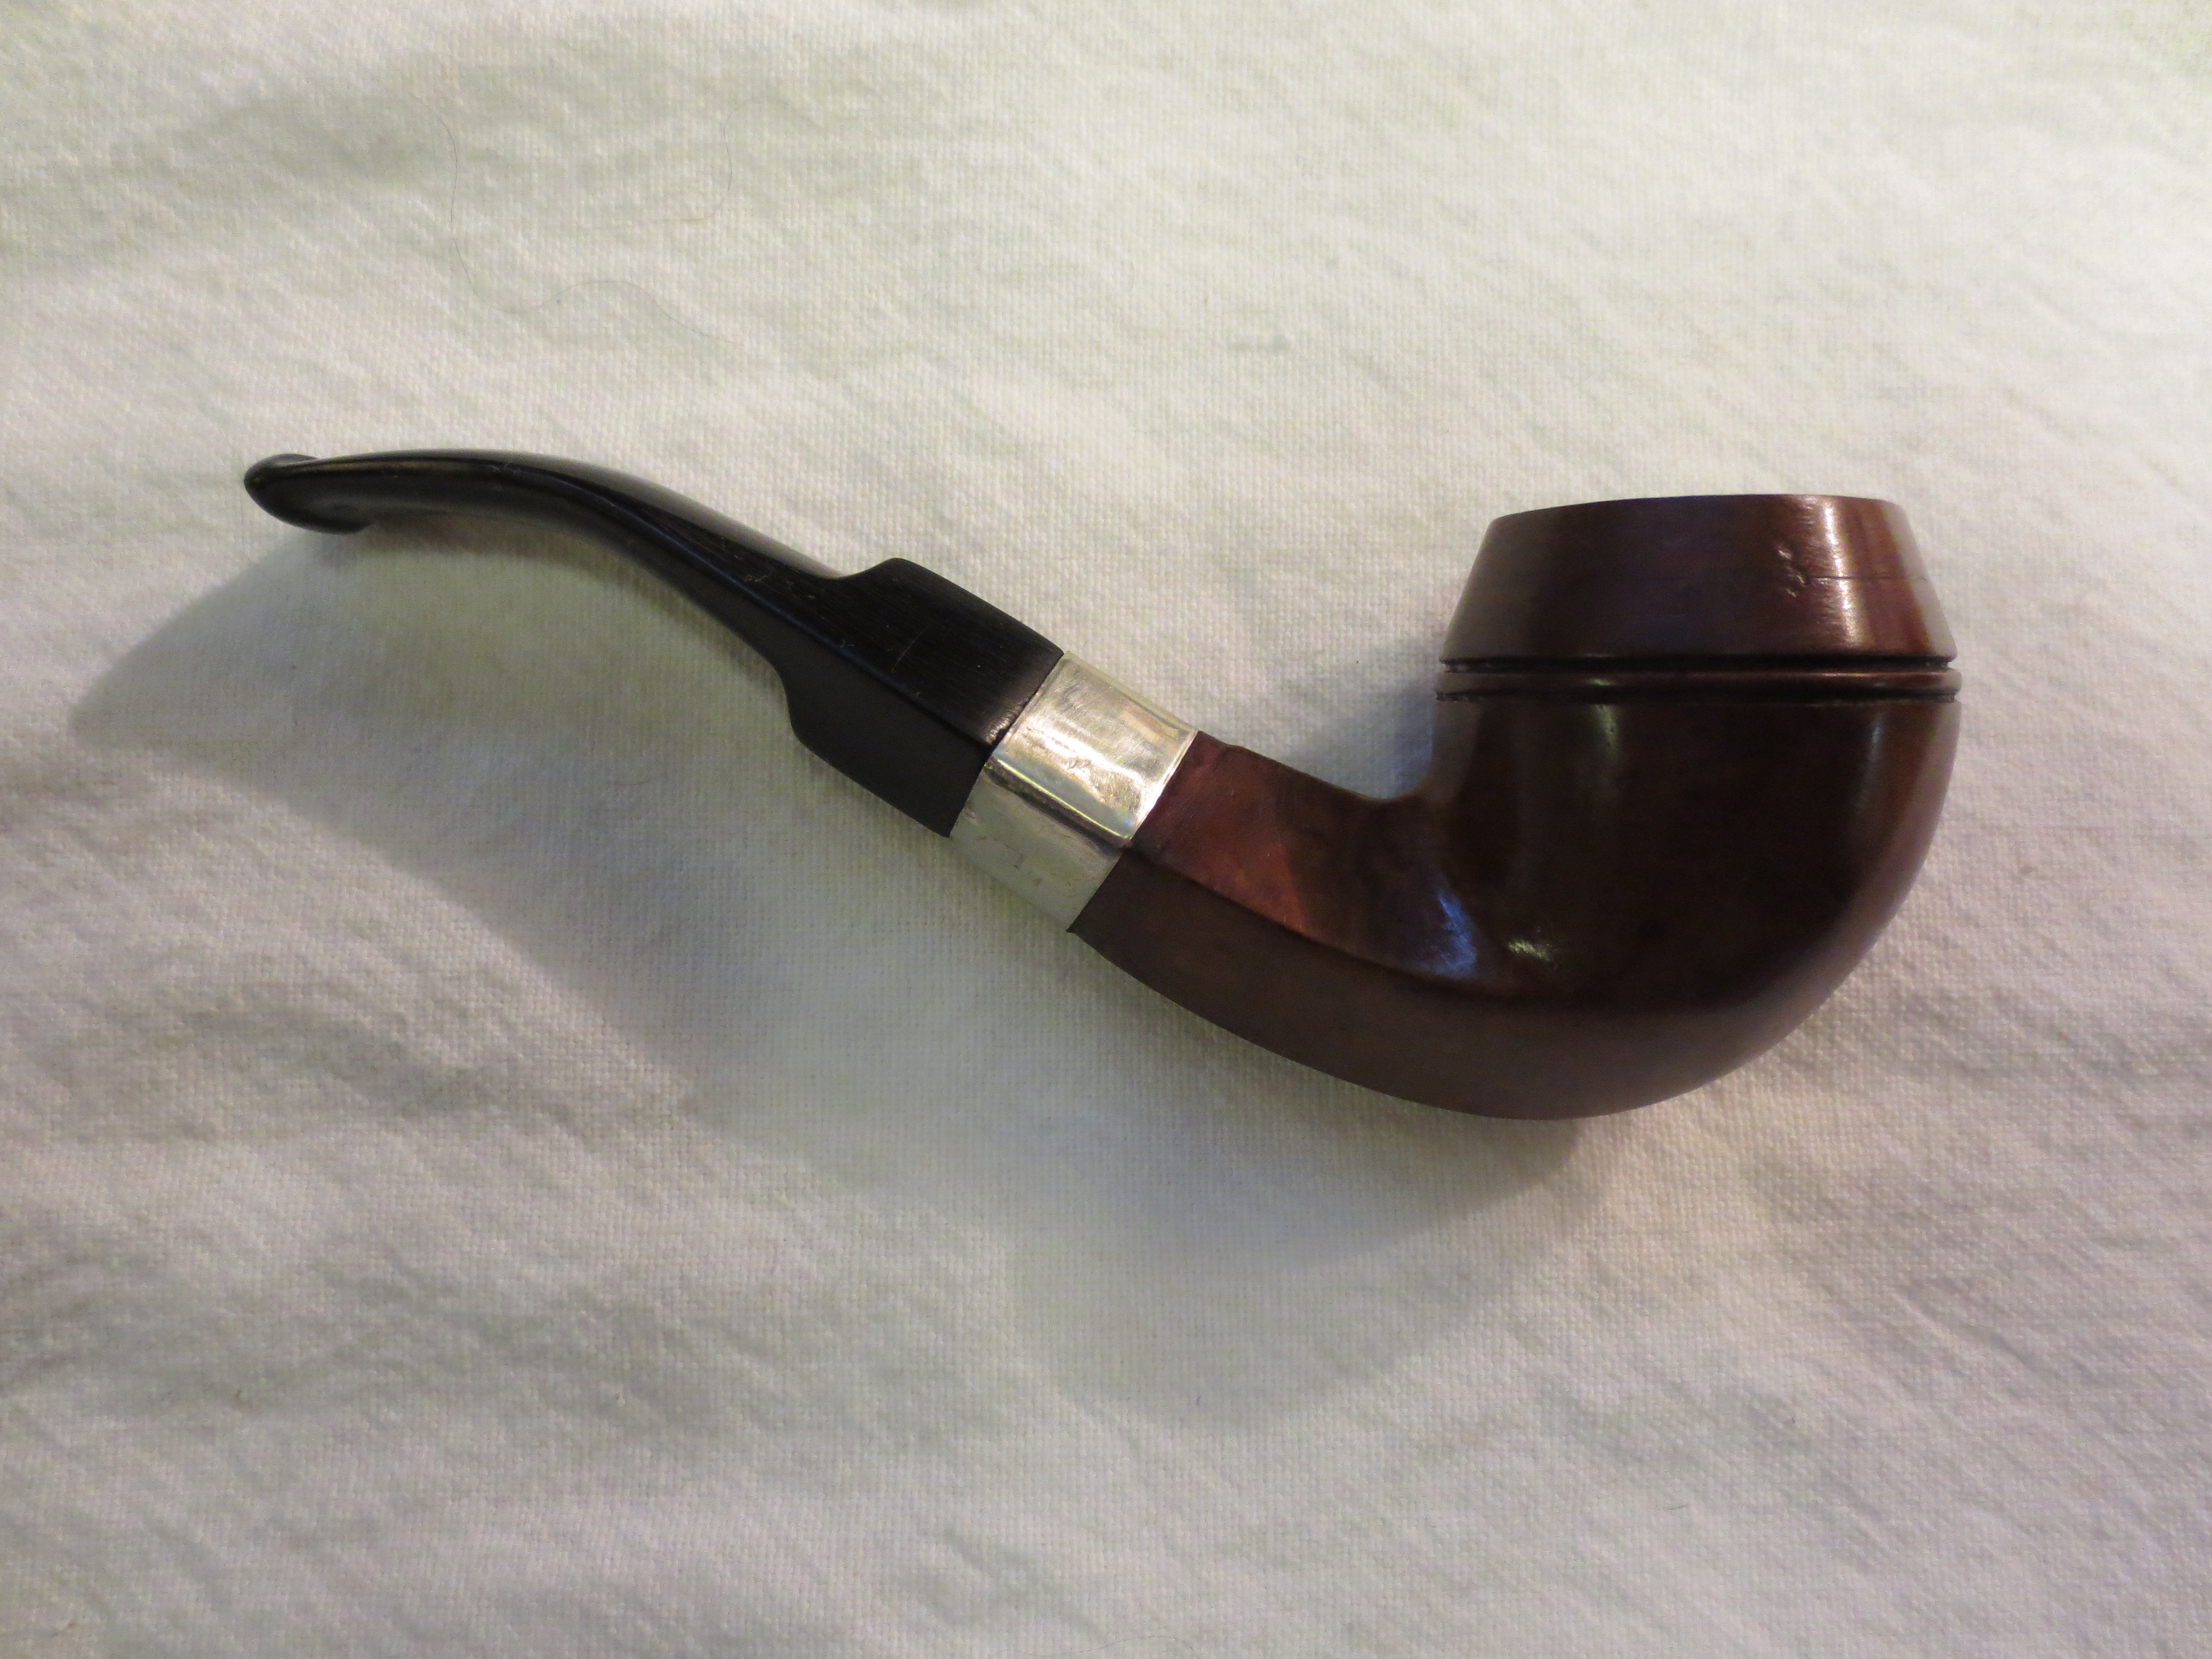
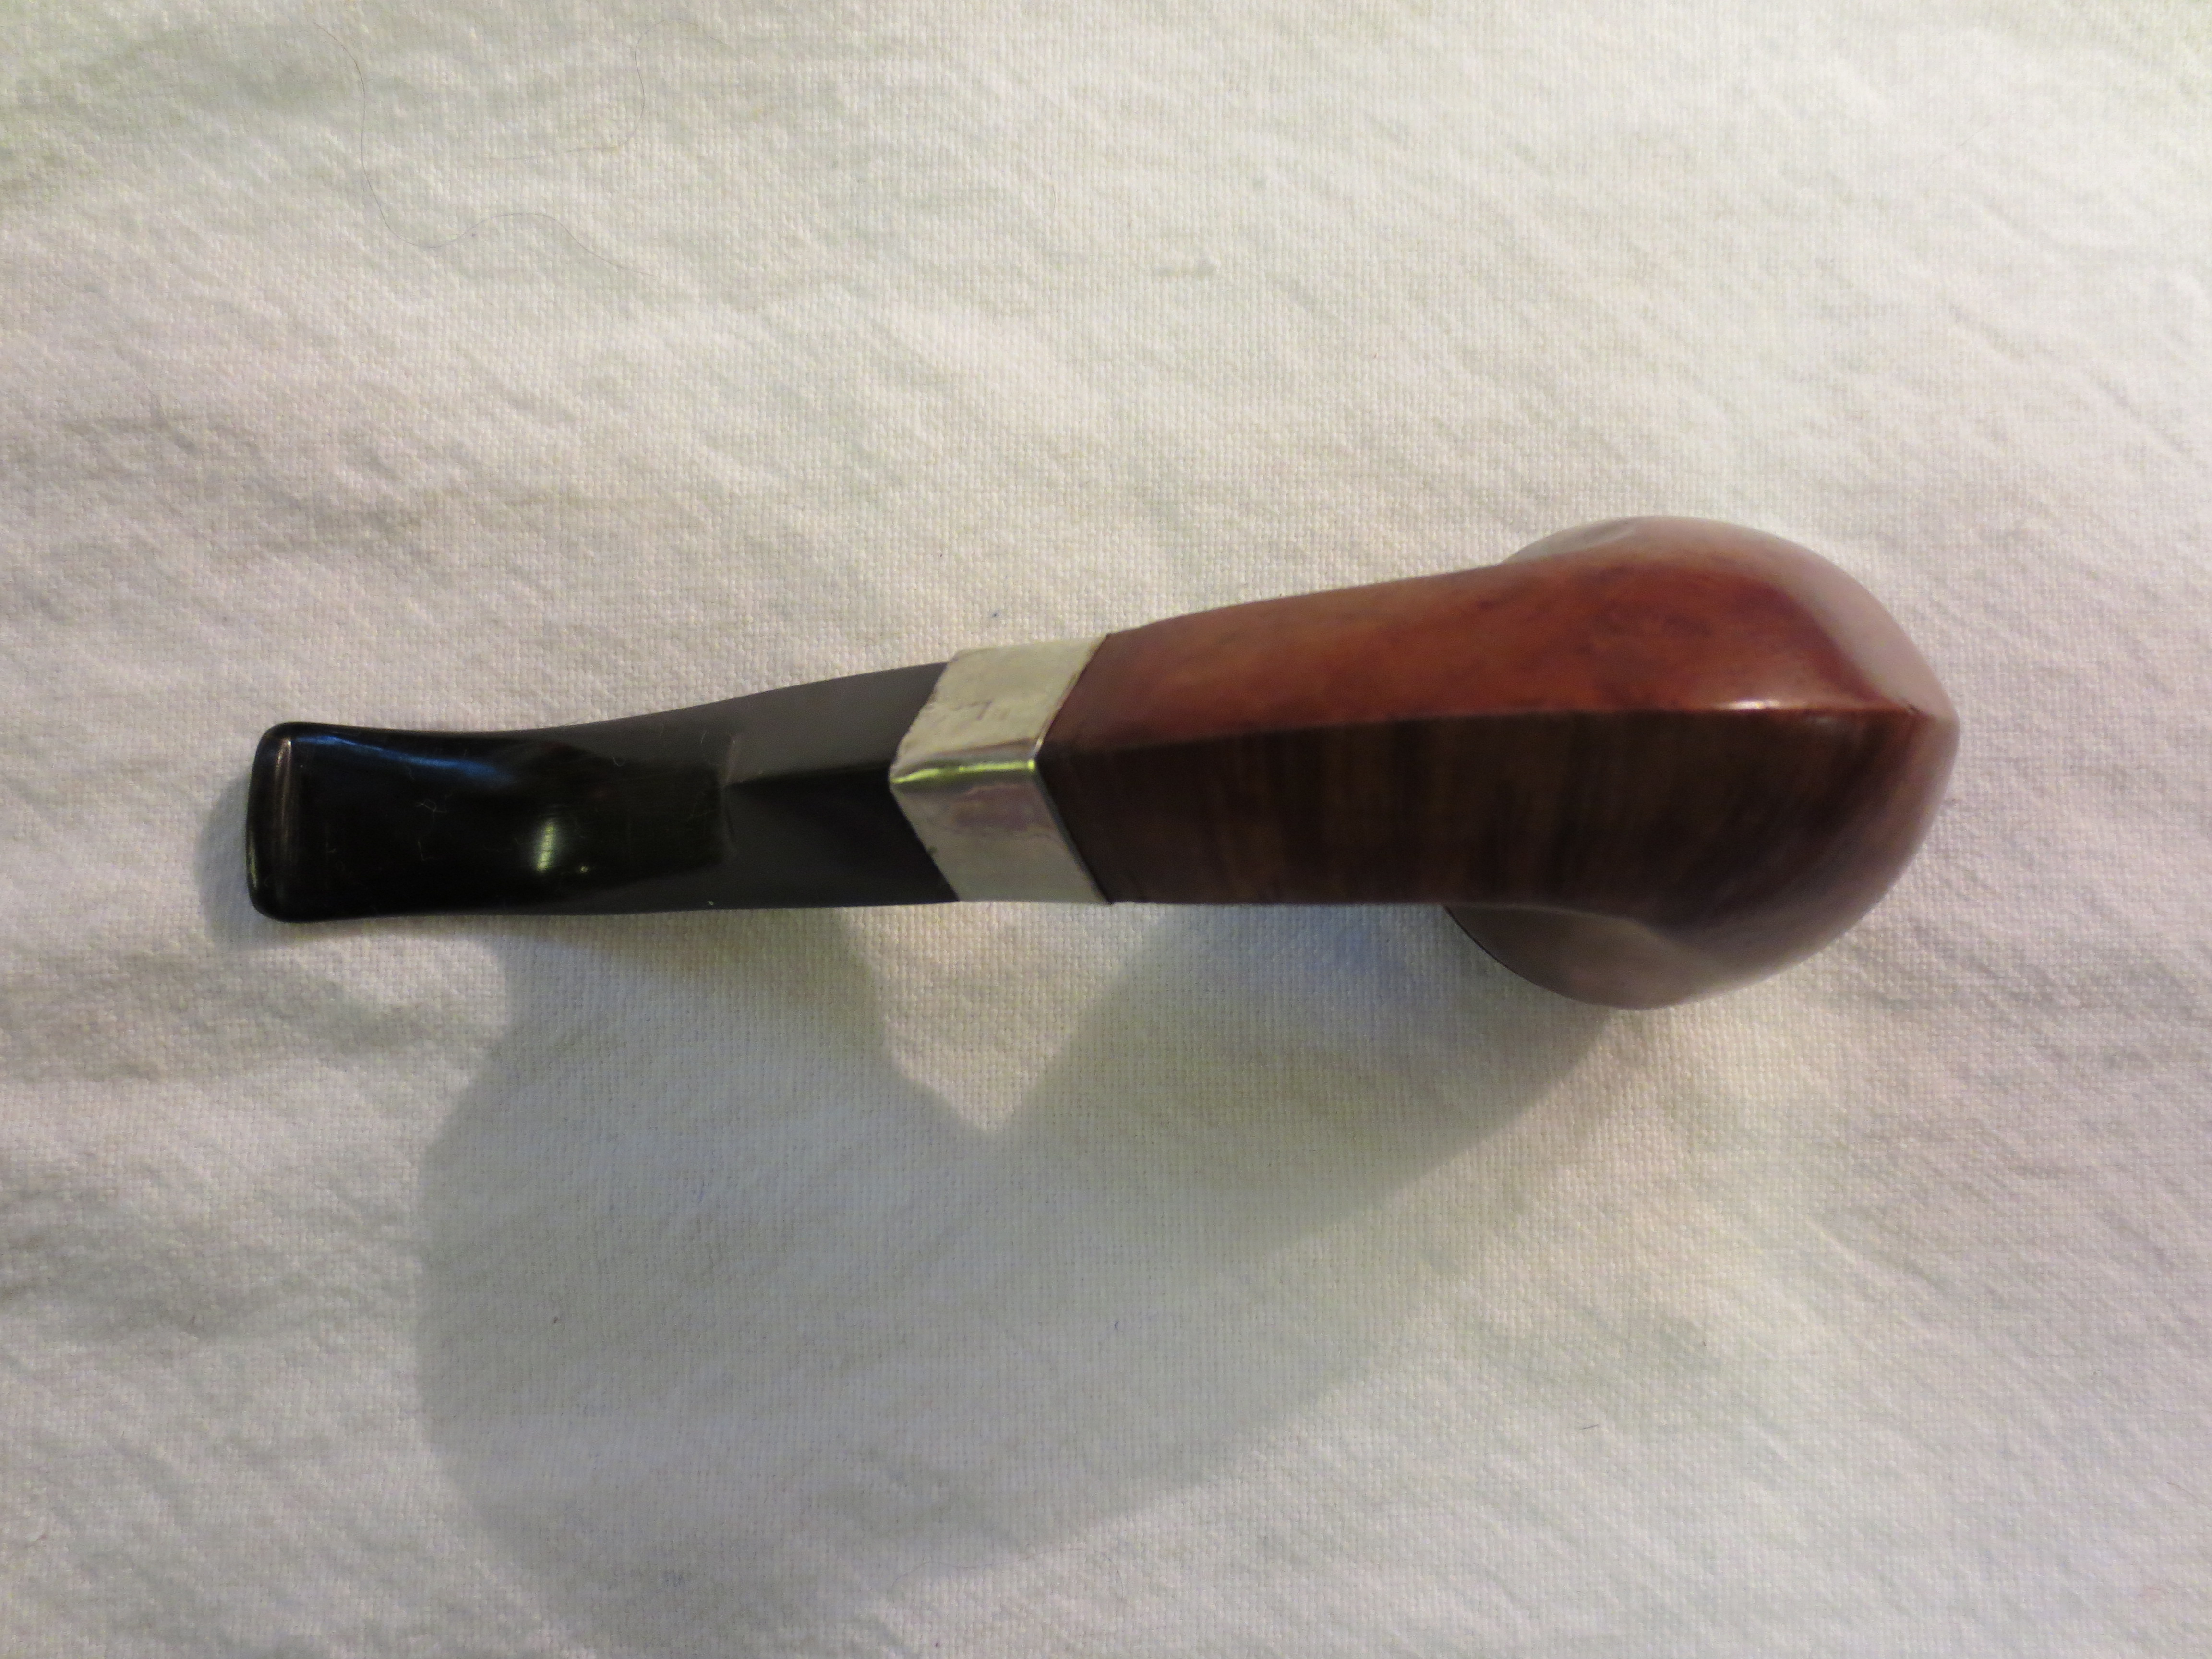
There was also a shape chart on the site that I have included. The shape was a 3041 which I have drawn a red box around. With that I turned to work on the pipe. I went through my can of stems and found one that would work well with the bowl. It is a uniquely carved saddle stem with a twist of a freehand. I sanded the tenon now slightly to allow it to fit the shank. I put it in the shank and took photos of the pipe. I like the looks of the one I chose over the original!
 I set the stem aside and turned to the bowl clean up. I reamed the bowl with a PipNet pipe reamer using the second and the third cutting head to take the cake back to bare briar. I cleaned up the reaming with a Savinelli Fitsall Pipe Knife. I sanded the walls with a piece of 220 grit sandpaper wrapped around a dowel to smooth them out.
 I scrubbed the exterior of the briar with a tooth brush and undiluted Murphy’s Oil Soap. It looked much better and the dust and debris was gone. I dried it with a cotton towel.
 I scrubbed out the internals of the pipe with 99% isopropyl alcohol, pipe cleaners and cotton swabs. I cleaned out the airway in the stem as well. I worked on these areas repeatedly until the shank and the airway in all the parts was clean.
 I worked over the damage on the inner edge of the bowl and the rim top. I also smoothed out the damage on the outer edge with a folded piece of 220 grit sandpaper. It looked much better after I sanded the damaged areas smooth.
 I polished the briar with 1500-12000 grit micromesh sanding pads. I wiped it down with a damp cloth after each pad. The briar took on a deep shine that highlighted the grain.


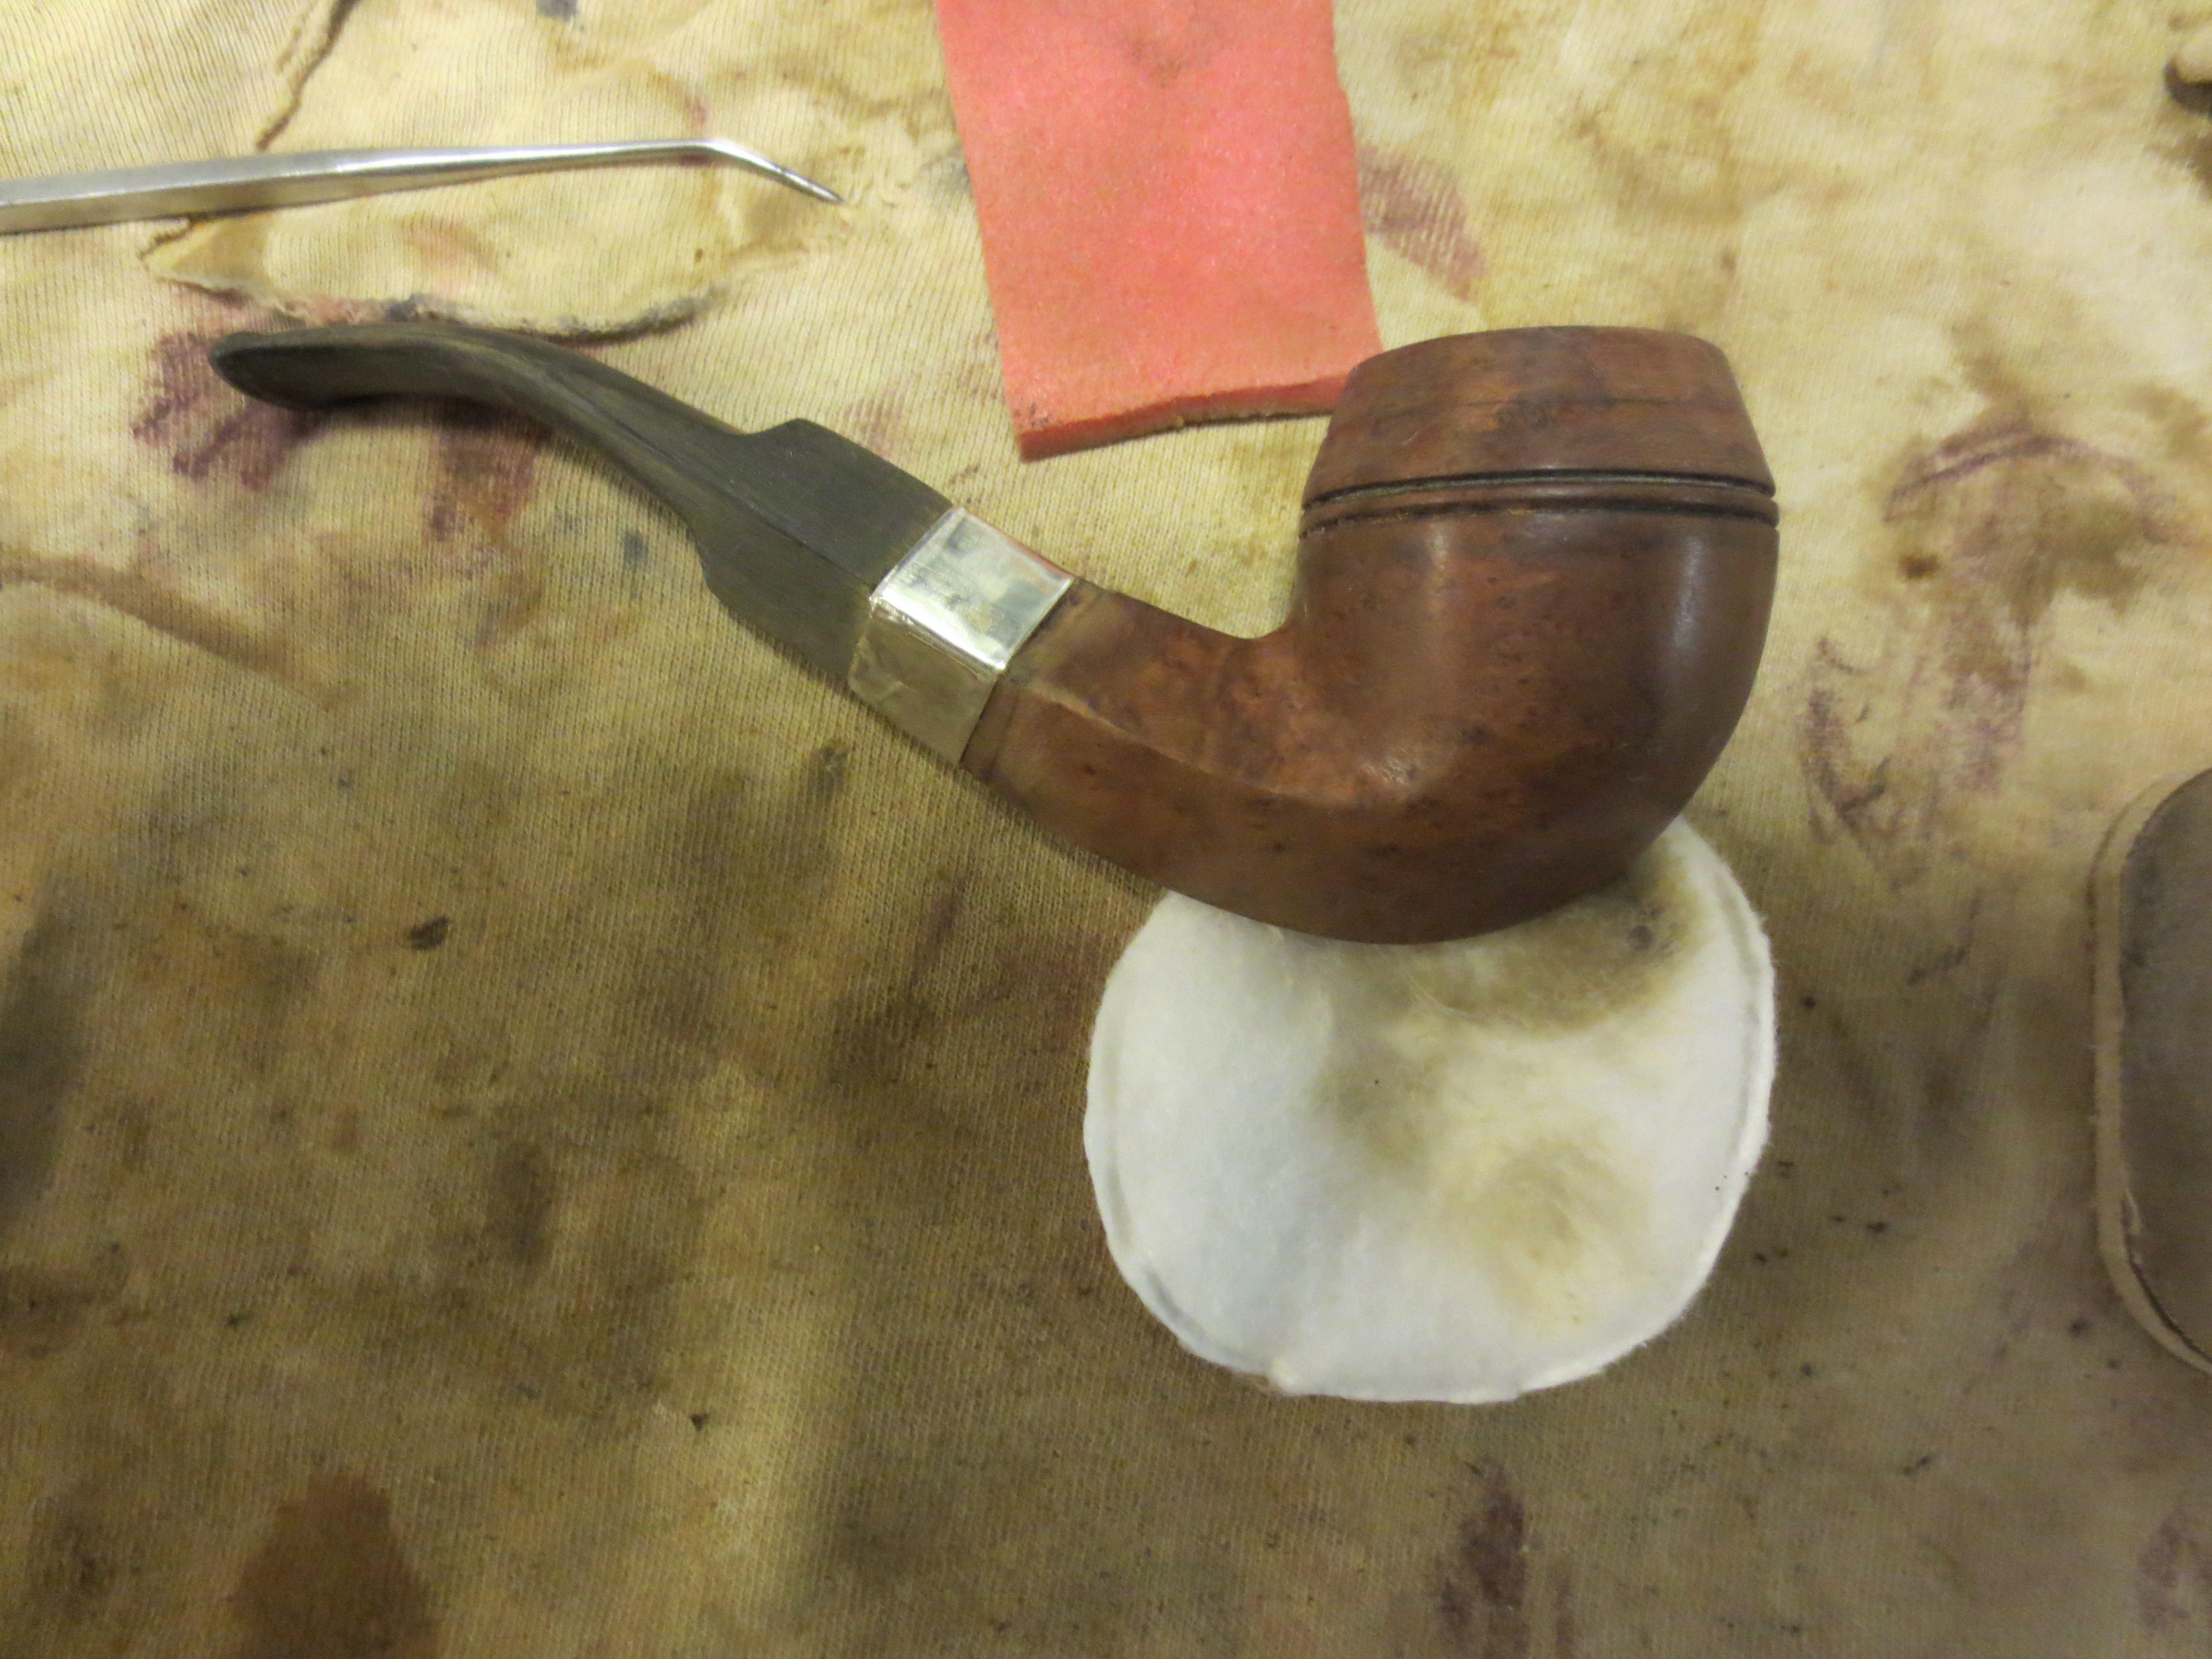
 I worked some Before & After Restoration Balm into the surface of the briar with my fingertips to clean, enliven and protect the briar. I let the balm sit for 15 minutes and then buffed with a cotton cloth to raise the shine. The photos show the bowl at this point in the restoration process.

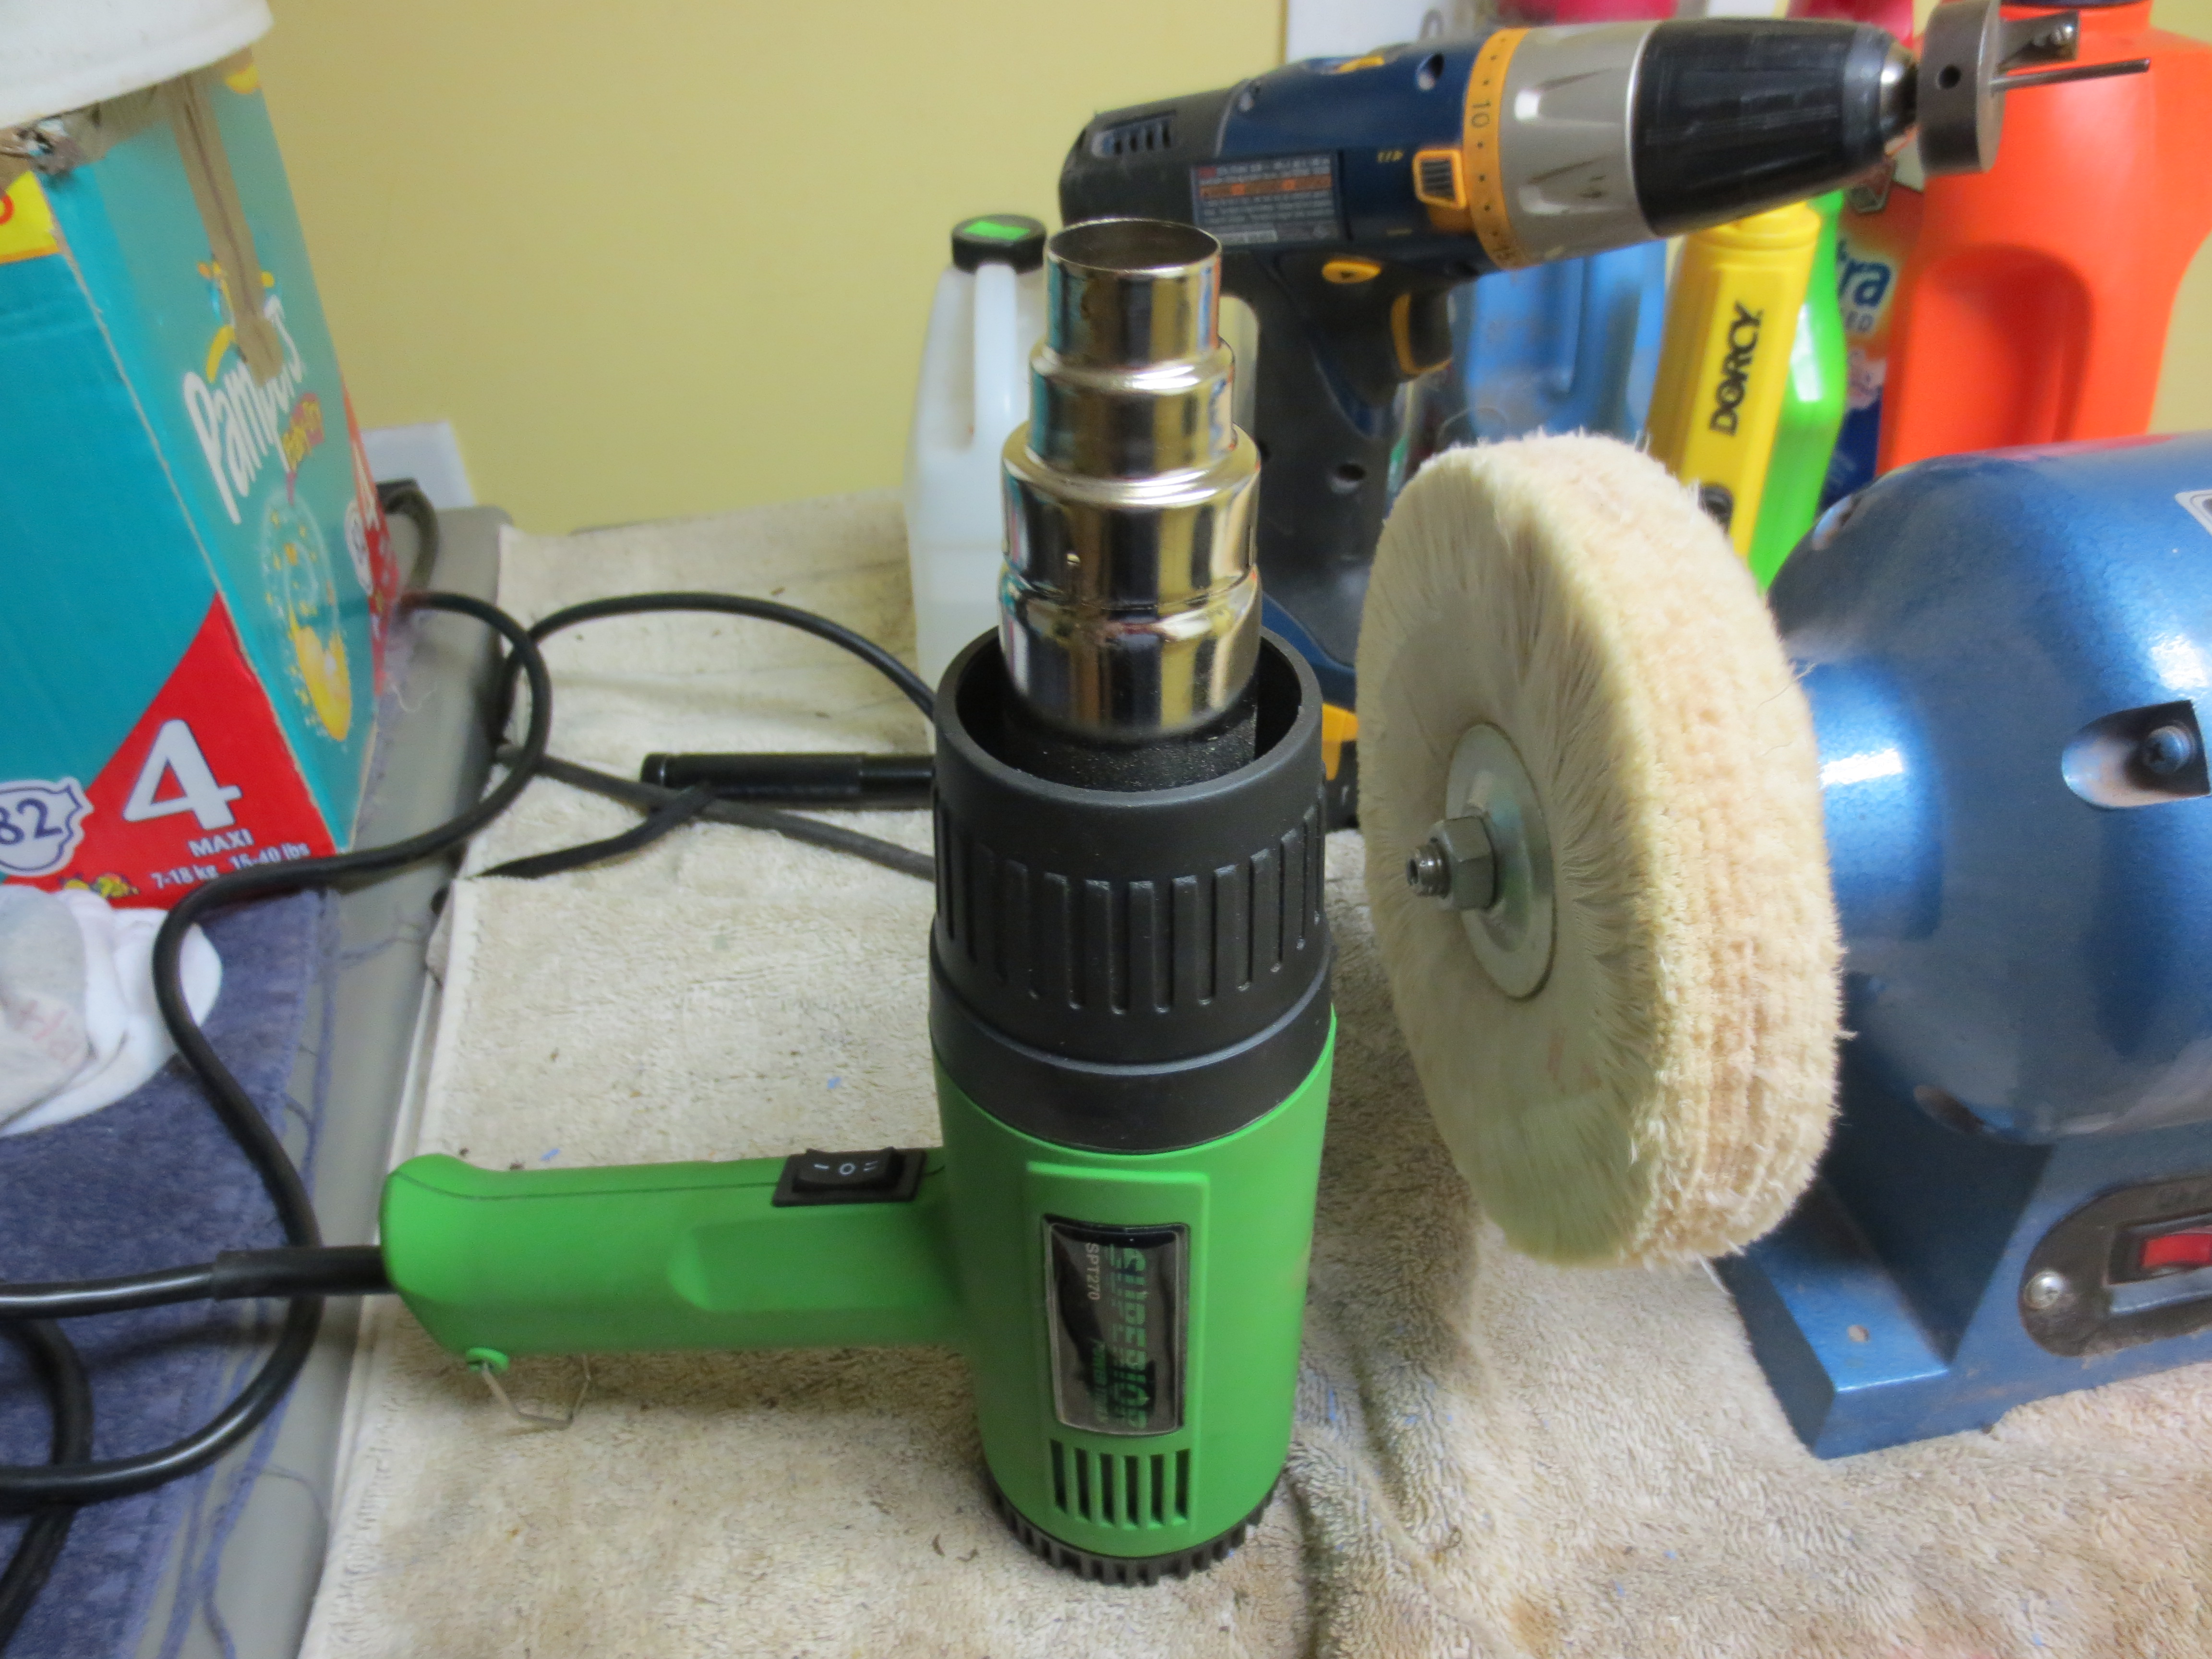
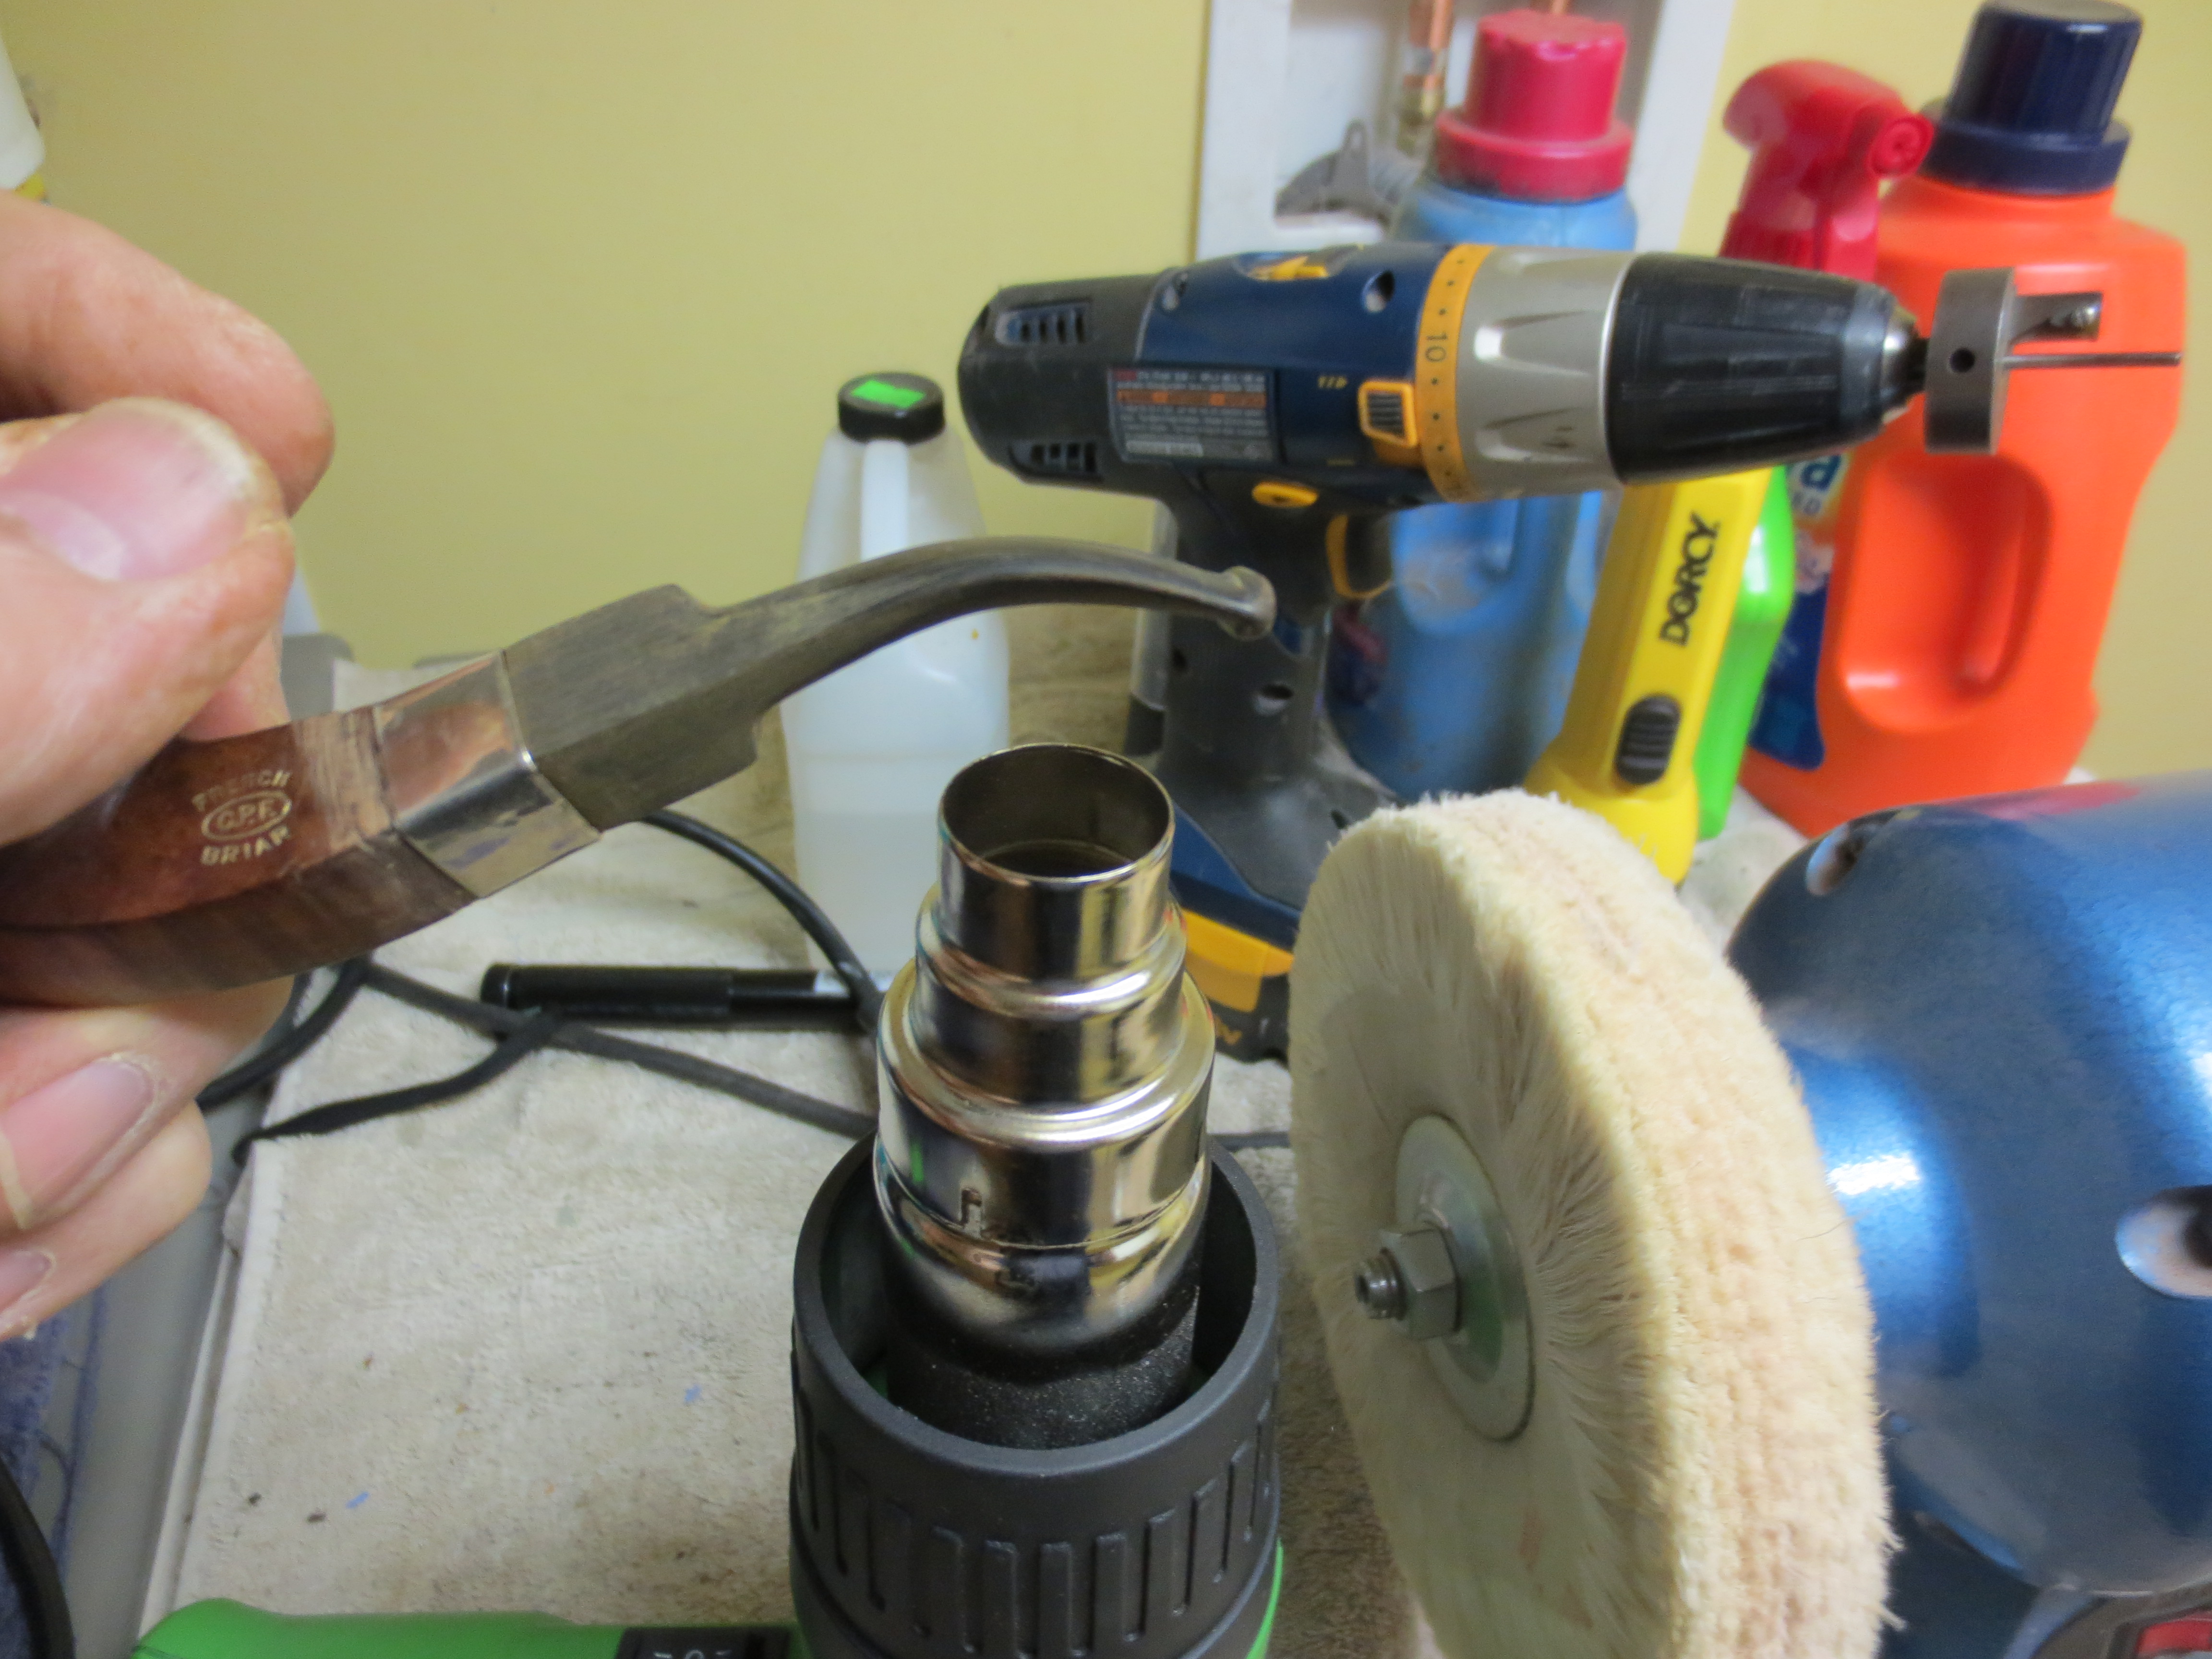
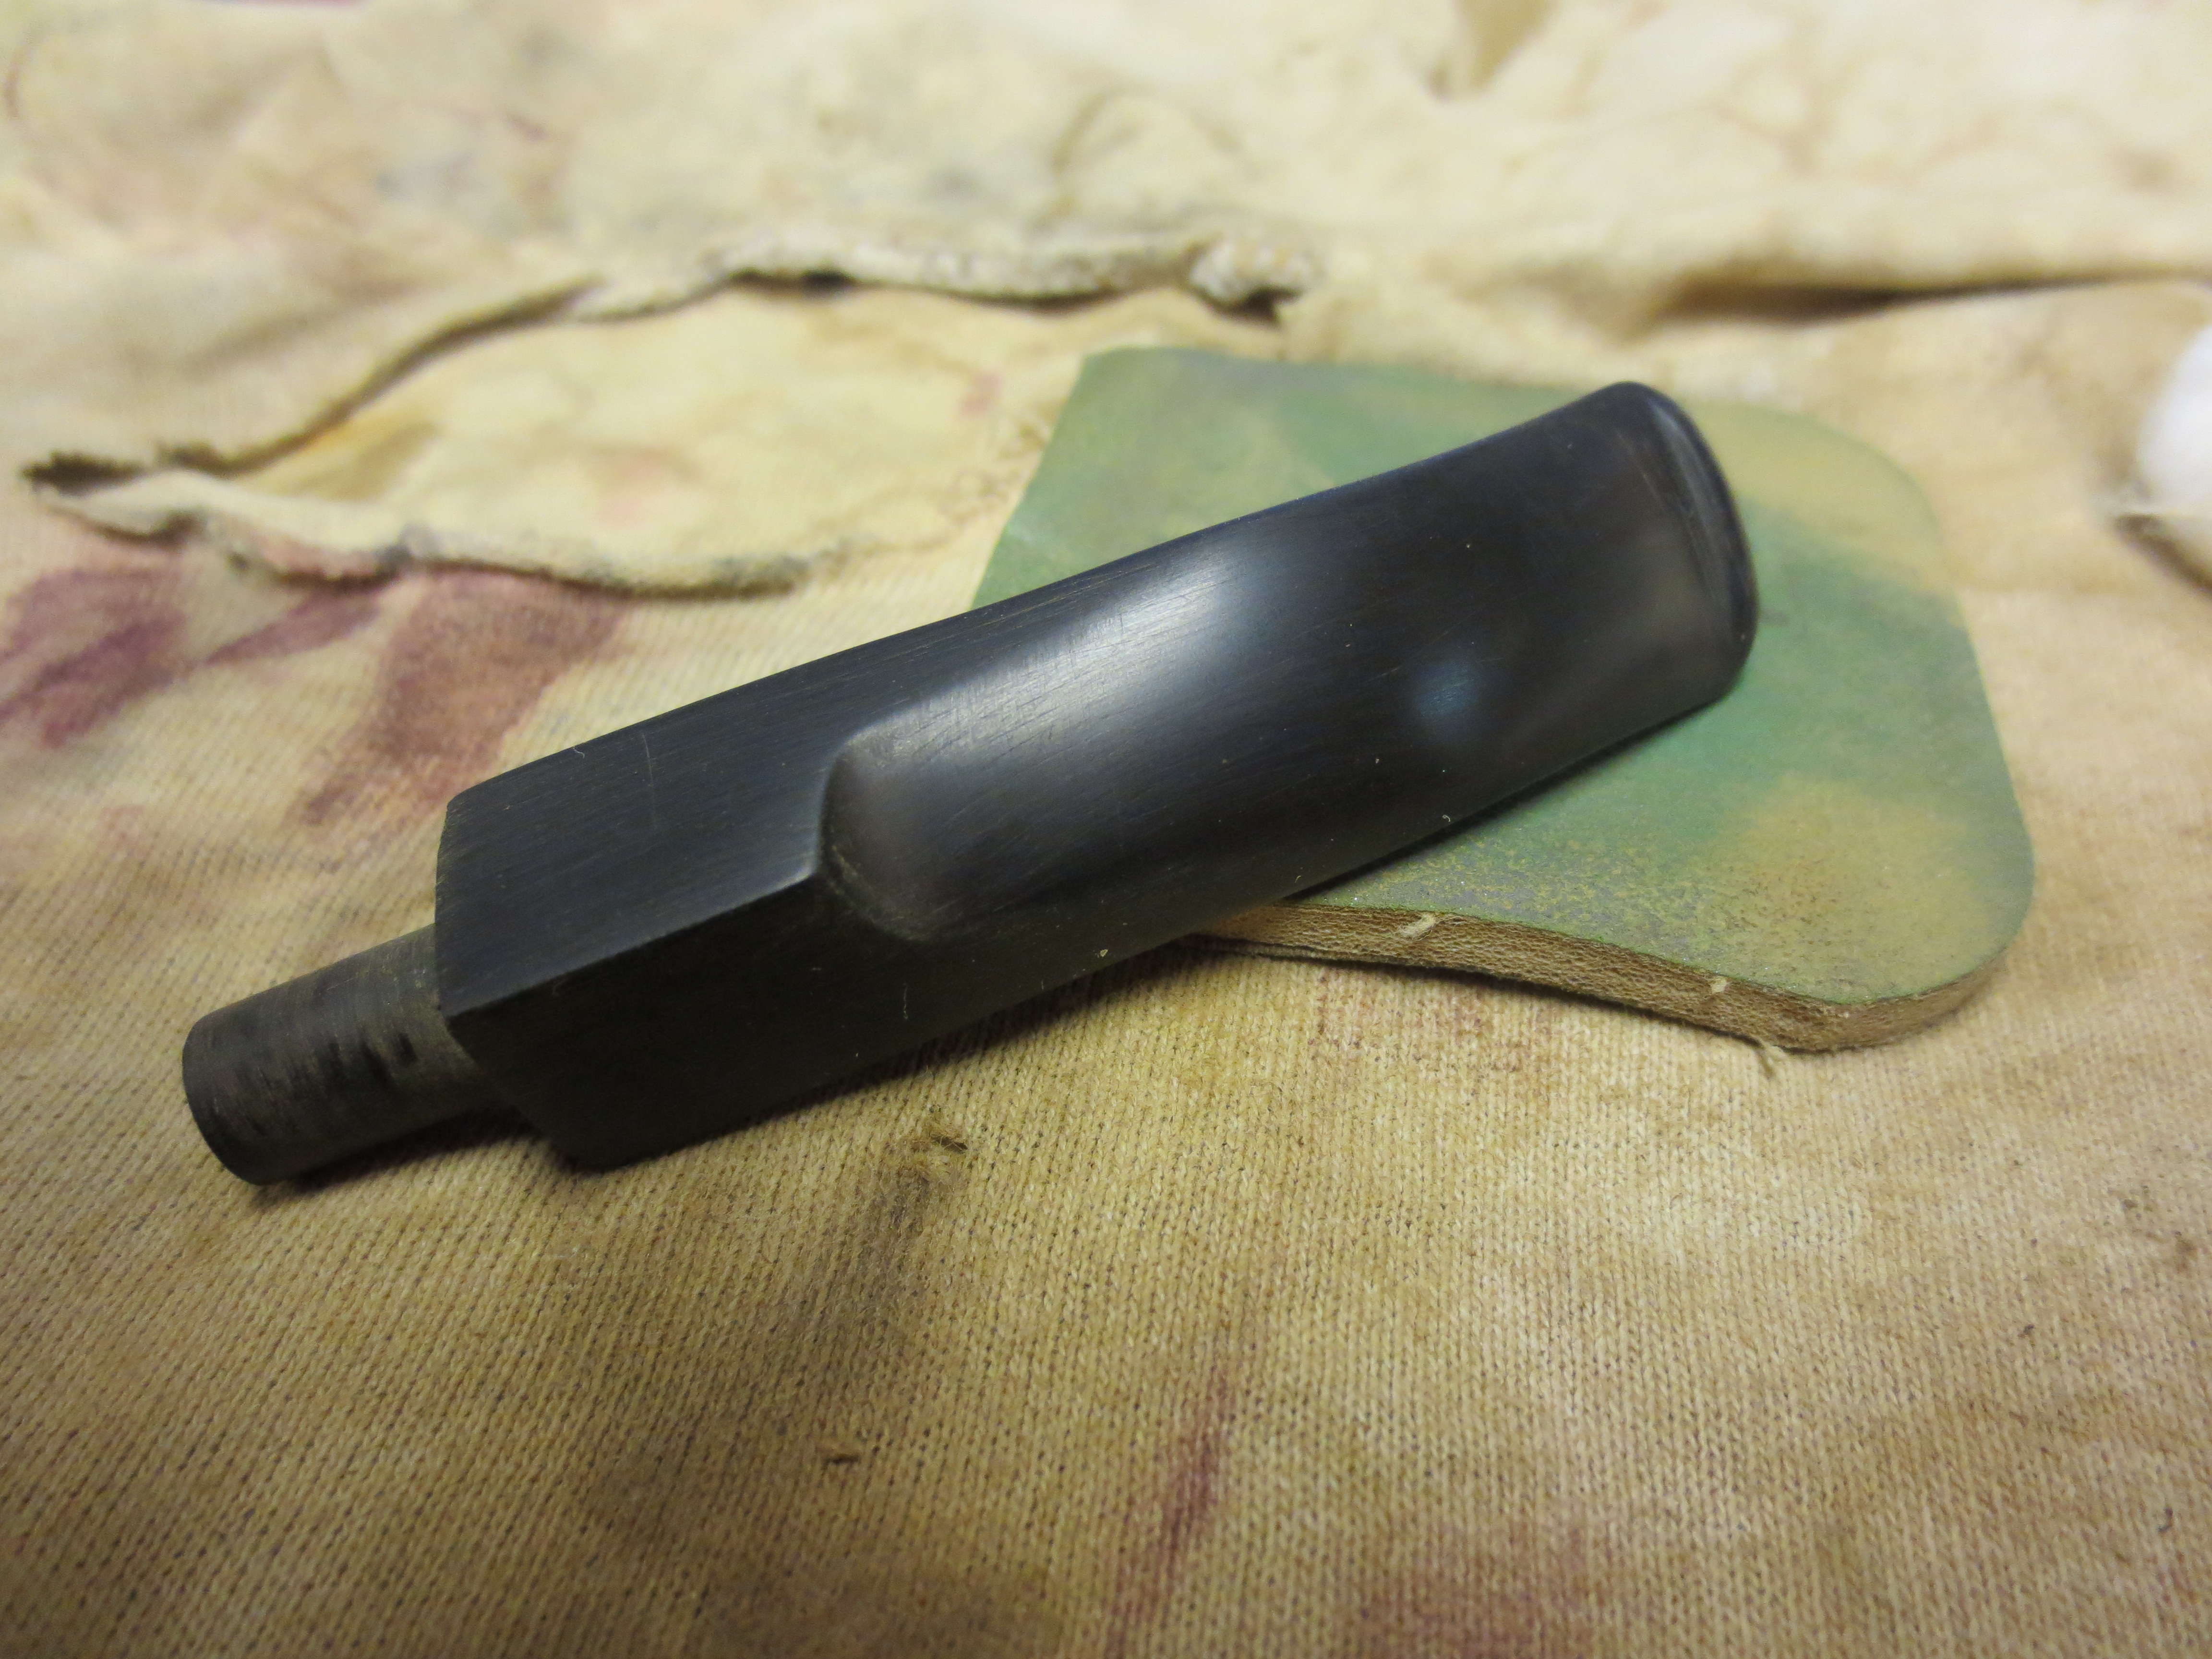
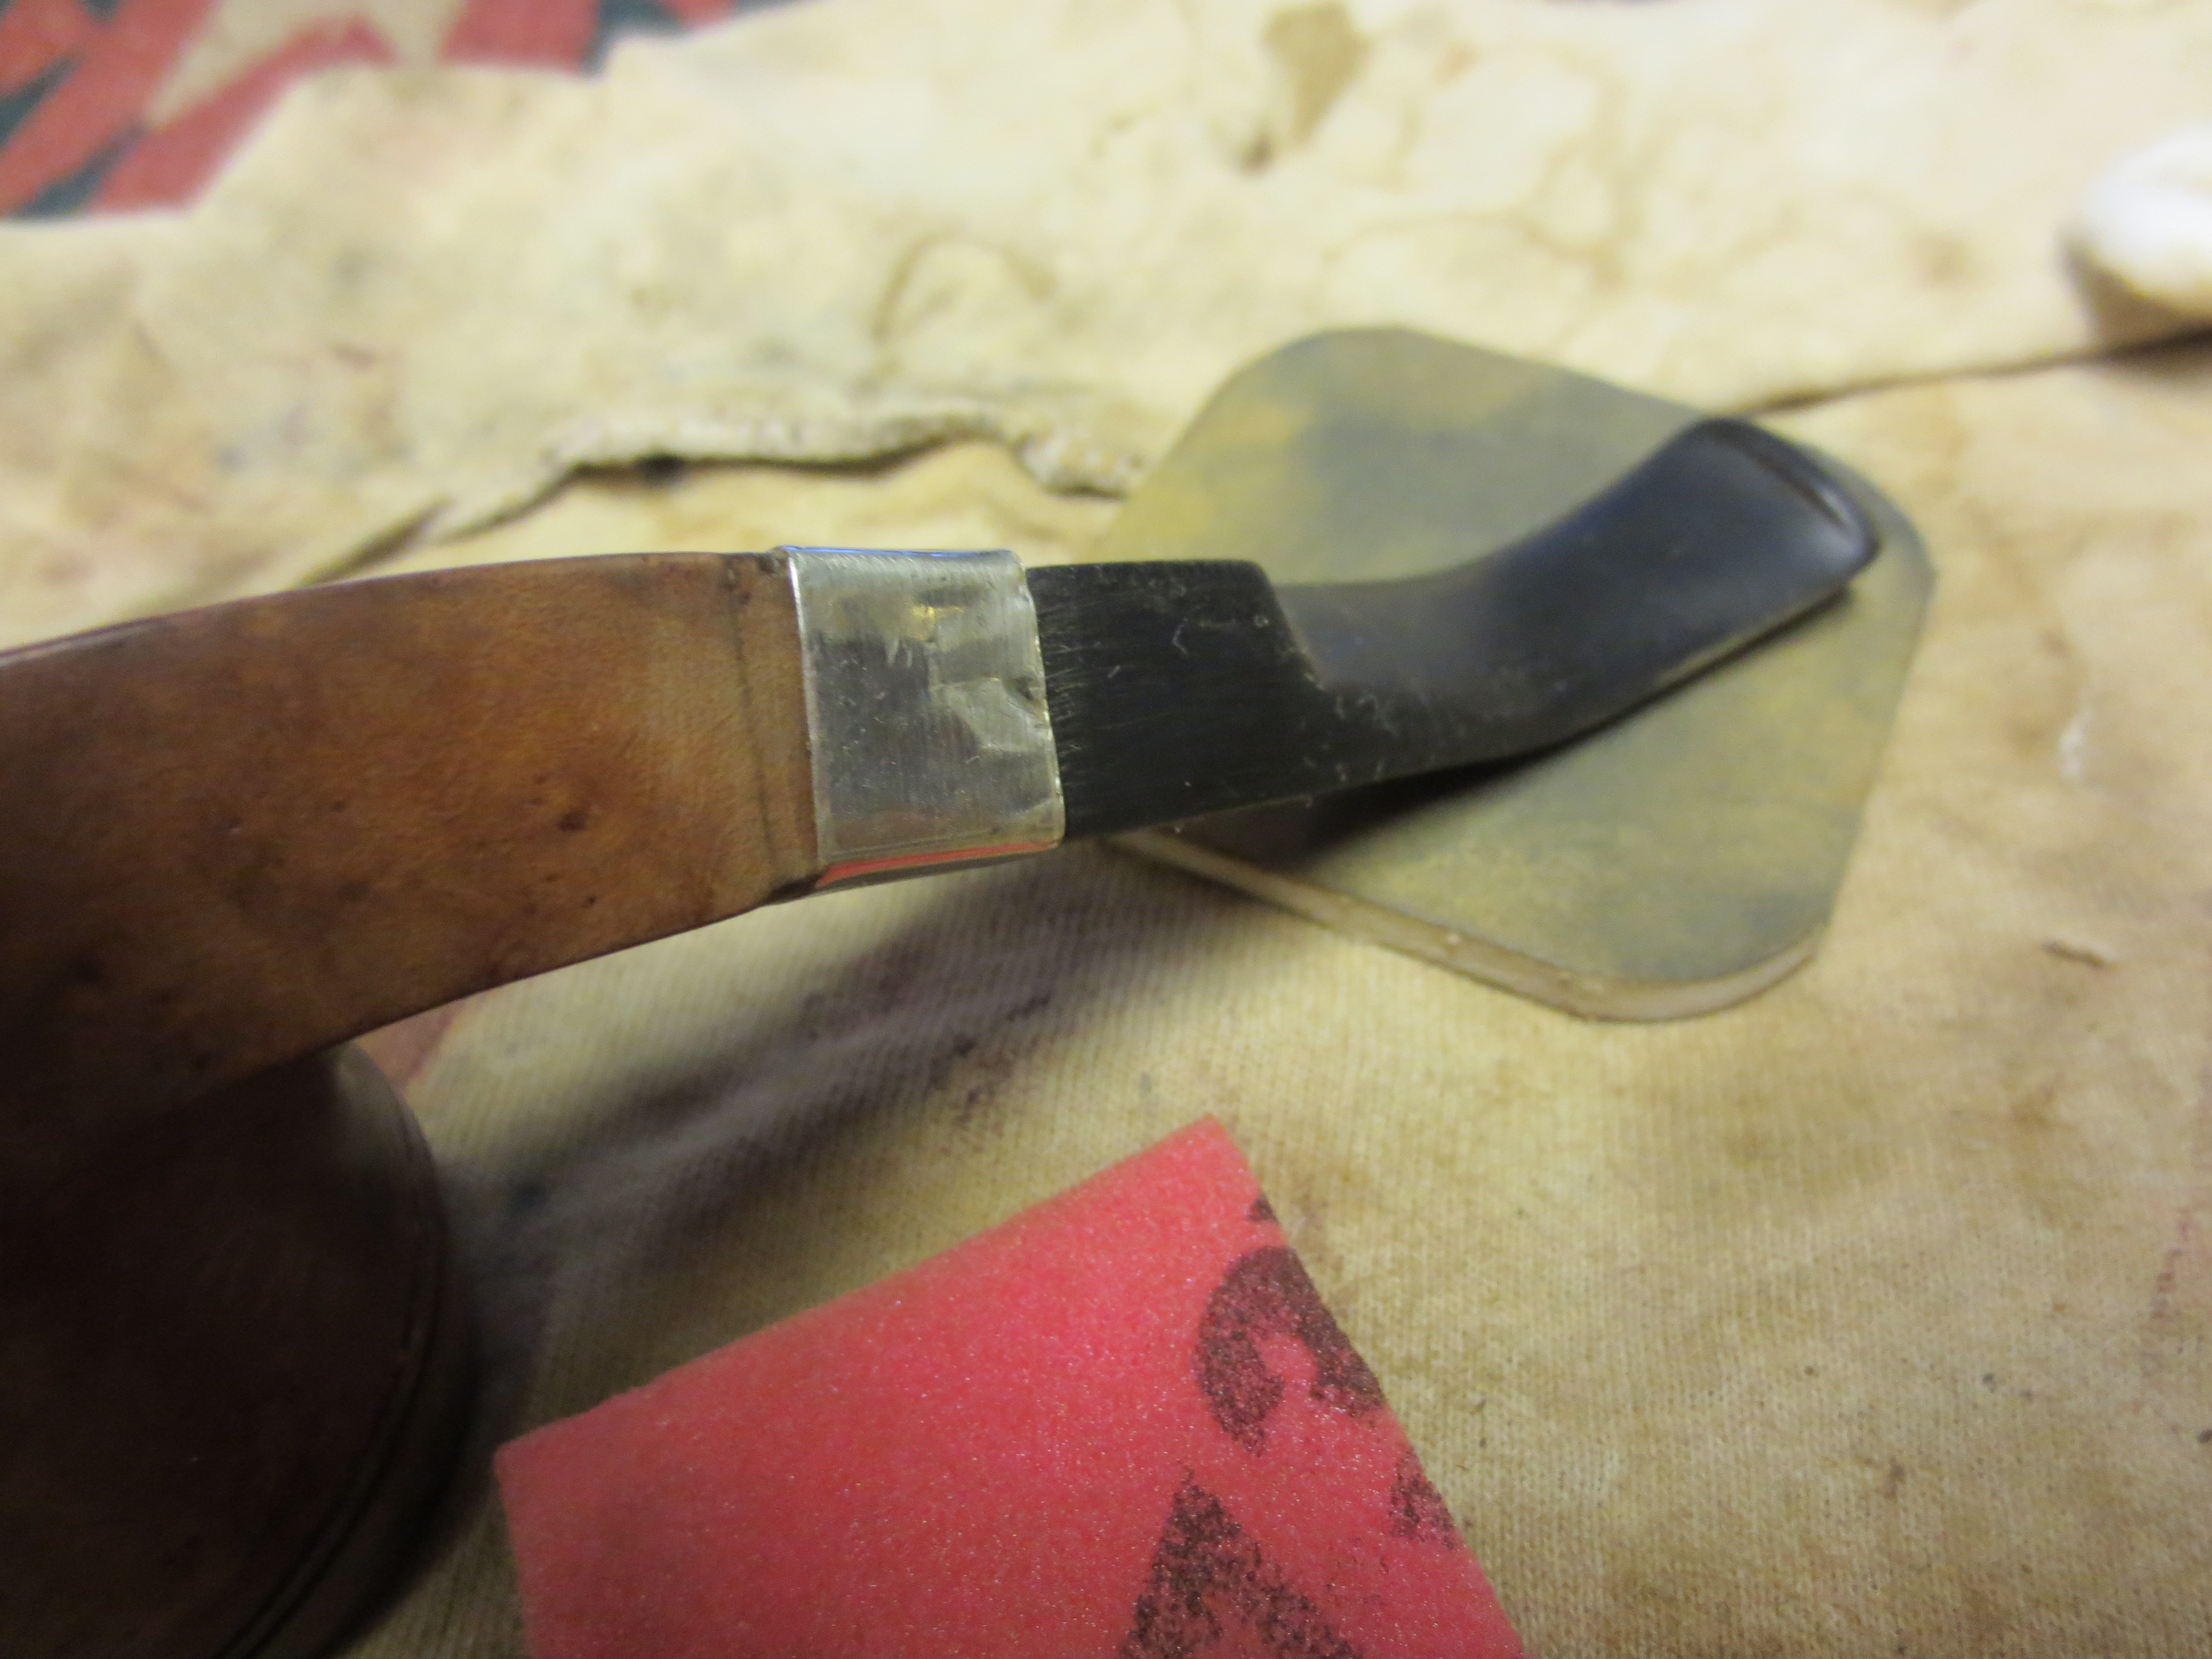
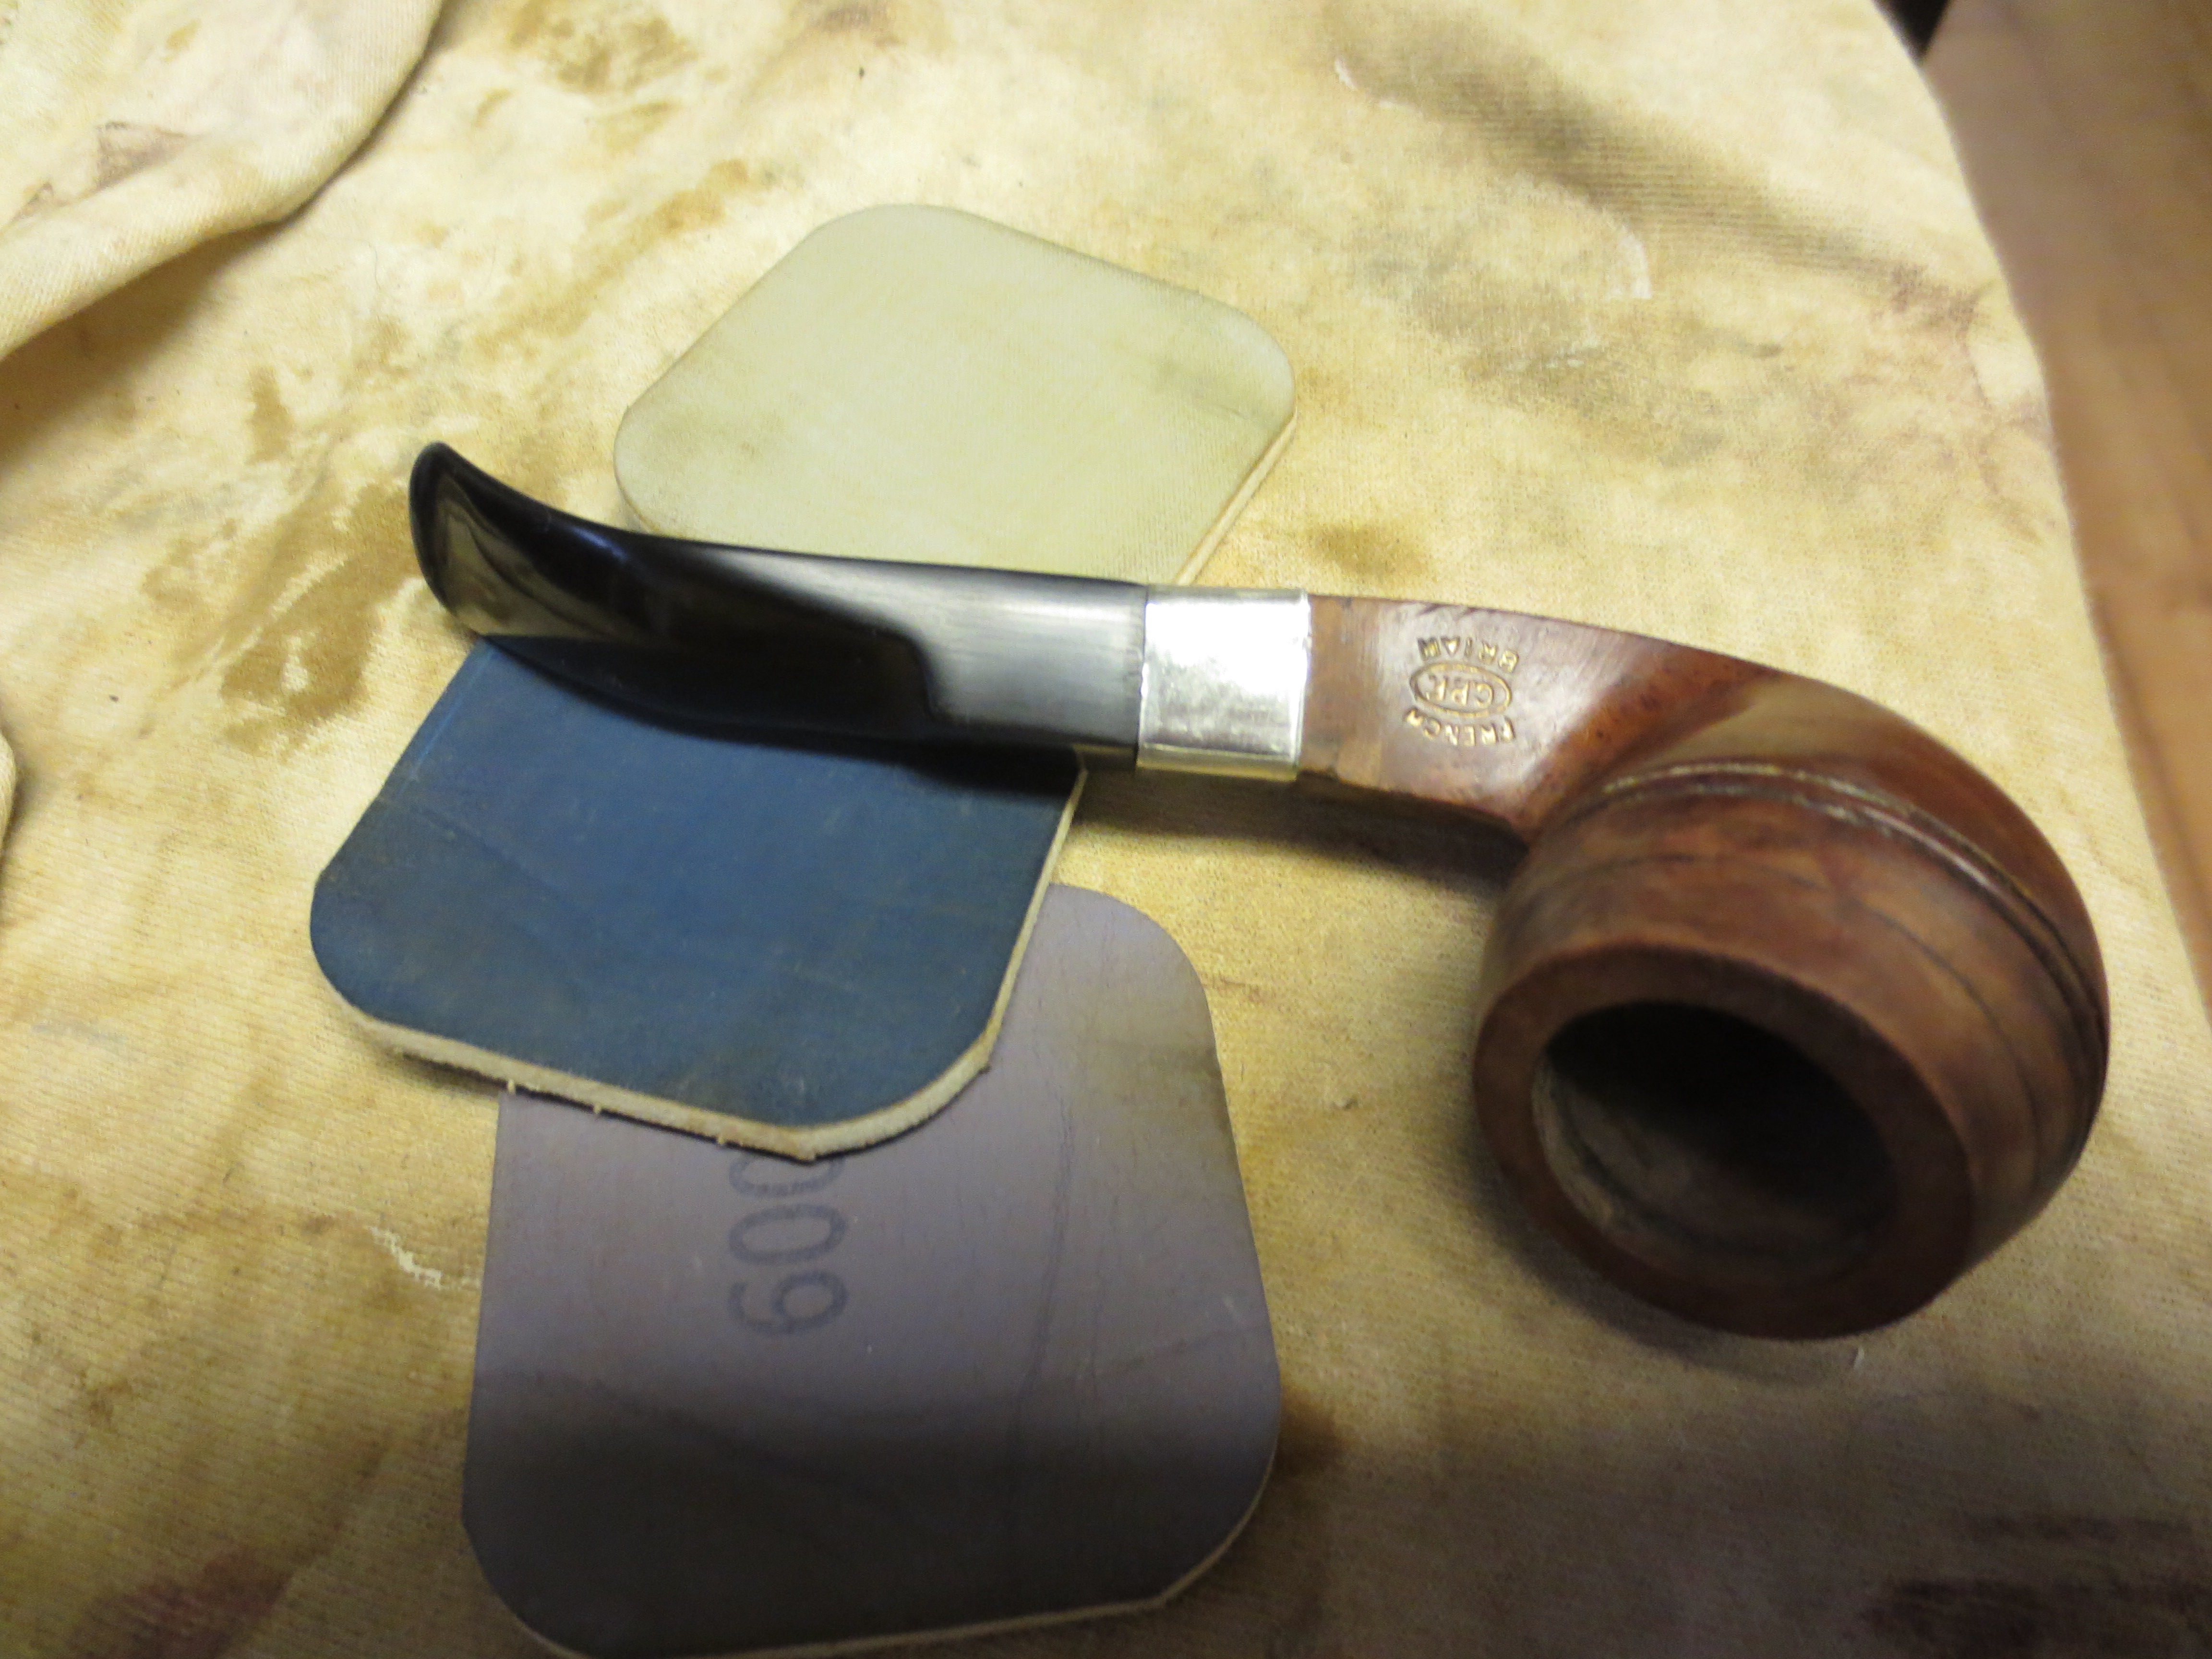
 With that done, the bowl was finished other than the final buffing. I set it aside and turned my attention to the stem. I “painted” the surface of the stem with the flame of a lighter to lift the tooth marks. I sanded out what remained with 220 grit sandpaper and started polishing the stem with 600 grit wet dry sandpaper.
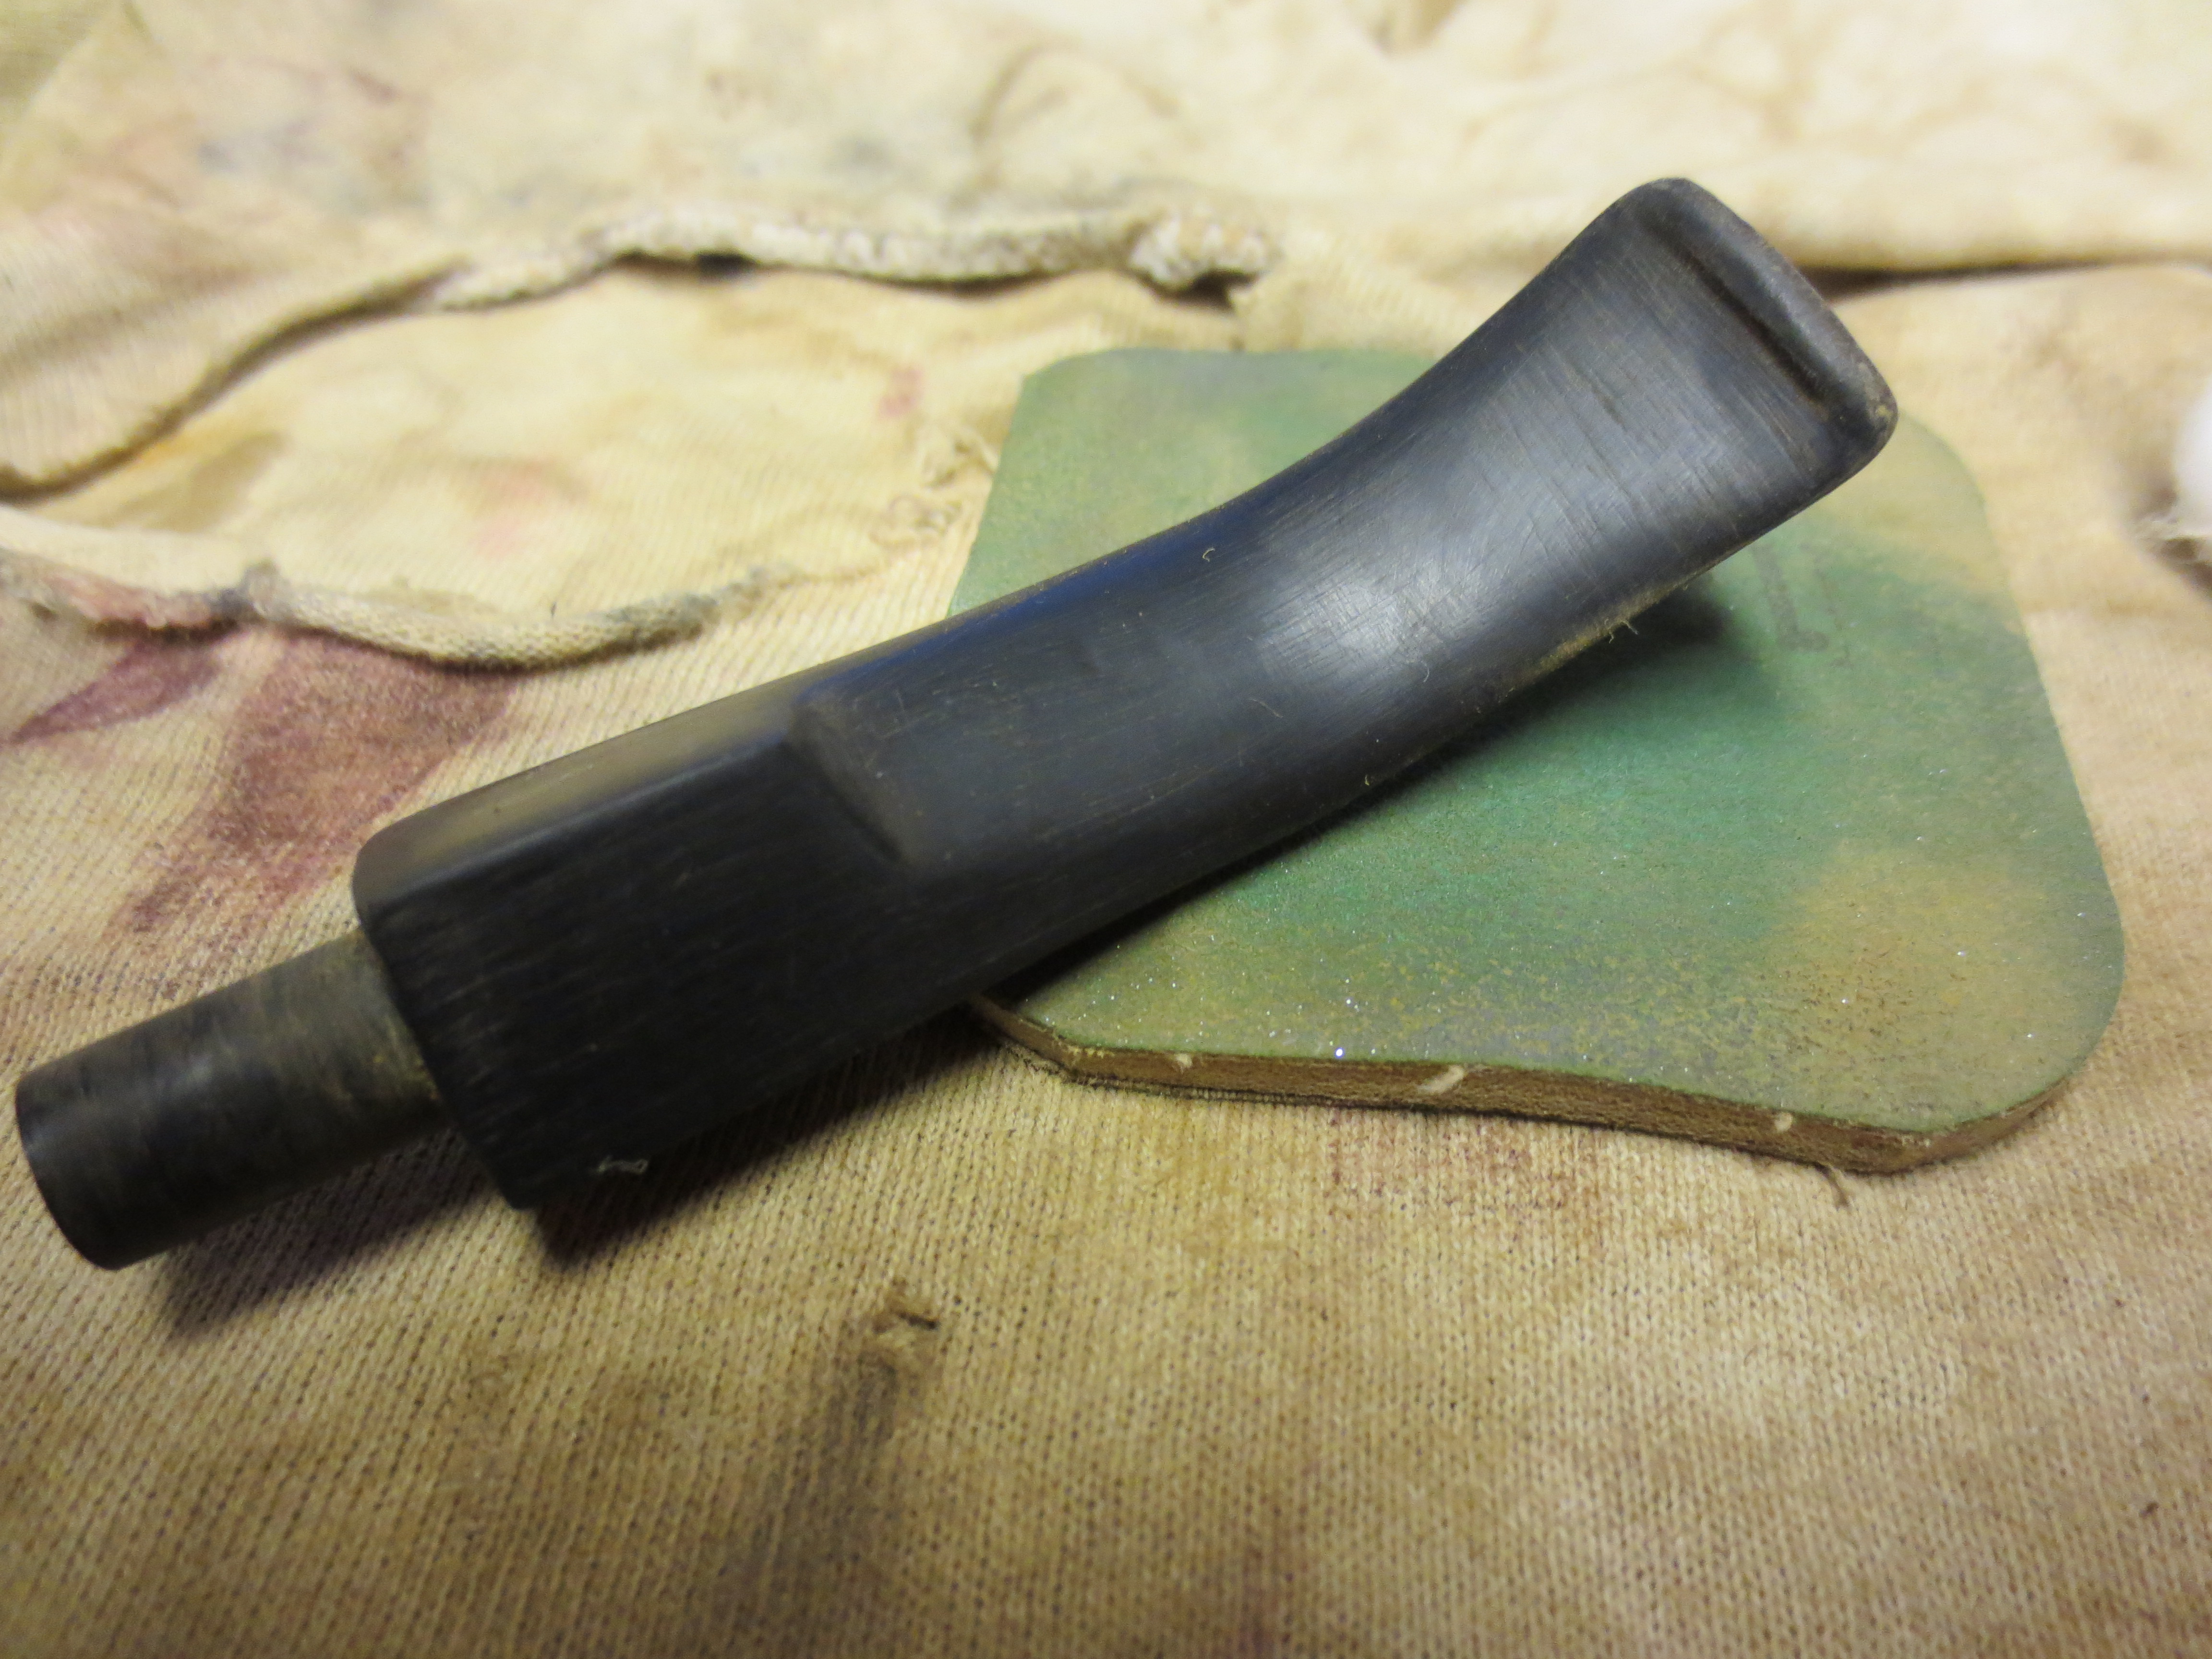
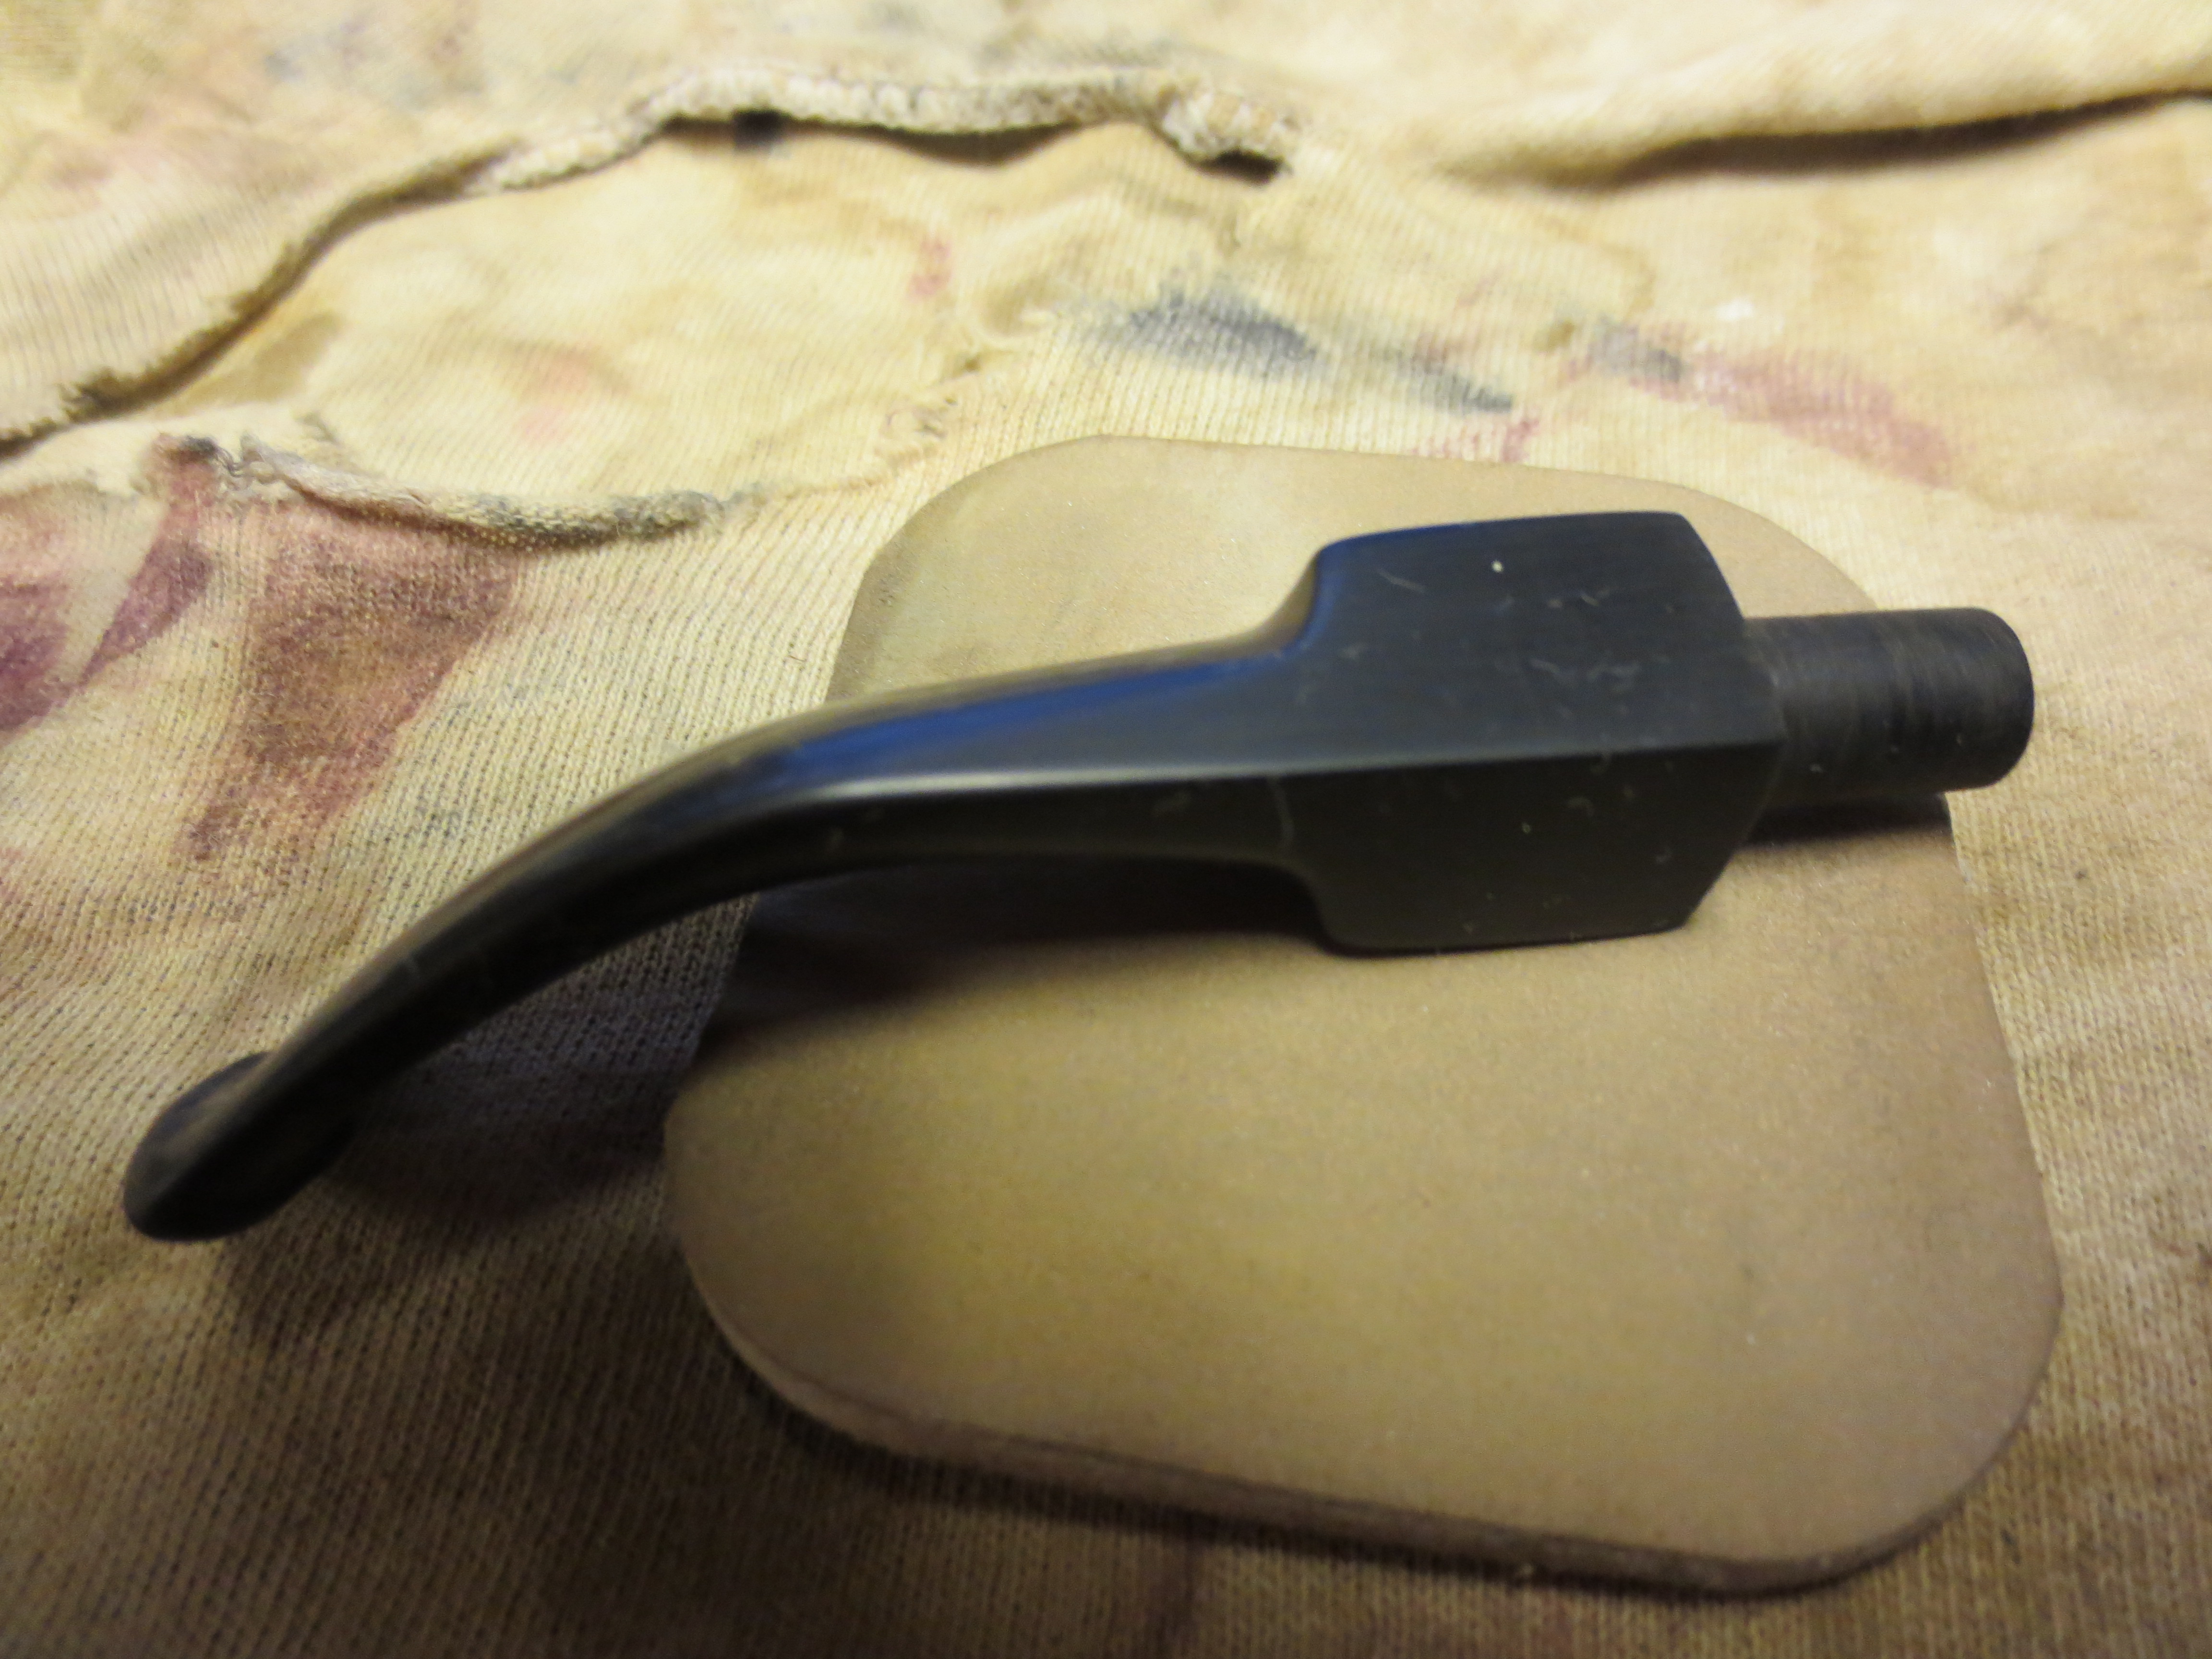
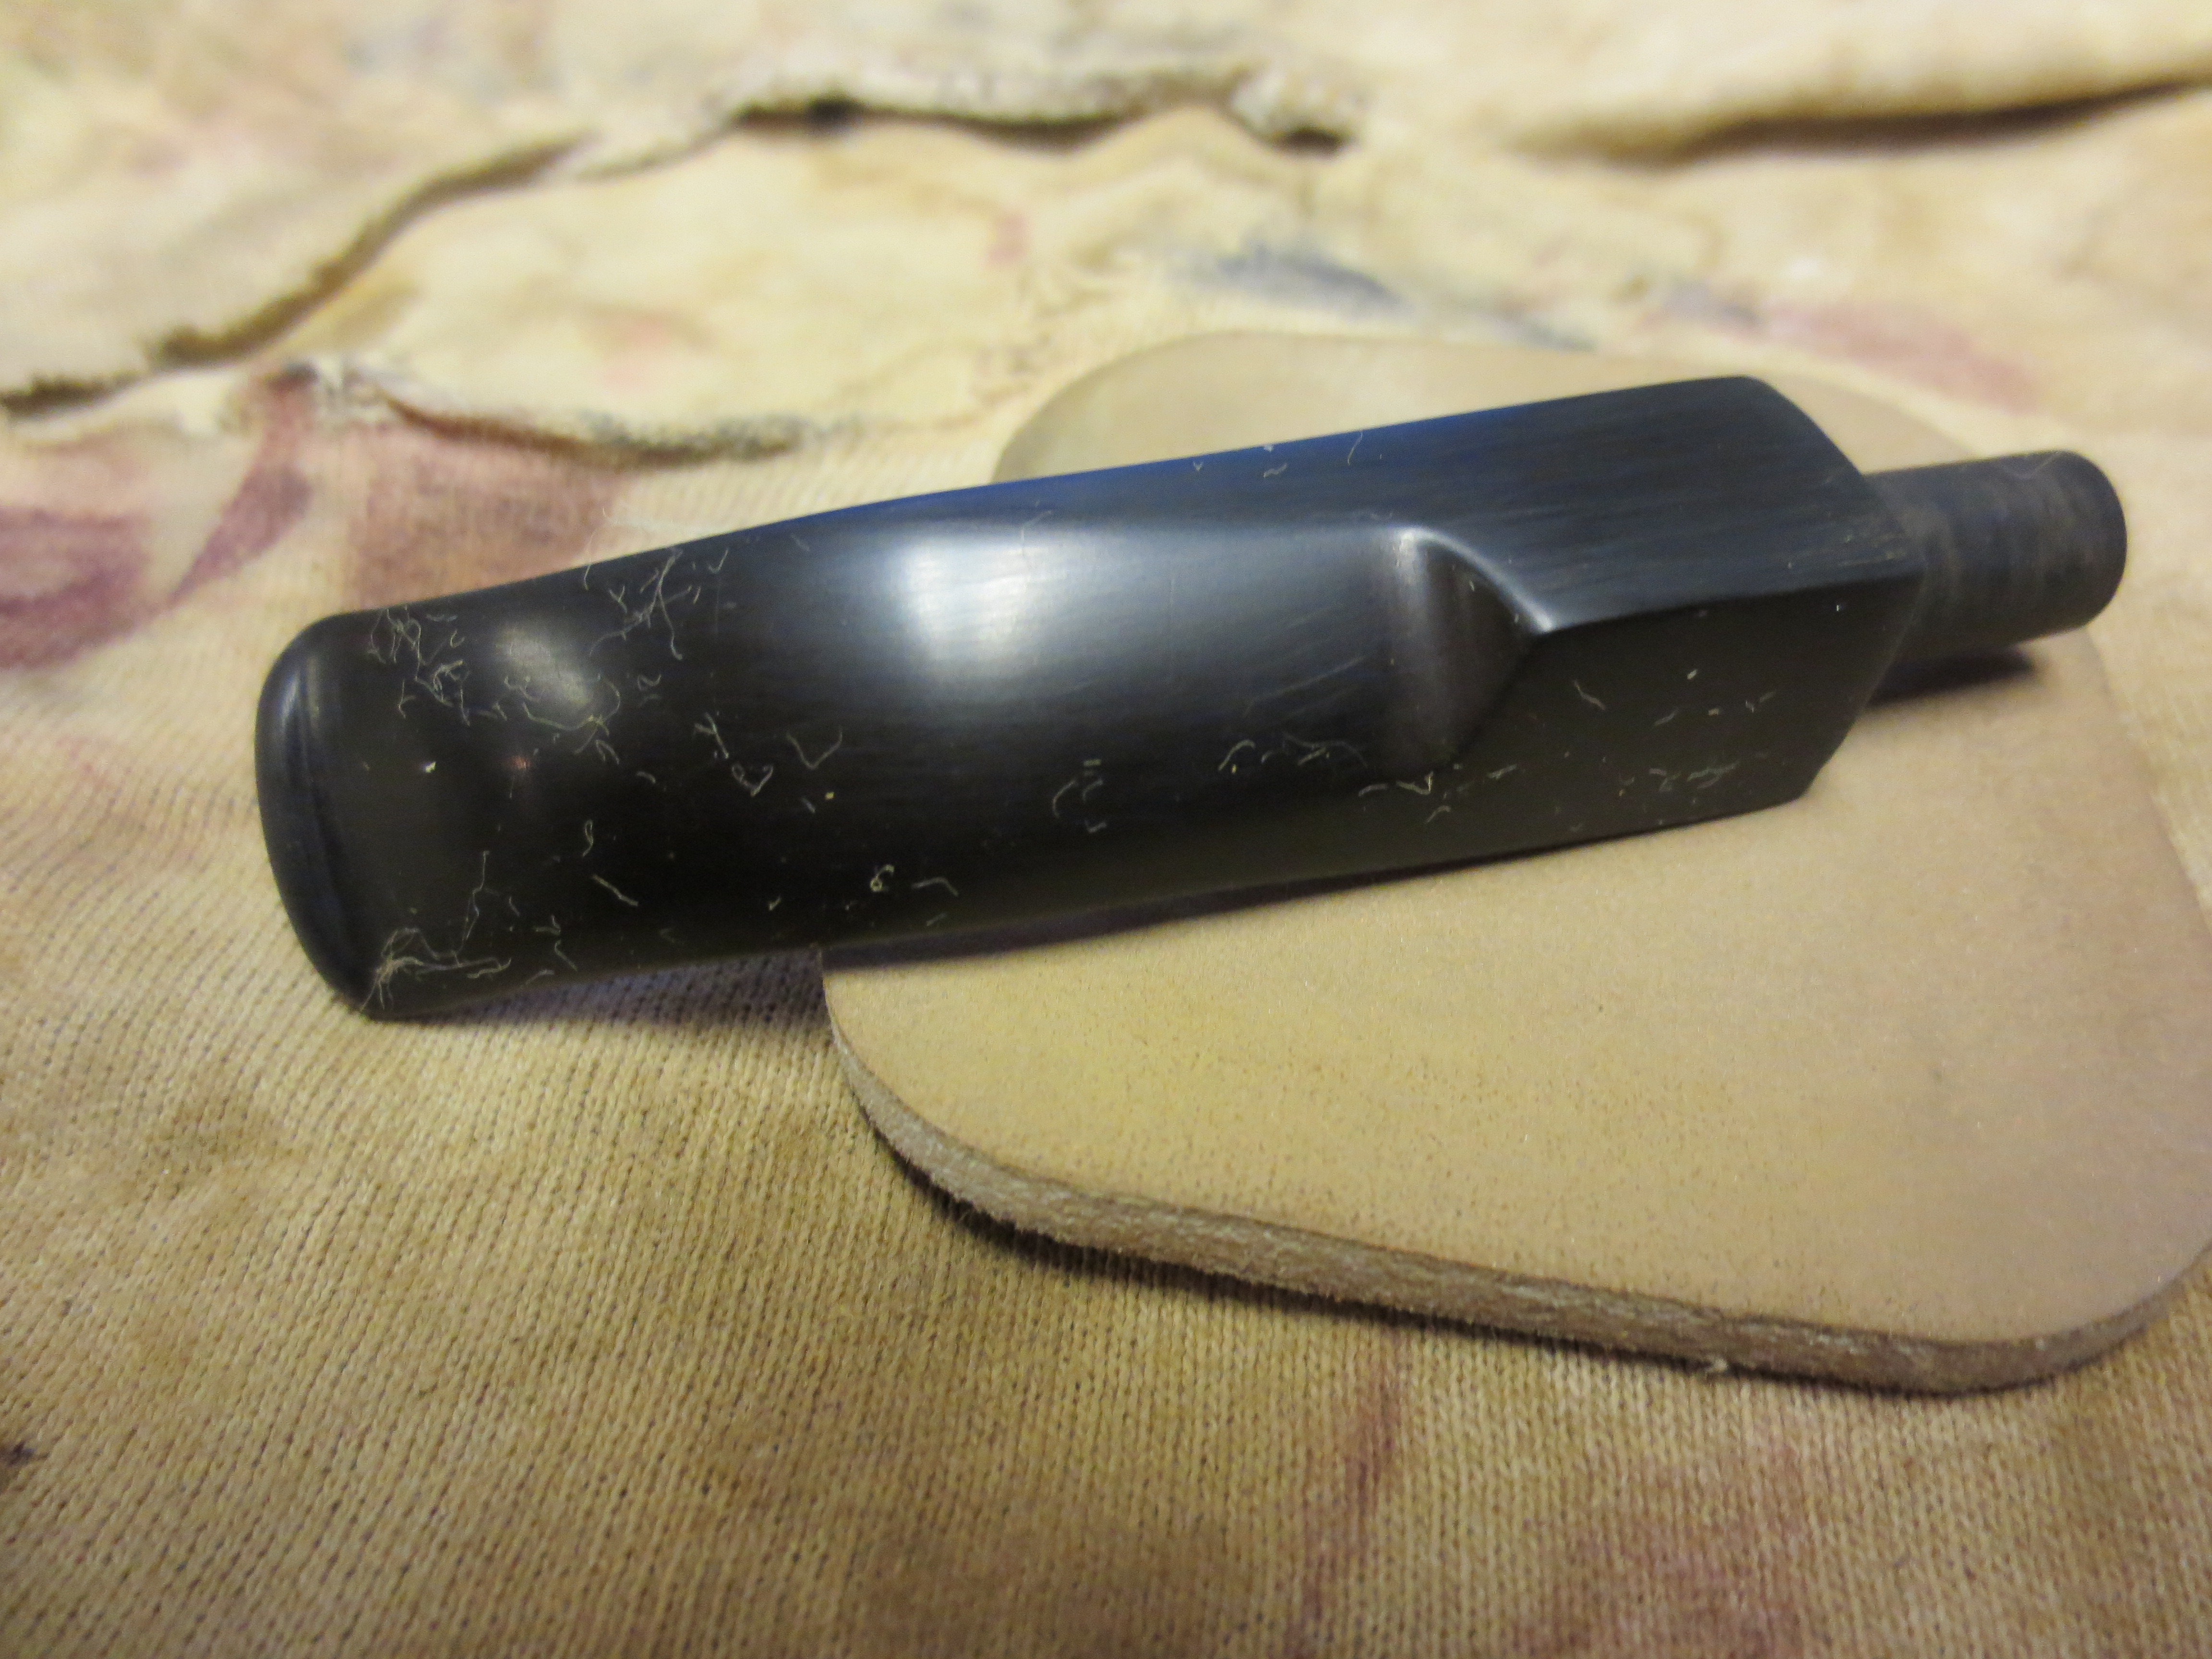
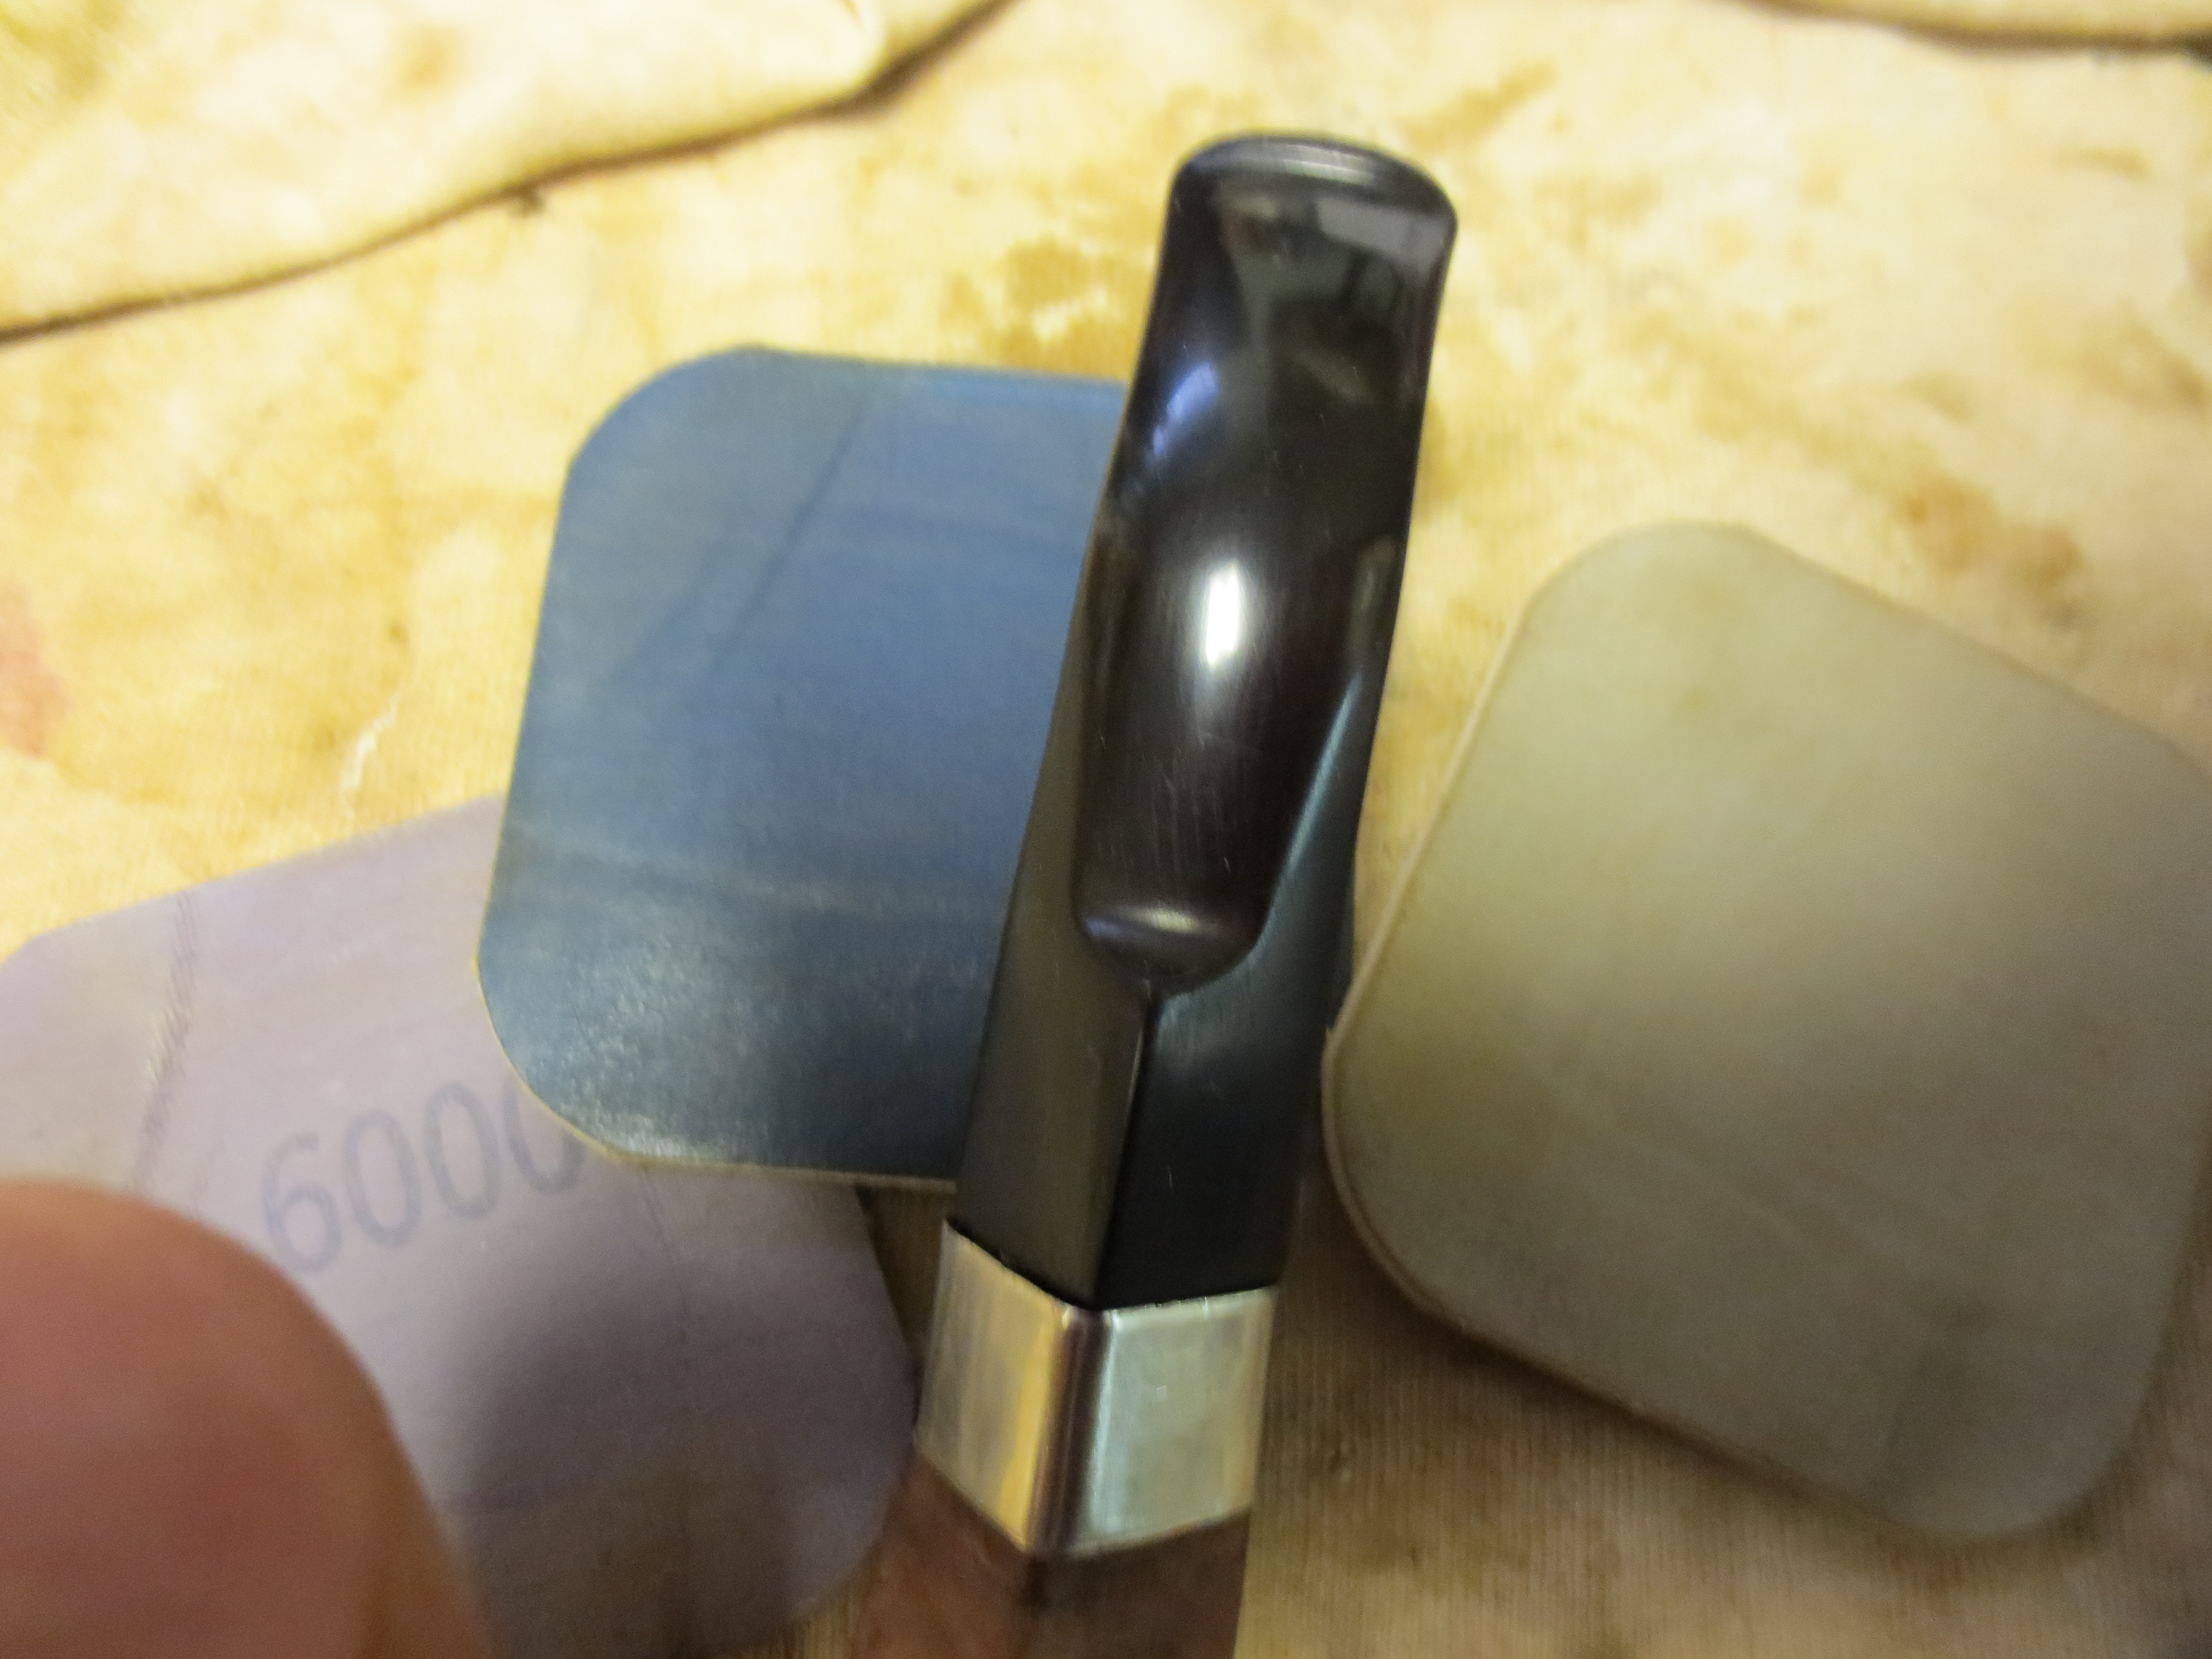
 I polished the stem with micromesh sanding pads – wet sanding with 1500-12000 grit sanding pads. I wiped it down after each sanding pad with Obsidian Oil.
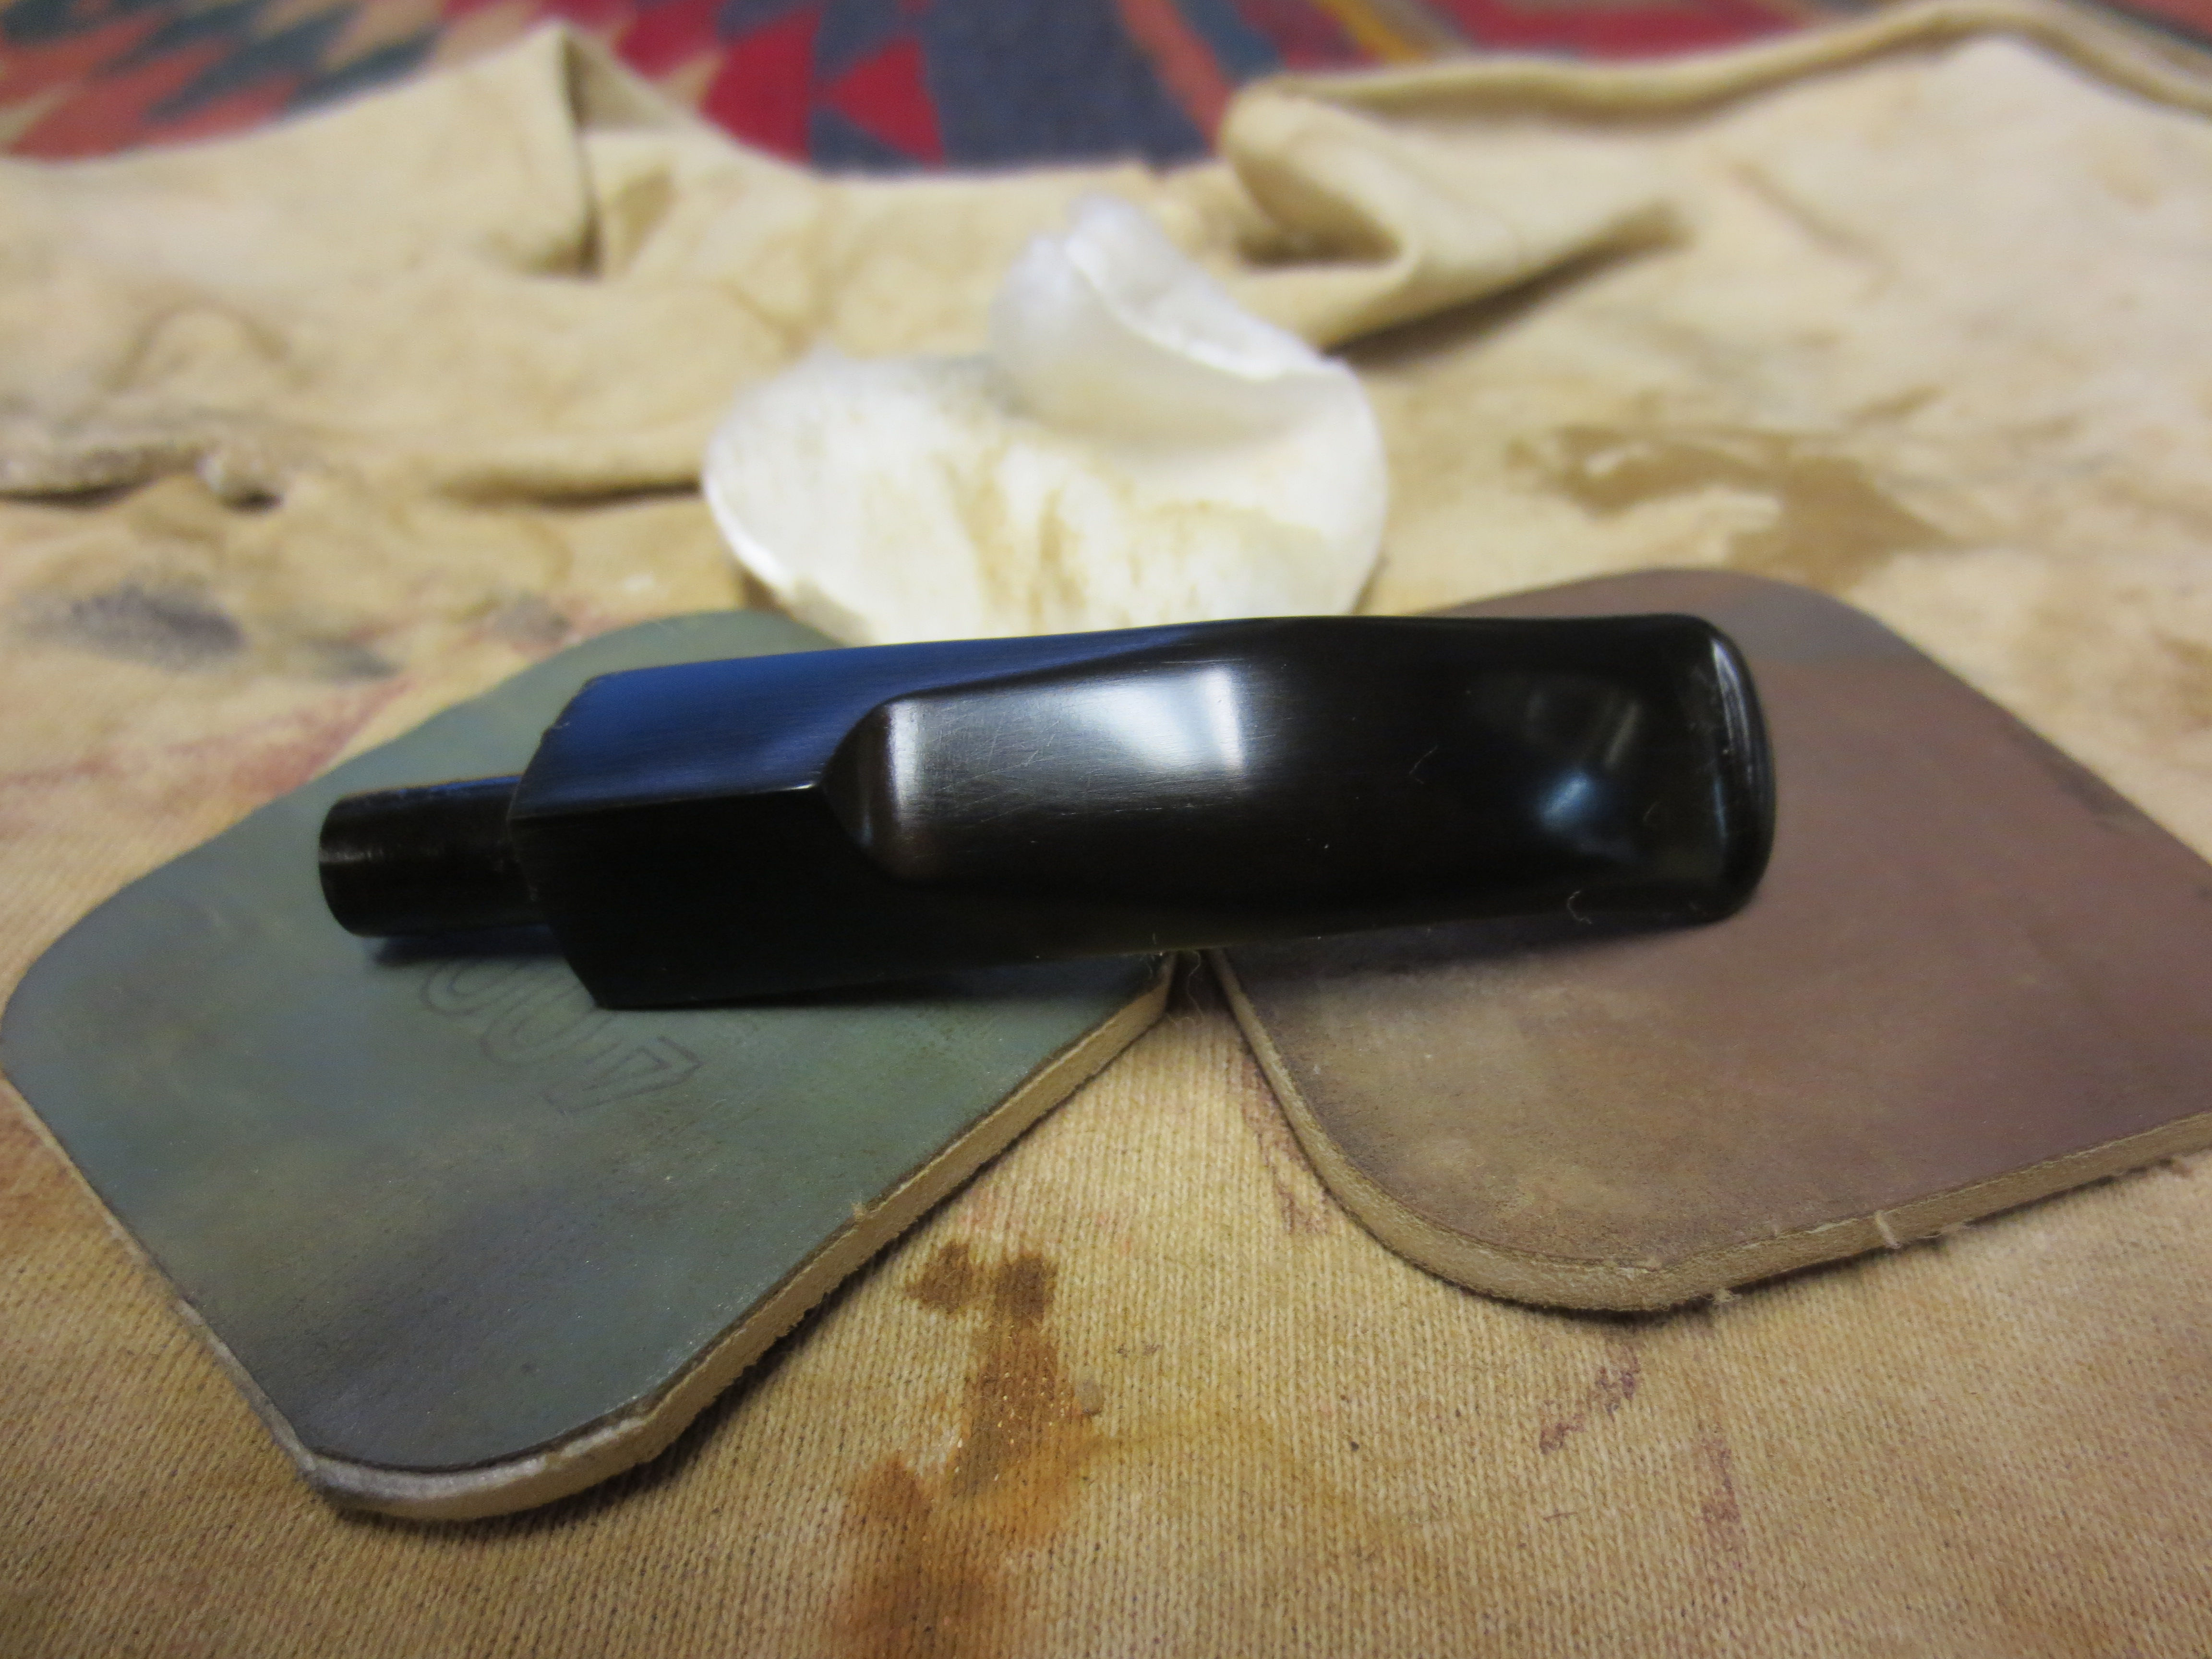
 I finished polishing the stem with Before & After Pipe Stem polish (both Fine and Extra Fine) then wiped the stem down with another coat of Obsidian Oil.
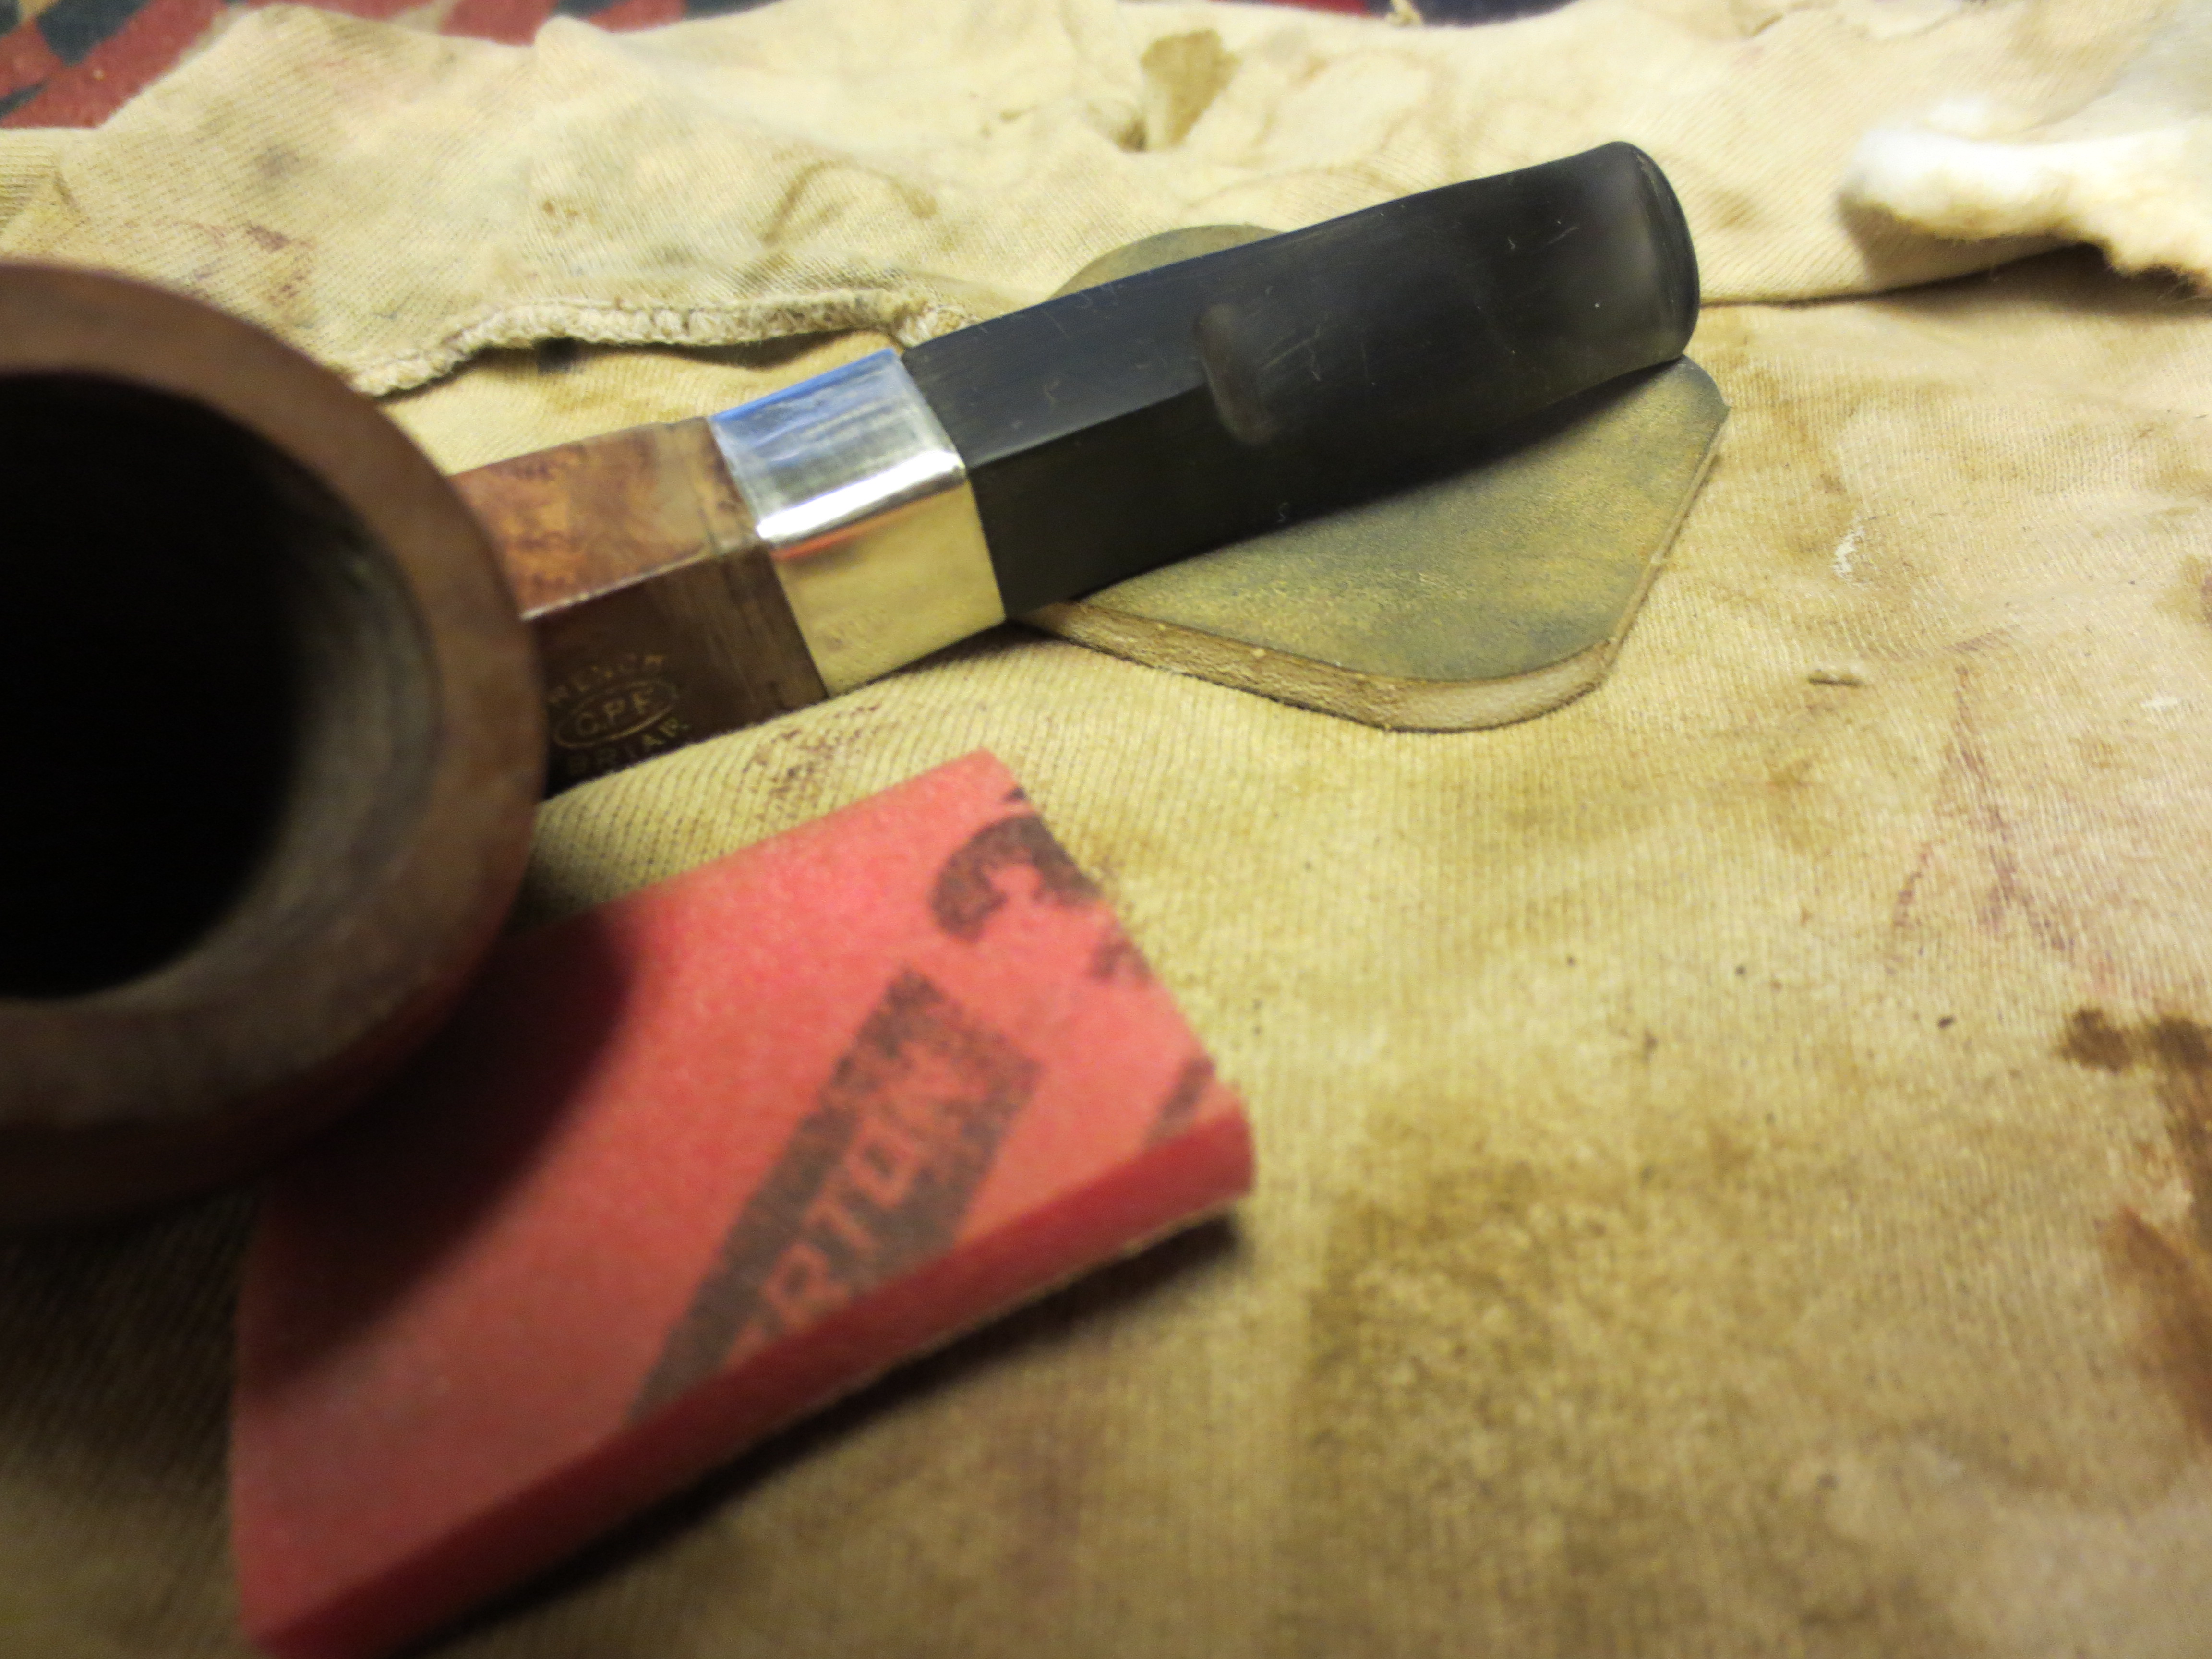
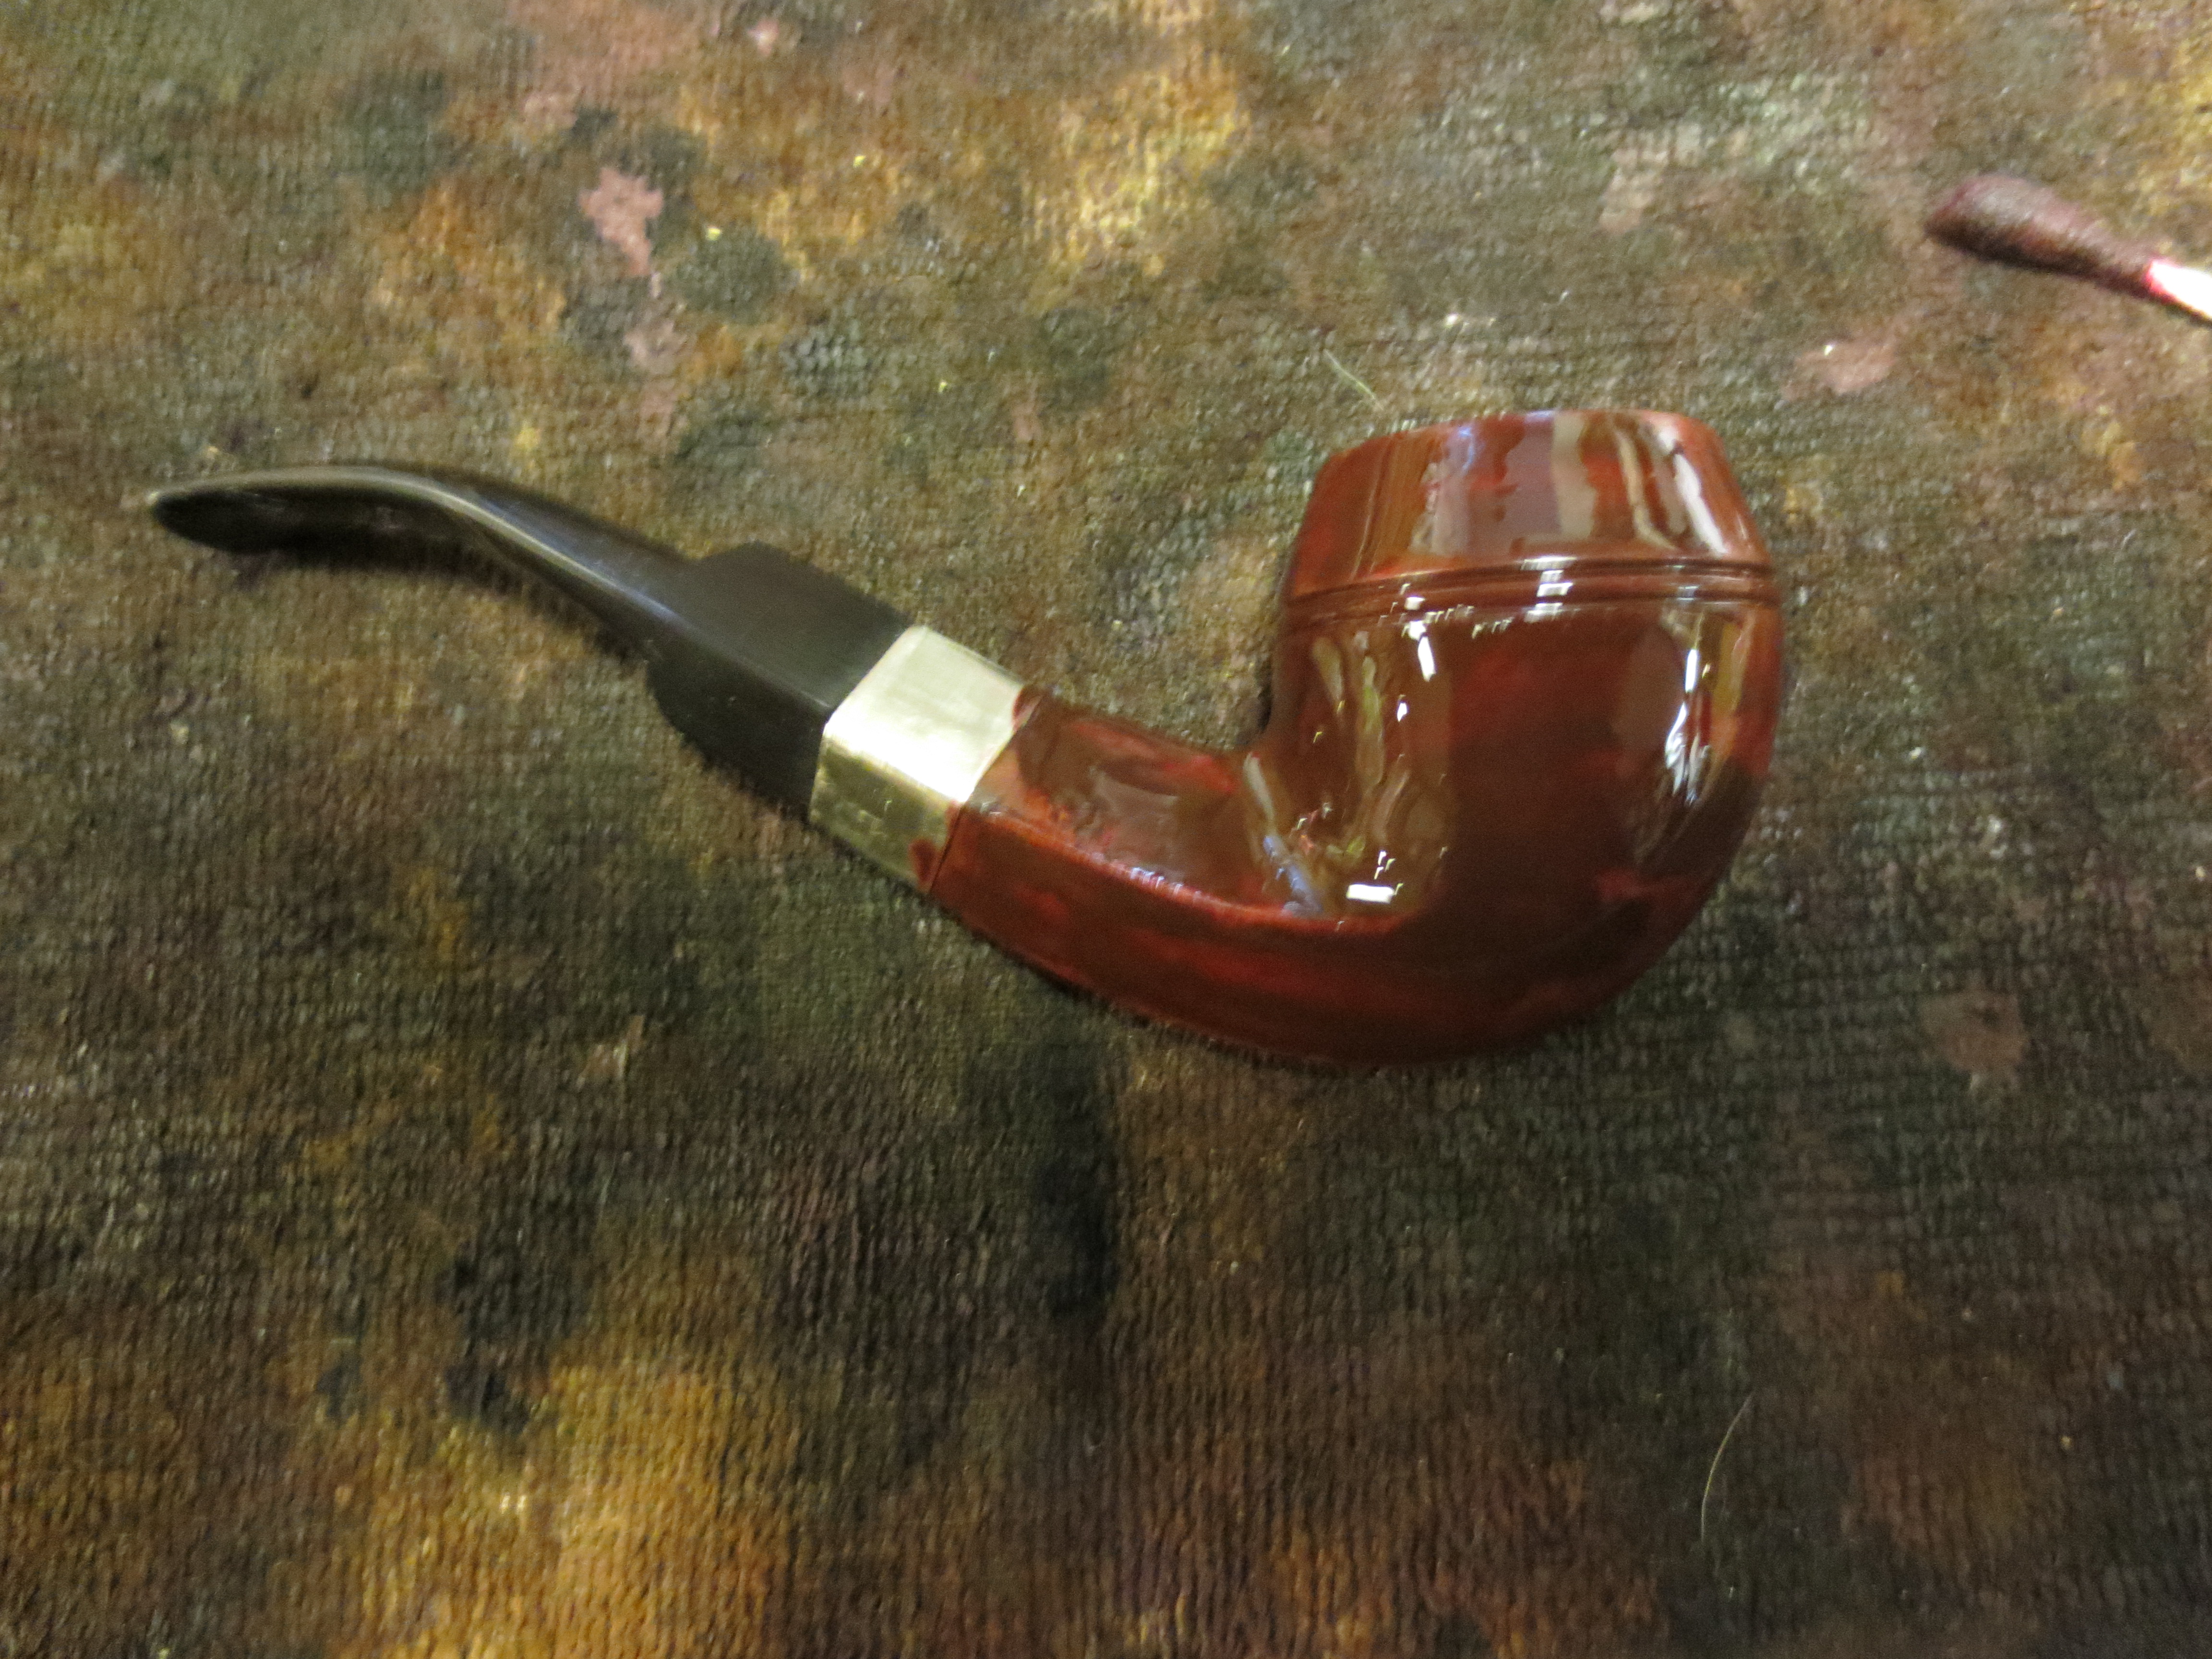
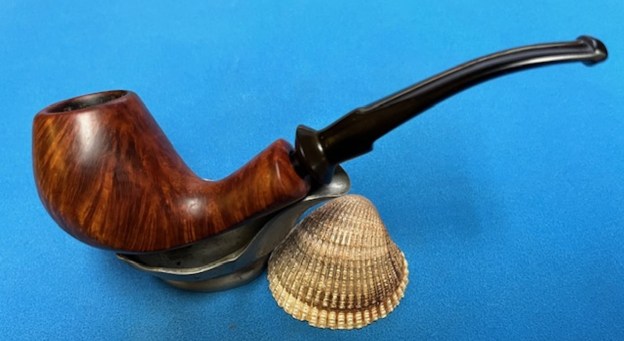
 I am excited to finish this restemmed Danmore De Luxe 3041 Made in Denmark Scoop. I put the pipe back together and buffed it with Blue Diamond on the buffing wheel. I gave the bowl and the stem multiple coats of carnauba wax. I buffed the pipe with a clean buffing pad to raise the shine and hand buffed it with microfiber cloth to deepen the shine. It is fun to see what the polished bowl looks like with the rusticated gourd and the polished black, fancy turned vulcanite stem was beautiful. This Danmore De Luxe 3041 Scoop is nice looking and the pipe feels great in my hand. It is light and well balanced. Have a look at it with the photos below. The dimensions are Length: 6 inches, Height: 1 ¾ inches, Outside diameter of the bowl: 1 inch, Chamber diameter: ¾ of an inch. The weight of the pipe is 1.66 ounces/48 grams. It is a beautiful pipe and one that I will be putting in the Danish Pipemaker Section on the rebornpipes store. Thanks for walking through the cleanup with me as I worked over this pipe.
As always, I encourage your questions and comments as you read the blog. Thanks to each of you who are reading this blog. Remember we are not pipe owners; we are pipe men and women who hold our pipes in trust until they pass on into the trust of those who follow us.