by Steve Laug
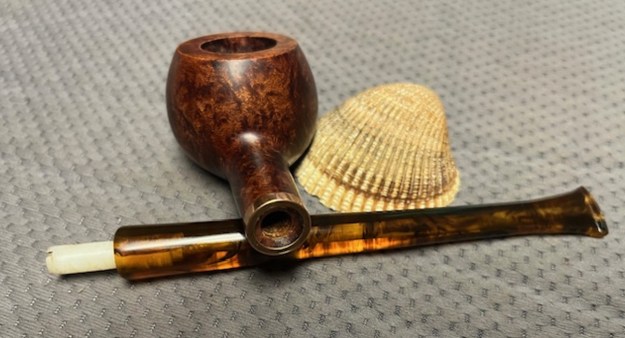
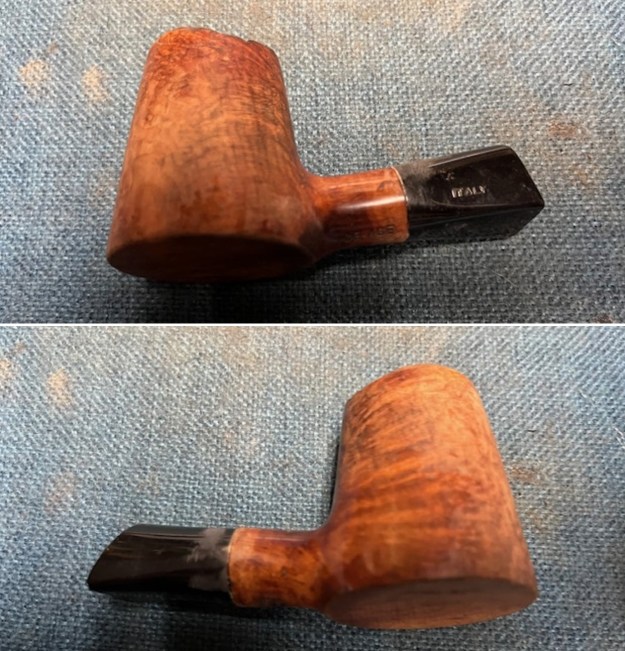
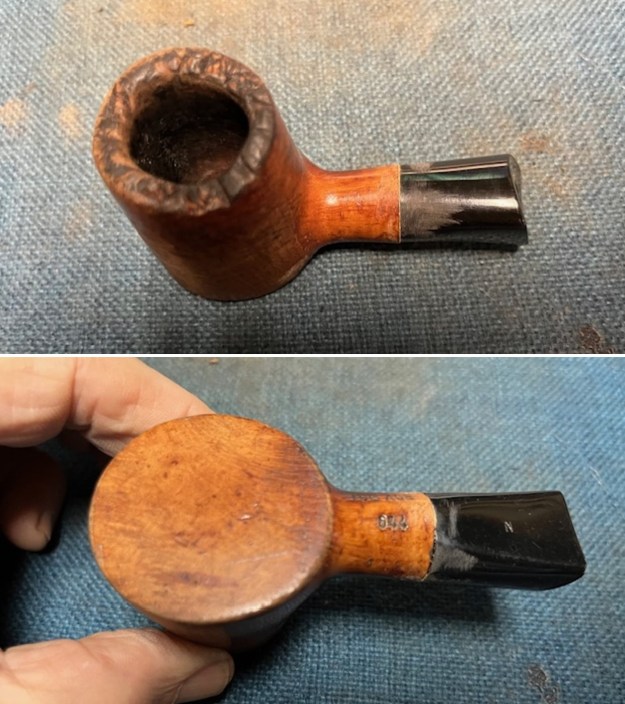
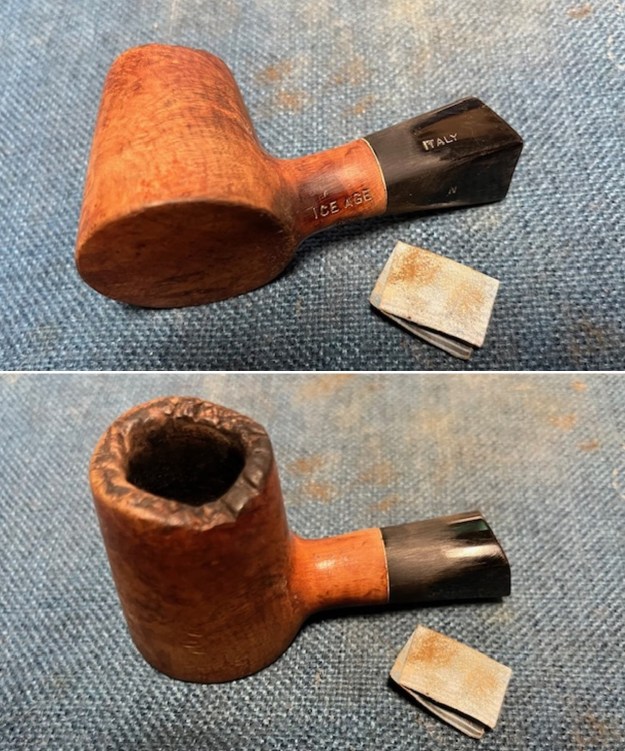
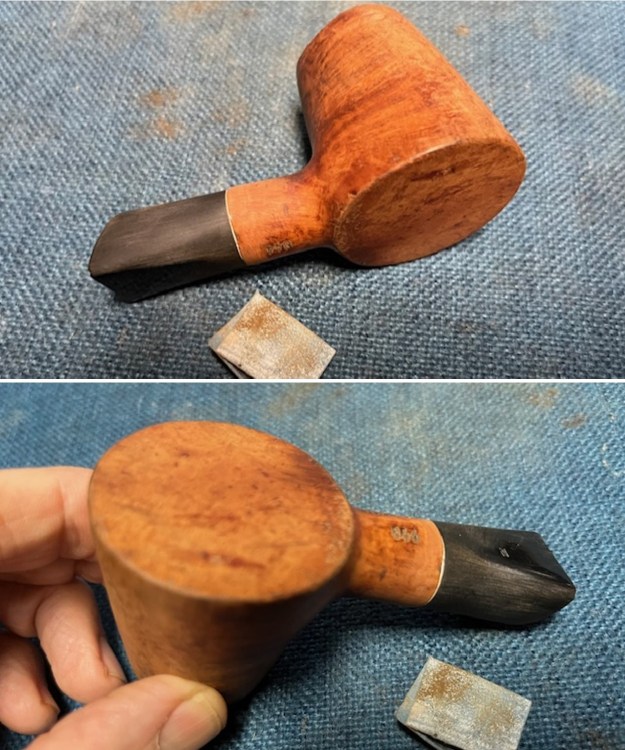
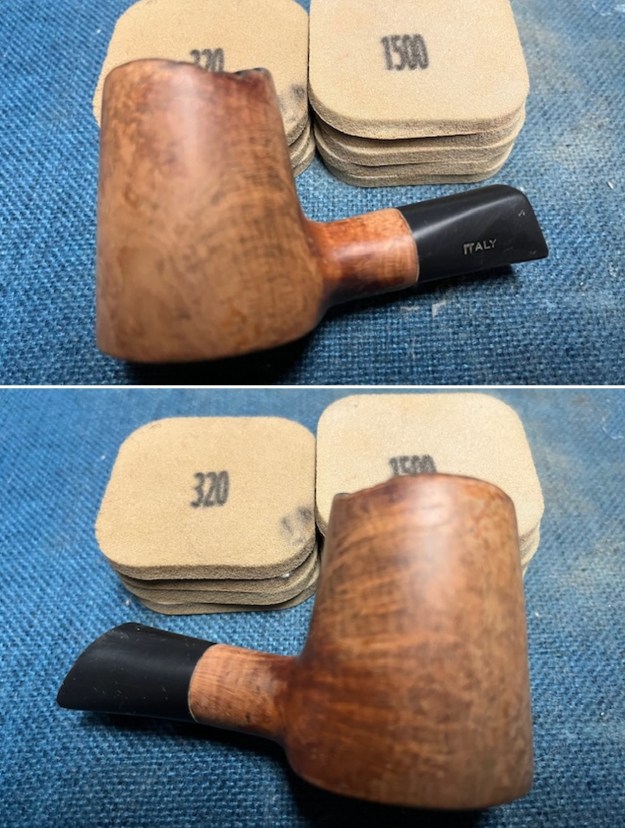
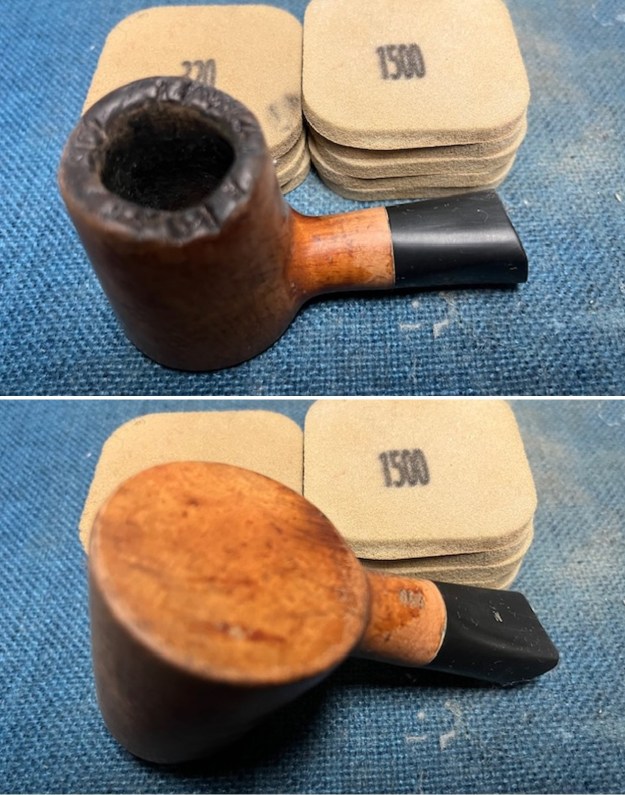
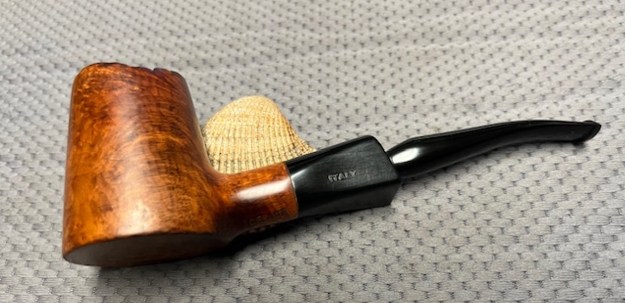
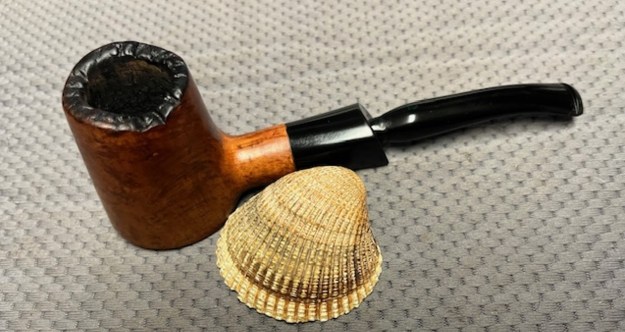
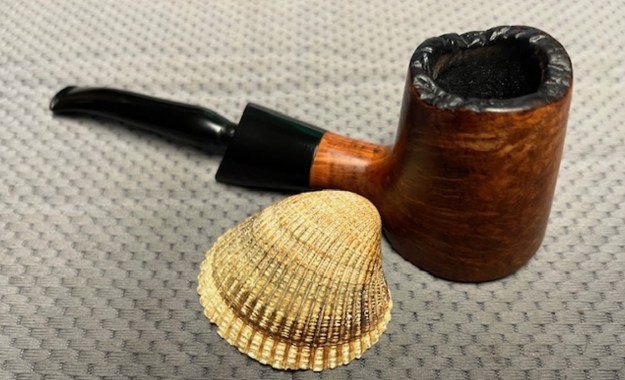
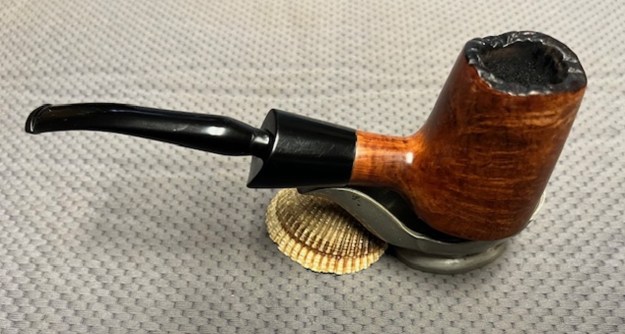
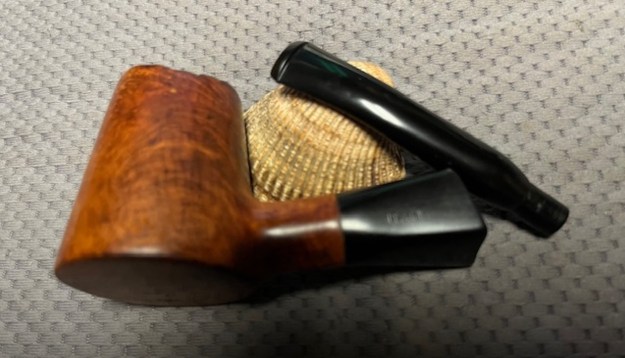
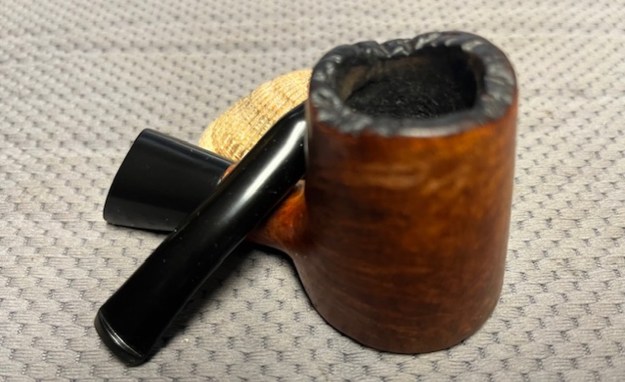
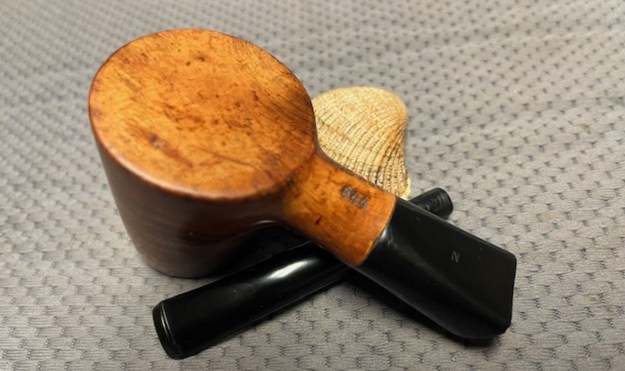
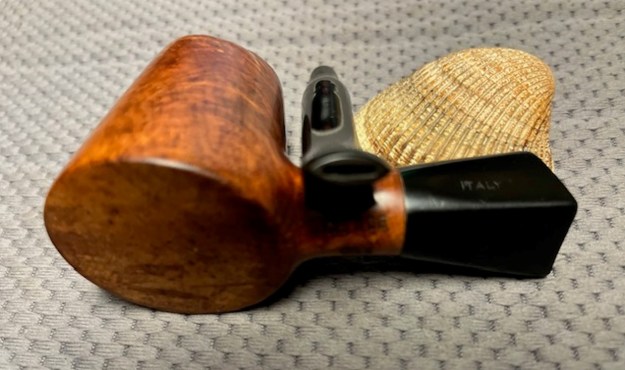
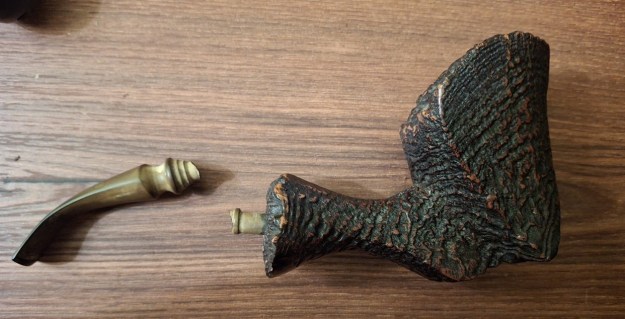
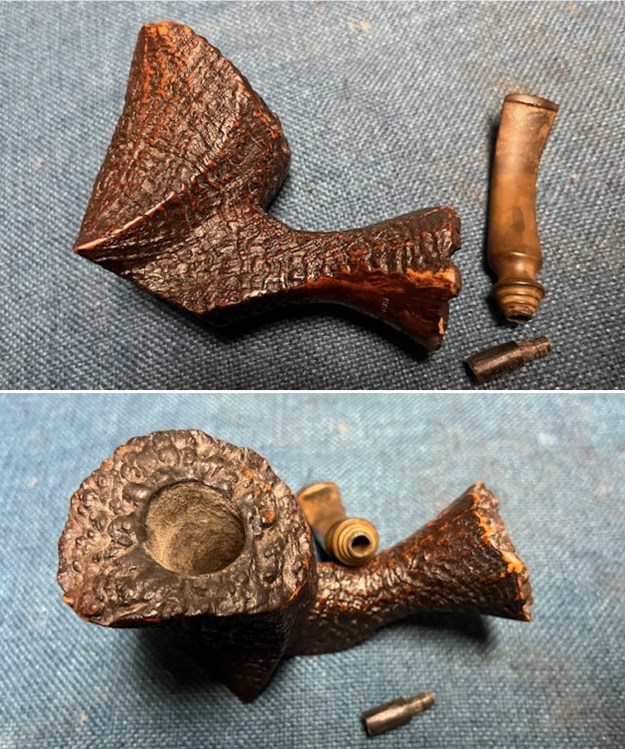
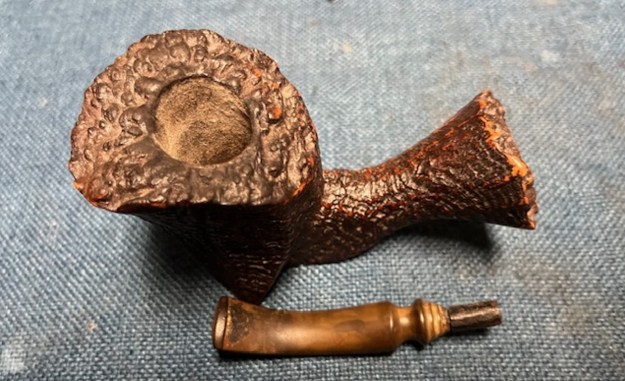
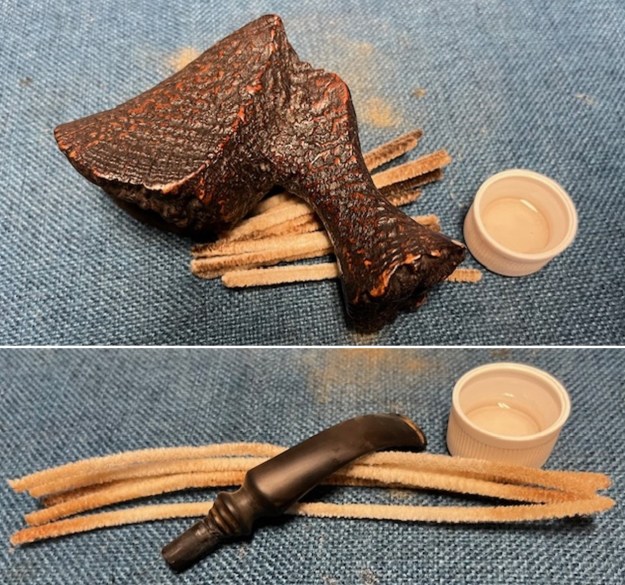
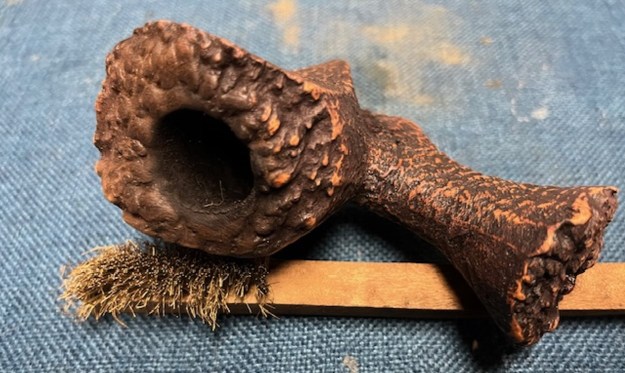
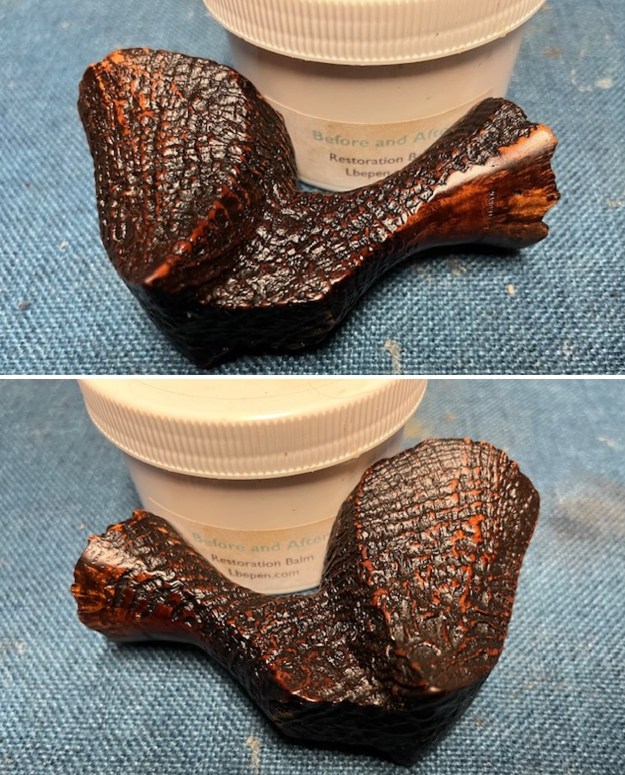
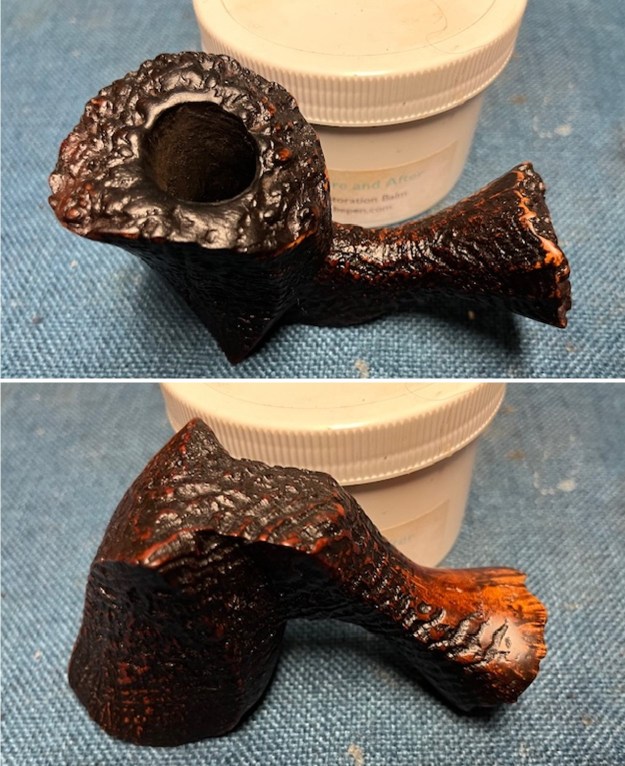
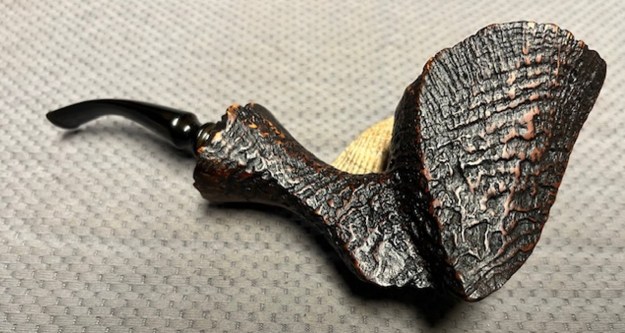
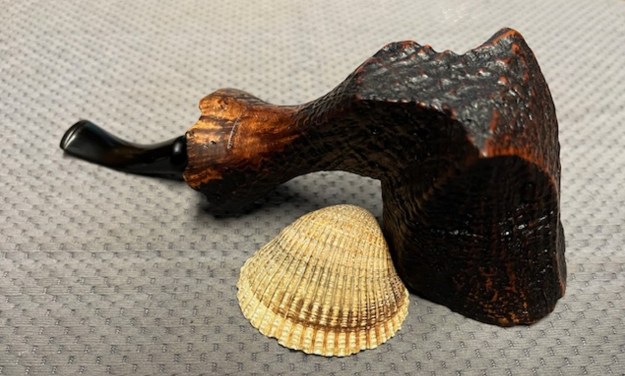
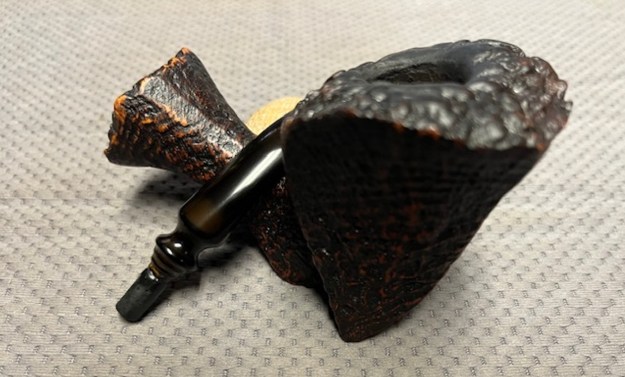
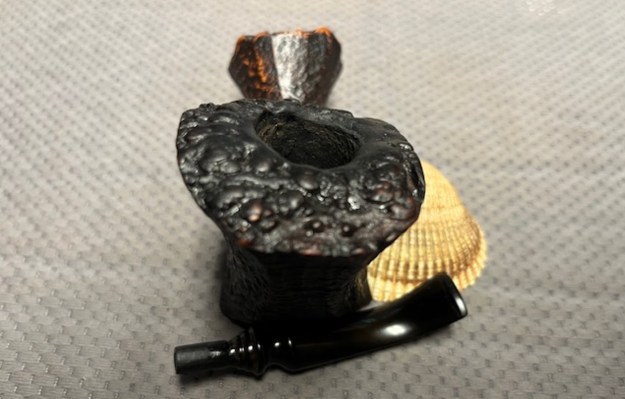
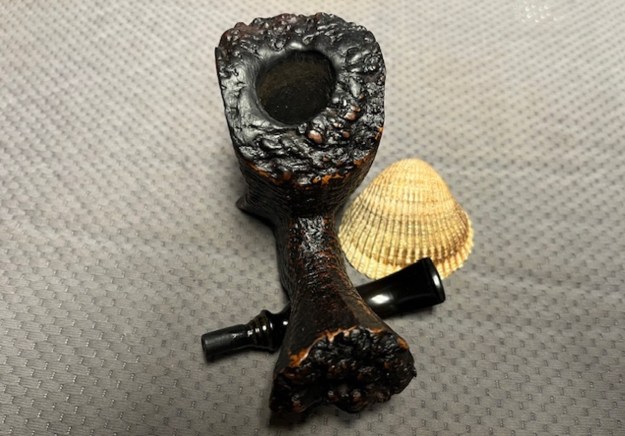
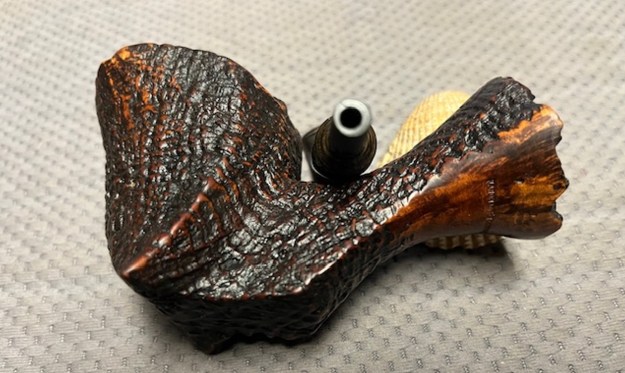
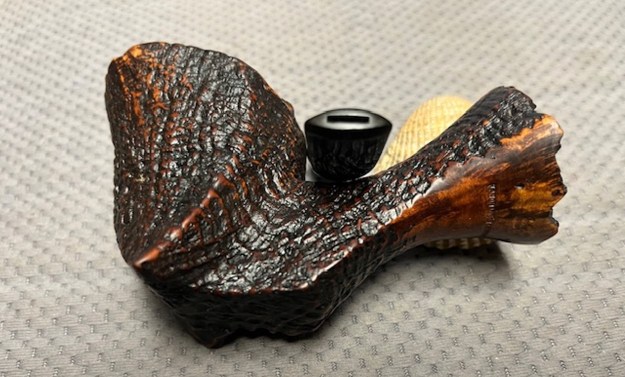
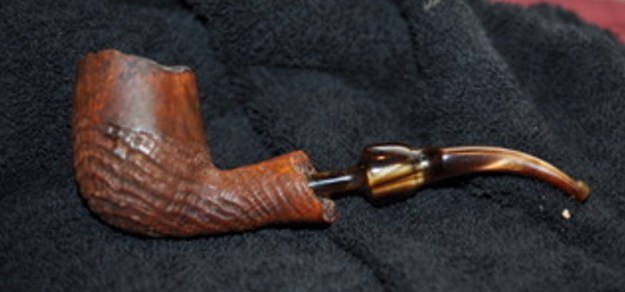
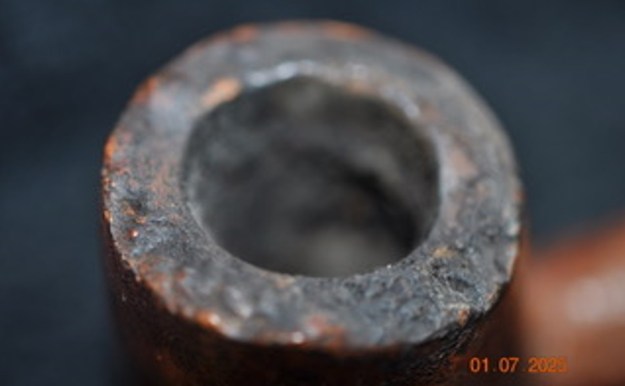
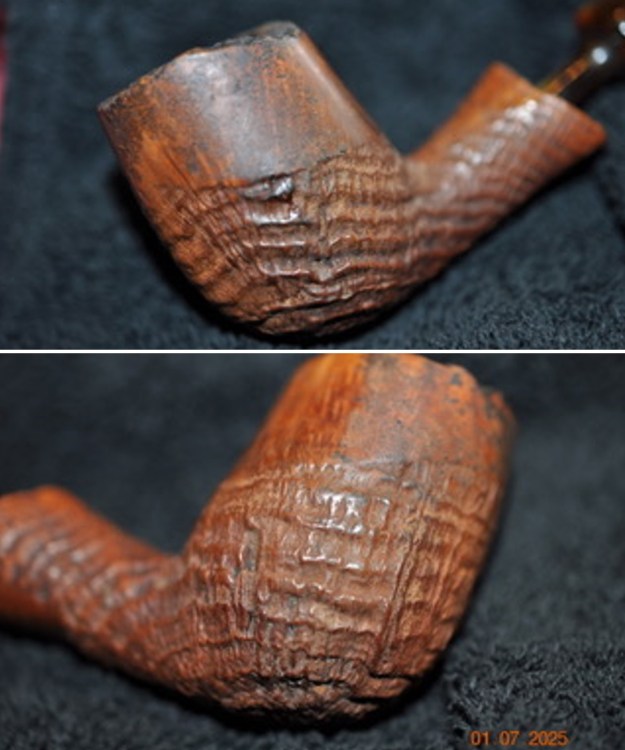
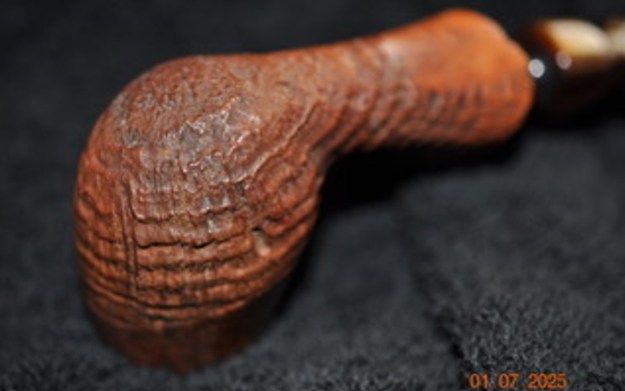
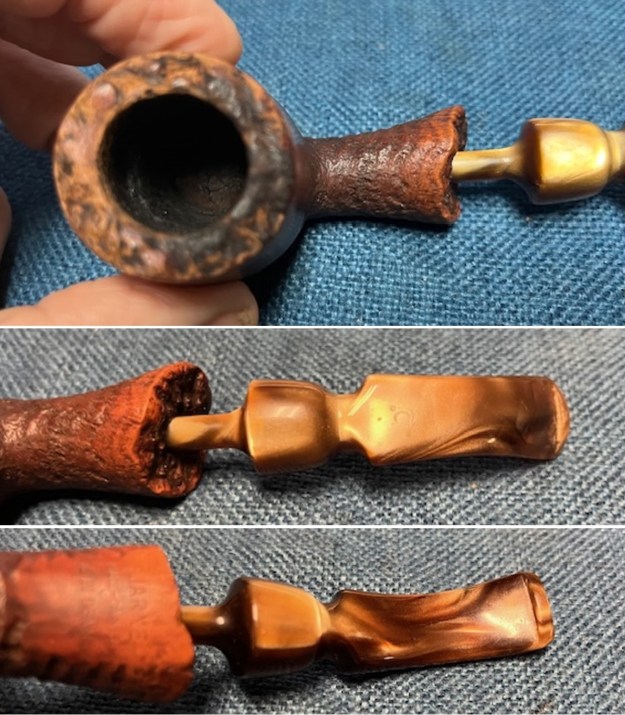
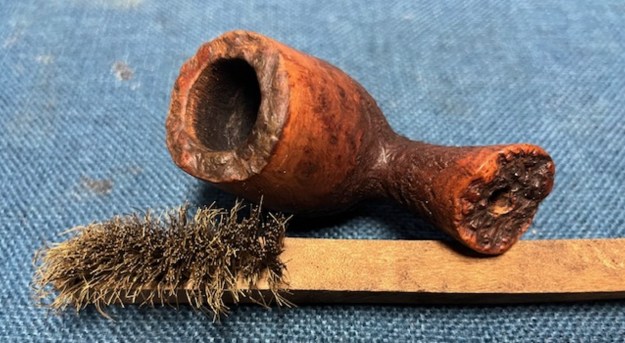
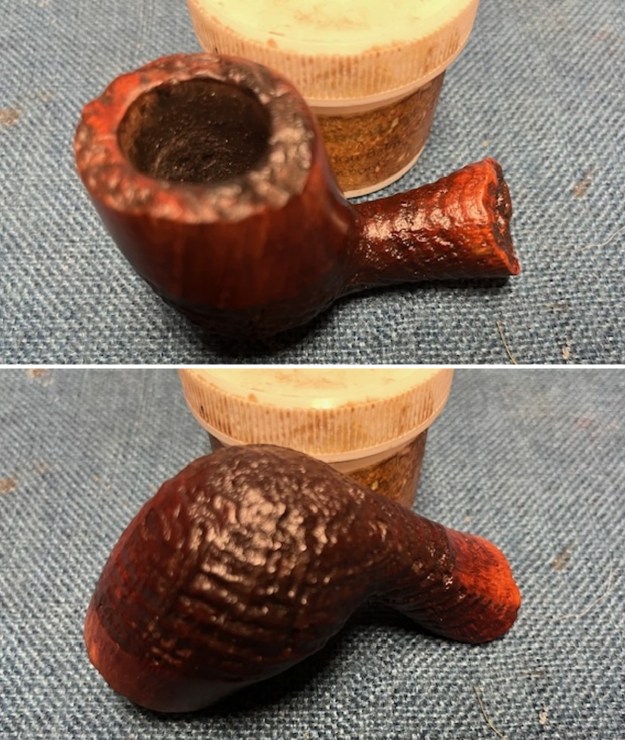
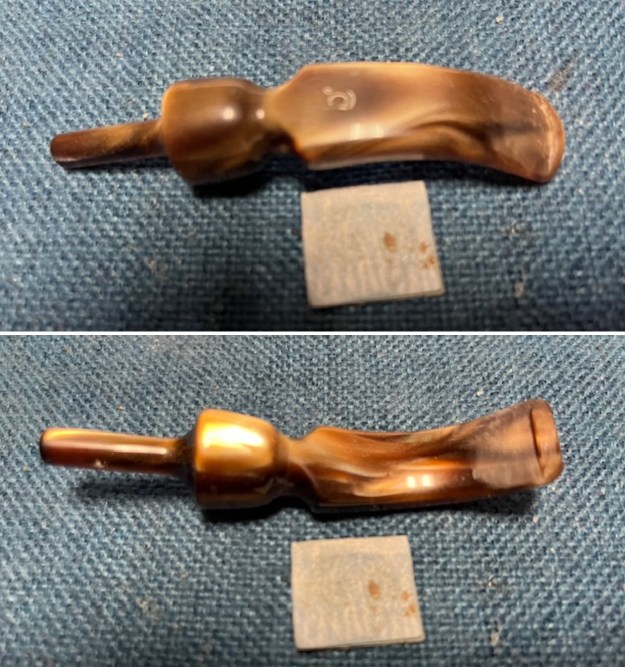
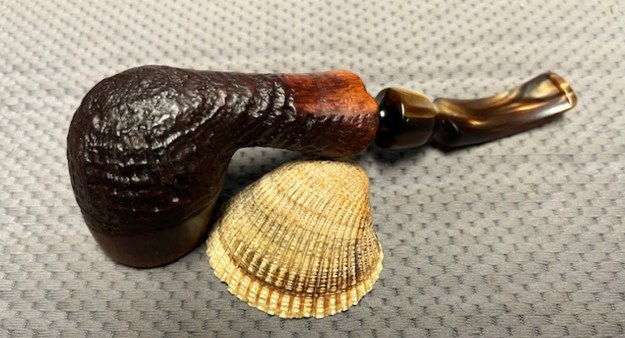
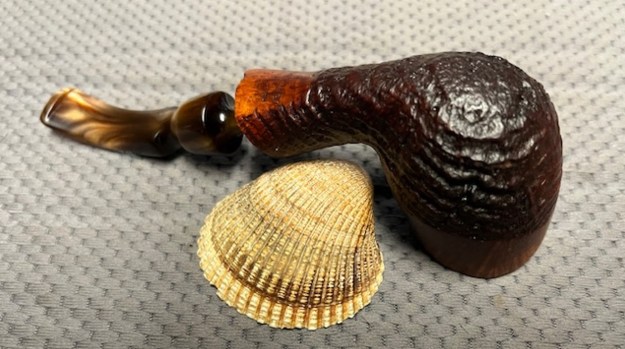
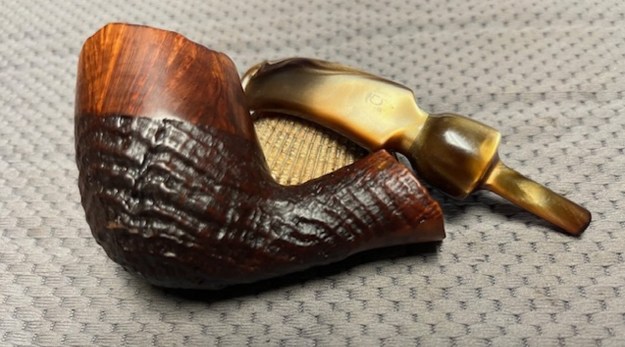
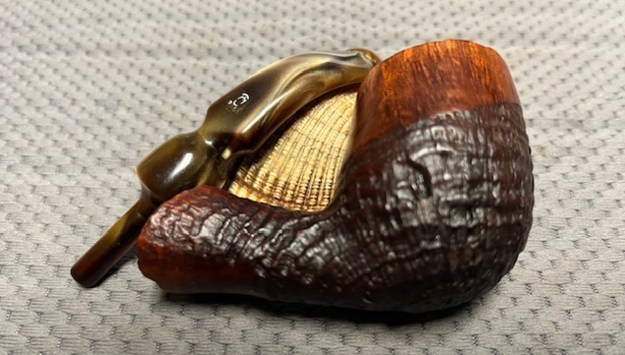
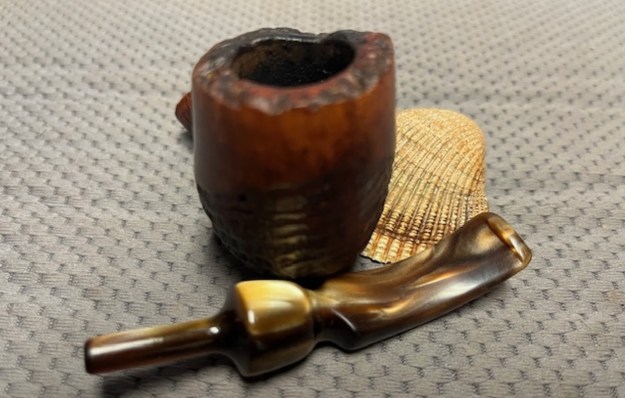
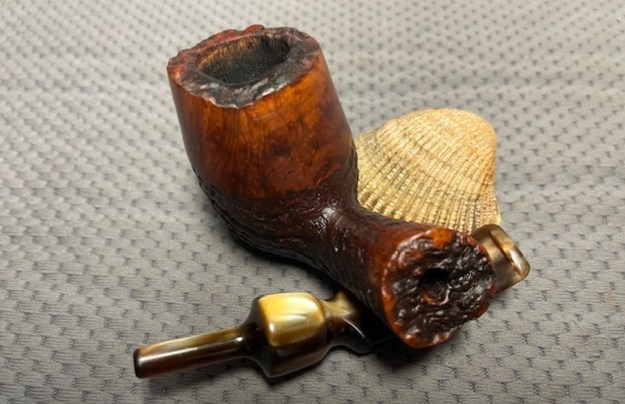
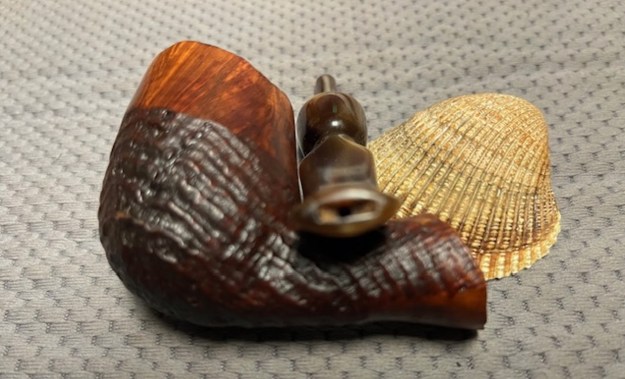
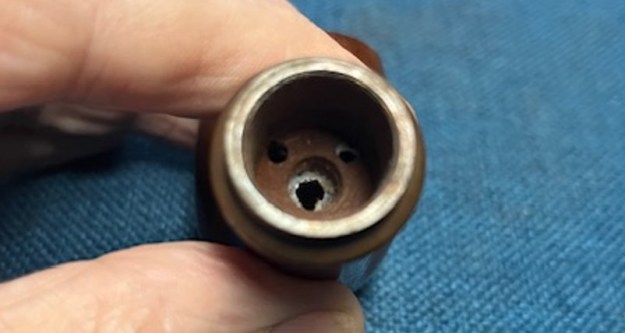
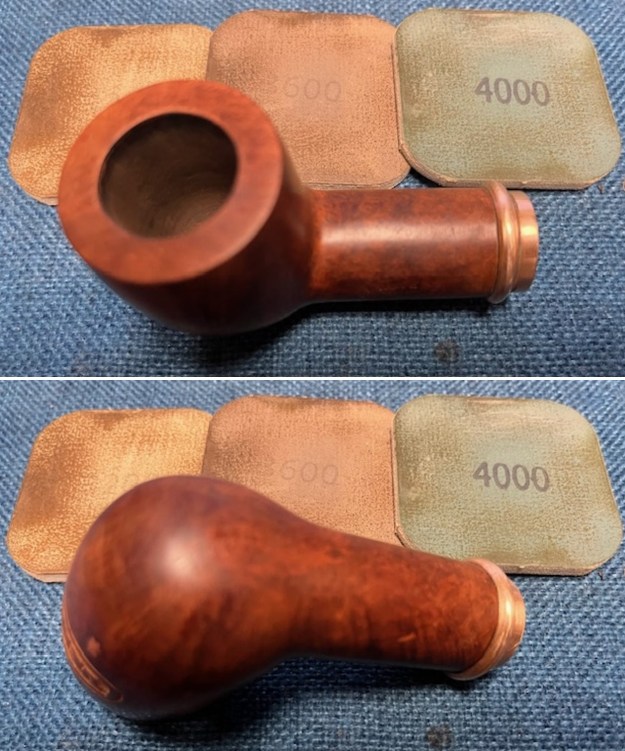
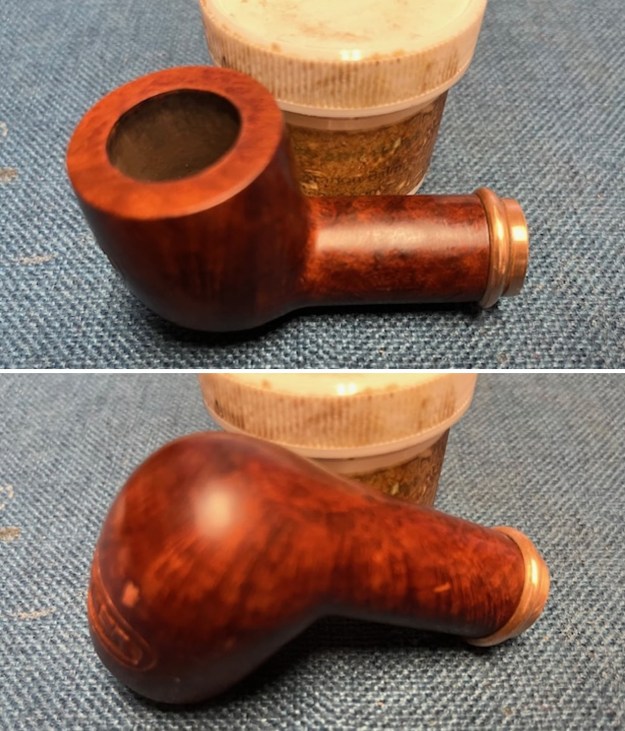
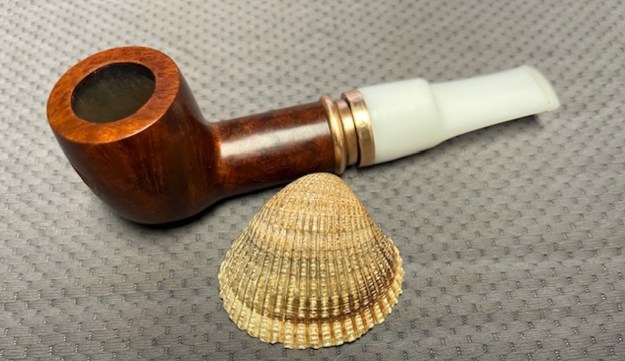
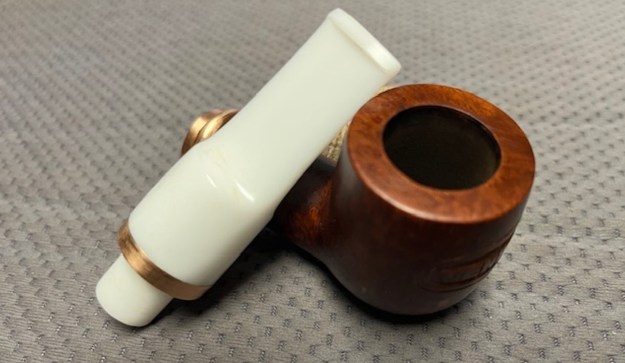
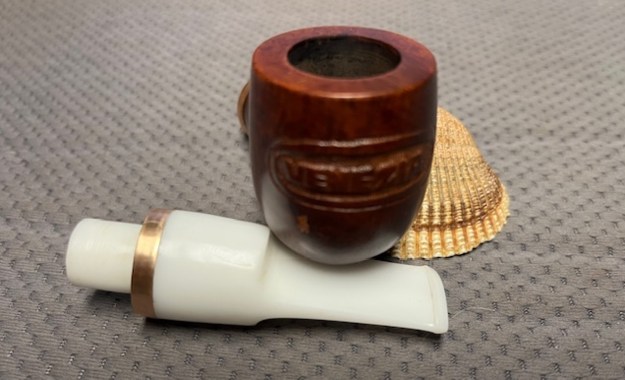
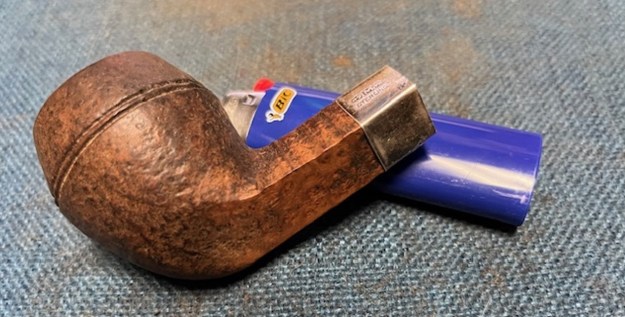
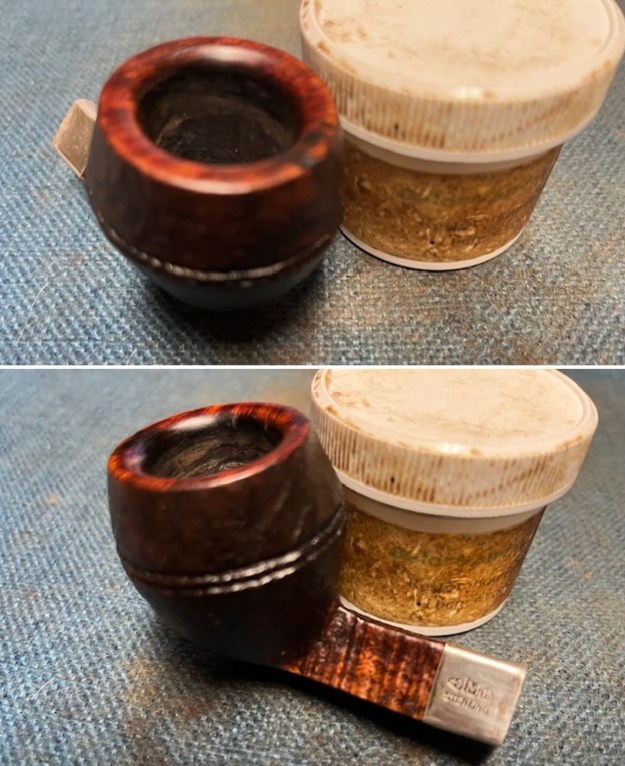
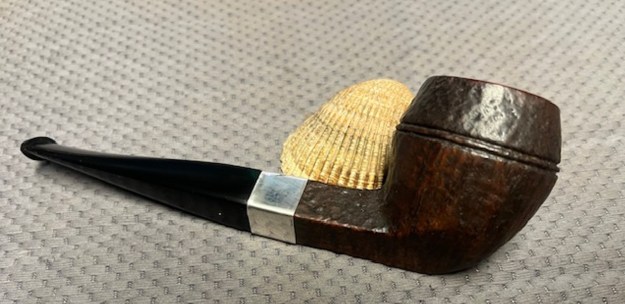
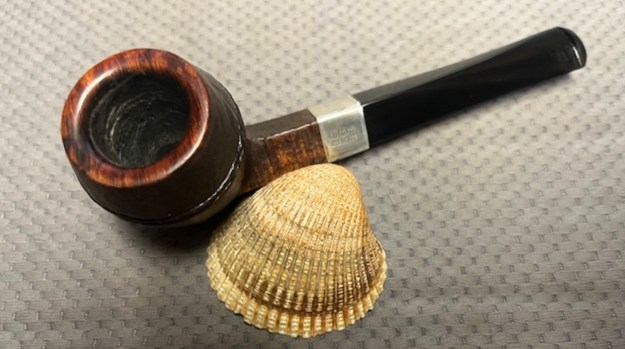
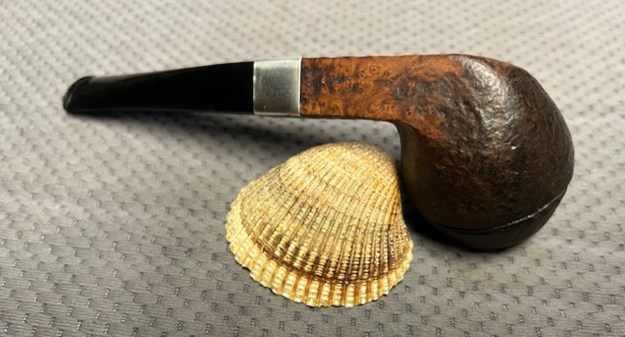
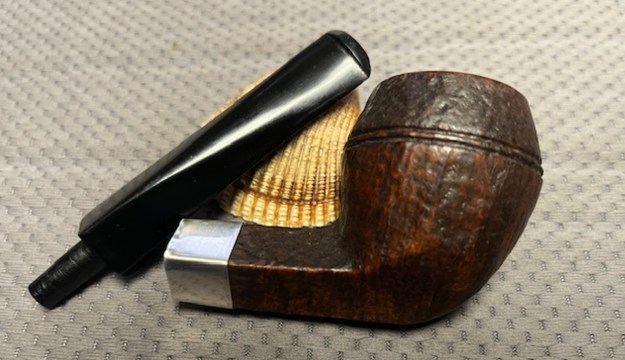
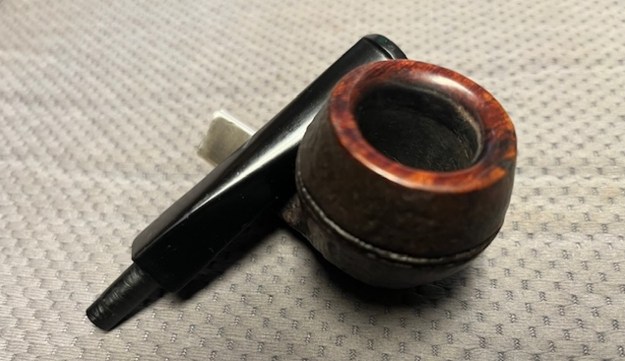
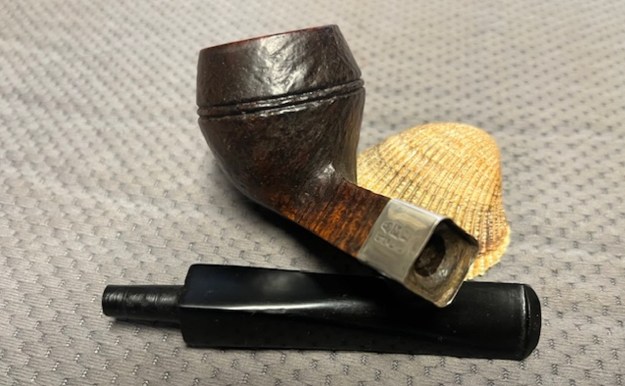
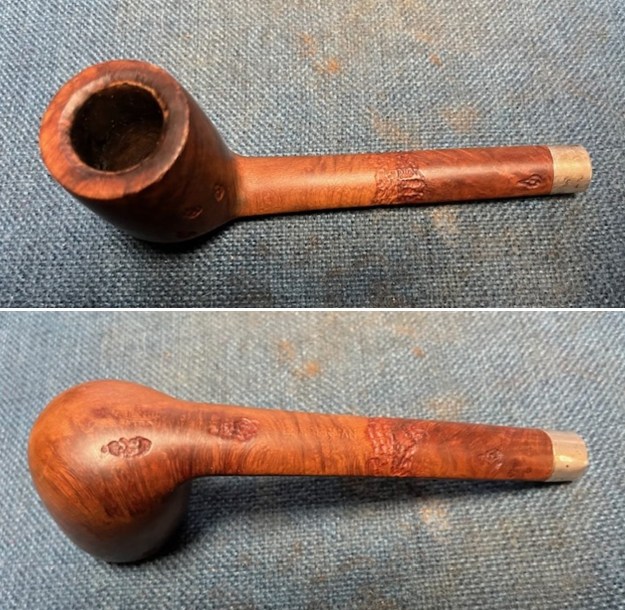
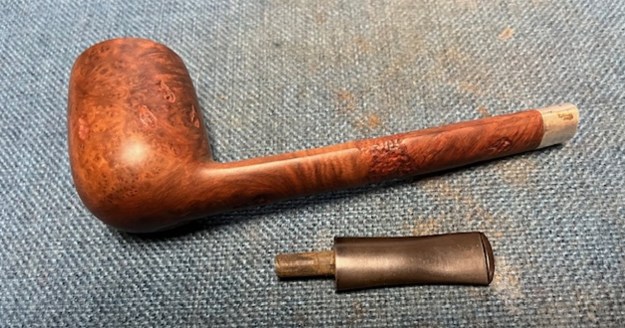
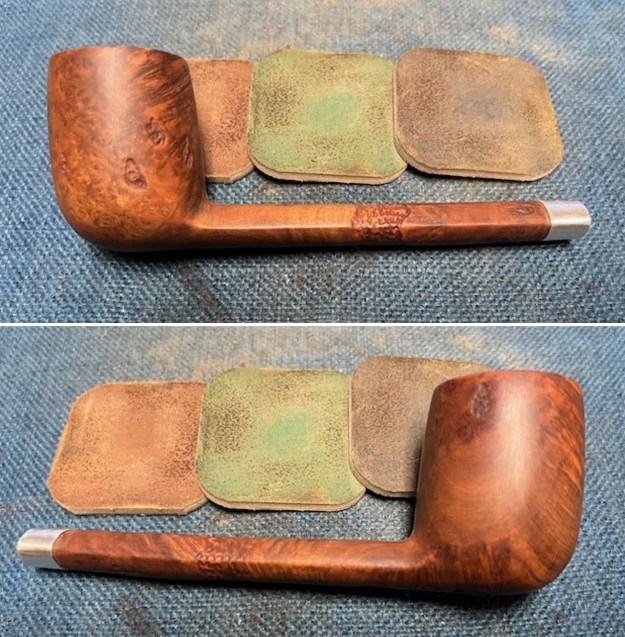
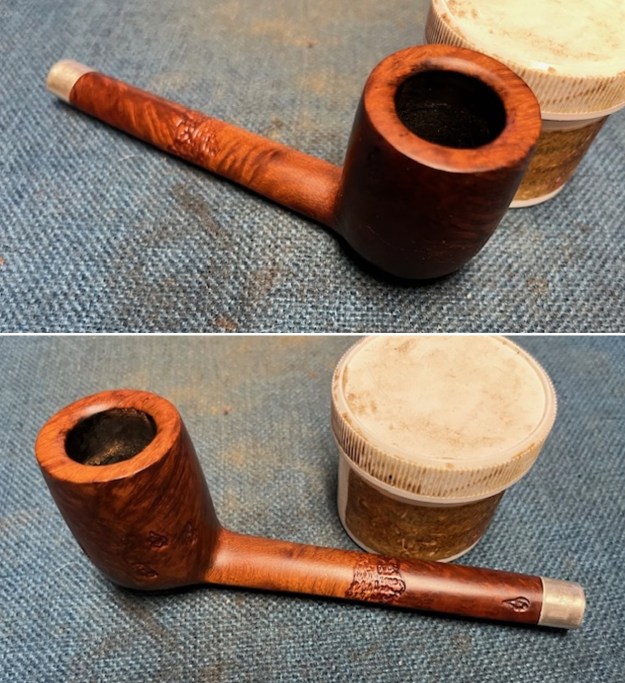
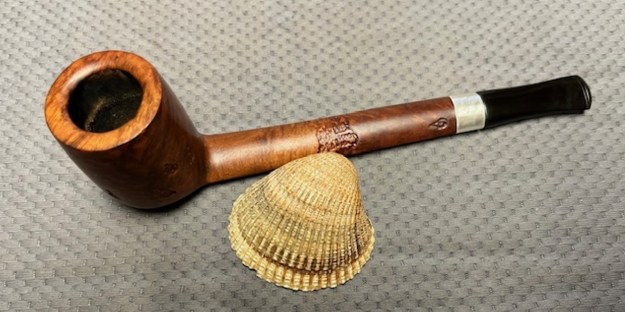
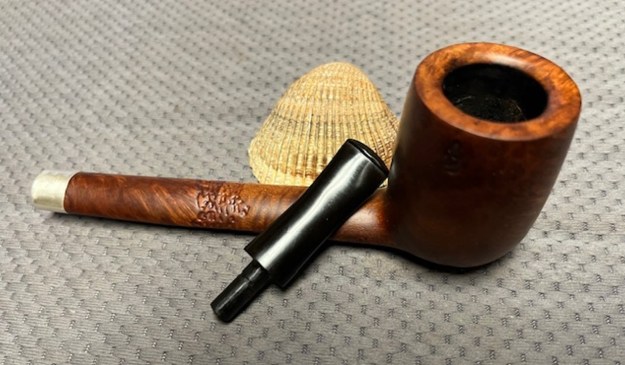
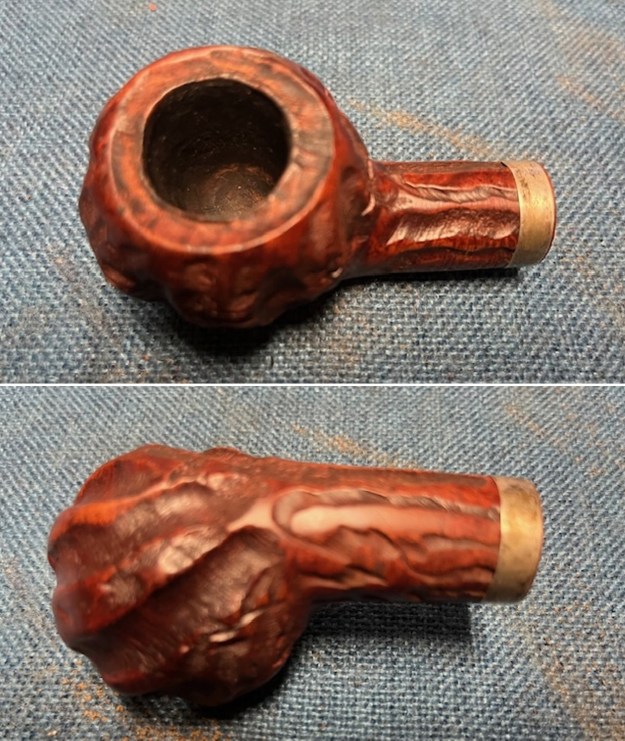
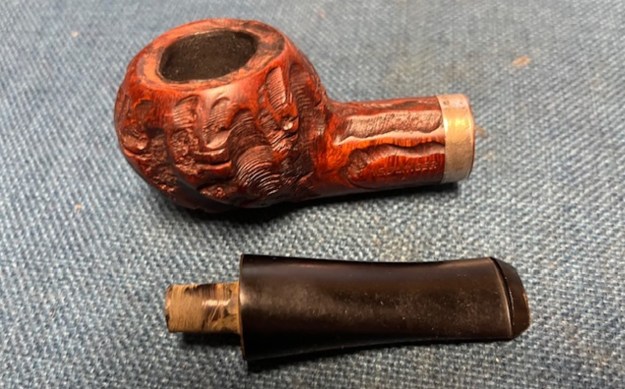
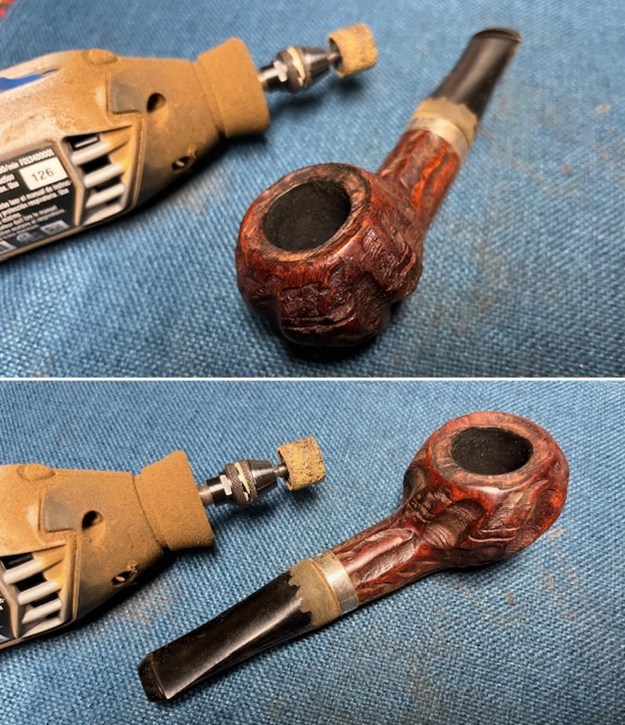
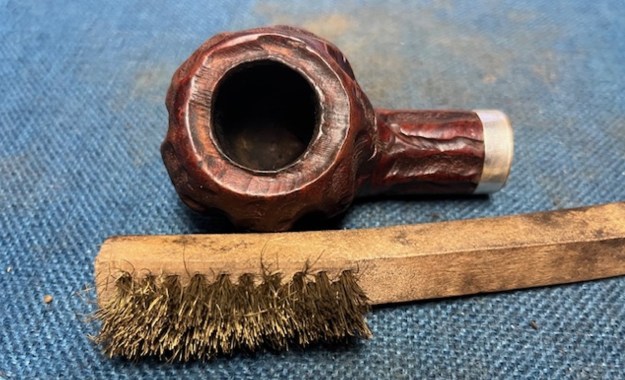
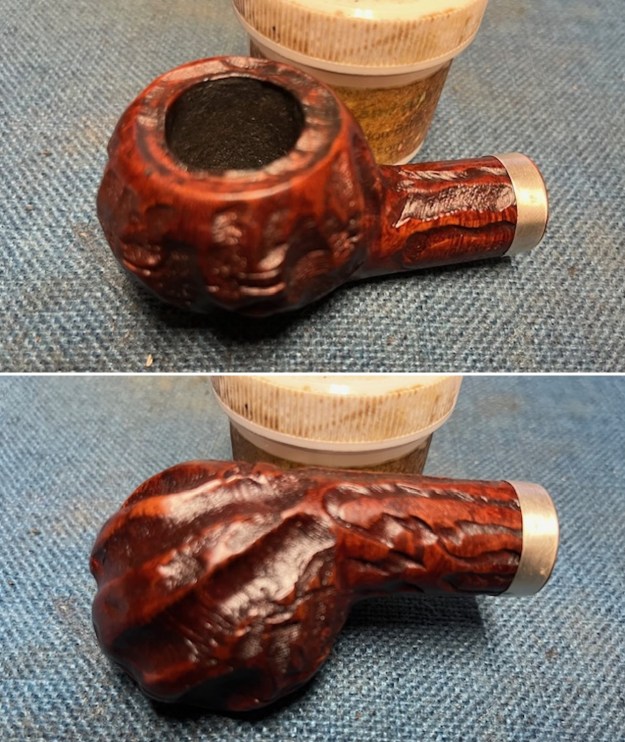
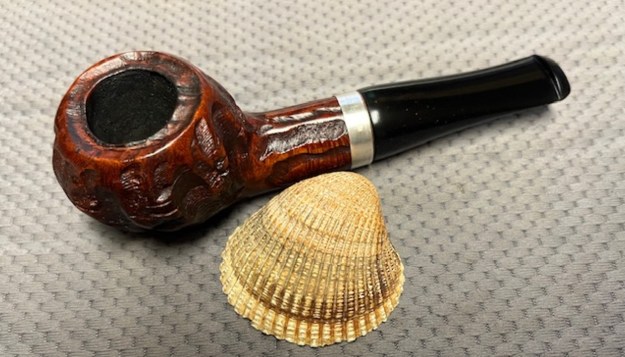
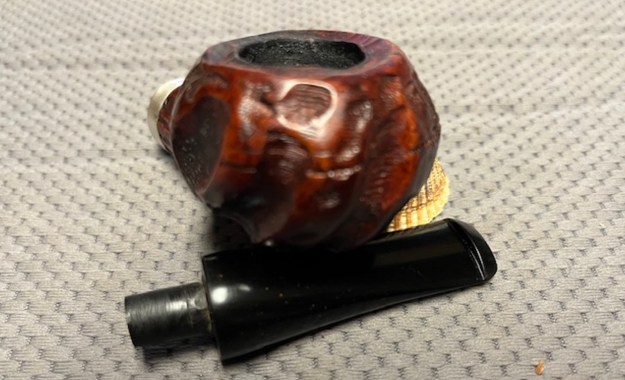
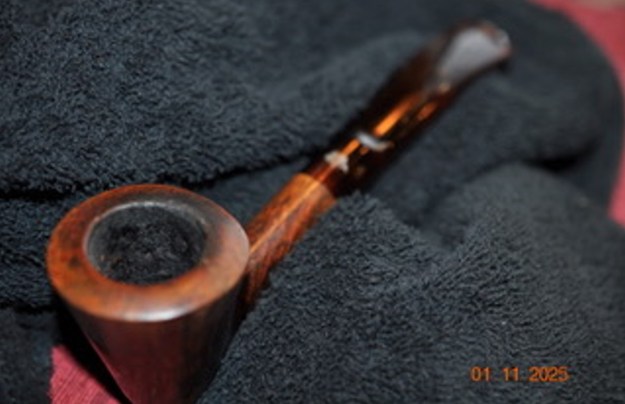
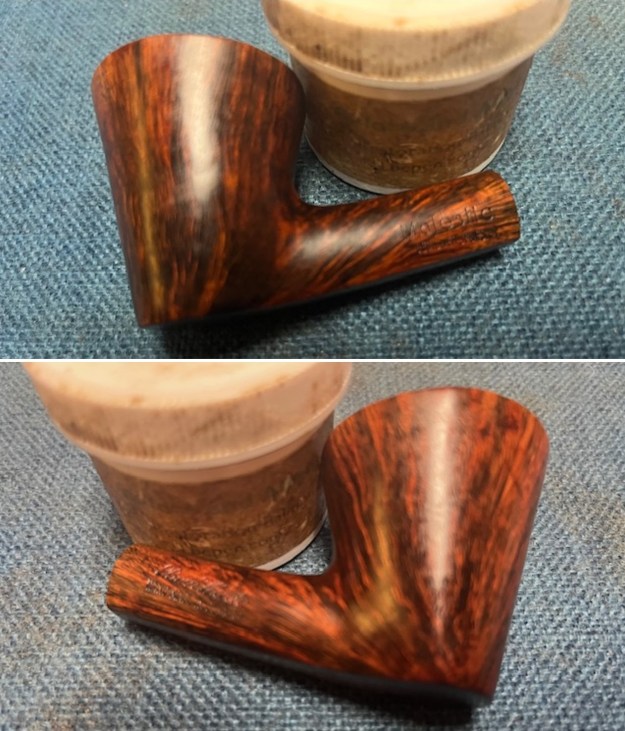
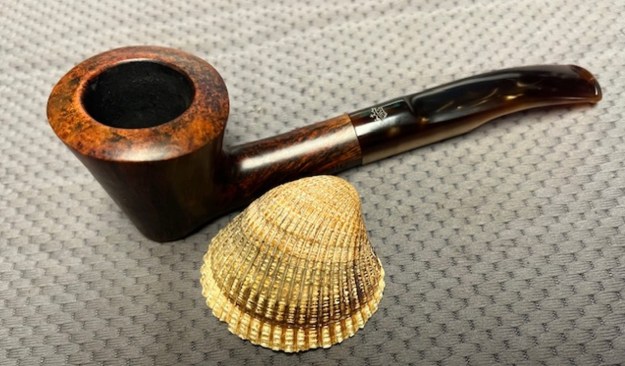
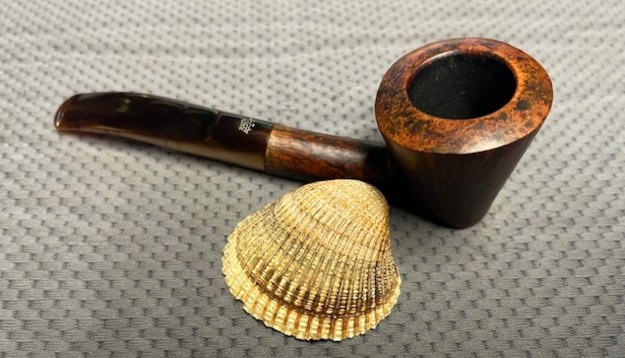
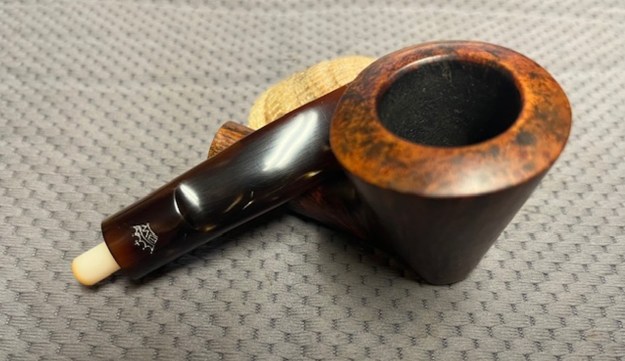
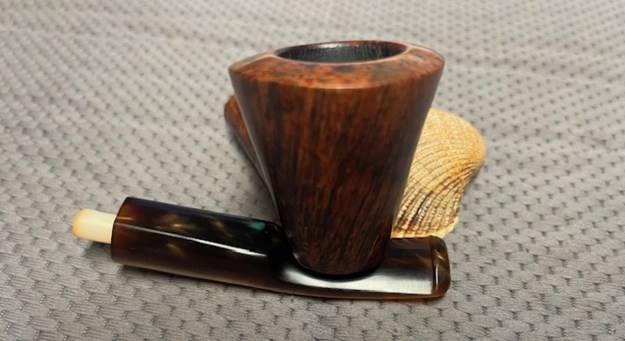
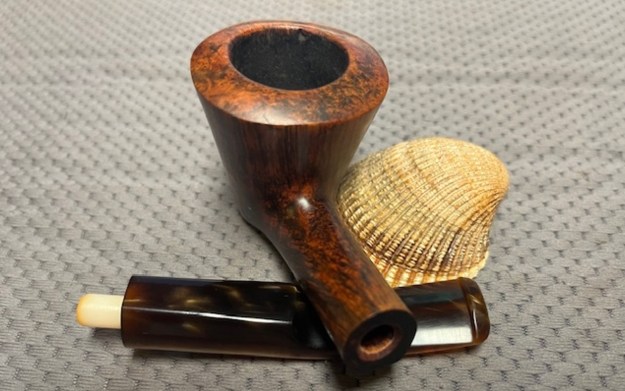
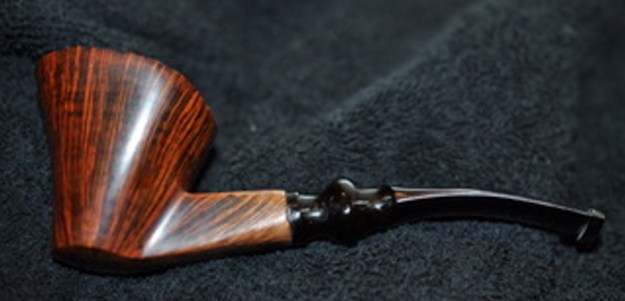
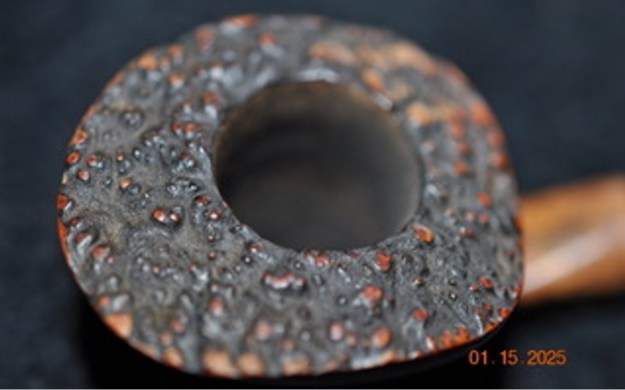
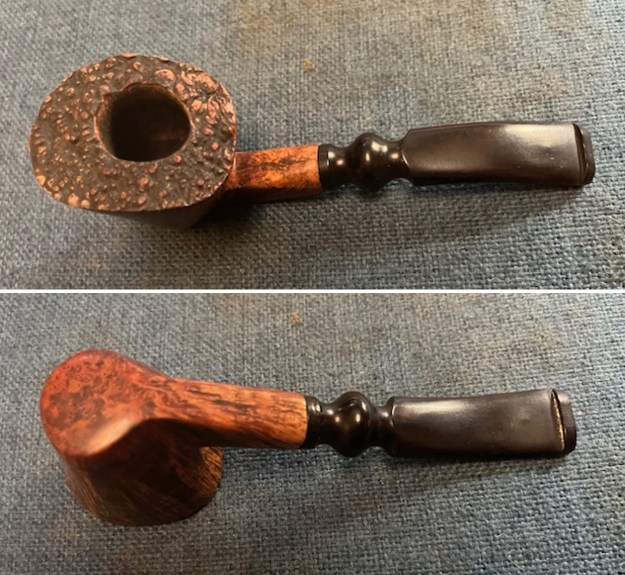
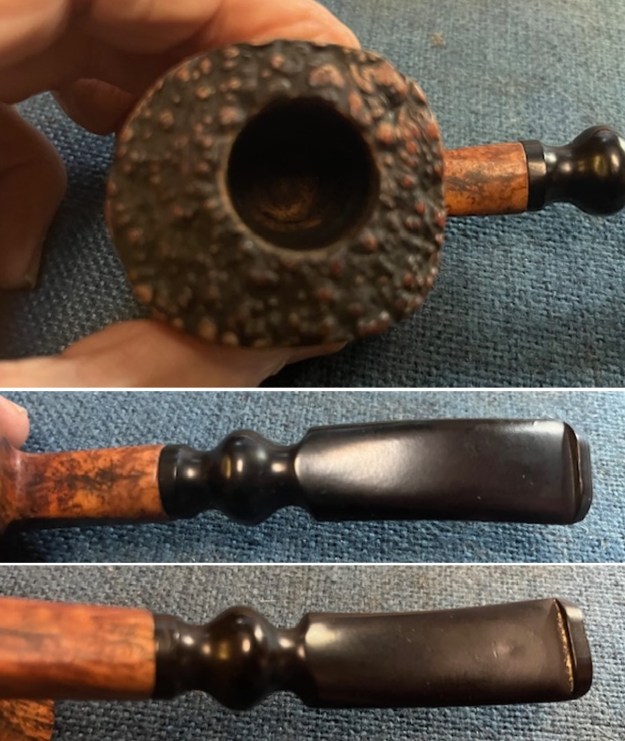
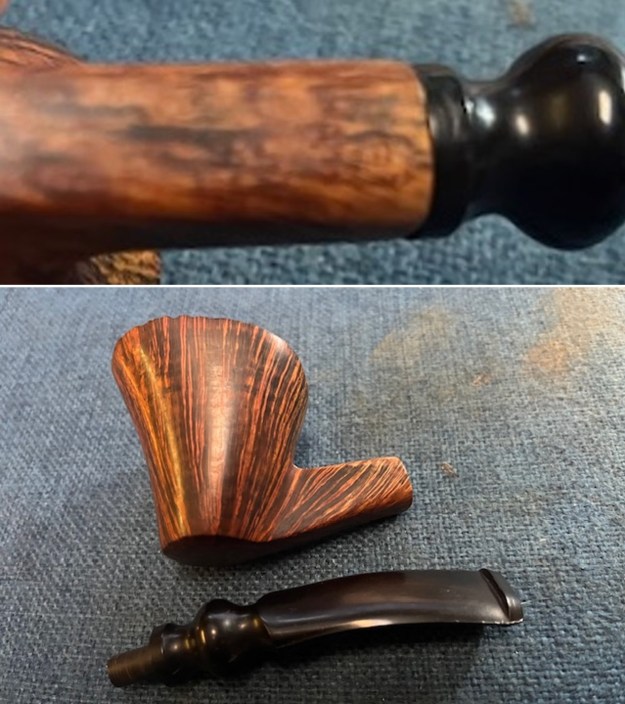
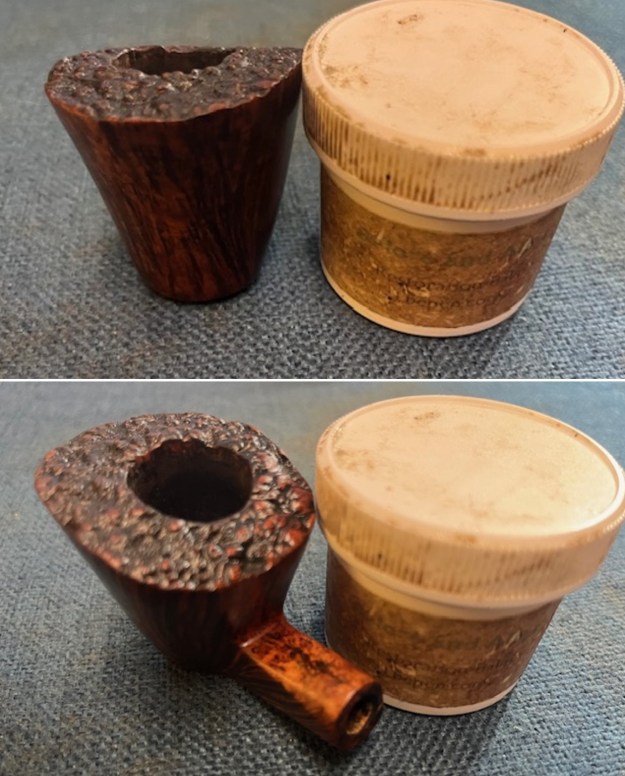
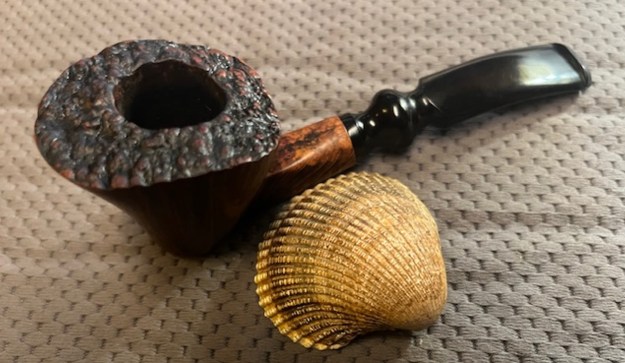
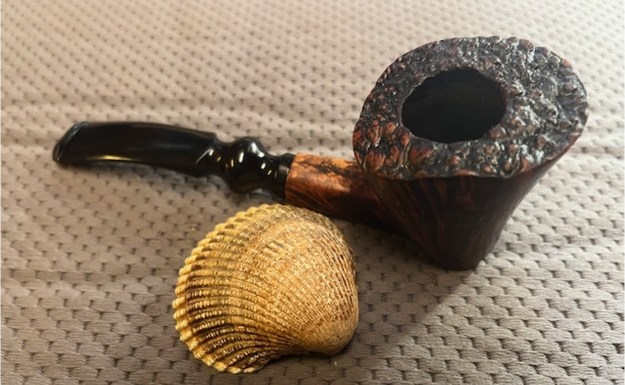
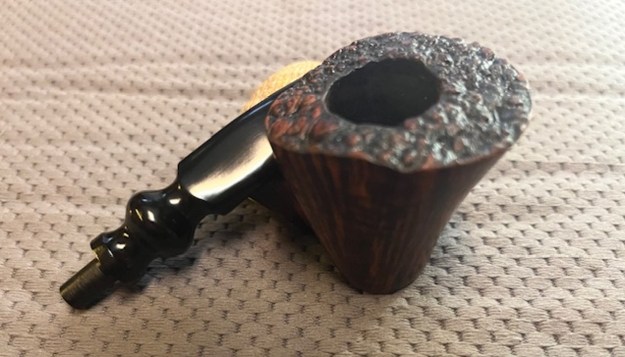
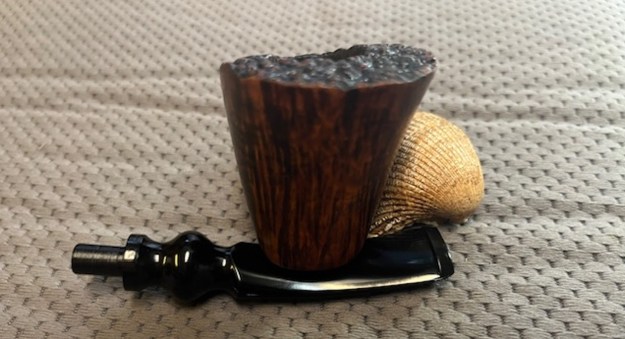
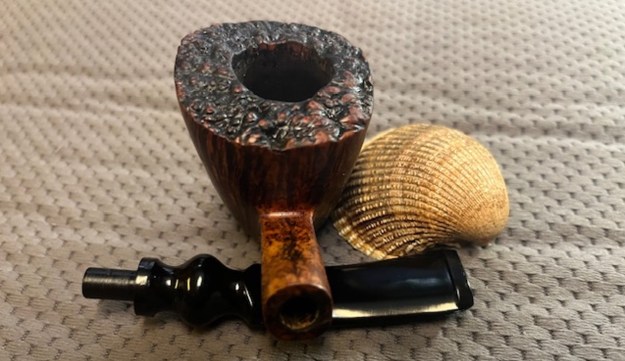
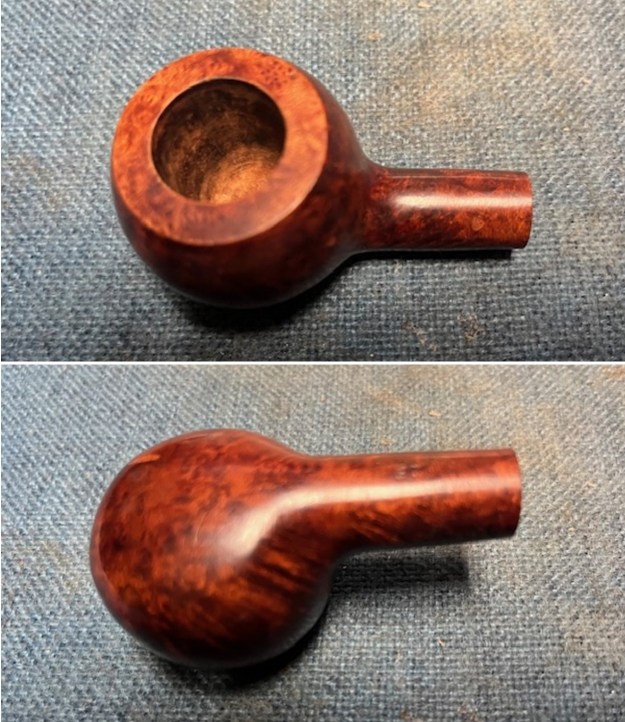
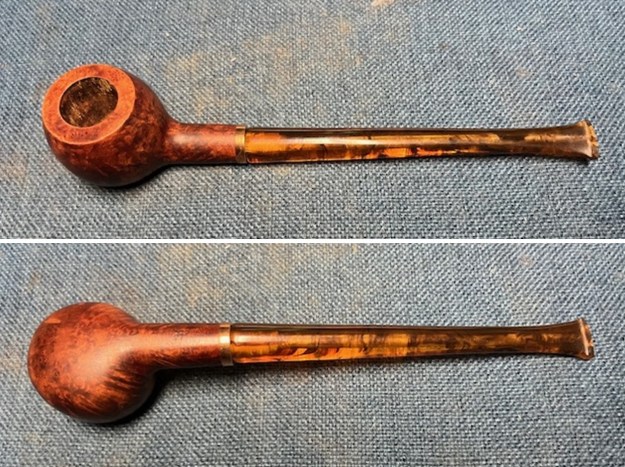
The next pipe on the table was a bowl sans stem that I have had in my box of bowls to be restemmed. It is stamped on the right side of the shank and reads Made in London [over] England and on the underside is stamped the shape number 97. The maker of the pipe is a bit of a mystery. The pipe had been reamed and cleaned by my brother Jeff many years ago. It had been lightly smoked so it was very clean. The rim top and the inner edge were very clean. The finish had been scrubbed and the internals were very clean. I found a long, acrylic, amber, acrylic taper stem in my can of stems that would work with some adjustments. It would need some shaping and polishing but the size and shape of the stem were perfect to start with. I took some photos of the bowl before I worked on it and the new stem.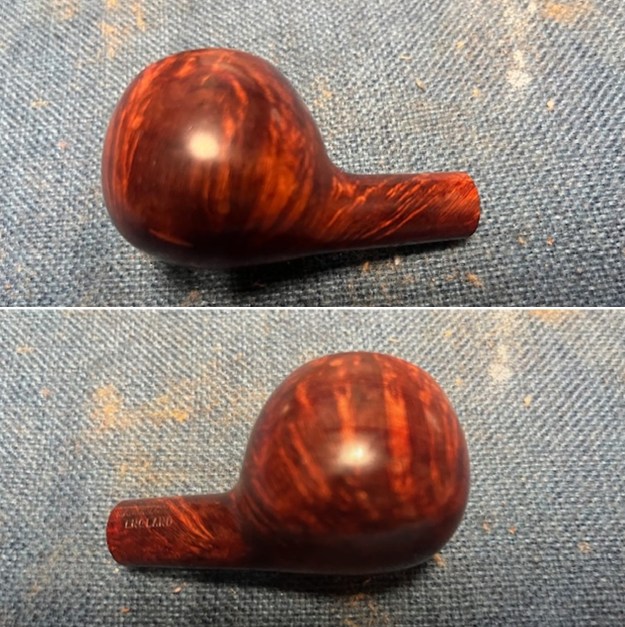
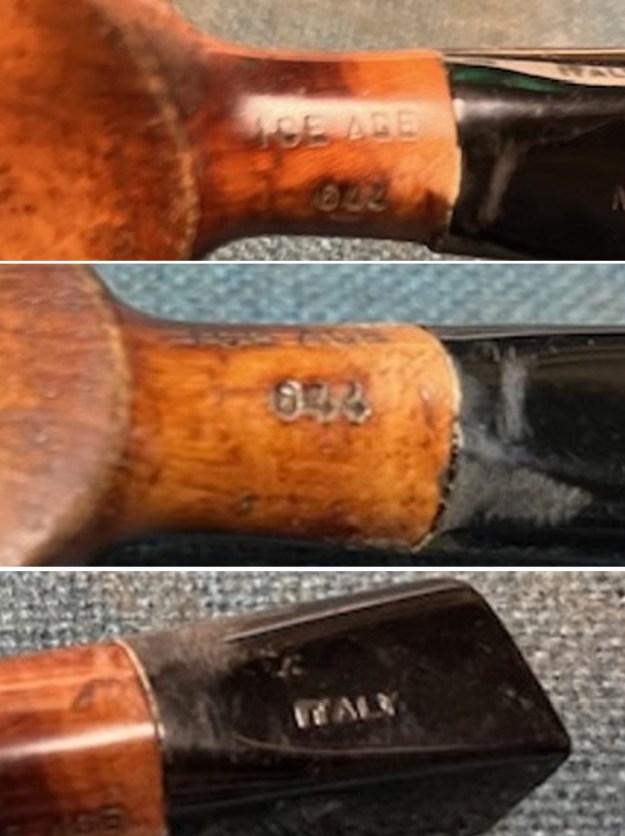
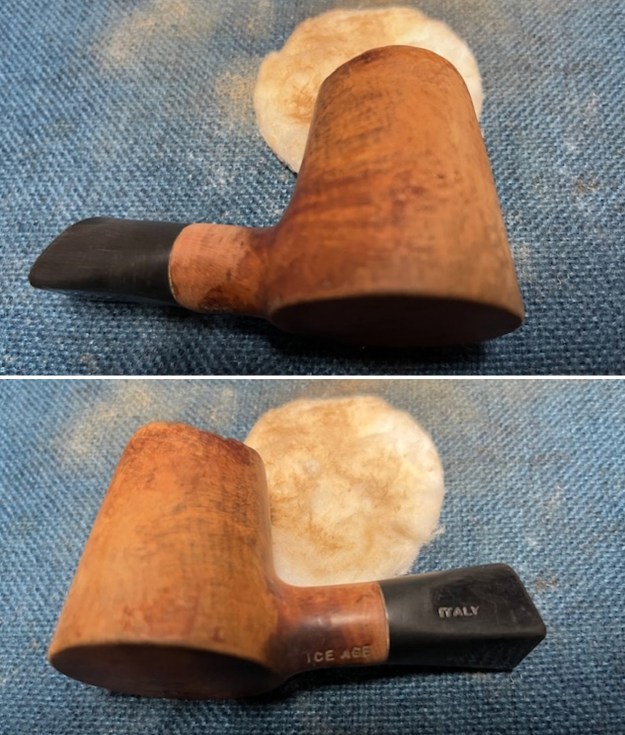
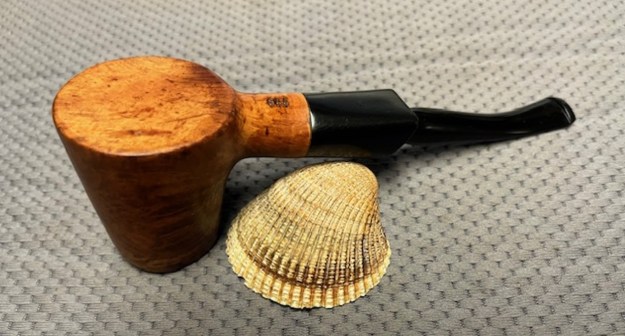
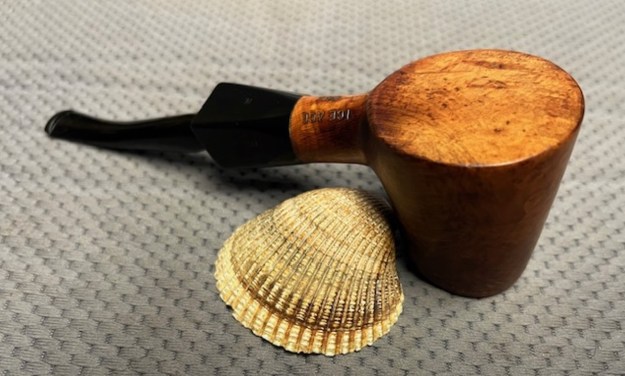
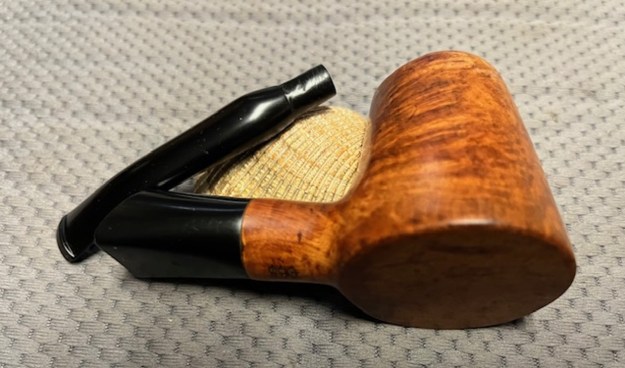
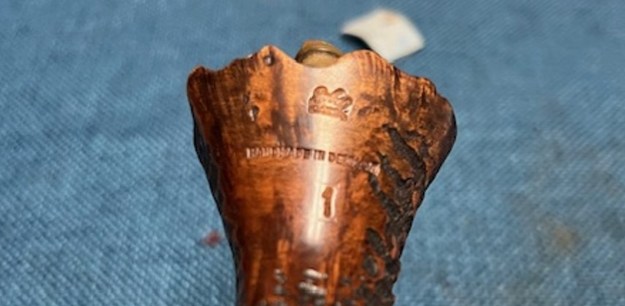
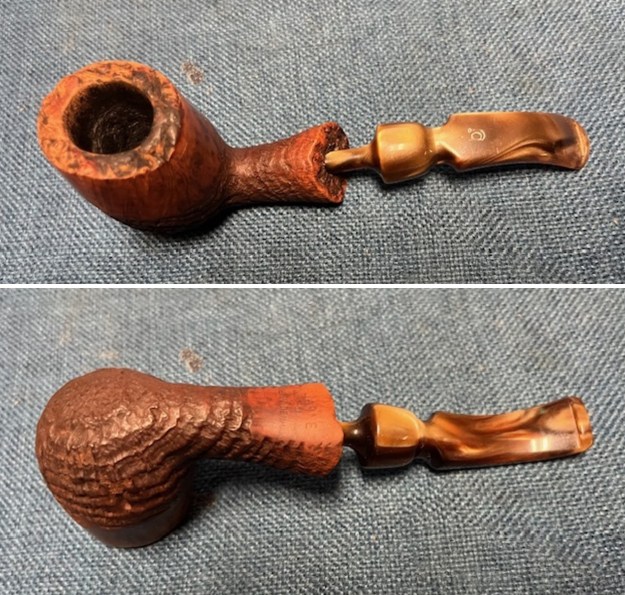
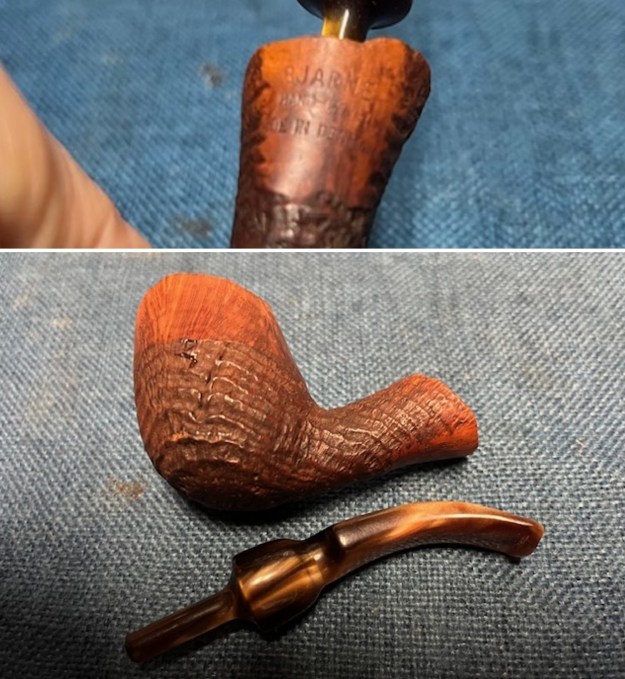
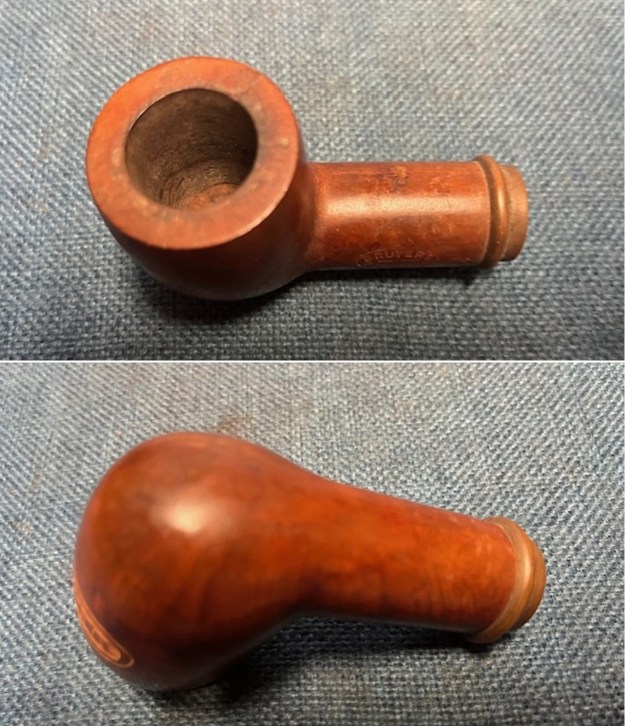
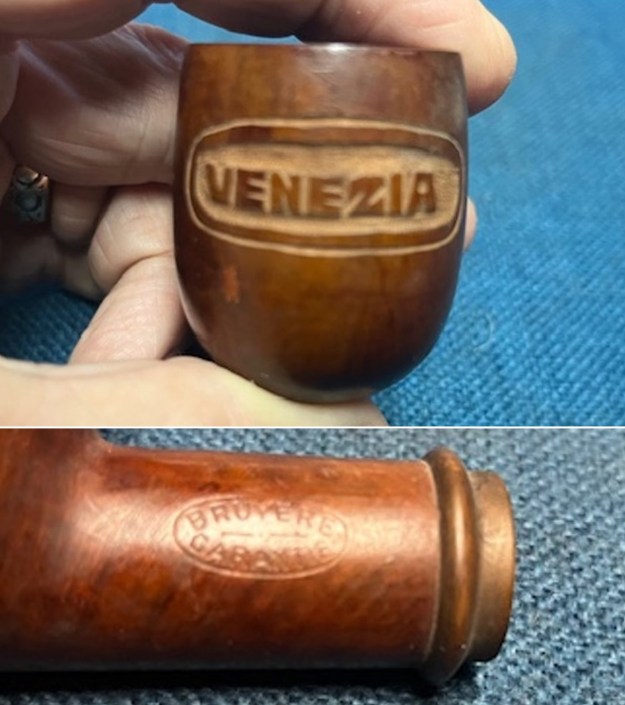
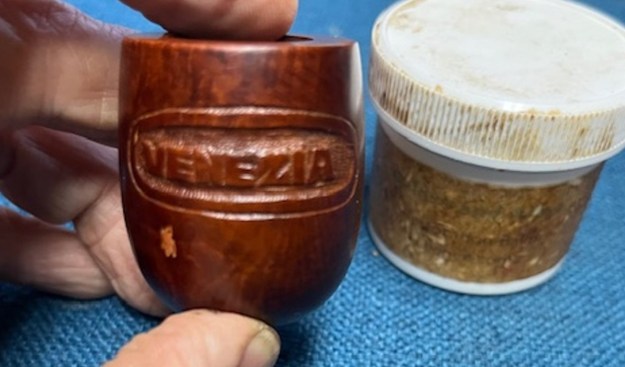
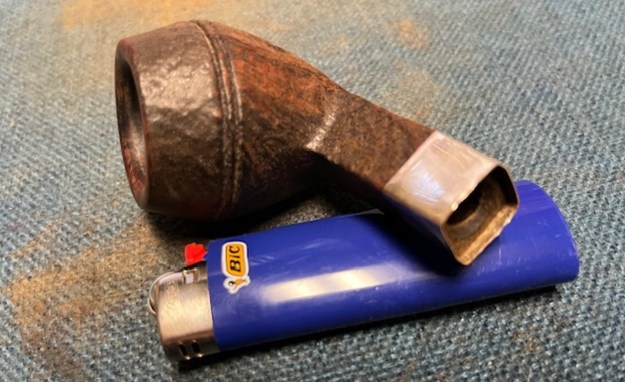
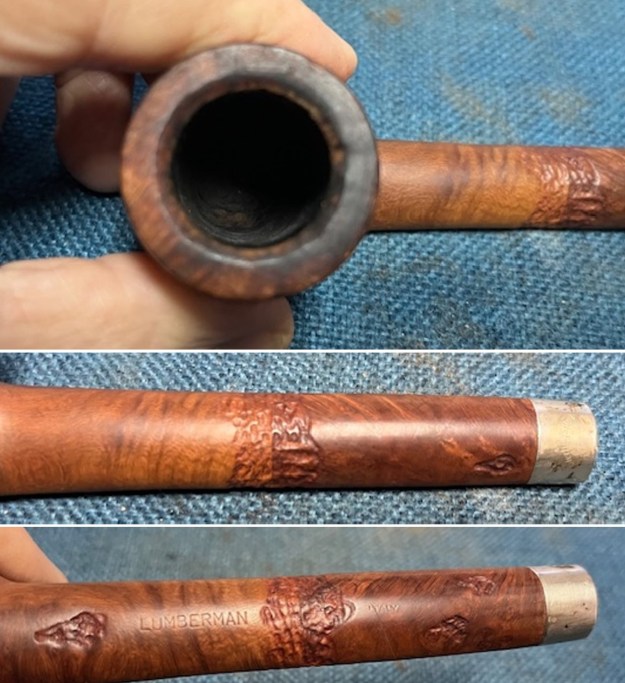
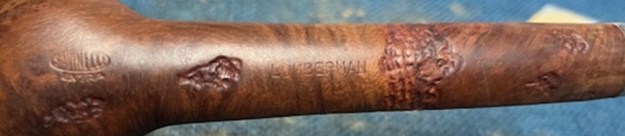
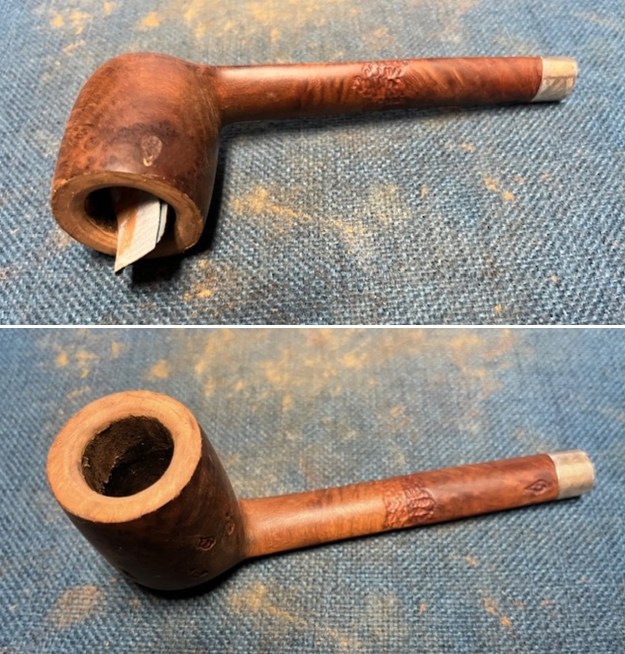
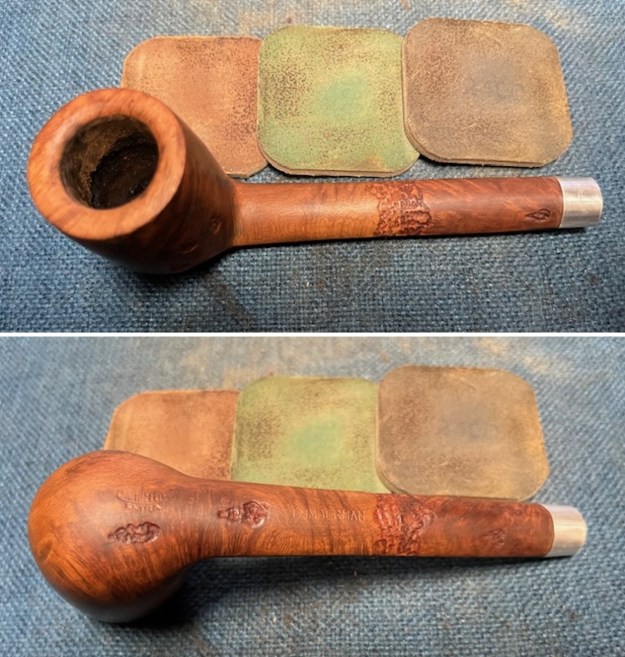
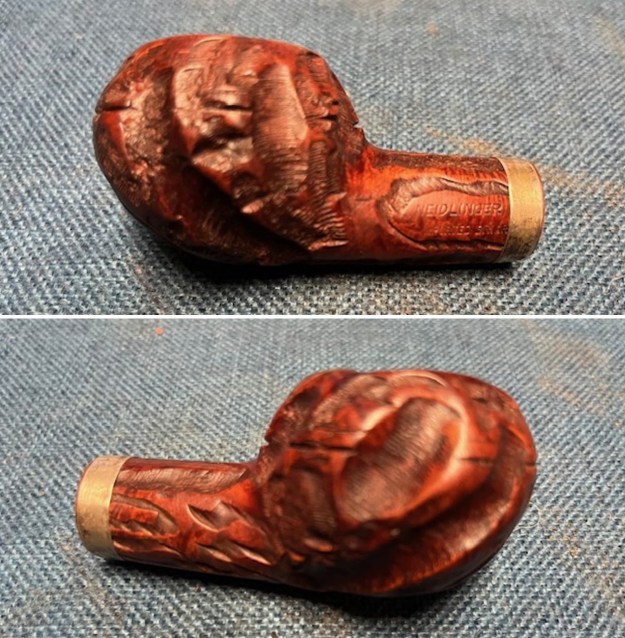
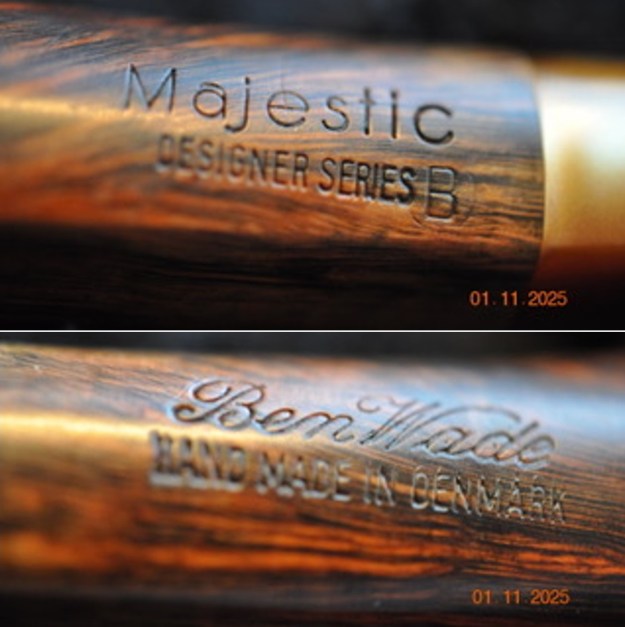
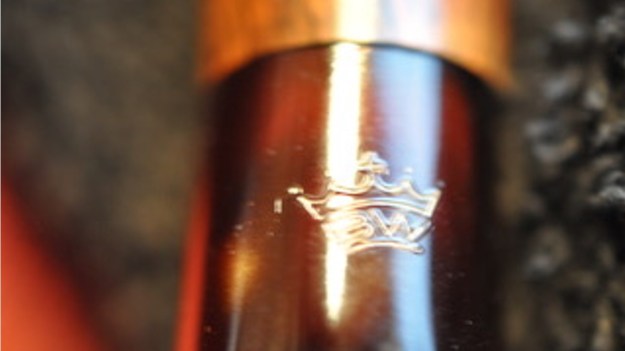
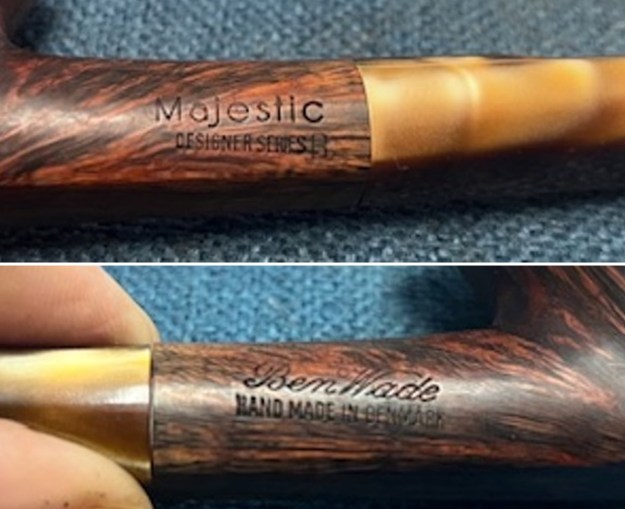
 I took photos of the stamping on the pipe right side and underside. It is clear and readable as noted above.
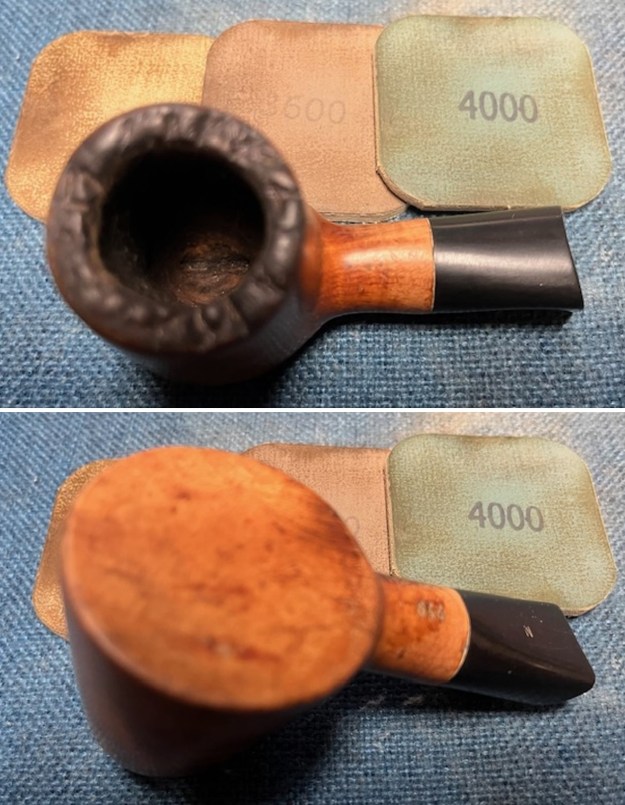
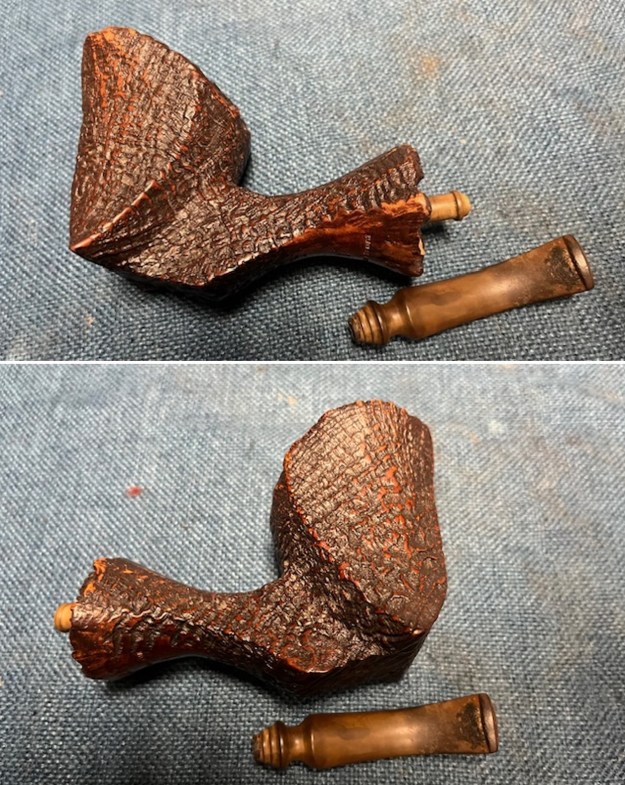
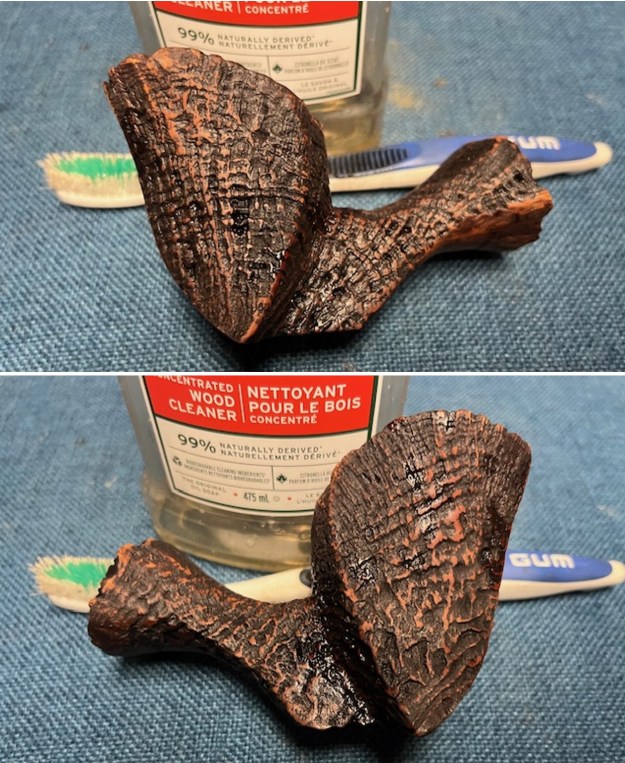
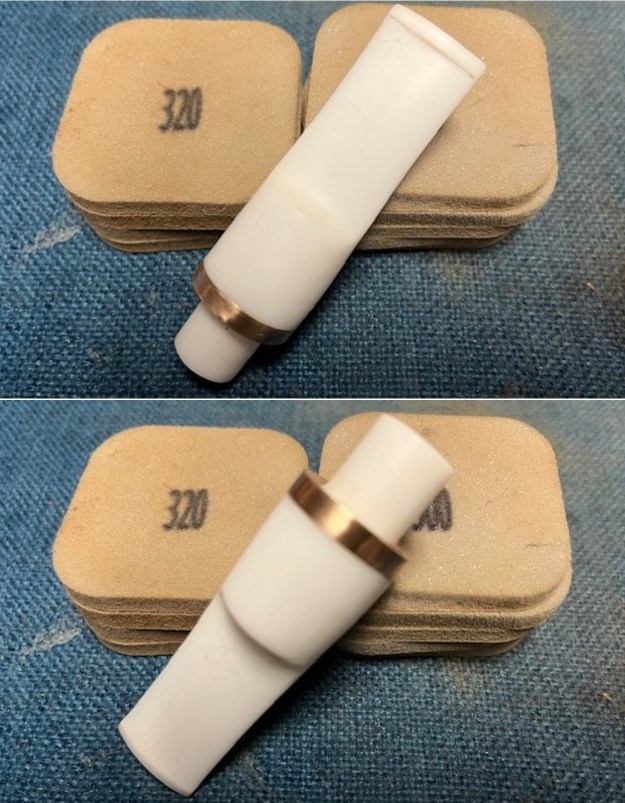
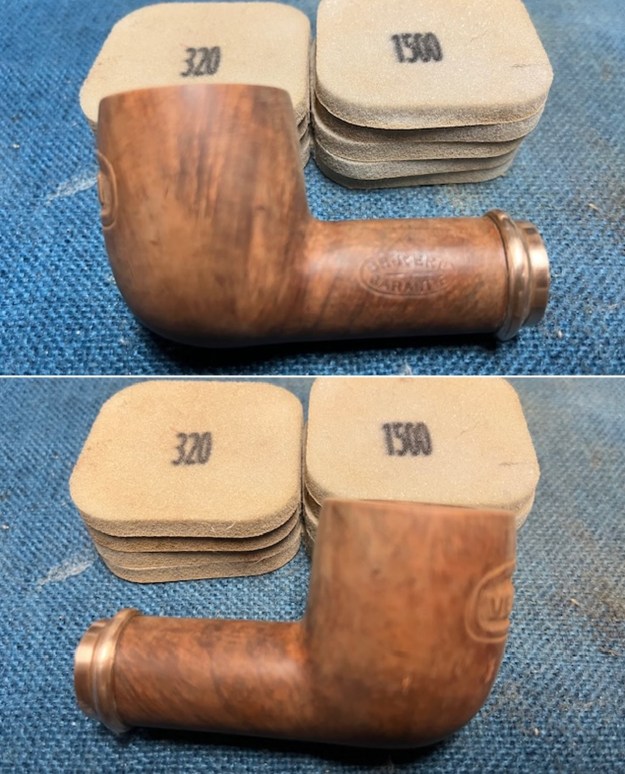
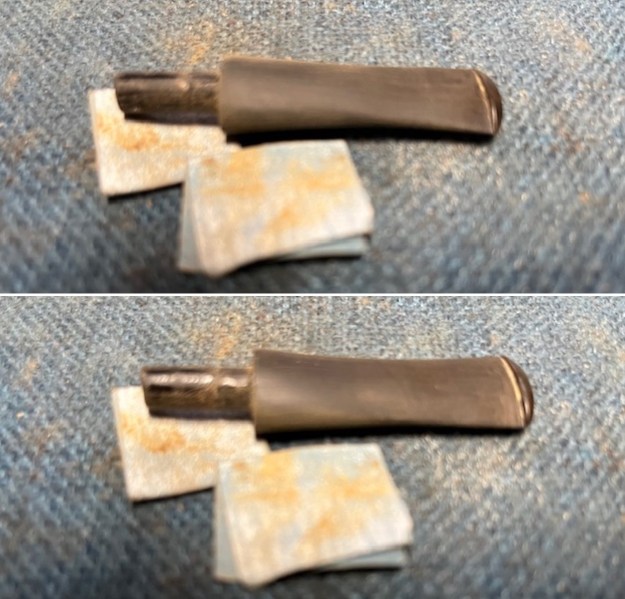
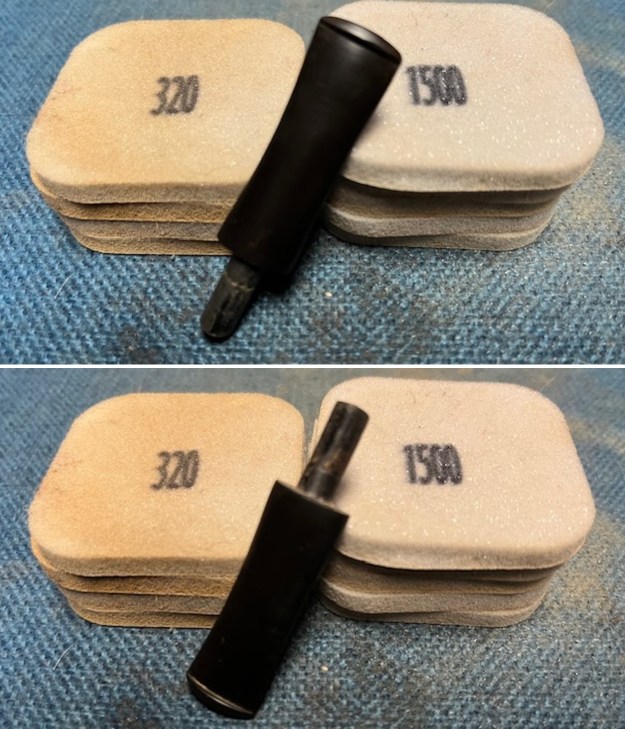
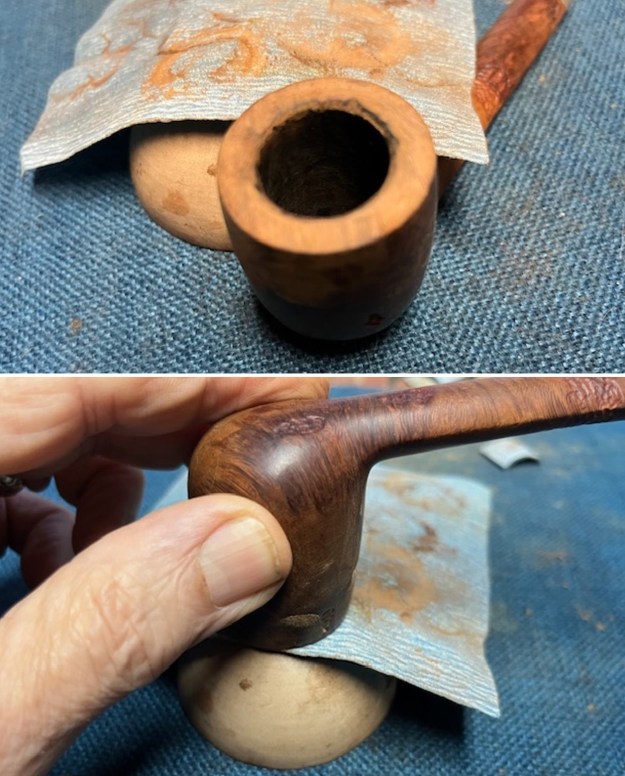
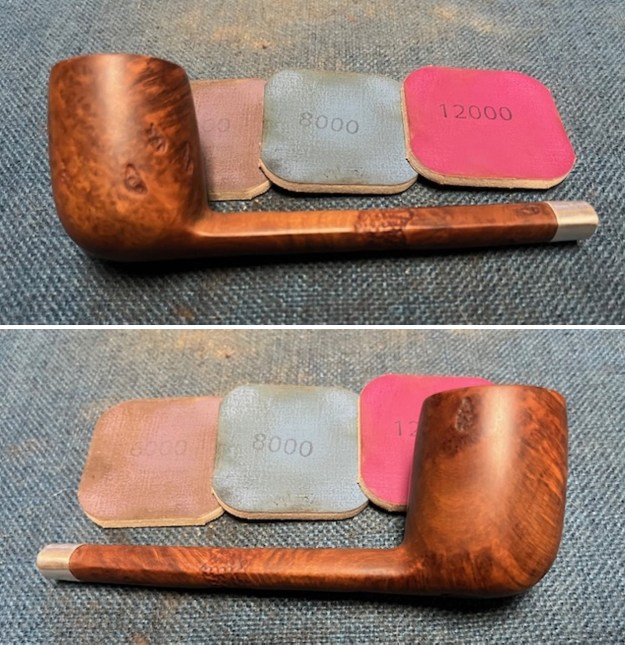
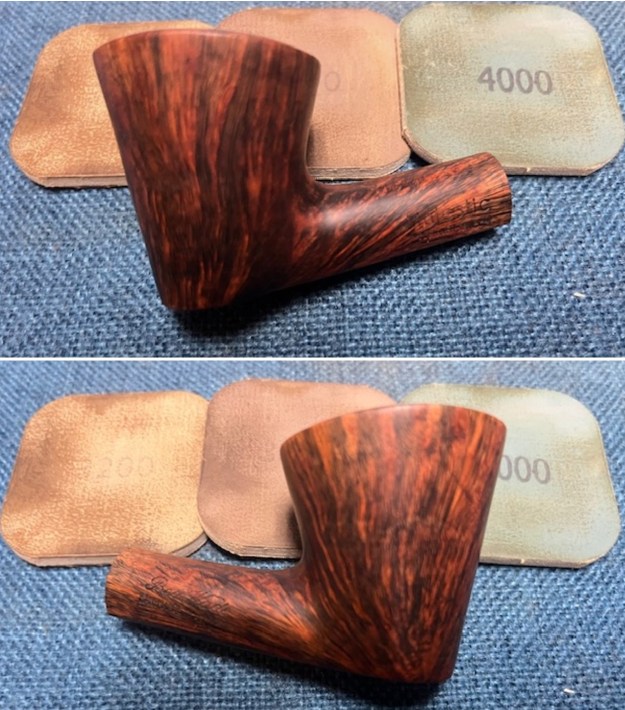
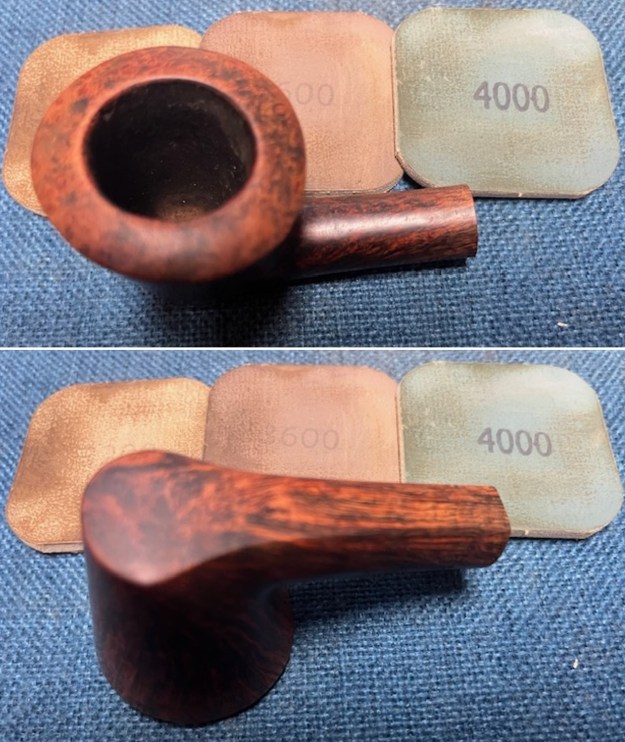
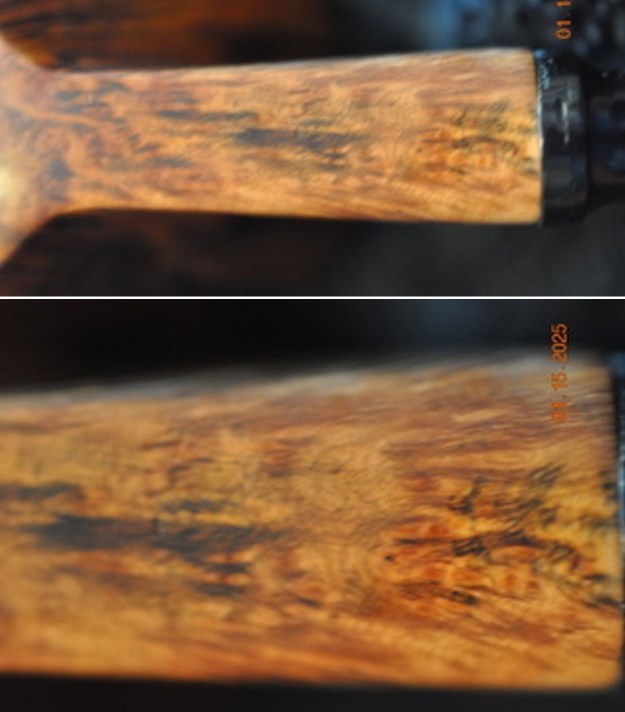
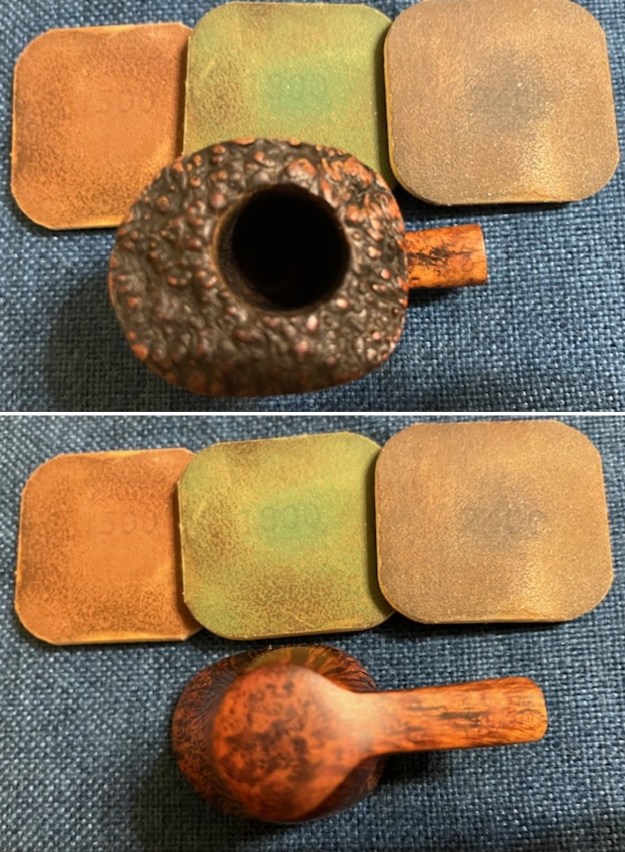
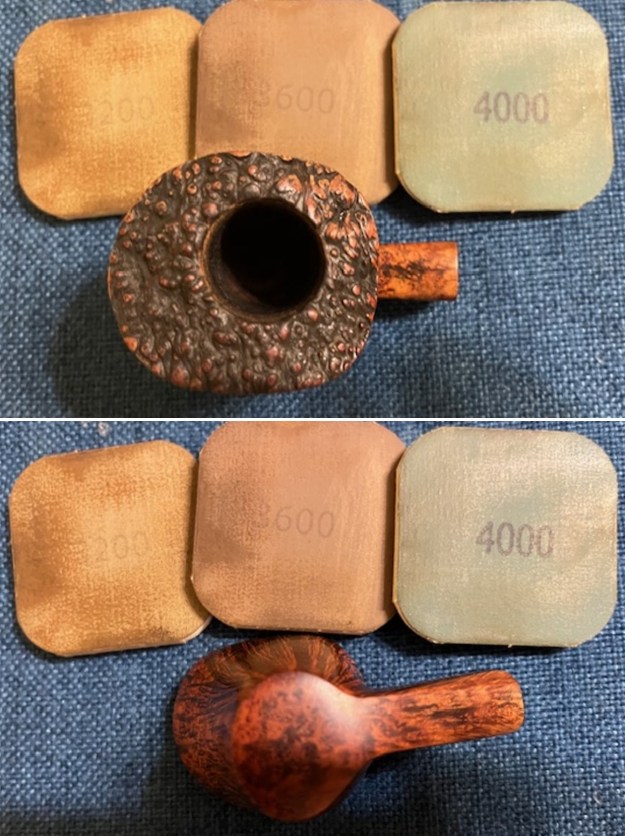
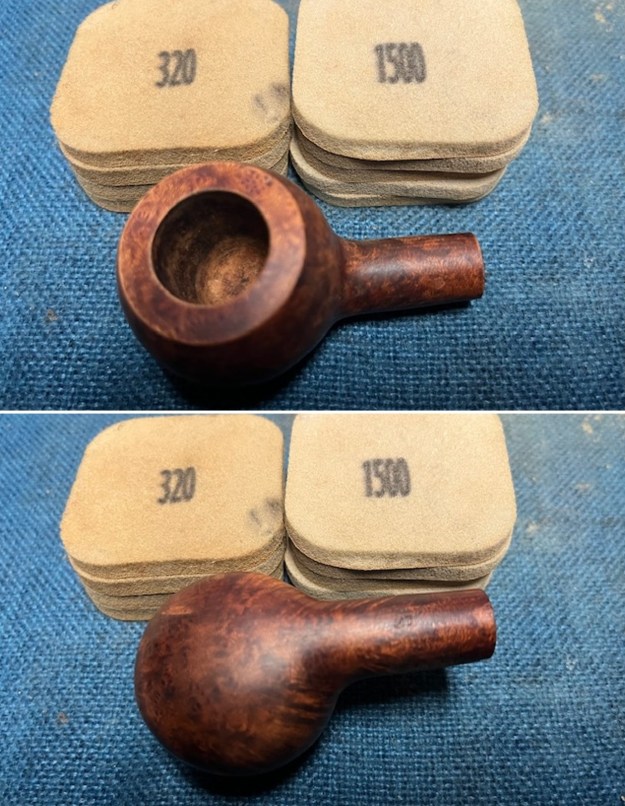
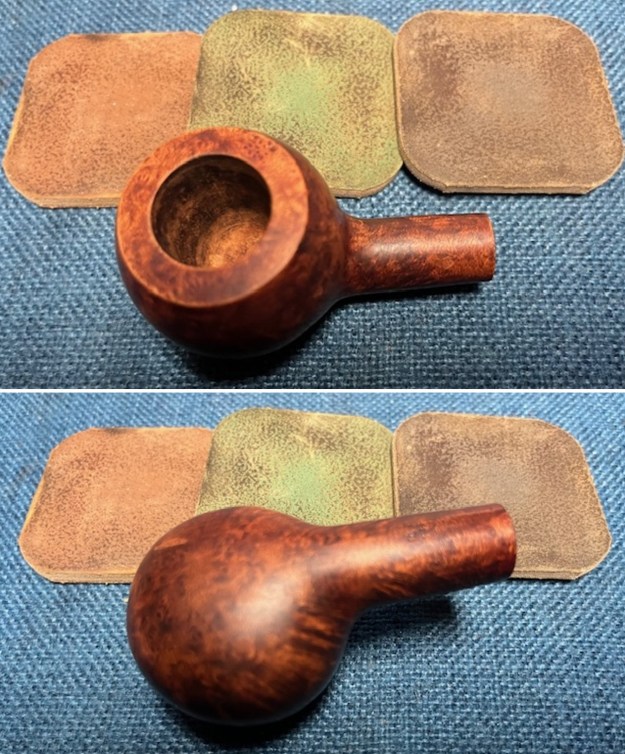
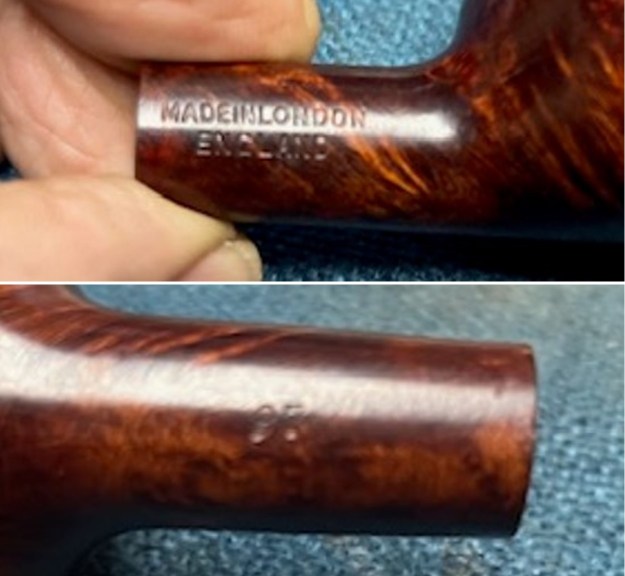 I sanded the bowl and shank extension with 320-3500 grit 2×2 inch sanding pads. I wiped the bowl and shank down with a damp cloth after each sanding pad to remove the sanding debris. The pipe began to look much better.
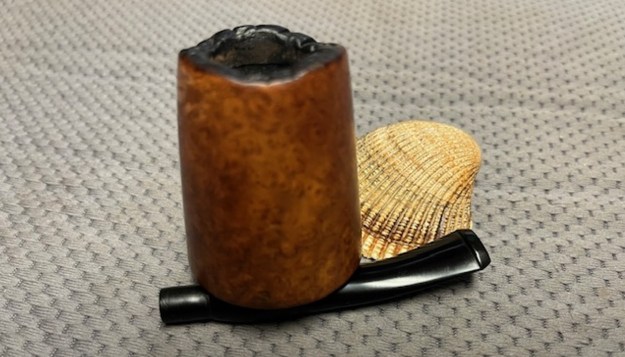
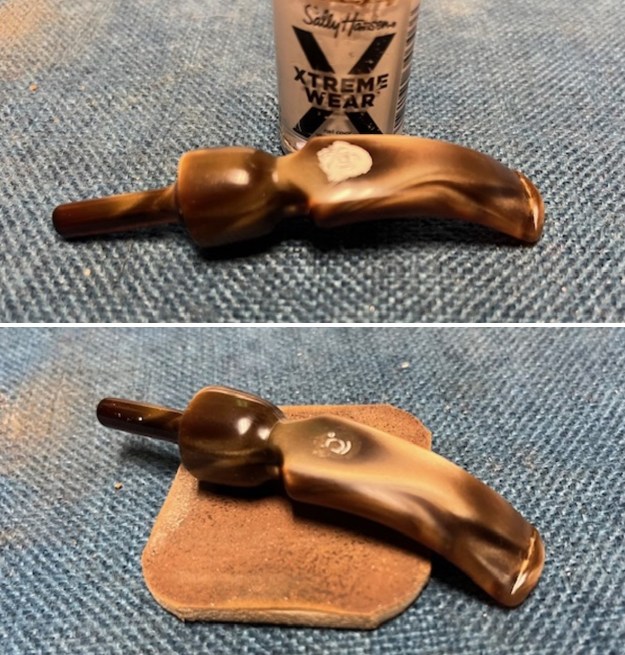
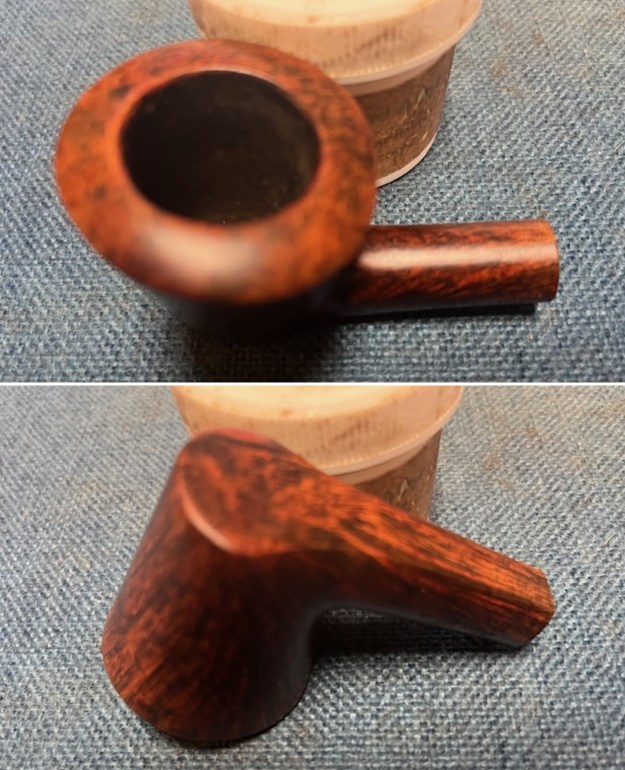
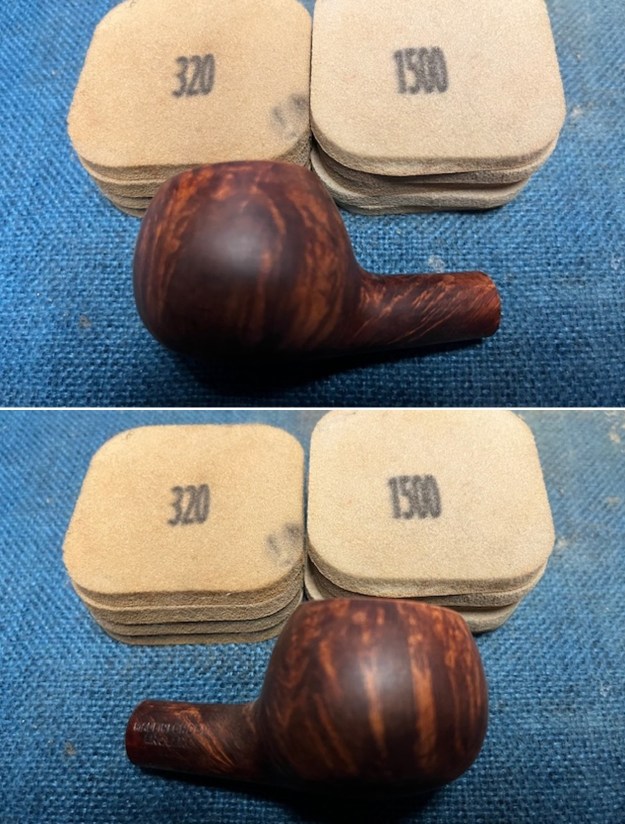
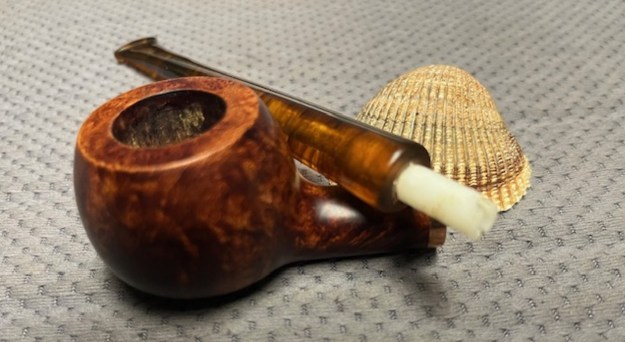
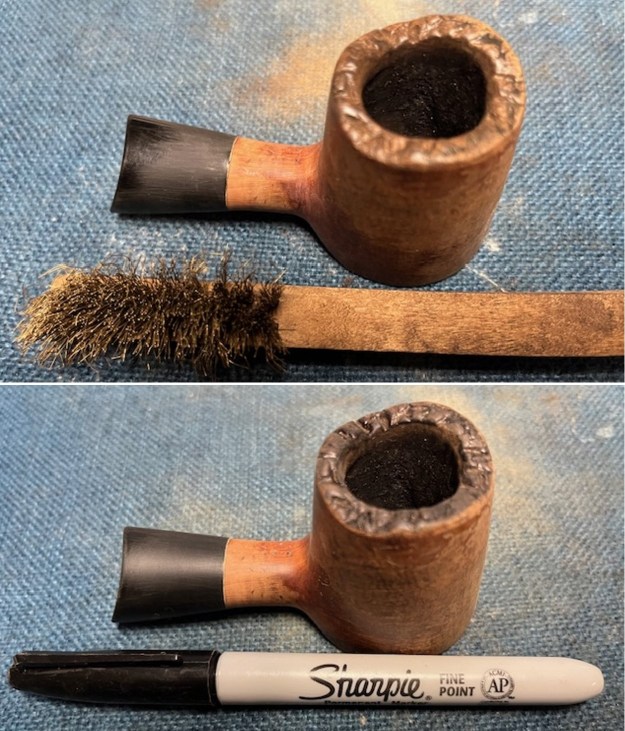
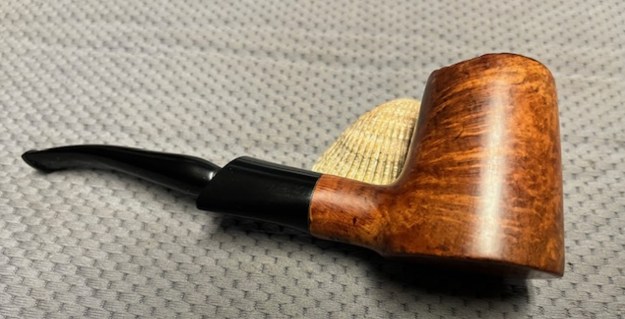
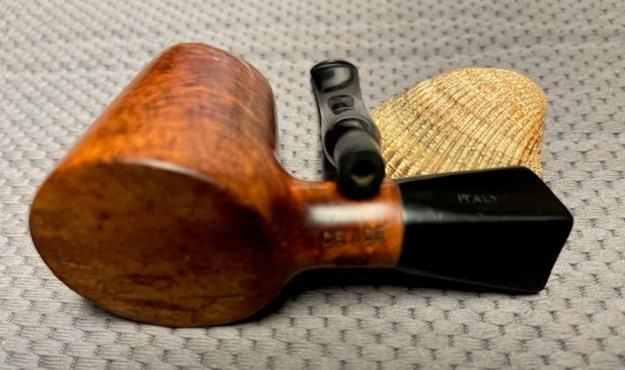
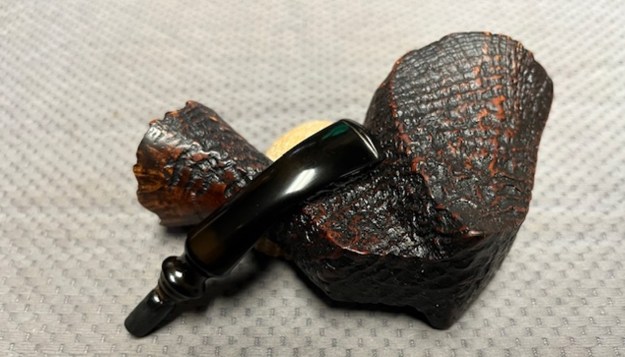
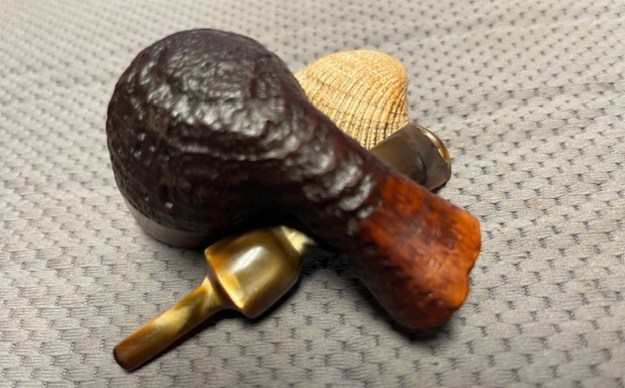
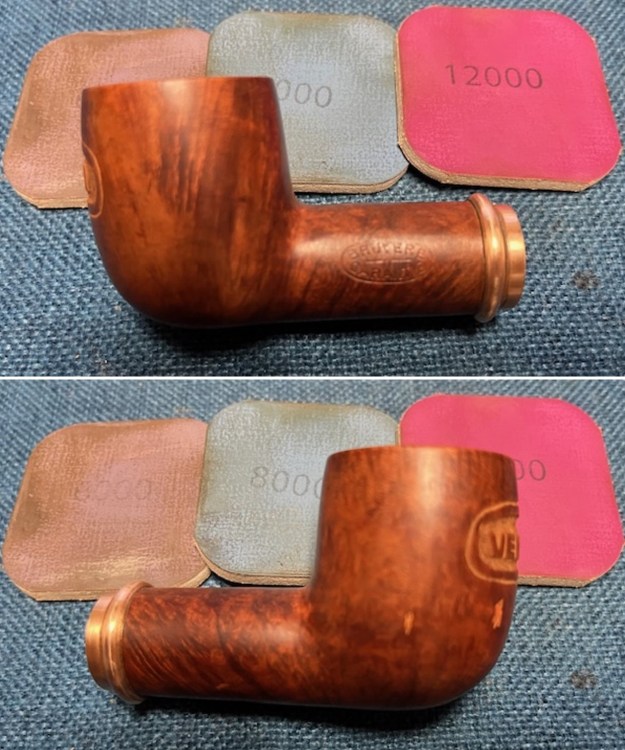
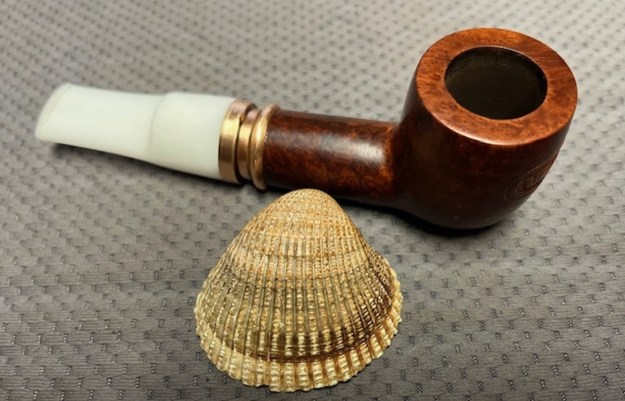
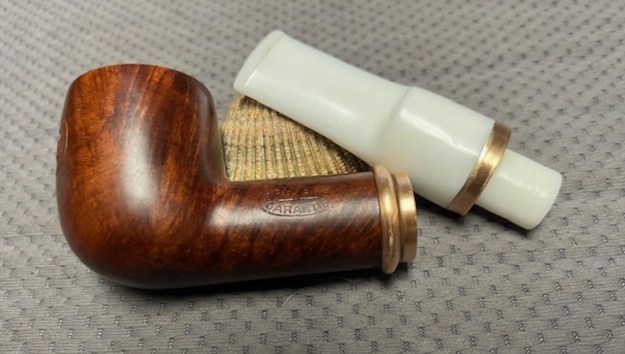
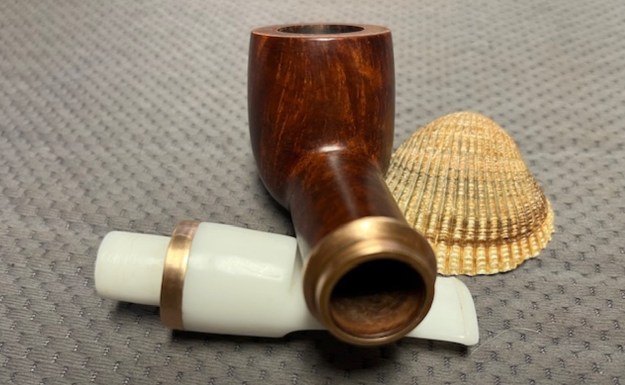
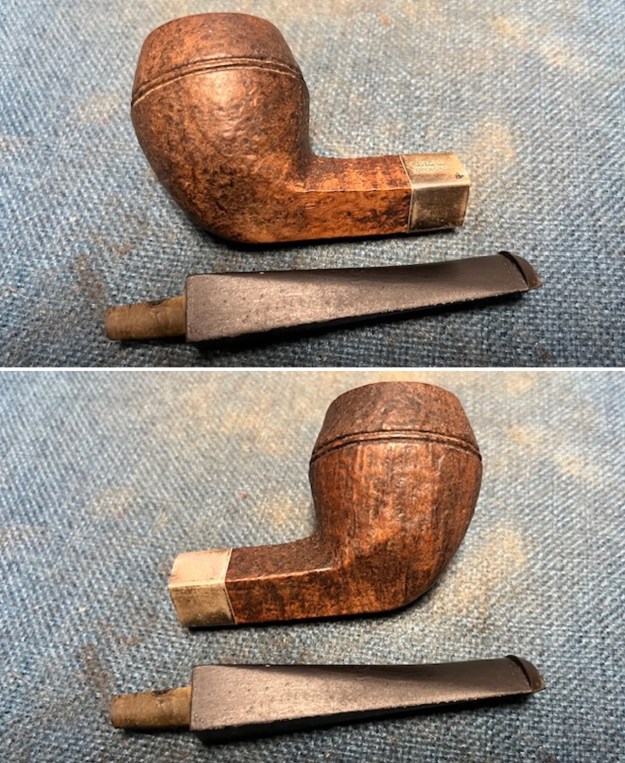
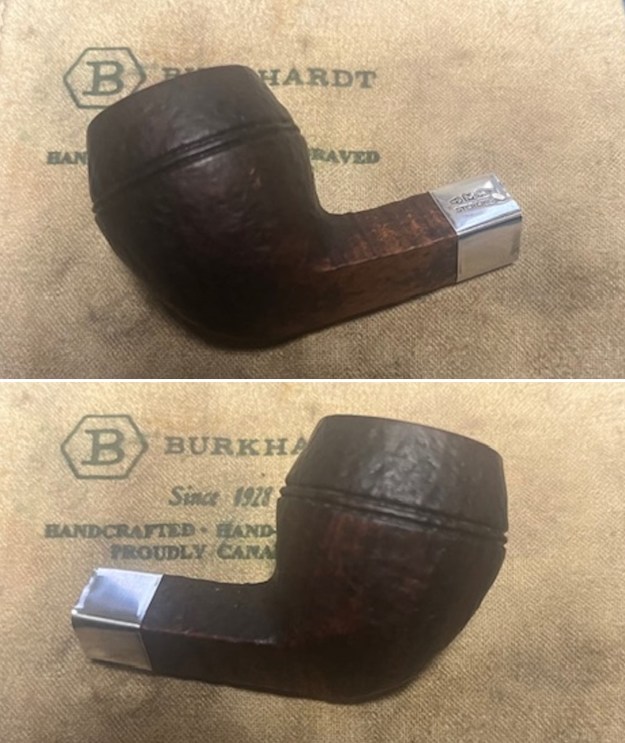
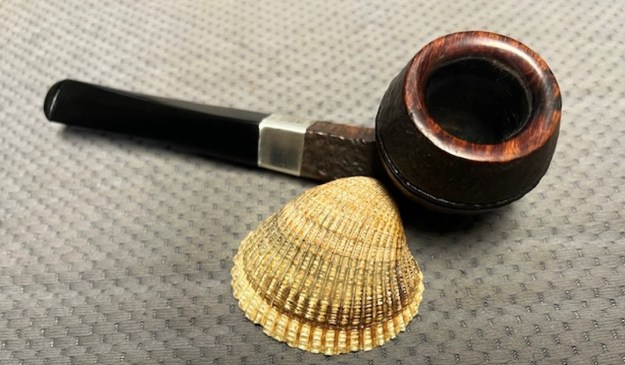
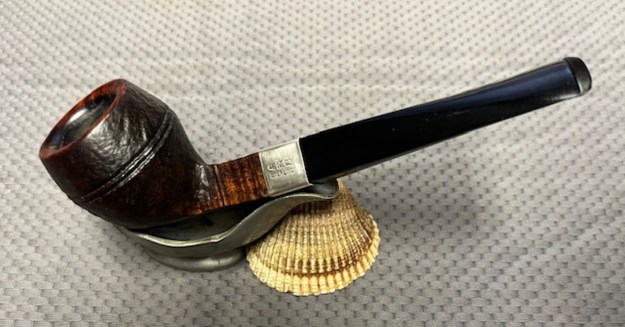
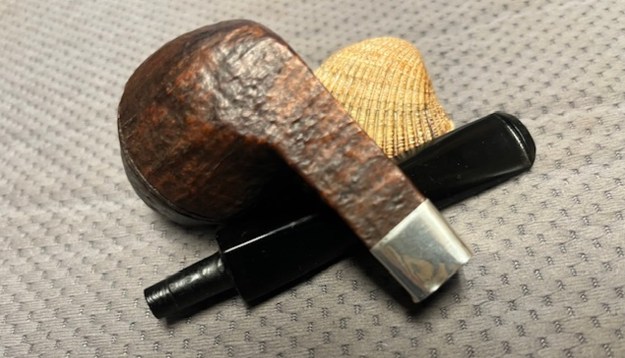
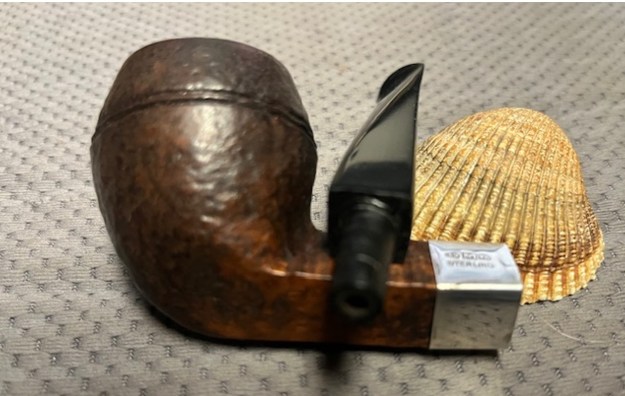
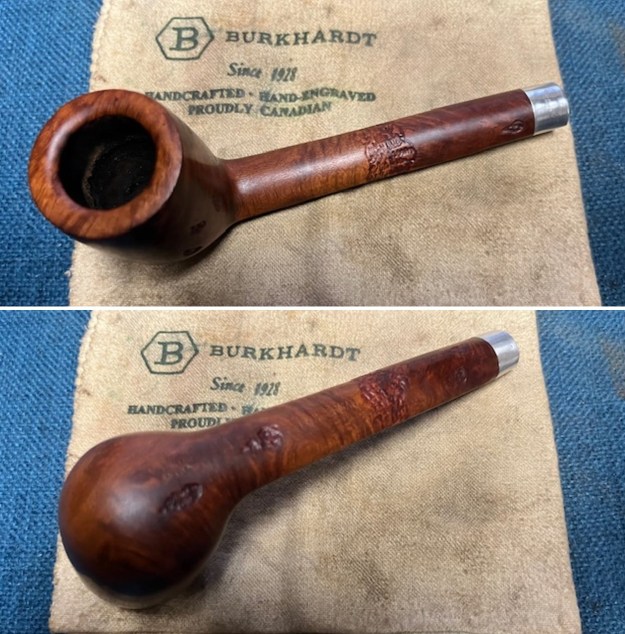
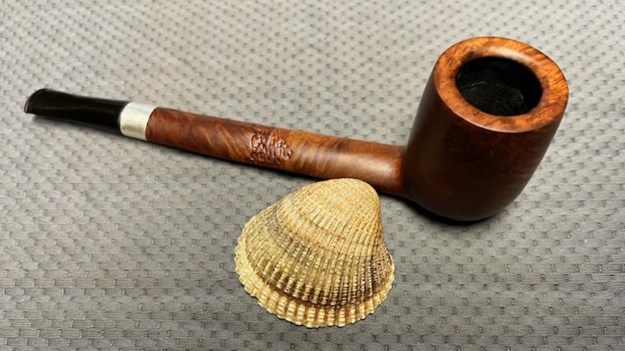
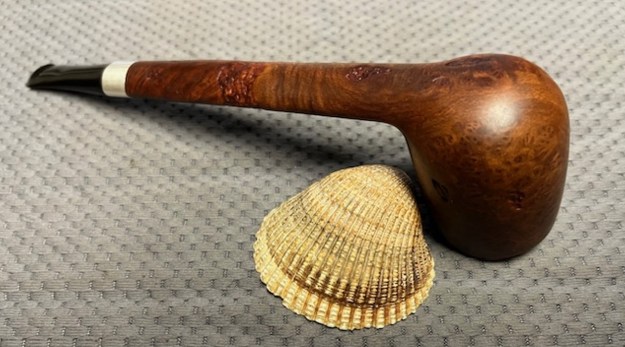
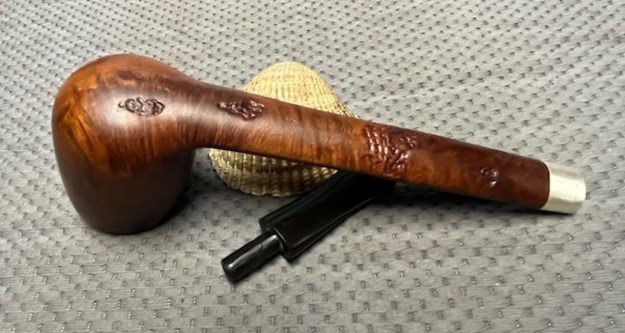
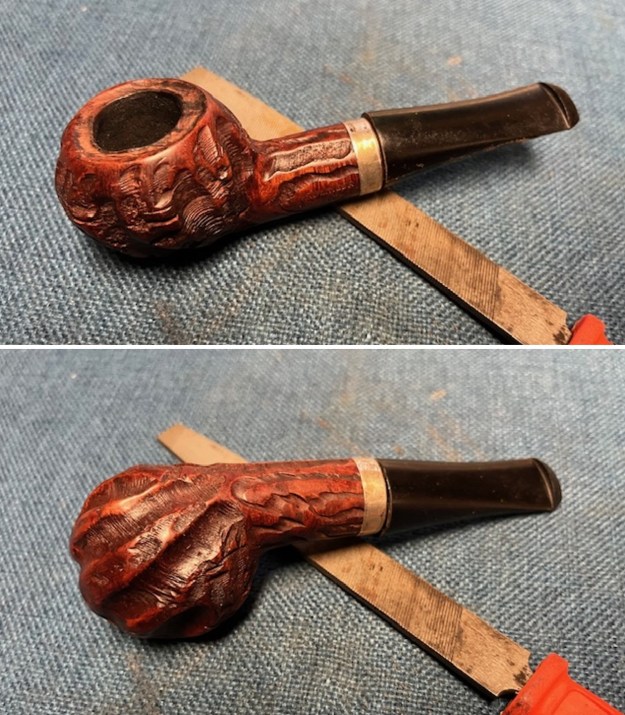
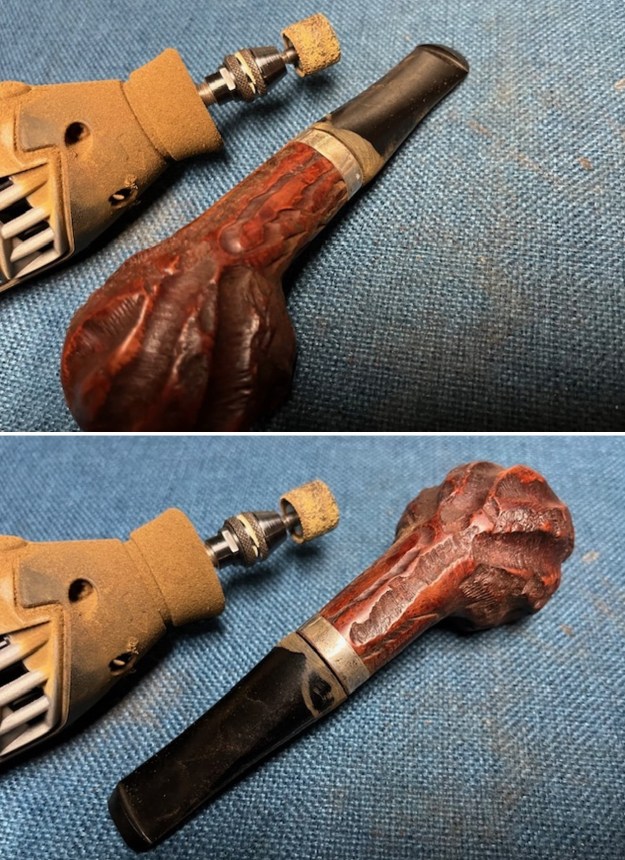
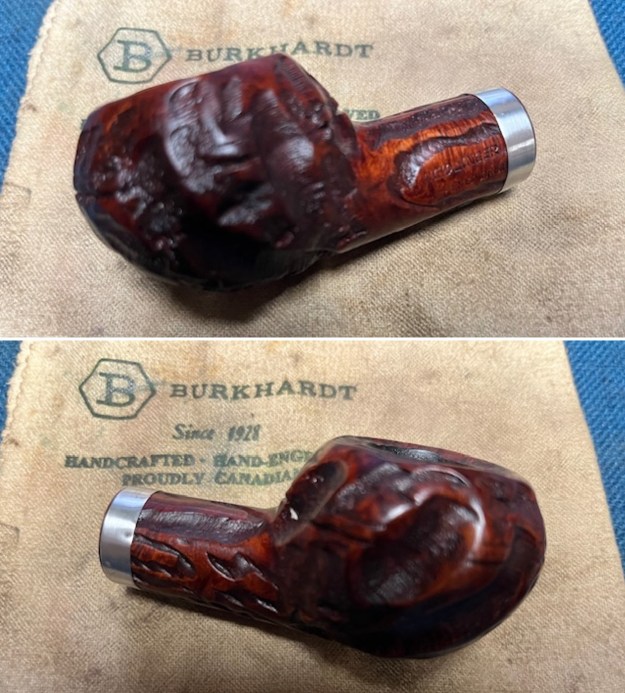
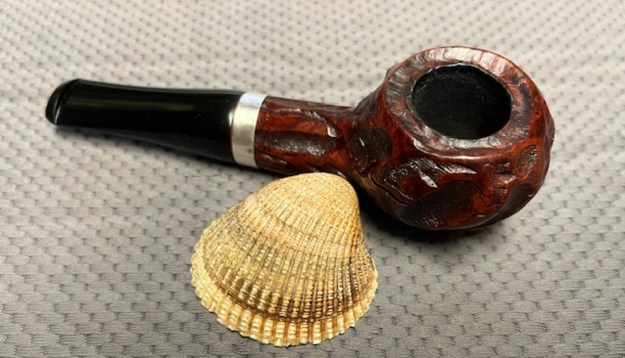
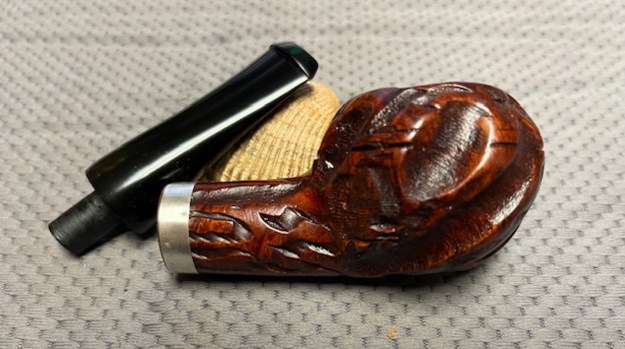
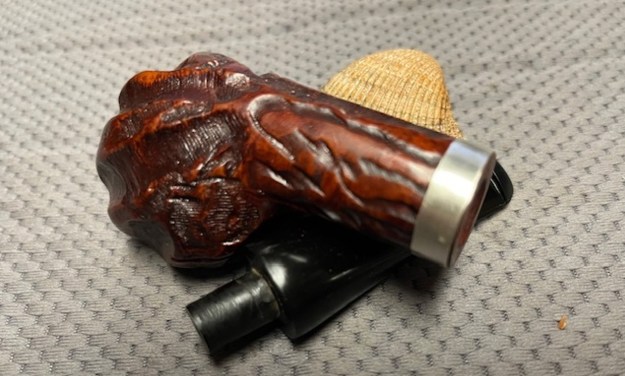
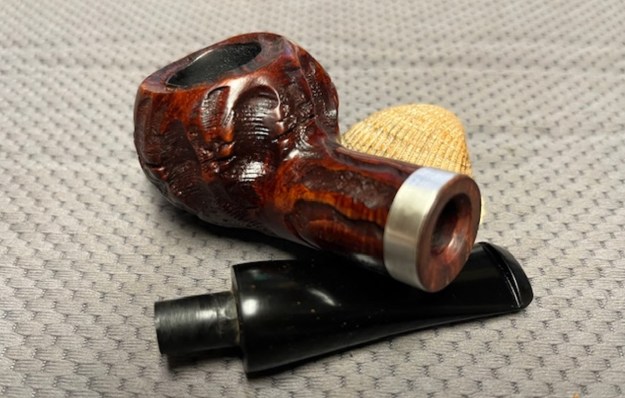
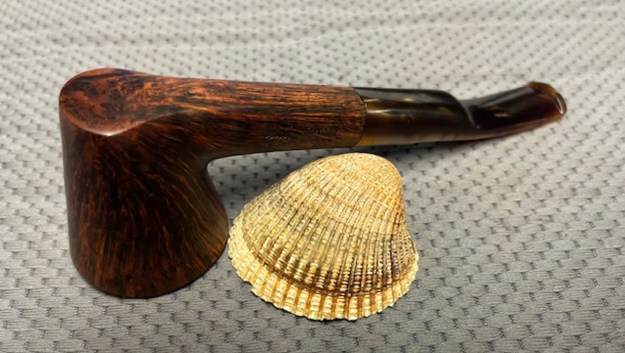
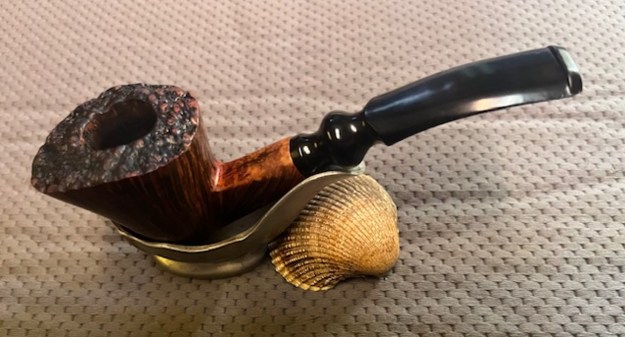
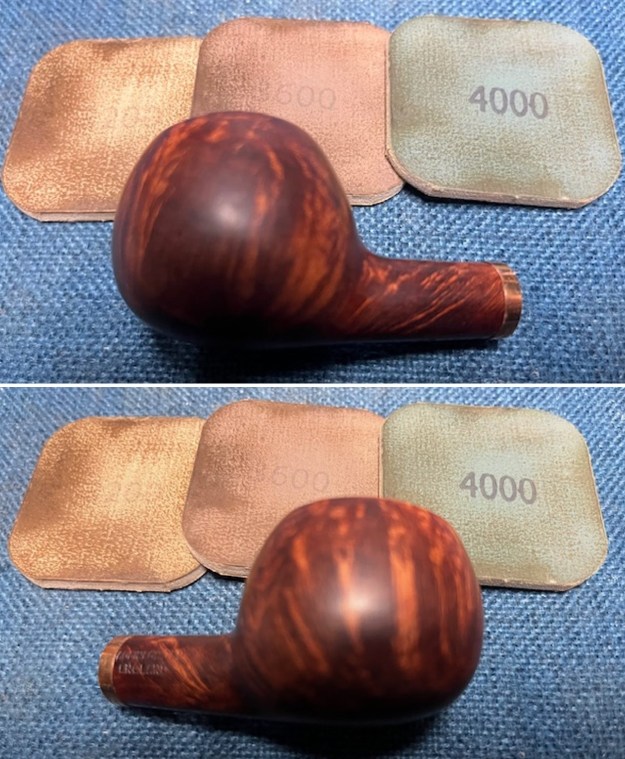
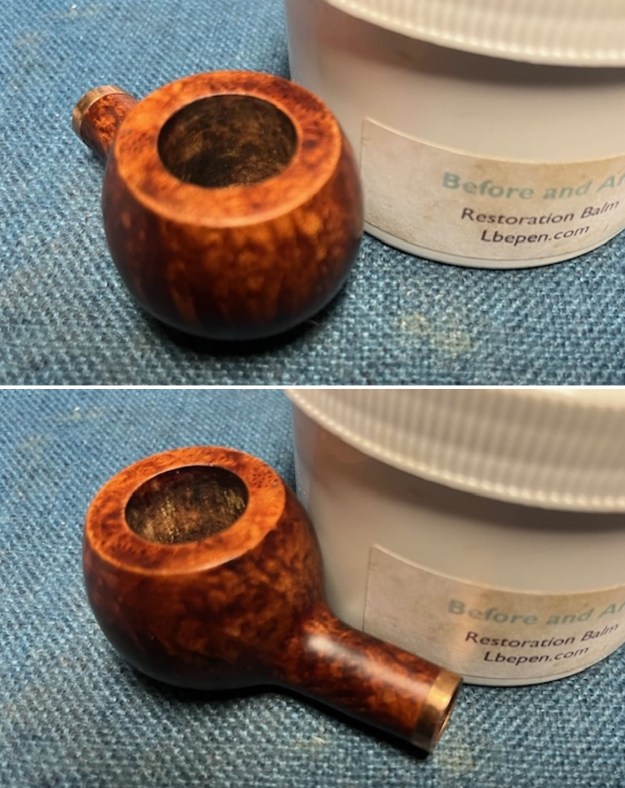
 I decided to make this little bowl into a Churchwarden and to set of the stem I had chosen I decided to add a thin brass band on the shank for decorative purposes. I picked a band that fit the shank snuggly and glued it in place on the shank. I took photos of the pipe with the band in place on the shank. I think it is going to look very good with the stem I have chosen.
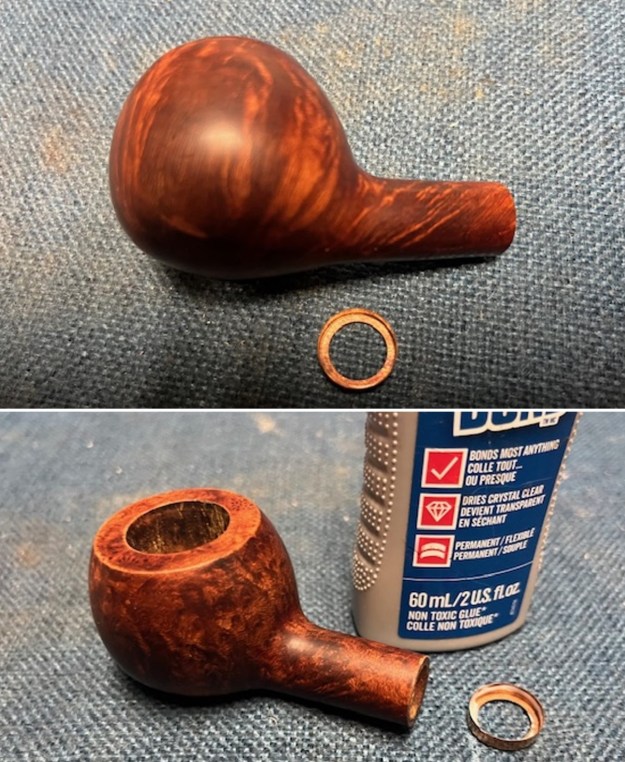
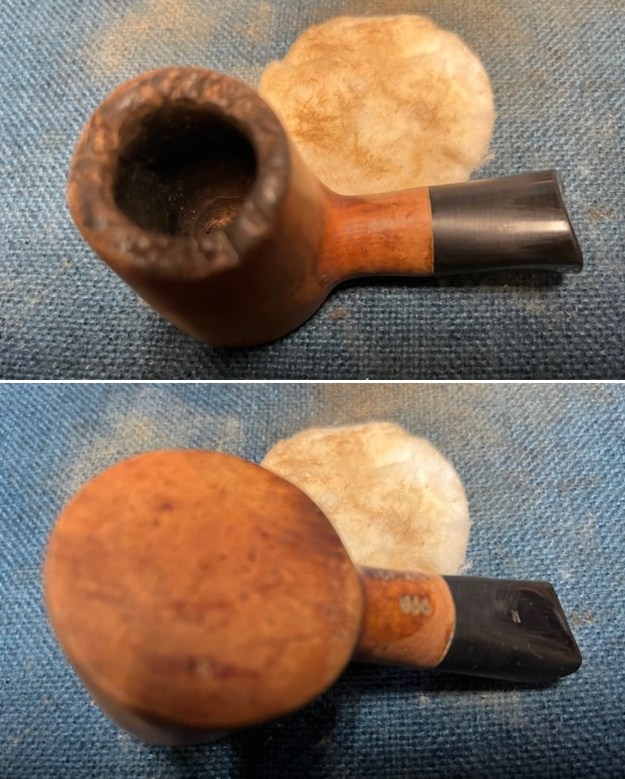
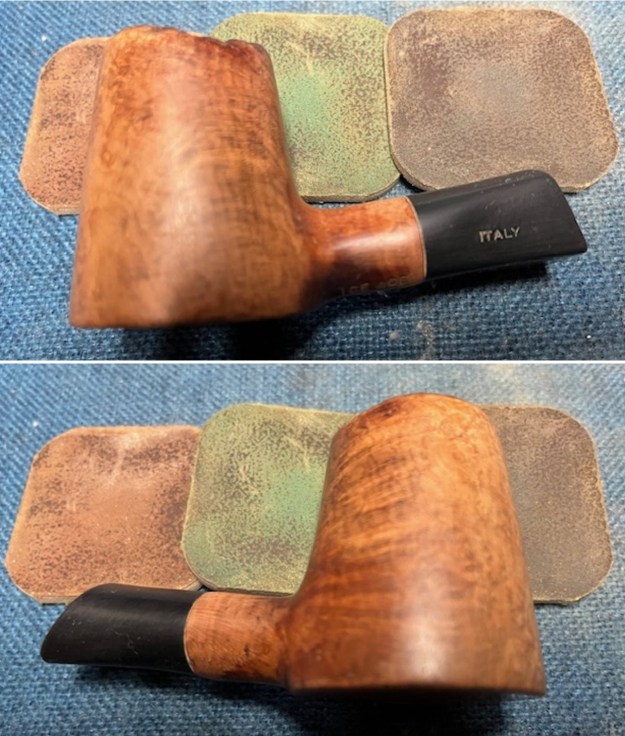
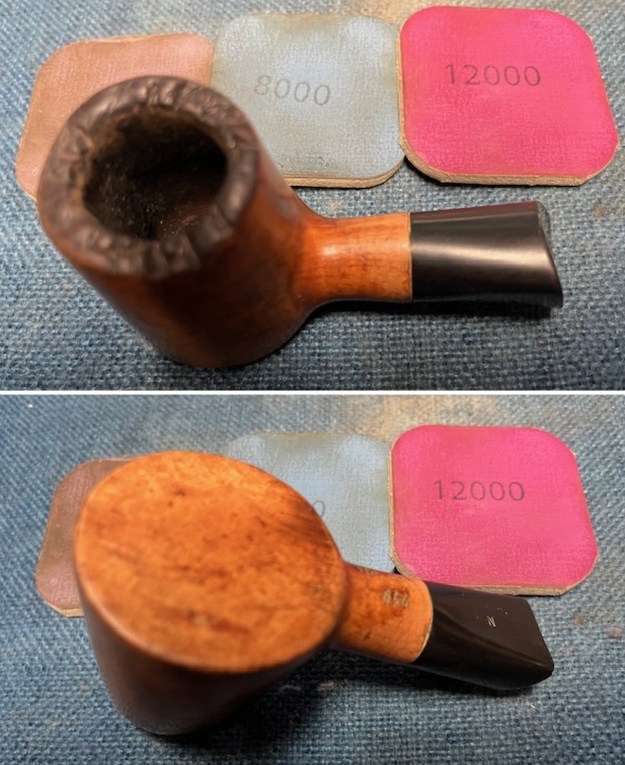
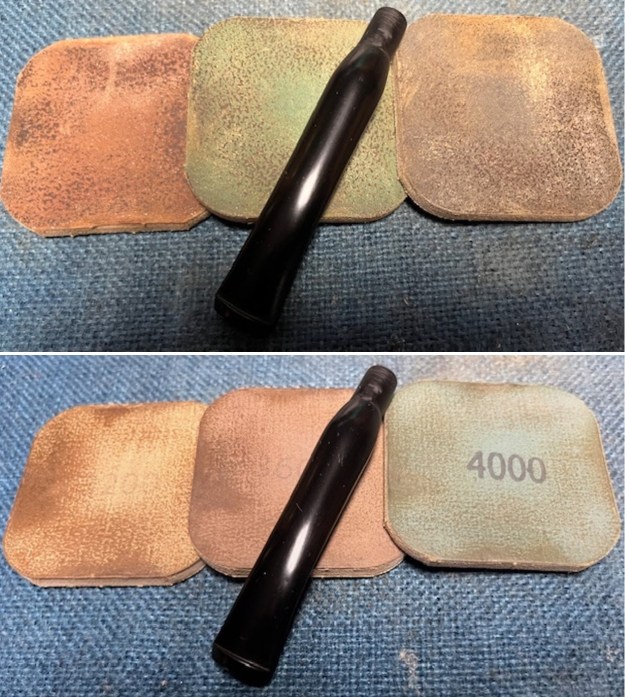
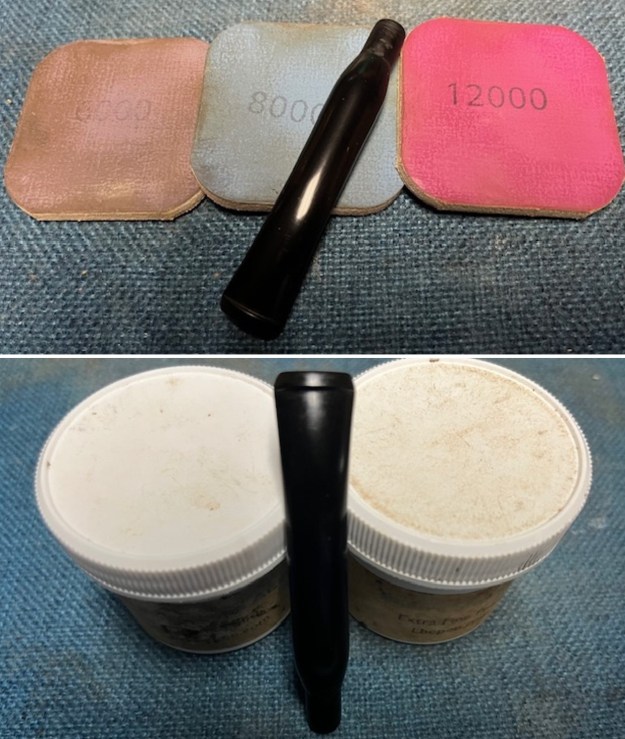
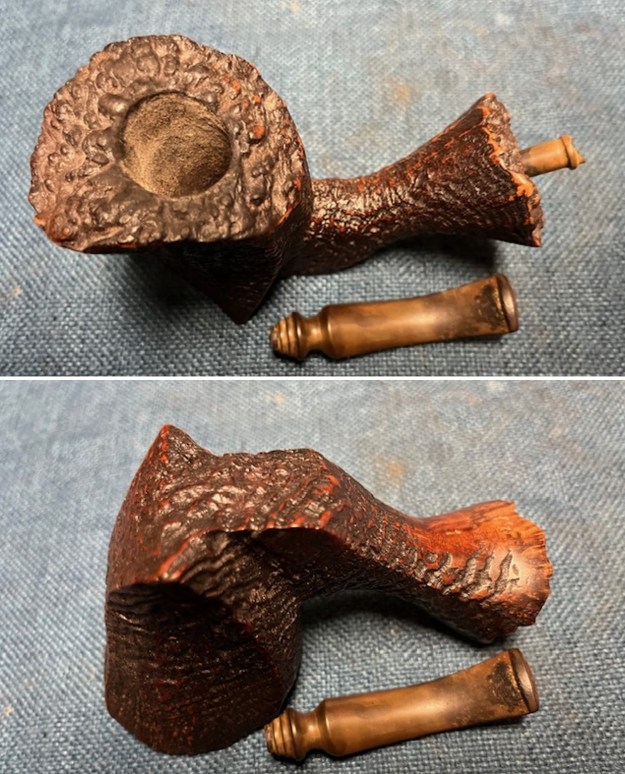
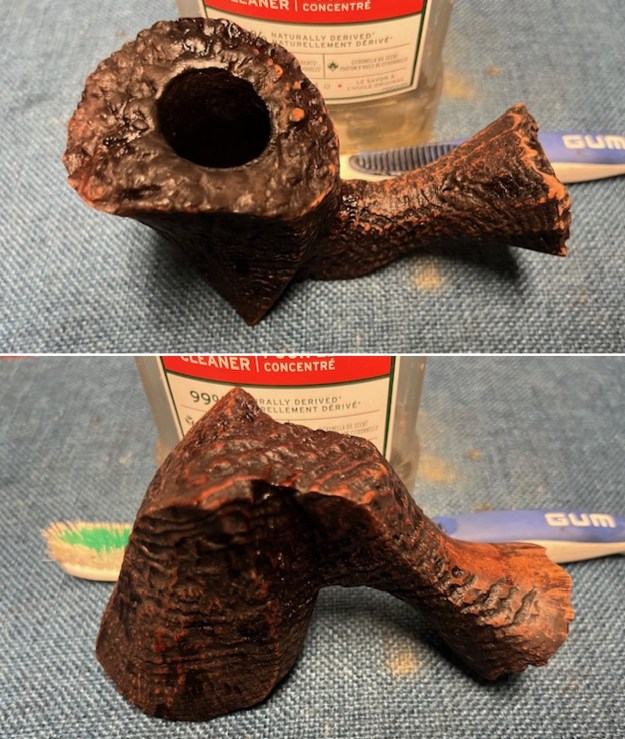
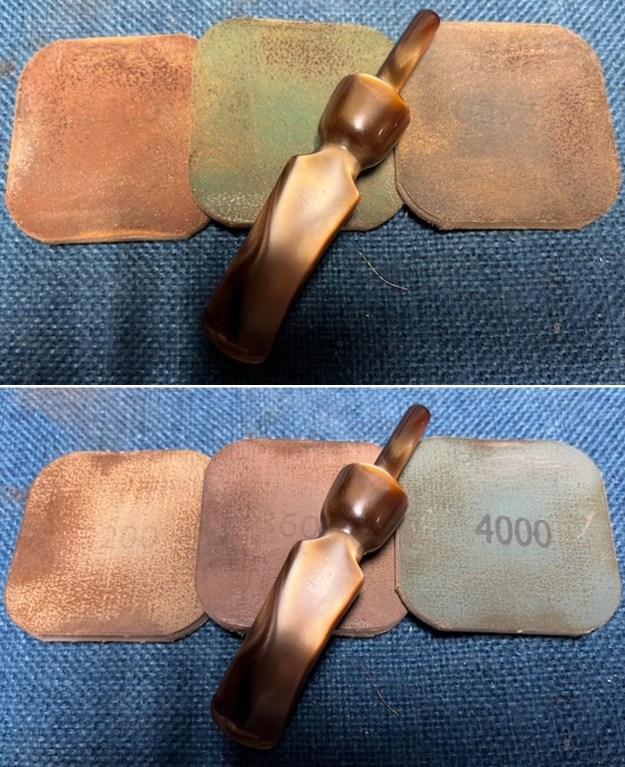
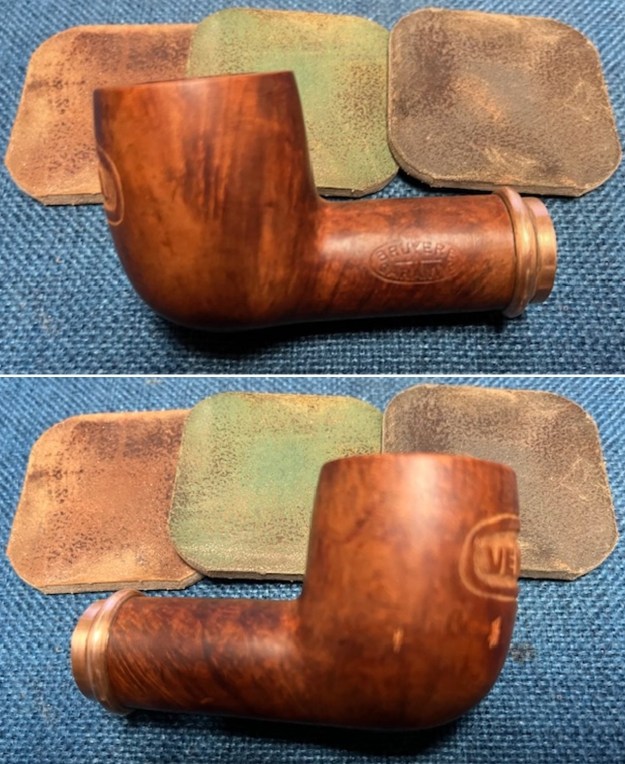
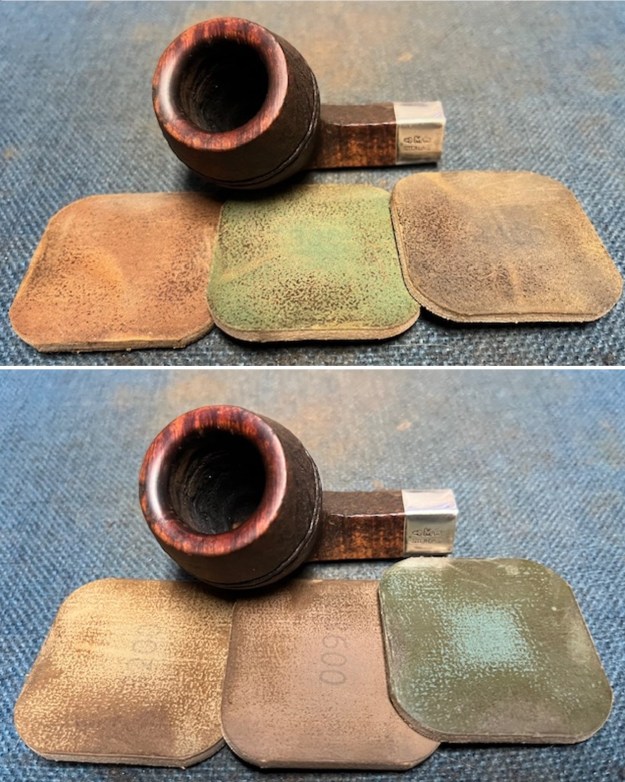
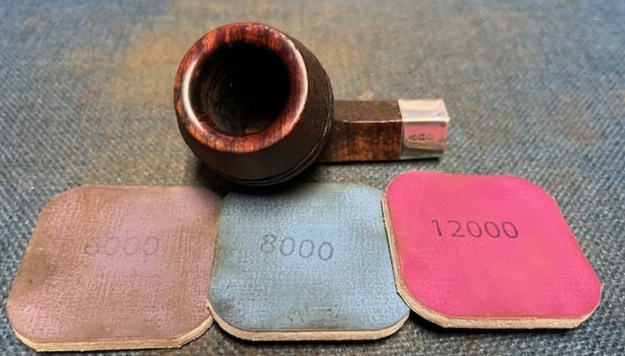
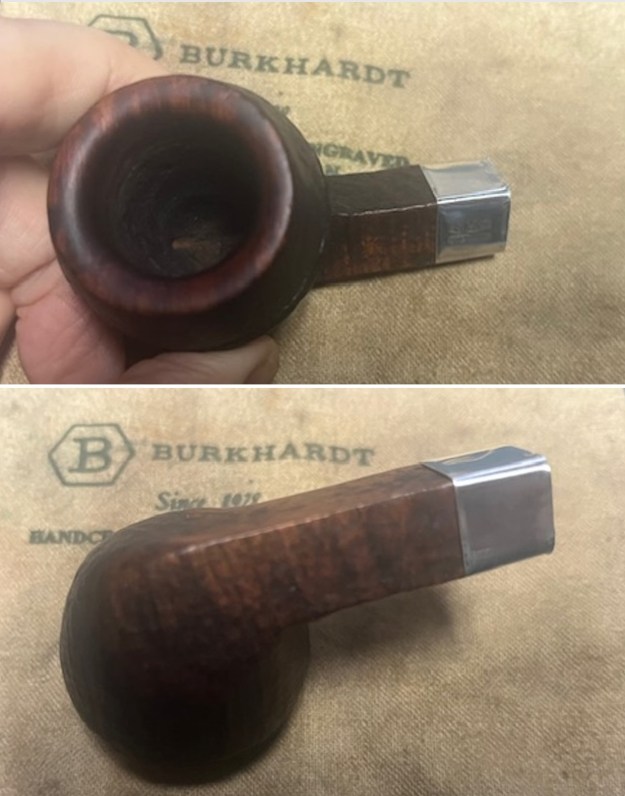
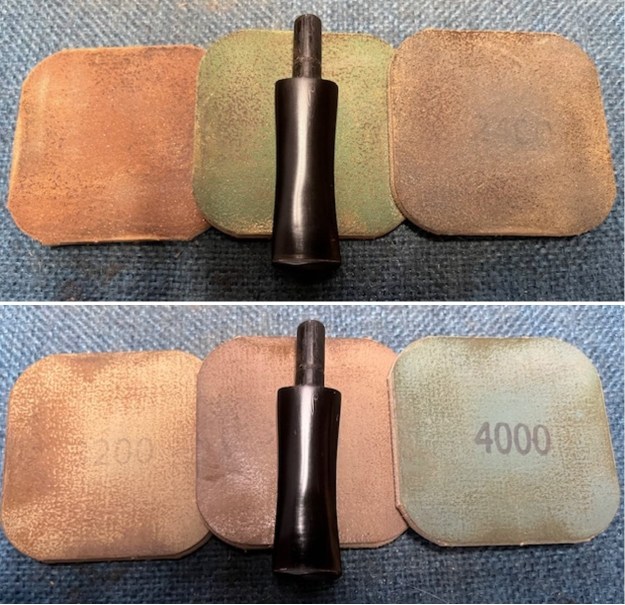
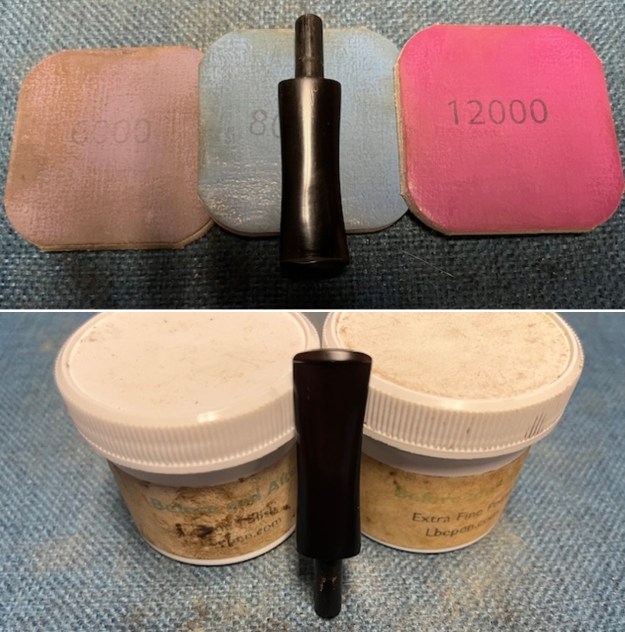
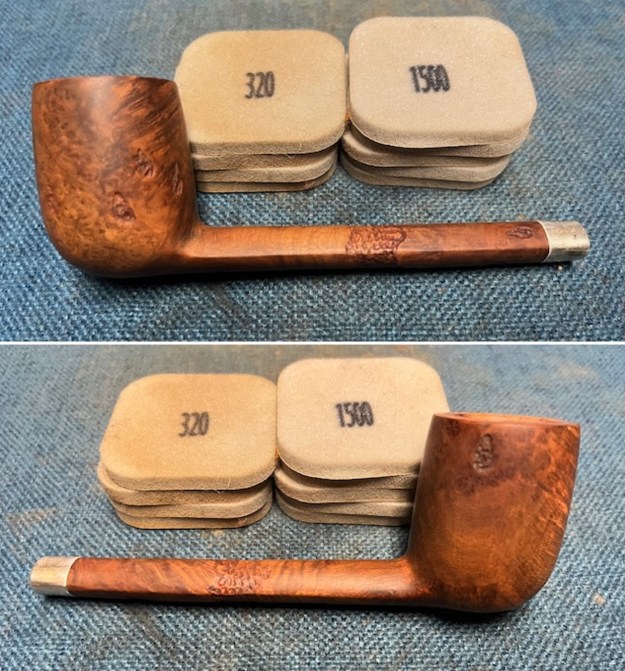
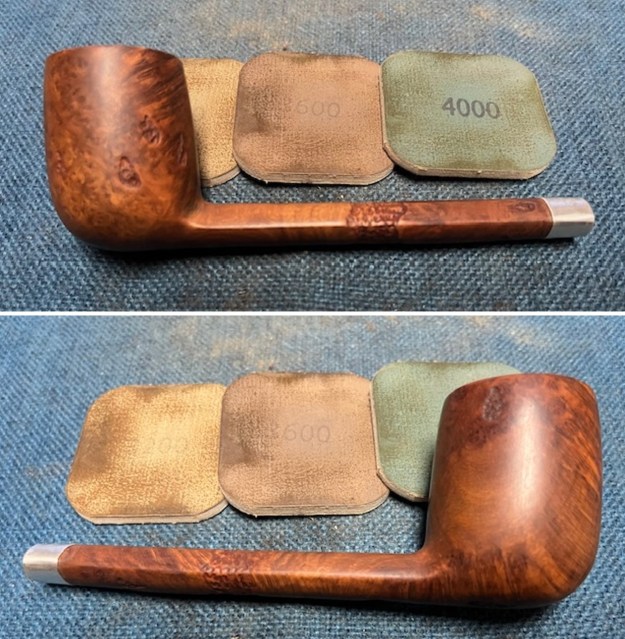
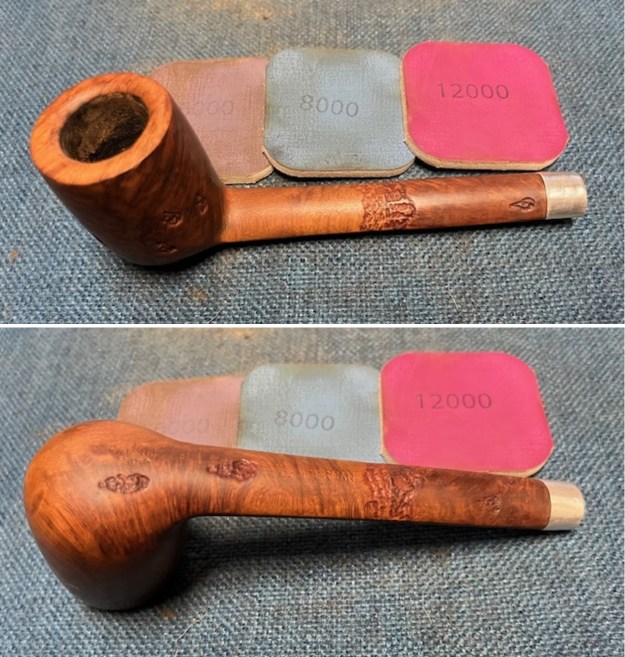
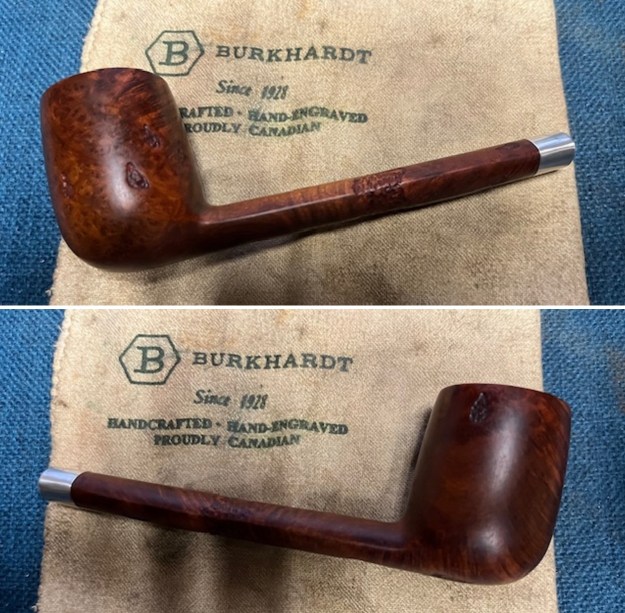
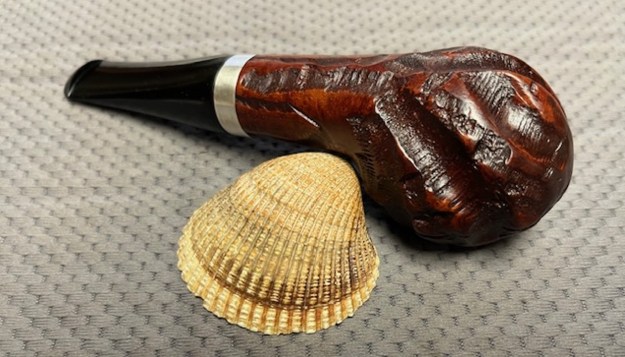
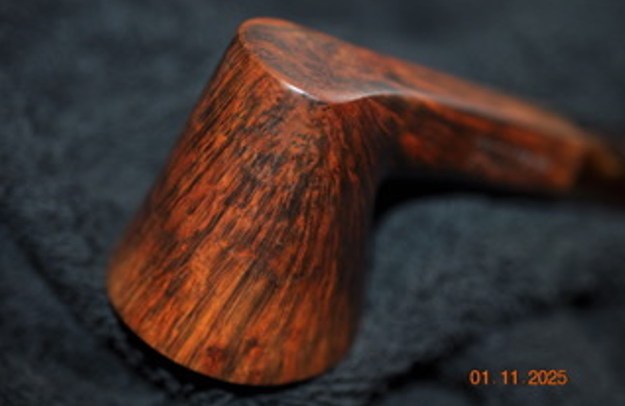
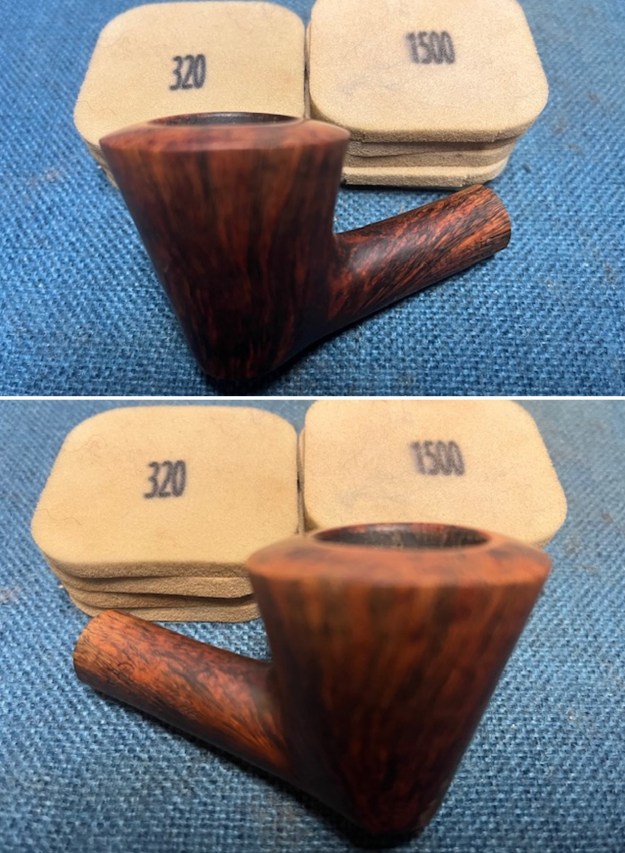
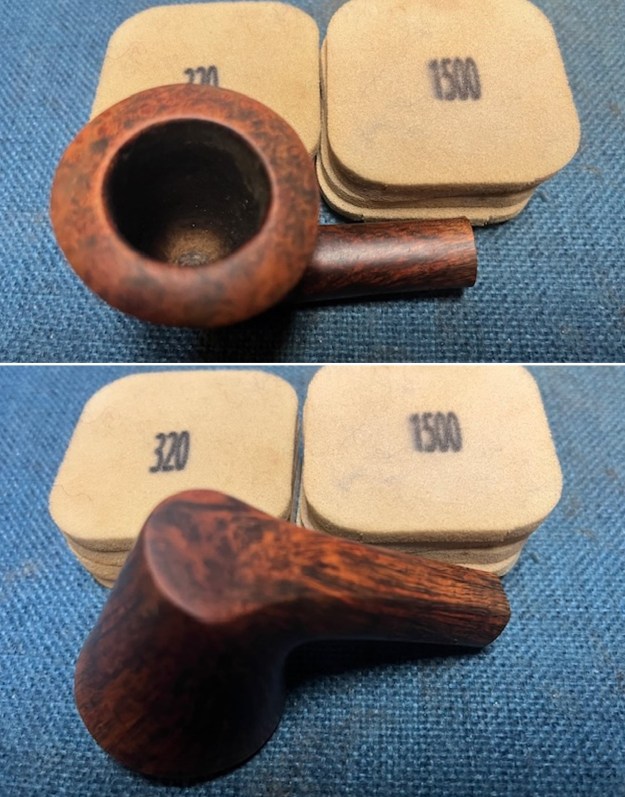
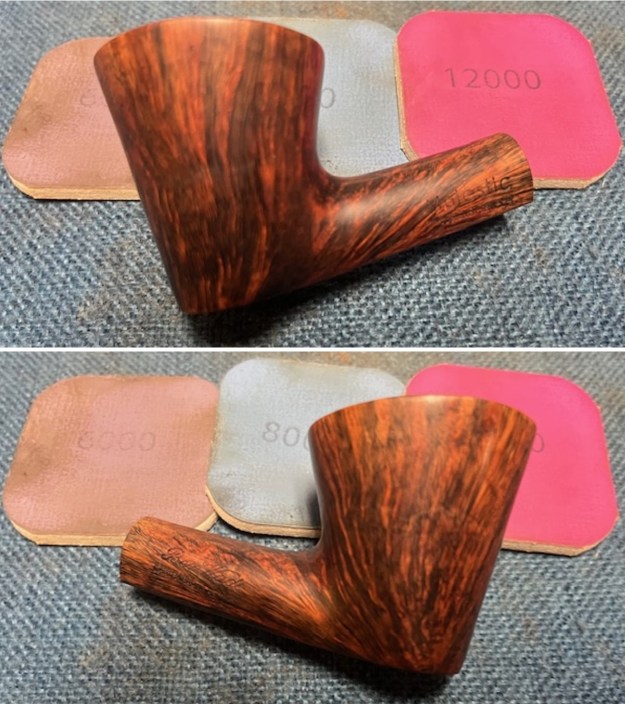
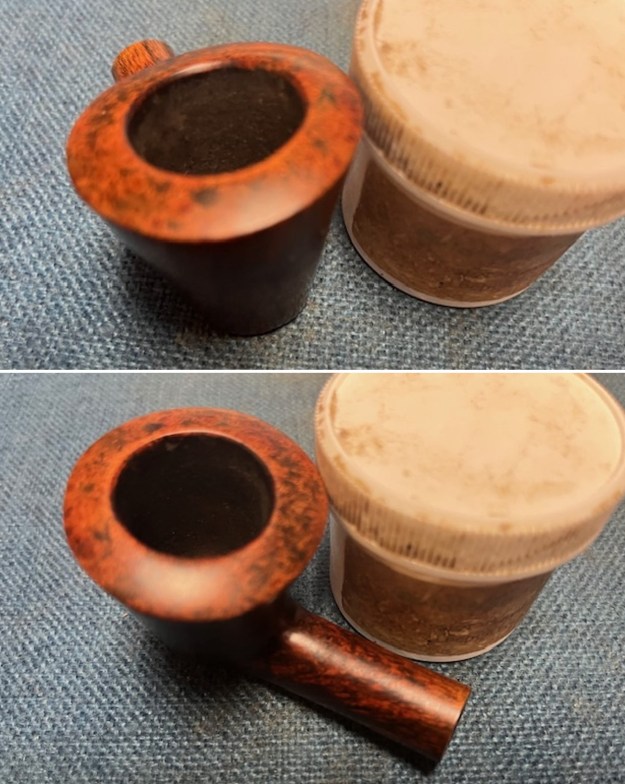
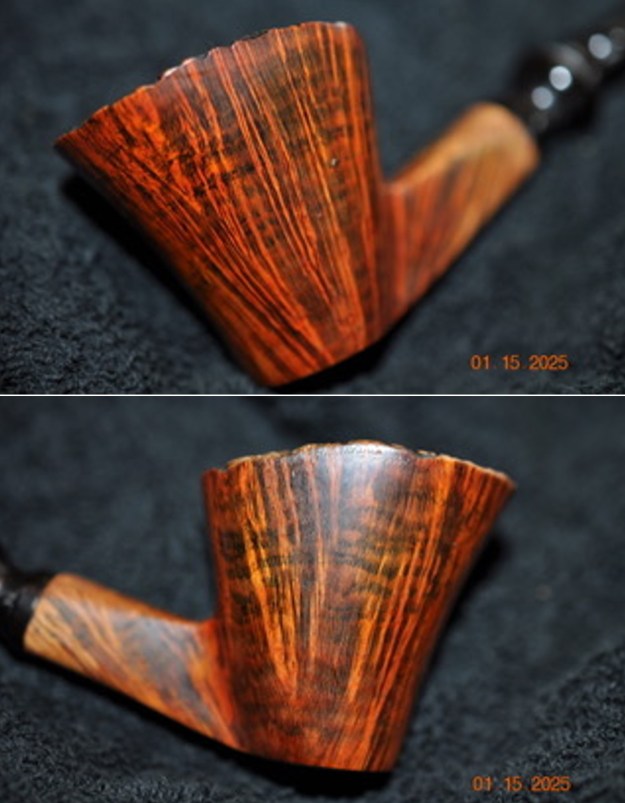
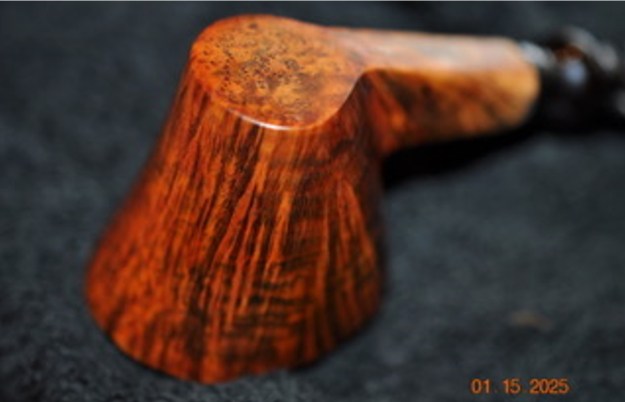
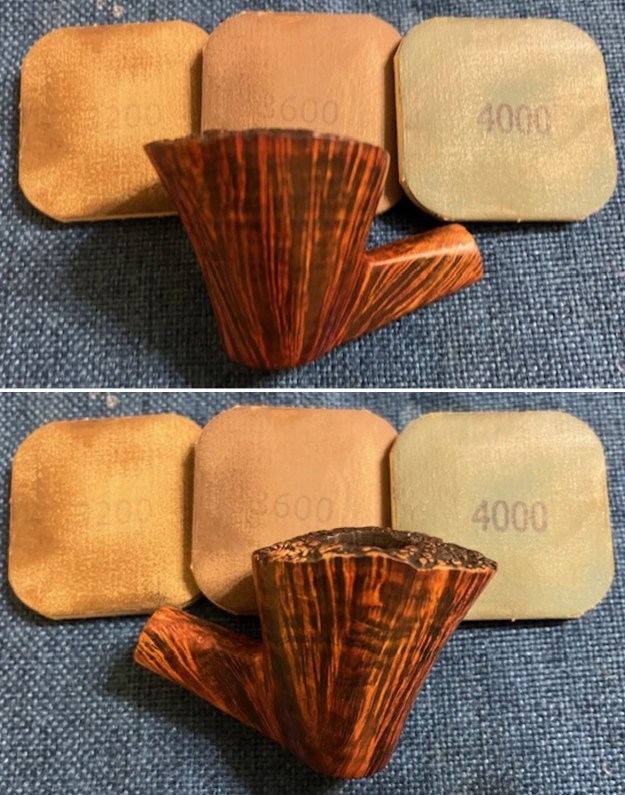
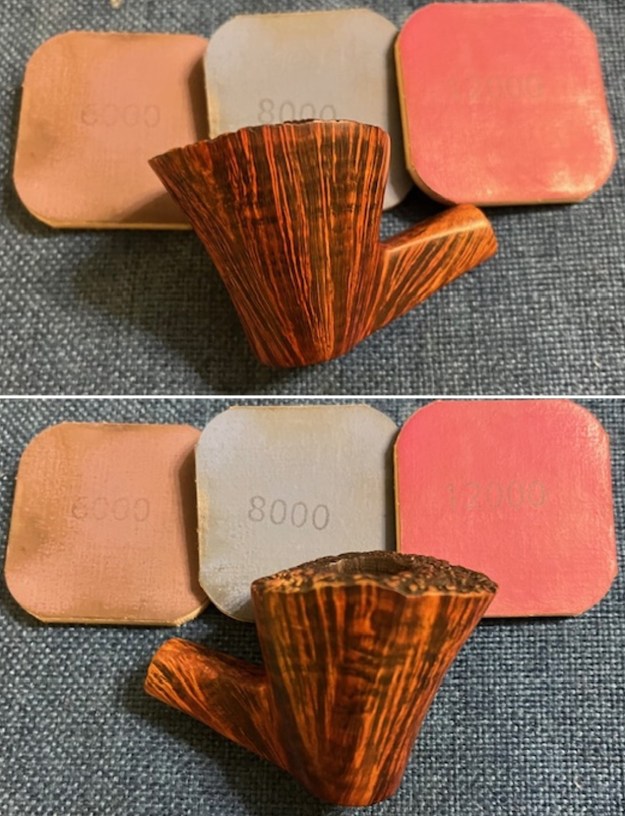
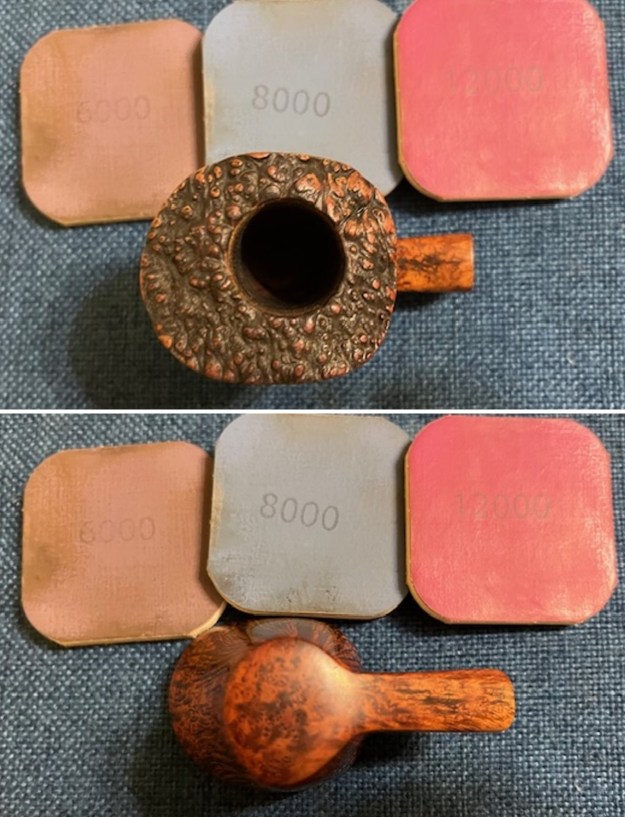
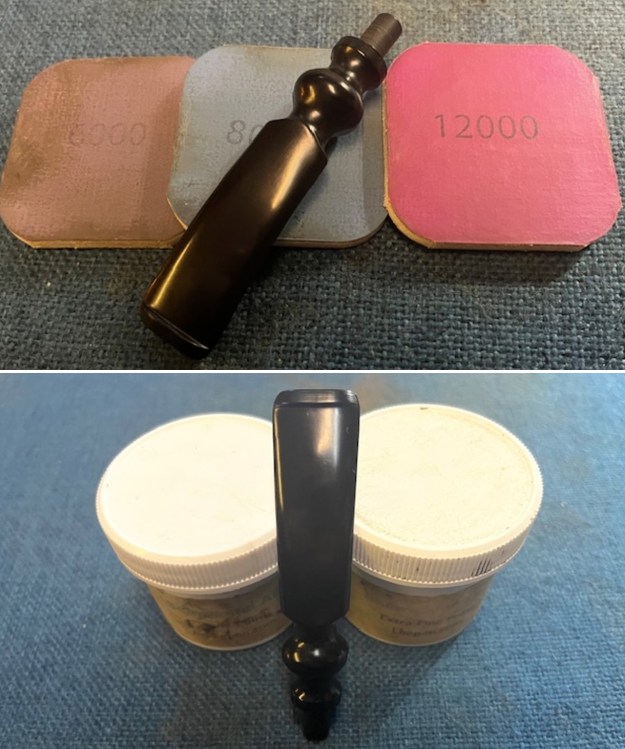
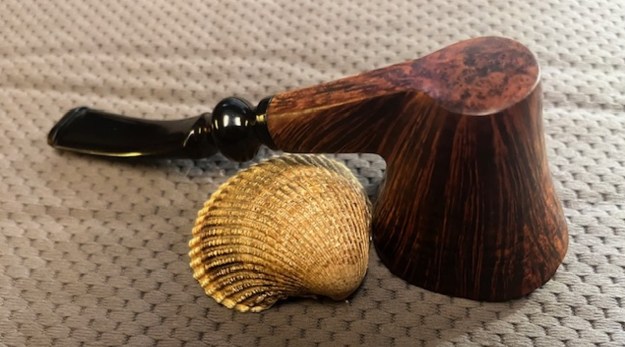
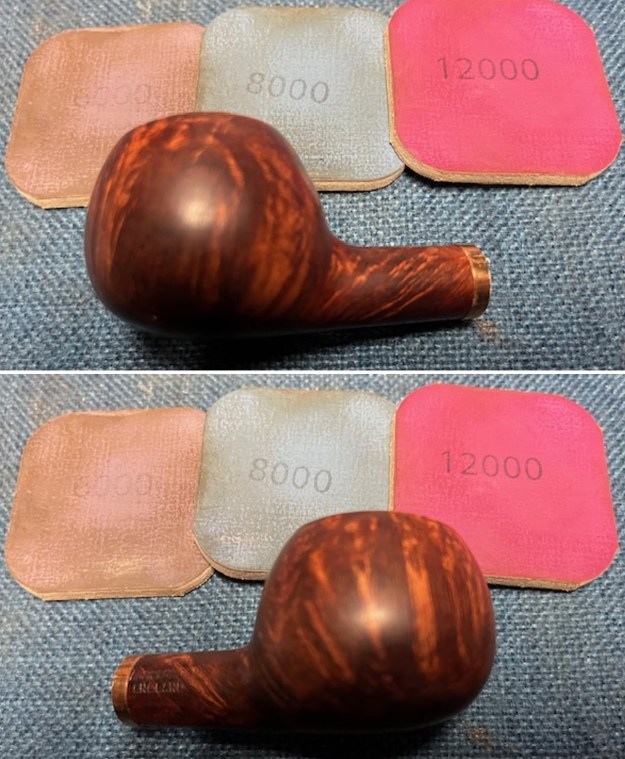
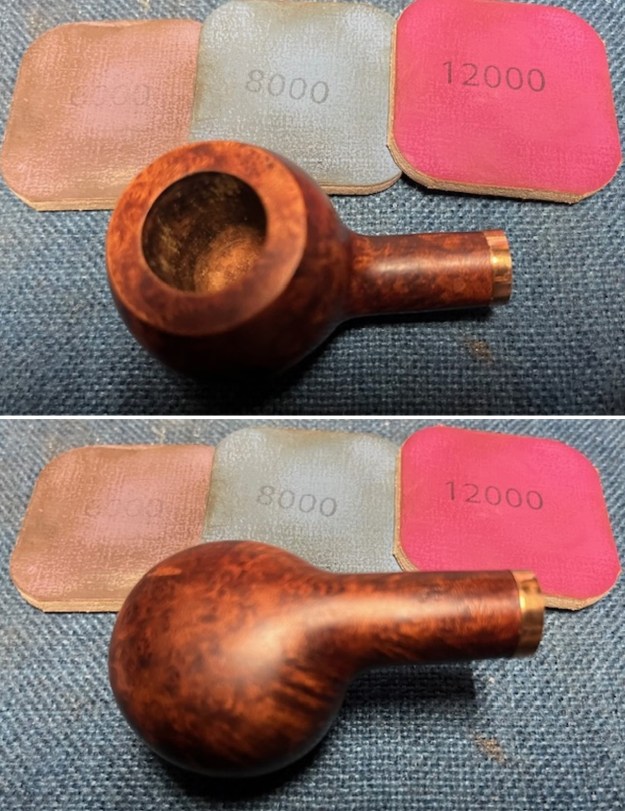
 I polished the bowl ands shank extension with micromesh sanding pads – wet sanding with 1500-12000 grit pads. I wiped the briar down after each pad with a damp cloth. The bowl is starting to look very good.
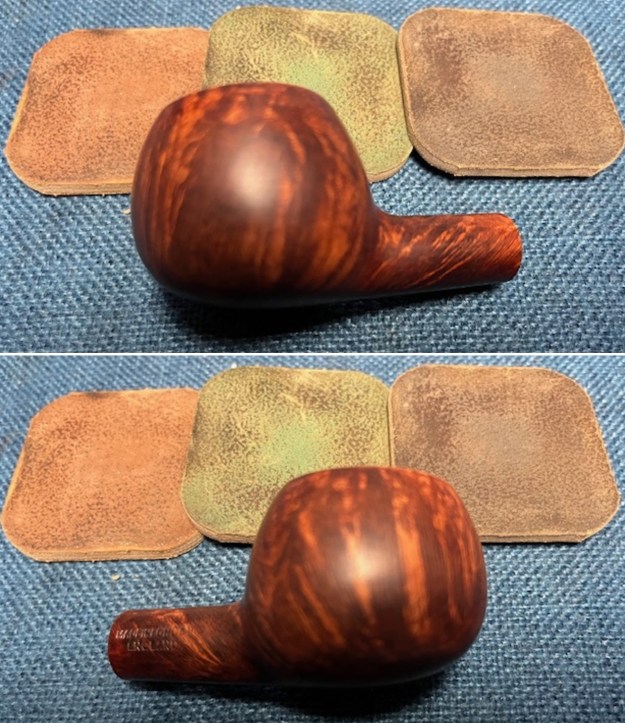
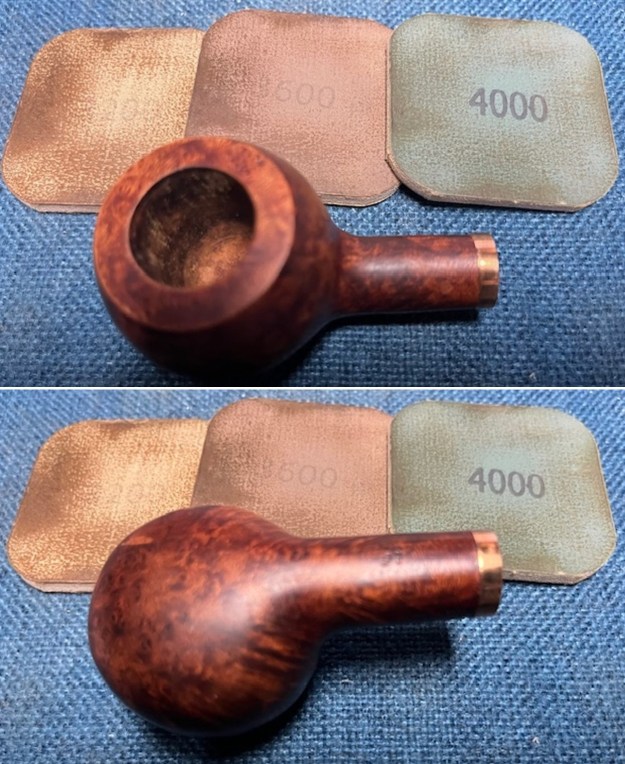
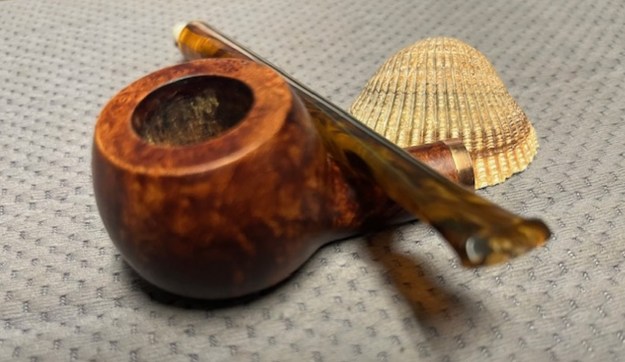
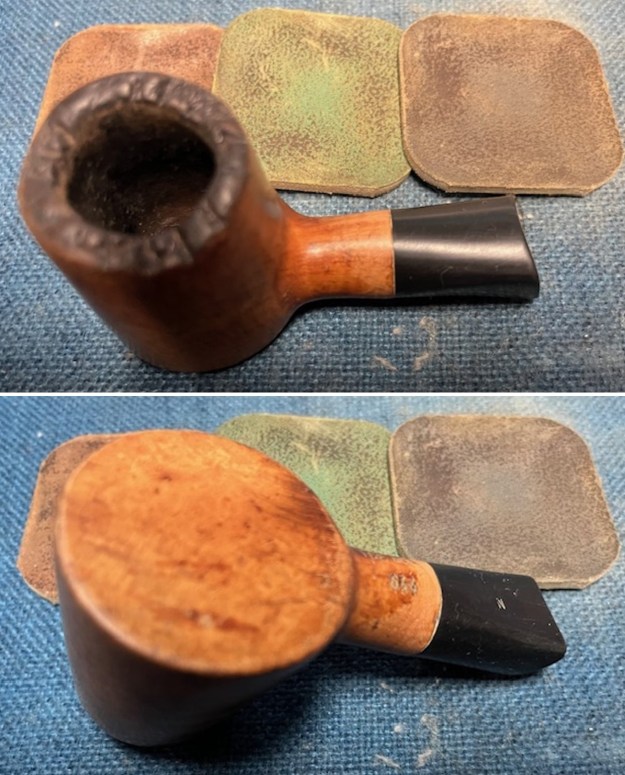
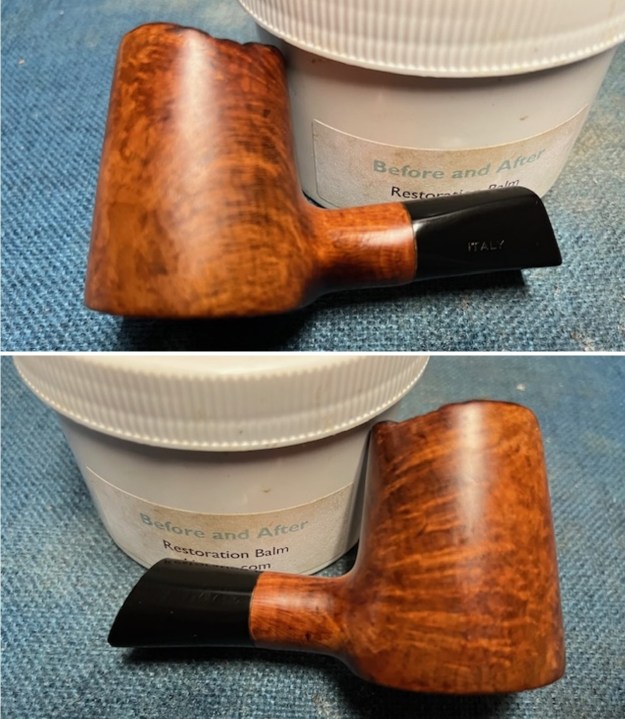
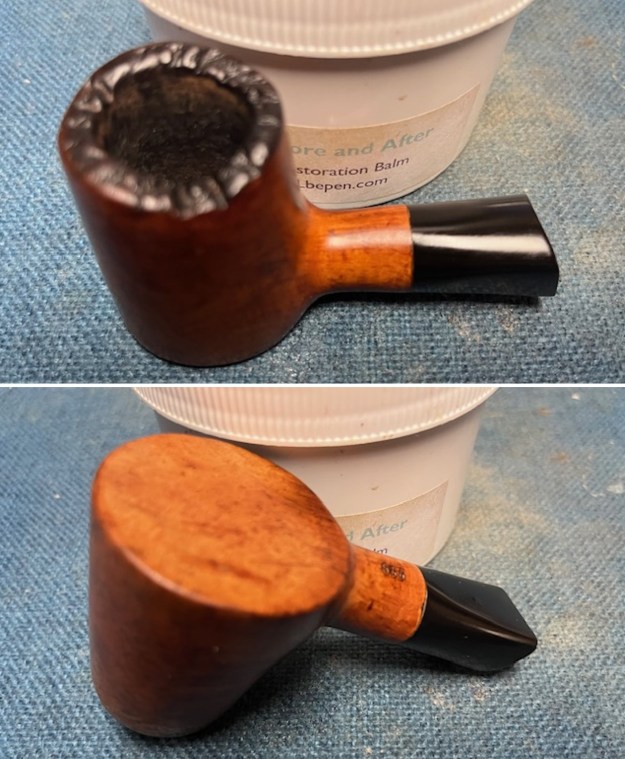
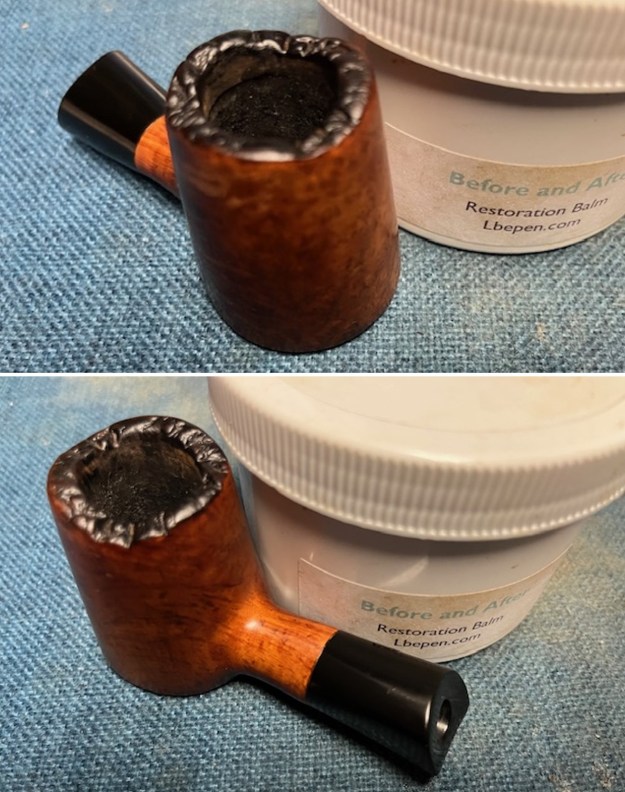
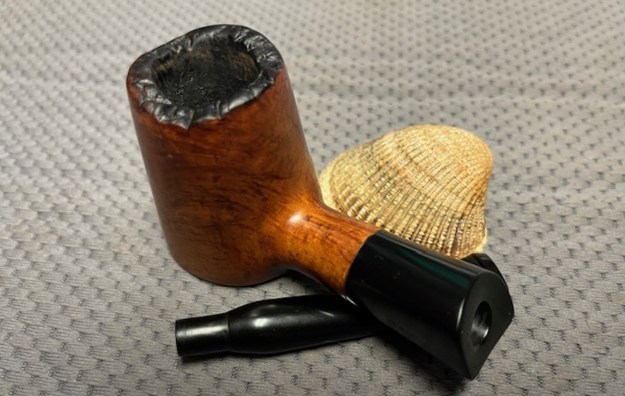
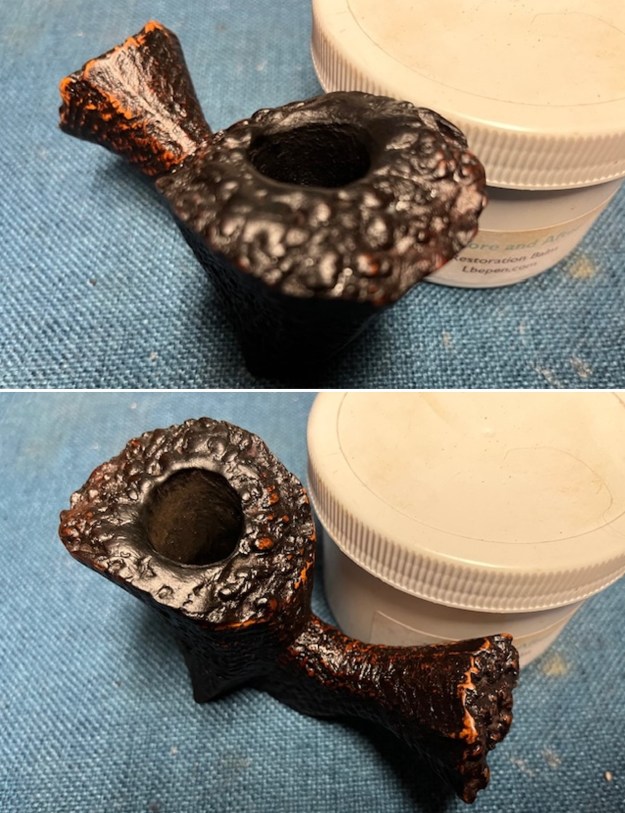
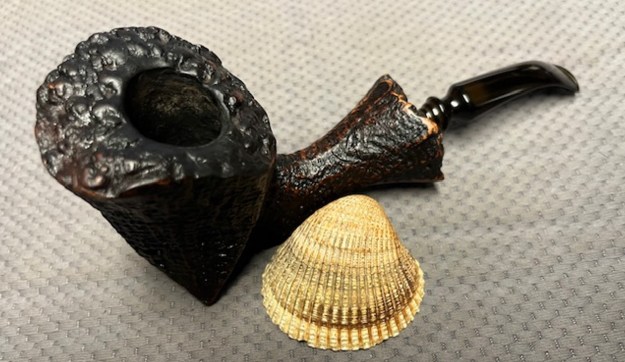
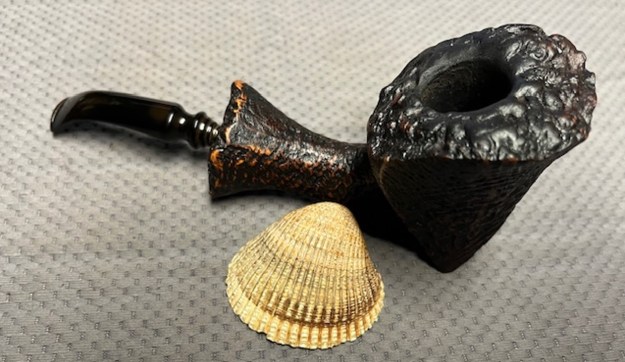
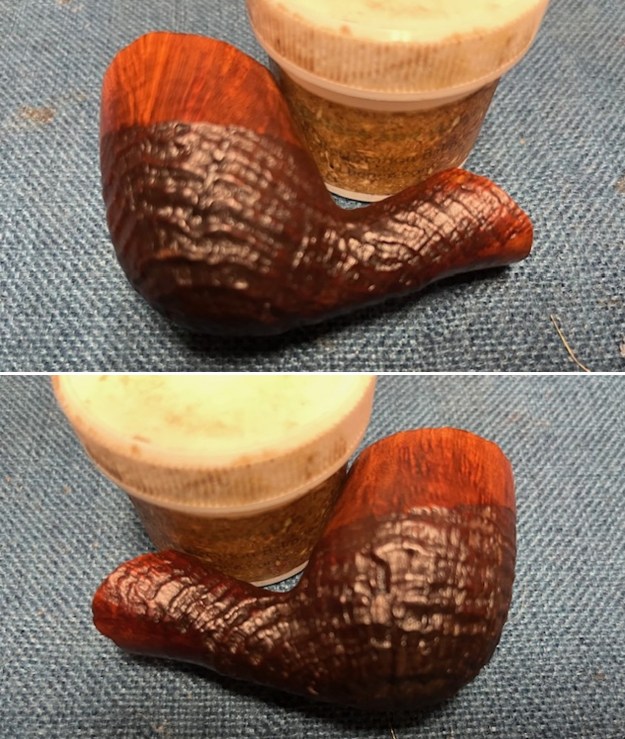
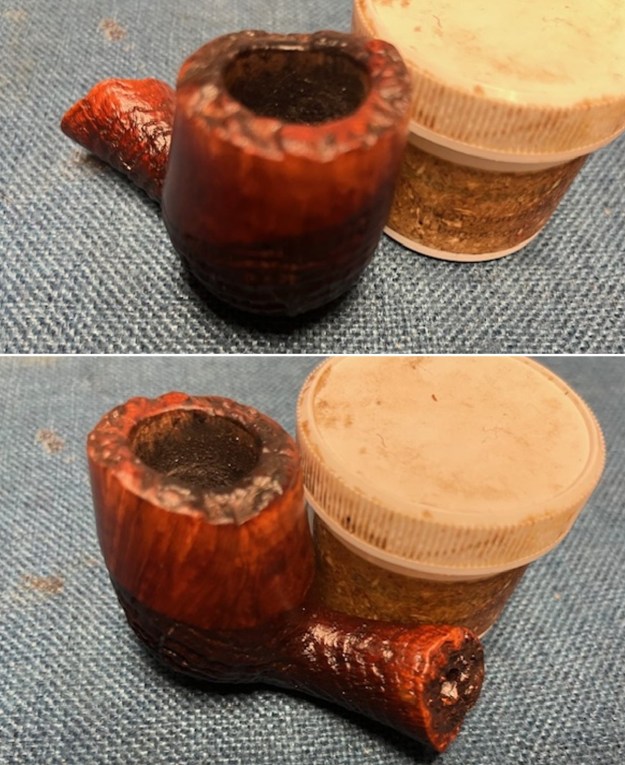
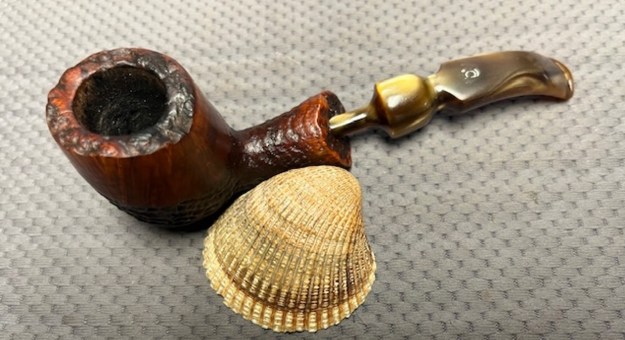
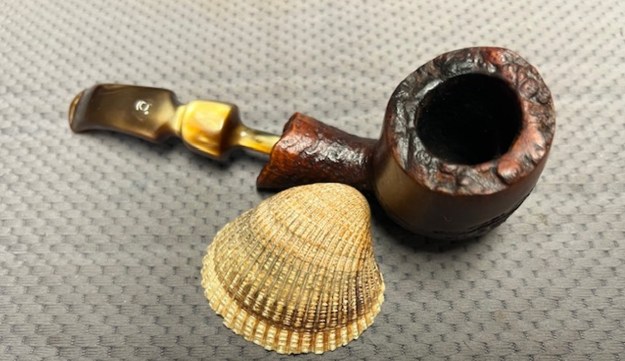
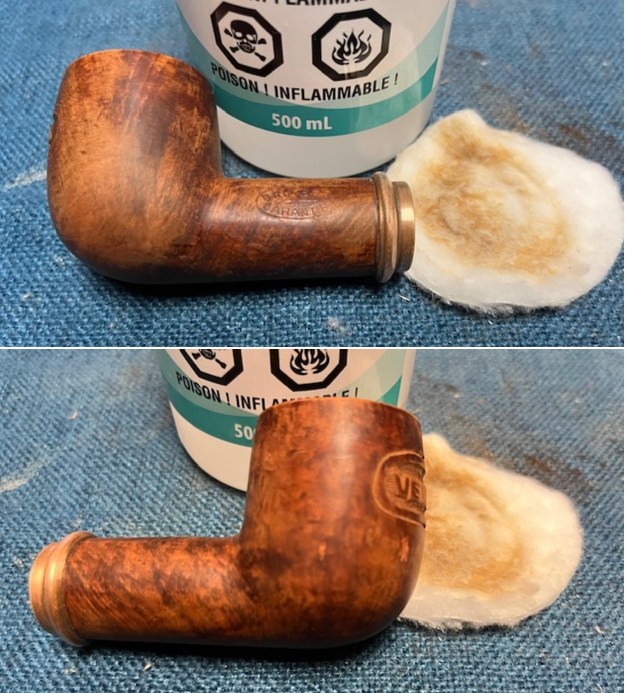
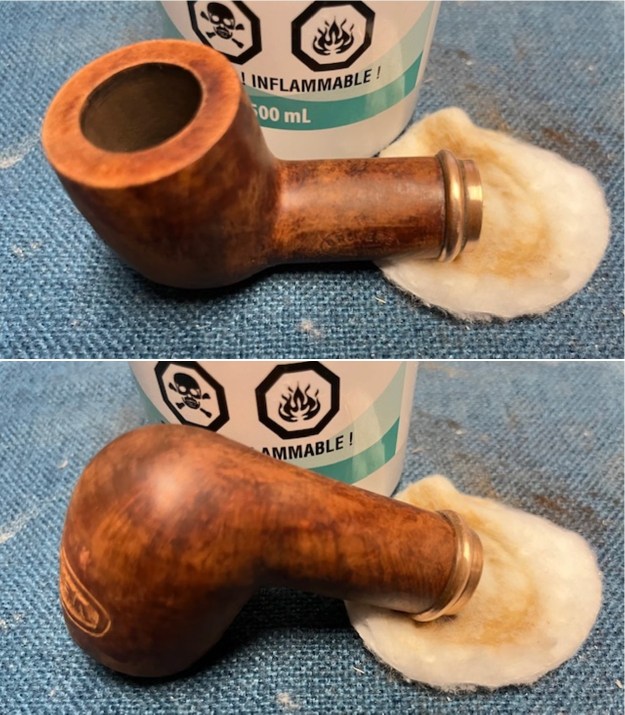
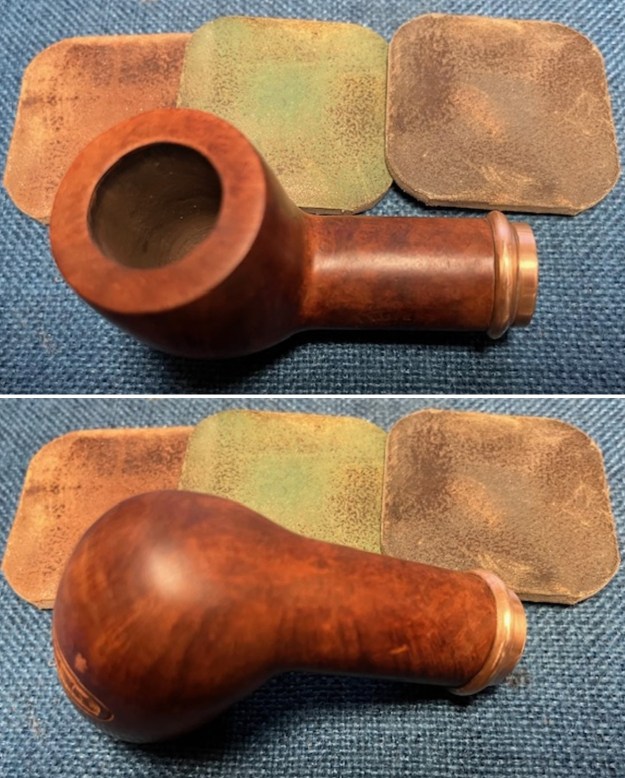
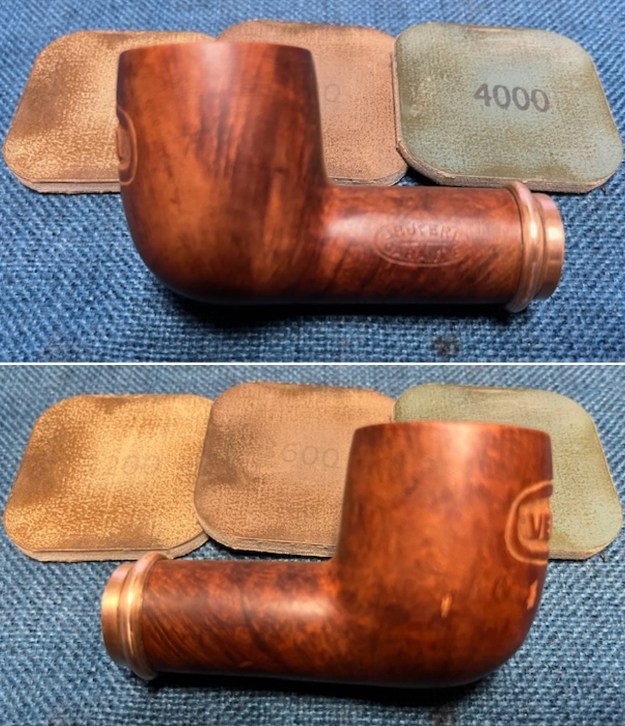
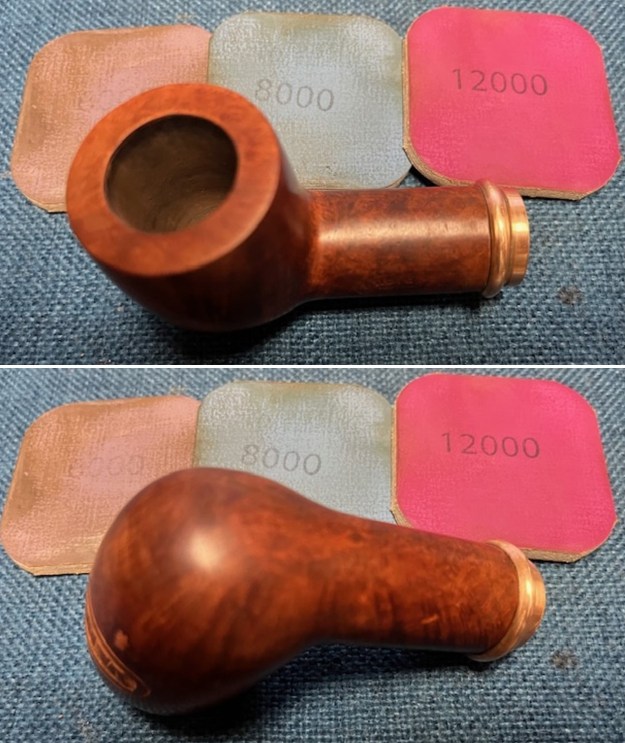
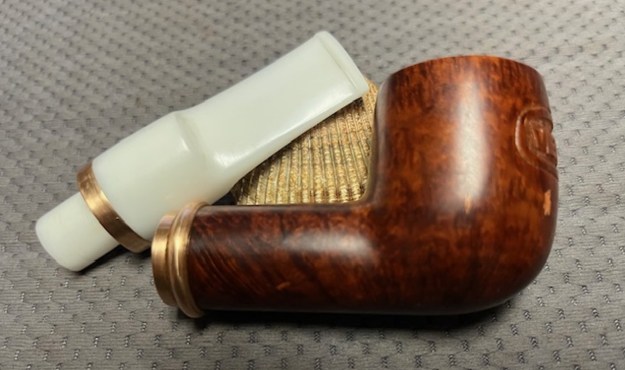
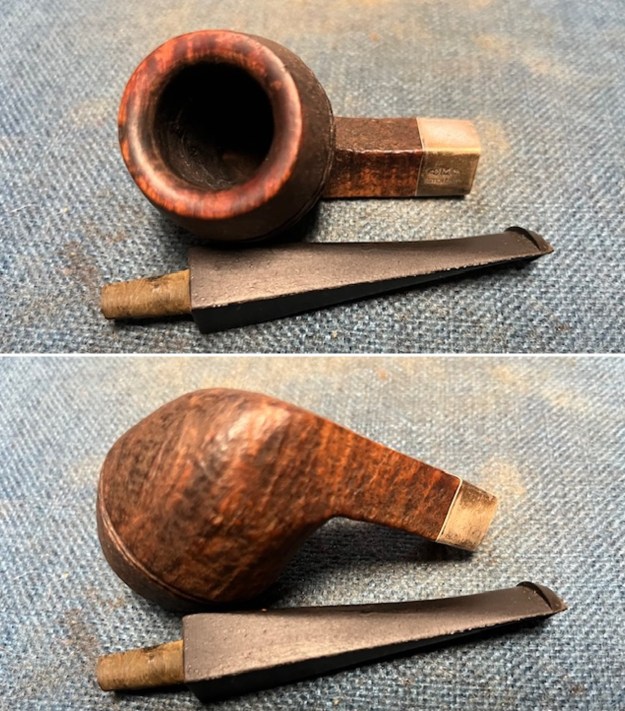
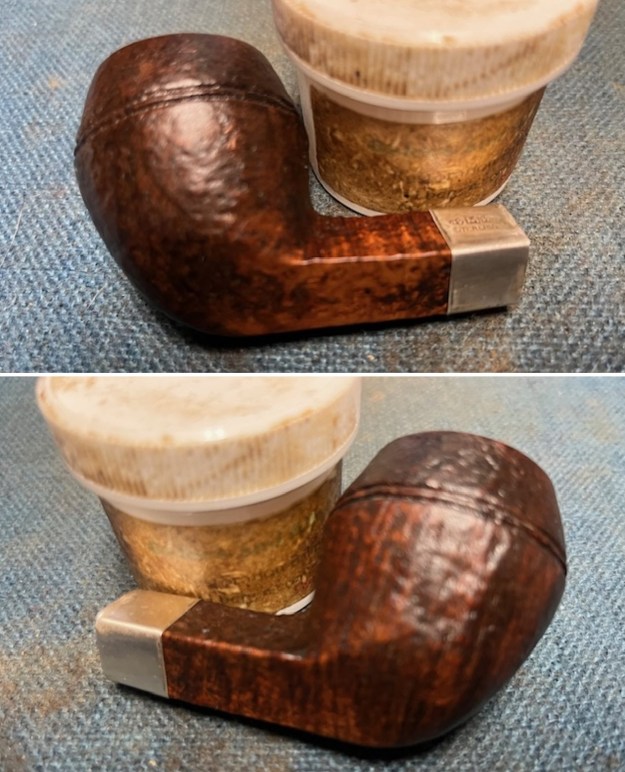
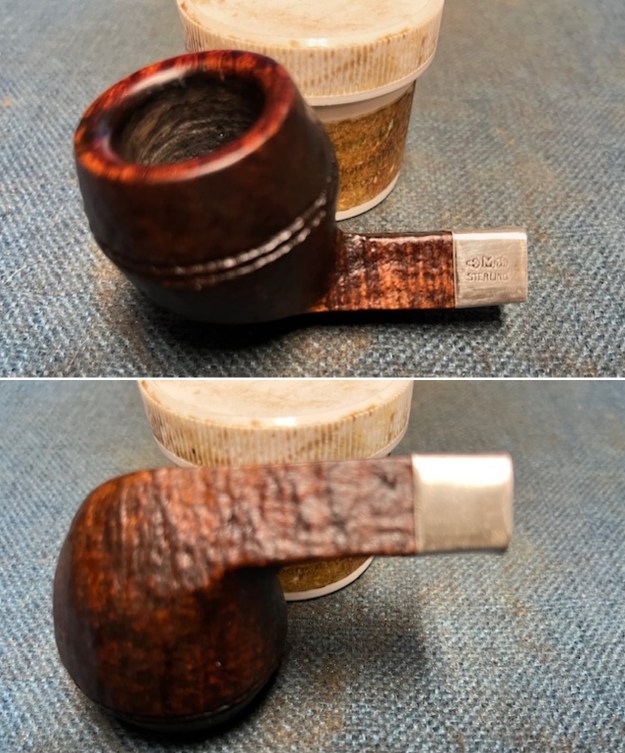
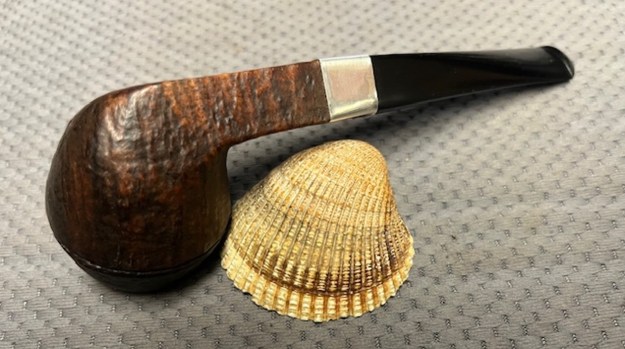
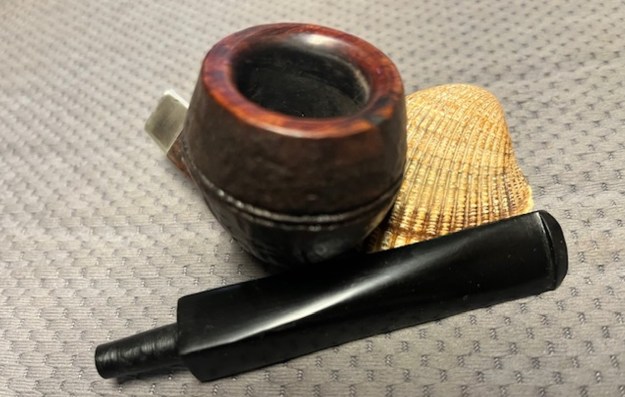
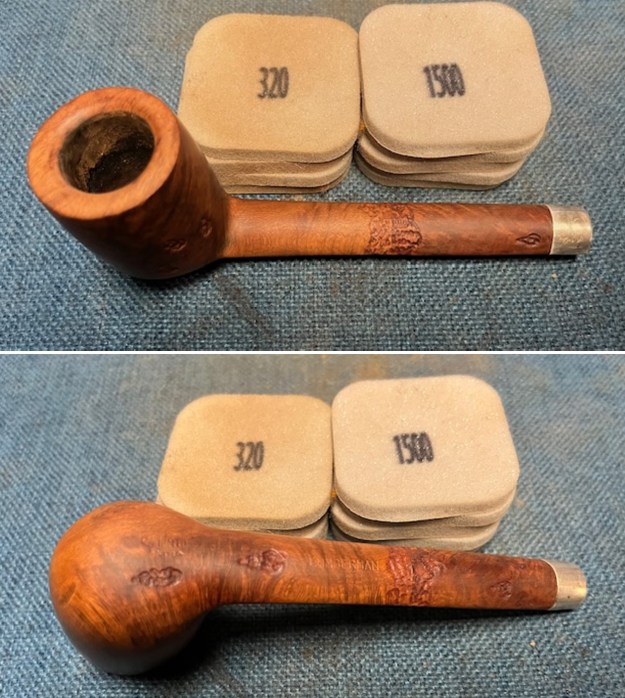
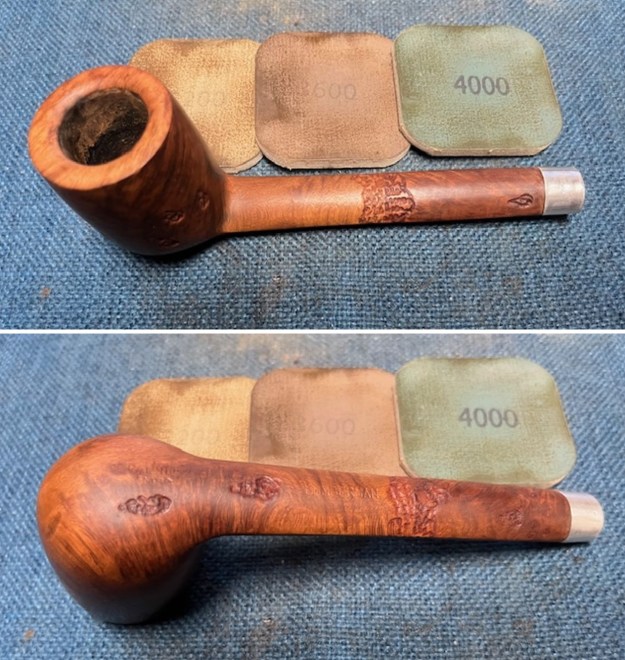
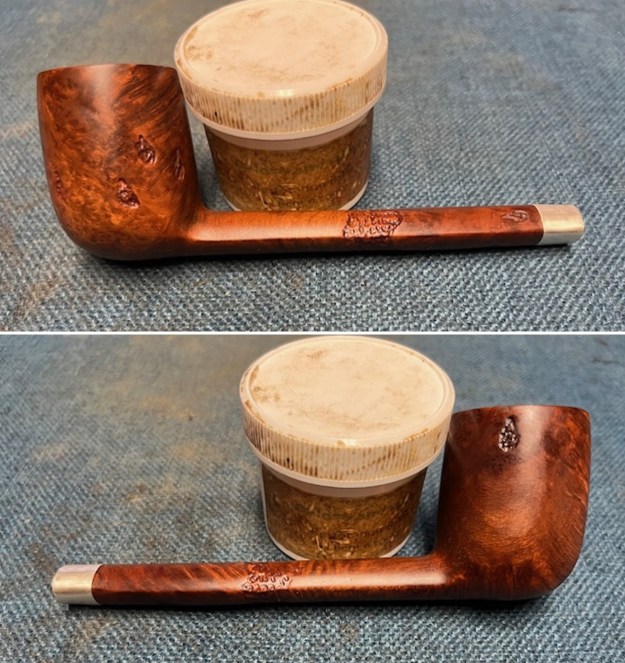
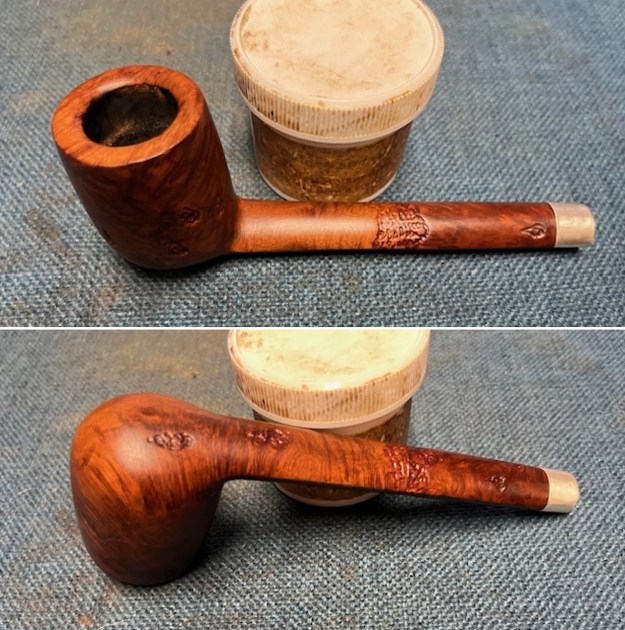
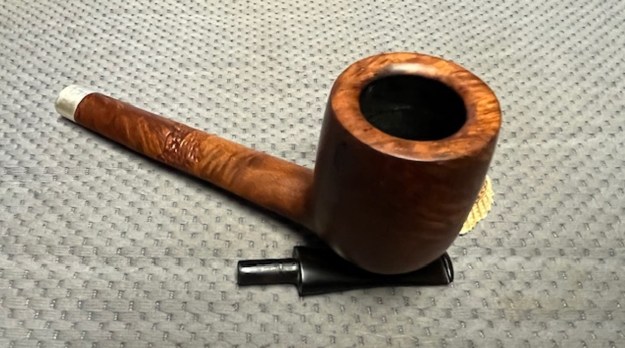
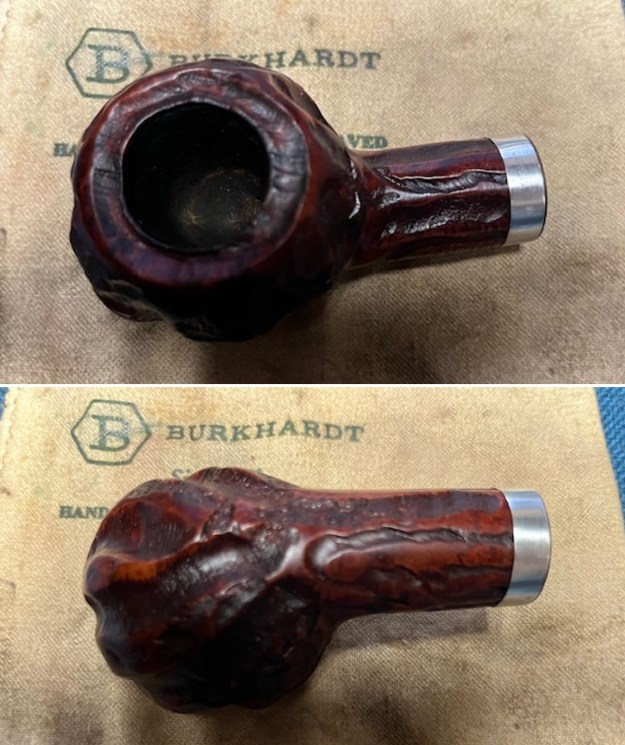
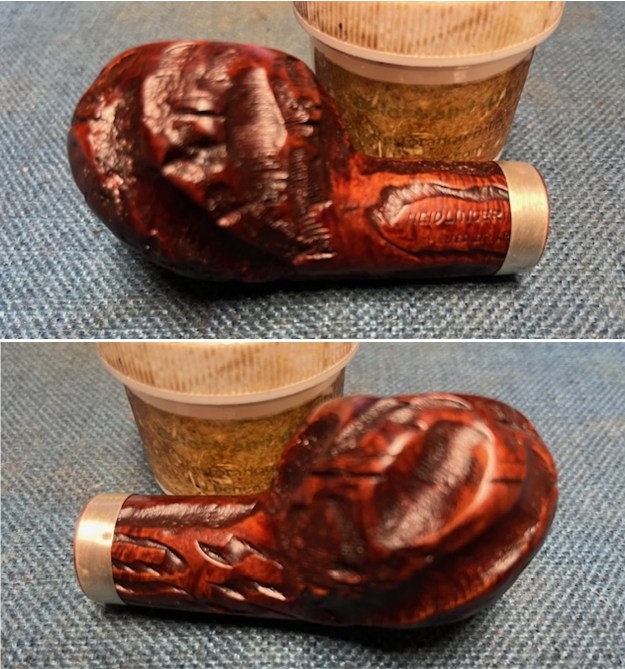
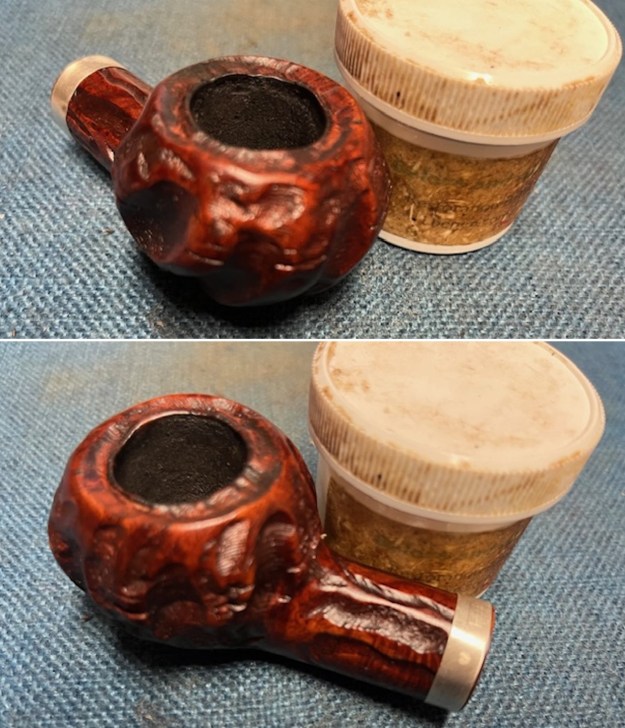
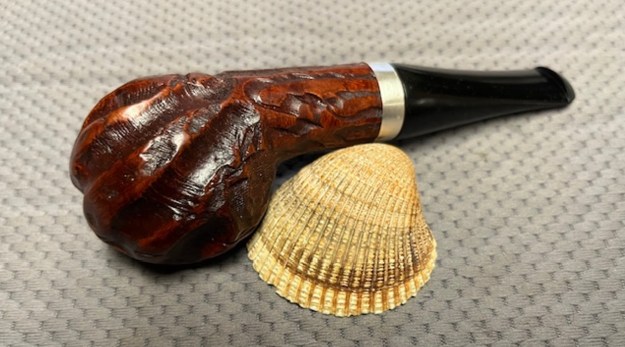
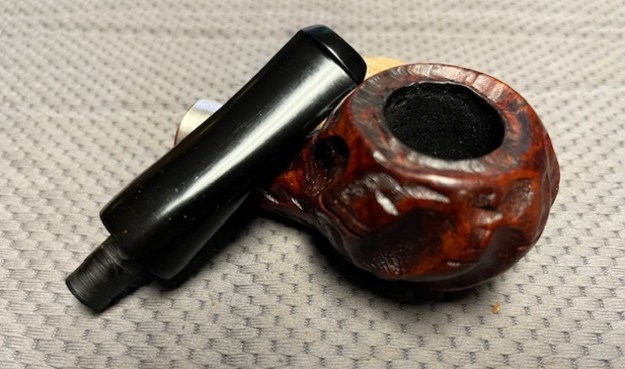
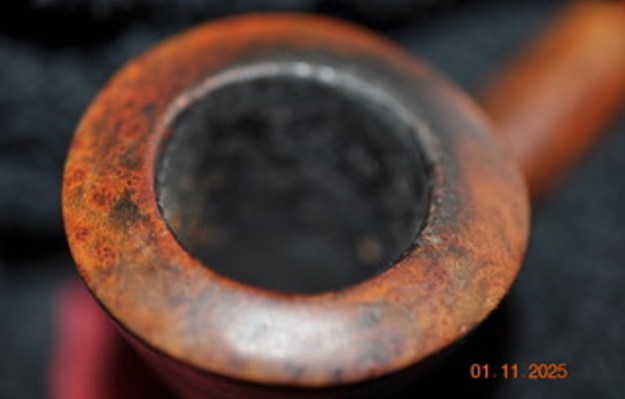
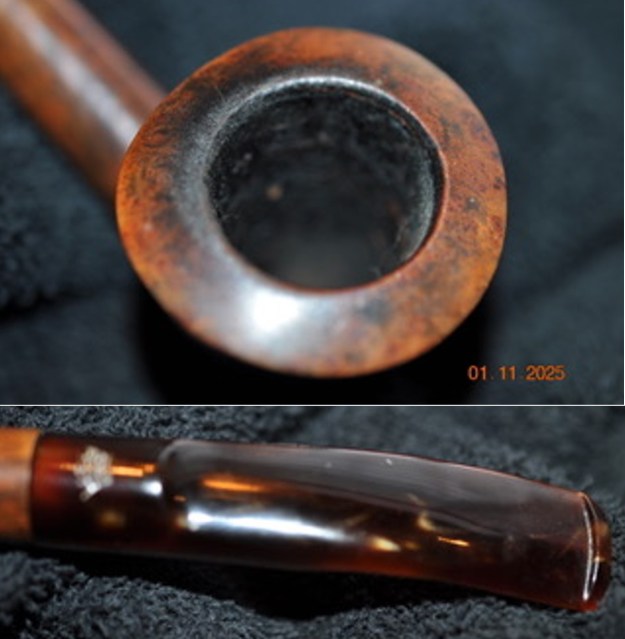
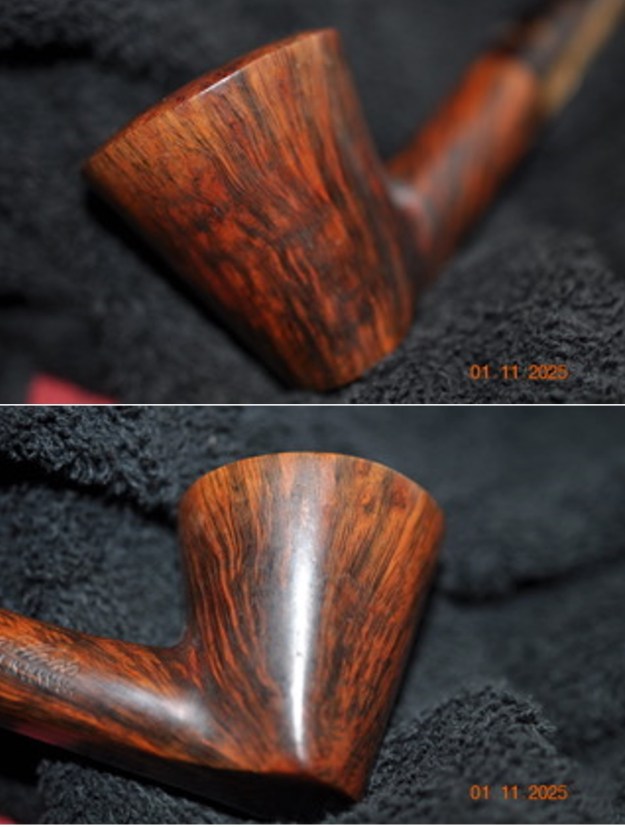
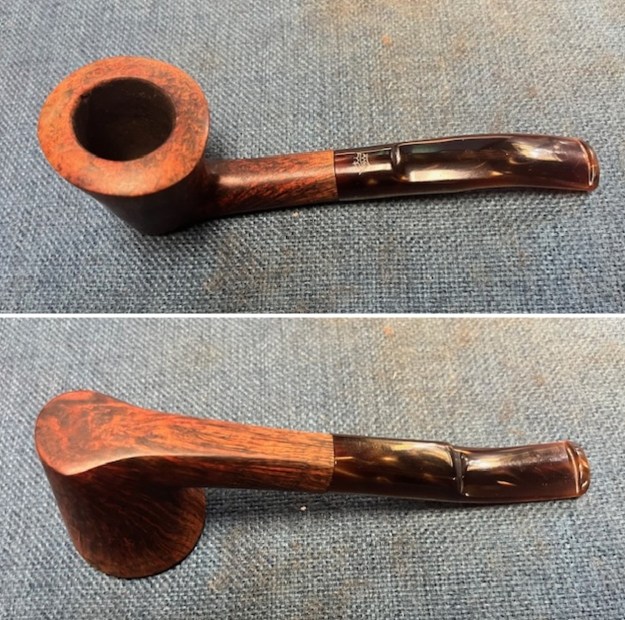
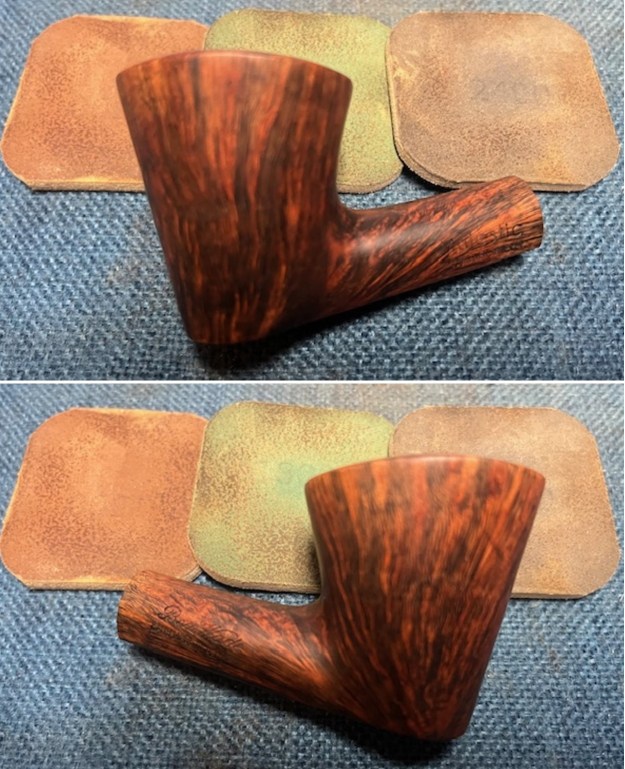
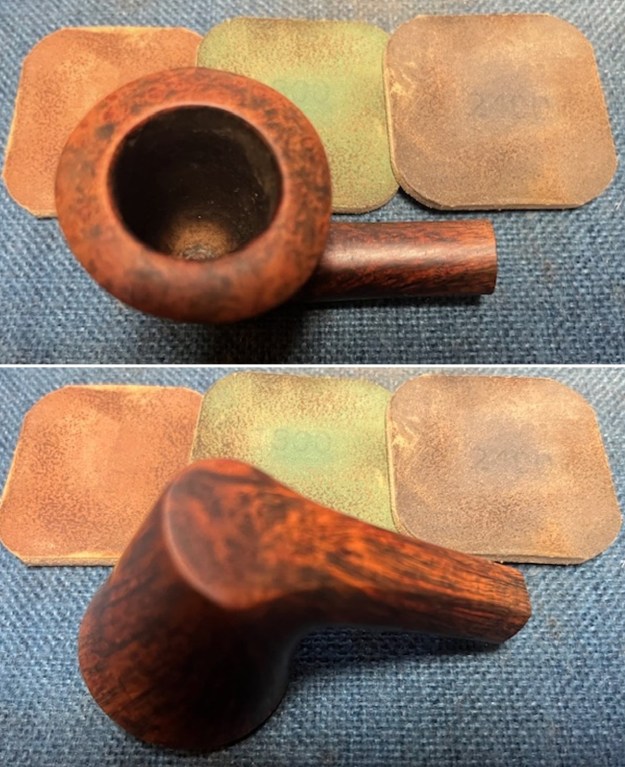
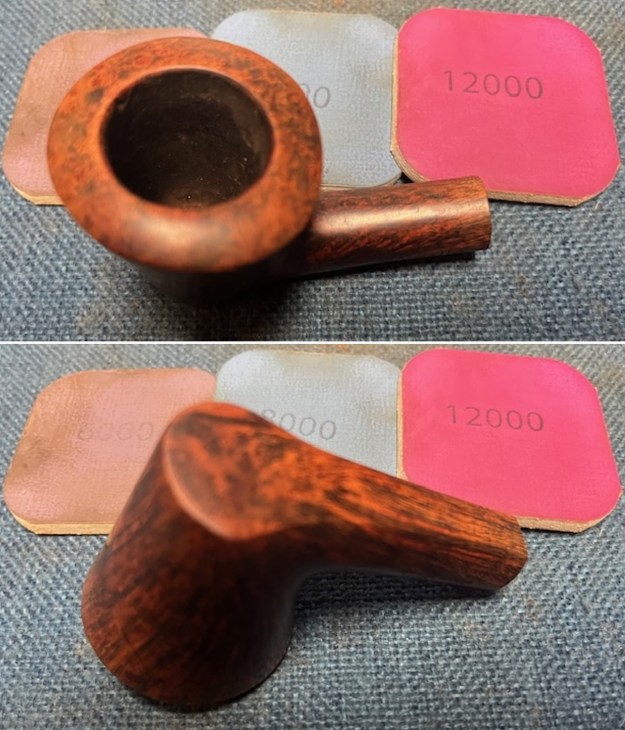
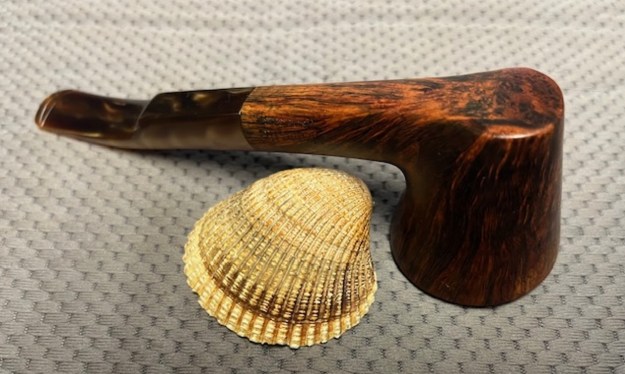
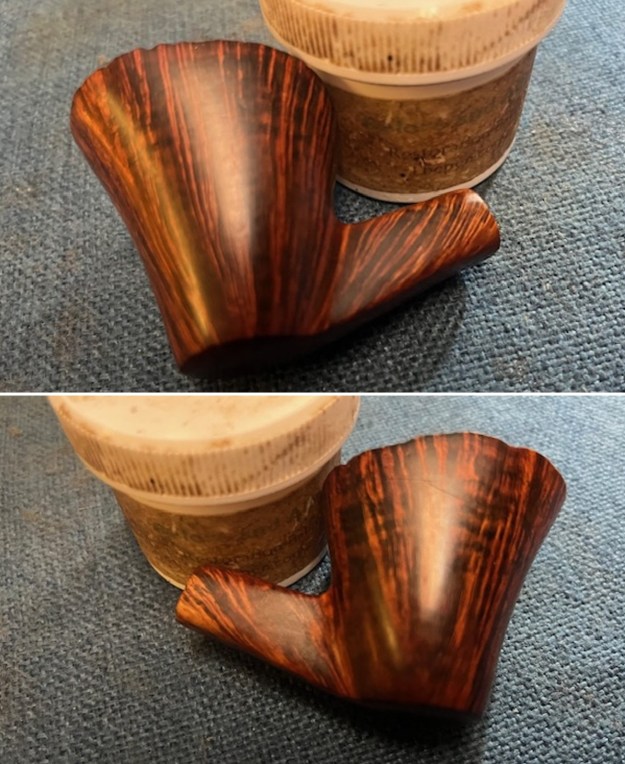
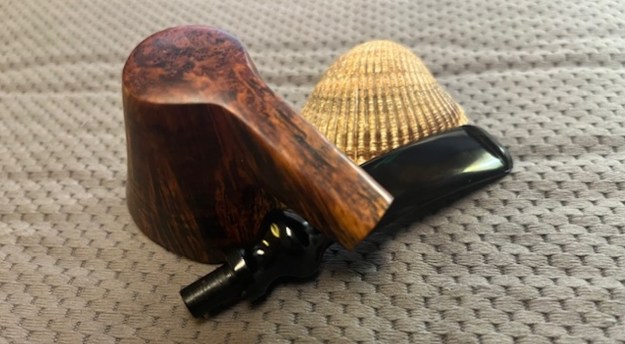
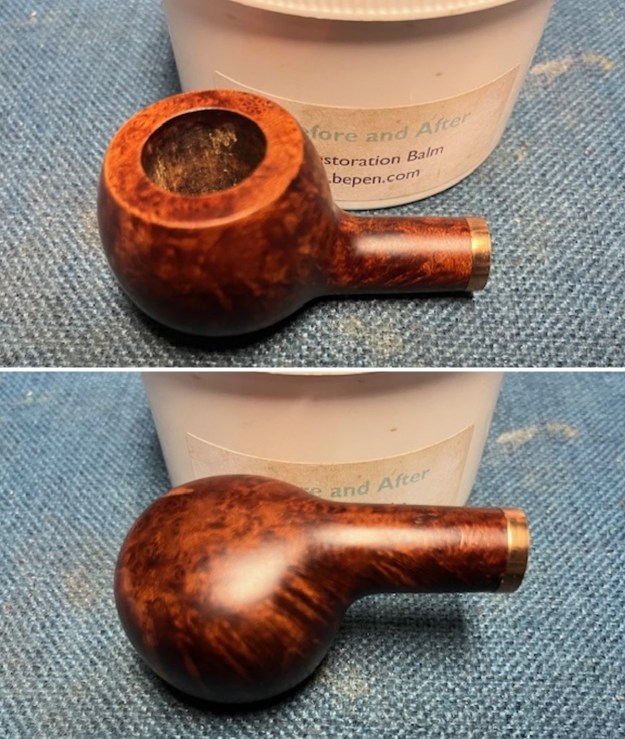
 I worked some Before & After Restoration Balm into the surface of the briar with my fingertips to clean, enliven and protect it. I let the balm sit for a little while and then buffed with a cotton cloth to raise the shine. The photos show the bowl at this point in the restoration process.
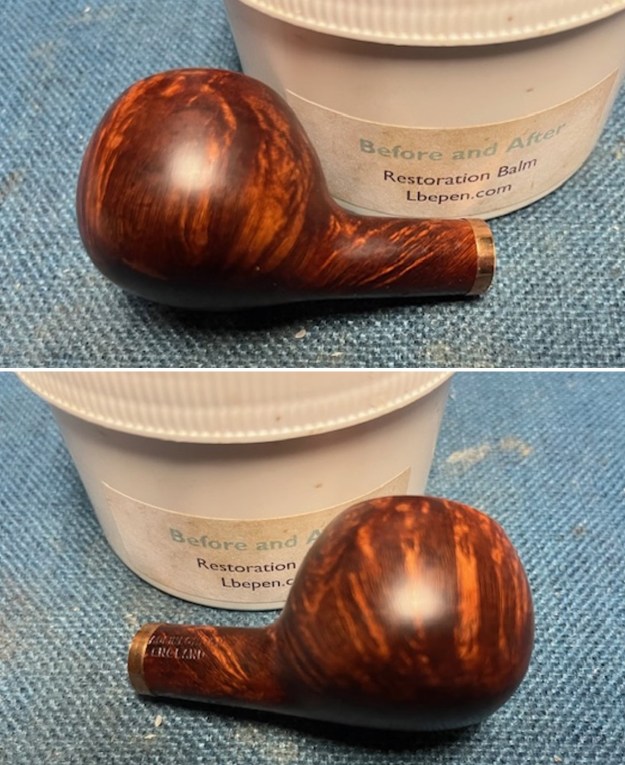
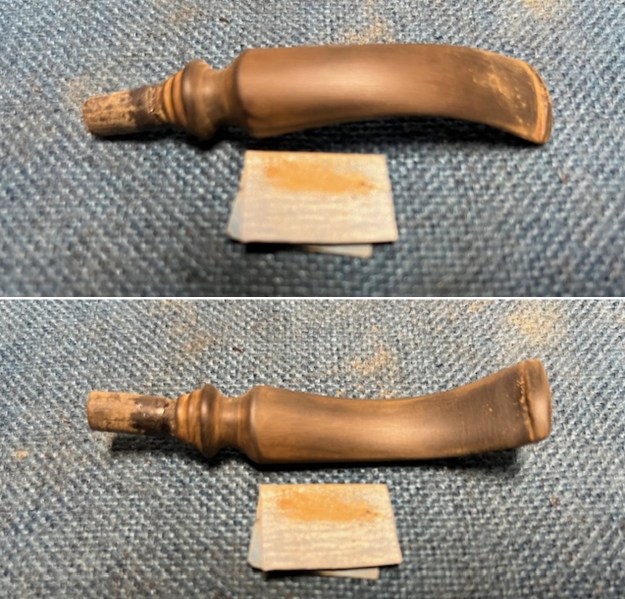
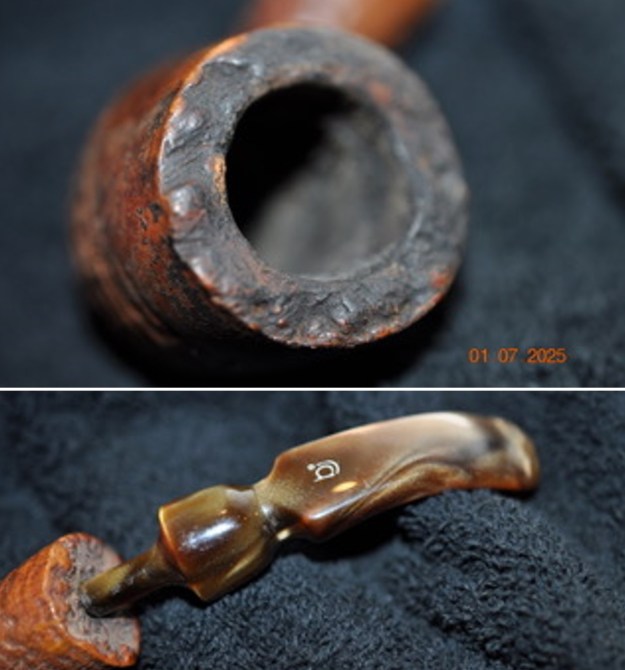
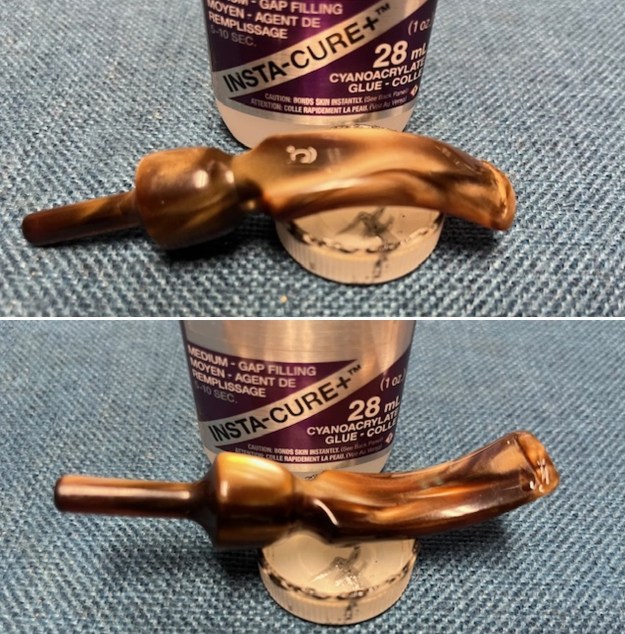
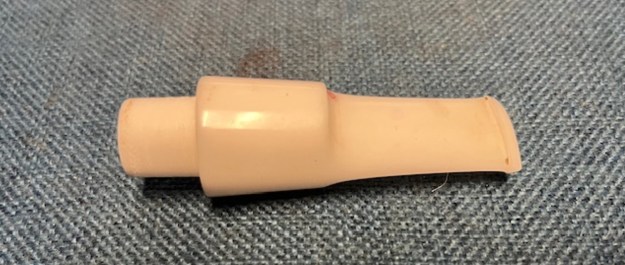
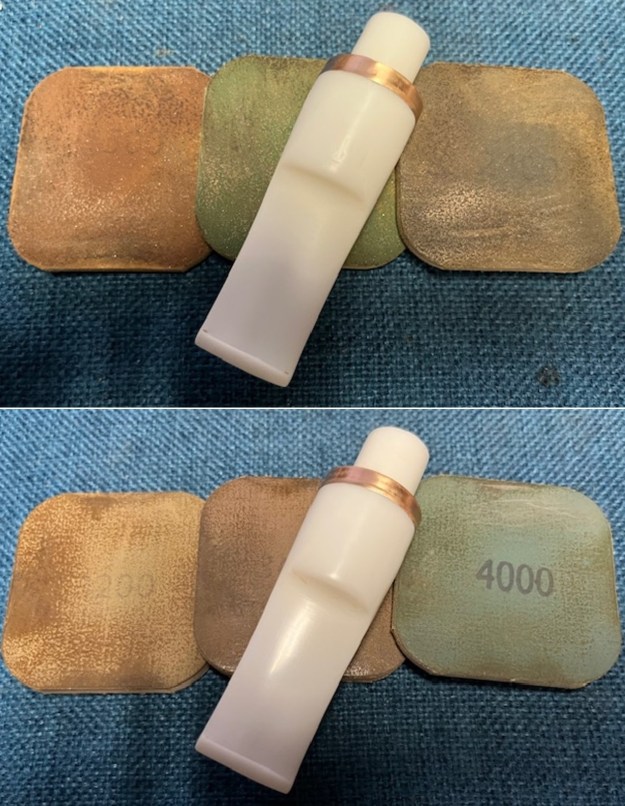
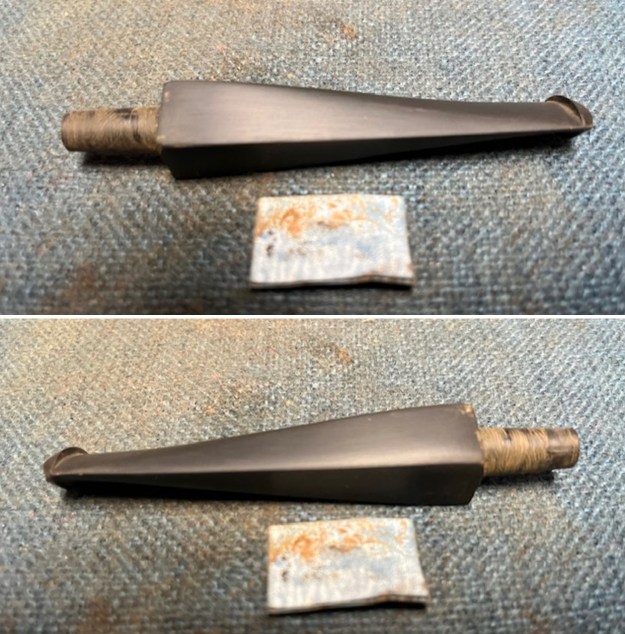
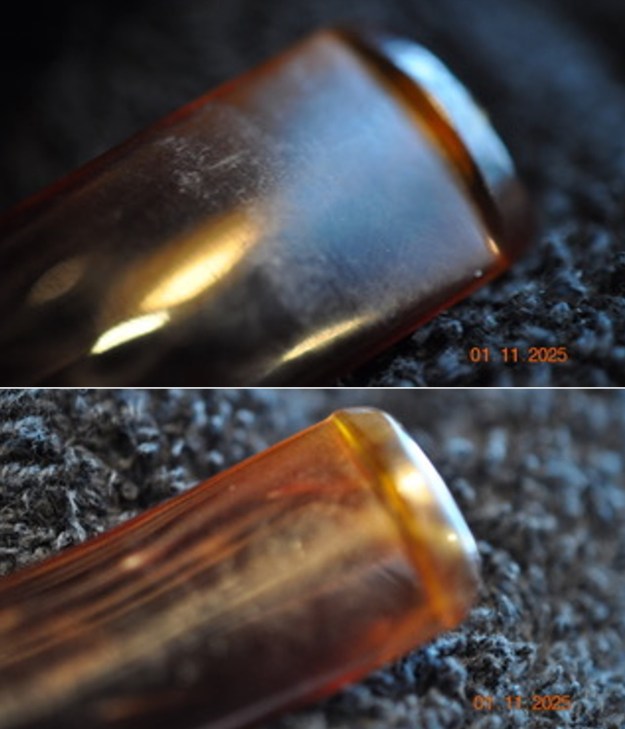
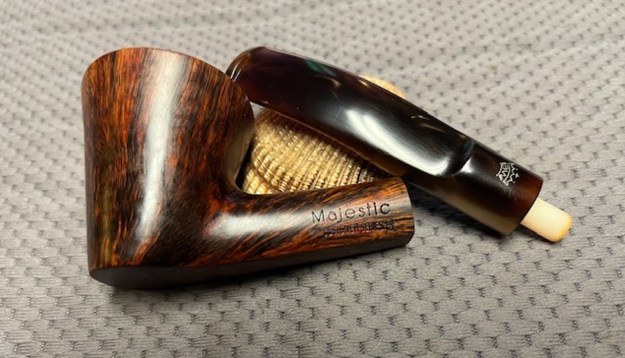
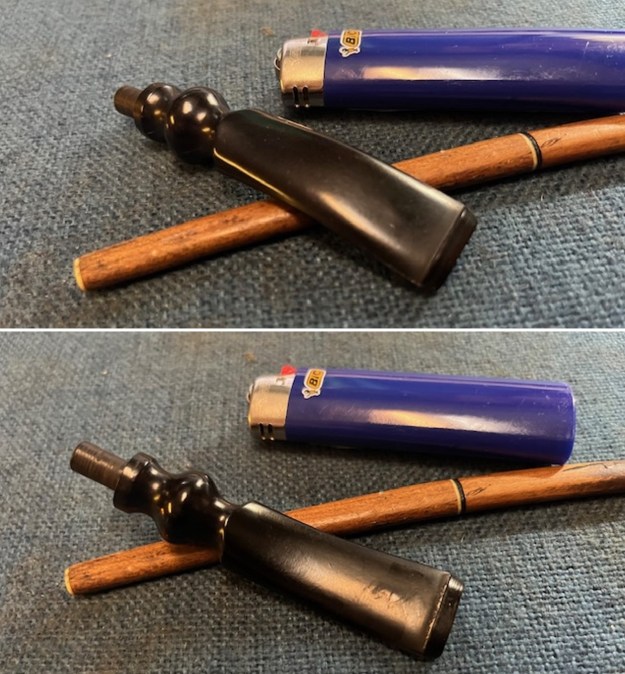
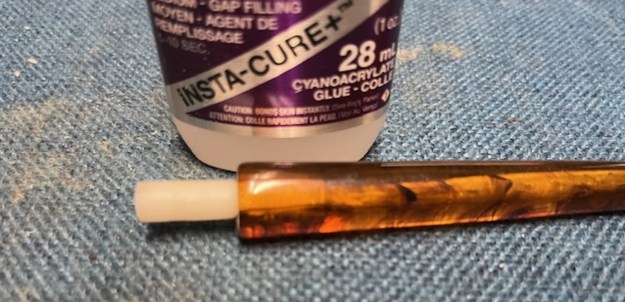
 I turned to the new stem. I went through my can of stems and found a longer amber, acrylic taper stem that would work for the pipe. It had never been used and needed to have a tenon fit in the end that would work in the shank of the pipe. I decided to use a white Delrin tenon as it would be less visible in the stem.
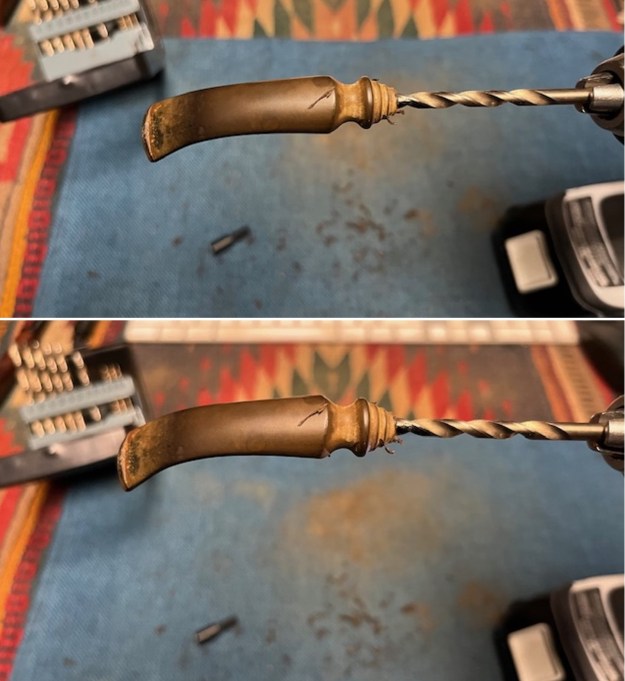
 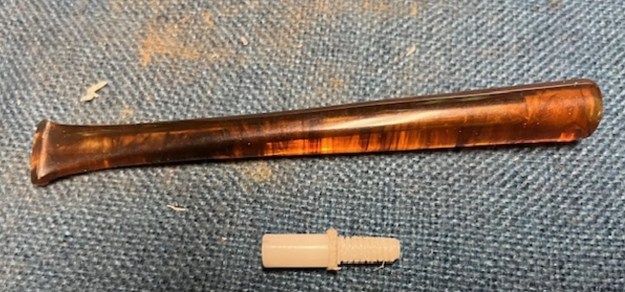 I drilled the end of the stem with a drill bit on my cordless drill to fit the end of the tenon.
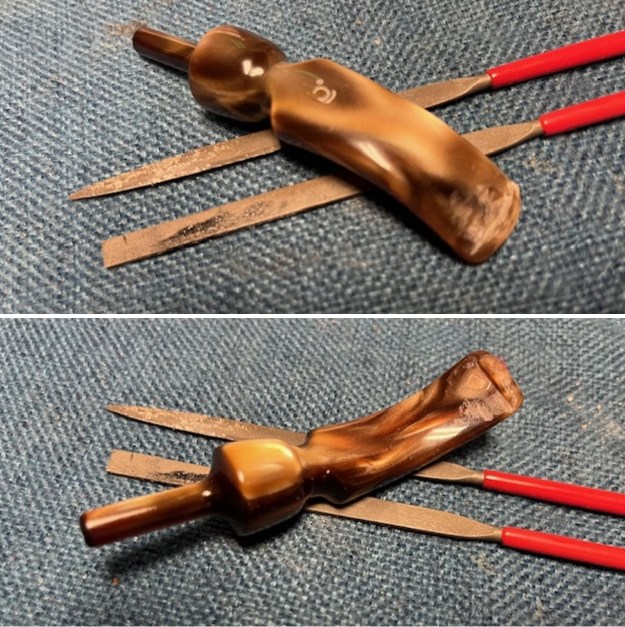
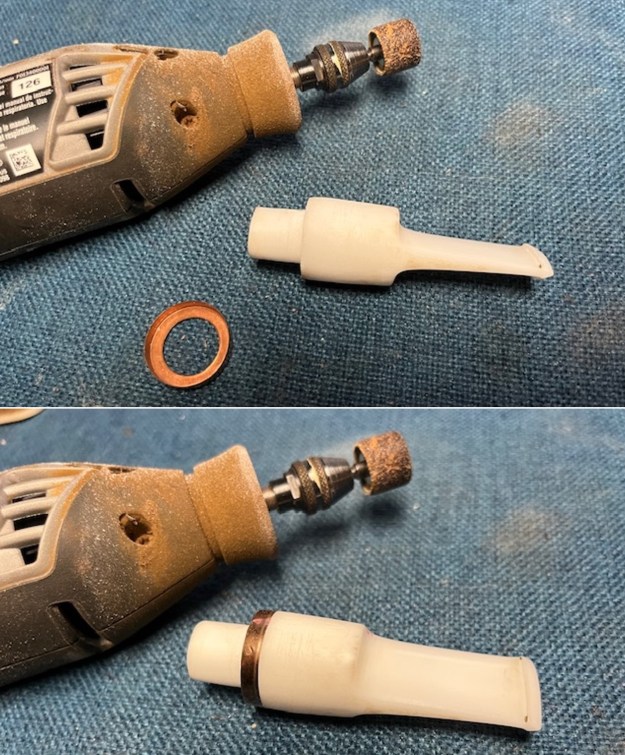
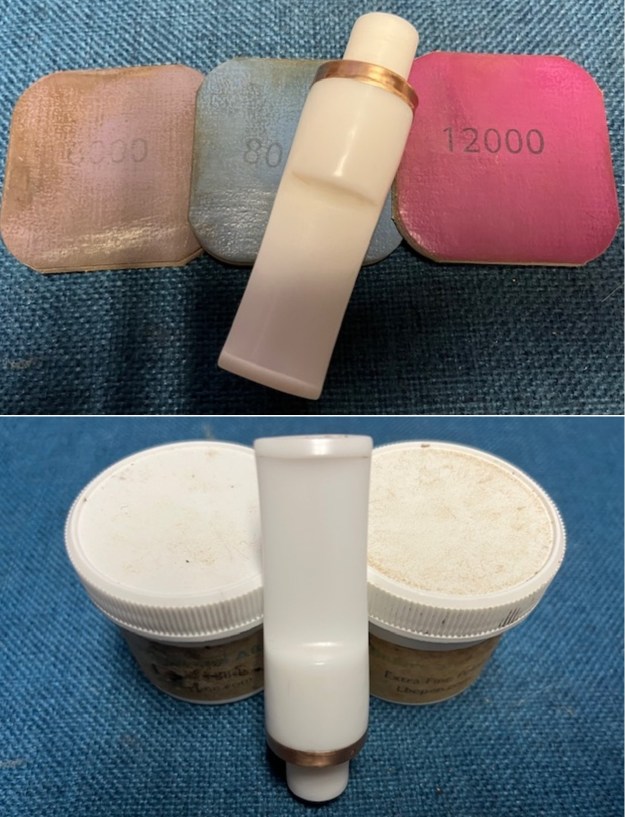
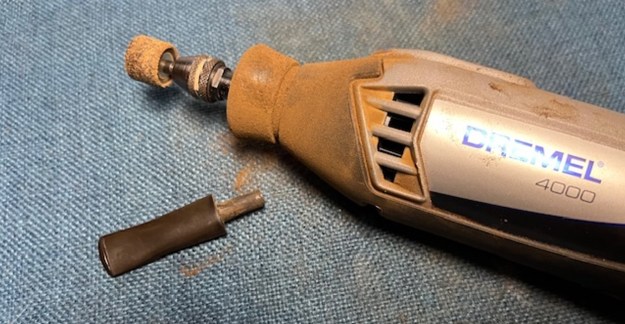
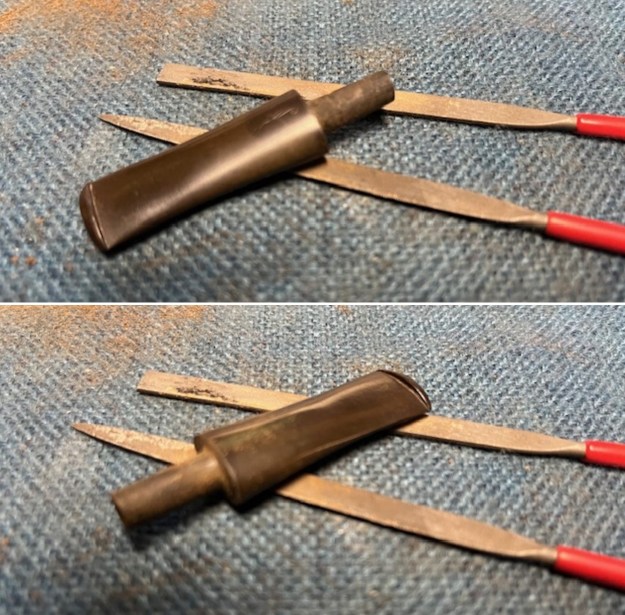
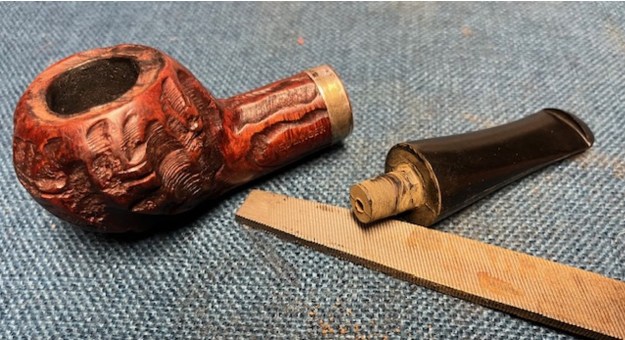
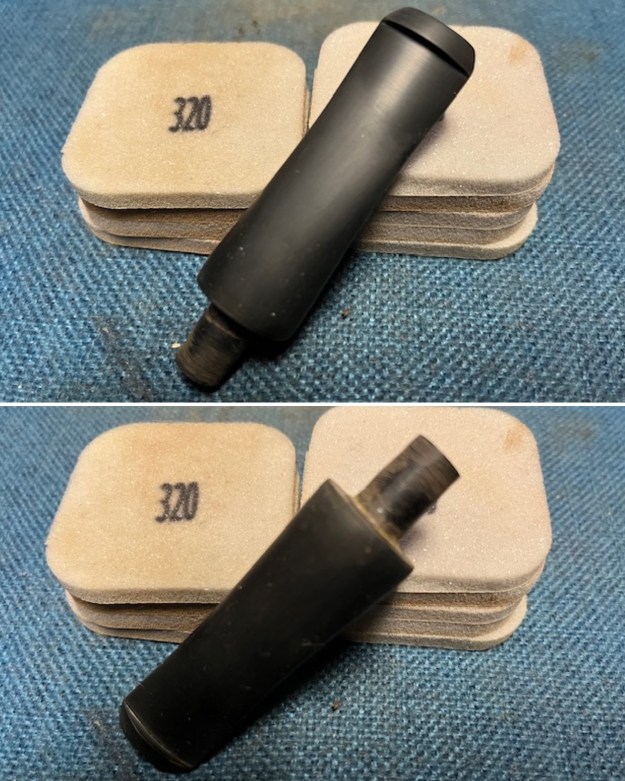
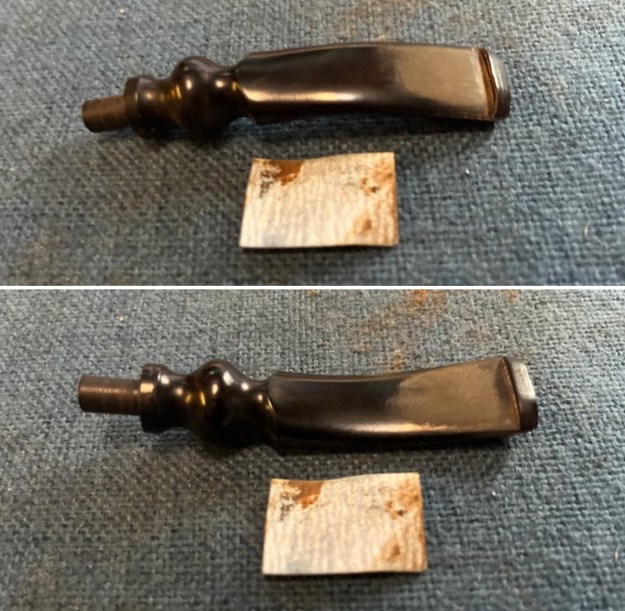
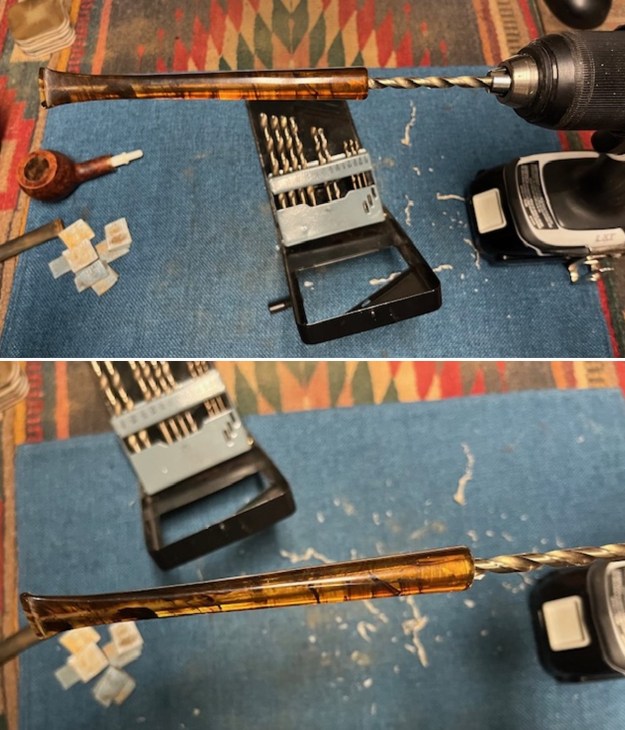 I reduced the diameter of the tenon slightly with a Dremel and sanding drum so that it would fit snugly in the shank of the pipe. I cleaned up the tenon with a flat file. I glued the tenon in the stem with clear CA glue and set it aside to cure.
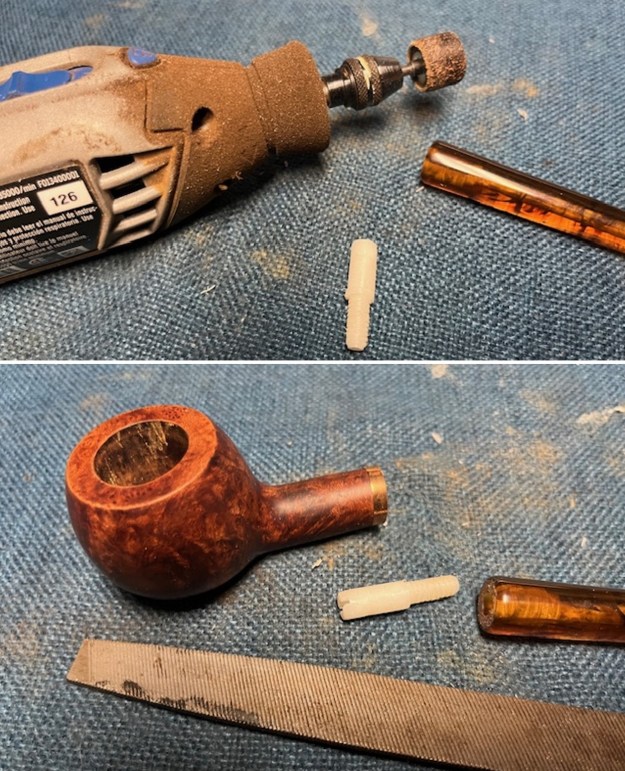
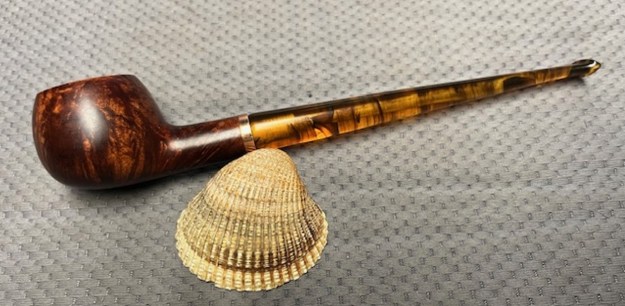
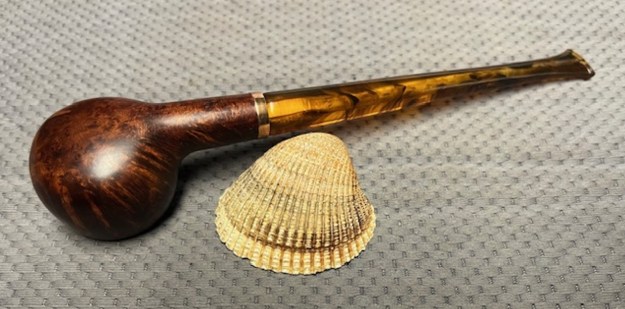
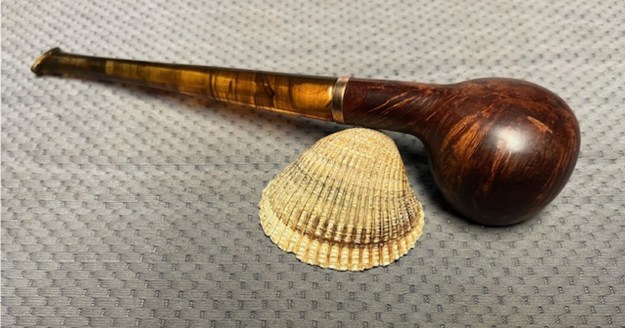
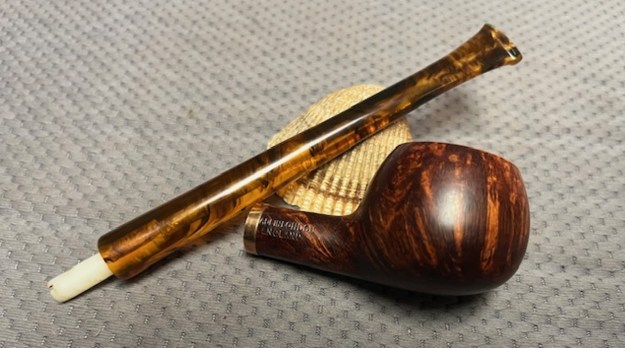
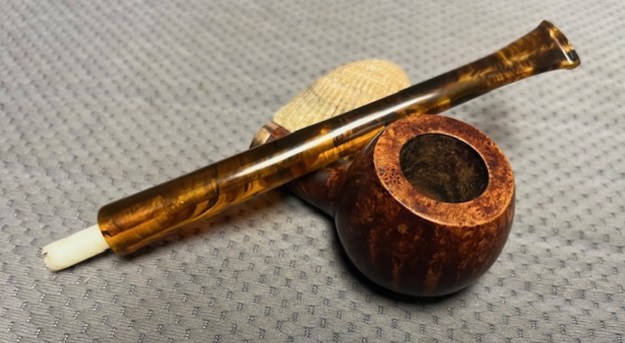
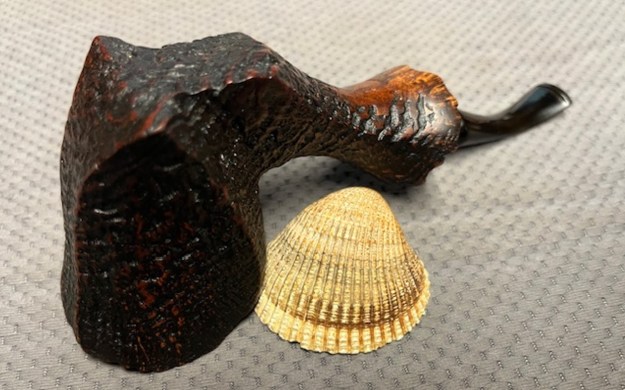
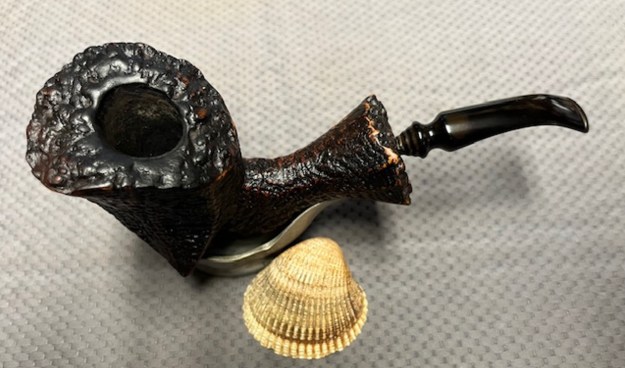
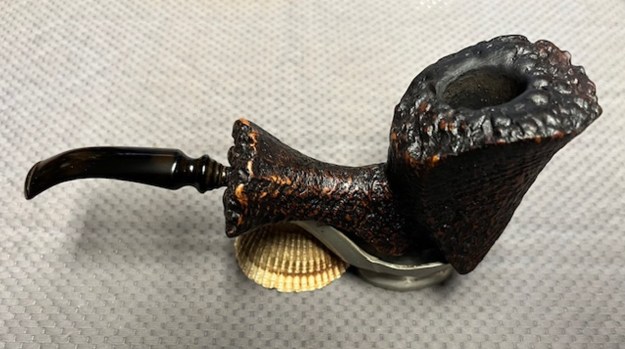
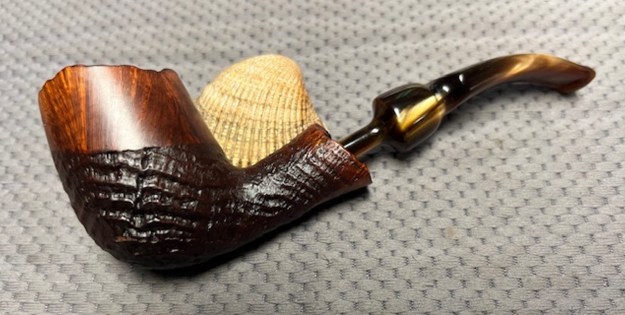
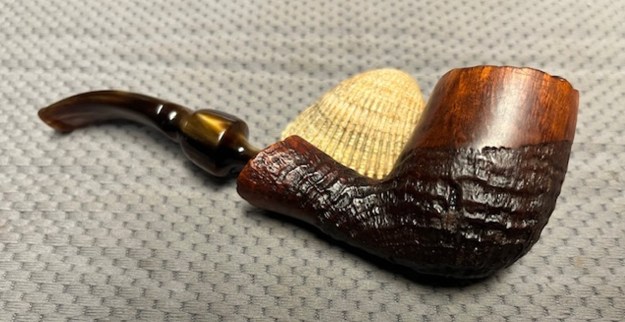
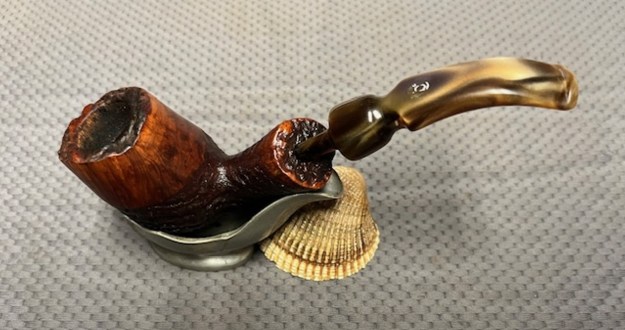
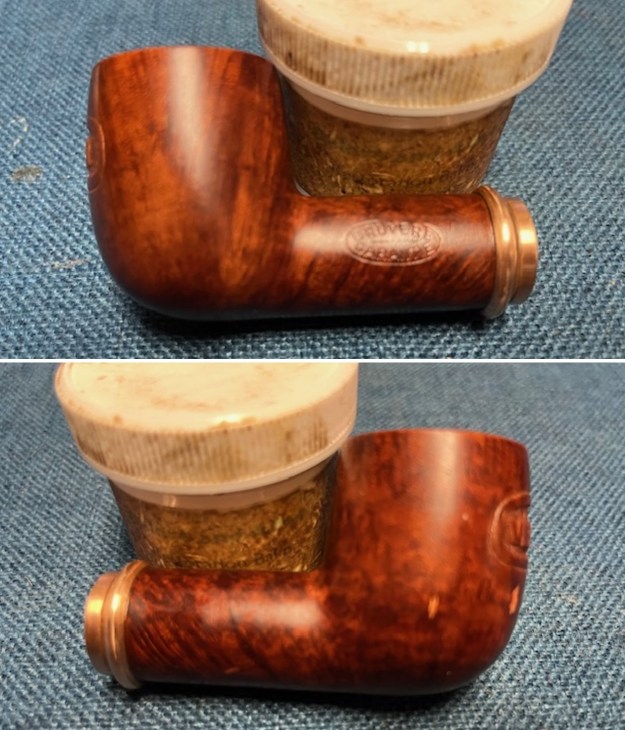
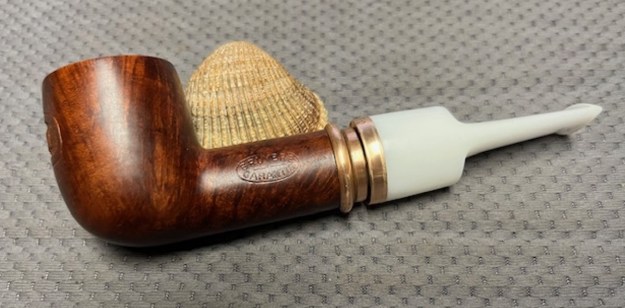
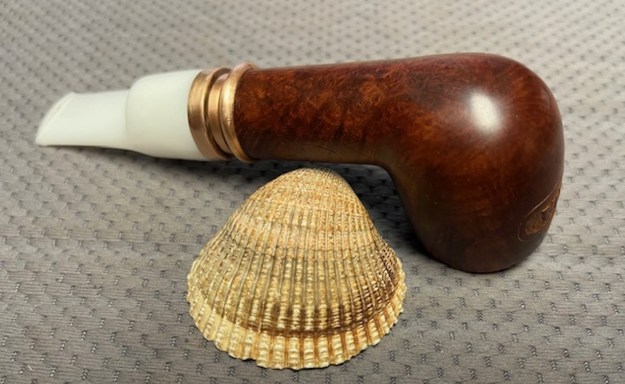
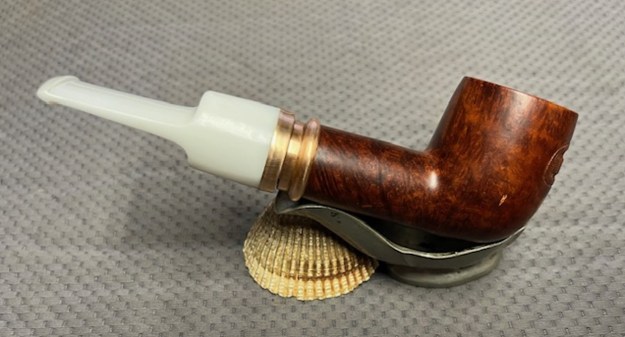
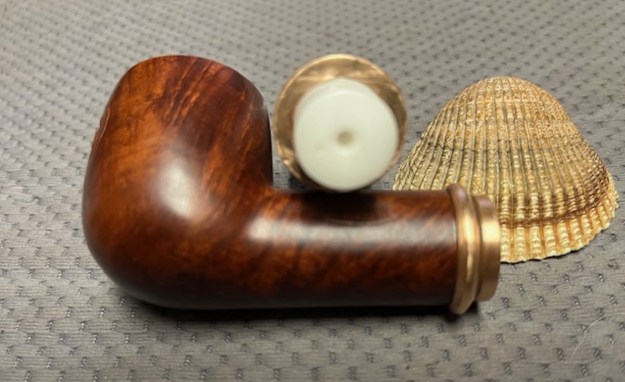
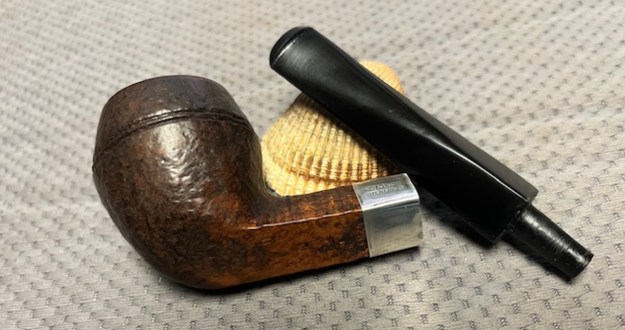
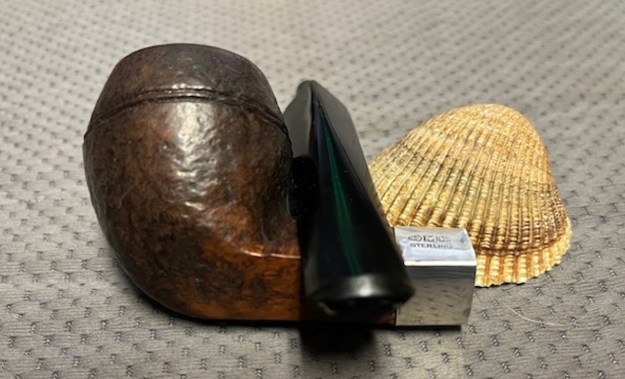
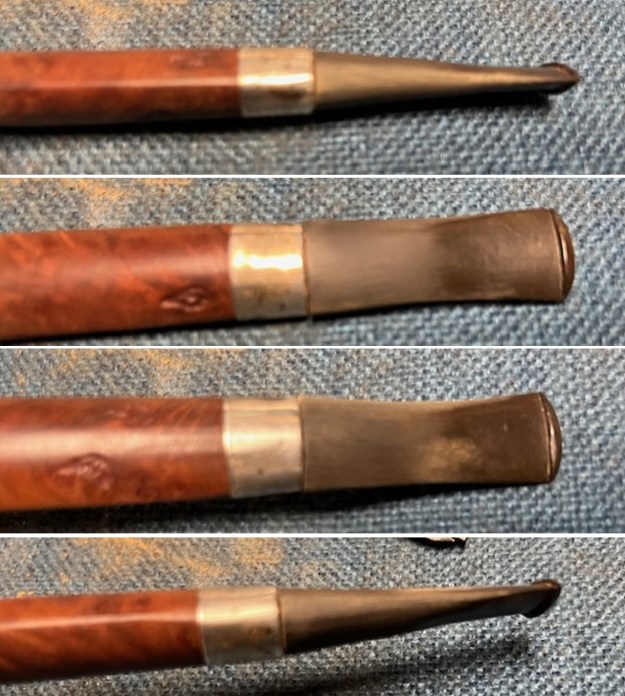
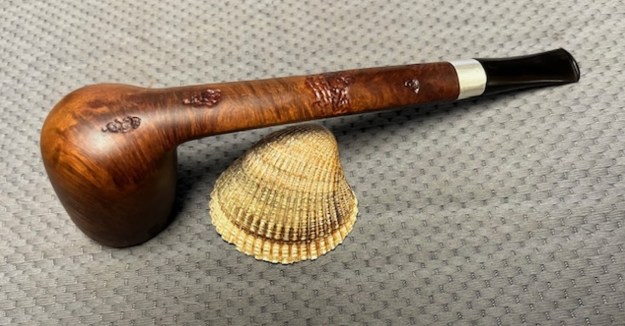
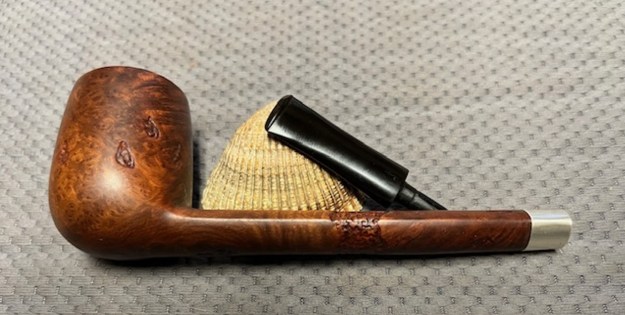
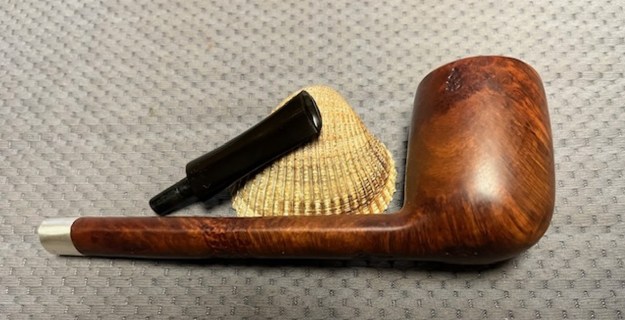
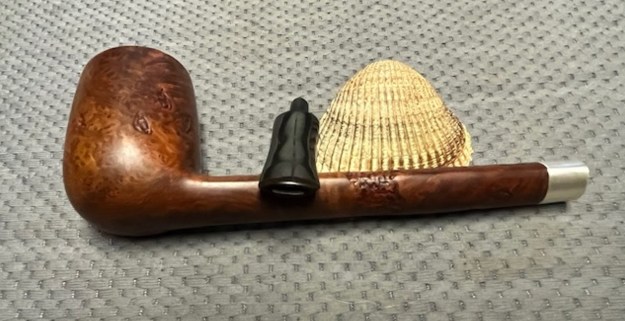
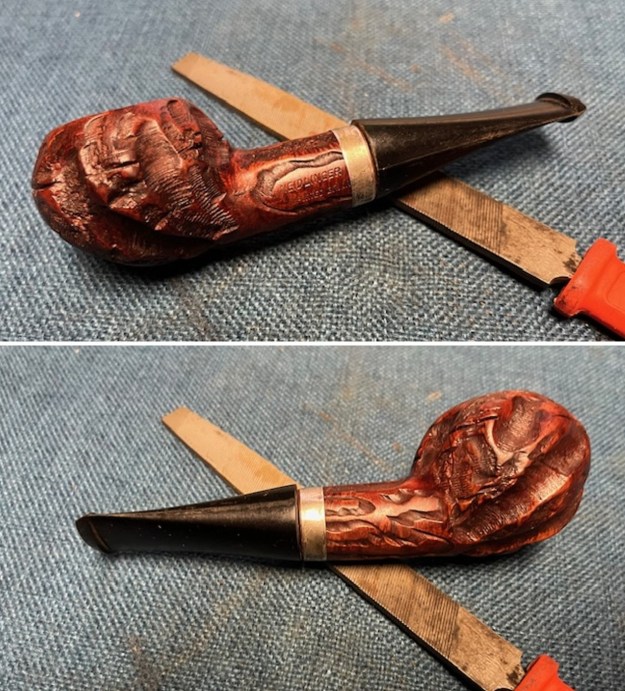
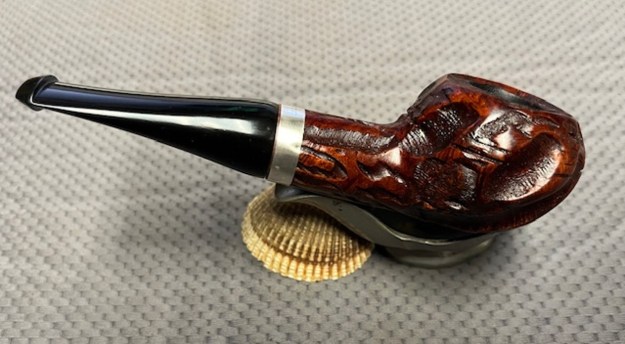
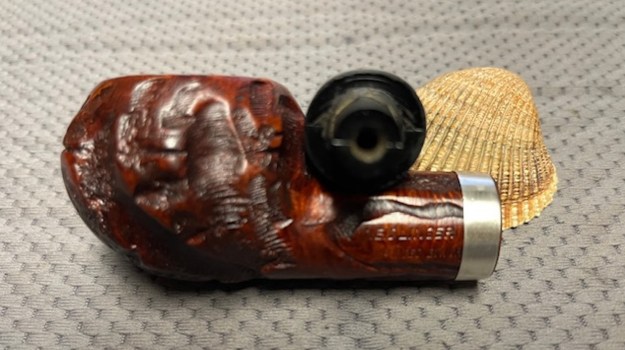
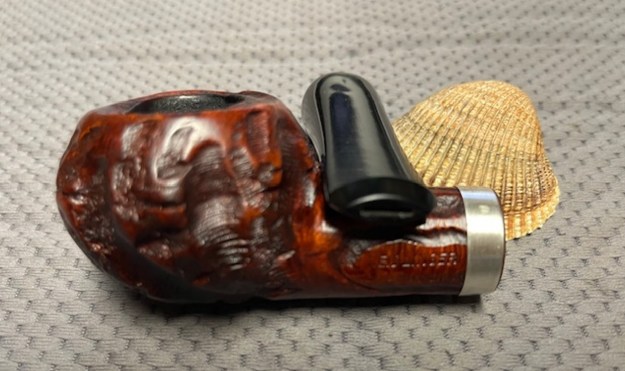
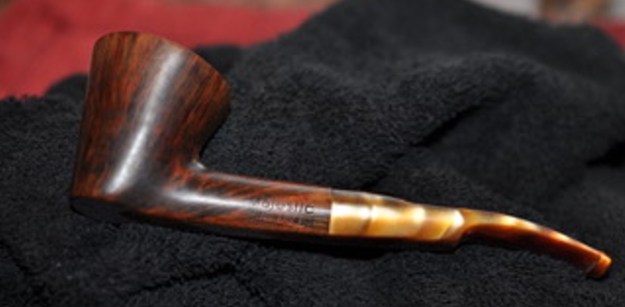
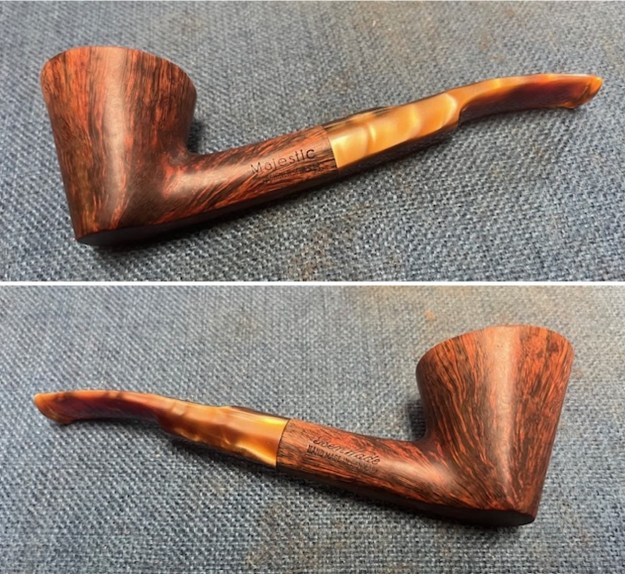
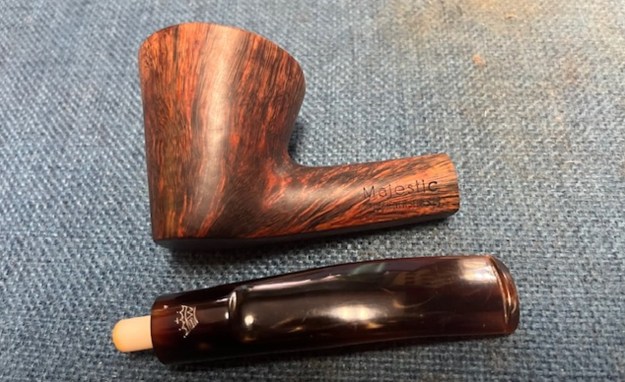
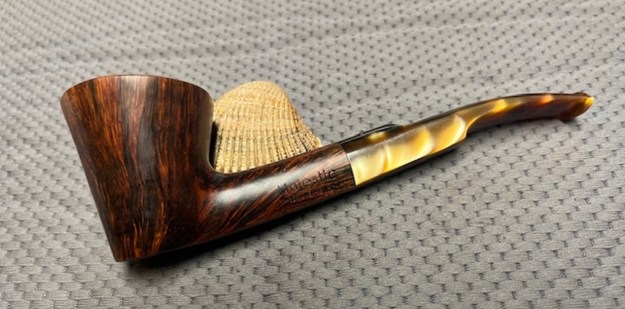
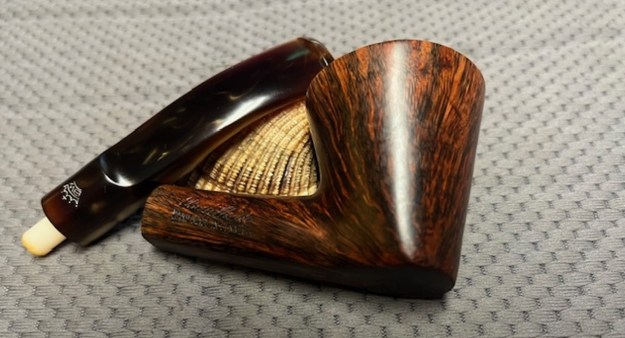
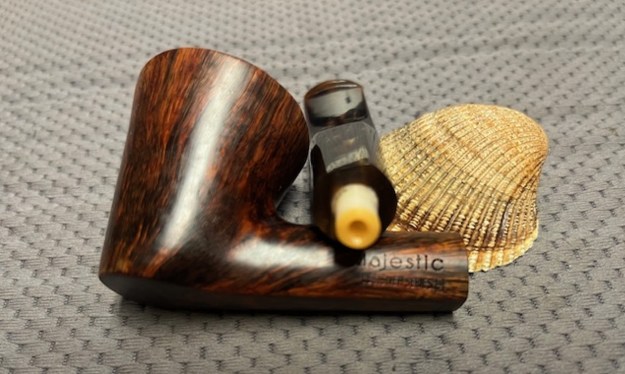
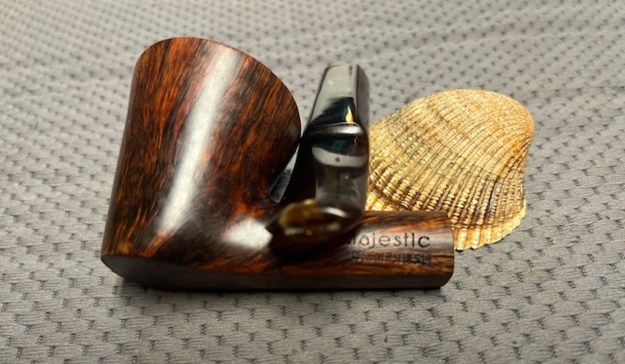
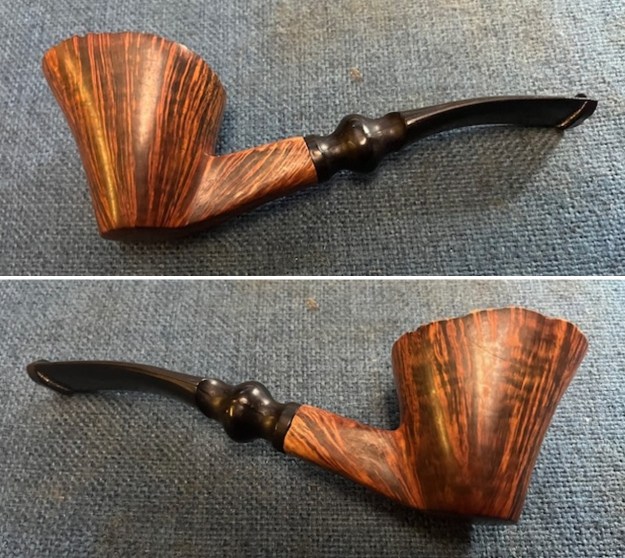
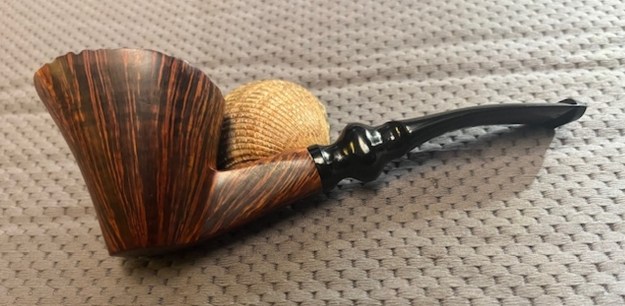
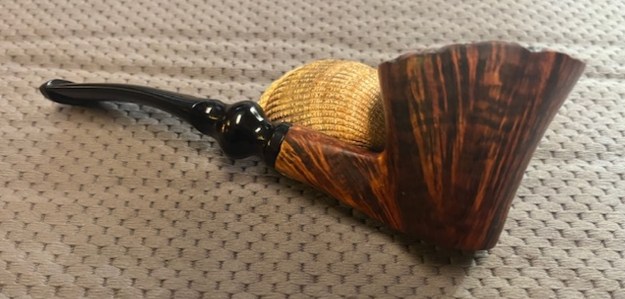
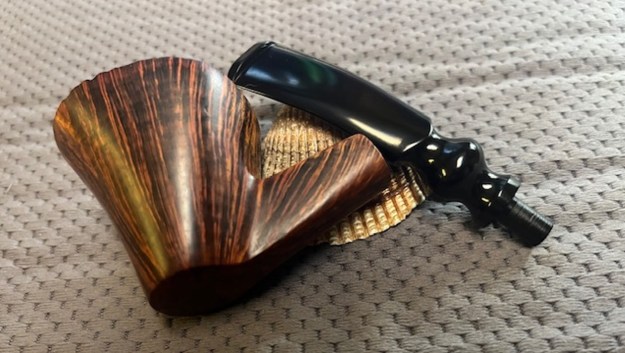
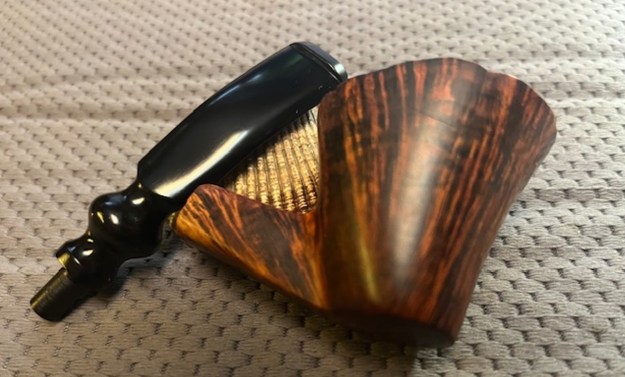
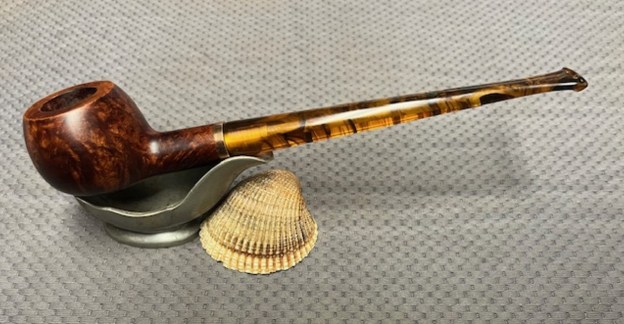
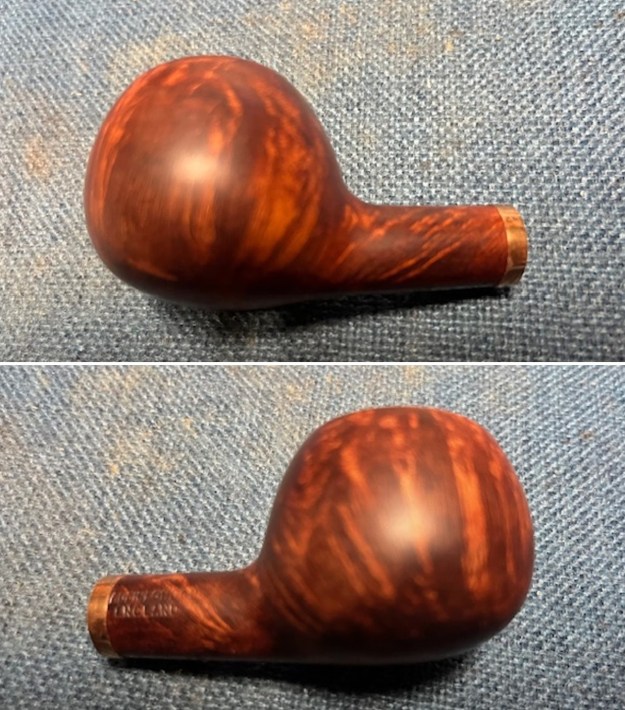
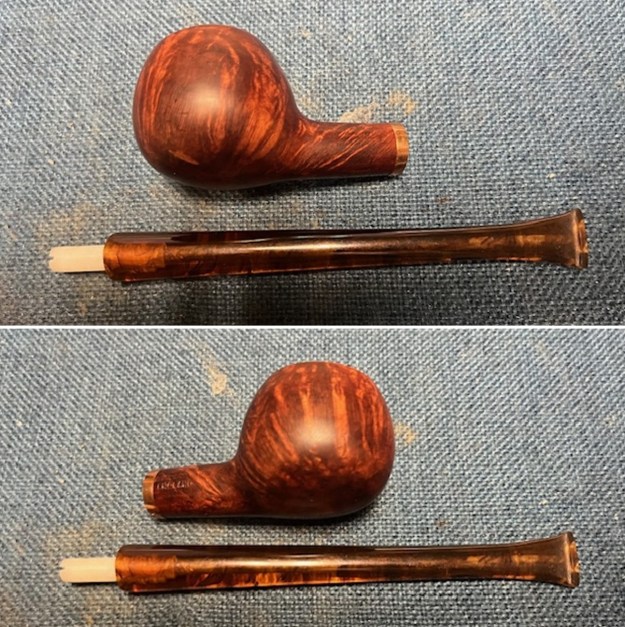
 Once the tenon cured in place on the stem I fit it on the shank and took some photos of the new look. I took the stem off the shank and took photos of the look of the pipe and its proportions. It looks good with the brass band and the new amber acrylic stem.
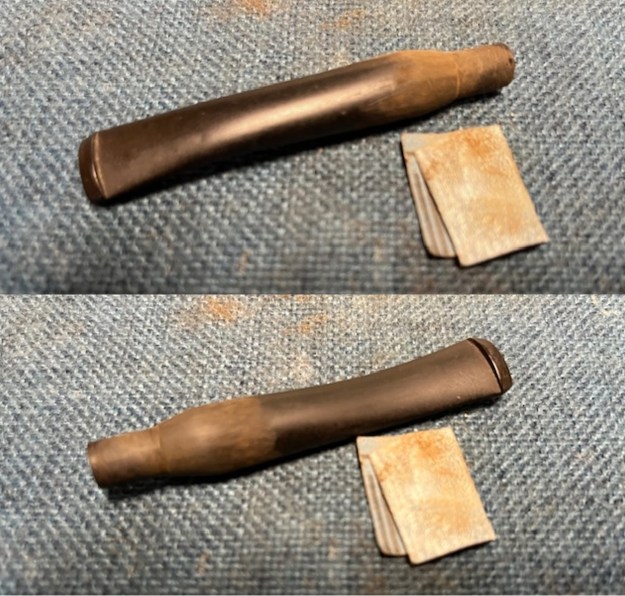
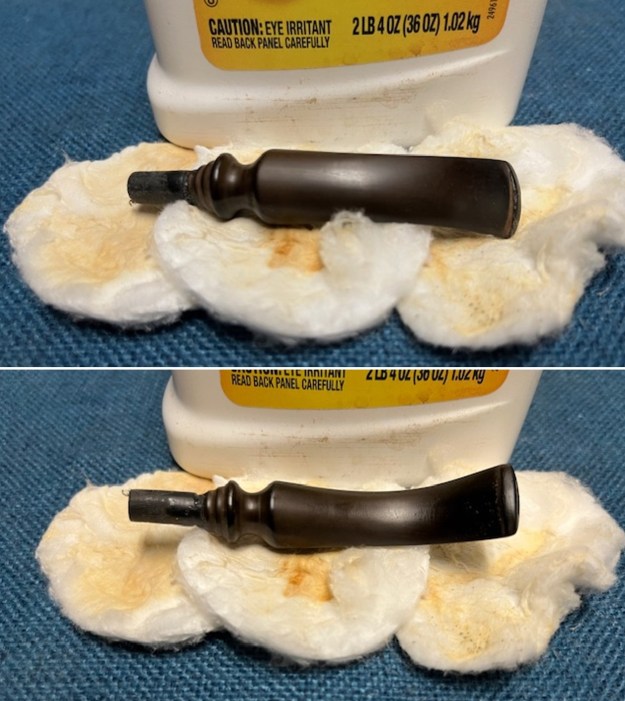
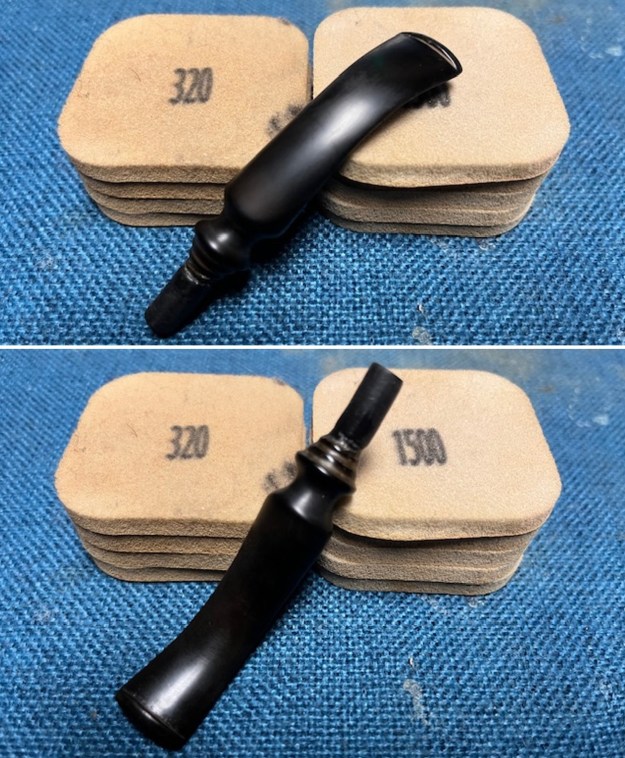
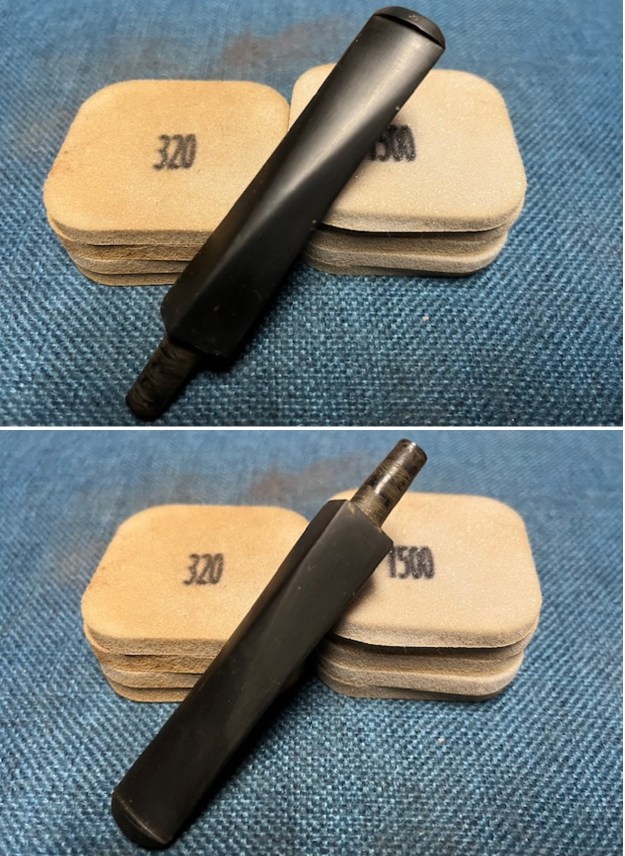
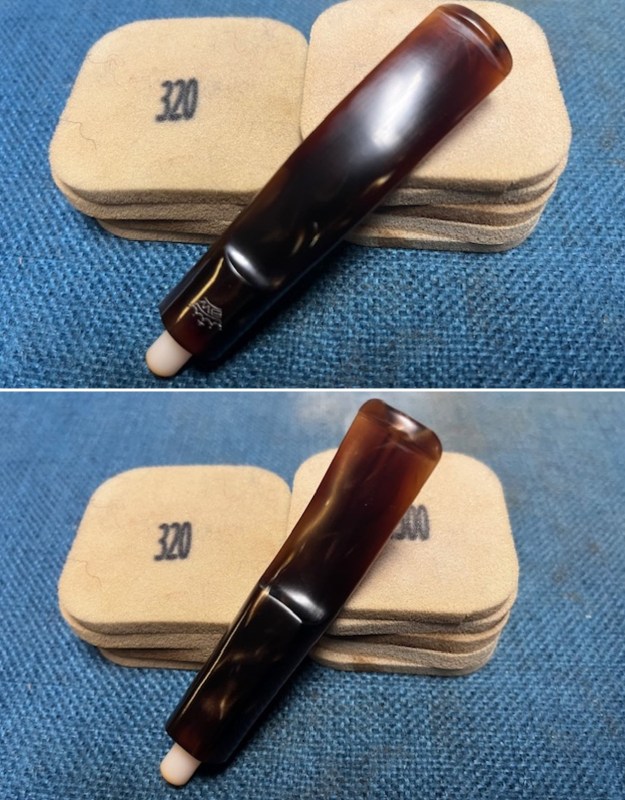
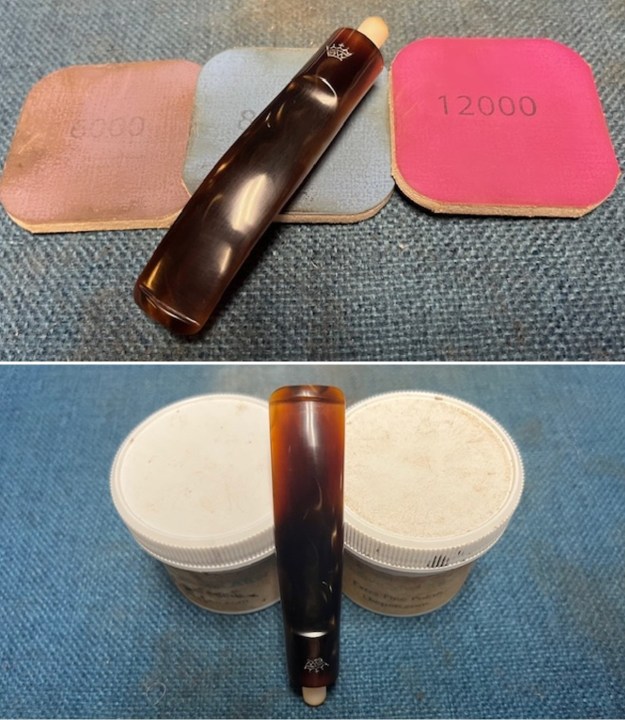
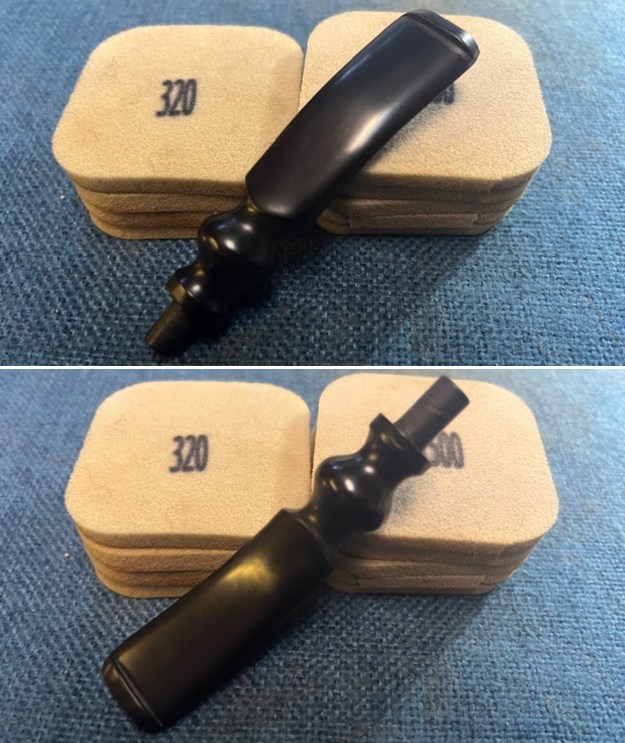
 I sanded out the scratching on the stem with 320-3500 grit 2×2 inch sanding pads. I wiped the briar down after each pad with a damp cloth to remove the sanding dust and debris. I wiped it down with an Obsidian Oil cloth. It began to look very good.
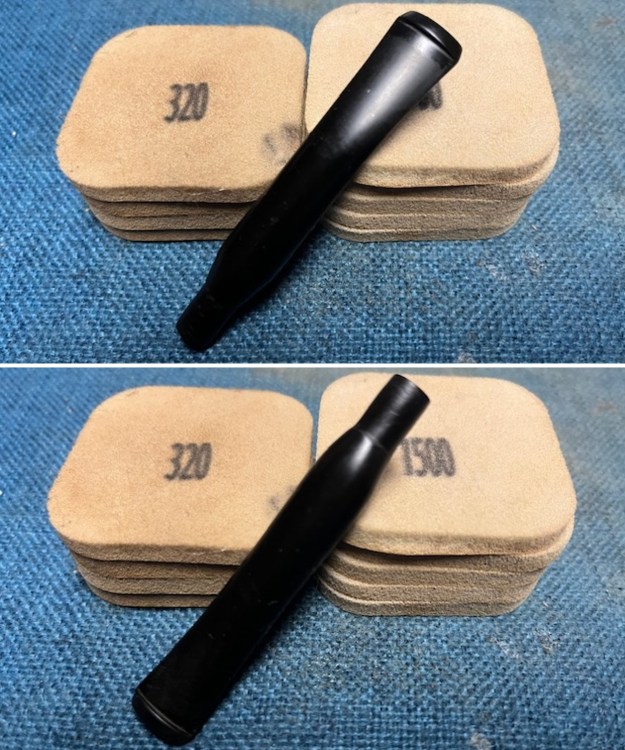
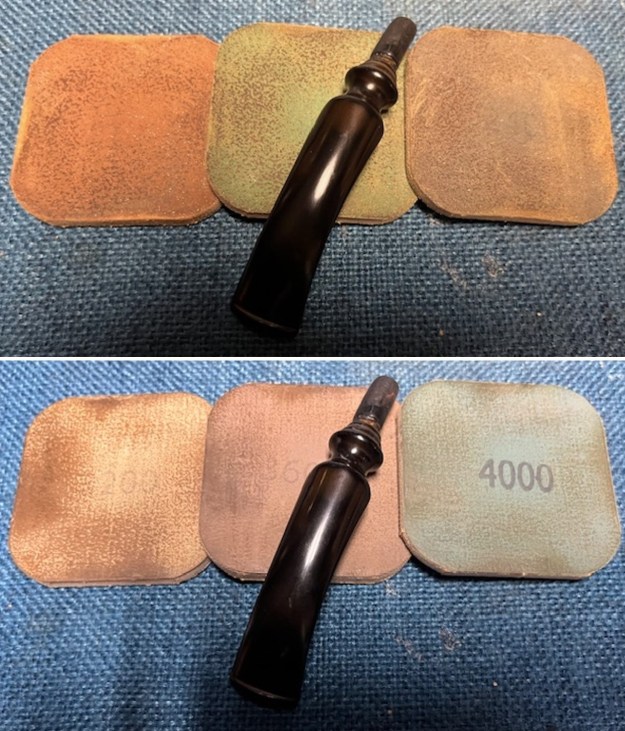
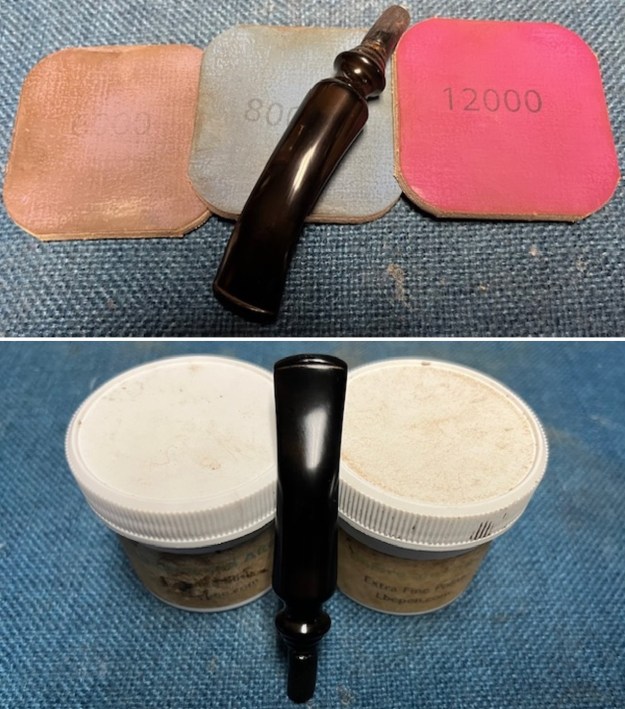
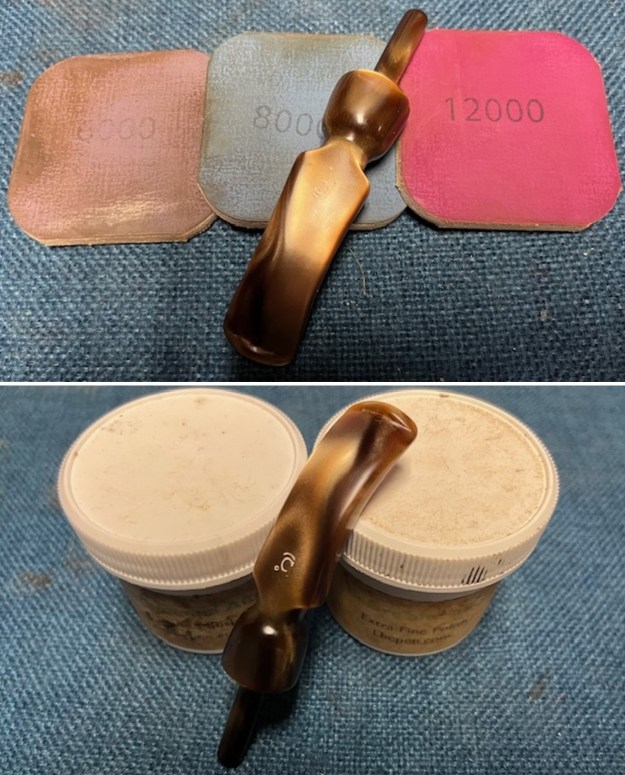
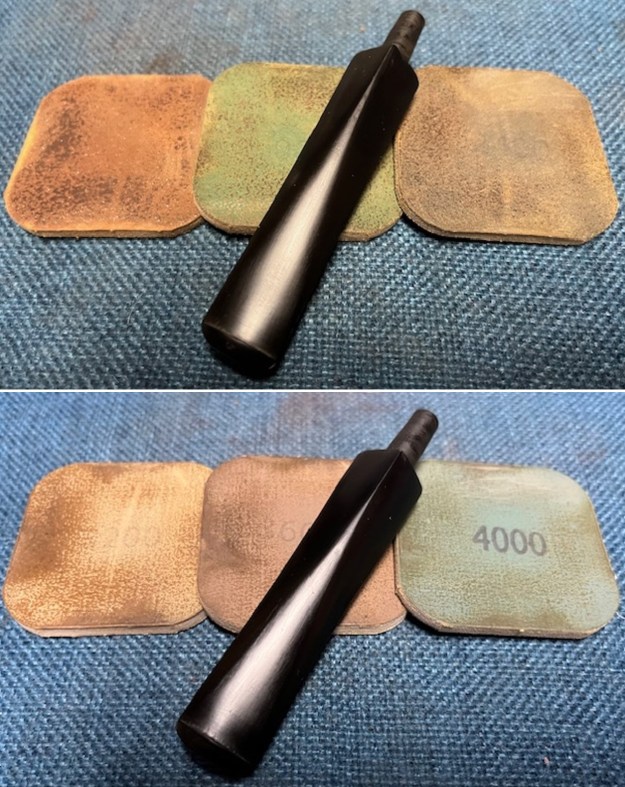
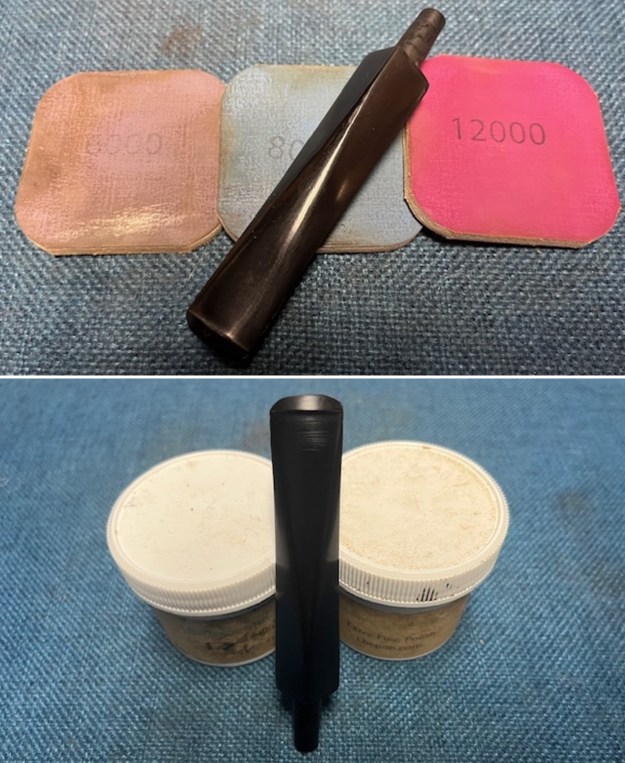
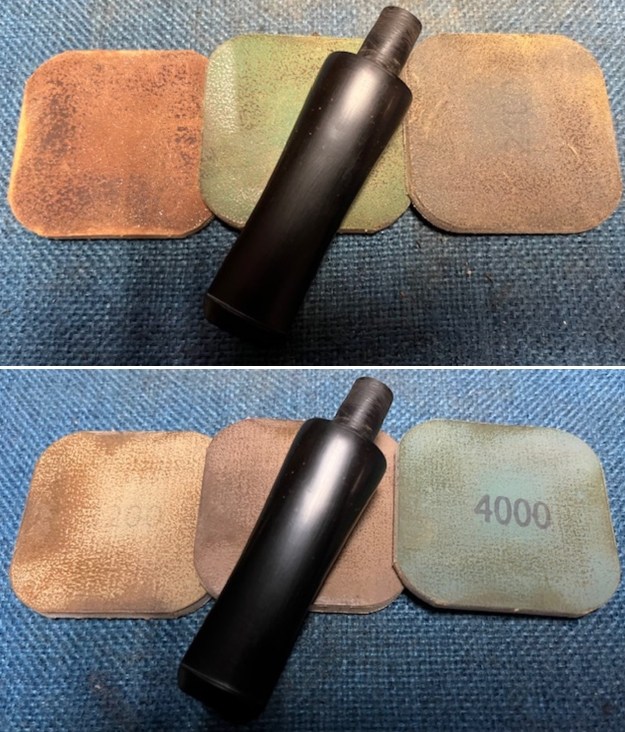
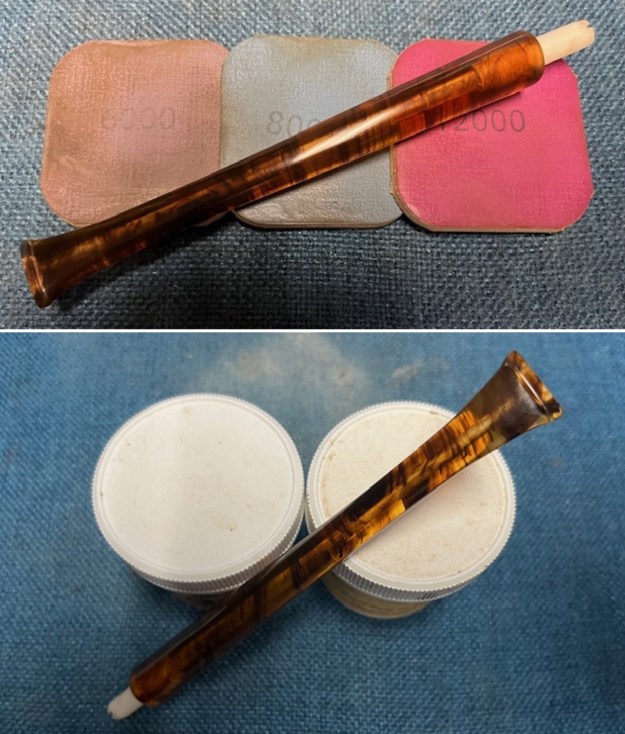
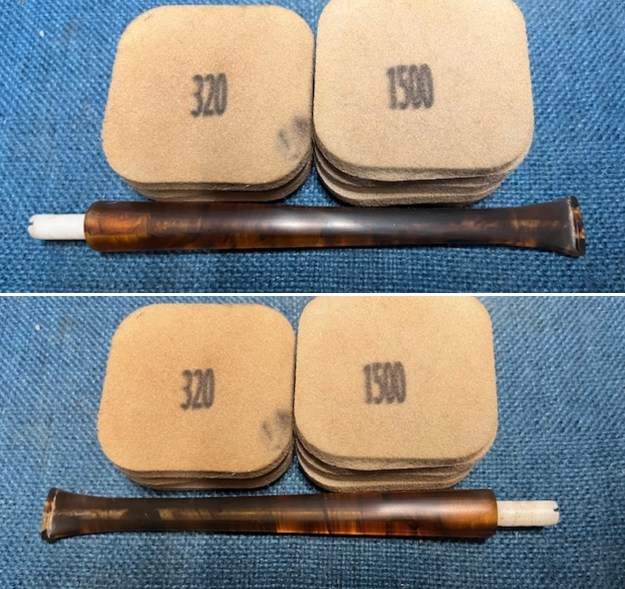 I polished the stem with micromesh sanding pads – wet sanding with 1500-12000 grit sanding pads. I wiped it down after each sanding pad with some Obsidian Oil. I finished polishing it with Before & After Pipe Stem Polish – both Fine and Extra Fine and buffed it off with a cotton cloth. I wiped it down with Obsidian Oil to protect the stem and slow down the oxidation.
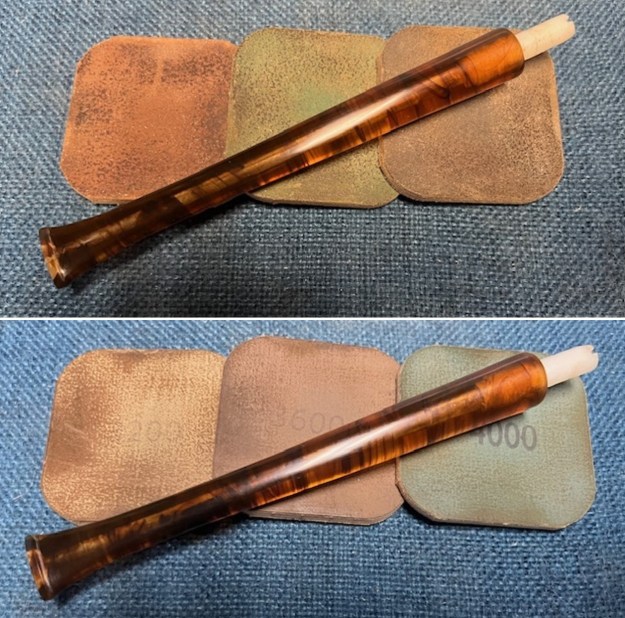
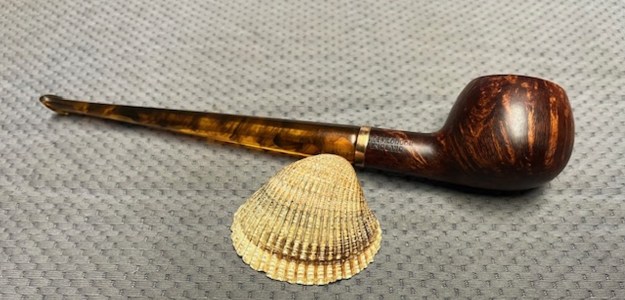
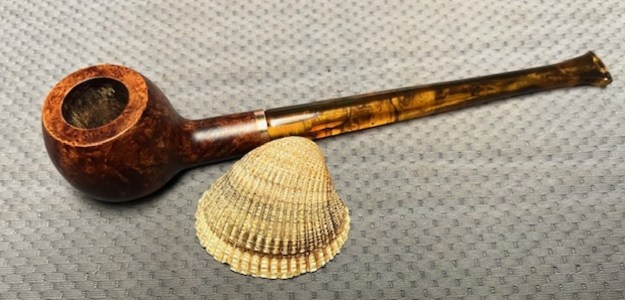
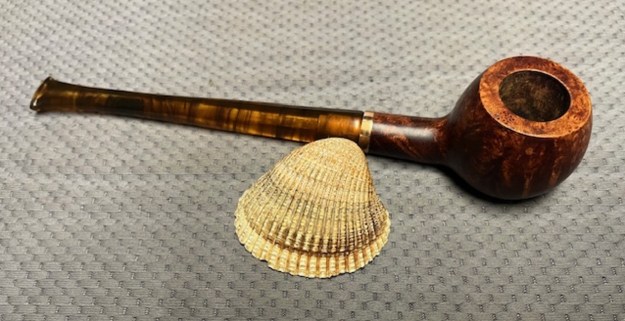
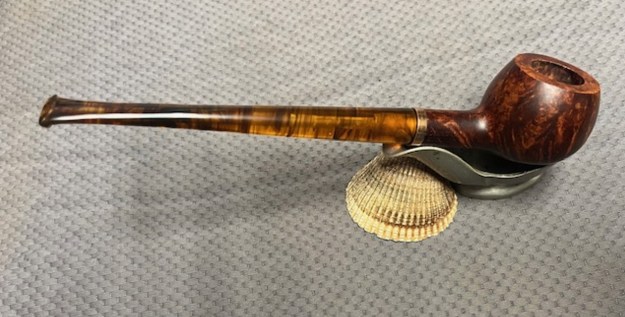
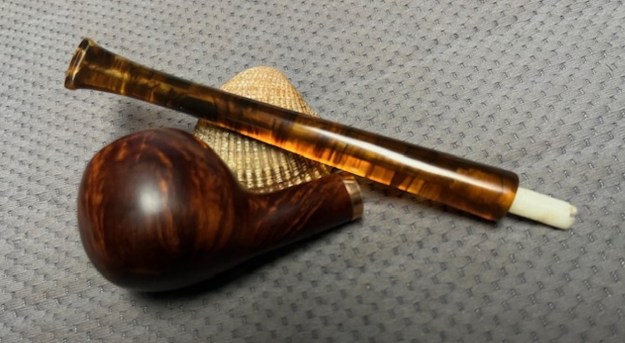
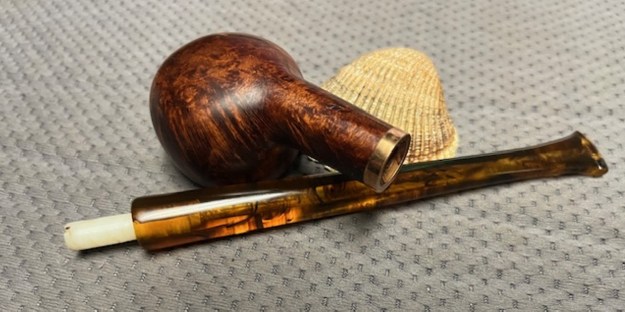
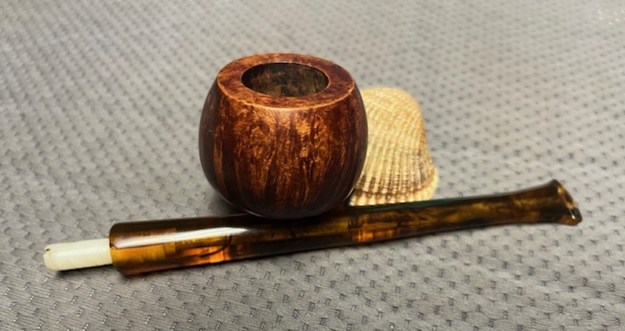
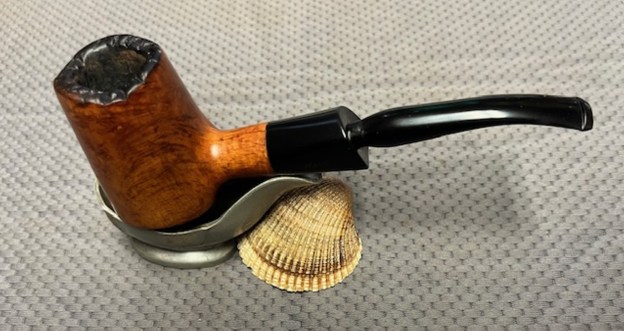
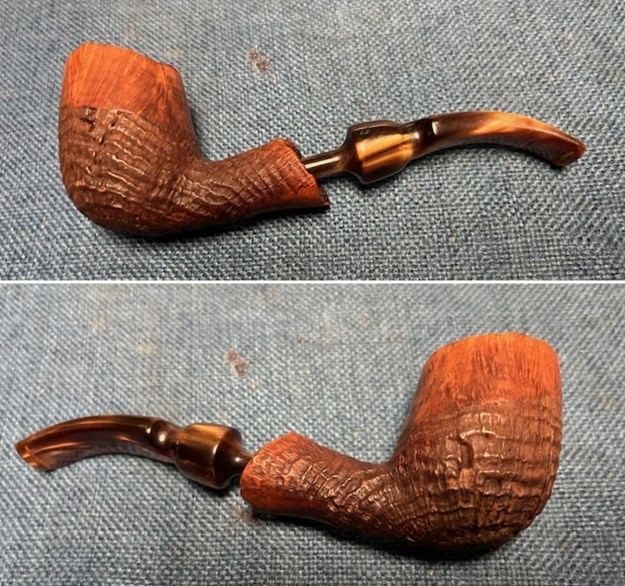
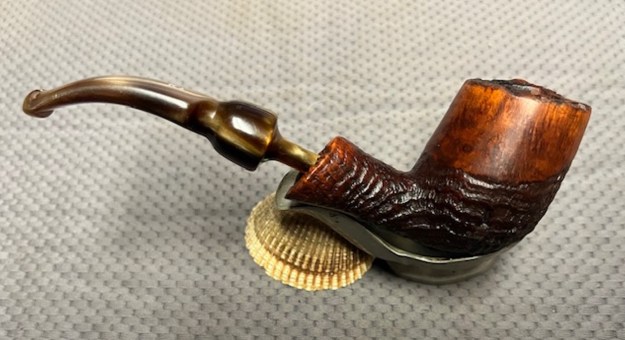
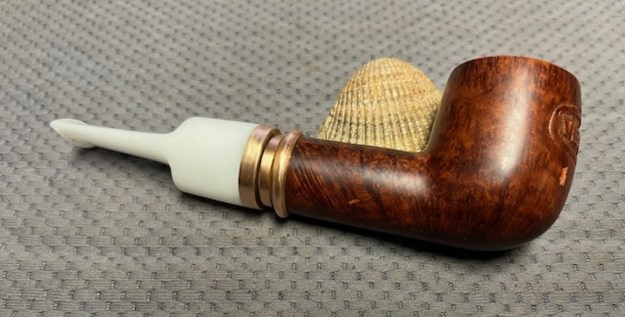
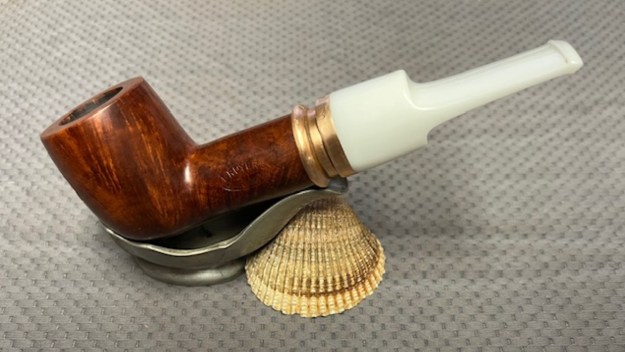
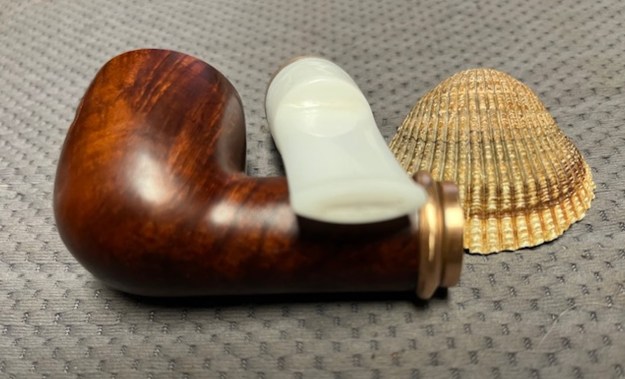
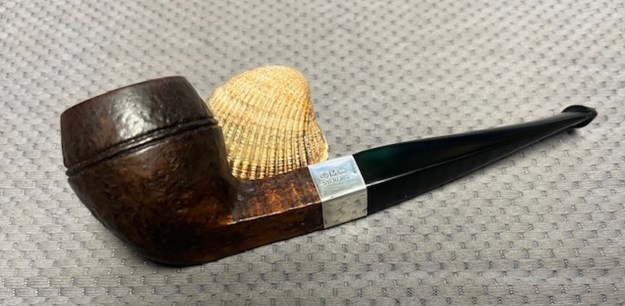
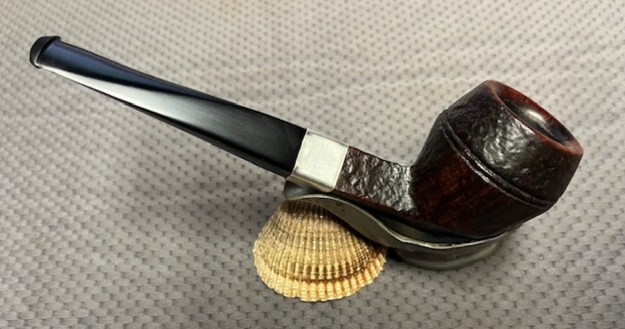
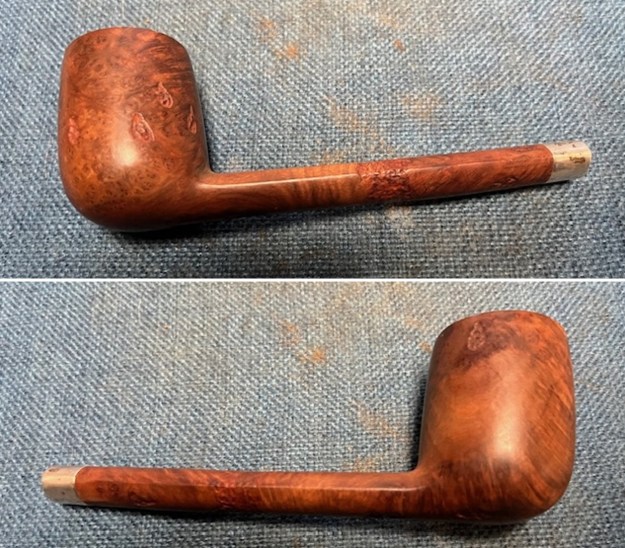
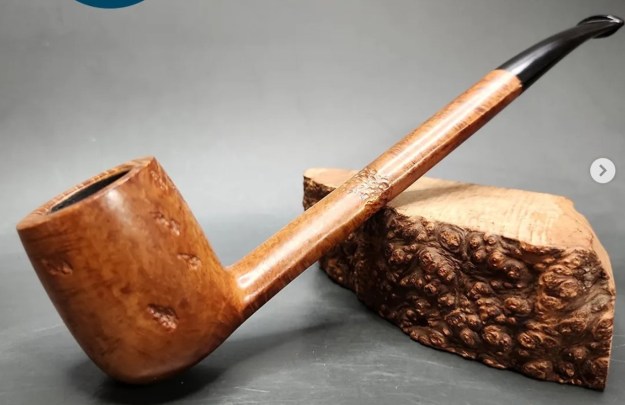
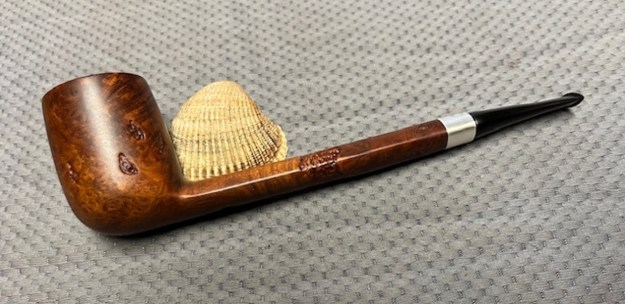
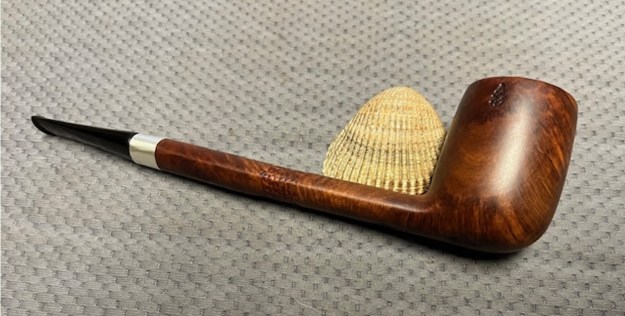
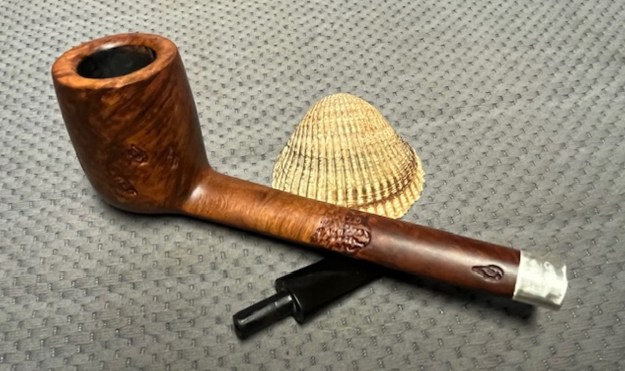
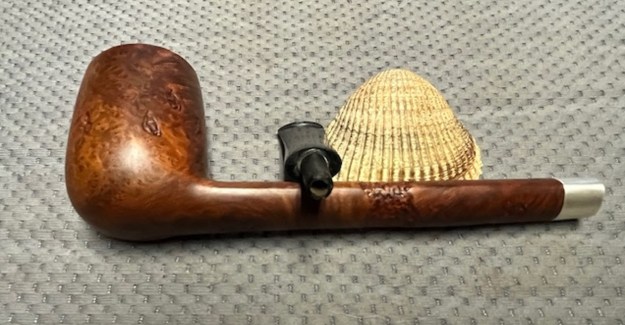
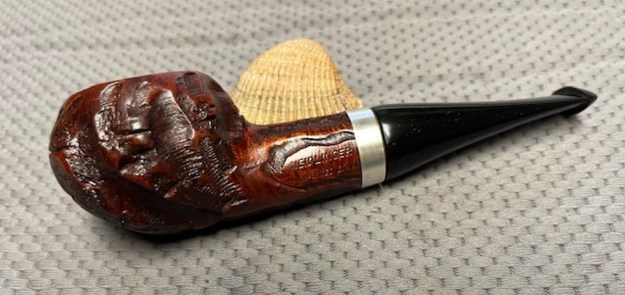
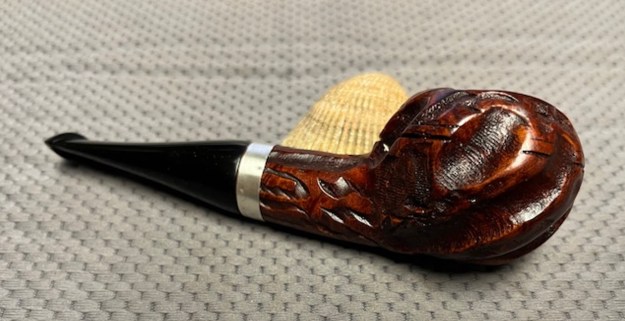
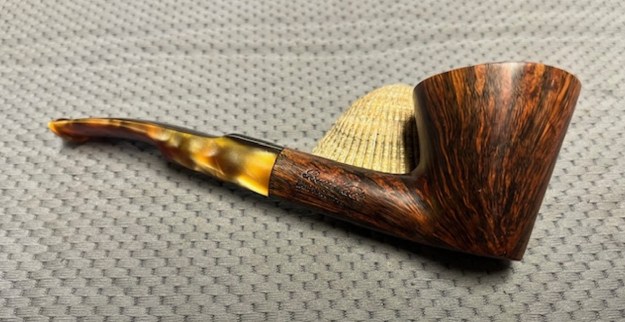
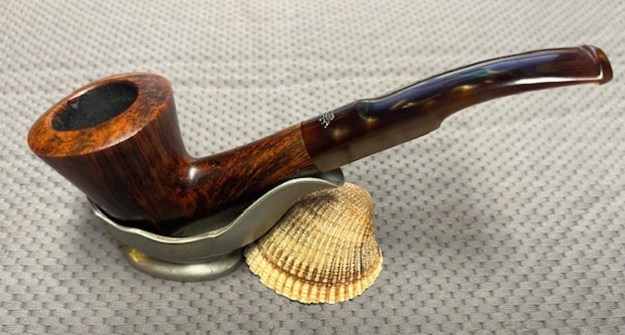
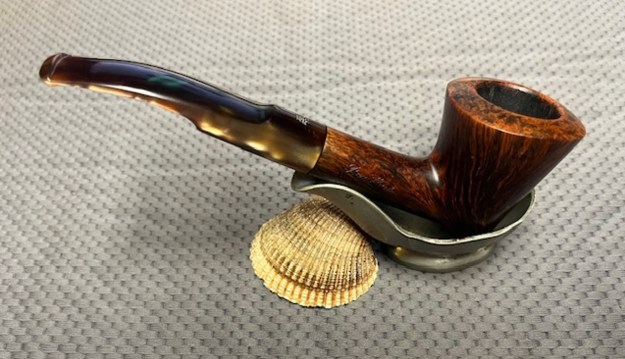
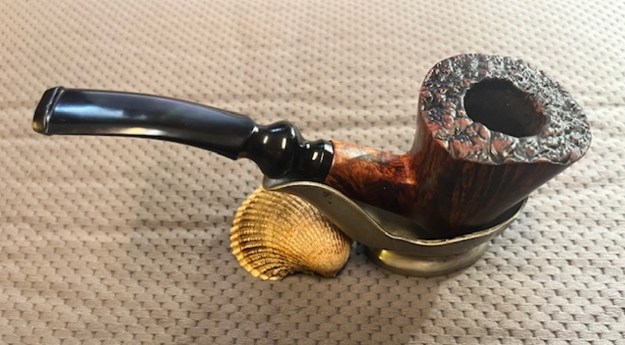
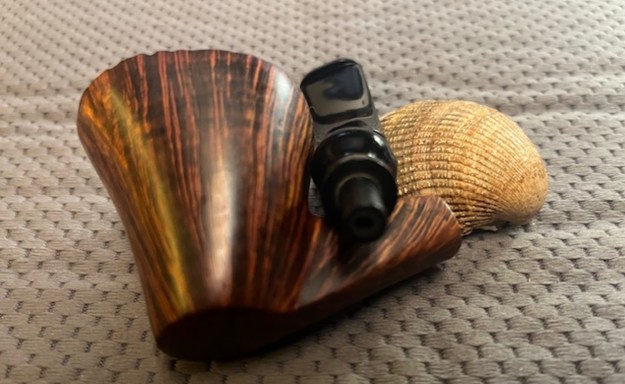
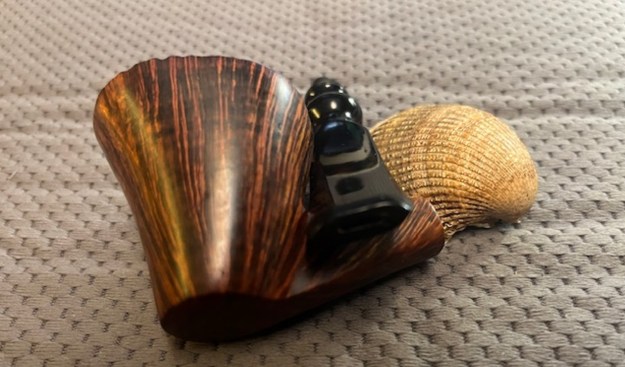
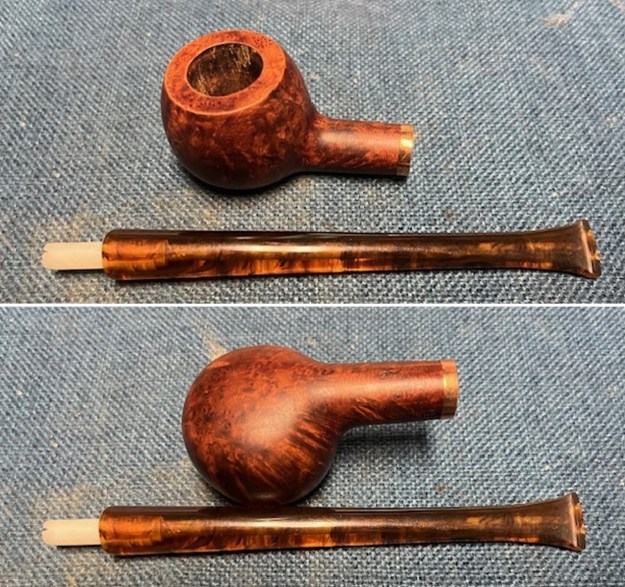
 This restemmed, smooth Made in London England Apple Churchwarden is a beautiful looking pipe that combines a smooth finish with a thin brass band and an amber acrylic stem. The brown stains on the bowl work well to highlight the finish. I put the newly finished stem on the bowl and buffed it with Blue Diamond on the buffing wheel being careful to not buff the stamping. I gave the bowl and the stem multiple coats of carnauba wax on the buffing wheel and followed that by buffing it with a clean buffing pad. I hand buffed the pipe with a microfiber cloth to deepen the shine. The finished pipe is quite nice and feels great in the hand. Give the finished pipe a look in the photos below. The dimensions of the pipe are Length: 8 inches, Height: 1 ½ inches, Outside diameter of the bowl: 1 ¼ inches, Chamber diameter: ¾ of an inch. The weight of the pipe is 42 grams/1.55 ounces. I will soon be adding it to the British Pipe Makers Section of the rebornpipes store. Thanks for walking through the restoration with me as I worked over another beautiful pipe.
Remember we are not pipe owners; we are pipemen and women who hold our pipes in trust until they pass on into the trust of the next generation.