by Steve Laug
The next pipe on the table was purchased from a seller 08/10/25 from Livingston, New Jersey, USA. It has that verve that I have come to associate with pipe made by Preben Holm as they are always unique and beautiful. The pipe is stamped on a smooth panel on the underside. It reads Monte Verde [over] Made in Denmark [over] by Hand [over] Golden Tan. The shank extension is vulcanite with no stamping but it is oxidized. I have refurbished several Monte Verde pipe so if you are interested in the brand here is a link to one I did back in 2019 that has a similar finish to this one (https://rebornpipes.com/2019/02/09/new-life-for-a-preben-holm-monte-verde-twin-finish-freehand/). This one was quite dirty, like the rest of the pipes we tend to work on. There was a thick cake in the bowl and a lava overflow in the rustication of the rusticated rim top. The inner and outer edges of the bowl looked very good. The black/silver acrylic saddle stem was dirty and had scratches and light tooth marks on the top and underside. Jeff took photos of the pipe before he started his cleanup process.
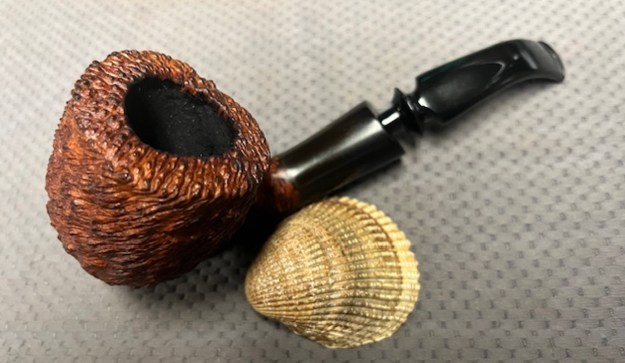
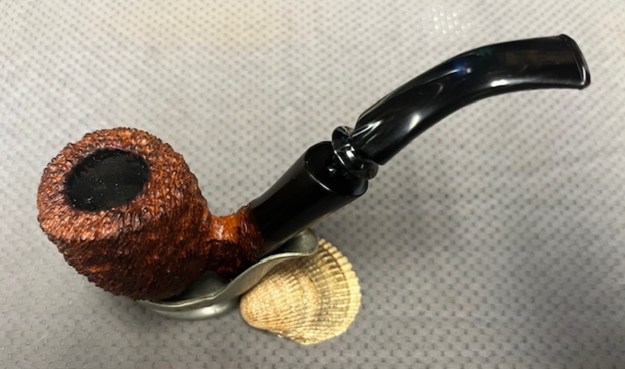
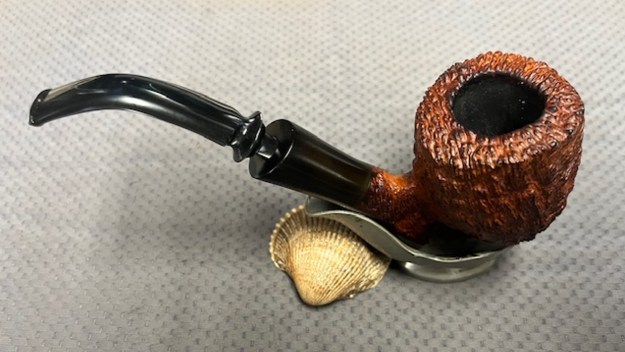
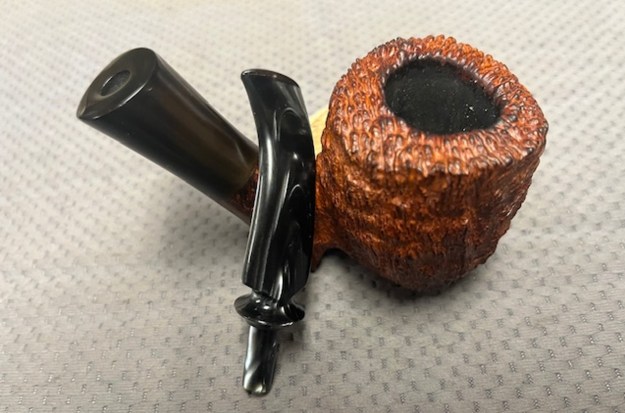
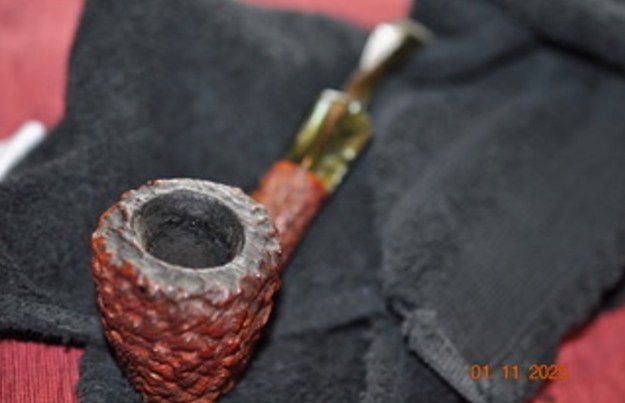
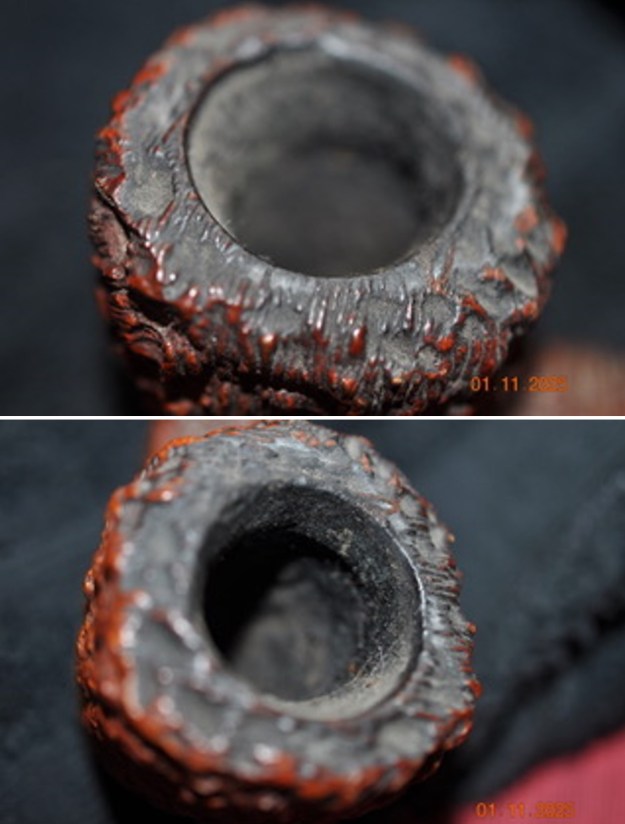
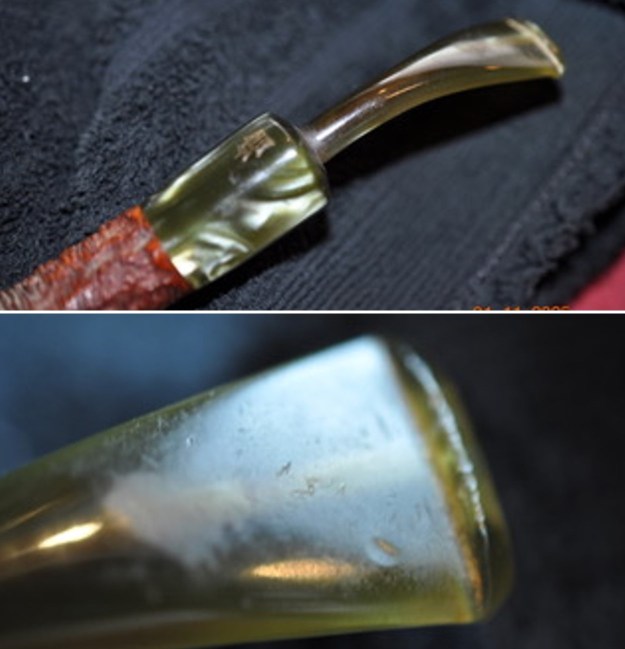
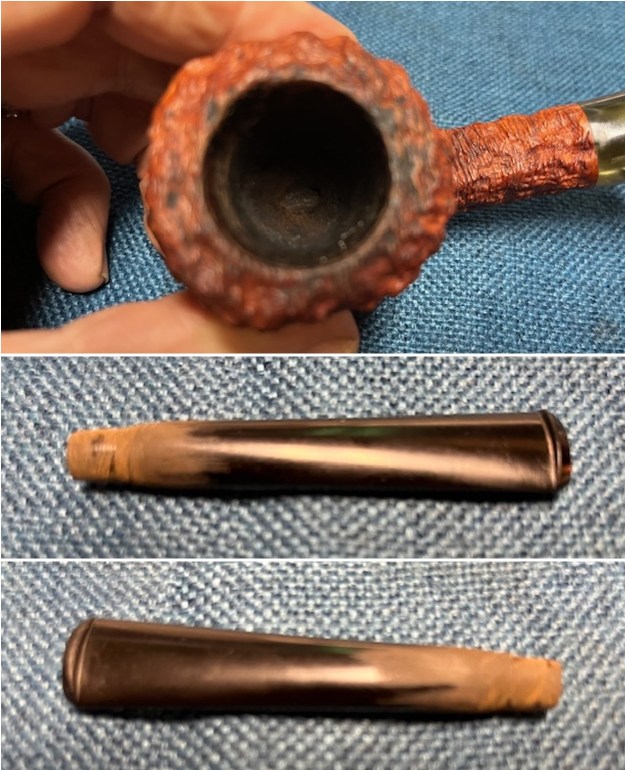
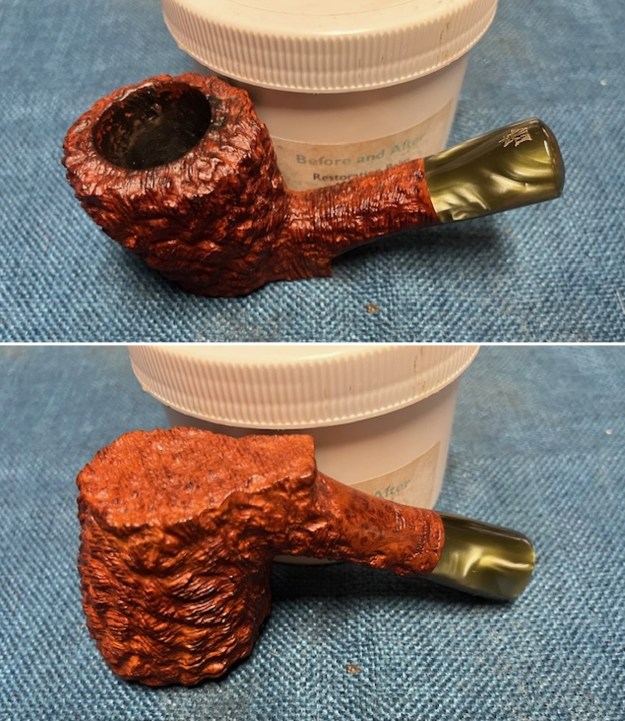
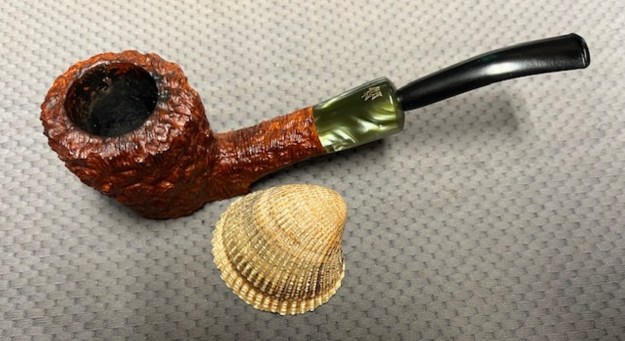
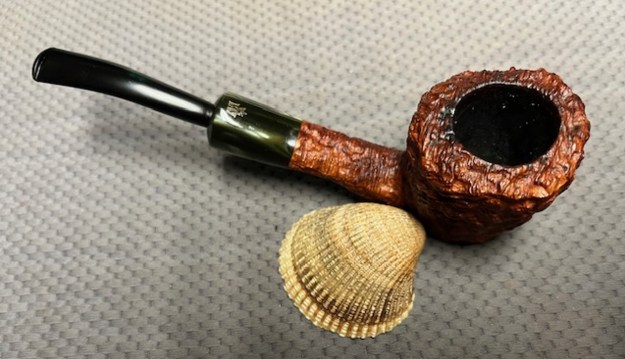
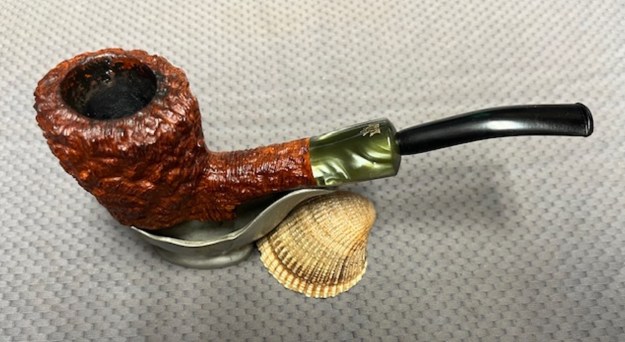
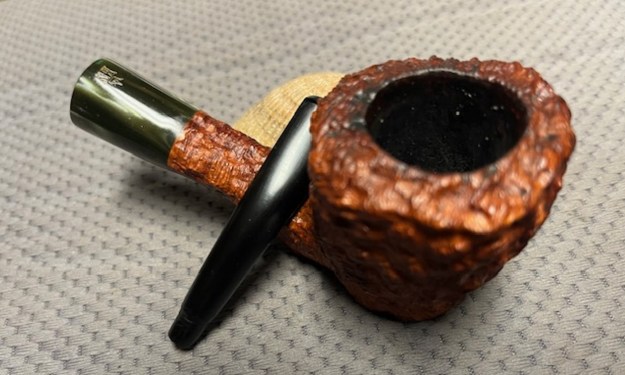
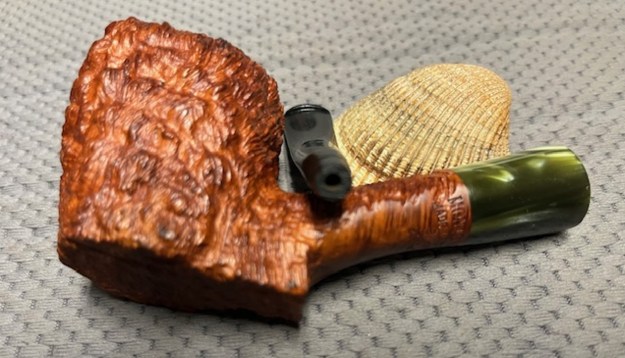
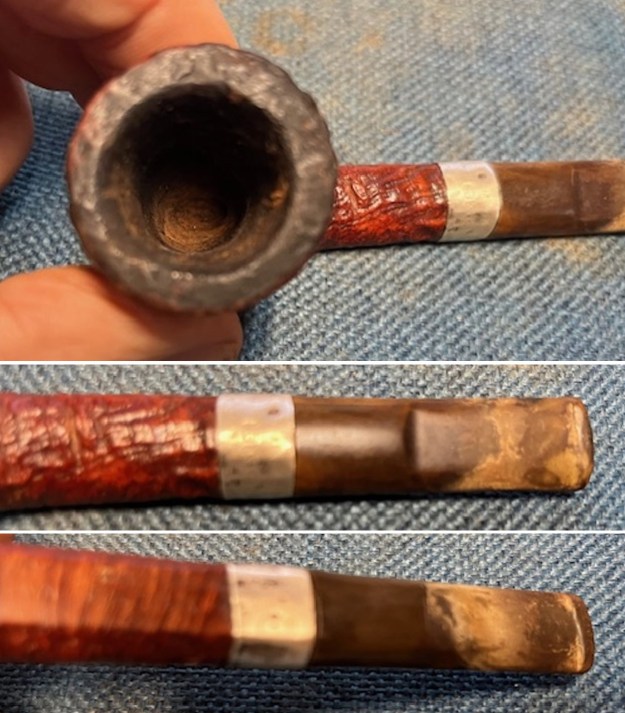
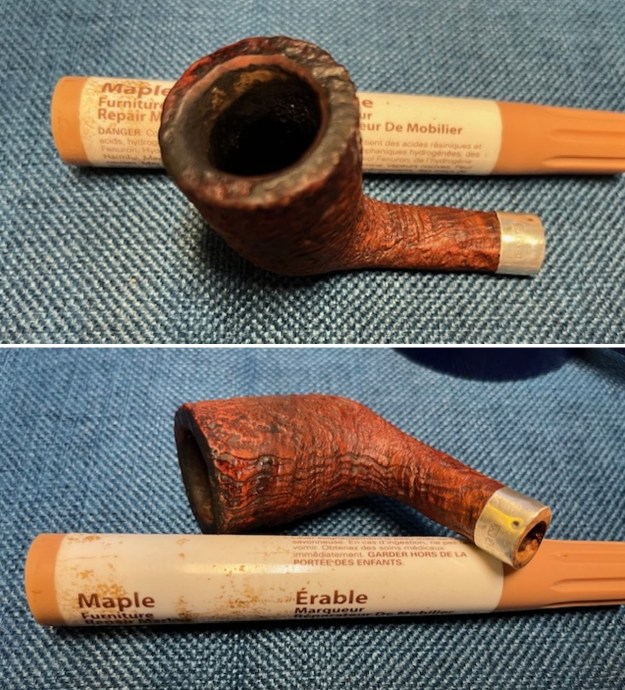
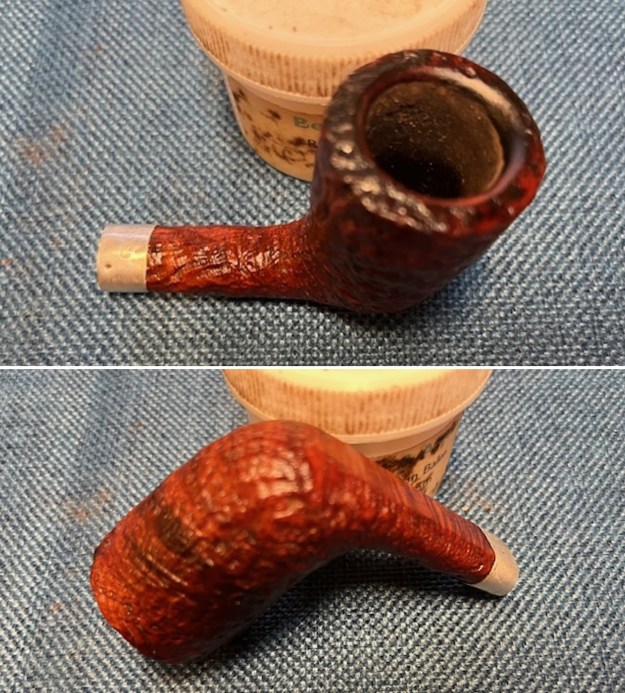
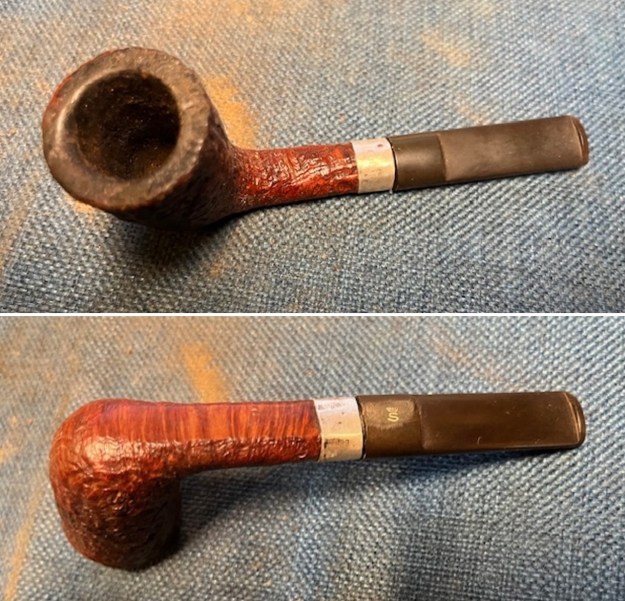
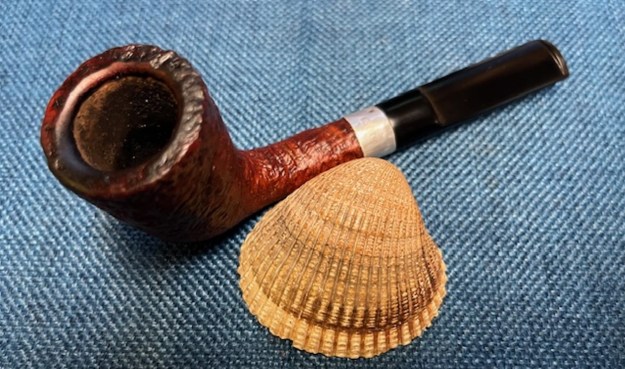
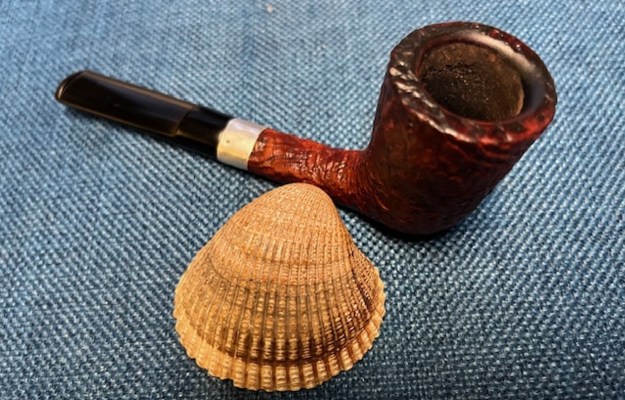
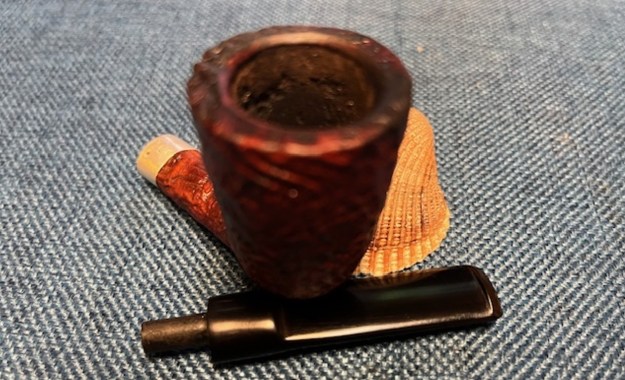
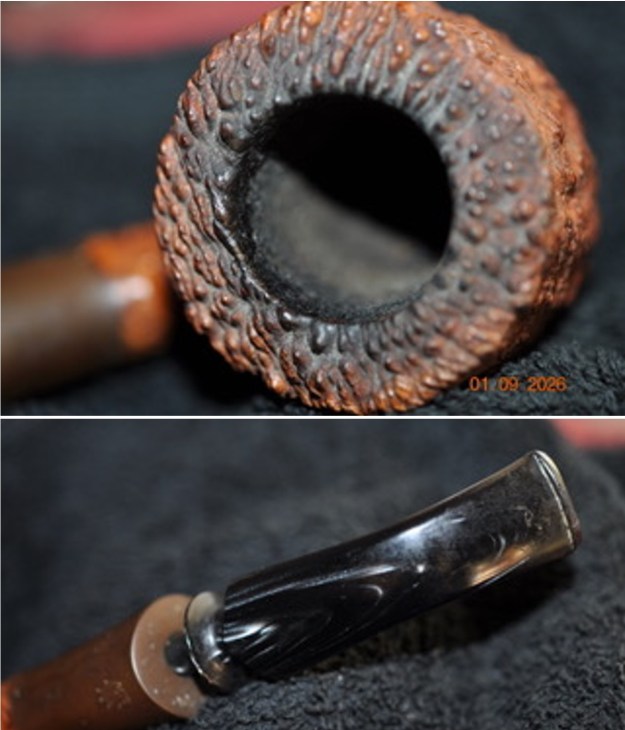
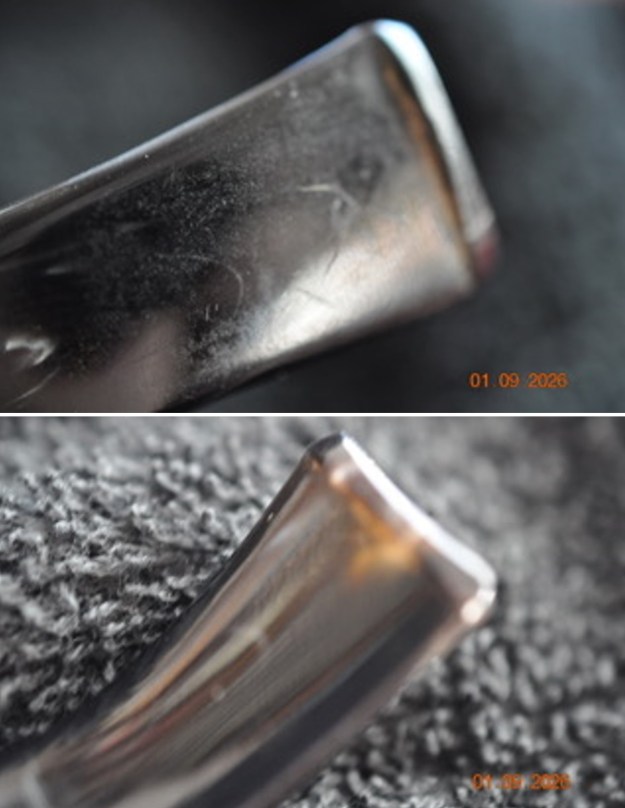
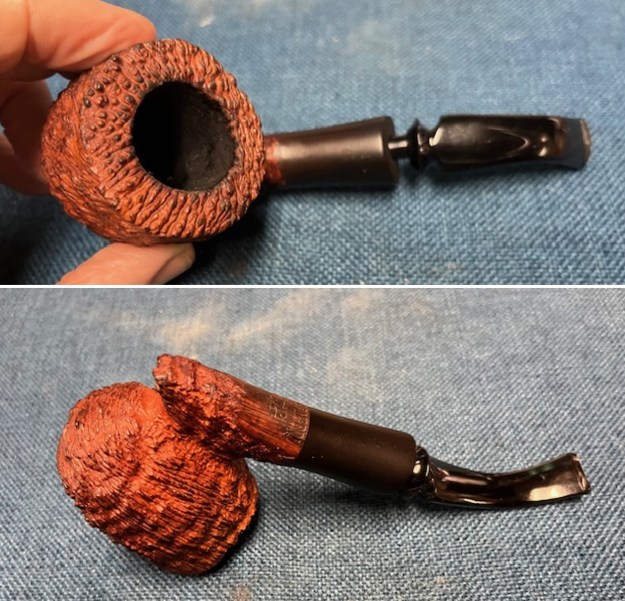
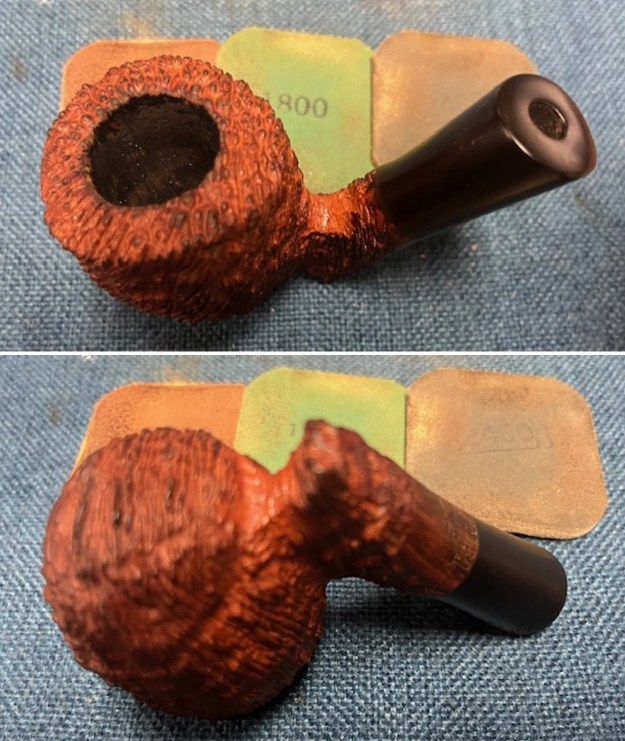
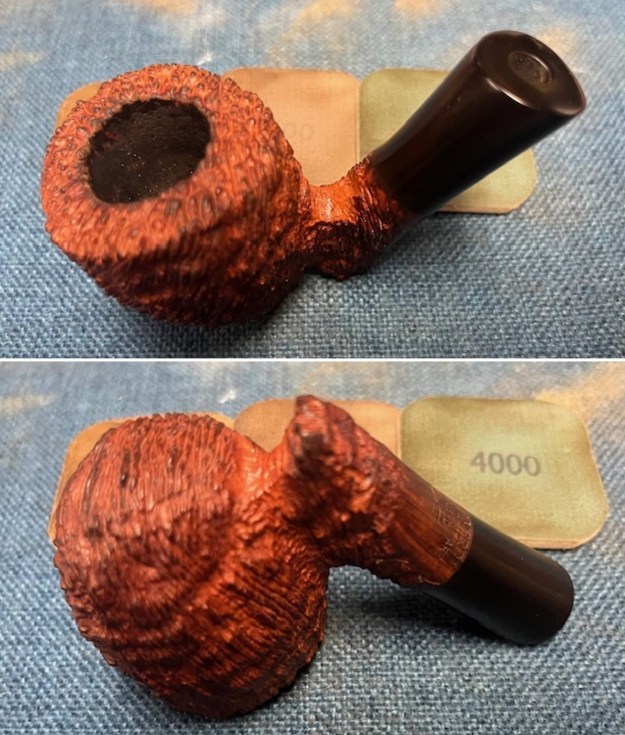
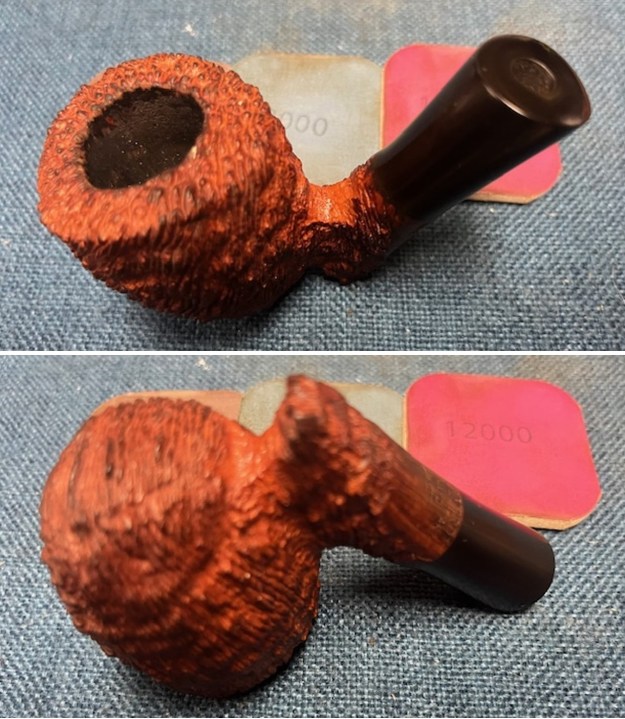
 He took close up photos of the bowl and rim top from different angles to show the condition of the rim top. The bowl has a thick cake that lining the walls and overflowing lava and build up on the rim top and flowing over the inner edge of the bowl onto the top. He also took photos of the stem to show the surface of the top and underside of the acrylic stem. You can see the tooth marks and chatter on both sides ahead of the button.
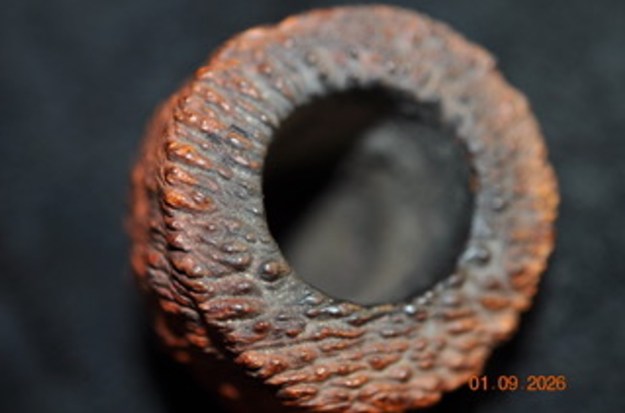
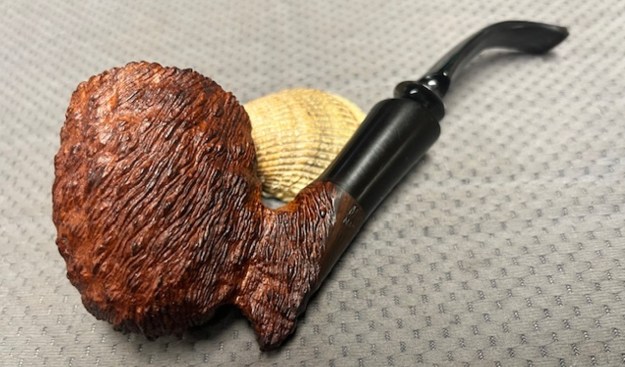
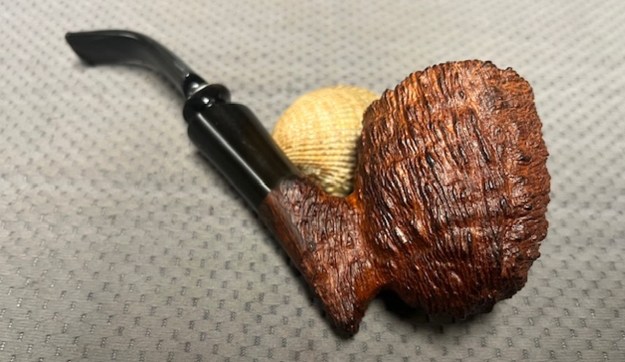
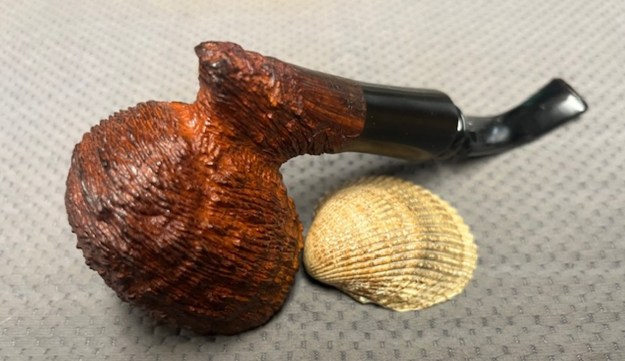
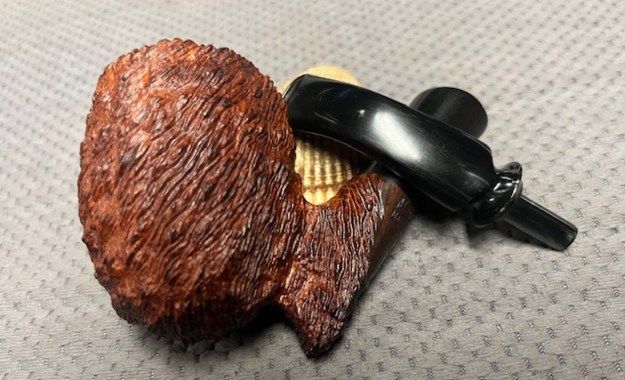
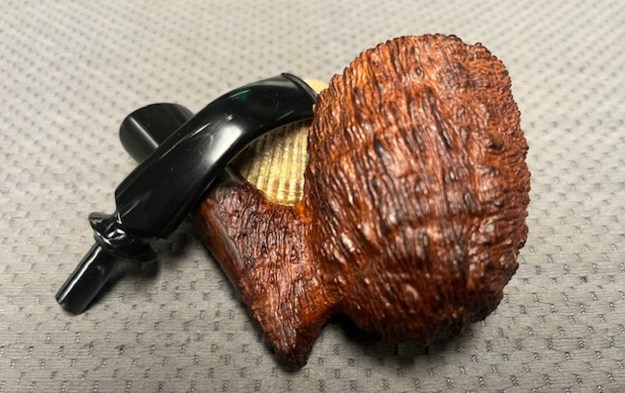
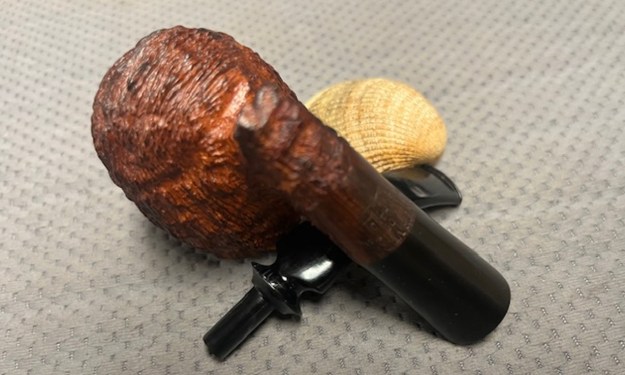
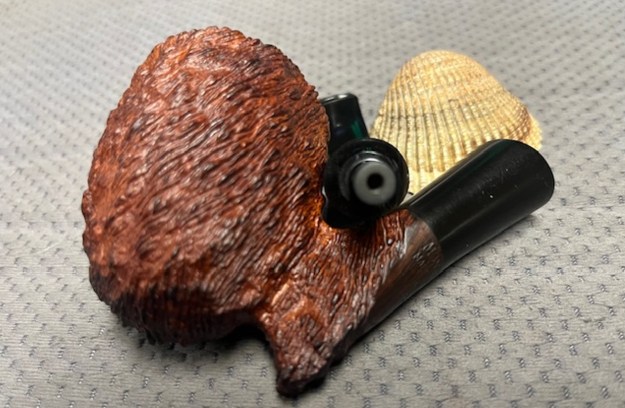
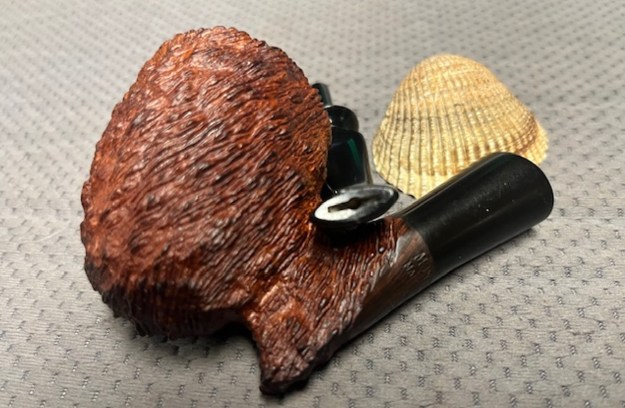
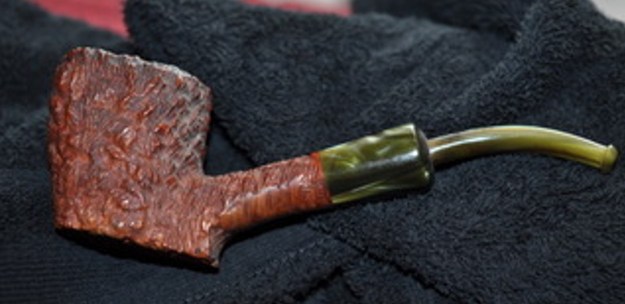
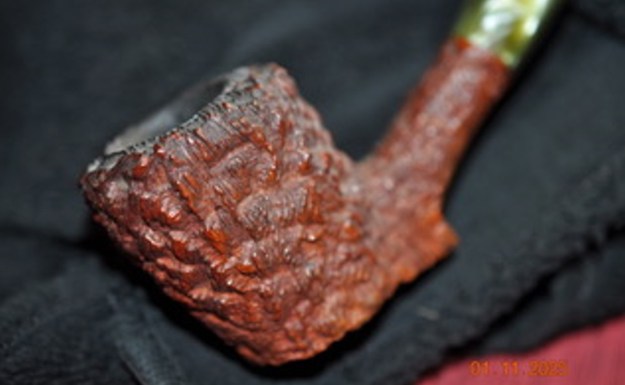
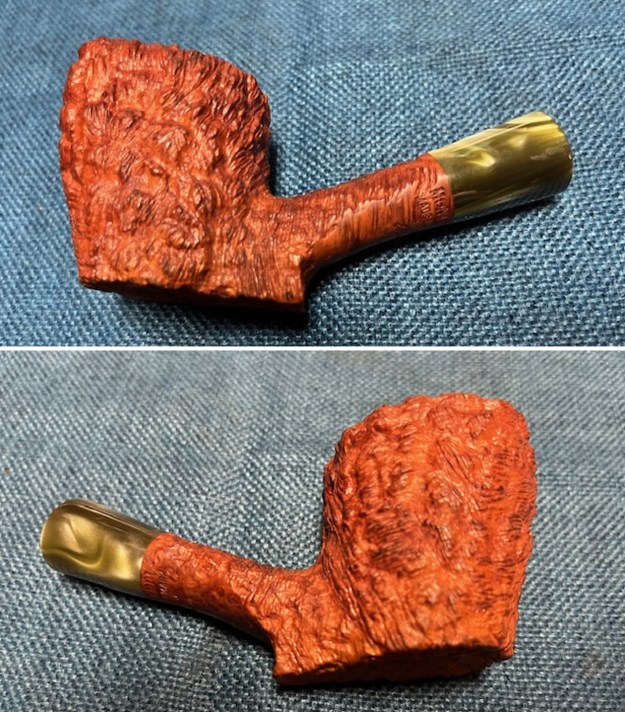
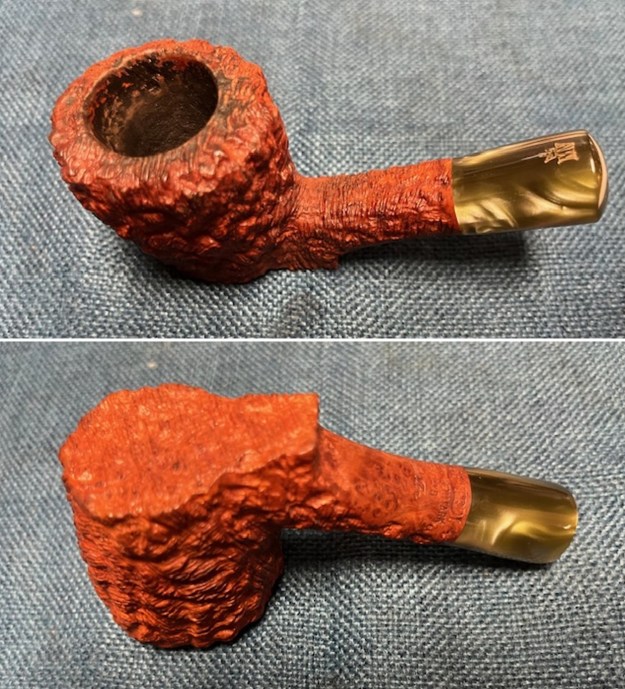
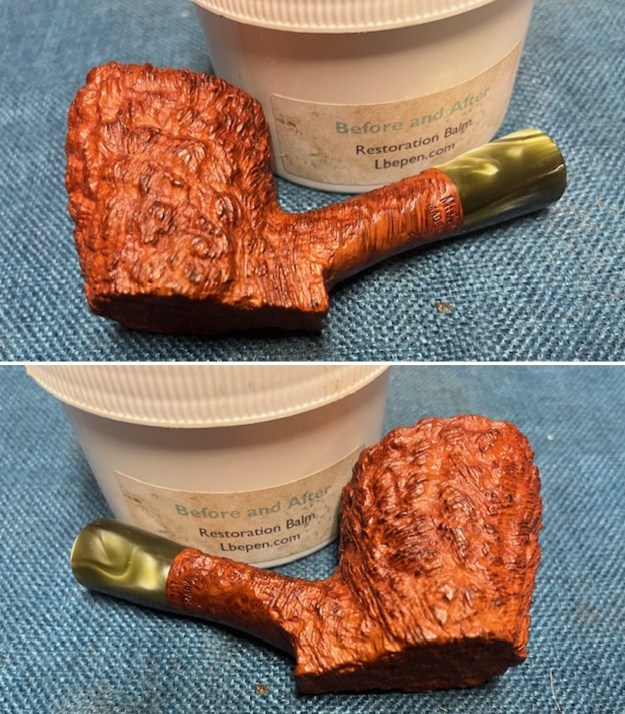
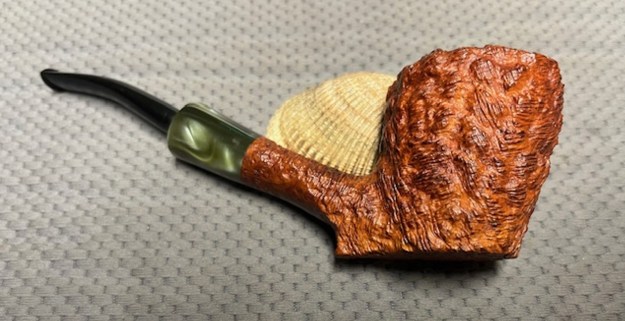
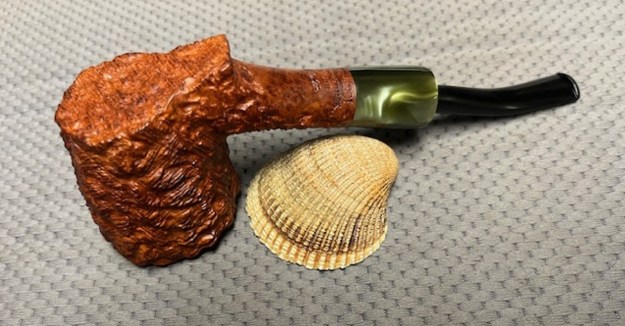
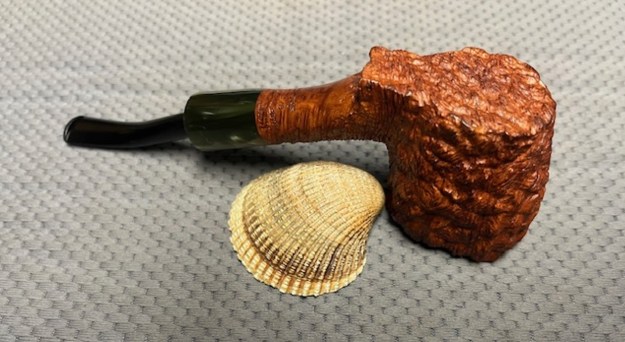
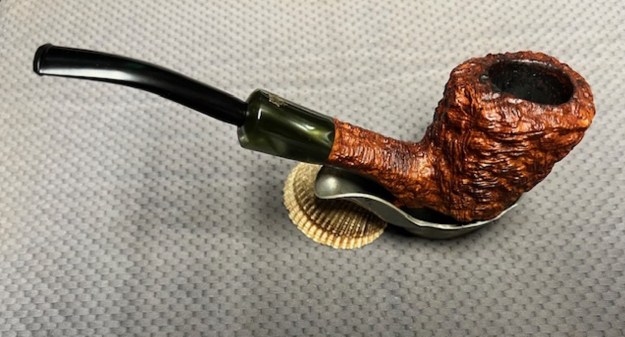
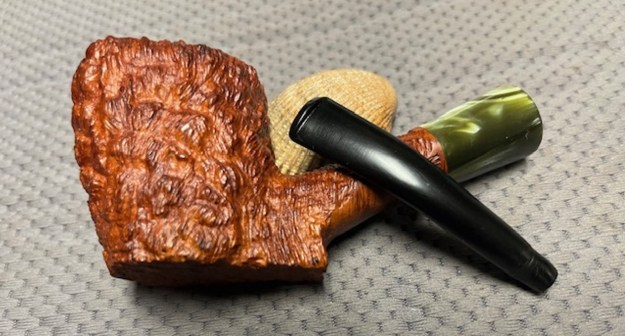
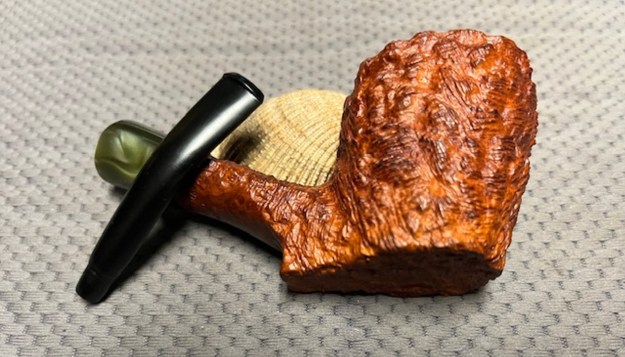
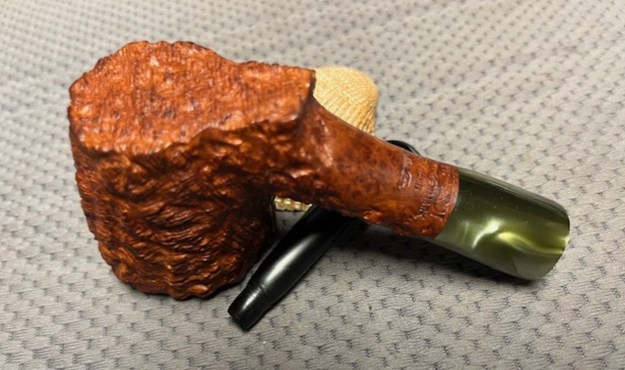
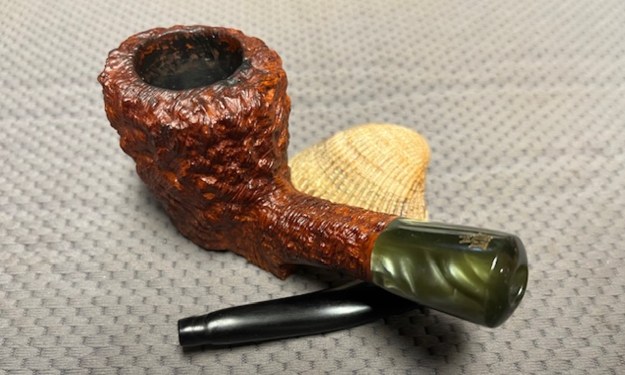
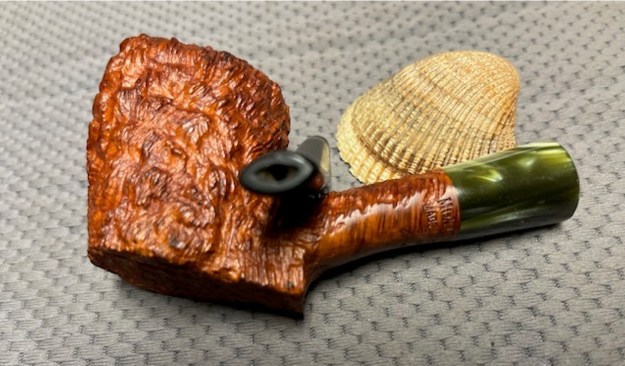
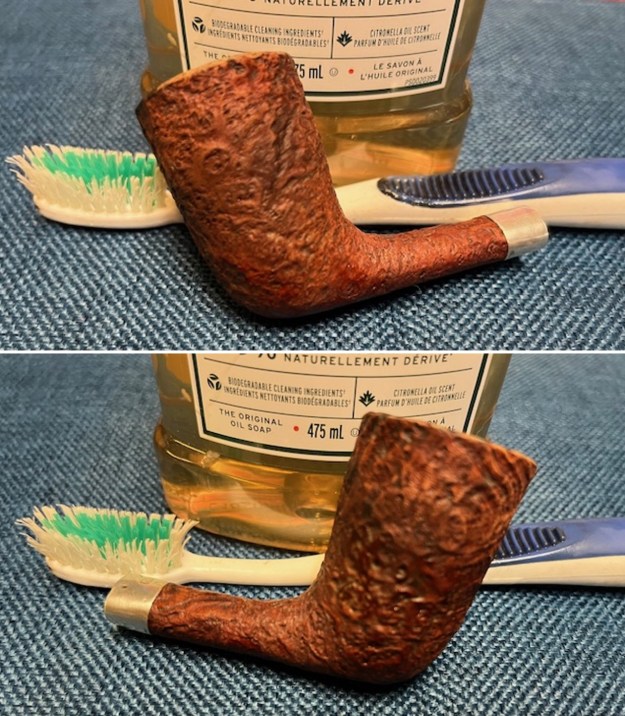
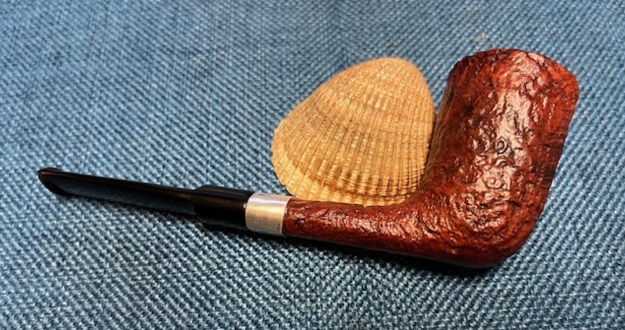
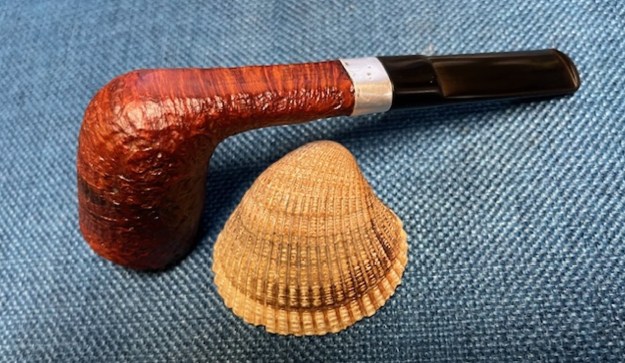
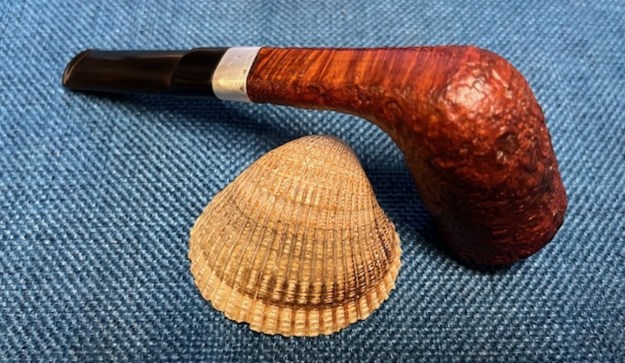
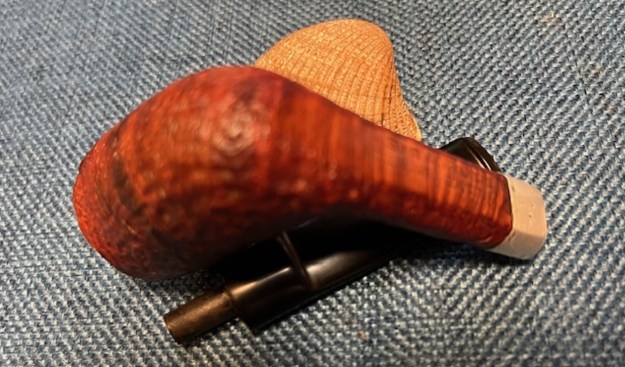
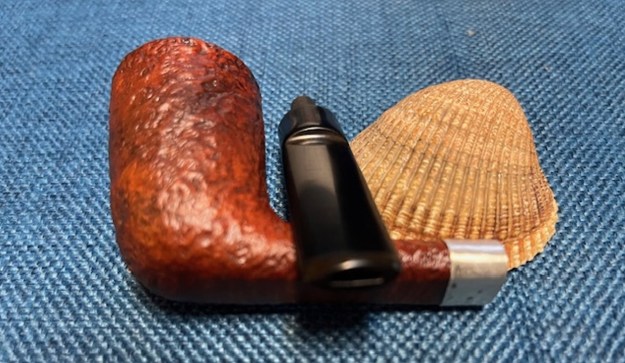
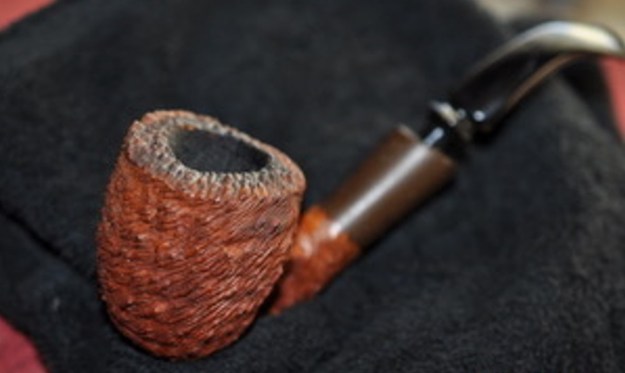
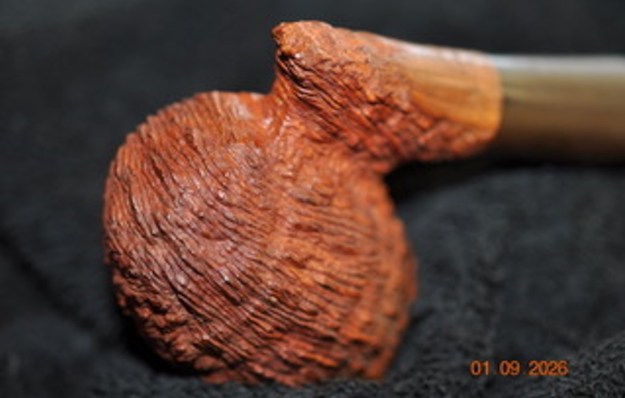
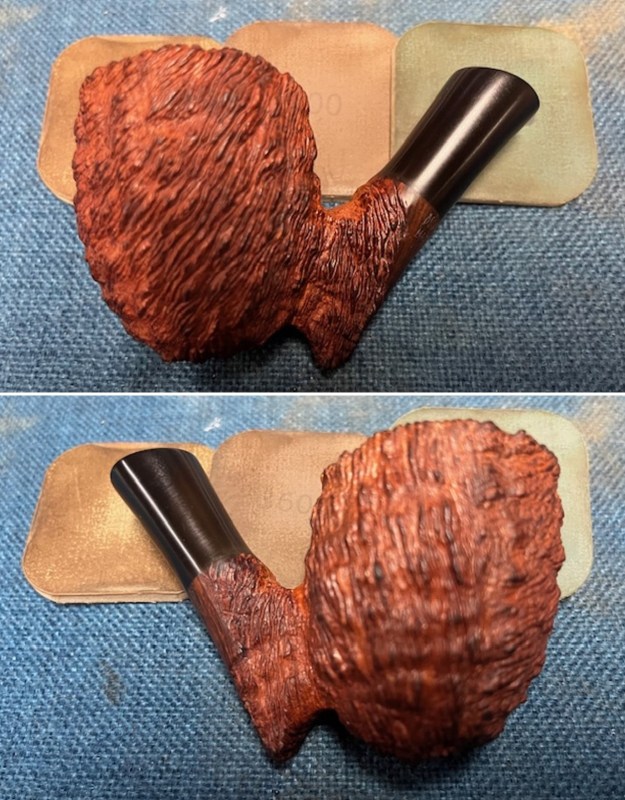
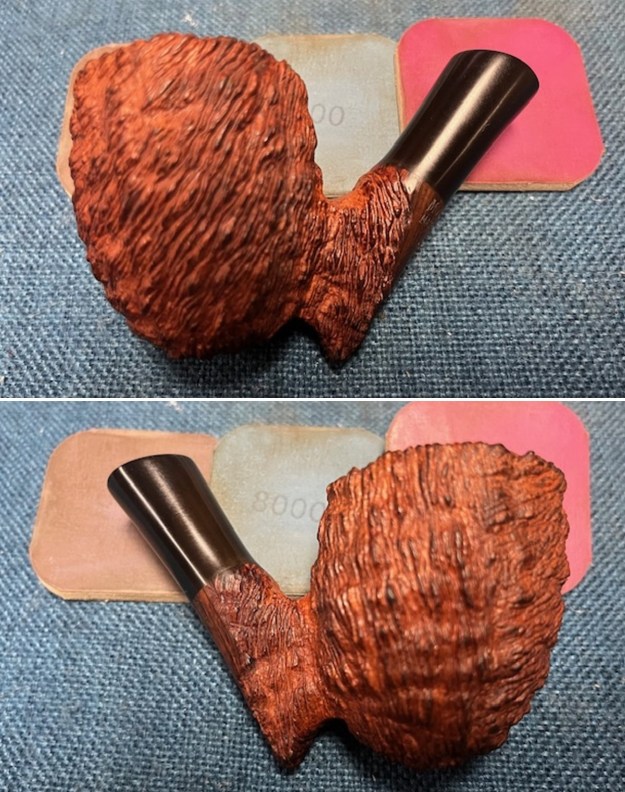
 He took photos of the sides and heel of the bowl to show the lay of the rustication and grain around the pipe. It is a beautiful piece of briar. It had a very unique double rustication! The green acrylic shank extension works well with it.
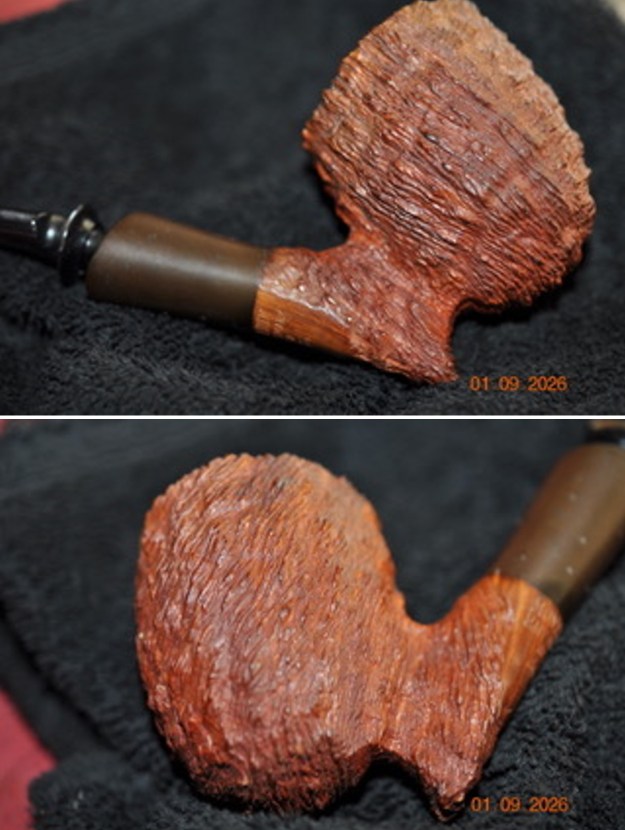
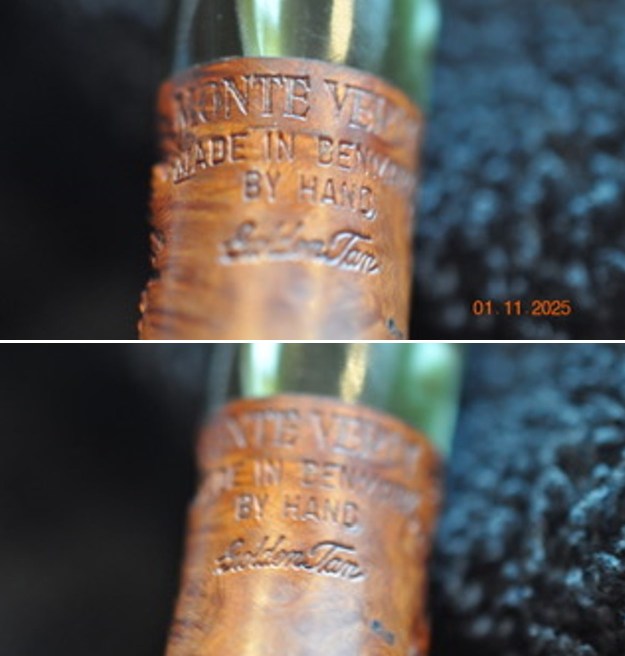
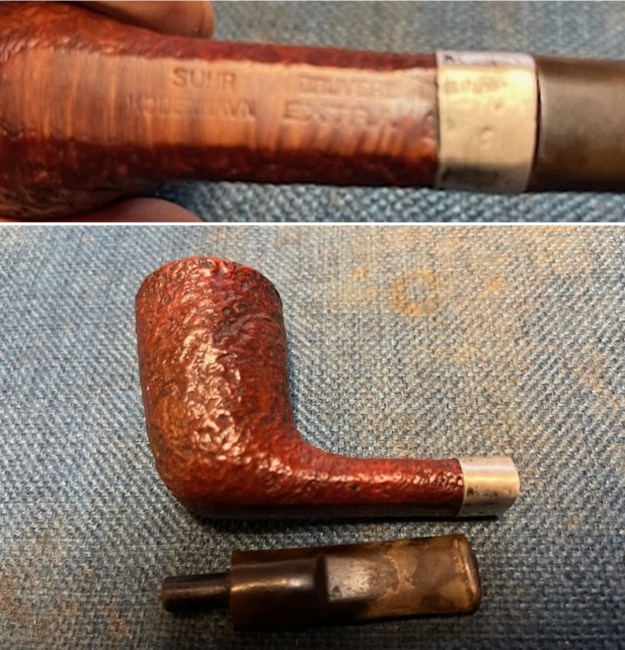
 Jeff took several photos of the stamping on the underside of the shank to capture all of the stamping. It was clear and read as noted above. There was no stamping on the stem surface.
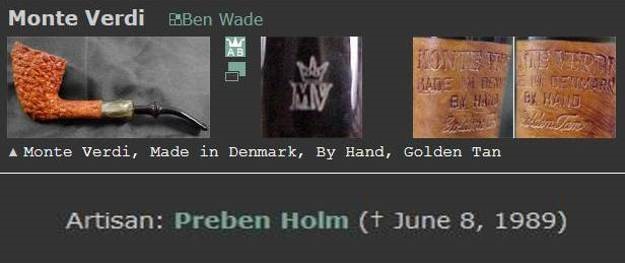
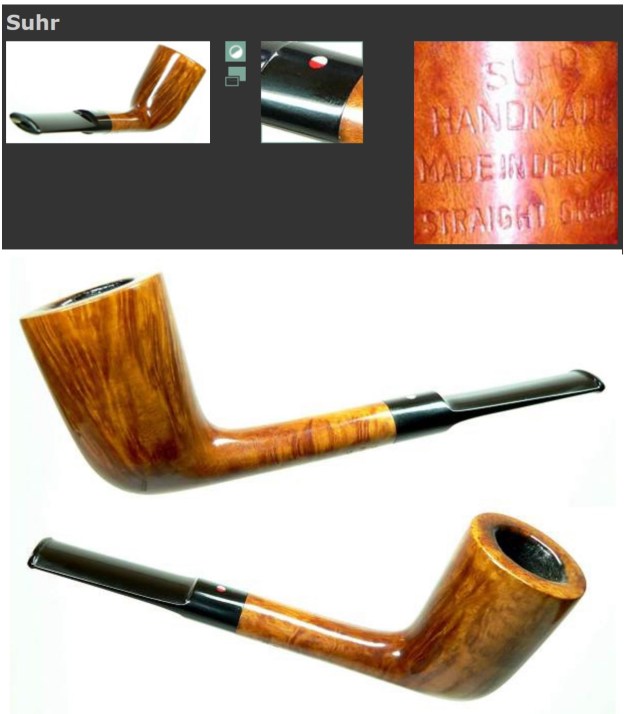
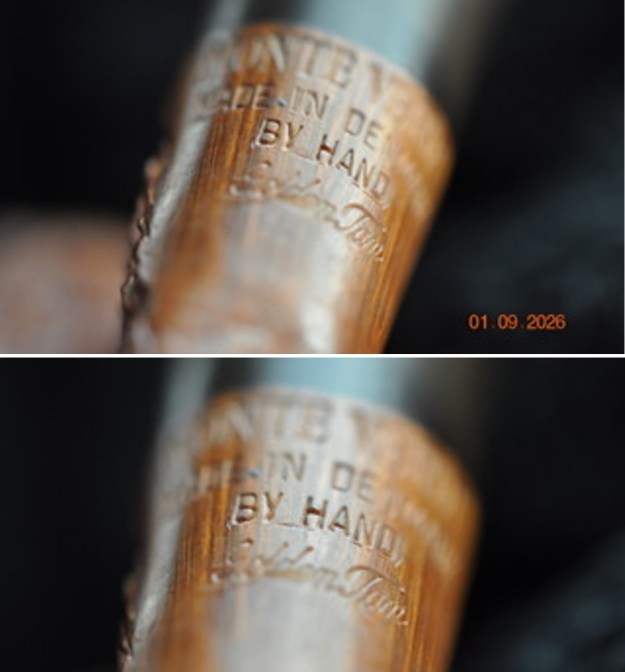 I turned to Pipephil’s site to get a read on the brand (http://pipephil.eu/logos/en/logo-m6.html). It confirms that the Monte Verdi line was made by Preben Holm. The pipe in the photo had a very similar rustication to the Monte Verdi I was working on. I did a screen capture of the section on Pipephil. I have included it below.
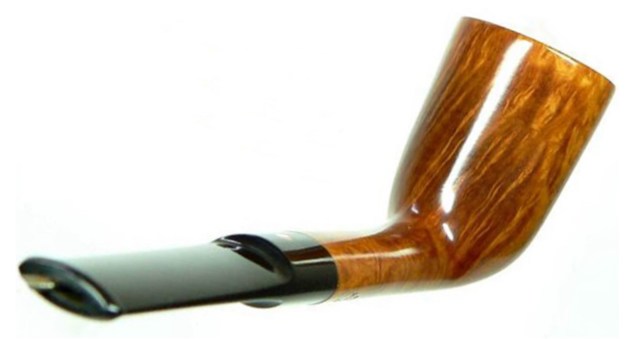
  There were also photos that were included on Pipephil of what this particular pipe looked like when it left Denmark. The rustication around the bowl and shank is very similar. The pipe I have has the same shank extension and finish. The pipe in the photo had a fancy turned vulcanite stem. The stem on the one I have in front of me is missing so I will need to replace it with one similar to the one in the photos below.
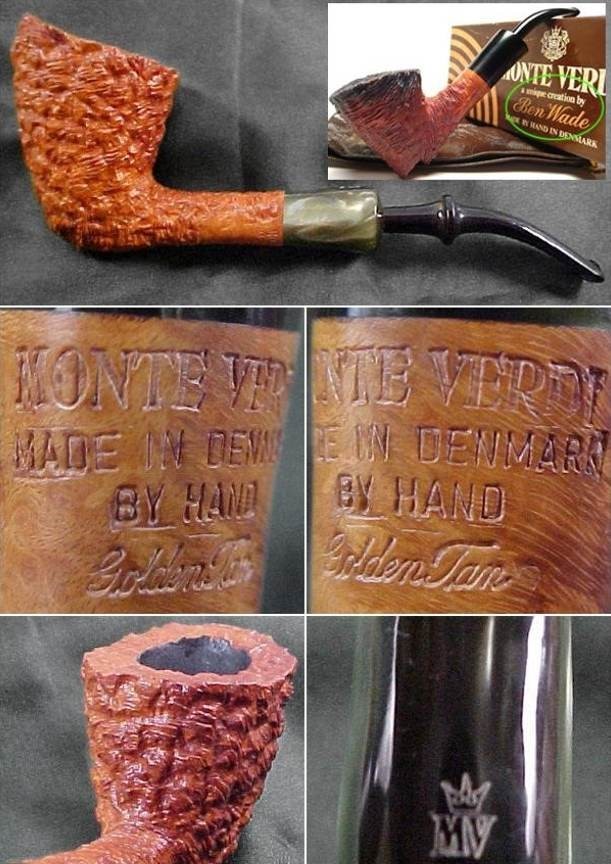 I also Googled the brand and found a thread on Pipes Magazine about the brand that gave me some more information (http://pipesmagazine.com/forums/topic/monte-verde-pipes). I include that below.
The Monte Verdi line was indeed a pipe style offered by Holm. It usually features heavily blasted and rusticated briar and smaller group sizes than some of his other lines. Some refer to this line as a “second”, but it provided an outlet for briar that had flaws and therefore unsuitable his other lines. Holm marketed many different lines featuring a variety of finishes in both stains and carvings and this is merely one of those. The ones I own are good pipes and smoke well. The blast finish is very interesting to look at and the tactile sensations make it fun to hold.
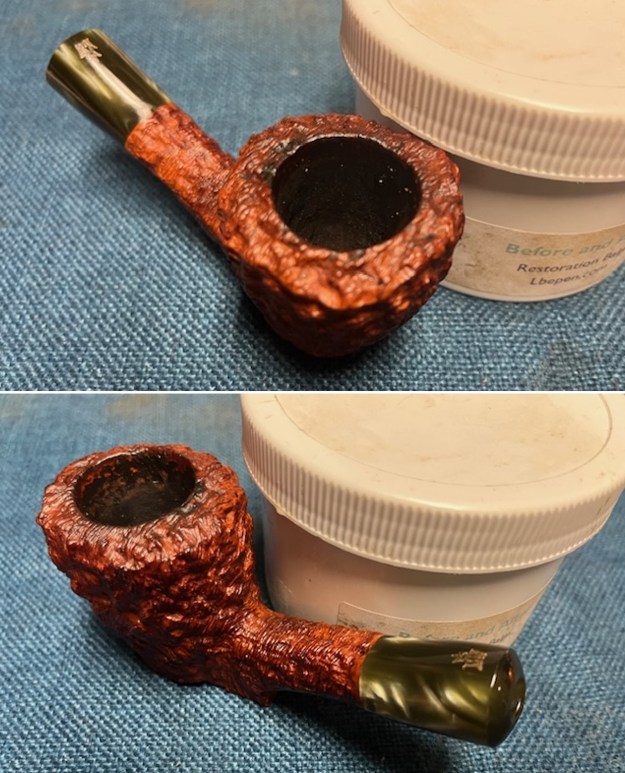
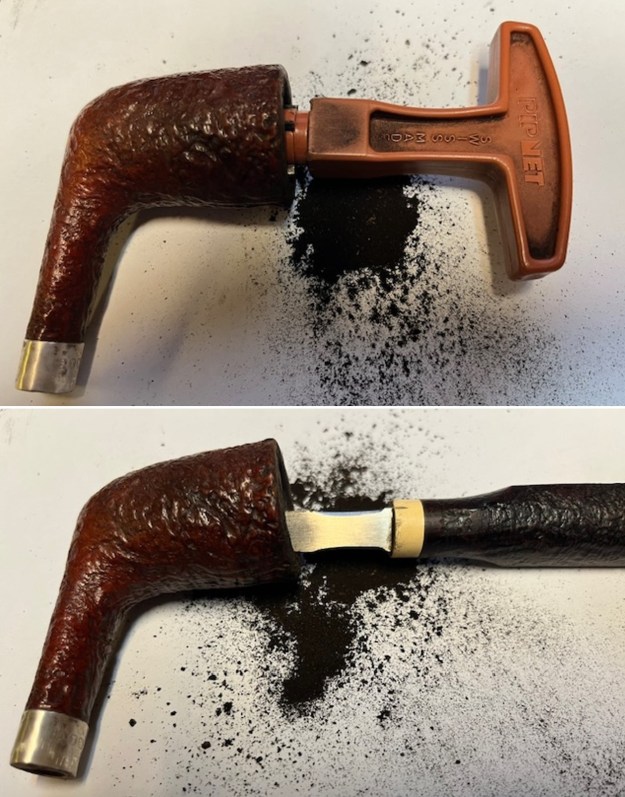
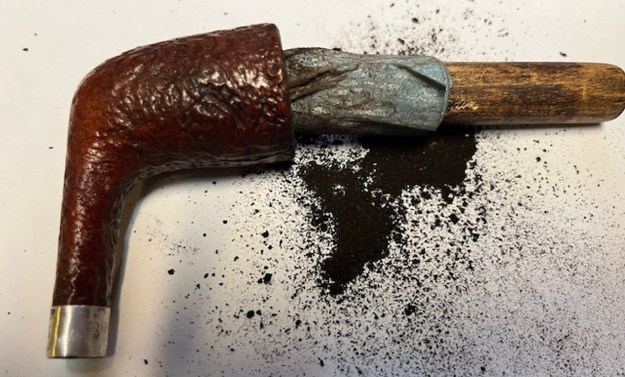
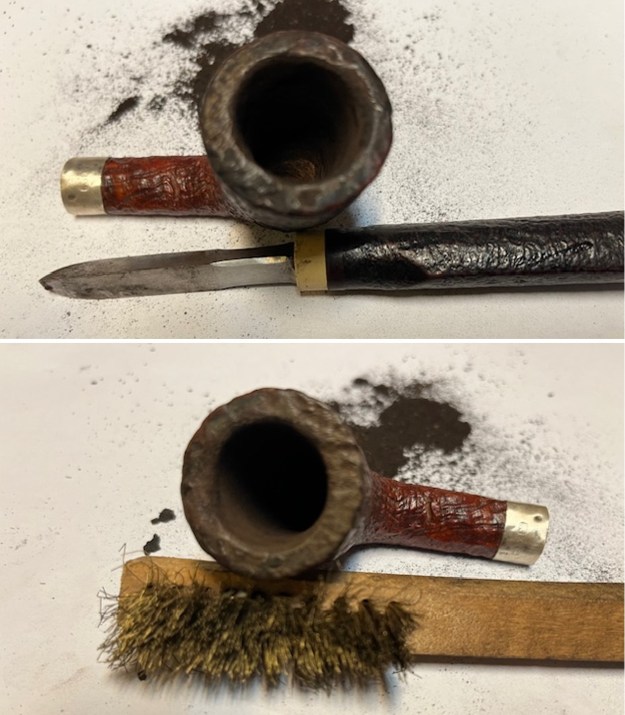
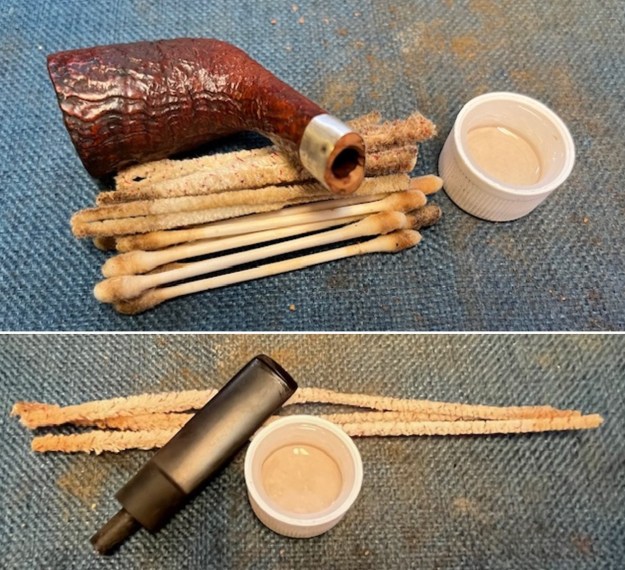
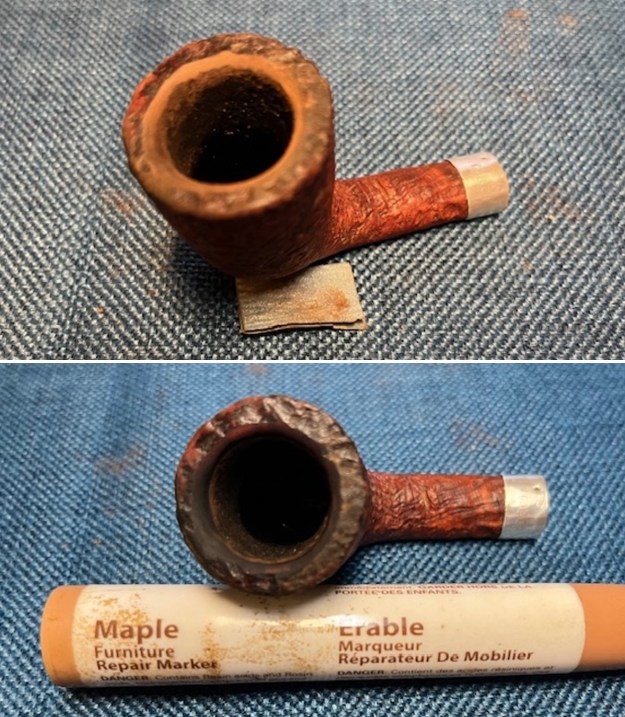
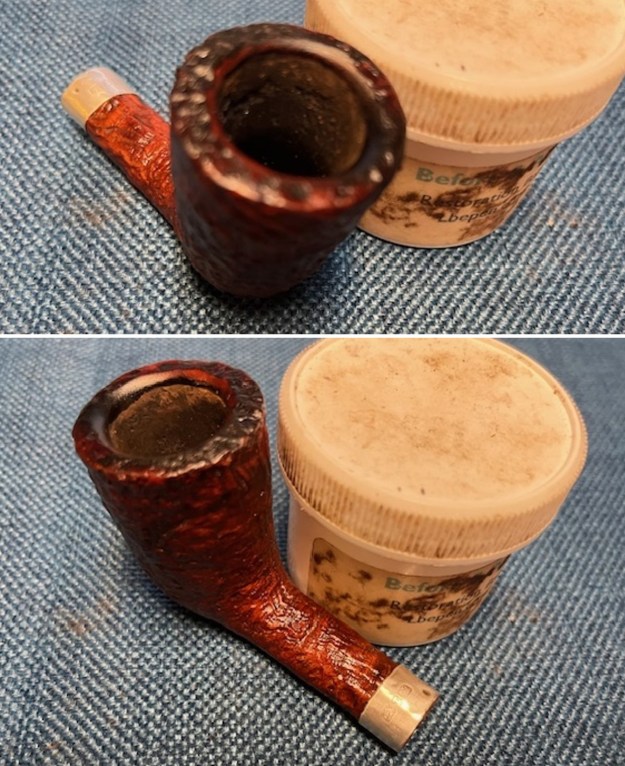
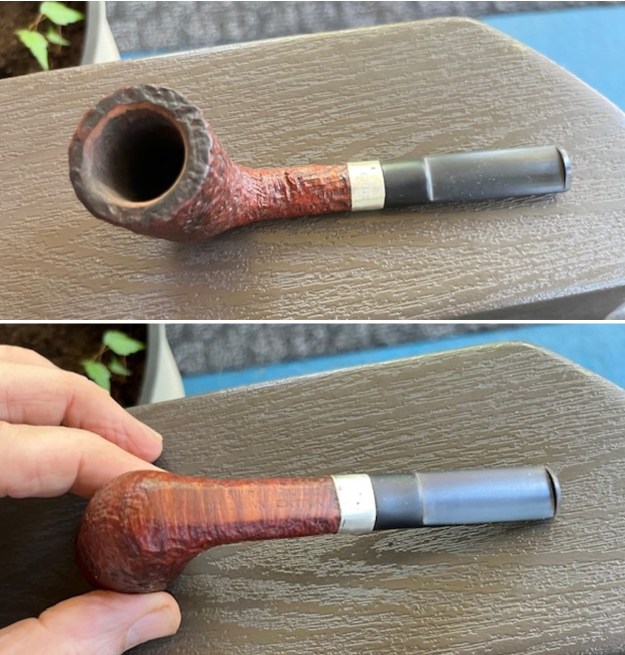
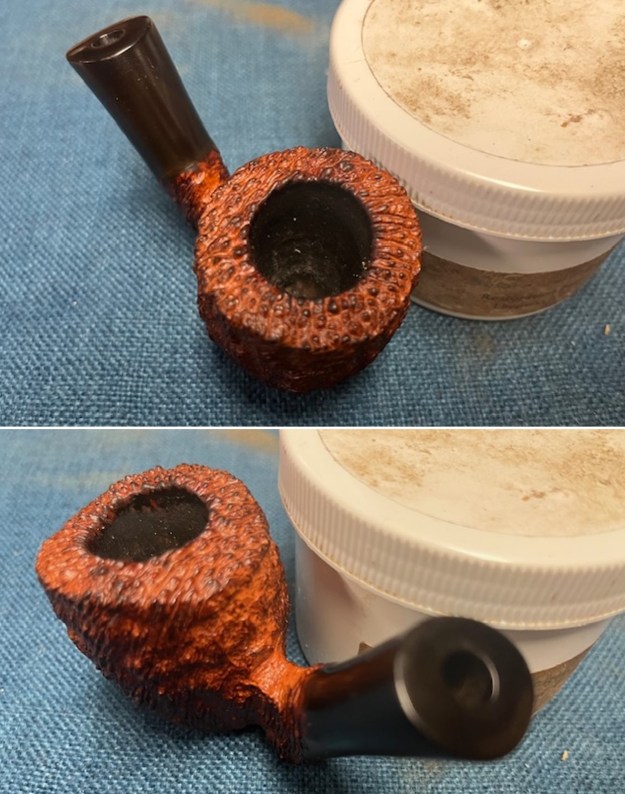
Jeff reamed the bowl with a PipNet pipe reamer and followed up with a Savinelli Fitsall pipe knife to remove the cake. He scrubbed out the mortise and the airway in the shank and the stem with alcohol, cotton swabs and pipe cleaners. He scrubbed the exterior of the bowl, rim, shank and stem with a tooth brush and Murphy’s Oil Soap to remove the oils and tars on the rim and the grime on the finish of the bowl. He rinsed it under running water. He dried it off with a soft cloth. He was able to the lava build up on the rim top and you could see a little darkening in the finish on the top of the bowl. I took photos of the pipe bowl to show its condition before I started my work on it. 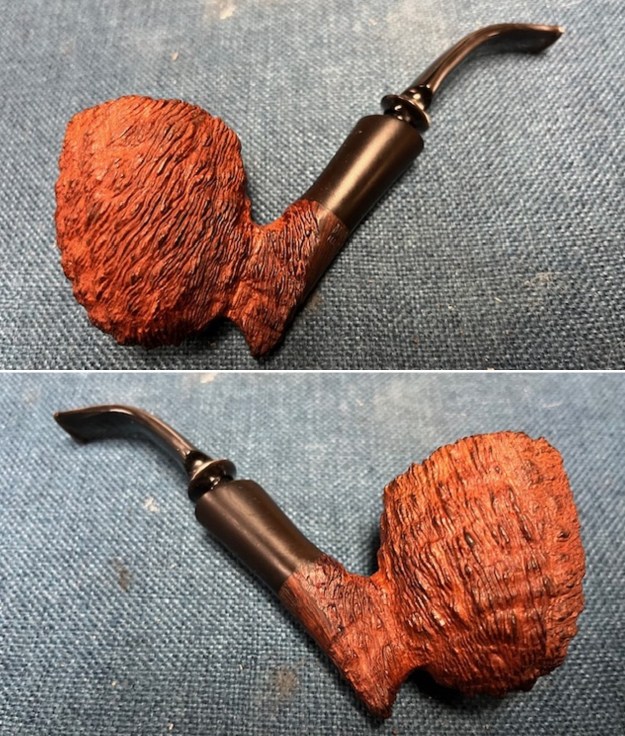
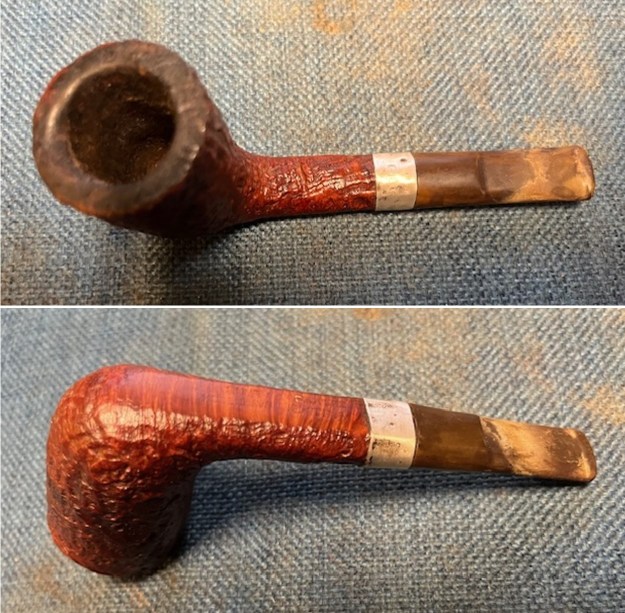
 I took a photo of the rim top and bowl to show the condition of the pipe. I took photo of both sides of the stem to show its condition. Overall the pipe was in great condition.
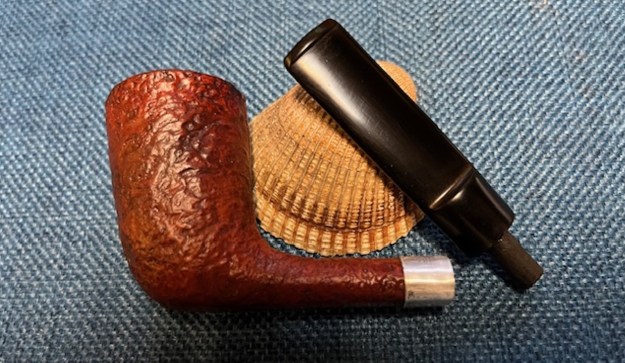
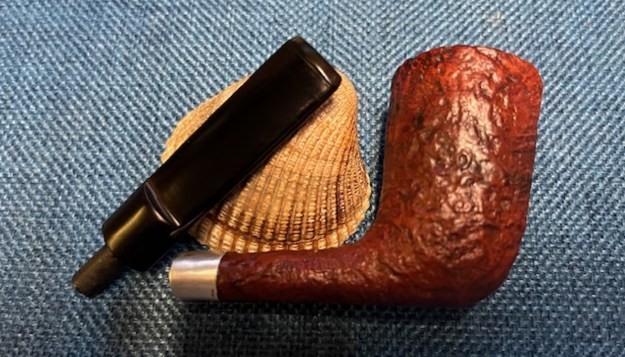
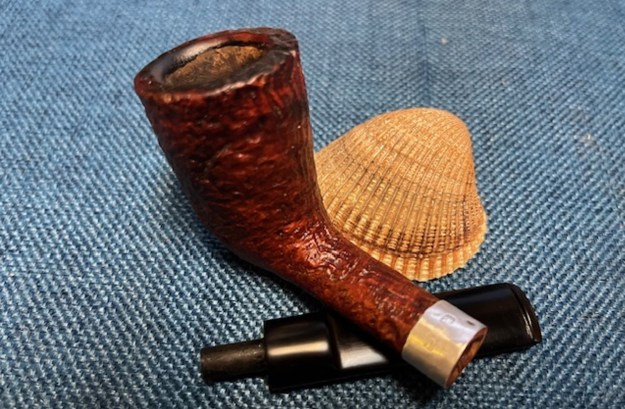
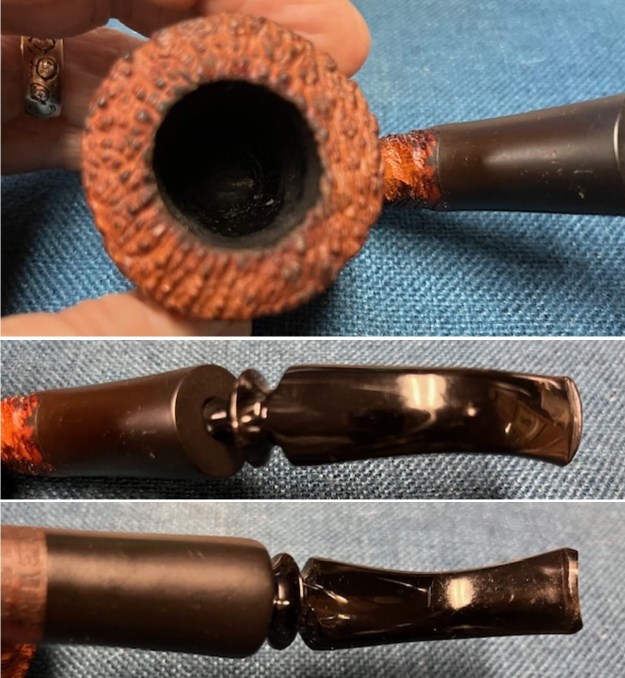 I took a photo of the stamping on the underside of the shank. There was some darkening on the smooth portion but the stamping was clear and readable as noted above. I removed the stem from the shank and took a photo of the pipe to give a sense of the proportions of the bowl and stem.
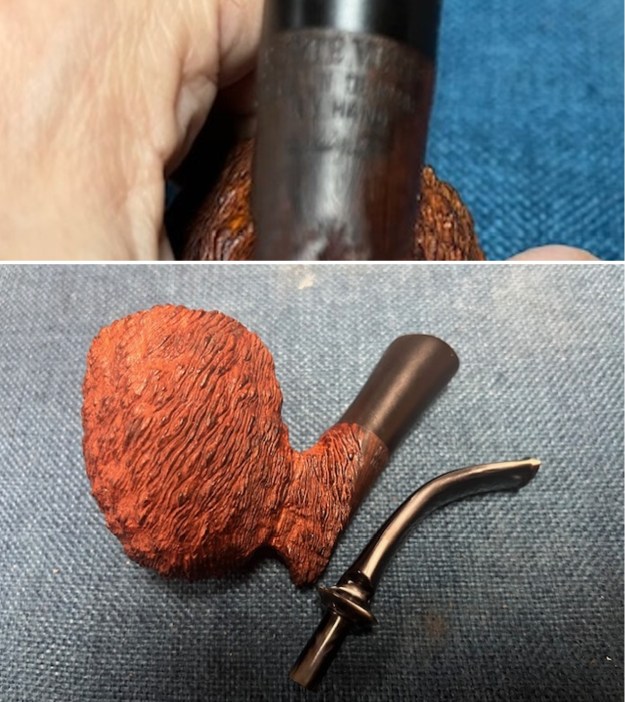 I scrubbed the darkening on the shank with some Before & After Briar Cleaner and a tooth brush. I wiped it off with a soft cloth remove the product. I repeated the process several times.
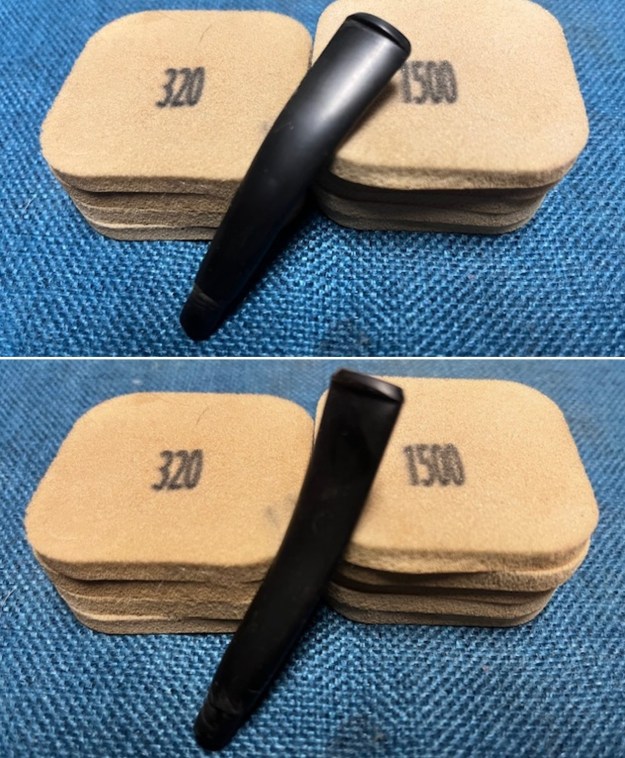
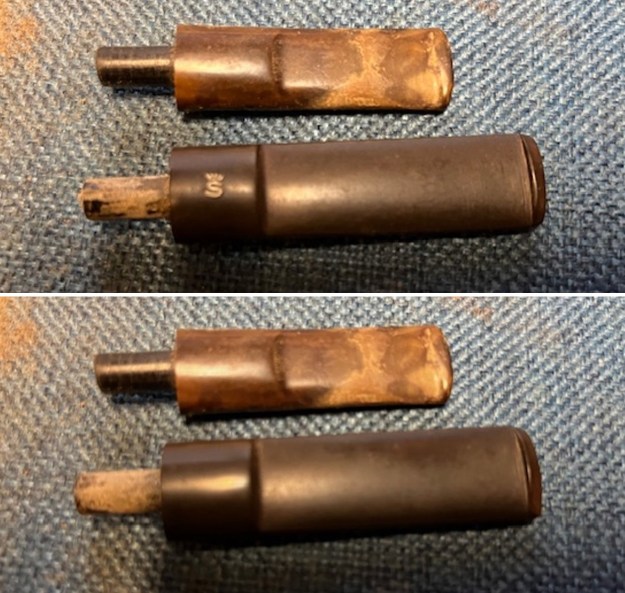
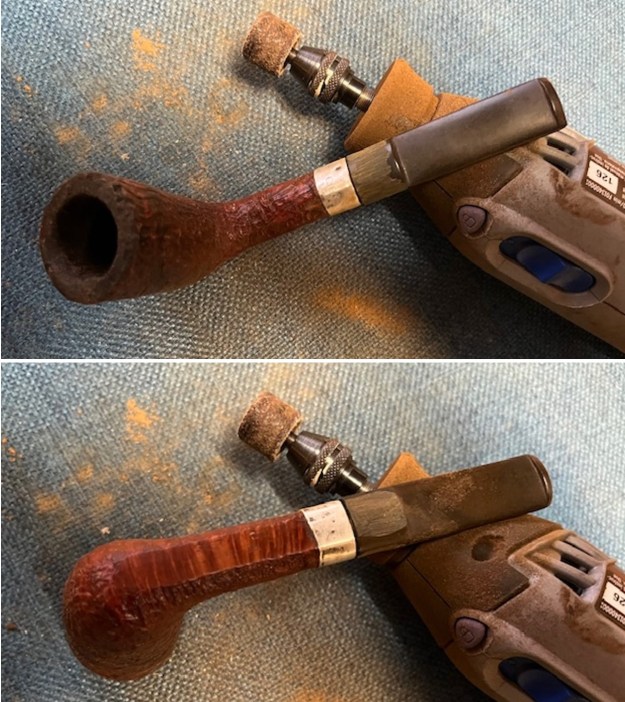
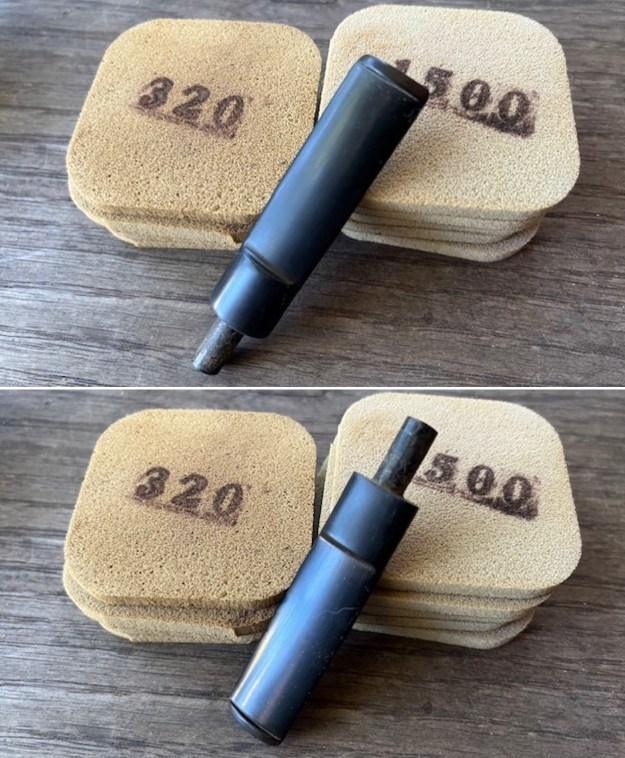
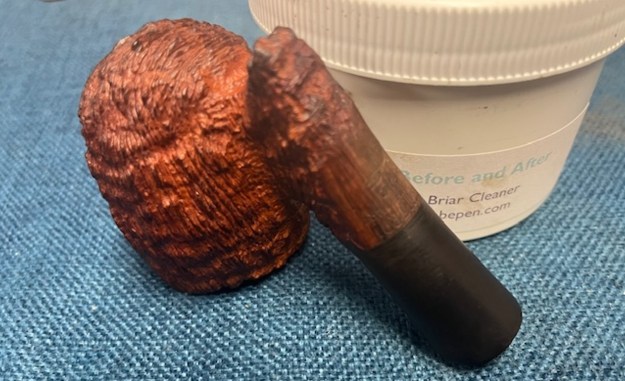 I sanded the oxidized vulcanite shank extension with 320-3500 grit sanding pads. I wiped the shank extension down after each sanding pad with an Obsidian Oil Cloth to remove the debris. It looked significantly better.
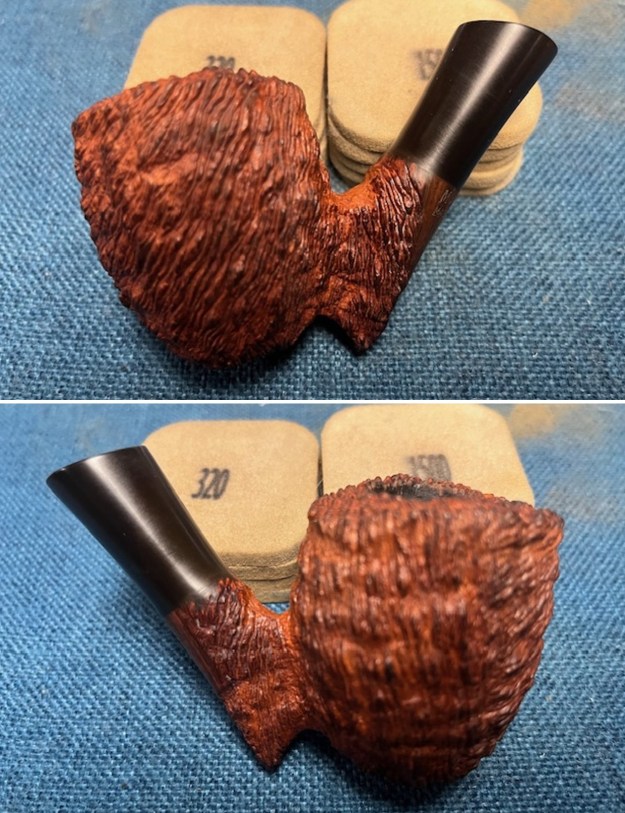
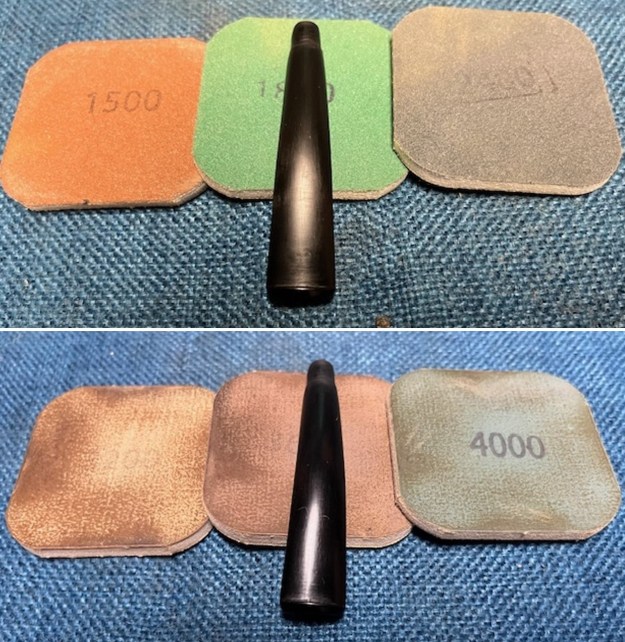
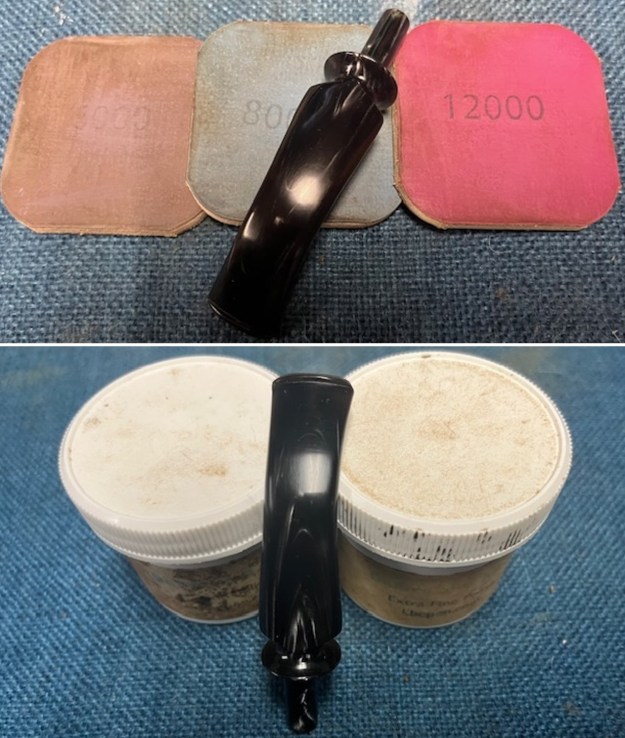
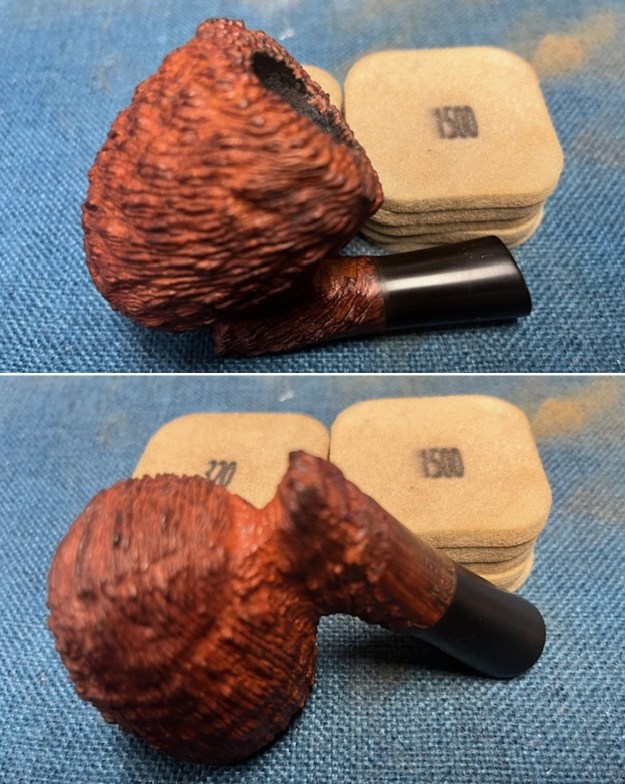 I polished the vulcanite shank extension with micromesh sanding pads – dry sanding it with 1500-12000 grit sanding pads. I wiped it down after each pad with an Obsidian Oil cloth to remove the debris. It began to have a rich shine.
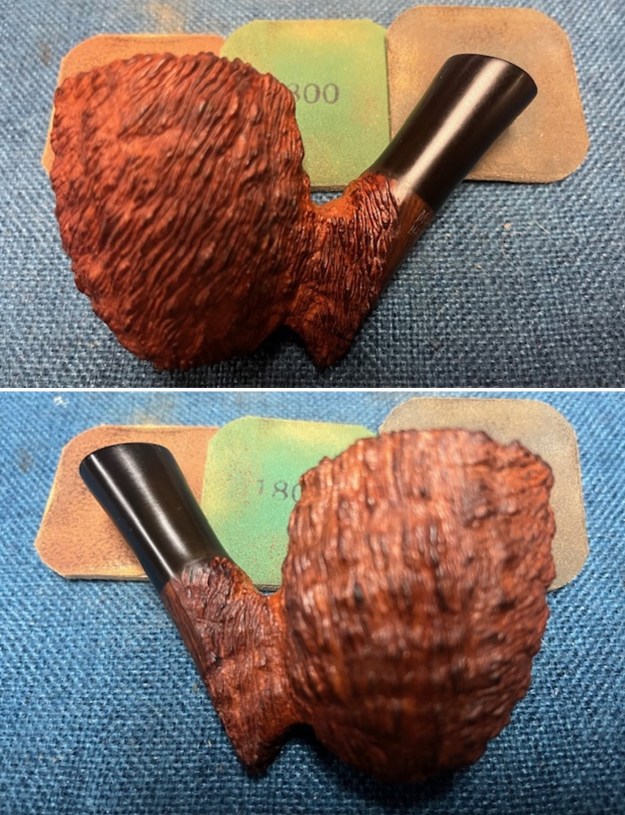
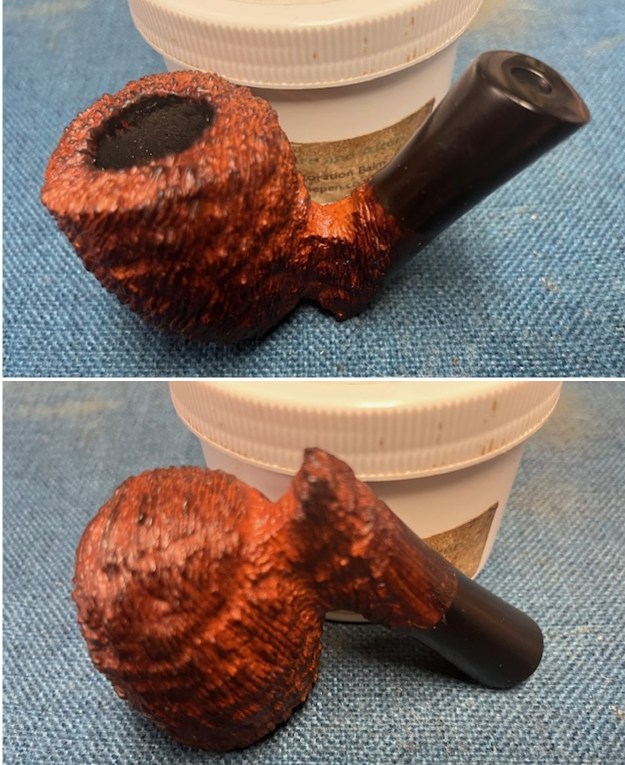
 I rubbed the bowl and shank down with Before & After Restoration Balm. I worked it into the surface of the bowl sides and shank with my fingertips and a shoe brush to clean, enliven and protect the briar. I let the balm sit for a little while and then buffed with a cotton cloth to raise the shine. The Balm did its magic and the grain stood out.
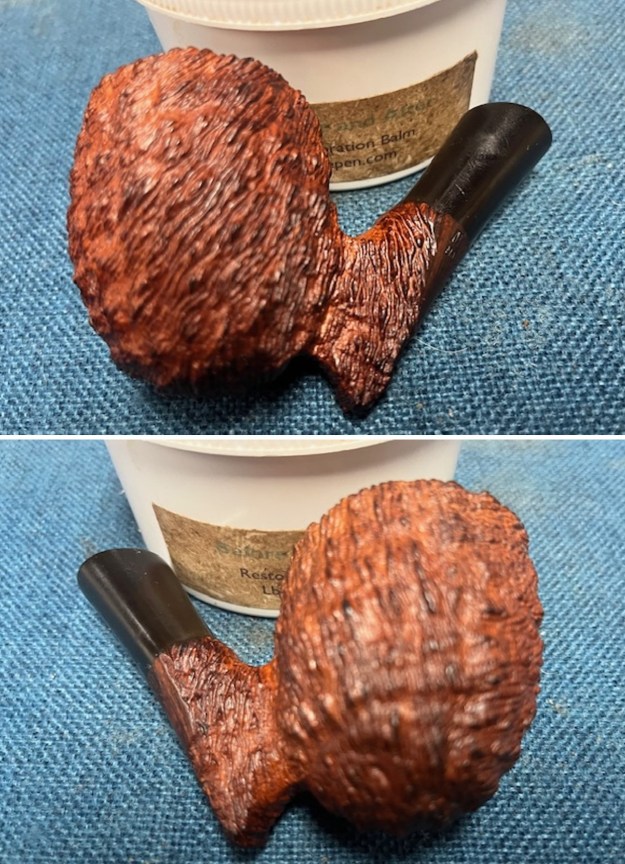
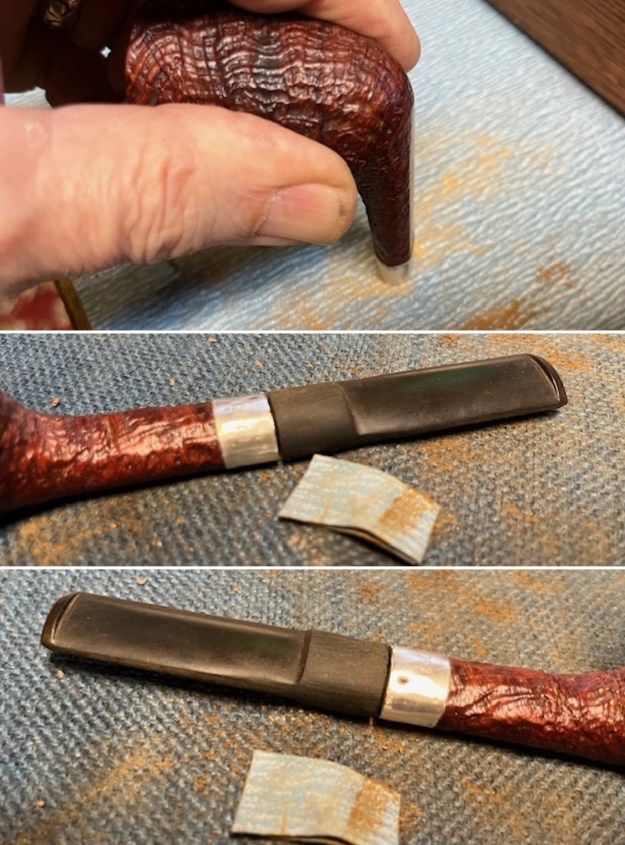
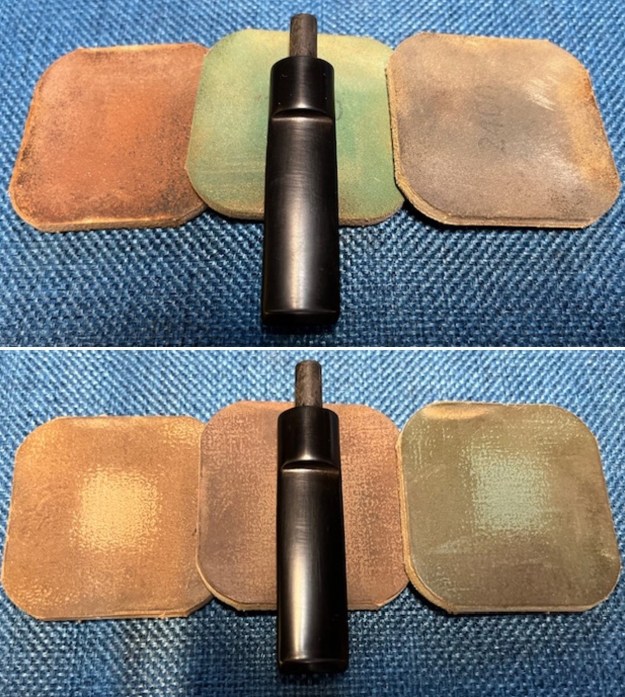
 I set the bowl aside and turned my attention to the stem. I sanded the stem with 320-3500 grit 2×2 inch sanding pads to smooth out the tooth chatter. The pipe stem was looking very good.
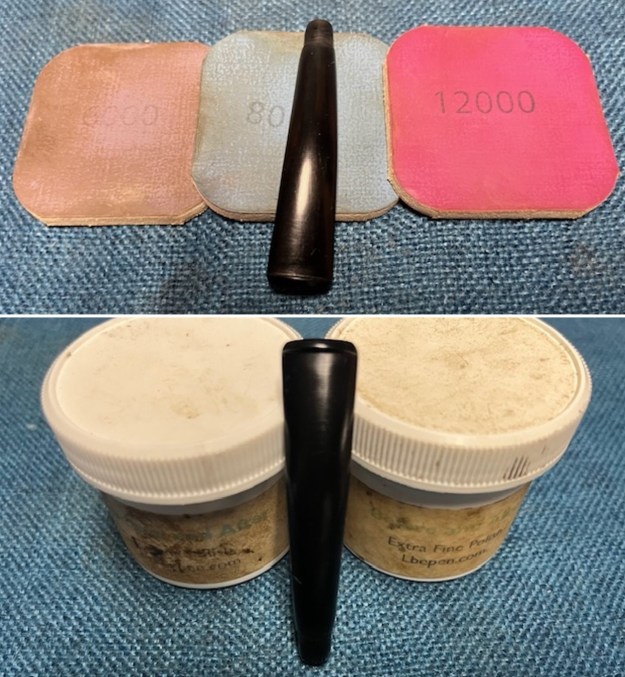
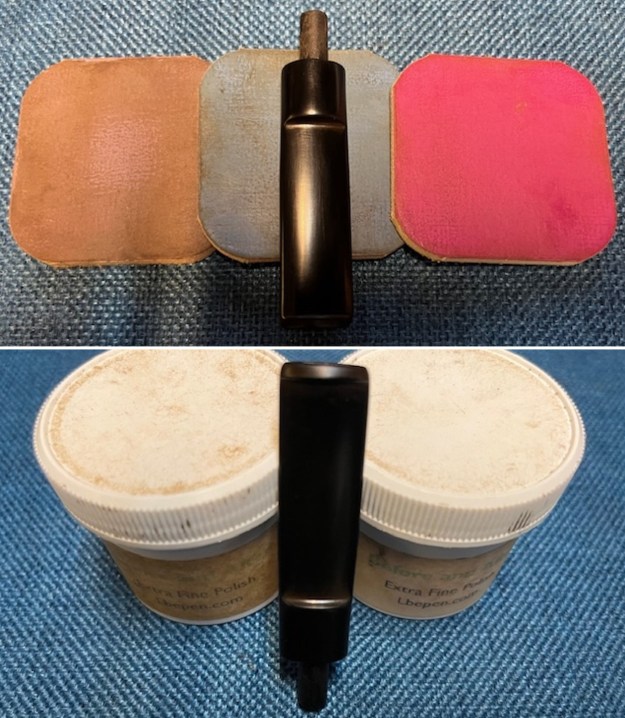
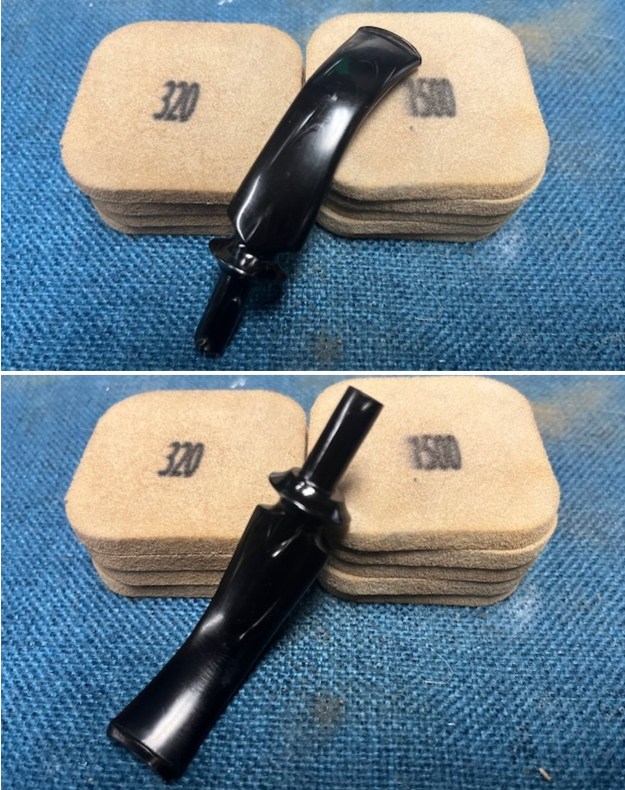 I polished the stem with micromesh sanding pads – wet sanding with 1500-12000 grit pads and wiped down the stem with some Obsidian Oil after each sanding pad. I finished the polishing with some Before & After Stem Polish – both fine and extra fine. I gave it a final coat of Obsidian Oil and set the stem aside.
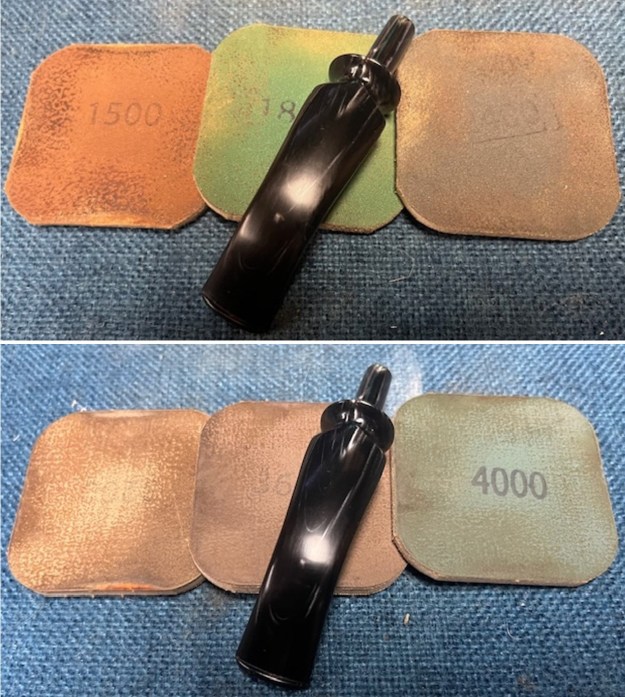
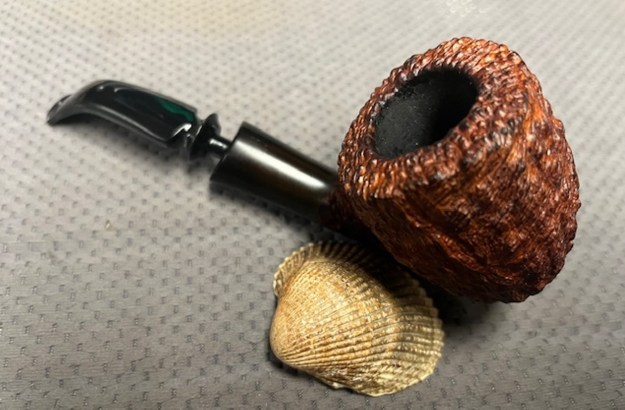
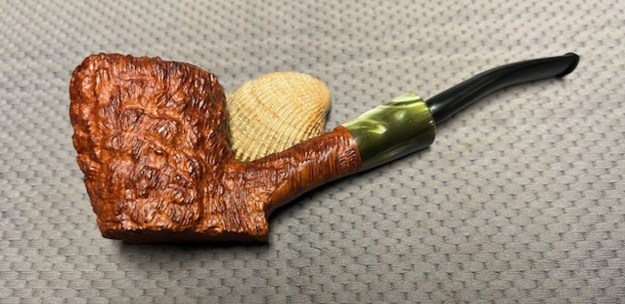
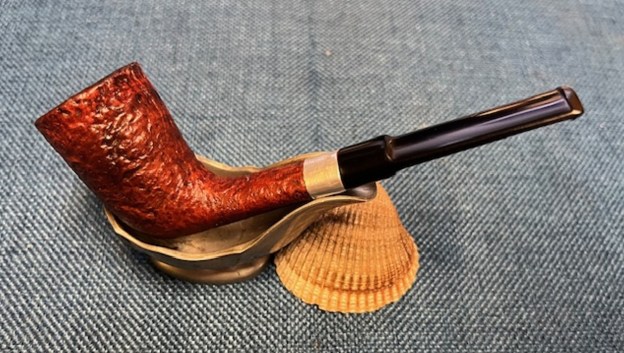
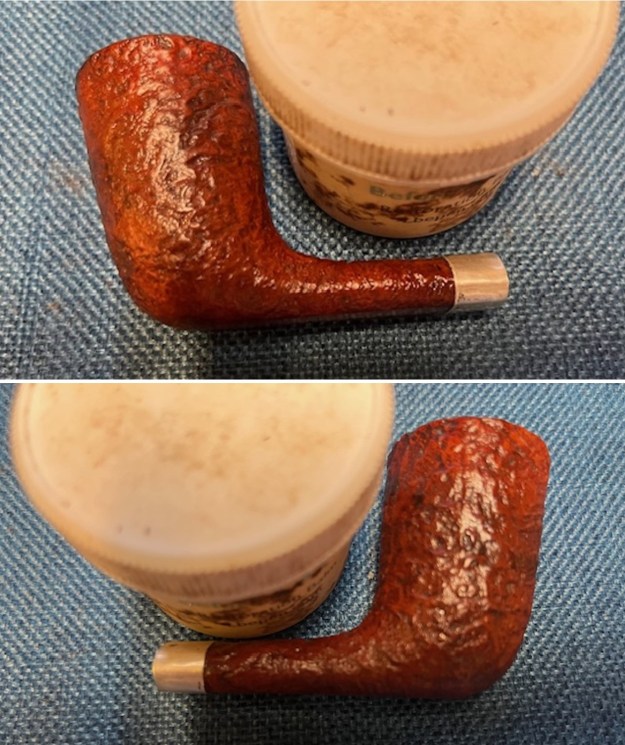
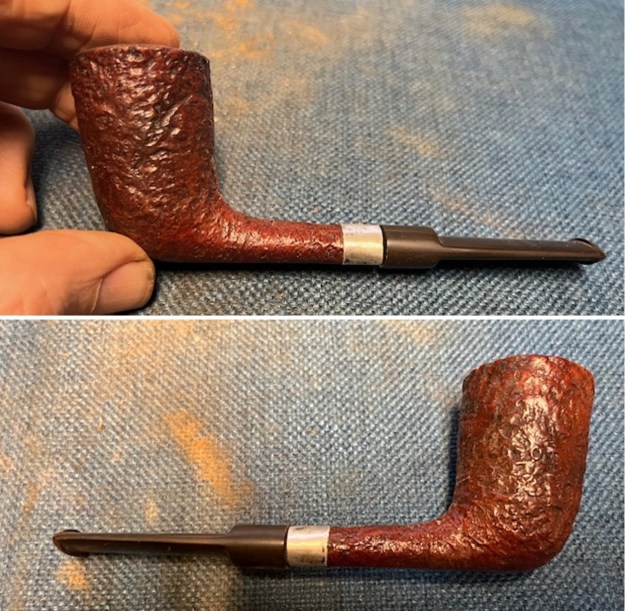
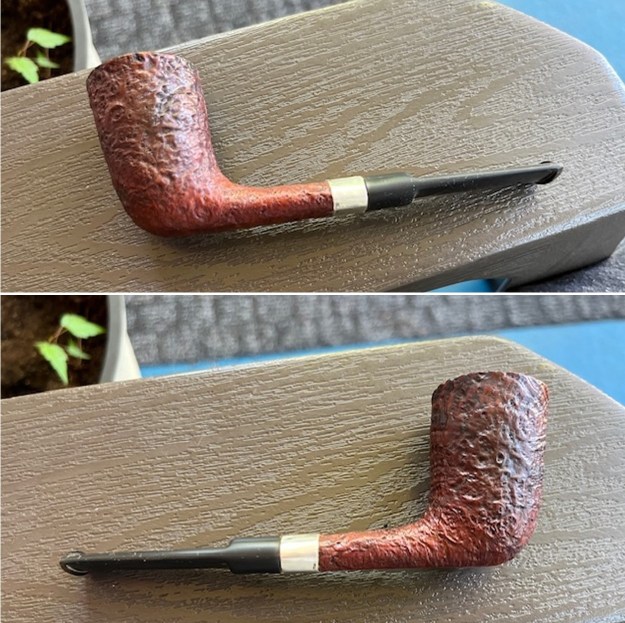
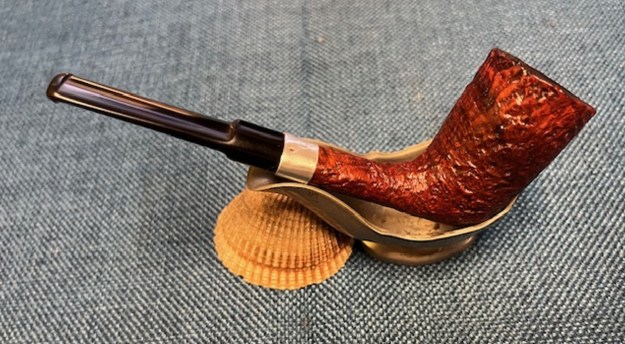
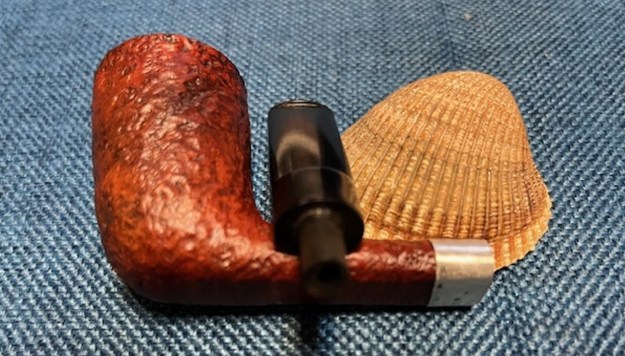
 This beautiful, double rusticated Preben Holm carved Monte Verde Golden Tan Freehand Full Bent Egg is a special looking pipe and it feels amazing in the hand. I polished stem with Blue Diamond polish on the buffing wheel. I gave the bowl multiple coats of Conservator’s Wax and the stem multiple coats of carnauba wax. I buffed the pipe with a clean buffing pad to raise the shine. I hand buffed it with a microfiber cloth to deepen the shine. The pipe polished up pretty nicely. The multi-coloured grain shining through the rustication came alive with the buffing. The rich contrasting brown colour works well with the polished vulcanite shank extension and the black and white Lucite stem. The finished Monte Verde Golden Tan Freehand Full Bent Egg is a beauty and feels great in the hand. Have a look at it with the photos below. The dimensions are Length: 6 ½ inches, Height: 2 ¼ inches, Outside diameter of the bowl: 1 ¾ inches, Chamber diameter: 1 inch. The weight of the pipe is 2.72 ounces/76 grams. I will be putting this Monte Verde by Preben Holm on the Danish Pipe Making Section on the rebornpipes online store soon. It is such an interesting tactile pipe and if you have been looking for a freehand then this might be the one for you. Thanks for walking through the restoration with me on this interestingly shaped Preben Holm Hand Made pipe.