by Kenneth Lieblich
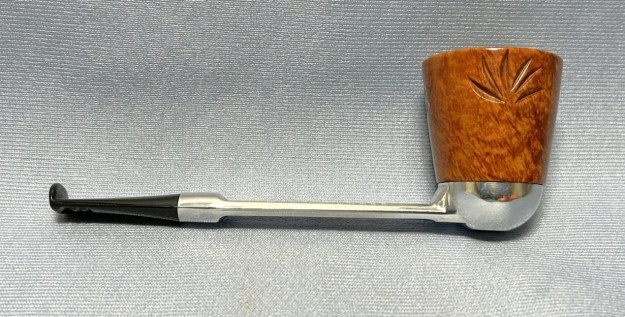
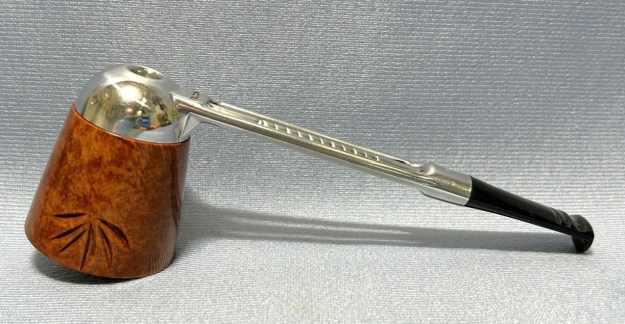
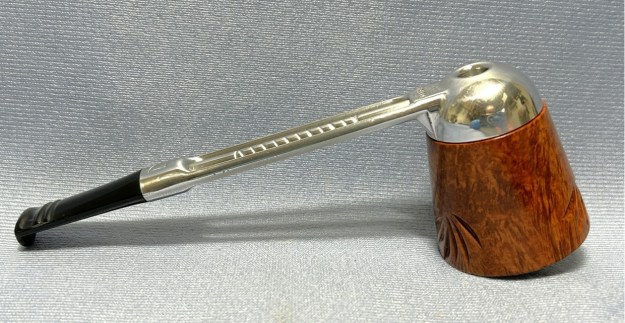
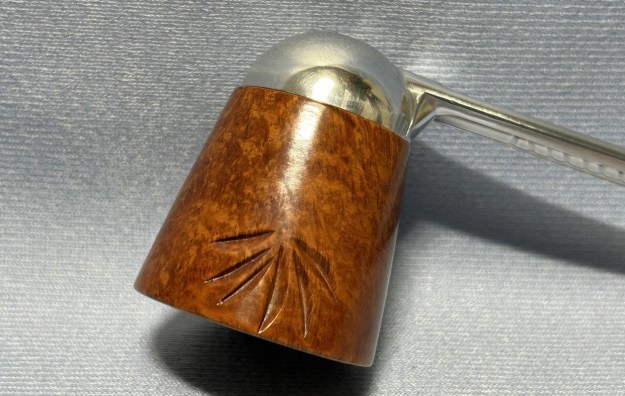
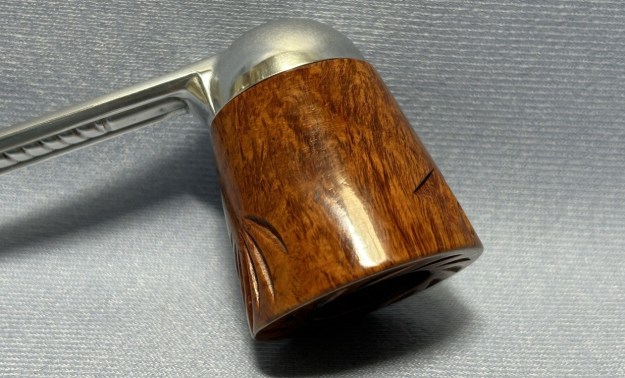
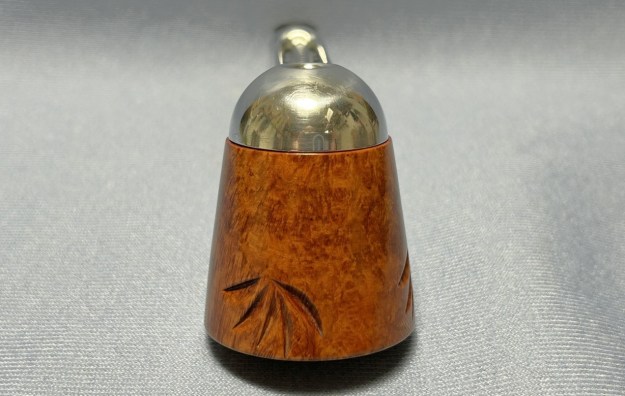
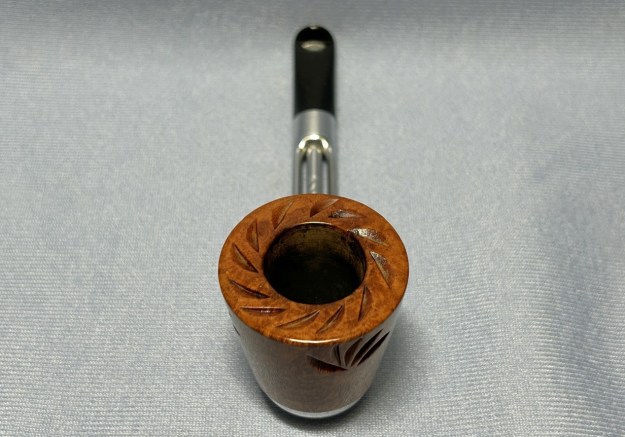
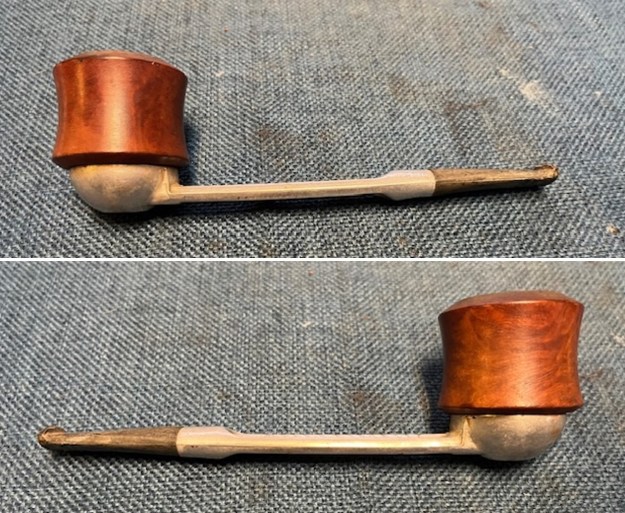
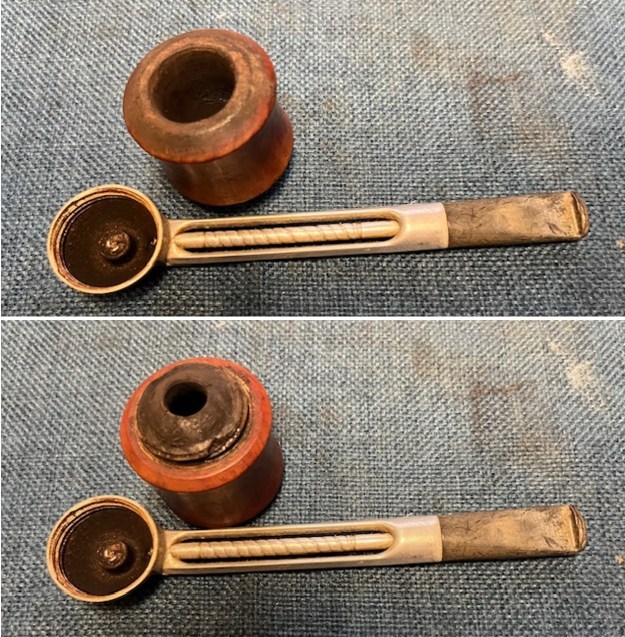
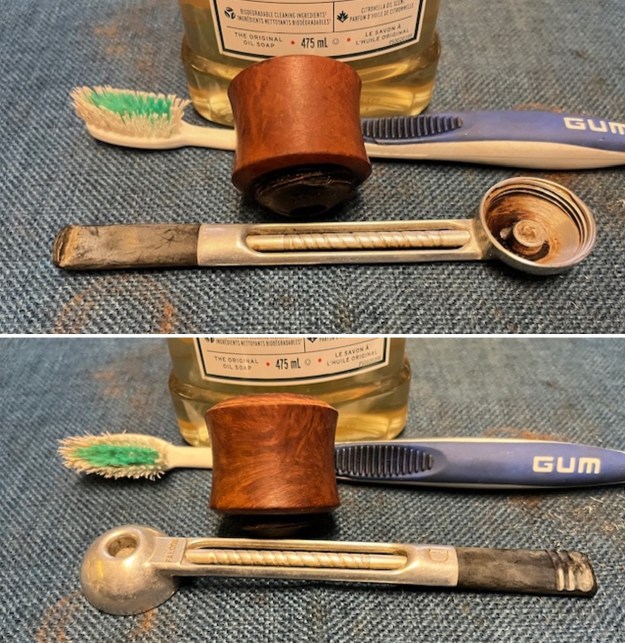
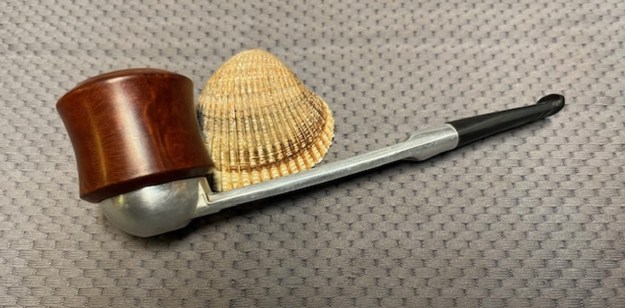
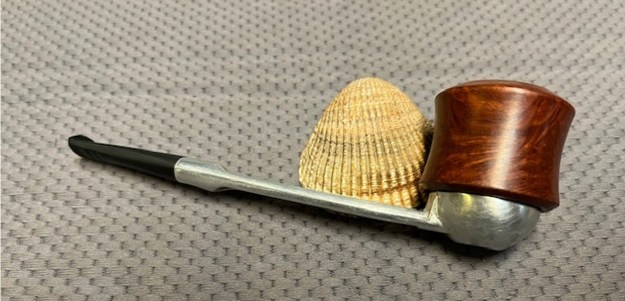
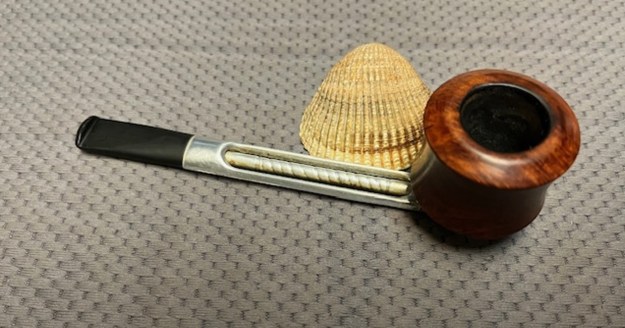
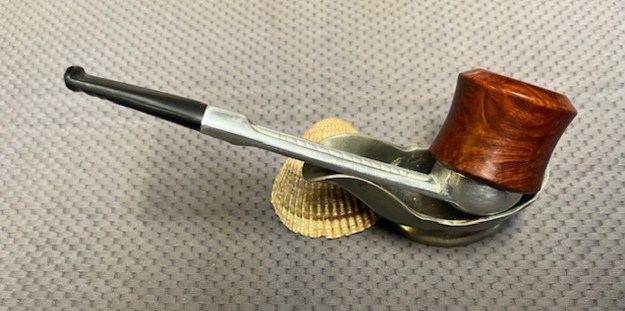
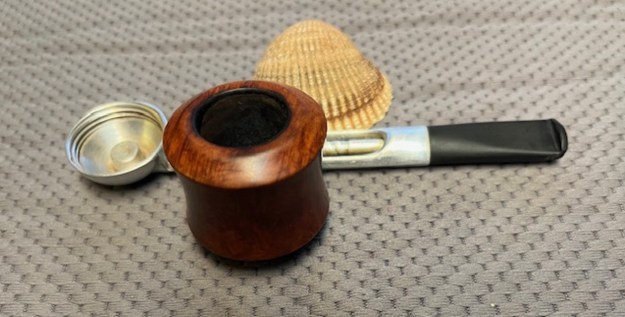
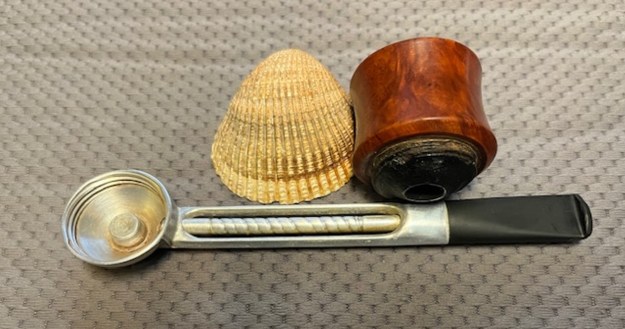
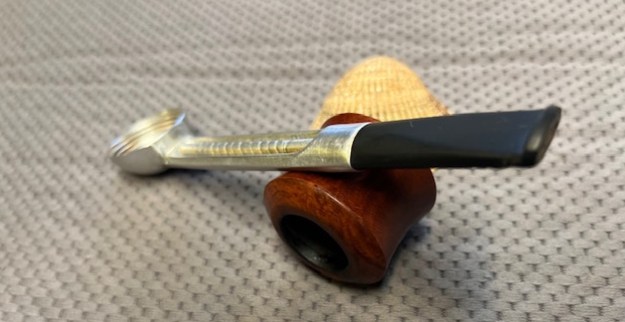
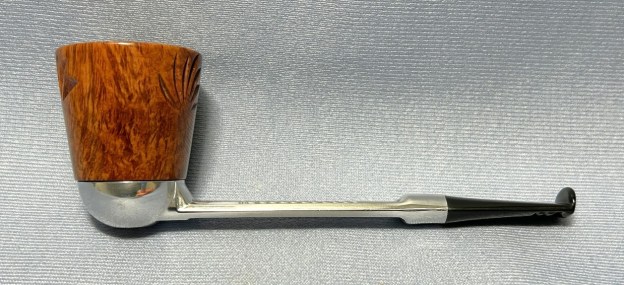
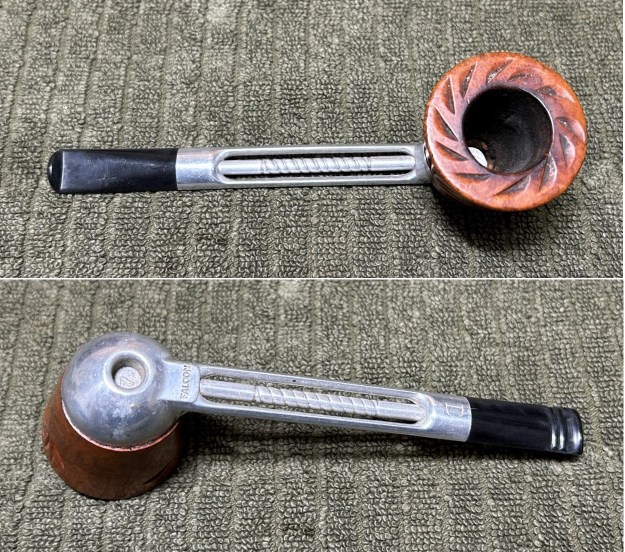
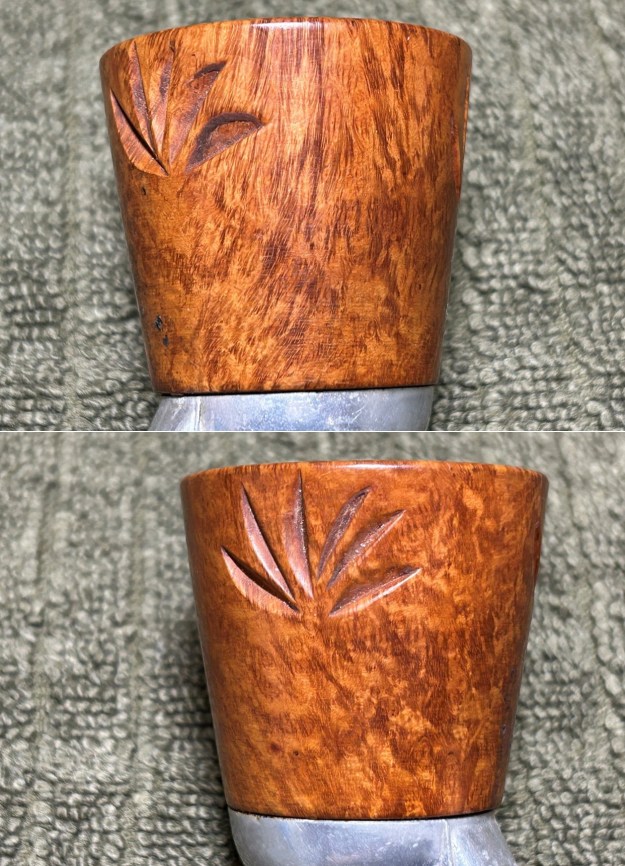
If I remember correctly, this pipe came in a lot from the US of A last year. I don’t really remember the details of its acquisition, but no matter. Falcons are always fun, good-looking pipes. This one was already in good shape, it just looked tired and worn. This particular Falcon has a straight shank and a carved, Dublin-style bowl. The stem has a nice dental bit.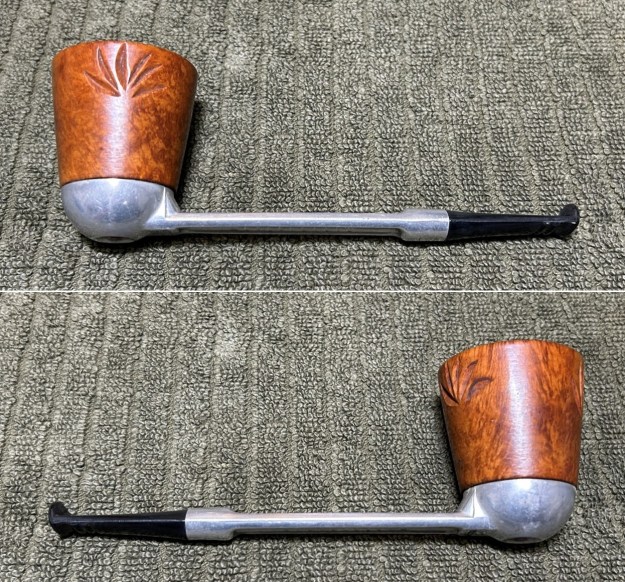
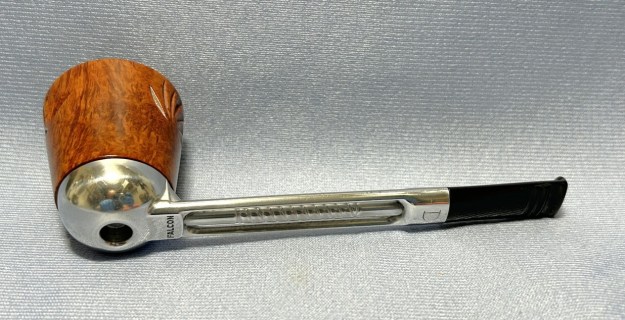
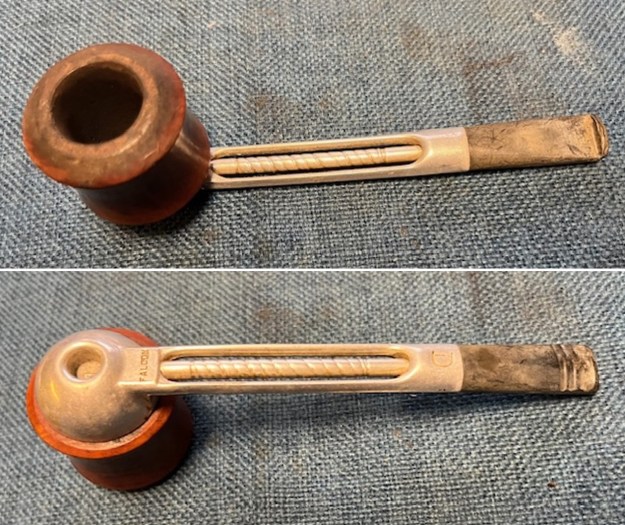
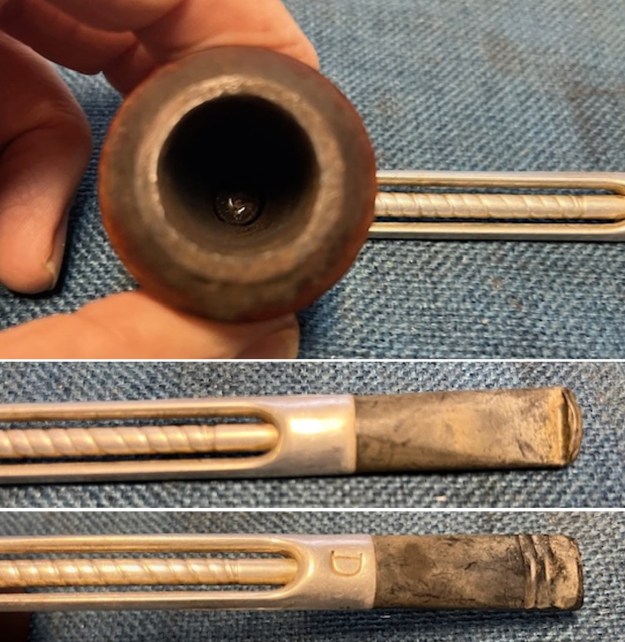
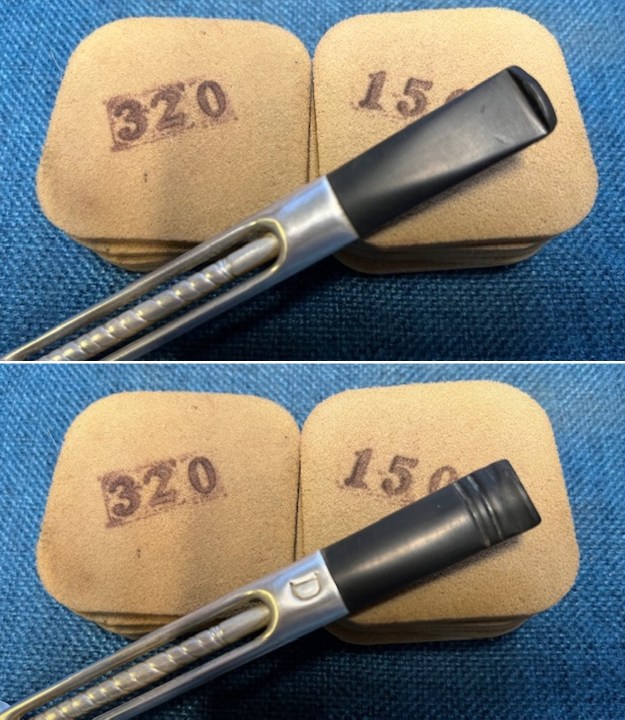
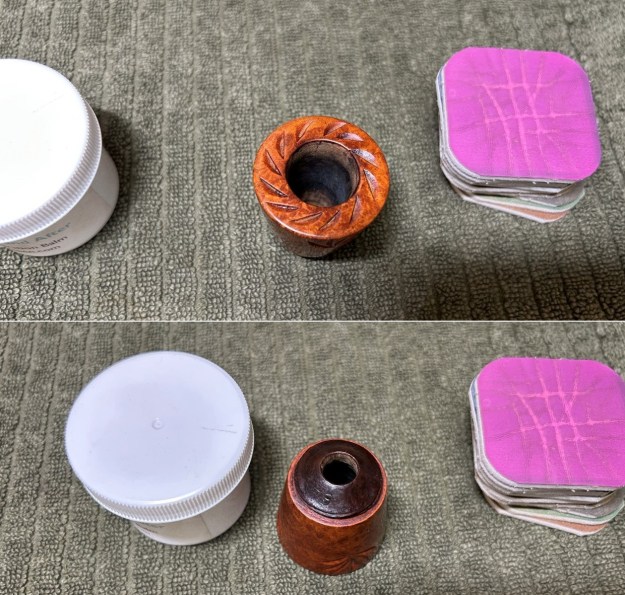
 Let’s have a look at the marks. On the underside of the bowl, engraved in the metal, is the word Falcon. Also engraved, inside the centre circle, is the shape number 7. At the opposite end of the shank, near the stem, is engraved the letter D. The number 7 is the mould number from the factory and the D indicates that this pipe has a dental bit (as previously mentioned). The lack of a country-of-origin mark indicates that this one was made in the USA.
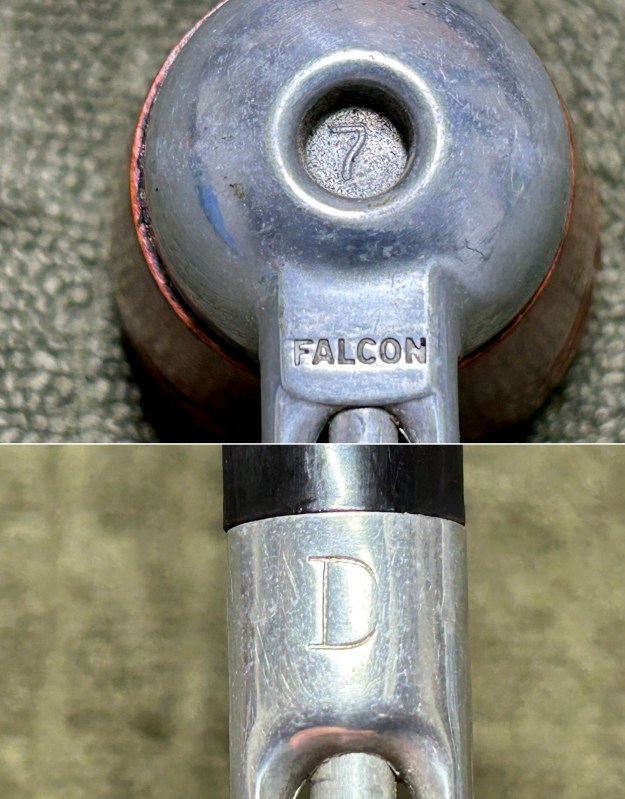 Looking into the background of Falcon Pipes, my first stop was SmokingMetal.co.uk – a very fine resource for all things related to metal pipes. Here are a few snippets:
There are an incredible number of combinations of Falcon pipes. many variants of the stems and of the bowls. All I can hope to do here is to show some of them. Some of course are no longer avaliable but very many are. Contrary to most descriptions you will see, the smoke tube is not a twisted alloy tube, but a tube that has been scrolled to increase the surface area for cooling.
There are at least three distinct eras of Falcon production, those stamped under the stem with just the single word ‘Falcon’ indicating a USA made pipe, those with ‘Falcon Ireland'( indicating, or it ought to, that the casting originated in Ireland but actually only some bowls originated in Ireland) and those with ‘Falcon Made in England’ which does tell us where that model actually originated from. The bowls come in an incredible range of shapes and finishes, but can always be pinned down as Falcon as they have a 4 start thread, enabling a quarter turn to lock them on the stem. Very, very few other makes have this feature. The numbers and letters under the humidome are mould numbers.
Pipedia has some good information too (which you can find here). Here is a brief summary of Falcon history:
The Falcon pipe was created in 1936 by the American engineer Kenly Bugg. However during WWII the production of the Falcon was limited. In 1949 George Hunt took over production and marketing and by 1954 6 million Falcon pipes had been sold in the U.S.A. By 1961 production started in England. In 1964 the Alco was launched. In 1967 the Brentford was launched but in 1979 it was withdrawn from the market. In 1968 production of the Falcon in Chicago, U.S.A. stopped. The Falcon International was introduced in 1977, which featured a removable mouth piece and filter.
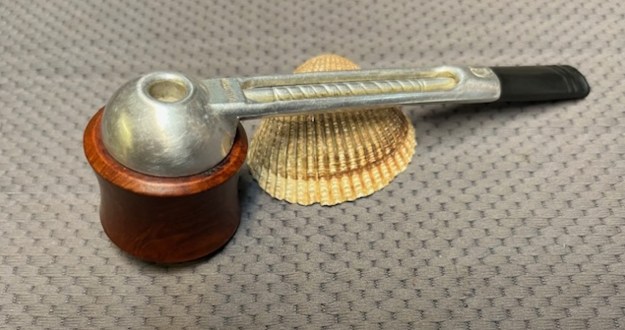
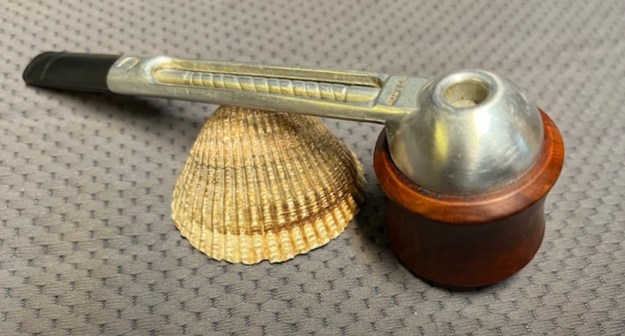
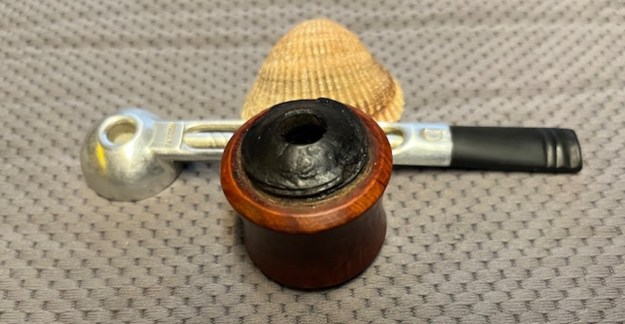
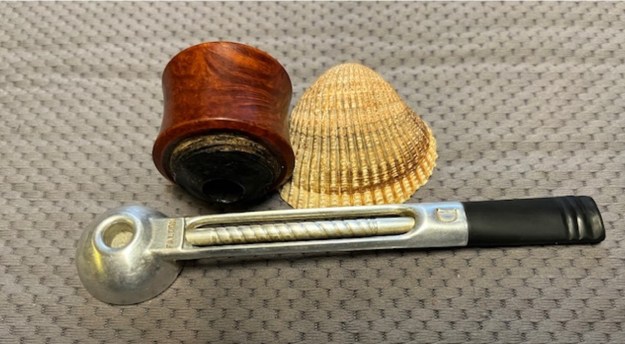
Based on all that I read, I can conclude that this pipe was made sometime after 1948 and prior to 1968, when production was moved to the UK.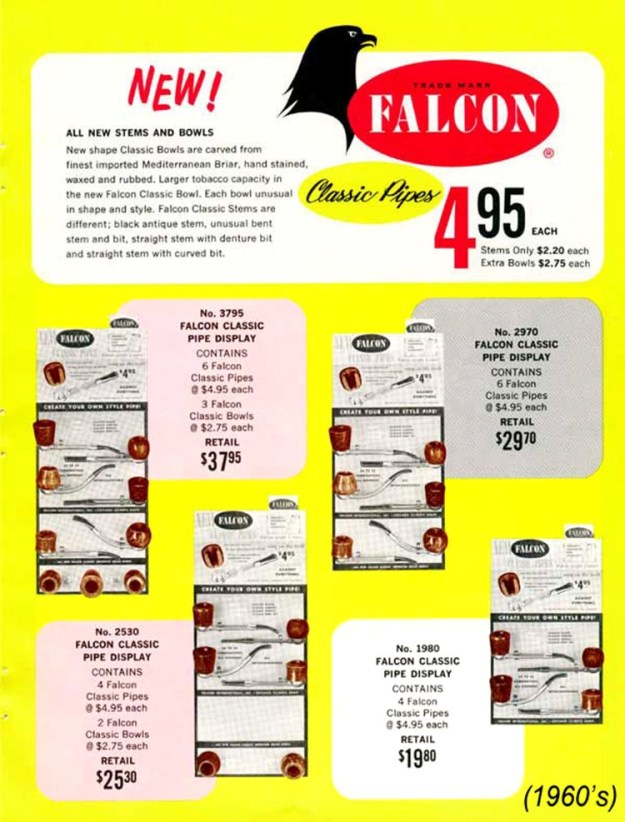 Let’s take a closer look at the condition of the pipe. As I indicated before, nothing too serious – just some minor wear-and-tear to address. The bowl is lightly smoked and just needs a good cleaning. The metal body has no notable damage and I will simply clean and polish it. Finally, the acrylic dental bit also has only minor wear – should be quite straightforward.
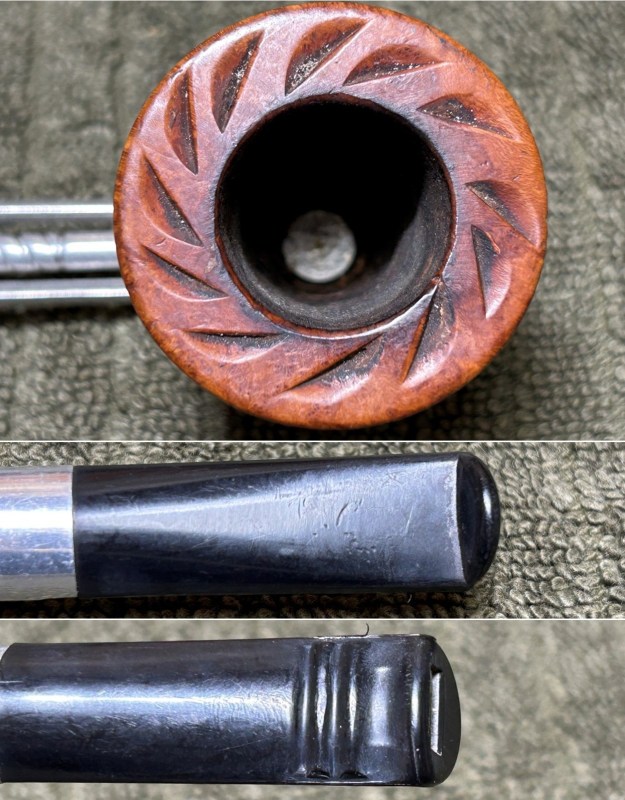
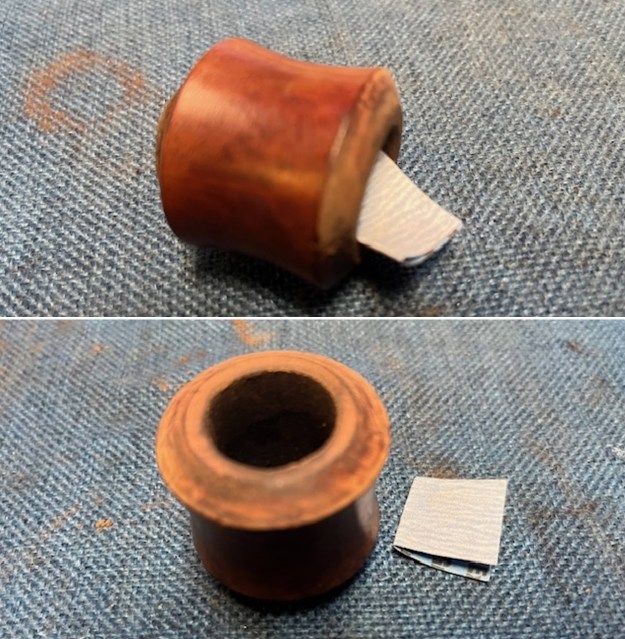
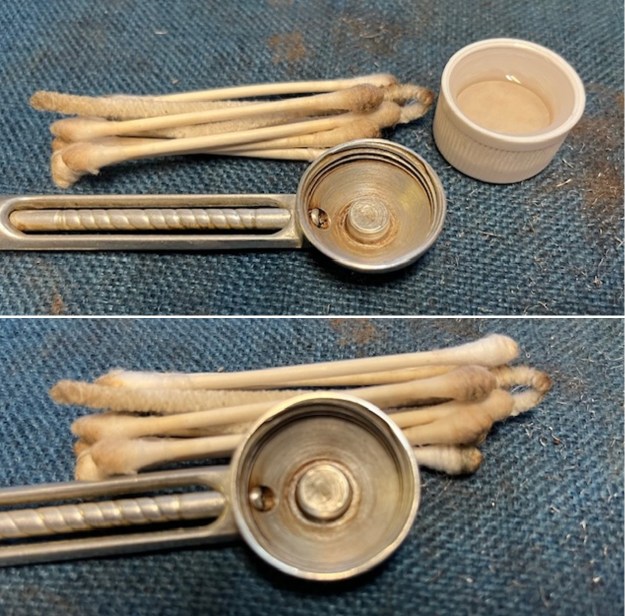
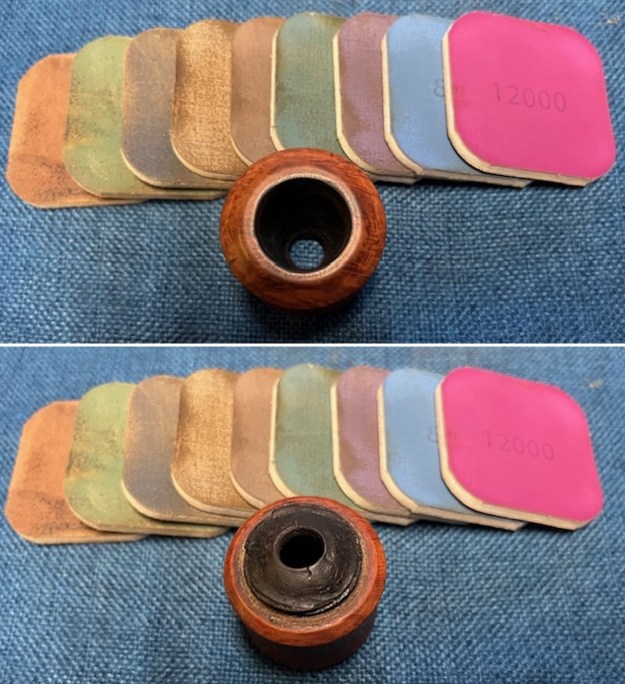
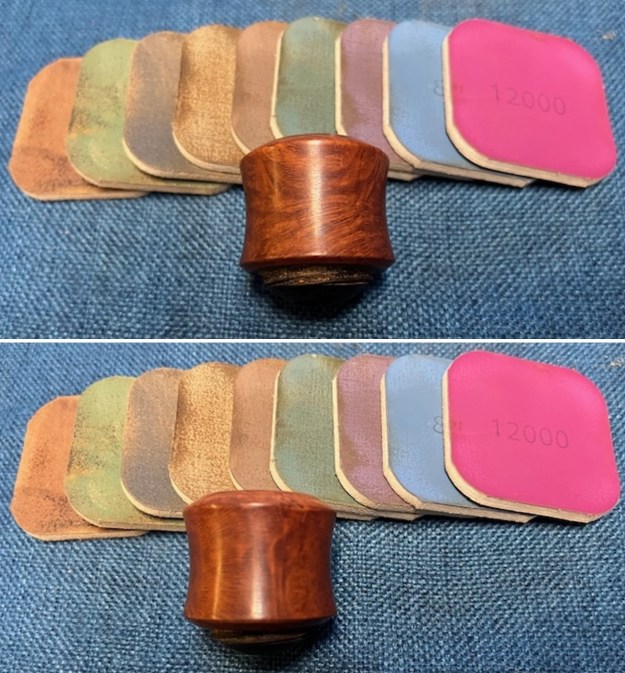
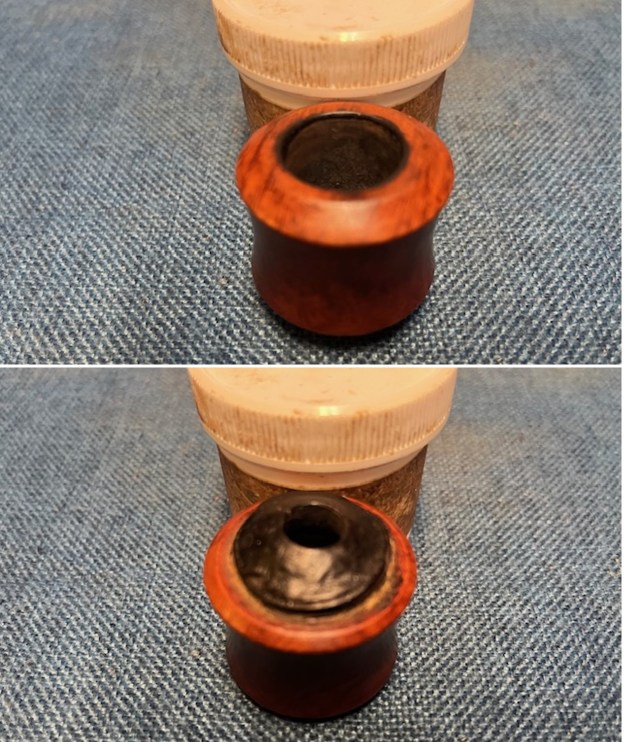
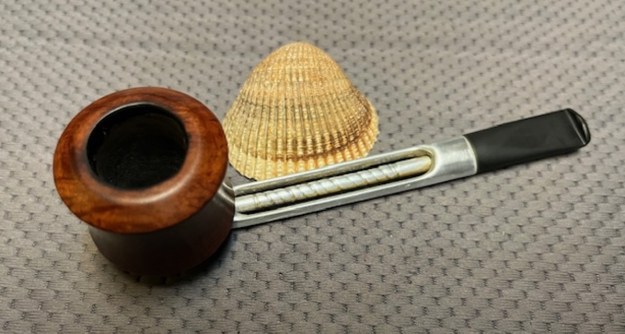
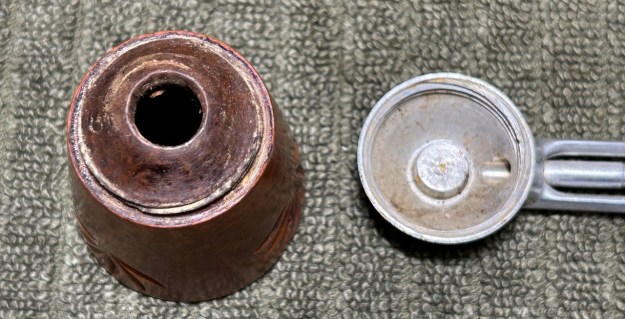 I started on the bowl. The first step was to ream it out – that is to say, remove all the cake inside the bowl. This accomplished a couple of things. First (and most obviously), it cleaned the bowl and provided a refurbished chamber for future smoking. Second, when the old cake was removed, I could inspect the interior walls of the bowl and determine if there was damage or not. Fortunately, there was none. As the cake was light, I used a pipe knife, and a piece of sandpaper taped to several sizes of wooden dowel. Collectively, these ensured that all the debris was removed.
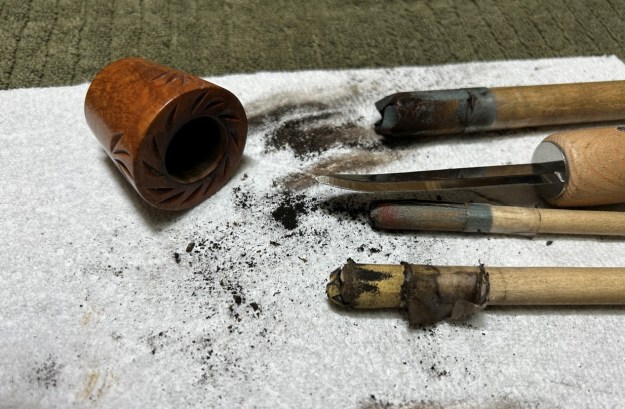 I then took a dental tool and cleaned any gunk from the grooves in the threads of the bowl.
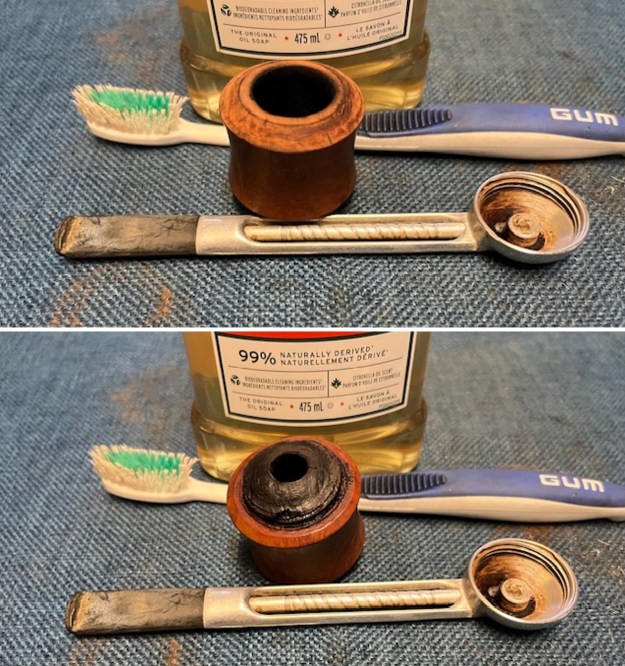
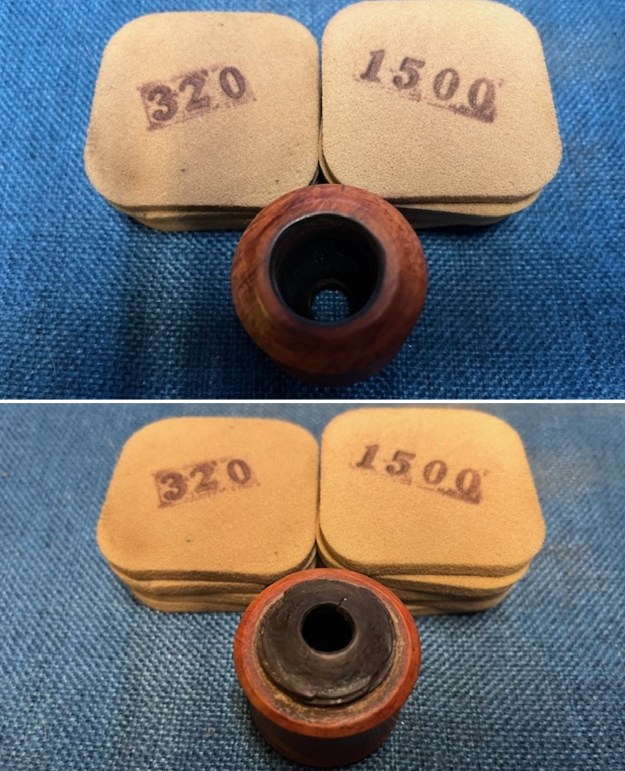
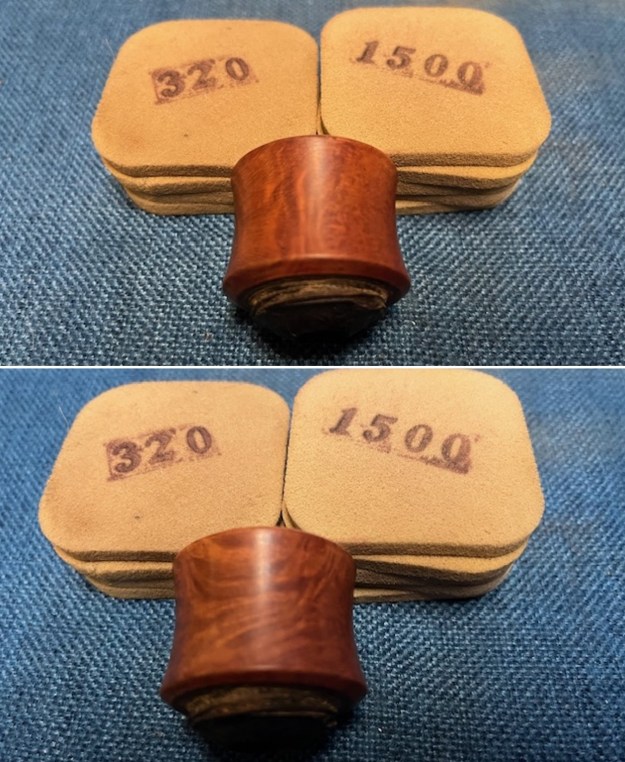
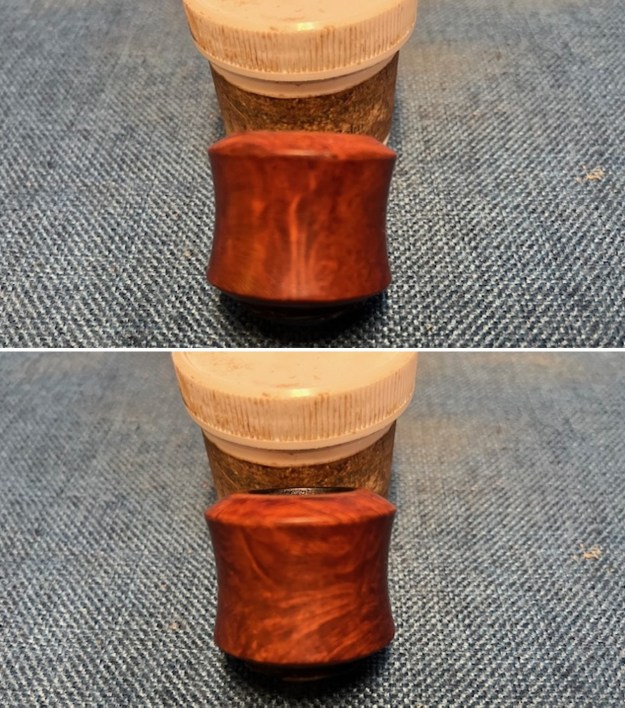
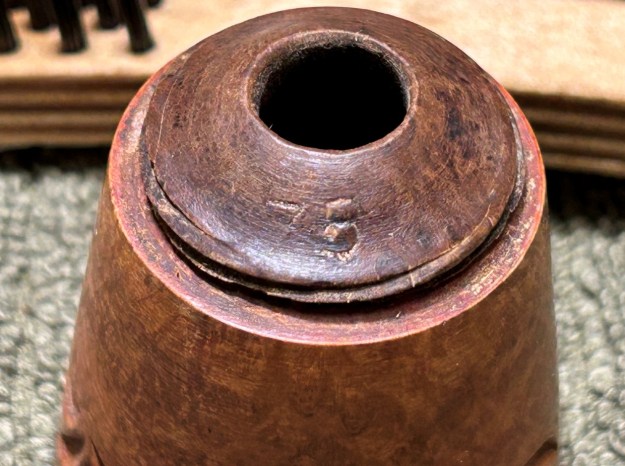
 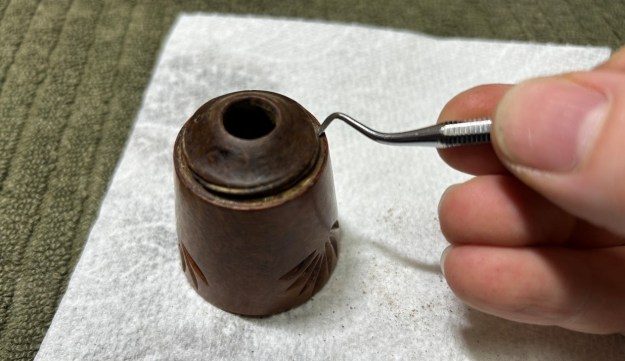 To tidy up the briar, I wiped down the outside, using a solution of a pH-neutral detergent and some distilled water, with cotton rounds. I also used a toothbrush in the crevices. This did a good job of cleaning any latent dirt on the surface of the briar. The last step of the cleaning process was to scour the inside of the stummel with the same mild detergent and tube brushes. While cleaning, I noticed the number 75 on the bottom of the bowl. I assume this is some sort of shape number. If you have more information, please let me know in the comments below!
 I used all nine micromesh pads (1,500 through 12,000 grit) to sand the outside of the stummel and finish it off. This sanding minimizes flaws in the briar and provides a beautiful smoothness to the wood. I rubbed some LBE Before & After Restoration Balm into the briar and let it sit for 30 minutes or so. The balm moisturizes the wood and gives a beautiful depth to the briar. I then buffed the stummel with a microfibre cloth.
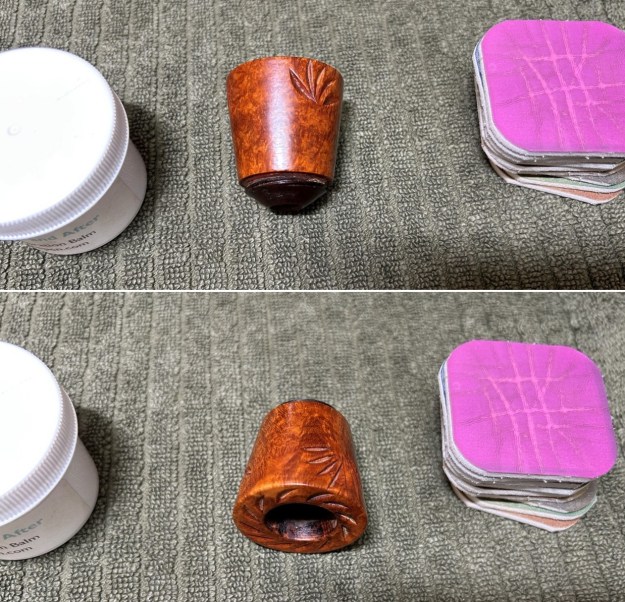
 I then moved on to the metal body of the pipe (including the acrylic stem, which is attached). It didn’t initially look dirty, but took a surprising amount of elbow grease to clean! I disinfected the inside and outside of the pipe with both pipe cleaners and cotton swabs dipped in lemon-infused 99% isopropyl alcohol. I scrubbed thoroughly. I also used a wire brush to scrub some of the more stubborn areas.
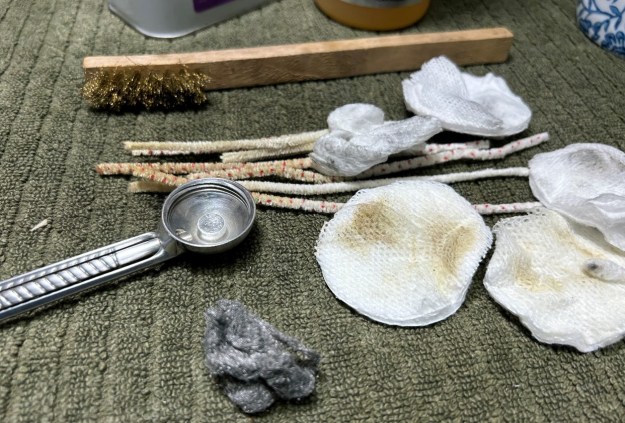 In addition, I began my polishing procedure with some 0000-grit steel wool. This worked incredibly well – I was so pleased with the results. I then used some micromesh pads that I have saved solely for metal work and buffed it up to an incredible shine. Looks fantastic!
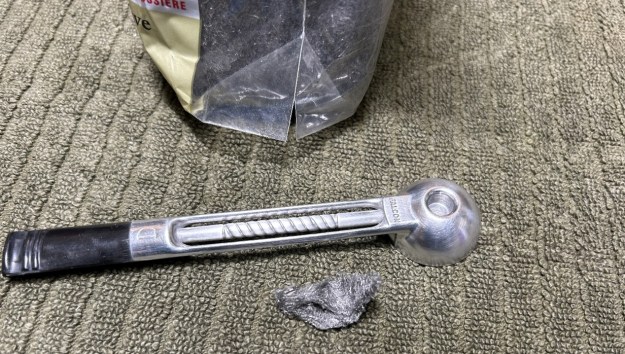
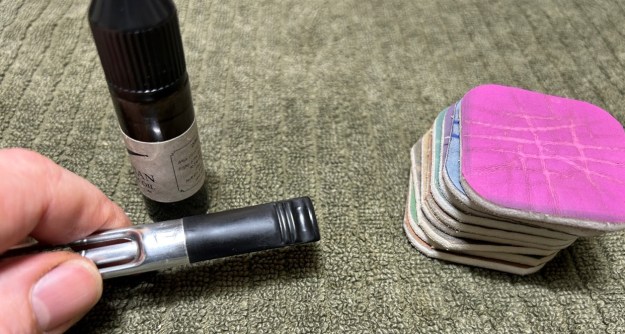
 Following that, I used all nine of the micromesh sanding pads (1,500 through 12,000 grit) to sand out flaws in the stem, even out the acrylic, and provide gentle polishing of the finished surface. I also applied pipe-stem oil while using the last five micromesh pads. There was a wonderful, deep black shine to the stem when I was done.
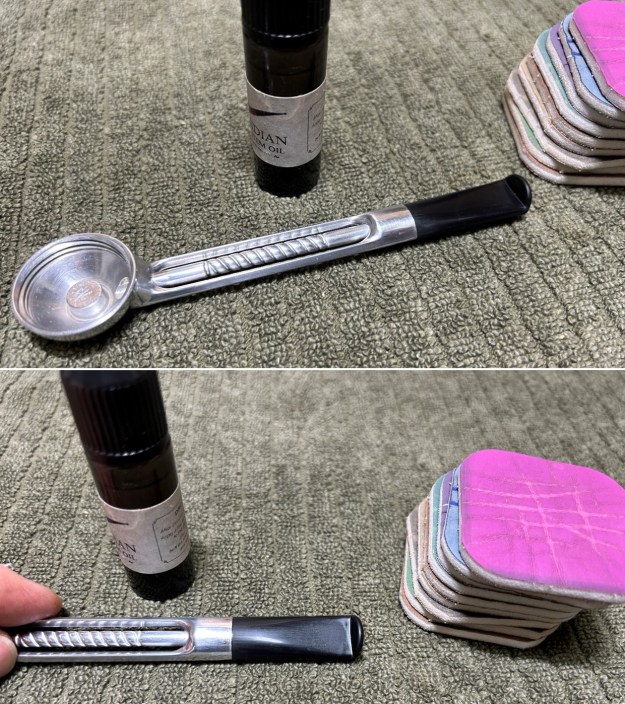
 For the final step, I took the pipe to my bench polisher and carefully buffed it – first with a blue diamond compound, then with three coats of carnauba wax. This procedure makes the pipe look its best.
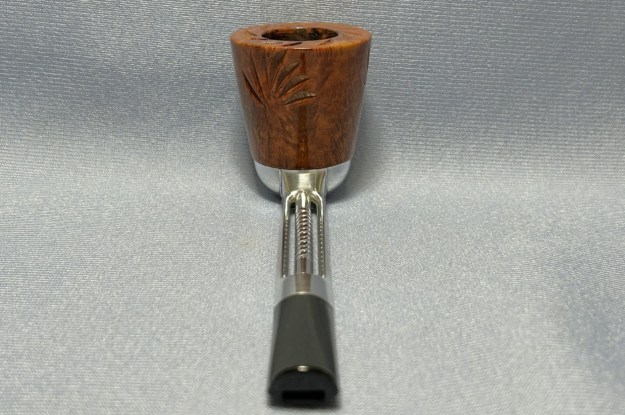
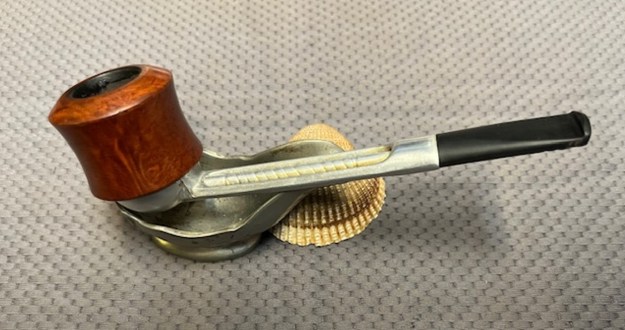
This Falcon 7D Dublin looks fantastic again and is ready to be enjoyed by its next owner. I am pleased to announce that this pipe is for sale! If you are interested in acquiring it for your collection, please have a look in the ‘American’ pipe section of the store here on Steve’s website. You can also email me directly at kenneth@knightsofthepipe.com. The approximate dimensions of the pipe are as follows: length 5⅞ in. (150 mm); height 2 in. (51 mm); bowl diameter 1⅝ in. (41 mm); chamber diameter ⅞ in. (22 mm). The weight of the pipe is 1½ oz. (44 g). I hope you enjoyed reading the story of this pipe’s restoration as much as I did restoring it. If you are interested in more of my work, please follow me here on Steve’s website or send me an email. Thank you very much for reading and, as always, I welcome and encourage your comments.